You enter the Cave of Flames, a fiery underground cavern filled with minecart tracks and bubbling lava pools. From the start, lift the clay pots in the entry room to gather any hearts or rupees, then head through the door on the right into the next chamber.


Here you encounter new enemies: Bob-ombs. When you strike a Bob-omb with your sword, it lights its fuse and scurries around wildly. Stay clear as it runs; hit it again quickly to stun it in place. You can then pick up the Bob-omb like a regular bomb. Use one to blast open the cracked north wall (the explosion will create a doorway). Go through this new opening to the north room.


In this room, two spiked beetles charge at you. These creatures have tough shells, so your sword won’t hurt them from the front. Raise your shield as they lunge to flip them onto their backs, leaving them vulnerable; then finish them off with sword slashes. Once both beetles are defeated, a chest appears on the higher ledge. Open it to claim the Compass. This handy tool will highlight chest locations and the boss room on your map. With the compass in hand, exit via the door on the left.


The next area is a narrow room littered with shiny green rupees… but be careful! One of these “rupees” is actually a Rupee Like in disguise (a blob-like enemy that tries to swallow you and steal rupees). If the floor starts pulling you in, quickly wiggle free and slash the Rupee Like until it is defeated. Collect the real rupees around the room (if you wish), then descend the staircase at the bottom to the basement.


Down in the basement tunnel, follow the path to the left. A couple of Bob-ombs waddle here; deal with them cautiously (or simply run past as they explode). Continue along until you reach a ladder and climb up. Now you’re in a large, open mine shaft room with railroad tracks. Head to the lower-right side of this area and go through the small passage.


On the other side, you’ll find a rickety minecart waiting on the tracks. Defeat any lurking enemies (like red Helmasaurs wearing front shields – hit them from behind or pull off their mask with the Gust Jar), then hop into the minecart. It will automatically zoom along the rails and carry you to a new section of the dungeon on the left side. Enjoy the quick ride, and step out when the cart stops in the next area.


From where you arrive, head to the left. You’ll see a cracked section of wall on the far left side. Use a bomb to blow open a hole in that wall and enter the hidden chamber.


Inside, four tiny dinosaur-like Helmasaurs attack. Take them out one by one (two hits each, or use the Gust Jar to strip their metal masks and then slash them). When all Helmasaurs are defeated, a glowing Minish Portal appears on the floor. Step into the portal’s light to shrink down to Minish size. Now as a Minish, scurry through the small mouse-hole in the right wall of this chamber.


As a Minish, you find yourself in a network of tiny tunnels running through the dungeon’s walls. Head to the right through these minuscule passages. Be careful of teeny enemies along the way: little fire-breathing beetles and keese (bats) might try to nip at you even at this size. Keep moving right until you can’t go further, then go down to the next screen.


You emerge on a high ledge in a familiar room (the one where you fought the Helmasaurs). Walk to the left edge of this ledge and jump down to the lower level. Step into the shimmering portal to return to normal size.


Back to human size, you can now access the upper level of the Helmasaur room. Up here, jets of flame sprout from the floor, blocking your path. Swipe at these flames with your sword to extinguish them (a single slash will snuff each fire out). With the flames cleared, move toward the chest visible on this high platform. Open it to obtain the Dungeon Map. This will fill in the layout of the Cave of Flames, helping you see all rooms and floors.
Before leaving this area, look down at the lower level: you’ll notice two small floating platforms bobbing in a pool of lava. These platforms sink if you stand on them too long, so act quickly. Hop down and dash across the two lava platforms to the bottom side. On the last bit of safe ground, there’s a small chest tucked in the corner – open it to snag a random Kinstone piece (a collectible for later side-quests).


Step on the floor switch nearby, which causes a door on the south wall to unlock with a click. Without lingering (the lava platforms will sink and respawn), carefully leap back across them and go through the now-open south door.


In the next chamber, wait patiently at the edge of the ledge. A moving platform floats over the lava back and forth here. Step onto the moving platform when it comes to you, and ride it across to the western side of the room. Jump off onto solid ground. This area is crawling with slow slug-like creatures called Rollobites. They aren’t very threatening; when you strike a Rollobite with your sword, it curls up into a ball. Try it out: hit each slug to roll them into balls. You can then push or hit the curled Rollobites around like heavy spheres. Notice there are several round holes in the floor here. By pushing or picking up & throwing the Rollobite balls into all the holes, you’ll hear a jingle indicating you solved a puzzle, and a nearby chest will become accessible. Optional: If you’d like some extra treasure, fill in a hole with Rollobites to access a chest containing 50 Rupees. Whether or not you grab the rupee prize, climb the staircase at the top of the room.


At the top of the stairs, you’ll spot a pair of twirling whirlwinds in the air. These gusts can launch you upwards if you glide into them. Use the first whirlwind to float to the second, then ride the second updraft to land on the ledge in the northeast corner of the chamber. Here you’ll find a floor switch. Step on it to unlock a closed door to your west.


Now, before dropping down, take a moment to solve a quick block puzzle for a key. There’s a lone movable block nearby: push that block upward one tile to clear a path. Next, look at the big treasure chest sitting on a platform – this chest is currently out of reach because it’s on a high pedestal. To get it, push the large chest (actually the platform under it) to the left. It will slide along and drop snugly into the hole against the wall. With the chest now lowered, you can open it to obtain a Small Key. This is the first of two small keys in the dungeon. With the key in hand, proceed through the door to the north.


Now it’s time to backtrack a bit. Make your way to the lower-right side of this room (where you first entered on the moving platform). The minecart you rode earlier is still here, waiting on the tracks. Jump back into the minecart, and it will speed you back to an earlier area near the dungeon’s entrance. You’ll arrive in a room with a locked door that we passed by before. Use your newly acquired Small Key on this locked door and head through to the left.


In this next room, you’ll see a section of minecart track switch mechanism. Walk left along the tracks to find a lever on the ground. Strike the lever with your sword. With a satisfying clank, the rails realign themselves, opening a new route for the minecart. Return to the minecart you just came from and hop in once more. This time, thanks to the switched tracks, the cart will take you to a different area deeper in the dungeon.


Step out of the cart in the new chamber, head left, then north. You’ll immediately notice this room is lined with large spiked traps that slam down from the ceiling when you approach – essentially big spike crushers. Time your movements carefully to run past each spiked trap when it’s along the wall. Stick to the narrow rail walkway on the right side for safety. Partway through, you’ll find a couple of pots; smash them if you need hearts, and also note the cracked southern wall here.


Heart Piece #8
If you have a spare bomb, blow open this cracked wall. Inside is a secret alcove containing Piece of Heart #8, which will complete another Heart Container! Collect it to increase your life by one heart.) After grabbing the heart piece, or if you choose to skip it, continue north past the last spike crusher. Go through the doorway into the next area.


Continue north two rooms (through the doorways) and you’ll drop off a ledge into an open chamber. Suddenly, a gang of enemies appears – it’s a mini-boss ambush! You’re surrounded by about eight small Spiny Chuchus (gray, spiky jelly-like creatures). Keep moving and swiping with your sword. Use your shield if needed to guard against any that lunge at you, or toss a bomb in their midst to thin them out. They don’t have much health individually, but they can swarm if you stand still. Take them down one by one with quick sword strikes. Once the last mini-boss is defeated, a big chest spawns in the center of the room. Open it to obtain the dungeon’s special item: the Cane of Pacci!


Item: Cane of Pacci
This mysterious cane holds the power to flip objects upside-down.
With the Cane of Pacci now in hand, exit the mini-boss room through the door on the left. You’re back in a lava-filled chamber near the dungeon’s entrance, but now you can use the Cane to traverse it. Two stone platforms float in the lava ahead; the far platform is currently upside-down, showing its spiky underside. Stand on the first platform and point the Cane of Pacci at the second platform. Fire a blast of magic from the cane – when it hits, it flips the platform upright, revealing a flat surface you can safely stand on. Hop over to that flipped platform and then jump to solid ground on the other side.


On this safe ledge, you’ll see a round hole in the ground (it looks like a small pit or cylinder). This is actually a launch hole that the Cane of Pacci can interact with. Face the hole and use the Cane on it – the hole will charge up with energy. Now step onto the hole to drop in, and the magic launches you high into the air! Link flips out of the hole and lands up on a higher ledge that was unreachable before. Up here, step on the floor switch to create a blue teleporter portal (a shortcut back to this point from the dungeon entrance if needed) and also unlock the door below. Drop back down and go through the door you just opened.


You’re now back in an earlier minecart room, but from a different entrance. In fact, this is the area where you first rode the cart after the moving platform. In the center of this room sits another minecart – except this one is upside down on the tracks. Time to use the Cane of Pacci’s flipping power again: fire the cane at the overturned minecart to flip it upright. Hop into the cart, and enjoy the ride as it rockets along the newly connected track.


The cart deposits you in a small room with a lone treasure chest sitting on a high platform. Push the movable platform (with the chest on top) straight into the floor hole so that it falls into place. Open the chest to claim the second Small Key.


With the second key in hand, hop back into the minecart (it remains on the track where you arrived). The cart carries you back to the previous room. Now head up one screen to find a locked door on the north side. Use your new Small Key to unlock it and descend the staircase just beyond, heading deeper into the cave.


At the bottom of the stairs, use the glowing stone to shrink to Minish size once again. As a tiny Link, carefully make your way through the next corridor filled with more of those moving spike traps (they look even larger and scarier when you’re Minish-sized!). The spikes here slide along the floor towards you, then retract – hide in the safe gaps along the walls or behind blocks to avoid getting hit as you scurry left to the far end. Slip through the small mouse-hole in the wall to the left.


This leads into a cramped maze-like room. Navigate through the narrow passages until you reach the upper-left corner, where another Minish Portal pedestal awaits. Step on it to grow back to normal size. Now that you’re big, the maze comes to life – the dormant spike traps here (called Chasers) spring into action and start hurtling toward you! You need to make your way back through the maze to the entrance, but this time while avoiding these rolling spiked cylinders. Move cautiously, and use the alcoves and dead-end corners as safe spots; let the spiked rollers pass by before sprinting to the next section of clear path. Your shield can also block a Chaser if one comes straight at you, but it’s best to dodge them entirely. With patience and quick footing, you’ll reach the start of the maze again.


From here, use the Cane of Pacci to flip the nearby upside-down minecart (this is a different cart positioned at the maze’s exit). Jump into the cart to ride back to the previous room.


You find yourself back in the room with the track lever from earlier. (If you look around, this is the same area where you hit a lever to change the tracks the first time.) We need to use the lever here one more time. Strike the lever again with your sword to switch the tracks once more. Now hop into the minecart waiting nearby. This time, the cart speeds downward along the rails, carrying you two rooms south to a lower section of the dungeon.


In this new area, you immediately face another puzzle with the Rollobite slugs. Four holes line up in a row on the floor, and conveniently, four Rollobites are oozing around. Smack each one to roll it into a ball, then kick or carry the balls into each of the four holes. This will make a little platform with a lever (at the top of the room) to accessible. Go up to that lever platform, pull it down into the empty hole at the north end of the floor, and then hit the lever switch. When the lever is activated, the metal gate will drop. Proceed up the ladder in the southeast corner of the room and head north.


You emerge on a high ledge in yet another chamber of the Cave of Flames. Walk to the north end of this room and hop off the ledge to the lower floor. There is a treasure chests here. This chest holds a Blue Kinstone piece.
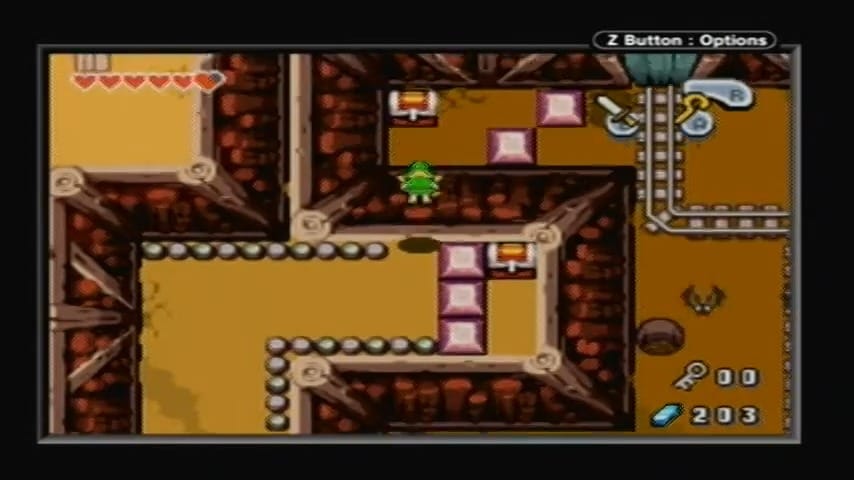

To continue onward, push the lone block on the right to clear a path, then look for a round hole in the center of the floor. Use the Cane of Pacci on this hole and hop in to vault yourself up onto a tall central platform. Open the small chest here to grab a Green Kinstone piece. Now jump back down and go through the door on the right.
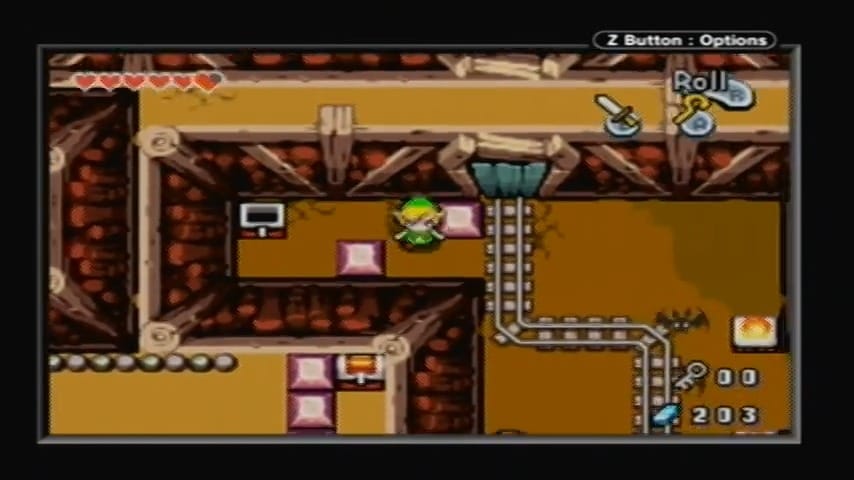


You’ve arrived in a massive lava reservoir room crisscrossed with moving platforms and floating stone slabs. In fact, right in the center of this room you can see a large treasure chest on a high ledge – that chest contains the Big Key, but you can’t reach it directly yet. First, you’ll need to navigate around the room using the tools at your disposal. Start by using the Cane of Pacci to flip any nearby floating platforms that are upside-down (revealing their walkable side). Work your way from platform to platform toward the east (right side) of the room, until you land on a solid area just to the right of the big chest’s ledge. From here, continue moving carefully to the upper-right corner of the lava room. Use the Cane to flip platforms as needed and hop between them, then go through the doorway at the top-right.
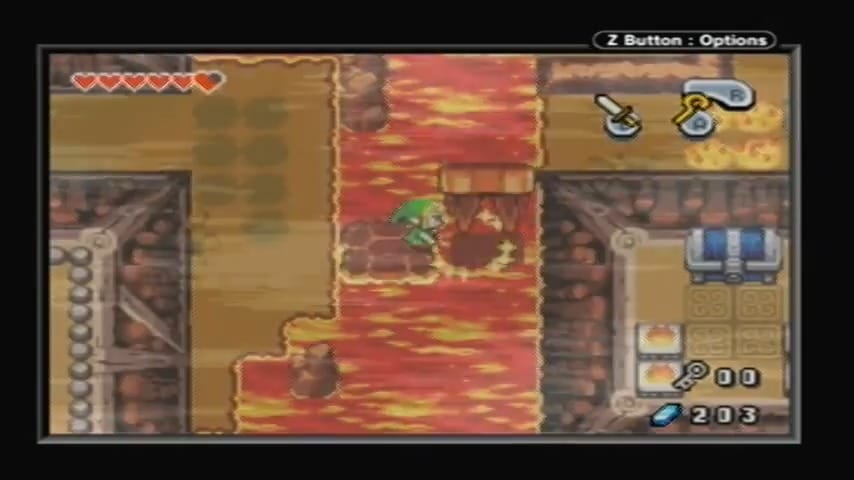


In the small side room above, go up the stairs and then drop off the ledge on the right side. There’s a treasure chest here guarded by a lone blade trap (spike bar that slides when you get close). Avoid the traps and pop open the chest to snag a Green Kinstone.
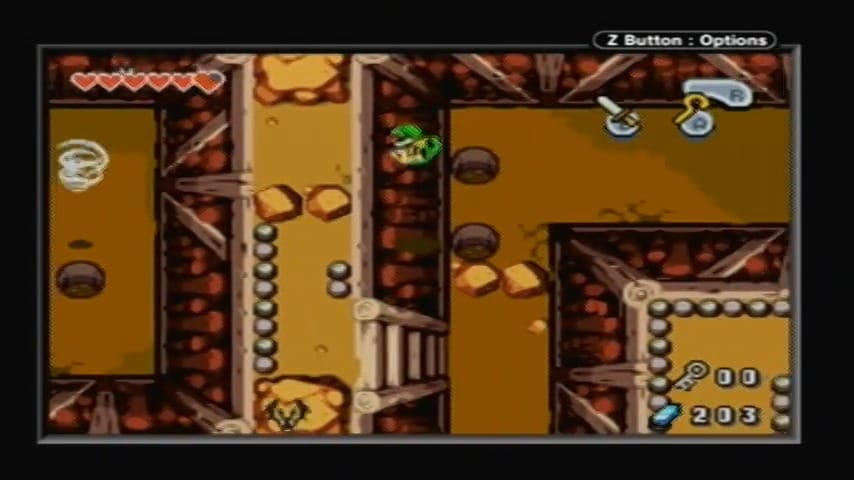


With that done, backtrack to the left – return through the door to the big lava room. Now that you’re back in the main lava chamber, stand on the raised ledge near the entrance. Look for a hole in the ground above you (near a whirlwind). Use the Cane of Pacci on that hole from a distance, then hop into it to launch yourself up into the waiting whirlwind above. The whirlwind carries you further up and drops you on a high platform to the north.
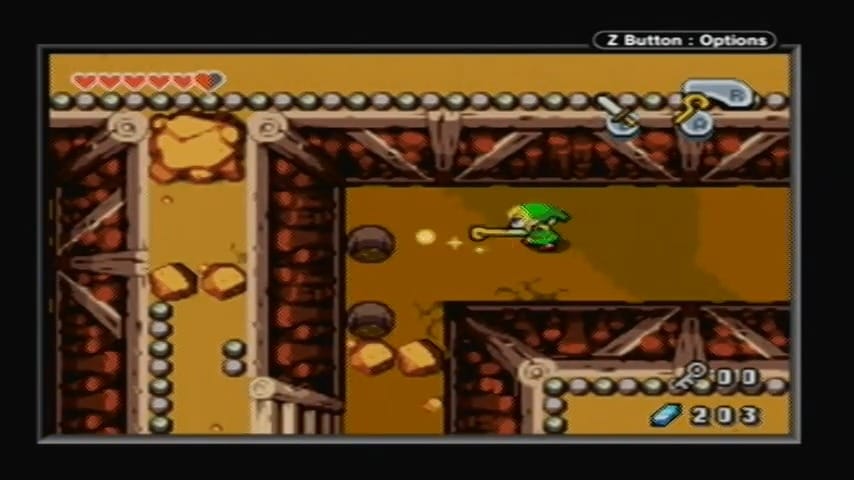


Walk to the right, and use another whirlwind to glide across a wide gap to the east. Continue along the ledge heading leftward, then go down through the door to re-enter the large lava room on a new platform.


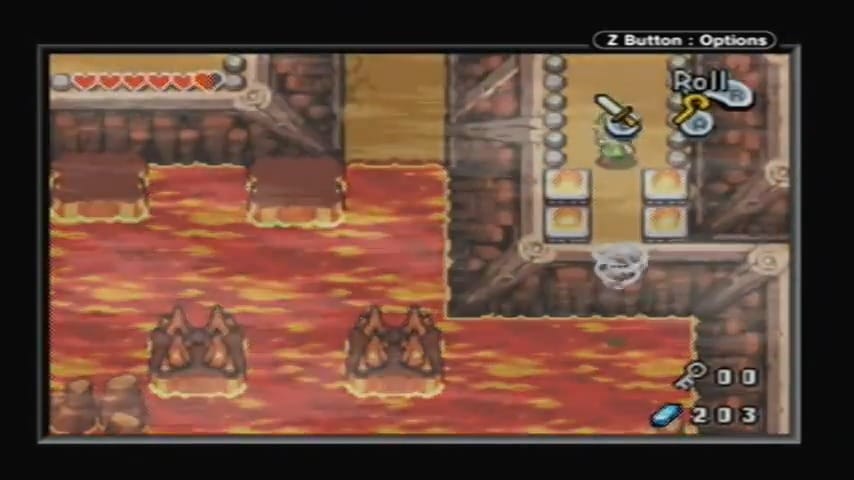
This upper area of the lava cavern has a network of whirlwinds. Just ahead, one whirlwind is directly in front of you, and several more are spread out over the bubbling lava below. Our goal is to reach that big chest in the center, but we can also grab some treasure along the way. First, use the whirlwind in front of you to soar to the southeast corner ledge of this room. Land on the safe ledge and open the chest there to collect 100 Rupees (a nice reward for your troubles). Next, drop off that ledge back into the area with whirlwinds.


Use the Cane on the same hole as before to get back into the initial whirlwind, and this time steer yourself to land on a small ledge near some flames on the left side. Put out the flames with your sword if they’re in your way, and use the Cane on the hole on this ledge to propel yourself up into the next whirlwind above.


Now ride the series of whirlwinds moving westward (left) across the room, one after another, until you reach the far southwest corner platform. Here you’ll find another chest, which holds a Green Kinstone piece.
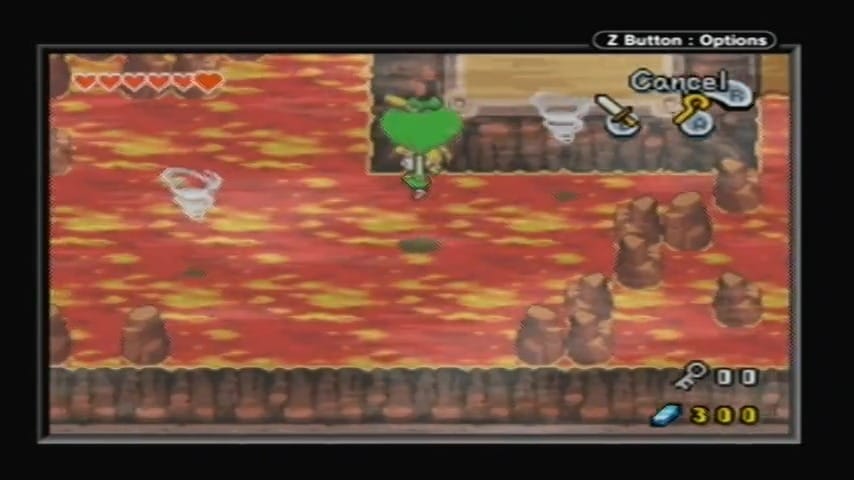


After grabbing that, drop off this ledge and once again work your way back into the whirlwinds. Finally, launch yourself toward the large central chest. You might need to flip a nearby platform and ride one last whirlwind to reach it. Once you land on the big chest’s ledge, open it up to obtain the Big Key!


With the Big Key in your possession, you can now open the boss door. Jump off the back side of the Big Key’s ledge (north side) to return to the ground. Step on the nearby floor switch to create a red teleporter portal (handy for warping back to the boss room from the dungeon entrance, if needed). There’s a moving platform floating in the lava here as well—use the Cane of Pacci to flip it upright, then ride it across to the big locked door. Use the Big Key to unlock the boss door and enter the final chamber.

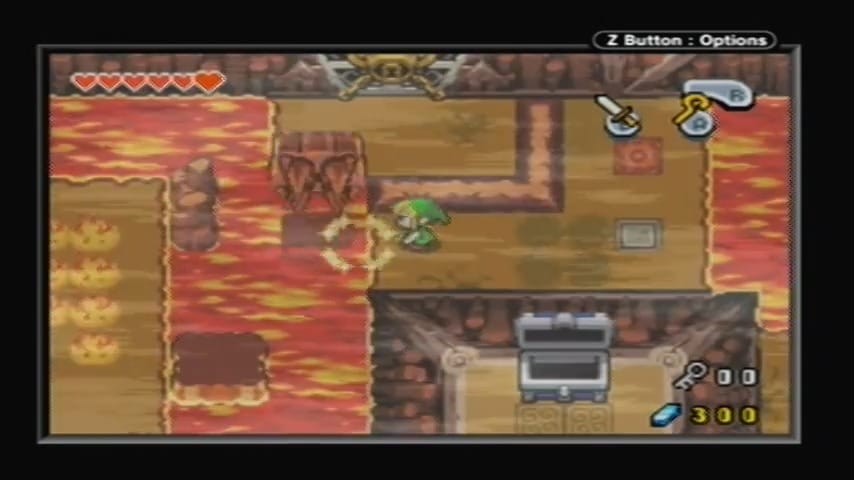

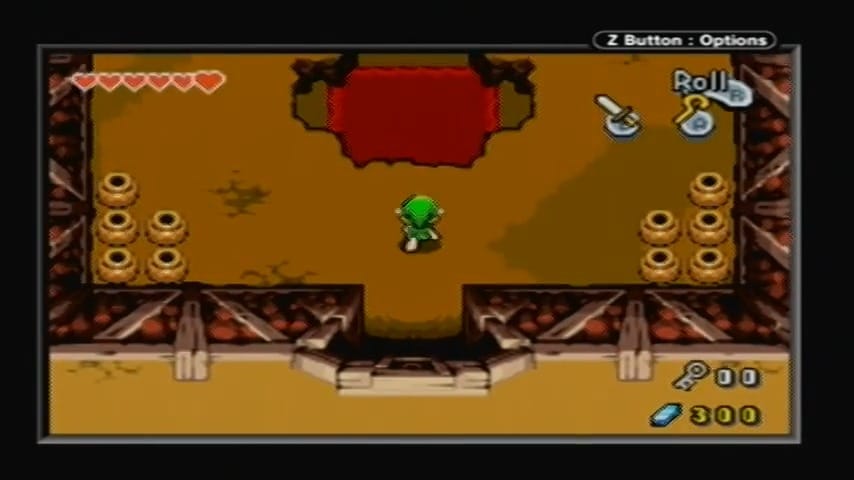
You find yourself in a quiet room with a large hole in the center, bubbling with bright lava. This certainly looks ominous… Prepare for the boss battle ahead by breaking the pots in the corners for hearts and even a fairy (bottle it if you have an empty bottle for later!). When you’re ready, jump into the hole in the middle of the arena to drop down and confront the dungeon boss.


Boss: Gleerok
A towering lava dragon named Gleerok rises from the molten pool at the center of the arena. The platform you’re standing on forms a ring around the lava, but watch out: occasionally the lava in the middle will swell and overflow almost to the edge, so keep to higher ground when it does.


At the start of the battle, Gleerok’s main attack is to spit fireballs directly at you. These projectiles are slow-moving and easy to dodge if you keep running. Circle around the boss to stay clear of the fireballs. After a few shots, Gleerok will pause, giving you a chance to counterattack.
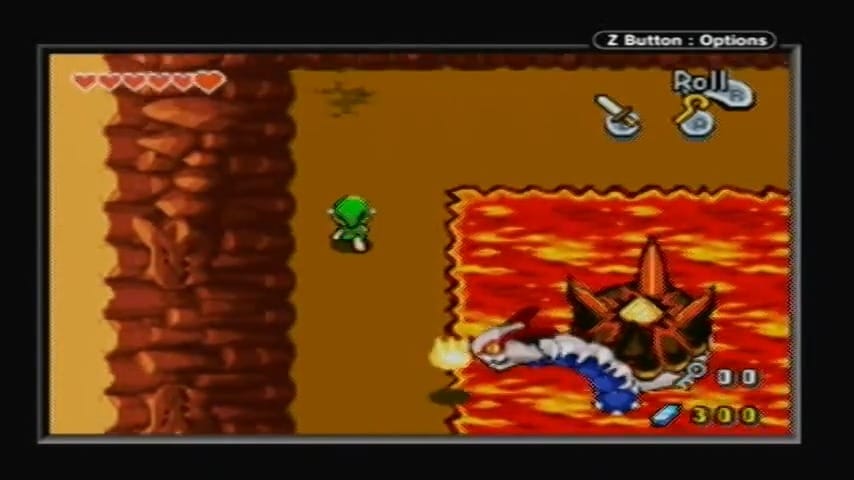
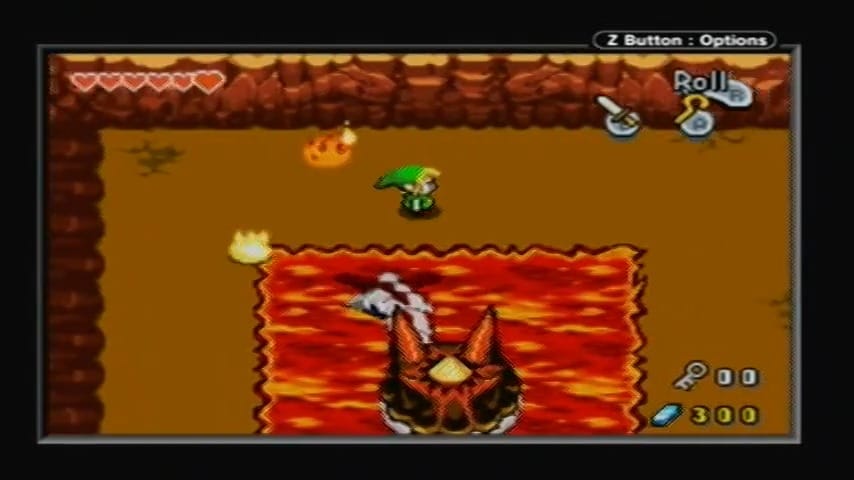
Notice Gleerok’s back is protected by a large spiky shell. That shell is your target. Equip the Cane of Pacci and wait for an opening. Fire the Cane of Pacci at Gleerok’s shell when the boss isn’t moving too much. A successful hit will magically flip Gleerok’s heavy shell upside-down, causing it to crash down and pin the dragon.

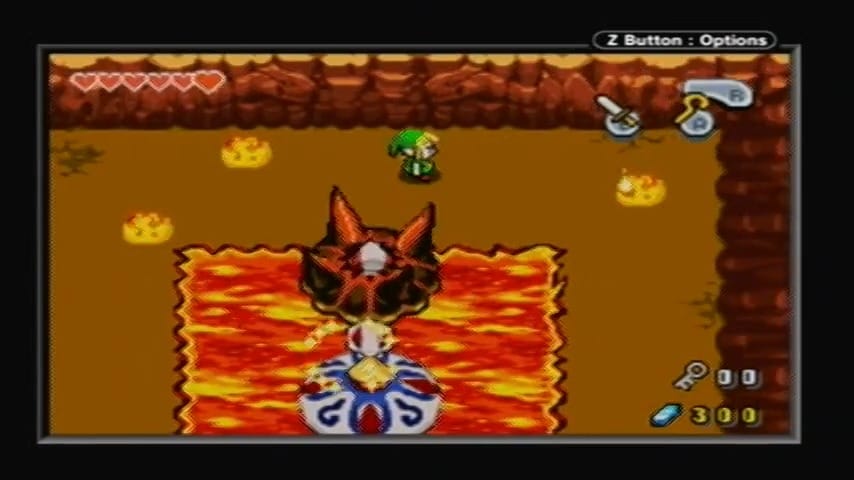
With Gleerok temporarily stunned, quickly run up its extended neck (the neck now forms a convenient bridge to the back) and unleash a flurry of sword strikes on the glowing crystal core on Gleerok’s back. This crystal is the boss’s weak point. You should get several hits in before Gleerok shakes off the shell. As soon as you see Gleerok begin to recover, backflip or roll off the boss and retreat to the safety of the outer rim.
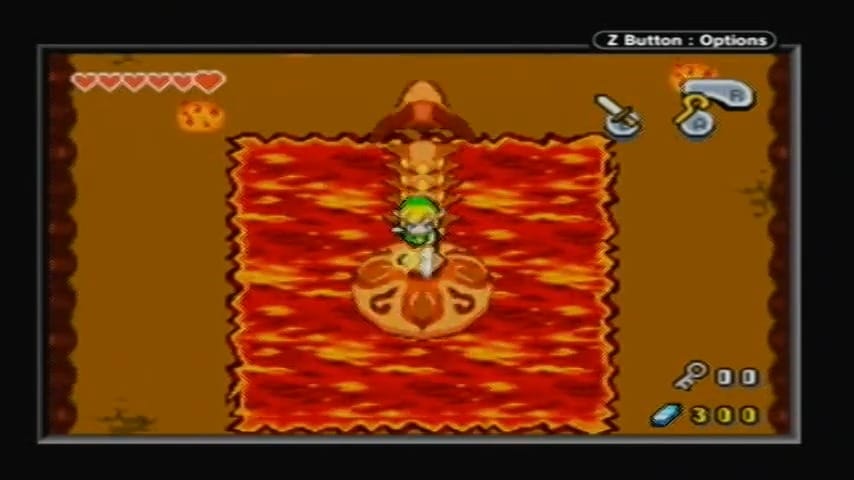

Gleerok will dive under the lava and the battlefield will rumble. Fiery boulders start raining from above, casting shadows on the ground. Keep moving around the edges of the arena to avoid where the shadows (and thus boulders) are falling. The lava level will rise almost to the platform’s edge, so stay near the outer wall until it recedes. When Gleerok resurfaces, the next phase begins.


Now Gleerok adds a new trick: it spews a continuous stream of flame in one direction, sweeping it across part of the platform. This leaves a lingering line of fire on the floor that can cut off sections of the arena. If you get caught behind a wall of flames, slash at the fire with your sword to disperse it, or quickly roll through a gap. Gleerok also moves a bit faster now and might shoot fireballs more rapidly, but the core strategy remains the same. Keep mobile to avoid the projectiles and flames. When you see an opportunity, zap the shell again with the Cane of Pacci to flip and stun Gleerok. Dash up the neck and strike the crystal weak spot with your sword as many times as possible. After a round of hits, retreat before the lava rises.


Repeat this cycle of dodging and attacking for a few rounds. Each time, Gleerok will get more aggressive, and the lava overflow will cover more of the floor, but as long as you stay on the move and clear out any fire in your path, you won’t take much damage. In the final phase, Gleerok’s sweeping fire attack might cover nearly the entire length of one side, so be extra cautious and stay on the opposite side of the boss when you see it breathing deeply. Flip the shell whenever you have a clean shot and keep slashing that crystal. After enough hits, the crystal will shatter and Gleerok will let out a final roar, collapsing into the lava for good.

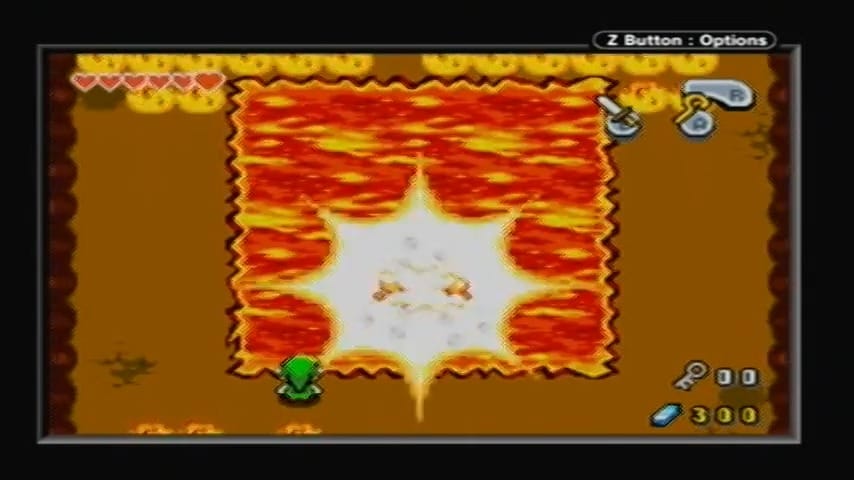
As the lava cools, victory is yours! The gigantic dragon disintegrates, and the sacred Fire Element floats down from above, shimmering with power. Claim the Fire Element, the second of the four elemental artifacts. At the same time, a full Heart Container is left behind by Gleerok. Don’t forget to pick it up – this will permanently increase your health by one heart. With the Fire Element and Heart Container in hand, step into the green glowing portal that appears. It will return you to the dungeon entrance, marking the end of the Cave of Flames. Congratulations on conquering the second dungeon! Enjoy the extra health and newfound power of the Cane of Pacci as you continue your adventure.


