Welcome to the ultimate guide for collecting all the Special Charts in The Legend of Zelda: The Wind Waker. These aren’t standard Treasure Charts—each one unlocks unique locations, upgrades, or side‑quests that enrich your voyage across the Great Sea. From Beedle’s floating shop to the mysterious Ghost Ship, every chart brings an exciting twist. Follow this guide step by step to ensure you don’t miss a thing.
The Wind Waker Special Charts & Locations

Beedle’s Chart
Beedle’s Chart reveals every place the beloved travelling merchant docks, including his rare Masked Shop – perfect for stocking up on bombs, bait, and upgrades. After you win the first Bombs from Niko aboard the Pirate Ship, return to any Rito Postbox the next day. Beedle will have mailed you a letter announcing his bomb sale and tucked inside is the chart itself.


Great Fairy Chart
This chart highlights the location of all eight Great Fairies scattered across the Great Sea, ensuring you don’t miss any upgrade opportunities. Retrieve it by using Treasure Chart #41., obtained by defeating all enemies on Five‑Eye Reef (B6). The salvaged chest in Four-Eye Reef (A2) yields the Great Fairy Chart. Digging it up beneath the waves reveals the fairy icons on your map.


Ghost Ship Chart
Fancy boarding the Ghost Ship whenever it drifts by? This chart reveals its nightly location based on moon phases. At Diamond Steppe Island (A6), dive into the warp-jar maze and use your Hookshot to reach the final chest. Open it to collect the Ghost Ship Chart, which then maps each appearance of the Ghost Ship.


IN-credible Chart
This invaluable chart maps out every Triforce Chart and, once deciphered, even marks each Triforce Shard—automatically crossing off what you’ve found. After you rescue Aryll and escape from the Forsaken Fortress (A1) a second time, you’ll receive a letter at any Postbox containing the IN‑credible Chart—but first you must have at least one wallet upgrade and pay the hefty deciphering fee of 201 Rupees.


Island Hearts Chart
This chart shows the general location of each Piece of Heart found across the islands of the Great Sea. Look to Treasure Chart #19, found by defeating all warships and cannons at Four‑Eye Reef (A2). Salvage its treasure at Flight Control Platform (G2), and you’ll claim the Island Hearts Chart: unchanged across platforms.


Light Ring Chart
Tracking full-moon light rings to snag rare rewards? The Light Ring Chart shows where those rings appear under the full moon. You obtain it by salvaging the chest tied to Treasure Chart #21 at Cyclops Reef after blasting away its cannons. The Chart then reflects full-moon ring spots on your Sea Chart.


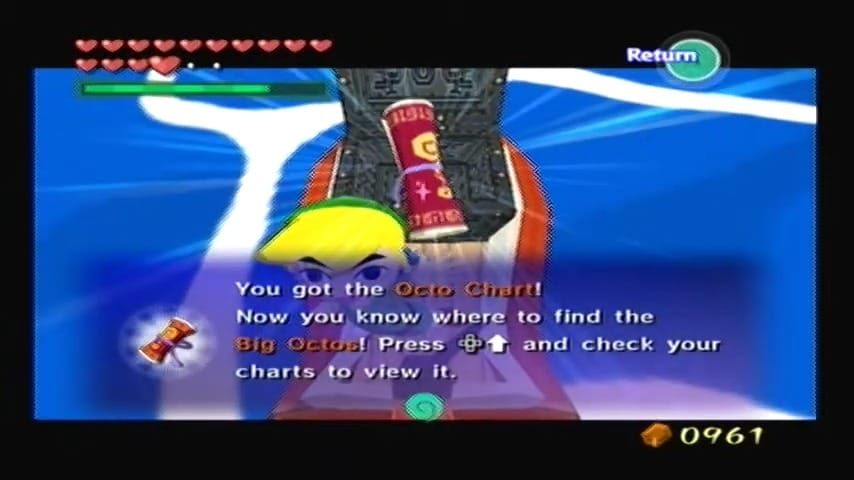
Octo Chart
This enigmatic chart reveals the locations of the mighty Big Octos lurking beneath the waves: those massive sea monsters wielding multiple eyes, some even guarding heart pieces or treasures. To get it, you must first have Treasure Chart #26 found at Six-Eye Reef (D4). Sail near Northern Triangle Island (D3) at the indicated spot and use your Grappling Hook to pull up the submerged chest on the sea floor.


Sea Hearts Chart
This chart uncovers the location of all Heart‑Piece Treasure Charts found while salvaging underwater. Use Treasure Chart #32 to raise the chest in the sea near the Boating Course (F7) to find the Sea Hearts Chart.


Secret Cave Chart
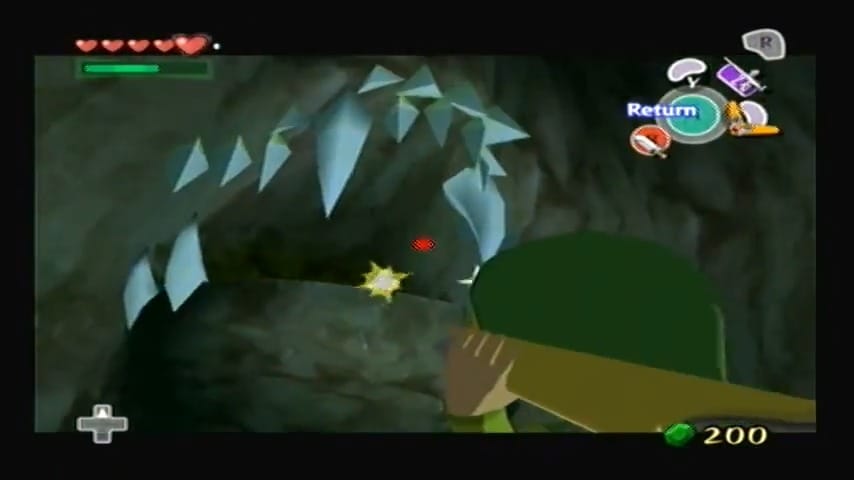
Want to dig into every hidden cave-roof entrance on islands across the Great Sea? The Secret Cave Chart reveals them all. After completing the Forsaken Fortress and obtaining bombs, you’ll find Treasure Chart #13 after defeating all cannons and warhips at Two-Eye Reef (D7). Salvaging the chest at Overlook Island (G1), the Secret Cave Chart surfaces.


Tingle’s Chart
Tingle’s Chart is a whimsical, hand-sketched map that highlights the locations of Tingle Island and the two Great Fairy Isles where you can upgrade your wallet. To obtain it, sail to Windfall Island (D2) and find Tingle locked up in the Town Jail behind Lenzo’s house. Search back there behind the barrels, flip the switch, and once he’s freed, he hands over the chart on the spot.


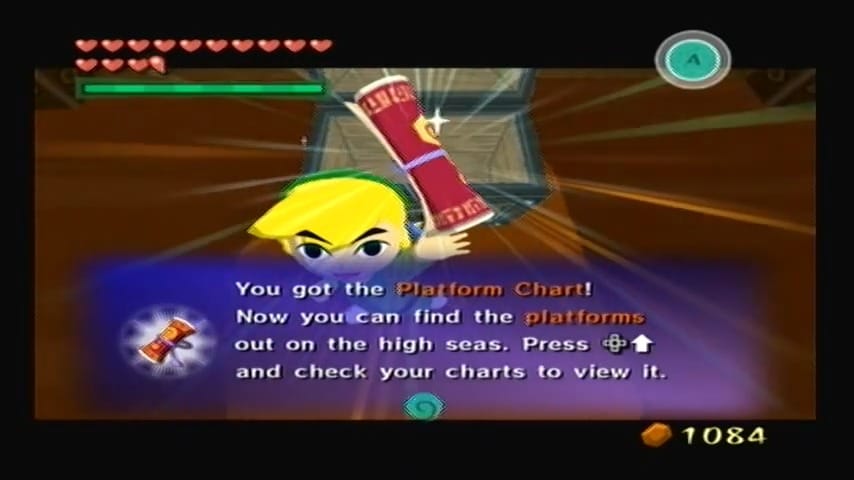
Platform Chart
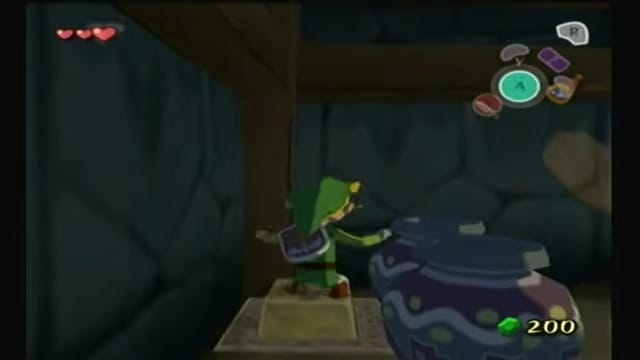
This chart highlights the location of all skull-platform lookout towers across the Great Sea. Head to the submarine near Flight Control Platform (G2), clear out every enemy inside, and a ladder appears leading to a chest with the Platform Chart.


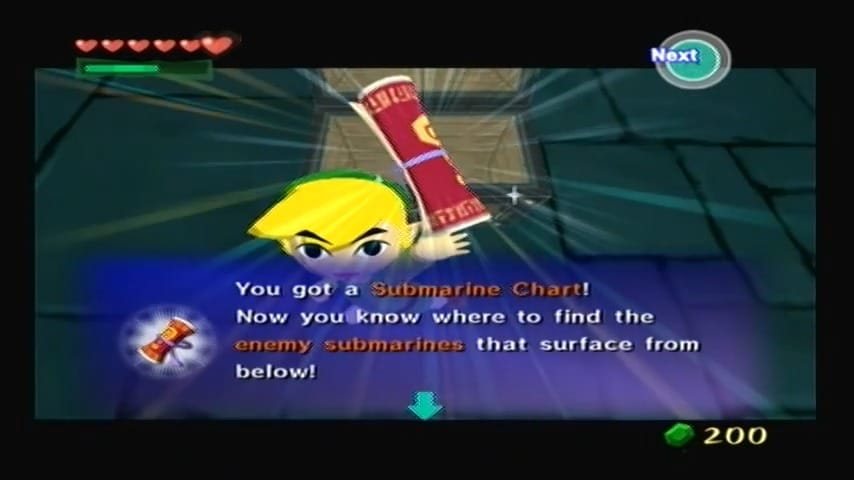
Submarine Chart
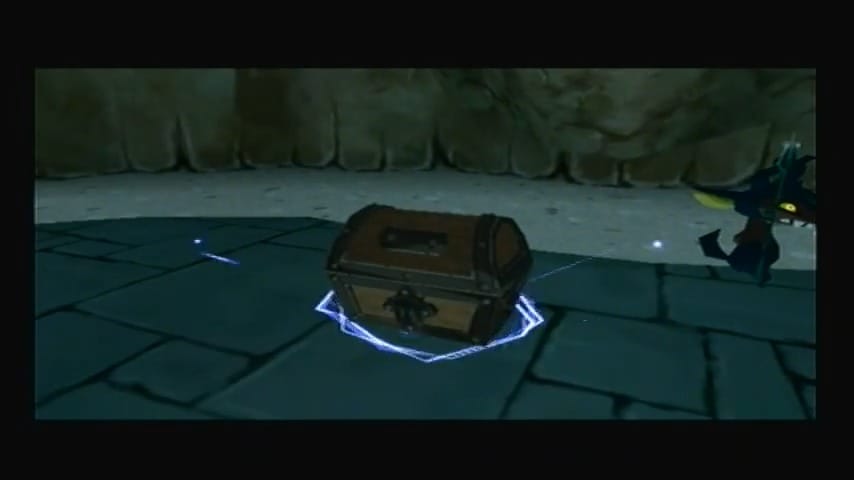
If you’re hunting for submerged submarines, this chart will pinpoint them all for you. Use your Deku Leku leaf to glide to island opposite of the game handler at the Boating Course (F7). Dive into the cave on that island and hit all three switches after conquering the miniblins, a chest containing the Submarine Chart emerges.