The Wind Waker 100% Completion Walkthrough
- Prologue: Outset Island: Introduction to Link’s home, initial quests, and obtaining the Hero’s Sword and Shield.
- Forsaken Fortress (First Visit): Stealth mechanics and rescuing Aryll.
- Windfall Island: Acquiring the Sail, meeting key characters, and side quests.
- Dragon Roost Island & Cavern: Assisting the Rito tribe, dungeon exploration, and obtaining Din’s Pearl.
- Forest Haven & Forbidden Woods: Meeting the Great Deku Tree, aiding the Koroks, and securing Farore’s Pearl.
- Post-Forbidden Woods Exploration: Collect charts, heart pieces, and upgrades across the southern sea.
- Greatfish Isle & Nayru’s Pearl: Story progression and obtaining the final pearl.
- Great Sea Side Quest Adventure: Explore islands and complete Windfall quests for key upgrades and collectibles.
- Tower of the Gods: Dungeon challenges and gaining access to Hyrule.
- Hyrule Castle: Discovering the Master Sword and storyline developments.
- Post-Hyrule Castle Exploration: Complete trading quests for heart pieces, treasure charts, and the Magic Armor.
- The Forest Water Challenge: Locating and saving each withered tree for a heart piece.
- Forsaken Fortress (Second Visit): Confronting the Helmaroc King and rescuing Aryll.
- Reef Special Charts & Windfall Side Quests: Six-Eye Reefs, Treasure Charts, and Windfall Island side quests.
- Fire Mountain & Ice Ring Isle: Obtain the Power Bracelets and Iron Boots from these elemental islands to access the next temples.
- Earth Temple: Venture with Medli into the Earth Temple to cleanse evil and claim the Mirror Shield.
- Wind Temple: Enter Gale Isle, team up with Makar, and conquer the Wind Temple.
- Triforce Shard Quest: Locating Triforce Charts, deciphering them, and retrieving Triforce shards.
- Ganon’s Tower: Final challenges, boss rematches, and the ultimate confrontation with Ganondorf.
Setting Sail: Sea Charts
As you set sail from Dragon Roost Island, the King of Red Lions directs you toward the Forest Haven. Before reaching it, there’s an opportunity to enhance your Sea Chart and acquire valuable Treasure Charts.

Sea Chart Info #4 of 49: Dragon Roost Island
Located at sector E5 on your Sea Chart, Dragon Roost Island is a prominent volcanic island and home to the Rito tribe. Upon arrival, the King of Red Lions presents you with the Wind Waker, a magical baton that allows you to control the wind.
To update your Sea Chart for this sector, sail near the island and look for a leaping Fishman. Feed him All-Purpose Bait, and he will fill in the map for Dragon Roost Island, providing valuable information about the area.


Sea Chart Info #5 of 49: Fire Mountain
Fire Mountain is situated at sector F3 on your Sea Chart. This volcanic island is characterized by its constant eruptions and fiery landscape.
To chart this island, approach it and locate the nearby Fishman. Offer him All-Purpose Bait, and he will update your Sea Chart with details about Fire Mountain.
Sea Chart Info #6 of 49: Eastern Triangle Island
Eastern Triangle Island is located at sector F4 on your Sea Chart. This small, triangular island features a statue representing the goddess Farore. It plays a crucial role in the game’s progression, as placing Farore’s Pearl here is necessary to access the Tower of the Gods.
To update your Sea Chart for this sector, sail near Eastern Triangle Island and find the leaping Fishman. Feed him All-Purpose Bait, and he will fill in the map for the island, offering insights that aid in your journey.


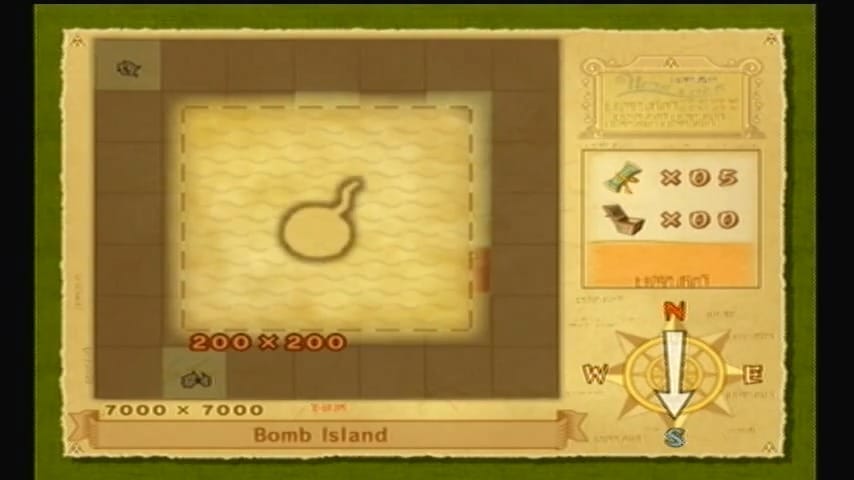
Sea Chart Info #7 of 49: Bomb Island
As you continue your voyage, you arrive at Bomb Island, located at sector F5 on your Sea Chart. This small, circular island is notable for its volcanic activity and the presence of a large boulder blocking a cave entrance.
To update your Sea Chart for this sector, approach the island and look for the leaping Fishman nearby. Offer him All-Purpose Bait, and he will fill in the map for Bomb Island, providing insights about the area.


Empty Bottle #2 of 4: Submarine near Bomb Island
Empty Bottles are invaluable for storing potions, fairies, and other useful items. To obtain your second Empty Bottle, sail to the submarine located south of Bomb Island (sector F5). Enter the submarine and defeat all the Bokoblins within. Upon clearing the enemies, a treasure chest will appear, rewarding you with an Empty Bottle.


The Forest Haven
Sea Chart Info #8 of 49: Forest Haven
Proceeding to Forest Haven, situated at sector F6 on your Sea Chart, you encounter a lush, verdant island dominated by a towering tree. This location serves as the home of the Great Deku Tree and the Koroks.
To chart this area, approach Forest Haven and locate the nearby Fishman. Feed him All-Purpose Bait, and he will update your Sea Chart with details about Forest Haven.


Upon landing at Forest Haven, you’re met with resistance from Boko Babas. Defeating them yields Boko Baba Seeds, useful for potion crafting later on. Inside the haven, you meet the Great Deku Tree and the Koroks. They inform you that Makar, one of their own, has gone missing in the Forbidden Woods and request your help in rescuing him.
Exploring the area, you discover a Forest Firefly, a rare creature that can enhance your Picto Box. Ascending the Great Deku Tree using Baba Buds, you reach the top where the Deku Leaf awaits. This item allows you to glide across gaps and reach new areas.

Item: Boko Baba Seeds
Boko Baba Seeds are obtained by defeating Boko Babas or using the Grappling Hook on them. These seeds can be traded with Hollo, a Korok in Forest Haven, who will brew a Blue Potion for every four seeds you provide. Blue Potions fully restore both health and magic, making Boko Baba Seeds valuable for sustaining Link during his quest.


As you wade into Forest Haven’s lagoon, pesky Octoroks spit rocks at you from the water. Simply hold up your shield to bounce their shots back at them. Use your Grappling Hook to swing across a gap via a branch, and you’ll enter a serene inner grove.


The Great Deku Tree
In the center stands the enormous Great Deku Tree, but uh-oh – he’s covered in gooey ChuChu blobs! To help this big guy out, roll into his trunk (run forward and press A) to shake off all the Green and Red ChuChus clinging to his face. Once they plop to the ground, slice and dice those jellies (red ones go down in one hit; green take two) to clear the room. With the ChuChus gone, the Great Deku Tree will speak (in Hylian no less) and thank you for the assist.

Item: Green Chu Jelly
Obtained from Green ChuChus, this jelly can be traded with Doc Bandam on Windfall Island. After providing 15 Green Chu Jellies, Doc Bandam will begin selling Green Potions, which restore Link’s magic. Subsequent trades of 5 Green Chu Jellies yield a free Green Potion. Alternatively, Green Chu Jelly can be sold to Beedle for 1 Rupee each.


After the introductions, you meet the adorable Koroks – little wood spirits – who live here. They’re in the middle of their annual ceremony, but one Korok named Makar is missing. It turns out Makar fell into the forbidden forest area nearby. The Great Deku Tree asks if you can rescue poor Makar. Of course you can – but to get there, you’ll need a special item. The Deku Tree spits up a shiny green leaf that lands on a branch high above.


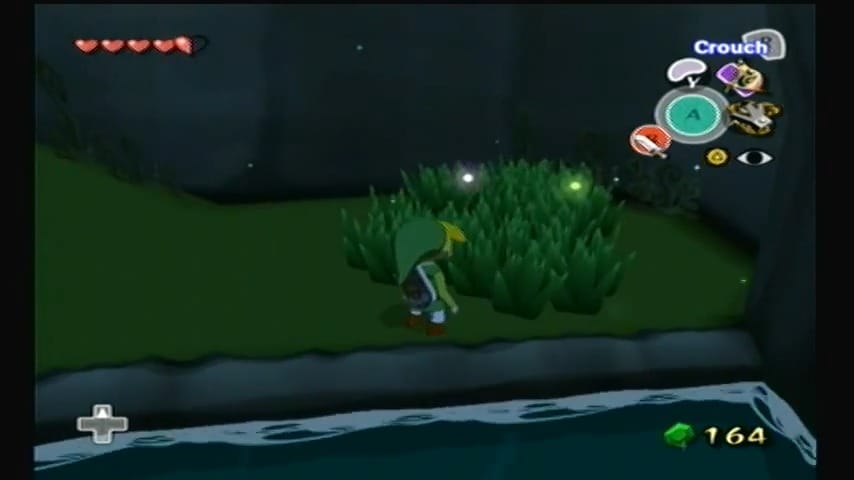
But before you begin the climb, head over to the tall grass and equip a bottle to catch a Forest Firefly. Now, time to do some platforming!


Bottled Item: Forest Firefly
A rare, rainbow-glowing insect found in Forest Haven. Capture it in a bottle and present it to Lenzo on Windfall Island to upgrade your Picto Box to the Deluxe version, enabling color photographs. In The Wind Waker HD, while the upgrade is no longer necessary, Lenzo will reward your effort with a Joy Pendant
Climb the Deku Tree’s roots around back and hop into one of those purple Boko Buds. These act like springy launchers – tilt the control stick toward the next bud to pop up and land into it. Each leap refills some magic power. Work your way from bud to bud, and partway up, use your Grappling Hook on a branch to swing to the next platform. At the very top ledge, you’ll find the prize: the Deku Leaf! This awesome item lets you glide through the air and even blow gusts of wind. Tip: There’s a convenient potion cauldron up here too – if you drop in, it creates a warp pot you can use later.


Item: Deku Leaf
A magical leaf bestowed by the Great Deku Tree. Use it to glide across gaps and create gusts of wind to activate switches or propel objects. Each use consumes magic power, so monitor your magic meter carefully.
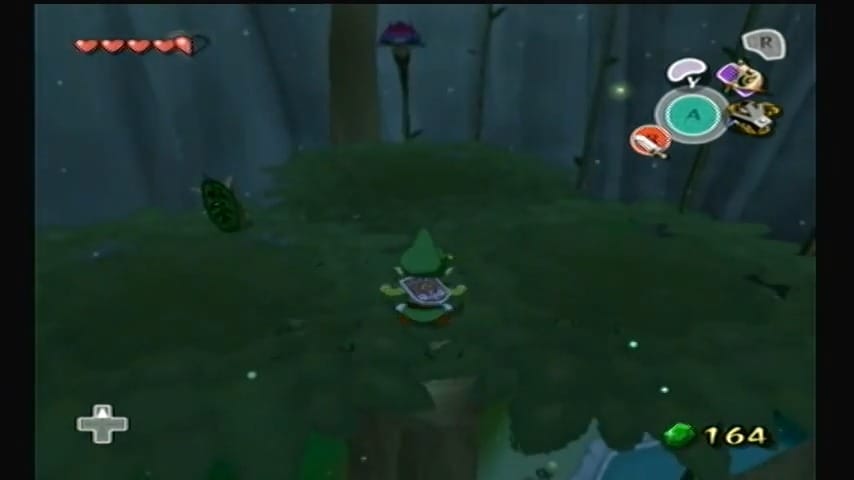
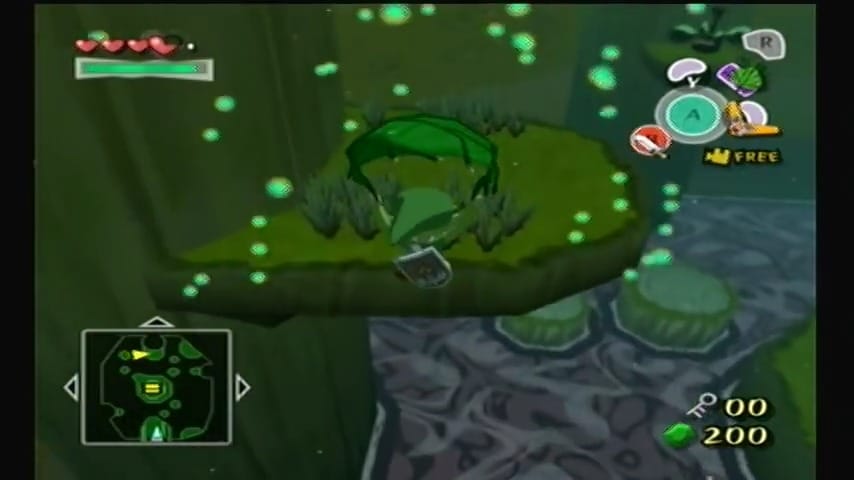
Equip your Deku Leaf and fly over to the Korok that grabs your attention, then proceed outside of The Forest Haven using the passage beside him.
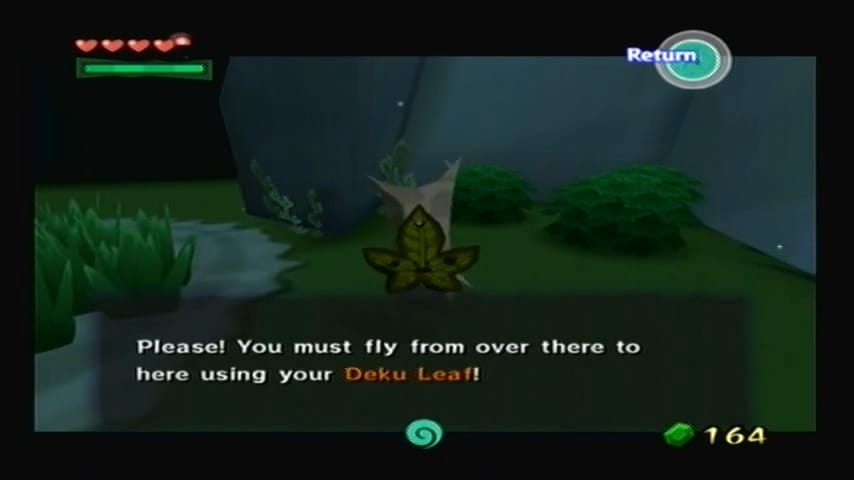

Outside, you’ll be atop Forest Haven overlooking the sea. You can actually see the Forbidden Woods island from here – a big tree stump-looking isle covered in thorny vines. Time to put the Deku Leaf to use! First, play the Wind’s Requiem with your Wind Waker and set the wind blowing in the direction of the Forbidden Woods (southwest).


Use your Deku Leaf to reach the nearest plateau containing a korok and play the Wind’s Requim again and set the wind to flow Northwest.


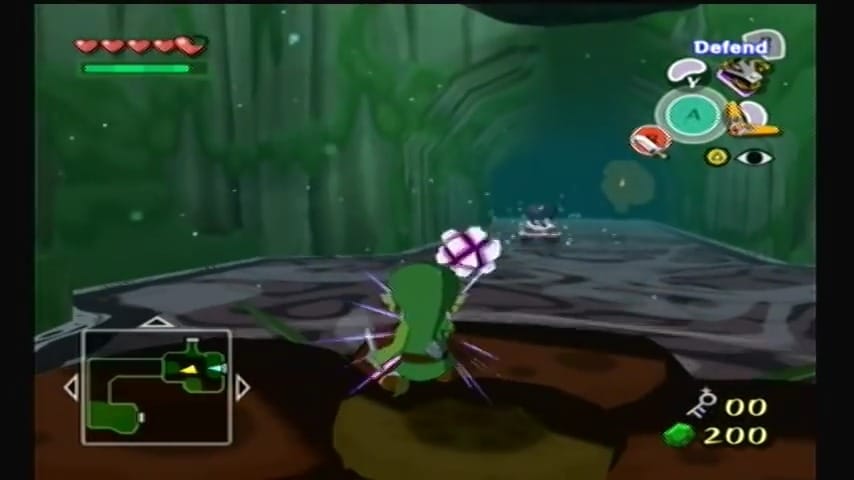
From here, there’s a updraft swirling between the islands; jump and glide with your leaf, and the updraft will lift you high, letting you float the rest of the way. Steer toward the forested stump and gently land at the entrance. (If pesky flying Peahats start buzzing you, use a Deku Leaf blast (press B while holding the leaf) to stun or push them away). Once you’re on the island, cut down the Boko Babas if they attack, and step into the tree trunk entrance of the Forbidden Woods.


The Forbidden Woods Dungeon Walkthrough
Entering the Woods: Dungeon Map and Sealed Door
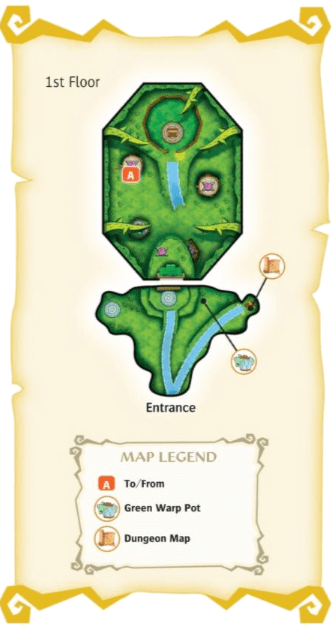
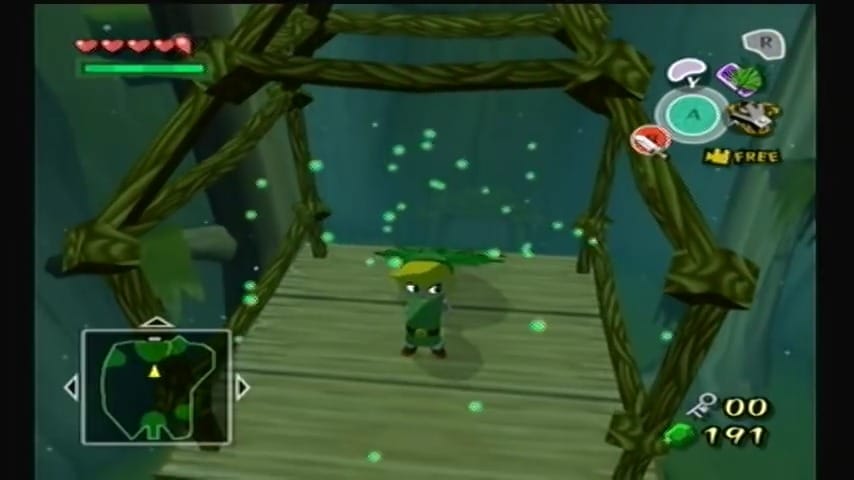
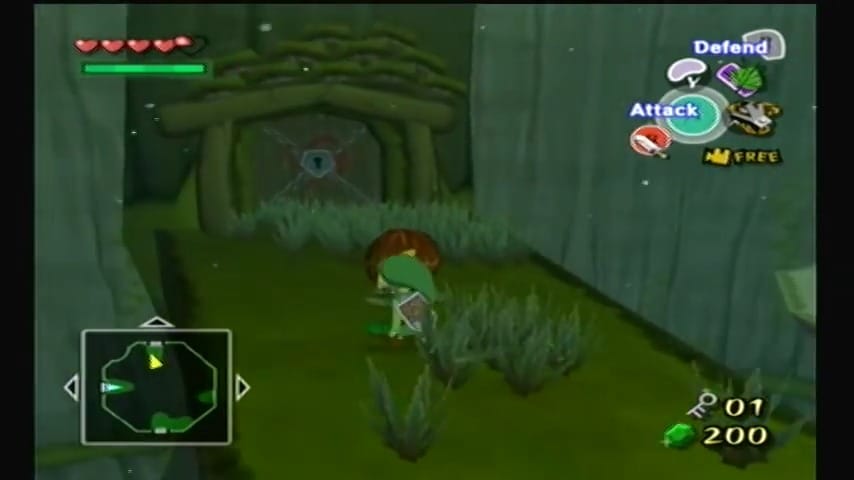
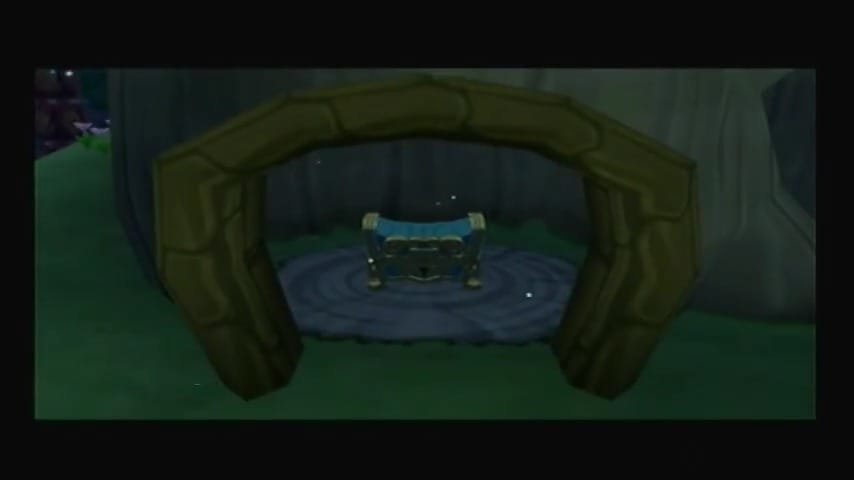
Upon entering the Forbidden Woods (with the Deku Leaf in hand), follow the path to your right. Defeat the Green ChuChus that pop up along the way, then open the small chest at the top of the slope to obtain the Dungeon Map.


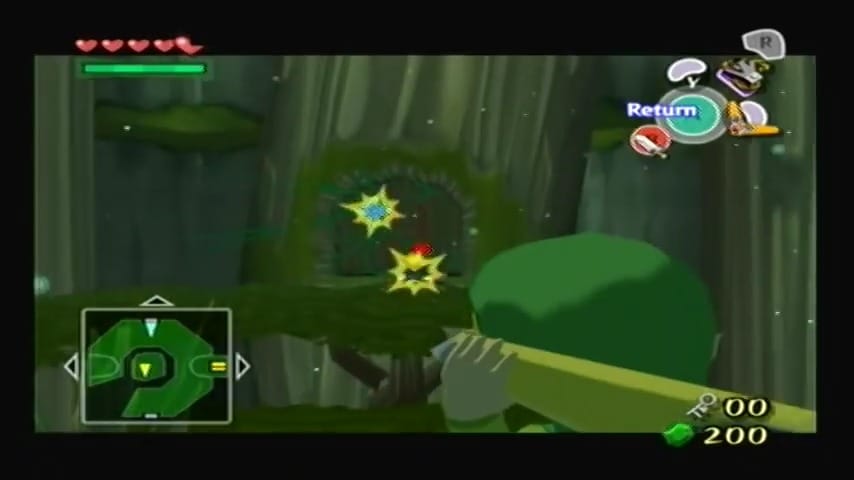
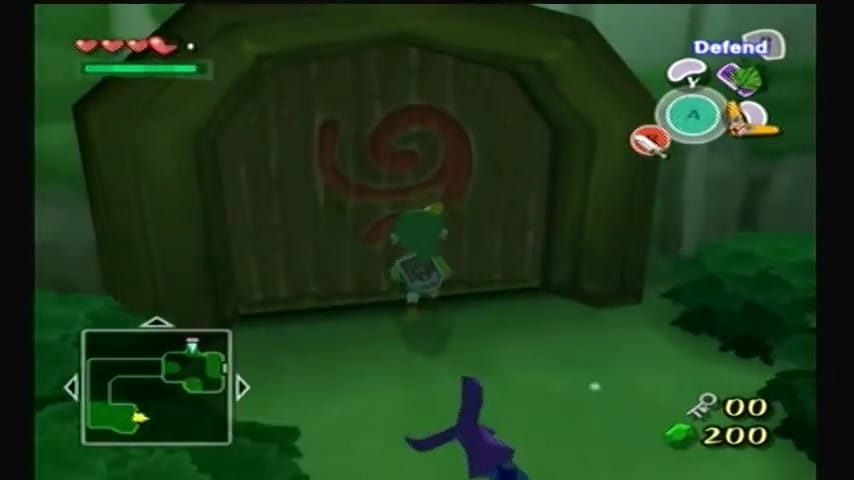
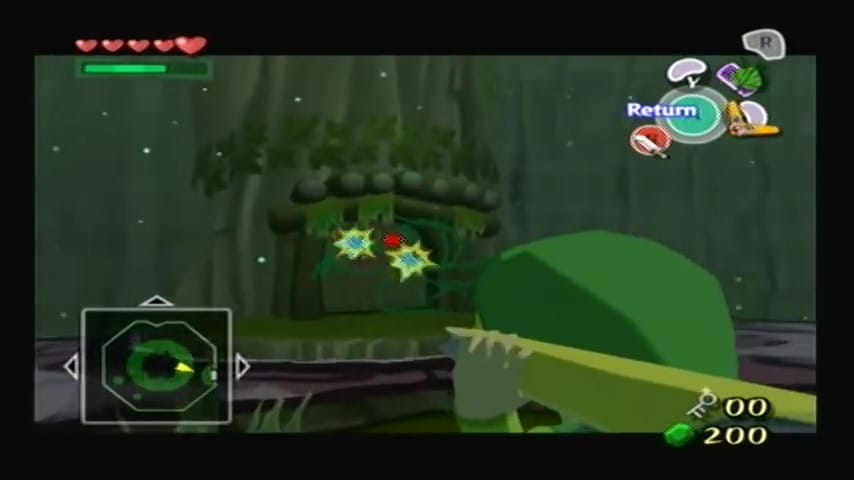
With the map in hand, head toward the barred door on the north side of the room. This door is entangled by a strange plant with a giant eyeball. Locate the large Boko Nut (Deku Nut) nearby (slightly to the left of the door); pick it up and toss it at the plant when its eye is open to shatter the vines and unlock the door. Once the carnivorous vines are destroyed, proceed through the now-open door into the next area.


Main Chamber: Knight’s Crest and Climbing Up
You’ll emerge in a tall central chamber that spans multiple floors (this room connects most of the dungeon). Immediately hop down to the ground level of this chamber. Down here you’ll be attacked by several Boko Babas (carnivorous plants). Cut them down with your sword; one of them will wither and leave behind a Baba Bud, a springy purple plant you can use as a trampoline. Another defeated Boko Baba will drop a wooden Deku Stick. Grab the stick and locate the unlit torch near a tree trunk on the north side of this room. There’s a lit torch high on the wall; use the burning torch flame to light your Deku Stick, then carry the burning stick into the hollow tree trunk where a chest sits covered in vines. Wave the flaming stick to burn away the vines, revealing the chest. Open it to collect a Knight’s Crest. Take a moment to also blow away any piles of leaves on the floor using your Deku Leaf – you may uncover extra rupees or even a fairy hiding under them.


Item: Knight’s Crest
A prized token dropped by elite enemies. Collect 10 and present them to Orca on Outset Island to learn the Hurricane Spin, an advanced sword technique.
Now it’s time to go up. Return to the Baba Bud that appeared and hop in to launch upward. Use your Deku Leaf to glide to the next Baba Bud, working your way from bud to bud in a rising spiral. Each bud will shoot you higher; steer yourself in the air toward the next one using the leaf. After bouncing through a series of these buds, you’ll reach a ledge on the second floor of the chamber. (If you fall, simply climb up the vines on the central tree or use the buds again.)


This ledge has another door, but it’s sealed by thick vines. Luckily, a Bomb Flower is conveniently growing here. Pick the bomb and drop it by the vine-covered door to blow the obstruction apart. With the door clear, head through into the next section.


Crossing the Hanging Platforms (Compass and Key)
In the next room, you’ll see a gap too large to jump and a strange fan-like pinwheel device across from you. Stand on the edge and swing your Deku Leaf to send a gust toward the pinwheel; this will activate a hanging gondola platform, bringing it over to your side. Hop onto the dangling platform. Now face the direction you came from (south) and use the Deku Leaf again to blow wind behind you, propelling the gondola across the cable to the far side. Jump off to solid ground and go through the door into a large, open-air room.


As you enter, a few Peahats (flying plant-like enemies) will float toward you. Knock them out of the air by gusting them with the Deku Leaf; once a Peahat is stunned and its propeller droops, finish it off with your sword. (Tip: You can also use the Grappling Hook to steal Golden Feathers from Peahats before killing them.)


Item: Golden Feather
A rare item plucked from flying enemies like Peahats. Collect 20 and give them to Hoskit on Dragon Roost Island to receive an Orange Rupee from his girlfriend as thanks.
Ahead, on the ground, several more Boko Babas lurk. Take out the Boko Babas (they may drop Boko Baba Seeds, which can be saved for brewing Blue Potions in Forest Haven). When you slay the Boko Baba on the right side, a Baba Bud appears in its place. The chest in the middle of the tree trunk contains a red rupee, grab it if you please.


Use the Boko Baba to spring up to a higher ledge on the north side of the room. From this ledge, jump into the next Baba Bud to reach an even higher platform. You’ll find the north exit here is sealed by thick vines (another barred plant-door). To open it, you need a ranged solution. Look to the left (west) side of this upper area: there’s another pinwheel device on a platform across the room. Use the Deku Leaf’s gust to activate that device, which moves another small gondola trolley toward you. Glide over or jump into the gondola.
Now face back toward the sealed door (to the north) and blow the leaf to send the gondola (with you on it) toward the southwest ledge. Jump off there and smash the brittle wooden boards barring a small alcove. Behind the boards you’ll find a big Boko Nut. Pick up this Deku Nut, hop back onto the gondola, and use the Deku Leaf to ride back across to the north ledge. From the gondola, throw the nut at the vine-covered door’s eyeball to destroy it (aim carefully so the nut hits when the eye opens). With the door cleared, jump over and enter the now-unsealed north door.


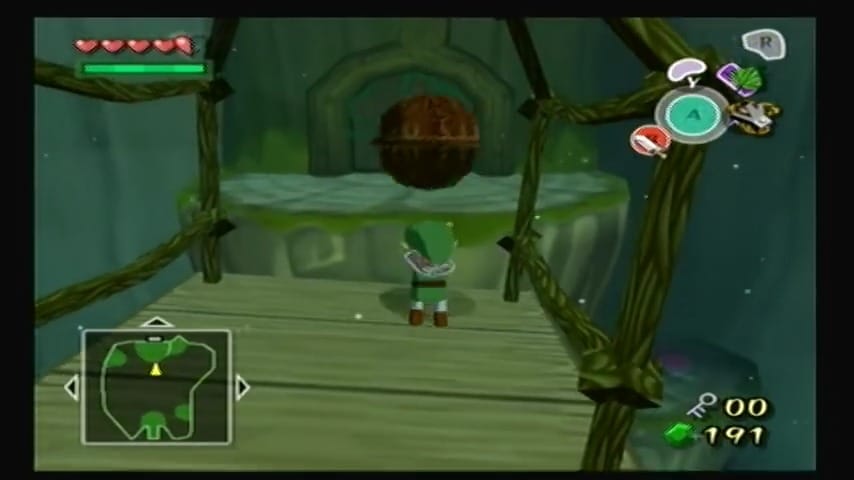

In the next room, you’ll have vines that appear as you approach the Boko Nut. Use the Deku Leaf to send the Boko Nut towards the door, pick it up when its near the door and throw it to clear the vines and proceed through the door.


Climb to the right and use your Grappling Hook to swing across to the next ledge. Continue forward by jumping along the moving tree branches until you reach the next section. Here, pick up the nearby nut and leap onto the large hanging tree in the center of the room. Inside the hollow of the tree, you’ll find a handful of rupees—grab them, then walk around the outside edge of the tree until you can jump onto the platform on the west side.
Toss the nut at the eye on the flower-covered door to destroy the vines blocking the way. Before entering, look to your left and use the moving branches to climb to the upper level of the room. There’s a hidden pot buried beneath a pile of leaves—use the Deku Leaf to clear it. Afterward, head back down and continue through the now-unsealed door.


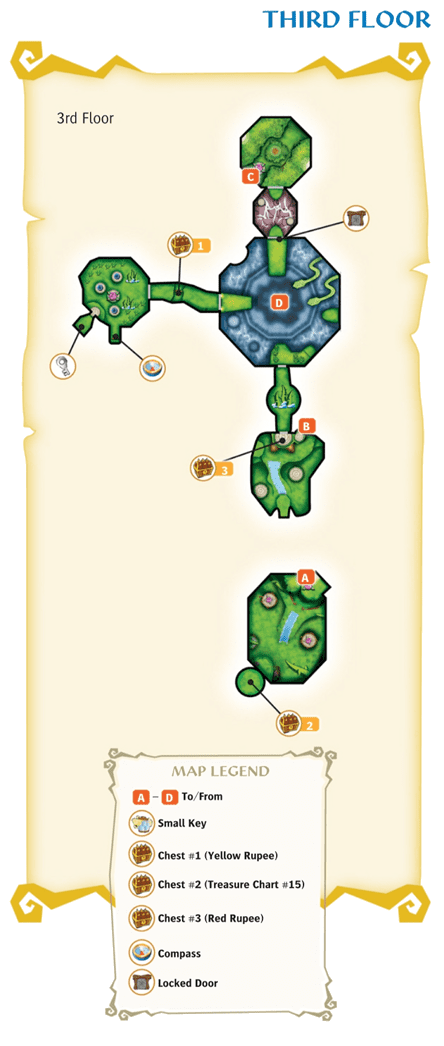
Drop into the pit in the center of the room where a few Morths are crawling around. Take them out, then open the nearby chest to collect a Yellow Rupee. After that, climb the small ledges nearby and head through the door on the west side of the room.


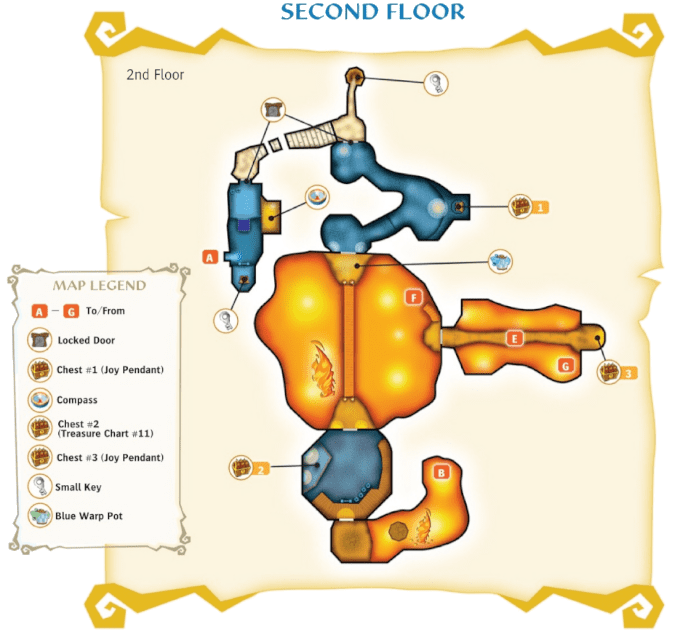
In the next chamber, you’ll immediately notice animate vines snaking along the walls and floor. This room is a vine maze filled with slimy tendrils that will lash out if you get too close. Move carefully and watch the ground; when you see the green tentacles start to quiver, be ready to dodge. Hug the left wall and head forward, luring any nearby vine traps to strike and then slipping past. Make your way to the left (west) side of the room. You’ll find a lone Bomb Flower growing near the wall. Pluck the bomb and toss it at the wooden planks blocking a recess on the wall. The explosion reveals a chest – open it to obtain the Compass for the dungeon.


Now navigate toward the opposite side (the far end) of the vine maze. Find another Bomb Flower and use it to blow apart the second set of wooden boards on the wall. Behind these planks is another chest; open it to get a Small Key (your first key for locked doors).


To the Boomerang: The Locked Door and Miniboss
Back in the large room with the Peahats (and now with a fresh small key), it’s time to find the locked door. The locked door is in the main central chamber, on a ledge partway up. Return to the central hub room (use the Deku Leaf to glide down or hop down carefully). From the ground floor of the hub, launch up with the Baba Bud again and look for a door on a western ledge that you haven’t accessed yet. Glide or jump to that ledge and use your Small Key to unlock the door.

Go through the locked door to enter another cavernous room. Here you’ll need to cross yet again using a hanging platform: a large leaf fan sits in the middle of the room attached to a rope. Use the Deku Leaf on the pinwheel to send a wind gust, drawing the hanging leaf platform toward you. Get on, then blow the leaf in the opposite direction to sail across the gap while riding the platform. Jump off to the far side and go through the door there.


In the next area, climb the giant green vines that form a spiral path upward. Take out any Miniblin pests or ChuChus that might appear (the room is relatively quiet compared to others). Work your way westward by climbing one plant tendril, then hopping to another, until you reach a high ledge. From here, continue forward and enter the door on the north side – you’ve reached the miniboss lair.


Miniboss: Mothula (Winged)
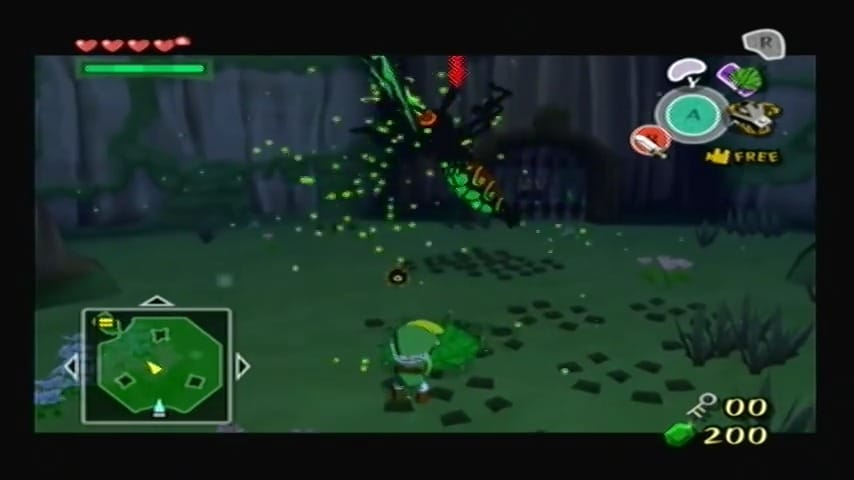
The room will seal behind you, and a large Mothula descends to attack. This giant moth-like creature initially has wings, allowing it to flutter around the arena. Lock onto it and be ready to dodge; when the Mothula swoops or charges, move aside quickly. An effective tactic is to use the Deku Leaf: blast the Mothula with a gust of wind mid-flight to briefly knock it down, then rush in and slash with your sword.
The winged Mothula may spit out small sticky enemies called Morths – little black creatures that cling to you to slow you down. If you get swarmed by Morths, do a quick spin attack or roll continuously to shake them off. Keep up the pressure on the Mothula; after a few hits it will lose its wings and skitter on the ground. Watch for its eye to glow red and its mouth to open – that means it’s about to lunge. Run to its side or back when it charges, and strike its hind side with your sword. After several solid hits (around 3-4 combos), the Mothula will be defeated.


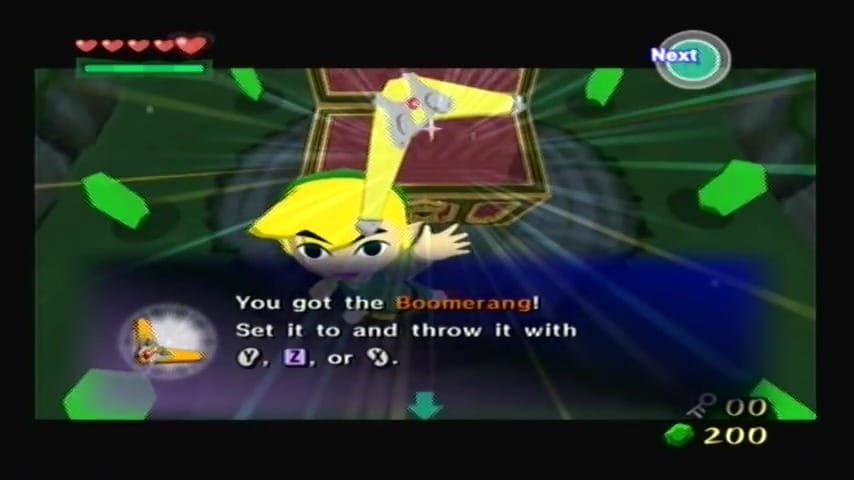
When the miniboss falls, the doors unseal and a chest appears in a side alcove. Open it to claim the dungeon’s special item: the Boomerang! This prized weapon allows you to target up to five objects or enemies at once and hit them with a quick throw. To exit, look above the sealed door you came in from – there are two diamond-shaped switches (or ropes) holding the bars in place. Target both with your new Boomerang and throw it; the twin hit will unlock the door so you can leave.

Item: Boomerang
A versatile throwing weapon that can lock onto and strike up to five targets at once. Use it to cut ropes, hit switches, stun enemies, and clear obstacles from a distance. Essential for puzzles and precision combat in the Forbidden Woods and beyond.


New Heights with the Boomerang
Backtrack through the door to the previous vine-covered room where you climbed up. With the Boomerang, formerly pesky flying enemies can be dispatched with ease – a single throw will cut down any remaining Peahats here.

Clear the enemies and use your Deku Leaf to jump to the high ledge across the room. Claim the Joy Pendant from the chest and proceed through the door beside it.


Into the Basement: Dropping the Giant Flower
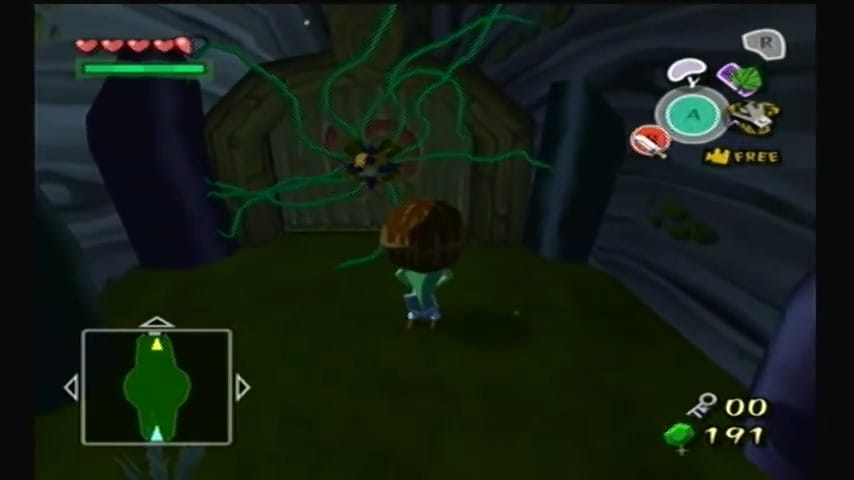
Return to the room outside the miniboss lair and head through the next door (if you haven’t already) using the Boomerang to cut any vines that were barring it. This will bring you back out to the central chamber’s upper level. Now, look up: suspended from the ceiling is a colossal flower pod right at the heart of the central room. This huge flower acts like a platform and is held aloft by five thick vine tentacles attached to the ceiling. Equip your Boomerang, hold the target button, and lock onto each of the five vines overhead. Launch the Boomerang to slice all five at once. With its supports severed, the massive flower comes crashing down, smashing through the floor in the center of the room.

Treasure Chart #1 (Collectible #6 of 41)
Now that you have the Boomerang, you can backtrack to claim a hidden Treasure Chart in a previous area (don’t worry, you’ll return here afterward). Make your way back to the central chamber (the tall main room that had the Baba Buds). Climb up to the upper levels using the buds and platforms. High up in this chamber, on a third-floor ledge in the southwest, there is an enshrouded chest that was unreachable earlier.
This chest is wrapped in sticky vines and guarded by several floating eyeball creatures attached to it. Stand on a solid platform (or hover with the leaf) until you have a clear line of sight, and lock onto all the eyeball plant nodes with your Boomerang. A single Boomerang throw can target and cut multiple eyeball vines, destroying the plant infestation and freeing the chest. Now use a Baba Bud or the Deku Leaf from a high point to glide over to that chest.
Open it to obtain a Treasure Chart! This is Treasure Chart #1, which will later lead you to a hidden trove of 200 Rupees near the Private Oasis. (The chart number and reward can be confirmed in your menu.) With the chart in hand, return to the area where you left off (if you used the warp pots, simply warp back to the mid-dungeon pot; otherwise, retrace through the doors). Now it’s time to press onward in the Forbidden Woods.
(If you prefer, you could wait to get this chart until after you’ve activated the warp pots nearer the end of the dungeon. But collecting it now saves a return trip later.)


This opens up a large hole leading to the dungeon’s basement level. Take a leap and drop down through the new opening – try to land on the giant fallen flower below.
You find yourself in a lower, misty portion of the dungeon now, standing atop that giant lily-pad-like flower in a pool of water. The basement splits into a couple of paths, and we’ll cover both. As you land, Morths (the tiny spiky critters) will swarm the flower you’re on. You can quickly dispatch many of them by tossing the Boomerang around, or simply roll to knock them off. There’s an open door on a ledge to the left (west) – start there.


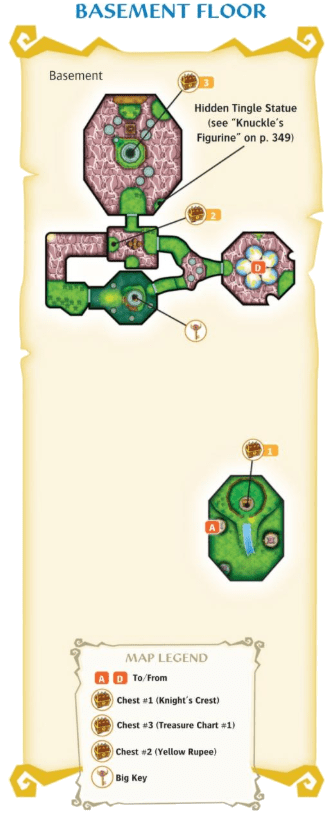
Basement West: Hidden Treasure Chart and Puzzles
Head through the west door first. In this room, you’ll see a series of small platforms floating on the water like giant lily pads, moving slightly with the current. These platforms are absolutely covered in Morths. Target a few with the Boomerang to thin them out before jumping. Hop from your starting platform to the next, heading toward the northwest. As you land, any remaining Morths might latch onto you – do a spin attack or roll to shake them off. Jump to the third platform, then to the solid ground on the north side with the door. Go through that north door.


In this next area, there’s a tall central room with another large brown flower platform hanging overhead. Step forward onto the central flower platform (it’s hanging by four vines). There’s a small chest on a ledge to the west: jump over to that west ledge first and open the chest to snag a Yellow Rupee (worth 10). Next, equip your Boomerang and target the four vine cables holding the big brown flower up. Cut all four vines to send the platform crashing down to the lower floor. Now drop into the pit you just created and land on the fallen brown flower. Be careful of a hostile Octorok in the water here – if it spits a rock at you, face it with your shield up to bounce the projectile back and defeat it.


From on top of the flower raft, look around: you’ll spot a Bomb Flower on a ledge to the left (southwest). Also notice a door on the north wall blocked by wooden boards. Use the Deku Leaf as a fan to ferry the flower raft closer to that southwest ledge (face the direction you want to go and blow the leaf to push the raft). When you’re near the Bomb Flower’s ledge, hop off onto the land. Pick up the Bomb Flower and toss it across the water to the barred door on the north side, blowing apart the wooden planks that were covering that door. Now ride the flower platform (or swim, if necessary) over to the north door you just unsealed, and go through it.


Treasure Chart #15 (Collectible #7 of 41)
In this side room, defeat the Green ChuChus and Mini Baba enemies that appear (clear them out so you can solve a puzzle in peace). Toward the back of this room is a withered Boko Baba in the northwest corner; when you defeat it, a Baba Bud will sprout in its place. Use that bud to bounce up to a higher ledge.
From here, you’ll see another platform across the room. Use the Deku Leaf to glide across the gap onto that platform (it’s a bit far, so make sure you’re high enough by bouncing from the bud). This platform holds a Bomb Flower. Pick up the bomb, hop back into the Baba Bud you came from, and while bouncing toss the bomb into the large hollow tree trunk in the center of the room. The bomb will drop inside the trunk and explode, blowing away a set of bars that were enclosing a treasure chest inside the trunk.
Now either drop through the opening in the top or go around to the northwest path into the trunk to find the chest. Open it to claim another Treasure Chart! This is Treasure Chart #15, which later leads to a Piece of Heart buried near Angular Isles. With that, you’ve collected all the major optional loot in the dungeon. Exit this room the way you came, returning to the area with the water and the fallen brown flower.


Back in the flower raft room, we’ll now head toward the boss key. Locate the ladder on the wall (to the left of where the north door is). Climb up the ladder to return to the upper ledge where you first entered this room. The big flower platform is now down in the water serving as a raft. Step onto it again. Now use your Deku Leaf to sail this flower raft across the water toward the opposite side (to the east). Blow a constant gust to propel the raft; you’ll pass through a short tunnel hallway. As you round the corner, two Octoroks will fire at you – use your shield or Boomerang to deal with them as you stay on the raft. Keep pushing forward with the leaf until you reach an alcove where you can step off on the right side. There’s a door on this eastern wall; go through it.


The Big Key and Final Preparations
You’re now in a towering cylindrical room dominated by a huge hollow tree stump in the center. This room has a spiral ramp running along the interior wall, leading up to the top of the stump. As you enter, vines rise and block the door behind you, so you’ll need to find another way out. Start ascending the ramp on the left side. Dispose of any Green ChuChus that plop down. About halfway up, be mindful of a few blue Morths on the path – either avoid them or knock them off with your Boomerang. Continue up the ramp until you reach the very top platform of the tree stump.
At the top, you’ll see the stump’s open hollow in the middle and notice five glowing switches (they look like shining plant icons) mounted around the interior walls at various points. These are the triggers for the big treasure here. Stand where you can see all or most of them (you might need to move around the rim) and take out your Boomerang. Use the Boomerang’s multi-target ability to lock onto all five switches, then throw it. The Boomerang will hit them all in quick succession. If done correctly, you’ll hear a satisfying chime and see a large chest materialize on the central platform at the top of the stump.
Glide or drop down into the hollow stump’s center where the chest appeared. Open it to obtain the Big Key (Boss Key). This key will open the boss’s door at the end of the dungeon.


However, upon taking the key, two formidable enemies appear to guard the chamber. Two wingless Mothulas drop into the room, and the exit remains barred until they’re defeated. These are ground-based Mothulas similar to the earlier miniboss but without wings (they crawl fast and have the same red-eyed pounce attack). A great strategy is to immediately target both with the Boomerang to stun them, then attack one at a time with sword strikes. If they scatter Morths onto you, use a spin attack to clear them off. Keep moving so you’re not an easy target for both at once. After a flurry of sword combos (or a couple of well-placed jump attacks) on each, the pair of Mothulas will fall. When both are defeated, the room’s doors unblock. With the area clear, it’s time to leave. Climb back up the spiral ramp (or use the Deku Leaf from the stump’s center to float back to the outer ledge). Near the top of the ramp, look for a hanging bar or branch on the eastern side. Use the Grappling Hook to latch onto it and swing across to a platform on the east wall. This ledge has a door – go through it to exit the big stump room.


You’ll find yourself back in the basement water area, on a high ledge that was previously unreachable. This is above the room with the floating lily pads (you can likely see the water below). From here, drop down to the lower level and you’ll recognize the area with the three moving flower platforms where you entered the basement earlier. Cross the platforms or just swim to the far east door (the only door here you haven’t tried, which is now accessible without backtracking all the way around) and head through it.


In the next chamber, you’ll see another pinwheel mechanism and a Baba Bud. This is a vertical wind puzzle to reach the boss. First, make sure the pinwheel (fan) is in front of you on the ground. Use the Deku Leaf to blow air on the pinwheel, which activates an updraft – a column of wind flowing upward in the center of the room. Quickly hop into the Baba Bud nearby and it will launch you up into that rising column of air. Ride the warm draft higher and higher using your Deku Leaf to glide; essentially, you’re parachuting upward. At the peak of the wind’s lift, angle yourself to land on a high ledge (second floor) on the east side. Here, you’ll find the final door sealed by vines. Lock onto the vines with your Boomerang, slice them down, and enter the door.


This next area is a small room preceding the boss. The door locks behind you and several enemies ambush: a couple of Green ChuChus and two Mini Boko Babas drop from the ceiling. Defeat all enemies to un-bar the exits. A chest also appears once the foes are gone – open it to find yet another Joy Pendant. Climb the short pathway up to the final door.


You’ll see a large ornate sealed pot (a Warp Jar) and some dried wooden boards covering it. If you want to activate the dungeon’s shortcut system, grab a Boko stick from a pot, light it on the lit torch here, and burn the boards off the big warp cauldron. This will connect to the earlier warp pot and the entrance, allowing you to return here quickly if you leave the dungeon. It’s also wise to cut down the red pots (pods) in this room – one of them contains a healing Fairy. You can catch the fairy in an empty bottle for later, or just touch it to replenish health. When you’re fully prepared, use the Big Key on the massive locked door and step into the boss chamber.


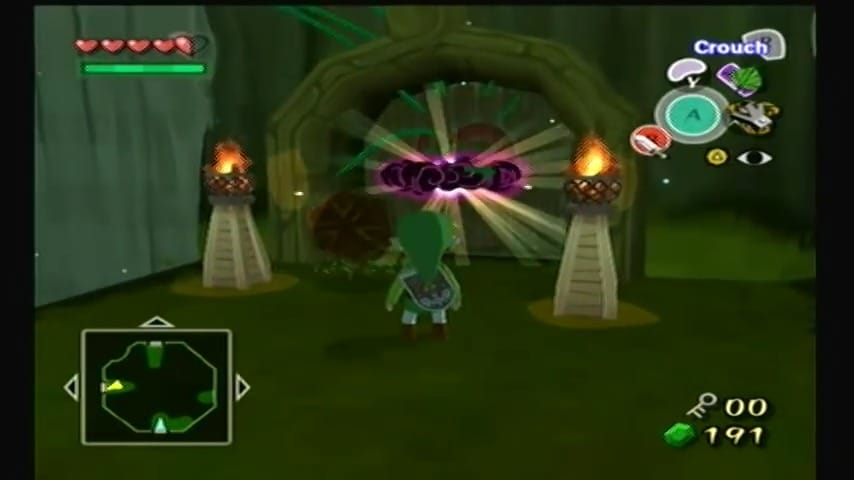
Boss: Kalle Demos
Kalle Demos, a gargantuan plant creature, is the boss of the Forbidden Woods. In the center of a lush circular arena, you’ll see Makar trapped, suspended from above by the tendrils of a monstrous flower. As you approach, the giant flower drops down and reveals a purple-eyed core inside – then it quickly hoists itself back up, hanging by many vine tentacles from the ceiling. This carnivorous plant has multiple whipping vines and a slew of tactics to harm intruders.
Phase 1 – Cut it Down: Immediately equip your Boomerang. Kalle Demos is dangling from vines connected to the ceiling, and those are your primary targets. Circle around the room to maintain distance from the boss’s swinging vine-arms that try to slap or stab at you. Target five of the vine appendages at a time with your Boomerang (you can lock onto several in one go) and release to slice them. The goal is to cut all of the supporting vines. If you stay moving, the vine tentacles on the floor will have a harder time hitting you. Occasionally, Kalle Demos might release a few Peahat-like spores or drop Morths to distract you – you can quickly Boomerang those as well, or just ignore them and keep moving.
After enough vines are cut, the giant flower will plummet to the ground with a crash, stunned. This is your chance! Run into the middle of the fallen flower and you’ll see the exposed core – the bulb with Makar inside. Slash the core repeatedly with your sword. You should get several good hits in (use jump attacks or spin attacks for extra damage if you can).


Before long, Kalle Demos will fling you back and regenerate its vines, reattaching to the ceiling. Phase 2 is just a repeat of cutting vines and striking the core. Keep an eye on your health in case stray attacks hit you, and use that bottled fairy if needed. Each cycle, try to cut the vines even faster – using the Boomerang’s lock-on efficiently can sometimes drop the boss in one round if you target every remaining vine in one throw. If not, dodge the angry swipes and razor leaves it may fling, and go for another round of vine-cutting. Two to three full cycles of vine cutting and core slashing should do it.
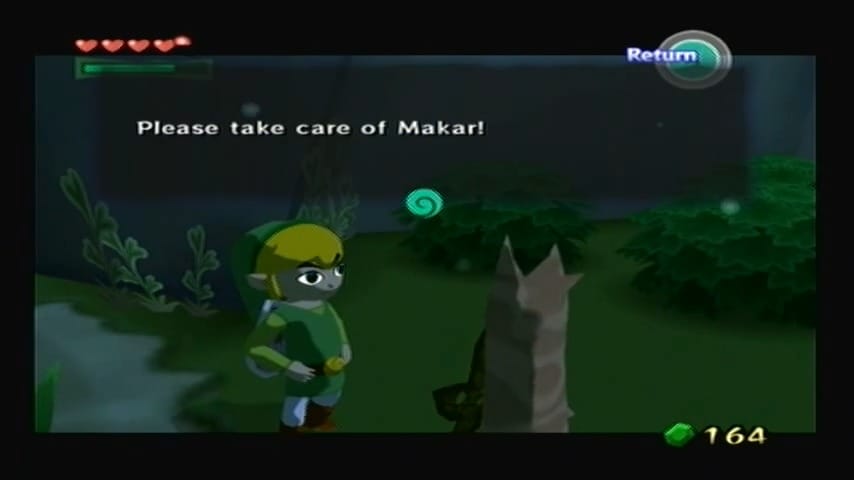
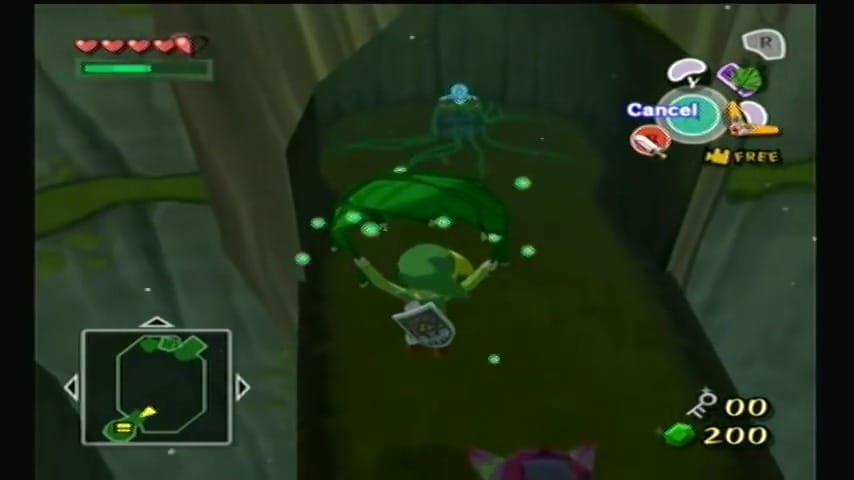
After enough punishment, Kalle Demos wilts and collapses in defeat. The room’s flora recedes and little Makar is freed from the bulb (don’t worry, he’s unharmed and very thankful!). A Heart Container will appear – be sure to pick it up, as it permanently increases your maximum health by one. Step into the glowing blue light at the center of the arena to exit the dungeon with Makar.


Once you’re transported outside, enjoy the celebratory scene. The Great Deku Tree will reward you with Farore’s Pearl, the sacred treasure you came for. With that done, you’ve fully conquered the Forbidden Woods and collected all its treasures. Congratulations on completing this dungeon and rescuing Makar – onward to The Greatfish Isle!