


The Wind Waker 100% Completion Walkthrough
- Prologue: Outset Island: Introduction to Link’s home, initial quests, and obtaining the Hero’s Sword and Shield.
- Forsaken Fortress (First Visit): Stealth mechanics and rescuing Aryll.
- Windfall Island: Acquiring the Sail, meeting key characters, and side quests.
- Dragon Roost Island & Cavern: Assisting the Rito tribe, dungeon exploration, and obtaining Din’s Pearl.
- Forest Haven & Forbidden Woods: Meeting the Great Deku Tree, aiding the Koroks, and securing Farore’s Pearl.
- Post-Forbidden Woods Exploration: Collect charts, heart pieces, and upgrades across the southern sea.
- Greatfish Isle & Nayru’s Pearl: Story progression and obtaining the final pearl.
- Great Sea Side Quest Adventure: Explore islands and complete Windfall quests for key upgrades and collectibles.
- Tower of the Gods: Dungeon challenges and gaining access to Hyrule.
- Hyrule Castle: Discovering the Master Sword and storyline developments.
- Post-Hyrule Castle Exploration: Complete trading quests for heart pieces, treasure charts, and the Magic Armor.
- The Forest Water Challenge: Locating and saving each withered tree for a heart piece.
- Forsaken Fortress (Second Visit): Confronting the Helmaroc King and rescuing Aryll.
- Reef Special Charts & Windfall Side Quests: Six-Eye Reefs, Treasure Charts, and Windfall Island side quests.
- Fire Mountain & Ice Ring Isle: Obtain the Power Bracelets and Iron Boots from these elemental islands to access the next temples.
- Earth Temple: Venture with Medli into the Earth Temple to cleanse evil and claim the Mirror Shield.
- Wind Temple: Enter Gale Isle, team up with Makar, and conquer the Wind Temple.
- Triforce Shard Quest: Locating Triforce Charts, deciphering them, and retrieving Triforce shards.
- Ganon’s Tower: Final challenges, boss rematches, and the ultimate confrontation with Ganondorf.
Table of Contents
Greatfish Isle (Ruins and Jabun’s Whereabouts)
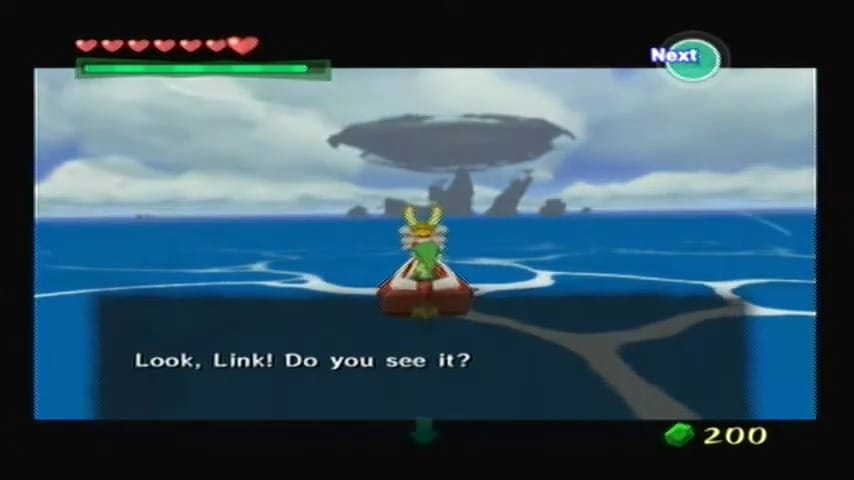
Sail to Greatfish Isle in the northwest quadrant. As you approach, a cutscene will play. The once peaceful island has been completely destroyed by Ganondorf, and its resident great spirit Jabun has fled. The Rito postman Quill appears to inform you that Jabun escaped to Outset Island for safety. You also learn that Tetra’s pirate crew was just here; they couldn’t find Jabun and realized they need Bombs to get past Jabun’s stone barricade. The pirates have already left, planning to obtain bombs for their next attempt.

After the scene, you regain control on the shattered Greatfish Isle (under perpetual nightfall). Before leaving, there are a couple of things to do here:
Sea Chart Info #18: Greatfish Isle
Open your Sea Chart and use All-Purpose Bait near the jumping Fishman around Greatfish to mark this island on your map. This makes Greatfish Isle’s location (quadrant B-4) officially recorded.


Heart Piece #12 of 44
Look for a small, rocky island fragment on Greatfish (near where a Korok is planted). Climb to the highest point of that fragment and use the Wind Waker to set the wind blowing northwest. Glide with your Deku Leaf from the peak, heading NW to an isolated ledge on another ruined chunk of the island. There you’ll find a treasure chest – open it to obtain a Piece of Heart. (This is one of two heart pieces hidden on Greatfish; the other is obtained much later via a trading quest.)


With Greatfish Isle charted and the heart piece collected, hop back into the King of Red Lions. Your next destination is Windfall Island to track down the pirates and secure the Bombs. Set your sail and begin heading eastward. (The King of Red Lions will remind you that time is of the essence, as eternal night will persist until Jabun is found.)
Cyclops Reef and Six-Eye Reef (Sea Charting & a Heart Piece)
On your voyage toward Windfall, you can make a few quick stops to chart nearby sectors and grab another Heart Piece:
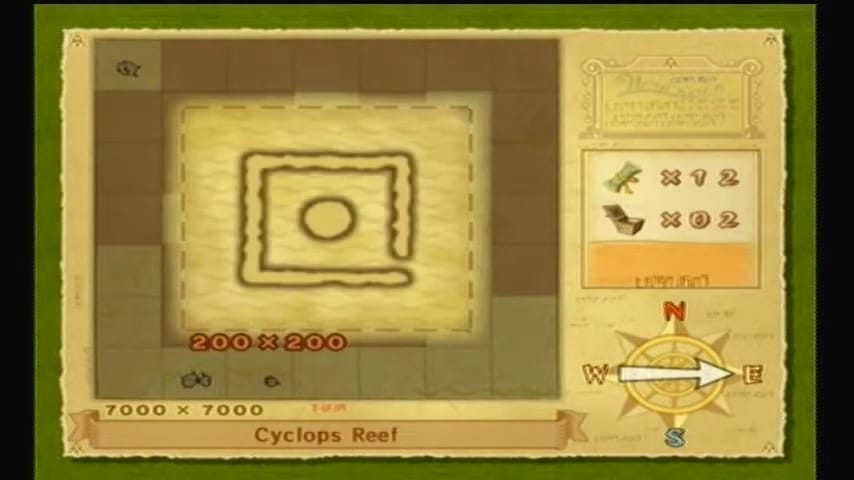
Sea Chart Info #19: Cyclops Reef
As you sail east/southeast from Greatfish, you’ll pass Cyclops Reef (a circular one-eyed reef). Sail close and feed the Fishman to record it on your Sea Chart. There’s nothing major to do at Cyclops Reef right now, but charting it now is convenient. (Later, these reefs hide treasures and gunboat battles, but you’ll return when properly equipped.)


Sea Chart Info #20: Six-Eye Reef
Further along, locate Six-Eye Reef and similarly have the Fishman mark your map. Six-Eye Reef (a larger fortress-like reef with six openings) will be important later for treasure charts. For now, simply get the Sea Chart info.


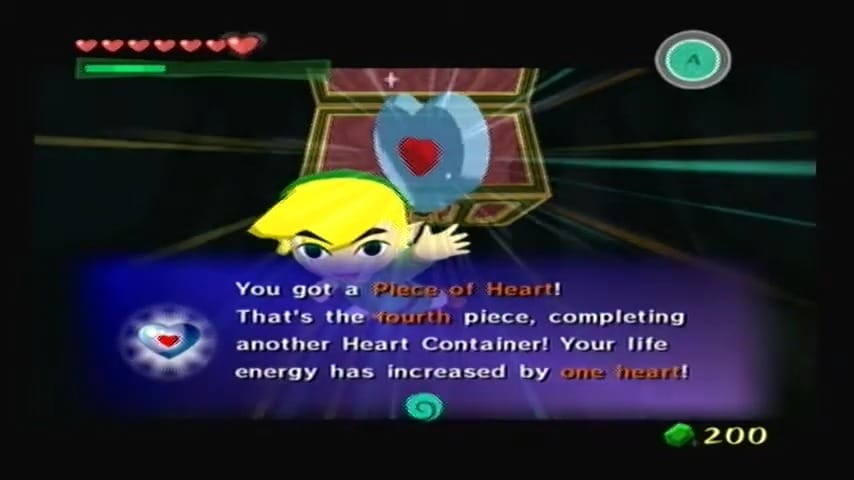
Heart Piece #13 of 44
While near Six-Eye Reef, look for a submarine floating in the water to the southwest of the reef. Sail over and board this wooden Submarine. Inside, you’ll be ambushed by three Moblins (the large spear-wielding pig enemies). Defeat all three enemies – use your sword skills or stun them with the Boomerang/Grappling Hook and then strike. Once all Moblins are down, a ladder drops. Climb up and open the newly appeared chest to claim a Piece of Heart. After grabbing your prize, exit the submarine.


With the reefs charted and the heart piece secured, continue onward. Adjust your heading toward Northern Triangle Island and Windfall, which lie to the east. Keep an eye on the horizon – the weather is still gloomy and dark.
Northern Triangle Island (Avoiding Cyclos’s Cyclone)
Sea Chart Info #21: Cyclops Reef
As you approach Northern Triangle Island, sail close enough to feed the Fishman and update your Sea Chart (Info #21) for this sector. Northern Triangle Island is one of three triangular isles where the Goddess Pearls must be placed. We’ll return here soon, but you can mark it now for convenience.


Be cautious while in this area: a massive cyclone can appear near Northern Triangle Island, generated by the devious wind god Cyclos. You’ll recognize it as a huge, tornado-like waterspout moving across the ocean. Do not sail into the cyclone – without a certain item (the Bow and Arrows, obtained later), you cannot calm Cyclos. If you get too close, the cyclone will suck you in and hurl you to a random distant part of the sea, setting you off course. To avoid this, sail around the cyclone’s radius; you can chart the island without engaging the cyclone. (If you do get caught, you’ll have to sail back to this region again.)
After mapping Northern Triangle Island, make your way to Windfall Island to the northeast. The King of Red Lions will likely urge you onward – Jabun is waiting, and the pirates are on the move.
Windfall Island (Pirate Infiltration and the Bombs)
Arrive at Windfall Island, which is cast in night and rain due to Ganondorf’s curse. Park your boat at the dock. Your goal here is to find the pirate crew and acquire Bombs before they do. It’s still night, which actually works to your advantage for what comes next.
Eavesdrop at the Bomb Shop
Head to the Bomb Shop on Windfall (up the slope near the island’s gate). The front door is locked at night, but the pirates are inside. To sneak in, go around behind the Bomb Shop building. You’ll find some climbable vines on the wall. Climb up the vines to a small balcony on the second floor, then crawl through the narrow wooden hole in the wall. This drops you into the Bomb Shop’s upstairs storage area.


As you peek in, you’ll see that Tetra’s pirates (Gonzo, Niko, Senza, etc.) have tied up the Bomb Shop owner and are attempting to steal his stock of Bombs. They mention that Jabun is hiding at Outset Island behind a great stone wall, and they’re frustrated they came all this way without bombs to blast it open. During this scene, pay attention to the dialogue – the pirates will say a password that they’ve set for their ship’s cabin door. It’s often a riddle or phrase (for example: “Plankton”, “Treasure”, or “Barnacle” – the actual word is random each playthrough). Remember the password exactly as it is spoken (including capitalization), because you’ll need it shortly. The pirates then depart to return to their ship.

Once the pirates leave, you’re safe to exit the Bomb Shop (unlock and go out the front door or back through the crawlspace).
Enter the Pirate Ship (Password Required)
Make your way to the dock on the north side of Windfall’s main island, near the small beach. The large Pirate Ship is anchored there. Climb up the ship’s ladder and you’ll find a closed door with a small hatch. Examine it, and a pirate inside will challenge you with a question — essentially prompting the password you just learned (e.g. “Fill in the blank: ‘A ship’s only tooth is a _____.’”). Enter the password you overheard at the Bomb Shop. If you type it correctly, you’ll hear an approving response and the door will unlock. (If you forgot the password, you can sneak back into the Bomb Shop to listen again, or even speak to your boat for a hint. The game will not allow brute forcing the door; you must trigger the scene for the password to work.)


Win Niko’s Challenge to Get the Bombs
Enter the pirates’ ship cabin. You’ll find Niko, the same pirate who tested you back at the start of your adventure. He’s surprised to see you but decides to give you a new challenge. This time, Niko has set up an updated rope-swinging course in the ship’s hold. You need to swing across a series of ropes and platforms under a strict time limit.
Rope Course Tips: Step on the switch to reset the platforms if needed, then use the Deku Leaf to stop each swinging rope at the right angle before jumping, or simply time your swings carefully. Aim for the next platform or dangling rope in sequence. There are more ropes and a moving platform this time, making the timing a bit trickier than the first challenge. If you fall, climb back up the ladders and hit the switch to reset and try again.
Once you make it across to the final platform, Niko will congratulate you. Step on the floor switch on that platform to trigger a heavy treasure chest to drop in the center of the room. Open the chest to finally obtain the Bombs (30 Bomb capacity). This crucial item allows you to shoot Bombs from your boat (acting as a cannon) and to blast away obstacles on land.


Item: Bombs
Explosive items used to damage enemies, destroy obstacles, and open secret paths. Can be thrown on land or fired from the boat as a cannon.
A brief scene will follow: Tetra speaks to you through your Stone (the Gossip Stone/pendant) to acknowledge you got the Bombs. She hints that they’re heading to Outset Island as well. After this, you’ll automatically be back outside the ship. The pirate ship then raises anchor and sails off into the night, leaving Windfall. (Tetra and her crew are now racing to Outset to capture Jabun, but thanks to your quick work, you have the Bombs needed to get to Jabun first.)
Letters from Orca and Beedle
Before you depart Windfall, check the red Postbox near the docks – it’s shaking, indicating you’ve got mail. There are two new letters waiting for you now that you have the Bombs:
Letter from Orca
The first letter is from Orca, the swordsman back on Outset Island. In his letter, Orca praises your progress and urges you to seek out Knight’s Crests on your journey. He writes that collecting 10 Knight’s Crests and bringing them to him will allow him to teach you a powerful secret technique. (This is a hint for a later side quest – Knight’s Crests are dropped by Darknut enemies, and you’ve likely found one or two already. Keep them in your Spoils Bag; you’ll need 10 to fulfill Orca’s request and learn the Hurricane Spin attack.)


Letter from Beedle (Beedle’s Chart)
The second letter is from Beedle, the traveling merchant. He’s grateful for your business and excitedly informs you that Bombs are now in stock at all Beedle’s Shop Ships. As a token, Beedle encloses the Beedle’s Chart with his letter.

Special Chart: Beedle’s Chart
This special sea chart shows the locations of all of Beedle’s floating shops across the Great Sea (marked with Beedle’s face icons). It also highlights a special shop (marked in gold) where Beedle sells rarer items.


After reading your letters, make sure you have everything you need from Windfall. You now possess the Bombs required to break Jabun’s barrier, so the main objective is to sail back to Outset Island. If you wish, you can leave immediately. However, Windfall Island offers a handful of optional side activities at this point in the game. If you want to collect more items (and you don’t mind a short detour), now is a great time to tackle them while you’re here.
Optional Side Quests on Windfall Island
Before departing Windfall, you can complete a few optional side quests for useful upgrades and collectibles. These tasks are not required to progress the story, but they will make Link more powerful and enrich your inventory.

Chu Jelly Juice Shop – Green Potion
If you’ve been collecting Green Chu Jelly from defeating Green ChuChus (commonly found in Forest Haven and the Forbidden Woods), you can unlock a new potion. Head to the Chu Jelly Juice Shop (the potion brewer’s shop near the center of Windfall, recognizable by the bottles in the window). Speak to Doc Bandam inside. If you donate 15 Green Chu Jellies to him, he’ll be able to concoct Green Potion and add it to his inventory.
He gives you a free Green Potion sample for your contribution. Green Potion restores your Magic Meter to full. From now on, you can either buy Green Potions from him or bring 5 Green Chu Jellies at a time for free refills. (If you’re low on Green Chu Jelly, you can always come back later. Red Potions (health) and Blue Potions (health+magic) can also be unlocked by giving him Red and Blue Chu Jellies, respectively.)
Deluxe Picto Box (Color Camera)
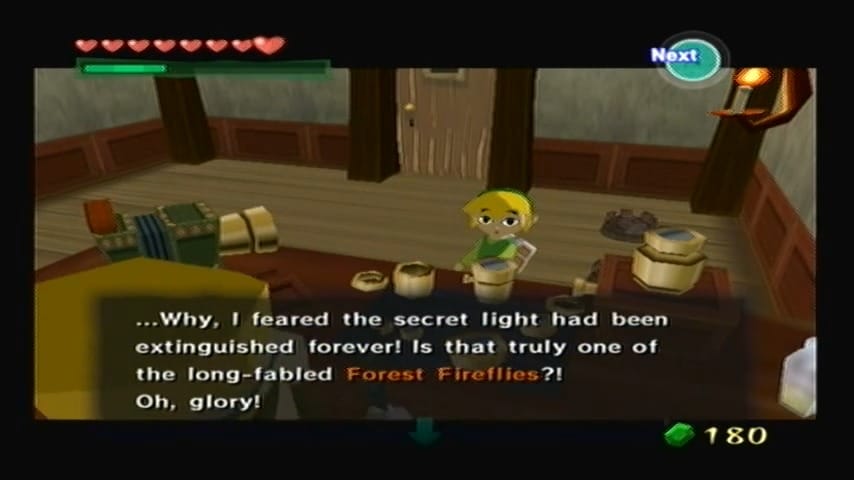
Windfall is home to Lenzo, the pictographer. If you haven’t already upgraded your Picto Box, you can do so now (especially helpful if you plan on completing the Nintendo Gallery or certain Windfall quests). Earlier in your adventure, you may have picked up the standard Picto Box (for example, by freeing Tingle on Windfall). To upgrade it, you’ll need a rare Forest Firefly. If you managed to catch a Forest Firefly in Forest Haven (the glowing, rainbow-colored orb found in a cave there), bring it now in an empty bottle to Lenzo’s Photography Shop (the tall house on Windfall). Show it to Lenzo.
He’ll be astonished by the firefly’s light and will take it off your hands to power up his printing process. In return, Lenzo upgrades your device to the Deluxe Picto Box, which can take pictographs in full color! This allows you to complete picture-based quests and eventually the Nintendo Gallery figurine collection. (Note: In the HD version of the game, the Deluxe Picto Box is obtained differently, but in the GameCube version this firefly trade is the way to get it early.) If you didn’t get a Forest Firefly, you can also obtain the Deluxe Picto Box by completing Lenzo’s lengthy side quest later. But the firefly method lets you skip those steps.

Treasure Chart #29 (Collectible #13 of 41)
Windfall’s giant windmill (which doubles as the lighthouse) can be activated now that you have the Wind Waker and have visited Greatfish. This is part of a side quest that yields Treasure Chart #29. It will also set up a later event on Windfall.
The windmill has rotating gondola platforms (like a ferris wheel). At night, climb up the ramp of the windmill (or go through the second floor of the game building) to reach one of the moving gondolas. Ride a gondola as it goes up. When it reaches the highest point, you’ll see it pass by a balcony with a door – this is the top floor of Lenzo’s house. Jump off the gondola at the peak to land on Lenzo’s balcony (if you have trouble jumping in time, you can alternatively float to the balcony with your Deku Leaf when a gondola brings you near it).
Enter the door on this balcony to find Lenzo’s darkened upstairs studio. You’ll notice two treasure chests here behind some fancy pictographs. Open the chest on the left to obtain Treasure Chart #29. (The other chest holds a purple Rupee in the original version or a Joy Pendant in the HD version.)


Lenzo & Minenco’s Photo
After looting the chest, you can discover a little secret. There’s a crawlspace tunnel on the side of the room (look for the small hole in the wall). Crawl through this passage to end up peeking into the main floor of Lenzo’s shop. Down below, you’ll see Lenzo having a private conversation with Minenco (the woman in the orange dress who loves pictographs). The two are chatting like old friends. Take a pictograph of Lenzo and Minenco together through the grating before they notice you. This photo will become important if you talk to the town gossip ladies later. (Essentially, you’ve caught Lenzo’s “secret meeting.” In a later side quest, showing this pictograph to the gossips Pompie and Vera will put a rumor to rest and earn you an additional reward.) For now, it’s optional, but you can save the pictograph for later use.


Exit Lenzo’s house the way you came (through the crawl hole back to the balcony, then jump down safely).
After these optional tasks, Link should be better prepared with new items. Make sure you restock on any supplies (buy potions, bait, or bombs as needed) before leaving Windfall. When ready, hop back onto the King of Red Lions. Your next major destination is Outset Island far to the southwest, where Jabun is hiding.
Southern Triangle and Southern Fairy Islands
It’s a long voyage back to Outset. As you sail southward across multiple sectors, take the opportunity to fill in a couple more blanks on your Sea Chart:
Sea Chart Info #23: Southern Triangle Island
On your way down the map, locate Southern Triangle Island (one of the trio of small triangular isles, marked by a stone statue holding a pearly orb). Feed the Fishman in that quadrant to mark it on your sea chart. You’ll be placing a pearl here soon. If you approach the island, you’ll notice it’s identical to Northern Triangle Island, with a statue that has an empty recess for a pearl.


Sea Chart Info #24: Southern Fairy Island
Slightly further southwest, you’ll find Southern Fairy Island. It’s a small island with a pink conch shell structure. Use bait to get the Fishman’s info and chart this location.


While you’re at Southern Fairy Island, you can gain a valuable upgrade now that you have Bombs:
Resume your journey after charting those islands. By now, Outset Island is straight ahead to the west (it’s on the south-western corner of the map). As you sail closer, the weather remains dark and stormy – Ganondorf’s curse of endless night is still in effect.
Return to Outset Island (Eternal Night and Preparations)
You arrive back at Outset Island under ominous skies. It is still perpetual night, and a gloomy pall hangs over your home island. As you come ashore, you might notice family members and neighbors commenting on the unnatural night. (For example, Aryll’s grandmother mentioned that the sun has not risen for days, and everyone is worried.) This is a curse placed by Ganon, and it won’t be lifted until you fulfill your task here. Your primary objective is to find Jabun, but since you’re home, there are a few things you should do before that confrontation:

Wallet Upgrade – Outset Island
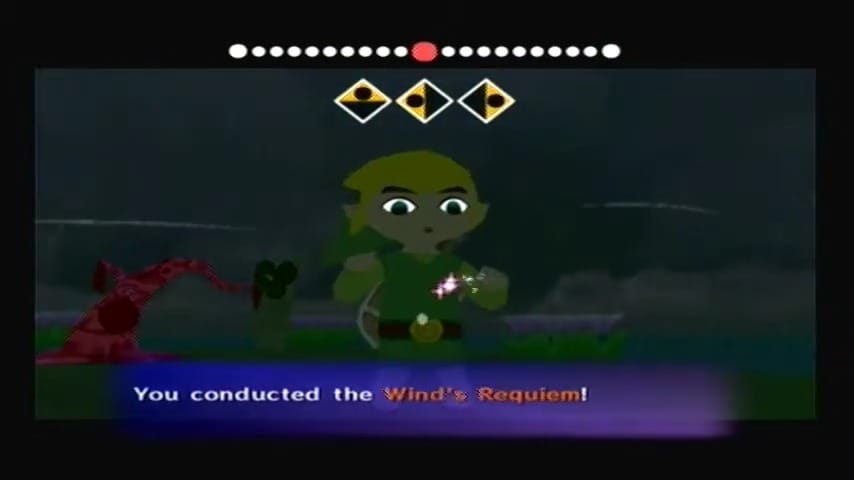
From your house, head up the hill past Orca’s training area toward the broken wooden bridge leading to the Forest of Fairies. Use the Deku Leaf to glide across the gap. Before jumping, play the Wind’s Requiem and set the wind direction to west to ensure a safe glide.
Inside the forest, follow the path until you see a large boulder on the right. Use a Bomb to destroy it, revealing a hidden hole. Drop down to find the Great Fairy’s fountain. Approach the Great Fairy, and she will enhance your Wallet, increasing your rupee capacity to 1,000.
Note: In The Wind Waker HD, this is typically the second Wallet upgrade. The first, which increases capacity to 1,000 rupees, is found on Northern Fairy Island. In the original GameCube version, the order is reversed: the first upgrade (to 1,000 rupees) is obtained on Outset Island, and the second (to 5,000 rupees) is on Northern Fairy Island. Regardless of the version, you can collect these upgrades in any order; the first Fairy you visit will grant the 1,000 rupee upgrade, while the second grants the 5,000 rupee upgrade.
Before leaving, consider capturing a Fairy in a bottle for future healing.


Elixir Soup – Heal Grandma
Stop by Link’s Grandma’s house now. Inside, you’ll find Grandma still sitting weakly in her chair, ill from worry and exhaustion since Aryll’s kidnapping. You can cure her with the touch of a fairy. Equip a bottled Fairy and use it while standing near Grandma. The Fairy will revive her spirits. In a touching scene, Grandma is overjoyed to see you home safe and feels much better.
As thanks, she hands you a bottle filled with her special homemade Elixir Soup. Elixir Soup is one of the best consumable items in the game: drinking it fully restores all your hearts and magic power, and also doubles your attack power until you take damage. Even better, each bottle contains two servings of soup (you can drink half and still have another helping remaining).
Whenever you run out, you can return to Grandma with an empty bottle and she will refill it for free, for the rest of the game. Be sure to keep some soup handy; it’s incredibly useful for tough fights. (If you didn’t have a fairy earlier, note that the fairy fountain on Outset (or any fairy island) can provide one – the Great Fairies always leave small fairies behind that you can capture. The Outset fairy fountain you opened is a convenient source.)


Heart Piece #14 of 44 – Orca’s Training
While at Grandma’s house, you can also speak with Orca (the old warrior downstairs) to undertake a challenging sword training mini-game. If you’re aiming for all the heart pieces, this is the time to get one from Orca. Talk to Orca and agree to spar with him. The goal is to hit Orca as many times as possible with your sword before he hits you 3 times.
Orca will count your hits aloud. If you reach 100 hits, he’ll stop and declare you a competent swordsman (and reward you with 50 rupees). If you reach 300 hits, he’ll give you an Orange Rupee (100 rupees) as a further prize. For 500 hits or more, Orca will be incredibly impressed and reward you with a Piece of Heart (this is Piece of Heart #14 in our count). Getting 500 strikes requires patience: use defensive techniques, such as holding up your shield and carefully timing your strikes, or using the parry attack (the A-button prompt dodge strike) whenever possible – it’s safer and doesn’t risk Orca countering as easily. Orca’s strikes get faster after a few hundred hits, so be cautious. Once you land 500+ blows, you can also let him hit you the remaining times to end the trial and claim your prize. (If you’re having trouble, you can skip this for now and try later when you have more health. The offer will always be there. And if you manage 1000 hits, Orca’s final prize is a Silver Rupee, though that feat isn’t required for any item.)


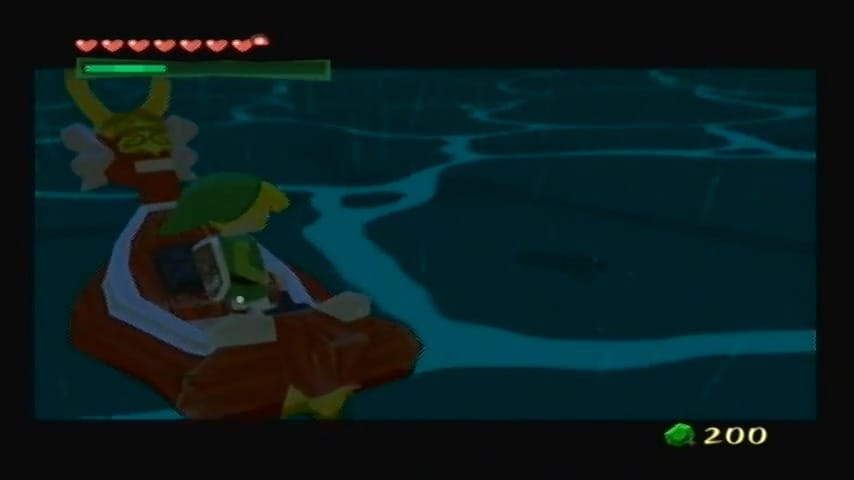
With your Grandma healed, soup in hand, and any desired upgrades collected, you’re fully prepared to meet Jabun. Make sure it’s still night (it will be, due to the curse – the Song of Passing won’t create true morning until the event is over), and stock up on Bombs and arrows (well, you don’t have a bow yet, so just Bombs) as needed. When you’re ready, hop into the King of Red Lions. Sail around to the back side of Outset Island, which is the rocky, tall cliff area opposite the main village.

Jabun’s Cave (Nayru’s Pearl)
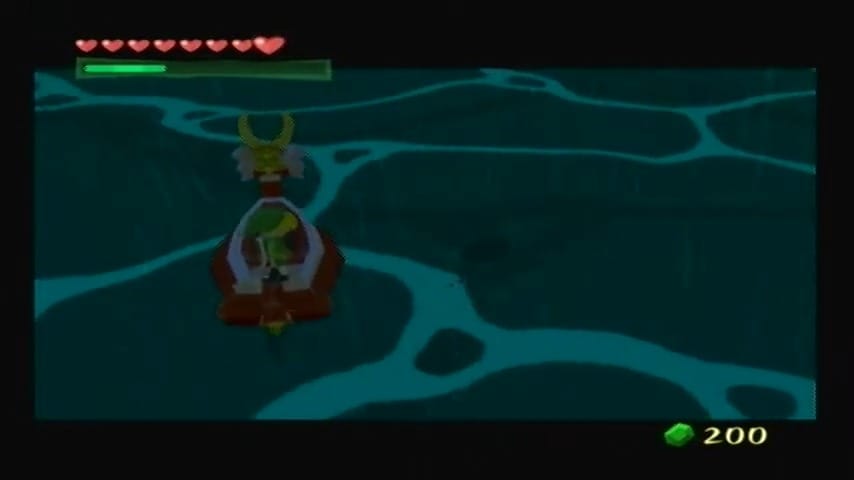
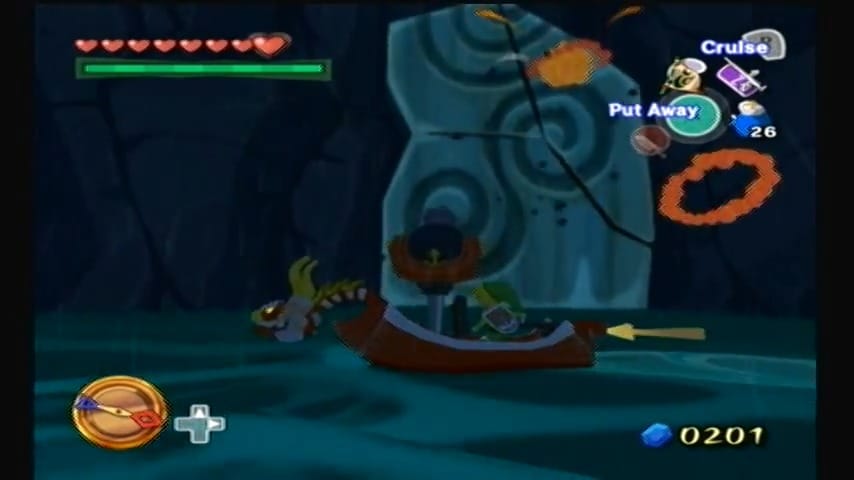
Steer the boat into the small bay behind Outset. As you approach the shear cliff wall, you’ll spot a giant stone slab door embedded in the rock, marked with a symbol of the Triforce. This is the entrance to Jabun’s hideout. The moment you get close, a whirlpool will form around you, trapping the King of Red Lions in a spinning current. Ganondorf has set this trap to block outsiders from reaching Jabun. Now it’s up to you to break through.
Equip your new Bombs to the boat. While circling in the whirlpool, use the boat’s cannon to fire Bombs at the giant stone wall. The wall has three segments etched with a crest – focus your fire on the large stone slab. You’ll notice cracks forming as you hit it. It’s wise to aim high first: break the top part of the wall, then the middle, then the bottom. (Targeting the top first prevents lower debris from blocking your shots, and it ensures you don’t waste time while the water pulls you closer.) You need to land about 3 Bombs on each section to shatter it. The whirlpool will keep dragging you around, so time your shots as you pass in front of the wall. Be mindful of your Bomb supply – you have 30 (or 60 if you got the upgrade) bombs max. If you fire too rapidly or miss too much, you could run out. Take your time to line up shots as you swing by. As pieces of the stone door break off, the whirlpool might loosen a bit.
Keep firing until the entire slab is destroyed. Once the stone barrier is completely blown apart, the whirlpool will dissipate. The path is now clear. The King of Red Lions will automatically sail into the revealed cave behind the wall.

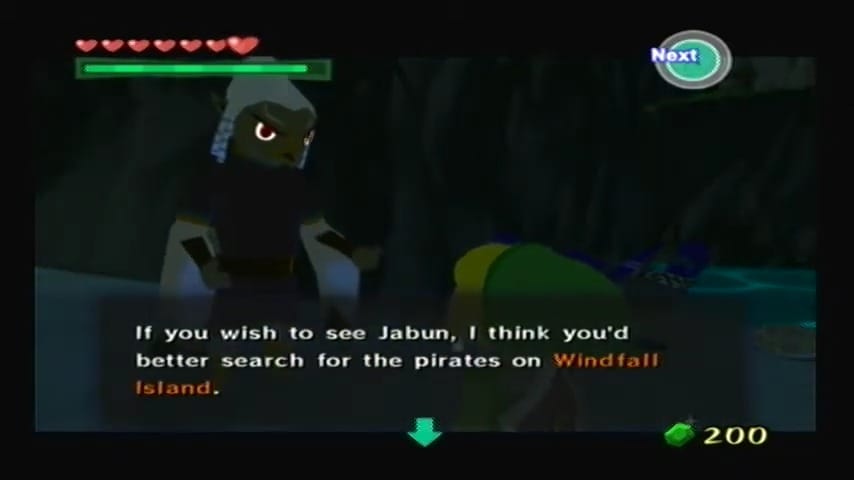
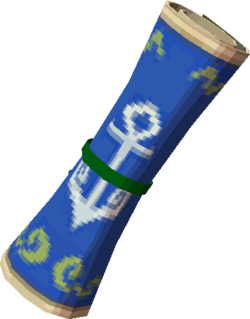
Inside the hidden cavern, a cutscene will play. You finally meet Jabun, the great water spirit (he resembles a giant fish with one large eye and a lantern jaw). Jabun speaks in ancient Hylian, but the King of Red Lions translates or communicates in kind. Jabun acknowledges your courage and the efforts you’ve made. Despite the danger from Ganon, Jabun entrusts you with the sacred treasure he has guarded. He grants you Nayru’s Pearl, the third and final Goddess Pearl. This blue orb, symbolizing the goddess of wisdom, is now added to your quest items alongside Din’s Pearl and Farore’s Pearl.

With Nayru’s Pearl in hand, the curse over the Great Sea is lifted. The eternal night and storm that blanketed the ocean will come to an end – you’ll notice the weather clearing after you leave the cave, and dawn finally breaking. Jabun’s role is fulfilled; he wishes you well in the coming trials. The King of Red Lions will congratulate you on obtaining the last pearl and will instruct you on your next mission: to uncover the path to the Tower of the Gods. This requires placing each of the three pearls on the three Triangle Islands (one of which you’ve already visited).