


A Link to the Past 100% Completion Walkthrough
- Princess Zelda Rescue : Infiltrate Hyrule Castle to rescue Zelda and kickstart Link’s epic quest.
- Eastern Palace : Solve Armos Knights’ traps in your first dungeon to claim the Pendant of Courage.
- Desert Palace: Navigate shifting sands and defeat Lanmolas to earn the Pendant of Power.
- Tower of Hera: Climb Death Mountain’s Tower to obtain the Moon Pearl and final pendant.
- The Master Sword & Hyrule Castle: Claim the Master Sword, confront Agahnim, and set your destiny in motion.
- Dark Palace: Explore the Dark World’s Palace and free the first Maiden from darkness.
- Light World Exploration: Unlock warps, collect hearts, and prepare for deeper Dark World dungeons.
- Swamp Palace: Use Cane of Somaria blocks to navigate the toxic swamp and rescue another Maiden.
- Skull Woods: Uncover hidden tunnels and puzzles among the skull trees to free a trapped Maiden.
- Gargoyle’s Domain: Enter via pitchfork statue, secure the Titan’s Mitt, and beat Blind the Thief.
- Ice Palace: Traverse icy floors, gain Blue Mail, and defeat a freezing foe.
- Misery Mire: Master Cane of Byrna and Ether Medallion to rescue another Maiden in the mire.
- Turtle Rock: Face volcano hazards and rescue the last Maiden within this volcanic fortress.
- Ganon’s Tower : Climb the tower’s gauntlet of traps and minibosses to battle Agahnim.
- Pyramid of Power: The Ultimate Showdown with Ganon.
Table of Contents

Heart Piece #23
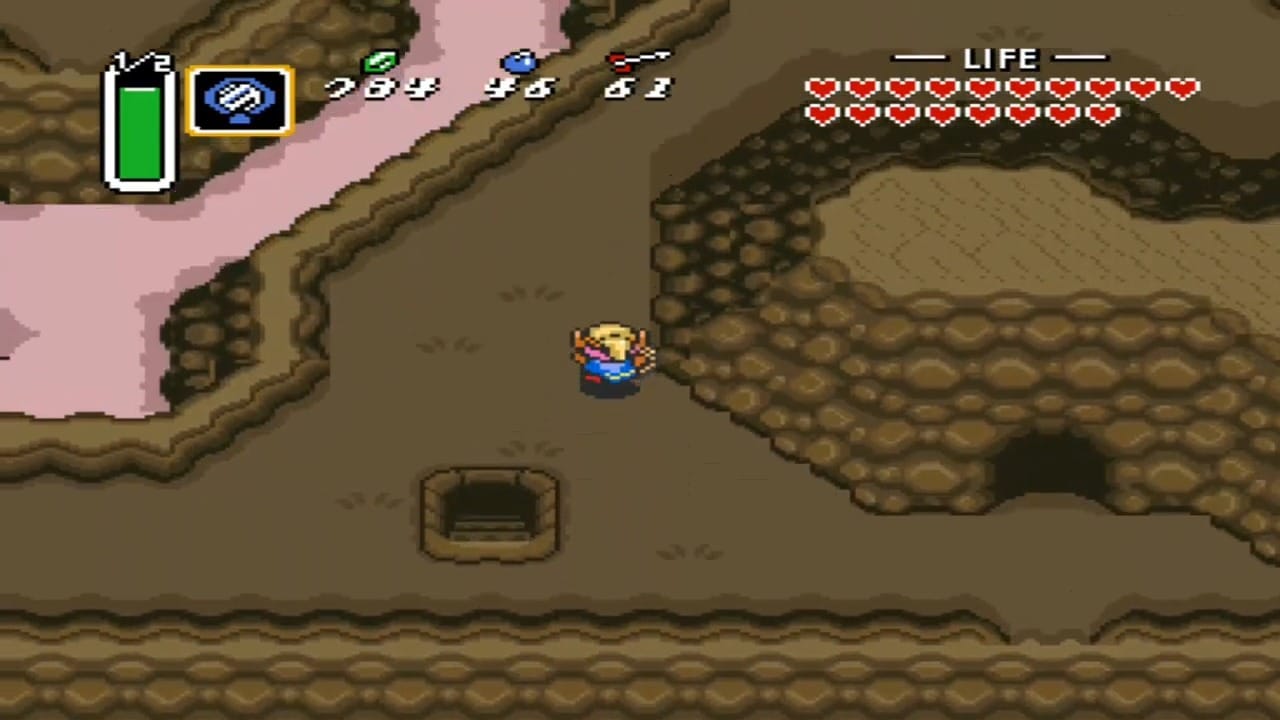
Before you tackle Turtle Rock, you can collect one more Piece of Heart (the 23rd piece in the game). Make sure you have the Magic Mirror, Cane of Somaria, and Ether Medallion handy for this excursion. Use the Flute to warp to Death Mountain (Light World, warp point #1) and climb toward the summit.


From the the Old Man’s cave, go east, up the nearest set of stairs, and continue east across the broken bridge (Hookshot across the gap) and move south to find a black stone hiding a warp tile, step on it to shift to the Dark World.


Go north to find two cave entrances at the base of the mountain. Walk through the one on the left. Inside, follow the path foward and upstairs. On the narrow path, proceed forward until you come across a gap in the path. Drop down that gap to the lower level; you’ll land between blocks. Push the top left block forward and go up the stairs to your left.


At the top, you’ll find yourself on the other side of the gap we descended. Drop down the other hole to find yourself on the other side of the block puzzle. Go up the stairs to your right.


At the top: more holes! Drop down the one furthest south: more blocks! Push the southern-most block to the left and open the first chest to find a Red Rupee. Push the block furthest north further north and open the chest to receive bombs. Go up the stairs to your east.


Follow the path south to outside the cave. You’ll come to a large boulder sitting by itself on a narrow path. Lift it with the Titan’s Mitt to reveal a cave entrance. Enter this cave. Inside, go north until you reach a wide gap in the floor – an invisible walkway spans this gap.


Use the Ether Medallion to illuminate the hidden path briefly, revealing the safe route across. Carefully walk across (without Ether, you can also inch along the edges and listen for the sound cue of the path). On the other side, bomb the north wall to open a passage, then continue through.


In the next area, you’ll find three cracked walls. Bomb the western wall (left side) to expose a hidden room, and go through. Proceed south and exit the cave through the door at the bottom. You’ll find yourself on a small ledge high up on Death Mountain’s west side.


Now use the Magic Mirror to teleport back to the Light World. When the world shifts, Link appears on a once-inaccessible cliff ledge in the Light World – and right in front of you is Piece of Heart #23! Pick it up to increase your Heart Pieces collected (now you should have just one piece left to complete another full heart container). This clever multi-step heart piece is easy to miss, so congratulations on adding it to your collection.

Turtle Rock Entrance
After obtaining the heart piece, make your way back towards the cave entrance that was revealed by lifting the large stone. Go eastward until you approach the large turtle and use the Magic Mirror to return to the light world. A large stone sits where the turtle’s mouth was. Lift it and walk up to the trio of strangely arranged pegs.


Pound the three pegs into the ground in the correct order: Right, Up, Left. If done correctly, the ground will quake and a magical warp portal will appear on the nearby platform. Step into the portal to warp onto Turtle Rock’s giant stone-carved shell.


Just ahead lies a Quake symbol etched into the floor. Stand on this symbol and take out the Quake Medallion. Invoke its power: Link raises the medallion, and upon release, it emits a thundering force that makes the entire mountain tremble. The engraved symbol begins to glow, and suddenly the stone turtle’s gigantic mouth opens wide, unveiling the dungeon entrance. The way into Turtle Rock is now clear. Refill your hearts and magic (there are pots nearby with supplies) and step forward into the dark maw of Turtle Rock.


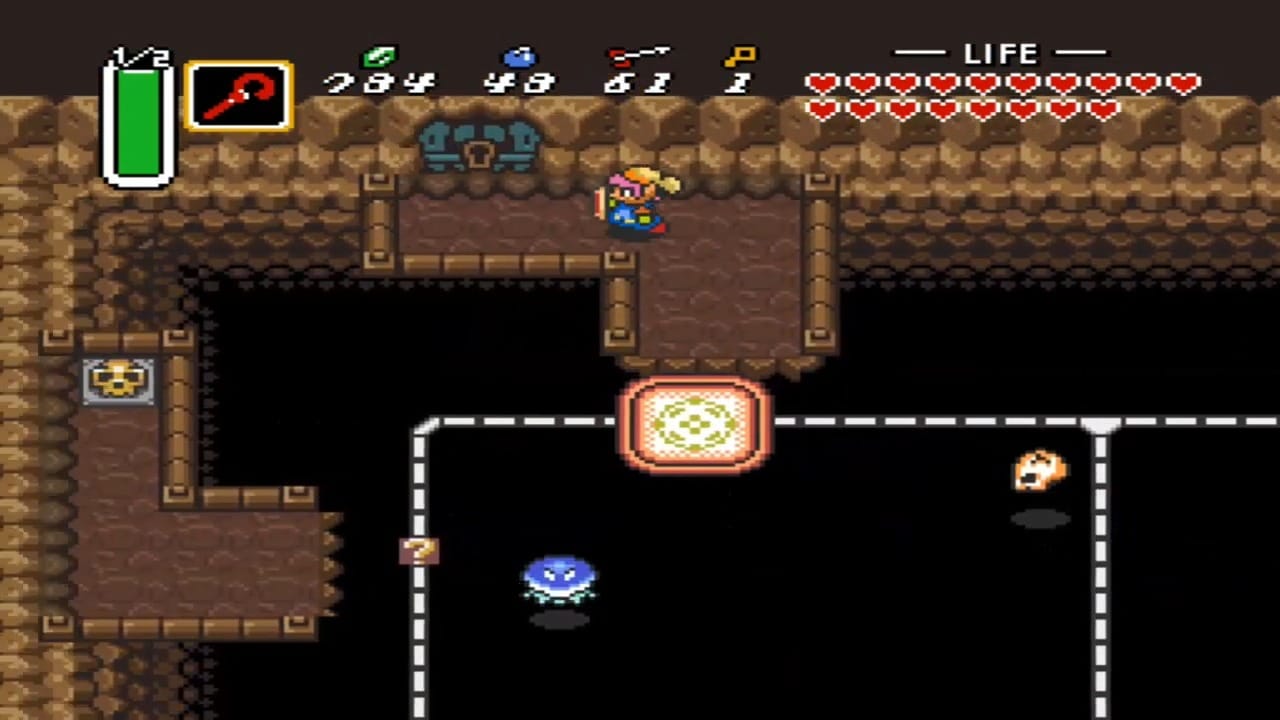
Inside the first chamber, lift the two skull pots to refill your Magic (you’ll need plenty). Ahead, a floating question-mark symbol hovers over a black abyss with dotted track lines leading north. Stand on the ? and use the Cane of Somaria. Instead of a block, it creates a moving platform that follows the dotted track! Step onto your new platform and ride it straight across the gap to the north ledge, then exit through the door.


Compass
You emerge in a large hub room with multiple dotted-line tracks. Blue Bari jellyfish and floating Stalfos skulls drift about; cut them down to stay safe. Now, use the Cane on the question mark here to spawn another platform, and guide it westward (hold the D-Pad left as you ride). At the first intersection, press Down to steer the platform south into a side chamber. Step off into this room.


Go south to the platform in the center ringed by small bumper posts and open the chest to claim the Compass. As soon as you grab it, step aside quickly – if you’re facing upward, the Laser Eyes in the south corners will fire! Use the Magic Mirror to return to the dungeon entrance.


Key #1 and Dungeon Map
Back in the large hub room, use the Cane of Somaria on the question mark again to create another platform. This time, navigate toward the northeast corner where you see a ledge and a door on the right wall. Hold Up (north) when you reach the fork so the platform curves around and delivers you to that northeast ledge. Step off and go through the door to the east.

You enter a wide, dim chamber with four unlit torches perched on platforms over a huge pit. There’s a sealed door on the north side that needs to be unlocked. This is a timed puzzle: you must light all four torches quickly with the Fire Rod. First, create a Somaria platform on the track and hop on. Ride the platform in a loop around the room. Don’t start firing yet – if lit too early, a torch may fizzle out before you finish.
As you move, wait until you’re heading eastward along the center of the loop, between the lower and upper torches, then fire the rod rapidly: light the two bottom torches, then the two top torches as you approach them.


The moment the fourth torch ignites, the north door flips open. Dash off the platform and run through that door before any flames die out and the door reseals.


In the next hallway, you face two gigantic spiked bar traps (Spiked Rollers) sliding back and forth. The first rolls vertically; hug the left or right wall and slip past when it moves up. The second rolls horizontally; stay in the lower safe alcove until it slides away, then dart by. At the far end, you find two treasure chests side by side. Open the right chest to obtain Small Key #1, your first key in Turtle Rock. Then open the left chest for the Dungeon Map. (Under a nearby skull pot you can snag a big magic jar as well.)


Now carefully dodge the spiked rollers again on your way back. If you get pinned, use the Magic Cape to turn invisible and slip through unharmed. Return through the torch room (you may need to relight one or two torches to leave if the door closed) and re-enter the large hub.

Key #2
With the map and a small key secured, it’s time to unlock a new path. In the hub room, look to the northwest: there are two ledges, one with just a skull pot and another (further right) with a locked door and a Red Stalfos archer guarding it. Use your moving platform to reach that northwest ledge with the door. (It’s the one directly west of the entrance platform. If needed, ride to the far west ledge first for a magic refill, then continue around counter-clockwise.) Land on the ledge and unlock the door using Key #1.
Inside, a pair of green Zol blobs pop out of the floor; dispatch them with your sword. In the center hops a new cactus-like foe called a Hokkubokku (also known as a Pokey). As you strike this segmented enemy, pieces of its body break off and bounce erratically around the room. These segments hurt if they hit you, so try to cut the Hokkubokku quickly.
Tip: A single shot of the Fire Rod will instantly destroy the entire Hokkubokku stack if you want to conserve health at the cost of magic. Once the Hokkubokku is defeated, it will drop Small Key #2. Grab it and head through the now-unlocked door to the north.

Key #3
You’ve entered a notorious chamber inhabited by two snapping Chain Chomps (yes, straight out of the Mario series!). They’re anchored to blocks but will lunge at you with surprising range, so keep your distance and keep moving. These beasts are invincible, so focus on the puzzle: the door to the next area (on the north wall) is locked, and you need a key. Notice the colored blue and orange blocks on the floor and the crystal switch on the far side.

Stay at the bottom of the room, out of the Chomps’ chains. When they pause, quickly use a ranged attack (the Boomerang or Hookshot works well) to hit the Crystal Switch, toggling it from orange to blue. This lowers the blue blocks, giving you access to the blocks near the door. Run to the cluster of five blocks just below the Chomps. Push the uppermost block left (if you’re on the right side cluster, or push it right if you approached from the left side).
The correct block slides aside, triggering a chest to appear in the corner! Quickly hit the crystal switch again (with Boomerang or an arrow) to flip it back, lowering the orange blocks so you can reach the chest. Dart over and open it to claim Small Key #3 before the Chain Chomps catch up. If you have the Magic Cape, you can also use it here to turn invisible and ignore the Chomps’ attacks while you work. Now use Key #3 on the locked door at the top of the room. Step into the north doorway and descend the stairs to Basement Floor 1 (B1).


Key #4
B1’s first area is a sprawling cavern crisscrossed by a pipe transport system – essentially a maze of tubes that shoot you to different exits. Free-floating Anti-Fairies bob around (sprinkle Magic Powder to turn them into healing fairies if you need). Also watch out for Helmasaurs (turtle-like enemies with masks) lurking about. Work your way to the southeast corner of the room, where there’s a staircase up to an enclosed pipe entrance. Enter the pipe, and it will whisk you to the northwest corner of the same room. Exit the pipe and go through the door to the left (west).


This next room has a lake of bubbling lava (don’t worry, you can’t fall into it) and two pipe openings on the ledge. Take the lower pipe first, which aims westward. It deposits you on a western ledge with a door – step through to a small chamber. Four Anti-Fairies immediately fly at you; either dodge them or powder them into fairies.

There’s also a crystal switch in here and more orange/blue floor blocks. Hit the switch to lower the blue blocks blocking your path. Now a Hokkubokku attacks from the upper side of the room (along with a couple of floating Stalfos skulls and a Bunny Beam orb) – take out the Hokkubokku quickly (fire rod works wonders) and it will drop Small Key #4. Collect the key, and unlock the door on the east side.
Big Key


Go through that door and you’ll find yourself back in the huge lava-filled cavern, but on a new platform. Right in front of you is another pipe entrance. Hop into this pipe and enjoy the ride – you’ll pop out on a central platform next to a treasure chest. Open it to obtain the Big Key! This is the dungeon’s Master Key, which opens big doors and the big treasure chest.


Now, to backtrack: a second pipe on this platform leads south. Step into the south pipe next – it shoots you to the far east side of the lava room. From here, go through the door back into the initial pipe room (the hub where you first came down to B1) and proceed through the pipe there to the other side of the room. Jump off the ledge from that platform. Essentially, you’ve looped back to the start of B1, but now you possess the Big Key.


Before proceeding deeper, we can get an important upgrade with that Big Key – and even an optional Heart Piece – outside the dungeon.
Heart Piece #24
Jump into the pipe from southwest corner of B1. (If you returned to the hub’s southeast pipe, ride it northwest again, but this time take the upper pipe at the lava room fork to reach the southwest ledge.) You’ll arrive on a platform at the southwest end of the lava cavern. Go through the pipe to the south (again).


This time, take the pipe to the left. In this next room, two more Hokkubokkus attack. They bounce energetically, so quickly defeat both (the Fire Rod can pick them off fast) while also dodging the fireballs spit by a Medusa head on the wall. Once the two are defeated, the sealed doors open.


Continue south into a narrow hallway, then west into a room with 5 lined skulls. You can lift the skulls for extra hearts or bombs here. Notice a cracked portion of the south wall in the center. Plant a Bomb against the cracked south wall, then quickly retreat to a safe corner to avoid any laser crossfire. The explosion blows open a hidden exit – go through it to step outside the dungeon.


You find yourself high on a rocky ledge of Death Mountain (Dark World) that was previously unreachable. Follow this ledge all the way east. At the far right end, you’ll see another cave entrance into Turtle Rock’s structure. Don’t enter it yet! Instead, stand at the edge and use the Magic Mirror. This transports you to the Light World onto a similar high ledge. There’s a small cave here as well – go inside.


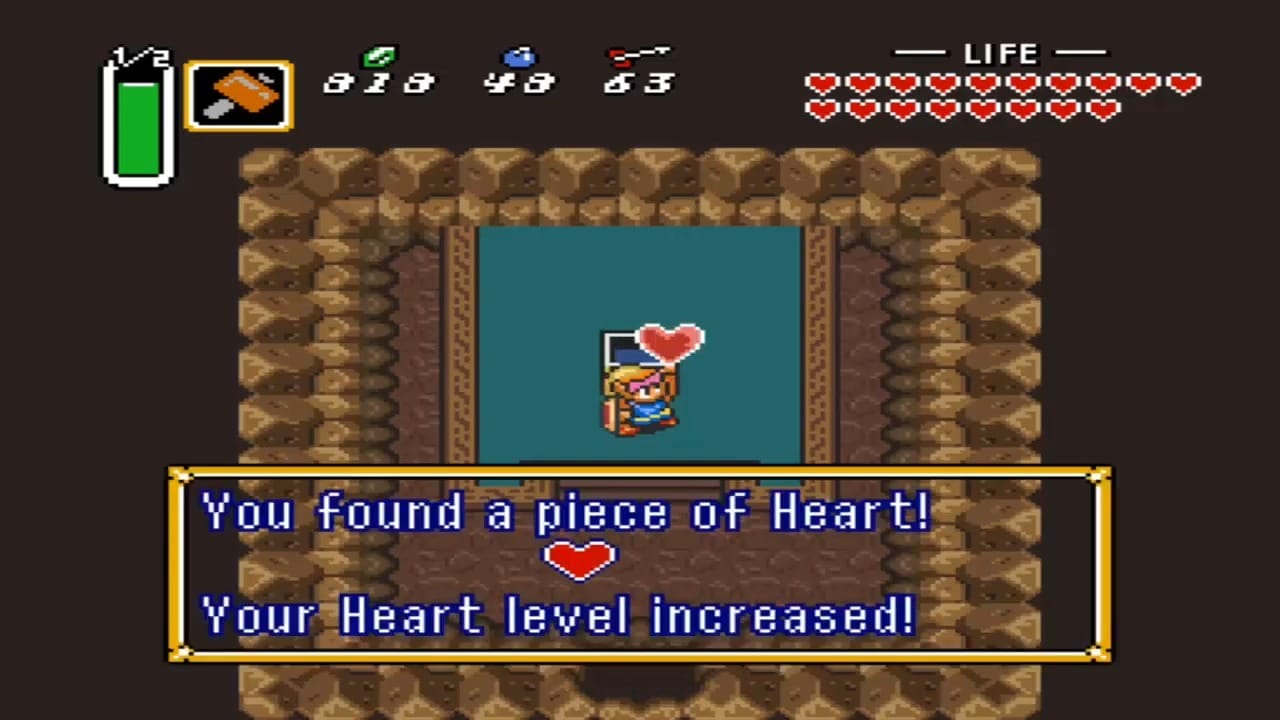
You’ve discovered a secret Light World cave. Inside, four green Goriyas (lizard-like monsters that mimic movements) guard a closed door. The floor also has some mole-like pegs blocking parts of the room. Hammer down the pegs to clear a path, then deal with the Goriyas. The two near the door in front of you can be beaten with your sword or any weapon, but the two on the far right will mirror Link’s movements and keep their distance. Use the Bow to fire arrows at the pair on the right side (since they dodge direct melee). Once all four Goriyas fall, the northern door opens. Go through and claim Piece of Heart #24 from the chest inside. Congratulations – that’s the final Heart Piece in the game! (If you’ve been following the guide, you should now have all 24.)


Mirror Shield
Exit the cave and use the warp tile you left behind to return to the Dark World (the portal should still be on the ledge where you left). Now enter the nearby Dark World cave (the one you bombed open earlier on the far east end of the ledge). You’re back inside Turtle Rock, and conveniently, you appear right next to the Big Treasure Chest. There’s a gap in front of it, but a Somaria track is visible. Use the Cane of Somaria on the question mark tile to spawn a moving platform, and ride it across the gap. Open the big chest with your Big Key to acquire the dungeon’s prize: the Mirror Shield!


Item: Mirror Shield
This huge shield can reflect beams that the previous Red Shield couldn’t, including the big laser blasts from Eye statues and fireballs from medusa heads. From now on, face those threats head-on to block them with ease.
Head through the door on the north wall. You’ll be back in the lava pipe room, but on an upper ledge. Immediately, a spiked roller trap races across this hallway and a Medusa statue spits fire at you. Use the Mirror Shield or Magic Cape to get past the spiked bar unharmed, or simply wait for an opening and run by. At the end of the hall, use the Big Key to unlock the door upward and step through. This brings you once again into the main lava cavern (the familiar pipe room), on a small platform in the north side.

Key #5
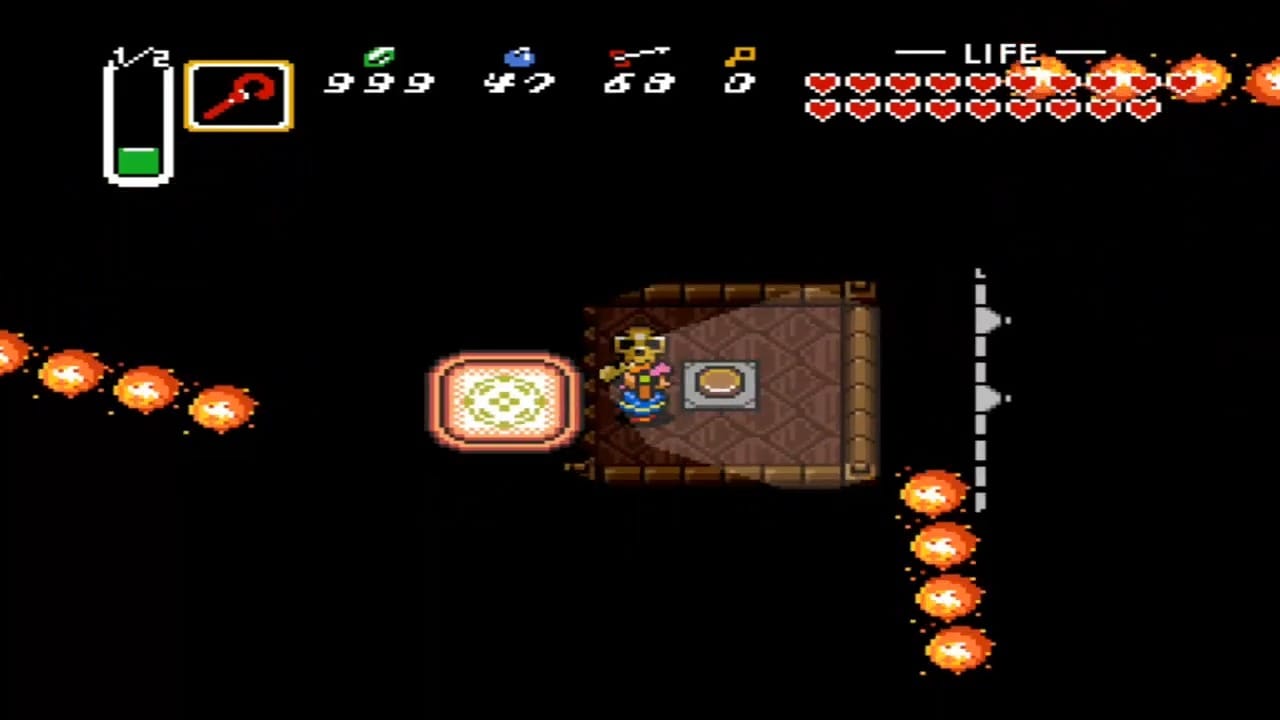
From this north platform, enter the pipe which leads to the northwest corner of the lava room one last time (the same spot with a door to the left). Note the two cracked walls in this room – one to the north and one to the east. The east opening is optional (it leads to a lucrative Rupee room if you bomb it and navigate a trap, should you want 270 rupees).


The north wall is your critical path forward. Bomb the north wall to reveal a new passage. Now you’re in a perilous maze-like chamber patrolled by yet another spiked roller bar. The floor is studded with orange and blue blocks controlled by a crystal switch near the entrance. If the orange blocks are raised in your way, hit the Crystal Switch with a Boomerang or arrow to change the configuration.

Your goal is to reach the treasure chest on the west side. Carefully make your way south then west through the maze, zig-zagging around the raised blocks. Use the walls or blocks as cover from the spiked roller’s path. Partway through, you may need to toggle the switch again to lower blue blocks and raise orange ones, or vice versa – plan your route in sections. When the roller moves away, quickly flip the switch and dash to the next safe spot. Finally, you’ll get access to the chest on the left side. Open it to claim Small Key #5.


Now you need to reach the locked door at the north end of this room. If blocks are blocking your exit, hit the switch one last time (from a distance) to open the path. Make sure the roller bar isn’t bearing down on you as you move. Ensure the red switches are lowered, unlock the door, and head downstairs to Basement Floor 2 (B2).

Key #6
B2 opens with one of Turtle Rock’s most infamous trials. The room is pitch dark save for the glow around Link, and it contains a complex network of moving-platform tracks over a bottomless pit. To make matters worse, three rotating Guruguru Bar fire chains twirl around the paths, ready to knock you off or burn you. This is a true Cane of Somaria puzzle: you must ride a moving platform through this maze to hit a floor switch and open the way forward. If you have the Cane of Byrna or Magic Cape, consider using them for temporary invincibility if a fire bar is about to hit you. Also remember the technique: at any intersection or turning point on the dotted track, hold the direction you want to turn before you arrive, so the platform will follow that path. (You cannot turn at straight crossing points without the little circle/triangle nodes.)
Let’s break down the route step-by-step:
Spawn a Somaria platform on the question mark at the room’s entrance and hop on. It will start moving southward.

Immediately hold Right at the first junction to turn and travel west/east across the room.

At the next available turn (an intersection in the tracks), hold Down to turn and go south toward the center. Ride the platform as it snakes around to a small central island.

Step off onto this island. Lift the skull here and step on the floor switch underneath. This click opens a shutter door at the far southwest corner of the room (you’ll hear it). Thankfully, this switch is not timed – the door will stay open.
Get back on your platform (use the Cane on the question mark tile on the island). Now you need to ride to that southwest exit. From the island’s track, head west, then when the path curves north, hold East at the next junction to loop around, and then take the first southward turn available.


Continue riding all the way down along the western edge, then at the four-way intersection node, turn West (left). This should aim you straight toward the southwest exit door.

Glide into the now-open doorway in the southwest corner. (If you miss the door or the timing, don’t fret – you can always create a new platform and try different turning inputs until you make it.)

Through the door, you’re finally free of that dark maze. You stand on a narrow ledge heading south. Quickly dash southward along this catwalk, as a couple of Laser Eyes will start shooting at you from the walls as soon as you pass them. Use your Mirror Shield to block shots from the front. Partway down, a Helmasaur King (masked dinosaur) blocks the path. Either sidestep it or hit it with your Hookshot or sword from the side to stun and then destroy it. Be careful not to get knocked into the pit. Continue south into the next room.


This next hall has four side passages, each ending in a small chest – but each chest is guarded by a Laser Eye (and one by an enemy). Optional Tip: You can bomb the south wall here to create a shortcut outside. On the outside ledge in the Dark World, using the Mirror will let you reach a hidden fairy cave in the Light World – useful if you need to refill health or catch fairies in bottles. Otherwise, proceed with the dungeon.


Thanks to the Mirror Shield, you can approach Laser Eyes head-on now. Start with the right/east path: walk toward the Eye facing it directly, and your Mirror Shield will block its beams. Open the first chest to snag a token Green Rupee. As you turn away, that Eye may try to shoot you in the back. To prevent damage, face north and hold a charged spin attack as you retreat so the shield stays pointed at the Eye while you move. Next, take the left/west path and face the Eye there to reach the second chest, containing a Blue Rupee. Again, back away with your shield facing it (face south this time with a charged sword so your shield covers your back). Farther down is a third side path (east) with a chest holding a Red Rupee – grab it while blocking the Eye as before.
Finally, at the bottom of the hall is the fourth chest, guarded by one more Laser Eye and a blue Hardhat Beetle roaming around. The beetle will try to ram you and knock you off the ledge, so stun it with the Hookshot or a sword strike as you rush in. Open this last chest to obtain Small Key #6!

Now backtrack north to the previous room (the long narrow catwalk). On the north end of that room is a locked door on the left wall. Use Key #6 to unlock it and go west into the next area.

You find yourself in a large rectangular chamber that serves as Turtle Rock’s final gauntlet. It’s a maze of blue and orange blocks controlled by a crystal switch, similar to earlier puzzles. There are also a few enemies: Helmasaurs patrol the corridors, and a lone Hokkubokku might appear to harass you.


The good news is there are plenty of Anti-Fairies floating about too – you can intentionally bump them or sprinkle Magic Powder to create fairies if you need a last-minute heal. Navigate through this maze by hitting the crystal switches as needed to raise/lower blocks. (If an orange block is barring your way, the switch must be blue, and vice versa.) Work your way to the north side of the room. At the top, take the staircase down to Basement Floor 3 (B3).
B3 is a short floor. You’re almost at the boss, so gear up. In the small entry area, two skull pots hold helpful items – one has a heart and the other a full Magic Jar. Make sure your Fire Rod and Ice Rod are equipped, and you have enough magic (the boss requires it). When you’re ready, use the Cane of Somaria on the final question mark to create a platform, and ride it across the last gap to the Boss Door. Unlock it with the Big Key and step into the lair of Trinexx.


Boss: Trinexx
Trinexx is a formidable three-headed dragon trapped in the rock. The central head is flanked by a red head (fire) and a blue head (ice). Each of the two elemental heads will attack with its element: the red head spits waves of fire, while the blue head breathes ice that can freeze sections of the floor into slippery slicks. Meanwhile, the middle head occasionally lunges out like a snake to strike at you (its tail will wiggle rapidly to telegraph this attack).

To defeat Trinexx, you must exploit each head’s weakness. Target the blue (ice) head first – hit it with the Fire Rod, which will stun it, then follow up with sword slashes before it recovers. It’s wise to eliminate the ice head first because any frozen floor patches it creates will remain for the rest of the fight, limiting your mobility. Once the blue head takes enough damage, it shatters.


Next, turn to the red (fire) head and blast it with the Ice Rod to stun it. Again, strike with your sword while it’s frozen in place. If you’re low on magic, you can use just one rod shot to stun and then get multiple sword hits in; otherwise, a few rod blasts will destroy each head outright. After a few rounds, the red head will be destroyed as well.


With both outer heads defeated, Trinexx’s shell collapses, revealing the boss’s true form: a giant snake-like creature (the central head on a long, spiked body). The arena floor starts to crumble at the edges, so watch your step. The serpentine Trinexx will aggressively chase you around the room, trying to ram into you. Its only weak point is a blinking segment in the middle of its body.
Deliver sword strikes to that flashing segment whenever you get a chance. This final phase can be hectic – Trinexx is fast, and the room geometry can make it hard to avoid contact. Focus on surviving: if you have an extra potion or fairy, you can afford to be a bit bold; otherwise, prioritize evasion and hit the weak spot opportunistically rather than charging up a spin attack (which slows you down). After enough hits, the writhing monster will explode in defeat. Congratulations, Trinexx is defeated!


The boss drops Heart Container #11, so be sure to pick it up and boost your life meter by one. This is the last Heart Container from a dungeon boss in the game. In addition, Crystal #7 will descend from above – inside is Princess Zelda herself. Touch the Crystal to free Zelda. Enjoy the well-earned dialogue as she thanks you and urges you toward the final battle. Your health and magic will automatically refill. You’ve now cleared Turtle Rock, rescuing the princess and obtaining the final Golden Crystal. Only Ganon’s Tower remains between you and the ultimate evil of Hyrule.


