


The Wind Waker 100% Completion Walkthrough
- Prologue: Outset Island: Introduction to Link’s home, initial quests, and obtaining the Hero’s Sword and Shield.
- Forsaken Fortress (First Visit): Stealth mechanics and rescuing Aryll.
- Windfall Island: Acquiring the Sail, meeting key characters, and side quests.
- Dragon Roost Island & Cavern: Assisting the Rito tribe, dungeon exploration, and obtaining Din’s Pearl.
- Forest Haven & Forbidden Woods: Meeting the Great Deku Tree, aiding the Koroks, and securing Farore’s Pearl.
- Post-Forbidden Woods Exploration: Collect charts, heart pieces, and upgrades across the southern sea.
- Greatfish Isle & Nayru’s Pearl: Story progression and obtaining the final pearl.
- Great Sea Side Quest Adventure: Explore islands and complete Windfall quests for key upgrades and collectibles.
- Tower of the Gods: Dungeon challenges and gaining access to Hyrule.
- Hyrule Castle: Discovering the Master Sword and storyline developments.
- Post-Hyrule Castle Exploration: Complete trading quests for heart pieces, treasure charts, and the Magic Armor.
- The Forest Water Challenge: Locating and saving each withered tree for a heart piece.
- Forsaken Fortress (Second Visit): Confronting the Helmaroc King and rescuing Aryll.
- Reef Special Charts & Windfall Side Quests: Six-Eye Reefs, Treasure Charts, and Windfall Island side quests.
- Fire Mountain & Ice Ring Isle: Obtain the Power Bracelets and Iron Boots from these elemental islands to access the next temples.
- Earth Temple: Venture with Medli into the Earth Temple to cleanse evil and claim the Mirror Shield.
- Wind Temple: Enter Gale Isle, team up with Makar, and conquer the Wind Temple.
- Triforce Shard Quest: Locating Triforce Charts, deciphering them, and retrieving Triforce shards.
- Ganon’s Tower: Final challenges, boss rematches, and the ultimate confrontation with Ganondorf.
Table of Contents
Forest Haven: Treasure Chart #3 and Piece of Heart #5
Stepping out from the Forbidden Woods, you find yourself back at Forest Haven’s upper ledge. Before sailing off, take a moment to snag a nearby treasure.

Treasure Chart #3 (Collectible #8 of 41)
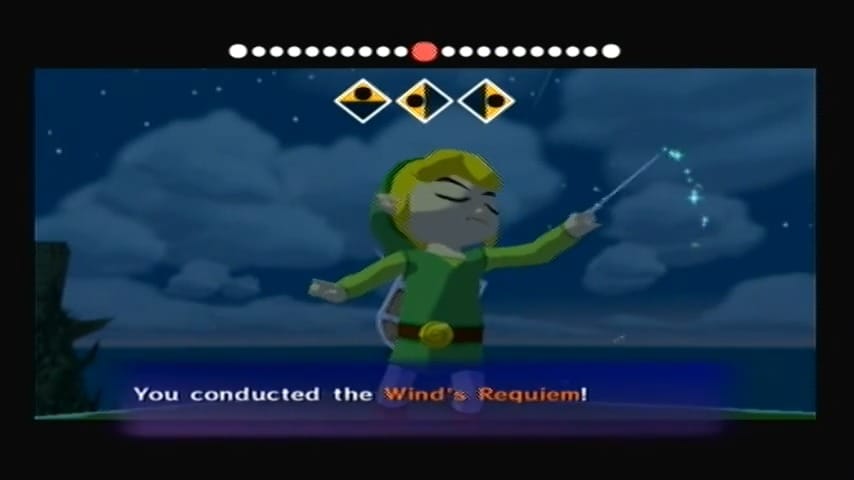
Change the wind to blow east using the Wind’s Requiem, then leap off the Forbidden Woods entrance and glide with your Deku Leaf toward a small, lush island across the way. Land among the Boko Babas on this outcrop. A couple of the carnivorous plants may lunge at you – sidestep and slash them down.
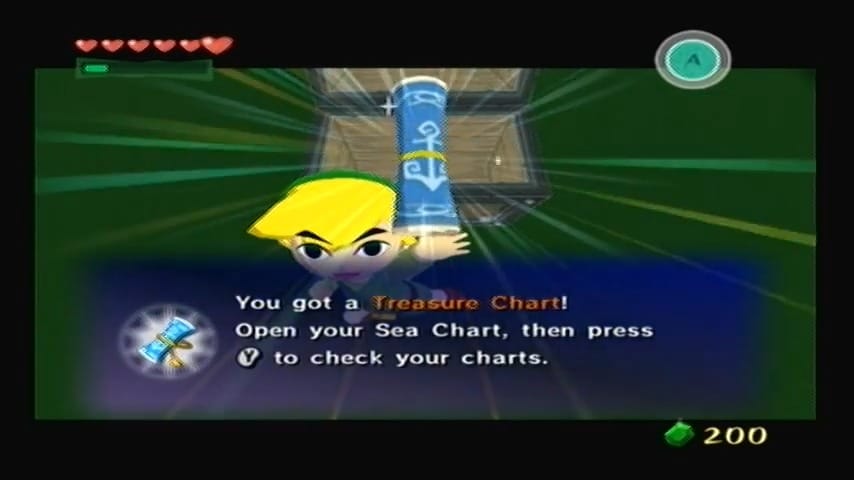
Use their Baba Buds to propel upward from platform to platform. At the top, a chest awaits. Open it to obtain Treasure Chart #3, a handy map that will point you to buried riches elsewhere on the Great Sea. Not a bad find to start your journey!


Heart Piece #5 of 44
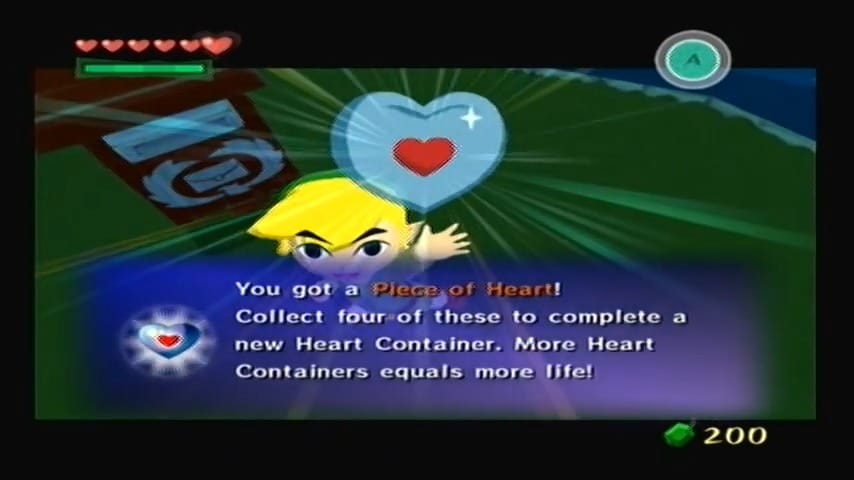
With the Forbidden Woods completed and Farore’s Pearl in hand, Link is free to explore the Great Sea before tackling the next dungeon. Upon leaving Forest Haven, check the mailbox for a surprise reward: the postal service delivers a Piece of Heart as thanks for rescuing Makar.


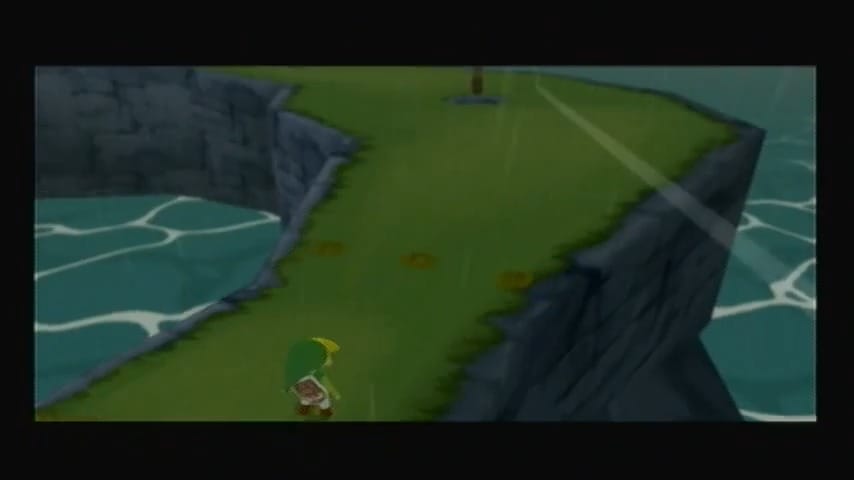
Cliff Plateau Isles: Treasure Chart #25 and Blue Chu Jelly
From Forest Haven, sail one square to the east to reach the Cliff Plateau Isles (G6),
Sea Chart Info #9: Cliff Plateau Isles
As always, feed the Fishman some All-Purpose Bait as you arrive so he’ll update your Sea Chart with this sector’s info.


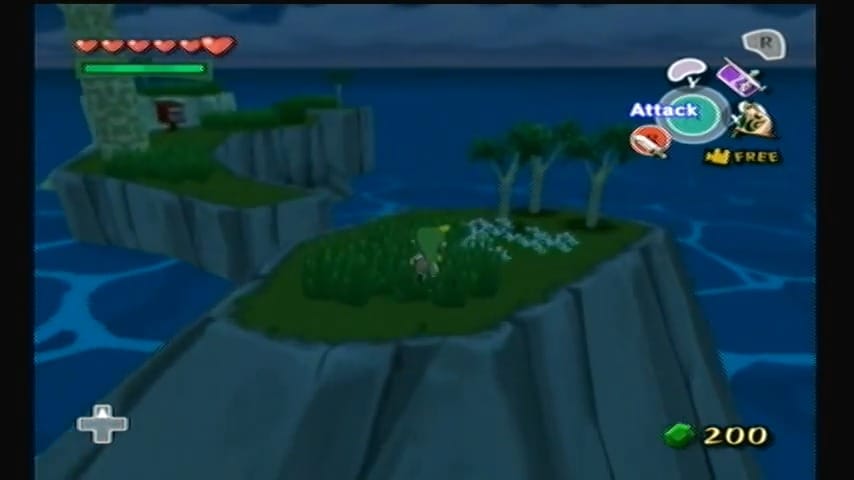
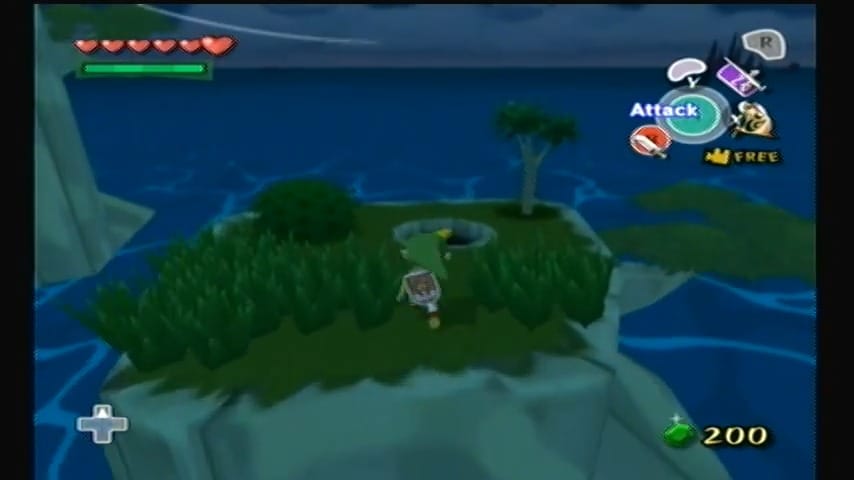
The Cliff Plateau Isles are a cluster of small islands, the largest of which has sheer cliffs and dense vegetation on top. There’s no easy way up there from the water, so you’ll have to go through a hidden cave. Hop across the smaller islets until you find a grassy outcrop with a circular wooden hatch. Drop through this hole into an underground grotto.
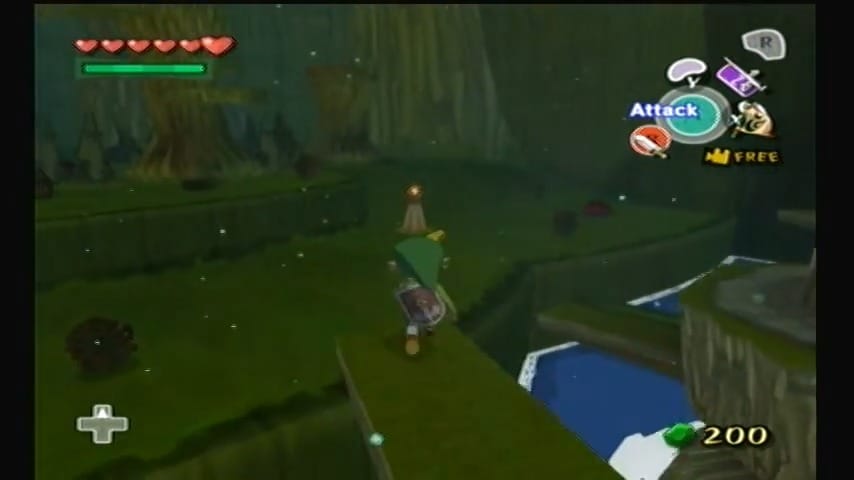
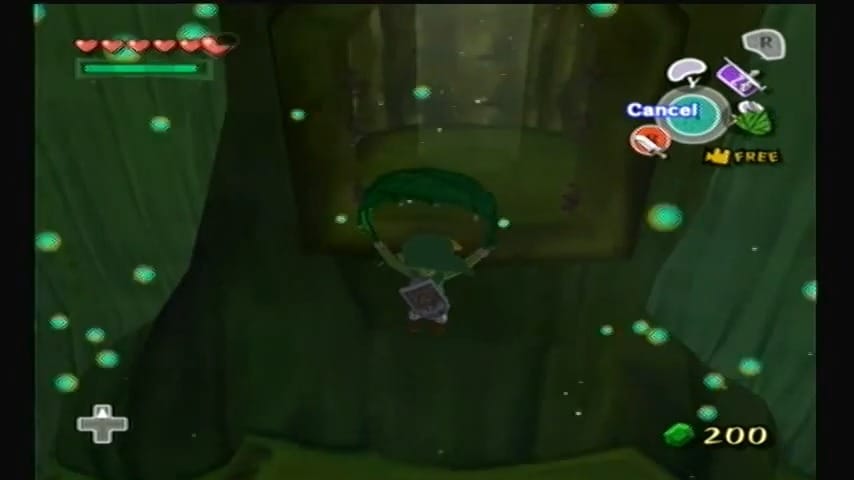
Inside the secret cave, you’ll land knee-deep in water in a dimly lit cavern. Four Boko Babas bob in the shallows here – cut them down one by one. The last Boko Baba you defeat leaves behind a swirling Baba Bud. Step into that bud and launch upward to a higher ledge. Careful: thorny vines cover parts of the walls and will hurt if you brush against them. On the upper level, navigate around the brambles and look for a brittle wooden barrier blocking an exit. Without the Fire Arrows you can’t burn it, but you can break it. Grab a Deku Stick dropped by one of the defeated plants and locate a lit torch in the cave. Light your stick, hop into the Baba Bud again, and as you spring up, toss the burning stick at the wooden planks. They catch fire and crumble away. Now use the Deku Leaf to glide over to that now-open exit. Step into the glowing light portal, which whisks you up to the top of the larger isle outside.


Treasure Chart #25 (Collectible #9 of 41)
Blinking in the daylight atop the cliffs, you’ll see a treasure chest nestled here on the high plateau. Pop it open to claim Treasure Chart #25. This chart will lead you to a sunken treasure later on.


Before you leave, get ready for an ambush – a peculiar blue Chuchu oozes up from the ground nearby. This is your very first Blue ChuChu! These rare jelly creatures can electrify themselves, so don’t rush in with your sword. Instead, quickly target it with your Boomerang or Grappling Hook to stun it, then strike. When it’s defeated, scoop up the Blue Chu Jelly it drops. This azure goo is a rare ingredient for brewing powerful Blue Potions, so hang on to it. Satisfied with your haul from Cliff Plateau (and with a new chart and jelly in hand), hop back into your boat to continue the adventure.

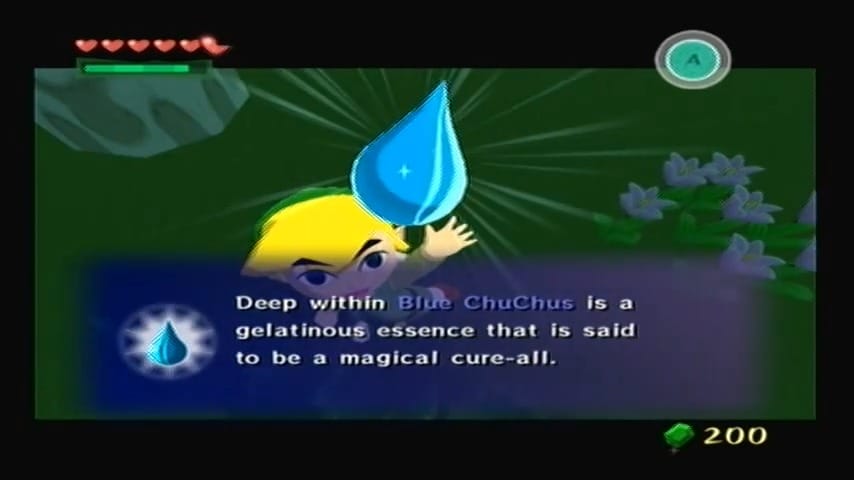

Item: Blue Chu Jelly
A rare jelly dropped by Blue ChuChus. Used to brew powerful Blue Potions that restore both health and magic. Only 23 exist in the game.
Boating Course: Secret Cave for the Submarine Chart
From Cliff Plateau Isles, sail to the southwest. In the next quadrant over, you’ll spot the banner and posts of the Boating Course (located south of Forest Haven, F7).
Sea Chart Info #10: Boating Course
As always, feed the Fishman some All-Purpose Bait as you arrive so he’ll update your Sea Chart with this sector’s info. Chart the island by tossing bait to the Fishman as usual.


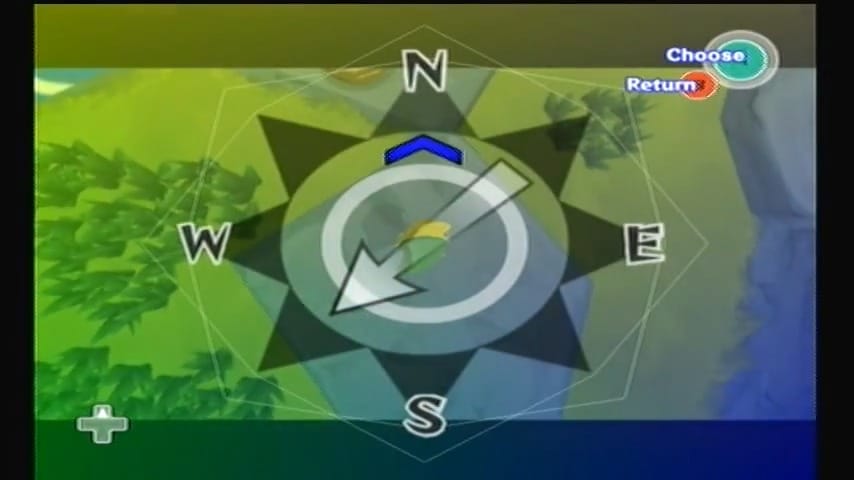
The Boating Course is essentially a mini-game area with a boating track, but there’s treasure to be found here beyond just rupees. Cruise toward the larger of the two small isles – the one with a shack and a few palm trees. Park the King of Red Lions by the low rock ledge and climb ashore. Now look toward the smaller, taller rock spire nearby. That rocky pillar has a hidden cave on top, but you can’t scale it directly. Instead, conduct the Wind’s Requiem and set the wind blowing north (from the larger island toward the smaller one). With the breeze at your back, leap from the high point of the big island and glide using your Deku Leaf across the gap. You should land neatly on the grassy ledge of the distant pillar. There you’ll find a hole in the ground – drop in to enter the secret cave.


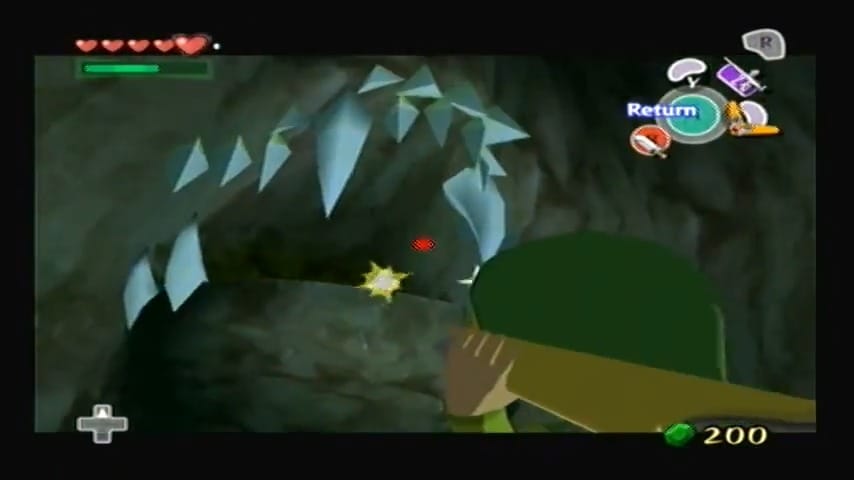
You find yourself in a dimly lit cavern full of tiny, squeaky enemies: a horde of Miniblins! These little fiends hop out of the shadows and will poke at you with pitchforks endlessly. Don’t get overwhelmed – keep moving and swatting them away with your sword to thin out their numbers. Amidst the chaos, you’ll notice three crystal switches mounted on the walls around the cave. Your goal is to hit all three switches in quick succession.
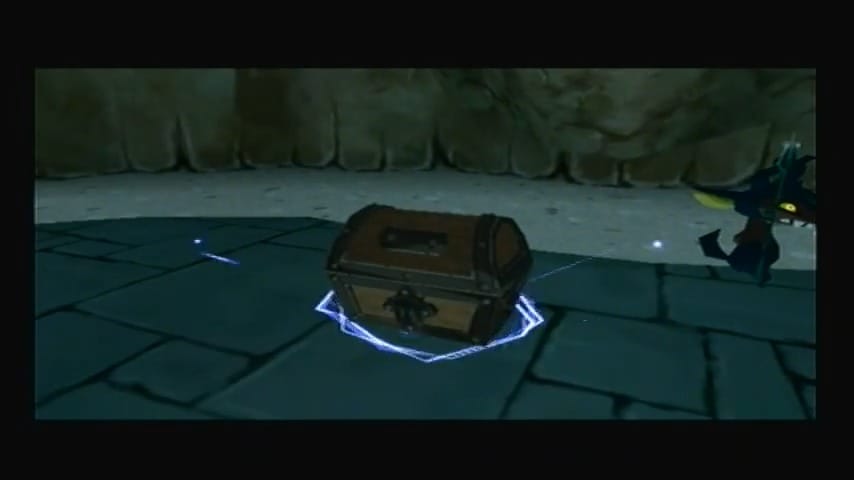
Target them with your Boomerang (it can lock onto multiple targets at once) and let it fly, or pick off each switch one by one when you get a breather from the Miniblin assault. It may take a couple of tries while fending off the pesky critters, but once all three switches have been activated, you’ll hear a satisfying chime. The onslaught of Miniblins stops, and a treasure chest appears on a raised platform in the center of the cave.
Climb up the ladder that drops down and open the chest to snag the Submarine Chart. This useful chart will mark all the hidden submarines in the Great Sea on your map – a key to finding even more secret goodies. With the Submarine Chart in hand, climb the ladder back out of the hole to daylight and return to your boat.

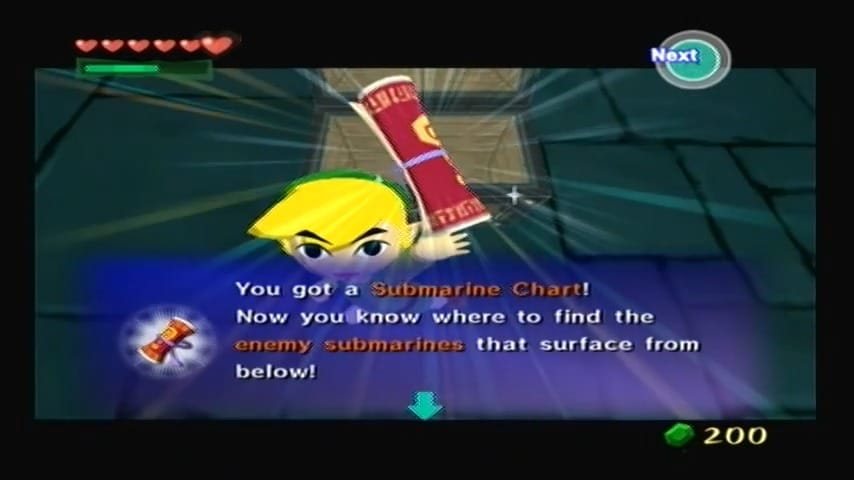

Special Chart: Submarine Chart
Marks the locations of all hidden submarines across the Great Sea. Each sub contains unique enemies, puzzles, or treasures.
Five-Star Isles: Submarine Showdown (Piece of Heart #6)
Our next stop lies due east. Sail one square east from the Boating Course to reach the Five-Star Isles, located at the far southeast corner of the sea.
Sea Chart Info #11: Five Star Isles
As you approach, five tall rock spires jut out of the water, resembling the spots on a die. Feed the Fishman to record the Five-Star Isles (sector G7) on your Sea Chart.


There’s not much ground to stand on here, but there is something of interest floating nearby. Scan the waters south of the rocky isles and you’ll see a submarine bobbing in the ocean. Set sail toward it and pull up alongside the sub’s ladder. Hop off the King of Red Lions and climb aboard the submarine.

Heart Piece #6 of 44
Inside, your entry is greeted by the guttural grunts of several Bokoblins. In the submarine’s dim interior, two blue Bokoblins and two green Bokoblins are on patrol. The moment they see you, they’ll draw their machetes and attack. Engage them in close quarters combat – block or jump strike to avoid getting mobbed by multiple Bokoblins at once.
The cramped space can make the fight a bit hectic, but use spin attacks or knock some Bokoblins off the ledges to thin their ranks. Once you’ve defeated all four, lanterns on the sub light up and you’ll hear the sound of a chest appearing. Climb up the ladder to the raised platform at the back of the sub. The newly materialized chest is sitting there waiting for you. Open it up to claim Piece of Heart #6! That’s one more piece toward increasing your life meter. Pocket the heart piece, then drop back into your boat.


Angular Isles: Block Puzzle for Piece of Heart #7 (and Blue Chu)
Head two squares west from Five-Star Isles to reach the Angular Isles (E7). (You’ll pass by the Boating Course again and continue west into the next sector.) The Angular Isles are two peculiar, cube-shaped islands stacked like giant stone dice.
Sea Chart Info #12: Angular Isles
Toss bait to the Fishman here to chart this area.


Upon arrival, hop onto the larger island. It’s immediately clear how this place got its name – the whole landmass is made of rectangular blocks that form steps and terraces. Time to put on your puzzle-solving hat. From the water’s edge where you climbed up, you’ll see a block embedded in the structure that you can grab. Pull it out from the wall; it slides surprisingly smoothly for such a massive stone. This gives you a ledge to climb up to the next level. Traverse around to the far side of the island where another block juts out. Push that block and it will tumble down, crashing into place on the lower level. Jump down after it and drag it into a position against the structure that lets you climb even higher. As you scale upward, you’ll find one more movable block – pull it out to serve as the final step. With a bit of climbing and clever block-shifting, you’ll reach the summit of Angular Isles.


Heart Piece #7 of 44
At the top, perched on the highest platform, sits a large treasure chest. Piece of Heart #7 is waiting inside! Open the chest and bask in the glow as you collect another Heart Piece. You can almost feel your life energy growing.
Speaking of glowing, as you claim the heart piece a strange gelatinous form pops up beside you – another Blue ChuChu has appeared on the summit! It seems these rare creatures love high perches. Quickly pull out your Boomerang and stun this blue blob before it zaps you, then finish it off with your sword. Scoop up the Blue Chu Jelly it leaves behind for your collection. That’s your second batch of blue jelly, which will come in handy for potion-brewing later.


Heart Piece #8 of 44
Before you depart Angular Isles, there’s one more treasure to grab here. Remember that Treasure Chart #15 you picked up earlier (back in the Forbidden Woods dungeon)? Now is a perfect time to put it to use.
Climb back aboard the King of Red Lions and open your sea charts. When you compare Chart #15 to your Sea Chart, you’ll notice that it marks a treasure located in the waters just southwest of the Angular Isles. You should even spot a bright ring of light on the ocean’s surface nearby, indicating the sunken treasure’s location. Sail over to that glowing spot and let out your Grappling Hook crane.
Guide the salvage hook as it plunges into the sea and… thump! It hits a treasure chest on the sea floor. Reel it in to haul up your prize: Piece of Heart #8! This treasure completes another set of four. With Pieces of Heart #5, #6, #7, and now #8 collected, you’ve assembled a full Heart Container, extending your life meter by one. Nice work!


Two-Eye Reef: Big Octo Battle (Magic Meter Upgrade)
Continue sailing westward to the next sector and you’ll find Two-Eye Reef (D7). (By now you’re near the southwest reaches of the map, not far from Outset Island’s location.)
Sea Chart Info #13: Two Eye Reef
Chart this sector by feeding the Fishman, who might warn you about strange dangers in the area.


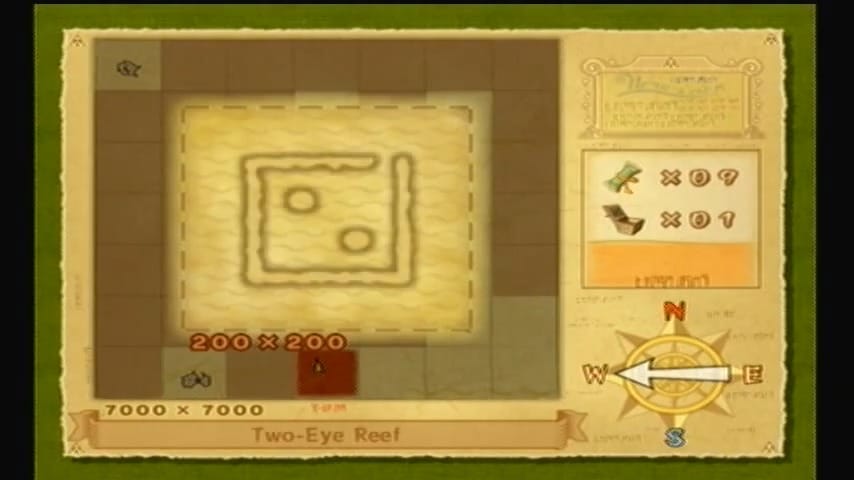
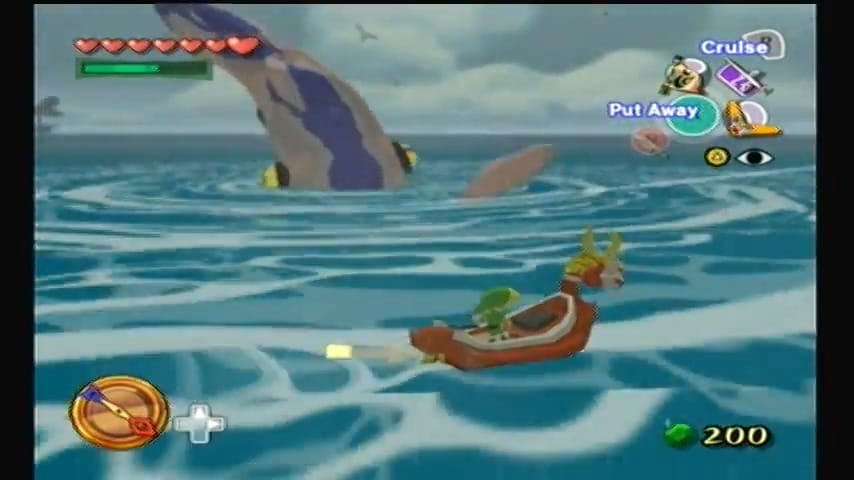
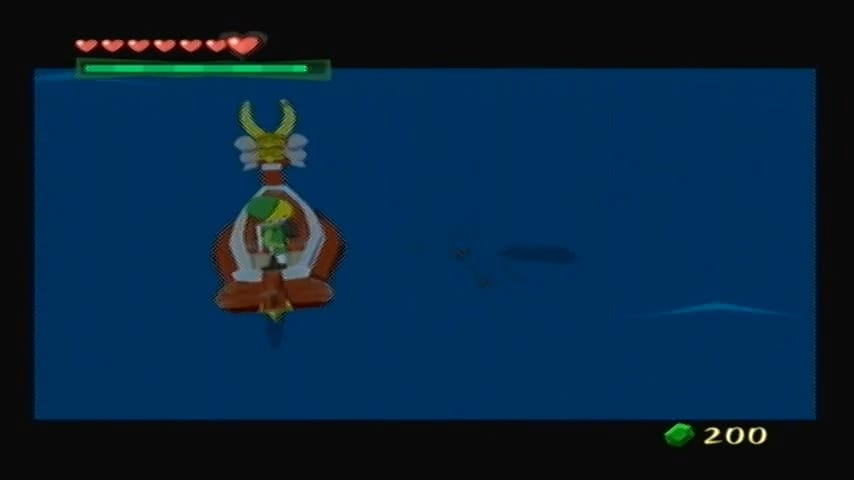
Two-Eye Reef itself is a boxed-in atoll with two tall “eyes” of rock, but you won’t be entering it just yet – you lack the cannon firepower needed to clear the Reef’s defenses. Instead, your attention should turn to the open sea around the reef. A flock of seagulls is circling excitedly not too far away, just southwest of the reef’s perimeter. That’s your signal: a Big Octo is lurking below the waves! Sail toward the whirling seagulls and be ready for a fight.
As you approach, the ocean suddenly churns and a giant squid-like creature bursts up, drawing your boat into its vortex. You’re face-to-face with a Big Octo. This one has four enormous eyes bulging from its head – those are its weak points. The King of Red Lions will automatically sail around the leviathan in a slow circle, so quickly arm your Boomerang. Target as many of the Big Octo’s eyes as you can (the Boomerang can lock onto multiple targets) and let it fly. The creature howls as you strike an eye, trying to suck you in or blow you away in retaliation. Keep moving and throwing the Boomerang; it may take two or three hits to burst each eye. If you stay on the move, the Octo’s gusts and ink blasts will miss you. Pop all four eyes and the colossal cephalopod gives a final shudder before collapsing. It sinks beneath the waves in a flurry of bubbles, defeated. In its place, a Great Fairy suddenly rises from the ocean, freed from the Octo’s belly.
The grateful fairy greets you with a cheerful giggle and recognizes your deeds. As thanks for vanquishing the Big Octo, she works her magic to enhance your power. You’ve earned the Magic Meter Upgrade, doubling the size of your green magic bar! Your ability to use the Deku Leaf, Fire and Ice arrows (once you get them), and other magic-consuming items has now been greatly expanded. With a wave goodbye, the Great Fairy disappears into the breeze. Climb back onto your boat feeling accomplished – you’re stronger now, and the Great Sea’s treasures await.


Headstone Island: Treasure Chart #14 and Piece of Heart #9
Sail west again from Two-Eye Reef, and you’ll soon see a bleak, desert-like island with a massive rock slab looming on its shore. This is Headstone Island, notable as the site of one of the legendary temples (though you can’t access it until much later in your quest). It lies just east of Outset Island.
Sea Chart Info #15: Headstone Island
As you arrive, do the usual routine and feed the Fishman to mark Headstone Island on your map.


Before heading onto the island itself, there’s another secret to grab nearby. Cruise around to the northern side of Headstone Island where a lone wooden Submarine is floating. Climb aboard that submarine to see what you can find.

Treasure Chart #14 (Collectible #10 of 41)
The moment your eyes adjust to the submarine’s dark interior, you hear chittering laughter – this sub is overrun with Rats! These aren’t ordinary Rats, either; these sneaky creatures have an arsenal. Some scamper across the floor carrying lit Bombs in their tails, and the hold is littered with explosive Bombs as well, making for a very dangerous playground. One wrong step or a rat’s dropped bomb could blow up in your face.
Stay on the ladder for a second and locate the rodents as they dart about. It’s wise to use your Boomerang here for safety: target and hit each Bombchu-like Rat from a distance before they can rush you. Two or three direct hits will take a rat down. If a Bomb-carrying Rat gets too close, quickly backflip away to avoid the blast. Methodically boomerang every last Rat scurrying in the sub. Once the final Rat is defeated (and the smoke clears), a ladder slides down from the ceiling. Climb up to the higher platform, where a treasure chest now sits. Crack it open to claim Treasure Chart #14. Excellent – another chart for the collection! This one will lead you to hidden loot later on.


Heart Piece #9 of 44
With the submarine cleared out, return to the King of Red Lions and sail over to Headstone Island’s rocky shore. There’s one more valuable item here, literally perched at the top of the island. Pull out a Hyoi Pear from your bait bag and equip it. When you’re ready, stand on your boat (or the shoreline) and release the pear. Instantly, a seagull swoops down and snatches the pear from your hand, allowing you to take control of the bird. Now you get a bird’s-eye view of the island.
Steer the seagull upward, climbing high above the colossal head-shaped stone that blocks the island’s cave entrance. At the very peak of that stone lies a shining prize: Piece of Heart #9 is sitting out in the open! Guide the seagull carefully to the top, avoiding any hazards (thankfully, Headstone Island isn’t swarming with Kargaroks, so your feathered friend has a clear path). Once you spot the Heart Piece gleaming on the summit, dive the seagull straight into it. The instant the gull touches the heart, you’ll hear the triumphant collection fanfare and the item vanishes – it’s magically sent to Link! Cancel your control of the seagull, and you’ll find the Piece of Heart #9 safely added to your own inventory. Another piece down, nice going!


Horseshoe Island: Deku Leaf Golf for Treasure Charts #8 and #28
Continuing your westward journey, you’ll round the cape past Outset Island (give a wave toward your home island as you sail by!) and reach the remote Horseshoe Island at the far southwest corner of the map.
Sea Chart Info #15: Horseshoe Island
Drop some bait for the Fishman to chart Horseshoe Island (A7).


Horseshoe Island is a verdant little isle with a unique challenge – it’s laid out like a miniature golf course, complete with giant hollow logs and holes in the ground. Time to play a round of Deku Leaf golf! Land on the shore and climb up onto the grassy course. As soon as you step onto the fairway, thick wooden vine gates pop up behind you, preventing any retreat. The only way out is forward, and that means getting past the three “holes” ahead.

Nearby you’ll find large coconut-like nuts on the ground. Pick up a nut and face the first tree-trunk “hole” down the fairway. Toss the nut toward the hole – if your throw isn’t perfect, pull out your Deku Leaf and give the nut a gentle gust to roll it the rest of the way. Once the nut plunks into the first hole, the vine gate blocking the next section withers away, letting you advance. Move on to the second hole and repeat the process: grab a fresh nut and lob it across the gap, then blow it with the leaf as needed to guide it in. Two down, one to go.


The third and final hole is the trickiest. It’s farther away, and this time the nut’s starting position is beyond a fence of vines, making a direct throw impossible. Stand just before the vine fence and use the Deku Leaf to fan a nut that’s sitting on the other side. Time your gusts to send it rolling along the grass, and try to angle your blows to line it up with the last hole. It may take a few attempts (if a nut falls into the abyss or explodes, another will magically sprout back at the start), but persistence pays off. When you finally hear that satisfying “clunk” of the nut sinking into the third hole, all the remaining vine gates around the island collapse. Even better, a large treasure chest appears atop a tall pillar island in the middle of the course!


Treasure Chart #8 (Collectible #11 of 41)
At the very top of the island’s hill, you will see a small hollow now unobstructed – this is the entrance to a secret cave. Drop through the hole into the cave below for a bonus challenge. You land in an underground chamber and are immediately set upon by a swarm of giant moths – three Mothulas guard this cave.
One is winged and flitting around the room, while two smaller, wingless Mothulas skitter toward you on the ground. It’s battle time! A good strategy is to target the flying Mothula first: use your Boomerang to cut its wings off, causing it to crash to the floor. Watch out for the Mothulas’ powdery scales, which they can shake off to curse you (temporarily disabling your ability to use your sword). Keep moving to avoid that dust, and strike with your sword whenever you see an opening.
After some well-placed slices, the winged pest and its crawling cohorts will be defeated. When the last Mothula falls, a treasure chest materializes in the center of the cavern. Pop it open to reveal Treasure Chart #8! This chart points to yet another submerged treasure out on the Great Sea (one you can salvage later for a nice reward). With the cave cleared and two new charts richer, climb the ladder back up to daylight. Horseshoe Island has been thoroughly cleaned out, and you can now return to your talking boat to continue the voyage.


Treasure Chart #28 (Collectible #12 of 41)
Run to the highest point of the main island – near where the third hole was – and look toward the newly spawned chest on the central pillar. Play the Wind’s Requiem and set the wind blowing to the east, lining up your glide. Leap off and ride the breeze with your Deku Leaf, soaring across the gap to the pillar island. Gently drift down and land next to the awaiting chest. Open it up to add Treasure Chart #28 to your collection. This chart will come in handy later, marking yet another secret treasure location on your Sea Chart.


Diamond Steppe Island: Sunken Treasure (Piece of Heart #9 & 10)
Our journey now turns northward. From Horseshoe Island, sail one square to the north to reach Diamond Steppe Island (A6). This island is hard to miss – it features a towering, spiral rock formation that looks like a giant corkscrew jutting out of the sea.
Sea Chart Info #16: Diamond Steppe Isle
Chart the island by feeding the ever-hungry Fishman so your map stays up to date.


Diamond Steppe Island is known to house a tricky warp maze and the coveted Ghost Ship Chart, but you can’t do much on the island’s surface at the moment without the right tools (you’ll need the Hookshot later to access its cave). However, there’s treasure hidden beneath the waves here that we can get right now.
Heart Piece #10 of 44
If you’ve been diligent with your side quests, you should have Treasure Chart #23 in your possession at this point (this chart is the reward from winning Salvatore’s squid-shooting game in fewer than 20 cannon shots on Windfall Island). Now is the time to cash it in. Open up your sea charts and find Chart #23, which reveals a treasure location in the waters near Diamond Steppe.
Scan the ocean around the island for the telltale ring of light on the surface. Once you spot it, sail over and deploy the Grappling Hook crane. The winch rattles as it descends into the deep, then clunk – it catches on something! Reel it back up and a dripping chest breaks the surface. Open the salvaged chest to claim Piece of Heart #10. You’ve found yet another Heart Piece, further bolstering your health. (If you haven’t already gained an extra Heart Container from the previous pieces, you’re certainly due for one soon, as this is the fifth piece in this leg of the journey.) Stow the precious heart piece and prepare to head to our last destination in this great sea excursion.


Needle Rock Isle: Piece of Heart #11
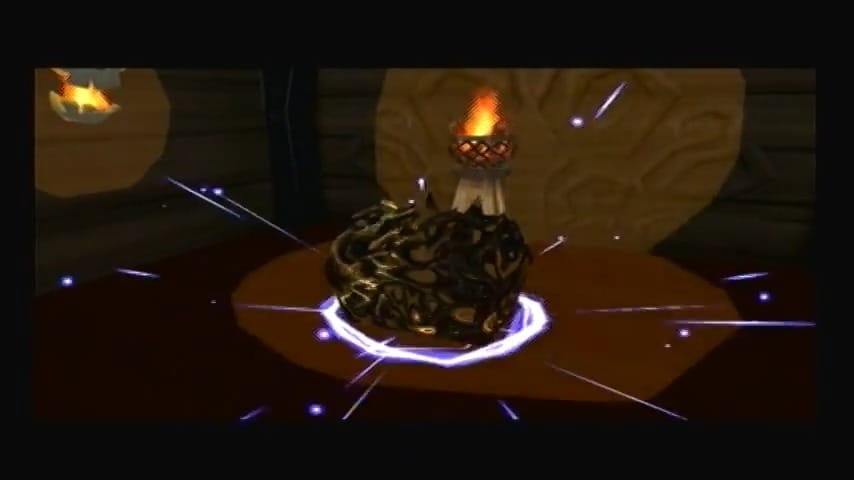
From Diamond Steppe, sail one square further north to reach Needle Rock Isle (A5). As you approach, you’ll see why it’s named so – a tall, needle-like spire of rock dominates the island, and a ring of fire encircles a chest atop a small outcrop near its base.
Sea Chart Info #17: Needle Rock Isle
Let the Fishman do his map-marking thing with a bit of bait, then get ready for another seagull-assisted adventure.


First, you might notice a flock of Kargaroks (those nasty bird-like monsters) patrolling the skies around Needle Rock. You can try to shoot them down with your Boomerang as they swoop by to make things easier. If any remain, don’t worry; you can still manage the next step with some deft flying.
Heart Piece #11 of 44
Land on the island and pull out a Hyoi Pear. The moment you place the pear on your head, a seagull dives in to grab it, and you take control of our feathered friend. Your target is a switch hidden high on the needle spire – look for a crystal switch glinting near the peak of the rock. Fly the seagull upward, accelerating with bursts of flapping (press A repeatedly to dash) to outmaneuver any aggressive Kargaroks.
The giant birds will try to give chase, but the seagull’s nimbleness can keep you one step ahead. In a daring mid-air maneuver, steer the seagull into the crystal switch on the side of the needle. On impact, you’ll hear the satisfying click of the switch triggering. Instantly, the ring of magical flames down below fizzles out. The barrier of fire that was surrounding the treasure chest has been dispelled!
Your job as a seagull now complete, hit the button to return to Link’s perspective (or wait for a Kargarok to knock the gull out of the sky – either way, control will revert to you). Now it’s safe to approach that once-fiery pedestal. Climb up the rocky ledge to the small plateau at the needle’s base, where the chest now sits unguarded. Open it to finally claim Piece of Heart #11. This hard-earned heart piece is a just reward for your seagull-guiding efforts. Take a moment to celebrate – you’ve collected a ton of treasure and upgrades on this oceanic journey!


With Needle Rock Isle’s prize in hand, you’ve finished this grand tour of the Great Sea’s southern reaches. You obtained several new Treasure Charts, multiple Pieces of Heart, rare Blue Chu Jelly, and even a bigger Magic Meter along the way. Now, well-equipped and more resilient than ever, you’re ready to continue your main quest. Turn your sail towards your next story destination (Greatfish Isle awaits just over the horizon) or venture forth to any other unexplored corners at your leisure. The Great Sea is yours to conquer, hero – onwards to your next adventure!