


The Wind Waker 100% Completion Walkthrough
- Prologue: Outset Island: Introduction to Link’s home, initial quests, and obtaining the Hero’s Sword and Shield.
- Forsaken Fortress (First Visit): Stealth mechanics and rescuing Aryll.
- Windfall Island: Acquiring the Sail, meeting key characters, and side quests.
- Dragon Roost Island & Cavern: Assisting the Rito tribe, dungeon exploration, and obtaining Din’s Pearl.
- Forest Haven & Forbidden Woods: Meeting the Great Deku Tree, aiding the Koroks, and securing Farore’s Pearl.
- Post-Forbidden Woods Exploration: Collect charts, heart pieces, and upgrades across the southern sea.
- Greatfish Isle & Nayru’s Pearl: Story progression and obtaining the final pearl.
- Great Sea Side Quest Adventure: Explore islands and complete Windfall quests for key upgrades and collectibles.
- Tower of the Gods: Dungeon challenges and gaining access to Hyrule.
- Hyrule Castle: Discovering the Master Sword and storyline developments.
- Post-Hyrule Castle Exploration: Complete trading quests for heart pieces, treasure charts, and the Magic Armor.
- The Forest Water Challenge: Locating and saving each withered tree for a heart piece.
- Forsaken Fortress (Second Visit): Confronting the Helmaroc King and rescuing Aryll.
- Reef Special Charts & Windfall Side Quests: Six-Eye Reefs, Treasure Charts, and Windfall Island side quests.
- Fire Mountain & Ice Ring Isle: Obtain the Power Bracelets and Iron Boots from these elemental islands to access the next temples.
- Earth Temple: Venture with Medli into the Earth Temple to cleanse evil and claim the Mirror Shield.
- Wind Temple: Enter Gale Isle, team up with Makar, and conquer the Wind Temple.
- Triforce Shard Quest: Locating Triforce Charts, deciphering them, and retrieving Triforce shards.
- Ganon’s Tower: Final challenges, boss rematches, and the ultimate confrontation with Ganondorf.

You begin your adventure on Outset Island on Link’s birthday. First stop is Grandma’s house, where she presents you with the Hero’s Clothes – a traditional green tunic and cap that signify the Hero of legend. Donning these clothes is a coming-of-age ritual on Outset, and though Link feels a bit warm in them, Grandma insists he wear them proudly. With your new outfit equipped, you’re one step closer to your destiny.


(Optional) Now is a great time to stock up on supplies and rupees before the adventure heats up. Outset Island is full of friendly folks and a few hidden treasures. If you explore the village, you can scrounge up rupees in grass or under rocks. One lucrative chore is rounding up the stray piglets on the island. If you catch the three little pigs and carry each to the pen by the wealthy woman’s house on the hill, she’ll reward your efforts with 20 Rupees per piglet (for a total of 60 Rupees). The trick is to crouch-walk as you approach a pig so it doesn’t get spooked and run off.


Additionally, peek inside the old swordsman Mesa’s house (he’s the guy furiously chopping grass) – crawl under the deck of his home to find a hidden chest containing a Orange Rupee (100). With these tasks, you’ll build up a small fortune to spend.

(Optional) With some spending money in your pocket, pay a visit to Beedle’s Shop Ship, the merchant boat anchored just offshore by the dock. Swim on over and climb aboard to see his wares. The most important item here is the Bait Bag, which Beedle will sell you for 20 Rupees.


Item: Bait Bag
This pig-faced pouch lets you carry special bait items. In fact, you can’t buy bait without it, so grab one now if possible.
Once you have the bag, you can also purchase All-Purpose Bait (sold in sets of 3 servings) and a Hyoi Pear. All-Purpose Bait costs 30 Rupees for a bundle of three and Hyoi Pears cost 10 Rupees each.


Item: All-Purpose Bait
All-Purpose Bait can be used to feed animals – it has many uses, like feeding the Fishmen who fill in your Sea Chart or luring the big pig on Outset to dig up treasures.

Item: Hyoi Pear
A special treat – when you place a pear on your head, a seagull will swoop down and you’ll briefly take control of the seagull! This can let you reach far-off switches or items later in the game.
These purchases are optional right now (you won’t need them immediately), but buying them now can make your upcoming journey smoother. Beedle also runs a membership point system, so he’ll be very happy to have your business, calling you a “fine customer” as you buy supplies.
Find Aryll on the Watchtower:
With preparations made, head up the ladder to Aryll’s Lookout, the tall watchtower on Outset’s west hill. Your little sister Aryll is waiting up top, eager to celebrate your birthday. She notices your snazzy new outfit and giggles that you “look a little hot” in those clothes. As a special birthday surprise, Aryll lends you her most precious belonging: the Telescope. At Aryll’s urging, give the telescope a try by focusing on Grandma’s house down by the shore. As you peer through, something unexpected comes into view…


Item:Telescope
This telescope is essentially a first-person zoom lens – you can set it to a button and use it to survey distant objects. She’s only letting you borrow it for the day, so take good care of it!
Through the telescope’s lens, you and Aryll spot a huge bird, the Helmaroc King, carrying a struggling young girl in its talons. This armored Helmaroc King is being pursued by a pirate ship firing cannonballs at it! Watch as a cannon blast strikes the bird, causing it to drop the girl into the dense forest atop Outset’s tallest peak, the Forest of Fairies. The pirate ship’s crew seems to be searching for their fallen leader – that girl was Tetra, the captain of the pirates. Aryll pleads with you to go ensure the pirate girl is alright. Without hesitation, you resolve to rescue Tetra from the forest. However, heading into the woods full of monsters unarmed would be foolhardy – you’ll need a sword.
Orca’s Training: Earning the Hero’s Sword
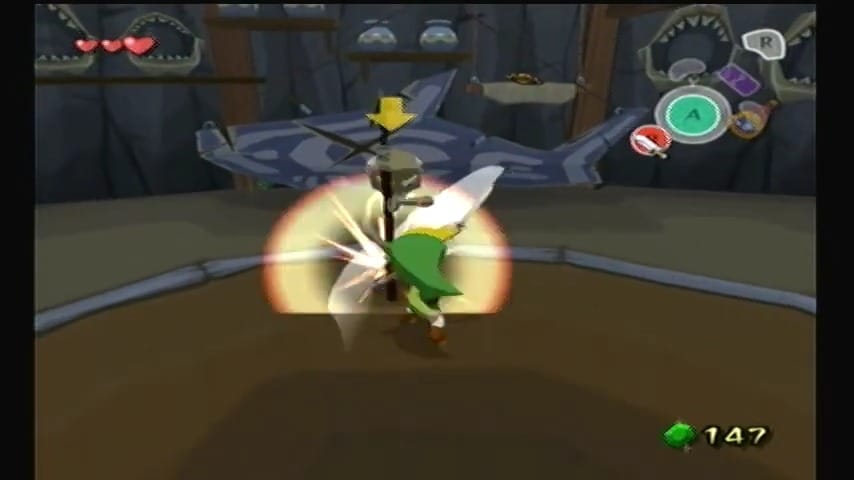
Before you charge off to the forest, stop by the home of Orca, the village swordsman (it’s the large hut near the dock). Orca is a retired warrior who’s more than happy to teach an aspiring hero how to handle a blade. Speak to him on the ground floor and he’ll offer to train you in the art of swordplay. What follows is a tutorial on basic sword techniques. Orca will guide you through horizontal slashes, vertical slashes, targeted thrusts, spins, and parry attacks. Listen to his instructions and mimic his strikes – the key is to hit the ? button in rhythm as the prompts appear, and target Orca with ? when he asks for specific moves. After you successfully demonstrate each technique a few times, Orca acknowledges your skill. He’s quite impressed with how quickly you learn. As a reward for completing Orca’s lesson, he grants you the Hero’s Sword! Orca reminds you that a true warrior also uses his shield… though, funny enough, you don’t have a shield just yet. Nonetheless, you’re now armed and ready to brave the woods.


Item: Hero’s Sword
This blade once belonged to the legendary hero (according to Grandma), and now it’s yours to wield. With the Hero’s Sword equipped, you can attack enemies and cut down small obstacles.
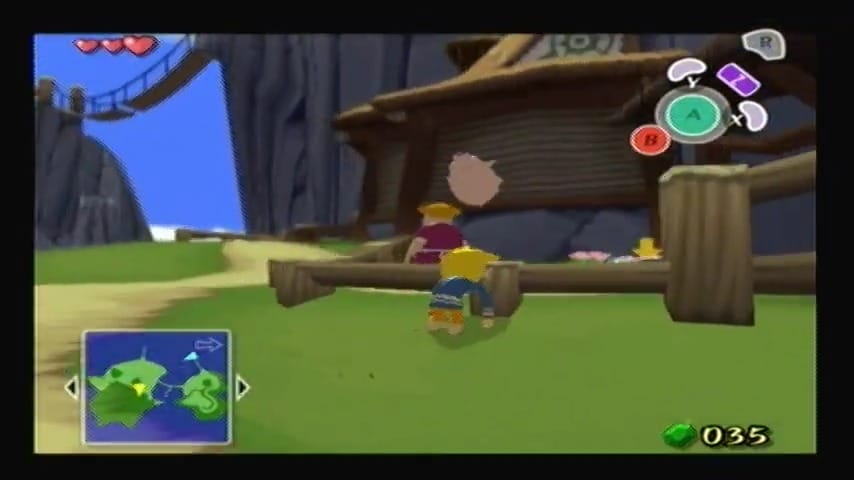
Exit Orca’s house and make your way up the path near Aryll’s lookout to head for the forest where Tetra fell. As you go, you’ll encounter some small trees and overgrown shrubs blocking the path. Use your newly forged sword to cut down the trees in your way. The path winds upward. Cross the wooden bridge that spans a gap and continue to the entrance of the forest area known locally as the Forest of Fairies. Take a deep breath and step inside to find Tetra.


Into the Woods:
The forest is dim and quiet at first. Follow the dirt path into a clearing surrounded by tall trees. You spot the young pirate captain Tetra herself. She’s hanging precariously from a tree branch in her blue outfit. It’s not long before you’re ambushed by your first enemy: a Bokoblin drops from the sky (likely flung off the Helmaroc King earlier) and lands right in front of you! This mischievous goblin-like creature brandishes a club and is looking for a fight. Lock onto it and put your sword training to use. A few good slashes will take it down. Remember, you don’t have a shield yet, so you can’t block its attacks – be ready to dodge sideways if the Bokoblin tries to hit you. Two or three strikes from your sword will defeat it. With the path forward clear, climb onto the large tree stump and jump up to the higher ledge to proceed deeper into the woods.

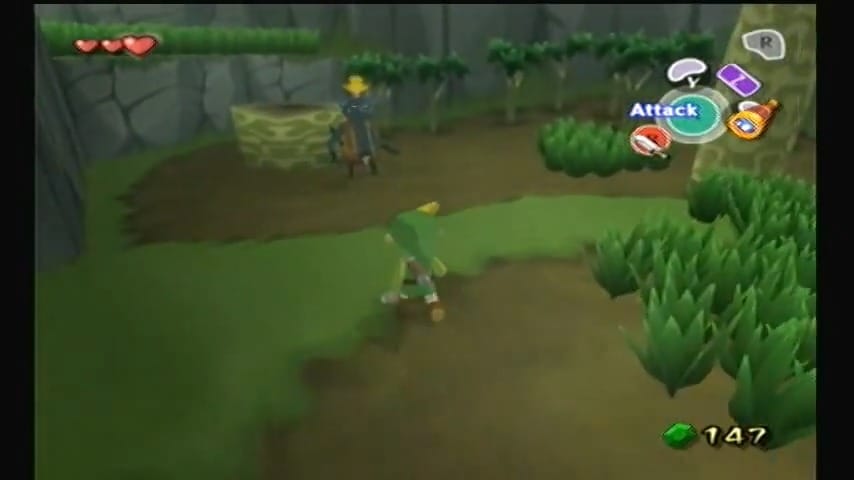

You’ll navigate a fallen log and drop into the next section of the forest. Here, two more Bokoblins lie in wait. They’ll jump out to attack as you approach Tetra’s position. Handle them one at a time – use a jump attack (press ? while targeting) or a quick flurry of slashes to dispatch these foes. Without a shield, keep moving to avoid getting hit, and strike when you see an opening. Once the bokoblins are defeated, peace returns to the woods. It seems the fall left her caught on the branch by her coat.

Approach Tetra, and a short scene will play: Tetra squirms on the branch she’s hanging from until it breaks, causing her to tumble safely to the ground (with a thud). Freed at last, the tough pirate immediately jumps up, demanding to know what’s going on. A brief (and humorous) exchange follows where one of Tetra’s pirate cronies scrambles into the woods to scold her for being so careless. Tetra thanks you grudgingly for the rescue – she’s a bit proud and won’t gush with gratitude, but you can tell she’s relieved. Just as things seem to be winding down, an ominous shadow sweeps across the forest floor. Tetra and you run out of the woods to the bridge connecting the forest to the main island. On the far end of the bridge, you see Aryll waving excitedly, overjoyed that you found Tetra. The camera pans up – it’s the Helmaroc King again!


Aryll’s Kidnapping by the Helmaroc King
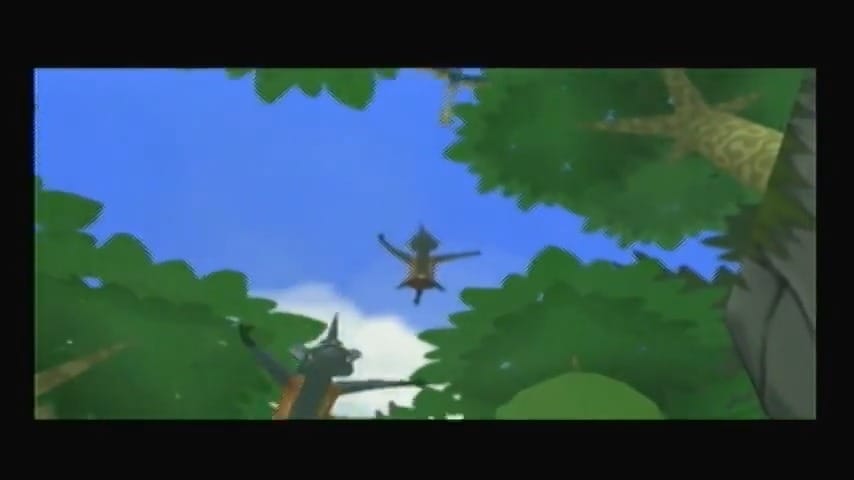
Tetra and her pirate crew accompany you out of the woods. As you cross the suspension bridge back toward your home, your little sister Aryll excitedly waves to you from the far end. Suddenly, the Helmaroc King swoops down out of nowhere. Mistaking Aryll for Tetra (both girls have similar pointy ears), the giant bird snatches Aryll right off the bridge! In a desperate attempt, you sprint forward, but it’s too late – the Helmaroc King carries Aryll off toward the horizon and the ominous Forsaken Fortress, where it makes its lair. Frantic and determined to save your sister, you plead with Tetra to take you along with her pirate crew to rescue Aryll.


At first, Tetra is reluctant – you’re just an island boy in her eyes, and the pirate life is dangerous. Fortunately, the Rito postman Quill witnesses what happened and intervenes. He points out to Tetra that Aryll’s kidnapping only happened because the pirates and their bird brought trouble to Outset. Quill convinces Tetra and her crew to help by giving you passage to the Forsaken Fortress so you can attempt a rescue. Tetra finally agrees to bring you along, but not before laying down one condition: you’ll need a shield for protection.

Joining the Pirates & Obtaining the Hero’s Shield
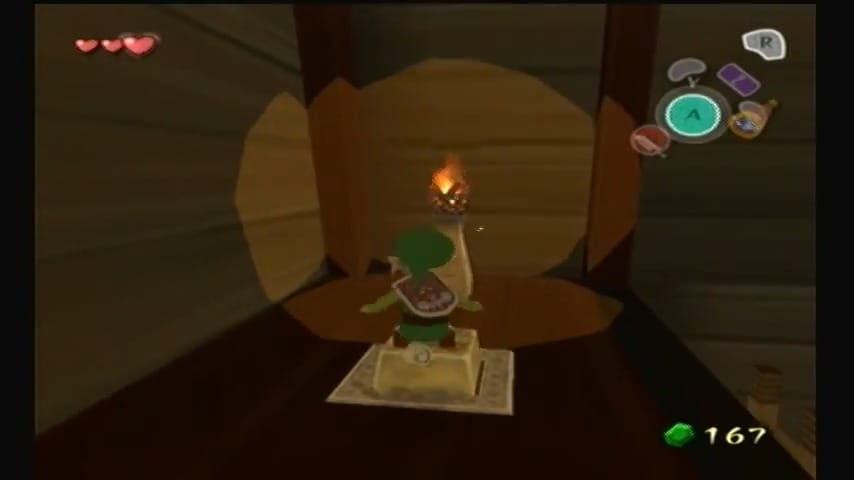
You recall that your family’s heirloom, the Hero’s Shield, was hanging on the wall at Grandma’s house. Head back to your house on Outset Island to retrieve it. Climb the ladder to the loft where the shield used to hang, only to find it missing. A touching scene follows: your Grandma is waiting upstairs, holding the shield and trembling. She realizes you must leave to save Aryll. With tears in her eyes, she entrusts you with the Hero’s Shield, giving you a parting gift that symbolizes your people’s legendary hero. (This moment carries a lot of emotional weight – Grandma is overwhelmed and disheartened that Aryll has been taken, but she bravely smiles through her sadness as she hands you the shield.)


Item: Hero’s Shield
A sturdy brown and white shield emblazoned with the Triforce crest. This shield is automatically equipped once Grandma gives it to you. It will allow you to block enemy attacks when you target an enemy and hold the R button (or ZL on Wii U).
After obtaining the Hero’s Shield, head outside. You’re now ready to set sail with the pirates. Make your way to the dock where Tetra’s ship is waiting. As you leave Outset Island, a poignant farewell cutscene plays – the villagers wave goodbye, and Grandma stands in front of your house watching her grandson depart into the great sea. You’re off to rescue Aryll!
Aboard the Pirate Ship – Niko’s Rope Challenge
Niko’s game is a rope-swinging platform challenge. He explains that when he hits a switch, a series of wooden platforms will rise and fall for a limited time. Your goal is to jump across them using swinging ropes to reach the other side of the hold before the time is up. If you succeed, Niko promises you the treasure in the chest as a reward. Don’t worry – this challenge is actually straightforward with a bit of practice.


How to Complete Niko’s Rope Challenge:
Step on the switch to drop the platforms, starting the challenge. The platforms will remain up for a set duration, so time is of the essence.

Jump to the first platform and grab the dangling rope. Position yourself carefully before jumping; face the rope squarely.

Once on the rope, you can swing back and forth. It’s recommended to build a bit of momentum by swinging at least twice before trying to land on the next platform. If you jump off too early with a single swing, you might overshoot the platform.

If your alignment is off, come to a stop and rotate yourself by holding R (or ZR on Wii U) to line up with the next platform. Use the camera centering (L trigger) to help line up straight. Leap at the rope’s farthest swing point to maximize distance.
Continue this process from rope to platform until you reach the final platform where Niko stands. If you fall, don’t worry – climb the ladder and hit the switch to reset the platforms and try again. Listen to Niko’s tips if you fail; he’ll remind you how to adjust your aim on the ropes.
With patience and timing, you’ll make it across the last gap and land next to Niko, much to his astonishment. He’s genuinely impressed (and maybe a little annoyed that a newbie beat his game so quickly). As promised, Niko lets you open the treasure chest behind him. Inside the chest you receive the Spoils Bag.


Item: Spoils Bag
This handy item is a bag that can hold various trinkets dropped by monsters – things like Joy Pendants, Skull Necklaces, Boko Baba Seeds, etc. In fact, the Spoils Bag can hold up to 99 of each of eight different types of enemy spoil items
You’ll start collecting these spoils as you defeat enemies; they can be later traded or used in side quests for rewards. Niko explains that this is your reward from the “great and generous Niko,” and indeed it will prove useful on your journey.
After you pocket the Spoils Bag, Tetra’s voice rings out from above deck, calling all crew. Time’s up for practice – you’ve arrived near your destination. Climb back upstairs to the ship’s deck. A cutscene will play where the pirates execute their rather unorthodox infiltration plan: using a catapult to literally launch you, in a barrel, toward the Forsaken Fortress!