


The Wind Waker 100% Completion Walkthrough
- Prologue: Outset Island: Introduction to Link’s home, initial quests, and obtaining the Hero’s Sword and Shield.
- Forsaken Fortress (First Visit): Stealth mechanics and rescuing Aryll.
- Windfall Island: Acquiring the Sail, meeting key characters, and side quests.
- Dragon Roost Island & Cavern: Assisting the Rito tribe, dungeon exploration, and obtaining Din’s Pearl.
- Forest Haven & Forbidden Woods: Meeting the Great Deku Tree, aiding the Koroks, and securing Farore’s Pearl.
- Post-Forbidden Woods Exploration: Collect charts, heart pieces, and upgrades across the southern sea.
- Greatfish Isle & Nayru’s Pearl: Story progression and obtaining the final pearl.
- Great Sea Side Quest Adventure: Explore islands and complete Windfall quests for key upgrades and collectibles.
- Tower of the Gods: Dungeon challenges and gaining access to Hyrule.
- Hyrule Castle: Discovering the Master Sword and storyline developments.
- Post-Hyrule Castle Exploration: Complete trading quests for heart pieces, treasure charts, and the Magic Armor.
- The Forest Water Challenge: Locating and saving each withered tree for a heart piece.
- Forsaken Fortress (Second Visit): Confronting the Helmaroc King and rescuing Aryll.
- Reef Special Charts & Windfall Side Quests: Six-Eye Reefs, Treasure Charts, and Windfall Island side quests.
- Fire Mountain & Ice Ring Isle: Obtain the Power Bracelets and Iron Boots from these elemental islands to access the next temples.
- Earth Temple: Venture with Medli into the Earth Temple to cleanse evil and claim the Mirror Shield.
- Wind Temple: Enter Gale Isle, team up with Makar, and conquer the Wind Temple.
- Triforce Shard Quest: Locating Triforce Charts, deciphering them, and retrieving Triforce shards.
- Ganon’s Tower: Final challenges, boss rematches, and the ultimate confrontation with Ganondorf.
Table of Contents
Clearing the Six Eye Reefs
Scattered around the Great Sea are six square reefs named for the number of tall pillars inside them – like the faces of a die. Each Eye Reef hides a treasure chest that only appears after you clear out all the enemy cannons. Set sail and get ready to put those bombs to good use!
Sail one square west (?¬タヘ☠️ check your Sea Chart) to find Six-Eye Reef, marked by six stone pillars within a square ring of rock. Enter through the small opening in the reef’s outer wall. As soon as you sail inside, you’ll come under heavy fire from cannons mounted on the walls. Keep moving to dodge the cannonballs and use your own ship’s cannon to destroy every cannon you see. (If any enemy warships are patrolling the waters here, sink those pirates as well to be safe.) Once you blast the last cannon, you’ll hear a chime and see a treasure chest appear atop one of the high central pillars.


Treasure Chart #26 (Collectible #30 of 41)
Cruise around to find a ladder on the inner wall of the reef and climb up. From the rim of the reef, equip your Deku Leaf. Face the pillar with the chest, wait for a good wind angle, and glide over to it. Pop open the chest to claim Treasure Chart #26!


Next, continue west another sector on your sea map to Cyclops Reef (the one-eye reef). This reef is smaller, with a single pillar in the center. Sail inside through the gap and repeat the cannon-clearing process. There are fewer cannons here, but stay alert – you might have a warship or two firing at you as well.


Treasure Chart #21 (Collectible #31 of 41)
Steer in circles to avoid incoming shots and bomb all the wall-mounted turrets into rubble. When the coast is finally clear, a chest materializes on the lone central platform. Find a spot where the reef’s inner ledge is low and use it to climb aboard the reef structure. From there, glide with the Deku Leaf to the chest and open it to obtain Treasure Chart #21.


Pull out the Wind Waker and conduct the Ballad of Gales to warp over to Southern Fairy Island (or the nearest warp you have). From Southern Fairy Island, sail one square south to locate Two-Eye Reef. As the name implies, this reef has two stone pillars within it. Ride the waves into the reef’s opening and get ready for another skirmish. Fire off your bombs to take out all the cannons lining the walls – there may be a pesky lookout boat here too, so sink it if it attacks. When every cannon is destroyed, a treasure chest appears high on one of the two pillar platforms.


Treasure Chart #13 (Collectible #32 of 41)
Use a ladder on the reef’s inner wall to climb up top. Leap across or float with your leaf to reach the chest and snag Treasure Chart #13.


Your next target is Three-Eye Reef, which we can reach quickly by warping again. Play the Ballad of Gales and warp to Greatfish Isle. From Greatfish, sail one square west to find Three-Eye Reef (it’s three squares south of Forsaken Fortress on the map). Head inside the reef and bomb all the wall cannons to rubble. Three-Eye Reef may have a couple of sea cannon boats as well, so don’t let them ambush you from behind. Once the last cannon explodes, a treasure chest appears on a central pillar.


Treasure Chart #32 (Collectible #33 of 41)
Glide over with the Deku Leaf to claim Treasure Chart #32.


From Three-Eye Reef, chart a course two squares north to reach Four-Eye Reef (one square directly south of Forsaken Fortress). This area might feel a bit risky, being so close to the fortress, but you’ve got this. Sail into Four-Eye Reef and start blasting away. There are four stone pillars inside, and a complement of enemy cannons protecting them.


Treasure Chart #19 (Collectible #34 of 41)
Weave through cannon fire and systematically destroy each turret on the inner walls. Once again, clearing all enemies causes a chest to spawn atop one of the pillars. Climb up onto the reef (there should be a ladder on the inner perimeter) and float over to the chest. Open it up to add Treasure Chart #19 to your growing collection.


Finally, warp to Outset Island and sail one square north to locate Five-Eye Reef (directly north of Outset). This is the last of the Eye Reefs on our hit list. By now you know the drill: infiltrate the reef and bombard every cannon in sight. Five-Eye Reef’s layout of pillars can make some cannons a little tricky to hit, so use the R button to stop the boat if you need precision aiming with your cannon.


Treasure Chart #41 (Collectible #35 of 41)
Take out any patrolling warships as well. When the battle is over, a treasure chest appears on one of the high ledges among the five pillars. Climb up from a low ledge or ladder, then leap and glide to the chest with your Deku Leaf. Open it to claim Treasure Chart #41. Congratulations – you’ve cleared all six reefs! Now it’s time to reap the rewards of those Treasure Charts.


(Note: The reef cannons will only appear after you’ve defeated the Helmaroc King at the Forsaken Fortress, so if you hadn’t done that earlier, these reefs would have been inactive. Now that you have the Skull Hammer and bombs, you’re doing this at just the right time.)
Special Charts and Quiver Upgrades
With the six reef treasure charts in hand, you can now salvage some very useful Special Charts hidden around the ocean. These charts reveal all sorts of secrets, from where rare treasure rings appear to the locations of hidden caves and Great Fairies. While you’re out collecting them, you’ll also make some stops to upgrade your gear – including a bigger Quiver for your arrows – and finally obtain the mighty Fire and Ice Arrows. Let’s get to treasure hunting!
Warp to Greatfish Isle once more, and sail east to return to Cyclops Reef. (You cleared out Cyclops Reef earlier, so it should be nice and peaceful now.)
Treasure Chart #21: Salvaged for Light Ring Chart
Open your newly acquired Treasure Chart #21 on the map screen and note the marked spot – it should correspond to somewhere near Cyclops Reef. Cruise around the reef until you spot a glowing light ring on the ocean surface at night, or use the chart’s X to line up your position during the day (the glowing ring appears when you’re close).
When you’re above the spot, stop the boat and use your Grappling Hook to salvage the treasure below. You’ll haul up a special Light Ring Chart!


Item: Light Ring Chart
This special chart reveals the locations of light rings that appear on the ocean at night, often indicating spots with hidden rupee troves or other treasures.
Next, warp to Forest Haven. From there, sail directly south to the small pair of islets known as the Boating Course. (It’s a mini-game area, but you don’t need to play the boating game right now.)
Treasure Chart #32: Salvaged for Sea Hearts Chart
Open Treasure Chart #32, which you got from Three-Eye Reef, and align yourself with the X marked near the Boating Course. Use the Grappling Hook at the glowing spot in the sea to pull up the treasure chest hiding below. Inside, you’ll find the Sea Hearts Chart.


Item: Sea Hearts Chart
This special chart shows all the Pieces of Heart obtainable in sunken chests across the Great Sea and even notes how many heart pieces are left on each island. It’s a fantastic map for heart hunters trying to complete their life gauge.
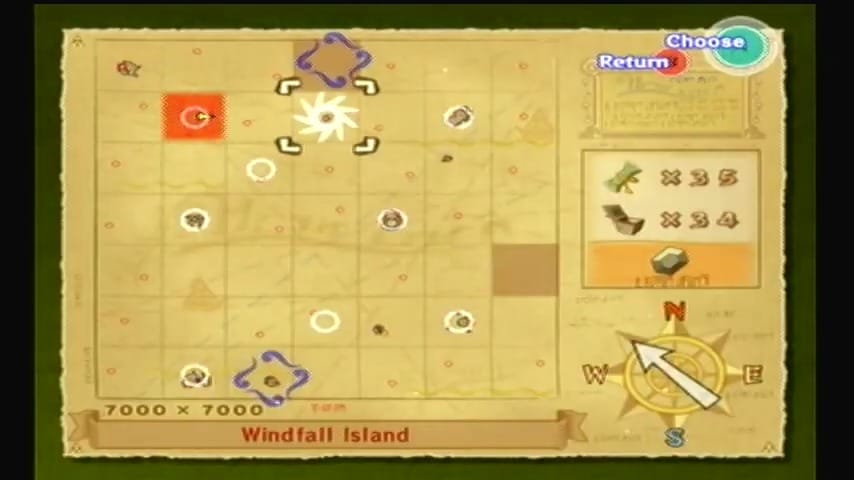
Now warp over to Windfall Island, the bustling town island. From Windfall, sail one square south to reach the Northern Triangle Island (one of three triangular isles that correspond to the Goddess Pearls).
Treasure Chart #26: Salvaged for Octo Chart
Open Treasure Chart #26, obtained from Six-Eye Reef. It points to a treasure near Northern Triangle Island. Position the King of Red Lions above the indicated location in this sector. Use your Grappling Hook to dredge up the treasure chest from the depths. You’ll receive the Octo Chart.


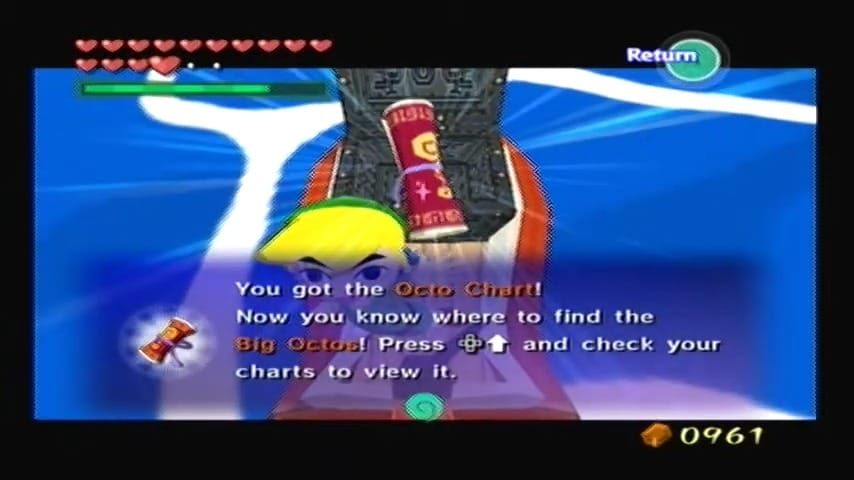

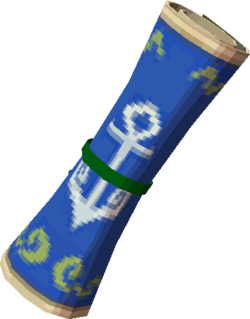
Item: Octo Chart
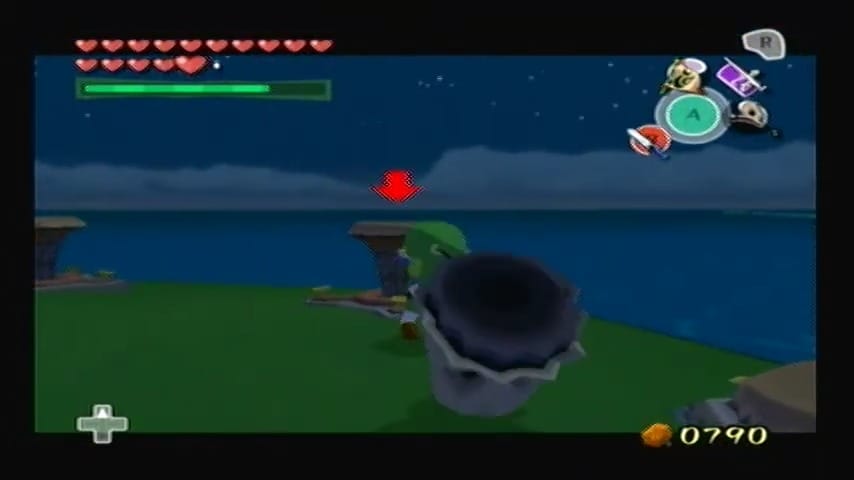
A very useful sea chart that reveals the locations of all the Big Octos lurking in the ocean (and even how many eyes each Big Octo has). With this, you’ll know exactly where to find those massive Octorok-like creatures – and defeating them often yields great rewards!
Our next target is hidden near the Flight Control Platform. Warp to Dragon Roost Island, then sail one square east to find the tall wooden Flight Control Platform out at sea (it’s the place where the Rito run a bird-man contest).
Treasure Chart #19: Salvaged for Island Hearts Chart
When you arrive, take out Treasure Chart #19 from Four-Eye Reef and search for its marked spot around this area. The platform’s sector is where the chart’s treasure lies. Line up your boat with the X on the Sea Chart and crane up the glowing treasure. This chest contains the Island Hearts Chart.


Item: Island Hearts Chart
A special chart that shows the location of every Piece of Heart remaining on each island in the Great Sea. Essentially, it’s a completionist’s dream, helping you track down any heart pieces you might have missed on land.
Plot your course northward for the next salvage. From the Flight Control Platform, sail north to Overlook Island.
Sea Chart Info #46: Overlook Island
Make sure you’ve revealed it on your sea chart by feeding a fishman some bait if to “register” it.


Overlook Island is a tall island with several palm trees and no easy way up right now (you’ll come back here later in the story when you have a certain item to climb it).
Treasure Chart #13: Salvaged for Secret Cave Chart
For now, set your focus on Treasure Chart #13, which you obtained at Two-Eye Reef. The chart marks a treasure in the waters near Overlook Island. Position your boat at the correct spot (use the island as a reference and check your Sea Chart alignment), then fish up the treasure with the Grappling Hook. You’ll pull up the Secret Cave Chart.


Item: Secret Cave Chart
This chart marks every hidden underground cavern (secret cave) in the game – extremely helpful for finding all those tucked-away mini-dungeons and grottoes.
With the five special charts above now secured, you only have one left (from Chart #41). But before we grab that, there are some important upgrades to pick up from a couple of Great Fairies. Let’s power up your arsenal a bit more!
Play the Ballad of Gales and warp to the Tower of the Gods. Once you arrive at the tower’s waters, sail two squares east to find Thorned Fairy Island.


Sea Chart Info #47: Thorned Fairy Island
Feed the fisherman some bait upon arrival to have him reveal Thorned Fairy Island (Sea Chart Info #47) on your map. This fairy island is easy to spot by the ring of thorny vines covering the entrance of its shell-shaped dome. Park the King of Red Lions at the shore and hop onto the island.


Before anything else, check the nearby red postbox — it should be shaking, indicating you have mail. Open it to receive the IN-credible Chart from Tingle (the fee is 201 rupees, so hopefully you have enough).


Item: IN-credible Chart
This invaluable chart will mark the locations of the Triforce Charts (and later, the Triforce Shards) on your sea map – definitely a must-have for the late-game quest.
You should also find a Blue ChuChu nearby.

Now, it’s time to enter the fairy’s grotto. The door is blocked by thick vines, but look around and you’ll notice three wooden stakes embedded in the ground around the island. Equip your Skull Hammer and give each stake a good whack! Pound all three switches with the hammer, and the thorny vines covering the entrance will wither away.


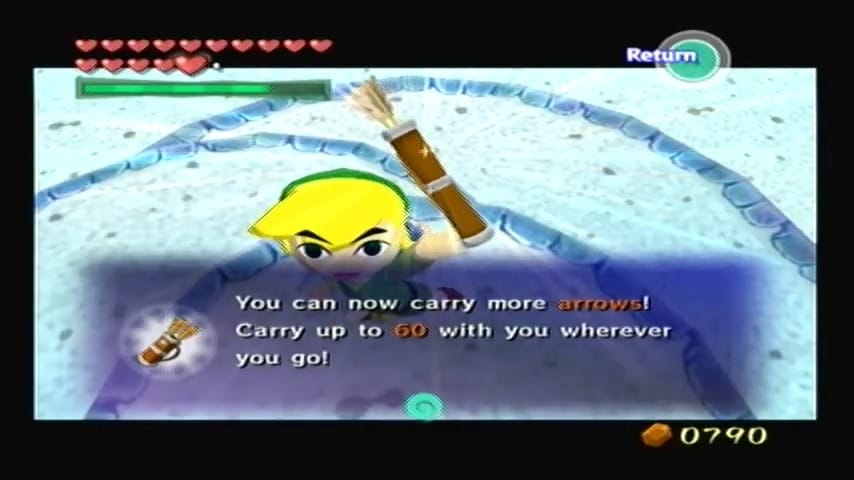
First Quiver Upgrade – Thorned Fairy Island
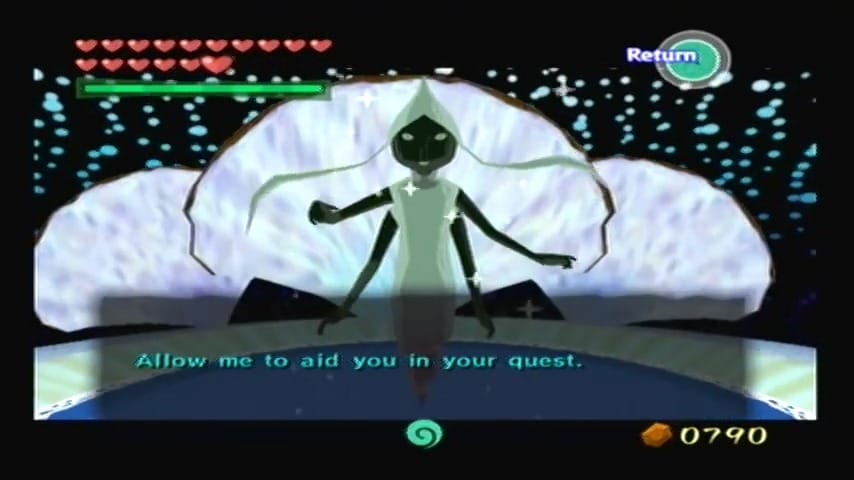
Drop into the now-opened shell and descend to the fairy fountain below. Approach the Great Fairy and she will grant you a gift to aid you on your quest – your Quiver is upgraded to hold up to 60 arrows. Nice one!

With more arrows at your disposal, you’re well-prepared for upcoming challenges. Our next stop is Western Fairy Island for an even bigger quiver. Warp to Greatfish Isle, then sail northwest to reach Western Fairy Island (it’s located a couple of squares south of the Forsaken Fortress, marked by a ring of fire around its little dome).


Come ashore on Western Fairy Island and you’ll find the entrance blocked by a circle of flames. Head around to the rear of the building to find a Blue ChuChu.


In front, there’s also a single big switch (a wooden peg) in front of the fairy’s shell. Take out the Skull Hammer again and smash that peg into the ground. This action snuffs out the ring of fire, granting you access to the fairy fountain. Head inside and meet another Great Fairy, who will upgrade your Quiver yet again.


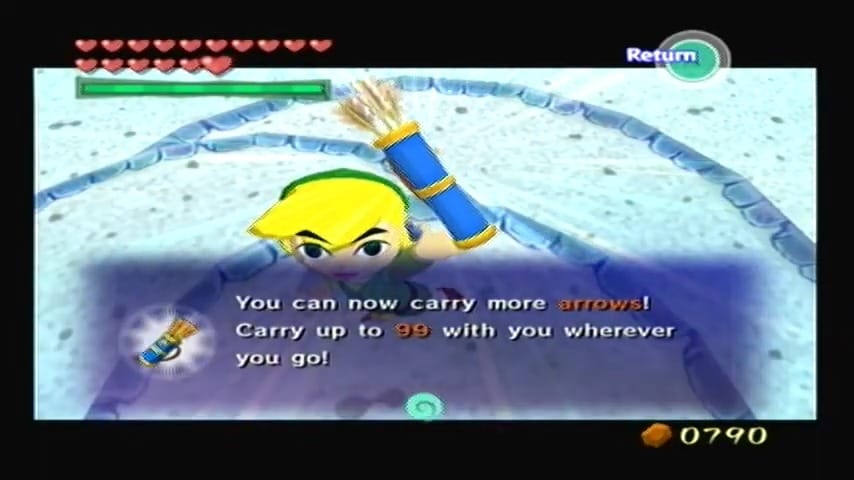

Second Quiver Upgrade: Western Fairy Island
Now you can carry a whopping 99 arrows! With the largest quiver in hand, you won’t have to worry about running out of arrows for a long while.
While we’re in the area, let’s finish collecting the last special sea chart.
Treasure Chart #13: Salvaged for Secret Cave Chart
From Western Fairy Island, sail north to the nearby Four-Eye Reef (you mapped this earlier and cleared its cannons). Open Treasure Chart #41 from Five-Eye Reef, which should show an X in the waters near Four-Eye Reef’s sector. Cruise around Four-Eye Reef until you locate the correct spot, then haul up the sunken treasure with the Grappling Hook. You’ve found the Great Fairy Chart.


Item: Great Fairy Chart
The Great Fairy Chart will display the locations of all Great Fairy fountains in the Great Sea, which is useful now that you’re upgrading your gear.
With all special charts obtained and your quiver maxed out, there’s one more crucial item to get before moving on: the elemental arrows. Play the Ballad of Gales and warp to Mother & Child Isles (the warp tornado for it is available now that you have the bow). Upon warping, you’ll find yourself inside the Mother & Child Isles’ hidden interior. A cutscene will automatically play: the tiny Fairy Queen appears and cheerfully greets you. She recognizes the hero who rescued her friend (Tingle, indirectly) and decides to bestow a powerful gift. With a wave of her hand, she upgrades your Hero’s Bow to shoot Fire Arrows and Ice Arrows!


Item: Fire & Ice Arrows
Fire Arrows can set distant torches or enemies ablaze, and Ice Arrows can freeze enemies or cool down extremely hot areas. These new arrows are essential for the next leg of your adventure. After the cutscene, you’ll be returned to your boat inside the isle’s lagoon – play the warp song to leave, since you can’t sail out of this enclosed area.
With Fire and Ice Arrows in your arsenal (and all those new charts), you’re now prepared to tackle some new challenges ahead.
Windfall Island Side Quests
Before chasing the next main objective, now is the perfect time to wrap up a flurry of side quests on Windfall Island. You’ve acquired many new tools and charts, and Windfall holds a trove of rewards we can collect with them – including Pieces of Heart and even an Empty Bottle. Head to Windfall and let’s get to work on making the islanders very happy (and grabbing some loot for our trouble)!

Sail or warp back to Windfall Island and go to the small building by the docks with the “Sinking Ships” game sign (this is the battleship-style minigame building). Inside, climb the staircase to the upper door, which leads out to Windfall’s windmill ferris wheel. If you haven’t already activated this windmill, step on the floor switch here to start it turning – the wind should be blowing north to make the fan spin.
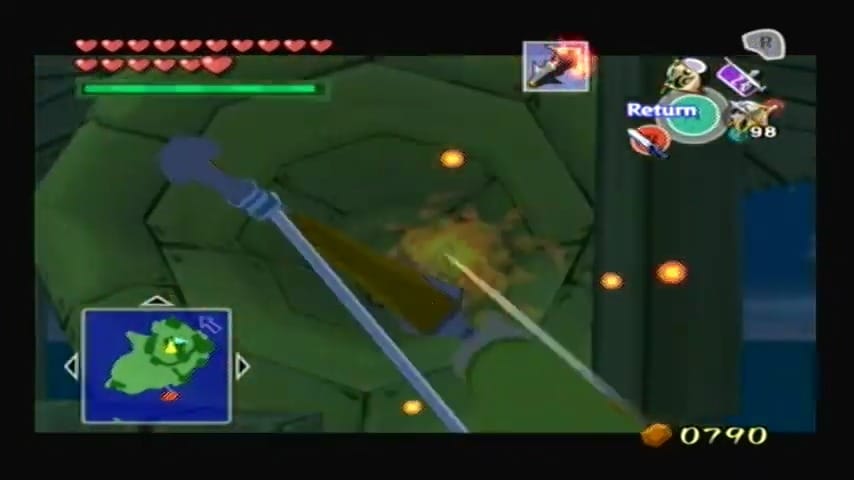
The goal here is to relight the island’s dormant lighthouse. Wait until it’s nighttime (play the Song of Passing to switch day to night if needed), because the lighthouse can only be lit at night. Once the sun sets, hop into one of the moving gondolas attached to the windmill. Ride the ferris wheel up to the top, where you’re almost level with the lighthouse light enclosure. Equip your newly acquired Fire Arrows. As the windmill rotates, you’ll see a large torch or lamp structure at the top of the stone lighthouse next to you. Aim carefully and shoot a Fire Arrow into the open receptacle when it comes around in front of you. If timed right, the Fire Arrow ignites the lighthouse’s flame, sending a bright beam of light circling out to sea! This triumphant moment also triggers a treasure chest to appear on a tiny outcropping island just off Windfall’s coast (near the Bomb Shop).


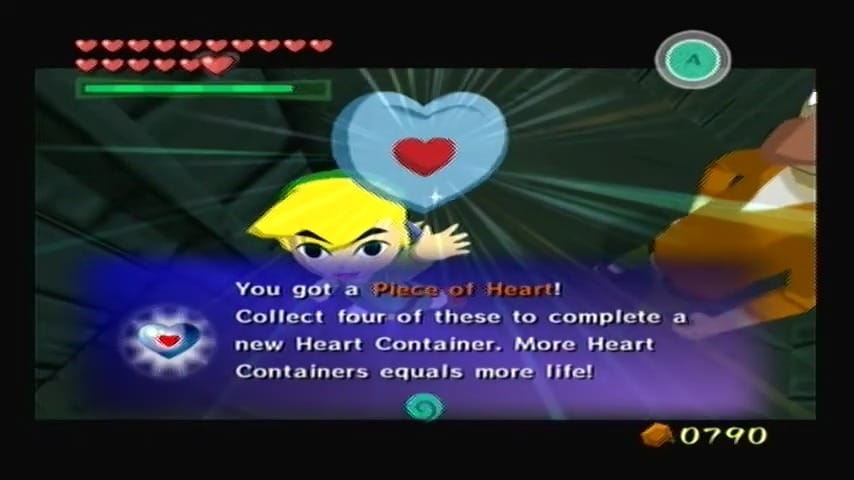
Heart Piece #37 of 44
For now, hop off the gondola and go speak to the nearby man in the yellow cap (he’s usually standing by the pier or leaning against the ramparts below). This gentleman is overjoyed to see the lighthouse shining again and will reward your heroism with Piece of Heart #37.


Heart Piece #38 of 44
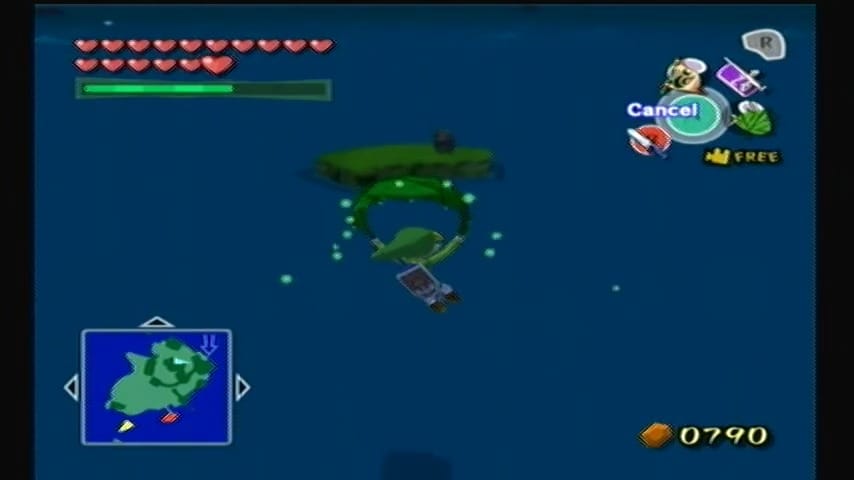
With the lighthouse lit, you may have noticed that shiny chest which appeared on the small island to the southwest of the main town (just behind the Bomb Shop by the shore). Time to grab it. Make sure it’s still night for now. From the windmill area or another high point, change the wind’s direction to the south (toward that little island).
Glide over using your Deku Leaf, or if needed, climb up the hill behind the Bomb Shop and use that vantage point to Deku Leaf to the chest. Land on the tiny islet and open the treasure chest that spawned after lighting the lighthouse. Inside, you’ll find Piece of Heart #38. Nice! Between this and the last one, you’ve completed another Heart Container (if you had three pieces already, this makes four). With the lighthouse shining and those two Hearts in your pocket, Windfall is a brighter place – literally and figuratively.


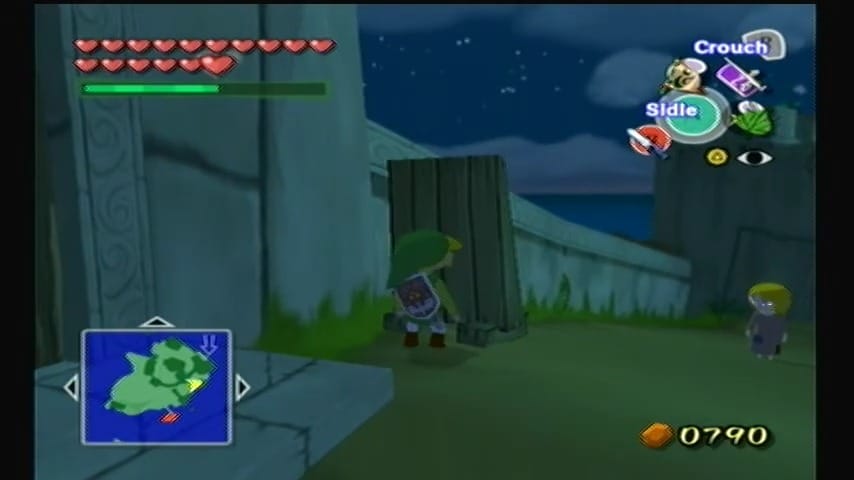
Remember Mila, the girl who used to be the rich daughter of Windfall’s banker? Her life has changed quite a bit. At night, head to the area between the Auction House (the big mansion on the hill, now occupied by Maggie’s family) and the potion shop (the small shop stall run by Doc Bandam). You’ll find Mila in a poor-looking dress skulking in the shadows by the stairs. Approach her and you’ll trigger a little scene – Mila will realize you’re onto her and take off running!

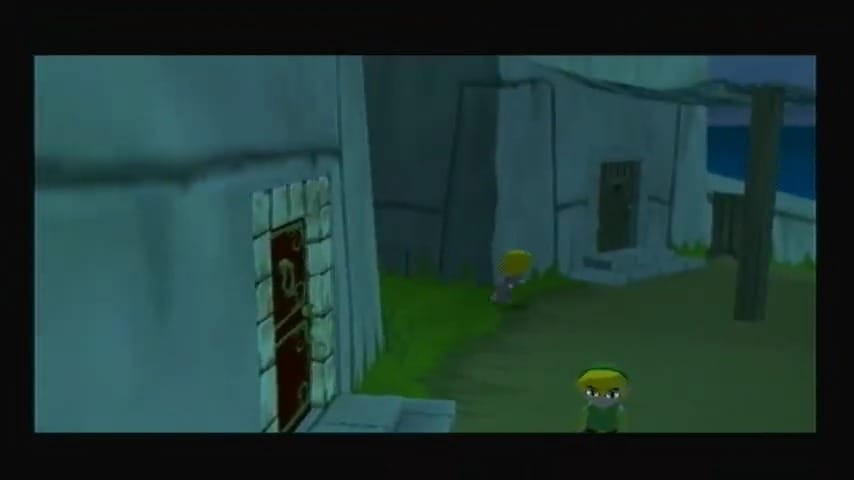
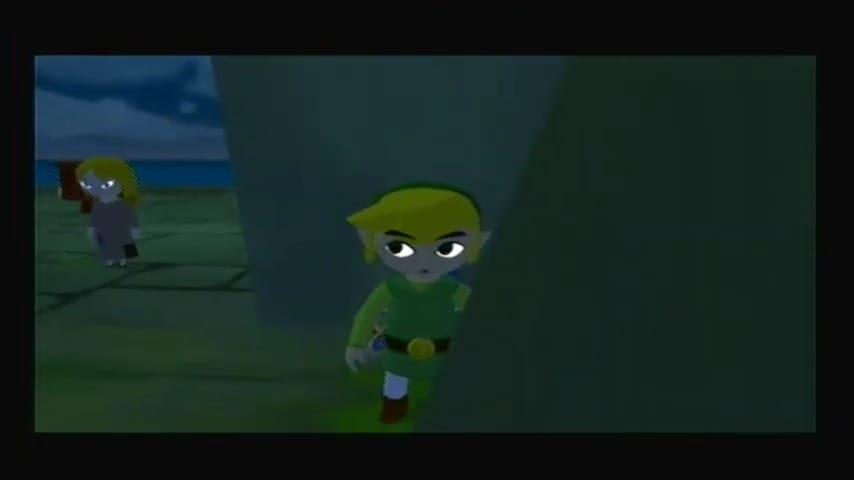
Thus begins a clandestine chase through Windfall’s dark alleys. Follow Mila quietly as she weaves through town. Keep a good distance so she doesn’t spot you; if you get too close or sprint loudly, she’ll notice and the chase will reset. She’ll lead you around corners and eventually down to the marketplace, where she heads for Zunari’s shop stall. Mila will creep up to the safe box behind the stall, intent on stealing the contents.


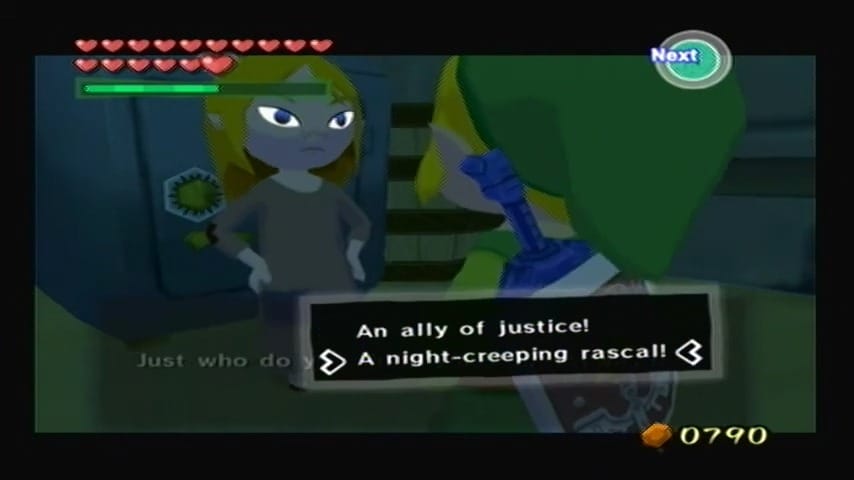
Sneak up behind her while she’s focused on the safe and press A to confront her. You catch the would-be thief red-handed! Now comes the conversation where you need to say the right things. Mila is defensive and scared – if you threaten to tell anyone, she’ll clam up. Instead, choose the kind, understanding dialogue options. For example, express that you understand her situation or that your heart won’t let you rat her out (essentially, be compassionate). Flatter her a bit or say you empathize; just don’t choose any option that sounds accusatory or greedy. If you select the gentler responses, Mila’s tough facade will crumble. She’ll be relieved that someone understands and will promise to change her ways.

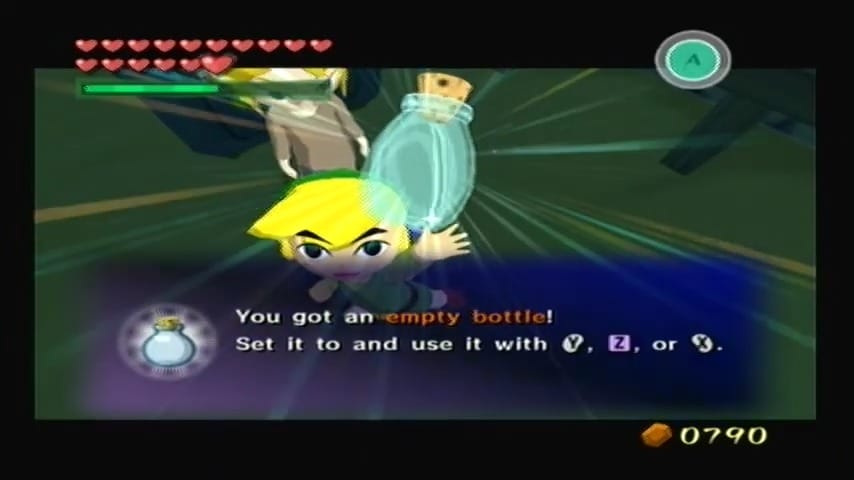
Item: Empty Bottle #4 of 4
As thanks for your kindness (and keeping her secret), Mila hands you an Empty Bottle – this is your fourth and final bottle! (Empty Bottles are super useful for storing potions, fairies, soup, you name it, so having all four gives you great flexibility.) With Mila set on a better path and your new bottle in hand, this little nighttime adventure ends happily.
Next up, it’s time to pay a visit to Maggie’s father. During the daytime, head into the rich mansion above the Auction House (the same building where the auction takes place at night). This opulent house used to belong to Mila’s dad, but after the Forsaken Fortress incident, Maggie’s poor father struck it rich and moved in.
Treasure Chart #2 (Collectible #36 of 41)
You’ll find Maggie’s father dressed in fancy purple clothes and a top hat, roaming excitedly on the second floor. Talk to him and you’ll quickly learn he’s absolutely obsessed with Skull Necklaces (those spoils that Moblins drop). He’s convinced they’re the latest trendy collectibles. If you’ve been defeating Moblins, you should have amassed quite a few Skull Necklaces by now. He specifically wants 20 Skull Necklaces to show off.
If you have at least 20, agree to give them to him (it’s for a good cause!). Once you hand over 20 Skull Necklaces, the delighted man will reward you with Treasure Chart #2. (If you don’t have 20 yet, you can come back after farming more Moblins, perhaps in places like the Forsaken Fortress or lookout platforms.) This chart will later lead us to another Piece of Heart, so it’s definitely worth the trade. Maggie’s father will literally dance with joy after you give him the necklaces – it’s a funny sight and a win-win deal.


While you’re in the mansion, you should also speak with Maggie herself. She’s the girl in the lavish dress, found upstairs in the same house (usually standing near the bed or table, reading a letter). Talk to Maggie and she’ll gush about a Moblin named Moe – believe it or not, during her captivity, she and this Moblin became pen pals of sorts. Maggie has written a letter to her “dear Moe” and asks for your help to send it, since her father would never approve of this correspondence. She’ll give you Maggie’s Letter.

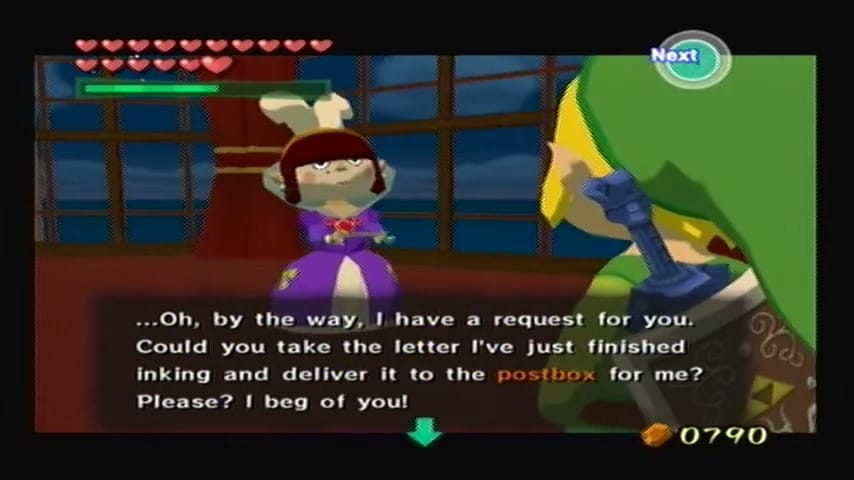

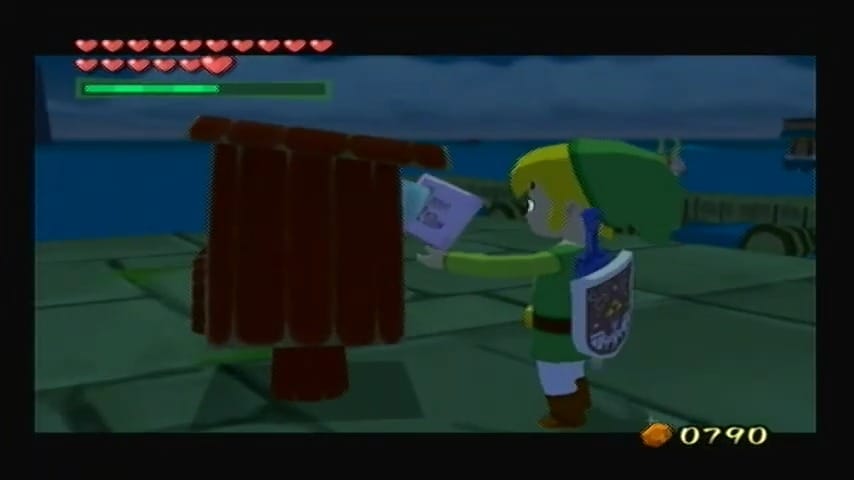
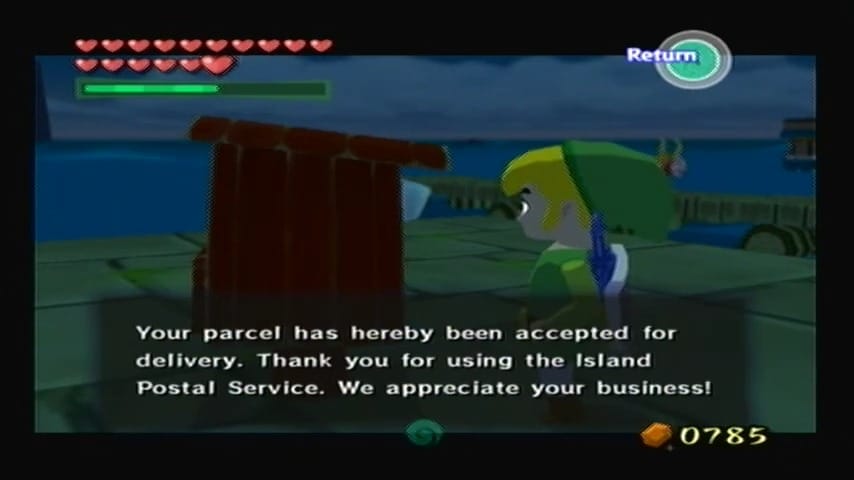
Now, take that letter outside to any red Postbox on Windfall (there’s one right by the steps leading up to this mansion). Face the postbox and drop in Maggie’s Letter as you would any mail. The postbox will accept it, and you’ll be prompted to pay the postage (if any – usually 5 rupees).

Send off the letter and our work isn’t done yet – head back to the mansion. Upon entry, you’ll trigger a humorous cutscene. The Rito postman, Ilari, comes to deliver a letter to Maggie but is accosted by Maggie’s overprotective father.


Head down to the café (the Chu Jelly Juice Bar near the docks, which is the little bar with the potion jar symbol). Inside the bar, you’ll find the Rito postman slumped at a table, exhausted from his ordeal. Talk to him, and he’ll hand over Moblin’s Letter to you, figuring you can deliver it instead. Take Moblin’s Letter back to Maggie at the mansion. Give her the Moblin’s Letter and witness her reaction as she reads the rather… unique love letter (apparently Moblin romance involves talk of appetite!).


Heart Piece #39 of 44
Maggie is thankful for everything you’ve done to help her and Moe communicate. As a token of gratitude, she gives you Piece of Heart #39. Another heart piece for the collection! Although Maggie is heartbroken by the letter’s content, at least you helped her get closure – and you got a reward for your troubles.

After this scene, Link automatically picks up the fallen mail, which is Moe’s Letter (the reply from Maggie’s Moblin admirer!). Now, Link feels compelled to help these star-crossed pen pals.
The last task on our Windfall agenda is to use that Treasure Chart #2 we got from Maggie’s dad. It leads to a treasure hidden at Rock Spire Isle. Make sure you’ve opened Treasure Chart #2 on your Sea Chart so the treasure is visible. Now, play the Ballad of Gales and warp to Tingle Island (which is roughly in the center of the map). From Tingle Island, sail one sector west to find Rock Spire Isle.
You’ll recognize Rock Spire by its two tall, hollow spires of rock jutting out of the sea and the merchant’s shop ship often parked nearby. Be careful as you approach – there are usually a couple of lookout platforms with Bokoblins or cannons around this island. You can either engage them or sail past carefully.
Heart Piece #40 of 44: Salvaged from Treasure Chart #2
Use Treasure Chart #2 to pinpoint the treasure location in this sector (likely right between the spires or very close to the island). When you’re in the correct spot (look for the telltale glow on the water’s surface), hit the A button to stop, then use the Grappling Hook to dredge up the treasure. Your efforts will be rewarded with Piece of Heart #40!


With Windfall Island’s sidequests now completed, you’ve significantly beefed up Link’s health and inventory. You obtained two more Heart Pieces, your final empty bottle, several useful sea charts, and a fully upgraded arrow capacity. Not to mention, the lighthouse is shining again and some families on Windfall have their problems resolved thanks to you.
Take a moment to enjoy the sense of accomplishment (maybe spend some of those rupees at Zunari’s shop or play a mini-game to celebrate). When you’re ready to continue the main quest, your next objective lies in using those Fire and Ice Arrows. Now that you wield the elements, you can head to Fire Mountain and Ice Ring Isle to claim two powerful treasures needed for the challenges ahead. Good luck, and happy sailing to your next destination!