The Wind Waker 100% Completion Walkthrough
- Prologue: Outset Island: Introduction to Link’s home, initial quests, and obtaining the Hero’s Sword and Shield.
- Forsaken Fortress (First Visit): Stealth mechanics and rescuing Aryll.
- Windfall Island: Acquiring the Sail, meeting key characters, and side quests.
- Dragon Roost Island & Cavern: Assisting the Rito tribe, dungeon exploration, and obtaining Din’s Pearl.
- Forest Haven & Forbidden Woods: Meeting the Great Deku Tree, aiding the Koroks, and securing Farore’s Pearl.
- Post-Forbidden Woods Exploration: Collect charts, heart pieces, and upgrades across the southern sea.
- Greatfish Isle & Nayru’s Pearl: Story progression and obtaining the final pearl.
- Great Sea Side Quest Adventure: Explore islands and complete Windfall quests for key upgrades and collectibles.
- Tower of the Gods: Dungeon challenges and gaining access to Hyrule.
- Hyrule Castle: Discovering the Master Sword and storyline developments.
- Post-Hyrule Castle Exploration: Complete trading quests for heart pieces, treasure charts, and the Magic Armor.
- The Forest Water Challenge: Locating and saving each withered tree for a heart piece.
- Forsaken Fortress (Second Visit): Confronting the Helmaroc King and rescuing Aryll.
- Reef Special Charts & Windfall Side Quests: Six-Eye Reefs, Treasure Charts, and Windfall Island side quests.
- Fire Mountain & Ice Ring Isle: Obtain the Power Bracelets and Iron Boots from these elemental islands to access the next temples.
- Earth Temple: Venture with Medli into the Earth Temple to cleanse evil and claim the Mirror Shield.
- Wind Temple: Enter Gale Isle, team up with Makar, and conquer the Wind Temple.
- Triforce Shard Quest: Locating Triforce Charts, deciphering them, and retrieving Triforce shards.
- Ganon’s Tower: Final challenges, boss rematches, and the ultimate confrontation with Ganondorf.
Table of Contents
Begin at Forest Haven. Inside the Great Deku Tree’s hollow, fill an empty bottle with the glowing Forest Water from the spring at his base. The moment you scoop it up, a real-time timer starts. In the GameCube version, you have 20 minutes before this magical water reverts to ordinary water (on Wii U in Wind Waker HD, you get a more forgiving 30 minutes). All eight trees must be watered within a single cycle of Forest Water – if time runs out, the water loses its power and every tree you revived will wither again, forcing you to start over from the first tree. The quest resets if you fail to water them all in time, so plan efficiently and move quickly.


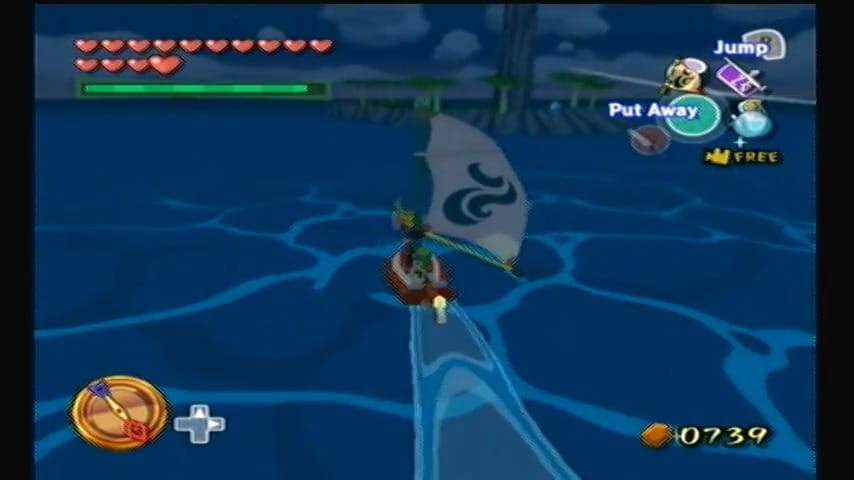
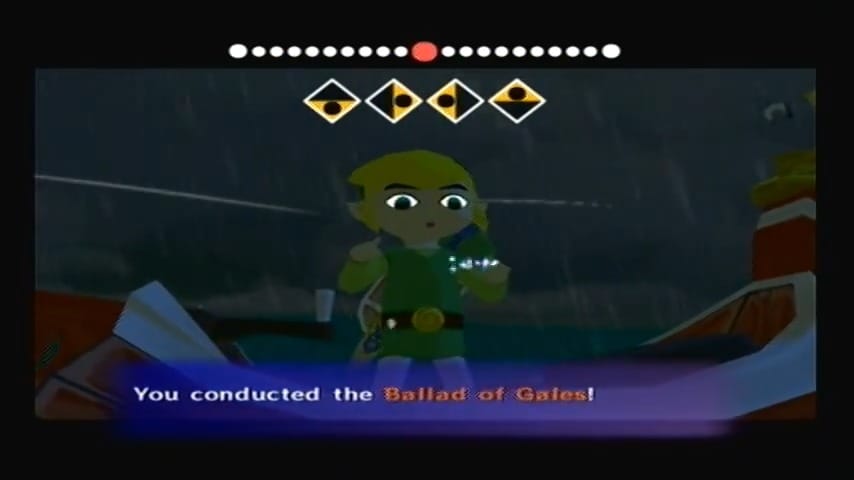
Thankfully, you have an unlimited supply of Forest Water in your bottle until the time limit expires (you won’t run out from pouring), so you only need to fill a bottle once per attempt. To succeed, you’ll want the Ballad of Gales warp song (from Cyclos) so you can zip around the map quickly. Also, set the wind direction in your favor for each sailing segment – use the Wind Waker to align the breeze before you sail off, so you can cruise at top speed toward the next island. (HD players can use the Swift Sail for automatic wind alignment and extra speed.) Avoid distractions: don’t stop for enemies, treasure, or side diversions while the clock is ticking. With preparation done, hop in the King of Red Lions and get ready to revive some trees!
Important: You have to heal all eight trees in one go. If even one is missed when the Forest Water’s timer expires, the ones you did heal will sadly shrivel up again and you’ll need to start over with fresh Forest Water. However, don’t panic if the water in your bottle turns back to normal just after the last tree – as long as you sprinkled all eight within the time limit, the quest will count as completed and the final tree will reward you. Keep an eye on the clock, sail wisely, and you’ll make it. Now, let’s walk through the optimal route and strategy to water all eight withered trees efficiently.
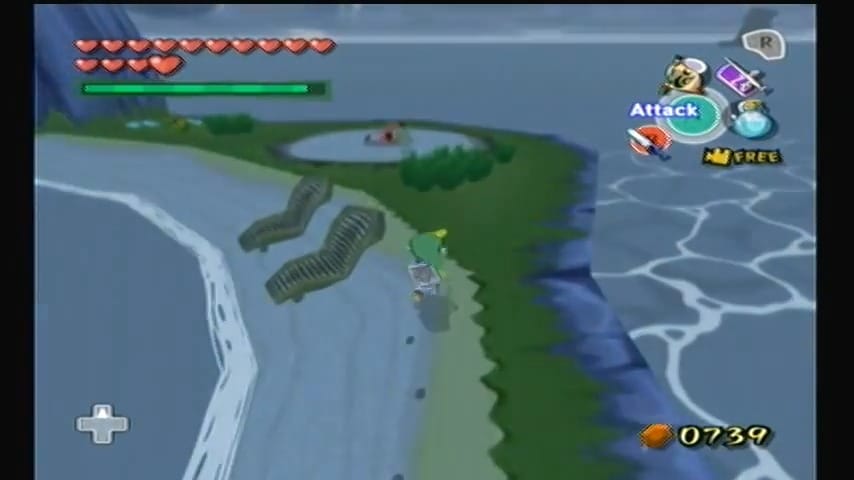
Cliff Plateau Isles – First Sapling Revival
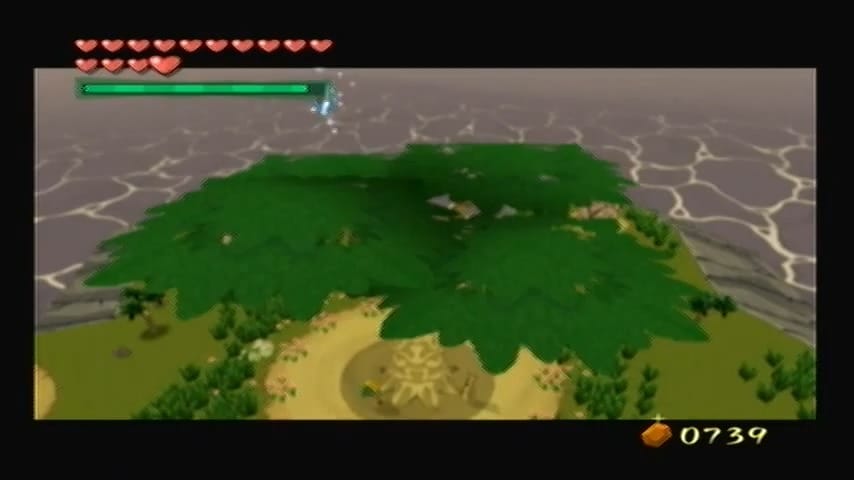
From Forest Haven, sail one square east to the Cliff Plateau Isles. (If you haven’t already, set the wind blowing east before leaving Forest Haven to speed up your boat ride.) You should reach a cluster of small sea-stack islands with dense foliage on top. Park your boat by the smaller outer isle that has a Boko Baba plant and climb up the slope. Jump into the hollow cavern on that small island to find an underground route leading to the withered tree on the main plateau.

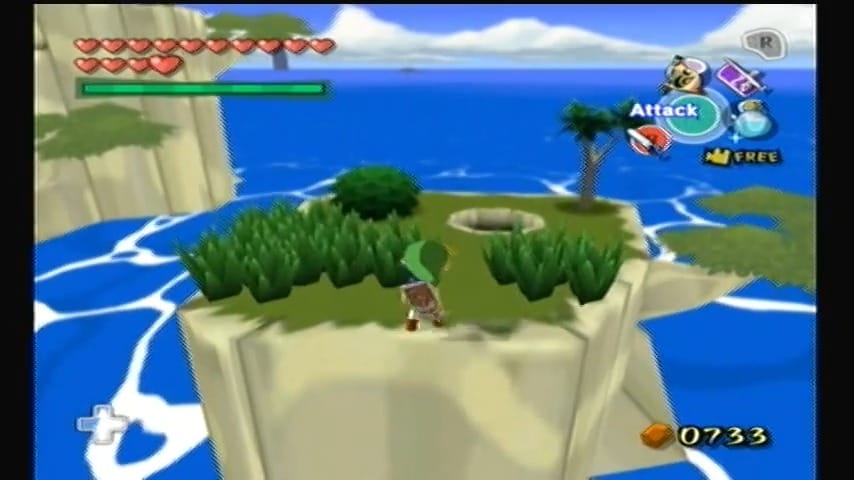
Inside this cavern, equip your Deku Leaf. Use it to glide across gaps or to spin the floating platforms so you can cross safely. Move carefully around a wall of thorny vines (hug the wall and sidle or walk slowly to avoid damage). Partway through, defeat the Boko Baba lurking in the cave – when you kill it, a Baba Bud will sprout. Hop into the Baba Bud to launch Link up to a higher ledge. Continue forward, watching for a wooden gate blocking an exit above. If the gate is still intact, you can burn it with a Fire Arrow or a lit Deku Stick (there’s usually a torch you can light after clearing the Boko Baba). Once the gate is gone, use the Deku Leaf to glide over to that exit and take the portal out of the cavern onto the high plateau.


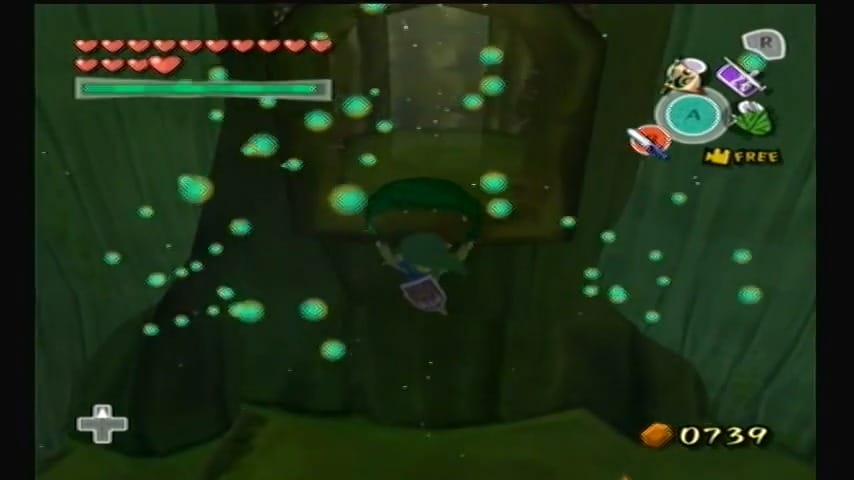
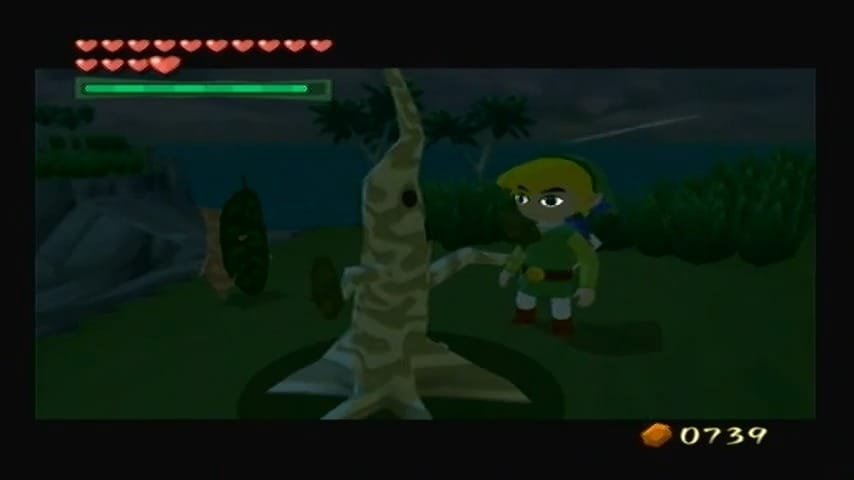
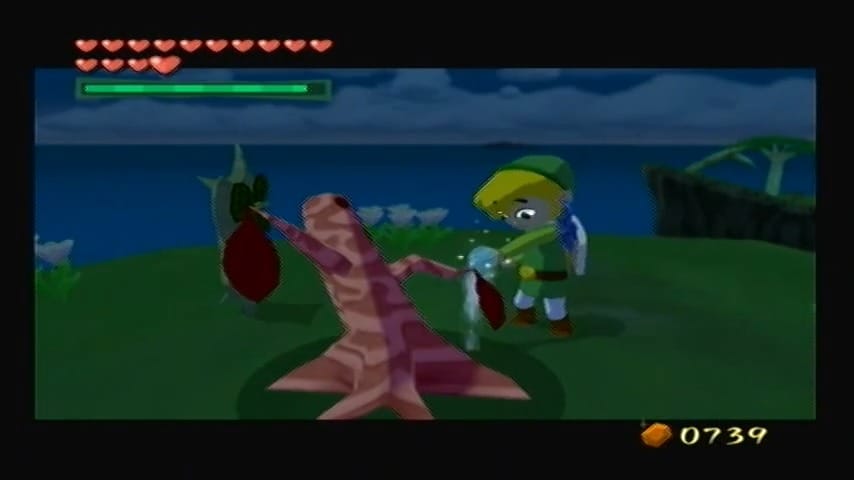
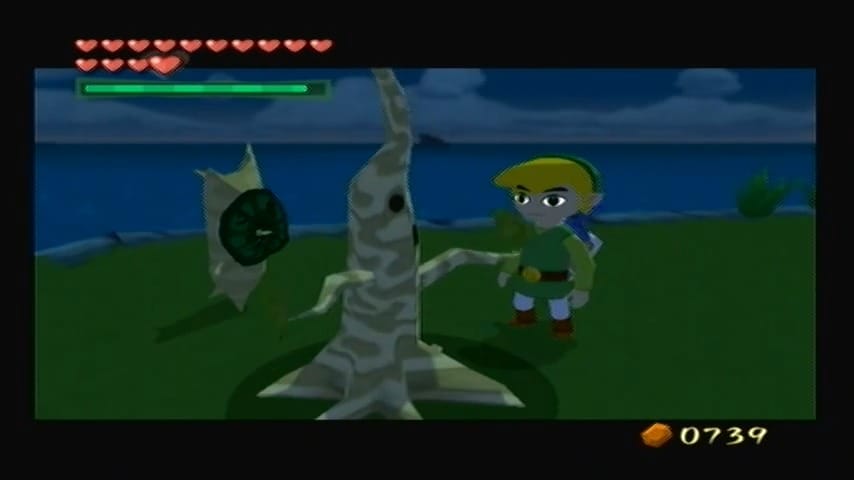
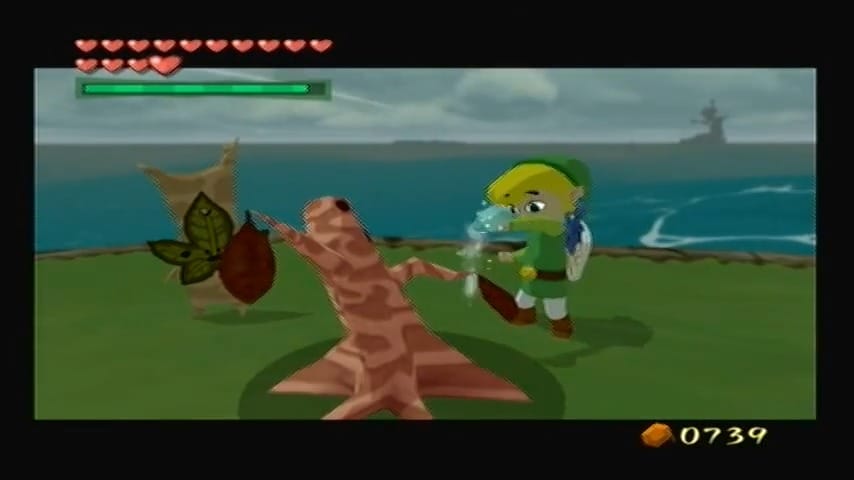
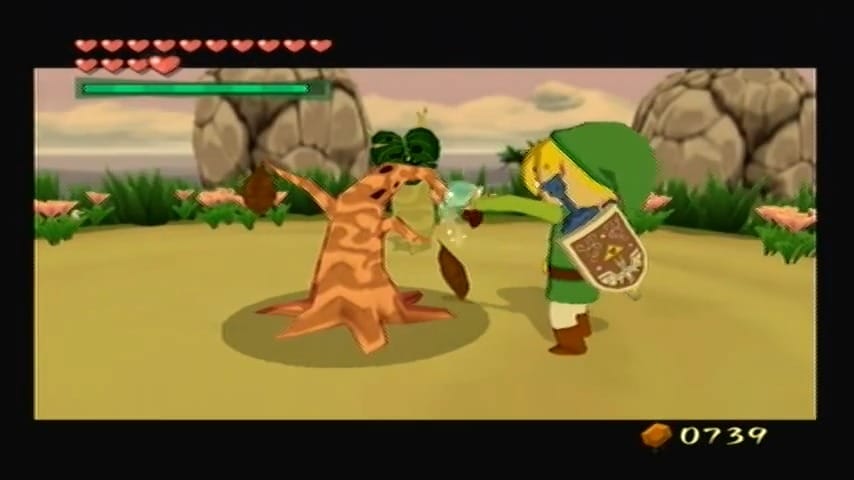
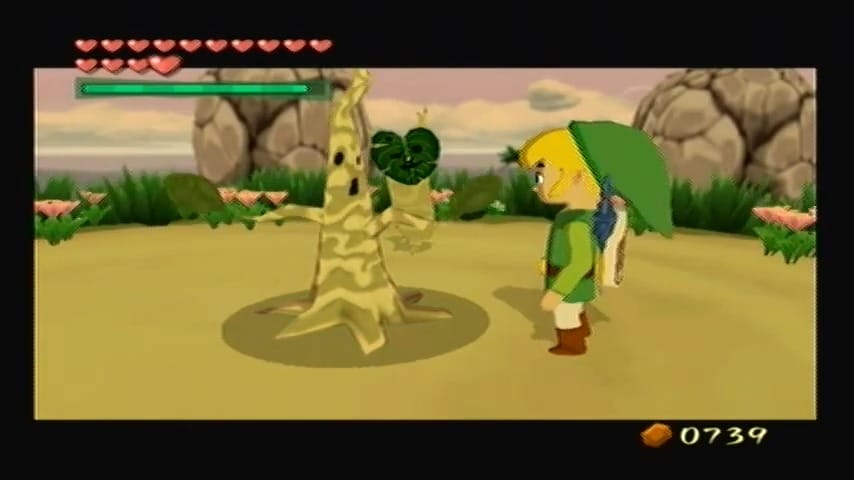
On the plateau’s top, you’ll find the first withered sapling Korok tree, right near where you emerged (a tiny talking Korok might be standing by it, lamenting its condition). Target the shriveled tree and pour your Forest Water onto it from the bottle. With a happy chime, the tree will drink up the magic water and spring back to life in a burst of healthy green leaves! One down, seven to go. Immediately hop back down to your boat. Cliff Plateau Isles is the most time-consuming location due to that cave puzzle, which is why we tackled it first. Check your remaining time, then set sail for the next tree.


Shark Island – Quick Stop on a Fin-Shaped Isle
Warp with the Ballad of Gales to Southern Fairy Island (a convenient cyclone warp point in the south-central part of the sea). From the Southern Fairy Island quadrant, sail two squares west to reach Shark Island, keeping the wind at your back. As you approach, you’ll recognize Shark Island by its distinctive shape – it looks like a giant shark or fin sticking out of the water. There’s a grassy ring of land with a few palm trees and a stone mechanism on it (used for another puzzle), but you can ignore that mechanism for now.


The withered tree here is immediately visible on Shark Island’s surface (it’s hard to miss on such a small, flat island). Dock or hop onto the isle, and you might encounter a few minor enemies (like Green ChuChus or Keese). You can dispatch them if they’re directly in your way, but it might be faster to simply dash for the tree. Target the sickly sapling in the center of the island and water it with your Forest Water. In a flash, it will revive lush and green. Quickly return to the King of Red Lions. This stop is very brief – with the second tree healed, you’re ready to warp to the next destination.


Greatfish Isle – Spiral Path to the Summit
Play the Ballad of Gales and warp directly to Greatfish Isle. This once-beautiful island is now broken into fragments due to past events, and the weather here is perpetually gloomy. Despite the rain and ruins, one of the Korok saplings is here and needs your help. You’ll arrive near the main broken island structure; sail toward the largest landmass where a corkscrew-like hill sticks out of the sea.


Park your boat as close as you can to the spiraling landmass and disembark. The withered tree is up near the top of the spiral path, so be prepared for some climbing. Follow the winding path up around the island’s rock formation. The trail isn’t too long, but it is curving and occasionally you’ll have to hop gaps or sidestep debris. Along the way you may spot a Korok (named Drona) standing sadly by the ailing tree at the summit. There are also likely a few enemies (such as Peahats fluttering around or perhaps Bokoblins on the path in the original version); you can largely ignore or outrun enemies here to save time. Once you reach the top near the broken summit, locate the withered sapling next to the Korok and pour the Forest Water on it. It will rejuvenate instantly. That’s tree number three restored!


Needle Rock Isle – A Short Detour Southwest
From Greatfish Isle, sail one square southwest to Needle Rock Isle. As the name suggests, you’ll see a tall, thin spire of rock jutting out of the ocean, with a small circular islet beside it. The islet has a few palm trees and a flaming treasure chest platform (used for a different task) – again, ignore unrelated features for now and focus on the Korok’s tree.


The withered tree is on the small grassy patch of land right next to the giant needle-like rock spire. It’s a tiny area, so once you come ashore, you should spot the brown, shriveled sapling immediately. Watch out for any Blue ChuChu that might pop up here (they sometimes hide on Needle Rock’s island); if one appears, you can outrun it or quickly stun it, but fighting is optional. Rush over to the withered sapling and douse it with your Forest Water. It will perk up with new life, marking your fourth tree healed. Without delay, hop back into your boat. You’re already halfway through the trees, but the clock is still ticking – time to warp for the next one!


Private Oasis (Cabana Island) – A Resort in Ruins
Use your warp song to jump to Tower of the Gods (a convenient central warp point). From the Tower’s location on the Great Sea map, sail one square south to reach the Private Oasis. (In some versions this island is labeled Mrs. Marie’s Cabana on the Sea Chart after you obtain the deed.) This island looks like a little resort with a lone house and a pool of water, surrounded by a circular stone wall. Make landfall on the shore – if you haven’t officially “unlocked” the cabana, the gate might be closed, but you can climb around on the rocks or use the hookshot (later in the game) to get in. Ideally, you should have the Cabana Deed from Windfall’s schoolteacher so the door will welcome you, but to water the tree you actually don’t need to go inside the house at all.


The withered tree is right next to the Cabana house, by the little pool of water on the island. Run through the gate or around the wall and you’ll see the sad sapling near the front of the villa. There’s no combat here (unless some harmless ChuChus spawn), so simply run up to the withered sapling by the pool and pour your Forest Water on it. The tree will revive in a bloom of green leaves. This is a quick stop, so once the Private Oasis tree is healthy again, dash back to your boat. You have only three trees left. If you haven’t already, play the Ballad of Gales to warp out and continue the race against time.


Eastern Fairy Island – Fountain of Life
Warp again to Tower of the Gods, then sail one square north to Eastern Fairy Island. This is a tiny island enclosed by a curved shell-shaped rock formation. (If you recall the Fairy Islands, this one has a giant cracked shell that you might have opened earlier to visit the Great Fairy inside.) There’s a small open grassy area on the island’s south side where you can land. Set the wind northward from the Tower before you sail, to get a straight tailwind to Eastern Fairy Island.


The Korok’s sapling is located on the surface of Eastern Fairy Island, usually right near the entrance to the fairy’s shell (on the grass outside). When you hop off your boat, you should see the telltale withered little tree on this otherwise bare island. Climb up, run over and quickly sprinkle the Forest Water on the withered tree. It will spring back to life instantly. That’s the sixth tree revived! Time is likely running low by this point, so waste no time – get back in your boat and prepare to warp again. The last two saplings are in the far north.


(If you need a time check, you should ideally have several minutes remaining at this stage. If you’re behind, don’t lose hope – just stay focused and keep warping quickly. The next two islands are close to each other.)
Mother & Child Isles – The Distant Child Isle
Play the Ballad of Gales and warp to Tingle Island (near the center of the map). From there, sail northwest to the Mother & Child Isles. The Mother & Child is a pair of islands: a large outer ring island (the “Mother”) and a small island next to it (the “Child”). You actually cannot land on the big Mother island from the ocean – it’s enclosed and only reachable via warp for a different quest – but the small Child isle is accessible by boat. Sail up to the smaller island on the outskirts (it has a sandy shore and a few trees). You may recognize a traveling merchant Goron here with his shop pack; that’s a sign you’re in the right spot.


The Korok’s withered sapling is on the Child Isle, which is the smaller island you can freely walk on. Come ashore on this small isle. The tree is usually near the merchant or just off to one side of the sandy area, looking dried-out and brown. Approach the withered sapling and give it a dose of Forest Water from your bottle. It will rejuvenate with green leaves, leaving only one last tree to go. As soon as it’s watered, dash back to your boat for the final leg.


Star Island – The Final Tree and Reward
Set the wind to the north from Mother & Child Isles, and sail one square north to Star Island. Star Island is an unmissable island shaped like a five-pointed star from above. It’s a relatively small island dotted with boulders arranged in a star pattern. There’s no warp directly here, so sailing is your only option – hopefully you set a northerly wind to speed things up. When you arrive, beach the boat on the outer edge and climb onto the star-shaped land.


The eighth and final withered tree is located on Star Island’s grassy surface. There are several large rocks on the island (which hide enemies and a secret grotto), but you can ignore all that for now. If any Moblins or Miniblins appear from under the rocks (this can happen if you trigger the hidden hole), try to avoid combat and sprint toward the sapling instead – fighting will only waste time. Locate the withered sapling (it’s usually near the center of the star shape) and pour your Forest Water on it. The moment this last tree drinks the water and revives, you’ve successfully healed all eight trees within the time limit!


Heart Piece #36 of 44
As soon as the final tree comes back to life, you’ll hear a triumphant fanfare. A Piece of Heart pops out of the newly rejuvenated tree and floats above it! Grab your well-earned Piece of Heart #36 to complete the quest. This heart piece will complete another Heart Container (if you’ve been gathering them in order). Congratulations – you’ve brought the Korok forests back from the brink and earned a valuable reward for your efforts.