The Wind Waker 100% Completion Walkthrough
- Prologue: Outset Island: Introduction to Link’s home, initial quests, and obtaining the Hero’s Sword and Shield.
- Forsaken Fortress (First Visit): Stealth mechanics and rescuing Aryll.
- Windfall Island: Acquiring the Sail, meeting key characters, and side quests.
- Dragon Roost Island & Cavern: Assisting the Rito tribe, dungeon exploration, and obtaining Din’s Pearl.
- Forest Haven & Forbidden Woods: Meeting the Great Deku Tree, aiding the Koroks, and securing Farore’s Pearl.
- Post-Forbidden Woods Exploration: Collect charts, heart pieces, and upgrades across the southern sea.
- Greatfish Isle & Nayru’s Pearl: Story progression and obtaining the final pearl.
- Great Sea Side Quest Adventure: Explore islands and complete Windfall quests for key upgrades and collectibles.
- Tower of the Gods: Dungeon challenges and gaining access to Hyrule.
- Hyrule Castle: Discovering the Master Sword and storyline developments.
- Post-Hyrule Castle Exploration: Complete trading quests for heart pieces, treasure charts, and the Magic Armor.
- The Forest Water Challenge: Locating and saving each withered tree for a heart piece.
- Forsaken Fortress (Second Visit): Confronting the Helmaroc King and rescuing Aryll.
- Reef Special Charts & Windfall Side Quests: Six-Eye Reefs, Treasure Charts, and Windfall Island side quests.
- Fire Mountain & Ice Ring Isle: Obtain the Power Bracelets and Iron Boots from these elemental islands to access the next temples.
- Earth Temple: Venture with Medli into the Earth Temple to cleanse evil and claim the Mirror Shield.
- Wind Temple: Enter Gale Isle, team up with Makar, and conquer the Wind Temple.
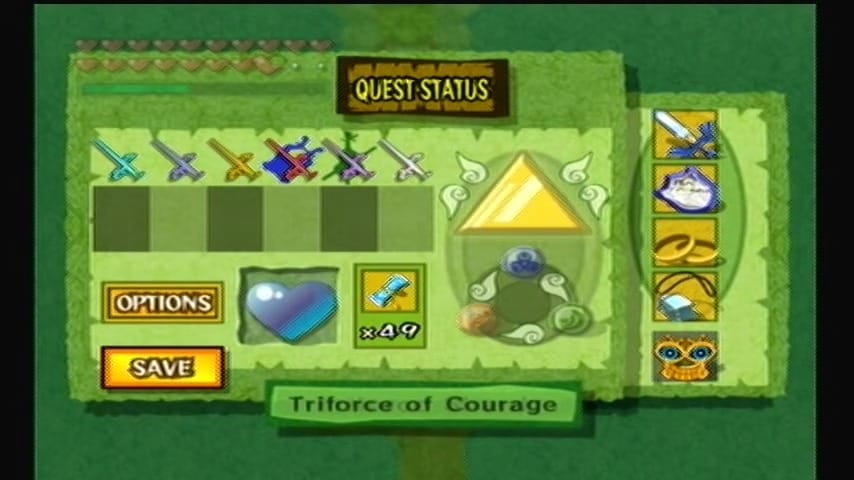
- Triforce Shard Quest: Locating Triforce Charts, deciphering them, and retrieving Triforce shards.
- Ganon’s Tower: Final challenges, boss rematches, and the ultimate confrontation with Ganondorf.
Table of Contents
Final Treasure Charts and the Ghost Ship
After the Wind Temple, it’s time to wrap up a few side treasures and dive into the Triforce hunt. Make sure you have the Ballad of Gales to warp around quickly and all your essential gear (Bombs, Bow, Hookshot, etc.). Let’s set sail!

Heart Piece #43: Treasure Chart #5
Warp to Tower of the Gods (E4), then sail east two squares to find Thorned Fairy Island (G4). Use Treasure Chart #5 here by cruising around the island until your treasure indicator shines. Hook the sunken chest with the Grappling Hook to pull up a prize: Piece of Heart #43. Enjoy the health boost – you’ve earned it!


Next, warp to Greatfish Isle (B4) and sail south one square to the Islet of Steel (B5).
Treasure Chart #35 (Salvaged for 200 Rupees)
There’s a glowing spot in the water near this metal fortress marked by Treasure Chart #35. Fish it up to snag a Silver Rupee worth 200 Rupees – a nice cash infusion. This should complete all 41 Treasure Charts in the game, so give yourself a pat on the back for finding them all!


Now warp to Outset Island and sail northwest one square to the small, misty Diamond Steppe Island (A6). Equip your Hookshot and latch onto the barren trees to climb levels of the island. On the level just before the top, you will find a Blue ChuChu.


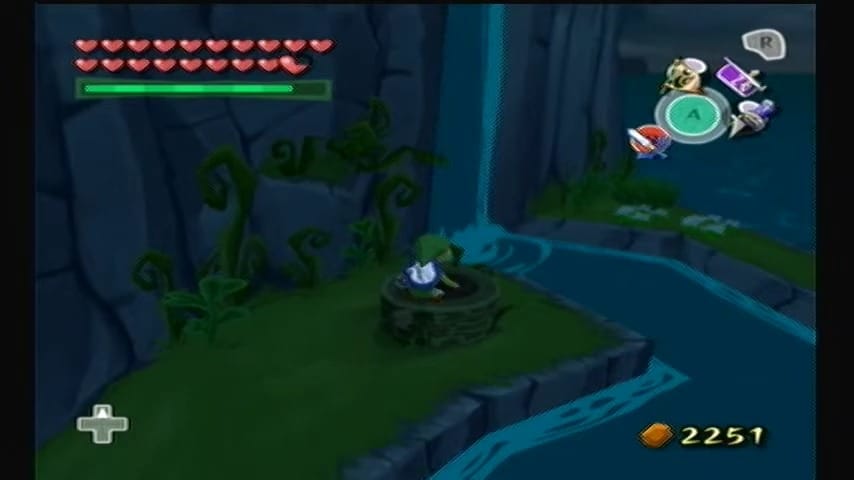

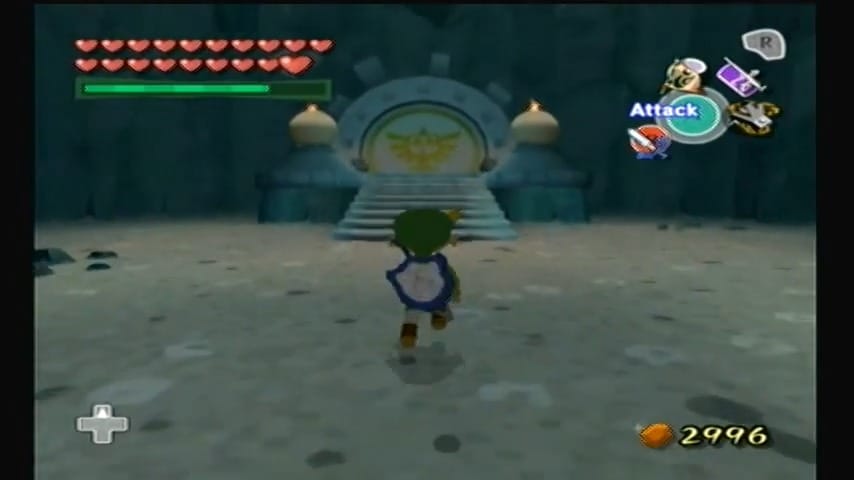
Continue to the top, and drop down the hole into an eerie underground cavern. You’ve entered a warp jar maze patrolled by Floor Masters – spooky hands that will try to grab you. Upon entering, you’ll see a cauldron directly ahead. Jump into it to teleport to the next area.


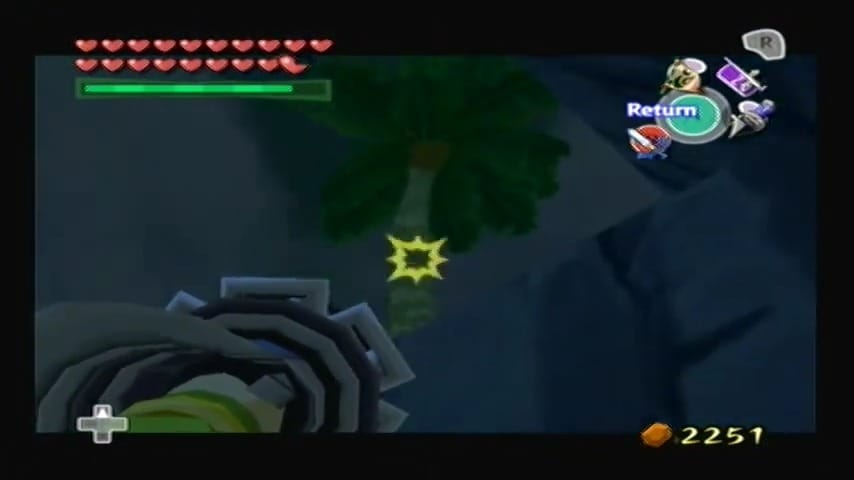
In the subsequent rooms, you’ll encounter multiple cauldrons. Some are covered with wooden planks. Use Bombs or a lit Boko Stick to remove the coverings. Choosing the correct sequence of cauldrons is essential to progress. Be cautious of Floormasters lurking in the shadows. Defeat or avoid them as you navigate. Keep an eye out for jars on higher ledges – use the Hookshot on treasure chests or barrels to pull yourself across gaps.


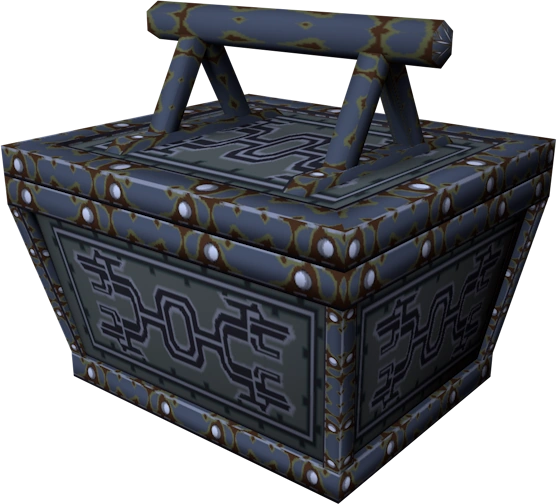
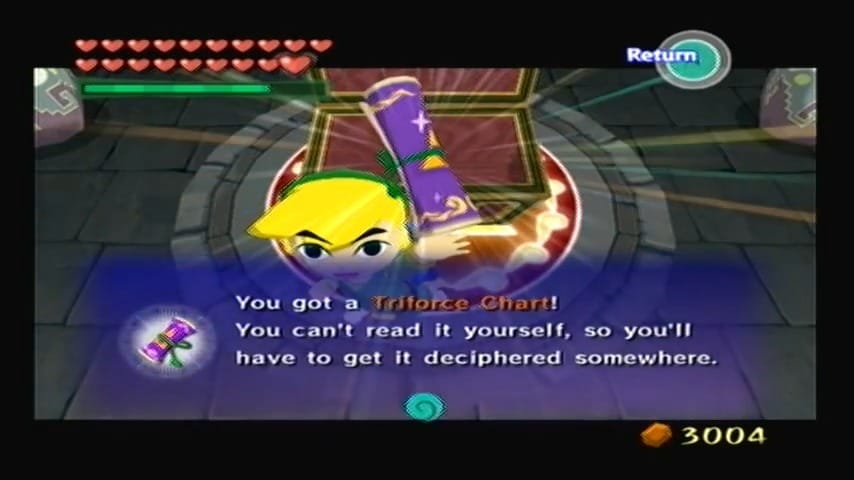
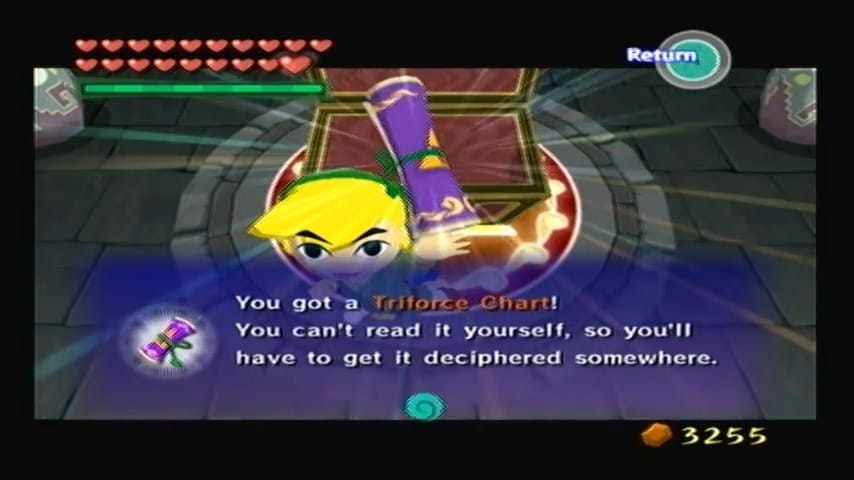
Eventually, you’ll reach a room with a lone chest. Open it to obtain the mysterious Ghost Ship Chart.


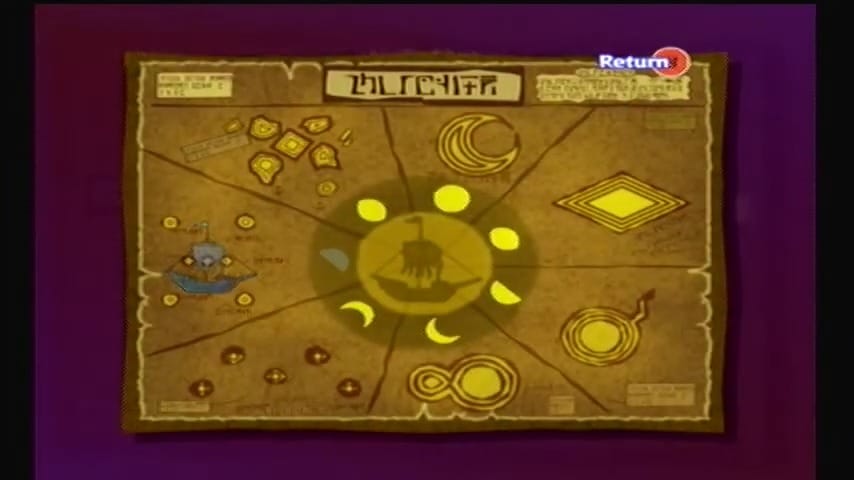
Special Chart: Ghost Ship Chart
This special sea chart shows the phases of the moon and islands where the Ghost Ship will appear each night.
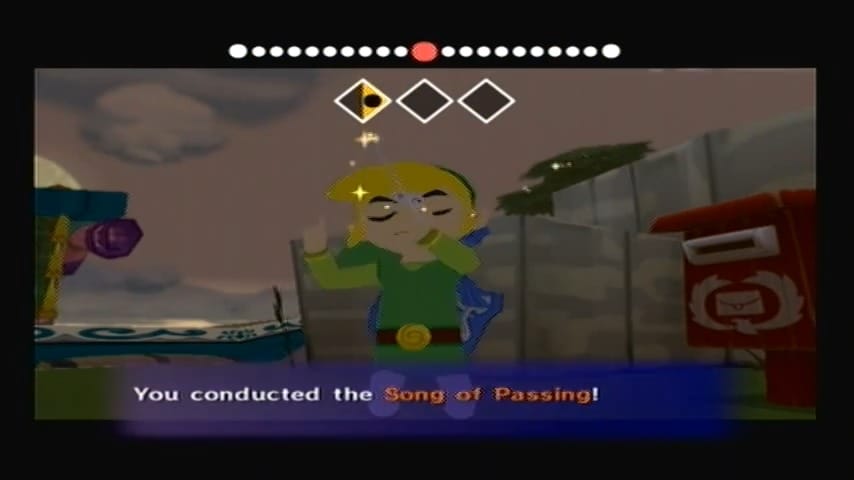
With the Ghost Ship Chart in hand, play the Song of Passing (or simply wait until night) and check the chart to see where the Ghost Ship is lurking tonight. It moves each night based on the lunar phase (for example, Crescent Moon on a full moon night, etc.), so find the matching island and sail there.


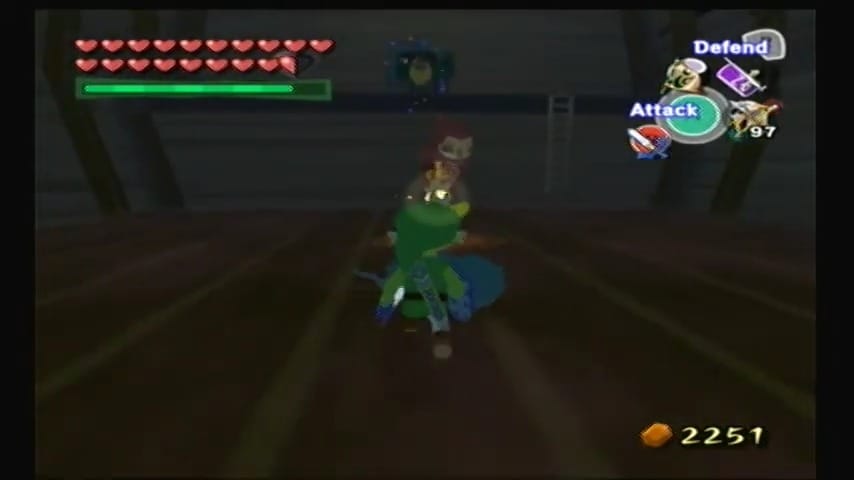
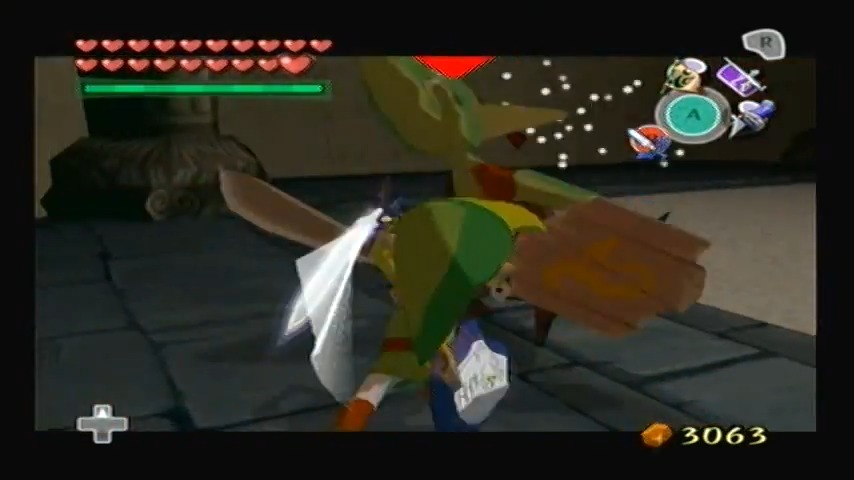
As you approach, you’ll see an ethereal galleon glowing with blue flames – the Ghost Ship itself! Sail into the Ghost Ship and you’ll be teleported aboard the haunted vessel. Inside, the atmosphere is chilling: tattered hull, eerie mist, and rows of skulls. Immediately, you’re ambushed by ghostly enemies – a couple of Poes drift about and a summoning Wizzrobe appears. Focus on defeating the Wizzrobe quickly (so it doesn’t keep calling in reinforcements like Stalfos), then take out the remaining Poes. Use your Mirror Shield to reflect the thin beam of light coming through the broken hull and stun any Poes that turn invisible.


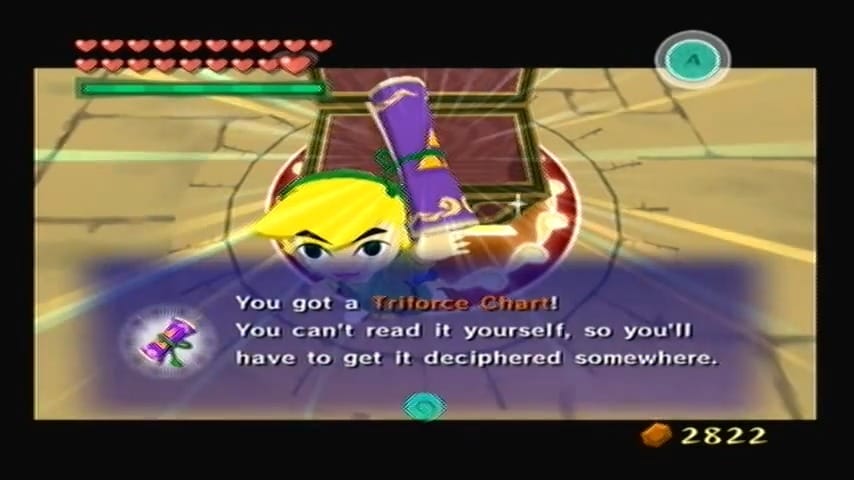
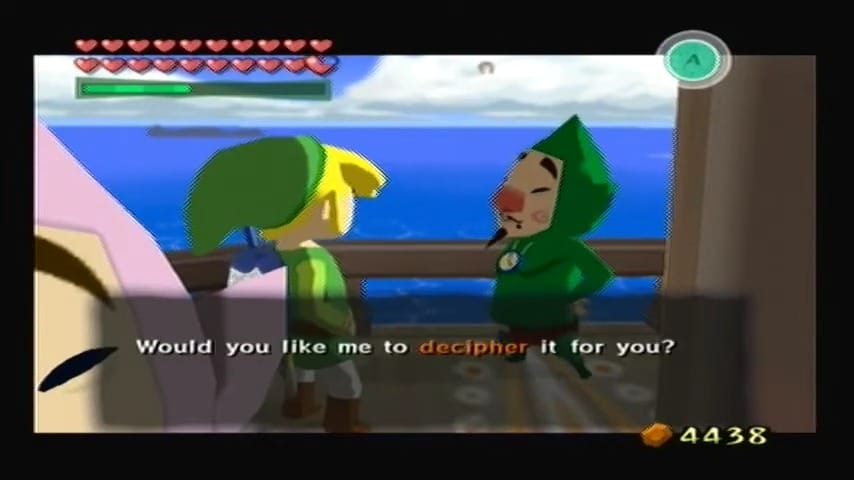
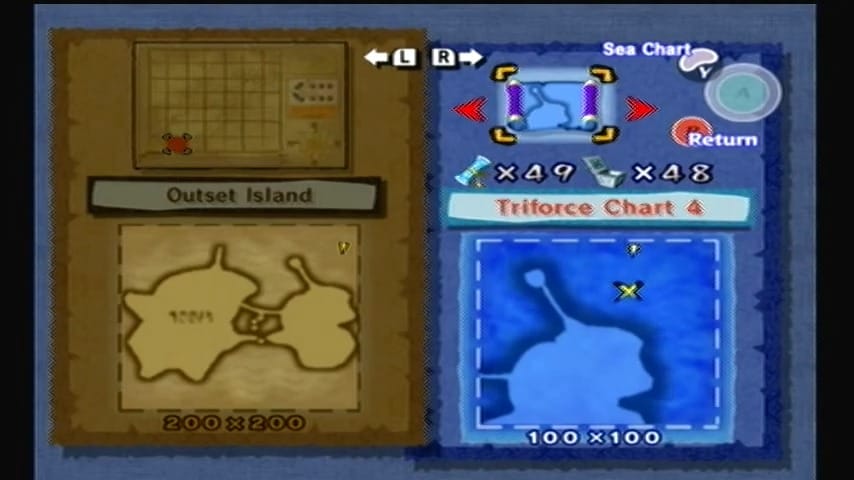
Triforce Chart #4
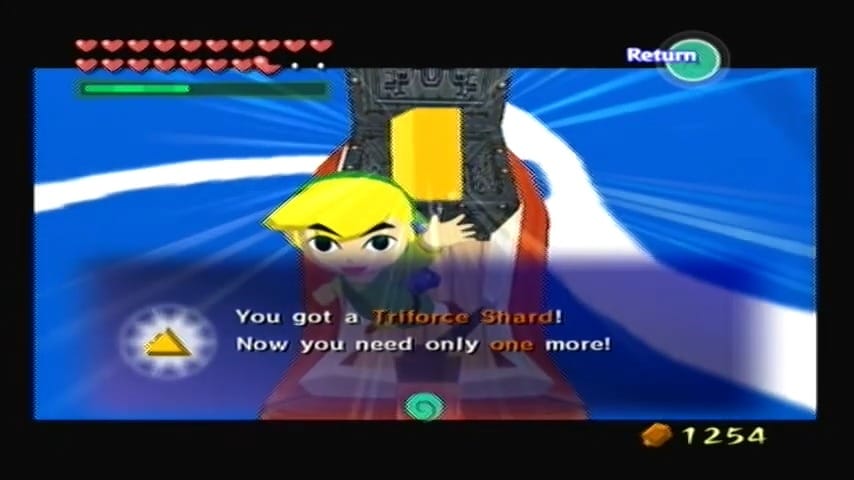
Once all enemies are vanquished, a ladder drops down. Climb up to the captain’s cabin and claim your reward from the chest: Triforce Chart #4. An ominous laugh echoes as the ship fades away, and Link finds himself back on the King of Red Lions at dawn. (HD Version: Instead of a chart, the chest here holds an actual Triforce Shard! In Wind Waker HD, you get the shard immediately without needing Tingle. On GameCube, you’ll later take Chart #4 to Tingle for decoding; it will point to a shard hidden near Outset.)

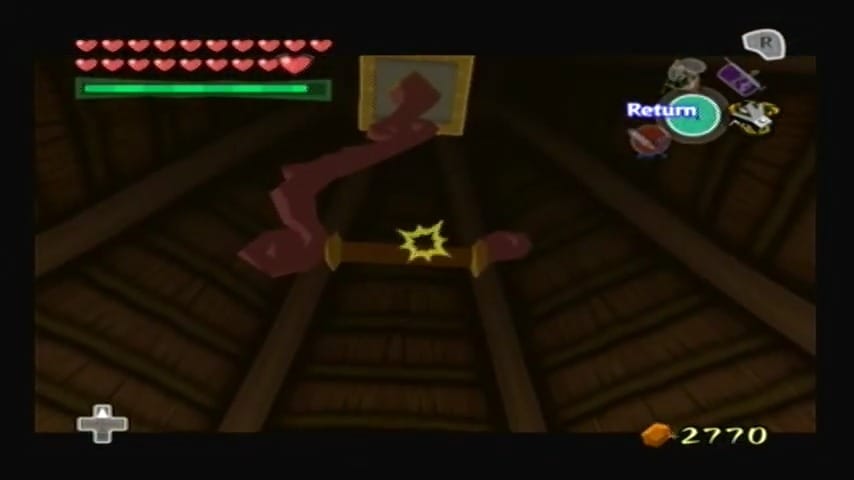
Warp back to Tower of the Gods, then sail south one square to the cozy Private Oasis (E-5). By now you should have the Cabana Deed (earned by giving 20 Joy Pendants to Mrs. Marie on Windfall). Show the Cabana Deed to the talking door to gain entry – the island is even renamed Link’s Oasis in your honor. Inside the cabana, climb onto the table and look up: there’s a grapple peg on the ceiling. Face the fireplace and use your Grappling Hook on that ceiling fixture. This douses the fire and reveals a secret passage behind the fireplace.


Drop down into the hidden basement, where a maze of crawl tunnels and chambers awaits. Navigate through the labyrinth, defeating any Miniblins that swarm you and watching out for ReDeads lurking in dead ends (their paralyzing scream is chilling – use your Mirror Shield’s light or arrows to dispatch them). You’ll encounter wooden barriers blocking crawlspaces; smack the floor switches with the Skull Hammer to open new paths. Eventually, you’ll find a larger room with a Wind Waker crest on the floor.


Triforce Chart #2
Conduct the Wind’s Requiem to make a chest appear, and open it to obtain Triforce Chart #2. Congratulations – you’ve now secured two of the eight Triforce Charts! (HD Version: Here the chest gives a Triforce Shard outright, skipping the chart. Otherwise, the puzzle and route are the same. Enjoy the 100 Rupees from pots in the maze as a bonus!)


Armed with two charts, you’re ready to gather the rest of the Triforce of Courage. The following sequence covers the remaining five Triforce Chart locations (and one optional stop), but you can tackle them in any order. Our route efficiently hops around the map and even picks up an extra collectible. Ballad of Gales at the ready? Let’s go!
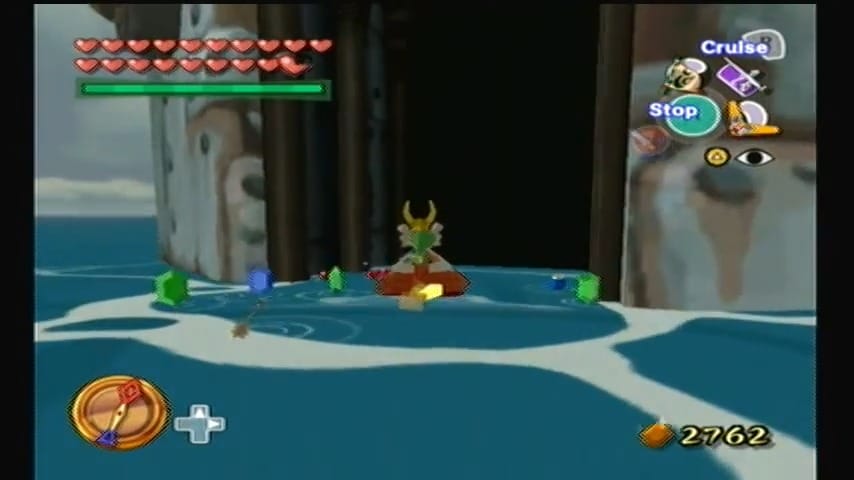
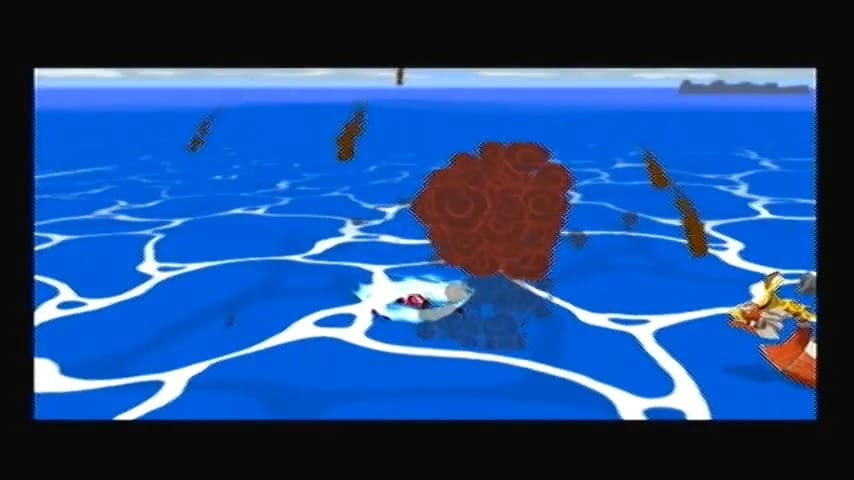
Warp to Greatfish Isle once more and sail south to Islet of Steel (B5). This time we’re heading inside the fortress. The small metallic island is guarded by enemy warships – you’ll spot a large cannon boat patrolling nearby. Use your Bomb Cannon to sink the Warship (and any smaller boats or turrets around) to blow open the steel gate. Once the sea is clear, sail into the fortress through the now-open entrance.

Triforce Chart #1
Inside the hollow islet, disembark on the central platform with the Wind Waker crest. Conduct the Wind’s Requiem and a chest materializes. Open it to claim Triforce Chart #1, which (once deciphered) will reveal a shard resting somewhere near Greatfish Isle. (HD Version: The chest here contains the Triforce Shard itself, skipping Chart #1 entirely. On GameCube, be sure to get this chart deciphered by Tingle later so you can salvage its shard from the sea.)


Triforce Chart #5
From Islet of Steel, sail west one square to the warm waters around Needle Rock Isle (A5). As you approach, you’ll see three Warships cruising about – one of them is painted gold. That golden Warship is carrying our prize. Engage in a naval battle: dodge their cannon fire and sink the golden ship with your own cannon.
Once it goes down, a glowing ring appears on the ocean surface. Sail over that spot and use the Grappling Hook to salvage the sunken chest. Inside is Triforce Chart #5 (Collectible 2 of 6)! (HD Version: The treasure you pull up is immediately a Triforce Shard here instead of a chart. In other words, HD players get the shard without needing to translate a chart – nice!) On GameCube, mark this chart for translation later; it will lead you to a shard near the Cliff Plateau Isles. Either way, blasting pirate ships and grabbing treasure is a pretty great time.


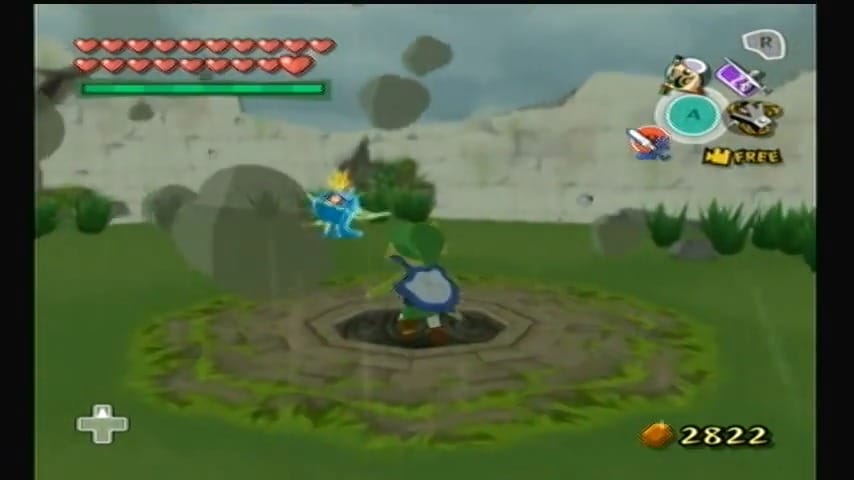
Warp back to Greatfish Isle and sail southeast to Stone Watcher Island (C-5). This island features a massive stone head statue on top. Clear out any flying Kargarocs or cannons harassing you, then climb up. Find the Blue ChuChu behind the head statue.


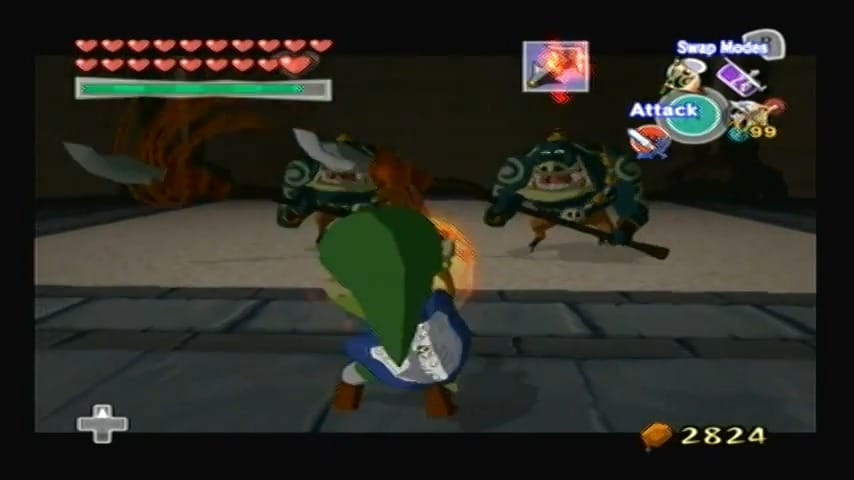
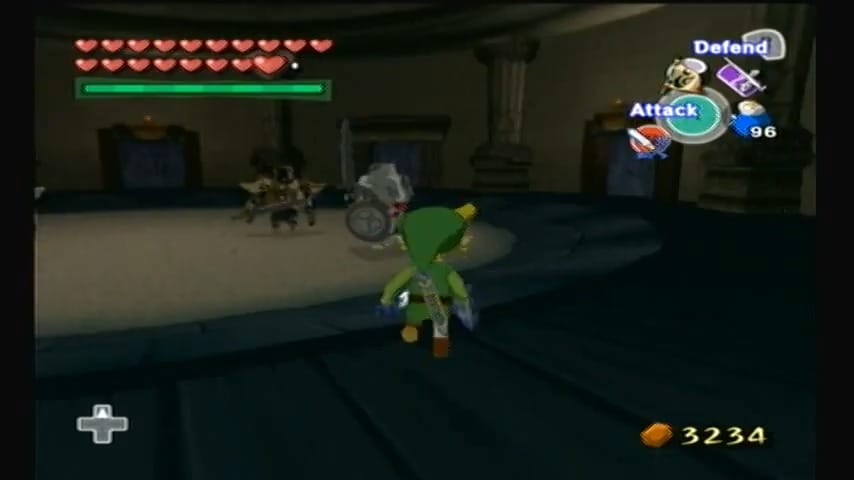
Use your Power Bracelets to lift and toss that giant stone head aside. Drop into the revealed hole to enter another mini-dungeon. You’ll find yourself in a dim underground chamber with multiple doors and a familiar challenge: defeat all enemies in each room. Four side rooms branch off from the central hub. Tackle them in any order – each is packed with baddies (Bokoblins, Moblins, and perhaps a Wizzrobe). Use your combat skills to clear all four rooms. Collect any spoils (Skull Necklaces, etc.) and be sure to smash the jars for health or Magic. When each room’s foes are vanquished, the symbol above its door lights up. Once all four are lit, the heavy central door unlocks. Stock up from the recovery pots, then head through to the final chamber.


Triforce Chart #7
Inside waits a duo of Darknuts in ornate armor. This is a tougher fight – try to lure one away from the other. Use parry attacks or arrows to knock off their helmets, and strike from behind to bring them down. With both Darknuts defeated, the Wind’s Requiem crest appears on the floor. Play the song and open the newly appeared chest to claim Triforce Chart #7 (Collectible 3 of 6). (HD Version: Here you’ll earn a Triforce Shard directly from the chest instead of Chart #7, as Nintendo removed this chart in the HD edition.) Take a moment to enjoy the loot from all the enemies (this cave is a decent source of extra Rupees and Knight’s Crests). When you’re done, exit via the warp pot that appears or simply climb out the entrance shaft.


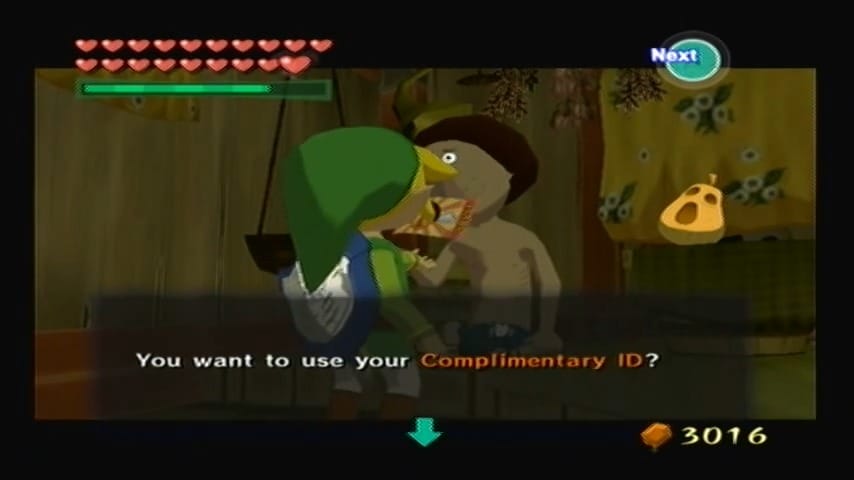
After Stone Watcher, you might be low on certain supplies. This is a perfect time to restock and possibly snag a membership reward. Warp to Forest Haven and look for Beedle’s Shop Ship in the vicinity (usually just outside the haven). Sail up and hop aboard to buy any items you need – importantly, pick up a few Hyoi Pears (3–4 pears is plenty) for an upcoming task at Bird’s Peak Rock. Each purchase earns points on Beedle’s Membership Card. If you’ve accumulated 30 points, Beedle will mail you a Complimentary ID (a silver membership card – Collectible 4 of 6 for this part). This item doesn’t do much by itself, but it’s a nice memento of your frequent shopper status. If you hit 60 points total, you’ll later receive a Fill-Up Coupon, a one-time free refill of your Bombs, Arrows, and Hearts – very handy before the final battles.


From Forest Haven, sail northeast until you reach the cluster of tall stone spires known as Bird’s Peak Rock (G-5). As you arrive, you’ll be greeted (or rather, attacked) by several Kargarocs (large flying bird enemies) nesting atop the peaks. Before attempting the main puzzle, take out as many Kargarocs as you can with your Bow or Boomerang from the boat or shore – you don’t want them harassing your feathered friend. Notice the six smaller rock towers, each with a crystal switch and a seagull’s nest on top.
Climb onto the central rock (there’s a ledge where you can stand safely). Now equip a Hyoi Pear on your bait bag and use it: Link will place the pear on his head, and a seagull will swoop down allowing you to take control of it. As the seagull, fly around the area and hit all the crystal switches on the tops of the six spires. (If any Kargarocs are left, steer clear or they’ll dive-bomb your poor seagull – you’ll have to quickly dodge. If the seagull gets hit, you’ll lose control and might need to use another pear.) Once all switches have been triggered, you’ll hear a satisfying chime and the iron grating covering the cave entrance will lift. Return control to Link (press R to cancel the seagull view).


Before heading inside, use your Grapping Hook on the pole protruding from the side of the outside wall to pull yourself up to the level above to find a Blue ChuChu. Proceed through the newly opened doorway.


Triforce Chart #3
Inside, it’s relatively straightforward: there’s a Wind Waker crest on the floor of this small cavern. Conduct the Wind’s Requiem to summon a chest. Pop it open to seize Triforce Chart #3 (Collectible 5 of 6). (HD Version: Bird’s Peak Rock is one of the few that still hides a chart in the HD game – Nintendo only cut five of the eight charts, and this wasn’t one of them. So even on Wii U, you’ll get a Triforce Chart here (in fact, it’s labeled “Chart #2” in the HD version’s reduced chart list), which points to a shard near Stone Watcher Island. Make sure to have it deciphered.) Back on the Great Sea, you’re closing in on the full set!


Now for the final chart in this seafaring journey. Warp to Dragon Roost Island, then sail northeast to the isolated Overlook Island (G1) in the top-right corner of the map. This island is a series of tall, bare sea stacks with no easy shore to land on. As you approach, you’ll see withered trees atop the cliffs. Use your Hookshot from the boat to latch onto one of the lower trees, pulling yourself up onto the pillar. You should find another Blue ChuChu on one of the upper levels here.


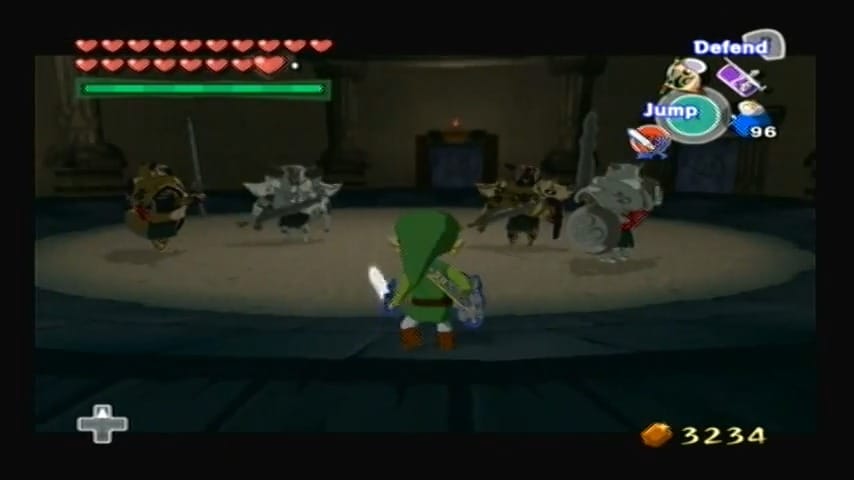
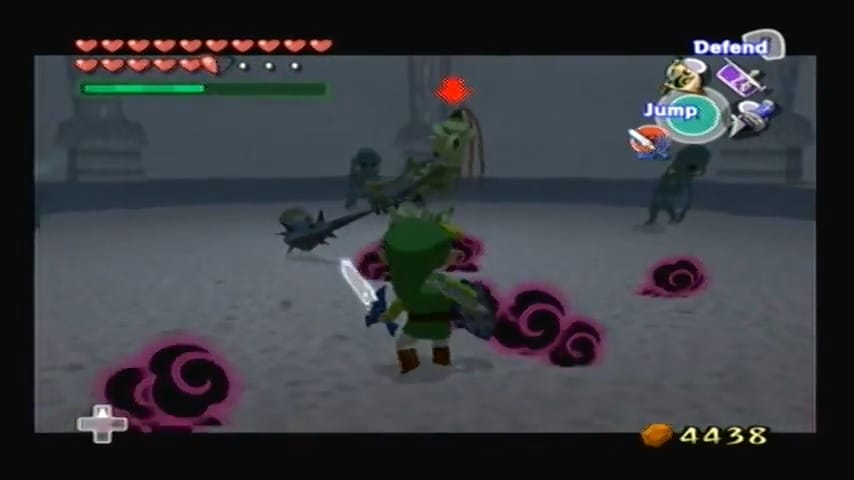
From there, leap and Hookshot to the next tree, and so on, until you reach the main plateau. There’s a hole here – drop down into yet another underground trial. Much like Stone Watcher, Overlook’s cavern features multiple doors and a combat challenge in each. However, expect a tougher roster of enemies this time. In the side rooms you’ll face combinations like several Wizzrobes (which can summon foes if not taken out quickly), groups of Moblins and Bokoblins, and even multiple Darknuts.


One particularly harrowing room pits you against two Darknuts at once – a great opportunity to use your newfound Hurricane Spin if you have it (more on that in Part 3) or try to get the armored brutes to hit each other. A good strategy is to equip the Boomerang or Light Arrows to stun or dispatch Wizzrobes from afar, and use tight circles to manage multiple Darknuts (their big sword swings can friendly-fire each other!). After clearing each side room, lighting the door symbols, the central door opens.

Triforce Chart #8
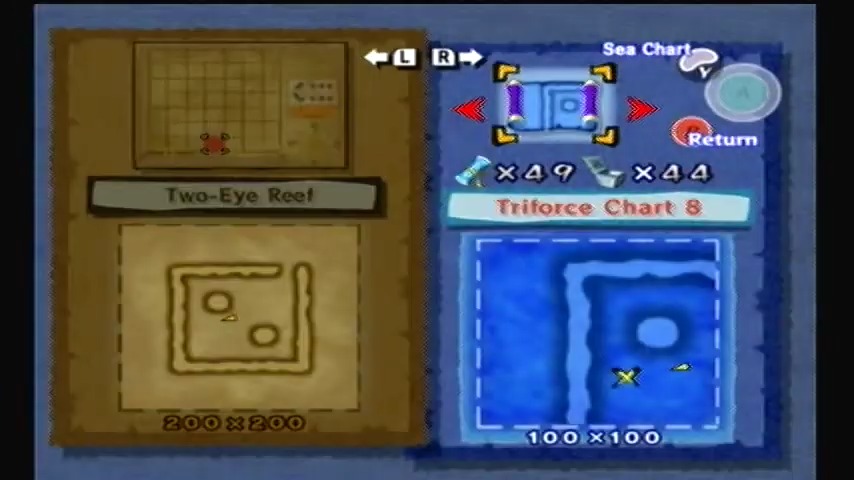
Head into the final chamber and play the Wind’s Requiem on the crest. The big chest spawns; open it to reap Triforce Chart #8. This is the last Triforce Chart! (HD Version: The chest on Overlook contains the Triforce Shard itself on Wii U, as Overlook Island is one of the locations that gives a shard outright in the remake. On GameCube, Chart #8 will point you to the shard hidden in the sea near Two-Eye Reef (D-7). Either way, this is your seventh Triforce piece overall – almost there!) After you exit, celebrate – you’ve obtained all the remaining charts in this part of the quest.


At this point, Link has gathered 7 of the 8 Triforce Charts (or shards, in HD). Only one chart remains, and fittingly, it’s on Outset Island – your home. While returning to Outset, you can also take care of a couple of important side quests to prepare for the endgame. Let’s finish our adventure prep on a high note!
Set your warp to Outset Island (B7). Once home, pay a visit to Orca, the old swordsman in the bottom level of your house. If you’ve been collecting Knight’s Crests from defeated Darknuts throughout your journey (those crest-shaped medals they drop, which you could also steal with the Grappling Hook), you should have at least 10 of them by now. Target Orca and show him the 10 Knight’s Crests.


His eyes will light up as he realizes you have mastered the ways of the warrior. After a brief excited speech, he will teach you the secret technique he promised: the Hurricane Spin! This powerful move lets you charge a super spin attack by holding B; when released, Link will whirl rapidly across the ground, sword outstretched, hitting everything in his path multiple times. It’s great for clearing groups of enemies or dealing heavy damage to a boss. (Be careful – it leaves you dizzy and immobile for a few seconds afterward.) This upgrade is permanent and extremely satisfying to use. While not required to beat the game, the Hurricane Spin is a handy addition to your arsenal for the trials ahead. Give Orca a thank you (and maybe break a few pots in celebration, he won’t mind).


Now that you’re powered up, it’s time to tackle Outset’s most daunting challenge. Head to the far eastern hill of Outset – the highest peak of the island, where a lone stone statue head sits (you might remember this area as the place Jabun’s cave was visible, or where you fed the big pig earlier in the game). Use your Hookshot on the palm trees along the hill to climb up, or change the wind direction and glide over with your Deku Leaf from a higher ledge. At the summit, equip your Power Bracelets and heave that massive stone head out of the way, revealing a hole in the ground.


Drop in to enter the fabled Savage Labyrinth. This is a 50-floor endurance dungeon filled with virtually every enemy you’ve encountered so far – a true test of courage. Every floor is a small arena; defeat all enemies on that floor to open the hole to the next. Every 10 floors, you’ll find a respite: a floor with no enemies, just recovery pots (hearts, magic, and sometimes arrows/bombs) and a warp jar back to the surface (in case you need to leave).


Make good use of those breaks, because as you descend, the battles get harder! Floors 1–10 feature basic baddies (Keese, Bokoblins, Magtails, etc.), floors 11–20 ramp up (Moblins, harder ChuChus, and floor 15 even throws in Mothulas). Floors 21–30 include tougher foes like Wizzrobes, Armos Statues, and Darknuts. Keep an eye on your health and try to conserve resources; use your environment (and the Hurricane Spin!) to your advantage when swarmed. When you clear Floor 30, you’ll enter a special room with circles marked in the center – a welcome sight.

Triforce Chart #6
This is a safe floor where a reward awaits. Play the Wind’s Requiem on the wind crest here to conjure a treasure chest. Inside is Triforce Chart #6, the final Triforce Chart! (In Wind Waker HD, this chest holds the last Triforce Shard outright, since the HD version skips Chart #6. If you’re on Wii U, congratulations – that’s your final shard collected! GameCube players will need to decipher this chart to fish up the corresponding shard later.)


At this point, you can step into the warp jar to exit if you’re low on supplies or just satisfied with getting the chart. However, true heroes will want to press onward for one more prize. If you choose to continue deeper into the labyrinth, be aware that from this point forward you must have the Mirror Shield (you acquired it in the Earth Temple) to handle certain enemies and obstacles. Specifically, a statue blocking the way forward can only be removed by reflecting light onto it, and upcoming floors feature ReDeads and Dark ChuChus that require light to defeat. Make sure your health is topped off and hop down the next hole for the final gauntlet!

Heart Piece #44 of 44
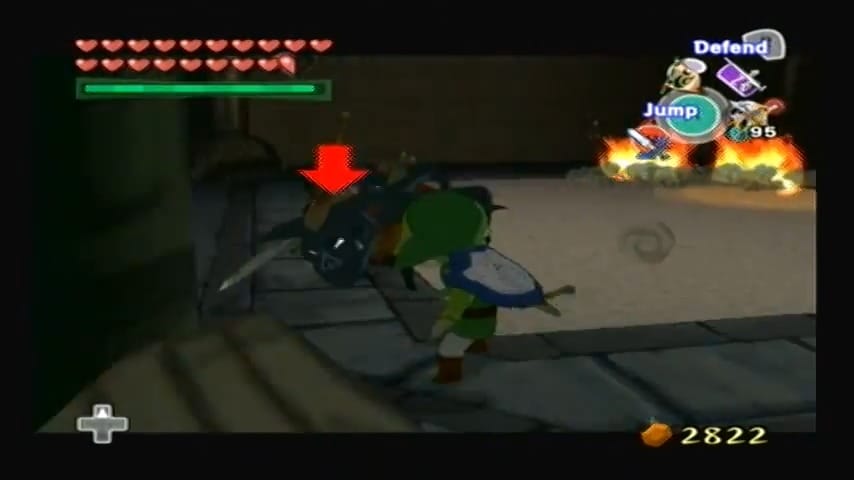
The last 20 floors of the Savage Labyrinth will challenge even seasoned adventurers. Floors 31–40 throw more undead your way (ReDeads lurk in the shadows – shine light to paralyze them, or take them out quickly with the Master Sword’s power; also expect Blue Bubbles, which can curse your sword temporarily).

You’ll also face multiple Darknuts in later floors; by now you might be fighting two or three at once in very cramped spaces. Use all the techniques you’ve honed: stun one with a Light Arrow or Hookshot to isolate it, use the Hurricane Spin to deal heavy group damage if you see an opening, and don’t forget you can pick up a fallen Darknut sword to deal massive damage to others. Floors 41–49 are especially intense, featuring mixes of Wizzrobes summoning enemies, Moblins paired with Darknuts, and other tricky combos. Floor 50 is the final chamber – no enemies here, just a well-earned reward. Open the ornate chest waiting for you and you’ll receive Piece of Heart #44, the final Heart Piece in the game! This will complete your last Heart Container, giving Link the maximum health possible. Congratulations on achieving full 20-heart health, a testament to your thorough exploration.


A warp whirlwind will appear to take you back outside. You’ve conquered the Savage Labyrinth – give yourself a moment to celebrate (and maybe stretch your fingers after all that sword-swinging!).

Back on Outset’s hilltop, you should now have all eight Triforce Charts in your possession (on GameCube) or all eight Triforce Shards (if playing HD). If you’re on GameCube, make a quick trip to Tingle on Windfall Island and open your wallet – he will decipher each chart for a hefty 398 Rupees apiece (ouch!). Fortunately, you’ve gathered plenty of treasure to cover the cost; plus, you likely found extra rupees in those mini-dungeons and the labyrinth to ease the pain. After translation, each chart will mark a spot on your Sea Chart with a gold Triforce symbol. Go salvage each one to pull up the Triforce Shards from the ocean floor. If you’re on HD, you’ve already been collecting the shards directly, so you can skip straight to the next step.


Recovering the Triforce Shards
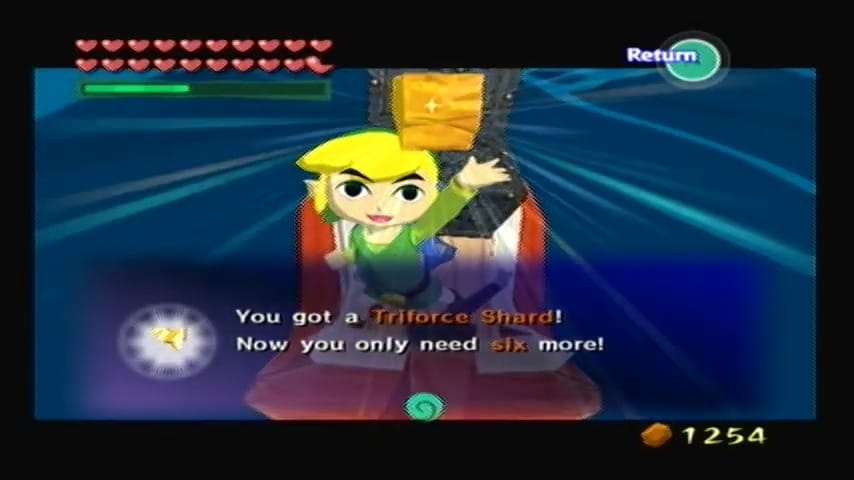
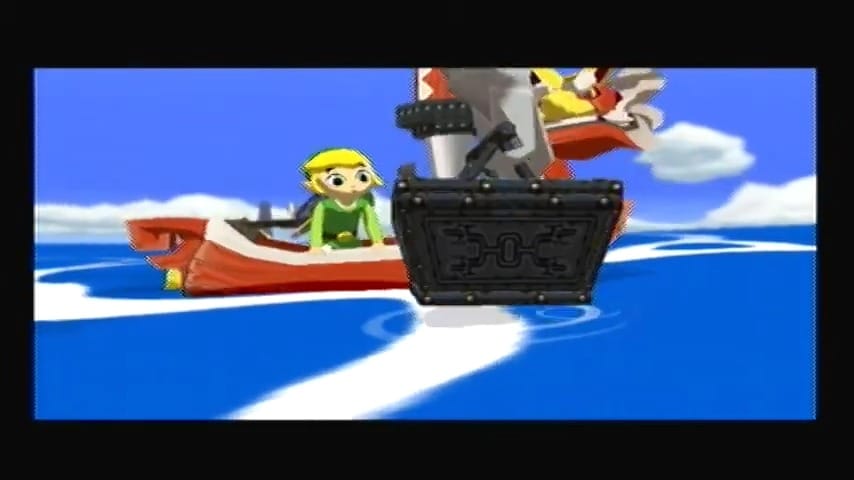
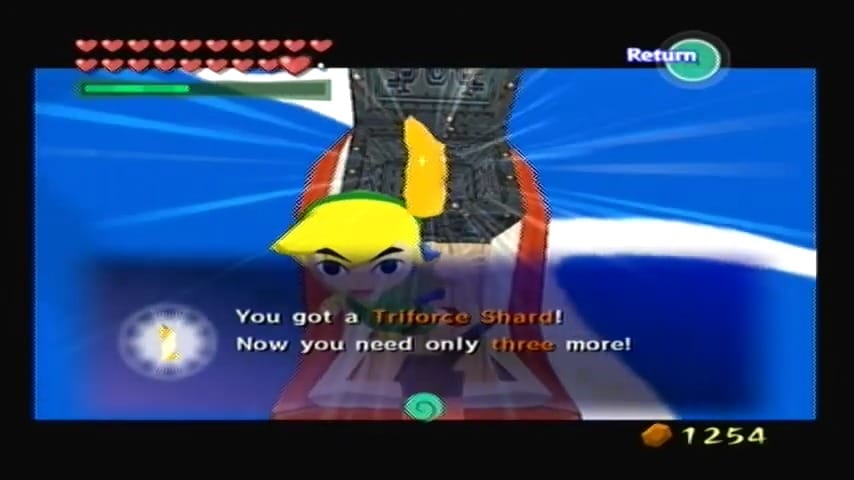
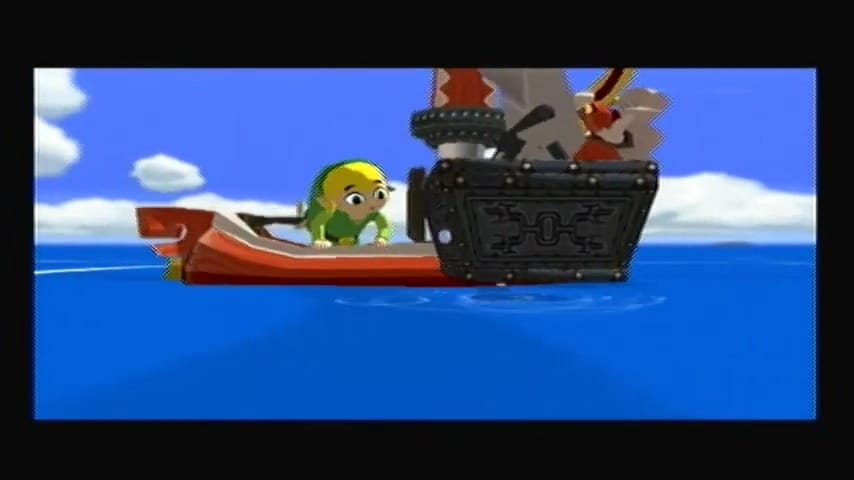
Use your Wind Waker to warp directly to Greatfish Isle, where the first shard is located. The moment you arrive, you’ll notice Greatfish’s perpetual storm and the broken remnants of the island scattered in the sea. Open Triforce Chart #1 on your map and compare it to your Sea Chart – it shows a golden mark near Greatfish Isle. Sail around the ruined island until you spot a bright beam of light rising from the water’s surface. That beam marks the spot of the sunken treasure. Steer the King of Red Lions right over the glowing ring and press ? (your grappling hook button) to lower the crane. With a bit of rumbling effort, you’ll haul up a treasure chest from the depths. Open it to claim your first Triforce Shard! Enjoy the moment as Link holds it up high – one down, seven to go.


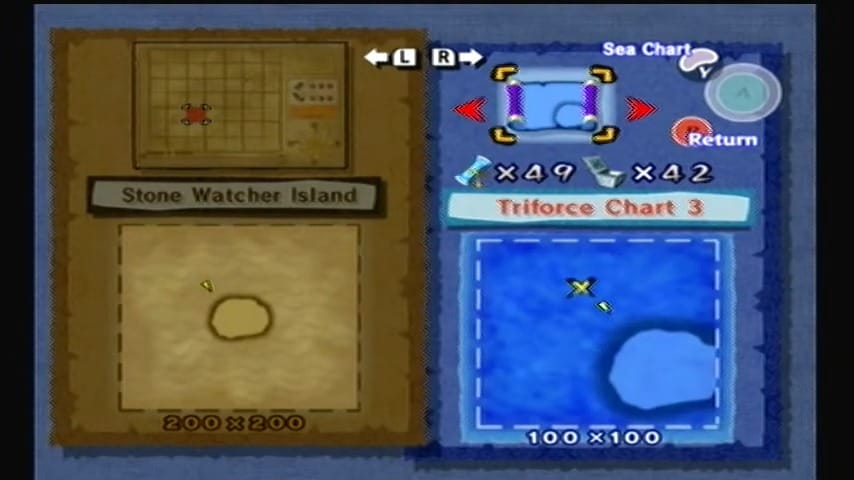
From Greatfish, sail southeast to the rocky outcrop of Stone Watcher Island. On your Sea Chart it’s one square over, so it’s a short trip through choppy waters. Keep an eye out for seagulls and any roaming enemies (occasionally a few Sea Hats or Gyorgs might harass you in this area). When you reach Stone Watcher, open Triforce Chart #3 to pinpoint the shard’s location near the island’s shore.
Stone Watcher is known for the giant stone head atop it – if you previously lifted that head with the Power Bracelets, you cleared a mini-dungeon here to get Triforce Chart #7. For now, focus on the ocean: sail around the island until you see another glowing light ring on the waves. Maneuver the boat so the light is just off your bow, then drop the crane with your grappling hook to salvage the treasure. Up comes the second Triforce Shard, adding to your collection. You’re a quarter of the way there!

The next shard lies in the waters by Southern Triangle Island. Warp to Southern Fairy Island (one of your Ballad of Gales destinations), then sail one square north to find the trio of tiny islands forming the Southern Triangle. These three small islets once held a Goddess Pearl pedestal during your earlier quest; now they’re quiet and deserted. Check Triforce Chart #6 to confirm the shard’s approximate location near Southern Triangle Island.
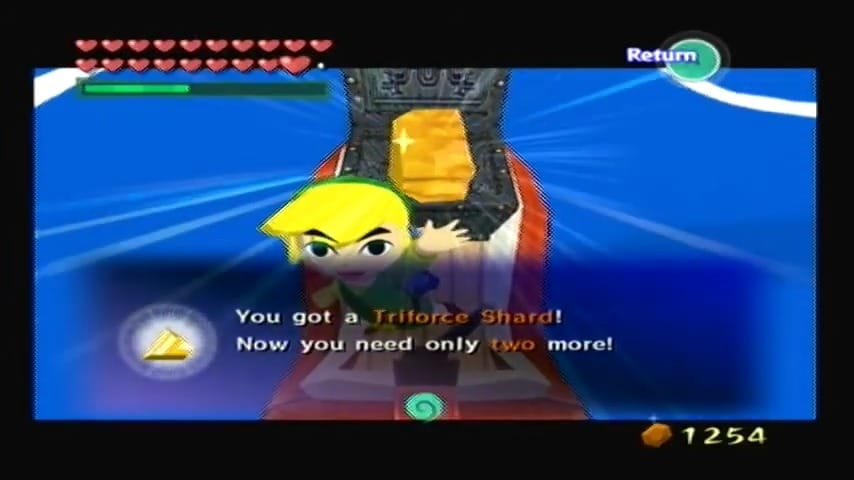
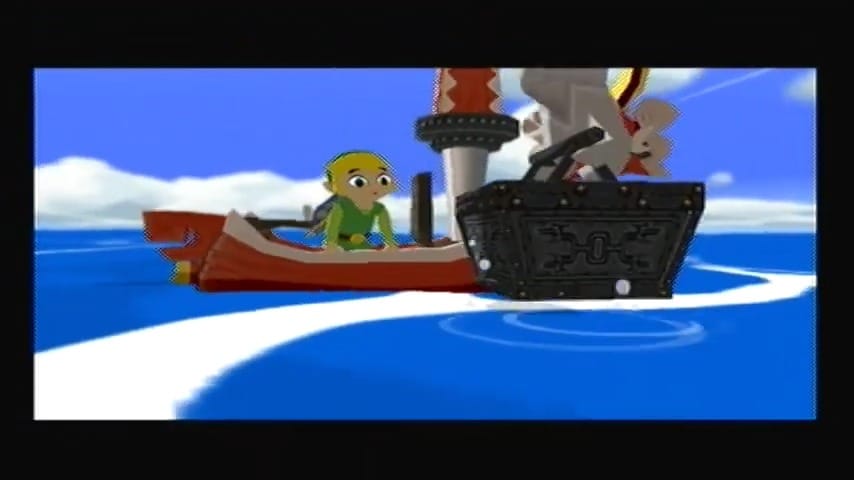
The sea here is typically calmer, but stay alert for any lurking Peahats (the flying plant-like monsters) that sometimes hover near the smaller islands. As before, look for the column of light shining upward from the ocean. It shouldn’t be far off the main triangle isle. Cruise over that spot and deploy your crane to fish up the chest containing the third Triforce Shard. The glowing piece joins the others in your inventory – the Triforce of Courage is slowly rebuilding in your hands.
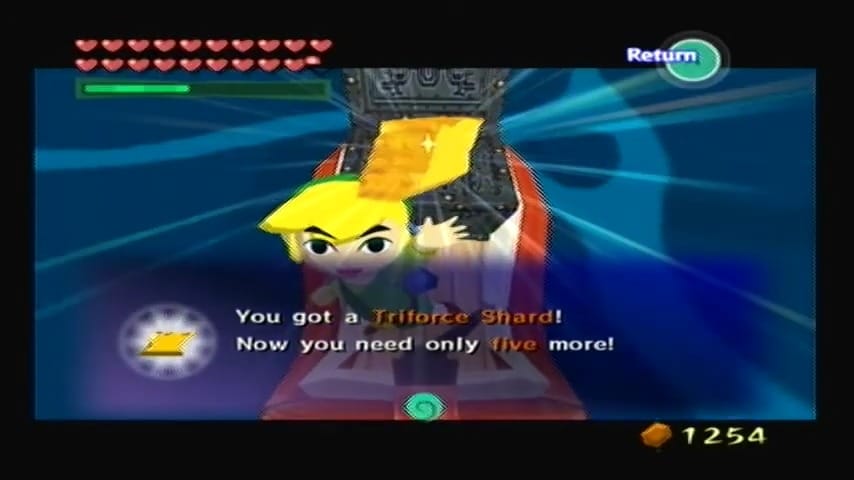


Chart #8 leads to a shard hidden at the Two-Eye Reef, a square-shaped reef two squares south of your current position. For efficiency, warp back to Southern Fairy Island and sail directly south from there (alternatively, if you’re already nearby, just sail down). You’ll recognize Two-Eye Reef by its tall stone ring walls with two large “eye” openings. As you approach, be ready for a fight – cannons line the reef’s walls, and a couple of enemy Warships patrol the perimeter.
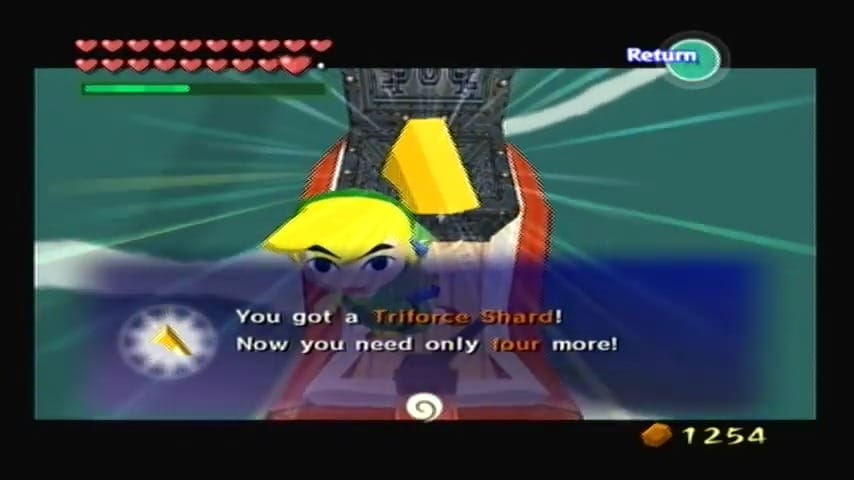
If you haven’t cleared this reef before, you might want to use your Bomb Cannon to take out the cannons and gunboats from a distance. (You can also sail in swiftly and steer past the fire if you prefer a daring approach.) Navigate into the reef’s central lagoon through one of the openings. Amidst the cannon fire and debris, spot the telltale beam of light on the water indicating our prize. Sail up to it and drop the crane to salvage the fourth Triforce Shard. This one feels particularly satisfying, as it was guarded by Ganon’s forces – but nothing can stop you now.

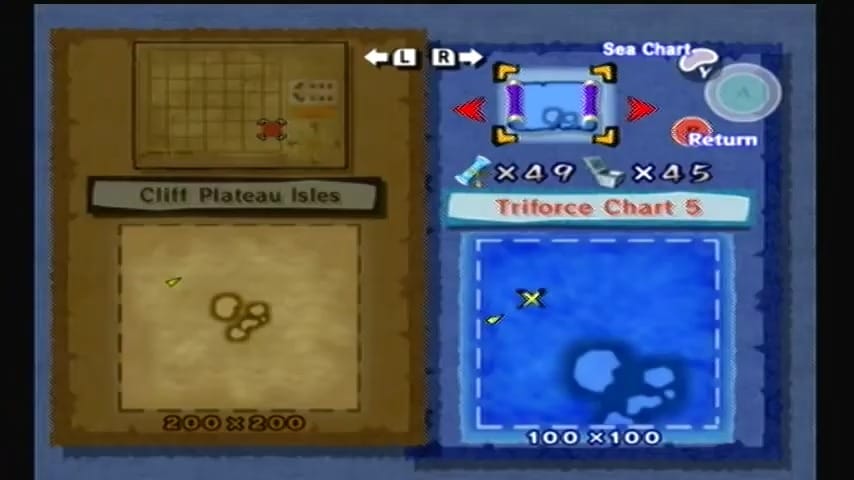
The fifth shard on our list is near the Cliff Plateau Isles, which lie east of the Forest Haven. Play the Ballad of Gales and warp to Forest Haven, then sail one square east. You’ll see the Cliff Plateau Isles as a small cluster of jagged islands, one of which has a tall plateau with a tree on top. Consult Triforce Chart #5 to zero in on the shard’s location offshore. (This chart was originally obtained from Needle Rock Isle’s golden warship, if you recall that adventure.) Use the grappling hook crane once more to dredge up the fifth Triforce Shard from the depths. Another piece of the Triforce of Courage is safely in your hands.
Next, warp over to Windfall Island and sail due north to Gale Isle, home of the Wind Temple. Gale Isle is the one with a massive stone face and a fierce wind blowing out of its entrance (though that wind has died down since you completed the Wind Temple). Open Triforce Chart #2, which corresponds to this region. The chart’s mark is near Gale Isle’s position – specifically, it points to a spot just off the island’s coast, amid a cluster of sharp rock spires jutting out of the water.
Upon arrival, be cautious of any Octoroks spitting rocks from the sea or a stray Sea Hat fluttering about, as they sometimes appear around the northern isles. Sail around the towering rock formations adjacent to Gale Isle until you glimpse the shining light ring on the ocean’s surface. Align your boat over the glow and hoist up the treasure chest containing the sixth Triforce Shard. The Triforce of Courage is nearly complete – only two fragments remain!

From Gale Isle, your next destination is two squares to the east: the remote Seven-Star Isles in the far northeastern quadrant of the map. Point your boat eastward and prepare for a bit of a voyage across open sea. The Seven-Star Isles are a ring of small rock islands (seven of them, as the name suggests) known to be patrolled by enemy watchtowers and occasionally pesky Wizzrobe sorcerers. As you sail into the area, keep an eye out for a wooden lookout platform or two – Bokoblins up there might lob bombs, so weave accordingly or take them out with your cannon. Also watch for seagulls or fins in the water; sometimes a Big Octo or sharks roam these waters, but you can outrun or ignore them if you wish.
Pull out Triforce Chart #7 to guide you; this chart (originally obtained from a secret cave under Stone Watcher Island) indicates the shard’s resting place in the Seven-Star Isles sector. Sure enough, a beam of light will be visible between the rocky islets. Steer to it and use the grappling hook one more time. The crane hauls up the seventh Triforce Shard in a burst of golden light. Only one last piece remains!

The final shard is fittingly back near your home island. Warp to Outset Island and prepare to complete the Triforce of Courage. The deciphered Triforce Chart #4 points to the waters just off Outset’s shore. Specifically, sail to the east side of Outset Island, beyond the stone bridge and cliffs. It’s poetic that the last piece of the Triforce lies by Outset – the place where Link’s journey began. The sea here is usually peaceful (though if it’s nighttime, you might run into a few Miniblins riding floating barrels with spotlights – dispatch them with an arrow or ignore their gibberish). As you round Outset’s eastern coastline, you’ll soon find the final glowing marker on the waves. Position the King of Red Lions above the light ring and drop your crane for the last time. With a clank of the winch and a burst of spray, you pull up the chest containing the eighth and final Triforce Shard

As you retrieve this shard, a triumphant fanfare plays. All eight shards fuse together, assembling the complete Triforce of Courage. In a brief cutscene, the Triforce of Courage symbol shines brilliantly as it comes together, and its power is acknowledged by the gods. (In fact, the golden Triforce crest now resonates on the back of Link’s hand.) You’ve now reclaimed the ancient courage of Hyrule’s hero. The King of Red Lions will speak, urging you to return to the Tower of the Gods with the assembled Triforce. It’s time to head back beneath the waves and confront the evil plaguing Hyrule.