





















| Region | Lanayru Great Spring |
|---|---|
| Entrances | 2 |
| Entrance coordinates | 2863, 346, 227 | 2700, 479, 201 |
| Nearest landmark | Ralis Pond (104 map units) |
| Nearest shrine | Joniu Shrine (170 map units) |
How to find it
The entrances are at map coordinates 2863, 346 and 2700, 479, near Ralis Pond. Look for the cave mouth at that spot; a Blupee or a ring of light often marks them.
Inside the cave
Swim in and open the first two chests
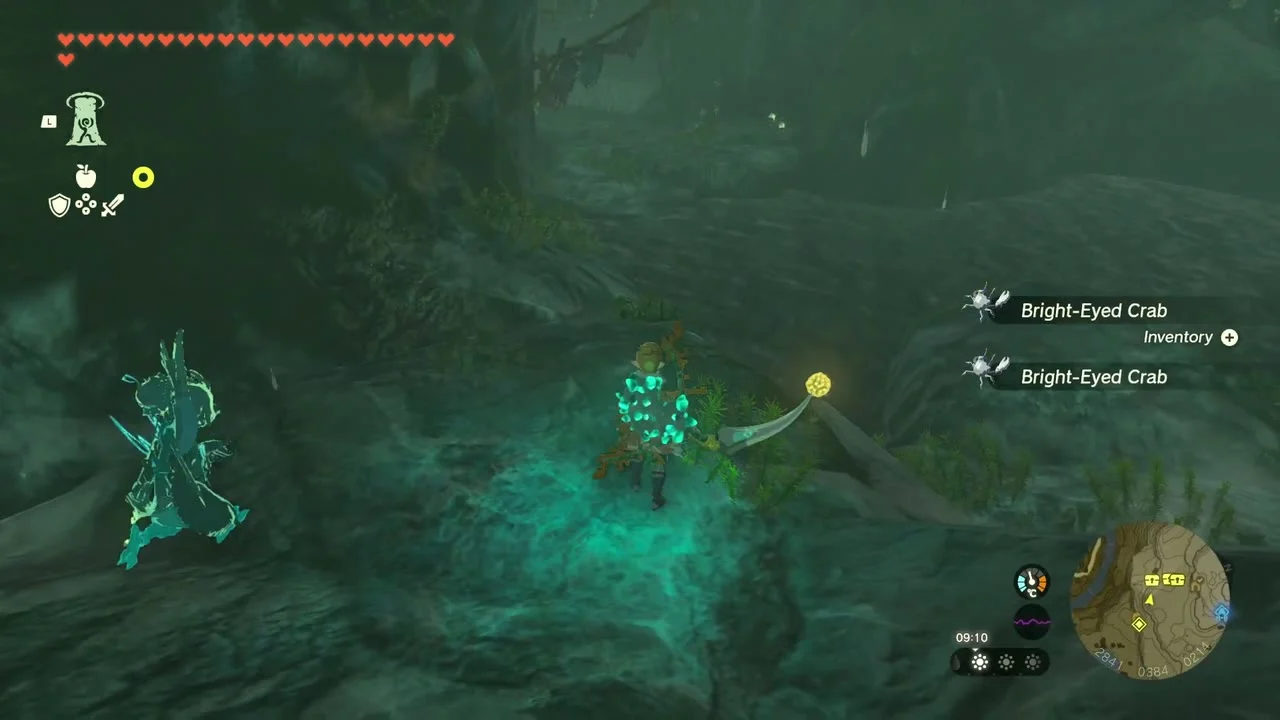
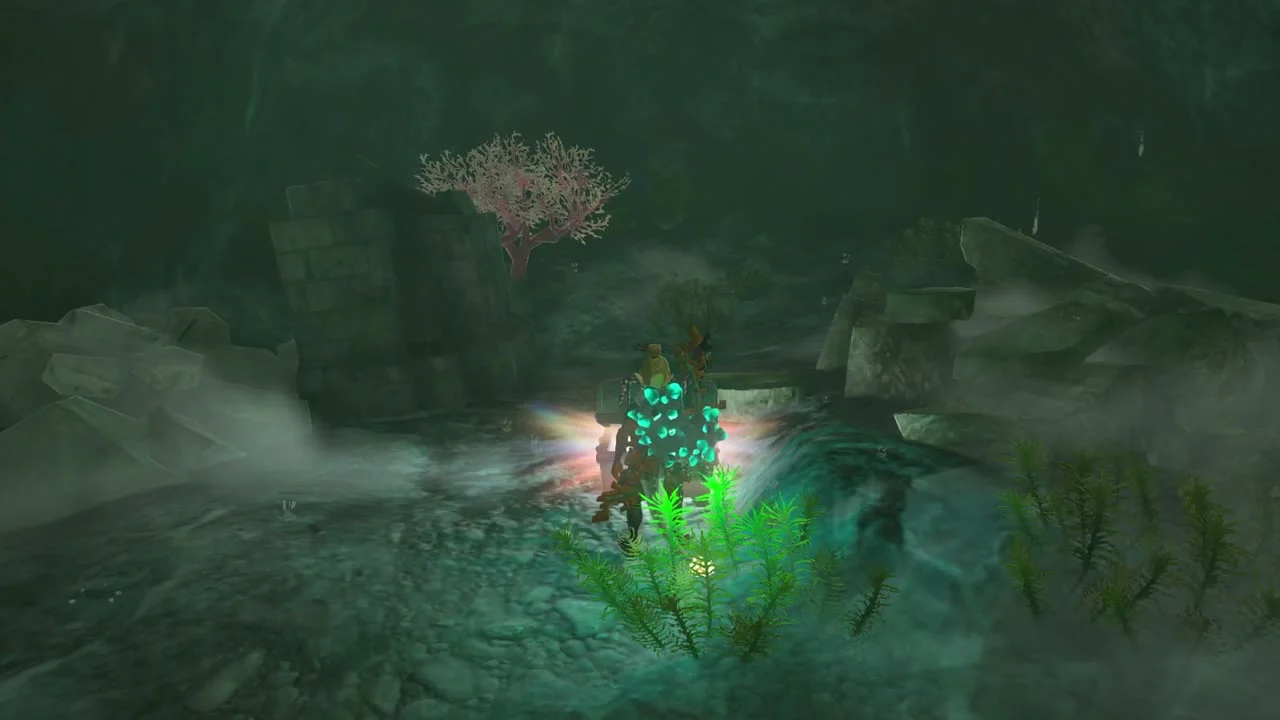
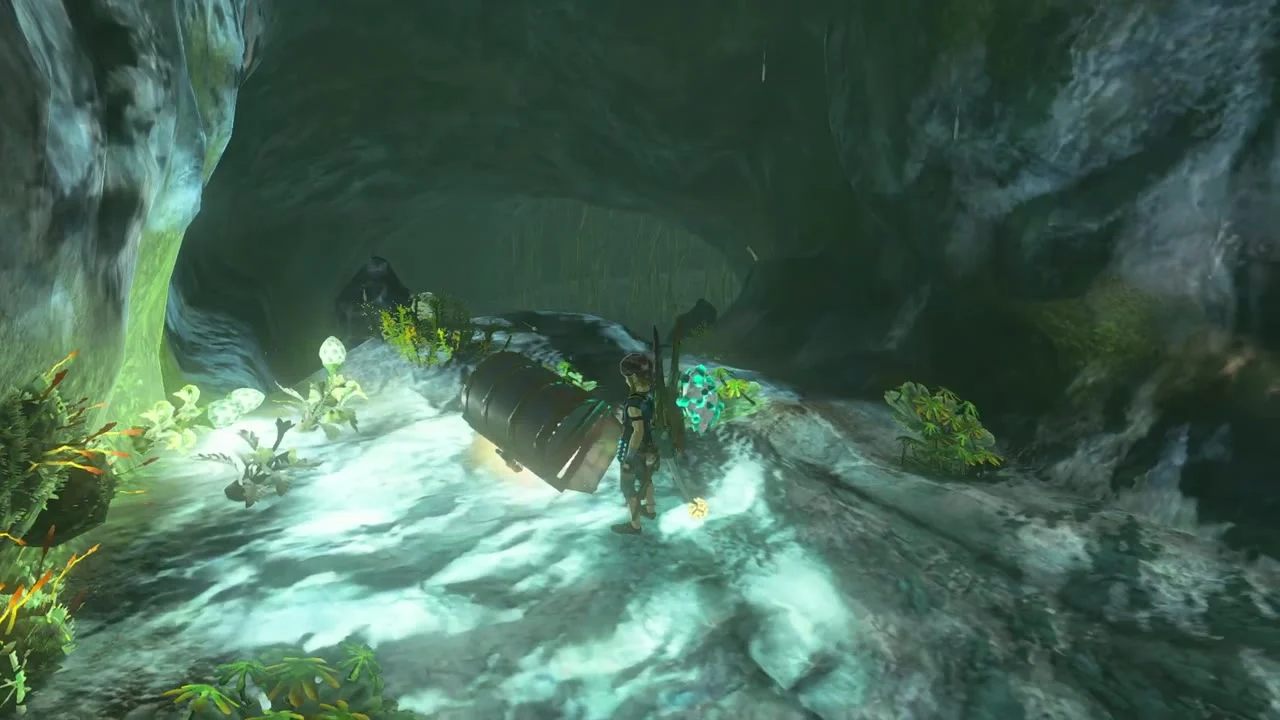
Drop into the flooded passage and follow it with Brightbloom Seeds lighting the water. A chest on the first ledge holds a Zora Shield; a little further on, another chest on a mossy shelf holds a Zora Sword.

Take the arrows and catch the Bubbulfrog
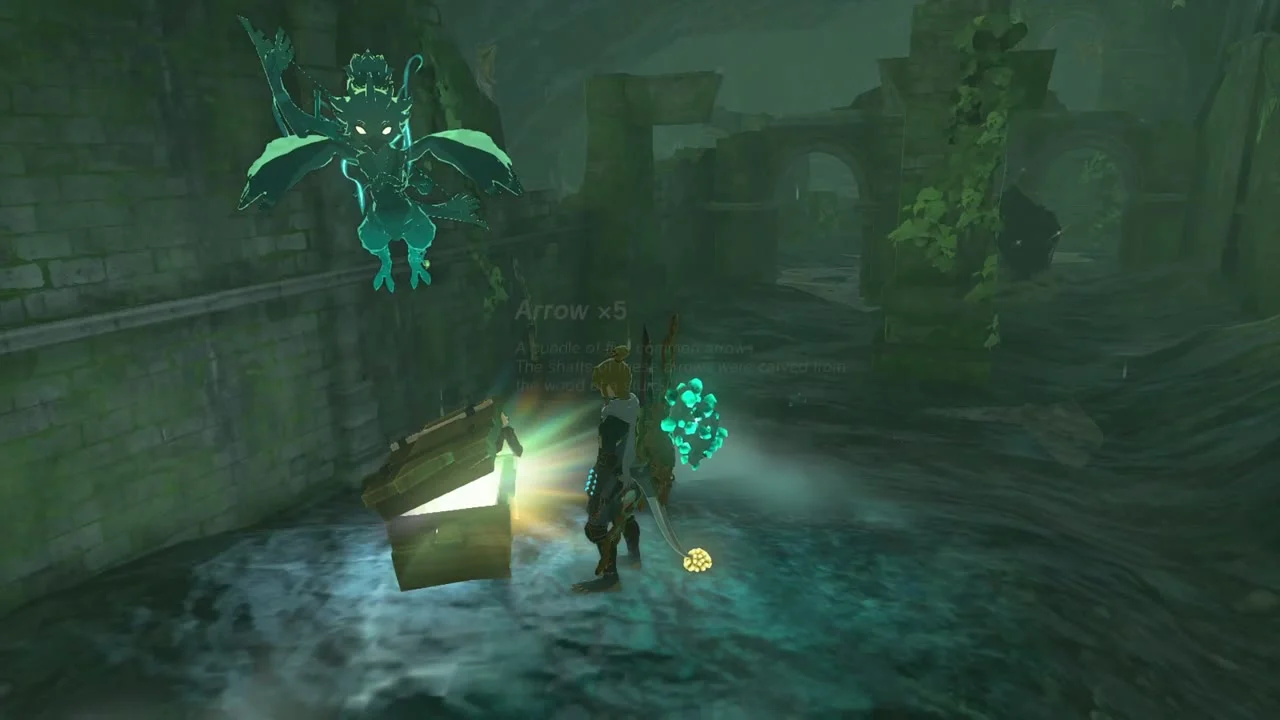
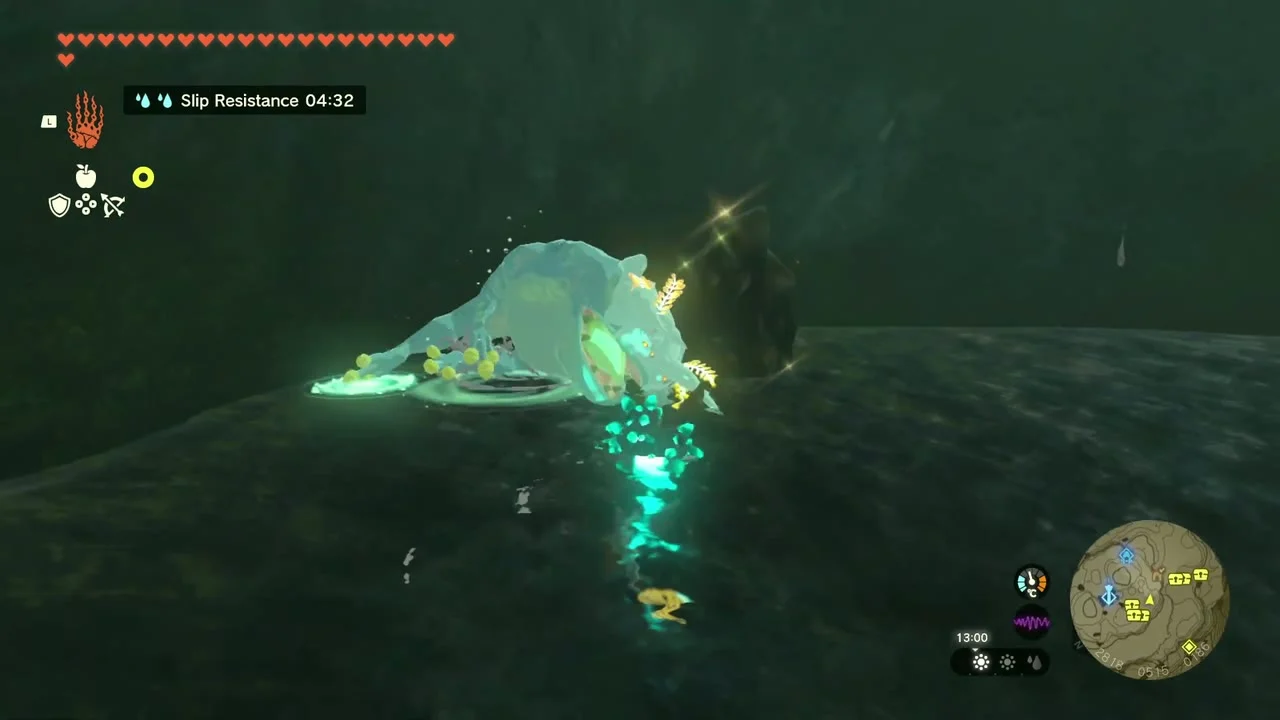
Climb onto the ruined stone walkway for a chest of Arrow x5. Past it the passage opens into a pool; hit the glowing Bubbulfrog as it jumps and grab the Bubbul Gem from the water.
Reach the Climbing Boots beyond the gate
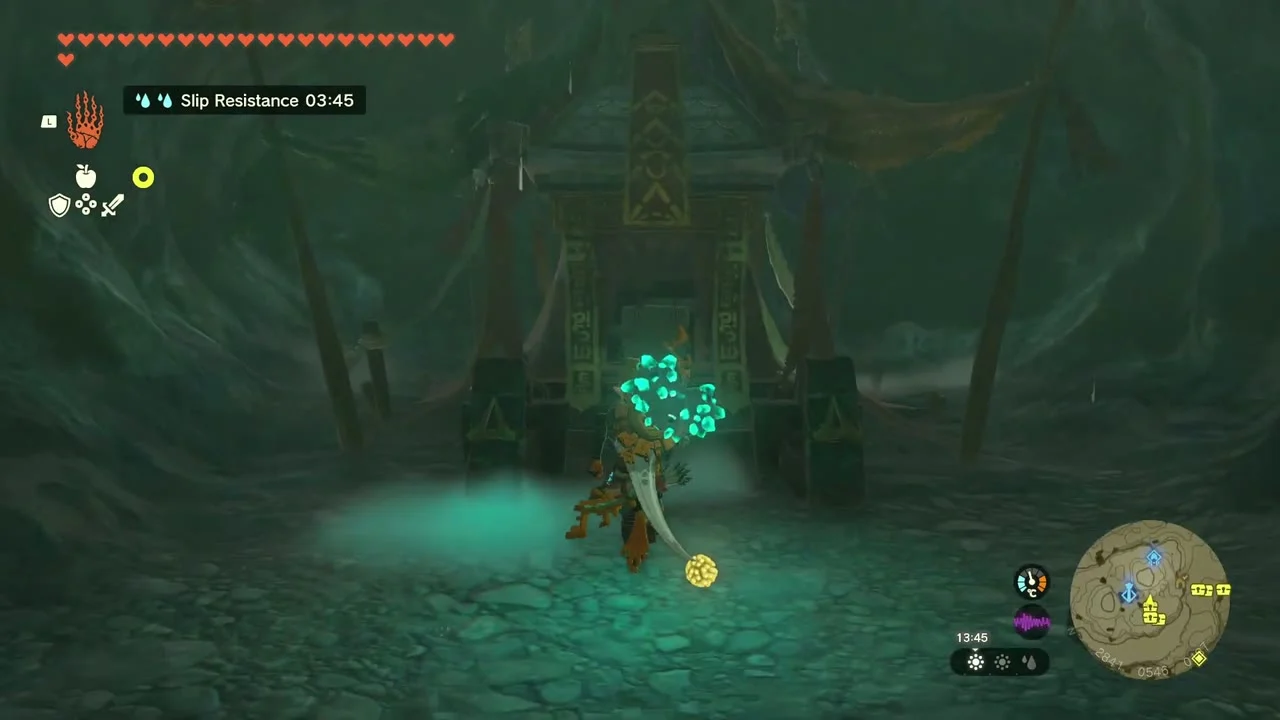
Follow the tunnel to a carved stone gate with red banners. Step through it and open the chest inside for the Climbing Boots.

Finish at the lit cavern and its second Zora Shield
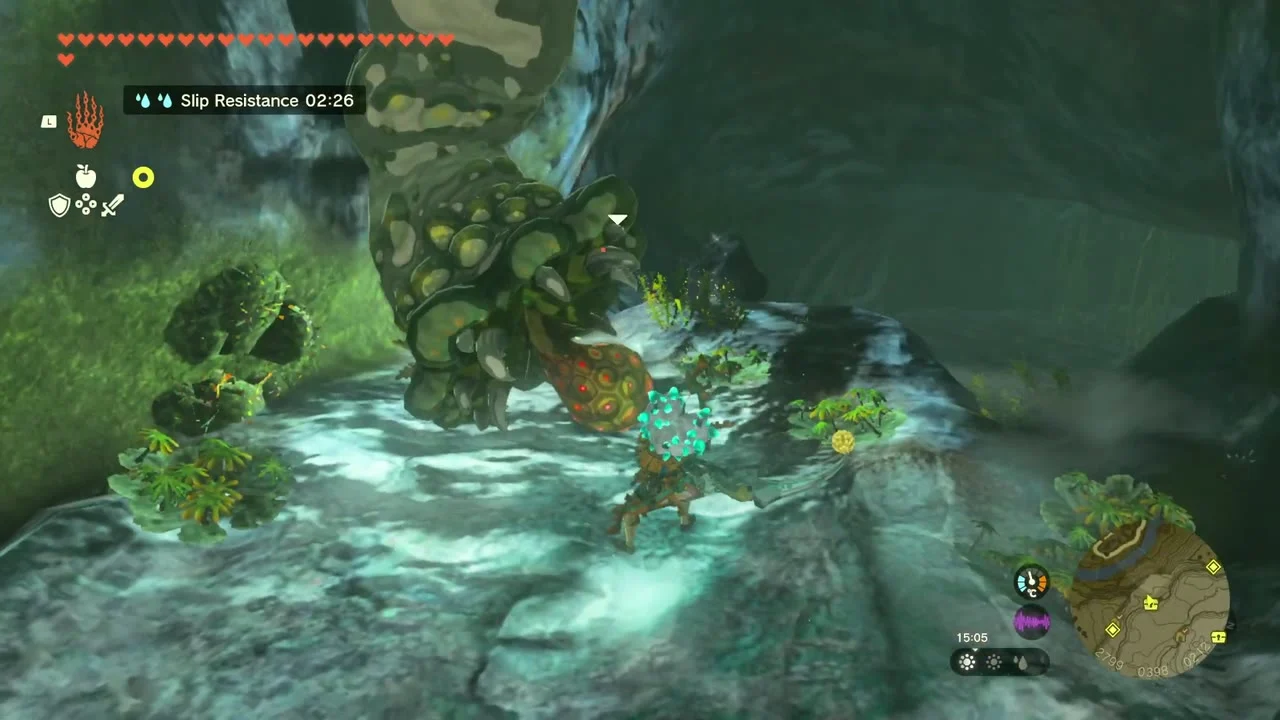
The tunnel climbs into a bright, mossy cavern near the second entrance. A chest by the water holds another Zora Shield; the daylight passage here leads back out to the hillside.
Chests, enemies and tips
- Entrances: two cave mouths at the base of the cliff south and southwest of Upland Zorana Skyview Tower. The south one is at 2863, 346; the west one is at 2700, 479. From the west entrance, a Bomb Flower clears the vines into a chamber with three Blue Horriblins.
- The flooded ruins: the tunnel splits early. The left branch has a Rock Like and ends in vines (cut them with a thrown weapon or boomerang). The right branch leads to submerged ruins. At the far wall, grab the wooden floodgate with Ultrahand and lift it to drain the water.
- Chests: Climbing Boots (under the staircase in the drained ruins, in a small altar room; the best-known prize here), Arrow x5 (west side of the floodgate), and a Zora Sword (a small room up a ledge to the east, in the Horriblins’ chamber). The Zora Shield chests are described above.
- Bubbulfrog: after draining the water, head to the southeast end of the ruins and cut the vines on the wall with a bladed weapon. The small chamber behind them holds the Bubbulfrog; defeat it for a Bubbul Gem.
- Enemies: Rock Like and Blue Horriblin; Glowing Cave Fish and Sticky Lizards are also here.
- Materials: Brightbloom Seeds, Giant Brightbloom Seeds, Bomb Flowers, Brightcaps, Bright-Eyed Crabs, Flint, Rock Salt and ore deposits (Ruby, Sapphire, Topaz, Diamond, Luminous Stone).
- Shrine and Korok: no Korok seeds or Lightroots are inside. Sensor+ may ping a shrine nearby, but it is not reachable from this cave; it is reached through Ralis Channel on the east side of Ralis Pond.
- Tip: the walls are slippery, so slip-resistant gear or food helps. To leave, go back to the opened floodgate, lay a board on the water and Ascend to come out near the Skyview Tower.
