





















| Quest type | Main quest |
|---|---|
| Giver | Zonai Relic (the mask on Dragonhead Island) |
| Starts in | Dragonhead Island, after Secret of the Ring Ruins |
| Requirements | Secret of the Ring Ruins complete |
| Reward | Heart Container, Mineru’s Secret Stone and the Vow of Mineru; Trail of the Master Sword begins |
The mask on Dragonhead Island sends a beam of light toward a hidden entrance in Faron. Follow it into the Depths, help Mineru rebuild her Construct, then take her to the Spirit Temple to recover her Secret Stone.
Walkthrough
Take the mask to Tobio’s Hollow
This quest begins when you examine the mask at the end of Secret of the Ring Ruins. Pick it up and follow the green beam down the island’s steps. A Wing, Fan, and Steering Stick are nearby. Attach the mask to the Wing, add the devices, then fly toward the beam’s landing point in Faron, north of Tobio’s Hollow.
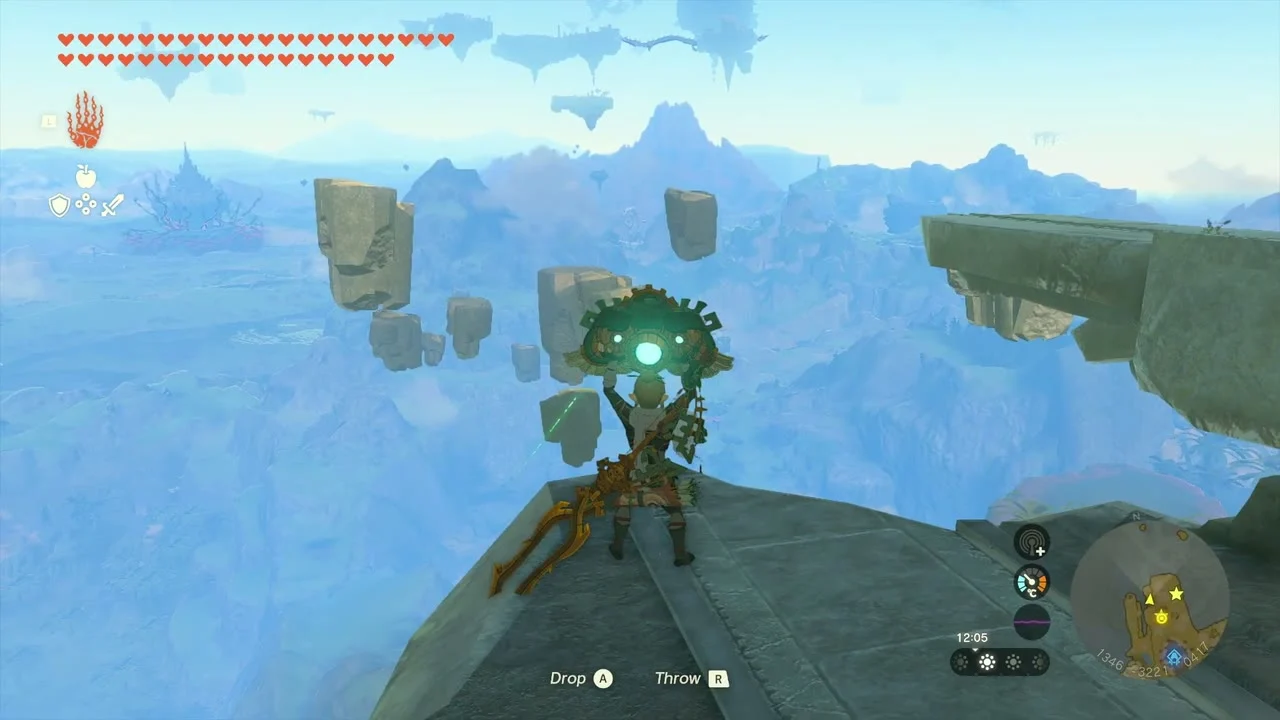


Land at the ruins surrounded by water and detach the mask. Set it on the altar where the beam meets the ground. The ruins open to reveal Tobio’s Hollow Chasm. Carry the mask down the passage and place it on the elevator pedestal to descend into the Depths.


Find the Construct Factory
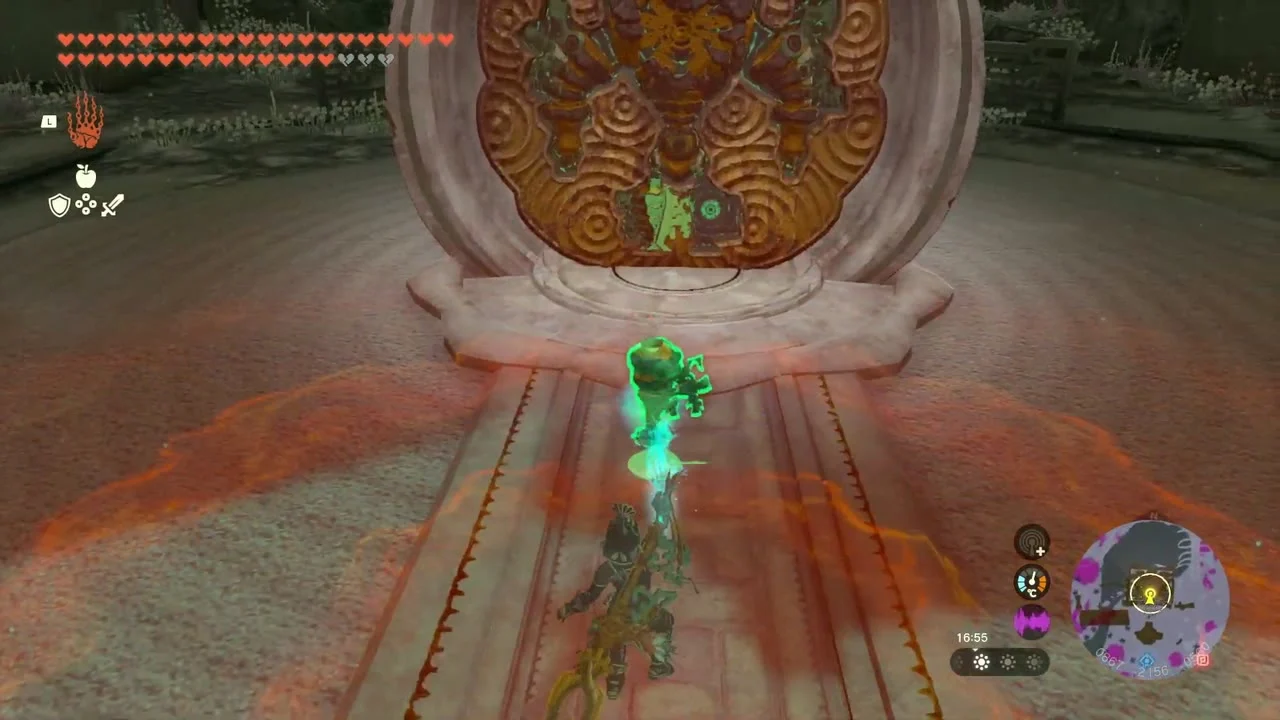
At the bottom, activate Muokuij Lightroot behind the elevator. Carry the mask toward the green beam until you reach the Construct Factory. Use Ultrahand to set it into the head-shaped opening at the top of the Construct frame. Mineru speaks through the mask and asks you to retrieve four body parts from the depots around the factory.

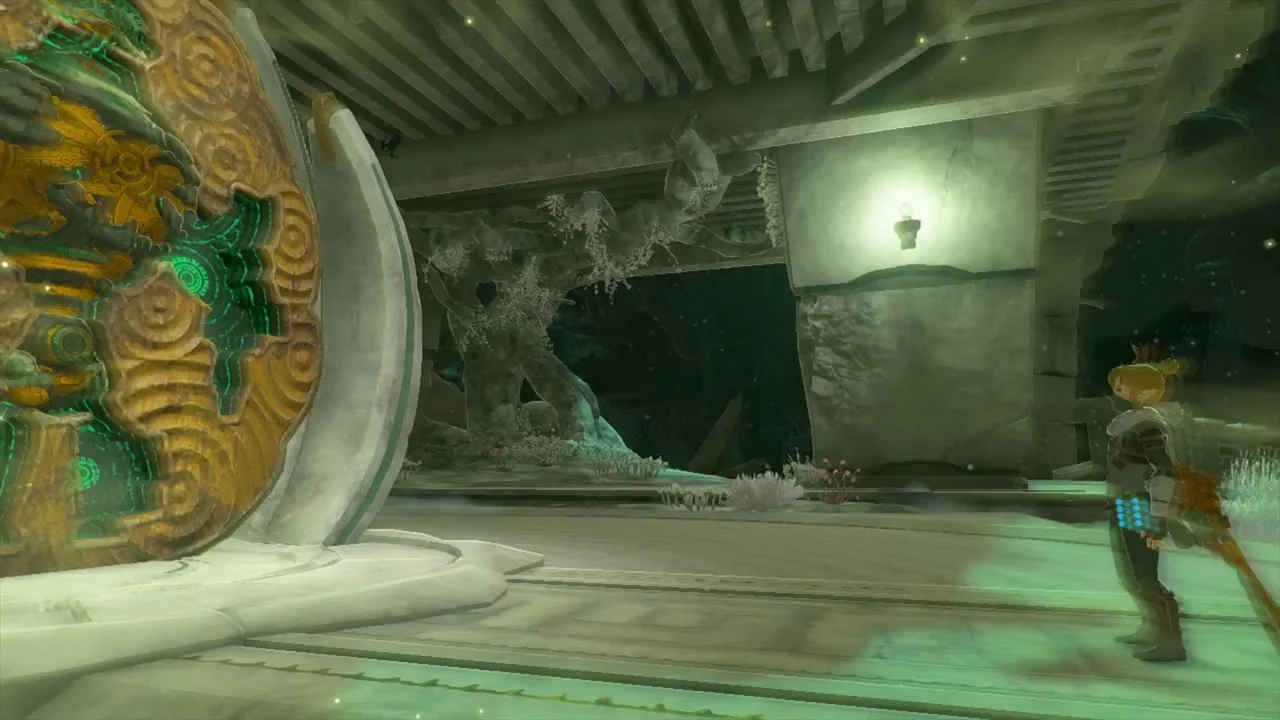
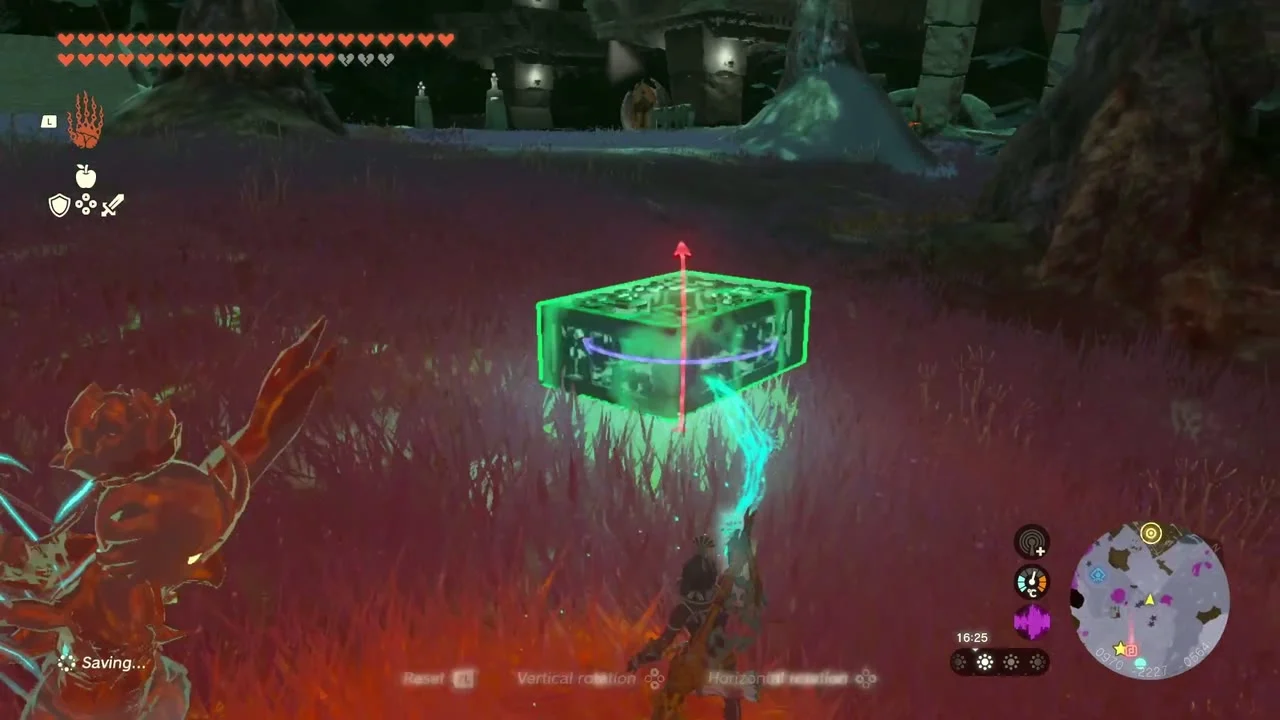
The depots can be completed in any order. This route starts with the southeast depot, then moves counterclockwise. Each part is inside a green box. Bring the box back to the factory, use Ultrahand to open it, and fit the part into the matching spot on the Construct.
Left-Leg Depot
The Left-Leg Depot is southeast of the factory, around 0960, -2298, -0557. Activate the terminal to release the leg box. Lift it over the low wall beside the entrance, then climb up after it.
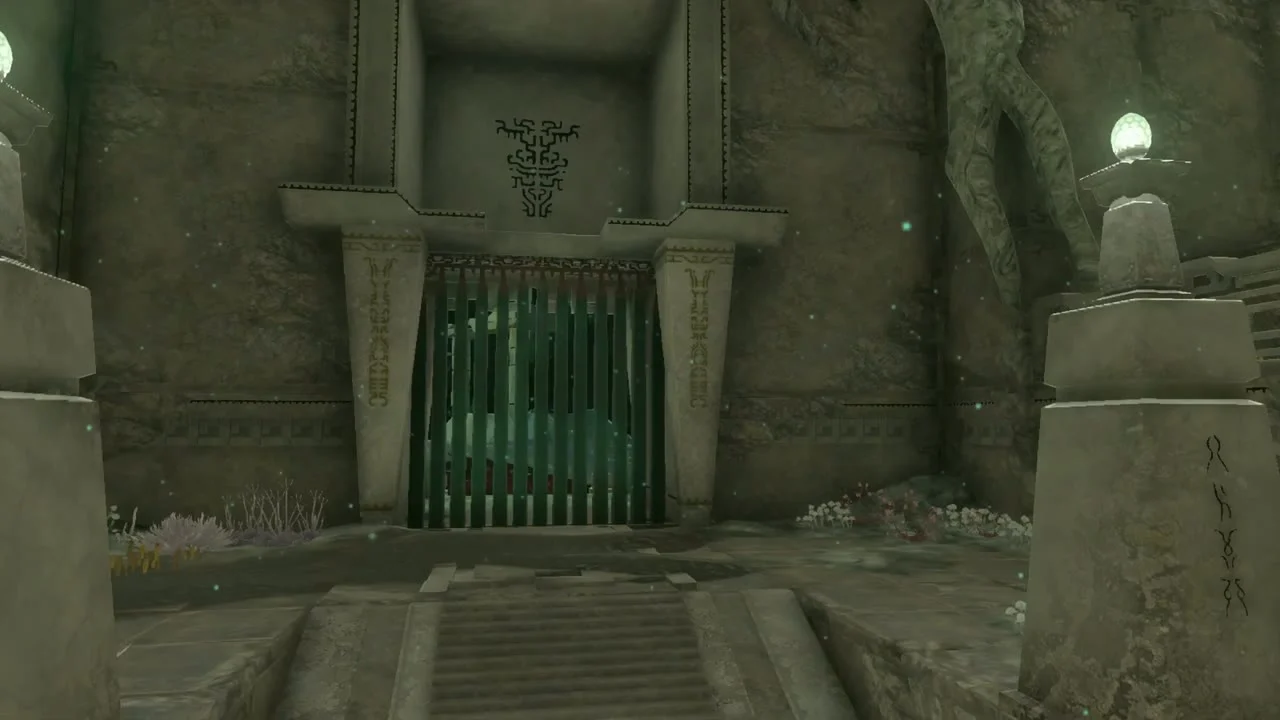
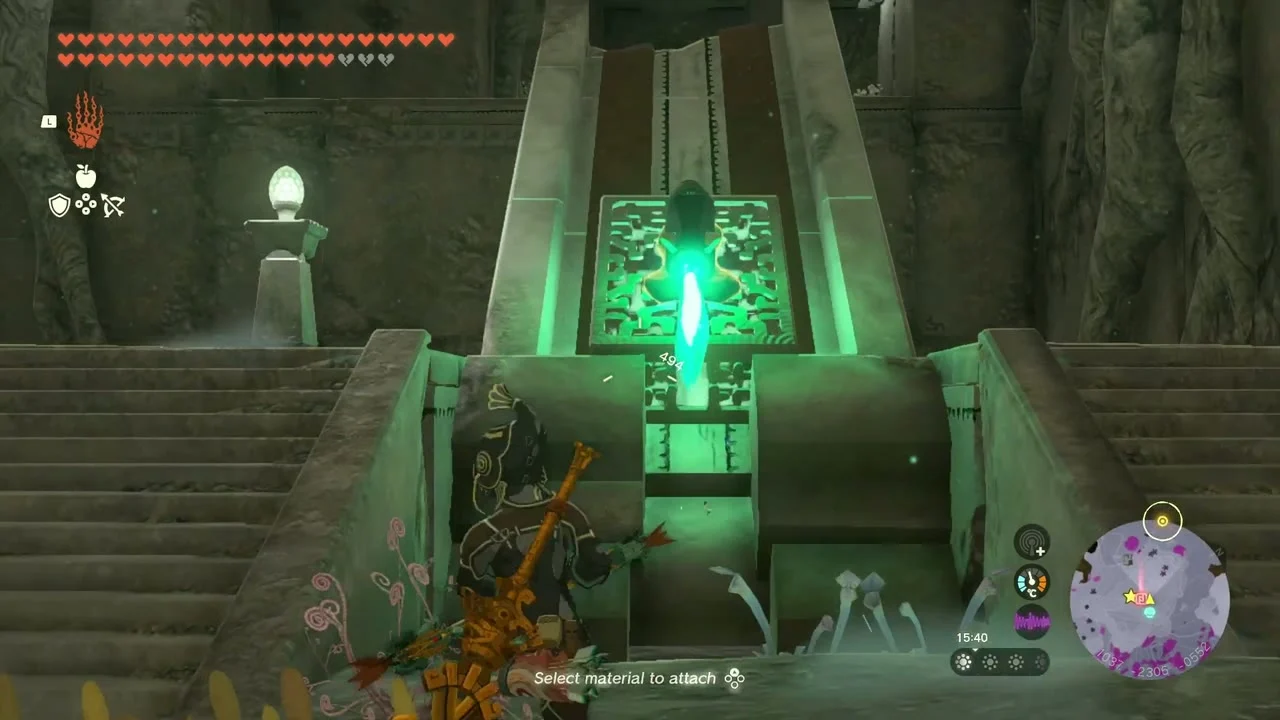
Use Ultrahand on the wheel mechanism to angle the bridge upward. Place the box on the bridge, attach a Rocket, then strike the Rocket to launch the box to the upper level. If it falls short, raise the bridge more and try again. Carry the box through the opening in the upper wall and take it back to the factory.

Left-Arm Depot
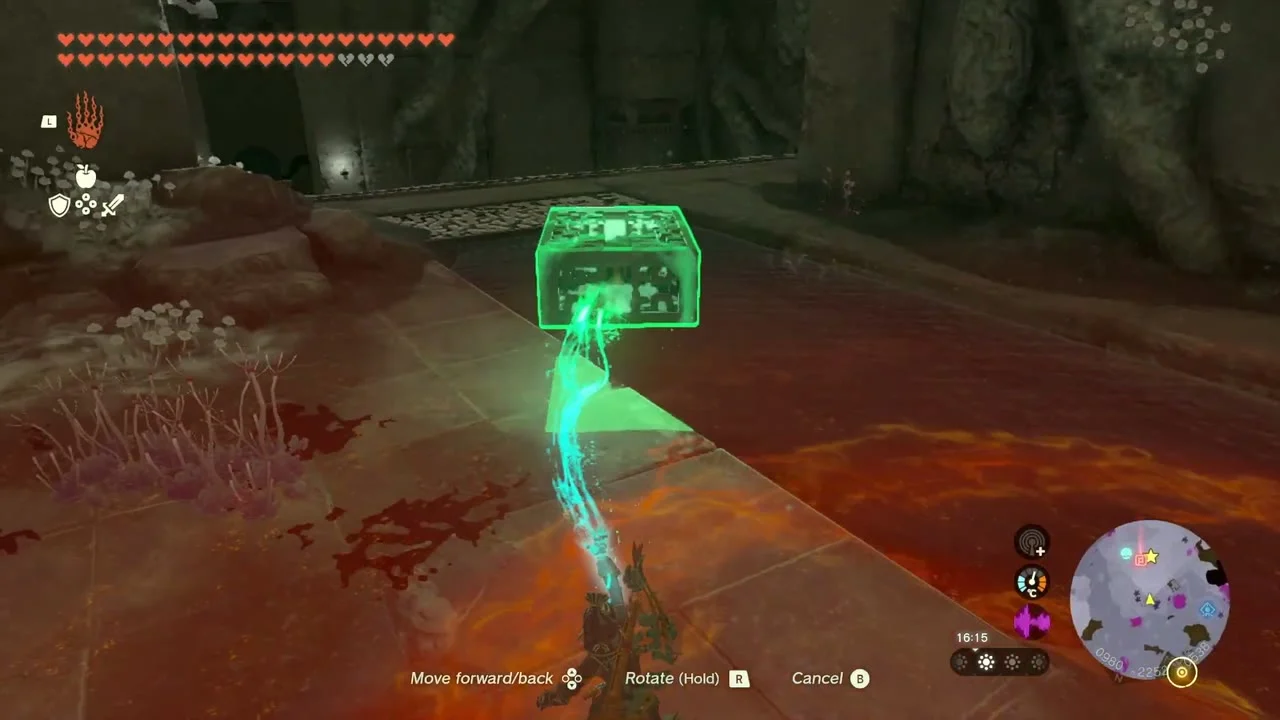
The Left-Arm Depot lies southwest of the factory, around 0752, -2382, -0524. Activate the terminal, then lift the door beside the box. Use Recall to hold the door open while you move the box through with Ultrahand.


In the lava room, attach the two nearby Big Wheels to the sides of the box and put the Steering Stick on top. Ride it across the lava. For the narrow stretch beyond, use Ultrahand to carry the box as far across as you can and set it down. Climb the nearby ladder, glide to the far side, then retrieve the box.

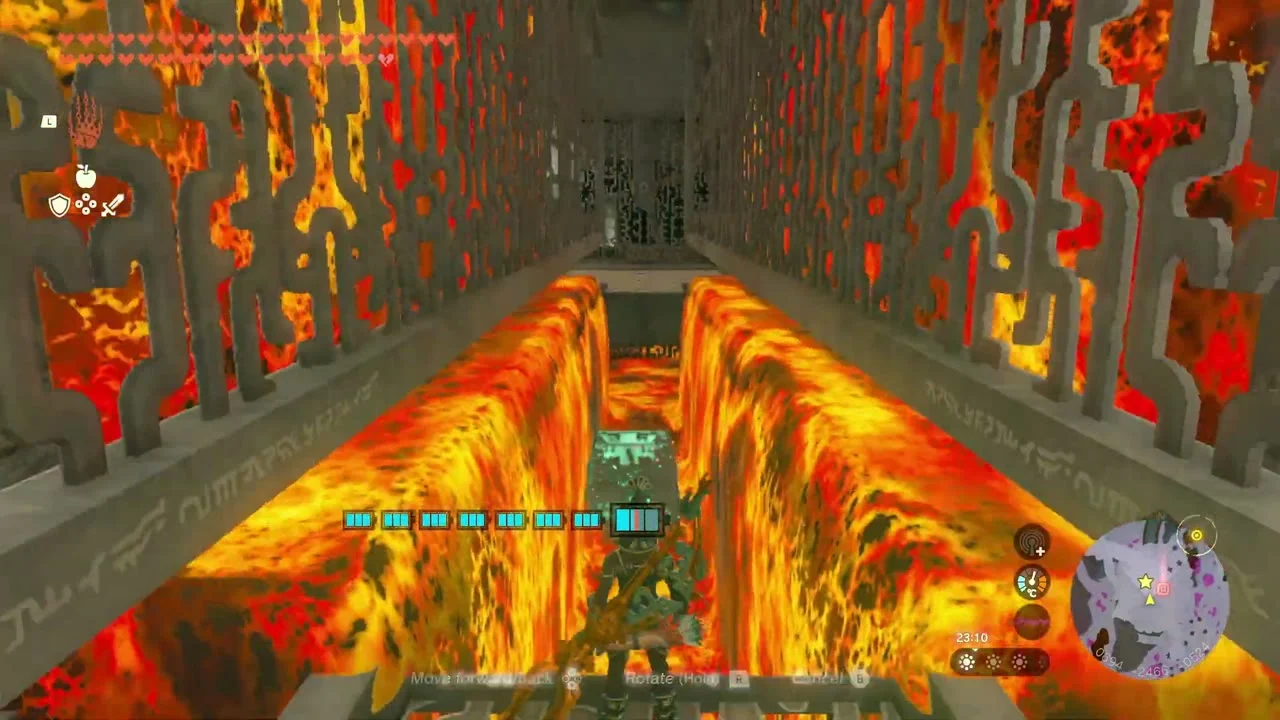
Lift the next door and use Recall again to get the box through. In the last room, attach a Fan and Steering Stick, set the box in the water, and steer it down the channel. The channel leads back to the Construct Factory.


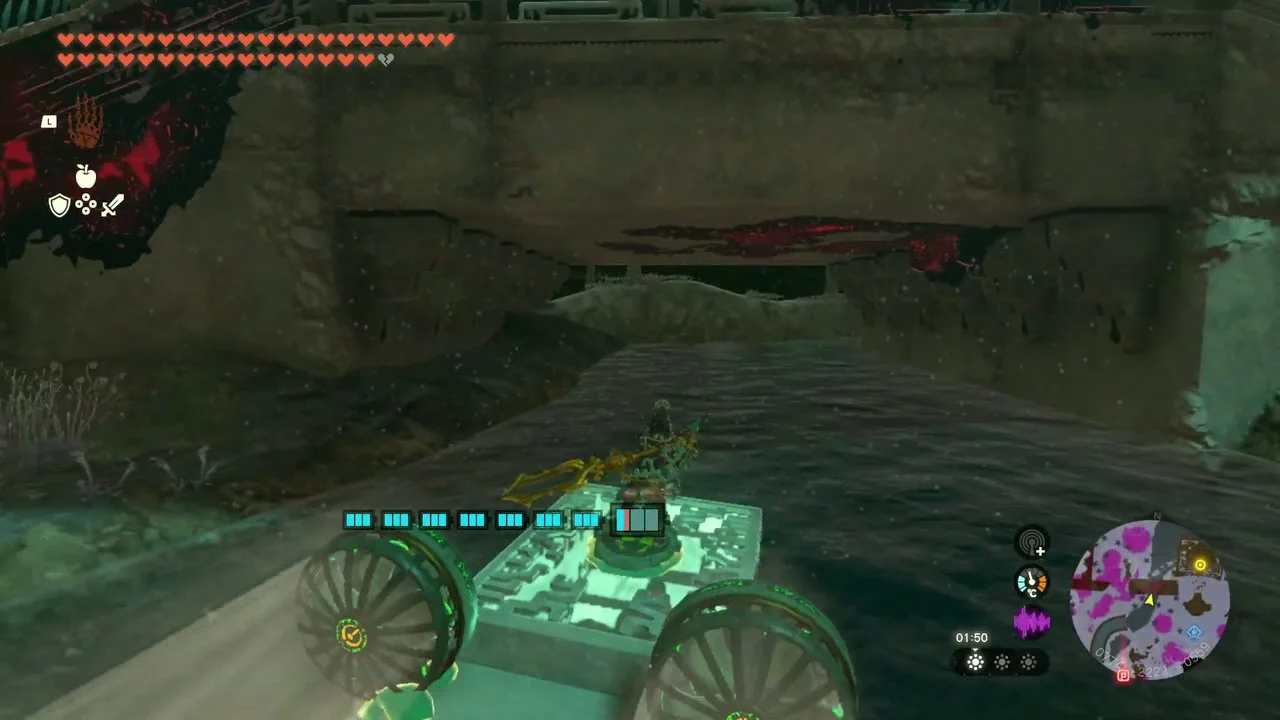
Right-Arm Depot
The Right-Arm Depot is northwest of the factory, around 0641, -2106, -0519. The approach is above the gloom-covered stairs. Glide in from the rocky area to the north; activating Uisihcoj Lightroot nearby makes the route easier to see.


Activate the terminal and place the box on the conveyor belt. Follow it to the electrified rail. Attach one Small Wheel to the box’s back-left side and another to the front-right side, then set it on the rail so the wheels catch the edges. A Fan on the back can also push it across.
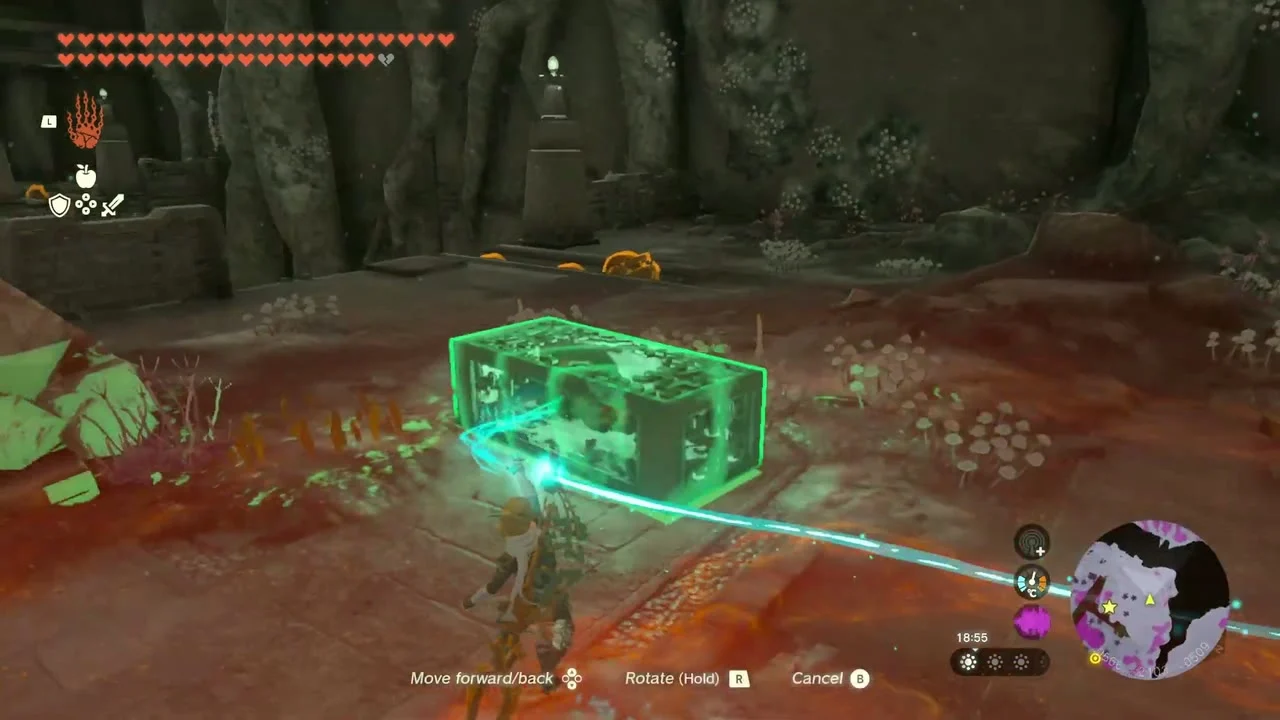
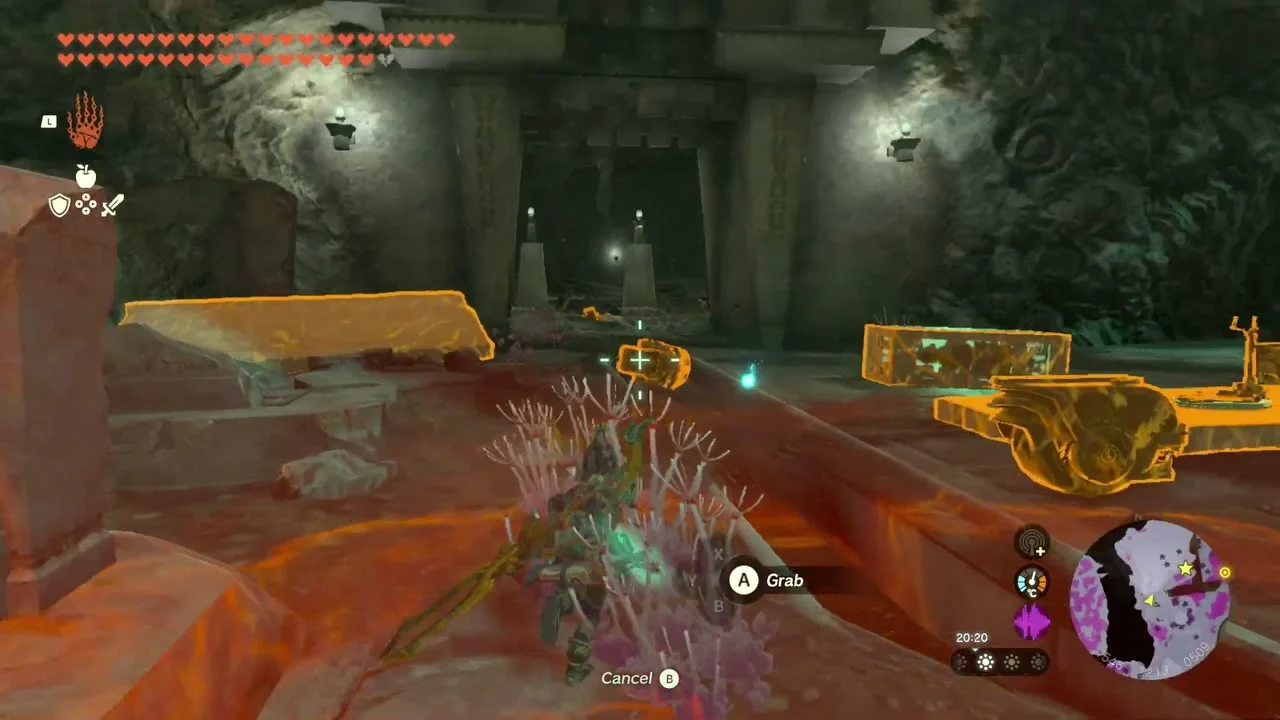
Climb the ladder on the far side and take the box outside. Attach two wheels low on opposite sides and add the Steering Stick found nearby. Drive it down the ramp to the factory, open the box, and place the arm on the Construct.

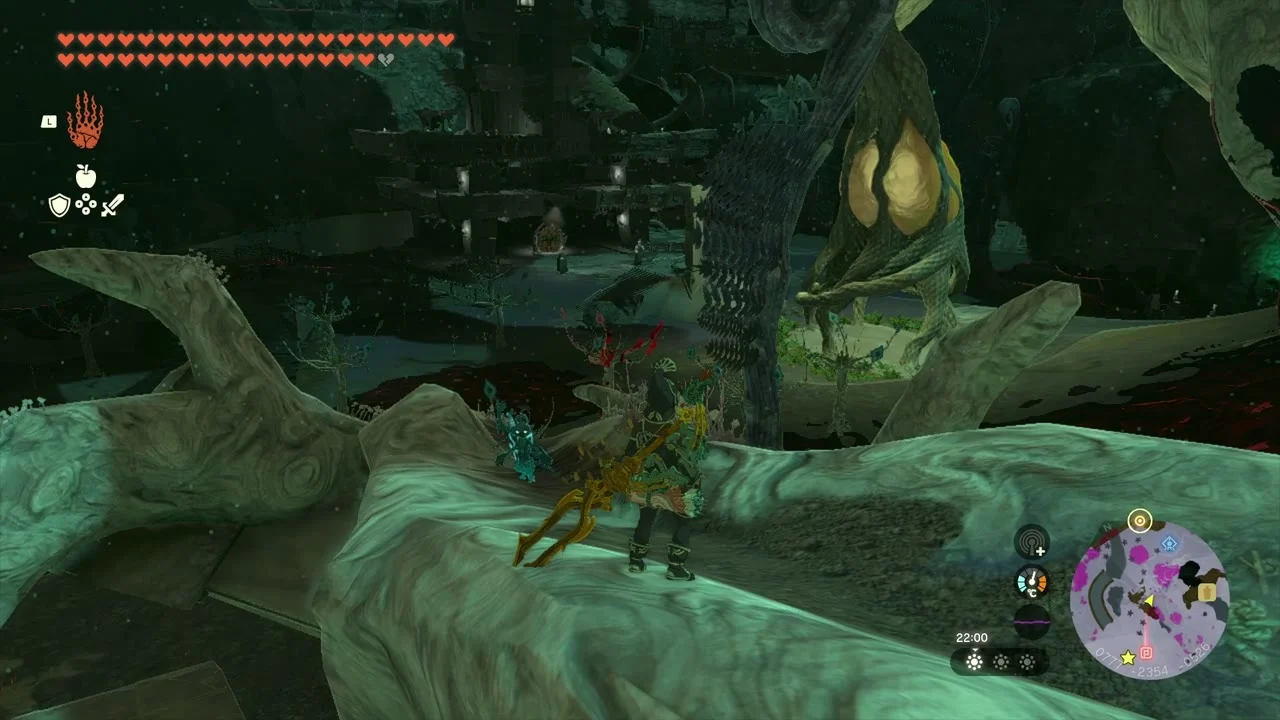
Right-Leg Depot
The Right-Leg Depot is northeast of the factory at about 1152, -2048, -0516. It sits high above the factory. From Uisihcoj Lightroot, glide down to its entrance.
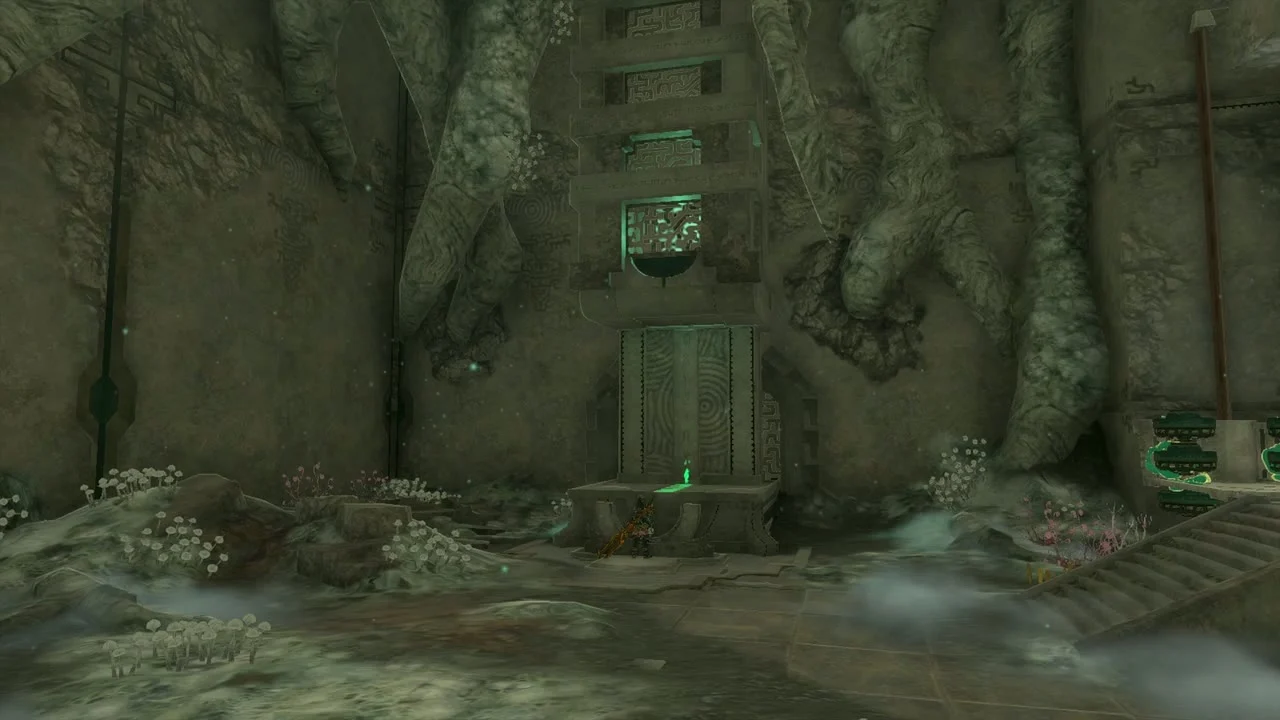
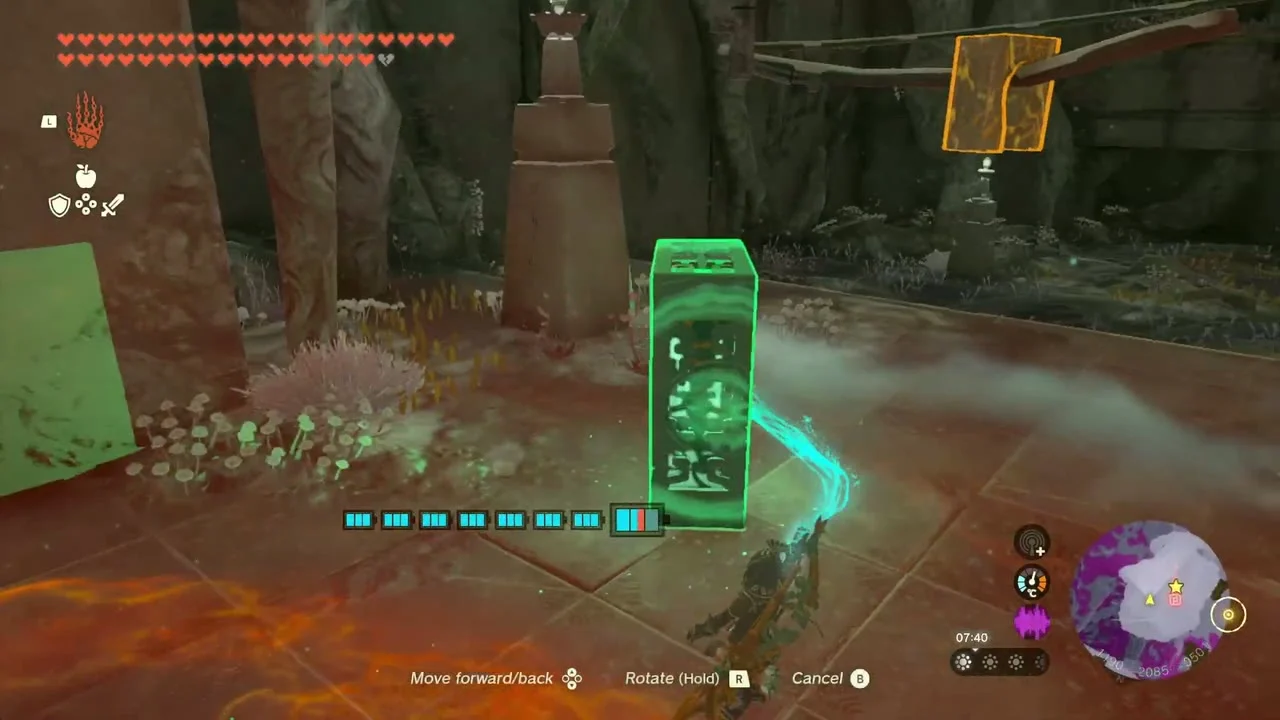
Activate the terminal, then carry the box to the fan-powered lifts and use them to climb. At the rail, attach a Fan to the back of the box. Use the two U-shaped pieces nearby to make a loose guide around the rail: place one with its opening facing up and the other sideways, opening to the left. Hang the assembly on the rail, climb onto the box, and activate the Fan to send it upward.


Ride the next fan lift. At the top, either attach the box to a Wing with a Fan and glide back toward the factory, or drop it down the ledge and carry it with Ultrahand. Open it at the factory and fit the final leg into place.


Take Mineru to the Spirit Temple
Once all four parts are installed, the Construct activates. Ride it to the yellow waypoint at the Spirit Temple, southeast of the factory. Mineru can walk through gloom without taking damage, but riding drains your Energy Cell. Pause when needed to let the battery refill, or attach a Fan at one of the lit armories to move faster. You can add weapons to the Construct’s arms at these stations, too.
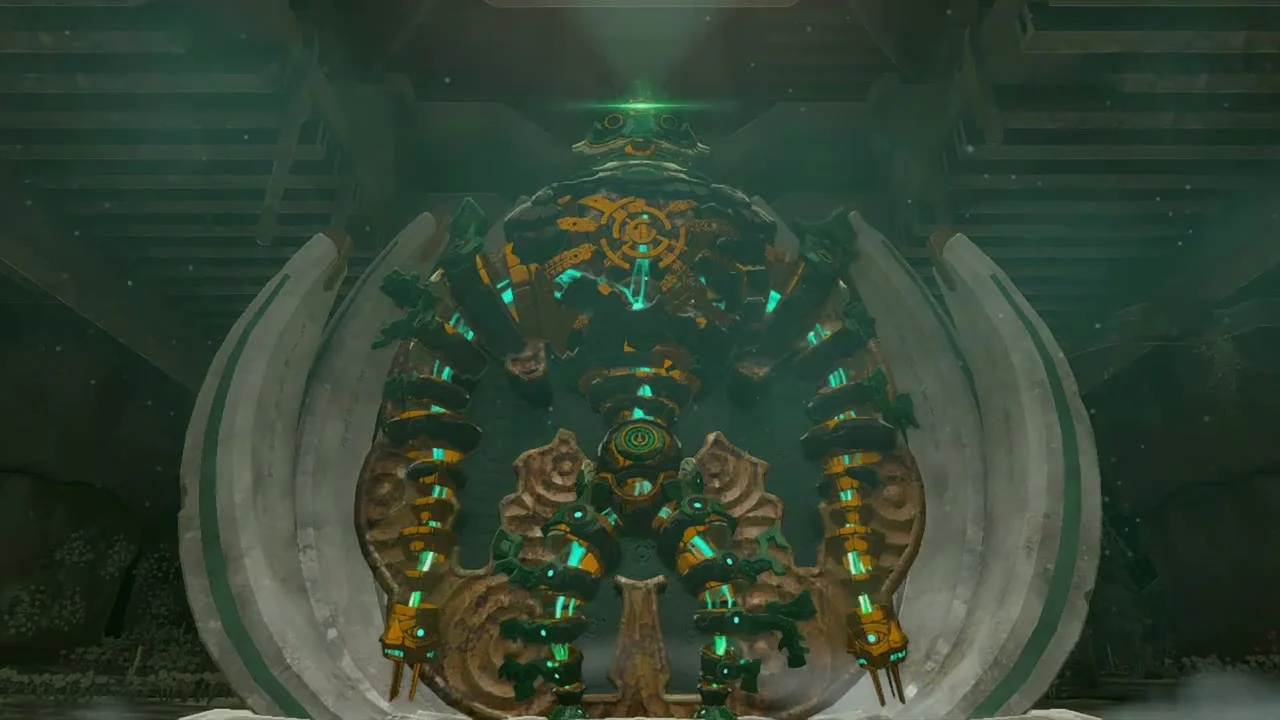

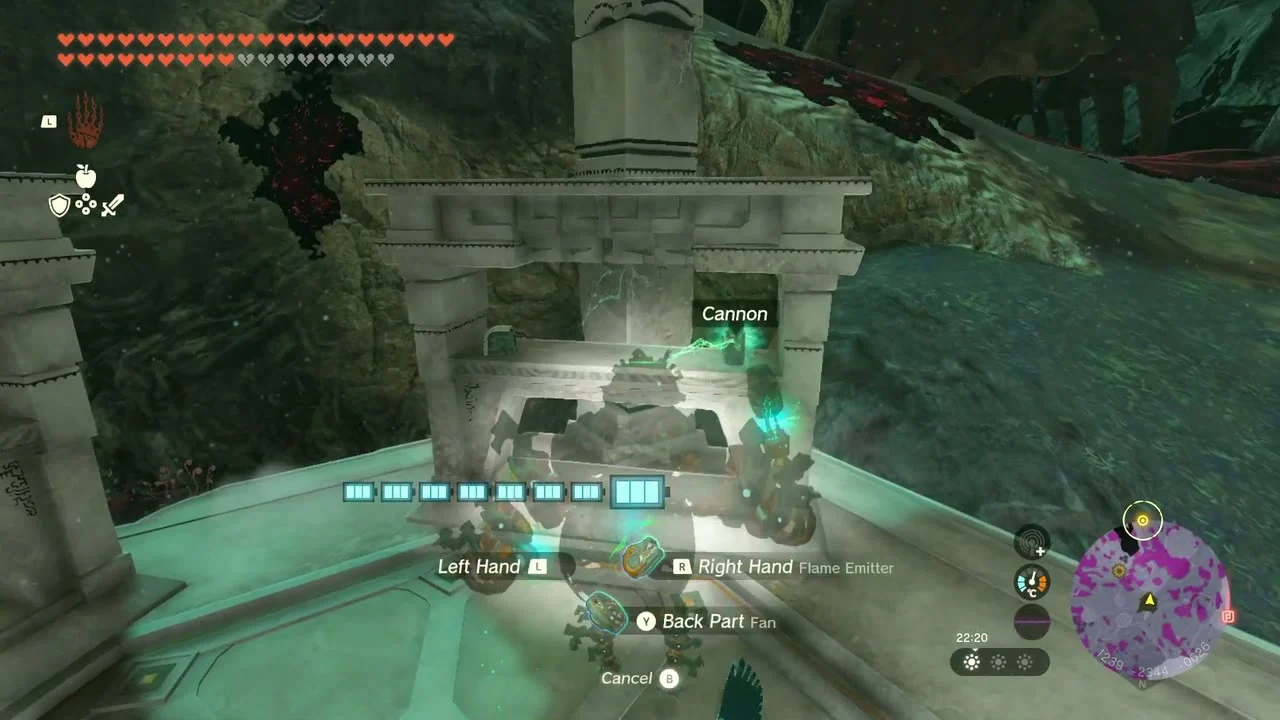
Activate Sitoju Lightroot along the route and follow the map marker south. Use the Construct’s attacks to break rock walls. Near the Spirit Temple, you will reach a steep ledge it cannot climb. Find the Rockets at the nearby armory, attach one to the Construct’s back, and activate it to boost up to the temple.
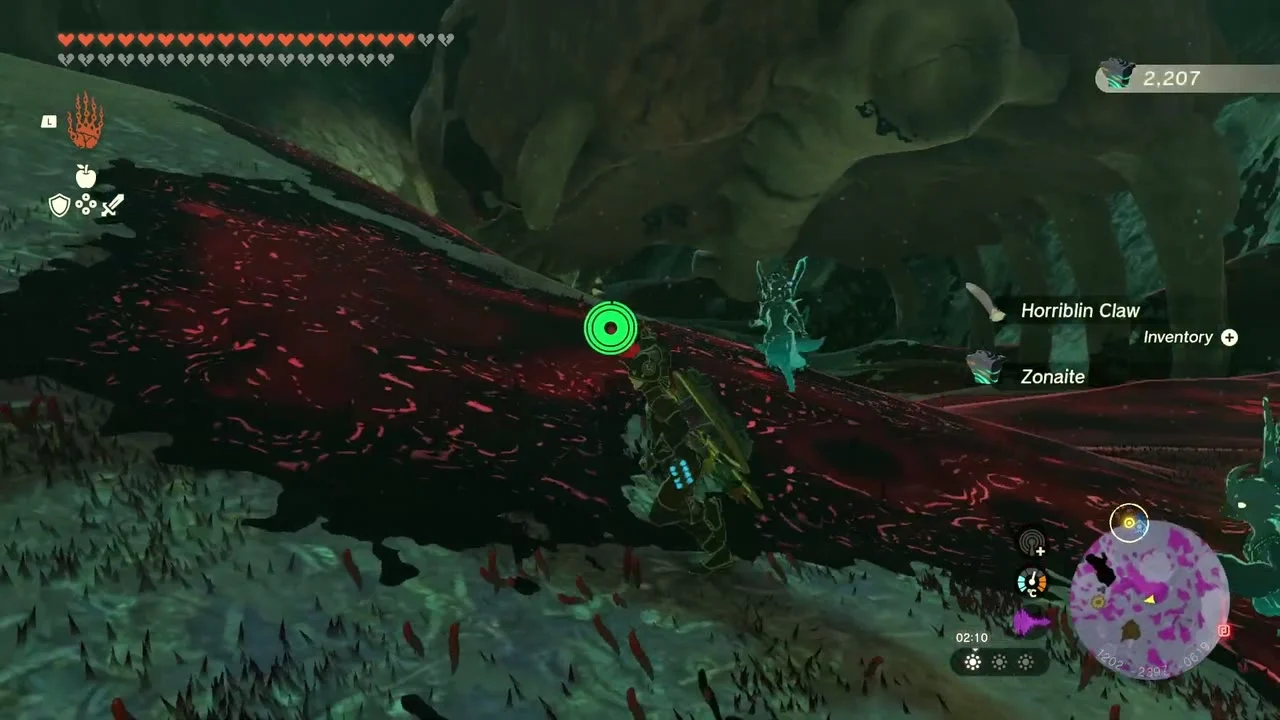

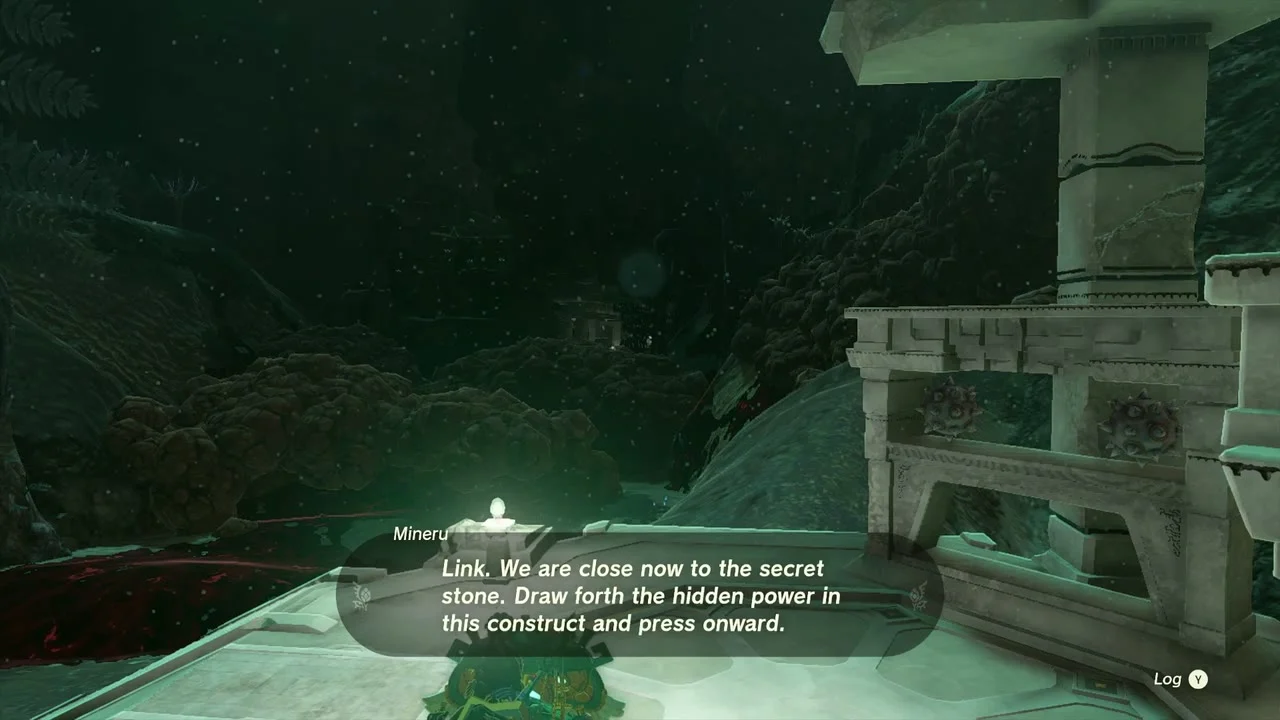
At the temple, interact with the owl statue while riding the Construct. The mask activates the elevator. Ride it down and walk across the gloom-covered floor to begin the boss fight.


Defeat the Seized Construct
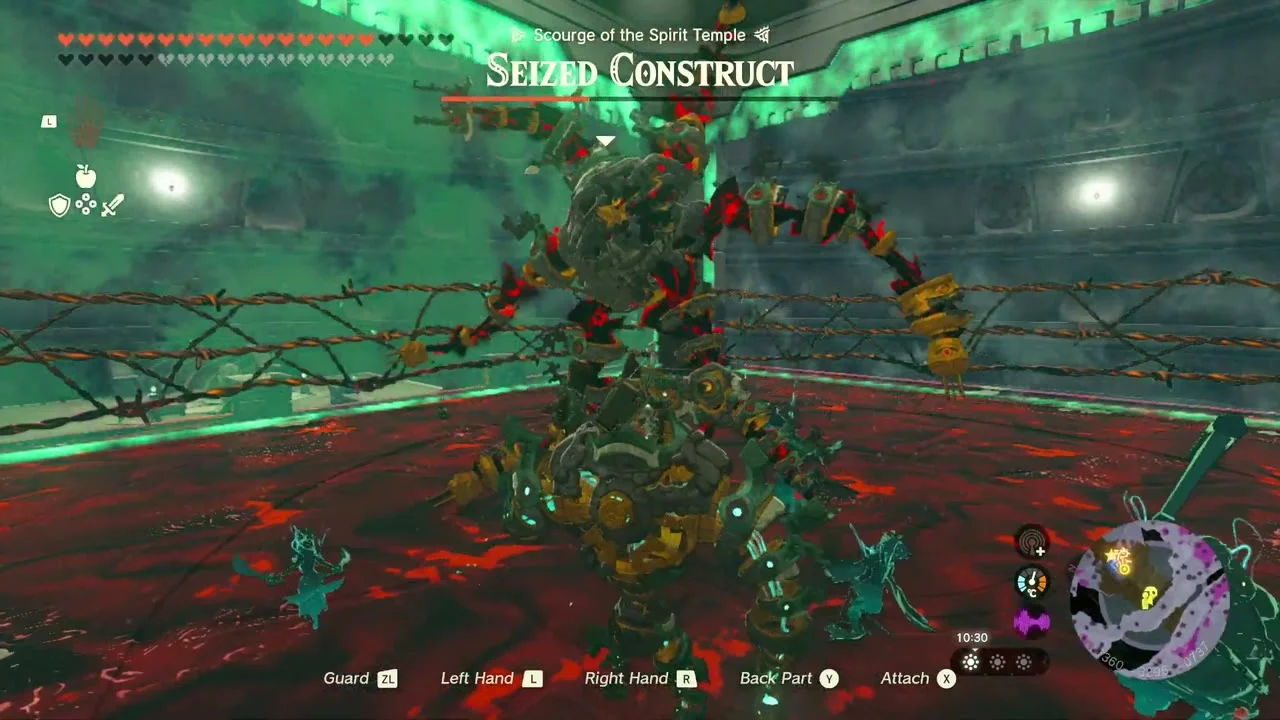
The Seized Construct is fought from Mineru’s Construct. Spiked Balls are available in the arena. Attach one to each arm, then use ZL to block its regular attacks. After a block, hit it with a short series of punches to push it into the electrified ropes around the arena. The impact damages and stuns it.

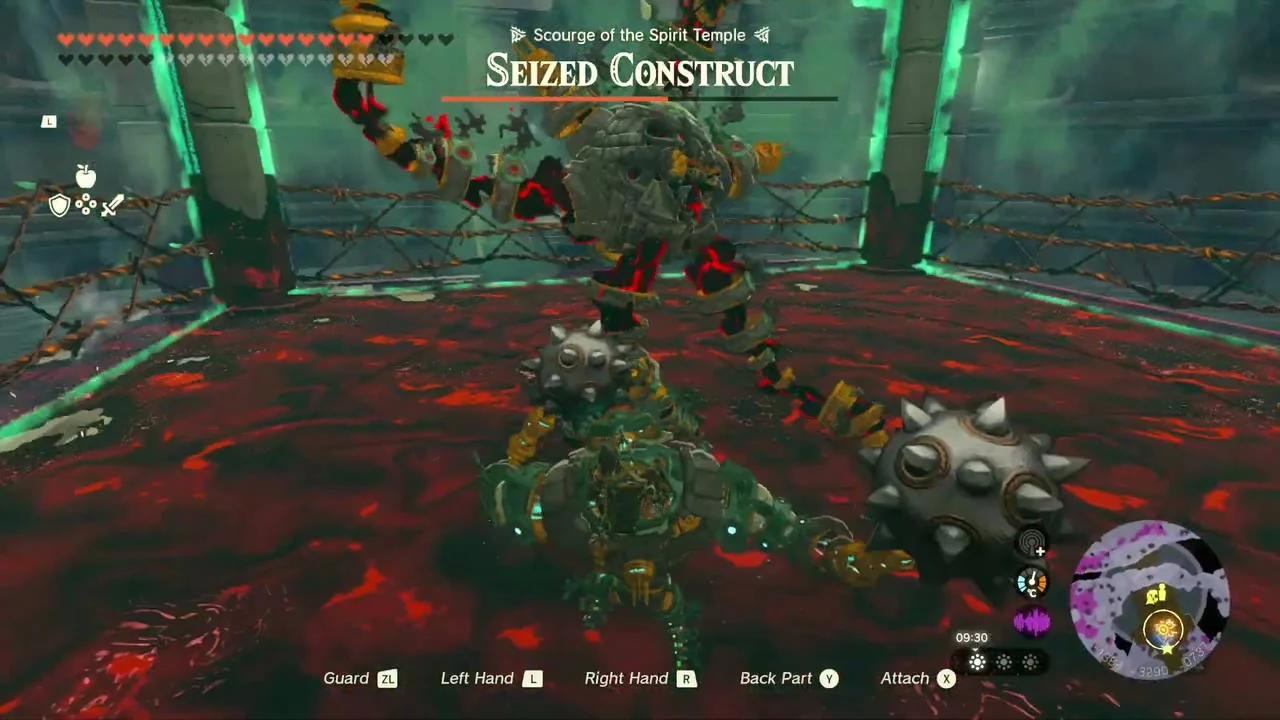
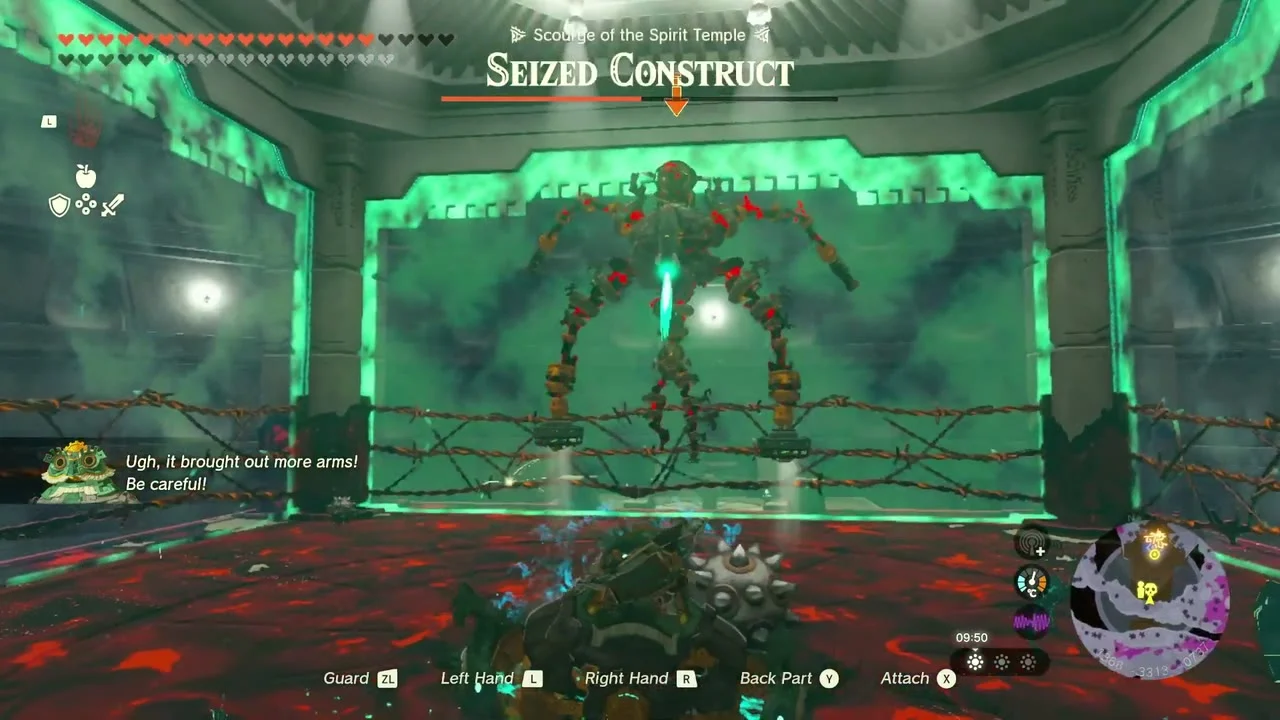
When it swings electric whips, move sideways to avoid them. When it charges a cannon shot, keep moving so the blast misses, then close the distance and attack. In the second phase, the enemy flies above the arena. Stay clear of its landing attack, then block and counter when it comes down. Keep driving it into the ropes until it falls.
Claim Mineru’s Secret Stone
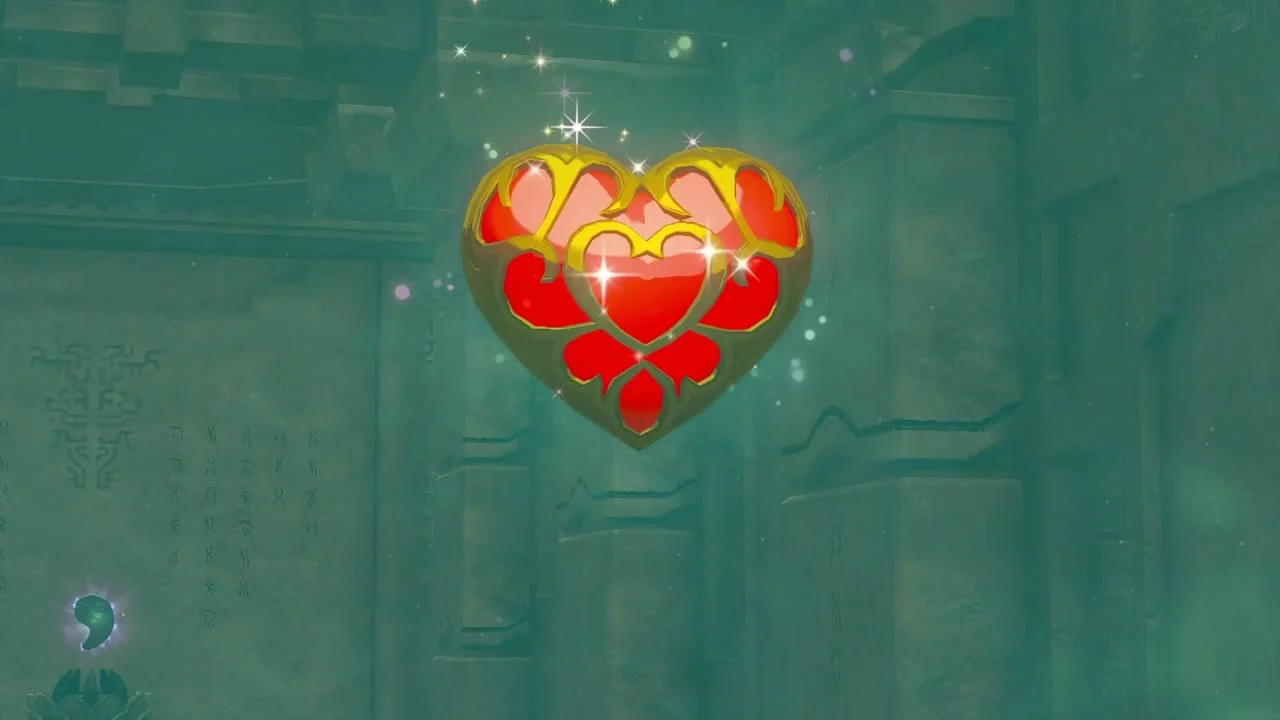
After the fight, take the Heart Container and activate the Secret Stone on the altar. The scene explains what Mineru learned about Zelda and the Master Sword. Mineru joins Link as the Sage of Spirit, and Trail of the Master Sword begins. Return to Purah at Lookout Landing afterward to report that you found the fifth sage.

Chests and rewards
The depots hold a few extras besides the body parts. The Right-Leg, Left-Leg and Left-Arm depots each have a chest with 3 Zonaite, the Left-Arm Depot also has a chest with 5 Steering Sticks, and the Right-Arm Depot has a chest with a large Zonaite. Defeating the Seized Construct drops a Heart Container, and the quest’s reward is the Vow of Mineru, which lets you summon Mineru as a Sage from the Key Items menu. The Spirit Temple has no dungeon puzzles of its own: the depots are the puzzle section. Once the boss is down, a Mining Construct and a Smithing Construct appear nearby, and the Mining Construct offers the side quest Ancient Blades Below.
Tips
- The mask will not stay on the Wing: Attach it with Ultrahand before launching, then steer toward the point where its beam meets the ground.
- A depot box gets stuck: The boxes can be carried with Ultrahand and do not need to stay on the vehicles you build. Reposition it by hand whenever a device route goes wrong.
- The Construct runs out of battery: Dismount and wait for the Energy Cell to recharge, or continue on foot. Mineru will follow.
- The Seized Construct is not taking damage: Push it into the electrified ropes around the arena. Ordinary hits alone do little.
