Echoes of Wisdom 100% Completion Walkthrough16 chapters
- Prologueplaying as Link, escaping the castle jail, and the waterways to Suthorn Beach.
- Suthorn ForestSuthorn Beach and Village, meeting Tri, the first echoes, and mending the Suthorn Forest rift.
- Suthorn Ruinsthe first dungeon, the Shadow Link fight, and the Seismic Talus boss.
- Jabul Watersthe River and Sea Zora feud, Lord Jabu-Jabu, and Stilled Jabul Waters.
- Jabul Ruinsthe whirlpool chase, the five colored switches, and the Vocavor boss.
- Gerudo Desertthe Oasis, Gerudo Town, the desert rifts, and Cryptic Cavern.
- Gerudo Sanctumthe tribute puzzle, the Bow of Might, and the Mogryph boss.
- Hyrule Castlethe Hyrule Castle well rift, Stilled Castle Town, and the Ganon boss.
- Eldin VolcanoKakariko Village, the Eldin Volcano Trail, and saving Goron City.
- Eldin Templethe Bombs of Might, the lava hall, and the Volvagia boss.
- Faron WetlandsScrubton, Blossu’s House, and escaping the Deku Scrub Lockup.
- Faron Templethe small keys, the plant mini-boss, and the Gohma boss.
- Hebra Mountainmeeting Condé, the climb through the snow, and the Stilled Hebra Mountain rift.
- Lanayru Templefire orbs, fans and lasers, the slime mini-boss, and the Skorchill boss.
- Eternal Forestthe six Ancient Orb pedestals, the Deku Tree, and freeing Link in the Stilled Ancient Ruins.
- Null’s Bodythe final dungeon and the multi-phase fight against Null.
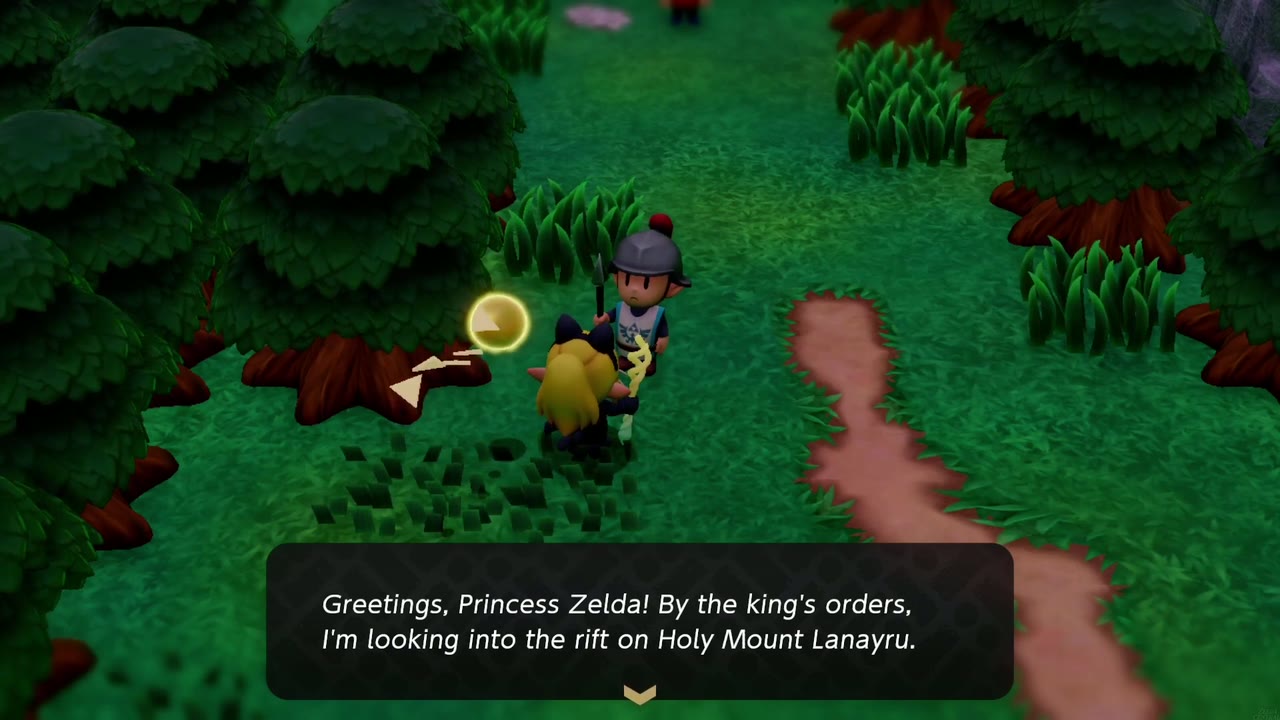
Holy Mount Lanayru is the snow-covered peak at the top of the map, reached by climbing Hebra Mountain, north of Hyrule Castle Town. It’s one of the three stops in the Lands of the Goddesses questline. On the forest path at the foot of the mountain, a Hyrule soldier tells you he’s looking into the rift on Holy Mount Lanayru by the king’s orders: legend says you reach it by crossing the clouds, but Hebra’s cliffs were too steep for him to scale.

Preparation matters here: there are no shops on Hebra and only one smoothie stand, so bring chill-proof smoothies before you go. A villager near the soldier warns that Hebra Mountain is VERY cold and you’ll get hurt if you can’t ward off the chill. The ice floors are the other enemy until you find the Ice Spikes accessory, which comes much later, in an ice cave high on the mountain.


Hebra Mountain Passage
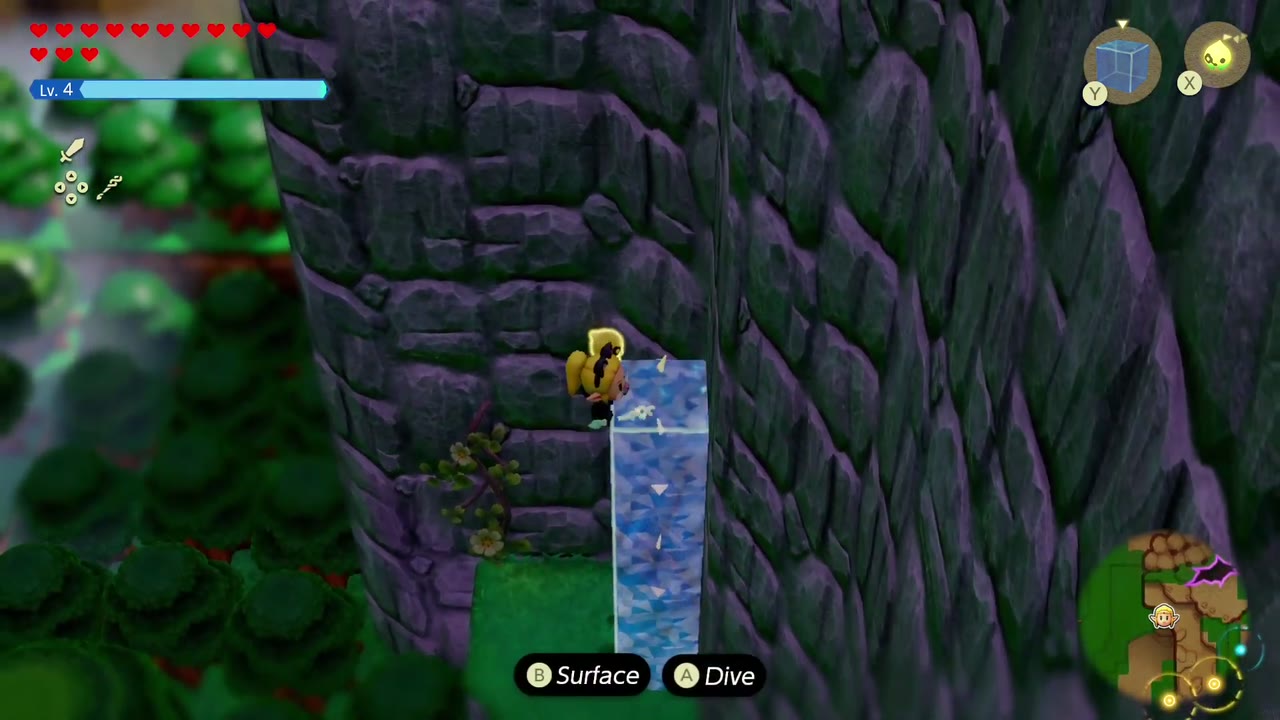
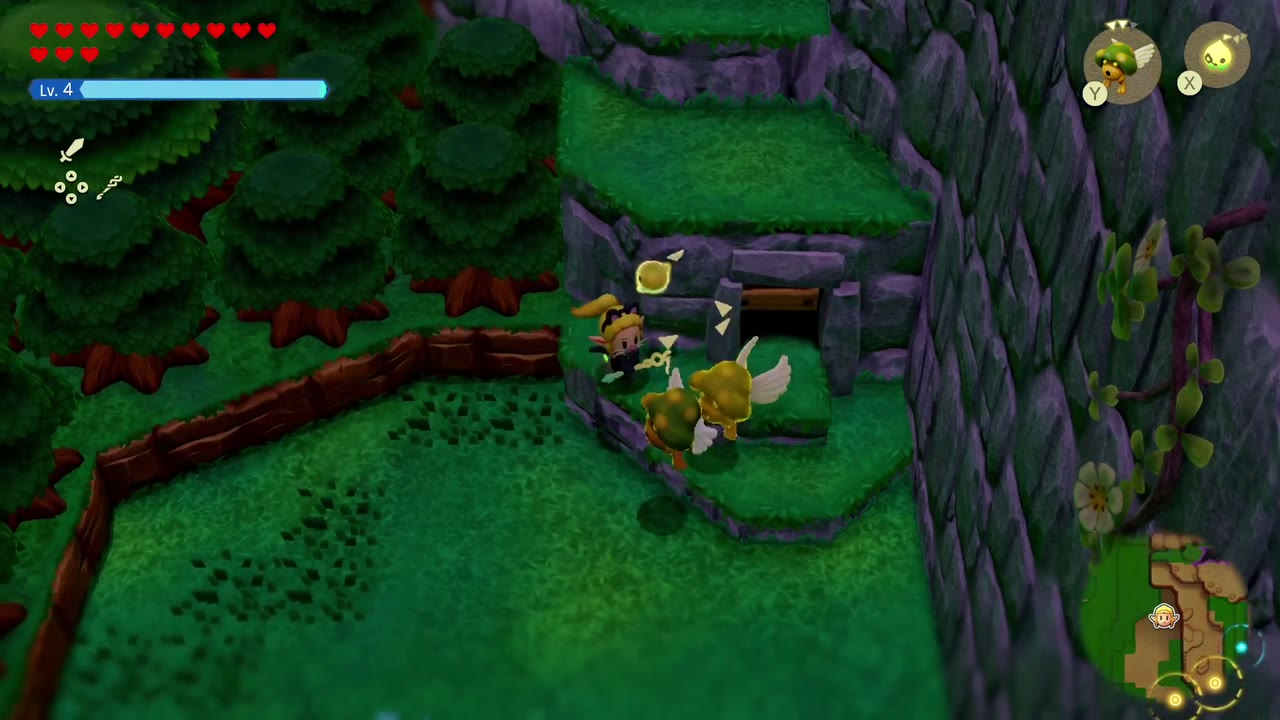
The same villager tells you to use the caves that climb to the summit, but the nearby entrance was blocked by a recent cave-in. It’s on a ledge up the cliff just past him: ride a Water Block up to the ledge, then drop a bomb from a Zirro echo beside the rubble to blast it away. Inside is the Hebra Mountain Passage, a side-on cave that climbs to the mountain’s surface.
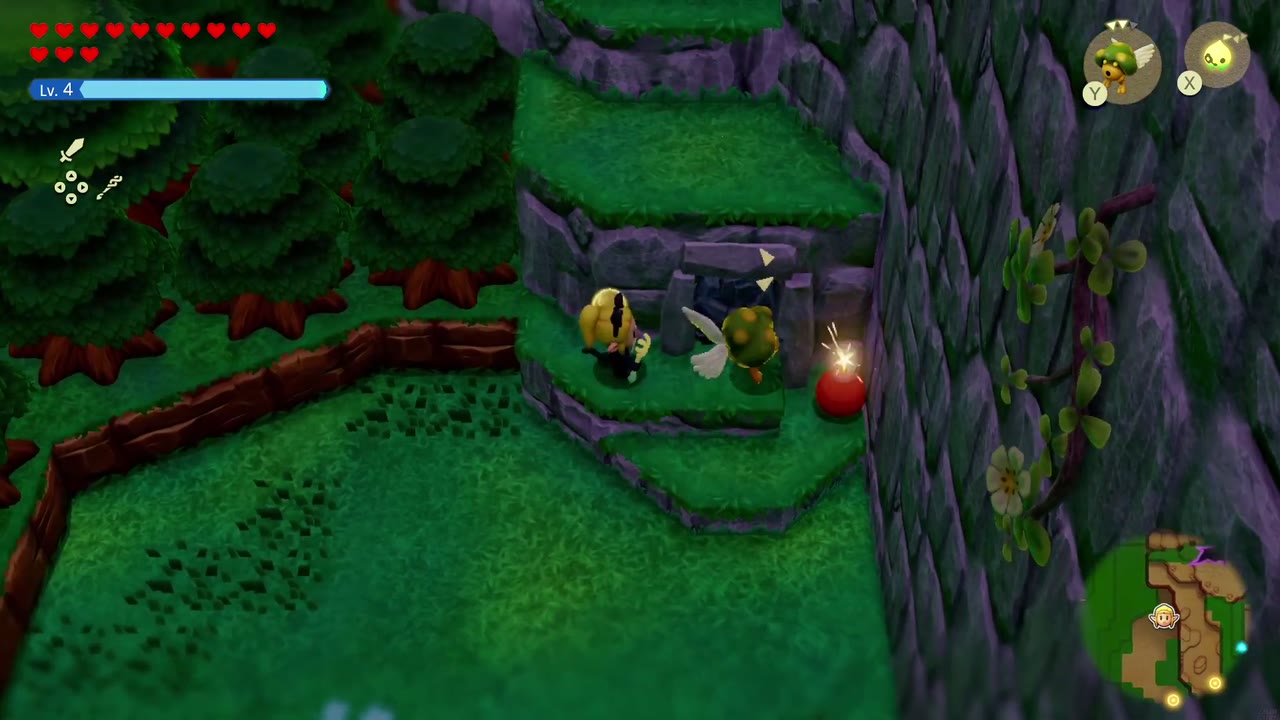
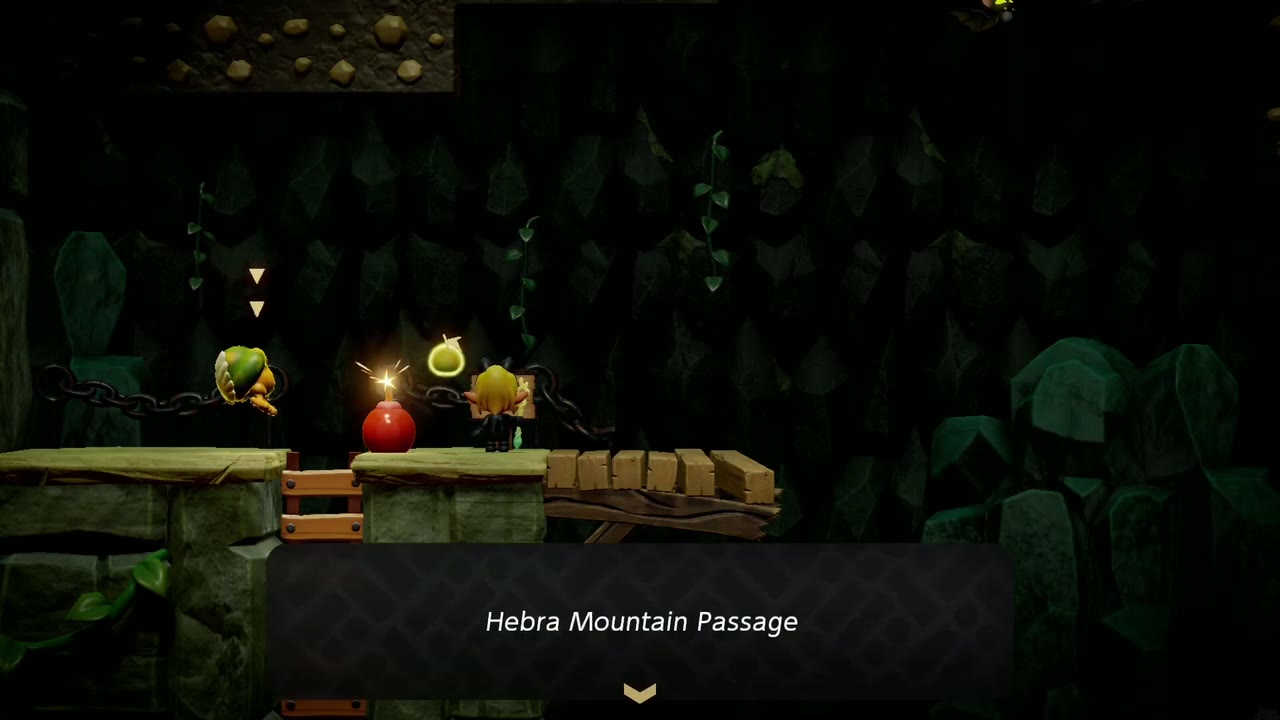
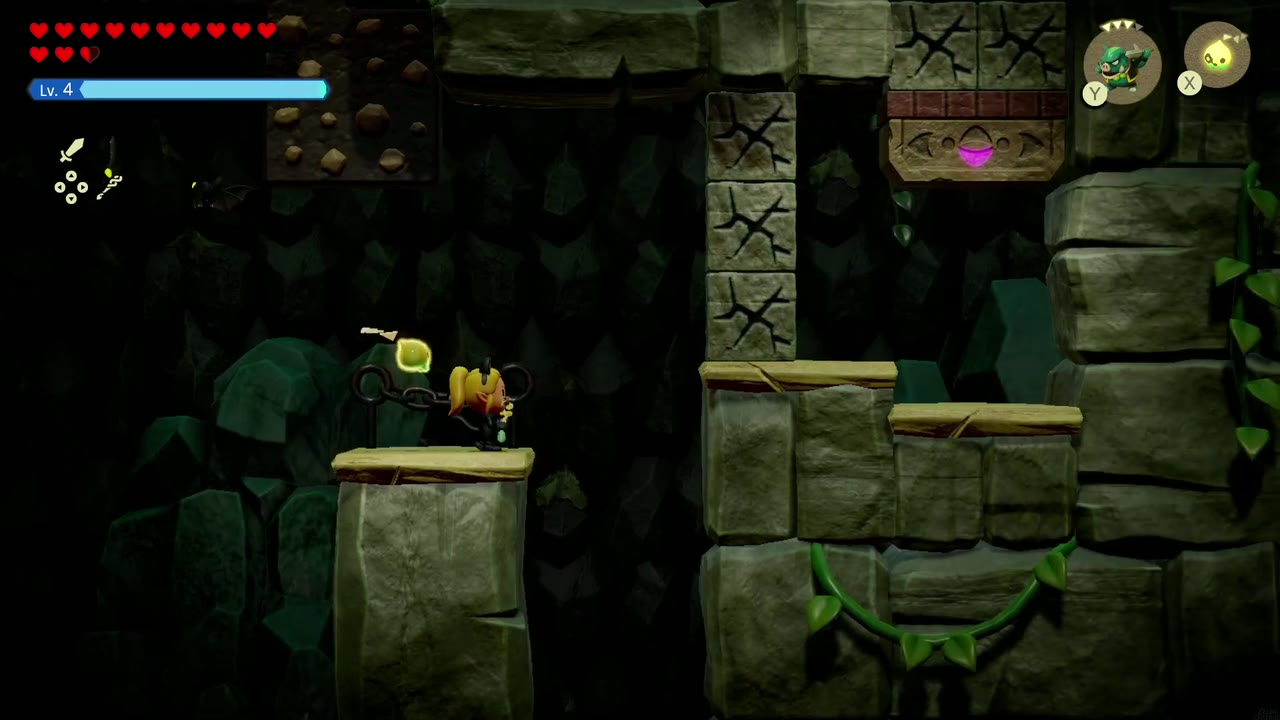
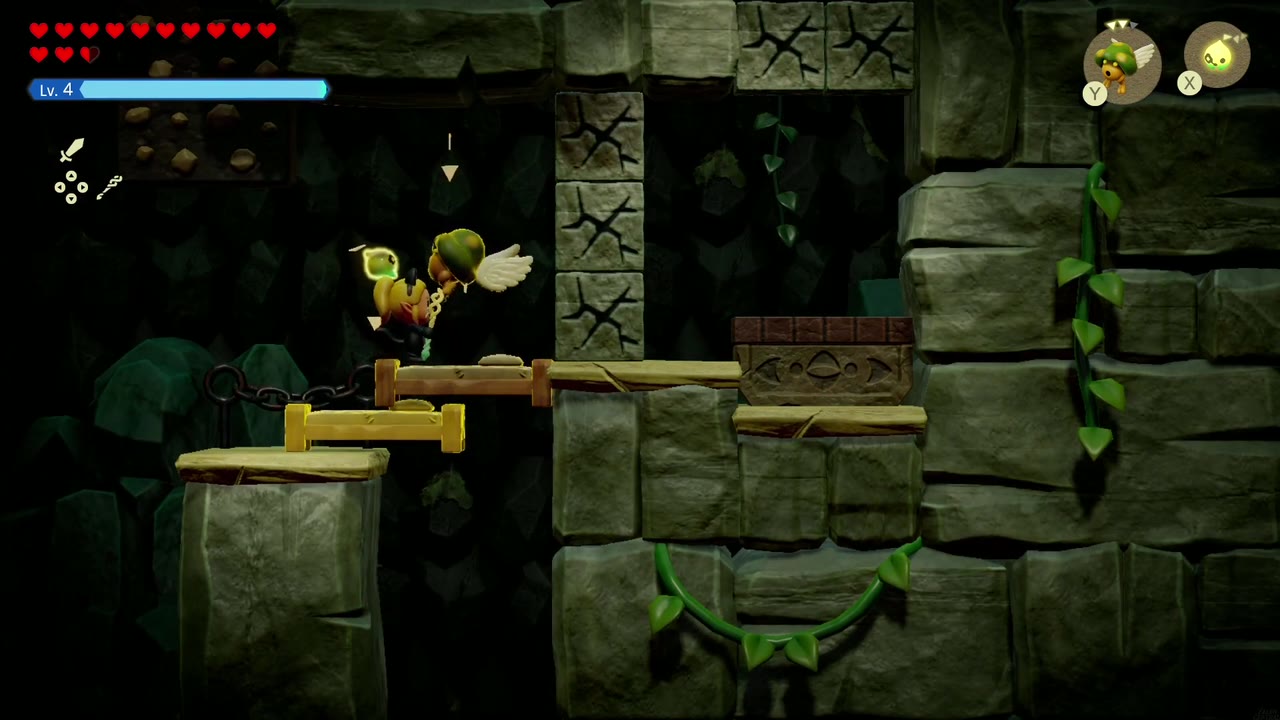
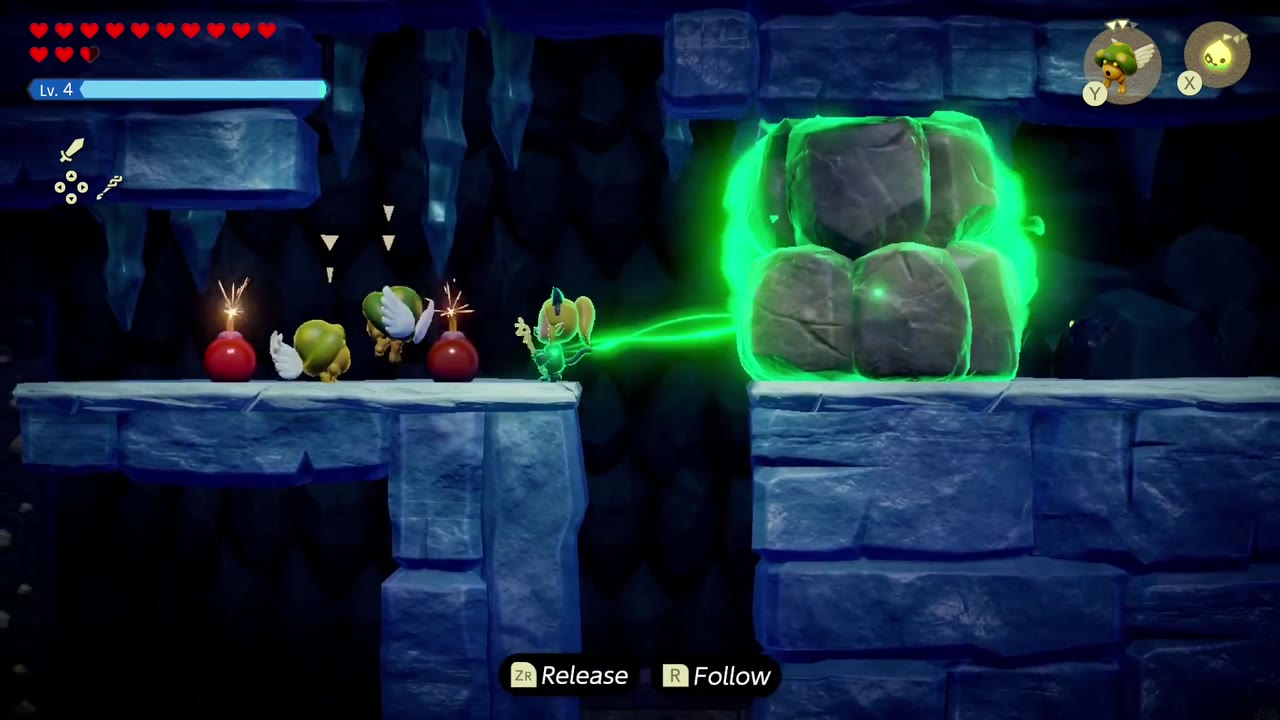
Inside, Zirro bombs do most of the work: blow up the cracked blocks by the first ladder and climb the wooden steps. In the next room a column of cracked blocks sits below a pink-gem lift. Lay an Old Bed across the gap, then set a bomb on the lift and let it carry the bomb up to blast the cracked blocks overhead.

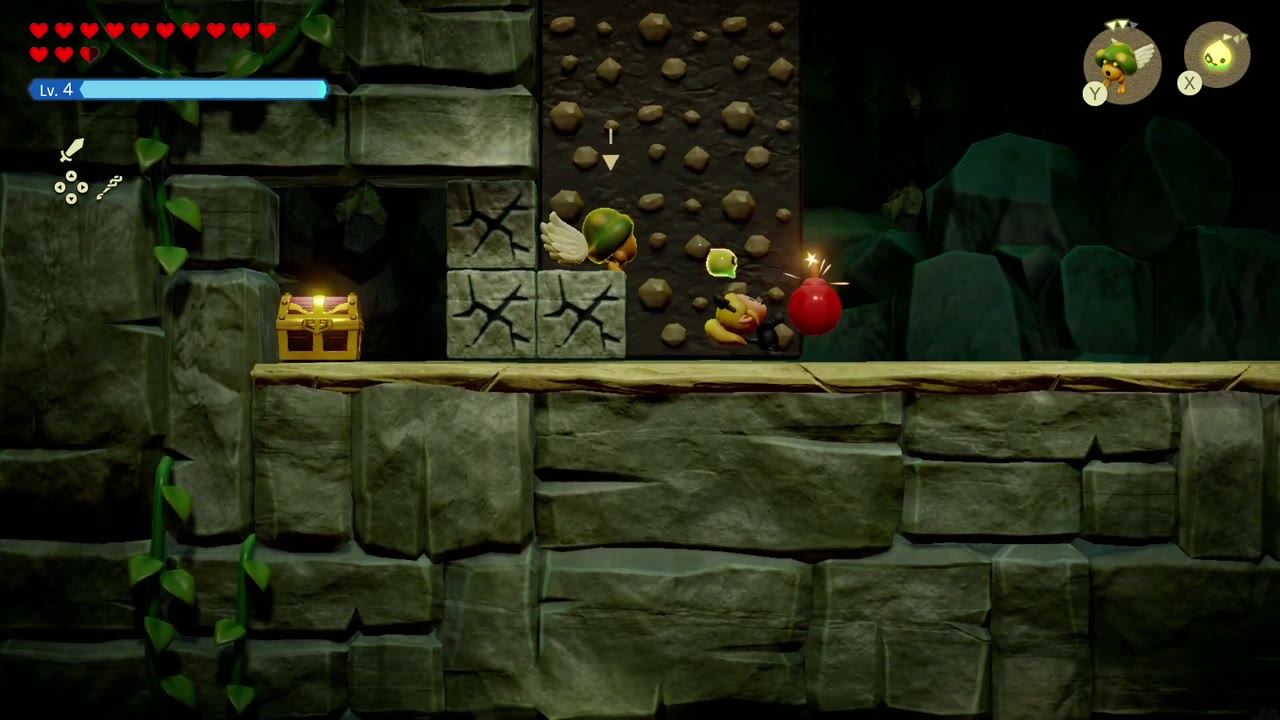
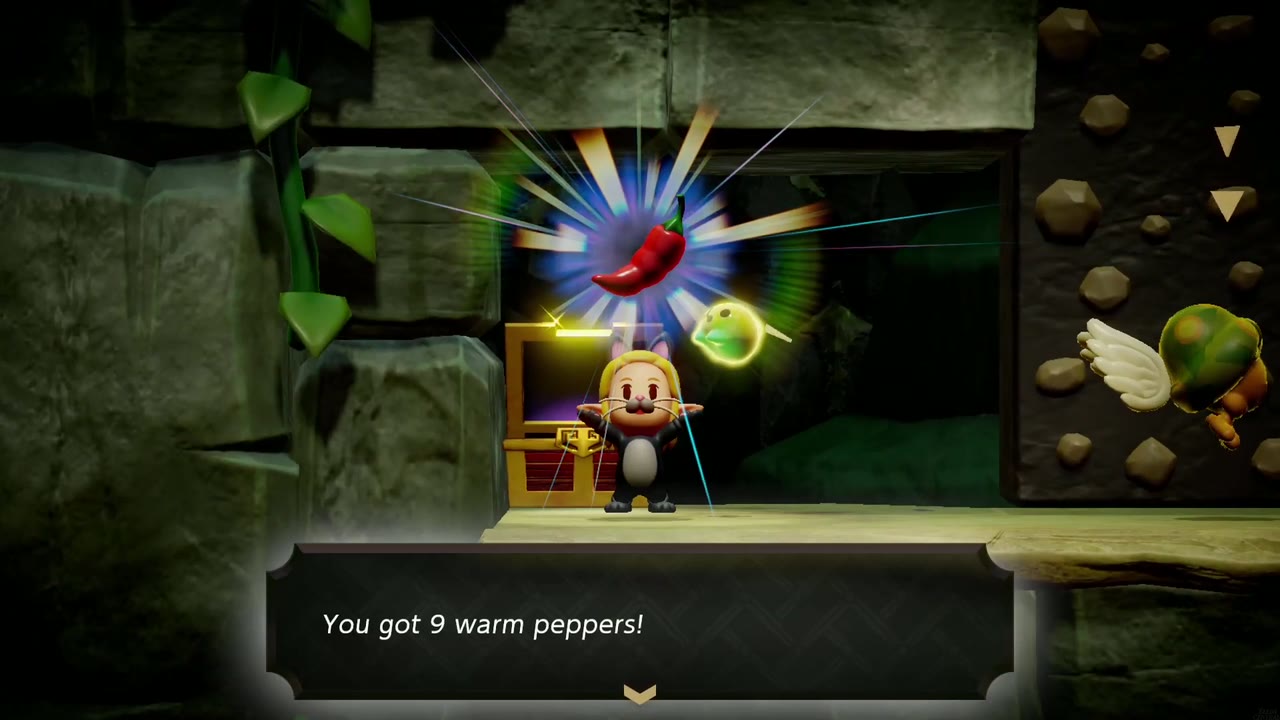
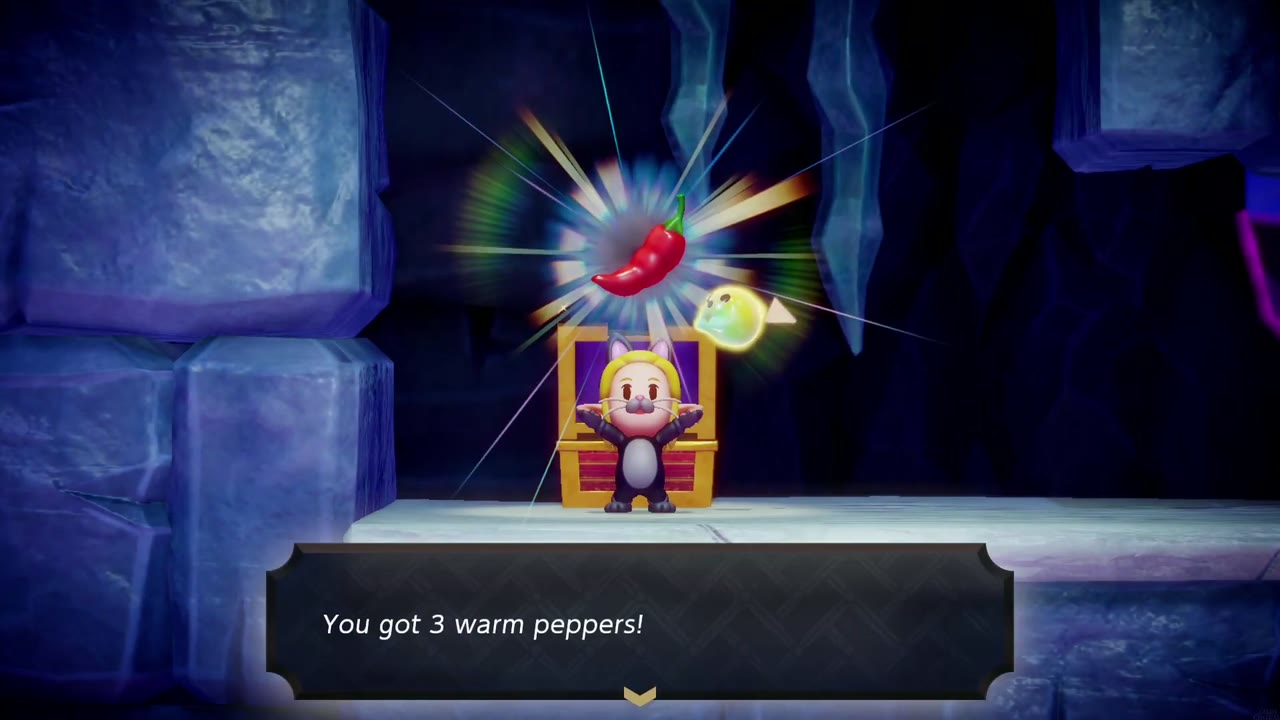
Next, summon a Water Block and swim up it to the higher ledge. On the left, cracked blocks hide a chest: bomb them for 9 Warm Peppers. Then climb the studded wall beside it, where a Peahat perches; take it out with your echoes and it drops a scatter of rupees.
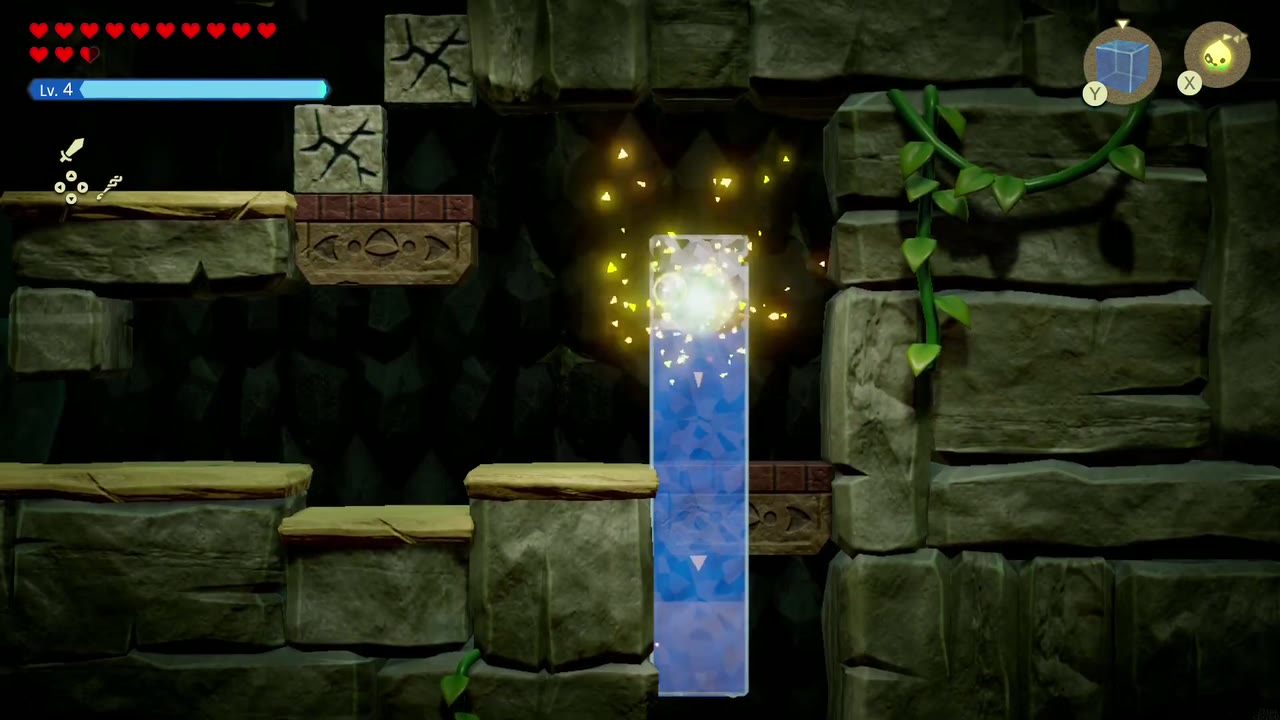

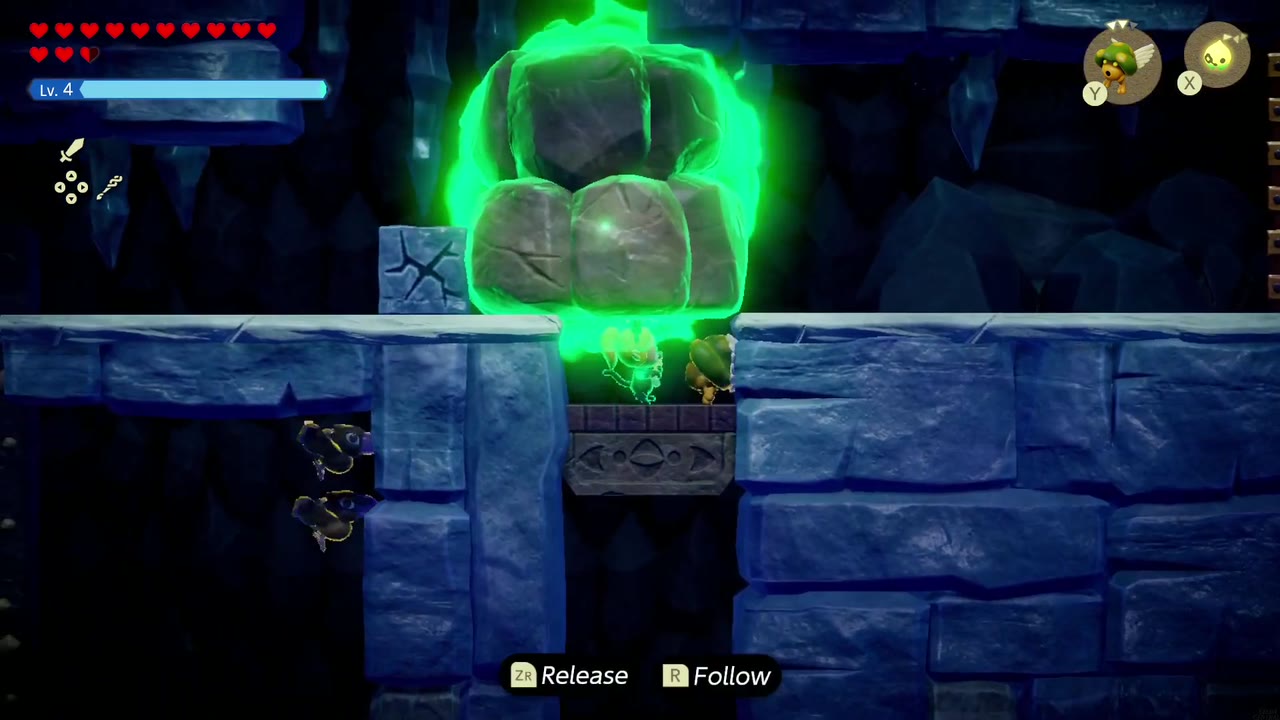
Further on, the cave turns to blue stone and a big rock sits on top of the lift shaft. Bind the big rock and drag it off so the lift can move. A second big rock blocks the way further up: blow the cracked block beside it with Zirro bombs, Bind the rock and pull it clear, then ride the lift up to the ladder. It leads to a small ice room with pots (one holds a Twisted Pumpkin), and from there you step out onto Hebra Mountain, where a huge rift has spread across the slope.
Hebra Mountain and Condé
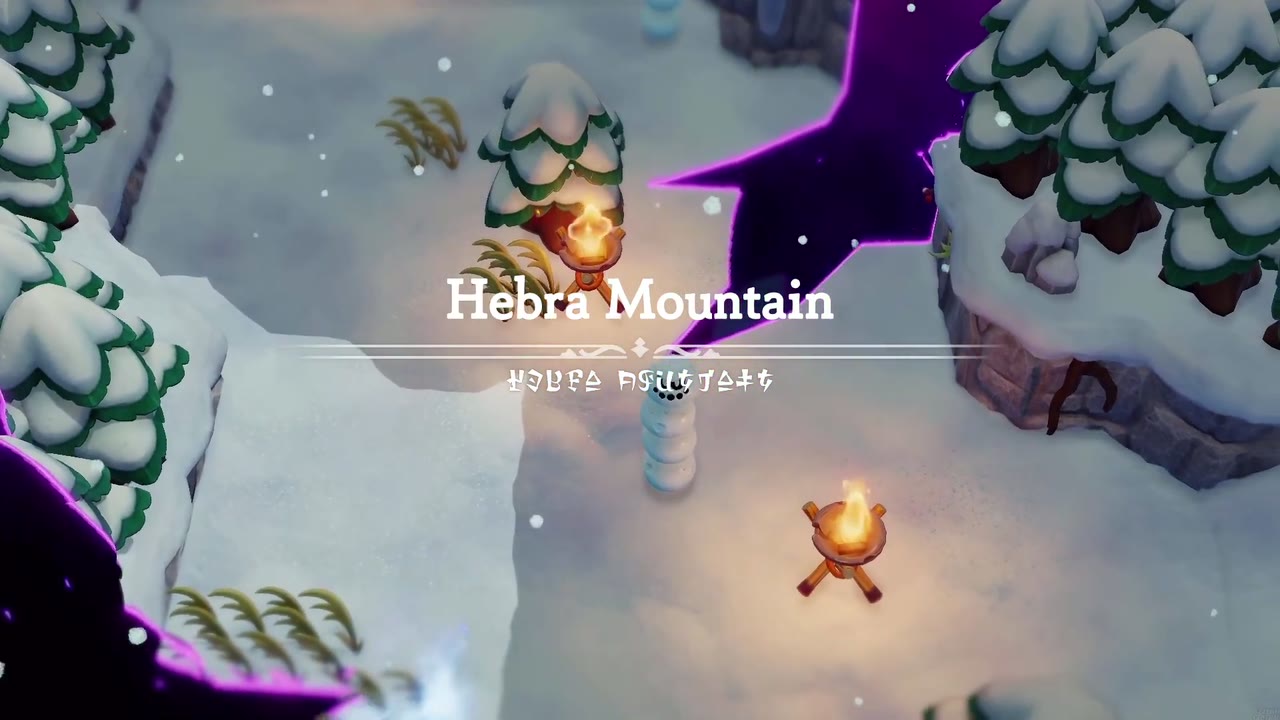
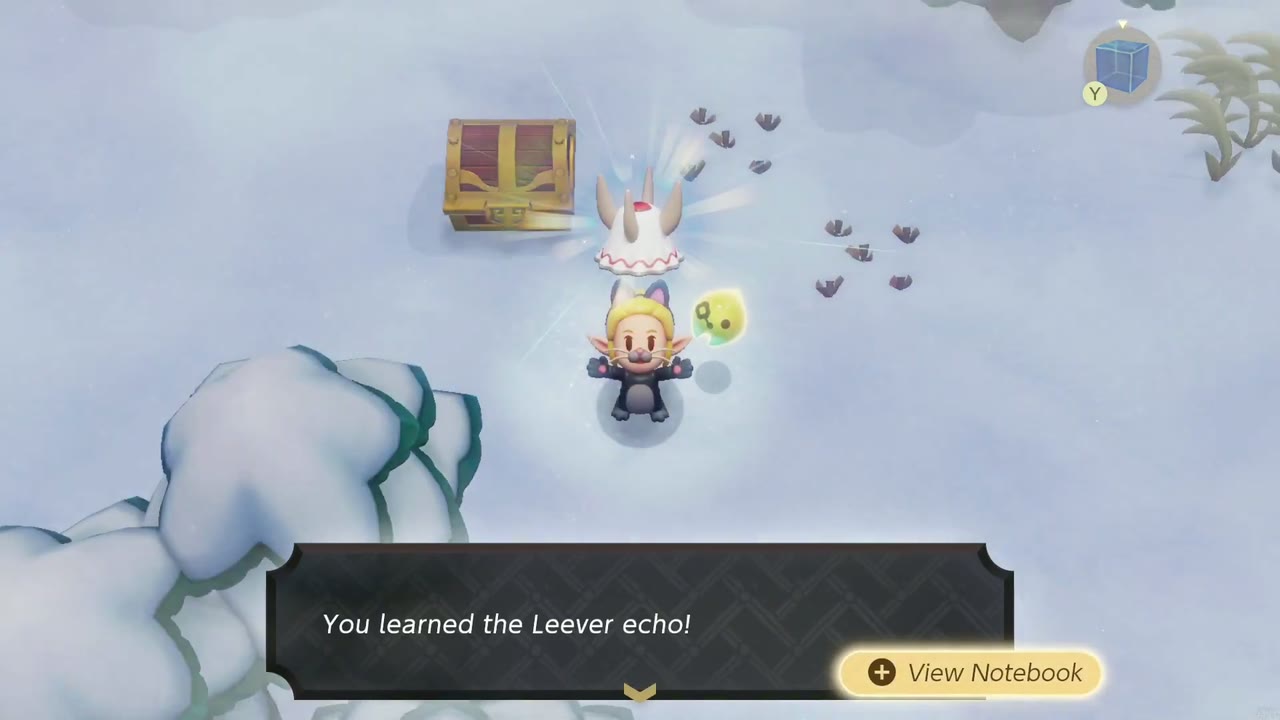
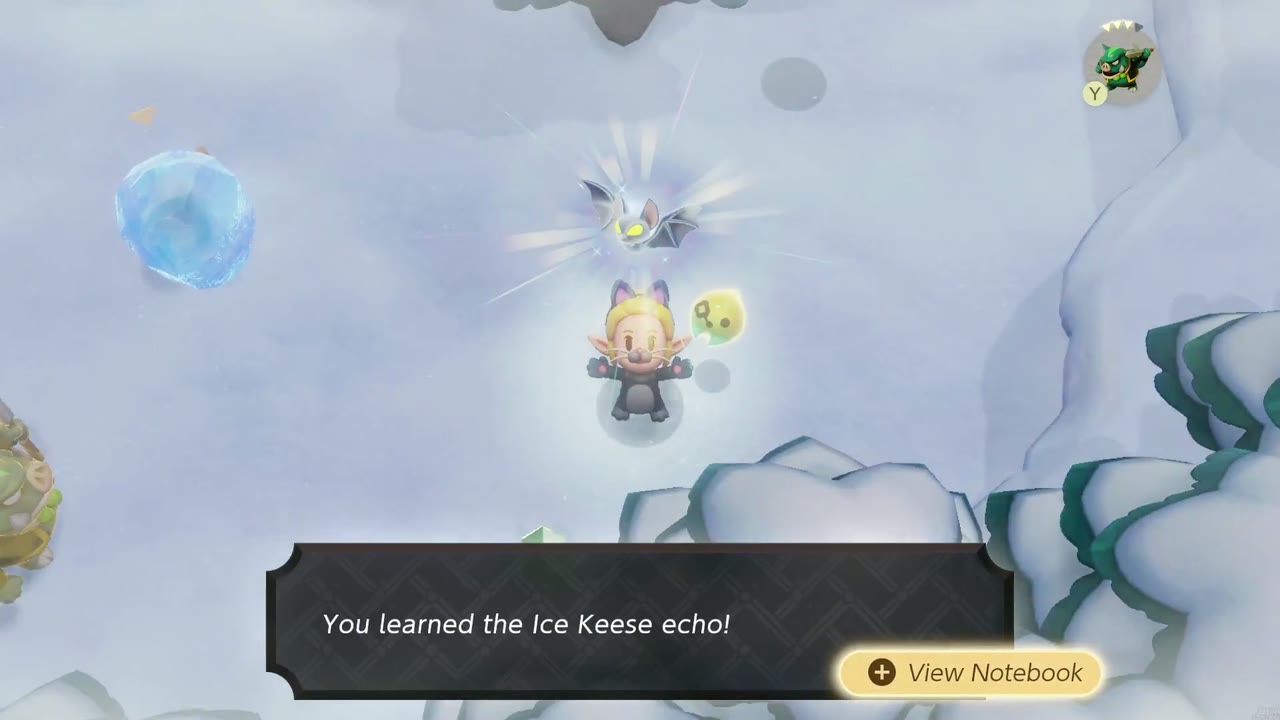
You emerge onto Hebra Mountain, and the higher you climb the worse the blizzard gets. Drink a chill-proof smoothie to stop the cold from draining hearts, then work your way up the snowy cliffs, picking up the Snomaul, Leever, and Ice Keese echoes from the monsters along the way.

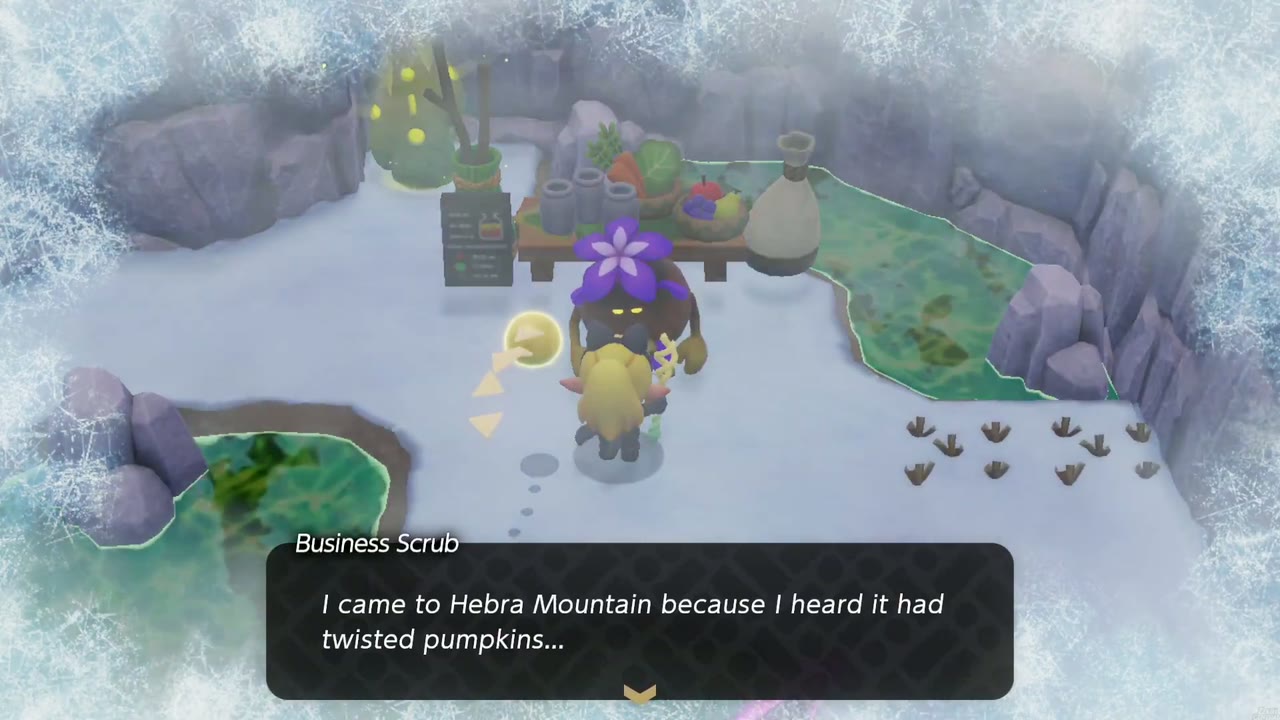
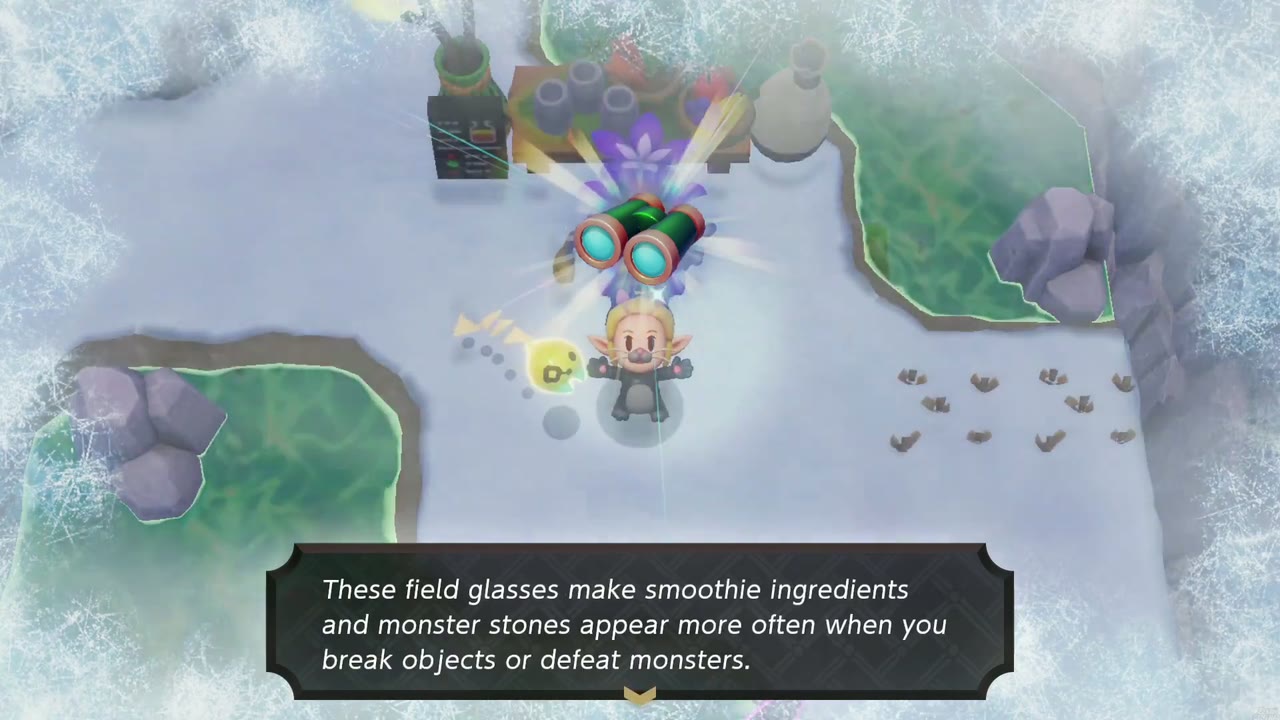
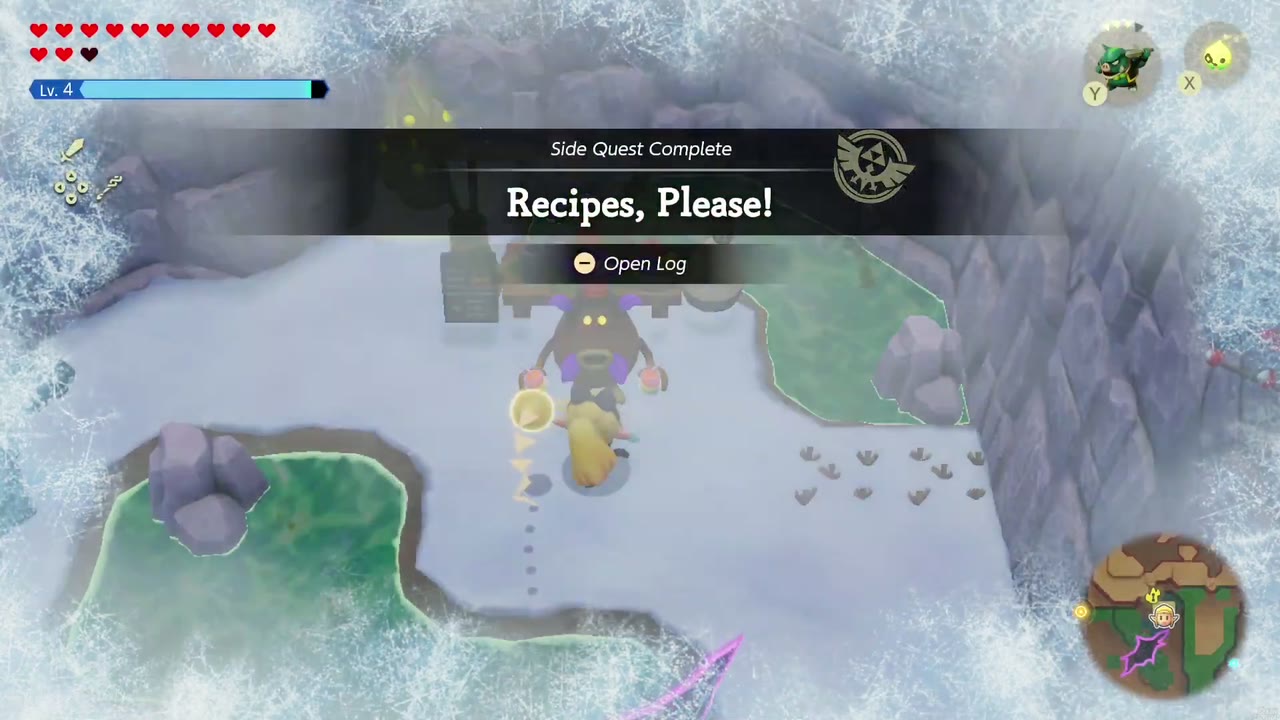
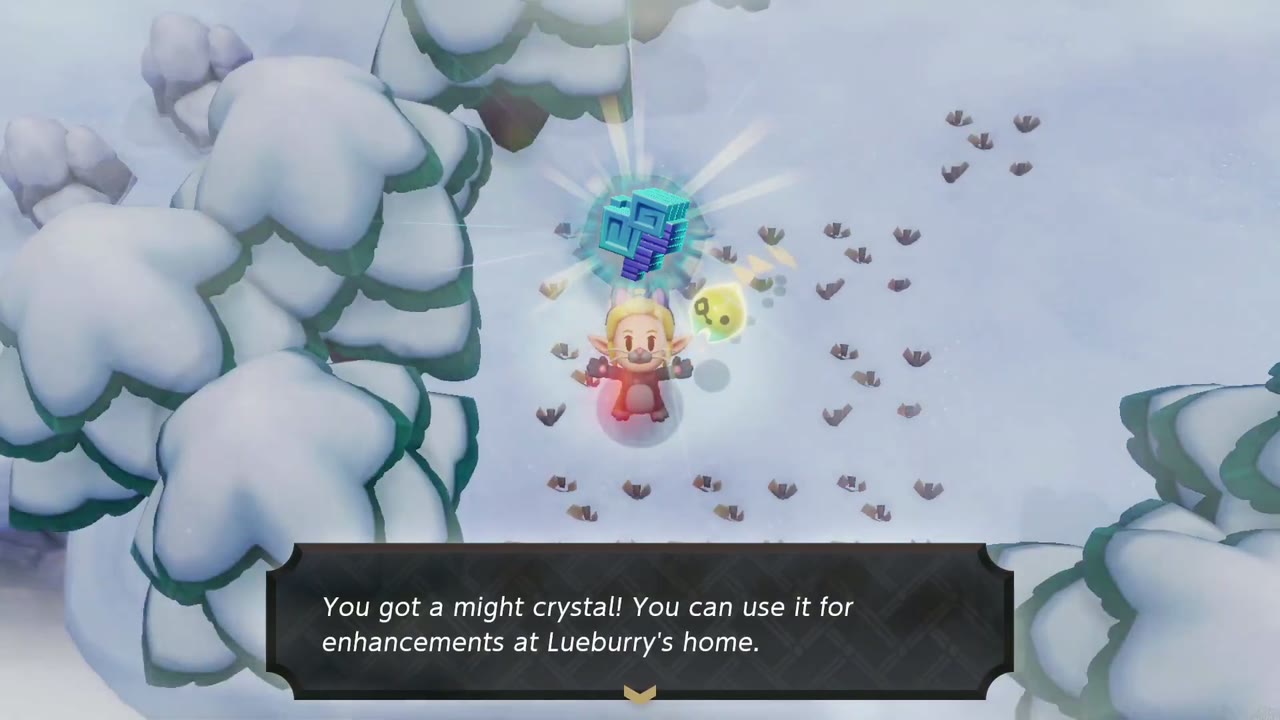
Skirt the edge of the big rift to find a hidden nook with the Business Scrub‘s smoothie stand. He came to Hebra Mountain looking for twisted pumpkins; hand one over and he’ll make you a golden twisty smoothie, upgrade your Survey Scope into Survey Binoculars (ingredients and monster stones appear more often), and complete the side quest Recipes, Please! Just past the stand, in the snowy woods, you can pick up a Might Crystal.

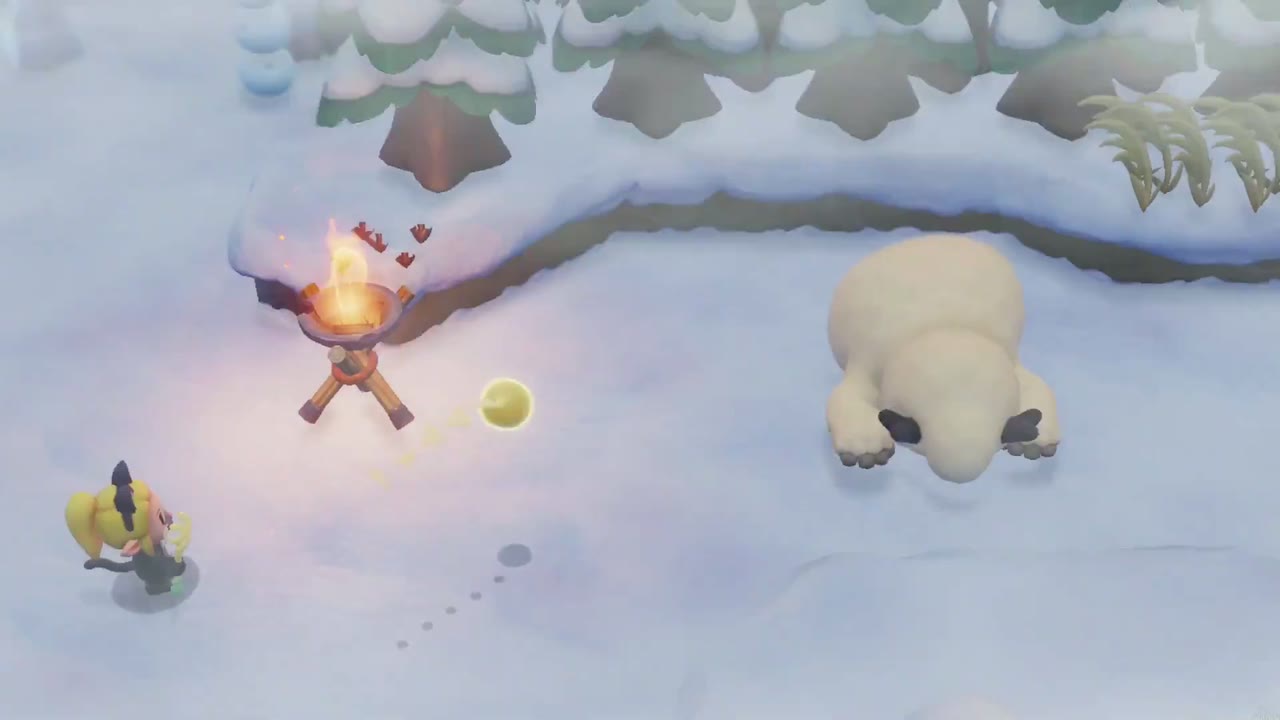
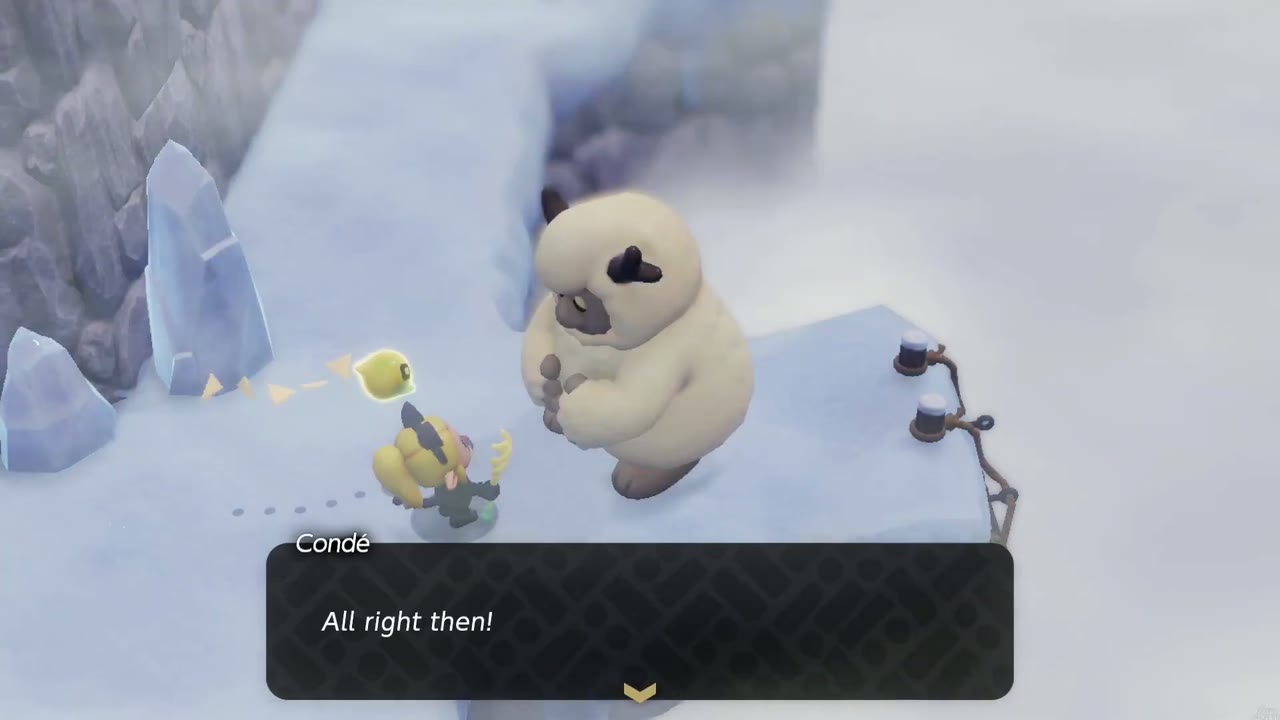
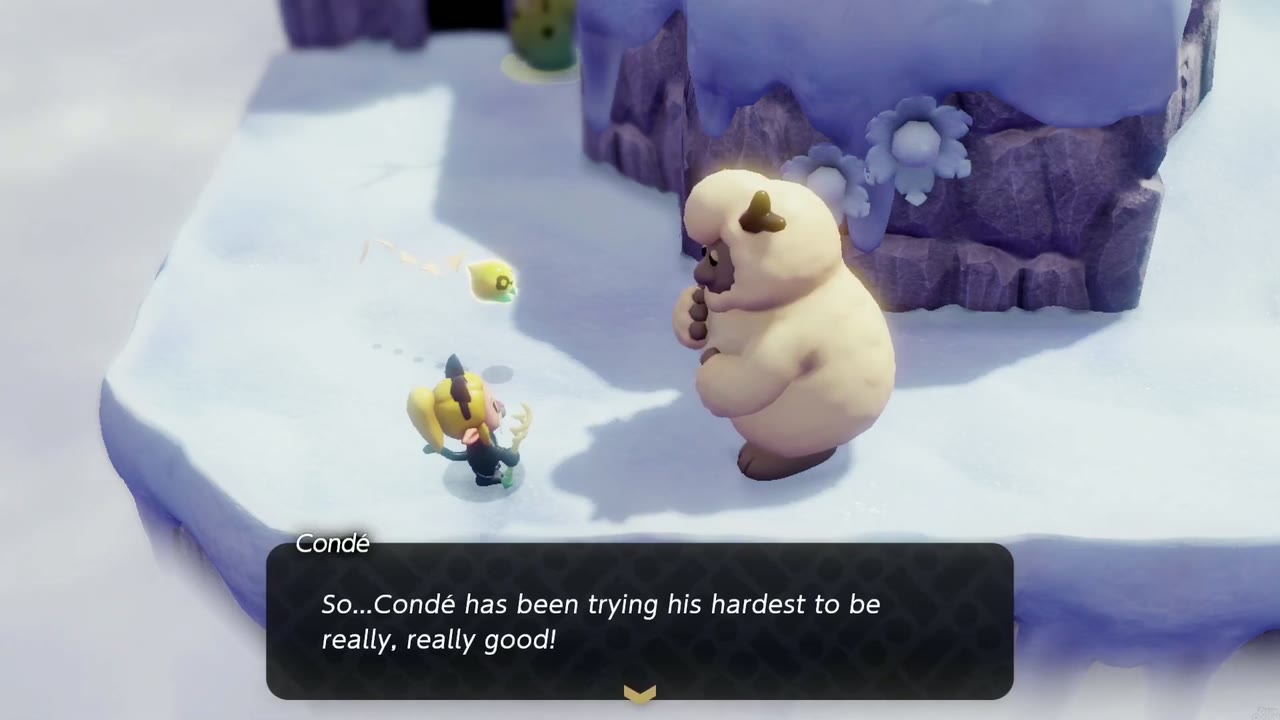
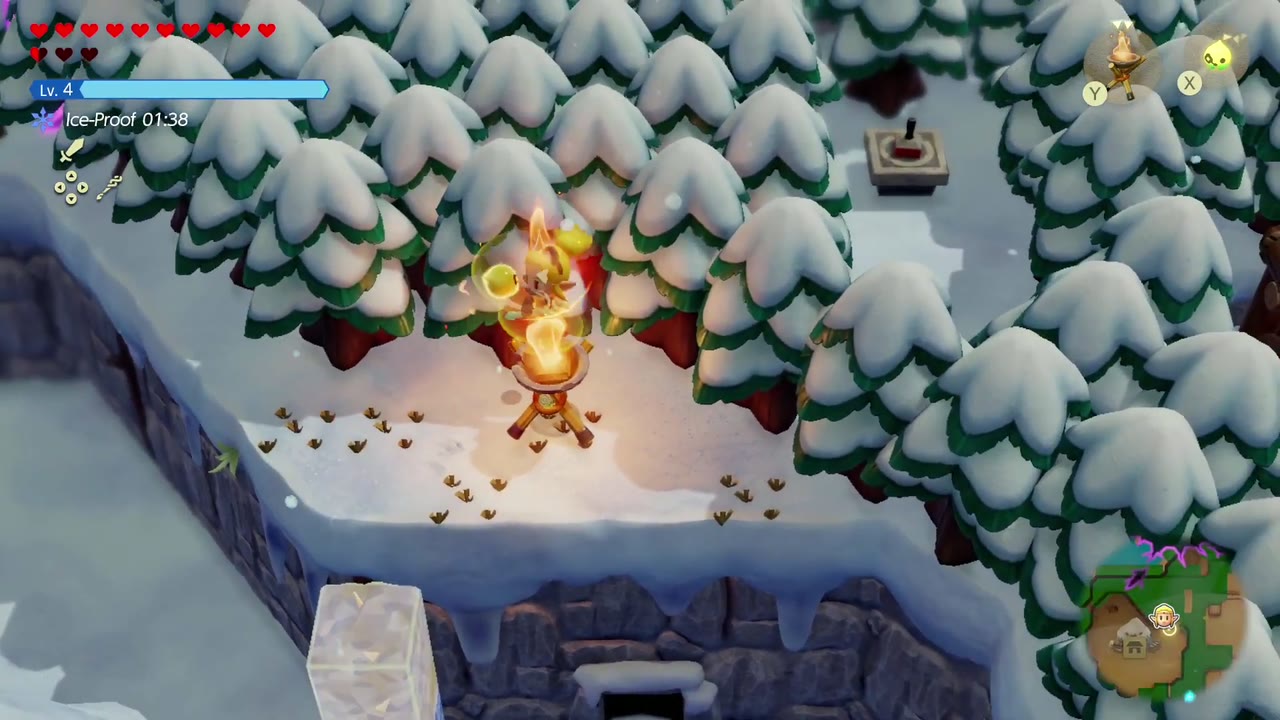
Early in the climb you’ll find a large figure asleep in the snow. Get a lit brazier going next to him and he wakes up: this is Condé, a friendly yeti-like mountain dweller. He thanks you, invites you to shelter at his house until the snow blows over, and offers to carry you there. Once you’ve explored (a chest on a ledge by the frozen waterfall holds Monster Guts), take him up on it at the cliff edge and he’ll carry you across to his ice house.

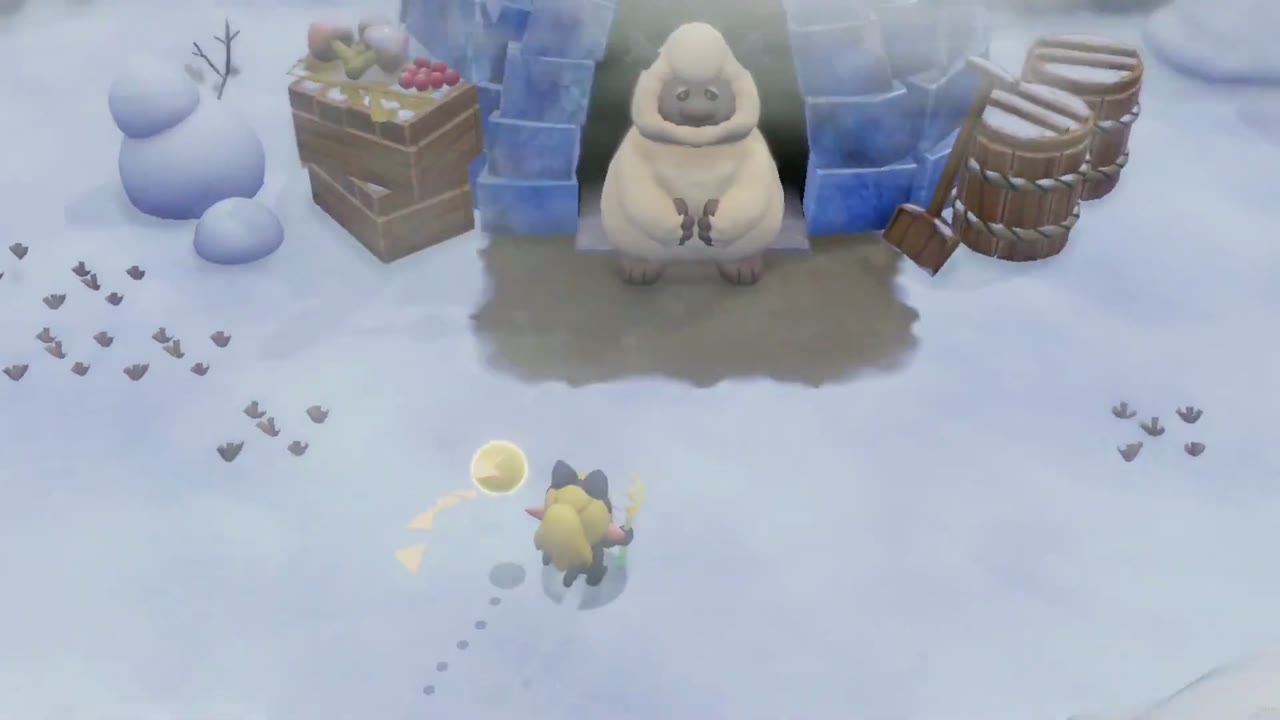
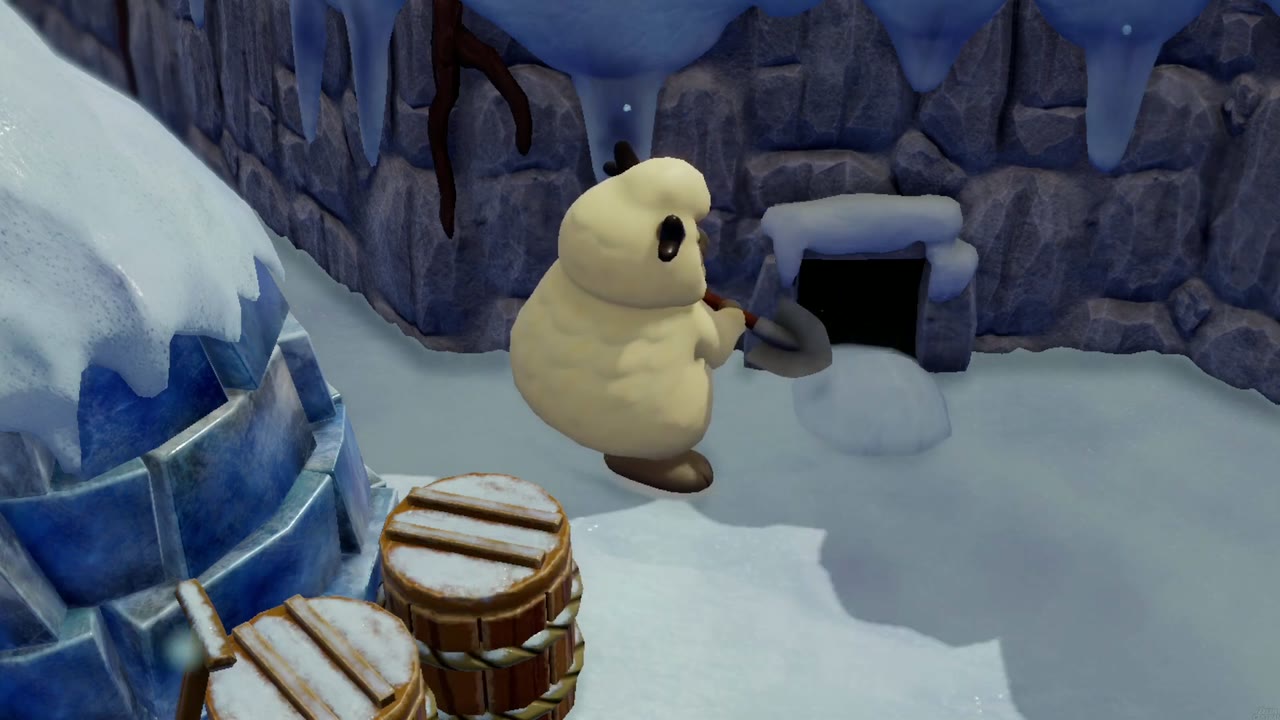
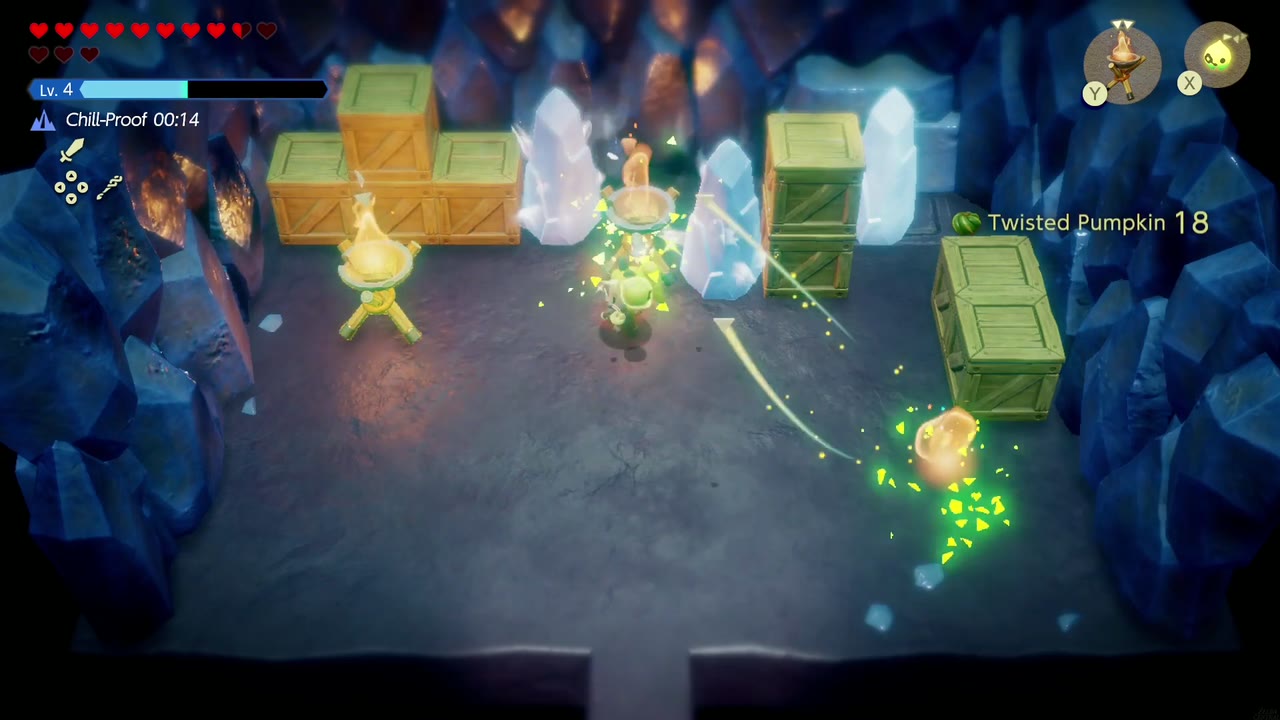
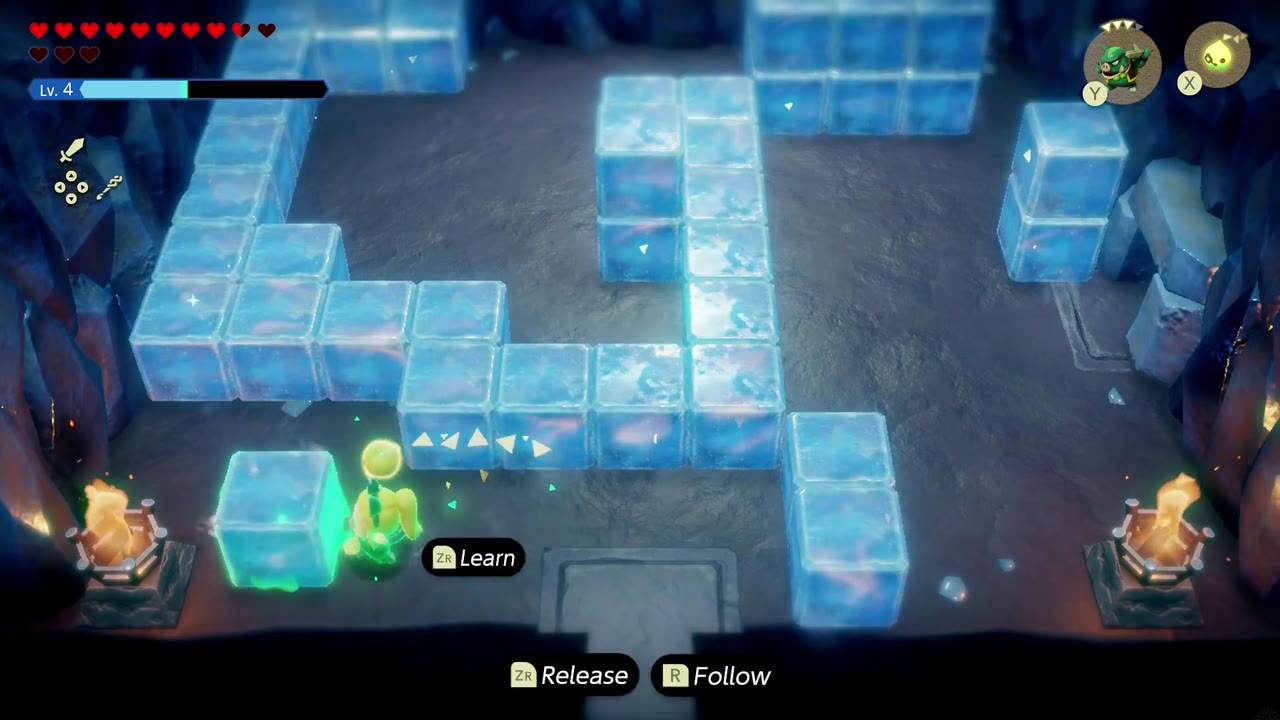
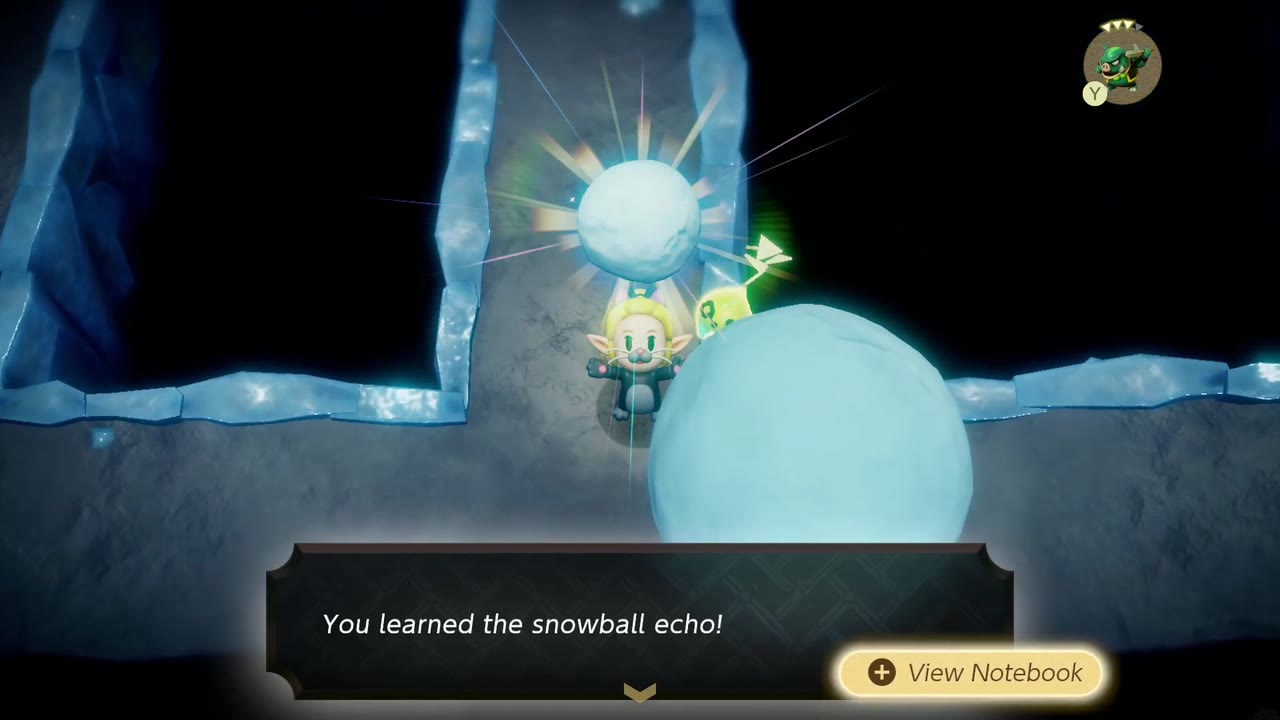
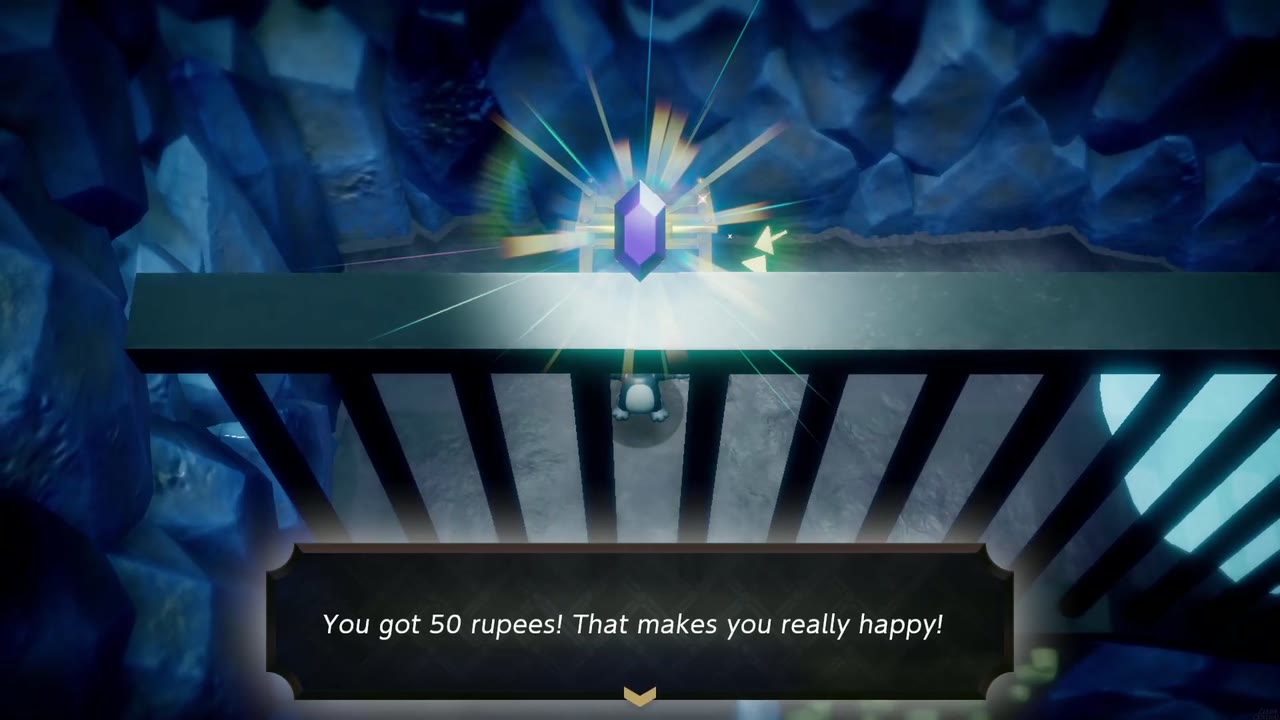
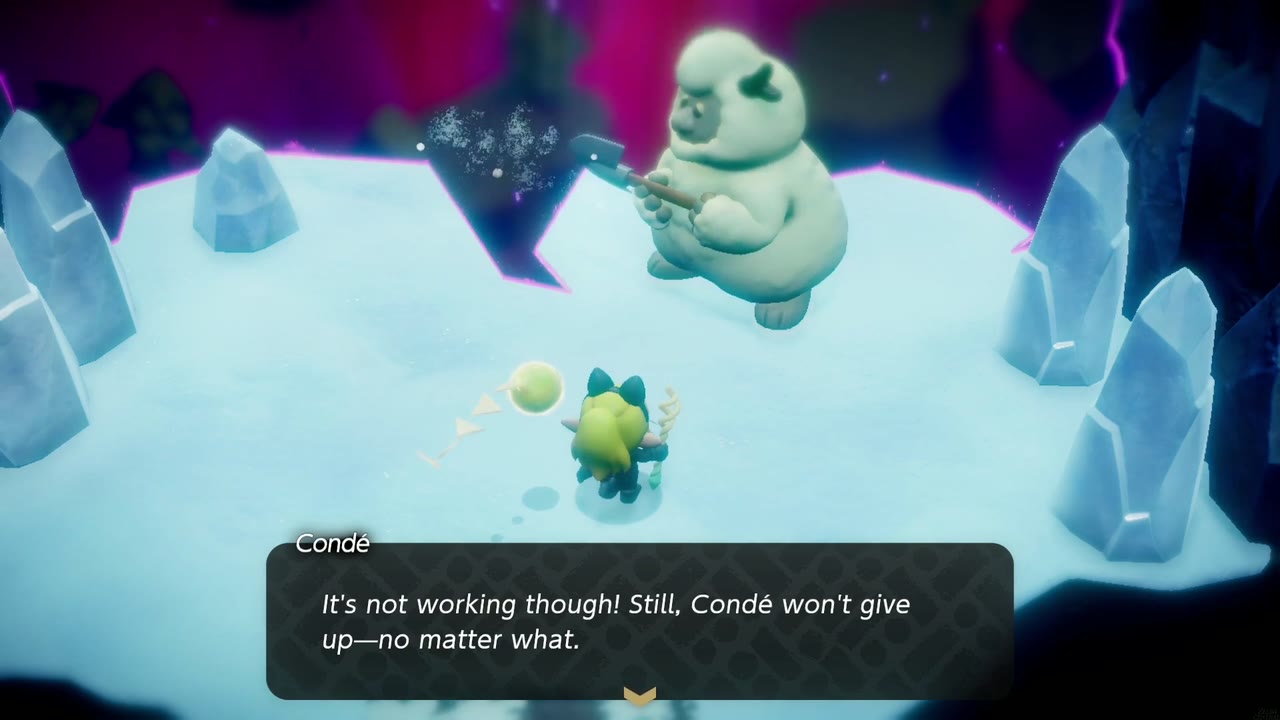
Inside, Condé tells you about his Big Brother, who set out to fly from the top of Hebra Mountain to Holy Mount Lanayru. Read the diary and look at his cleaning tools until the storm stops; then Condé heads outside and shovels away the snow pile blocking the cave beside his house. Bring a Brazier echo into the cave to melt the ice crystals, swim across the pool, and learn the Ice Block echo, then push ice blocks through the maze and into the pits to cross. Further in you’ll learn the Snowball echo and use it to smash ice, and a chest behind bars holds 50 rupees. In the back chamber you’ll catch Condé trying to scrape away a rift (“the dark gunk”) before Big Brother gets home. When it spreads, step into the rift.
Stilled Hebra Mountain Cave Rift
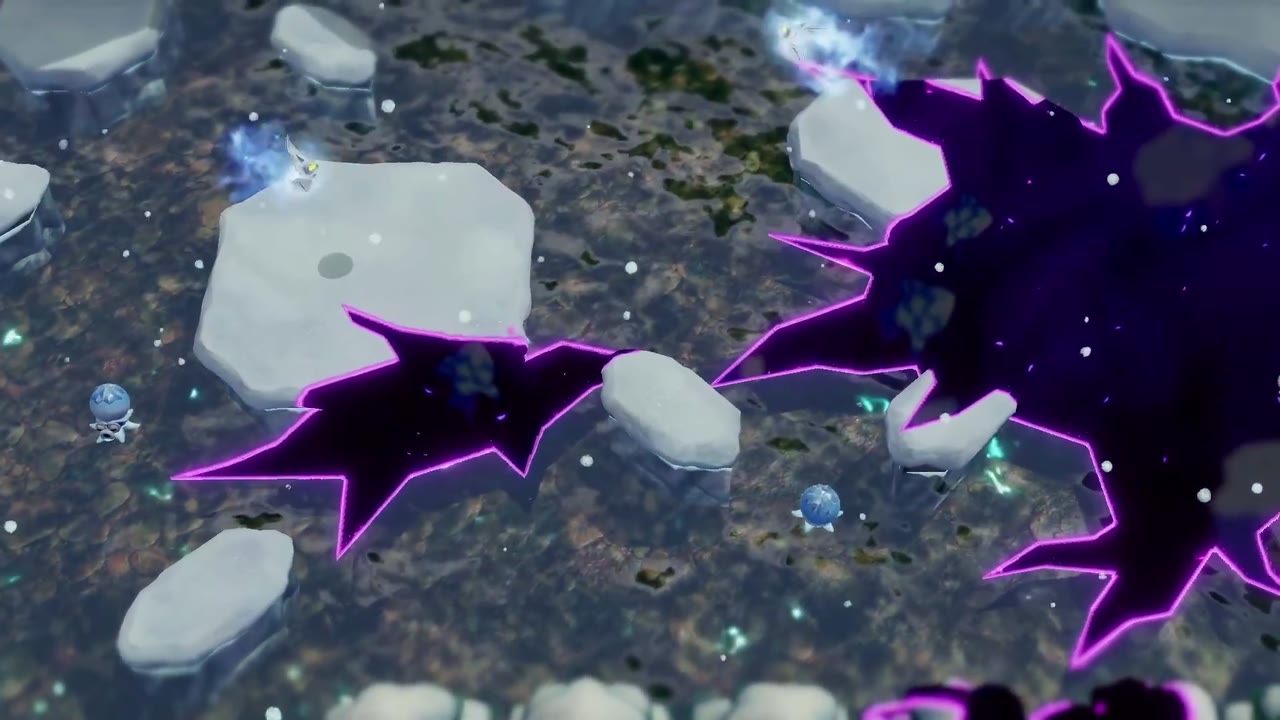
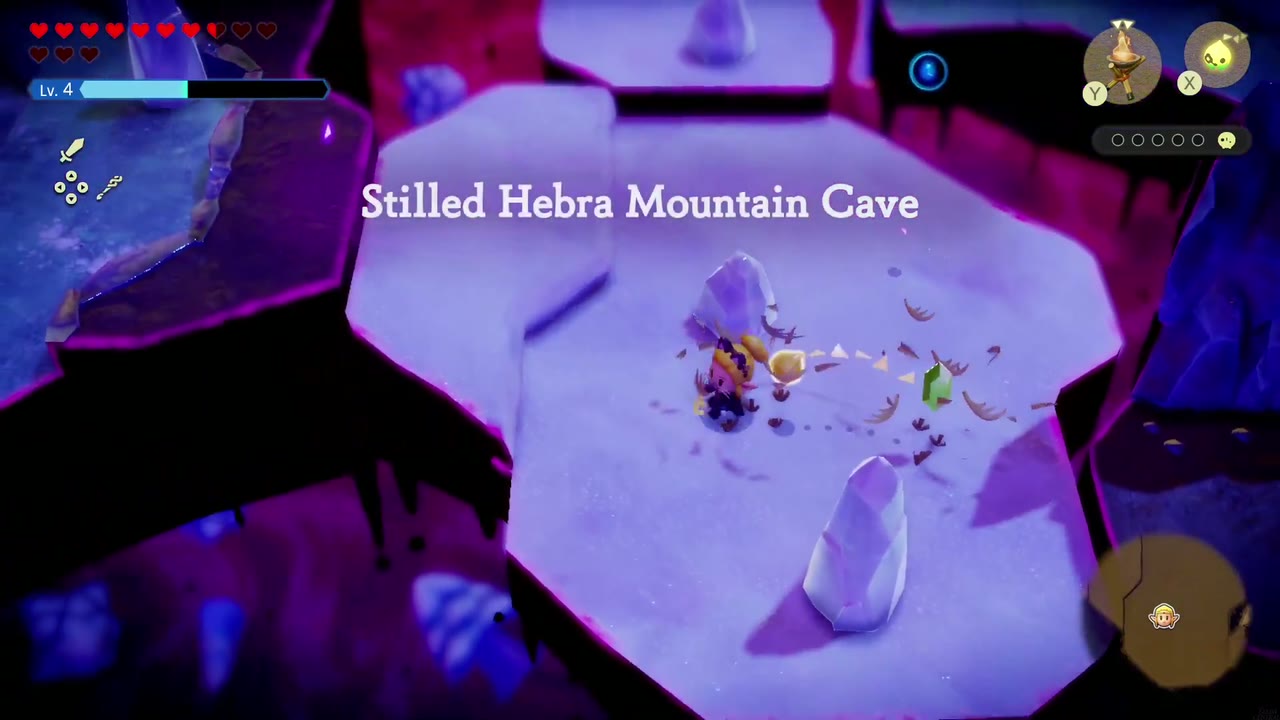
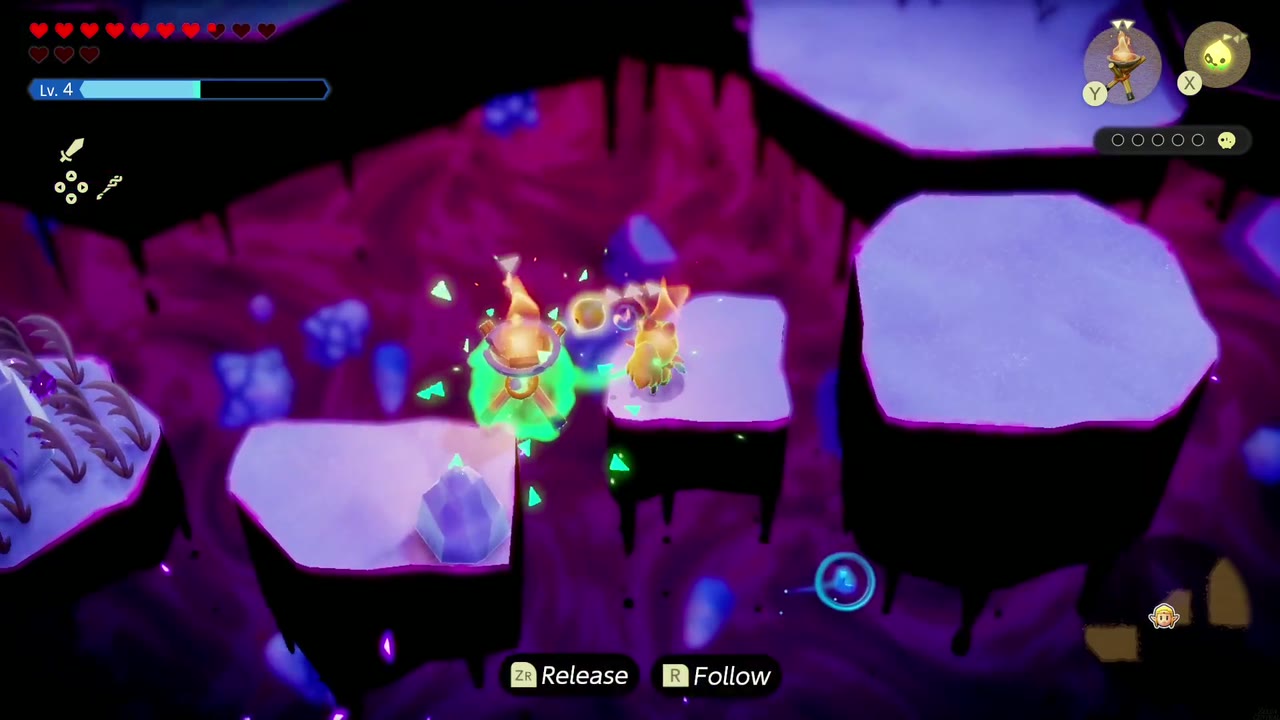
Inside the Stilled Hebra Mountain Cave, five groups of Tri’s friends are trapped. The cave is a chain of floating ice islands. Bring a Brazier echo along to melt the ice crystals in your way, stack Water Blocks to climb onto higher ledges, and fight off the Snomauls and Moblins guarding the platforms. Watch the counter in the top-right corner until all five are found.


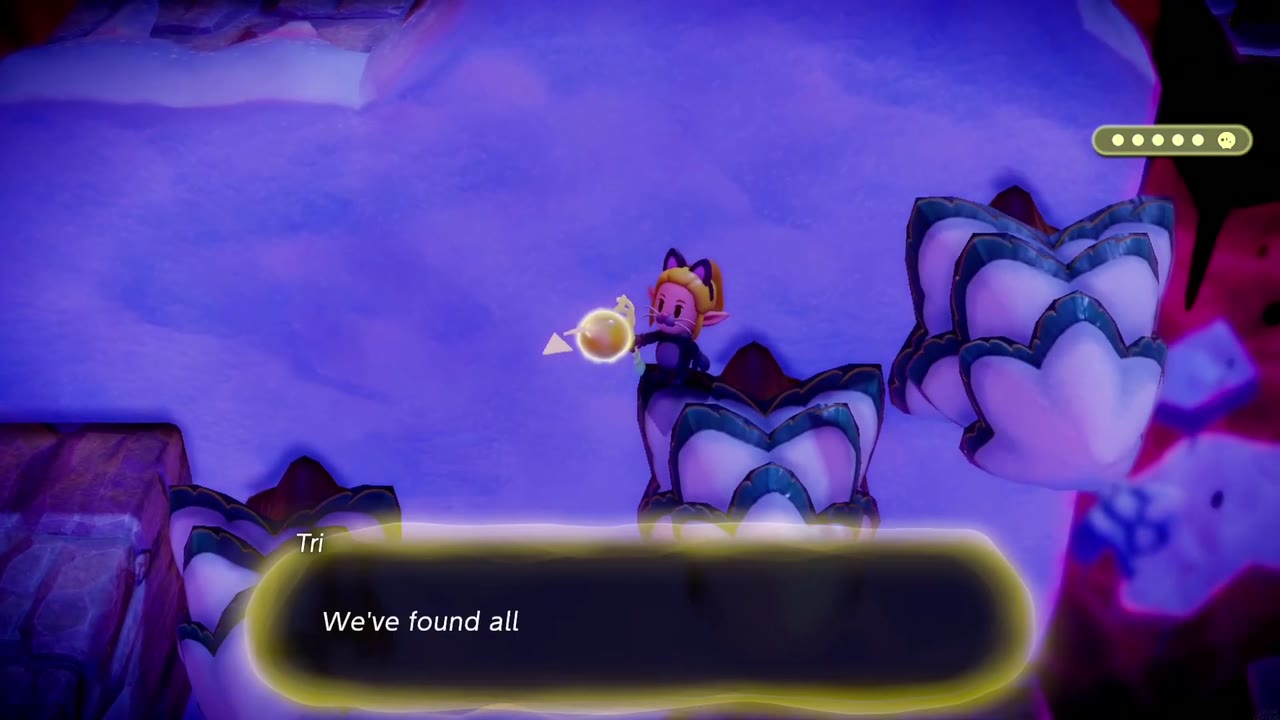
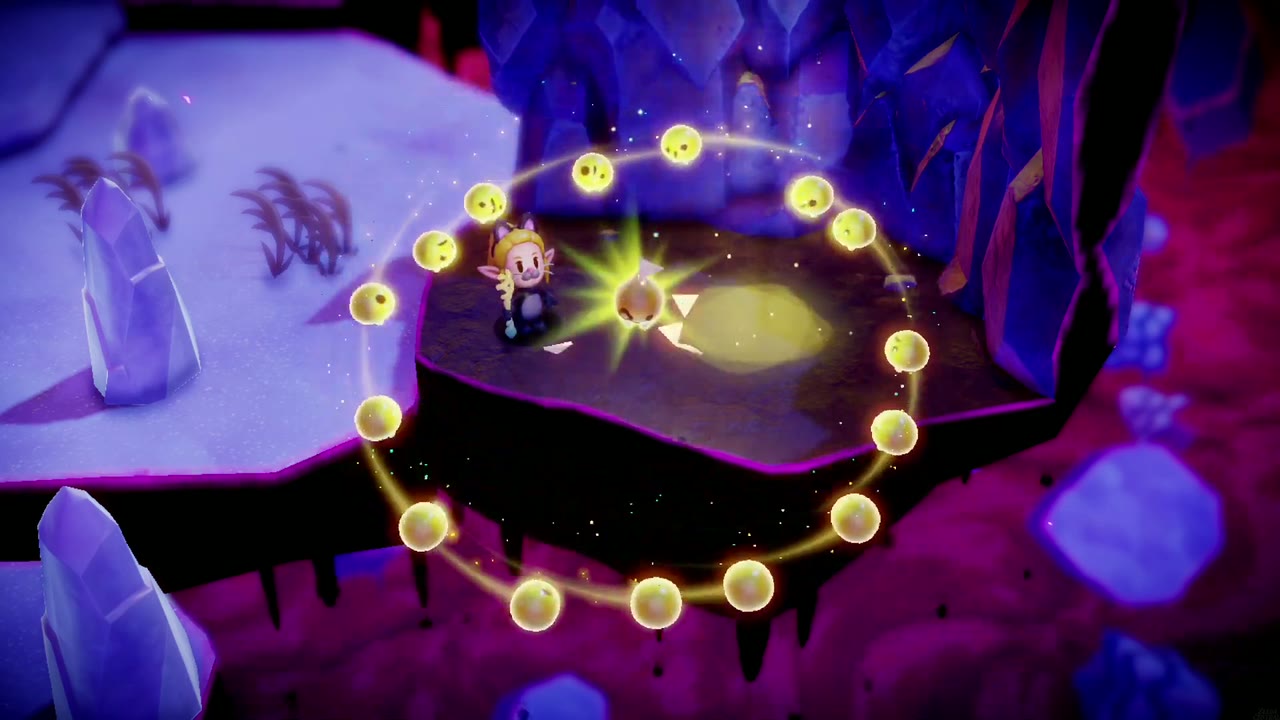
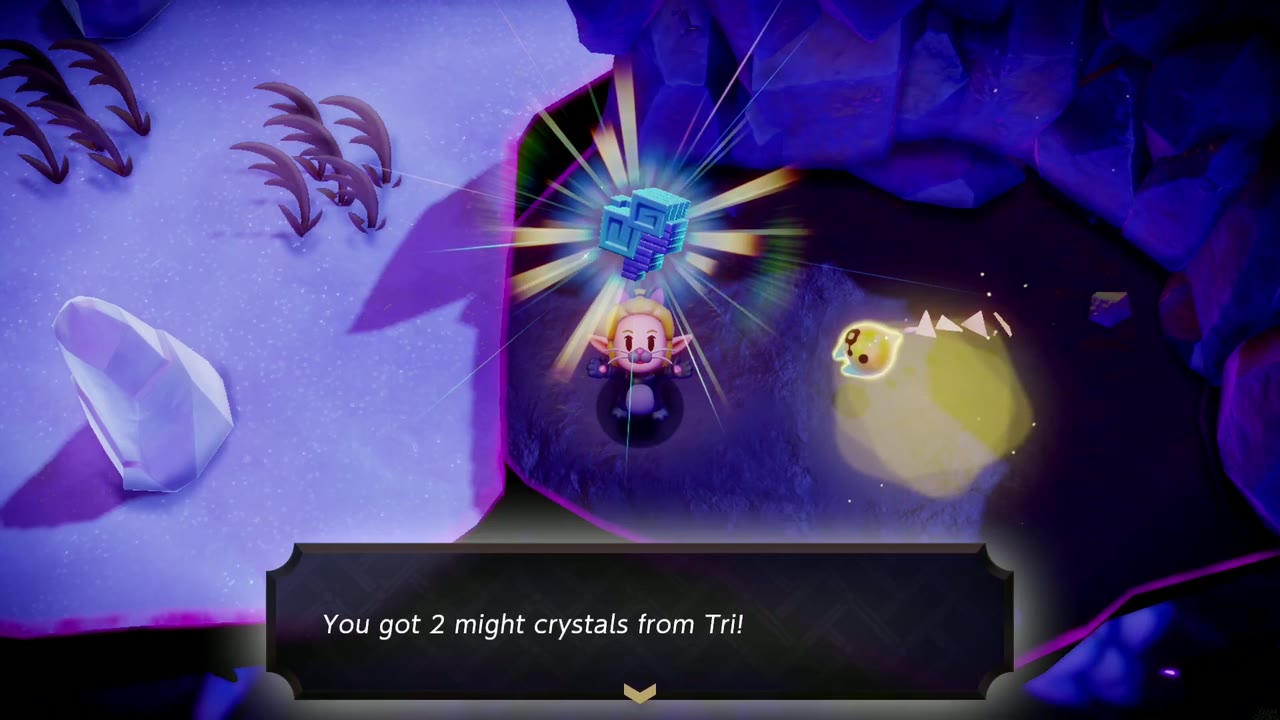
Mending the rift powers Tri up and pays 2 Might Crystals. Back in the ice cave, Condé is thrilled that the dark gunk is gone and immediately rushes off. A ladder at the back of the chamber leads on, and Tri suggests heading for the top of the mountain.


Climbing Hebra Mountain
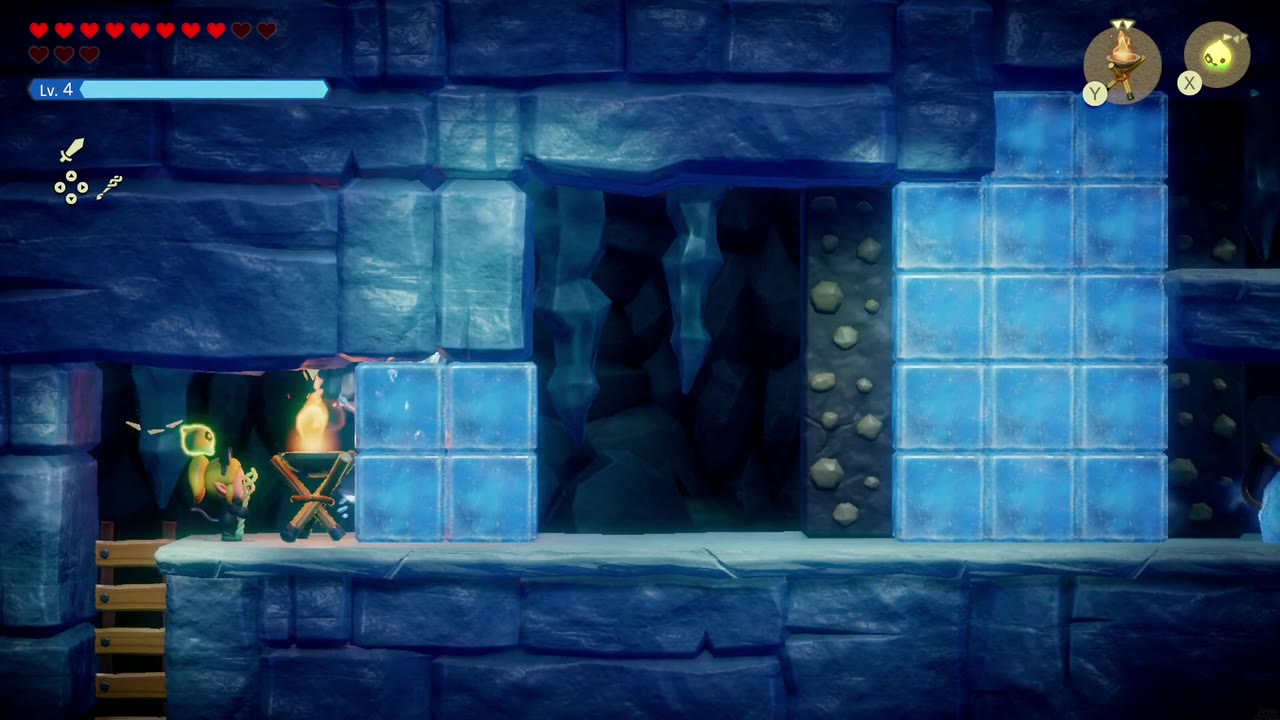
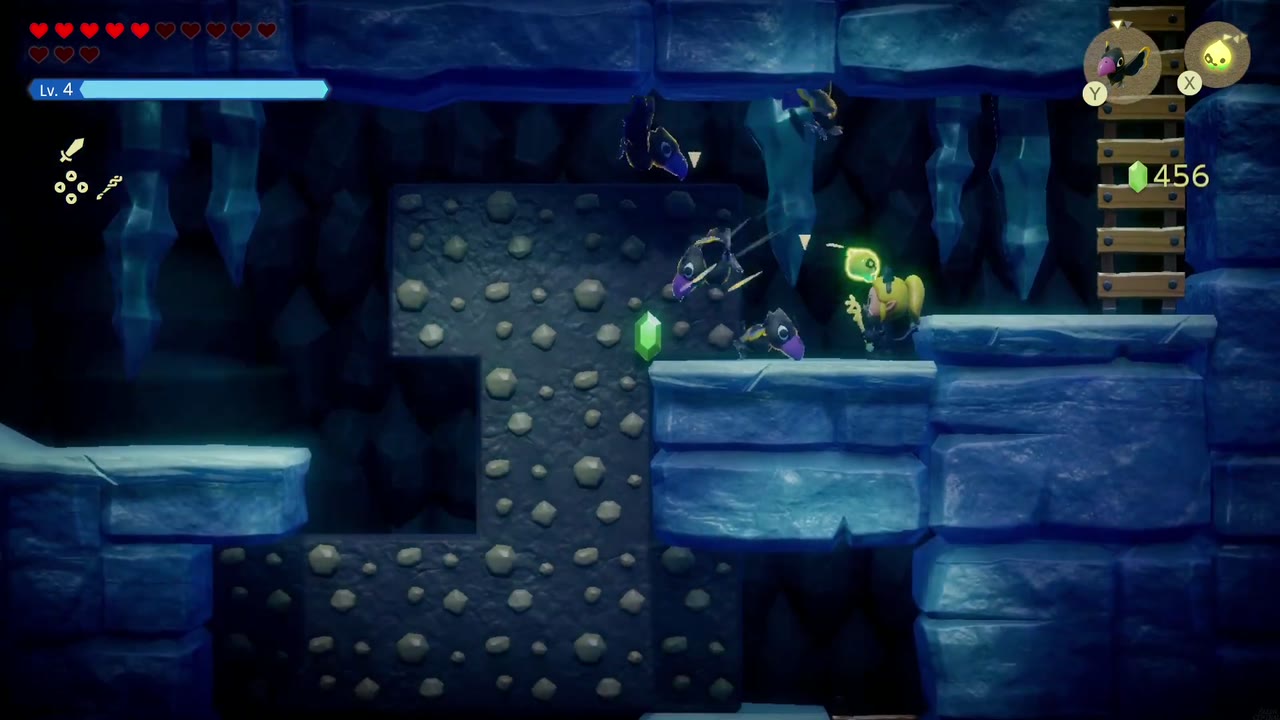
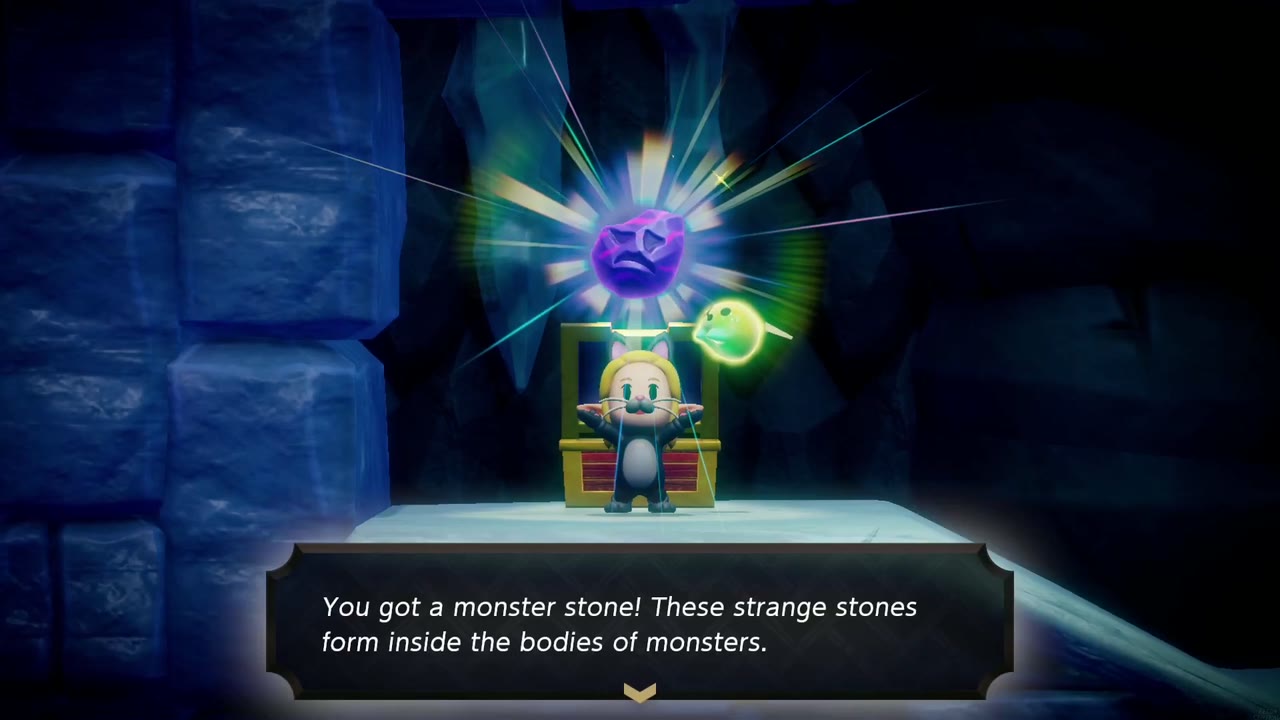
Climb the ladder into a side-on ice cave. Stacks of ice blocks bar the way, so use a fire echo such as the Brazier to melt them as you work right and upward, dealing with the Keese as you go. At the top, a chest on an icy ledge holds a Monster Stone, but watch for snowballs rolling down the slope. Climb back down and out, and touch the Waypoint just outside the cave.
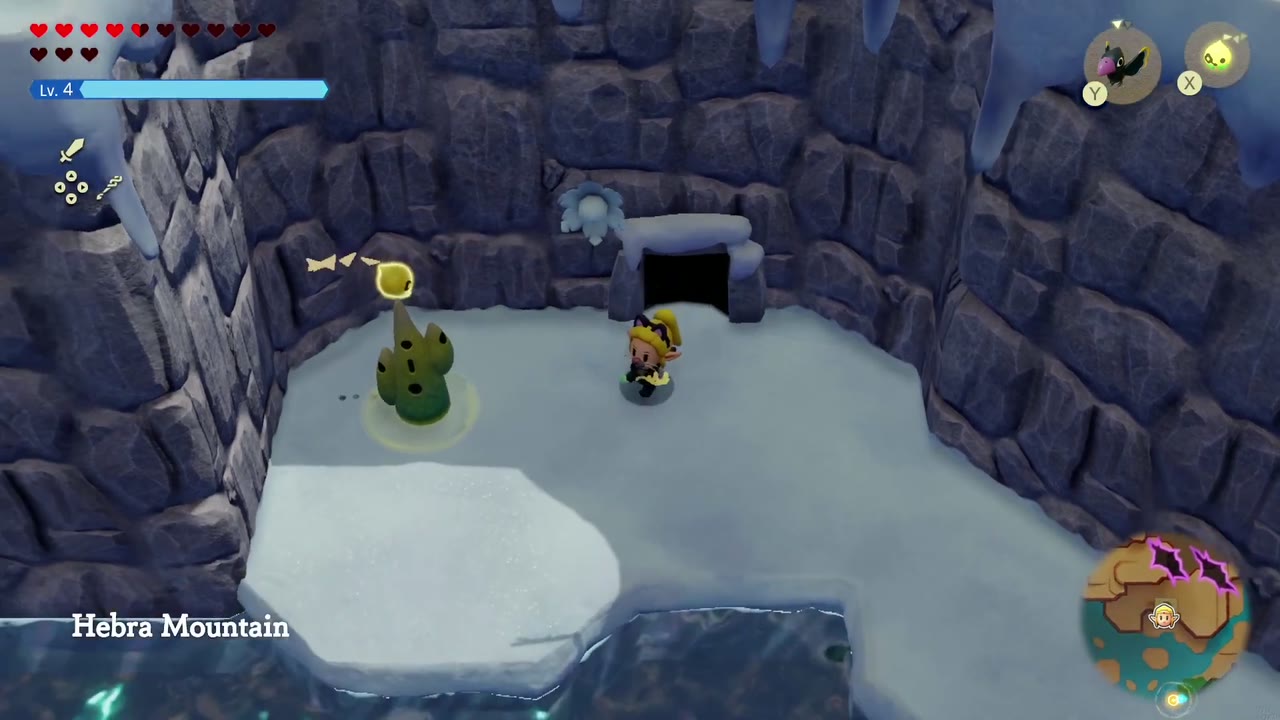
Below the Waypoint is a frozen lake of drifting ice floes. Ice Octos spit at you from the water; kill one for the Ice Octo echo. A Piece of Heart sits on an ice-walled pedestal out on the lake; put a block echo beside it to climb up. Then hop and swim north across the floes, melting the ice crystals on the snowy islets with a Brazier echo, until you reach the ledge beside the frozen waterfall, where stepping stones lead into a cave.
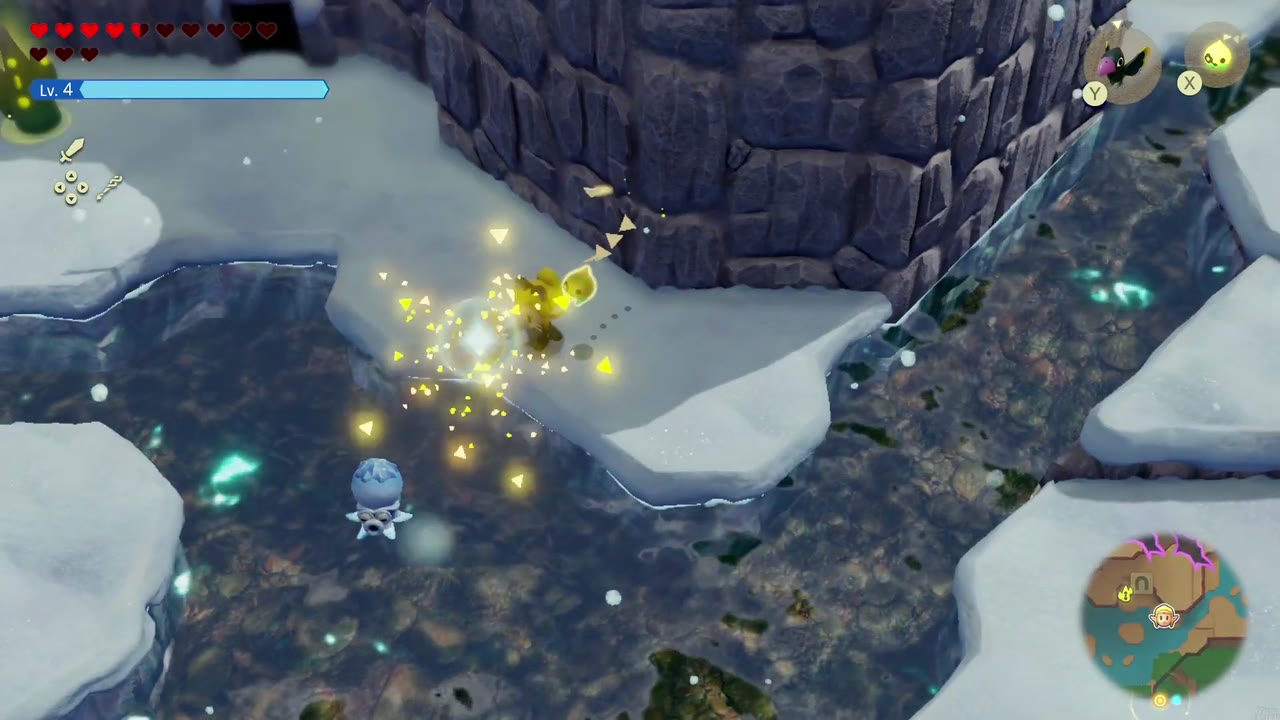
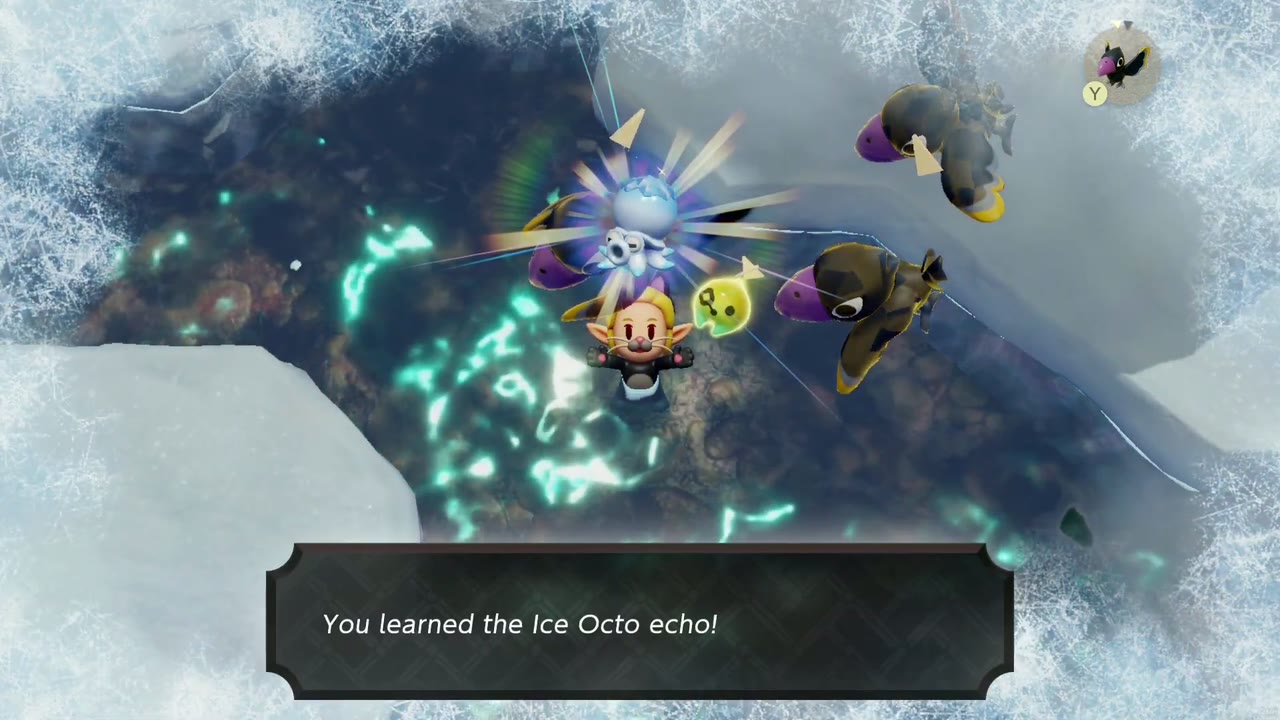
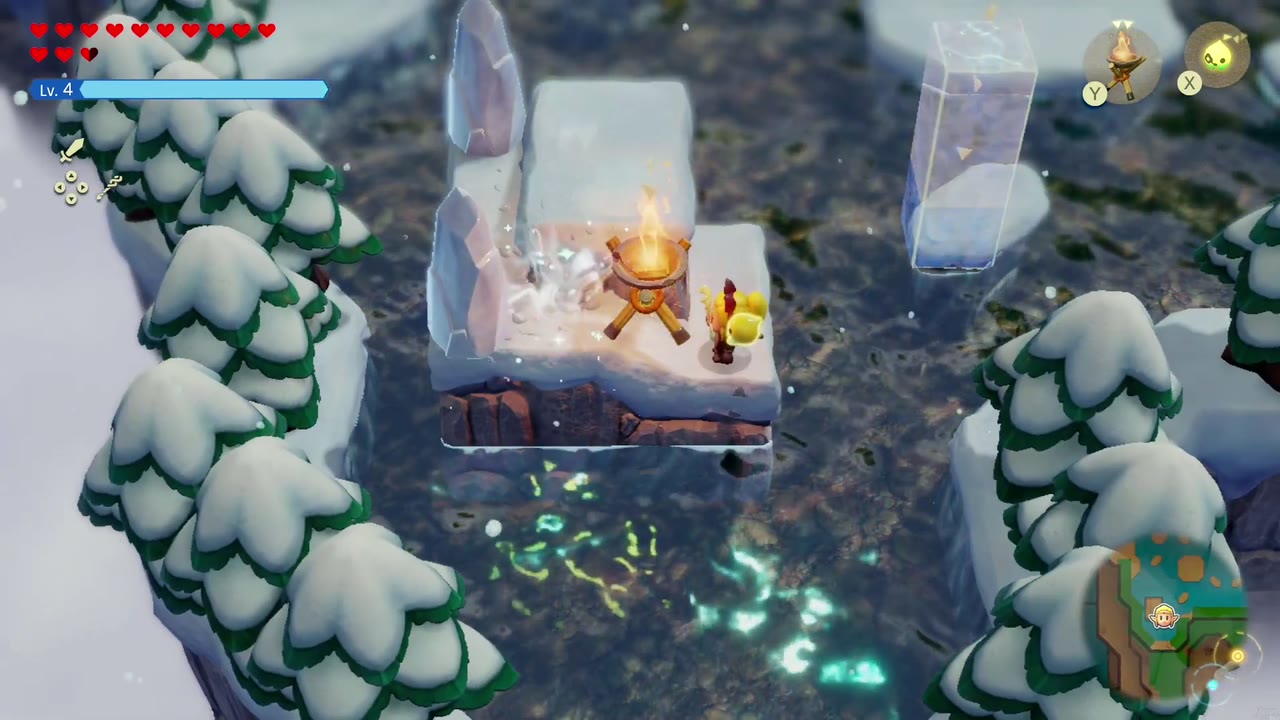

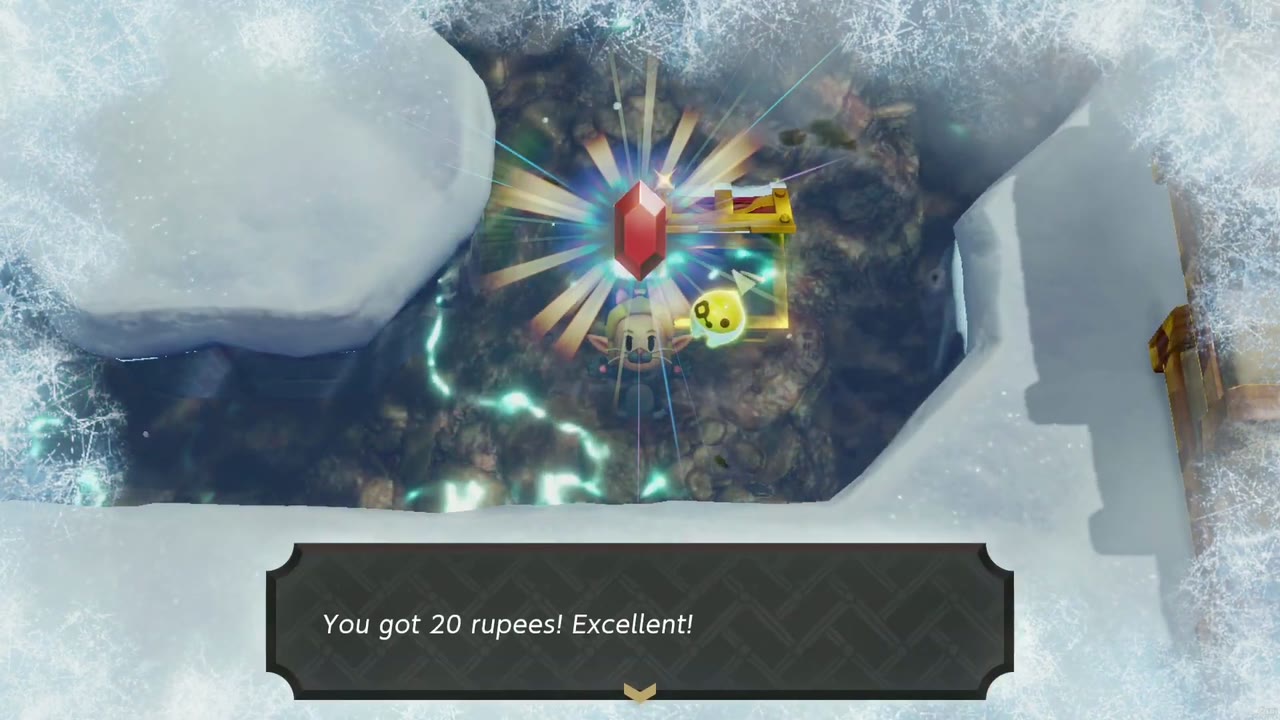
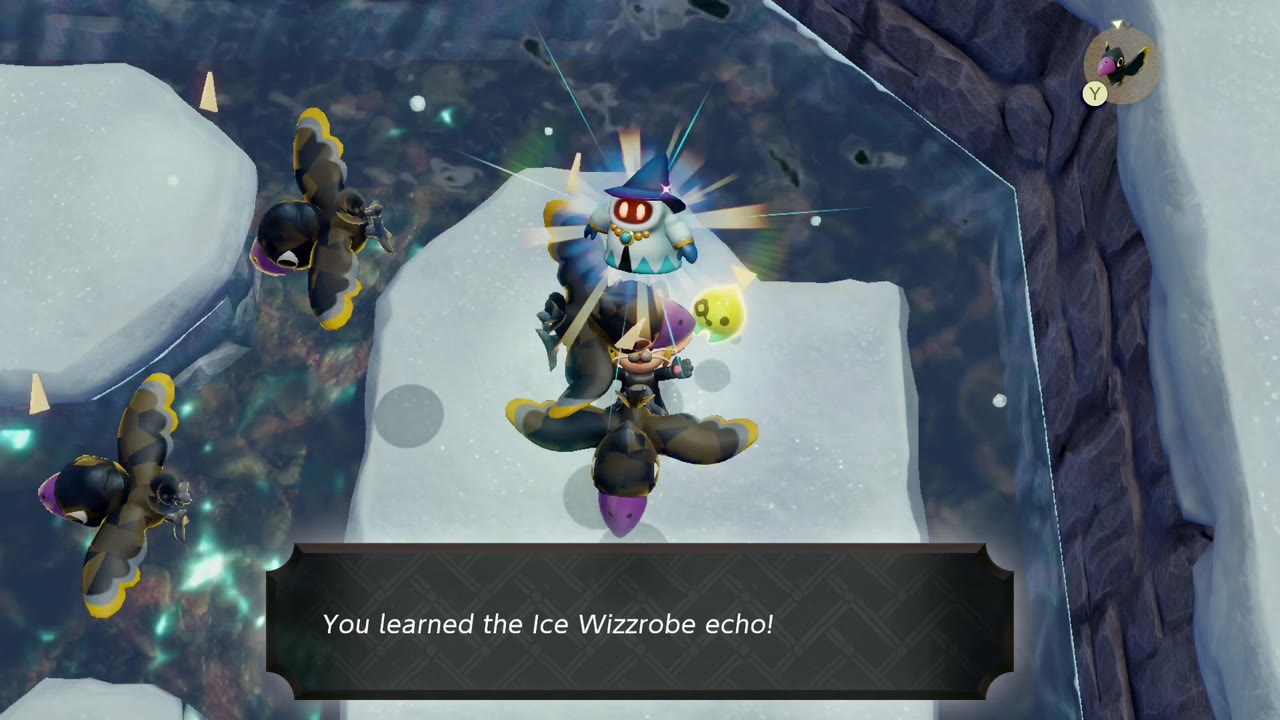
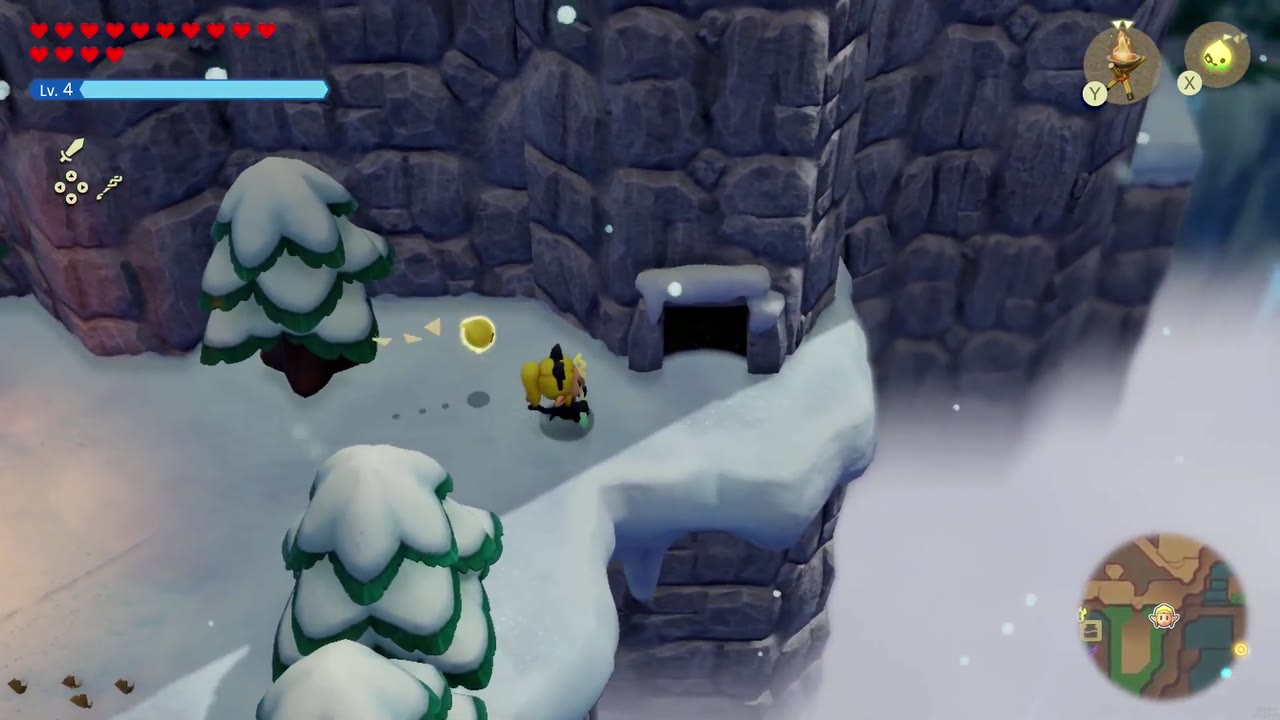
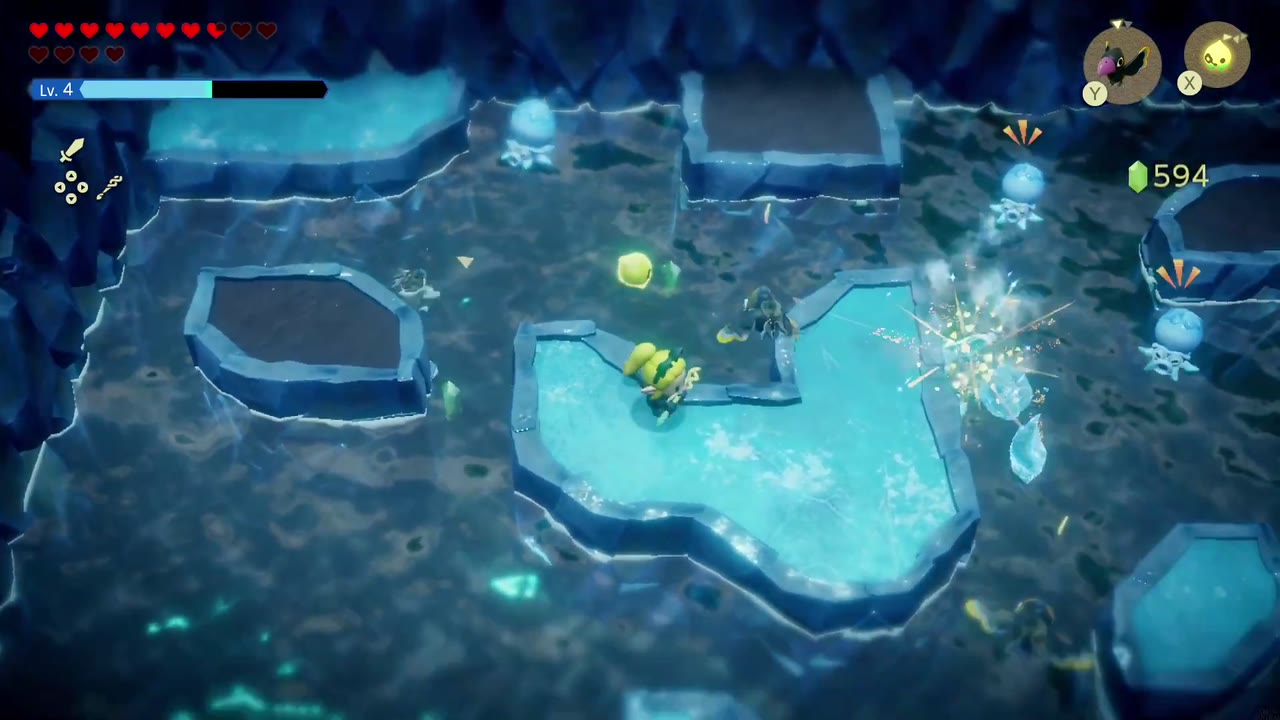
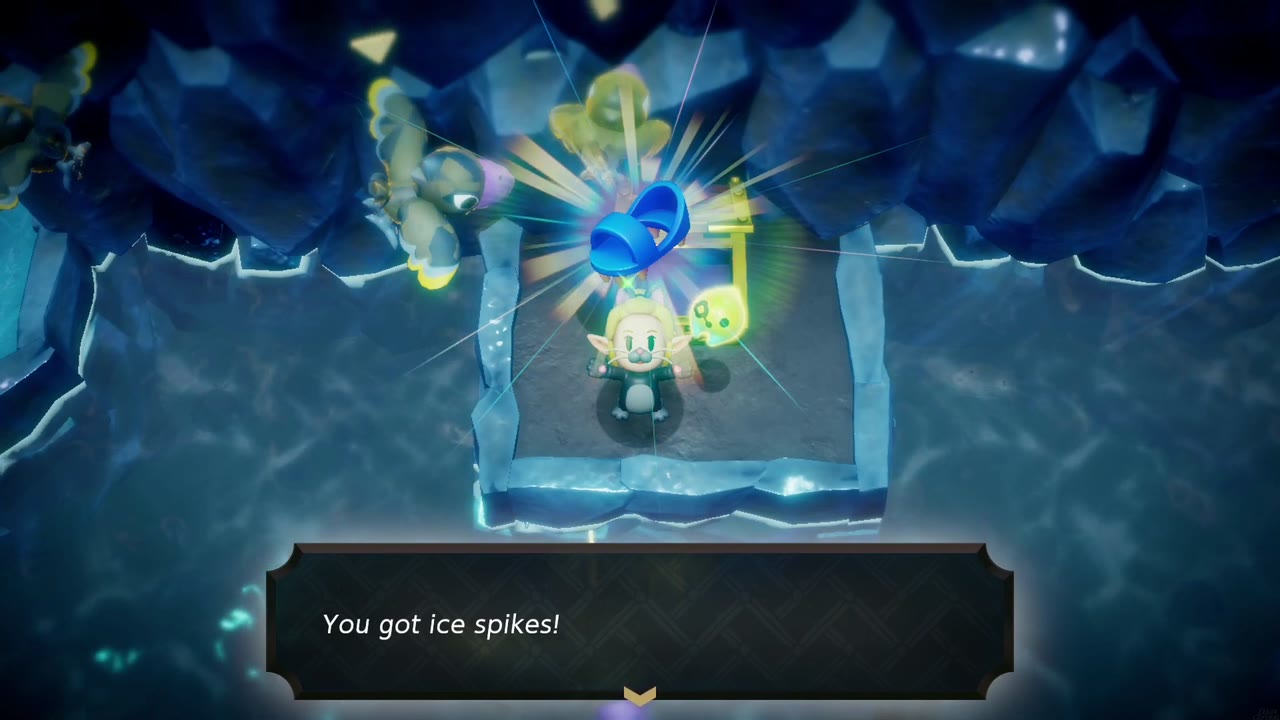
The Ice Spikes are a detour from this lake. You can go straight there from the lake, or grab it on your way back through the cave below. Cross the floes to a walled pool where you can Bind a sunken chest up out of the water for 20 rupees. Ice Wizzrobes (they shield themselves in ice bubbles) and crows attack here; kill a Wizzrobe for the Ice Wizzrobe echo. Next, stack Old Bed echoes to climb the cliffs along the rift’s edge to a second Piece of Heart, then bridge the gap by the waterfall with beds and go through the snowy forest clearing to a cave. Inside, Tektites give you the Tektite Lv. 2 echo. In the flooded room beyond, swim past more Tektites, Ice Octos and Freezards to a chest on a raised platform holding the Ice Spikes. Equip them right away; they stop you slipping on ice.

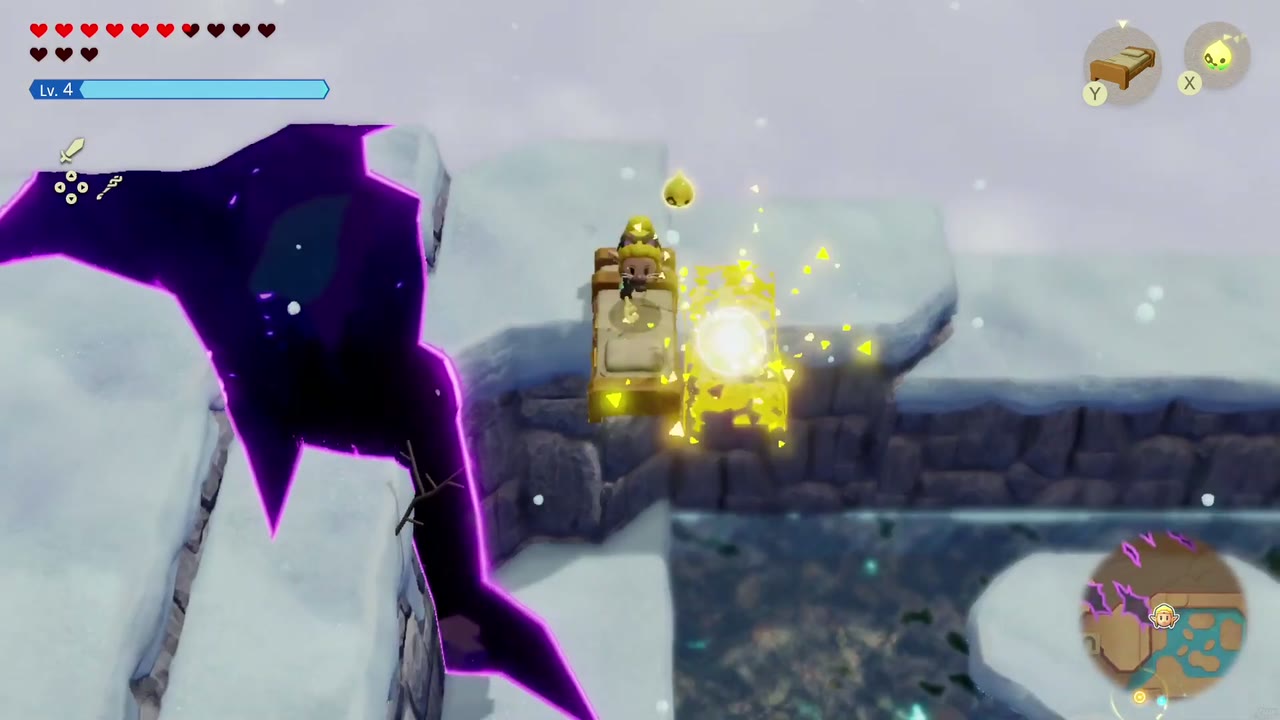

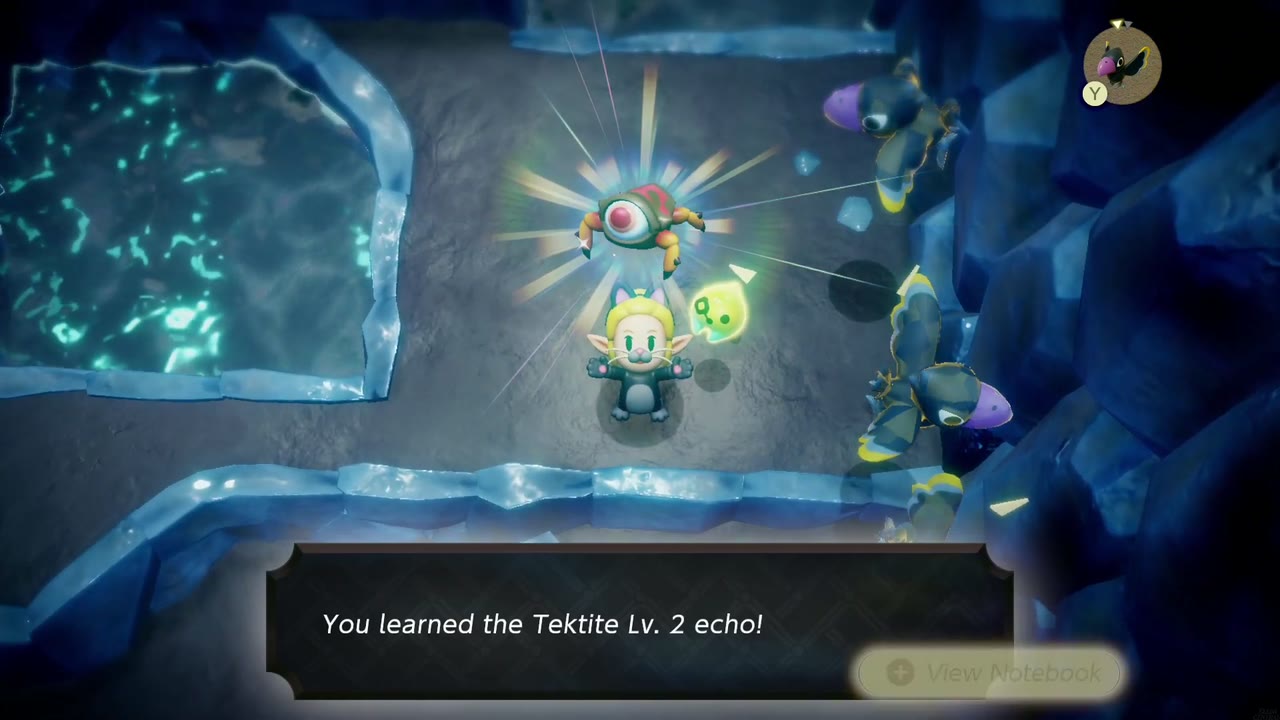
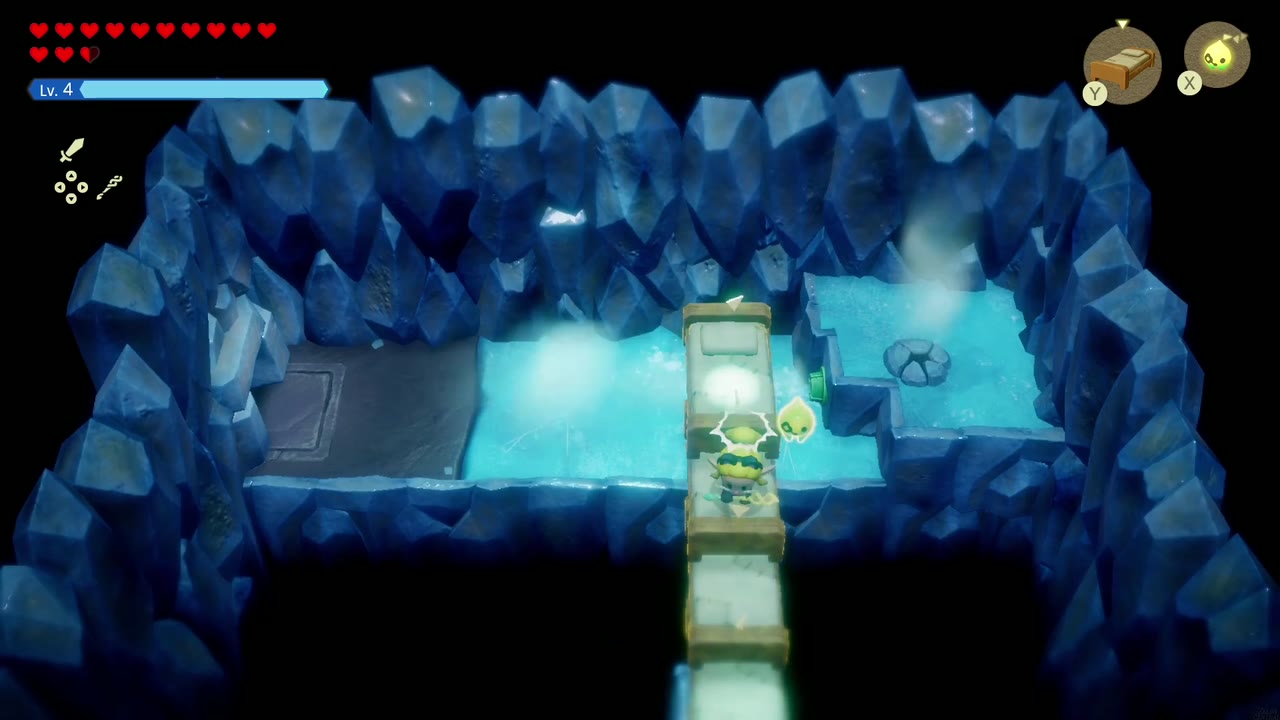
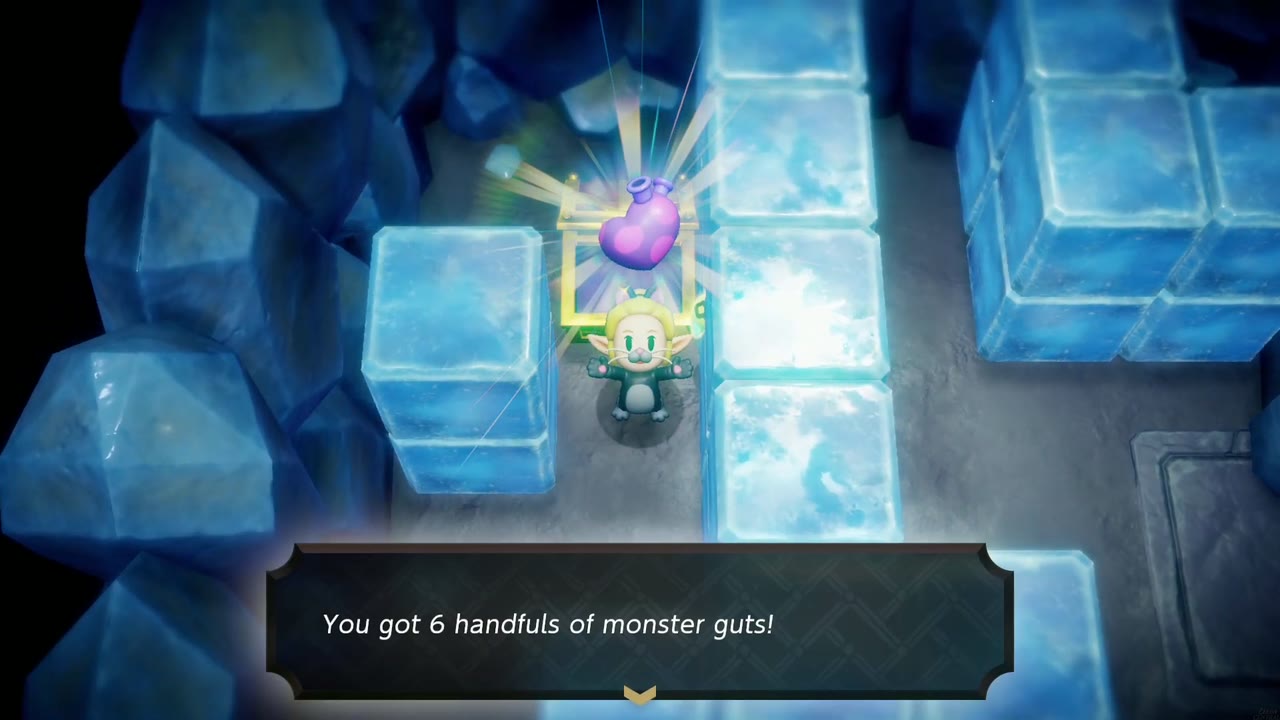
Enter the cave by the frozen waterfall. The first rooms have slippery turquoise ice floors full of holes, so move carefully. Where the floor drops away, lay a line of Old Bed echoes across the pit to reach the far ledge. Next is a room scattered with ice blocks; clear out the enemies, then move the blocks on the left side to reach a chest with 6 Monster Guts.
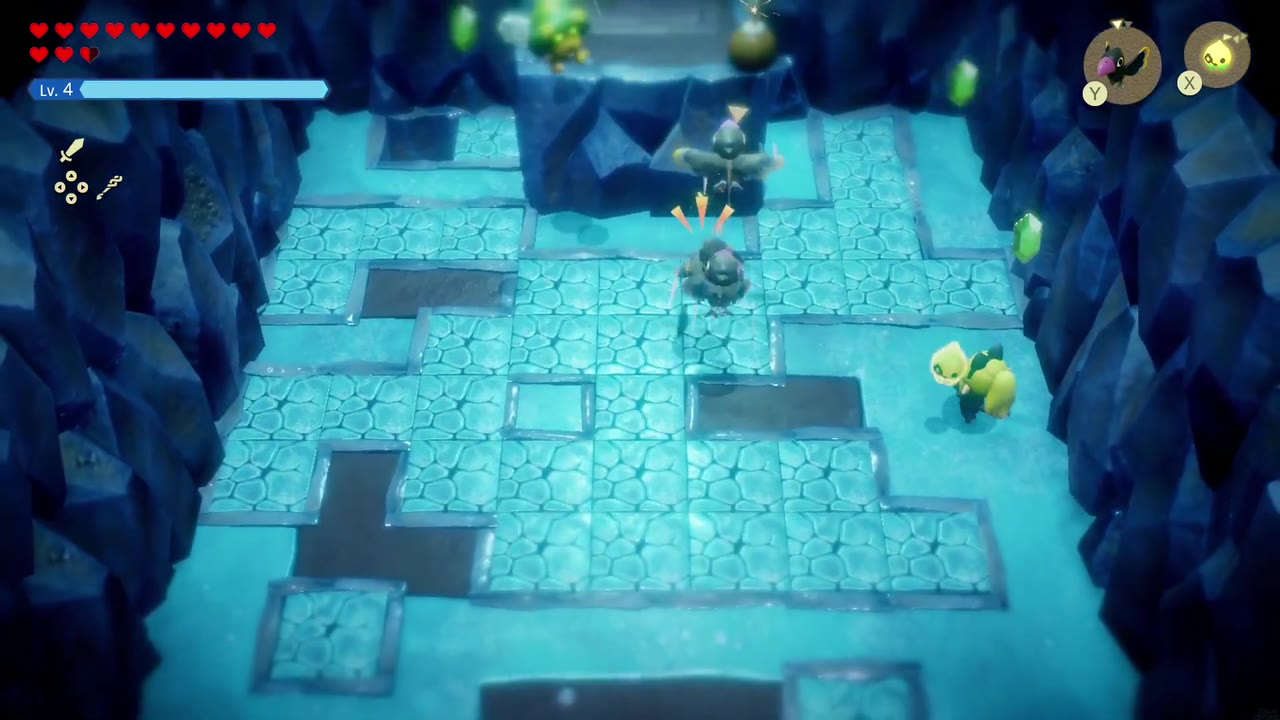

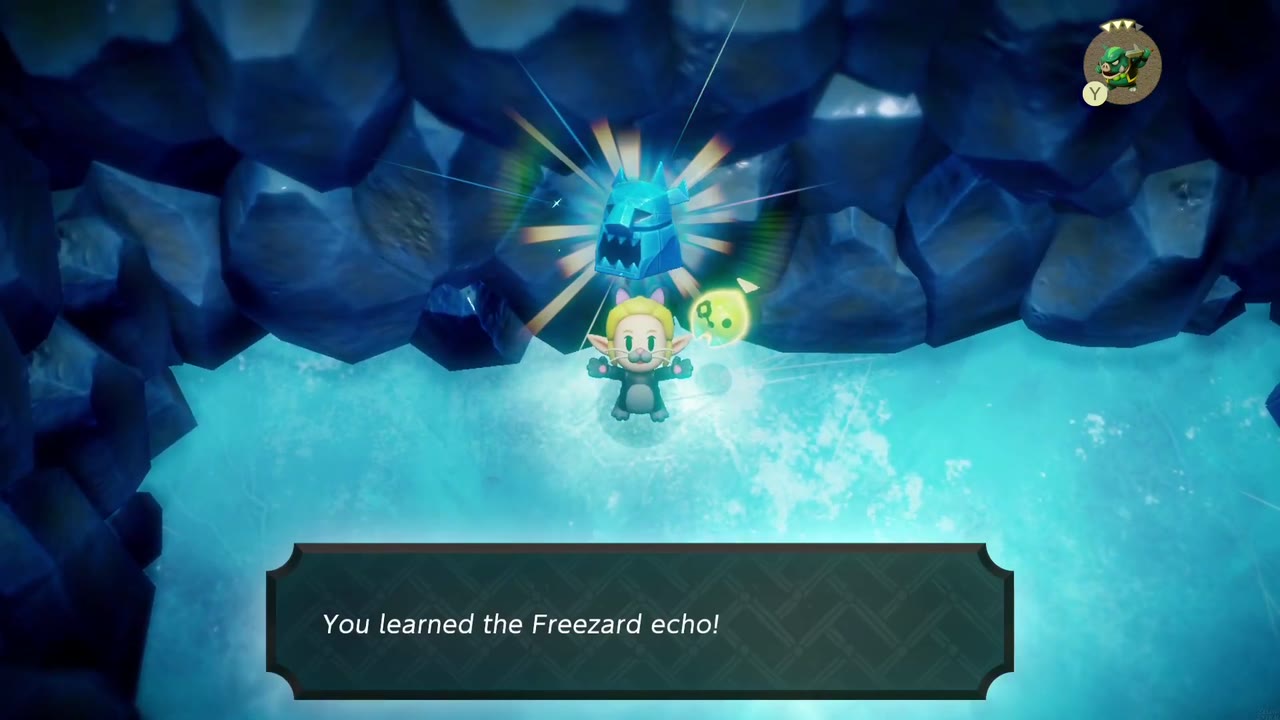
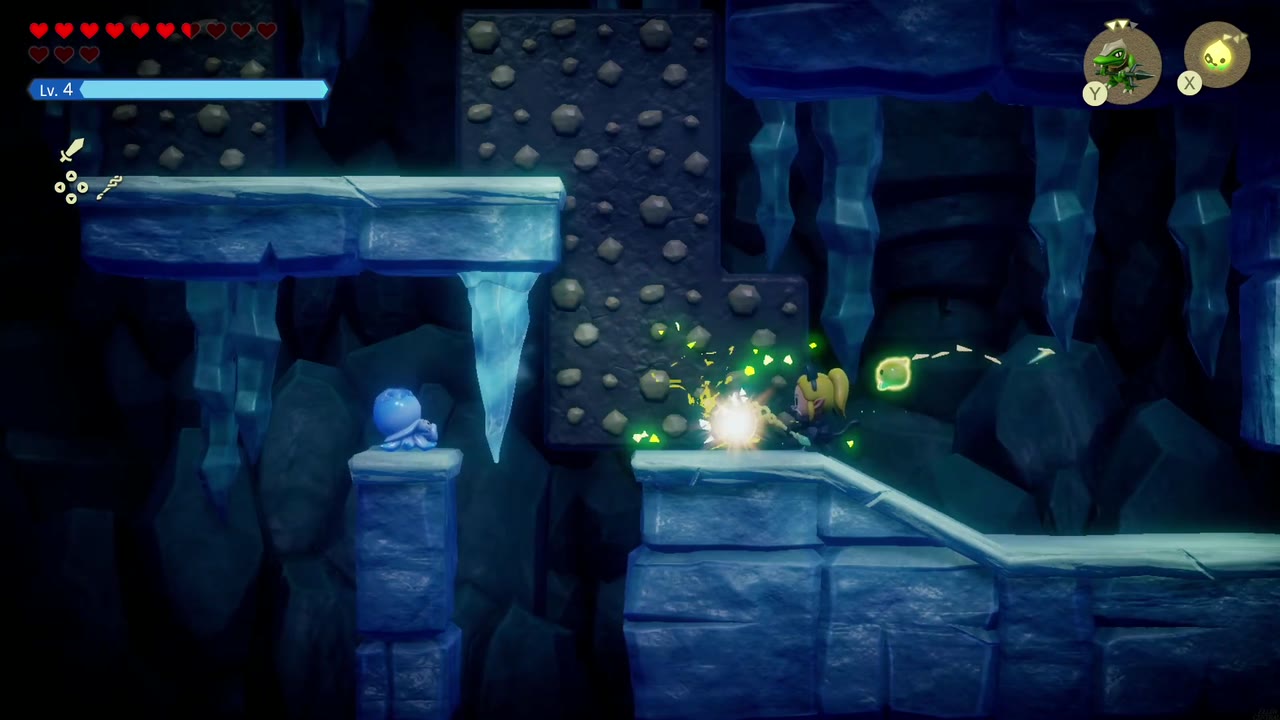
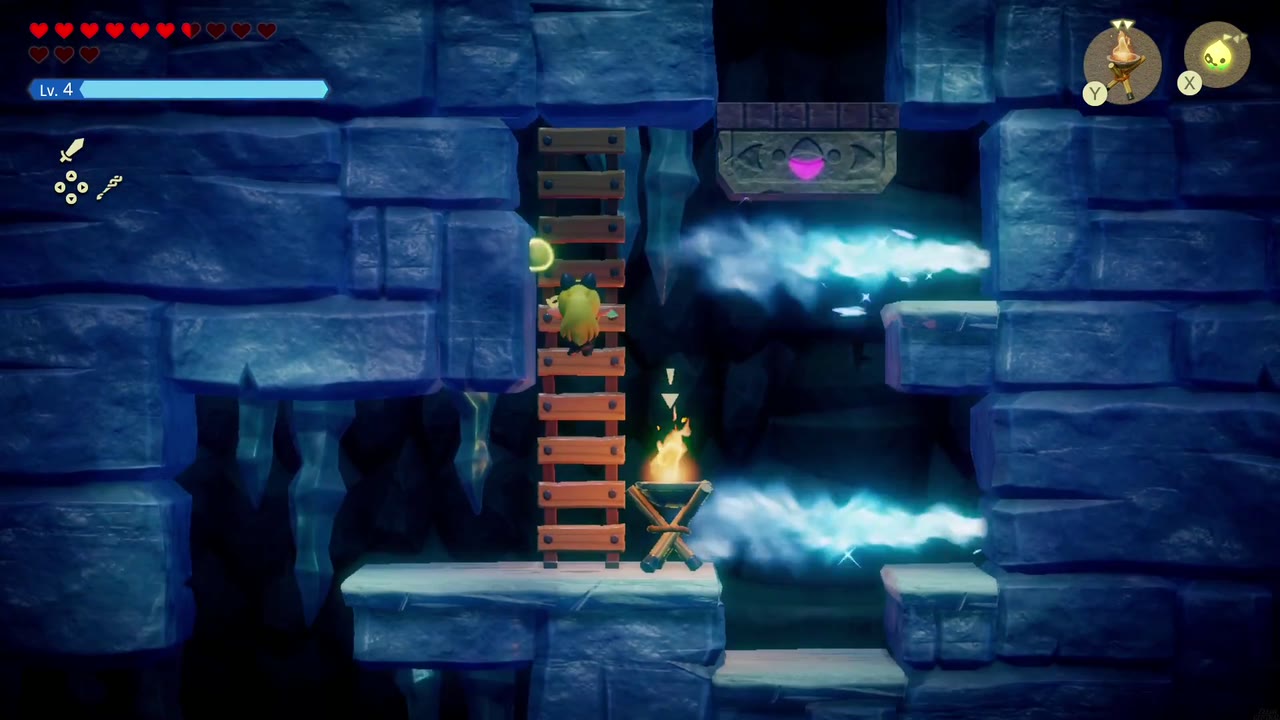
North of the ice-block room is another icy-floored room; kill a Freezard there for its echo. Beyond it, a room with two braziers holds a pack of Lizalfos. Fight them with your echoes, then carry on into a side-scrolling climb past icicles, Freezards and Keese. Higher up, blasts of icy wind sweep across the ladders. Step on the pink switches and time your climb between gusts. At the top, a small room with pots has a hatch that lets you out onto a snowy cliff ledge above the lake. If you went for the Ice Spikes afterwards, warp back to the lake Waypoint and come back through this cave the same way.

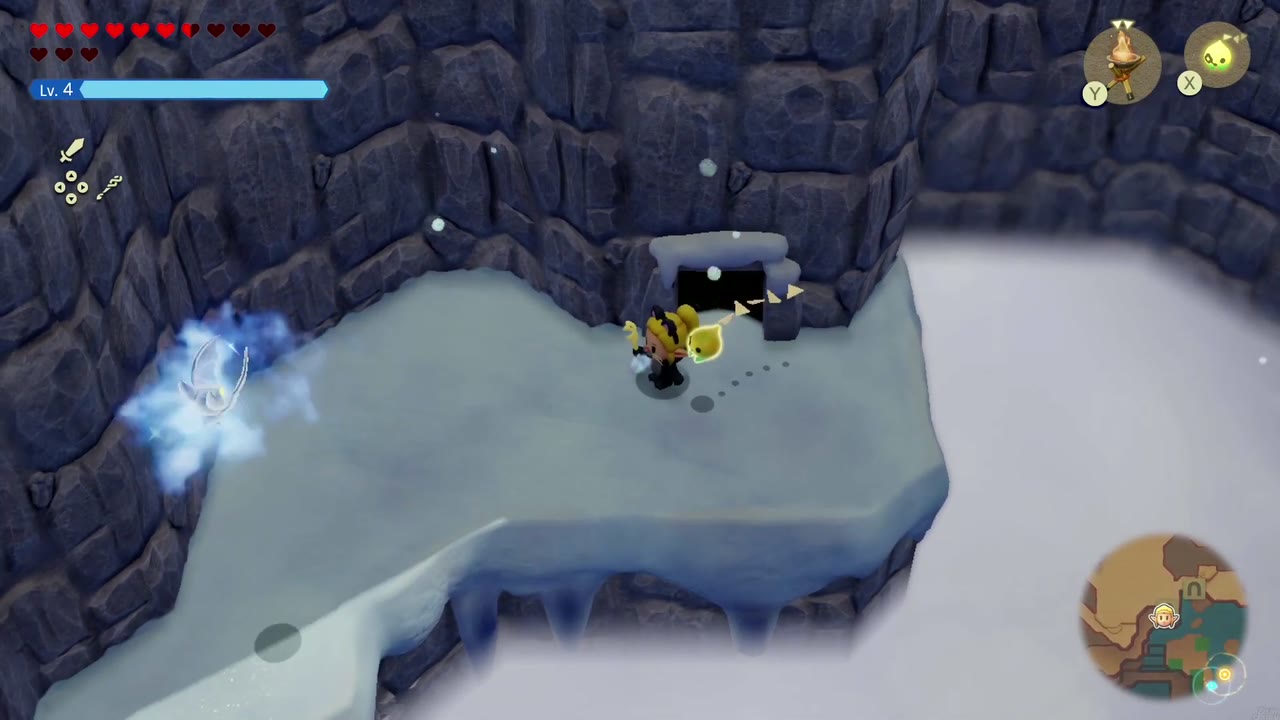
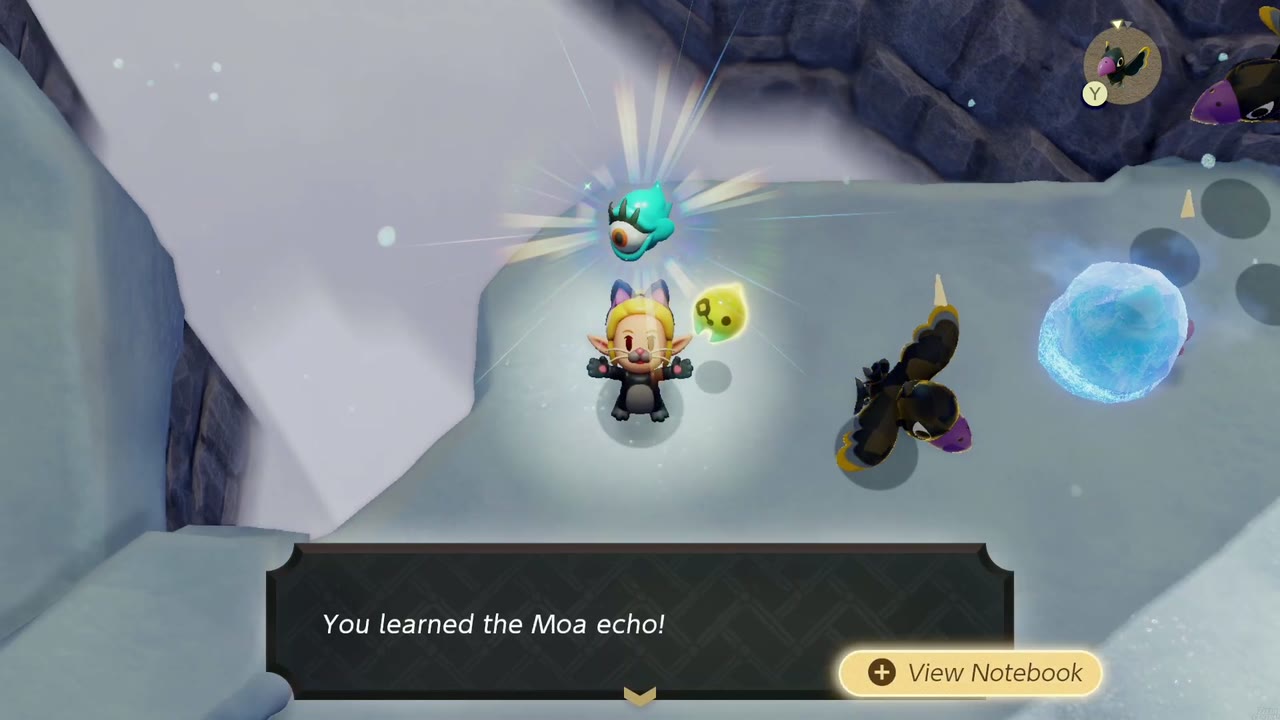
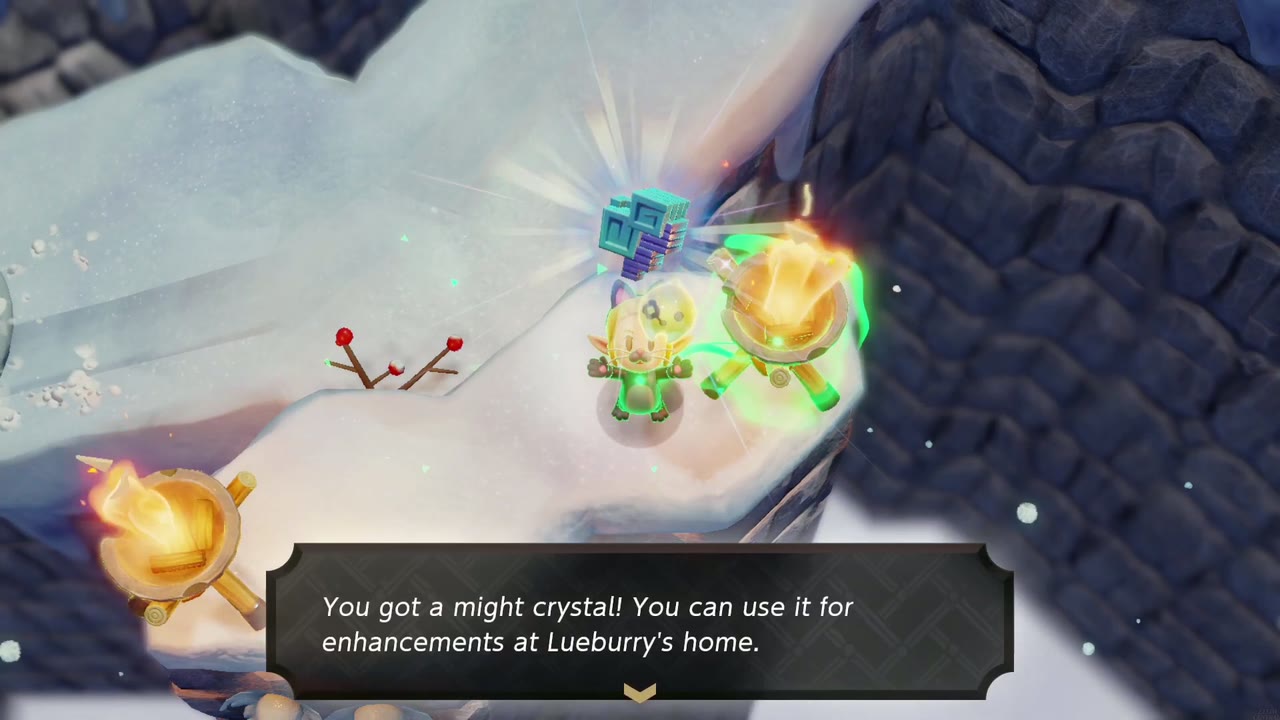
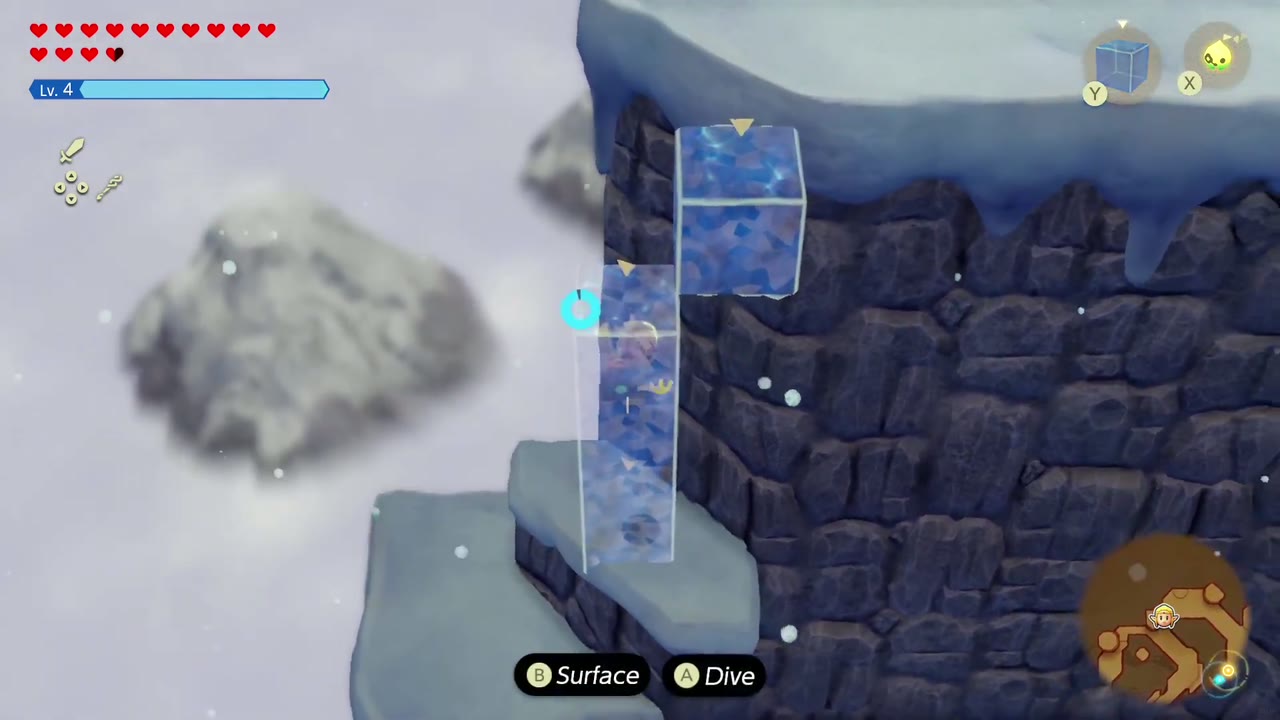
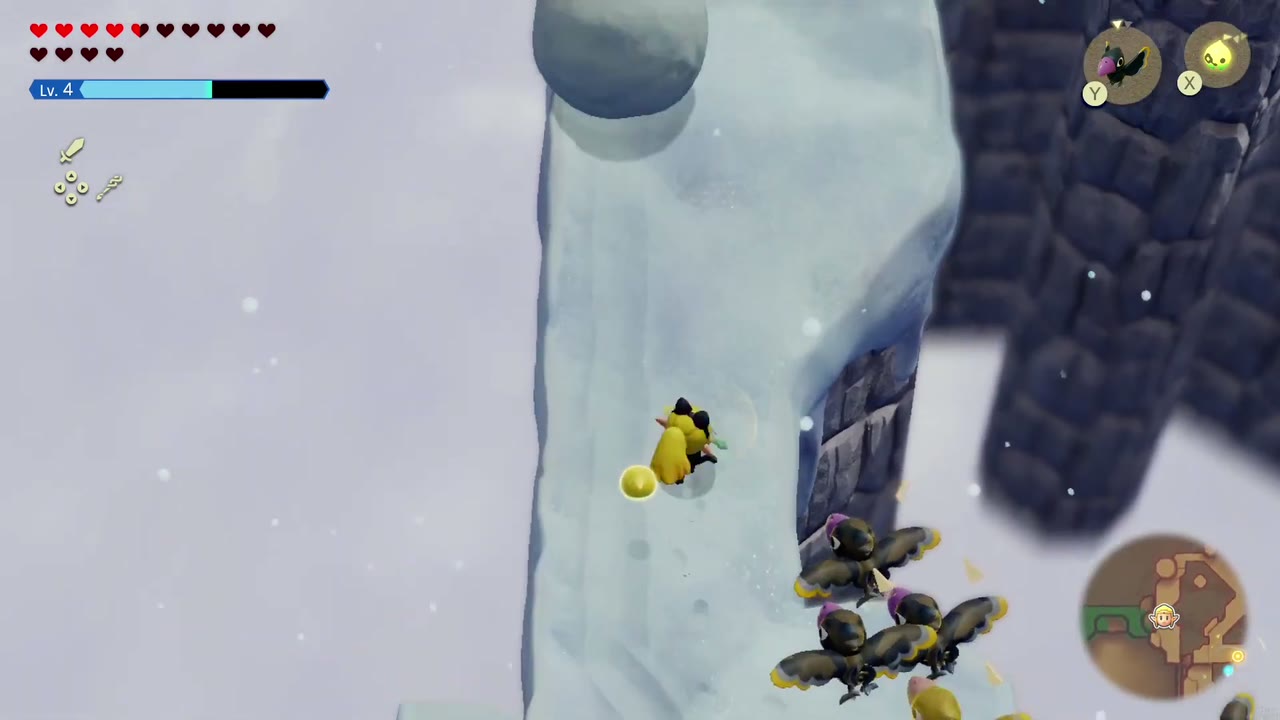
You’re near the summit now. On the cliff path, defeat the Moa and learn its echo, then climb past the rolling snowballs to a tall snow pillar topped with a Piece of Heart. Light every brazier on the snowy terraces above for a Might Crystal, stack Water Blocks to swim up the next cliff face, and open the chest on an isolated snow pillar for a purple rupee (50 rupees).
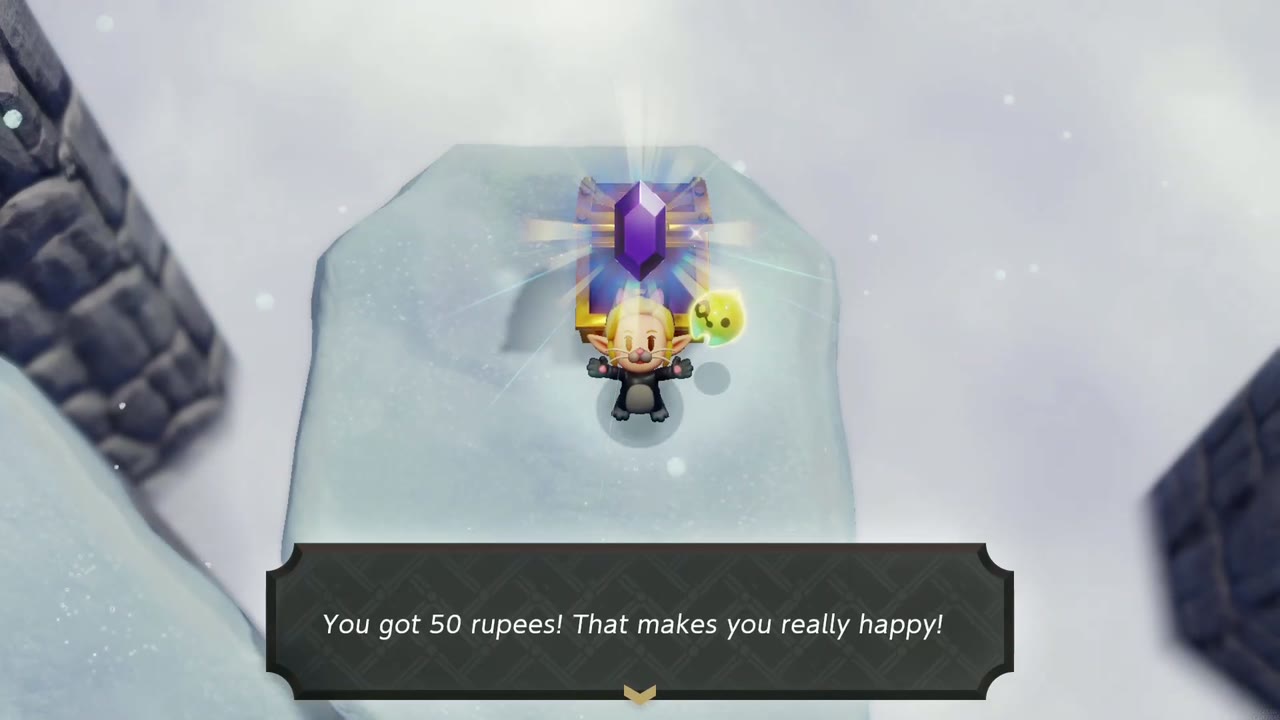
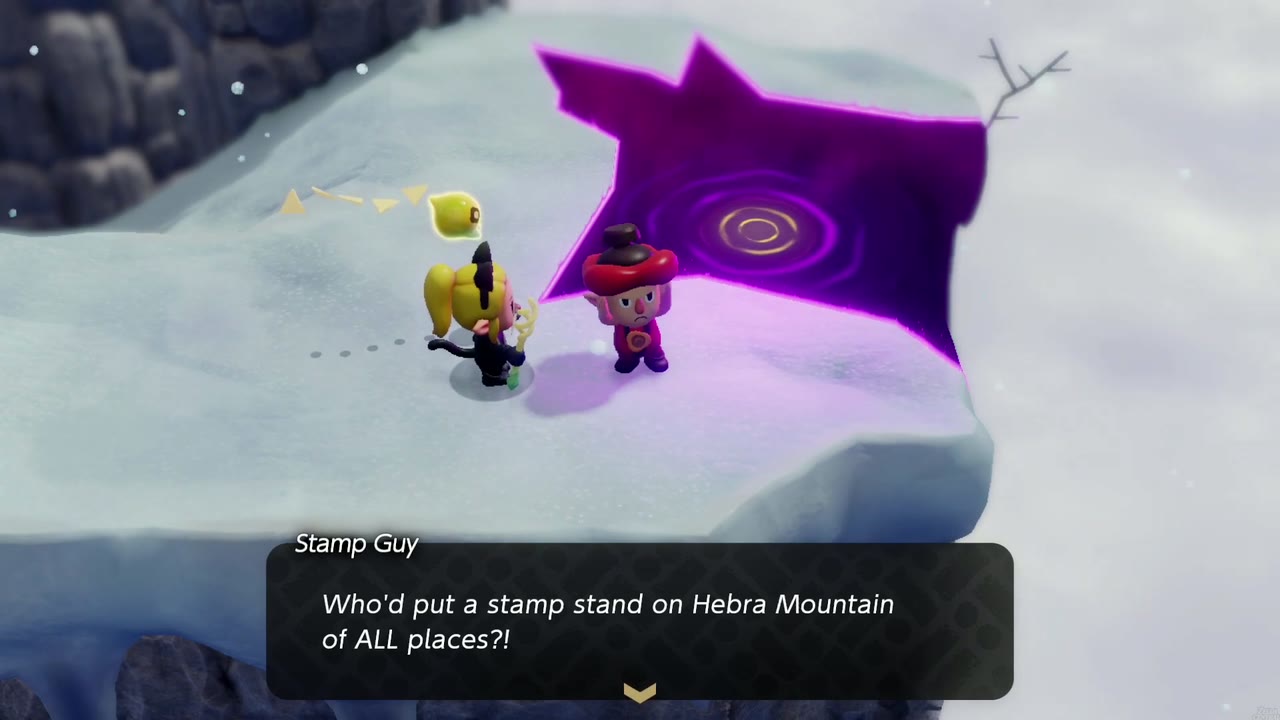
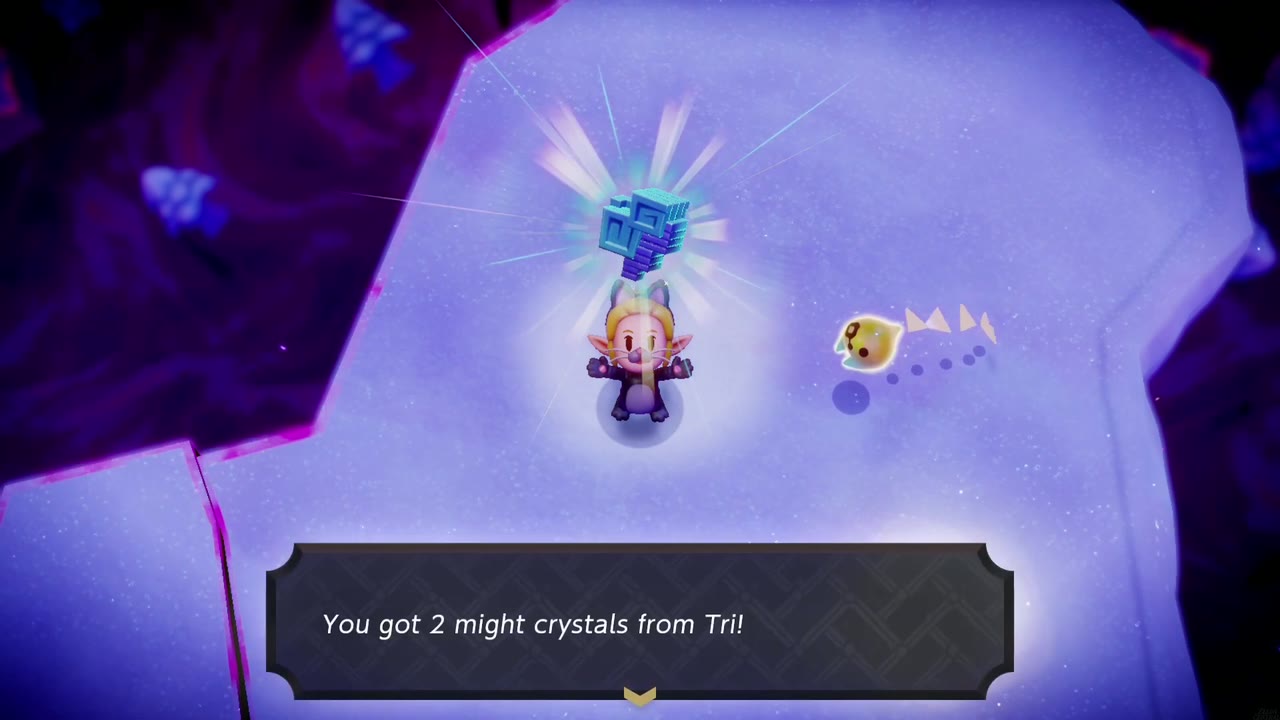
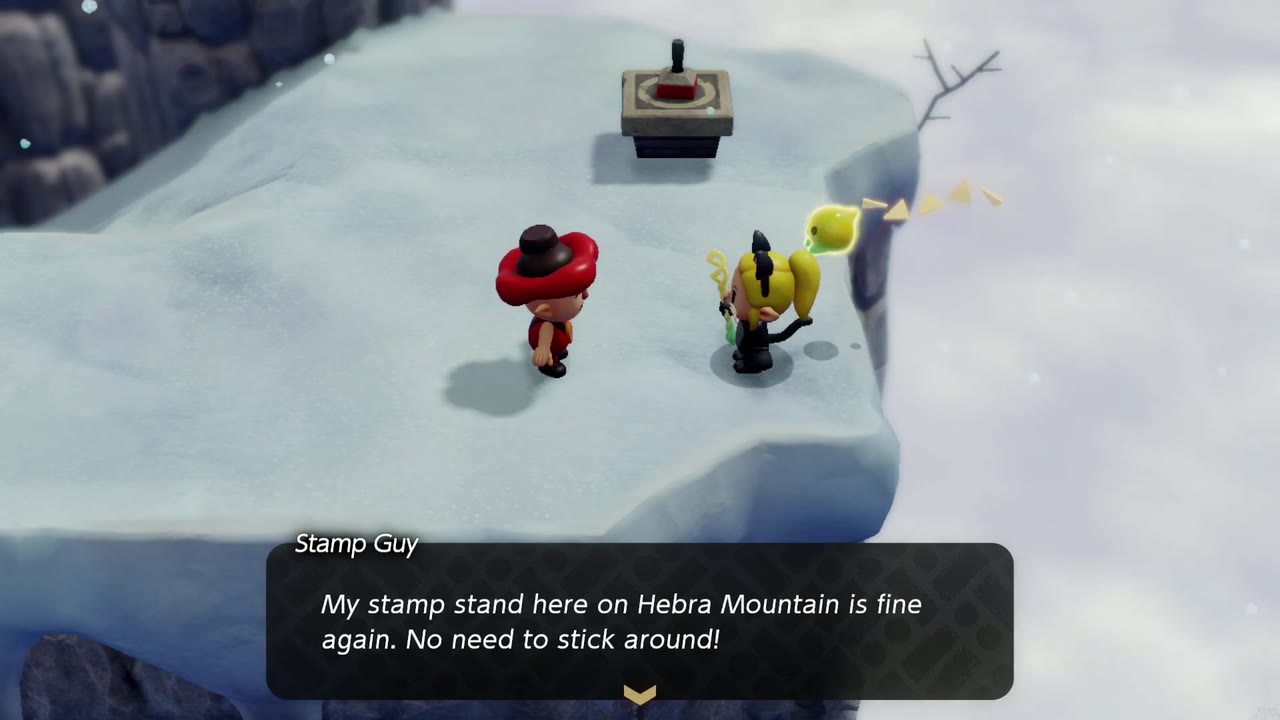
On the summit plateau, Condé finally finds his Big Brother, but the bigger creature runs away from him and the Rift on Holy Mount Lanayru quest updates; touch the Waypoint here. Carry lit Brazier echoes across the snowfield to melt the ice while snowballs roll past. Near the top, Stamp Guy waits by a small rift that swallowed his stand, starting Stamp Stand Swallowed!. Let Tri open it and clear Stilled Hebra Mountain Passage (melt the ice blocks with Brazier echoes and swim the water channels) to earn 2 Might Crystals from Tri and get the stamp stand back.
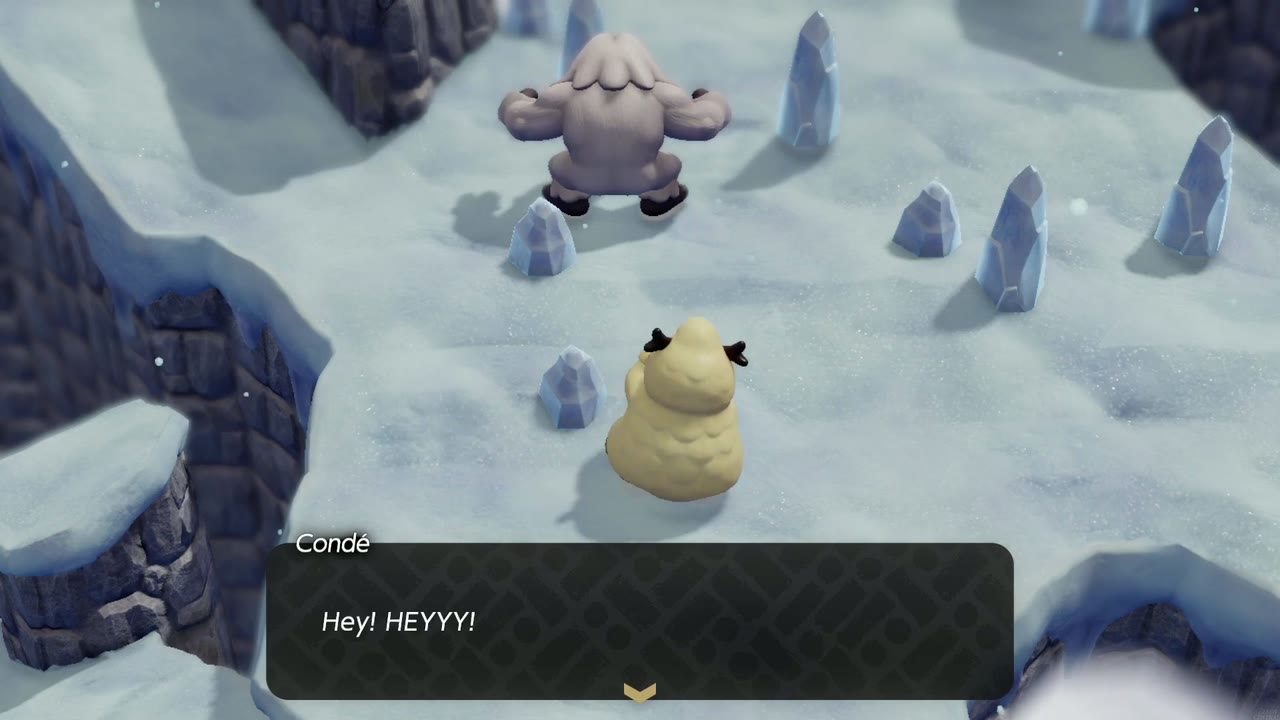
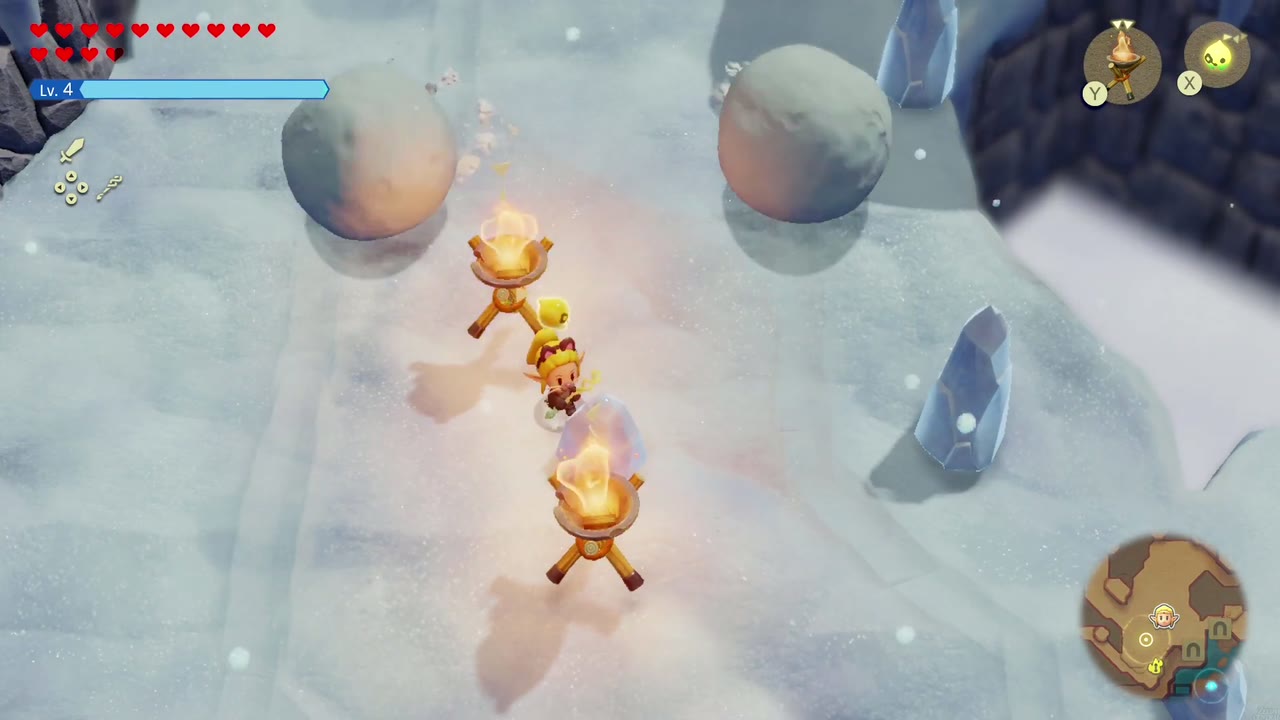

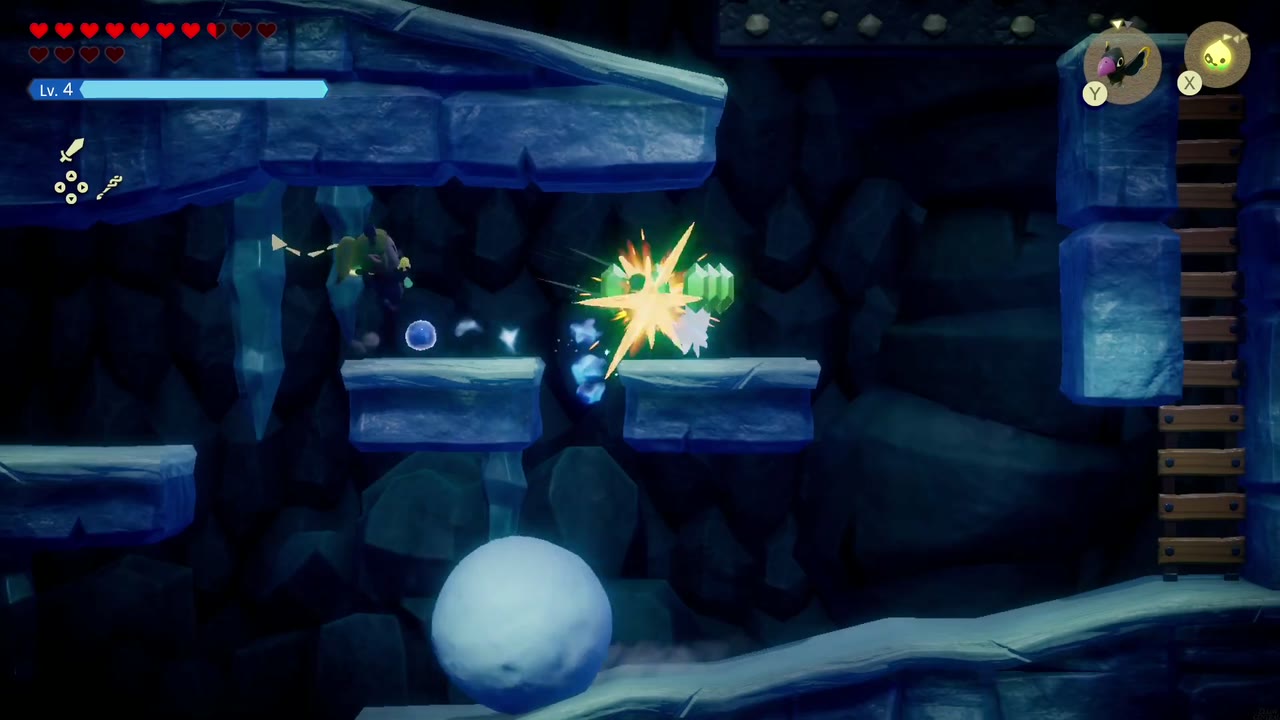
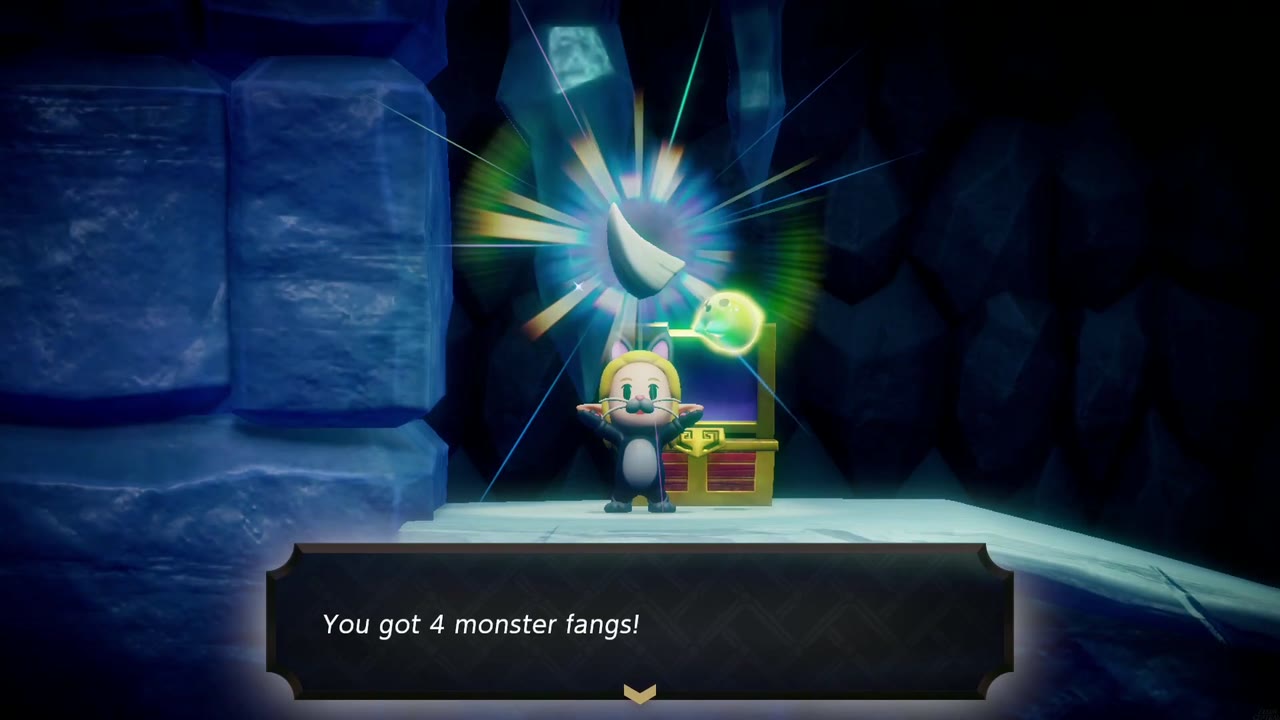
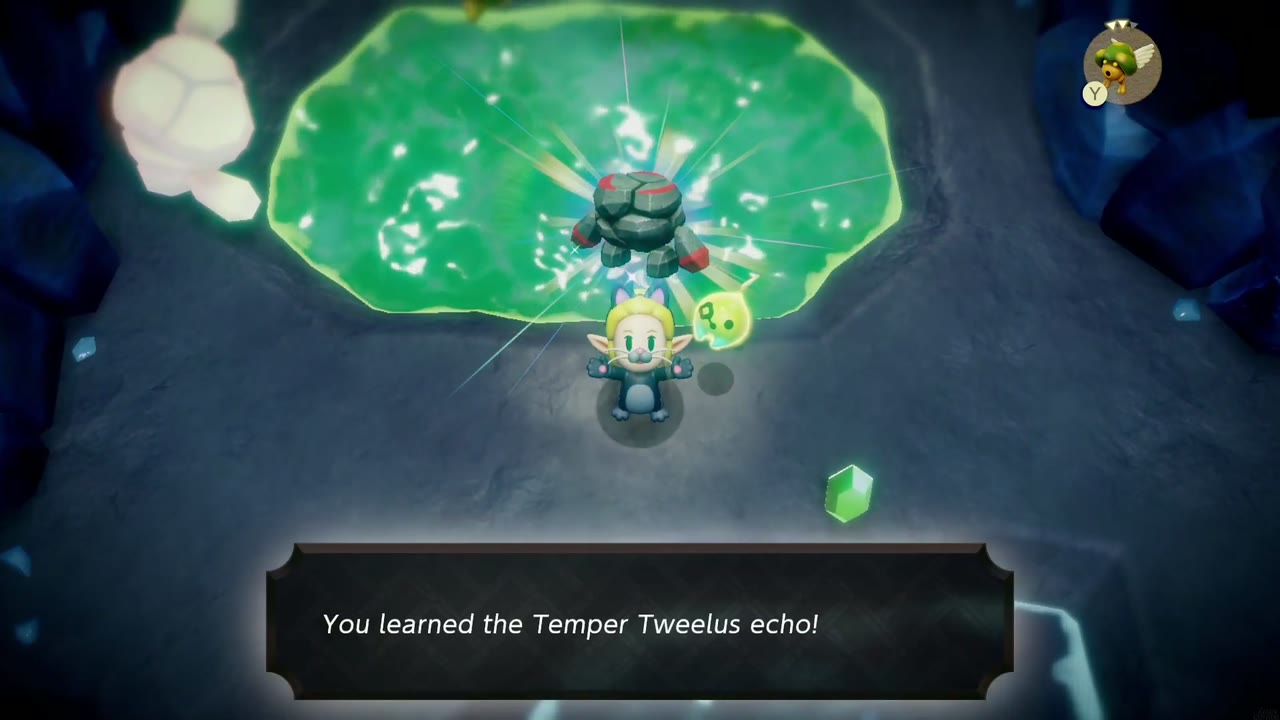
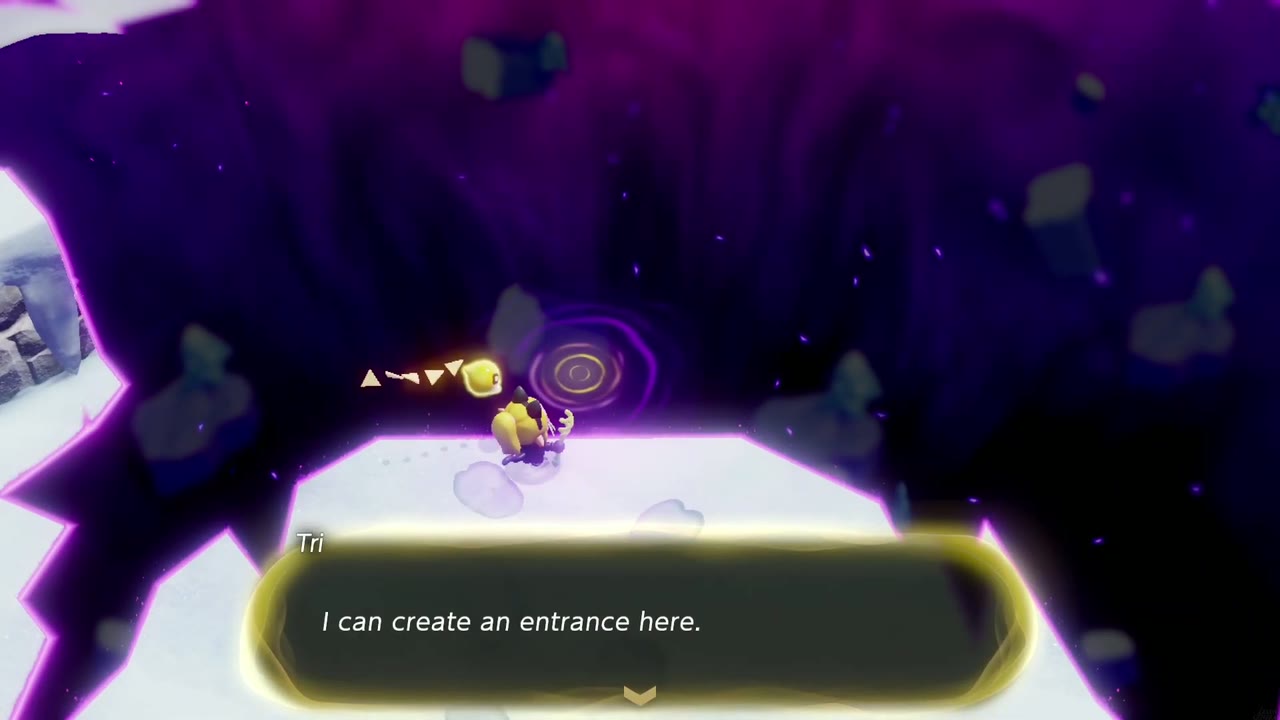
Warp back to Hebra Mountain and enter the side-scrolling snow cave. Climb past the giant rolling snowballs (Bind one to stop it) to a chest on a sloped ledge holding 4 Monster Fangs. In the cave room beyond, with its glowing green pool, learn the Temper Tweelus echo. Back outside, Big Brother leaps away and knocks Condé down, and Condé decides to stop chasing him. Follow the footprints to the huge rift on the summit and let Tri create an entrance.

Stilled Hebra Mountain Rift
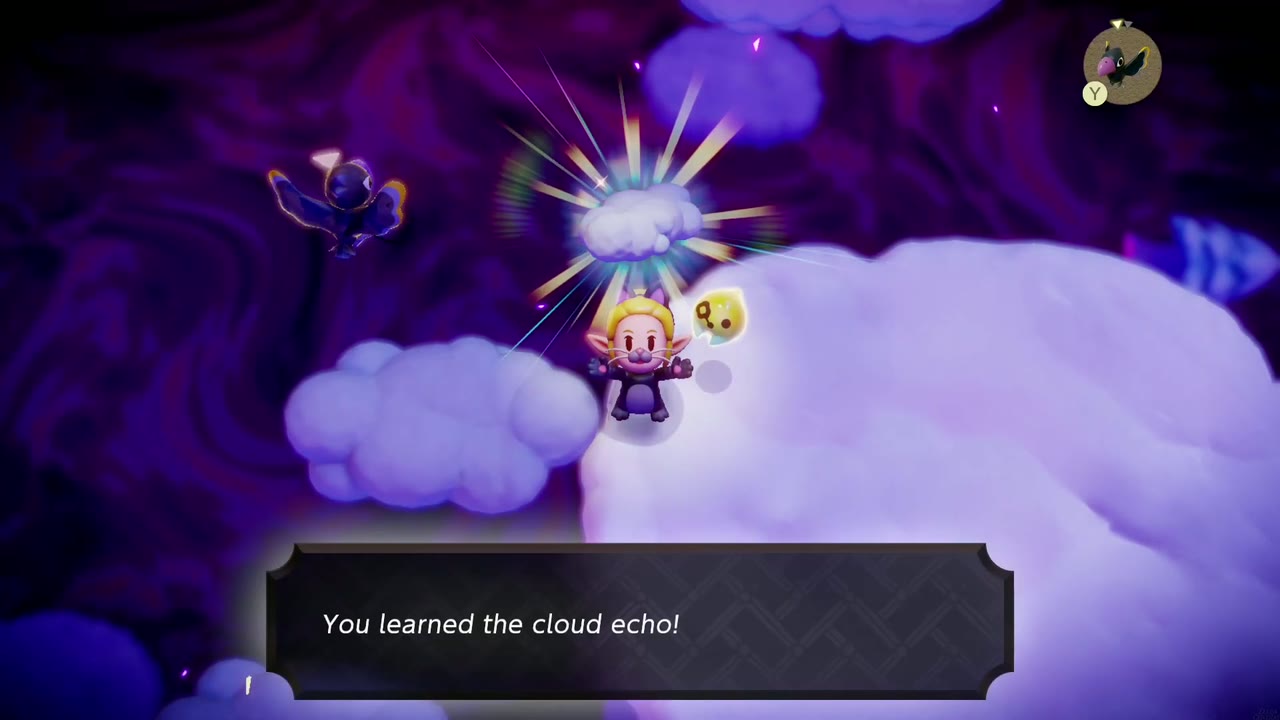
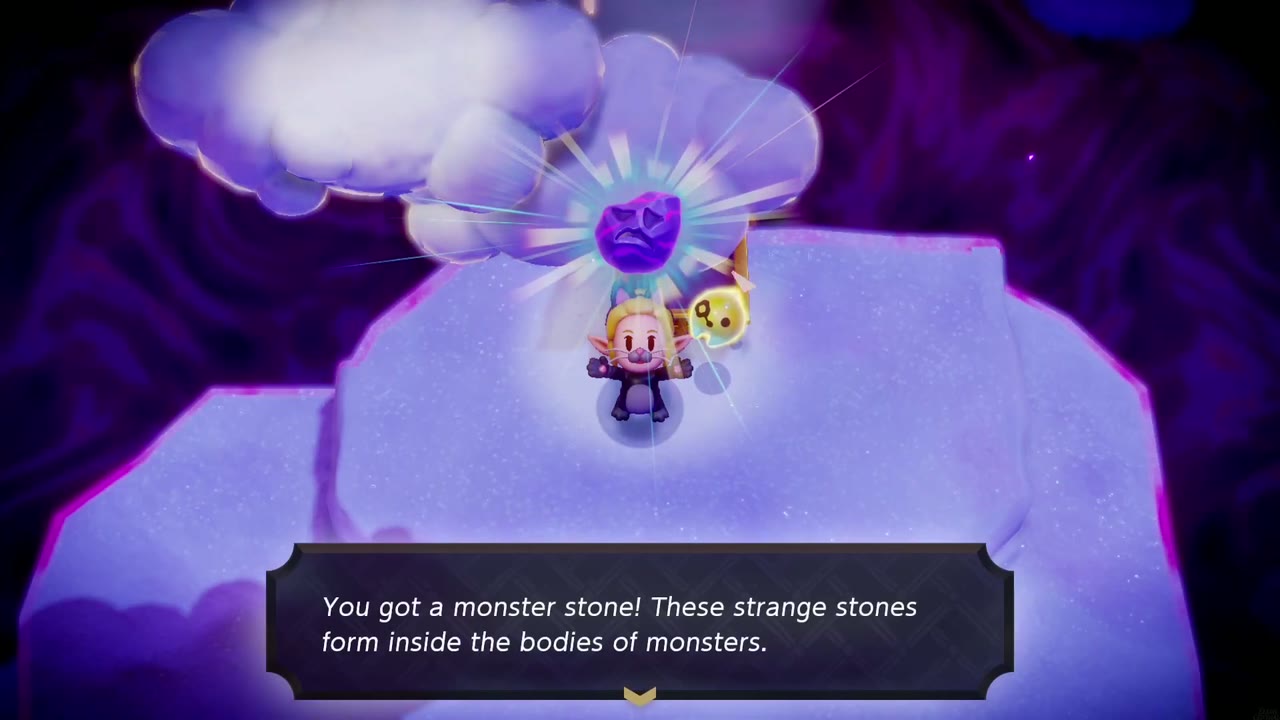
You arrive in Stilled Hebra Mountain, a chain of floating snow islands patrolled by crows. Fight across them, then learn the Cloud echo from a petrified cloud beside the islands, one of the best traversal echoes in the game. Bridge over with Clouds to a small island whose chest holds a Monster Stone, then keep making Cloud bridges to the rock tower ahead.
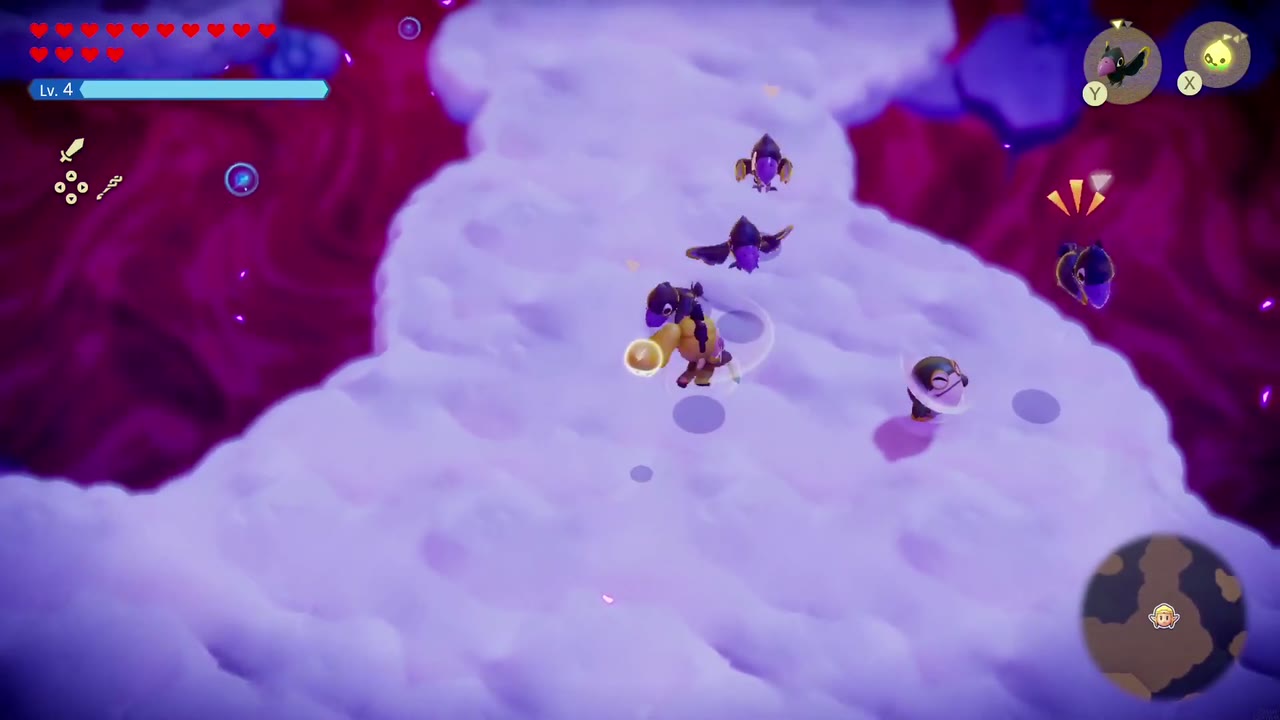
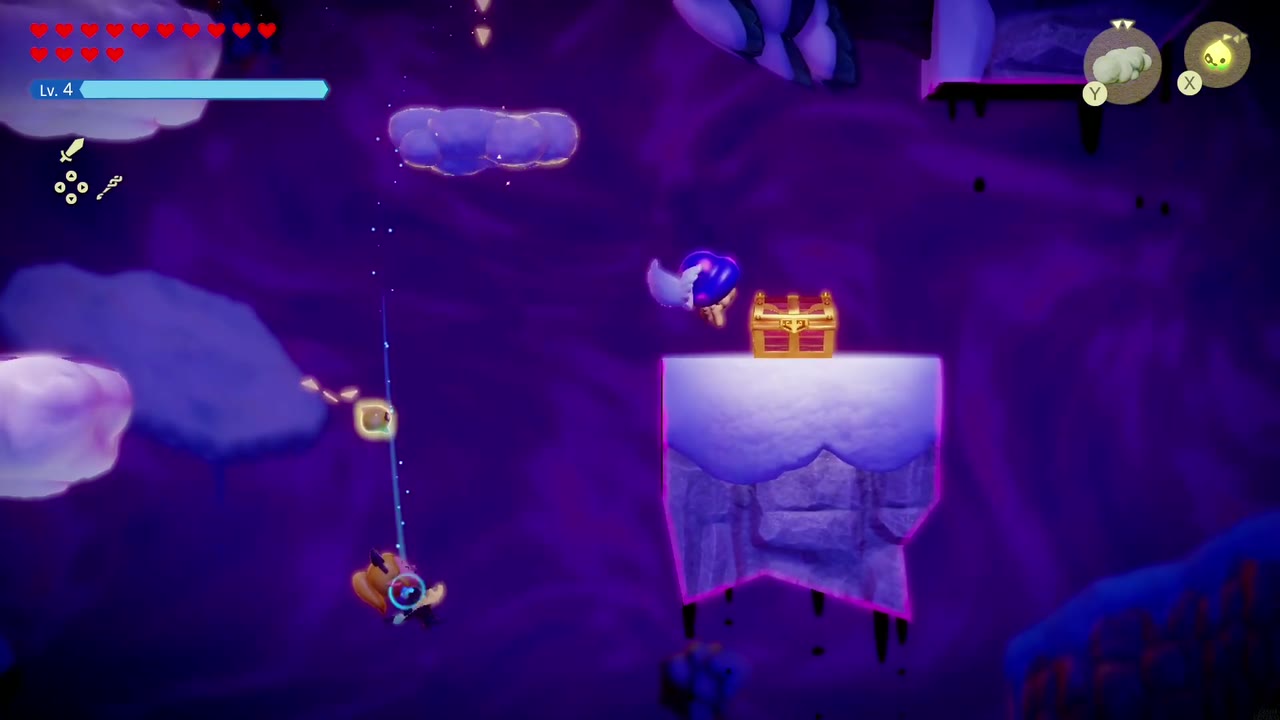
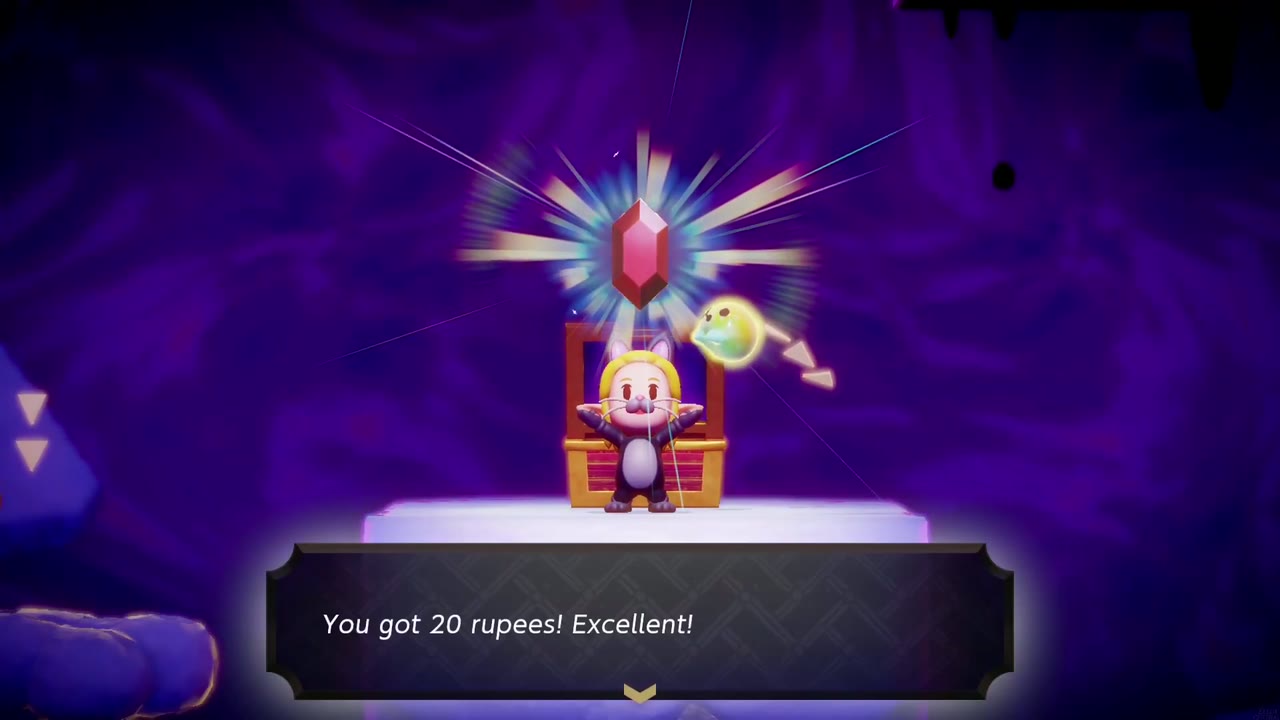
Inside the tower the view switches to a side-scrolling cliff. Hop across Cloud echoes over the void, dodging flying enemies, to chests on stone pillars: one holds 20 rupees, and a chest in a stone alcove holds 3 Warm Peppers. Keep climbing with Clouds past the frosty vents, then build steps up the last shaft to a Waypoint in Stilled Holy Mount Lanayru.

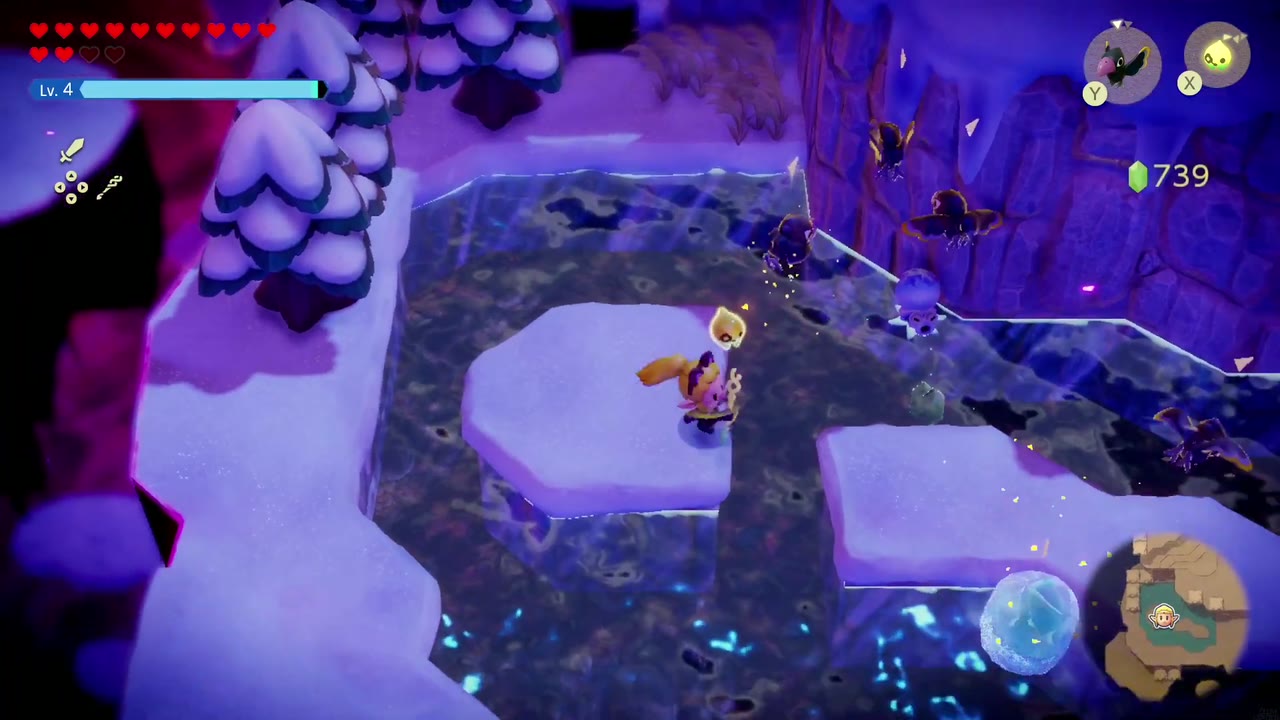
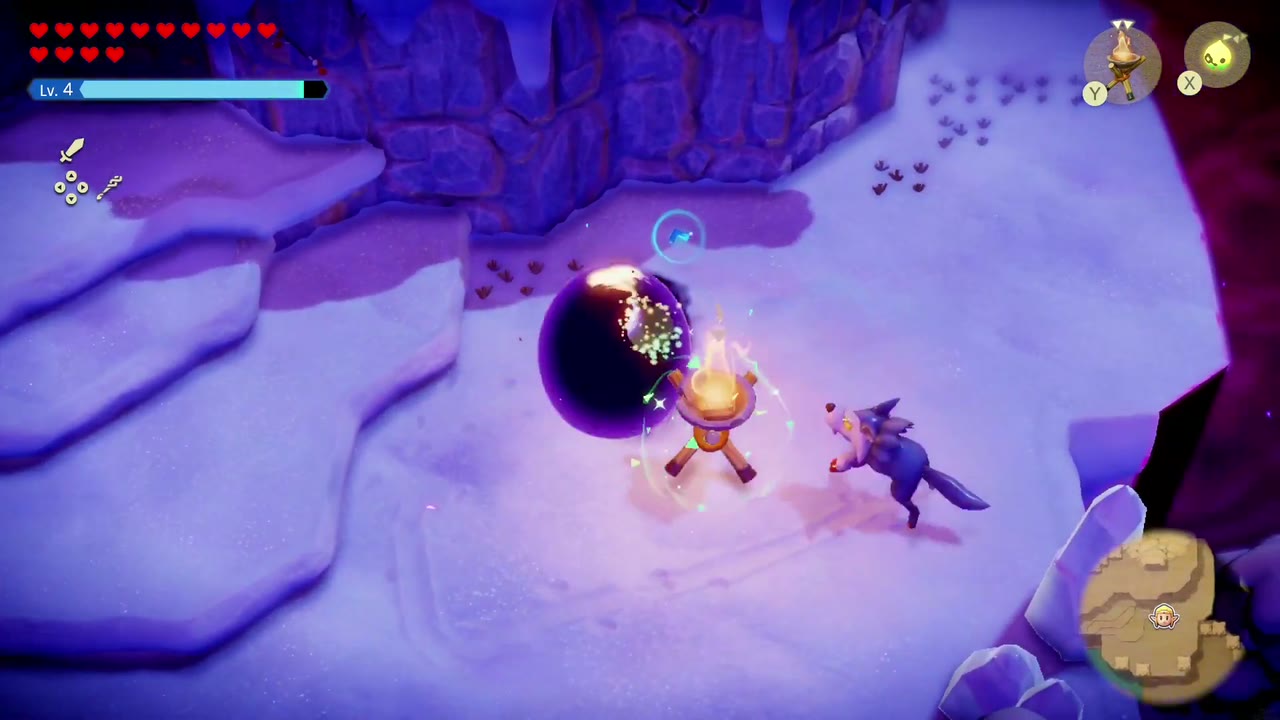
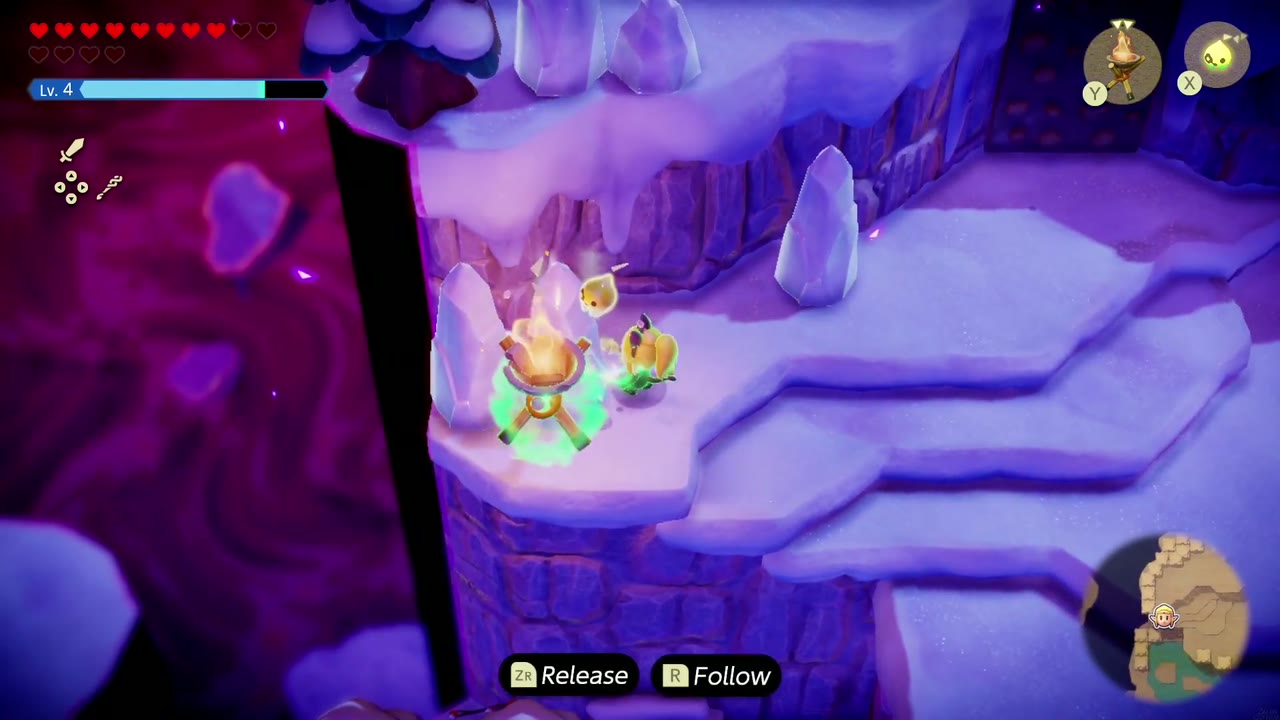
Cross the icy water channels and floating snowfields, where Wolfos attack. Carry a lit Brazier echo up the terraces to melt the ice crystals and light the braziers that open the way. A small crystal cave along the route holds 50 rupees. Keep climbing until you reach the temple entrance.


Lanayru Temple
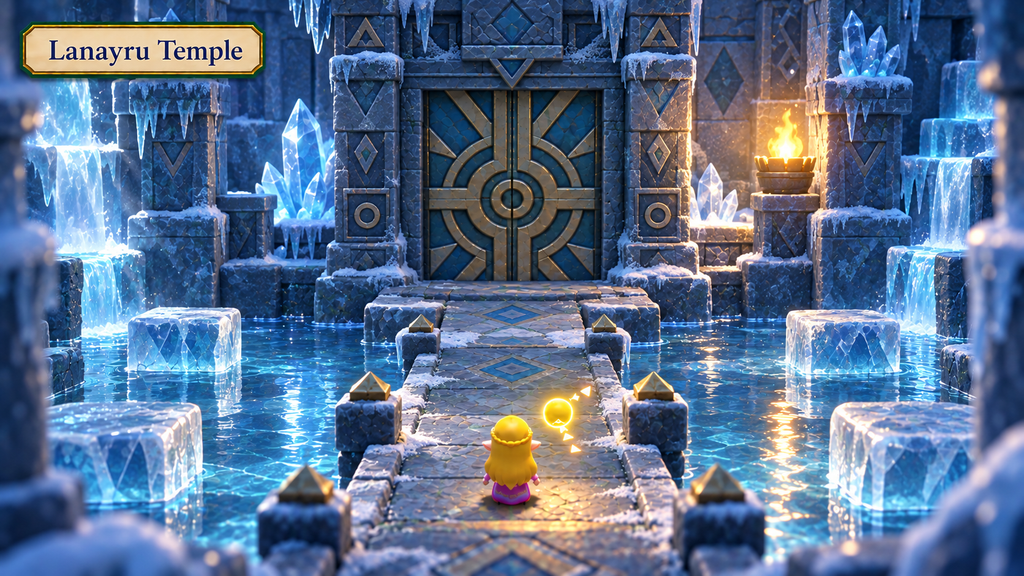
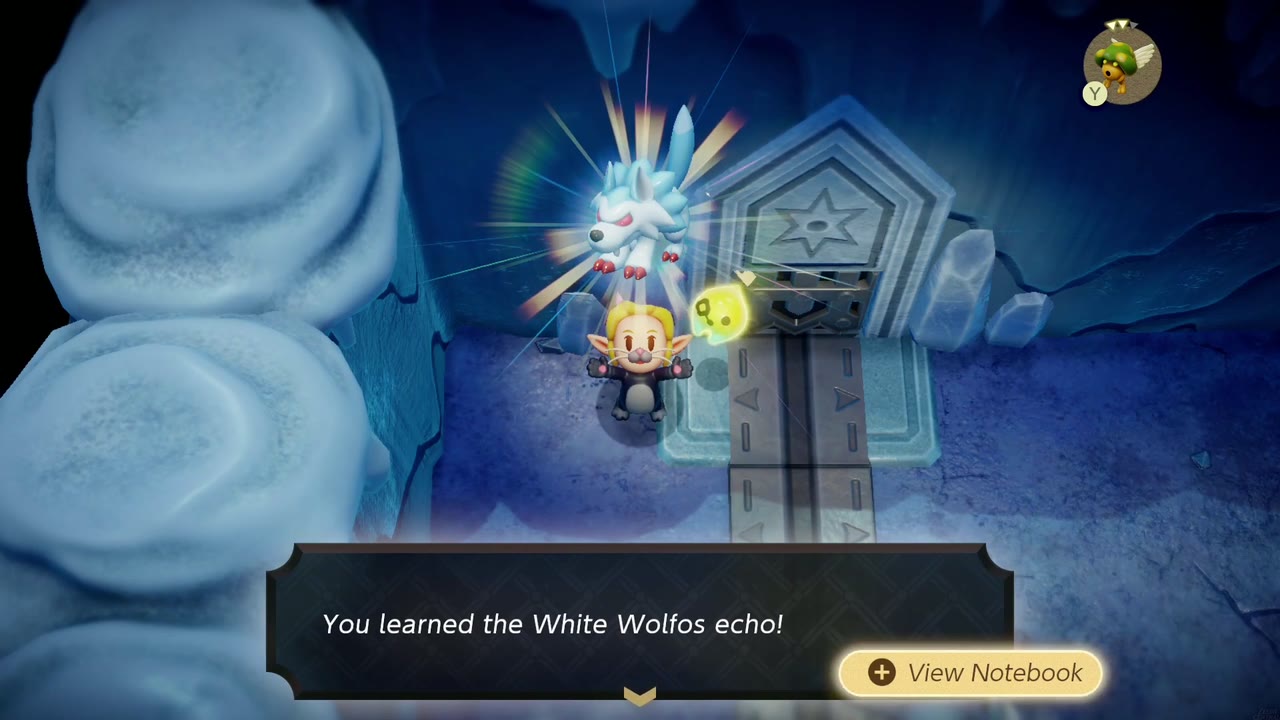
Next: the dungeon has its own page, Lanayru Temple, from the entrance to the Skorchill boss fight. The collectibles below cover the whole region.
Lanayru Collectibles
Hebra Mountain holds four Pieces of Heart: three picked up on the climb (the frozen lake, the cliff top by the rift, and the snowball terraces below the summit) and a fourth from Condé’s late-game Snowball Magic quest. There are also three Stamp Stands and the Ice Spikes accessory, which comes from a chest in an ice-cave pool room and stops you slipping on ice.
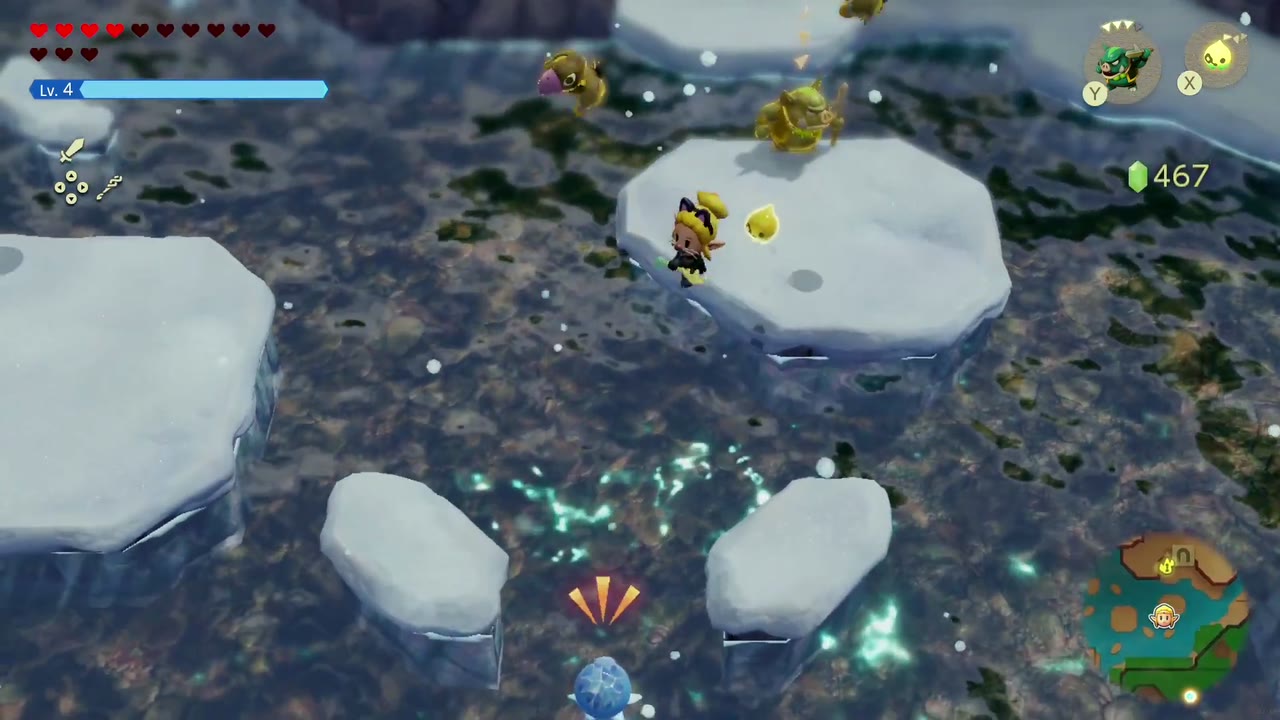
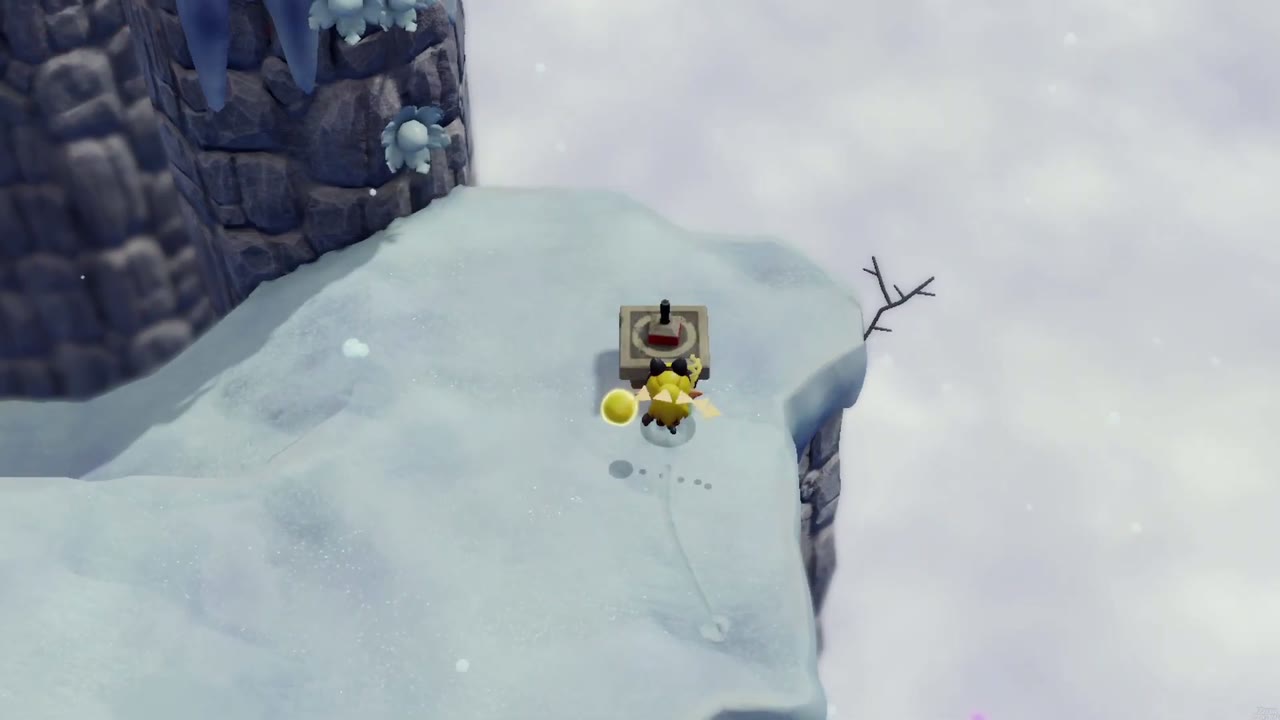
Piece of Heart 1: the frozen lake pedestal
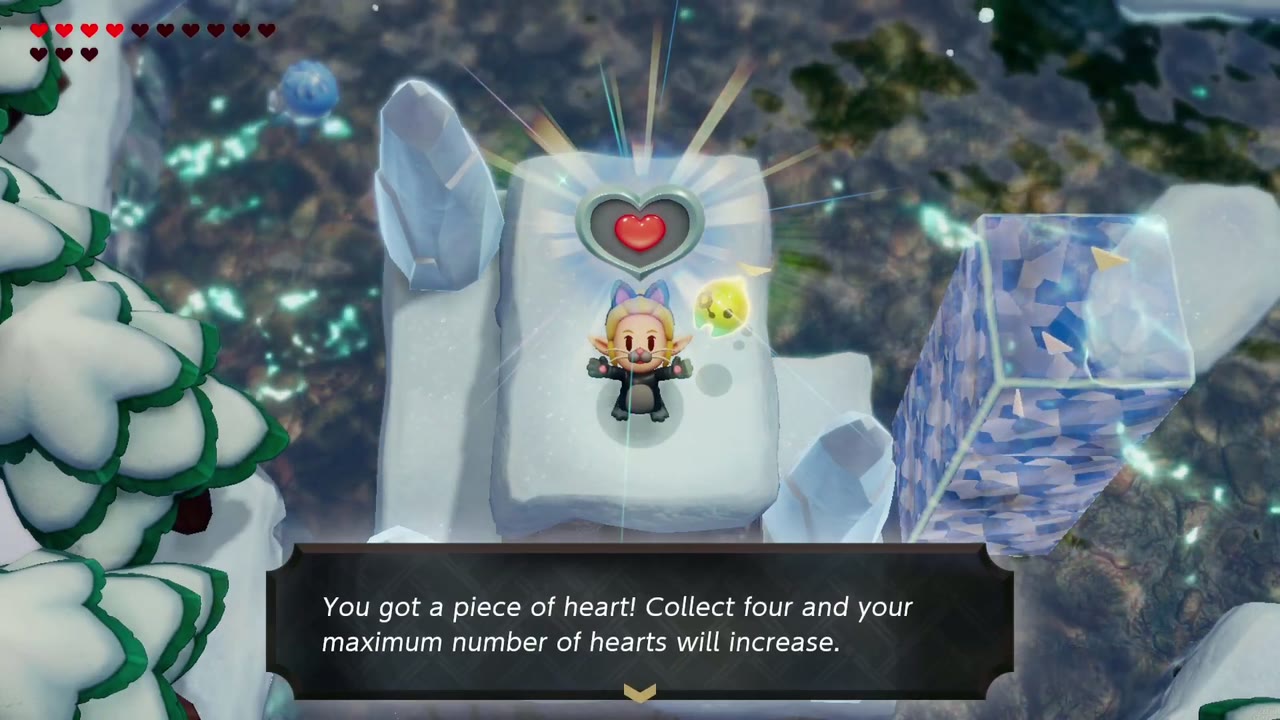
On the frozen lake low on the mountain, the piece sits on an ice pedestal ringed by ice spikes. Hop across the ice floes, fighting off the Ice Octos as you go, then put a Water Block echo beside the pedestal and swim up it to grab the piece.
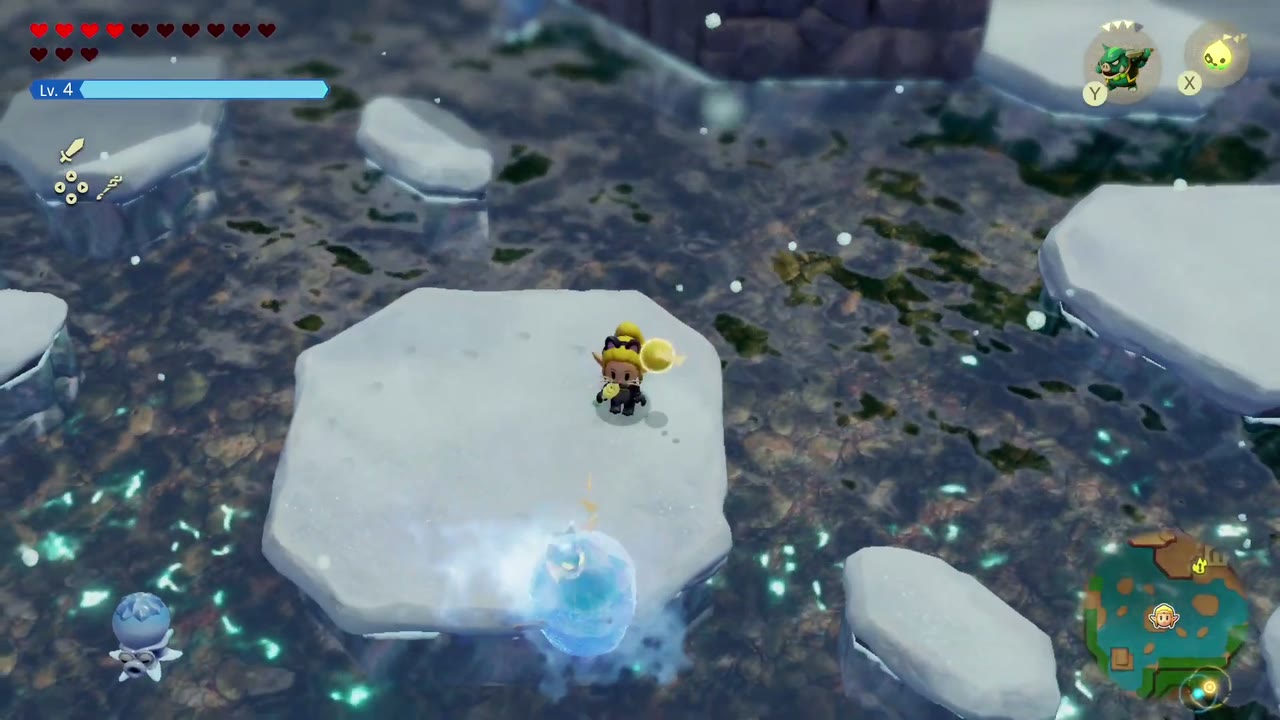

Piece of Heart 2: the cliff top by the rift
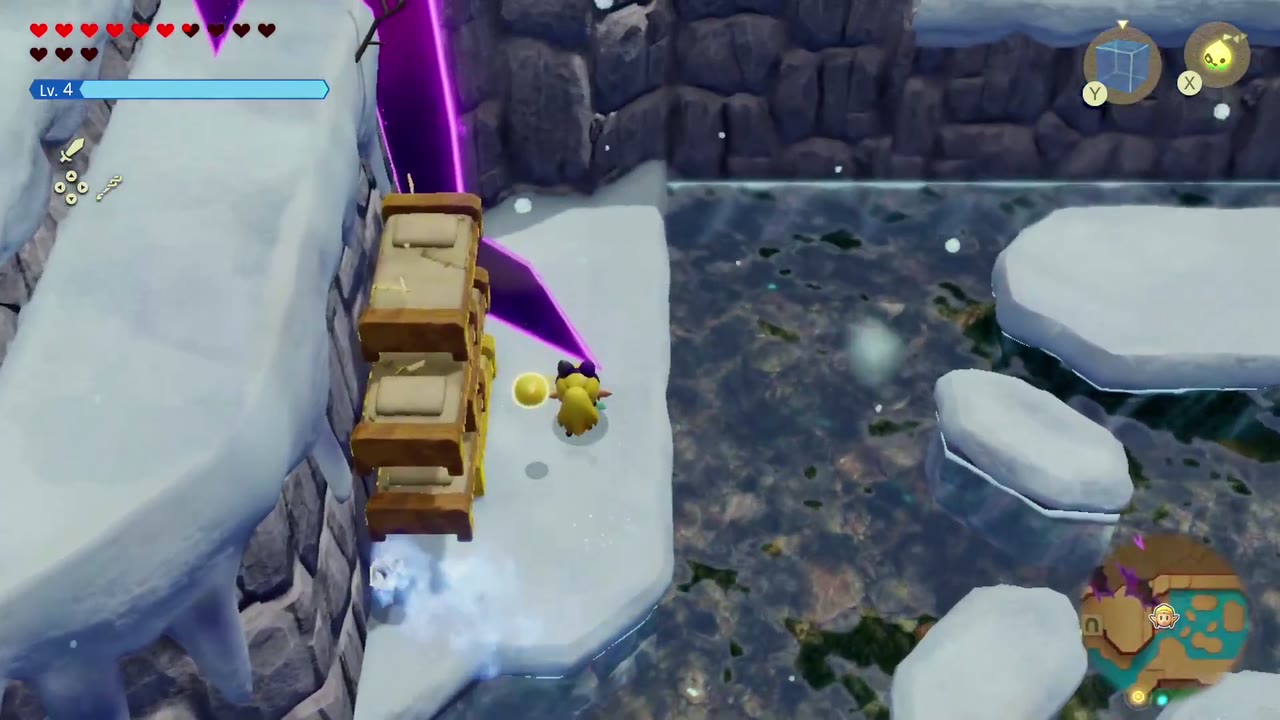
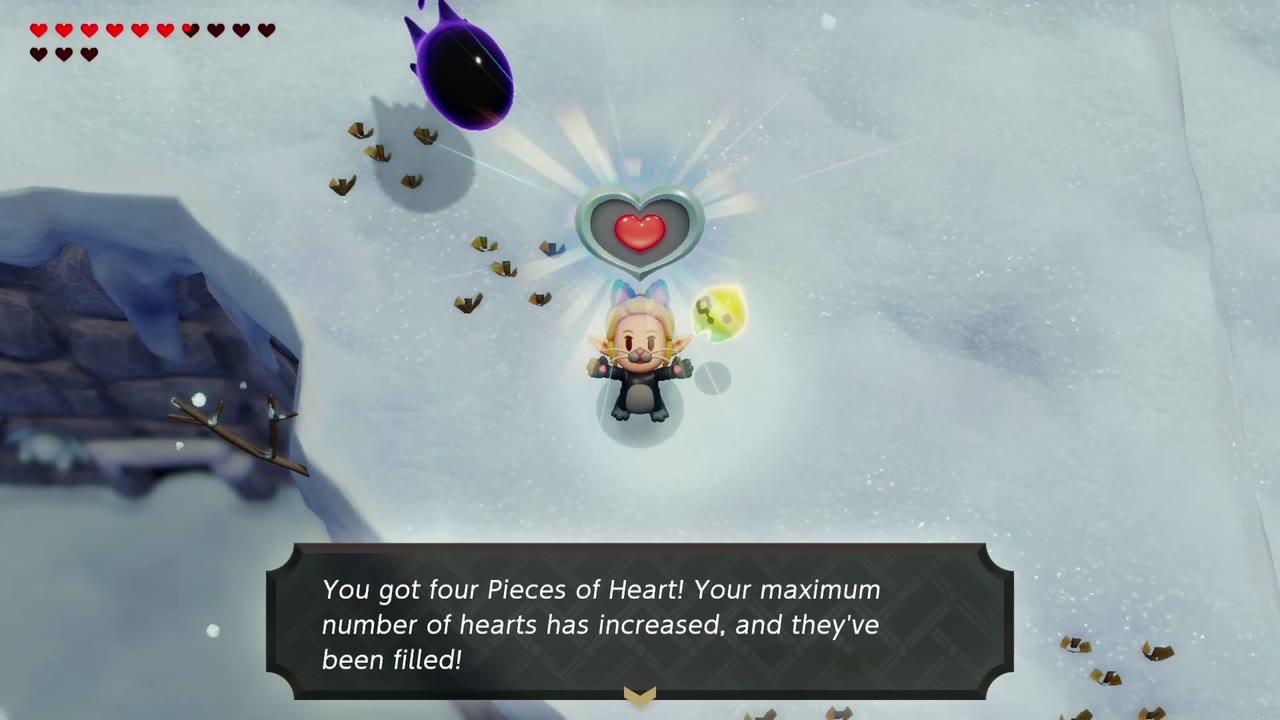
Further up, by the rift-edged cliffs past the frozen lake, stack Old Bed echoes against the cliff wall beside the rift and climb up. The piece sits on the snowy cliff top just past the rift edge. Watch for the shadowy blob enemy nearby.

Piece of Heart 3: the snowball terraces
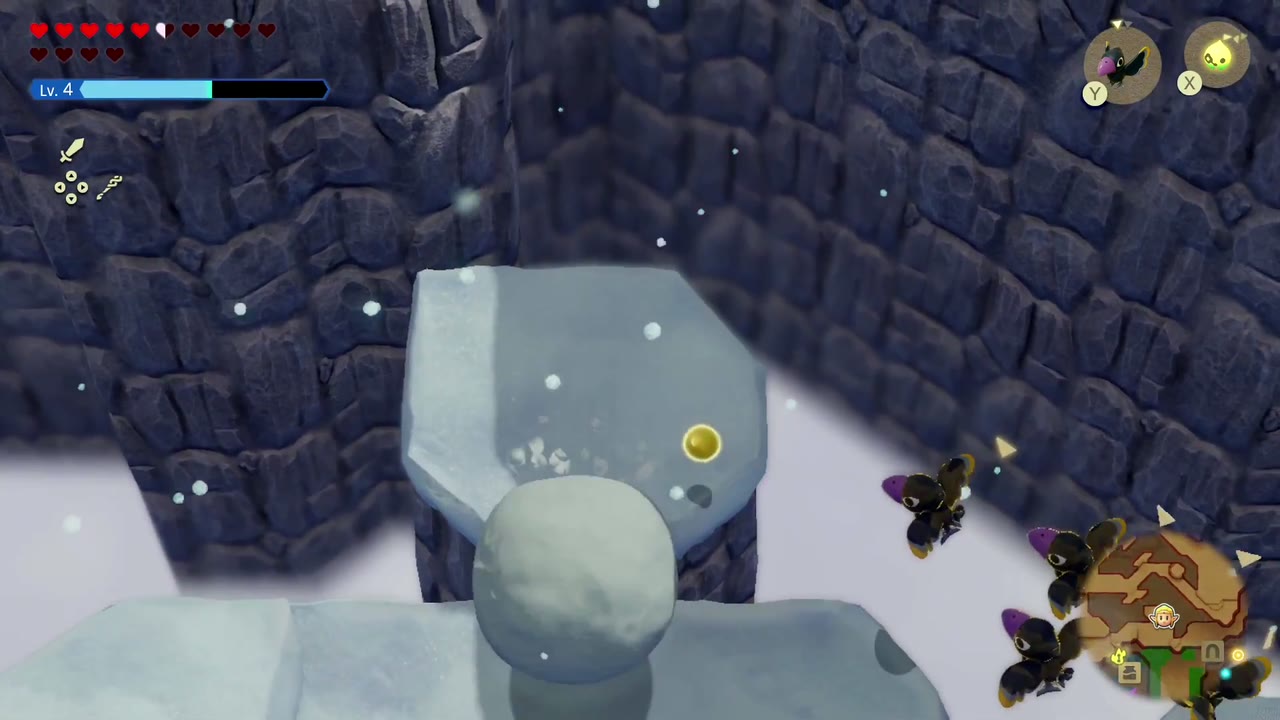
Near the top of the climb, just past the cliff path where you learn the Moa echo, the trail breaks into snowy terraces with giant snowballs rolling down them and crows diving at you. Time your moves between the snowballs and climb the terraces; the Piece of Heart sits on a snow pillar in the middle of the run, and grabbing it is the first thing you do there, before the brazier terraces and their Might Crystal.

Piece of Heart 4: Snowball Magic
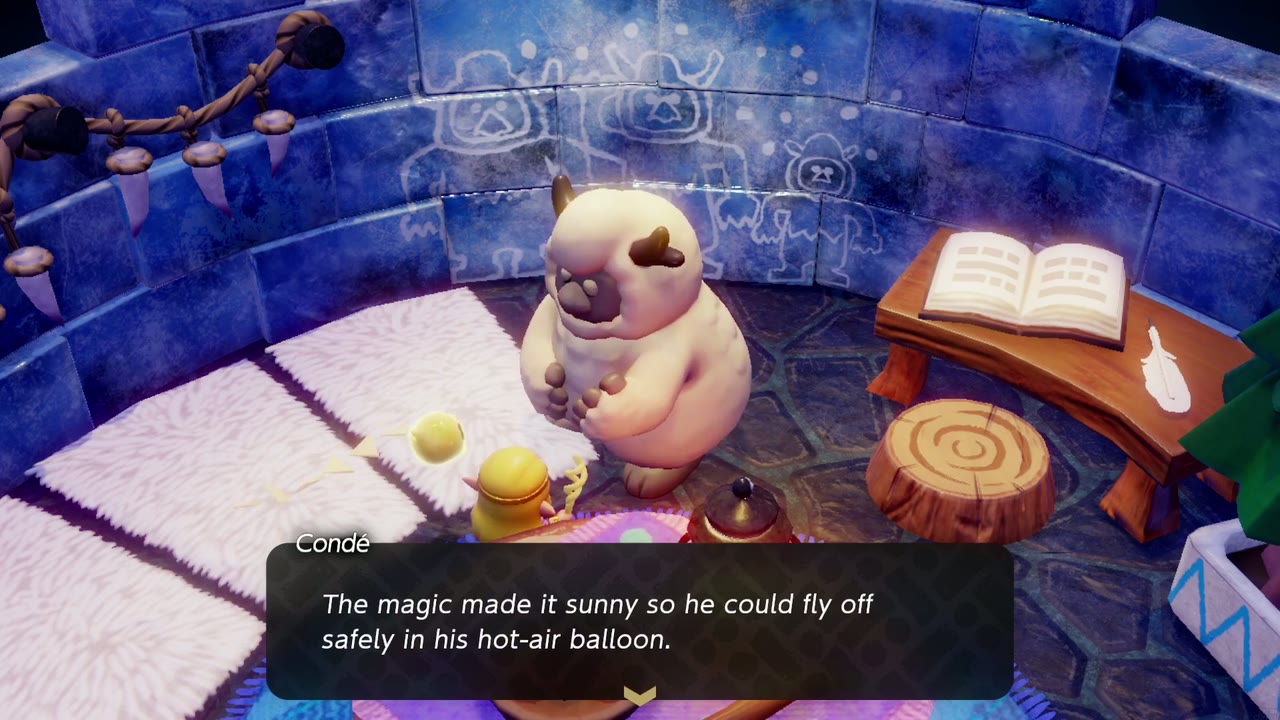
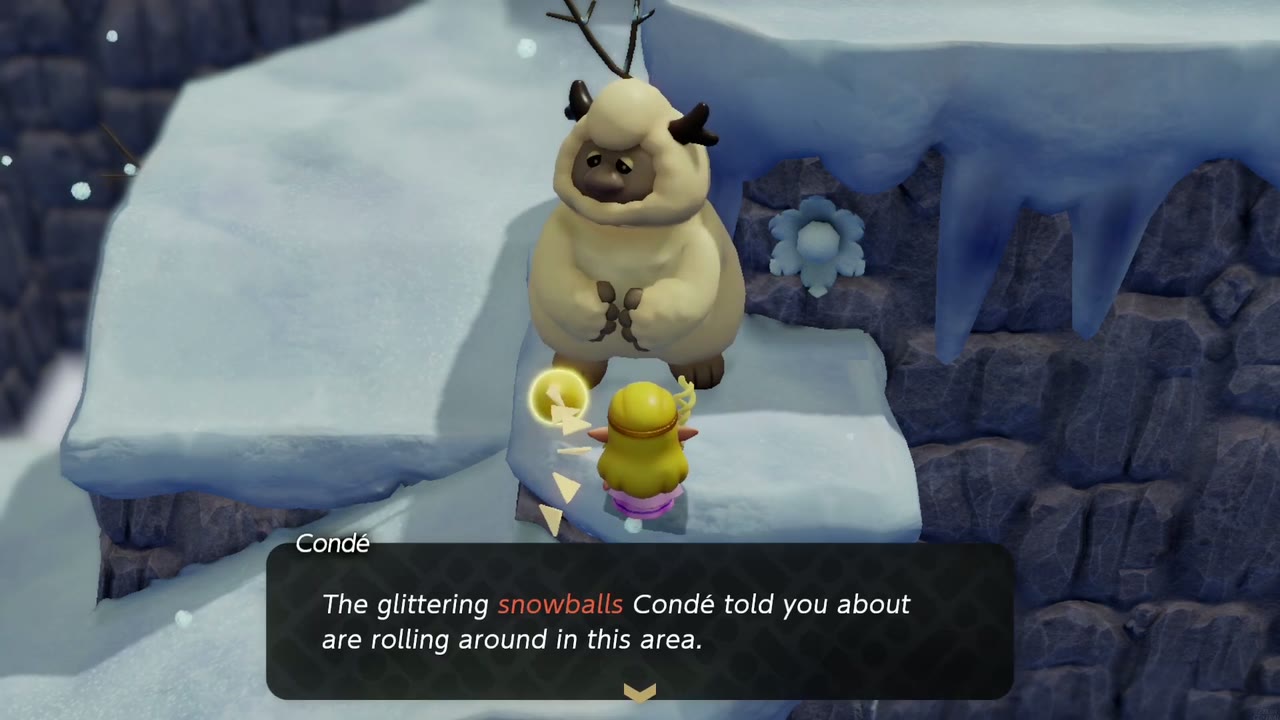
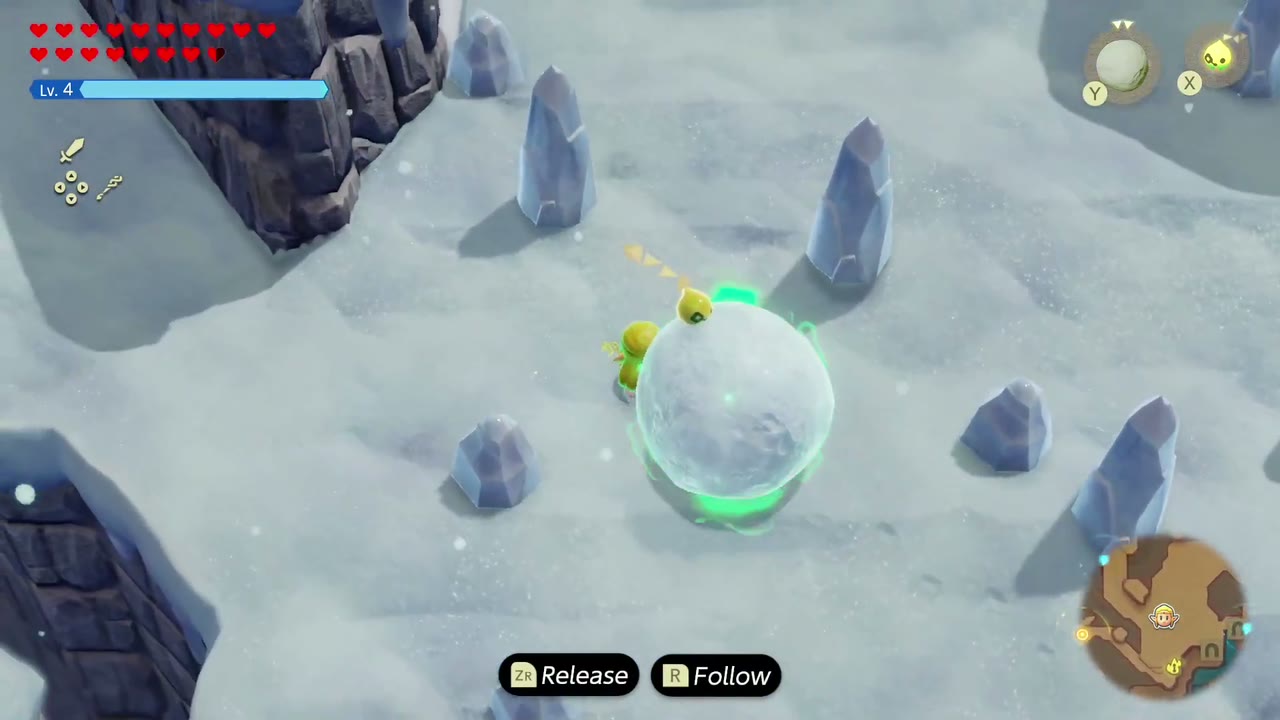
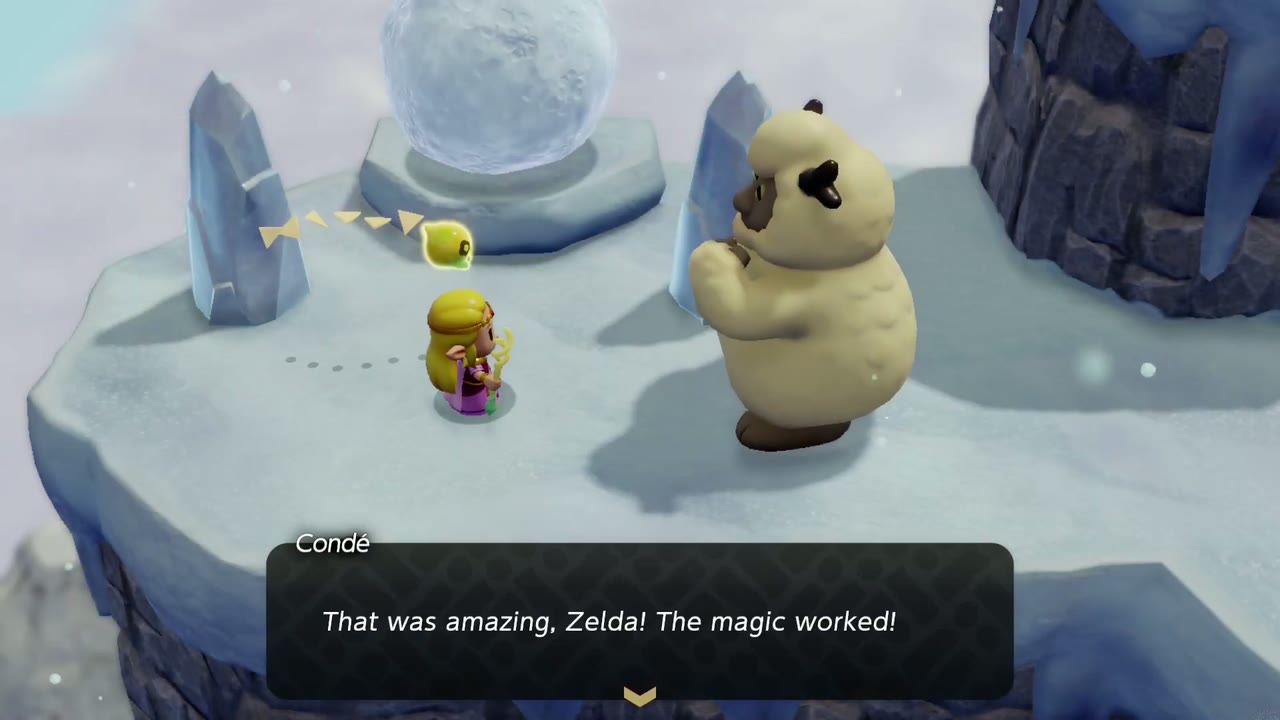
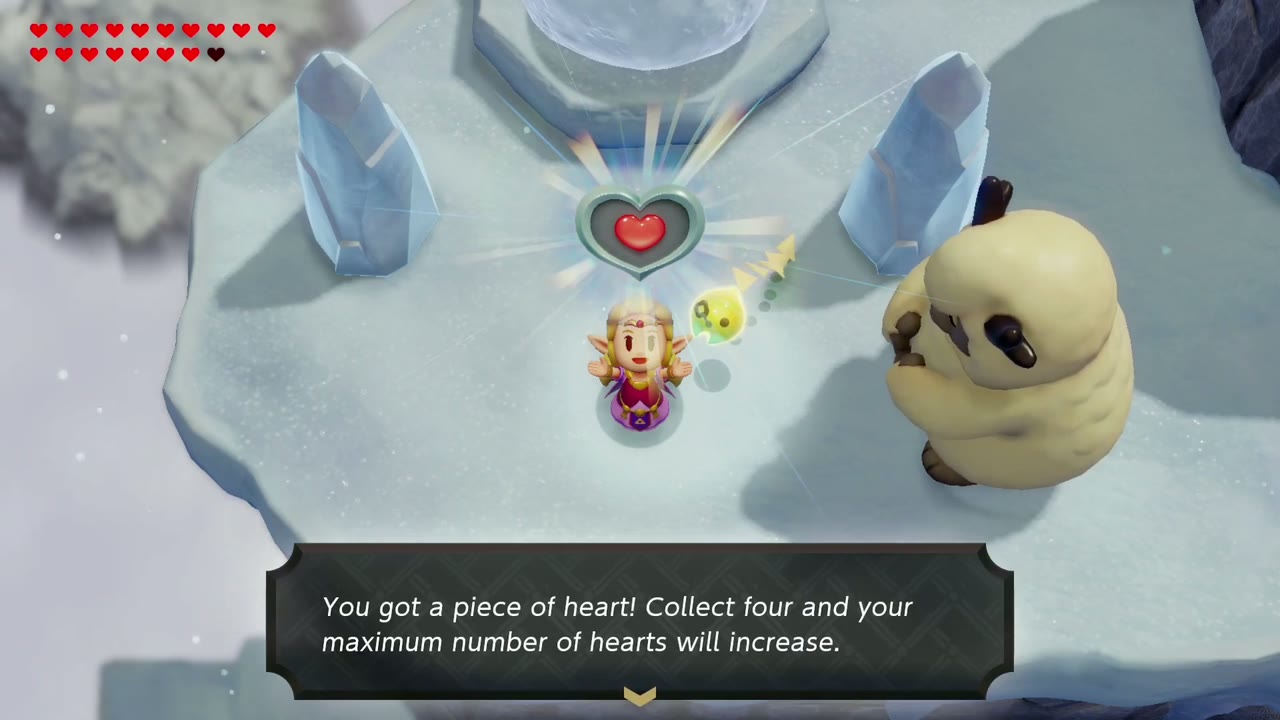
Late in the game (after the Eternal Forest), visit Condé in Condé’s House. He explains that Big Brother’s snowball magic made it sunny so he could fly off safely in his hot-air balloon, and asks you to show him how it’s done; outside, he points out the glittering snowballs rolling around and the Snowball Magic side quest begins. Bind one of the giant snowballs and carry it carefully (it has to stay perfectly round, so don’t let it break), using Cloud echoes to bridge the gaps, then set it on the round pedestal between the ice crystals. Condé cheers that the magic worked and hands over a Piece of Heart as thanks.

The three Stamp Stands
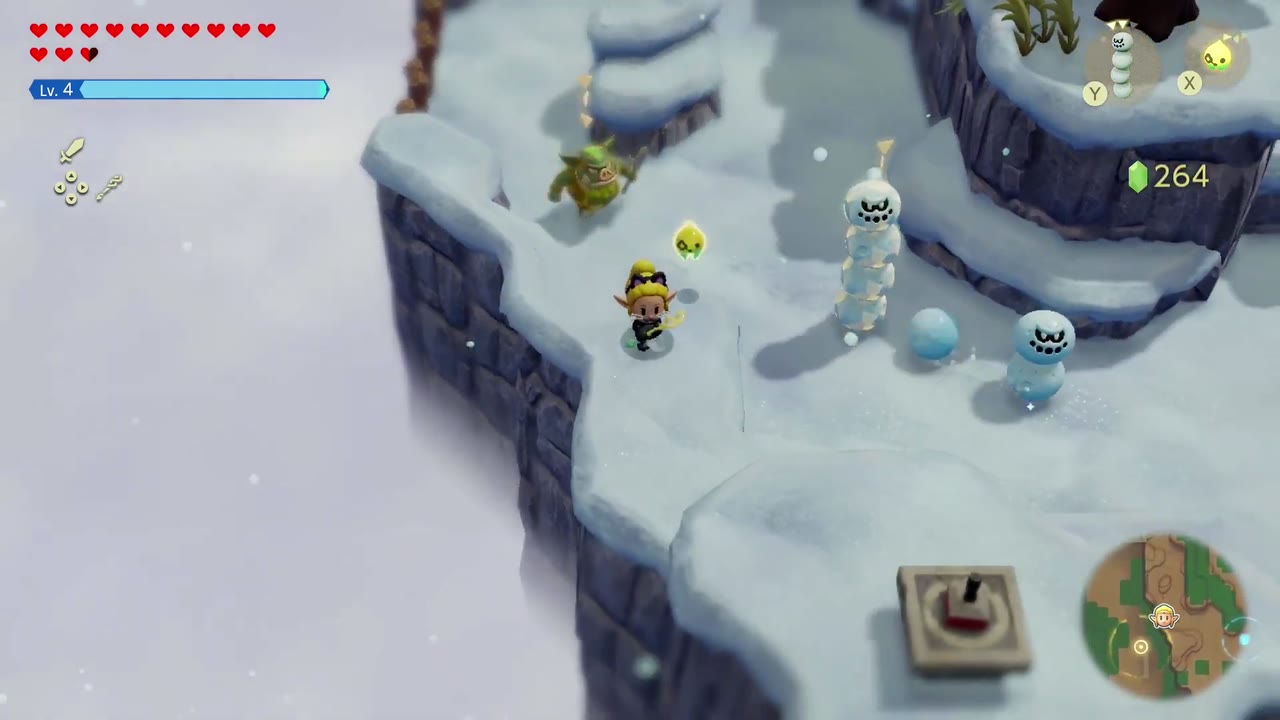
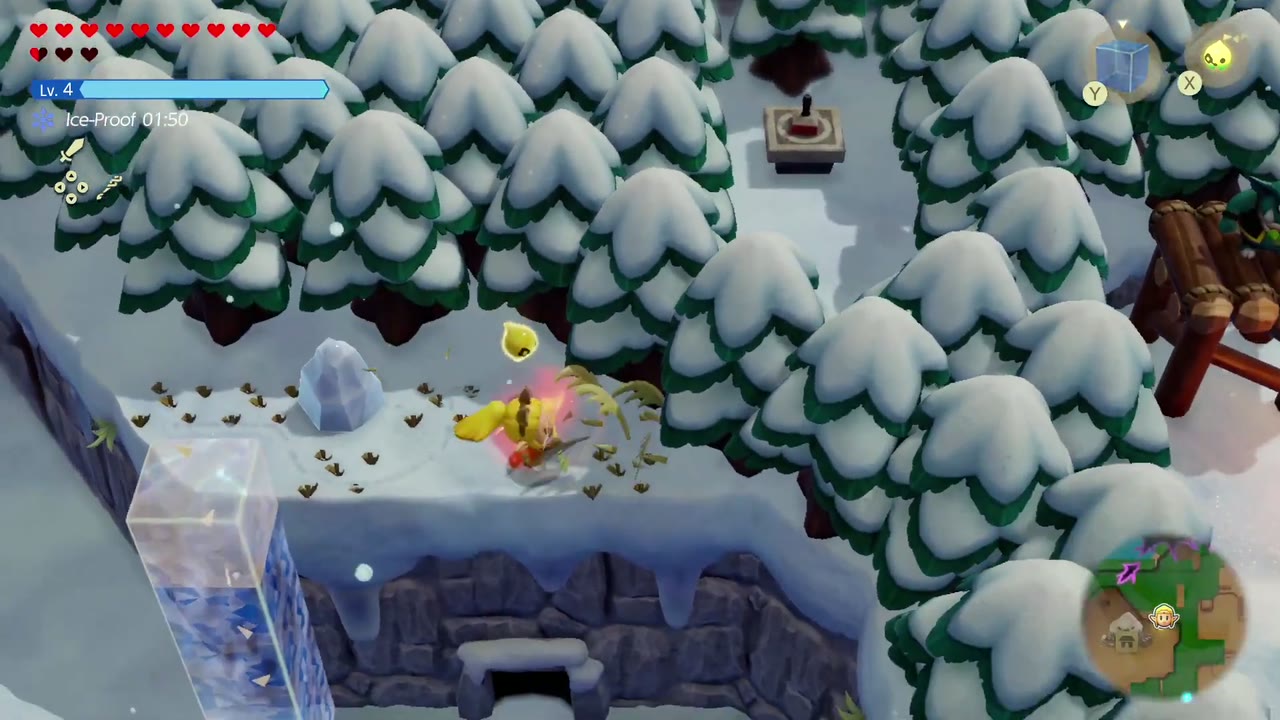
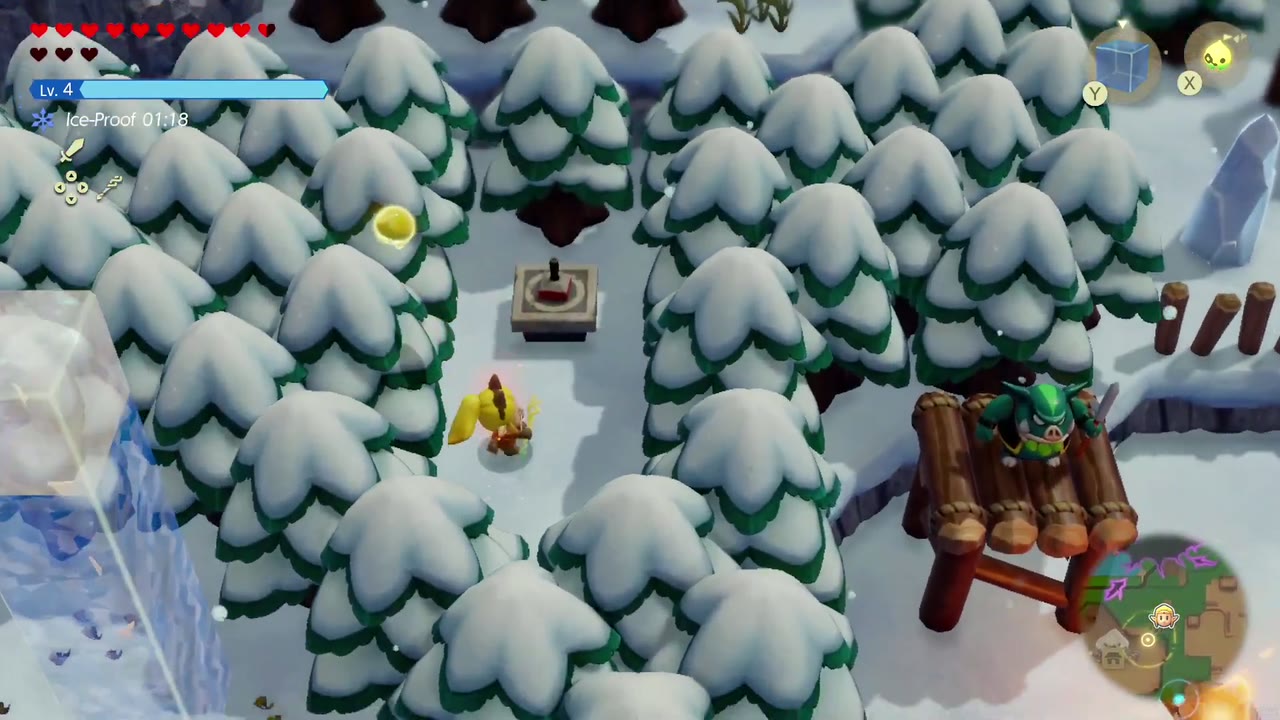
First, on the snowy cliffs a short climb after you leave the Hebra Mountain Passage, on the same ledge where the Snomauls attack. Second, just outside Condé’s House: an ice crystal sits on the ledge in front of the pines, so summon a Brazier to melt it, stack a Water Block and swim up into the trees, where the stand is tucked among the pines beside a Moblin’s wooden lookout. Third, near the summit; this one was swallowed by a rift and only reappears after you complete the Stamp Stand Swallowed! side quest.

The Ice Spikes accessory
Inside an ice cave on the way up the mountain (its entrance is in the rock face past the snowy forest clearing, beyond a room of Tektites), a flooded chamber full of icy platforms, Ice Octos and Freezards hides a chest on a raised platform. Swim across to it for the Ice Spikes, footwear with spikes that stick into the ice so you stop slipping. That makes the icy rest of the climb much easier, so put them on the moment you get them.
Might Crystals and echoes
Lighting every brazier on the snowy terraces below the summit pays a Might Crystal, and Tri shares two each time you close the Stilled Hebra Mountain Cave and Stamp Stand Swallowed! rifts. Lanayru Temple adds one from a chest in its flooded room, beating Skorchill earns five more from Tri, and a later return to Hebra Mountain turns up one more by a brazier. For echoes, the climb teaches Snomaul, Leever, Ice Keese, Ice Block, Snowball, Ice Octo, Freezard, Ice Wizzrobe, Tektite Lv. 2, Moa and Temper Tweelus; the Stilled Hebra Mountain rift gives you Cloud; and Lanayru Temple adds Freeze Slug and White Wolfos. Cloud especially, since it bridges gaps and carries you up to ledges all through the rift and the temple.