Echoes of Wisdom 100% Completion Walkthrough16 chapters
- Prologueplaying as Link, escaping the castle jail, and the waterways to Suthorn Beach.
- Suthorn ForestSuthorn Beach and Village, meeting Tri, the first echoes, and mending the Suthorn Forest rift.
- Suthorn Ruinsthe first dungeon, the Shadow Link fight, and the Seismic Talus boss.
- Jabul Watersthe River and Sea Zora feud, Lord Jabu-Jabu, and Stilled Jabul Waters.
- Jabul Ruinsthe whirlpool chase, the five colored switches, and the Vocavor boss.
- Gerudo Desertthe Oasis, Gerudo Town, the desert rifts, and Cryptic Cavern.
- Gerudo Sanctumthe tribute puzzle, the Bow of Might, and the Mogryph boss.
- Hyrule Castlethe Hyrule Castle well rift, Stilled Castle Town, and the Ganon boss.
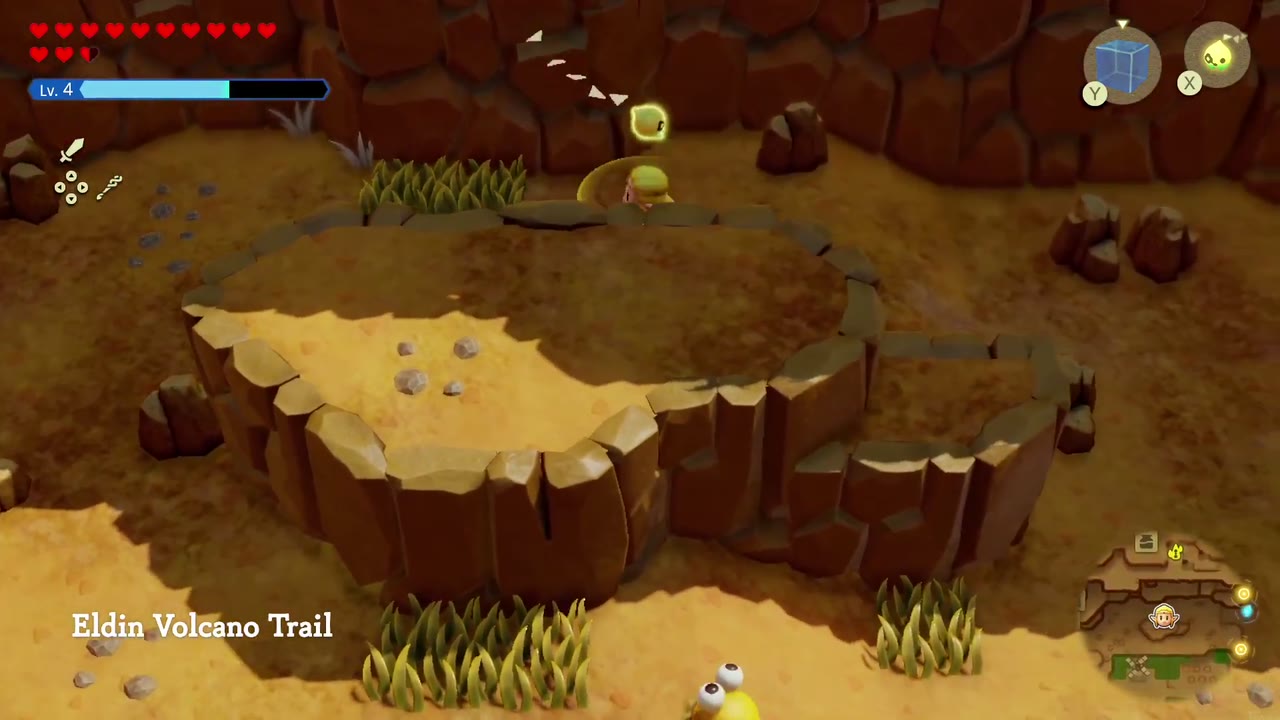
- Eldin VolcanoKakariko Village, the Eldin Volcano Trail, and saving Goron City.
- Eldin Templethe Bombs of Might, the lava hall, and the Volvagia boss.
- Faron WetlandsScrubton, Blossu’s House, and escaping the Deku Scrub Lockup.
- Faron Templethe small keys, the plant mini-boss, and the Gohma boss.
- Hebra Mountainmeeting Condé, the climb through the snow, and the Stilled Hebra Mountain rift.
- Lanayru Templefire orbs, fans and lasers, the slime mini-boss, and the Skorchill boss.
- Eternal Forestthe six Ancient Orb pedestals, the Deku Tree, and freeing Link in the Stilled Ancient Ruins.
- Null’s Bodythe final dungeon and the multi-phase fight against Null.
This page covers Eldin Temple from its entrance to the boss, Volvagia. It picks up where Eldin Volcano leaves off; that page also has the region’s collectibles checklist.
1F
The Stilled Volcano Rift
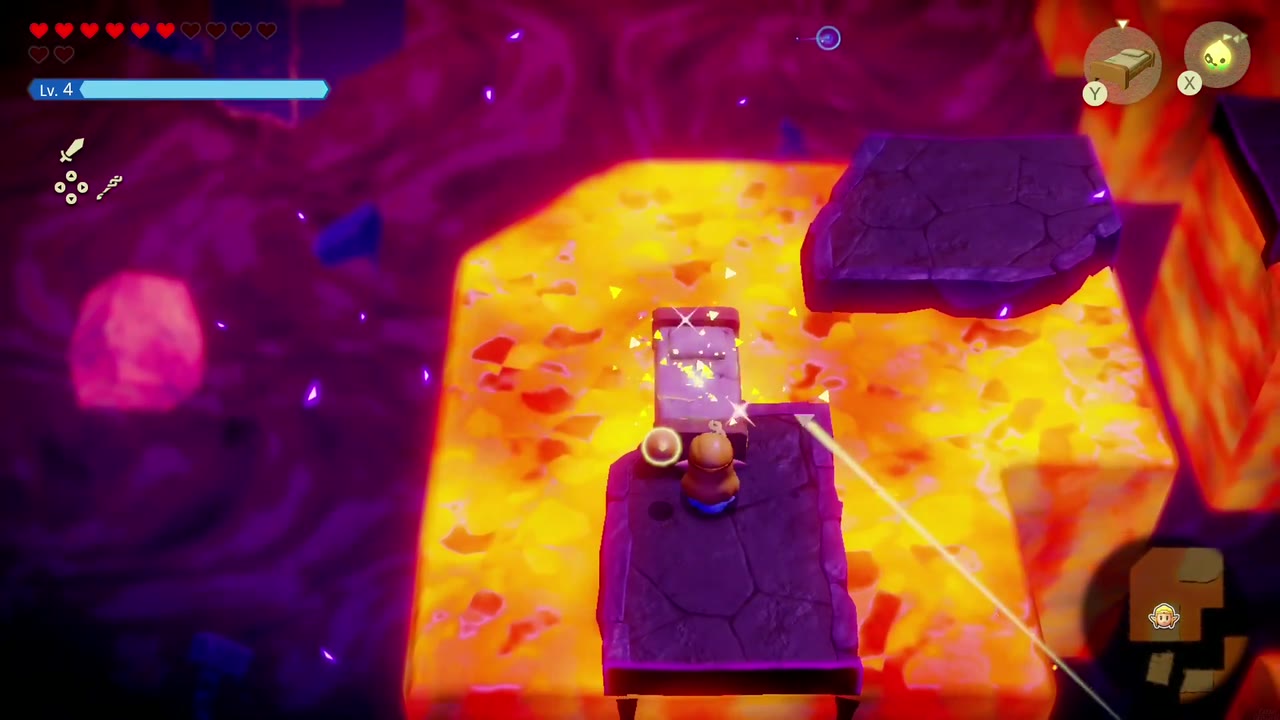
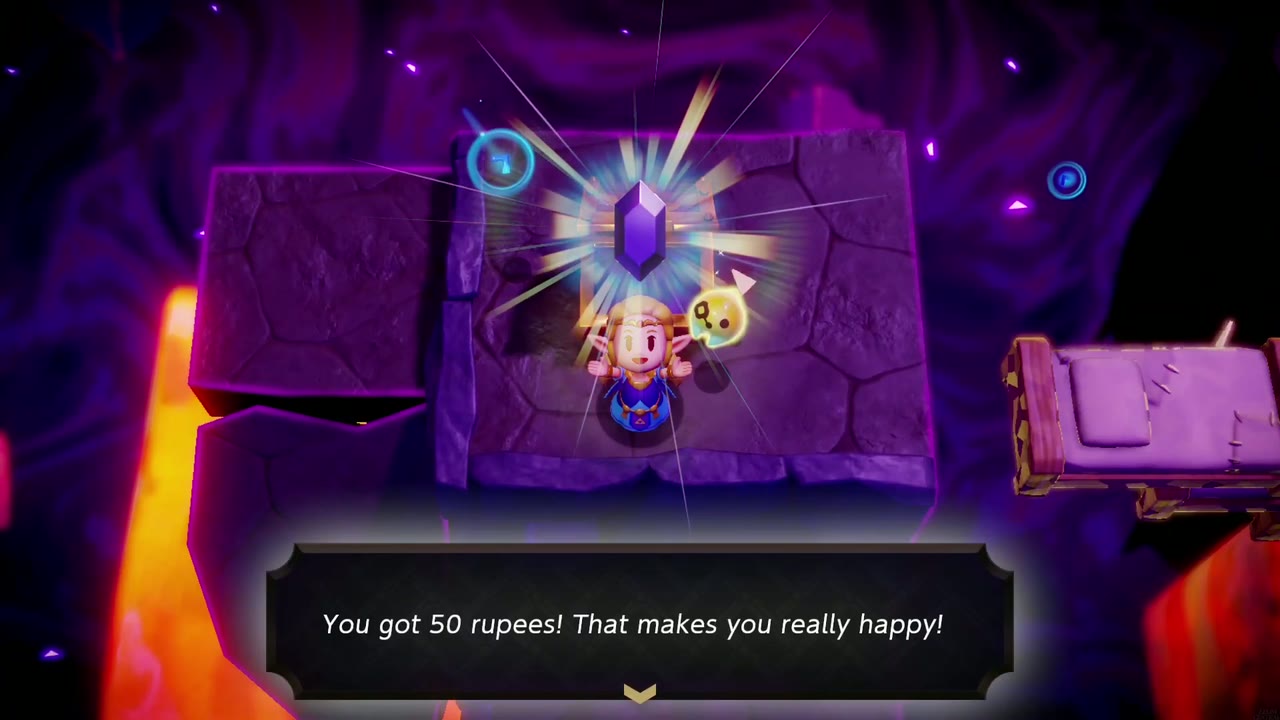
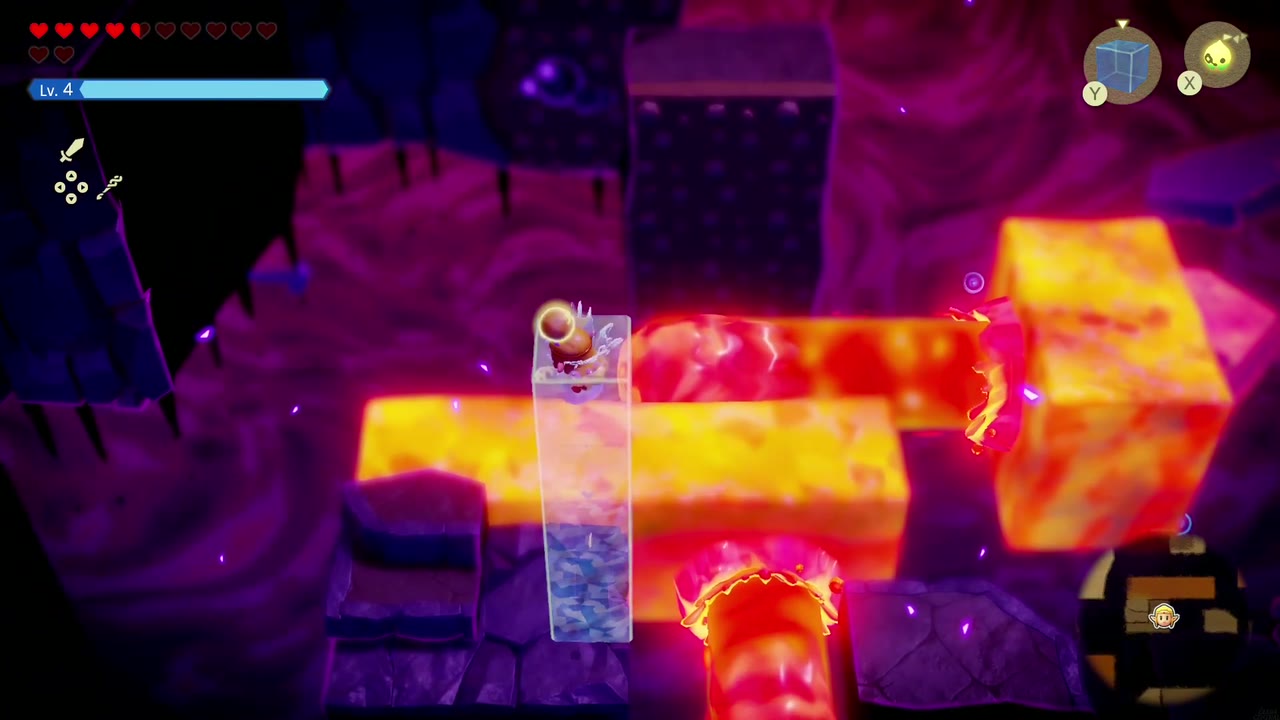
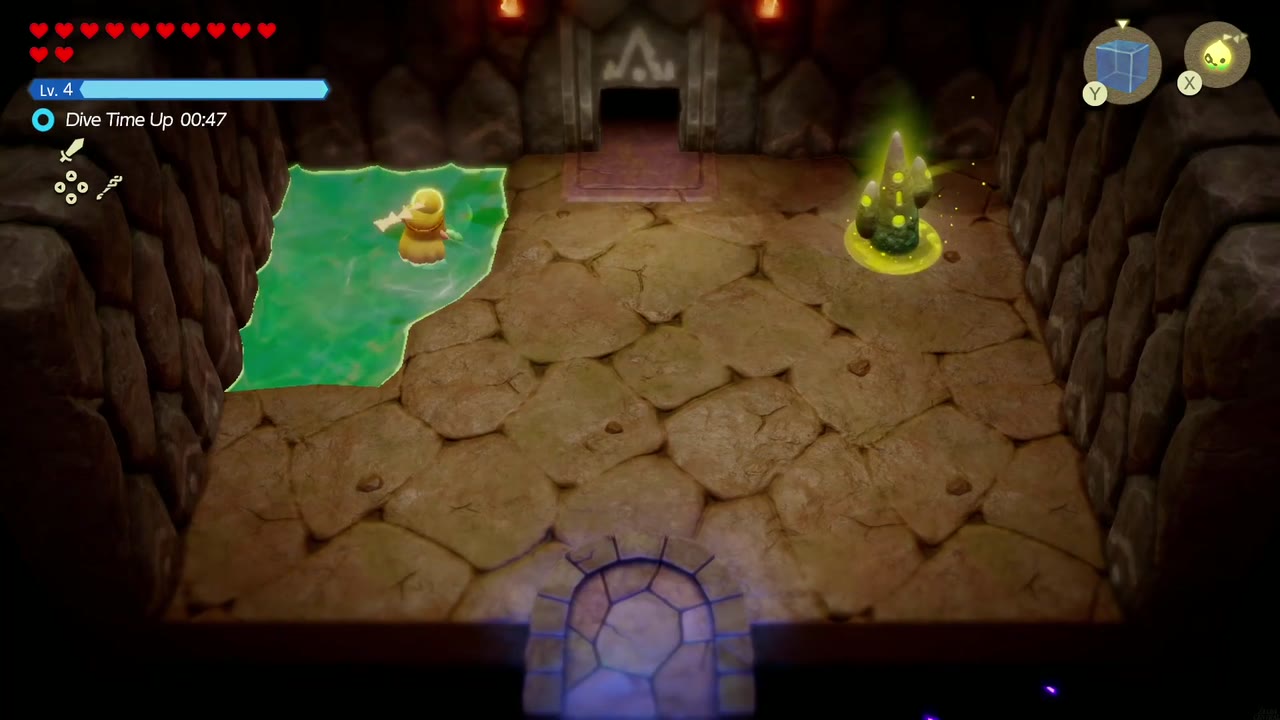
Inside the rift, Stilled Eldin Volcano is a chain of dark rock platforms over lava. Summon Old Beds to bridge the gaps and to build stairs up the ledges (lie on one to rest and recover hearts). Along the way, chests hold 5 Rocktatoes and 50 rupees, and shadowy rift enemies ambush you on the larger platforms. Where lavafalls block the way, stack Water Blocks and swim up through them; on the platforms with steam vents, hold a Crow overhead and float across on the steam. The last climb is another Water Block swim past lava pillars to the temple door (a Pumpkin Bubble Smoothie for extra dive time helps here). Inside, activate the entrance Waypoint beside the green pool on the left, then head through the north door into a hub room scored with lava cracks and fight off the fire enemies.

The Hub and the North Pit Room
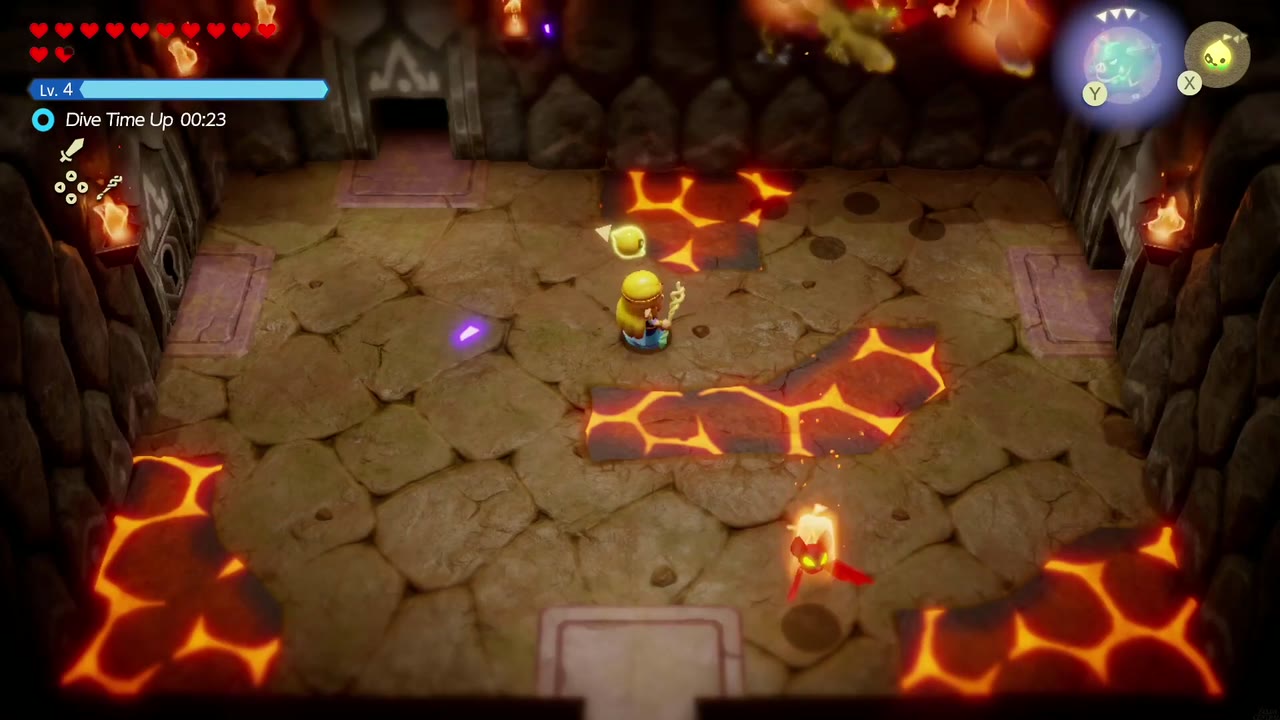
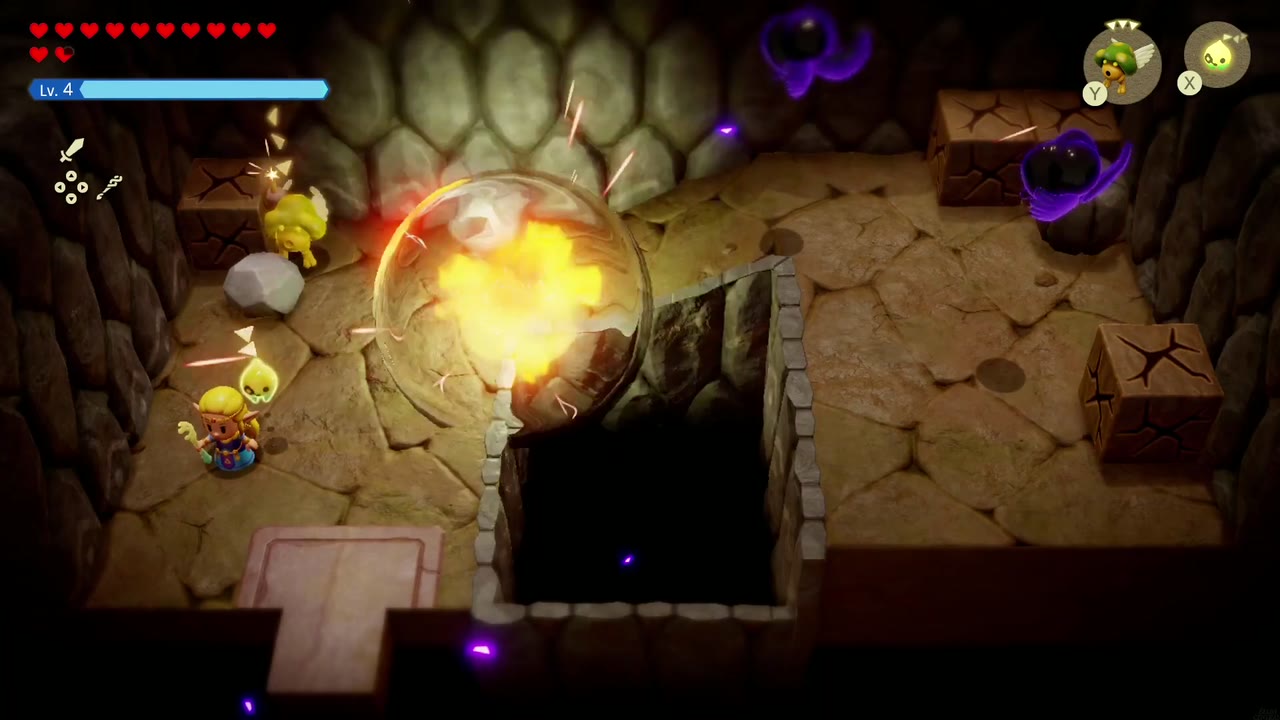
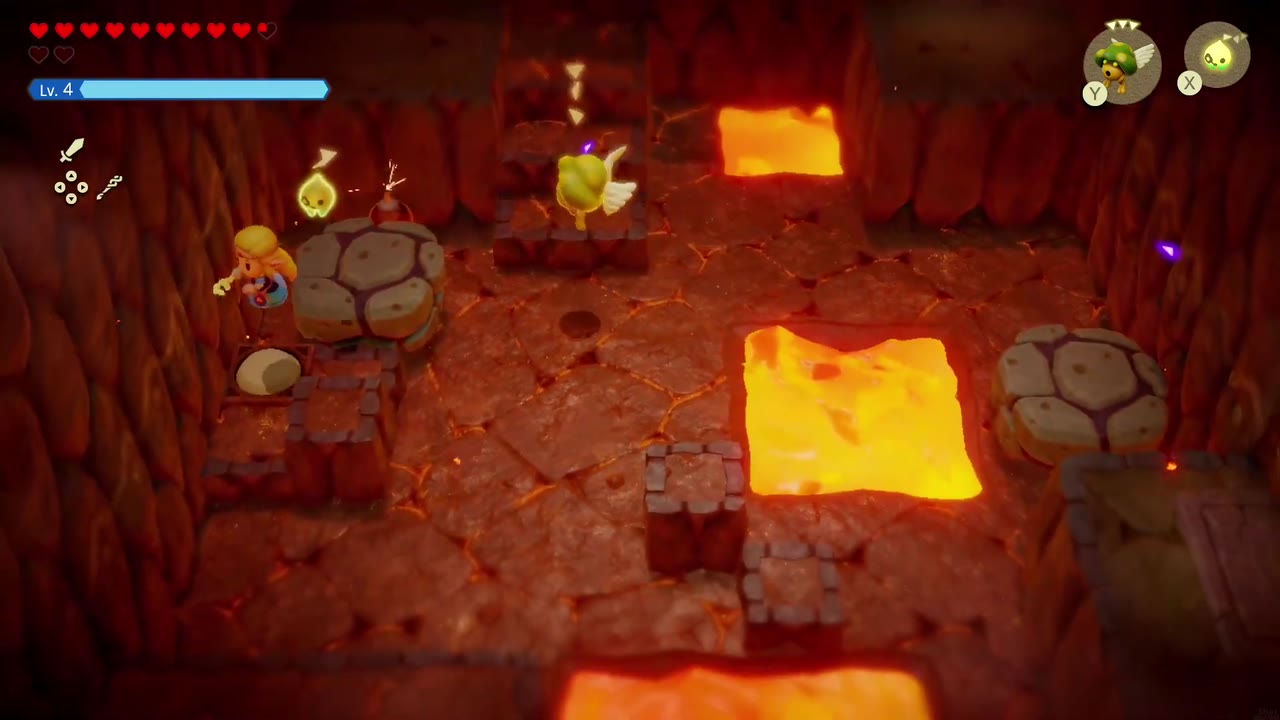
The hub has three more exits. Take the north door first, into a room with a central pit. Shadowy enemies here drop bombs; let them, or a summoned Zirro, blow open the cracked rocks in the upper-right corner, then open the chest there for 8 Twisted Pumpkins.

The Lava Geyser Lift
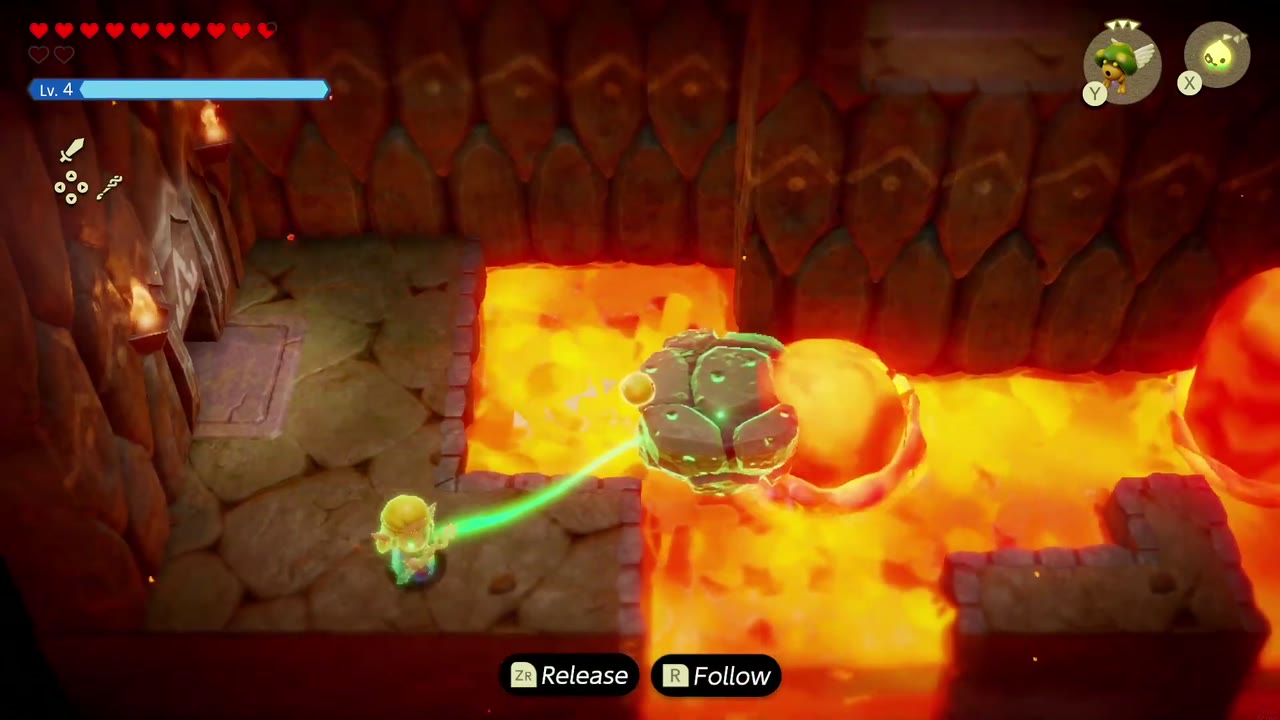
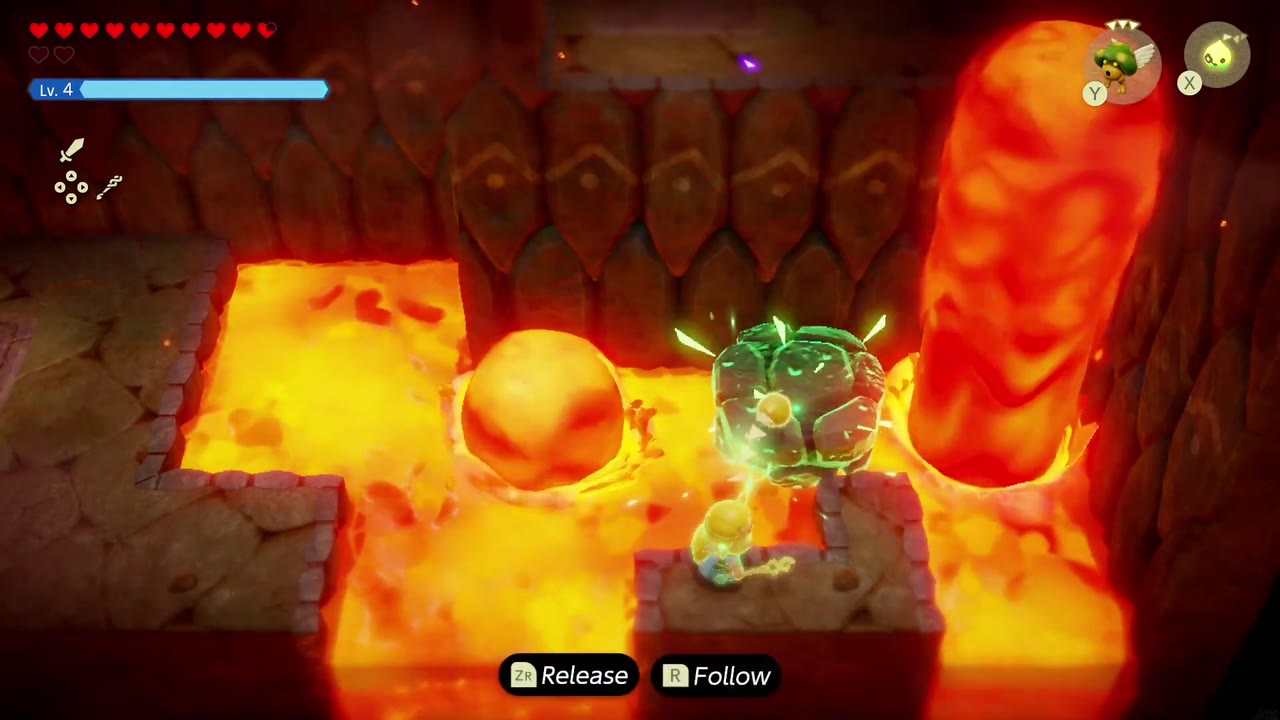
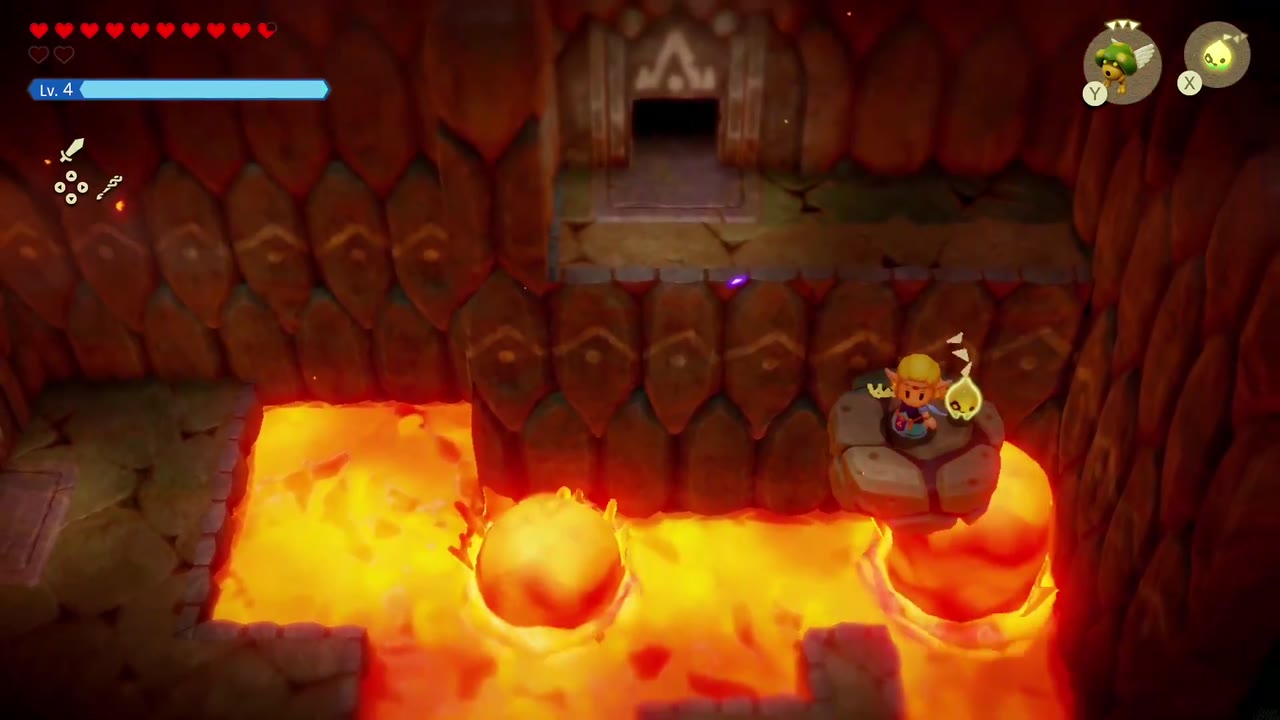
Back in the hub, go through the right door into a room of lava with boulders and an erupting geyser. Bind a boulder across the lava onto the geyser, stand on it, and let the next eruption lift you to the ledge by the far door.
The First Small Key
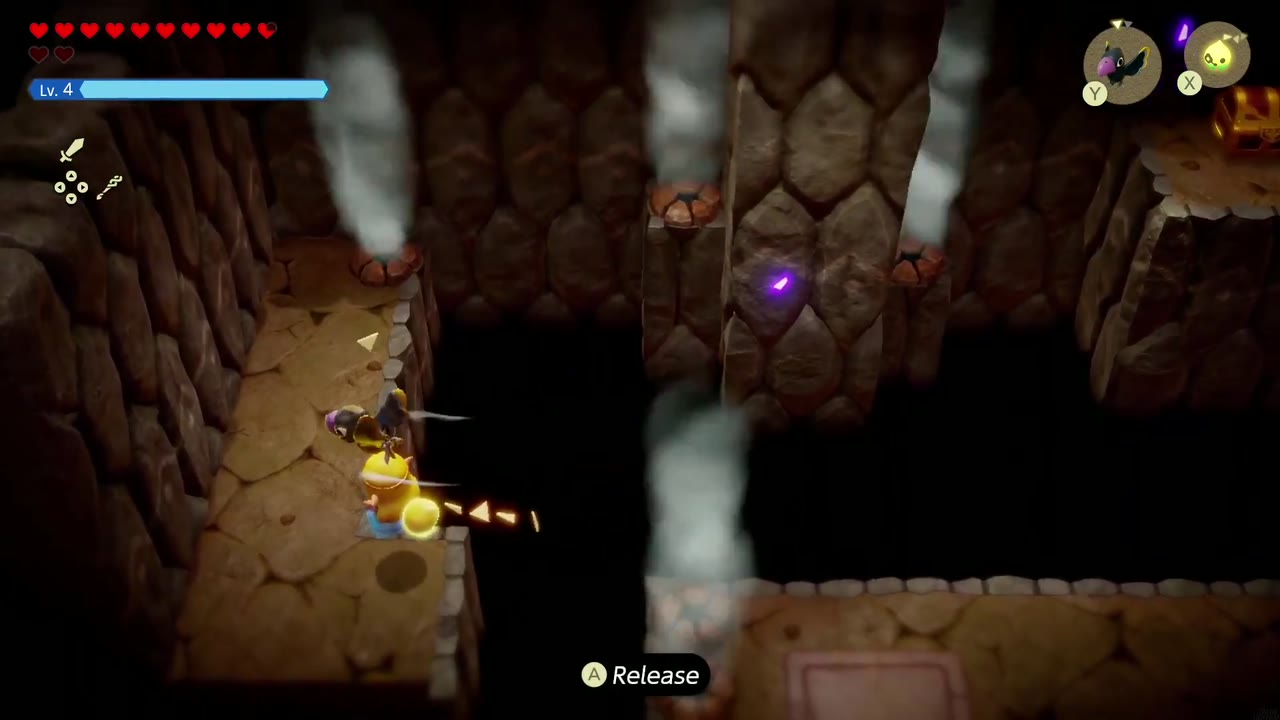
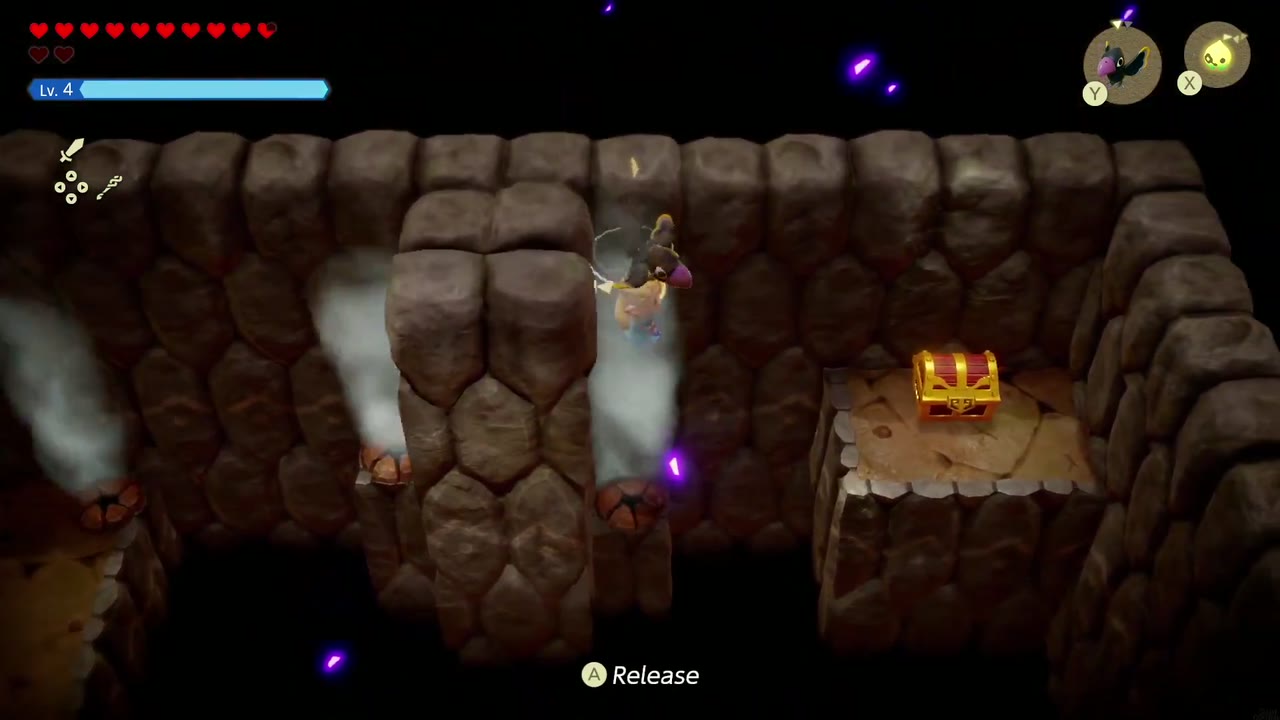
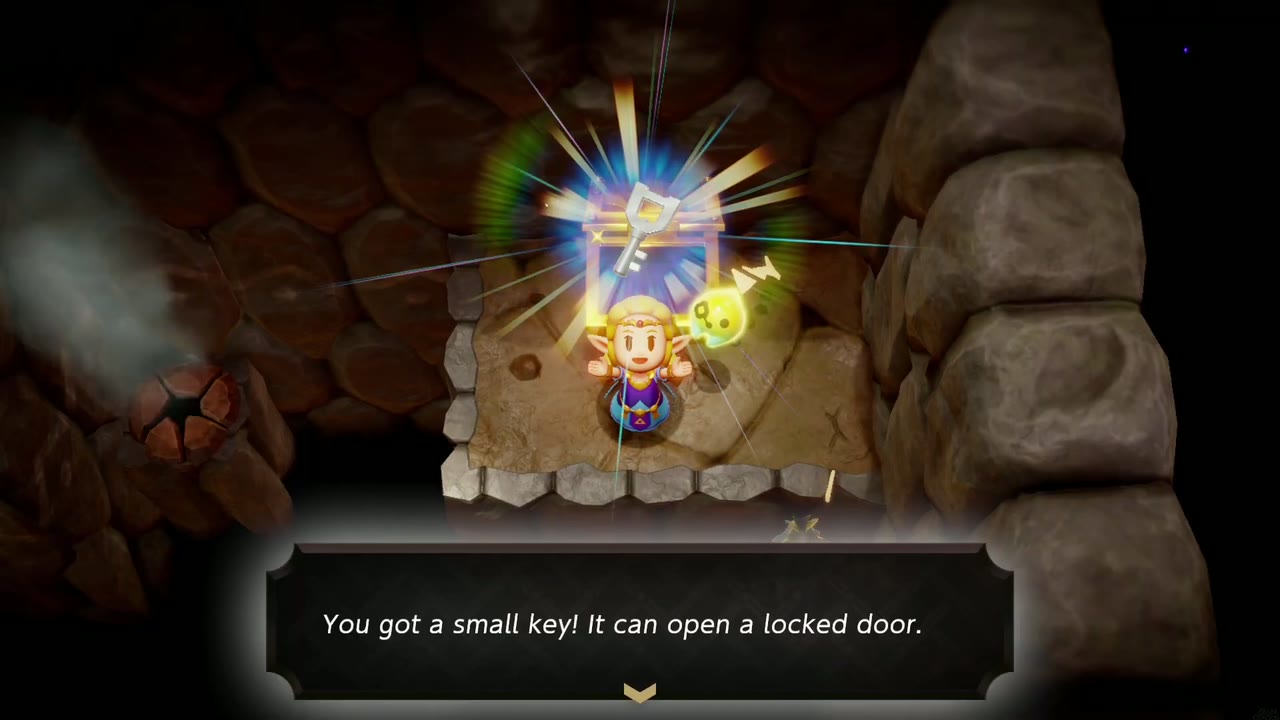
The next room is a dark pit full of steam vents. Summon a Crow, hold it overhead, and float from vent to vent to the chest on the far-right ledge, which holds the first Small Key.
The Flooding Room and the Golden Egg
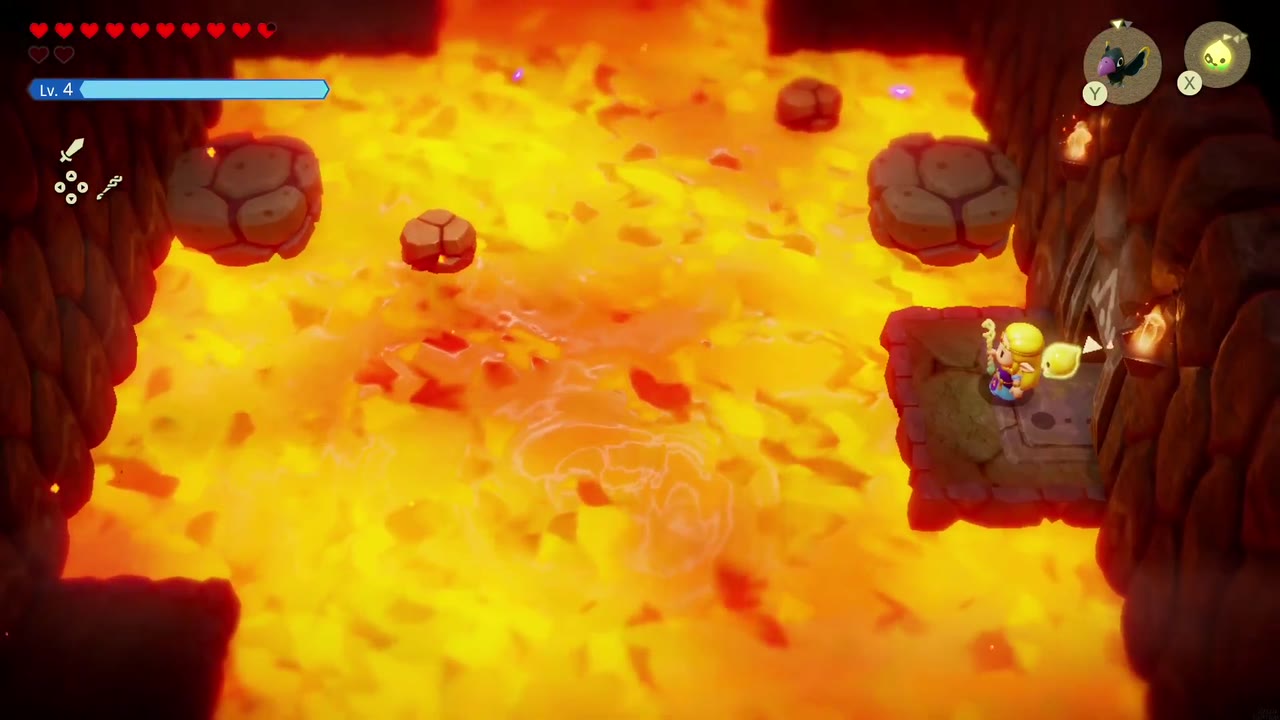
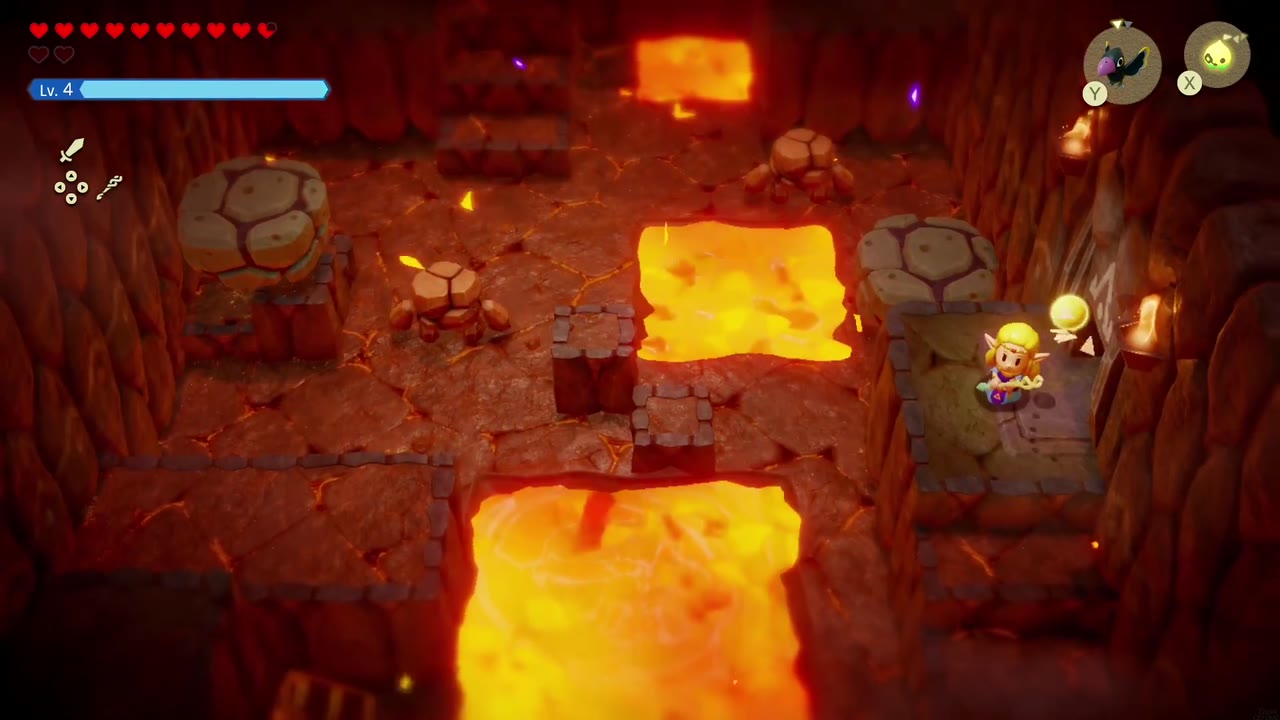
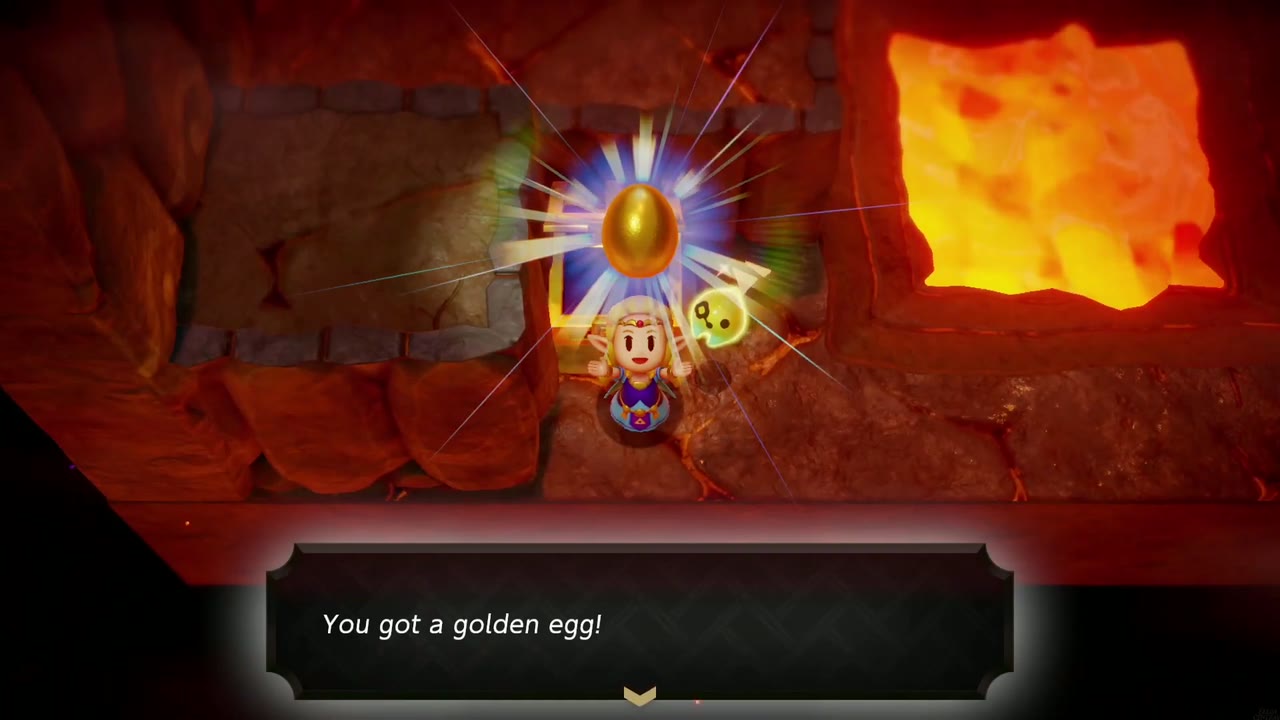
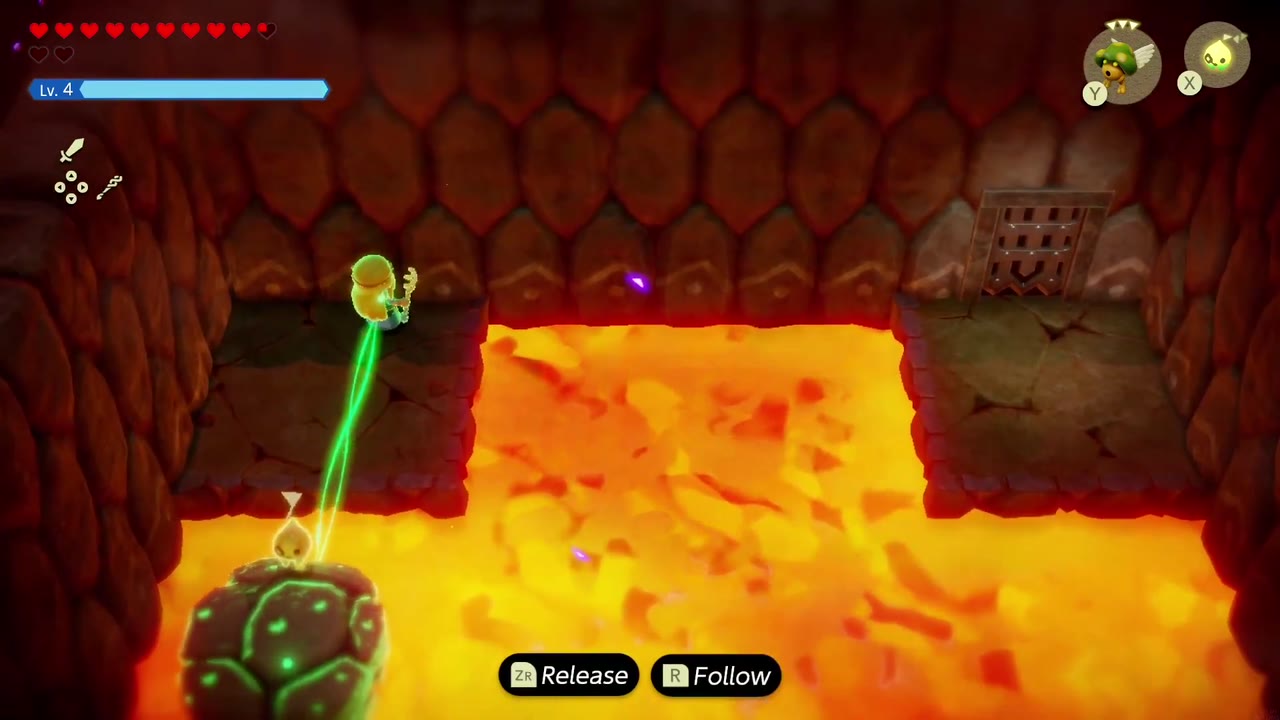
Return to the hub and unlock the left door. The room beyond floods with lava and drains again on a cycle. When it drains, drop down and open the chest in the lower-left corner for a Golden Egg. Then, from the upper-left ledge, Bind a boulder out of the lava onto that ledge; with the boulder in place, the barred door at the top right opens. Bridge the lava to it with a row of Old Beds and go through.

The Second Small Key and the Dungeon Map
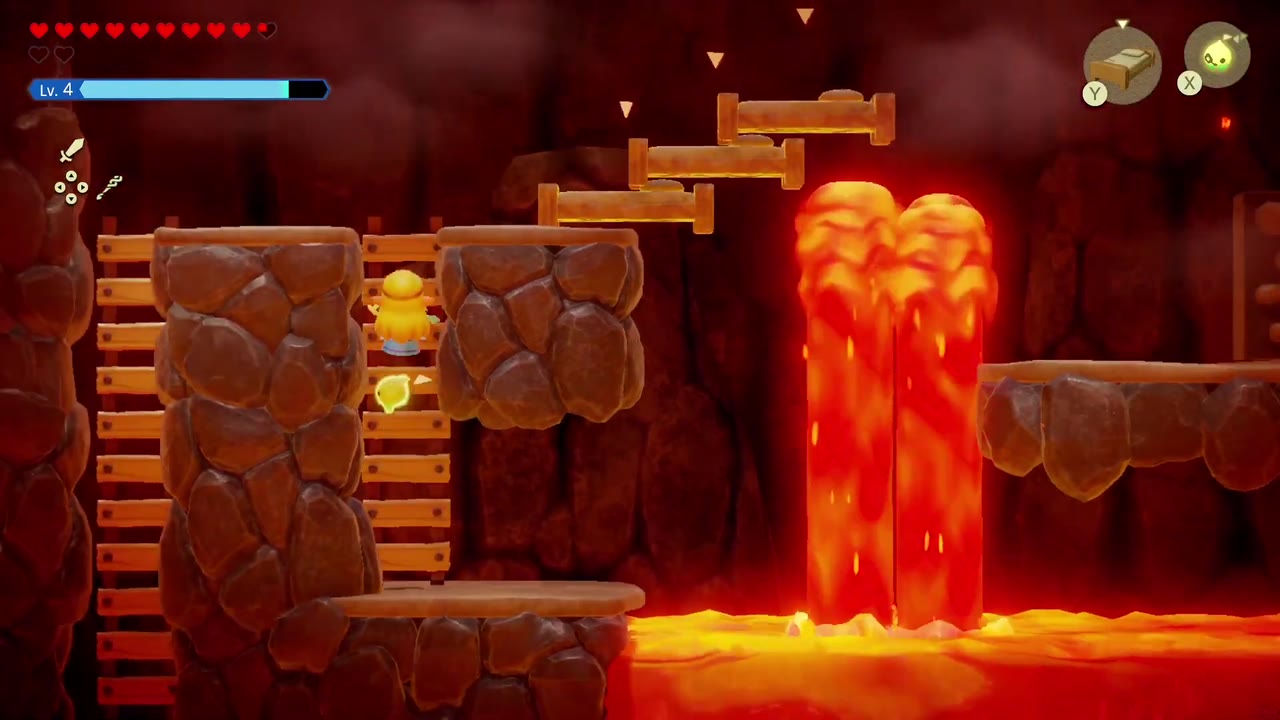
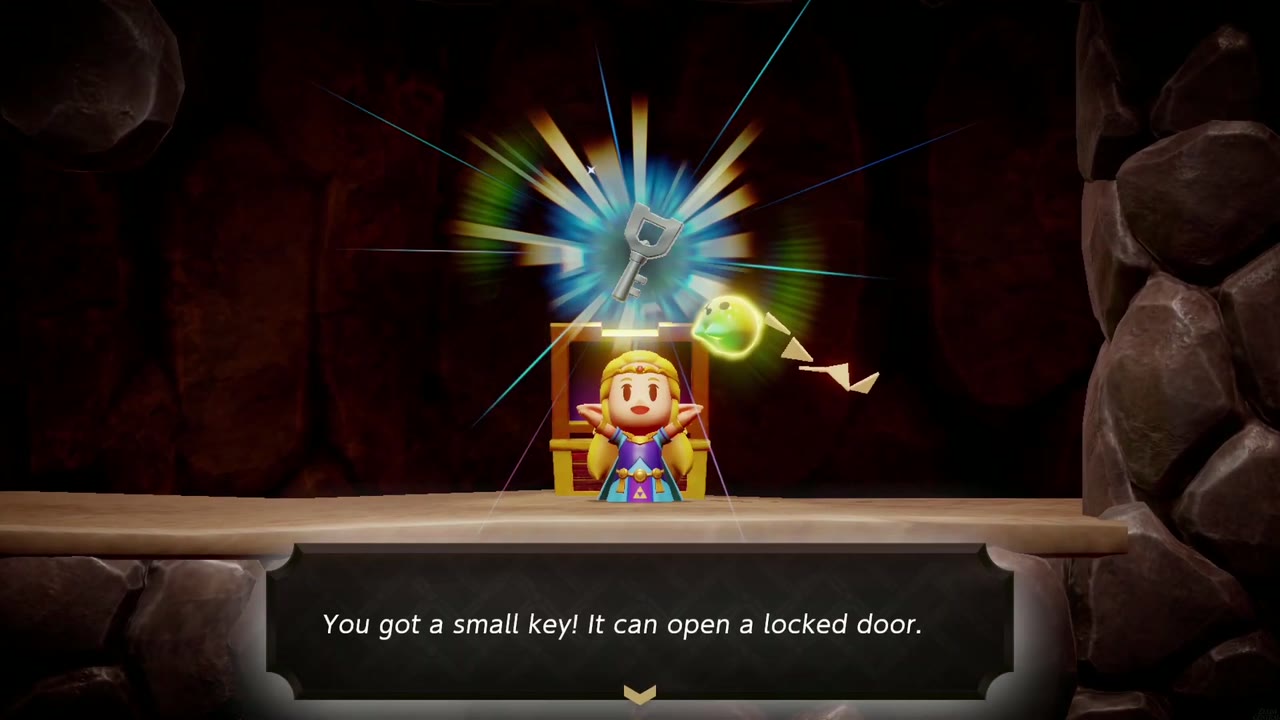
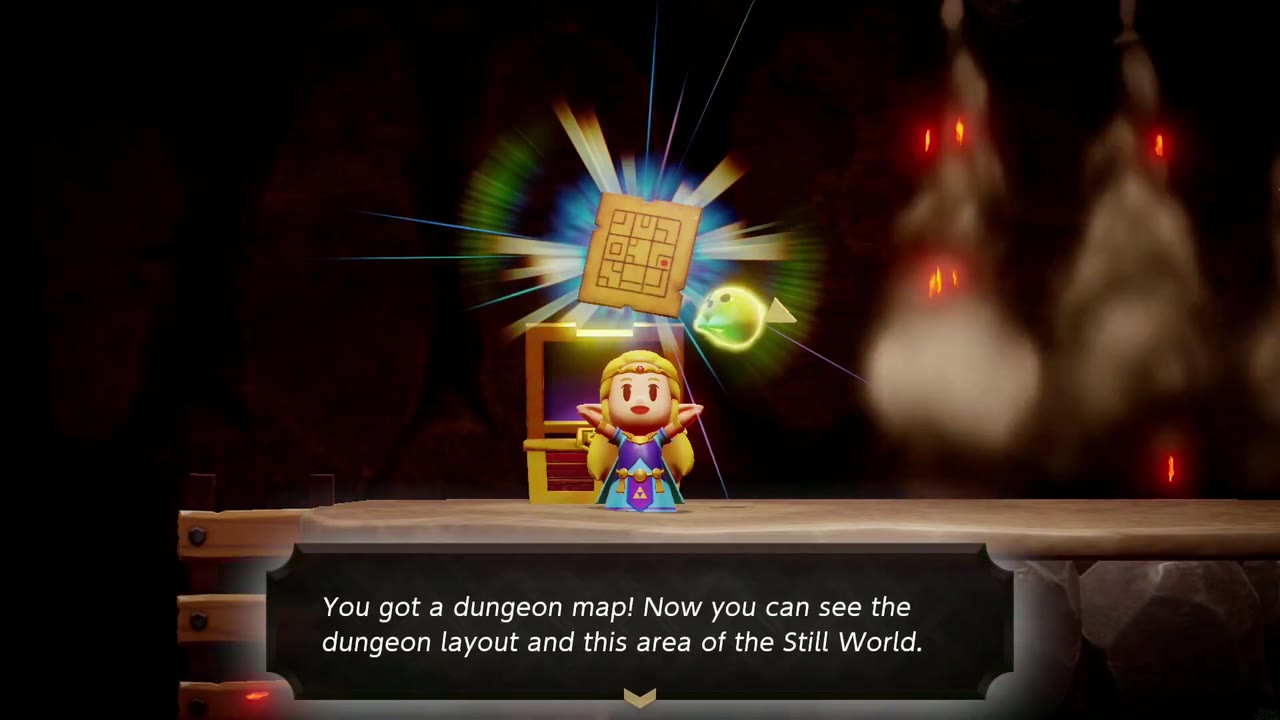
Beyond the door is a side-view cavern on 2F. Climb the ladders and Old Bed stairs beside the lavafall, then summon a Lava Rock onto the lava geyser, put an Old Bed on top, and lie on it so the eruption carries you up. Past the Fire Keese and the rising and falling lava, a chest in a dark corridor holds a second Small Key. In the steam-filled cavern after that, ride the steam on the left up to the ledge where a chest holds the Dungeon Map.

2F and the Bombs of Might
Shadow Link and the Bombs of Might
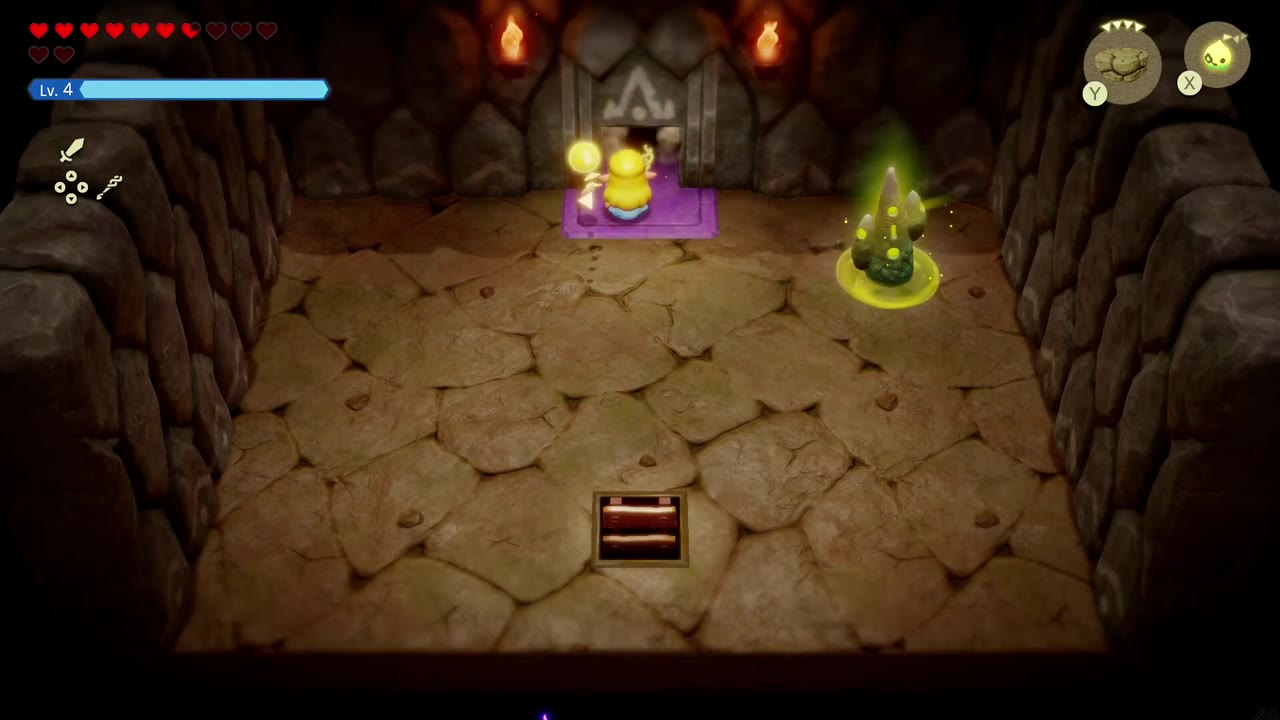
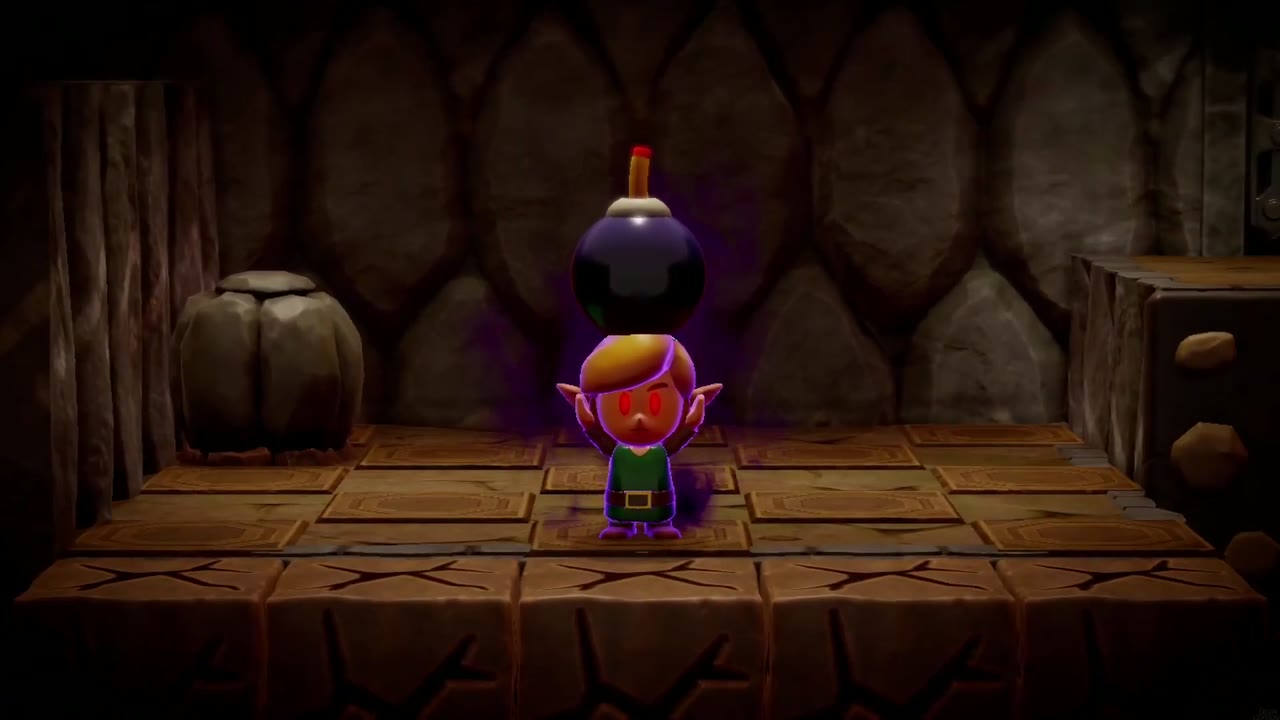
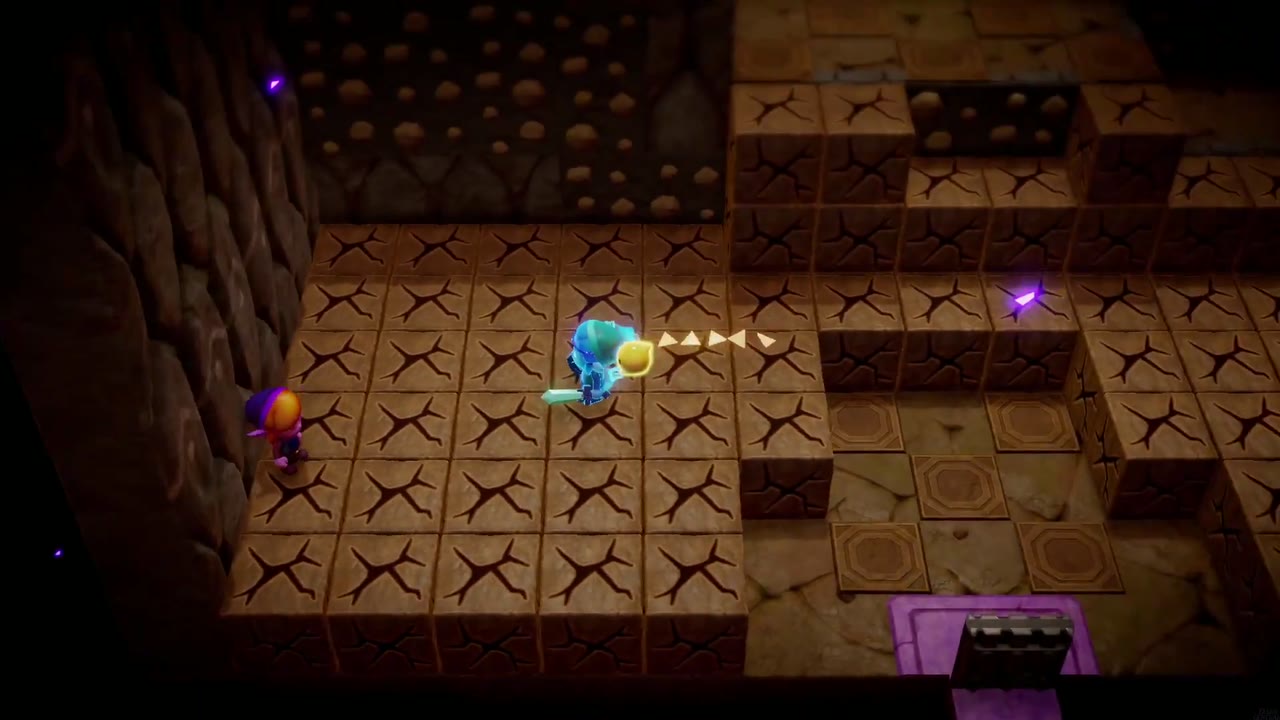
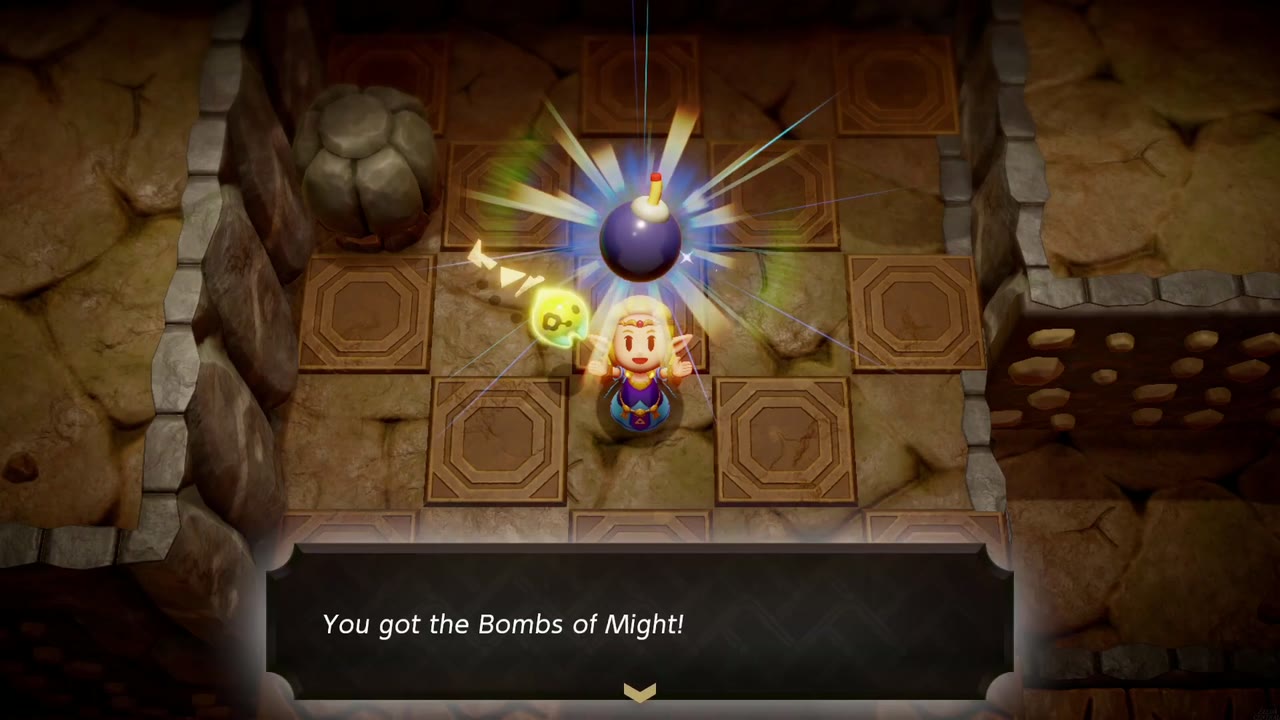
Back in the top-down rooms, grab the Refreshing Grapes, activate the Waypoint and unlock the door beside it. Step through and shadow Link drops in, this time holding a bomb overhead. He lobs bombs across the cracked-tile floor, so switch to Swordfighter Form and keep slashing at him while you dodge the blasts. Once he dissolves he leaves behind the Bombs of Might: from now on you can use bombs by pressing A in Swordfighter Form. Try them right away, because the cracked blocks in this room have to be blown apart to reach the exit past the steam vents.

The Third Small Key
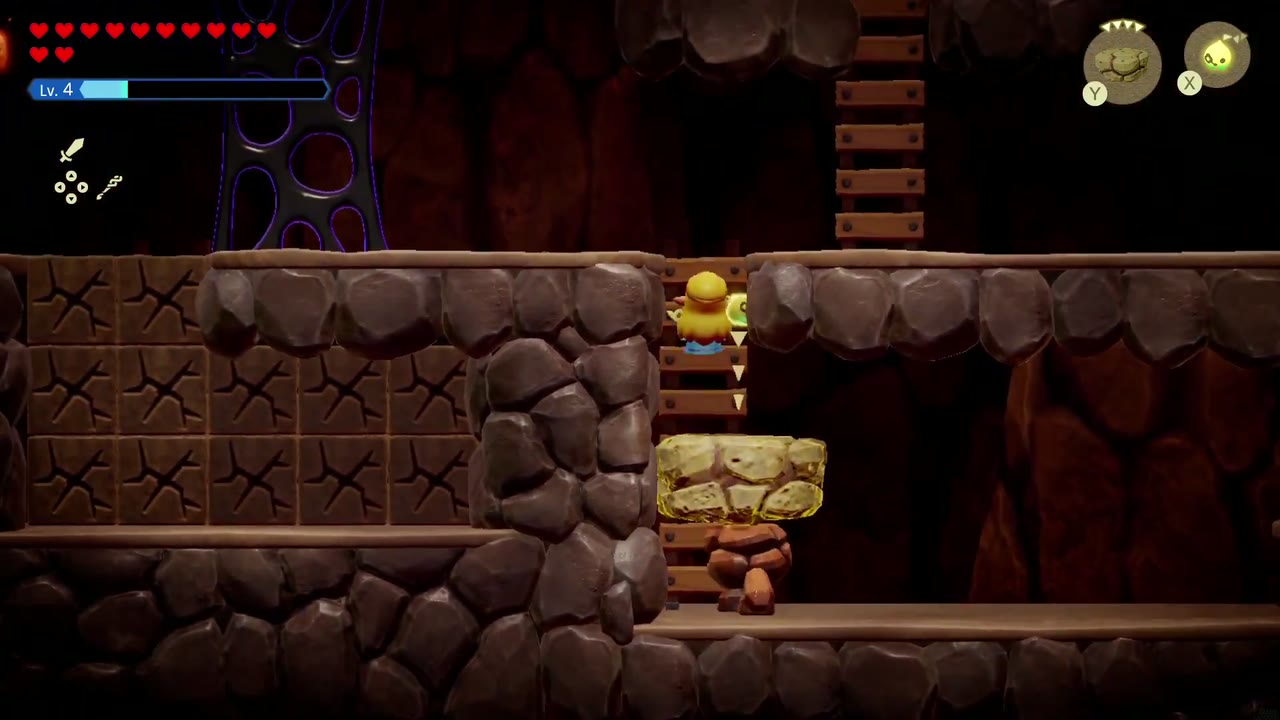
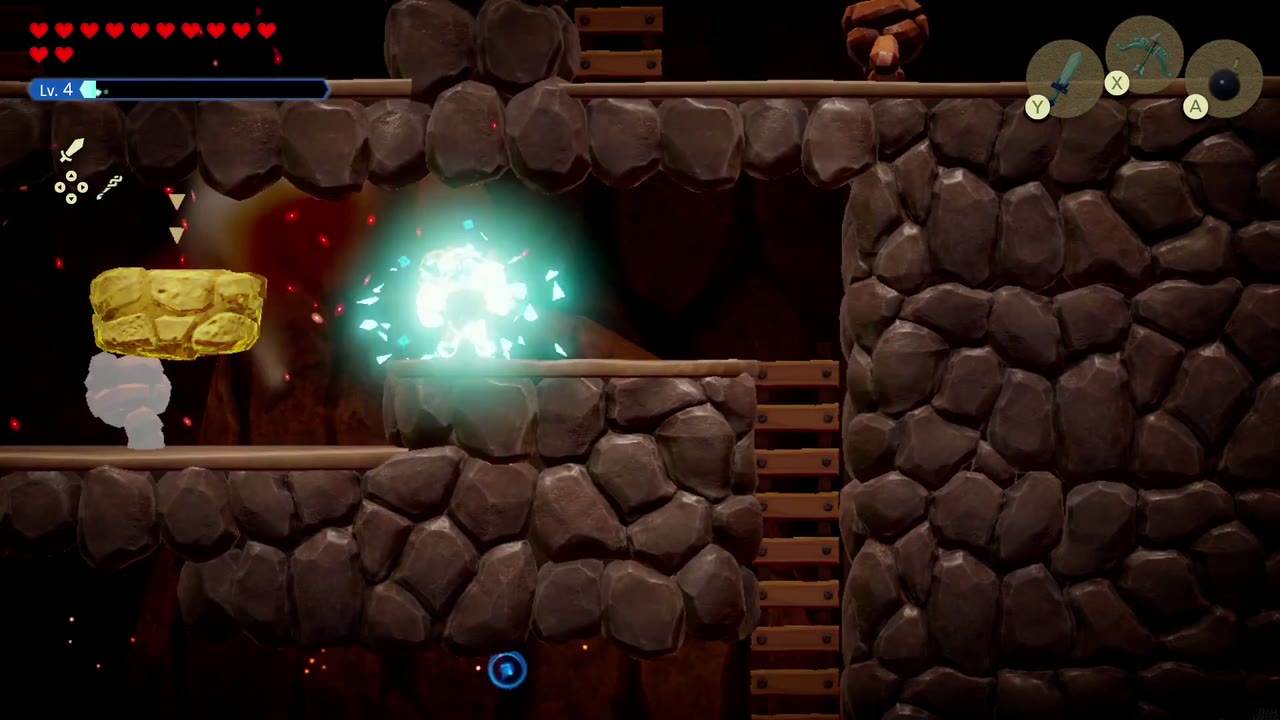
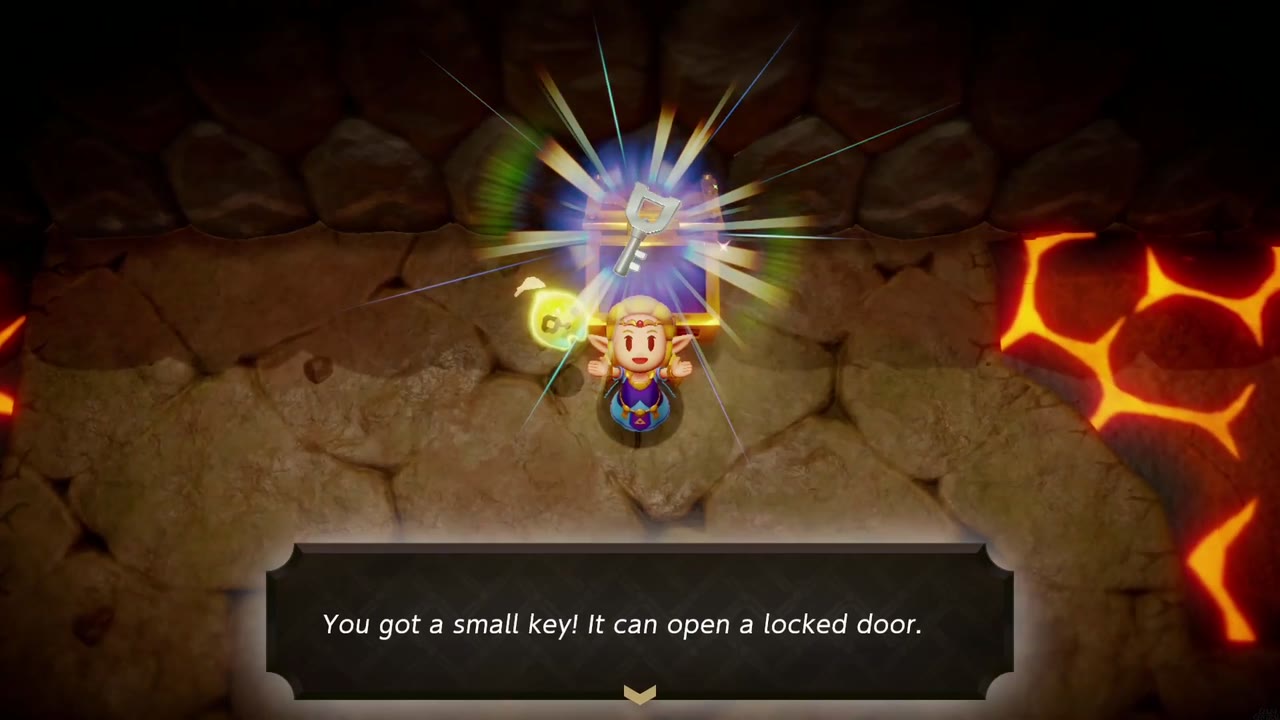
The next stretch is a side-scrolling cavern. Carry the rock blocks up to reach higher ledges, and use Swordfighter bombs or echoes on the enemies and anything breakable in the way. A chest at the far end holds a Small Key. Push on past the keyhole blocks and the ladders to a top-down room full of cracked crates. Bomb your way through them, and the chest beside the stone pillar holds 100 rupees.
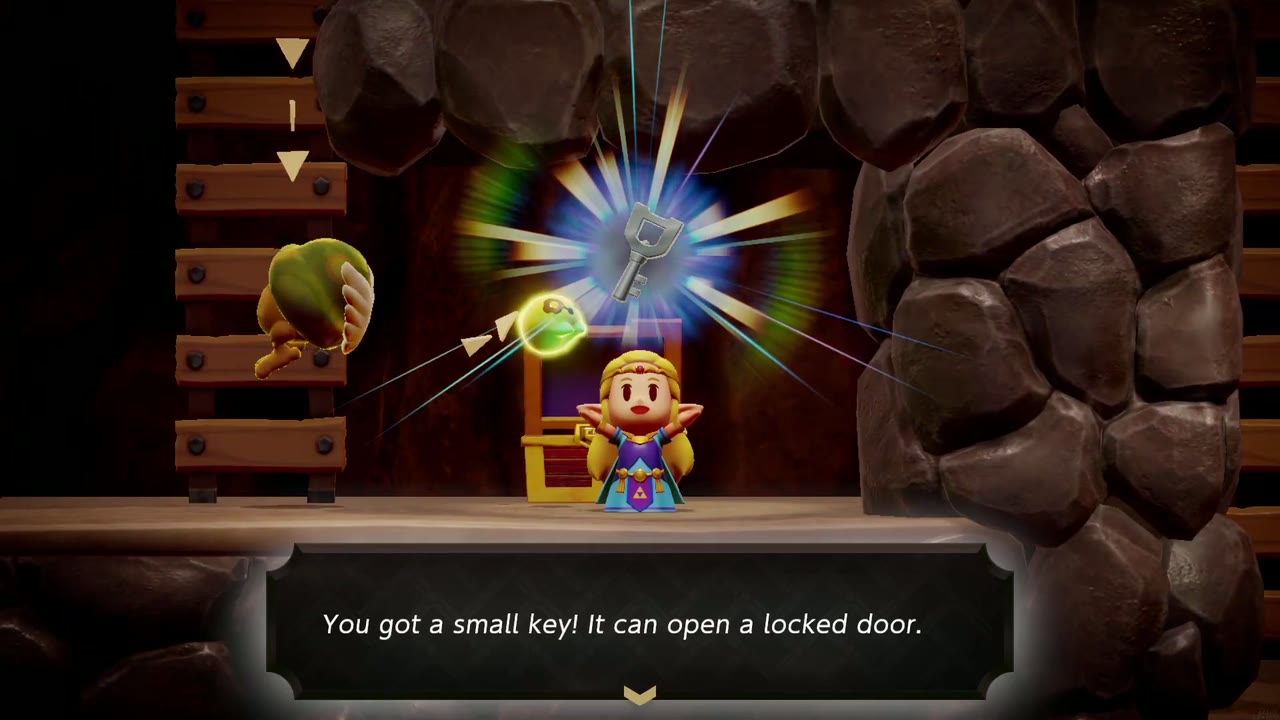


The Fire Wizzrobe Fight
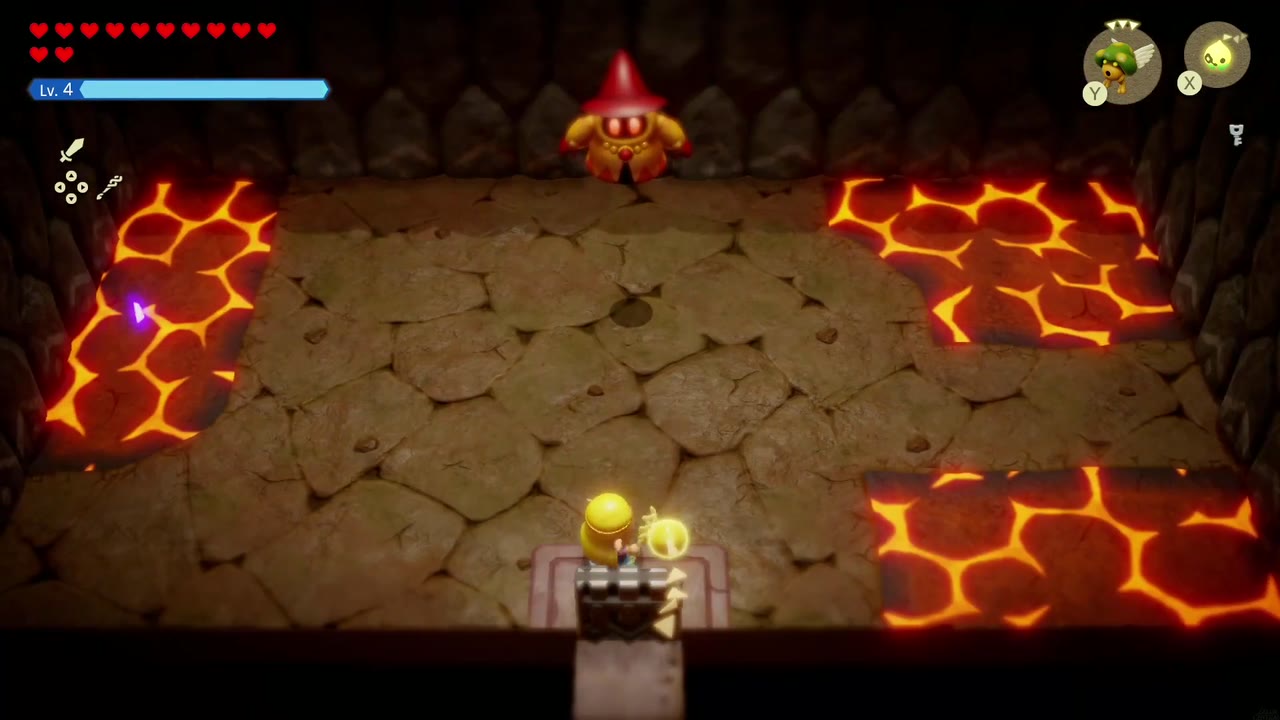
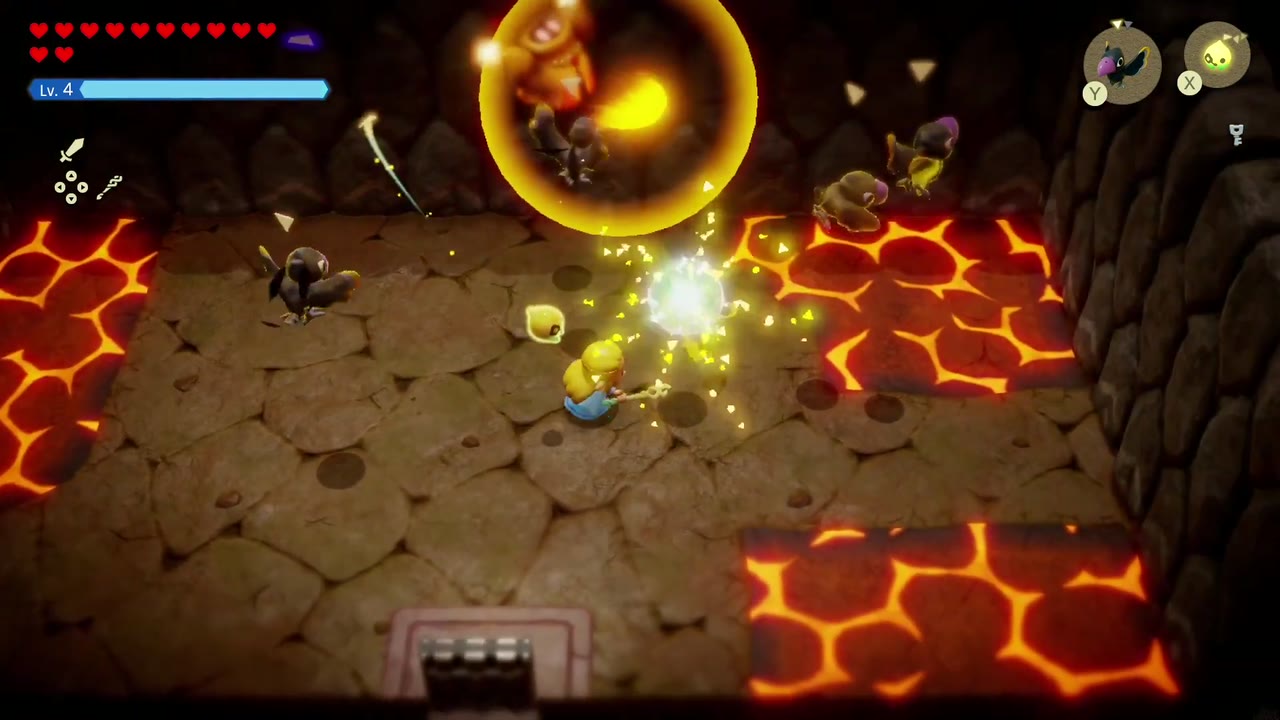
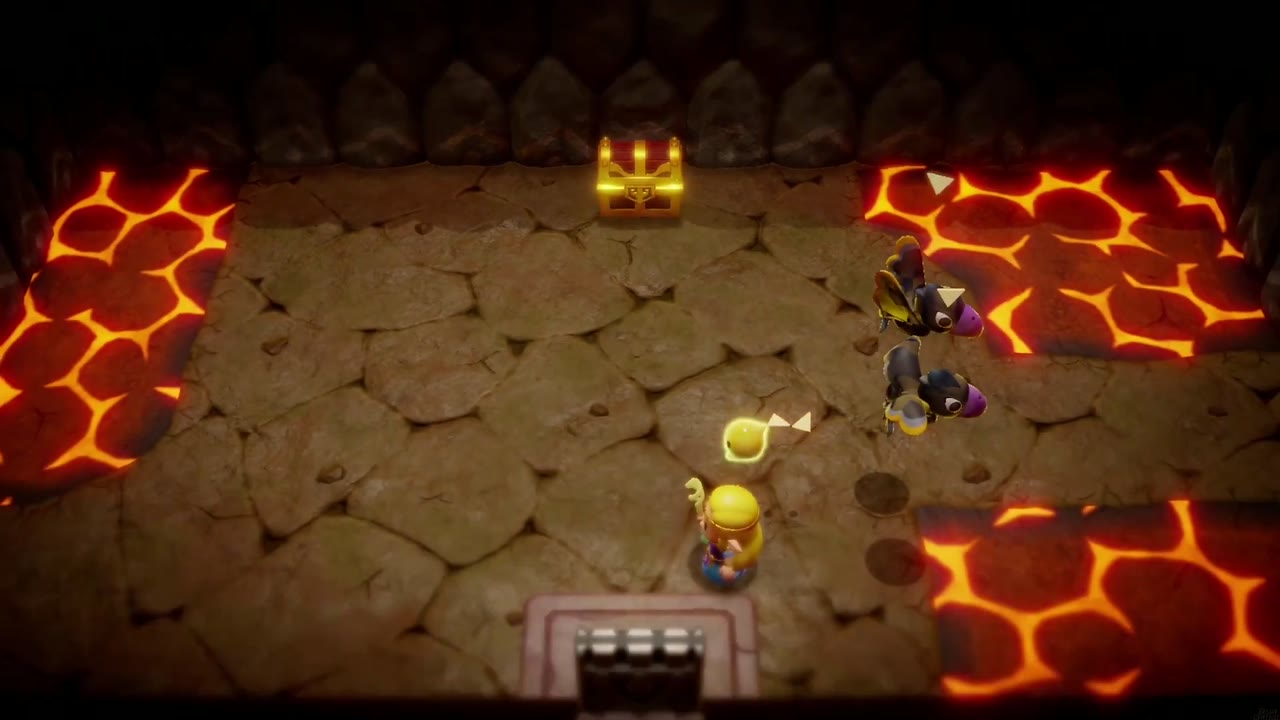
The next room is an arena ringed with lava cracks. The doors seal and a Fire Wizzrobe appears with a pack of dark enemies. It isn’t a true miniboss, just the toughest enemy in a clear-the-room fight. It flings fireballs and blinks around, so keep a couple of fighting echoes out (a Spear Moblin works well) and pick off the small enemies while the Wizzrobe reappears. Clear the room and a chest appears at the top holding another Small Key.
The Big Key and the Rising Lava
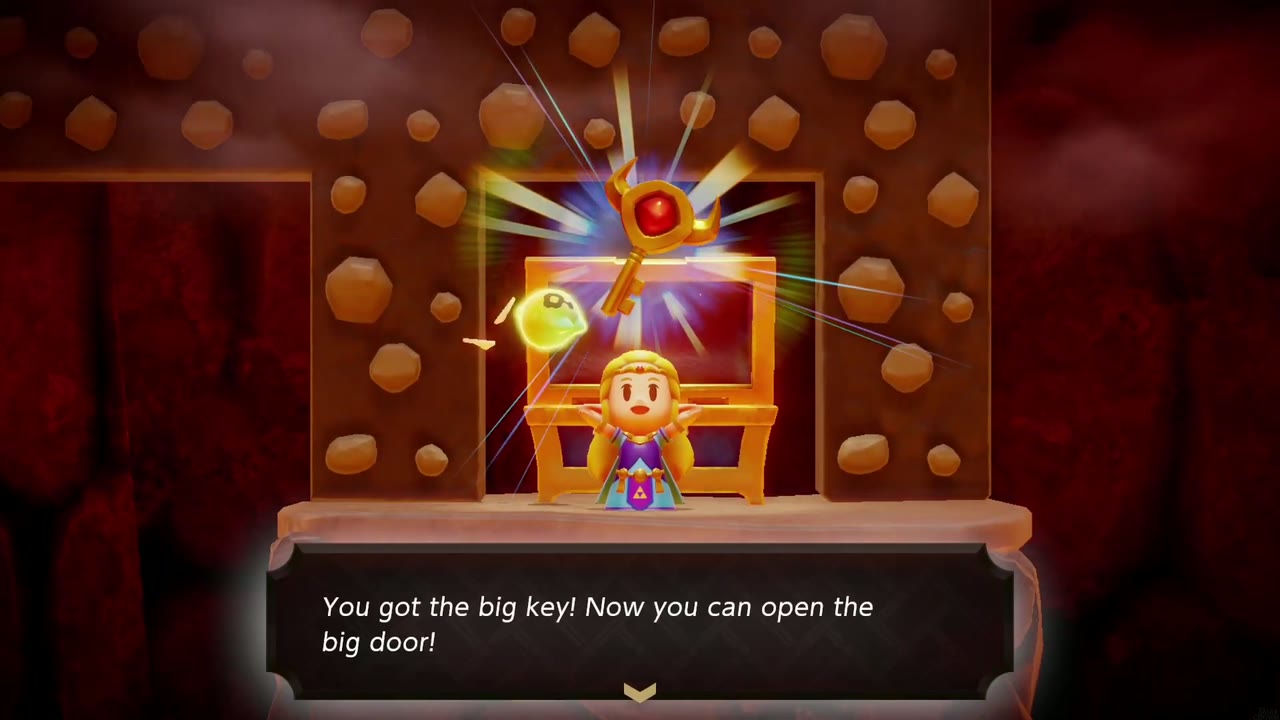
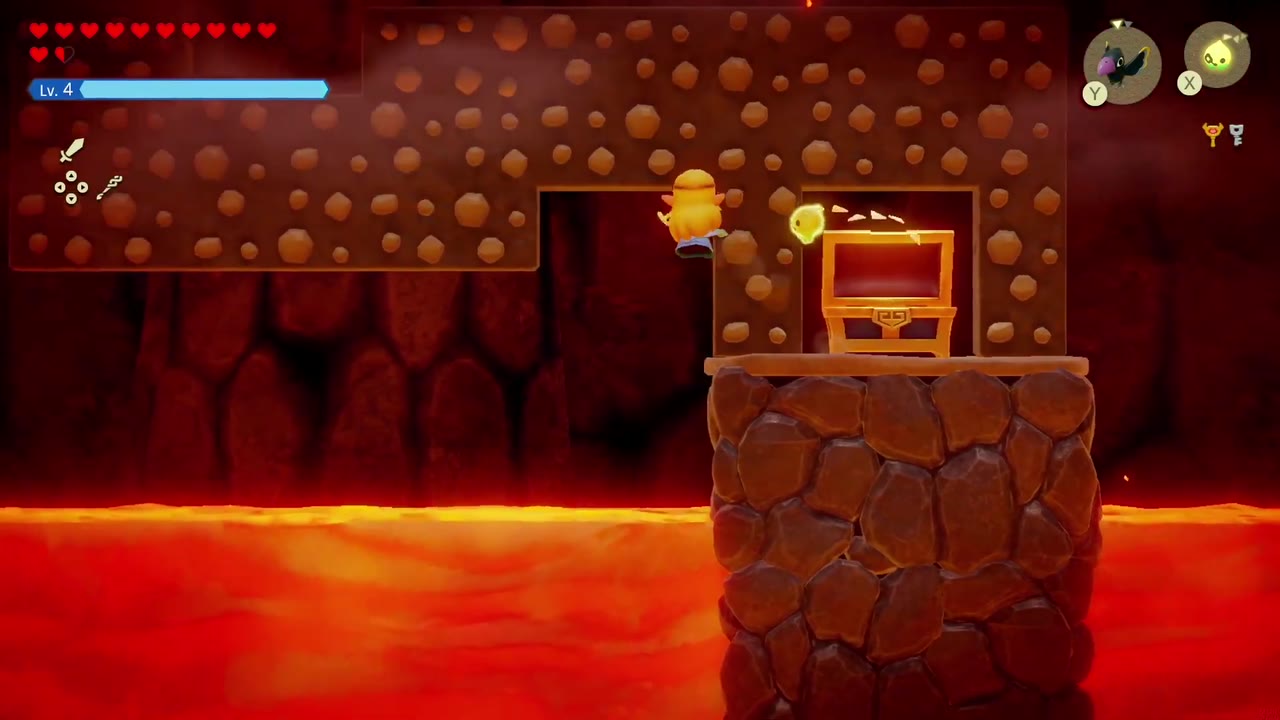
Head on through the hatch rooms, use the key on the keyhole block in the short side-scrolling passage, and climb up into the red cavern on 3F. Work down through it, past the Keese and Spear Moblins, to the Big Key chest in an alcove near the bottom. Opening it is a trap: the lava starts rising the moment you take the key. Don’t stop to fight. Run back across the ledges and up the ladders as fast as you can. If the lava catches you, you’re sent back to the key chest and have to grab it again. The top-down room at the top of the ladders is safety.


3F and the Lava Hall
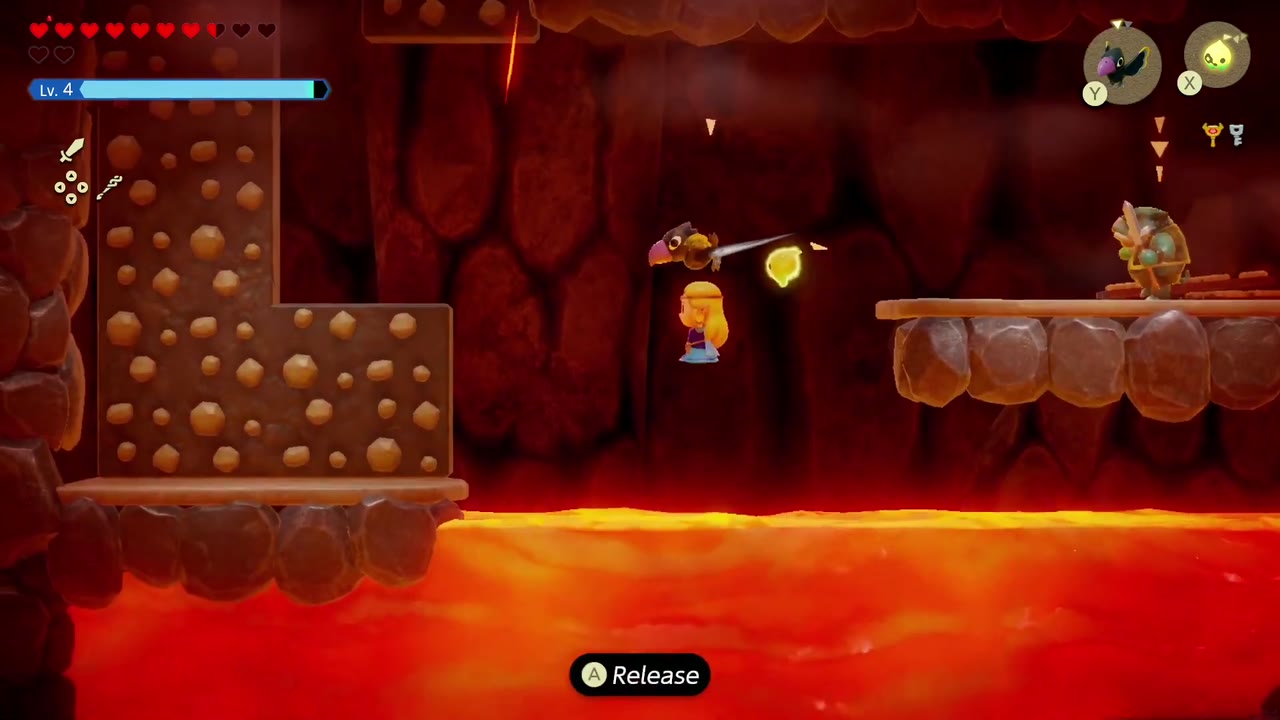
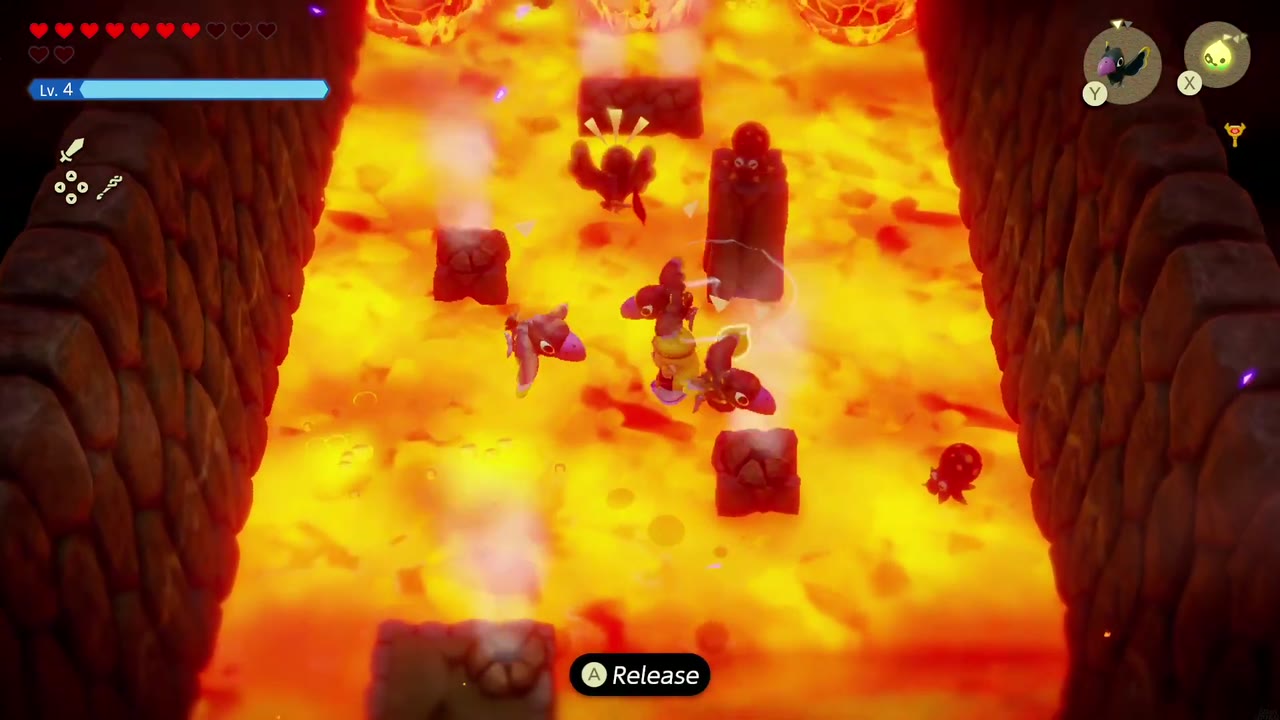
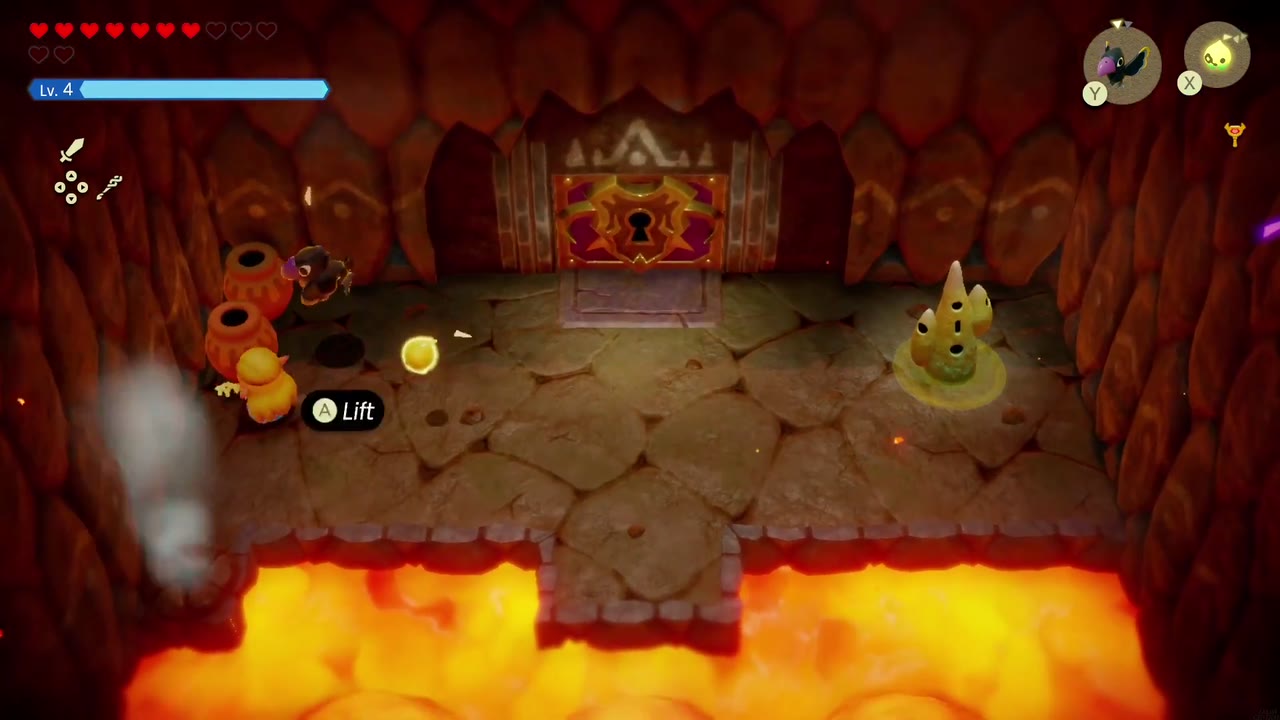
Continue to the dungeon’s last big room: a long lava hall with stone pillars and posts, steam vents and lava bubbles that burst up from below. The pots at the entrance hide a Fairy if you need one. Summon an Old Bed to bridge from the ledge to the first stone pillar. Then grab a Crow echo and let it carry you over the lava from post to post, fending off Fire Keese and Crows as you go. At the far end is a room with a Waypoint (activate it) and the boss door. Open it with the Big Key.



Boss: Volvagia
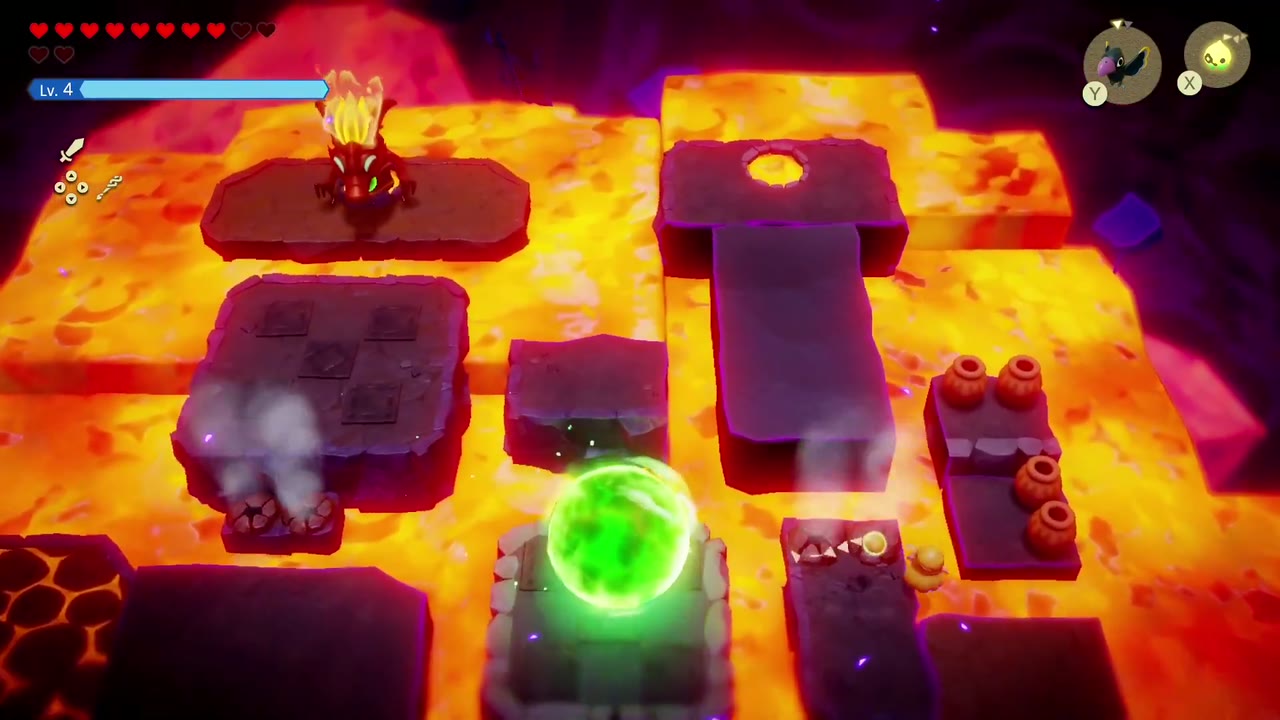
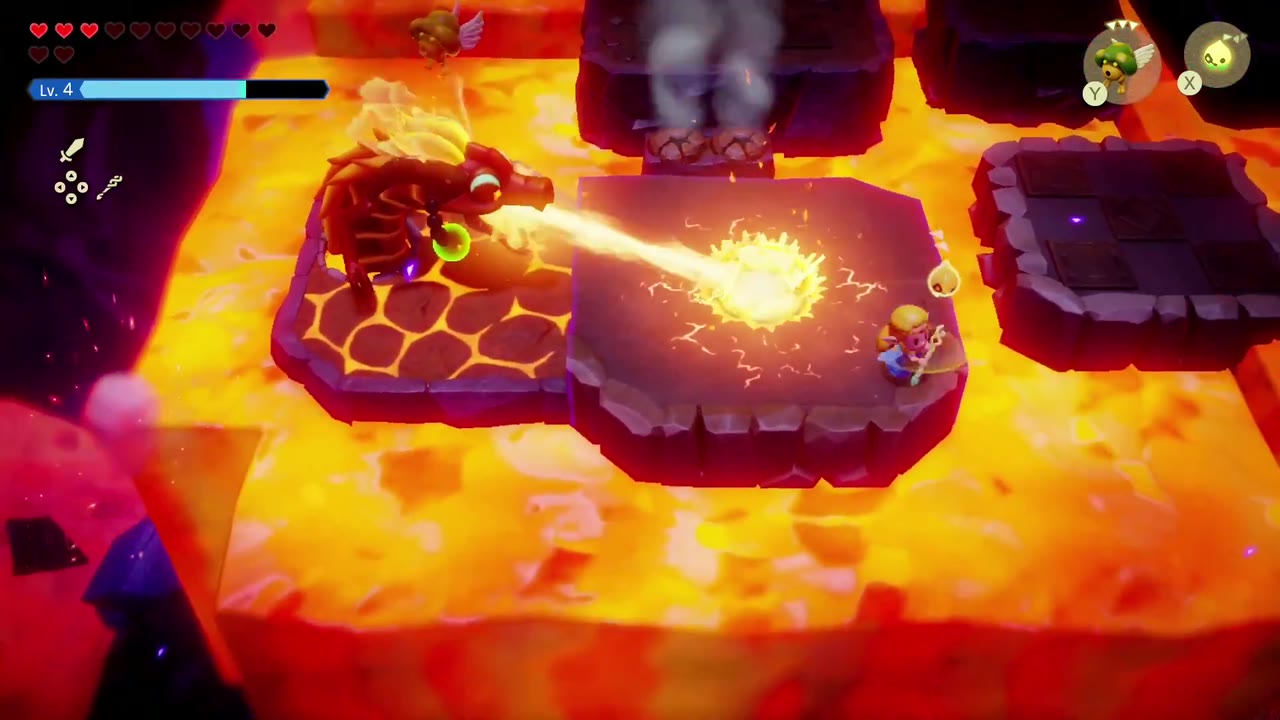
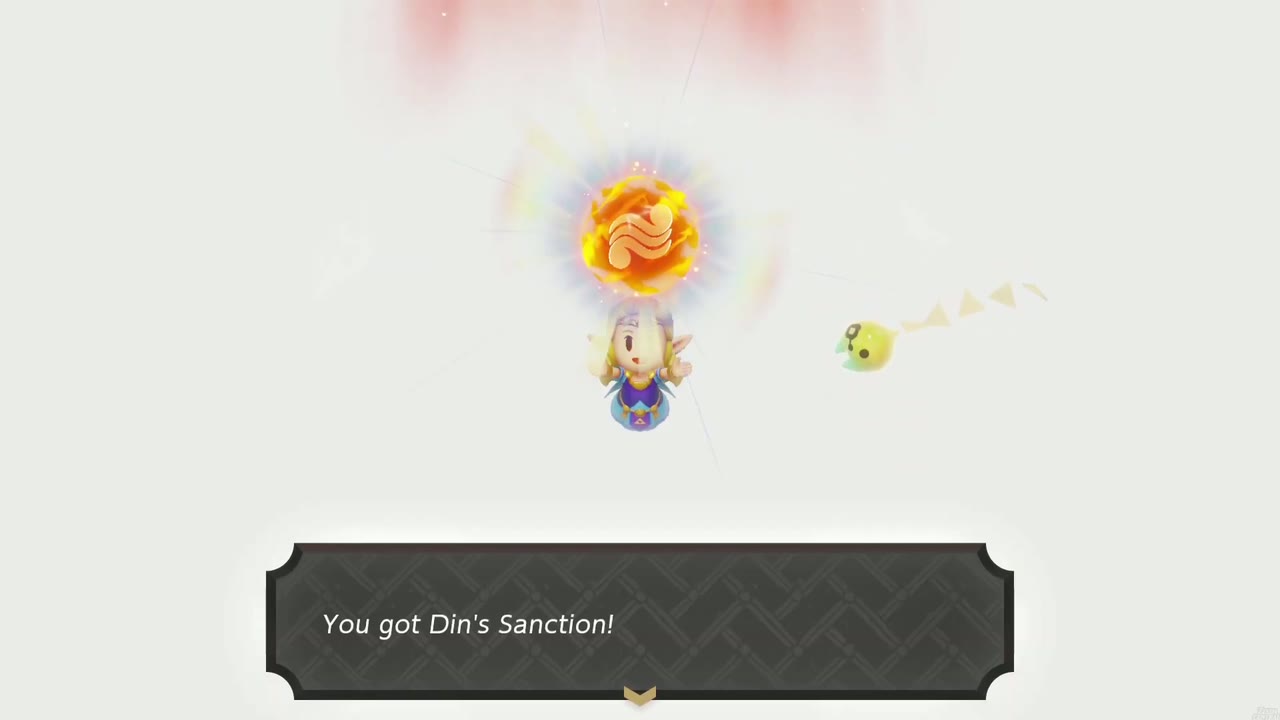
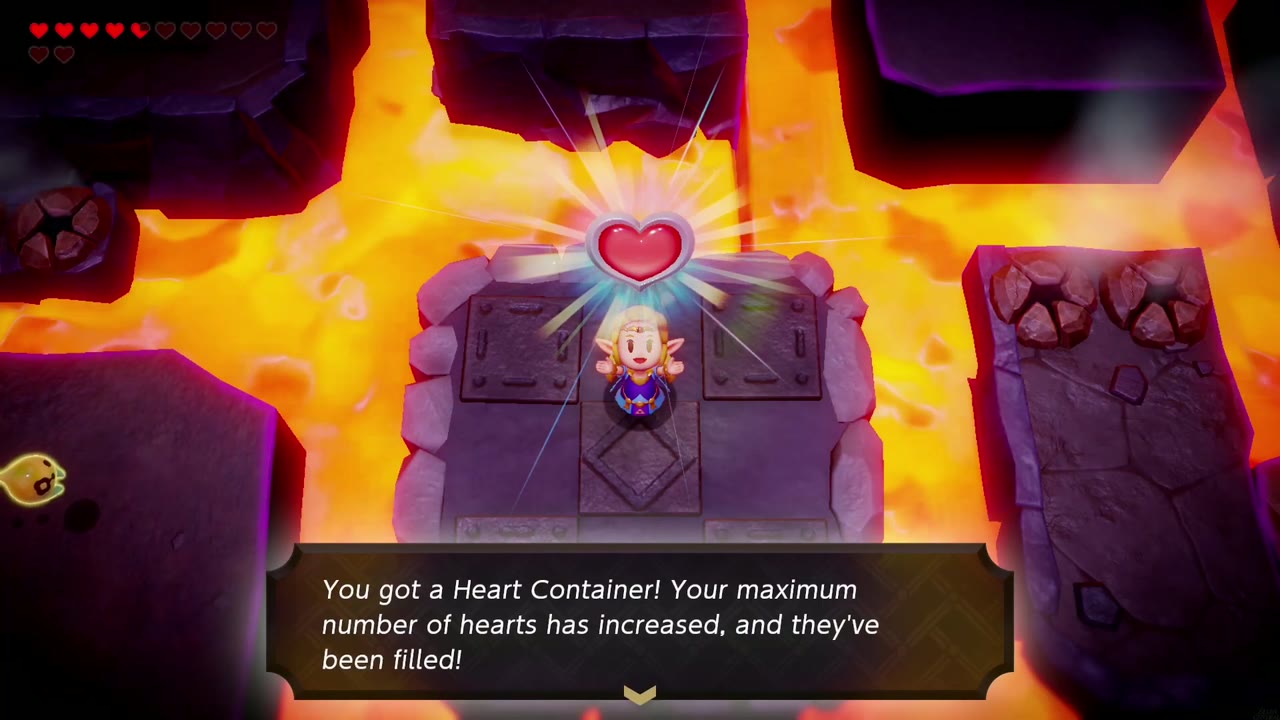
A lava dragon fought across stone platforms over lava. It surfaces from round lava holes and cracked patches in the platforms, and its weak point is the green orb on its neck. Its attacks are big bouncing green orbs, sweeps of its long body across the arena, and a fire beam that sets a whole platform ablaze, so keep moving between platforms. When its head comes to rest on a platform, close in and hit it hard; Swordfighter Form makes short work of it, and your echoes can chip in while you dodge. Rewards: 5 Might Crystals from Tri, Din’s Sanction from the goddess Din, and a Heart Container.


Faron Wetlands or Hebra Mountain Next
Two goddess regions left. This guide heads to Faron Wetlands next, but Hebra Mountain works just as well first, where a soldier is already investigating the rift.