





















Echoes of Wisdom 100% Completion Walkthrough16 chapters
- Prologueplaying as Link, escaping the castle jail, and the waterways to Suthorn Beach.
- Suthorn ForestSuthorn Beach and Village, meeting Tri, the first echoes, and mending the Suthorn Forest rift.
- Suthorn Ruinsthe first dungeon, the Shadow Link fight, and the Seismic Talus boss.
- Jabul Watersthe River and Sea Zora feud, Lord Jabu-Jabu, and Stilled Jabul Waters.
- Jabul Ruinsthe whirlpool chase, the five colored switches, and the Vocavor boss.
- Gerudo Desertthe Oasis, Gerudo Town, the desert rifts, and Cryptic Cavern.
- Gerudo Sanctumthe tribute puzzle, the Bow of Might, and the Mogryph boss.
- Hyrule Castlethe Hyrule Castle well rift, Stilled Castle Town, and the Ganon boss.
- Eldin VolcanoKakariko Village, the Eldin Volcano Trail, and saving Goron City.
- Eldin Templethe Bombs of Might, the lava hall, and the Volvagia boss.
- Faron WetlandsScrubton, Blossu’s House, and escaping the Deku Scrub Lockup.
- Faron Templethe small keys, the plant mini-boss, and the Gohma boss.
- Hebra Mountainmeeting Condé, the climb through the snow, and the Stilled Hebra Mountain rift.
- Lanayru Templefire orbs, fans and lasers, the slime mini-boss, and the Skorchill boss.
- Eternal Forestthe six Ancient Orb pedestals, the Deku Tree, and freeing Link in the Stilled Ancient Ruins.
- Null’s Bodythe final dungeon and the multi-phase fight against Null.
This page covers Jabul Ruins from its entrance to the boss, Vocavor. It picks up where Jabul Waters leaves off; that page also has the region’s collectibles checklist.
Jabul Ruins: Falling In and the Whirlpool Chase
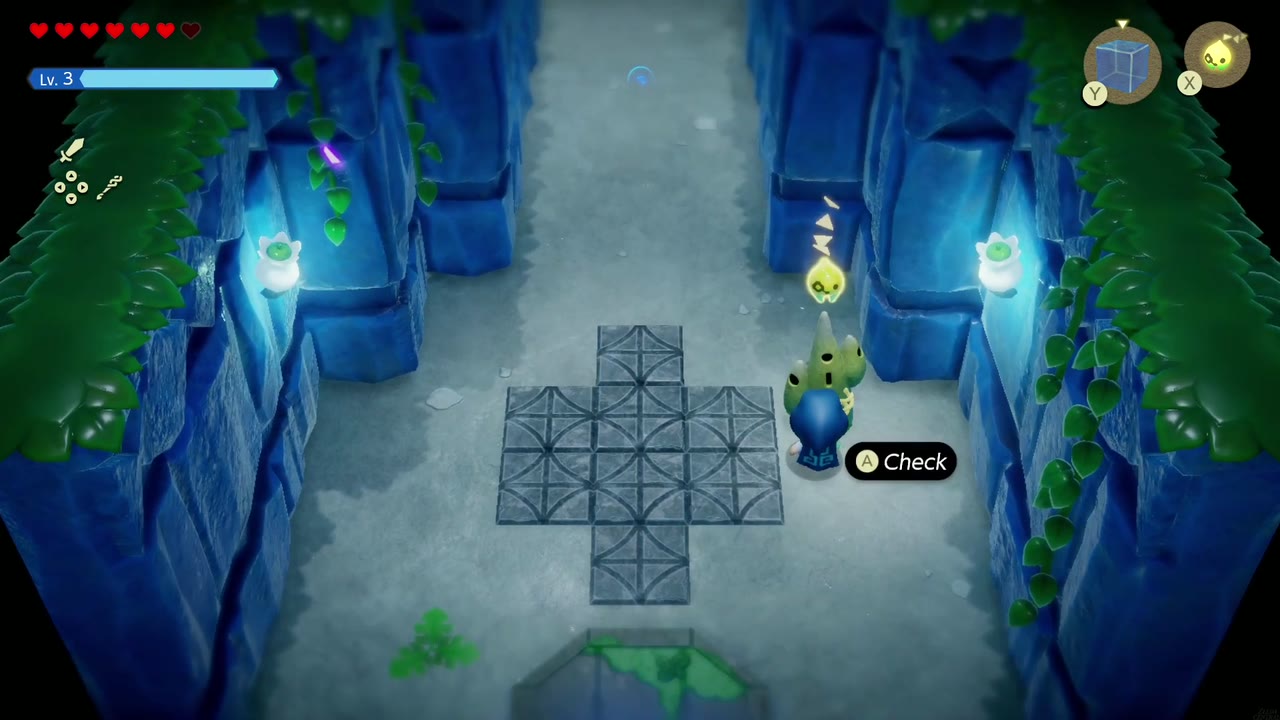
Inside the entrance hall, check the Waypoint statue on the right, then walk north up the corridor. When you step onto the cracked floor it gives way, and you drop into deep water below, which is where the dungeon really starts.

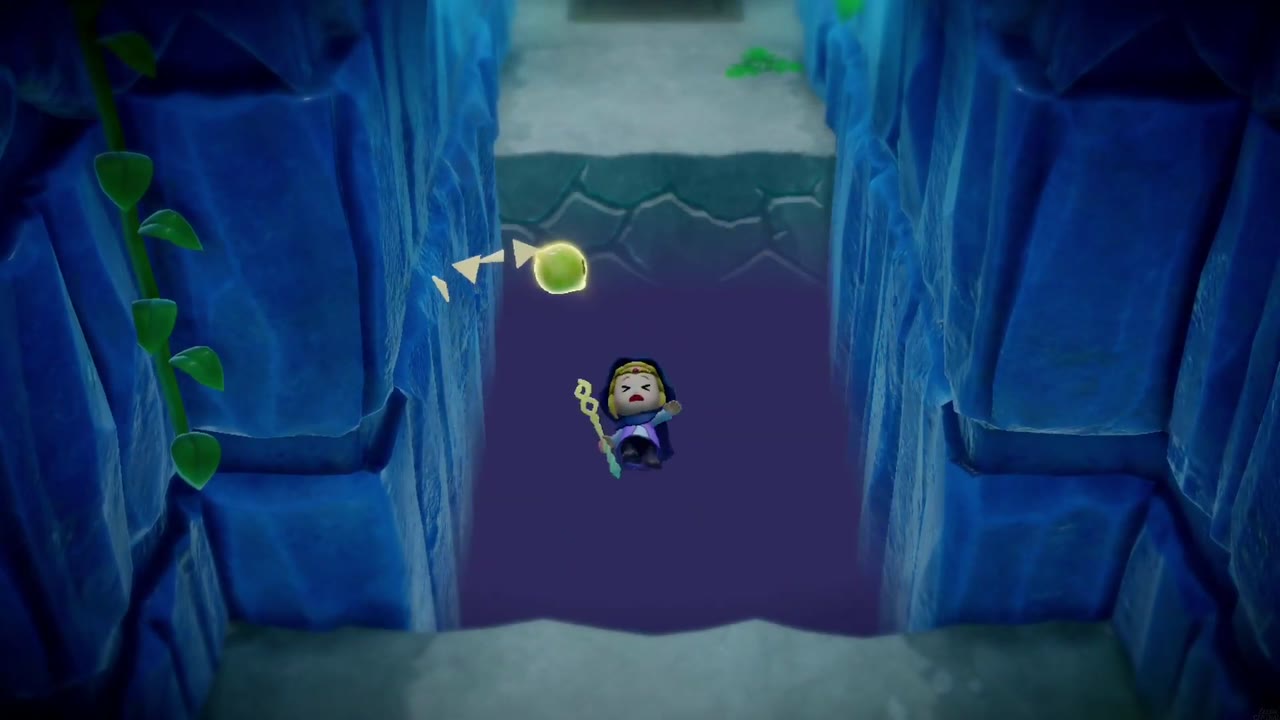

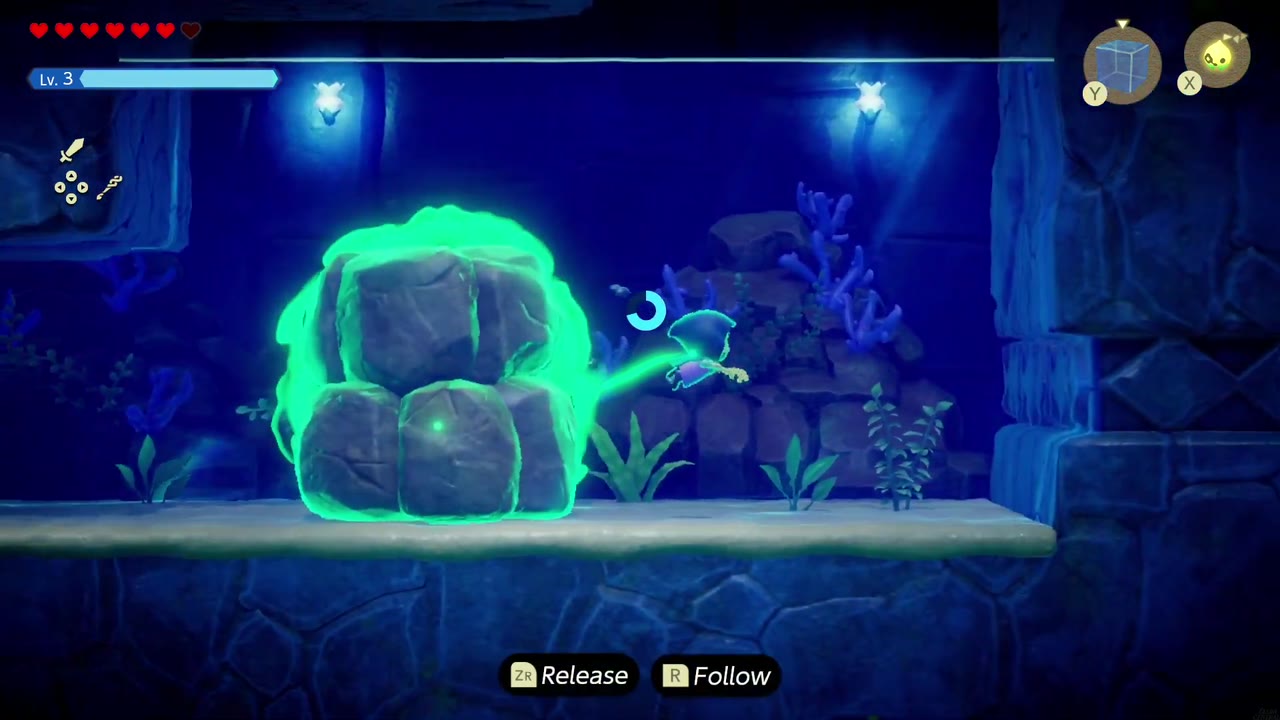
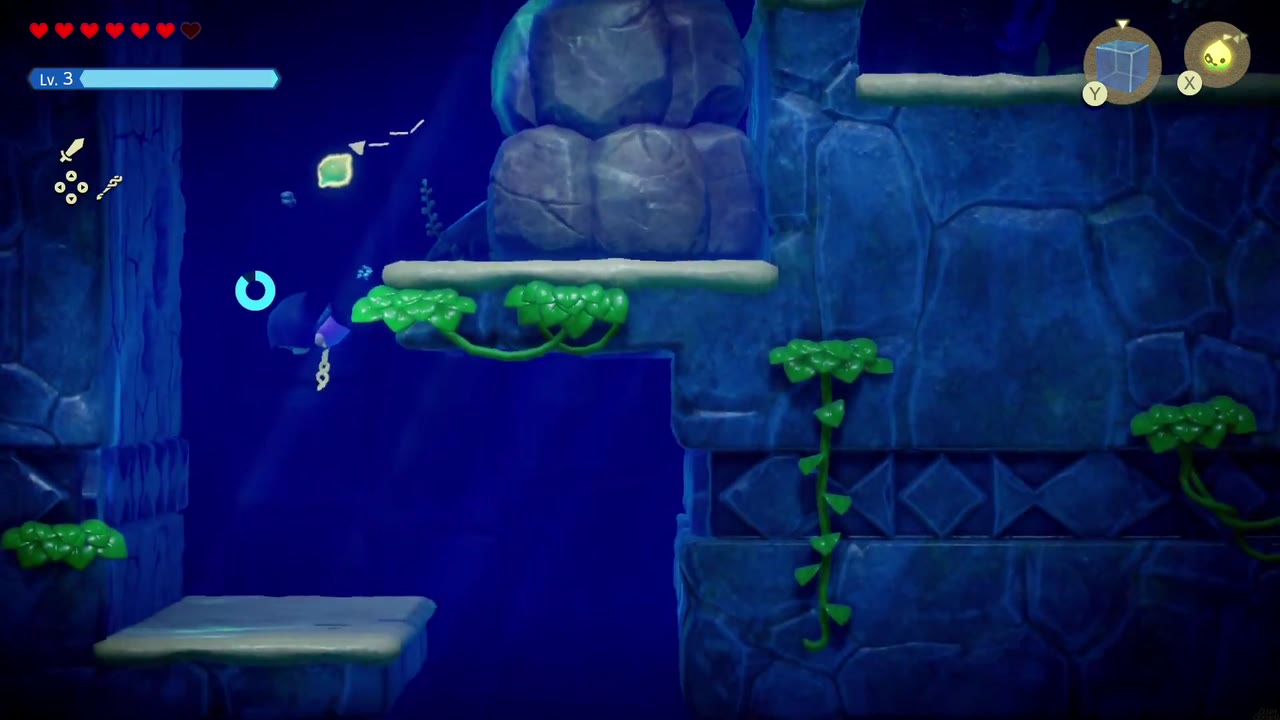
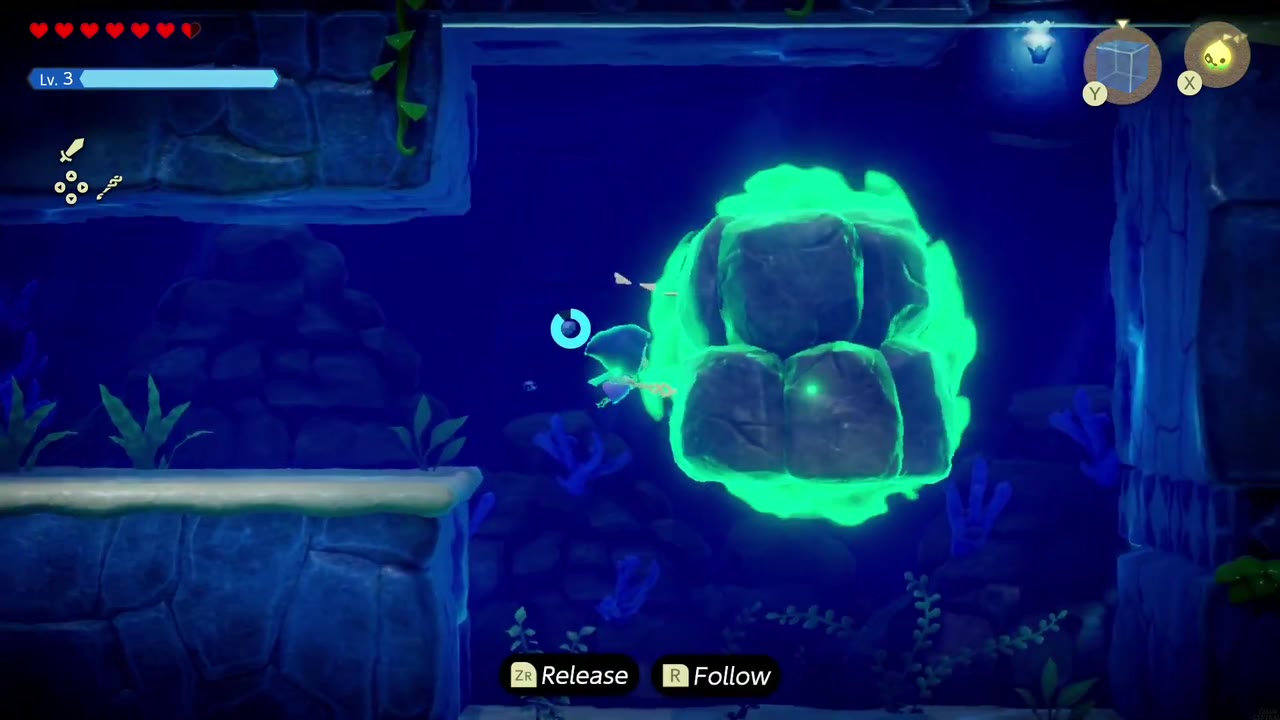
You land in a side-scrolling underwater passage; dive and swim right. A rock blocks the way, so Bind it and drag it aside. Further on, Bind the next rock at the bottom and lift it up onto the ledge above to clear the path. Keep swimming right along the bottom until a purple, crested creature appears behind you and unleashes an underwater whirlpool that chases you down the corridor. Remember this thing; it’s the dungeon boss.
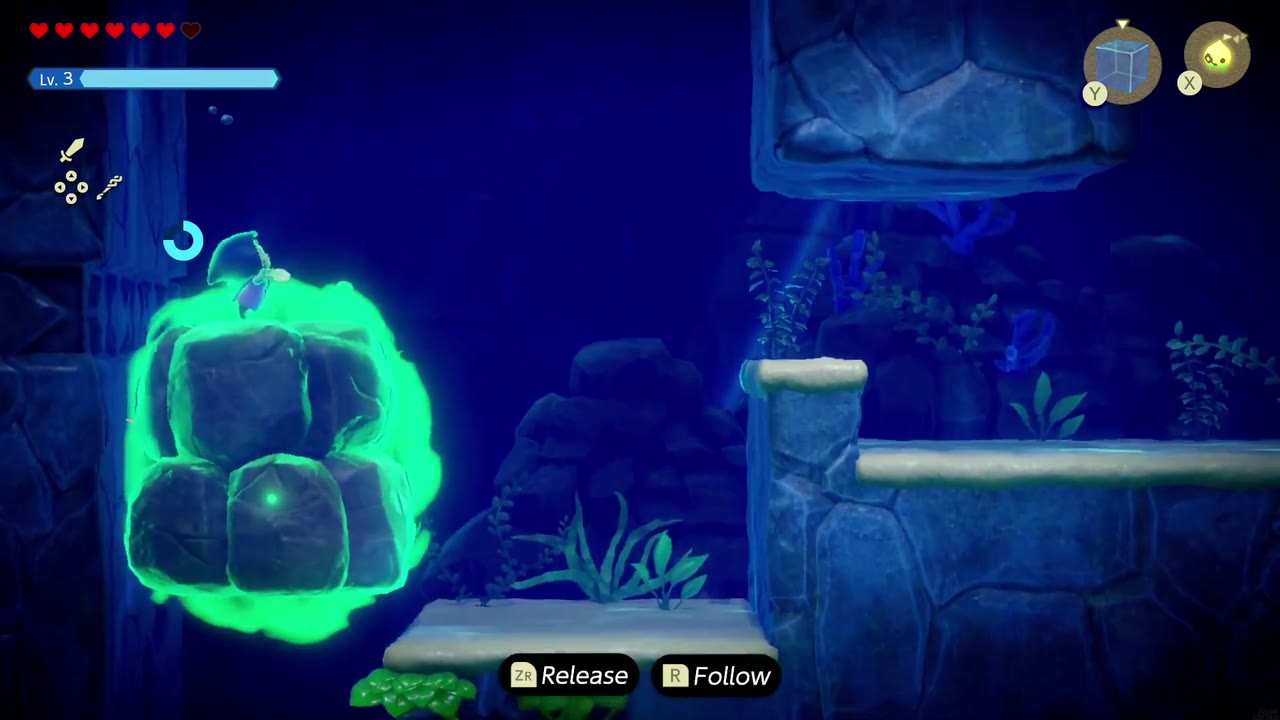
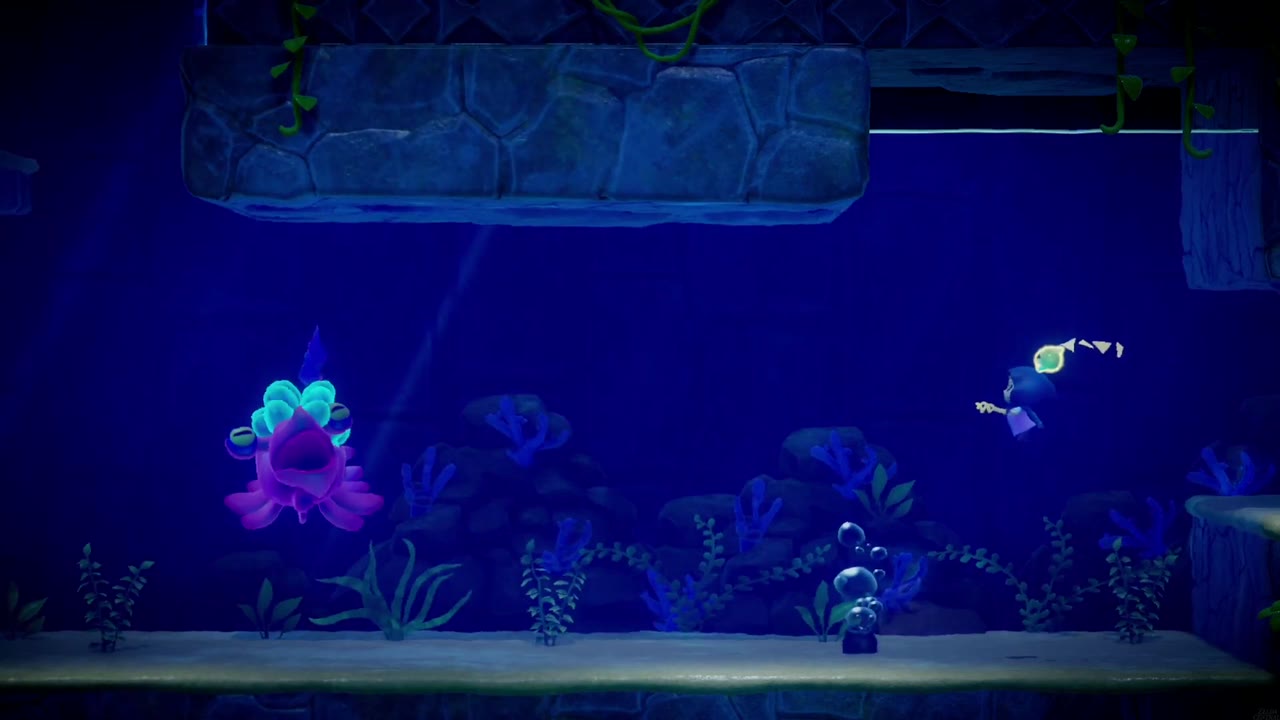
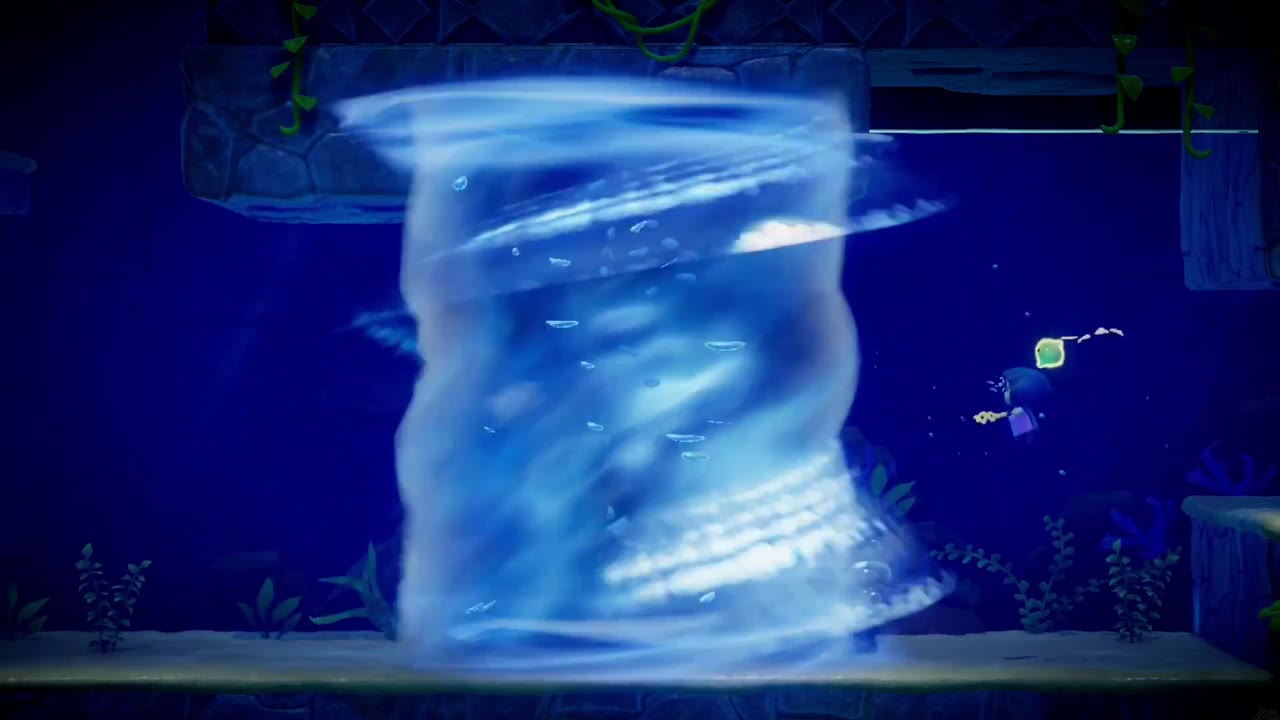
The chase is short but frantic, always fleeing right. Slip through the low gap under the first ledges, then take the high route over the stonework that follows. Keep swimming past the enemies without letting the sparking jellyfish shock you. Finally a rock blocks the escape: Bind it aside mid-flight, then swim up and right to the ladder and climb out.

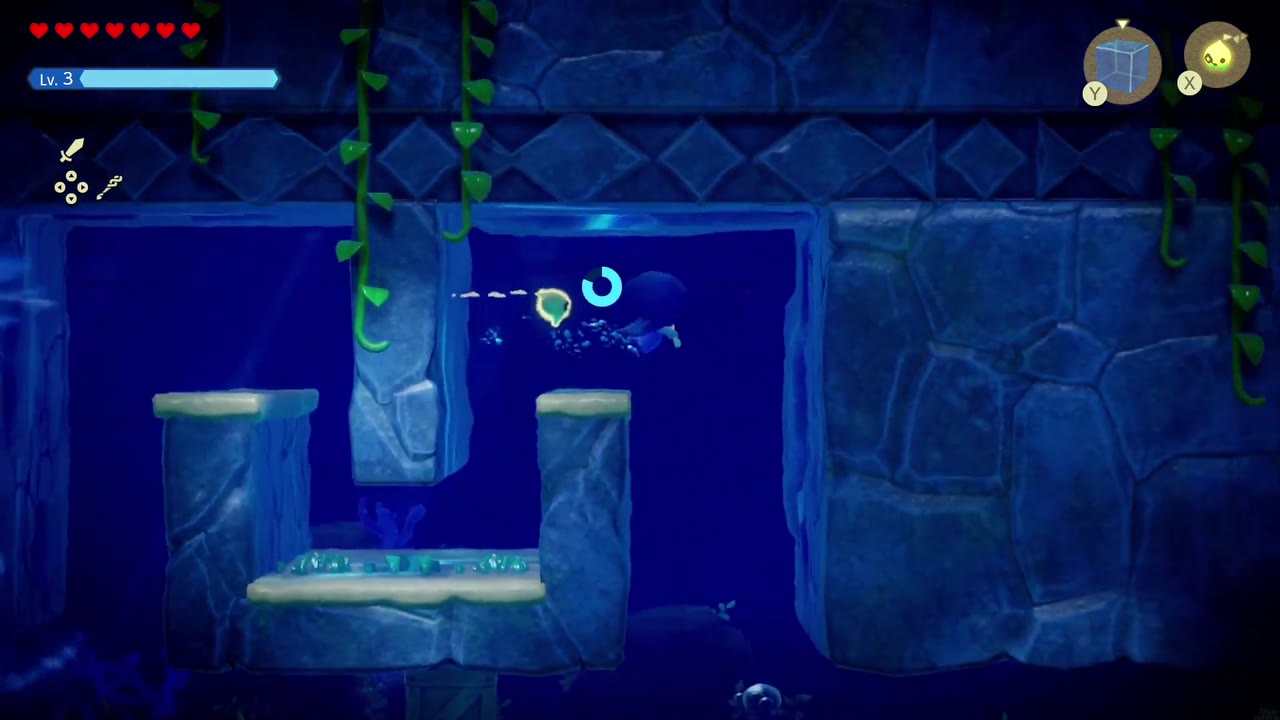

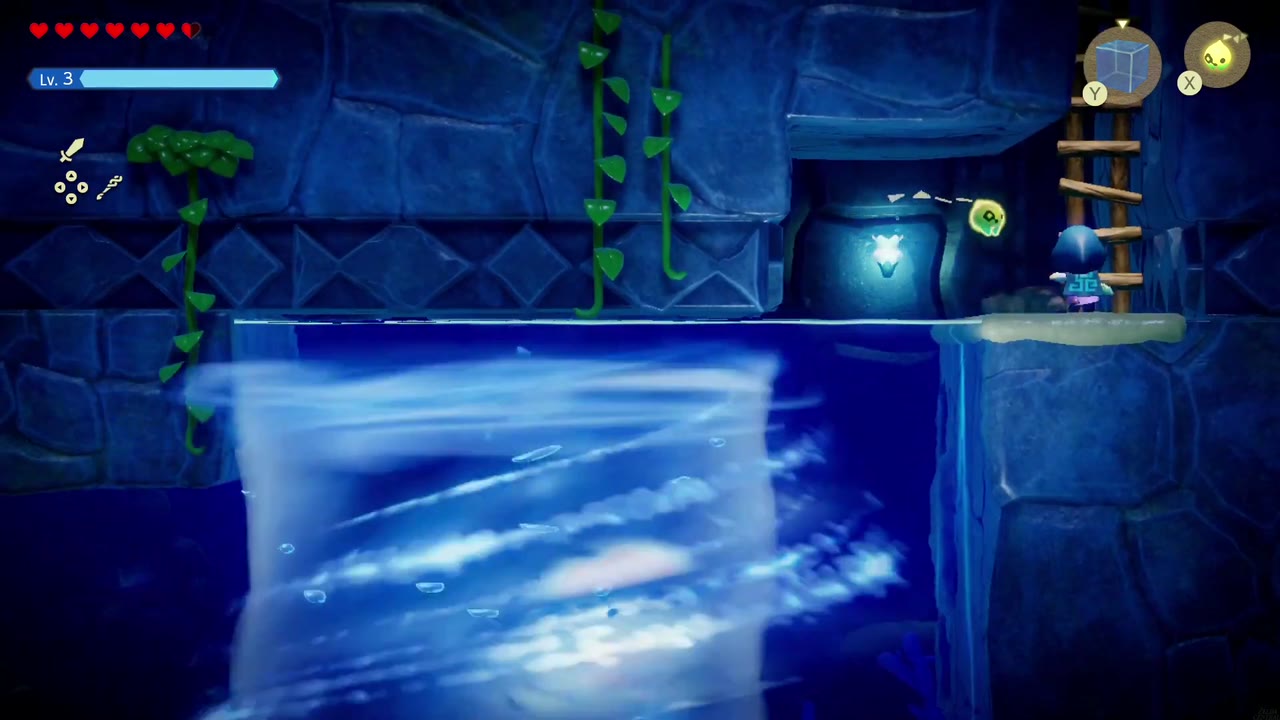
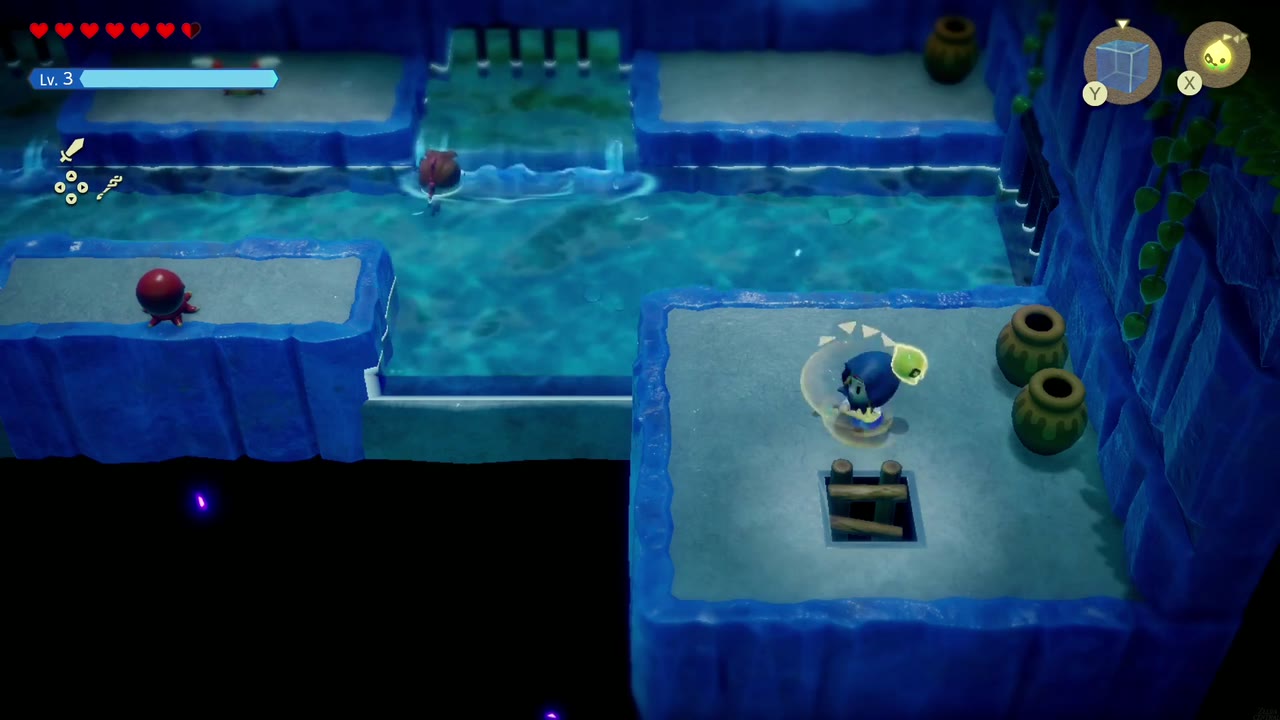
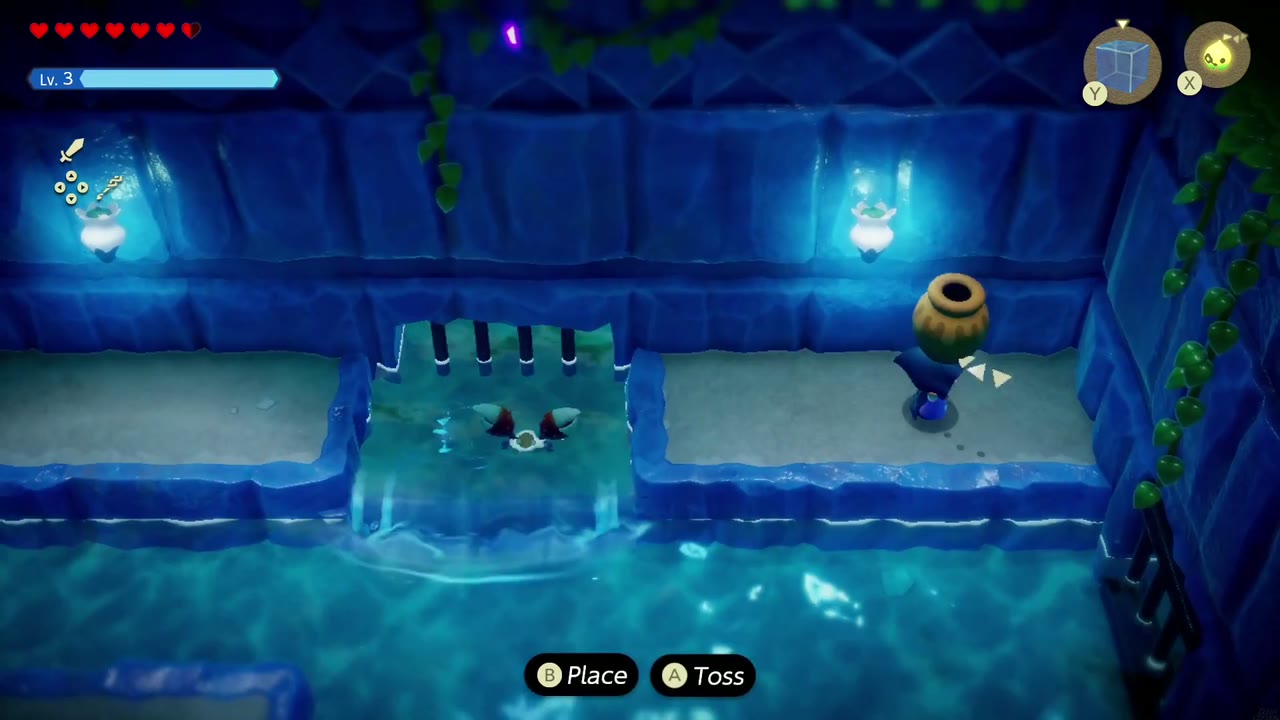
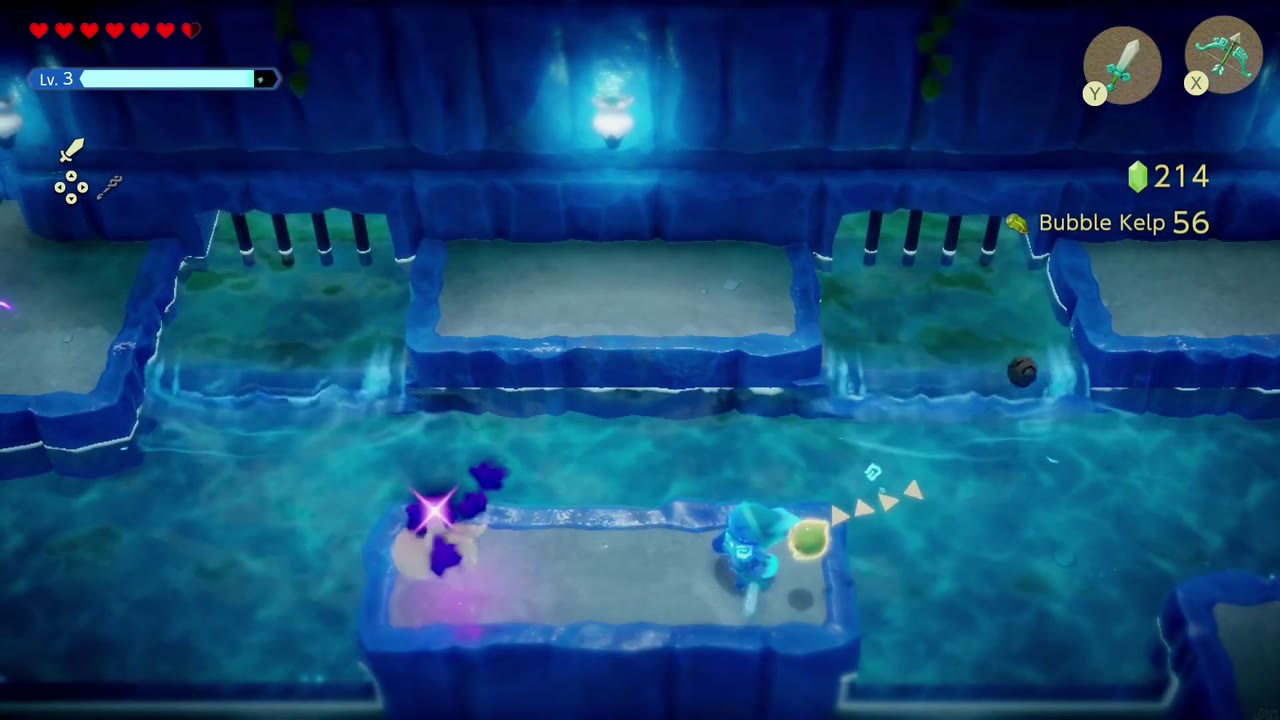
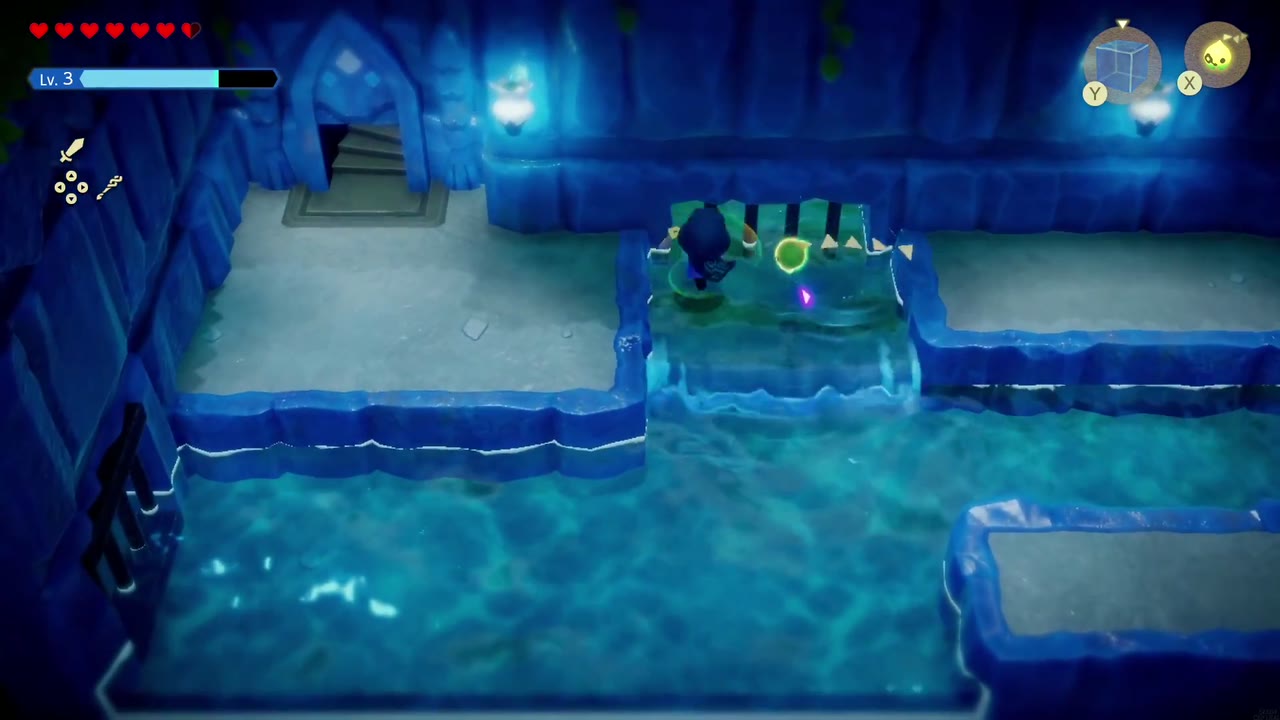
You climb out into a flooded hall with jars on the ledge to your right and Octoroks across the water. Smash the jars and clear the enemies for materials such as Bubble Kelp, then follow the water left to a small door and stairs in the upper-left corner.
The Five Switches
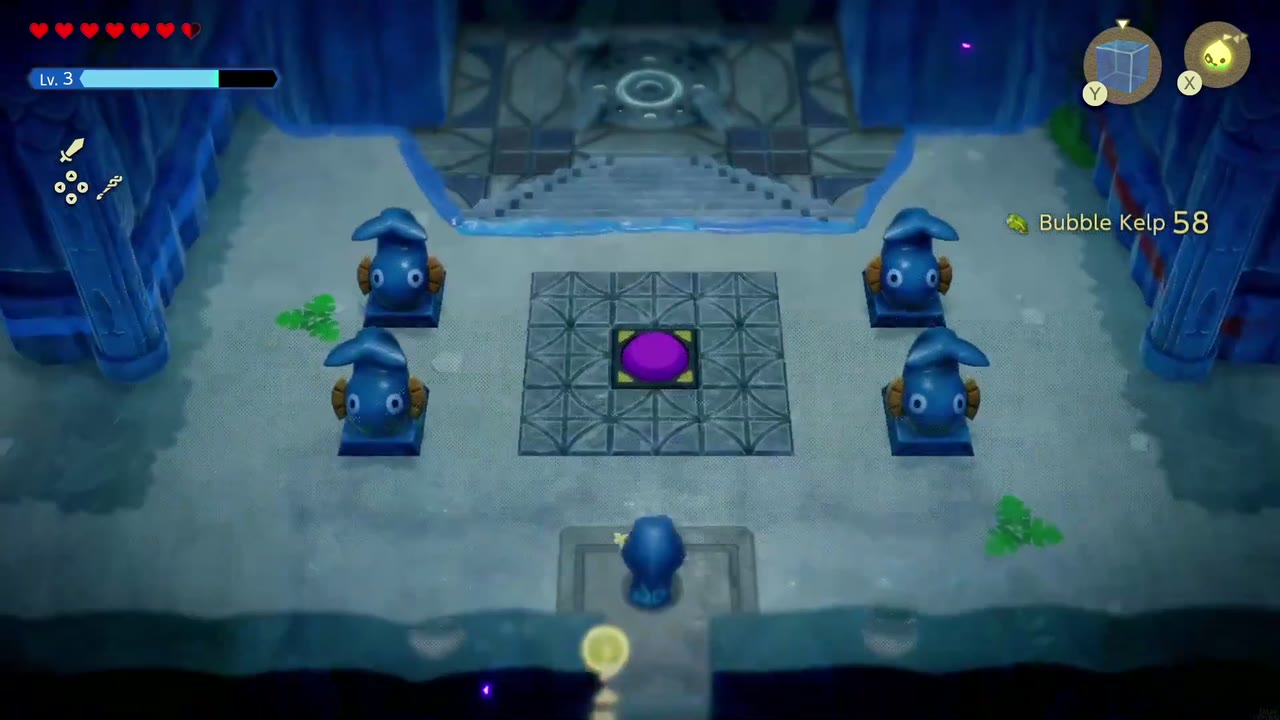
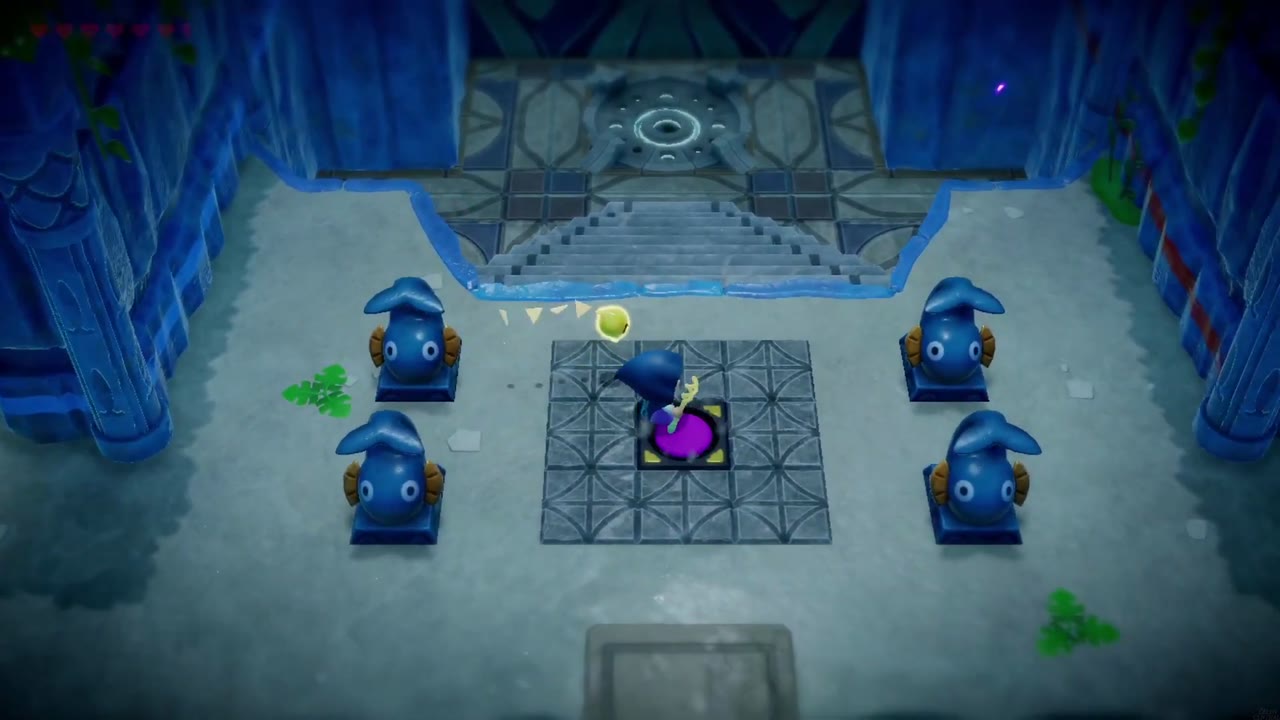
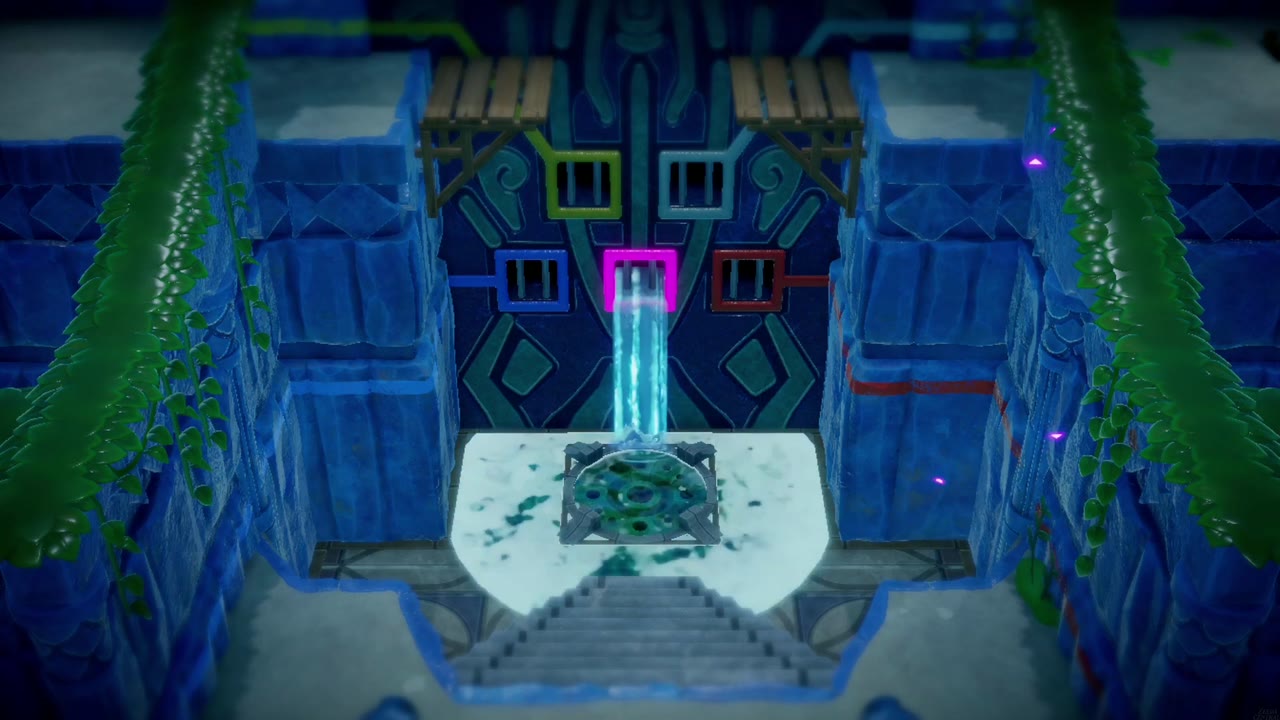
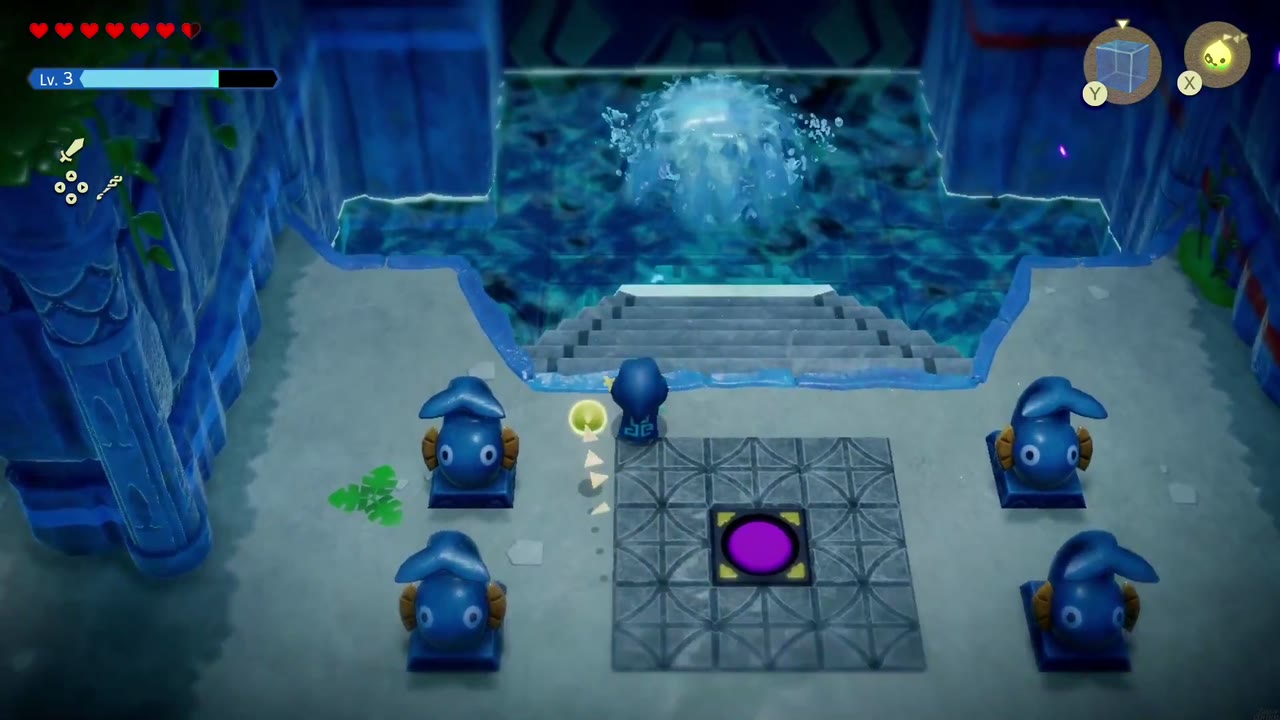
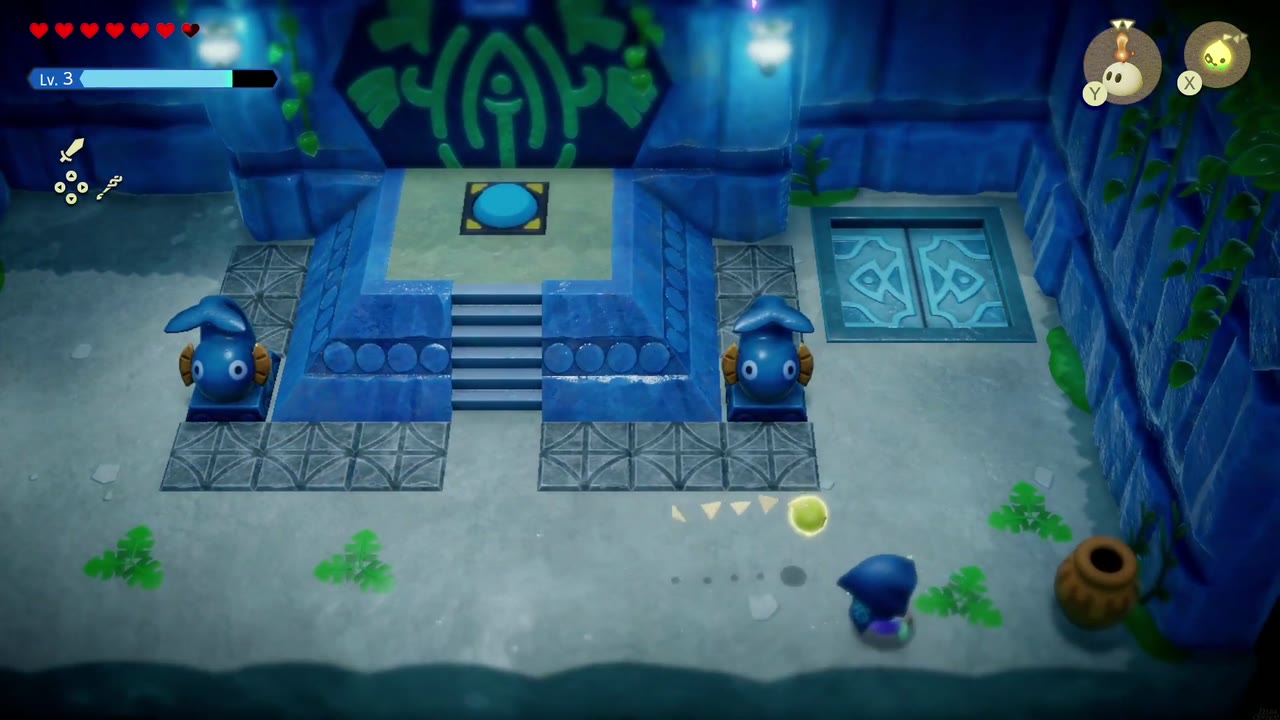
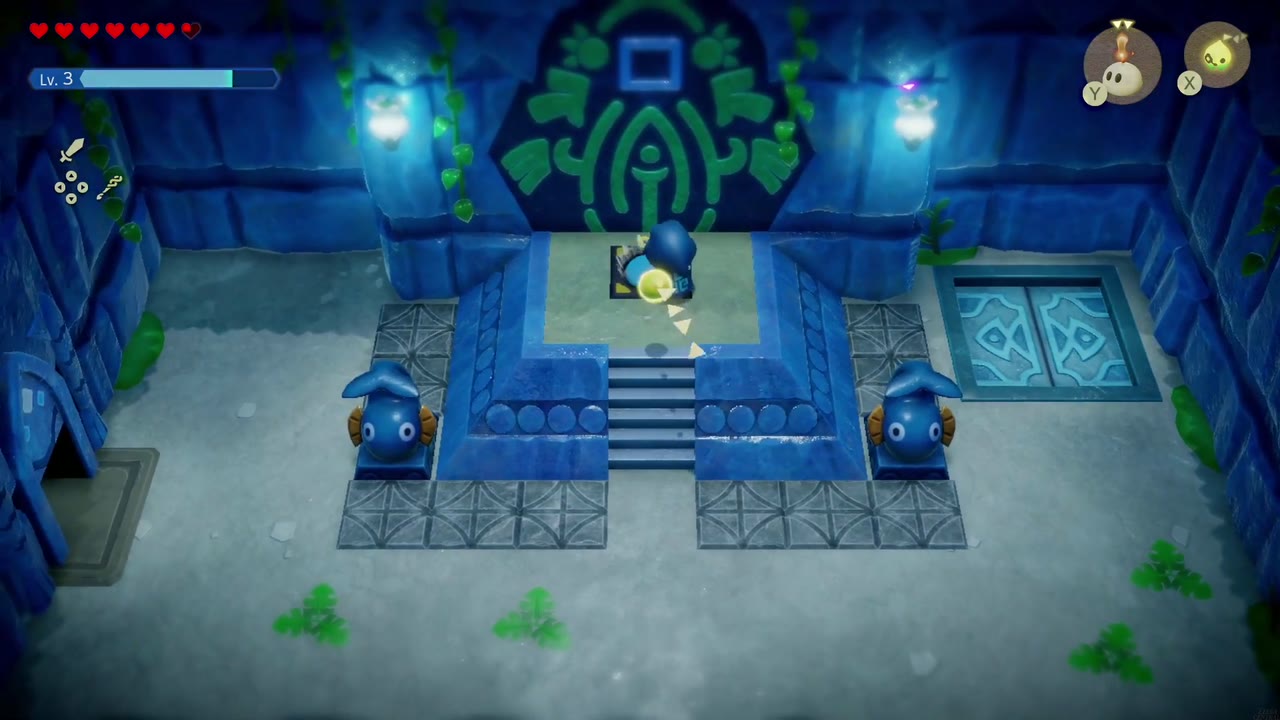
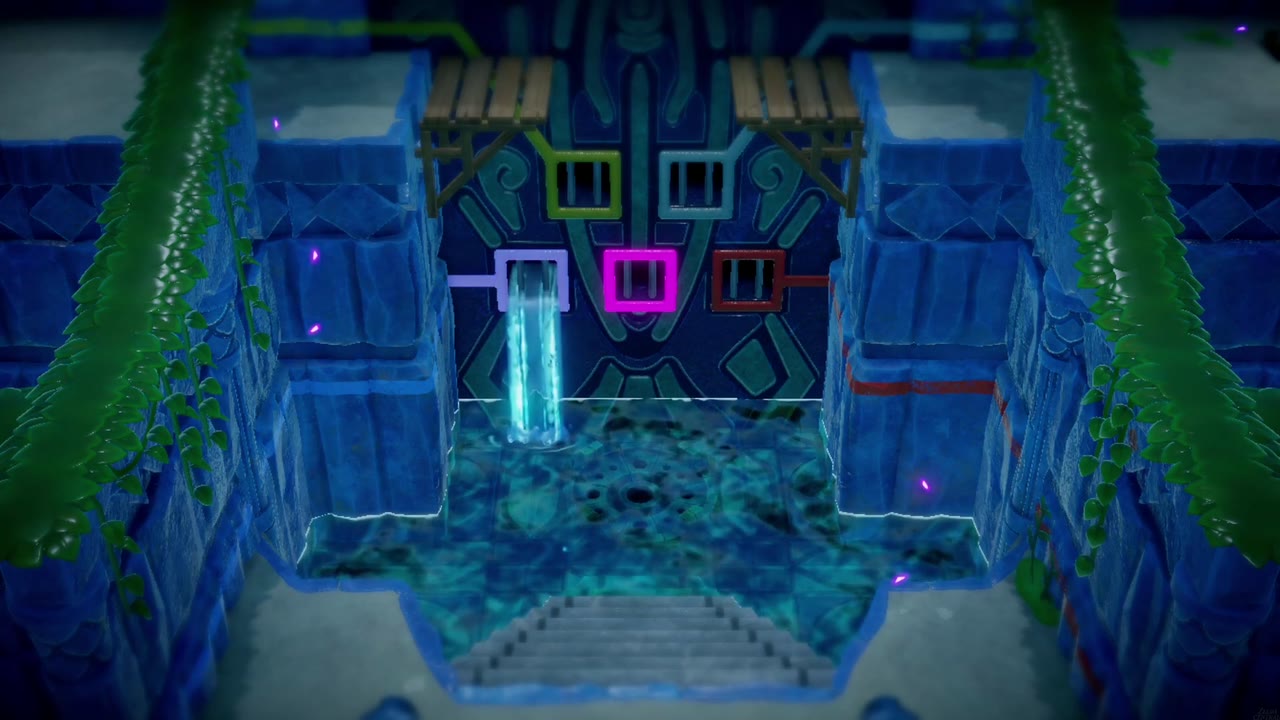
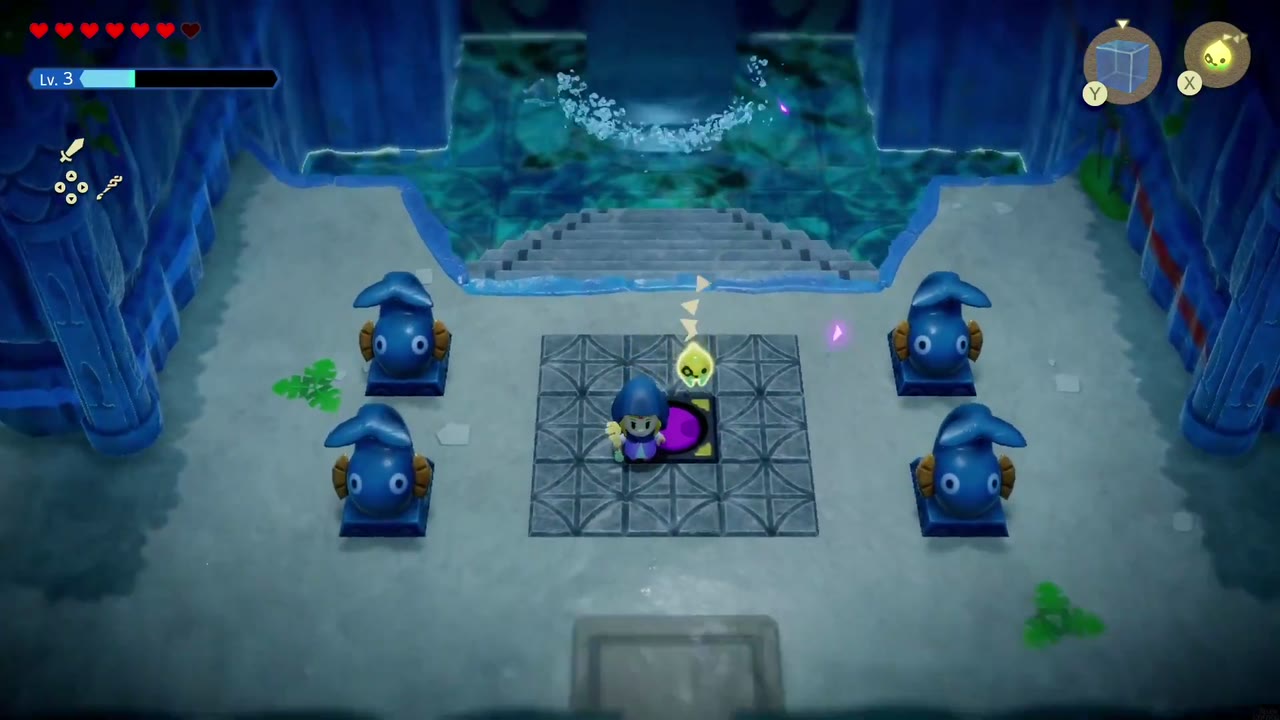
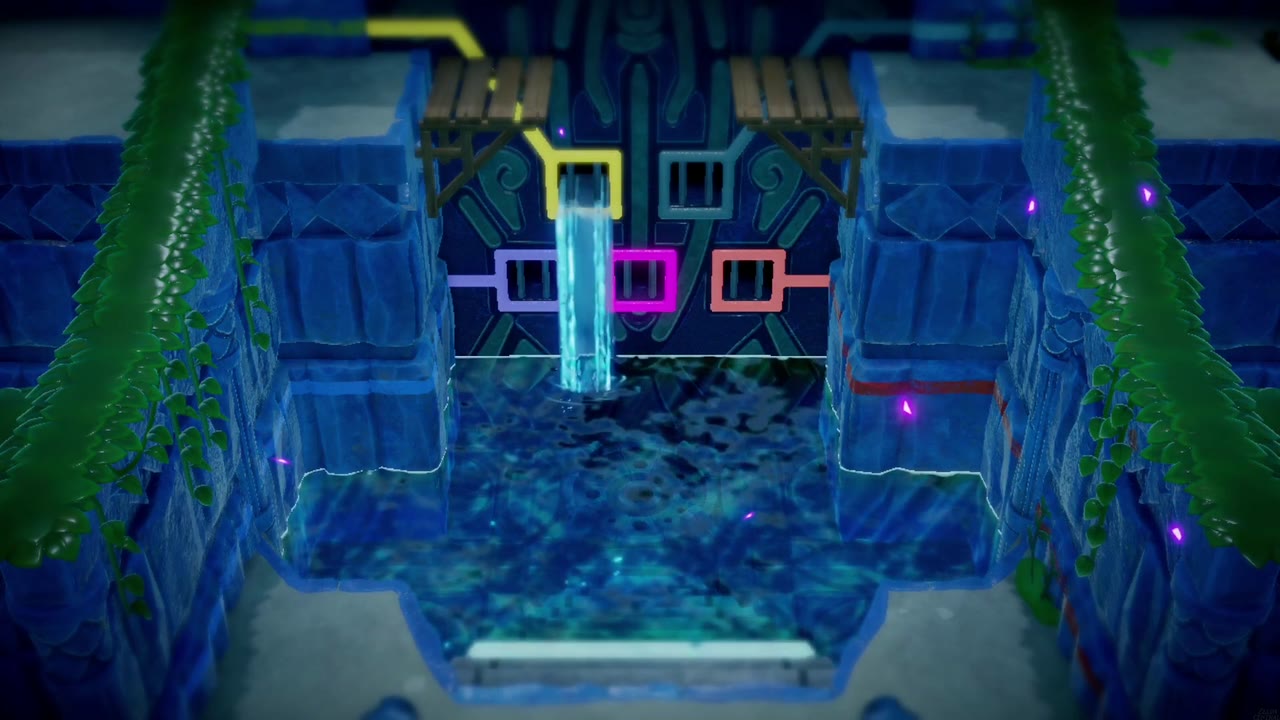
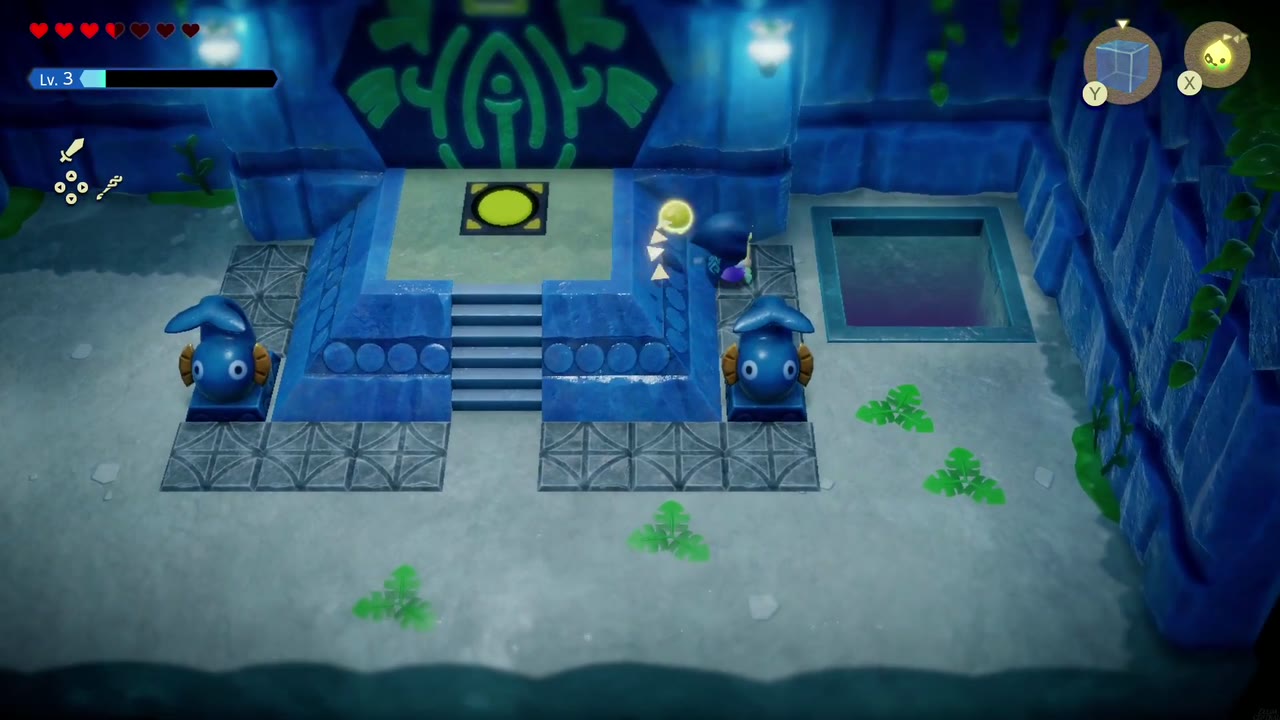
Activate the Waypoint in the next room and take the north door. Four fish statues ring a purple switch; step on it. The matching purple lock lights up on the big door to the north and water pours from it into the basin below, where a spout starts bubbling. The door has five colored locks in all (green, light blue, blue, purple and red), so this chamber is the dungeon’s hub: you’ll be hunting down the switches for the other four.

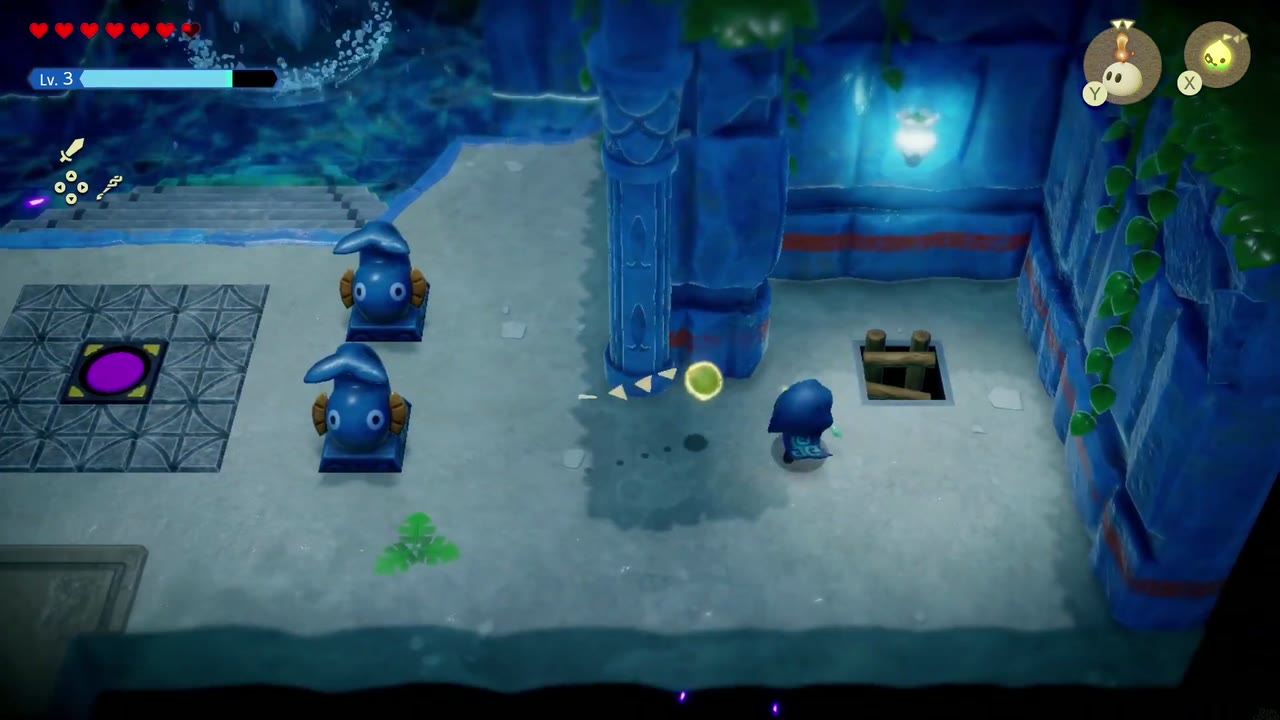
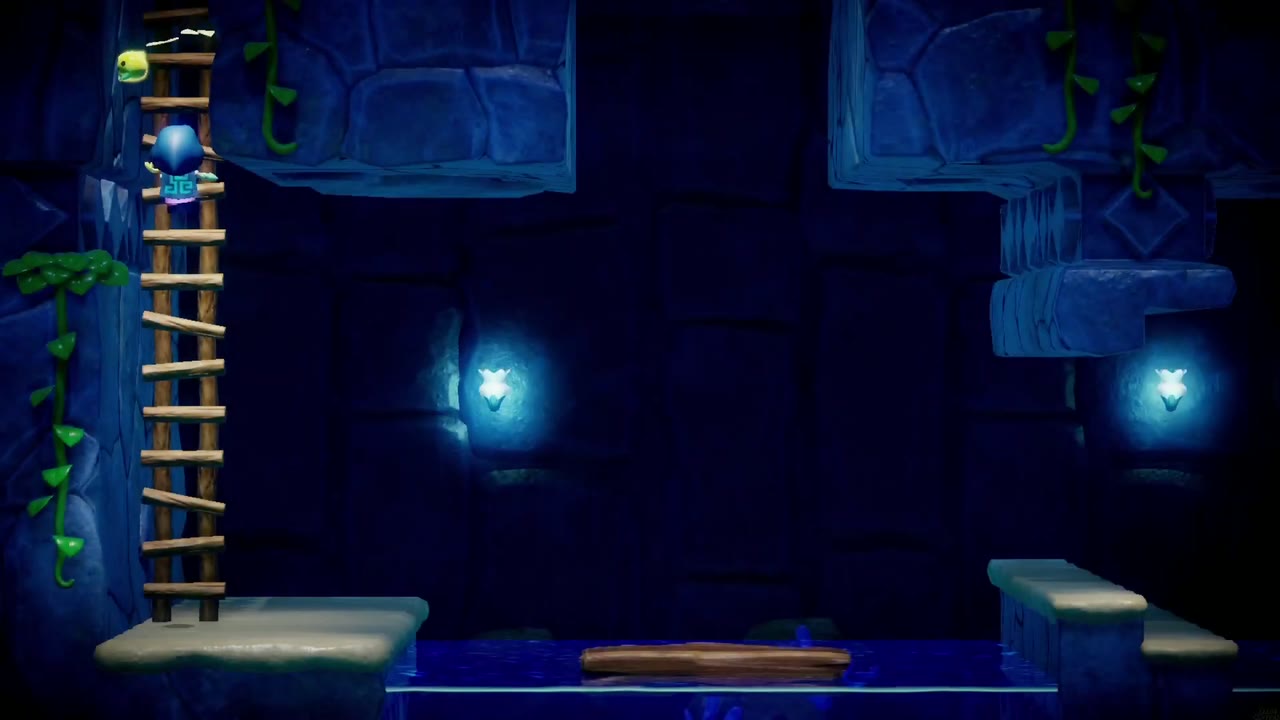
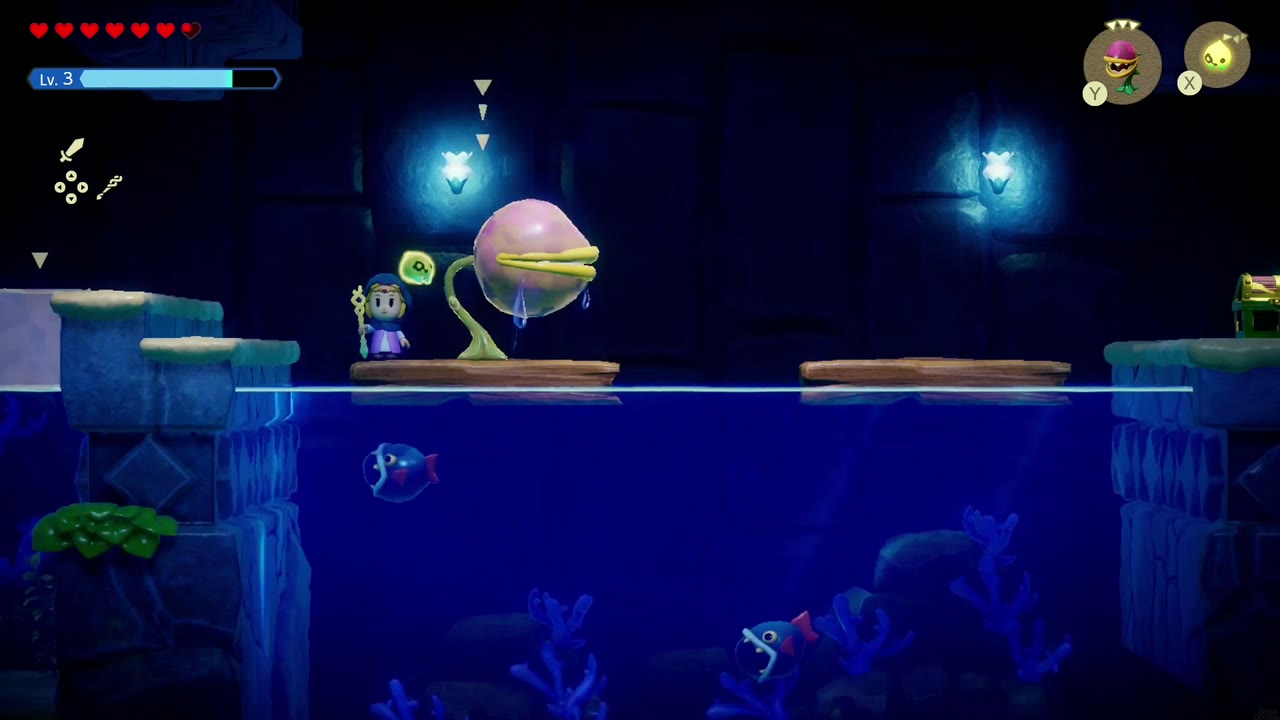
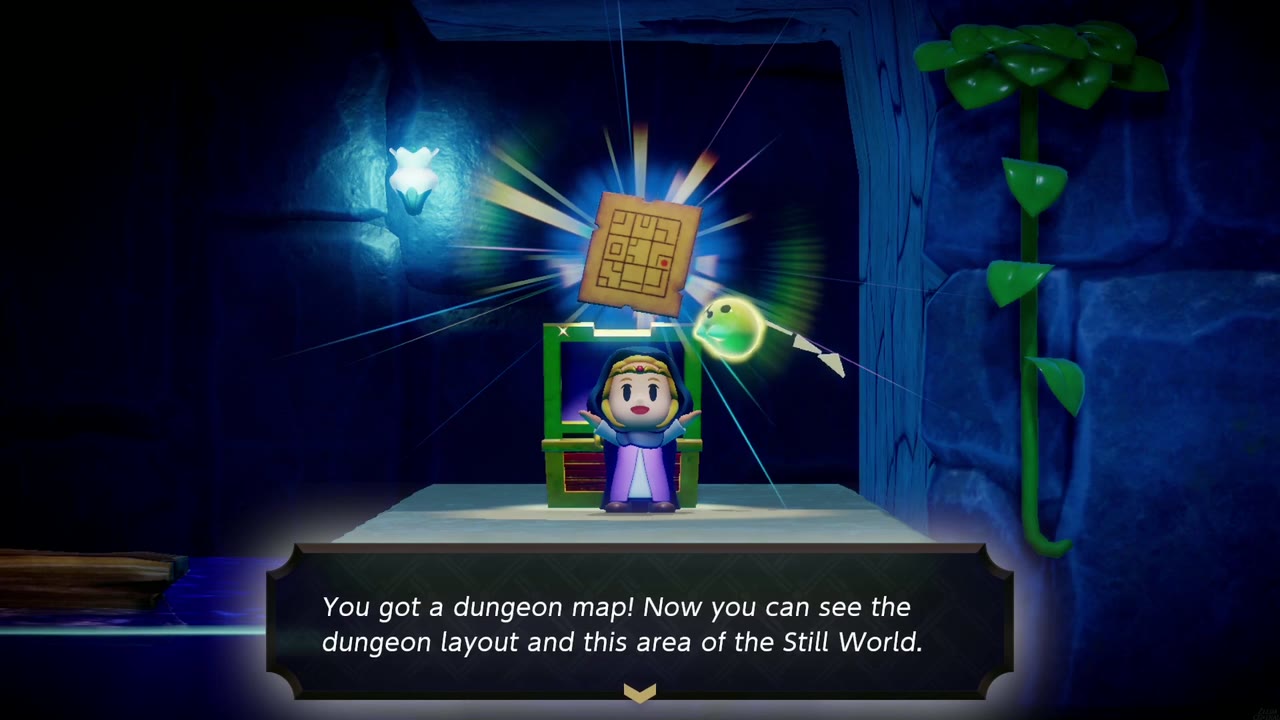
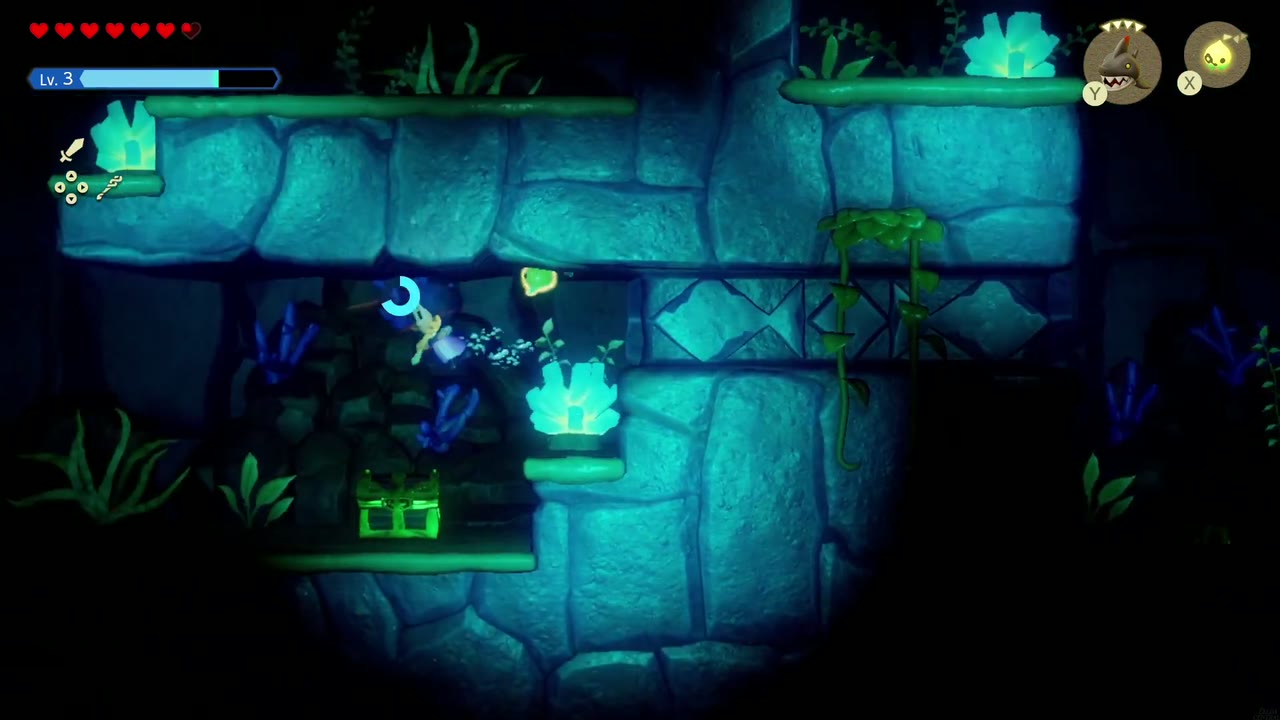
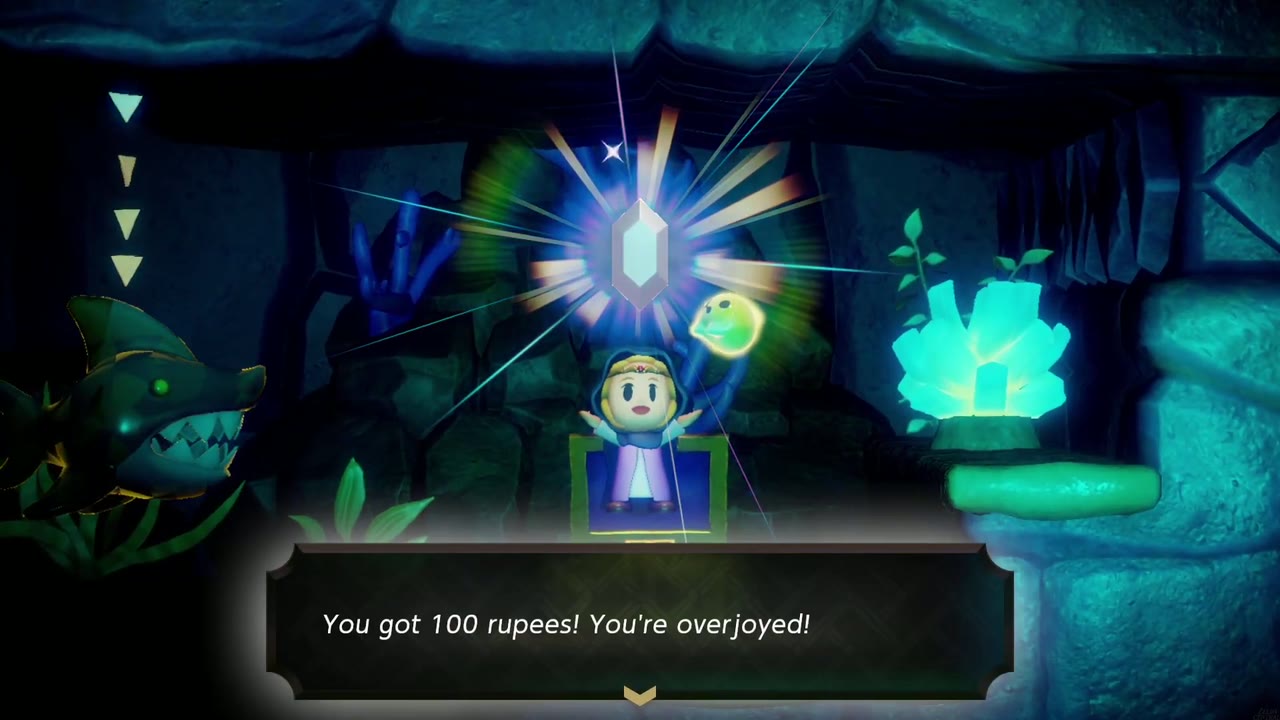
From the hub, go right and climb down the ladder hole into a side-scrolling water room. Fight right through the enemies, including fish in the water and a Bio Deku Baba at the waterline, to a small ledge chest holding the Dungeon Map. (The ladder hole on the hub’s left side leads to a dark, coral-lit passage with a chest holding 100 rupees that loops back round to the hub; it’s worth clearing while you’re in the hub.)
Red Switch
From the map chest, drop off the ledge into the water and dive. Swim right along the bottom of the flooded passage, cutting down the fish that dart at you, then rise to the surface where a ladder hangs on the right-hand wall and climb it.
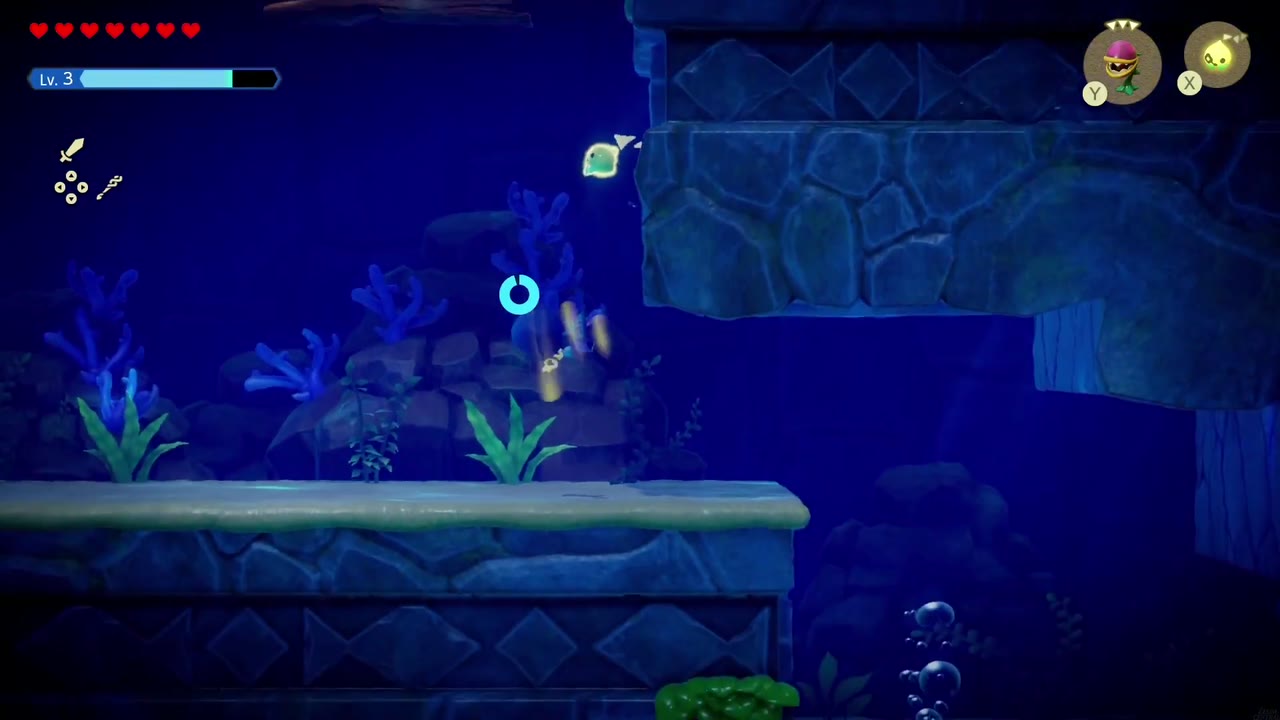
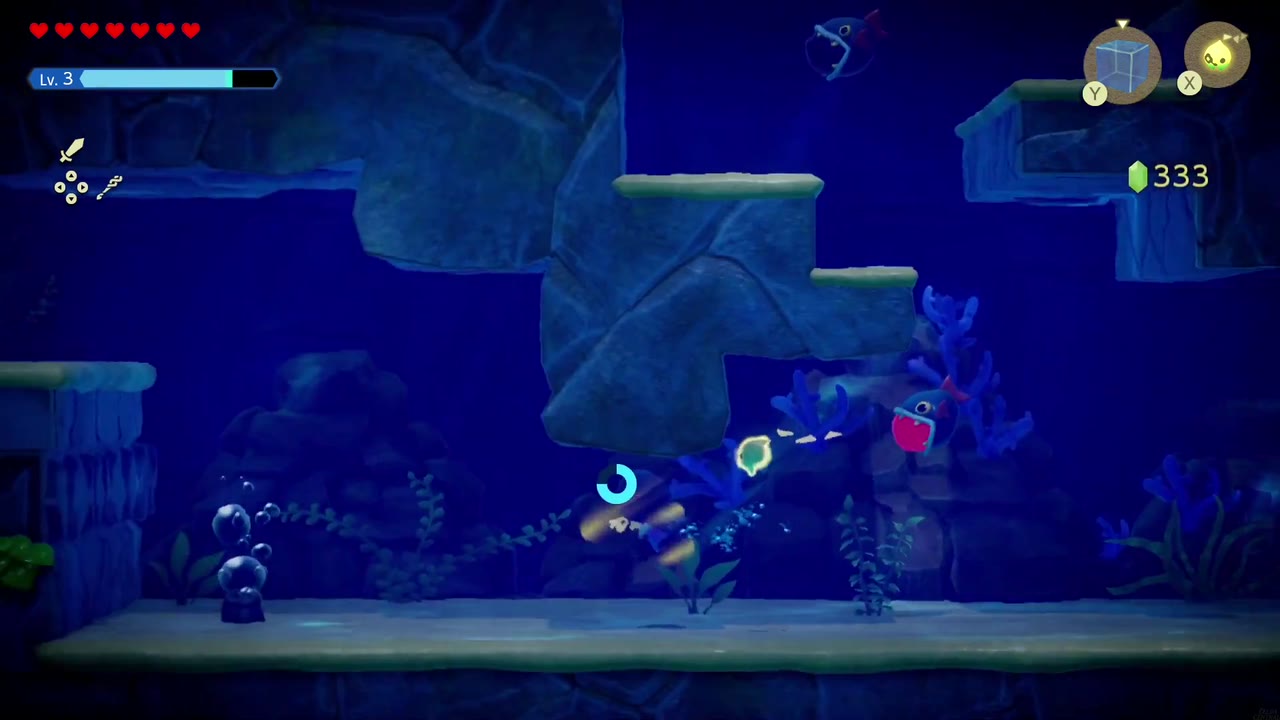


The ladder brings you up onto a ledge in a big flooded room crossed by iron bars. Dive in and swim right, past the end of the bars. Chompfins patrol this stretch and Octoroks spit rocks from the tall columns; climb onto the column ringed with floating wooden crates to get your bearings, then summon a Chompfin echo of your own and send it after the Octoroks.

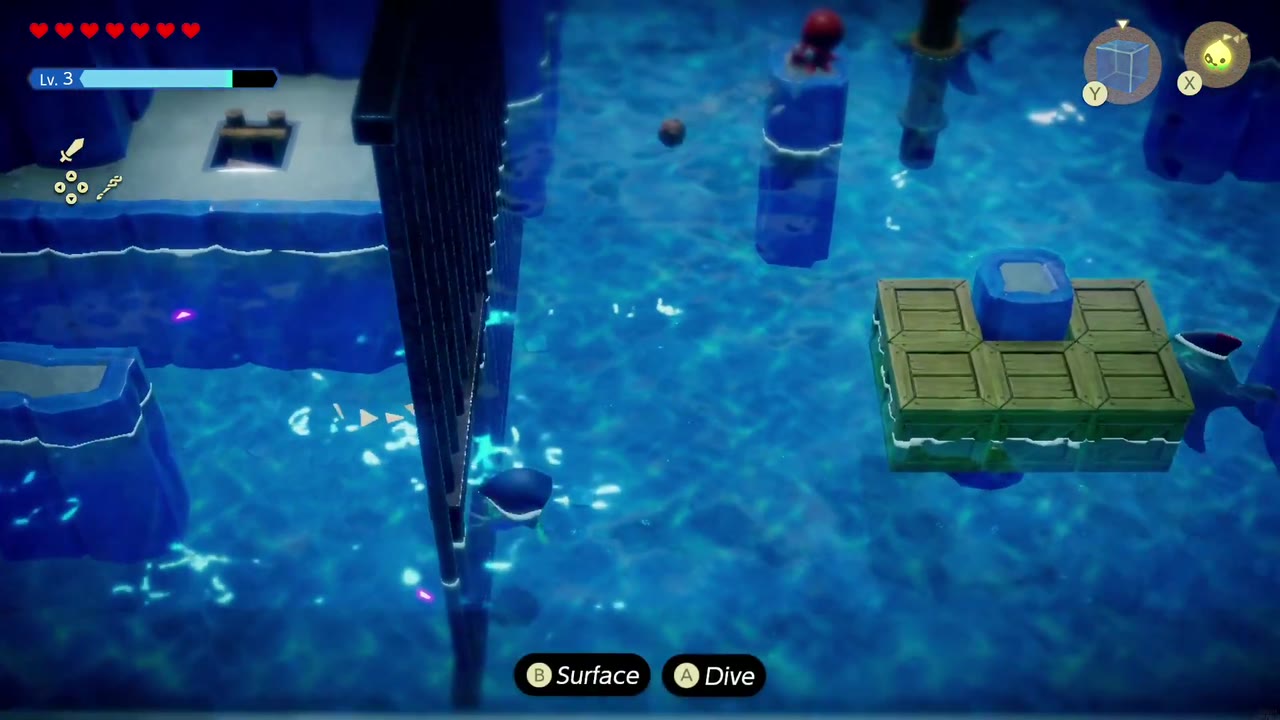
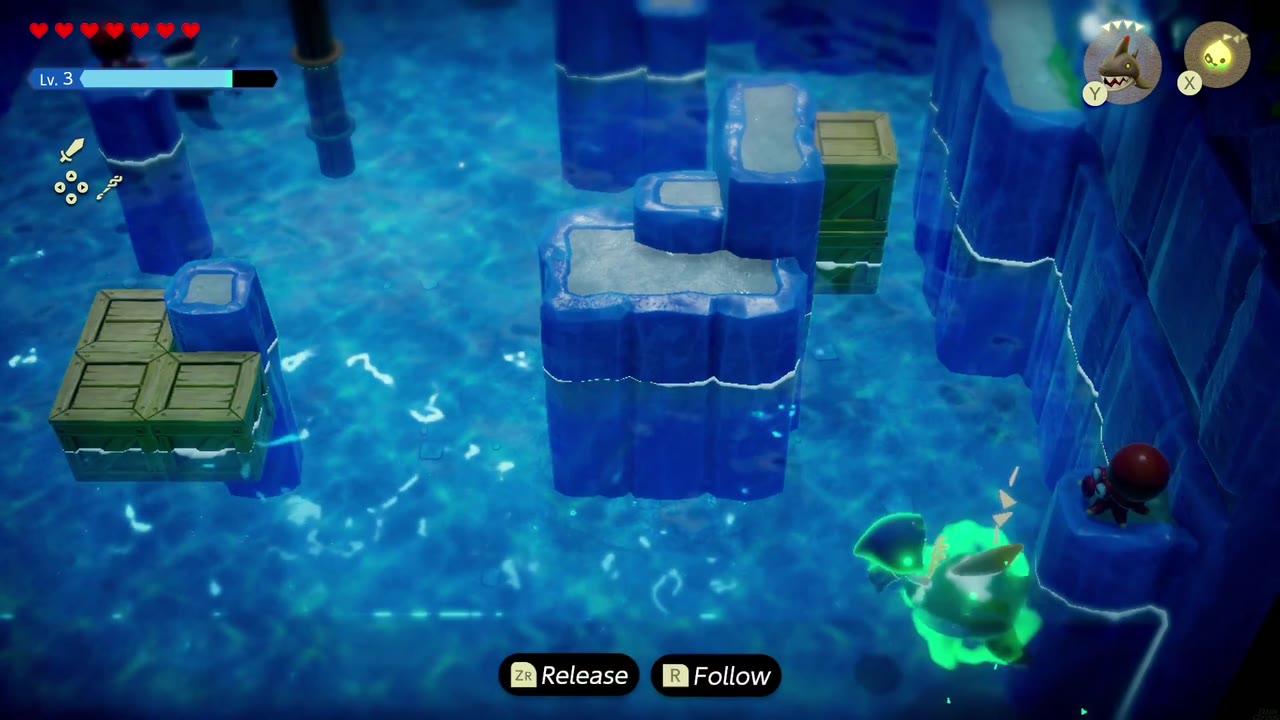
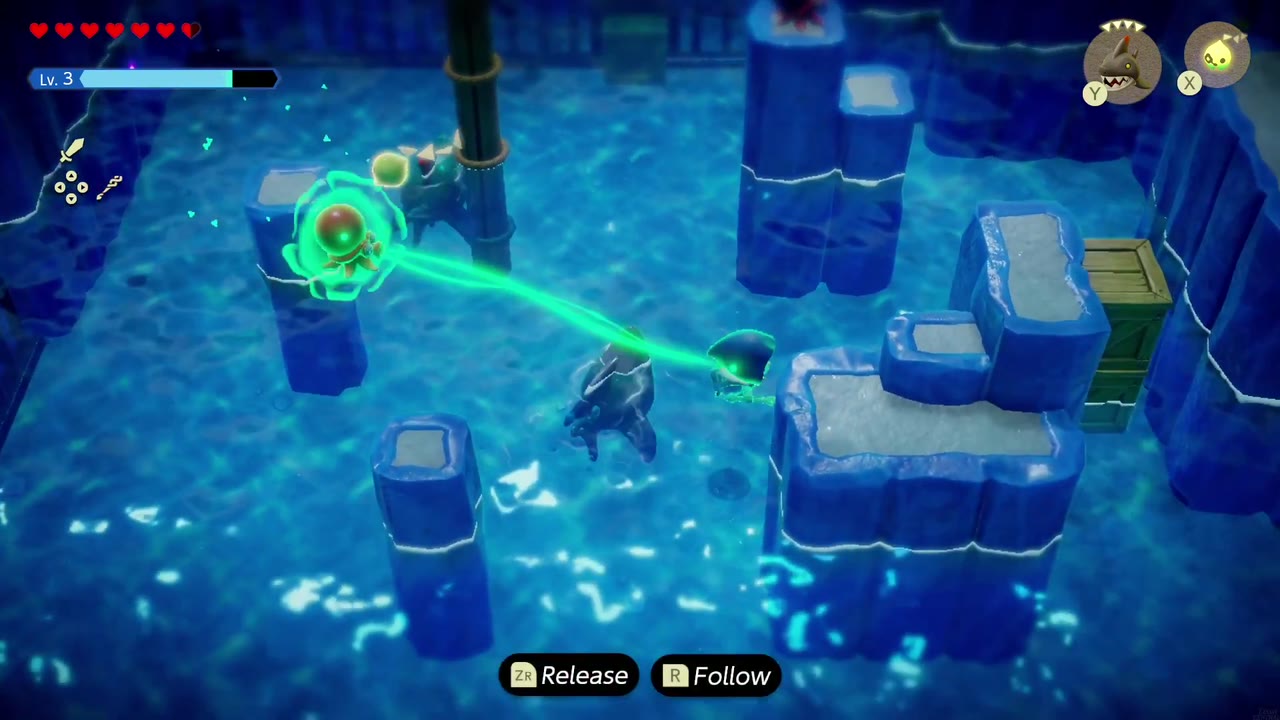
When it’s clear, swim to the northern bars, where a wooden crate is wedged in a gap underwater. Blast it apart with a Bombfish echo and swim through the gap into the channel behind the bars. Follow it left, Water-Block up onto the ledge in the corner, and smash the jars for Refreshing Grapes; the chest they surround holds 50 rupees.
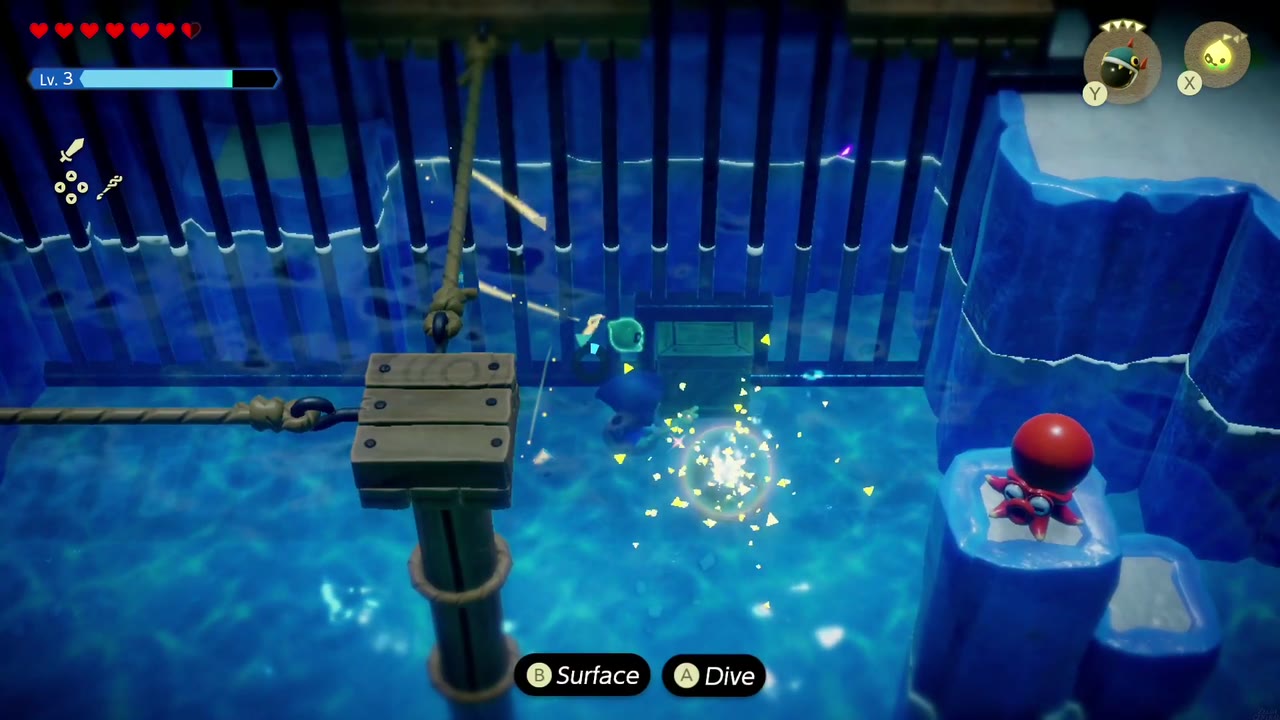
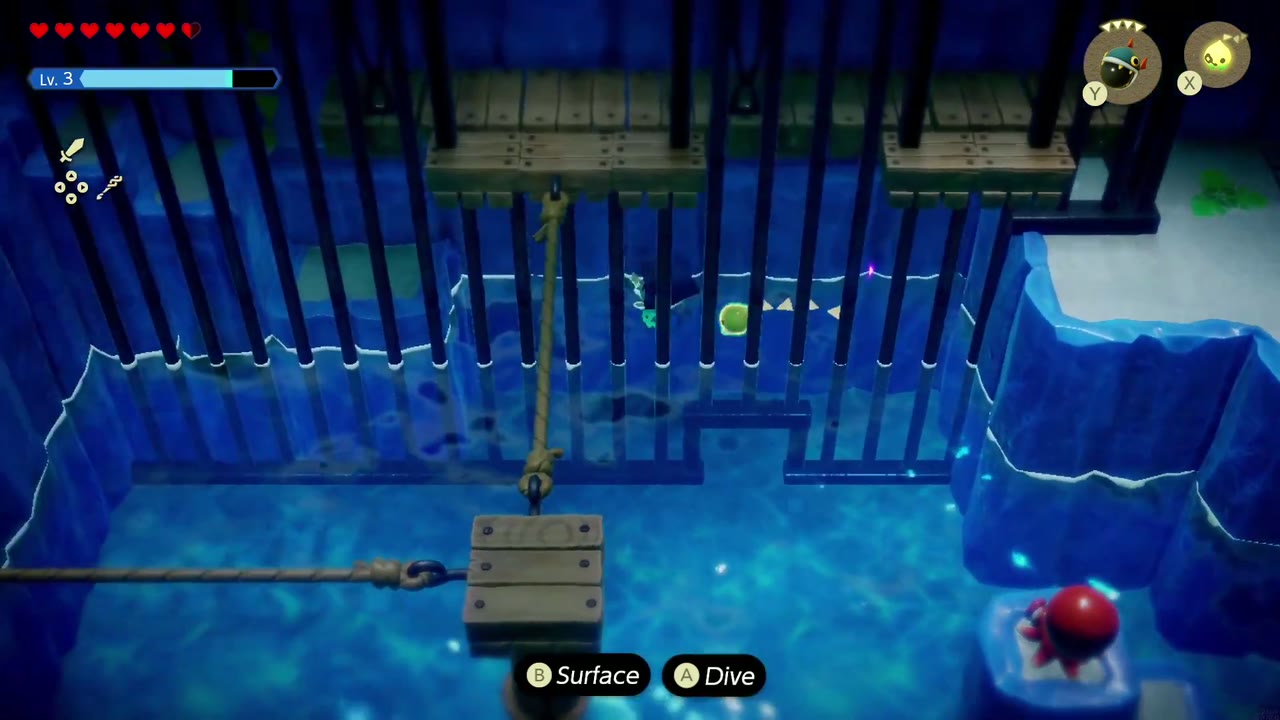
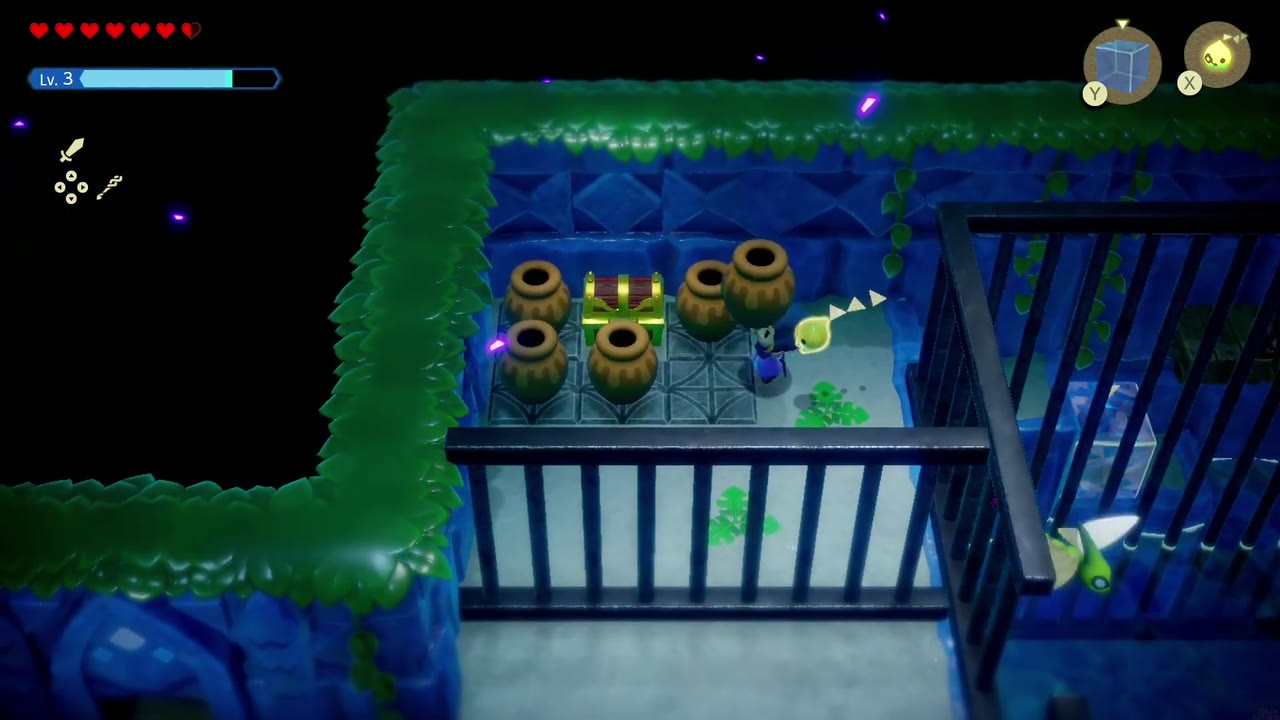

Back in the main pool, the way out is a doorway on the west ledge, reached by a rope strung from the top of a wooden pulley post. Swim to the post whose rope runs left toward that ledge, place a Water Block in the water right beside it, climb onto the block, and step up onto the post’s flat top.
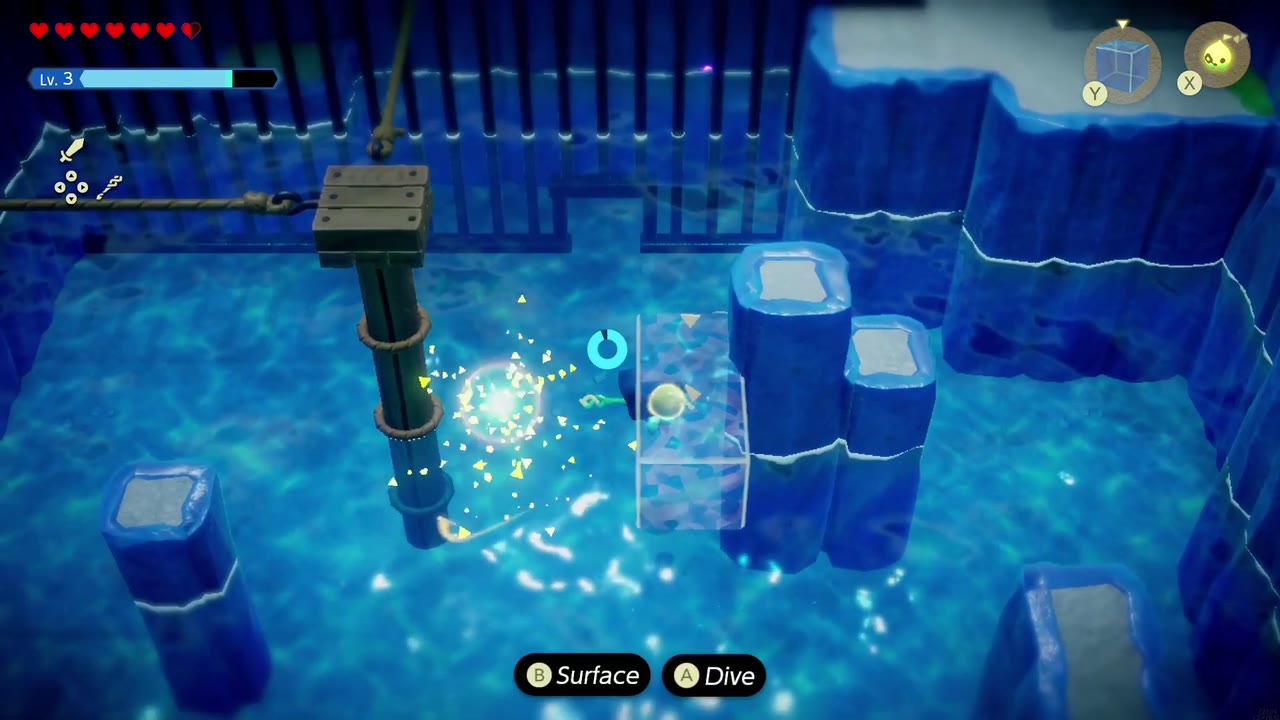


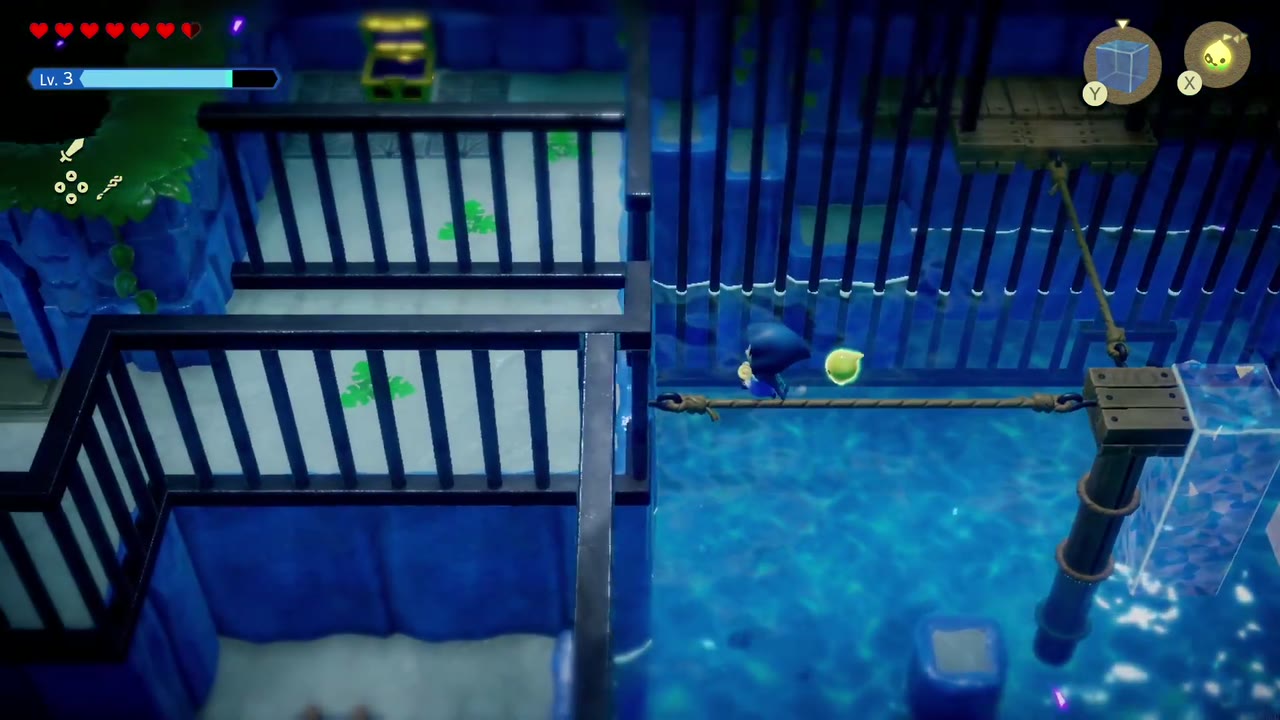
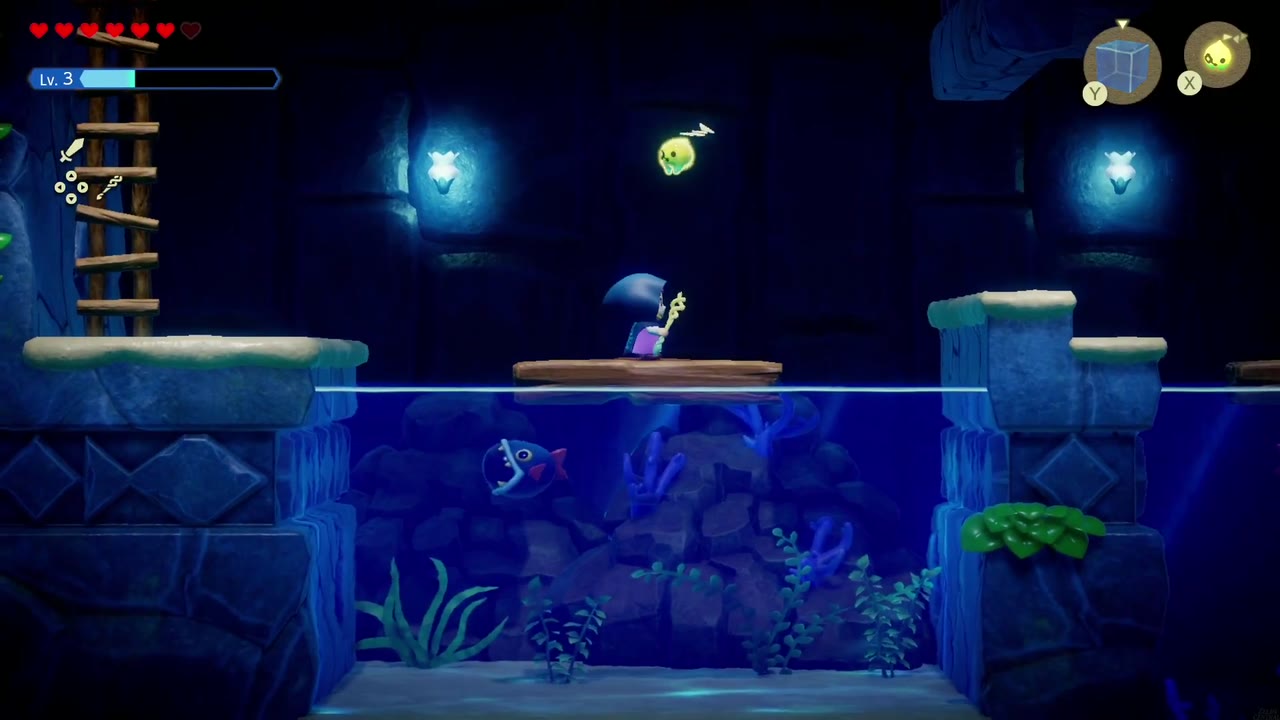
From the post, walk the rope left to the ledge and take the doorway up the stairs. The next room bars its doors as soon as you enter and sets a pack of red-clawed crab enemies on you, with more lurking in its flooded lower half; clear them all (Swordfighter Form makes short work of them) and the doors open. Take the upper-left one.

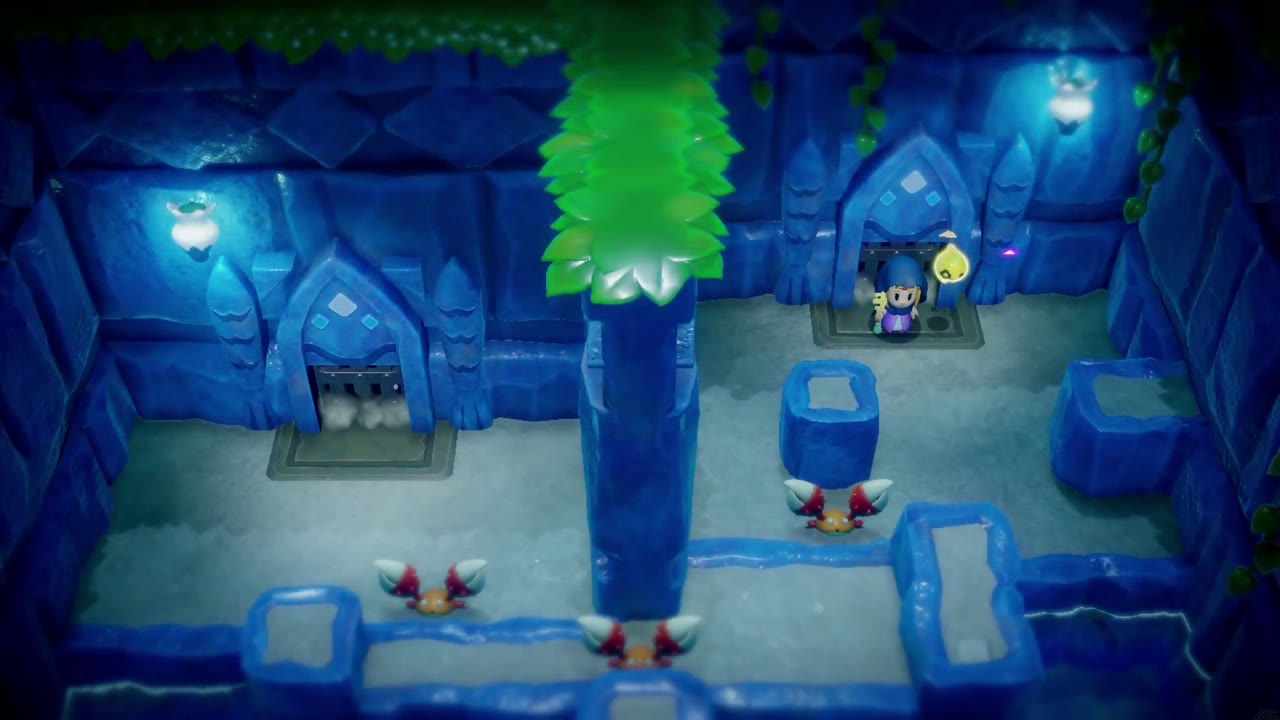

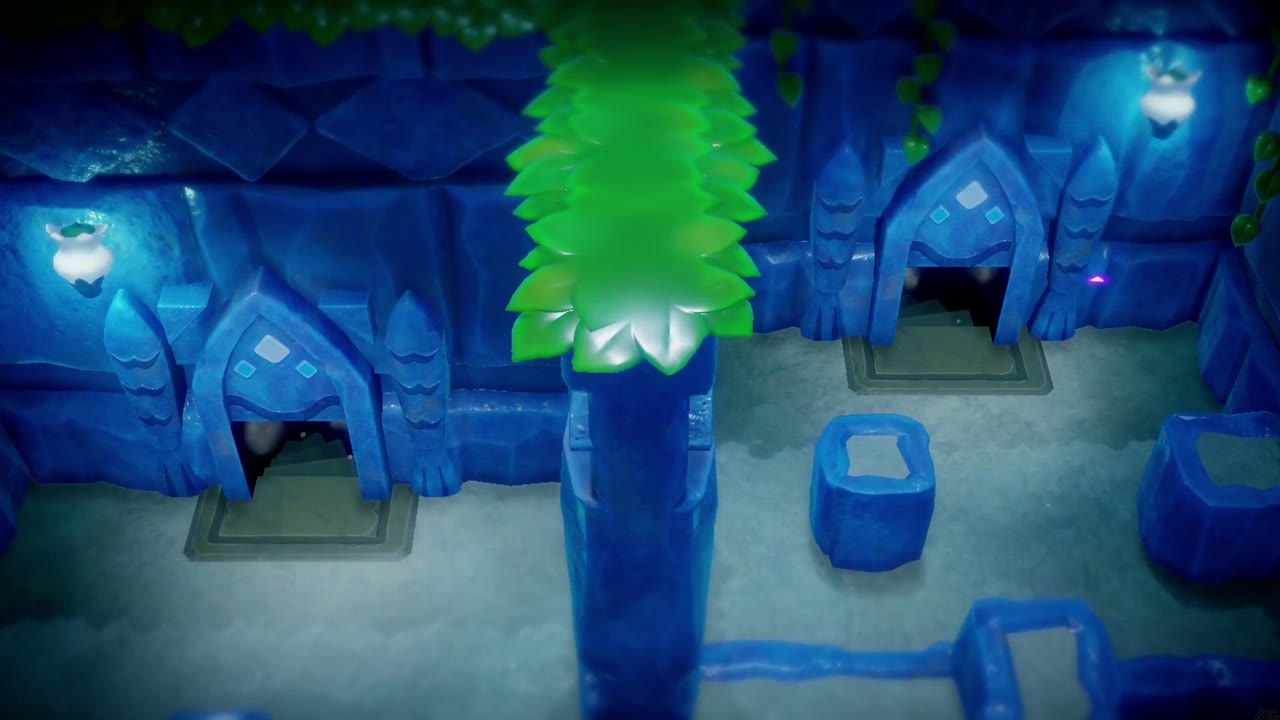
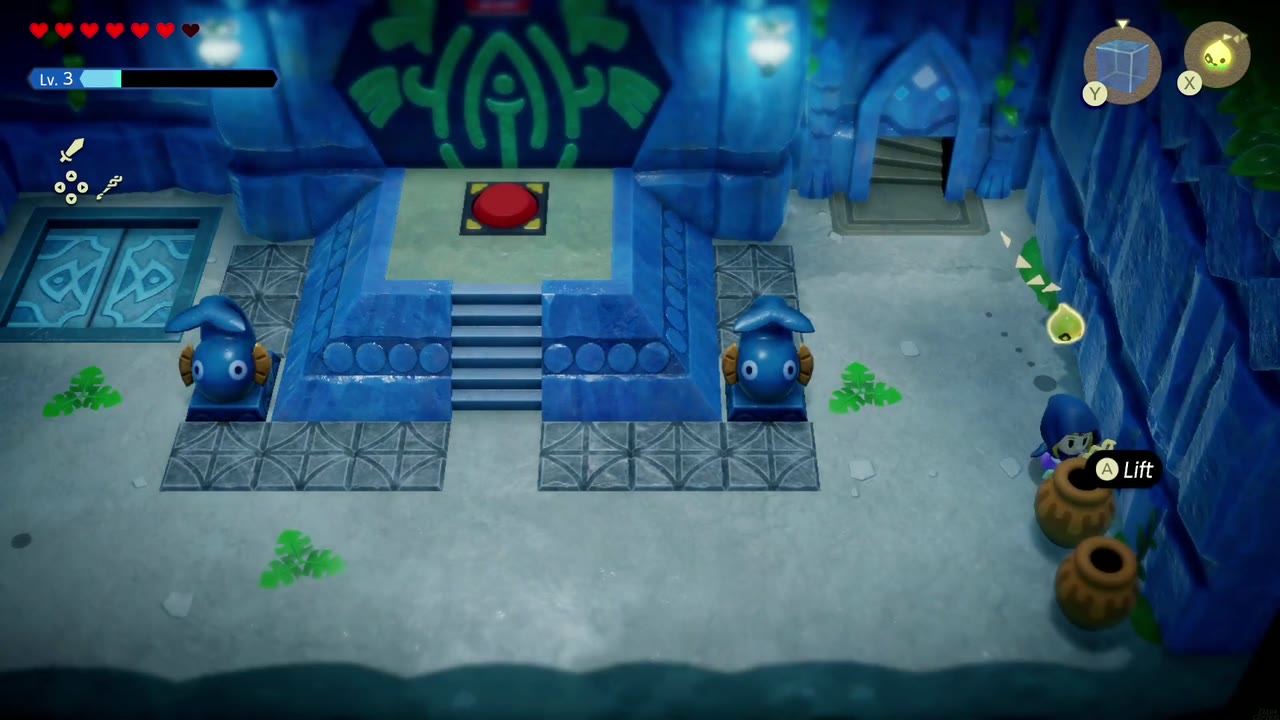
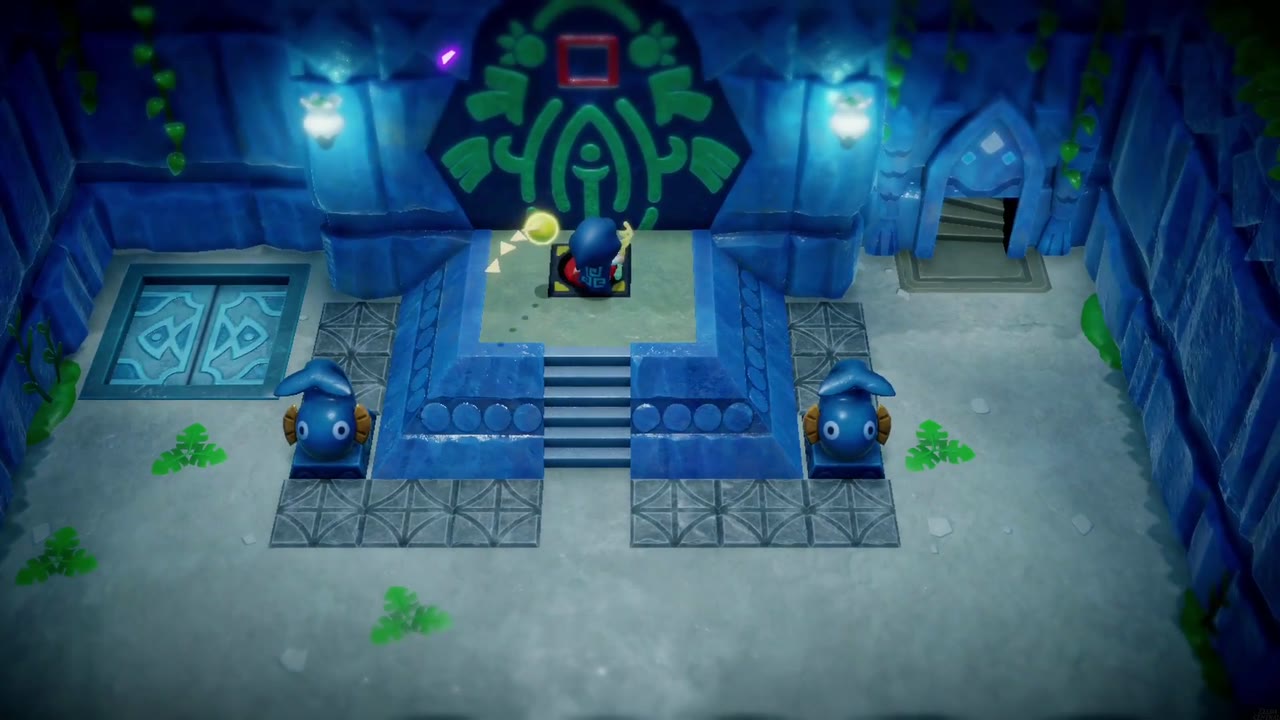
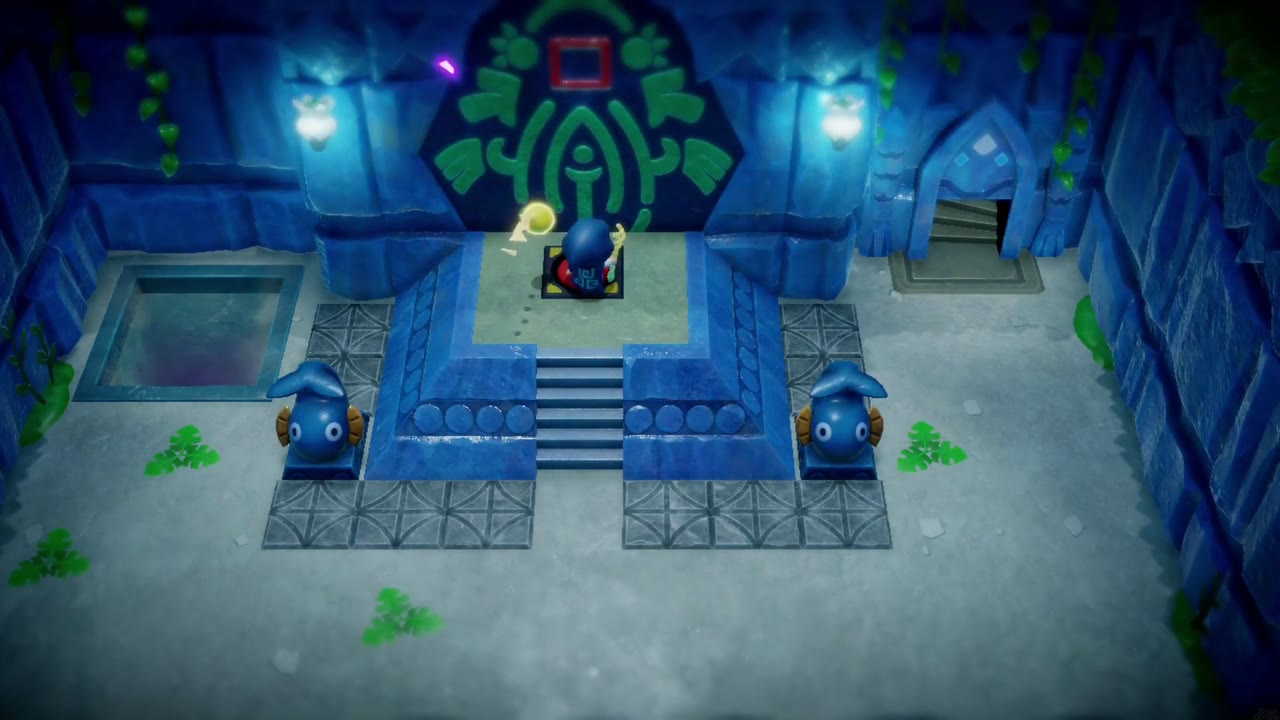
Two fish statues flank the red switch on its dais. Step on it: the red square on the hub’s big door lights up and water gushes up through the gate beneath it. Then drop through the floor hole that has opened on the left, land on a floating platform, and climb the ladder back to the hub.


Blue Switch
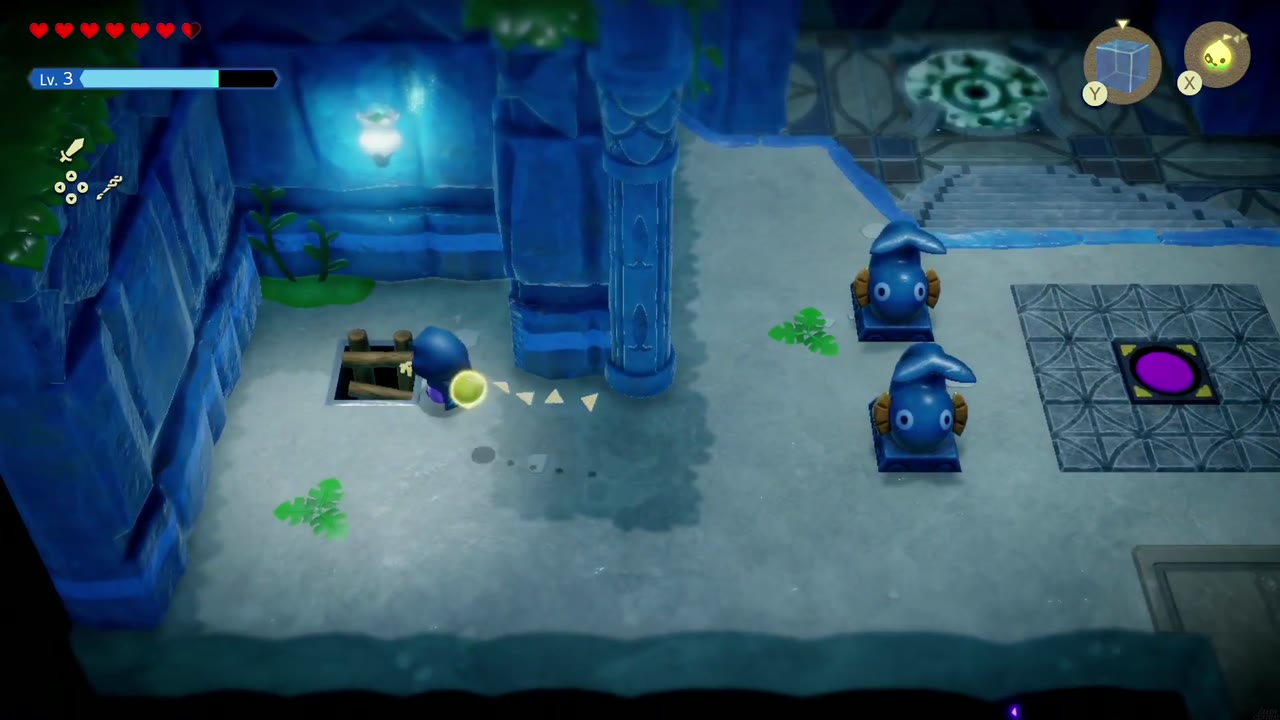
From the hub’s left side, climb down the ladder through the floor hatch and drop into the water. The passage is dark, and only the glowing blue coral lights the area around it. Follow the coral down through the passage to a Bio Deku Baba rooted on a ledge. Summon a Chompfin to bite it until it goes down, and learn its echo.
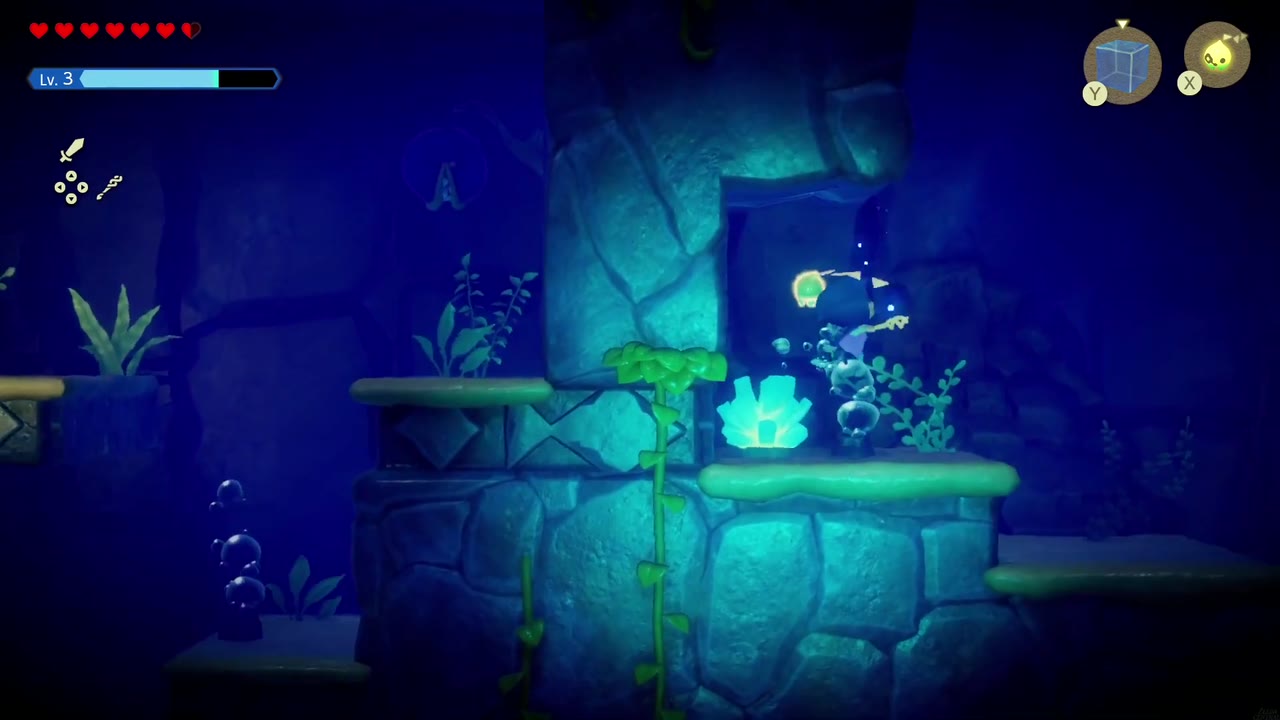
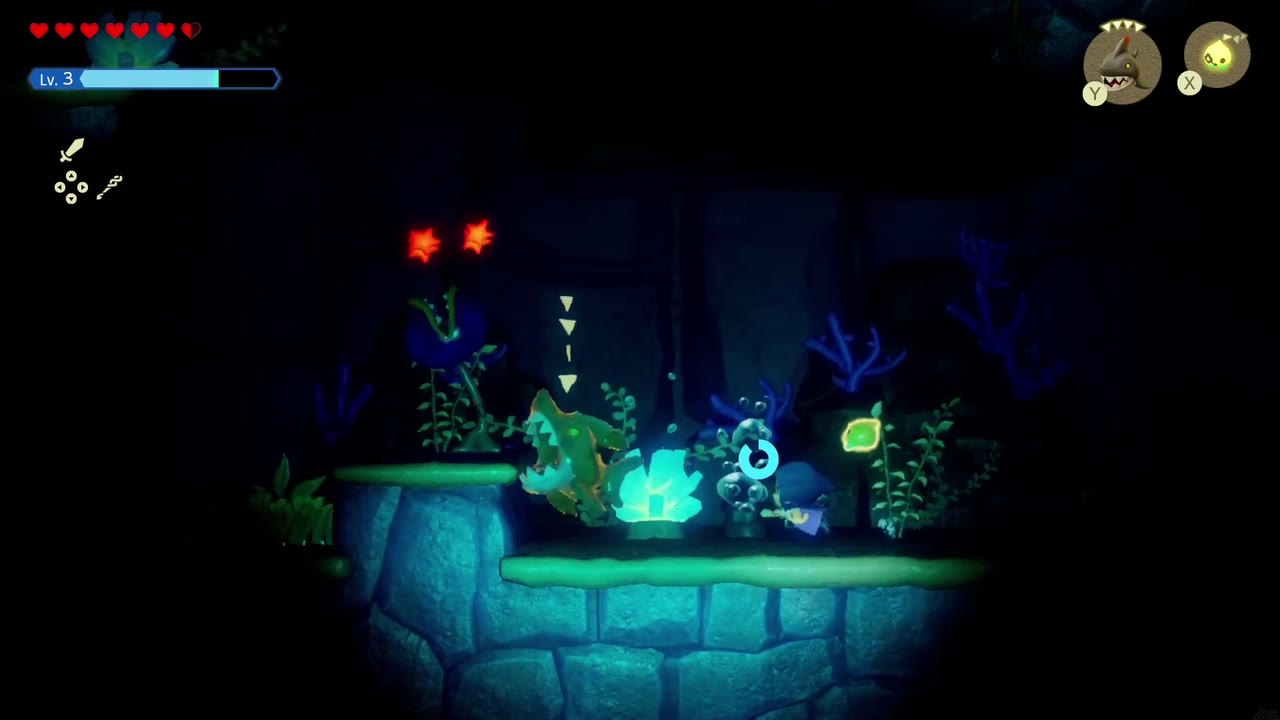
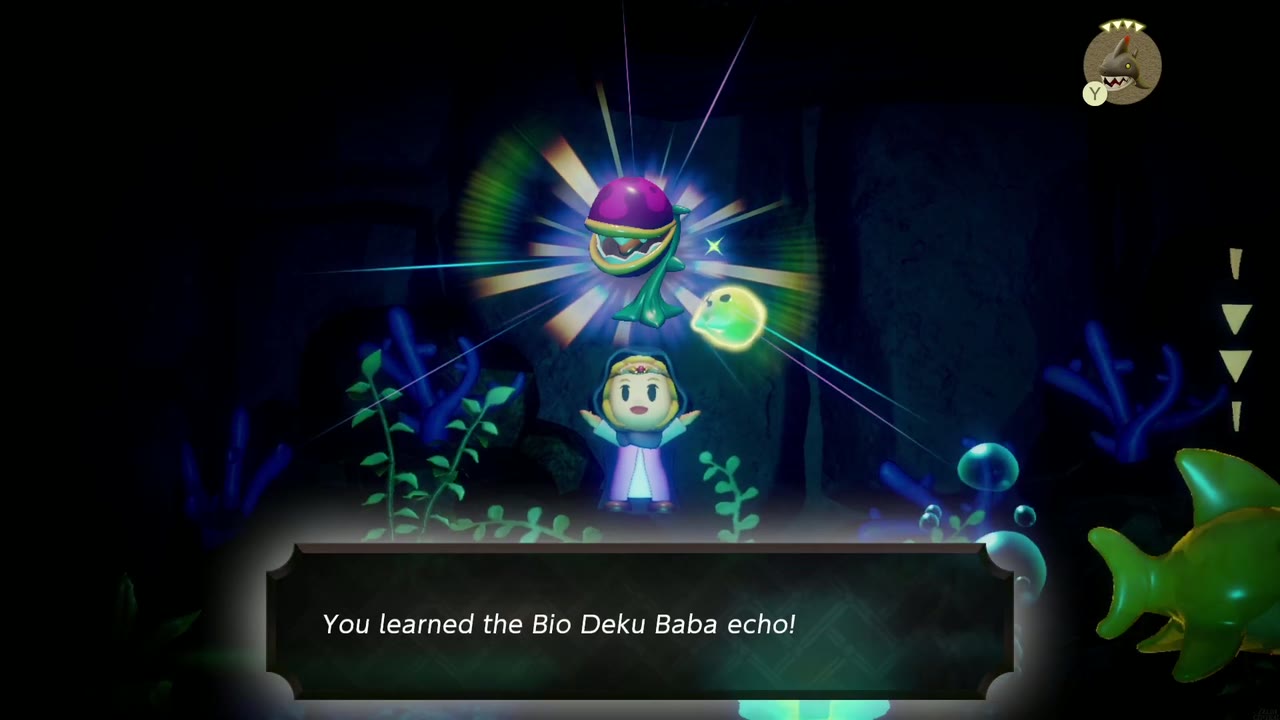
Keep swimming past Chompfins and jellyfish. The water opens into a brighter cavern with another Bio Deku Baba, then turns dark again. A small chest on a ledge beside the glowing coral holds 100 rupees. Then swim up to the upper-left and climb the ladder out of the water.

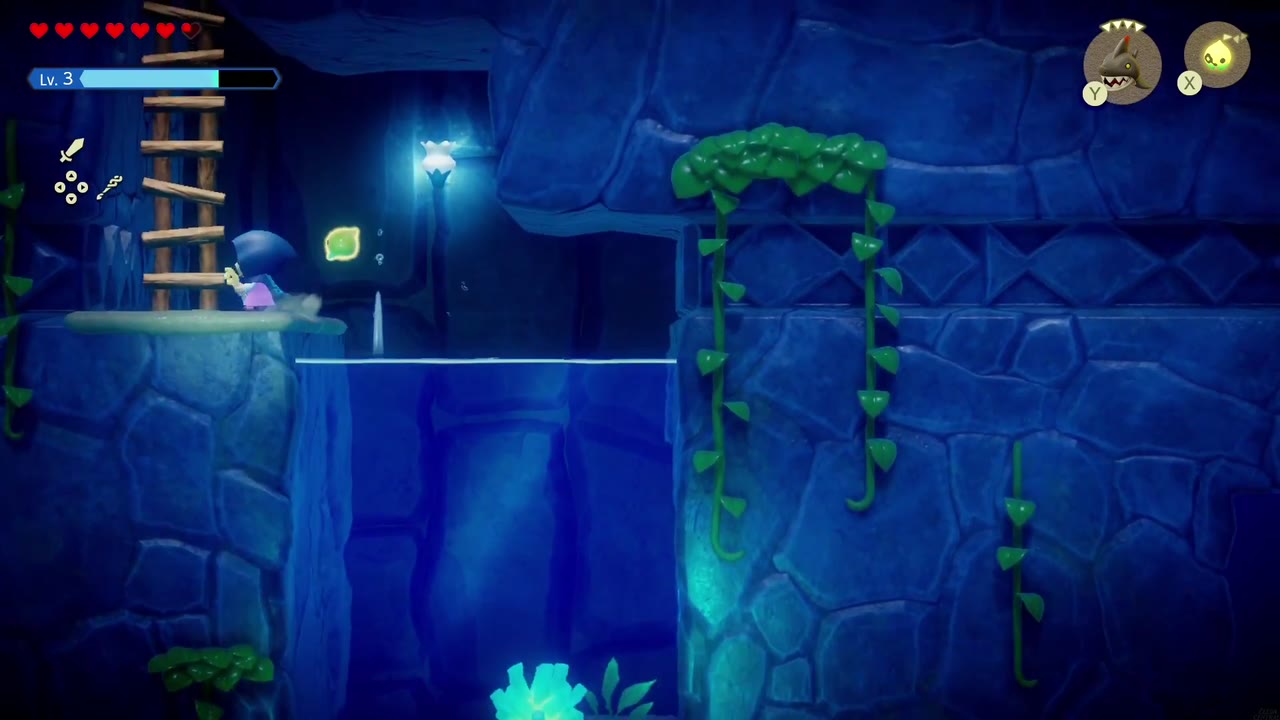
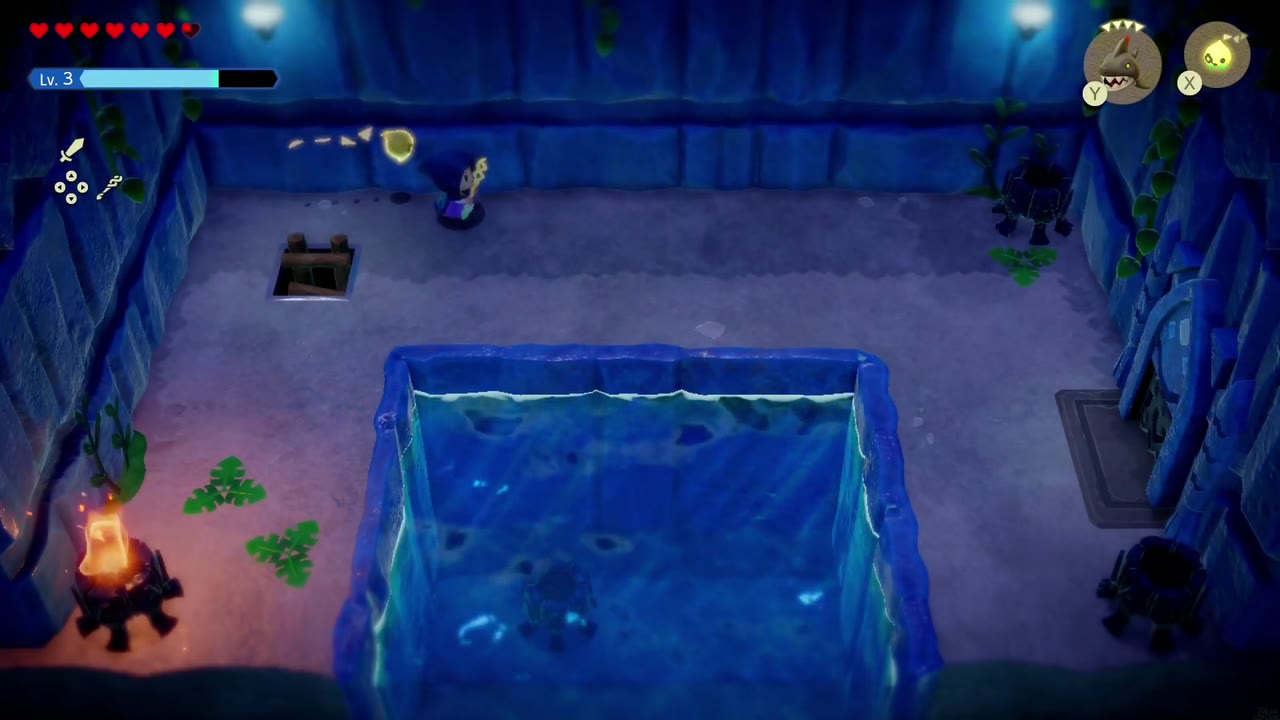
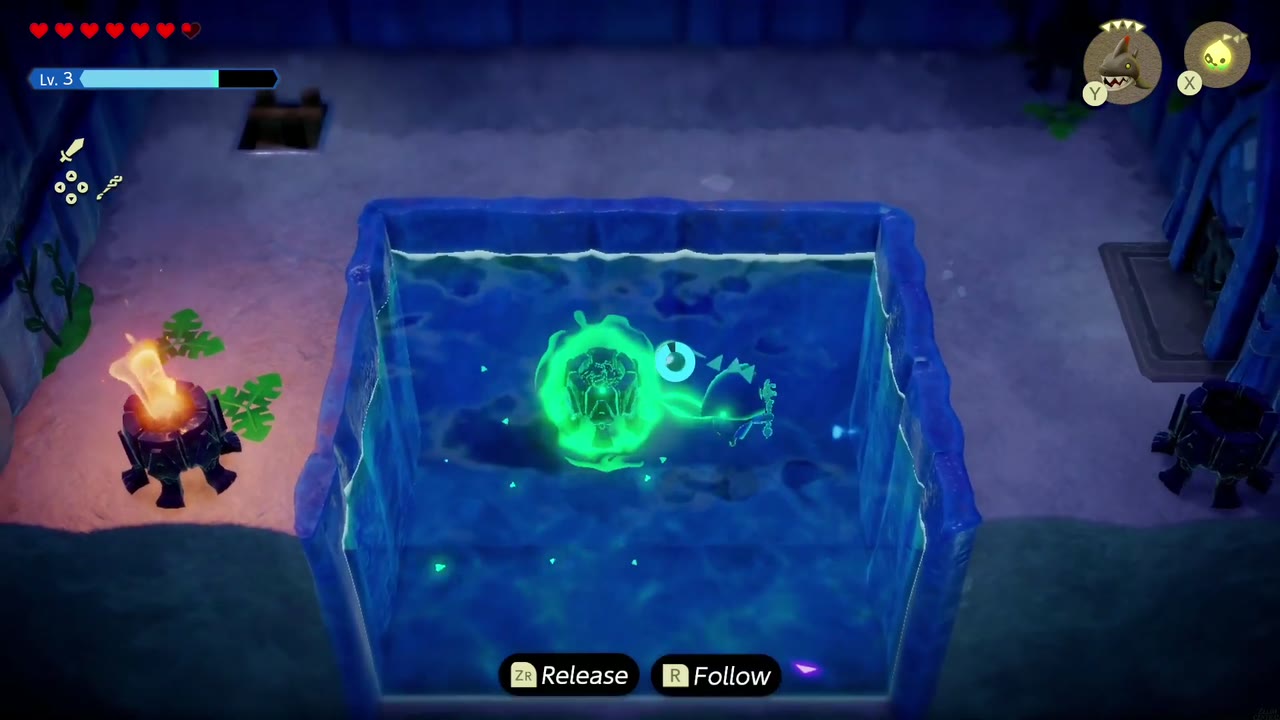
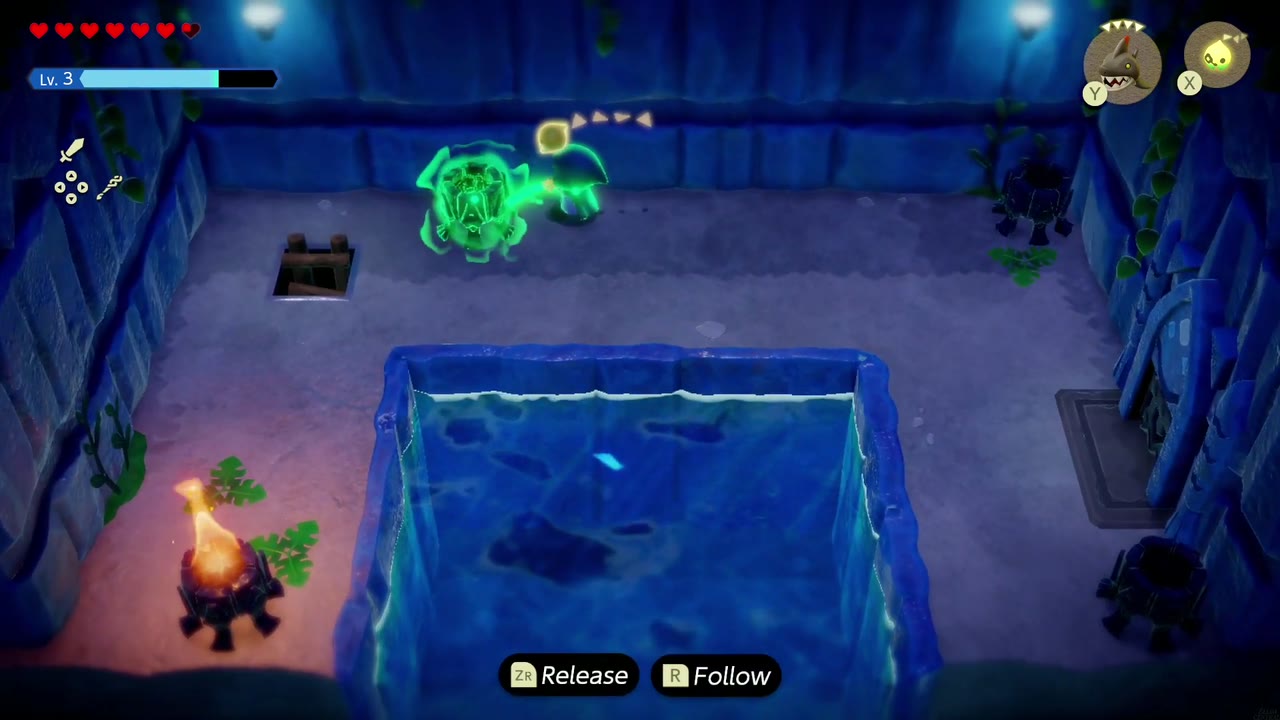
The room above is the sunken-torch puzzle. A lit torch sits in the bottom-left, with unlit torches in the bottom-right and upper-right. The fourth torch is missing because it’s at the bottom of the pool. Dive into the pool, Bind the submerged torch and drag it out onto the floor to the empty upper-left corner, then light all four with Ignizol.

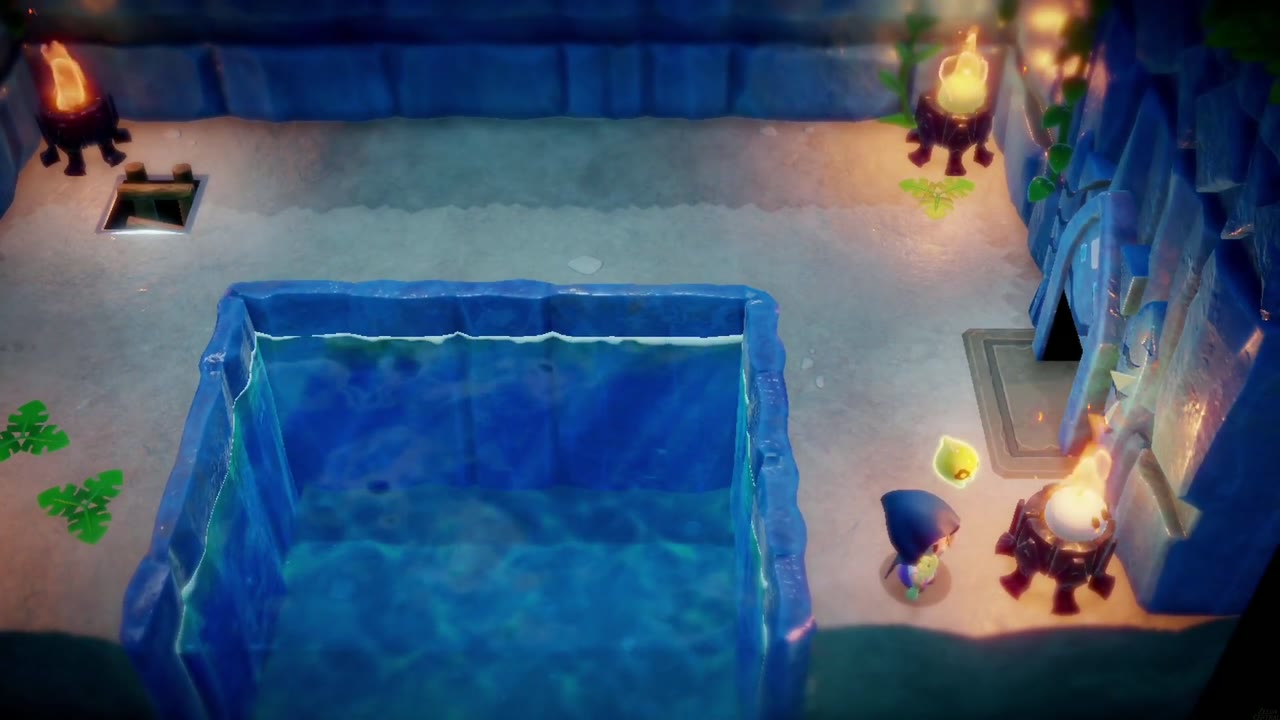
The right door opens onto the blue switch, at the top of the steps between two fish statues. Press it to light the blue lock on the central chamber’s big door, which pours water into the pool in front of it. Drop through the new floor hole to the right of the steps and climb the ladder back up to the hub.


Yellow Switch
Stand on the purple switch and walk toward the filling-and-draining pool. When it drains, step onto the floor circle so the water jet launches you, and hop off at the peak to the left.


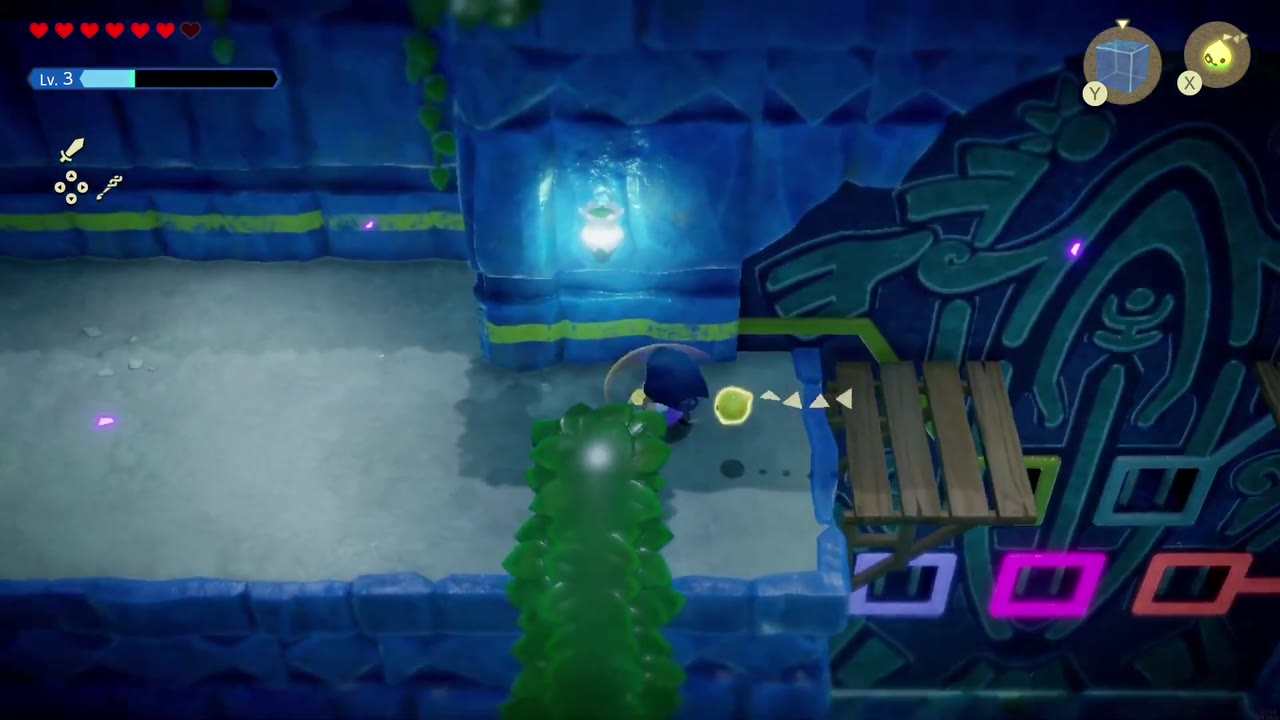
The next room has a southward current full of floating wooden platforms. Ride one south, dodging the right-side enemies by dipping into the water if needed, but do not ride over the waterfall at the end. Hop onto the solid ledge in the middle, cross it, and jump back into the water; going north against the current is a losing fight, so instead hop platform to platform as they drift down toward you.
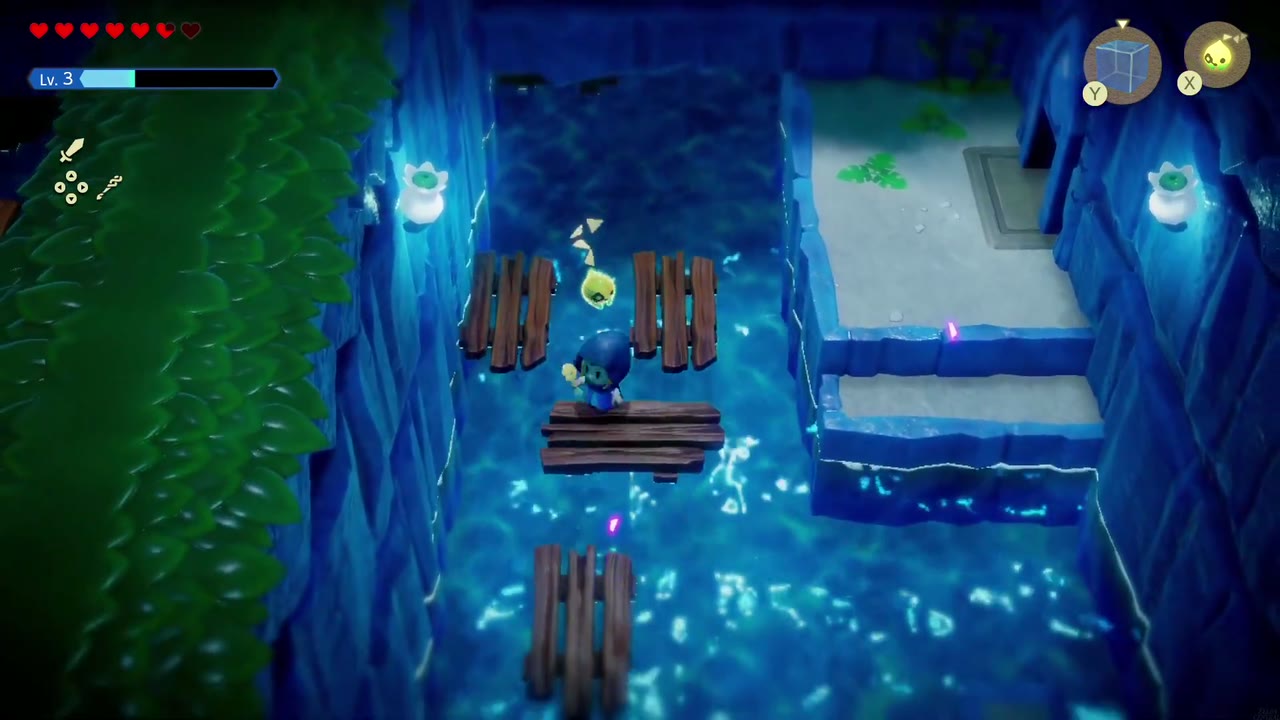

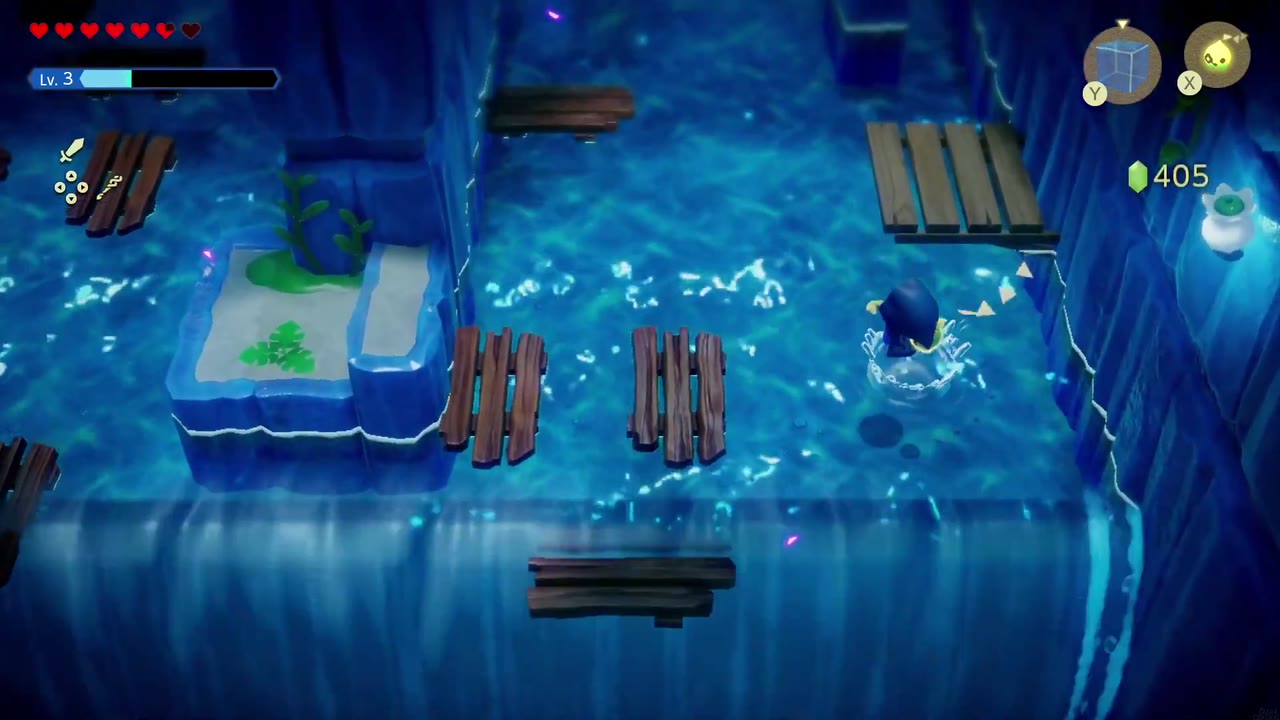
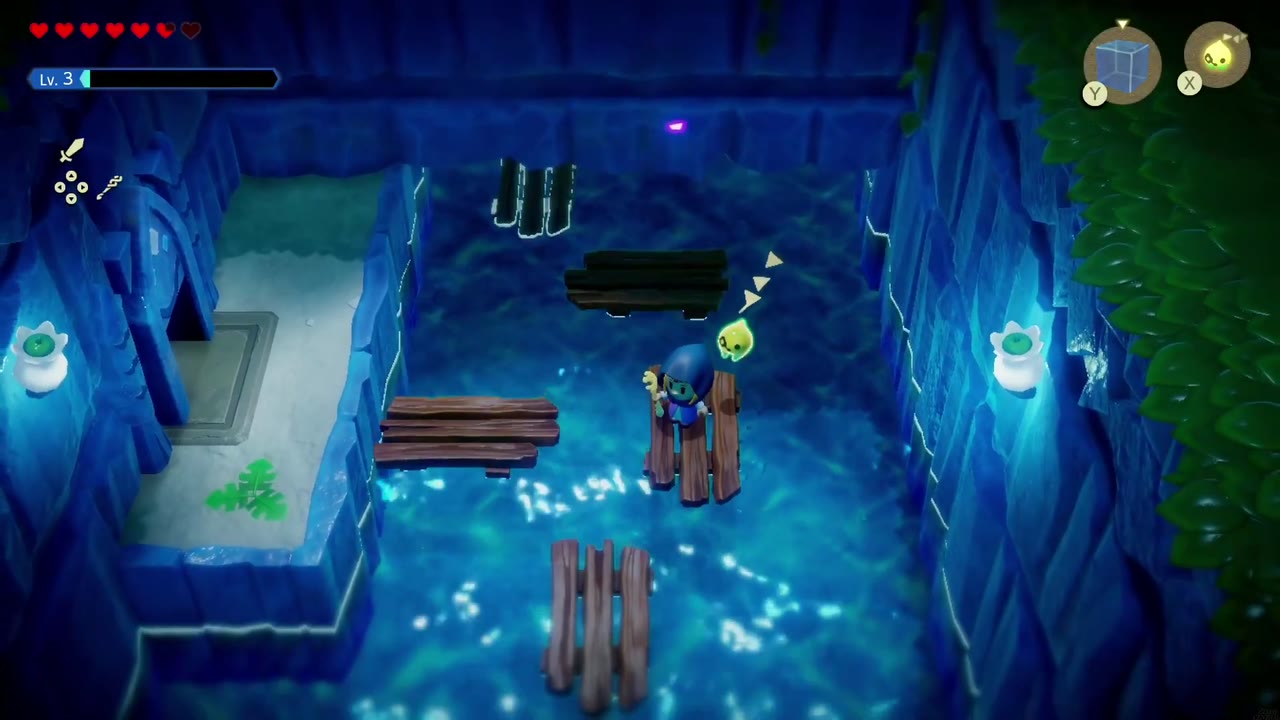
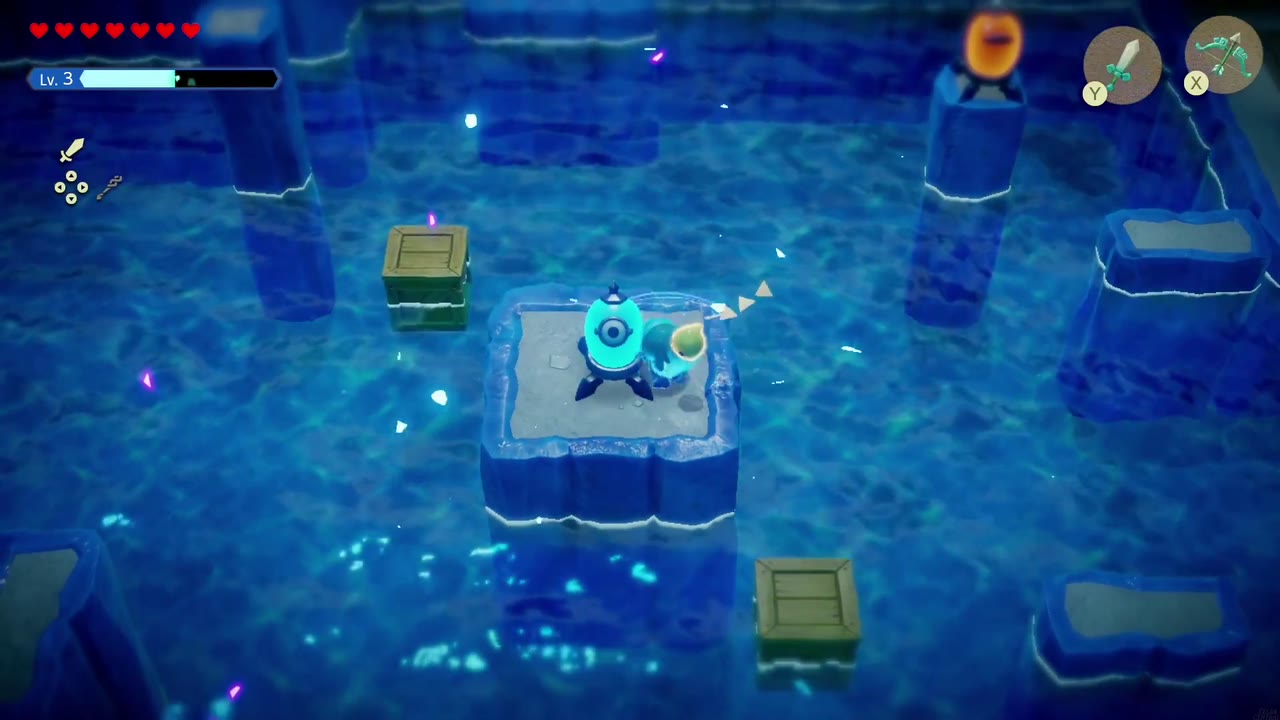
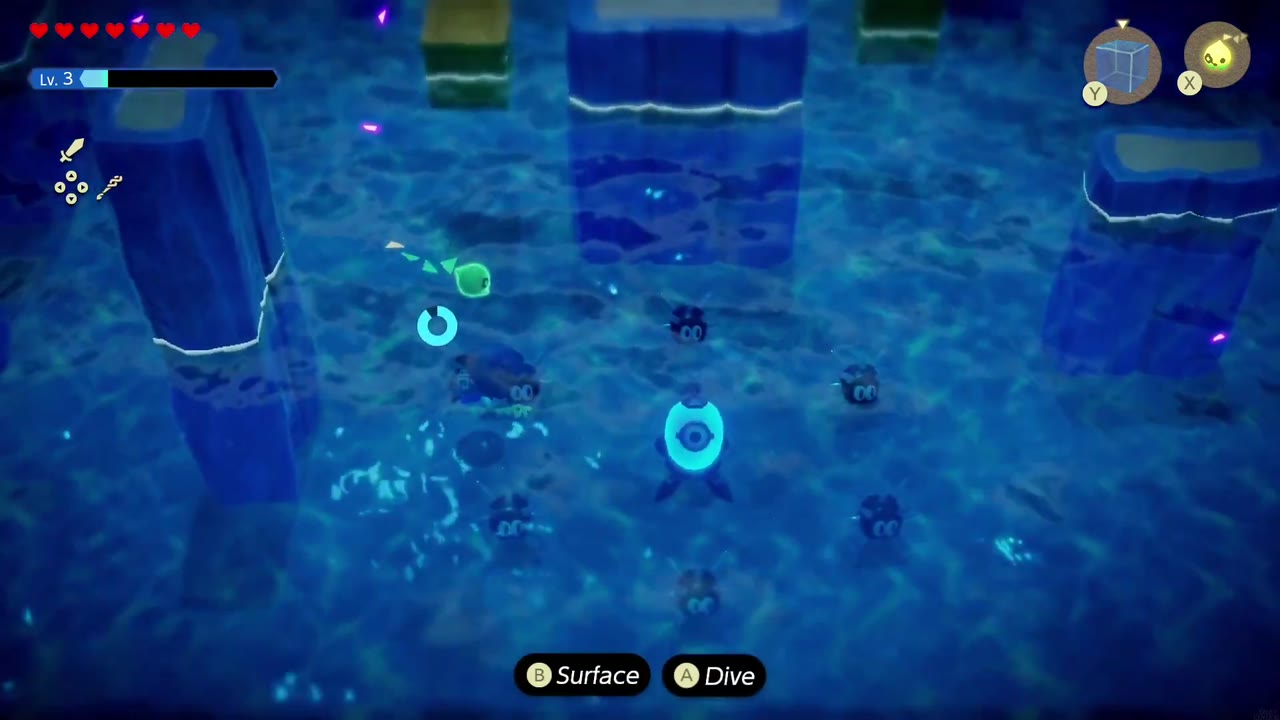
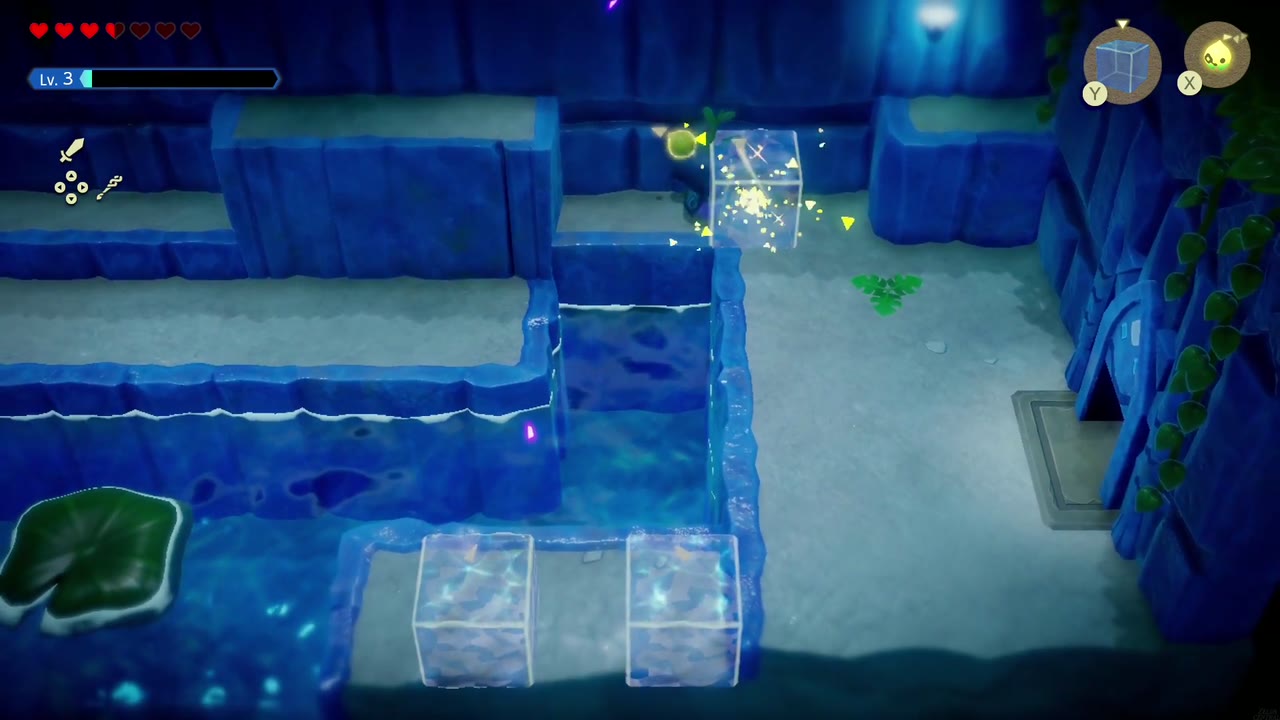
Work up to the doorway on the top-left and go through into the five-device puzzle. Five eye-shaped devices around this flooded room all need flipping from blue to orange, and Swordfighter Form’s sword does the flipping. The first is on the column ahead; lay a bridge of Water Blocks from the right-hand ledge out to it, then switch to Swordfighter Form and strike it. The second sits on a platform among floating Wooden Boxes; climb onto it and hit it. The third perches on a tall ledge at the far left; stack Water Blocks into a column beside it, swim up, and strike it. The fourth is underwater, ringed by Sea Urchins; dive and hit it (a Chompfin echo will help clear out the urchins). The fifth hides behind bars and Wooden Boxes in the top-left; stand on the ledge by the locked door, bridge over with Water Blocks, lift the boxes out of the way (they leave Refreshing Grapes), and hit it.
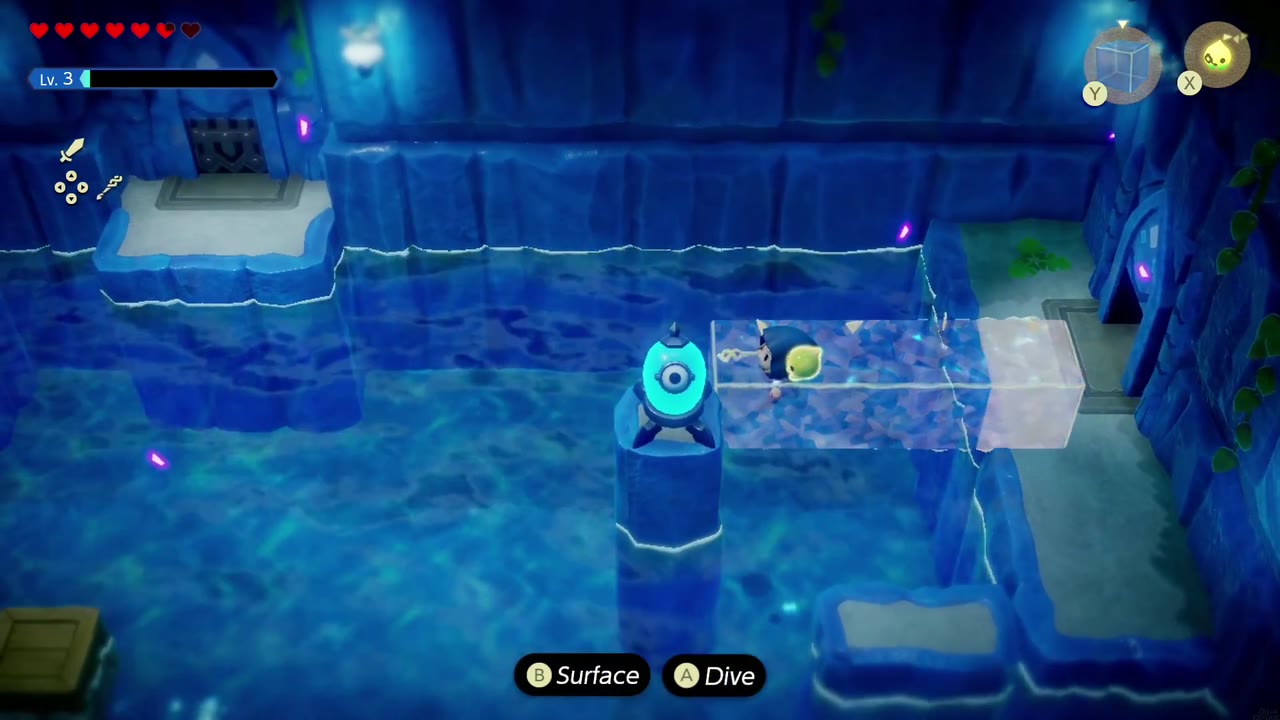
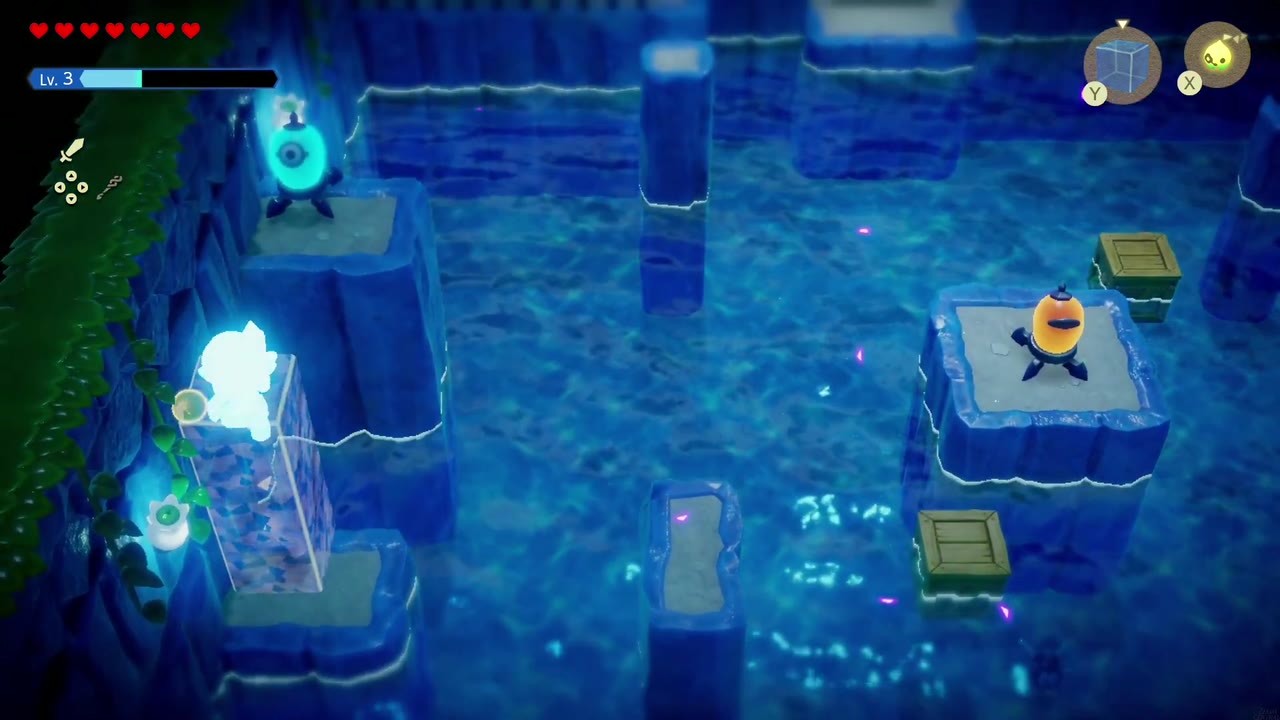
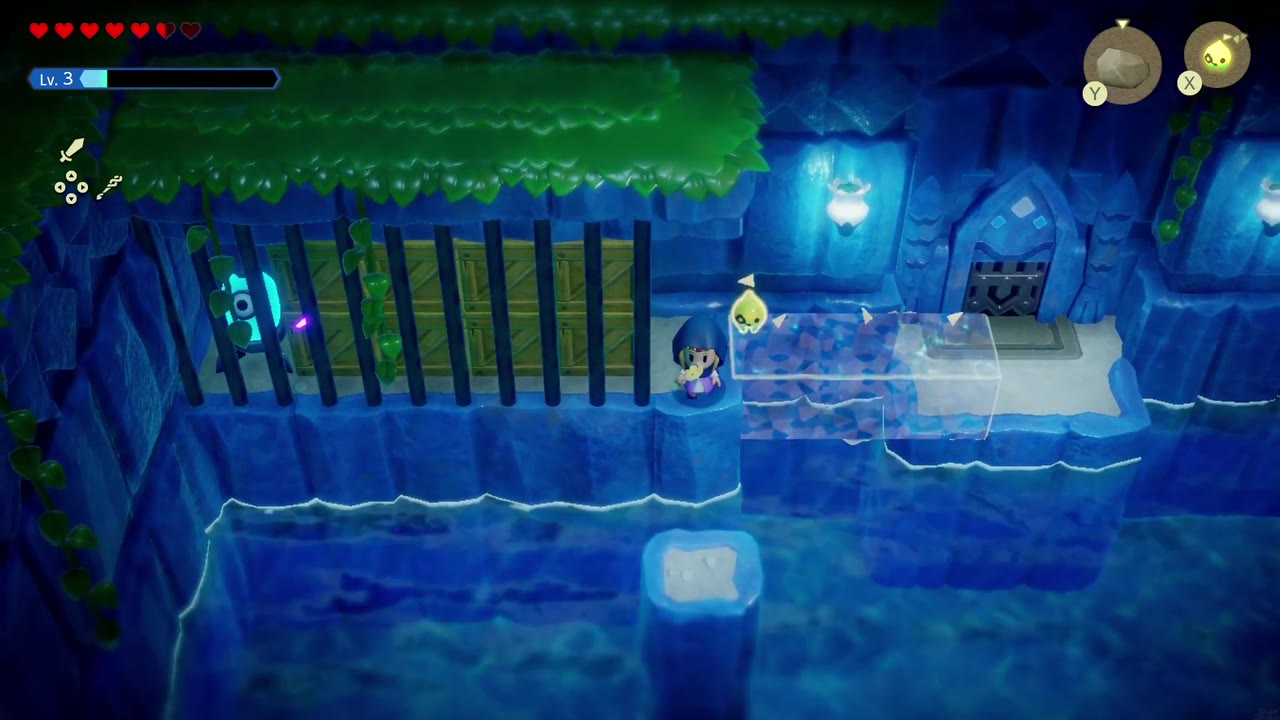

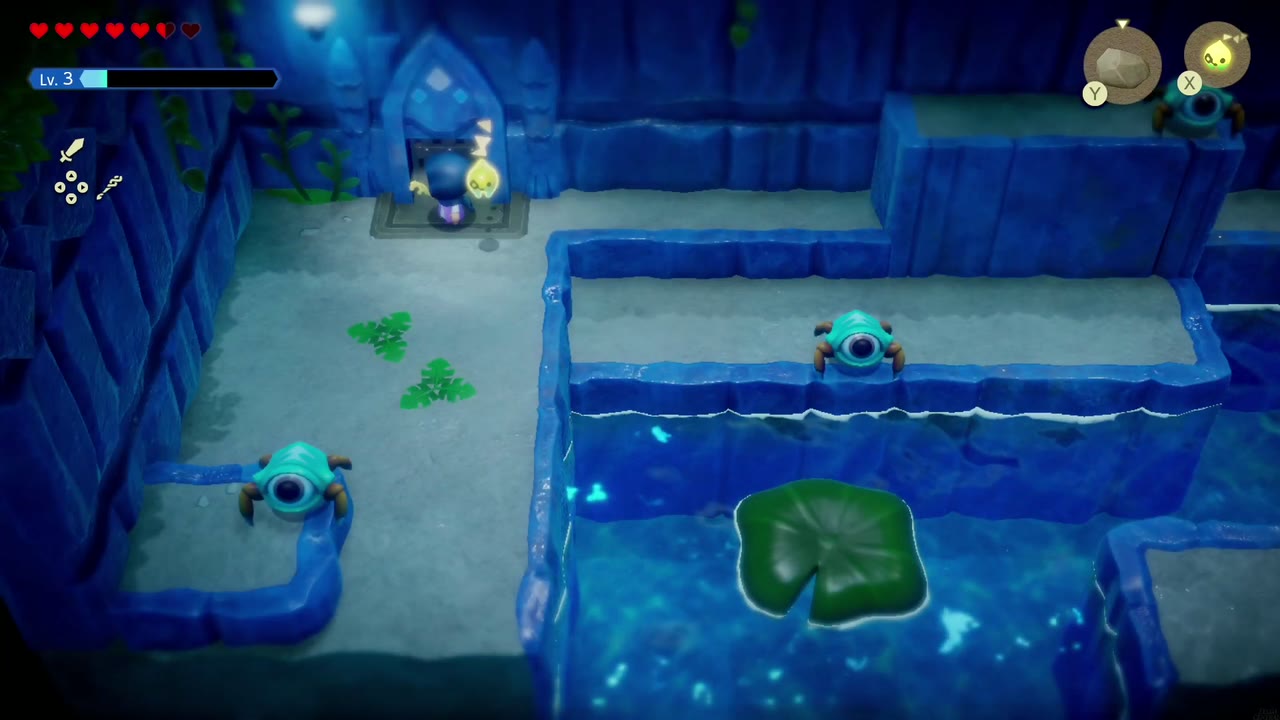
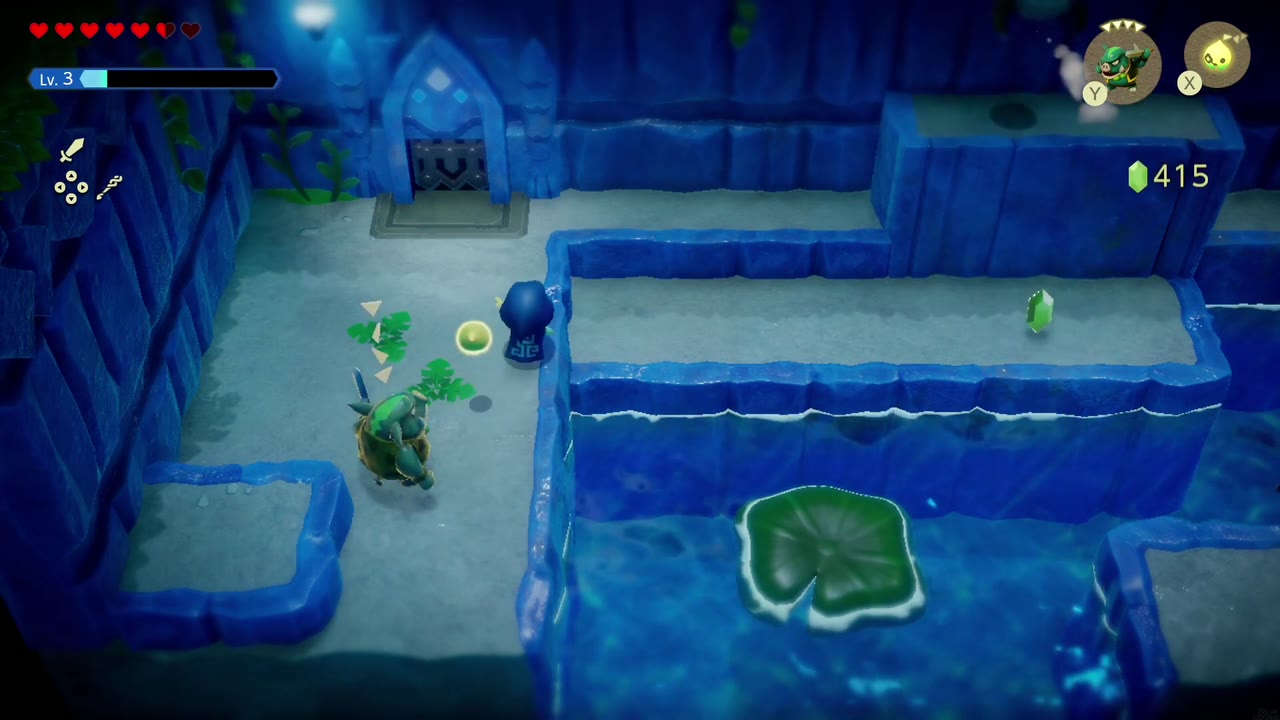
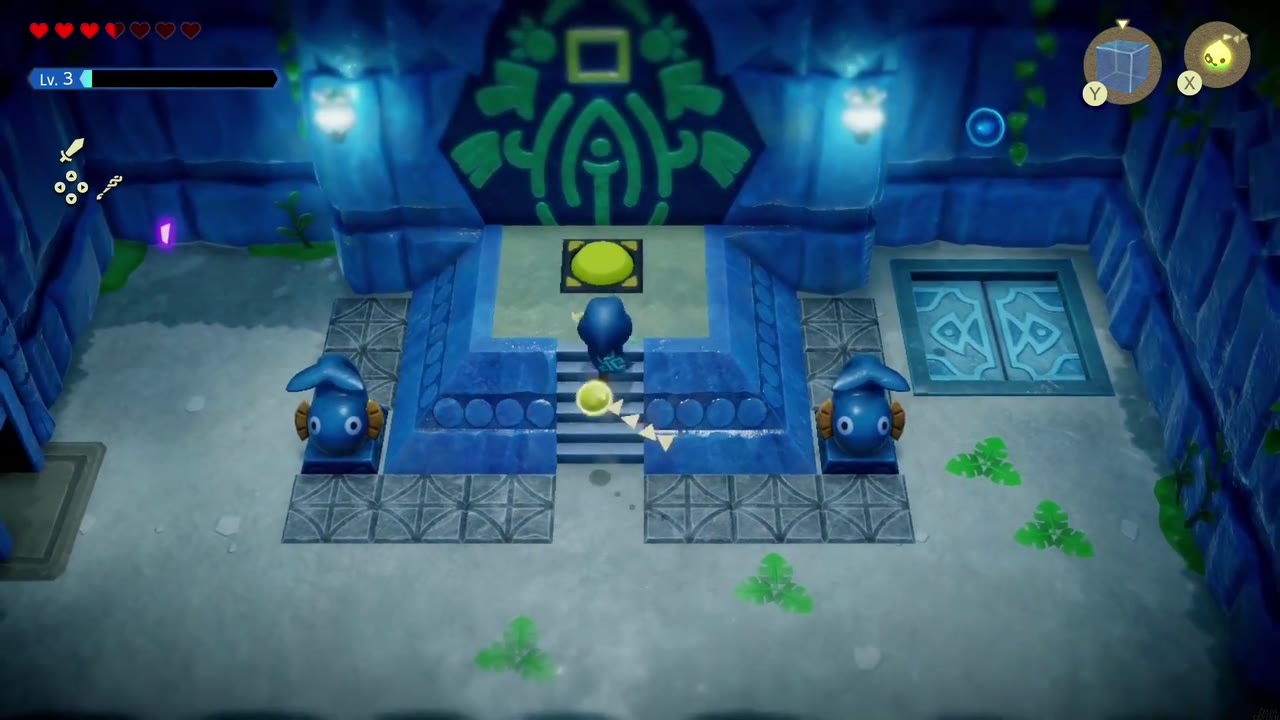
With all five orange, the door opens into a room of hopping one-eyed monsters around a lily-pad pool; keep moving and let a sword-wielding echo (plus your own Swordfighter Form) do the work. Clear them, stack Water Blocks to climb onto the raised floor on the right, take the right door, and step on the yellow switch among the fish statues. The pots by the left wall hold Refreshing Grapes. Drop through the floor hole on the right to head back to the hub.
Big Key and Light Blue Switch
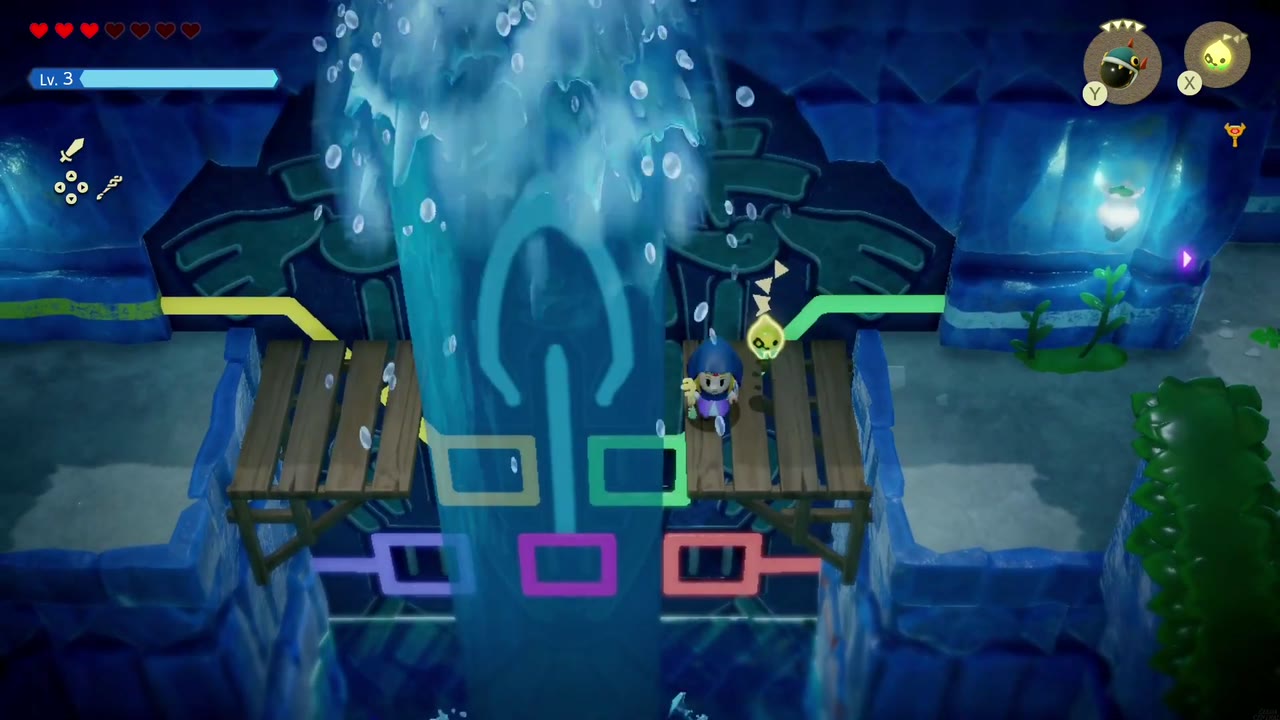
On the hub’s upper level, walk right to the wooden platforms flanking the switch-color wall. With the yellow lock lit, a water jet now spurts up between them: step onto the left platform, wait for the jet to rise, hop onto it, then jump across to the right platform. Keep going right into the next room and take the ladder down through the hatch in its floor.


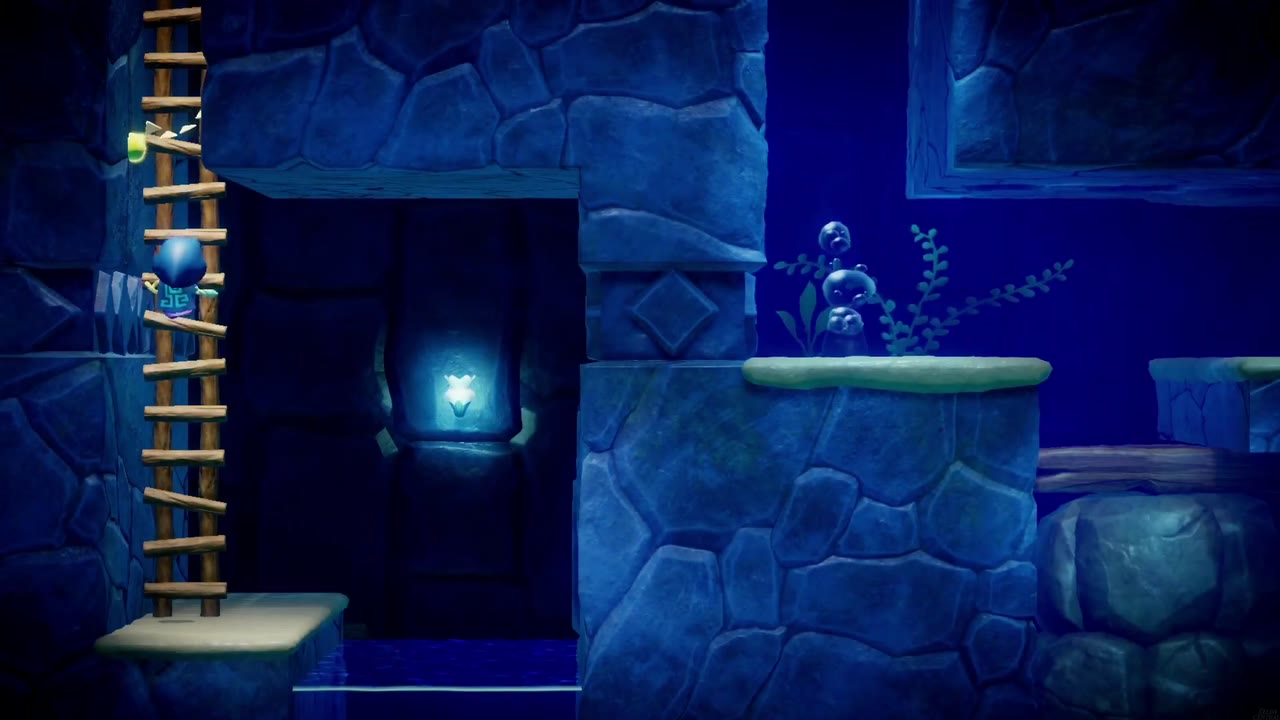
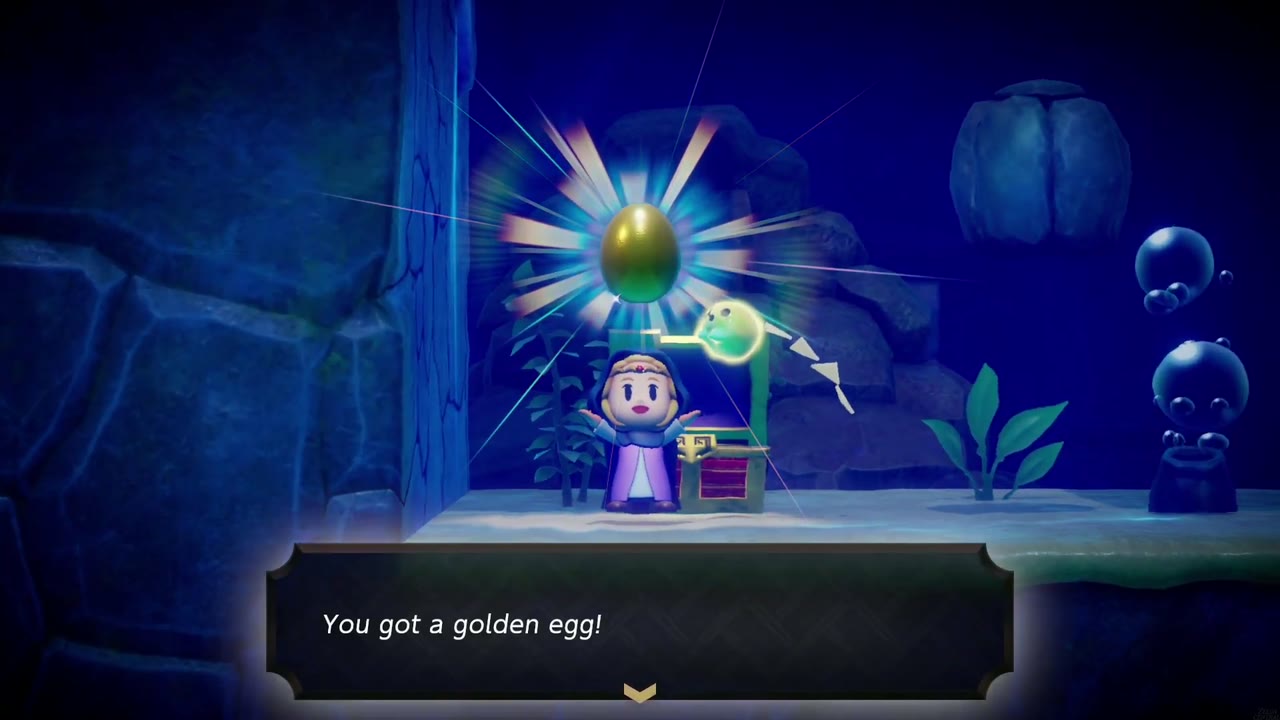
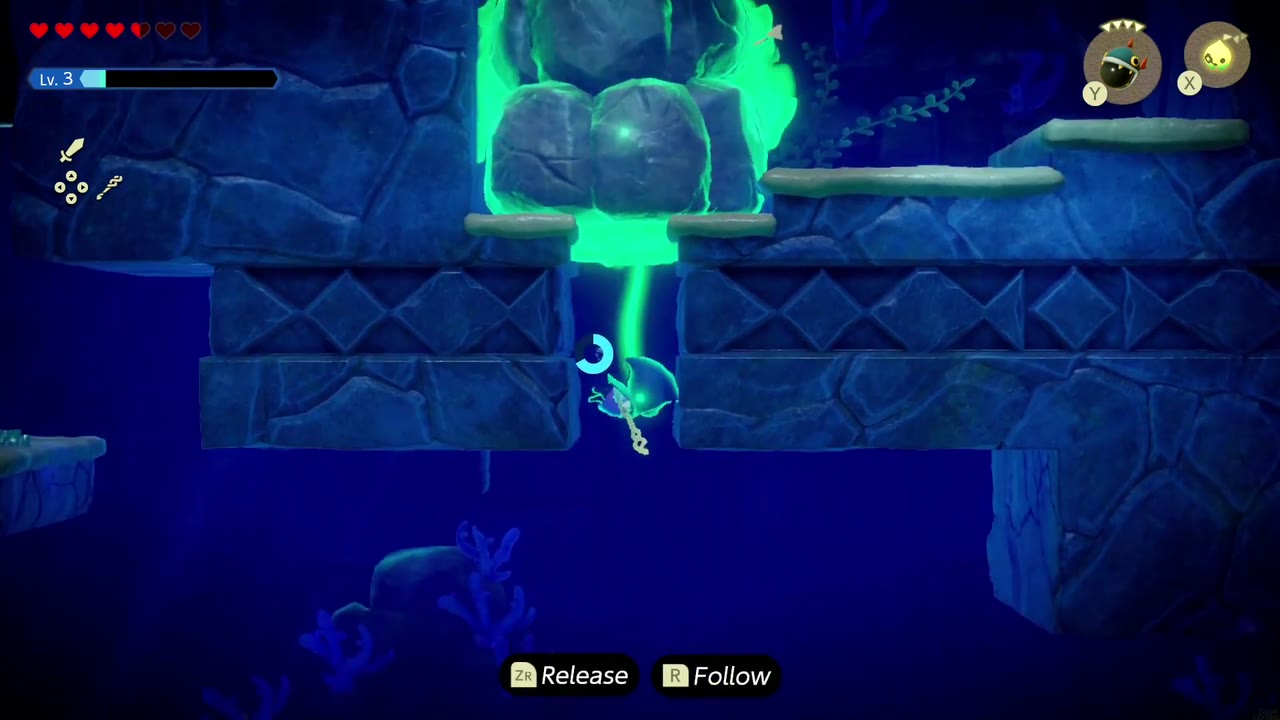
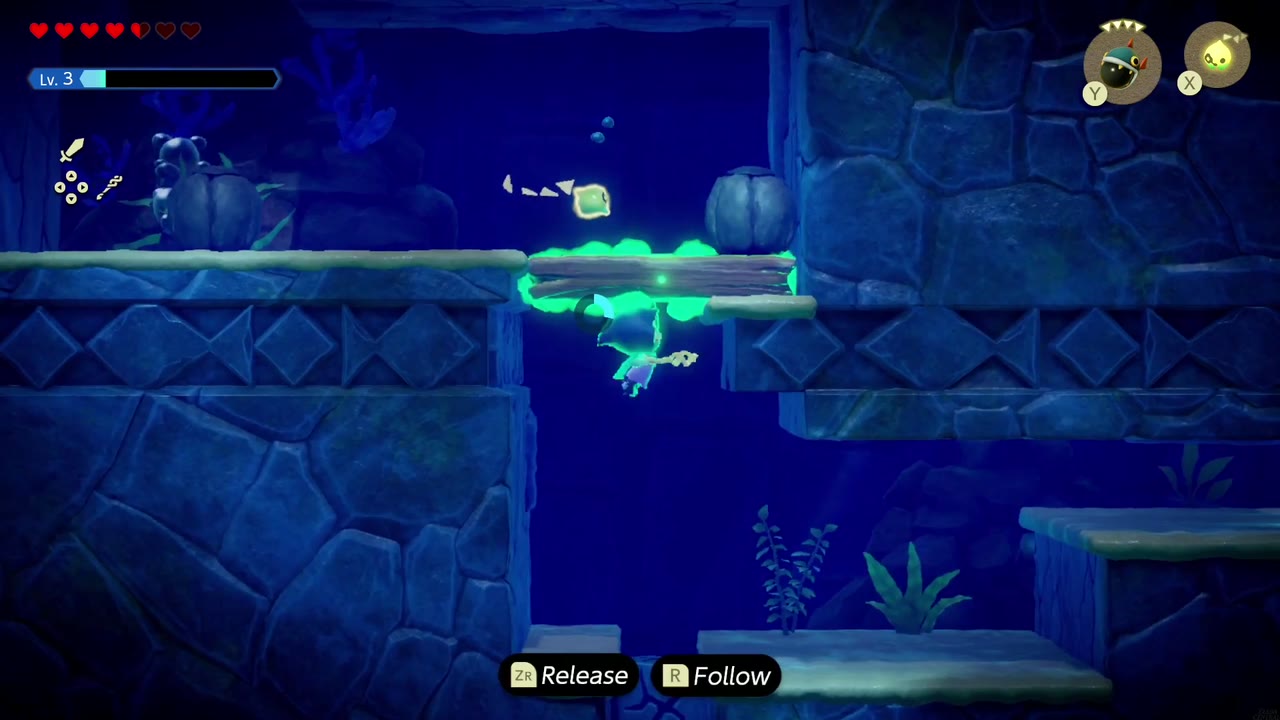
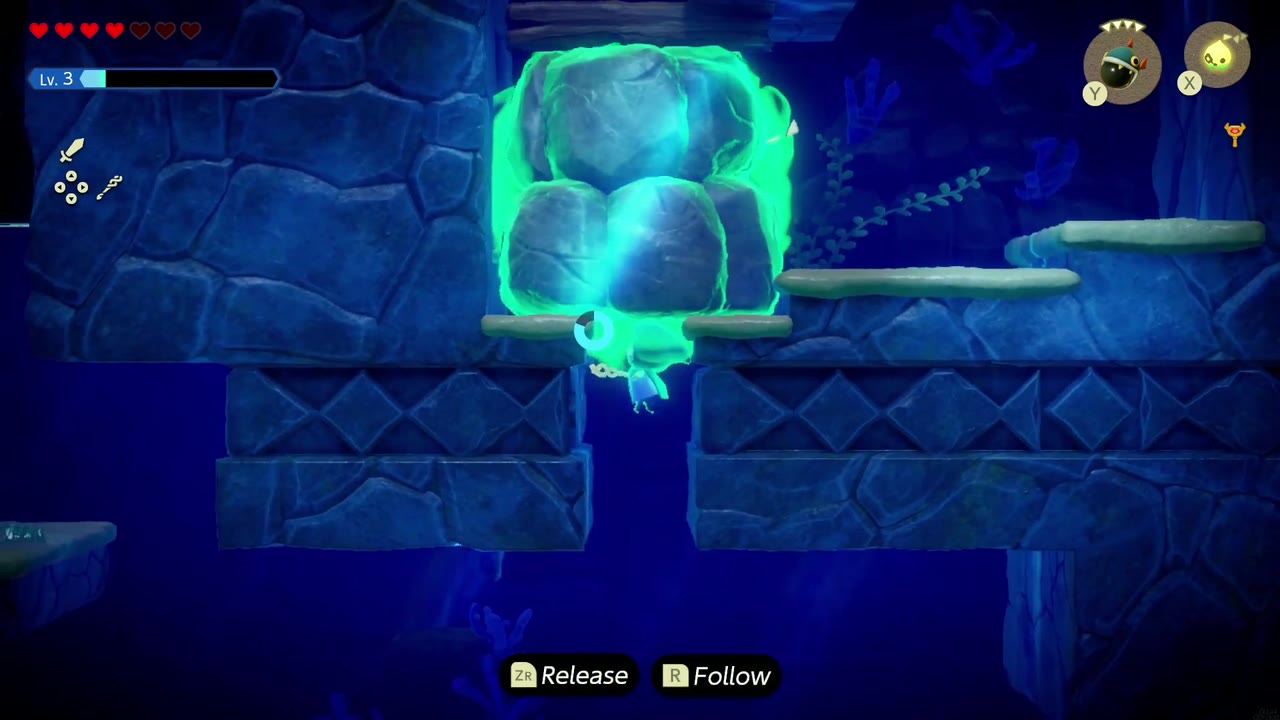
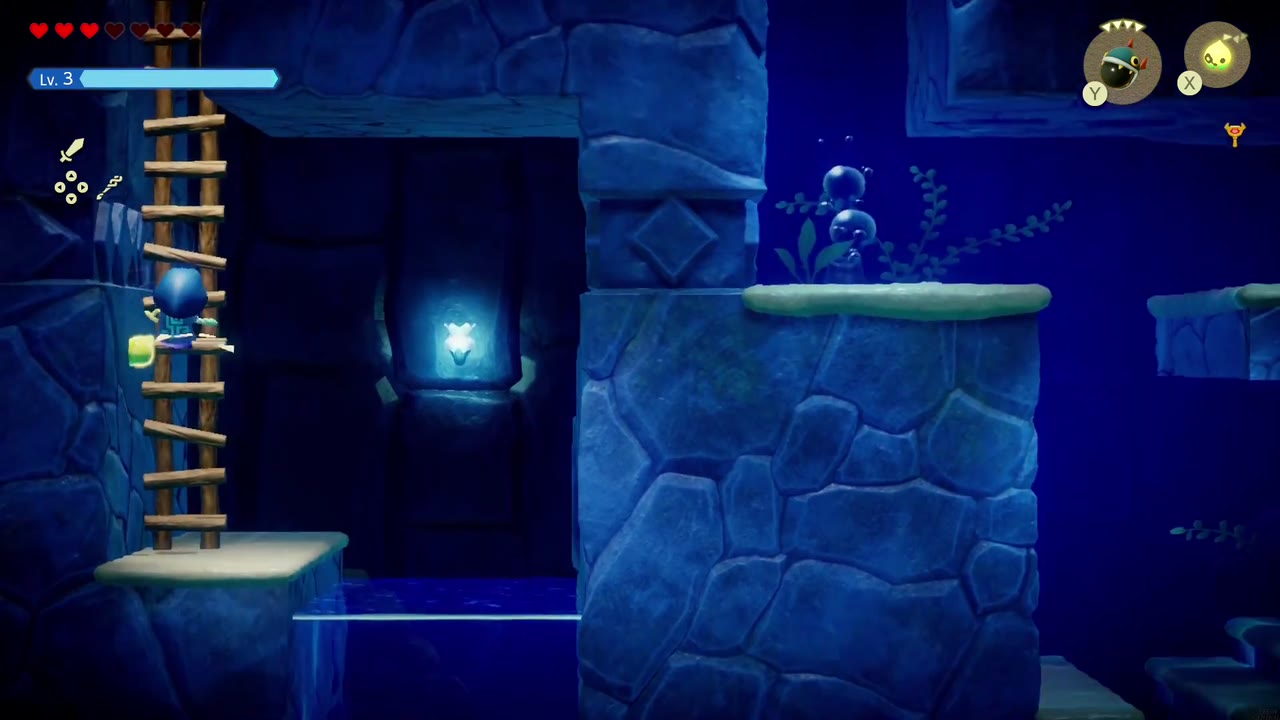
The ladder drops you into a side-view underwater passage. Swim right and send a Bombfish into the round shell blocking the ledge, then swim up into the alcove above for a chest with a Golden Egg. Further on, a stack of boulders plugs a gap in the ledge; Bind it and drag it aside to get through. Next, a wooden crate wedges an opening overhead; a Bombfish blows it apart. Past it, Bind the plank lying across a gap and pull it free, blast the next shell with another Bombfish, and follow the passage down to the spot-lit chamber whose chest holds the Big Key. Electric orbs drift through the whole passage, so keep clear of them.
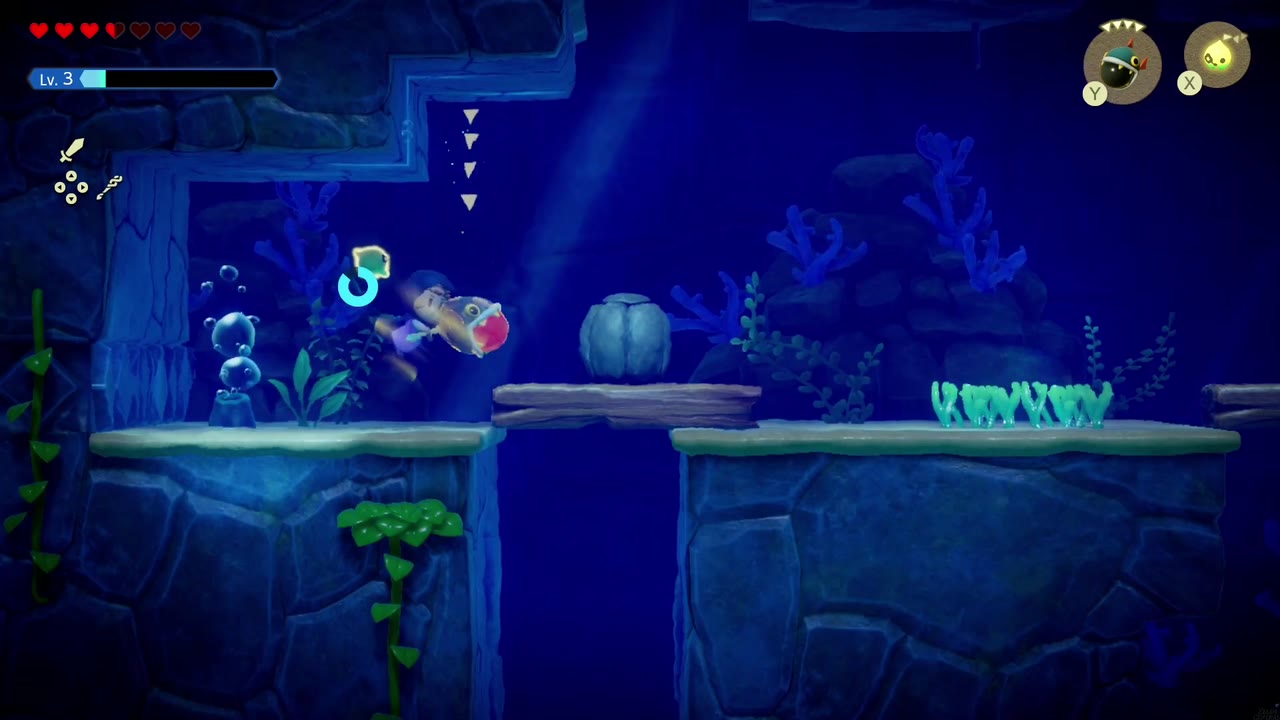
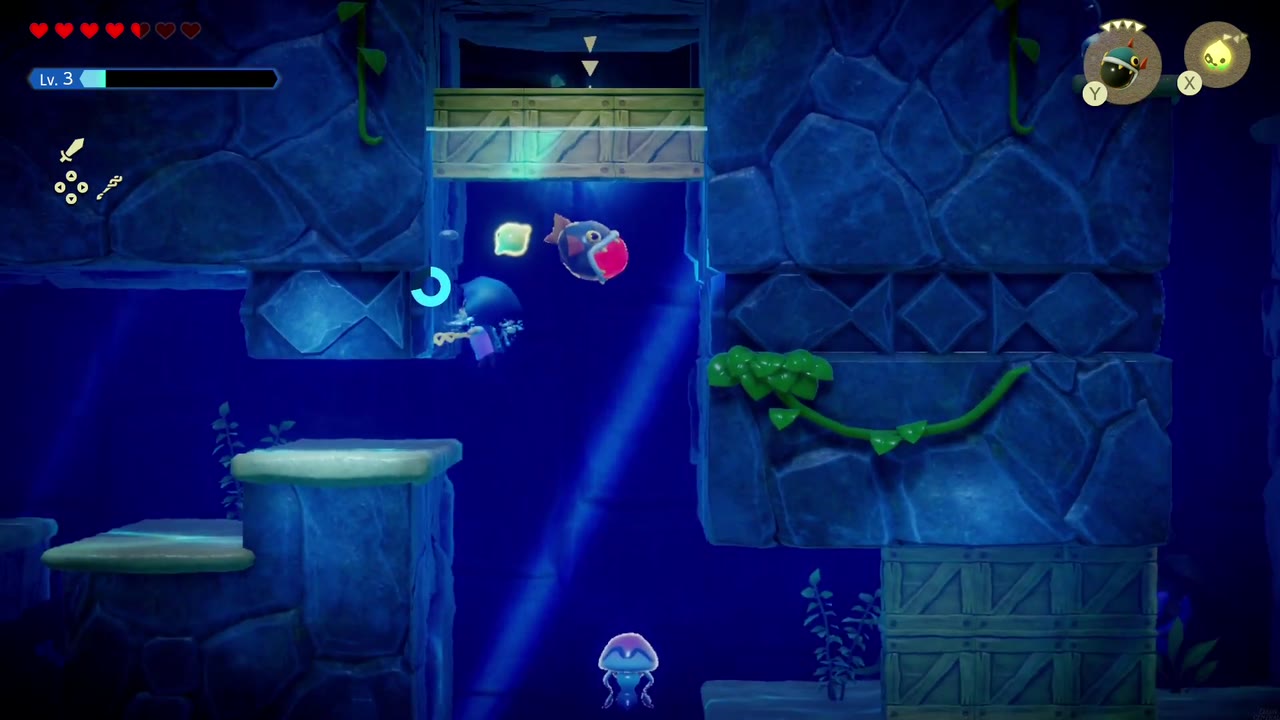

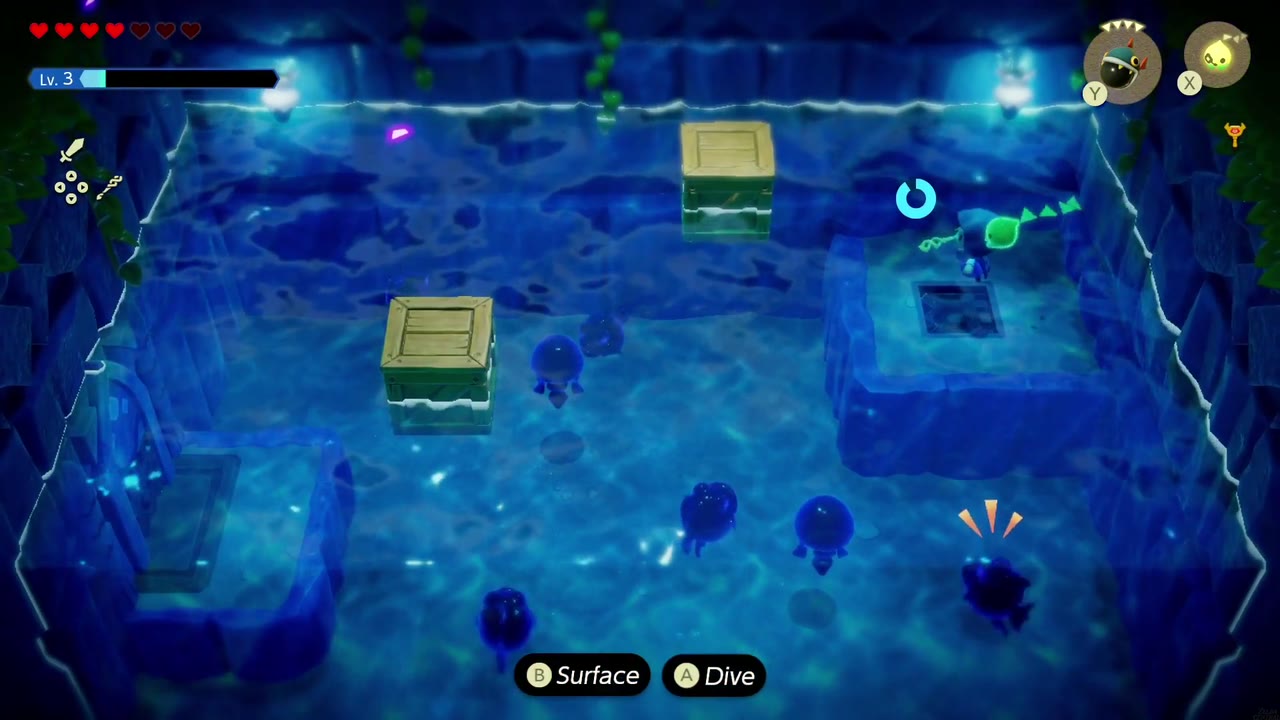
Swim back the way you came. Bombfish make short work of the wooden crates along the route (they drop Bubble Kelp, Refreshing Grapes and an Electro Apple), and the boulder stacks need Binding aside again where they plug the gaps. Instead of climbing the ladder, swim out through the opening on the upper left into a flooded room full of electric orbs and other sea creatures, including a wild Chompfin. Clear them out (Swordfighter Form works well here), blast the wooden crate with a Bombfish, and swim out on the left side.
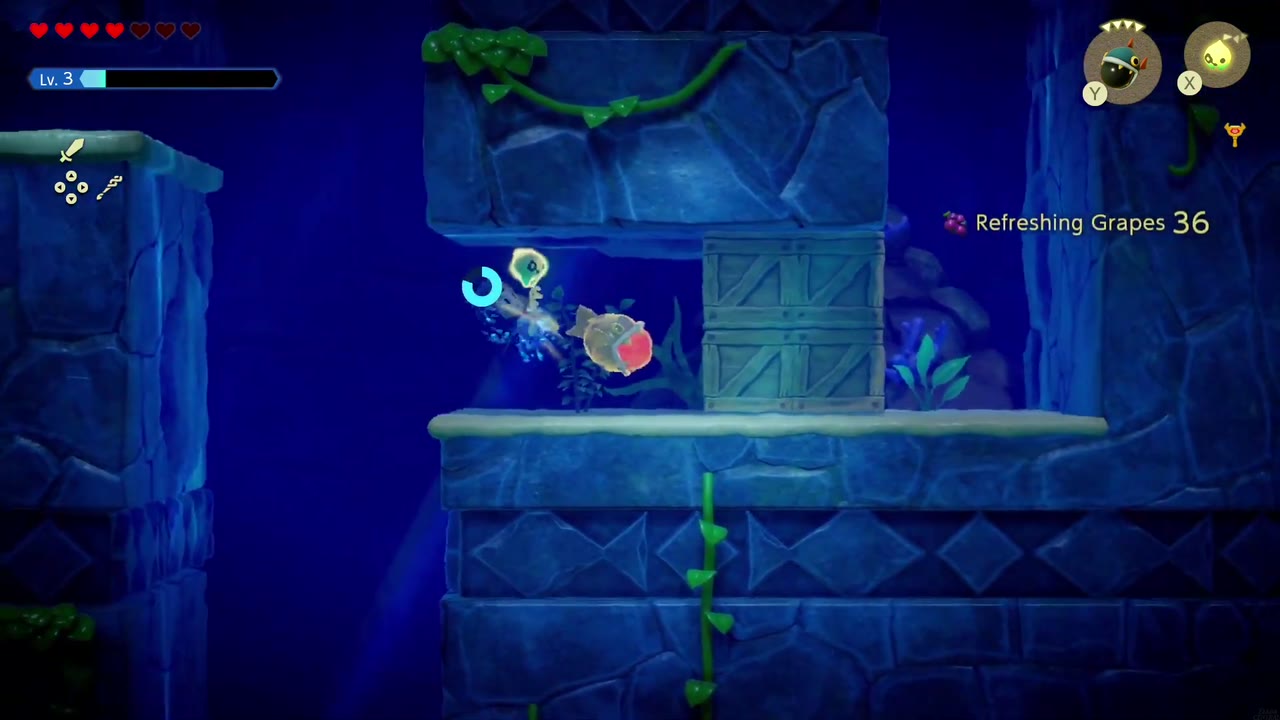
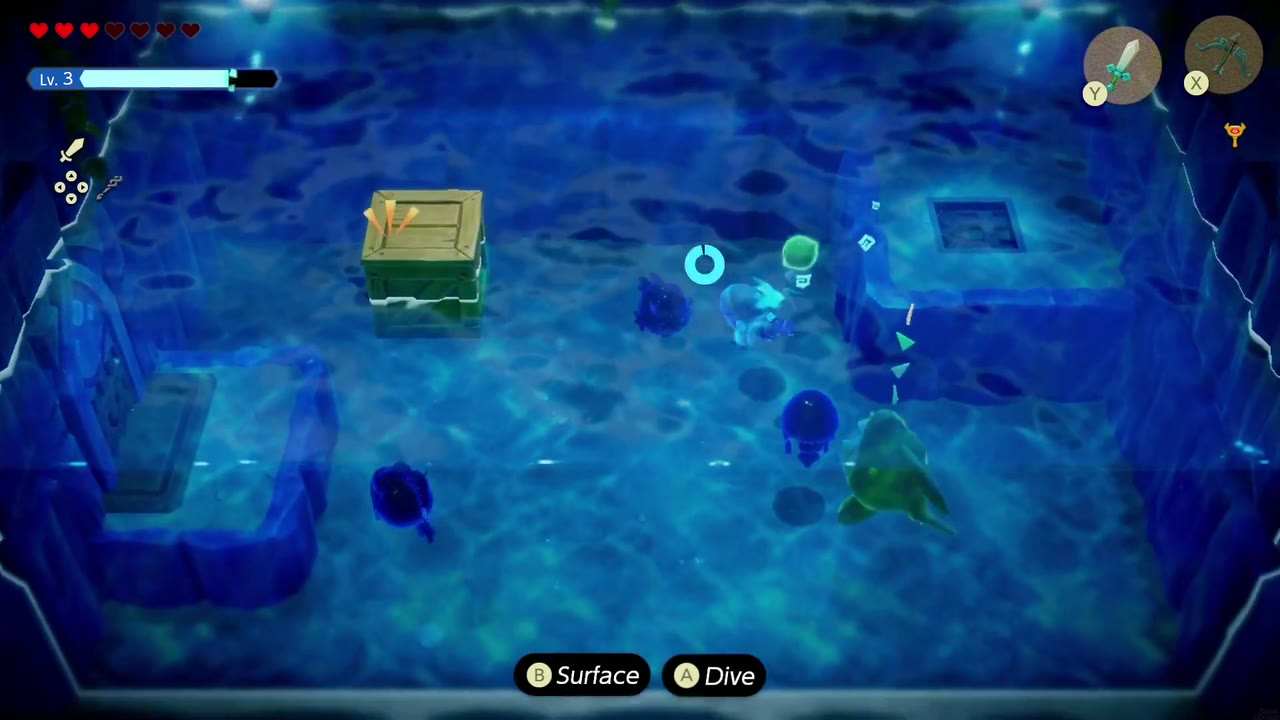

The next flooded hall holds the light blue switch, flanked by two Bio Deku Baba on pedestals. Take them out with a Bombfish and sword slashes; the jars along the left wall hold Refreshing Grapes. The switch needs constant weight, so drop a Boulder echo on it. The light blue lock on the switch-color wall lights up and the water jet surges up past the top of the wall. Swim out the upper left back into the side-view passage, blow up the shell there with a Bombfish, and Bind the stacked boulders aside to reach the ladder.
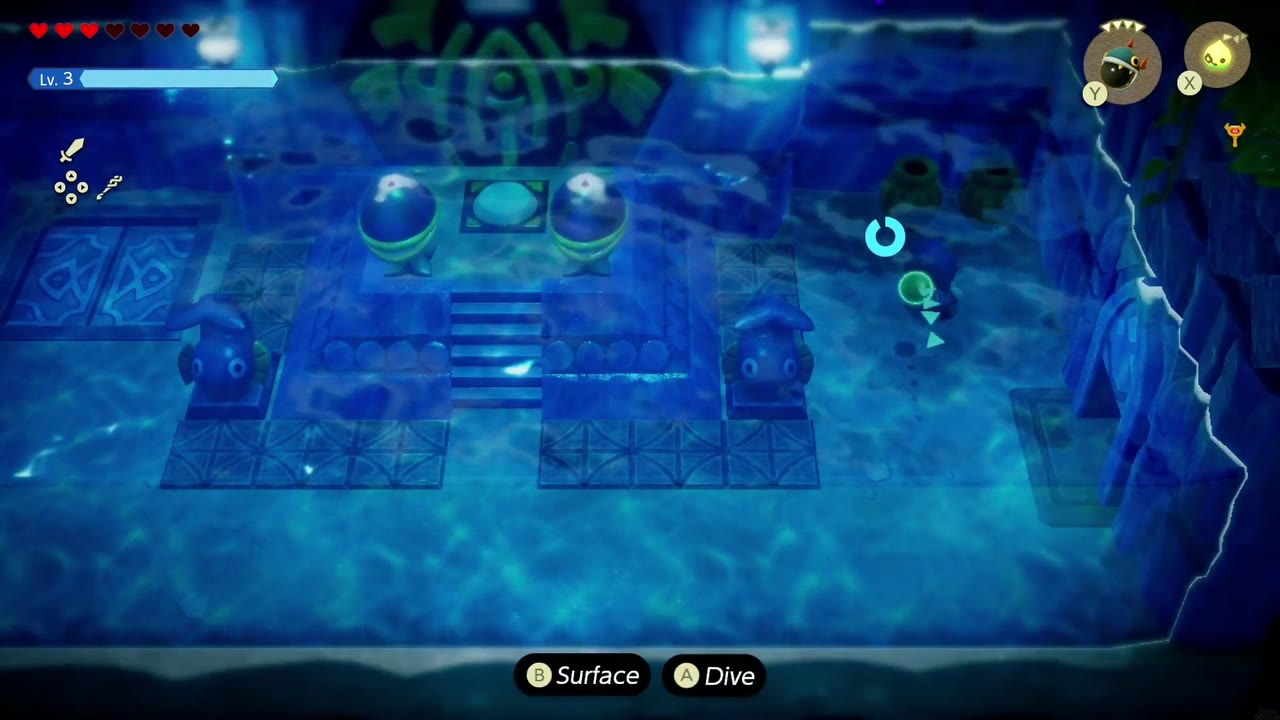


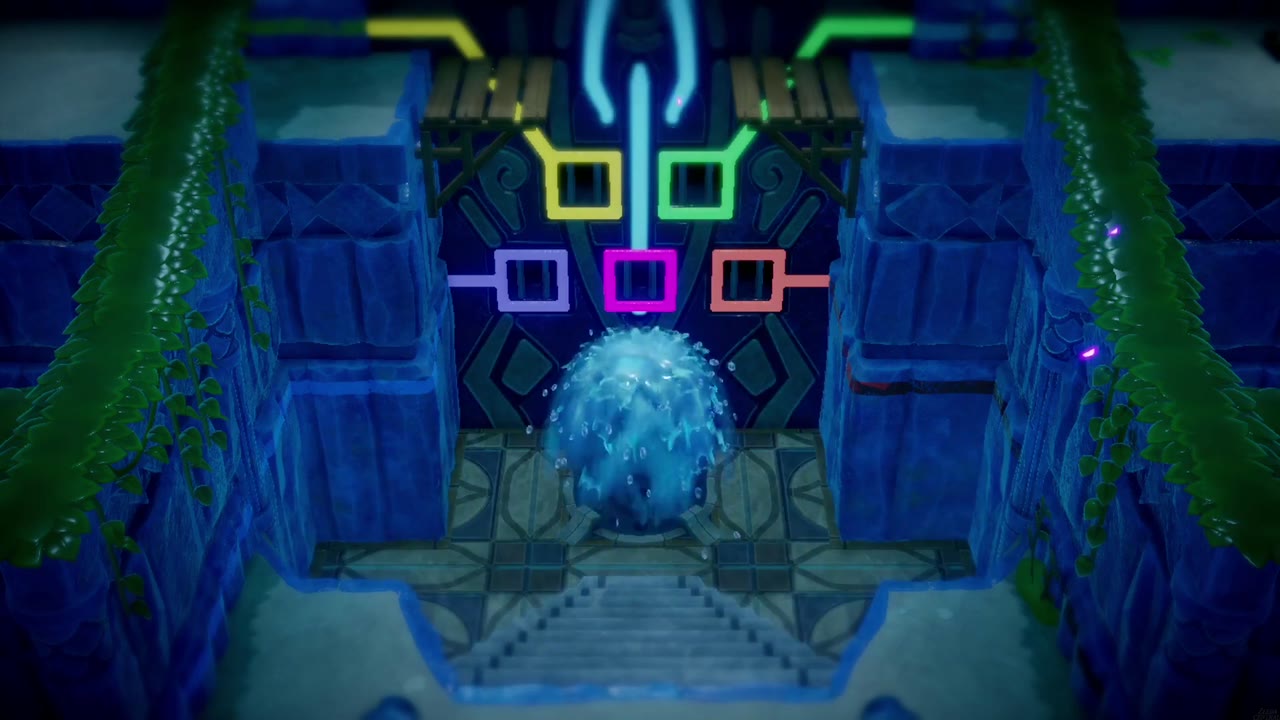
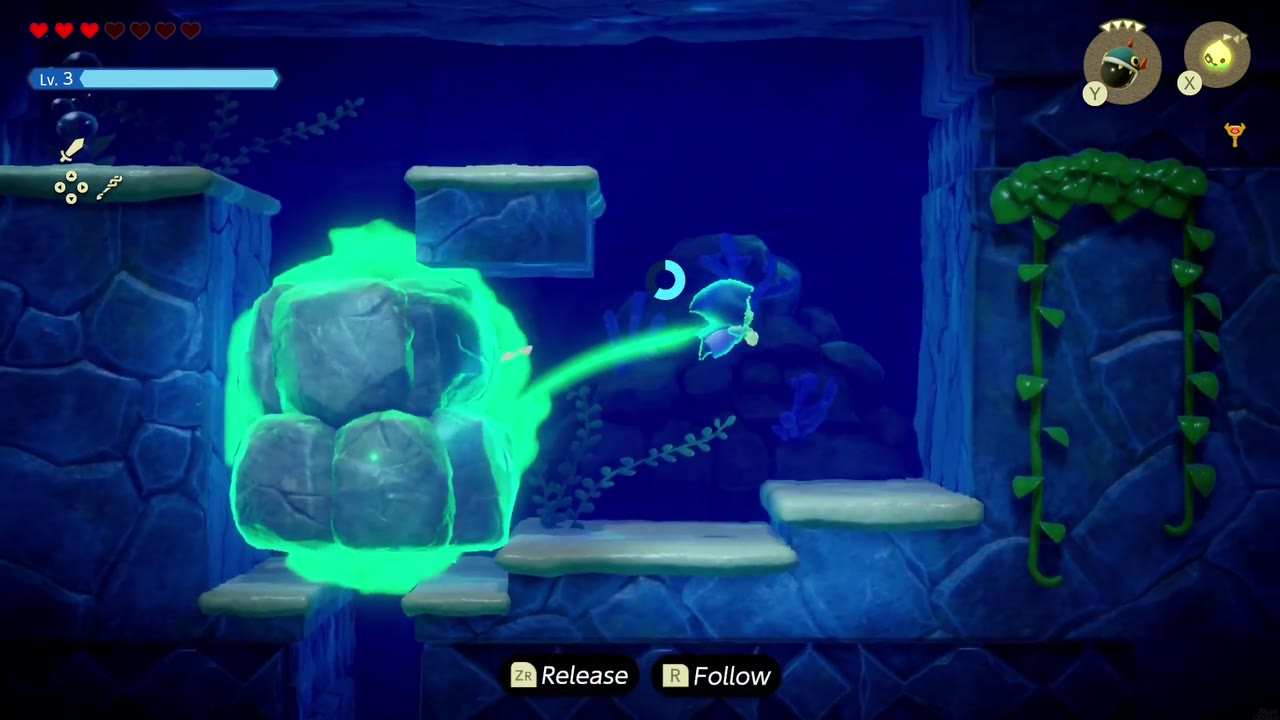
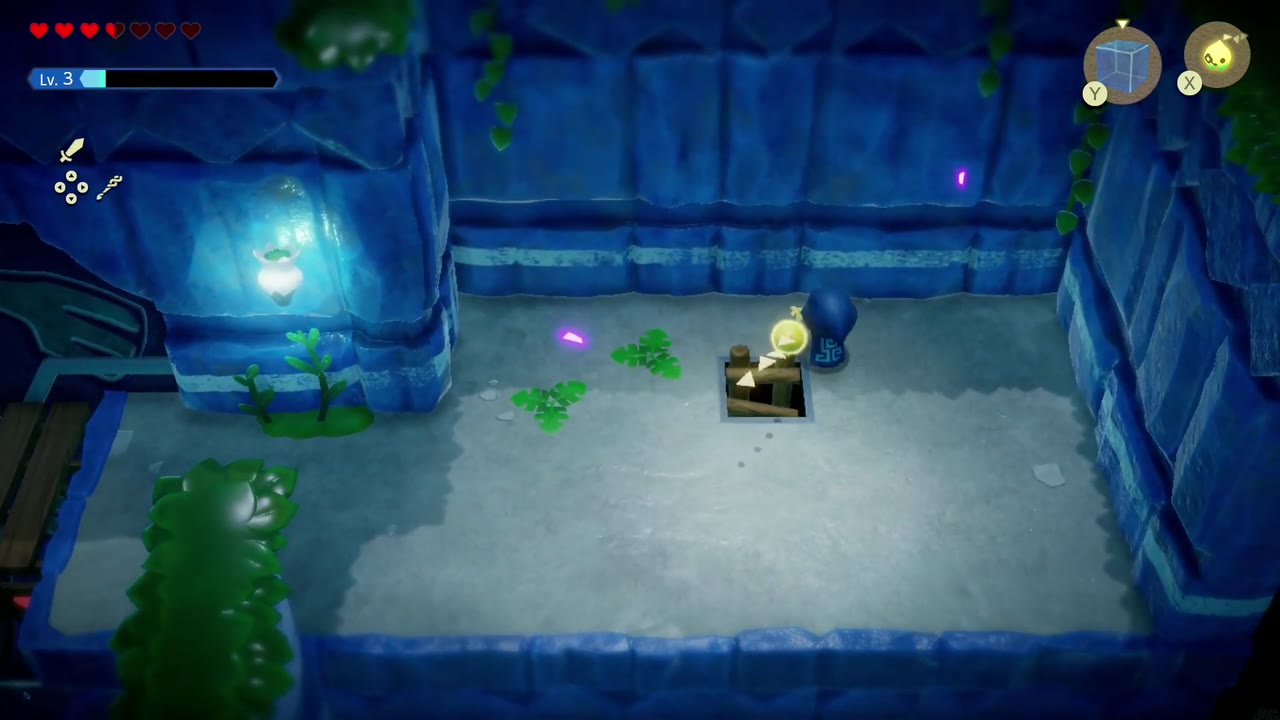
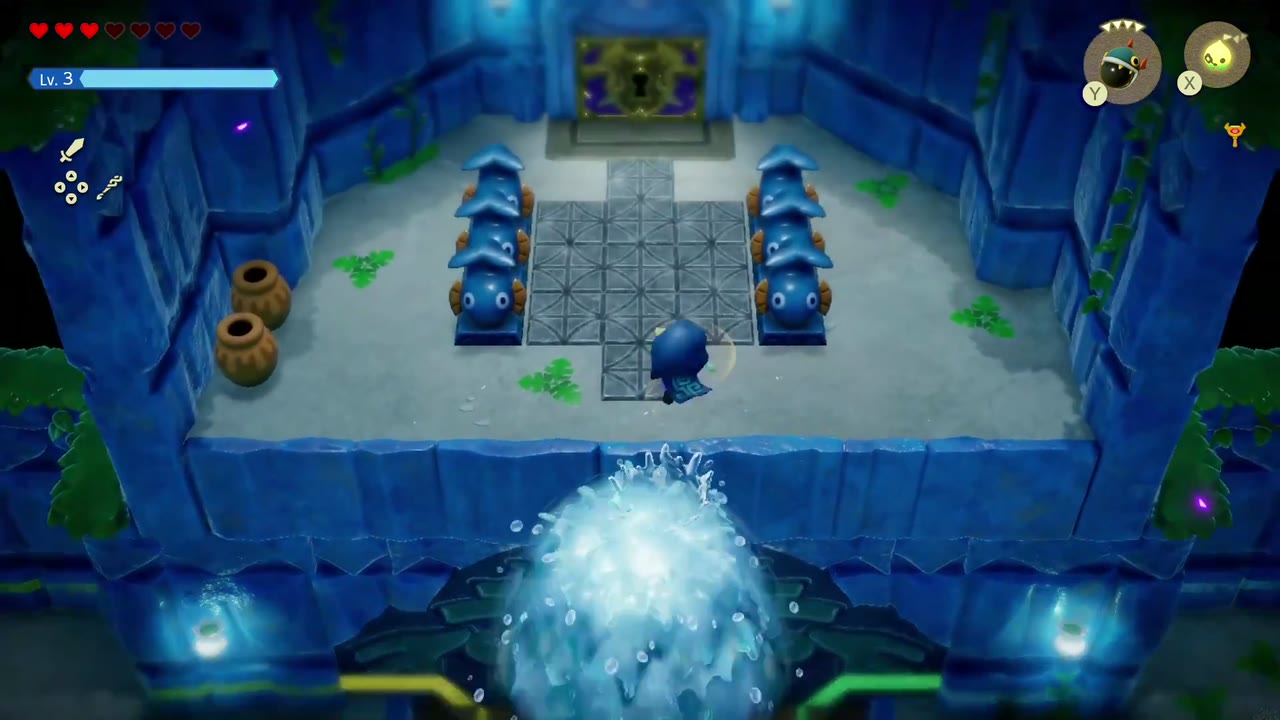
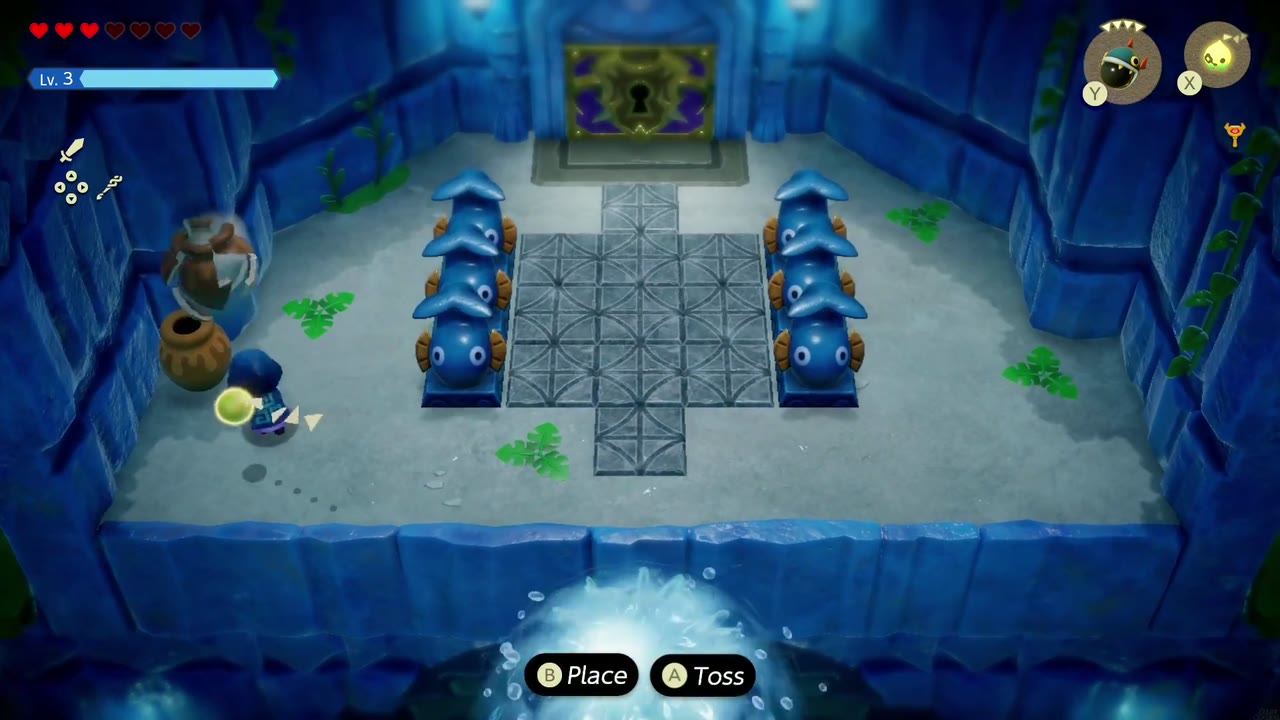
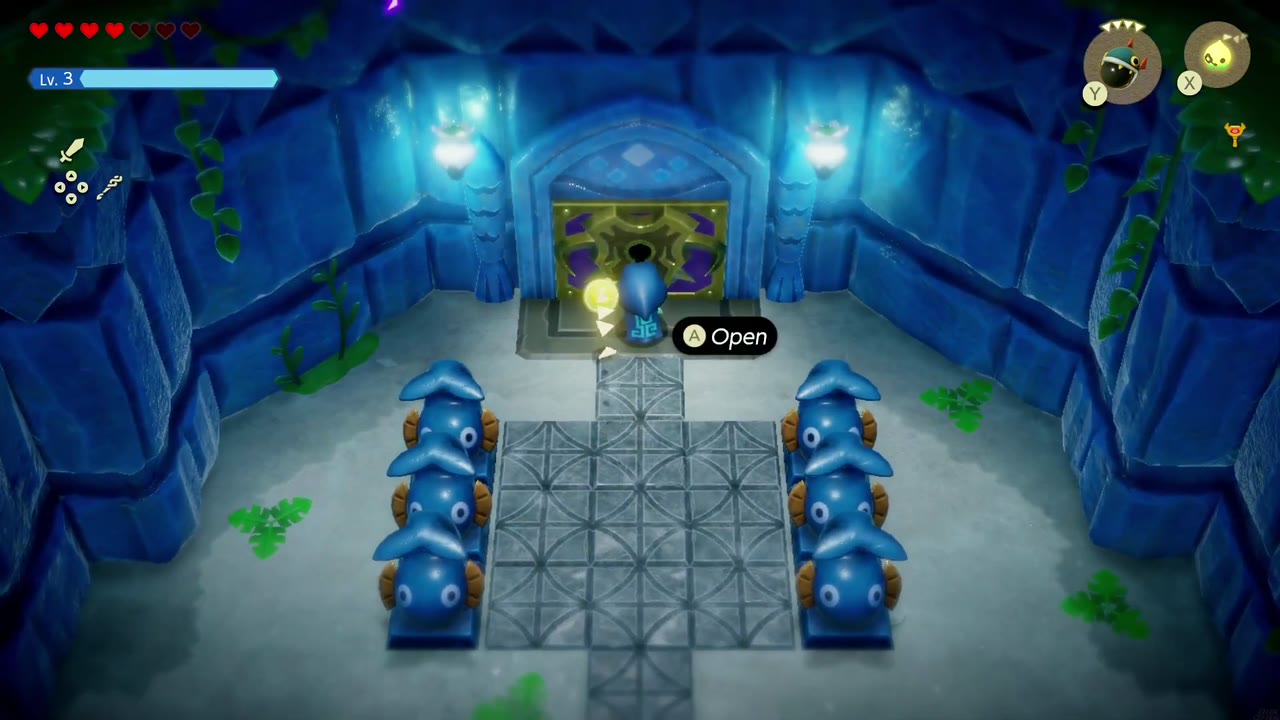
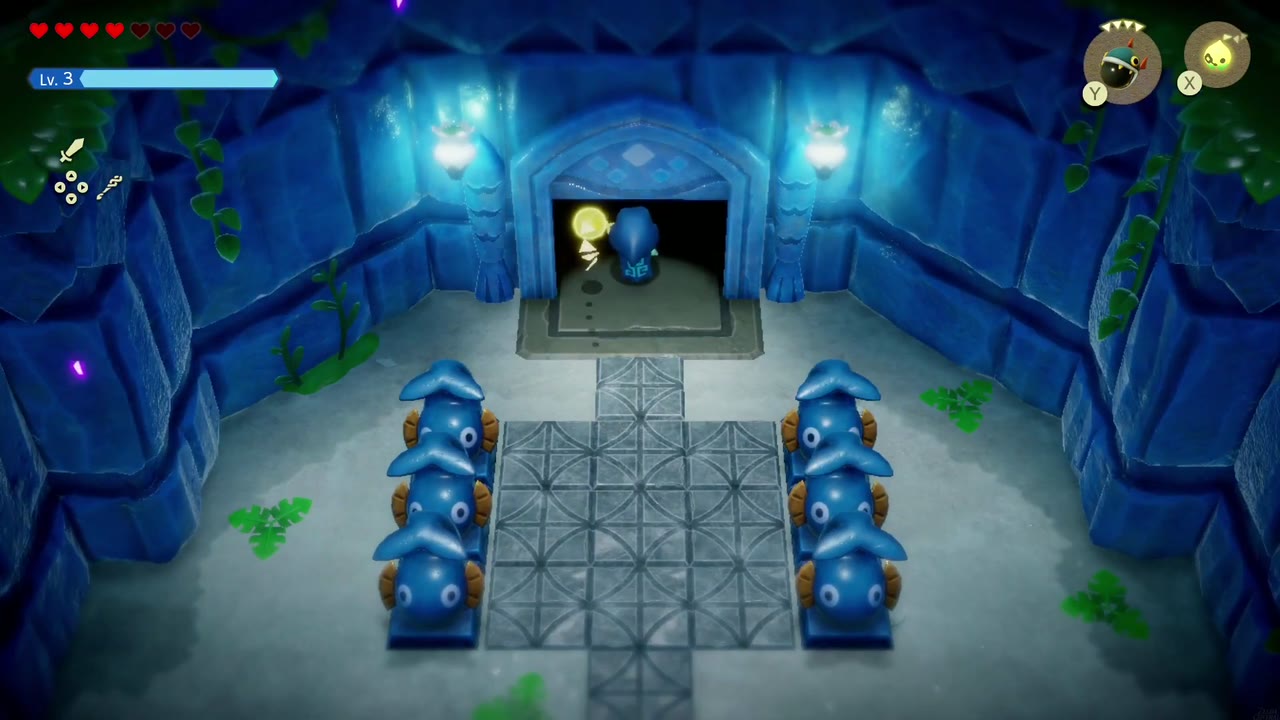
Climb the ladder back to the hatch room and walk left to the switch-color wall. The jet now gushes constantly and towers over the wall: step onto the right wooden platform, jump into the jet, and ride it up to the ledge where the big locked door sits between two rows of fish statues. Two jars stand by the left wall if you want to smash them. Spend the Big Key on the door and go in.
Boss: Vocavor
A giant pink, shrimp-like fish crowned with a cluster of teal bubbles, fought in a flooded side-view arena of stone pillars and grassy ledges. It swims laps, fires purple spines, and spins up whirlpool columns, so keep moving. In the first phase, summon a Bombfish and send it at Vocavor; the blast pops the bubble crest off its back, and you can then hit the exposed shell in Swordfighter Form. In the second phase, glass-walled air pockets appear in the arena. Drop a Water Block inside one; Vocavor swims into it, and when the block vanishes it is left flopping on the dry floor, so jump in and slash it in Swordfighter Form. Repeat until it goes down. It leaves a Heart Container and a Might Crystal.


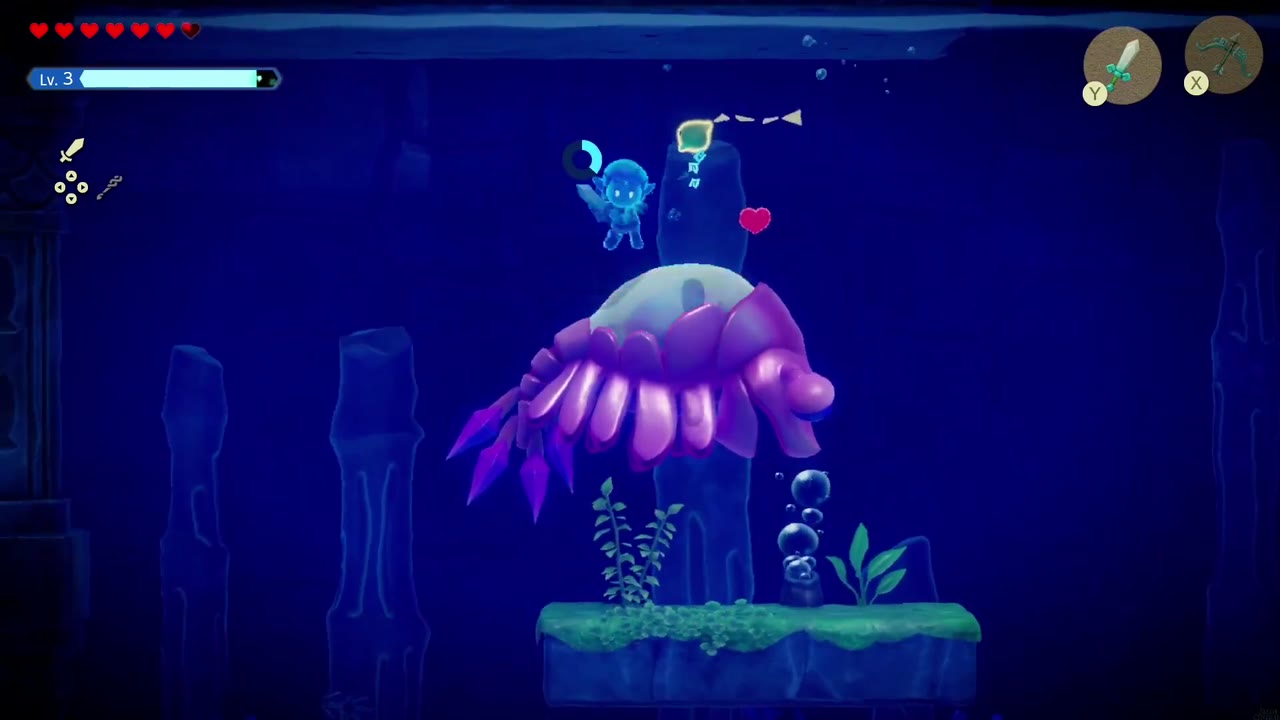
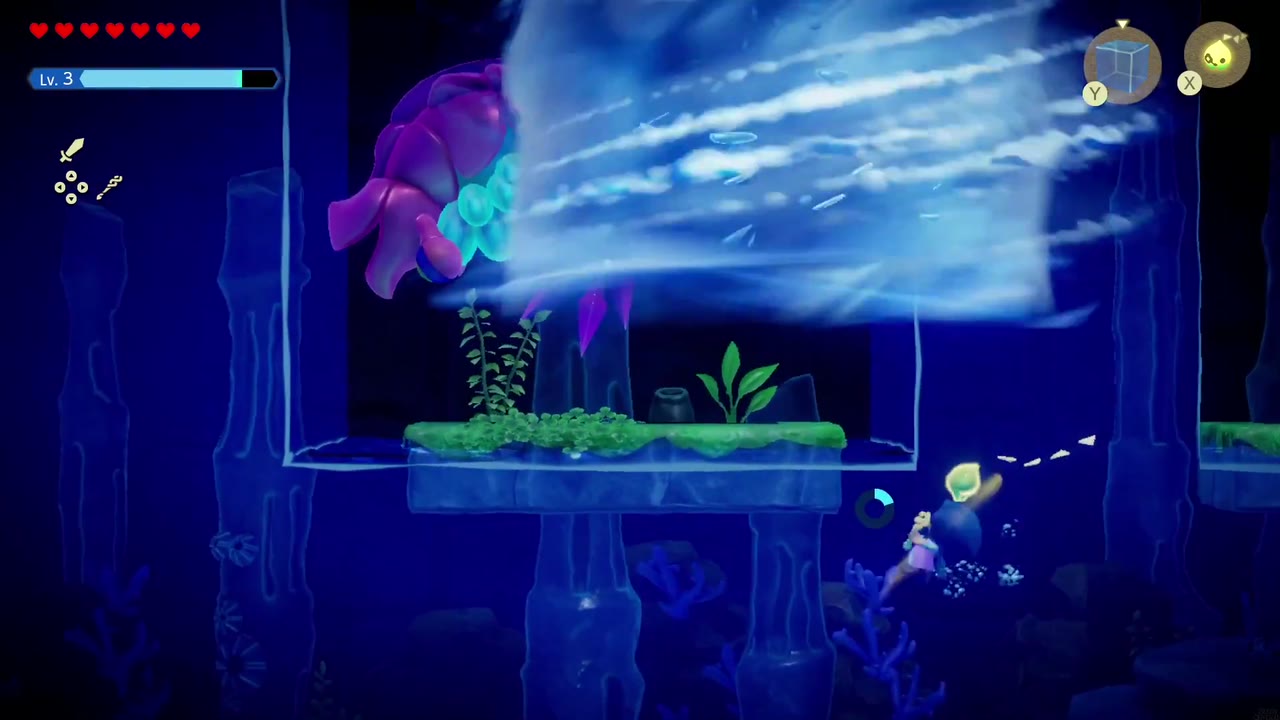


With Lord Jabu-Jabu back at Crossflows Plaza, The Jabul Waters Rift is complete. Next, head west across Hyrule Field to Gerudo Desert. Once both regions are mended, the next main quest, Still Missing, sends you back to Lueburry’s home in Suthorn Forest and on to Hyrule Castle. (If you do the desert first, General Wright turns up here asking for Minister Lefte and Still Missing begins straight away.)


