Echoes of Wisdom 100% Completion Walkthrough16 chapters
- Prologueplaying as Link, escaping the castle jail, and the waterways to Suthorn Beach.
- Suthorn ForestSuthorn Beach and Village, meeting Tri, the first echoes, and mending the Suthorn Forest rift.
- Suthorn Ruinsthe first dungeon, the Shadow Link fight, and the Seismic Talus boss.
- Jabul Watersthe River and Sea Zora feud, Lord Jabu-Jabu, and Stilled Jabul Waters.
- Jabul Ruinsthe whirlpool chase, the five colored switches, and the Vocavor boss.
- Gerudo Desertthe Oasis, Gerudo Town, the desert rifts, and Cryptic Cavern.
- Gerudo Sanctumthe tribute puzzle, the Bow of Might, and the Mogryph boss.
- Hyrule Castlethe Hyrule Castle well rift, Stilled Castle Town, and the Ganon boss.
- Eldin VolcanoKakariko Village, the Eldin Volcano Trail, and saving Goron City.
- Eldin Templethe Bombs of Might, the lava hall, and the Volvagia boss.
- Faron WetlandsScrubton, Blossu’s House, and escaping the Deku Scrub Lockup.
- Faron Templethe small keys, the plant mini-boss, and the Gohma boss.
- Hebra Mountainmeeting Condé, the climb through the snow, and the Stilled Hebra Mountain rift.
- Lanayru Templefire orbs, fans and lasers, the slime mini-boss, and the Skorchill boss.
- Eternal Forestthe six Ancient Orb pedestals, the Deku Tree, and freeing Link in the Stilled Ancient Ruins.
- Null’s Bodythe final dungeon and the multi-phase fight against Null.
This page covers Faron Temple from its entrance to the boss, Gohma. It picks up where Faron Wetlands leaves off; that page also has the region’s collectibles checklist.
Getting Inside
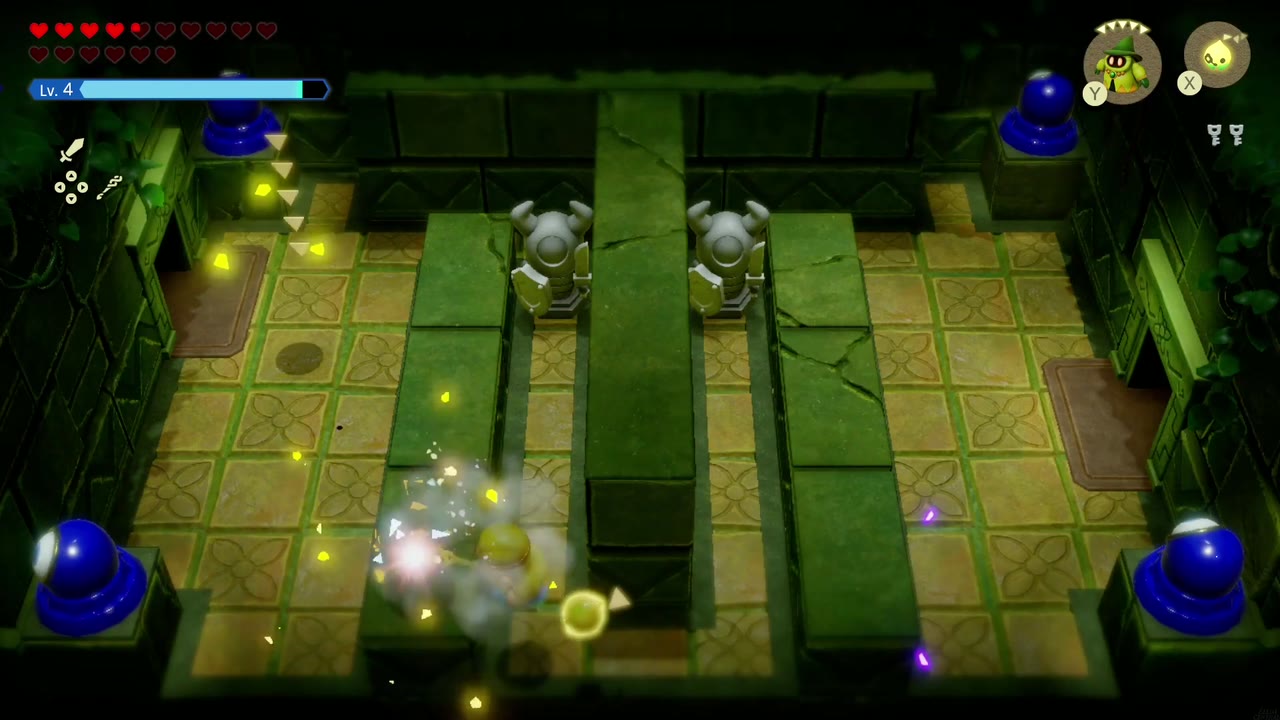
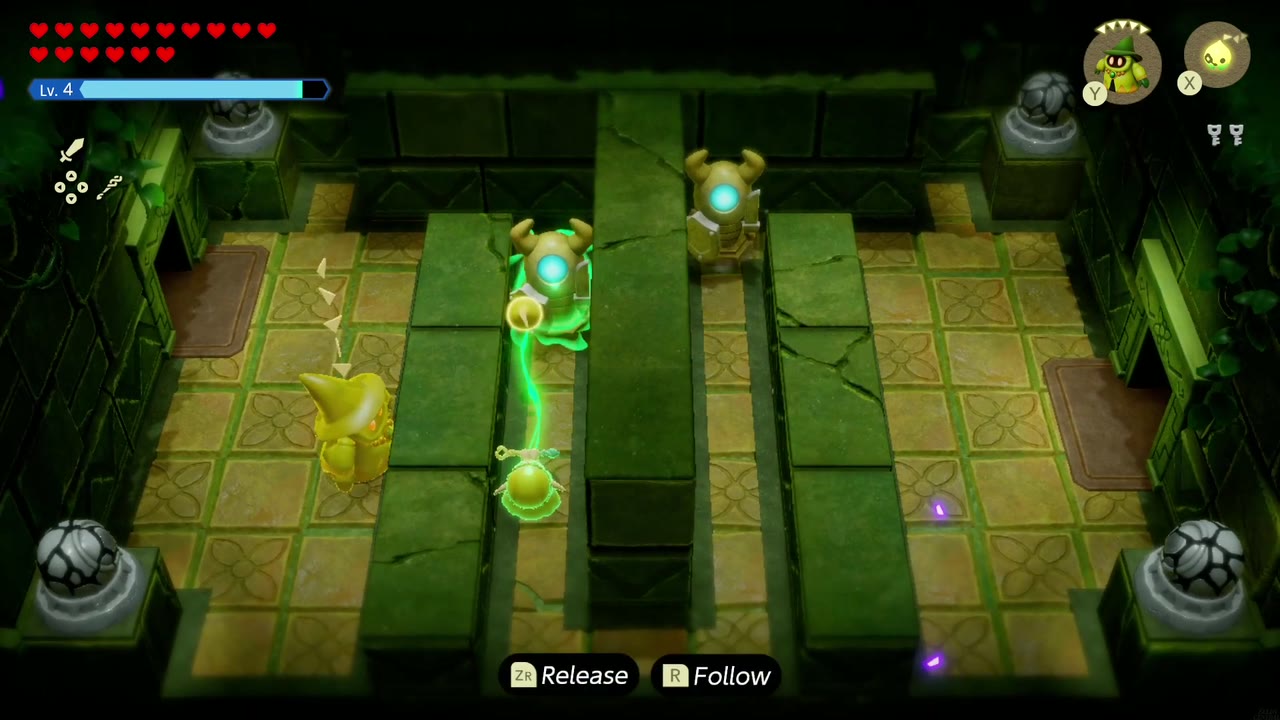
You surface in a pool on 2F of Faron Temple, next to a cactus-shaped Waypoint statue; touch it to record your first warp point. The room to the north holds three stone statues and two floor switches. Grab the statues with Tri’s Bind and drag one onto each switch; with both held down, the north doorway opens.


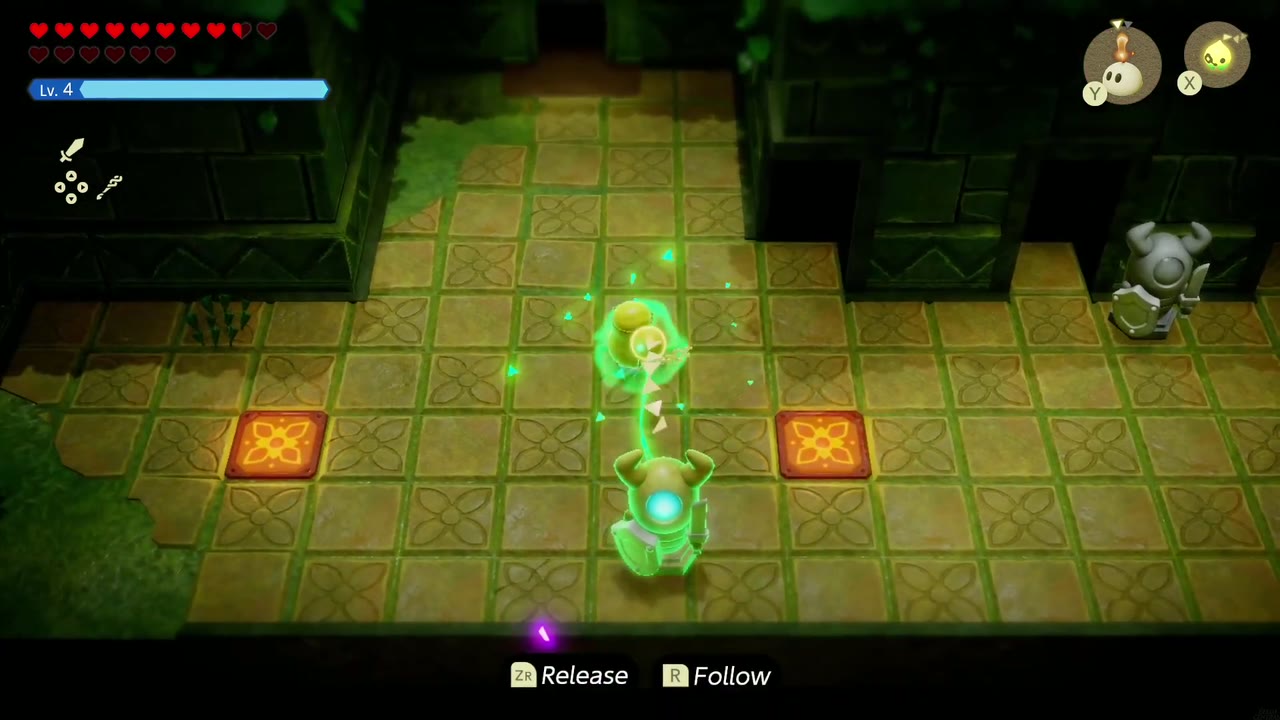
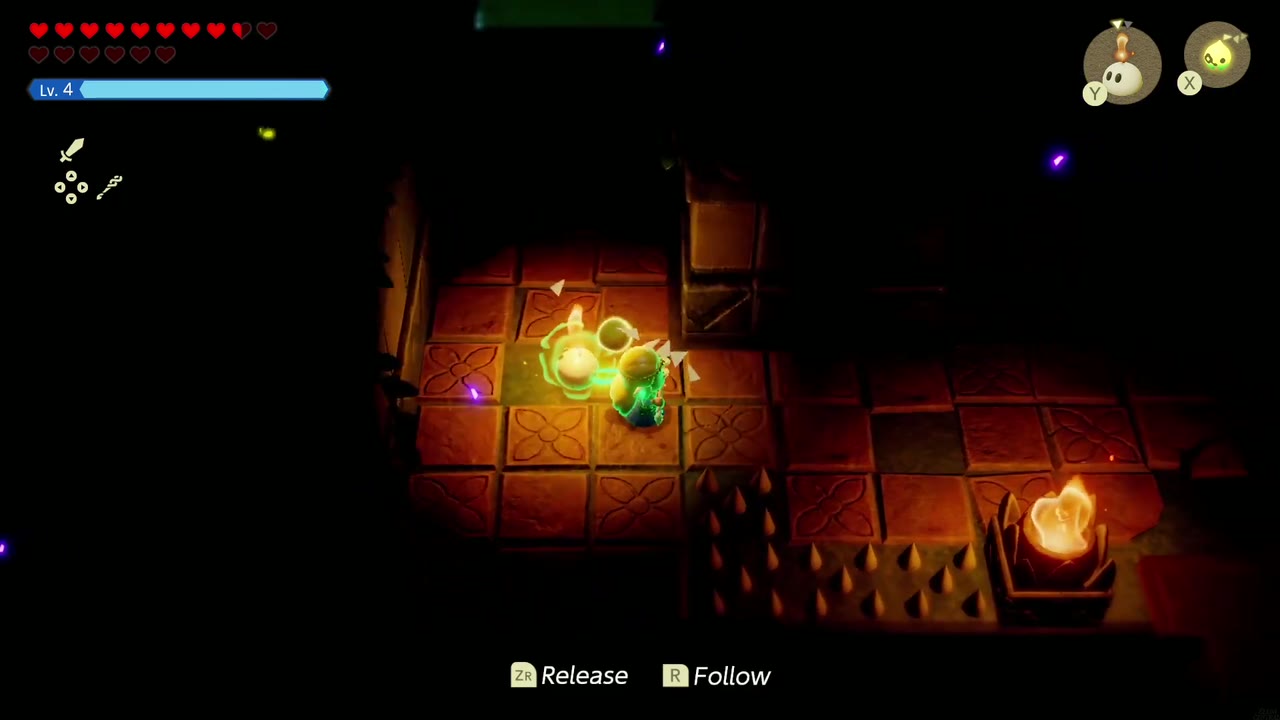
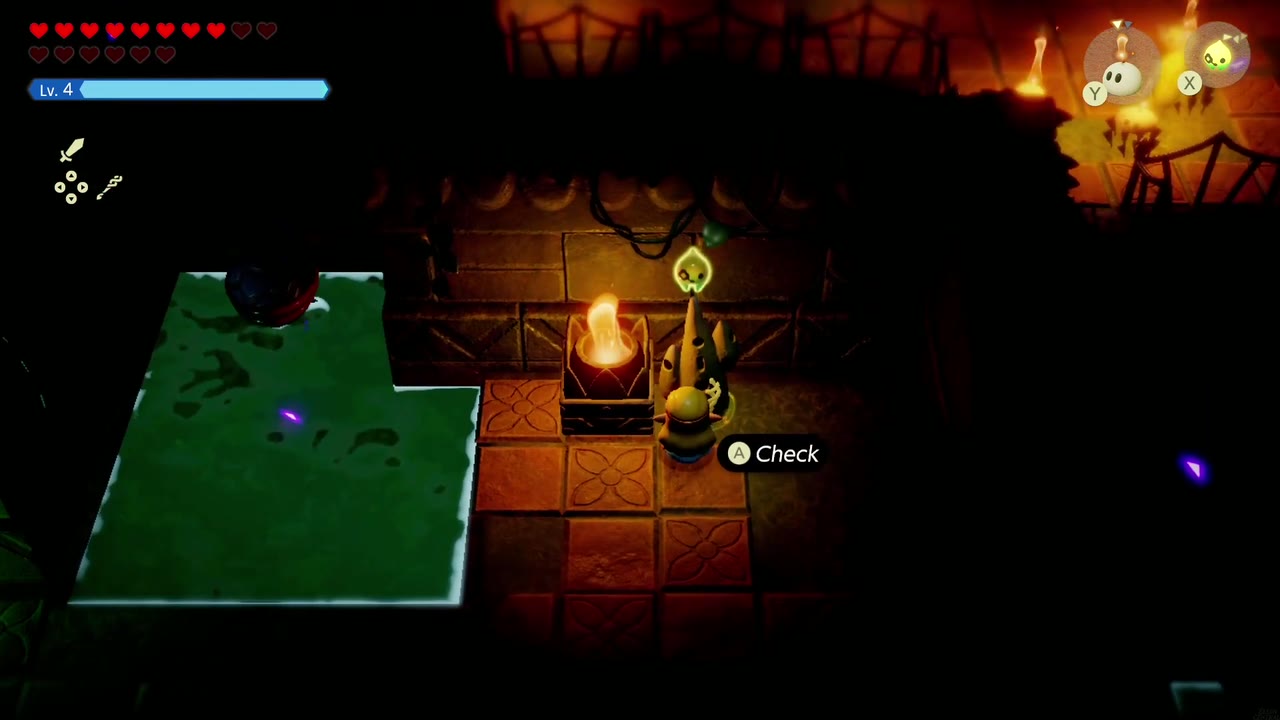
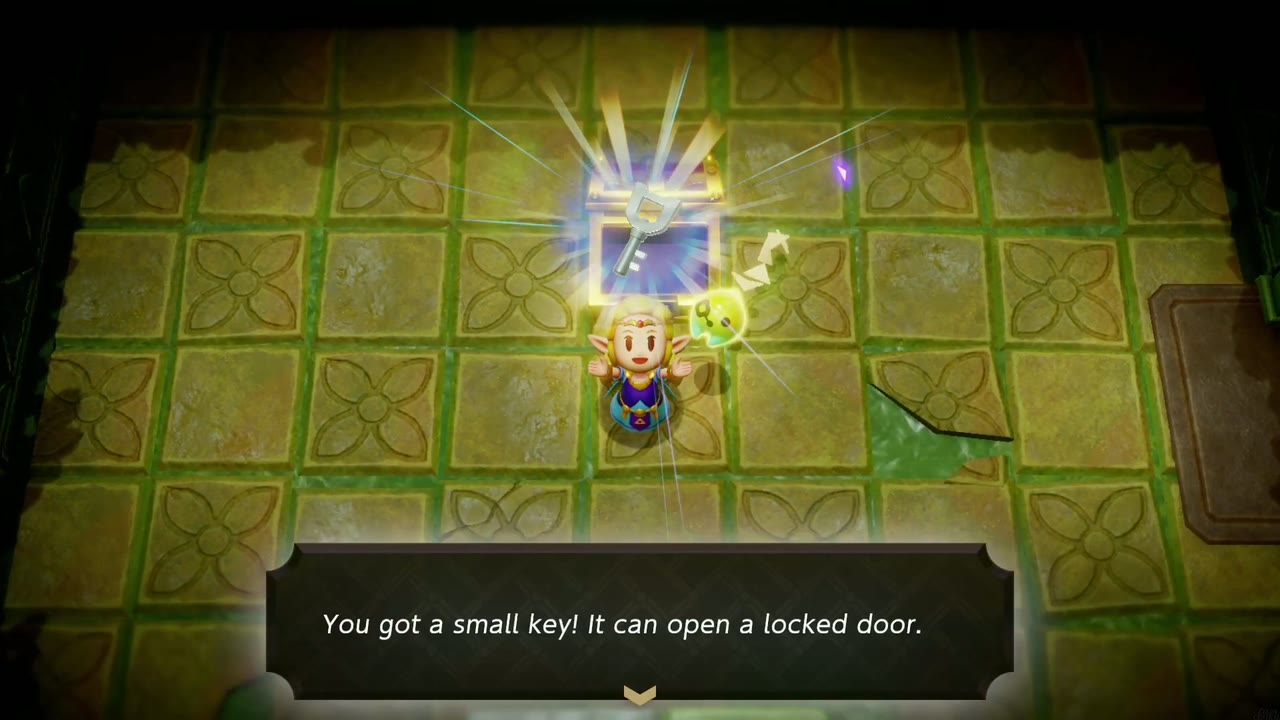
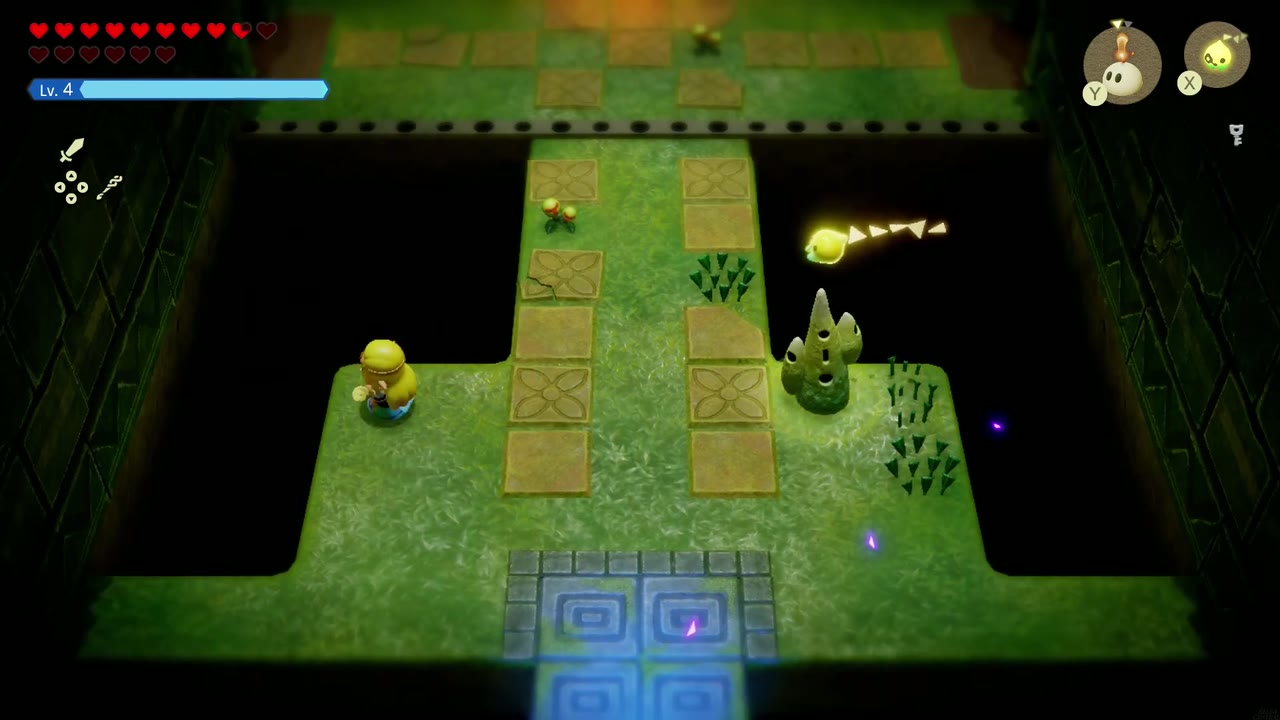
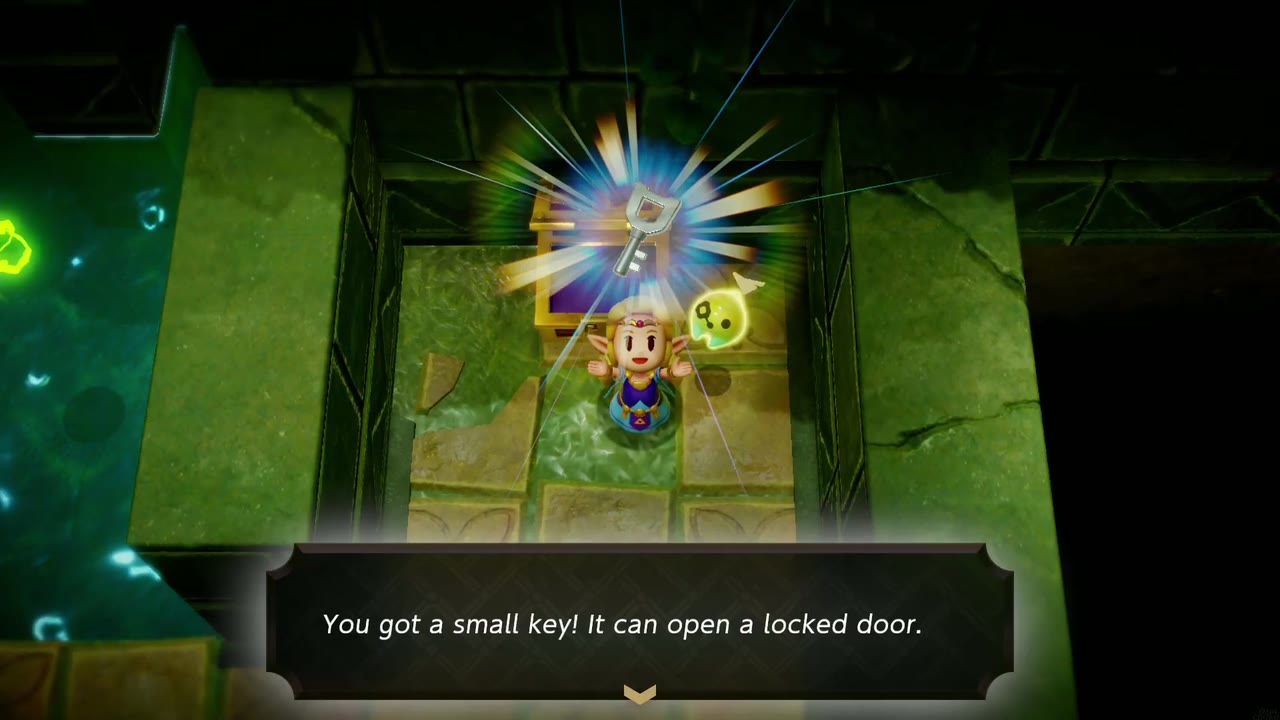
Beyond lies a run of pitch-dark rooms lit only by braziers. Bring a fire echo with you as a lantern, light the way, and burn the webs and grass that block the paths. There’s a second Waypoint beside a brazier partway through. At the far end, a block plugs a doorway between two torches: pull it out with Tri’s Bind and open the chest inside for your first Small Key.


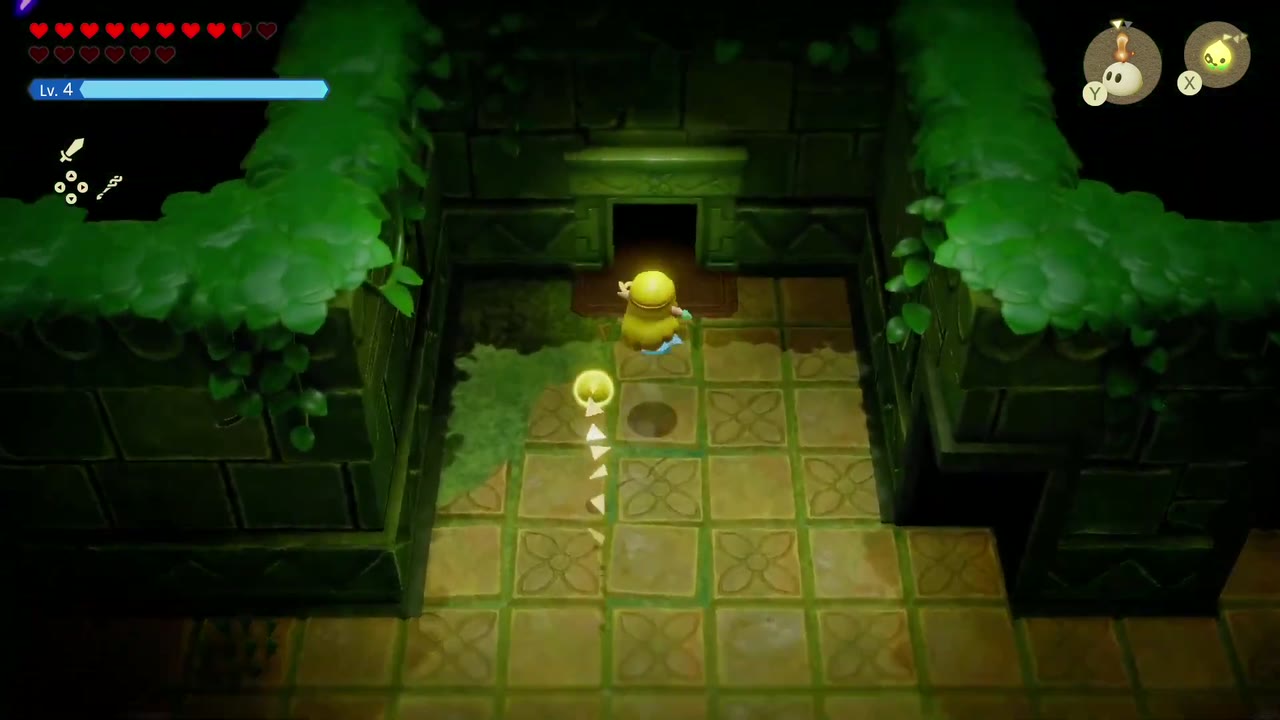
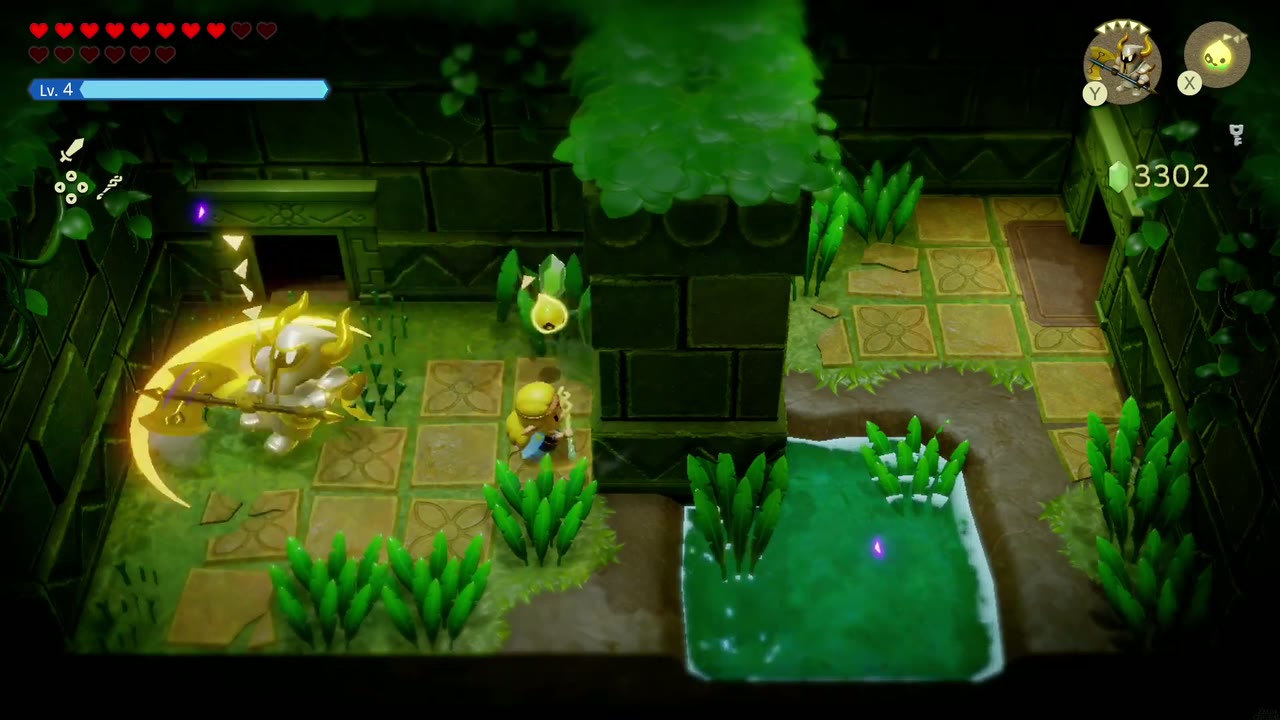
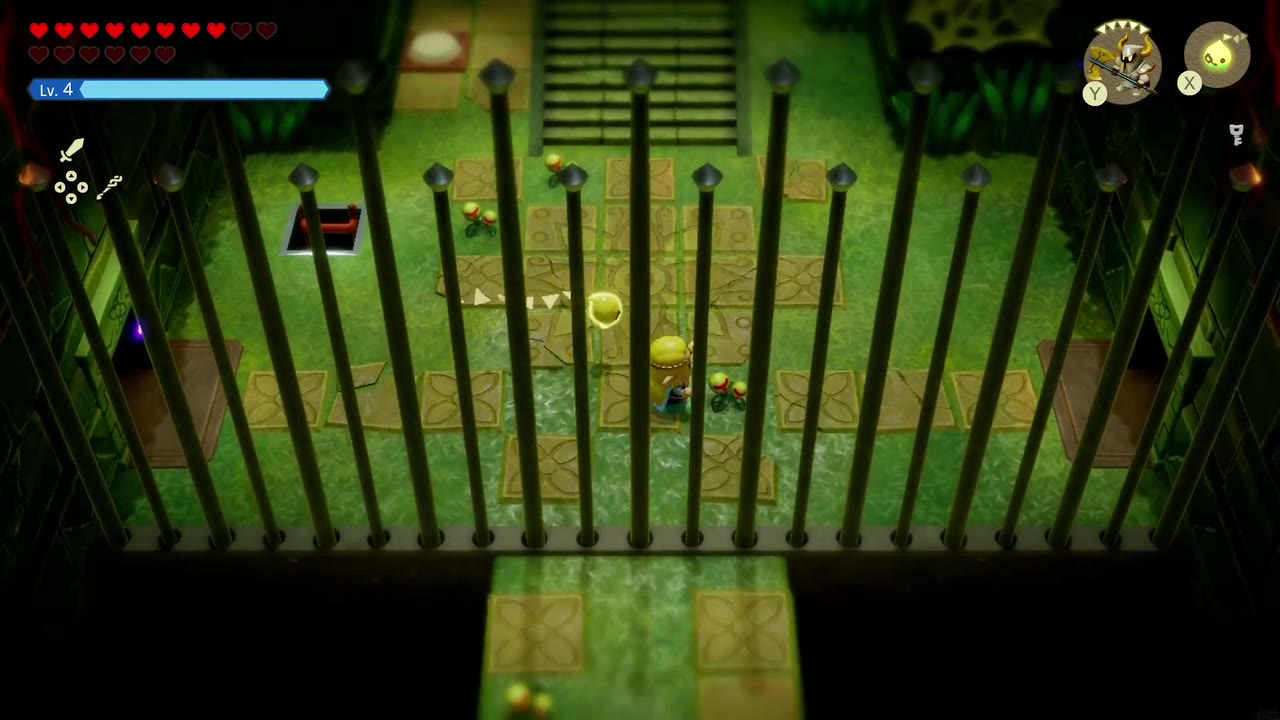
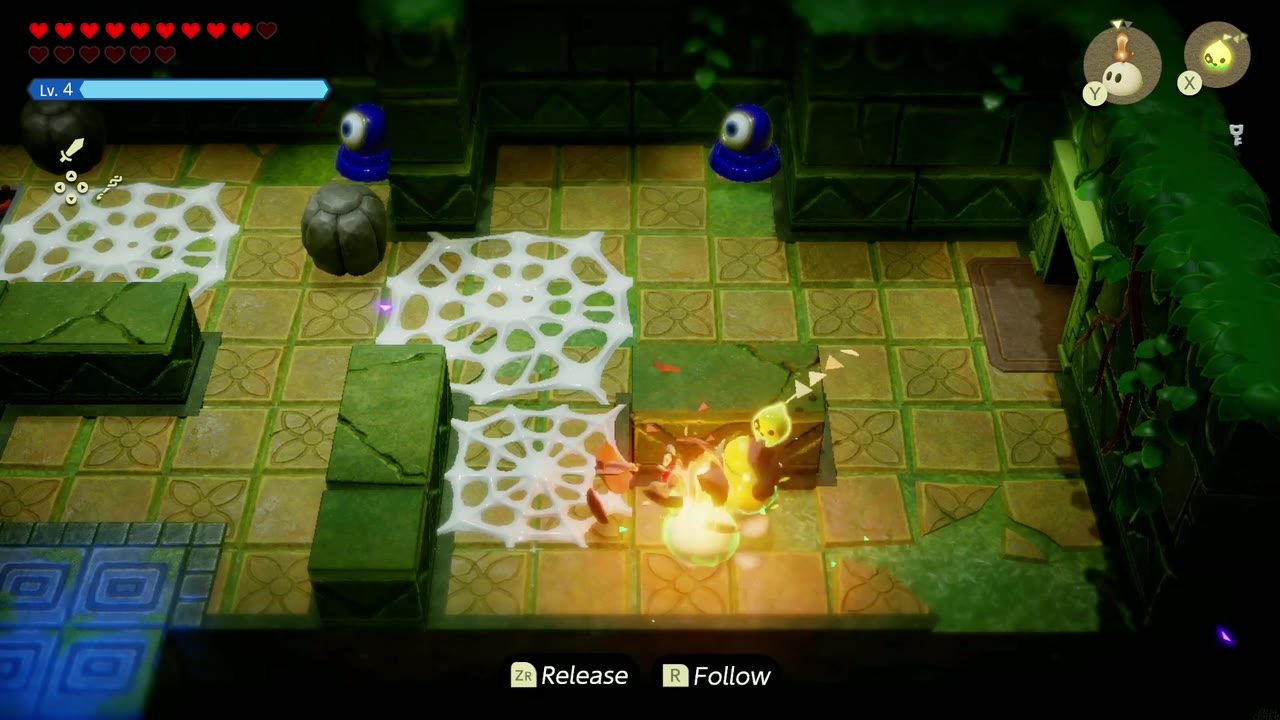
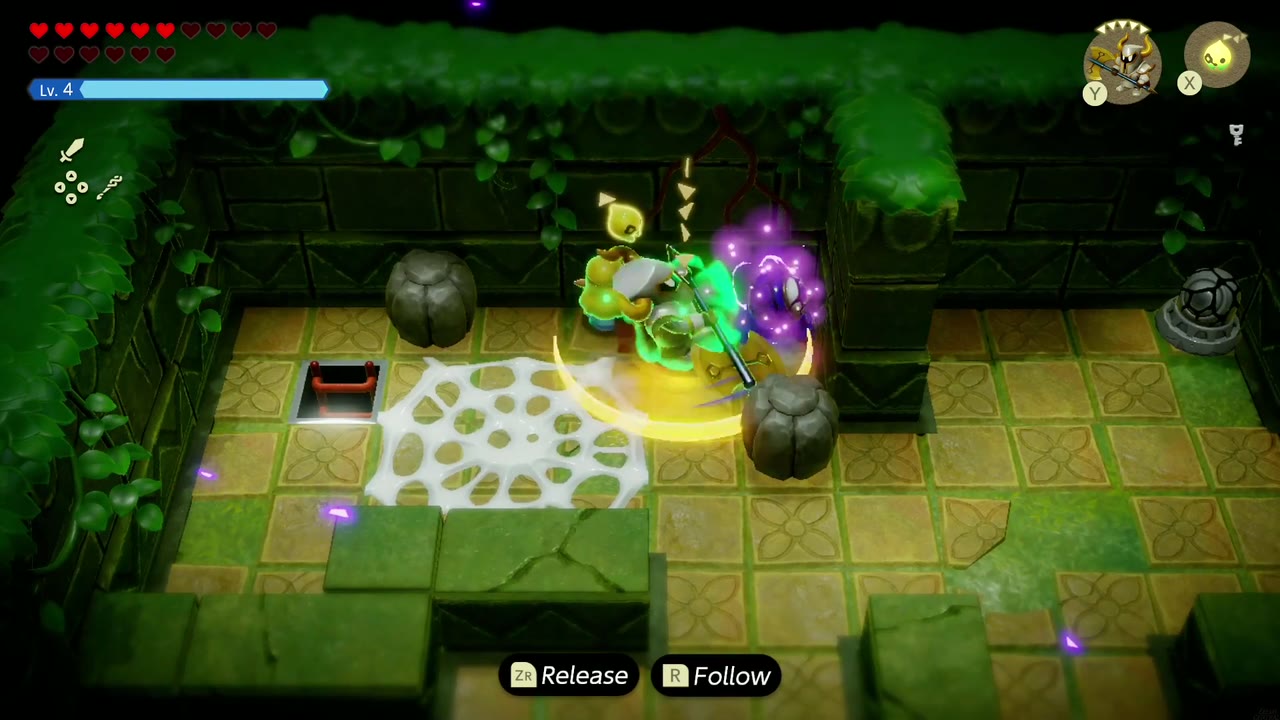
Head on through the hedge corridors and across a small pool into a grassy room where a Darknut echo makes short work of the fighting. Next is a hall fenced with iron bars at the foot of a big stairway. Slip through, burn the webs on its side alcoves with fire, then take the narrow bridge south over the pit to the 3F Waypoint. Back up the stairs, the next room is full of webs, boulders and blue one-eyed enemies: burn the webs and let the Darknut echo clear the enemies, then drop through to the room below.

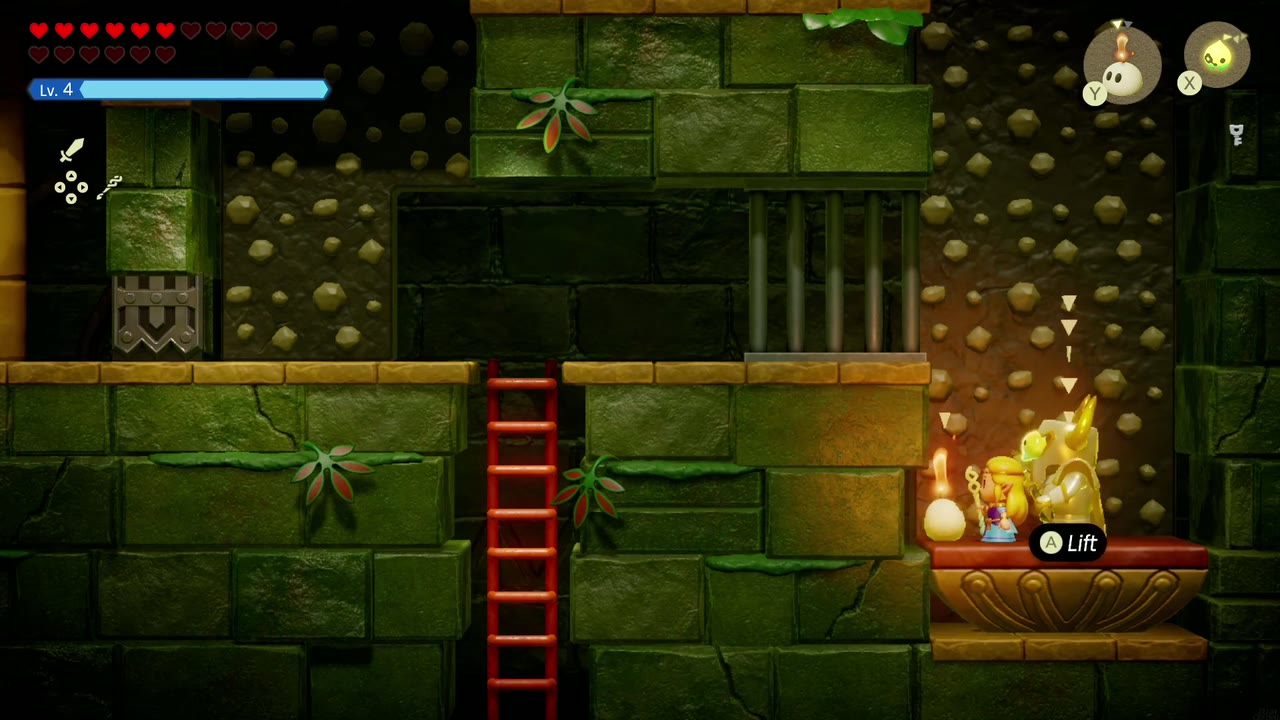
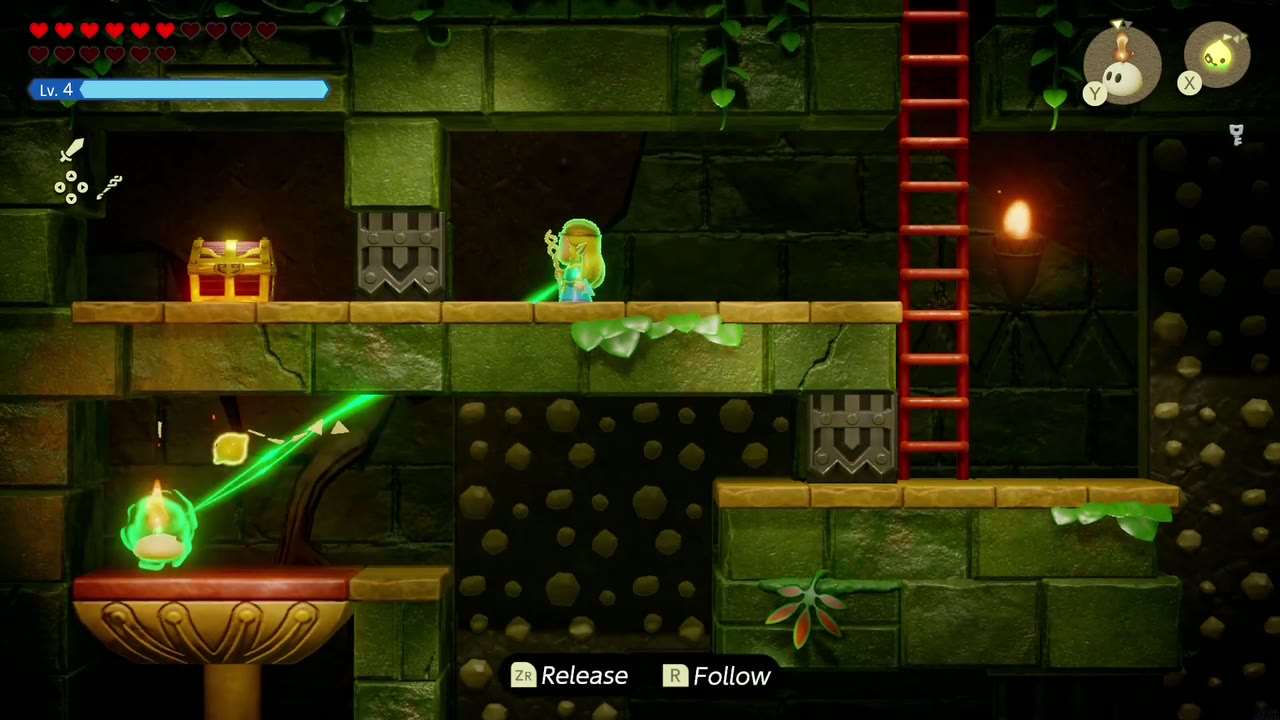
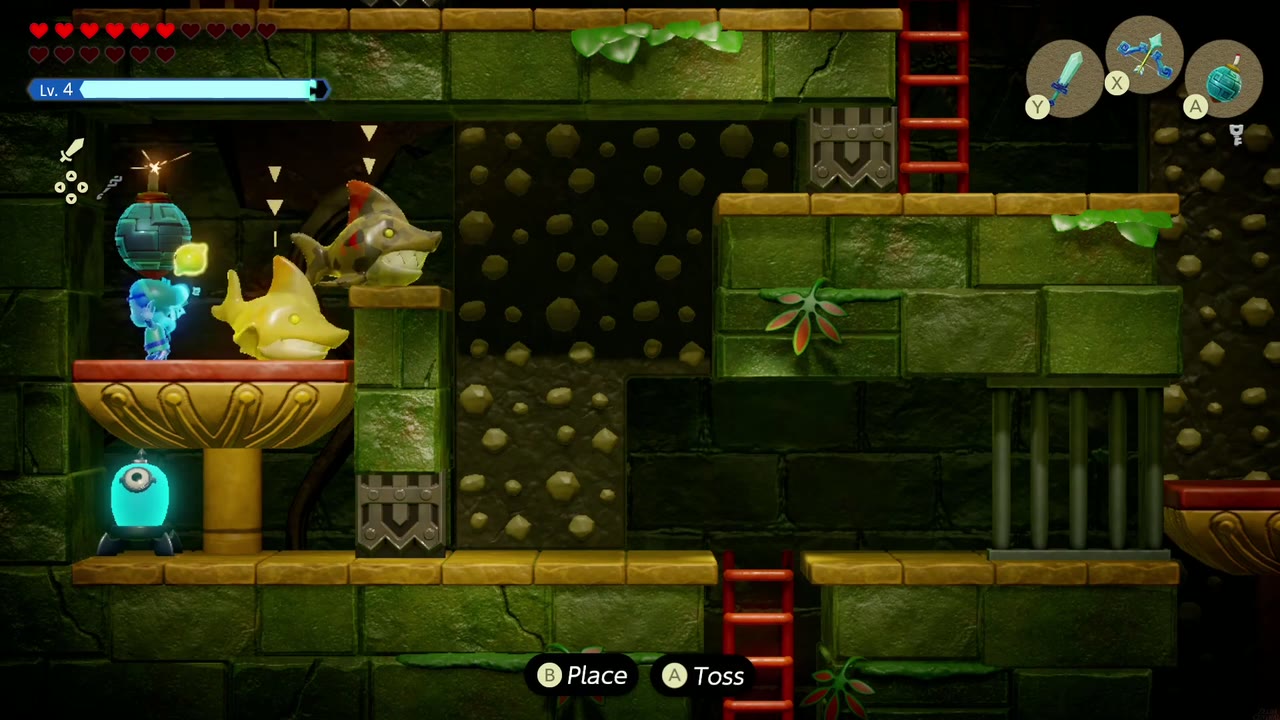
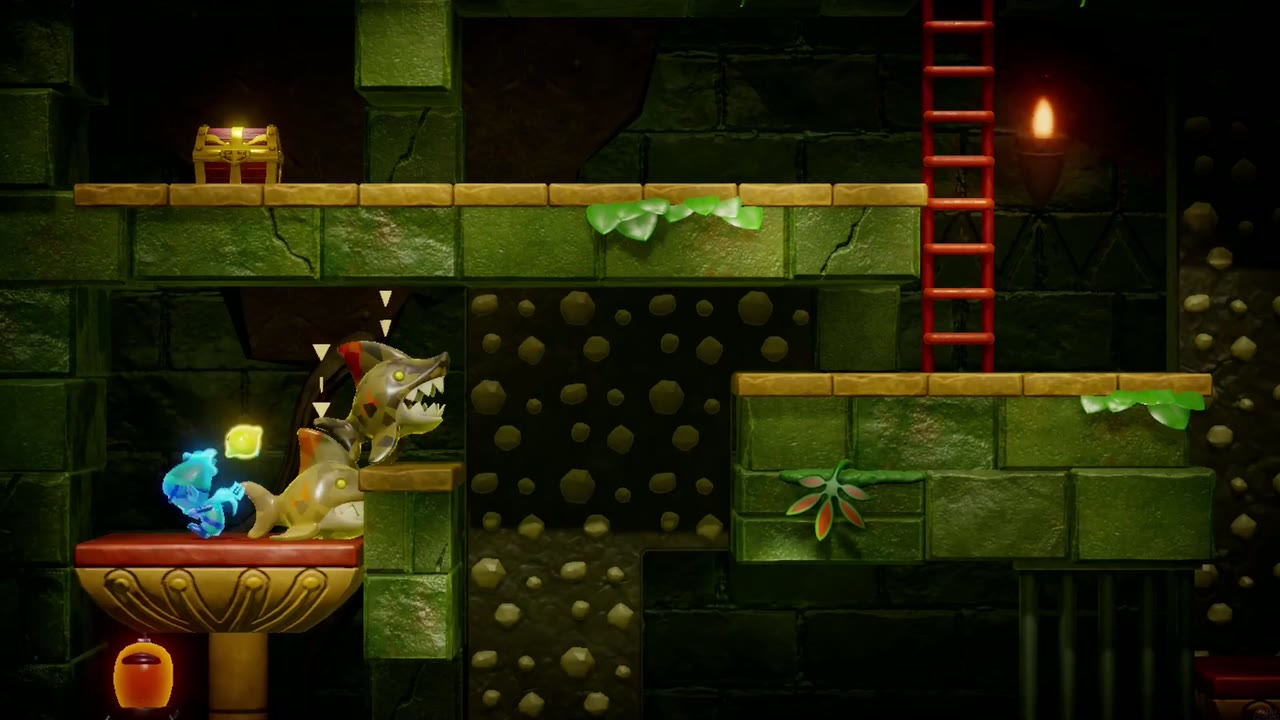
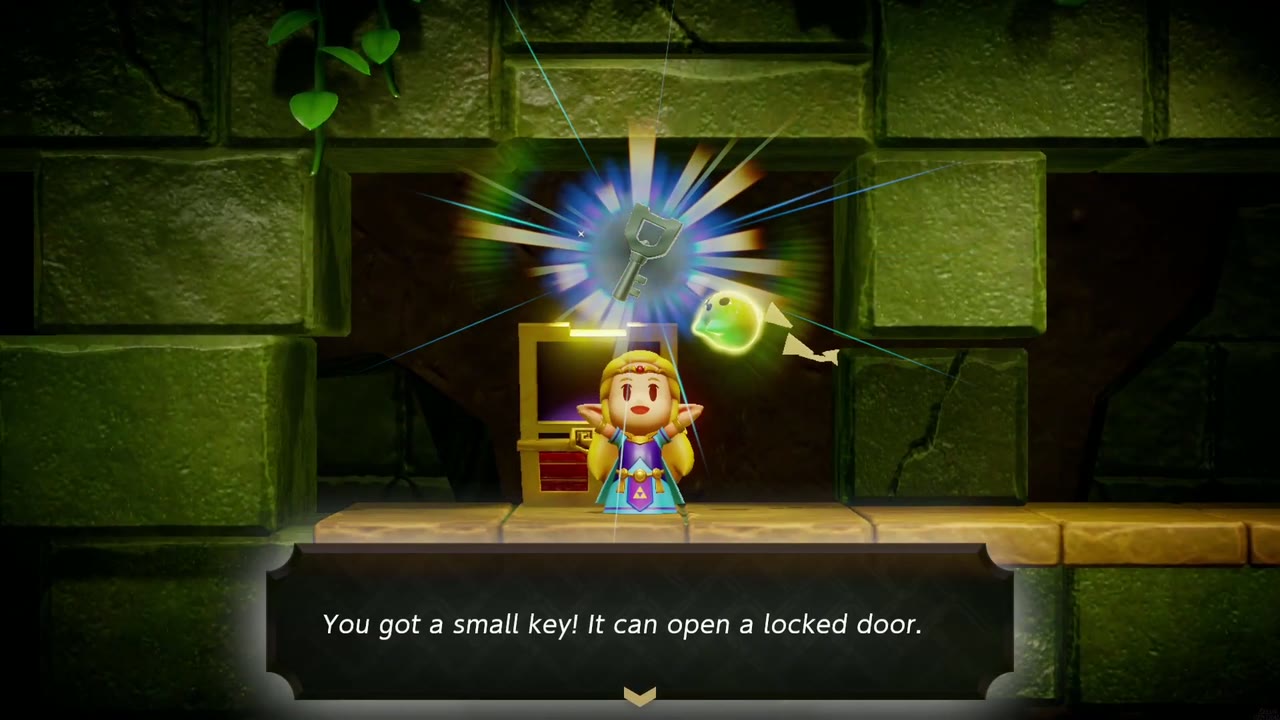
This is a side-view room of ladders, candles and goblet-shaped pedestals holding golden statues, with a chest on the upper-left ledge that you can’t reach at first. Moving the golden statues around (lift them, or pull them with Tri’s Bind) doesn’t get Zelda there. The method that works: put Chompfin echoes on the left goblet, then switch to Swordfighter Form and set off a Bomb there. The blast hits the blue eye switch under the goblet, which turns orange. Climb up to the ledge and open the chest for your second Small Key.

Dungeon Map and Small Keys
Go back through the web room to the stairway hall and on into a long room of stone pillars, stone statues and blue eyeball enemies. The statues come to life once you’re inside. Fight with strong echoes (an Electric Wizzrobe works well here) and drag statues out of your way with Tri’s Bind; heal with a smoothie if things get rough. The door at the top right leads to a dark room of pits with green crystal switches on pillars. Summon Electric Keese to zap the crystals one by one until they glow.

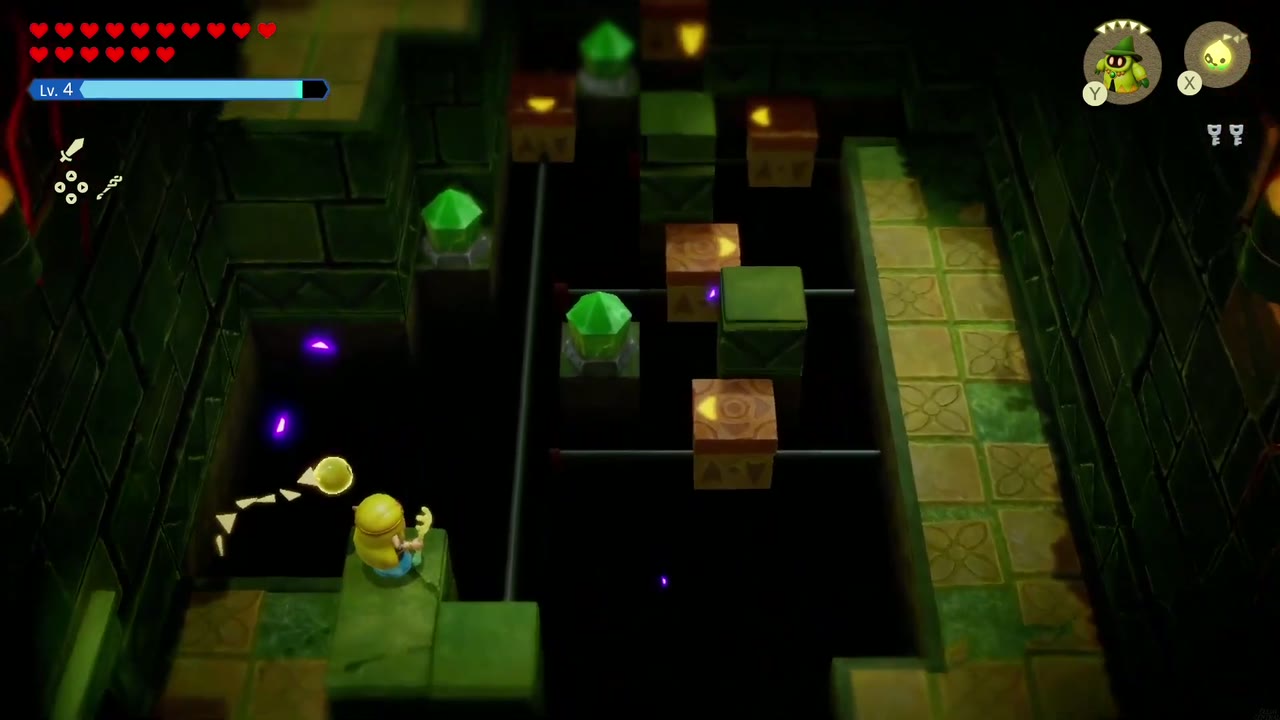

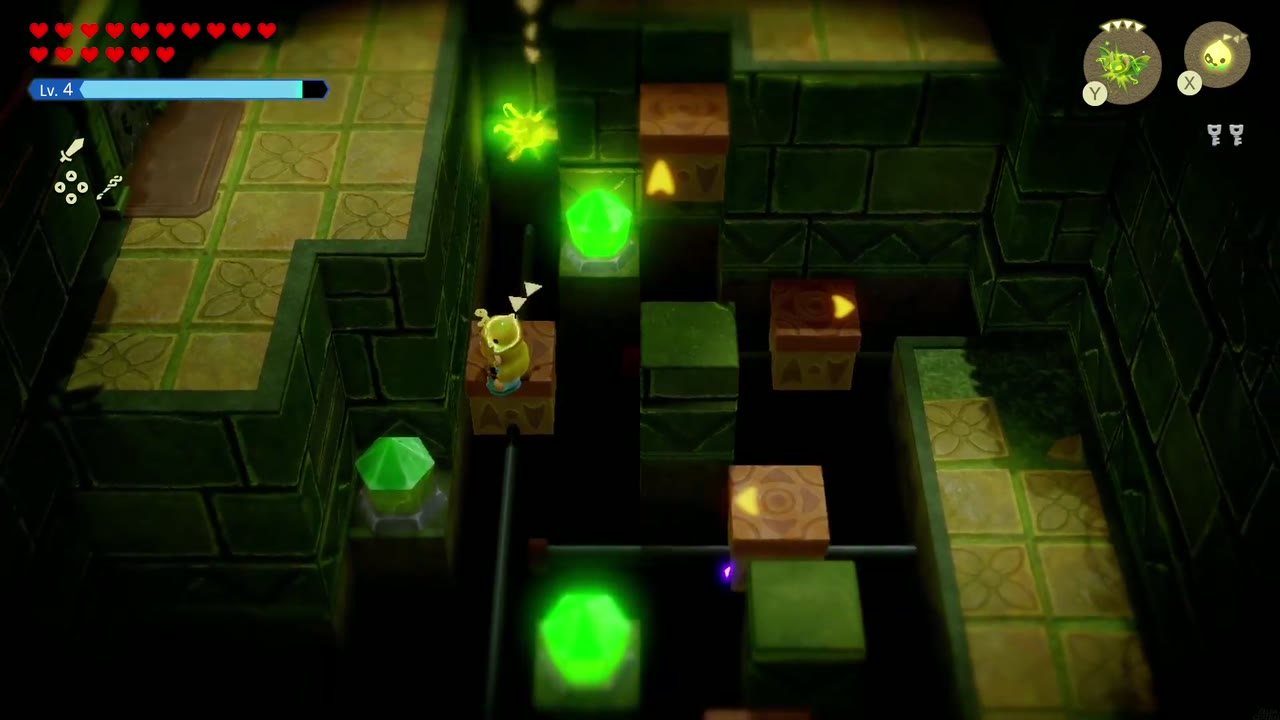
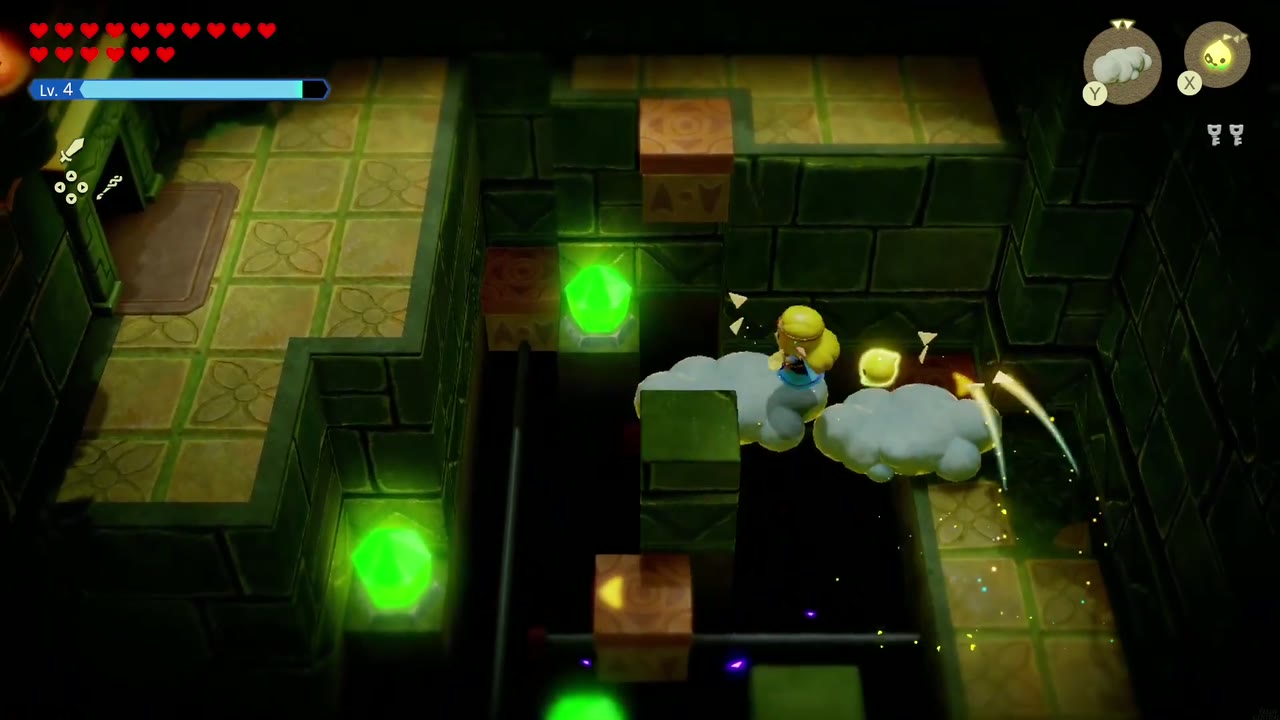
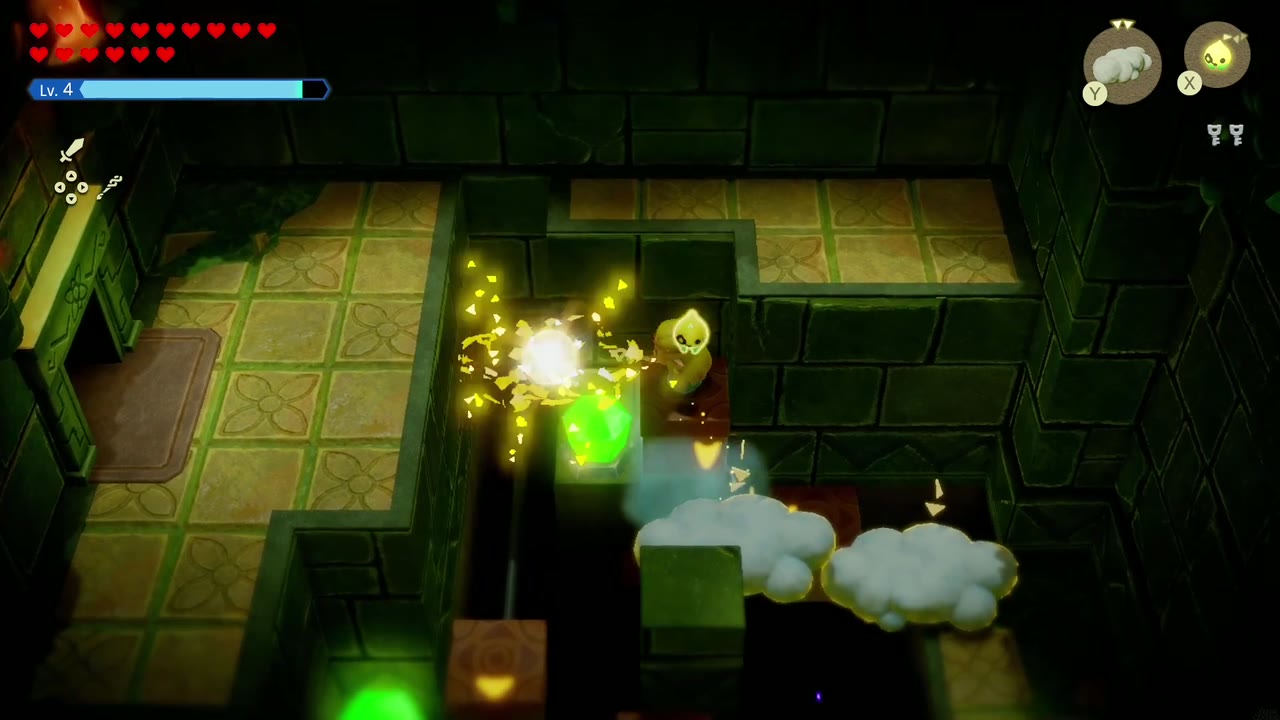
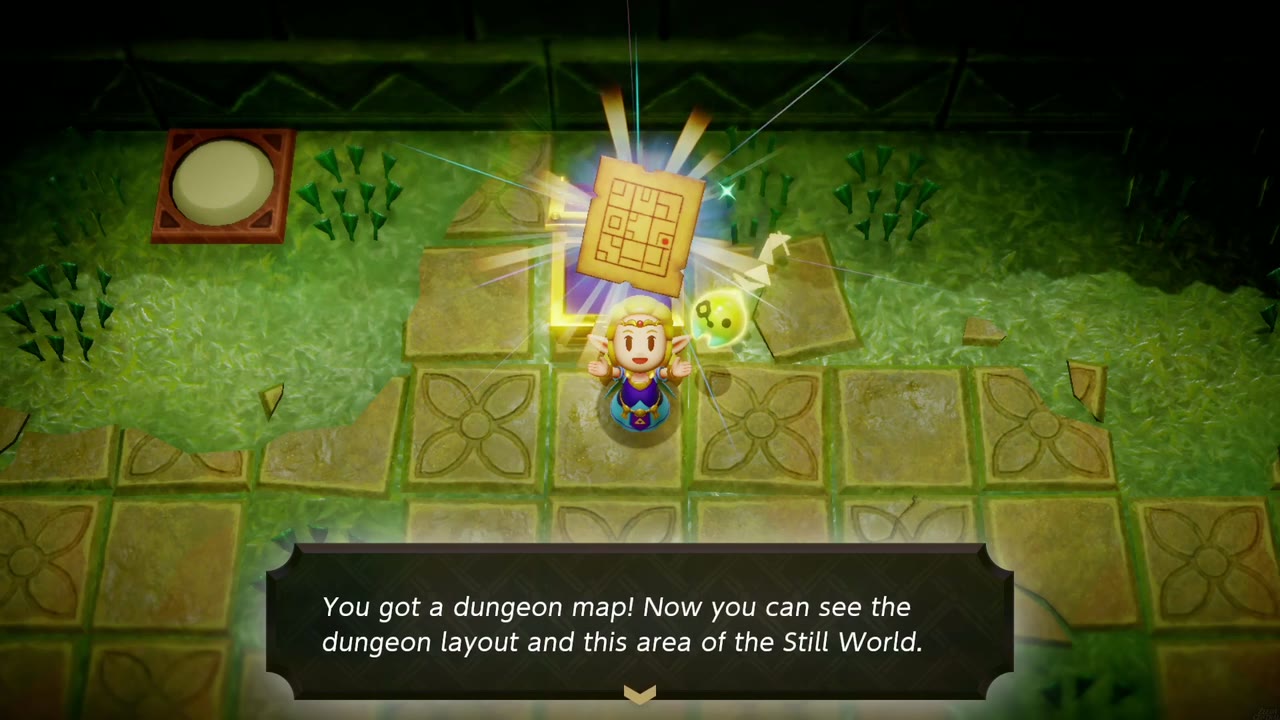
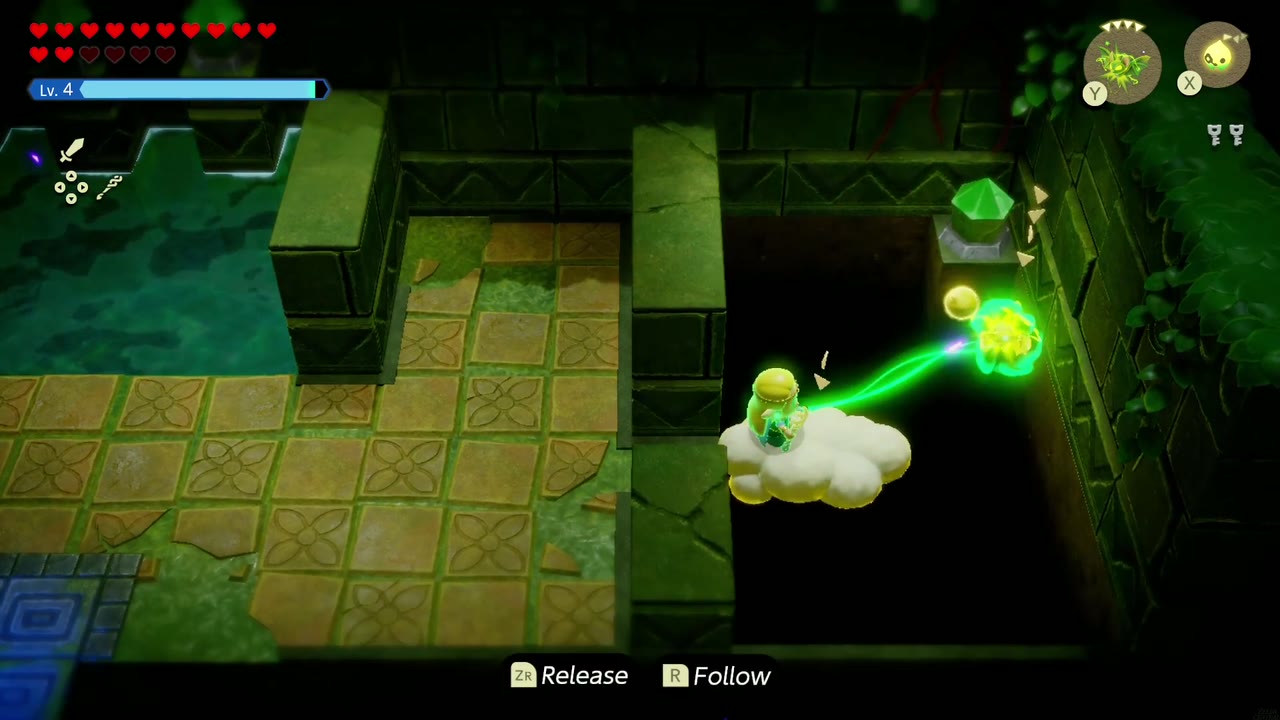
Next comes a dark room of pits and green crystal switches. Summon Cloud echoes to bridge the gaps and send an electric echo (an Electric Keese works well) to zap each crystal from wherever you’re standing. Once they’re all lit, carry on into the grassy room beyond, where a chest holds the Dungeon Map.
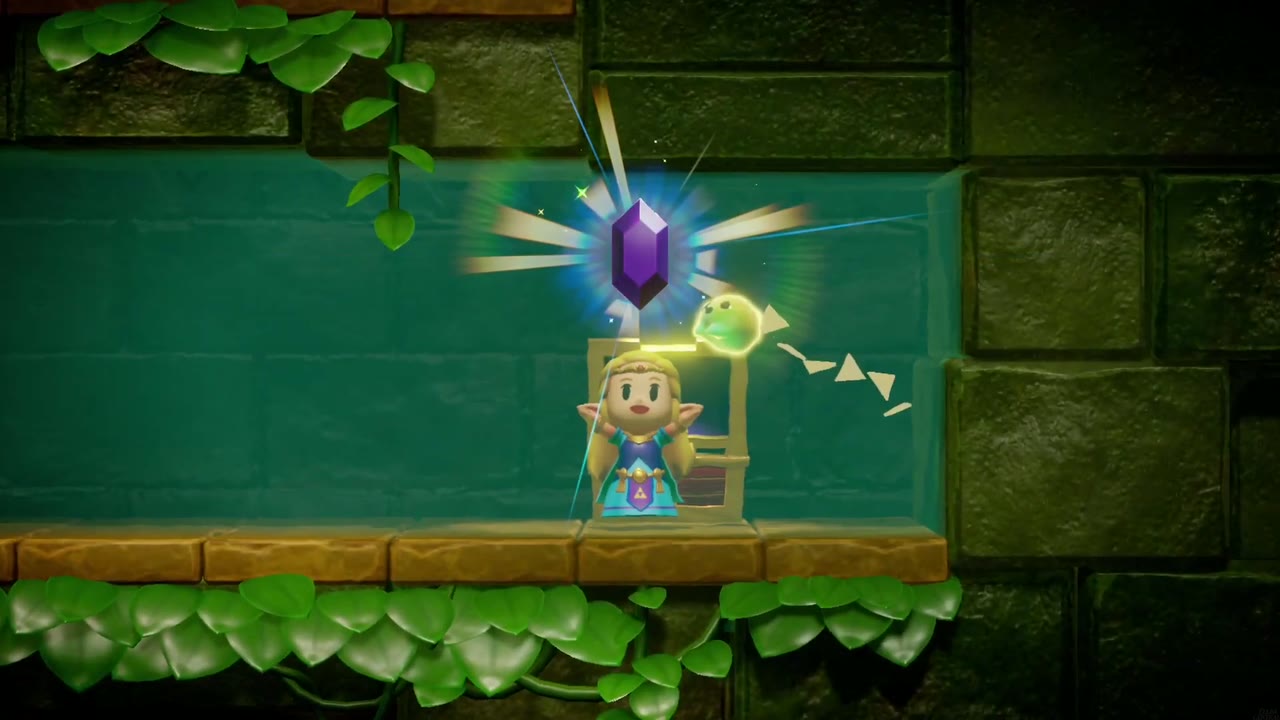
Further on, the temple drops into a flooded side-view room full of stone statues. Swim along the lower ledge to a chest with a purple Rupee, then Bind the statues and tow them through the water up toward the ladder in the top left. Climb out and you emerge on the purple ledges of the Stilled Faron Wetlands, wrapping around the outside of the temple past webs and Deku Babas.
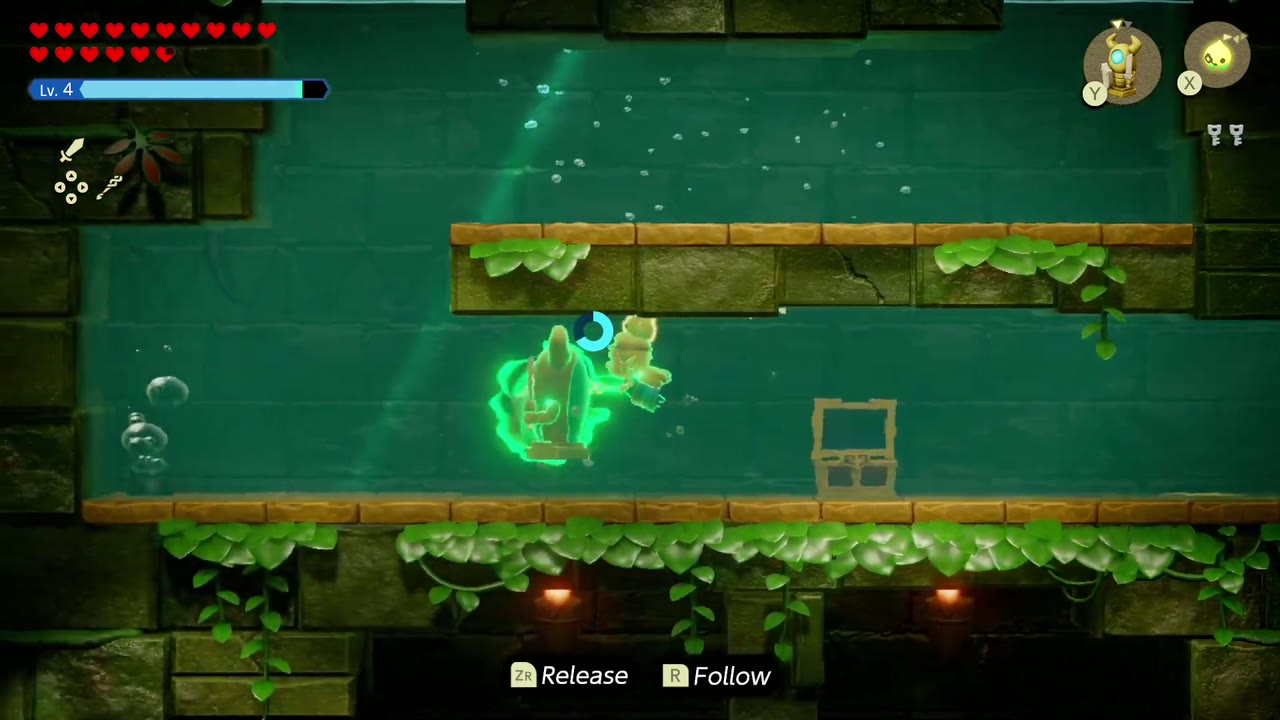
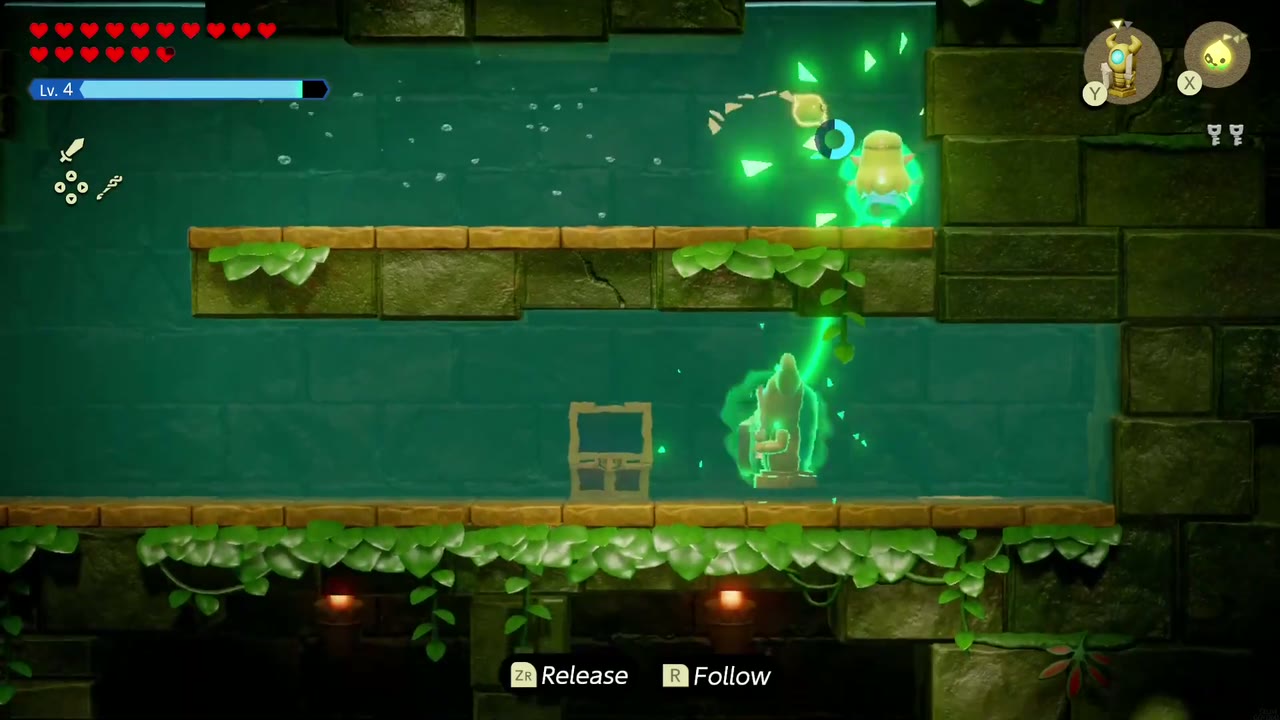

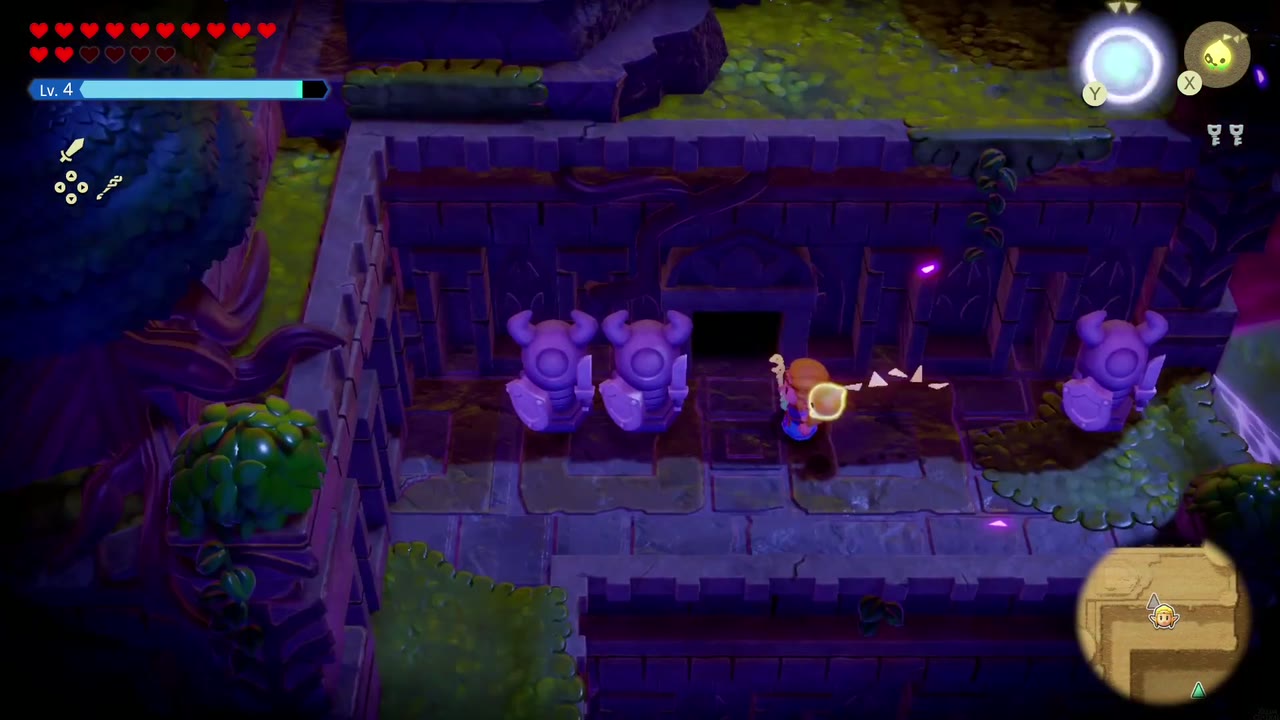
Follow the outer ledge past the row of statues, using Clouds to cross the gaps, and re-enter the temple into a second green crystal pit room. It works like the first: ride Clouds over the pits, swim through the pool on the left, and use your electric echo to hit every crystal. When they’re all lit, a chest in the alcove gives a Small Key.

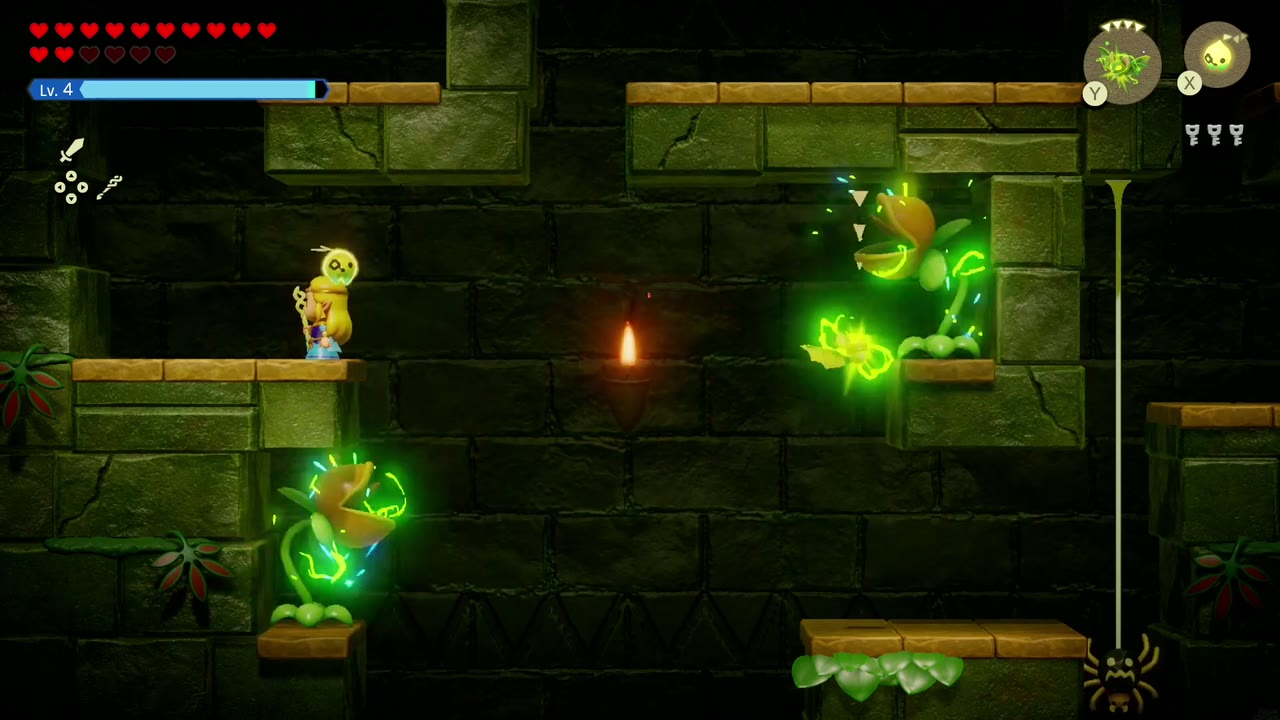
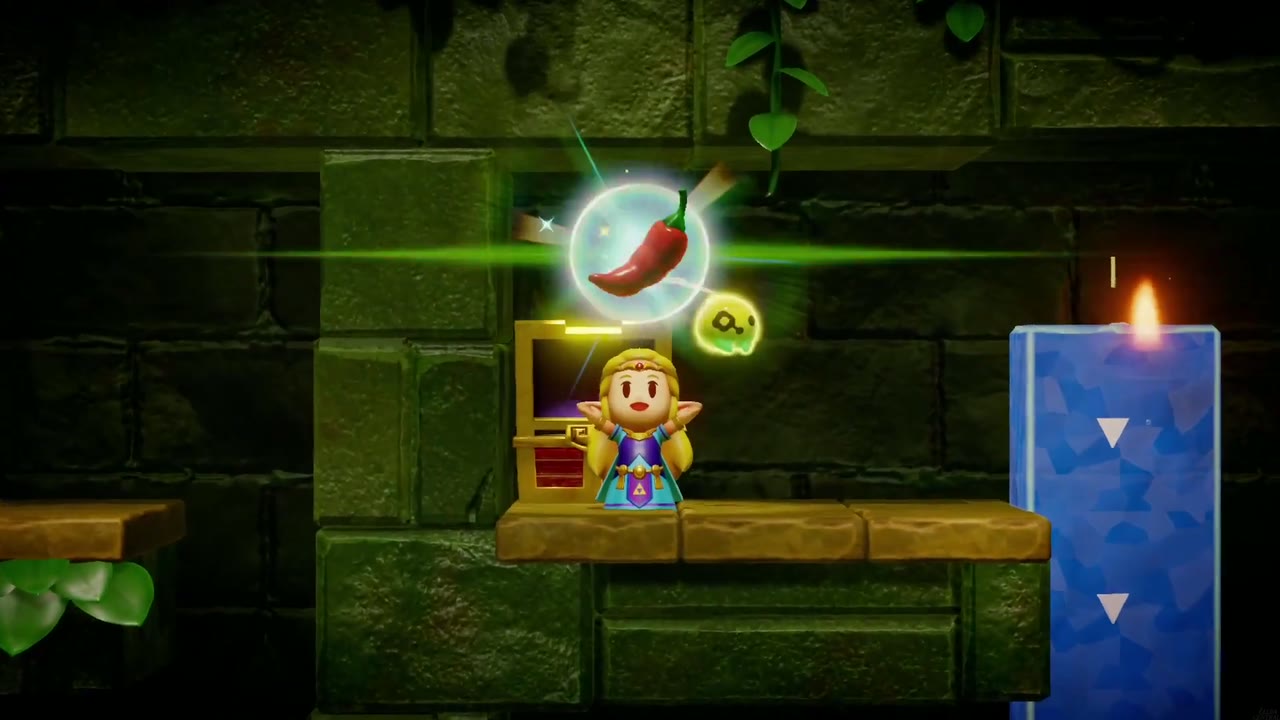
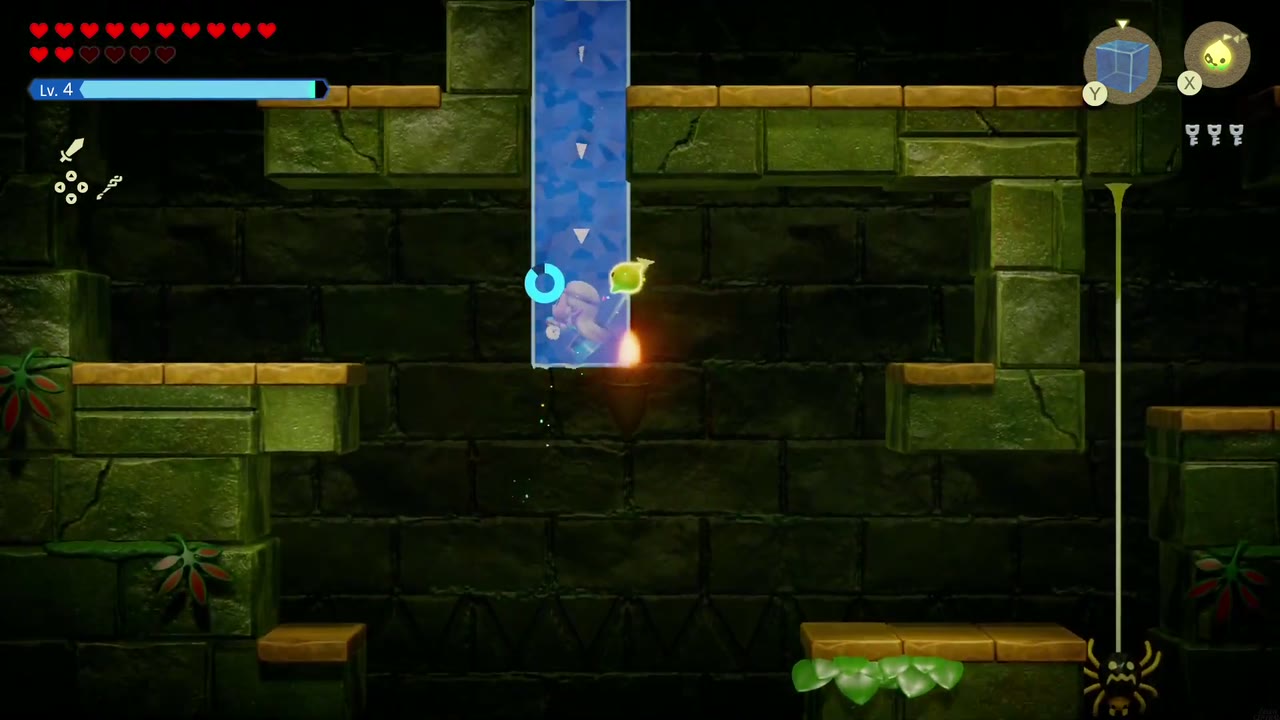
Head back out past the exterior statues and through the web room into a side-view Deku Baba shaft. Shock the snapping plants with an electric echo (an Electric Wizzrobe clears them quickly), then stack Water Block echoes to swim up between the ledges. A chest on an upper ledge holds a Warm Pepper; keep building Water Block columns past the hanging spider to climb out the top.
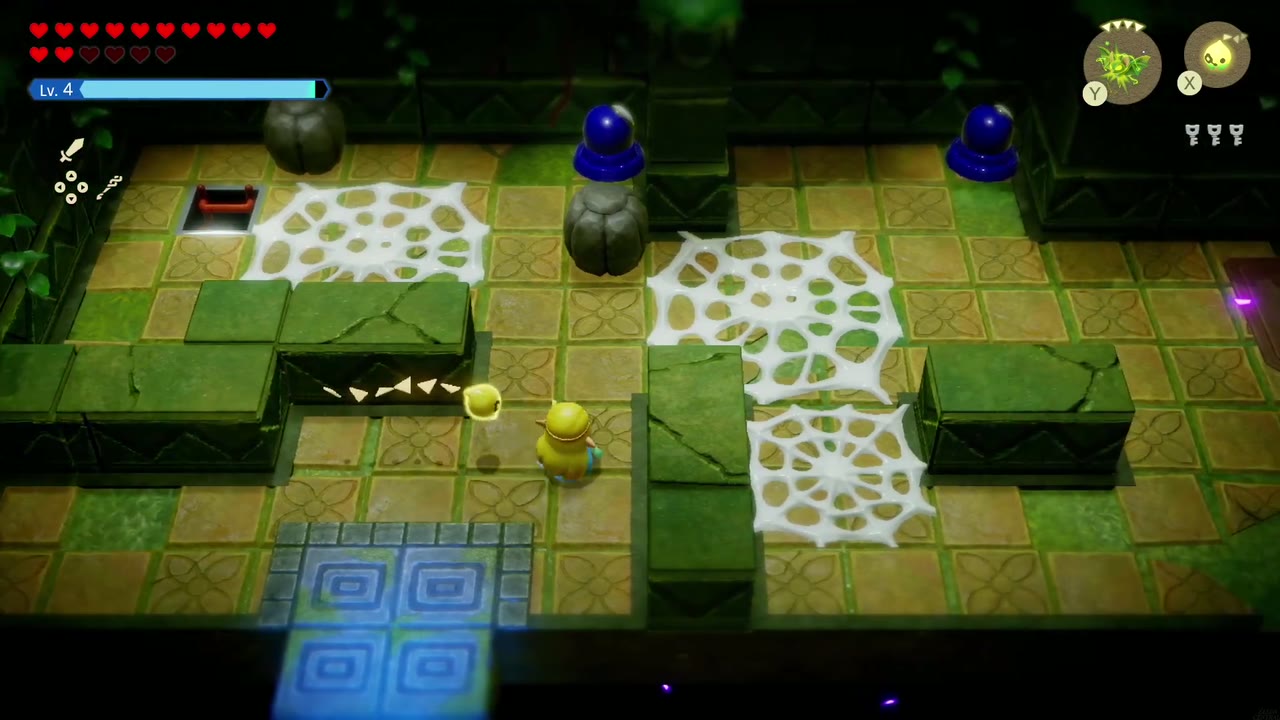


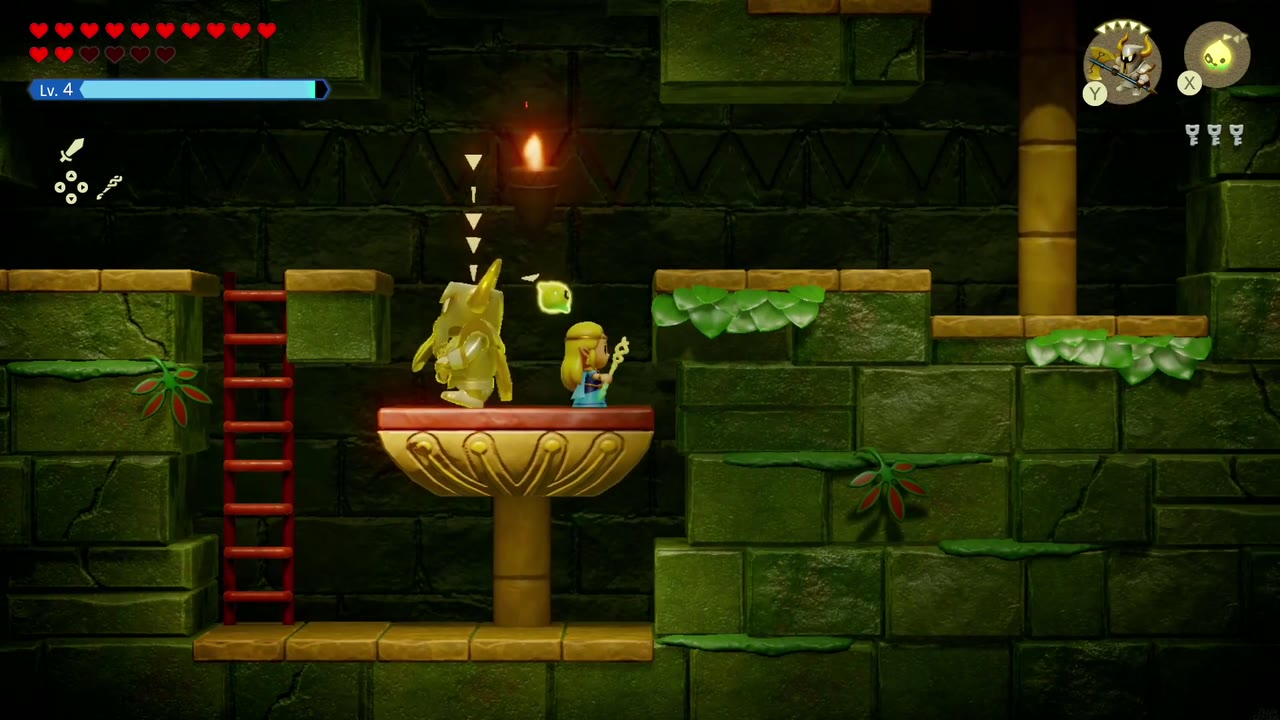
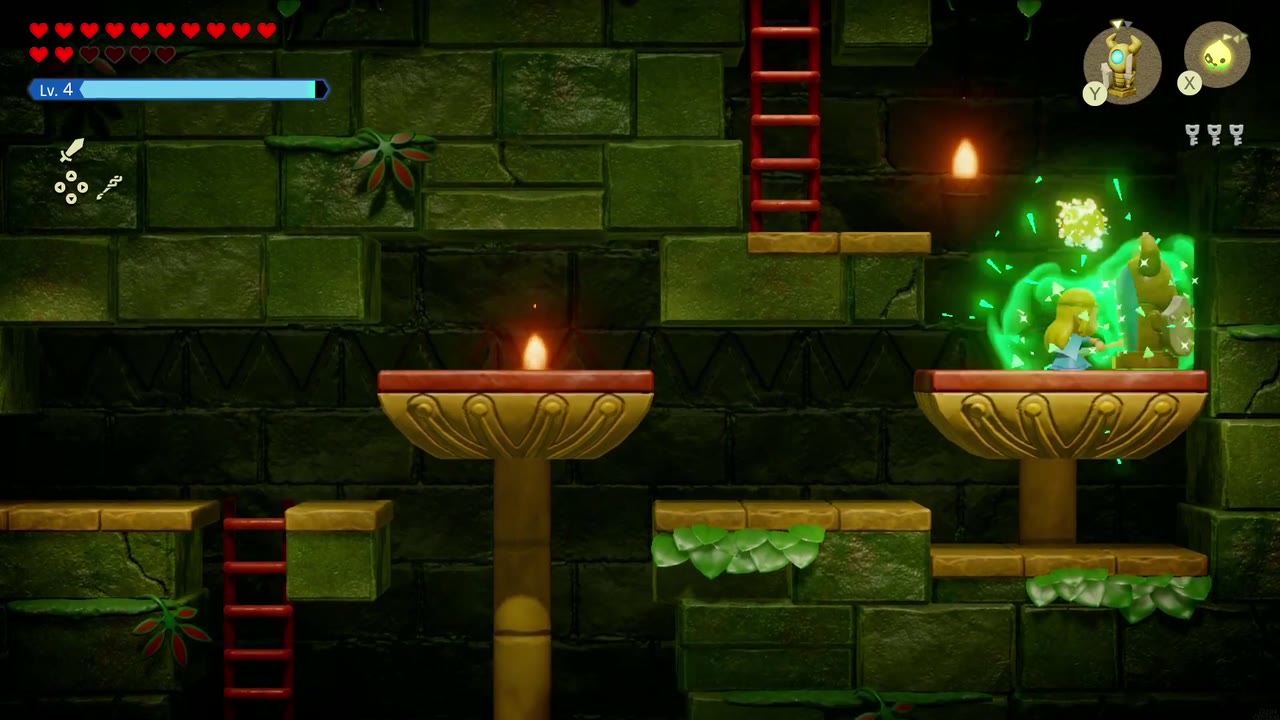
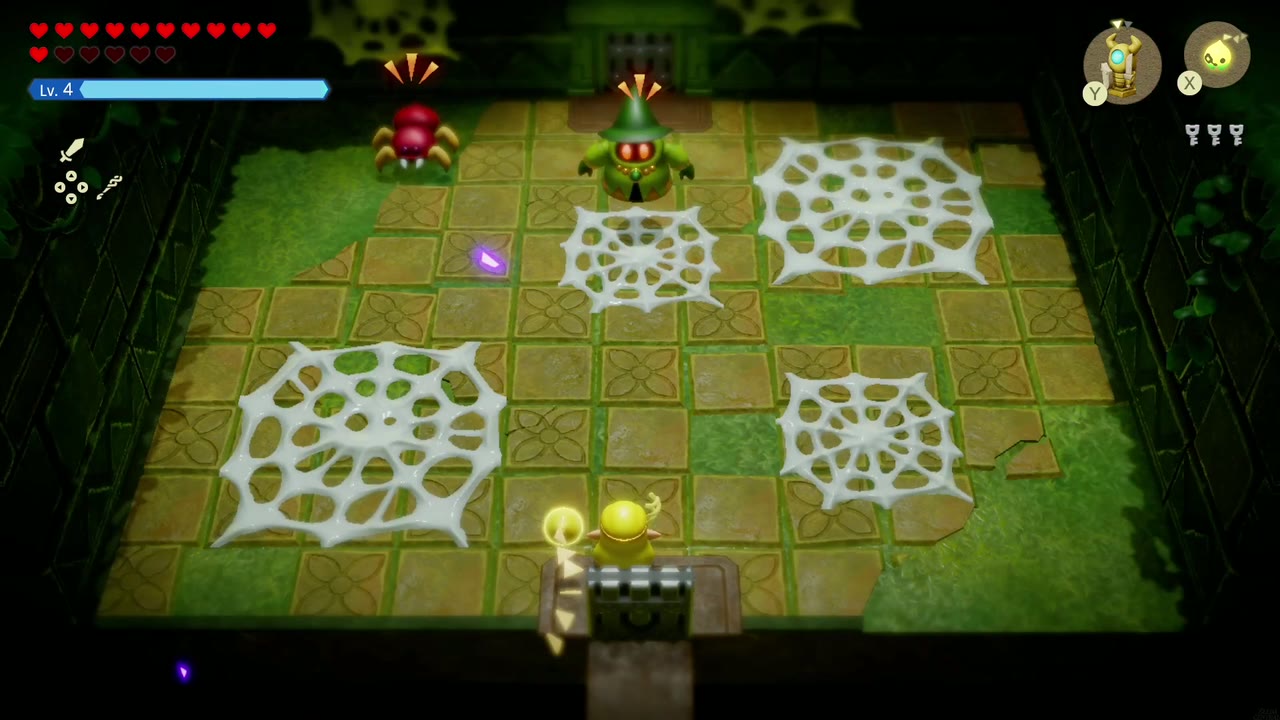
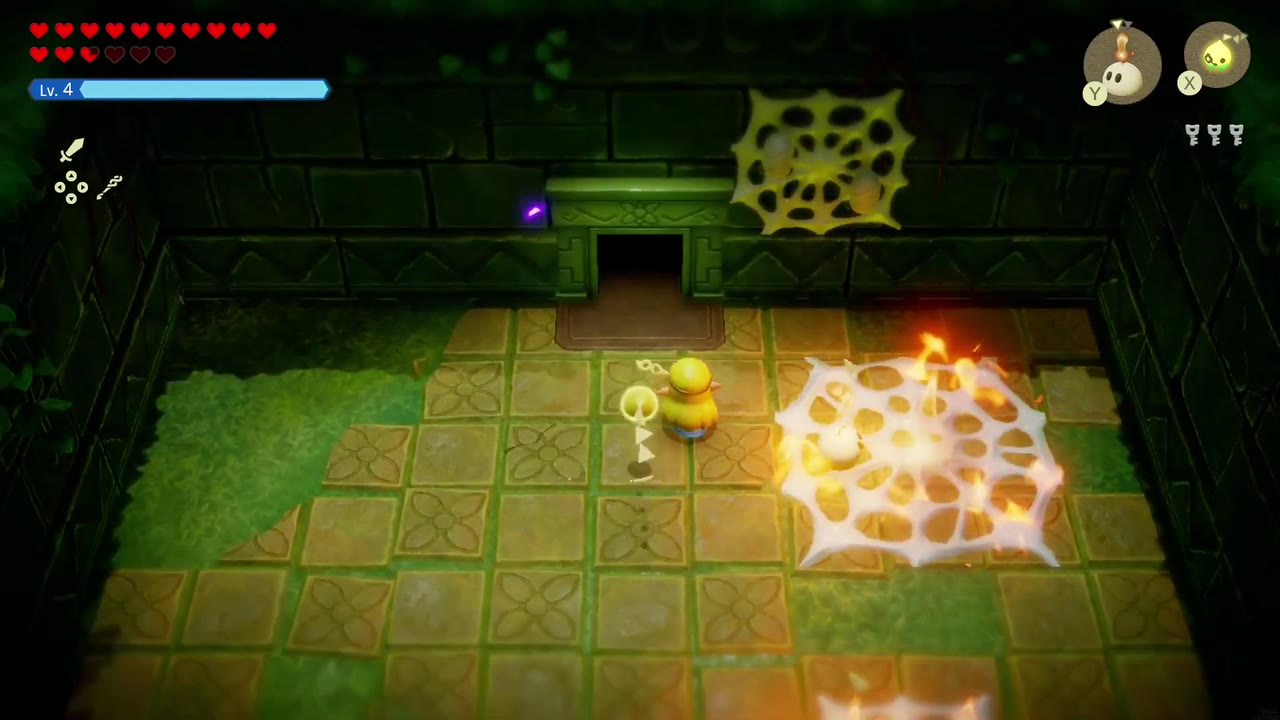
The next side-view room has golden goblet pedestals. Summon echoes onto the pedestals and Bind the Armos statue into place on the right-hand one. Then step out through the Still World jungle to a room with two statues and two orange floor switches: Bind a statue onto one switch and stand on the other to open the north door. Beyond is a webbed arena with a Wizzrobe and a Strandtula; beat them with your echoes, then burn the webs with an Ignizol to clear the way.

Underwater Statues, the Plant Mini-Boss and the Big Key
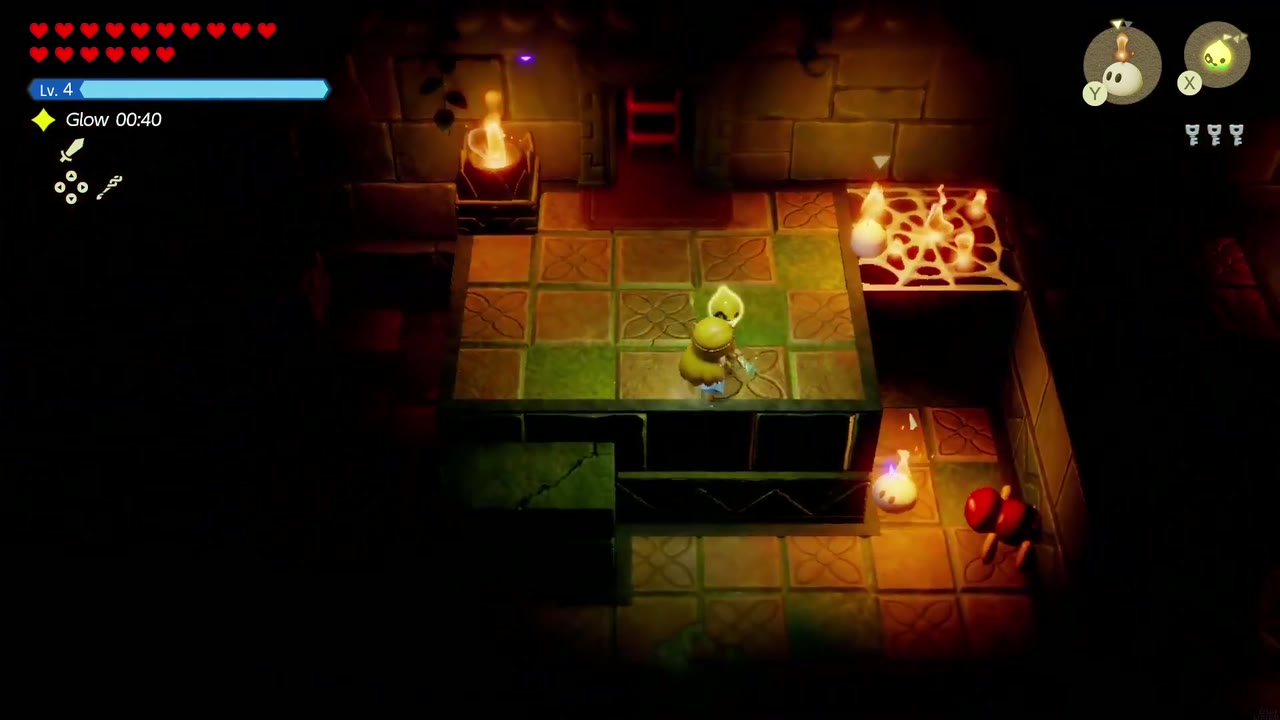
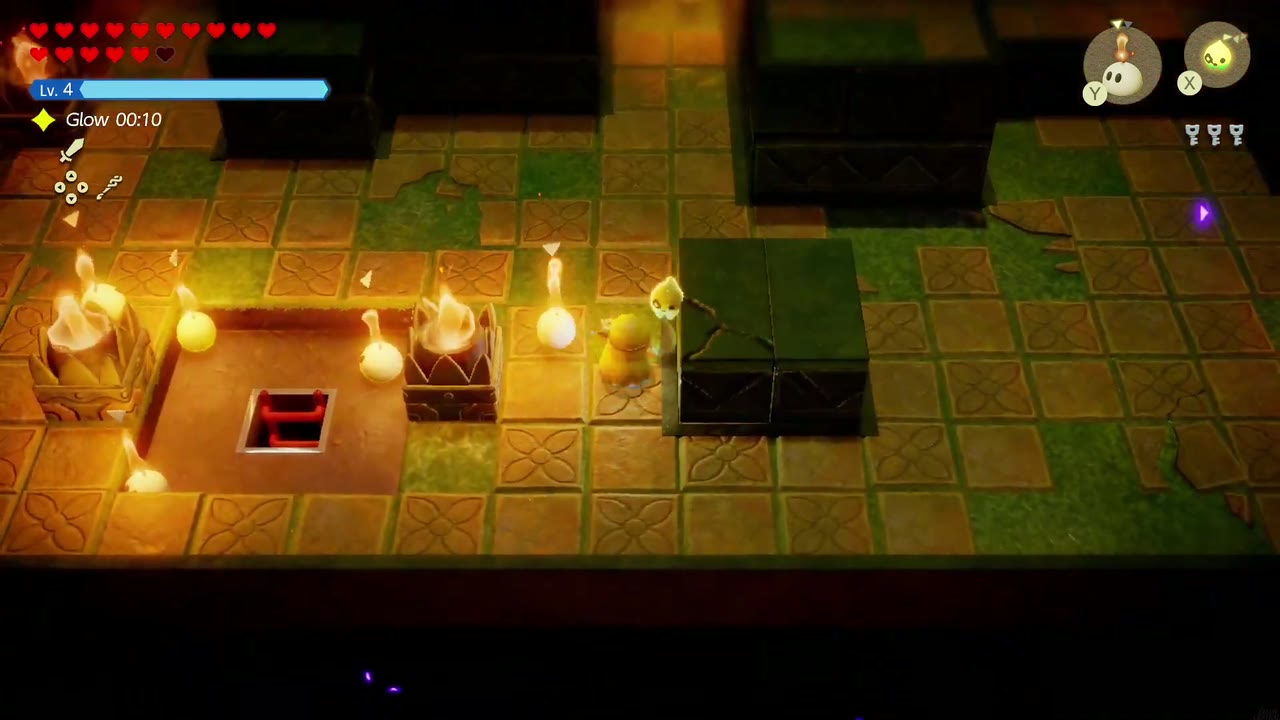
Your next stop on 2F is a pitch-black room. Drink a smoothie that grants Glow (a one-minute timer appears under your hearts) so you can see, then light the braziers and burn away the spiderwebs before it runs out. With the room lit, drop down the hole in the floor.

You land in a flooded side-view room patrolled by Biri and sharks; let your echoes deal with them while you swim. Up on the left, a chest sits on a ledge just above the waterline, out of reach. Place a Water Block beneath it, swim up, and open it for a purple Rupee worth 50 Rupees.
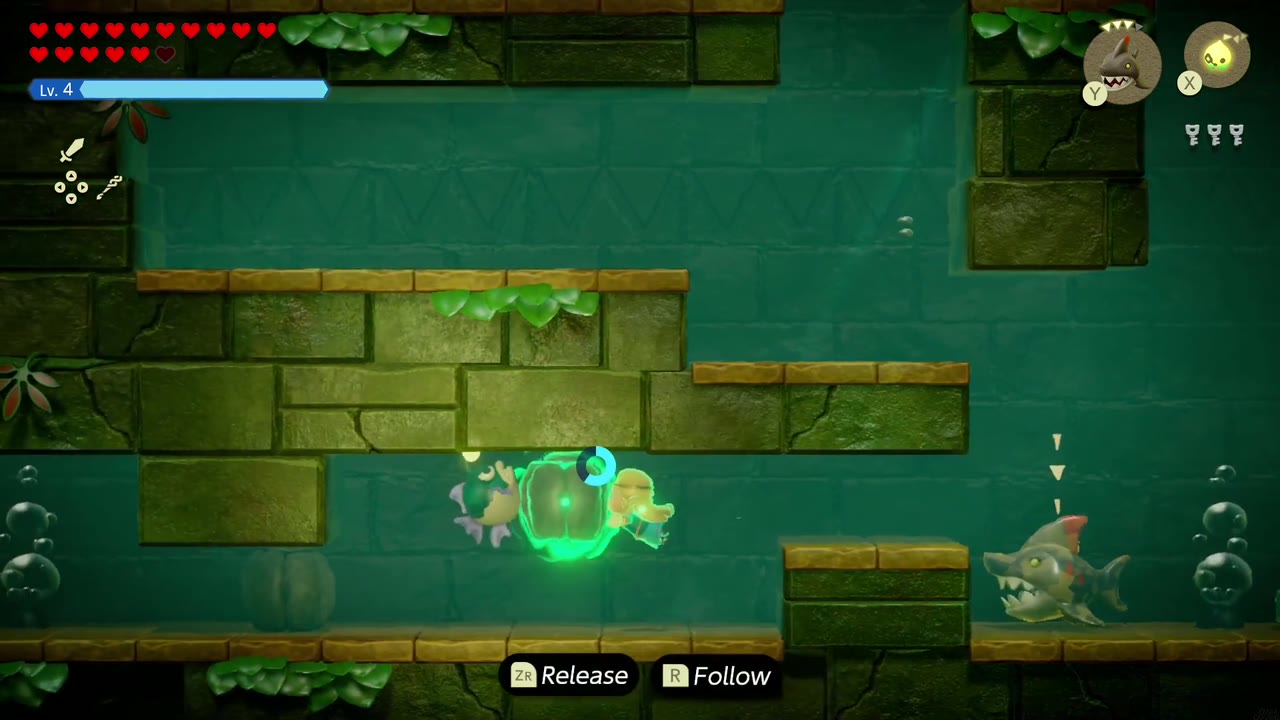
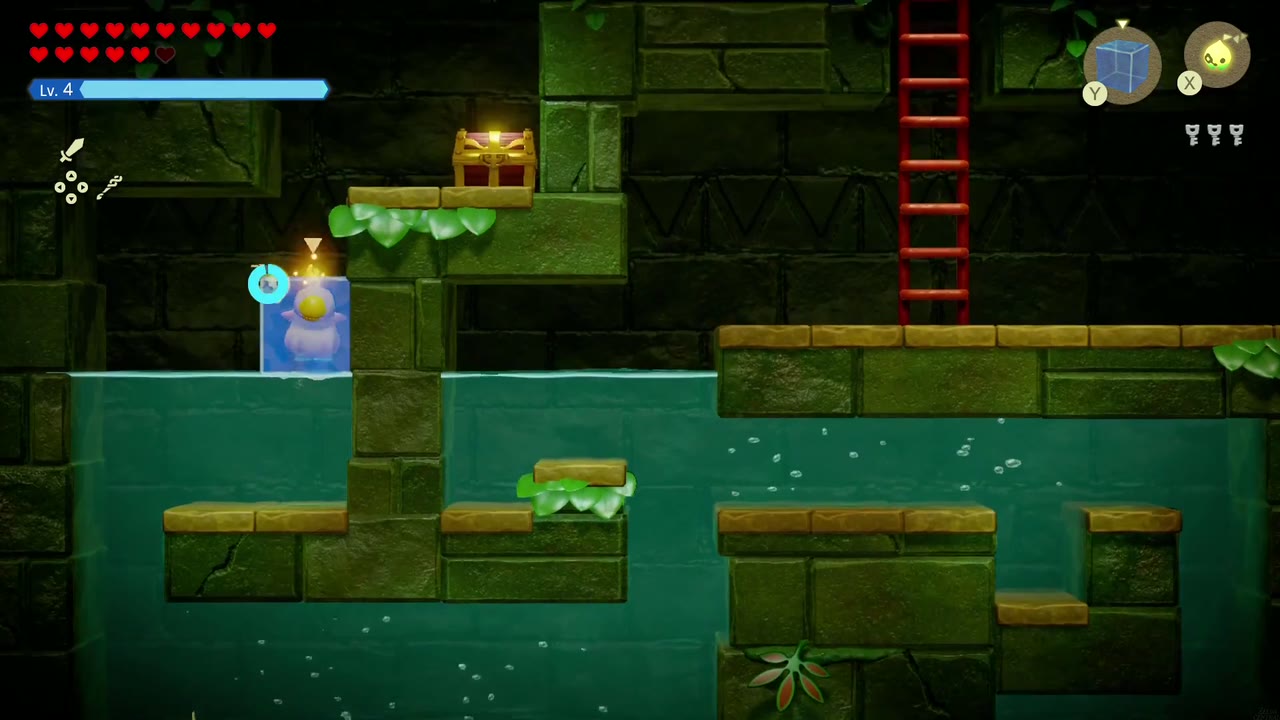

The rest of this room is a long underwater puzzle built around the stone statues standing on its ledges. Dive back down, Bind a statue and tow it behind you through the gaps between the ledges, then release it where you want it to settle. Expect to go back and forth several times.
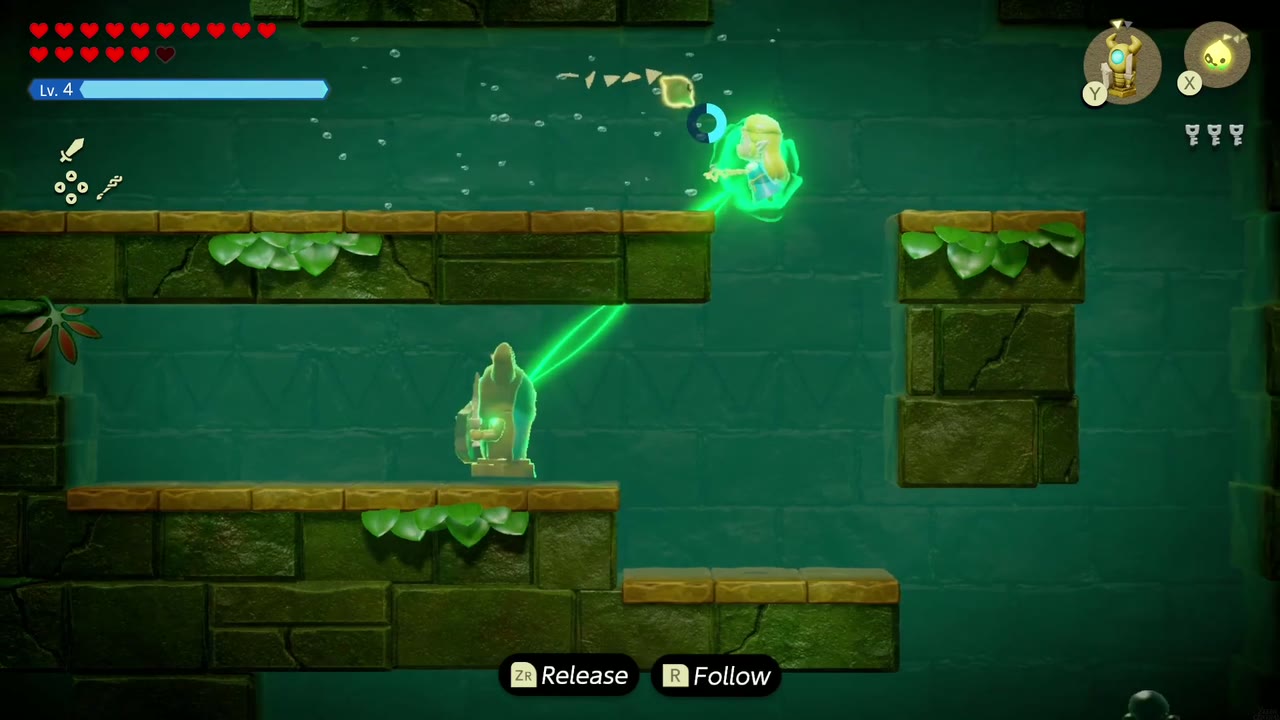
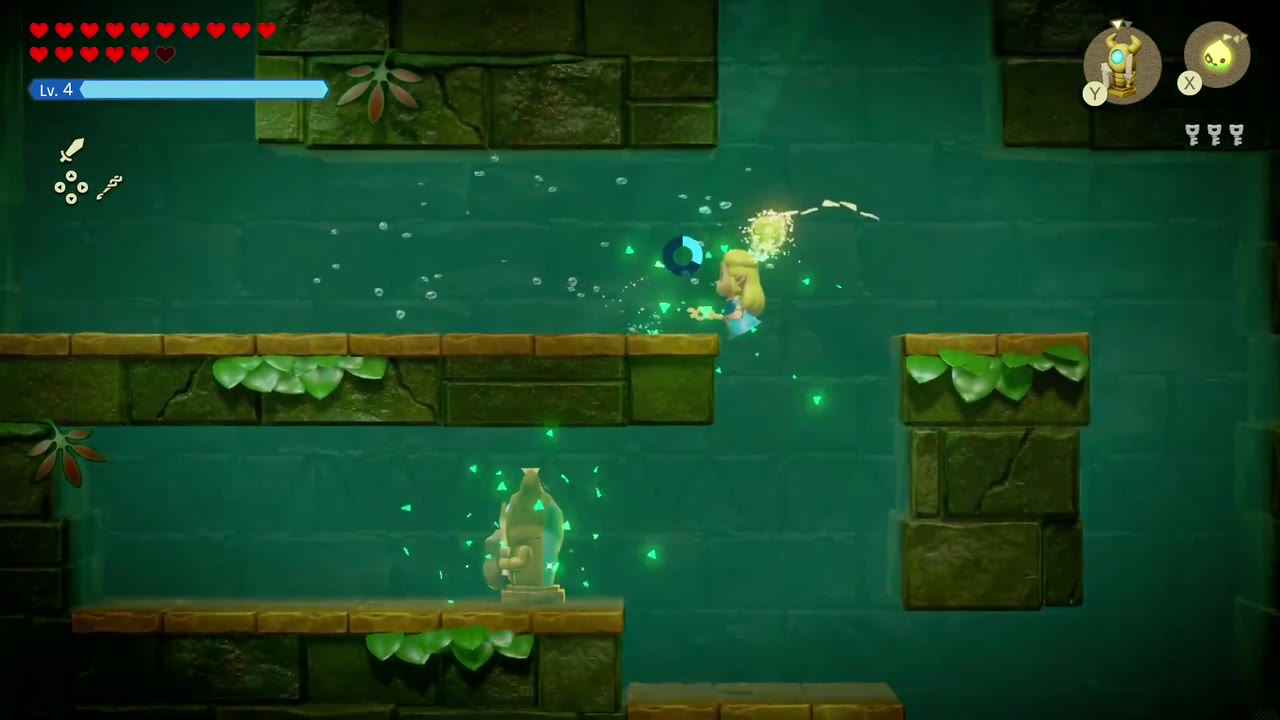
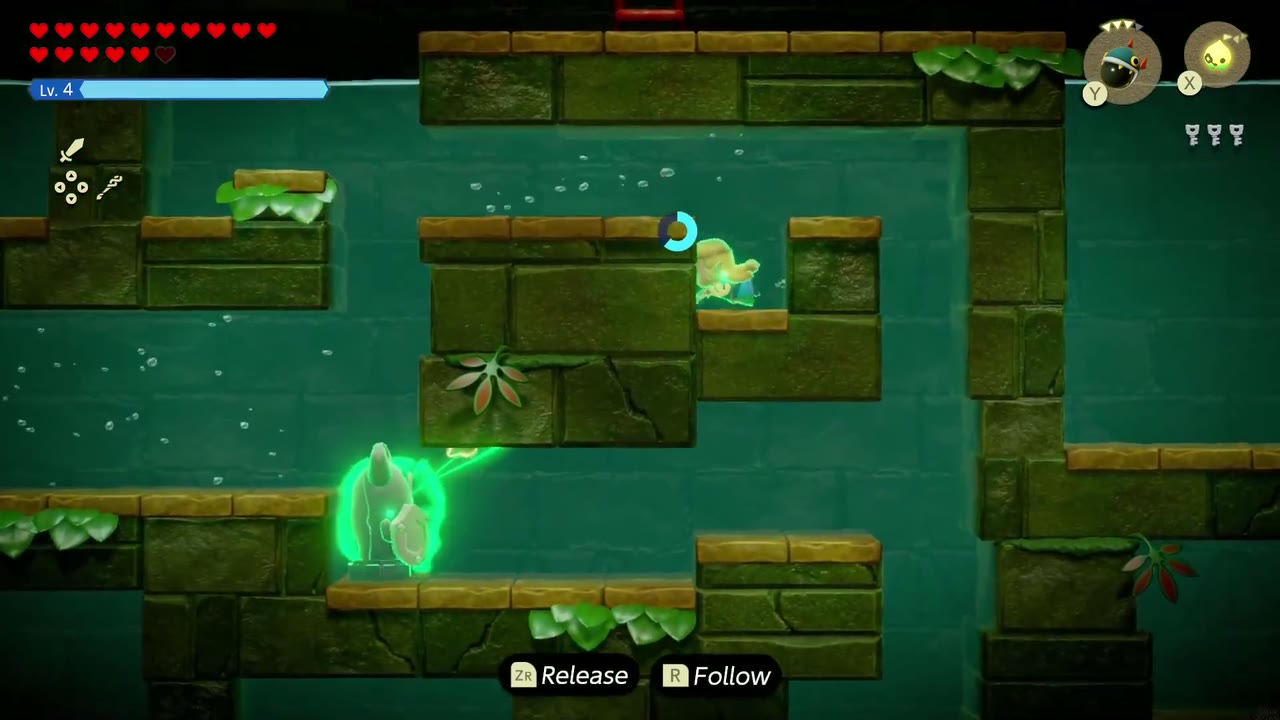
Keep moving the statues along the lower ledges until the puzzle is done, then surface and climb the red ladder at the top of the room. It leads into a dark room of braziers, stairways and spiderwebs: burn the webs with fire and hit the green crystal switches to work your way through.
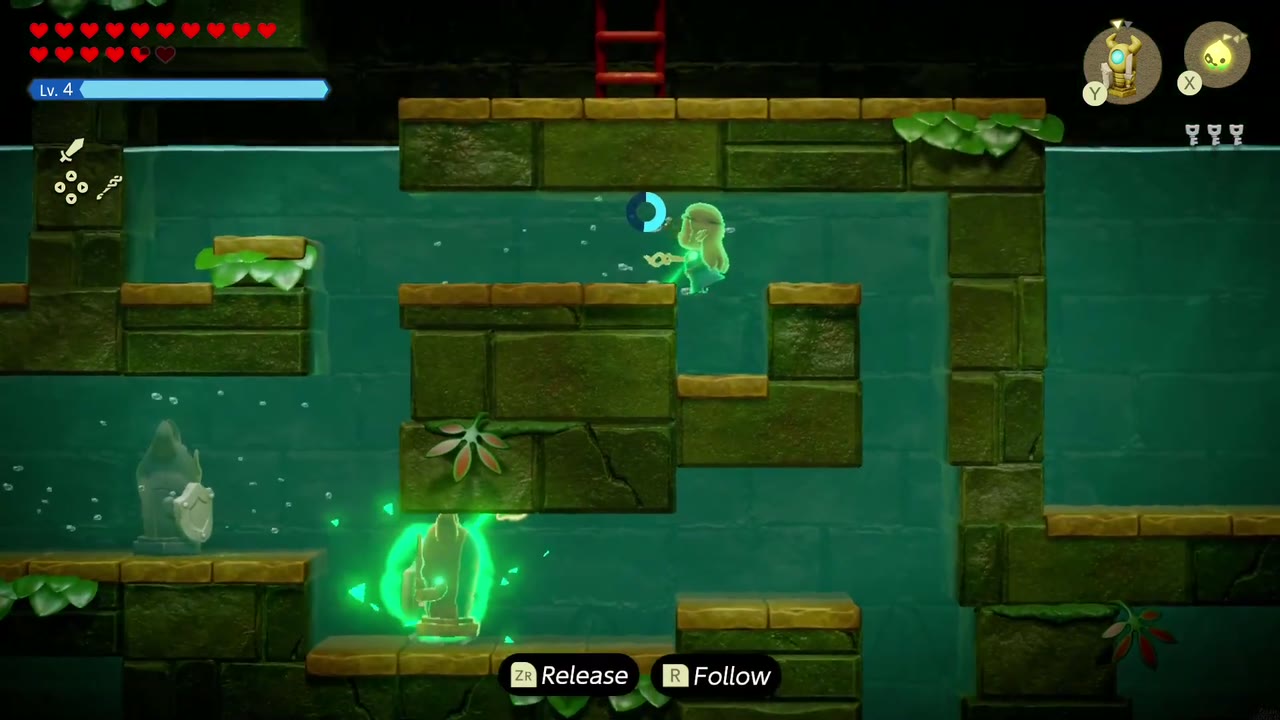

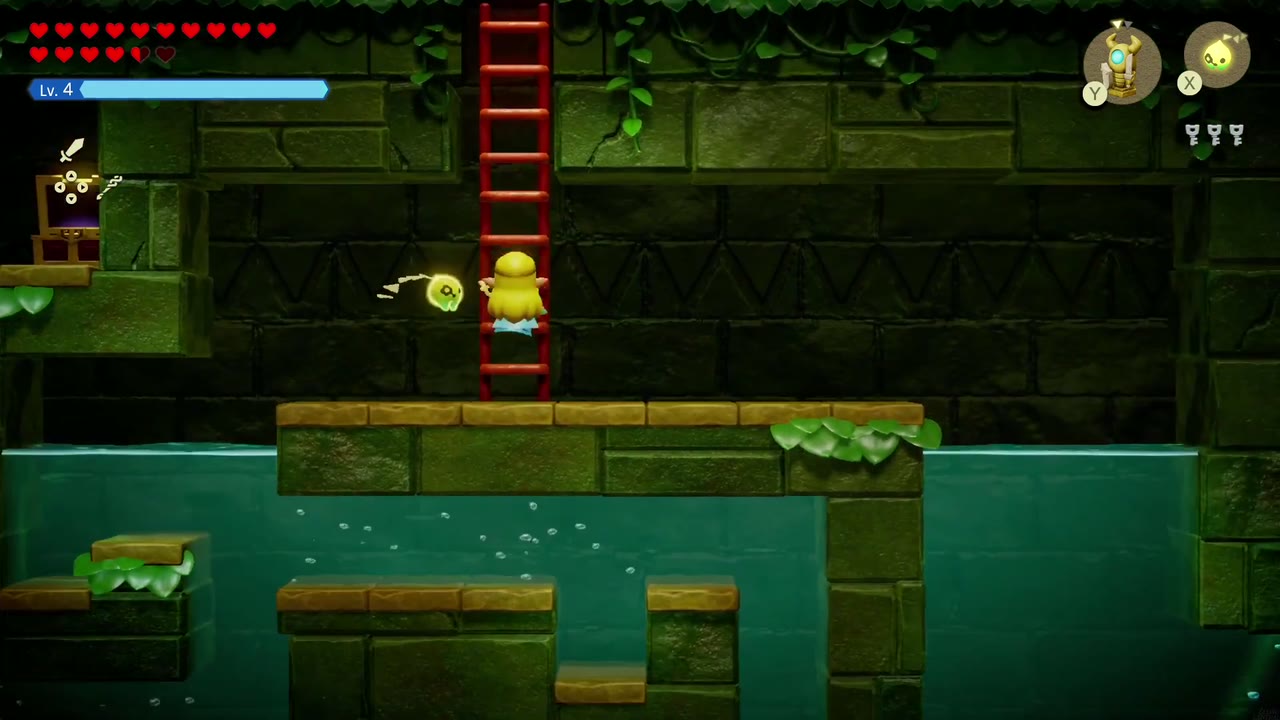
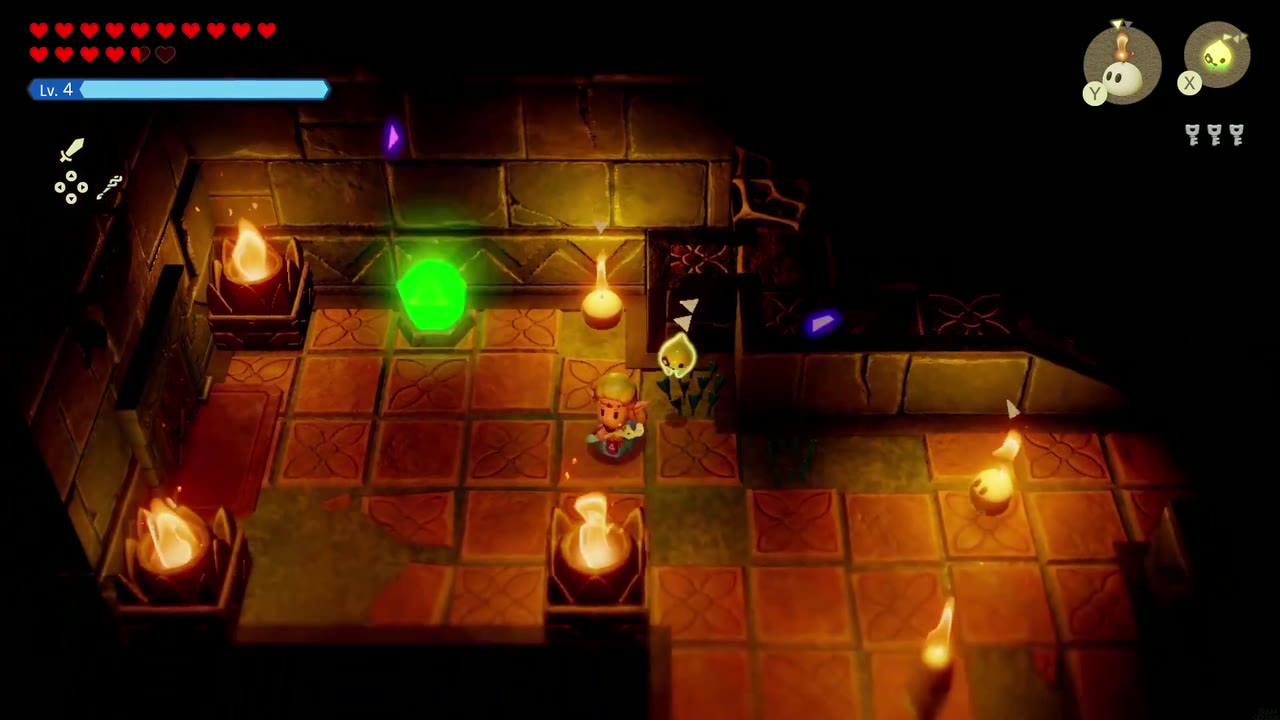
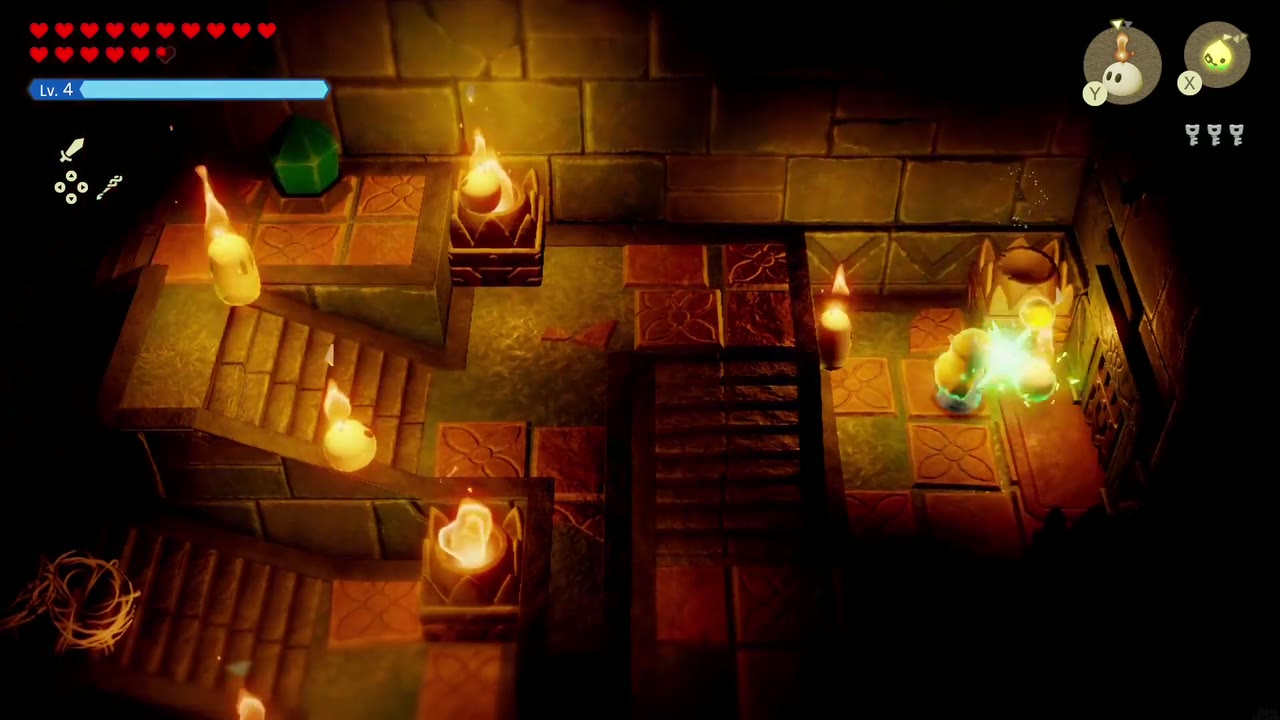
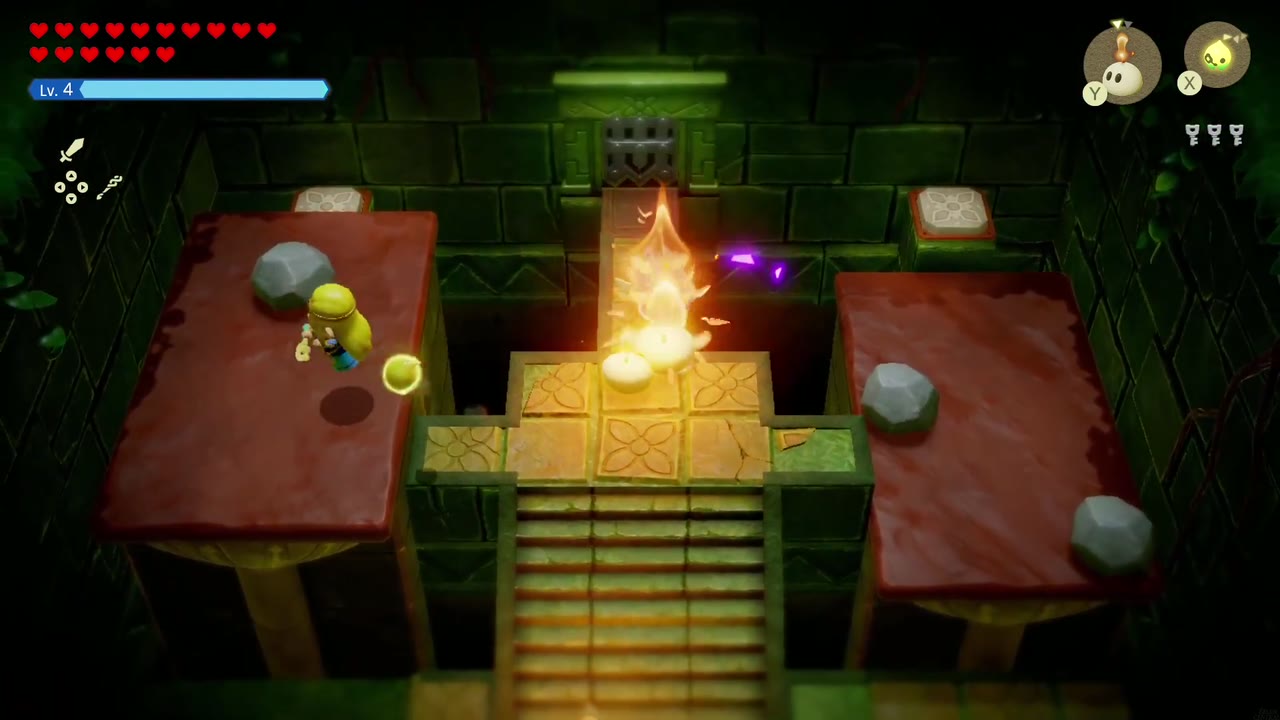
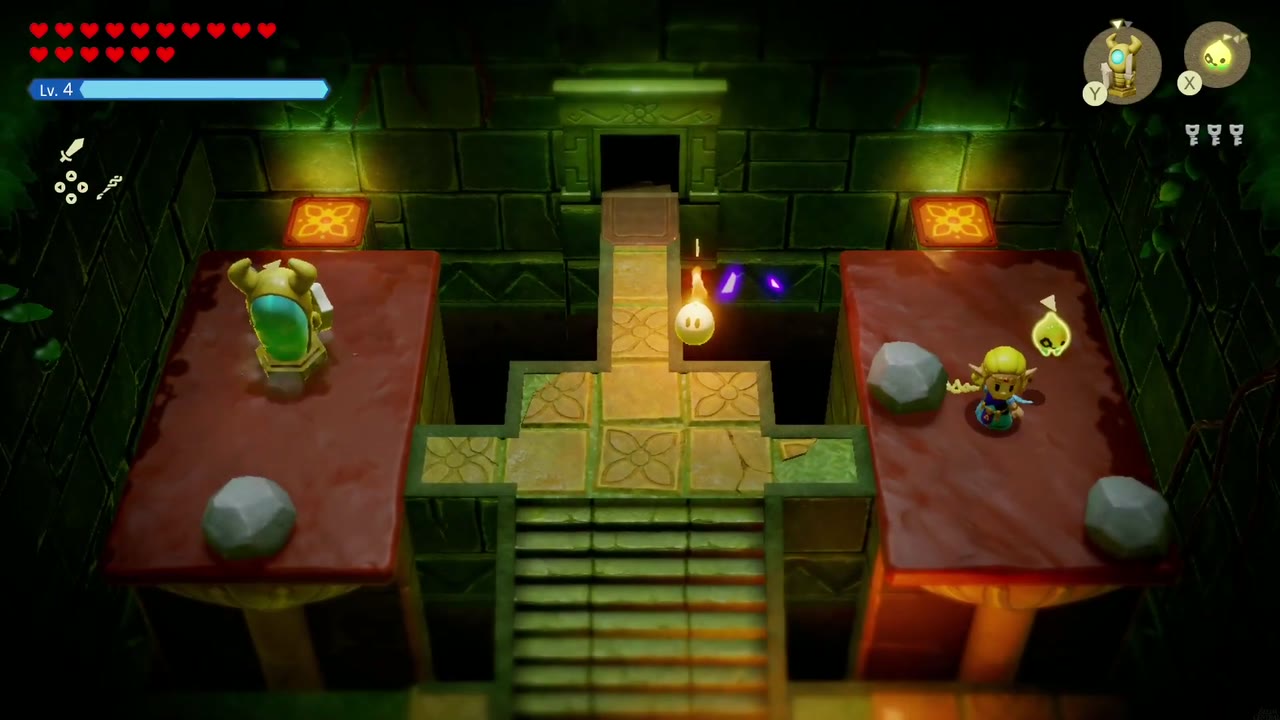
Next is a room with a big stairway between two red tables. Burn the webs, then weigh down the floor switch on each table (a statue echo on one, you on the other) to open the gate at the top of the stairs. Now head back through the small-key chest room you already emptied and the pot room, activate the 1F Waypoint, and use your Small Key on the locked door. Past it, retrace the hedge, side-view, web and stairway rooms to a chamber with a giant closed bud surrounded by Deku Babas. Summon a Fire Wizzrobe to burn them down, then carry on up the stairs into another dark torch room.


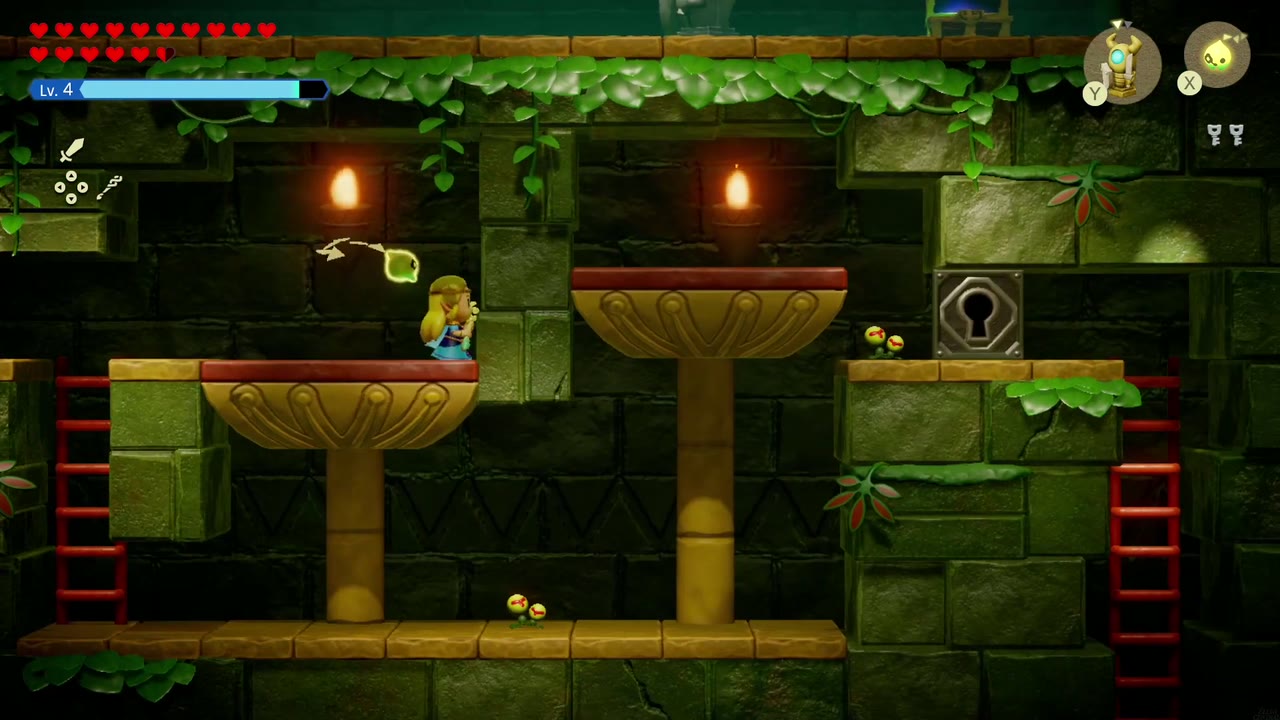
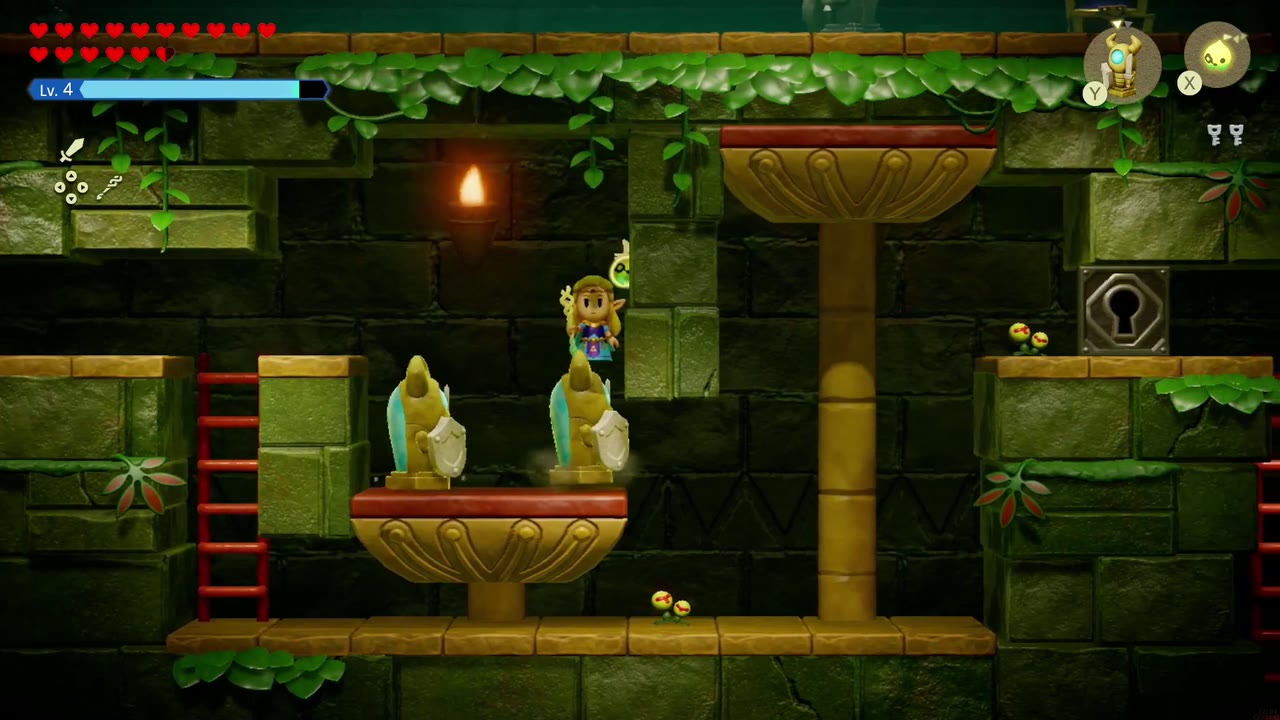
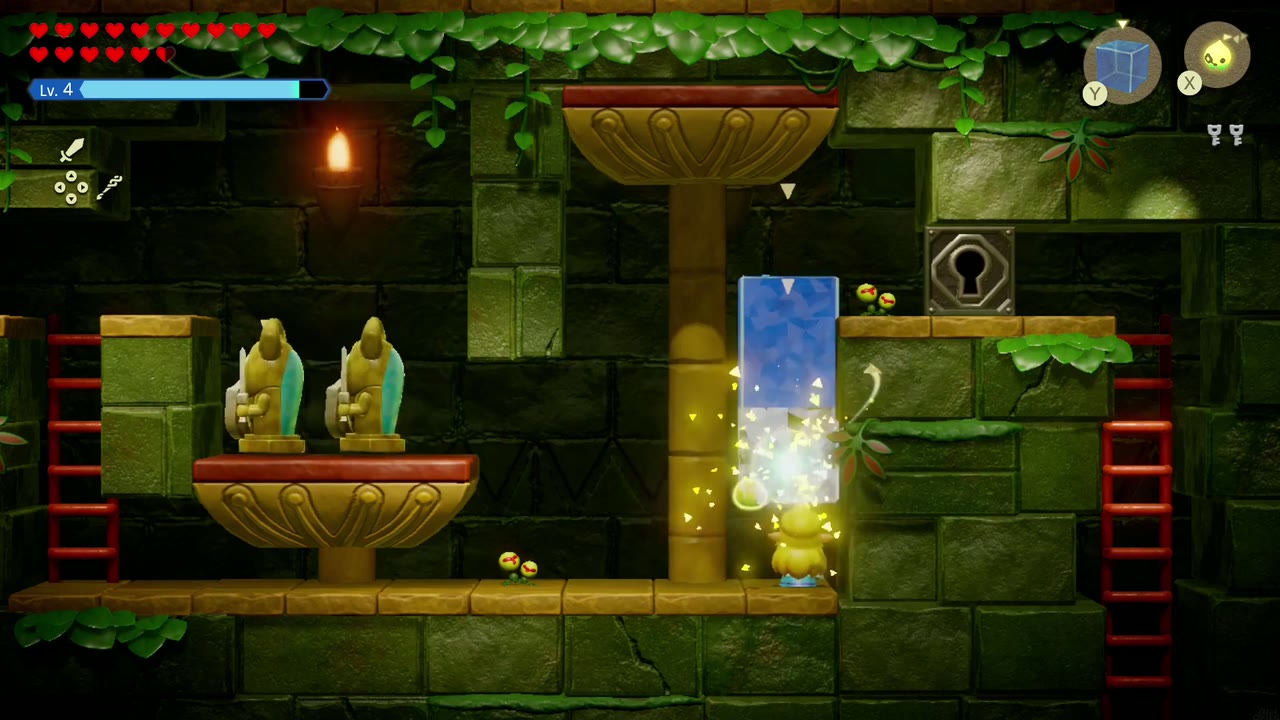
Up the stairs and past a dark torch room is a side-view chamber with two goblet pedestals, two golden statues, and a keyhole block on the right ledge. Bind both statues onto the left goblet; their weight sinks it and raises the right one. Then drop a Water Block beside the raised right goblet, swim up to the right ledge, and climb the ladder out. The keyhole block stays shut on this pass.
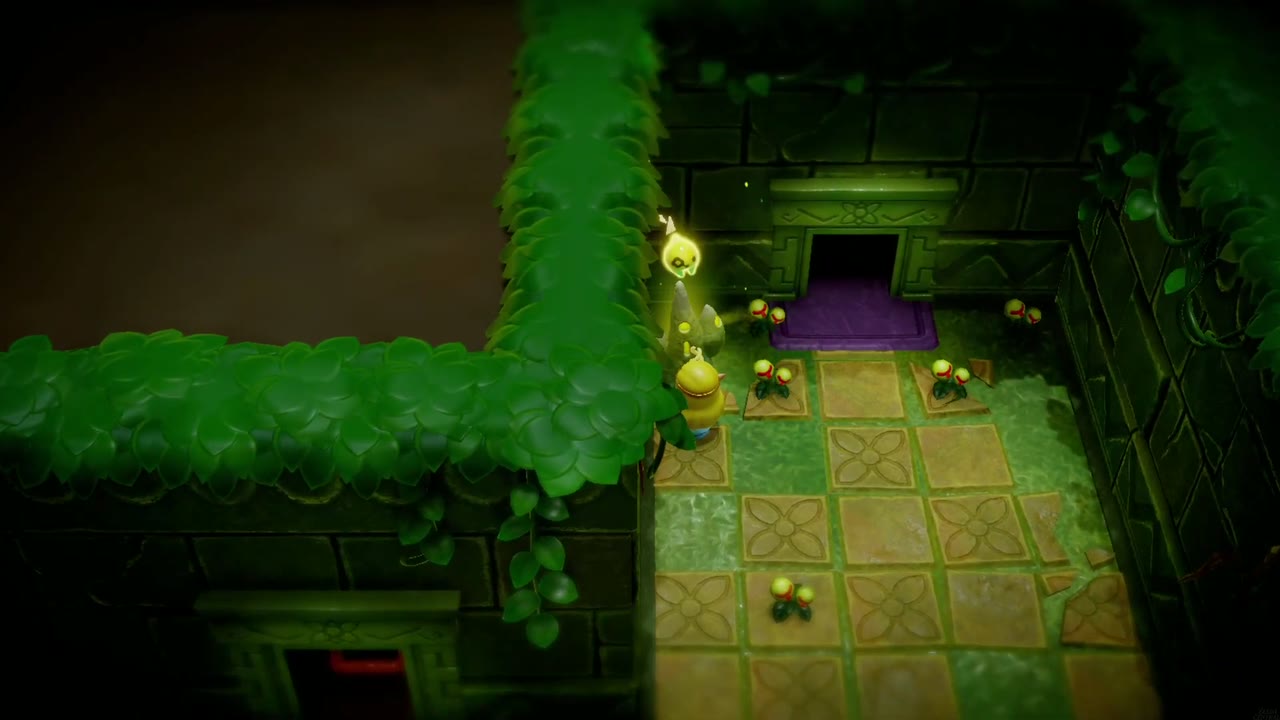
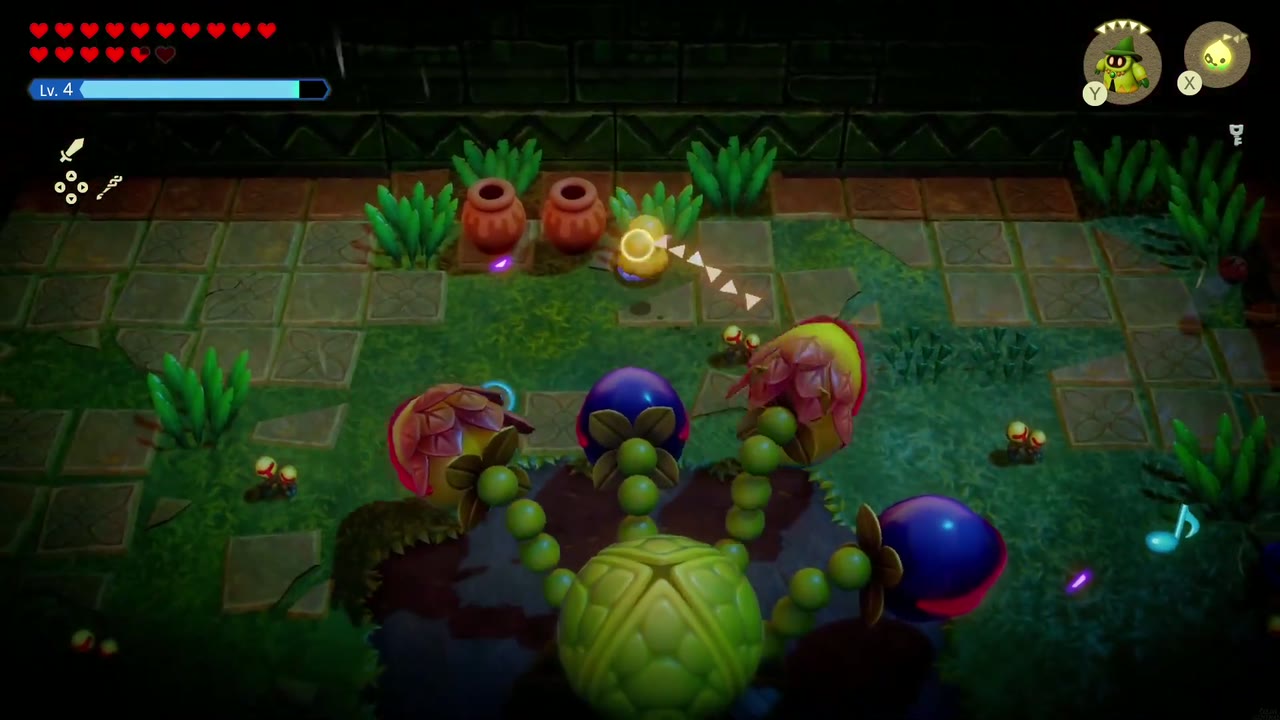
You come out on 1F next to a Waypoint statue; touch it, since the room through the purple doorway is a mini-boss. Inside, a giant green bud sits dormant until you approach, then sprouts a ring of snapping heads. Keep your distance and let echoes do the work: Fire Wizzrobe and Ice Wizzrobe blasts, plus an Armos to soak hits.


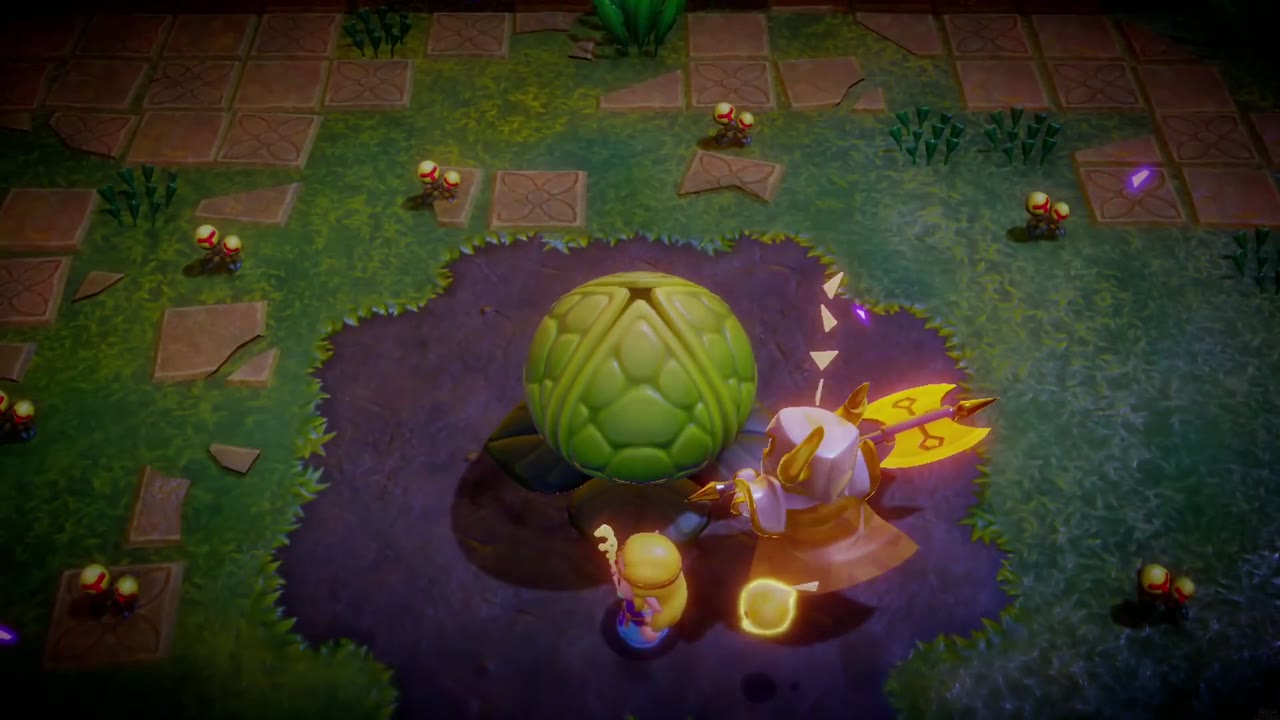
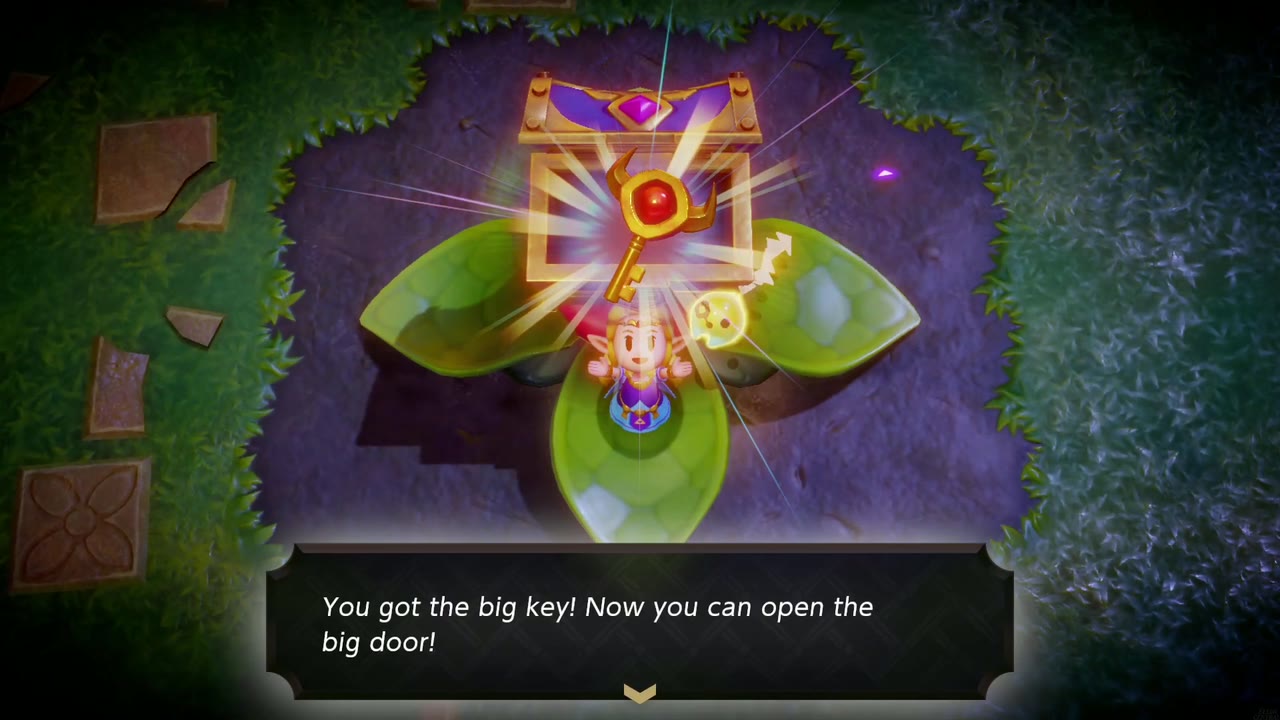
The heads lunge out across the room on long vines, so keep moving and keep summoning. Once the heads are gone, the bare bud can’t fight back; a Darknut echo finishes it off. A chest rises out of the flower that’s left behind, holding the Big Key.
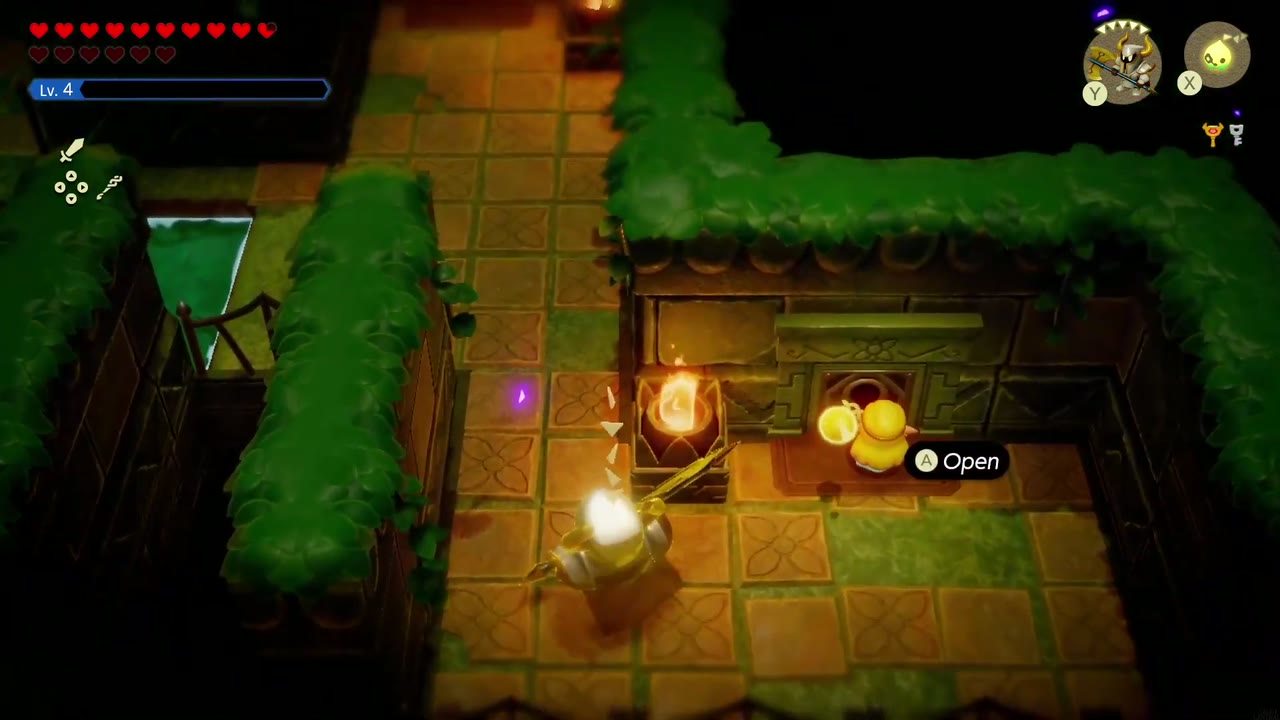
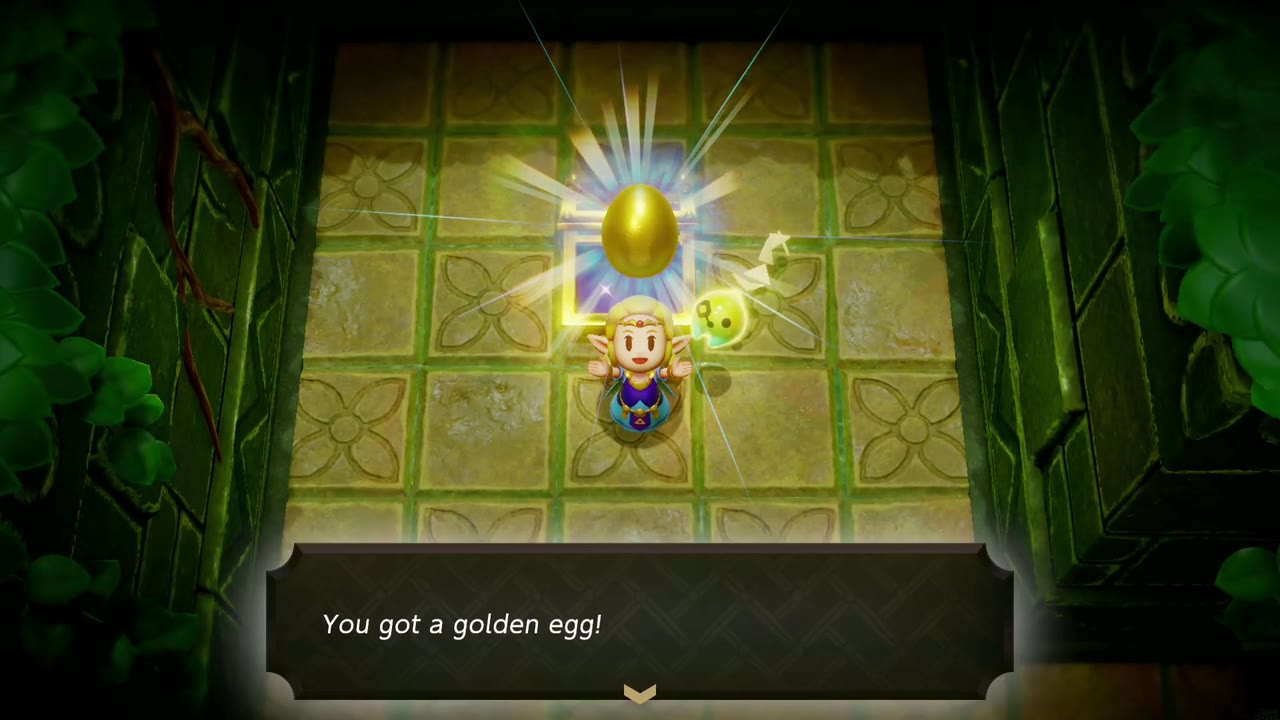
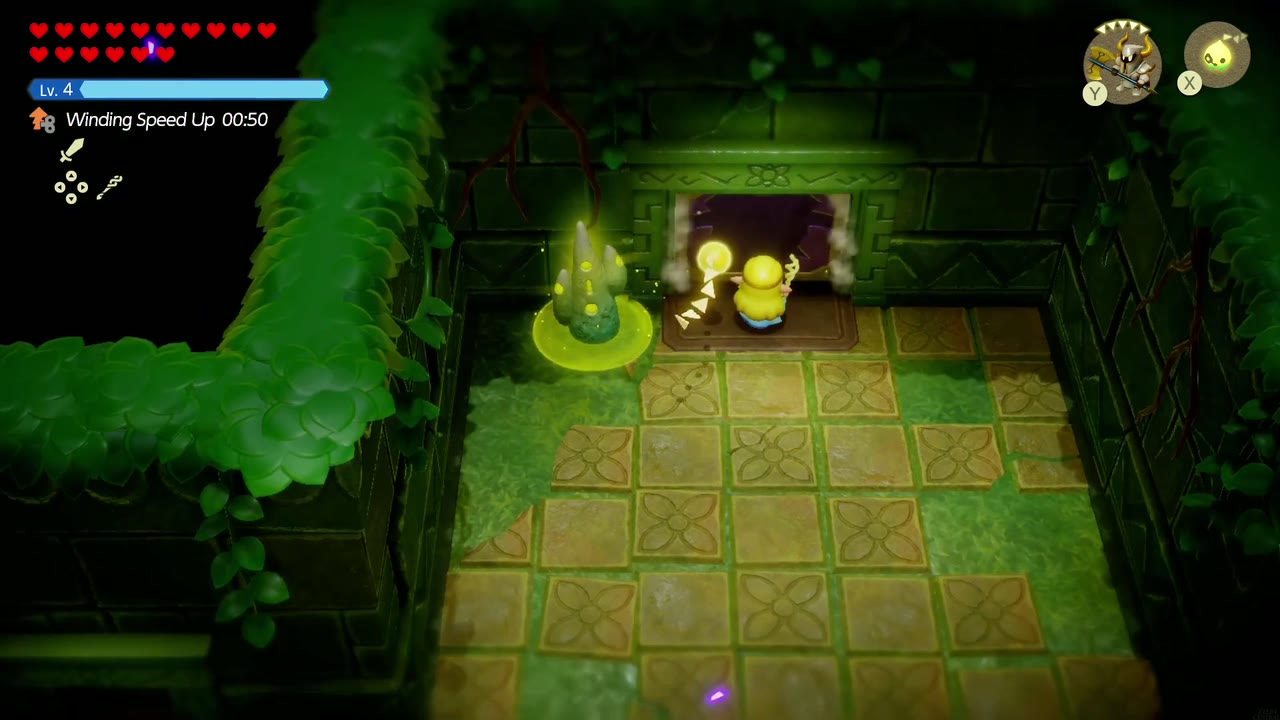
Before the boss, warp back to the torch-lit hedge rooms and use your Small Key on the locked door there for a Golden Egg. Then warp to the Waypoint beside the big door and open it with the Big Key.
Boss: Gohma
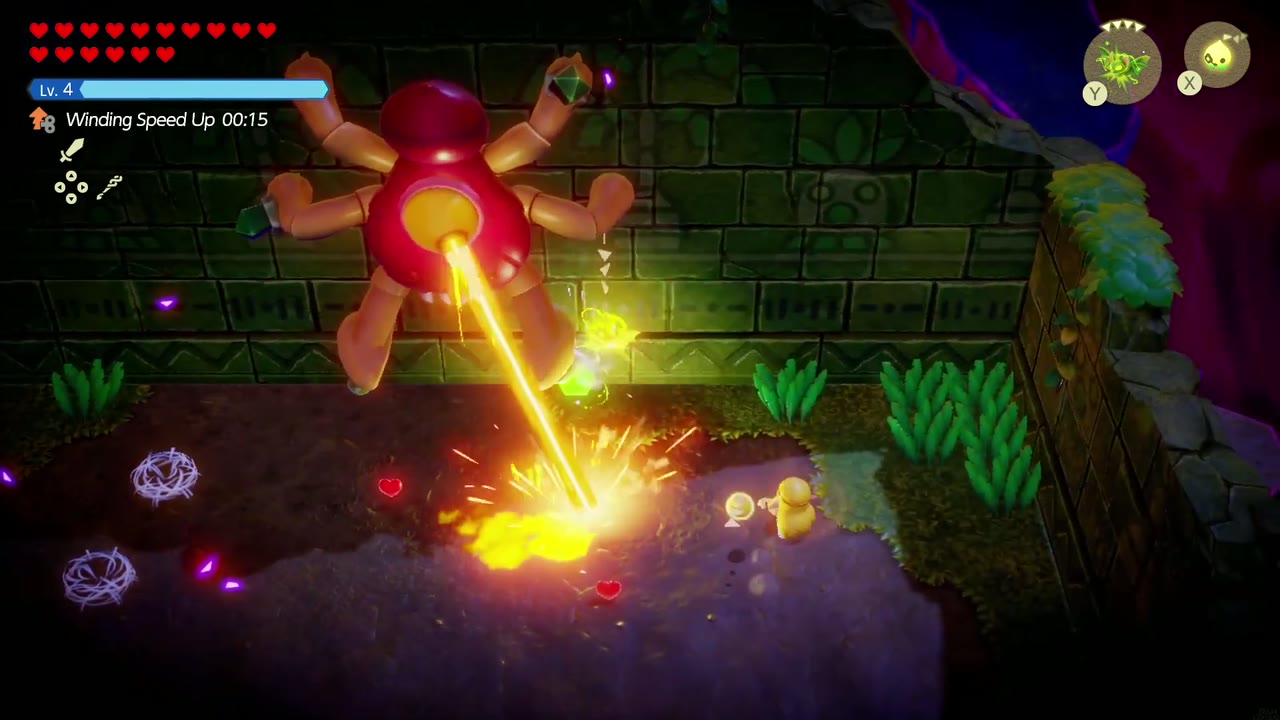
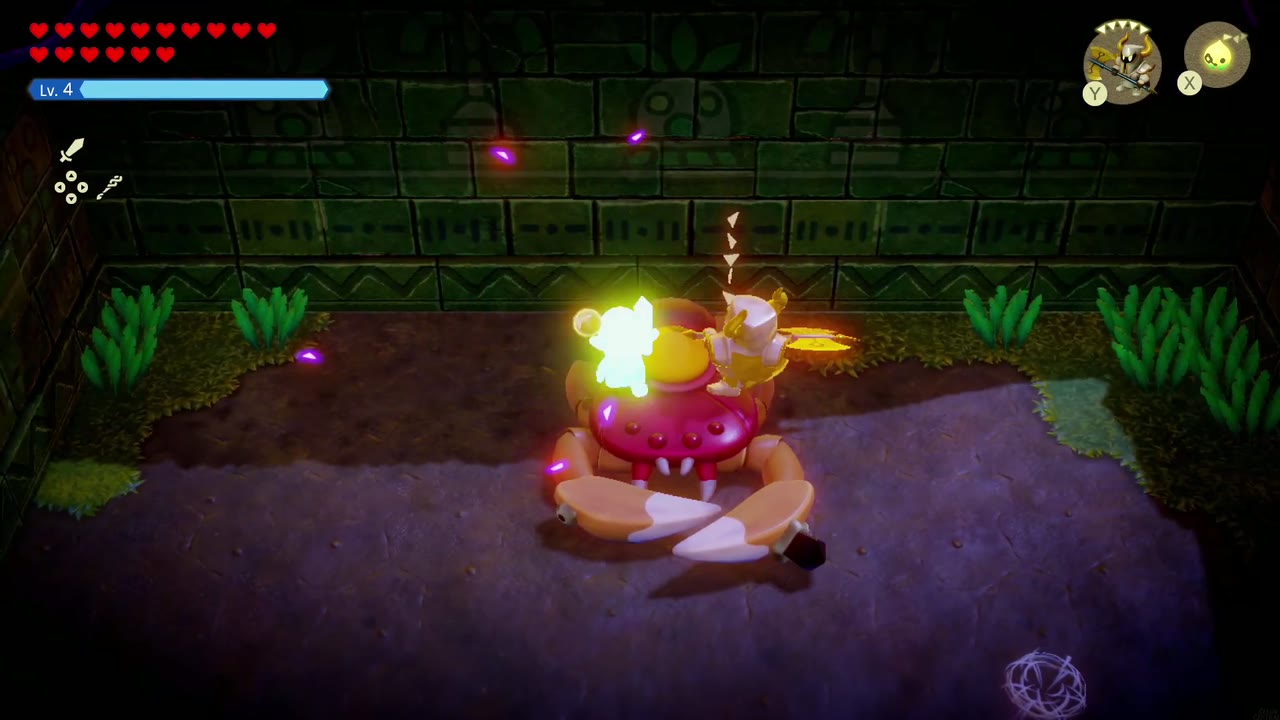
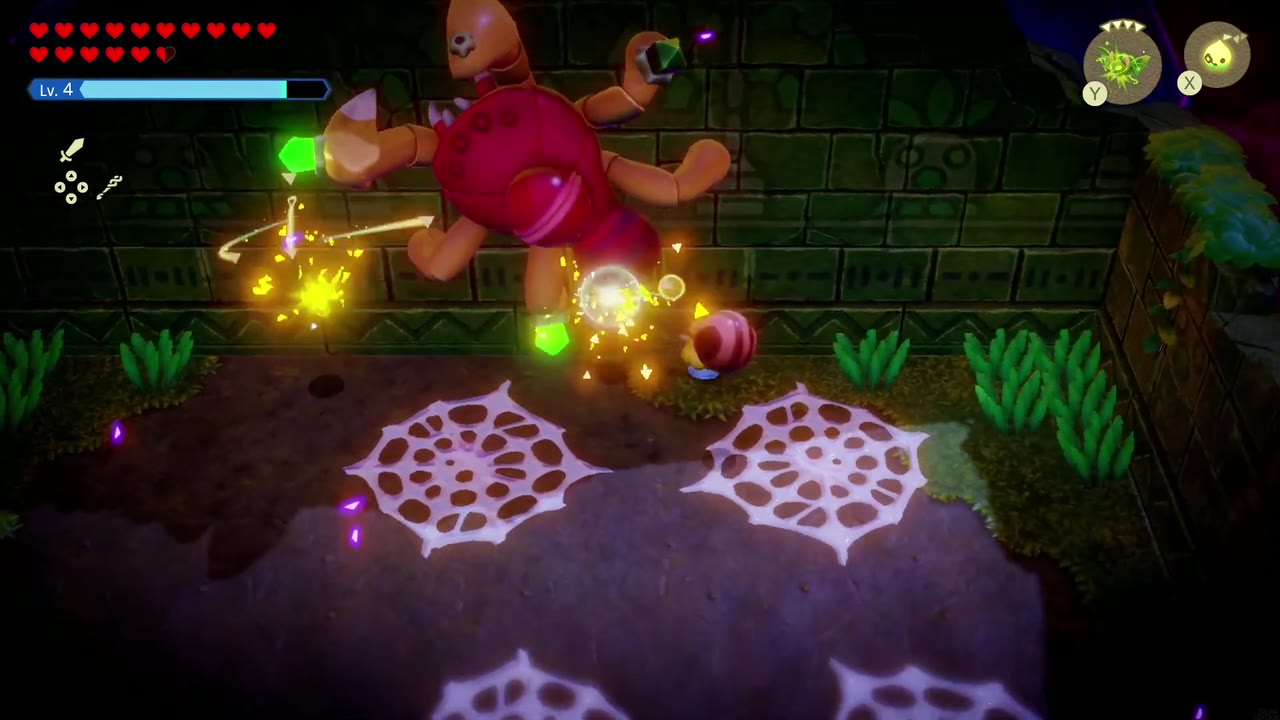
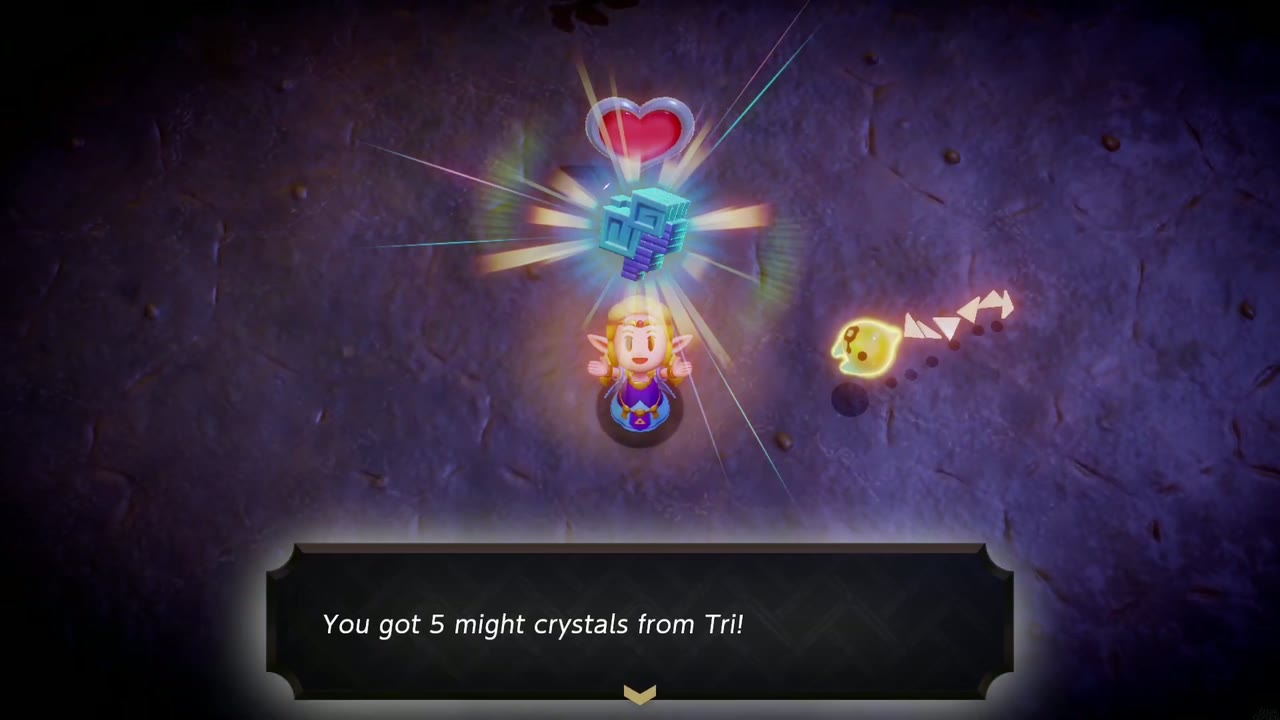
A giant one-eyed spider that alternates between the back wall and the floor. On the wall she has green crystals on her legs; lock on and send echoes (Electric Keese, Fire Wizzrobe, and Darknut all work) to smash them while you dodge her webs, the eggs she drops, and her sweeping eye laser. Break the crystals and she crashes to the floor with her eye exposed; go Swordfighter and wail on it. She then gets up and stalks the arena on foot with the crystals still to break, before climbing back up the wall; repeat the routine until she falls for good. Heart Container, five Might Crystals (from Tri), and Farore’s Sanction.
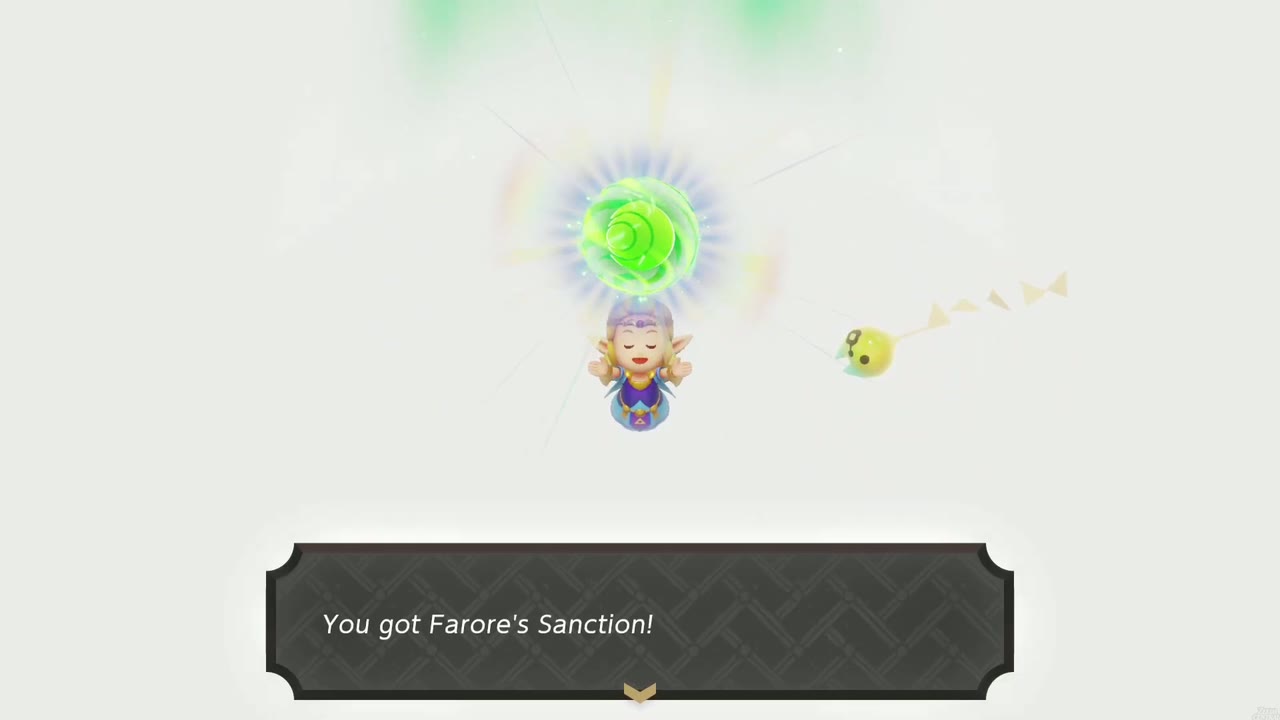

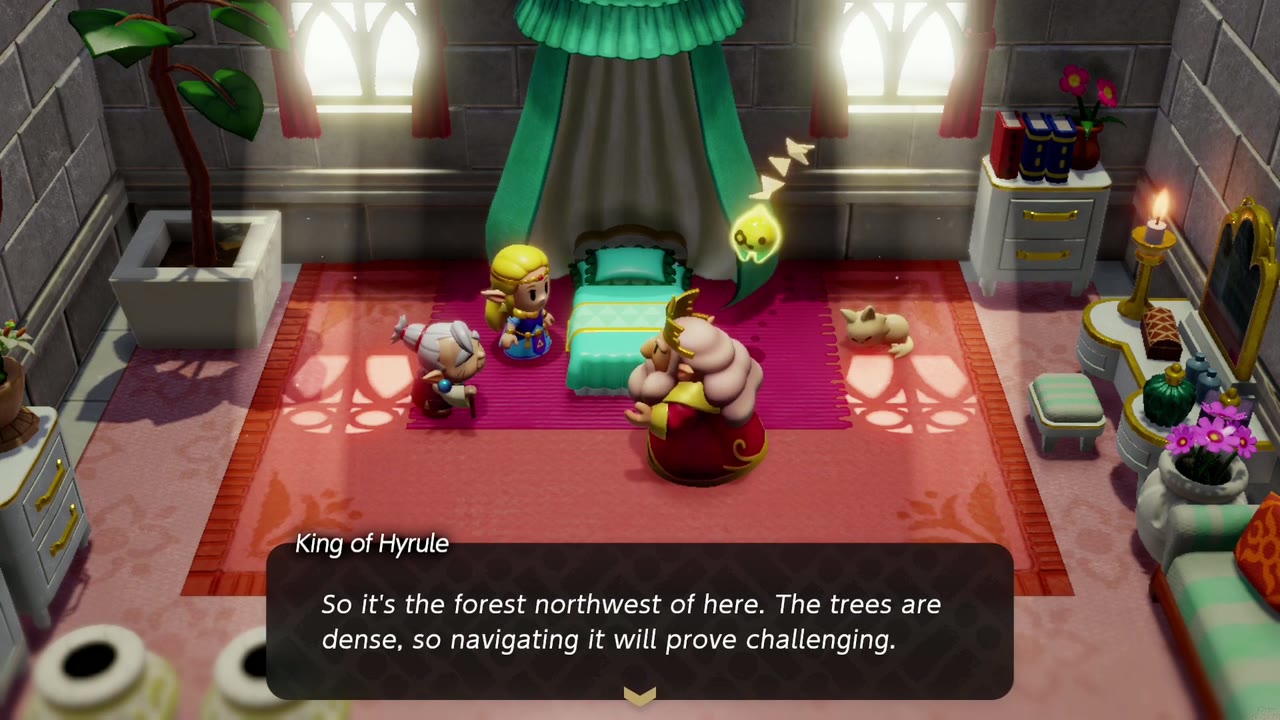
With Farore’s Sanction in hand, one goddess region remains: head north to Hebra Mountain and Holy Mount Lanayru. Once all three sanctions are yours, the King of Hyrule tells you about the ancient forest with a sacred tree: the Eternal Forest, northwest of the castle.