Echoes of Wisdom 100% Completion Walkthrough16 chapters
- Prologueplaying as Link, escaping the castle jail, and the waterways to Suthorn Beach.
- Suthorn ForestSuthorn Beach and Village, meeting Tri, the first echoes, and mending the Suthorn Forest rift.
- Suthorn Ruinsthe first dungeon, the Shadow Link fight, and the Seismic Talus boss.
- Jabul Watersthe River and Sea Zora feud, Lord Jabu-Jabu, and Stilled Jabul Waters.
- Jabul Ruinsthe whirlpool chase, the five colored switches, and the Vocavor boss.
- Gerudo Desertthe Oasis, Gerudo Town, the desert rifts, and Cryptic Cavern.
- Gerudo Sanctumthe tribute puzzle, the Bow of Might, and the Mogryph boss.
- Hyrule Castlethe Hyrule Castle well rift, Stilled Castle Town, and the Ganon boss.
- Eldin VolcanoKakariko Village, the Eldin Volcano Trail, and saving Goron City.
- Eldin Templethe Bombs of Might, the lava hall, and the Volvagia boss.
- Faron WetlandsScrubton, Blossu’s House, and escaping the Deku Scrub Lockup.
- Faron Templethe small keys, the plant mini-boss, and the Gohma boss.
- Hebra Mountainmeeting Condé, the climb through the snow, and the Stilled Hebra Mountain rift.
- Lanayru Templefire orbs, fans and lasers, the slime mini-boss, and the Skorchill boss.
- Eternal Forestthe six Ancient Orb pedestals, the Deku Tree, and freeing Link in the Stilled Ancient Ruins.
- Null’s Bodythe final dungeon and the multi-phase fight against Null.
This page covers Suthorn Ruins from its entrance to the boss, Seismic Talus. It picks up where Suthorn Forest leaves off; that page also has the region’s collectibles checklist.
Key finds in this dungeon: the Bind and Reverse Bond abilities, Swordfighter Form, the Heart Pin accessory, and the Strandtula, Darknut and Deku Baba echoes.
1F
Learning Bind
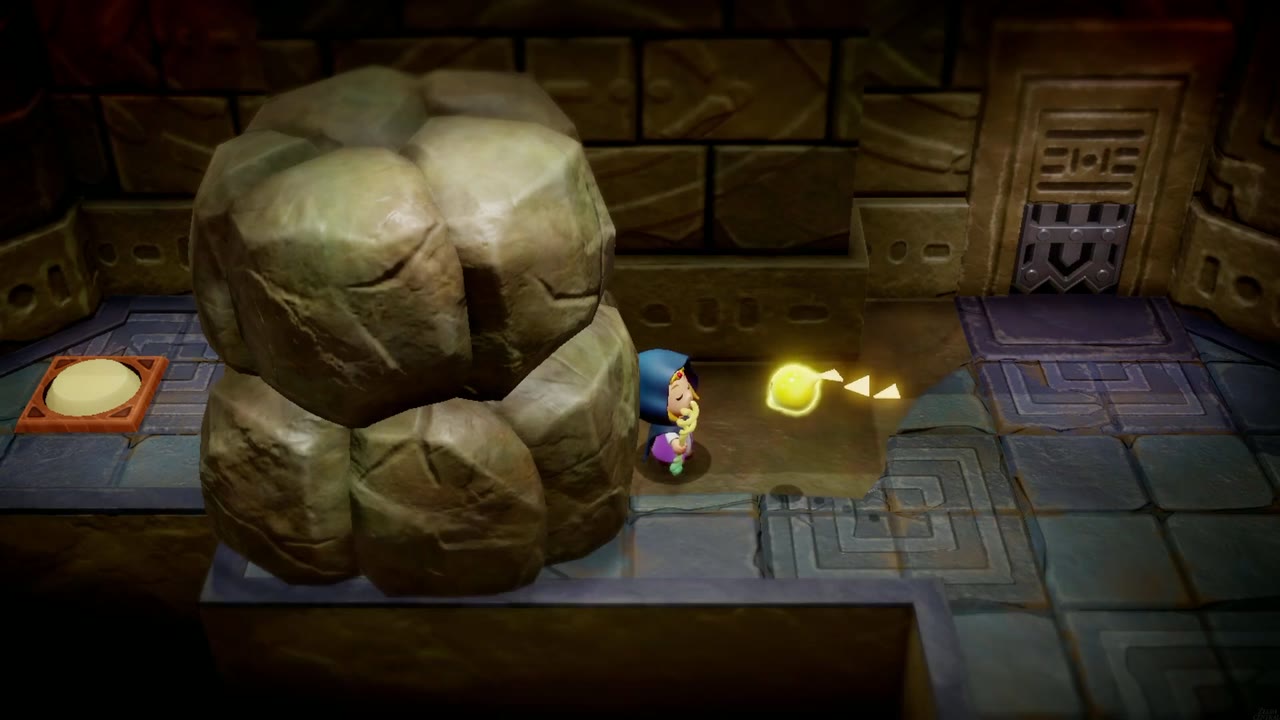
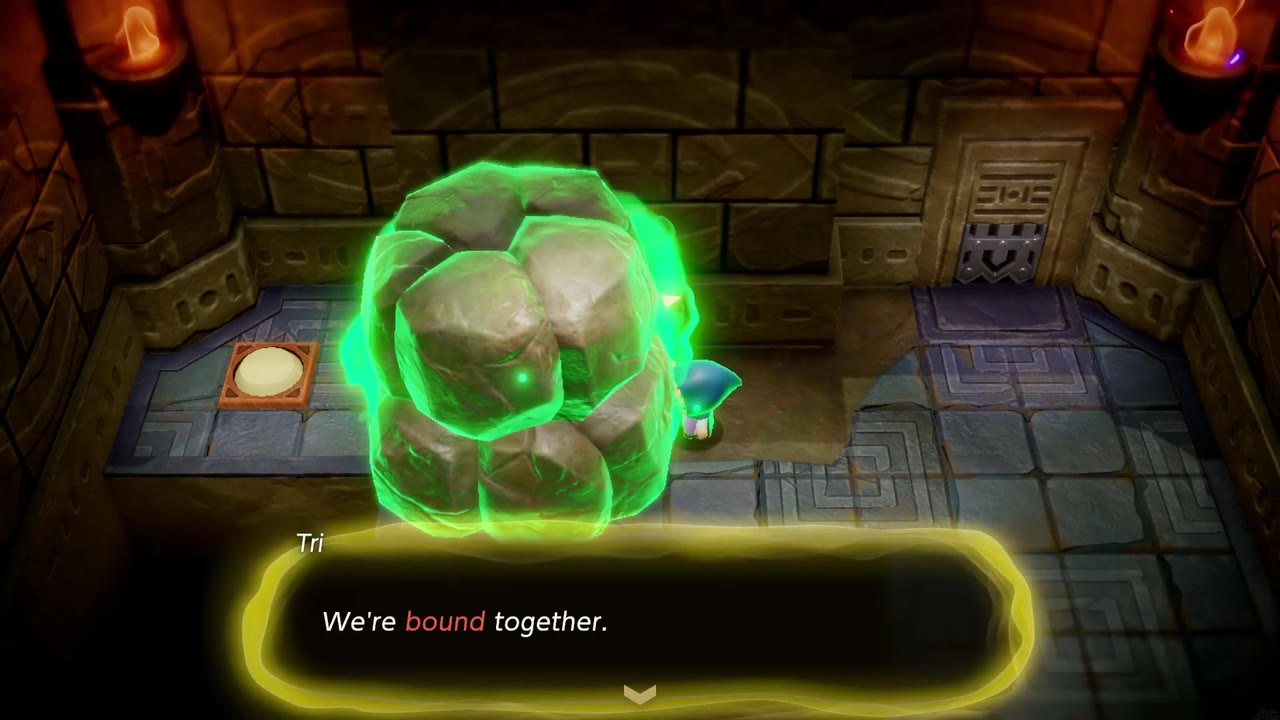
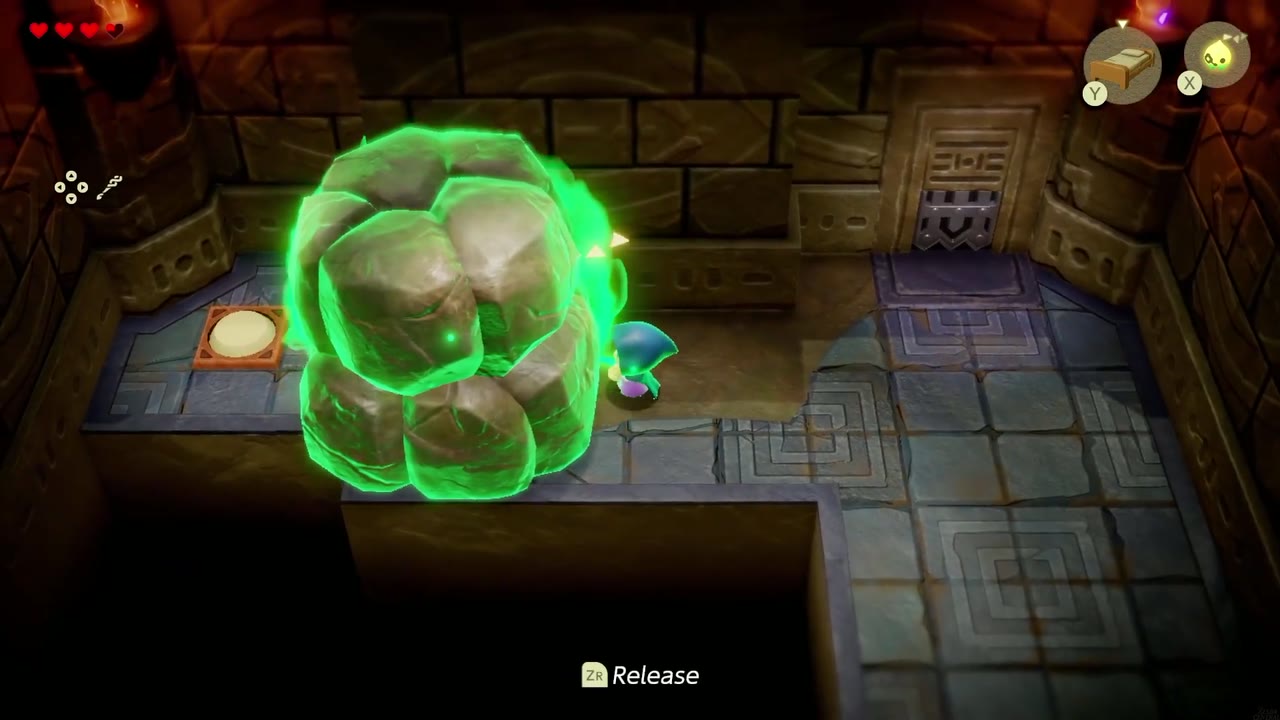
Activate the Waypoint in the entry room, then go north. In the next room a huge boulder sits on a raised ledge beside a floor switch and a barred door. Interact with it and Tri teaches Bind: bind an object and it mirrors your movement exactly. Drag the boulder left onto the floor switch; its weight holds the switch down and the door opens.

Strandtula Cave and the Dungeon Map
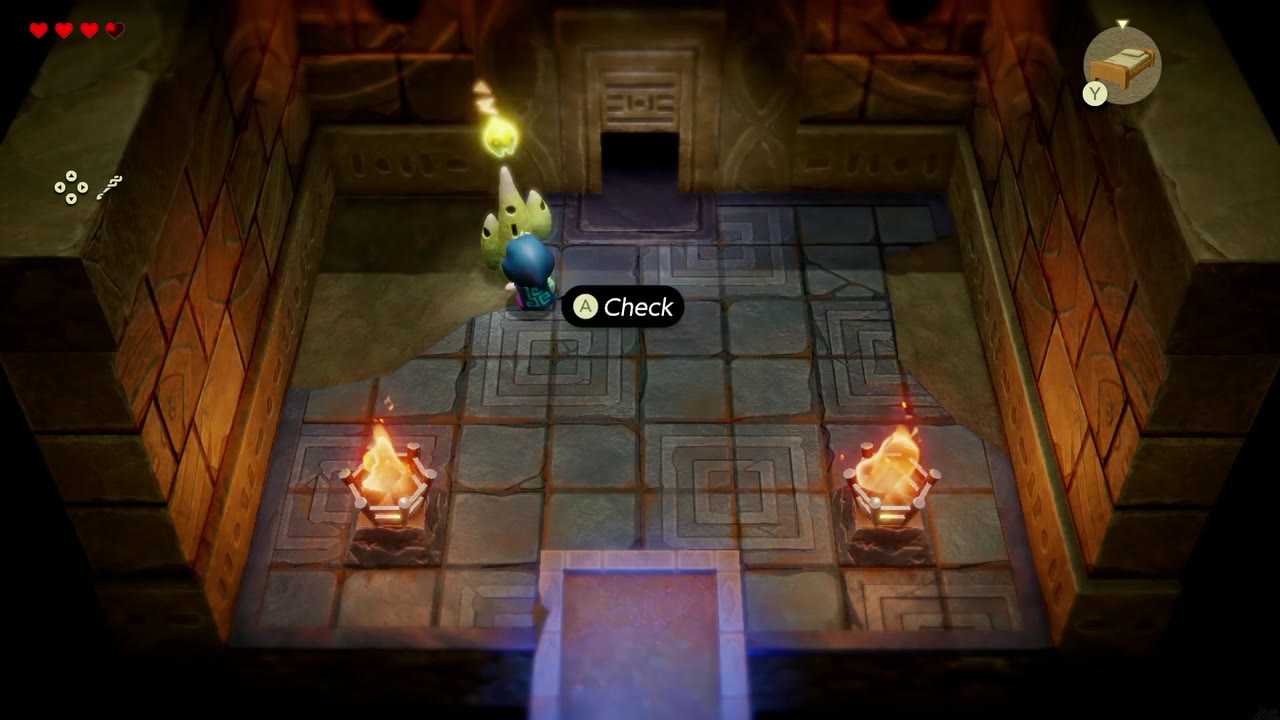
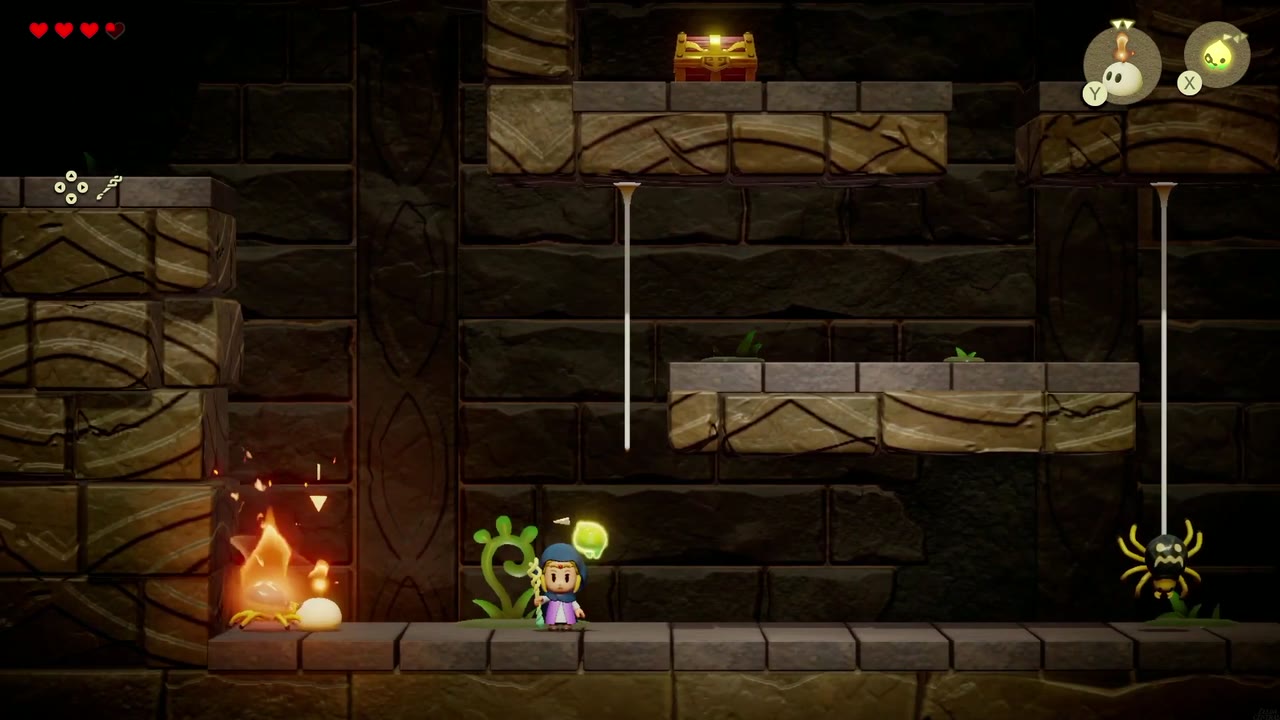
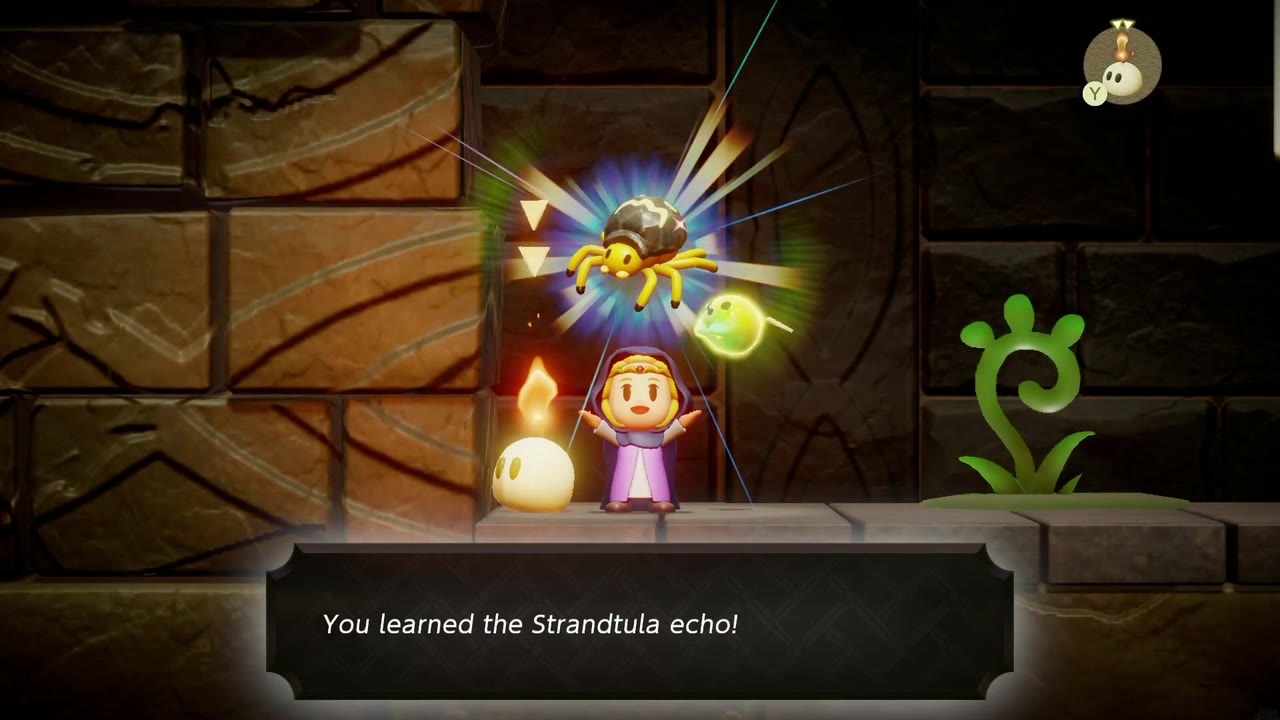
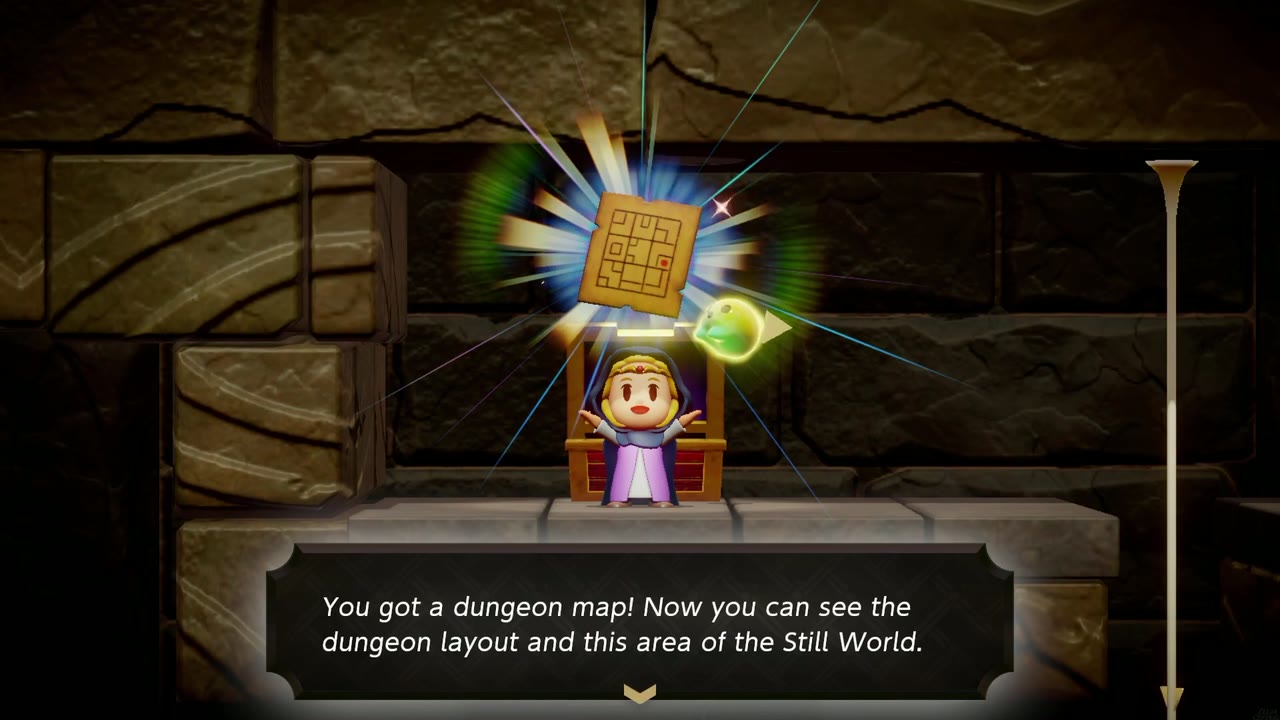
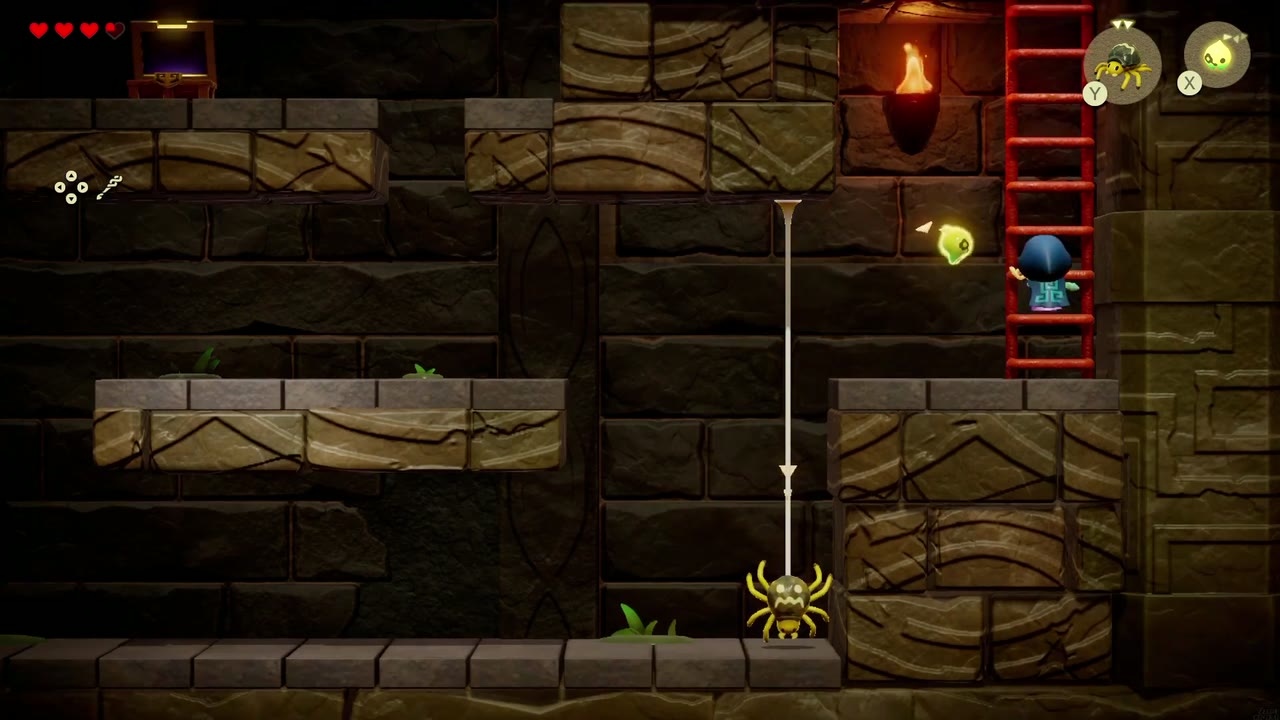
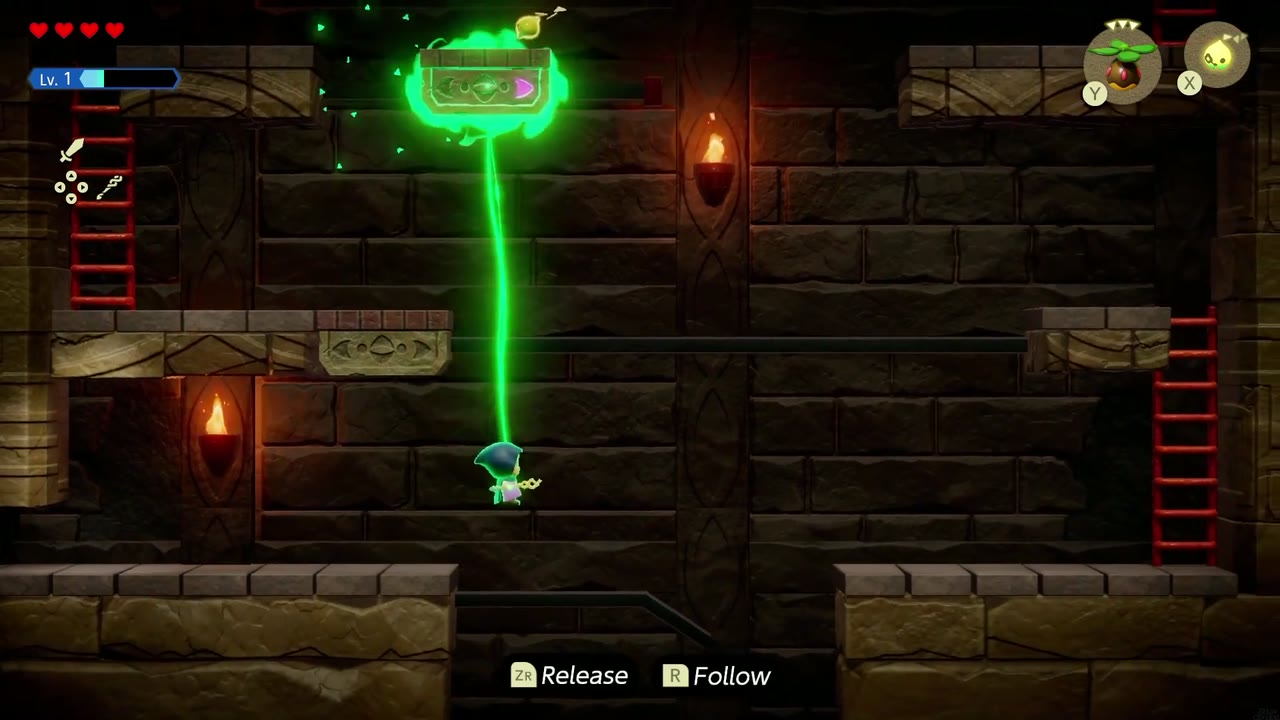
Past a water room, a ladder leads down into a side-scrolling cave where Strandtula spiders hang from threads. Burn one with an Ignizol to learn the echo, then climb and cross on their silk to the chest on the high ledge for the Dungeon Map. Climb the ladder at the right edge to leave.


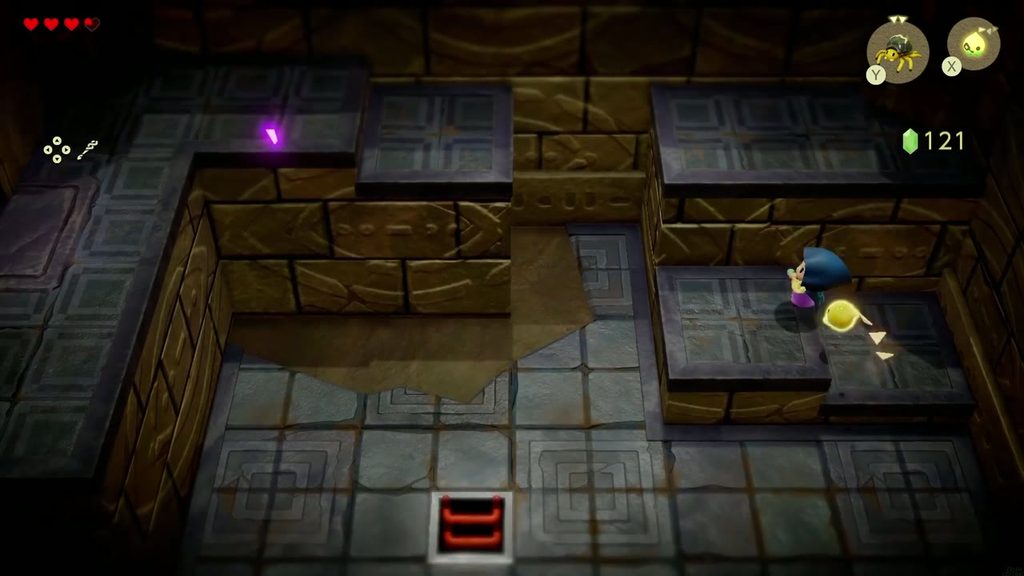
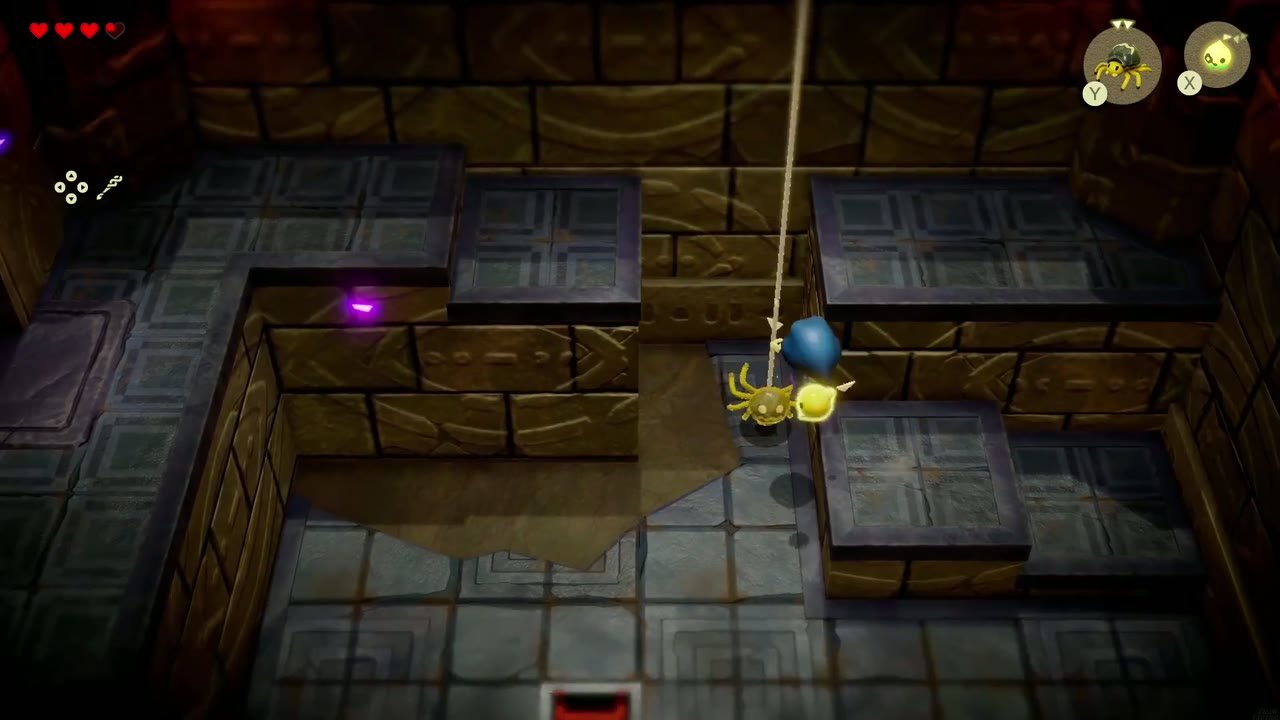
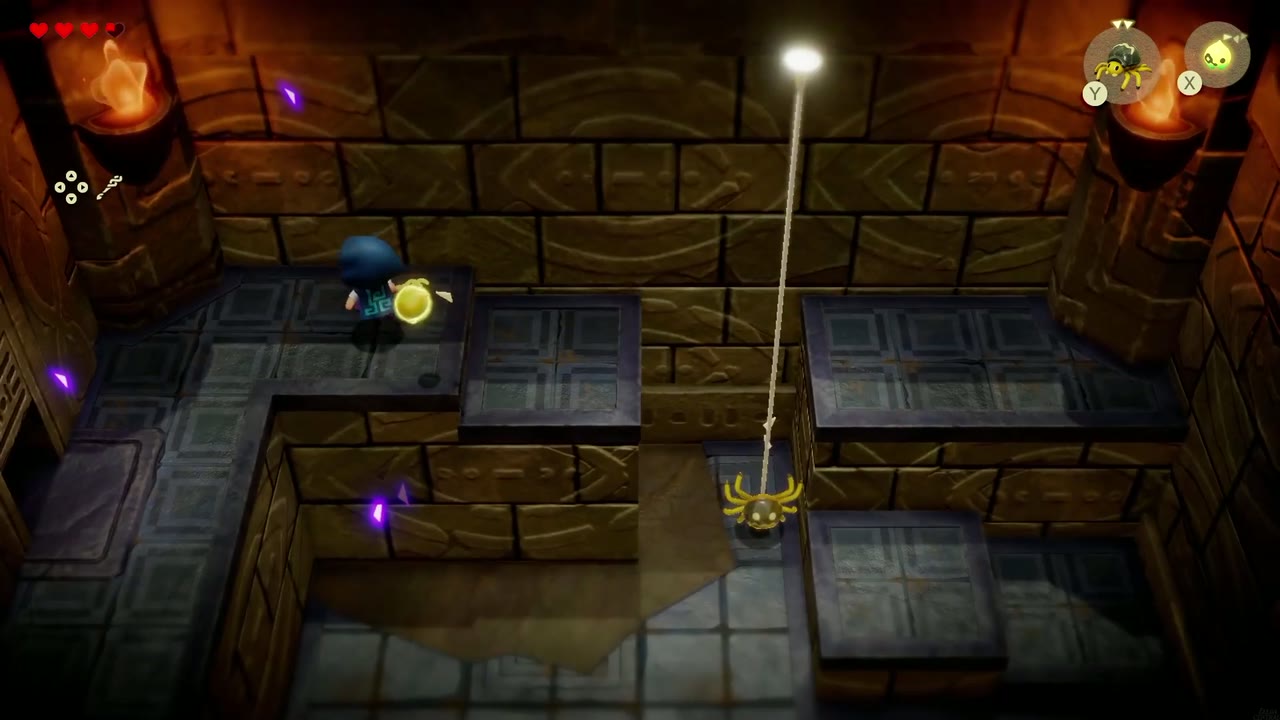
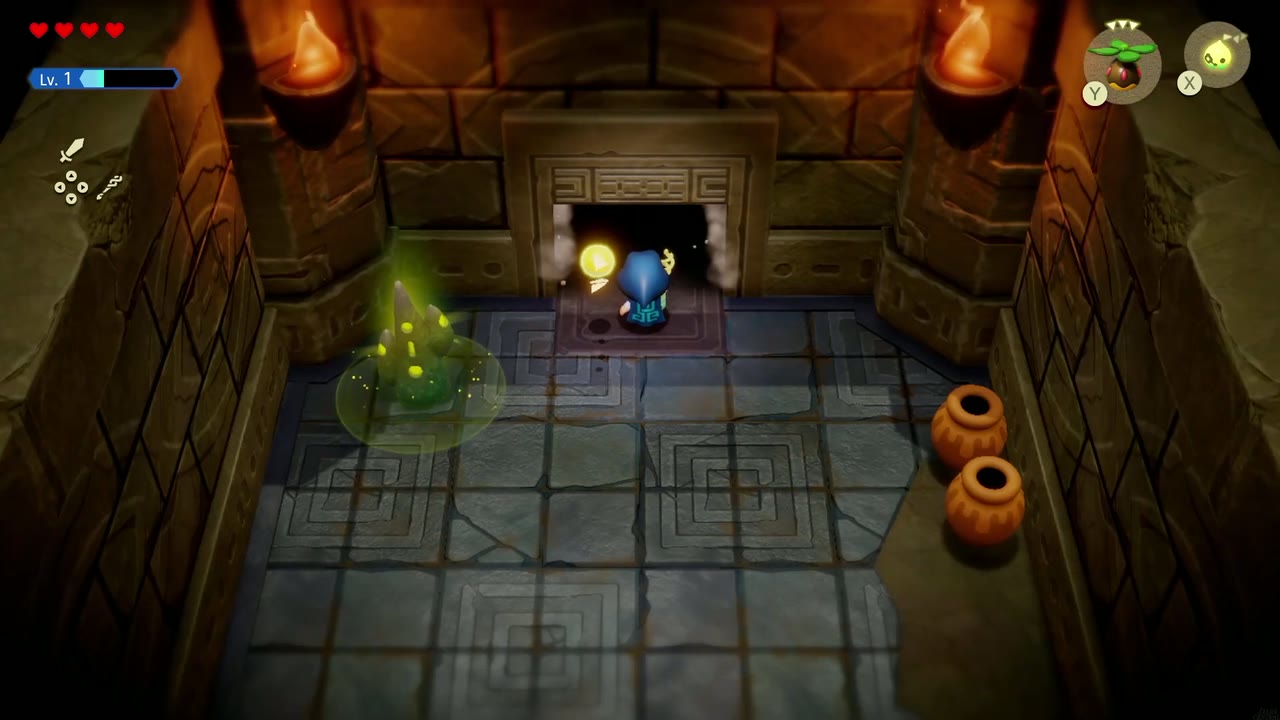
In the room above, step onto the raised block on the right, summon a Strandtula beside the high back ledge, and climb its silk. Head left through the big hall to a doorway flanked by two torches.

Radiant Butter Chest and the Lift to 2F
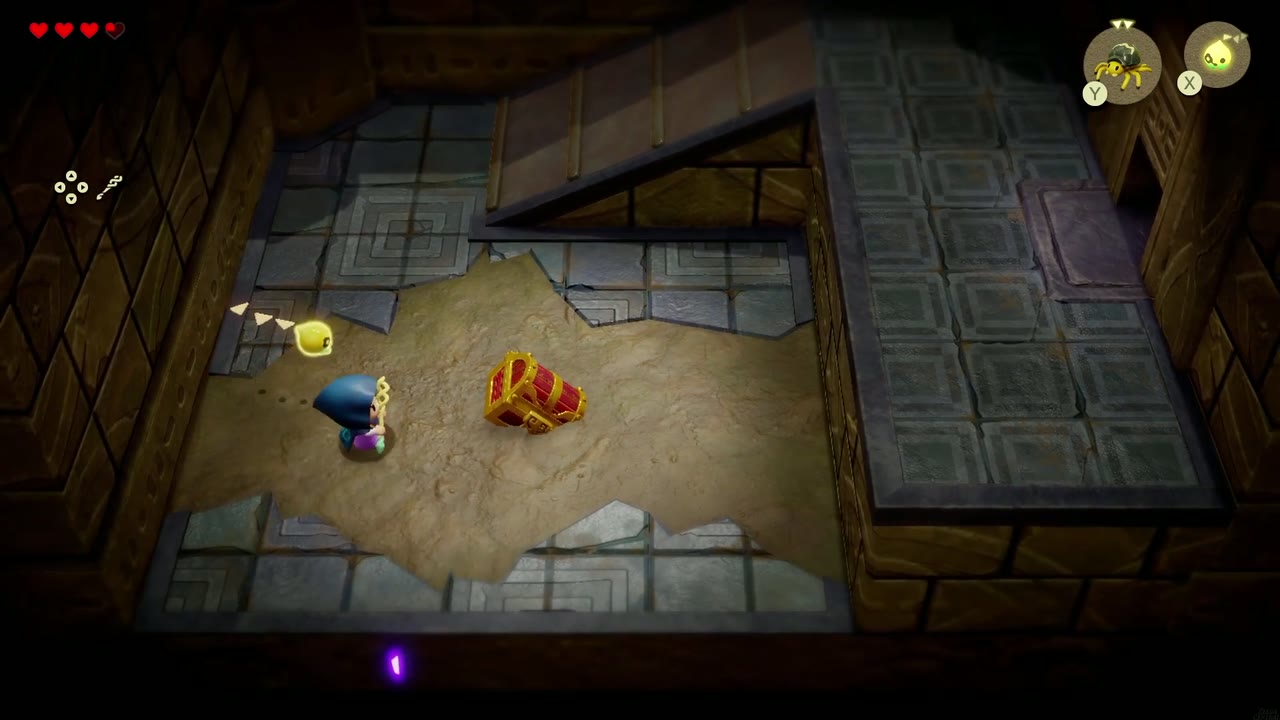
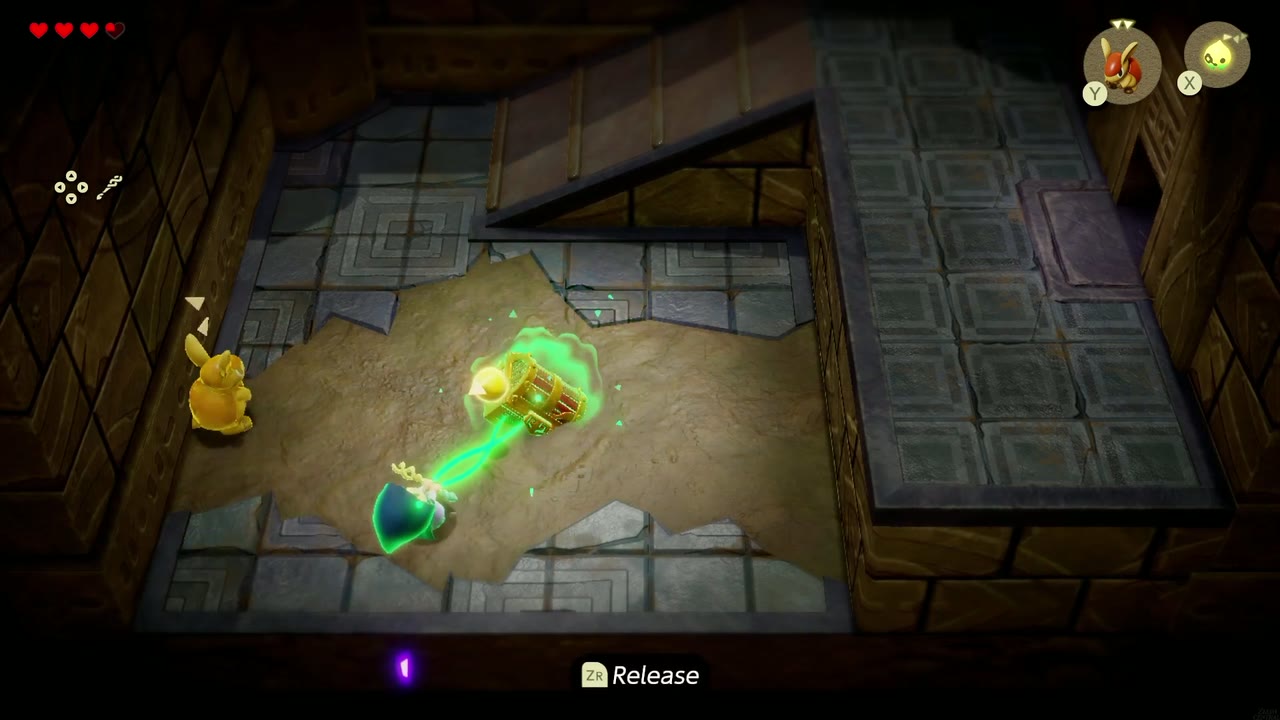
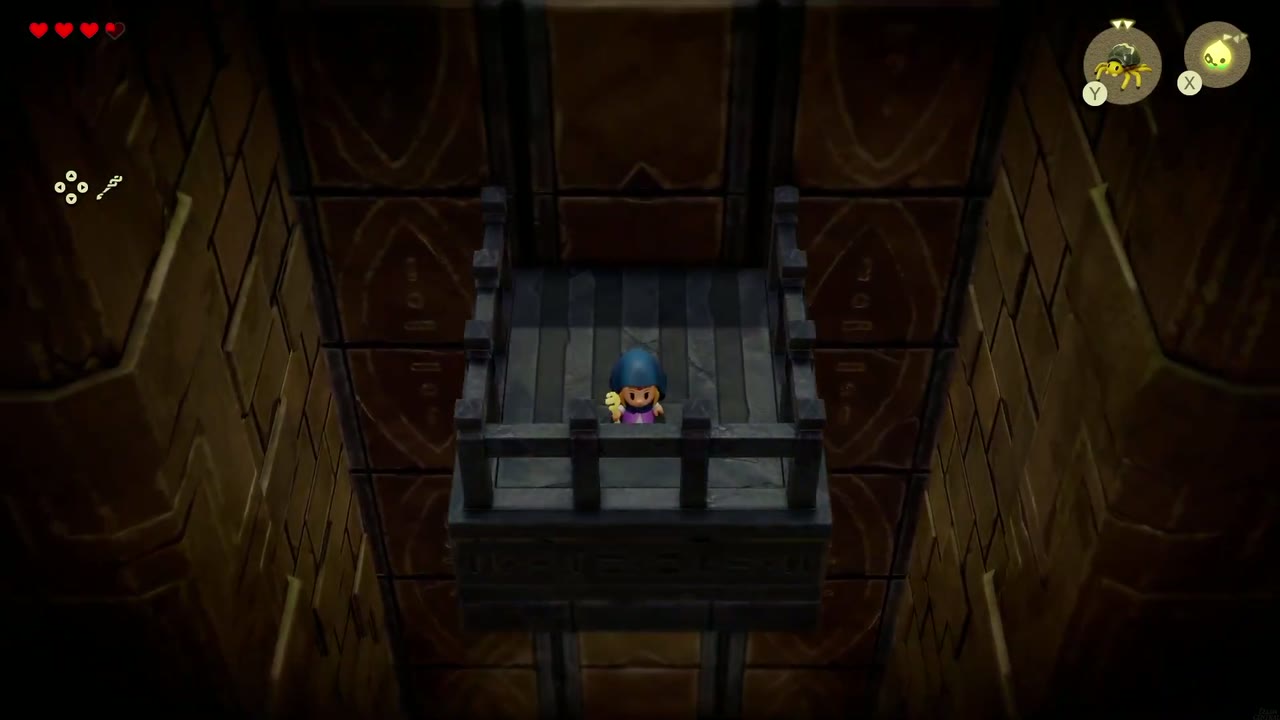
Before going through, double back past the water room to a sand-floored room. A chest lies tipped over and half-buried in the sand. Echoes won’t budge it, but Bind the chest itself and pull it free for 5 Radiant Butter. Then return to the torch-lit doorway: just past it, a railed lift carries you up to 2F.

2F and the Shadow Link Fight
The Darknut on the Stairs
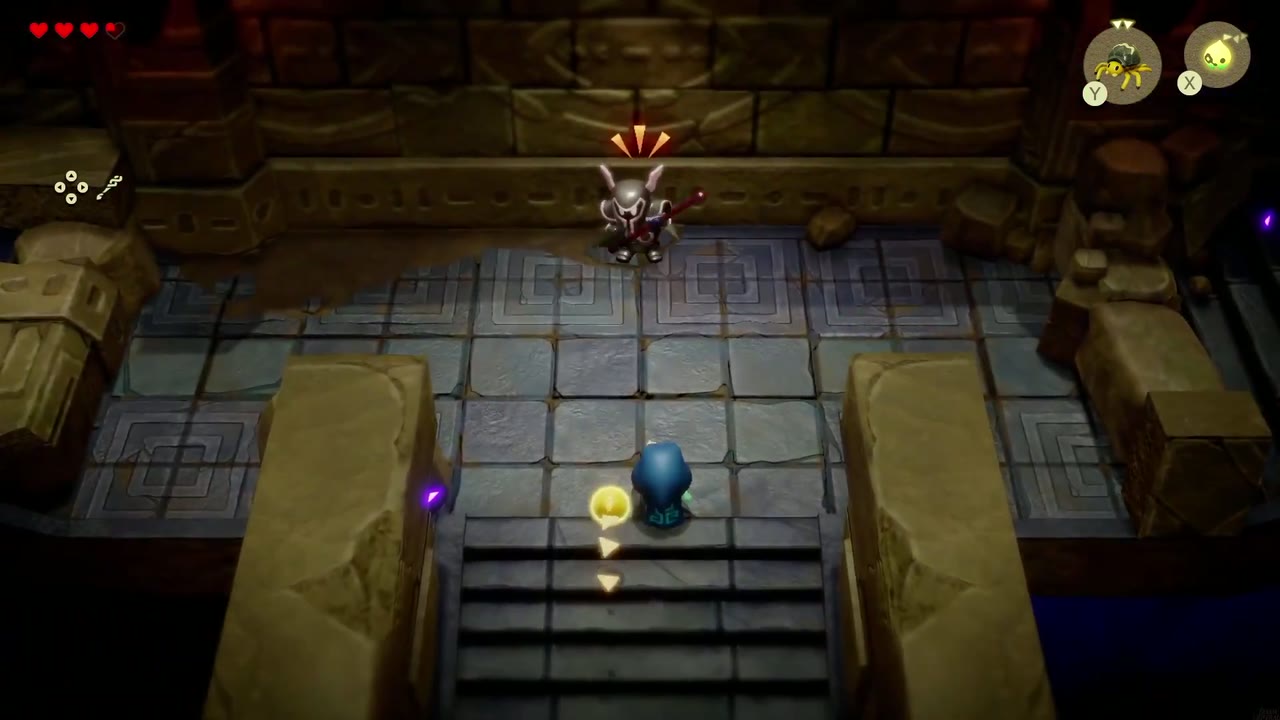
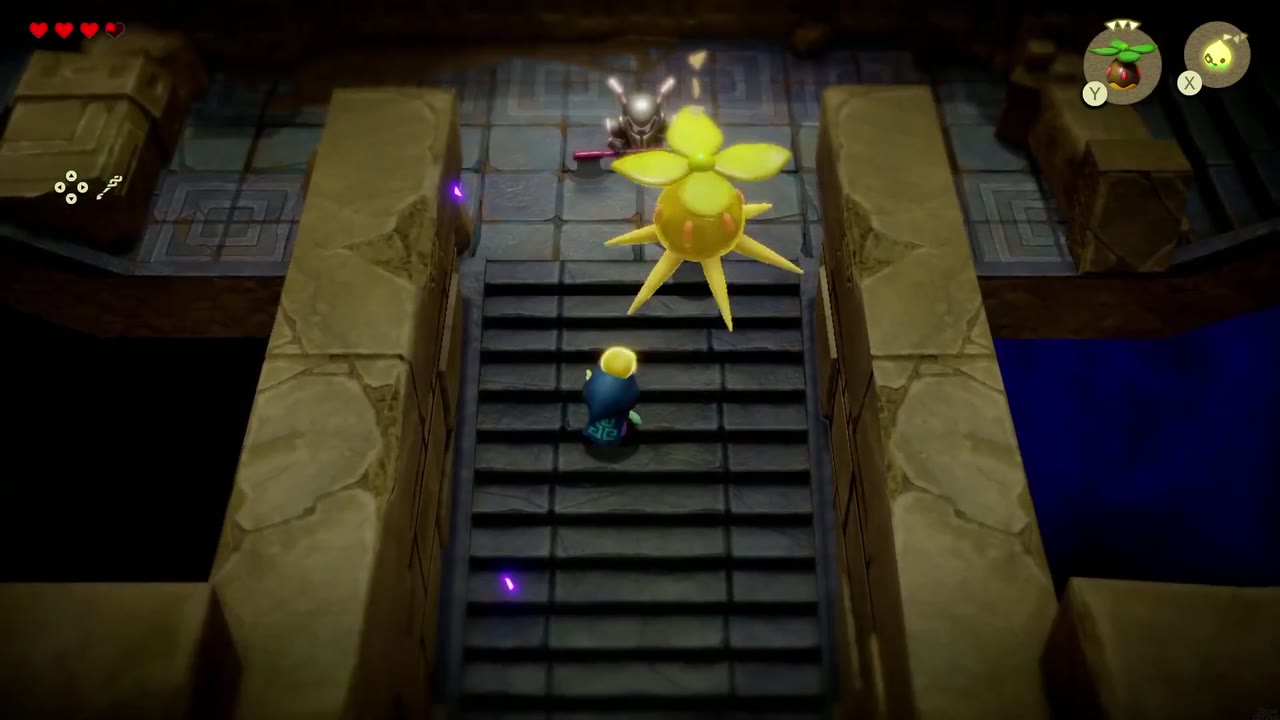
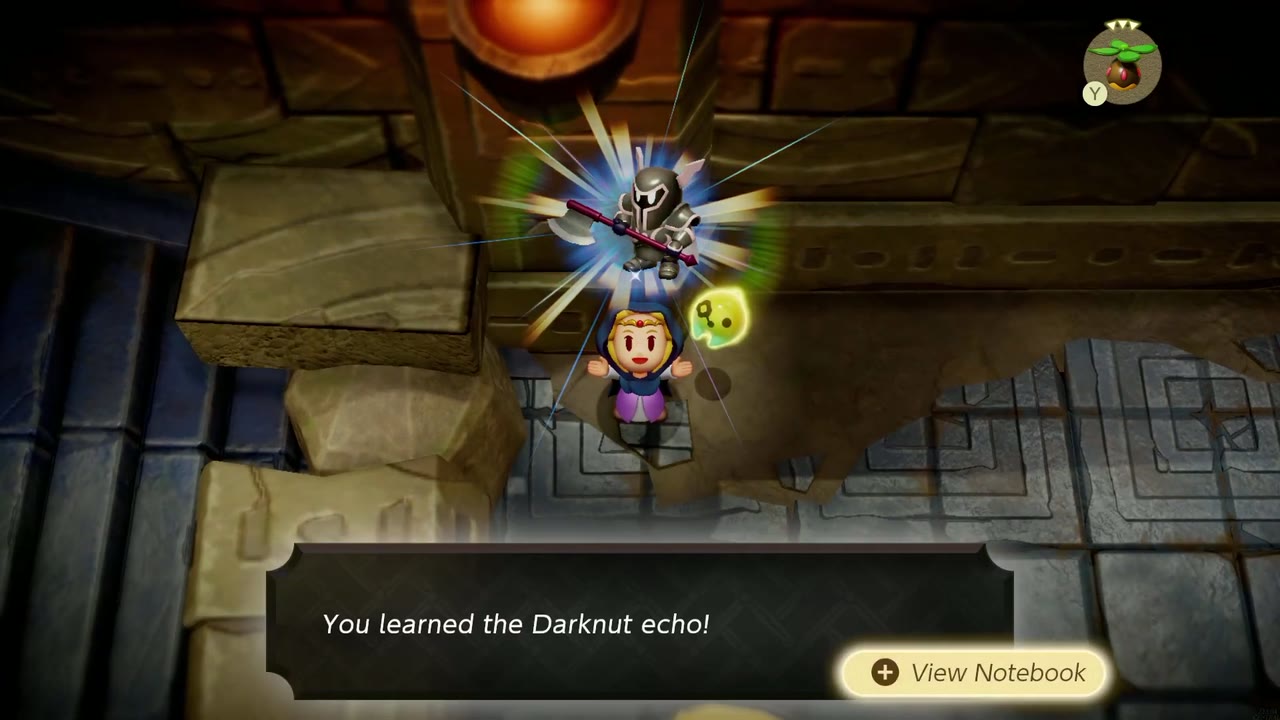
Climb the long stairs where a Darknut guards the top. Its shield blocks frontal hits, so let an echo do the work: a Peahat wears it down safely, and a Spear Moblin works from range too. Learn the Darknut echo when it falls, then trampoline up the fallen pillar on the left and head through to the ladder in the next room.
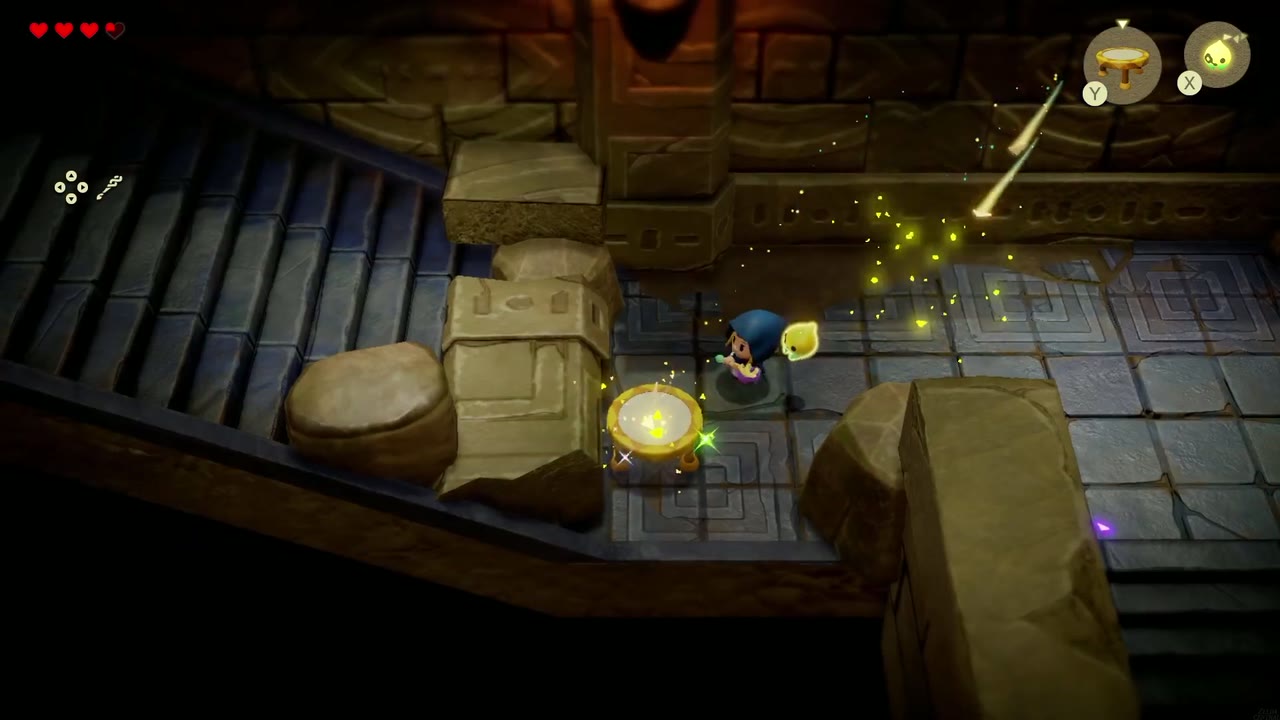
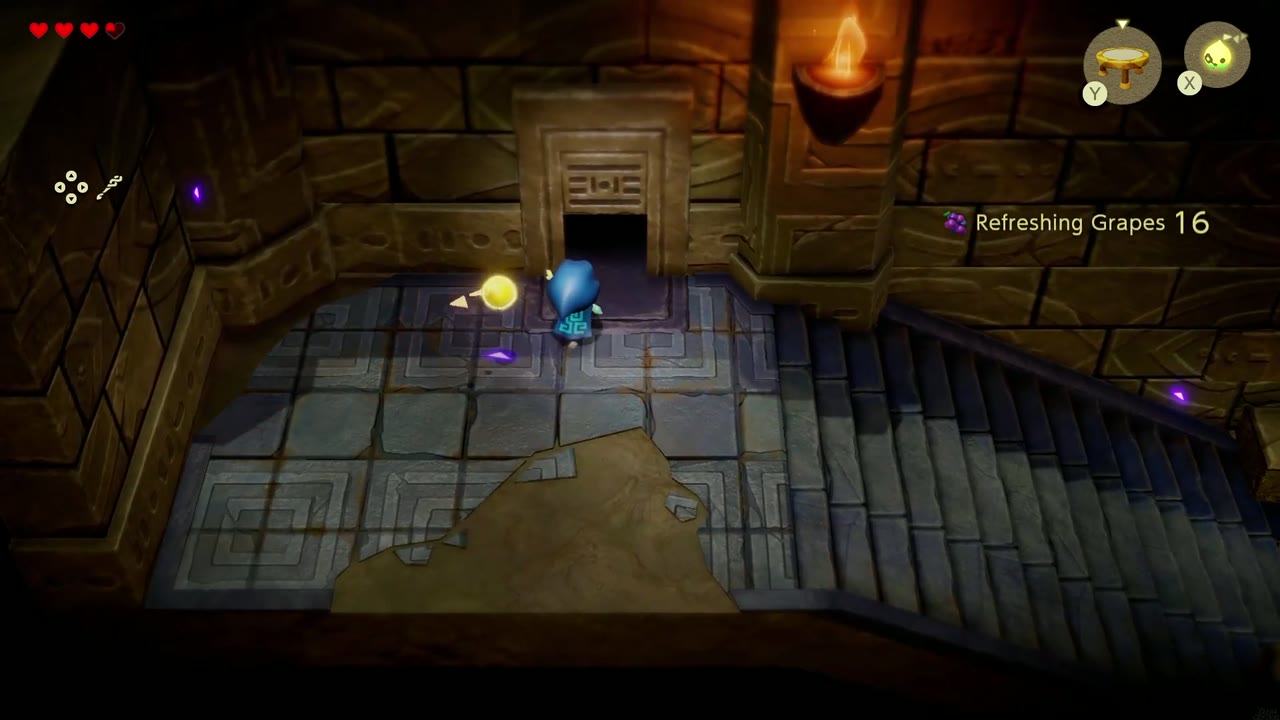
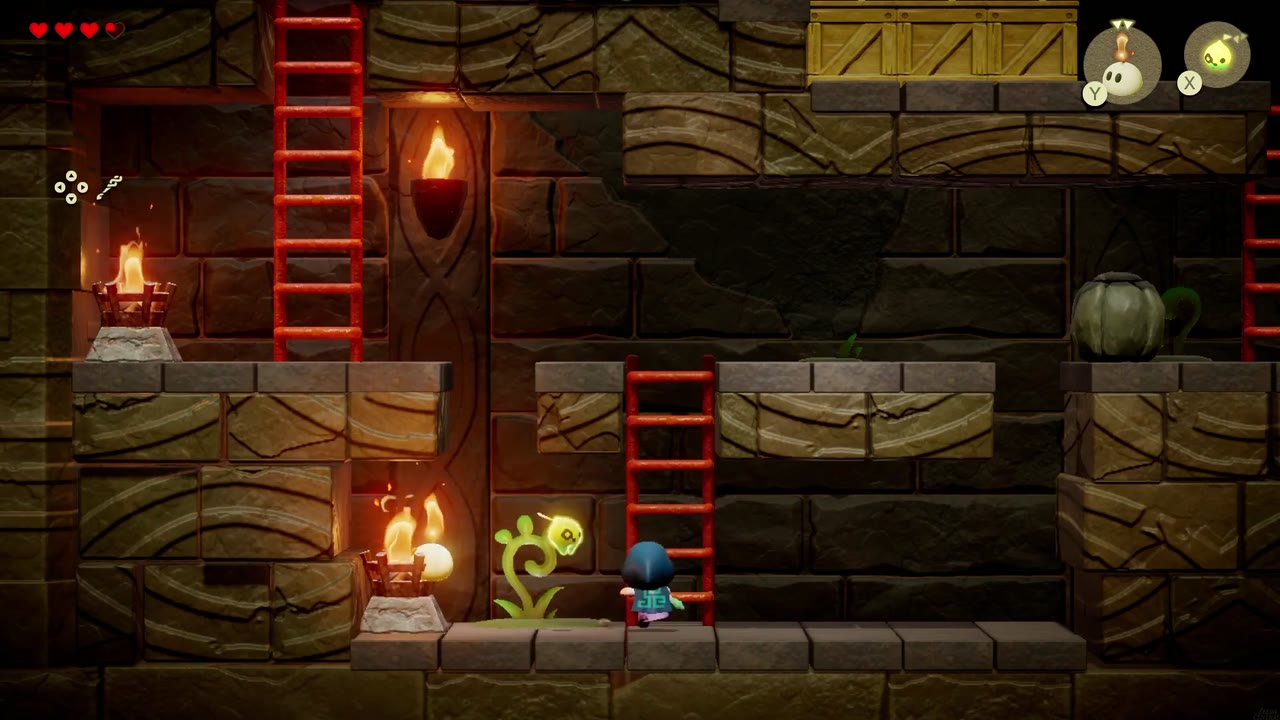
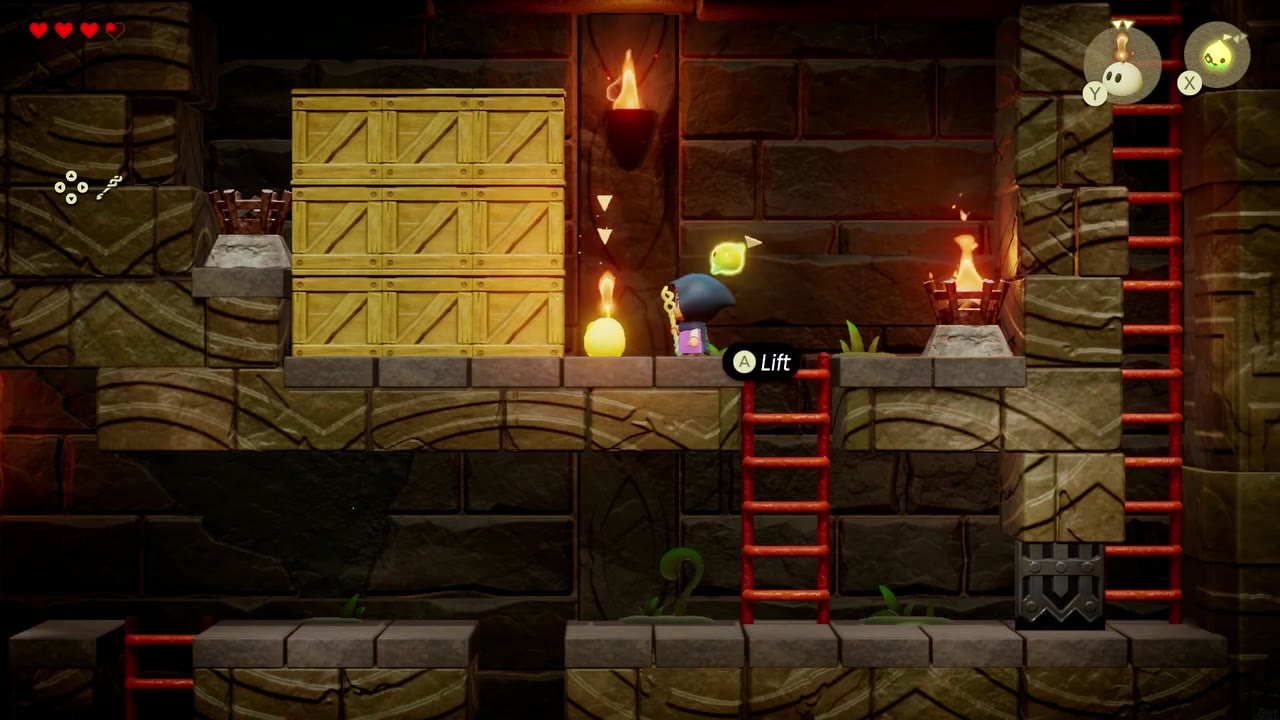
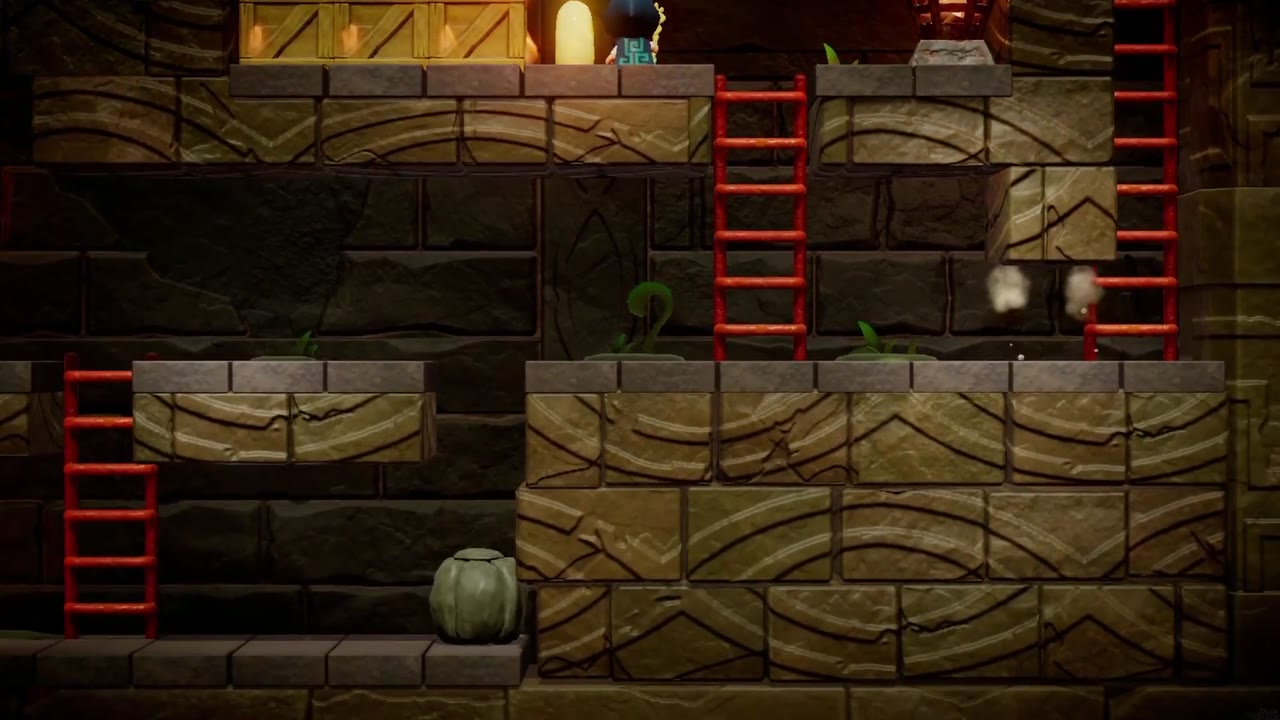
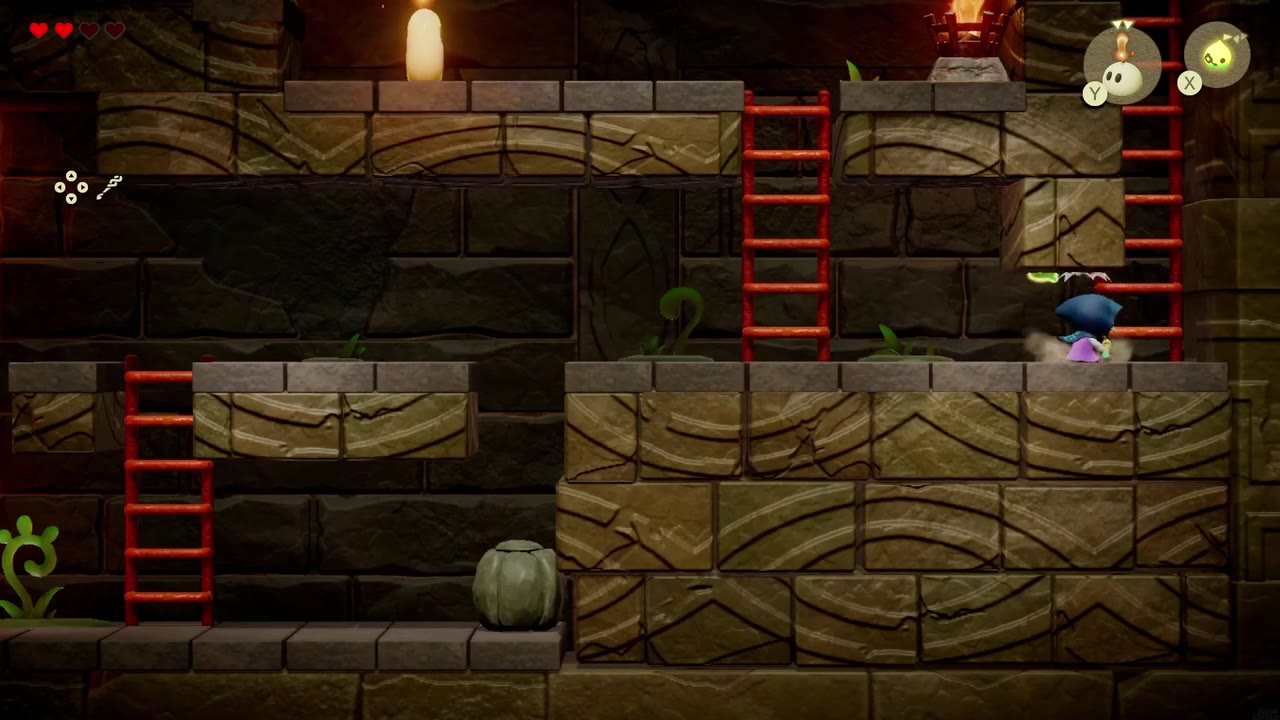
Below is a dark side-on room with braziers. Summon an Ignizol to light the bottom-left brazier, then send it into the stack of nine wooden boxes on the left; they burn away and expose the next brazier. With the braziers lit, the small barred block beside the right-hand ladder crumbles to dust. Climb out at the top right.


Shadow Link and Swordfighter Form
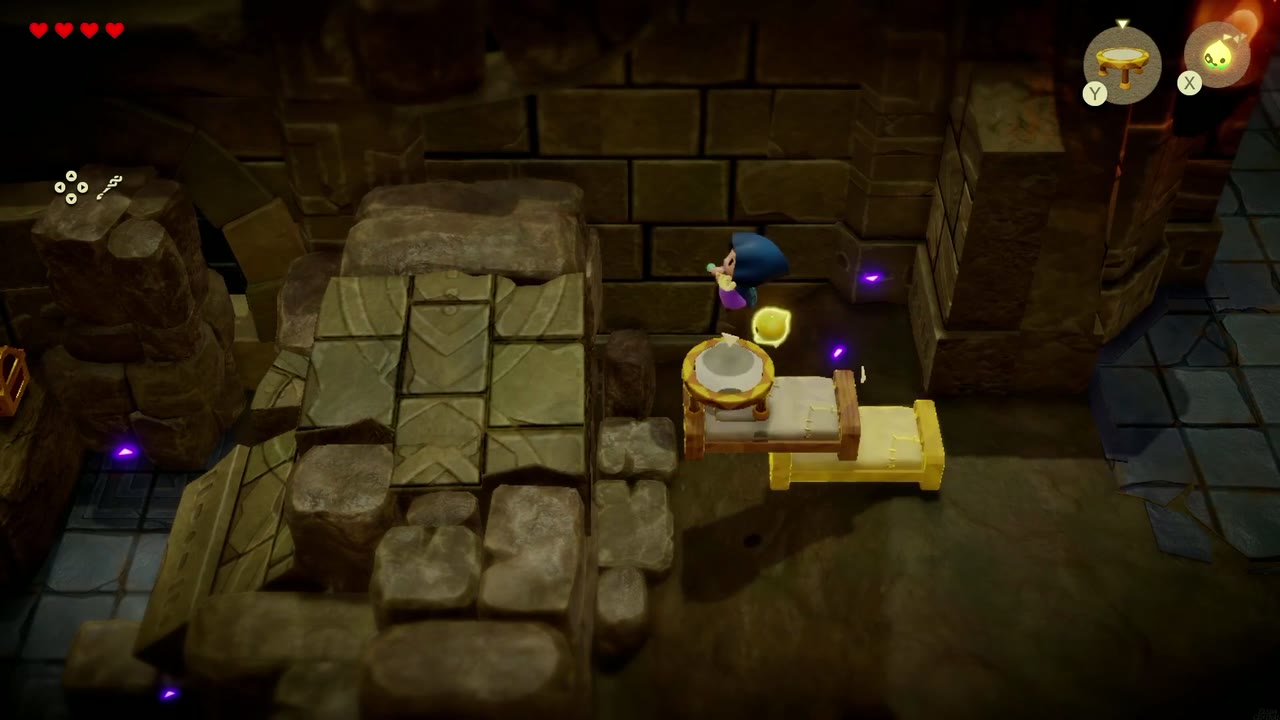
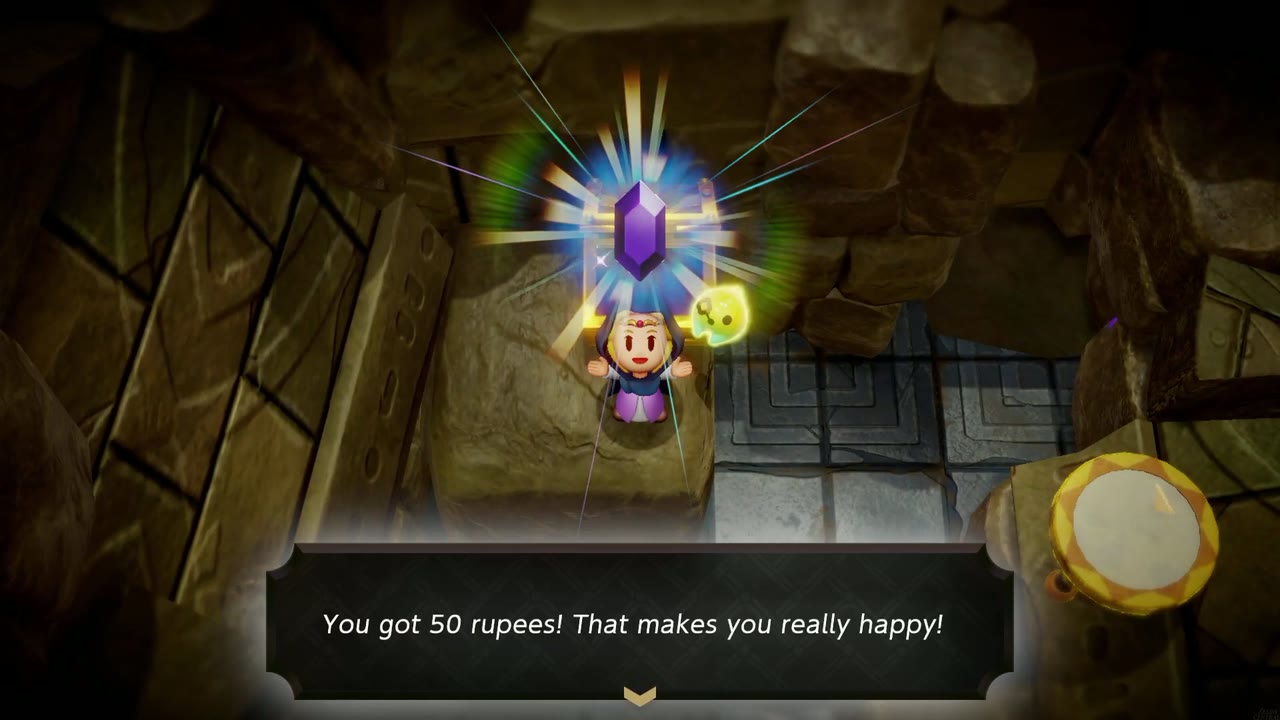
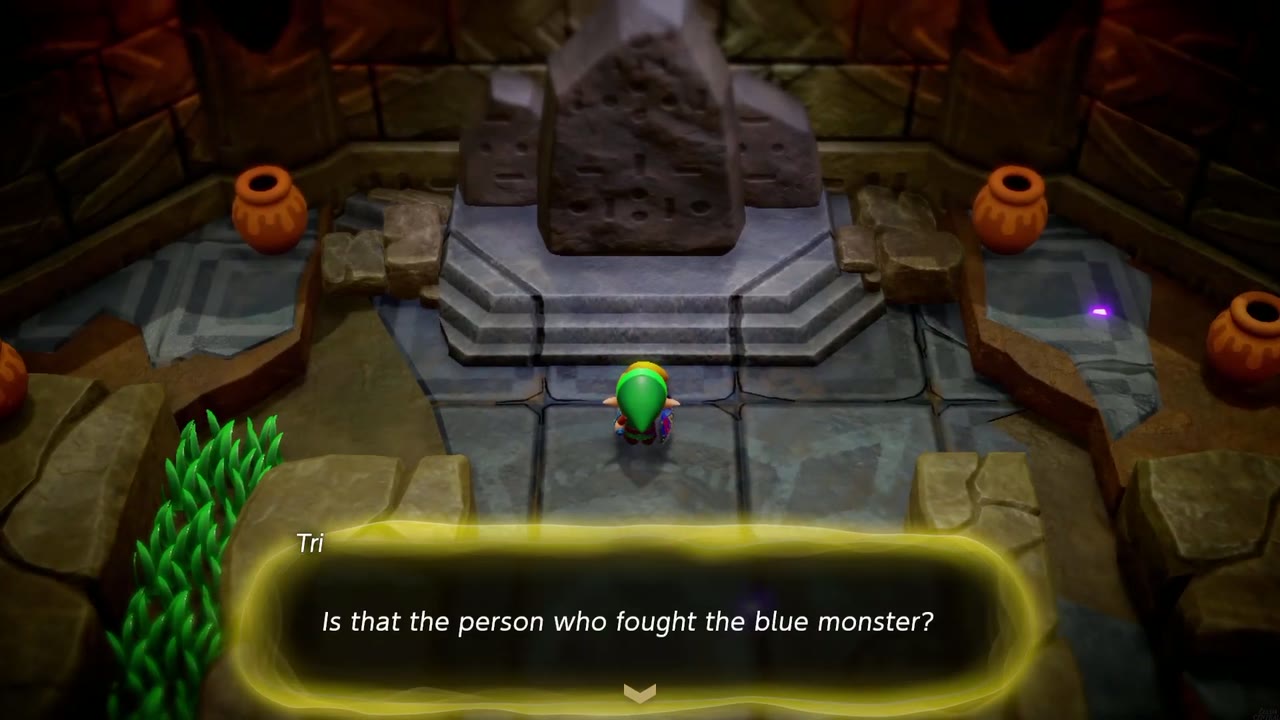
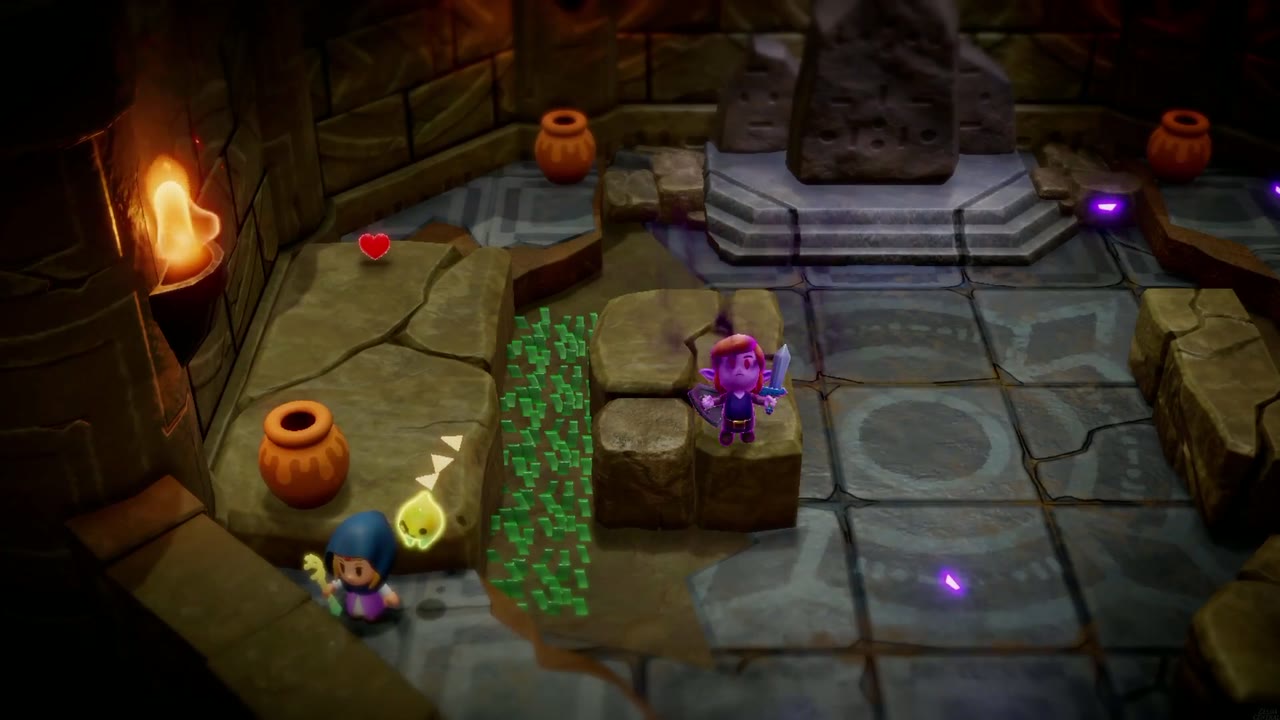
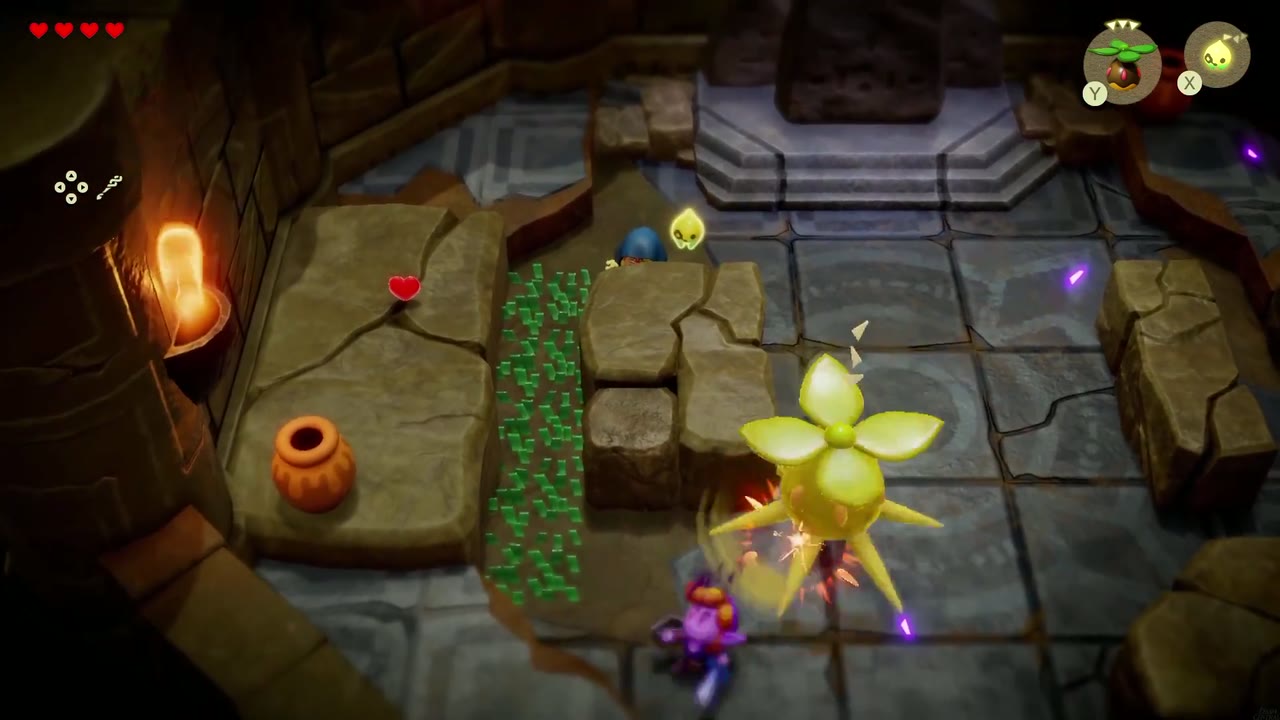
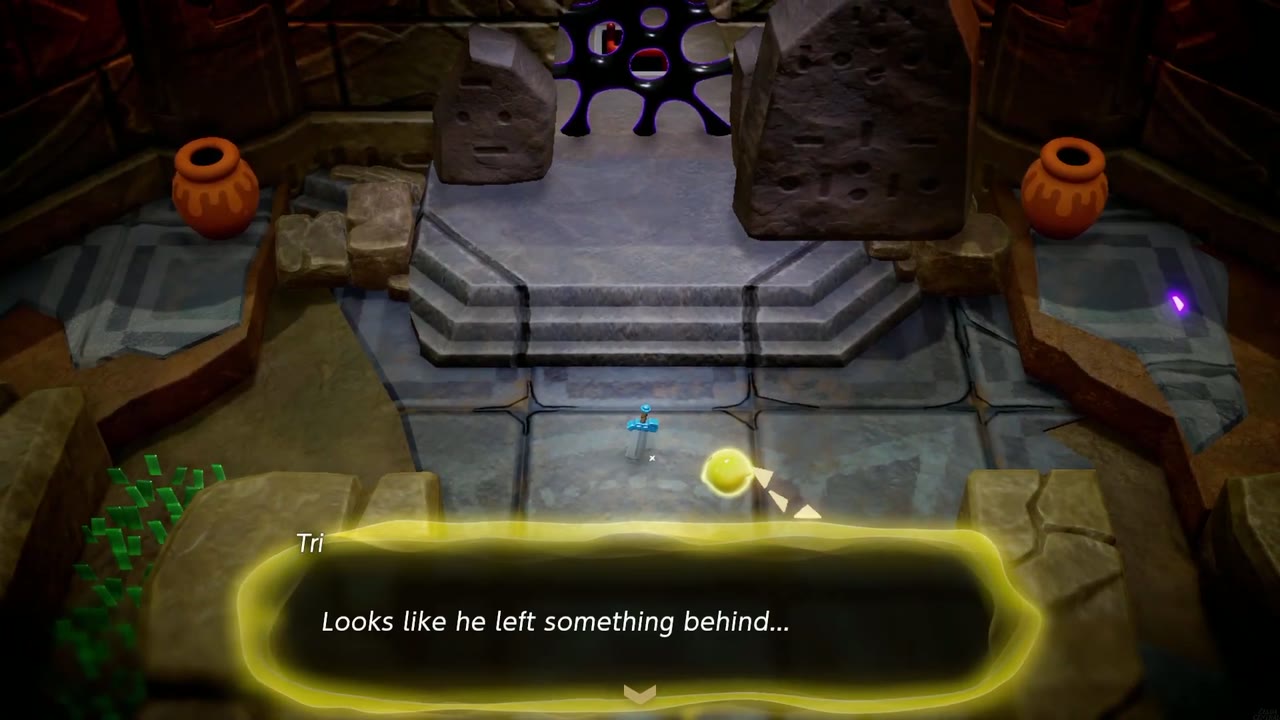
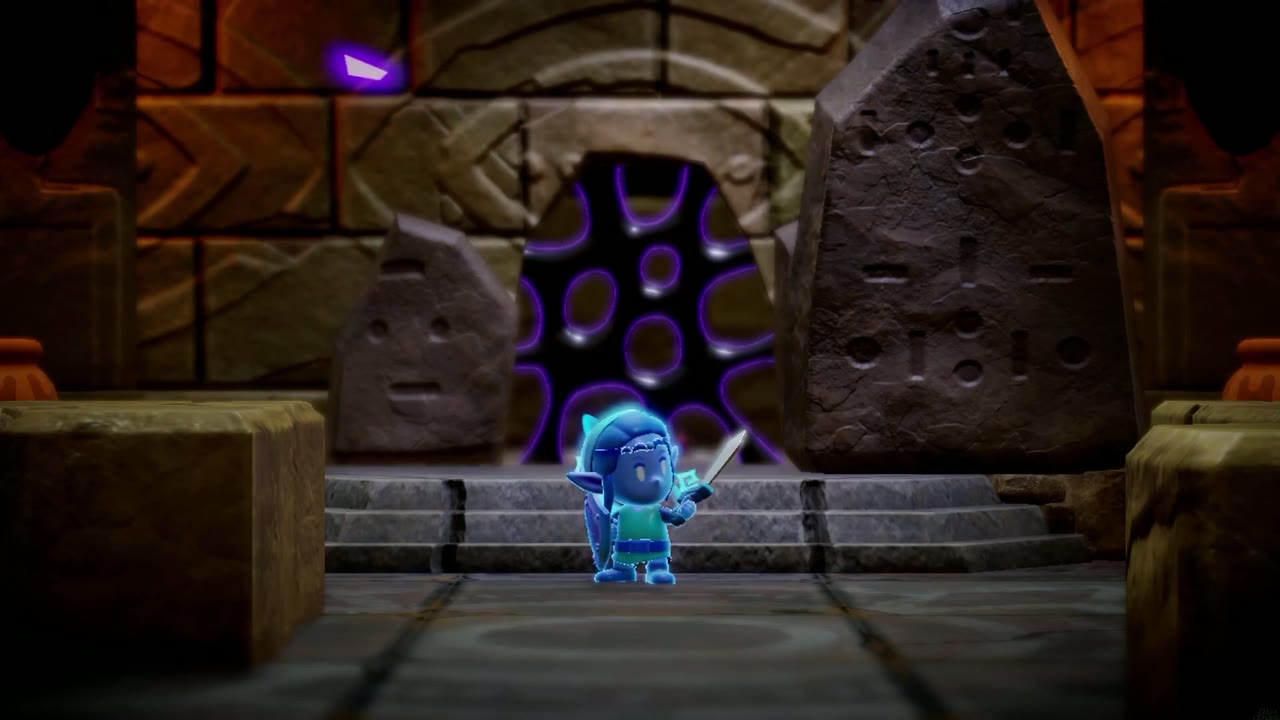
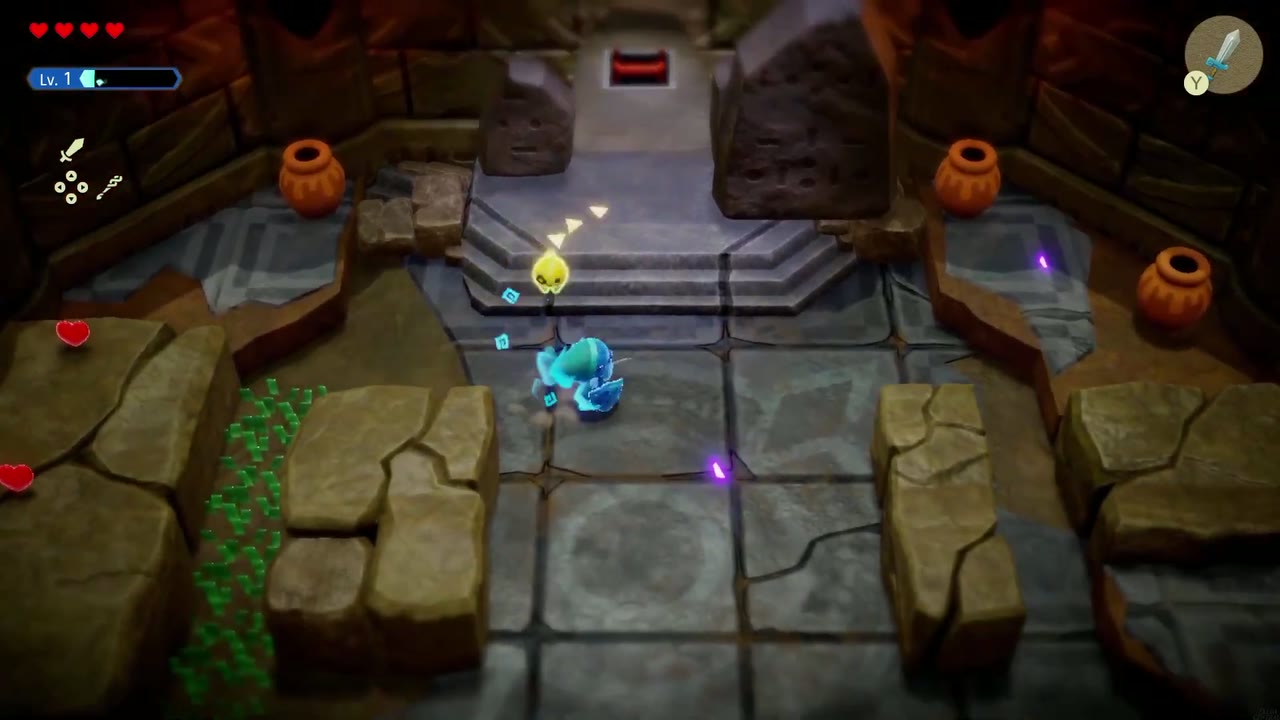
On 2F, activate the Waypoint statue, then Bind one of the statues set into the north wall and pull it down to open the north door. Fight through the rooms of Keese and an armored enemy (Deku Baba echoes handle them well) and climb the stairs. In the dark rubble room, stack Old Beds and a Trampoline to reach a chest with 50 rupees. A long torch-lit staircase then leads down to a shrine room, where Tri wonders whether the figure waiting there is the one who fought the blue monster. It’s a shadow copy of Link: it turns dark, goo seals the door behind you, and the fight is on. Keep your distance and let Deku Baba echoes chew through it. When it falls, it dissolves and leaves its sword behind.

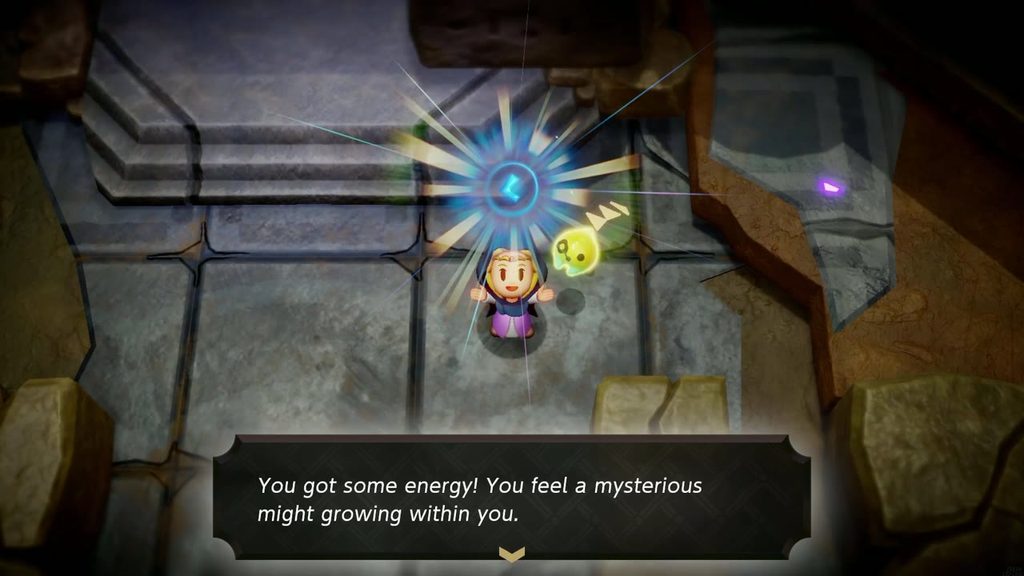
Taking the sword (“You got some energy!”) unlocks Swordfighter Form; Tri has you use it right away to slice through the purple goo sealing the door. Zelda can now burn the energy gauge, refilled by crystals from dark monsters, to fight exactly like Link for a short window. It’s the game’s answer to every boss fight and locked gate going forward.


Heart Pin: Your First Accessory
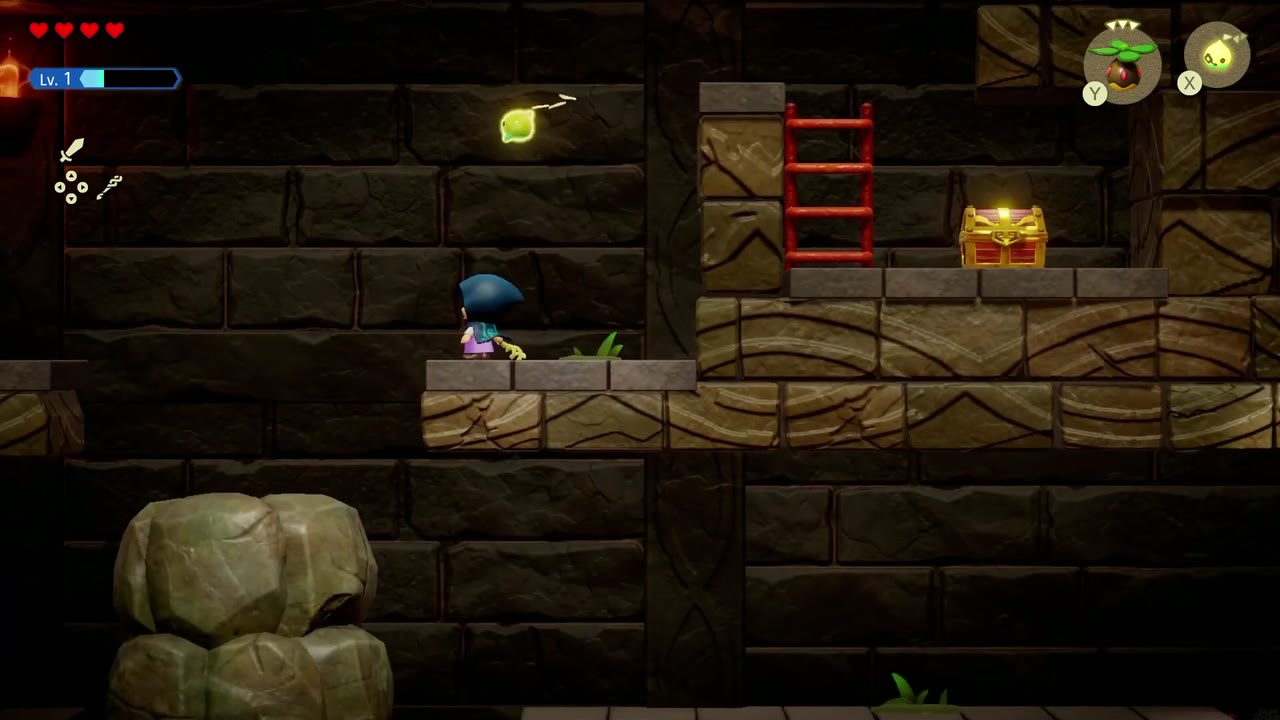
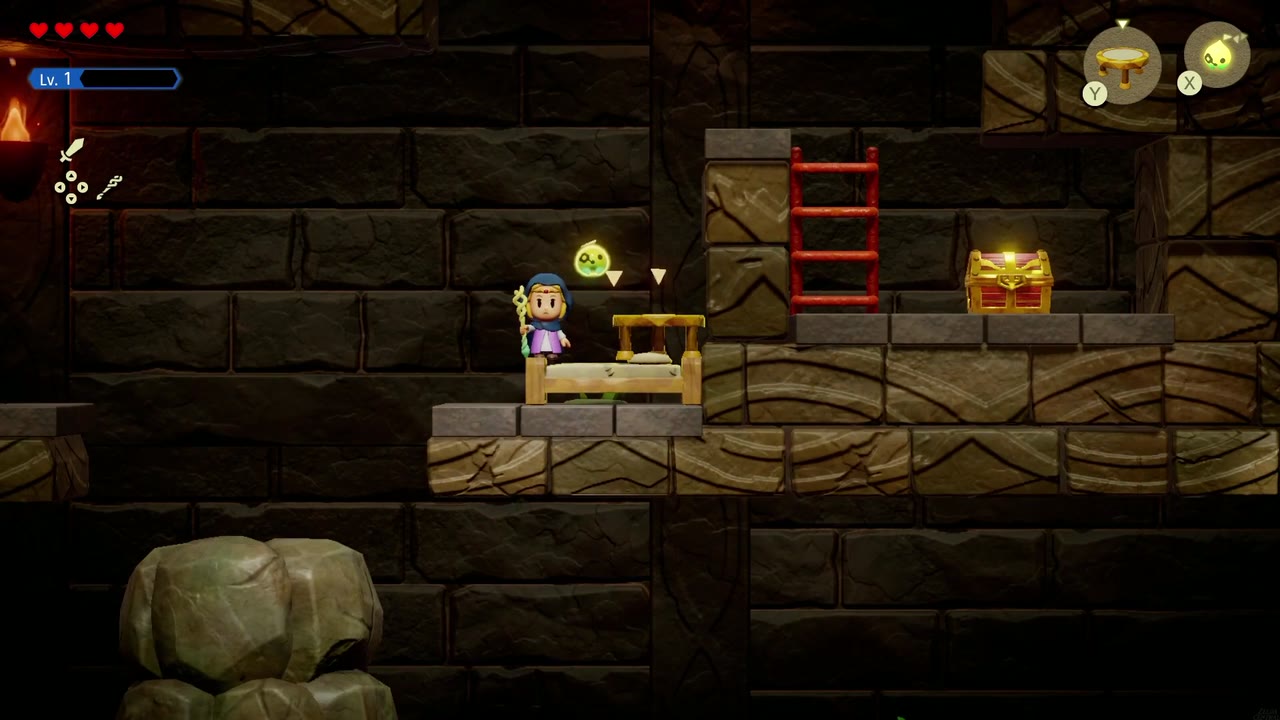
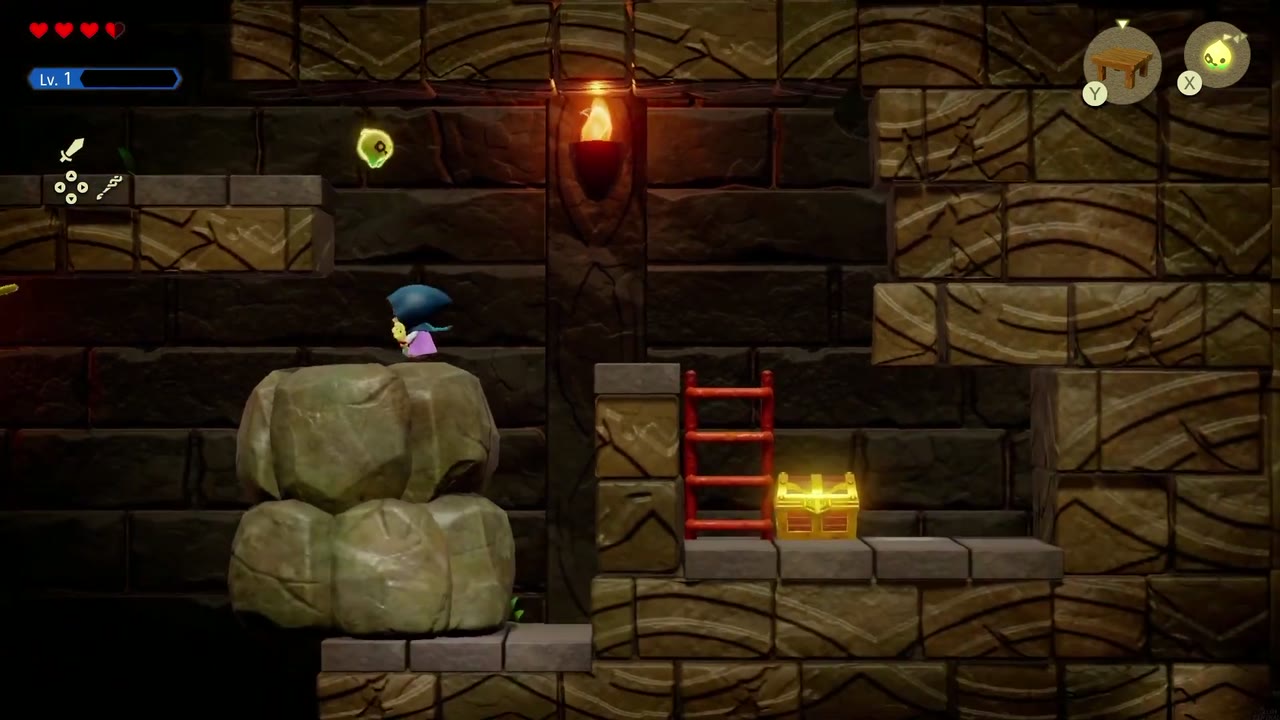
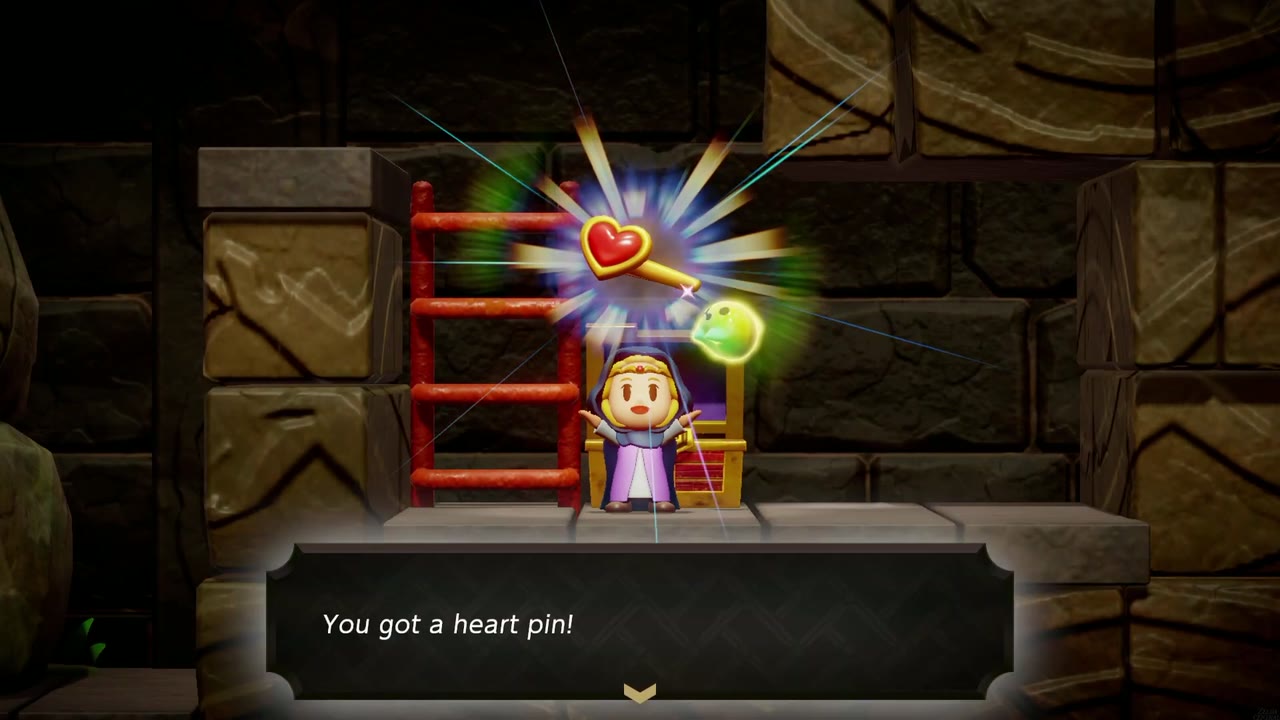
Don’t leave without: the side-on room just past the Shadow Link chamber has a chest on a high ledge to the right of a ladder, with a boulder on the floor below. Summon a Peahat over the boulder, Bind the boulder, and climb the ladder: the bound boulder rises with you. Release it on the upper ledge, step onto it, and reach the chest for the Heart Pin, your first accessory. Equip it right away; it makes hearts appear more often.


The Small Key and Big Key
The Small Key
Continue on and you’ll reach the massive locked boss door. The rooms beyond it are sealed with purple goo; slice through in Swordfighter Form. These goo rooms are full of Deku Baba: defeat one to learn the Deku Baba echo, and once they’re all down, a door opens between two braziers.

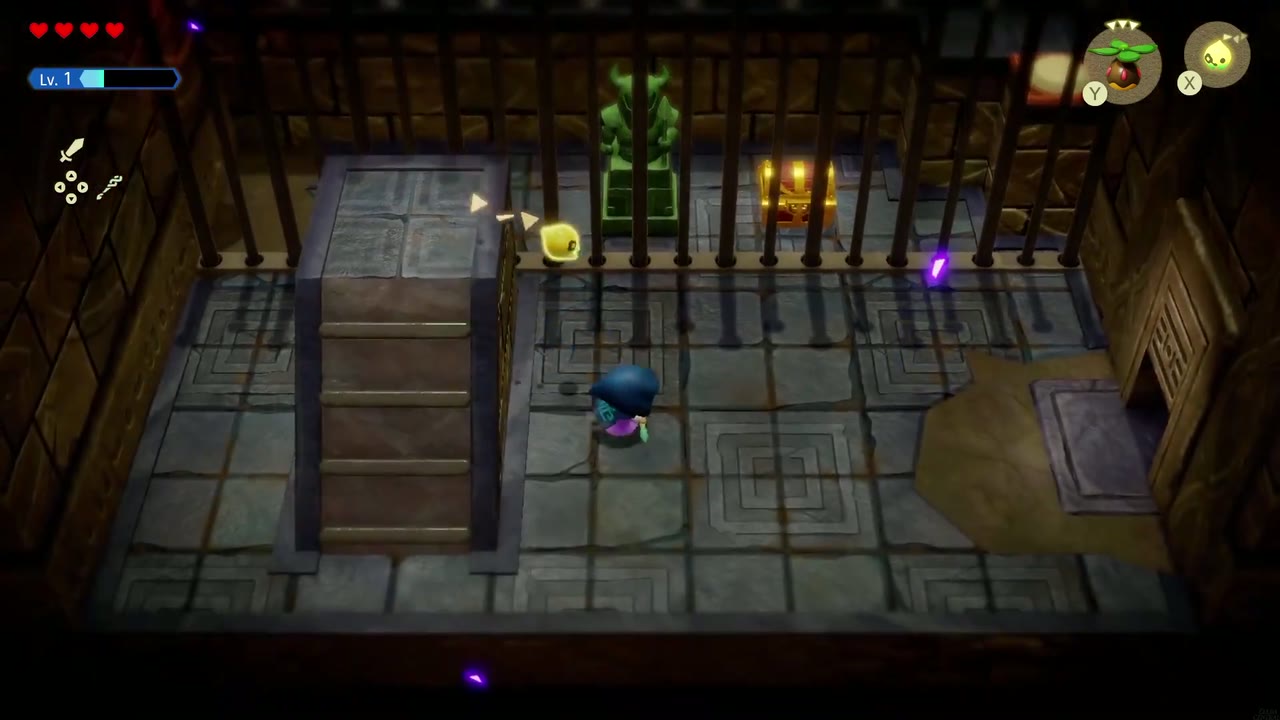
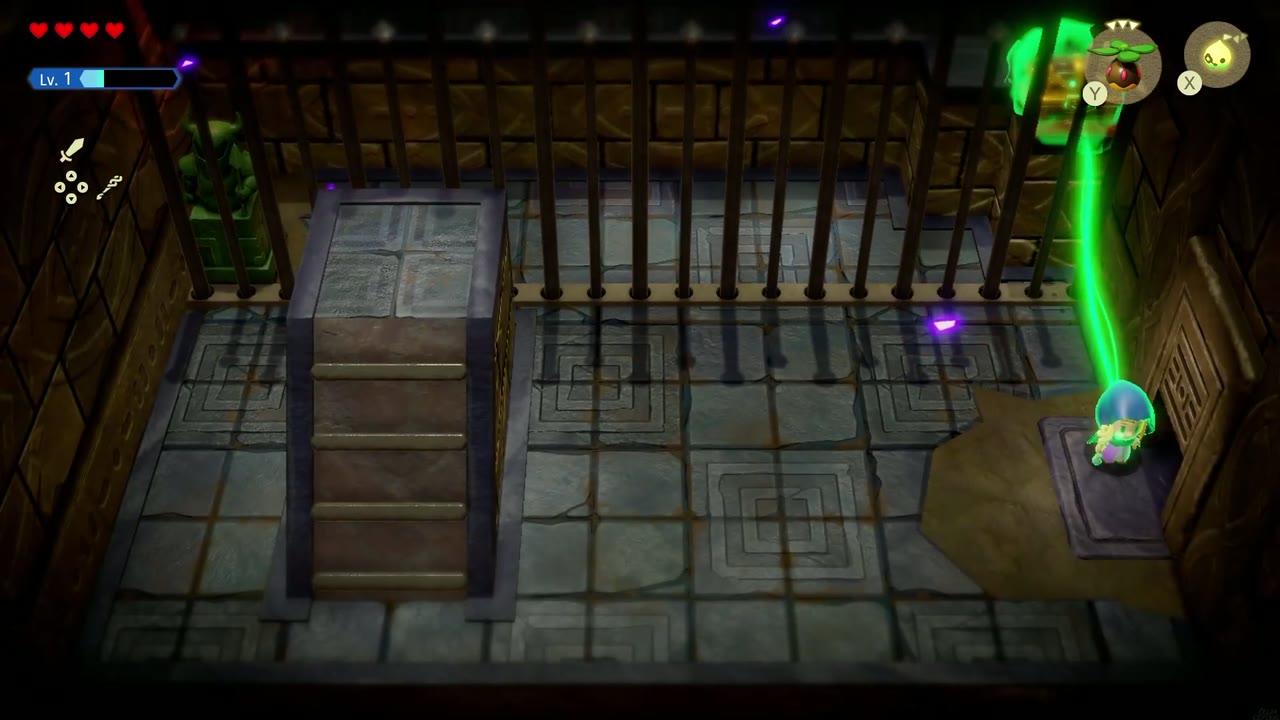
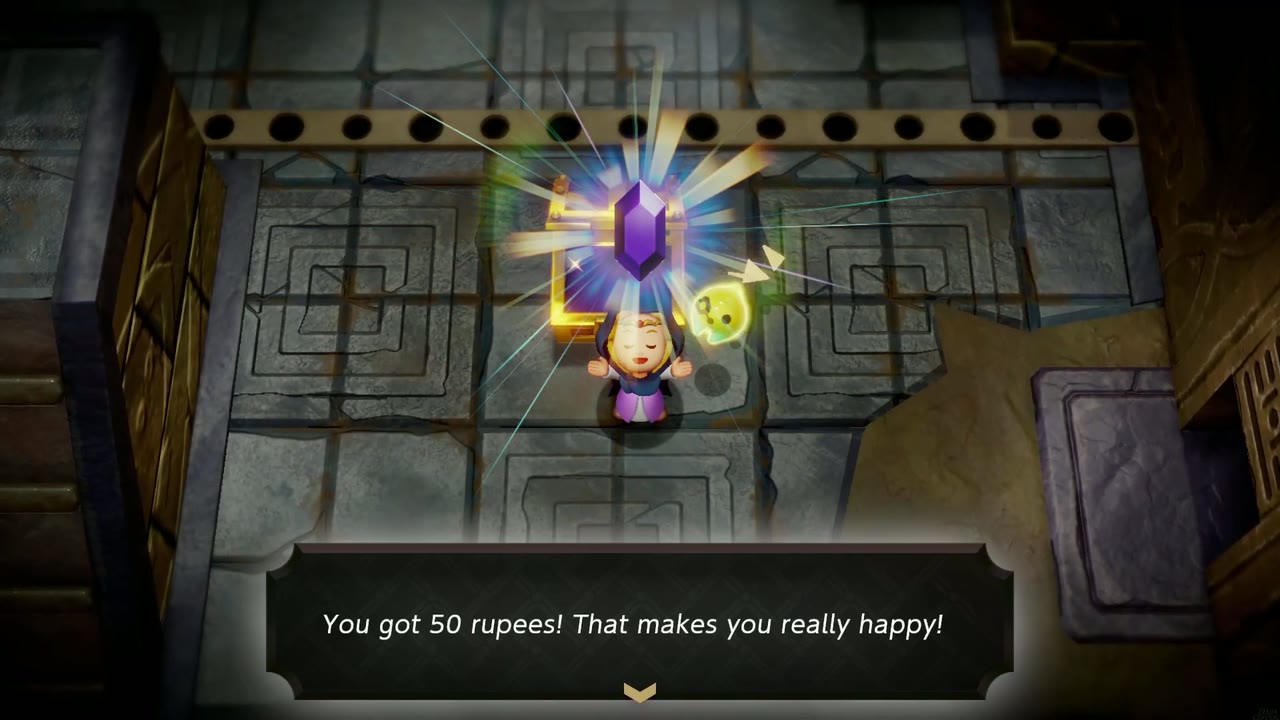
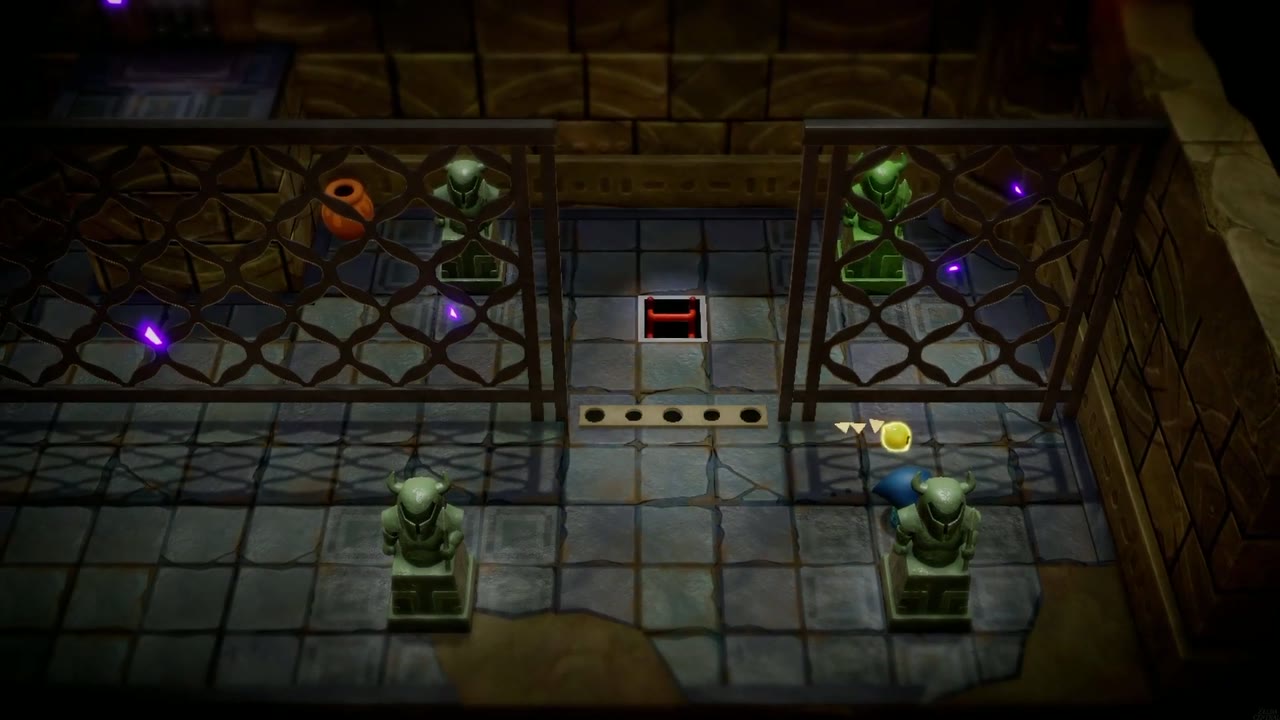
Next is a room where a chest sits behind bars beside a statue and a pressure plate. Bind the chest through the bars and drag it onto the plate. The bars drop, and the chest holds 50 rupees.

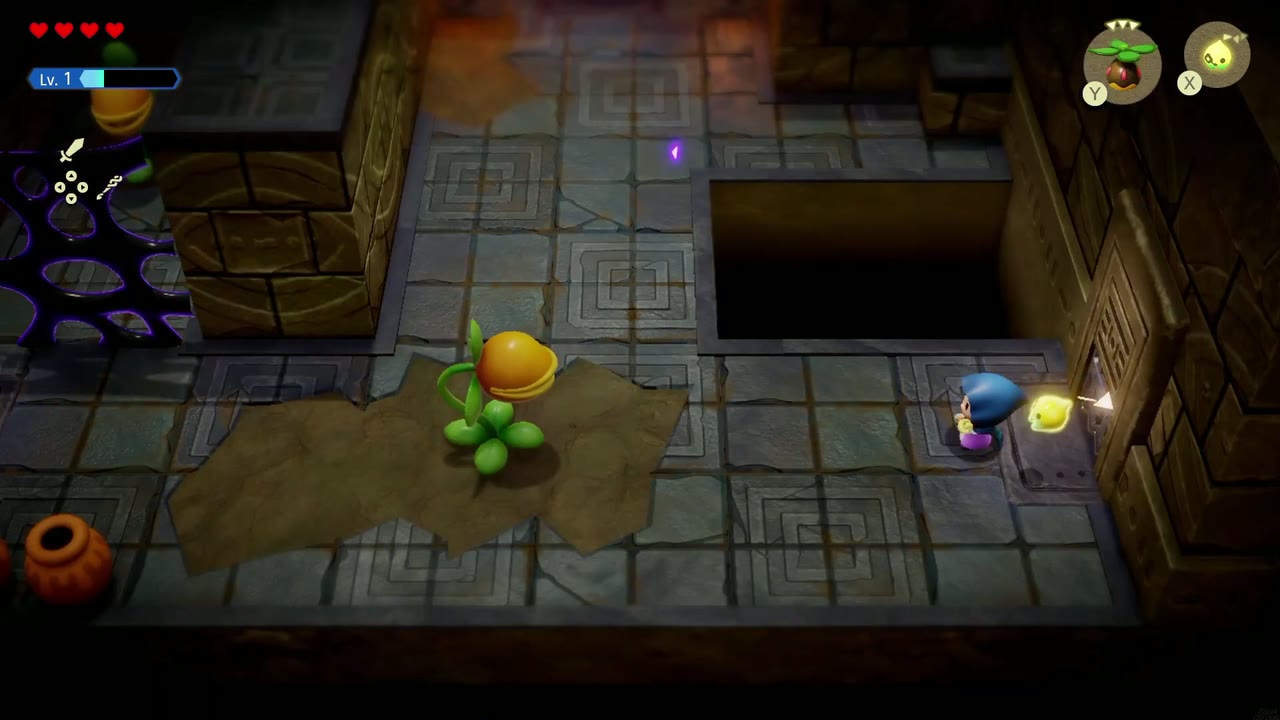
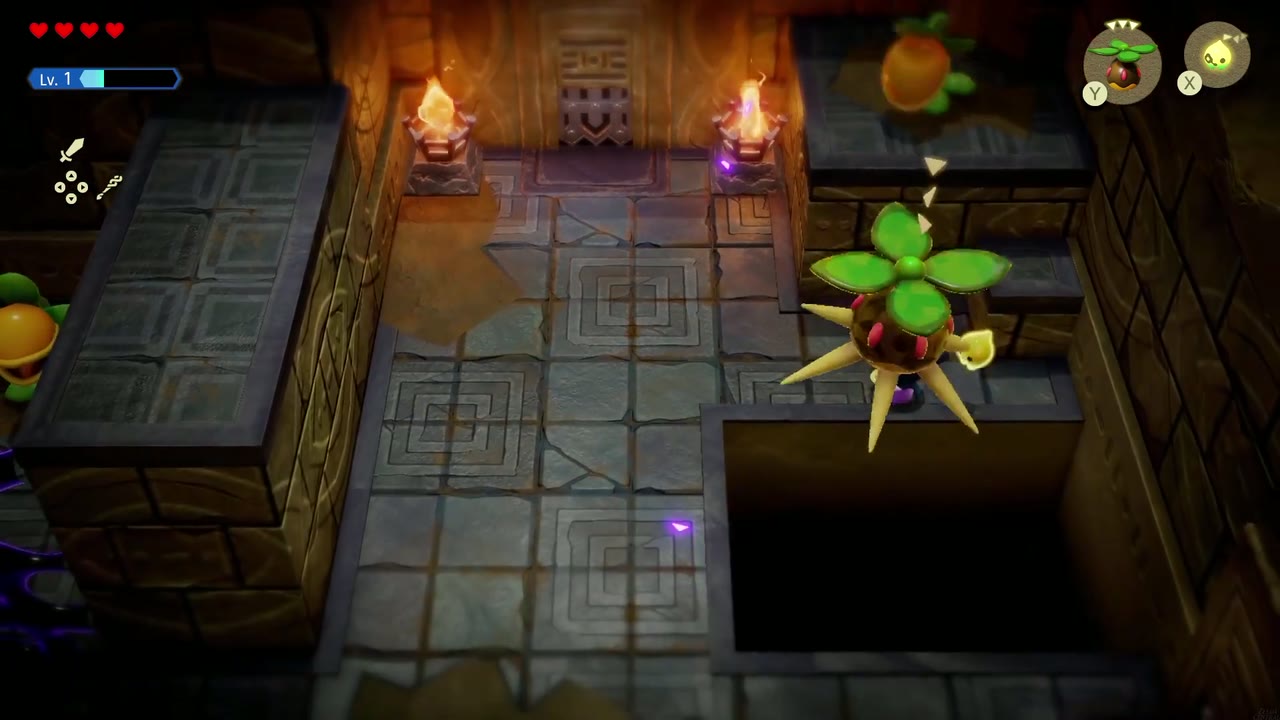
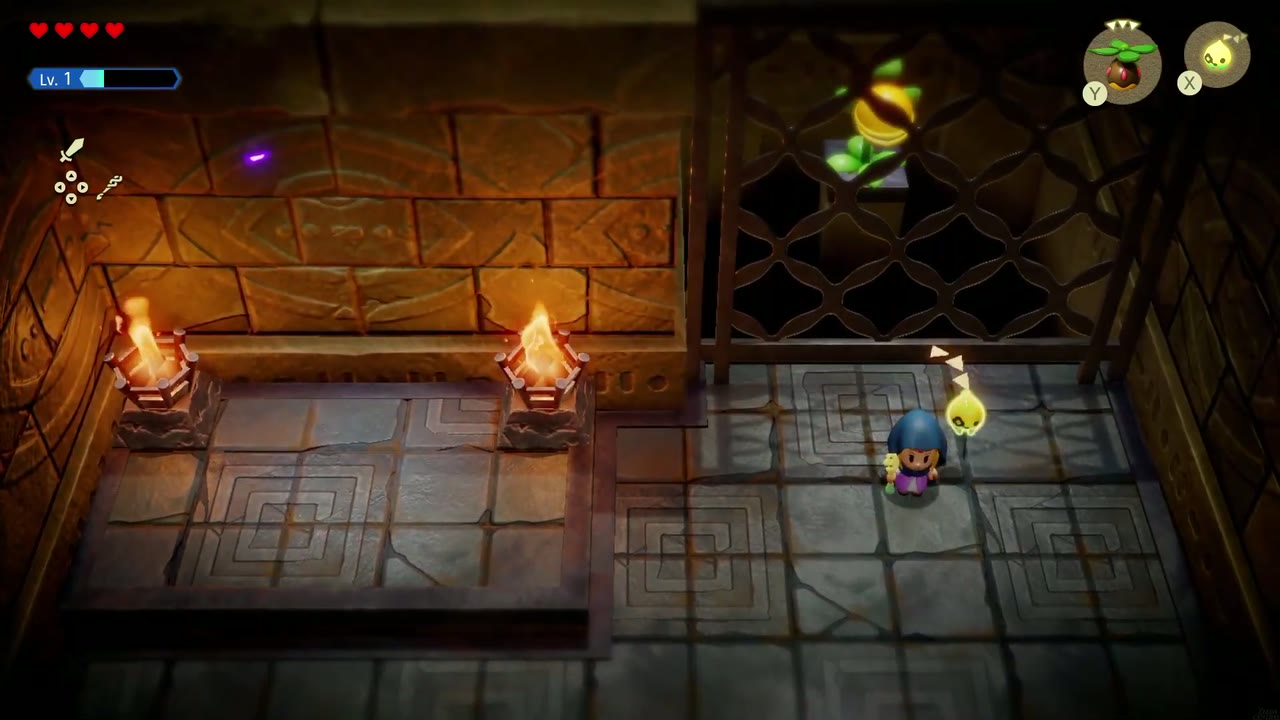
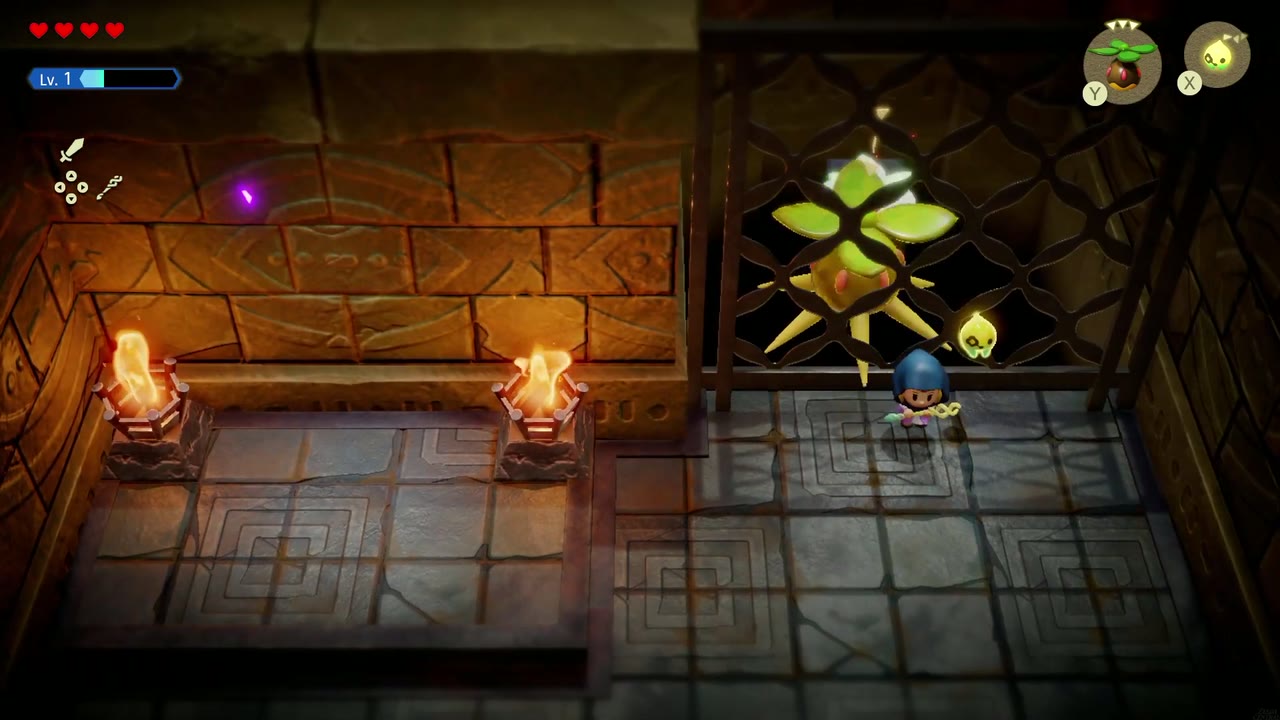
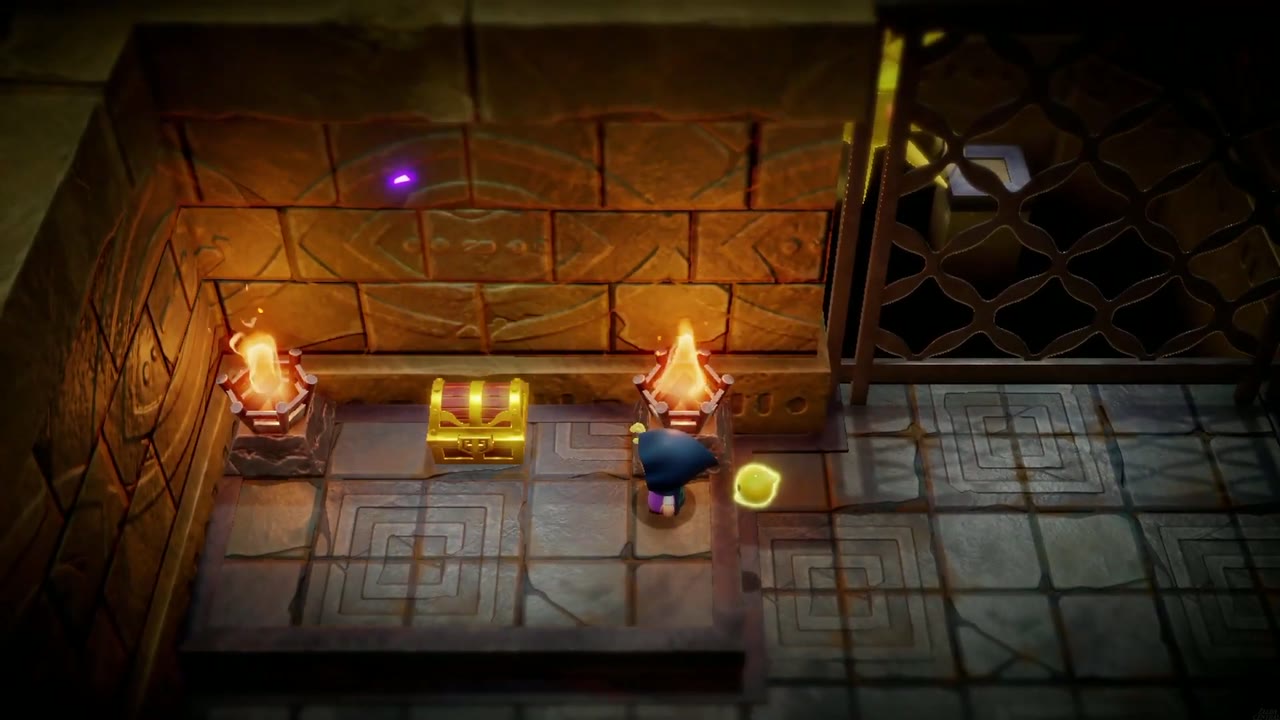
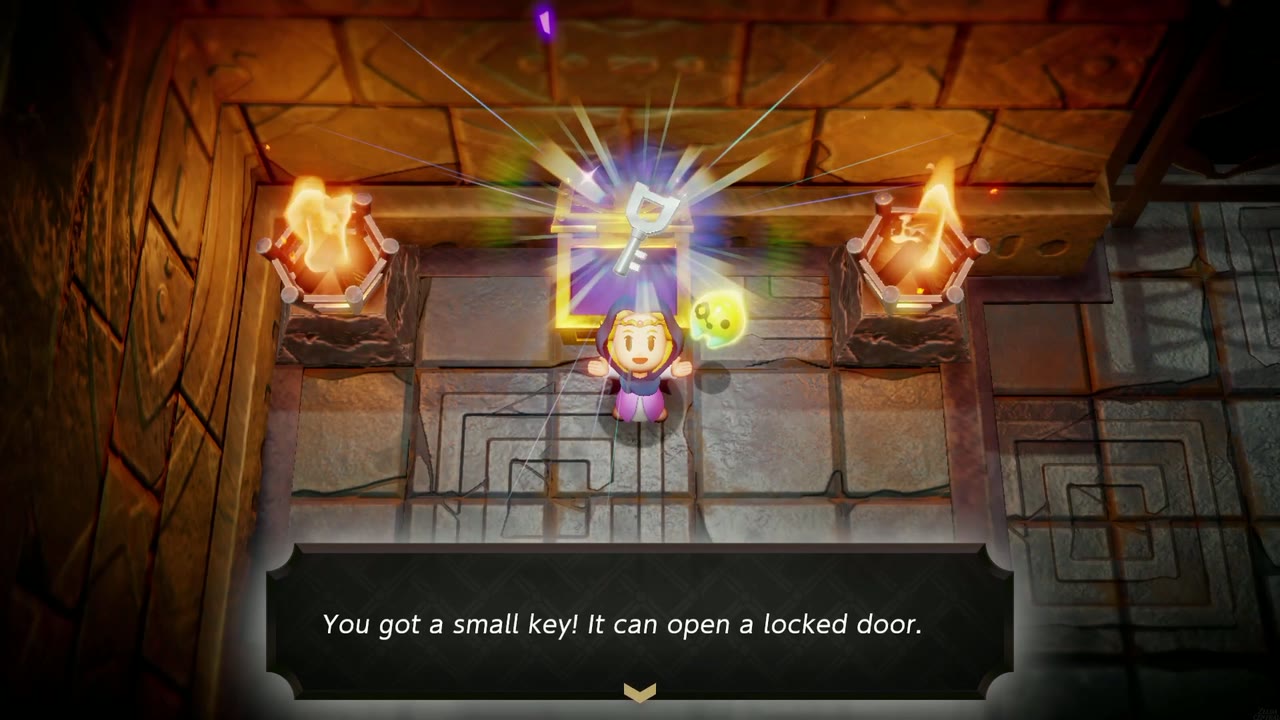
In the brazier room beyond, another Deku Baba sits behind a lattice fence. Summon your own Deku Baba beside the fence and it bites through the lattice. Once the fenced Baba is gone, a chest appears between the braziers holding the Small Key.
Reverse Bond and the Big Key
Back at the boss door, the Small Key opens the little door on its right. Inside, a knight statue stands behind a fence; Bind it onto the pressure plate and the bars covering a ladder hole drop away. Ride the moving platform onward, and in the following room Tri teaches Reverse Bond: while bound to a moving platform, hold the button and Zelda rides the platform’s motion through the air instead of dragging it.
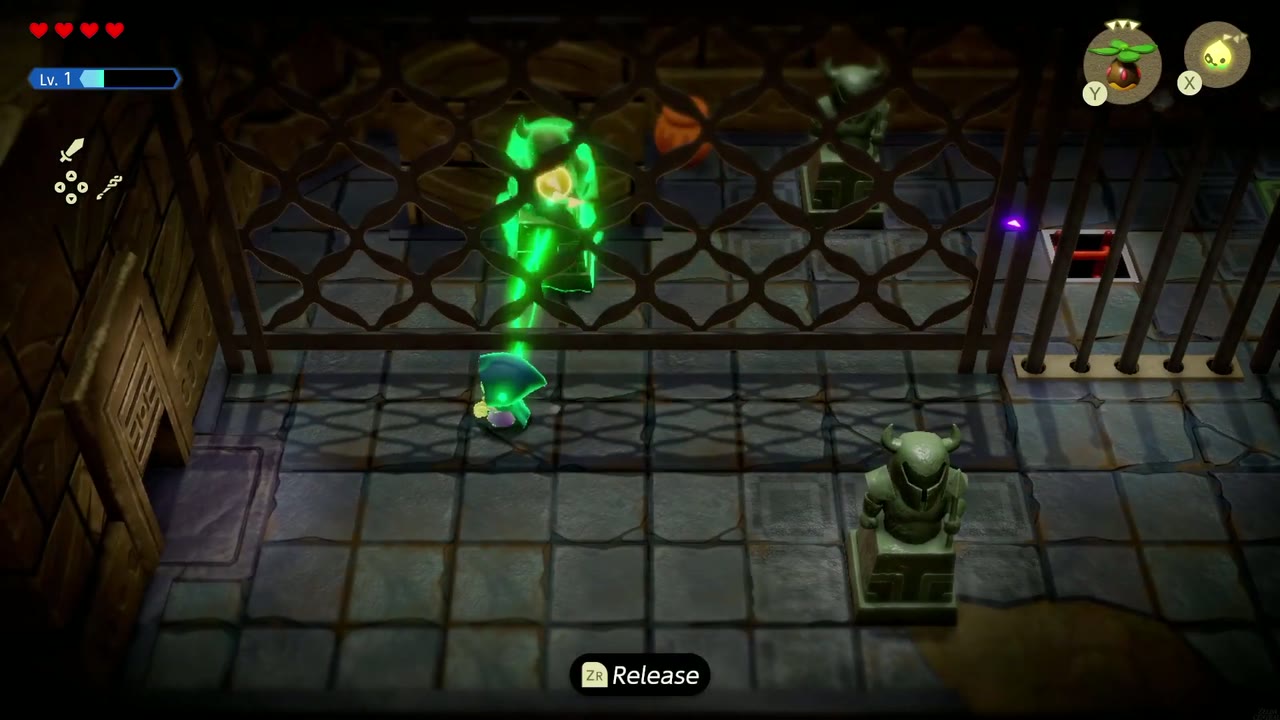
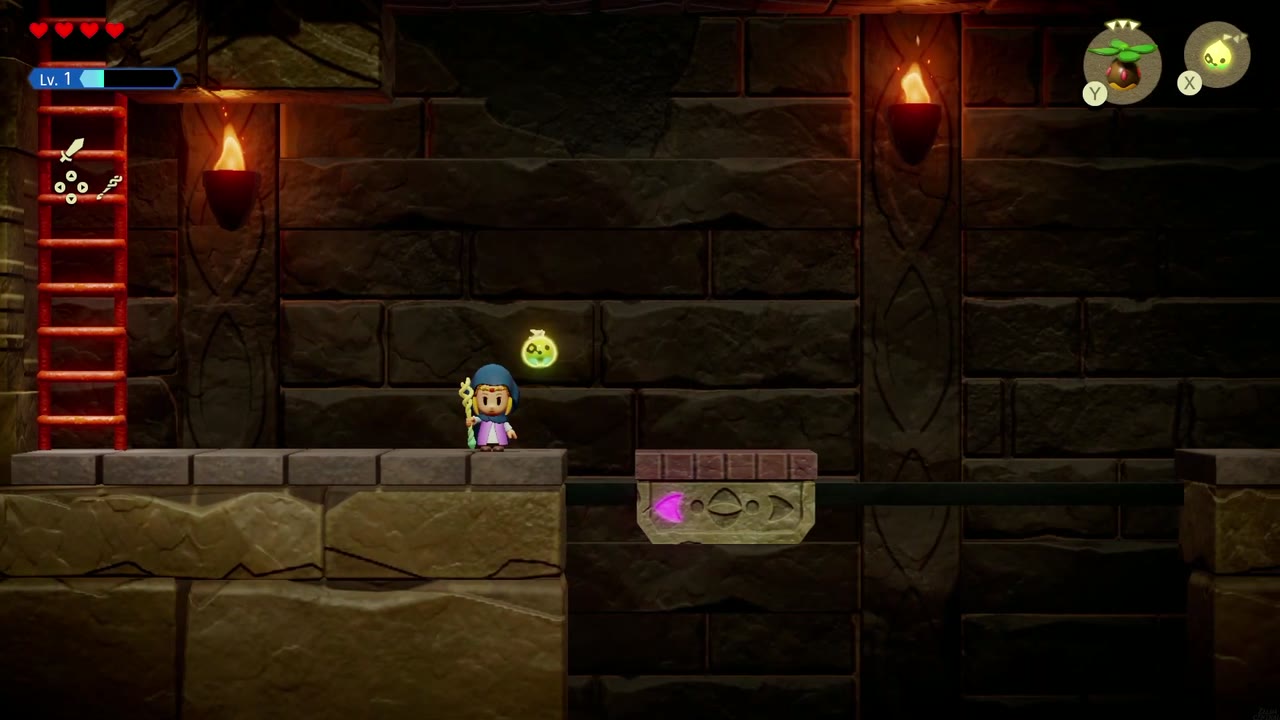
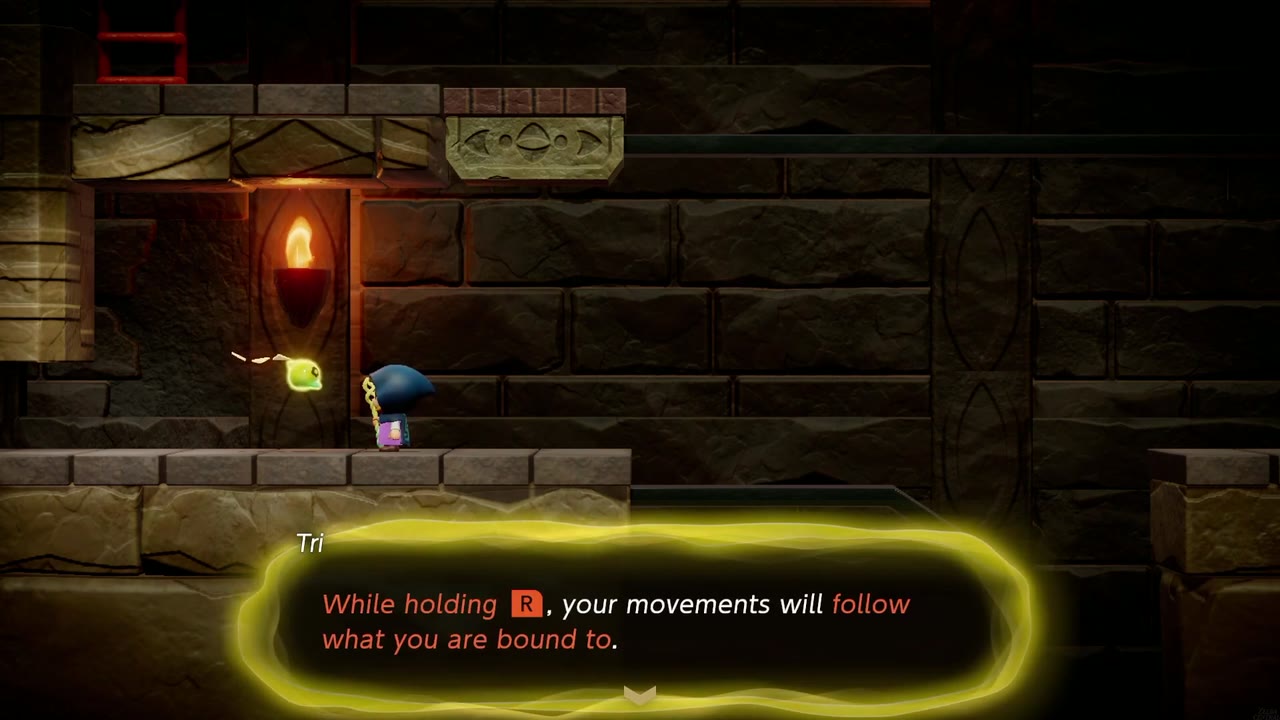
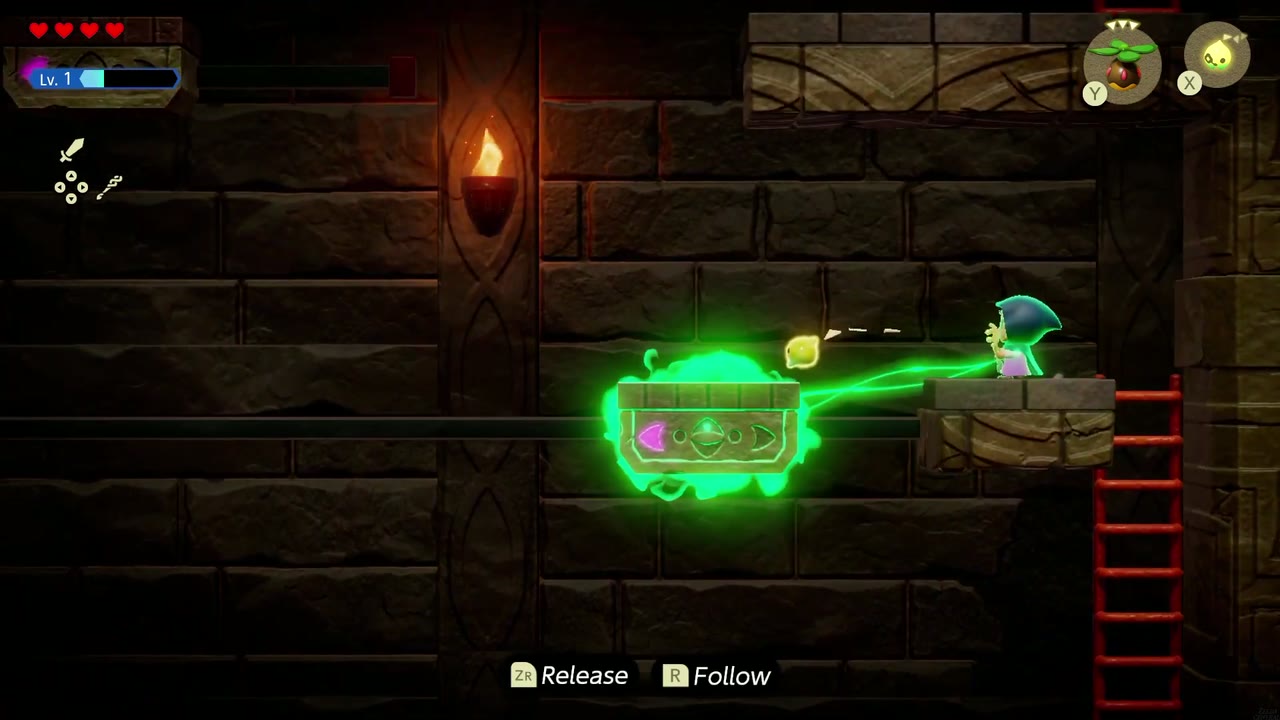
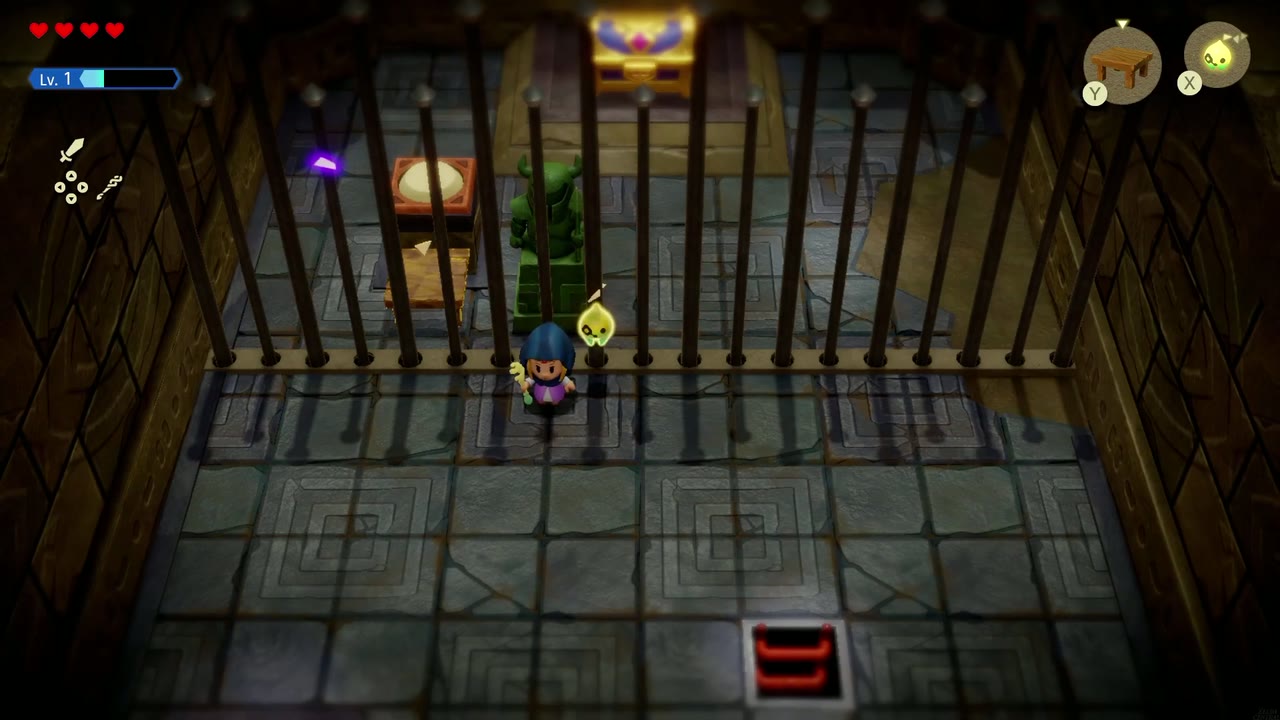
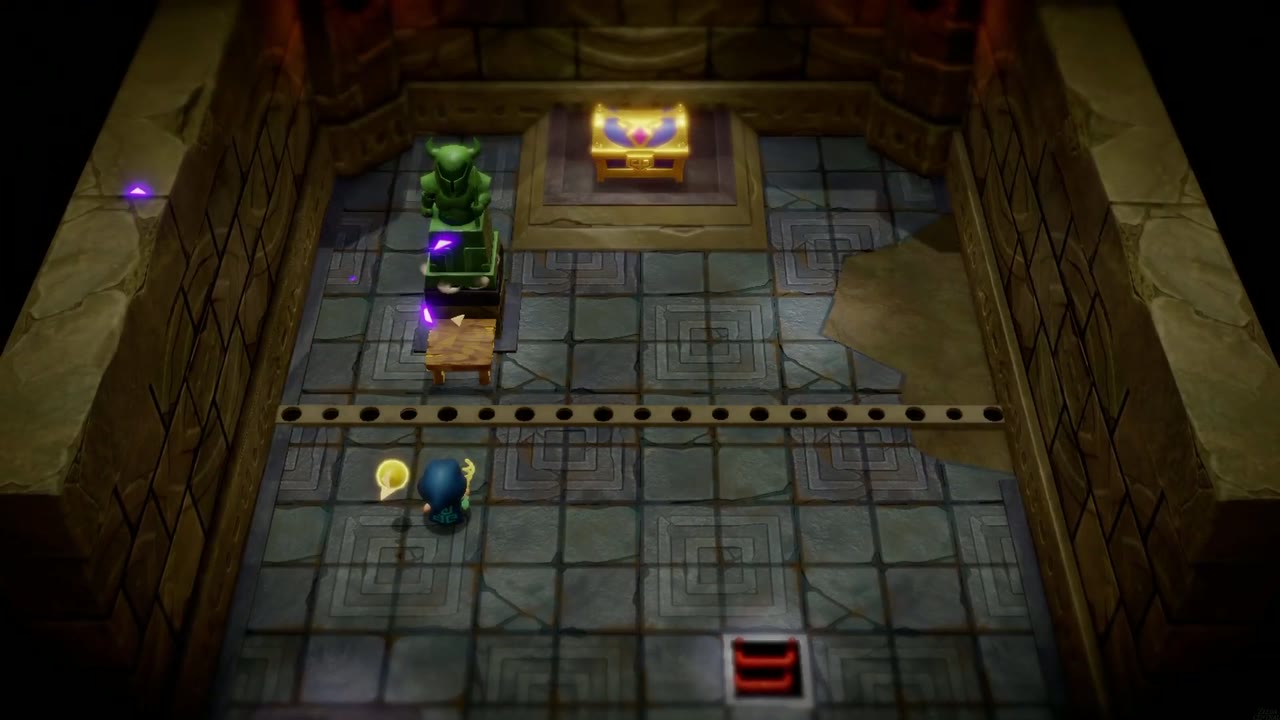
Reverse-Bond up the chain of floating platforms, grabbing the chest with 20 rupees along the way, until you reach the topmost ladder. The final room gates the Big Key behind bars with a statue and a raised pressure-plate pillar. Summon a Table behind the bars next to the statue, then Bind the statue from outside and guide it up onto the raised plate. The bars fall and the Big Key is yours. Backtrack to the boss door and open it.


Boss: Seismic Talus
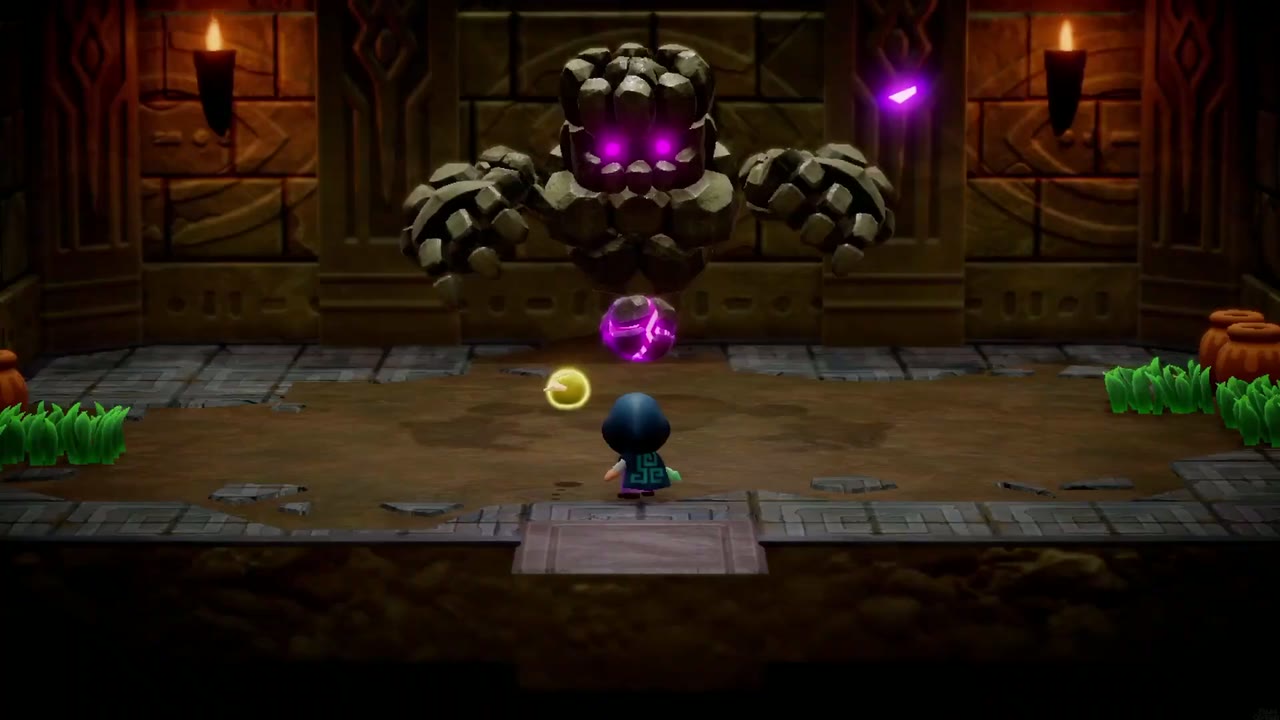
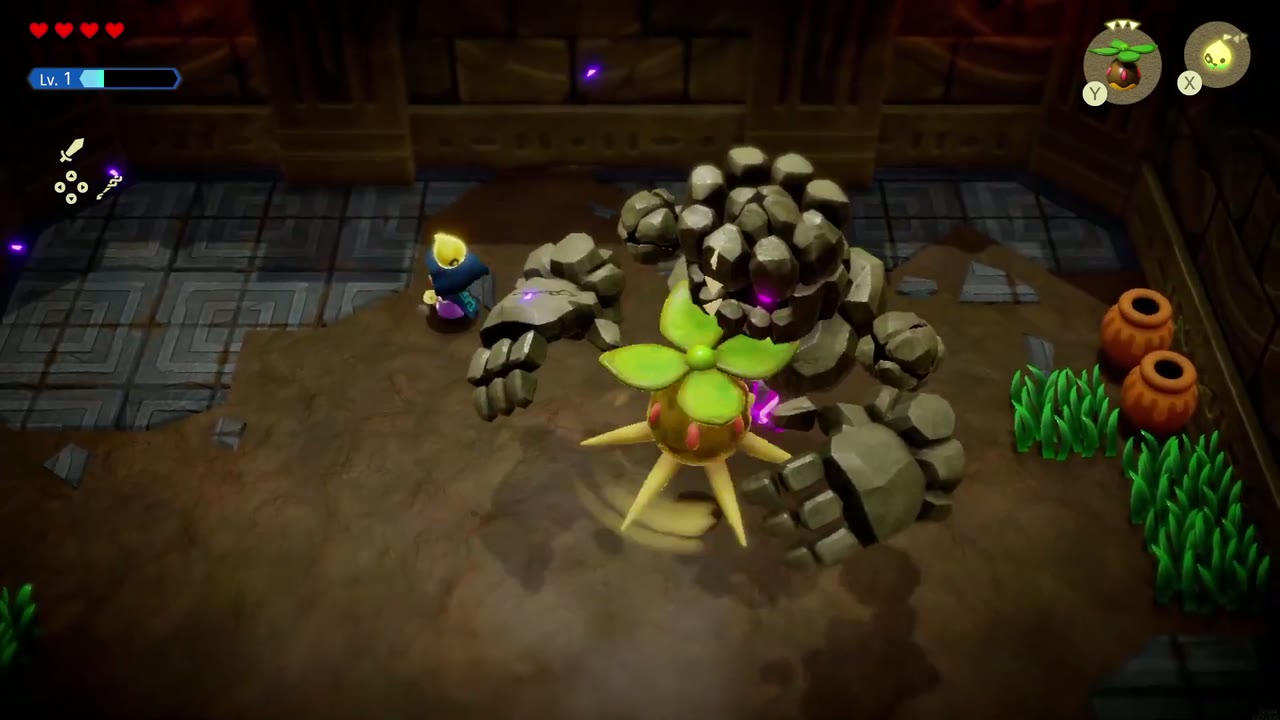
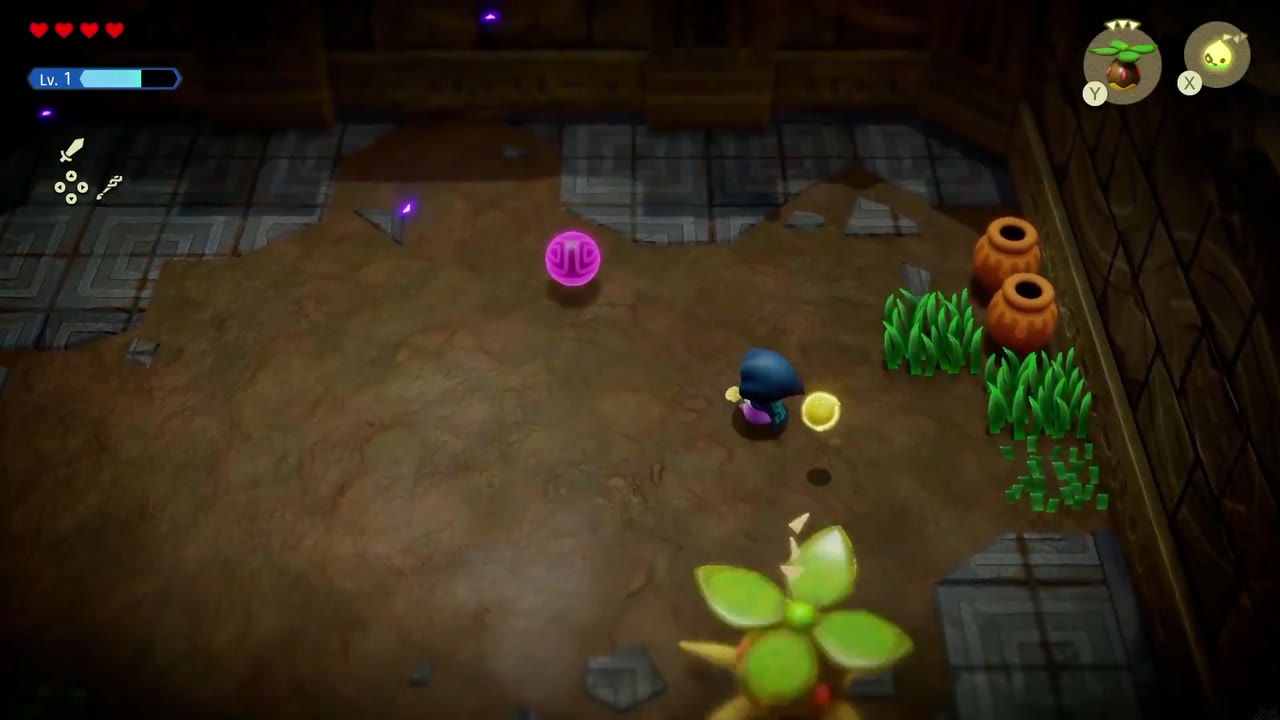
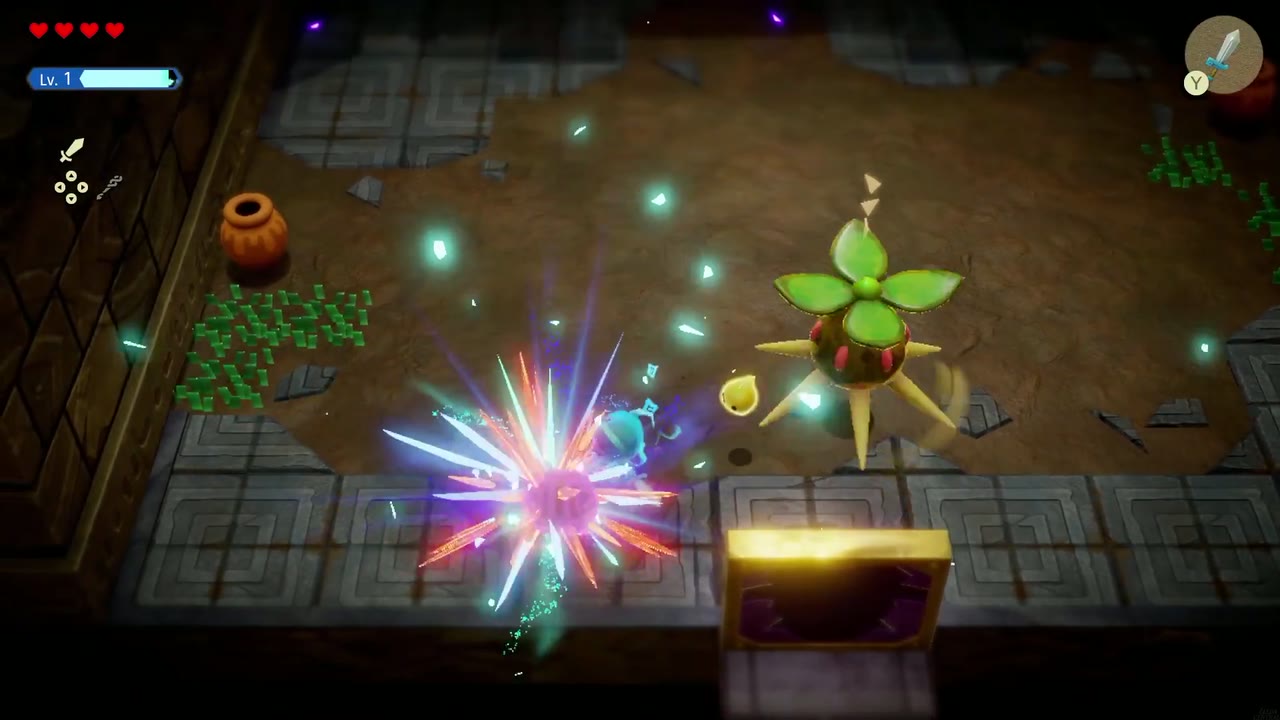
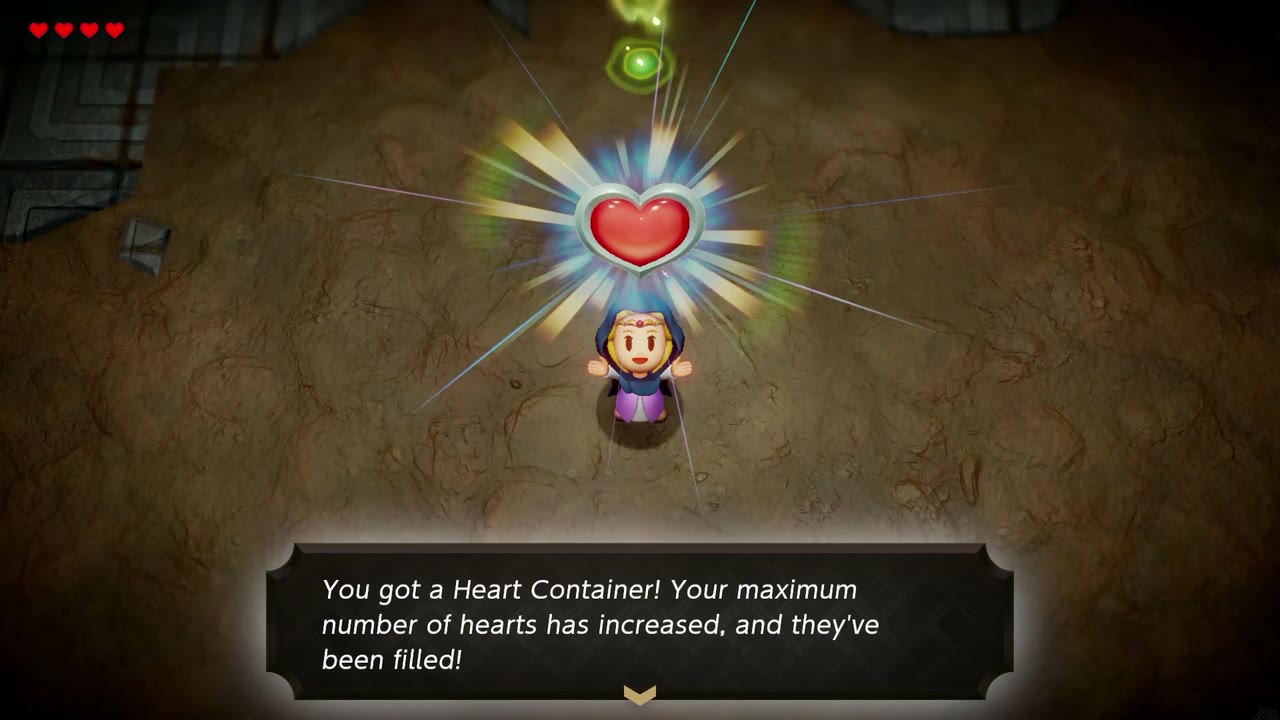
A rock golem with a glowing purple core. Lock onto the core and pound it with echoes or thrown objects. When the golem falls apart and the core pops loose onto the floor, that’s your window: go Swordfighter and unload. Its fist slams are slow enough to sidestep on foot. The Heart Container is yours when it crumbles, and freeing Tri’s friends levels Tri up and earns you 5 Might Crystals.

Lueburry’s House and What’s Next
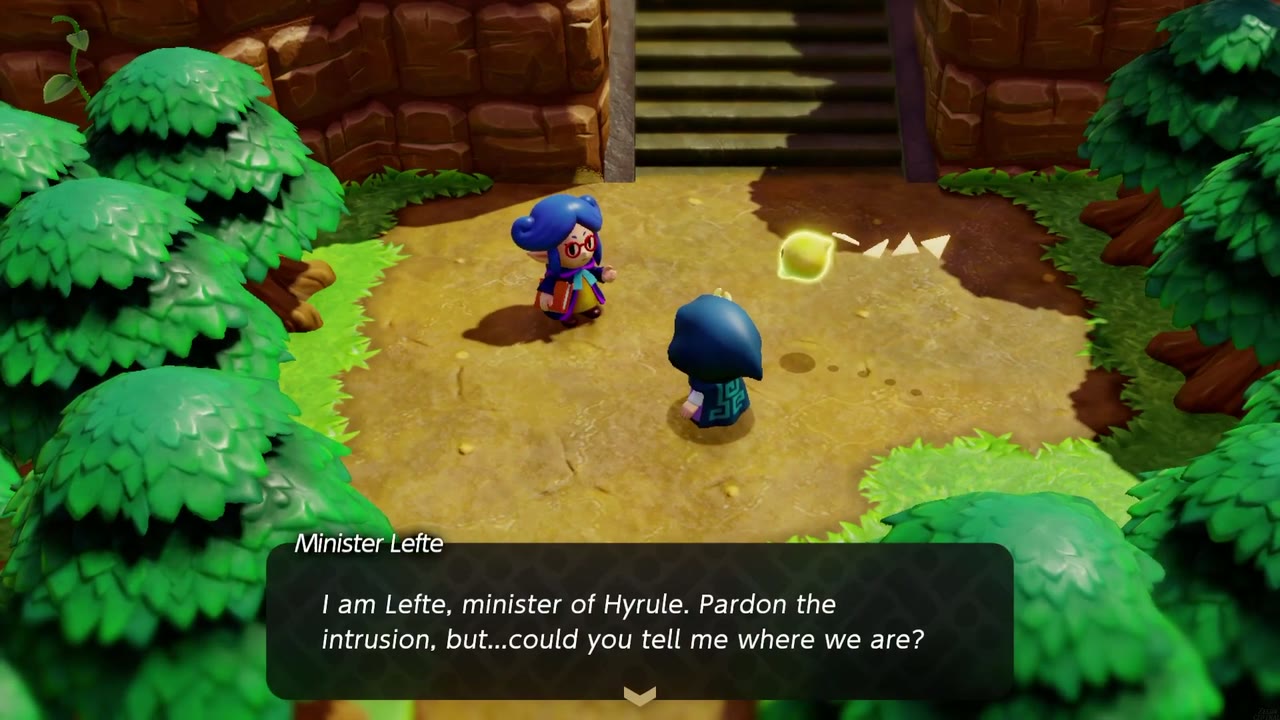
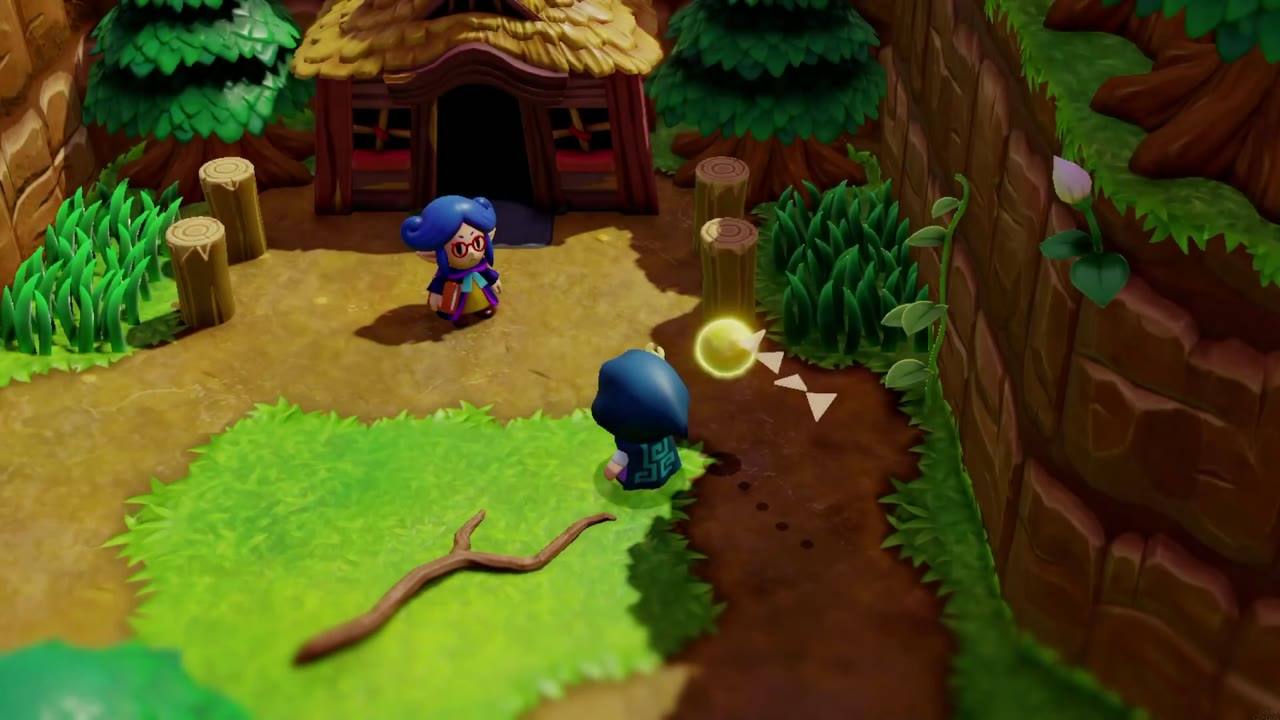
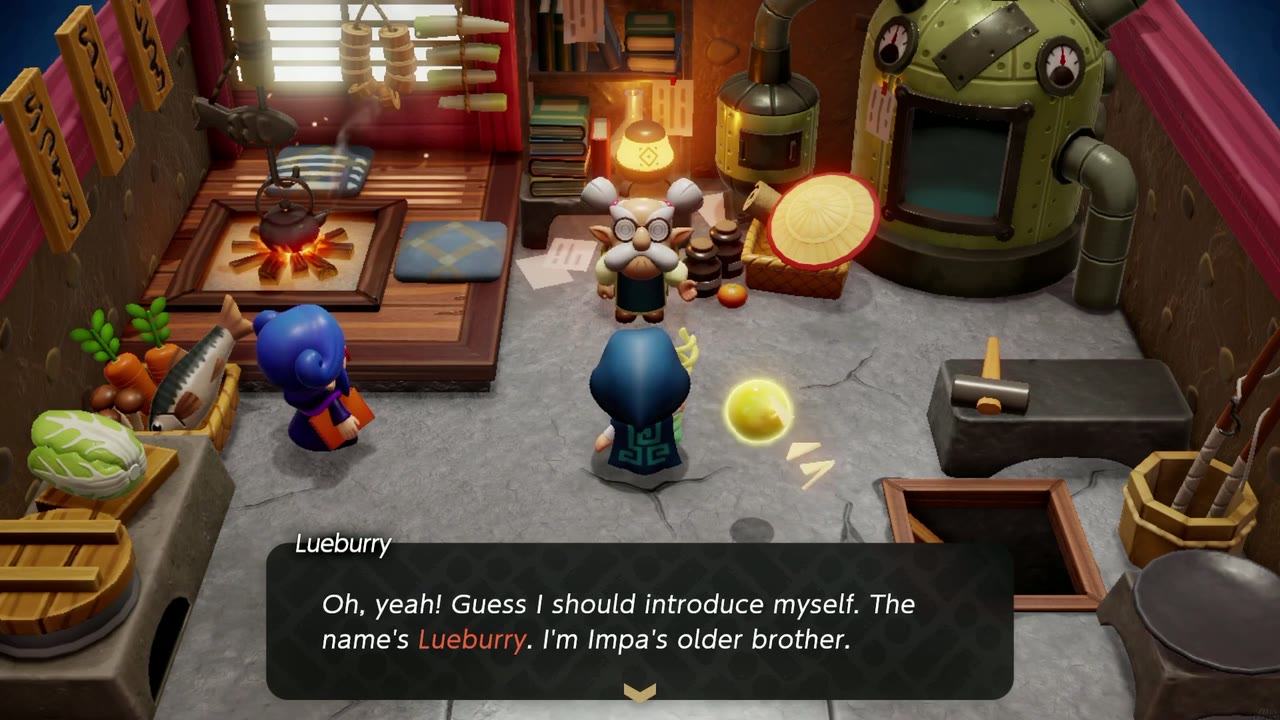
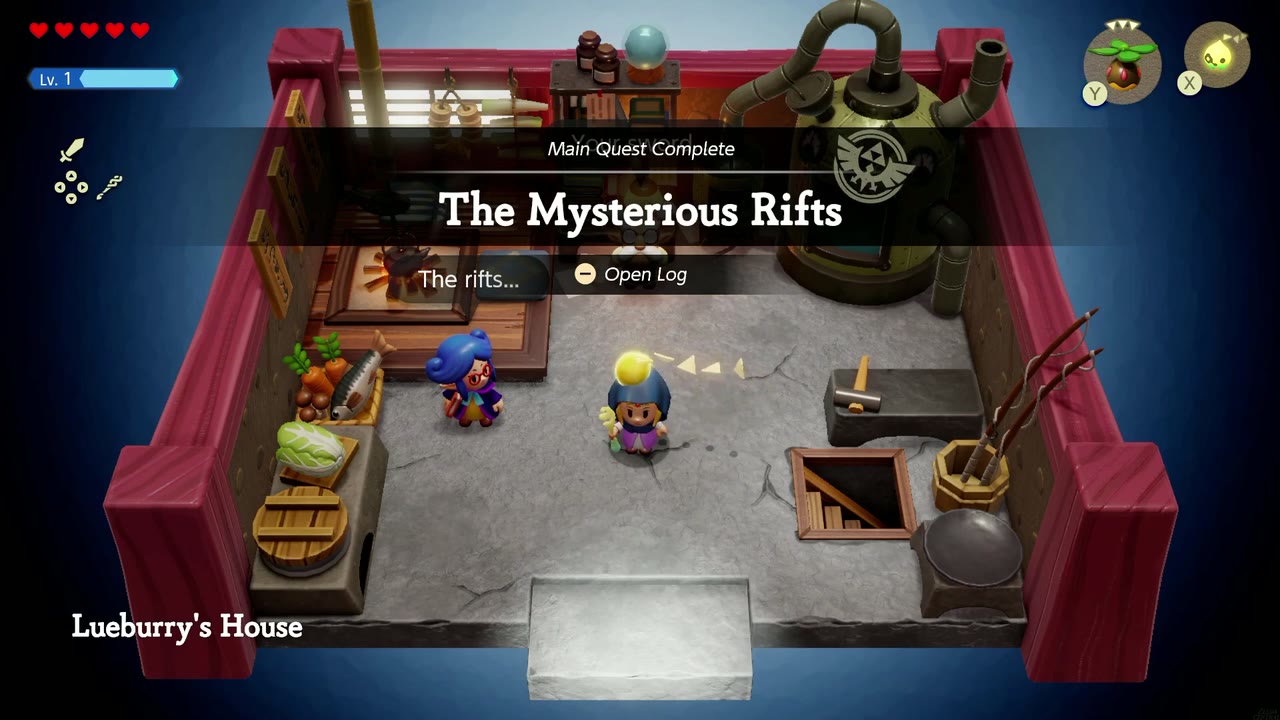
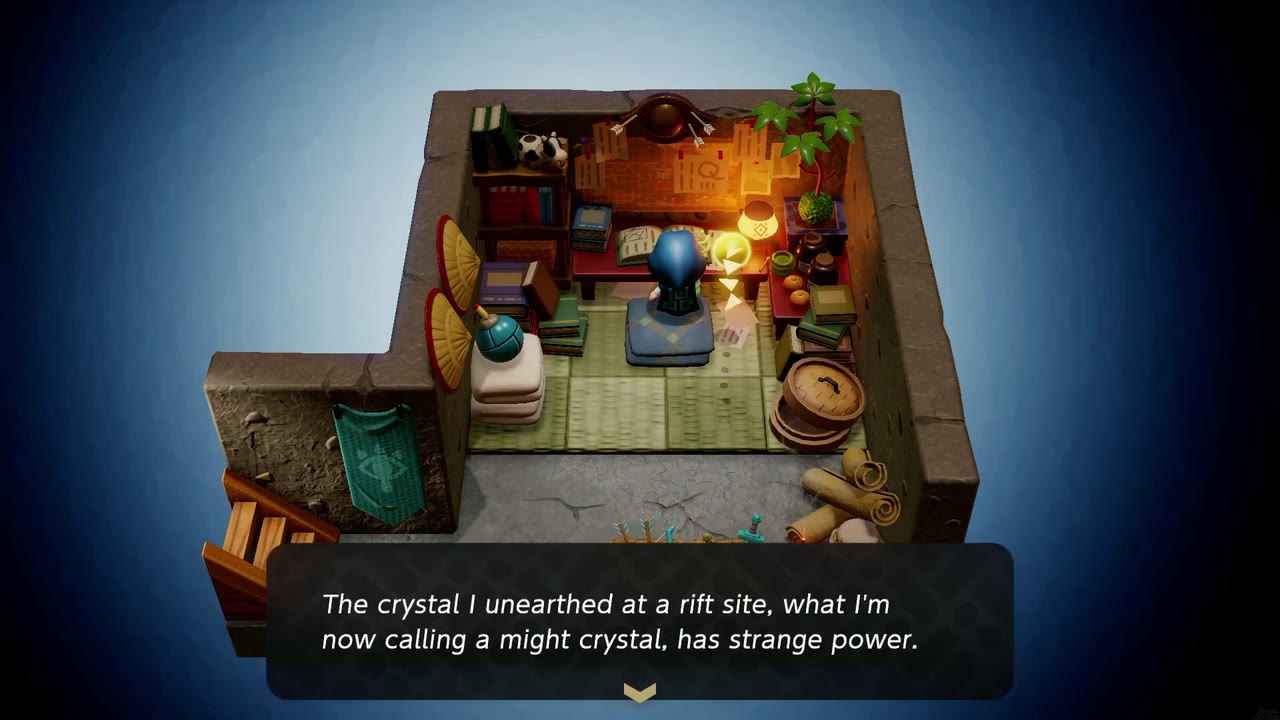
Back in the real Suthorn Forest, the real Minister Lefte finds Zelda and leads her to the house of Lueburry, Impa’s older brother, who runs the upgrade bench where you’ll trade Might Crystals for swordfighter upgrades all game long. Talk with him about Link, the rifts, and the people still missing, and The Mysterious Rifts is marked complete. His diary in the back room is worth a read before you head out.
With Suthorn clear, the world opens up. This guide heads to Jabul Waters next, but the two new regions can be done in either order, and Gerudo Desert works just as well first.