Echoes of Wisdom 100% Completion Walkthrough16 chapters
- Prologueplaying as Link, escaping the castle jail, and the waterways to Suthorn Beach.
- Suthorn ForestSuthorn Beach and Village, meeting Tri, the first echoes, and mending the Suthorn Forest rift.
- Suthorn Ruinsthe first dungeon, the Shadow Link fight, and the Seismic Talus boss.
- Jabul Watersthe River and Sea Zora feud, Lord Jabu-Jabu, and Stilled Jabul Waters.
- Jabul Ruinsthe whirlpool chase, the five colored switches, and the Vocavor boss.
- Gerudo Desertthe Oasis, Gerudo Town, the desert rifts, and Cryptic Cavern.
- Gerudo Sanctumthe tribute puzzle, the Bow of Might, and the Mogryph boss.
- Hyrule Castlethe Hyrule Castle well rift, Stilled Castle Town, and the Ganon boss.
- Eldin VolcanoKakariko Village, the Eldin Volcano Trail, and saving Goron City.
- Eldin Templethe Bombs of Might, the lava hall, and the Volvagia boss.
- Faron WetlandsScrubton, Blossu’s House, and escaping the Deku Scrub Lockup.
- Faron Templethe small keys, the plant mini-boss, and the Gohma boss.
- Hebra Mountainmeeting Condé, the climb through the snow, and the Stilled Hebra Mountain rift.
- Lanayru Templefire orbs, fans and lasers, the slime mini-boss, and the Skorchill boss.
- Eternal Forestthe six Ancient Orb pedestals, the Deku Tree, and freeing Link in the Stilled Ancient Ruins.
- Null’s Bodythe final dungeon and the multi-phase fight against Null.
Earning the last of the three goddesses’ sanctions (whichever temple you finish last; in this guide’s order, Nayru’s Sanction from Lanayru Temple) kicks off the next main quest, The Prime Energy and Null, which sends you to the Eternal Forest. There’s no rush: plenty of side quests are open at this point, so it’s a fine moment to clean up before heading into the forest whenever you’re ready.

Getting There
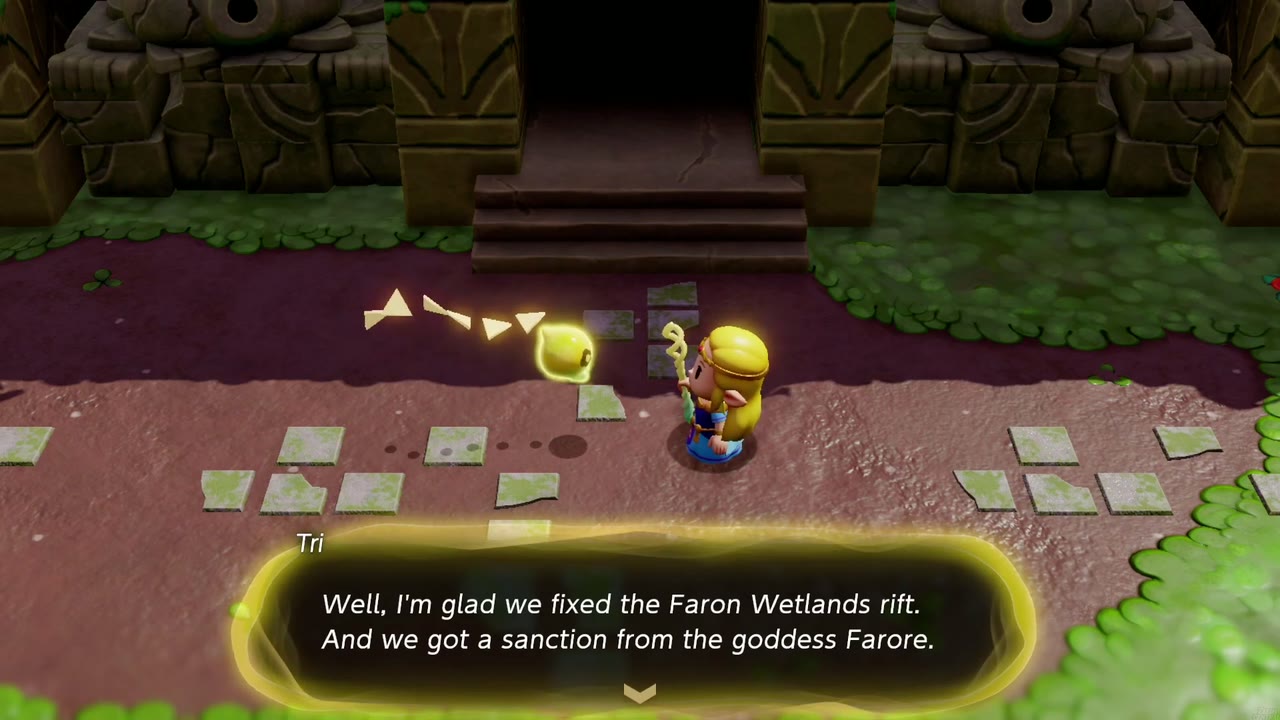
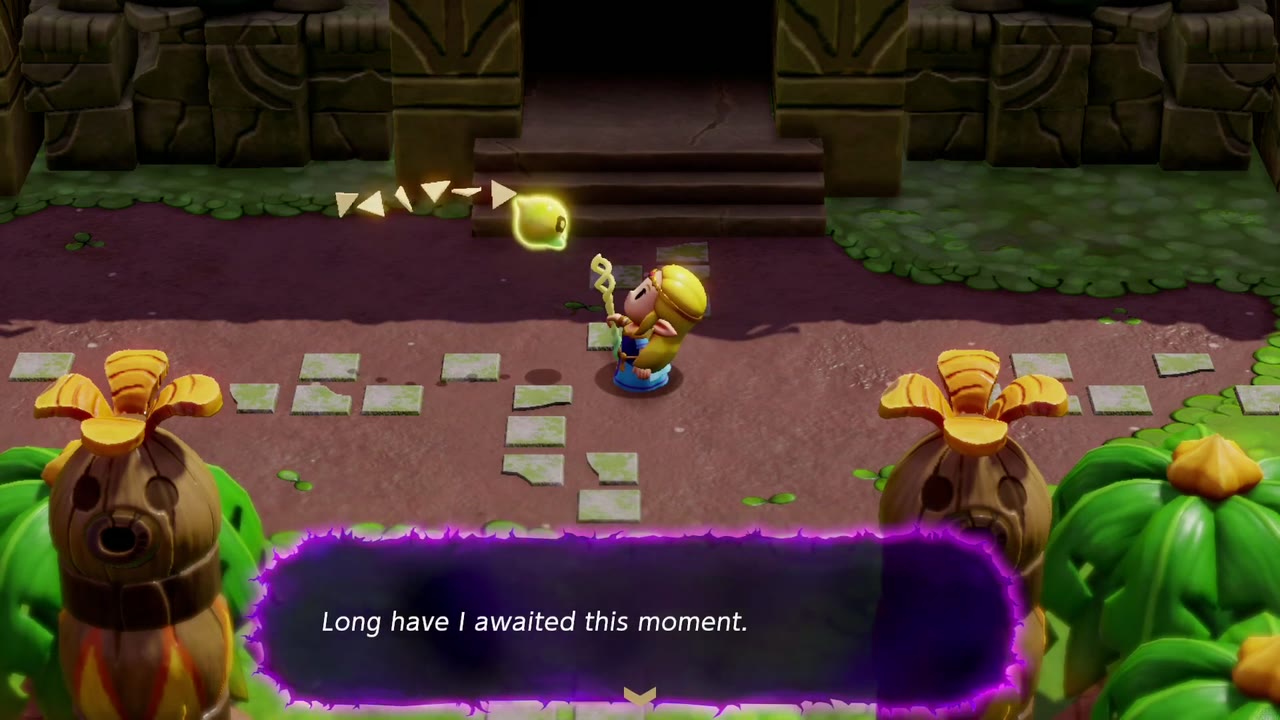
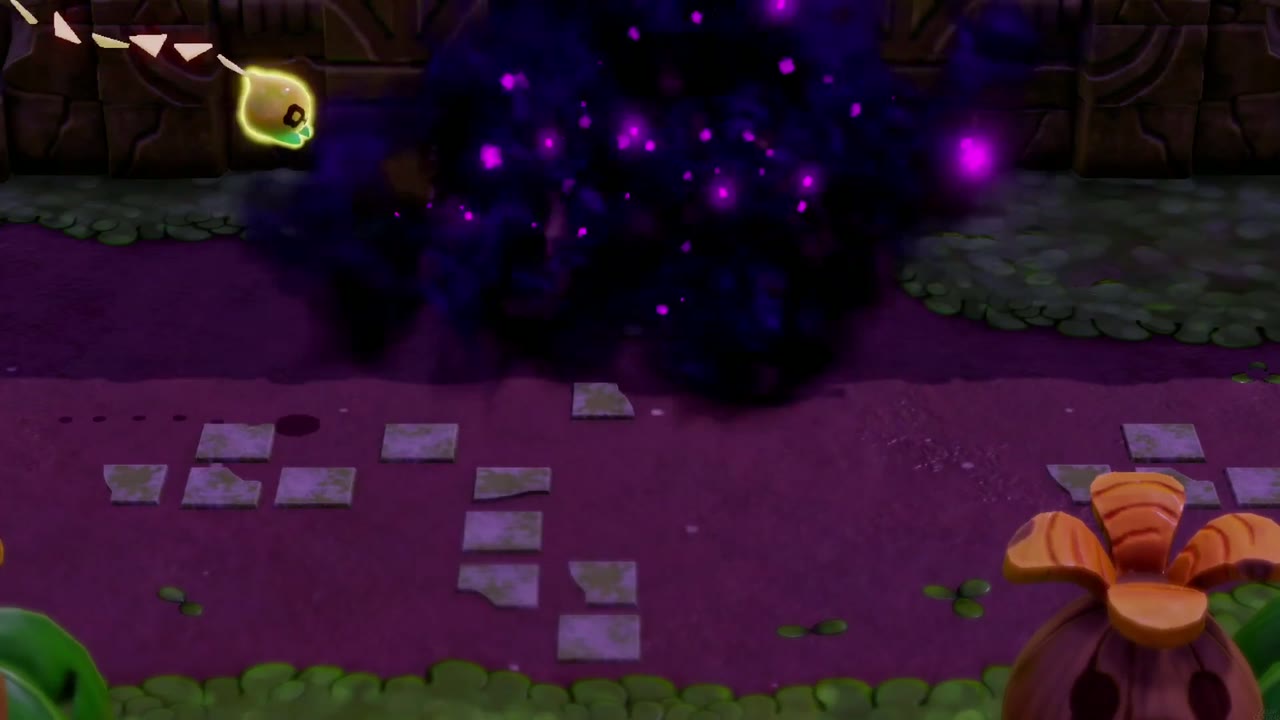
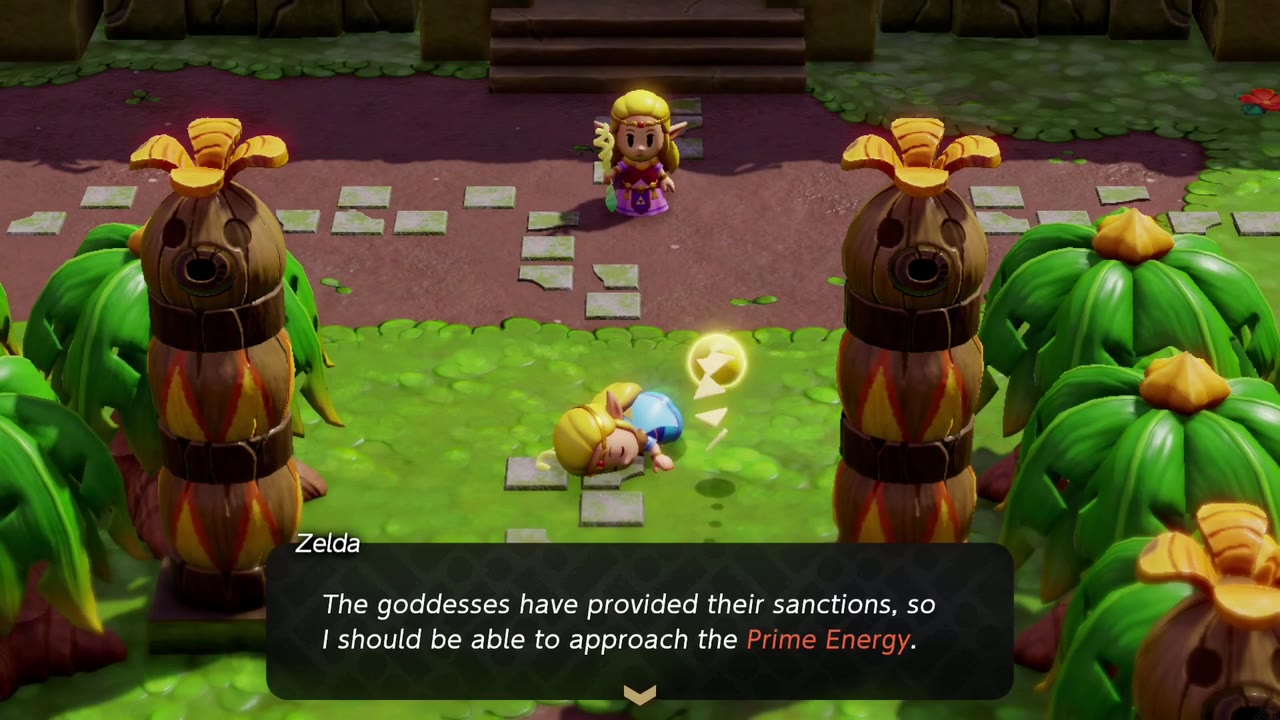
As Zelda and Tri leave Faron Temple, a voice says it has long awaited this moment, and a dark rift swallows the temple steps and bursts, knocking Zelda out. A red-eyed copy of Zelda steps out of the temple and declares that, now the goddesses have provided their sanctions, she should be able to approach the Prime Energy; “this identity should suffice.” Then she vanishes in a flash of light, and Zelda wakes up back in Hyrule Castle.

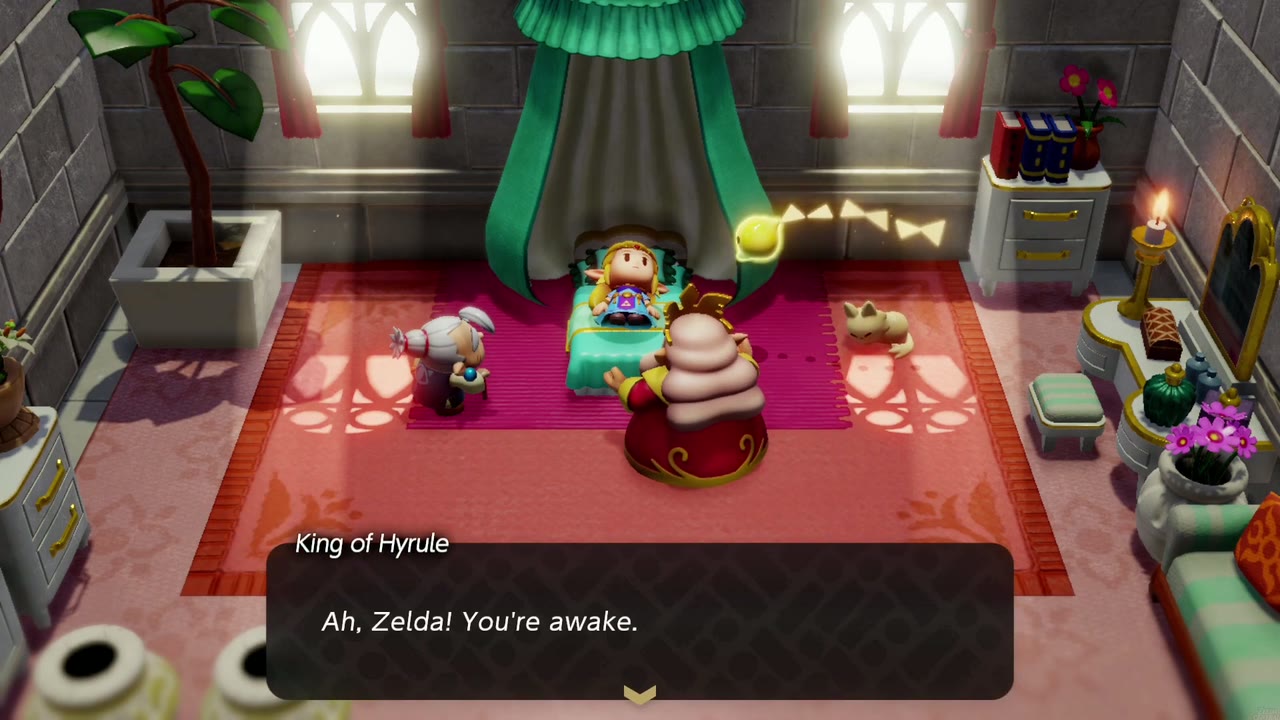
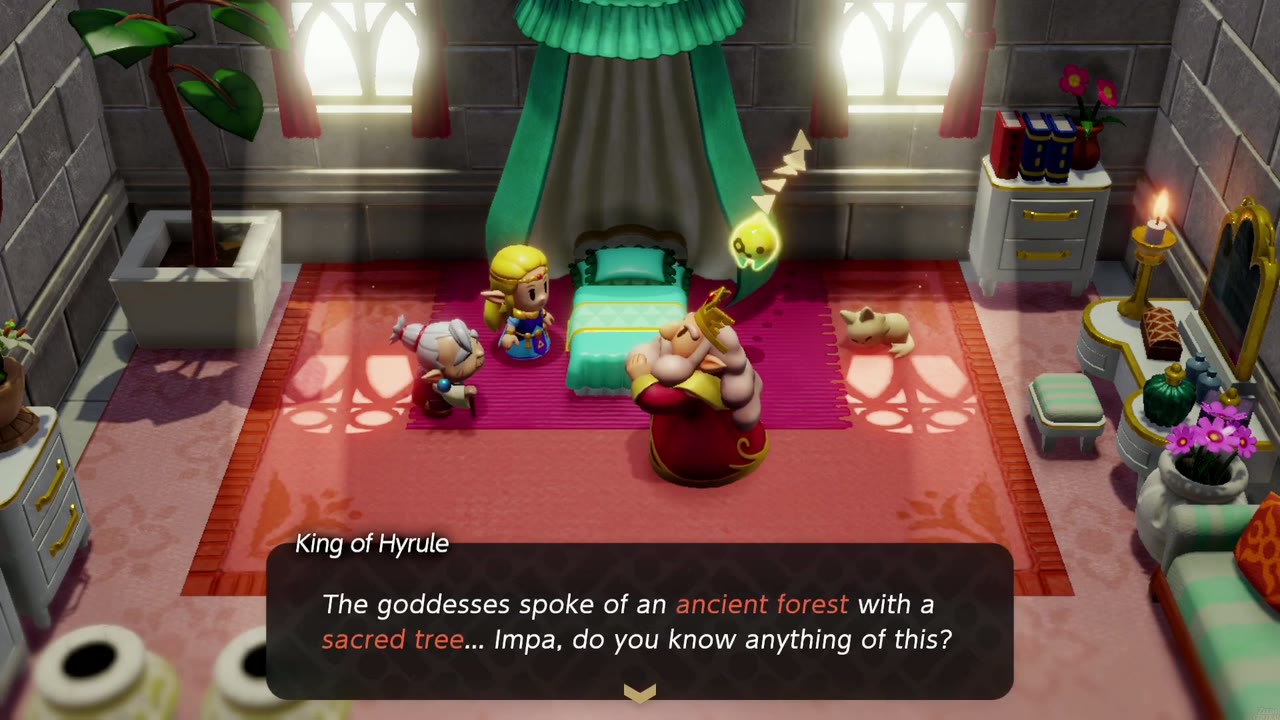
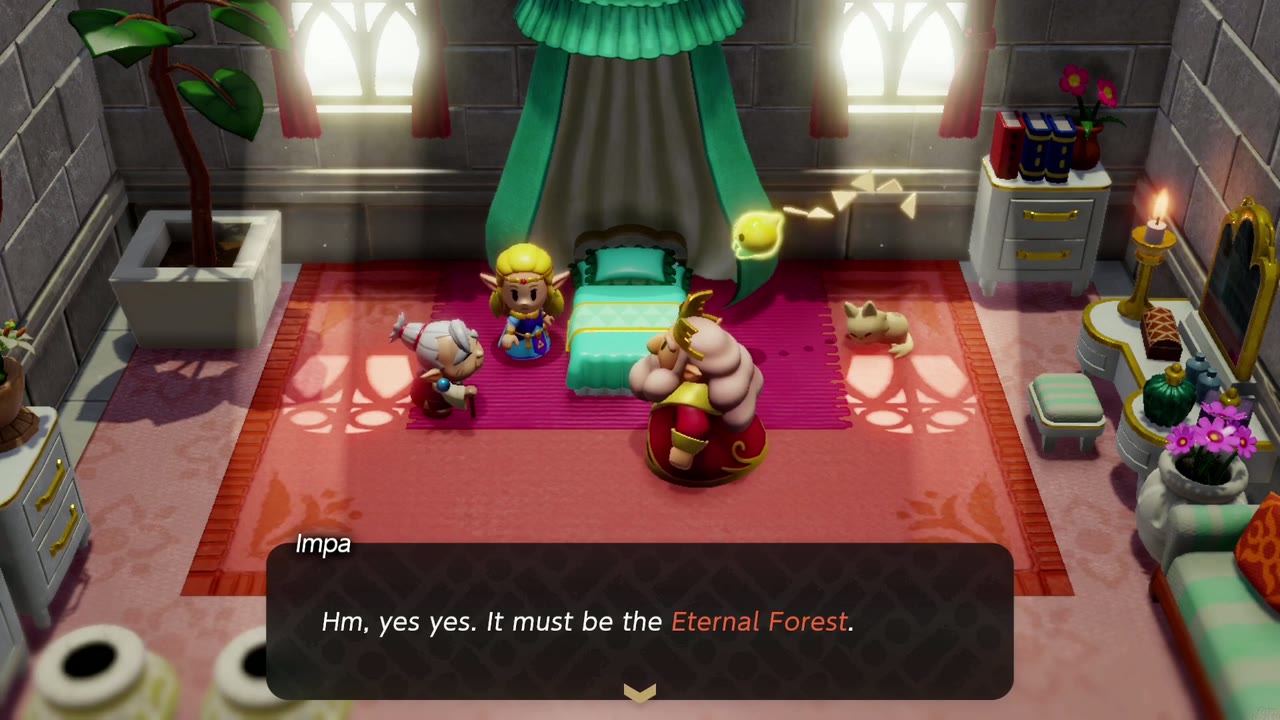
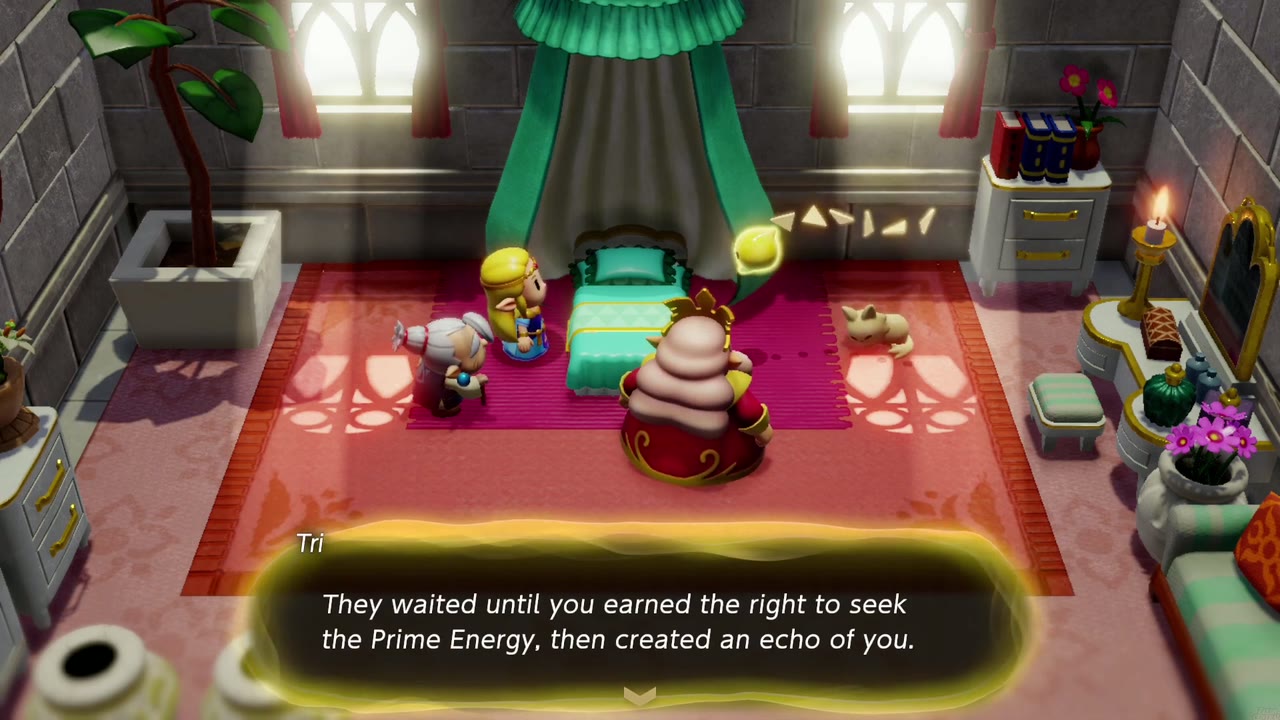
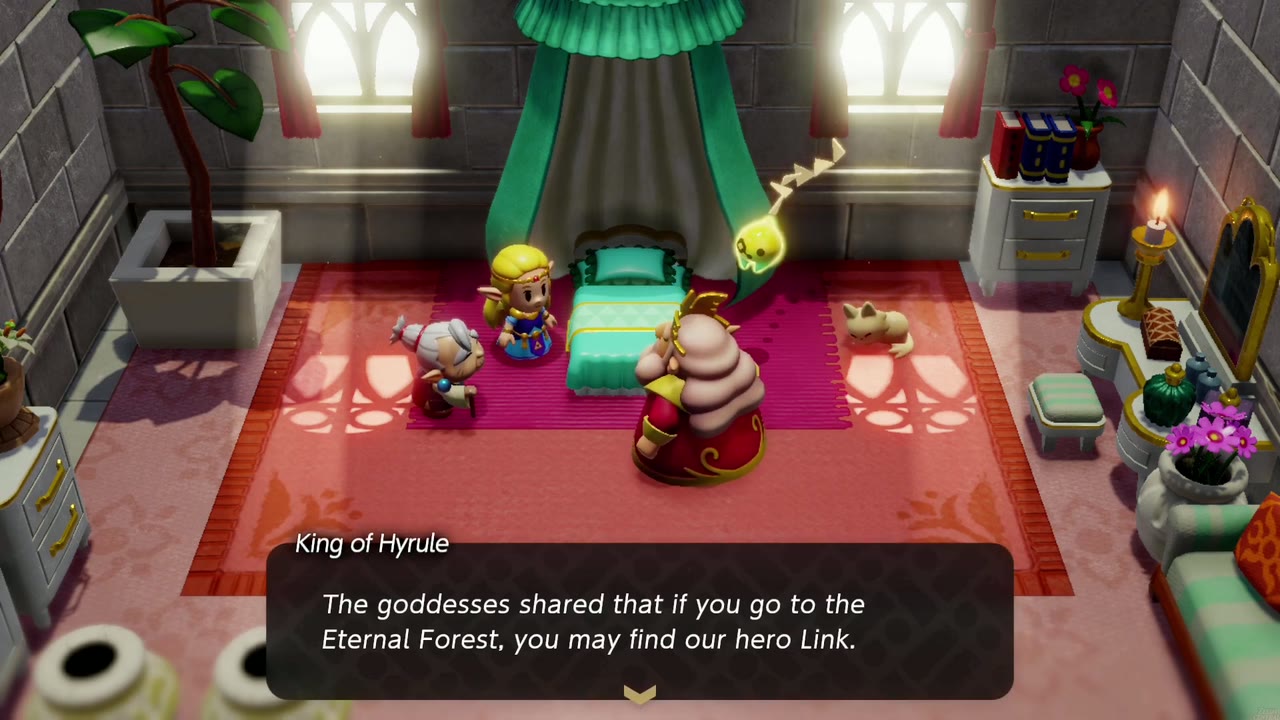
Zelda comes to in her own bed in Zelda’s Room, with the King and Impa at her side. The King relays that the goddesses spoke of an ancient forest with a sacred tree; Impa identifies it as the Eternal Forest, northwest of the castle, with the sacred tree being the great tree that stands there. Tri realizes Null waited until Zelda earned the right to seek the Prime Energy, then made an echo of her. The King adds that Link may be found in the Eternal Forest and asks Zelda, as the priestess of wisdom, to go. A Rift in the Faron Wetlands completes and The Prime Energy and Null begins.
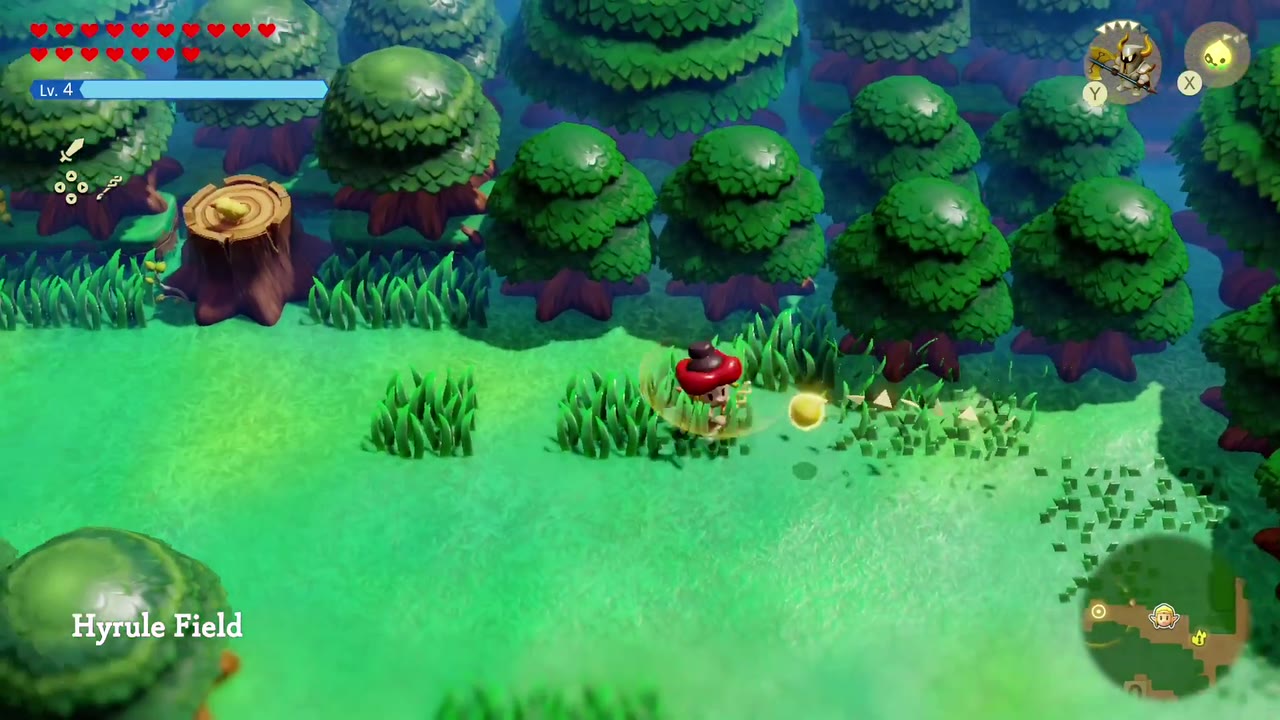
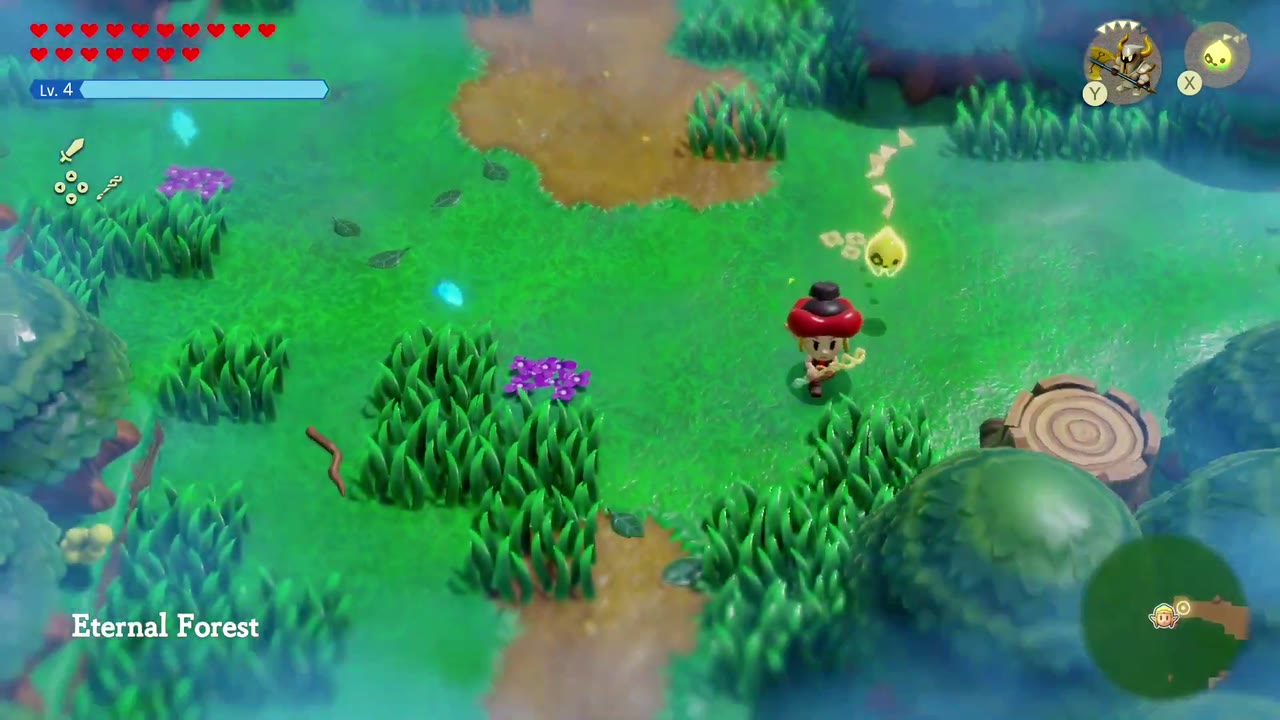
The forest sits northwest of Hyrule Castle Town, east of Kakariko Village, and the quest marker points straight at it. There’s a Waypoint in Hyrule Field right at the forest’s eastern edge; warp there if you have it, then walk west into the trees until the Eternal Forest title appears and the fog closes in.
Into the Fog
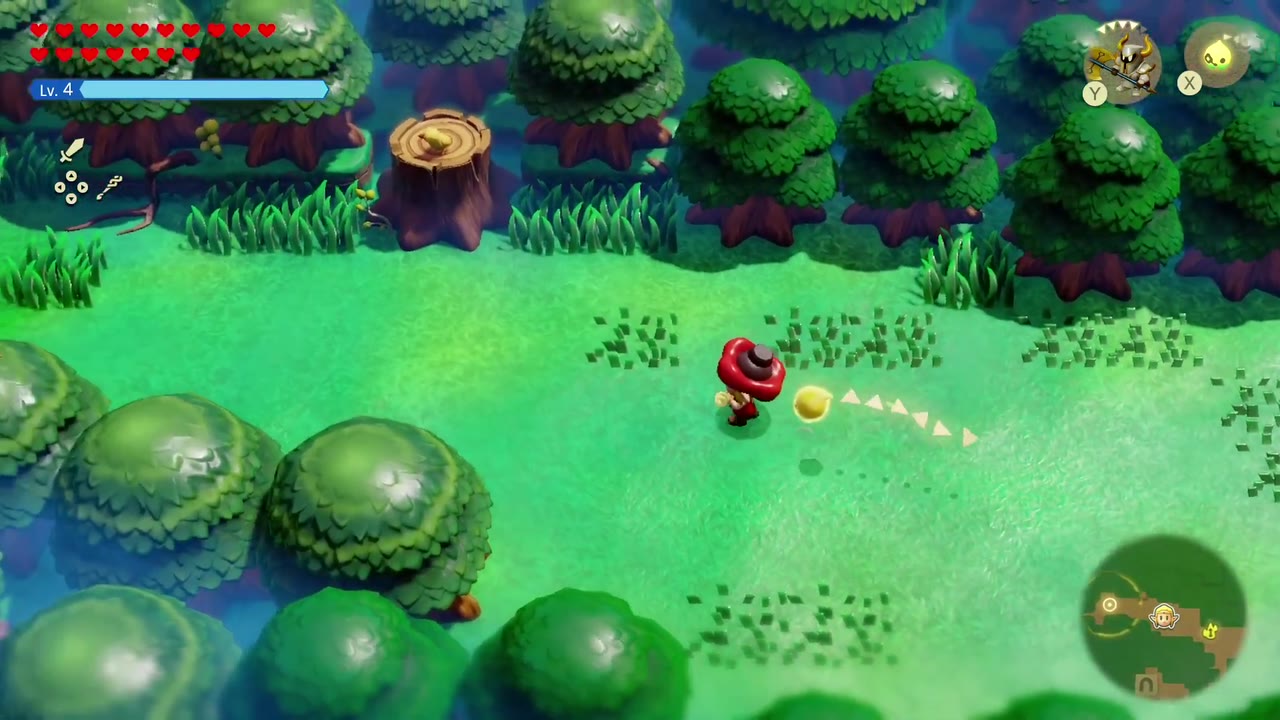
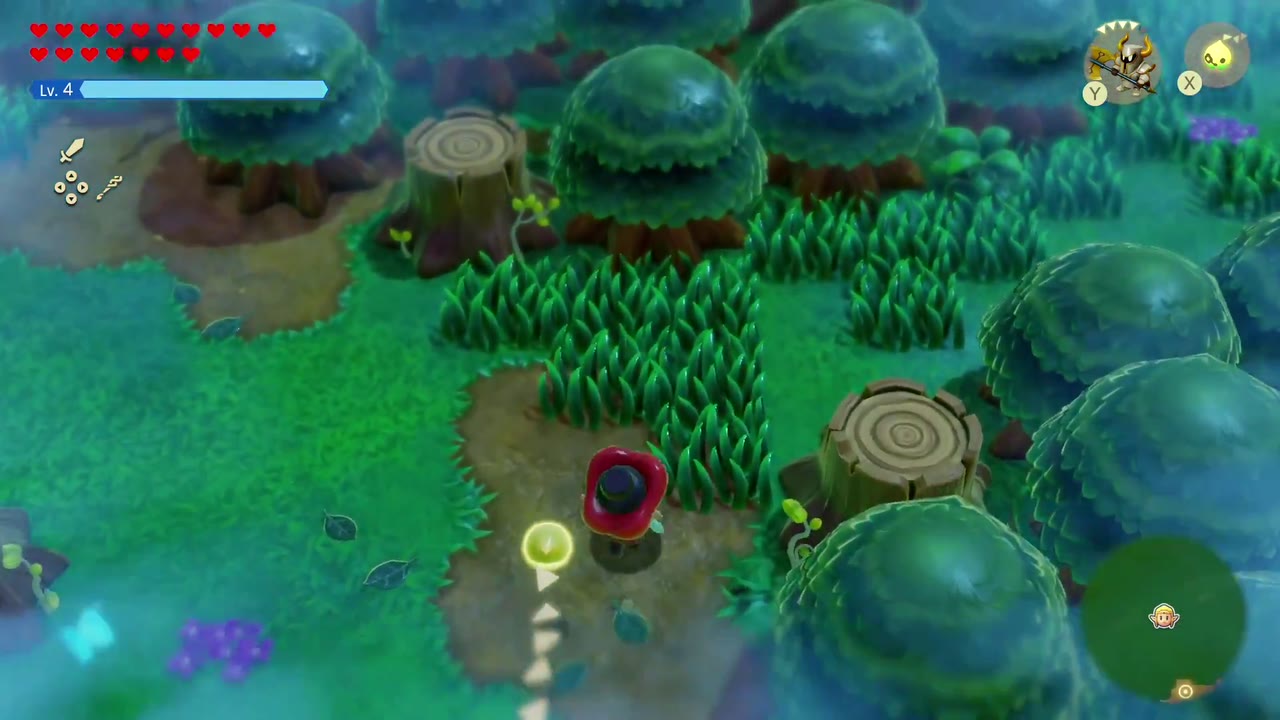
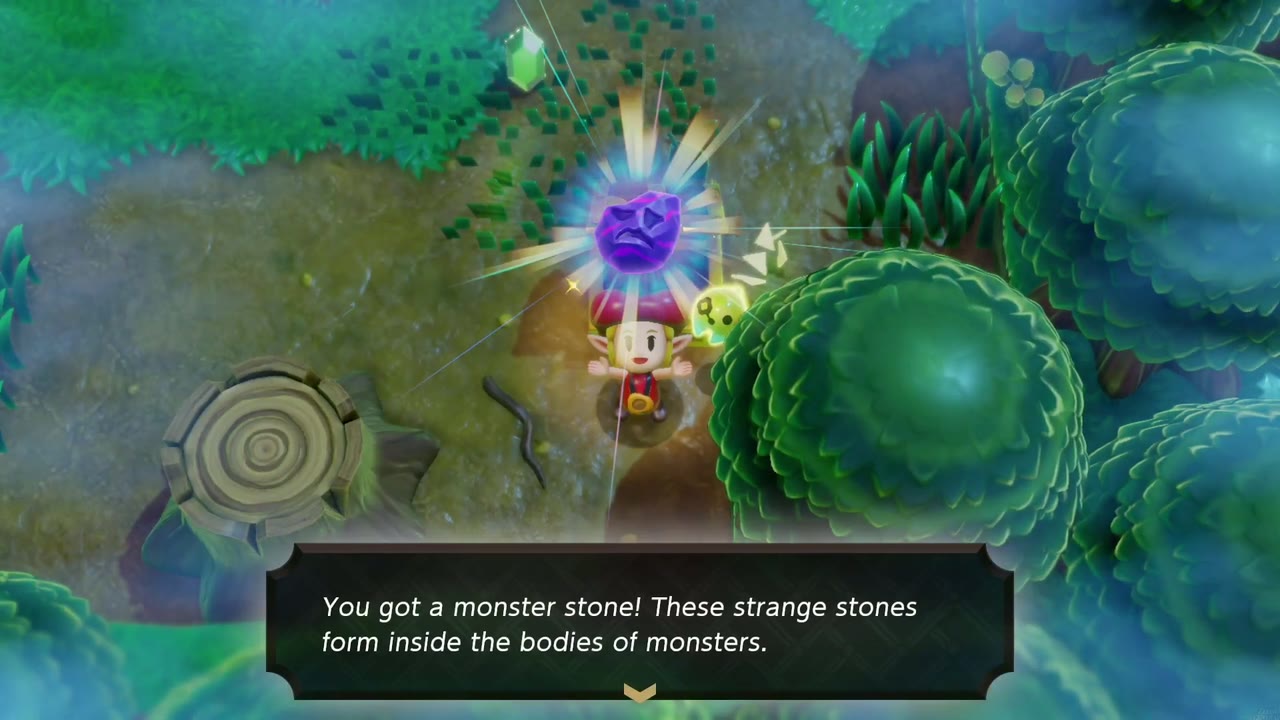
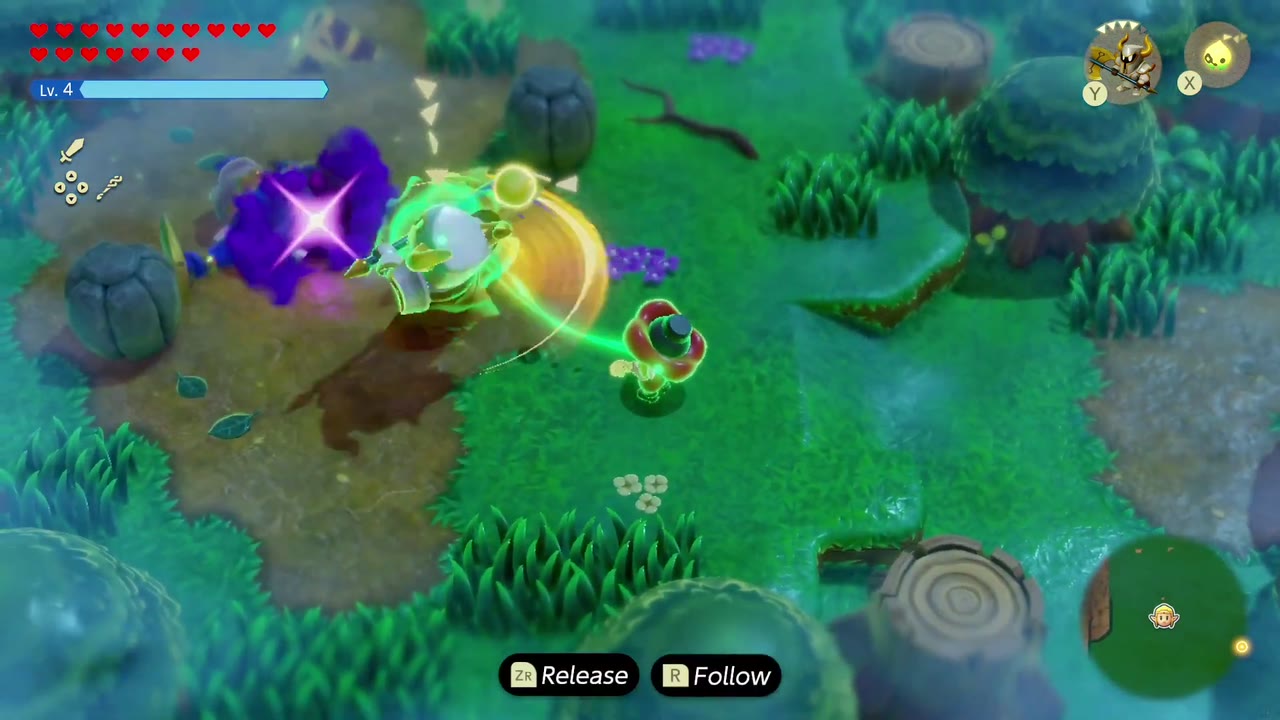
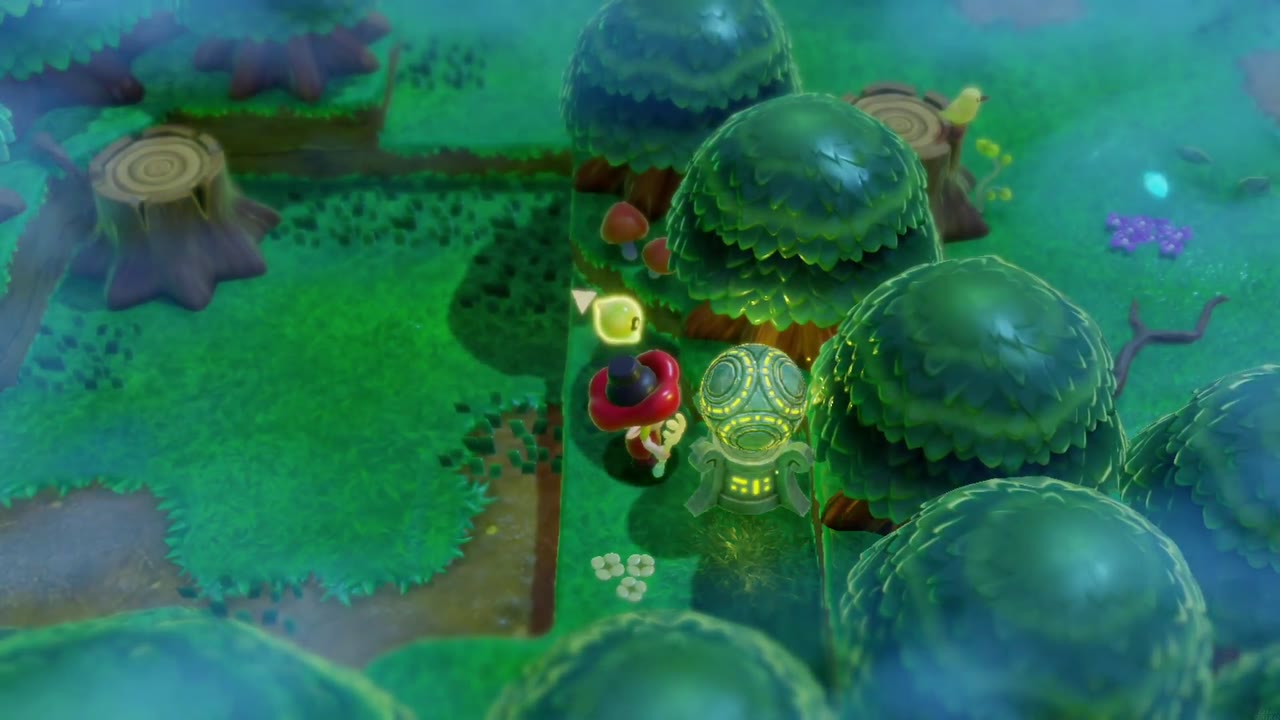
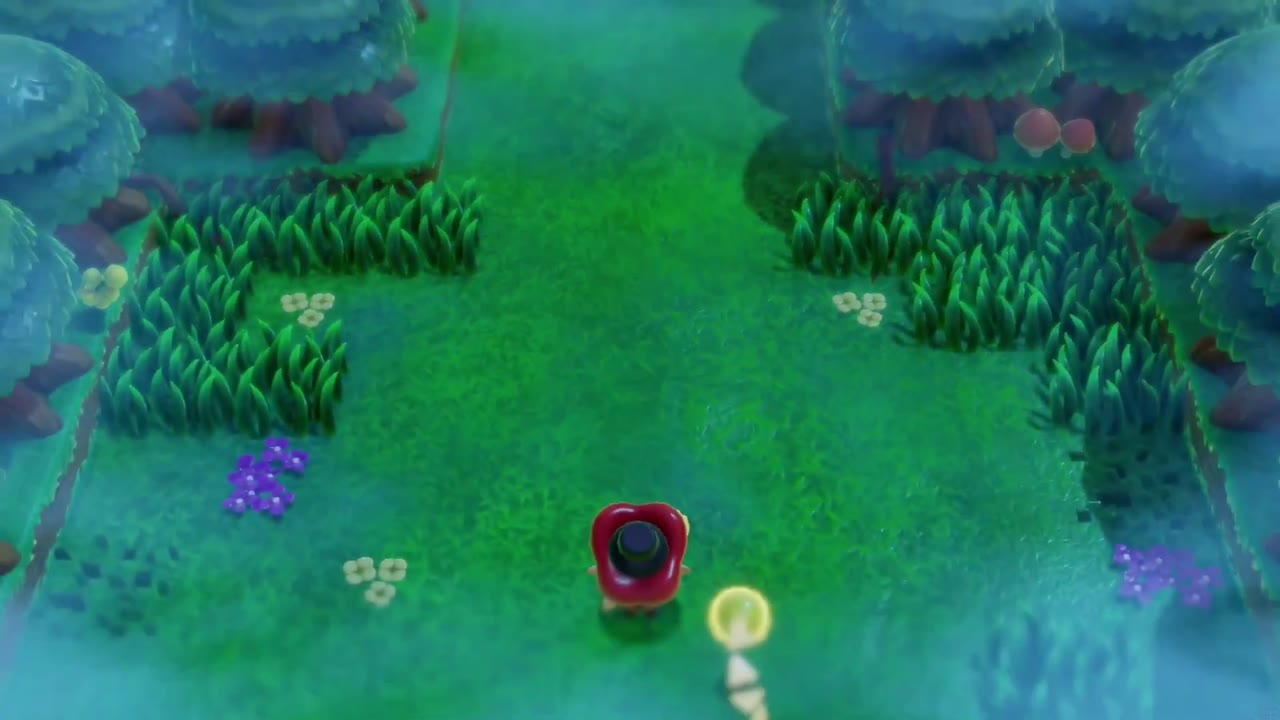
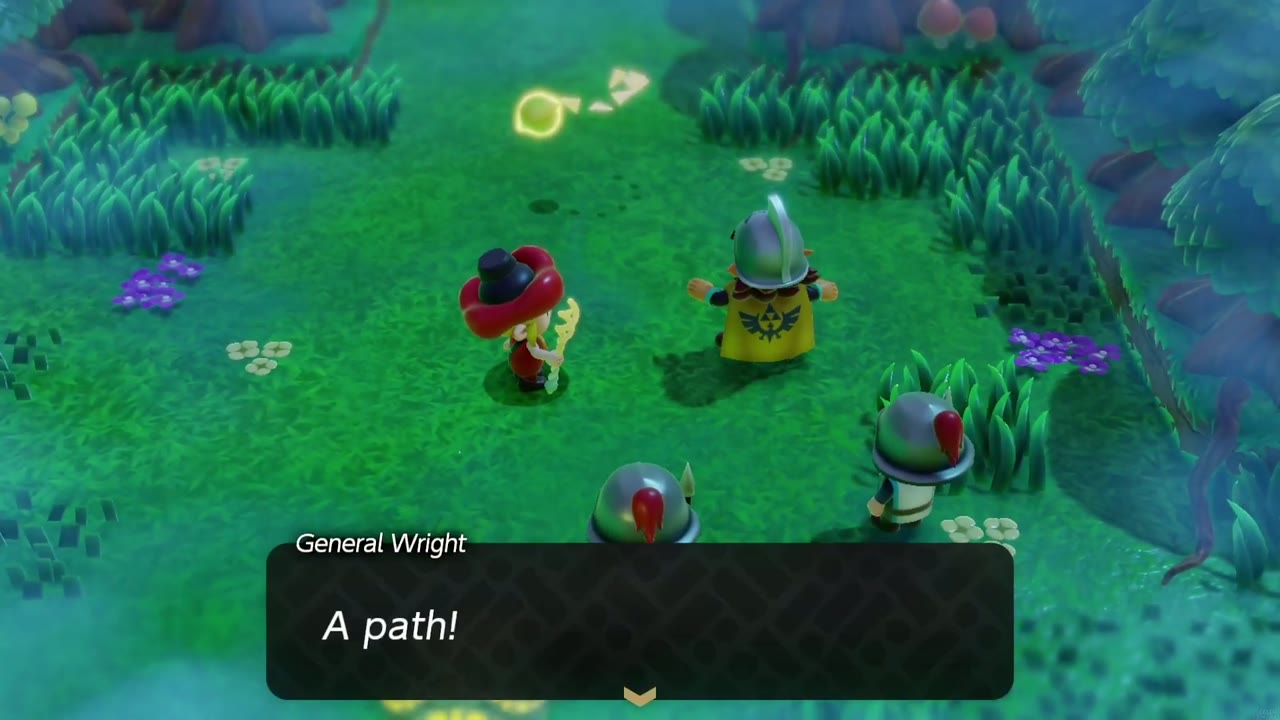
Inside, the forest fills with fog and the paths twist between walls of round trees in classic Lost Woods fashion. There’s no trick to the maze here: just keep exploring the winding trails. Darknuts and other armored enemies patrol the clearings, so summon a strong echo (a Darknut works well) to fight for you, and open the chests along the way; two of them hold a Monster Stone. Eventually you’ll come out into a clearing with a small stone tablet, where General Wright and a few of his soldiers are recovering from a run-in with the fake princess. Wright admits he “couldn’t tell the difference” and remembers she was last seen examining the stone monument.


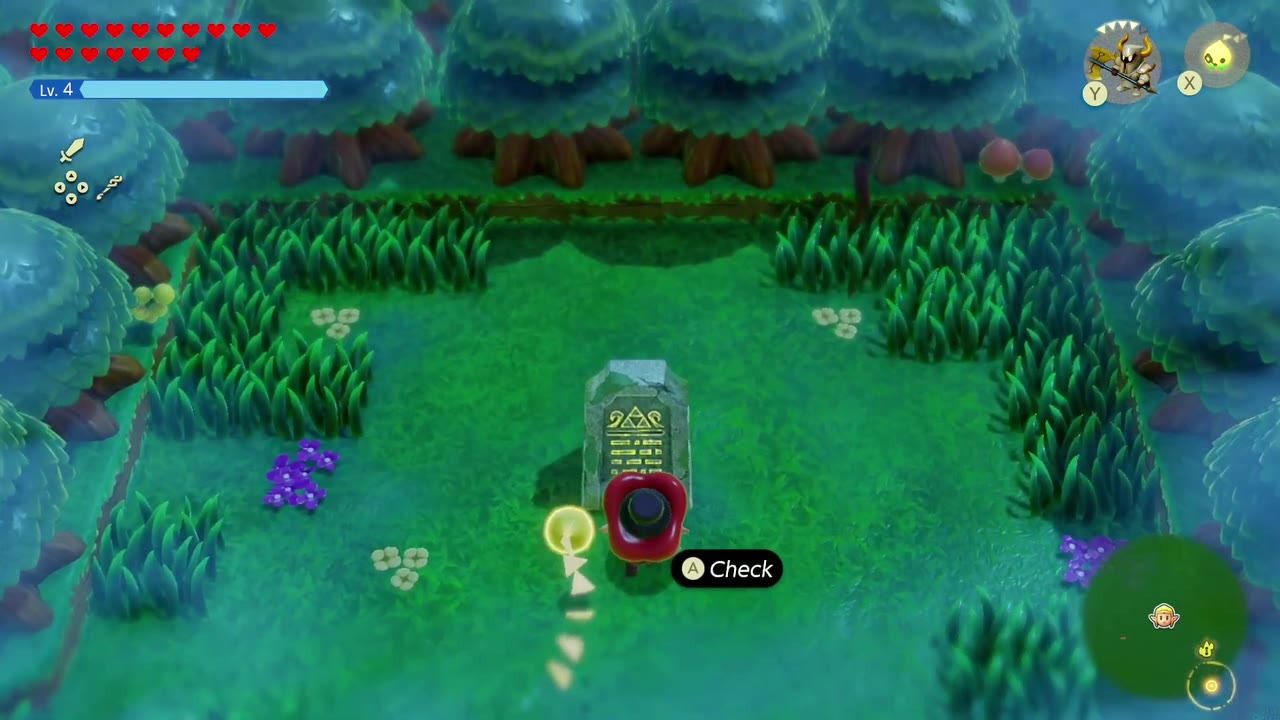
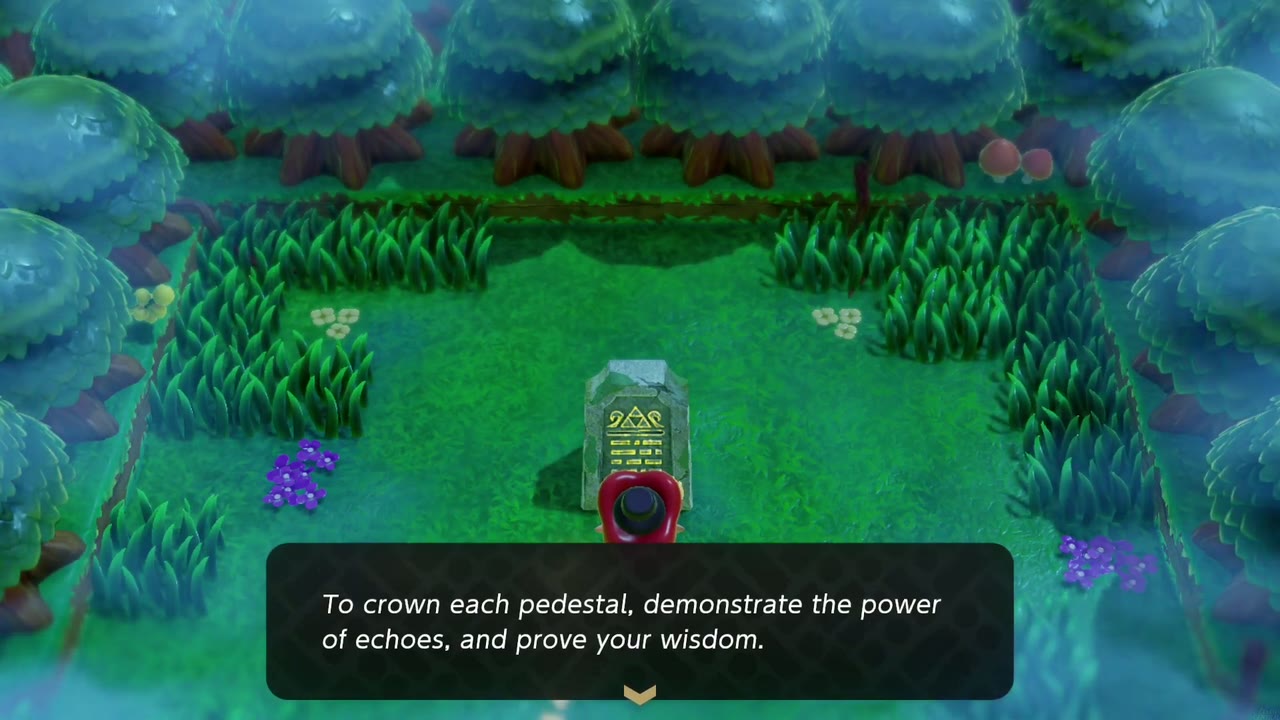
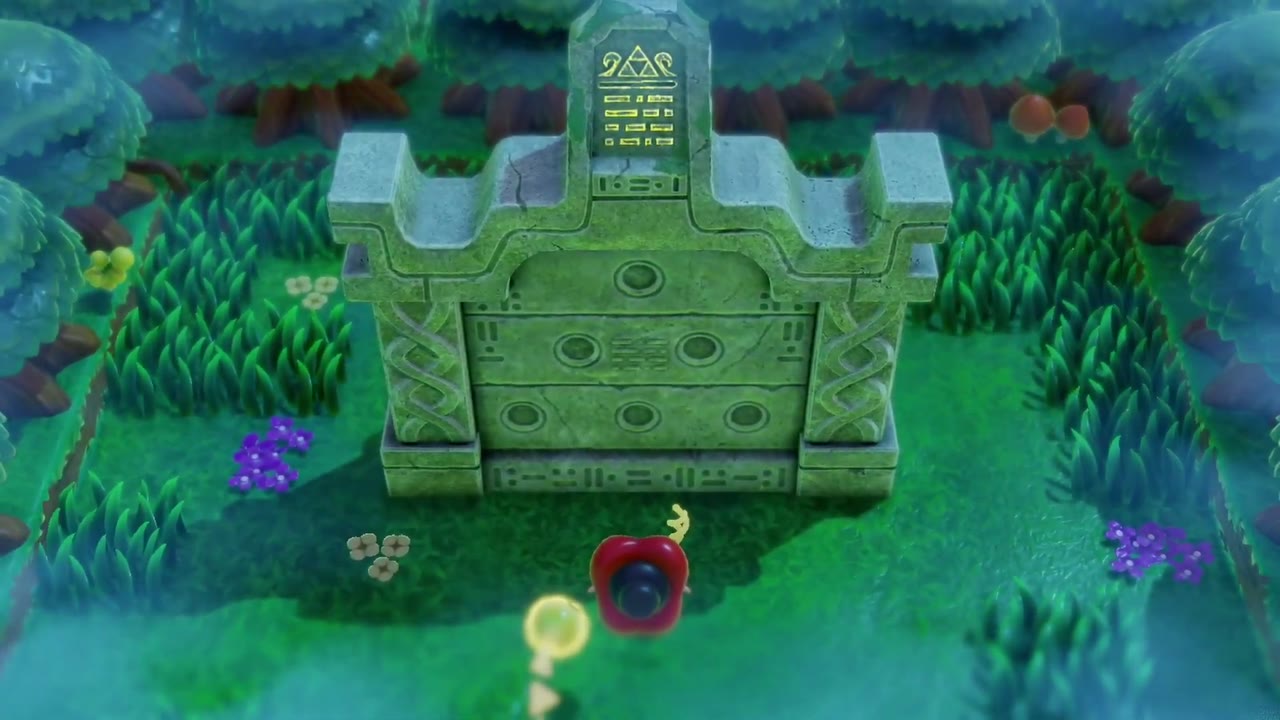
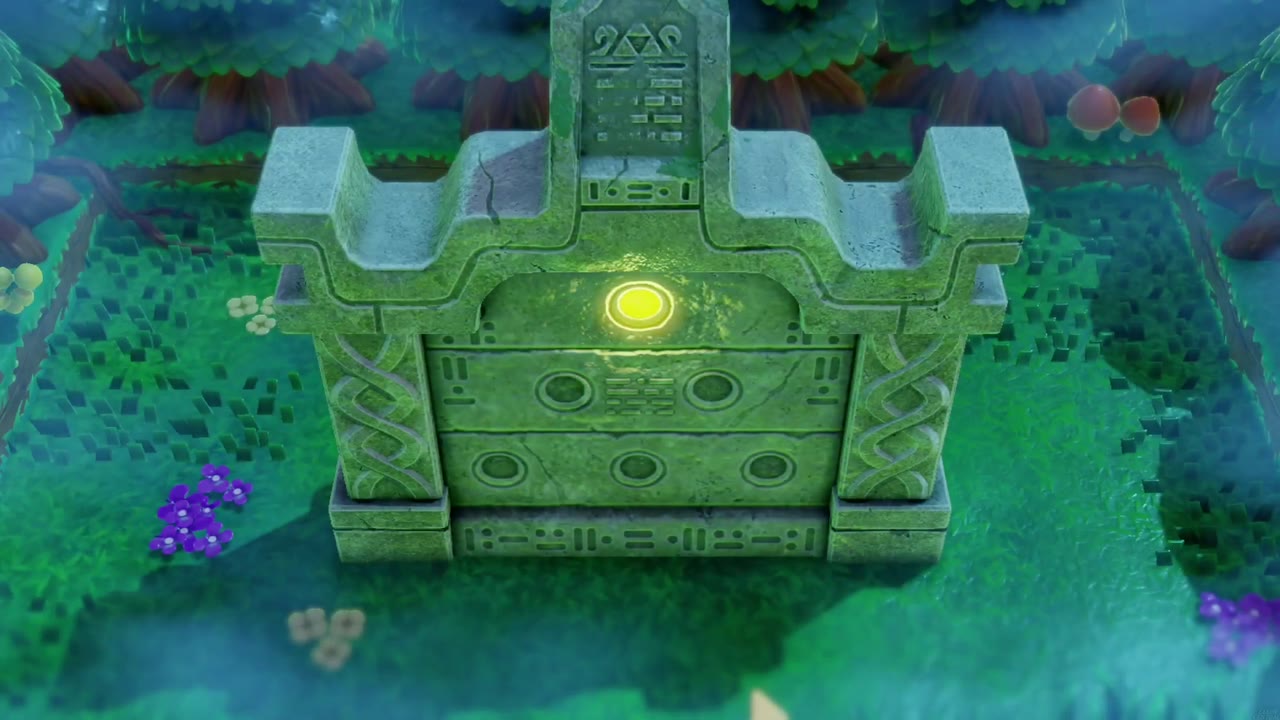
After the cutscene, examine the small stone tablet. It reads: “The path will open when the six pedestals are crowned. To crown each pedestal, demonstrate the power of echoes, and prove your wisdom.” Once you’ve read it, a much larger stone monument rises out of the ground behind it in a cloud of dust.

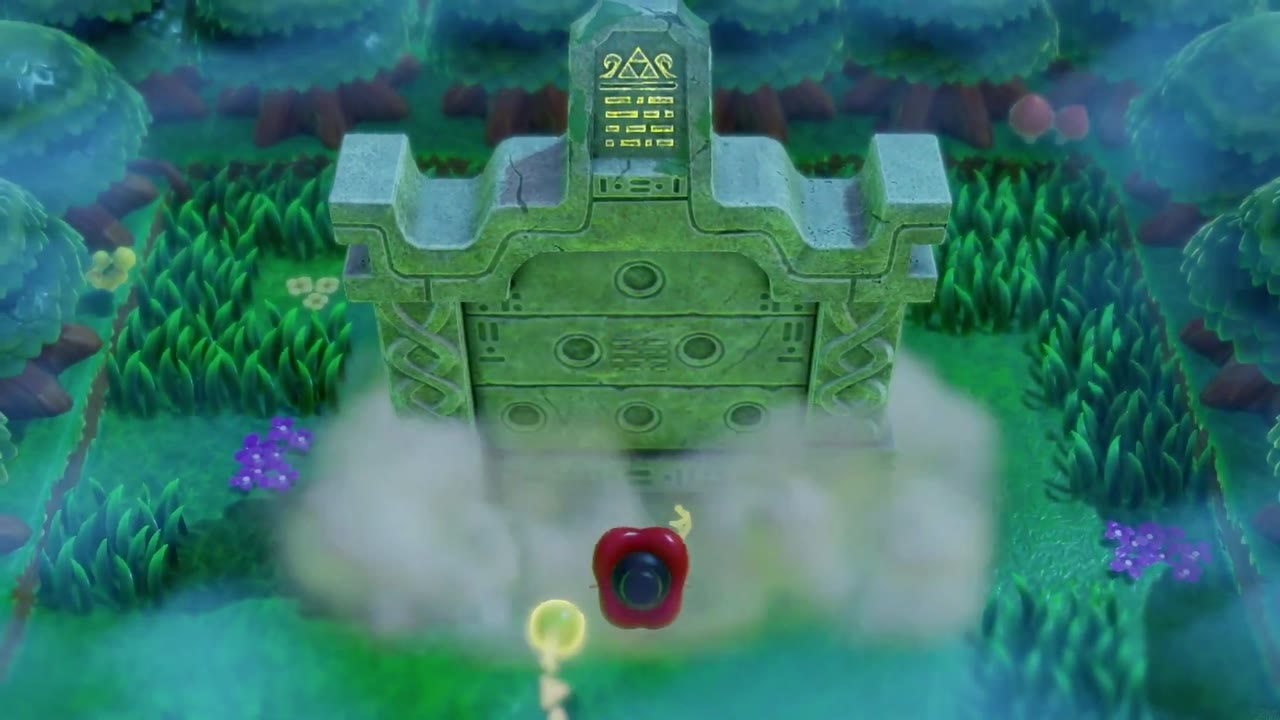
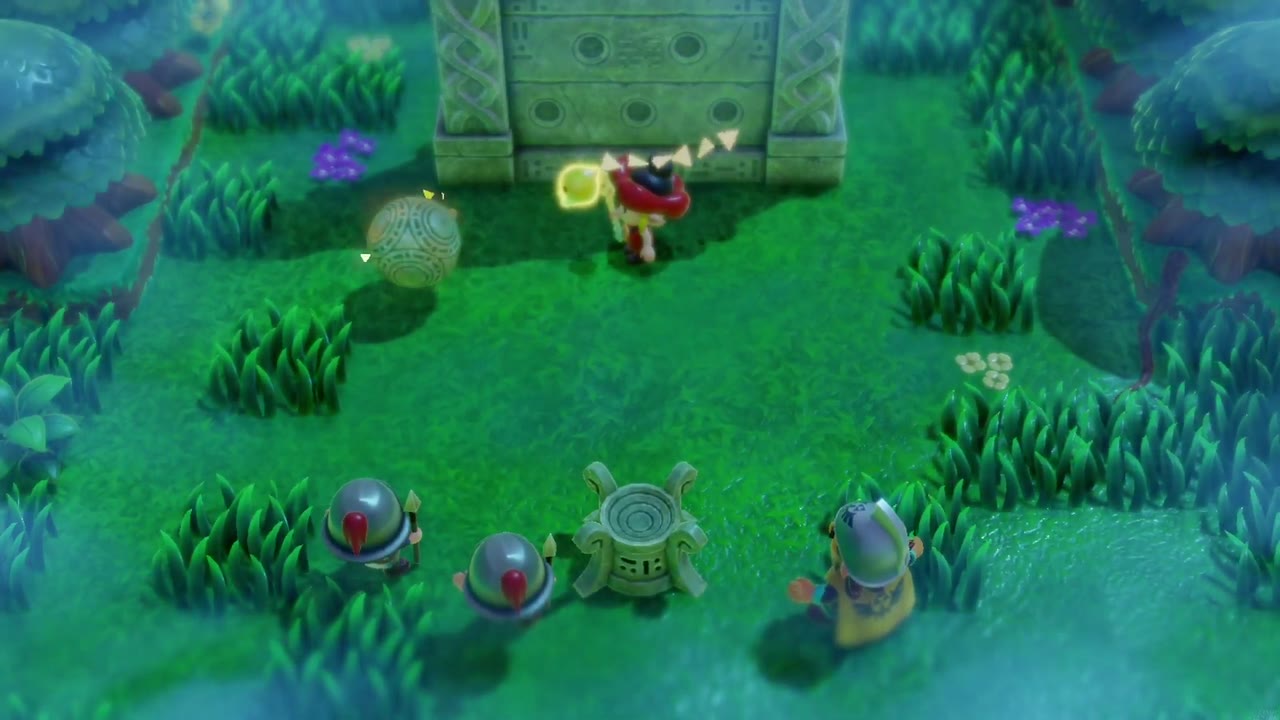
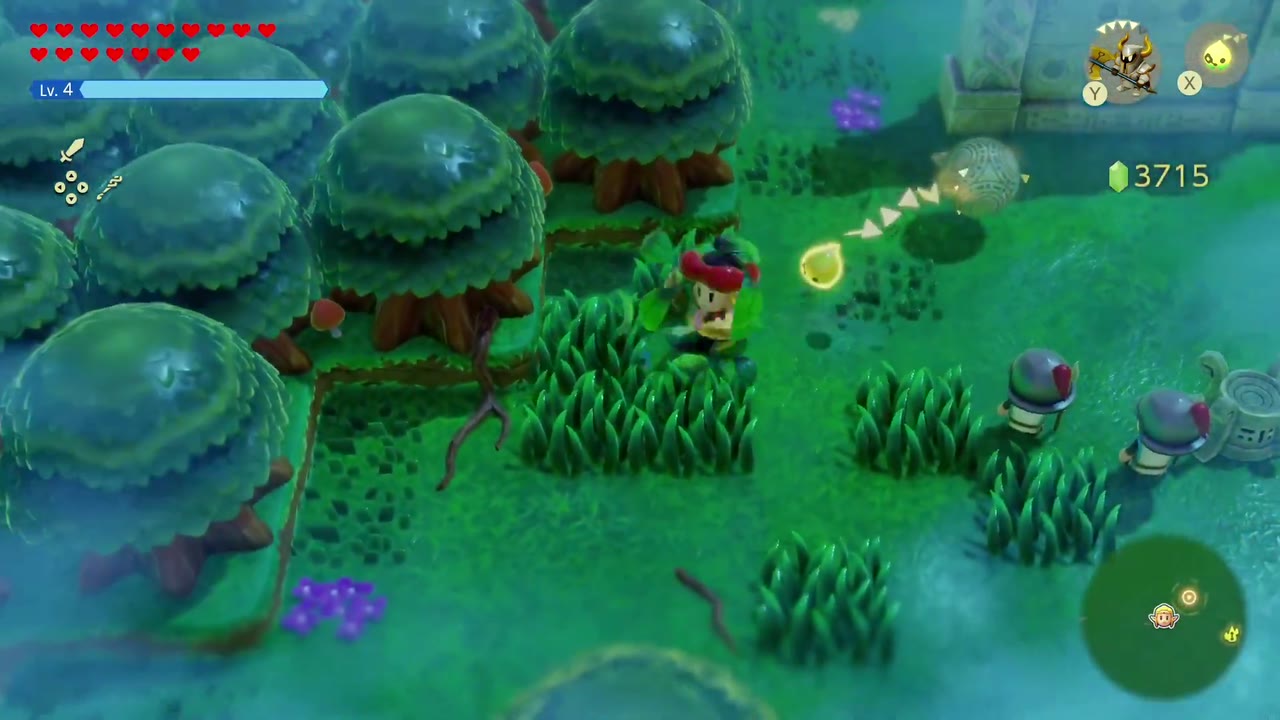
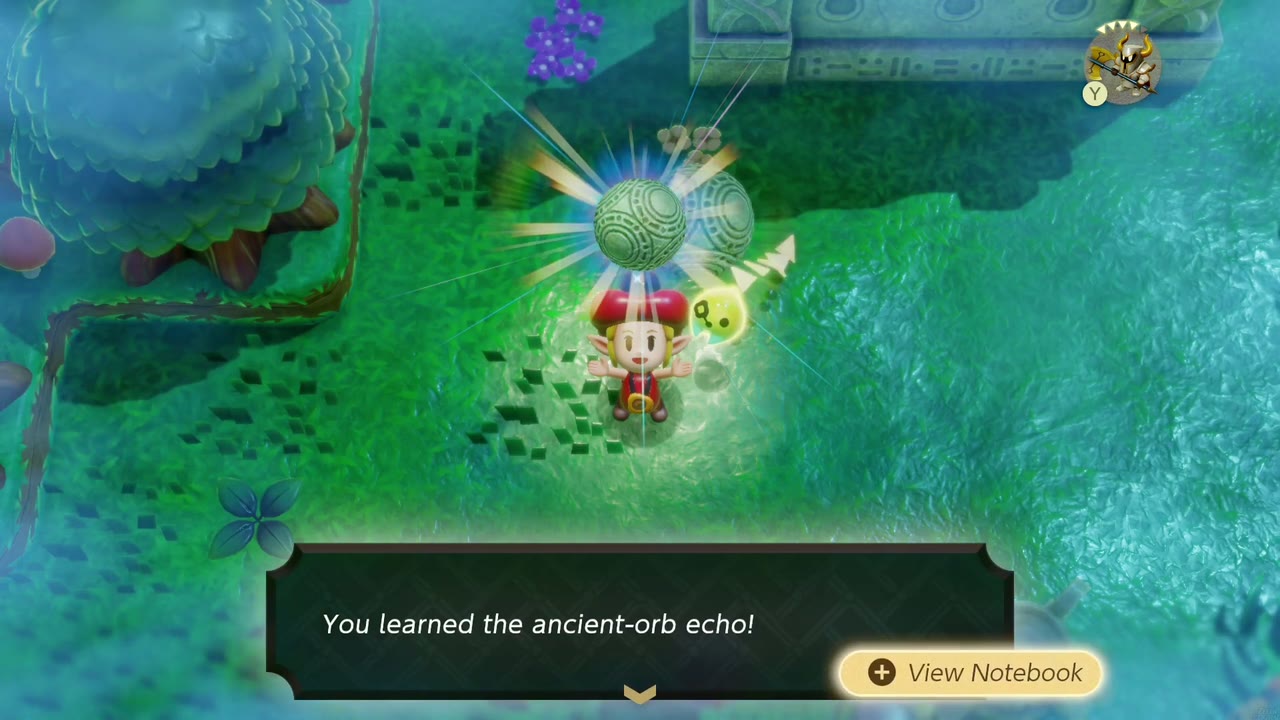
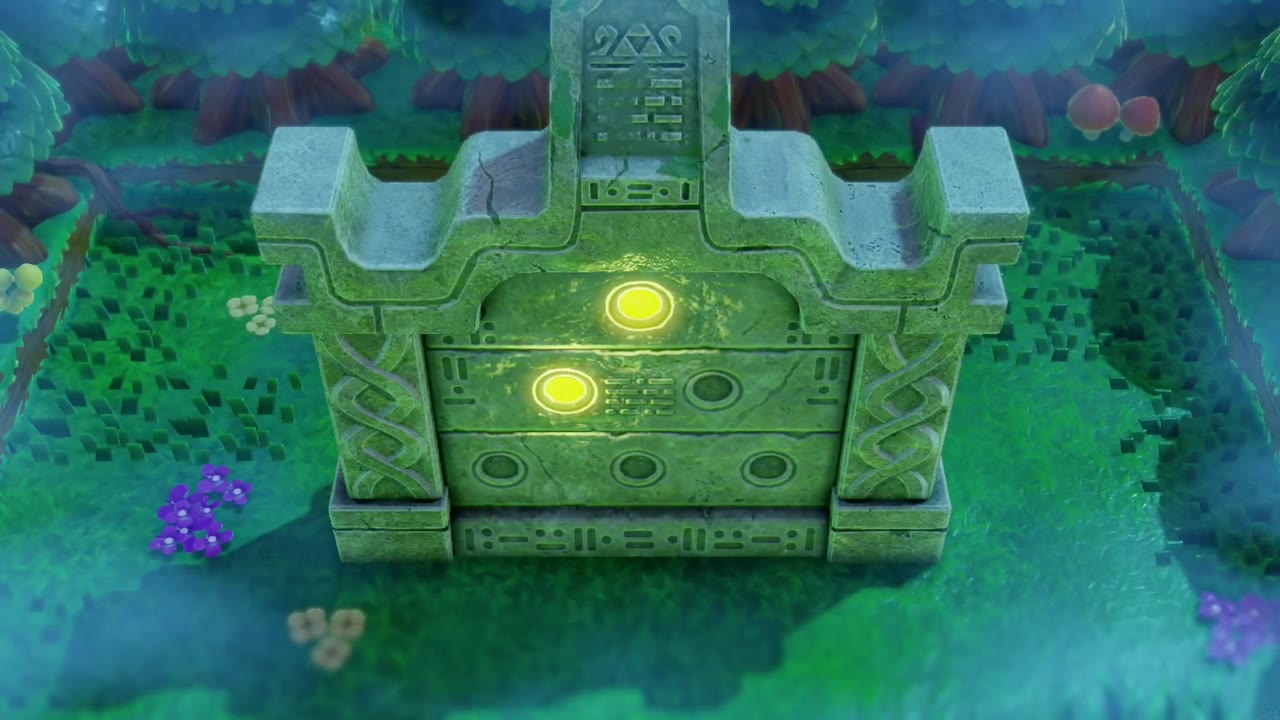
The monument’s face is carved with six round sockets laid out in a triangle (one at the top, two in the middle, three along the bottom), and that triangle is your map of the six pedestals in the forest. An Ancient Orb pops into view beside the monument and drifts off through the clearing; follow it and catch up to learn the ancient-orb echo. In plain terms: find the six pedestals and put an Ancient Orb on each one.
The Six Pedestals
1. The first one is right in front of the monument. The Ancient Orb you learned the echo from is still floating there: grab it with Bind, steer it onto the pedestal just below the monument, and the top circle lights up. For every other pedestal, summon an Ancient Orb echo onto it instead; Tri flies ahead and points the way through the fog.
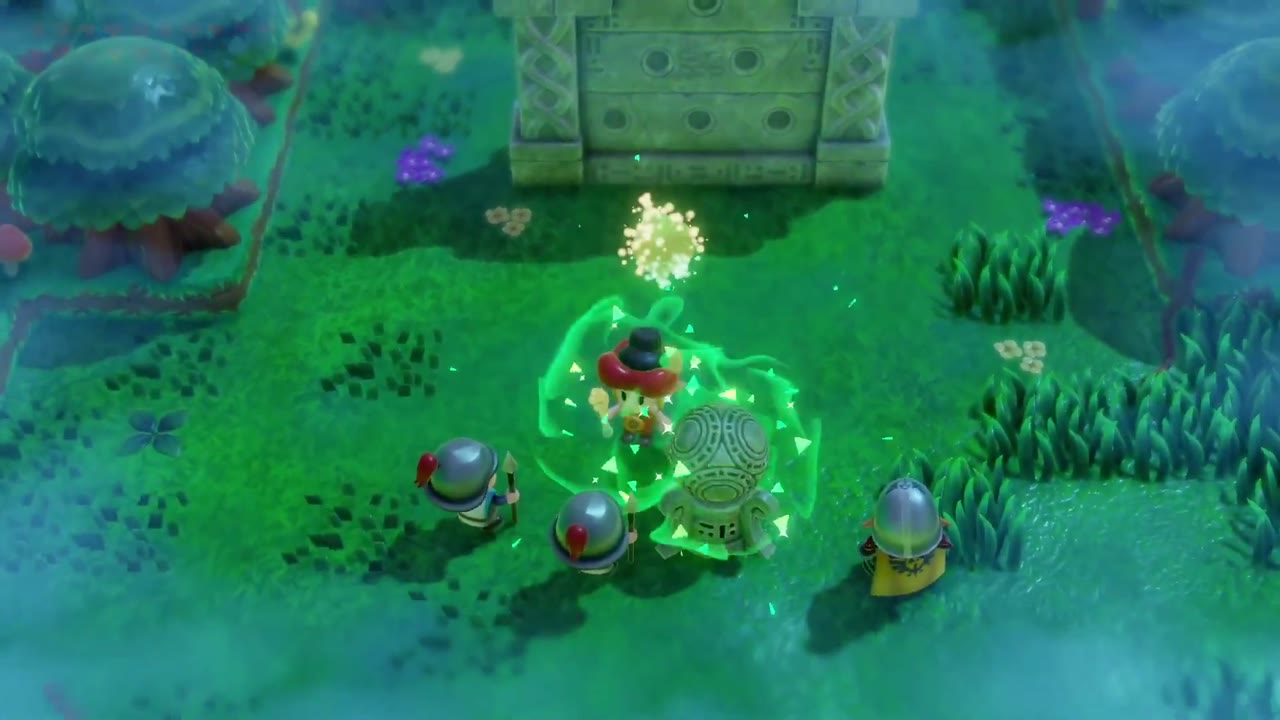
2. The middle-left circle: follow Tri through the fog to a pedestal hidden in a pocket between the round trees, and summon an Ancient Orb onto it.
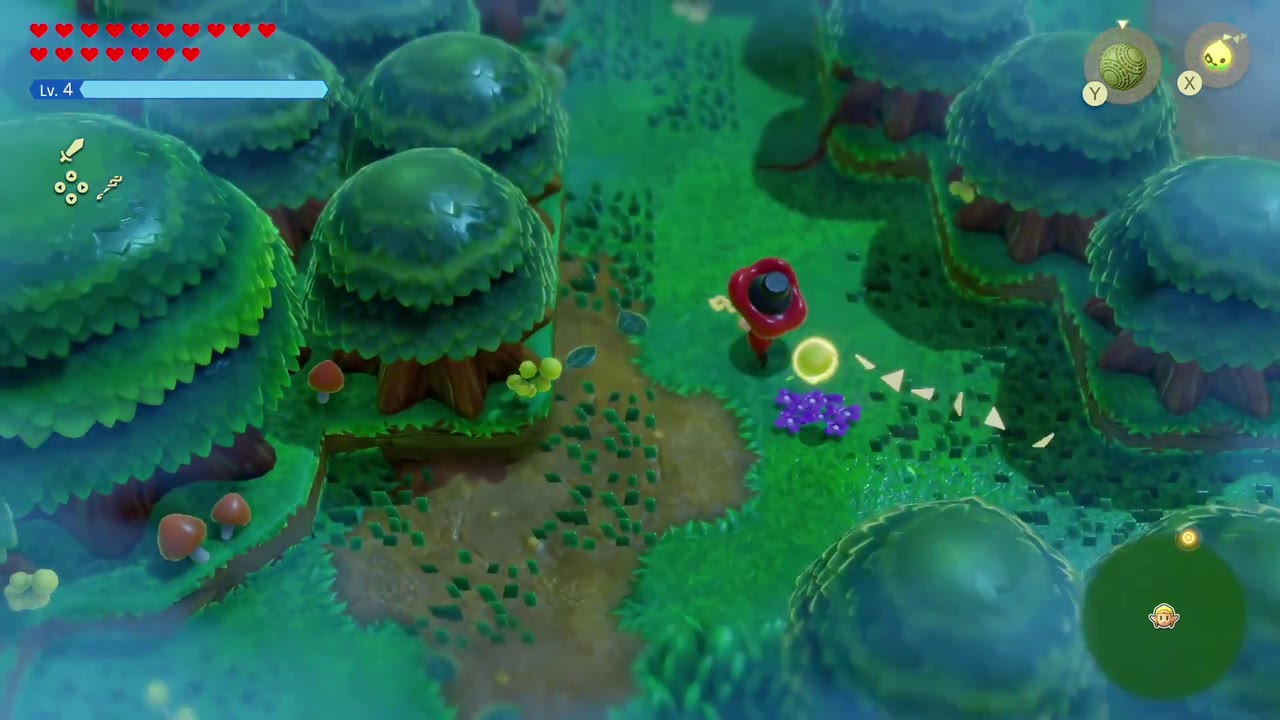
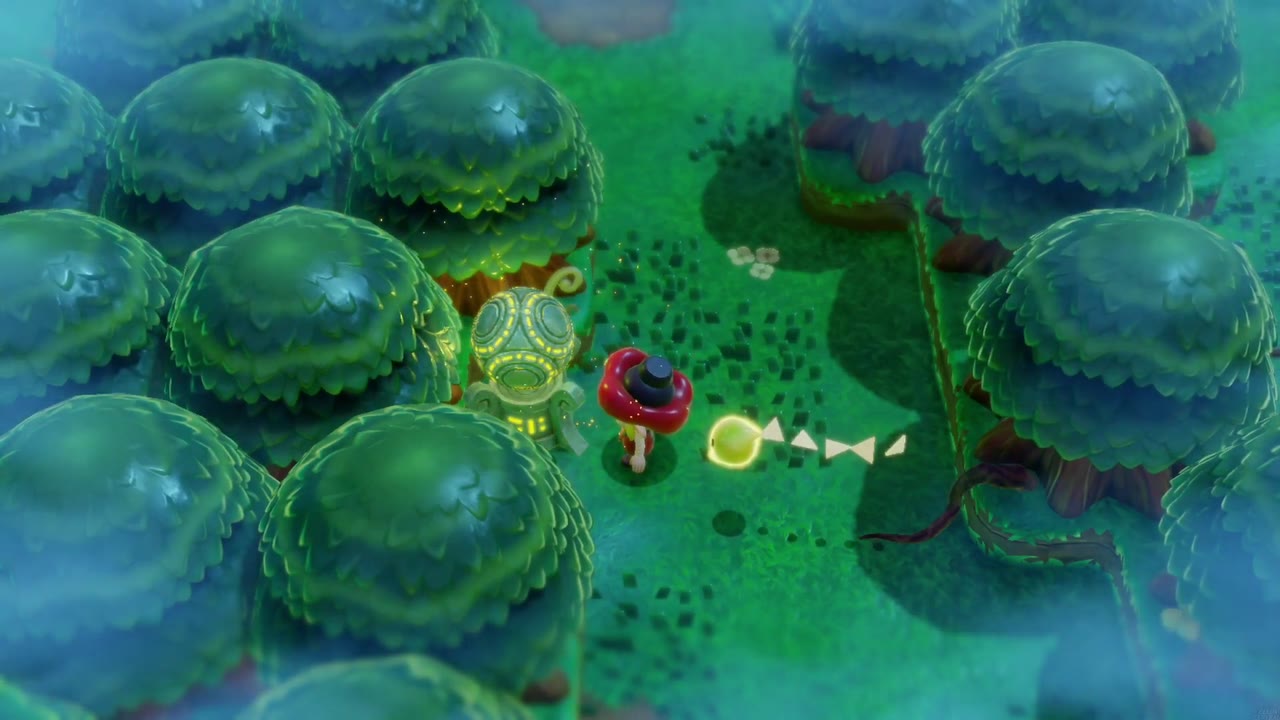
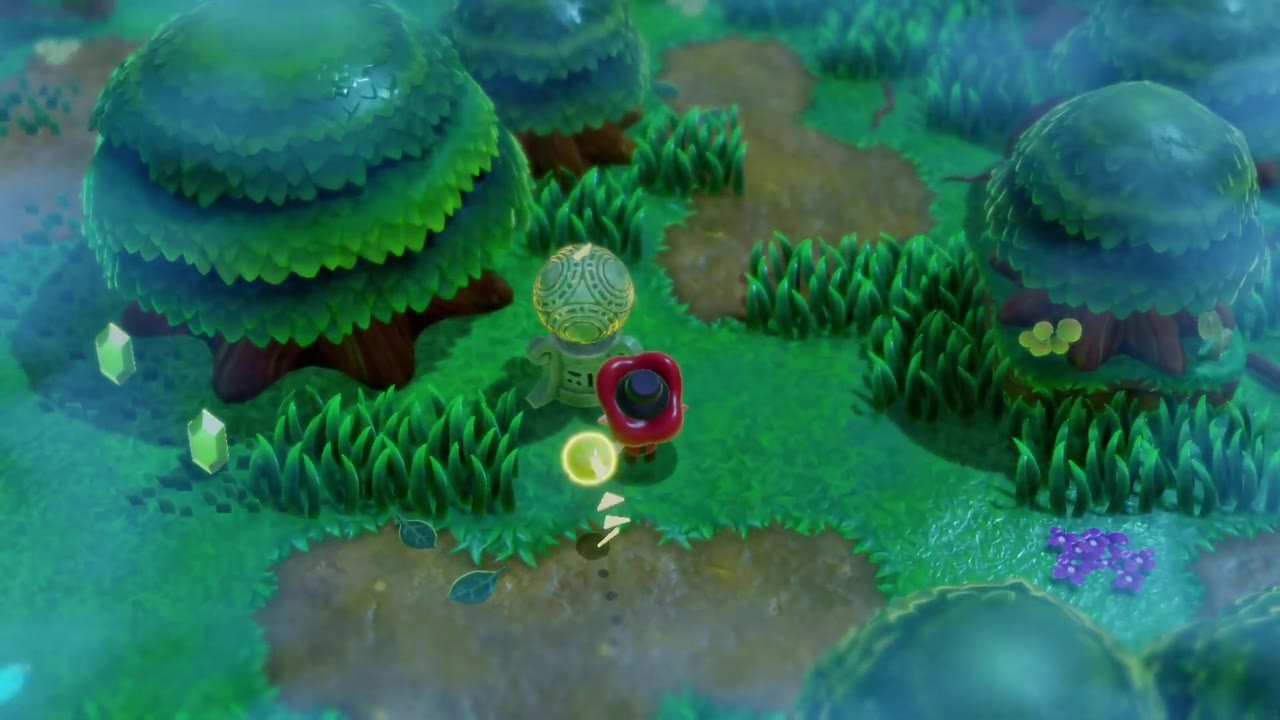
3. The bottom-middle circle: a pedestal at the foot of a large tree, with a couple of green rupees lying in the grass beside it. Drop an orb on it.
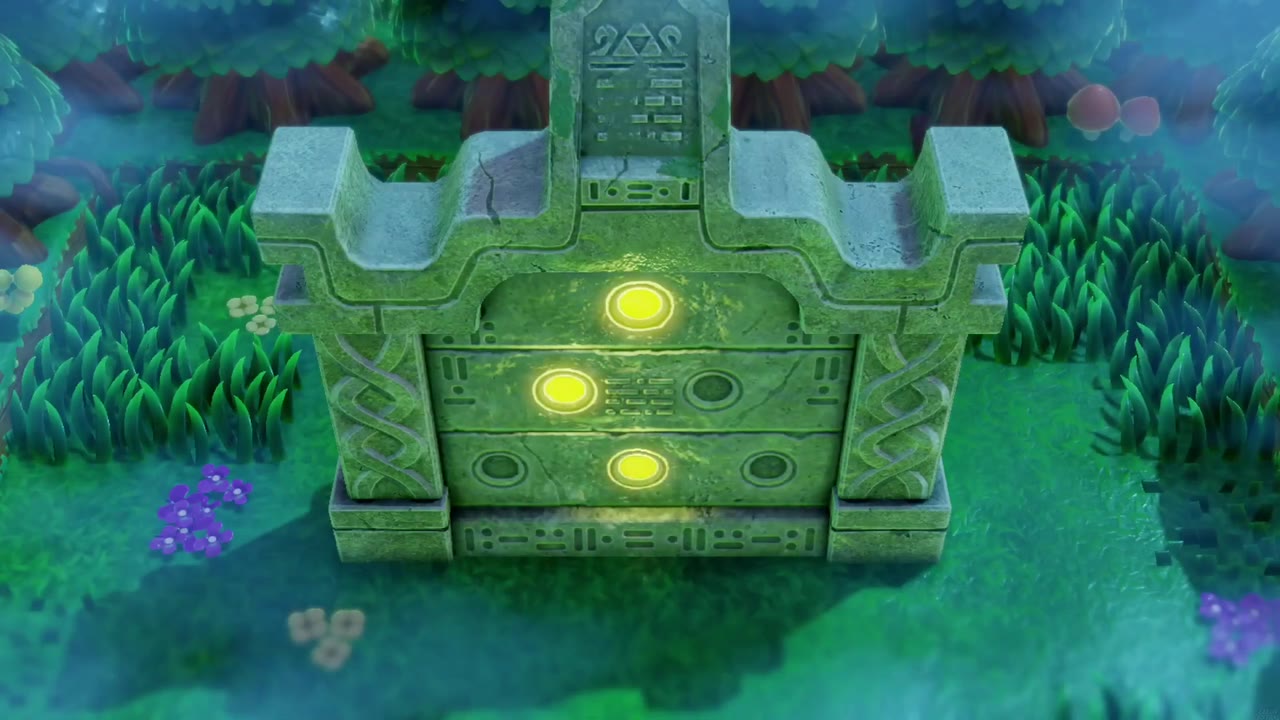
4. The bottom-right circle: deep in the thickest fog, past a treasure chest, the pedestal sits in a nook just below a row of trees.
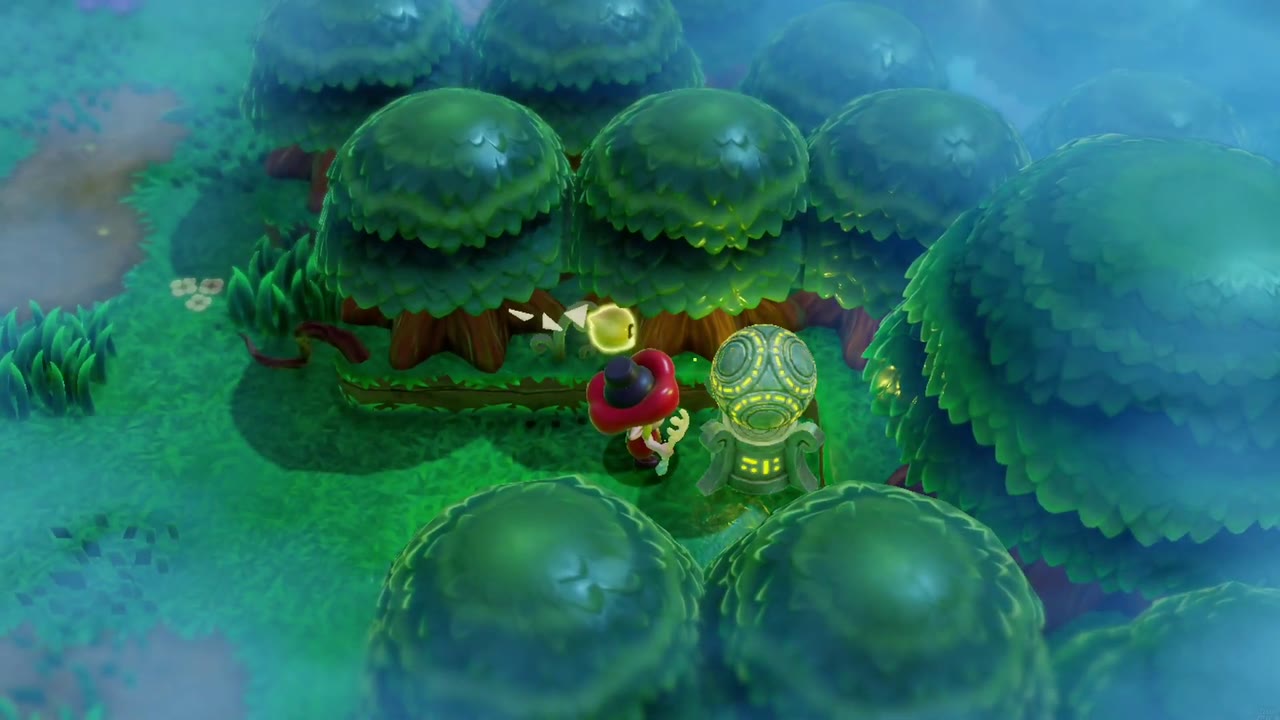
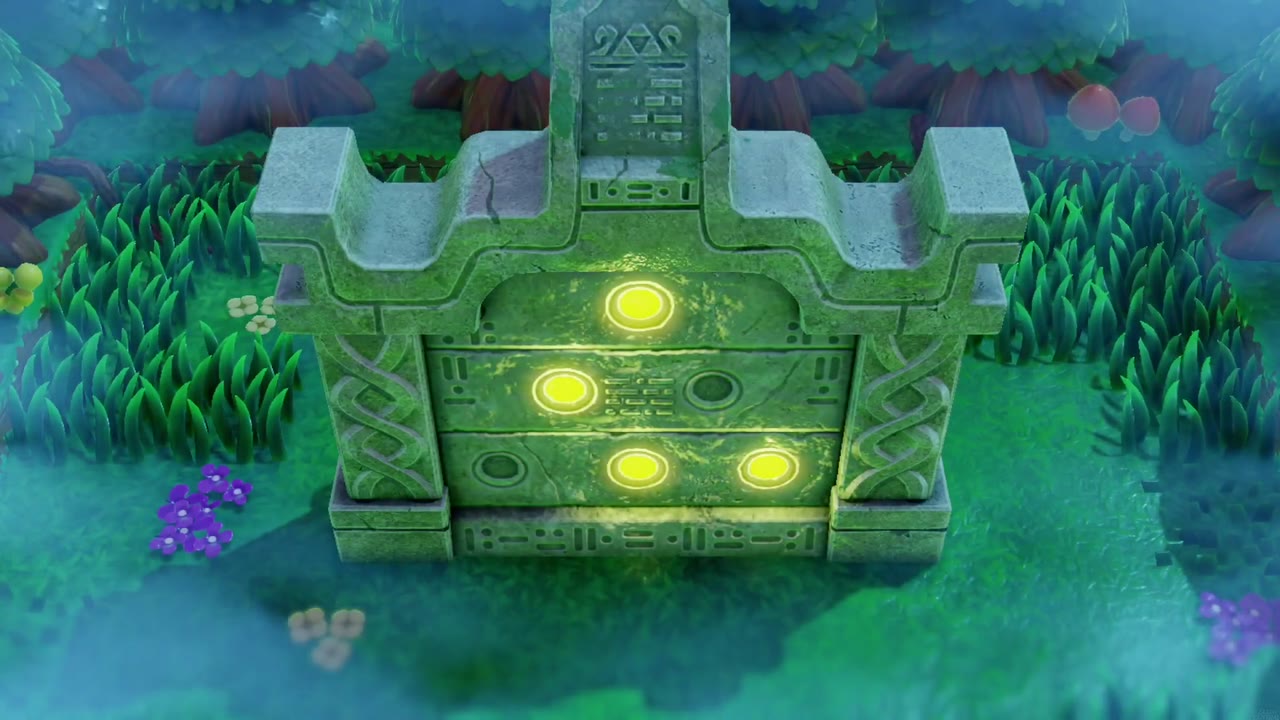
5. The bottom-left circle: another pedestal wedged into a gap between round trees. Summon the orb and five circles are lit; only the middle-right one is left.
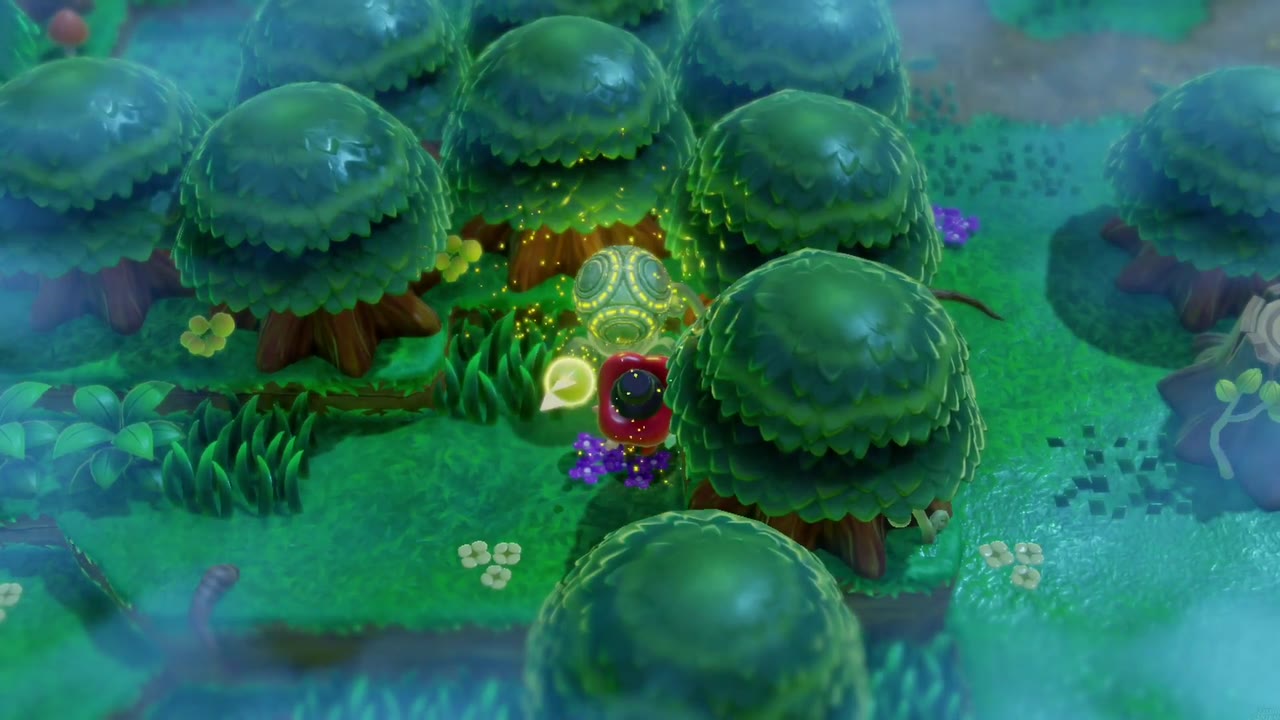
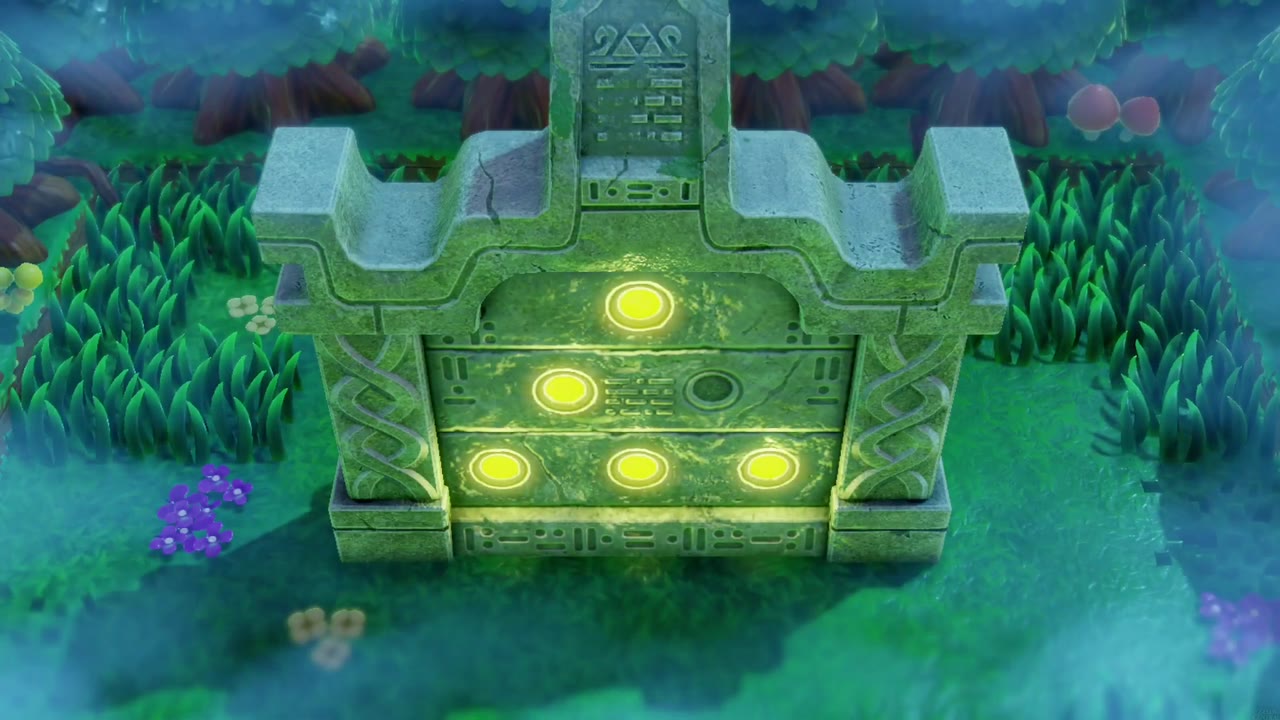
6. The middle-right circle: the last pedestal stands beside a raised grassy ledge among the trees. Crown it with an orb and all six circles on the monument glow.
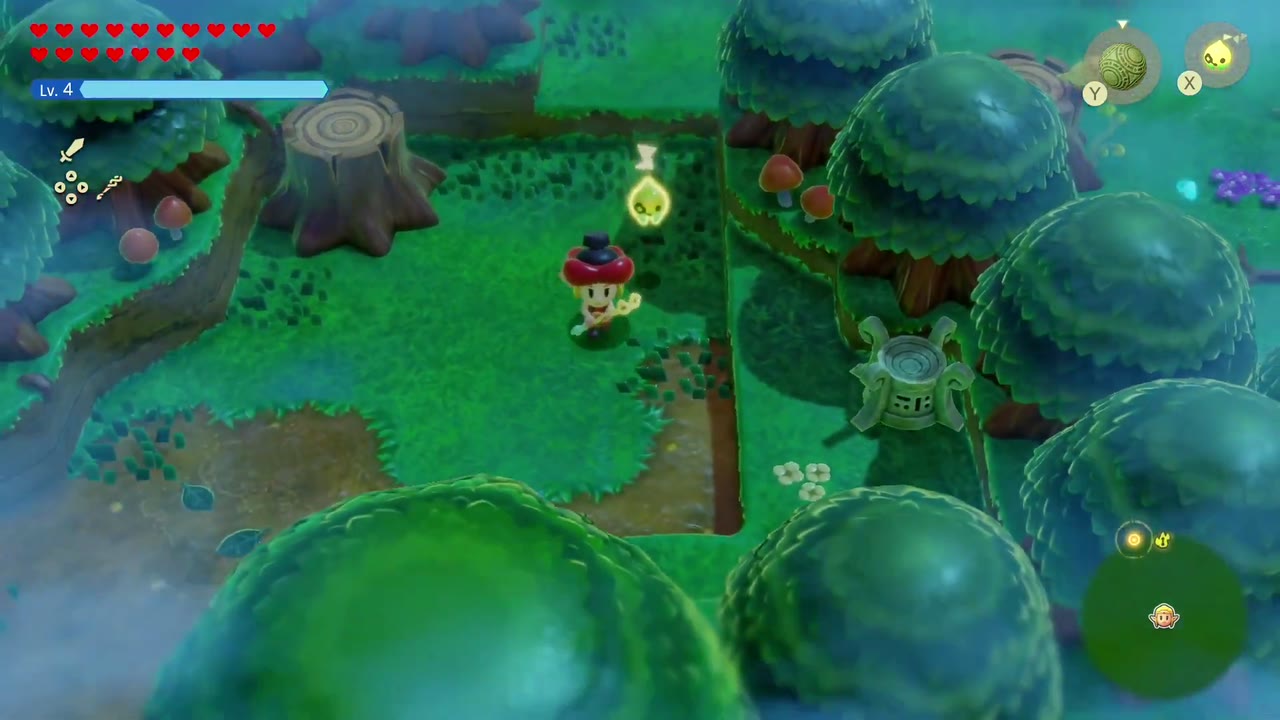
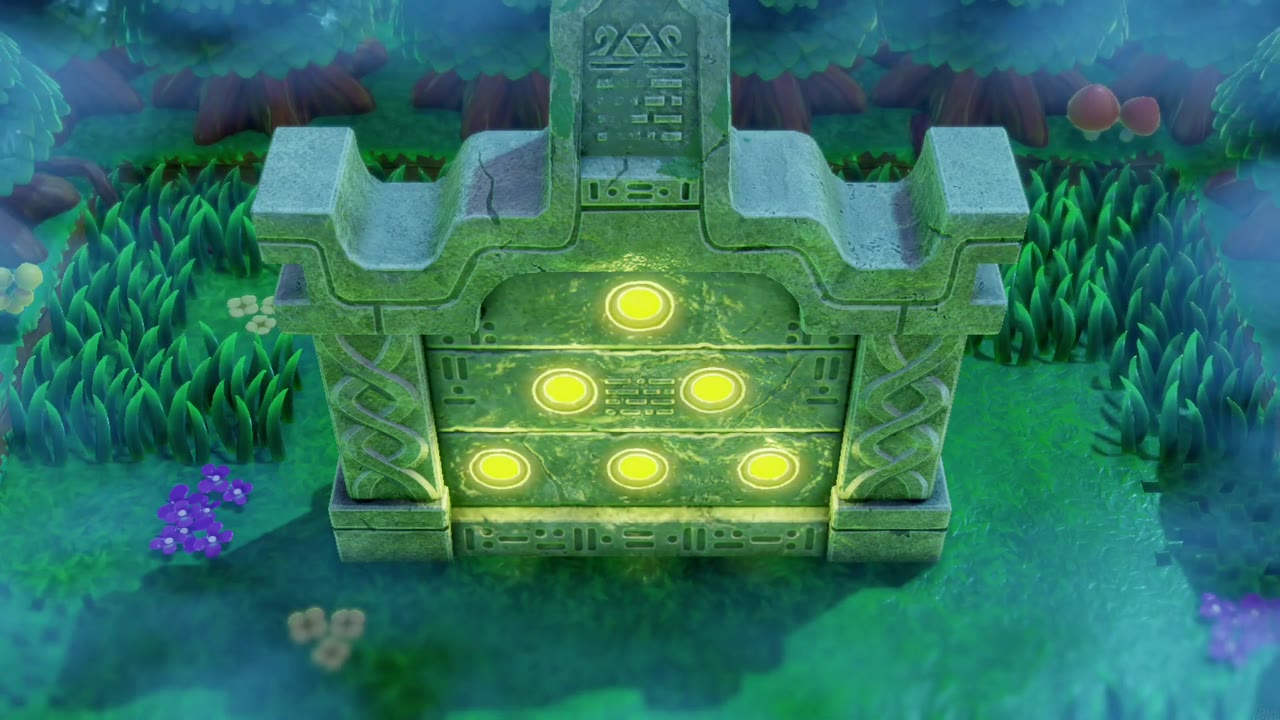
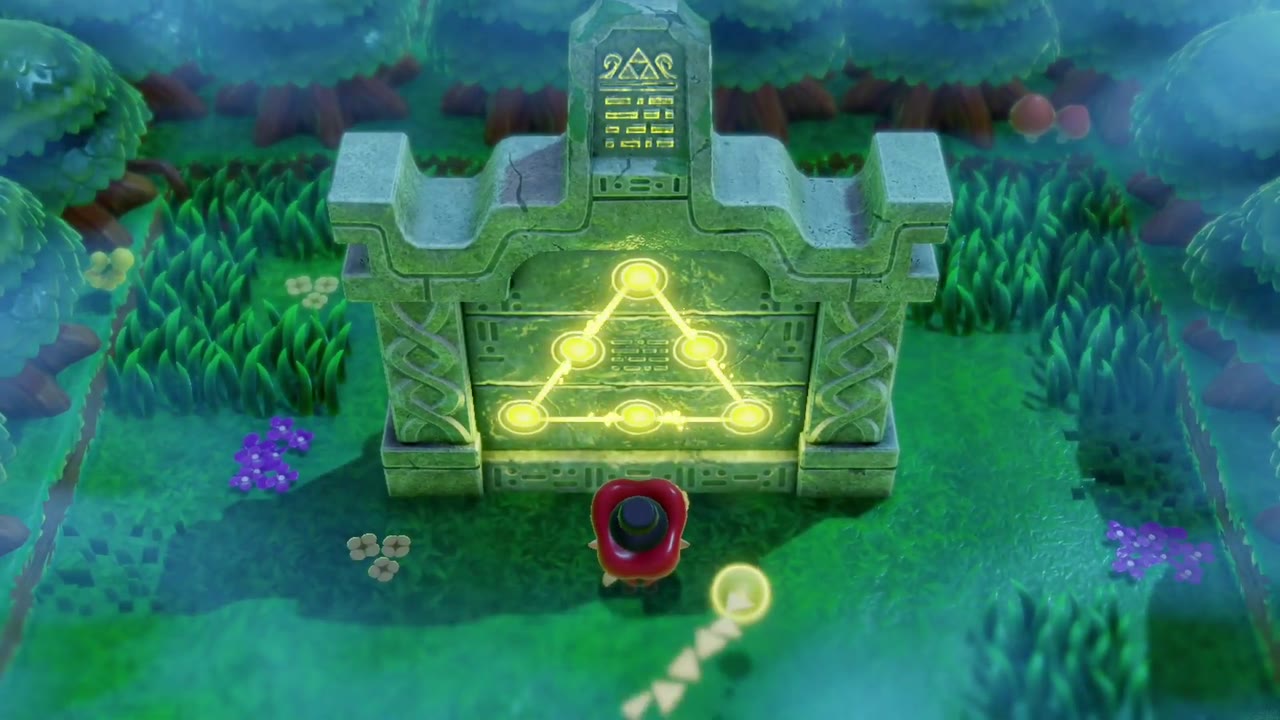
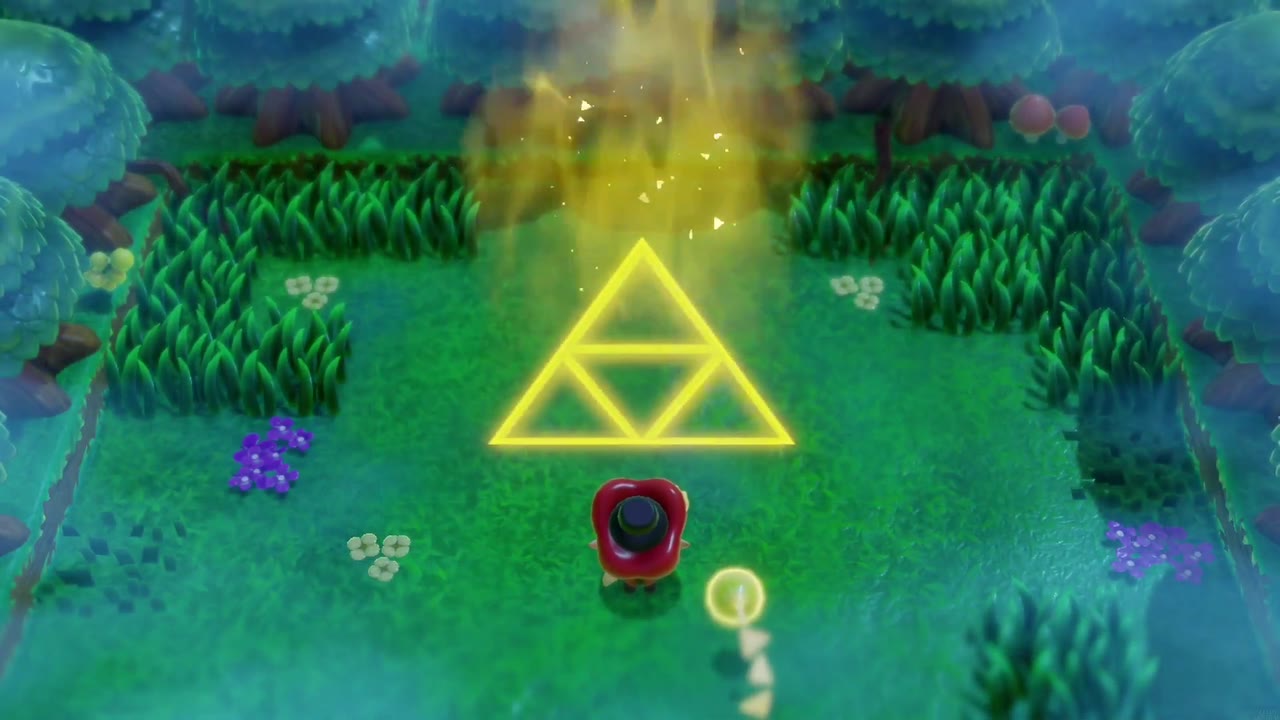
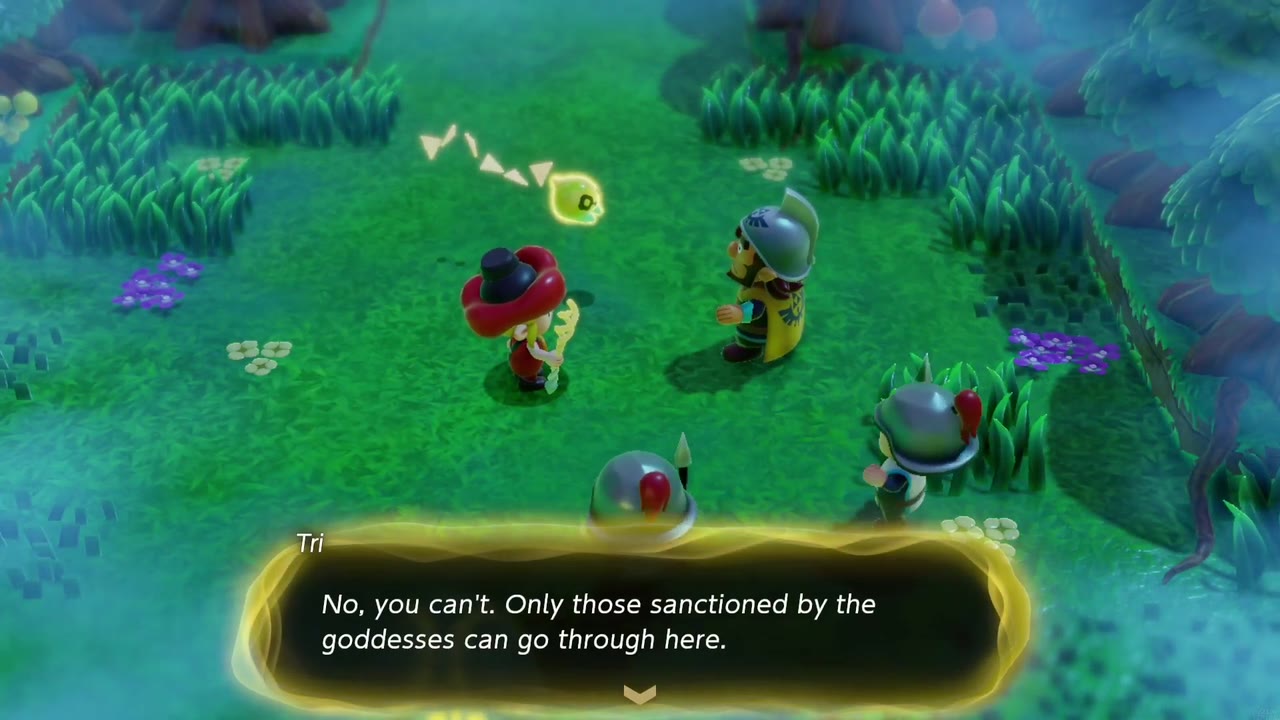
With all six pedestals crowned, head back to the monument. Golden lines join the six circles into a Triforce, the monument vanishes in a burst of light, and a path opens to the north. General Wright wants to go along, but Tri says only those sanctioned by the goddesses can pass, so Wright and his soldiers head back to the castle and leave the forest to Zelda and Tri.
The Deku Tree and the Ancient Ruins
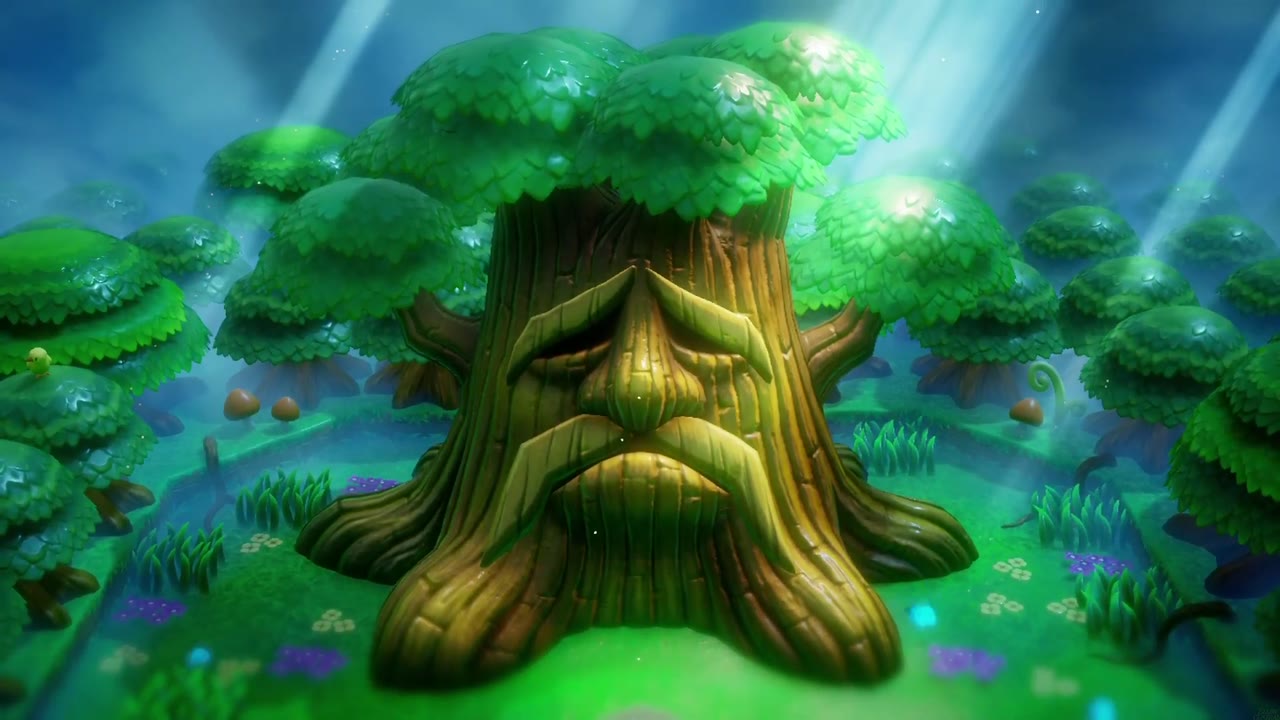
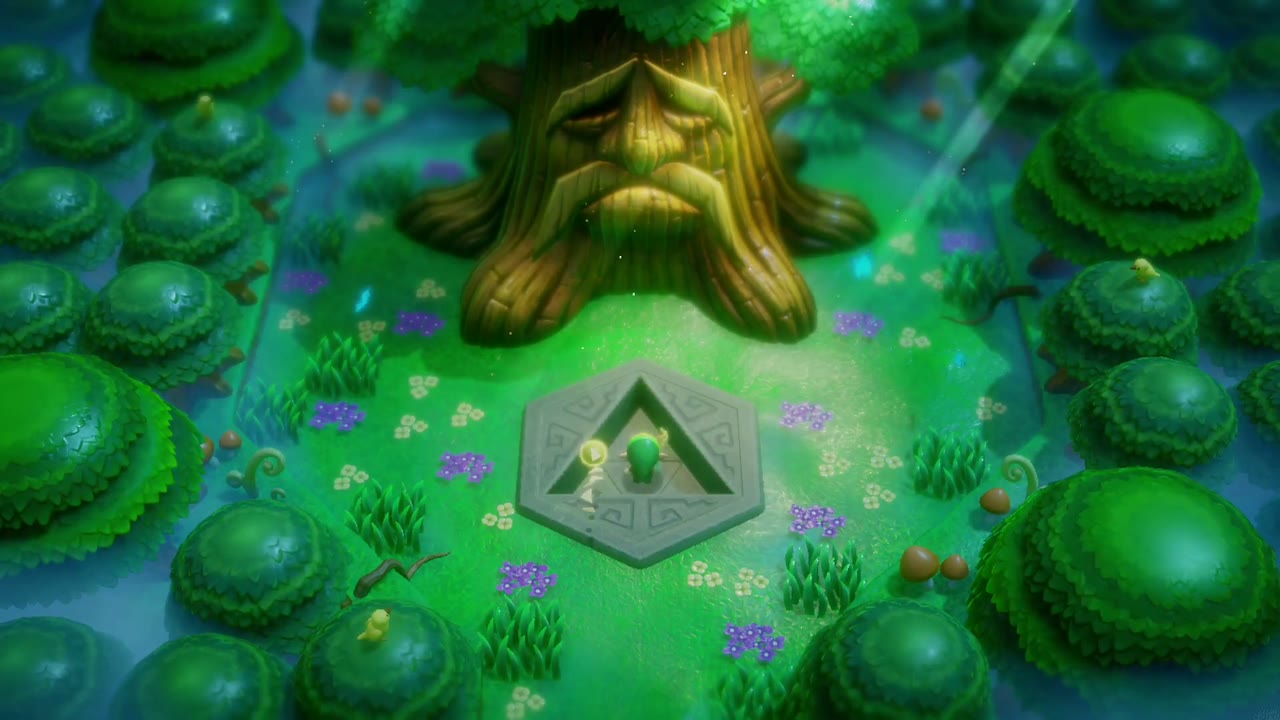
Once the Triforce path opens, head north through the thickest fog yet, weaving between the round treetops, until you reach a sunlit clearing and the Great Deku Tree, guardian of the forest. He is surprised to see you “return” so quickly: someone who looked just like Zelda already passed through, and he now realizes she was only an echo. While she fooled him, he says, she won’t be able to deceive the Prime Energy, and he lets you in to bear witness. Step onto the hexagonal platform in front of him and take the stone stairway down into the Ancient Ruins, then walk through the torch-lit room into the shrine beyond.

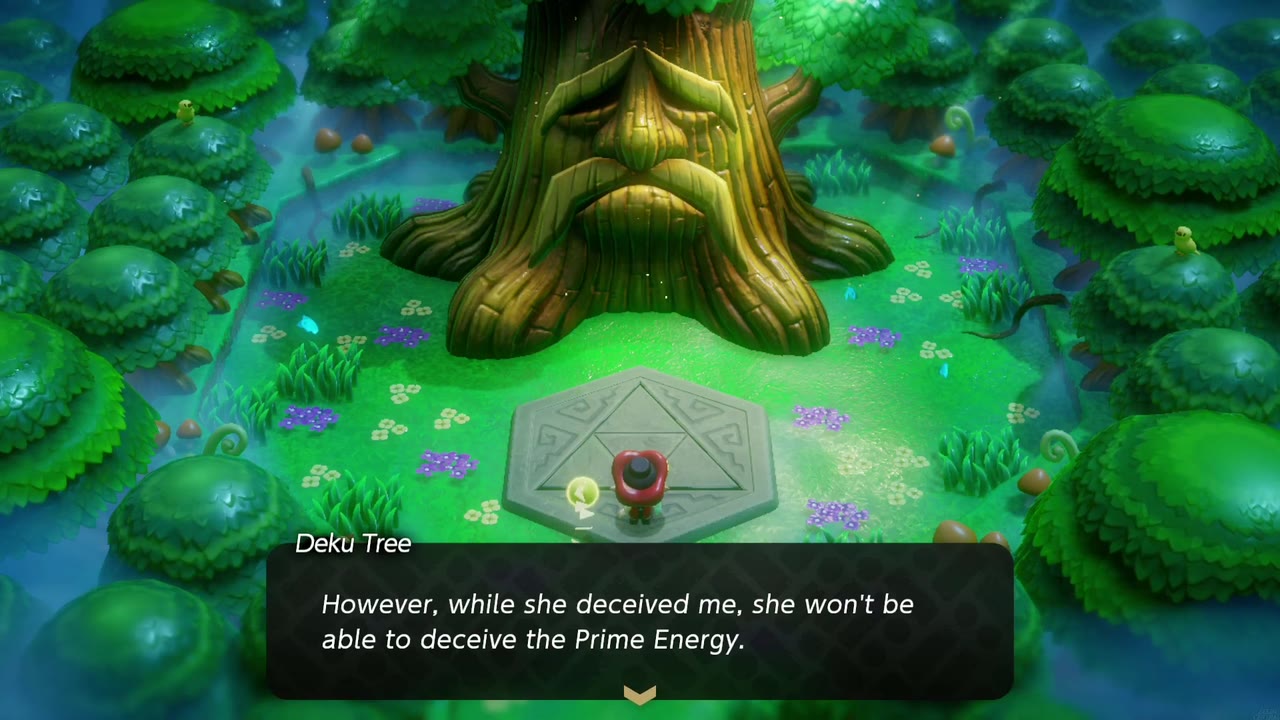
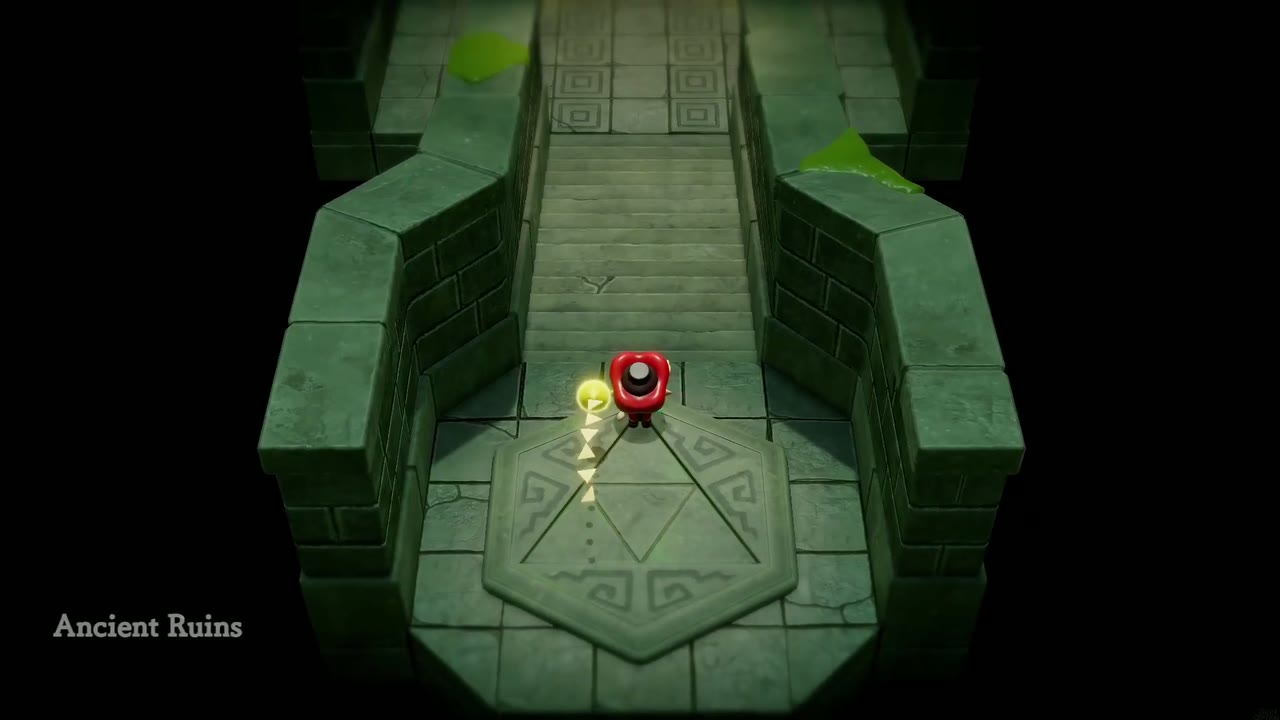
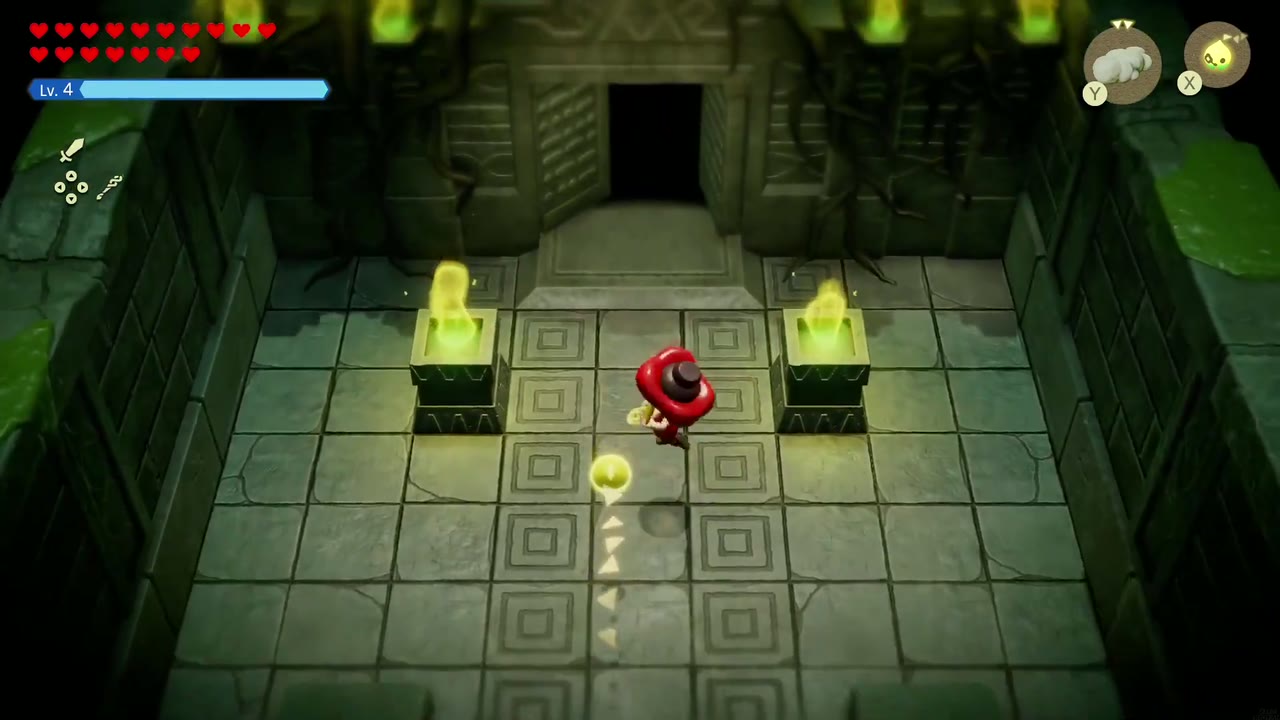
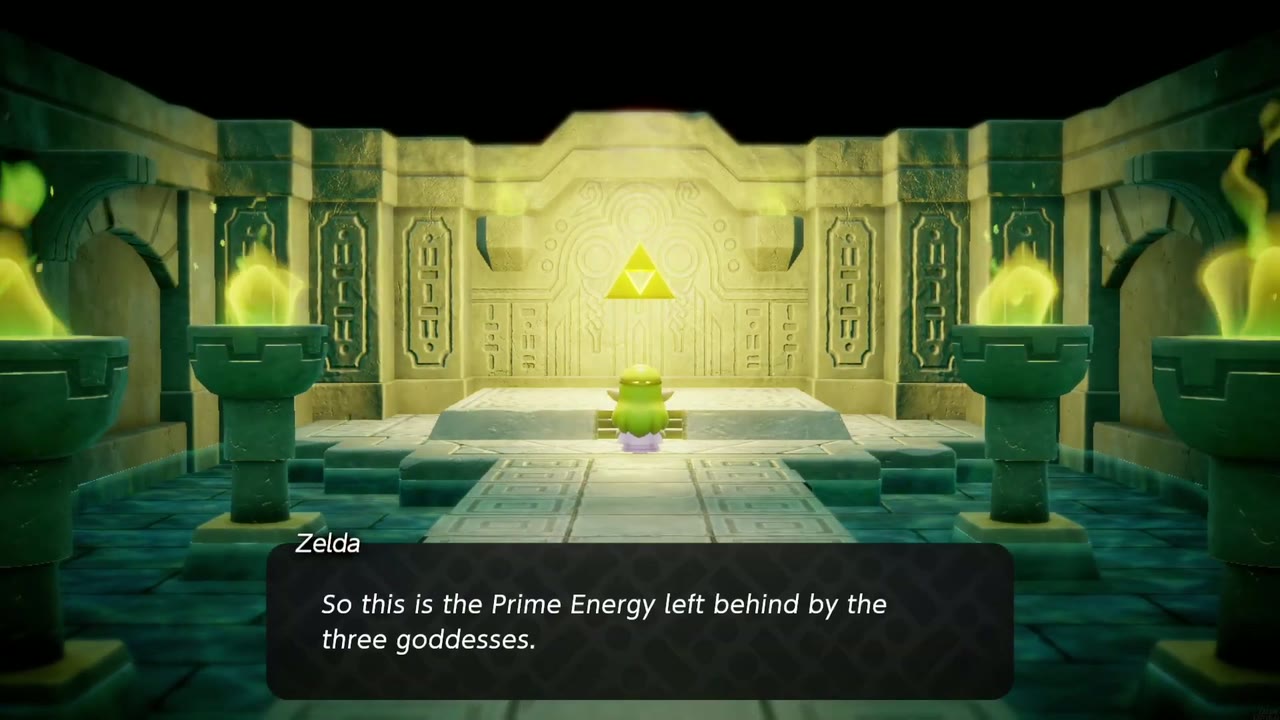
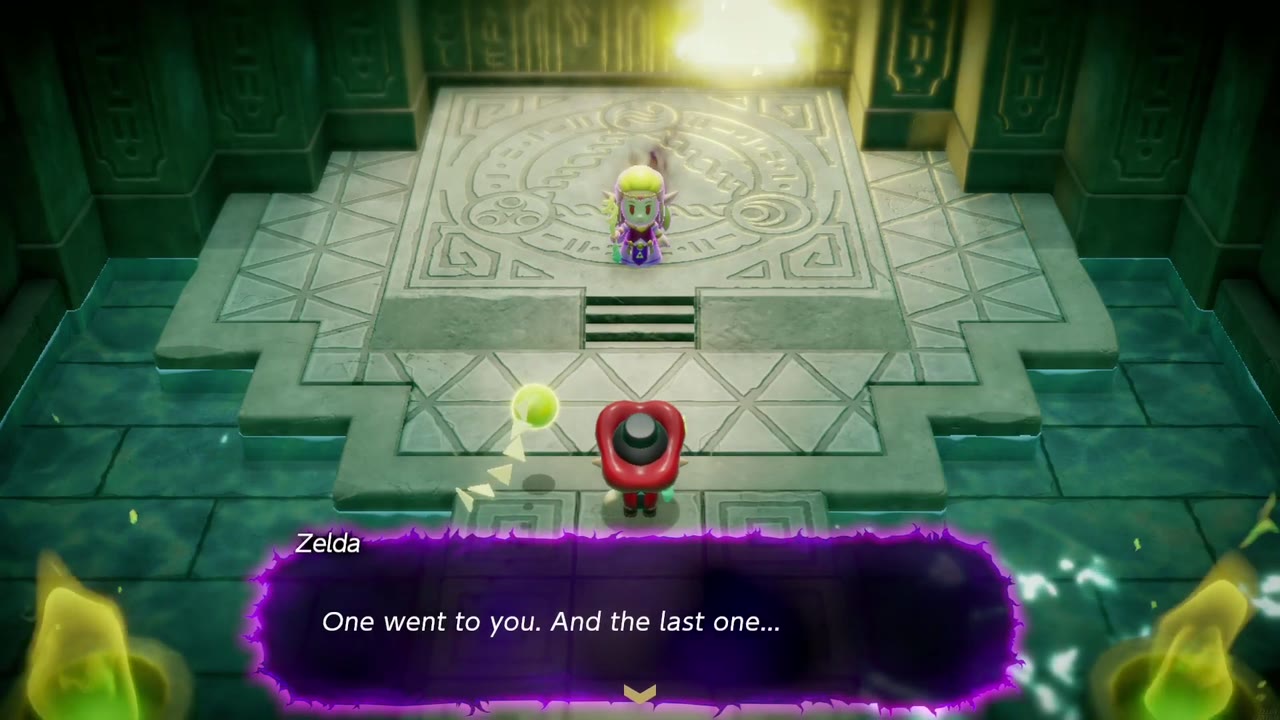
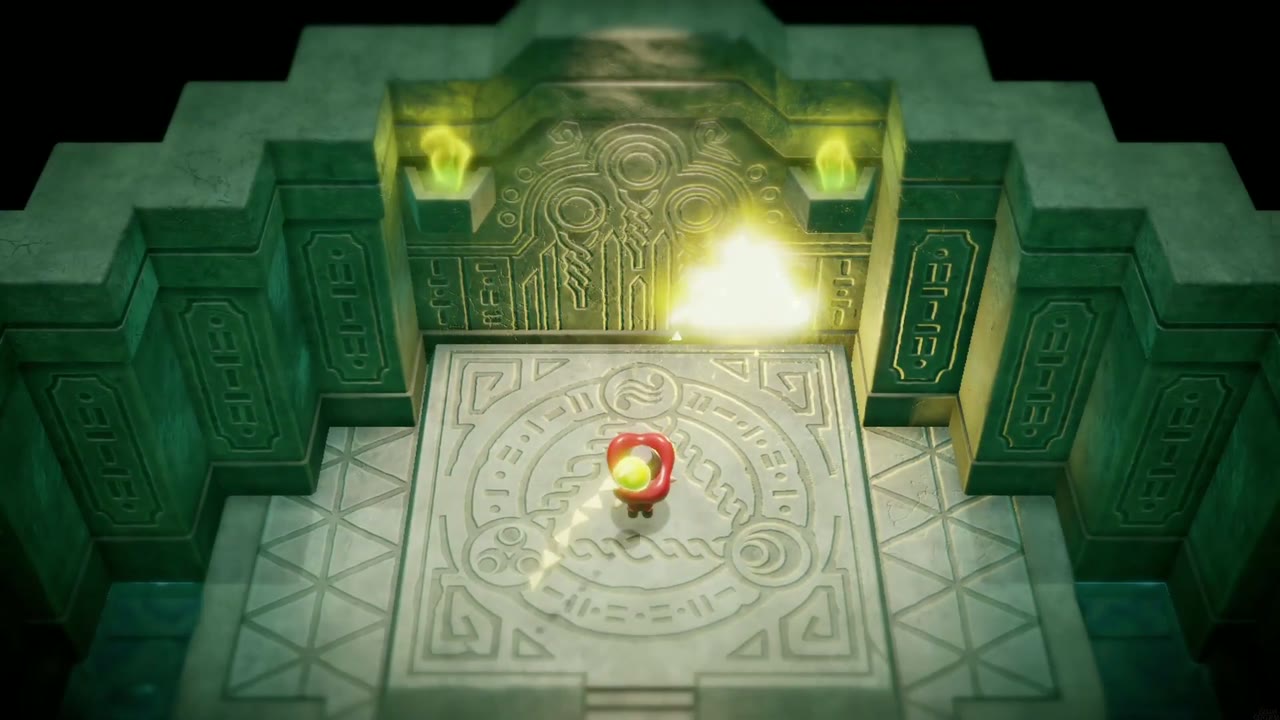
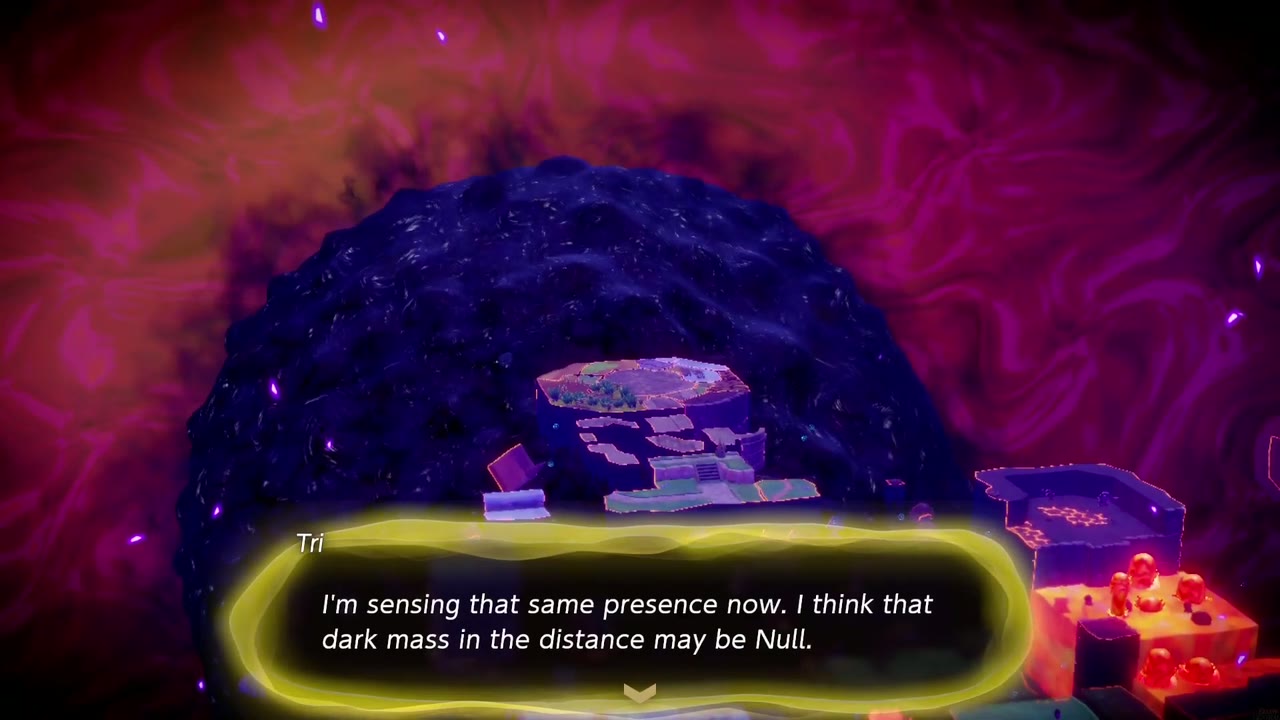
In the inner shrine you catch up to Zelda’s echo: a false Zelda standing before the Triforce altar, telling the story of the Prime Energy and of how Null once tore at the fabric of the world. When you and Tri confront her, she brushes you off (“I do not have time to deal with you right now”), and she vanishes, leaving a glowing rift behind. Tri urges you to go after the rest of the Prime Energy, so enter the rift to reach the Stilled Ancient Ruins, a string of floating islands in the purple Still World where Tri senses that a dark mass in the distance may be Null. (You can leave through the light on the starting island if you have cleanup left to do; returning later puts you on the platform in front of the Deku Tree, so walk back down the stairway and through the carved Triforce doorway to re-enter the rift.)
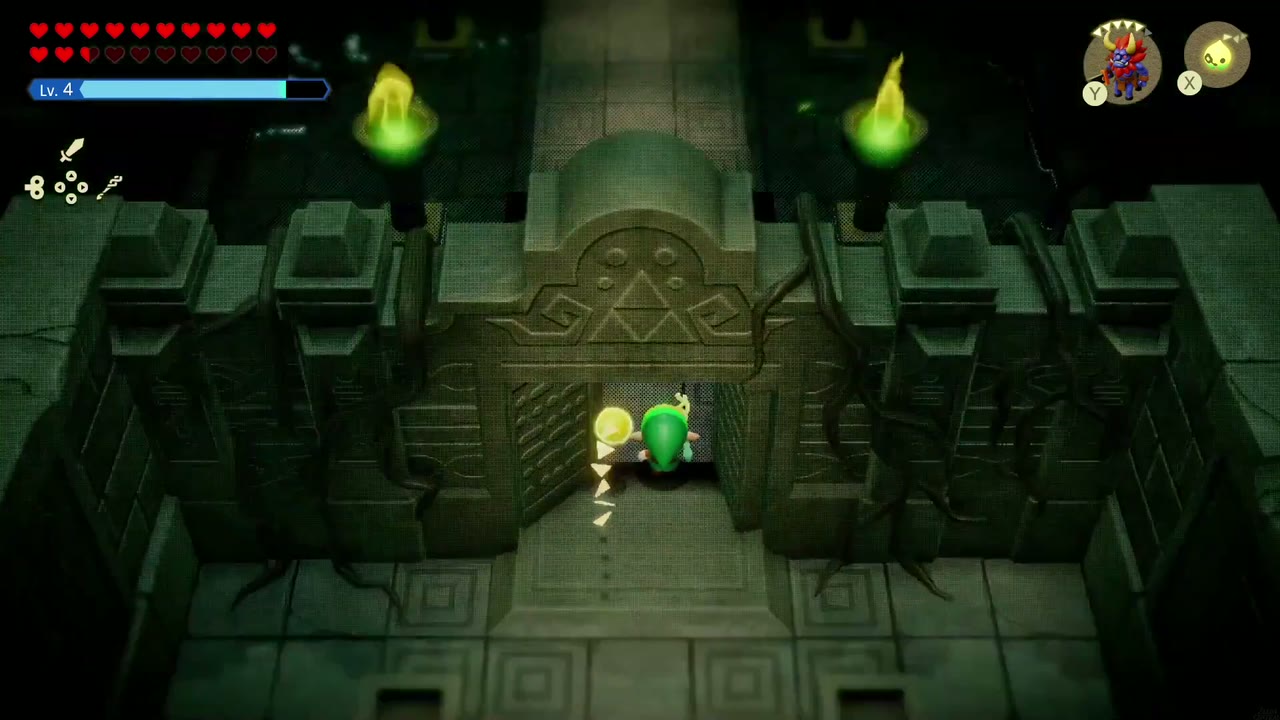
Stilled Ancient Ruins
Past the sealed door, the Stilled Ancient Ruins are a chain of floating islands hanging in a purple void, and the first stretch is teal grassland crossed by pink dirt paths. Shadow Peahats, Moblins and a Wolfos patrol the islands; a Lynel echo makes short work of them while you keep moving.
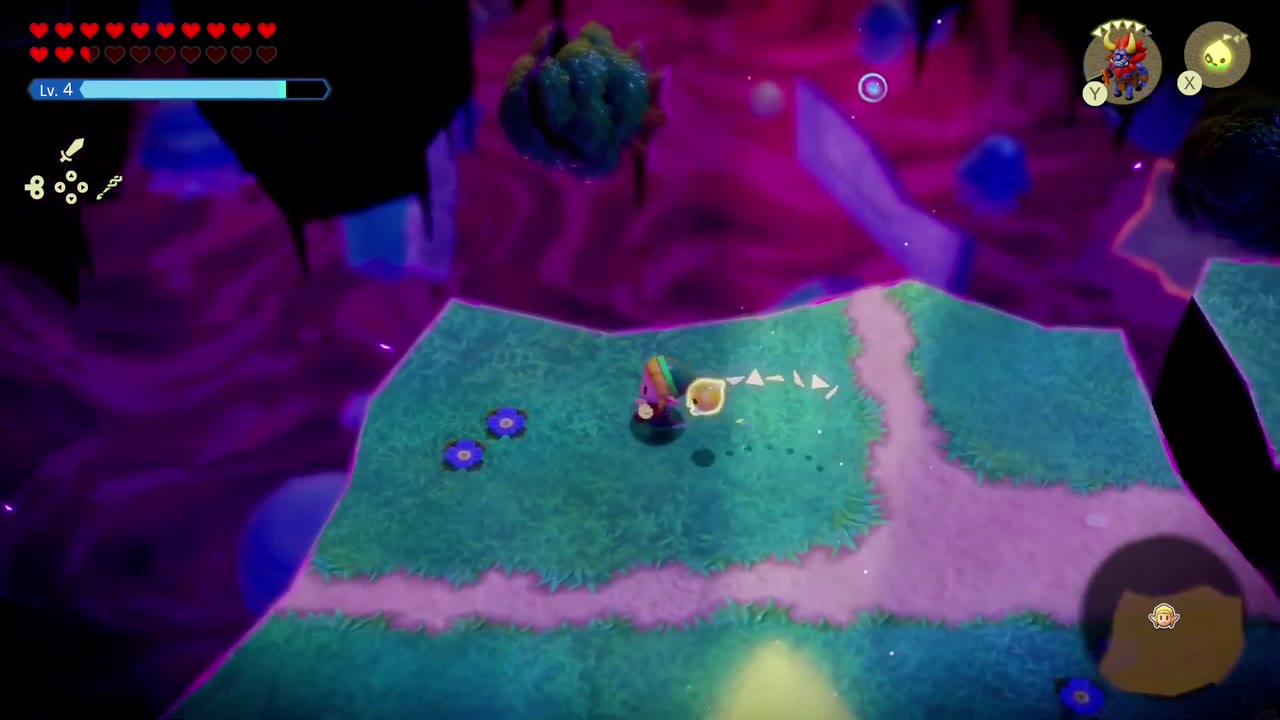
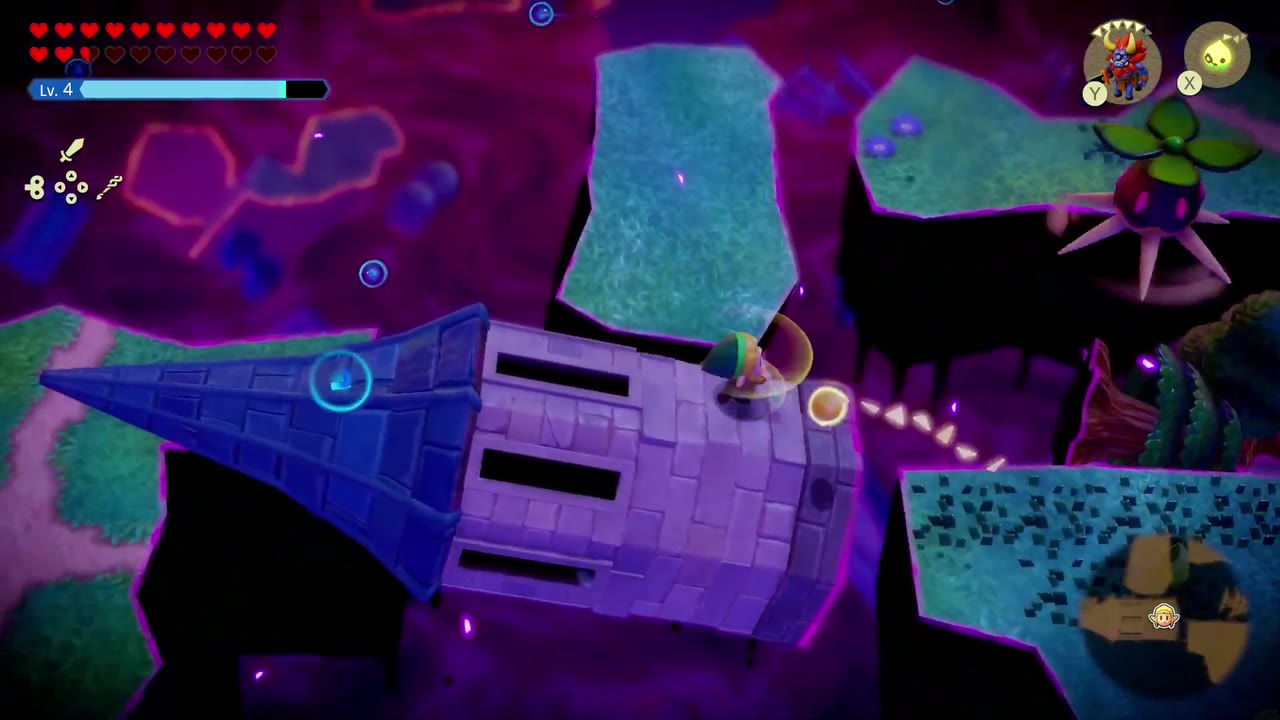
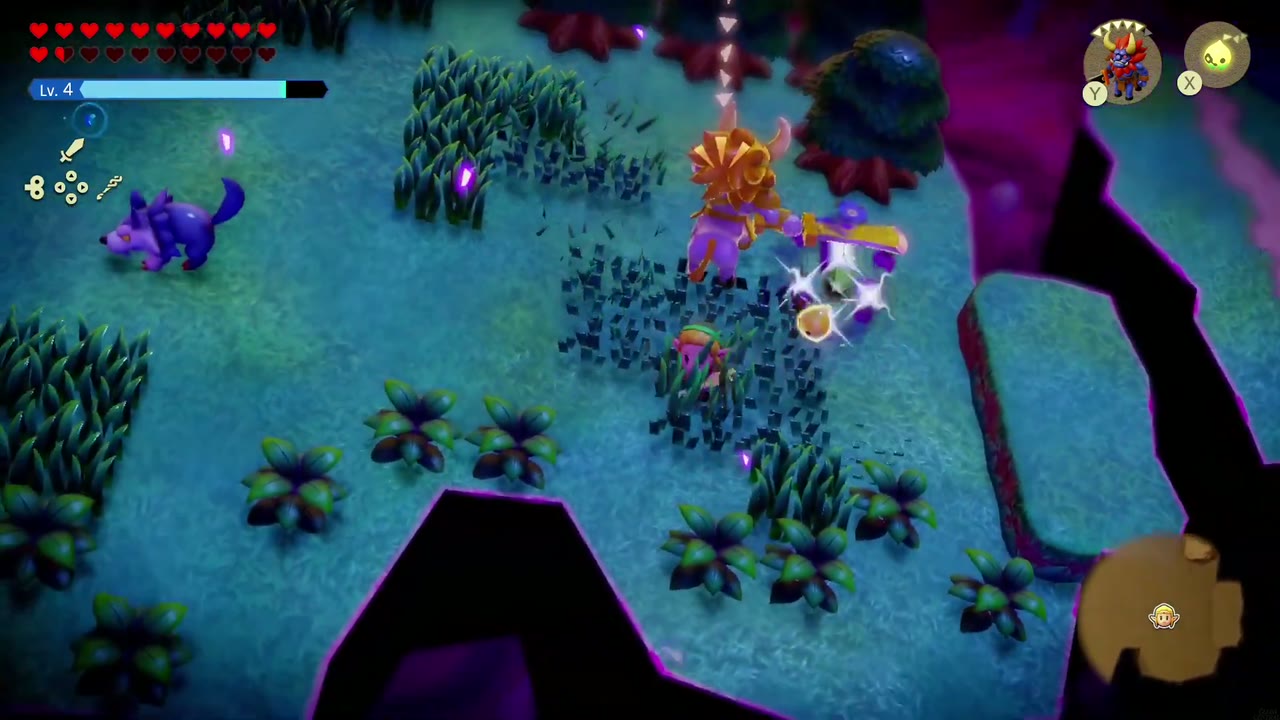
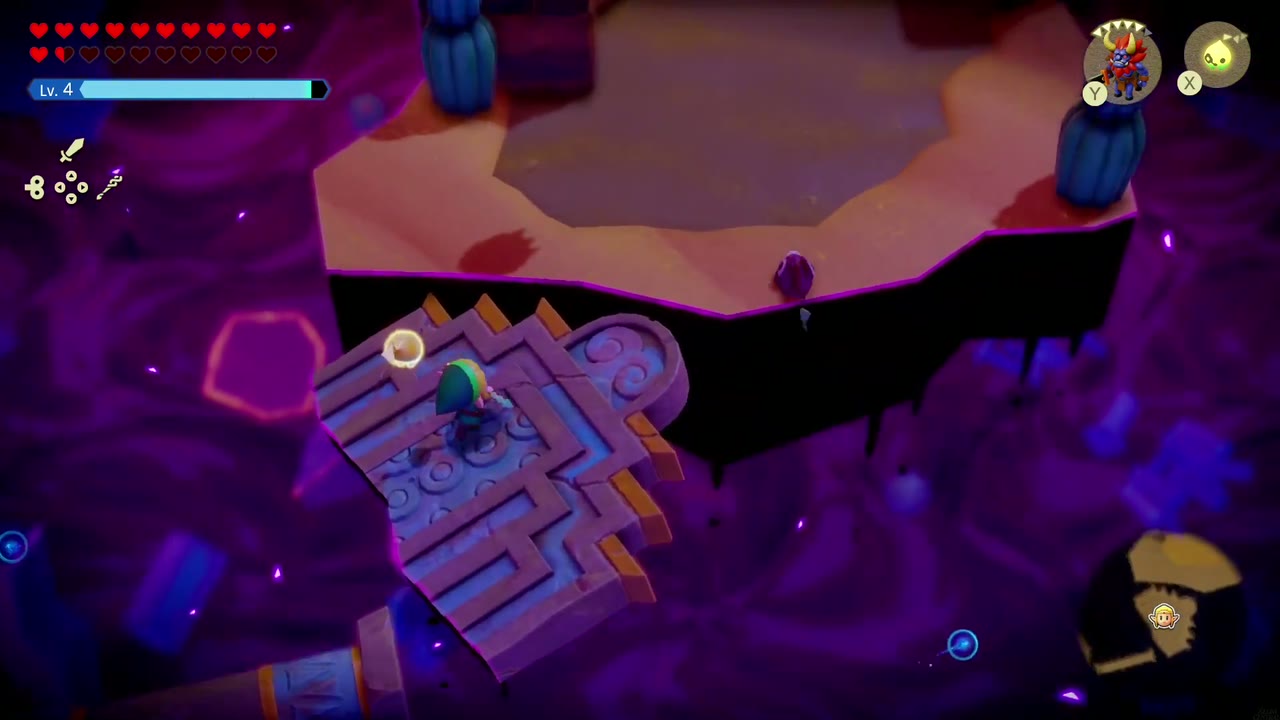
Next come sand islands dotted with cacti and broken carved stone, a Gerudo-style stretch. The gaps here are wide, so lay Cloud echoes in a row and walk across them. Beyond the sand, tall columns of water blocks rise out of the void: swim up through them, stacking Clouds beside them where you need a foothold, to reach a higher grass island with pale stone steps.
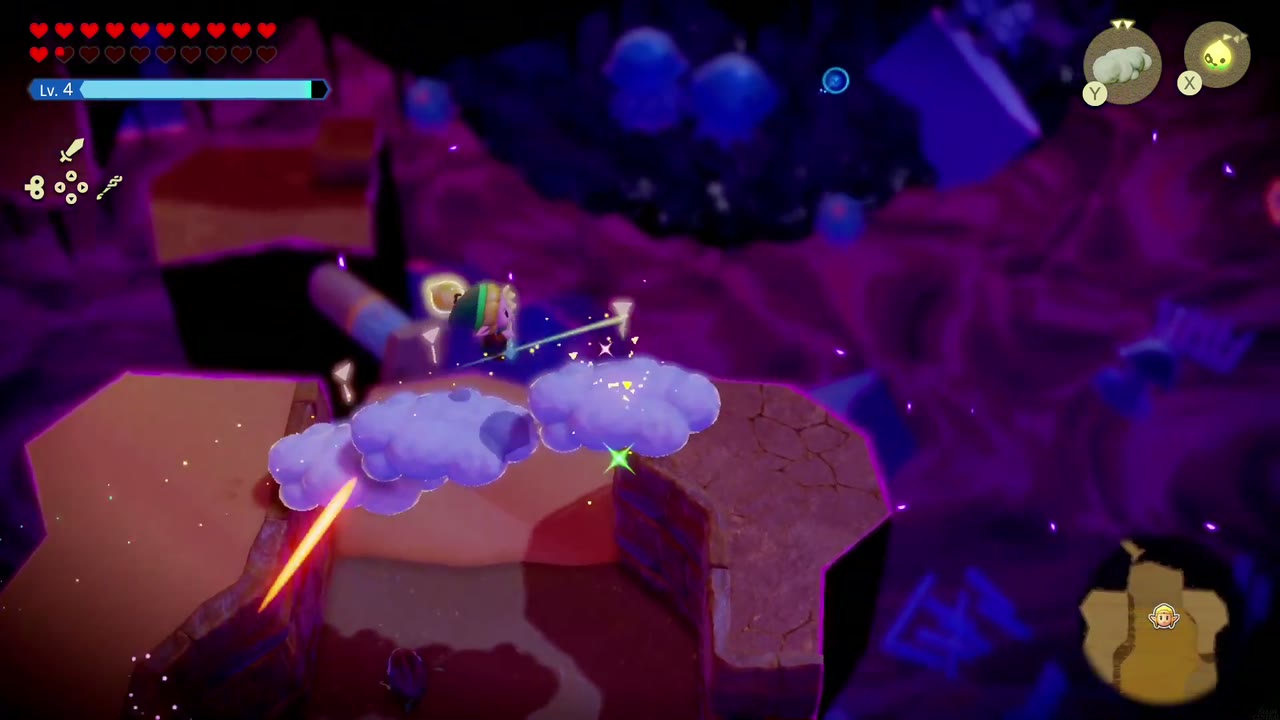
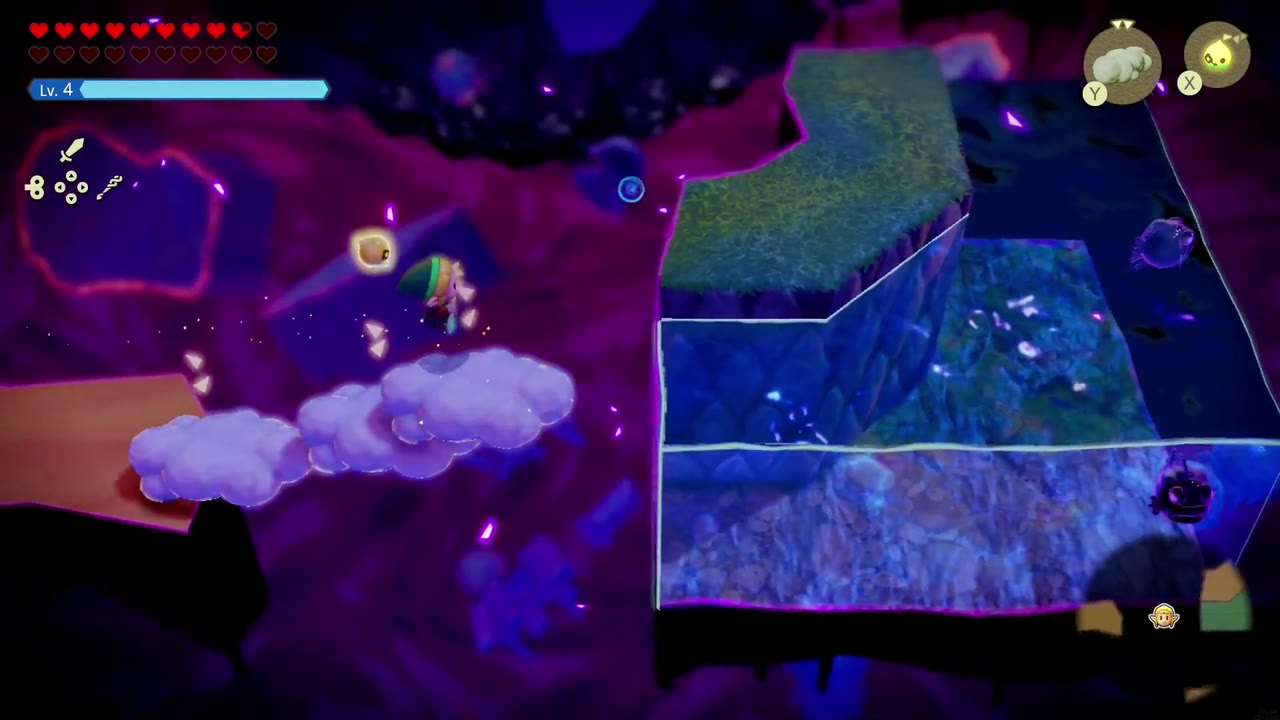
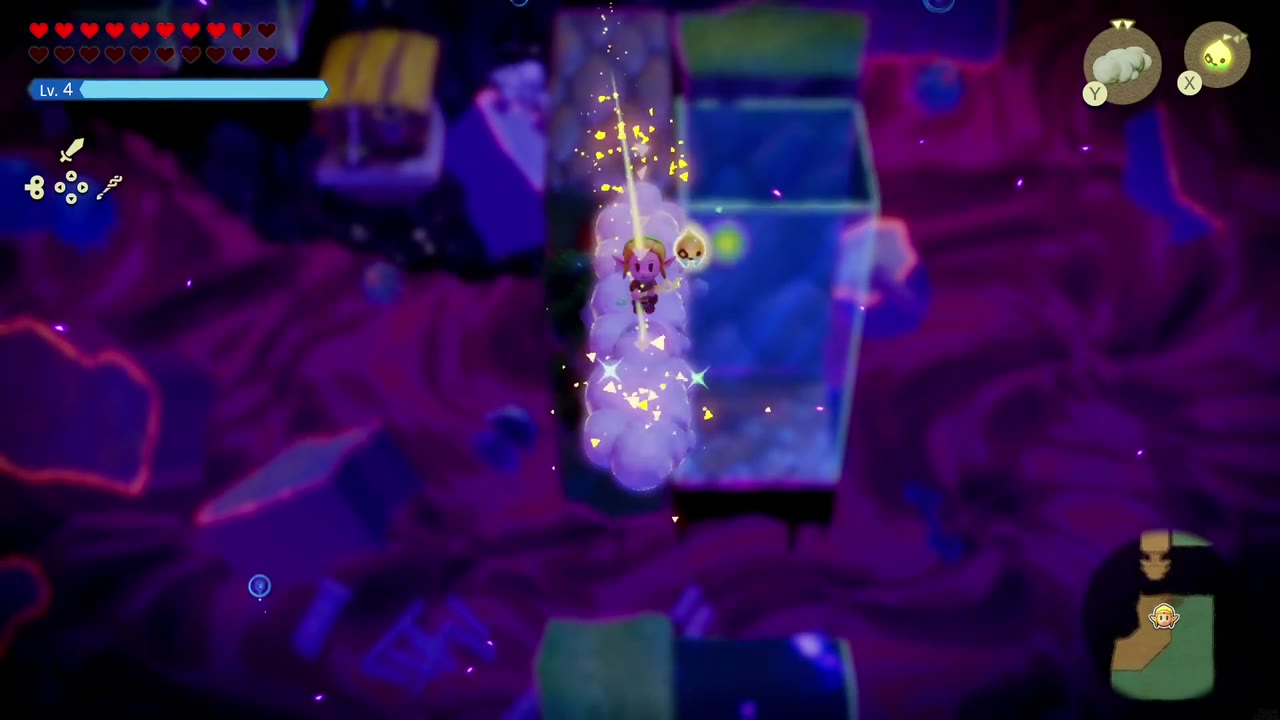
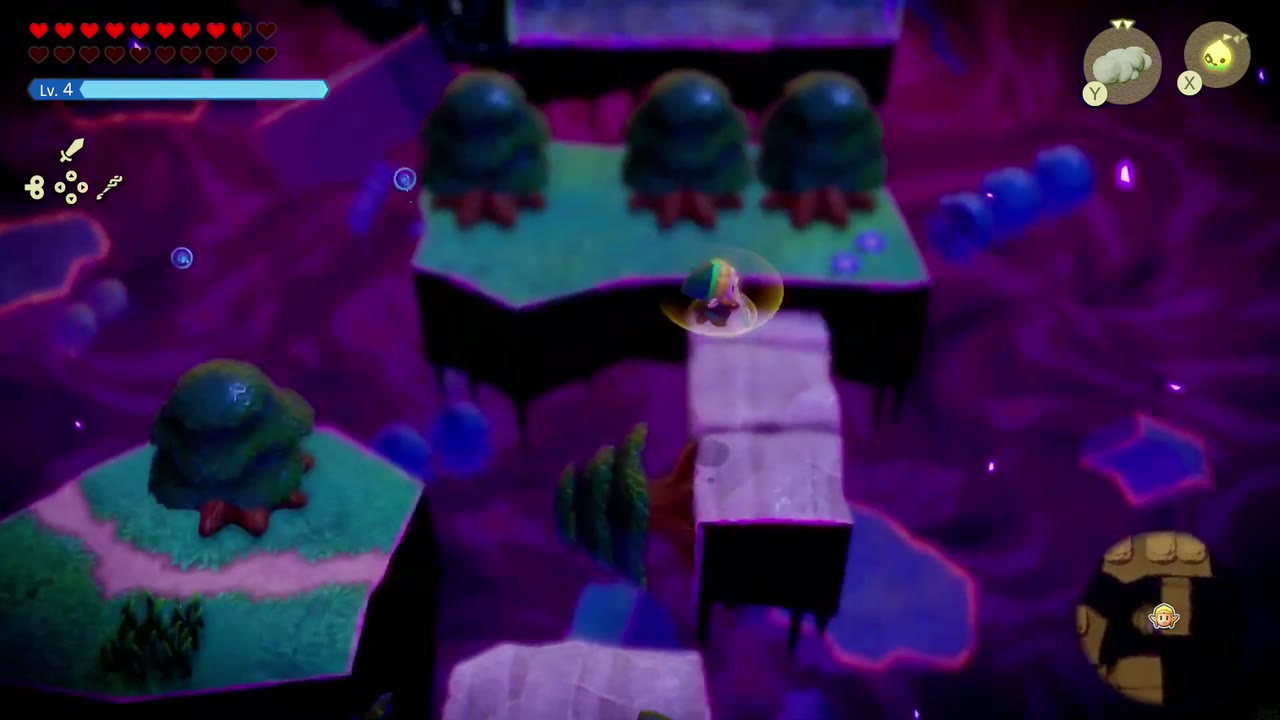
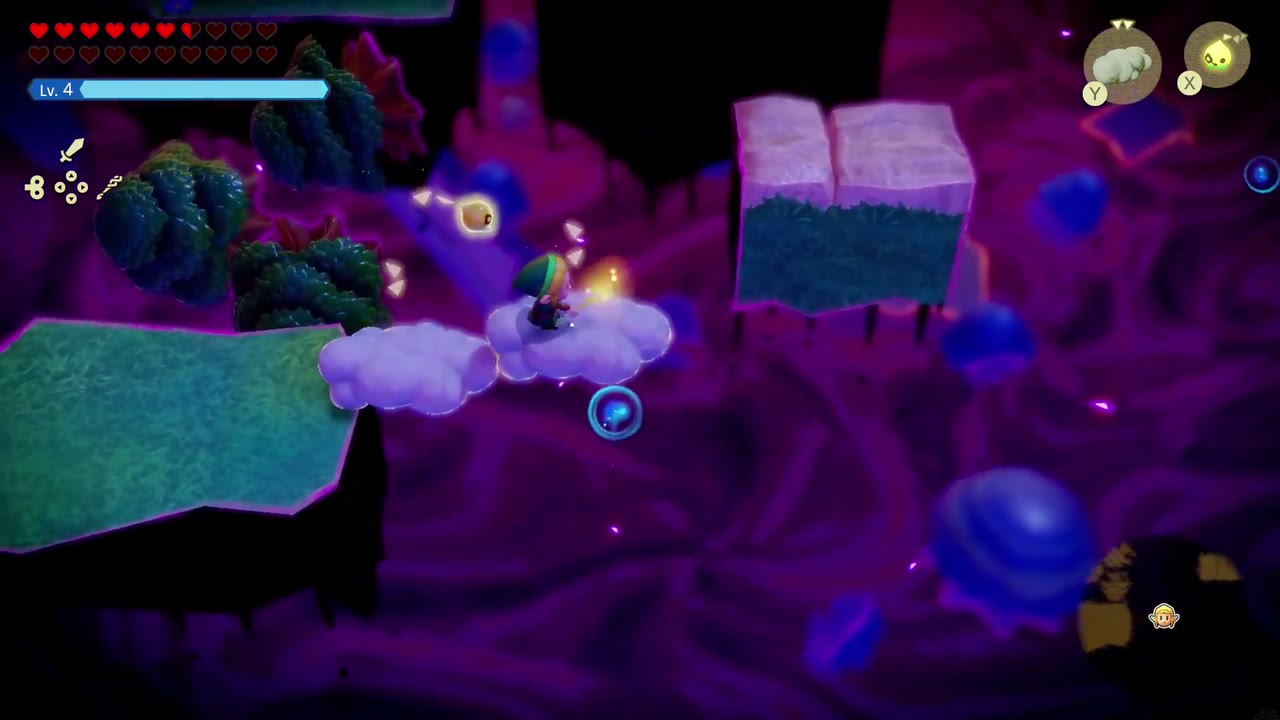
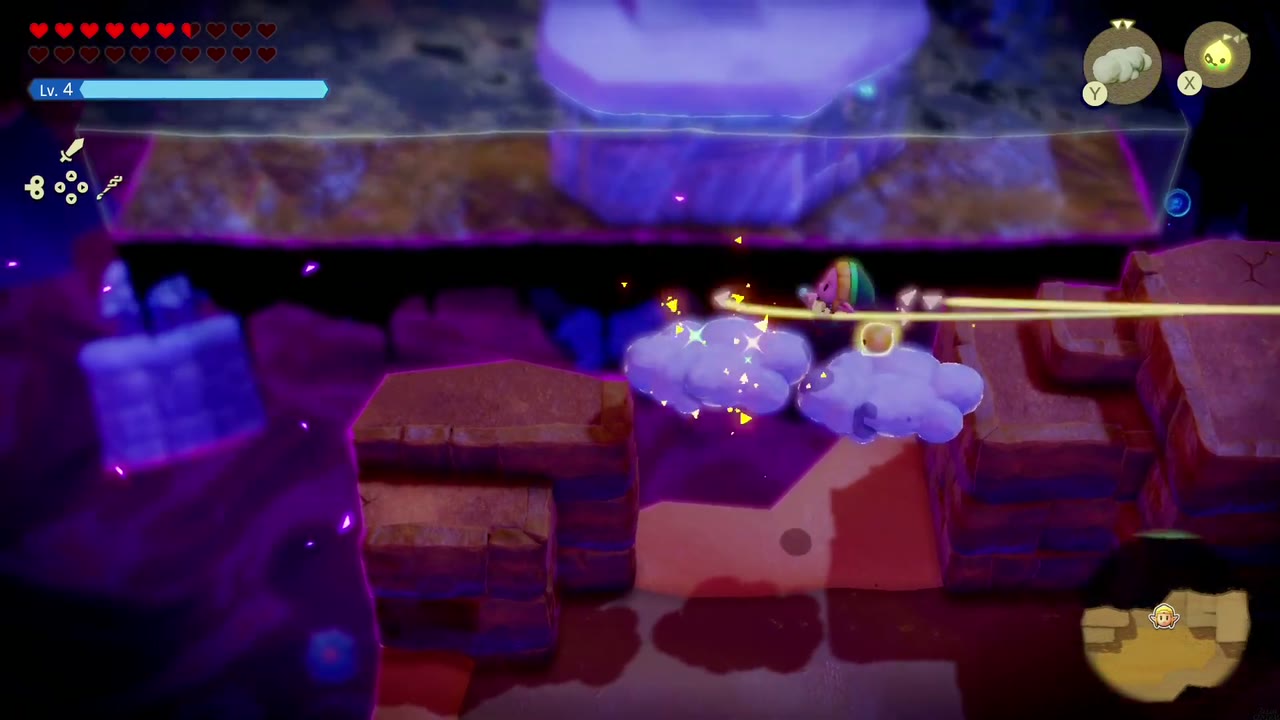
Keep following the upper grass islands, cloud-hopping between them and onto pale stone pillars. More water-block columns (one beside a glowing green orb) carry you higher still, and then the path turns into an area of red brick blocks under a pale slab, which you again cross by laying Clouds from block to block.
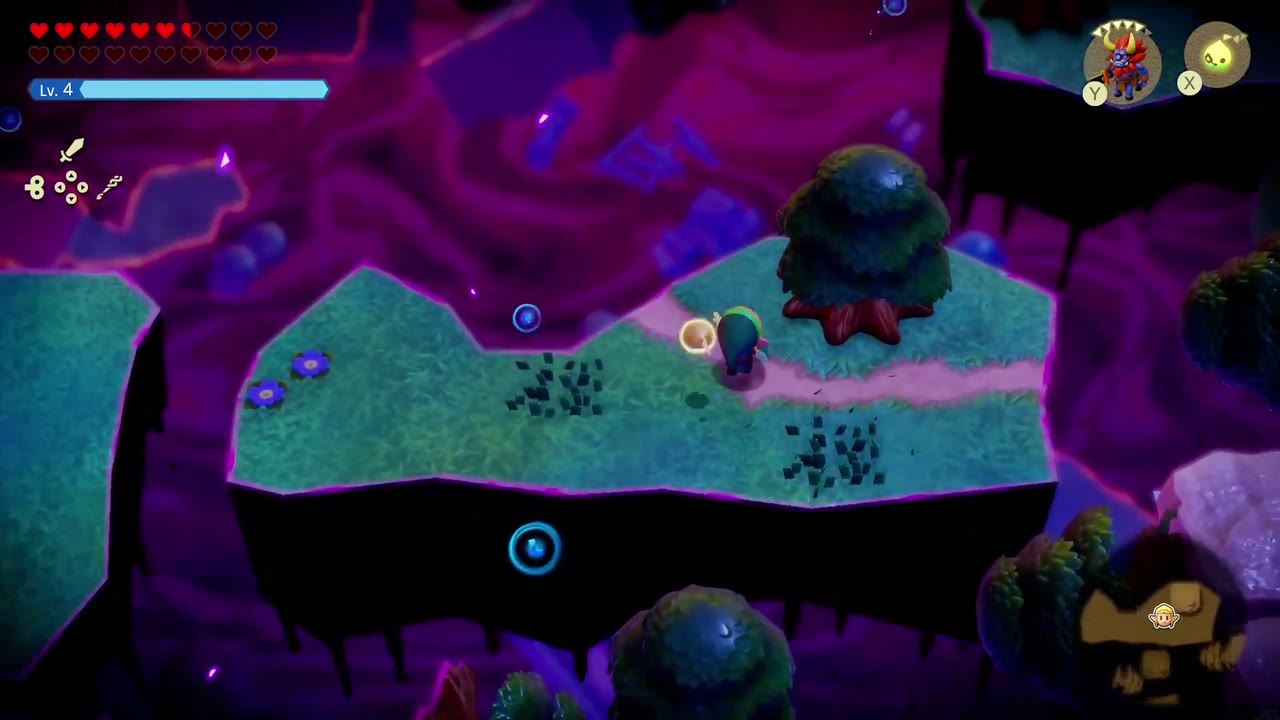
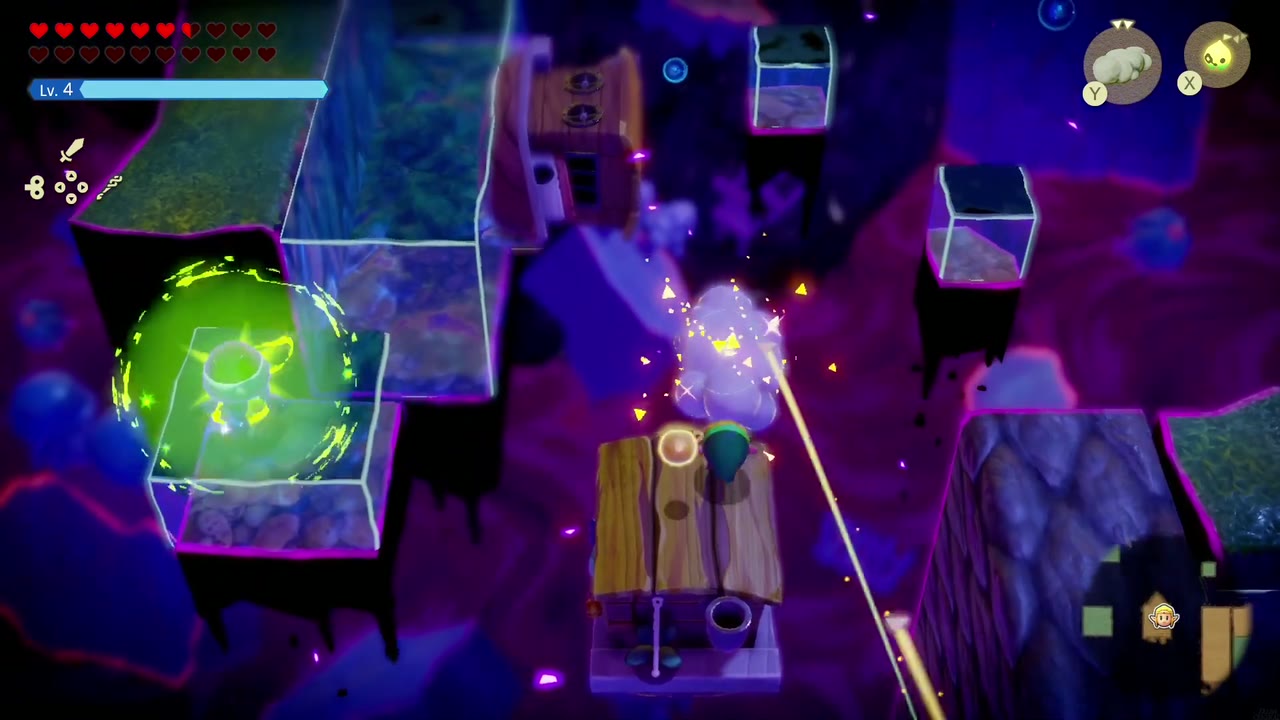
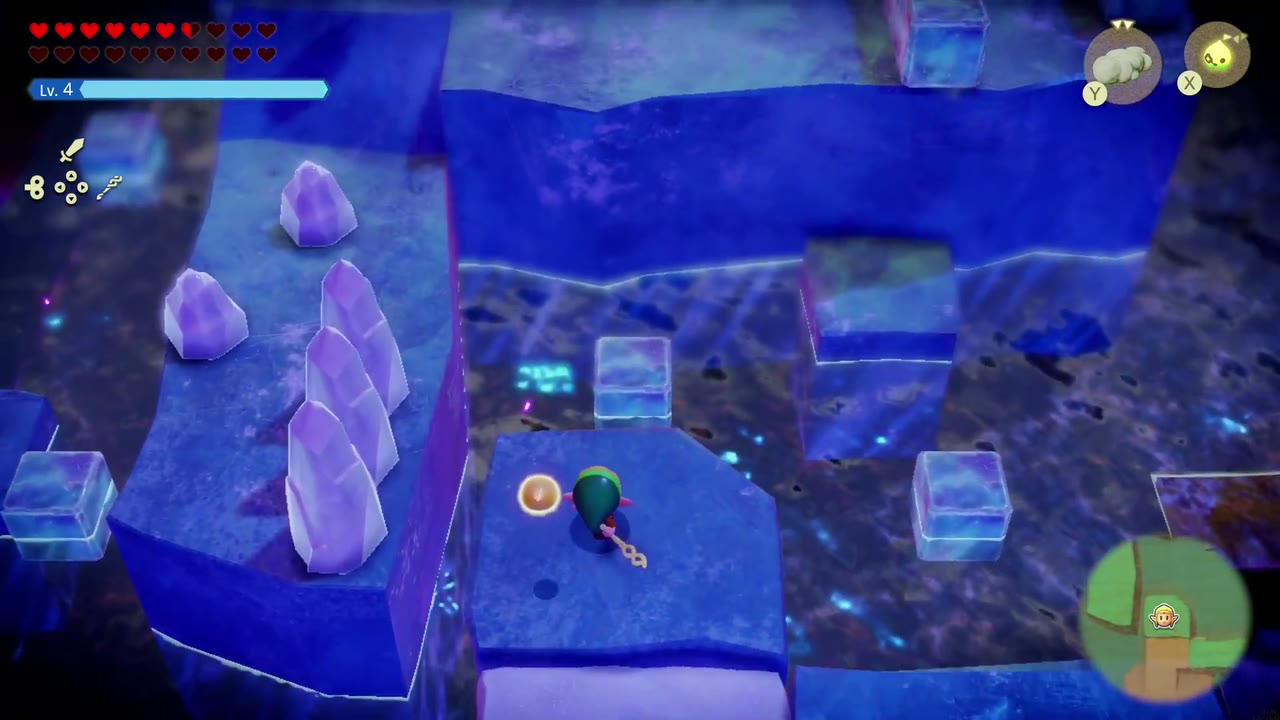
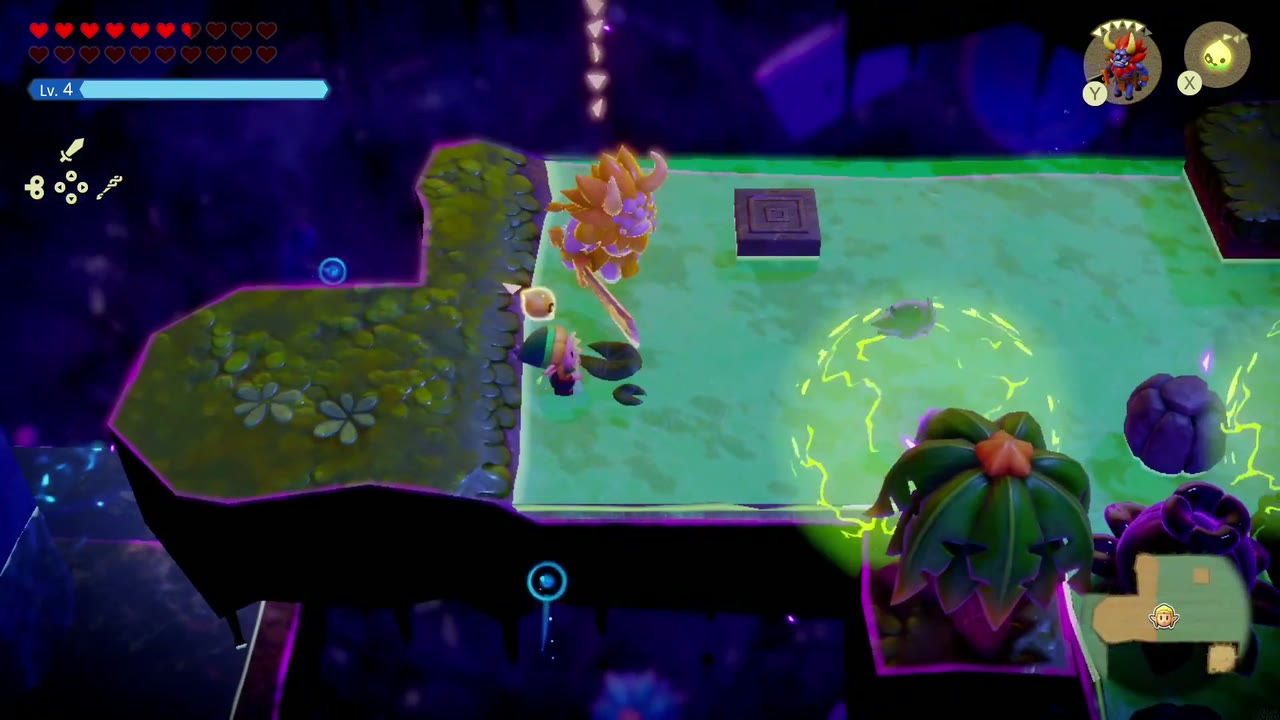
The red bricks lead into a blue ice room full of ice crystals and ice blocks, guarded by shadow Freezards that blast frost breath down the lanes; use the ice blocks as cover and pick them off. Beyond it is a floor of shallow green water with lily pads, where blobs crackle with electric fields. Let your Lynel echo deal with the enemies here and stay out of the sparks. Cross to the lavender stone slab next door and activate its Waypoint.


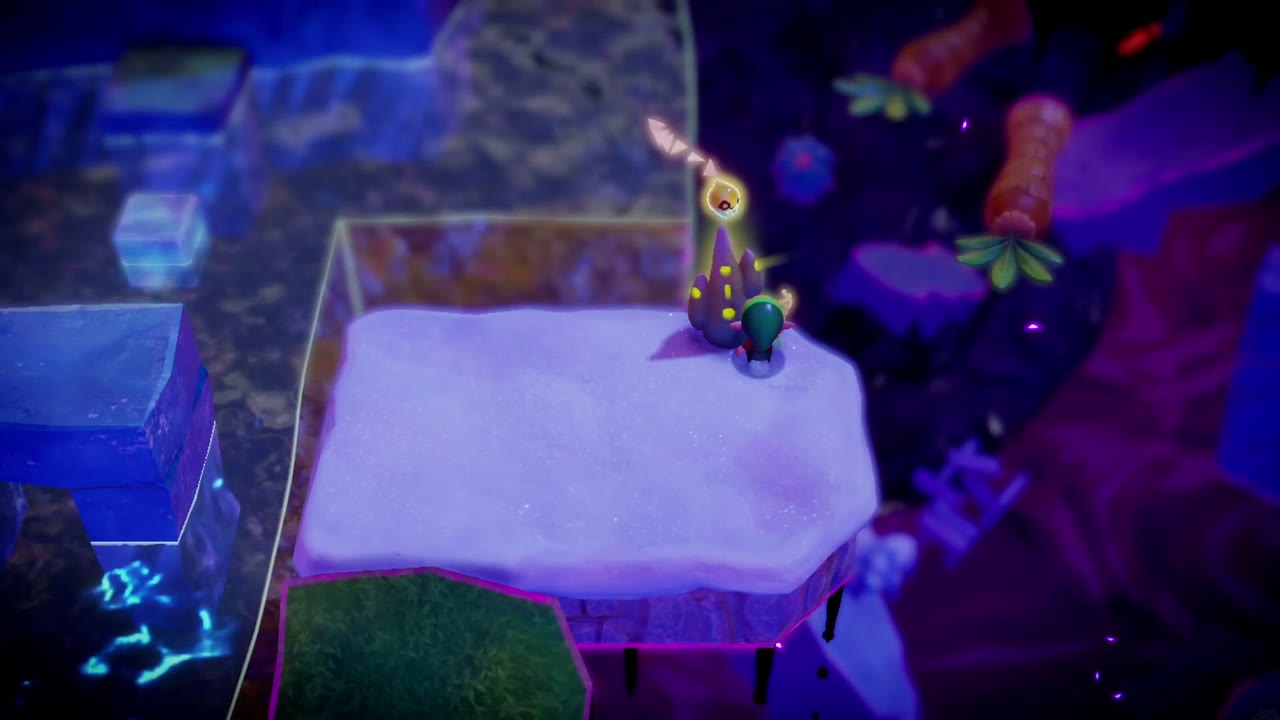
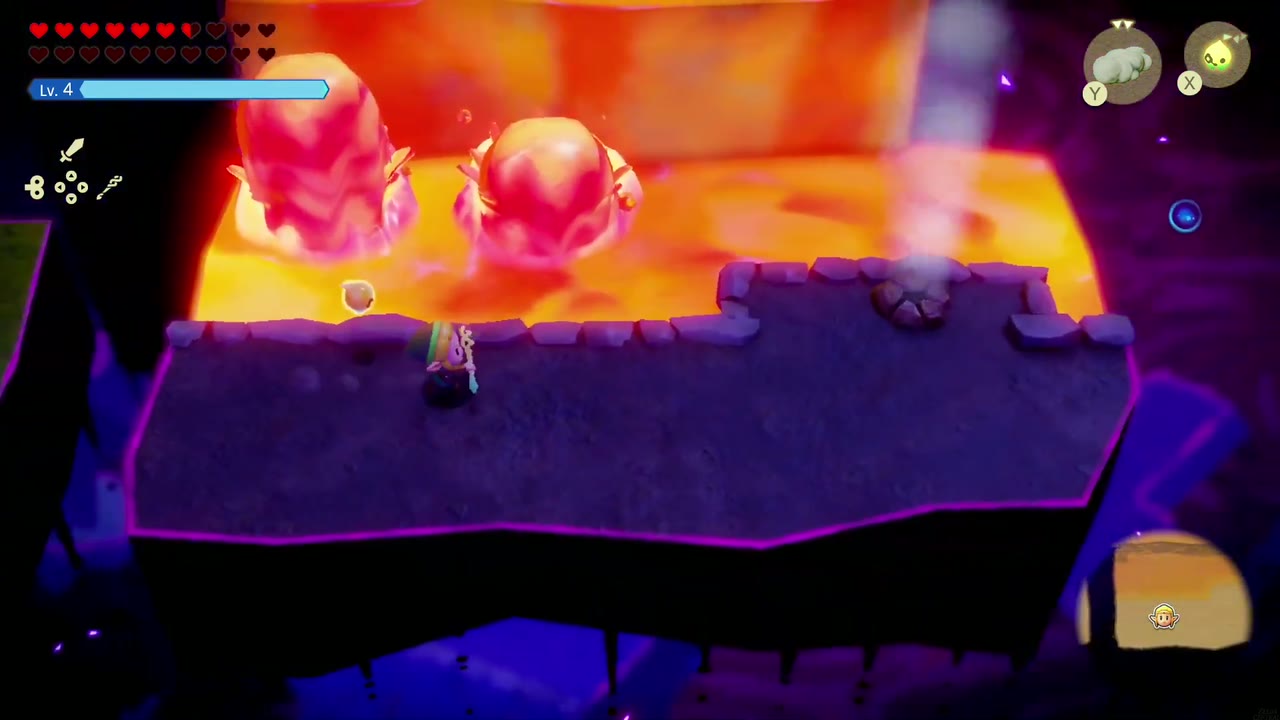
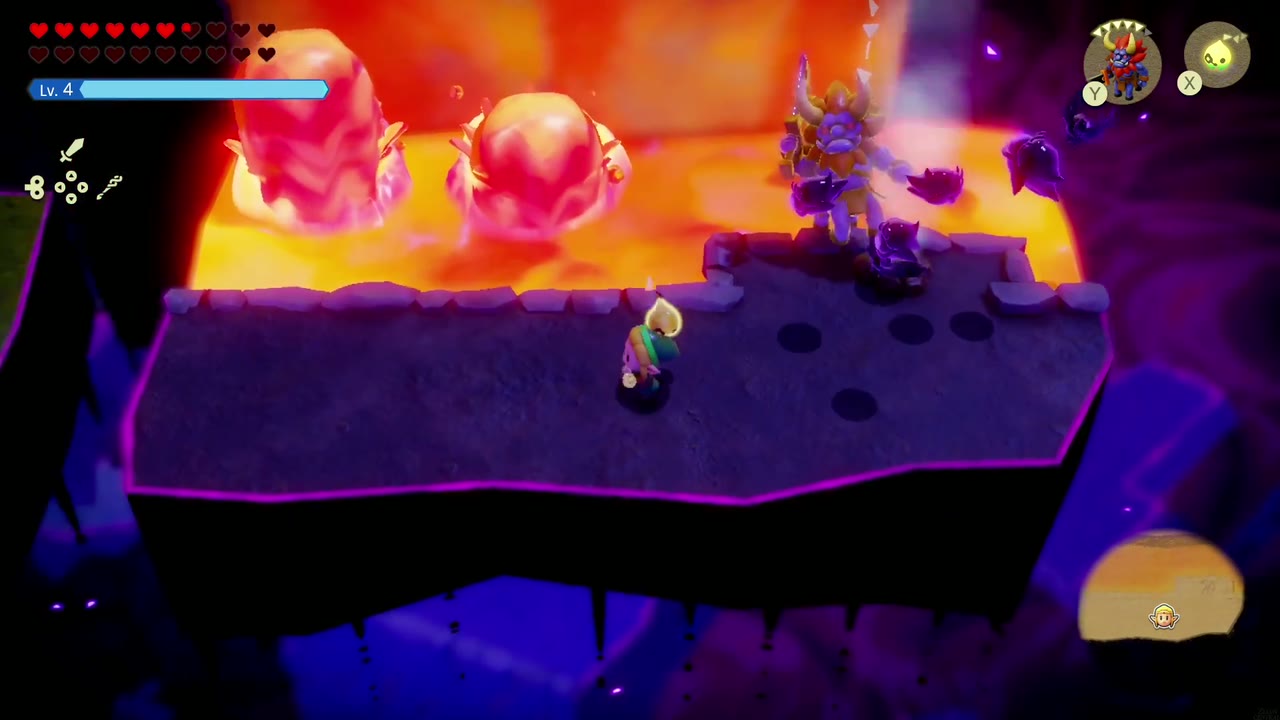
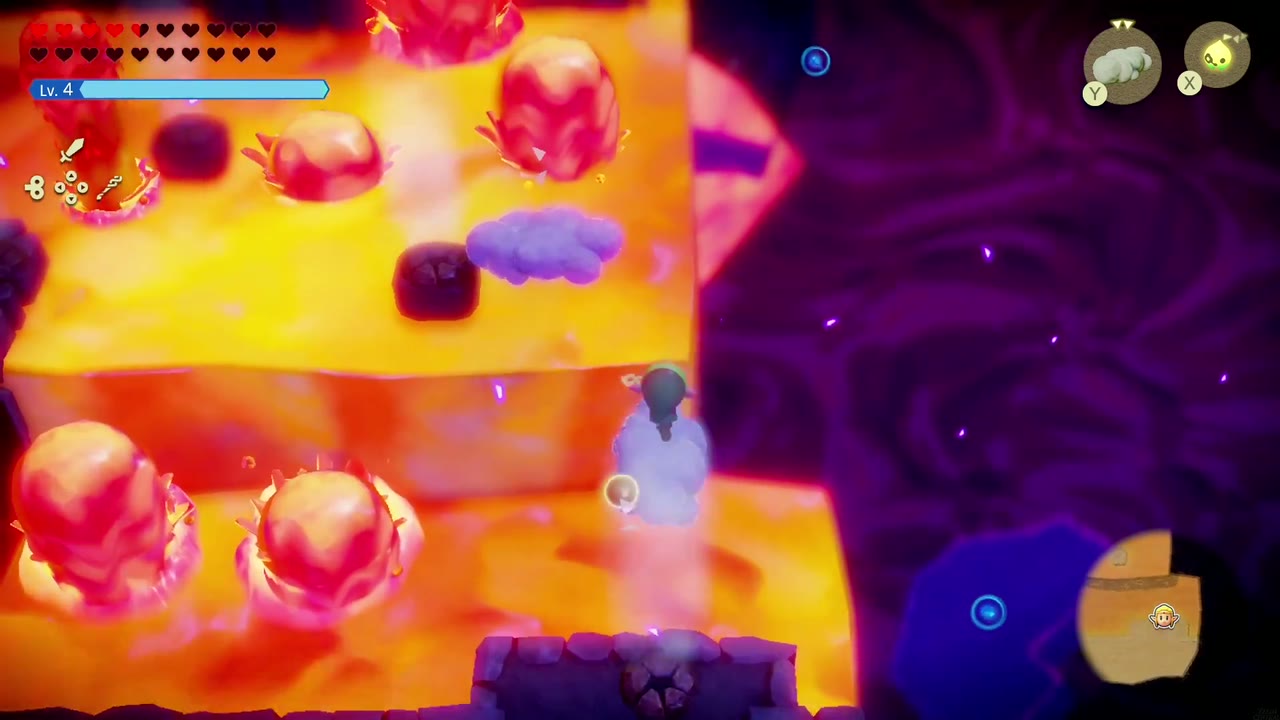
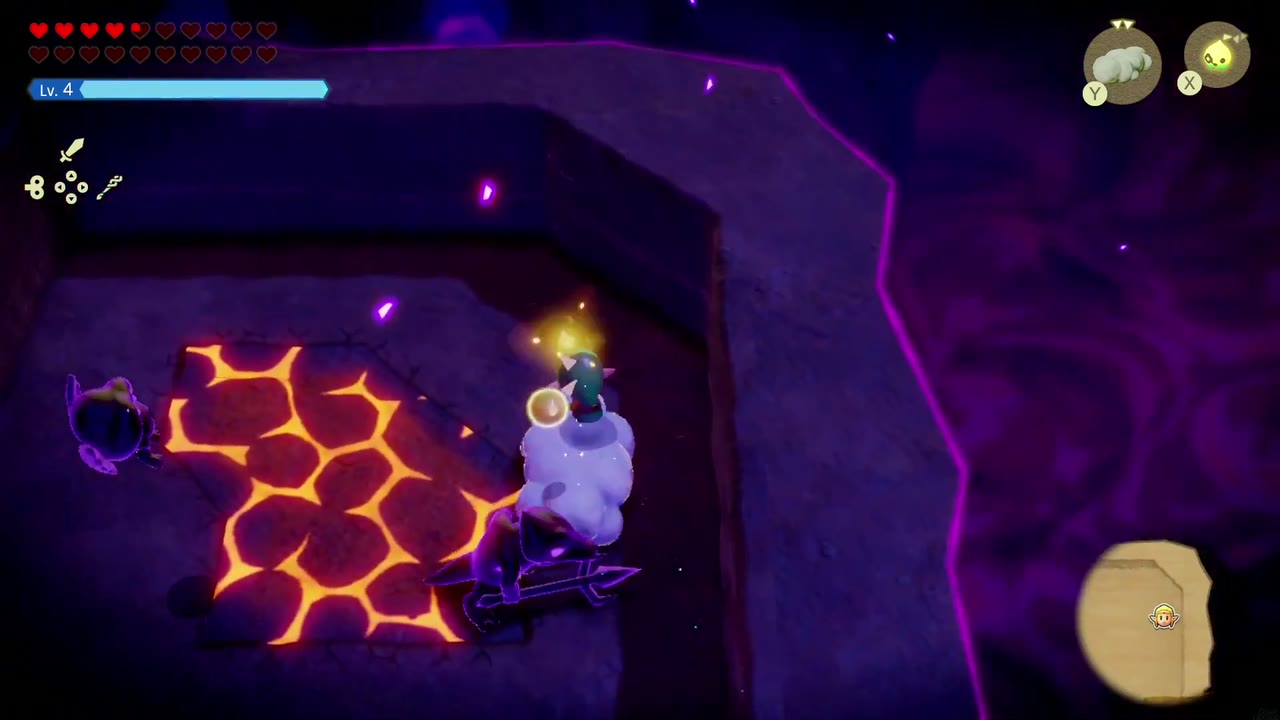
Then comes the lava section: a dark rock ledge running beside glowing lava blocks studded with red spiked domes and steam vents. A horned, armored shadow warrior and a swarm of Keese attack on the ledge, so summon your Lynel again to handle them, then stack Clouds to climb over the lava. Past it, dark rock paths with cracked, glowing floors wind through the void; ride Clouds across the gaps until you reach a stone-and-grass terrace with stairs and palm trees. Activate the last Waypoint there, then climb the pale stone steps and path ahead to the circular arena for the boss.
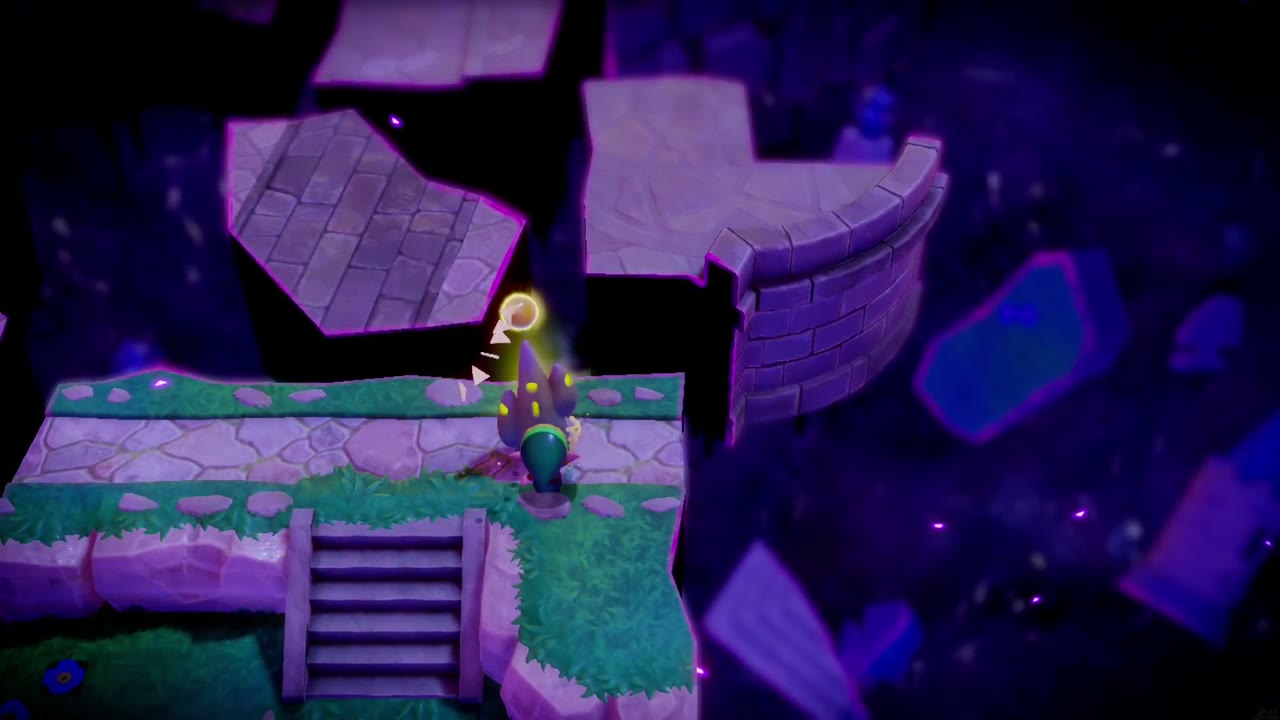
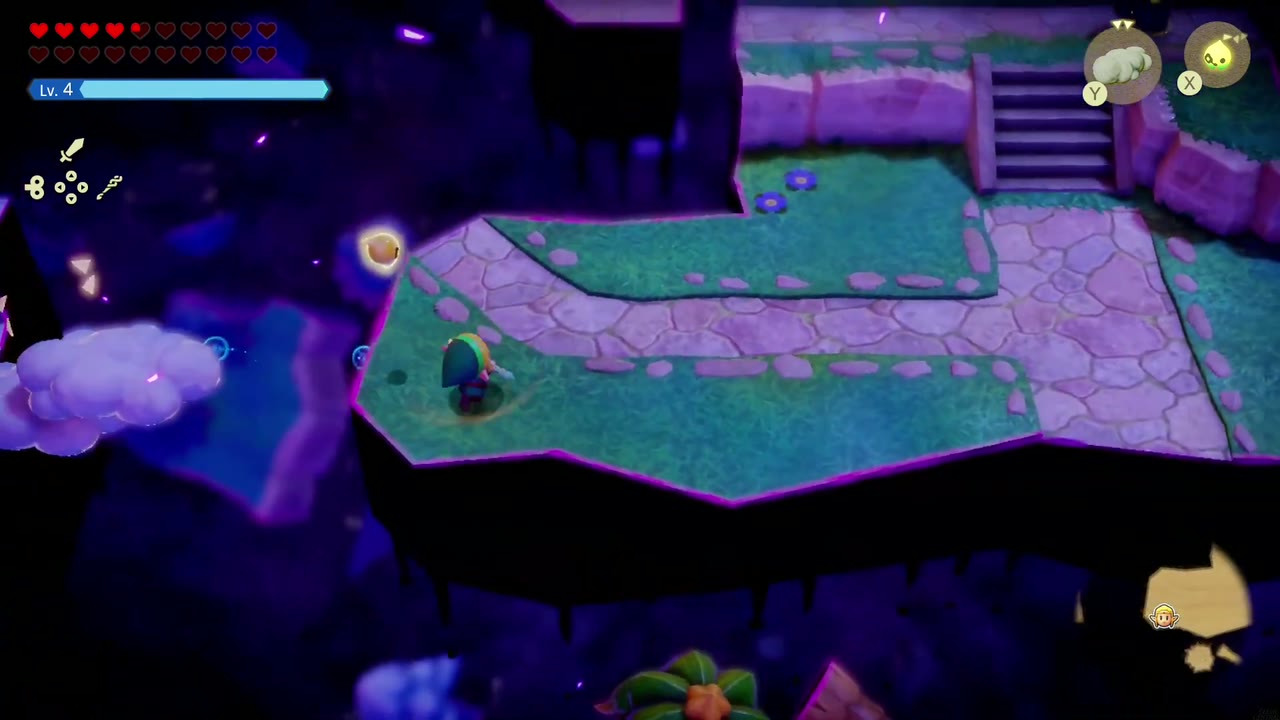
Boss: Zelda’s Echo
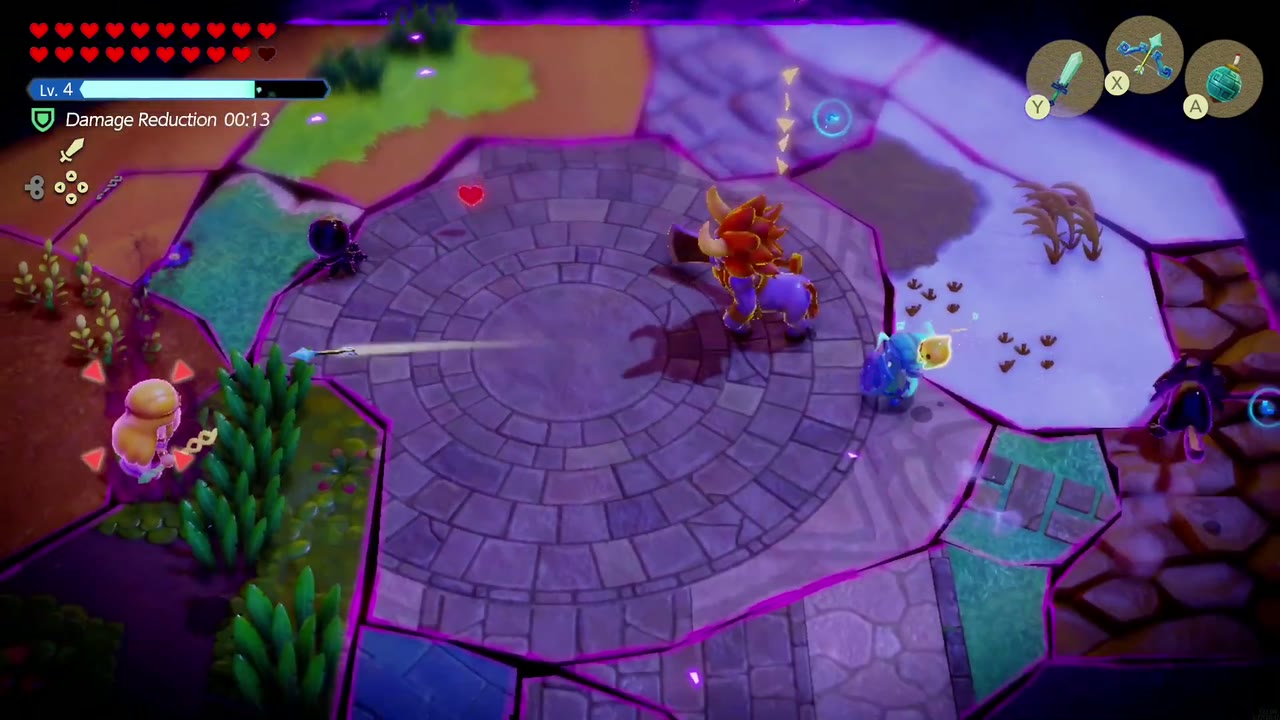
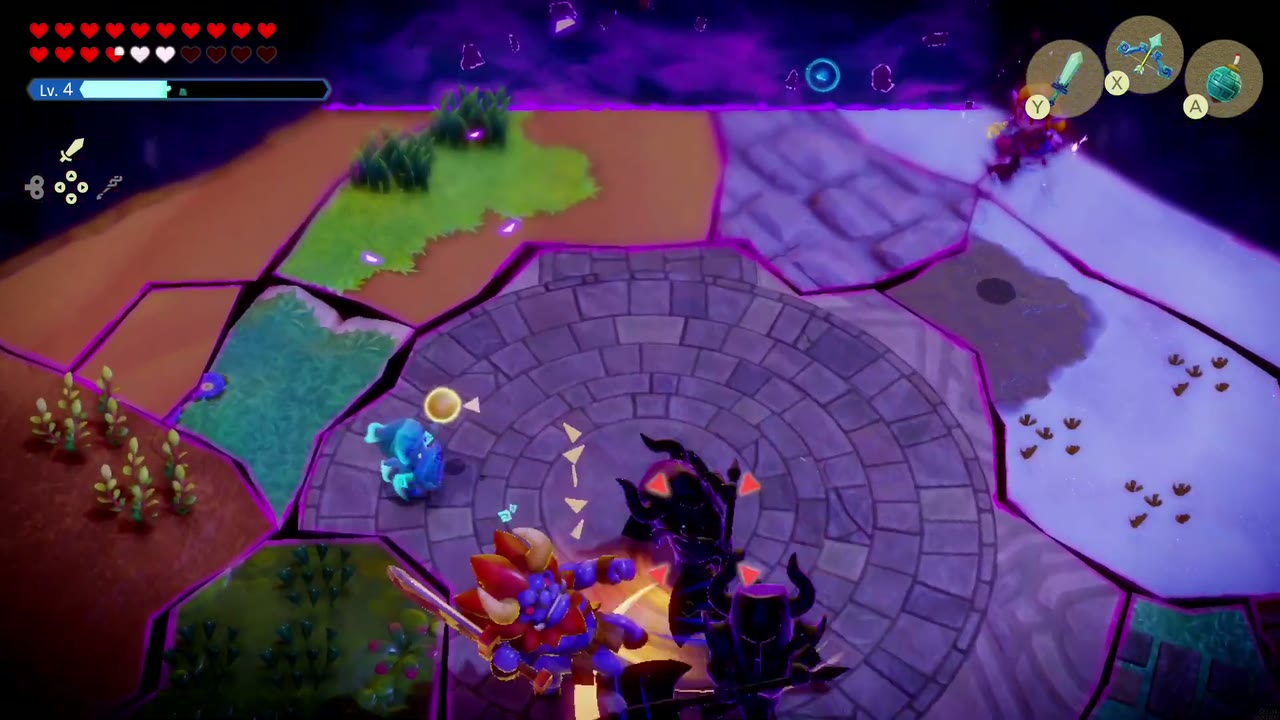
At the top of the Stilled Ancient Ruins your impostor waits on a ring-shaped stone arena with Link sealed in a pink crystal overhead (no boss name card appears). She fights like a twisted version of you: she keeps her distance at the arena’s edge, slips away through dark portals, and summons her own echoes against you, including a golden Lynel and shadowy Darknut-style knights. Drink a damage-reduction smoothie before you start (a Mixed Tough Smoothie works), then let your Lynel echo trade blows with her summons while you enter Swordfighter Form and pick at her with the sword and Bow of Might whenever she’s in range. Once she’s worn down, a Lynel spin attack finishes her, and she sinks into the floor taking the Prime Energy with her, which updates the quest The Prime Energy and Null.
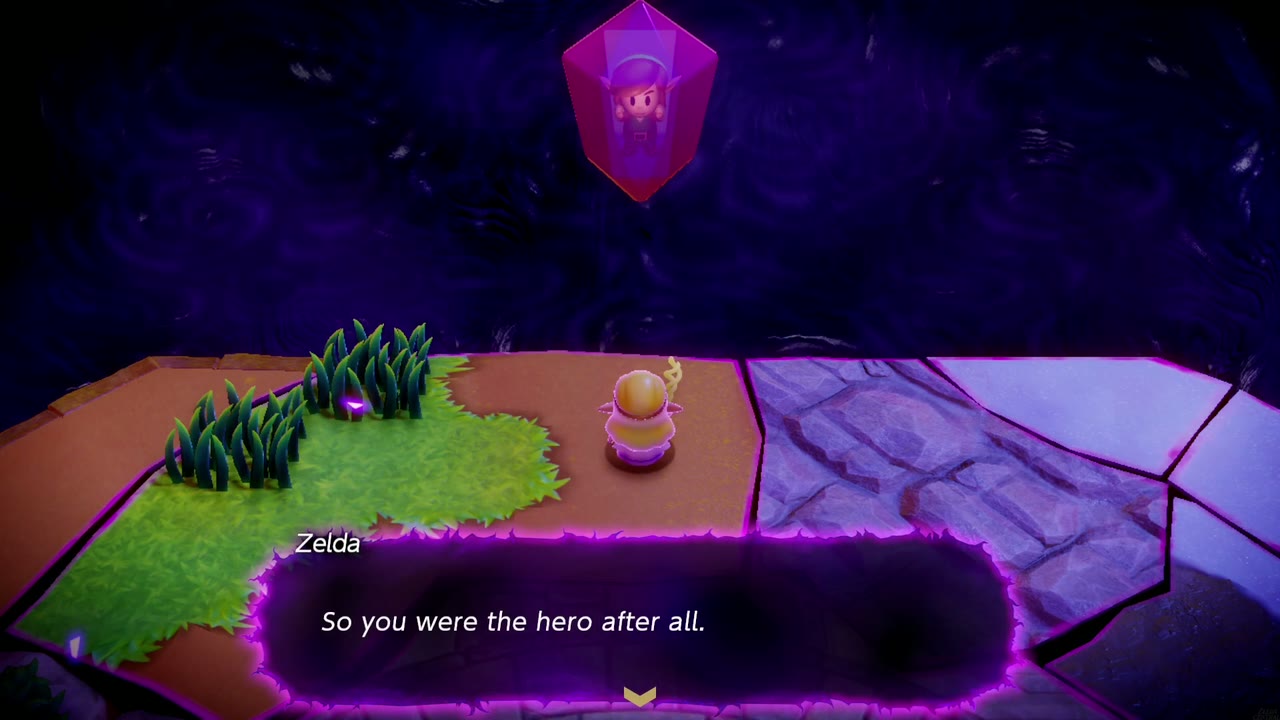


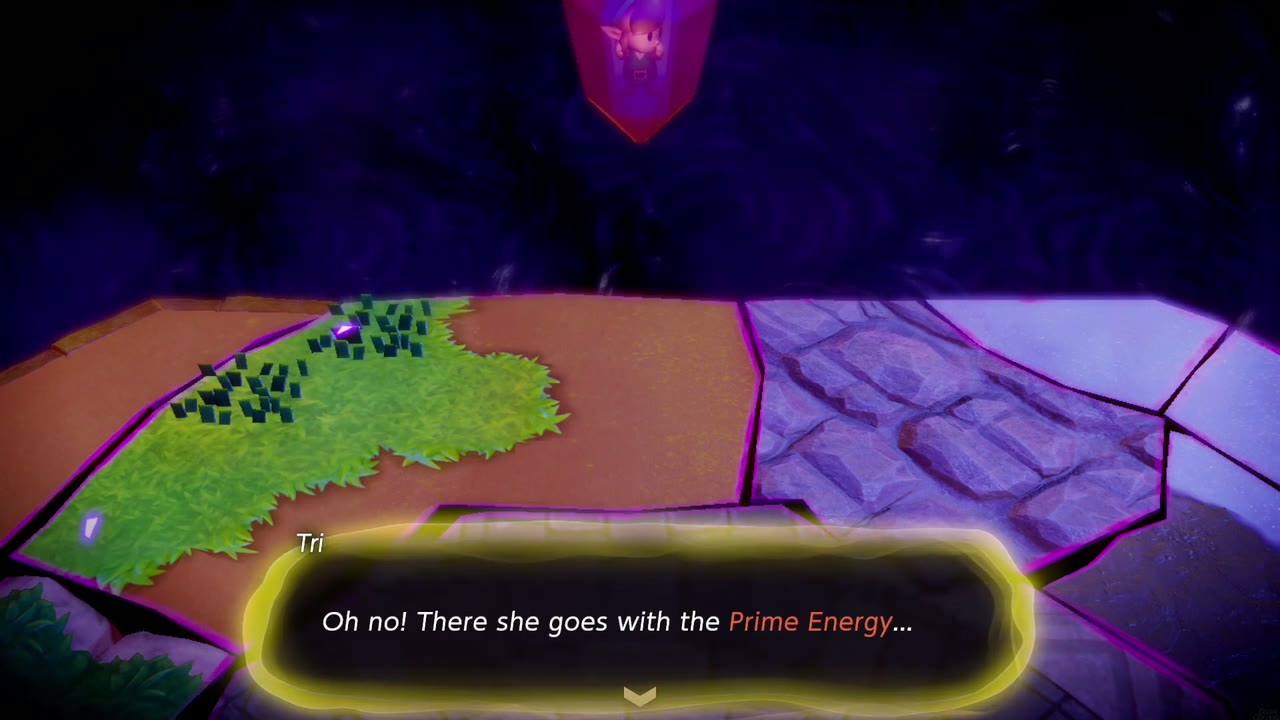
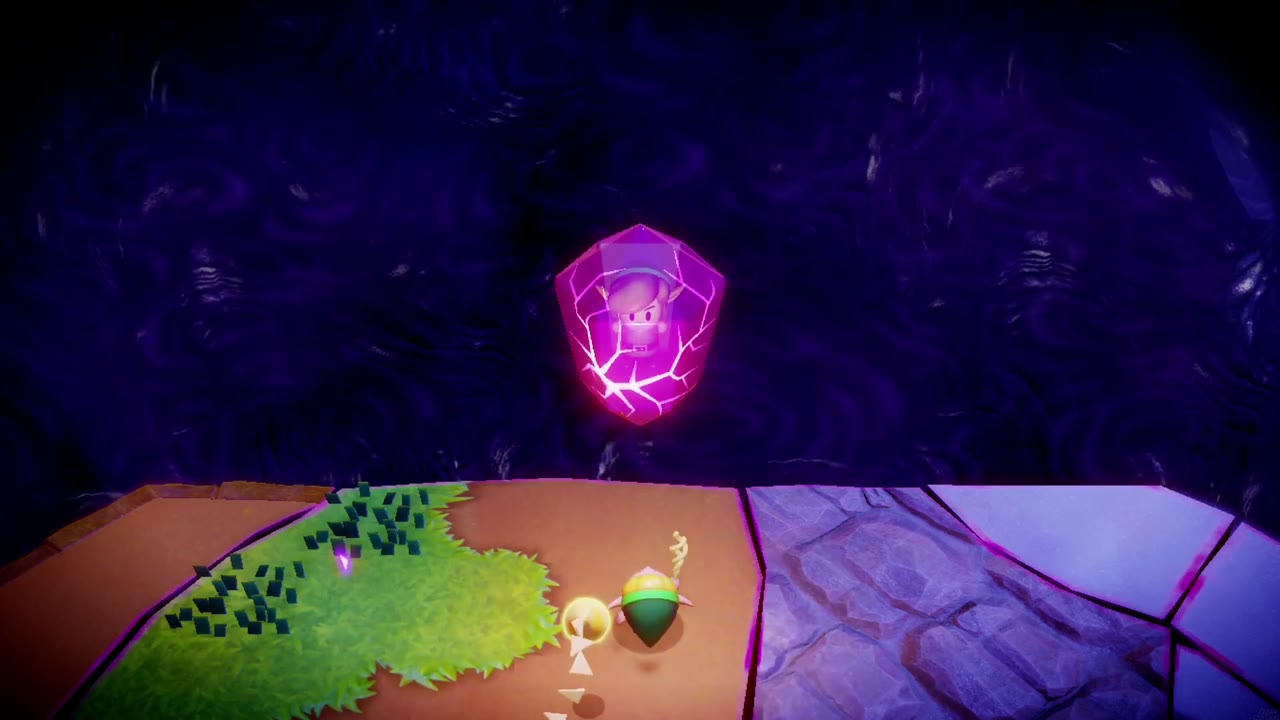
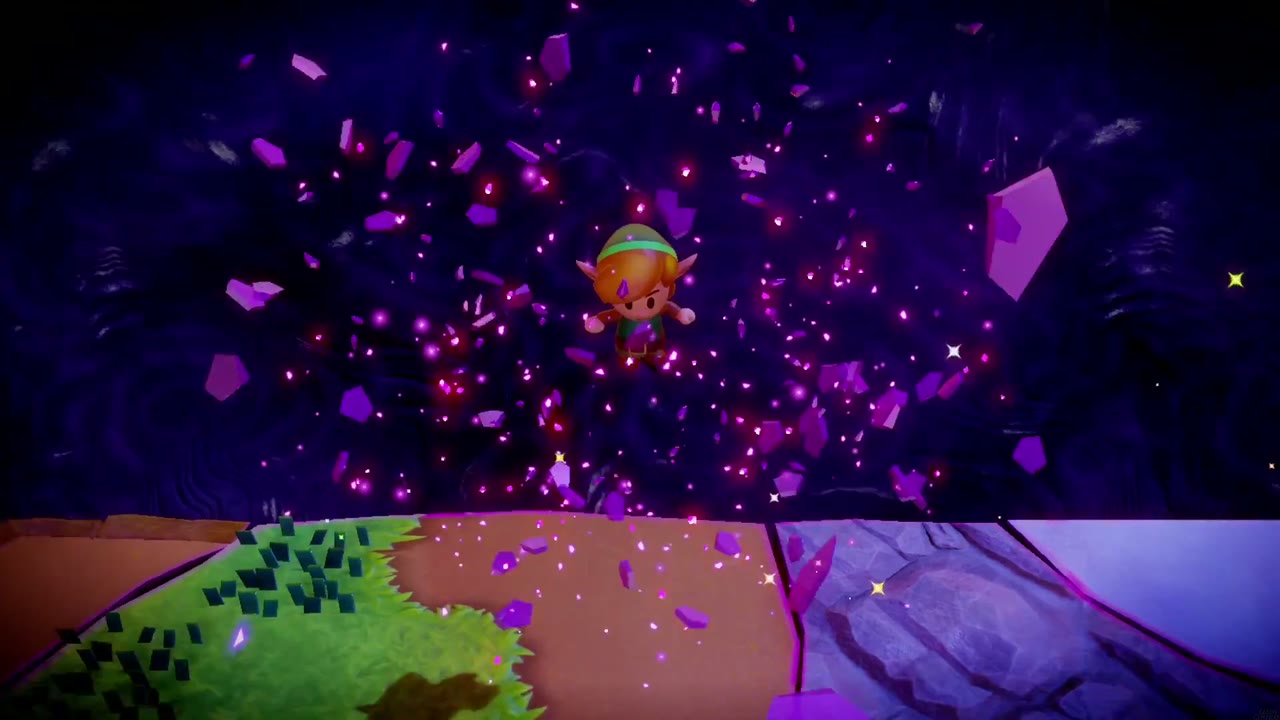
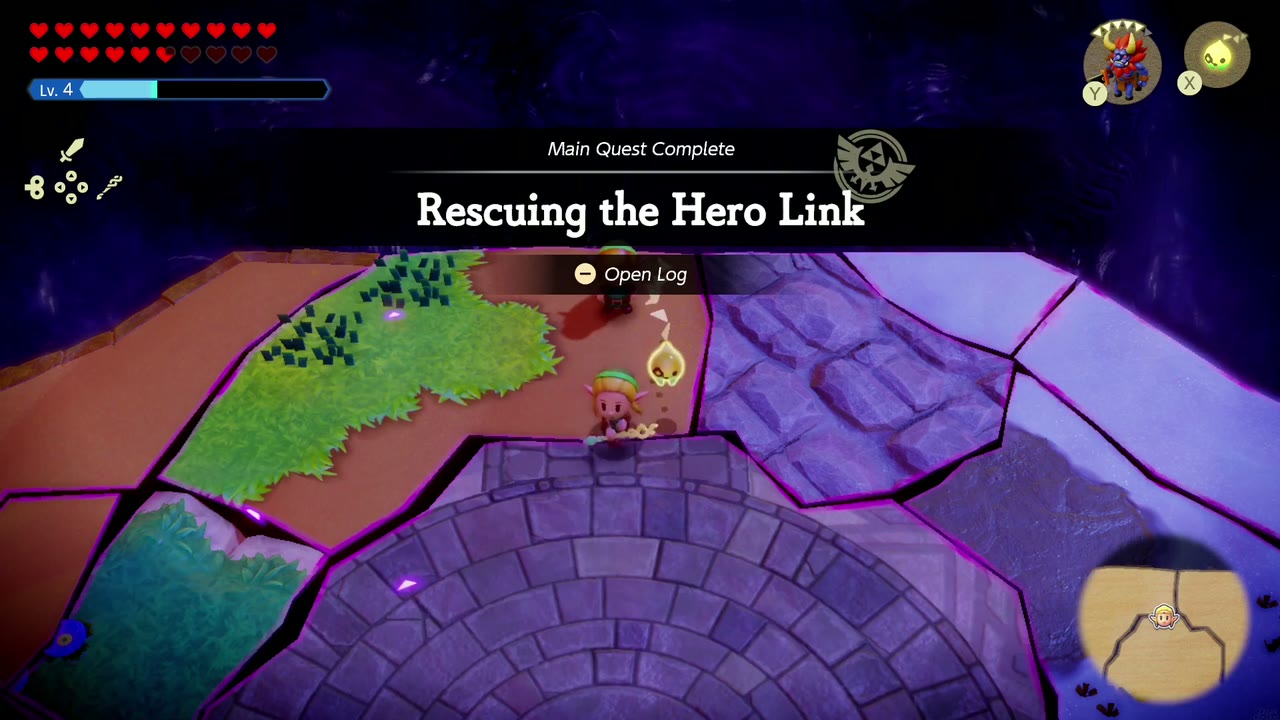
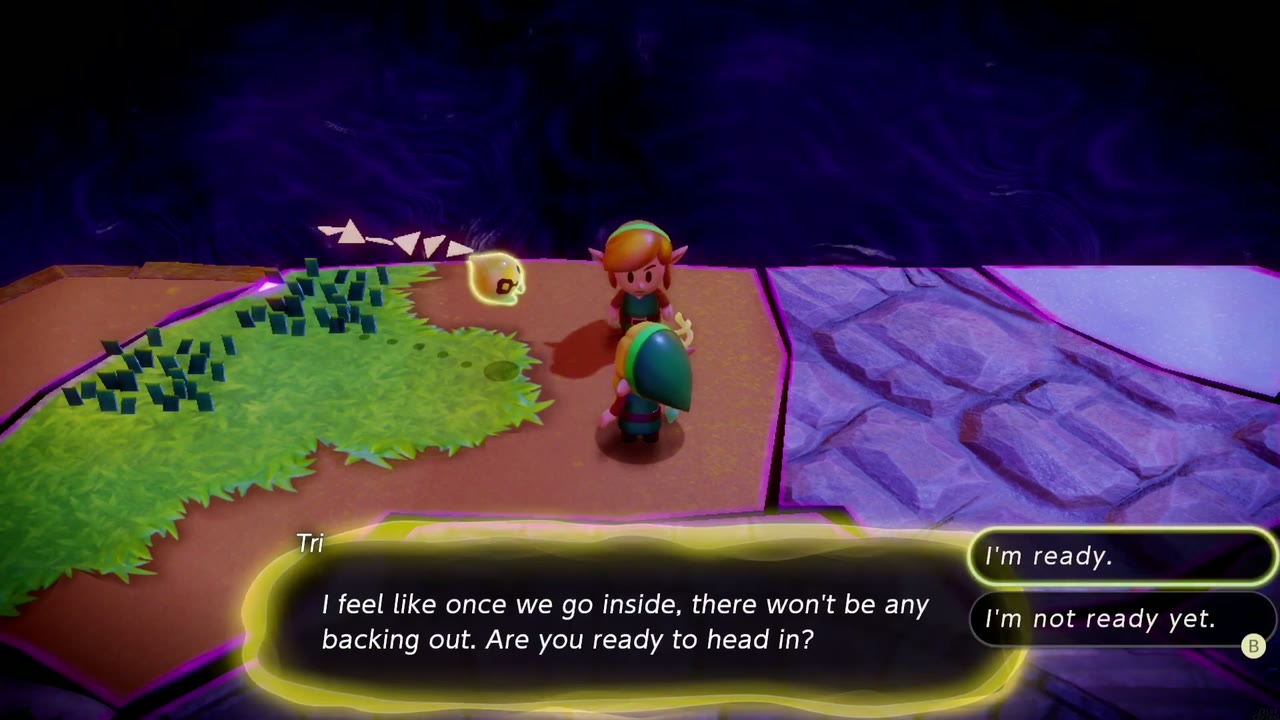
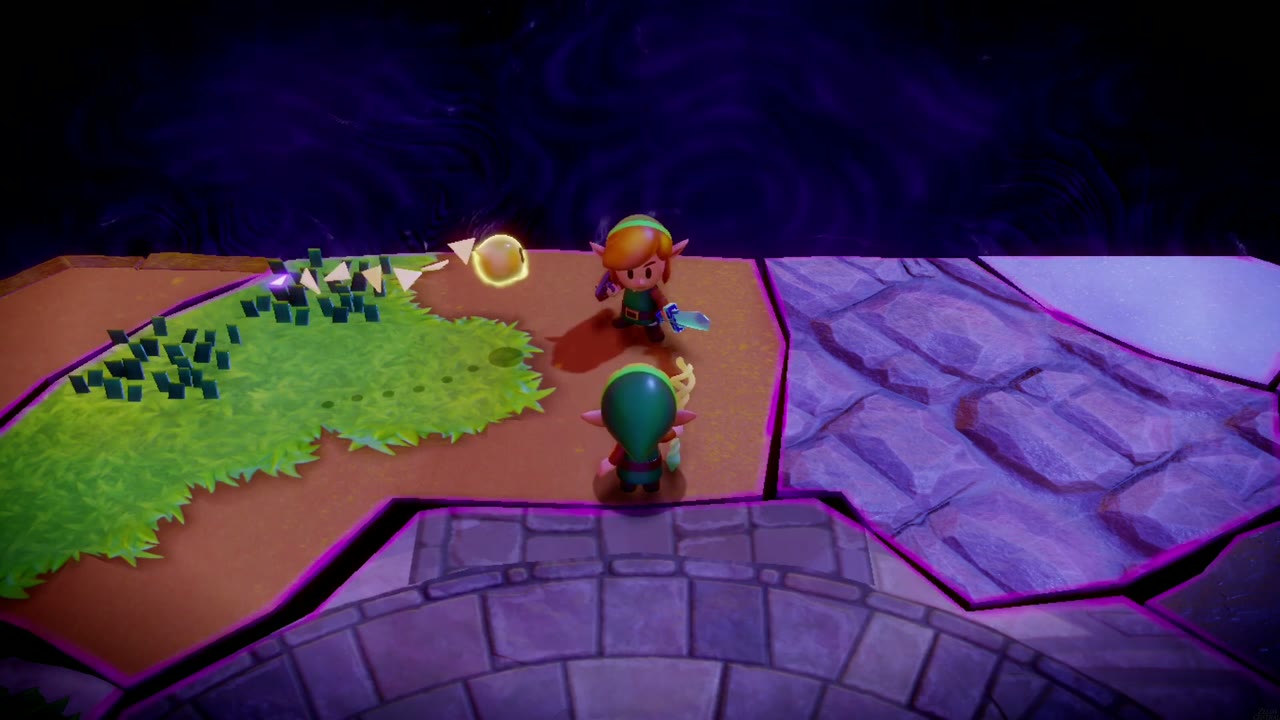
After the fight, walk up to the grassy ledge beneath Link’s crystal; it cracks and shatters, and Link drops free. Tri explains that the Prime Energy resides in both of you and that you’ll have to take it back from Null together, and the Rescuing the Hero Link main quest completes. Tri then asks whether you’ll give Link his weapons, and warns that once you go inside there’s no backing out. Answer “I’m not ready yet” if you still have business elsewhere; when you’re set, talk to Link again, hand over his sword, choose “I’m ready”, and the way into Null’s Body, the final dungeon, opens.
Eternal Forest Collectibles and Final Prep
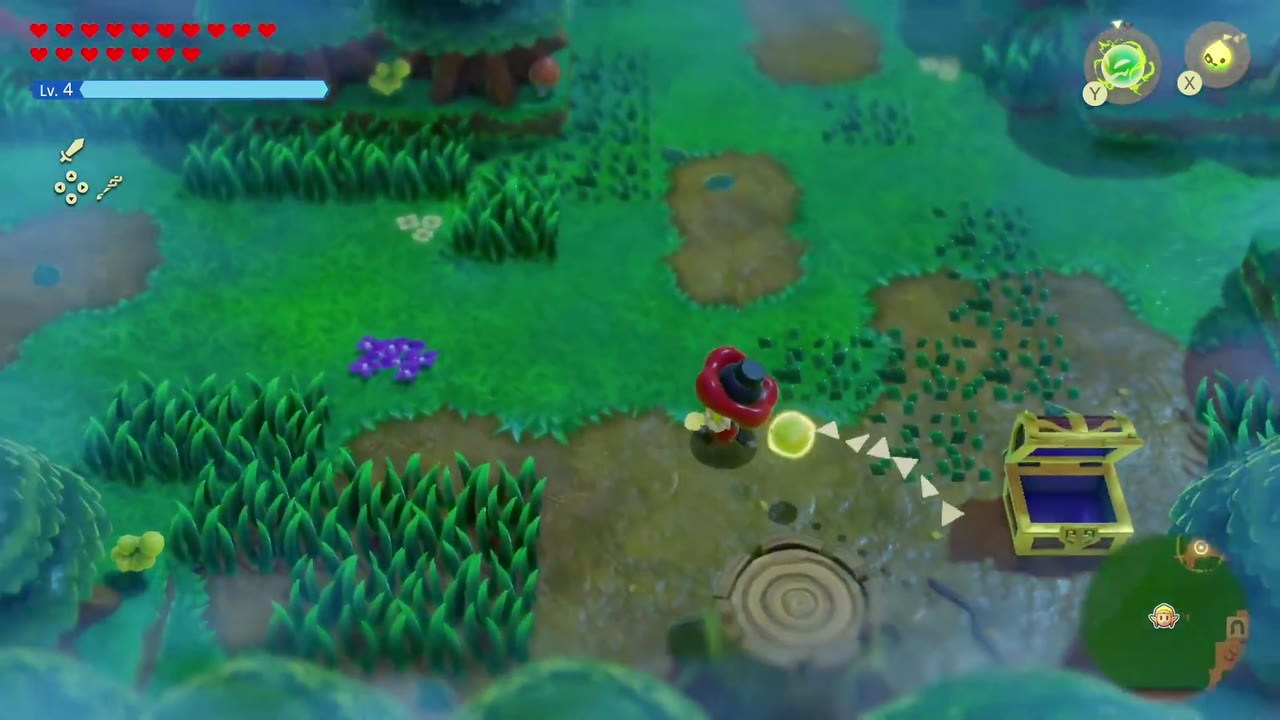
The forest itself is light on pickups: this playthrough turns up no Piece of Heart or stamp stand anywhere in the Eternal Forest. Its chests, tucked into the dirt clearings of the fog maze, hold monster stones and rupees, so open them as you pass. The one thing really worth hunting here is the Lynel echo.
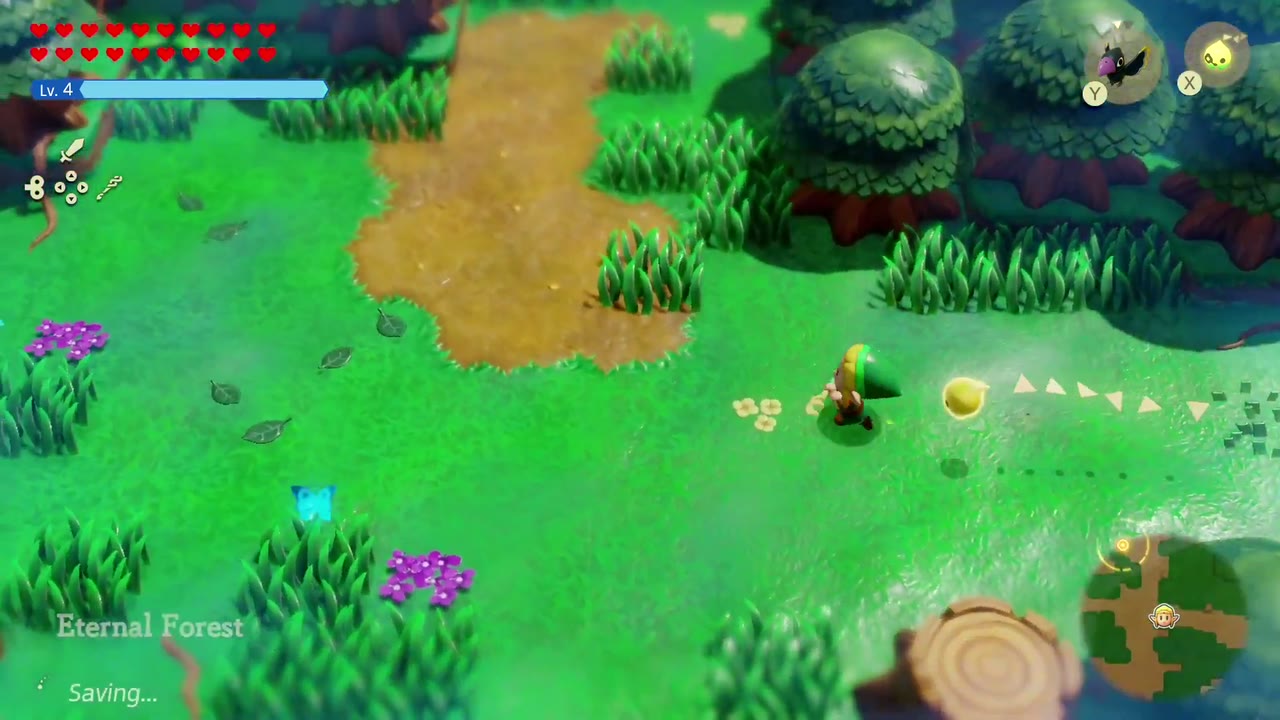
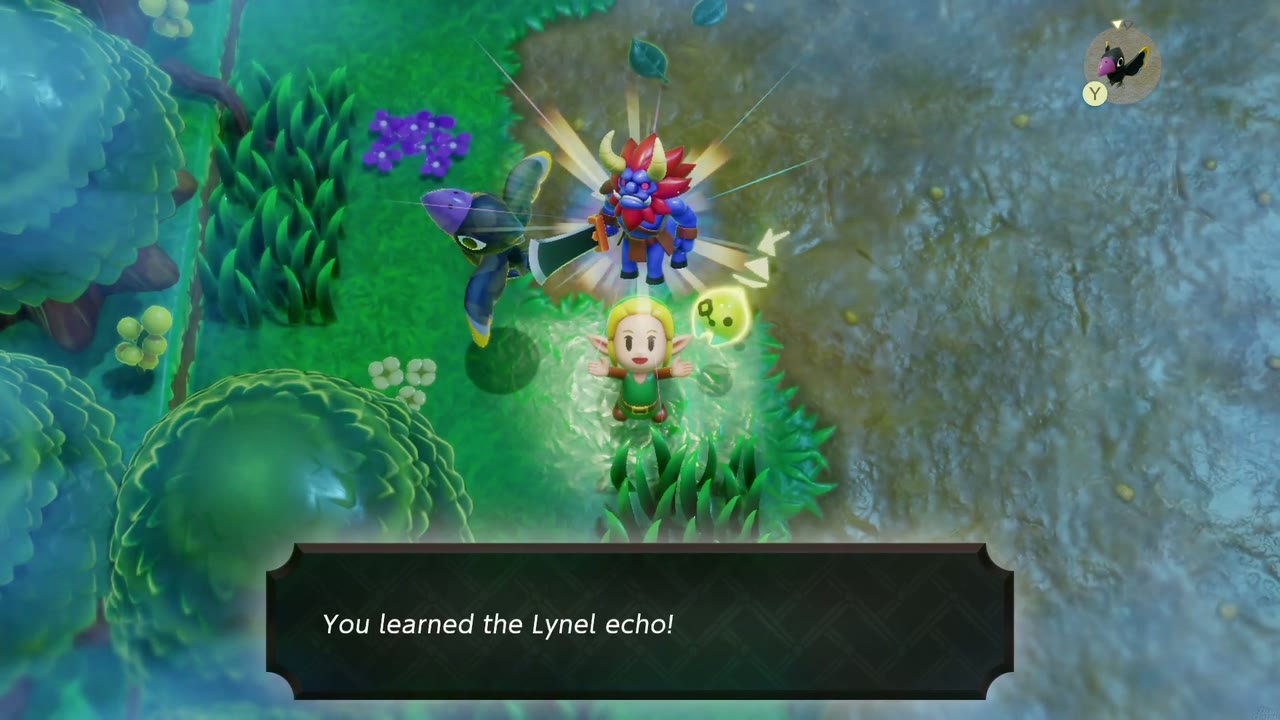
The Lynel echo
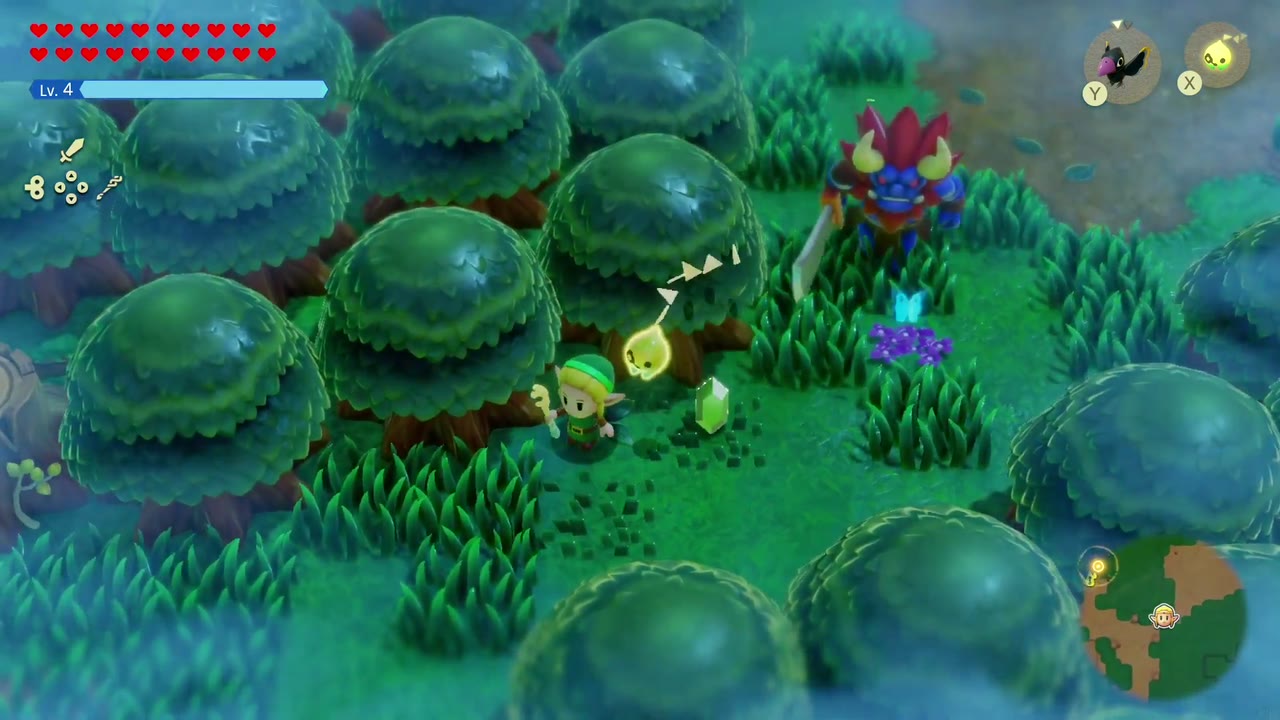
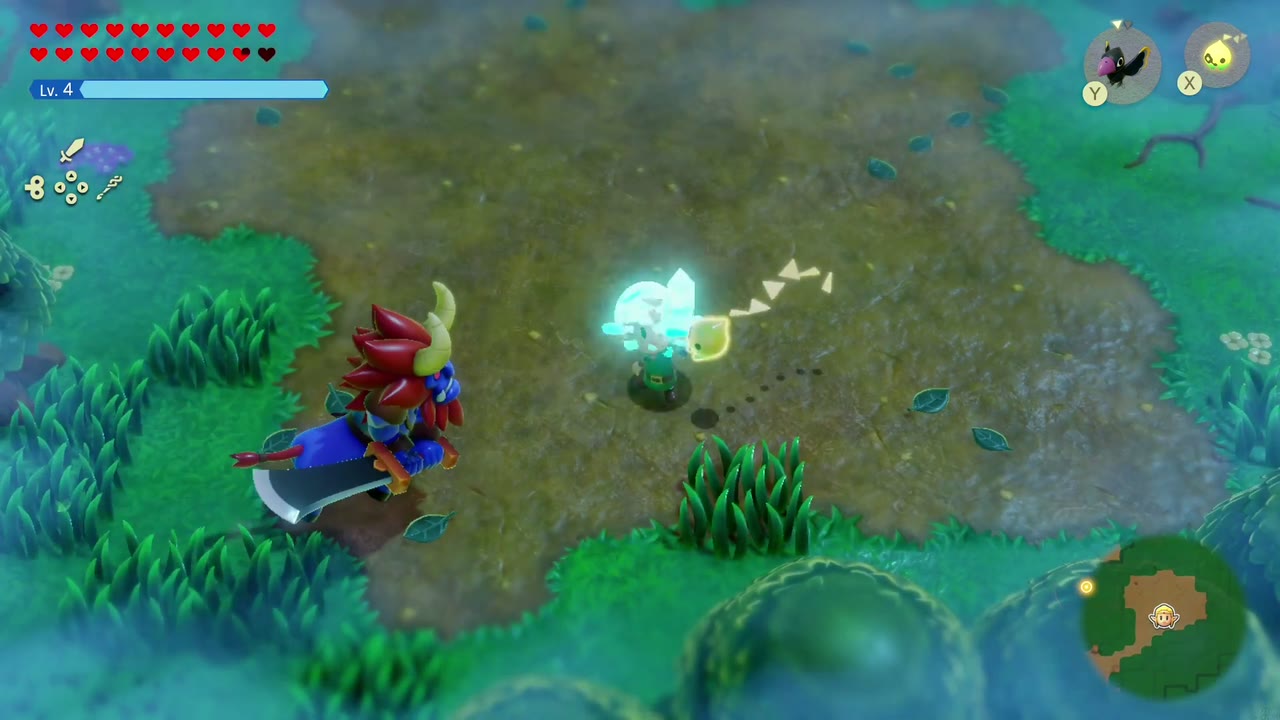
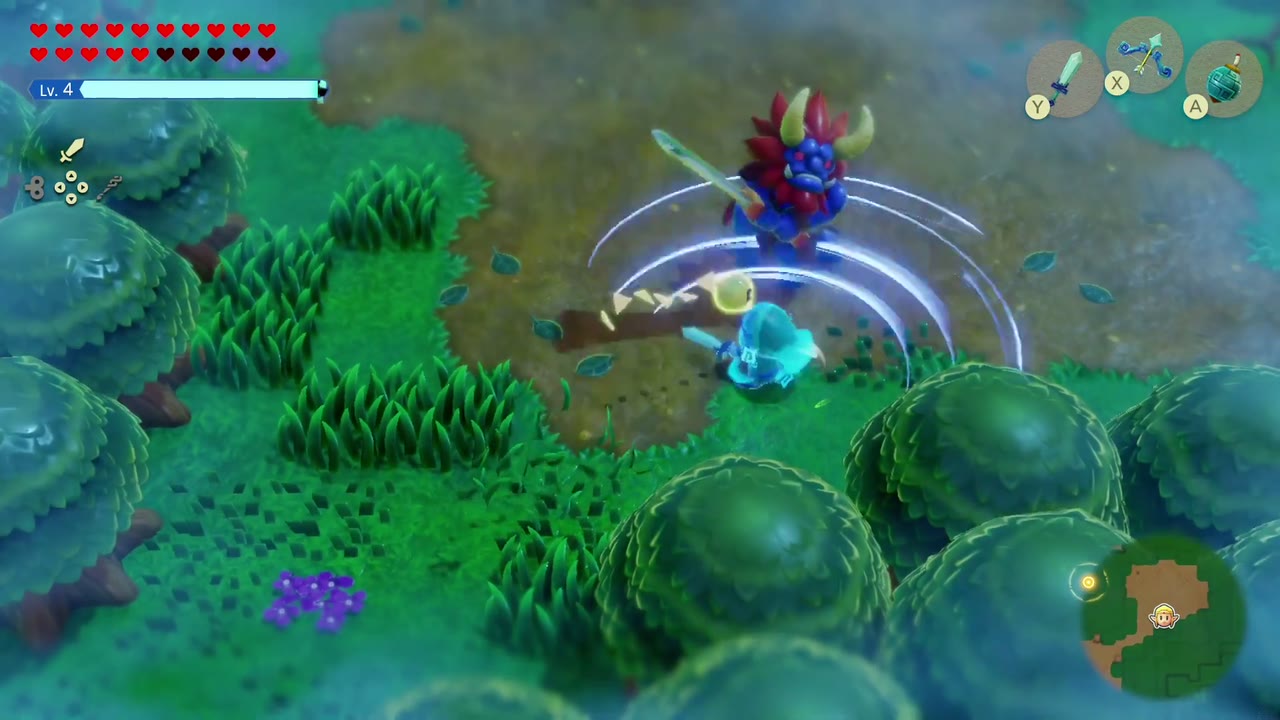
Lynels roam the forest’s misty paths on your return visit. They’re tough, fast, and hit like a truck; enter Swordfighter Form, keep moving when one charges or winds up its spinning sword attack, and let your echoes soak up hits. When it falls, learn the Lynel echo. It’s an ideal partner for the boss fight ahead and for Null's Body.
Last checks before the finale
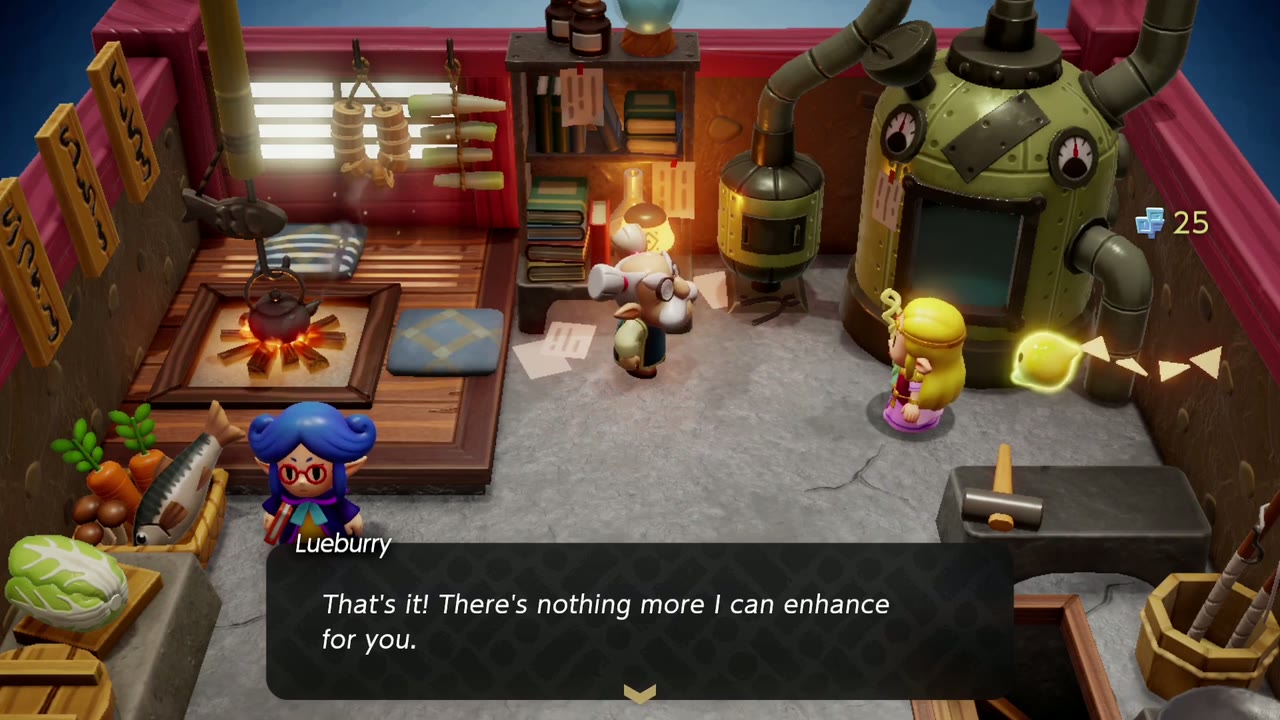
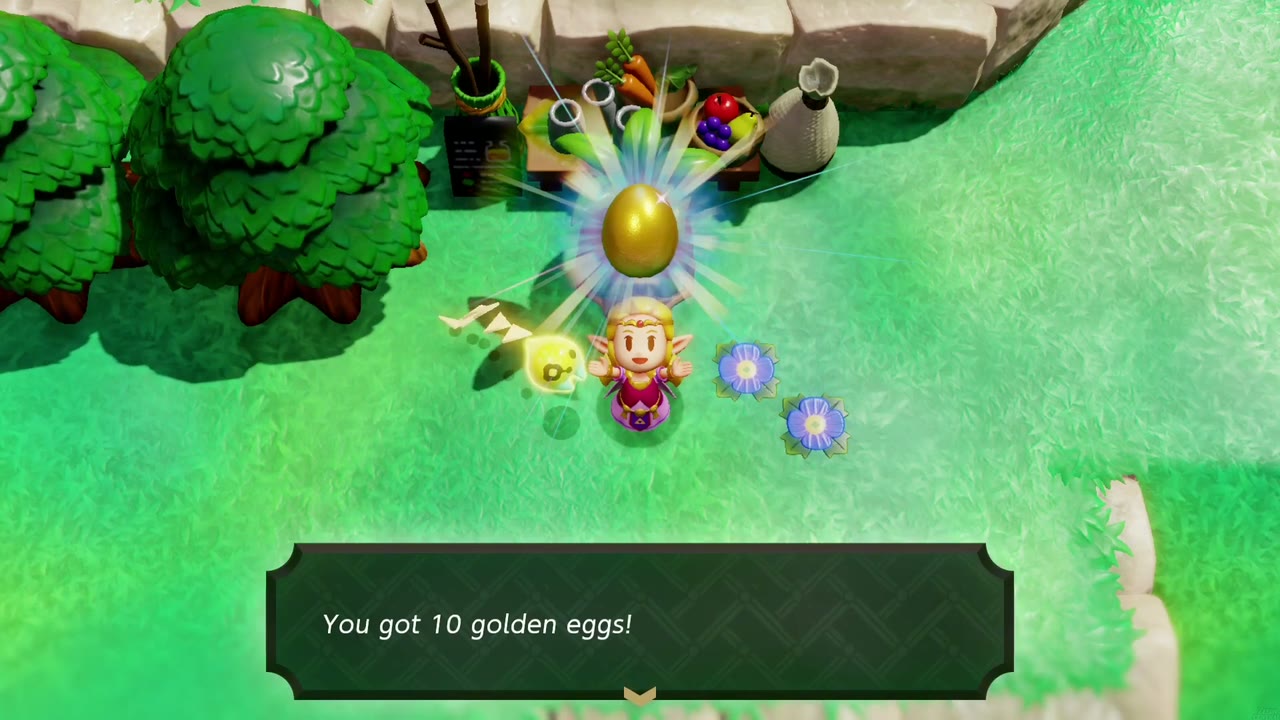
Before you tell Tri you’re ready, finish your prep. Spend your Might Crystals at Lueburry’s house in Suthorn Forest; once your weapons are fully enhanced he’ll take 25 more to make “something extra special” and place it outside his house. Stock up on combat smoothies too. A damage-reduction drink like the Salted Tough Smoothie helps a lot, and documenting every recipe at the Smoothie Shop earns you 10 golden eggs. Check that your Fairy Bottle is filled, too.