Echoes of Wisdom 100% Completion Walkthrough16 chapters
- Prologueplaying as Link, escaping the castle jail, and the waterways to Suthorn Beach.
- Suthorn ForestSuthorn Beach and Village, meeting Tri, the first echoes, and mending the Suthorn Forest rift.
- Suthorn Ruinsthe first dungeon, the Shadow Link fight, and the Seismic Talus boss.
- Jabul Watersthe River and Sea Zora feud, Lord Jabu-Jabu, and Stilled Jabul Waters.
- Jabul Ruinsthe whirlpool chase, the five colored switches, and the Vocavor boss.
- Gerudo Desertthe Oasis, Gerudo Town, the desert rifts, and Cryptic Cavern.
- Gerudo Sanctumthe tribute puzzle, the Bow of Might, and the Mogryph boss.
- Hyrule Castlethe Hyrule Castle well rift, Stilled Castle Town, and the Ganon boss.
- Eldin VolcanoKakariko Village, the Eldin Volcano Trail, and saving Goron City.
- Eldin Templethe Bombs of Might, the lava hall, and the Volvagia boss.
- Faron WetlandsScrubton, Blossu’s House, and escaping the Deku Scrub Lockup.
- Faron Templethe small keys, the plant mini-boss, and the Gohma boss.
- Hebra Mountainmeeting Condé, the climb through the snow, and the Stilled Hebra Mountain rift.
- Lanayru Templefire orbs, fans and lasers, the slime mini-boss, and the Skorchill boss.
- Eternal Forestthe six Ancient Orb pedestals, the Deku Tree, and freeing Link in the Stilled Ancient Ruins.
- Null’s Bodythe final dungeon and the multi-phase fight against Null.
Welcome to Chapter 2 of The Legend of Zelda: Echoes of Wisdom, set in the scorching Gerudo Desert. In this chapter, Princess Zelda travels west to aid the Gerudo, mend several smaller rifts, and conquer the Gerudo Sanctum dungeon. This comprehensive guide will walk you through every step – from initial objectives in Suthorn Village to the climactic boss battle – highlighting puzzles, combat strategies, hidden collectibles, and story cutscenes along the way.
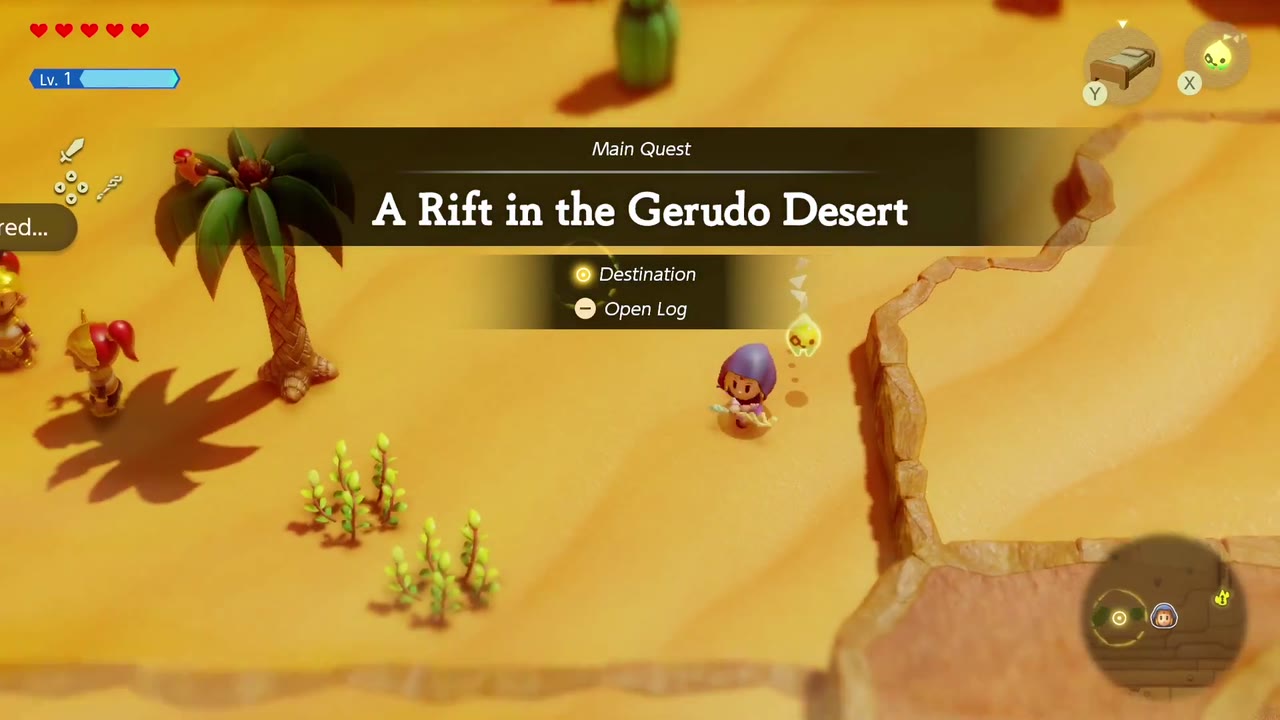
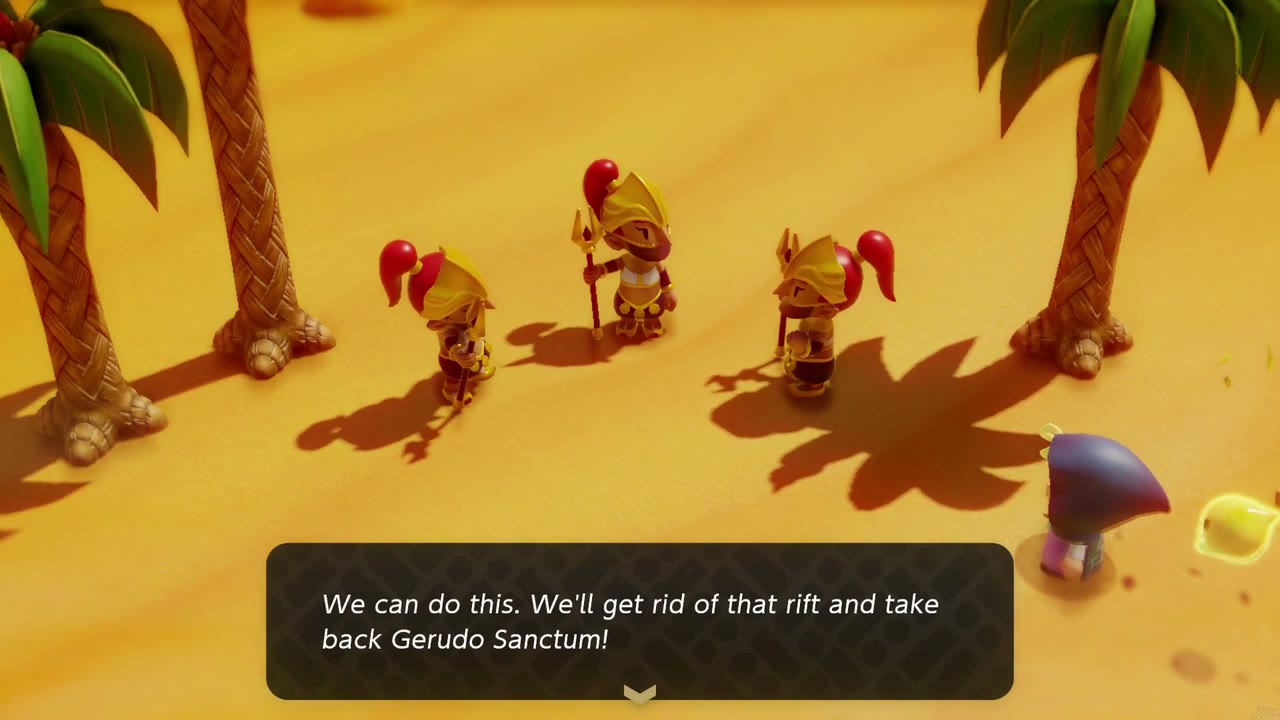
After clearing Suthorn, take the path west out of Hyrule Field; it drops over sandy ledges into the desert, and the moment you arrive the A Rift in the Gerudo Desert main quest begins. The region’s problem is a huge rift in the middle of the desert that has swallowed Gerudo Sanctum, and a trio of worn-out Gerudo soldiers you meet among the palms are determined to get rid of it and take the sanctum back.
Entering the Desert and the Oasis
Crossing the Desert
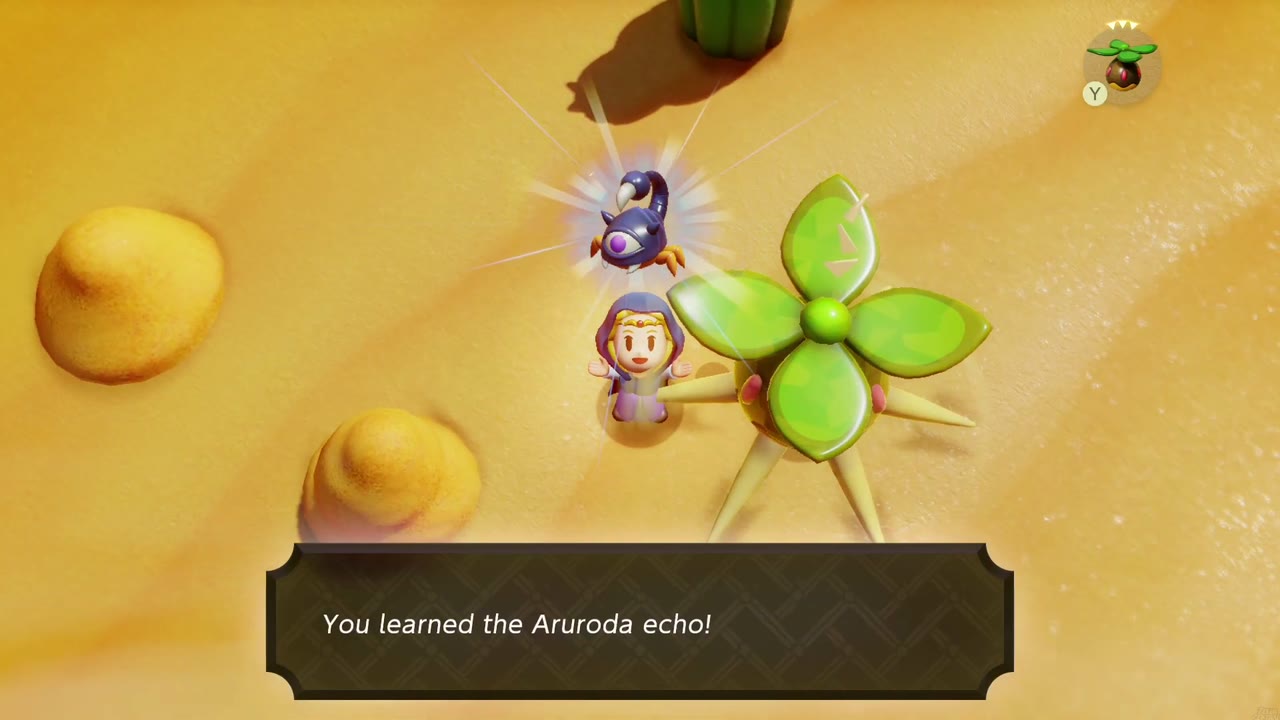
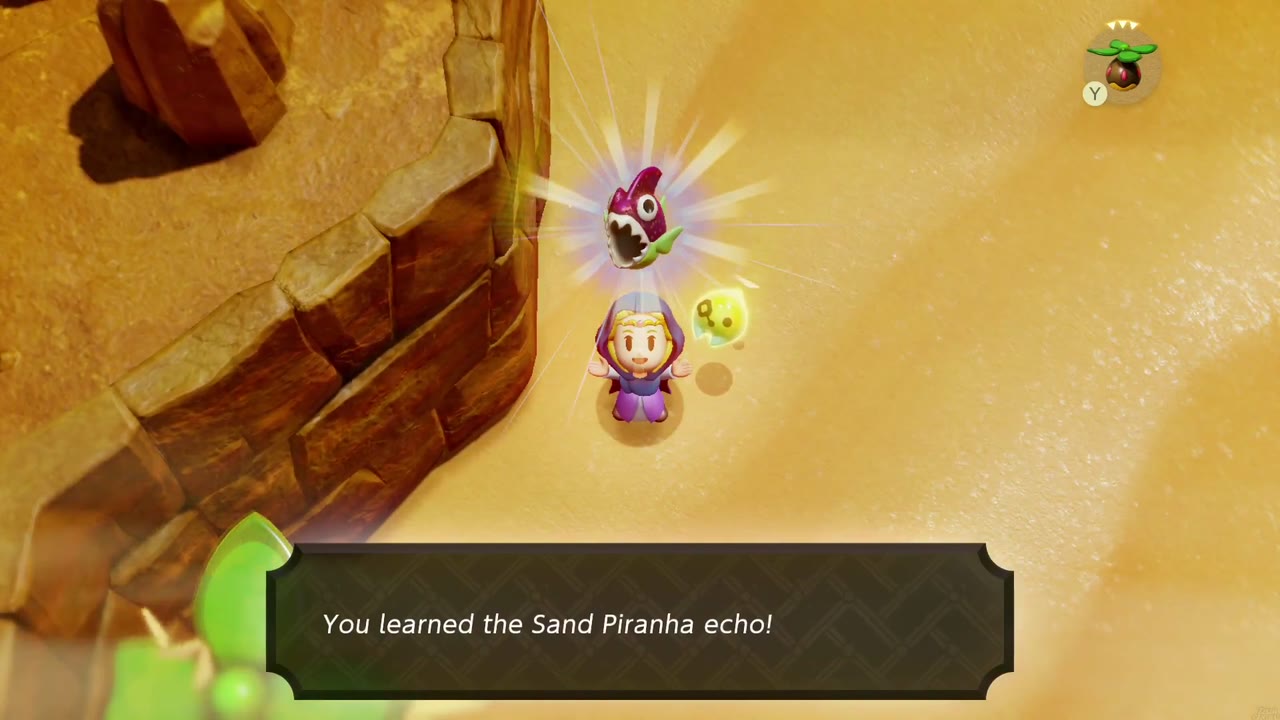
Past the soldiers, head across the open sand toward the Oasis. The desert’s first new monsters are worth killing for their echoes: an Aruroda, a one-eyed scorpion that tries to sting from behind, and a Sand Piranha, which swims through the sand near the cliffs. Keep going and you’ll reach the green edge of the Oasis, where you can activate its Waypoint.

The Oasis
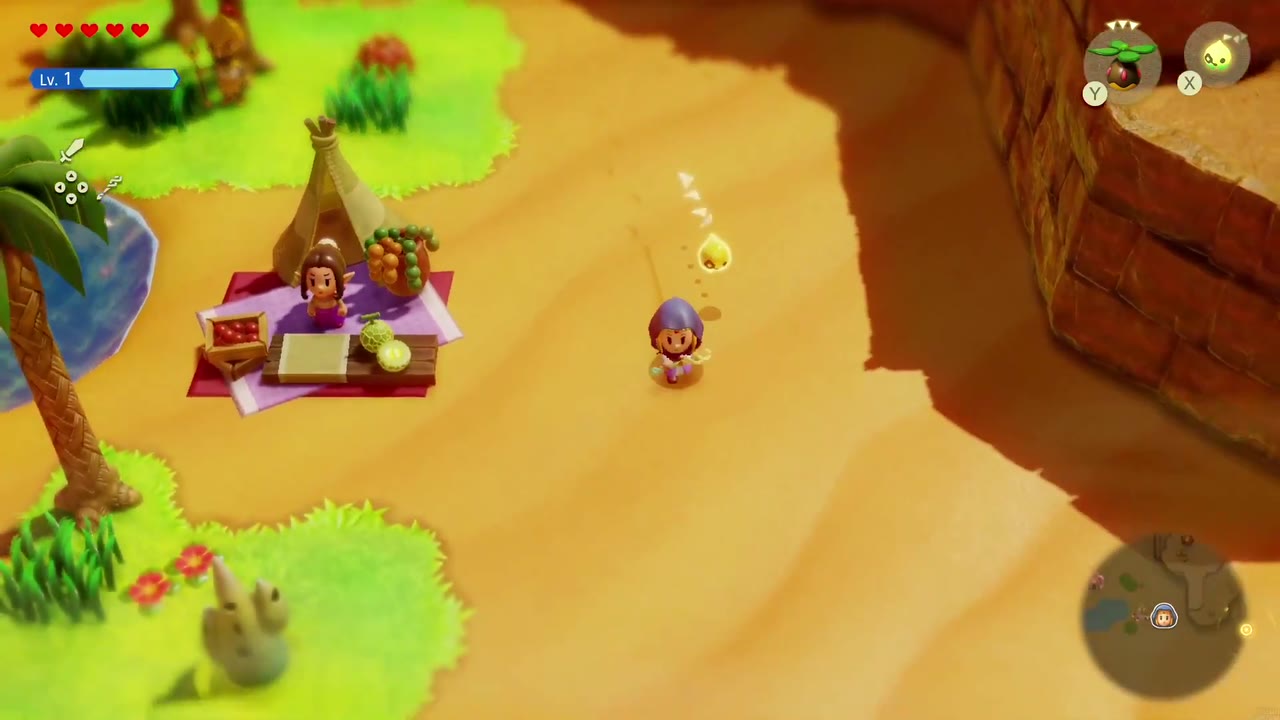
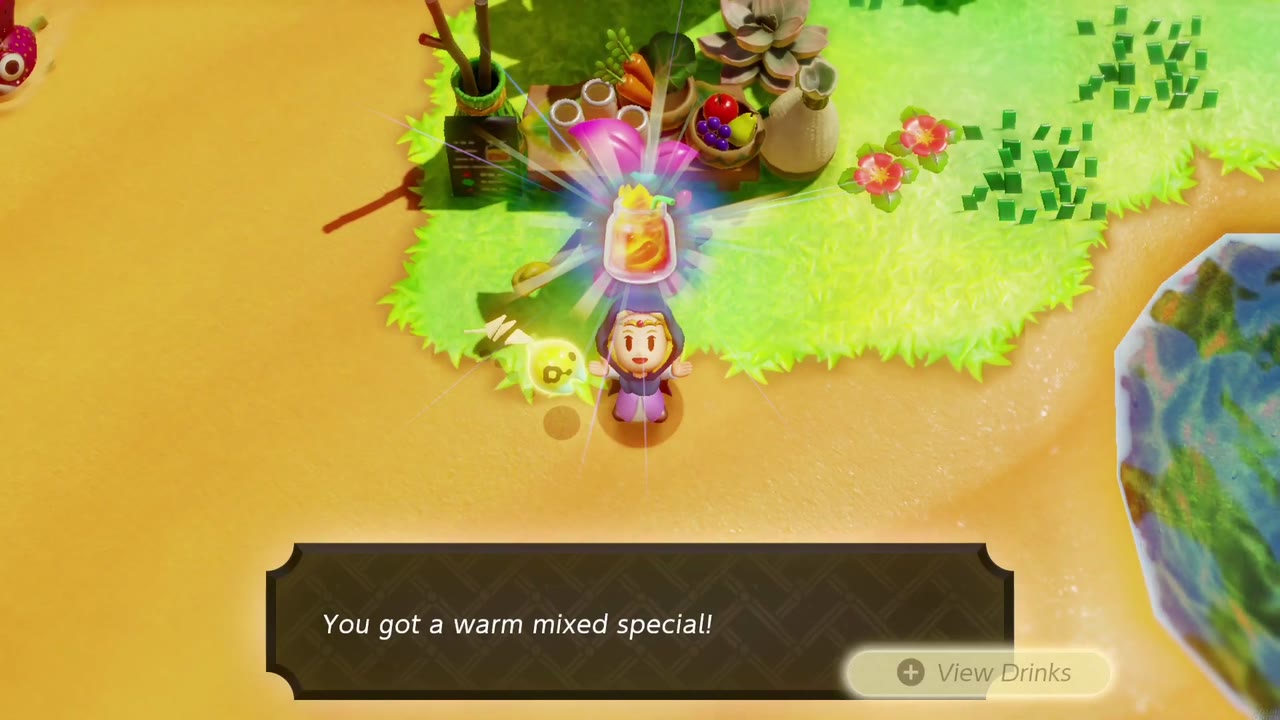
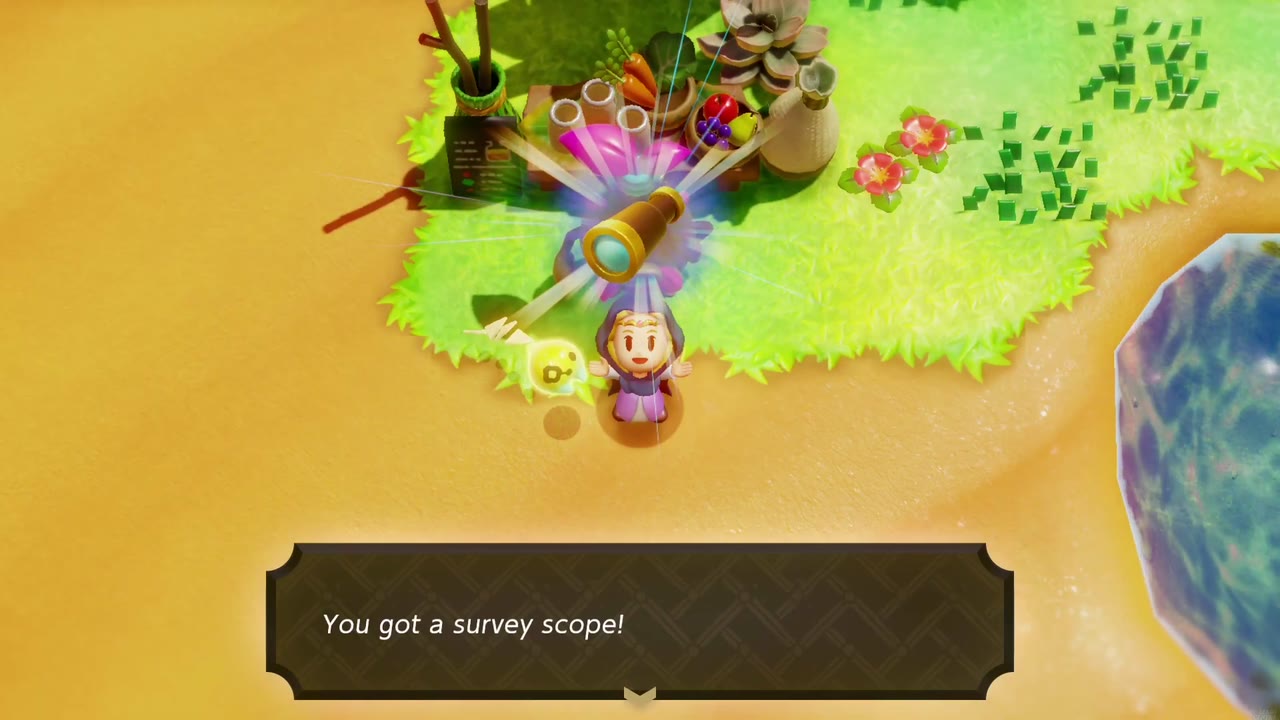
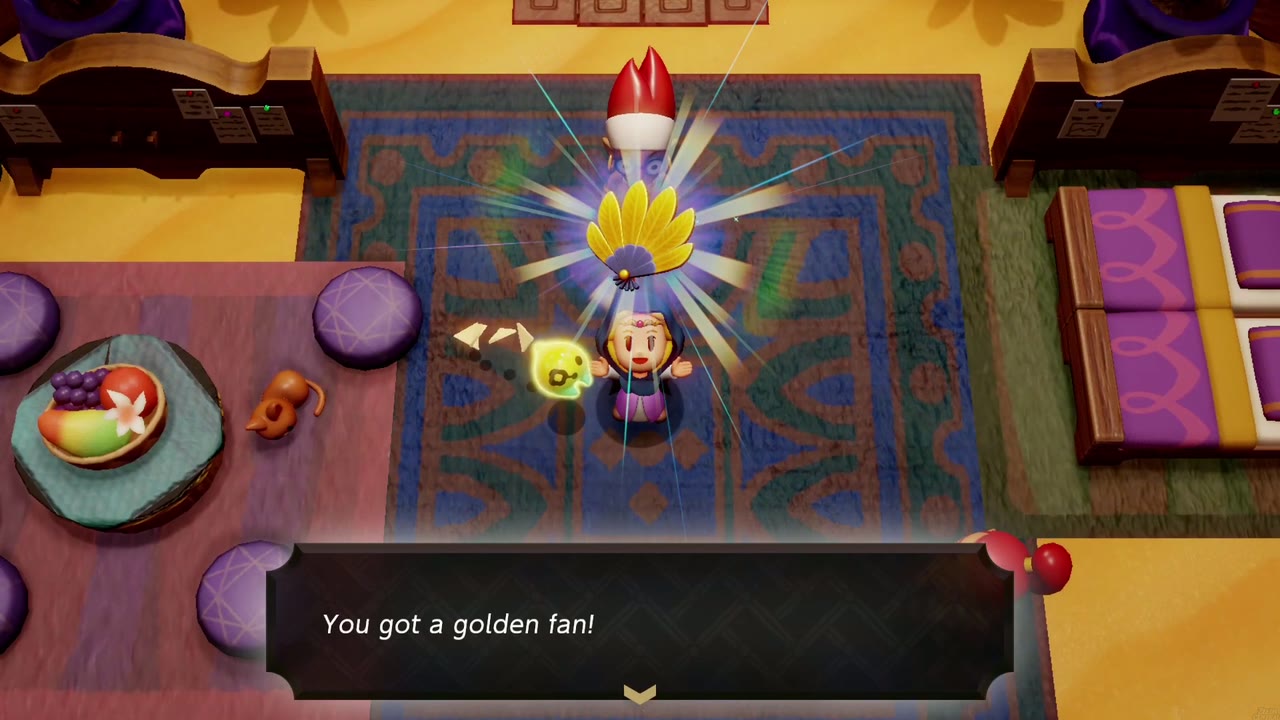
The Oasis is a palm-ringed pond with a few things worth doing before you move on. The stall beside the pink tent is a Business Scrub’s branch of the Smoothie Shop; blending your first drink here starts the Recipes, Please! side quest, which asks for ten new recipes and pays out the Survey Scope accessory, and smoothies are your heal-on-demand safety net for the whole game. Tormali, an oasis guard standing nearby, has been searching the desert for tiles and gives you The Flying Tile side quest. The pink tent is the Tough Mango Plant Lab, home of the Mango Rush minigame (10 rupees a round): harvest 40 or more mangoes for 5 tough mangoes, then try the vibrant seeds for a bigger field and a prize like the golden fan. You’ll be back for a heart piece later.


The Great Rift
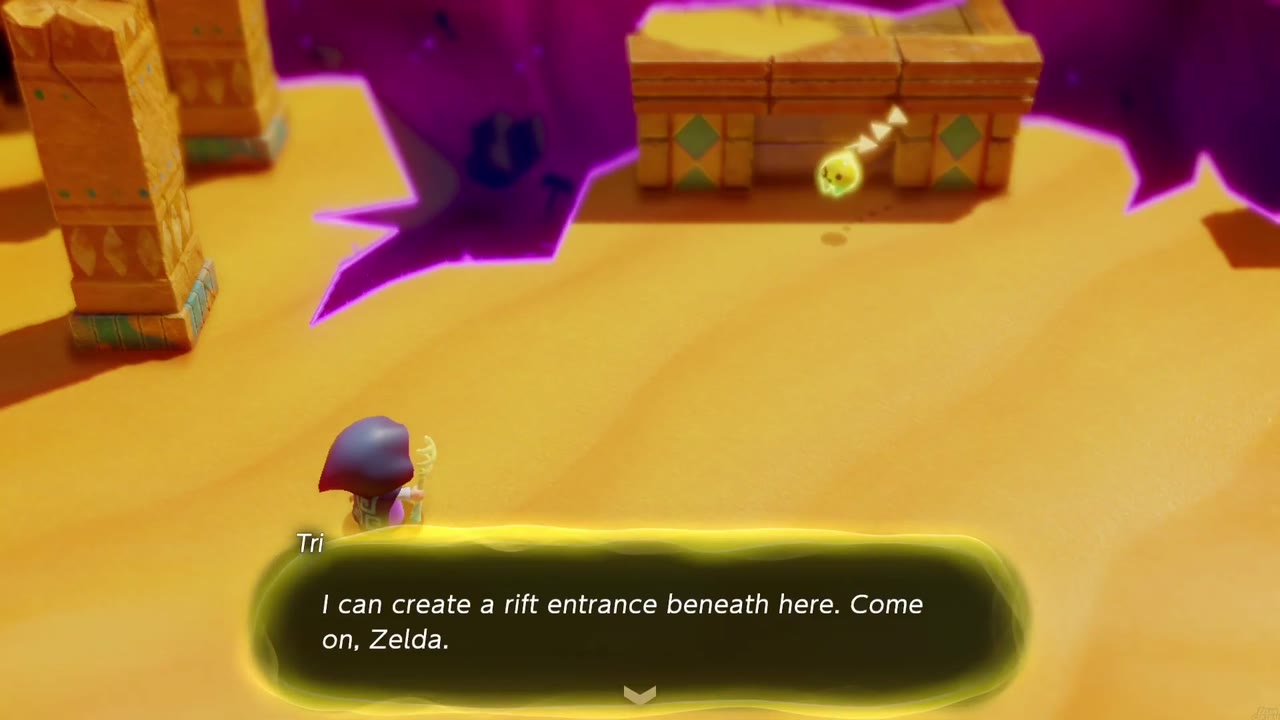
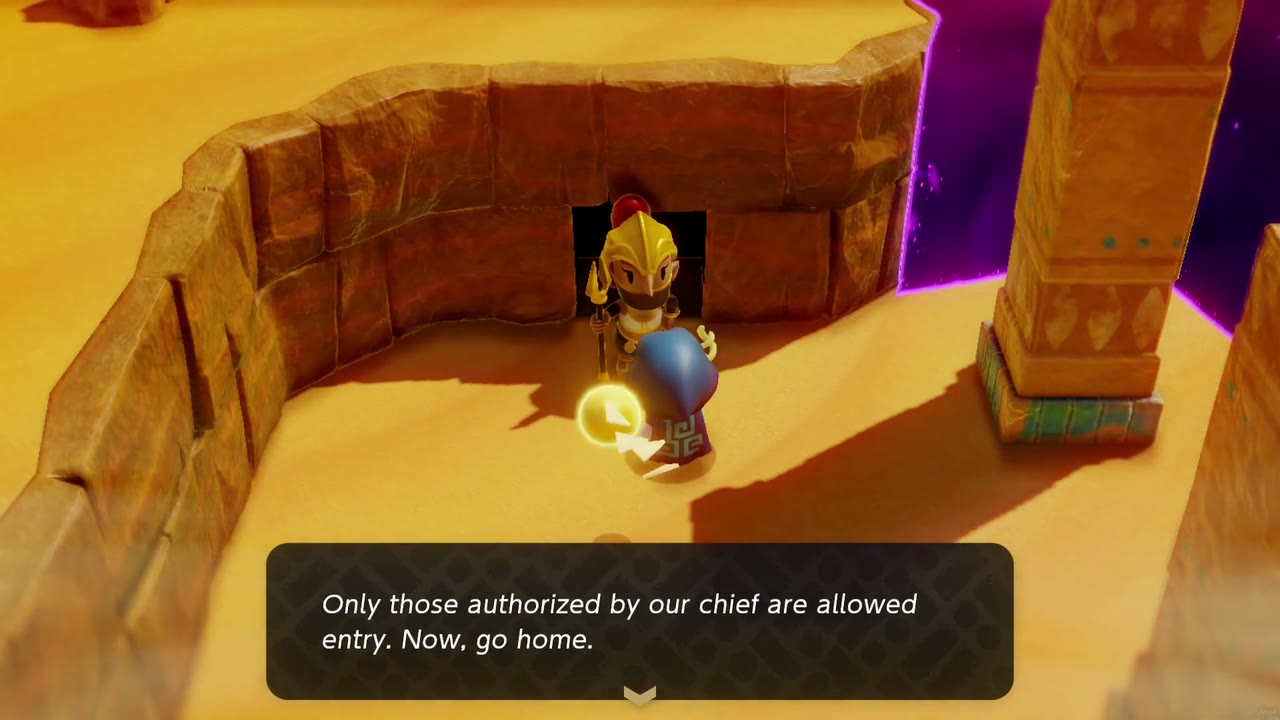
The story picks up at the huge rift in the middle of the desert, southwest of the Oasis, where the walls of old ruins poke out of the sand. (This scene plays whenever you approach the ruins.) Tri says she can open a way in beneath the sand, but a Gerudo guard in a doorway of the ruined wall won’t let anyone through without the chief’s authority. While you’re being turned away, a scream rings out nearby; follow it and fight off the rift monsters surrounding a red-helmeted Gerudo warrior. She’s Dohna, the captain investigating the rifts; she explains that the sanctum’s entrance lies beneath the sand, now flooded, and asks you to meet her at the palace in Gerudo Town, just northwest of here.


Gerudo Town
Around Town
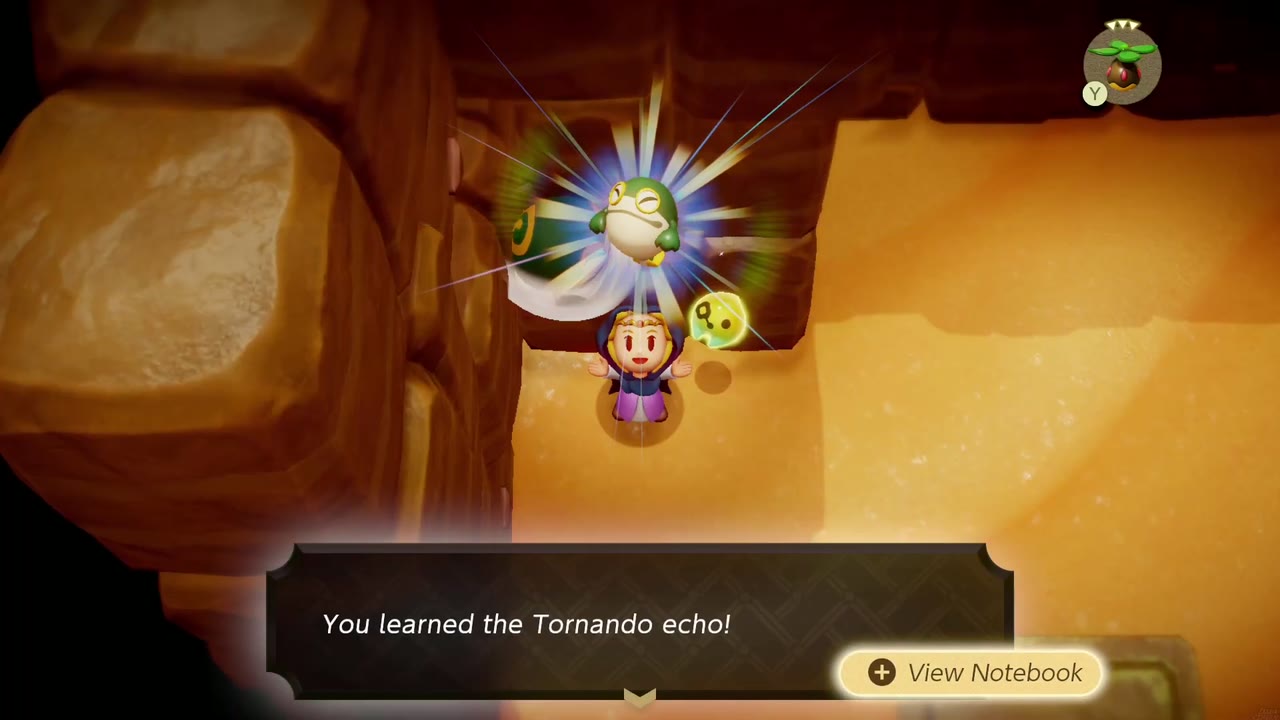
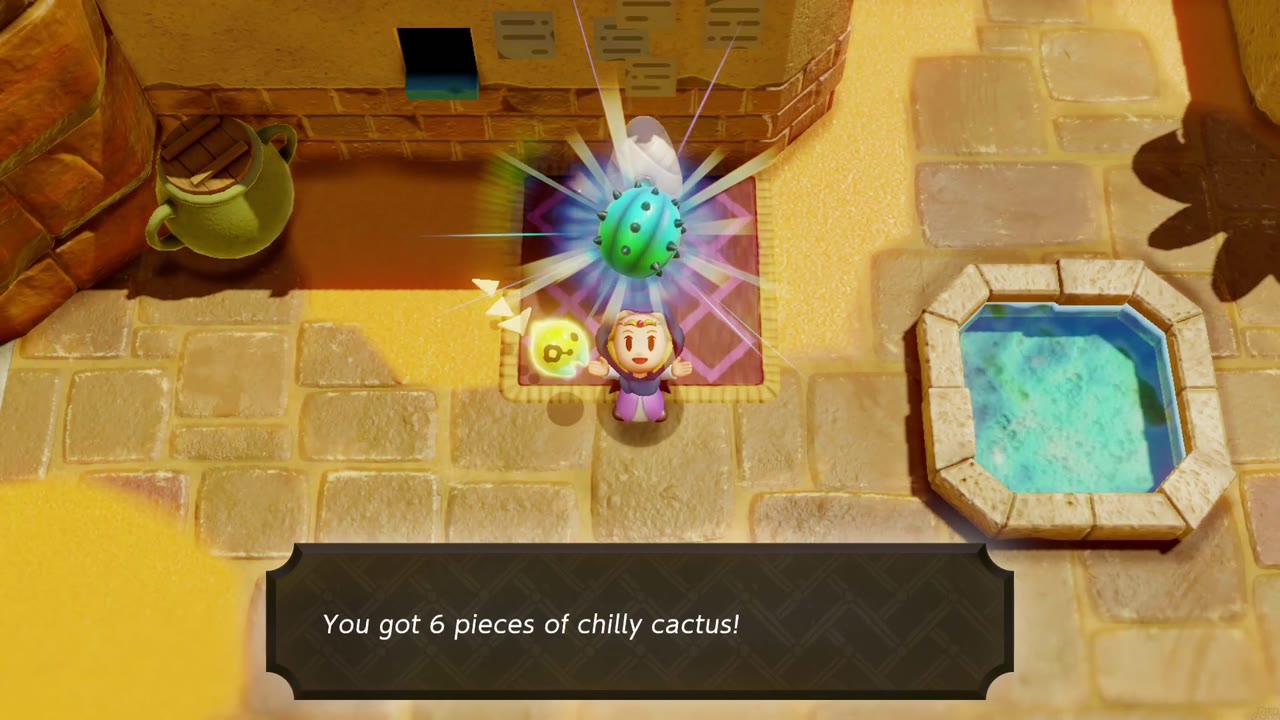
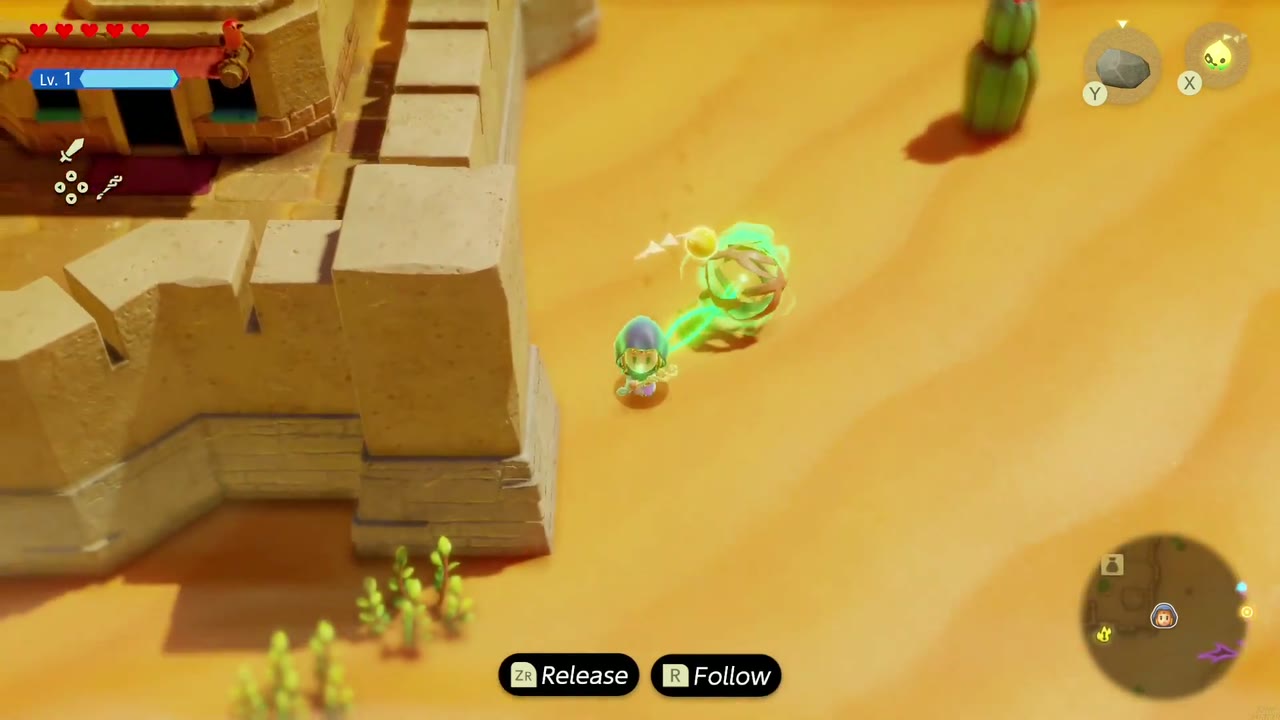
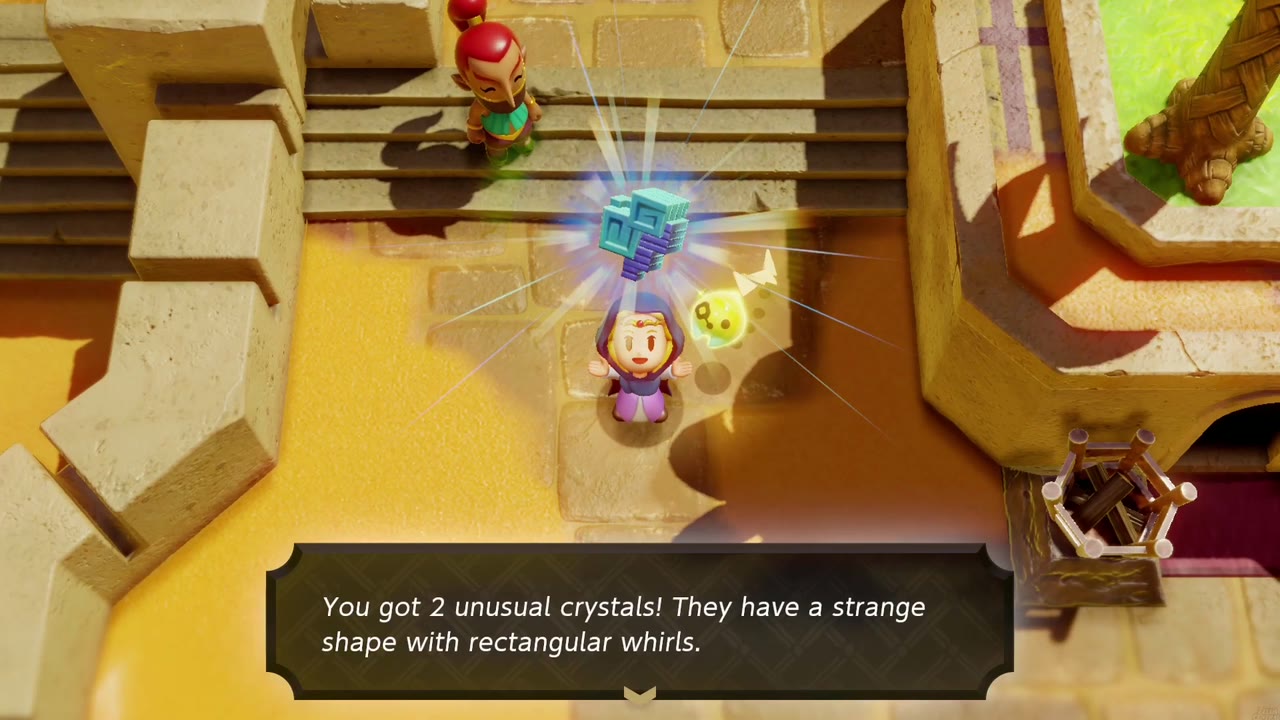
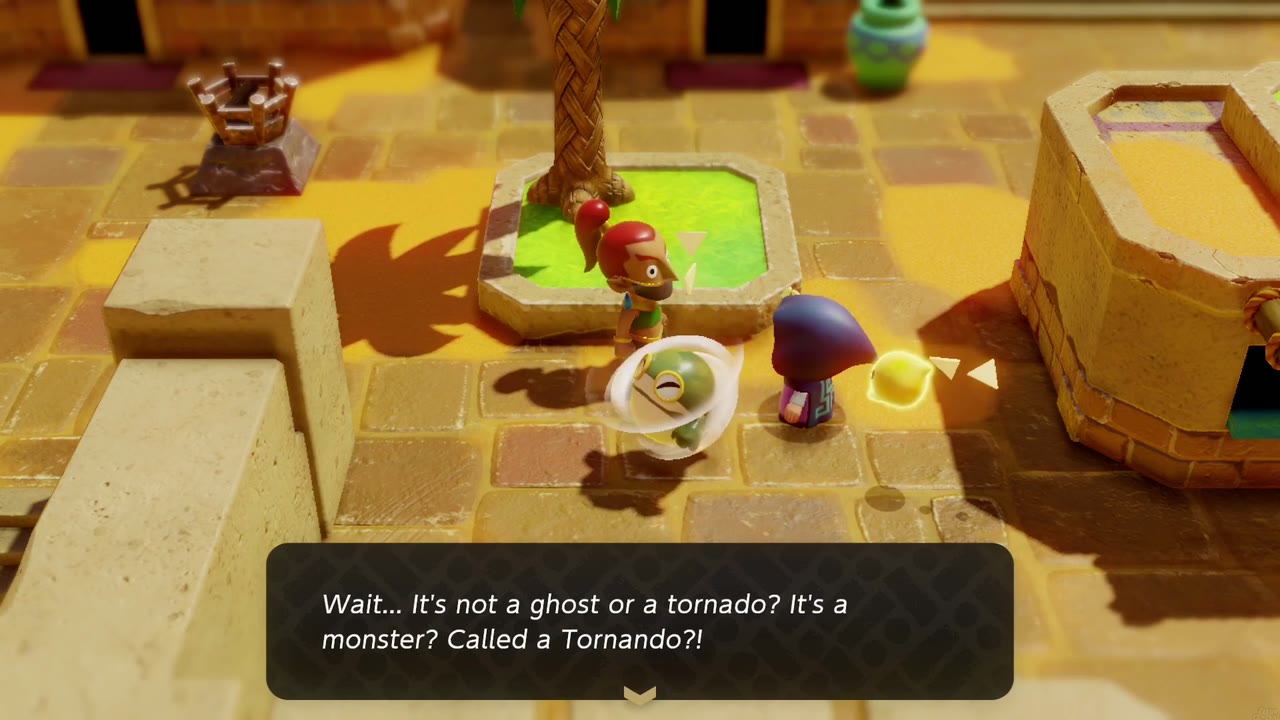
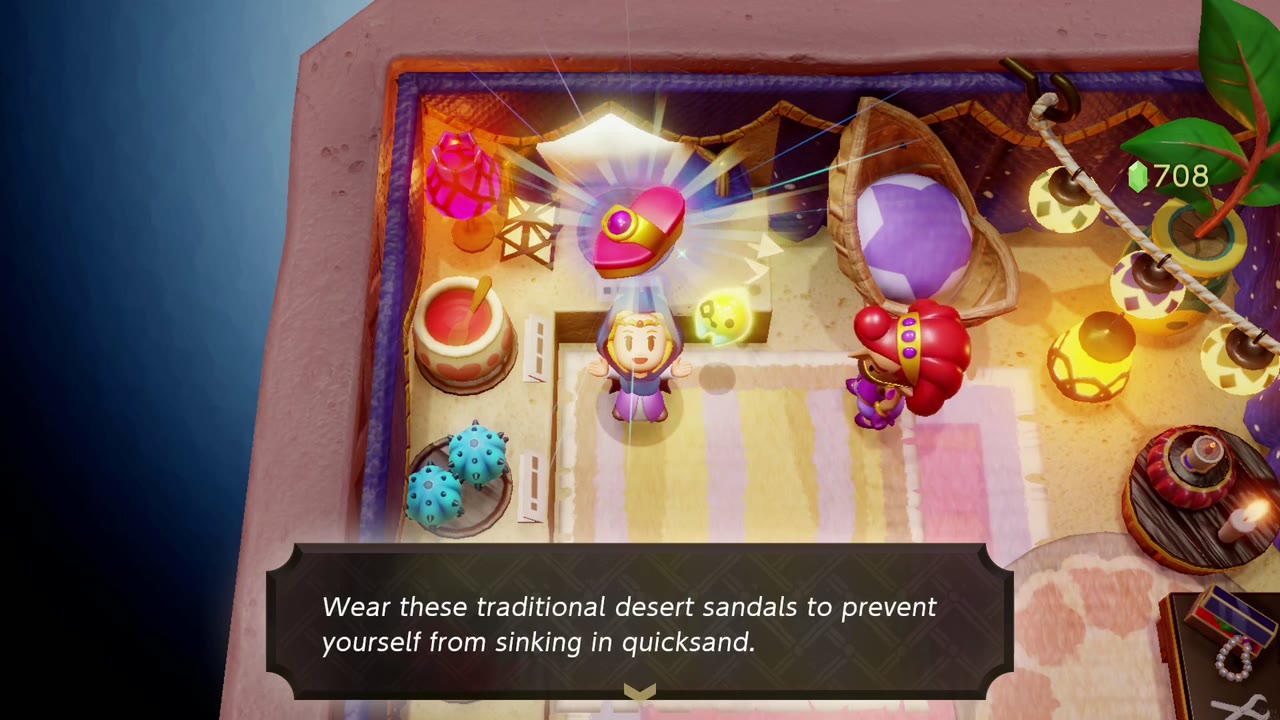
Gerudo Town is worth a lap before you head to the palace. A Gerudo in a courtyard challenges you to Gerudo Tag Training; catch her for 6 chilly cactus. The woman on the stairs who wants to study one of the elusive tumbleweeds starts the tumbleweed request: grab one in the desert with Bind, drag it back to her, and she gives you 2 unusual crystals. Another Gerudo swears a tornado “ghost” chased her through a sandstorm (Tornado Ghost?); summon a Tornando echo in front of her to show it was only a monster, and she pays you 10 containers of fresh milk. The shop sells the Gerudo Sandals for 400 rupees, which stop you sinking in quicksand. You probably won’t have that much yet (most players pick them up after the Gerudo Sanctum), but come back for them once you can afford it.

Gerudo Palace
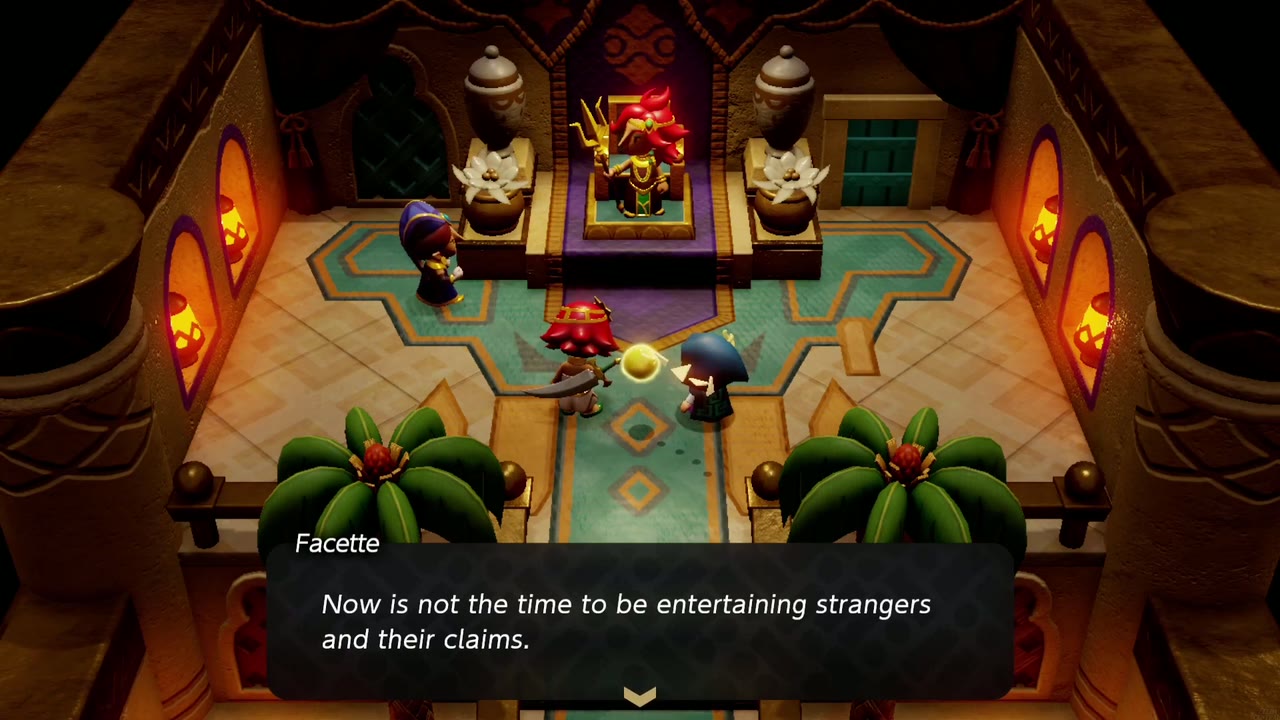
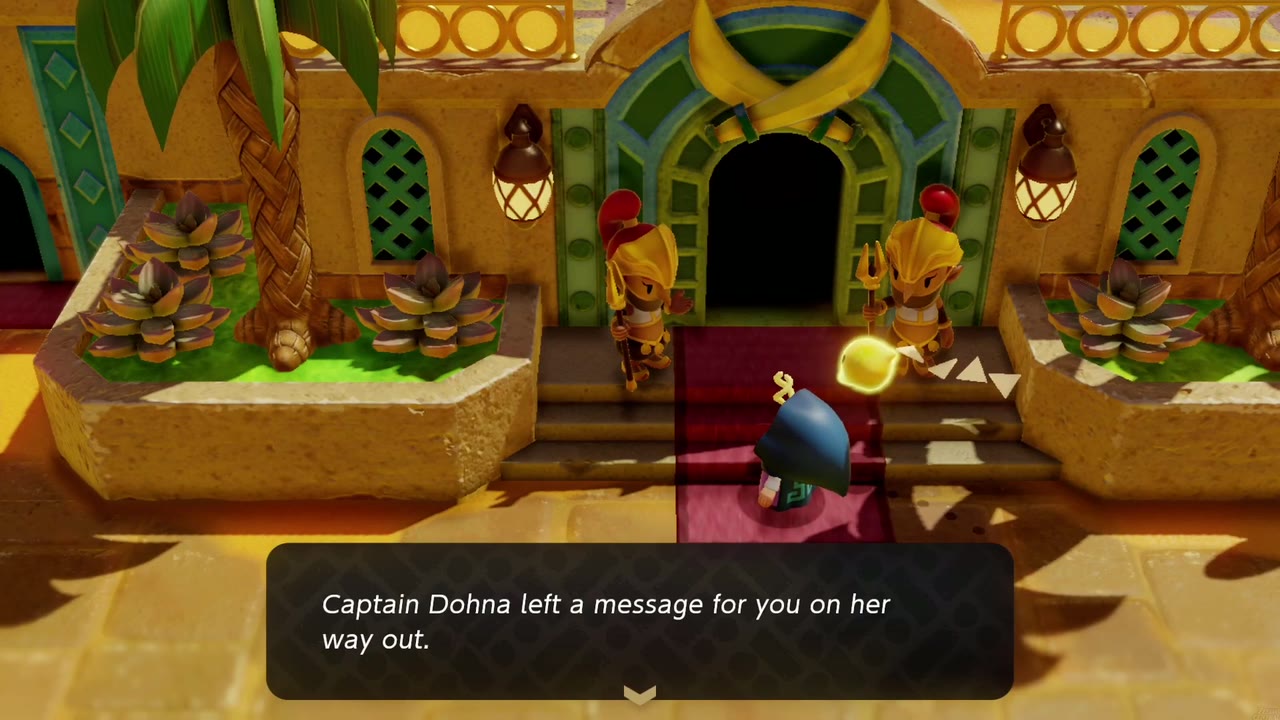
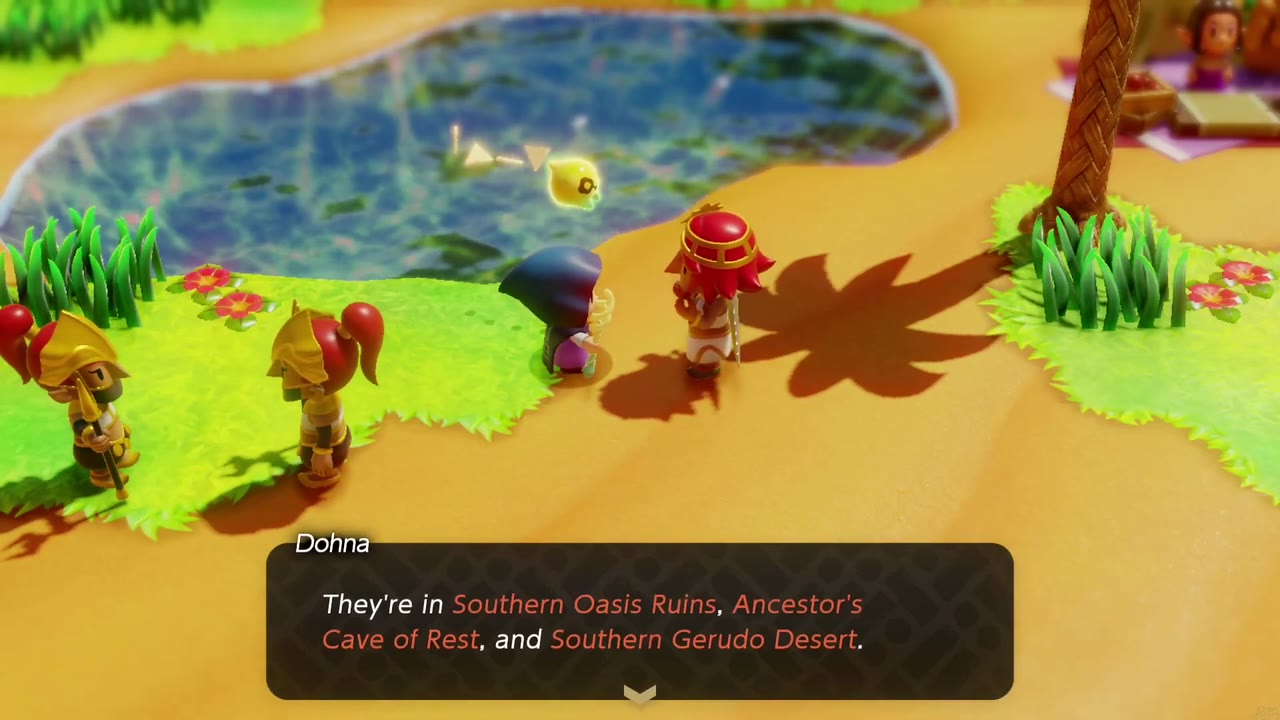
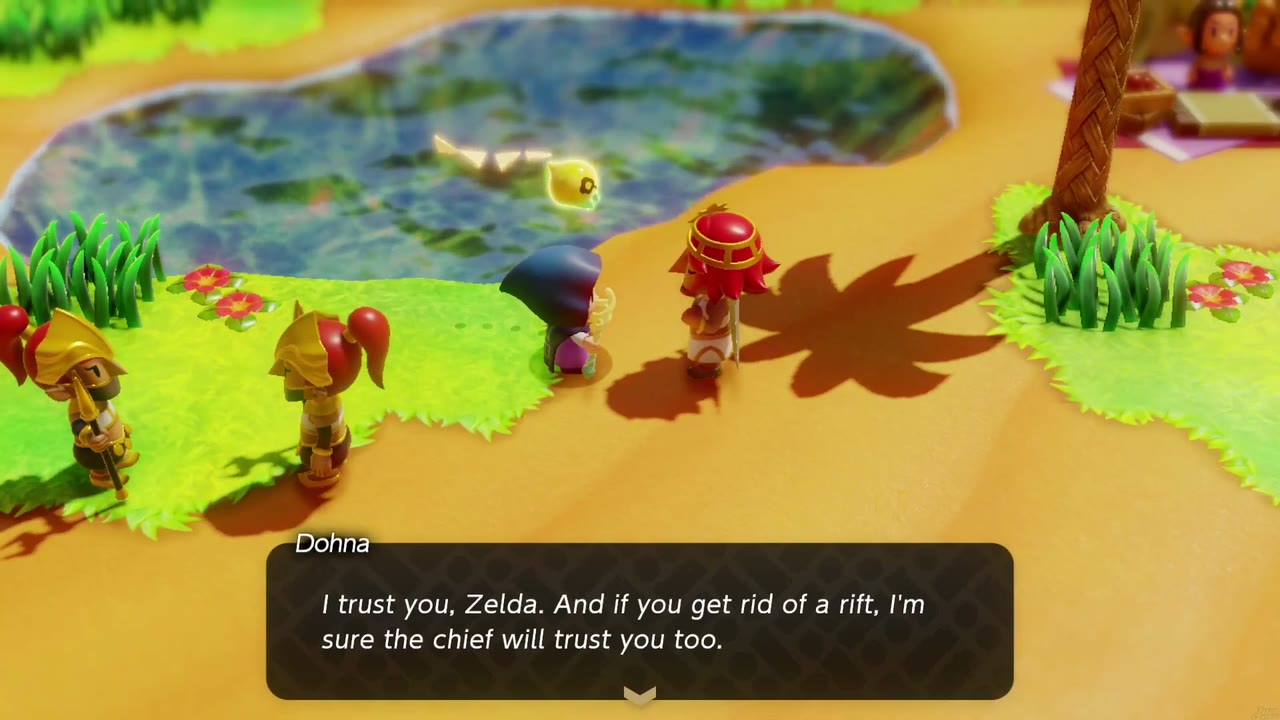
The guards won’t let an outsider into Gerudo Palace on your own. Once Dohna brings you in, she introduces you to Chief Seera and her advisor Facette; Facette doesn’t trust a stranger and says now is not the time to be entertaining one. On the way out, a guard passes on a message from Dohna: head due east from town to the Oasis. She’s waiting by the pond there and tells you about three small rifts, in the Southern Oasis Ruins, the Ancestor’s Cave of Rest and the Southern Gerudo Desert. She trusts you, and if you get rid of a rift she’s sure the chief will trust you too.

Southern Oasis Ruins Rift
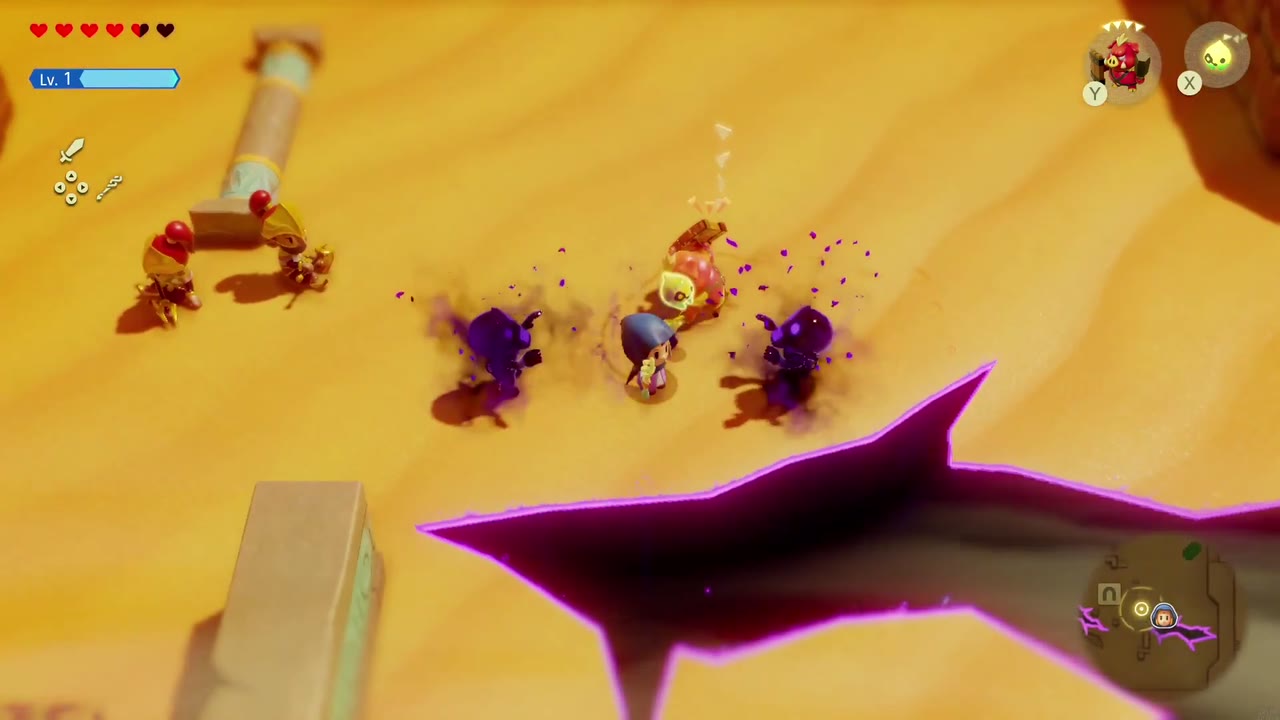
Head south from the Oasis to the Southern Oasis Ruins. Two exhausted Gerudo soldiers stand beside a small rift, worn out from the monsters that keep coming out of it, and as you arrive another wave of dark monsters rises out of the rift in clouds of purple smoke.
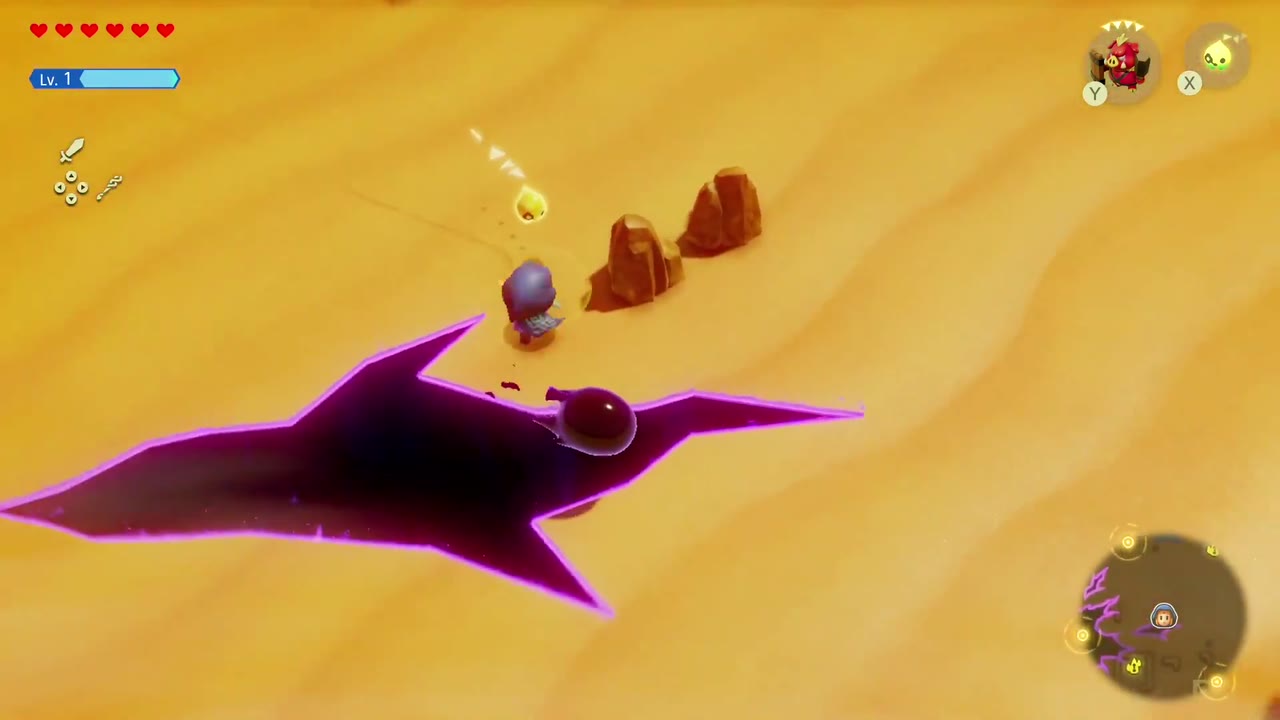
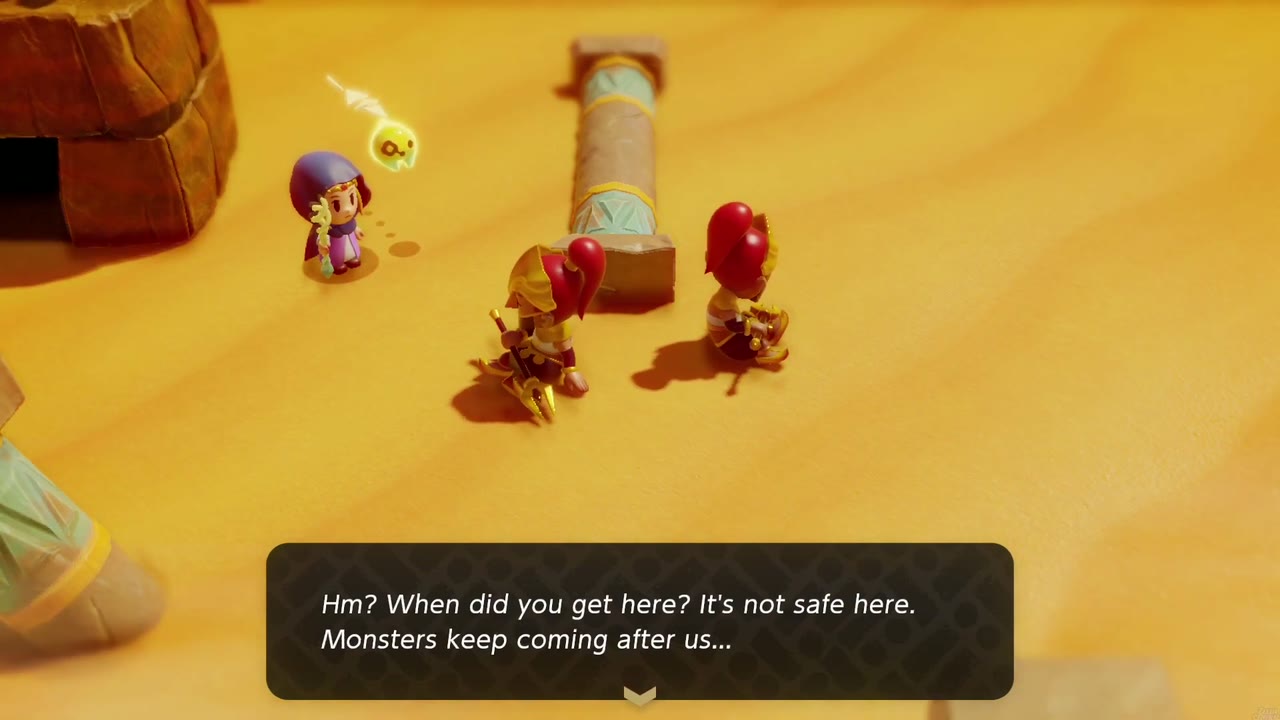


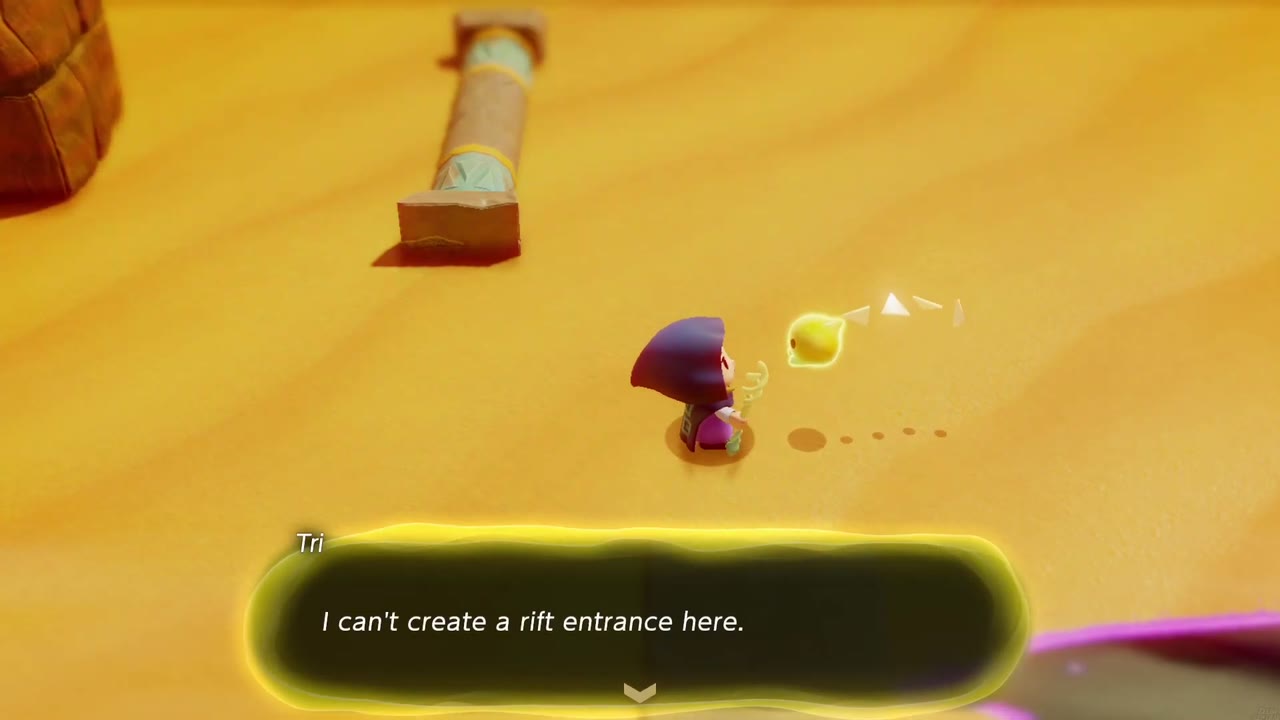
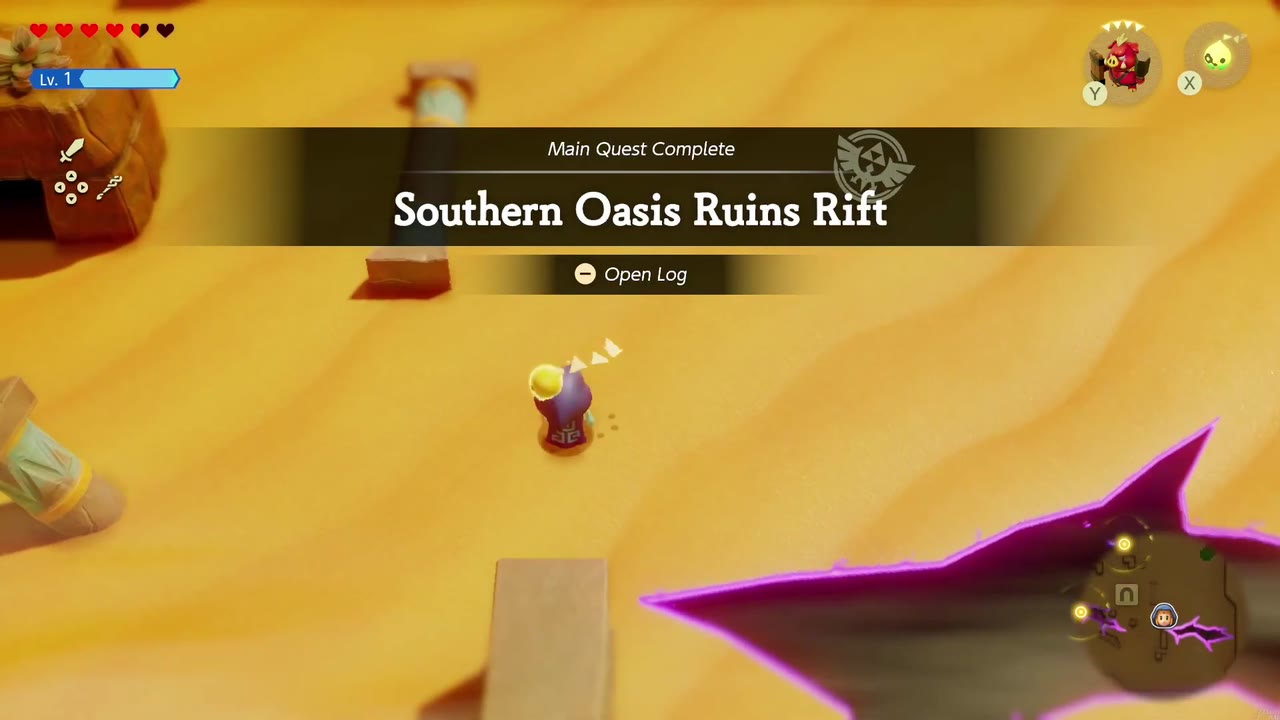
Defeat them all to protect the soldiers. Summon an attacker echo to fight beside you, or switch to Swordfighter Form. The soldiers thank you, but Tri can’t create a rift entrance here, so the rift stays put. The Southern Oasis Ruins Rift quest still completes.

Southern Gerudo Desert Rift
Head to the rift south of Gerudo Town, where a squad of Gerudo warriors guarding it has run out of water and is too thirsty to move. Dohna says plain water won’t do and asks you to buy a Cactus Smoothie from the Smoothie Shop at the oasis, handing you 2 pieces of Chilly Cactus so the shop can make one.
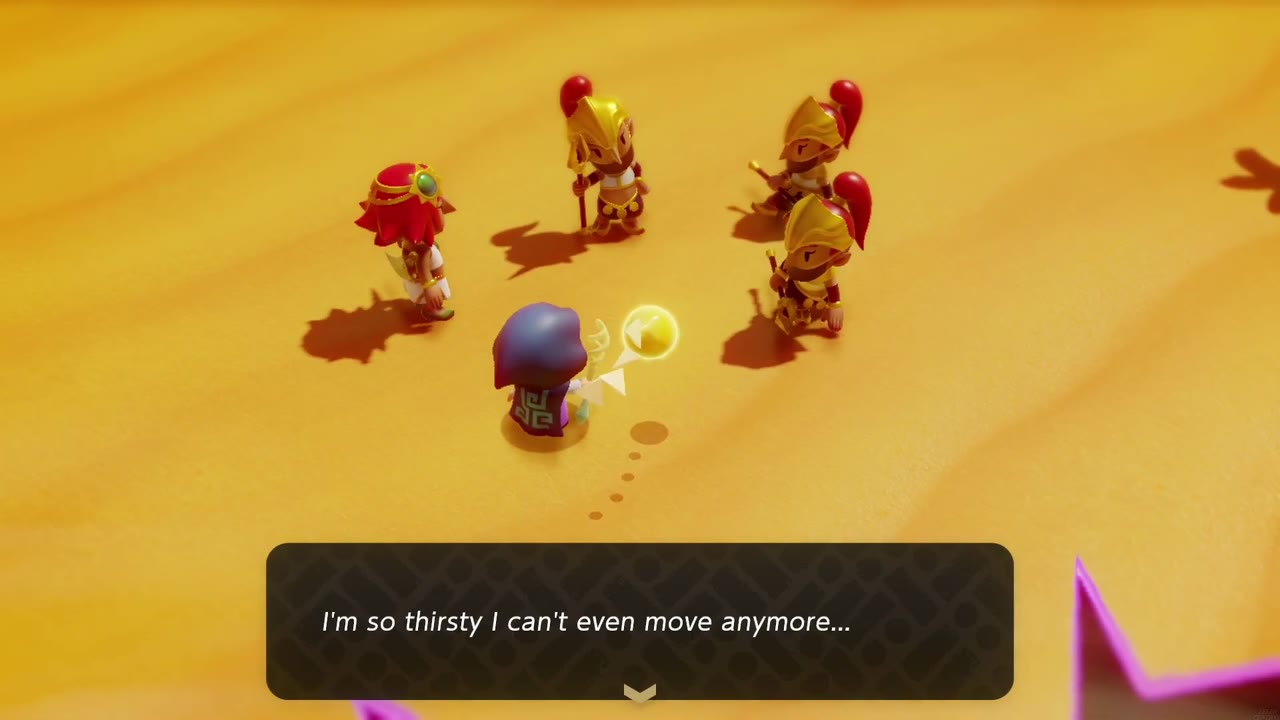

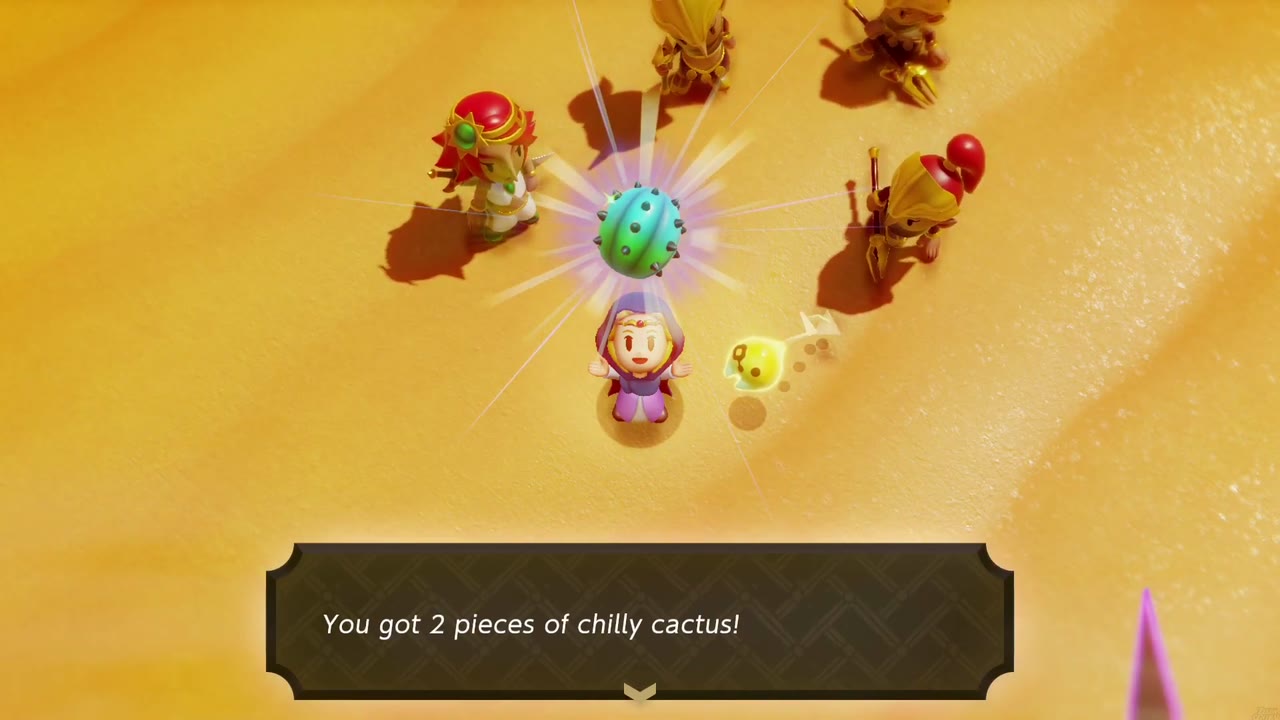
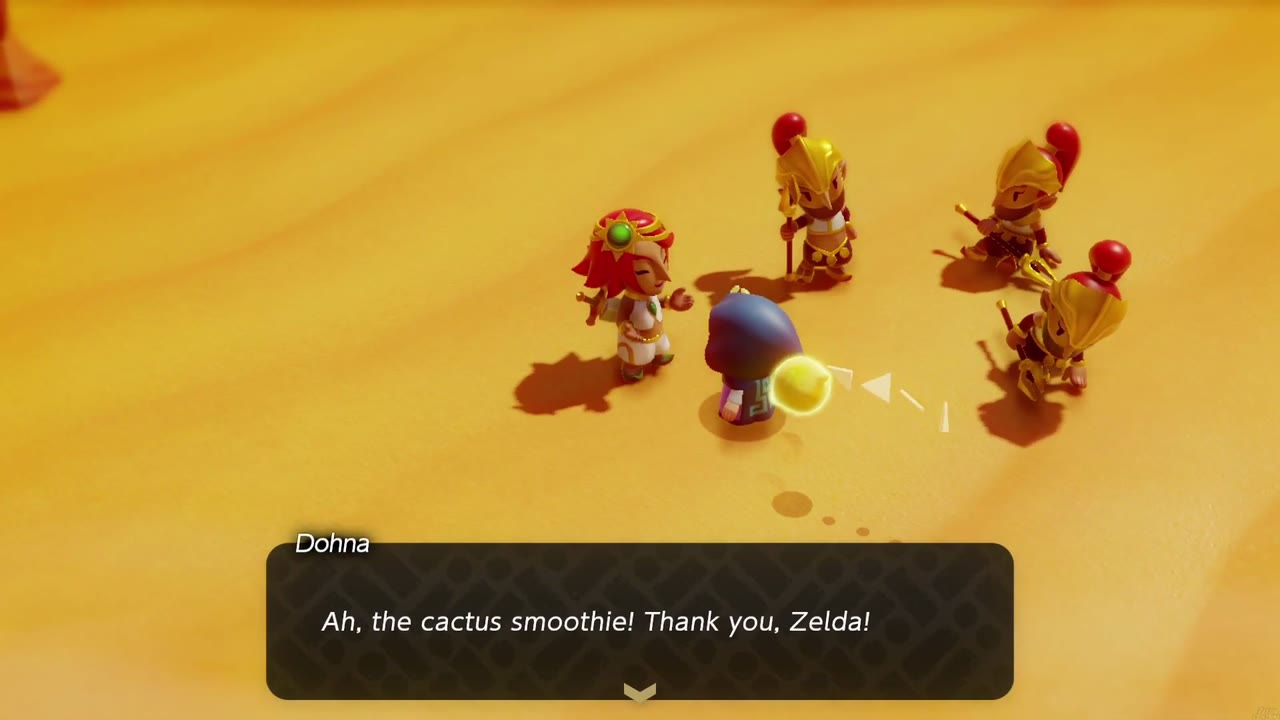
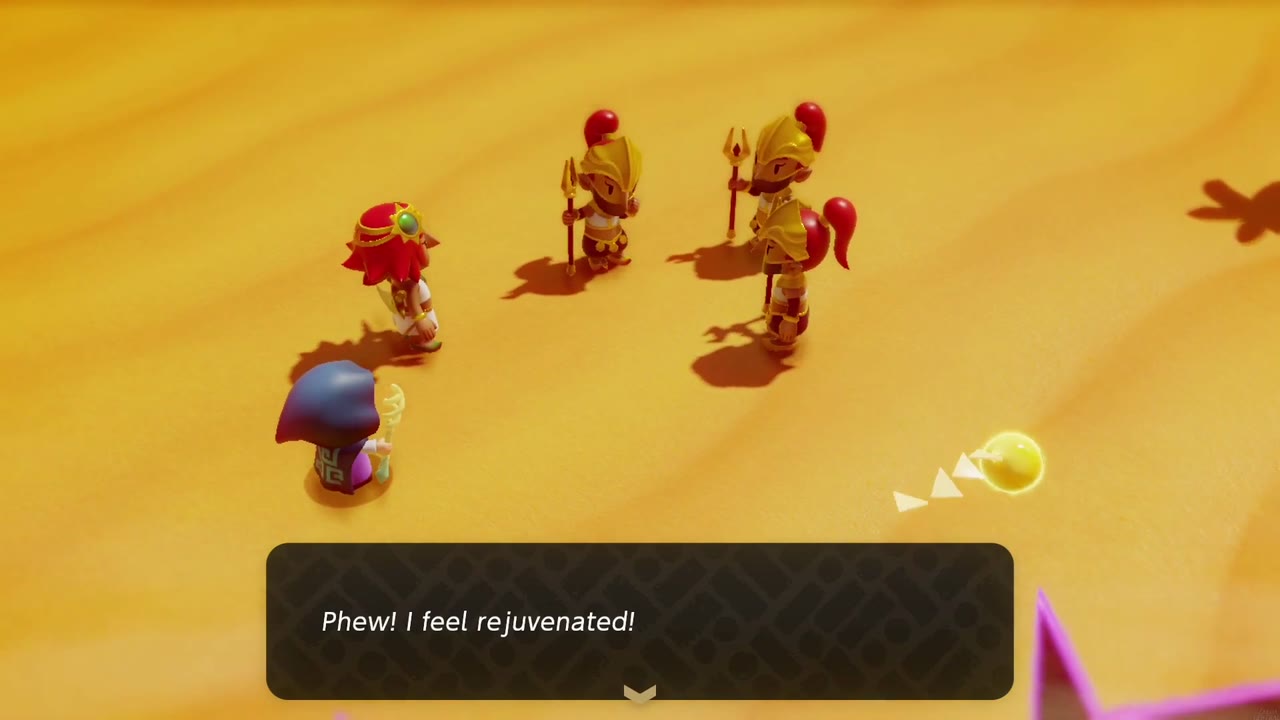
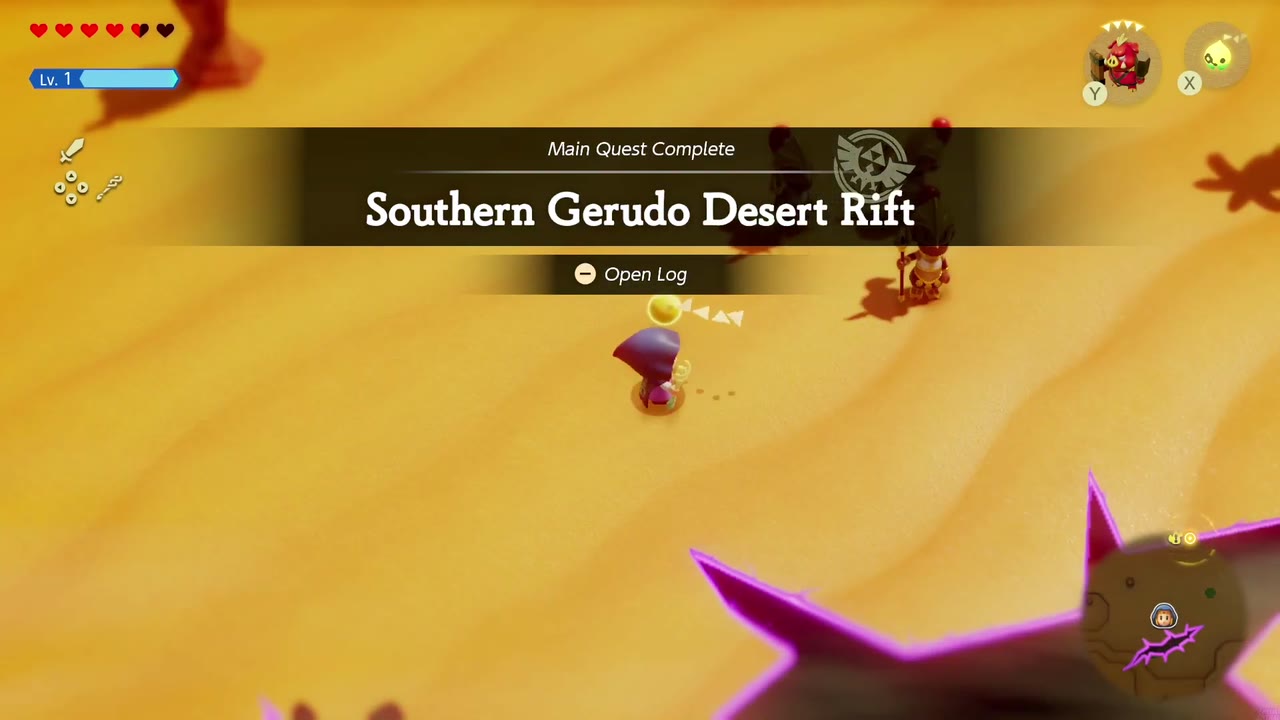
Take the cacti to the Smoothie Shop at the oasis and have them blended into a Cactus Smoothie, then bring it back and give it to Dohna. If you already have a Cactus Smoothie in your bag, you can hand it over on the spot. The warriors drink up and feel refreshed, completing Southern Gerudo Desert Rift, though Tri still can’t find a way into this rift.
Ancestor’s Cave of Rest Rift
The last marker is the Ancestor’s Cave of Rest, a doorway flanked by two lit braziers next to a rift. Inside, a rift cuts across the chamber. A Gerudo warrior explains that the torches by the ancestral grave have gone out, and with the rift in the way she can’t get near the grave to relight them.
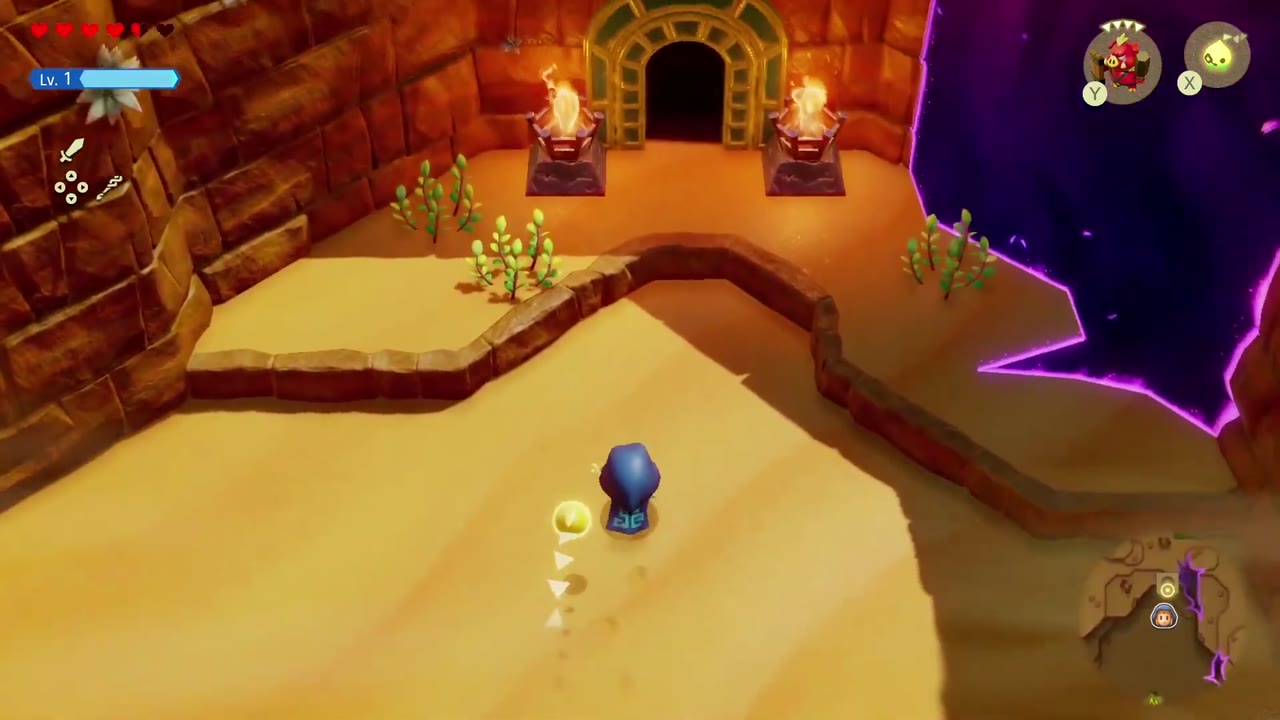
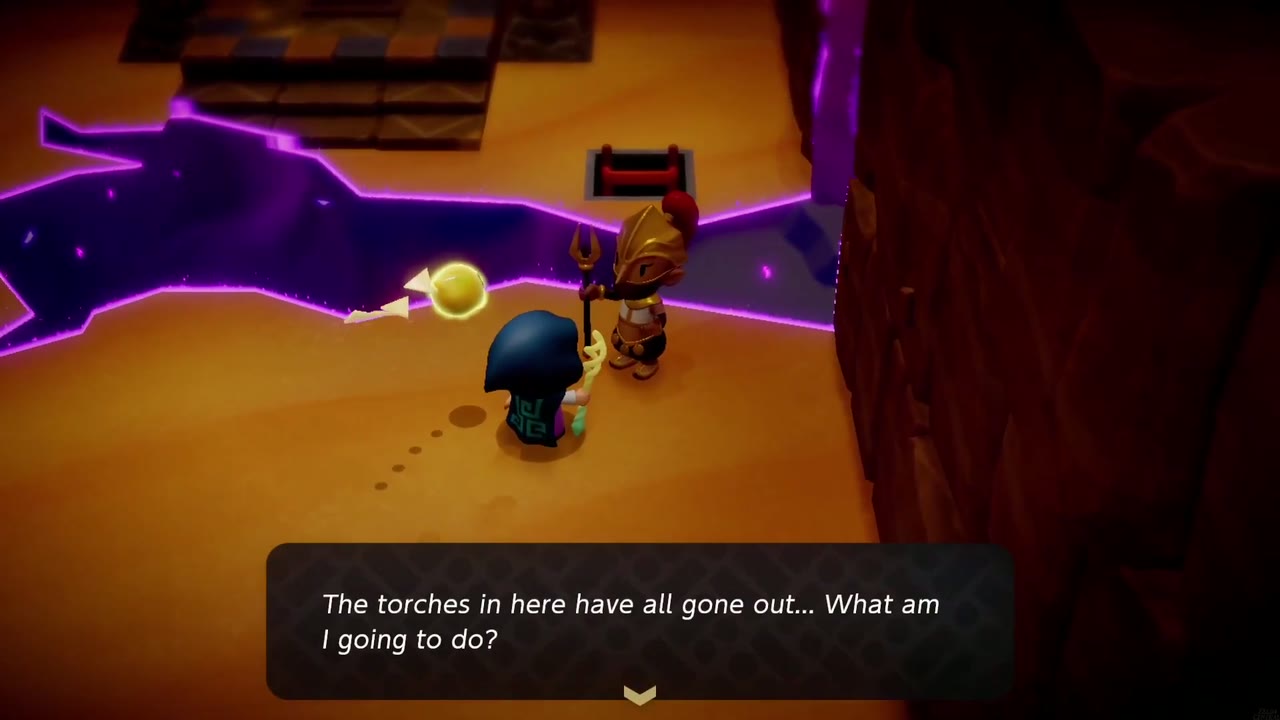

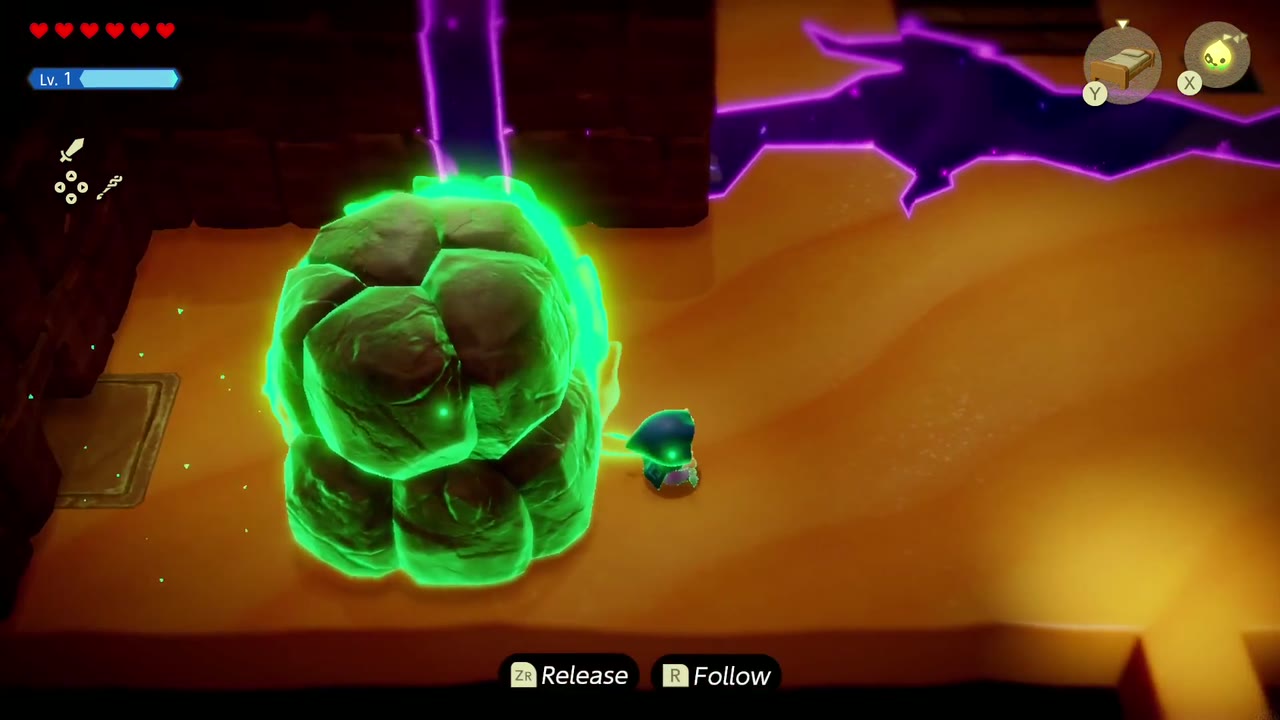
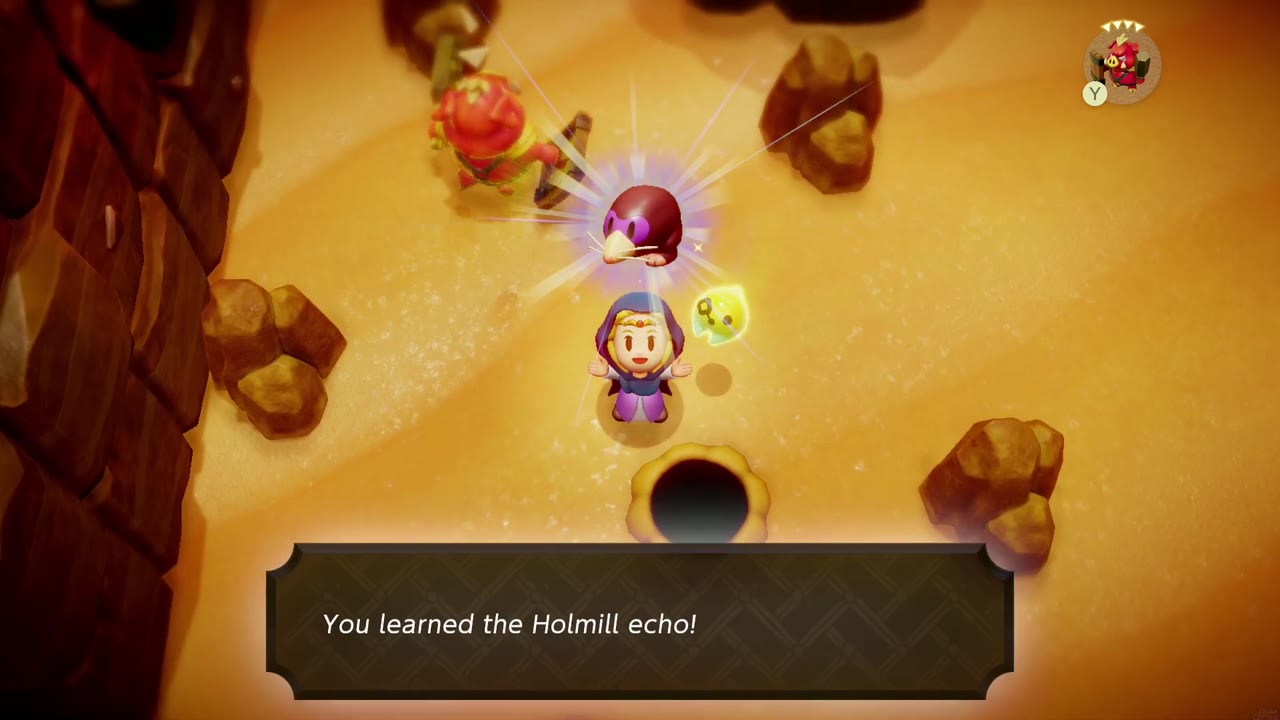
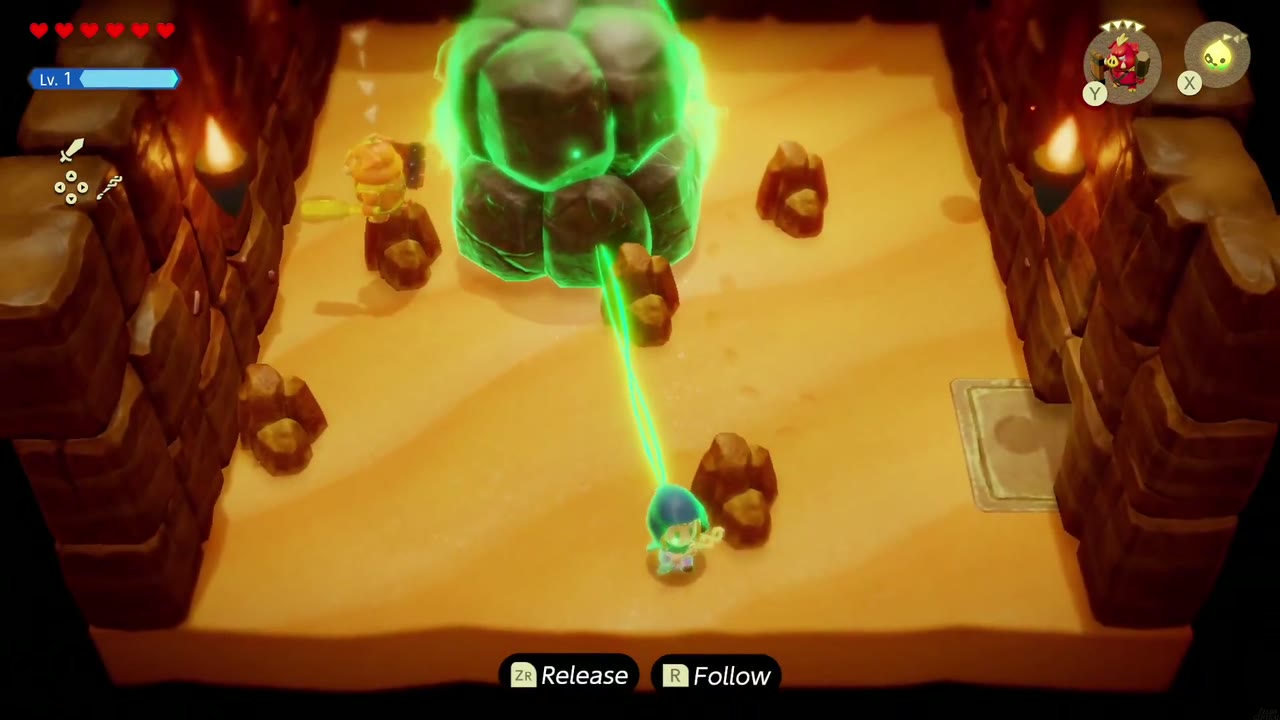
Bind the big boulder against the left wall and drag it aside to reveal a hidden door. The room beyond is full of burrowing Holmills. Defeat one when it pops out of its hole to learn the Holmill echo, which digs holes in soft earth. Then Bind the boulder in the room’s top-left corner and drag it away to uncover the opening beneath it, and climb down.
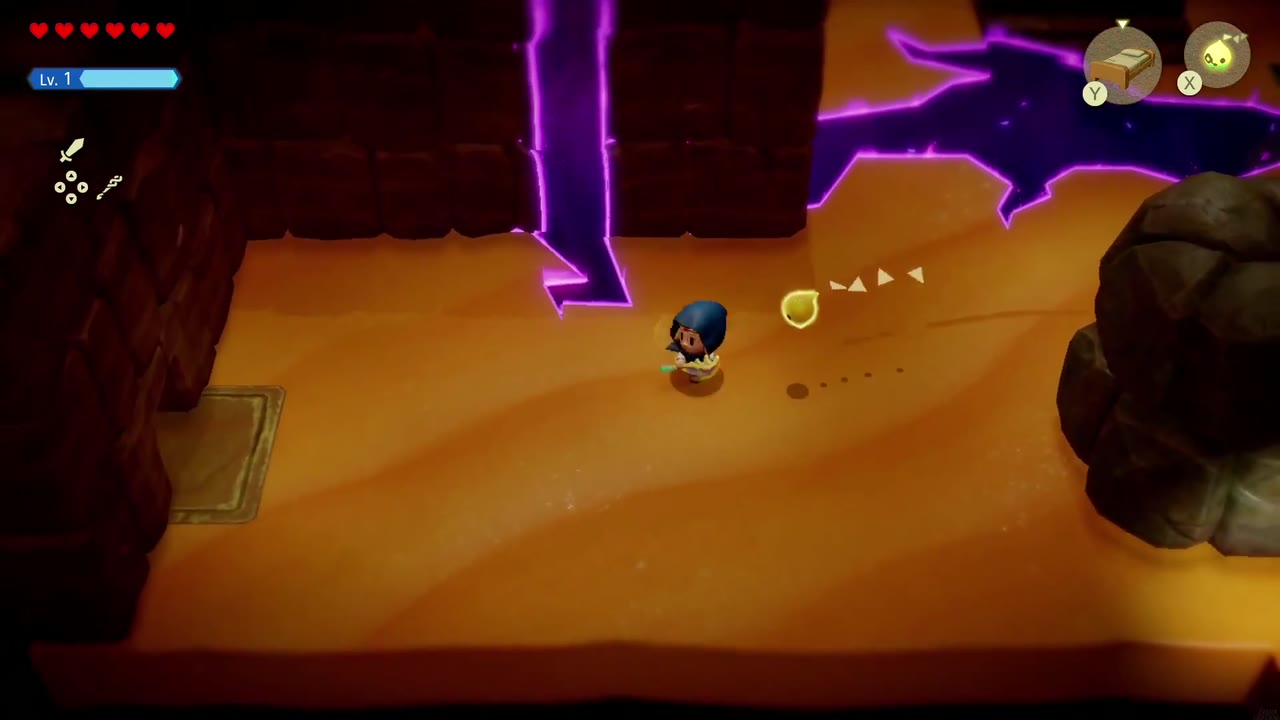
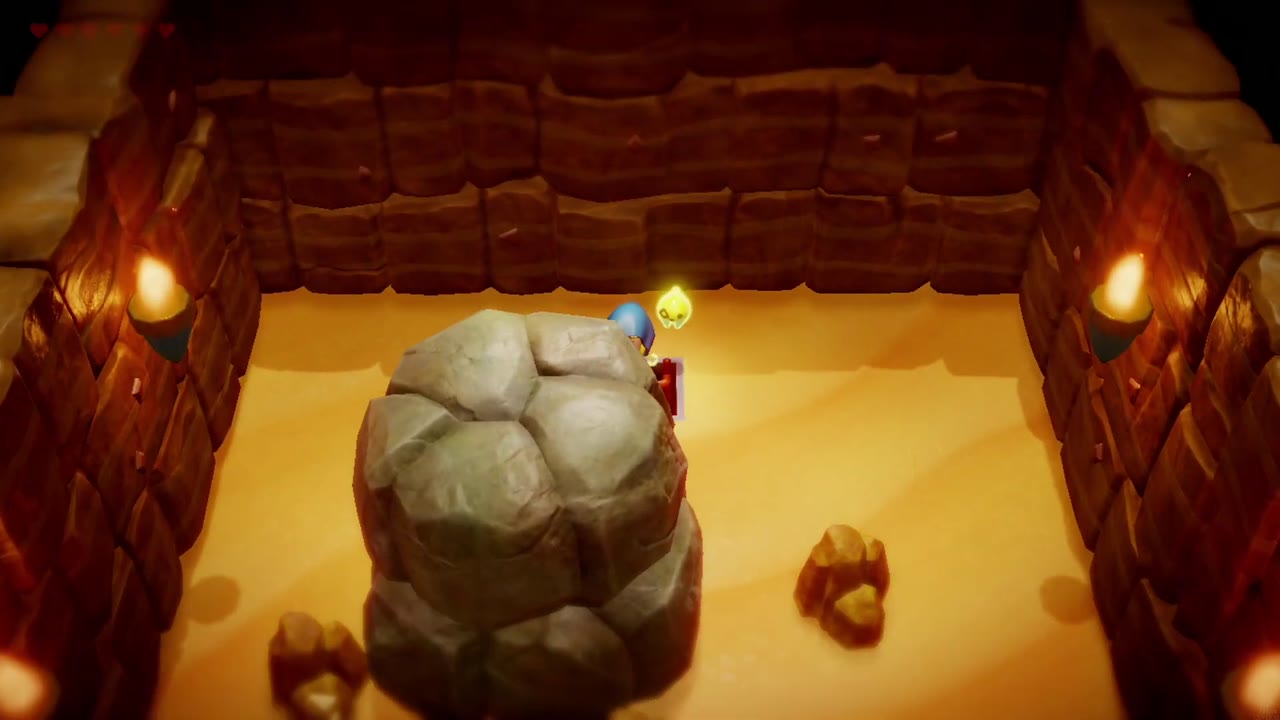
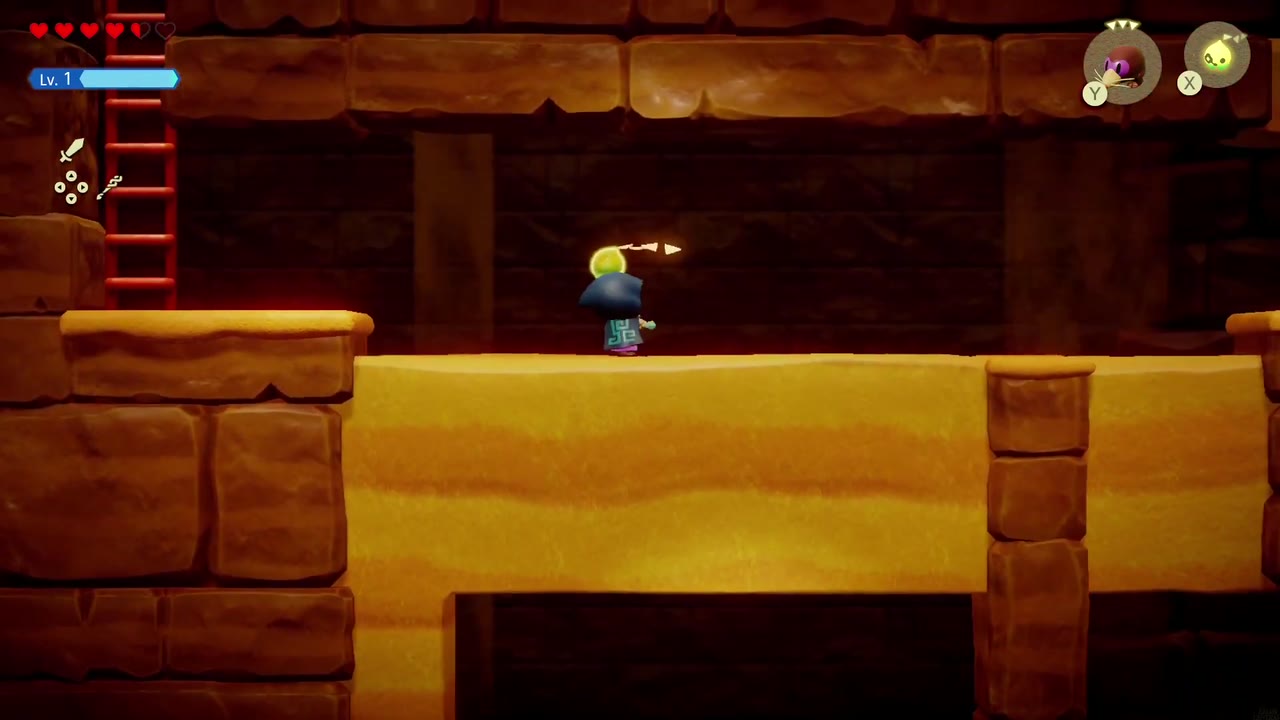
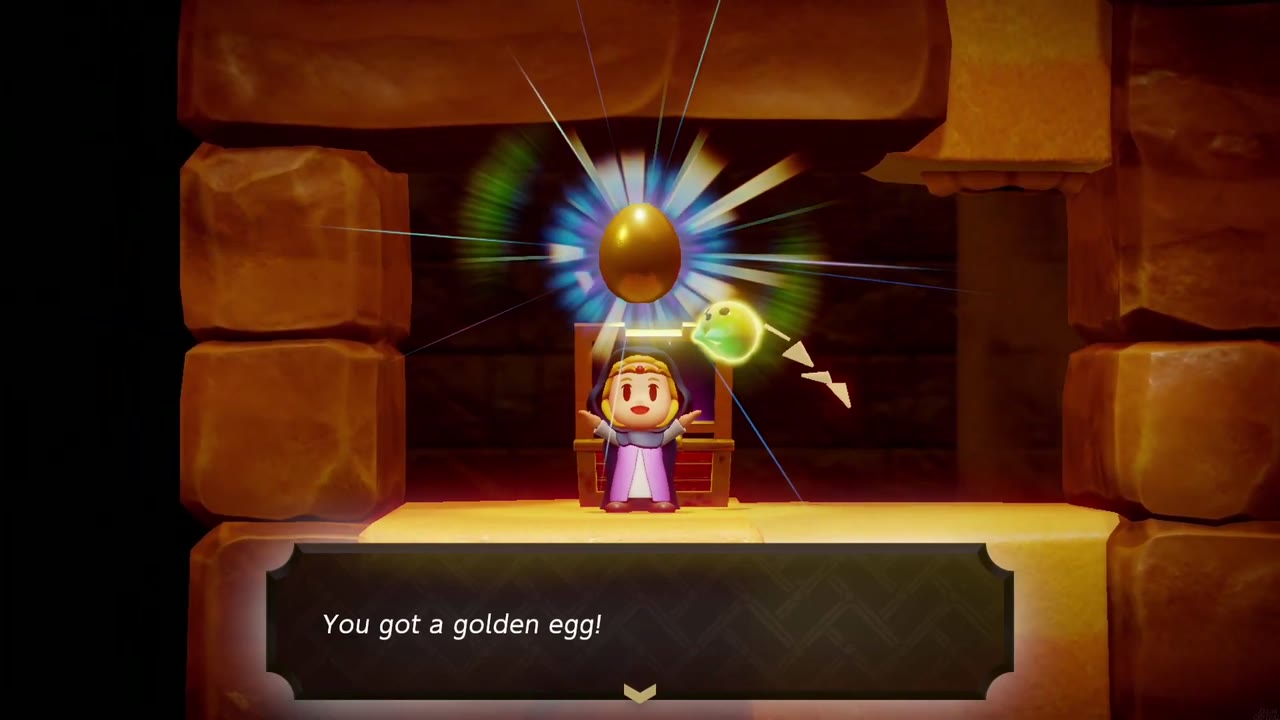
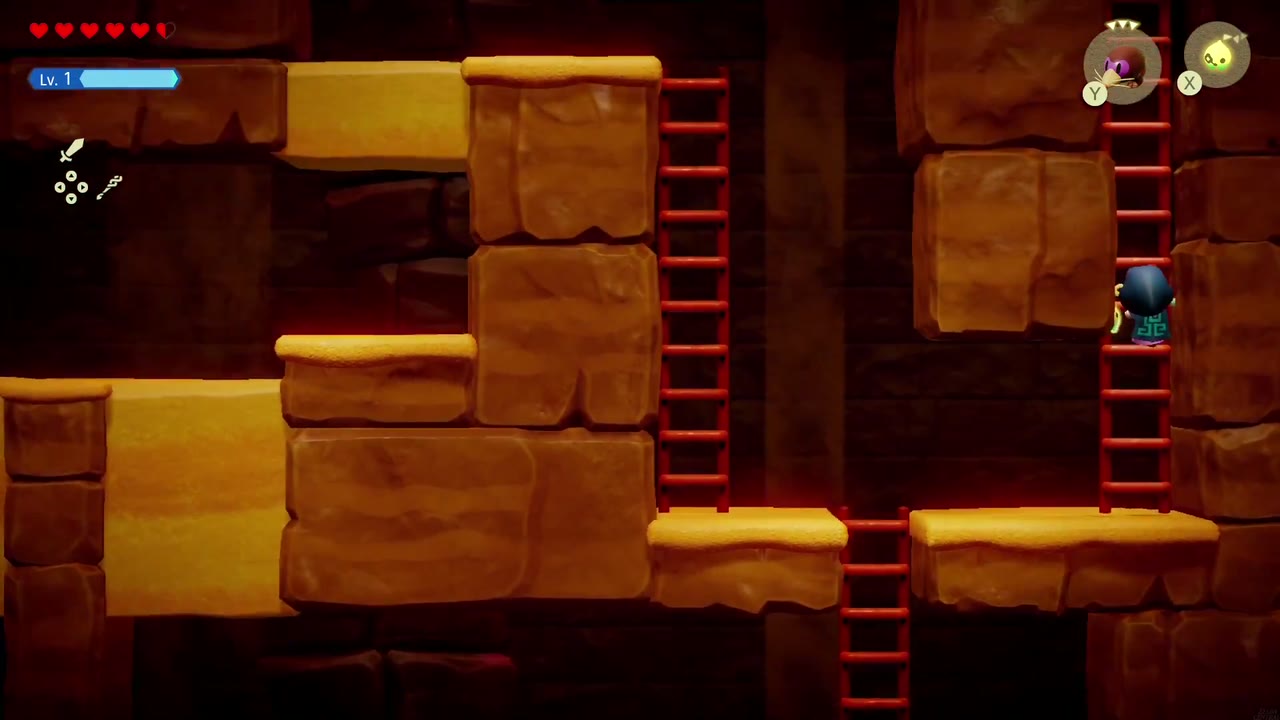
You’re now in a side-view sandstone passage of ladders and ledges, patrolled by small sand crabs. Work your way right. A chest on a ledge along the way holds a Golden Egg, which recovers hearts but works better mixed into a smoothie. At the far end, climb the ladder up.

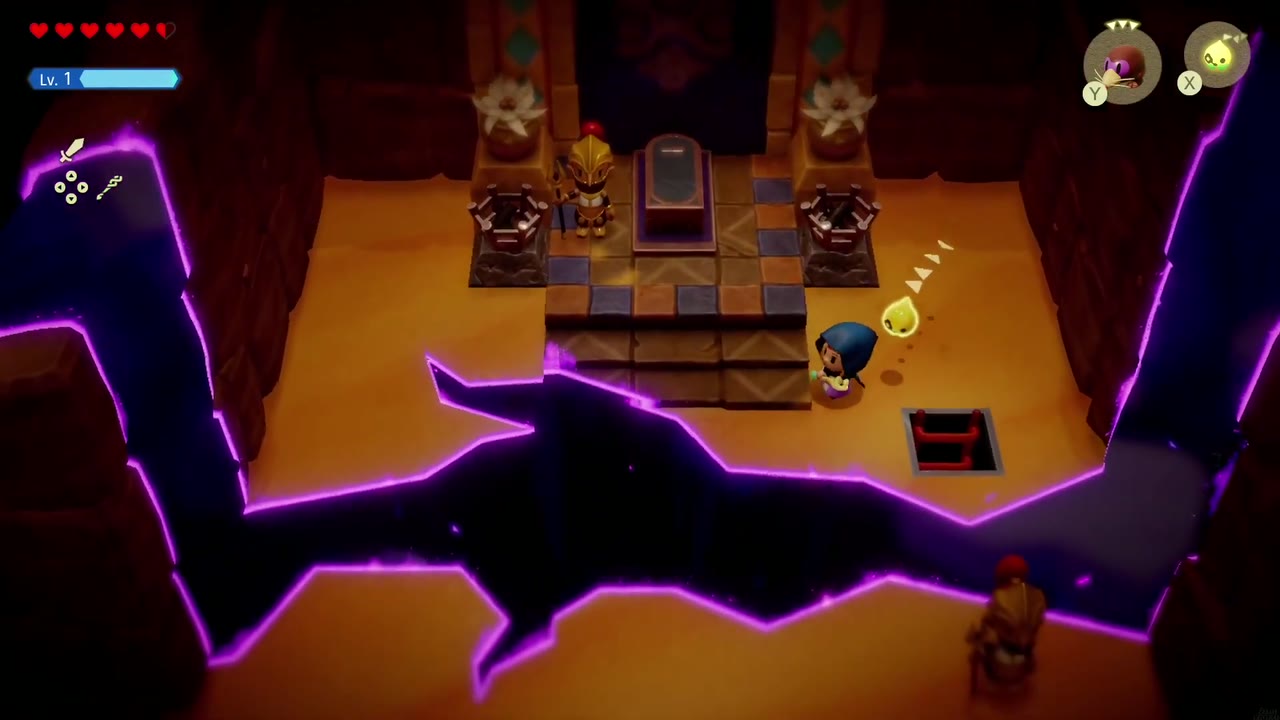
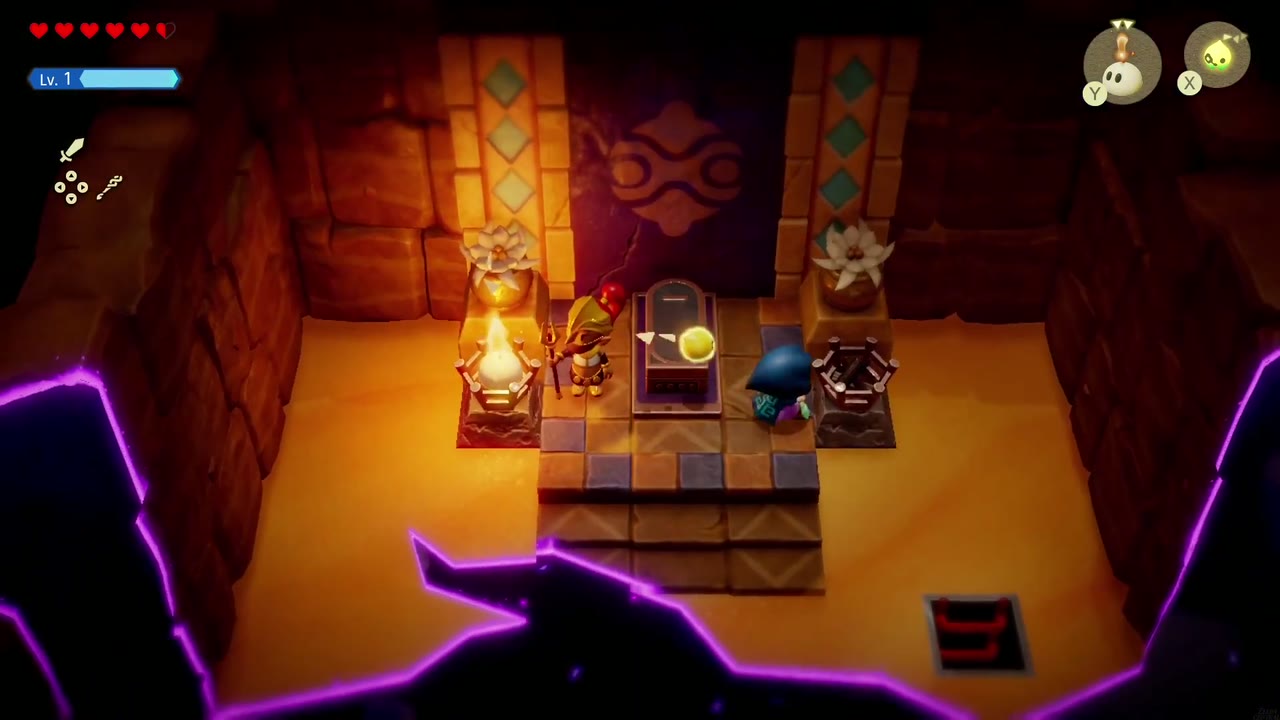
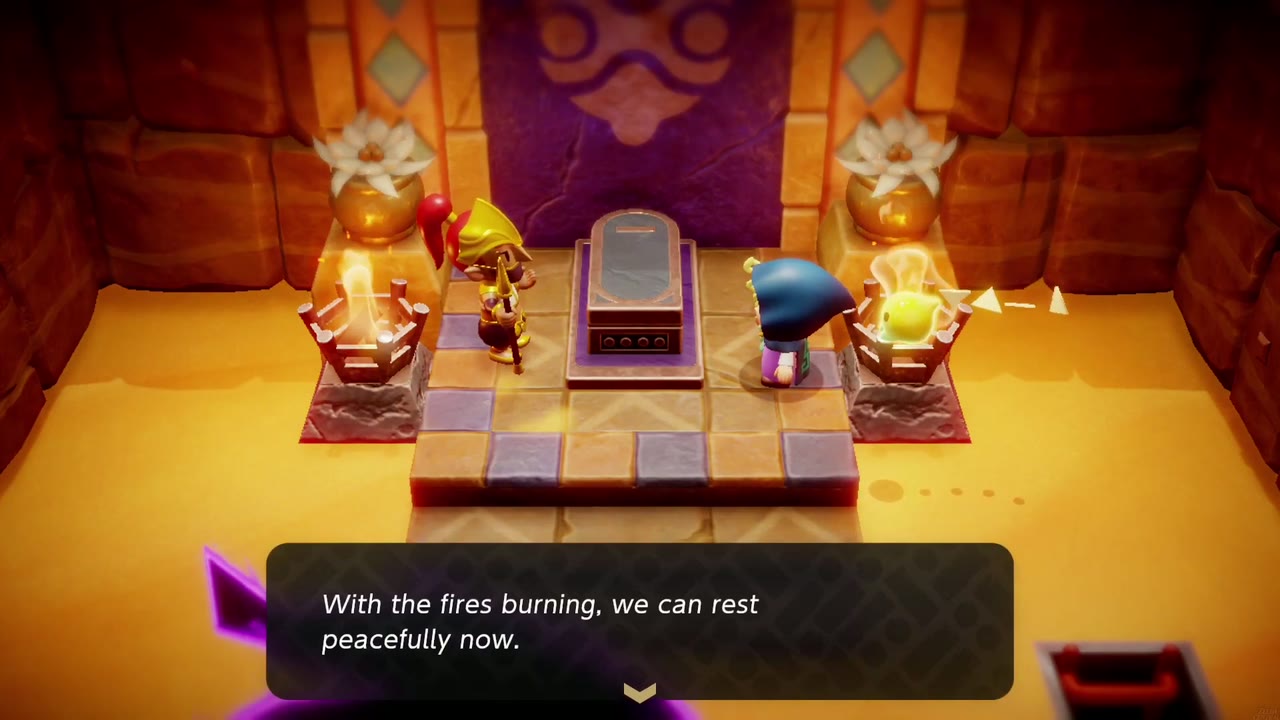
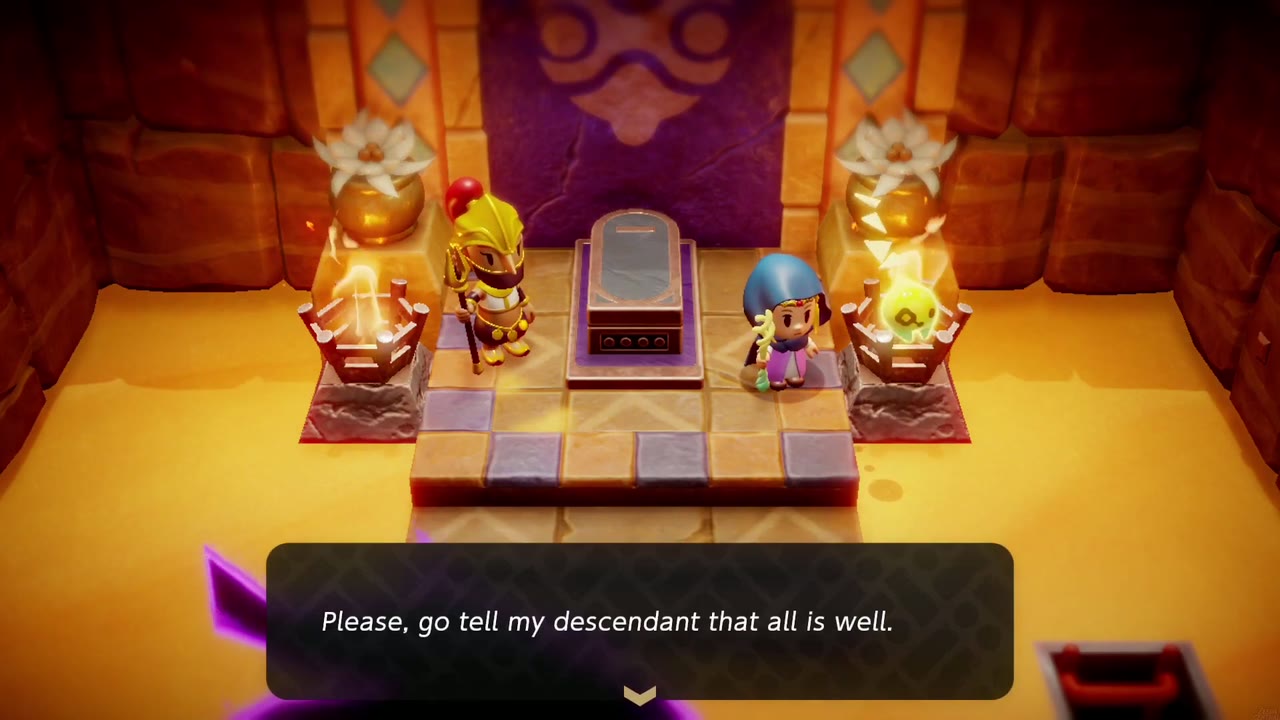
You come up beside the ancestral tomb on the far side of the rift, with an unlit brazier on each side. Light both with Ignizol. The ancestor’s spirit thanks you, says they can rest peacefully now, and asks you to tell her descendant that all is well. Head back to the guard, who is grateful, but the rift stays: Tri can’t find anywhere to open an entrance here. Dohna then arrives with word that the chief wants a status update.

Mending the Great Rift
The Second Audience
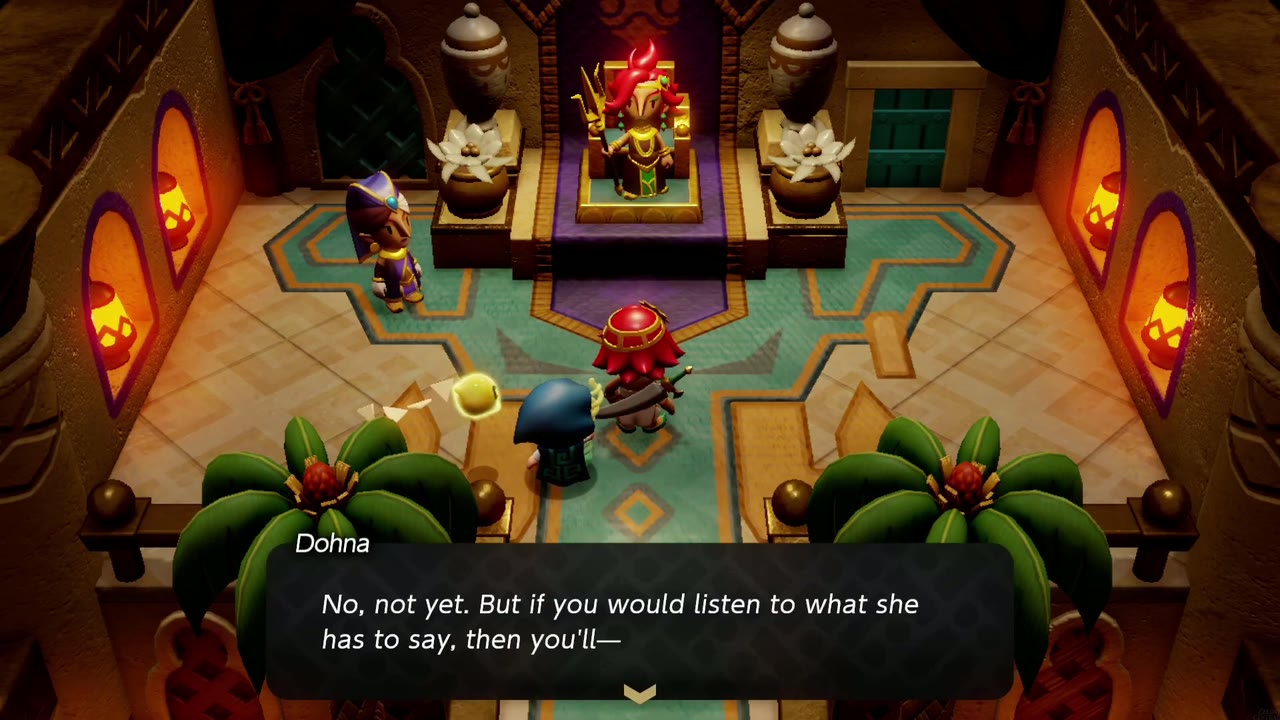
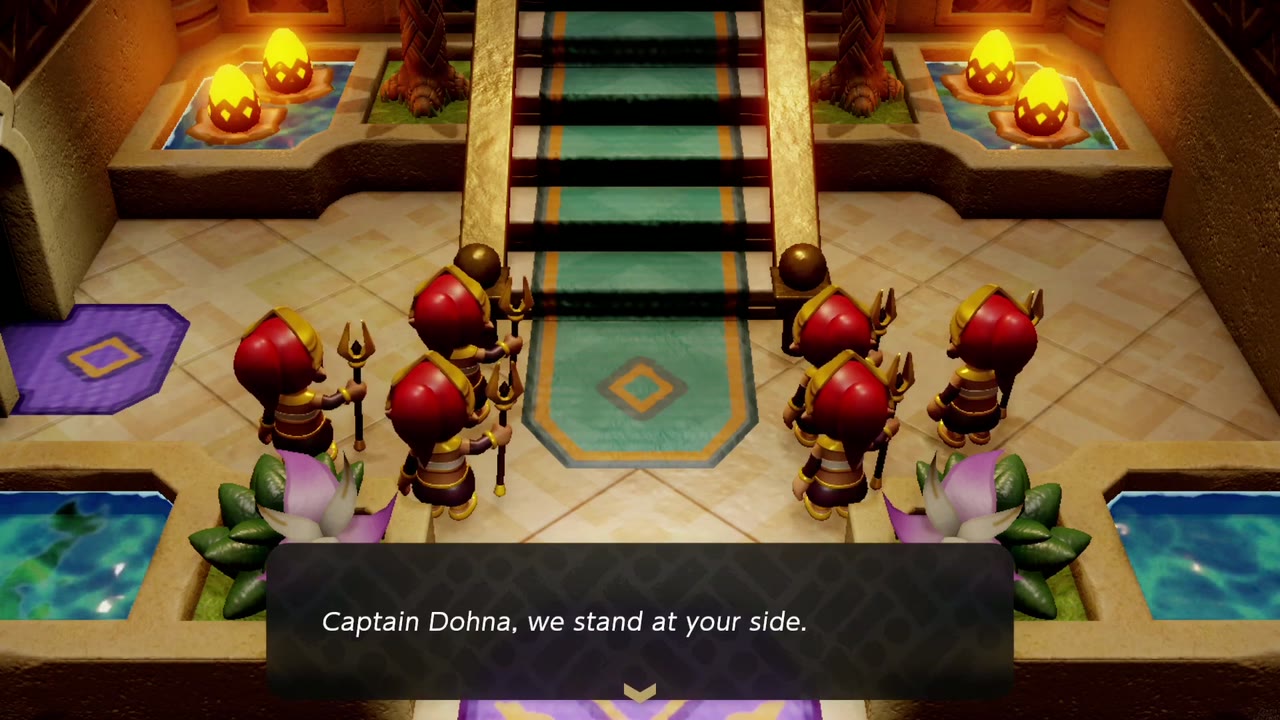
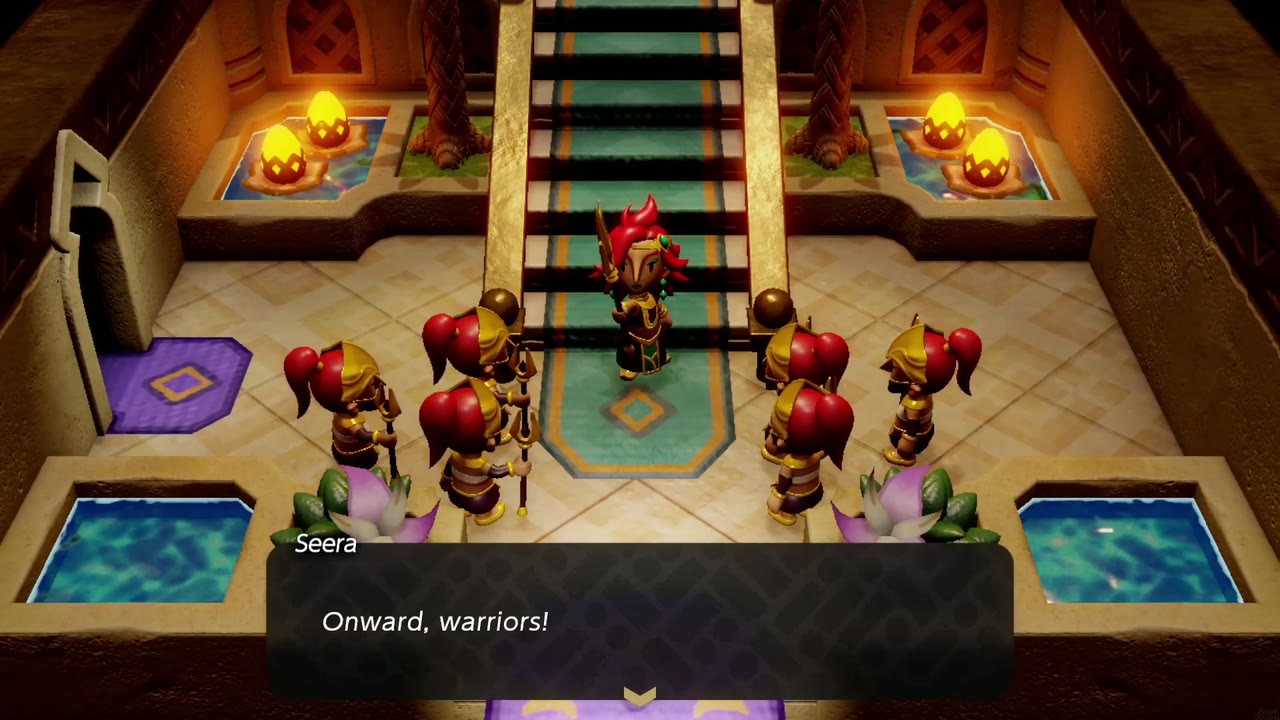
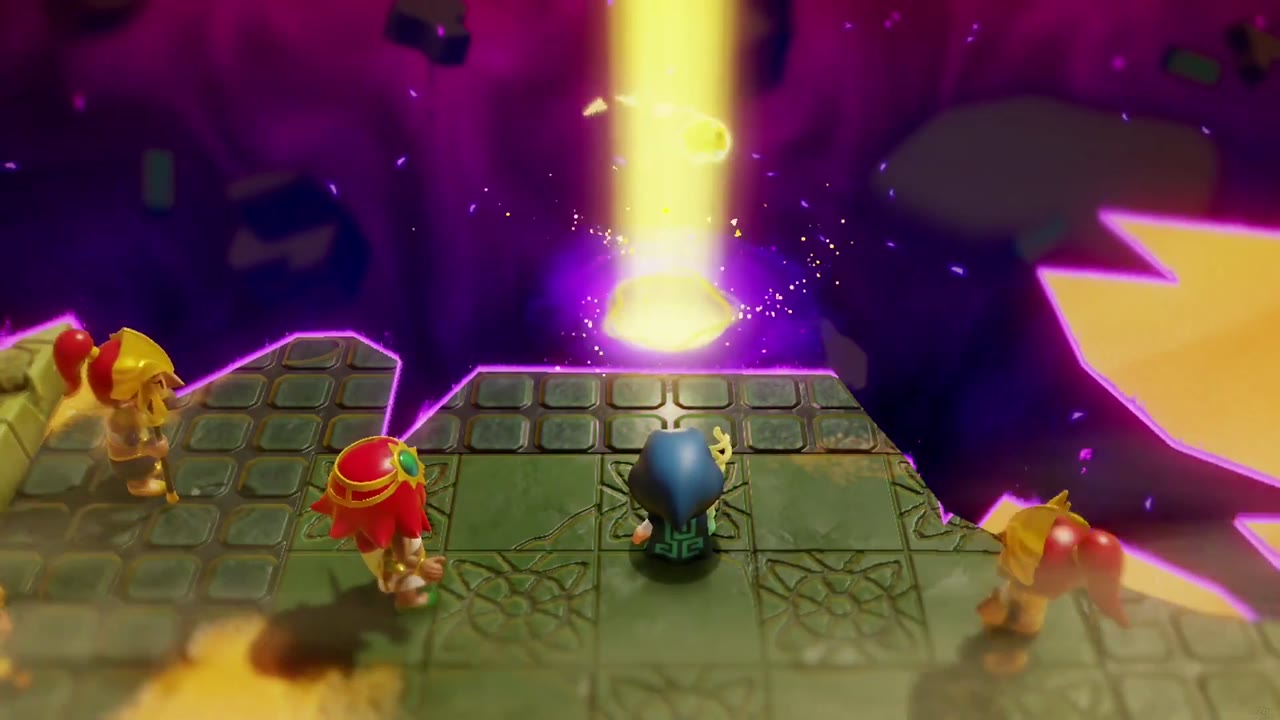
Warp back to Gerudo Town and enter Gerudo Palace for a second audience. Facette accuses you of coming back with nothing, but Dohna vouches for you, and her warriors file in to declare they stand at her side. Facette still orders you thrown in jail, until a warrior bursts in: the rift at the ruins in the eastern desert has grown and taken more warriors. Chief Seera leads everyone out (“Onward, warriors!”), and Tri thinks she can make an entrance. Warp to the Oasis, head east to the walled ruins where the Gerudo have gathered, and Tri opens the way into the rift with a beam of light.

Into the Still World
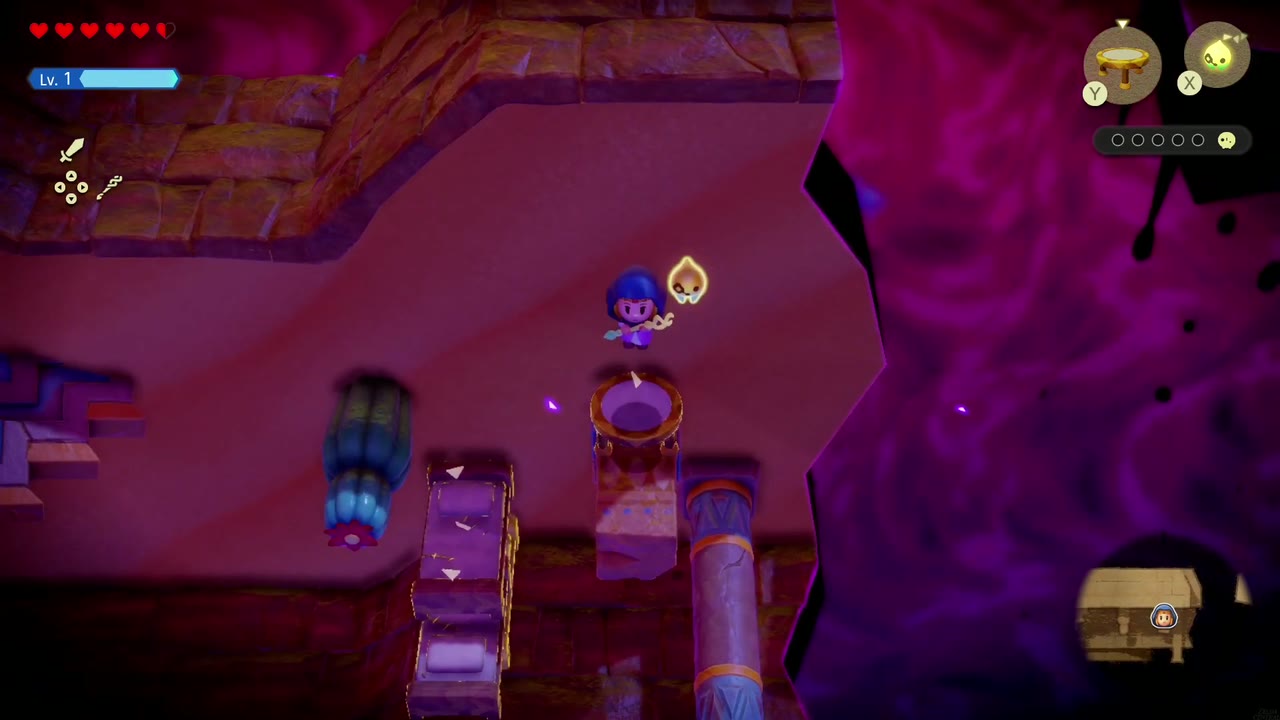
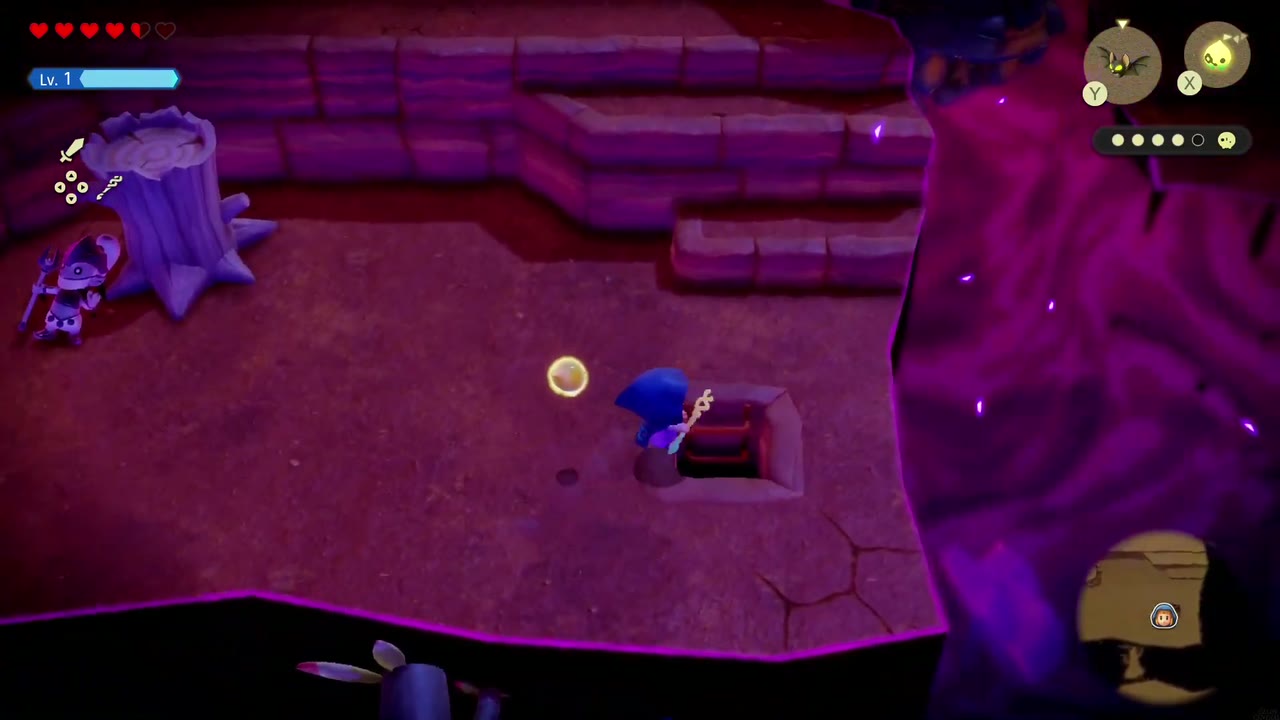
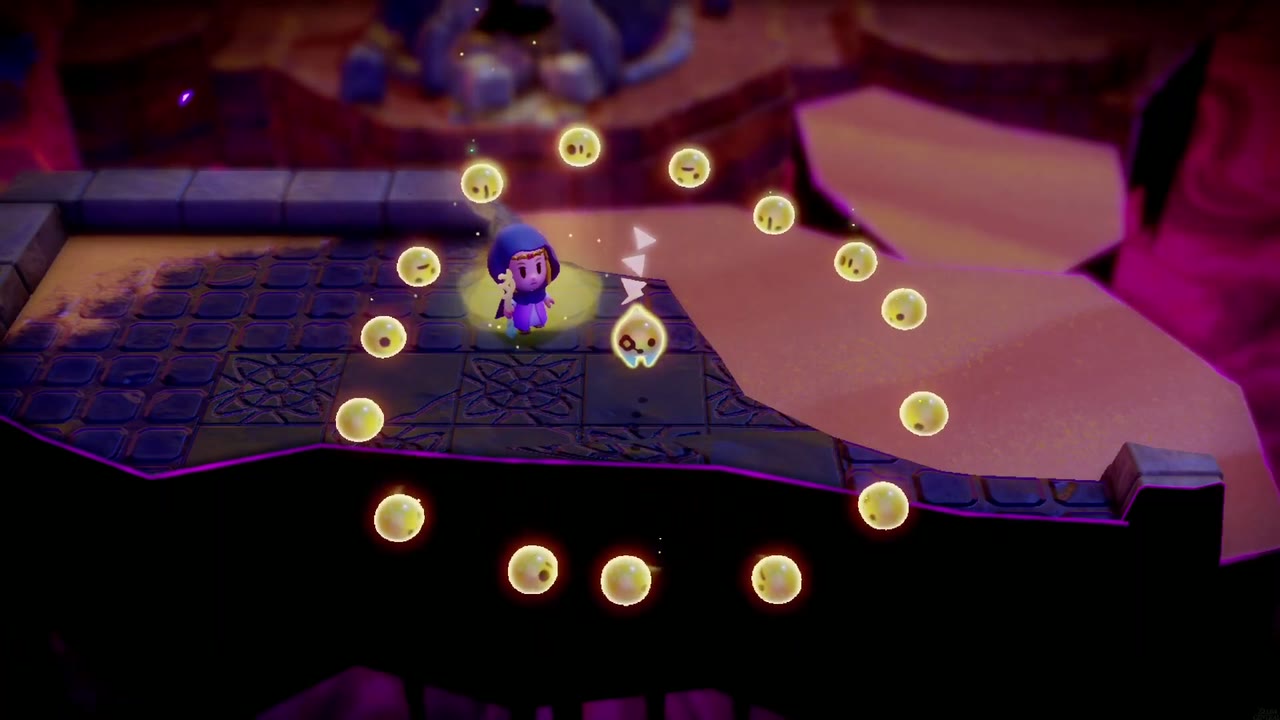
Inside the Still World, Tri senses her friends in five different areas; the five-slot counter under your echo icons tracks how many you’ve freed. The area is a maze of floating rock islands and ruined walls over a purple void, and the Old Bed and Trampoline echoes do most of the work here, as stairs, bridges and springboards.


The First Friend
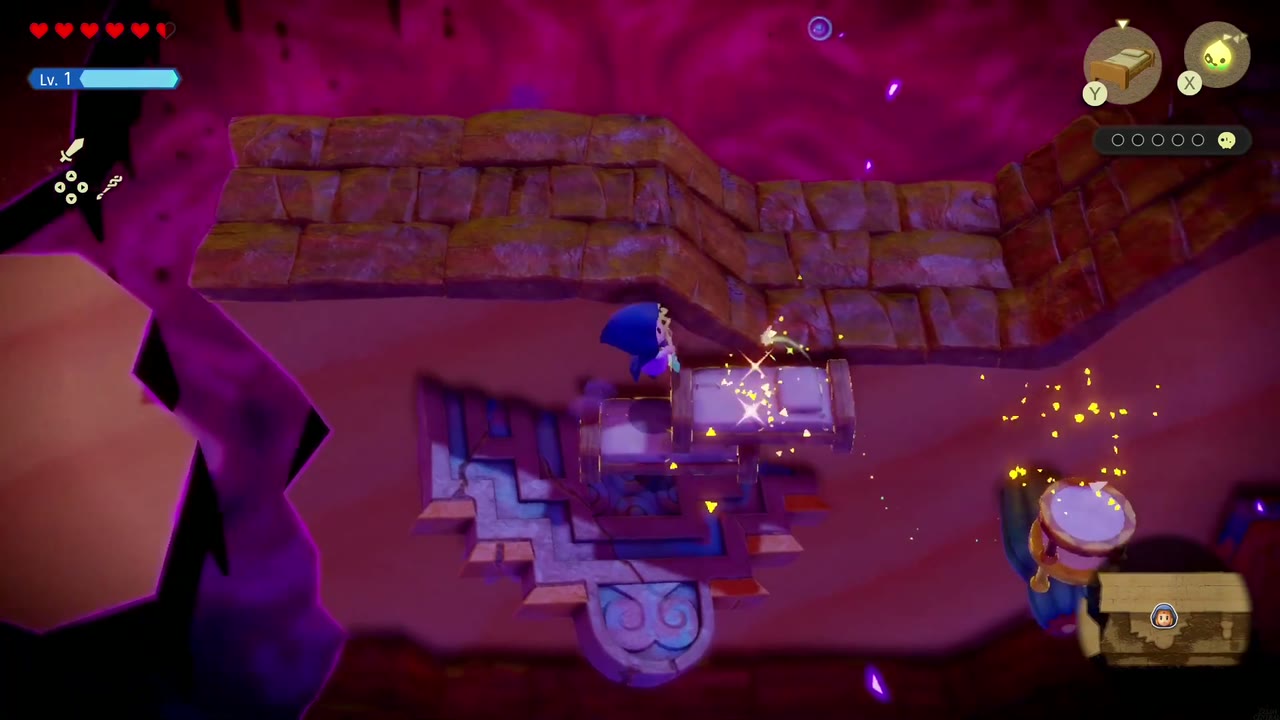
First: cross the islands from the entrance, dealing with the enemies along the way, until you reach a wall with a tall pillar beside it. Stack Old Beds next to the pillar, set a Trampoline on top, and bounce up to the upper ledge. From the carved stone ledge, lay a bridge of Old Beds across the void to a floating island holding a dark boulder; break it open to free the first friend.

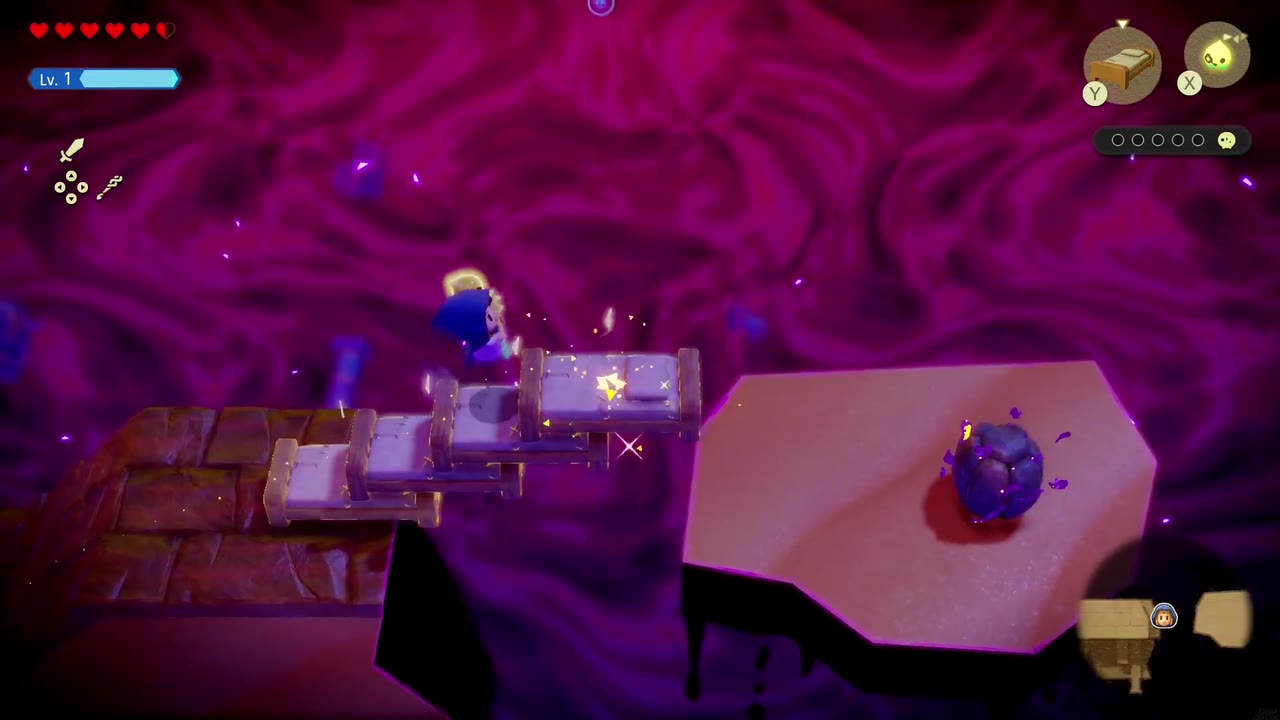
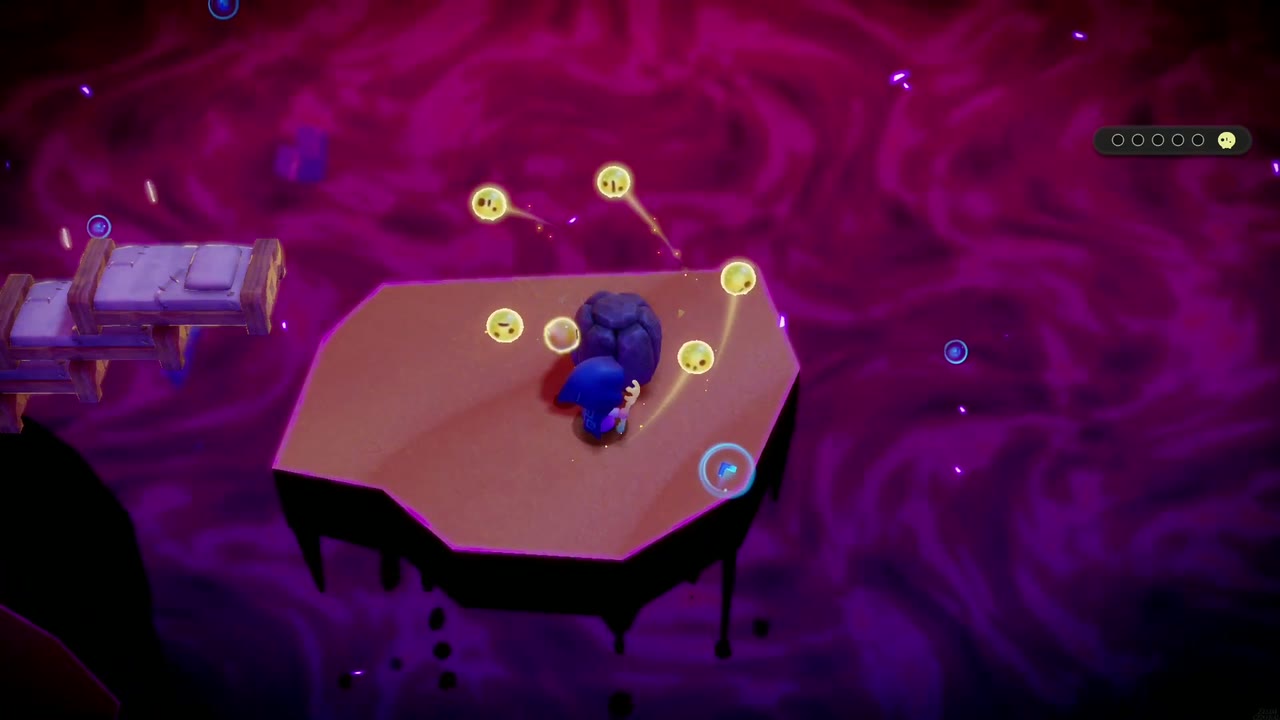
The Second Friend
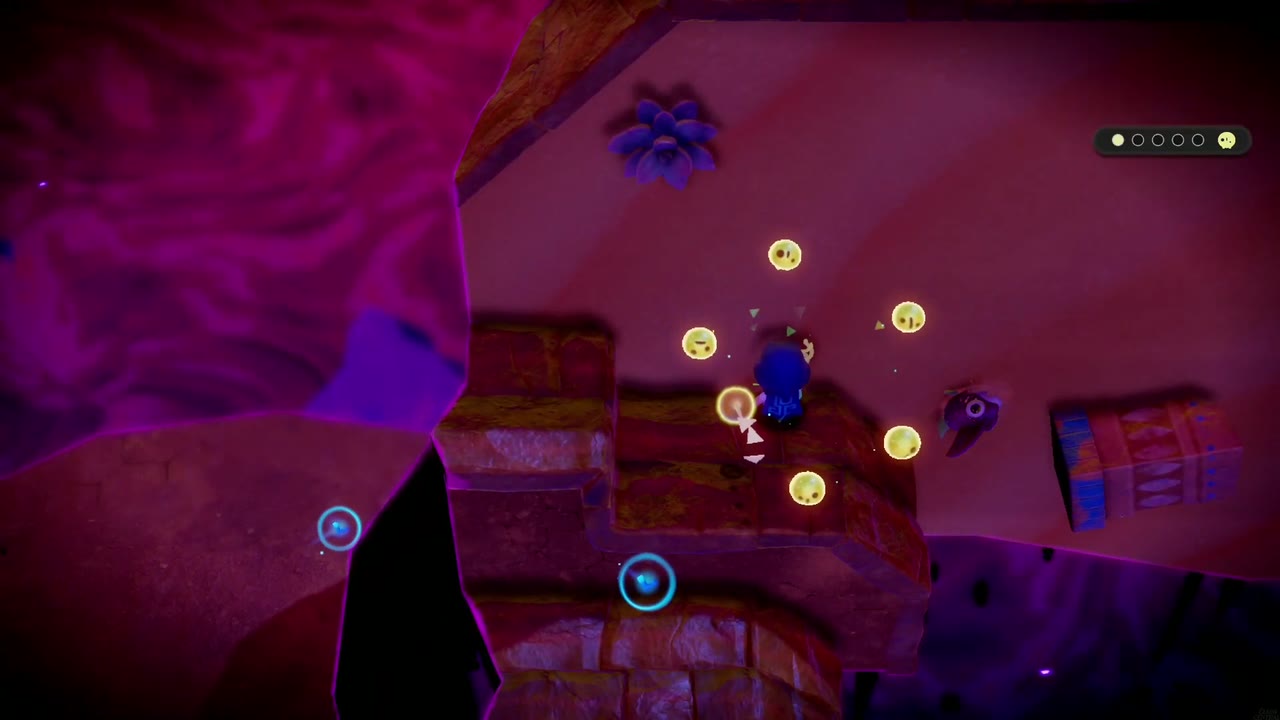
Second: walk back over your bed bridge to the stone walkway and continue along it past a spiky plant, using the fallen pillar to reach a raised ledge. A dark mass sits on top; break it to free the second friend.
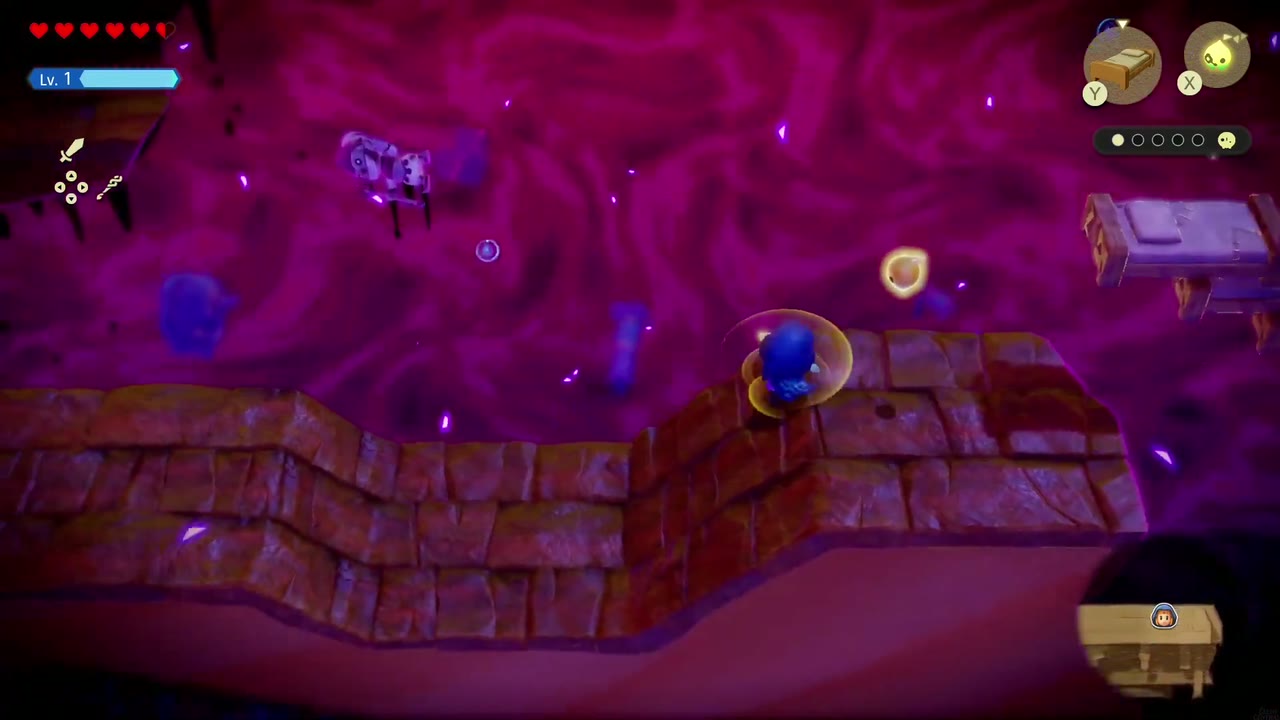

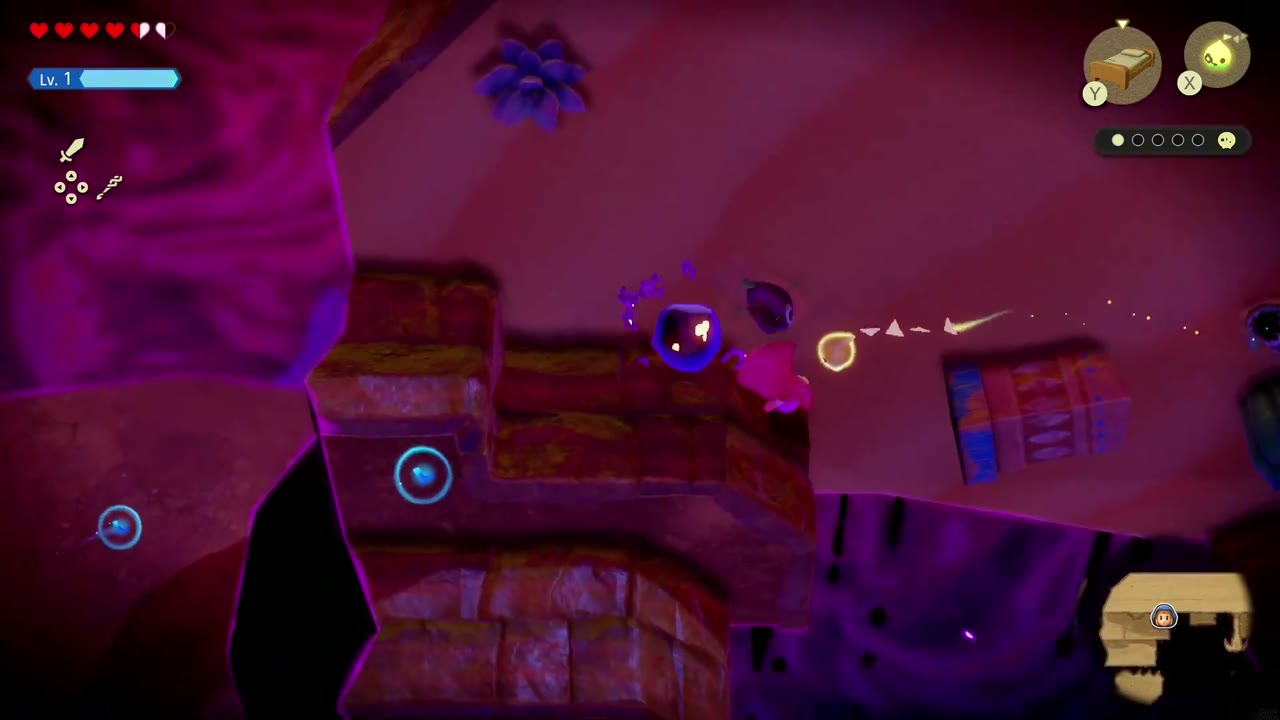
The Third Friend
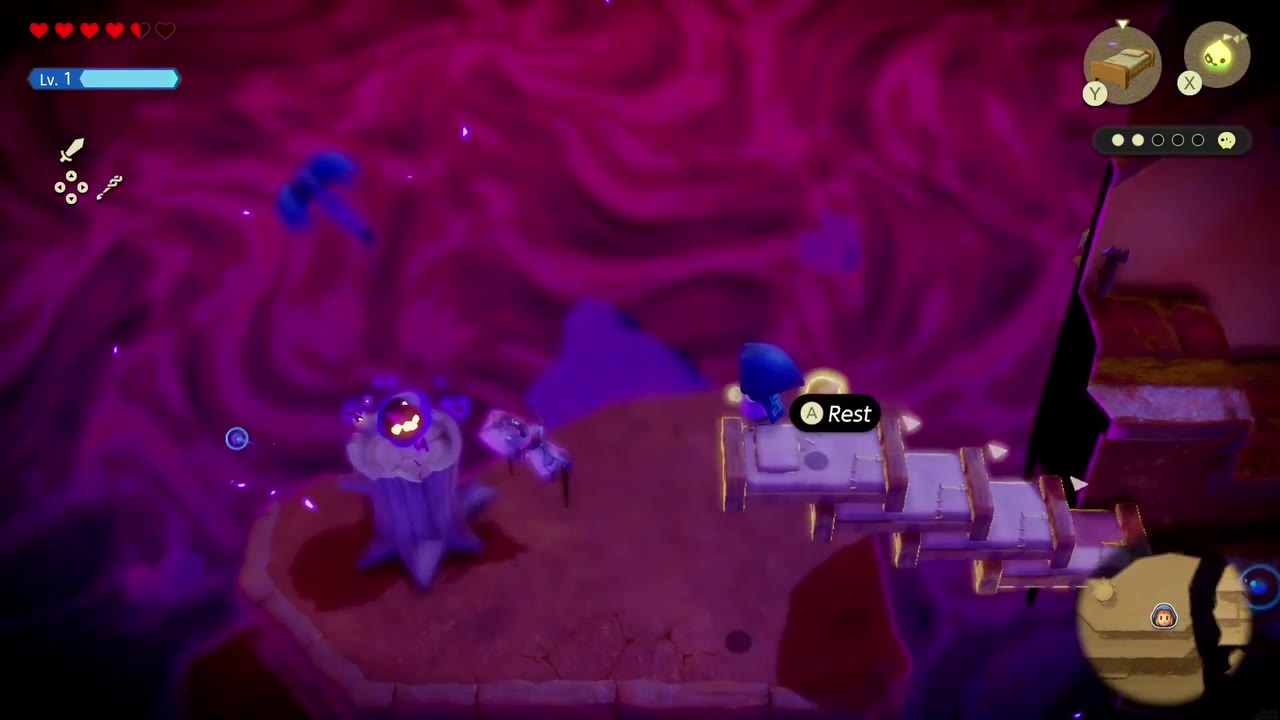
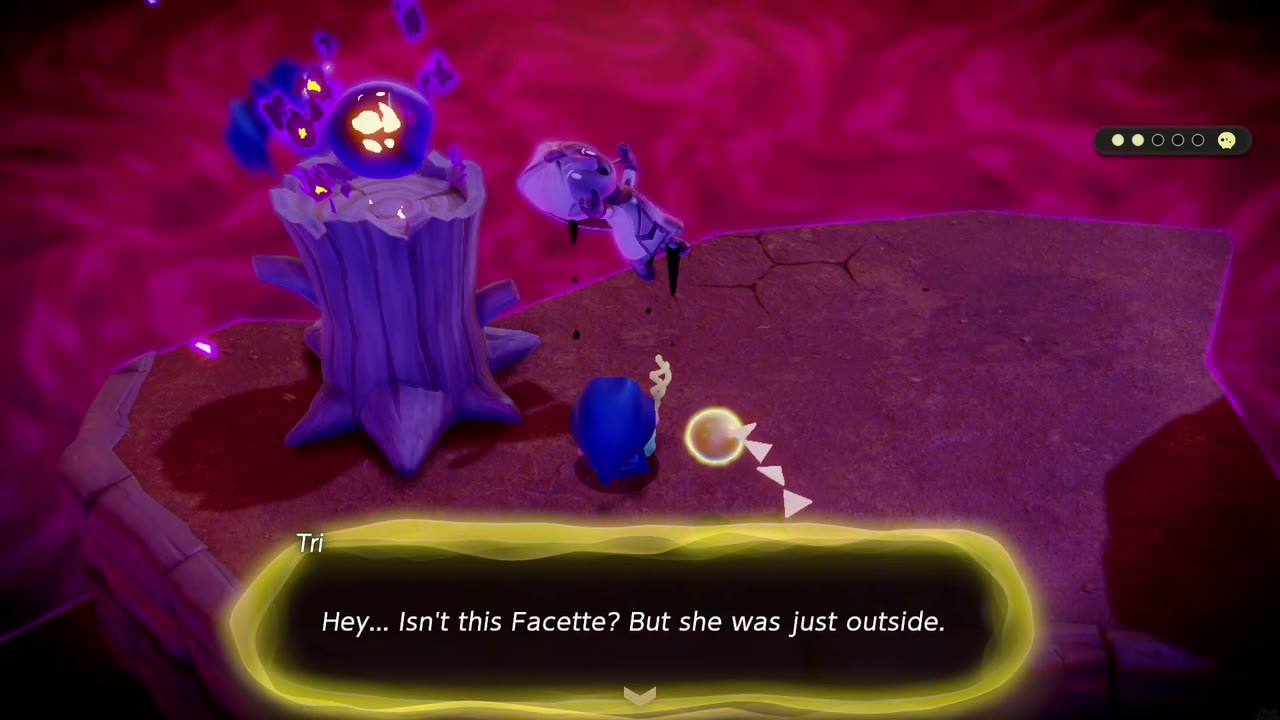
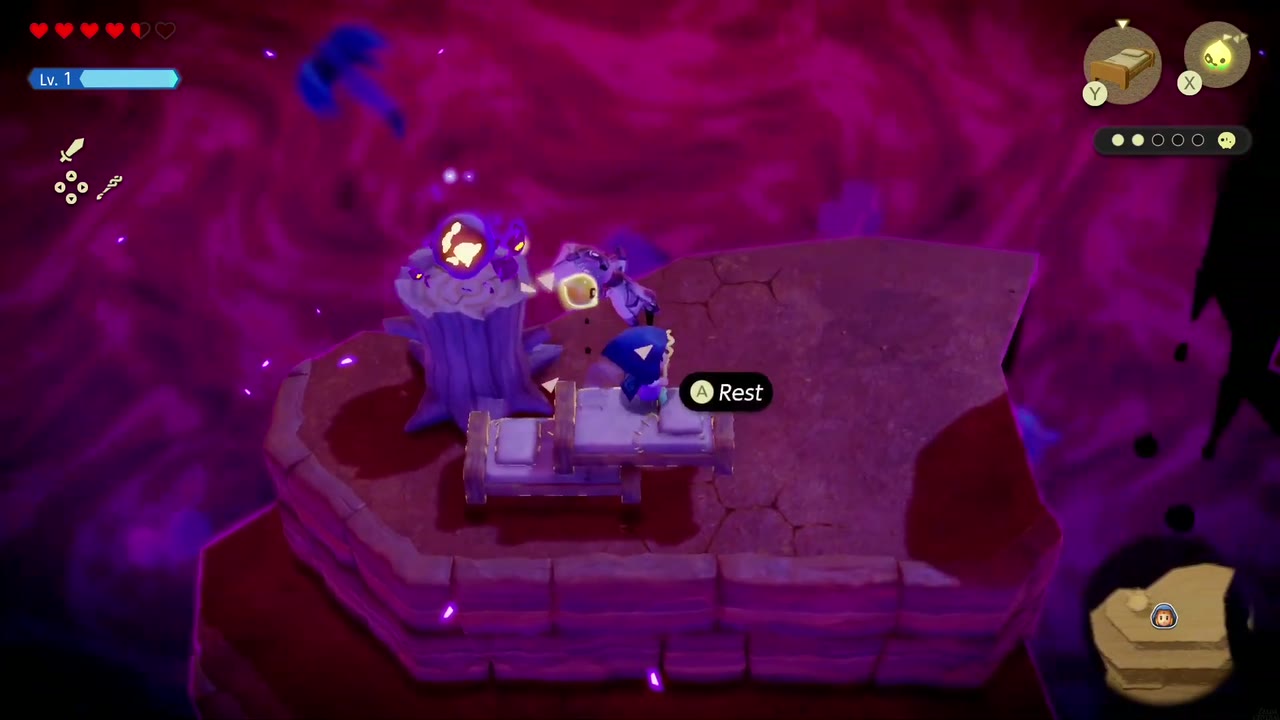
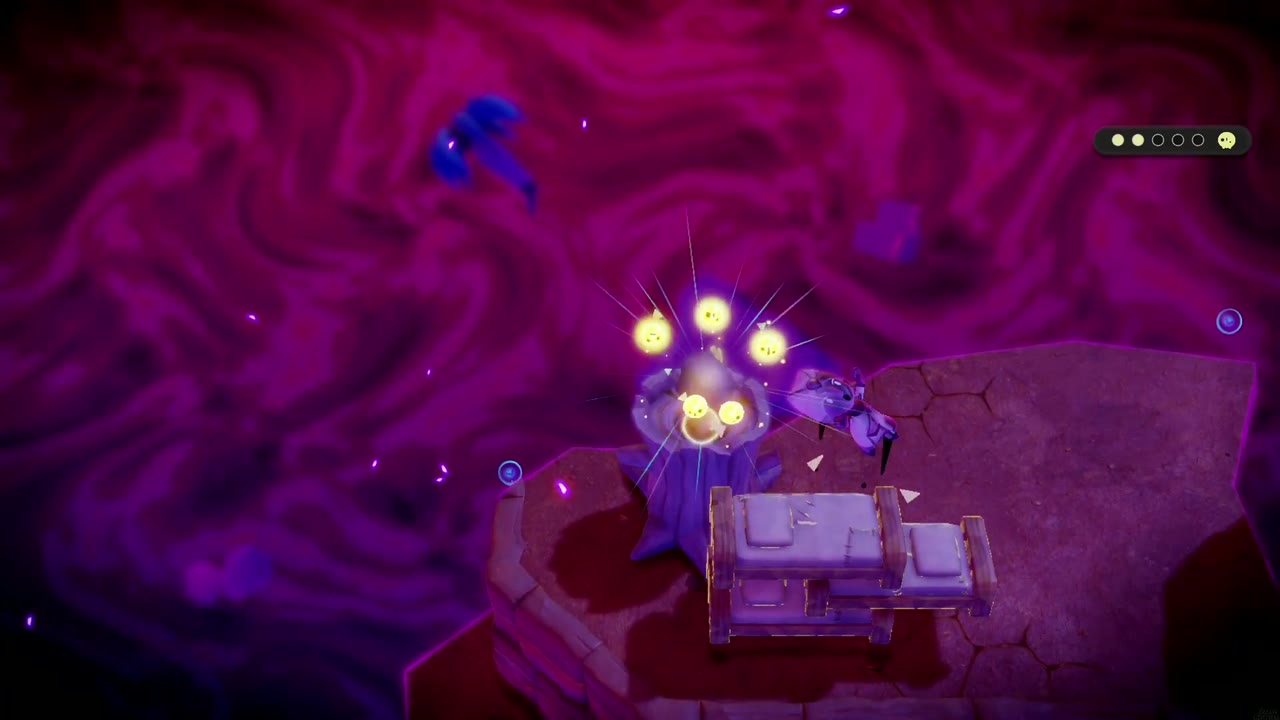
Third: from the patterned stone platform, stack Old Bed echoes into a staircase up onto the plateau with the dark tree stump. The trapped friend is perched on top of the stump, and lying beside it is a stilled Facette — strange, since Tri points out she was just outside. Place another Old Bed against the stump, hop up, and touch the friend to free it.
The Fourth Friend
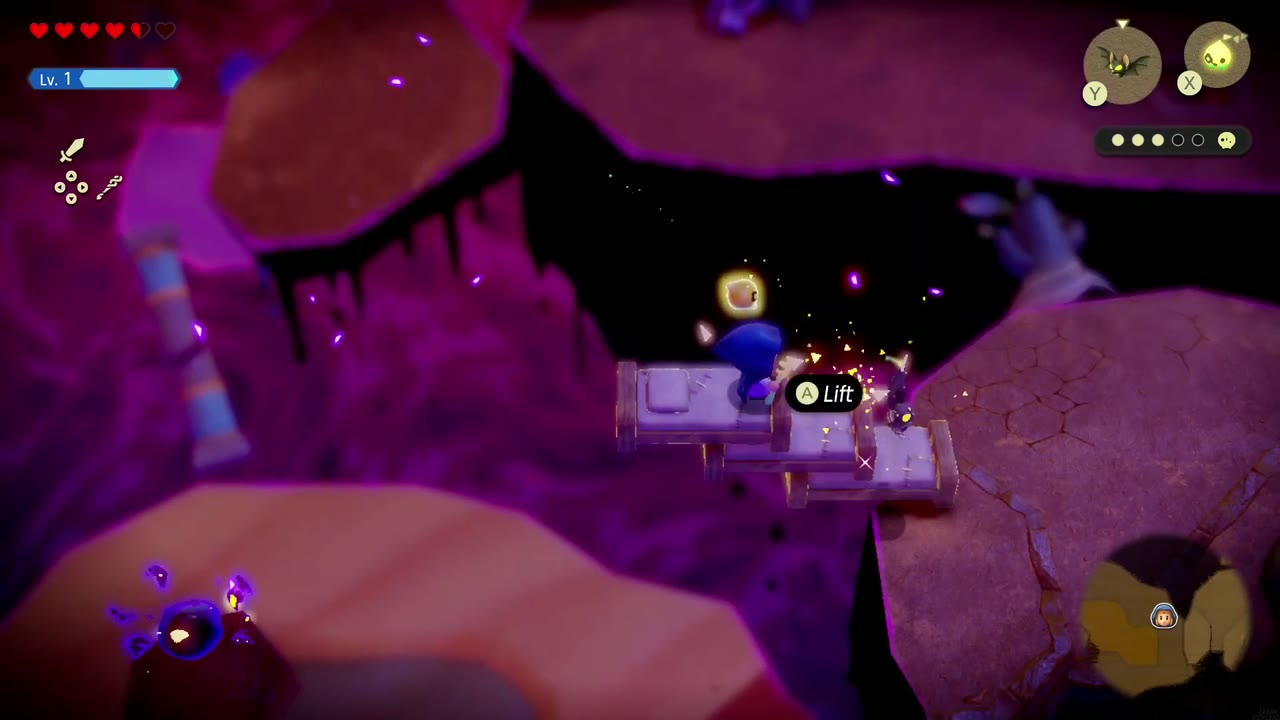
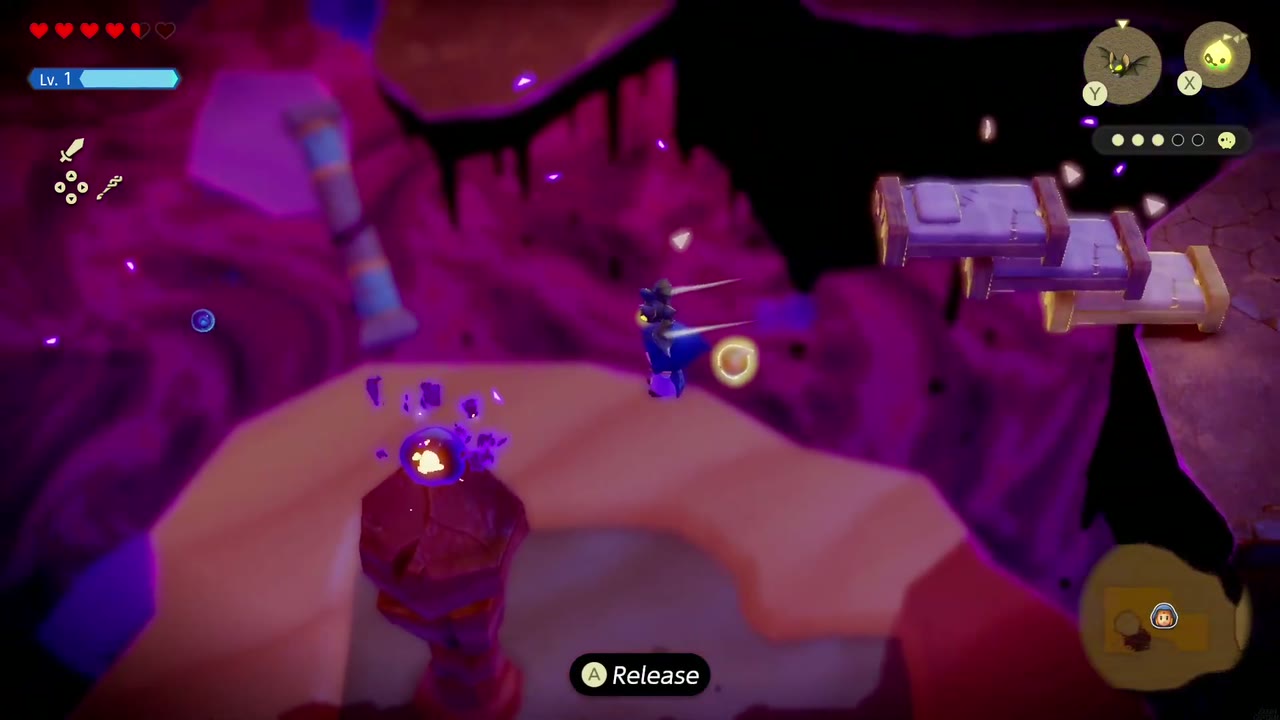
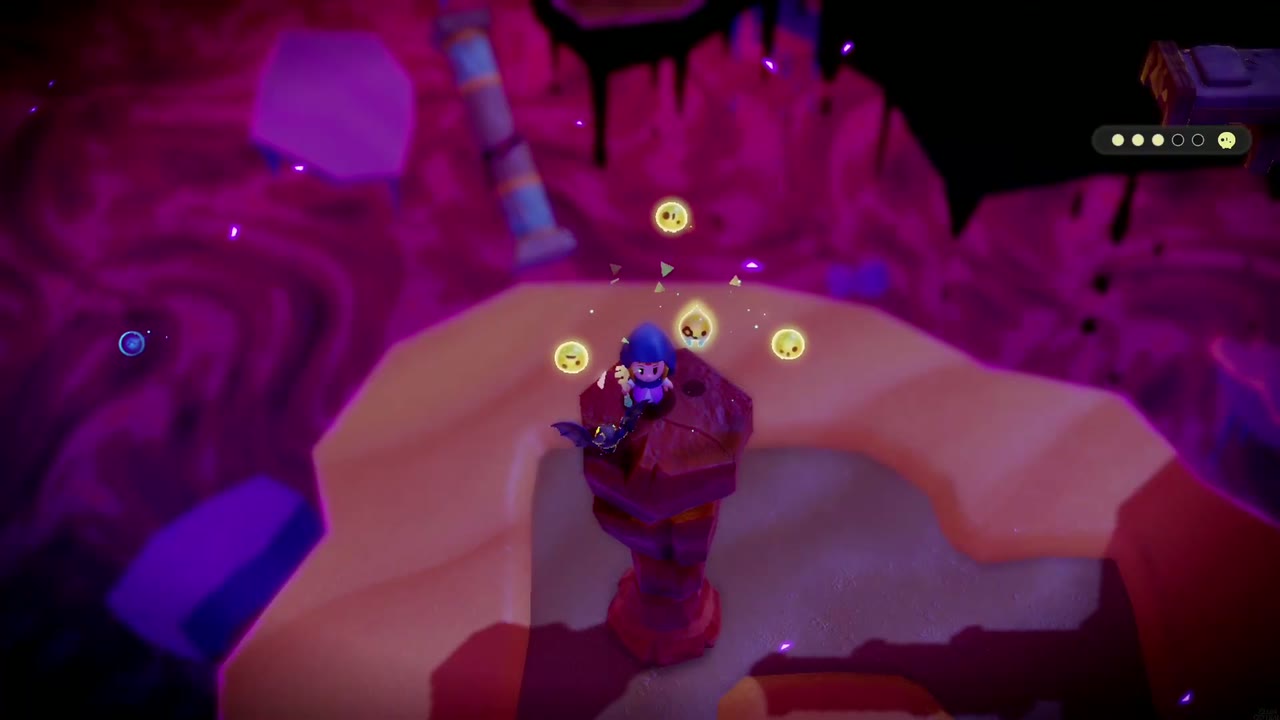
Fourth: carry on to the rocky ledge with the huge spiked rock. The next friend sits on top of a tall red stone pillar rising from the sandy shelf below, too far to jump to. Build a short pier of Old Beds off the edge of the ledge, stand on the end, summon a Keese echo and grab hold of it, then glide across and drop onto the pillar to free the friend.

The Fifth Friend
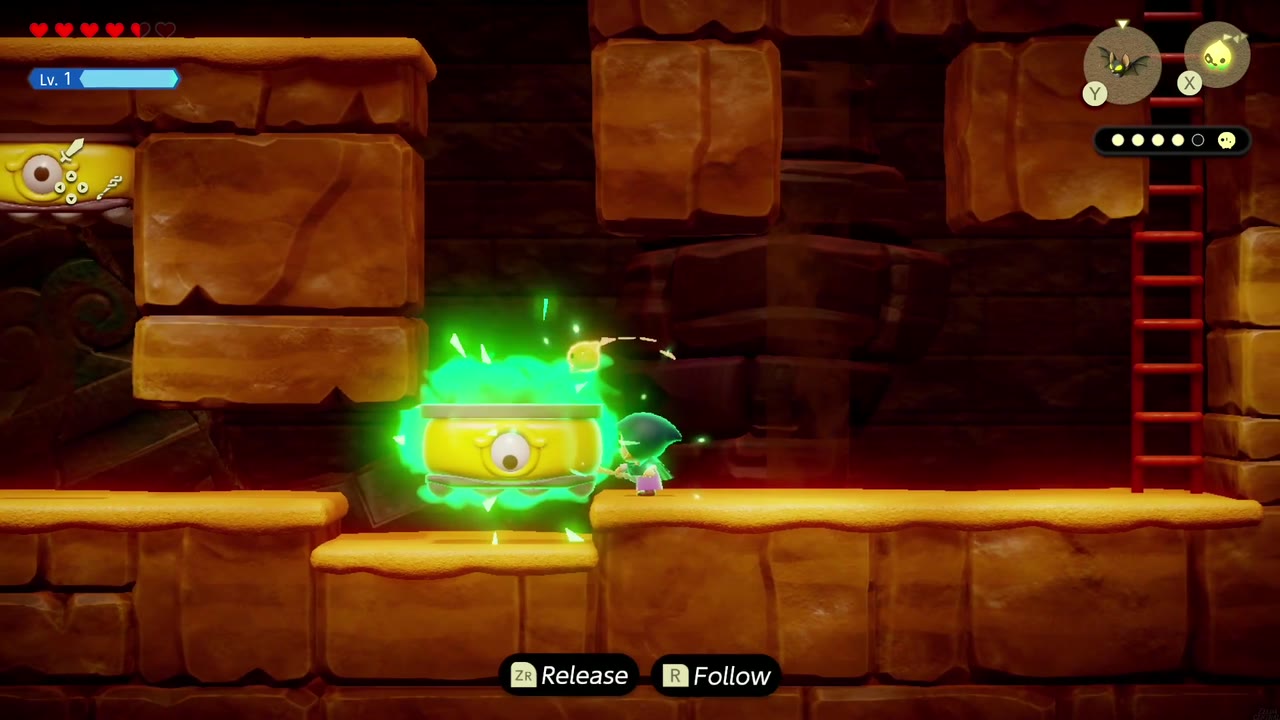
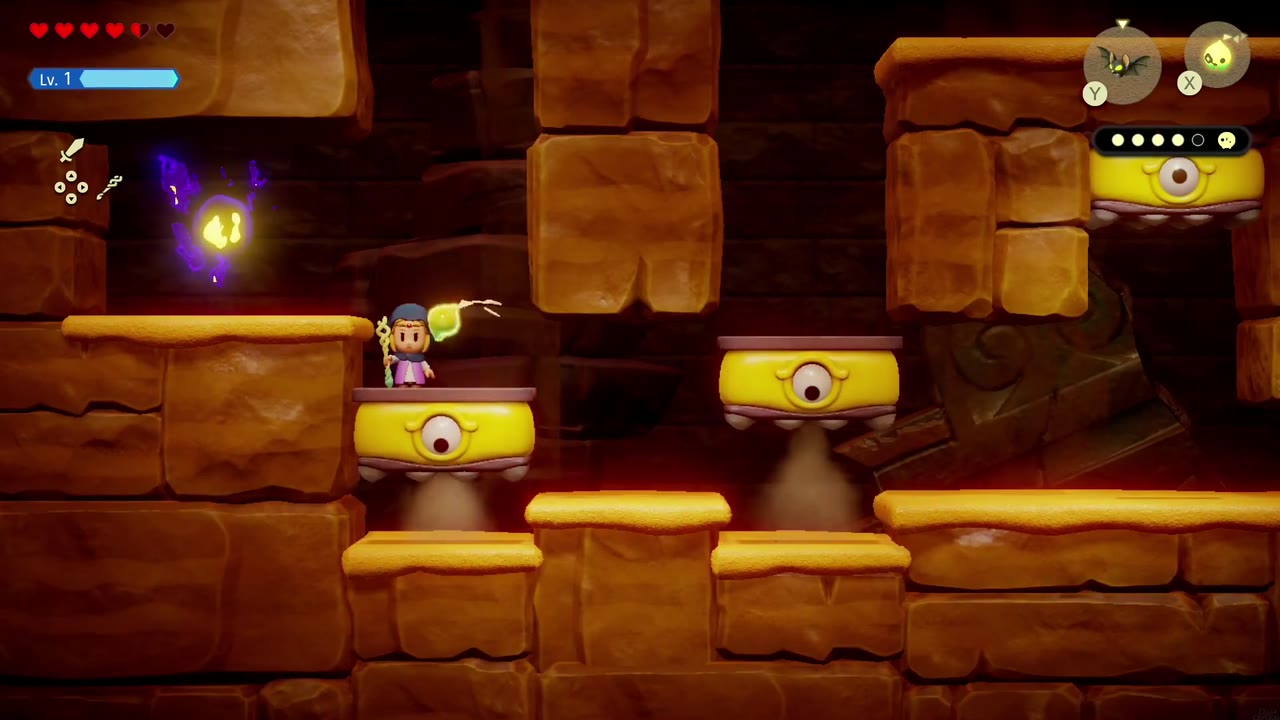
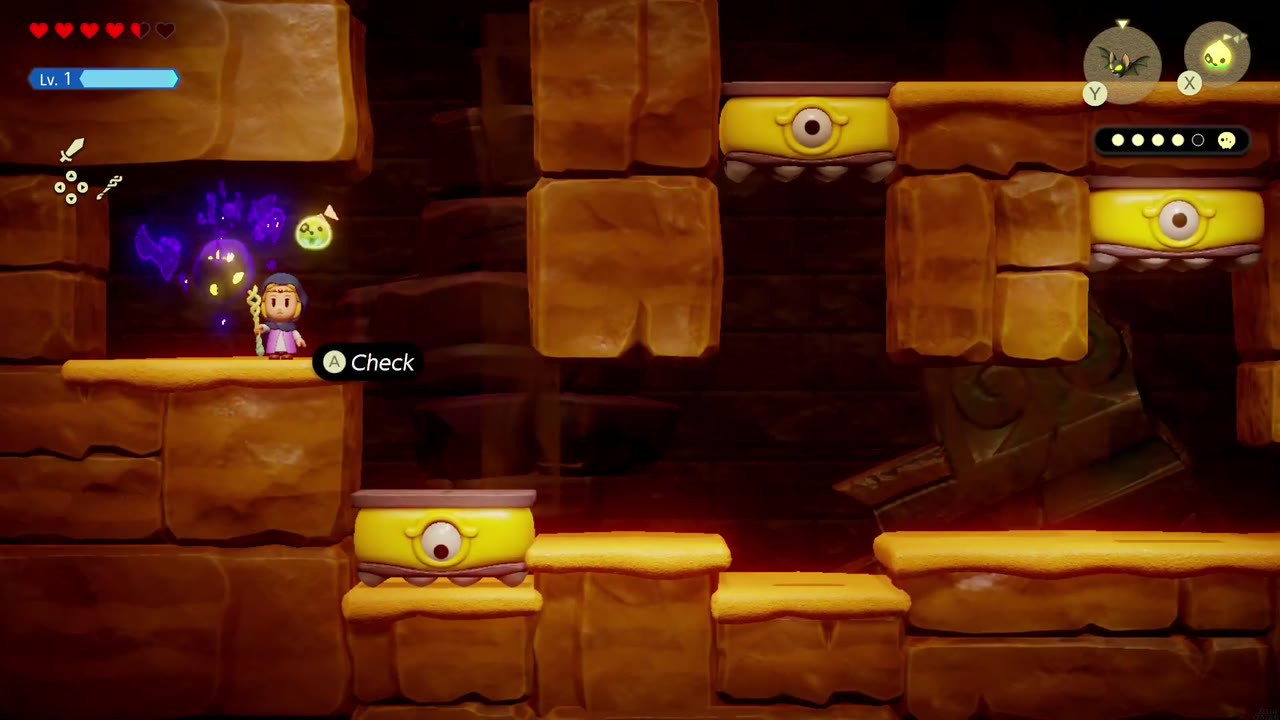
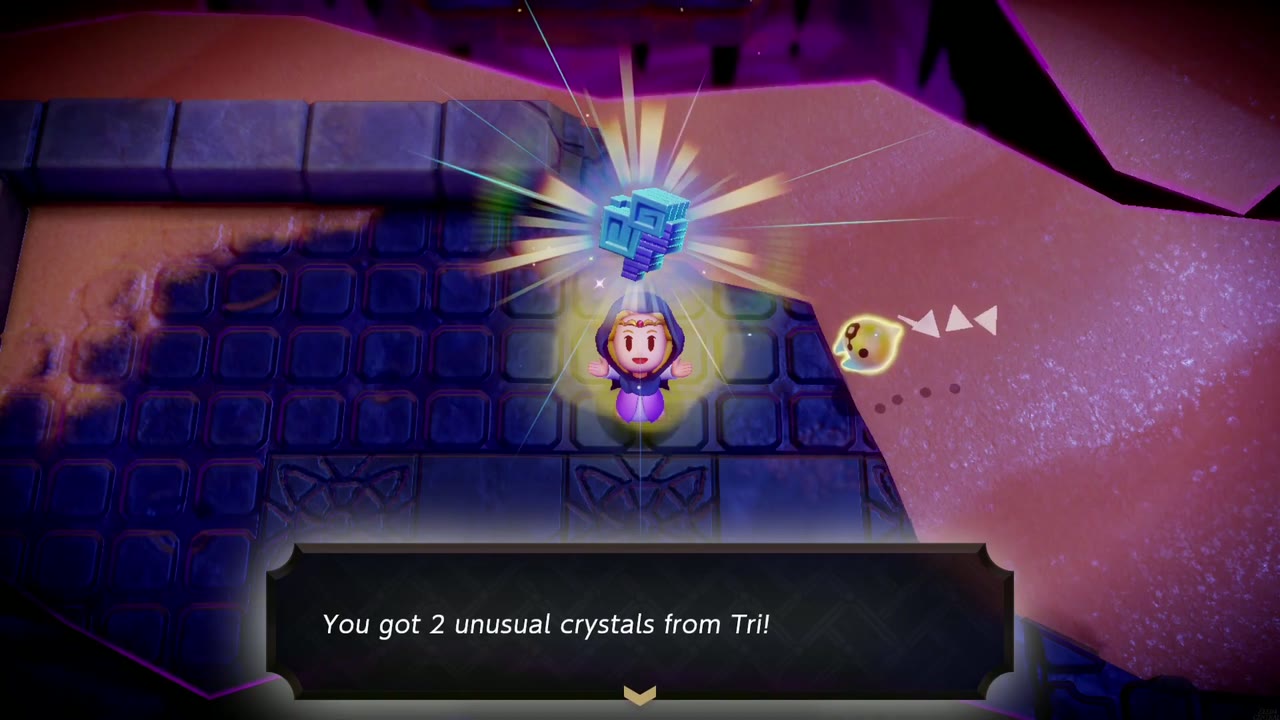
Fifth: head back to the plateau where the stilled Facette lies and drop through the square hole in the floor. It leads to a side-scrolling stone chamber full of yellow one-eyed blocks. Use Bind to drag the blocks into place as steps and climb up to the high left-hand ledge where the last friend is trapped. With all five free, Tri’s friends gather around her and share their power, and you get 2 Unusual Crystals from Tri before heading back to your world.
The Rift Mended
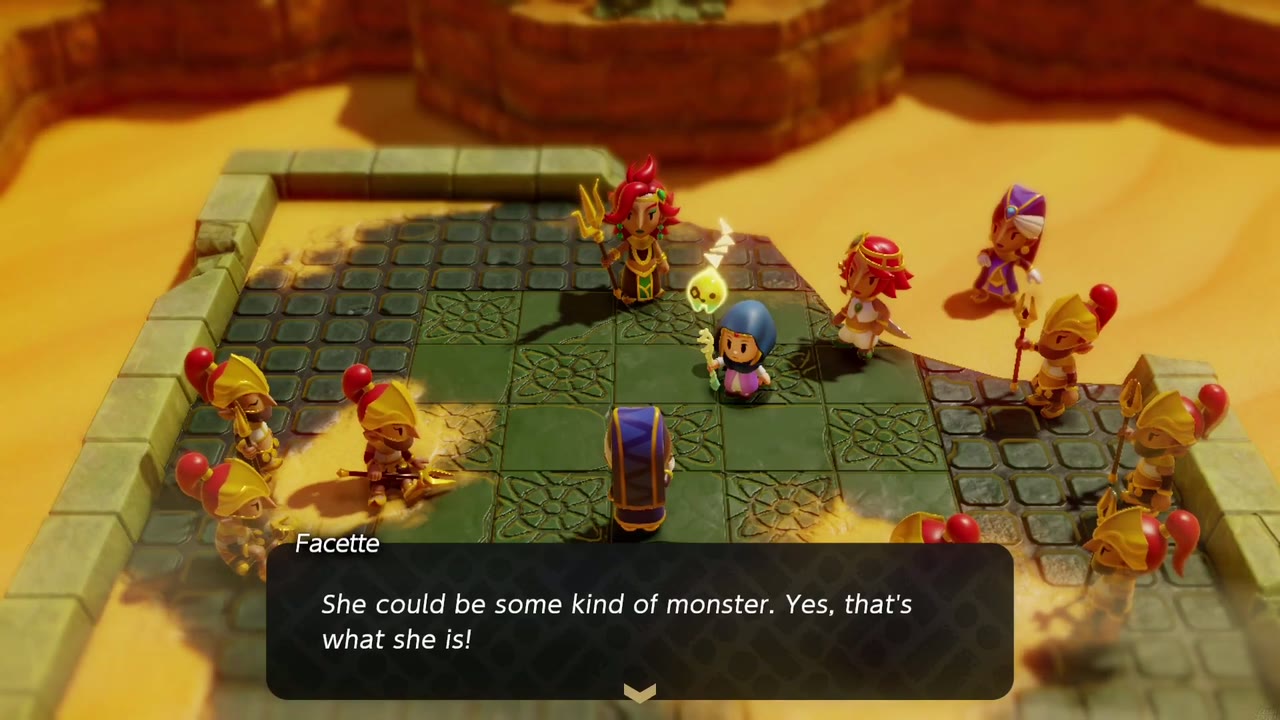
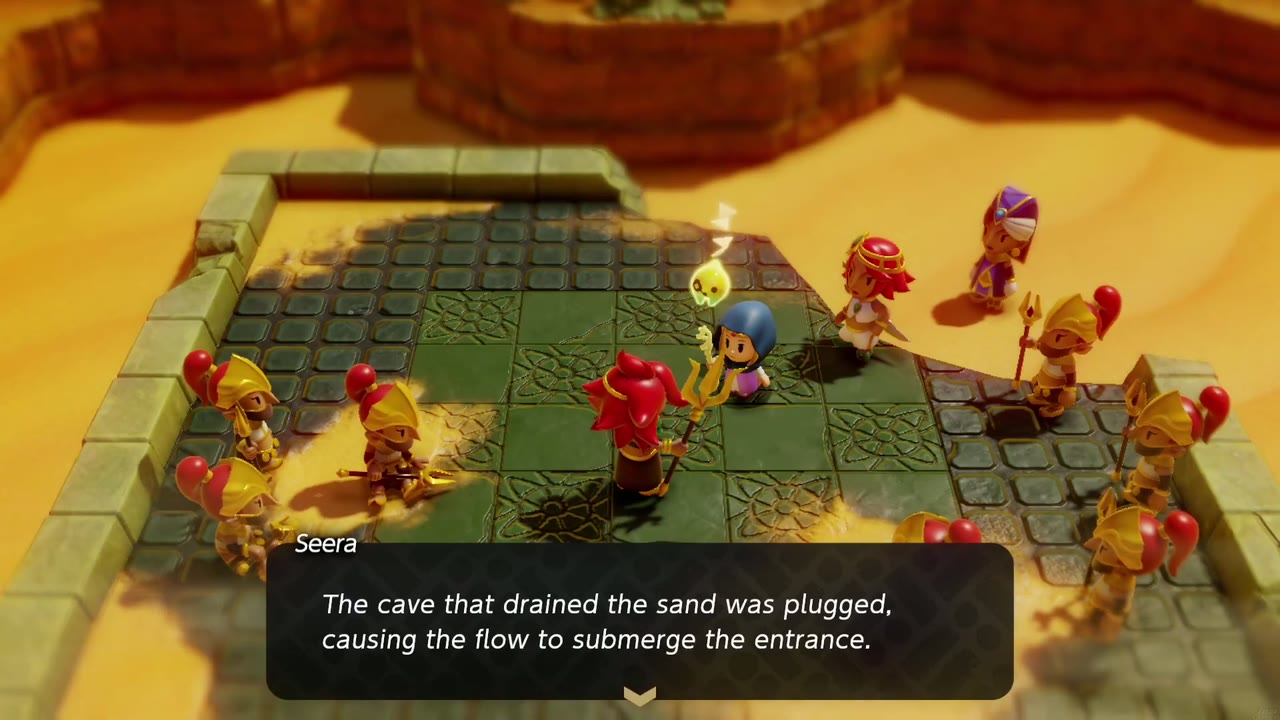
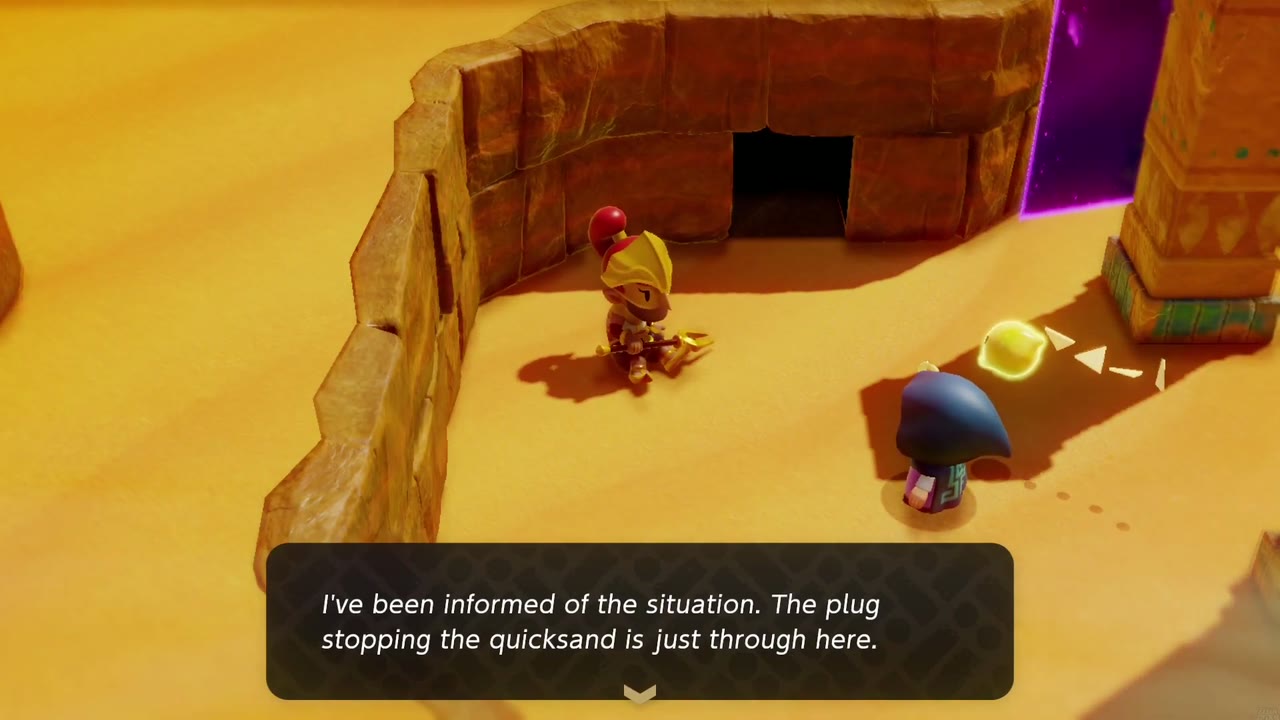
Mending the rift brings the swallowed warriors back to the ruins — along with the real Facette, who comes to in the sand. Cornered, the “Facette” who has been advising Seera insists Zelda is the monster, but Seera isn’t fooled, and the impostor dissolves into purple shadow as she tries to flee. Seera apologizes and gives you her blessing to restore the Sanctum: its entrance sits at the base of a quicksand flow in the southern desert, buried because the cave that drained the sand was plugged (another of the fake Facette’s ideas). Speak to the guard at that cave mouth; she confirms the plug is just inside, but the place is swarming with monsters. The cave is the Cryptic Cavern.


Cryptic Cavern
The Cave Entrance
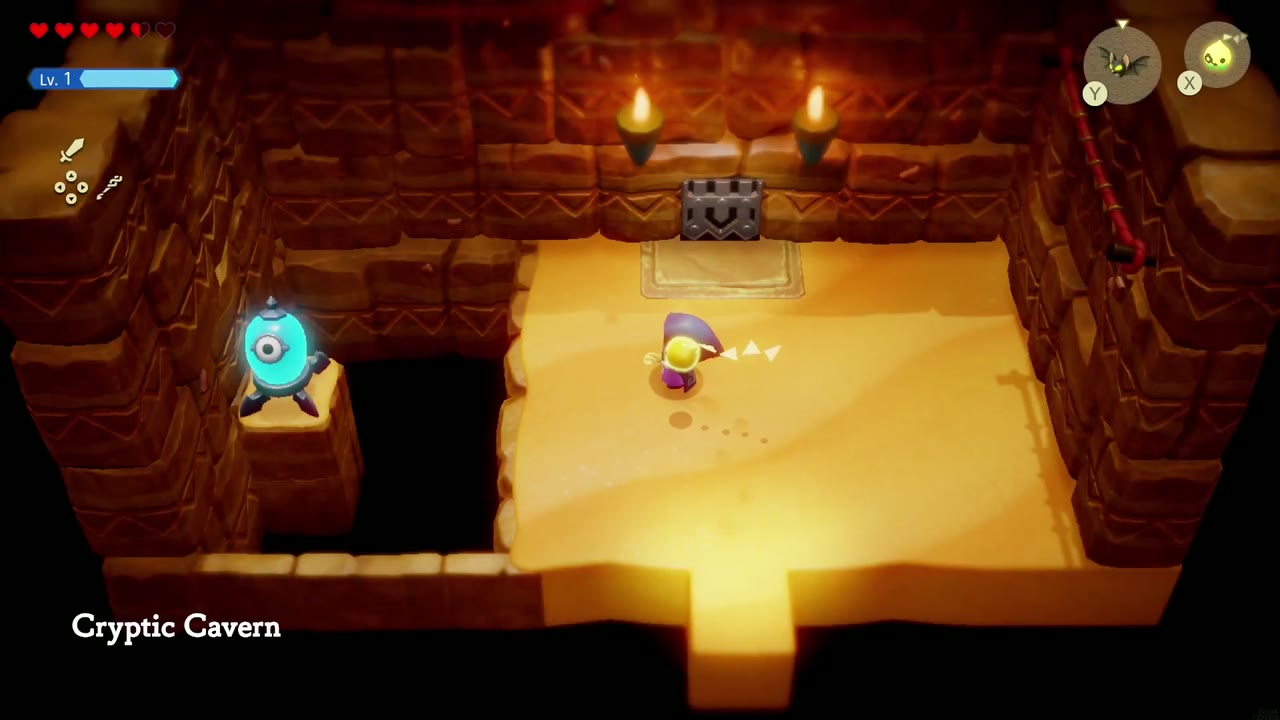
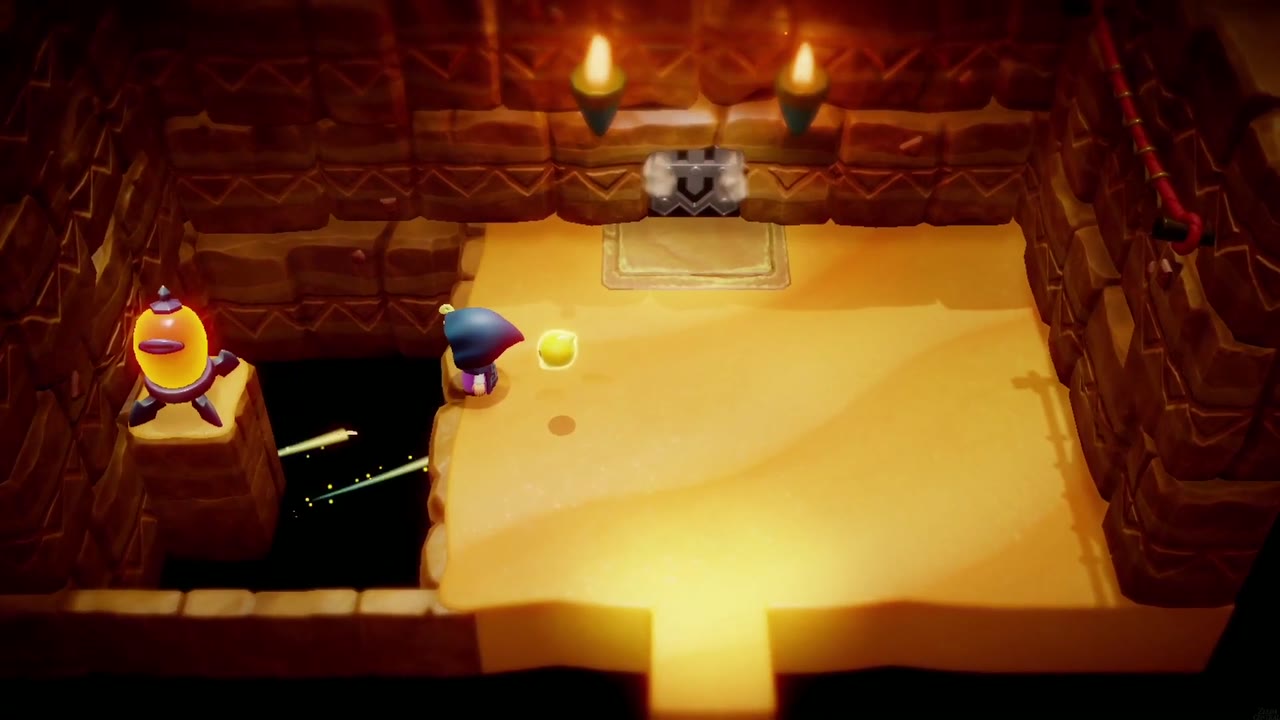
Head to the rift ruins, where a Gerudo guard stands at a doorway in the ruined wall. He tells you the plug stopping the quicksand is just inside, but monsters have kept him out. Step through into Cryptic Cavern. In the first room the north door is barred and an eye switch sits on a pillar across a pit; summon a Boomerang Boarblin Lv. 2 echo and let its boomerang hit the eye. It turns yellow and the door opens.
The Wind Cannon Room
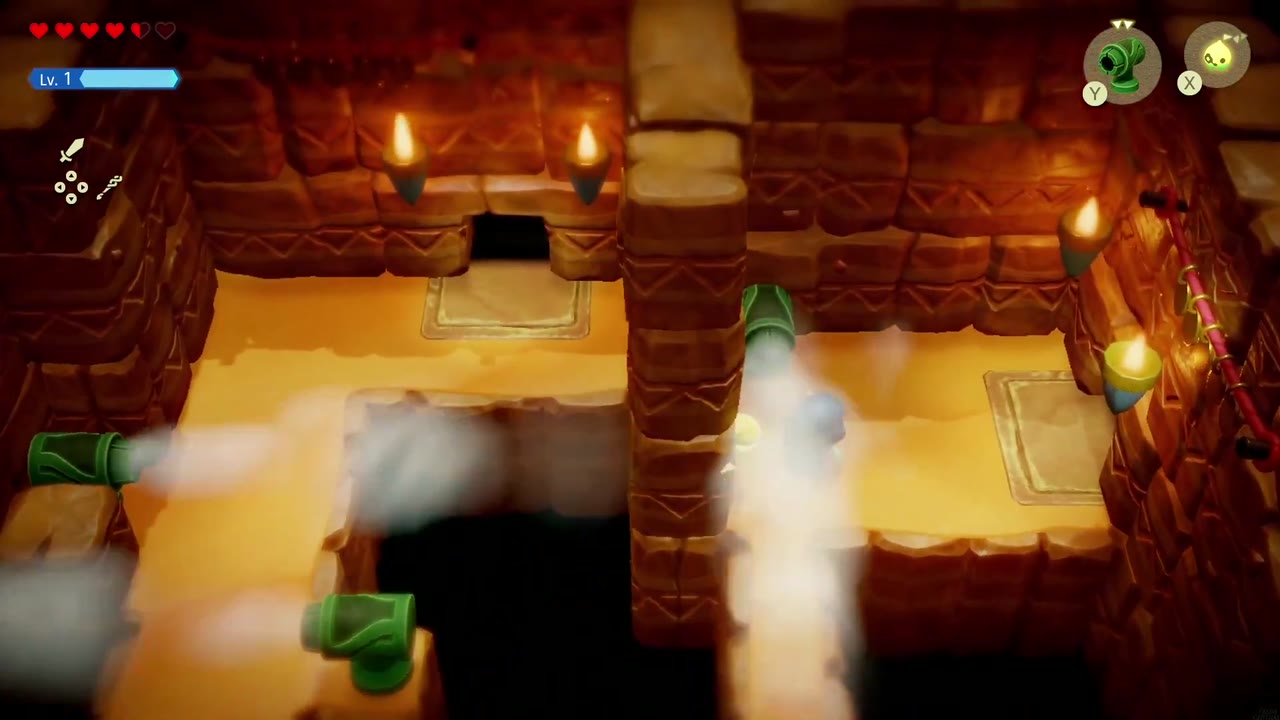
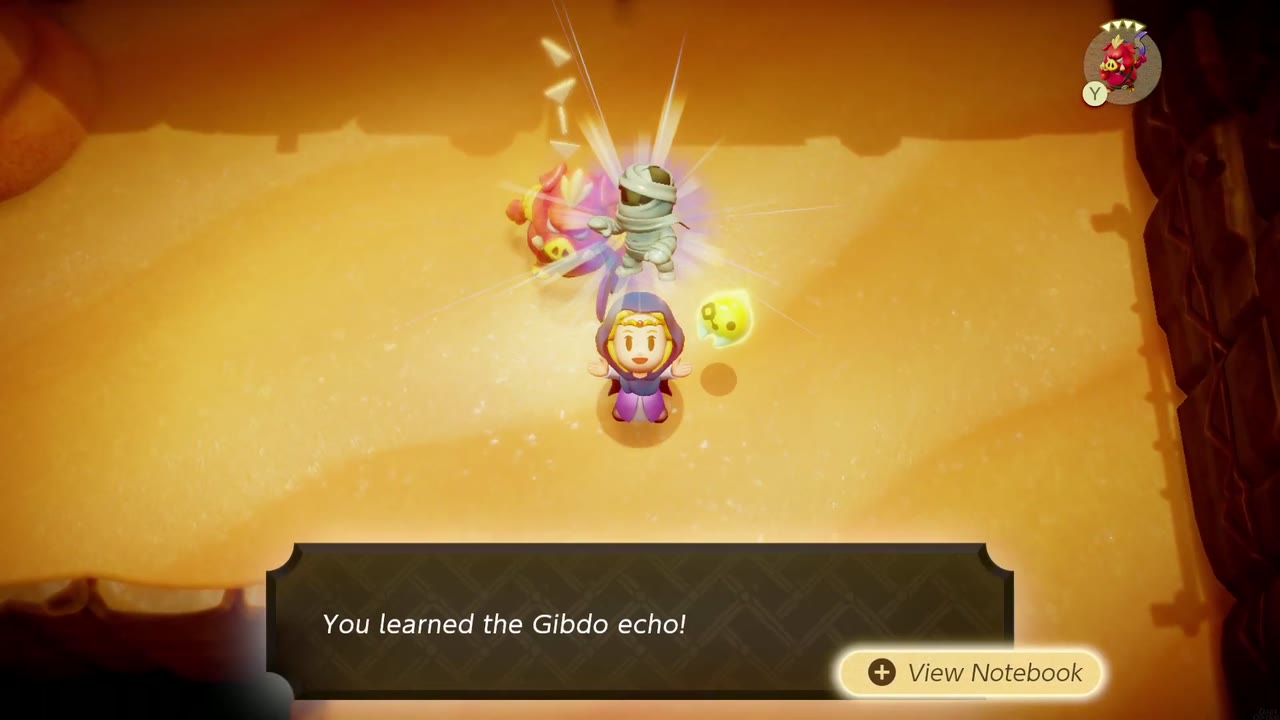
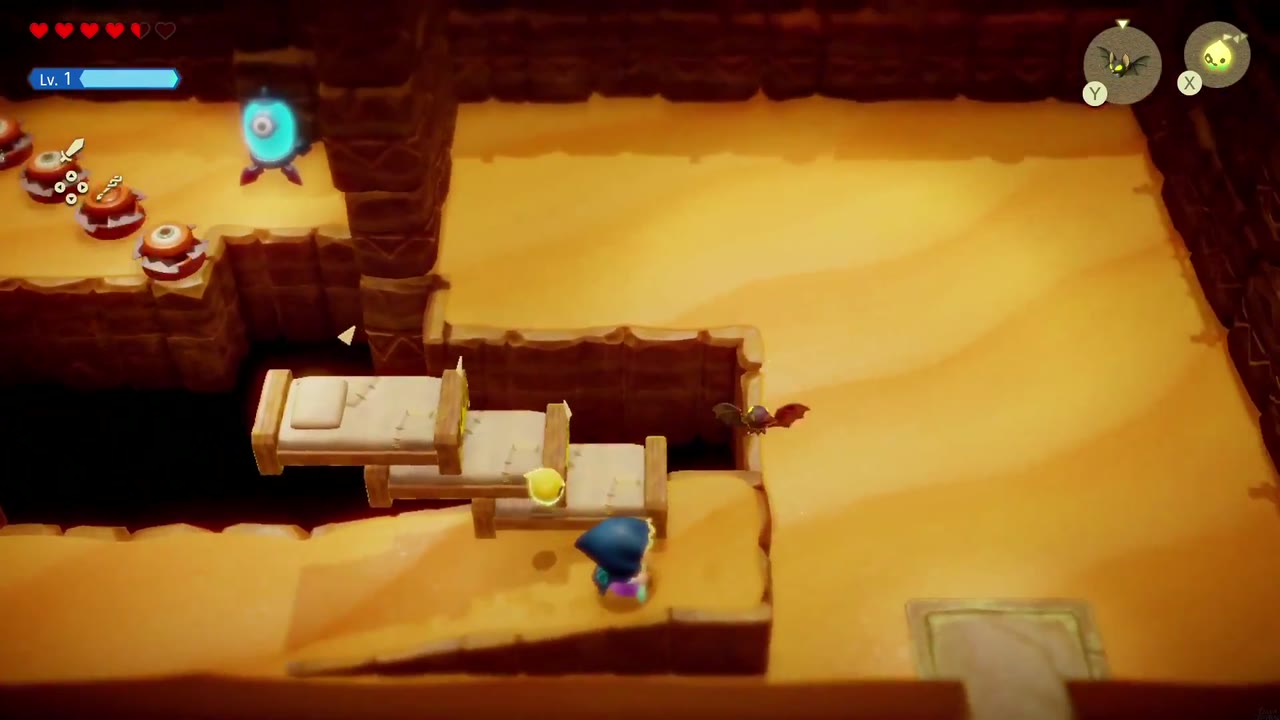
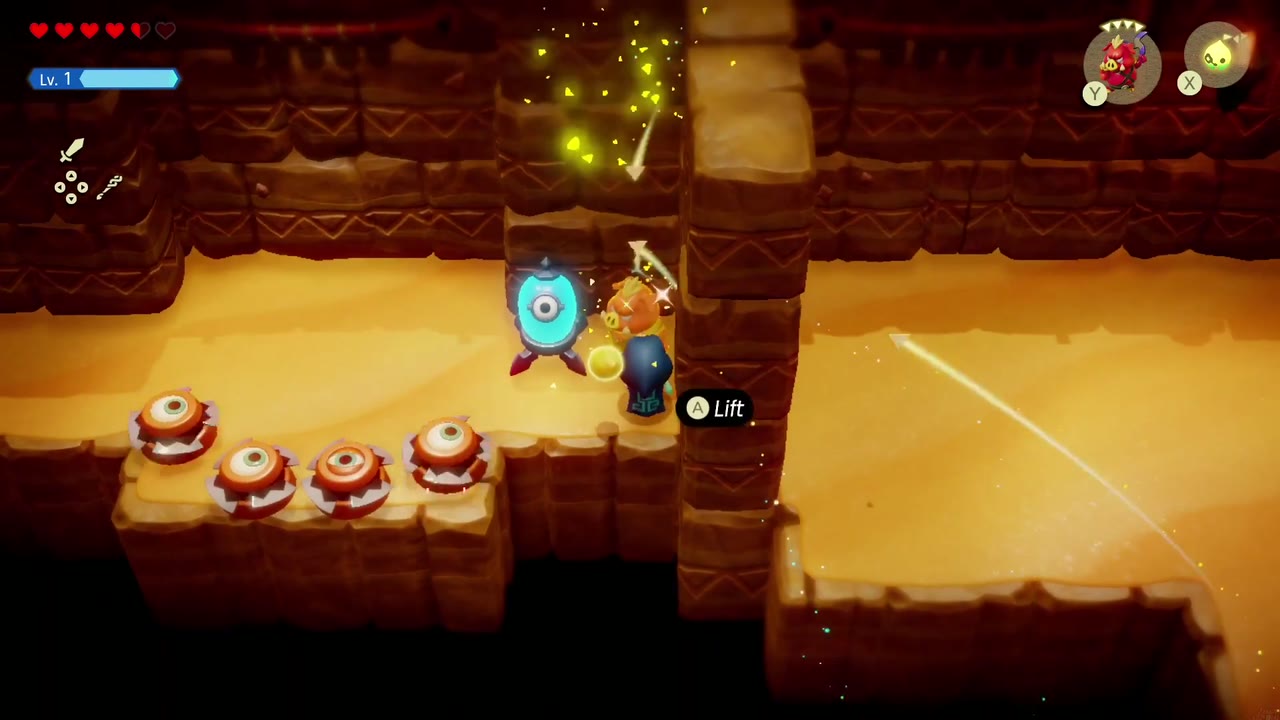
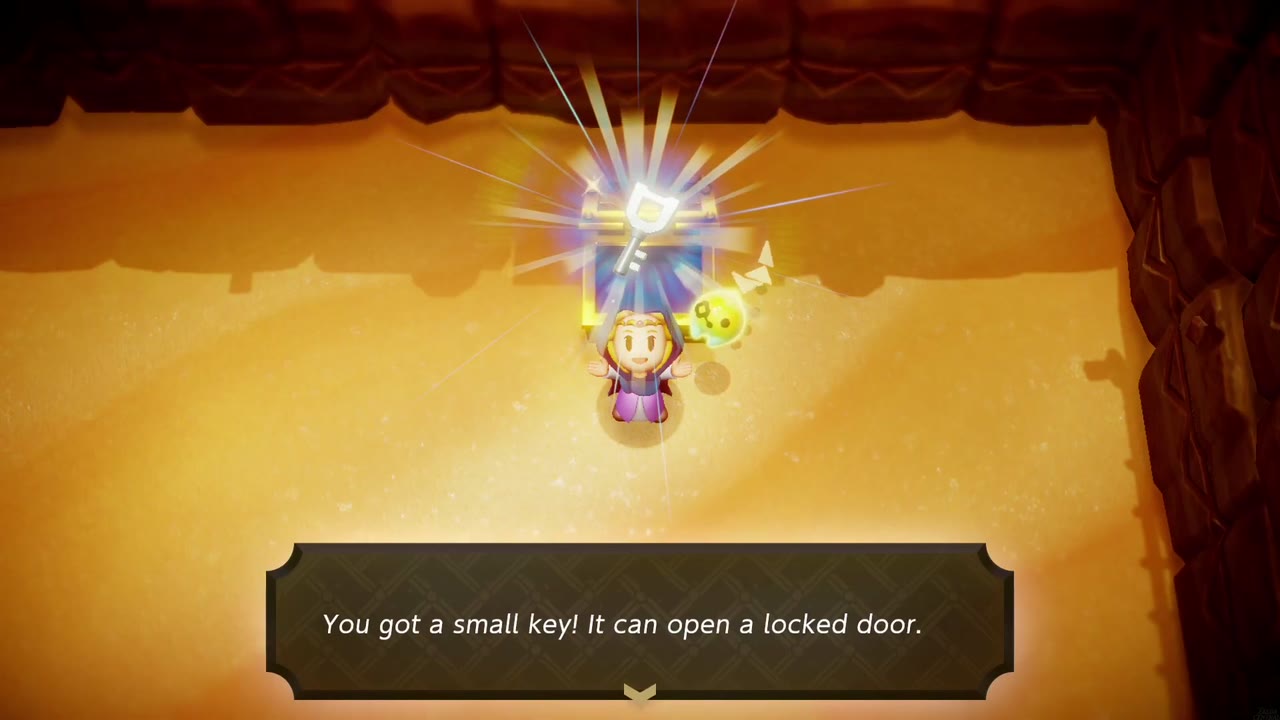
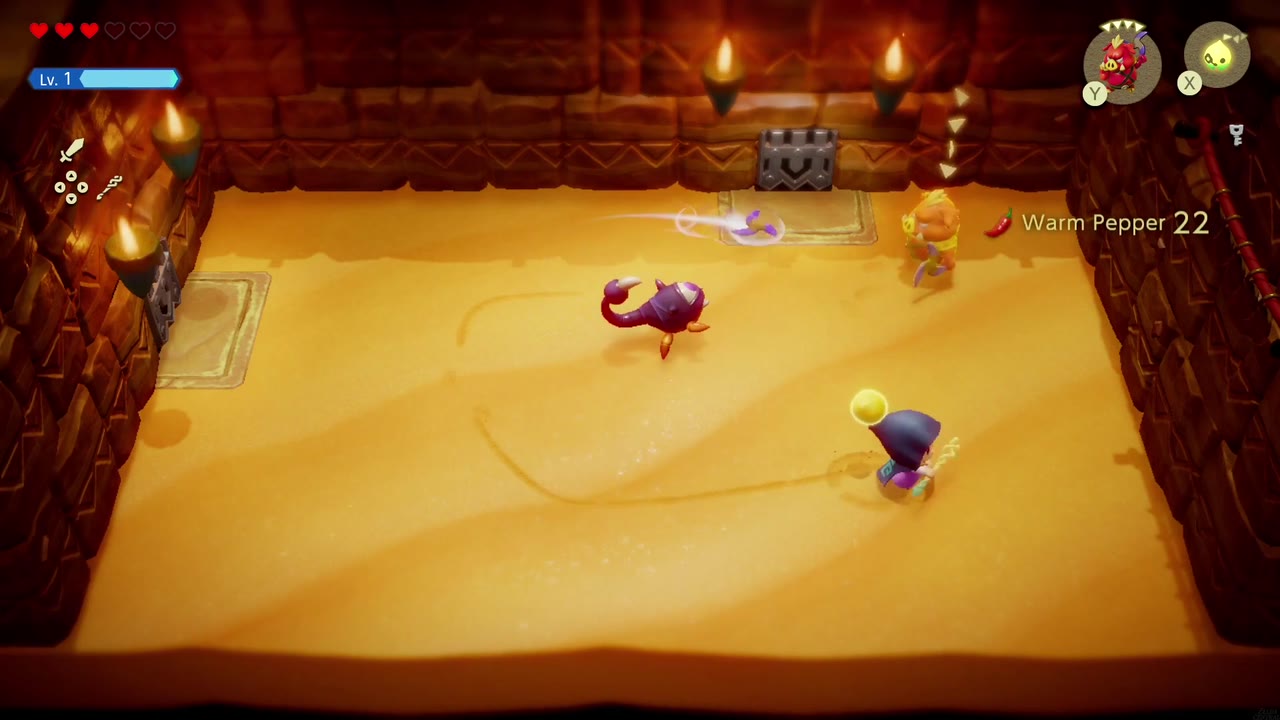
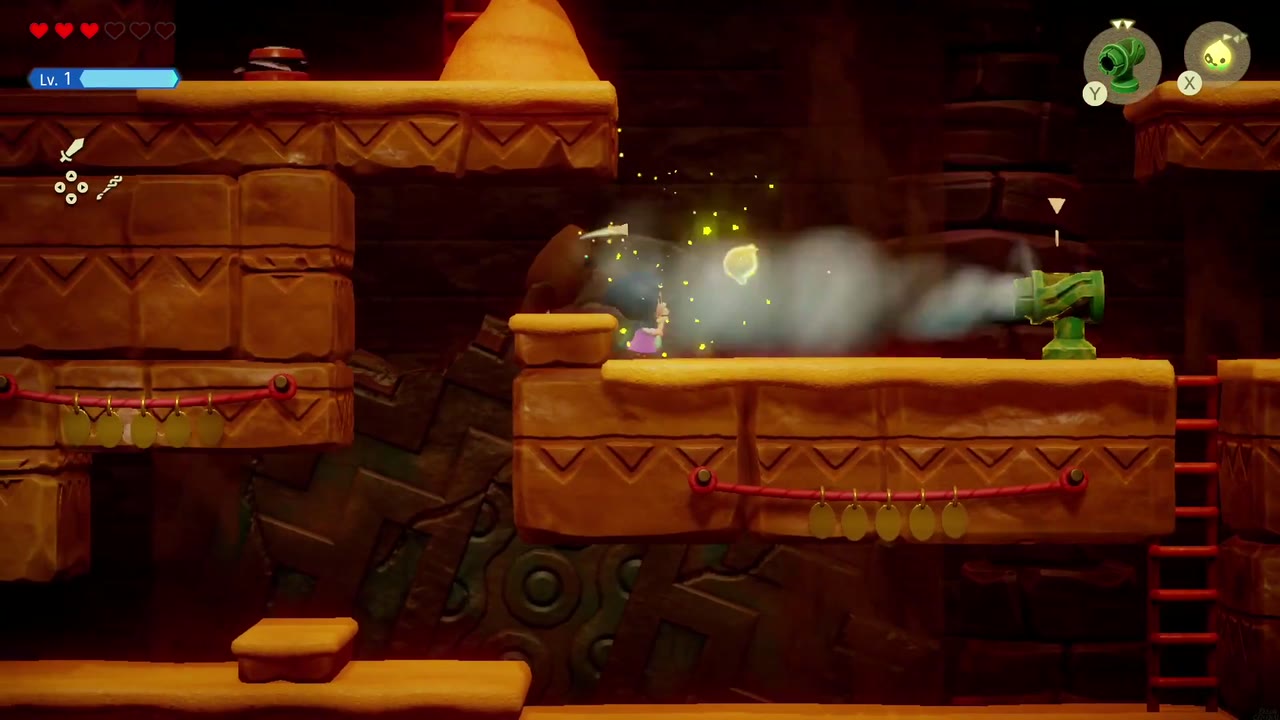
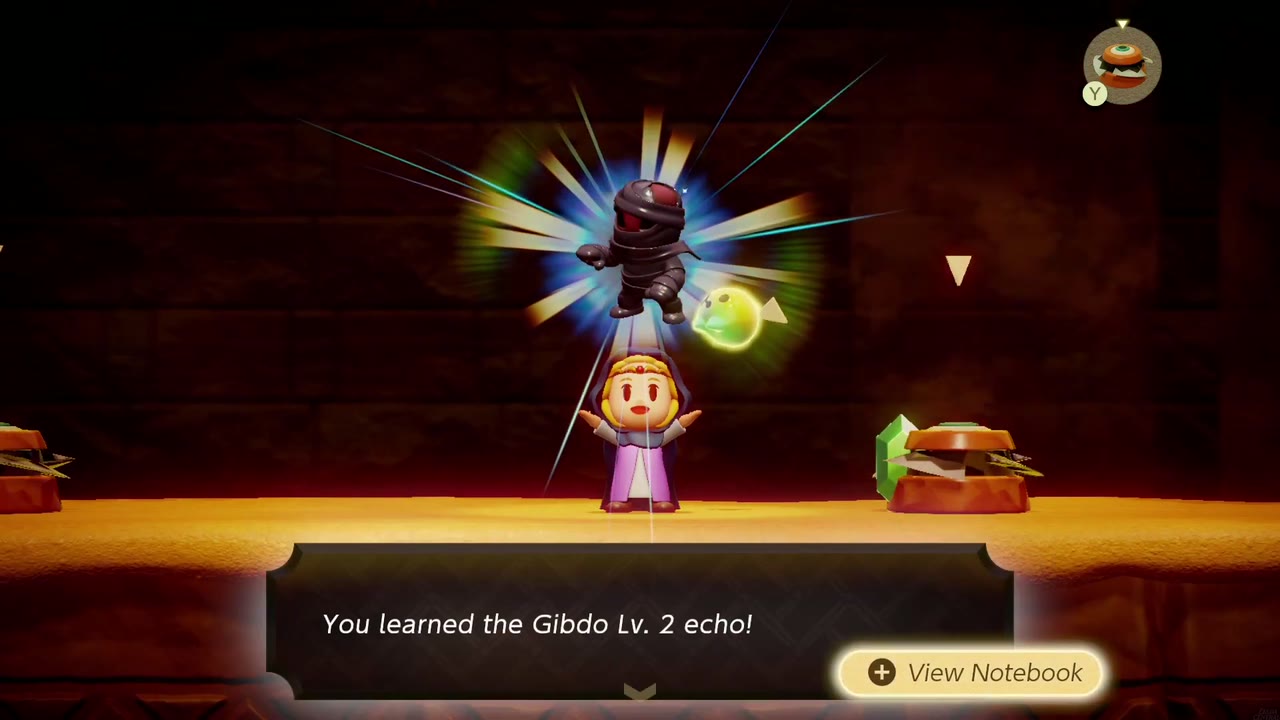
The next room is crossed by Wind Cannons blasting gusts over the pits; work your way through the jets to the room beyond. That room holds Gibdos; beat them with your echoes to learn the Gibdo echo. Continue into the room lined with Pathblades, spinning blades that charge along fixed lanes. Lay a row of beds across the pit to reach the ledge with another eye switch, then have the Boomerang Boarblin hit it. A chest appears in the north room; open it for a Small Key.
The Sand-Pile Room
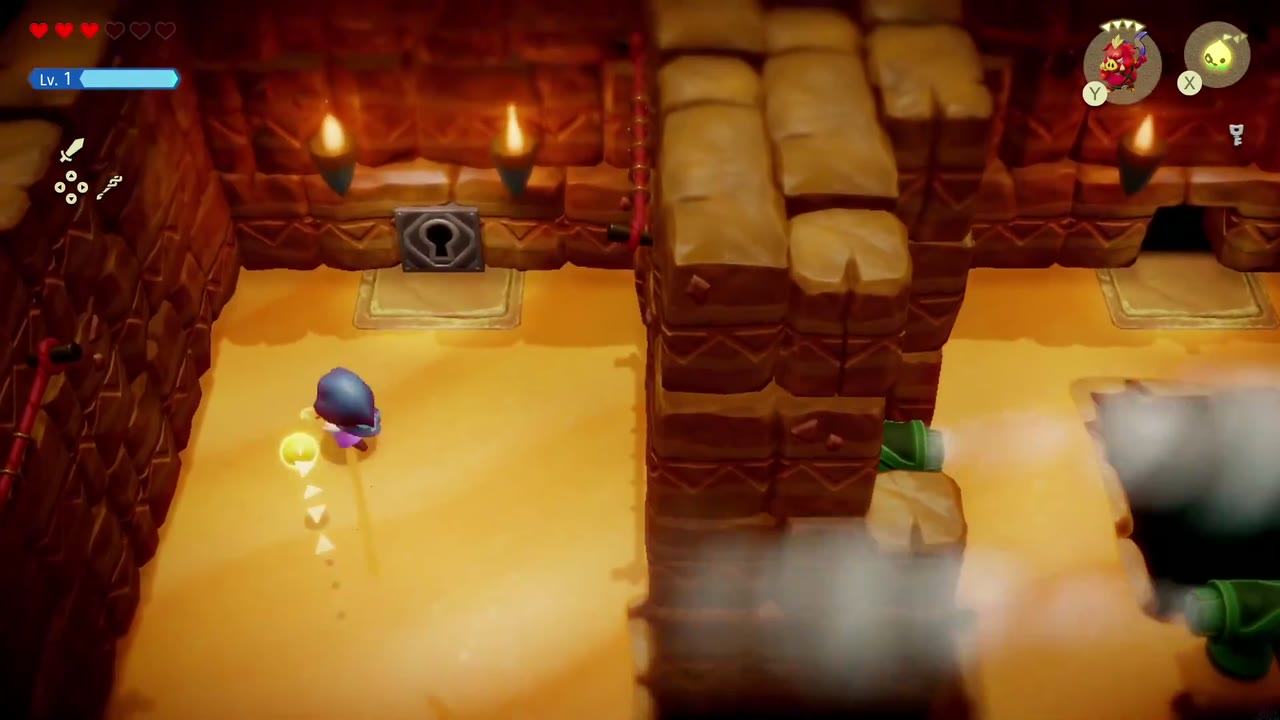
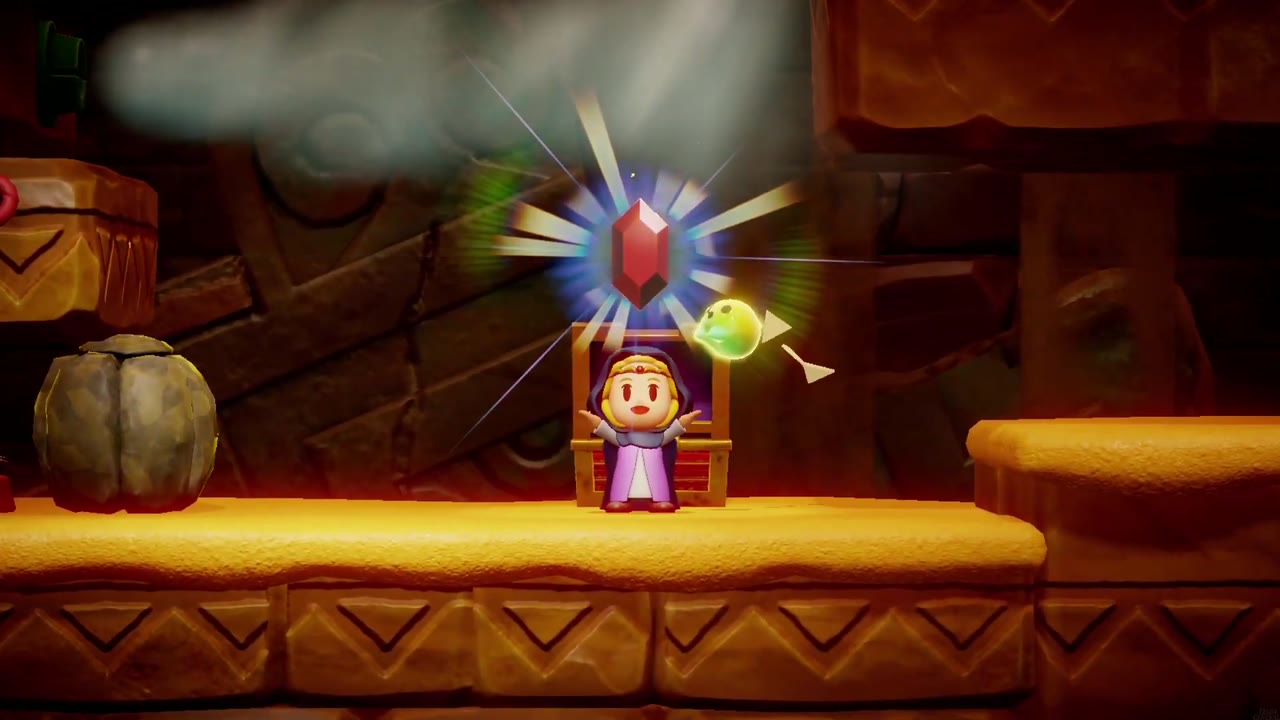
Head into the sand-pile room off the Wind Cannon room and defeat the Arurodas to open its barred door. Then go back to the Wind Cannon room and use the key on the locked door in its far corner. Stairs lead down into a side-view chamber of ladders, ledges and Wind Cannon gusts. Use beds and the cannons to cross the gusts and reach the chest on the low ledge for 20 rupees.

Pathblade and the Giant Plug
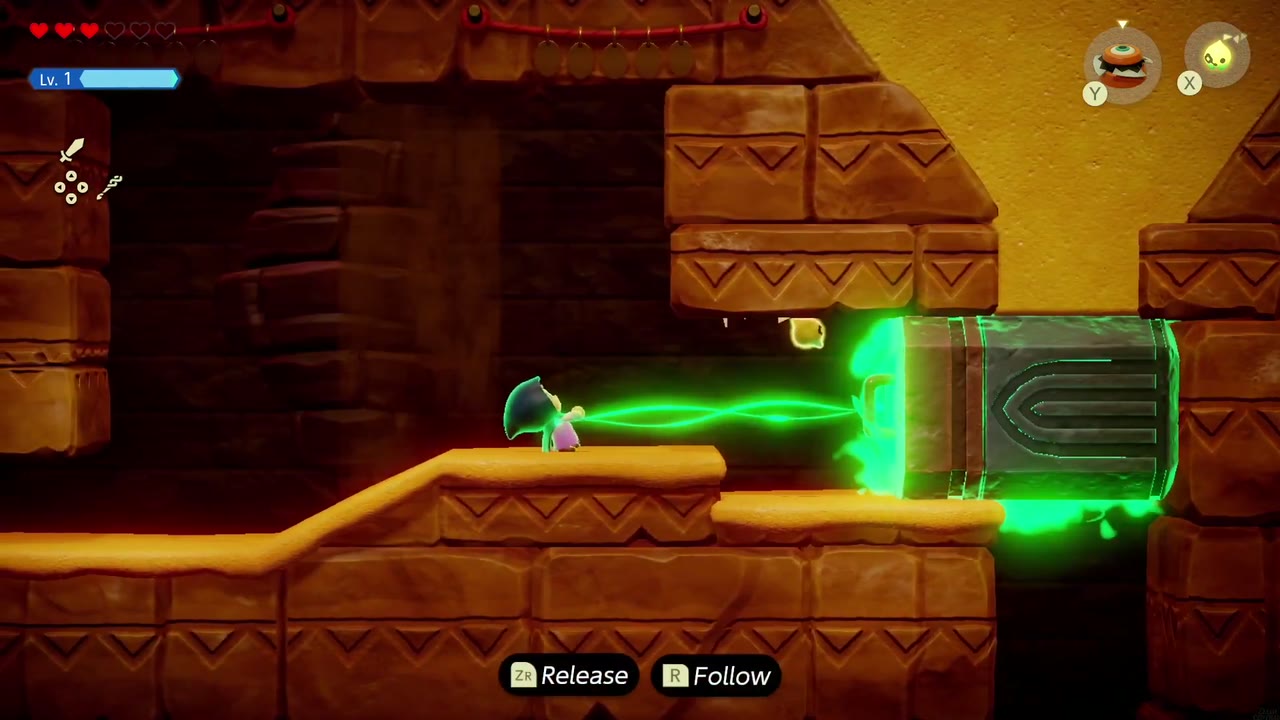
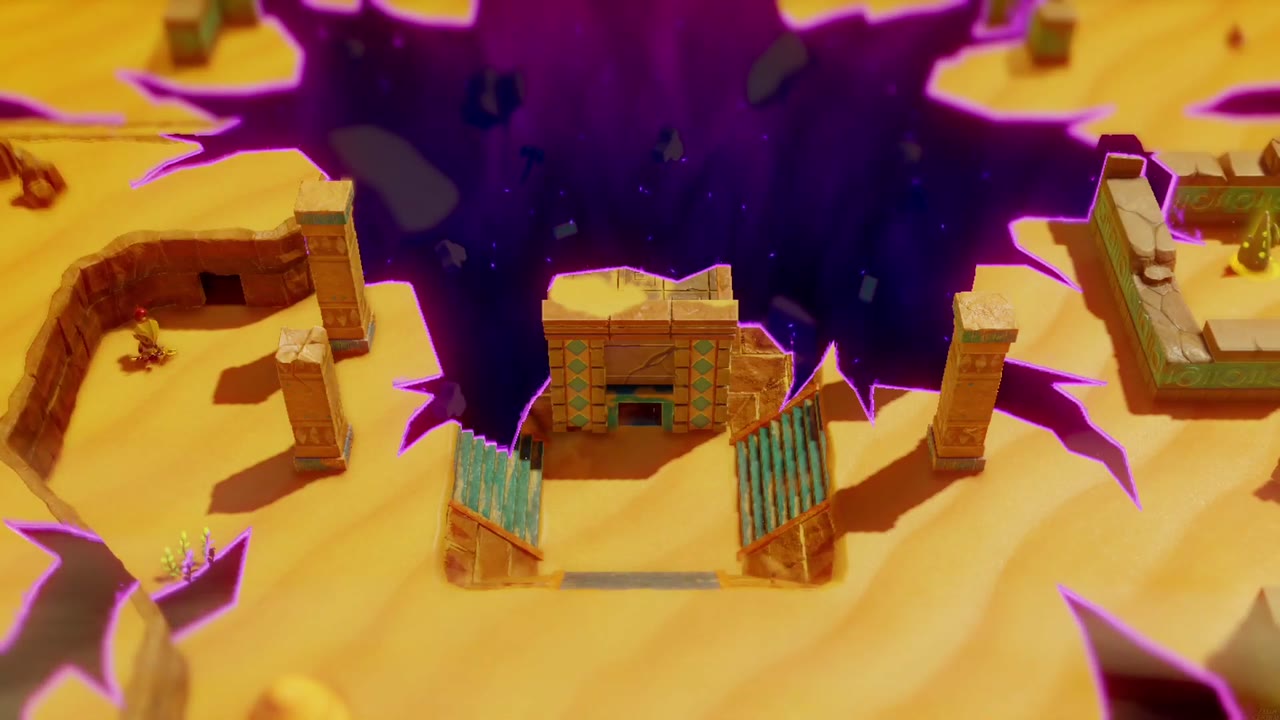
Further on, defeat a Pathblade to learn the Pathblade echo. Sand piles block the upper passages; summon a Wind Cannon on a ledge facing a pile and it blows the sand away, and stack beds to climb to the higher ledges. Near the end a Gibdo Lv. 2 waits among the Pathblades; kill it for the echo. Then Bind the giant plug in the right wall and pull. The sand drains away and the Gerudo Sanctum entrance appears in the rift. You still have to find a way to open the rift itself before you can go in.
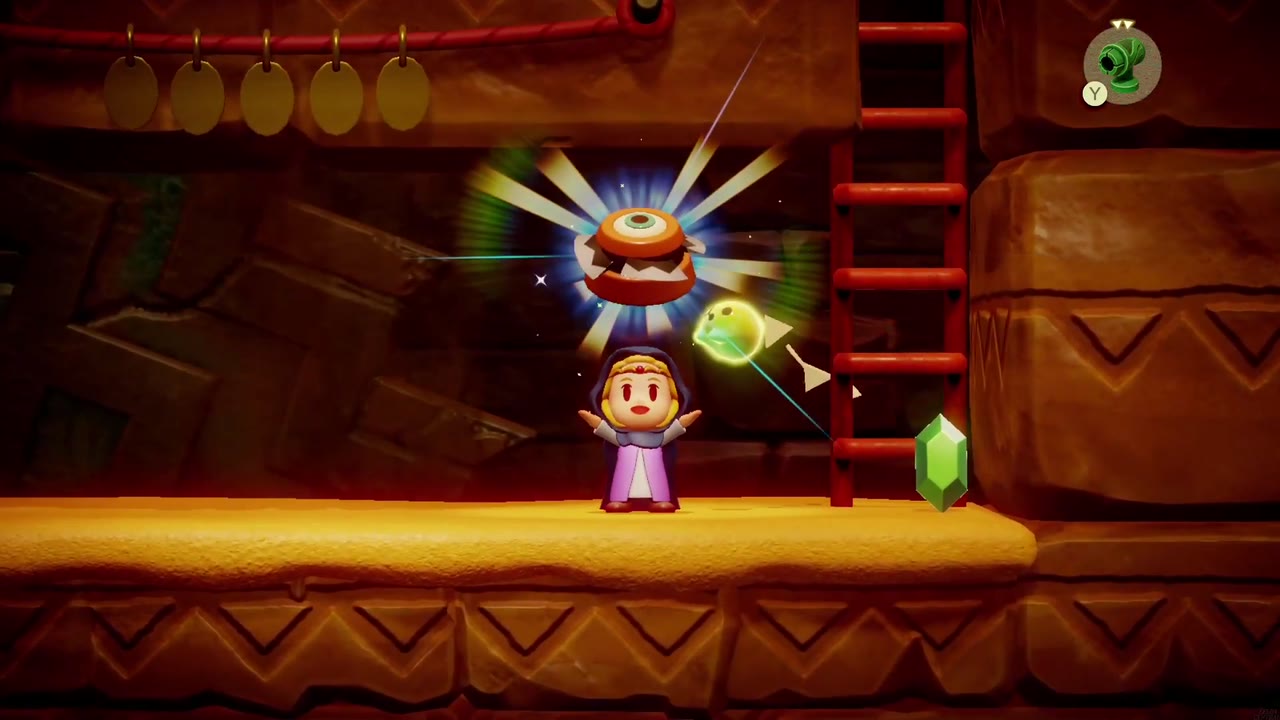
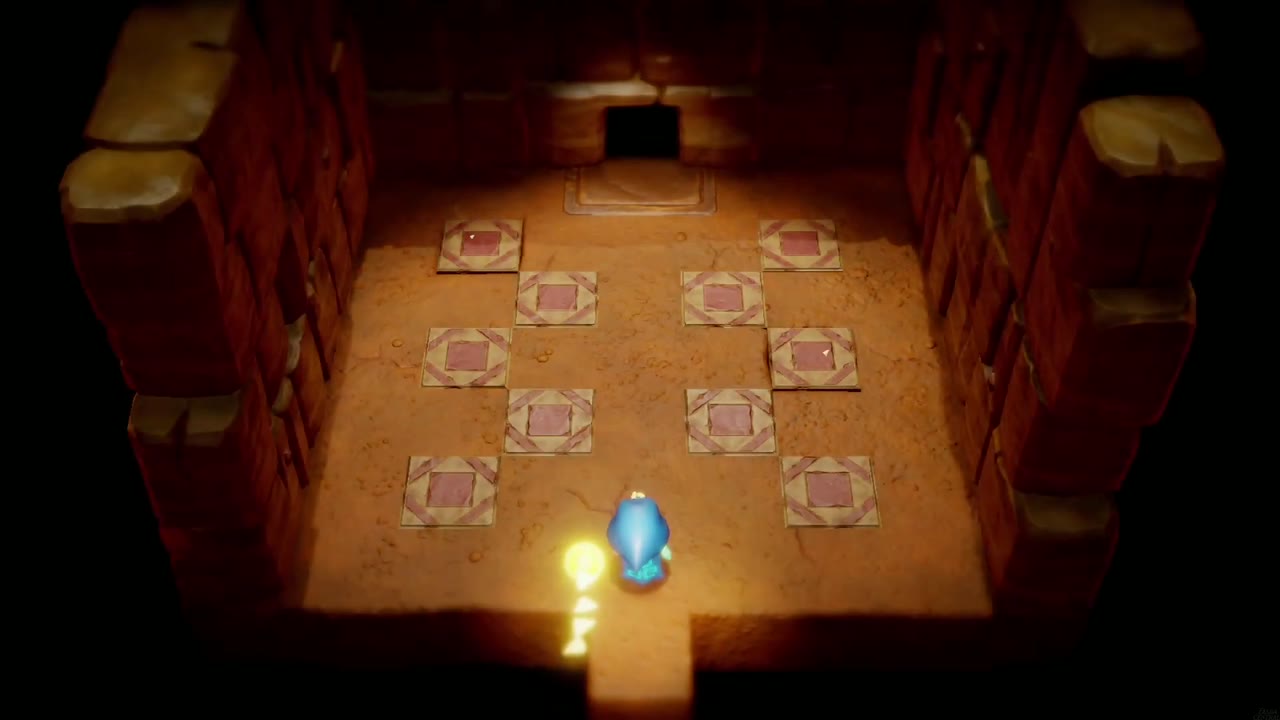
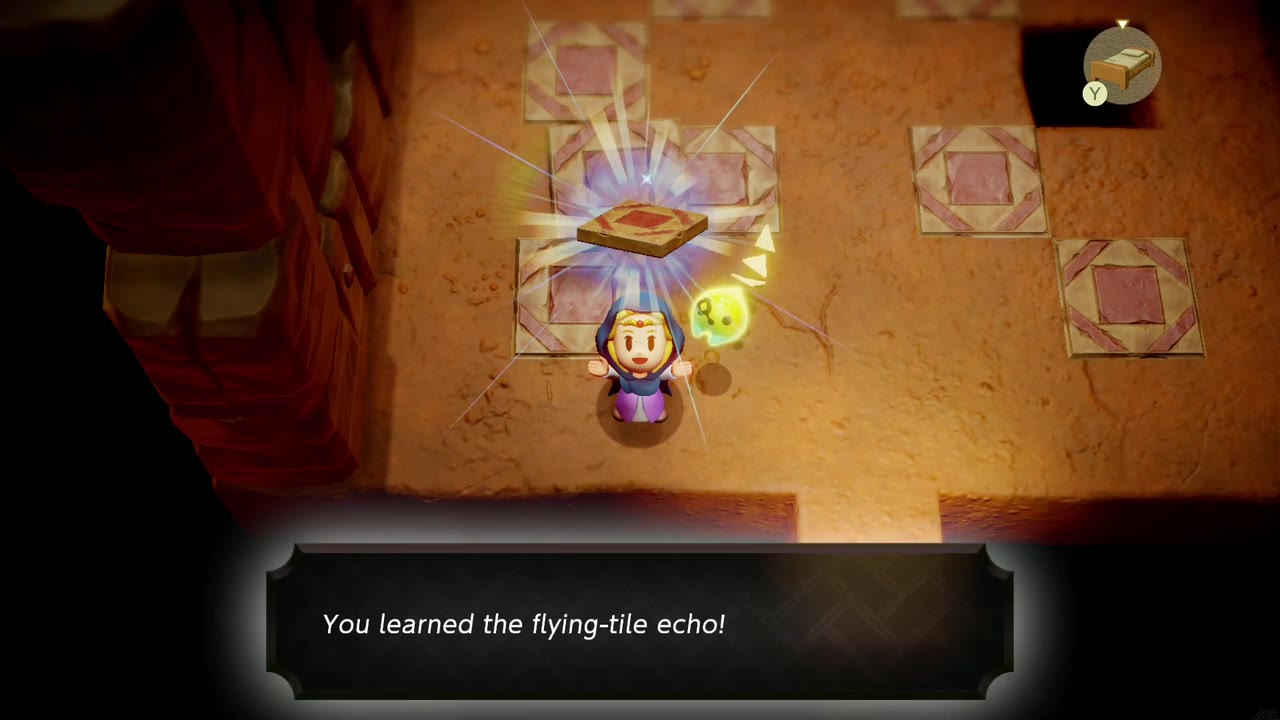
Flying Tiles: if you haven’t learned the Flying Tile echo yet, it comes from a small cave room in the red-rock canyon, where patterned floor tiles fly at you. Break one to learn it, and you can stand on a summoned tile to fly a short way. Show the echo to Tormali at the Oasis to progress her quest, The Flying Tile.

Gerudo Sanctum Dungeon

Next: the dungeon has its own page, Gerudo Sanctum, from the entrance to the Mogryph boss fight. The collectibles below cover the whole region.
Desert Collectibles
The desert has a handful of extras worth grabbing, including Pieces of Heart and at least one Stamp Stand (among the red rock spires). Three of the heart pieces sit out in the world and can be picked up during the story; the other two are prizes from side activities covered further down. Here are the three free-standing ones in the order you’ll naturally pass them.
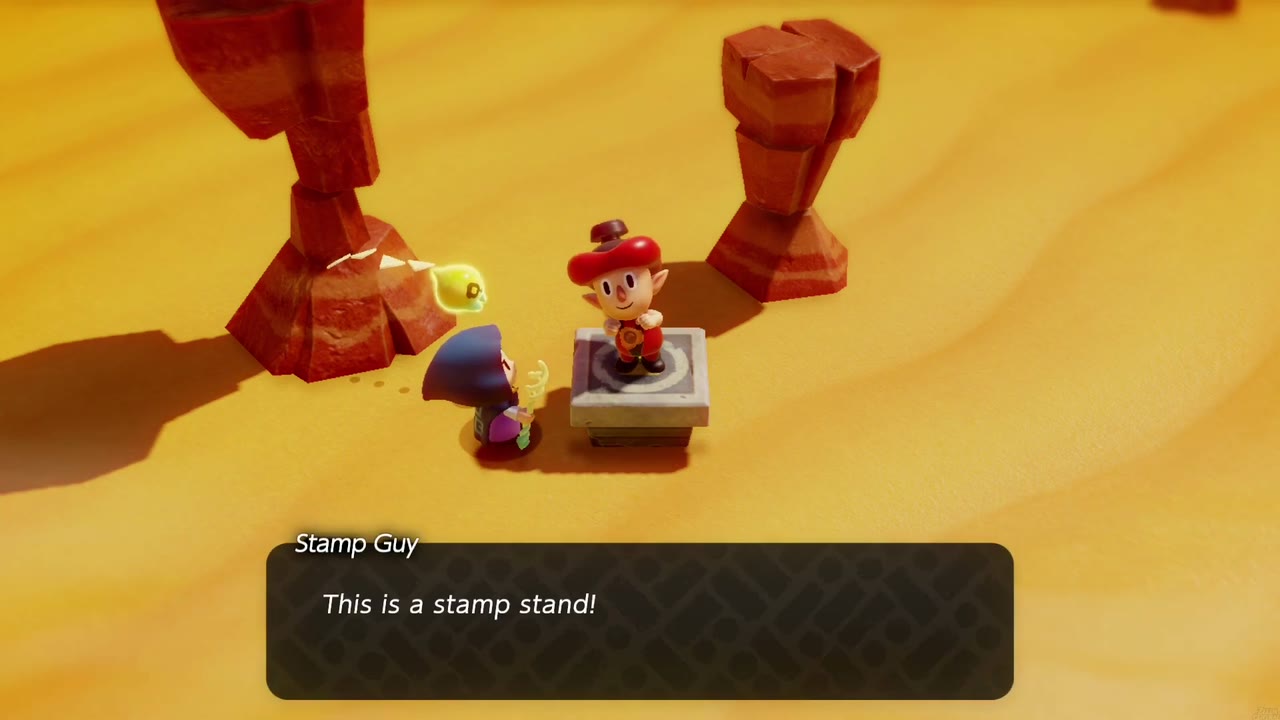
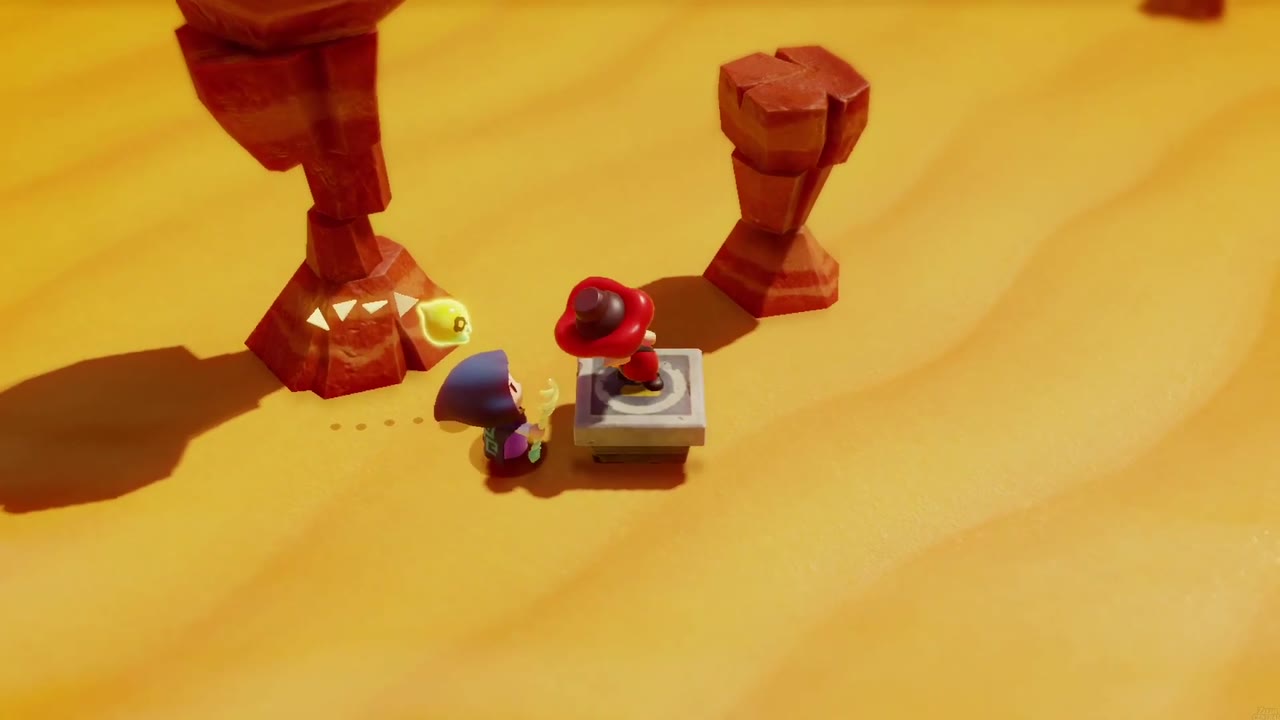
Stamp Guy at a Gerudo Desert stamp stand between red rock spires, telling Zelda “This is a stamp stand!”
Piece of Heart 1: the sandstorm block
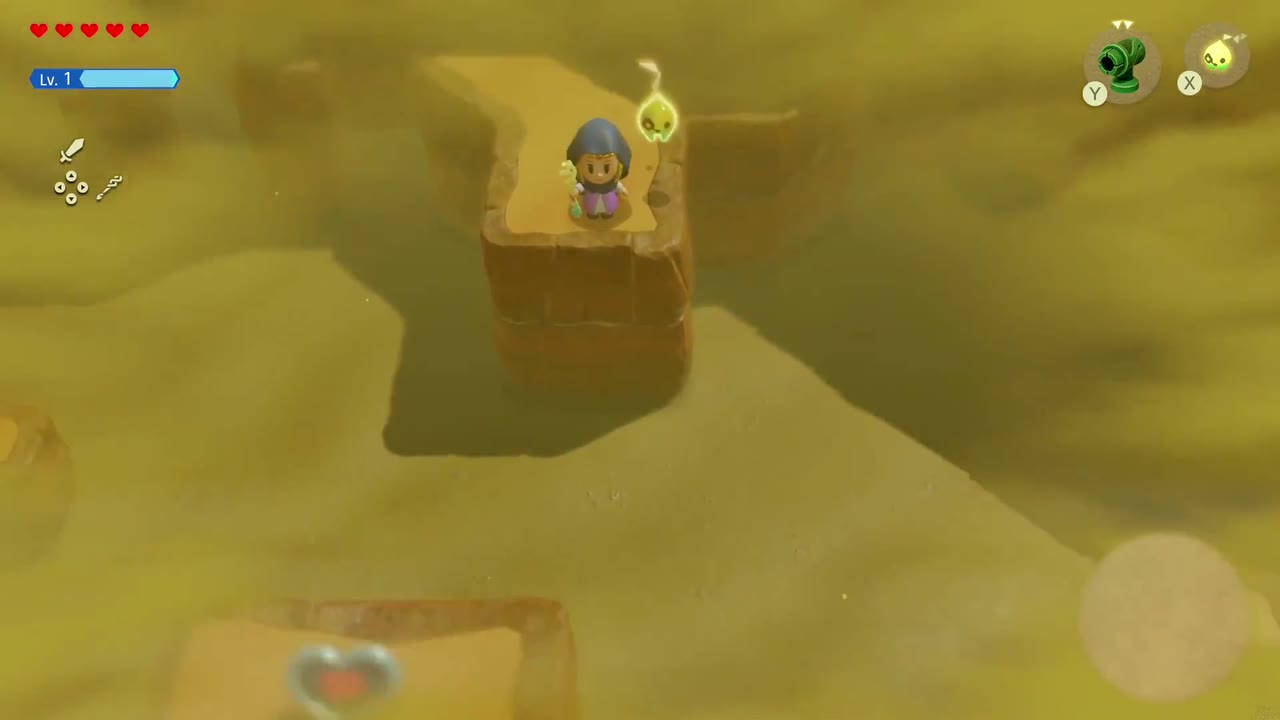
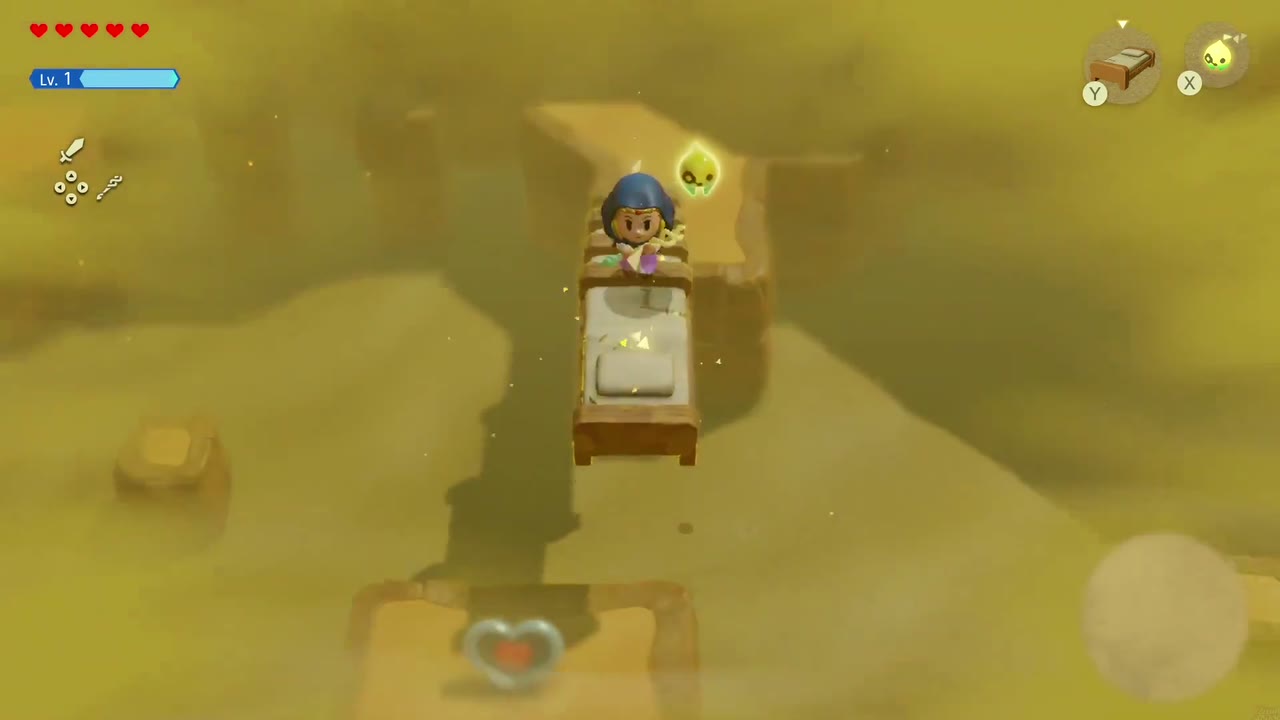
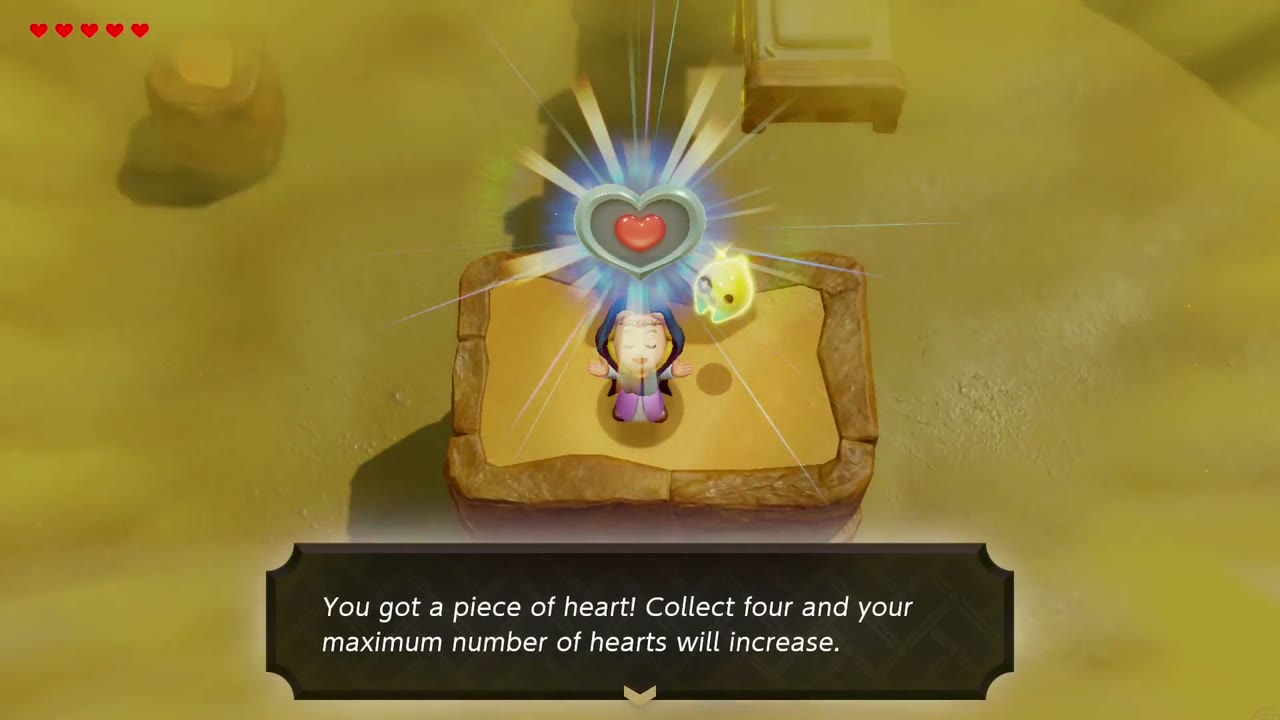
Where: In the Gerudo Desert sandstorm past the Boarblin camp with the log towers. It sits on a raised sandstone block below and in front of a higher sandstone ledge. How: Climb onto the high ledge, place an Old Bed sticking out over its edge, walk to the end of the bed and drop onto the block with the piece.
Piece of Heart 2: the passage under Gerudo Town
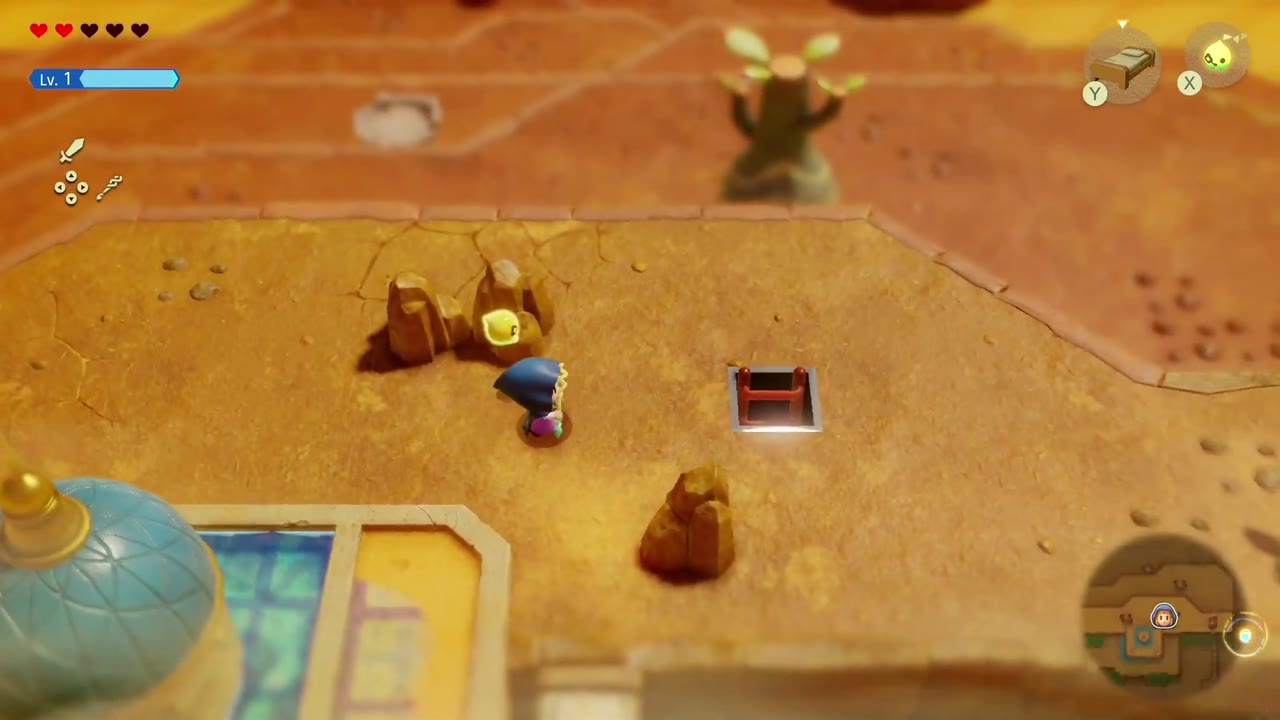
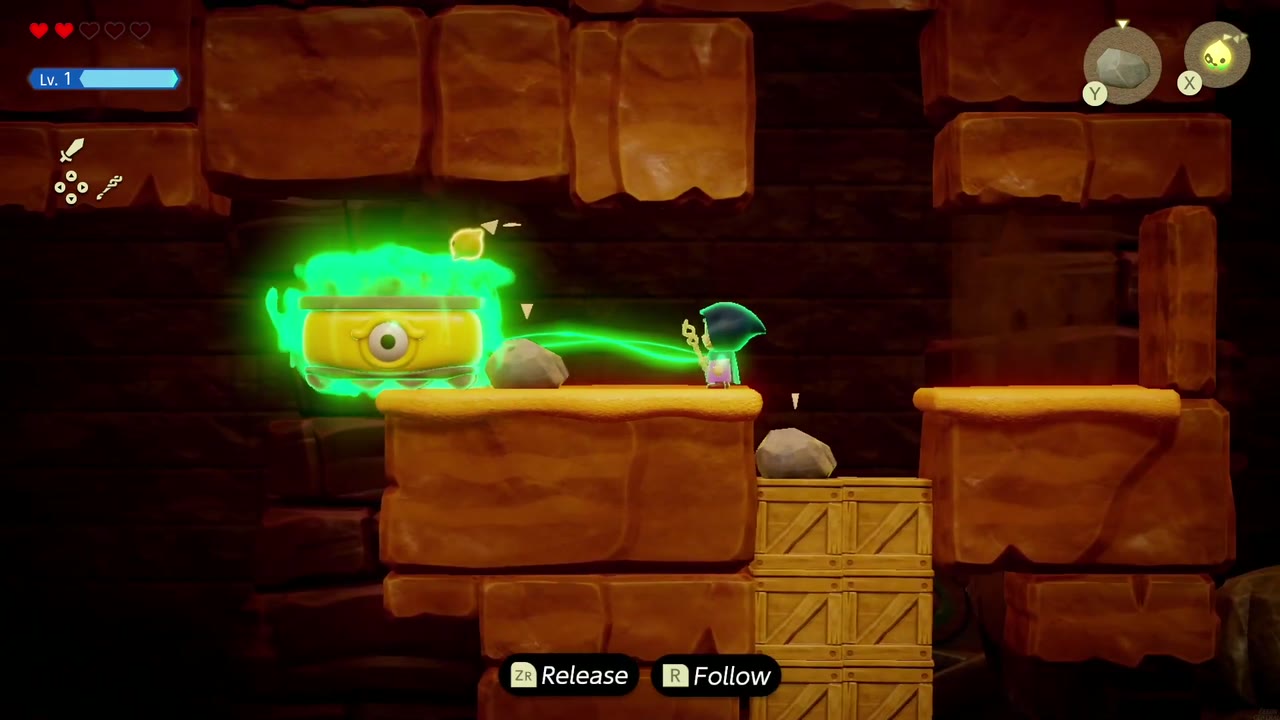
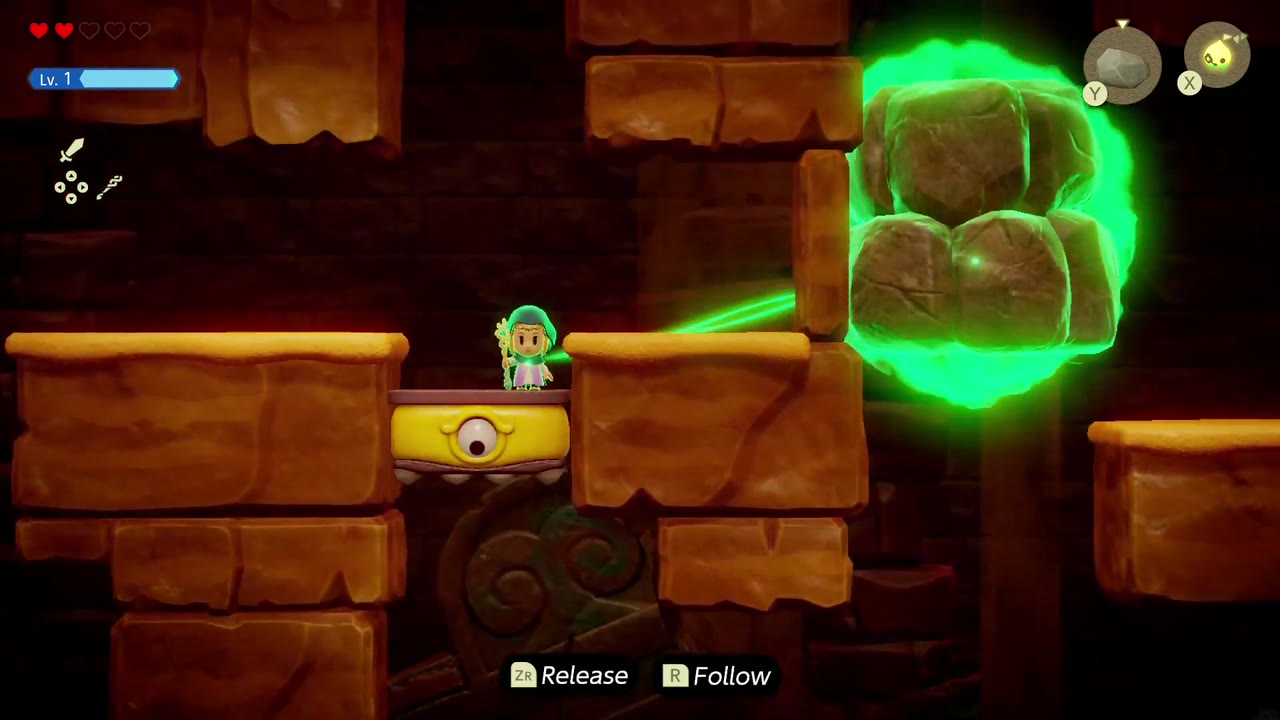
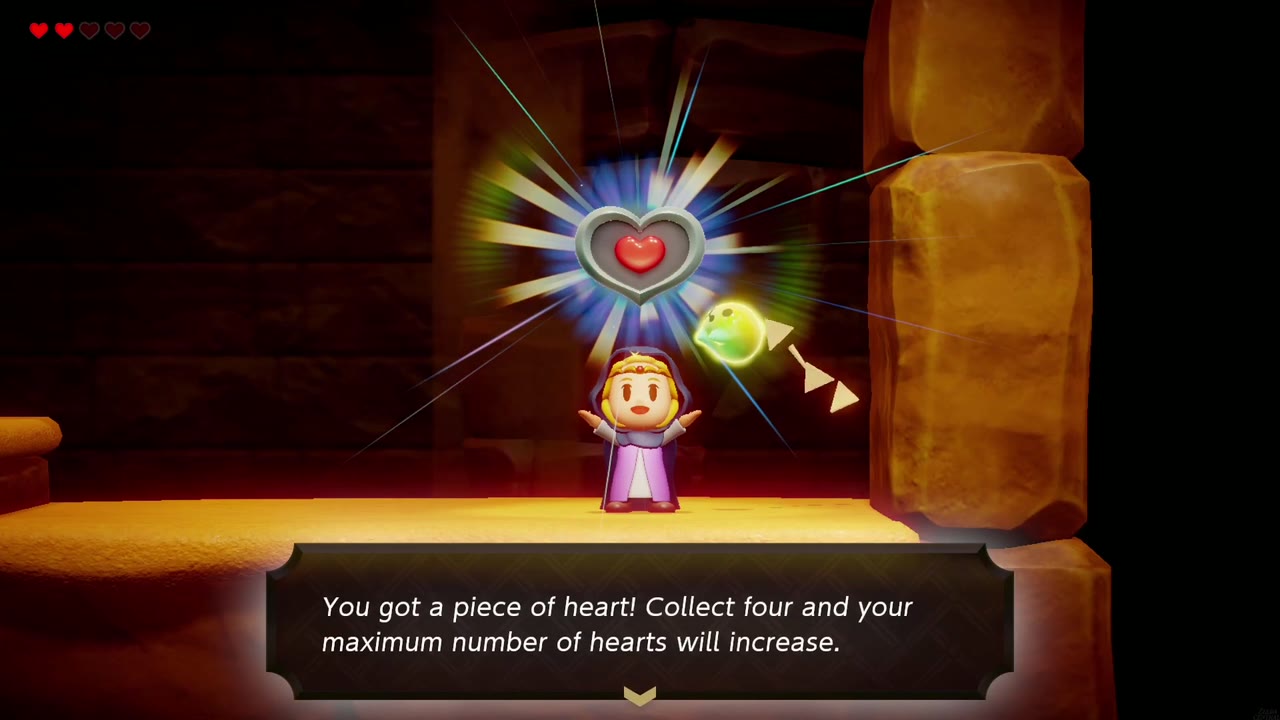
From Gerudo Town’s east edge, walk out past the domed pools and palms onto the rocky ground beyond the town and look for a small square hatch in the ground. Climb down into a side-view passage with one-eyed moving platforms. Ride the platforms and use Bind to drag them where you need them, then Bind the stacked boulders blocking the way and pull them aside. The Piece of Heart waits at the end of the passage.
Piece of Heart 3: buried in the dunes
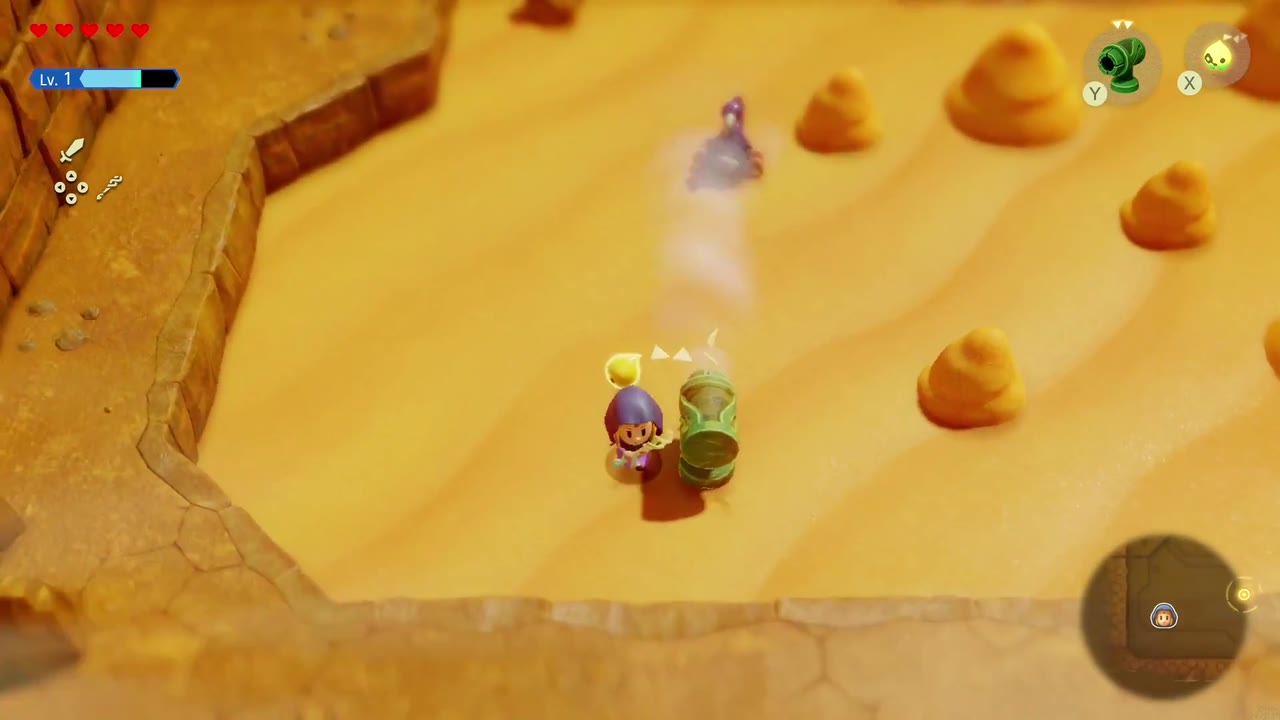
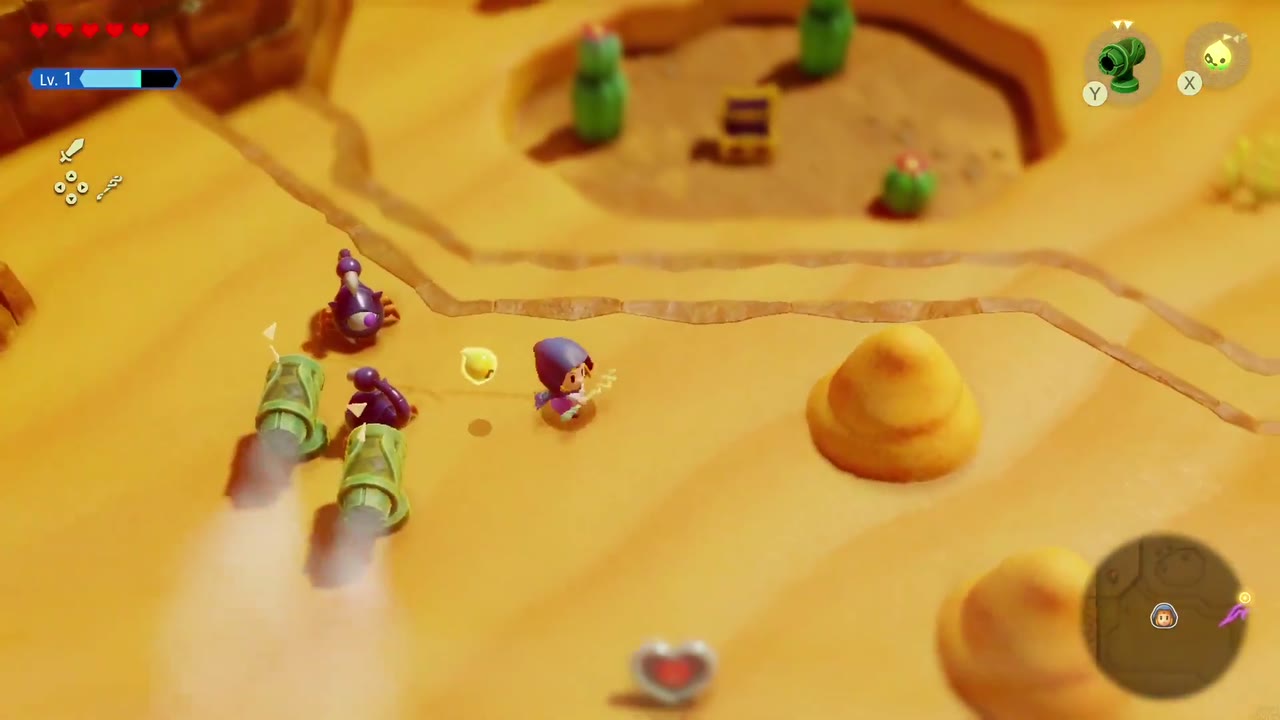
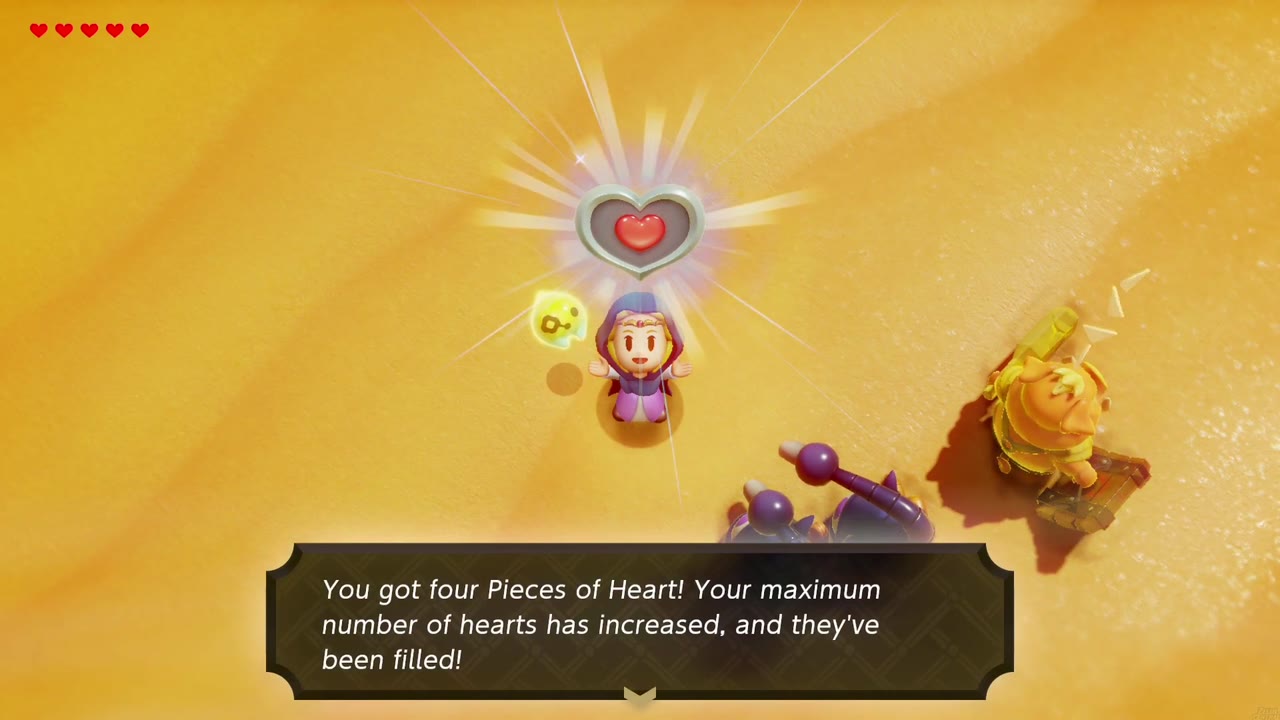
In the field of sand dunes just outside Gerudo Town (on the way toward the big rift), the ground is dotted with sand mounds and Aruroda scorpions. The piece is buried under one of the mounds. Set down Wind Cannon echoes to blow the mounds away (they also keep the Aruroda busy) until the Piece of Heart is uncovered, then grab it.
Piece of Heart 4: the Lanmola
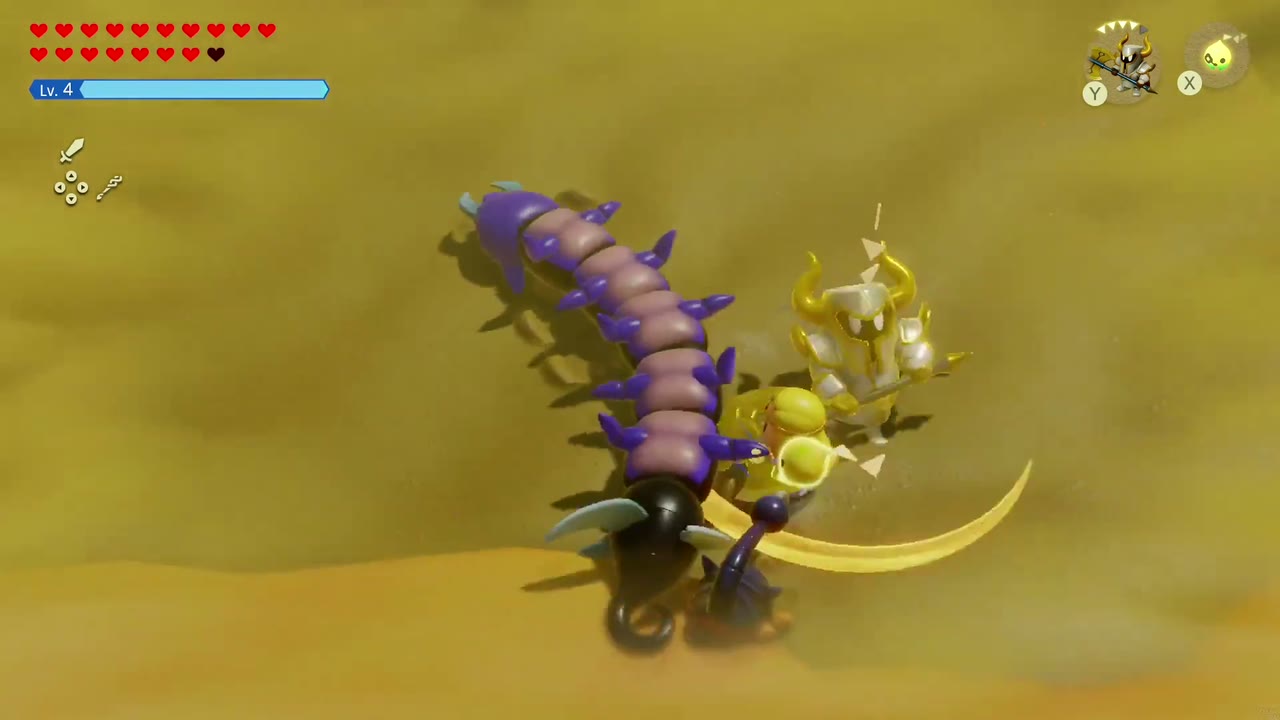
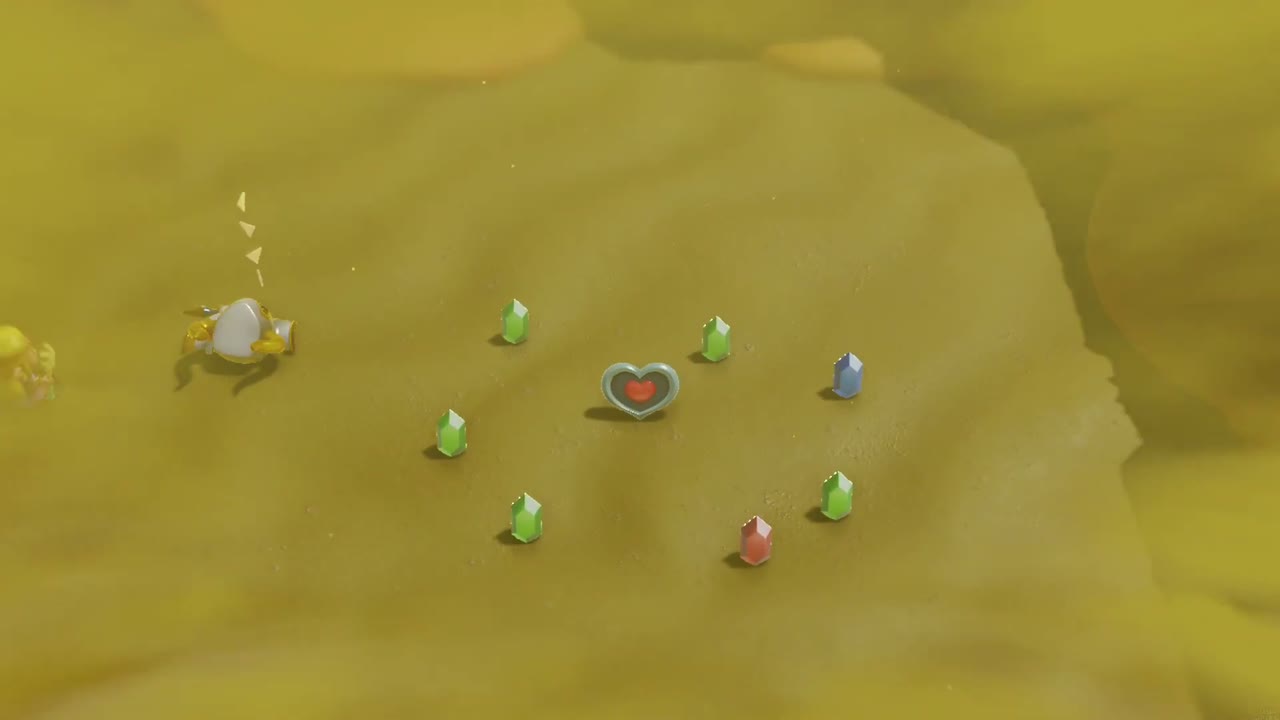
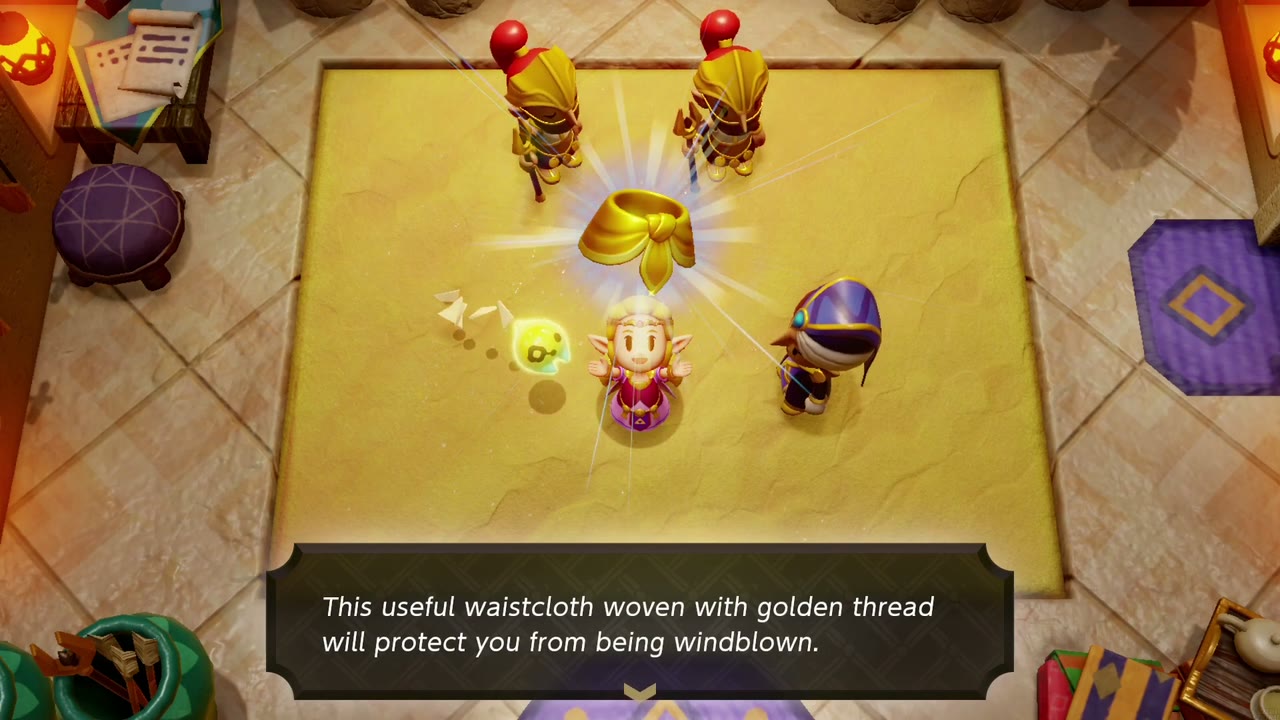
The Wild Sandstorms side quest starts in the Gerudo Palace, where two Gerudo soldiers have volunteered to exterminate the Lanmola, the giant sand centipede behind the desert’s sandstorms (“Whoever takes it down will be quite the hero”). Head out into the sandstorm and wait for it to burst out of the sand, then let a strong melee echo do the work; Darknut echoes chewed through it here. There’s only one Lanmola, and it drops a Piece of Heart in a ring of rupees. Report back to the palace and Facette rewards you with the Gold Sash, which stops you being windblown. (The sand worm you fight in the sandstorm during the story only drops rupees; in this playthrough the quest was done in late cleanup.)

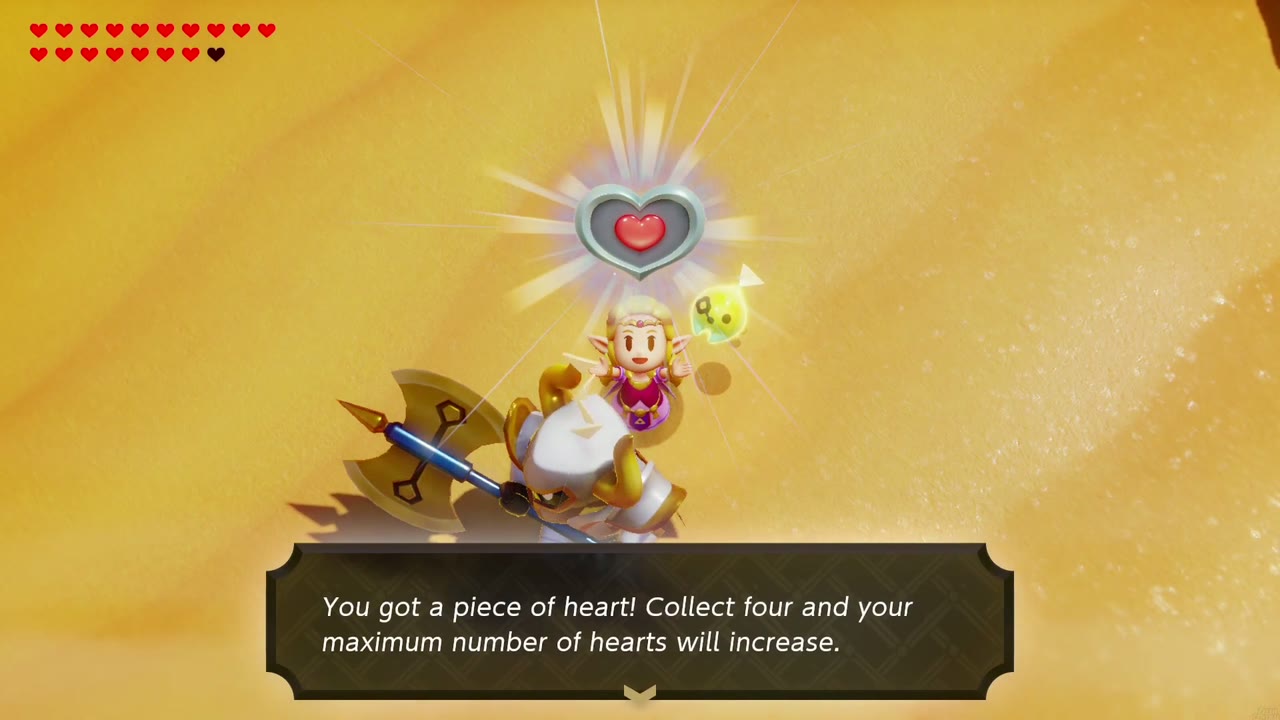
Piece of Heart 5: Mango Rush
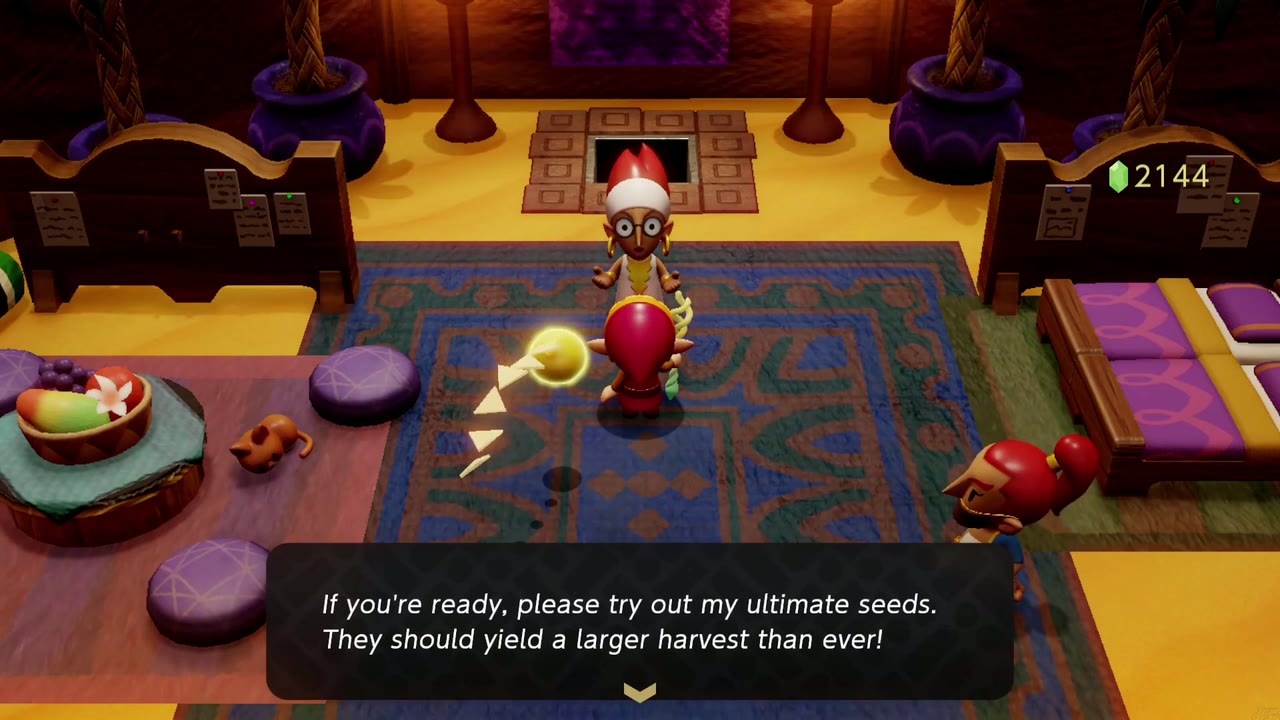
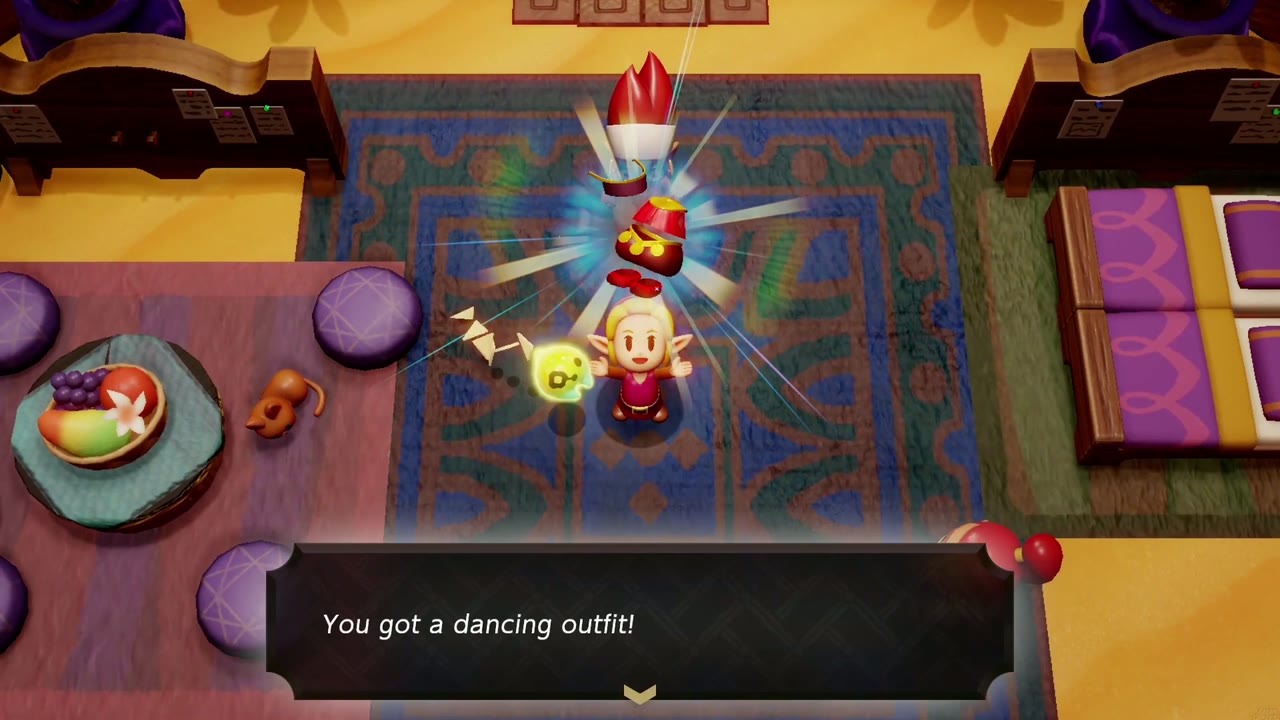
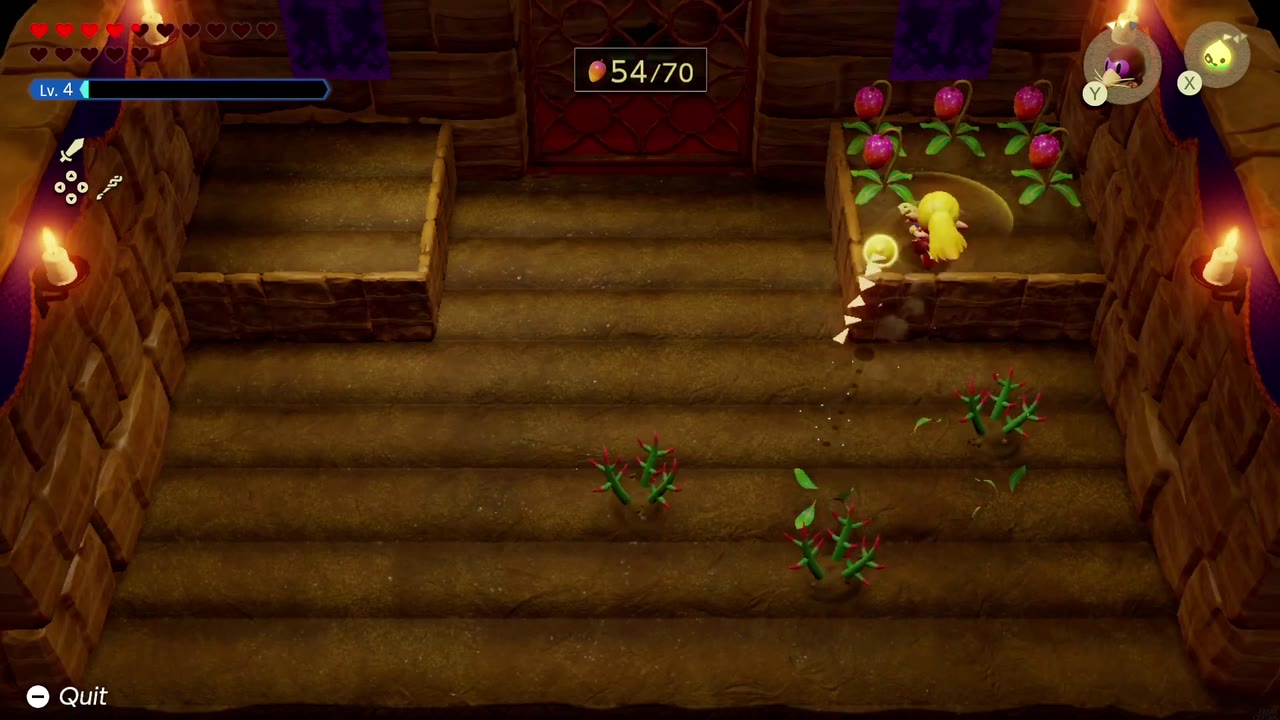
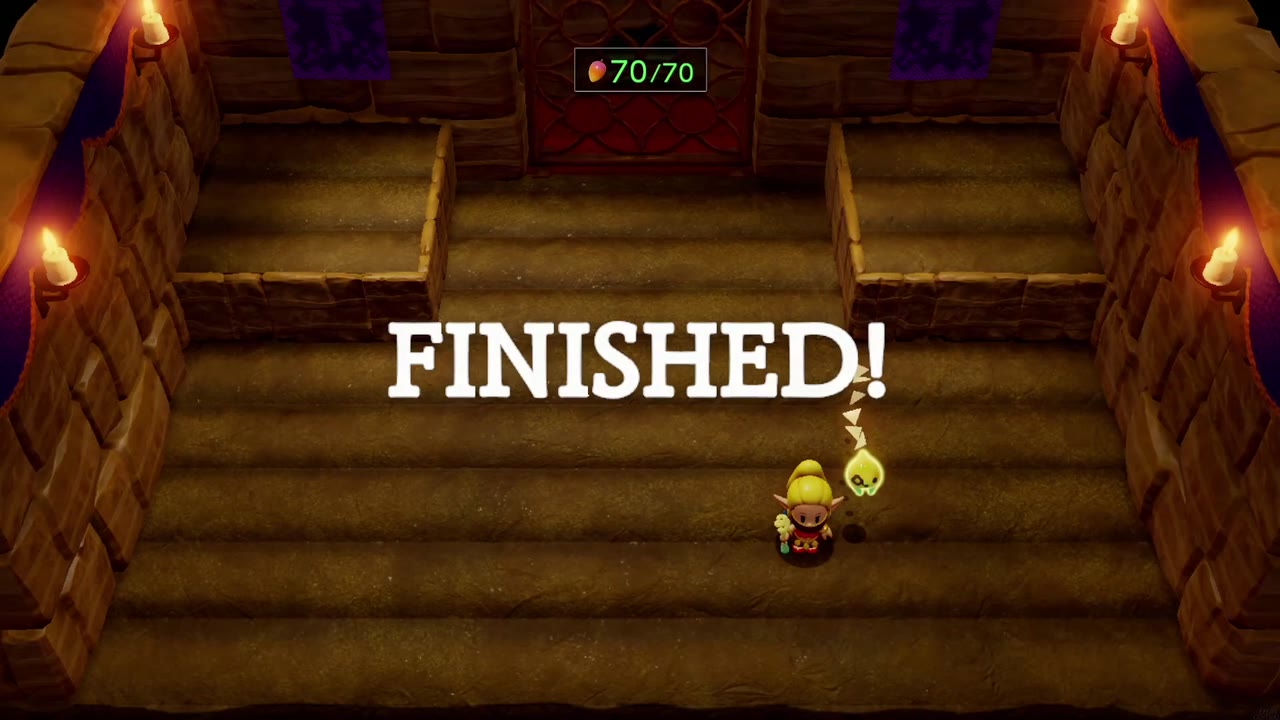
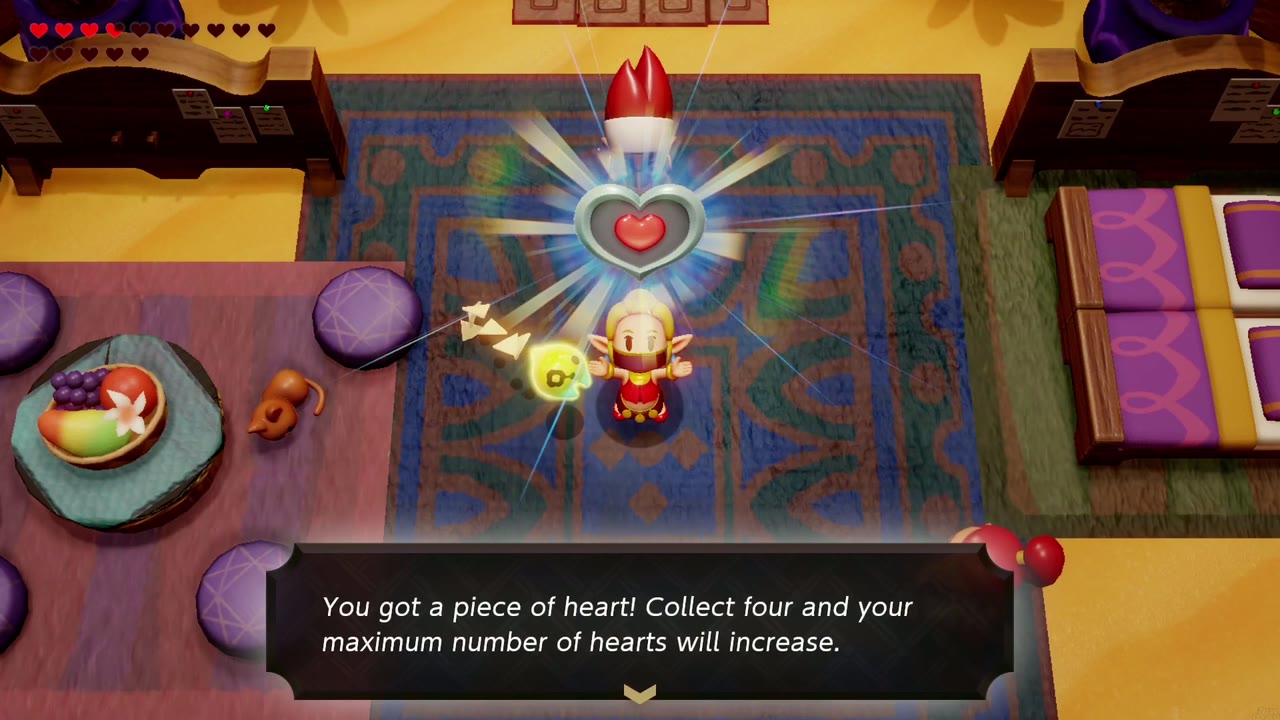
At the Oasis, the Tough Mango Plant Lab researcher eventually offers ultimate seeds for Mango Rush (10 rupees). These seeds grow thorns, and the target is 60 or more of the 70 mangos. The first clear (65/70 here) earns a Dancing Outfit, traditional Gerudo dance wear that widens your spin. Play the ultimate seeds again and harvest all 70: the researcher hands over a Piece of Heart as a “special bonus gift,” plus the tough mangos you picked. Keep spinning through the rows rather than chasing singles off-route (see Minigames for the full course breakdown).
The Gerudo Stamp Stands
Gerudo Desert has four of the Stamp Guy’s stands; the fifth stamp on this first card comes from the stand at the ranch gate in Hyrule Field. First, among the red rock spires out in the dunes. The Stamp Guy pops up here, hands you a stamp card and explains the rally. Second, on a red-rock canyon plateau; stack bed echoes to climb up to it. Third, on the cracked red-rock ledges just outside Gerudo Town, again reached by climbing with beds. Fourth, at the end of a walled sand corridor beside the big rift, right by a Might Crystal. Stamp the ranch-gate stand to fill the card and the Stamp Guy gives you 10 containers of fresh milk.
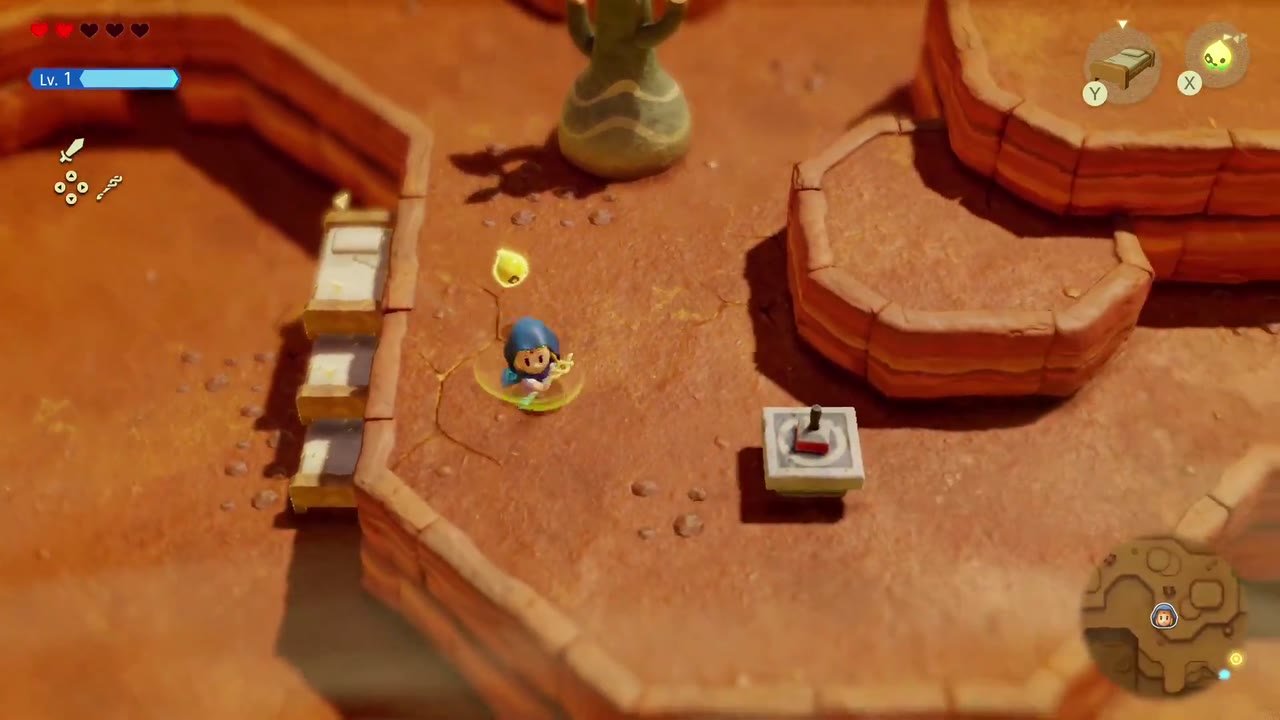
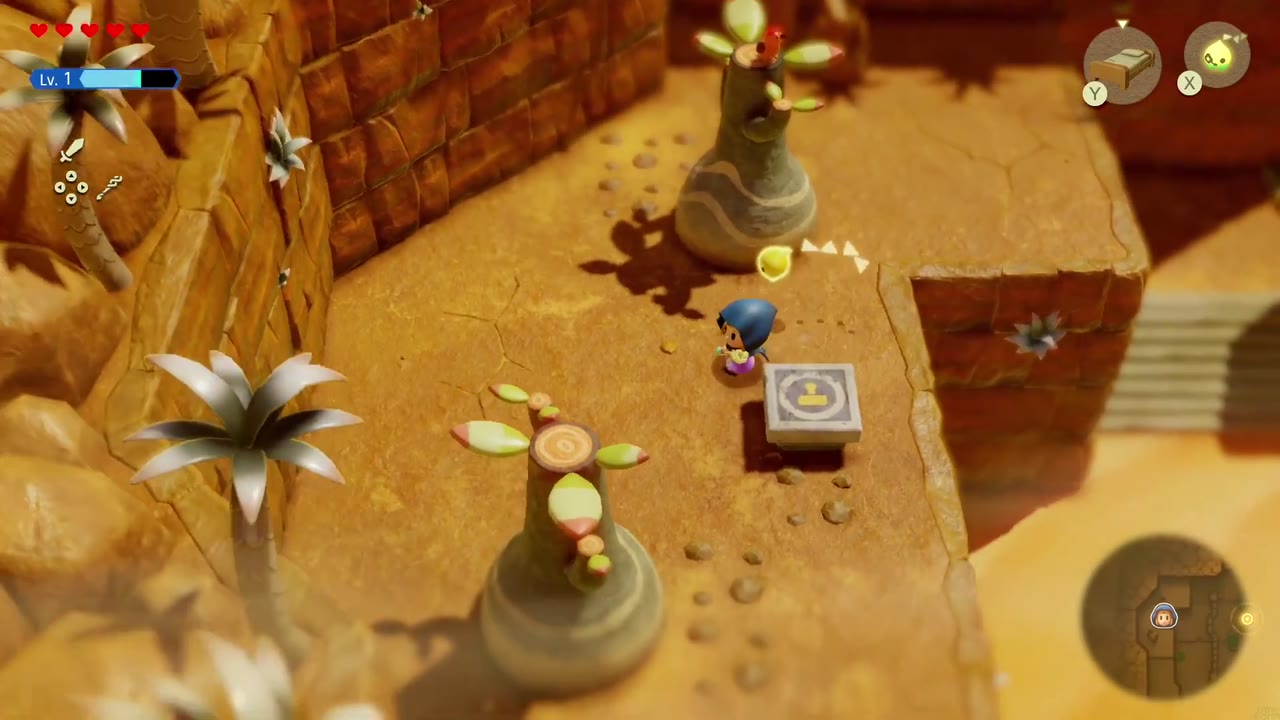

Might Crystals and echoes
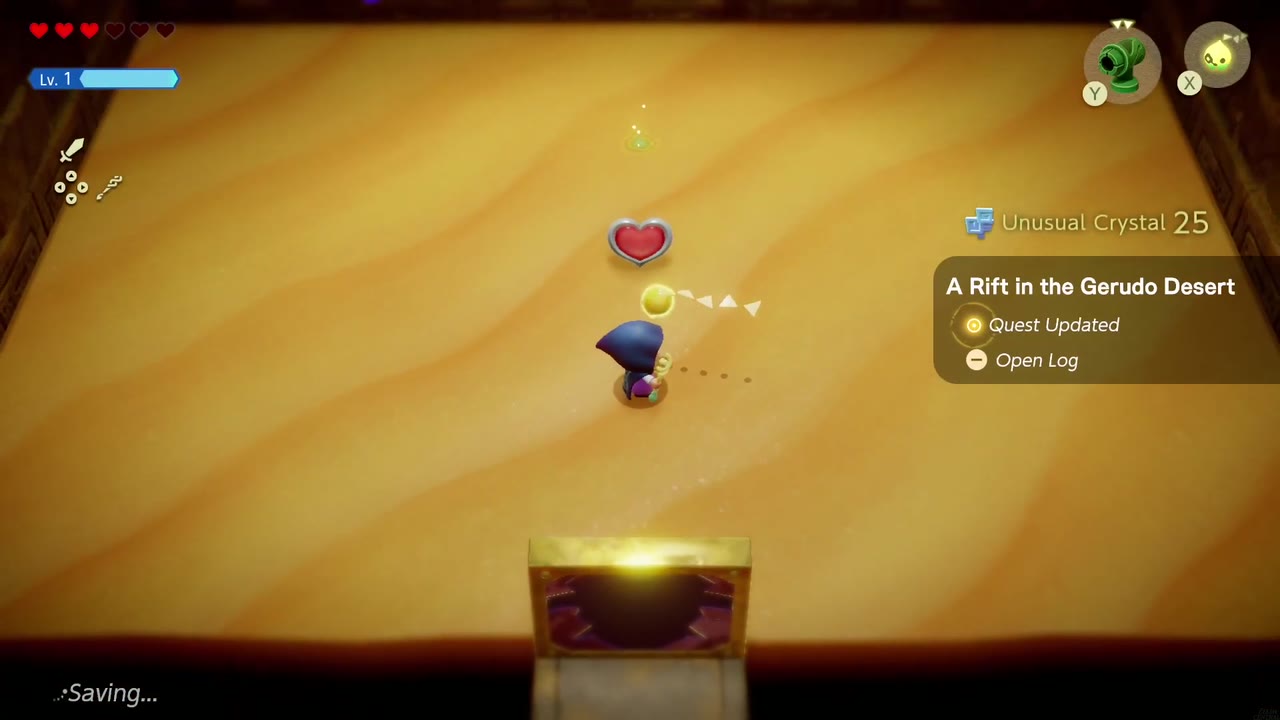
Beating Mogryph pays out 5 Might Crystals along with its Heart Container (they’re still called “unusual crystals” at this point; the counter jumps from 20 to 25). Sealing the Gerudo rift also adds some, and the smaller Stilled Northern Gerudo Desert rift gives 2 more when you come back to close it later. The rest sit in chests on ledges and in caves around the dunes. While you’re out in the desert, make sure you’ve scanned Tornando (the sand cave with the Wind Cannons), Flying Tile (the dark tiled room where the tiles fly at you), Holmill (Ancestor’s Cave of Rest), and the Sanctum’s snake, hawk and elephant statues. The statues are only learnable inside the Gerudo Sanctum (the hawk is on a tower top in its Still World half), and its tribute doors need them, so don’t leave without them.