Echoes of Wisdom 100% Completion Walkthrough16 chapters
- Prologueplaying as Link, escaping the castle jail, and the waterways to Suthorn Beach.
- Suthorn ForestSuthorn Beach and Village, meeting Tri, the first echoes, and mending the Suthorn Forest rift.
- Suthorn Ruinsthe first dungeon, the Shadow Link fight, and the Seismic Talus boss.
- Jabul Watersthe River and Sea Zora feud, Lord Jabu-Jabu, and Stilled Jabul Waters.
- Jabul Ruinsthe whirlpool chase, the five colored switches, and the Vocavor boss.
- Gerudo Desertthe Oasis, Gerudo Town, the desert rifts, and Cryptic Cavern.
- Gerudo Sanctumthe tribute puzzle, the Bow of Might, and the Mogryph boss.
- Hyrule Castlethe Hyrule Castle well rift, Stilled Castle Town, and the Ganon boss.
- Eldin VolcanoKakariko Village, the Eldin Volcano Trail, and saving Goron City.
- Eldin Templethe Bombs of Might, the lava hall, and the Volvagia boss.
- Faron WetlandsScrubton, Blossu’s House, and escaping the Deku Scrub Lockup.
- Faron Templethe small keys, the plant mini-boss, and the Gohma boss.
- Hebra Mountainmeeting Condé, the climb through the snow, and the Stilled Hebra Mountain rift.
- Lanayru Templefire orbs, fans and lasers, the slime mini-boss, and the Skorchill boss.
- Eternal Forestthe six Ancient Orb pedestals, the Deku Tree, and freeing Link in the Stilled Ancient Ruins.
- Null’s Bodythe final dungeon and the multi-phase fight against Null.
Jabul Waters sits in the northeast corner of Hyrule, and like Gerudo it falls under the Searching for Everyone leg of the story. The region is split between two Zora settlements, the River Zora and the Sea Zora, whose chiefs can’t stand each other, while a rift has opened in Lord Jabu-Jabu’s den and sent him on a rampage. The path runs: hear the news in Seesyde, meet both chiefs, watch their clashing performance at Crossflows Plaza set Jabu-Jabu off, clear the Stilled Upper Zora River rift and rescue Kushara, get the chiefs to play together to open the den, beat the rift-possessed Jabu-Jabu, then dive the big rift to Jabul Ruins.
Reaching Jabul Waters and Seesyde Village
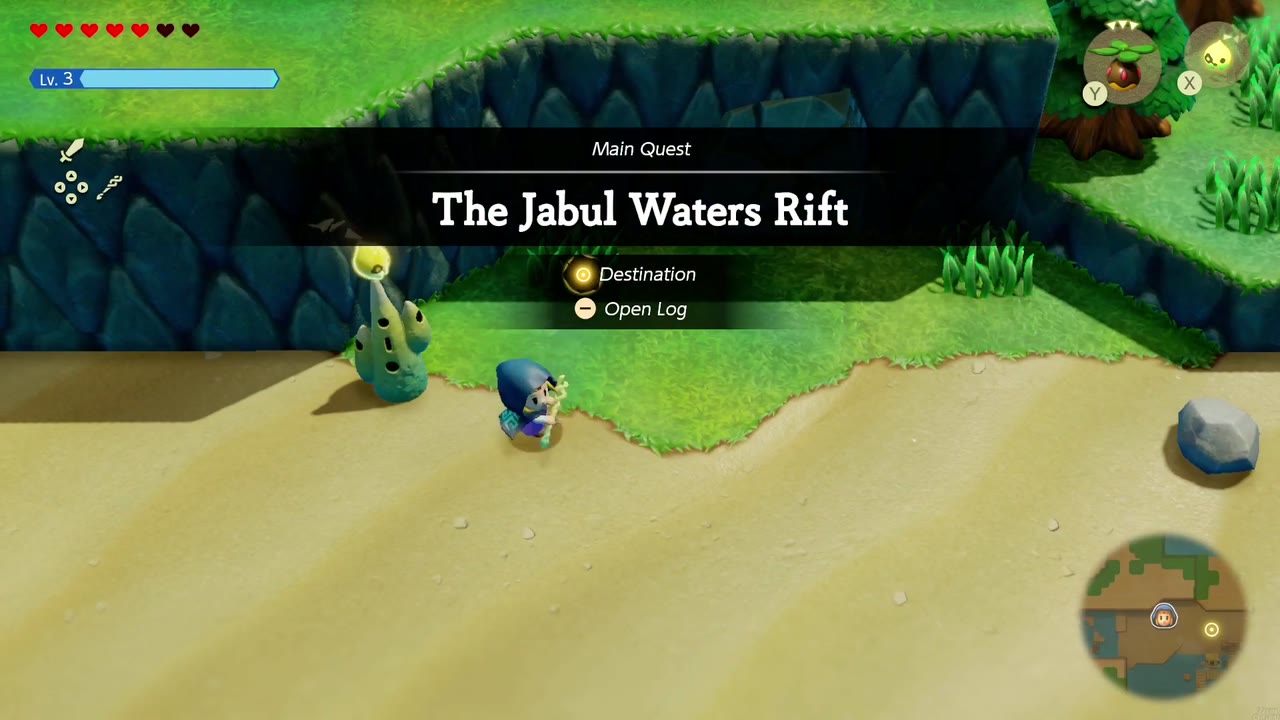
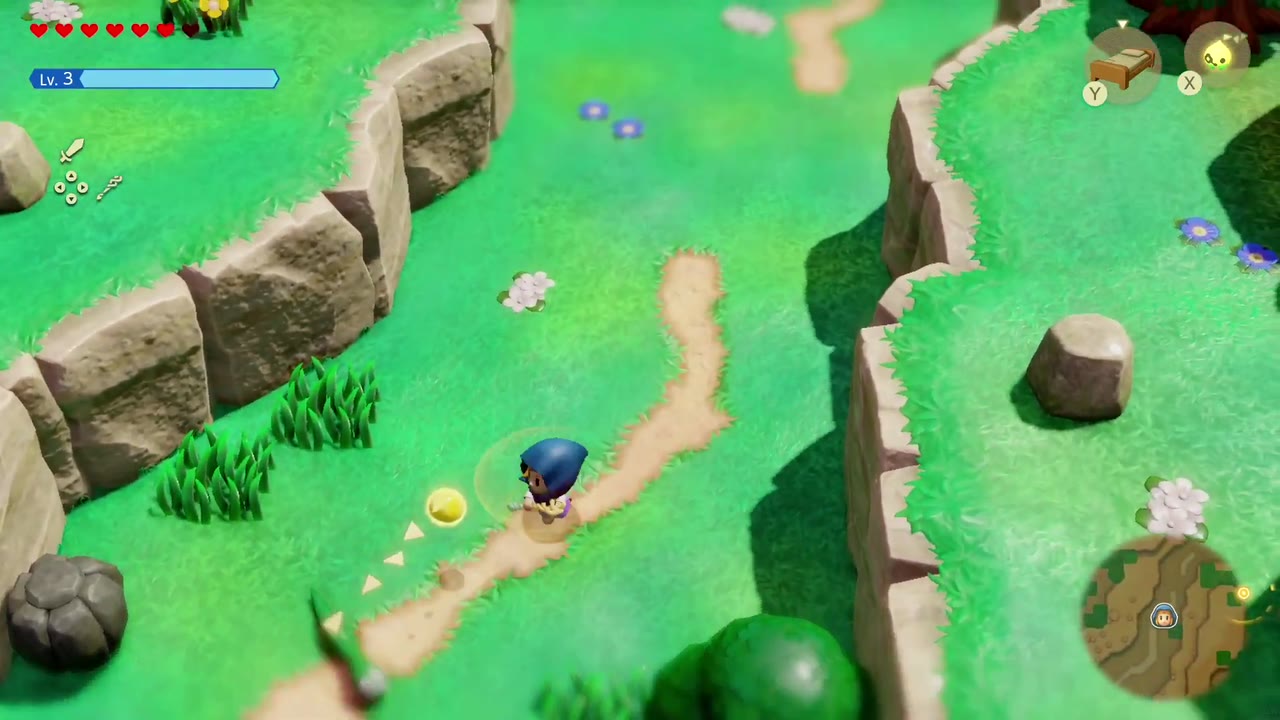
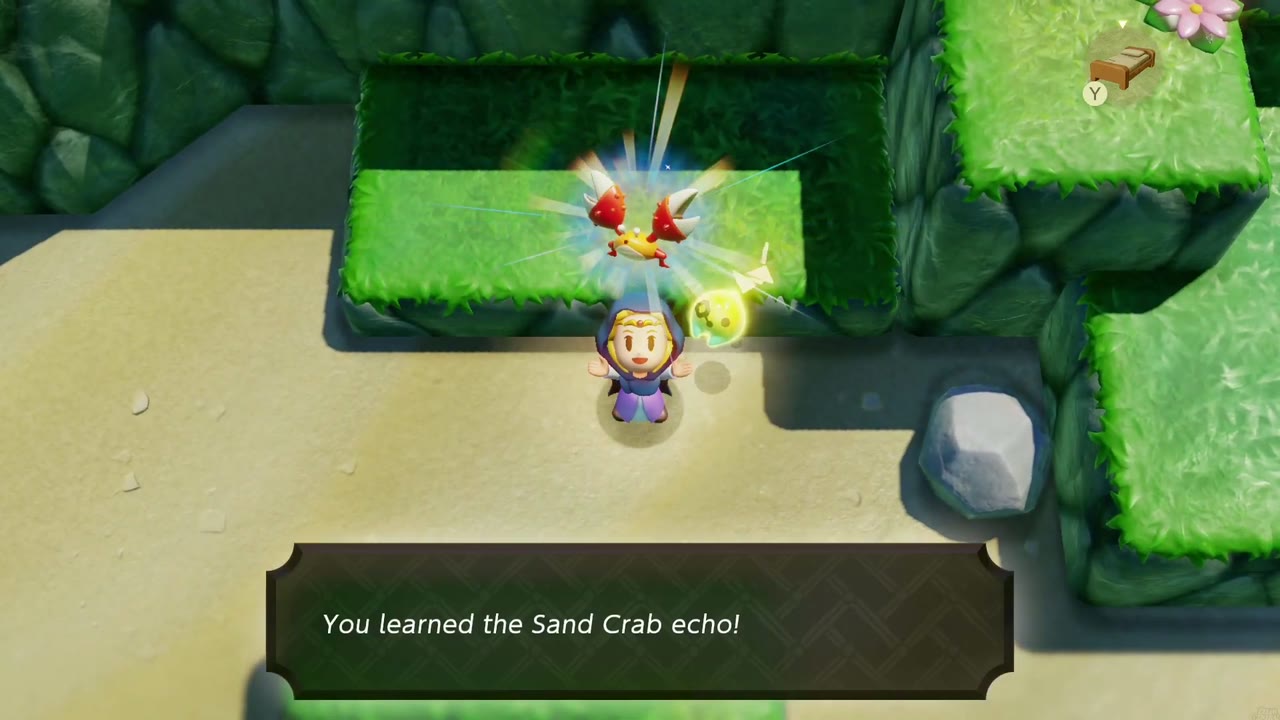
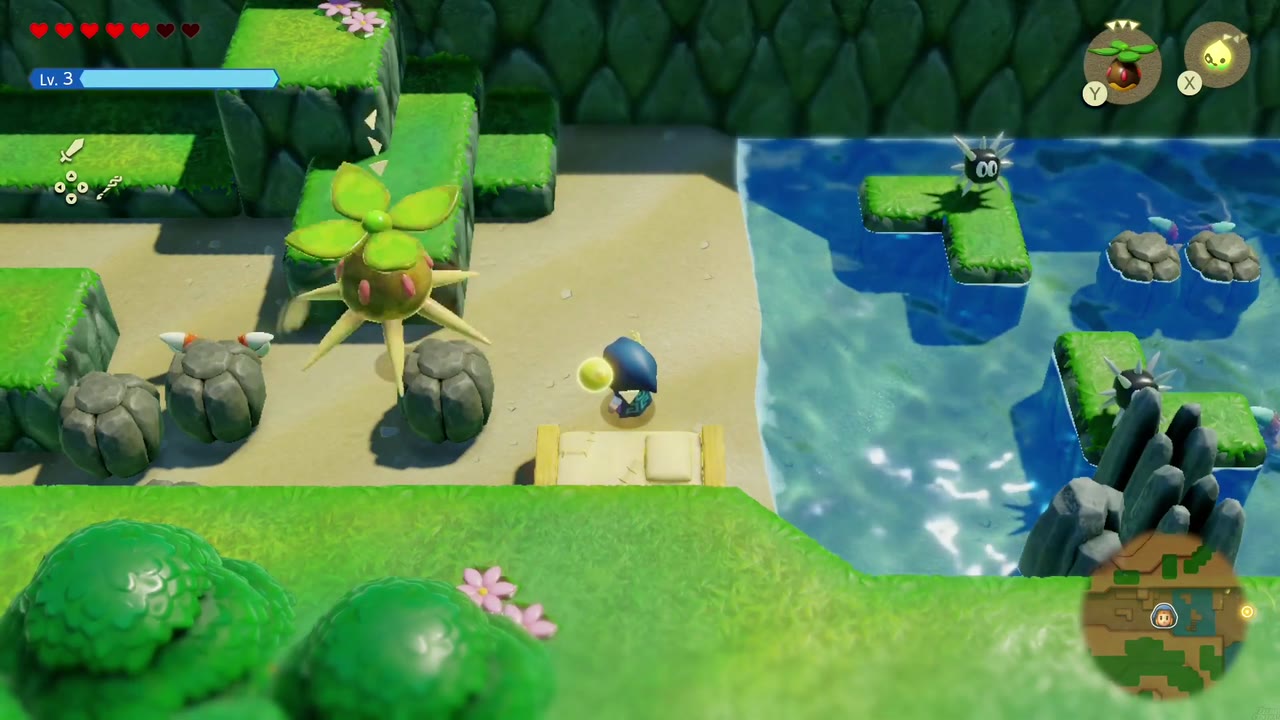
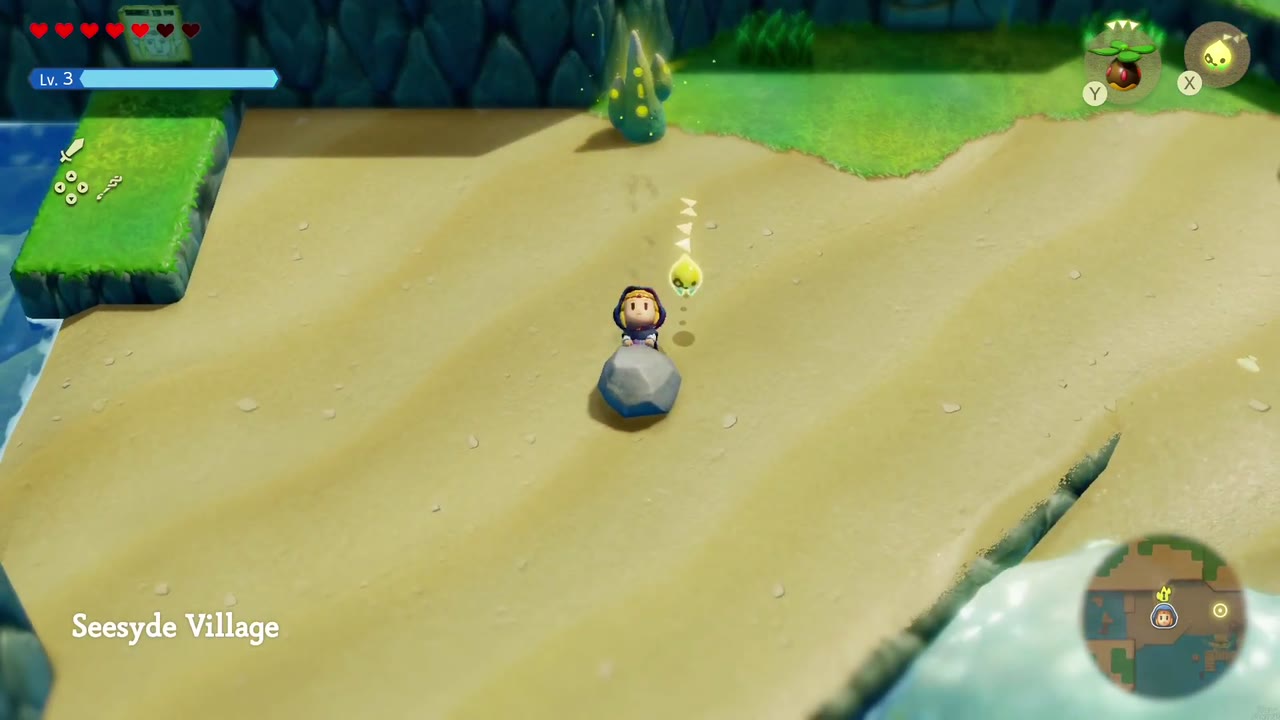
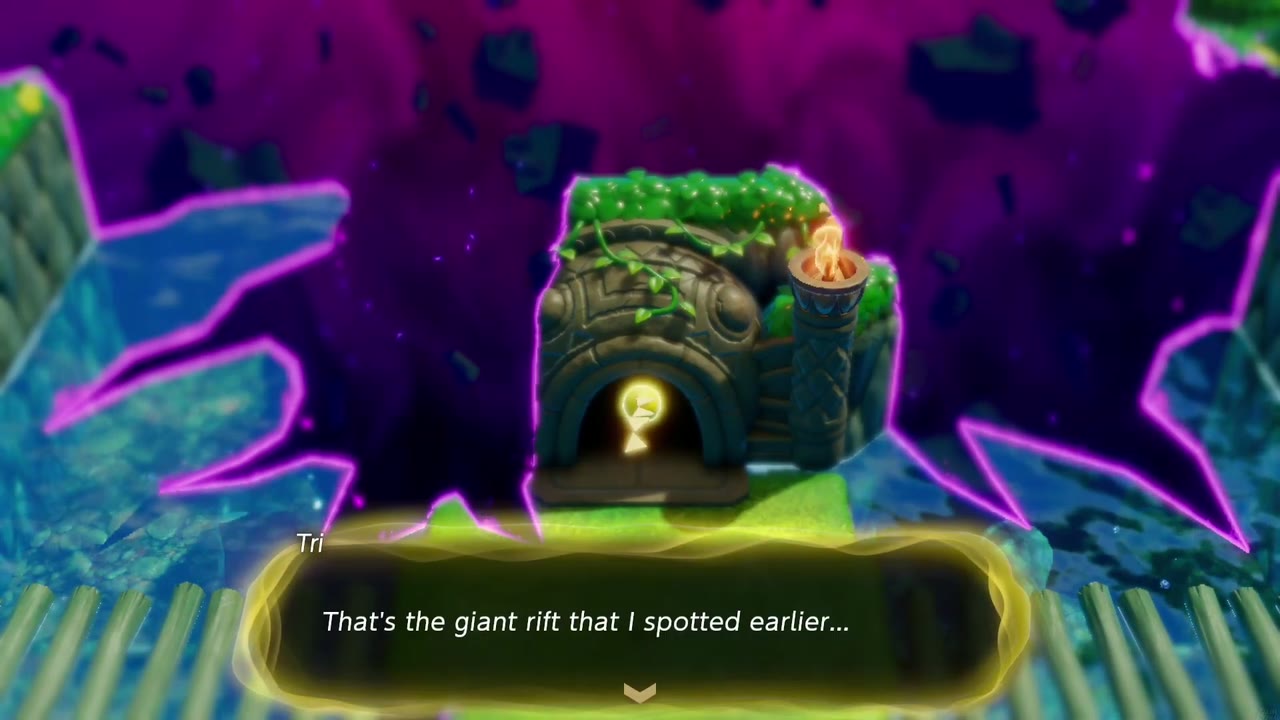
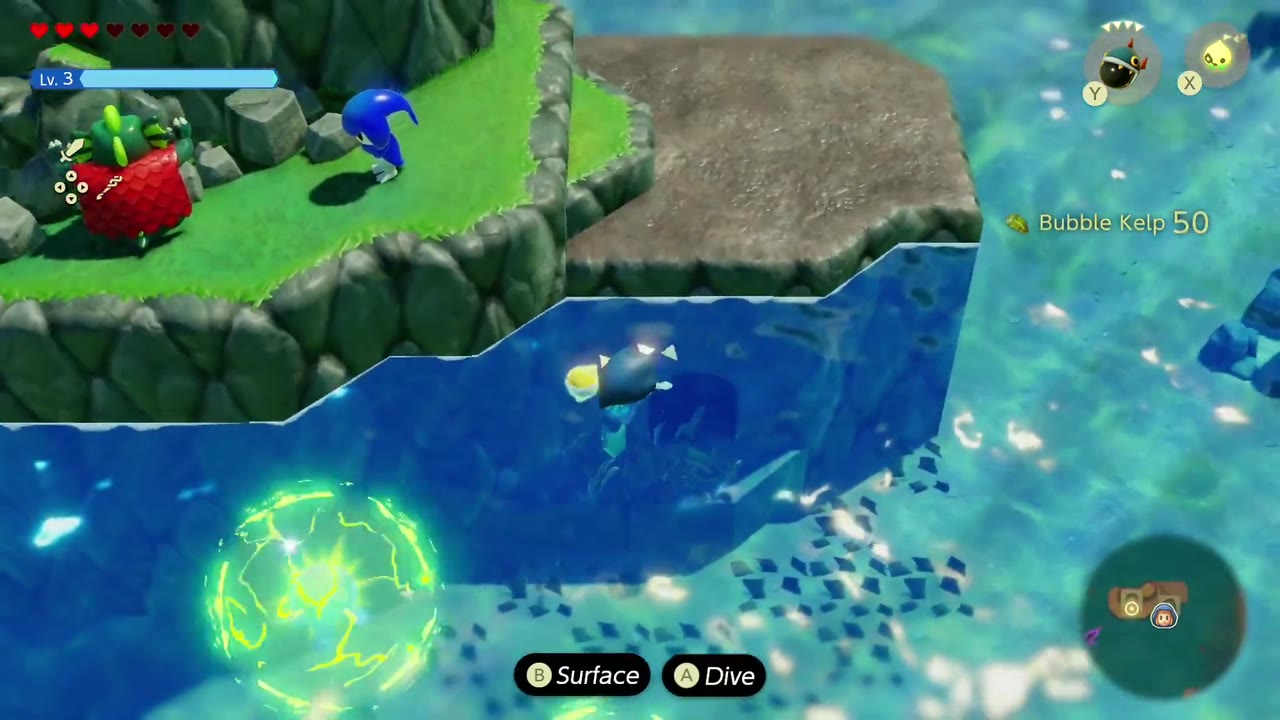
After the Suthorn Forest rift, this route skips Castle Town entirely: it swims across Lake Hylia and works north through Eastern Hyrule Field picking up might crystals, then stacks Bed echoes up the cliff out of the Suthorn Prairie woods into Hyrule Field and follows the river path east. The trail drops onto a sandy, hedge-walled shore where you can learn the Sand Crab echo, then crosses a small pond (Bubble Kelp sits underwater) before opening onto the beach at Jabul Waters, on the edge of Seesyde Village. Tri suggests looking for the giant rift she spotted nearby, which starts the main quest The Jabul Waters Rift. (If you’ve saved ten Might Crystals, this is a good time to warp to Lueburry’s House for the My Bow (Lv. 2) upgrade, then warp back.)
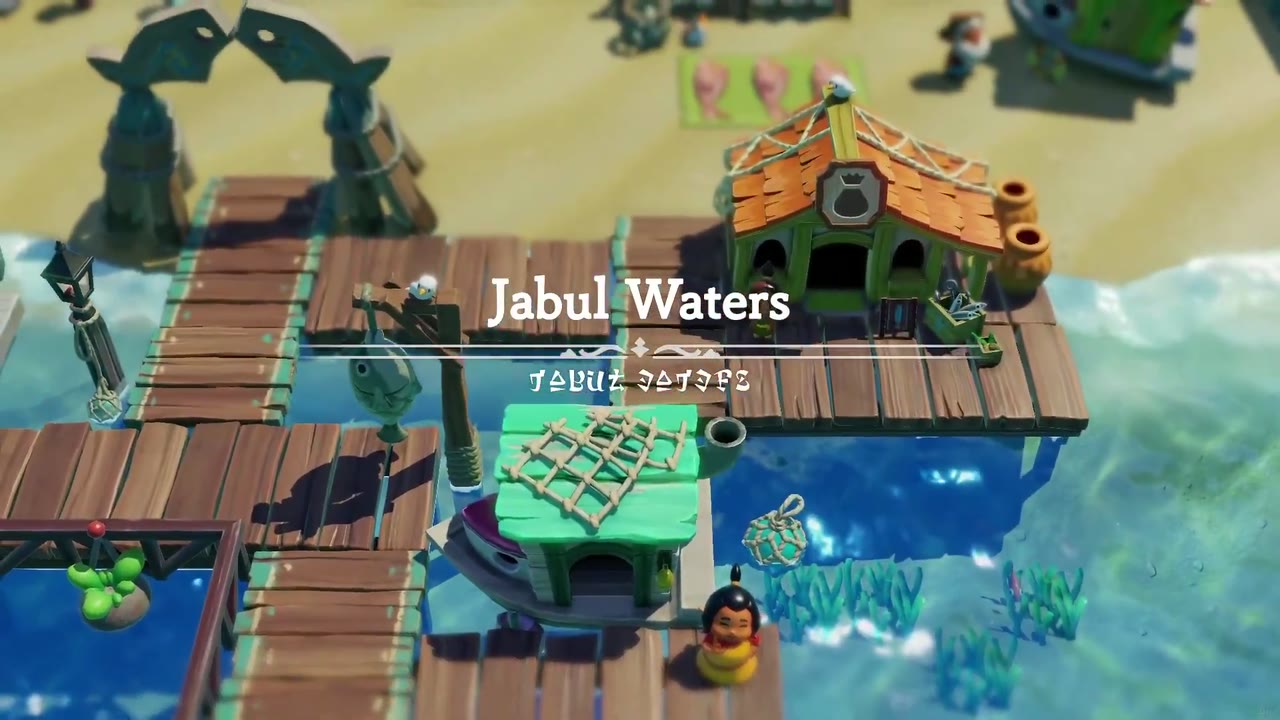
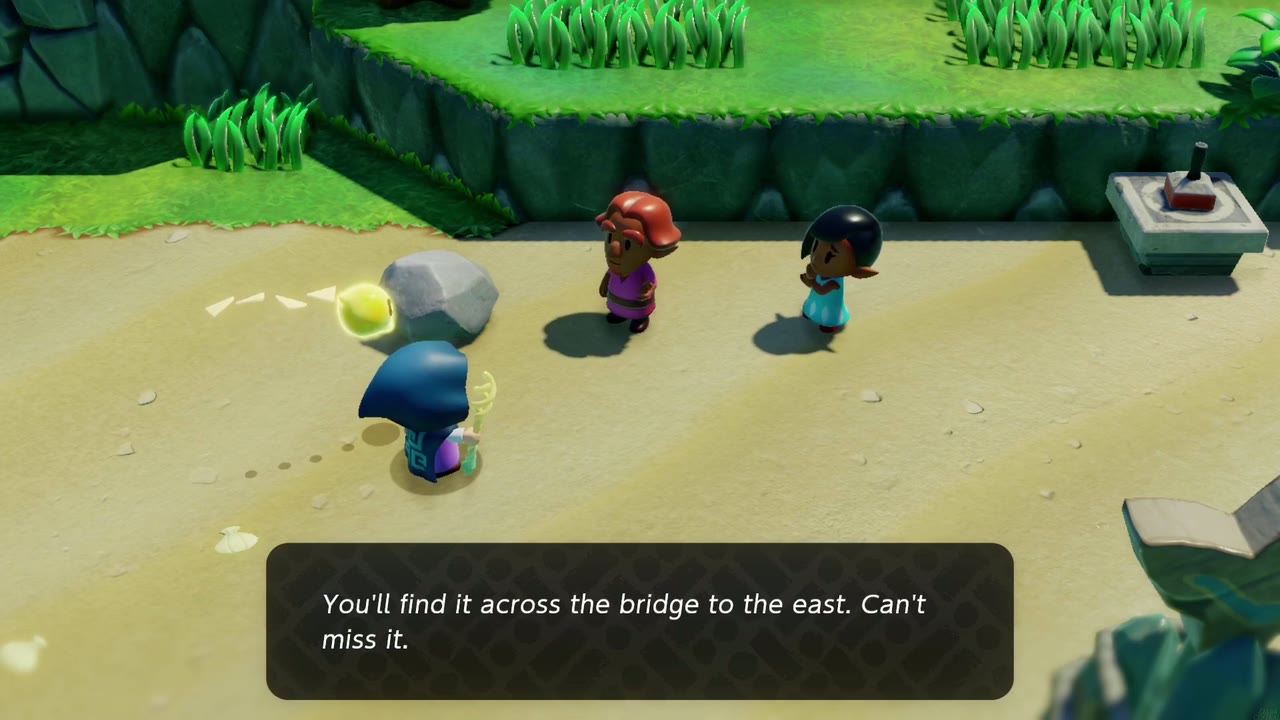
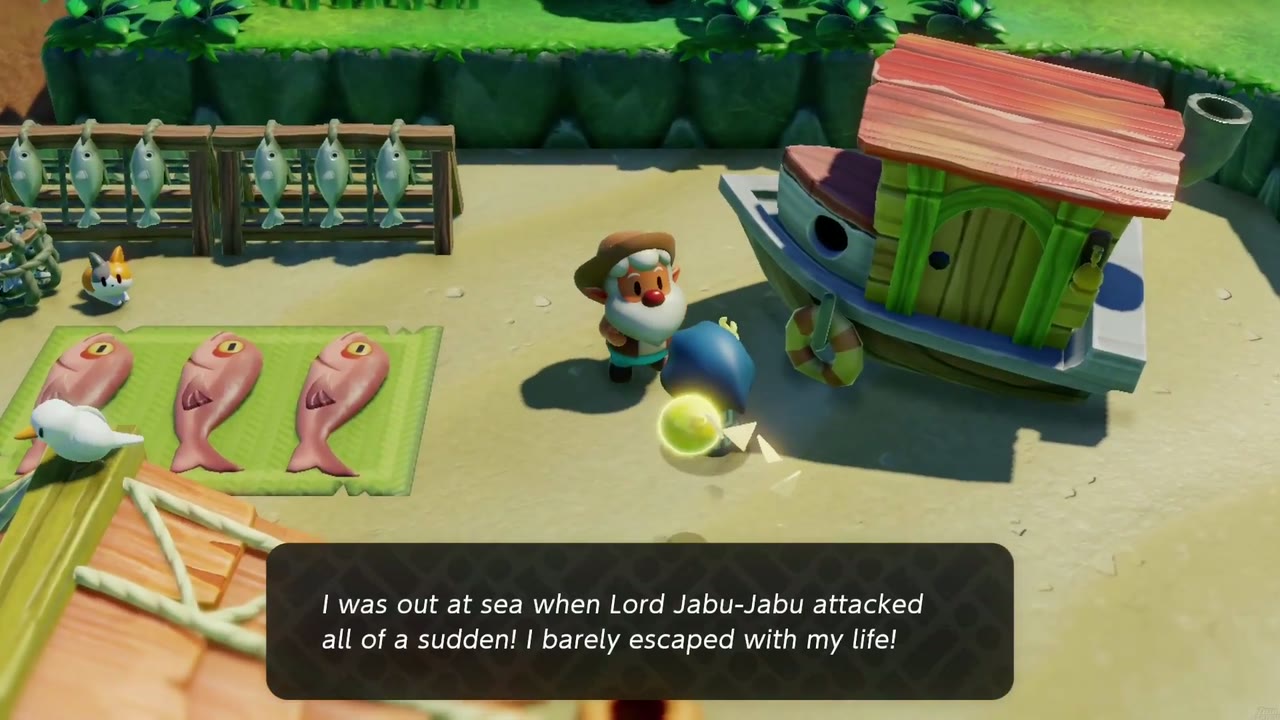
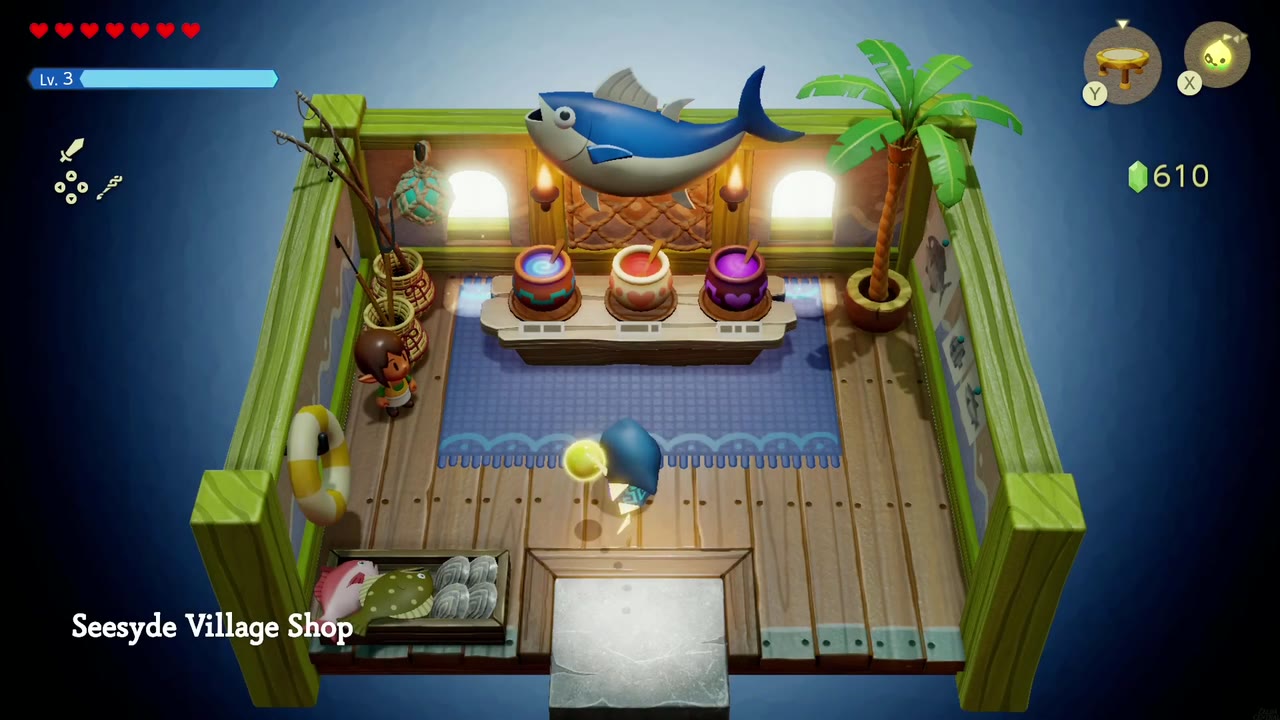
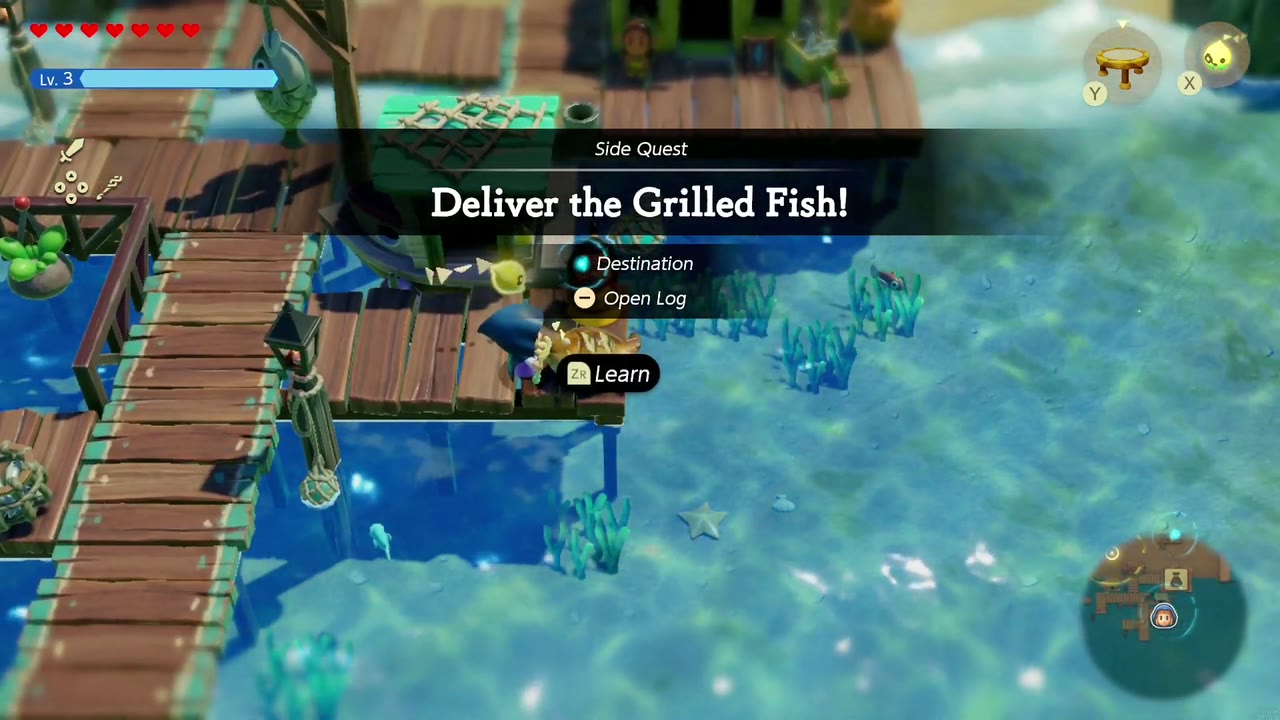
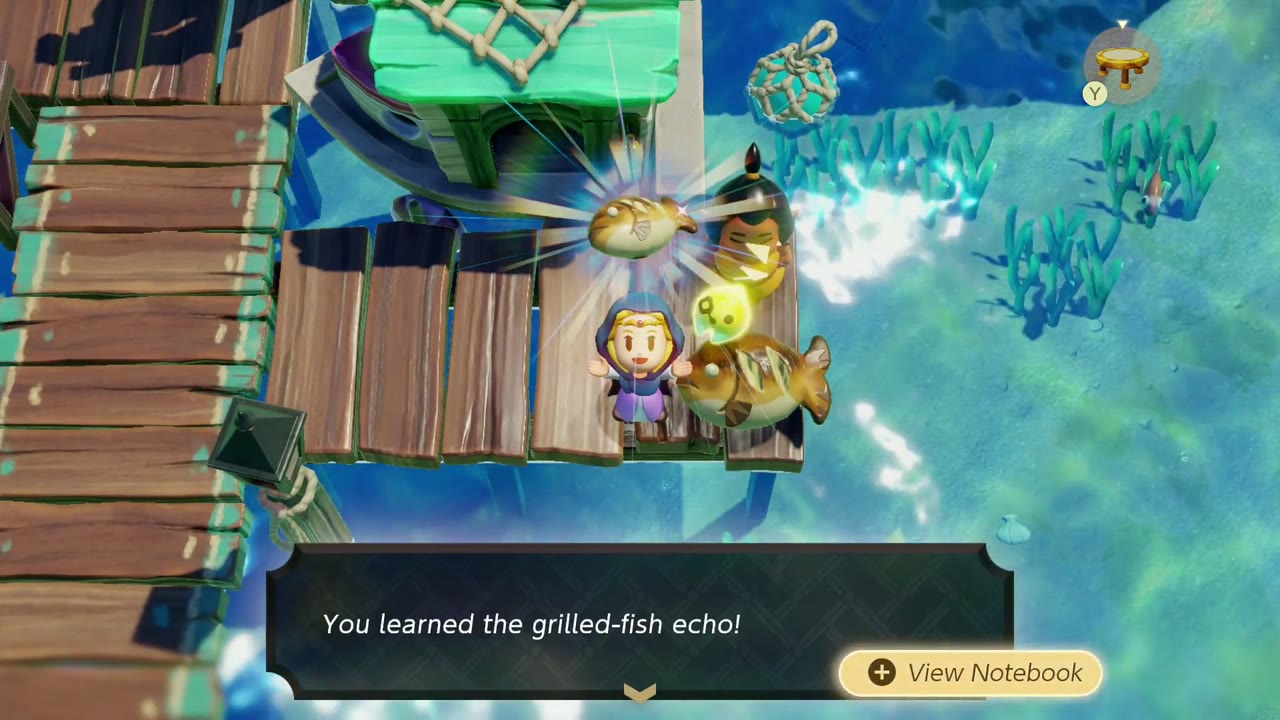
The village sits right on this beach. Talk to the two villagers standing on the sand; they’ll tell you Lord Jabu-Jabu, normally calm, has been on a rampage since a rift appeared in his den, and that the den is across the bridge to the east with an entrance you can’t miss. Along the piers, a fisherman says Jabu-Jabu rammed his boat, and the Seesyde Village Shop owner complains business has dried up. On the pier, a mother asks you to take some grilled fish to her son sleeping in the woods to the north, starting the side quest Deliver the Grilled Fish! and teaching you the Grilled Fish echo. Detour into Zora Cove if you like: swim a lap past the shipwreck to learn the Chompfin echo, unlock the warp on the islet topped with a fish-tail statue, and grab two Might Crystals, one on the seabed and one under the Seesyde piers.
The Den Door and the Two Chiefs
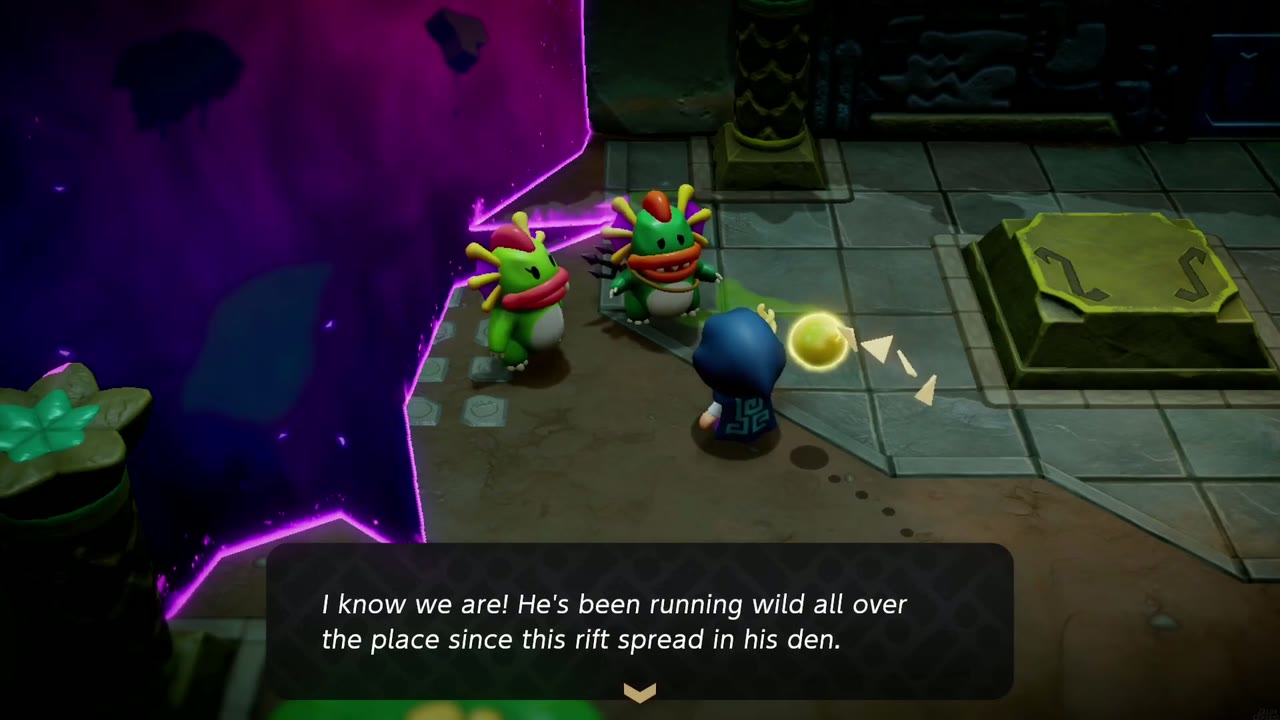
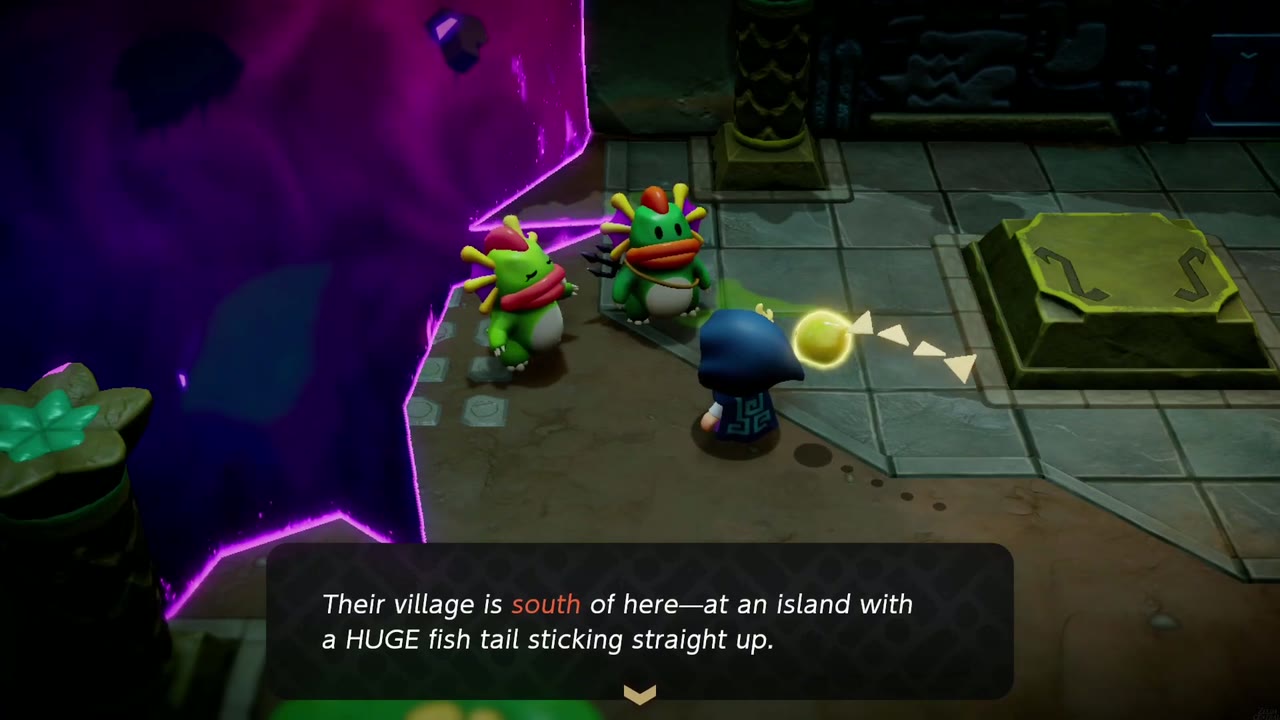
Follow the river north from Crossflows Plaza, crossing the log bridges between the islands, to a carved entrance swallowed by a rift. That is Lord Jabu-Jabu’s Den. Step inside: the rift has eaten the back of the front room, and two River Zora explain that Jabu-Jabu has been running wild since it spread into his den. They point you north (upriver) to their own village, and south to the Sea Zora, whose village sits at an island with a huge fish tail sticking straight up. The way in is through the two Zora chiefs.

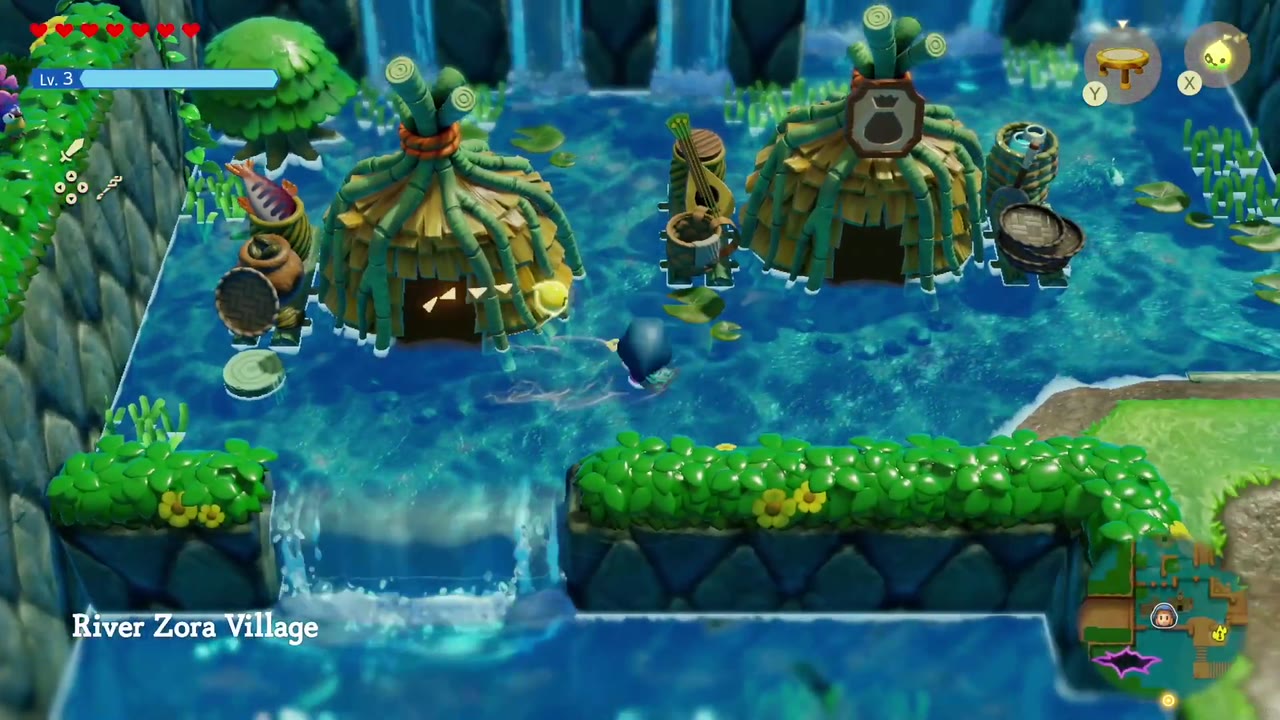
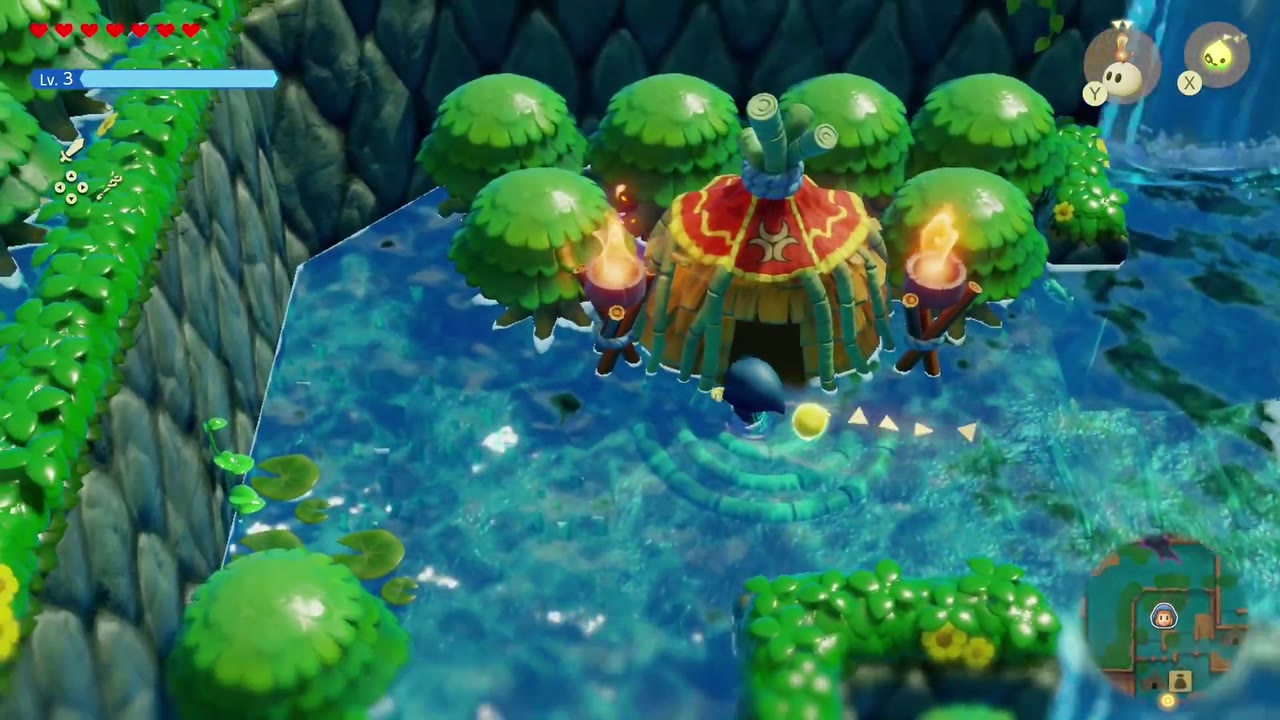
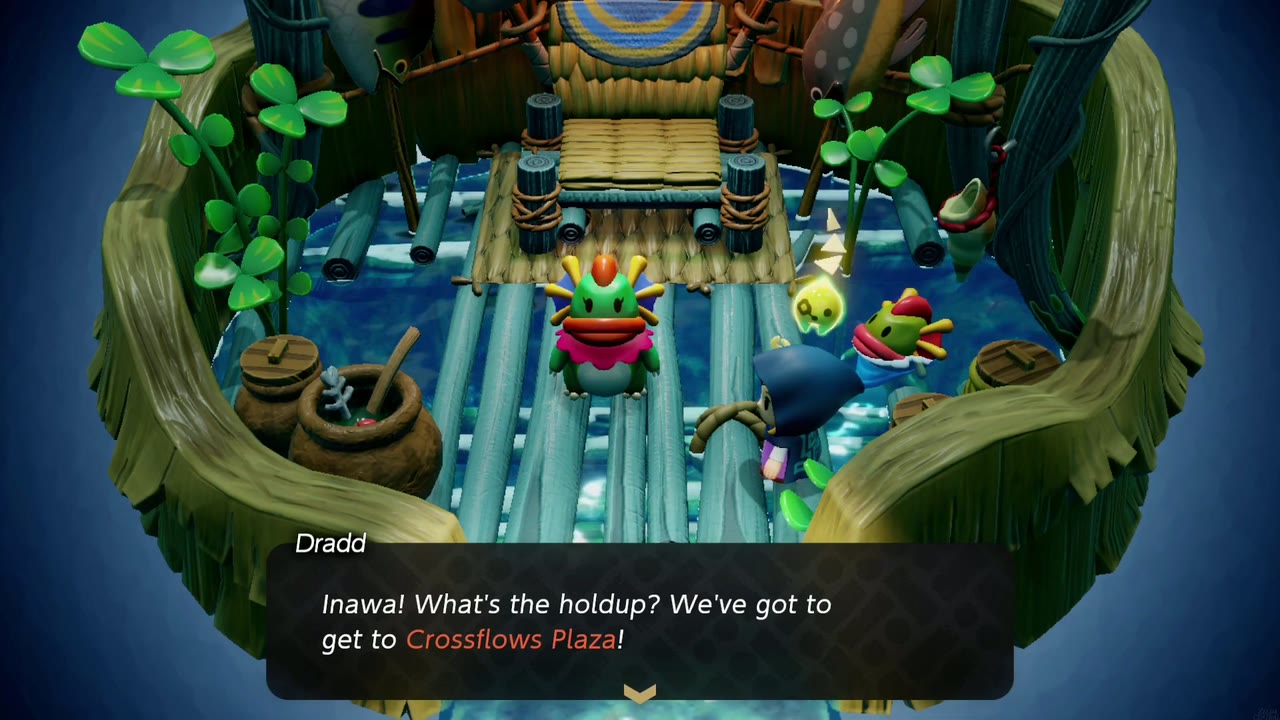
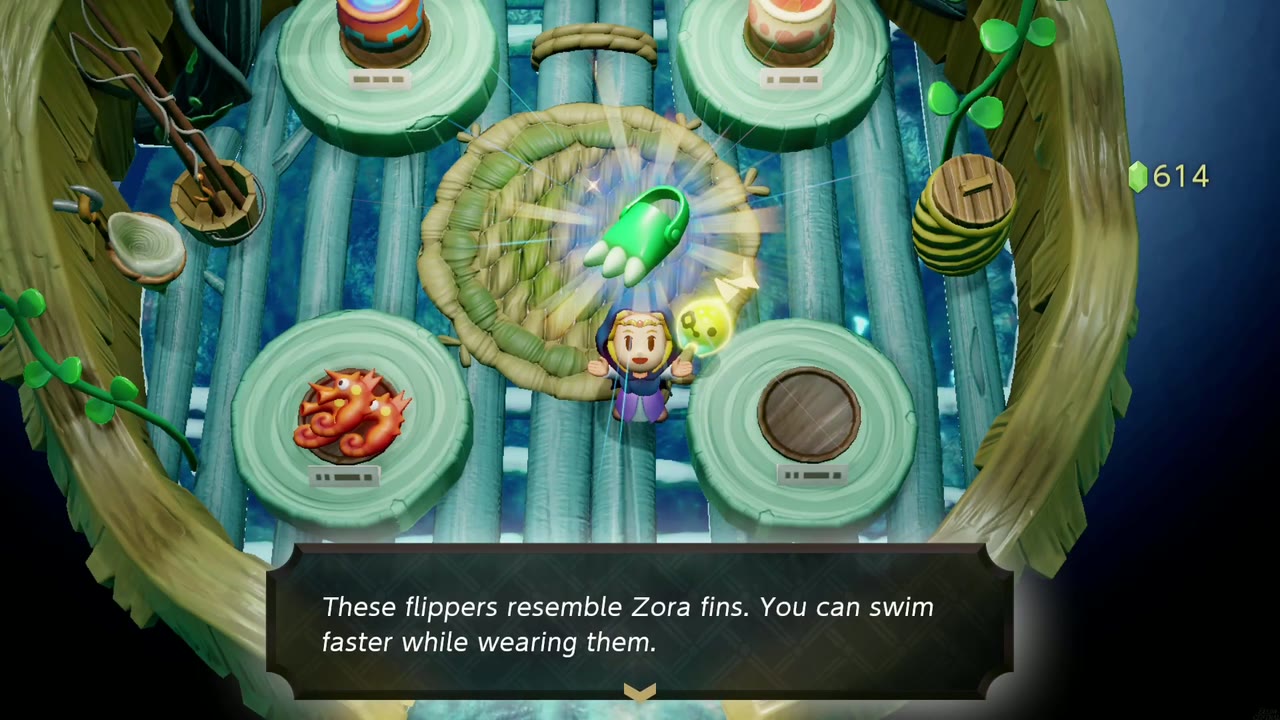
Head upriver to River Zora Village. While you’re here, spend 350 rupees at the shop hut on Zora’s Flippers for faster swimming; it pays for itself all over this region. Chief Dradd is in the hut with the red, star-patterned roof, arguing with his aide Inawa about the rift and Jabu-Jabu’s rampage. He’ll barely talk to you before running off to Crossflows Plaza to calm Jabu-Jabu with river music, and Tri notes you’ll never reach the rift until both chiefs hear you out.
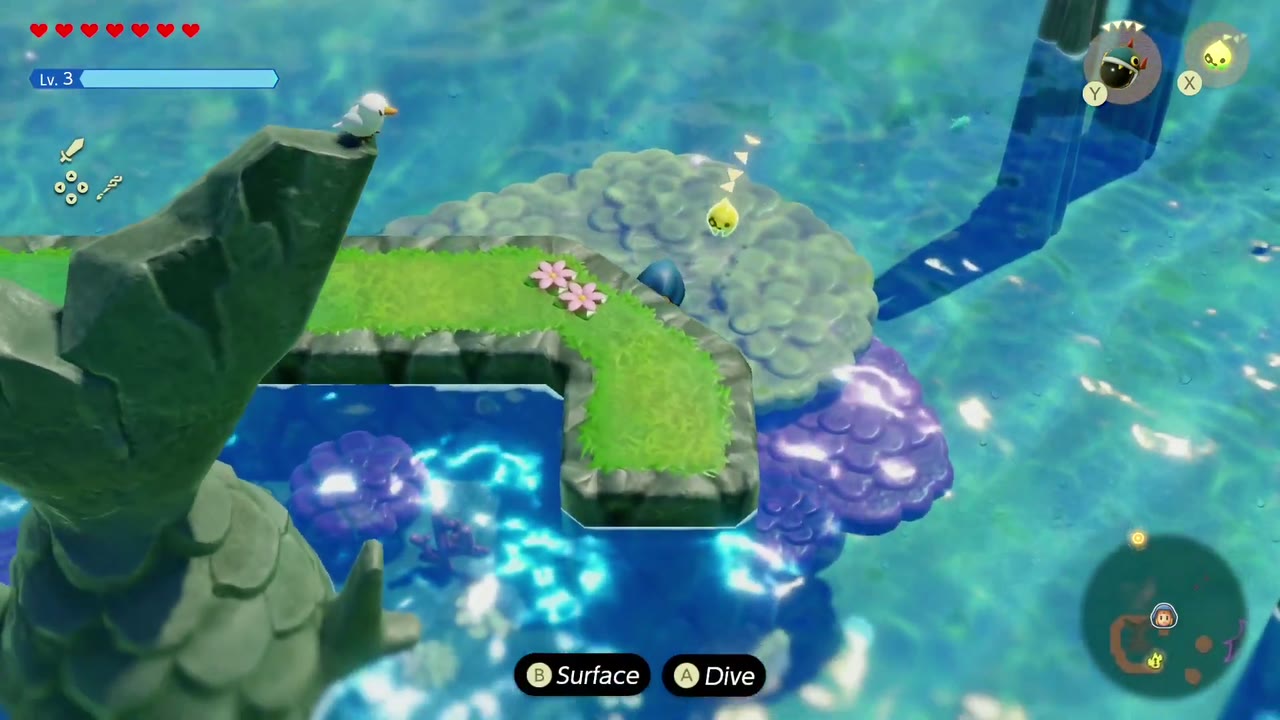
Head back down to Seesyde and swim out into Zora Cove to the island in the middle of the cove topped by a huge stone fish tail. Dive at its edge to enter Sea Zora Village, the underwater settlement beneath it. Chief Kushara waits on the throne at the back with her aide Rogma; she’s too busy fuming about Dradd to listen, and she runs off to Crossflows Plaza too.


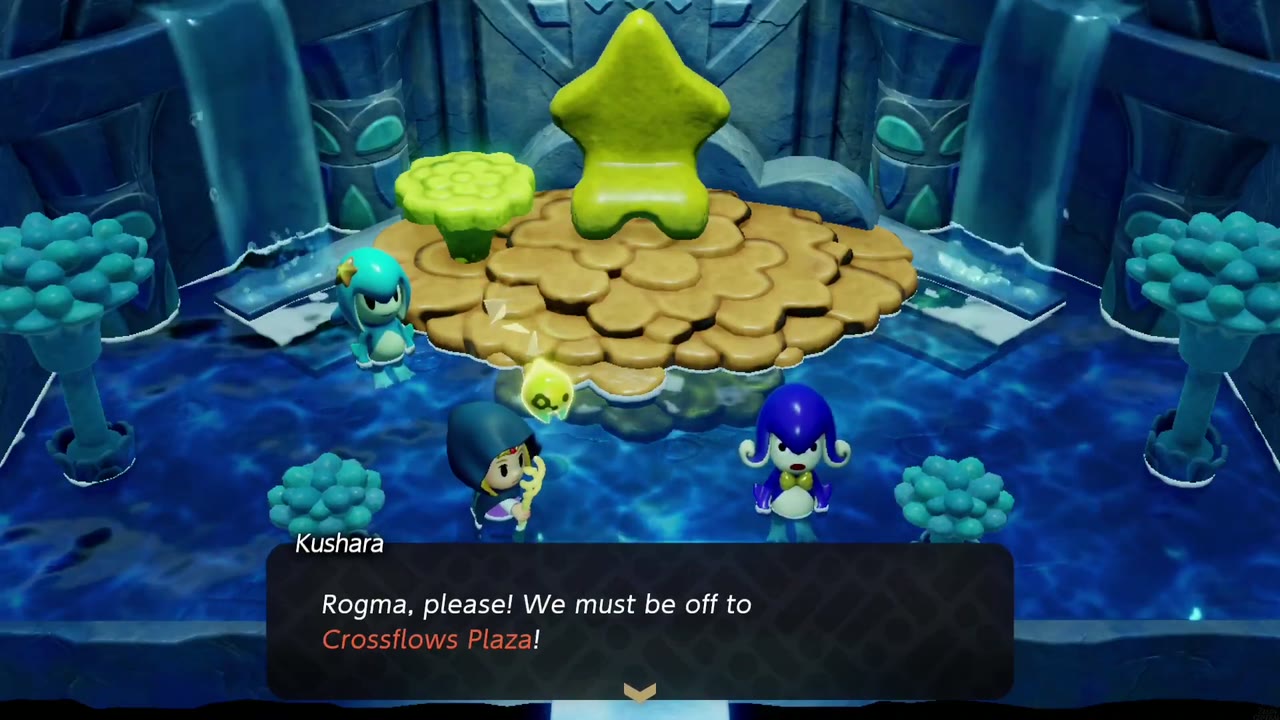
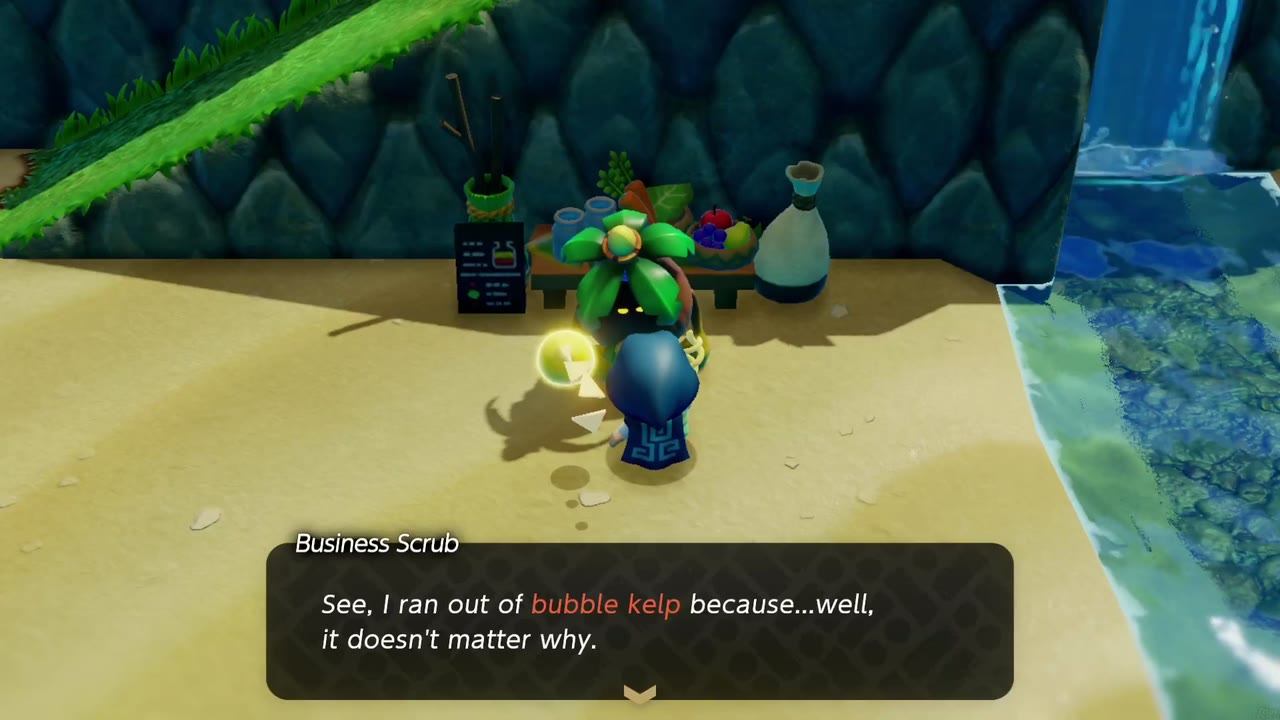
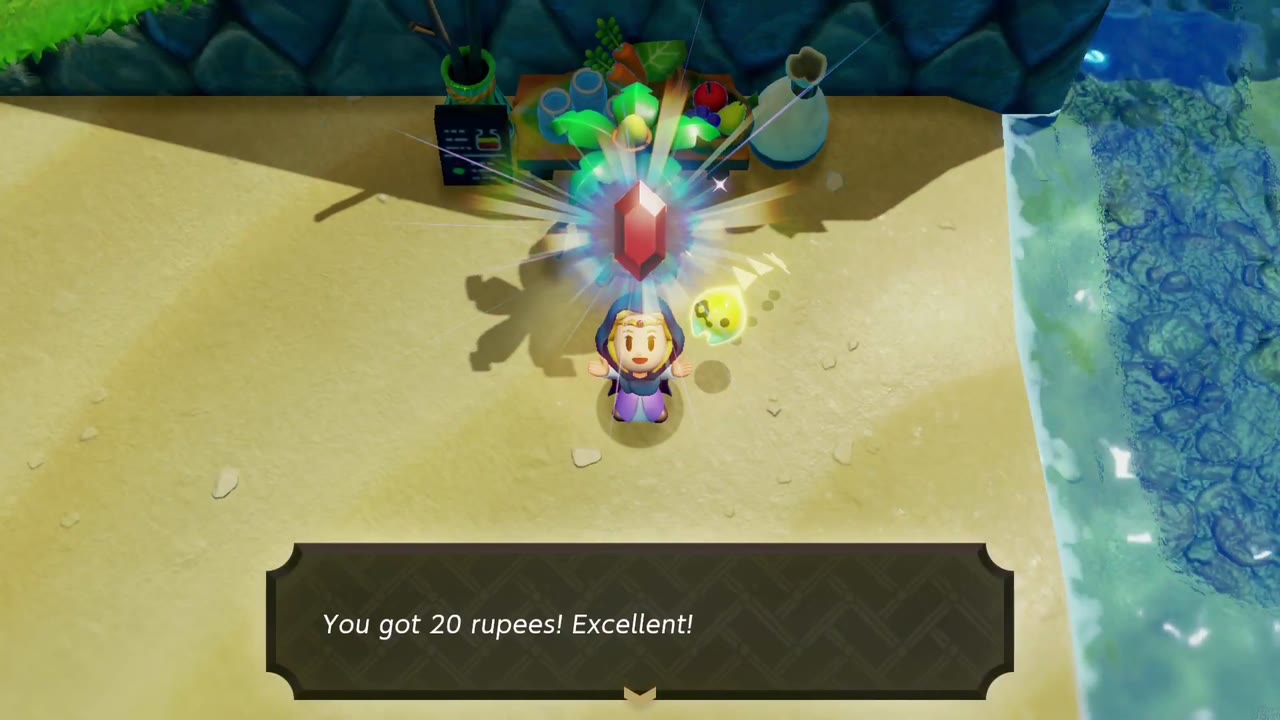
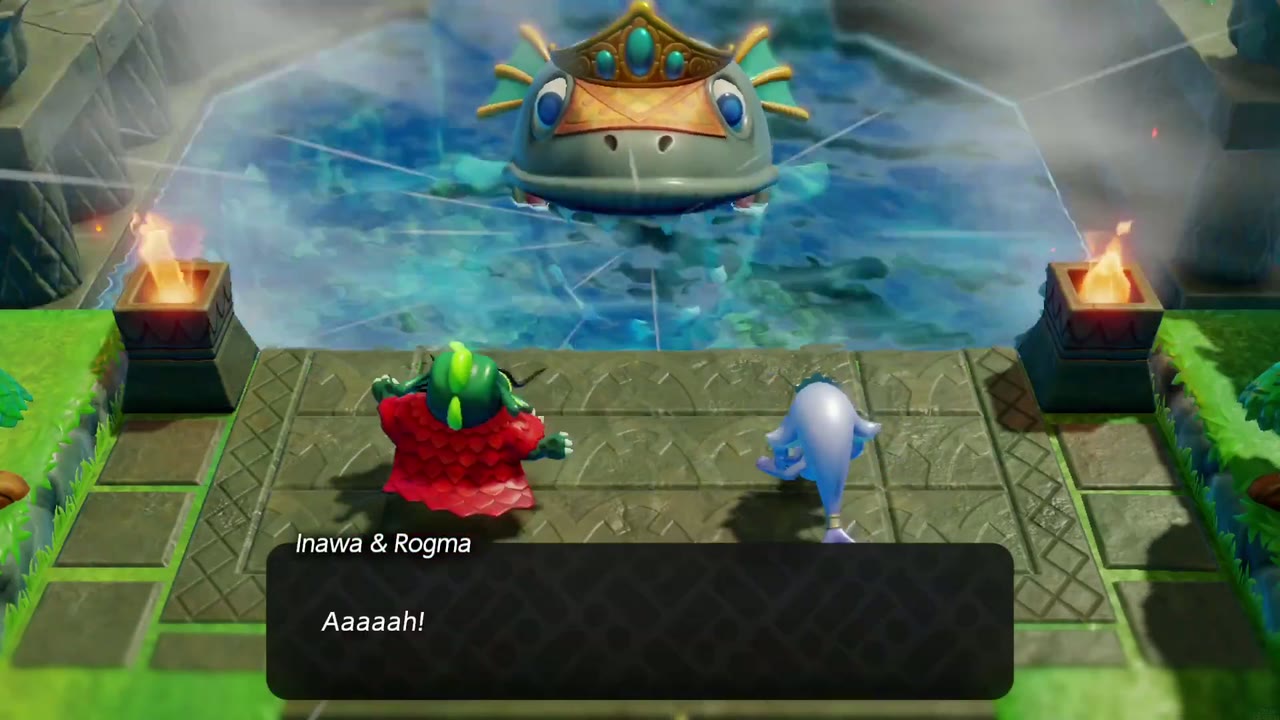
On the beach just north of the village, a Business Scrub runs the Zora Cove Smoothie Shop but has run dry: the side quest Out of Bubble Kelp asks for three pieces of Bubble Kelp, which floats all over the cove (the mother in Deliver the Grilled Fish! also gives you one). Hand them over for 20 rupees and the shop opens for business. Then climb the stairs to Crossflows Plaza, where both chiefs squabble and then play for Lord Jabu-Jabu, out of time with each other. Jabu-Jabu surfaces, opens wide, and swallows their aides Inawa and Rogma before diving away; Kushara swims off in pursuit.


Chaos at River Zora Village
Back near River Zora Village, a villager says they heard a loud sound and saw a neighbor in real trouble. Follow the Zora River to the island by the waterfalls, where a rift has torn open. Kushara and a young Zora wait at its edge: Jabu-Jabu struck the child’s papa, who fell into the rift, and when it suddenly grew, Dradd saved the child but was swallowed himself. Step up to the rift and Tri opens the way into the Stilled Upper Zora River.

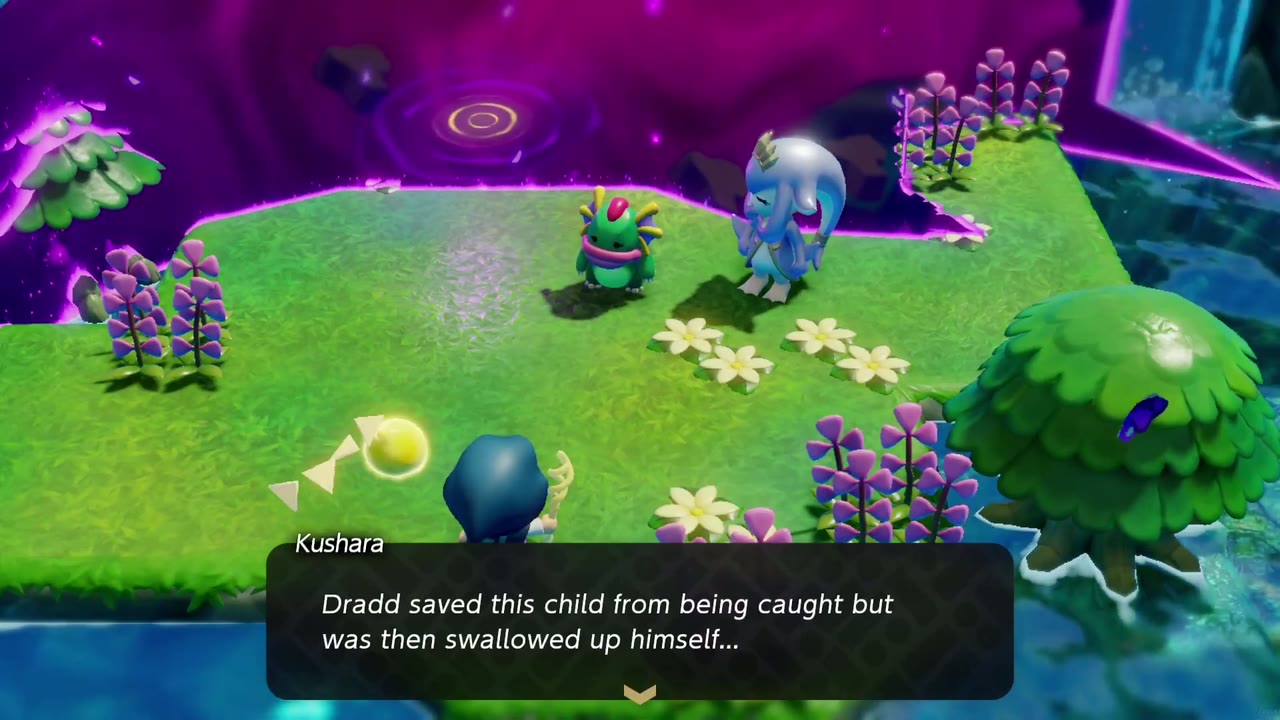
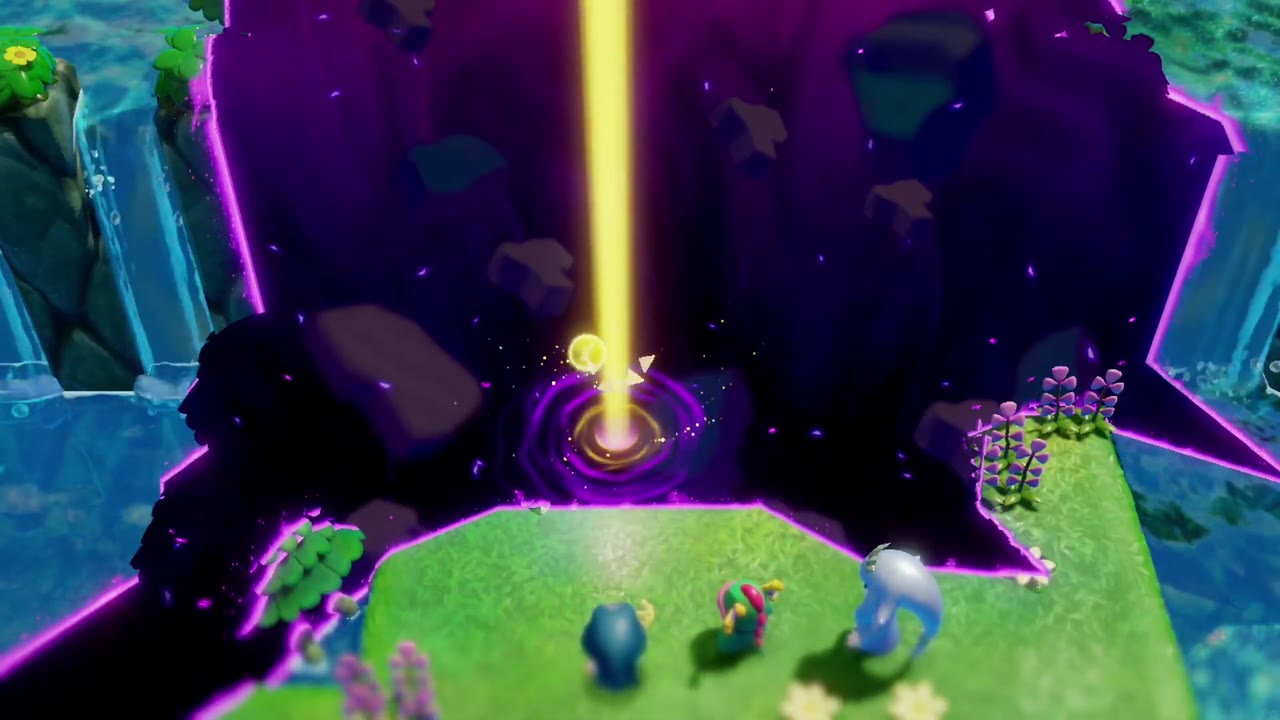
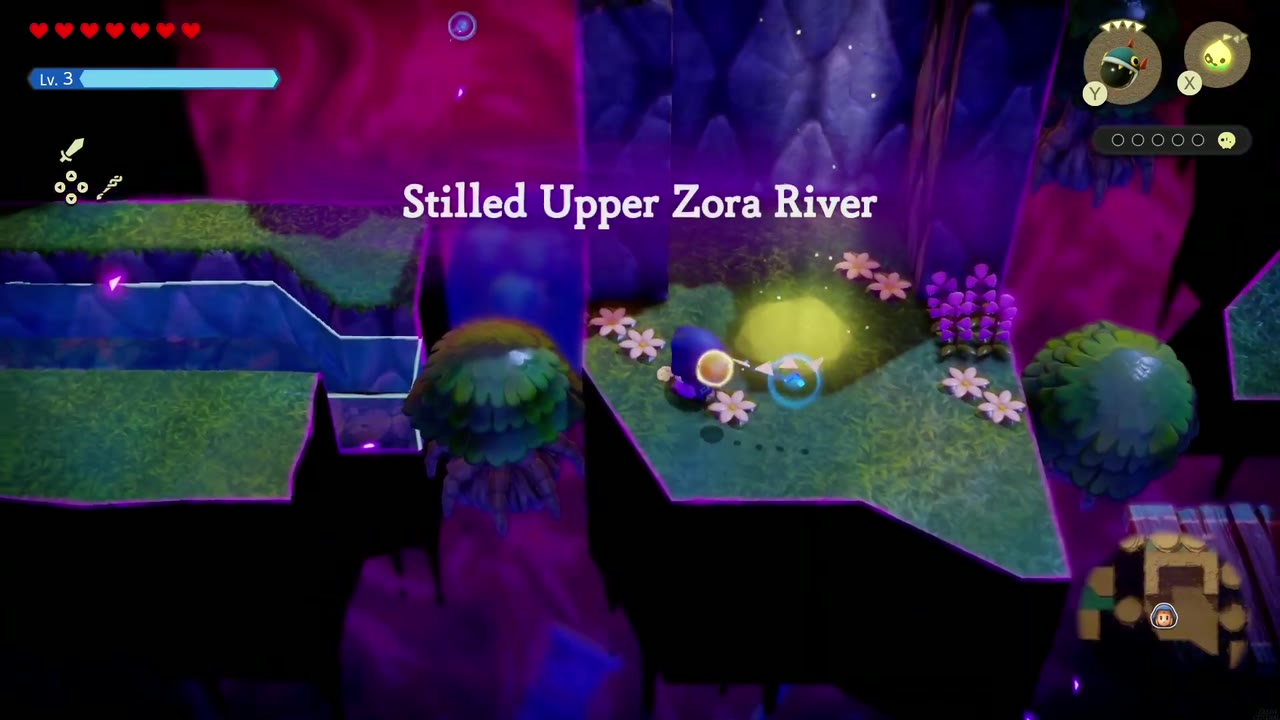
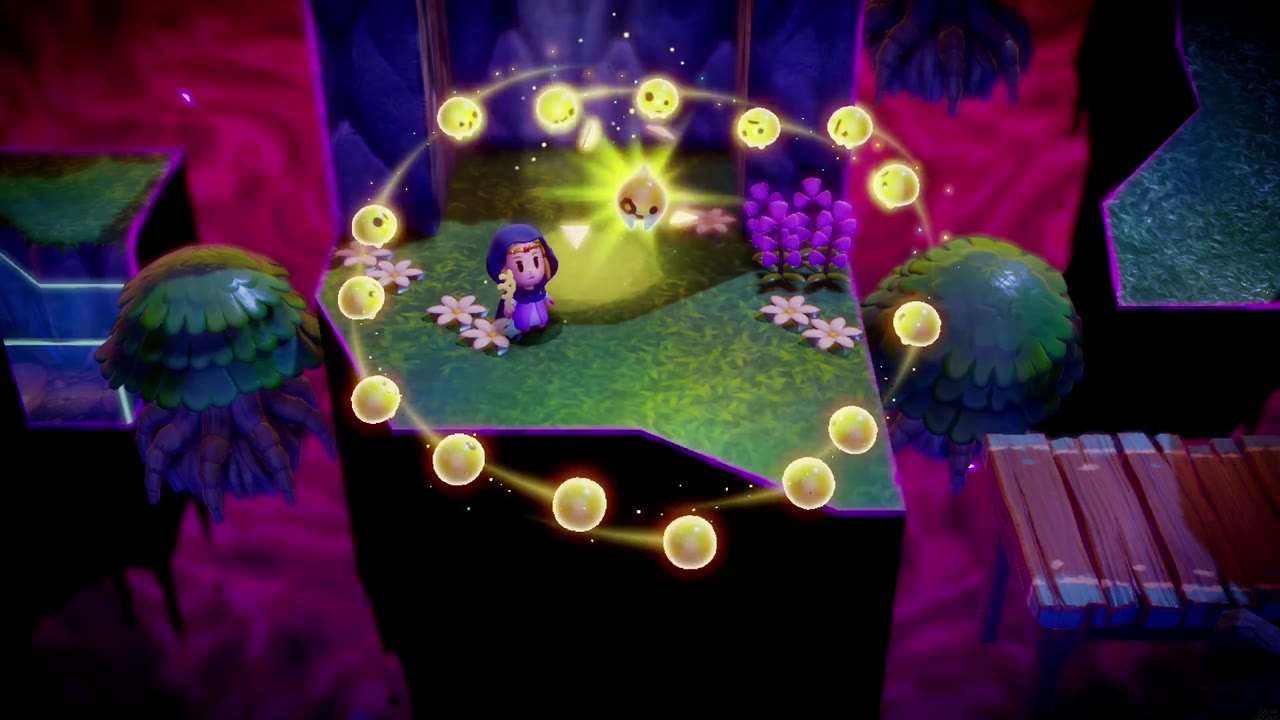
Tri’s friends are trapped in five areas here. First: just left of the entrance, swim into the floating block of water to reach the energy mass inside. Second: head down across the broken logs, then lay a row of Old Bed echoes to bridge the gap to the stone pillar with the energy on top. Third: drop an Old Bed on the hedge-topped block, swim up the column of water and follow the rocky ledge; the energy sits beside Dradd’s stilled body floating in the void.
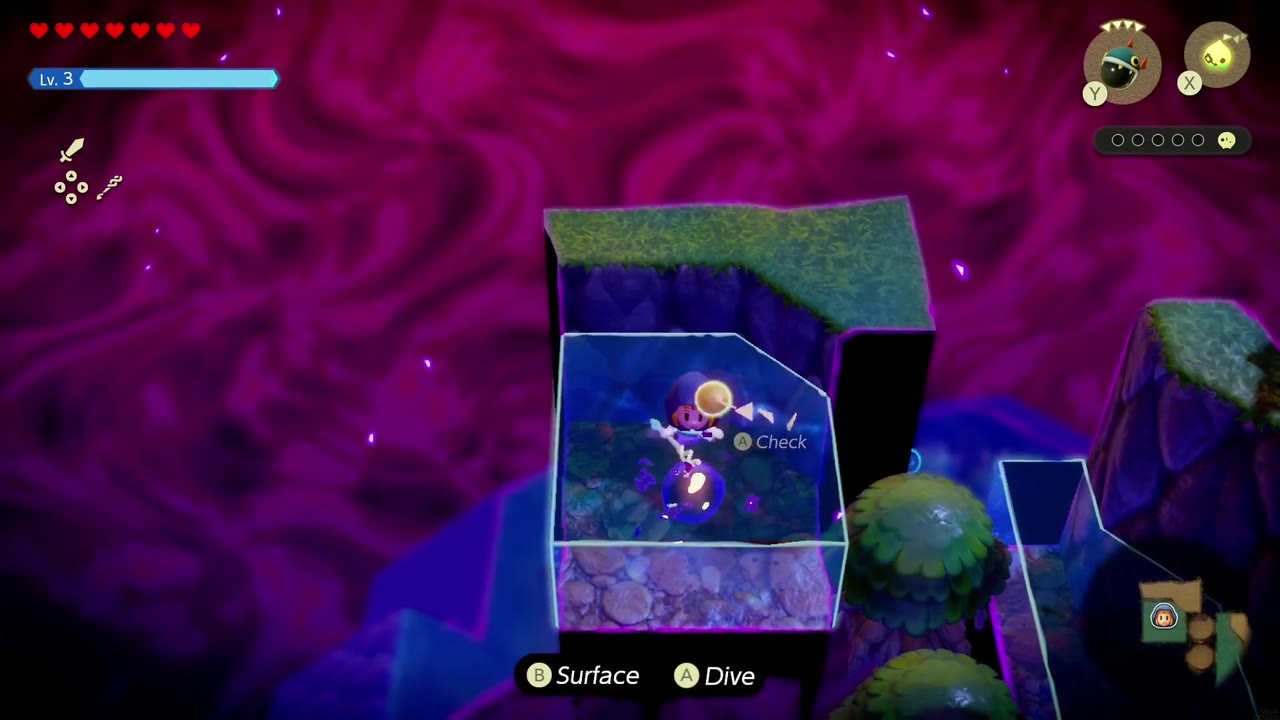
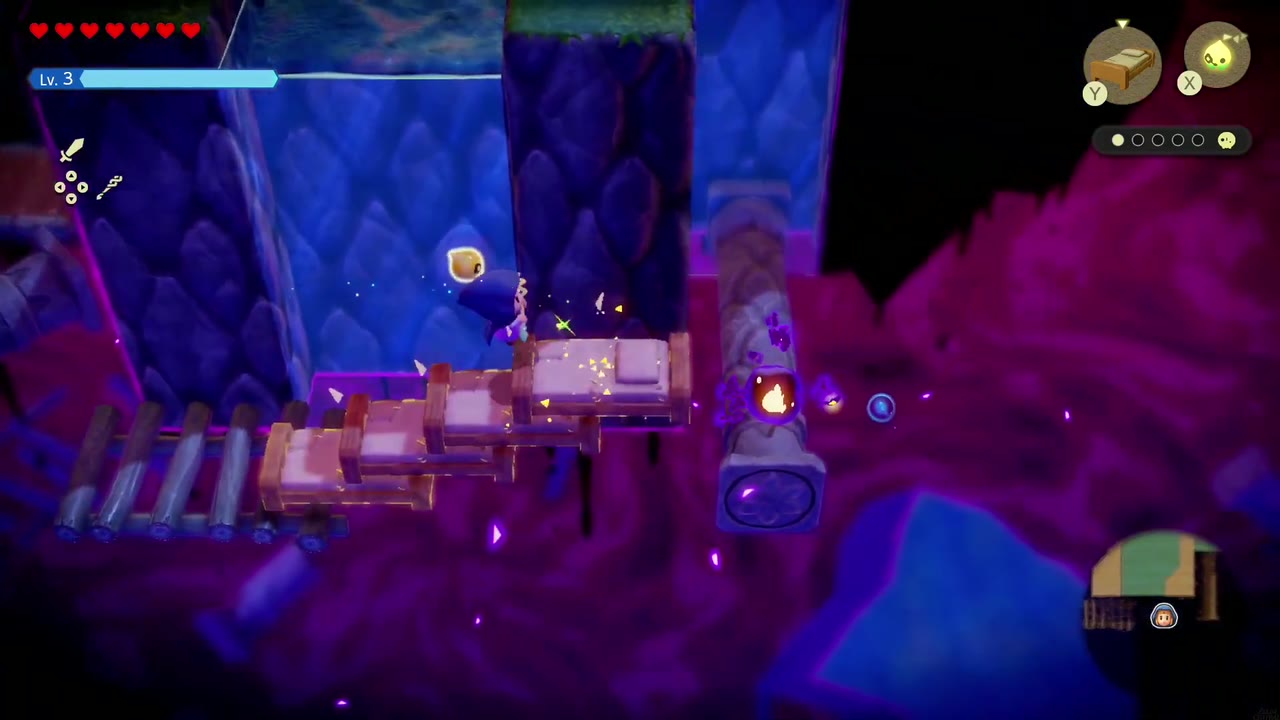
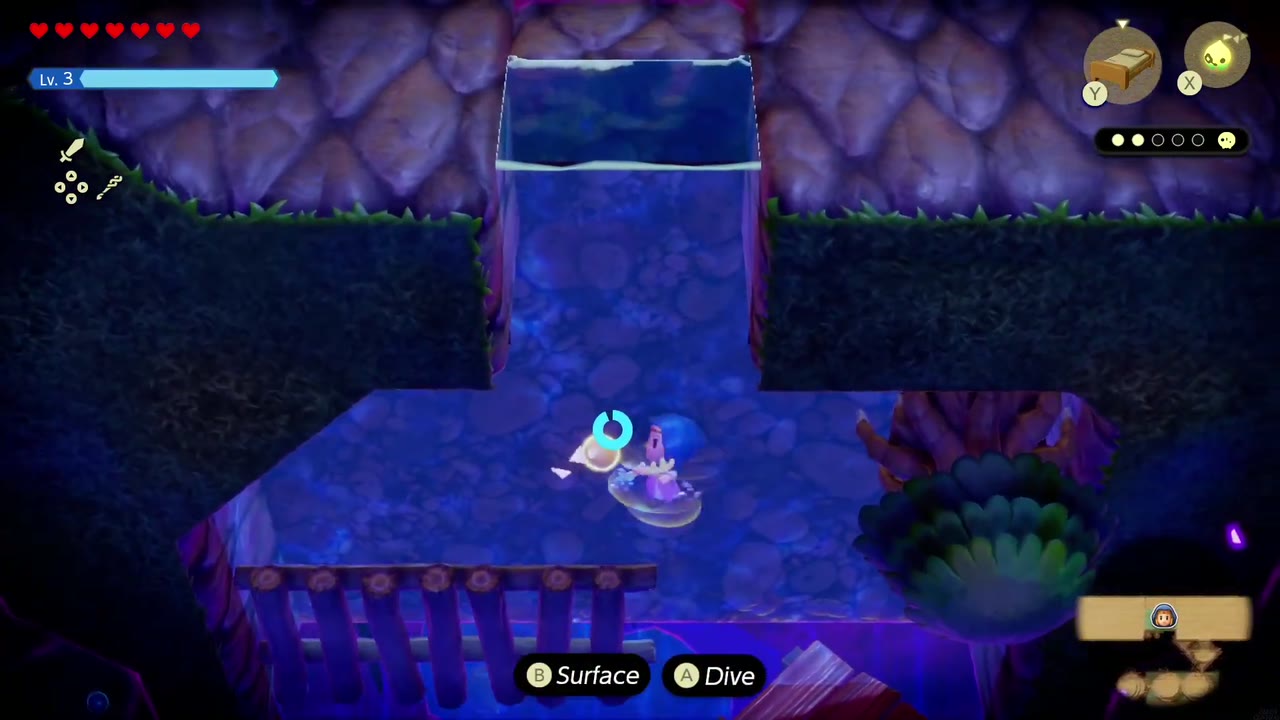

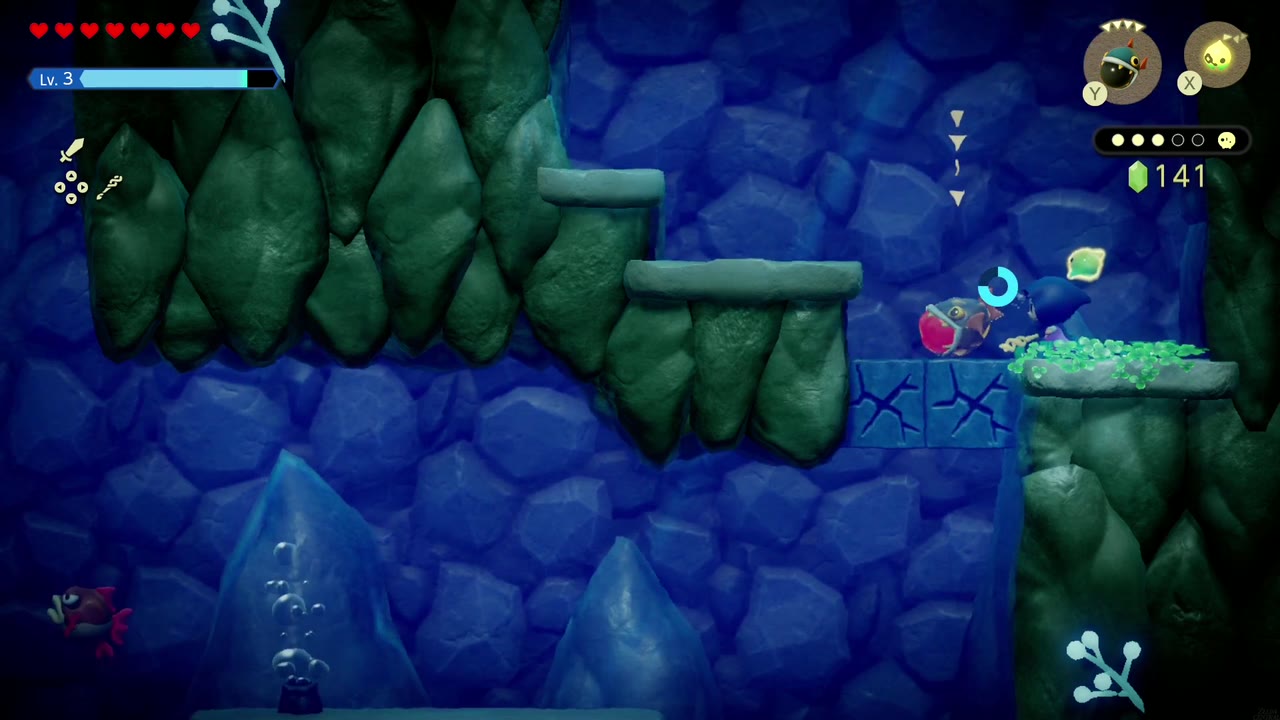
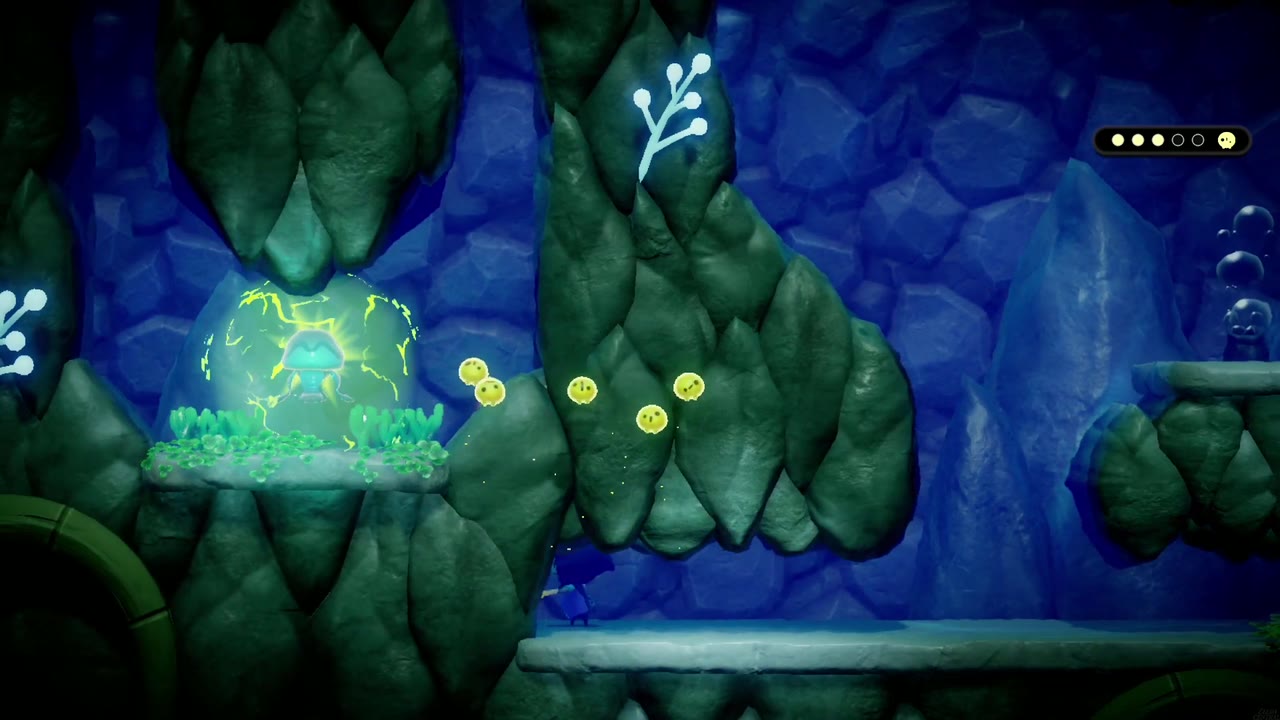
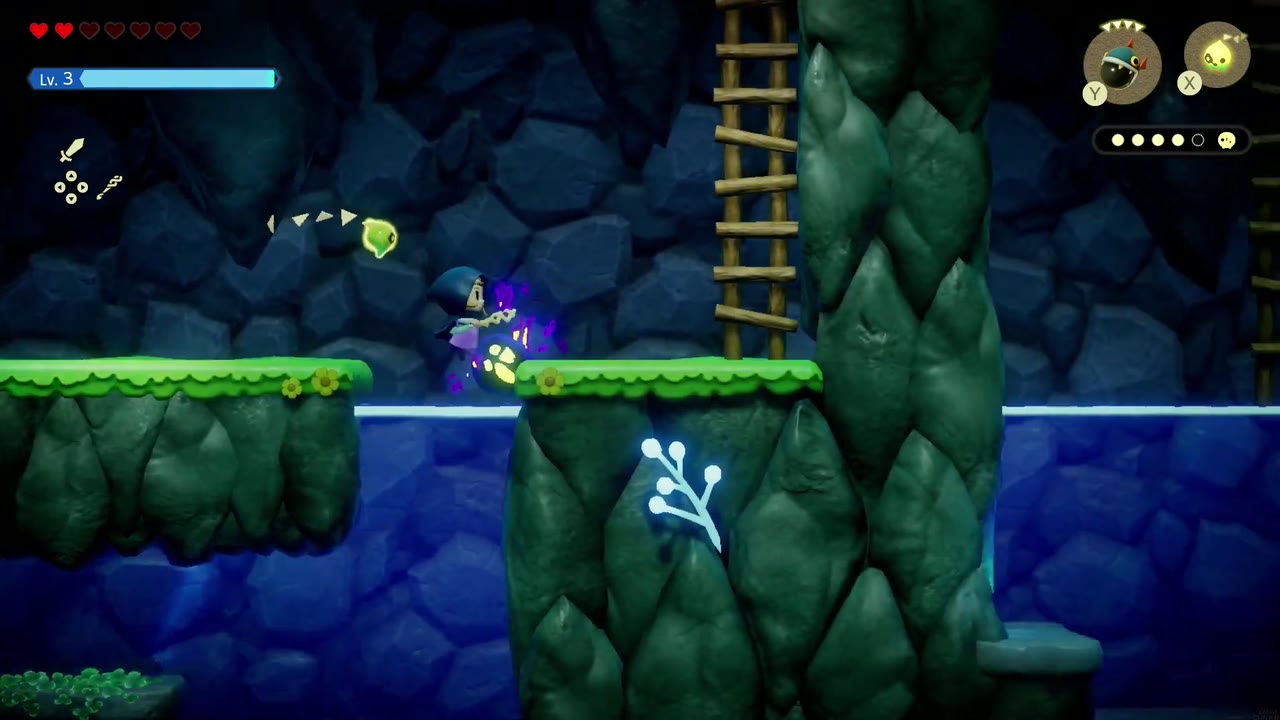
Fourth and fifth: past the Octoroks, enter the dark doorway in the stone block to reach a side-view water section. Send a Bombfish (learned earlier in the Bombfish cave) into the cracked blocks to blast them open, then swim down to the bottom-left, where one mass sits beside a jellyfish in an electric bubble. Swim back up and work right along the surface; the last mass waits by the right-hand ladder; enemies near the surface can chew through your hearts here, so take it carefully. With all five found, Tri mends the rift. Dradd and the child’s papa are back on the riverbank; the papa is badly shaken until Kushara calms him with her harp, then the two chiefs head off together, Dradd promising to thank you properly later. Much later, the village’s Zora child who can’t swim starts the side quest The Zora Child’s Fate; its reward, the Zora Scale accessory, is worth the detour.


Rampage in Zora Cove
Back in Zora Cove, the Rampage in Zora Cove quest takes you to a small rocky islet where Dradd is straining against a pile of rubble. His son and Chief Kushara are both trapped in the cave behind it. Don’t bother helping him push; dive into the water beside the islet and swim around its base to find an underwater opening. It leads into a small chamber with a hatch, and a ladder down into the flooded cave.

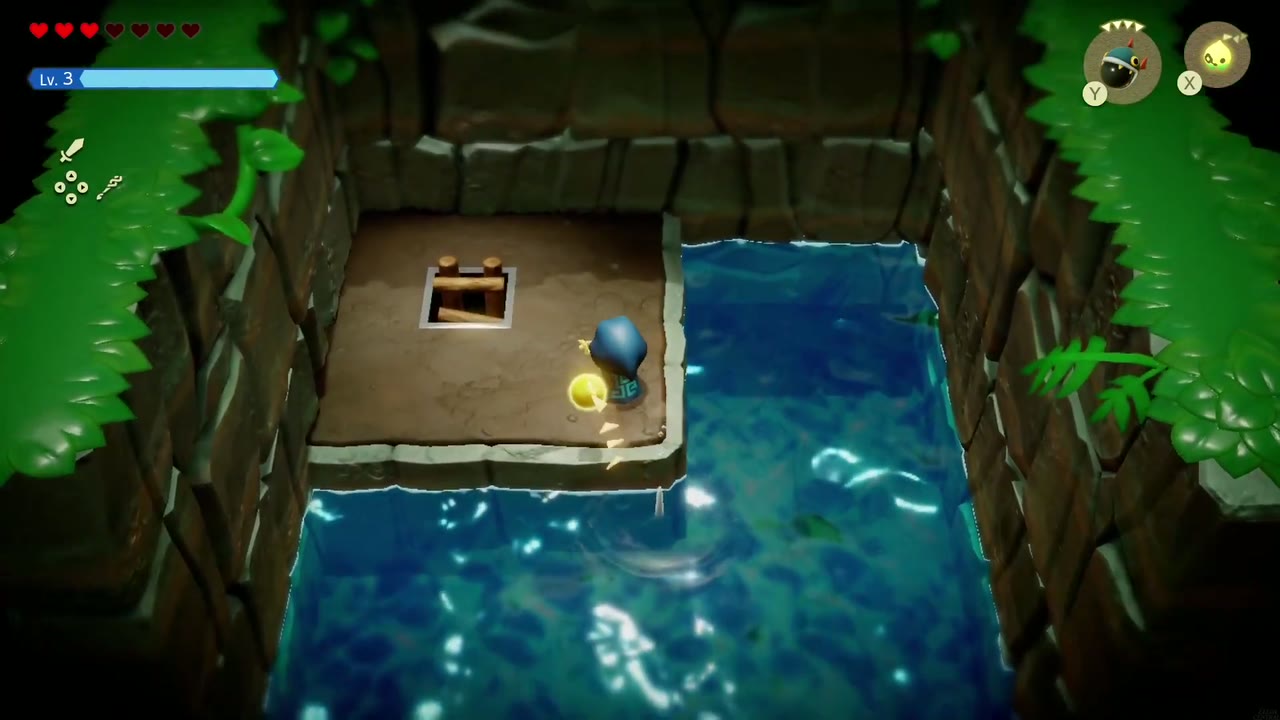
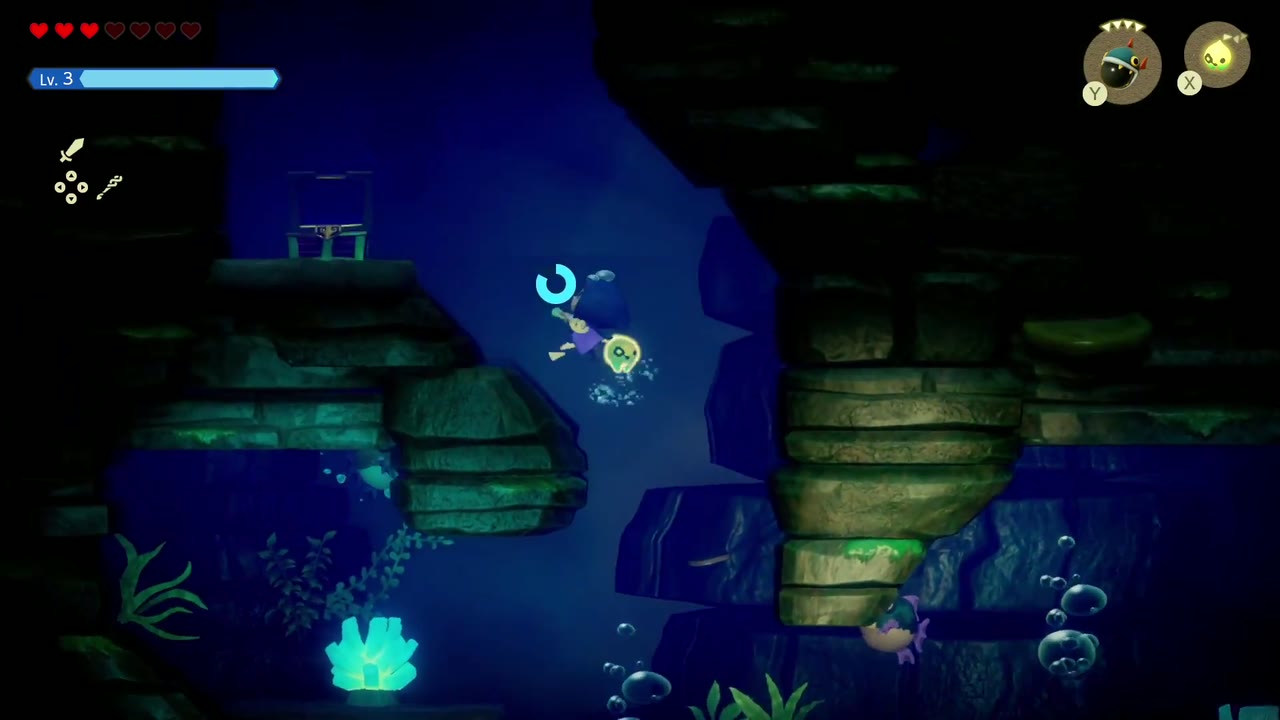
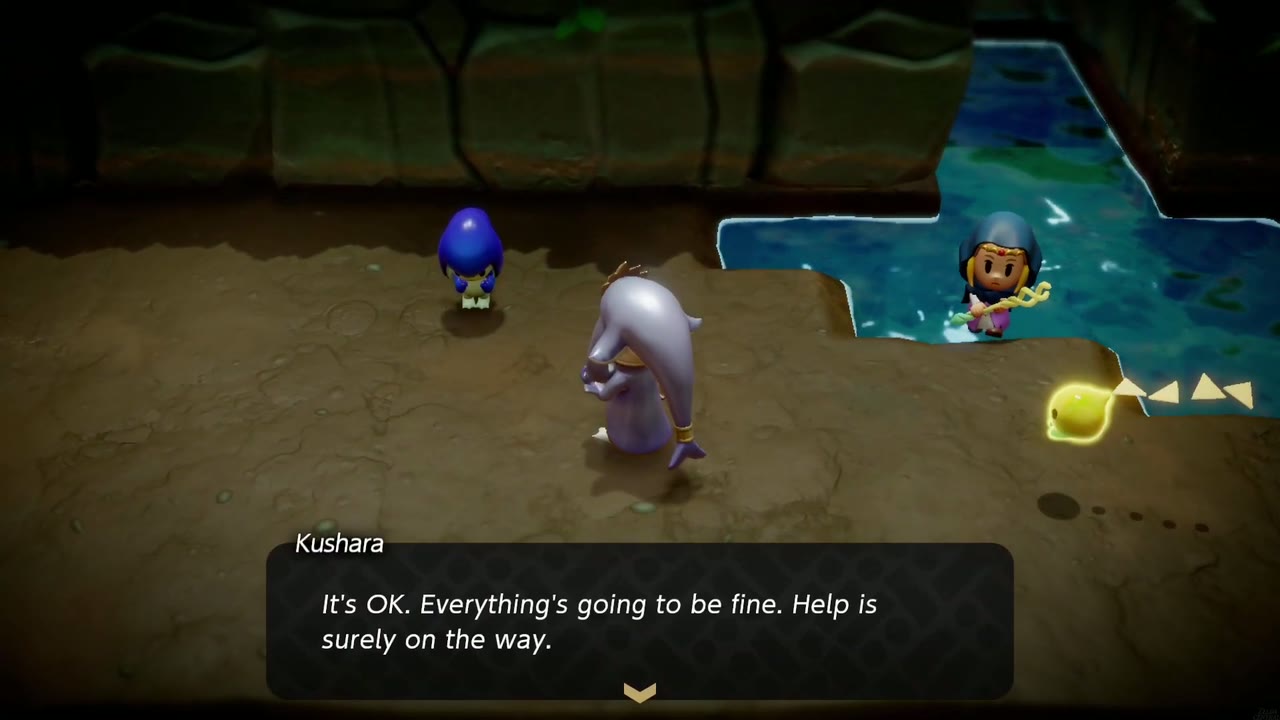
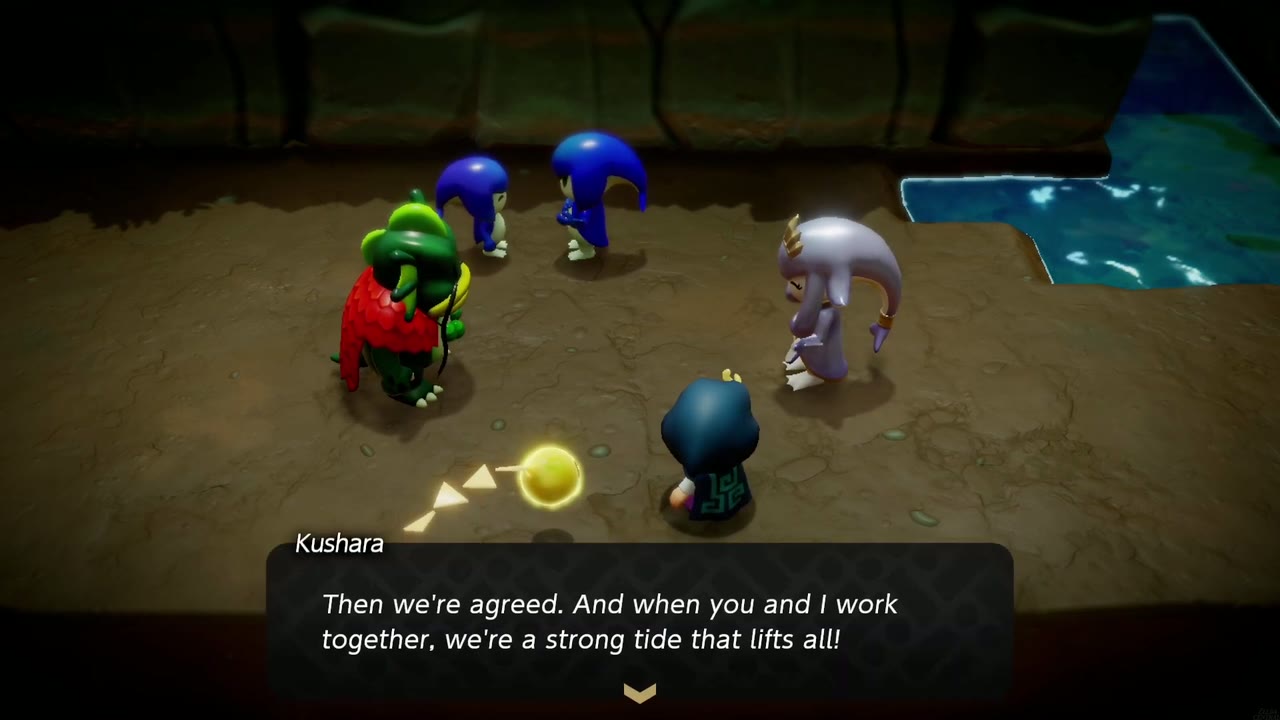
The cave is a short, dark side-view swim lit only by patches of glowing coral, with a few sea monsters along the way. Surface at the far end to find Kushara comforting the trapped Zora child. The exit is blocked by a boulder she can’t move, so Bind it and drag it aside. Dradd bursts in at once, the chiefs agree to stop squabbling and work together, and they head off to meet you at Lord Jabu-Jabu’s den.

Lord Jabu-Jabu’s Den and the Miniboss
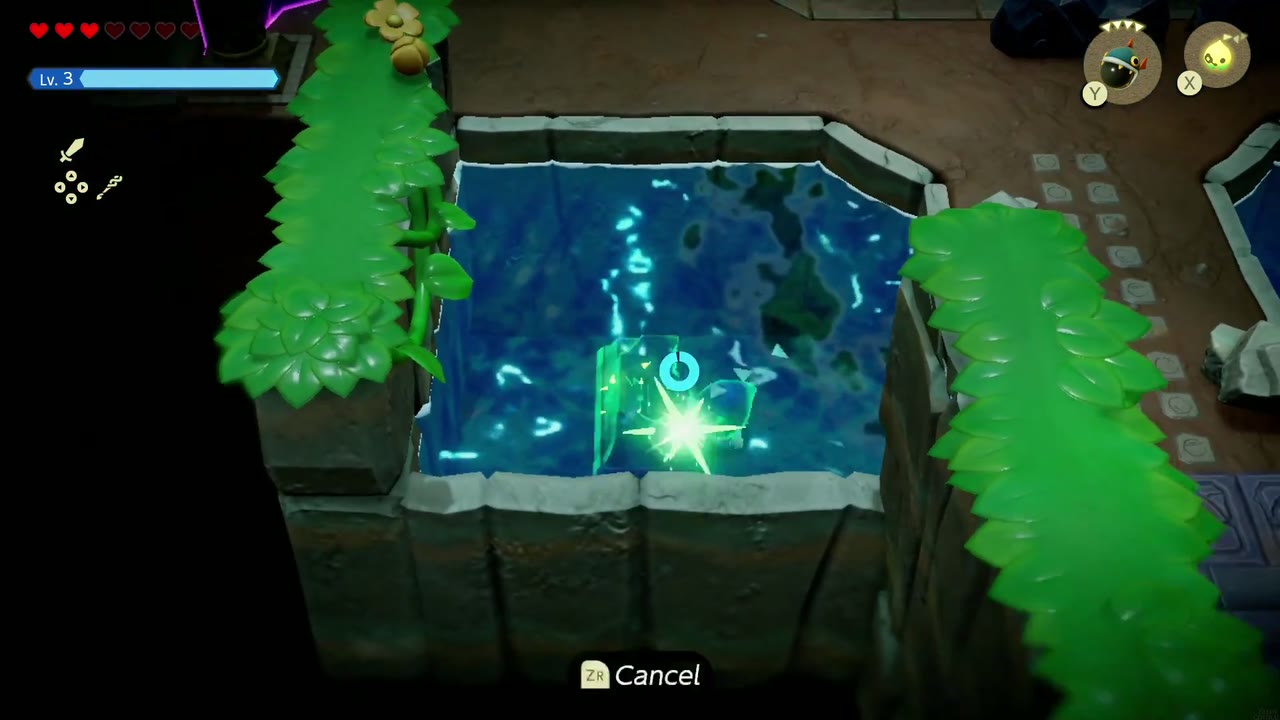
Make your way to Lord Jabu-Jabu’s Den, where the chiefs are waiting by the door. They normally open it by performing on the two altars, but both altars are buried in blue rubble, and Jabu-Jabu has broken the left one. Bind the rubble and drag it off both altars. The missing piece of the left altar is in the left pool beside the entrance stairs, so dive in, Bind it, and drag it back up onto the broken altar.

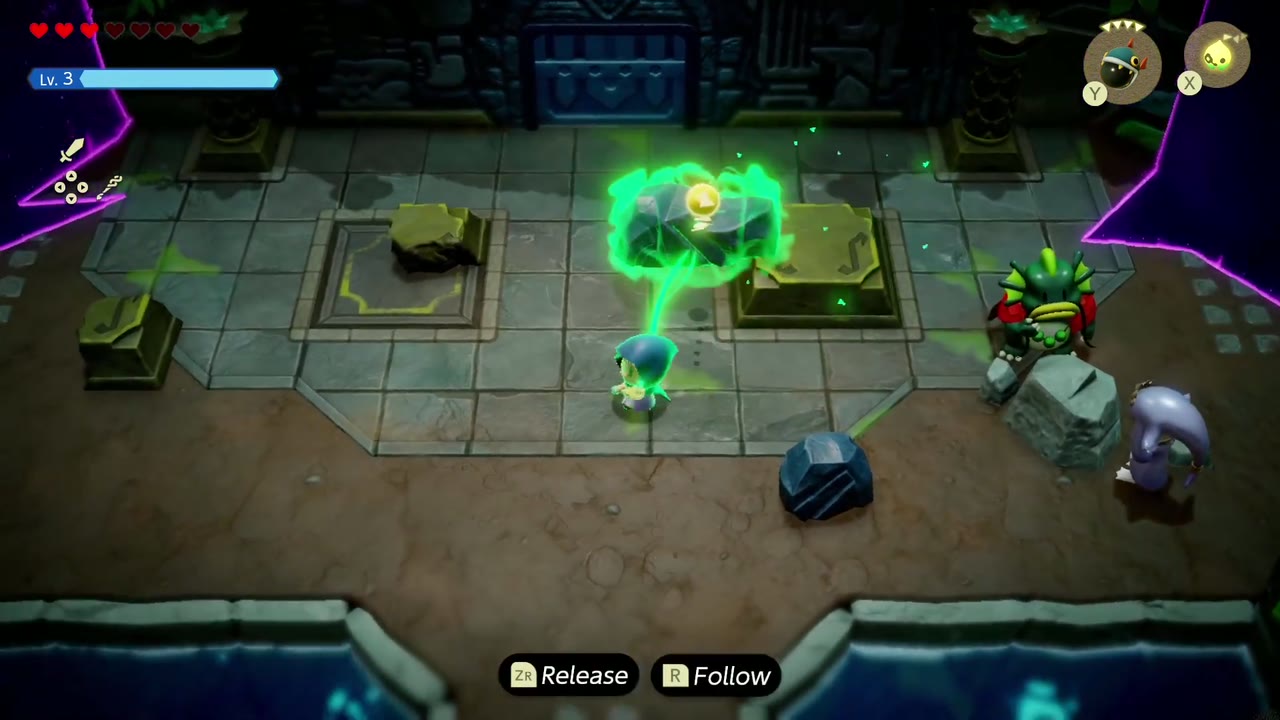
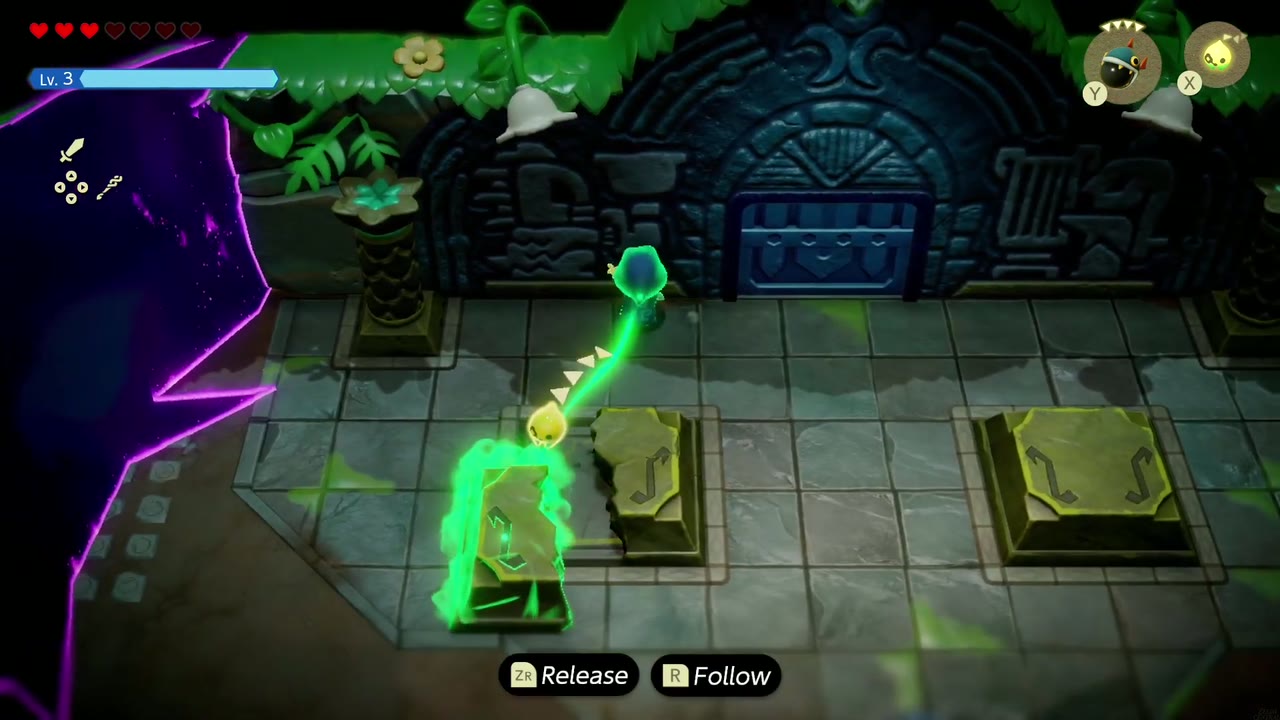
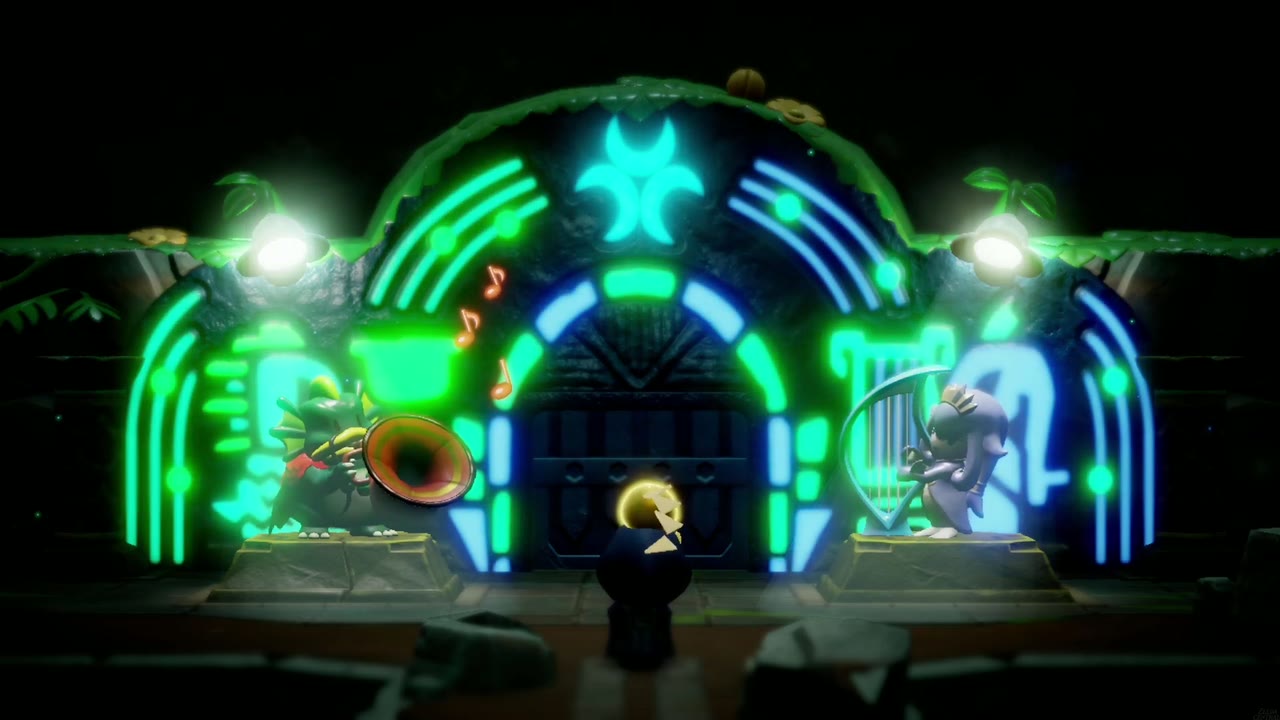
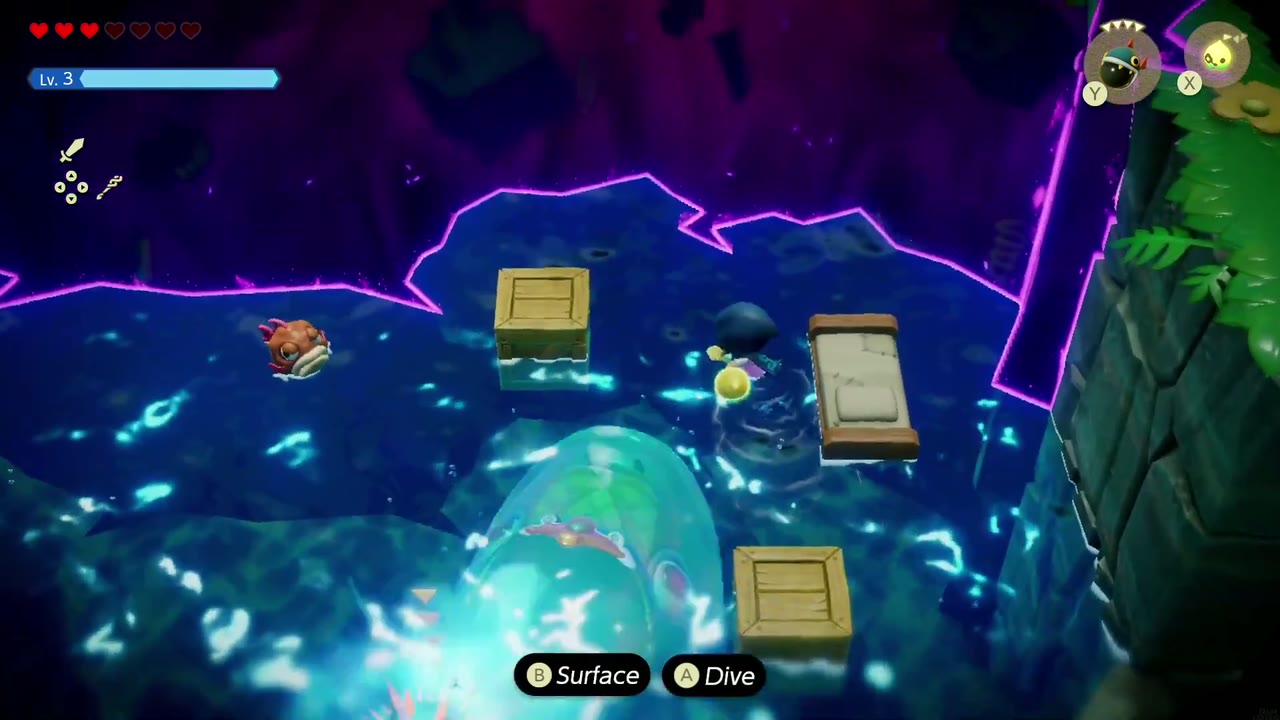
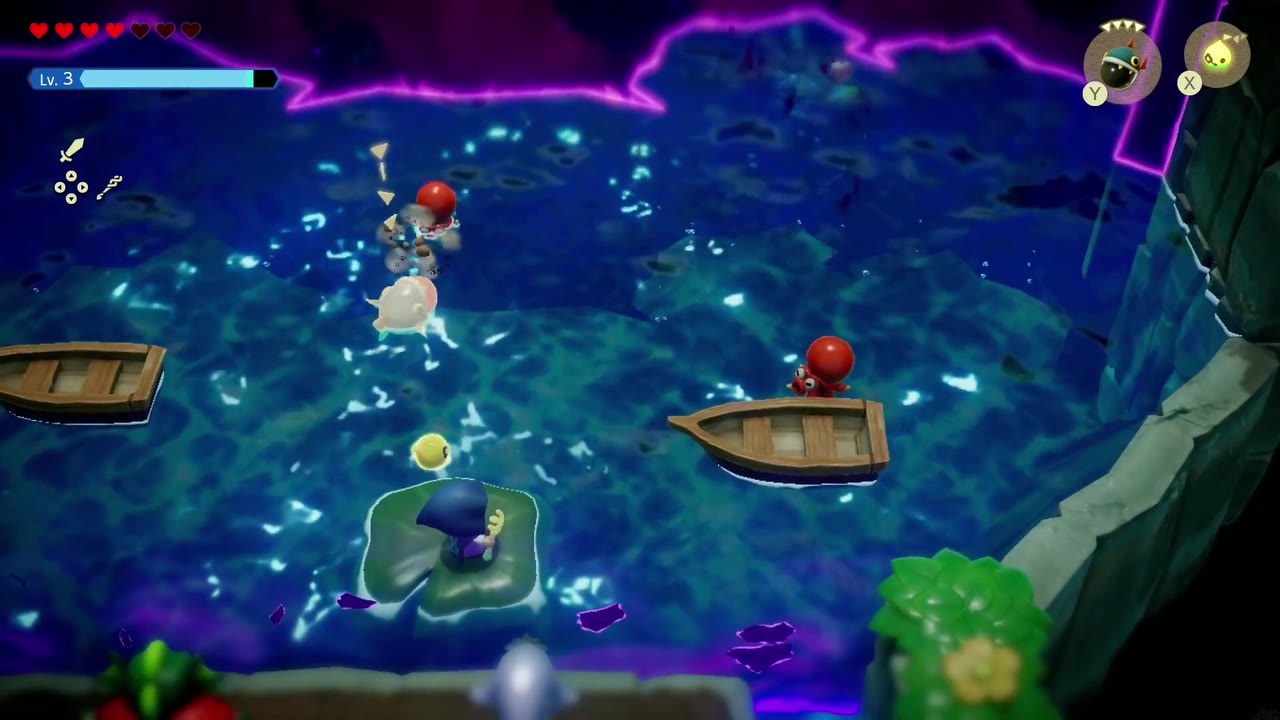
With the altars fixed, Dradd and Kushara play together, the door lights up and opens, and everyone heads in. Jabu-Jabu is waiting in a pool ringed by the rift, and Tri realizes it must be another impostor from the rift. She can open a way into the rift behind it, but only once the creature is out of the way, so you jump in to fight the impostor Lord Jabu-Jabu. The arena is a big pool scattered with rowboats, crates and lily pads, with Octoroks on some of the boats.


Jabu-Jabu spends most of the fight lunging and charging through the pool, so keep swimming to dodge it. Your opening comes when it stops at the far end and starts sucking in everything, dragging boats, crates and you toward its mouth. Drop a Bombfish into the current and let it get inhaled. The explosion dazes Jabu-Jabu with its head out of the water, so switch to Swordfighter Form and swim in to slash at it. Repeat the feed-and-punish loop until it goes down. The real Jabu-Jabu’s swallowed friends, Inawa and Rogma, turn up safe, and Tri can finally open the entrance to the Jabul Waters Rift.

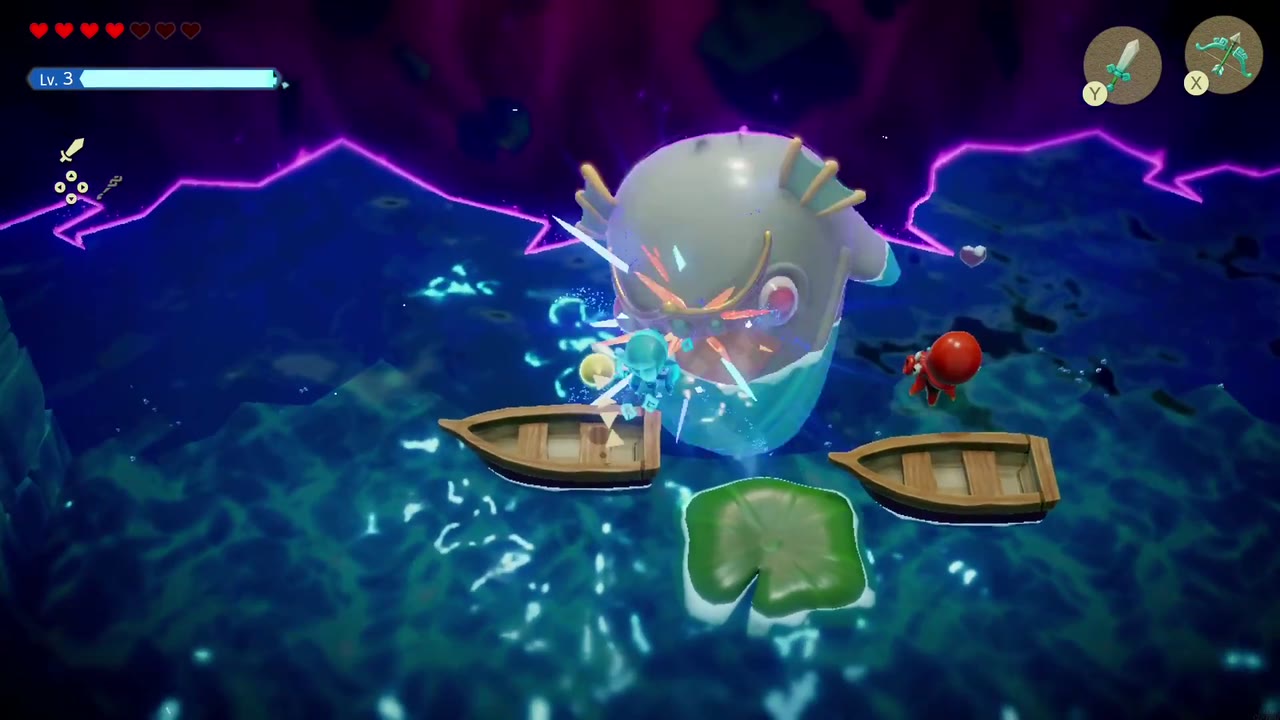
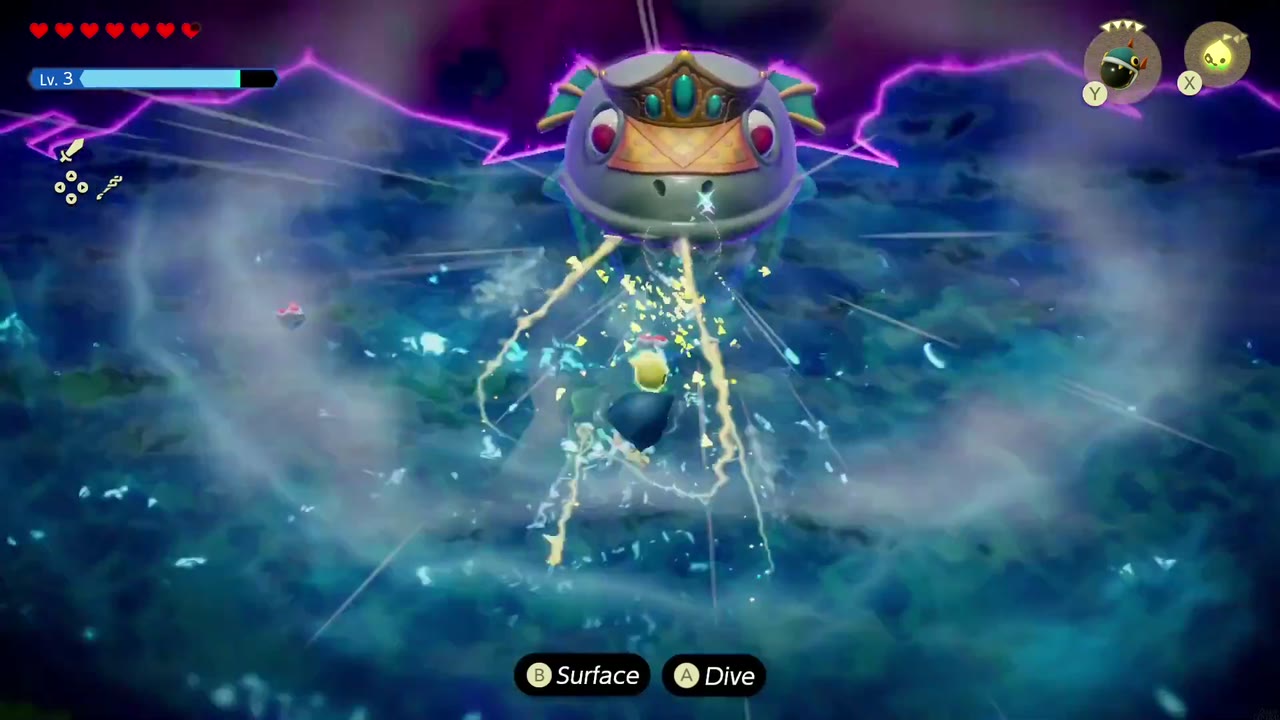
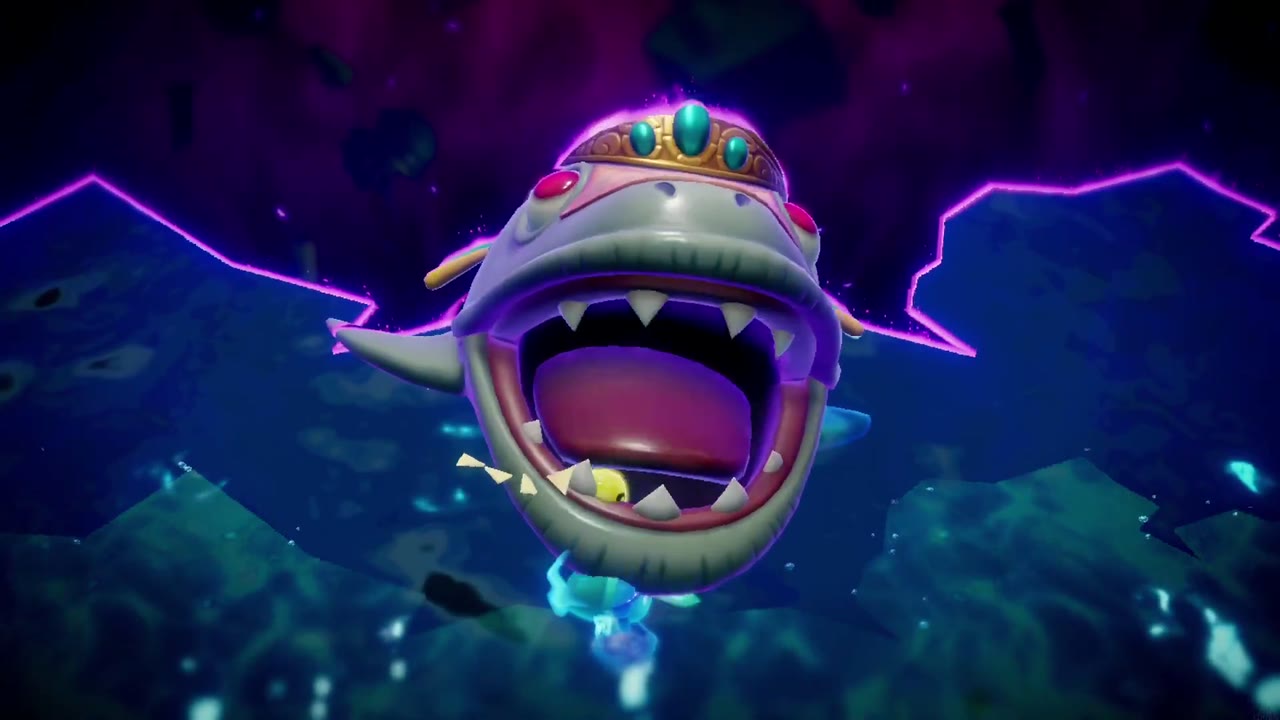
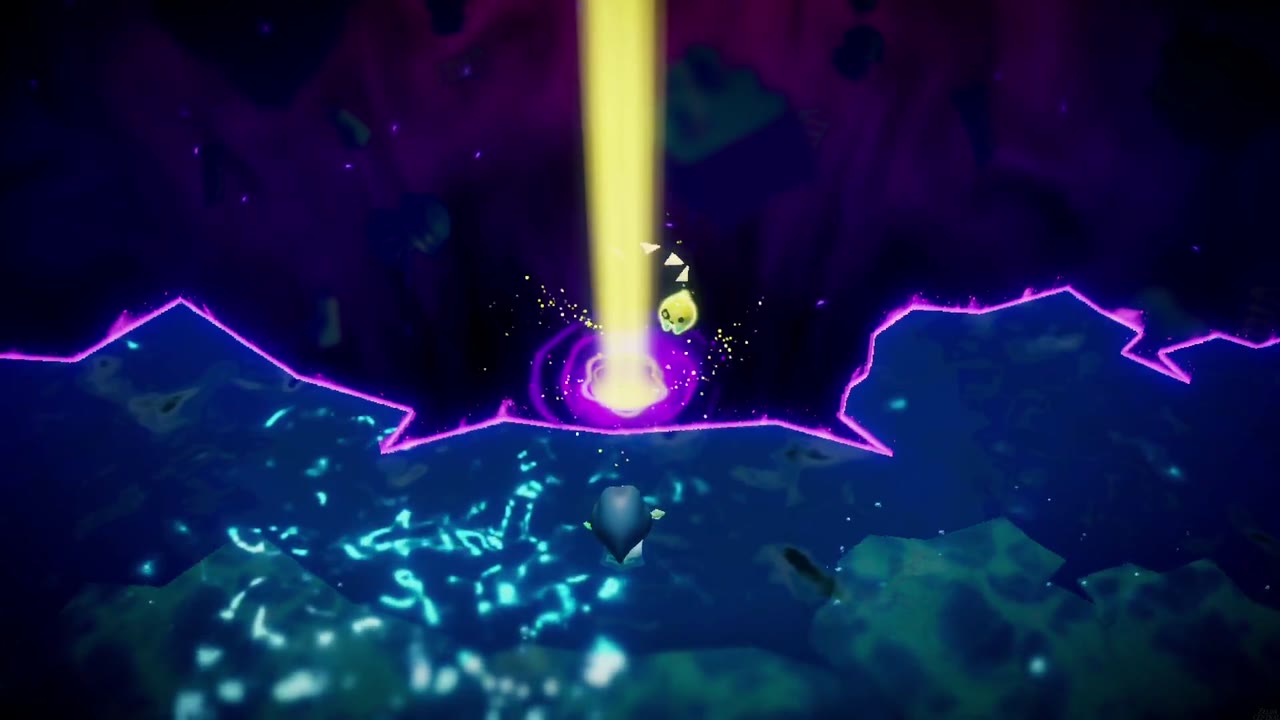
Grab these first: the Chompfin echo from the Zora Cove waters and the Bombfish echo from the Bombfish cave in Jabul Waters, plus Zora’s Flippers (350 rupees from the River Zora Village shop) for faster swimming. The Bombfish is the key to the Jabu-Jabu fight, and you’ll use both echoes constantly in Jabul Ruins.
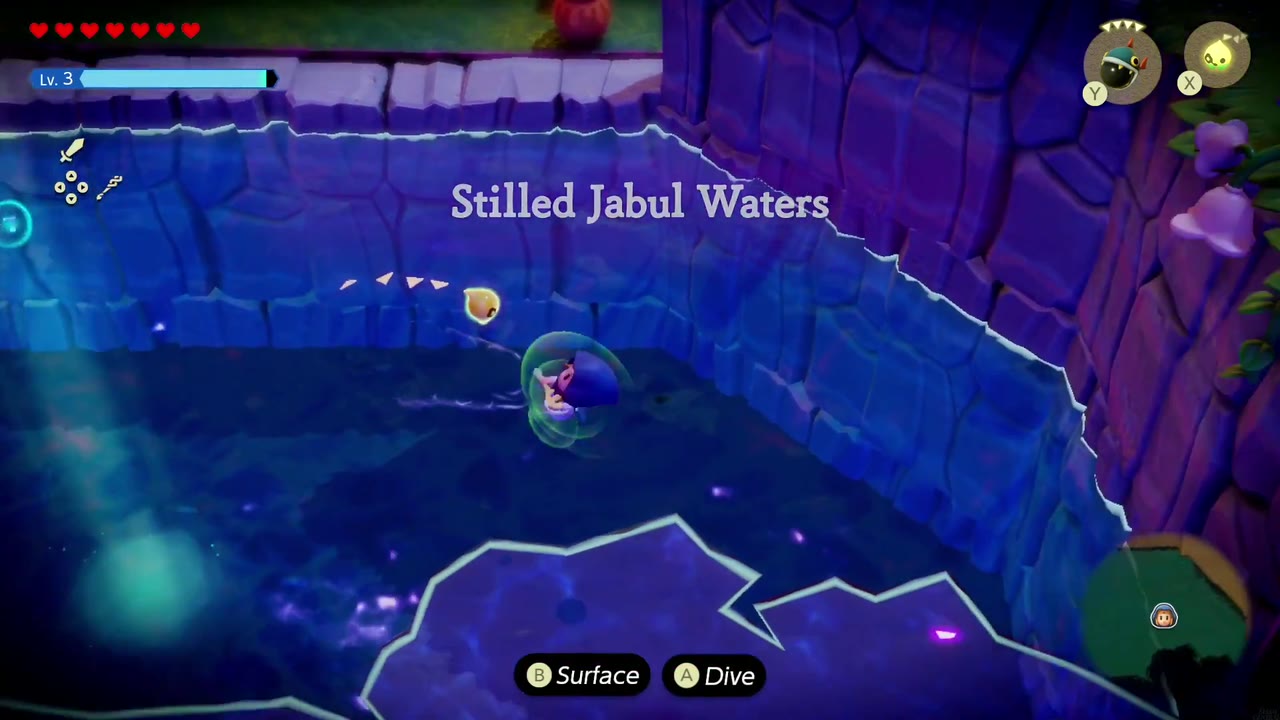
Stilled Jabul Waters
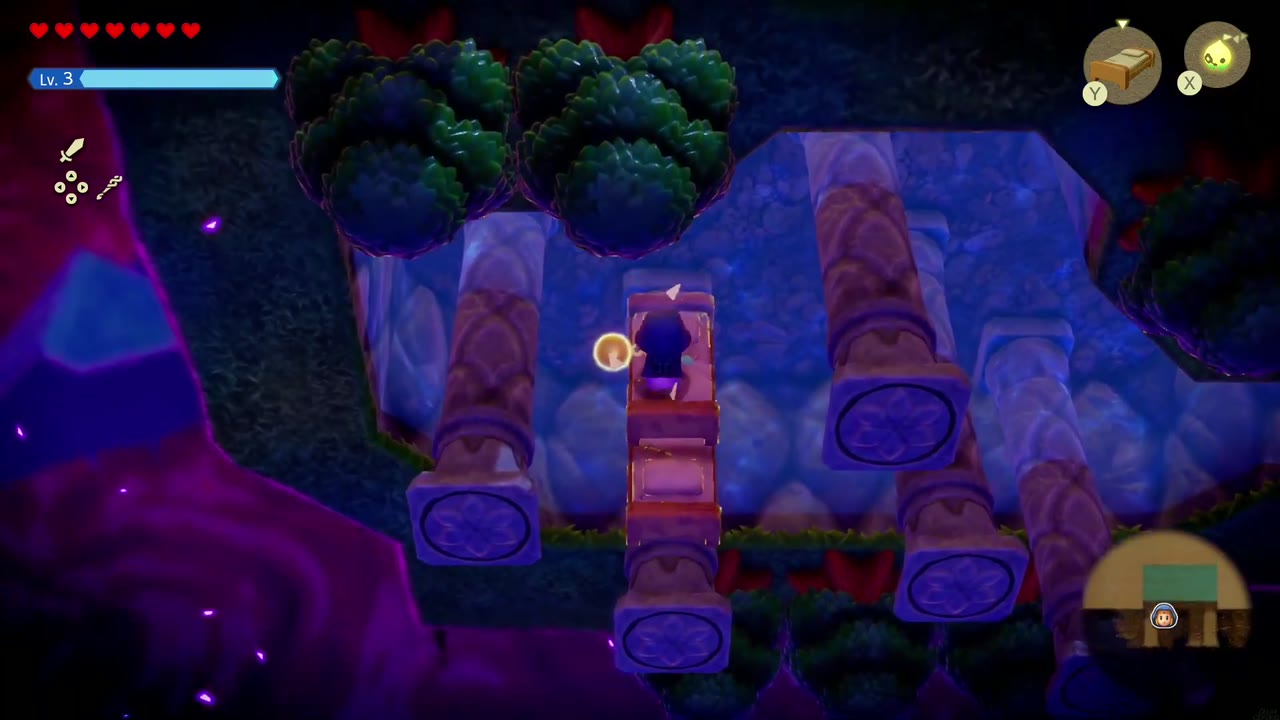
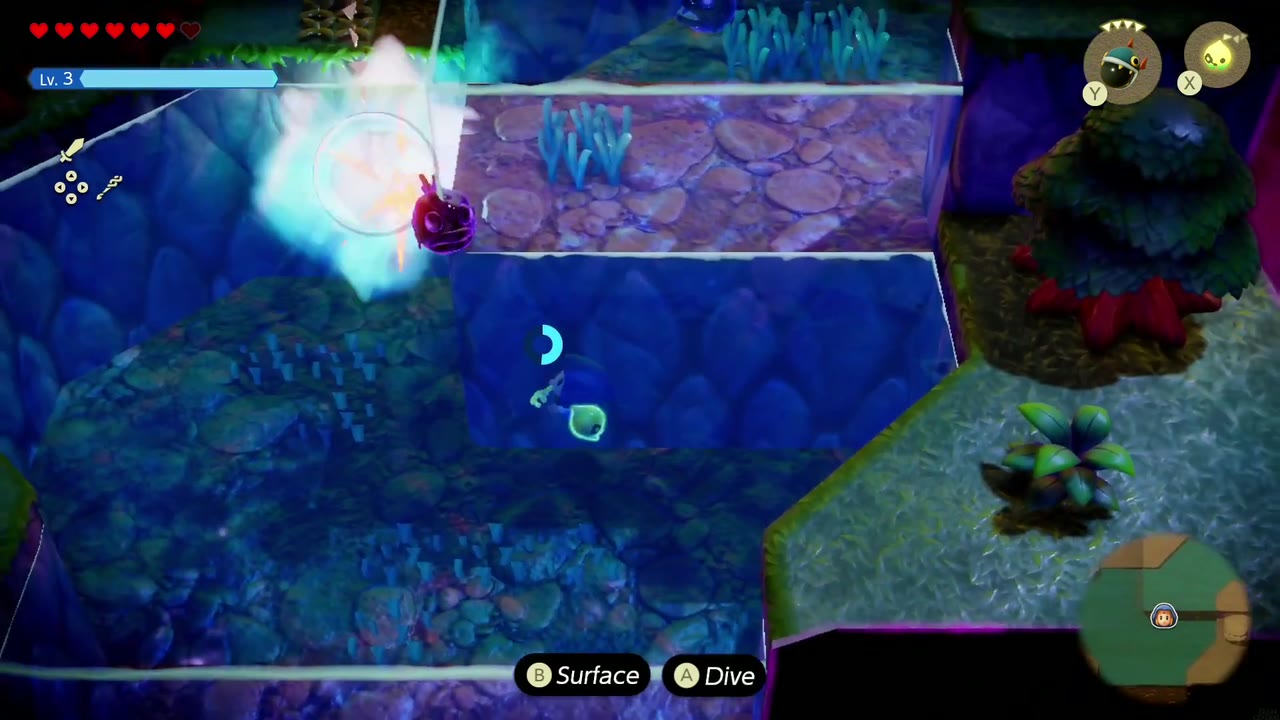
Inside the rift, swim north out of the entry pool and climb onto the grassy ledge, then head right over the small floating islands and their wooden bridges. In the chamber of stone pillars, lay Old Beds between the pillars as steps to climb across. Beyond it, swim through a chain of pools, fighting the enemies in the water, until you reach a ledge set between two floating water cubes. Those are the Water Block echo; learn it here, because it’s one of the best echoes in the game and this rift runs on it.
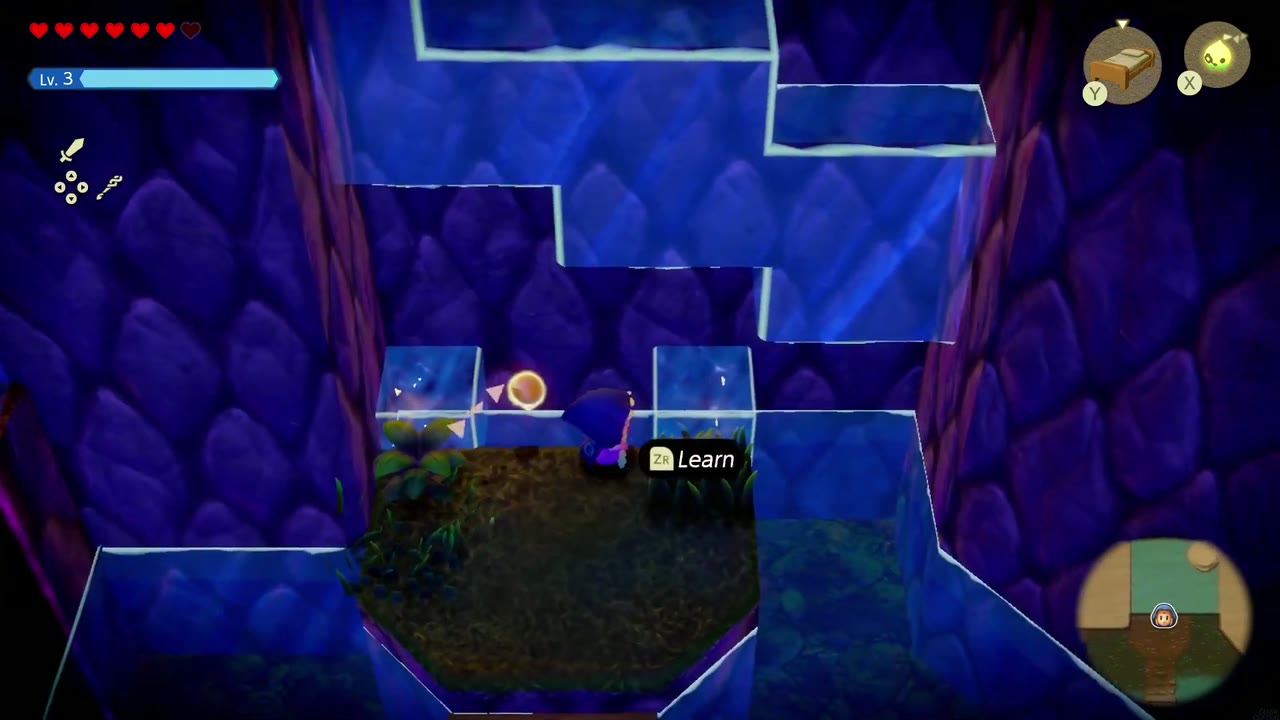
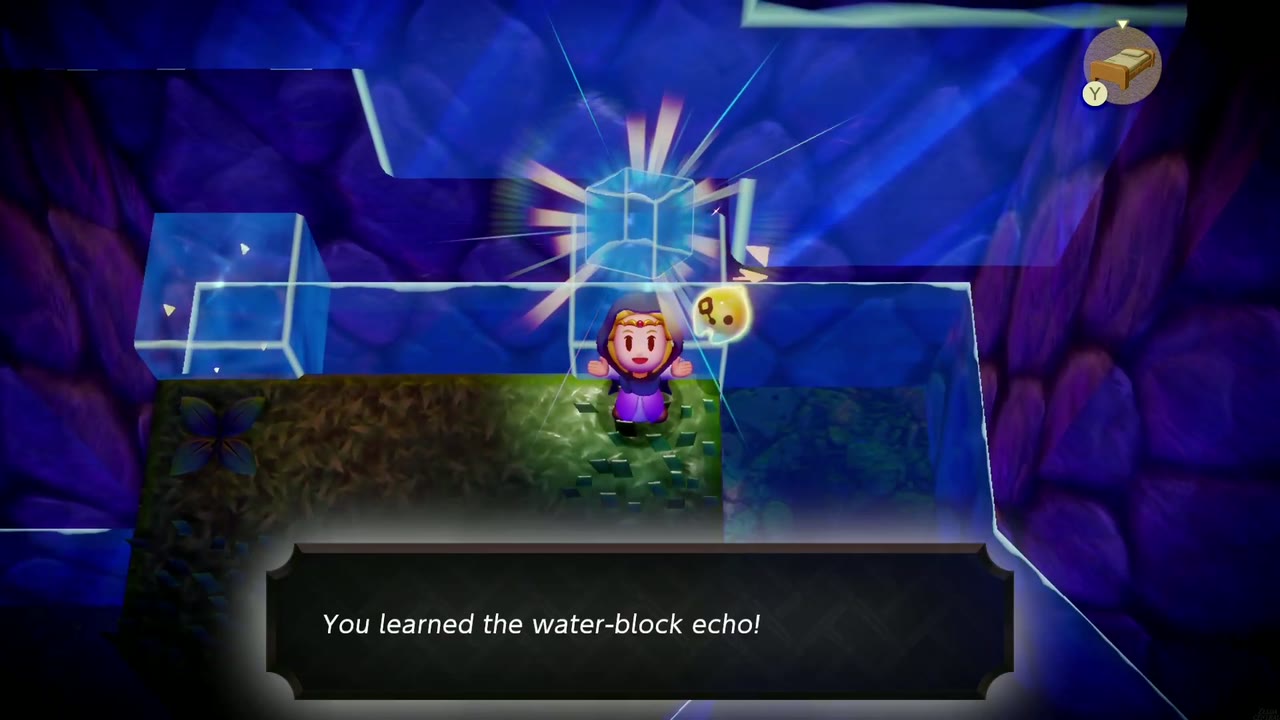
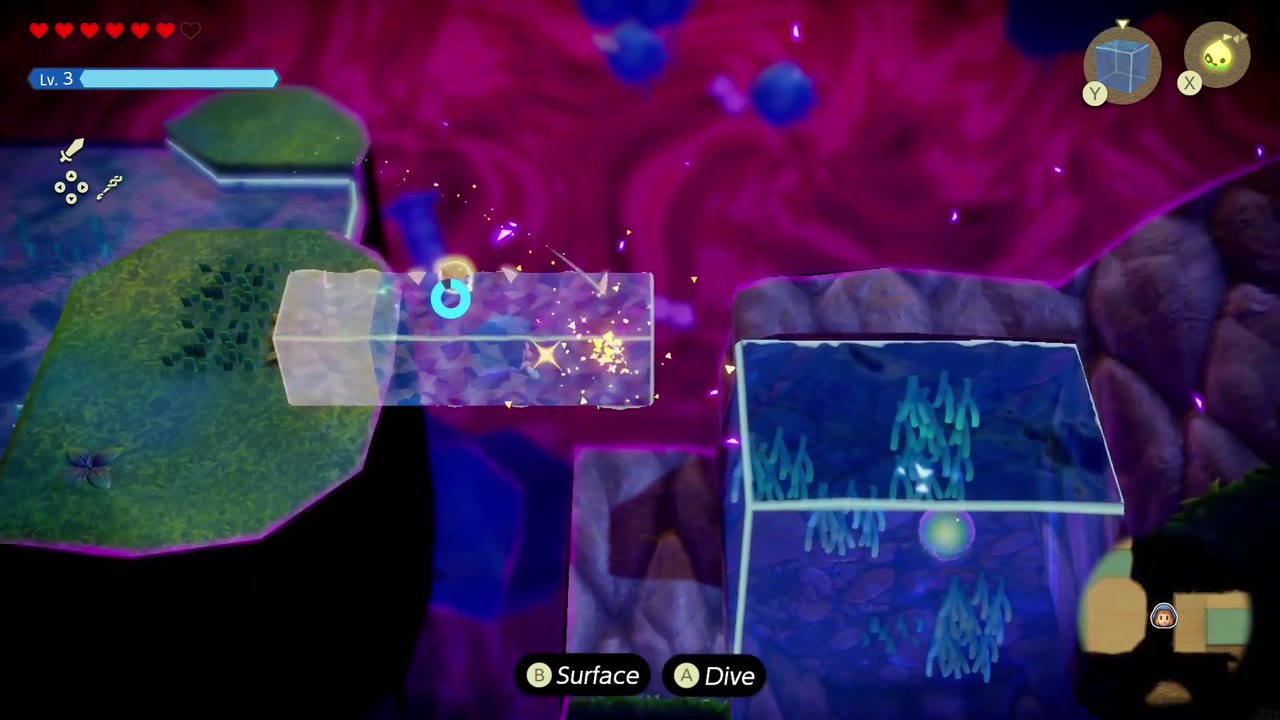
Water Blocks make swimming bridges and staircases anywhere you need them. Right away a stepped wall of water blocks your way: fill its gaps with Water Blocks and swim straight up to the grassy island at the top. From there, keep building: stack blocks on a stilled boat drifting in the void to reach the next pool, raise a column of blocks to swim up between floating stone pillars, and lay a block bridge across to the next wall.
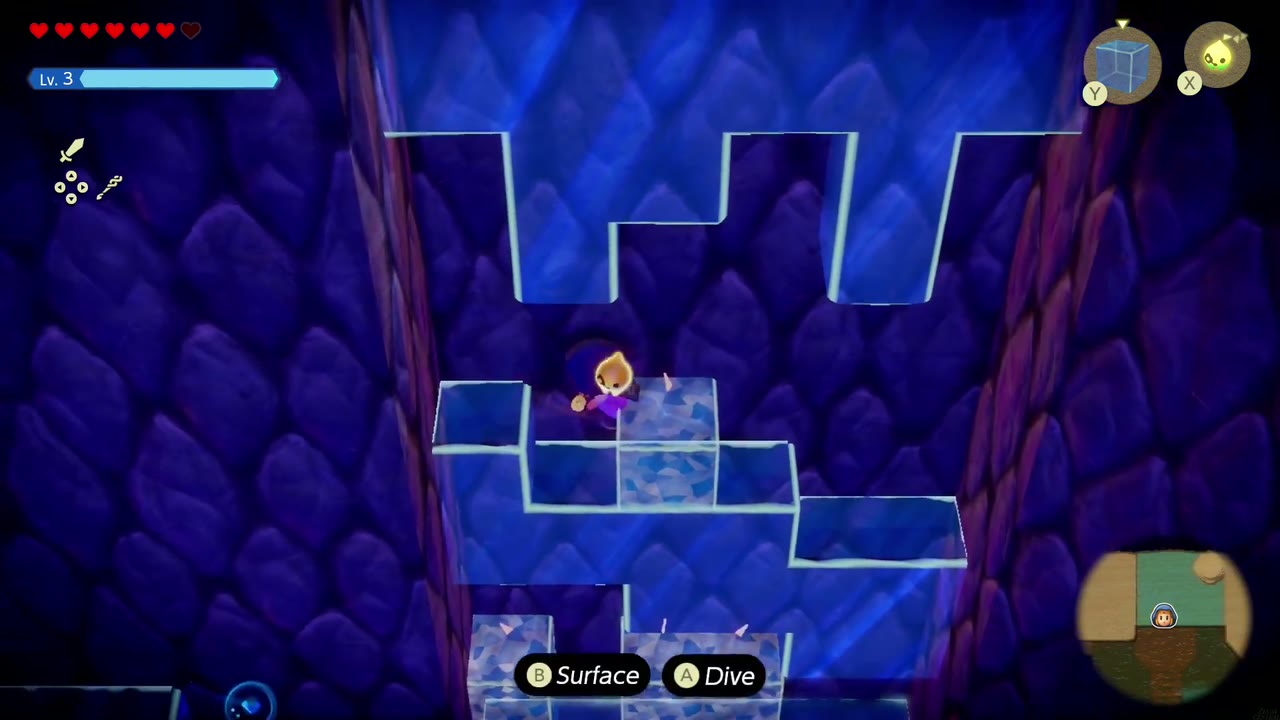

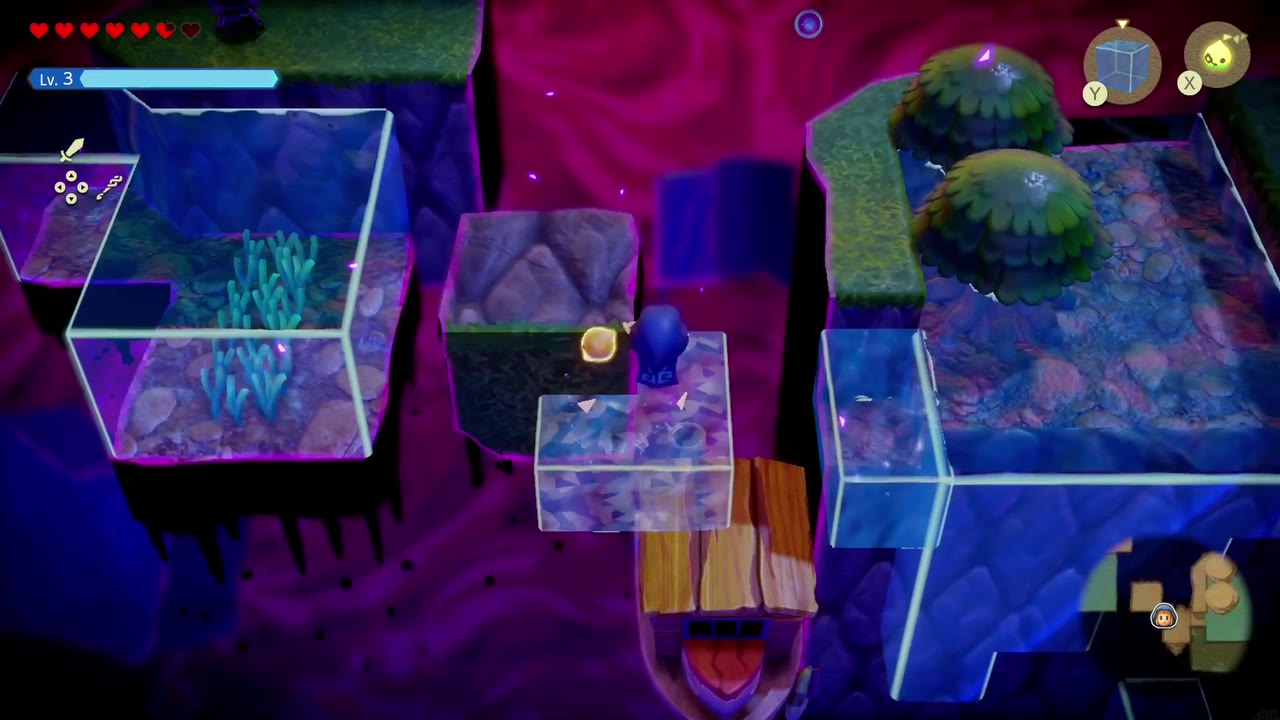
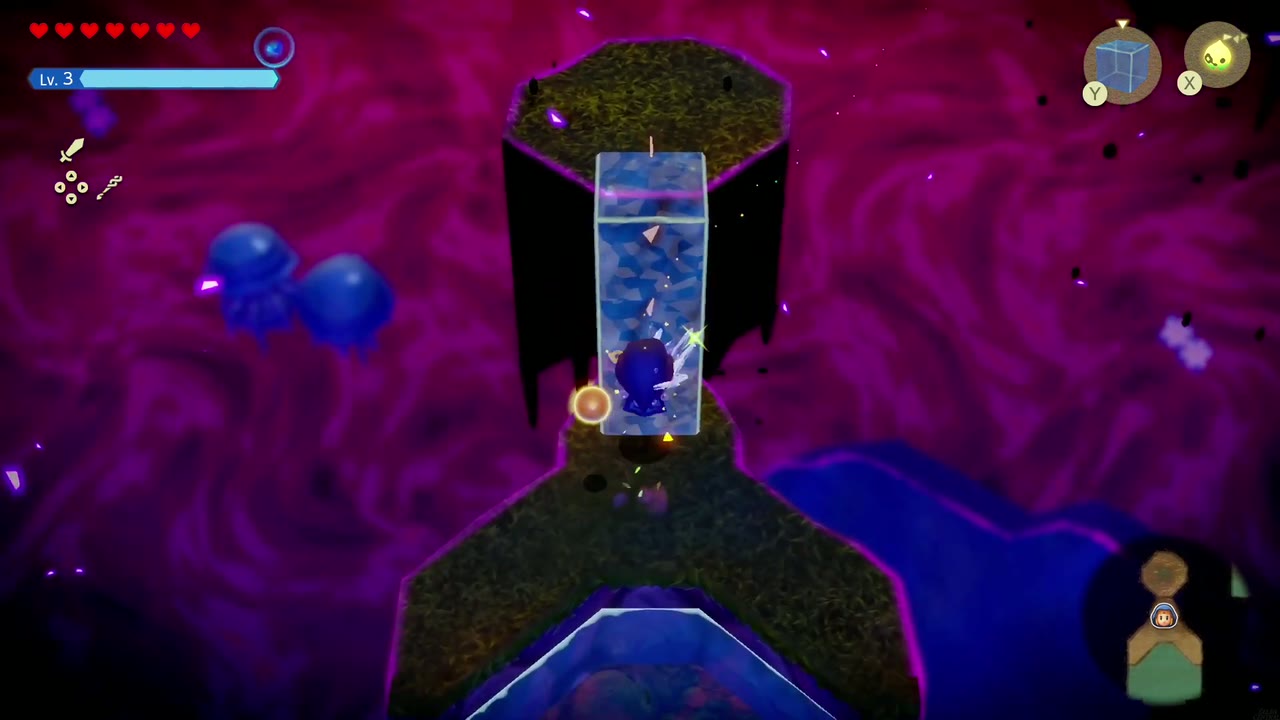
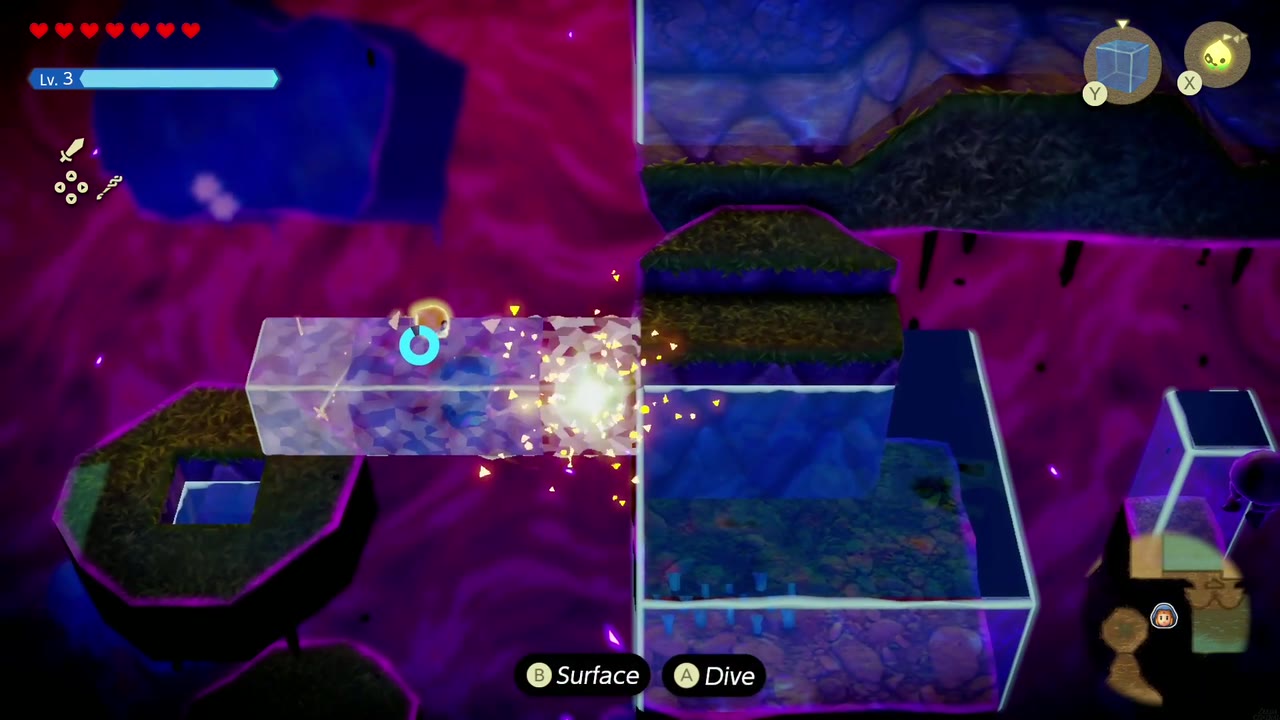
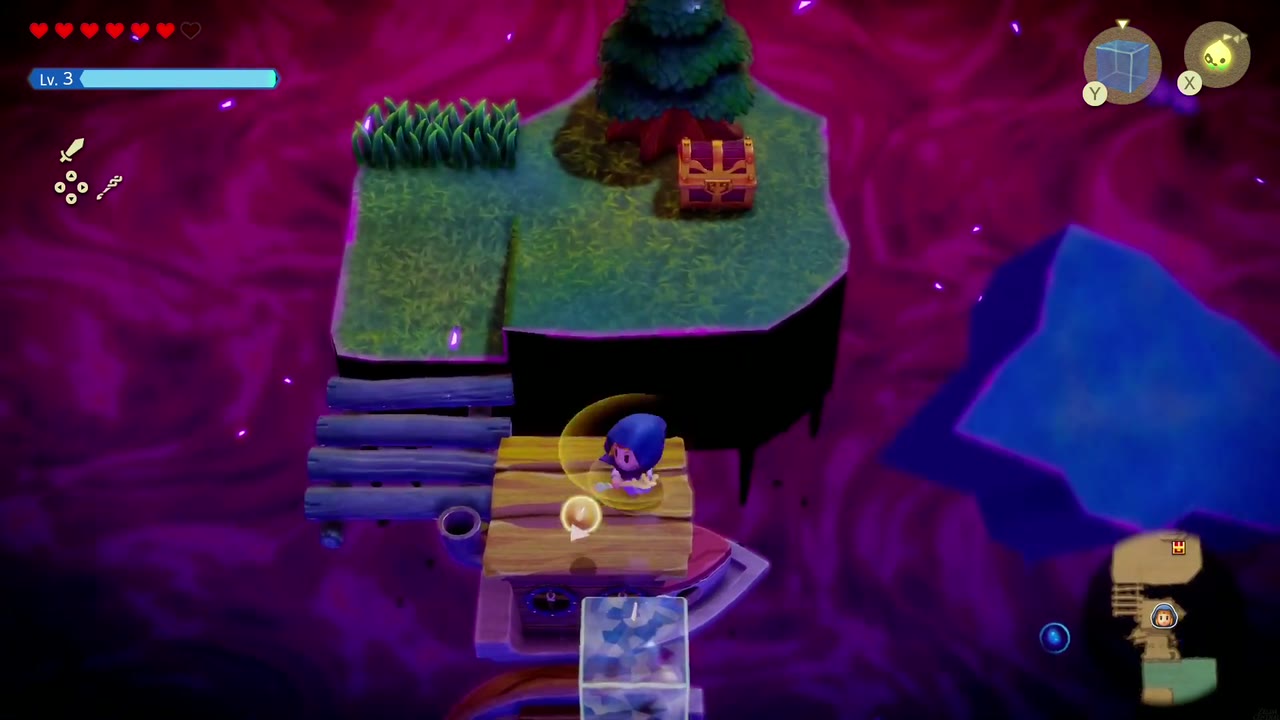
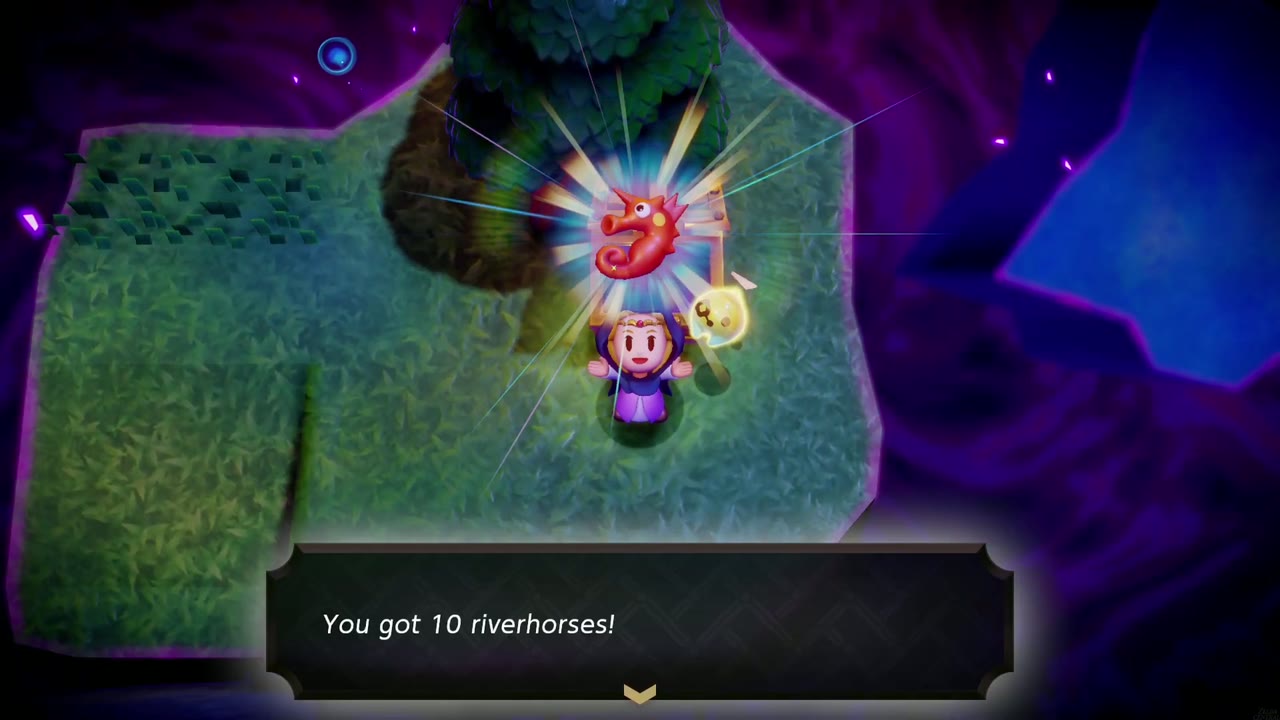
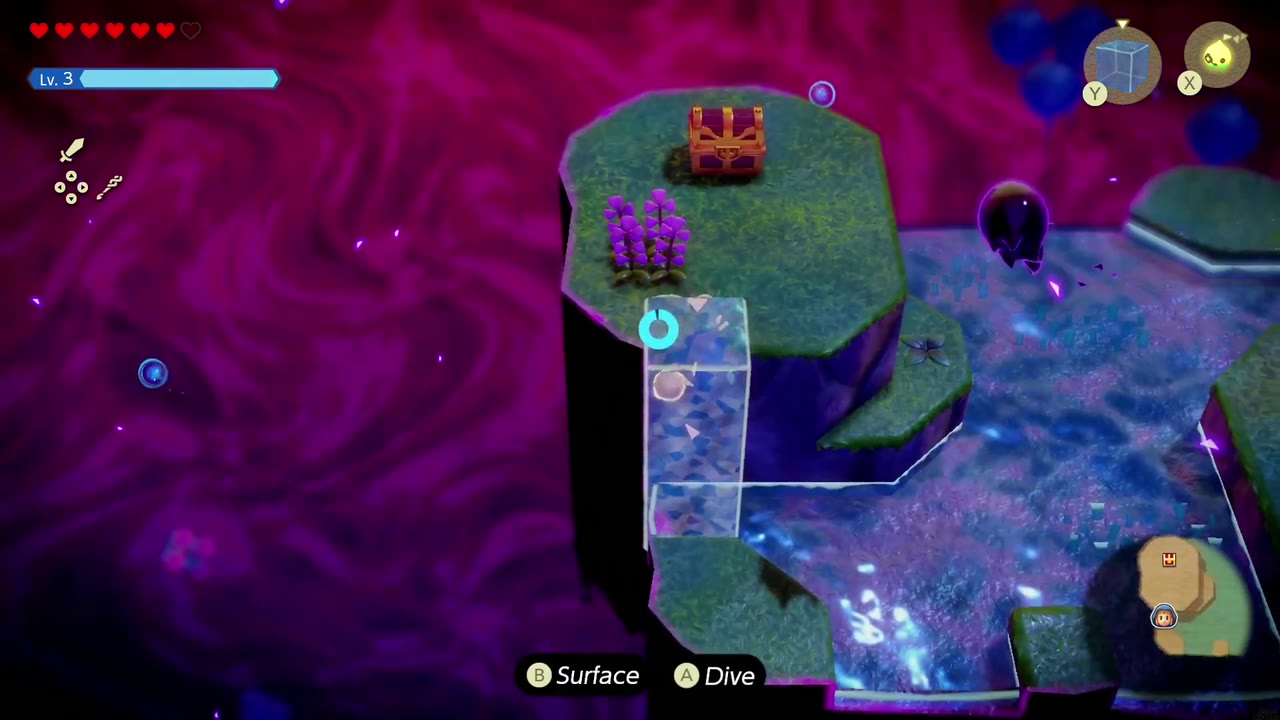
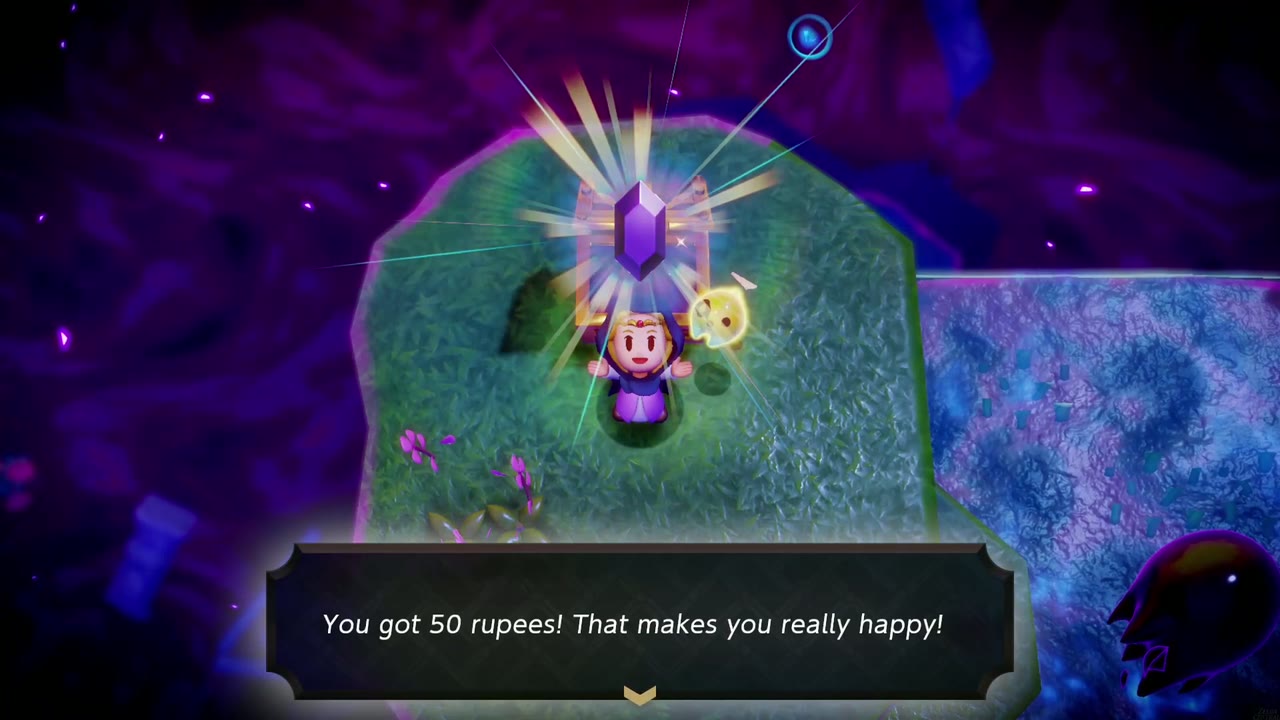
Follow the rock ledge to the right, building Water Blocks past the electric orbs that drift in the water, until you reach a tower of stacked, stilled boats. Climb the boats to the island beside them for a chest holding 10 Riverhorses. Head back left, swim through the tree-lined pools and work your way up the cliffs with more Water Blocks; a chest on a small island near the top holds 50 rupees.
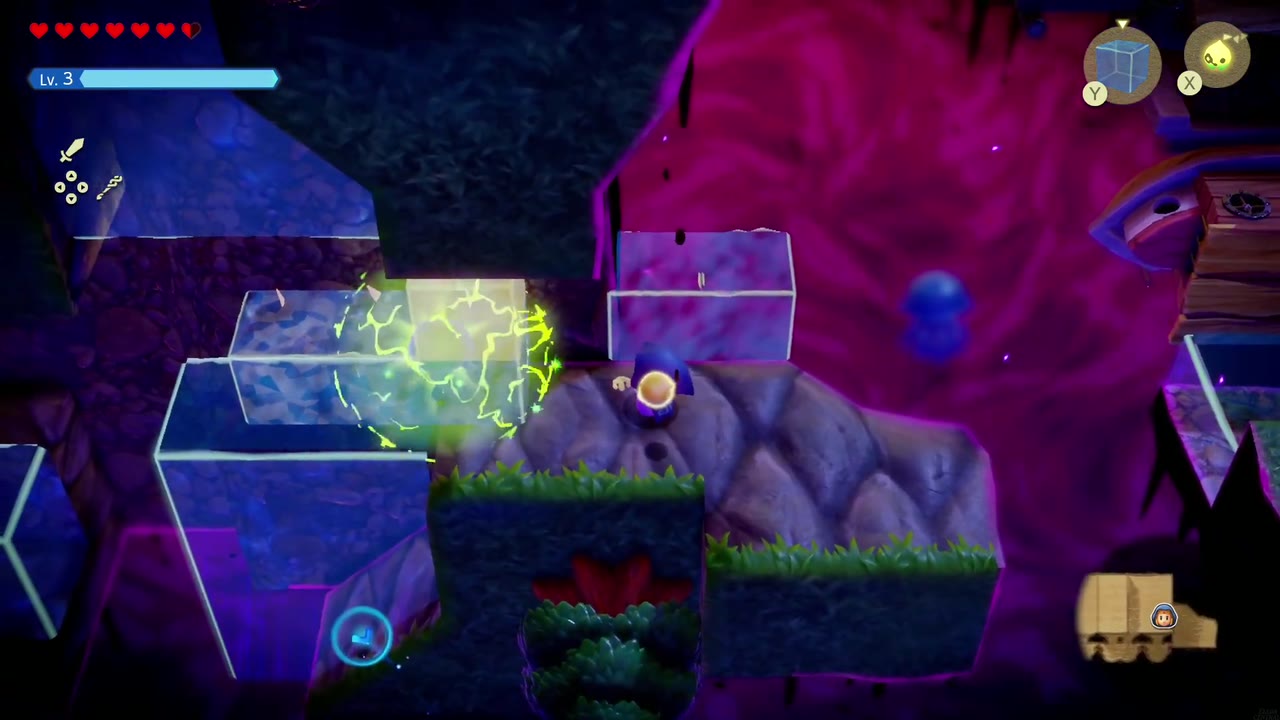
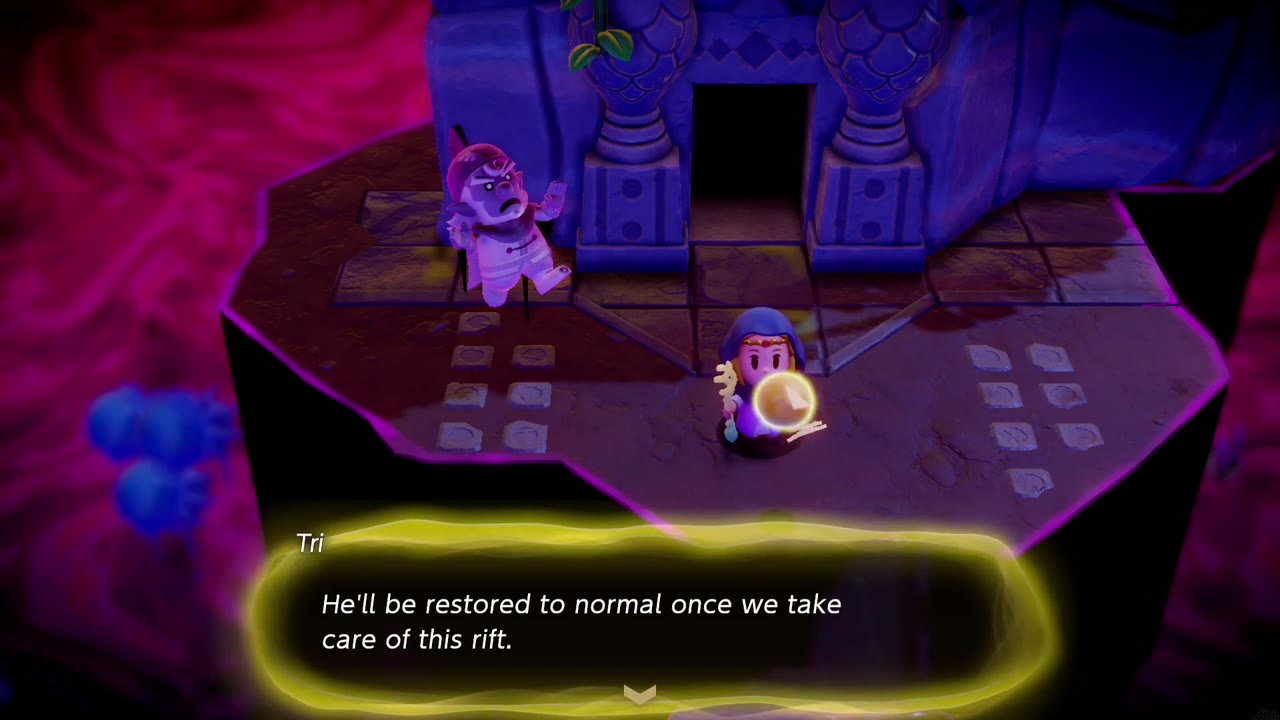
From there, bridge across with Water Blocks and climb the rock wall to find Lord Jabu-Jabu himself, stilled mid-rampage. Walk straight across his frozen body to the platform at the entrance of Jabul Ruins, where a stilled Zora stands by the door; Tri says he’ll be restored once the rift is dealt with.

Jabul Ruins Dungeon

Next: the dungeon has its own page, Jabul Ruins, from the entrance to the Vocavor boss fight. The collectibles below cover the whole region.
Jabul Waters Collectibles
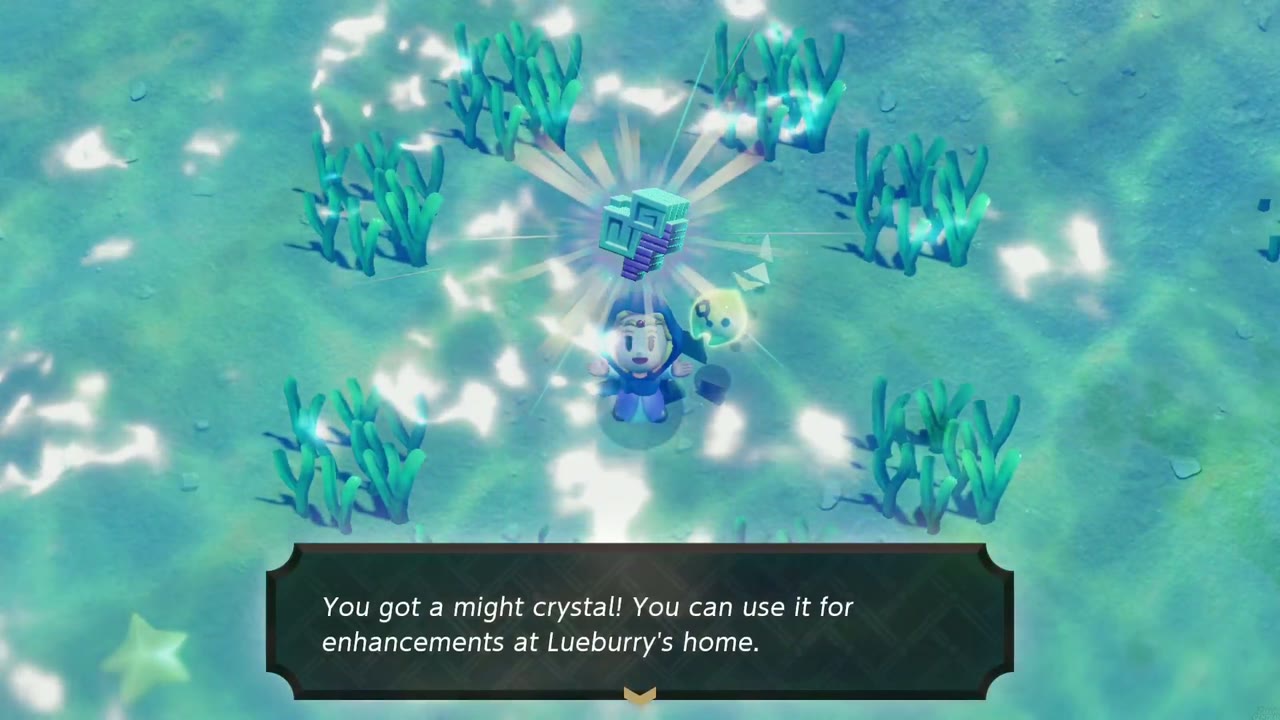
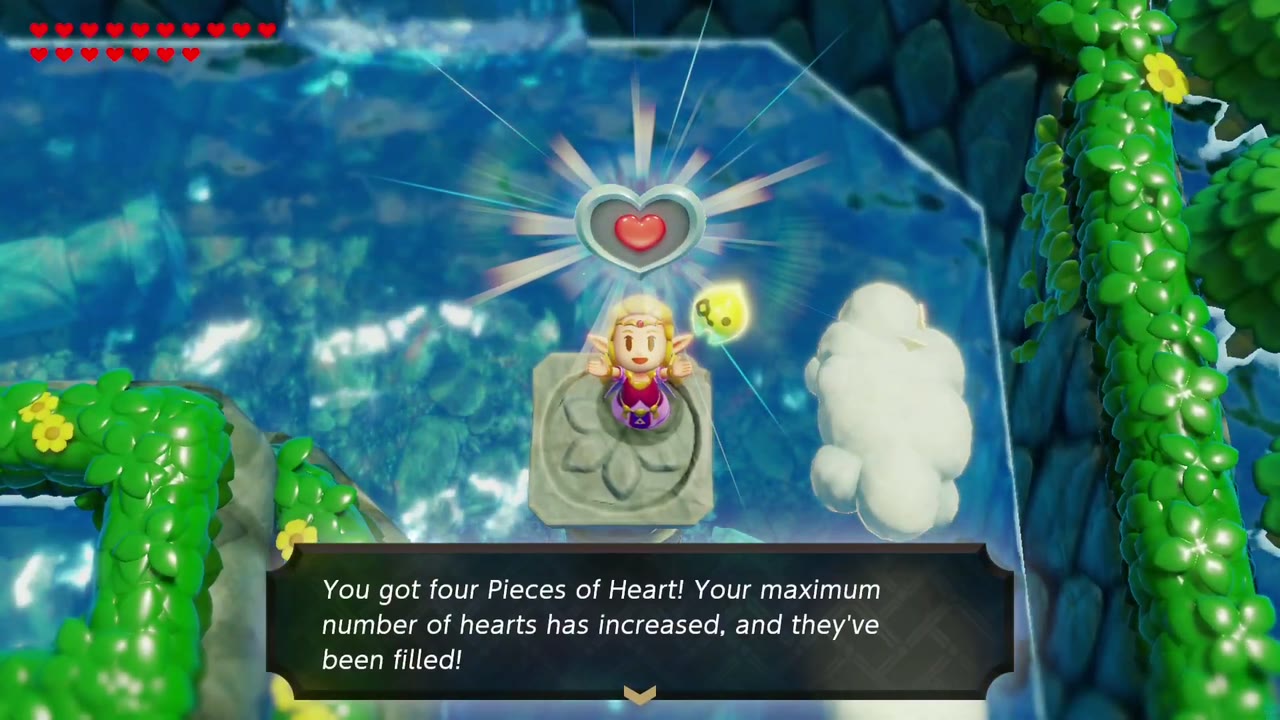
Four Pieces of Heart in Jabul Waters are free-roaming finds: three along the story route (a cave in Zora Cove, a waterfall pool on Zora River, and one under a cracked rock on the Zora Cove seabed) and one on a river pillar that needs an echo you get much later. The Zappy Shipwreck adds a fifth, along with a Fairy Bottle, and there are Stamp Stands along the river too. The useful shop accessory is Zora’s Flippers (Swim Speed Up), sold for 350 rupees at the River Zora Village shop. Old Bed echoes do most of the climbing here.

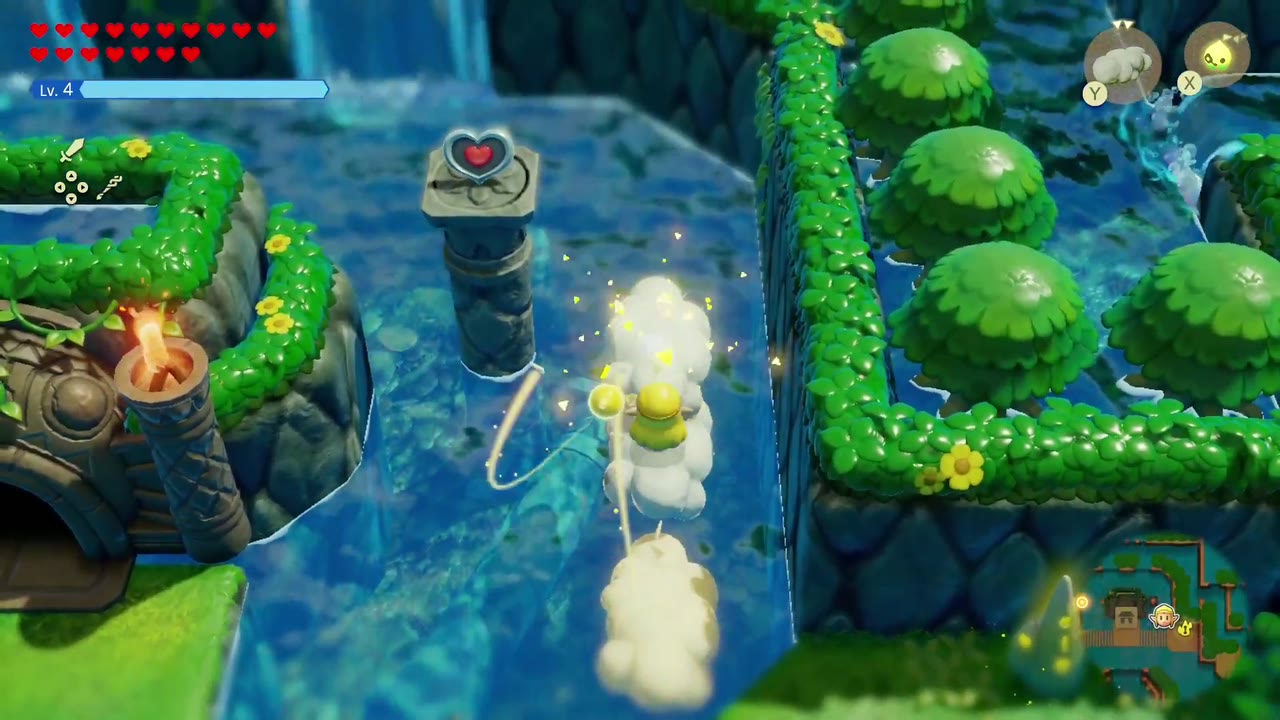
Piece of Heart 1: the pillar beside Jabu-Jabu’s den
In the pool right beside Lord Jabu-Jabu’s Den on Zora River, a stone pillar stands in the water with the piece on top. It’s too tall to climb from the water; summon Cloud echoes next to it and hop up them onto the pillar. The Cloud echo comes from Stilled Hebra Mountain, so this one waits until the late-game cleanup \u2014 it’s easy to pick up after the Stilled Ancient Ruins.

Piece of Heart 2: the Zora River waterfall pool
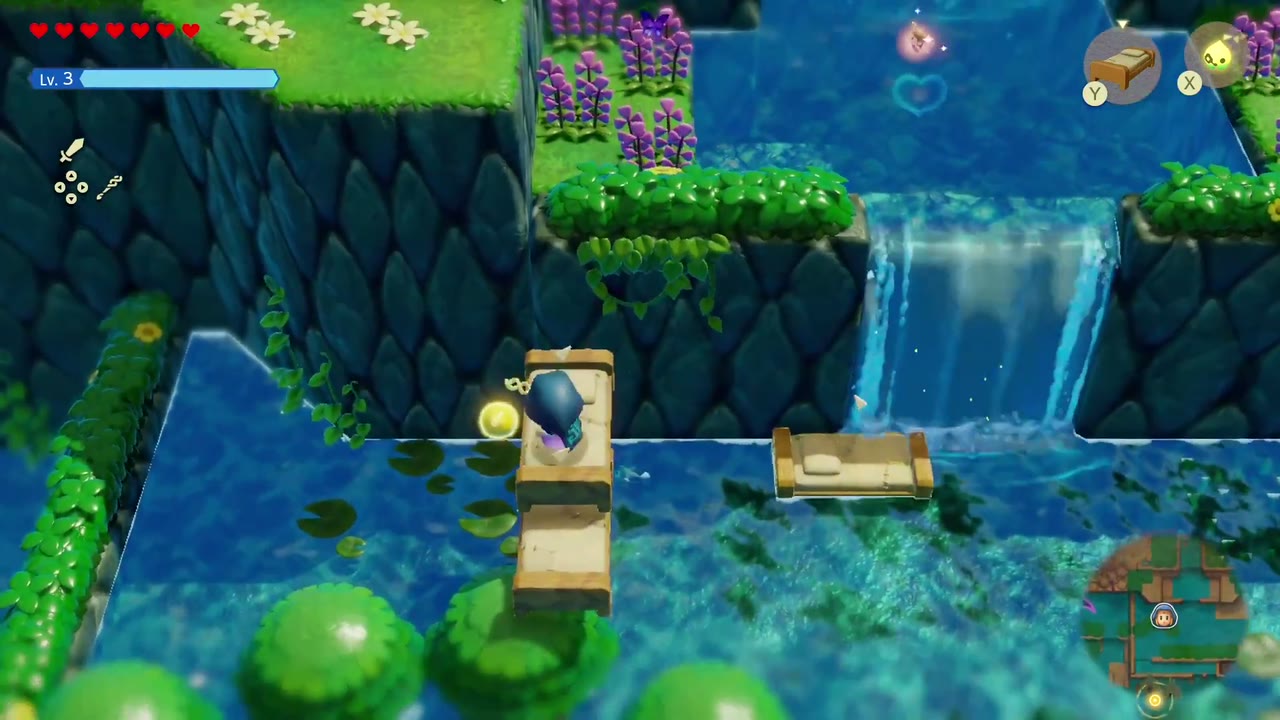
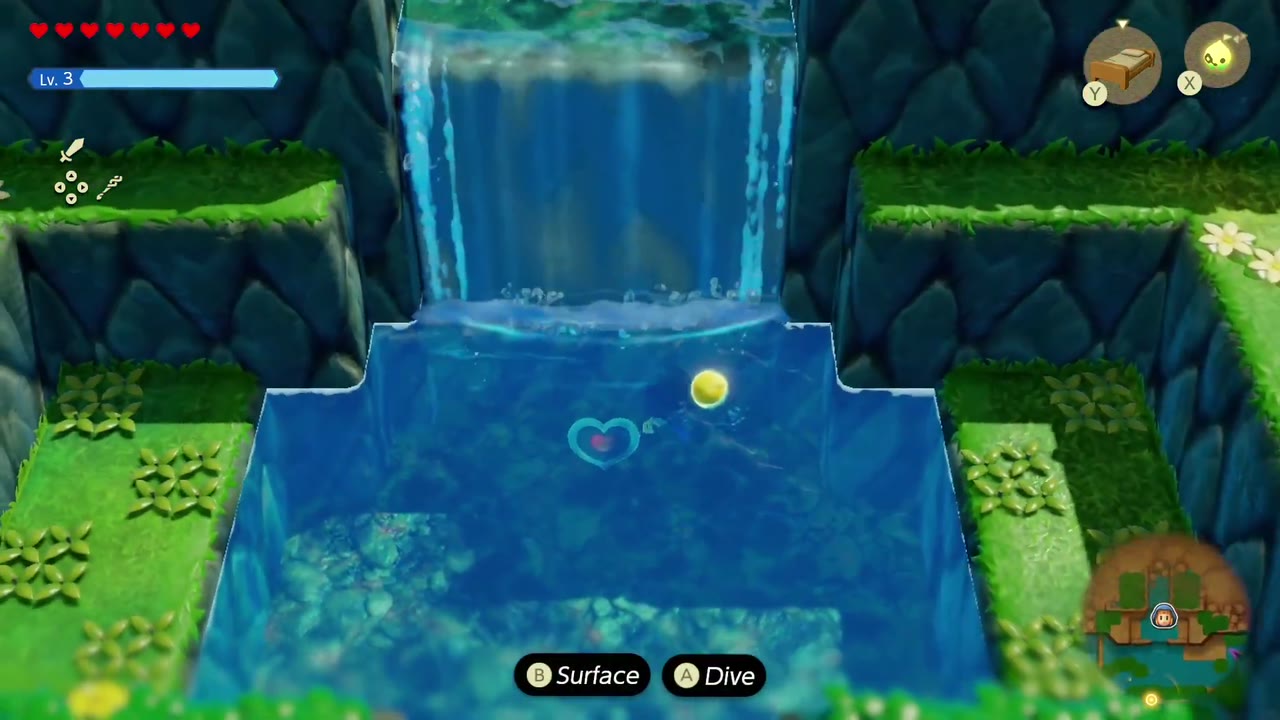
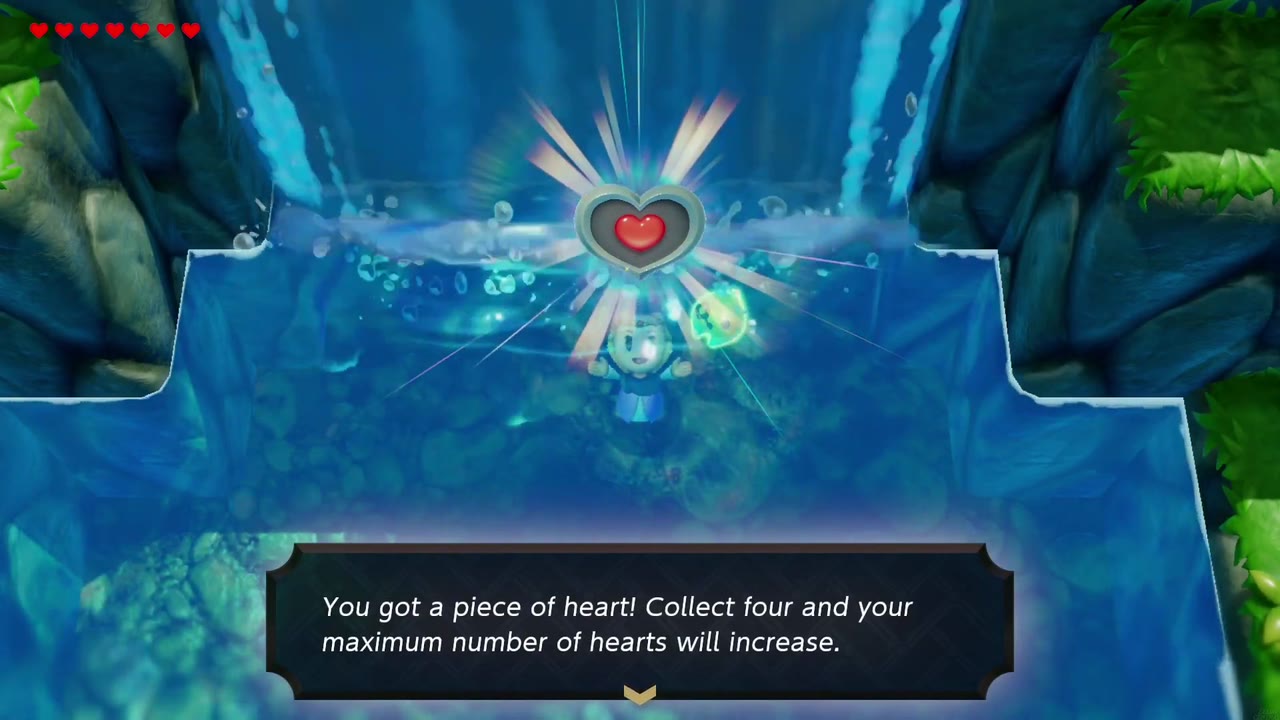
While climbing Zora River’s terraces near the rift, use Old Bed echoes as steps to get up onto the ledges beside the waterfalls. In the pool at the foot of one upper waterfall you’ll see a heart-shaped glint on the bottom; swim over it and dive to come up with the piece.

Piece of Heart 3: the Zora Cove torch cave
In Zora Cove, a cave opens off a stone ledge above the water. Inside, cross a grassy room and a short flooded side-view passage to reach a room with four lit braziers and a barred door. The trick is the fire: put out every brazier (summon Hydrozol next to each one and let it splash the flame out) and the door opens on a small alcove holding the piece.
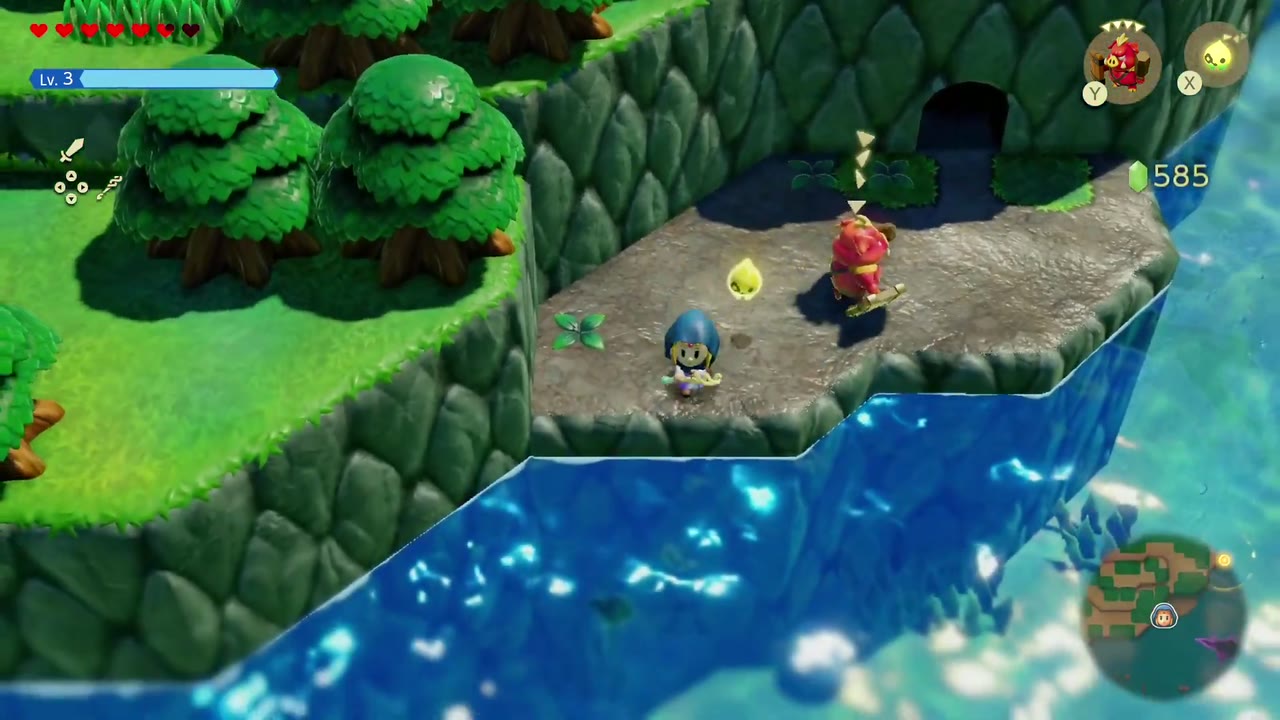
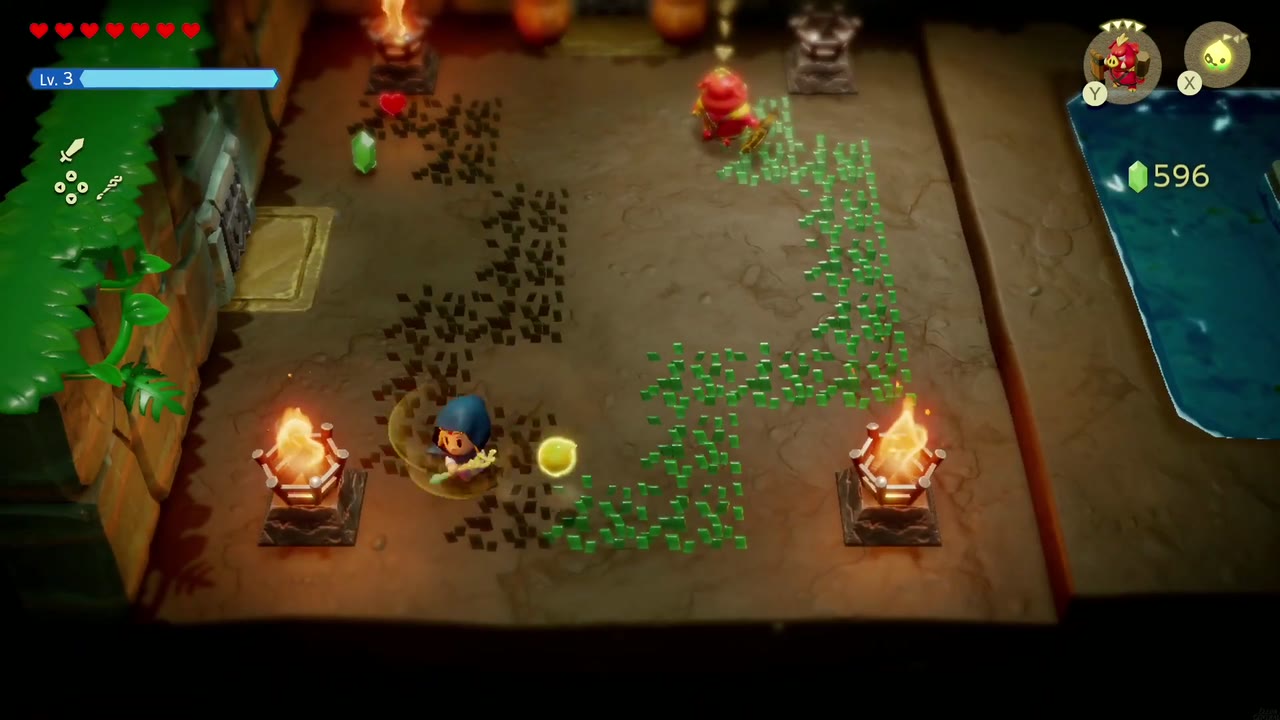
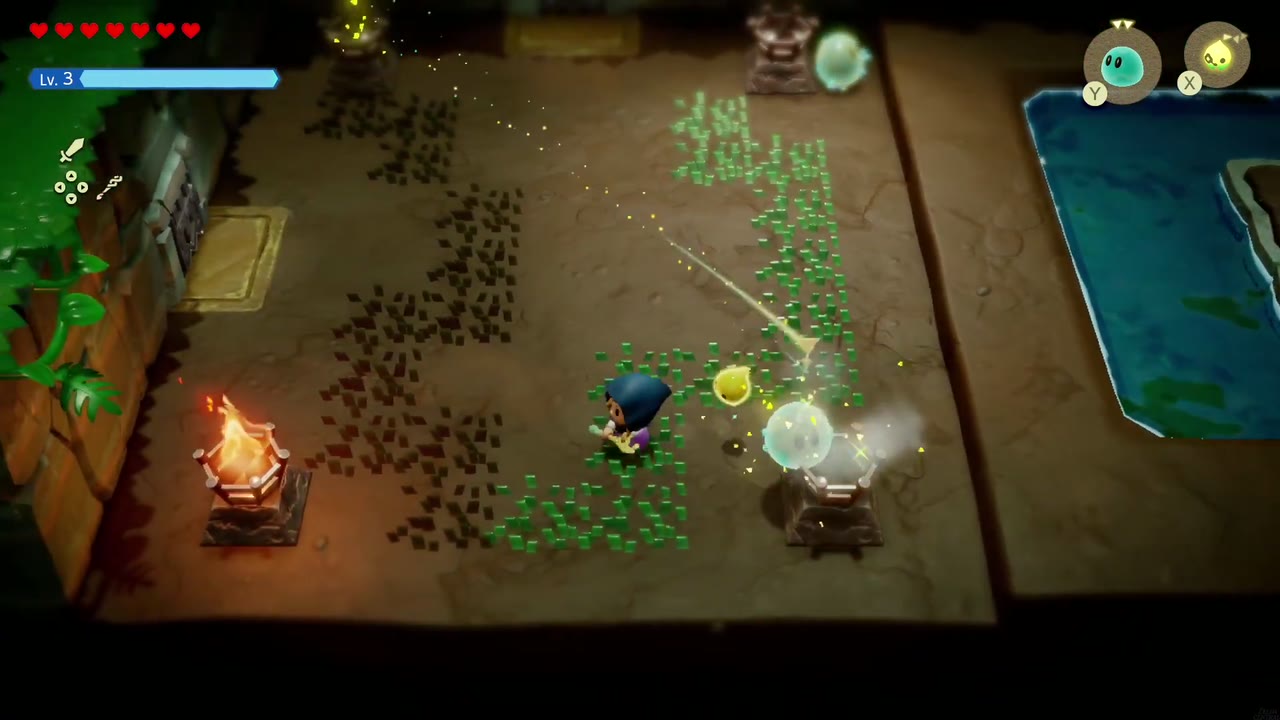
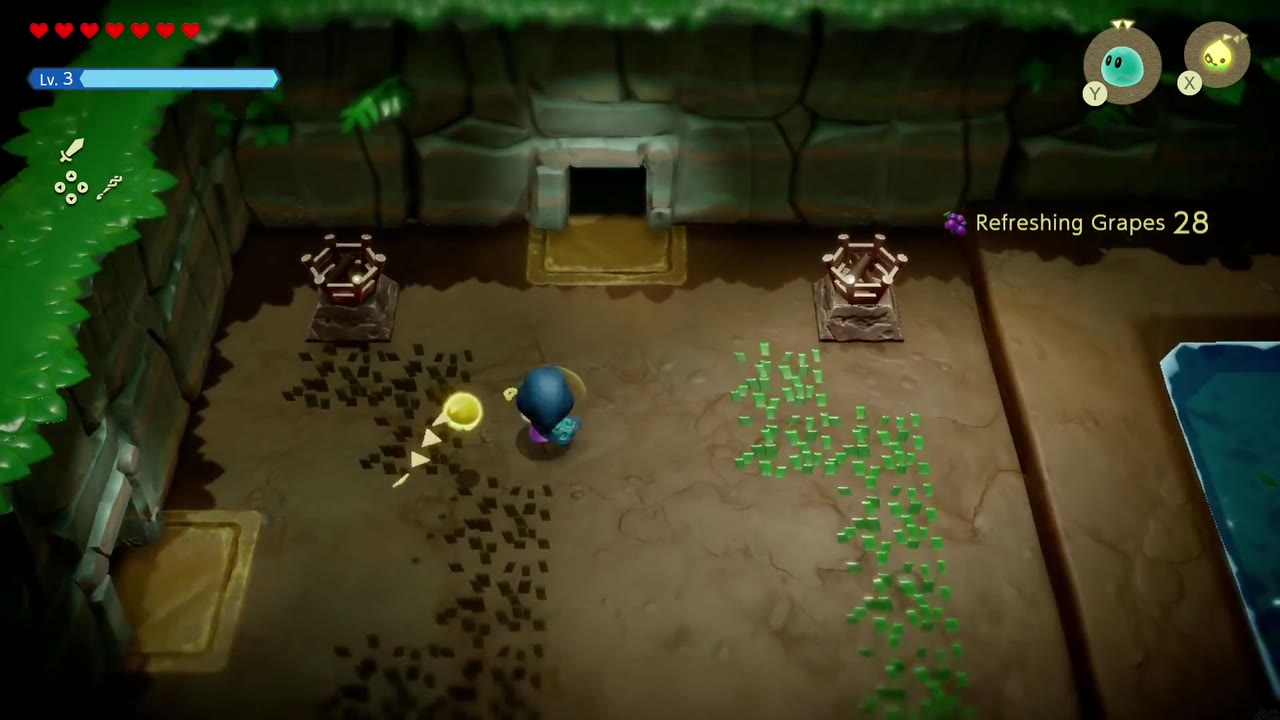

Piece of Heart 4: under a cracked rock in Zora Cove
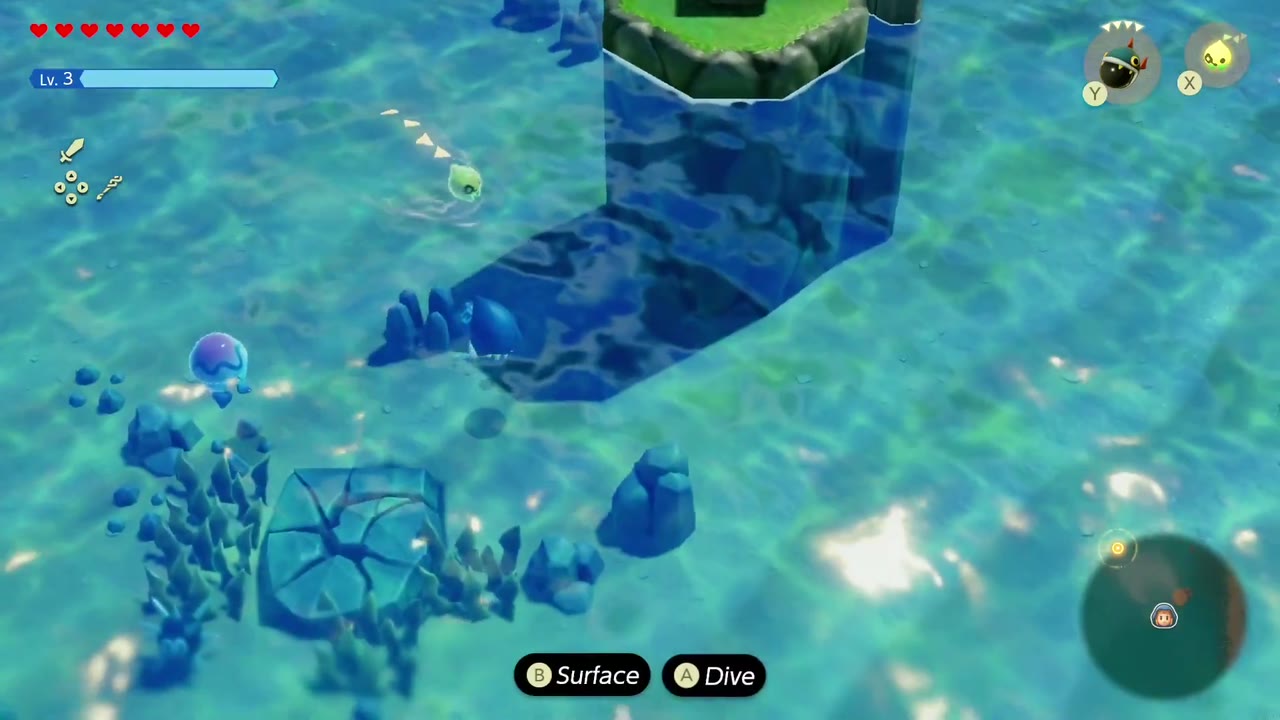
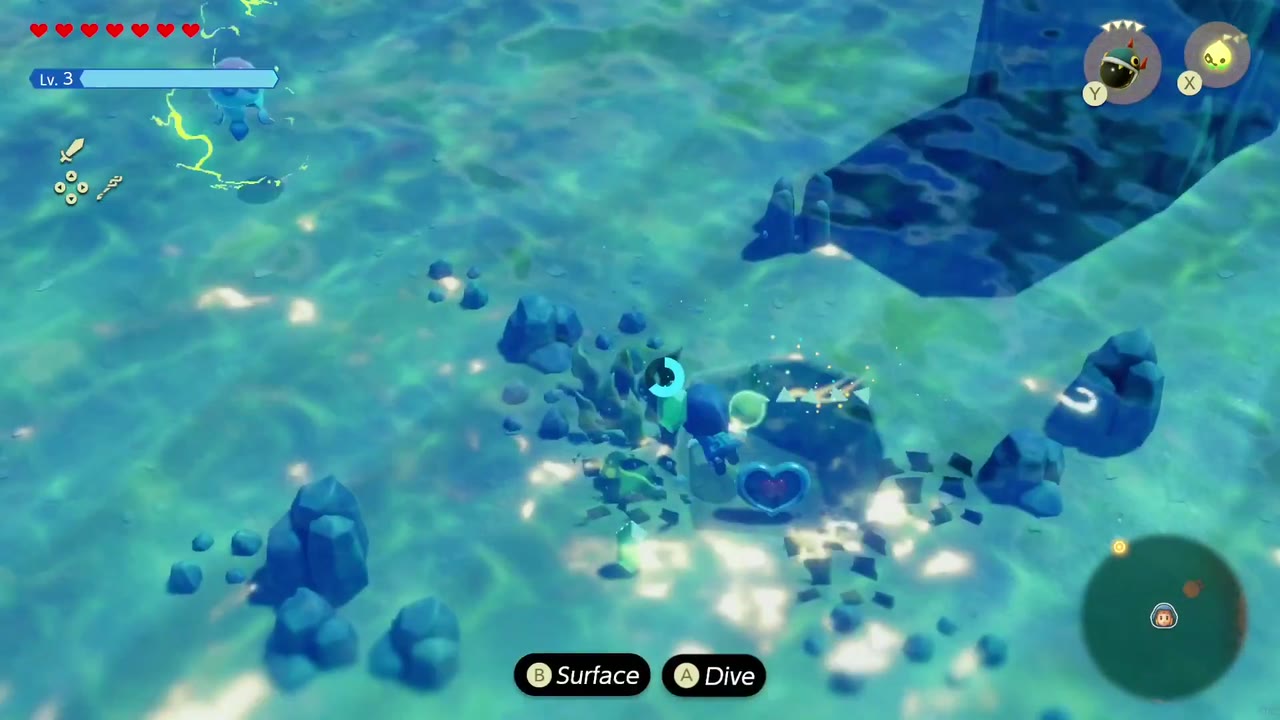
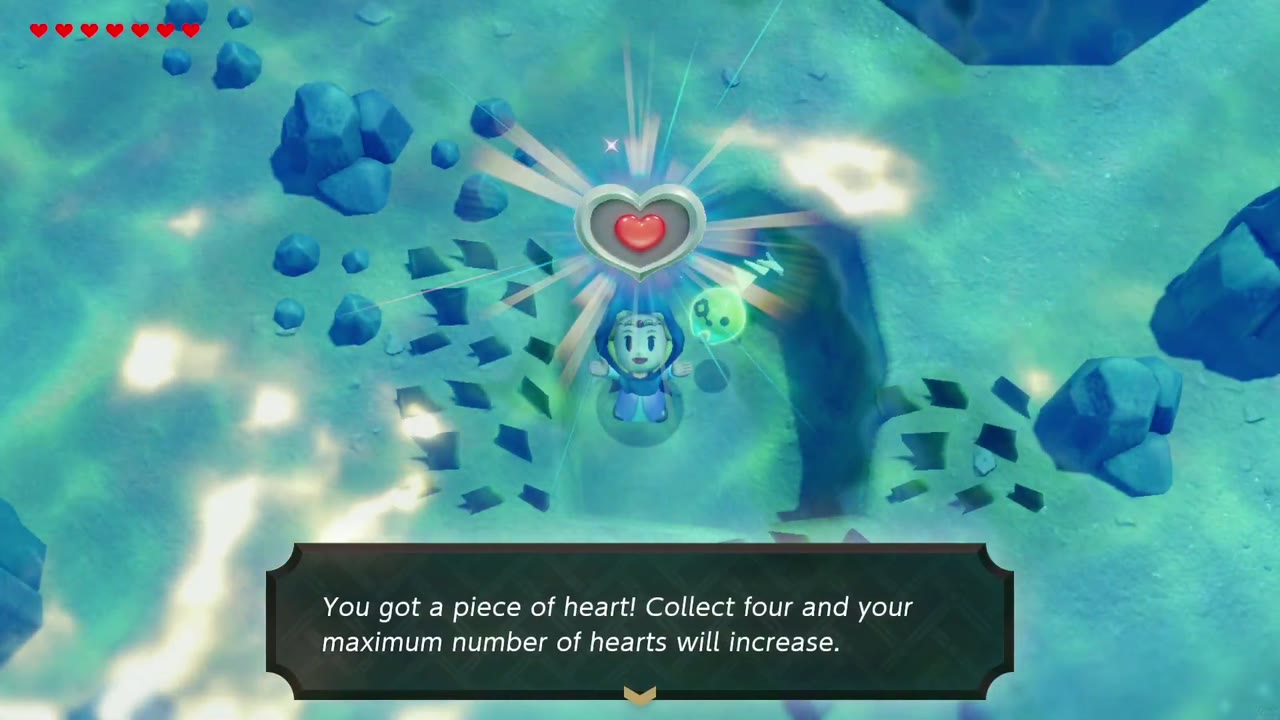
Where: the seabed of Zora Cove, just east of the C-shaped island over Sea Zora Village, beside the small round islet with a waypoint stone on top. The piece lies under a cracked boulder among the seaweed and rocks. How: swim out from Seesyde Village and dive by the waypoint islet. Summon a Bombfish next to the cracked rock: the blast breaks it and leaves the piece in the hole underneath, so dive onto it. Electric jellyfish drift nearby, so keep clear of them. (Needs: Bombfish echo.)
Piece of Heart 5 and the Fairy Bottle: The Zappy Shipwreck
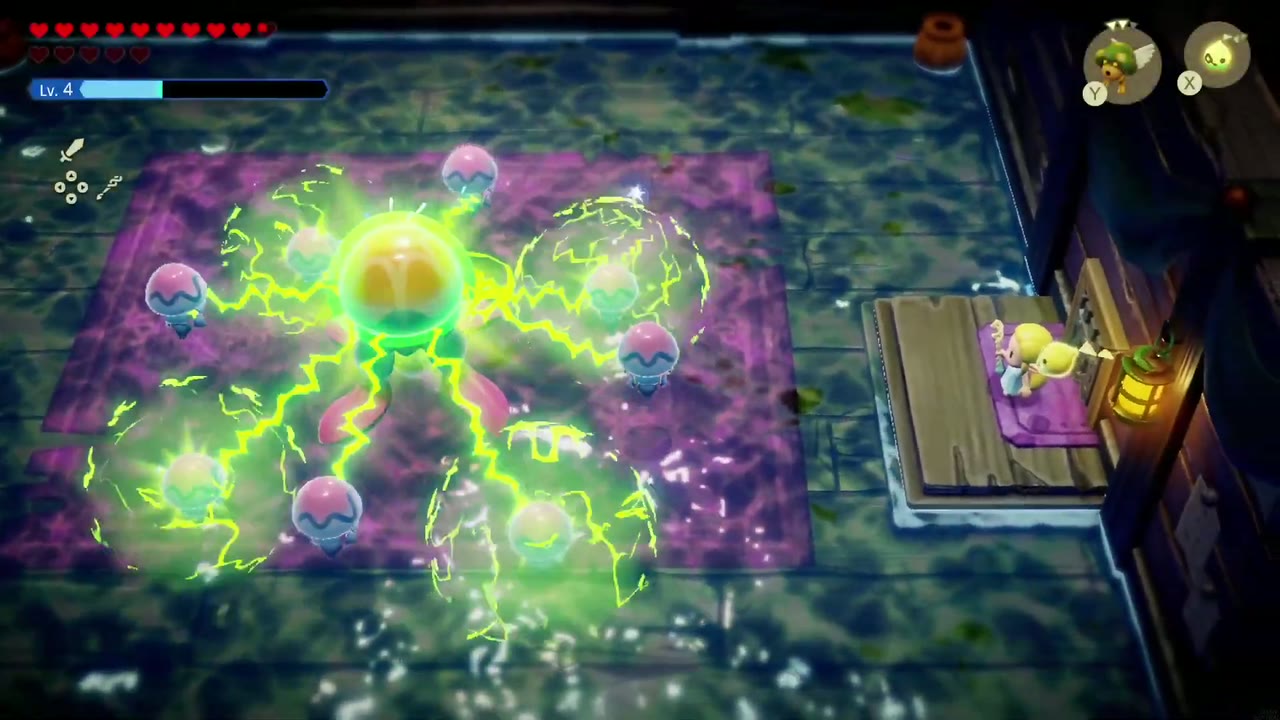
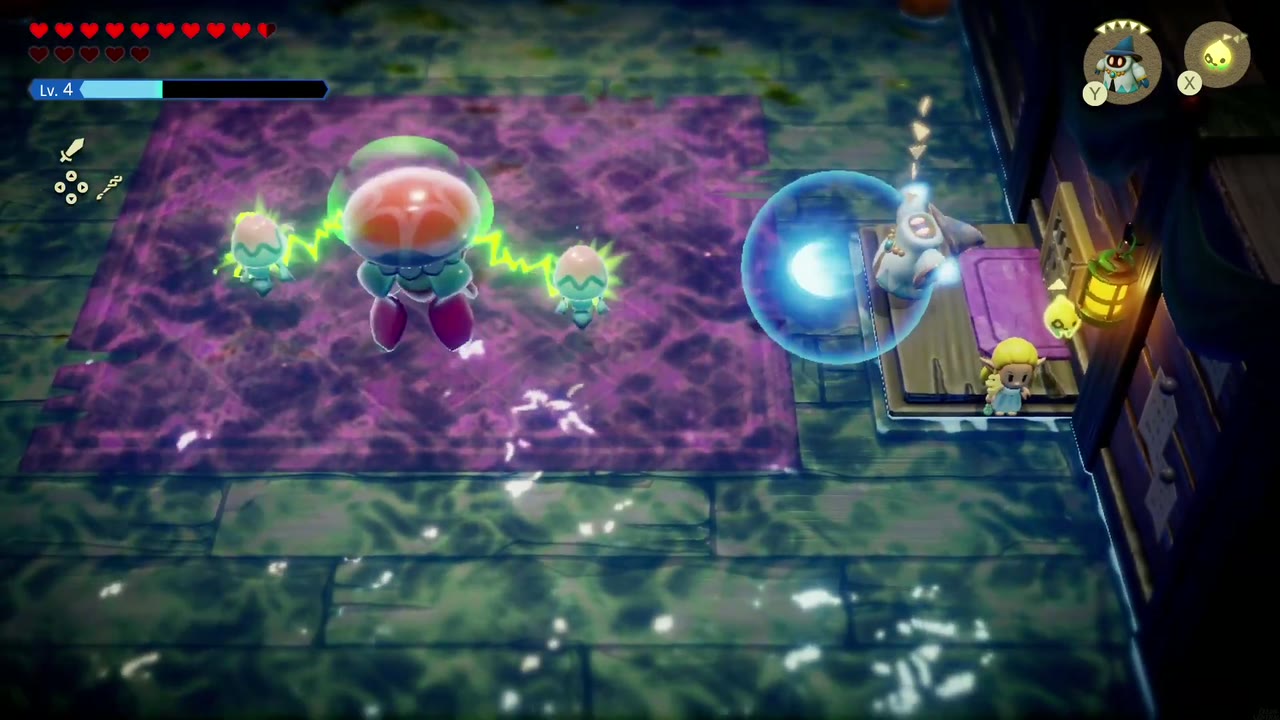
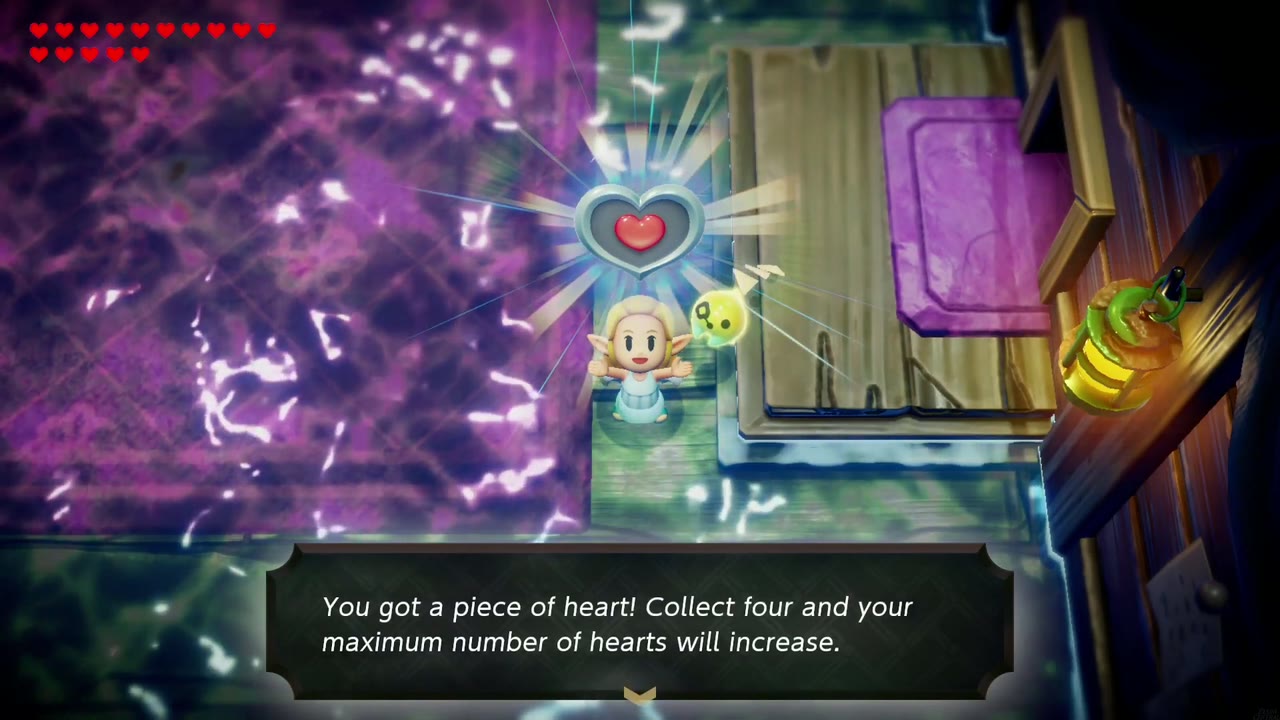
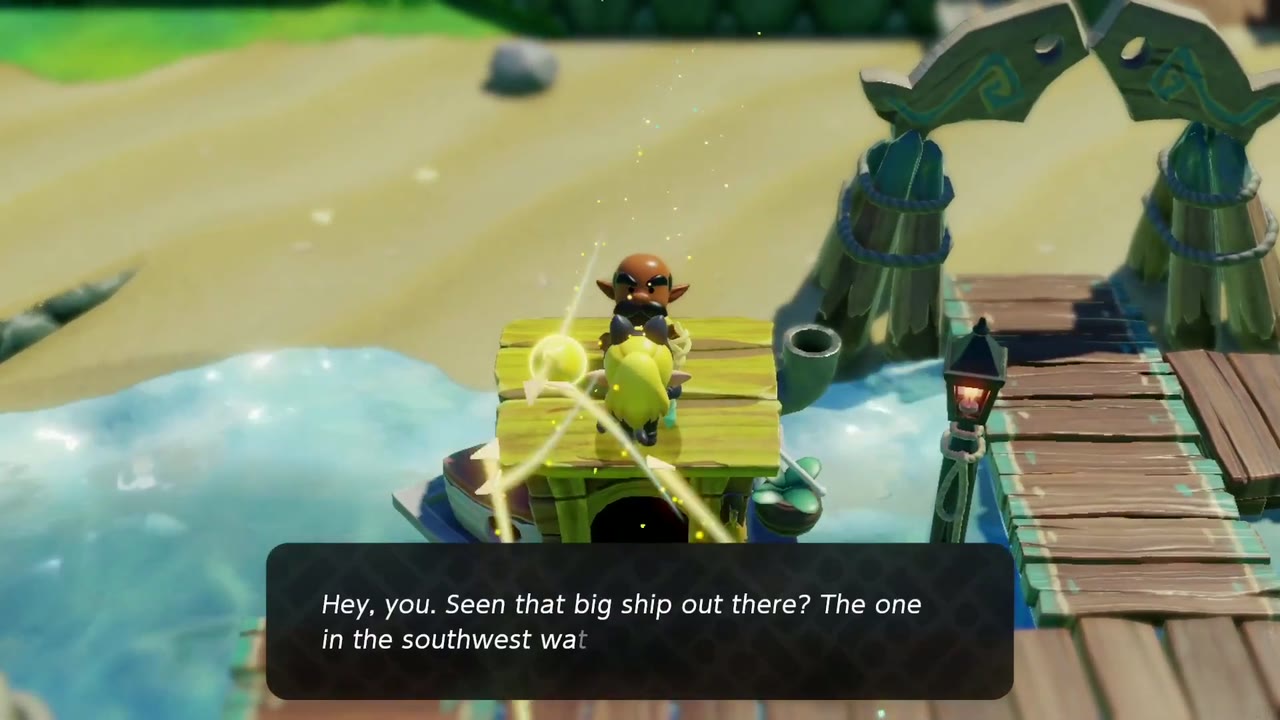
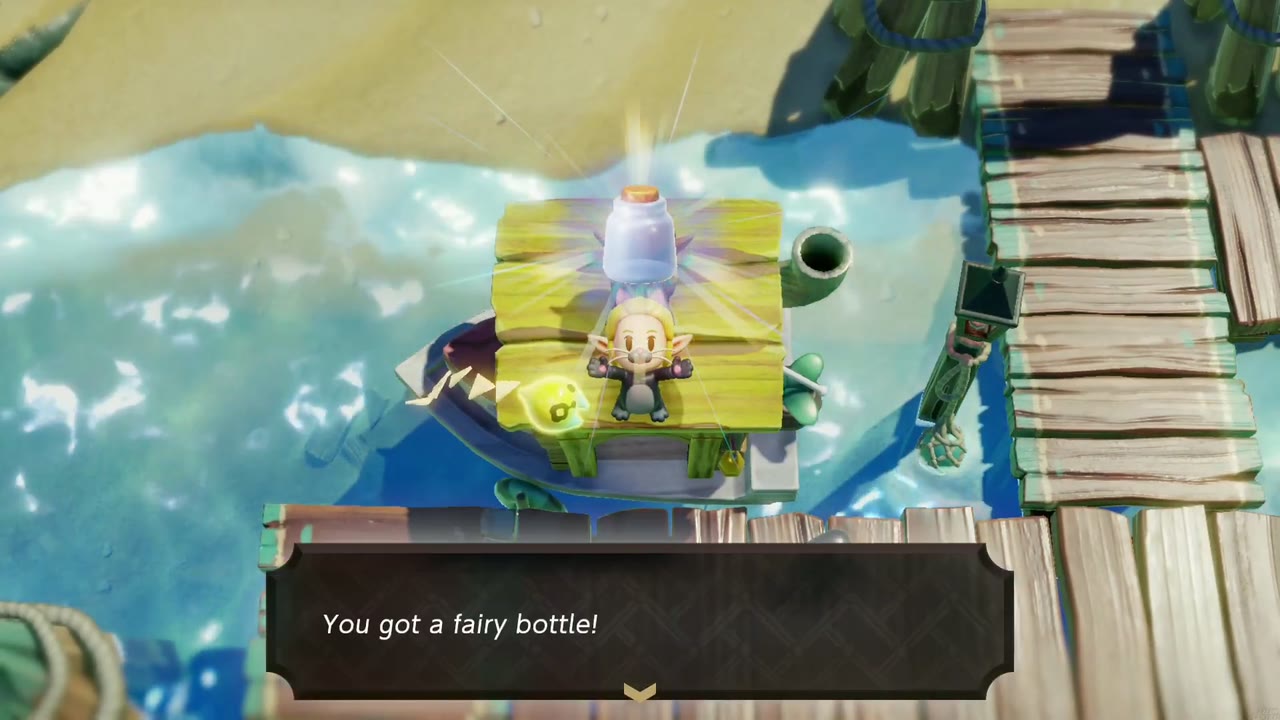
The wrecked ship sits in the southwest waters, ringed by rock spires; swim out and board it. Work down through the crate-filled cargo hold and the flooded rooms (chests along the way include one worth 300 rupees) to the electrified room at the bottom. The mini-boss there is a giant electric jellyfish ringed by smaller jellies that charges the purple floor; keep off it, fight from the wooden ledge, and let summoned echoes wear it down. Beating it earns a Piece of Heart (“You got a piece of heart!”). Afterwards, talk to the sailor on his boat at the Seesyde Village dock: he’ll ask if his ship is still zappy, and when he hears it’s cleared he hands over a Fairy Bottle and The Zappy Shipwreck is logged. (This is an easy one to leave for the 100% cleanup.)

The Jabul Stamp Stands
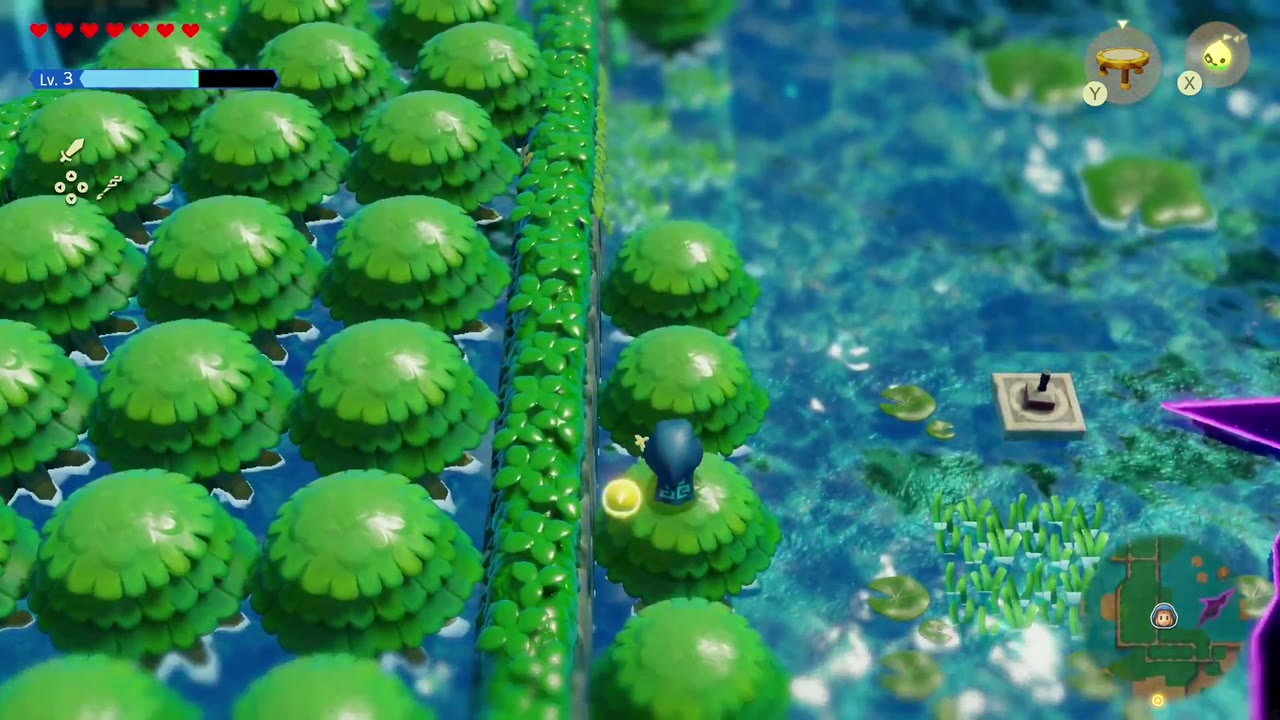
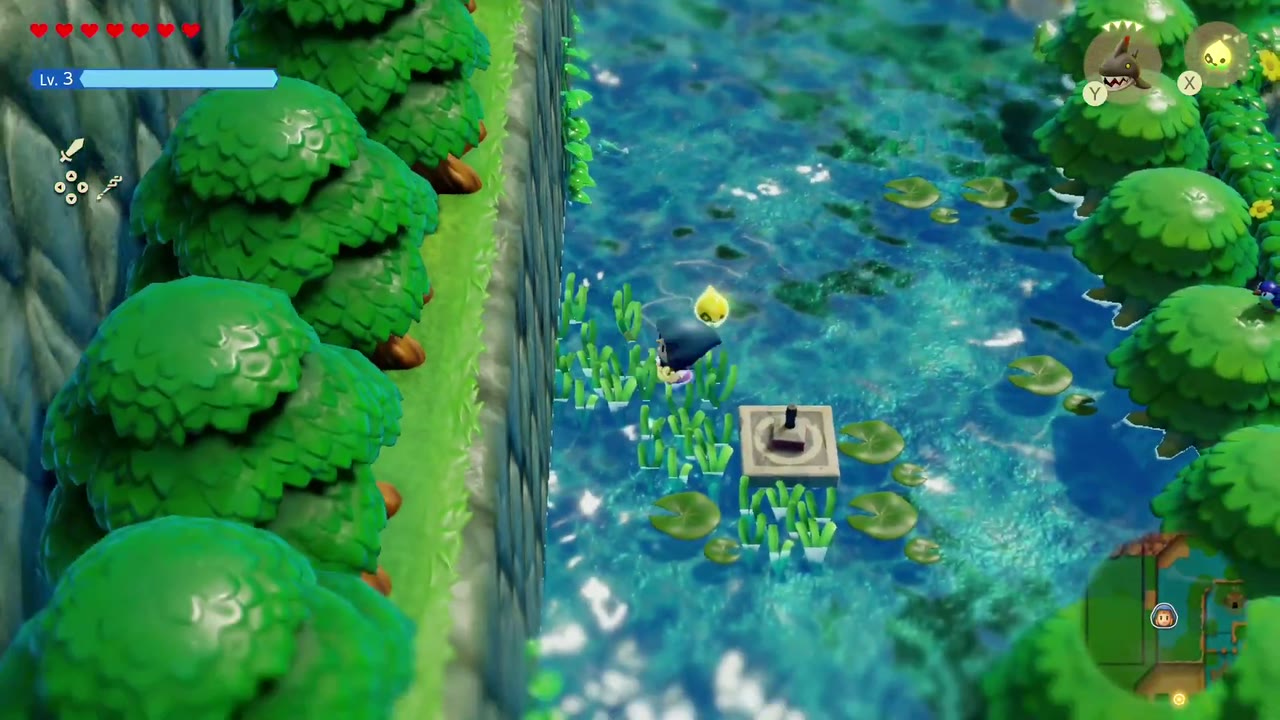
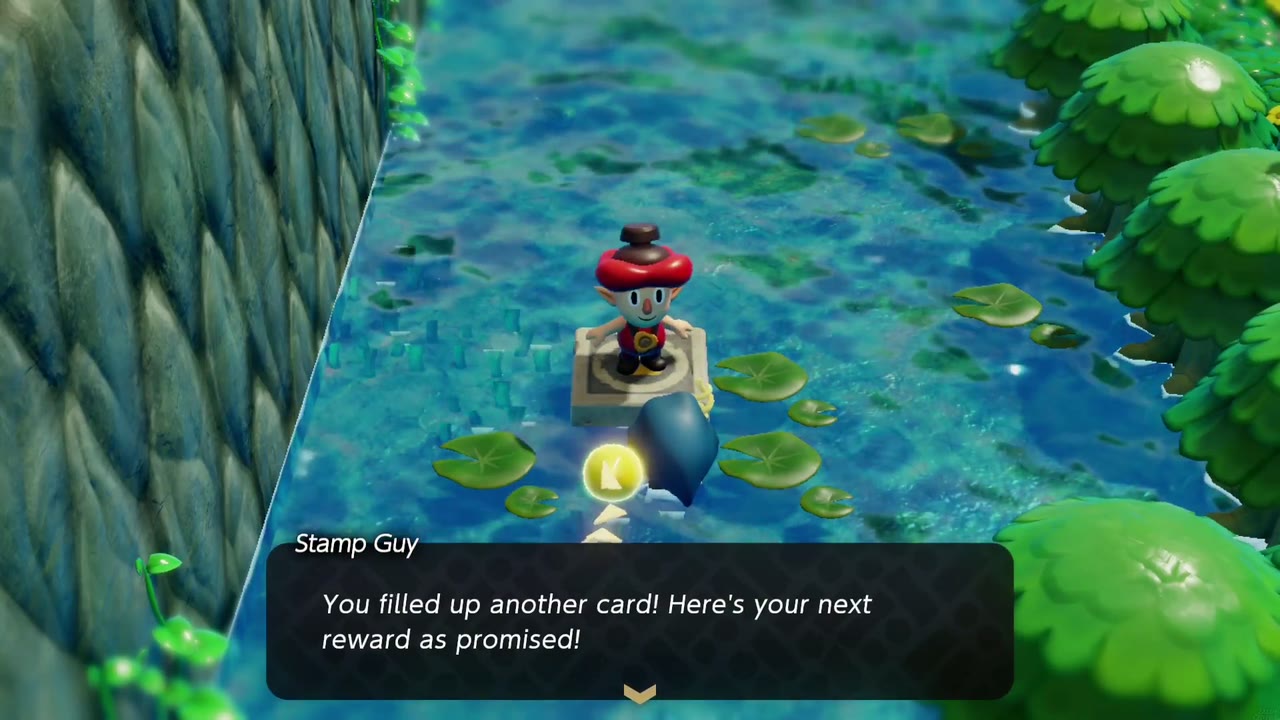
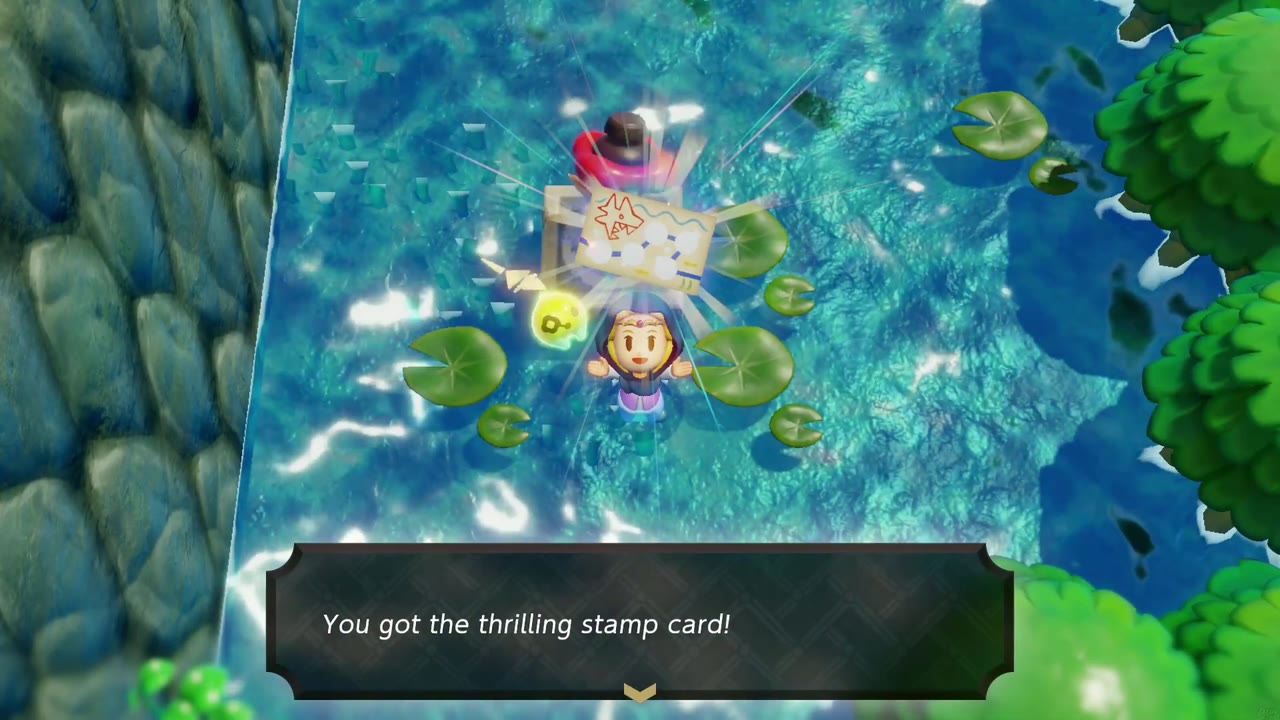
Two stamp stands turn up along the story route. First, in the shallow Jabul Waters river between the hedges just past Anube’s clearing, next to the rift. Second, in the Zora River below a cliff wall, among the lily pads; if it fills your card, the Stamp Guy pops up with the next reward, the Thrilling Stamp Card.
Might Crystals, the Zora Scale, and echoes
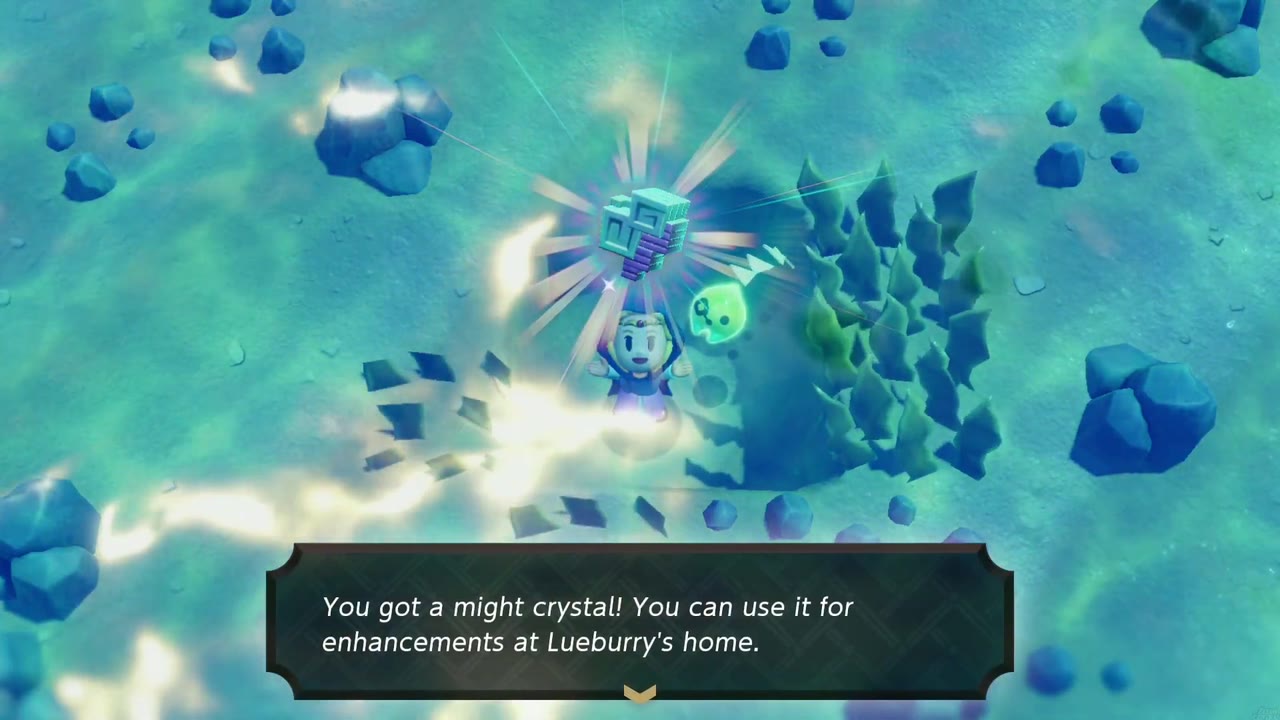
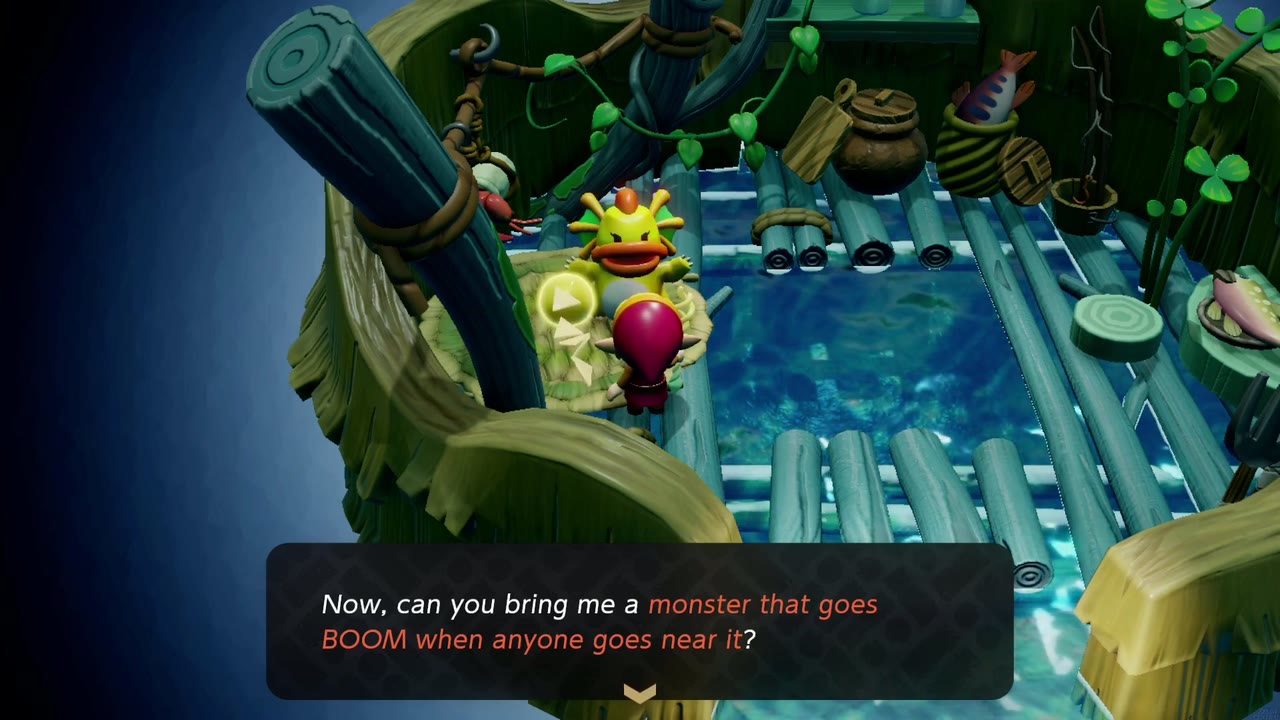
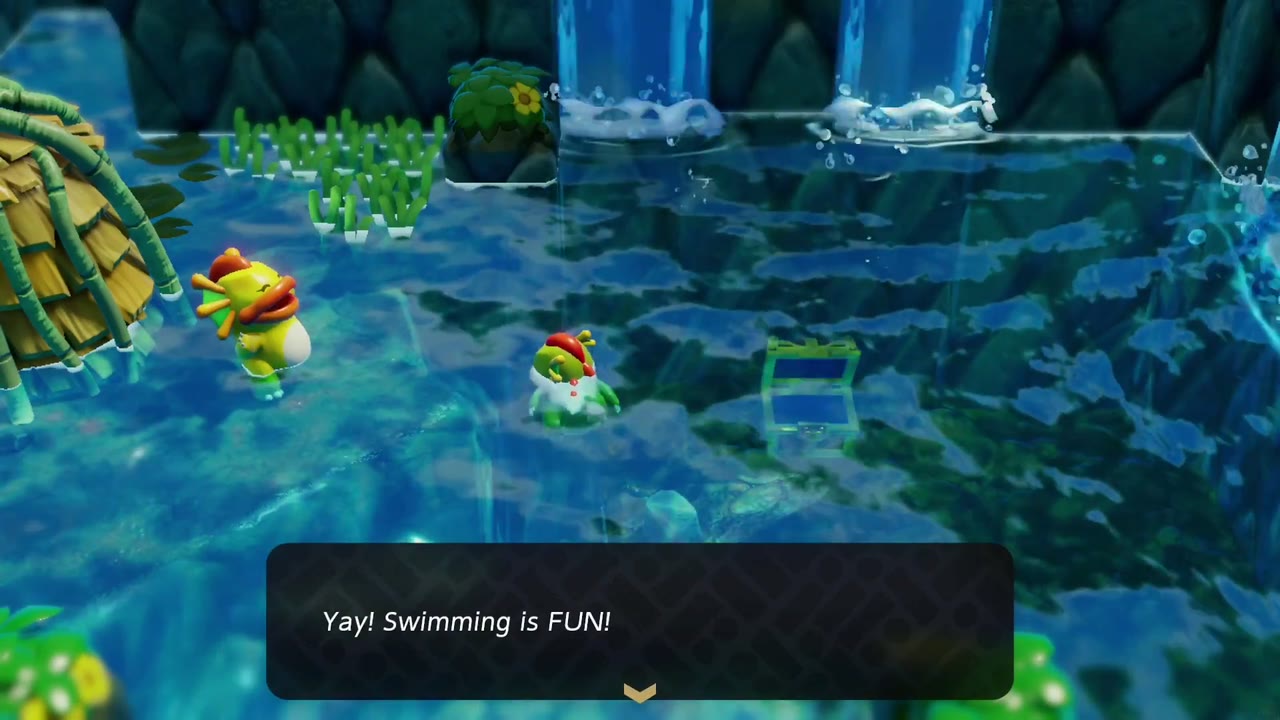
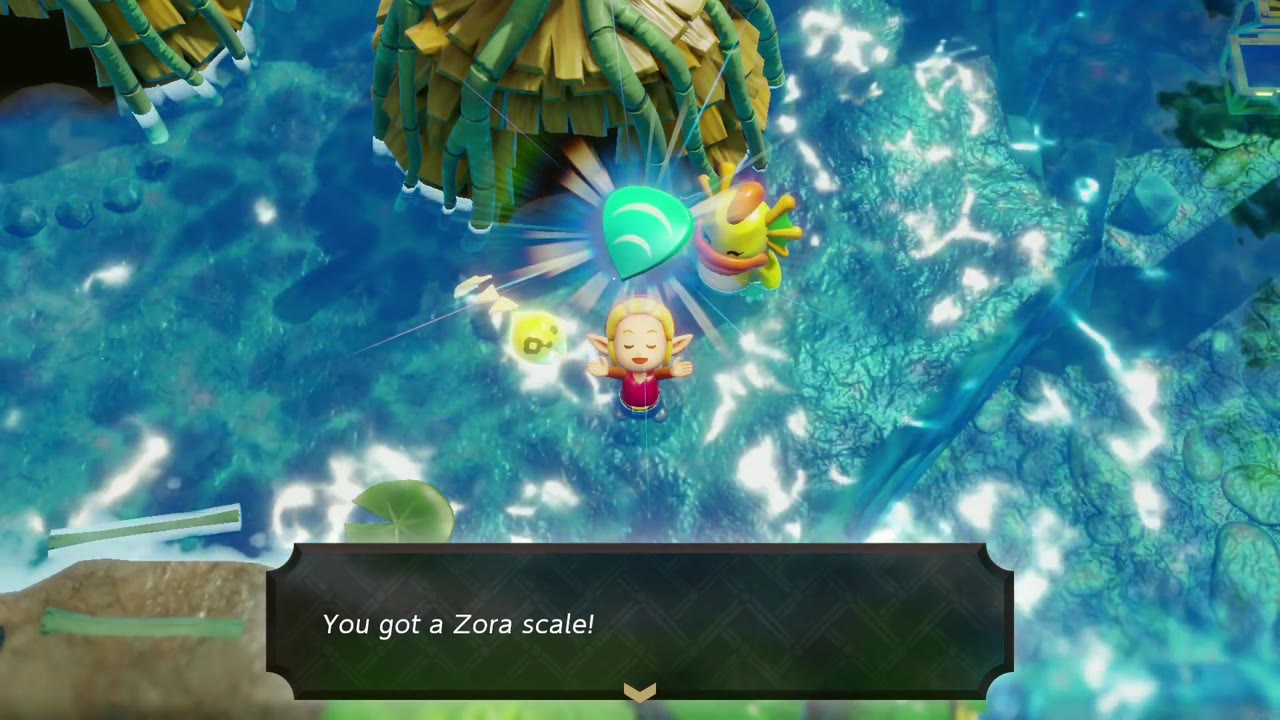
Might Crystals are scattered all over the region: on the Zora Cove seabed, under the Seesyde Village pier, in a chest on a log platform along the Zora River, underwater in the open sea, and from the Jabul Ruins boss. Later visits add more: 2 from Tri for the Stilled Zora River rift, one from the cat in A Treat for My Person at Seesyde Village, and a chest of 3 in the Zora River shallows. The Zora Scale isn’t sold in a shop. It’s the reward for The Zora Child’s Fate in River Zora Village, a quest that opens on a later visit: the boy can’t swim, so his mother asks you to summon monsters into the pool in her hut (first a “monster that goes BOOM”, a Bombfish, then one that floats). She crafts him a scale, he swims, and she gives you the same charm, which lets you hold your breath longer underwater. Echoes learned in the region include Sand Crab on the way in, Chompfin in Zora Cove, Grilled Fish from Deliver the Grilled Fish! in Seesyde Village, Bombfish in the Bombfish cave, and Water Block inside the Stilled Jabul Waters rift. Bombfish, Chompfin, and Water Block do most of the work in Jabul Ruins.