





















Echoes of Wisdom 100% Completion Walkthrough16 chapters
- Prologueplaying as Link, escaping the castle jail, and the waterways to Suthorn Beach.
- Suthorn ForestSuthorn Beach and Village, meeting Tri, the first echoes, and mending the Suthorn Forest rift.
- Suthorn Ruinsthe first dungeon, the Shadow Link fight, and the Seismic Talus boss.
- Jabul Watersthe River and Sea Zora feud, Lord Jabu-Jabu, and Stilled Jabul Waters.
- Jabul Ruinsthe whirlpool chase, the five colored switches, and the Vocavor boss.
- Gerudo Desertthe Oasis, Gerudo Town, the desert rifts, and Cryptic Cavern.
- Gerudo Sanctumthe tribute puzzle, the Bow of Might, and the Mogryph boss.
- Hyrule Castlethe Hyrule Castle well rift, Stilled Castle Town, and the Ganon boss.
- Eldin VolcanoKakariko Village, the Eldin Volcano Trail, and saving Goron City.
- Eldin Templethe Bombs of Might, the lava hall, and the Volvagia boss.
- Faron WetlandsScrubton, Blossu’s House, and escaping the Deku Scrub Lockup.
- Faron Templethe small keys, the plant mini-boss, and the Gohma boss.
- Hebra Mountainmeeting Condé, the climb through the snow, and the Stilled Hebra Mountain rift.
- Lanayru Templefire orbs, fans and lasers, the slime mini-boss, and the Skorchill boss.
- Eternal Forestthe six Ancient Orb pedestals, the Deku Tree, and freeing Link in the Stilled Ancient Ruins.
- Null’s Bodythe final dungeon and the multi-phase fight against Null.
This page covers Lanayru Temple from its entrance to the boss, Skorchill. It picks up where Hebra Mountain leaves off; that page also has the region’s collectibles checklist.
Fire Orbs, Fans and the First Key
The Entrance Mural
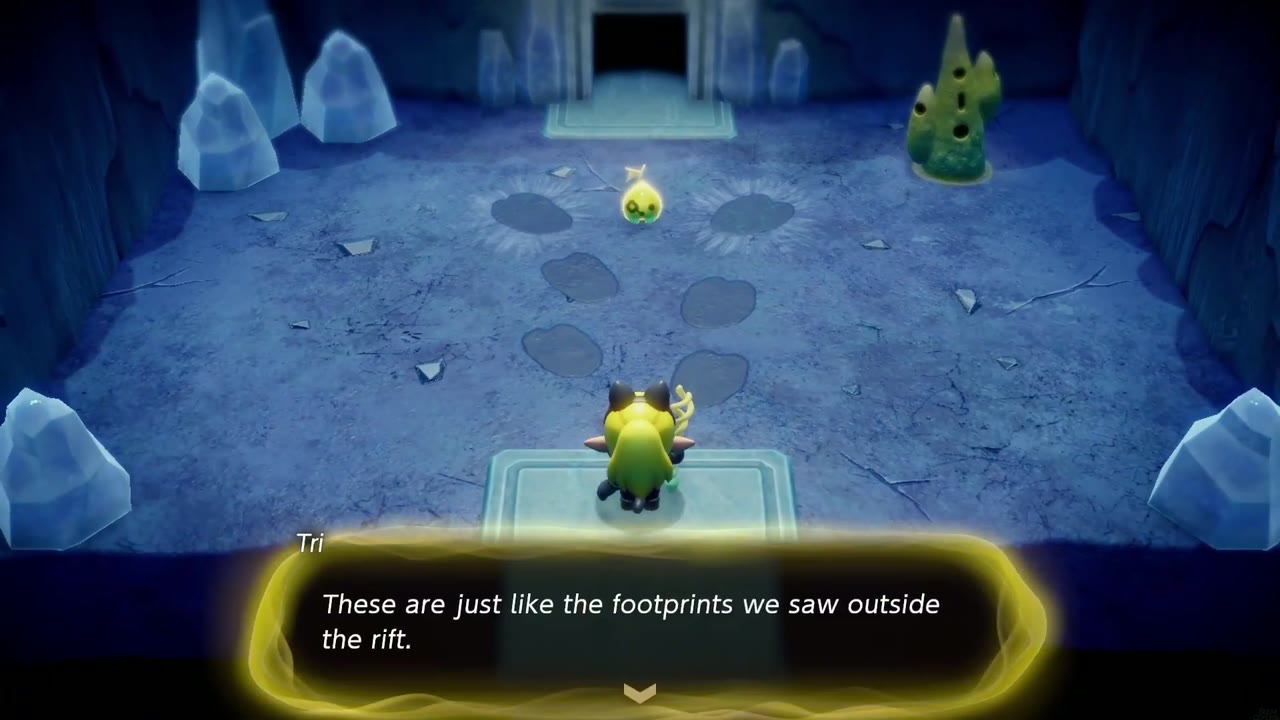
A mural inside the entrance shows a balloon trip from Hebra Mountain up to Holy Mount Lanayru. Tri works out that Condé’s brother left it here, so Condé had it wrong: his big brother doesn’t think badly of him at all. The next room has footprints in the floor, just like the ones outside the rift. Grab the Twisted Pumpkin by the braziers and head on in.

The Orb Pedestals
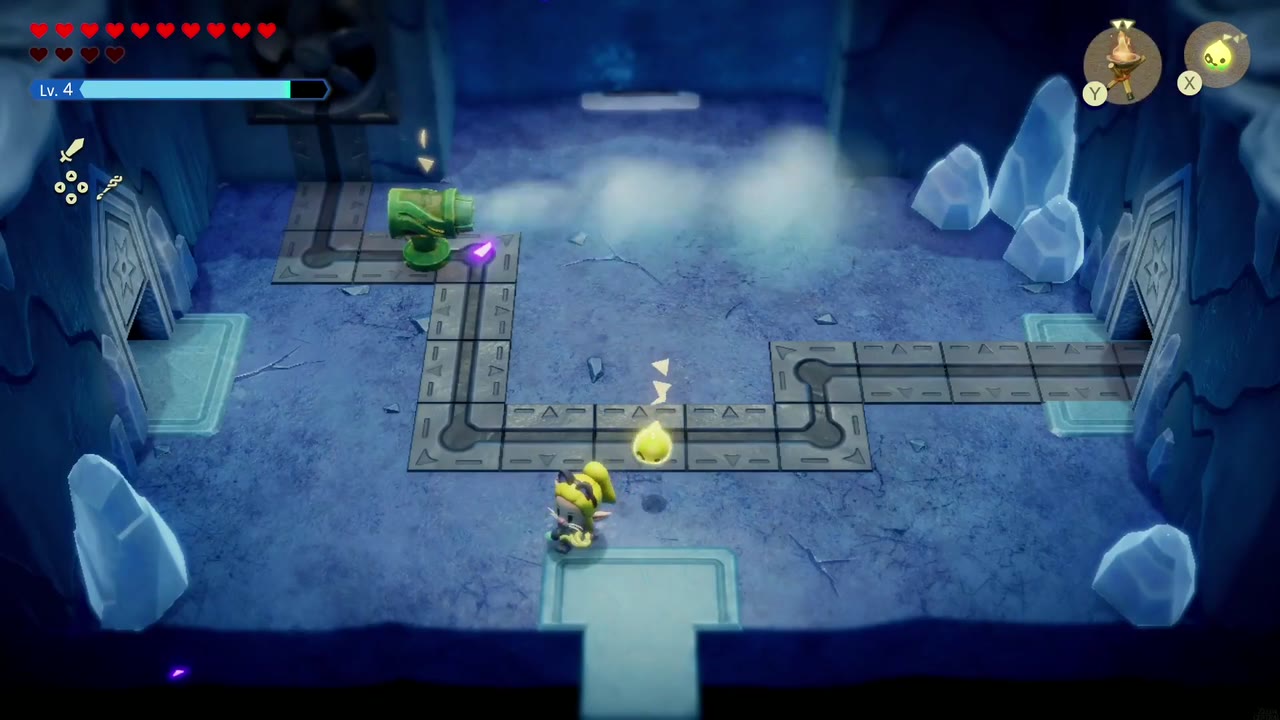
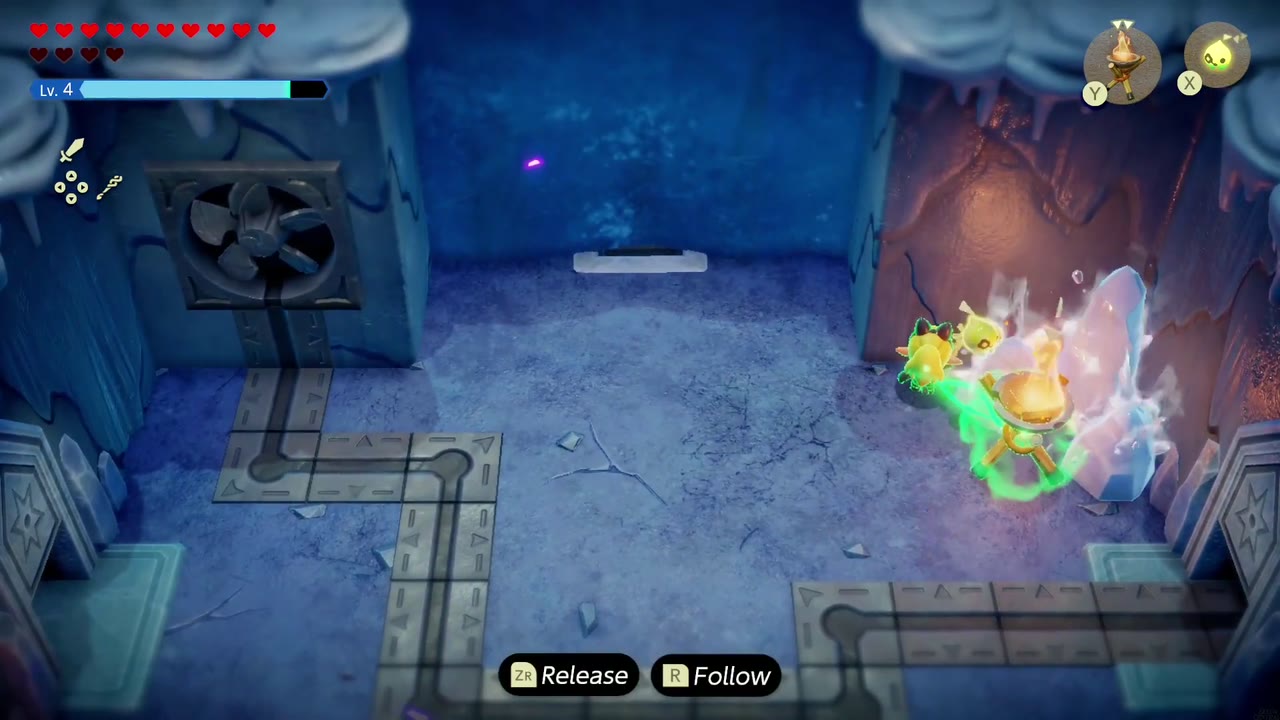
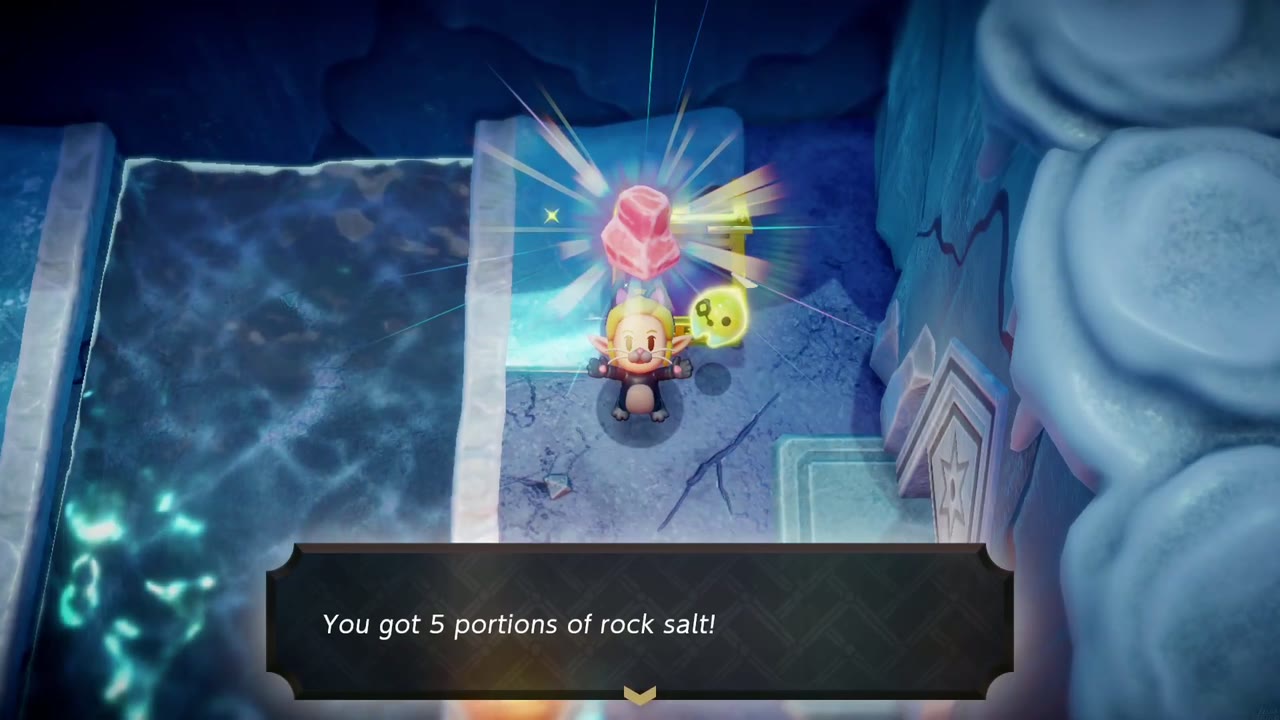
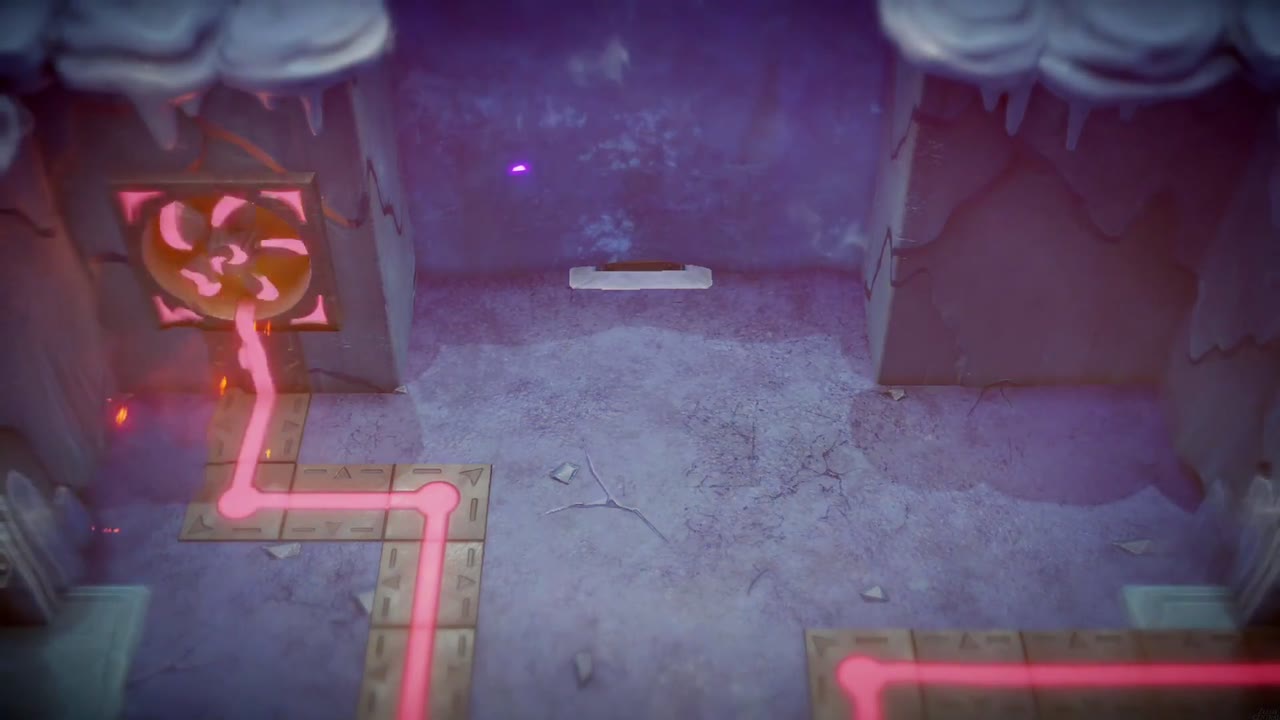
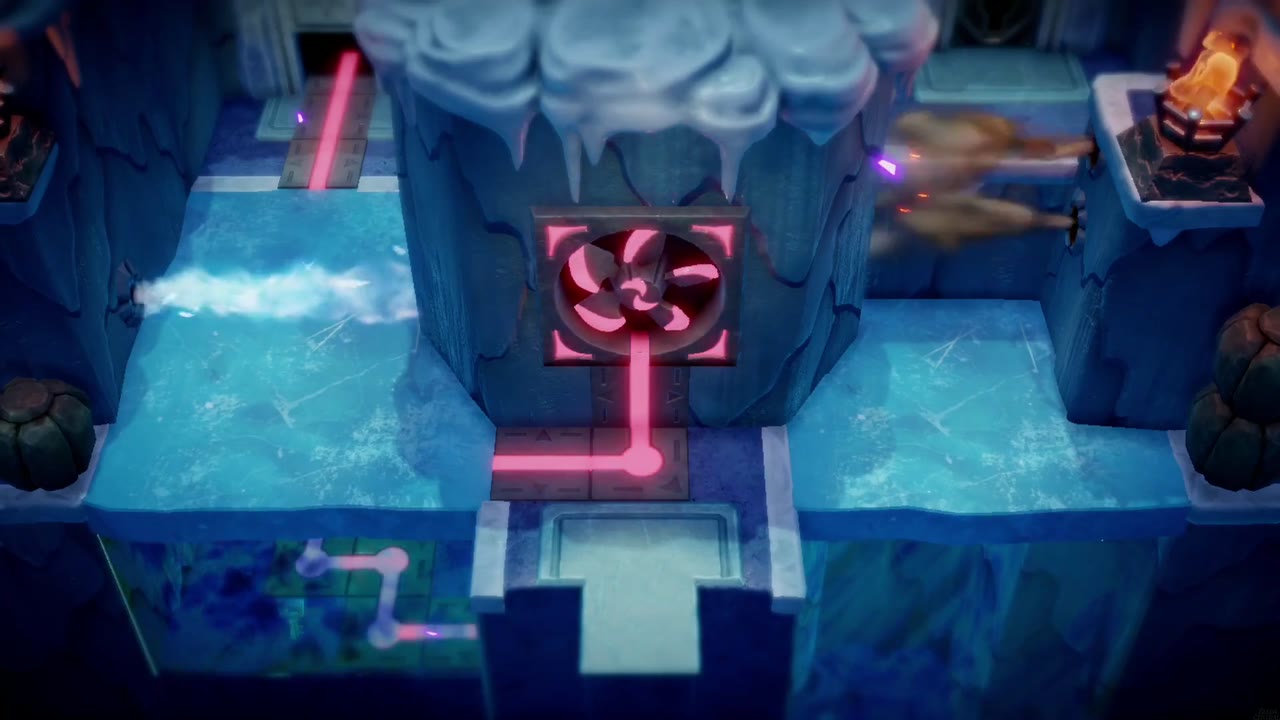
The first fan room has a floor track and ice crystals blocking a doorway. A Wind Cannon echo set on the track gets the gusts going. To melt the ice, Bind one of the lit braziers and drag it against the crystals. The room beyond has a water pit, ice blocks and a pack of Ice Octos. Clear them out and a chest appears with 5 Rock Salt. This temple’s gimmick is the orb pedestals: an orb’s element sets what a fan does, a fire orb turns it into a heater and an ice orb makes it blow cold.
The Fire Orb and the Ice Shaft
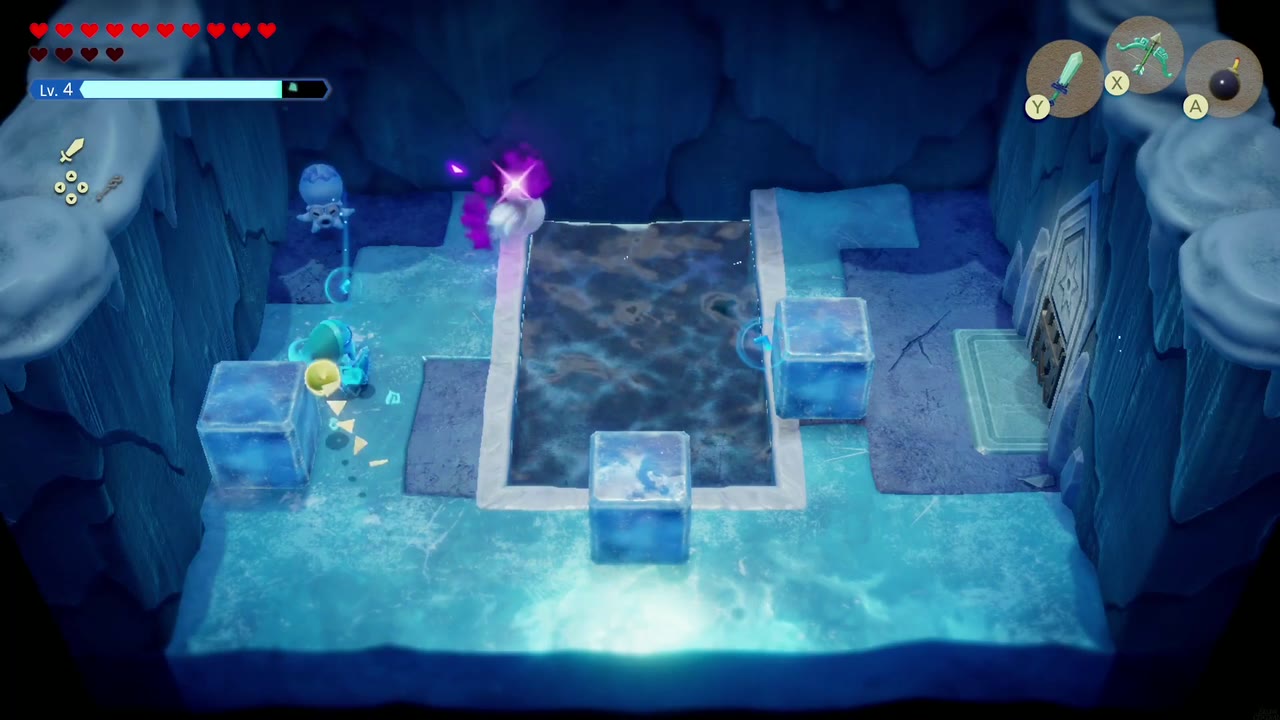
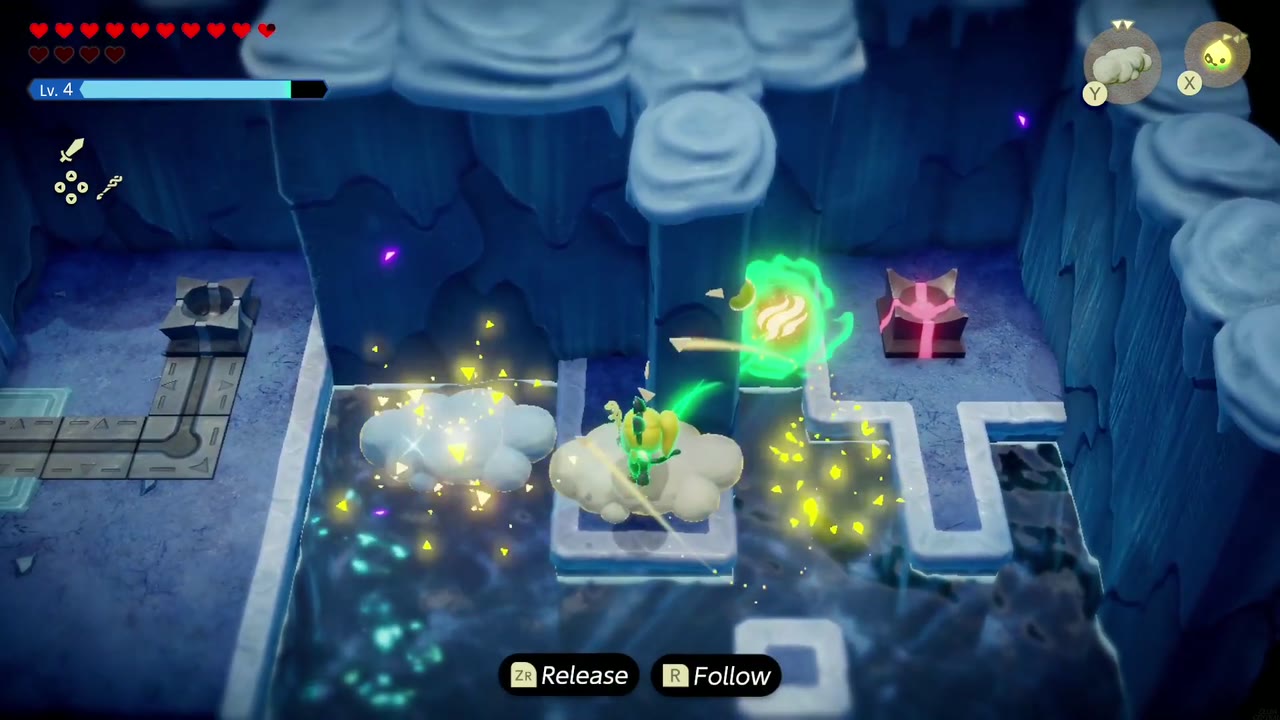
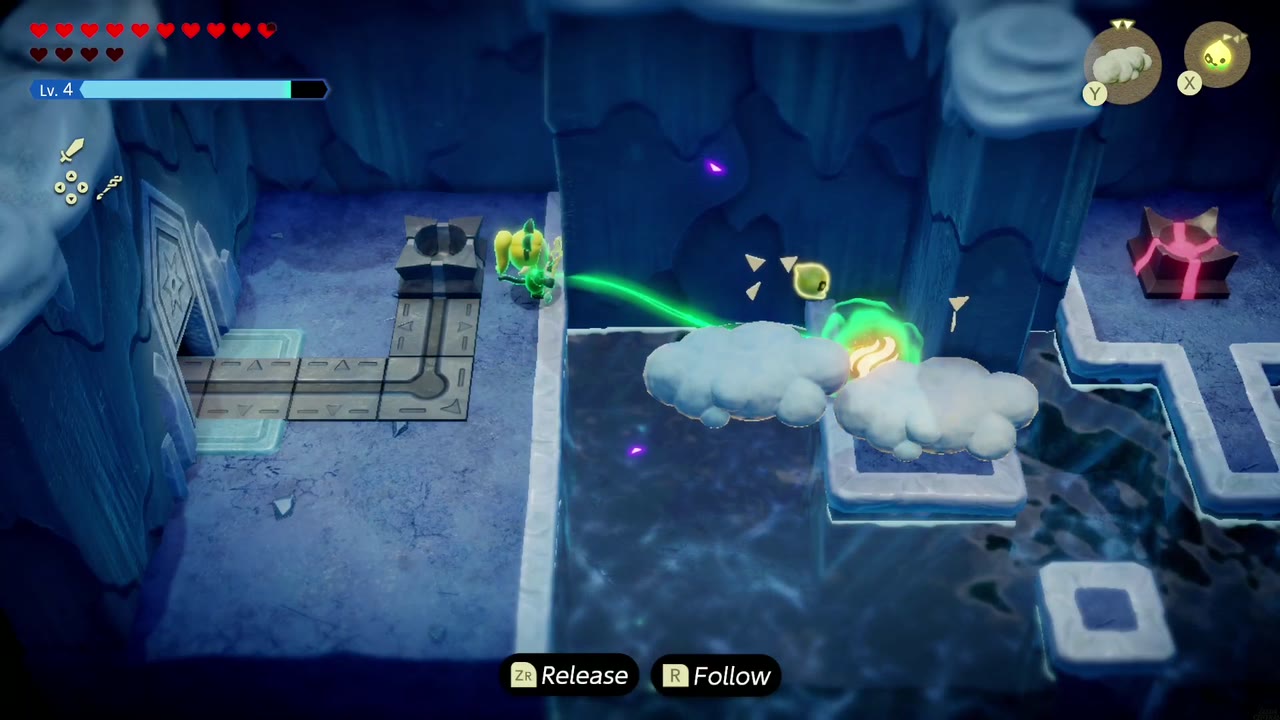
Back in the fan room, a fire orb sits on a red pedestal out over dark water. Lay Cloud echoes across the gap, Bind the orb, pull it back over the clouds and set it on the pedestal by the track. The fan glows red and turns into a heater, and a ladder down opens up. The side-on ice shaft below has snowman enemies and ice geysers. Use Clouds to climb past the geysers, then hop across to a chest with 3 Monster Fangs.
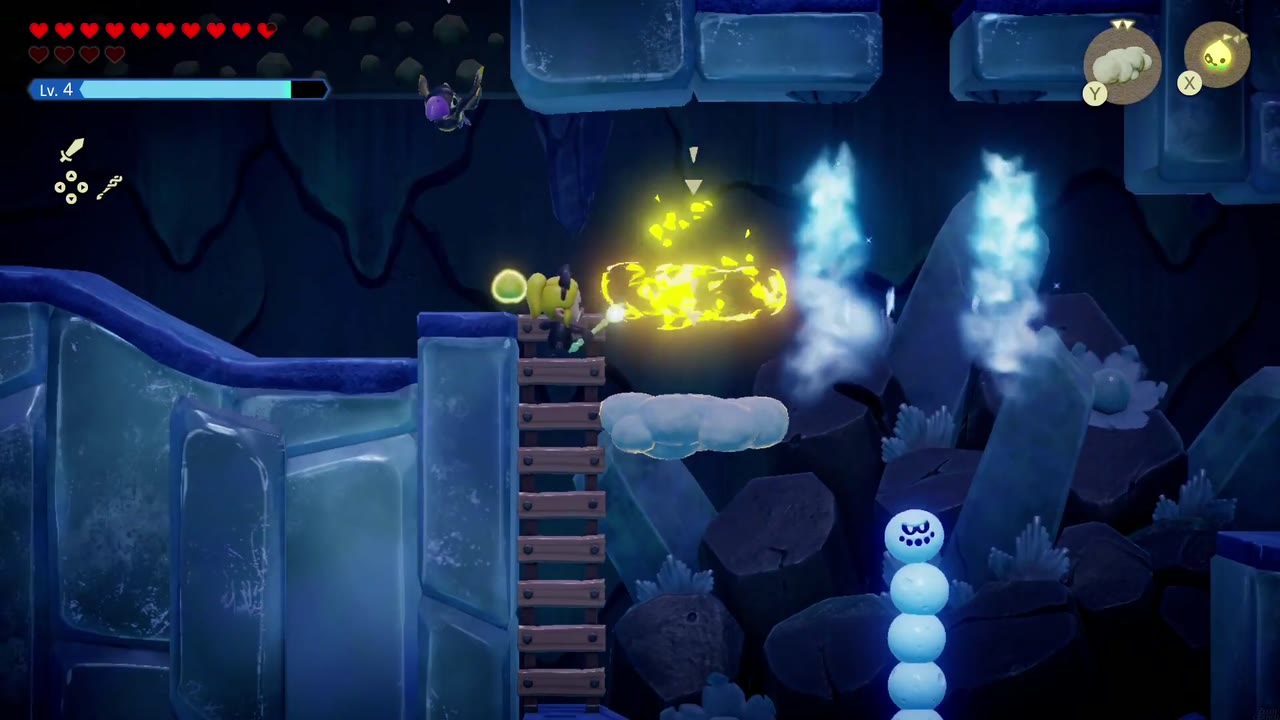
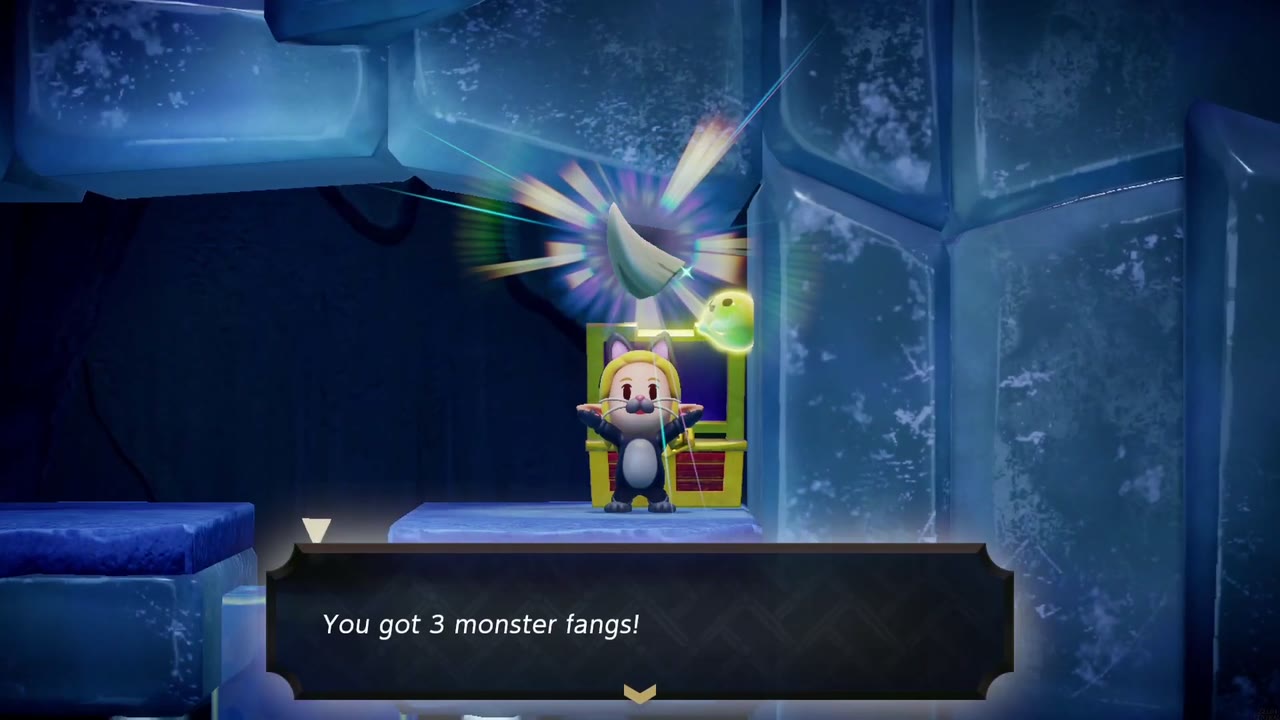
The Geyser and the Small Key
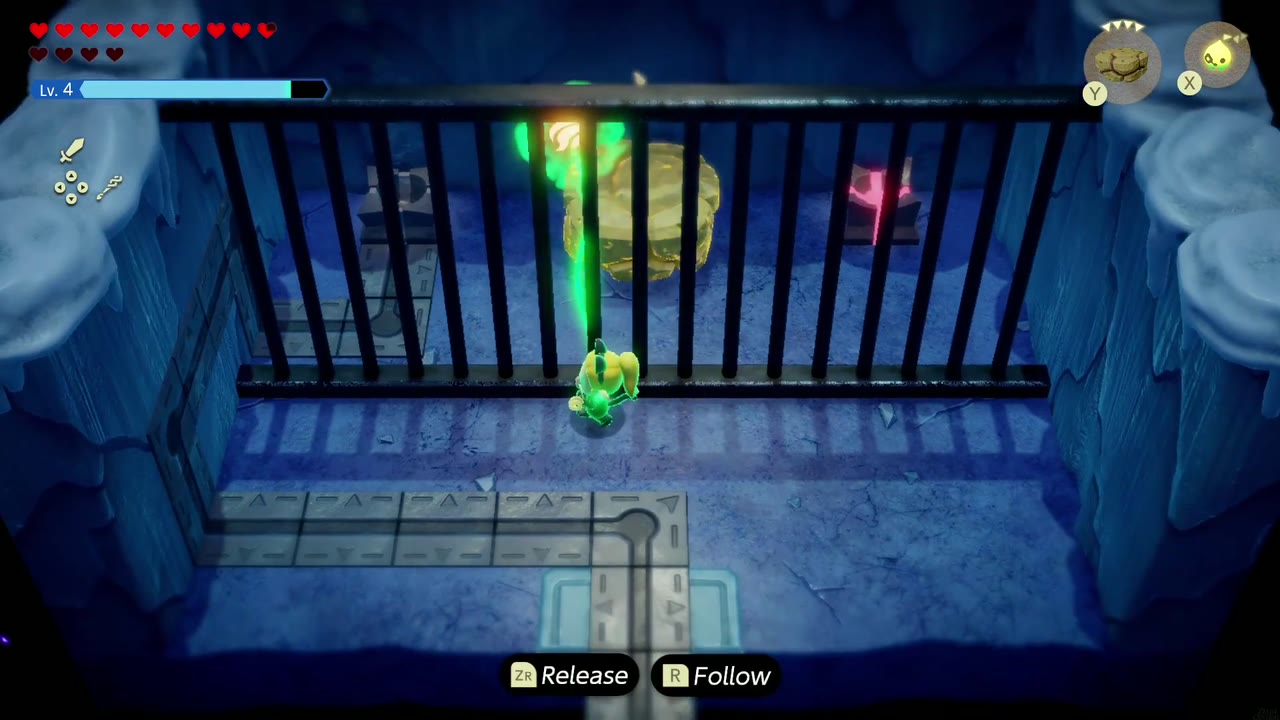
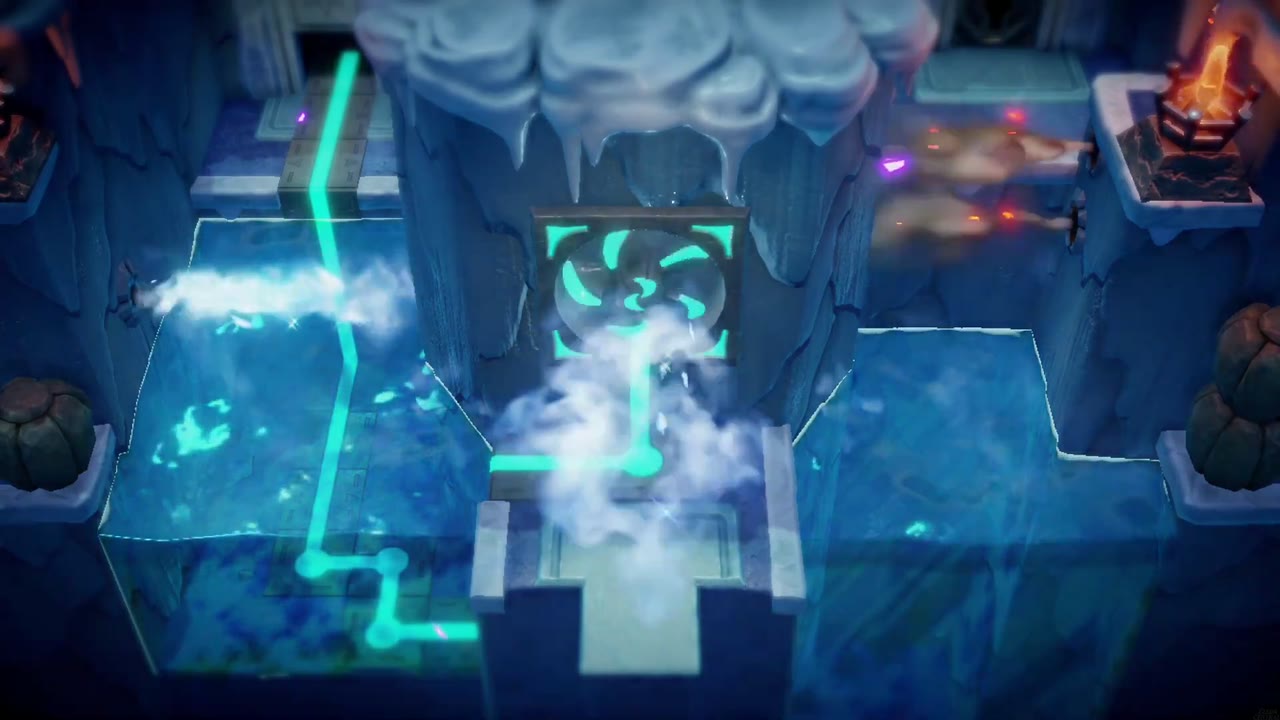
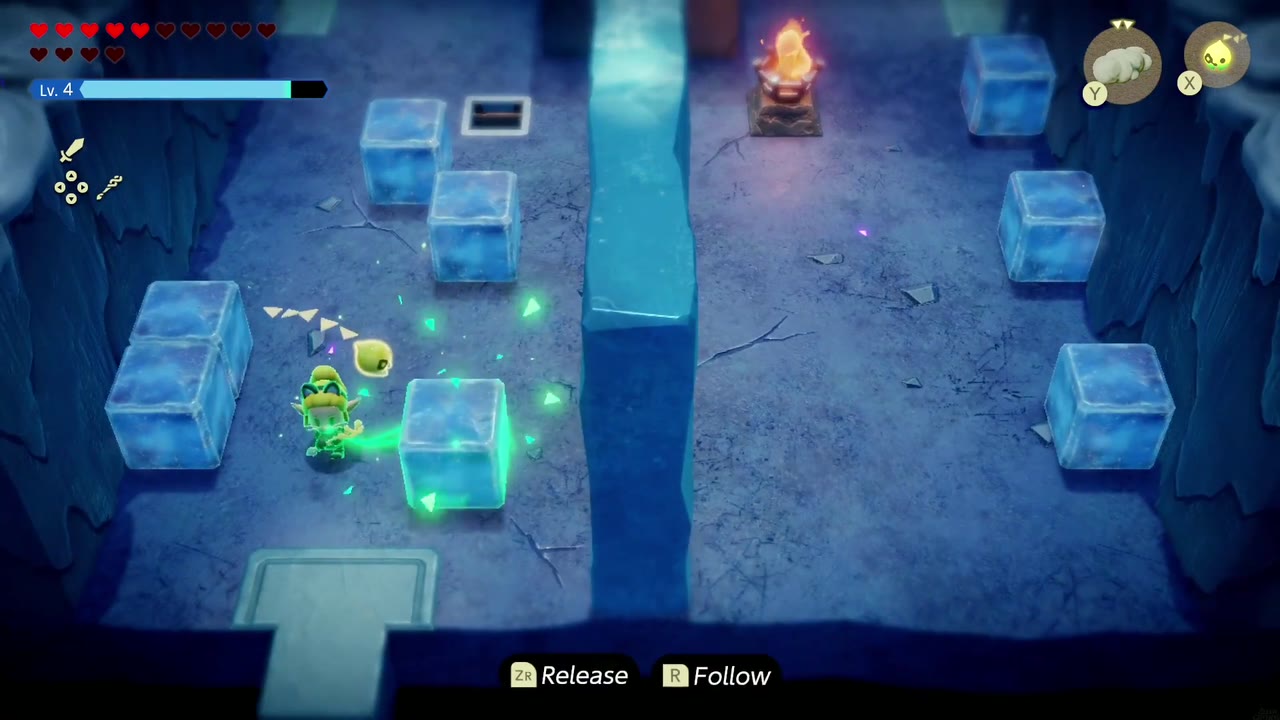
The next room is swept by icy gusts. Bind the boulders into their path to block them and make your way to the door. Beyond it is a big room with a fan in the middle, icy wind on the left and hot-air burners on the right; take the door at the top. In the barred room, an ice geyser blasts up between you and an orb on the far side. Drop a Lava Rock echo on top of the geyser to plug it.
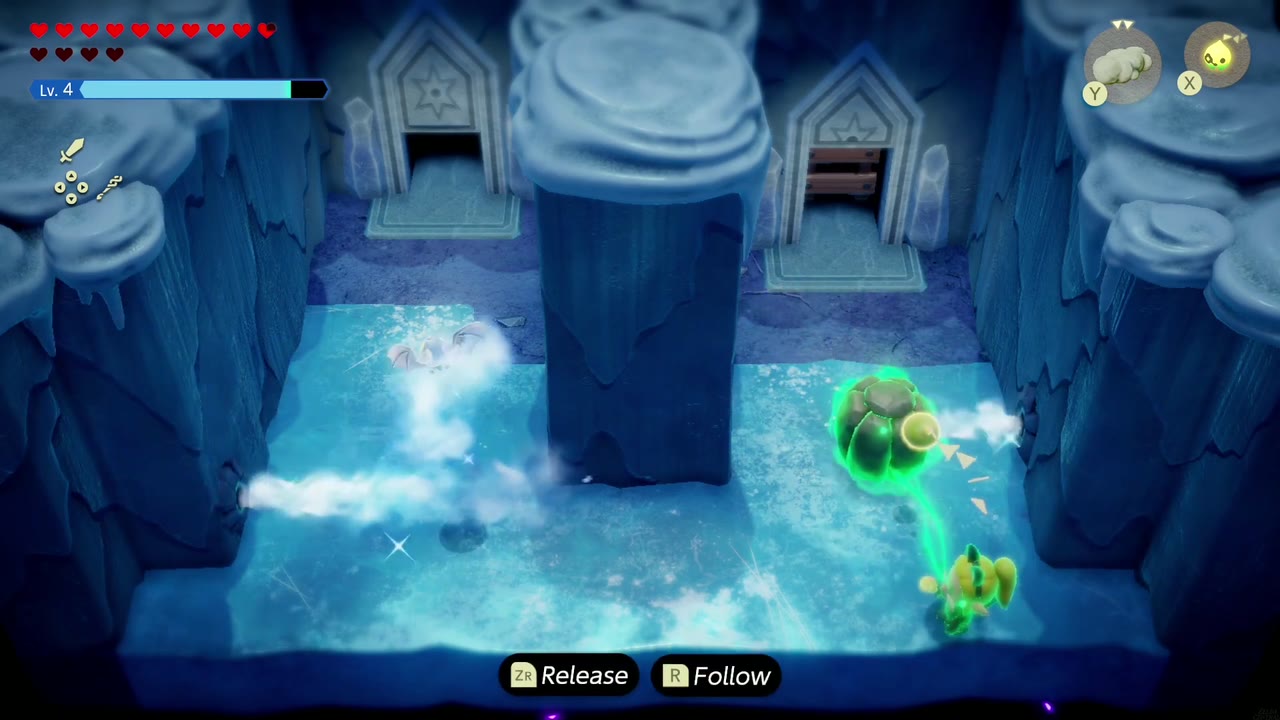

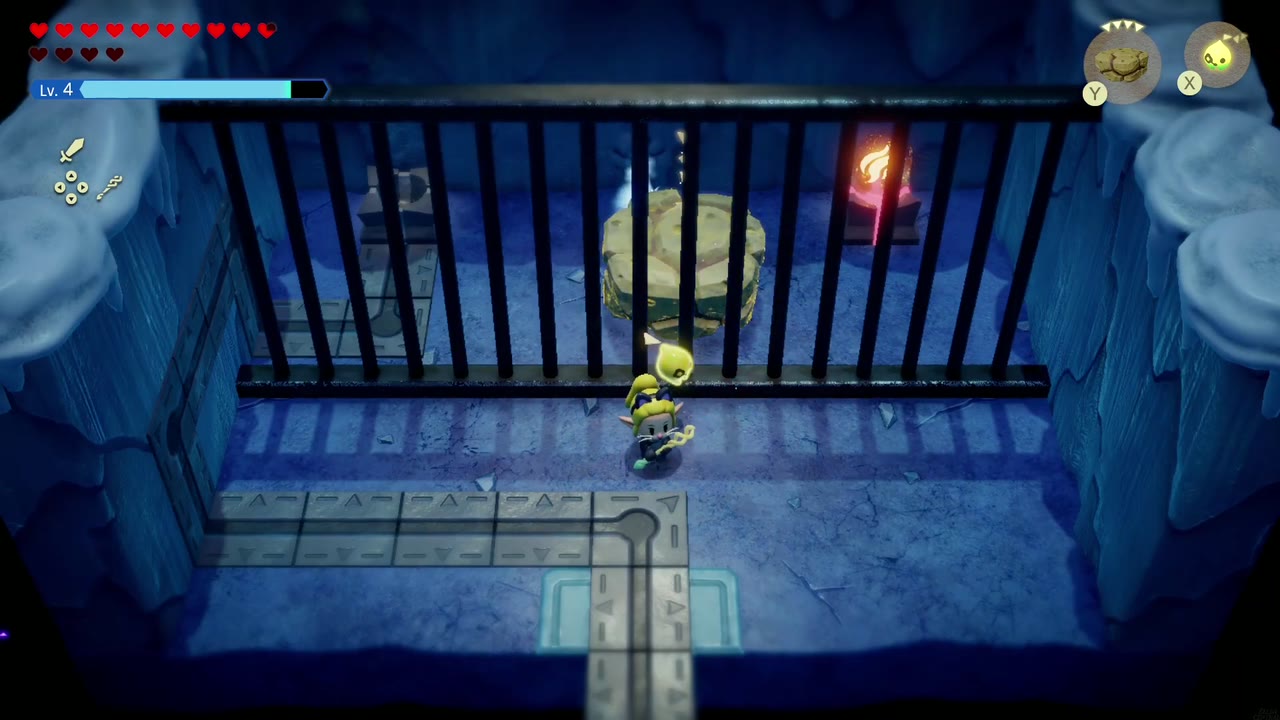
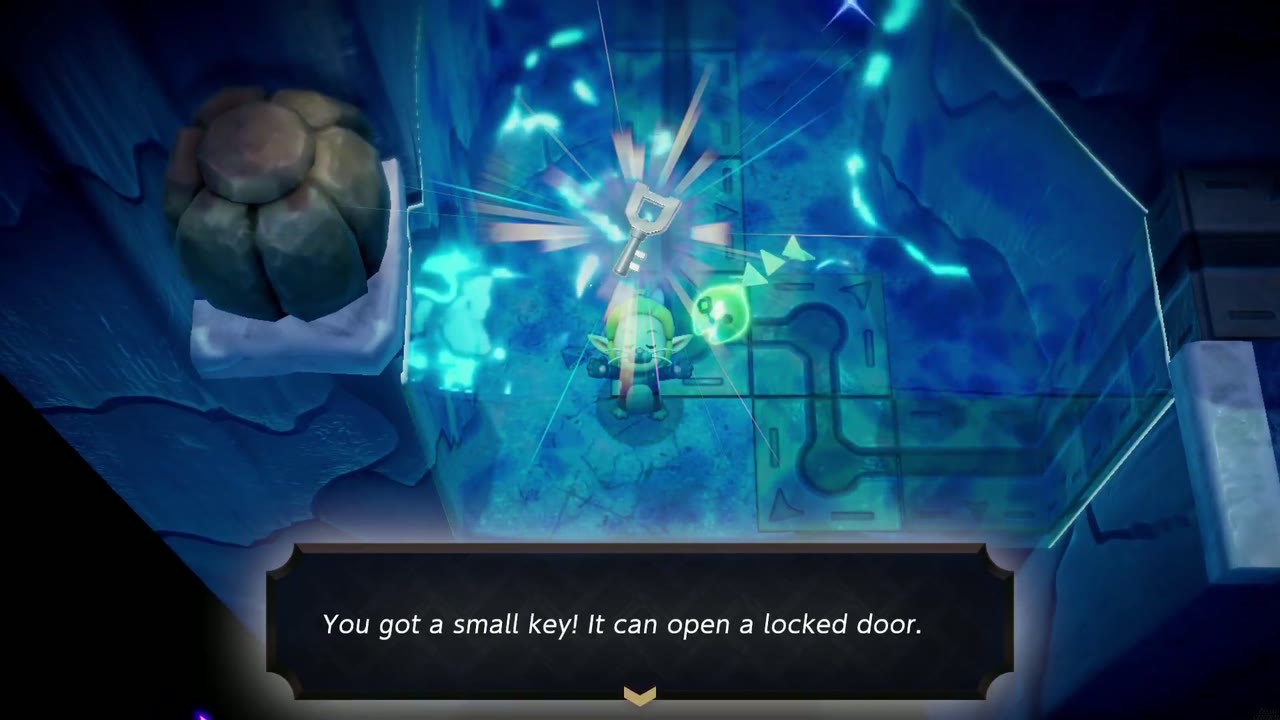
With the geyser plugged, Bind the fire orb through the bars and drag it down to the pedestal on your side. The big room’s fan becomes a heater and melts the frozen floor into water. Dive in for a Small Key.
The Ice Orb and the Locked Door
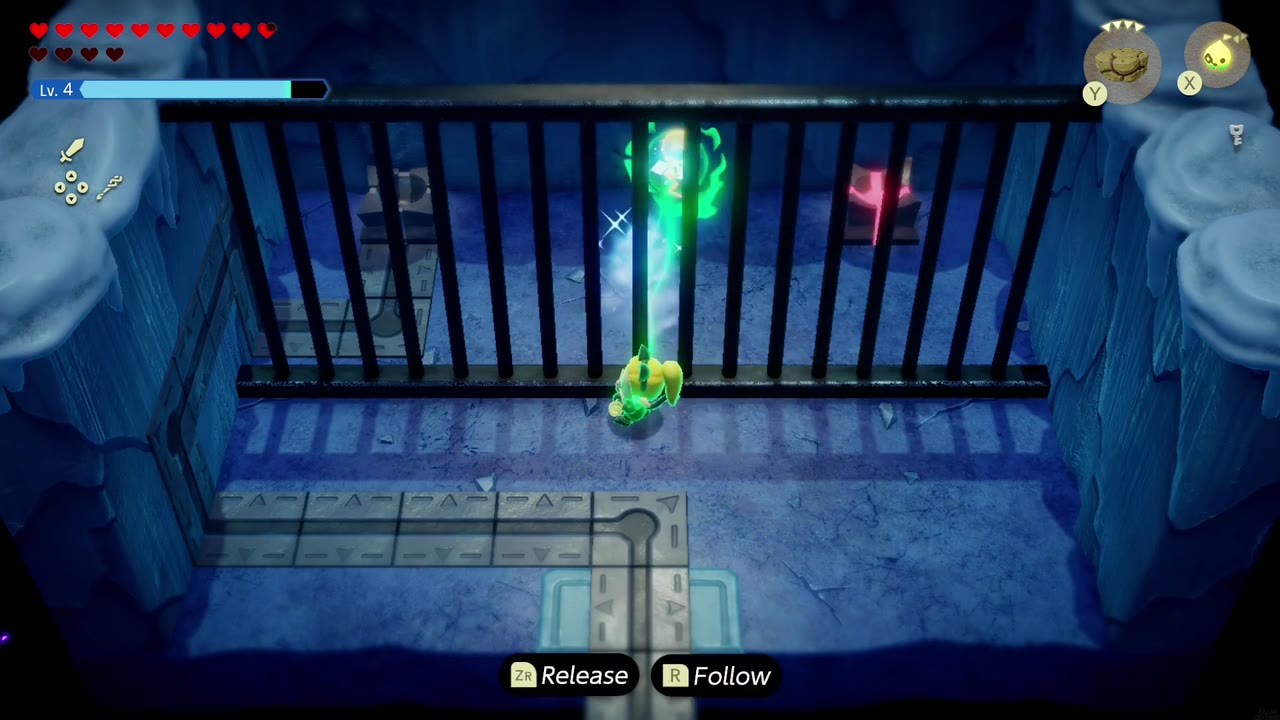
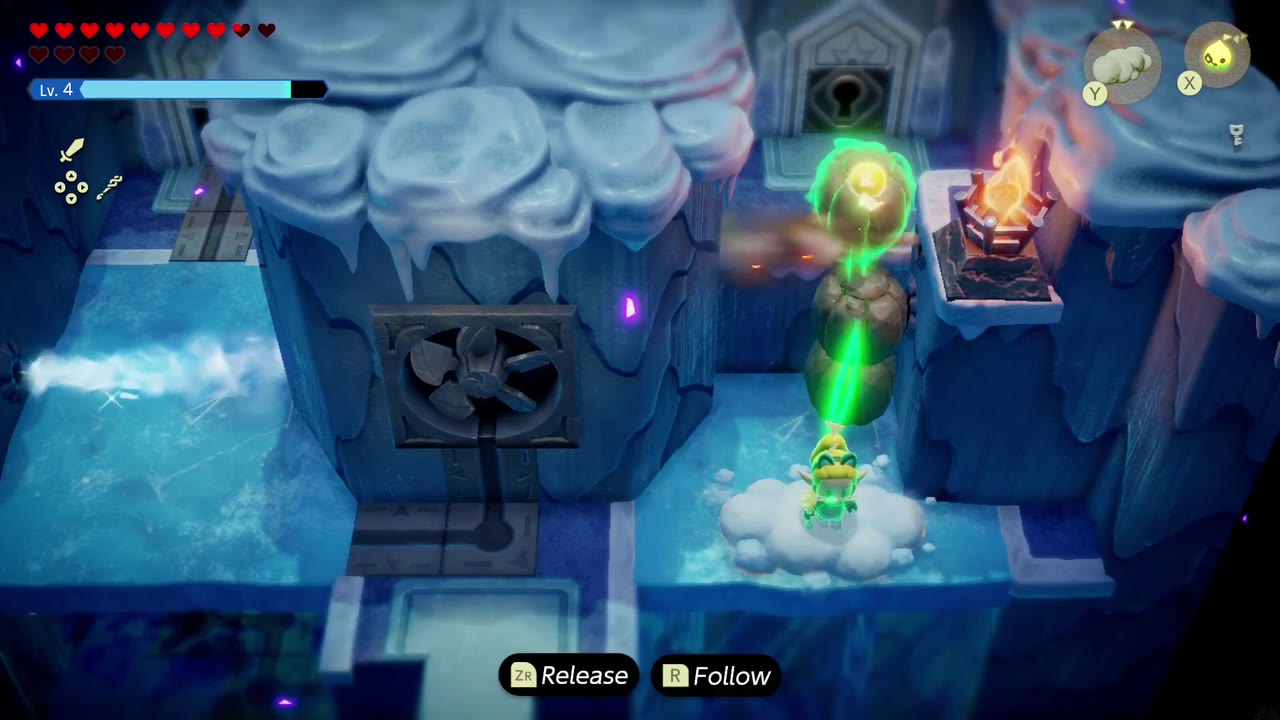
Now do the reverse. Back in the barred room, Bind the orb again and drag it straight through the ice geyser so it freezes. Set the ice orb on the pedestal and the fan blows cold, refreezing the water. In the big room, Bind the boulders into a stack against the hot-air burners on the right. Stand on a Cloud to lift the last one into place, then climb up to the locked door.


Freeze Slugs and the Golden Egg
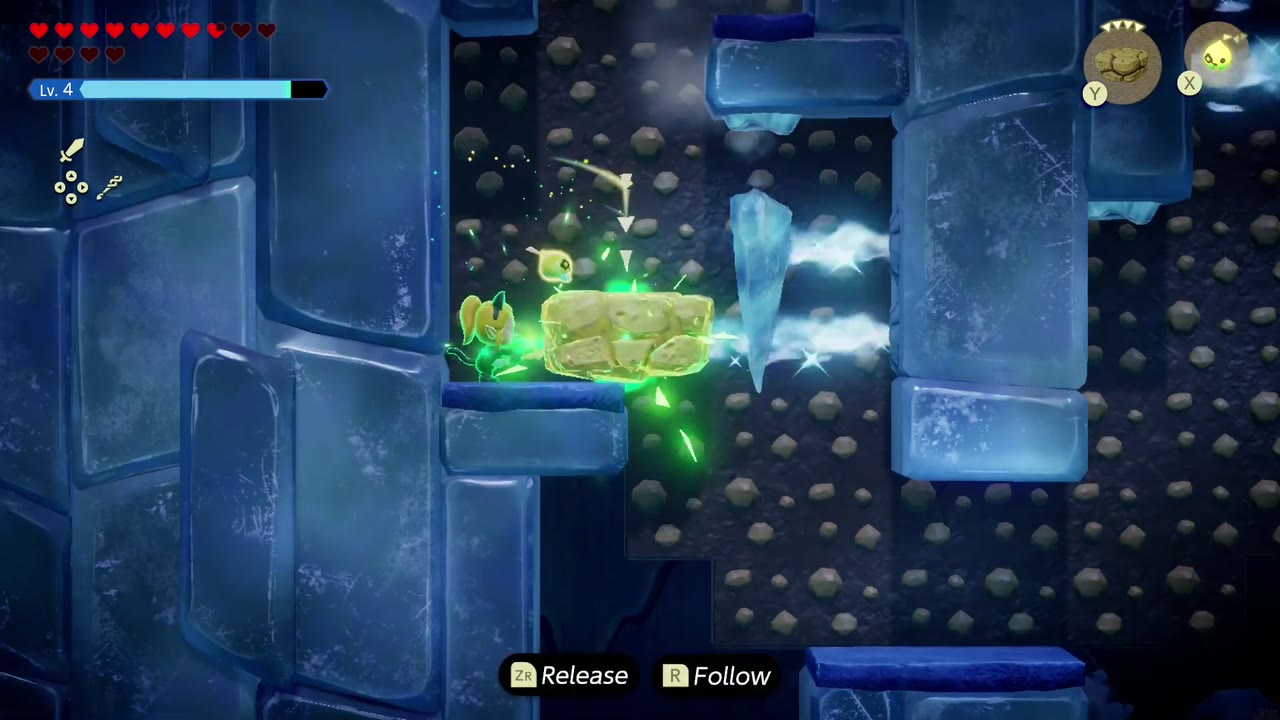
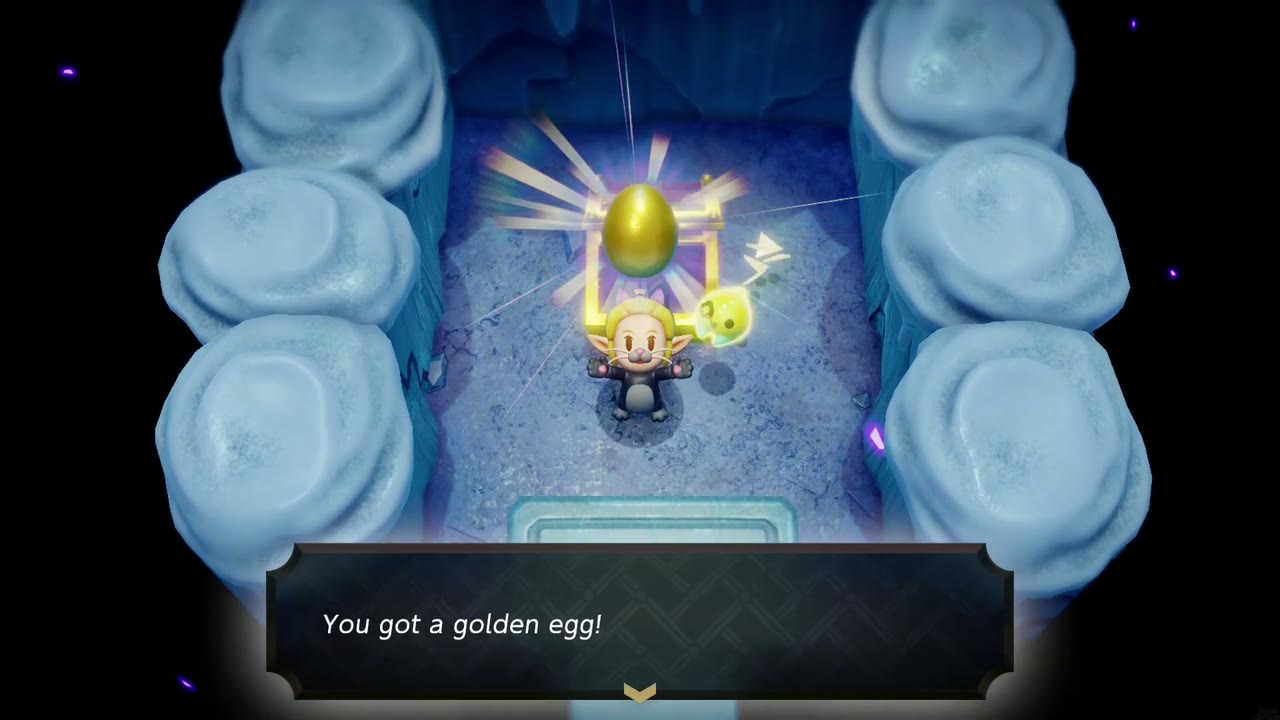
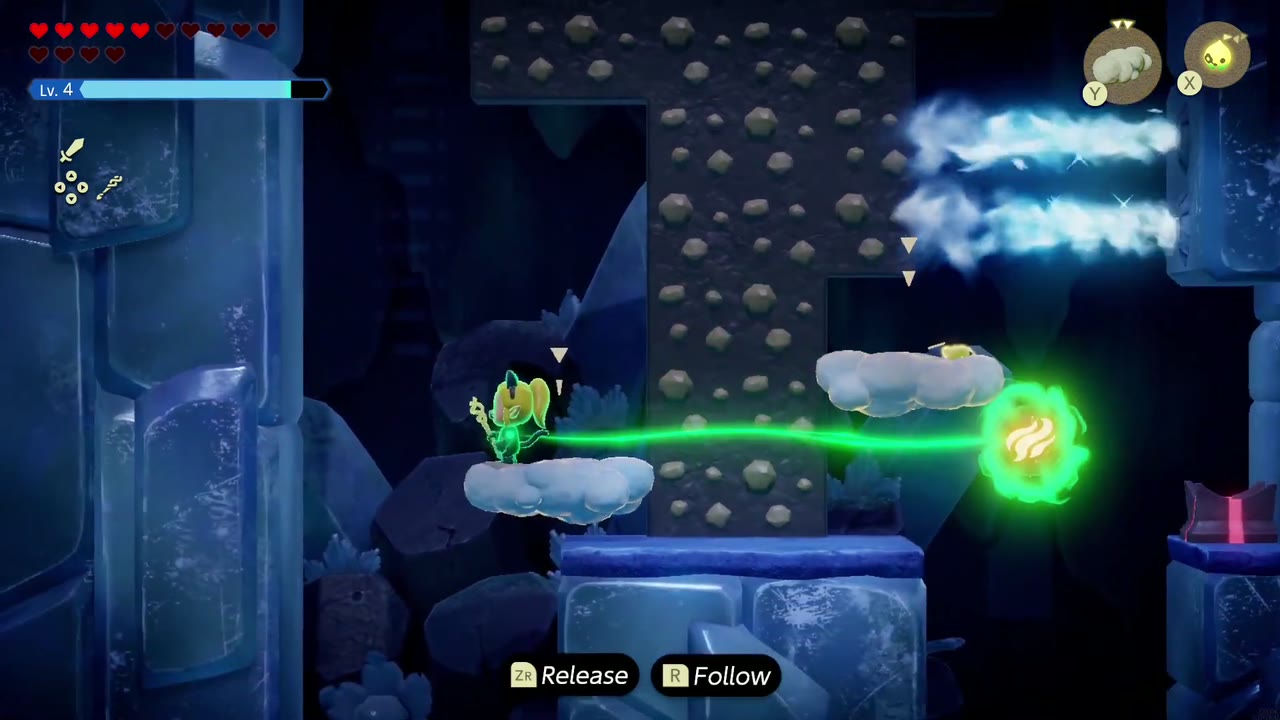
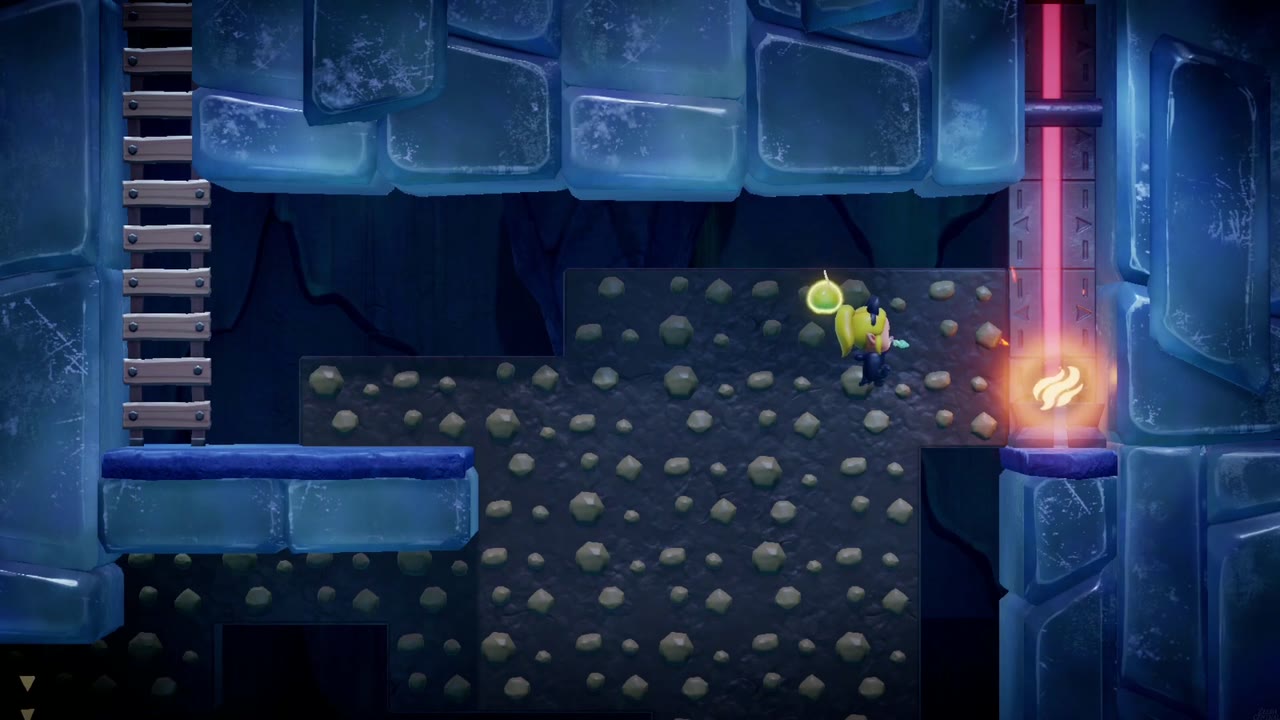
The side-on shaft beyond is crossed by icy blasts that freeze Zelda solid. Bind the stone slab into each blast to block it as you work your way down. Next comes a room of ice geysers: Clouds carry you across to a chest alcove with a Golden Egg. In the ice block room after it, slide an ice block aside to uncover a ladder down. The side-on corridor below is crawling with Freeze Slugs; defeat one to learn the Freeze Slug echo. Then carry an orb across the corridor on Clouds. The icy blasts turn it to ice and the wall flame turns it back to fire, so steer it round the blasts and set it on the pedestal as a fire orb. That heats the fan up in the ice block room above.

The Dungeon Map and the Slime Mini-Boss
The Twin Switches and the Second Small Key
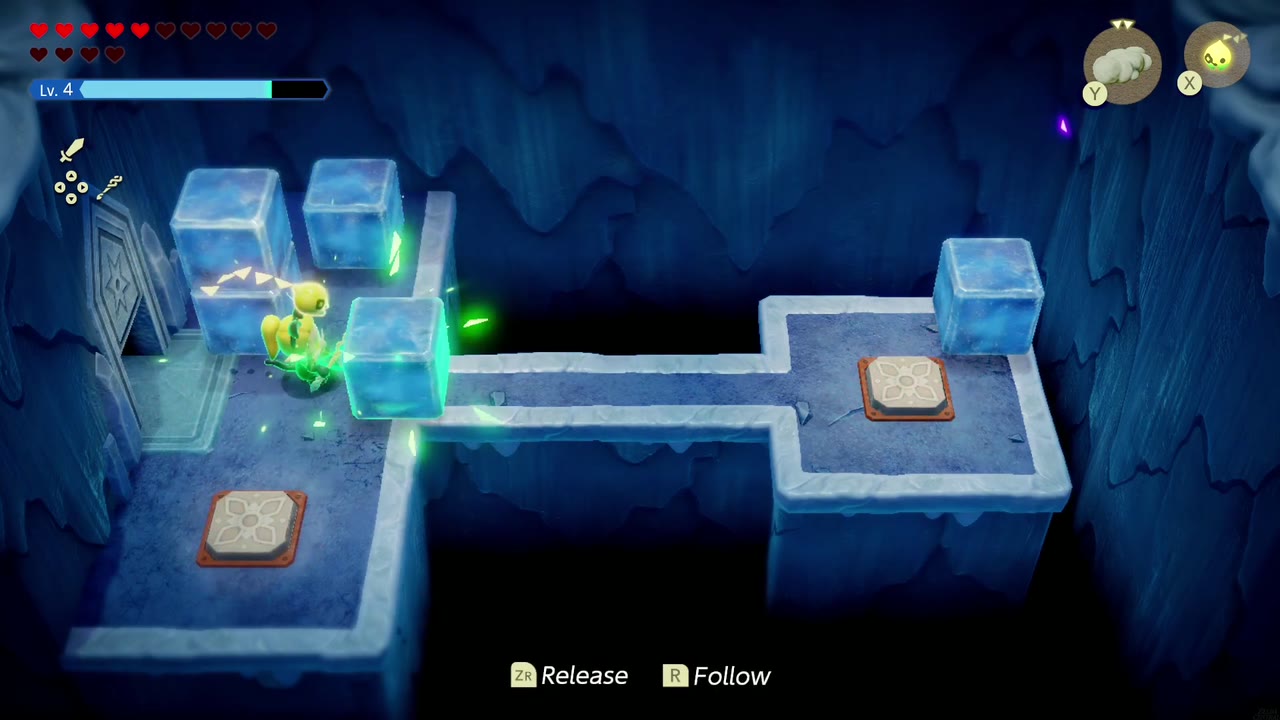
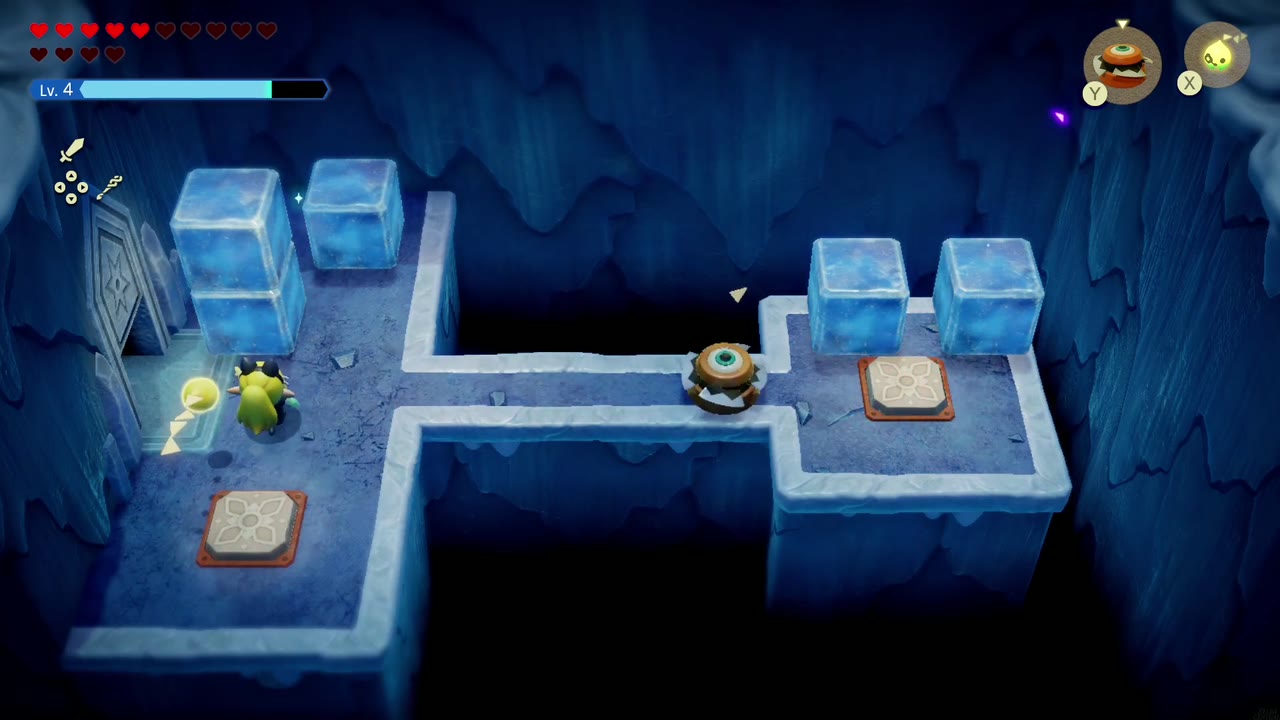
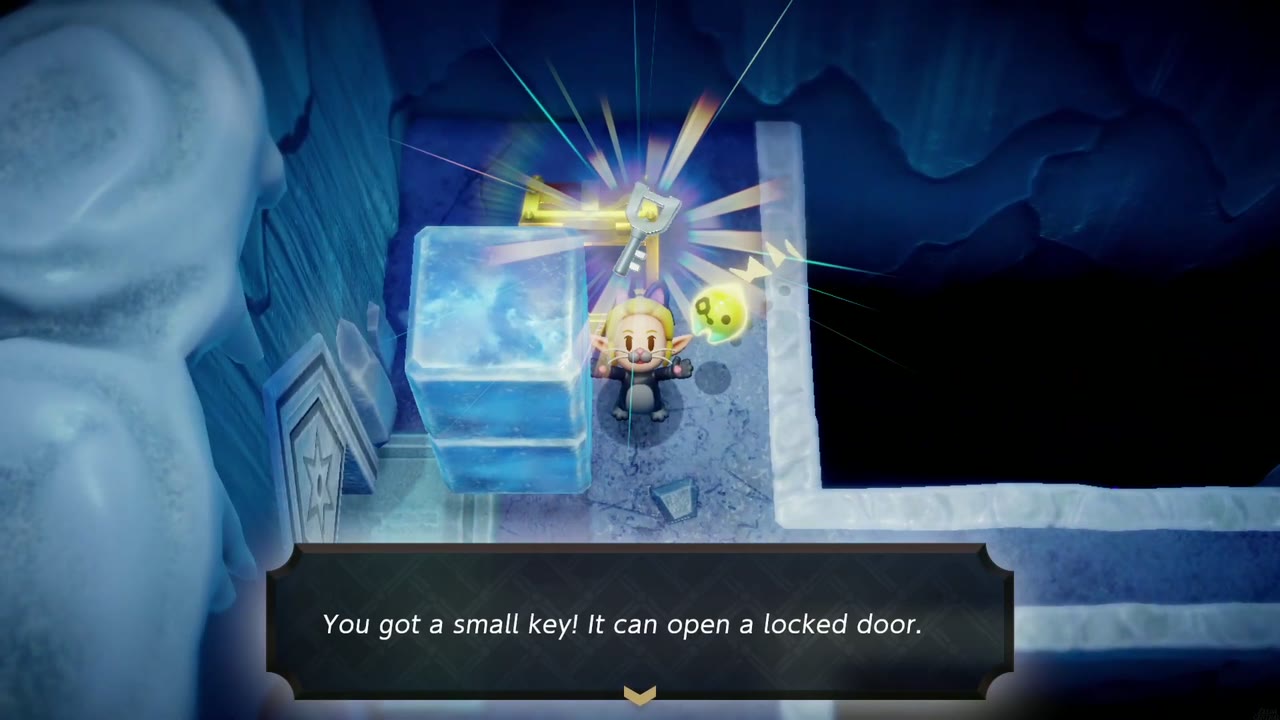
The next room has two floor switches joined by a narrow ice walkway, with ice blocks scattered around it. Bind the blocks off the walkway, then summon a heavy echo (a Beamos works) and drag it along the walkway onto the far-right switch. Step onto the left switch yourself and, with both held down, a chest appears beside the ice blocks on the left. It holds a Small Key.

The Geyser Maze and the Dungeon Map
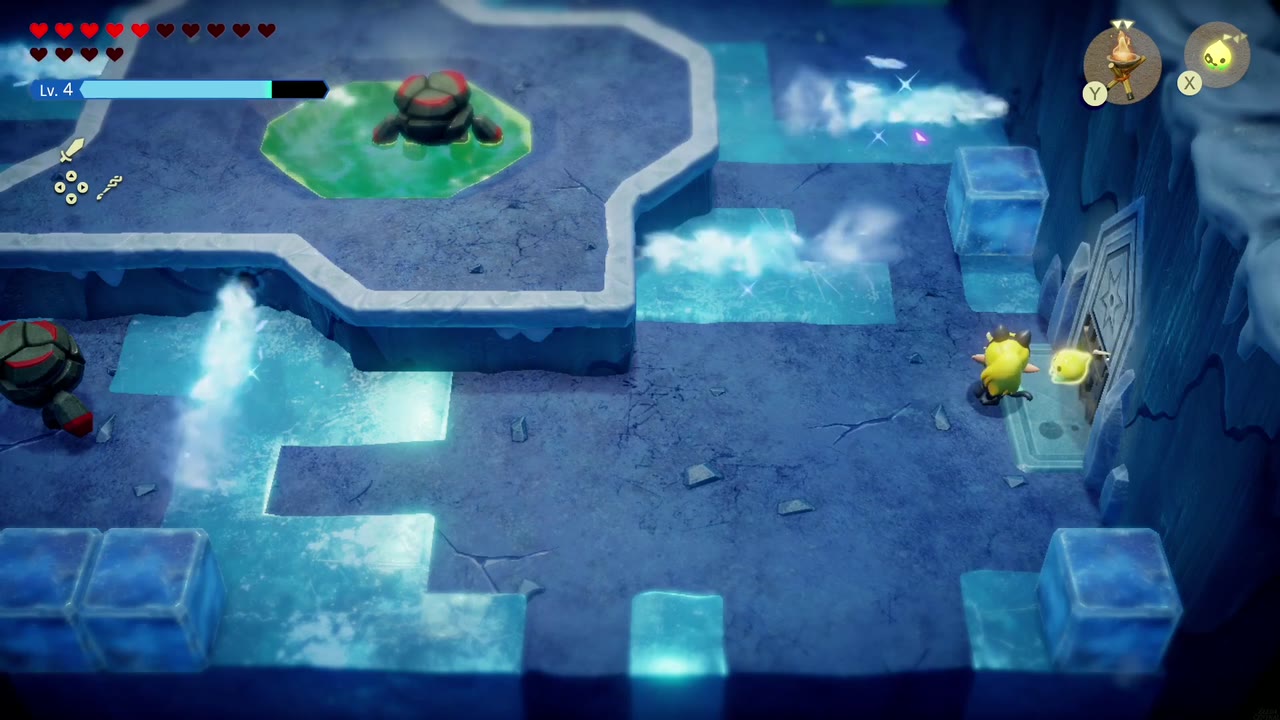
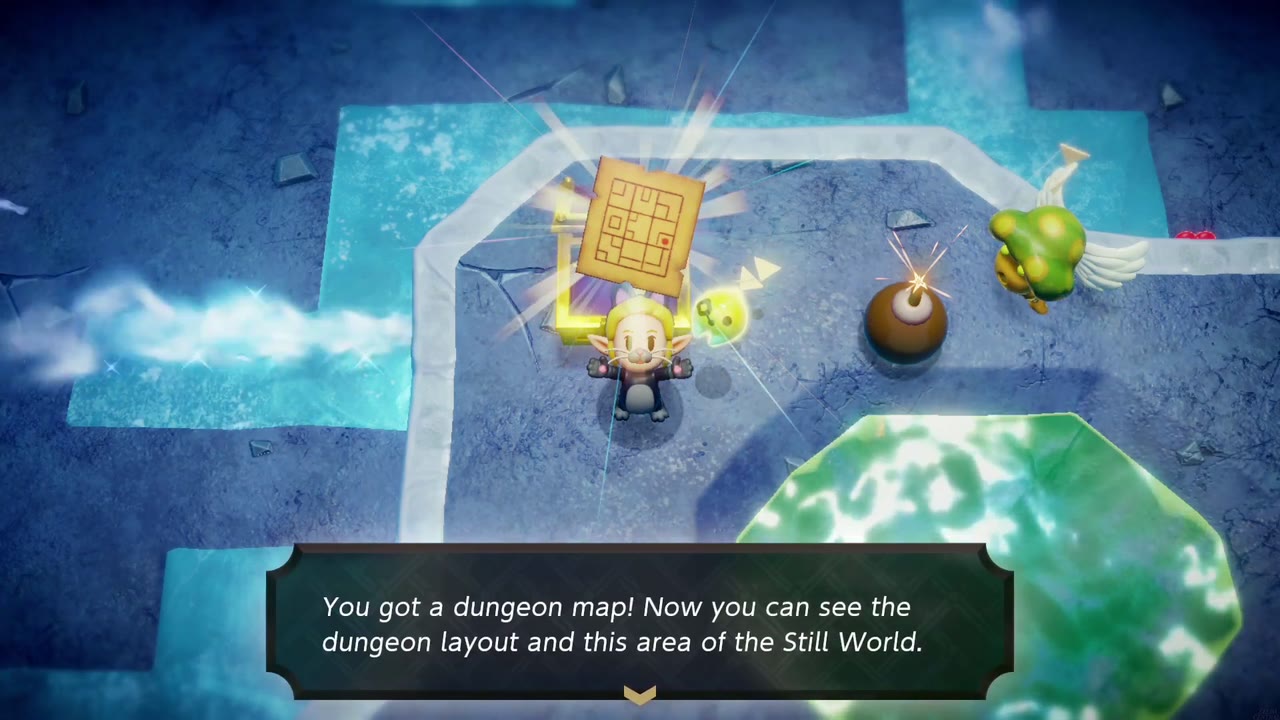
The room beyond is a maze of geysers and green slime pools, guarded by enemies that throw bombs. Clear them out with your echoes and sword. A chest on the upper ledge holds the Dungeon Map. Light the braziers in the lower half with Brazier echoes, then head through the top-right of the room to the next door.


The Waypoint and the Slime Mini-Boss
A small room with a Waypoint statue comes next. Activate it so you can warp back here from the map. The door at the top left leads to the miniboss.
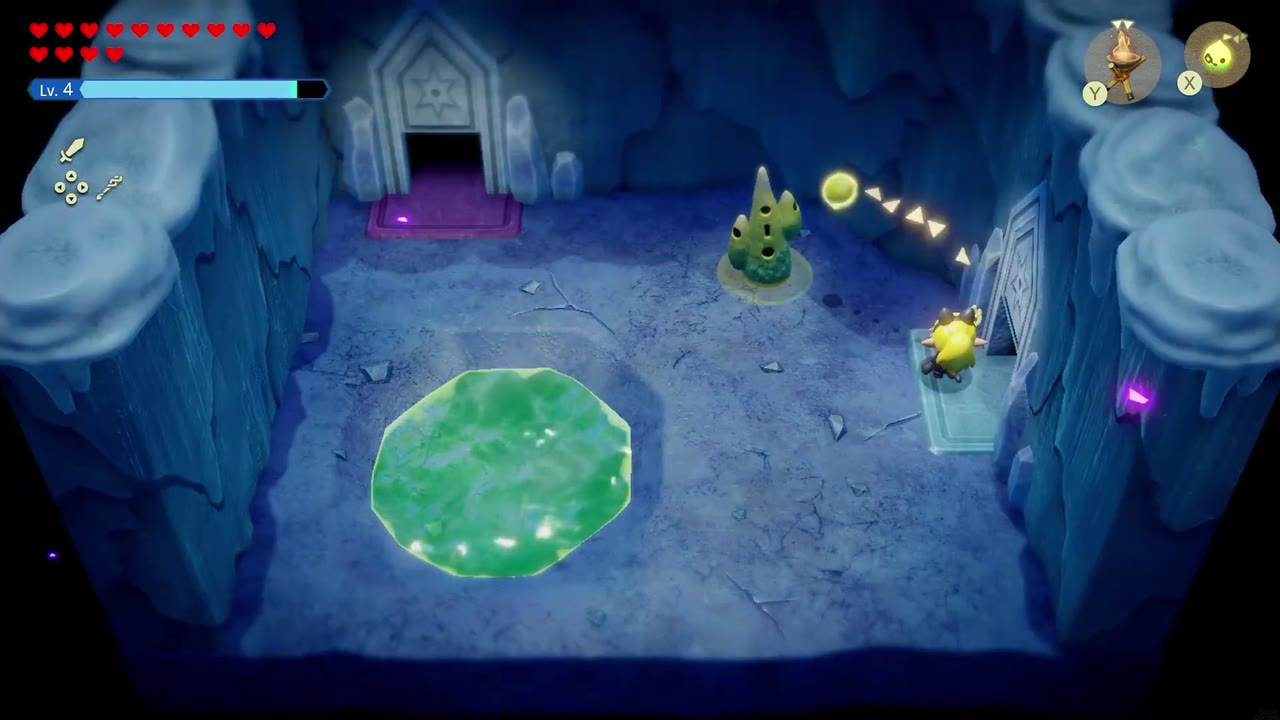
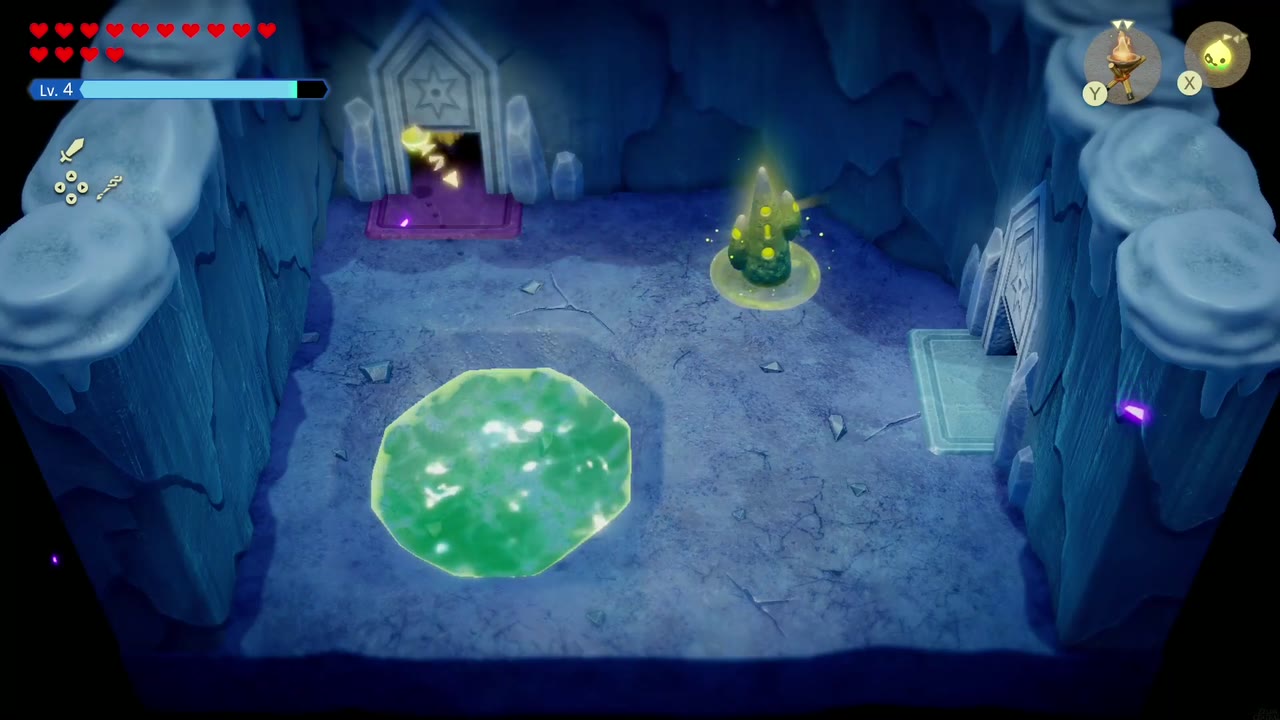
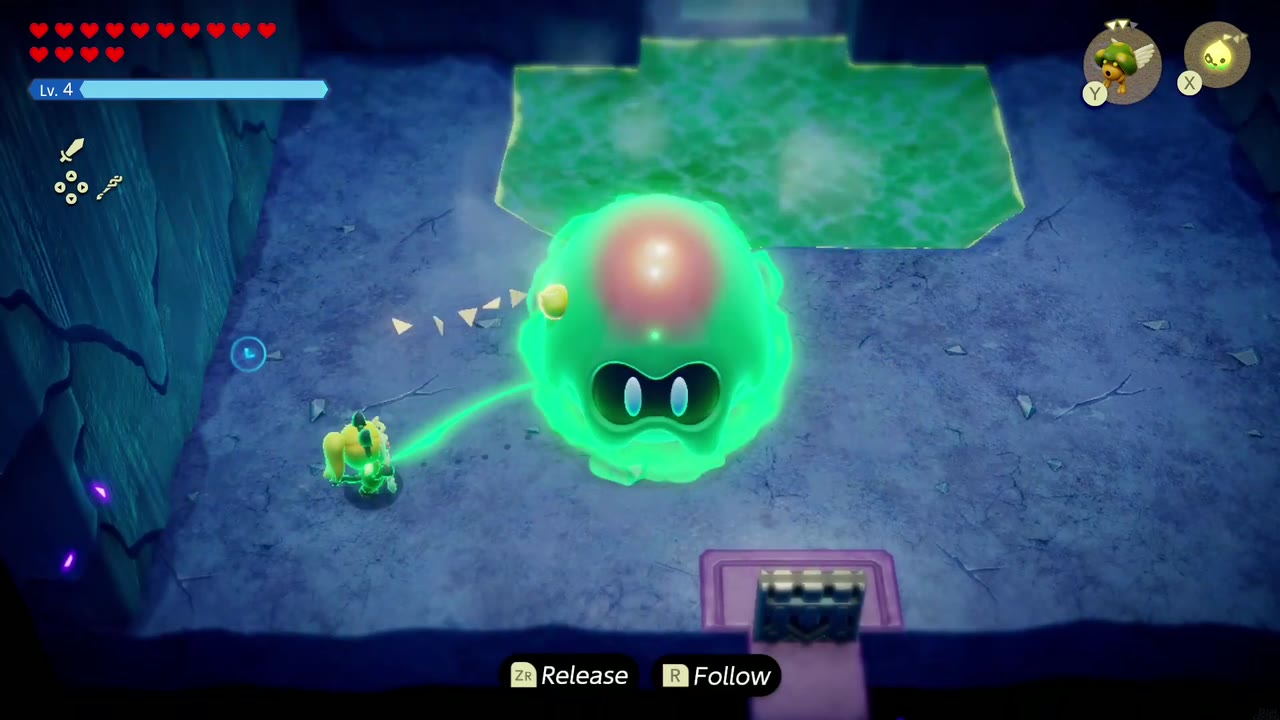
Once you step in, a giant green slime with a red core drops from the ceiling and the gate behind you closes. It bounces after you around the arena, so keep moving.
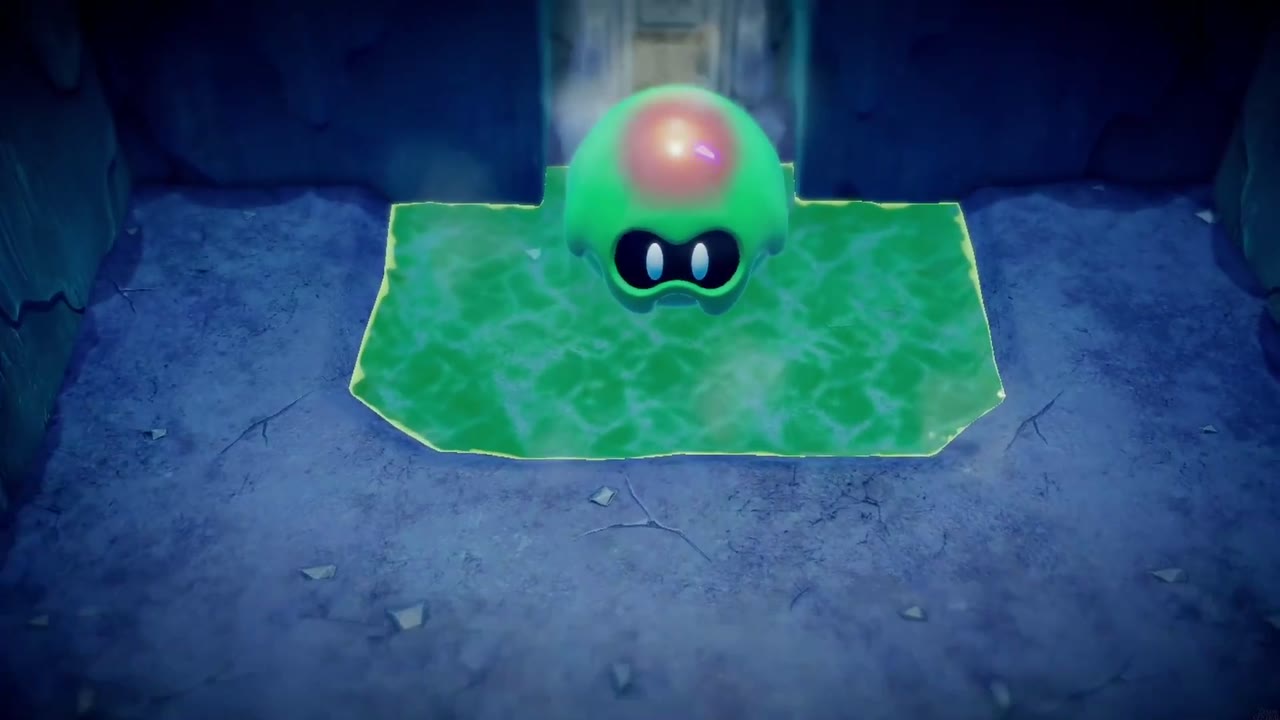

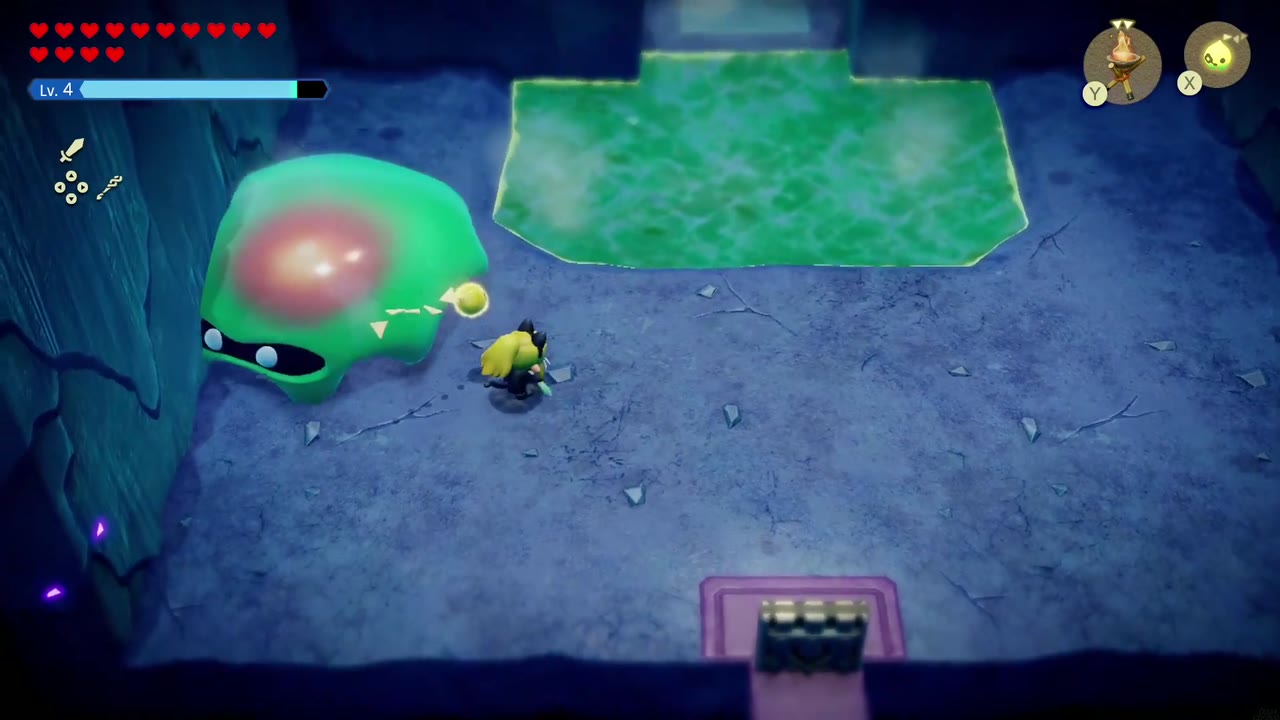
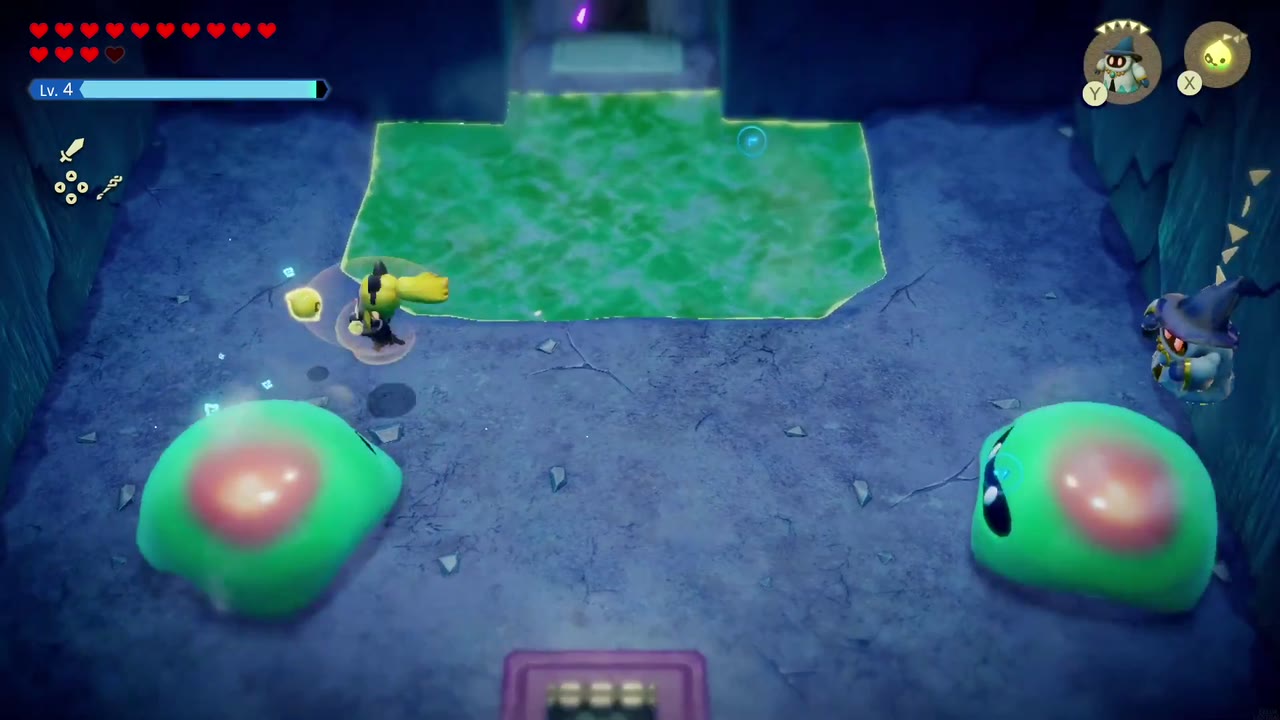
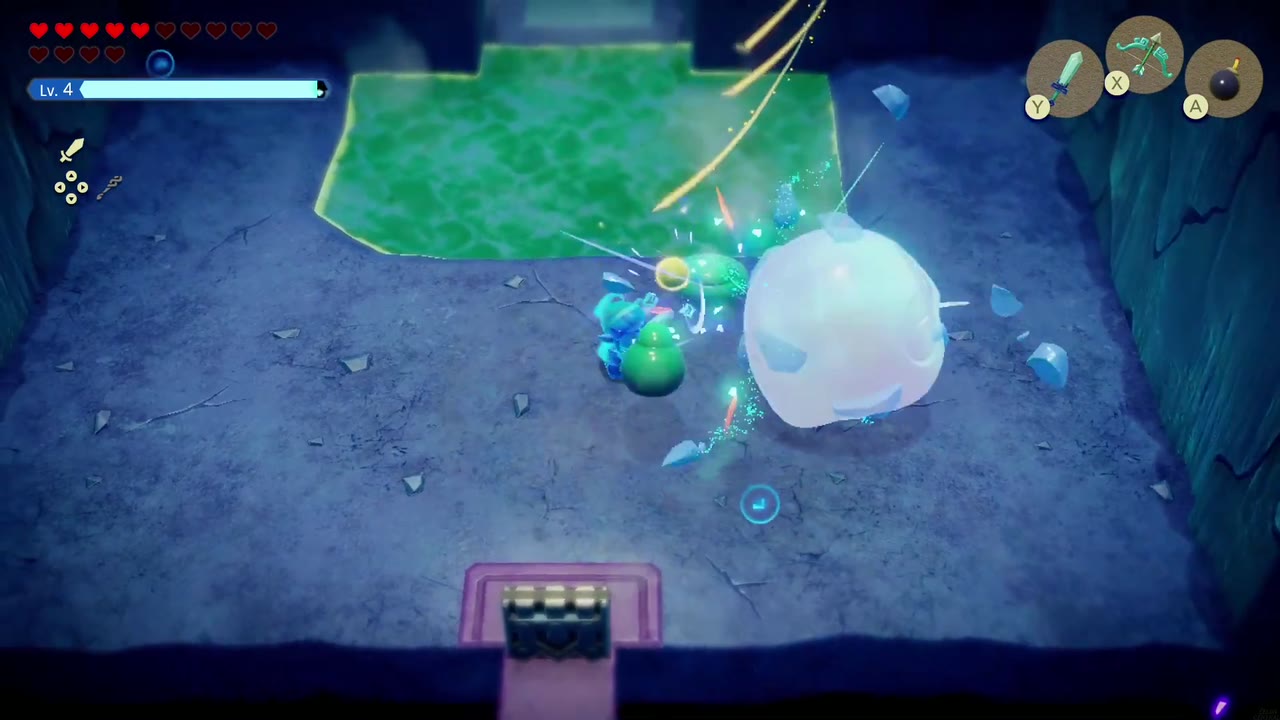
This Slime miniboss splits into smaller slimes as you damage it, first two and then a scatter of little blobs. Ice echoes do most of the work: summon a Snomaul or an Ice Wizzrobe to freeze a slime solid, then switch to Swordfighter form and smash it. Each split brings more of them, but the method stays the same: freeze, hit, repeat until nothing’s left. A Golden Tough Smoothie takes the edge off the damage if the crowd gets out of hand. When the last blob is gone, the north door opens.

The Laser Room and the Big Key
The Torch Shaft
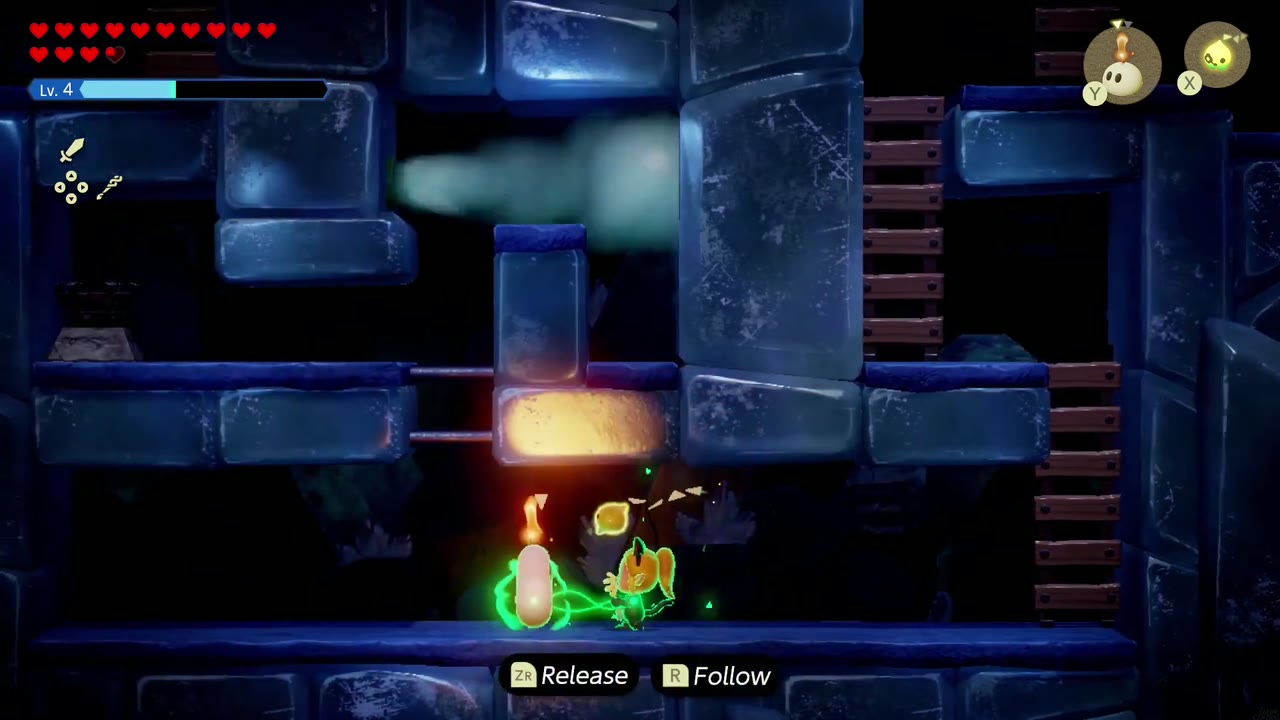
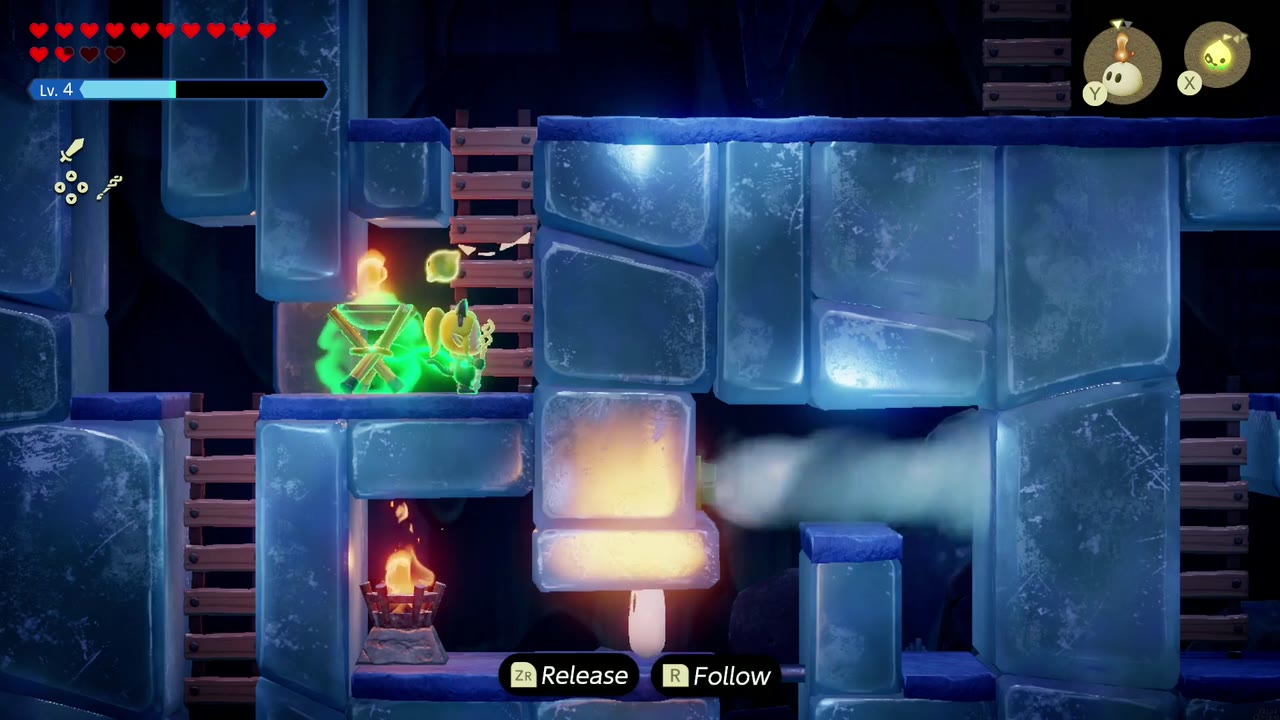
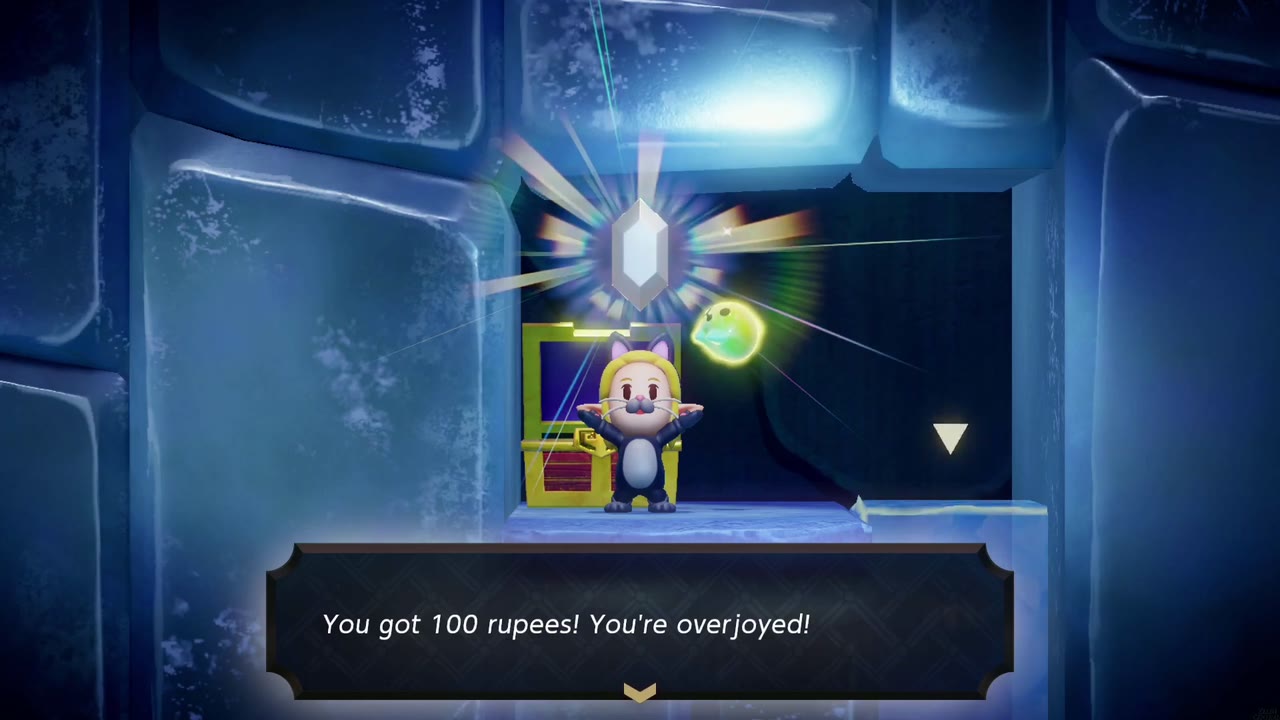
Beyond is a side-scrolling shaft of ice and ladders with unlit torches on every level. Summon a Brazier echo and Bind it up to each torch, climbing the walls and ladders with it in tow. Ice blocks block parts of the climb; park a Torch Slug beneath them to melt them away. Keep working upward, lighting torches as you go, until you reach the alcove at the top left, where a chest holds 100 rupees.


The Yellow Switch and the Snowball
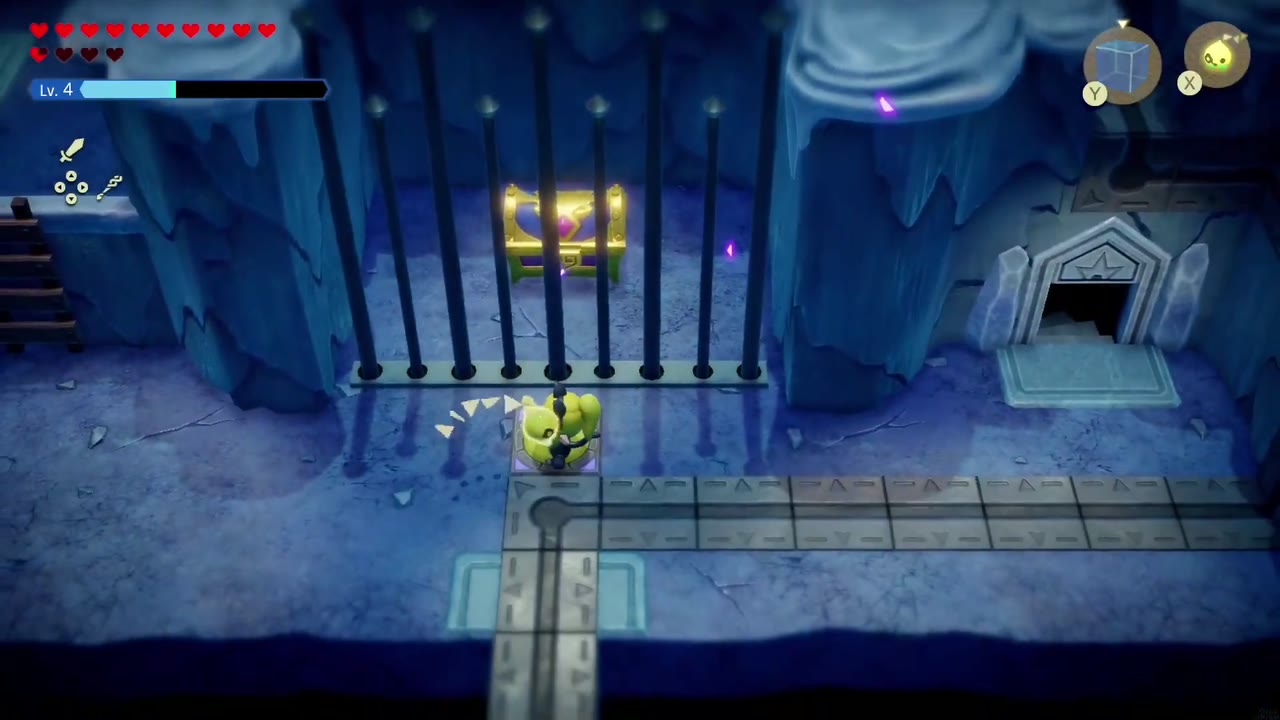
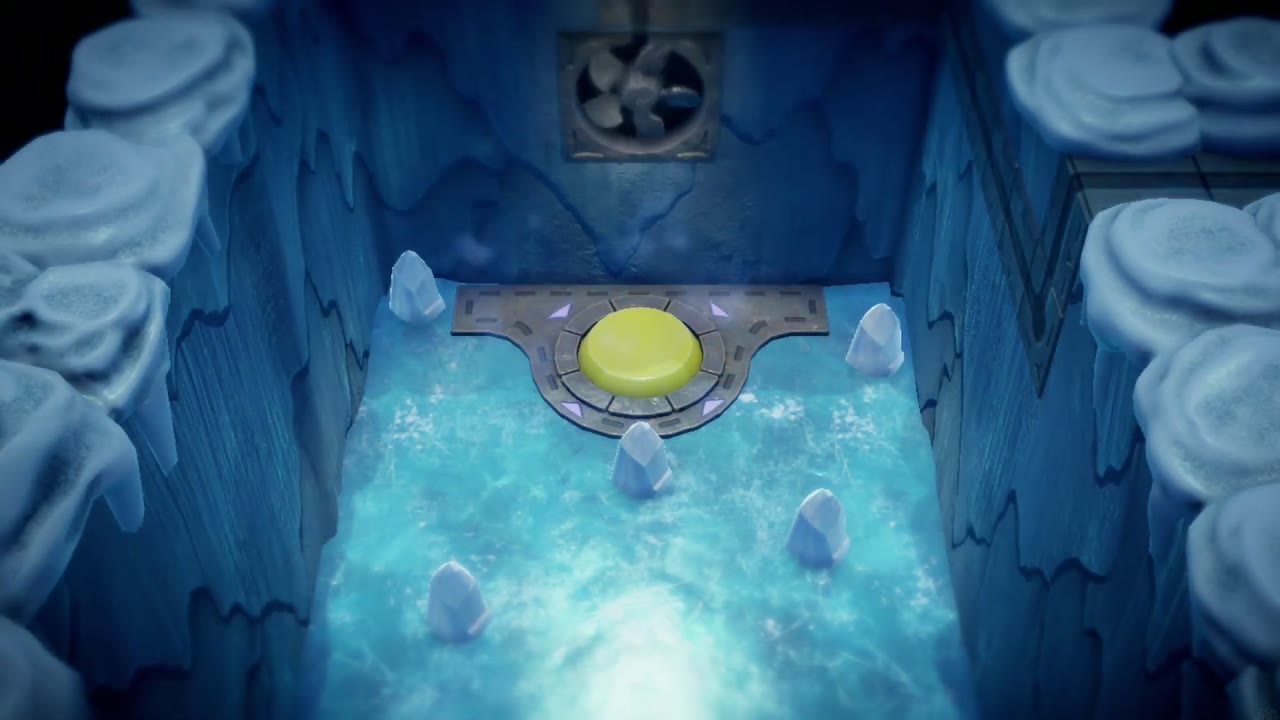
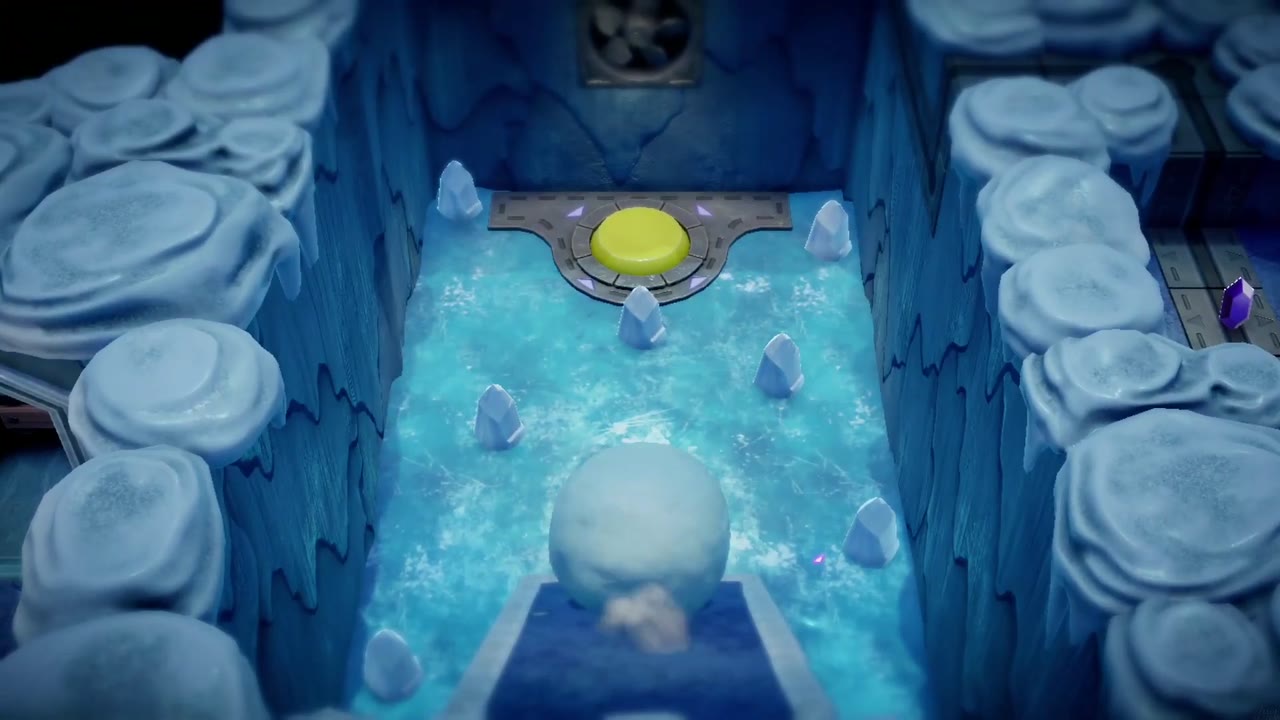
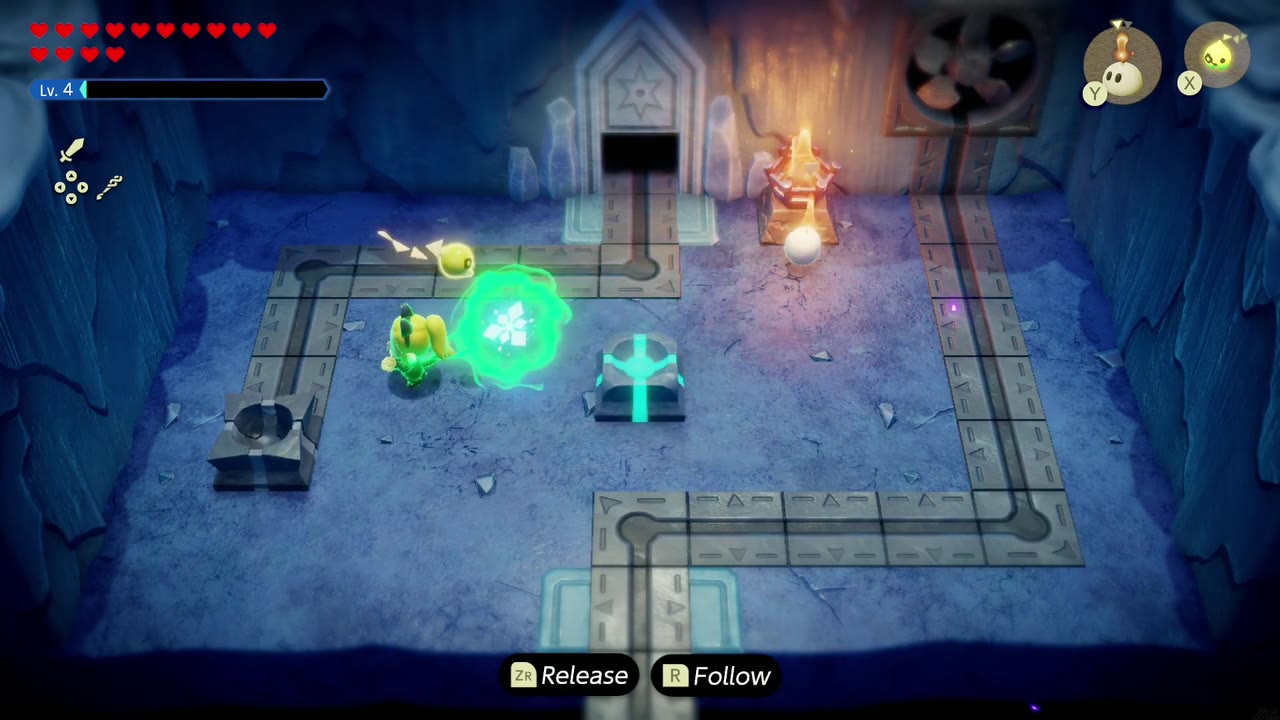
Out of the side-on shaft you reach the heart of B3’s main puzzle. The first room shows a big yellow switch beyond a field of ice spikes, with a giant snowball parked below it; next door, the big chest sits behind bars with a small yellow floor switch in front. Remember both. East is the laser room: an ice orb sits on a track pedestal, and a fire orb burns in the brazier by the fan. Bind the fire orb to see how it works, then take the north door.



The Ice Wizzrobe Room
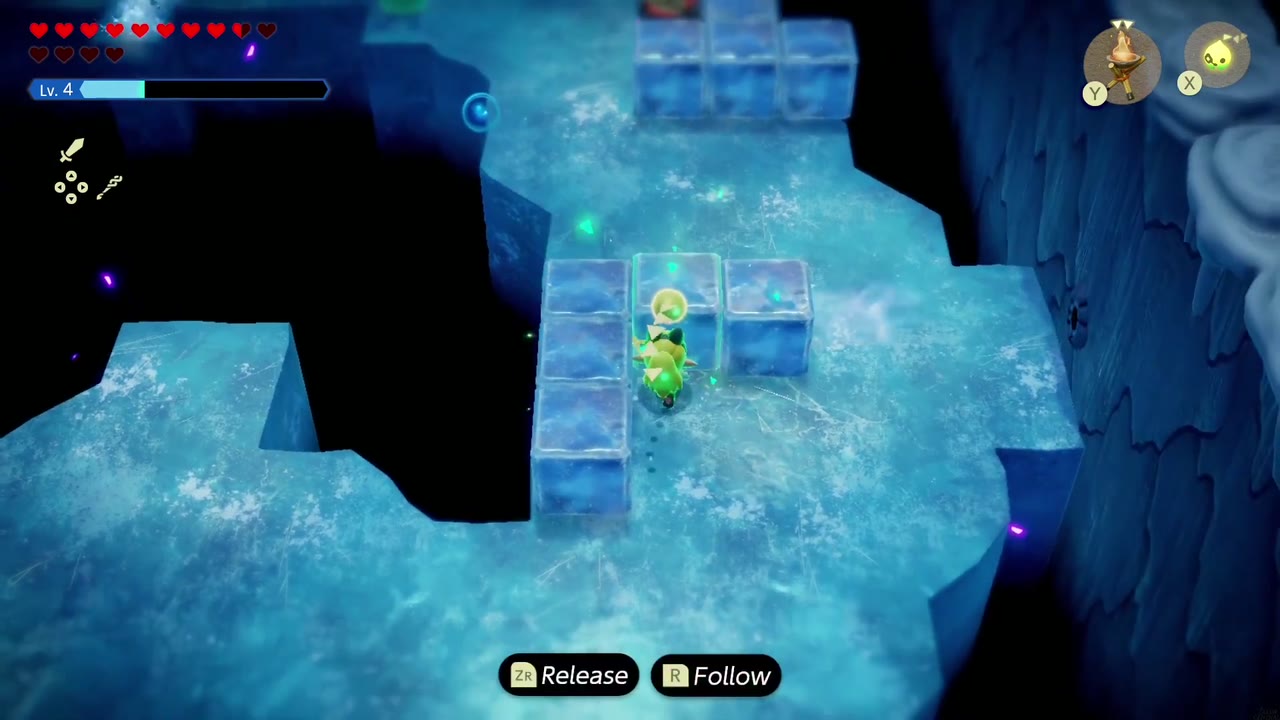
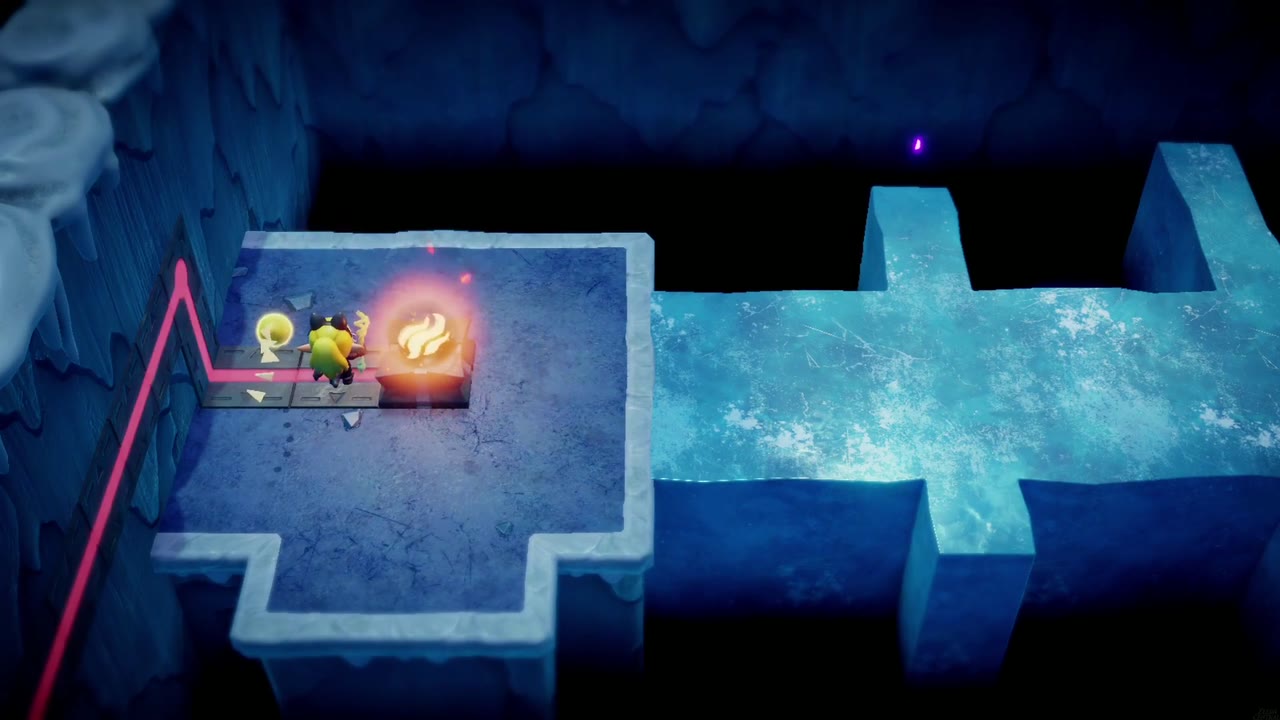
The north room is full of ice crystals and Ice Wizzrobes. Summon fire echoes (Fire Wizzrobe or Ignizol) to melt the crystals and open the chest inside for a Twisted Pumpkin. Carry on through a frozen room with Tektites skating on the ice to a set of floating ice platforms. Shove the ice blocks into a path, then Bind the fire orb from its brazier and carry it to the empty socket on the far side. It fires a red laser through the fan, and that thaws the frozen room you just passed.


The Twin Plates and a Might Crystal
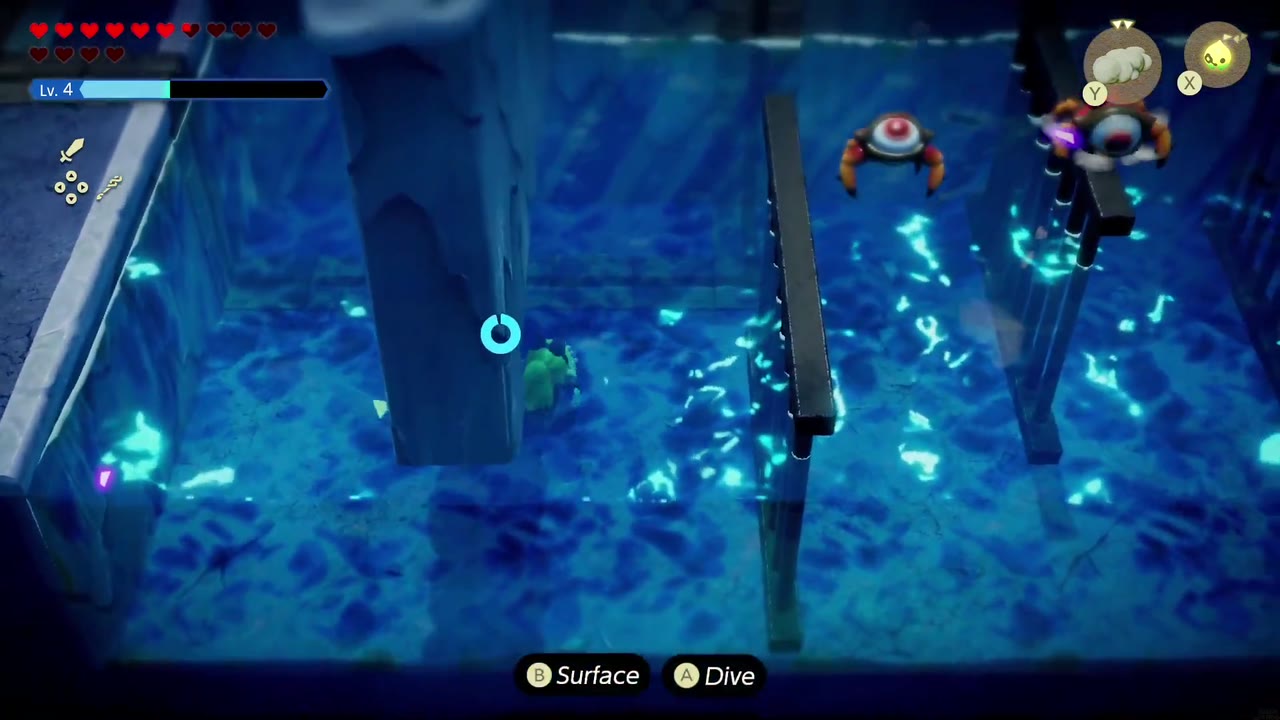
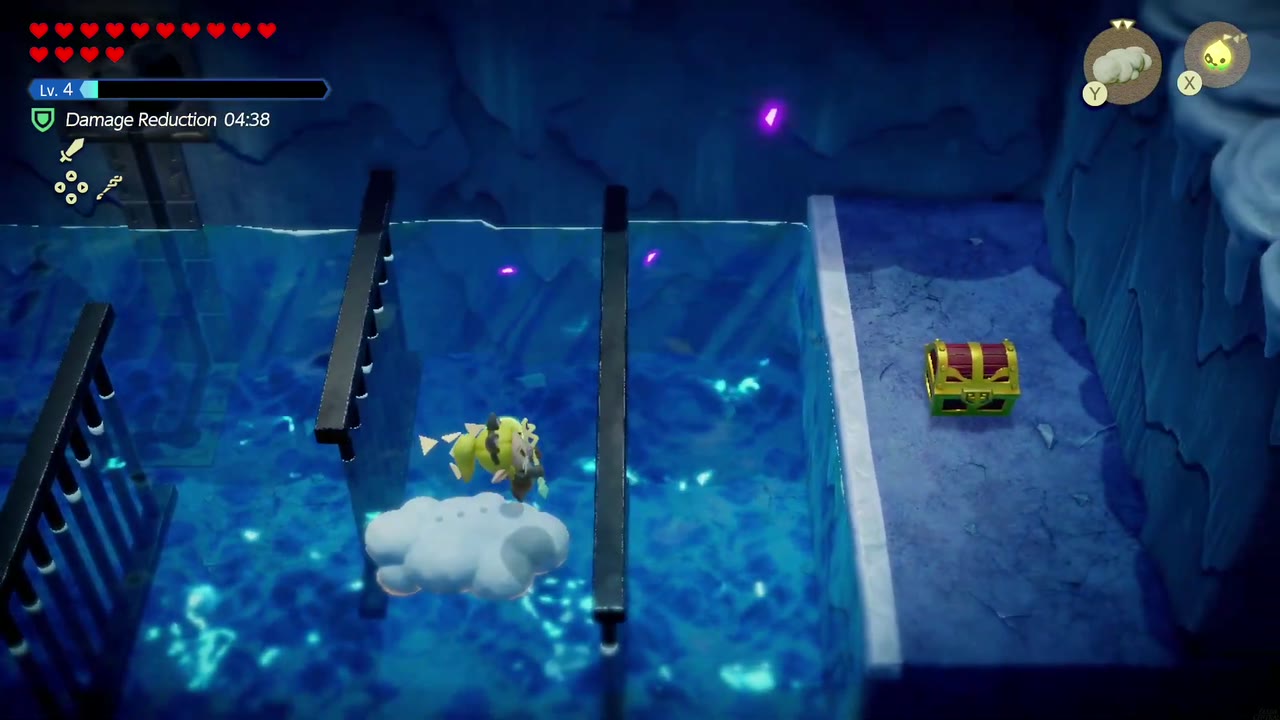
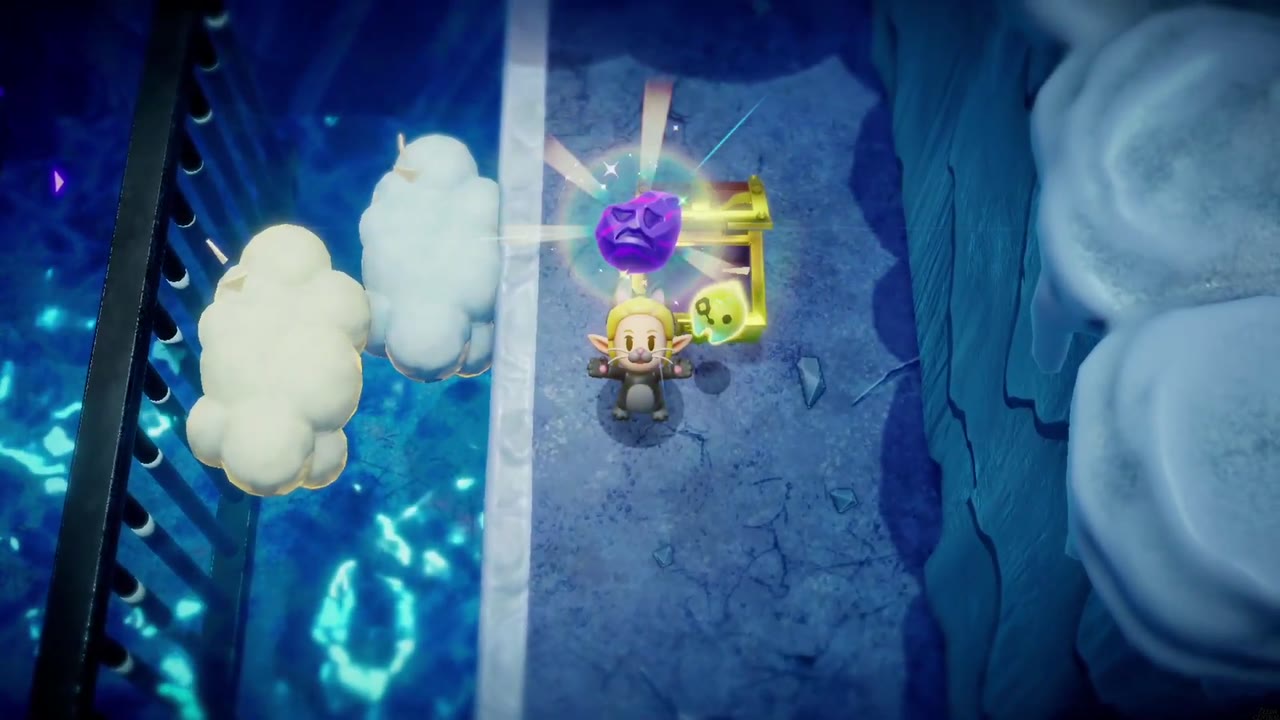
Go back to the thawed room, which is now deep water patrolled by Tektites. Swim across and use Cloud echoes to climb onto the right-hand ledge, where a chest holds a Might Crystal. Beyond is a gated water room with a pressure plate on each side ledge. Once the floor is frozen, stand on one plate and send an echo (a Pathblade works) onto the other so the middle gate opens.

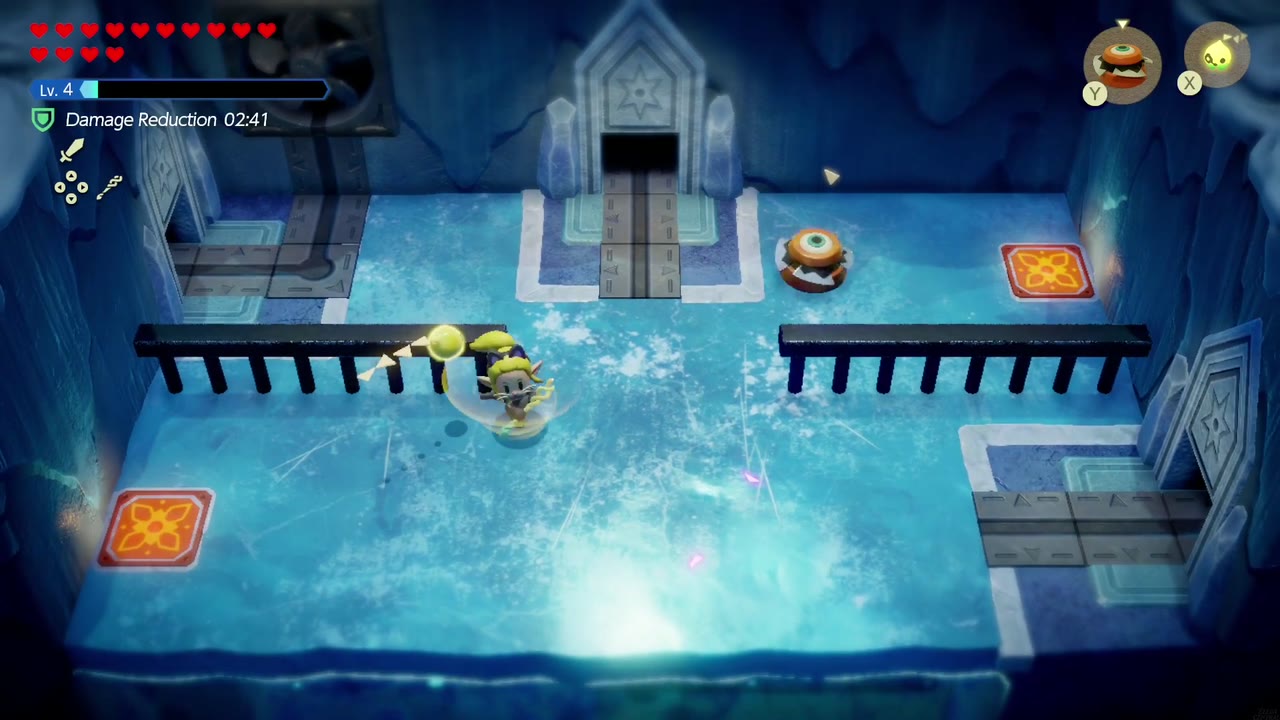
White Wolfos
The next room is a fight against a pack of Wolfos led by White Wolfos; let your echoes do the work and learn the White Wolfos echo.

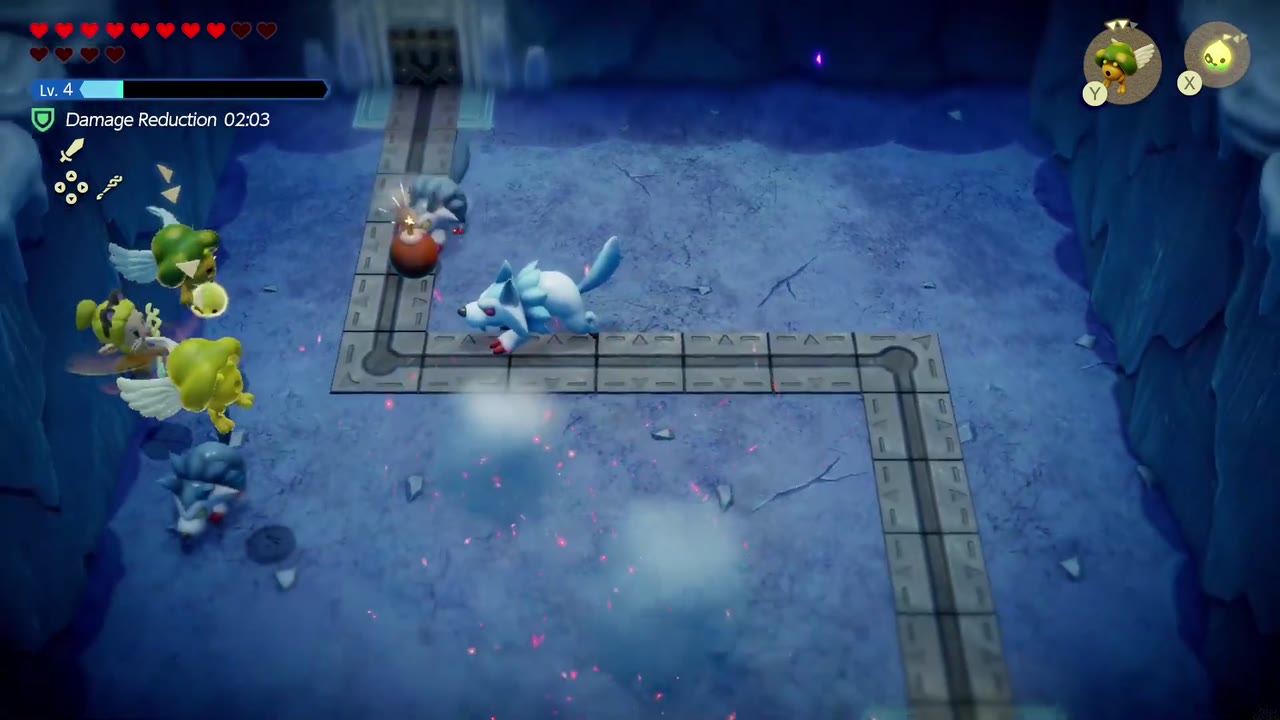
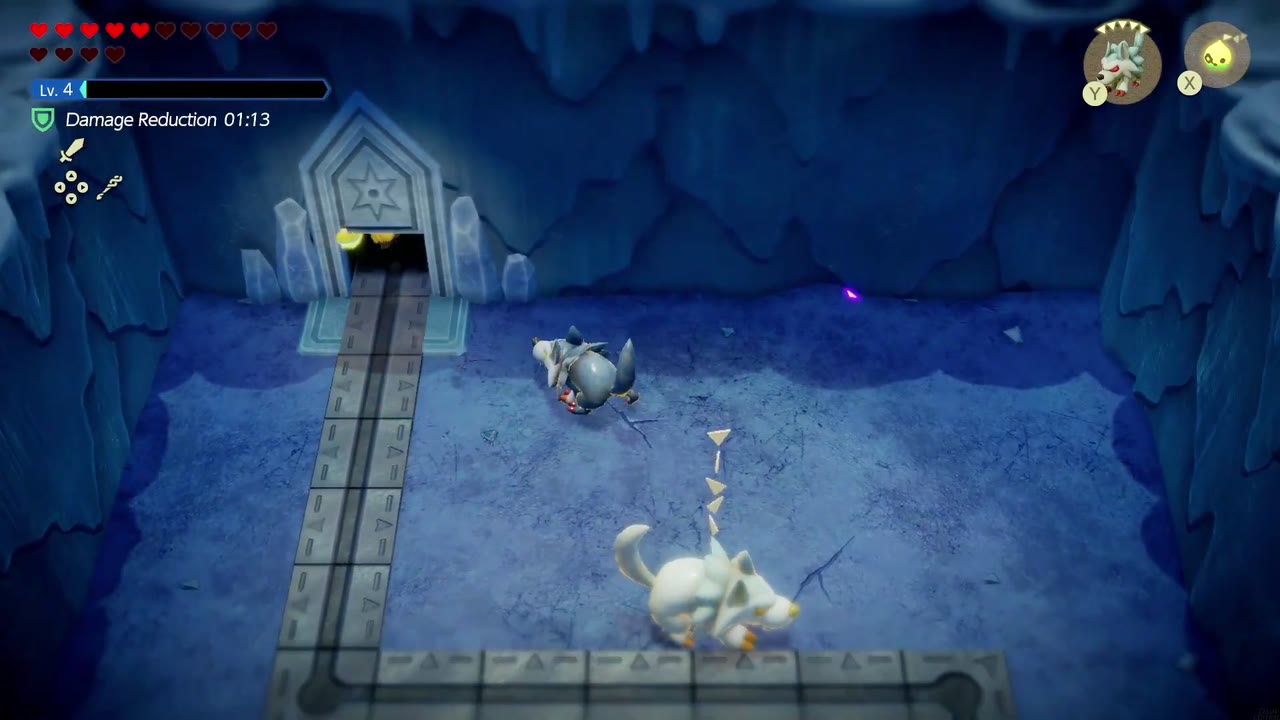
The Second Laser Path
North, work through the ice-block rooms, where a blue block breathes ice across the floor. Carry the fire orb to the socket beside the cage to light up another laser path. Back in the laser room, Bind the ice orb into the left-hand socket: its blue beam freezes the big-switch room. Step on the floor switch in front of the barred chest and the giant snowball rolls in, but it stops against the ice spikes.


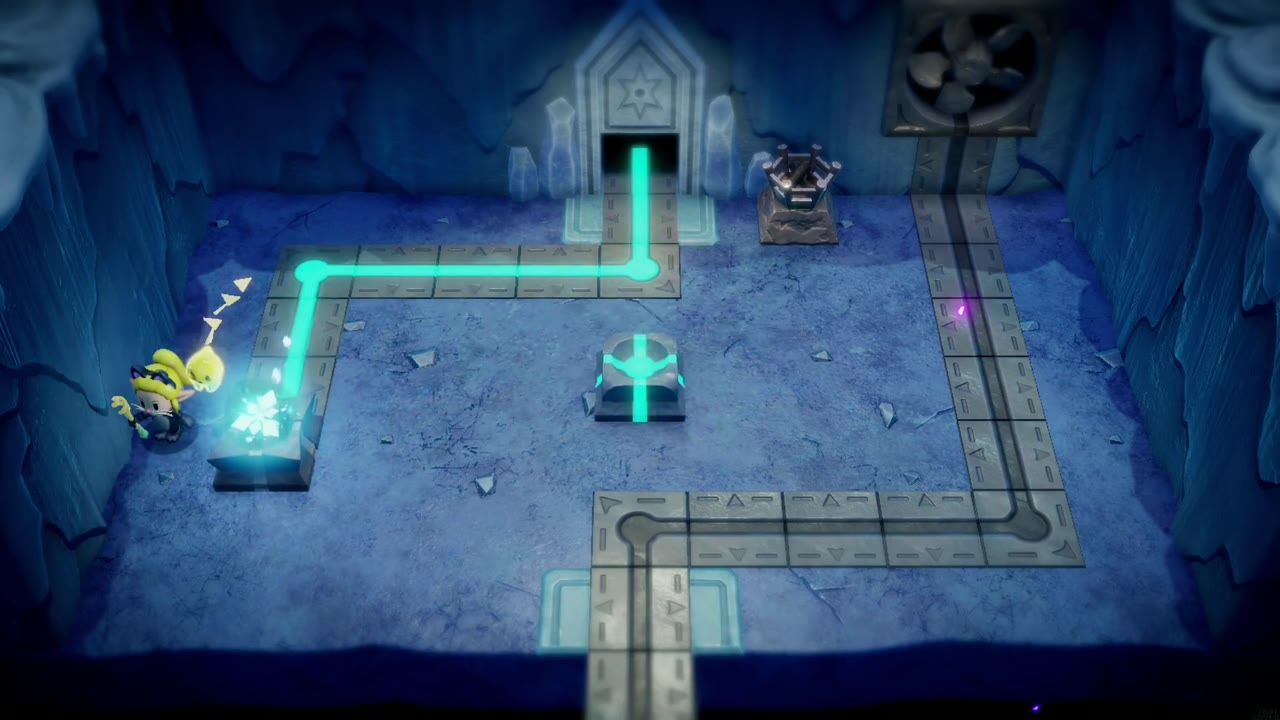
The Big Key
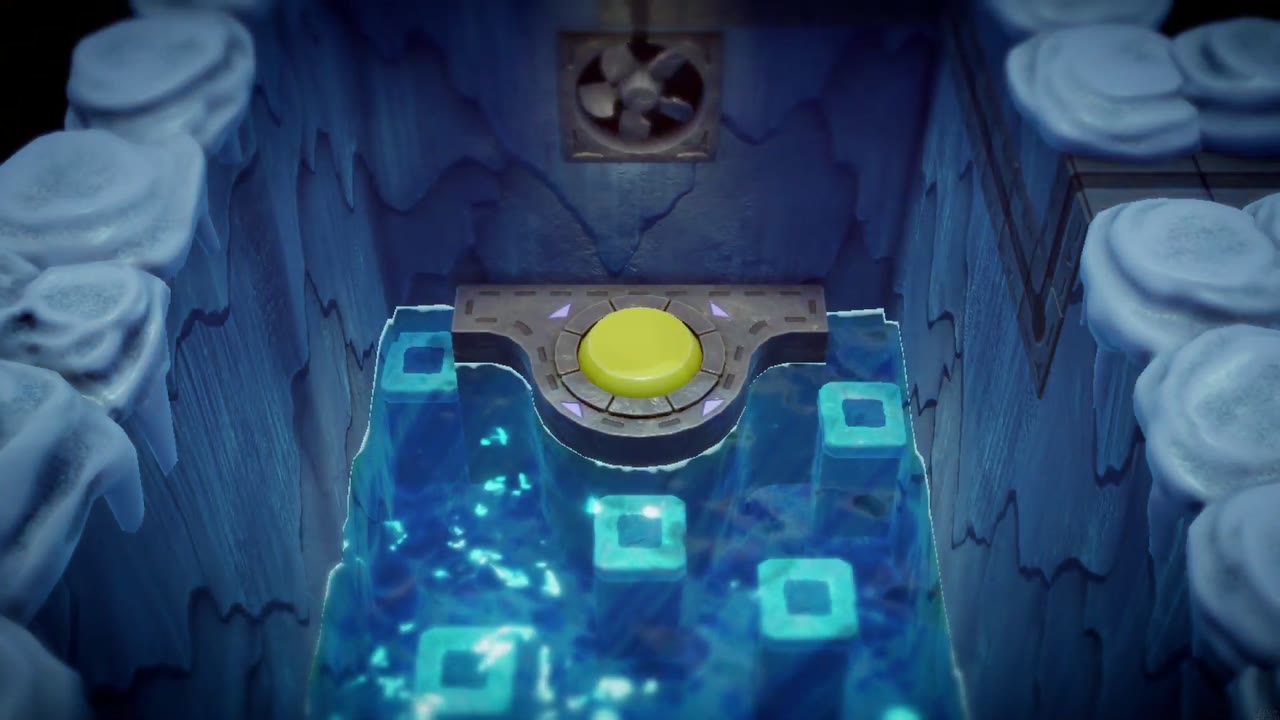
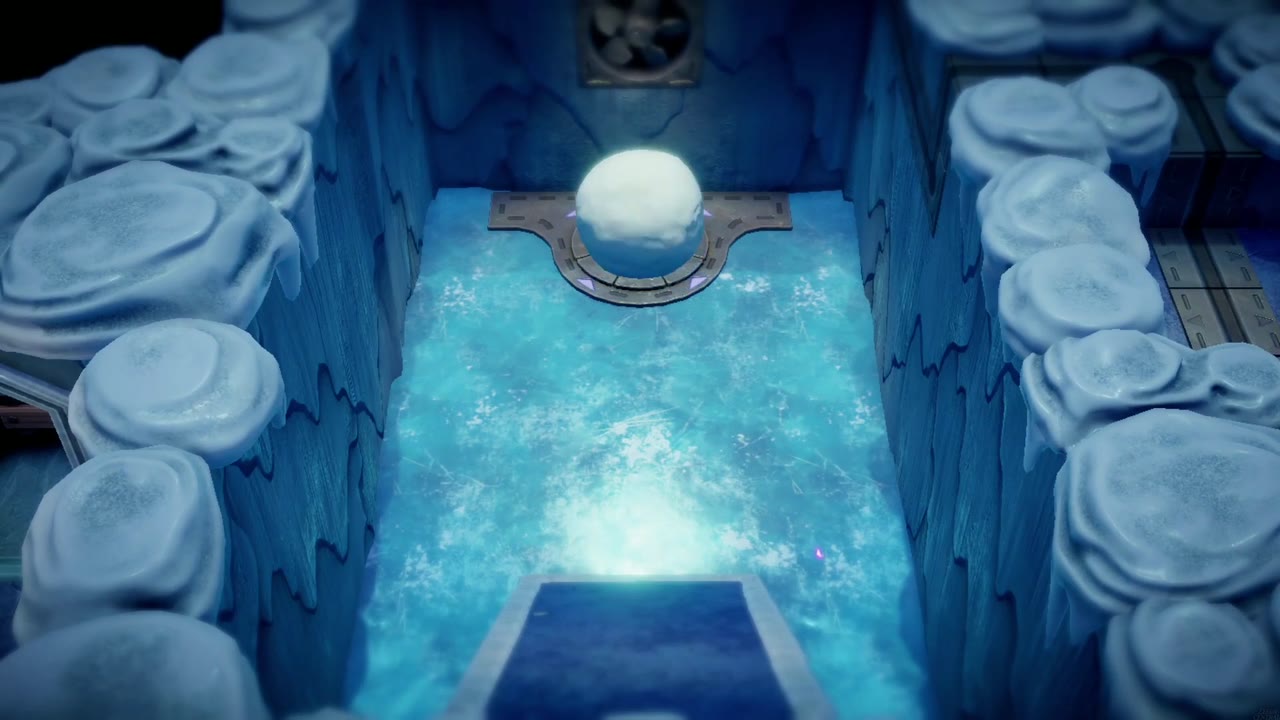
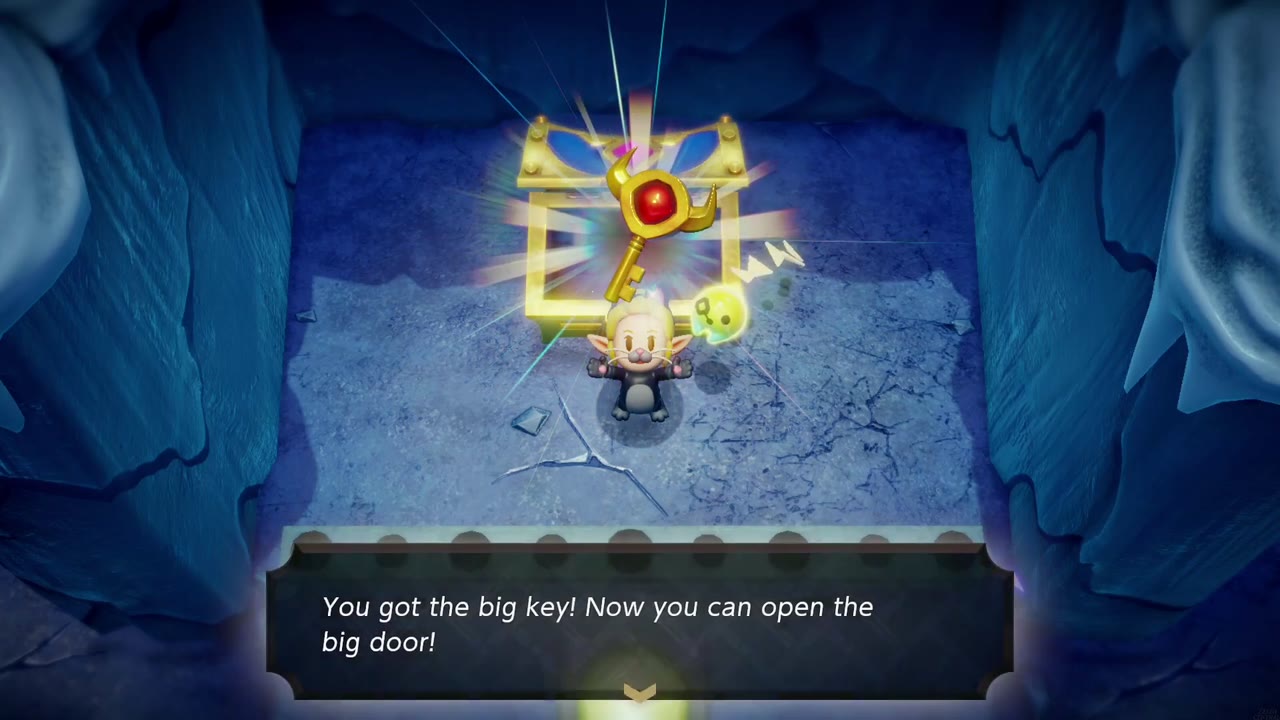
The door beside the barred chest leads down to B4, where you’ll find the boss door; come back up for the key. In the laser room, put the fire orb in the socket so the red beam melts the switch room, ice spikes and all. Then swap the ice orb back in to refreeze it smooth. Hit the floor switch again and the snowball slides all the way onto the big switch. The bars drop, and the big chest holds the Big Key. Return to B4 and open the boss door.
Boss: Skorchill
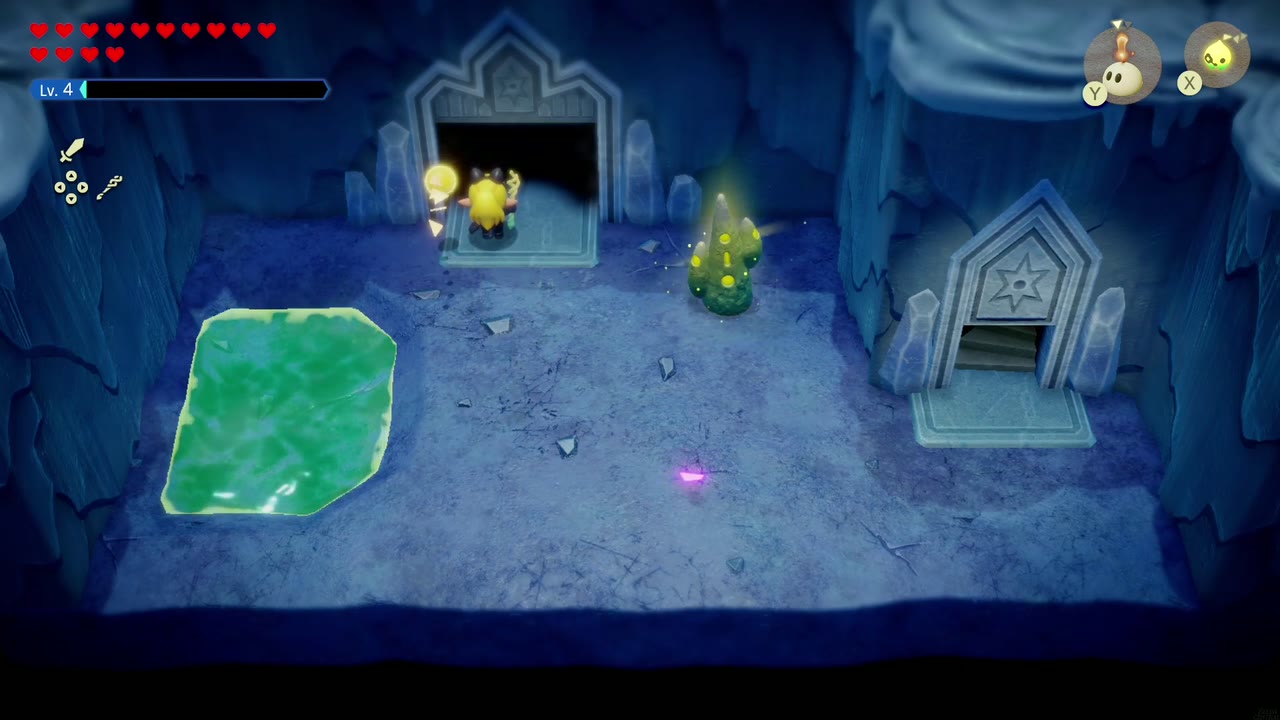
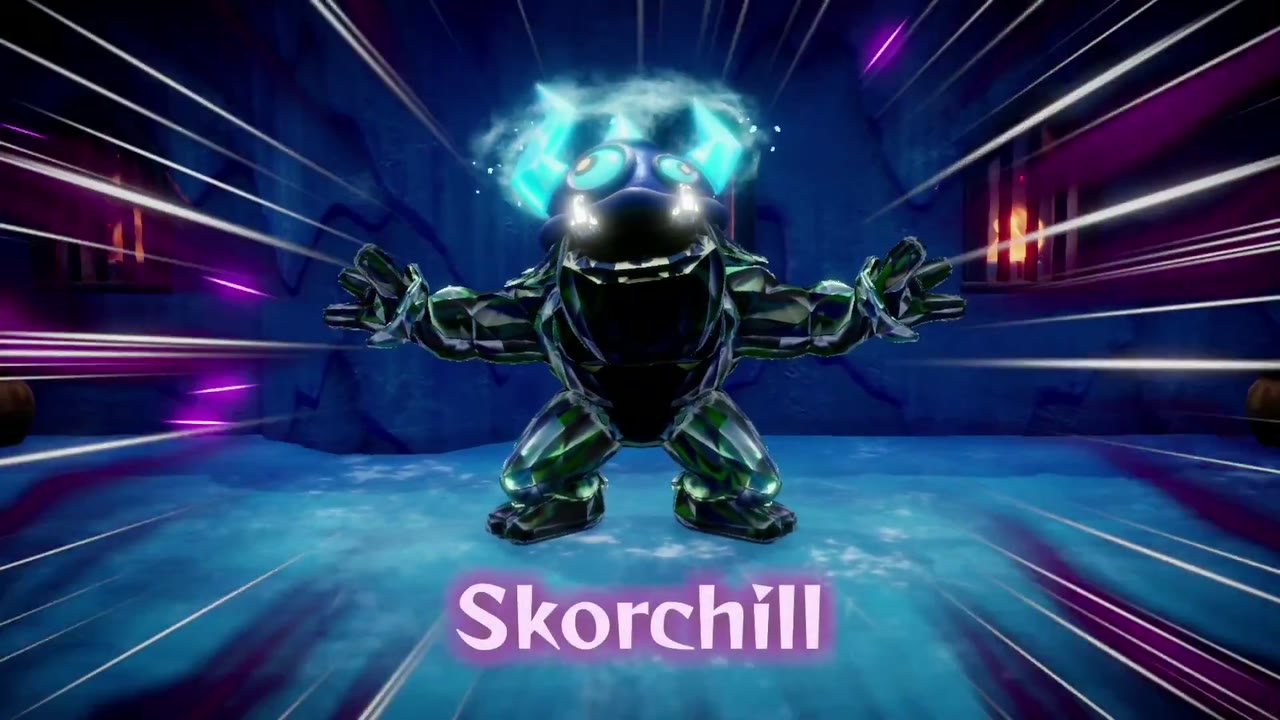
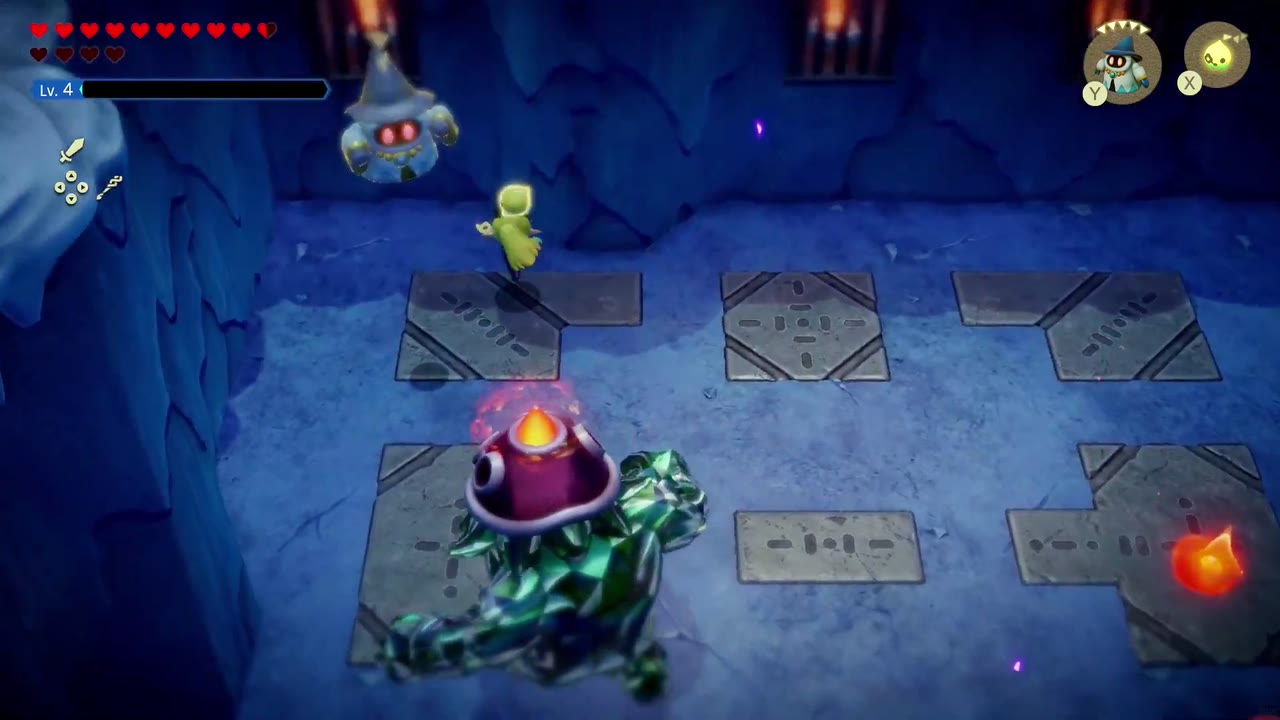
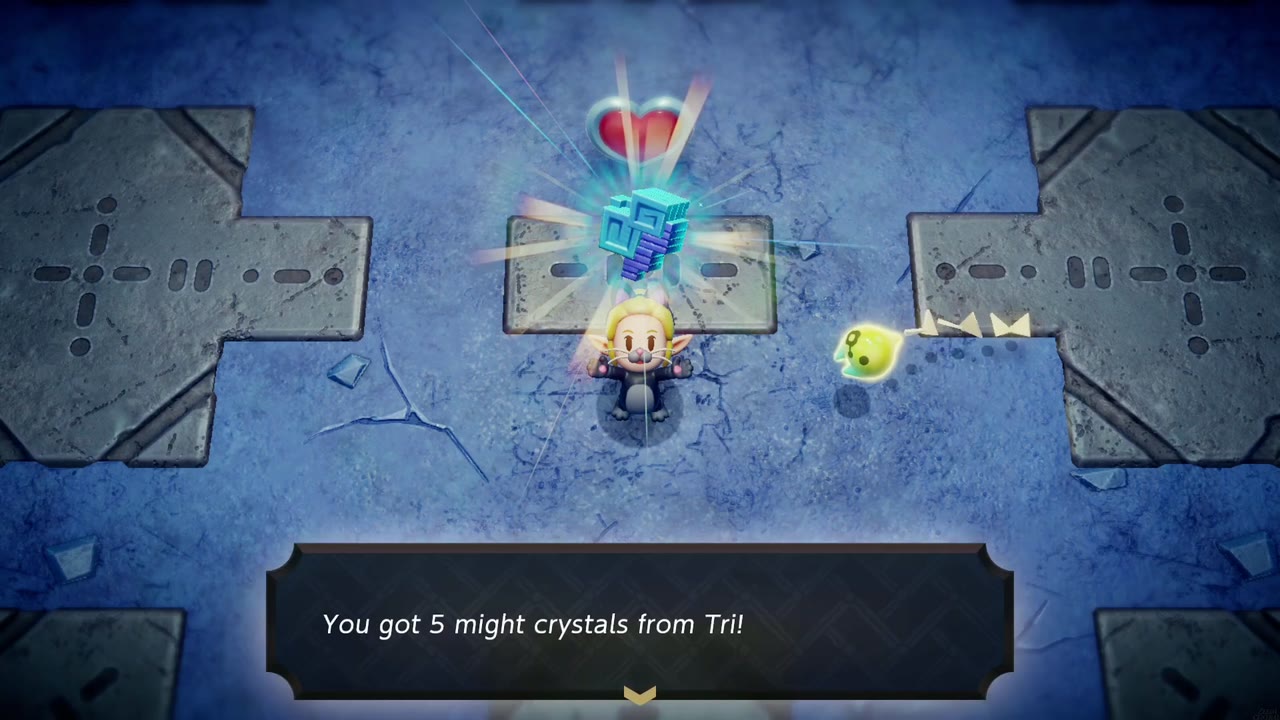
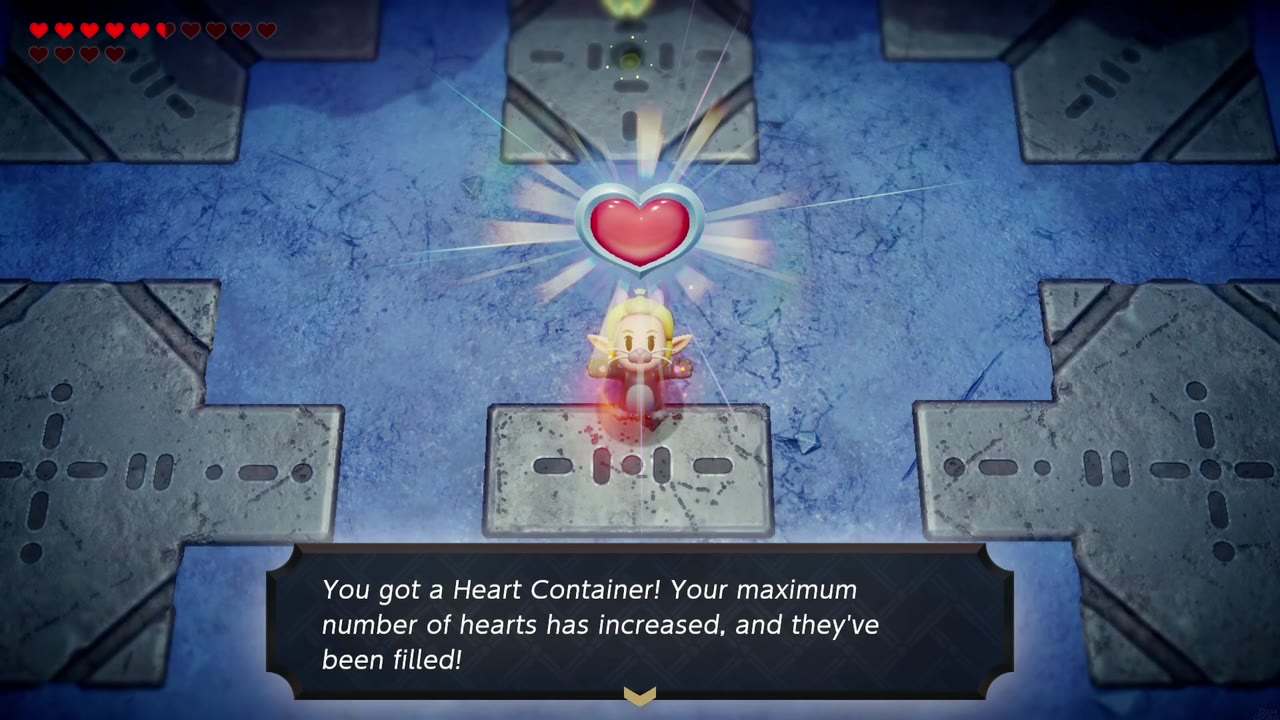
Tri wonders whether the white yeti waiting in the arena is Condé’s brother before it armors up in dark crystal and becomes Skorchill. The fight runs in three phases, all keyed to the color of his helmet. Phase one he wears an ice helmet; hit him with a Fire Wizzrobe echo until the ice armor breaks, then go in with the sword (or Swordfighter Form) while the bare yeti is exposed. Watch for the White Wolfos and icicles he brings in. Phase two the floor changes and his helmet turns to fire, so switch to an Ice Wizzrobe echo to break it. Phase three the helmet is half ice, half fire: use Fire Wizzrobes on the icy side and Ice Wizzrobes on the fiery side, then use Swordfighter Form on the exposed yeti. A Chill-Proof smoothie keeps the arena’s cold off you. Rewards: 5 Might Crystals from Tri, a Heart Container, and Nayru’s sanction.


Nayru’s Sanction and the Eternal Forest
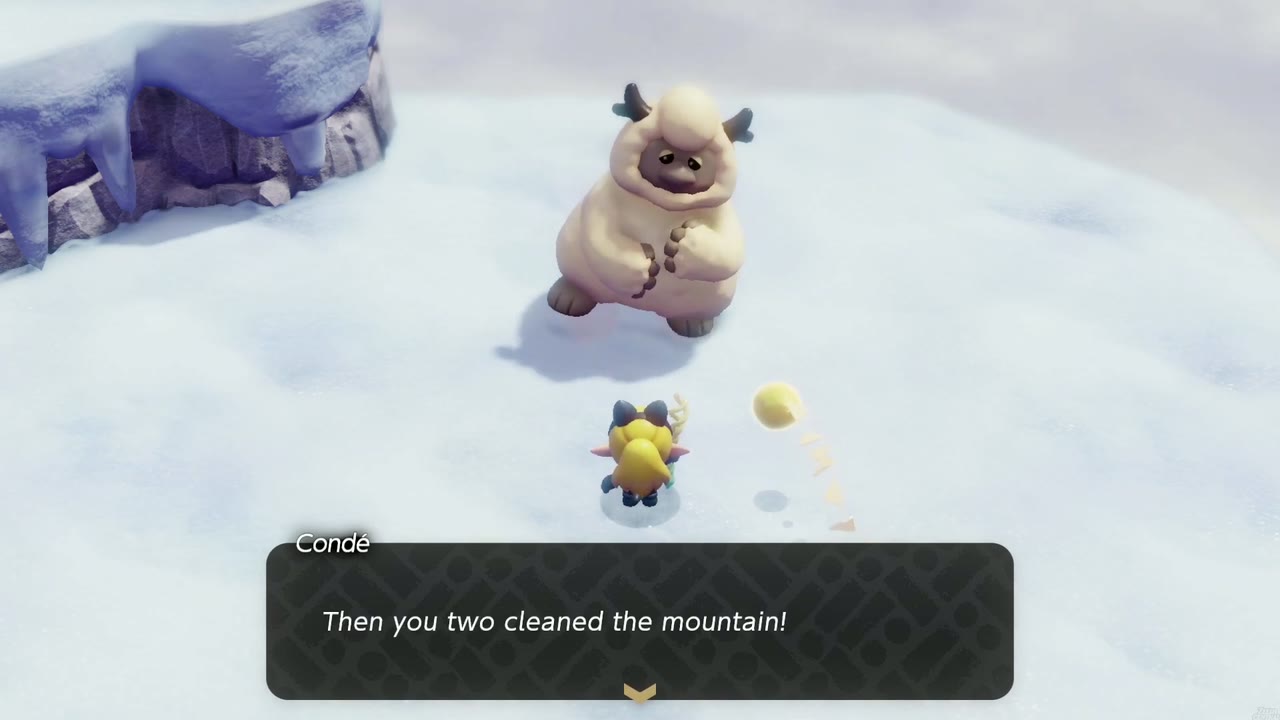
After the fight, the goddess Nayru speaks to Zelda in a beam of light and tells her about the one who tore the land apart with the rifts: Null. Back on Holy Mount Lanayru, Condé is overjoyed that you two cleaned the mountain, though his brother still hasn’t come home. That completes Rift on Holy Mount Lanayru and updates Lands of the Goddesses. You can start the Snowball Magic side quest later in Condé’s igloo (see below).
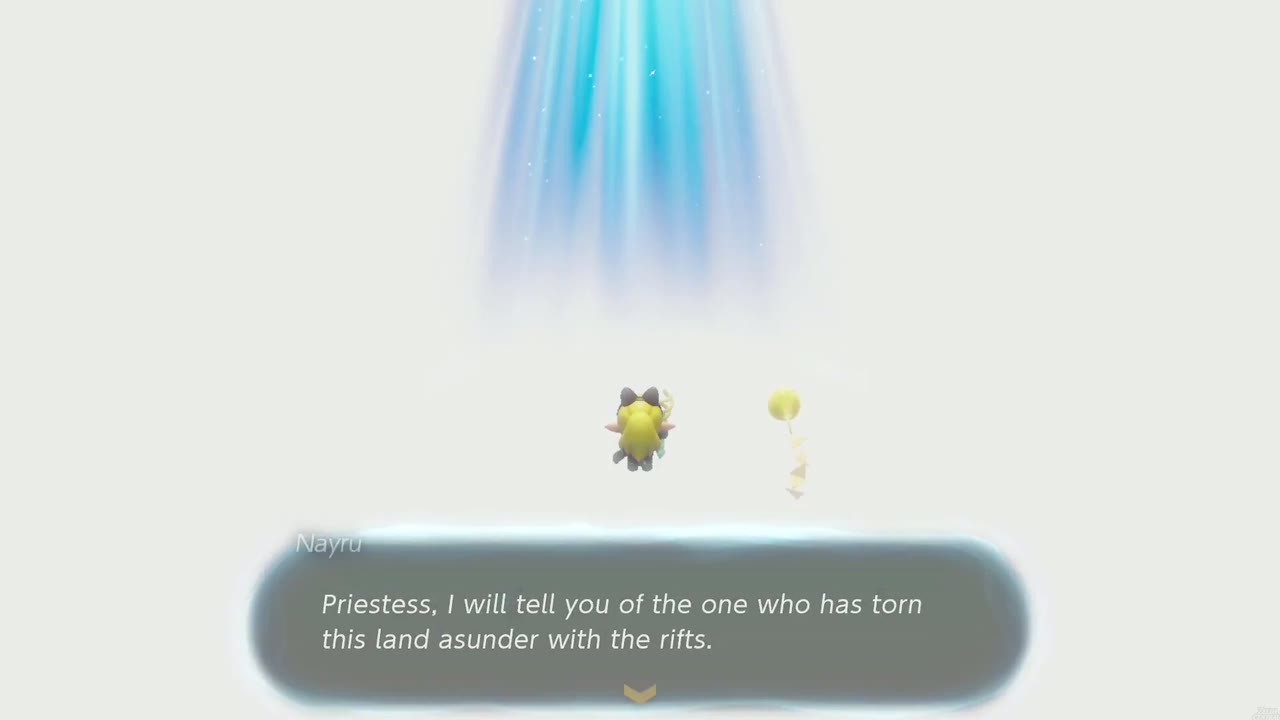

With Nayru’s Sanction in hand, all three goddesses’ sanctions are yours and Lands of the Goddesses updates. The King of Hyrule tells you about the ancient forest with a sacred tree: the Eternal Forest, northwest of the castle. (If you cleared the mountain before Faron, Tri instead points you on to the Faron Wetlands for the last sanction.)


