Echoes of Wisdom 100% Completion Walkthrough16 chapters
- Prologueplaying as Link, escaping the castle jail, and the waterways to Suthorn Beach.
- Suthorn ForestSuthorn Beach and Village, meeting Tri, the first echoes, and mending the Suthorn Forest rift.
- Suthorn Ruinsthe first dungeon, the Shadow Link fight, and the Seismic Talus boss.
- Jabul Watersthe River and Sea Zora feud, Lord Jabu-Jabu, and Stilled Jabul Waters.
- Jabul Ruinsthe whirlpool chase, the five colored switches, and the Vocavor boss.
- Gerudo Desertthe Oasis, Gerudo Town, the desert rifts, and Cryptic Cavern.
- Gerudo Sanctumthe tribute puzzle, the Bow of Might, and the Mogryph boss.
- Hyrule Castlethe Hyrule Castle well rift, Stilled Castle Town, and the Ganon boss.
- Eldin VolcanoKakariko Village, the Eldin Volcano Trail, and saving Goron City.
- Eldin Templethe Bombs of Might, the lava hall, and the Volvagia boss.
- Faron WetlandsScrubton, Blossu’s House, and escaping the Deku Scrub Lockup.
- Faron Templethe small keys, the plant mini-boss, and the Gohma boss.
- Hebra Mountainmeeting Condé, the climb through the snow, and the Stilled Hebra Mountain rift.
- Lanayru Templefire orbs, fans and lasers, the slime mini-boss, and the Skorchill boss.
- Eternal Forestthe six Ancient Orb pedestals, the Deku Tree, and freeing Link in the Stilled Ancient Ruins.
- Null’s Bodythe final dungeon and the multi-phase fight against Null.
Entrance and Steam Pipes
Entering the Sanctum
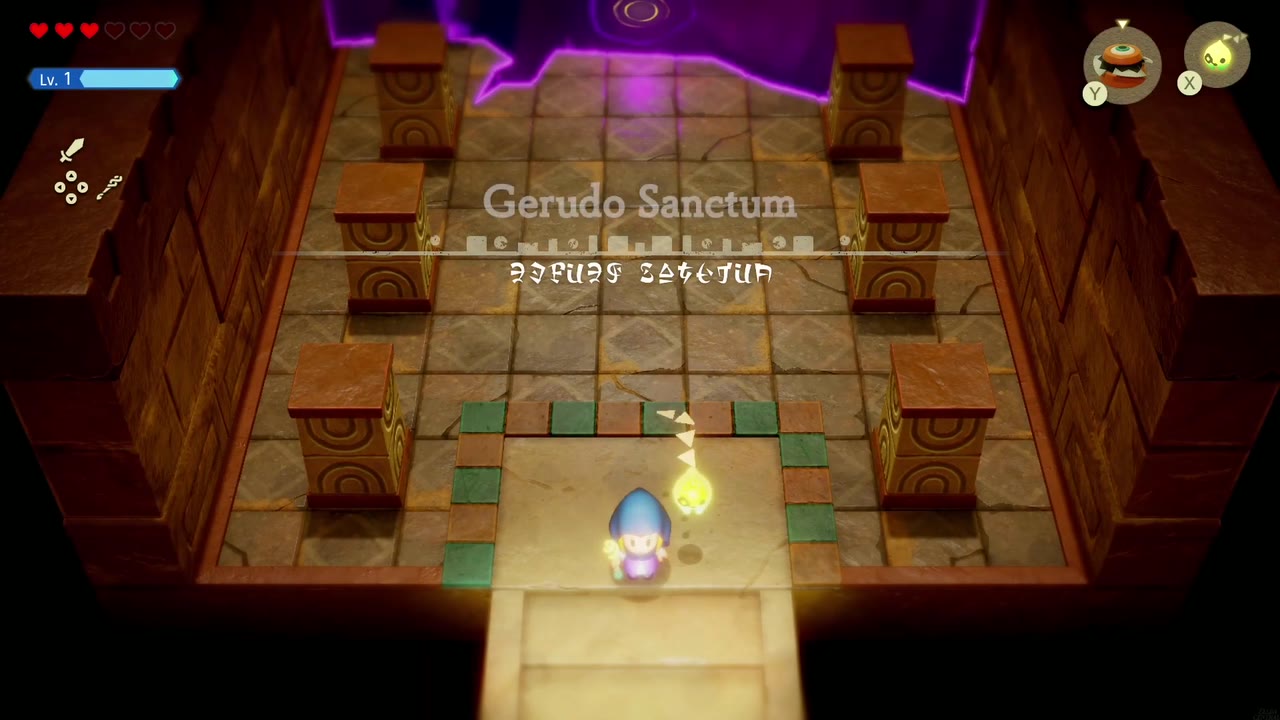
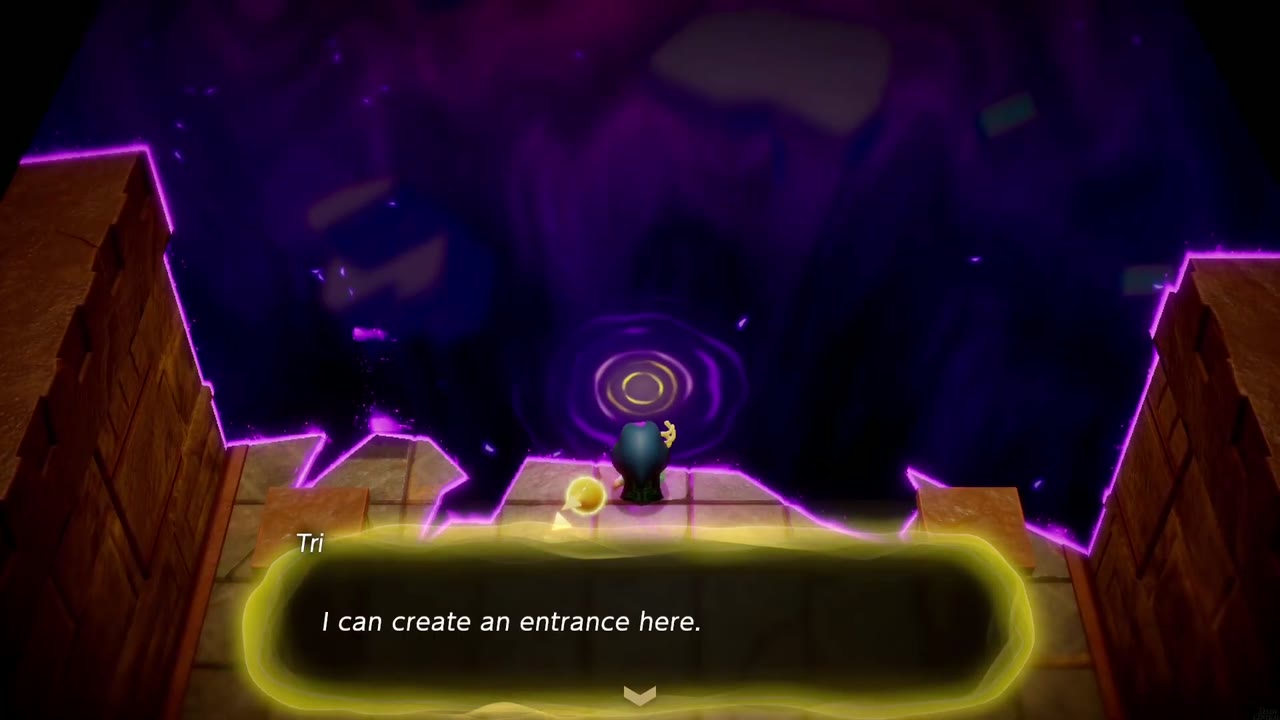
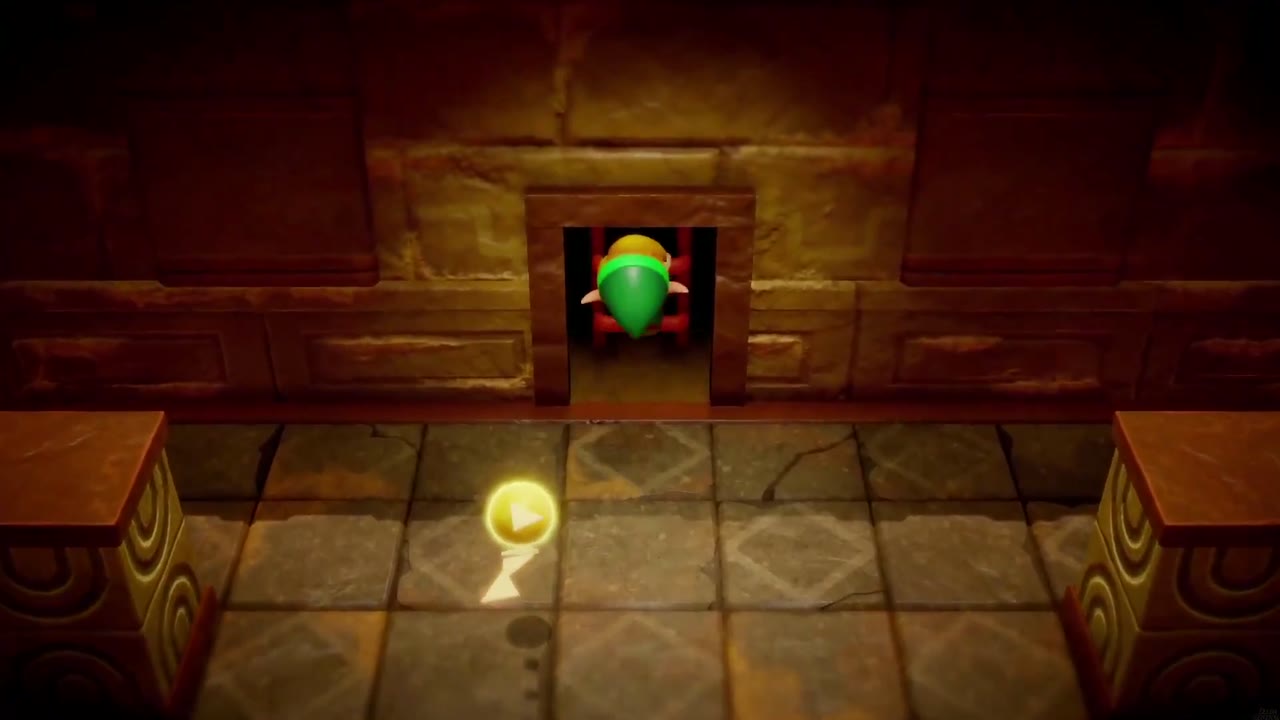
With the plug pulled, the Sanctum’s entrance now stands clear of the sand; walk in through the doorway. The first hall’s back wall breaks away into the purple void of the rift, and Tri decides she can create an entrance there; she opens a golden opening in the void and the A Rift in the Gerudo Desert quest updates. As you turn back, a figure in a green tunic appears at the ladder at the back of the hall and vanishes up it (Tri: “Zelda, wasn’t that Link?”). Follow him up the ladder.


The Steam Room
The next area is a side-view room of ladders and ledges, with pipes jetting steam across it; the steam hurts, so don’t walk into it. Climb up to the boulder resting on a ledge above the jets and push it off the edge: it drops into the left-hand pipe and plugs it, shutting off that jet. Then climb the ladder that the steam was covering and the tall ladder beyond.

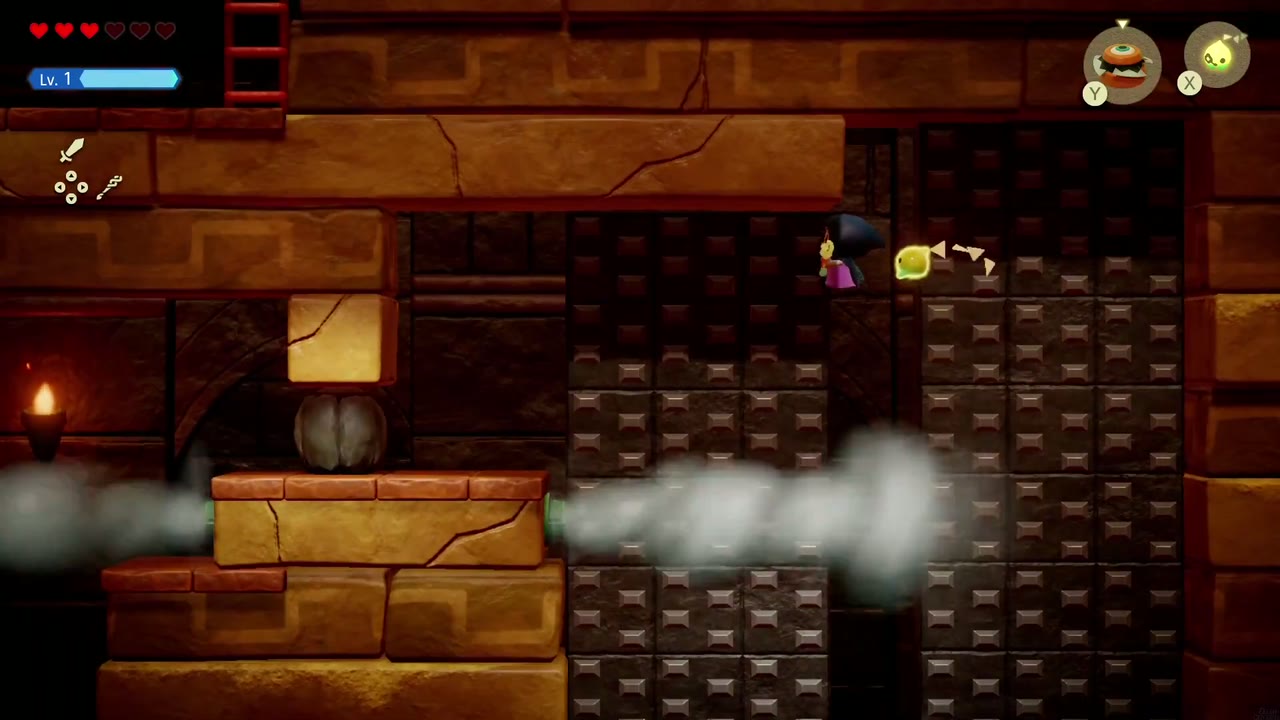

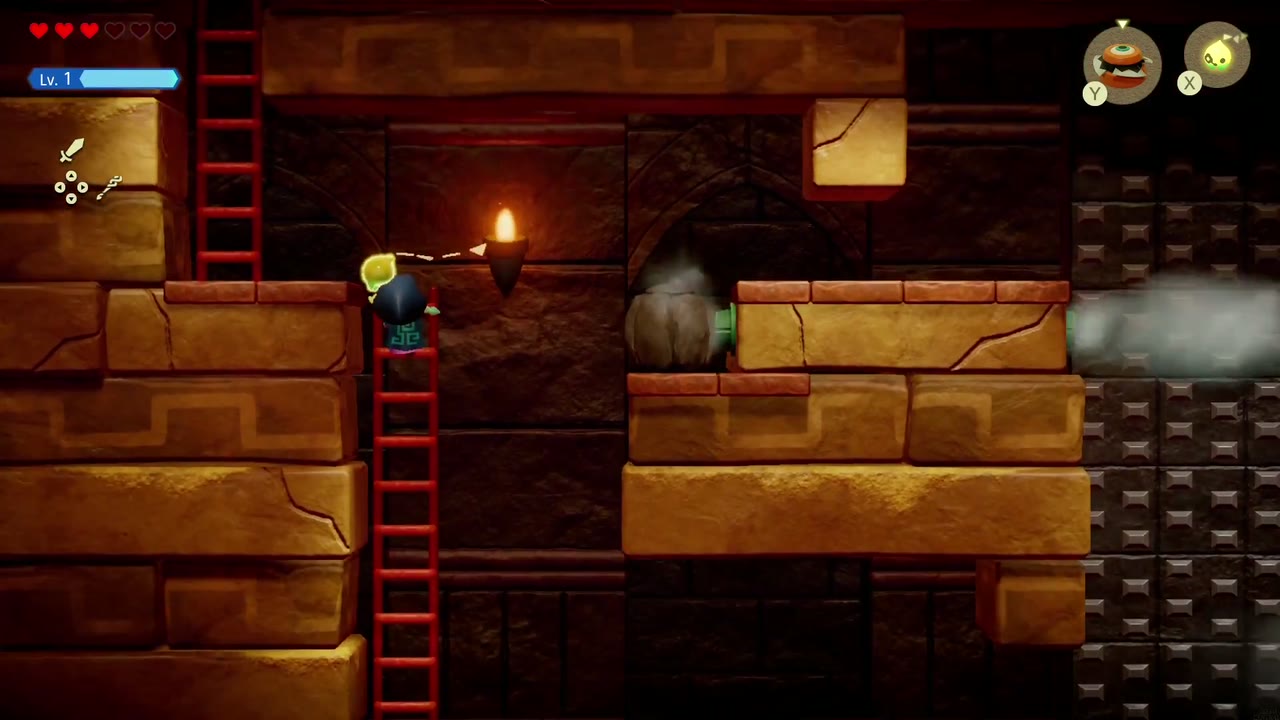
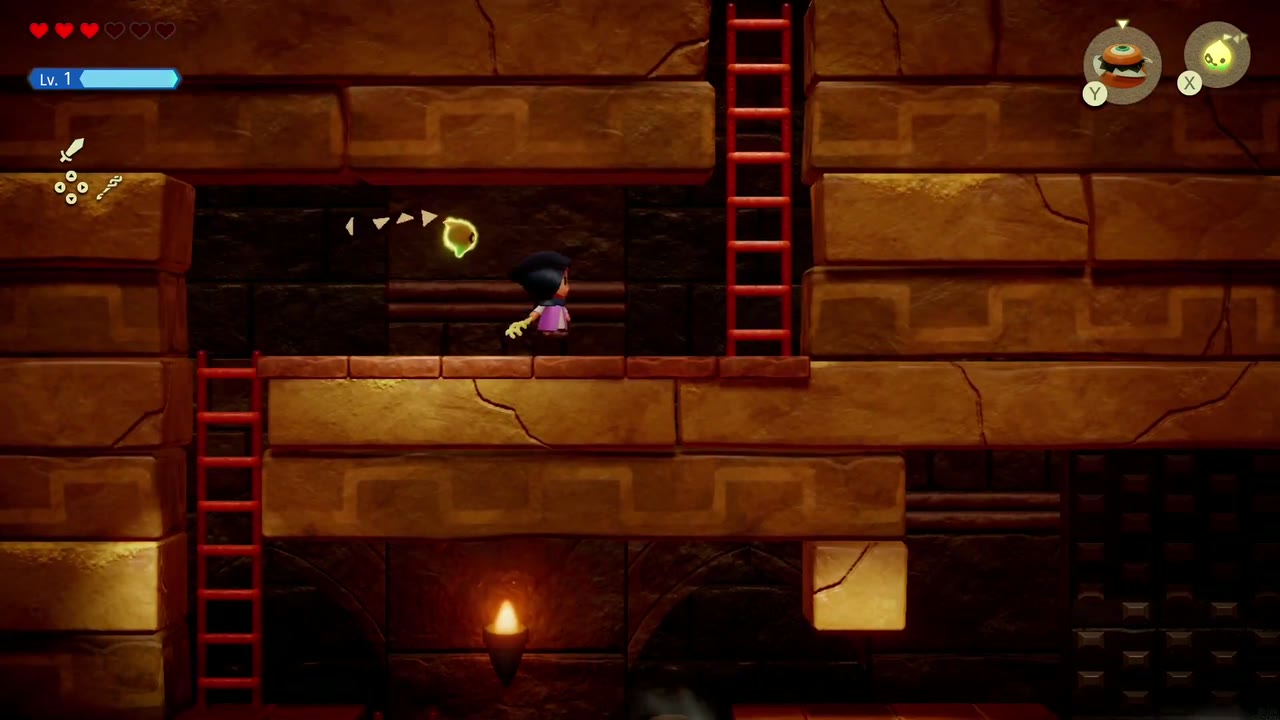
The Waypoint Hub and the Tile Room
You come out in a smaller area with a Waypoint in the left corner; activate it. There’s a locked door at the rear and open doors on either side.
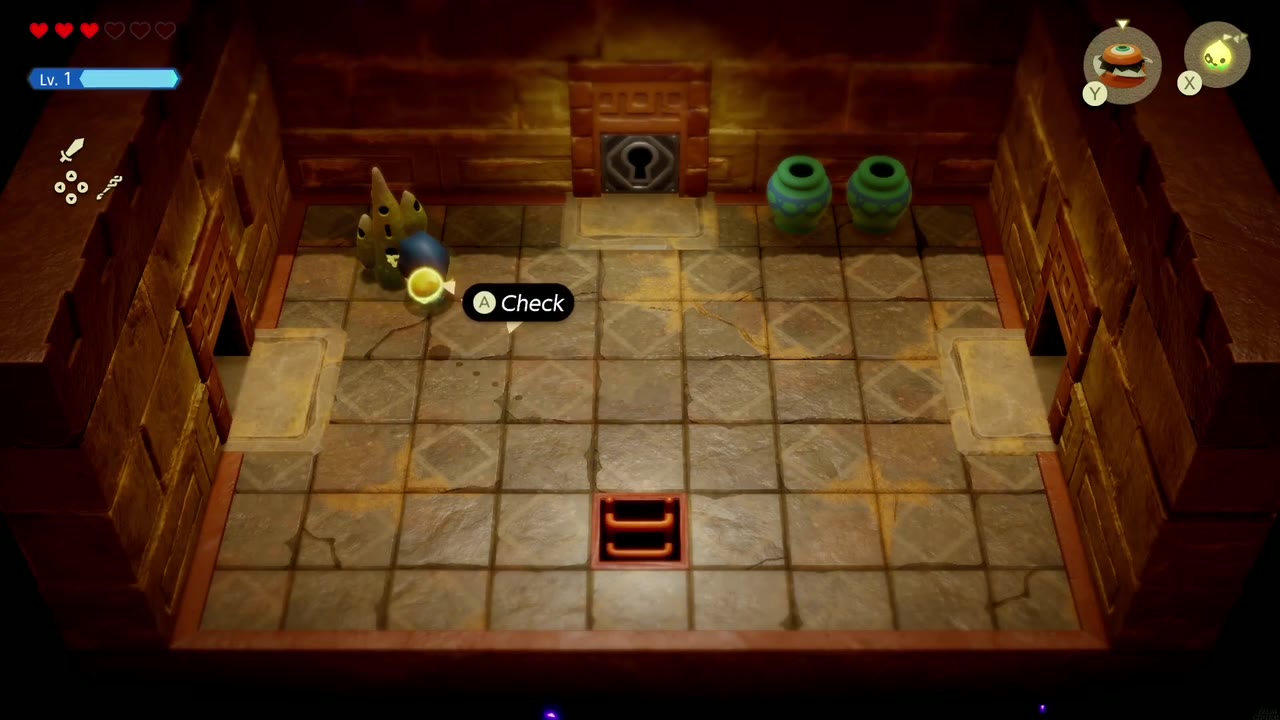

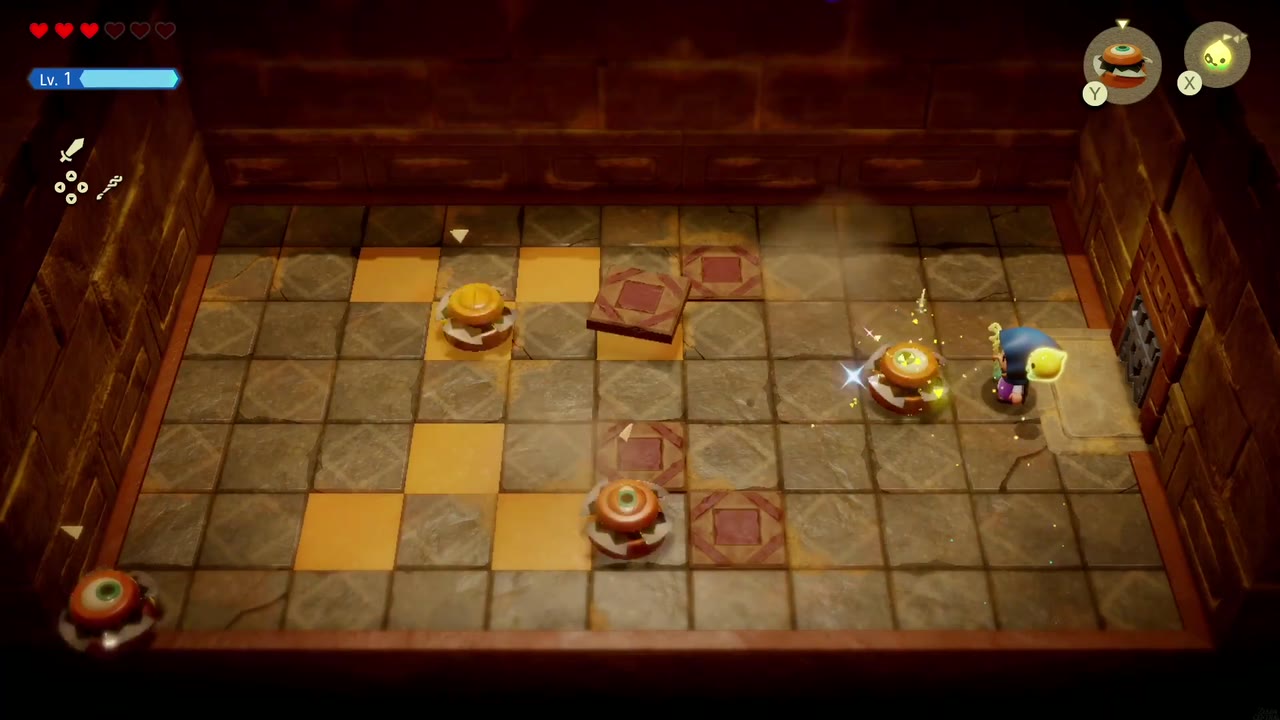
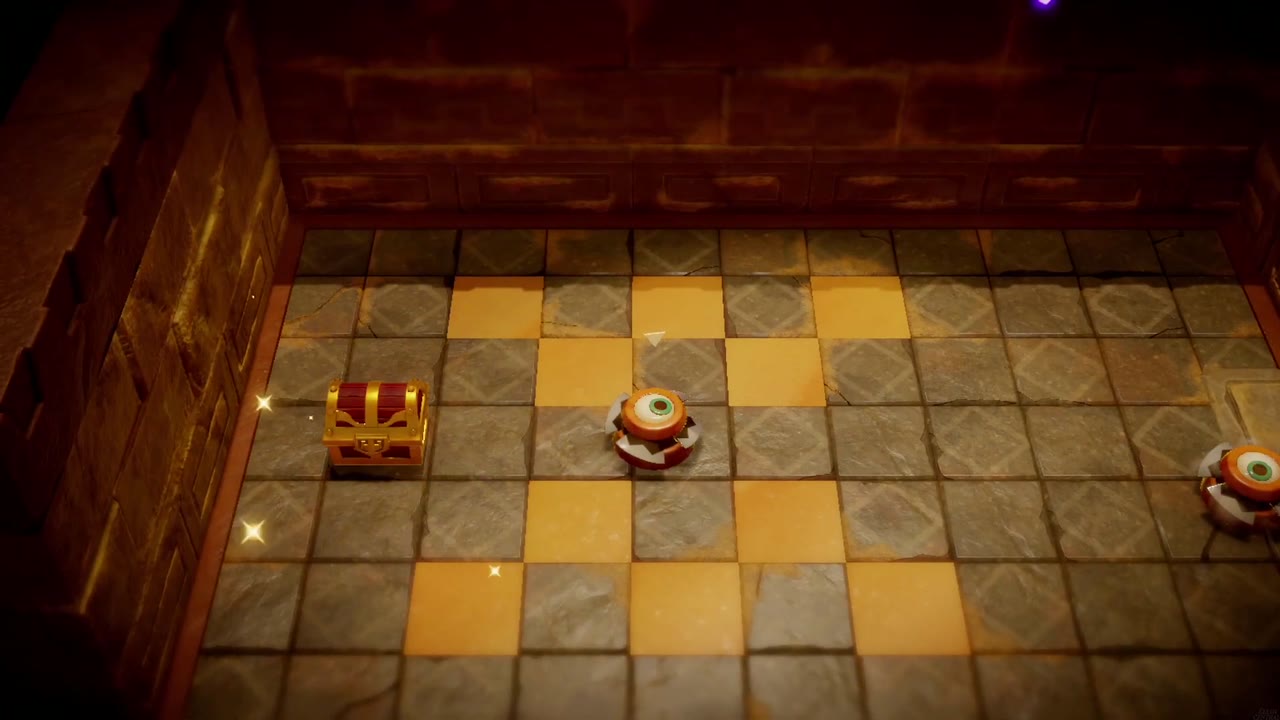
Take the left door first. This room’s floor is dotted with patterned tiles, and they lift off and fly at Zelda while spinning top-like enemies roam the room. Dodge the volley and fight off the enemies; when the last tile shatters, a chest appears by the left wall holding 20 rupees.



The Blue Cube Door and the Small Key
The Conveyor Room
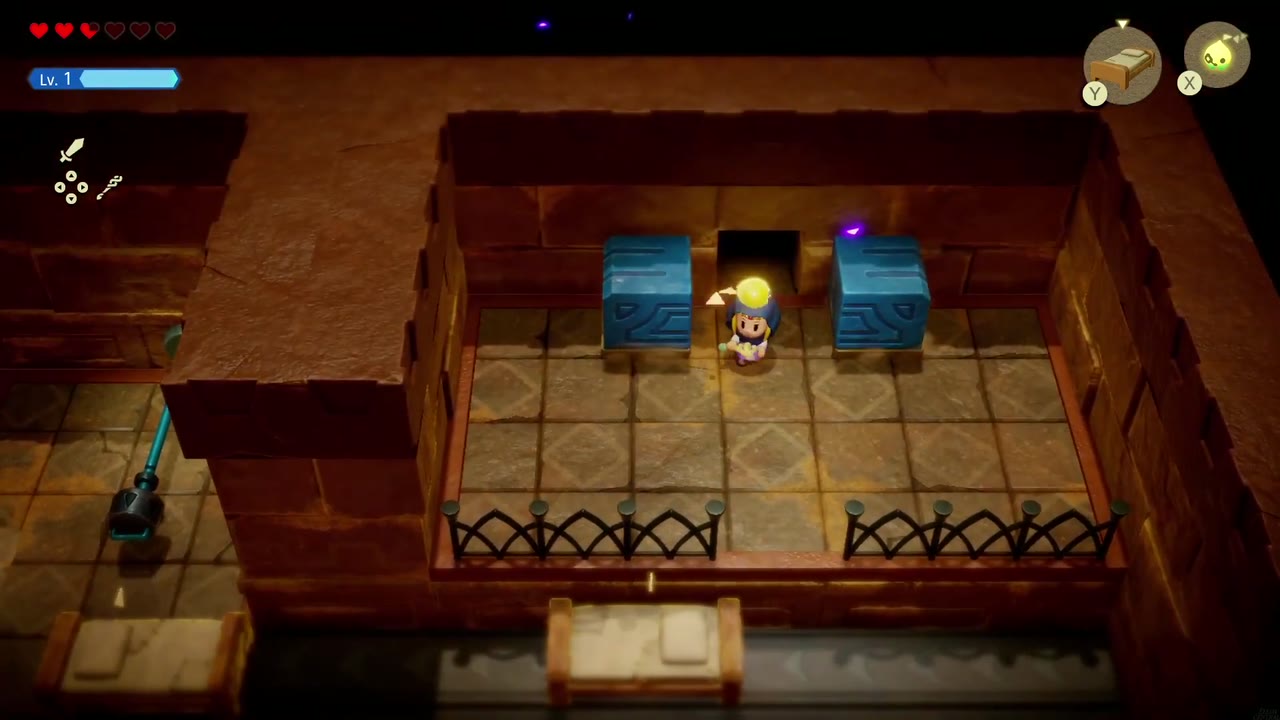
Take the right door from the Waypoint room. A conveyor belt runs along the bottom of the room below a fenced ledge, and the exit doorway at the top right is blocked by two blue cubes. Deal with the spinning top enemies and the Keese first, and grab the rupee riding the conveyor.
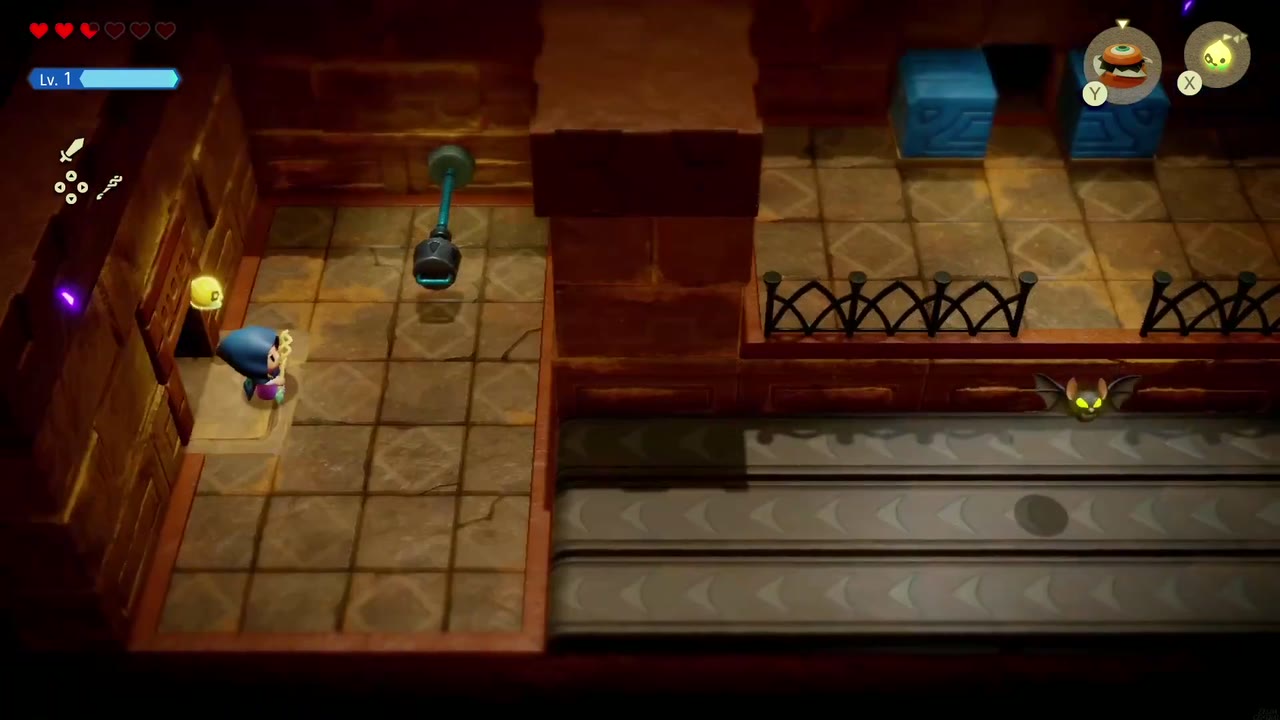
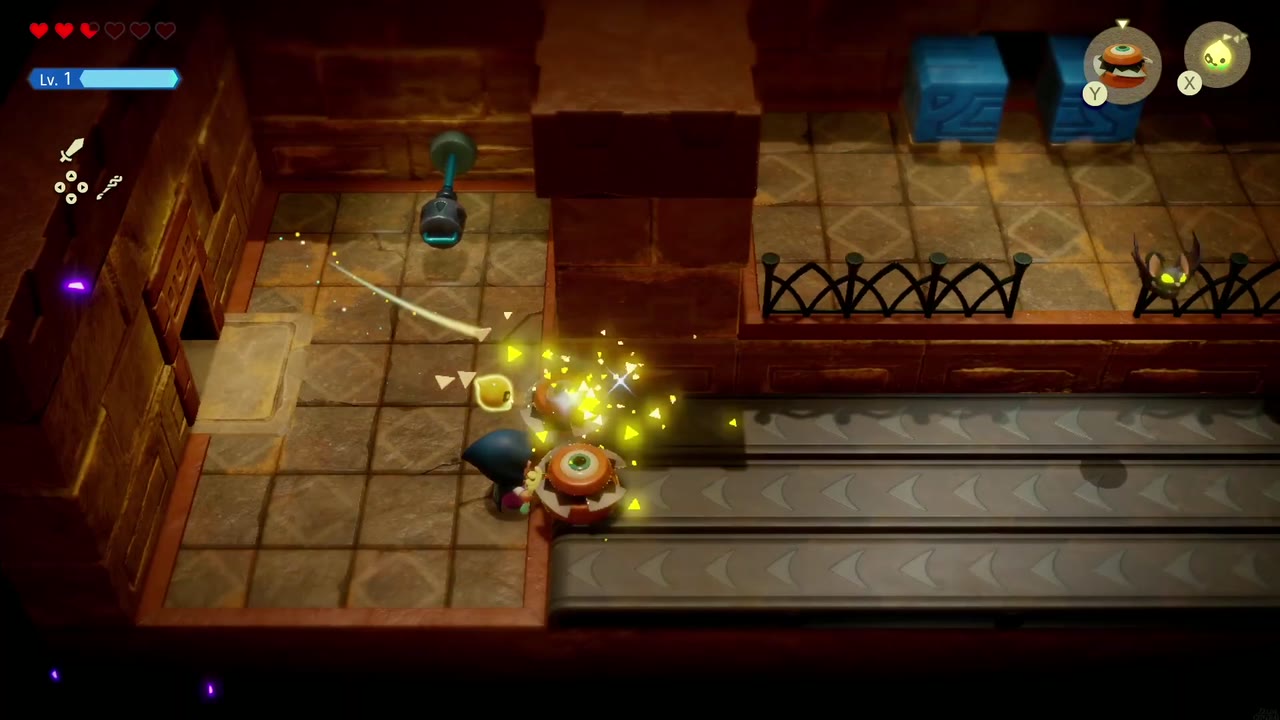
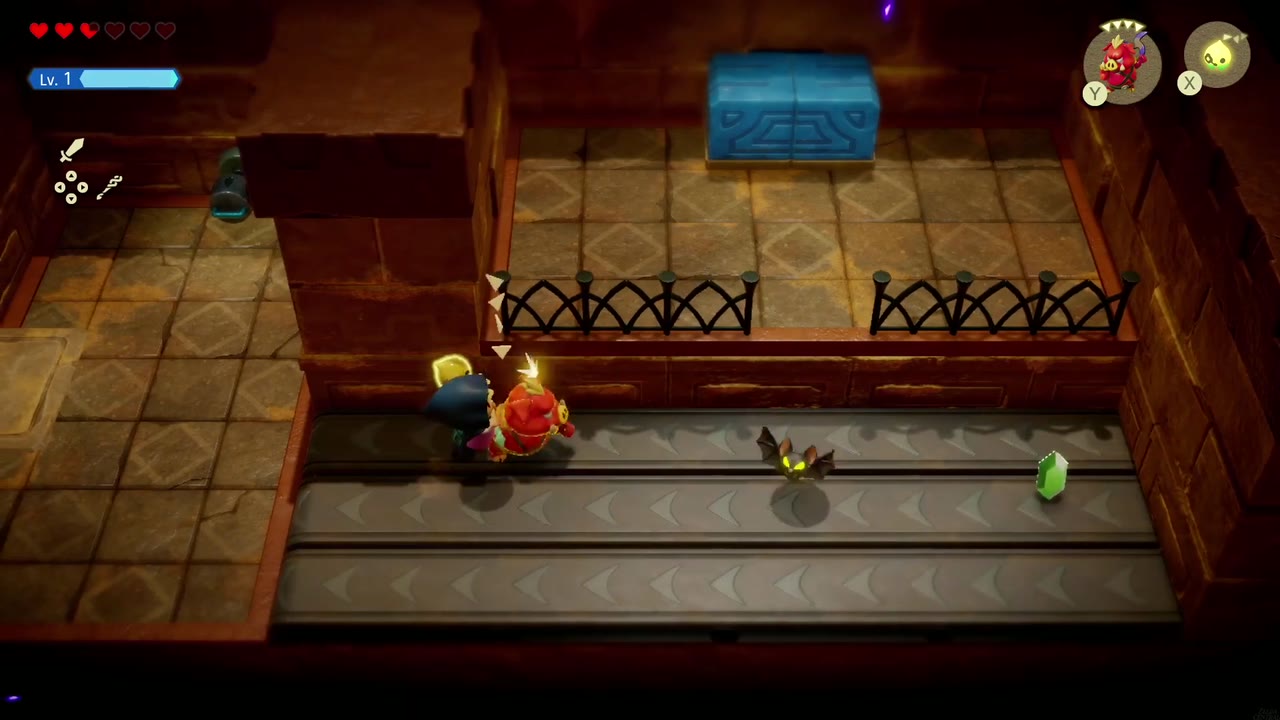
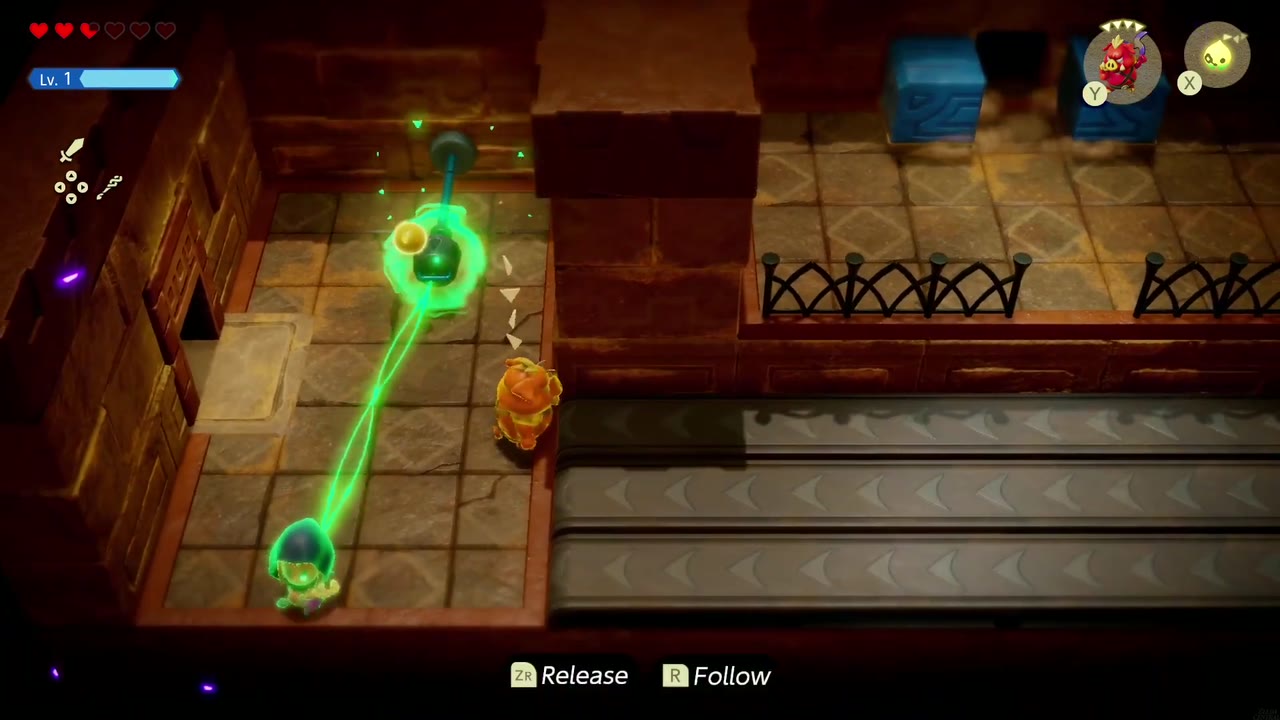
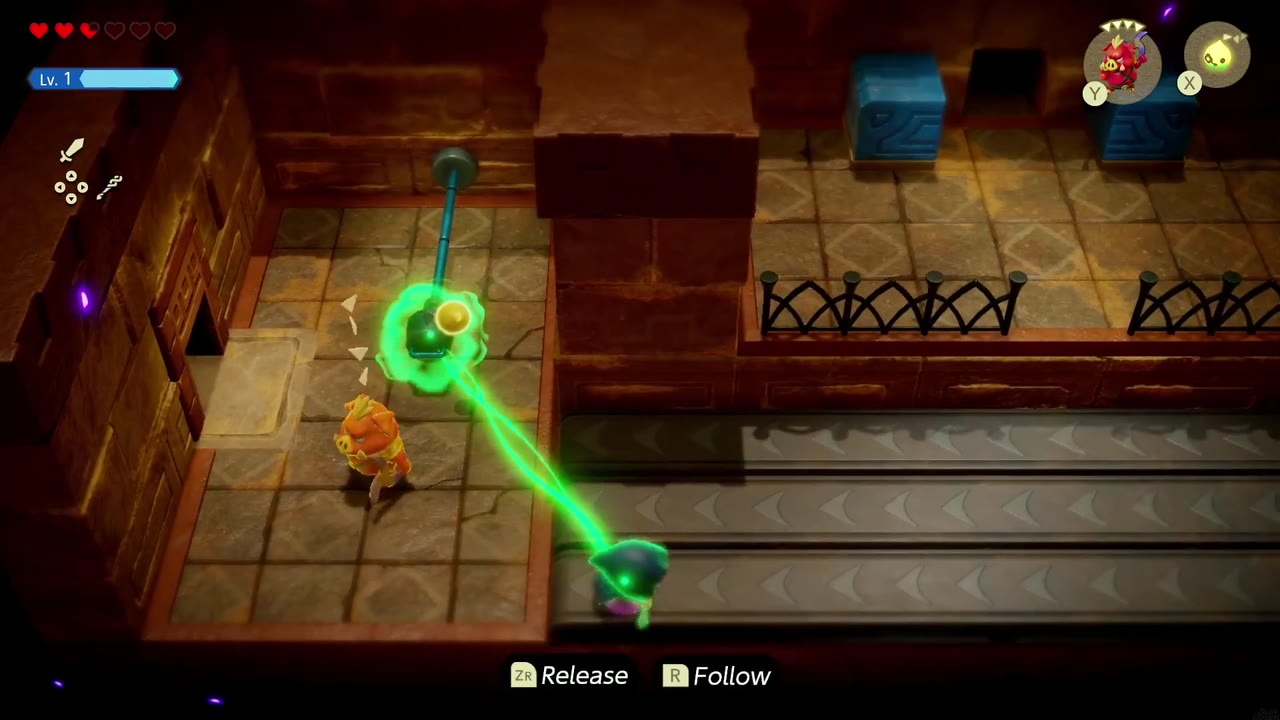
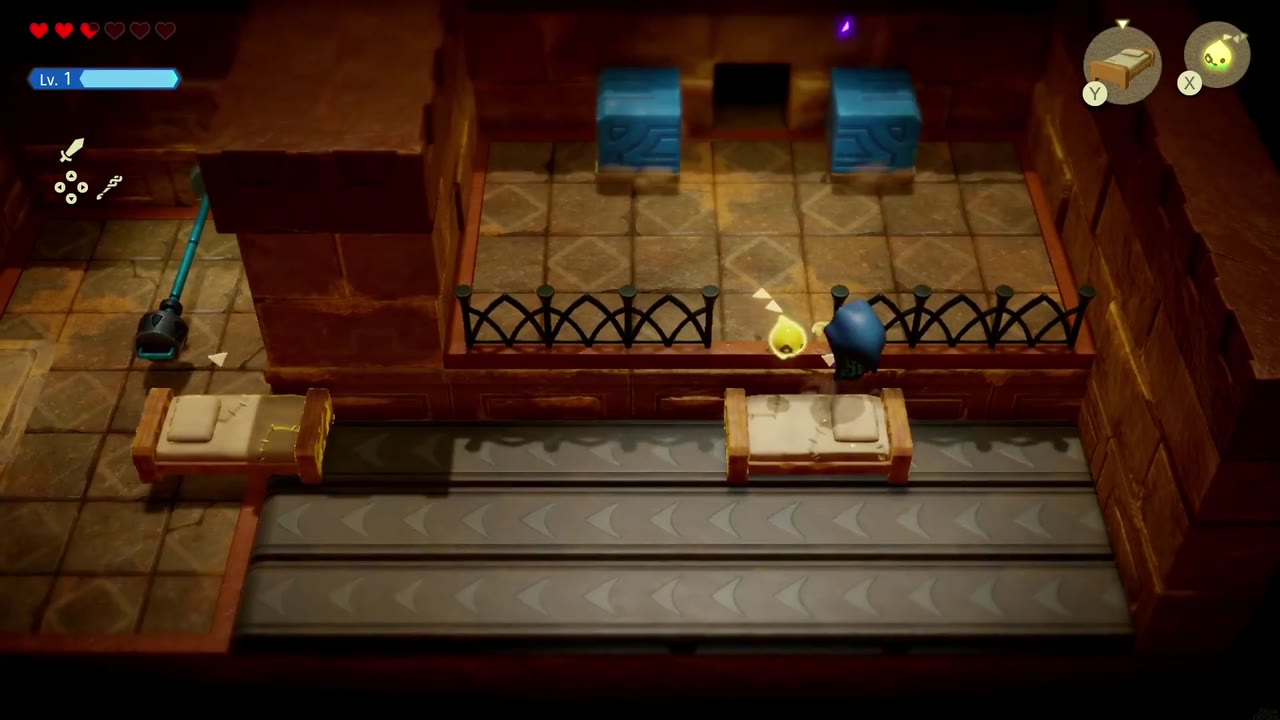
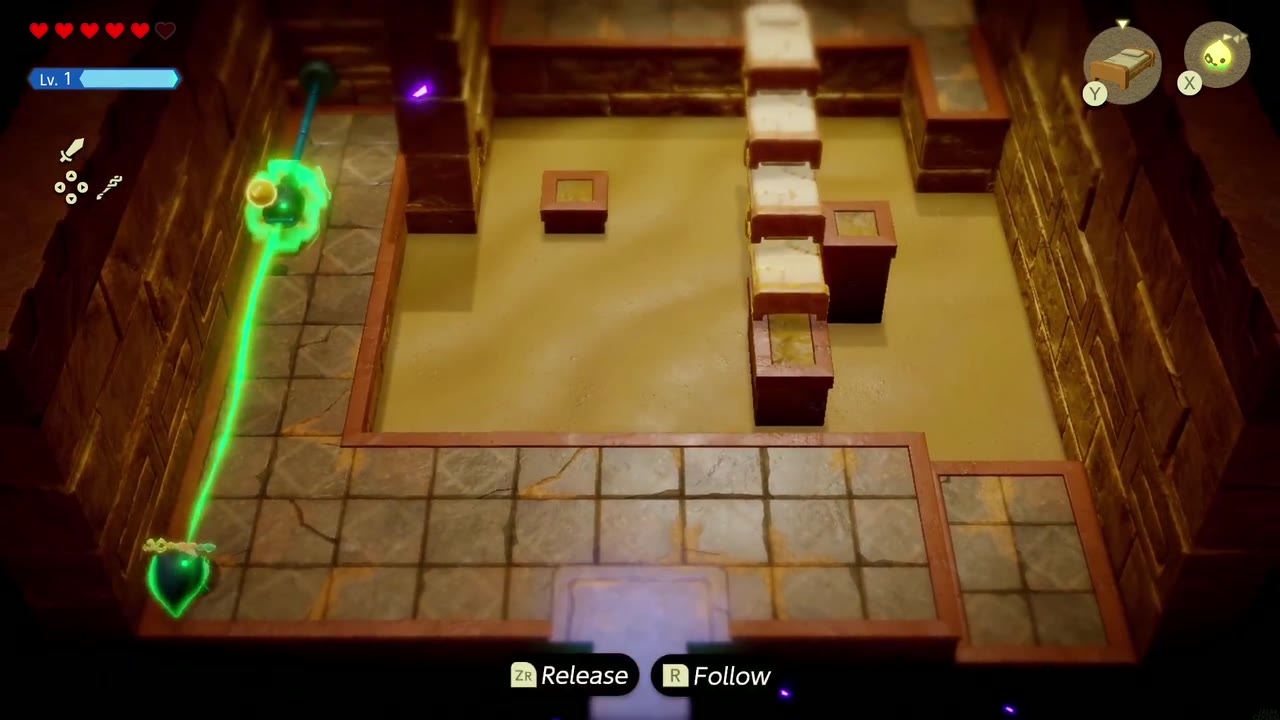
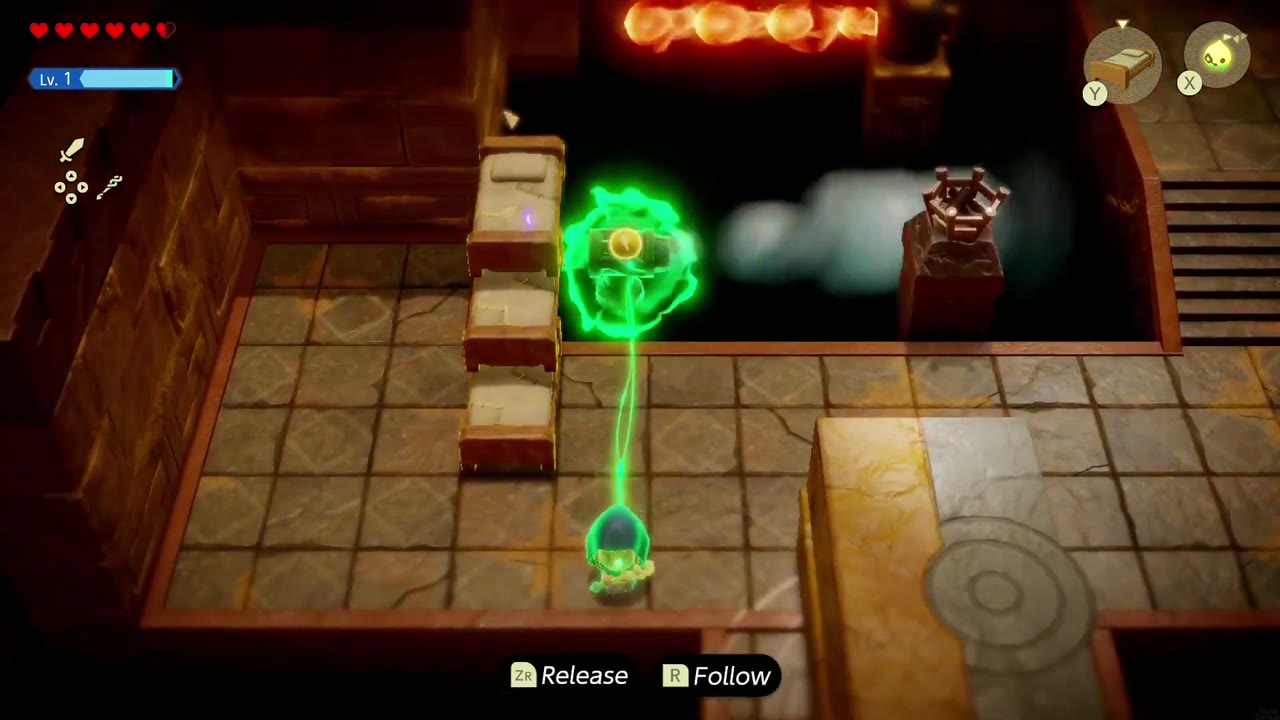
On the left side of the room stands a post with a handle. Bind the handle and walk down onto the conveyor, pulling it out as far as it goes; that drags the two blue cubes apart and opens the doorway. Then summon an Old Bed on the conveyor beside the fence, hop onto it, climb over the fence onto the ledge, and walk through the gap between the cubes.
The Hidden Room and the Small Key
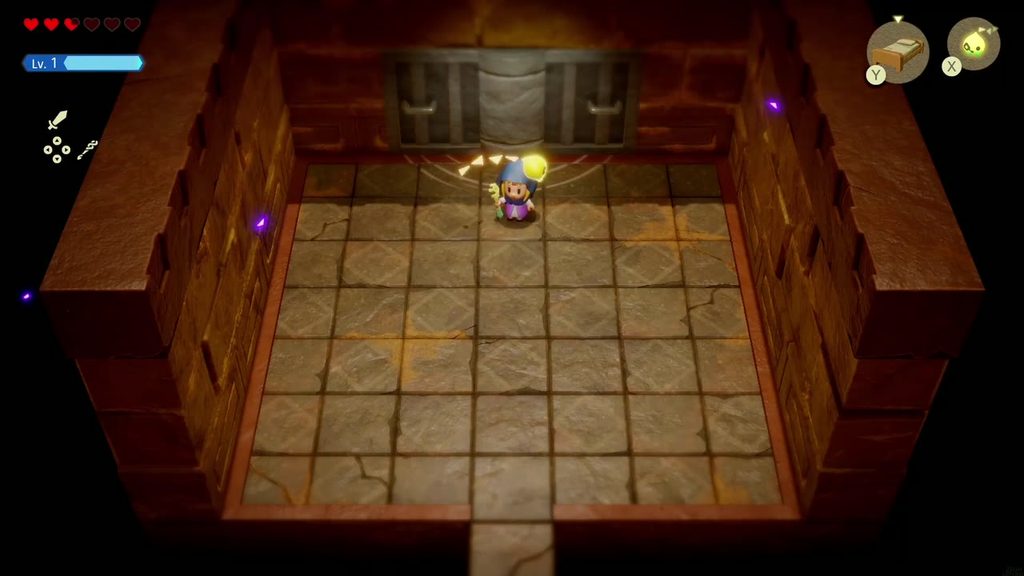
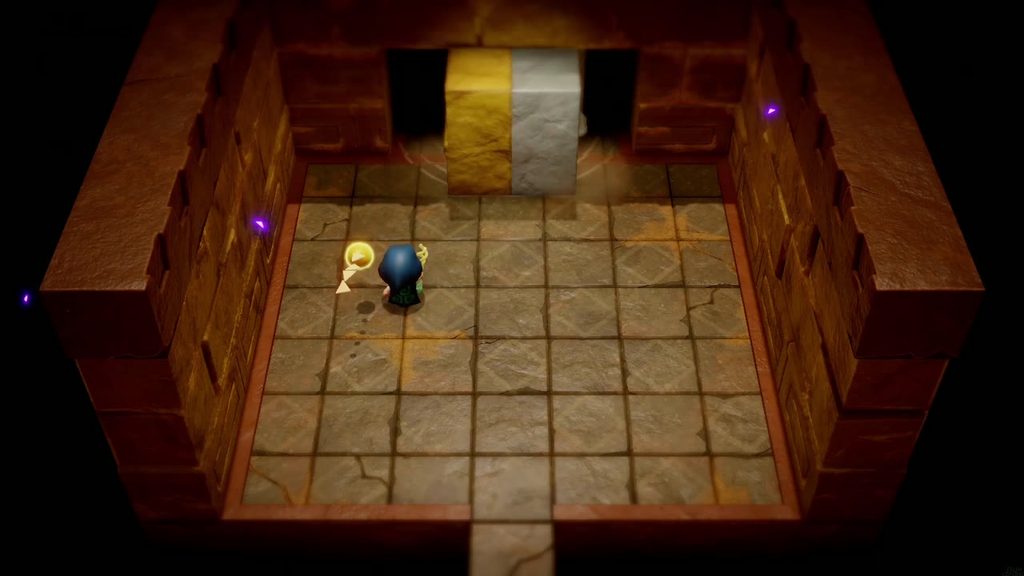
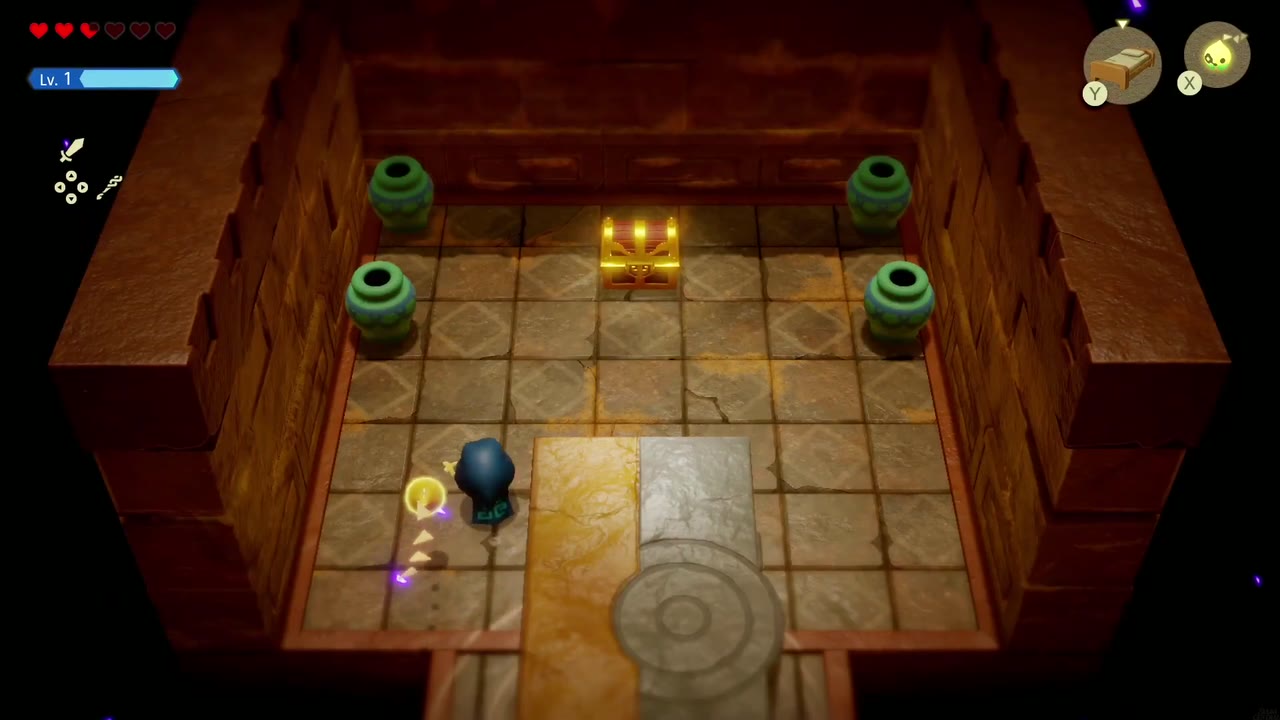
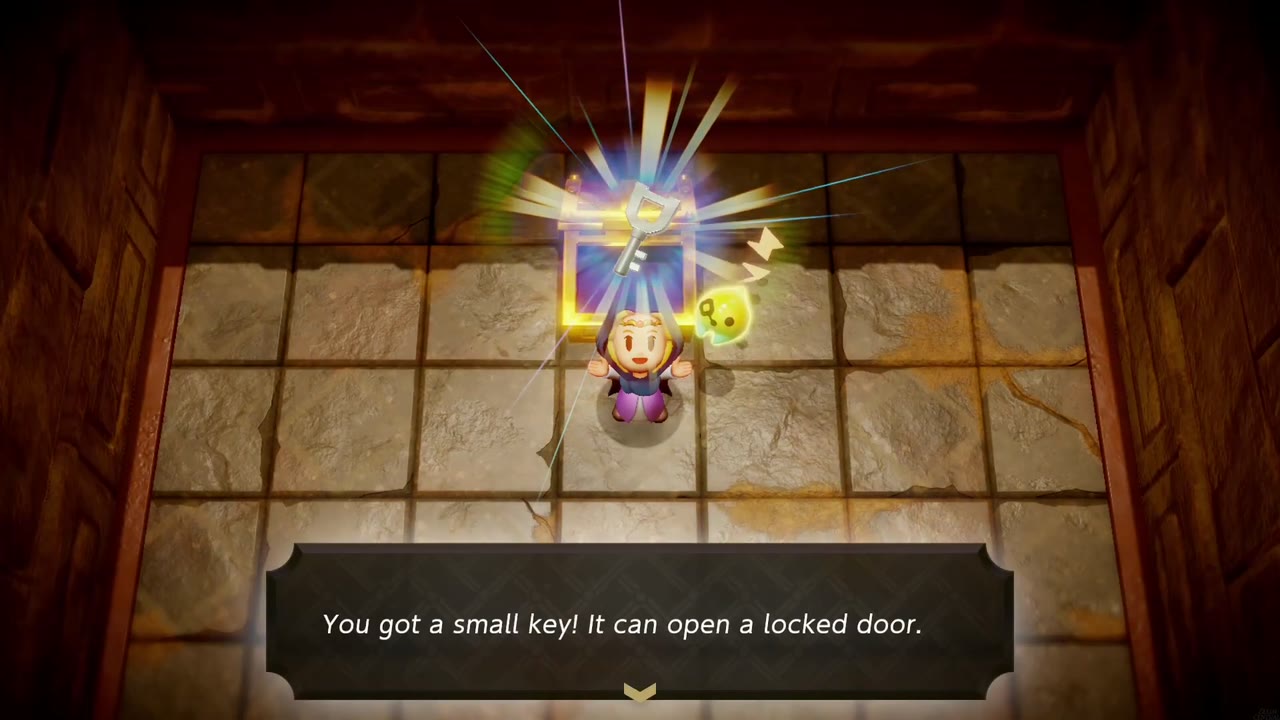
Past a dark passage, the next room looks empty, but the rear wall has handles. Bind them and pull backward: a large block slides out of the wall, opening the way into a hidden room. Inside, a chest surrounded by jars holds the Small Key.

Snake Statues and the Mothula Echo
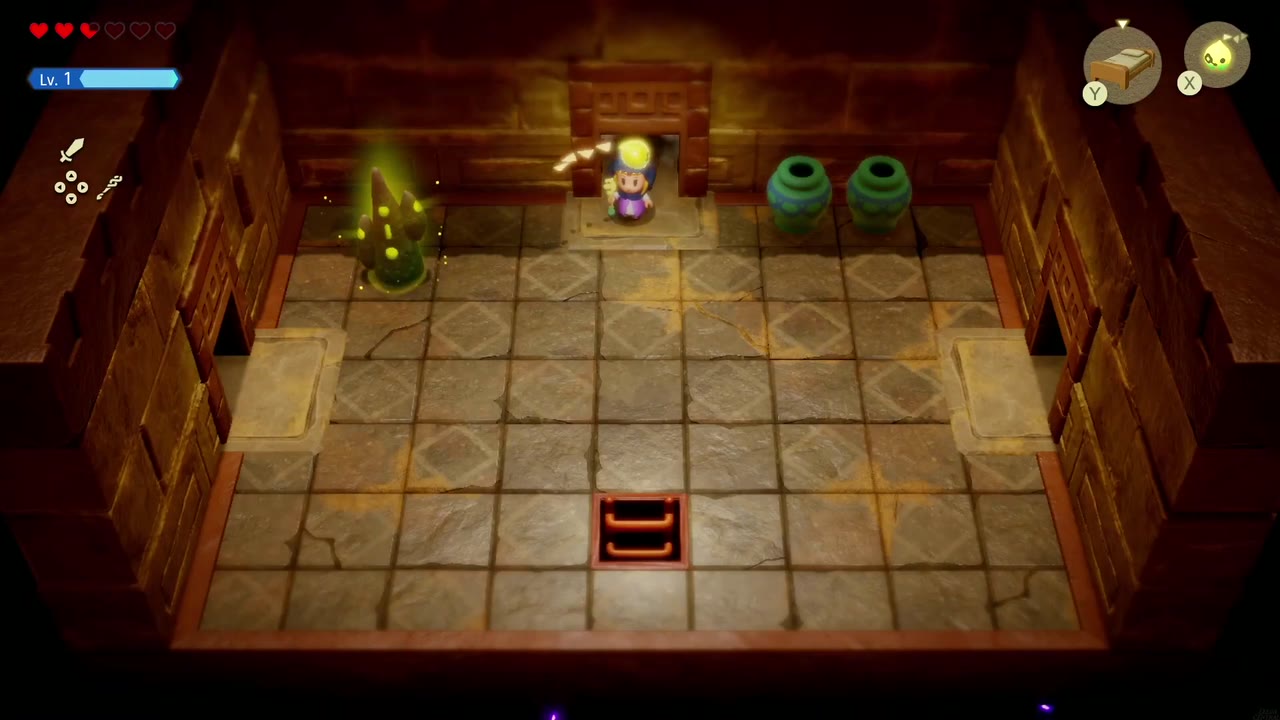
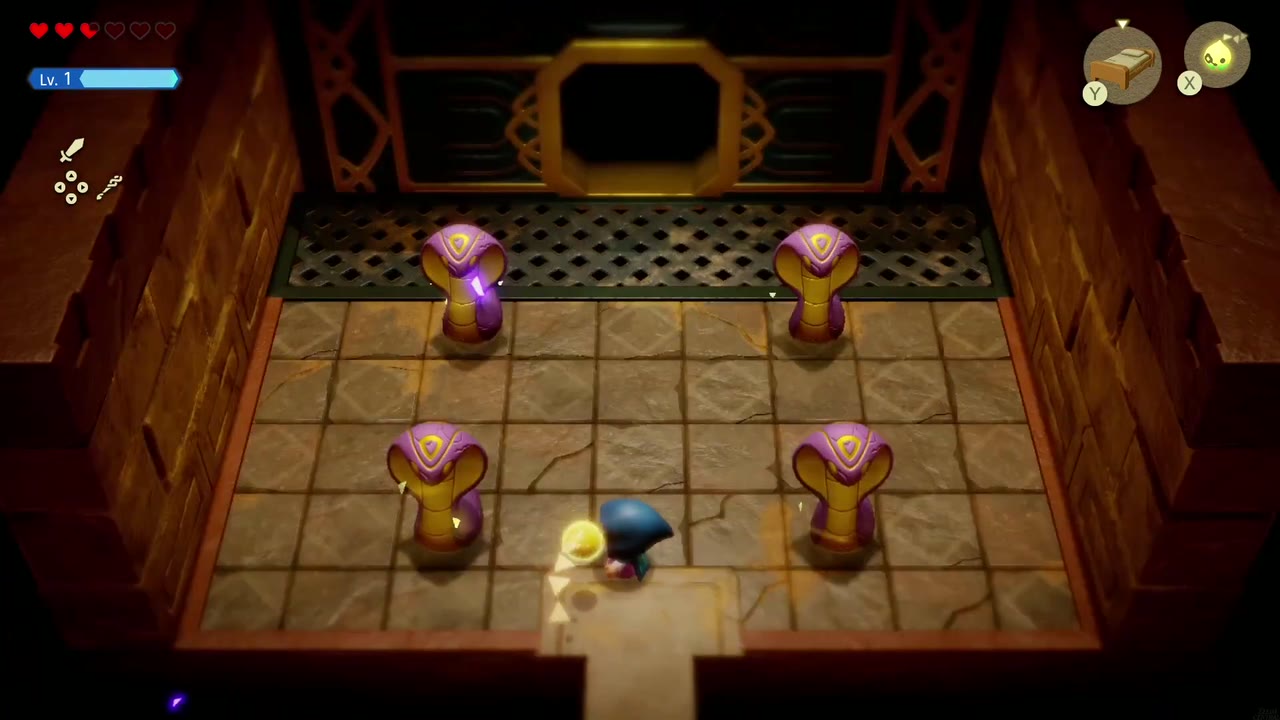
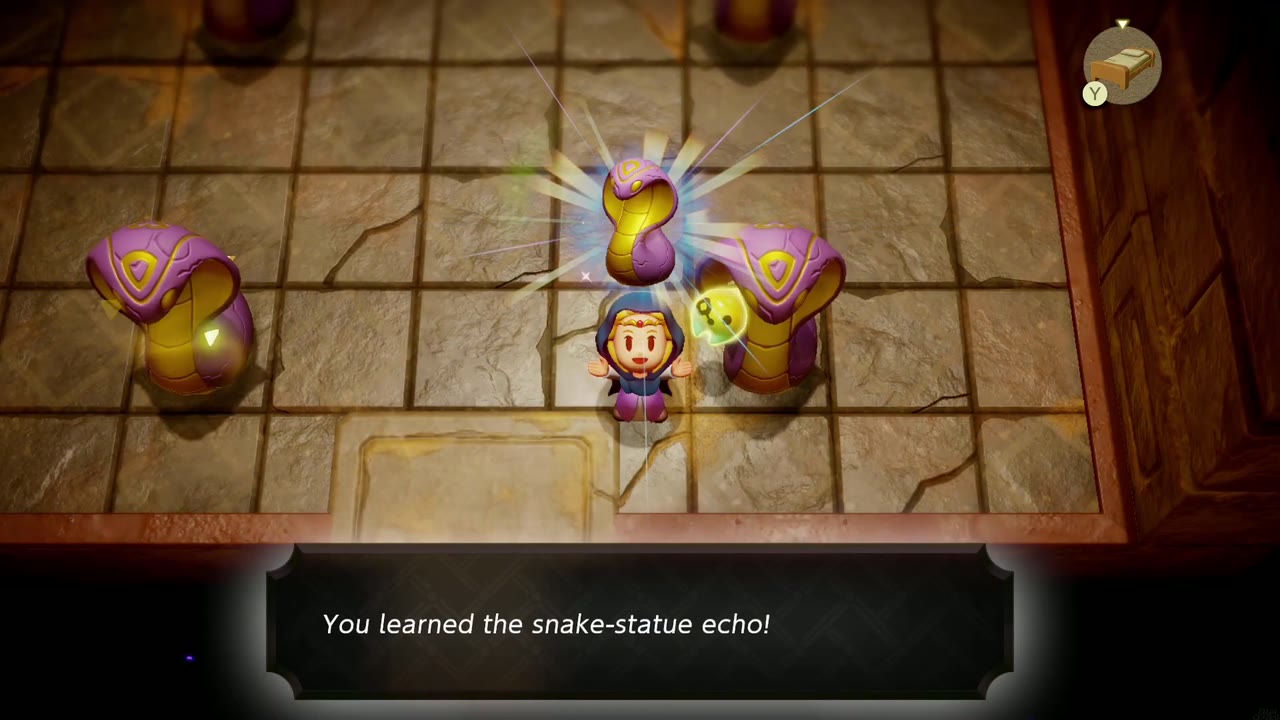
Use the small key on the rear door of the Waypoint room. The room beyond holds four Snake Statues; learn the echo off one, then continue through the rear door into a sand-floored room that locks behind you while several Mothulas swoop in. A Boomerang Boarblin handles them well. Kill them, learn the Mothula echo, and take the door on the left wall (the sand-buried door at the back comes later).
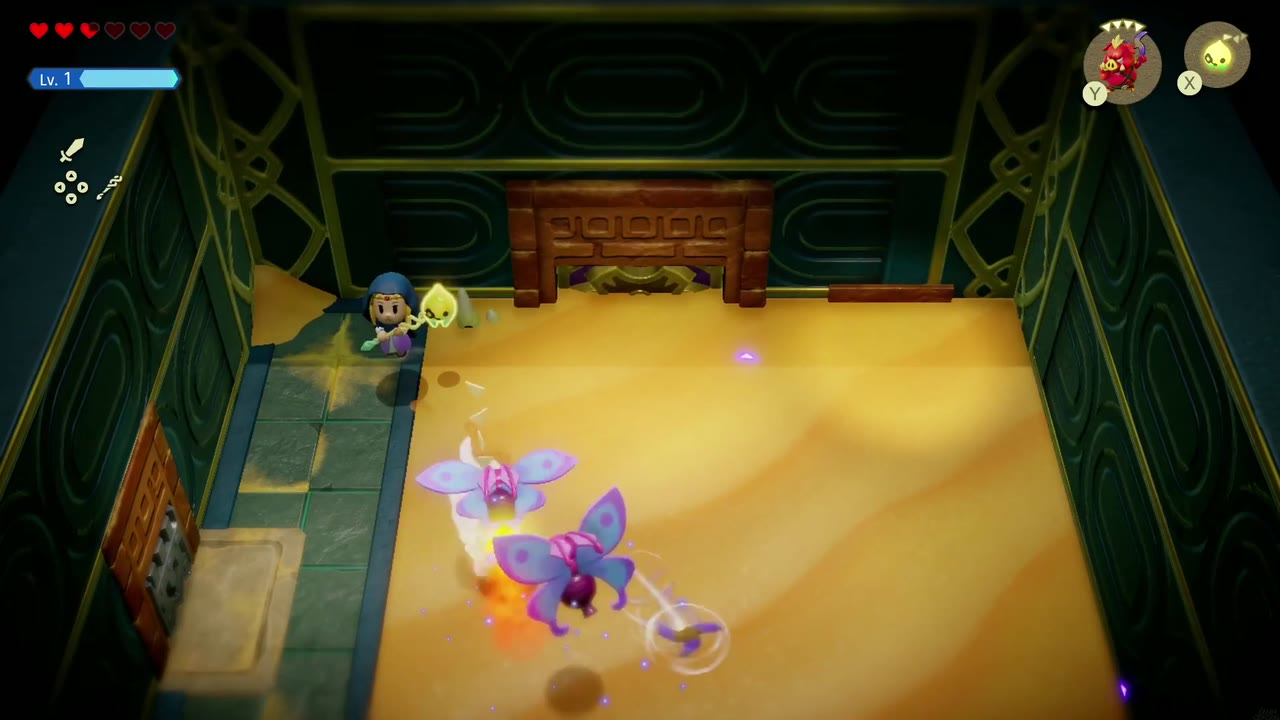
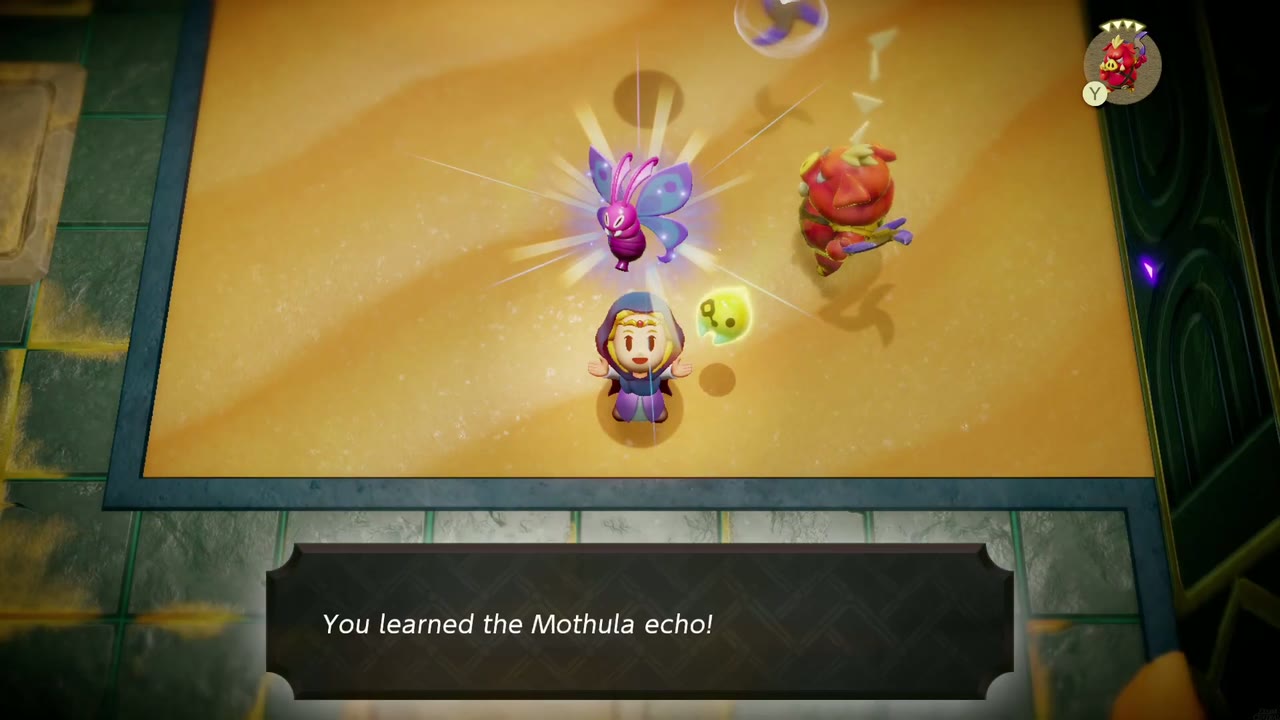

The Pot Room and the Moving Floor
The next room is split by a dividing wall: your side has pots and plants hiding Refreshing Grapes and Electro Apples, while a chest sits out of reach on the other side, so leave it for now. Exit through the bottom doorway to a moving floor sliding back and forth over a huge gap.


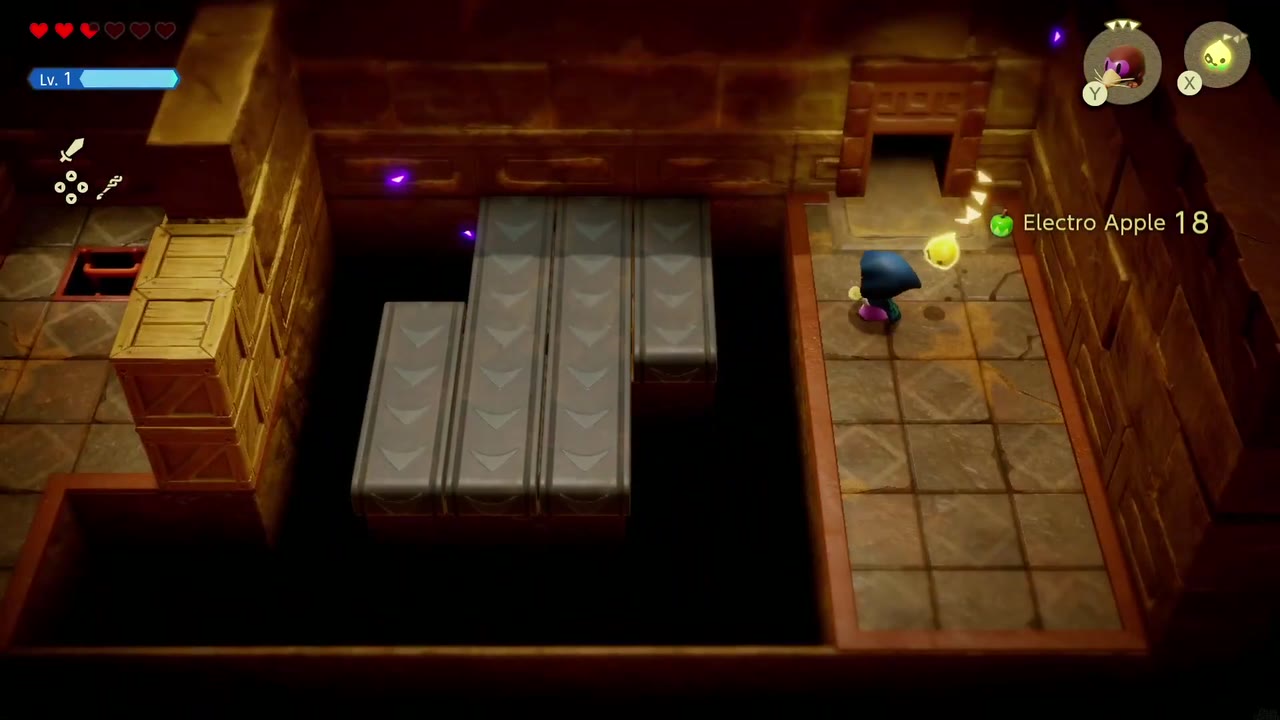
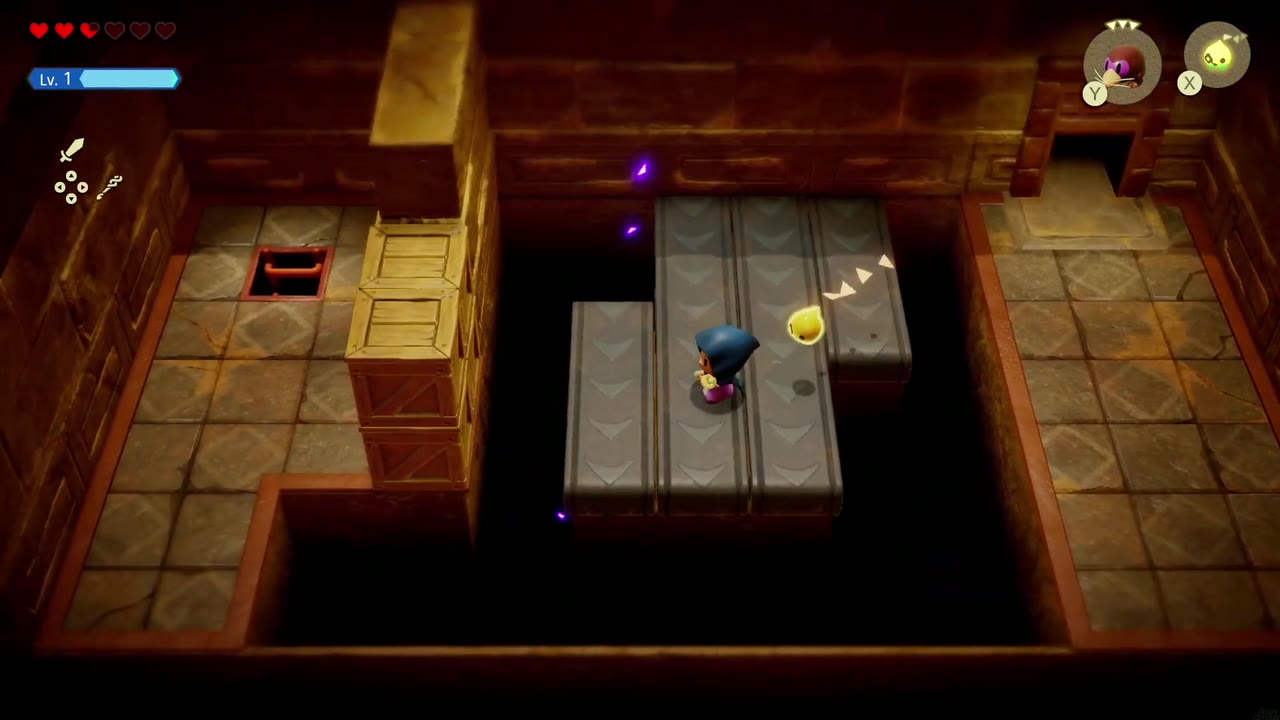
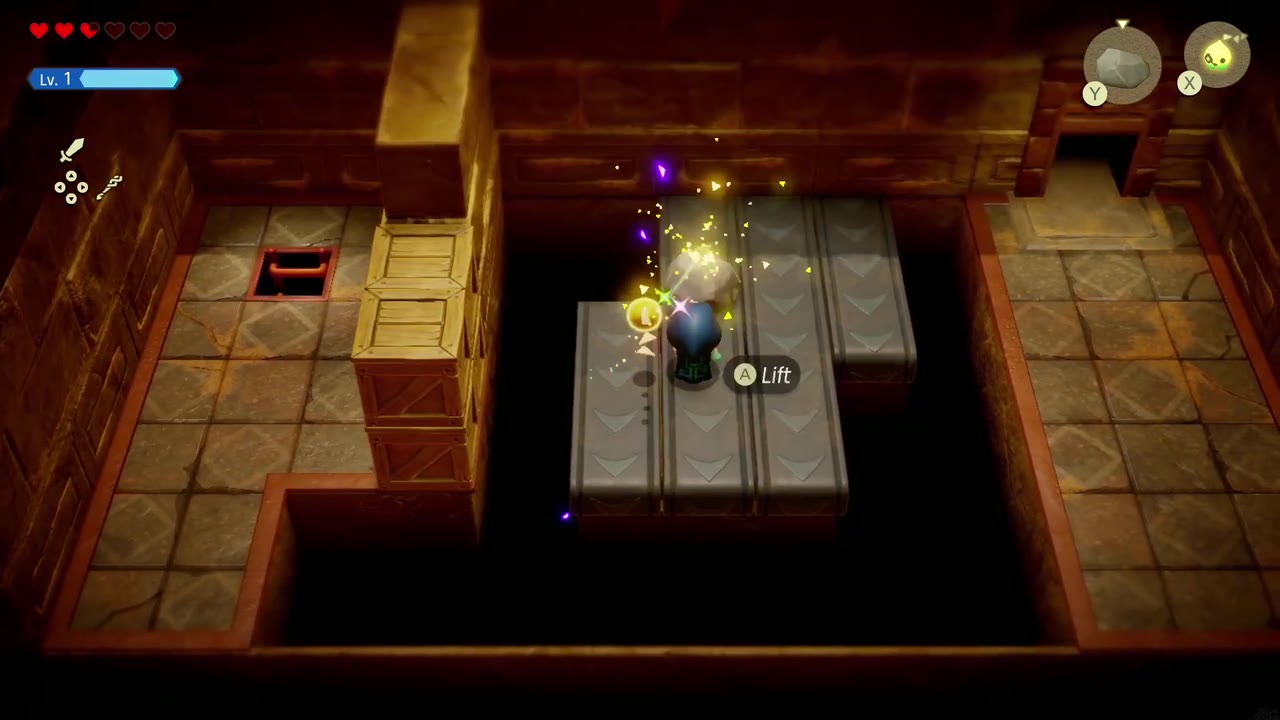
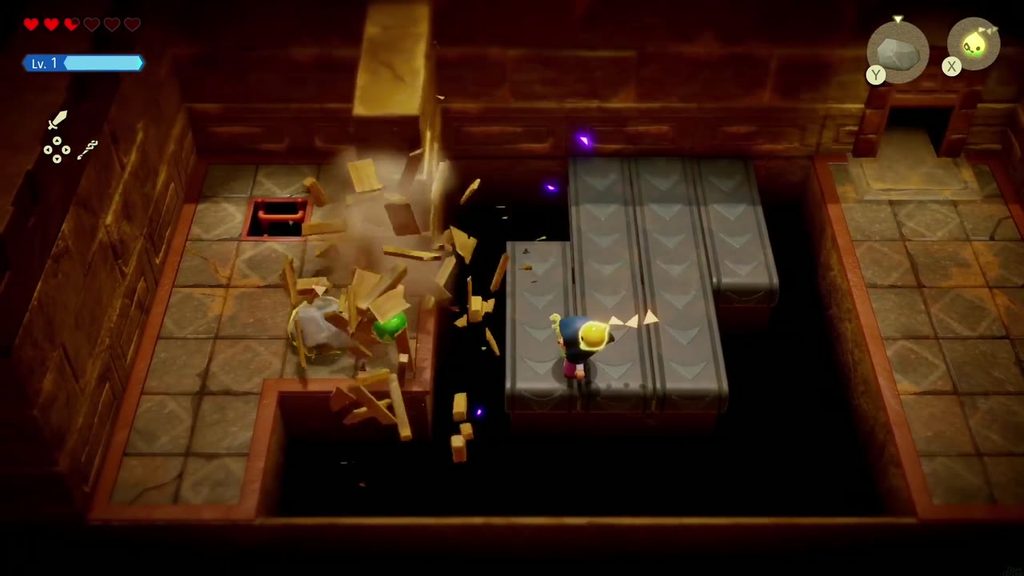
The far platform is cluttered with wooden crates that block the way to the ladder hatch. Ride the moving floor over, then summon a Boulder, lift it and throw it to smash the crates. Step off and take the ladder down.
Caromadillos and the Golden Egg
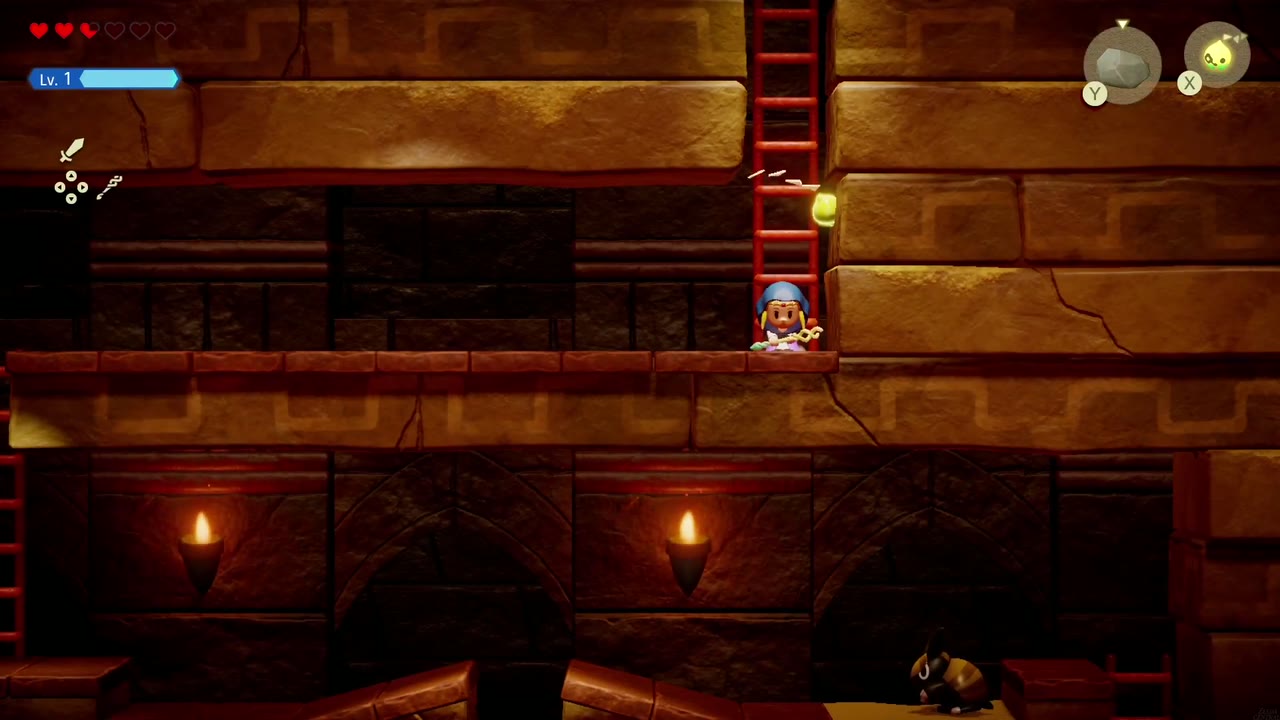
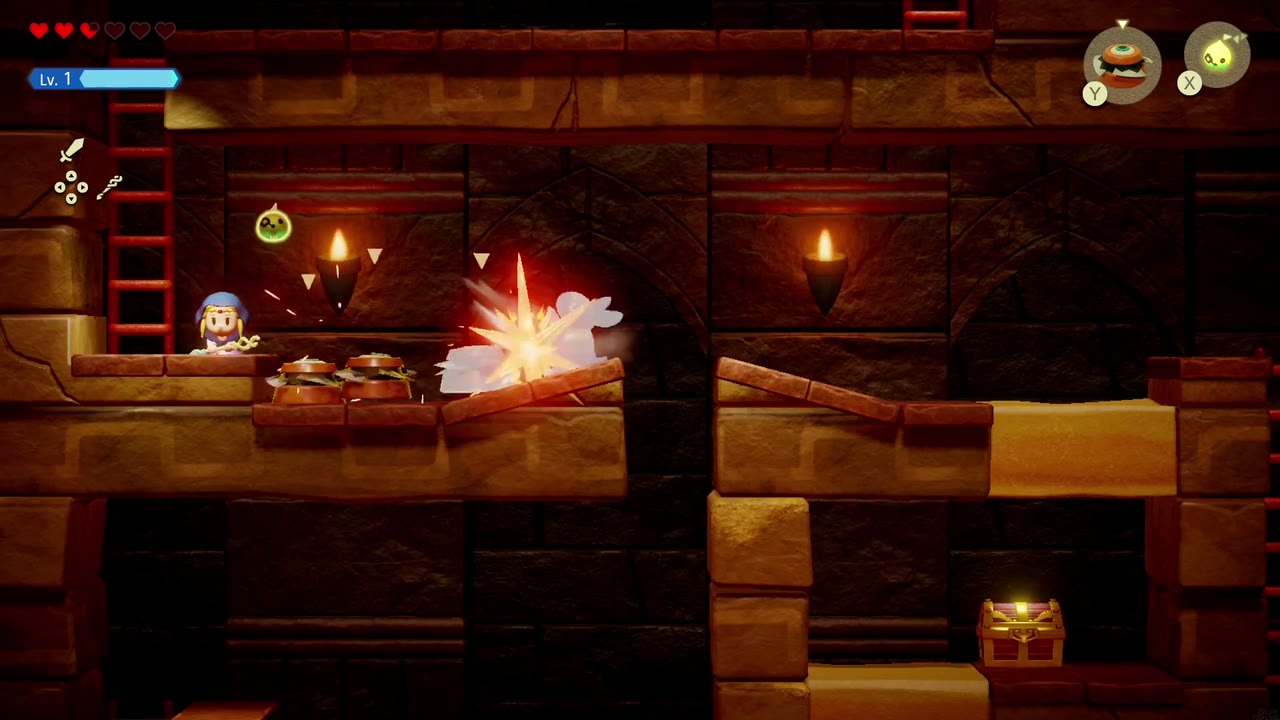
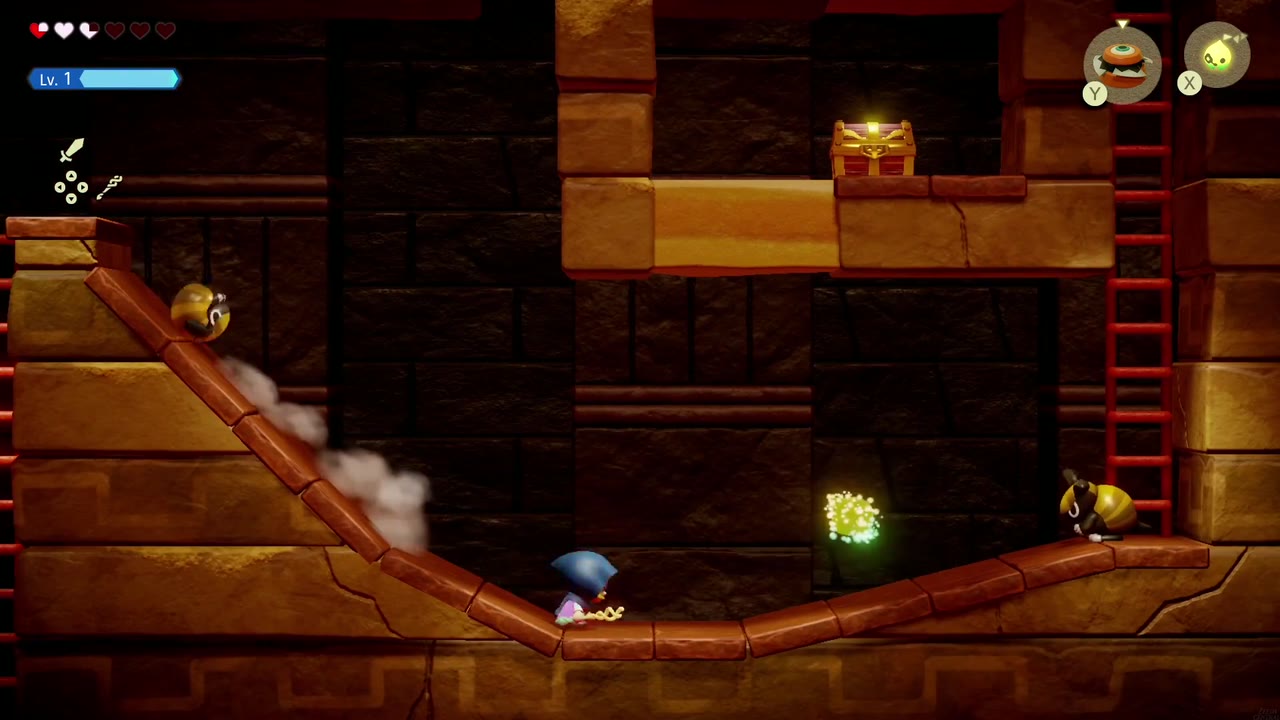
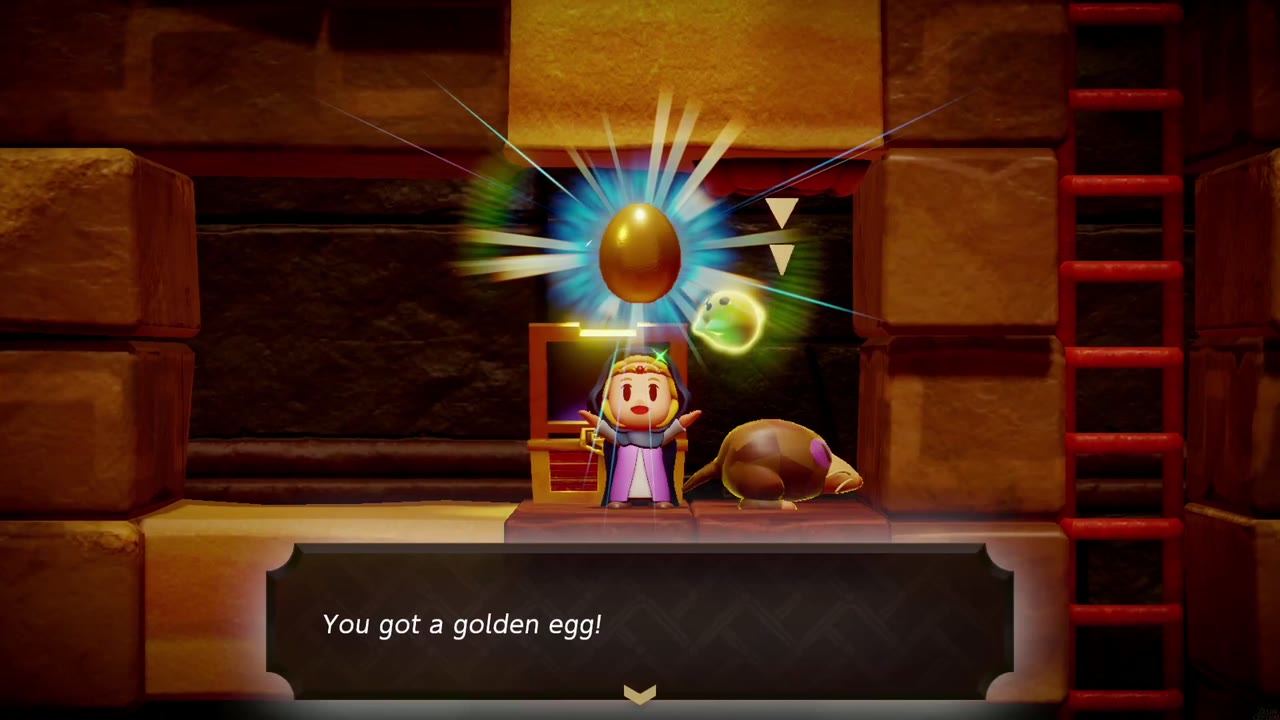
Keep descending the ladders to a platform where Caromadillos roll at you; a Peahat chews through them. Head down the slope (more Caromadillos roll down it) and climb the ladder on the right to a sand block sitting above a walled-in chest. Summon a Holmill on the sand to dig through, drop into the nook, and open the chest for a Golden Egg. Work your way back down the slope and up the left-hand ladder to the next area.

The Tribute Tablets
The Tablet Room
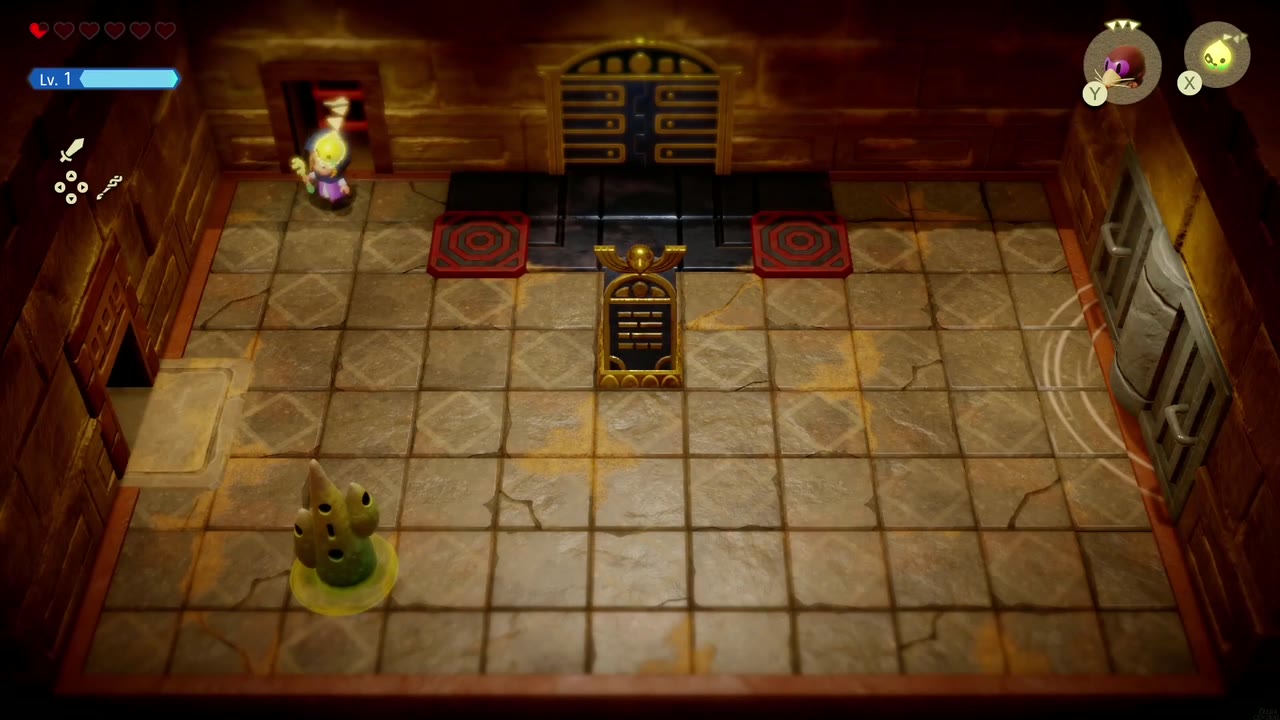
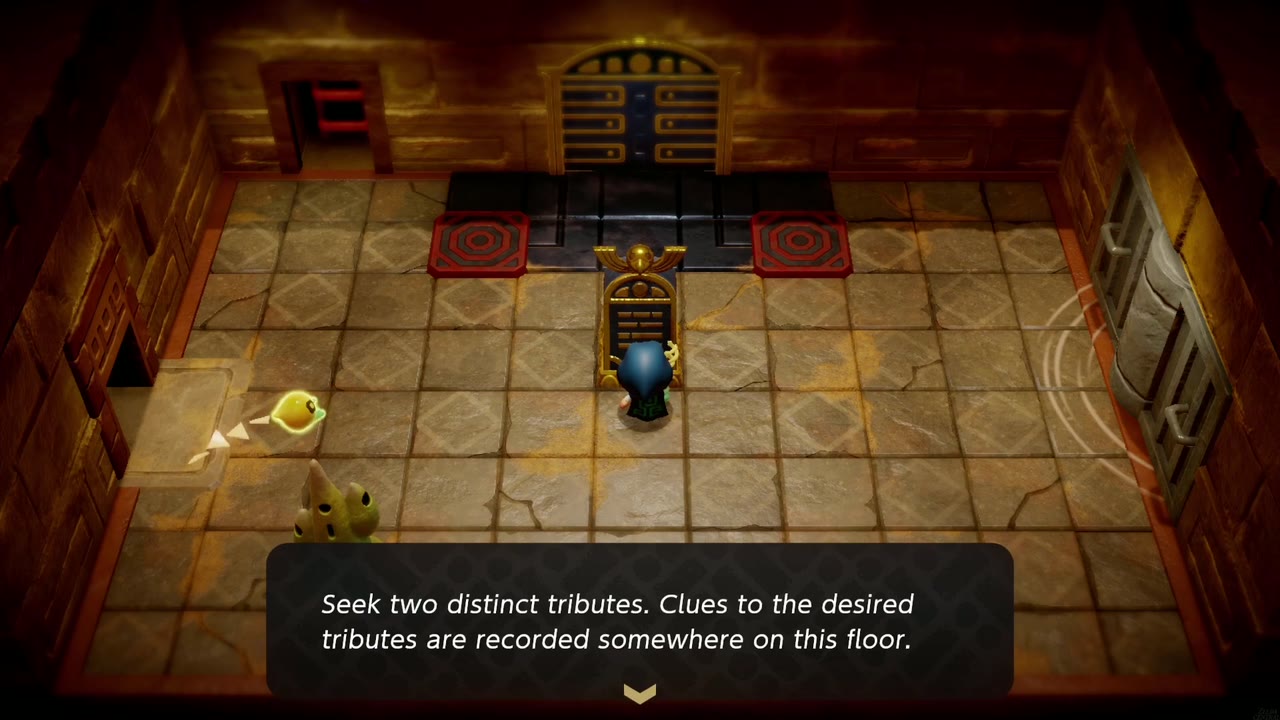
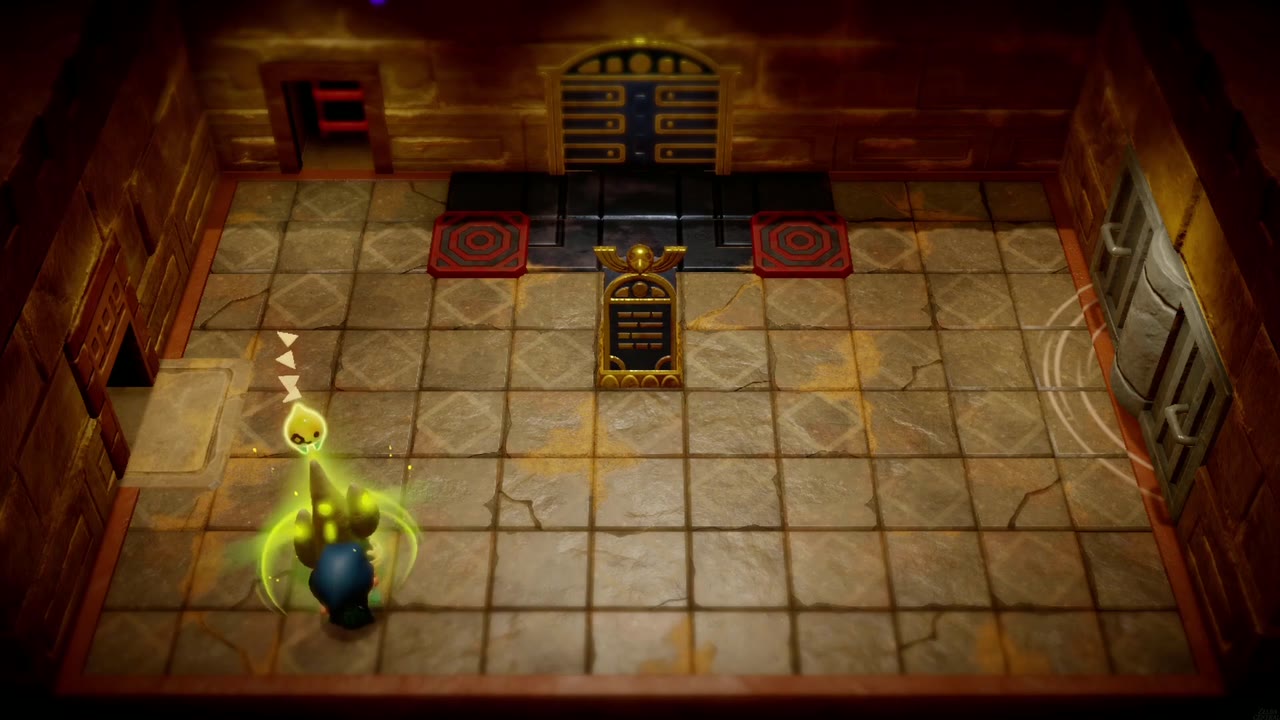
You arrive at a room with a mysterious stone tablet in the middle and a Waypoint in the bottom-left corner; activate it. Reading the tablet tells you to “Seek two distinct tributes” and that the clues are recorded somewhere on this floor. The sealed door behind it is flanked by two red tiles, which is where the tributes go.
The First Tribute Clue
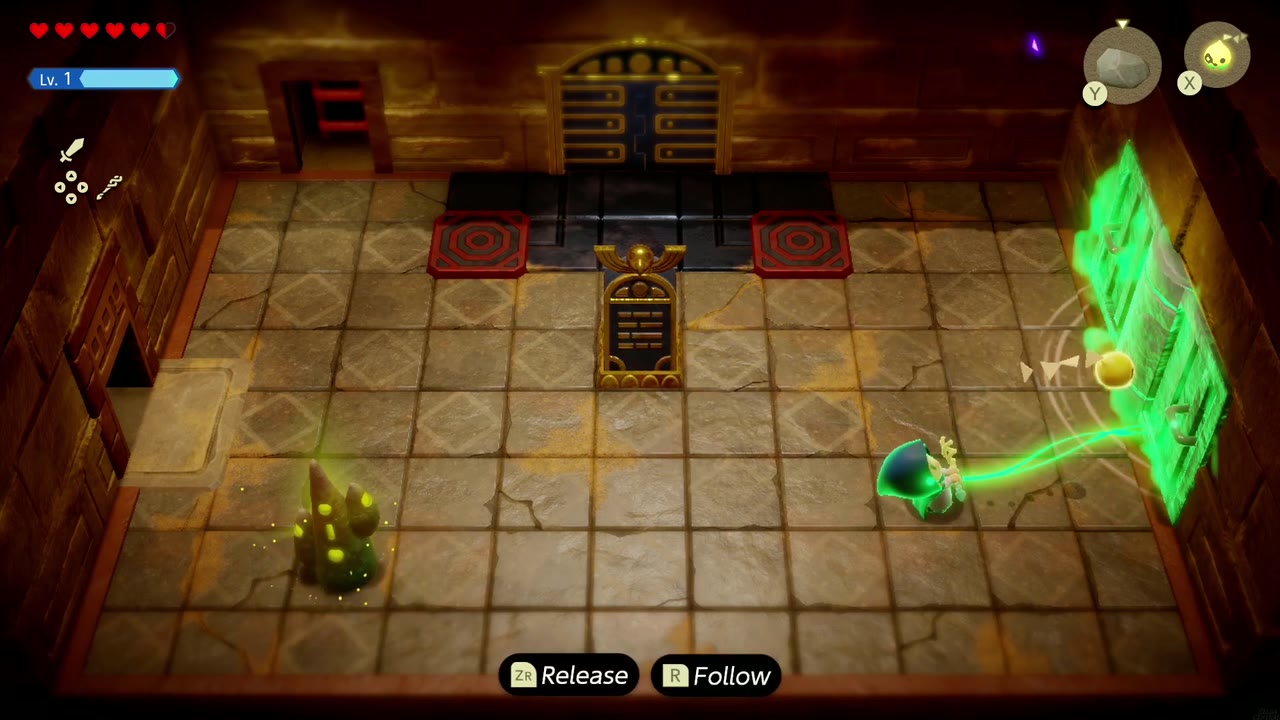
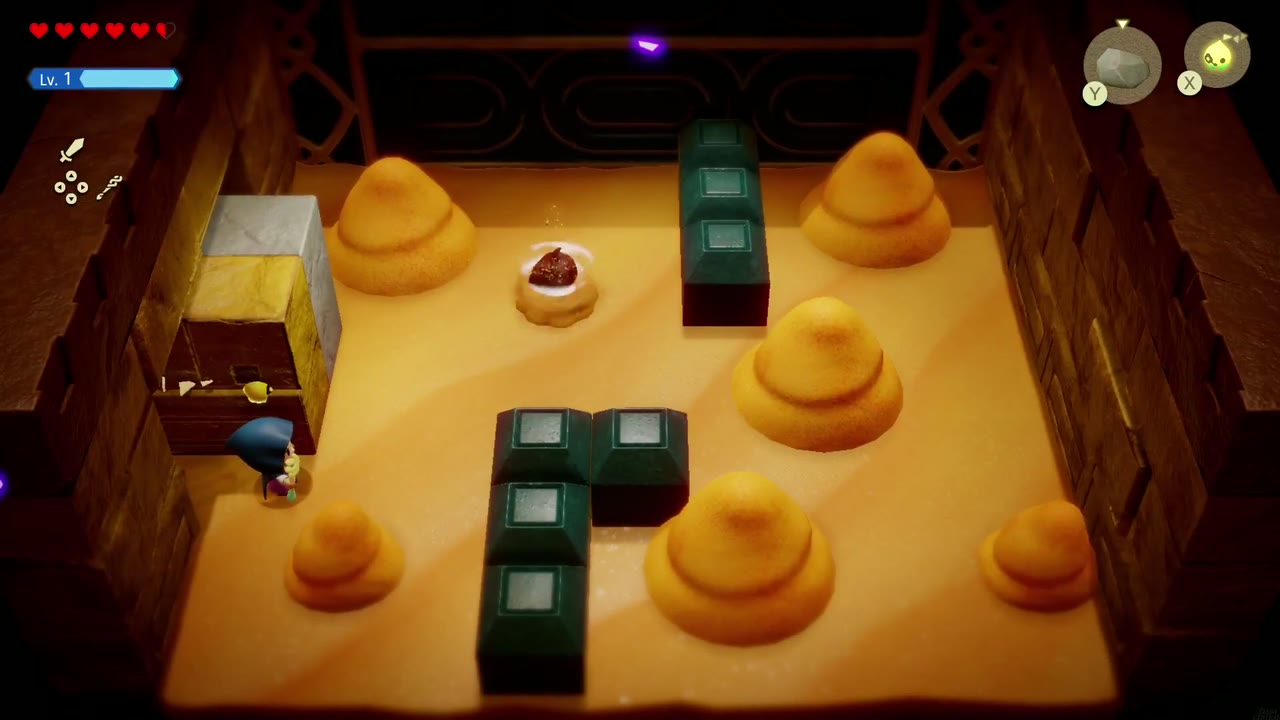
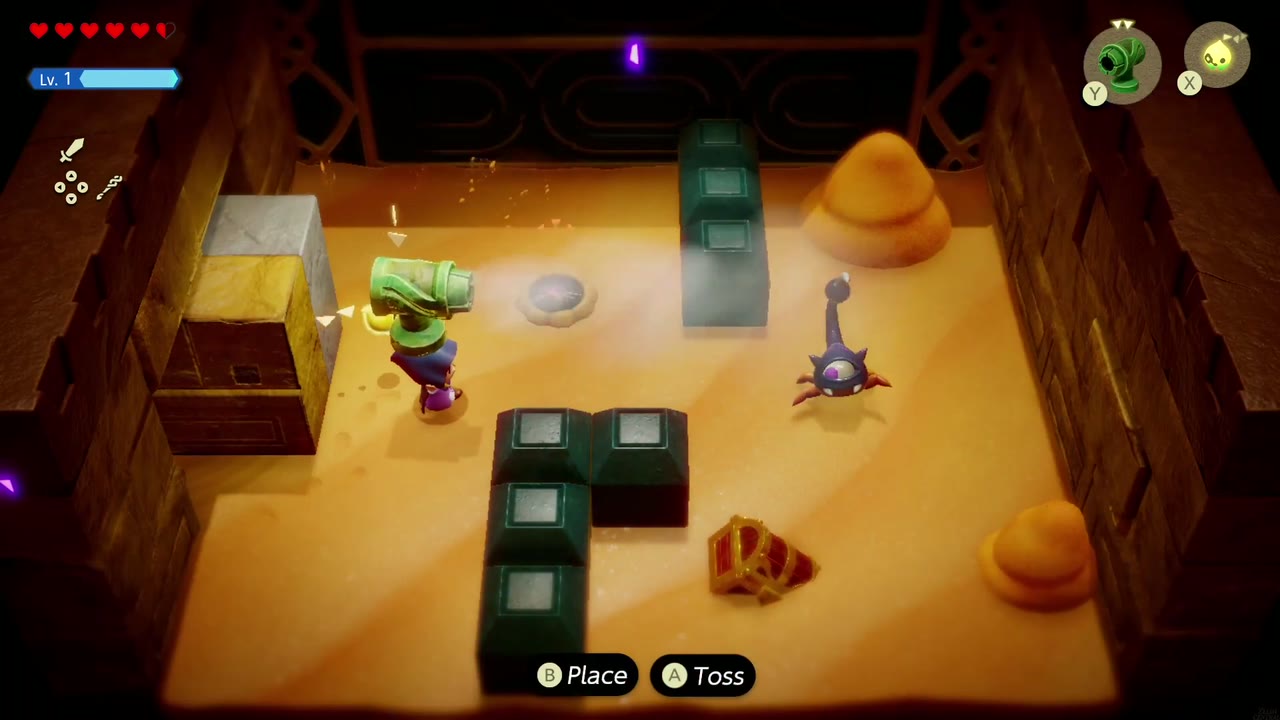
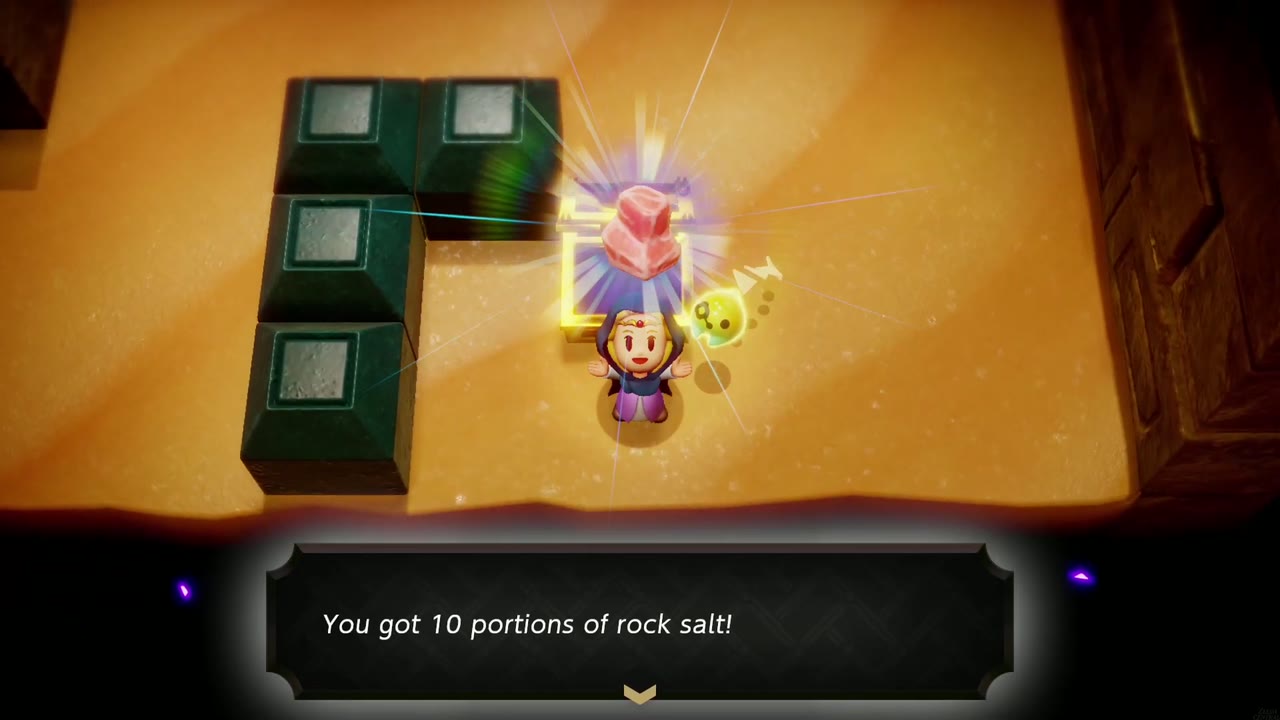
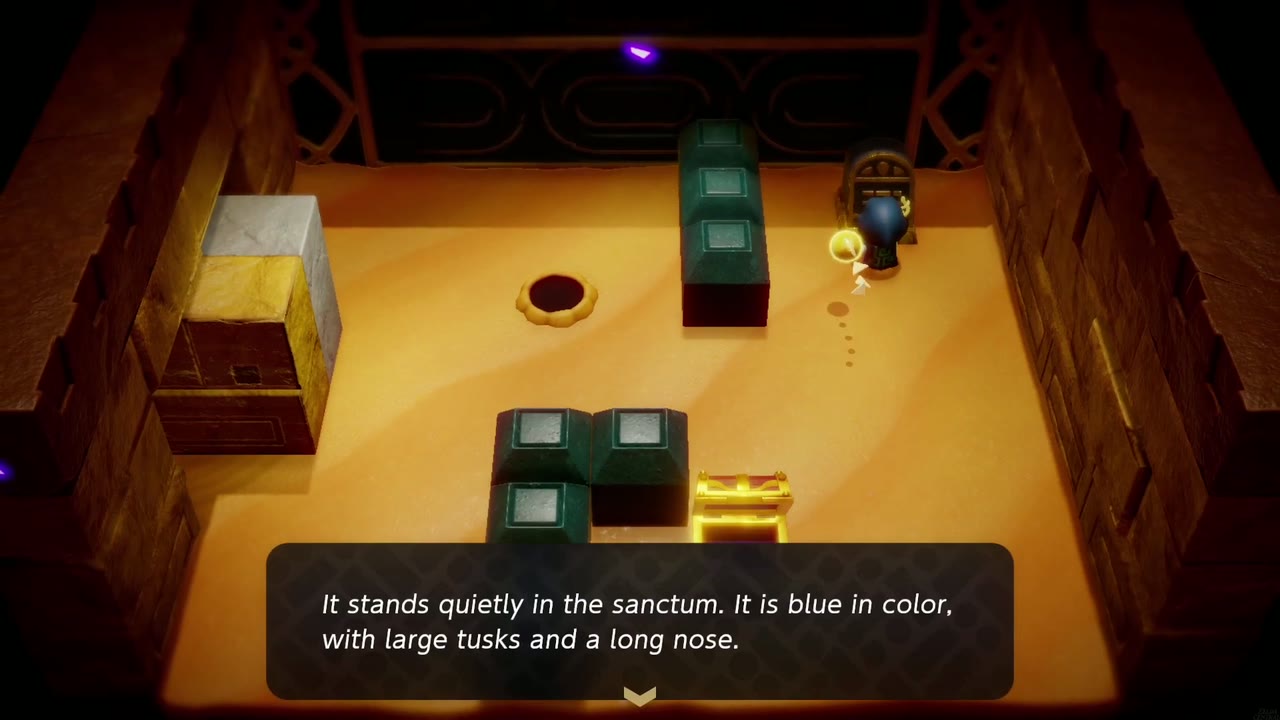
Head right and Bind-pull the handled wall block on the right-hand wall to open a gap. The next room is buried in sand mounds; blow them away with a Wind Cannon, fight off the Peahats and other monsters that turn up, and Bind the chest poking out of one mound to drag it free for 10 Rock Salt. The tablet in the room’s upper-right gives the first clue: “It stands quietly in the sanctum. It is blue in color, with large tusks and a long nose.” That’s the Elephant Statue. (You can also leave this room for the return trip to the tribute room.)

The Poe and the Dungeon Map
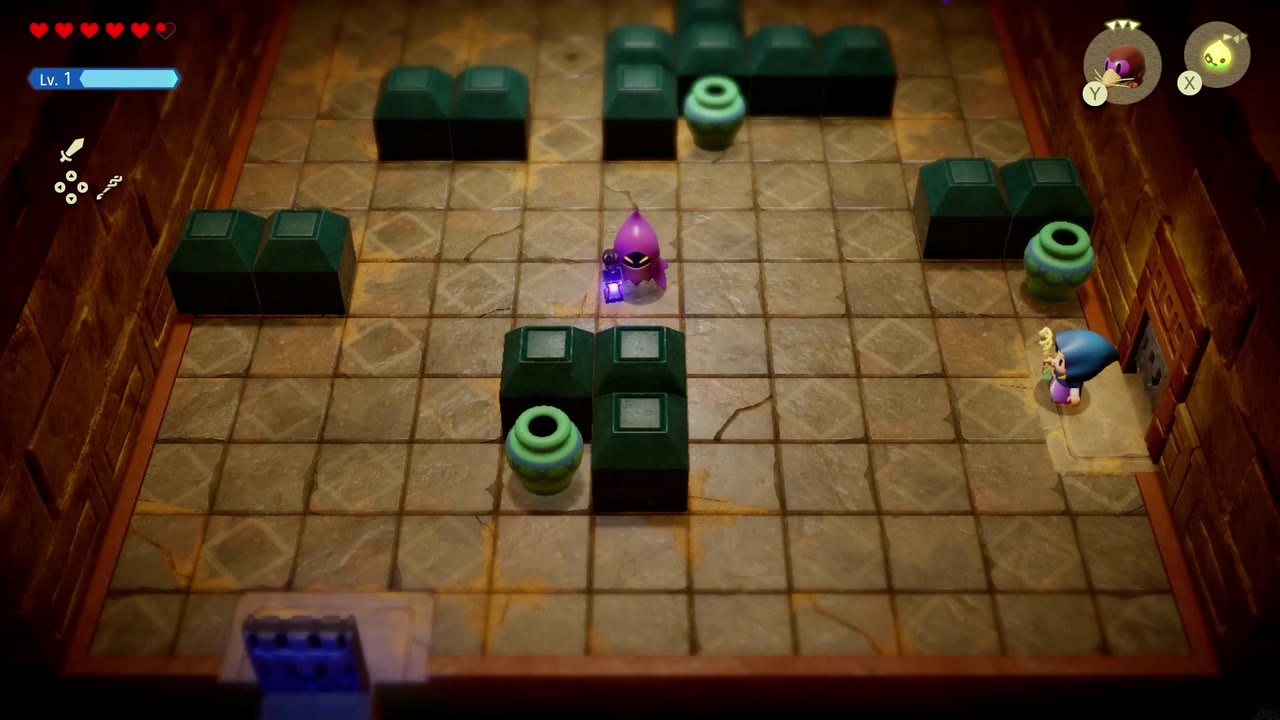
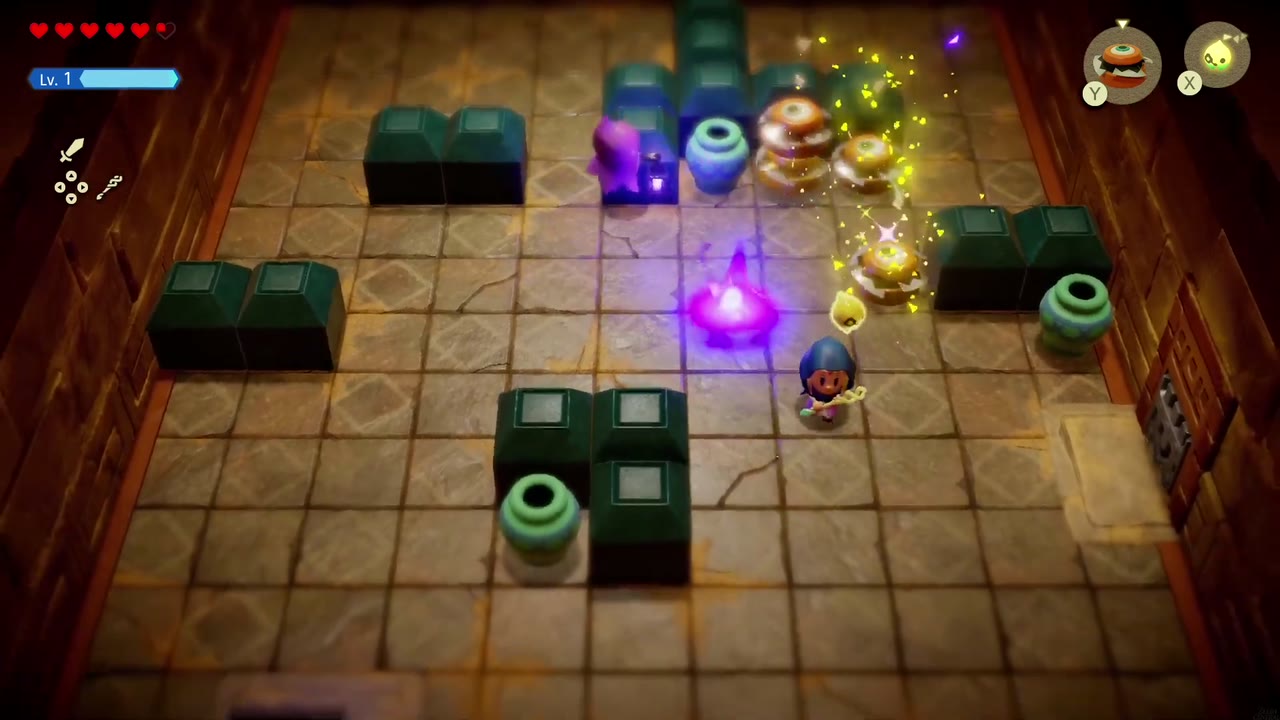
Now take the left door of the tablet room. Inside, a Poe drifts among dark green blocks and Peahats, setting the floor alight with purple flames and slipping through walls when chased. Summon Peahats to wear it down. Kill it, learn the echo, and the chest that appears holds the Dungeon Map.
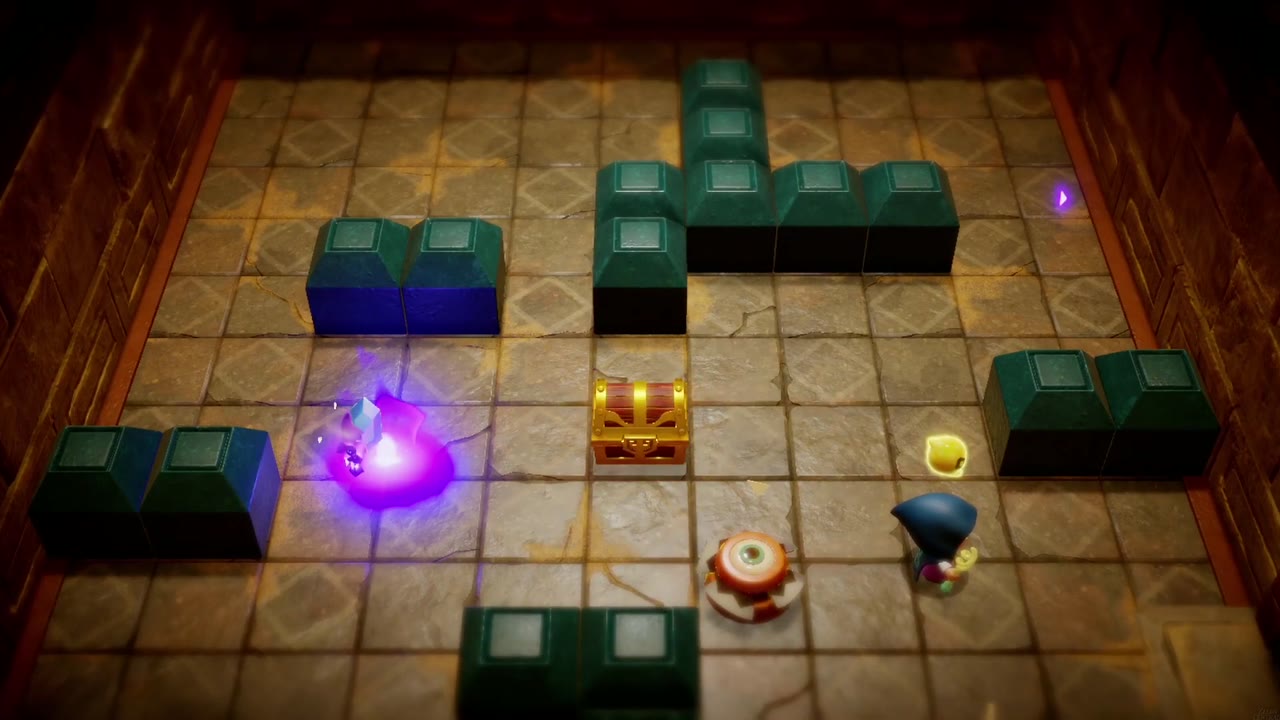

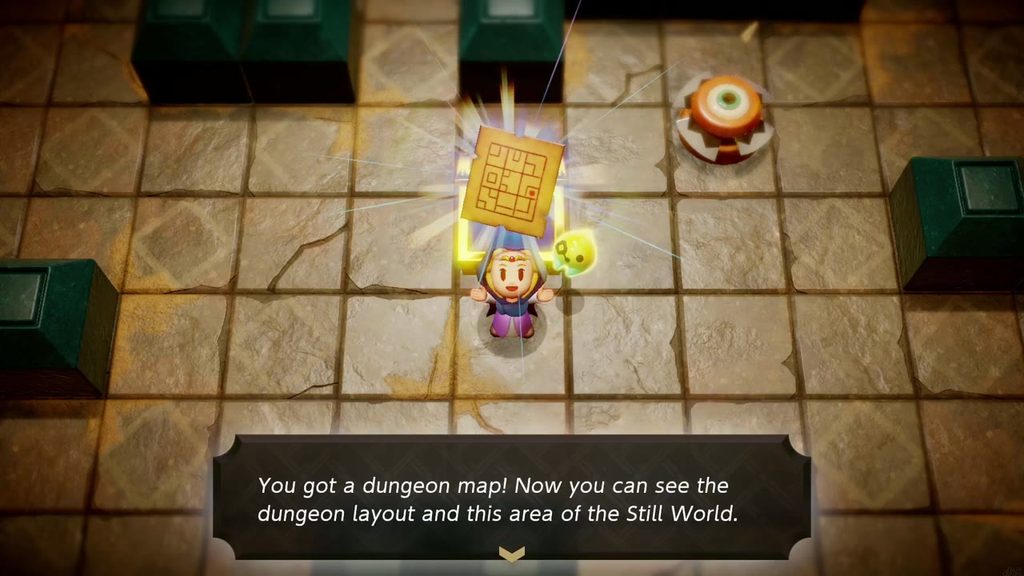
The Outer Walls
Into the Still World
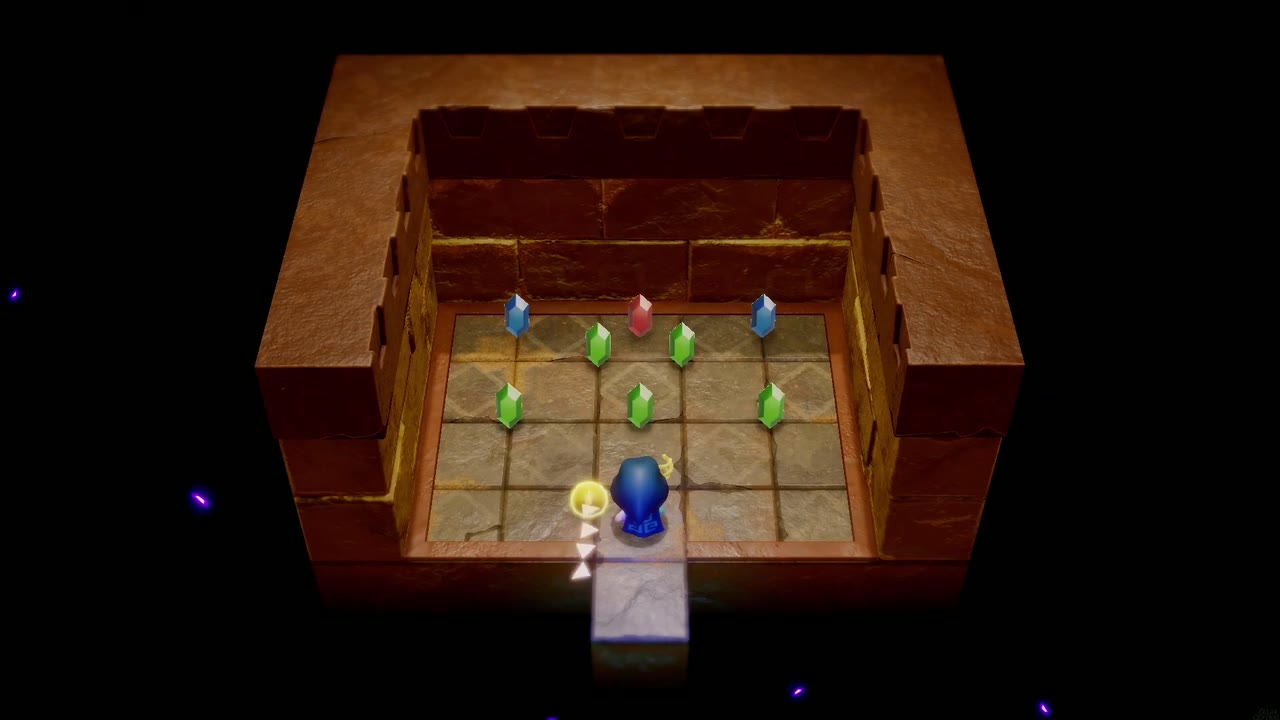
Leaving the map room drops you onto the dungeon’s outer edge in the Still World, where you catch another glimpse of the Link lookalike running across a sand ledge. Clear the enemies on the ledge, then stack two Old Beds under the square opening in the dungeon wall and climb in for a small room full of loose rupees.
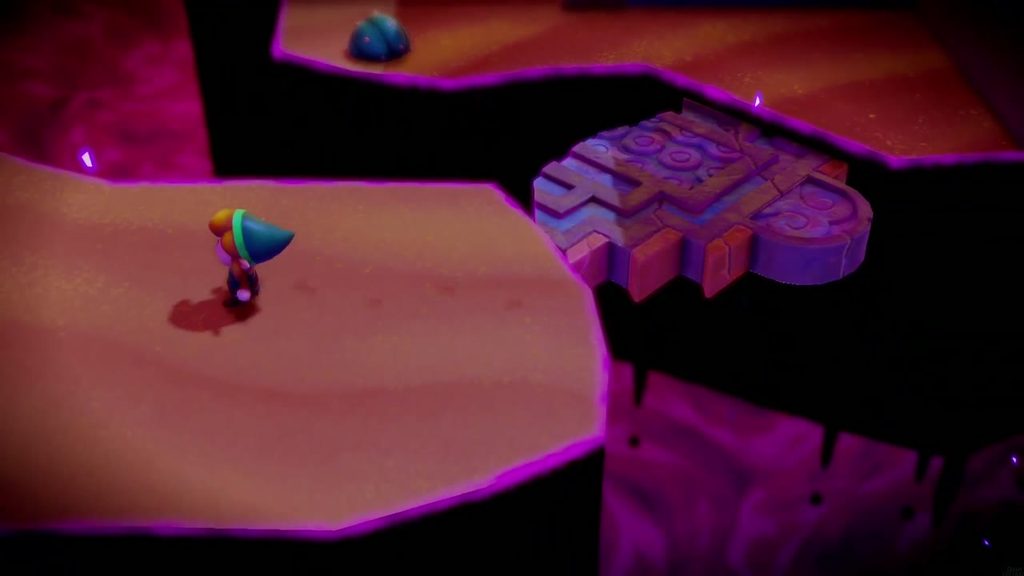
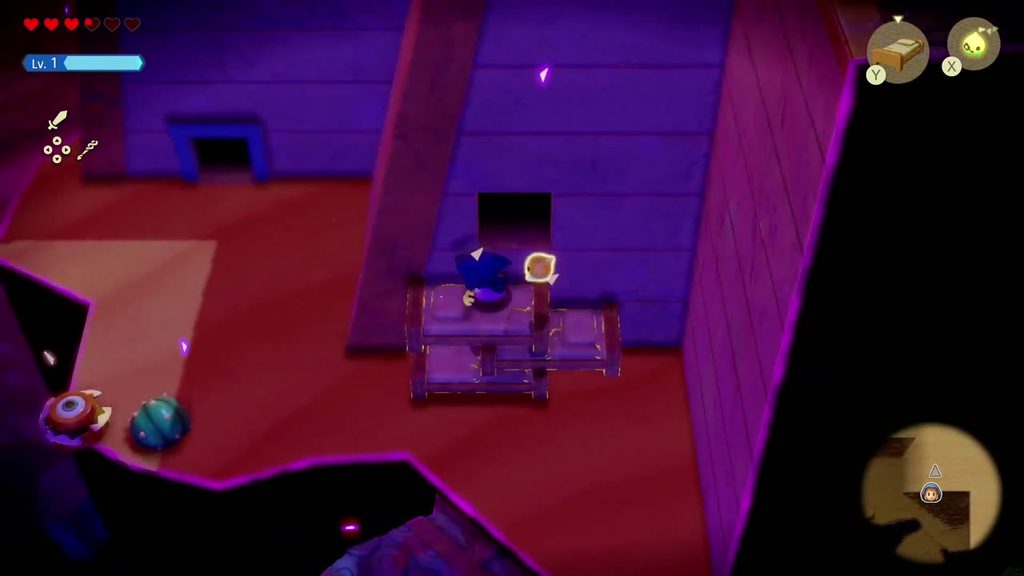
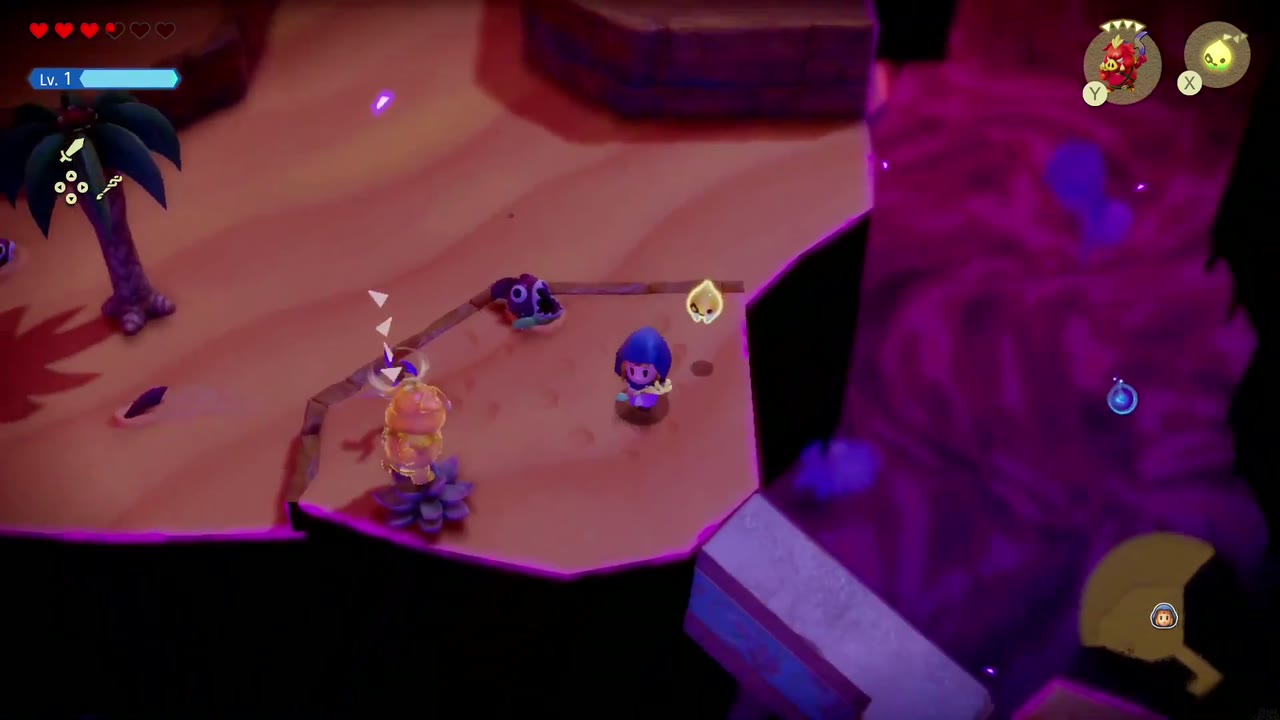
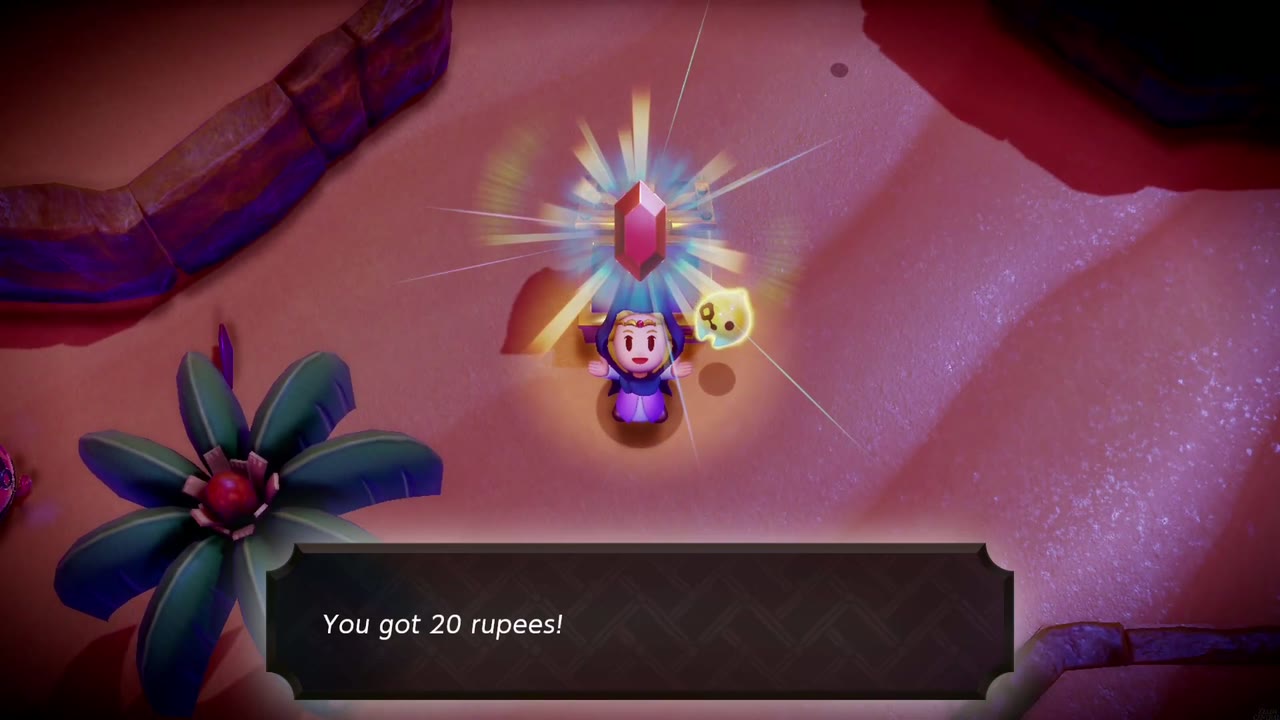
Back outside, follow the floating sand islands onward, fighting enemies as you go. On the island with the palm tree, a chest sits on a separate ledge; Bind it and drag it over to you, then open it for 20 rupees. Lay an Old Bed against the raised cracked platform to climb up and continue.

The Blue Tower
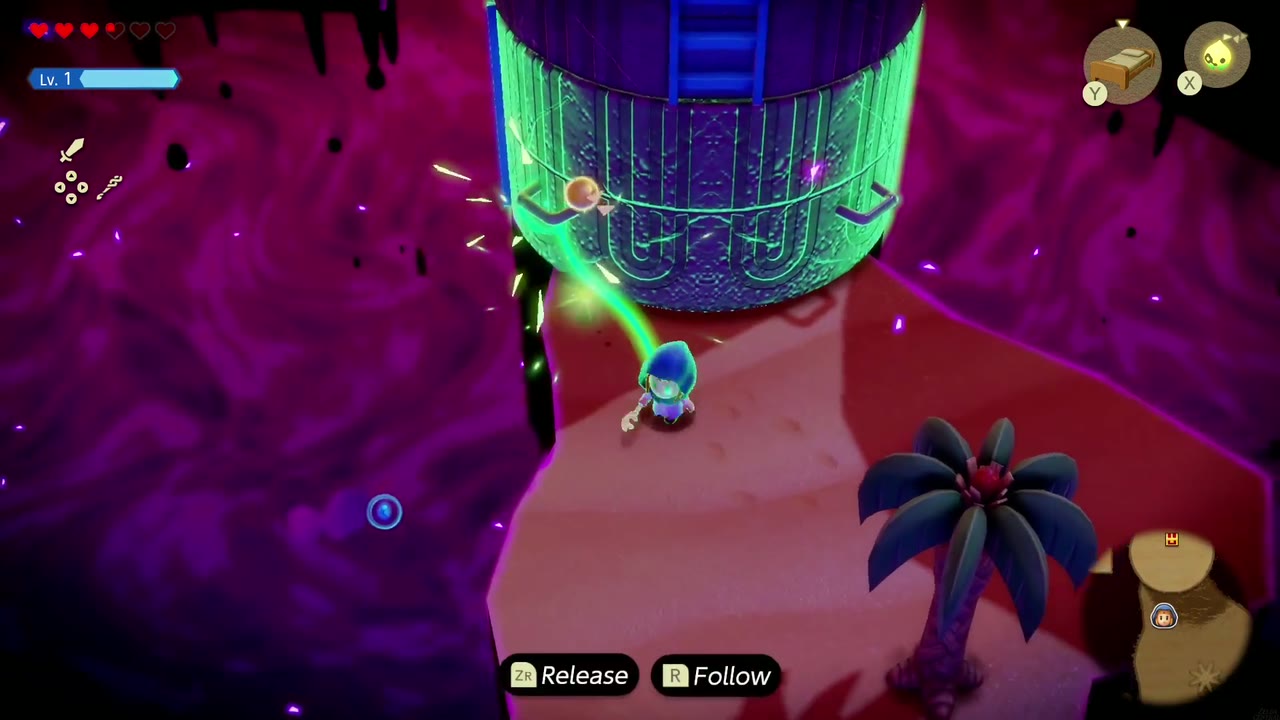
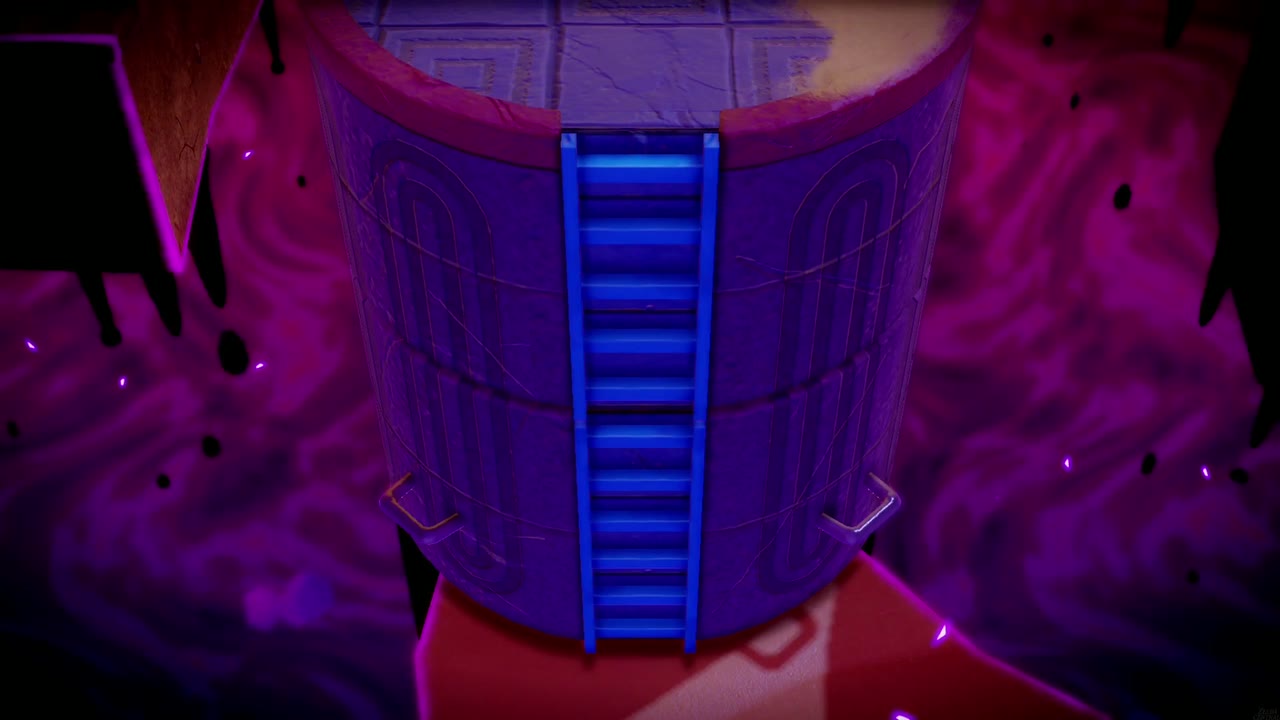
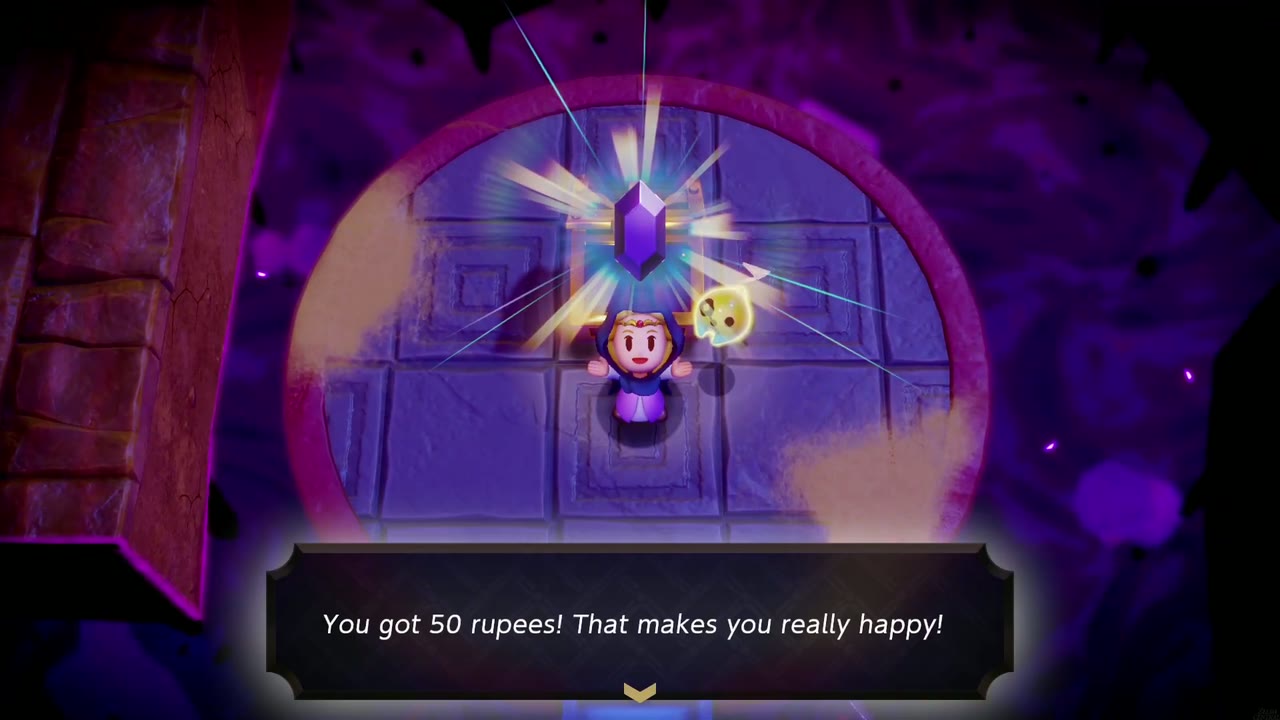
The path ends at a tall blue tower with a ladder on its upper half. Bind the tower’s lower section and pull to twist it around until the bottom half of the ladder lines up. Climb it for a chest with 50 rupees.
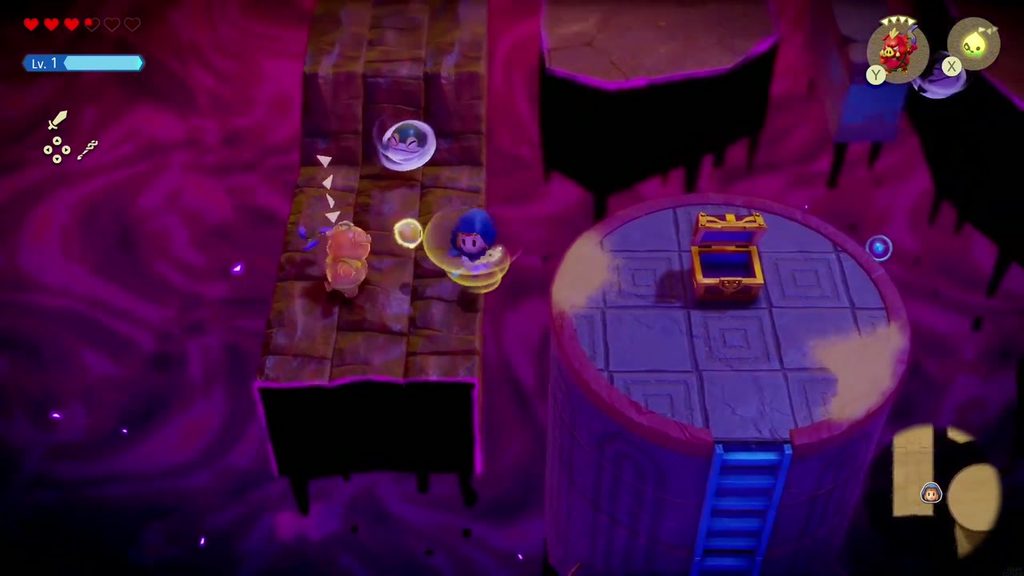
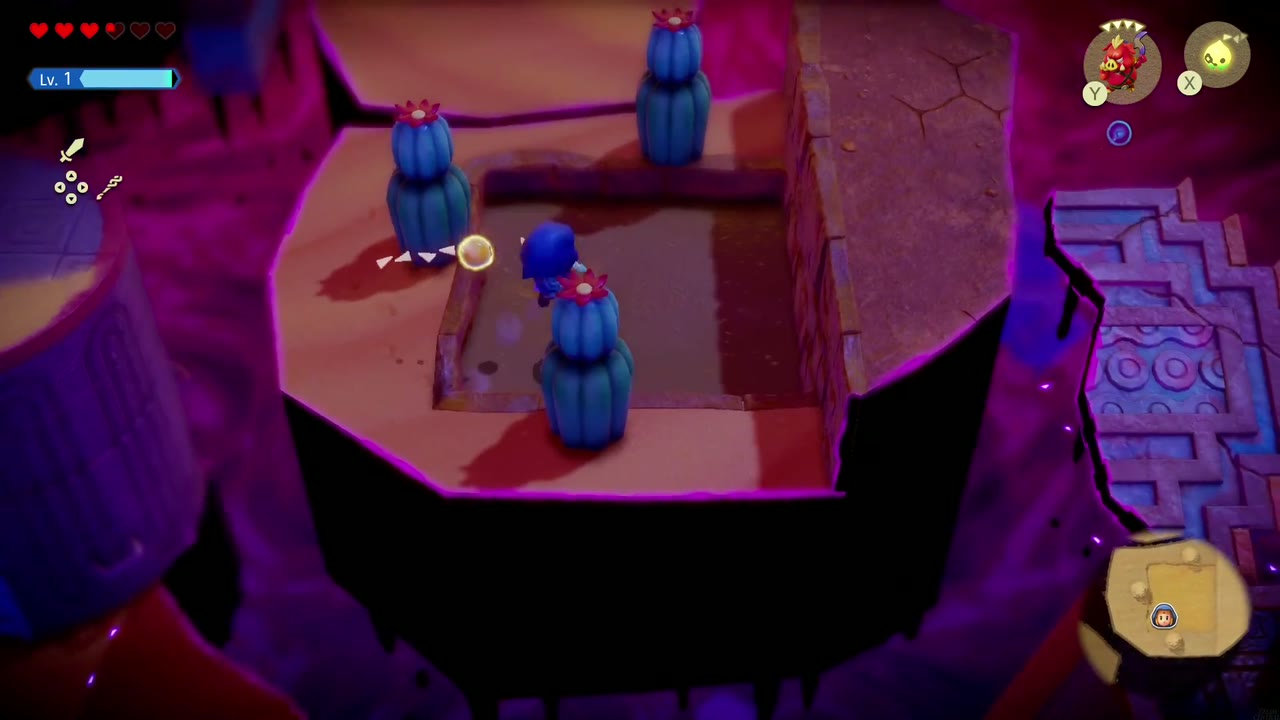
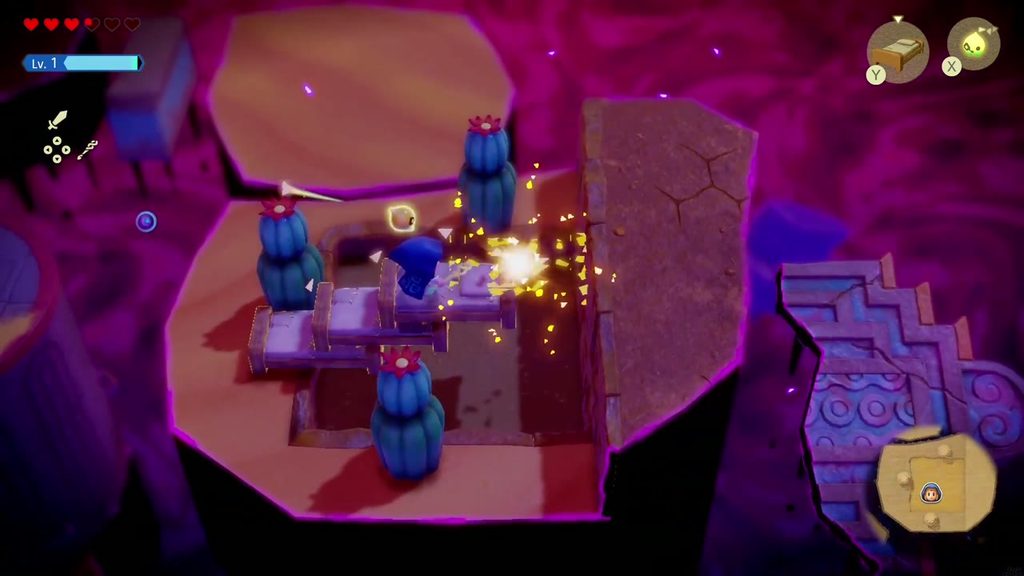
Hop left onto the stone walkway and follow it, dealing with the enemies there quickly as whirlwinds drift past. Continue to the island where cacti ring a sunken sand pit, lay Old Beds across the pit to get over it, and climb the stone steps beyond. They lead to a Waypoint in the tiled courtyard on the Sanctum’s roof.

The Rooftop
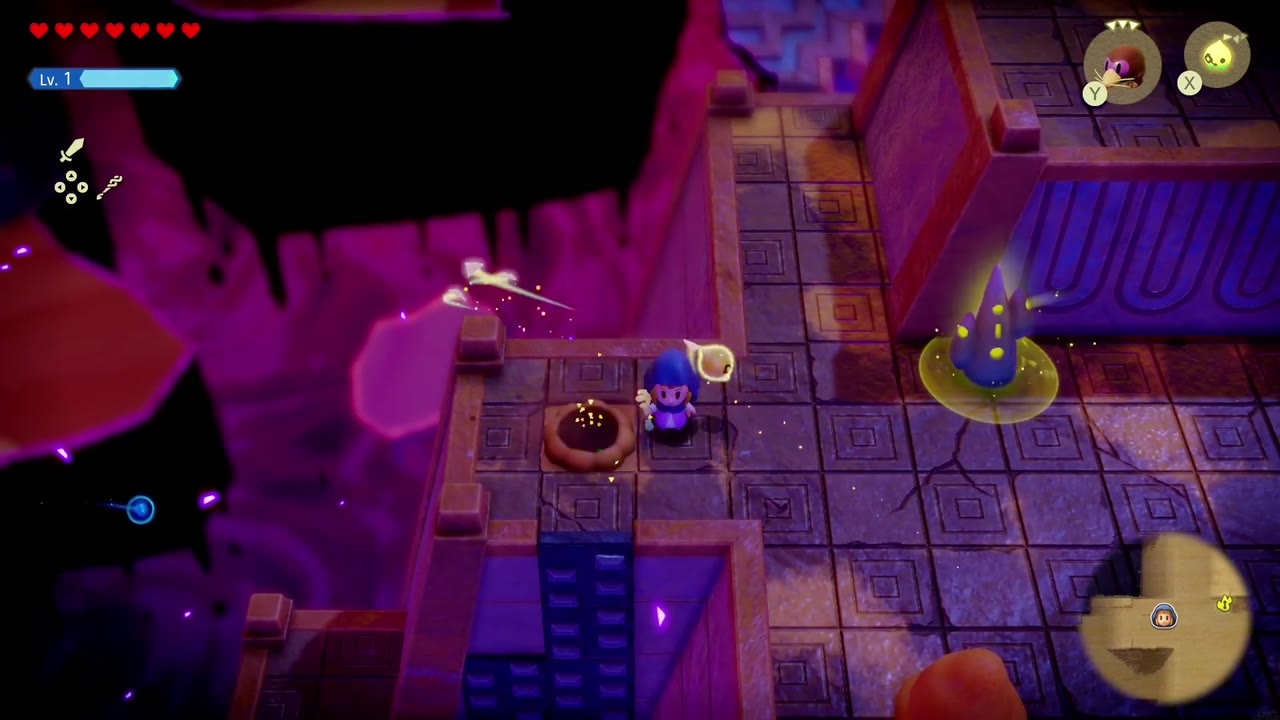
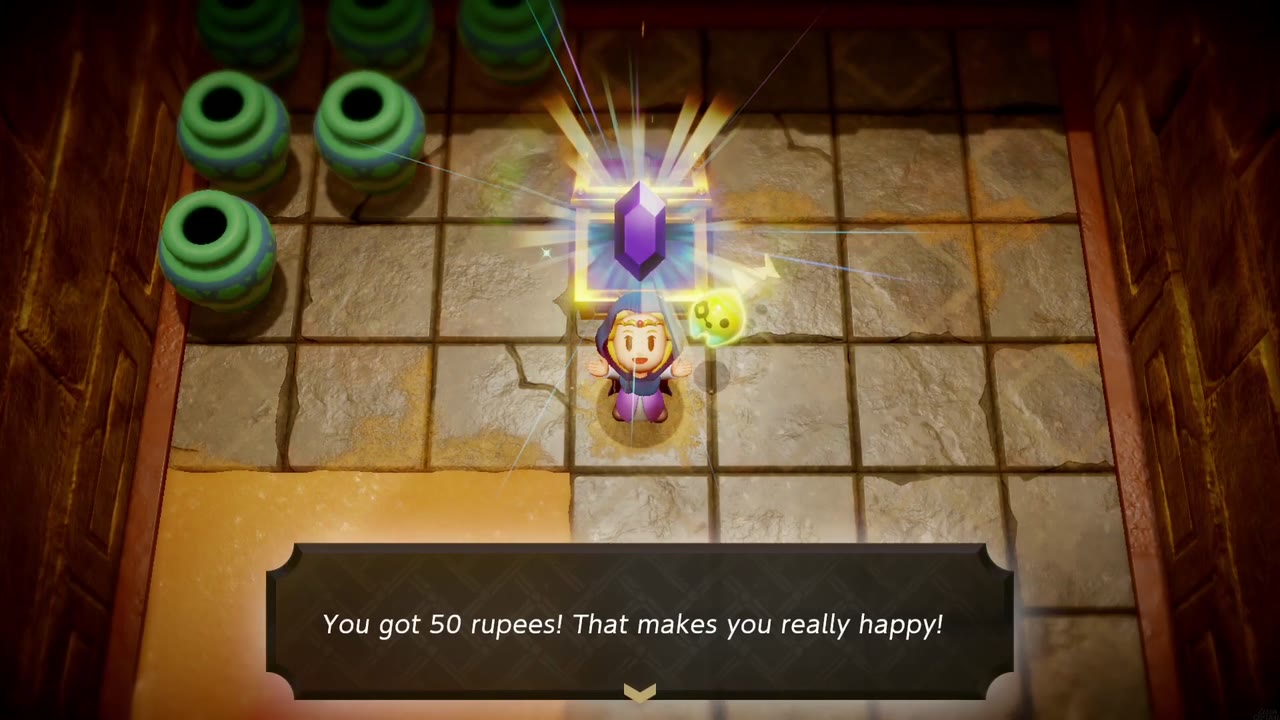
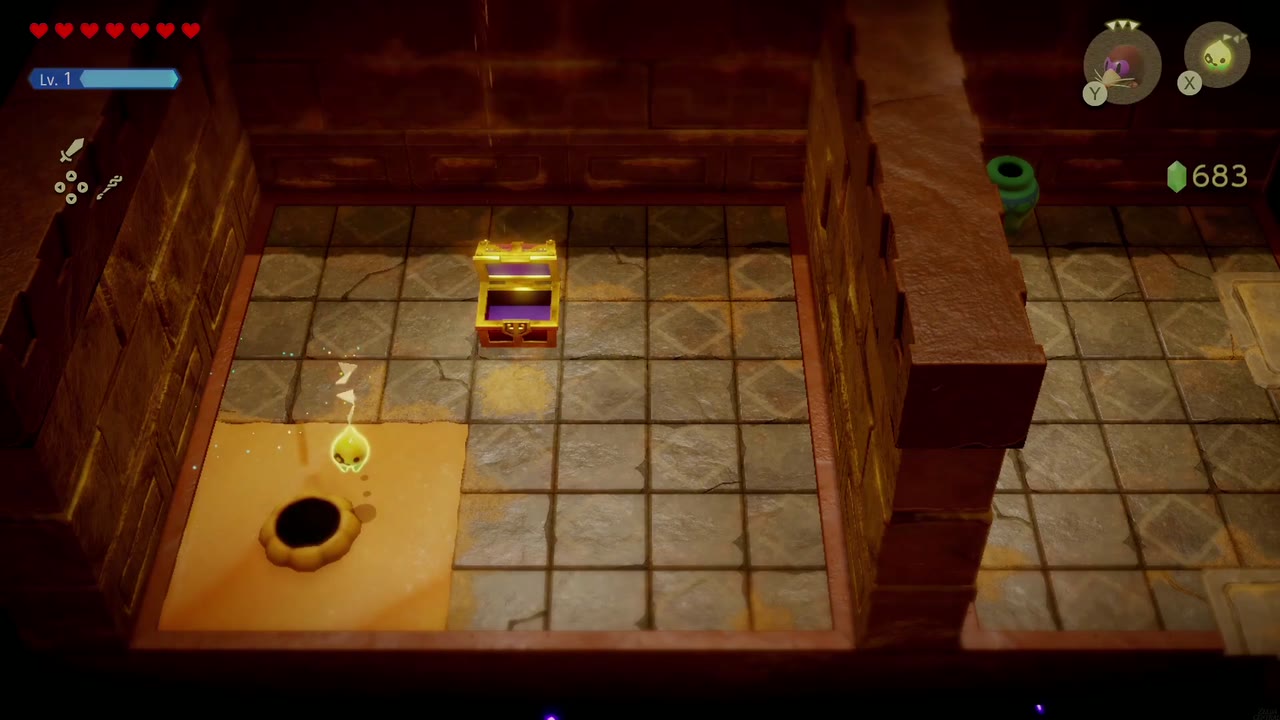
Clear the rooftop enemies. Just left of the Waypoint, a patch of the floor is actually sand: once you have the Holmill echo, have a Holmill burrow there and Zelda drops into a sealed jar room below, where the chest holds 50 rupees. To get back out, have a Holmill dig through the sand patch in the jar room’s floor.
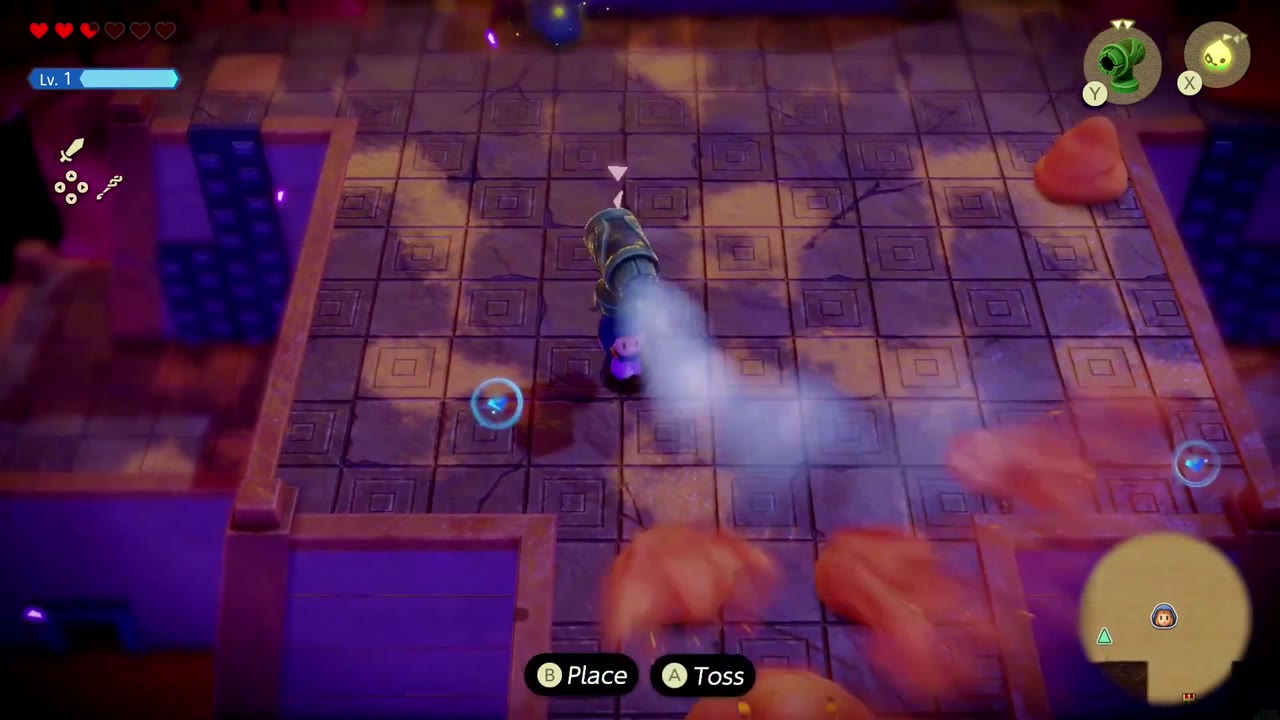
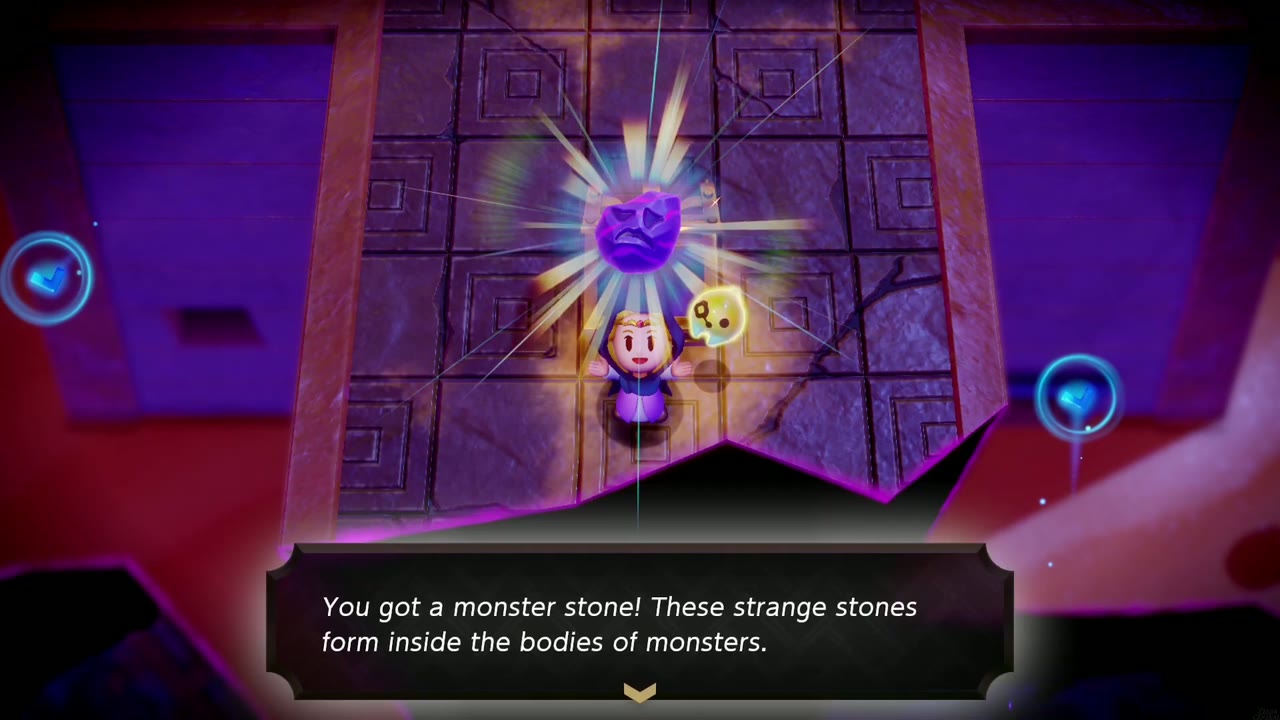
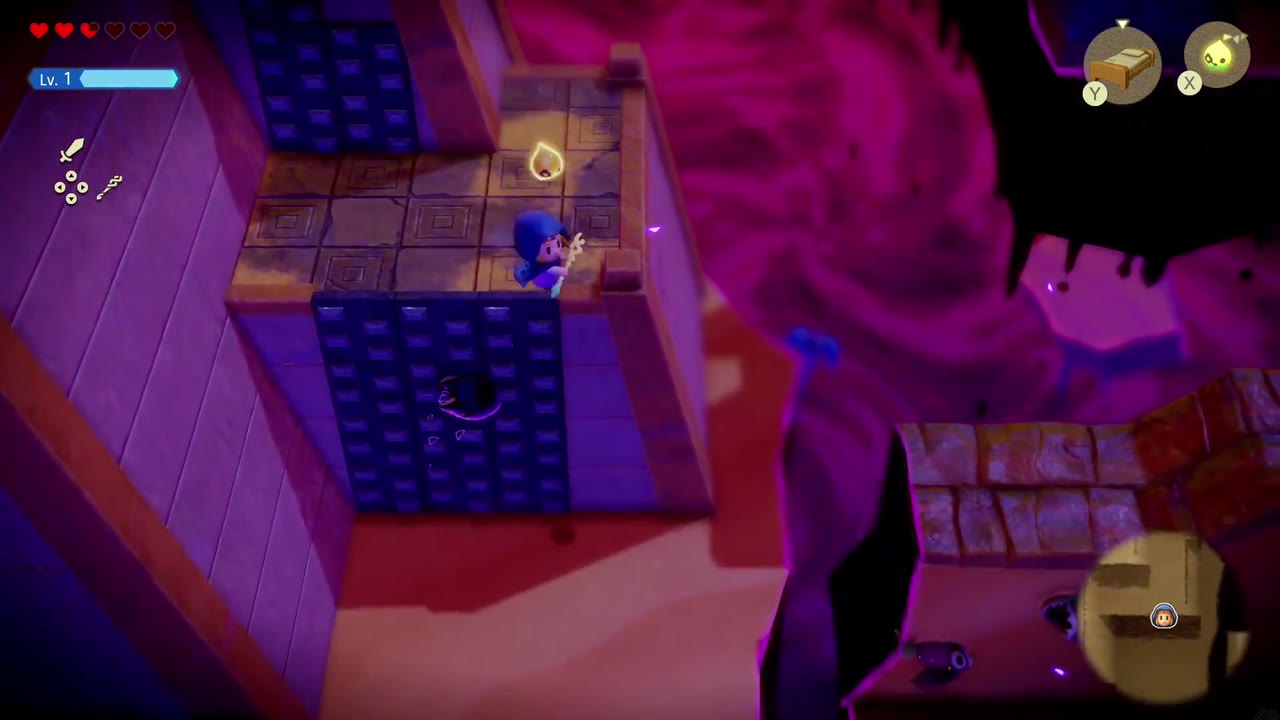
At the roof’s southern end, use a Wind Cannon to blow away the sand mounds and uncover a chest containing a Monster Stone. Then cross to the right side of the roof and climb down the blue wall sections to reach the sand ledges on the far side.

The Bow of Might
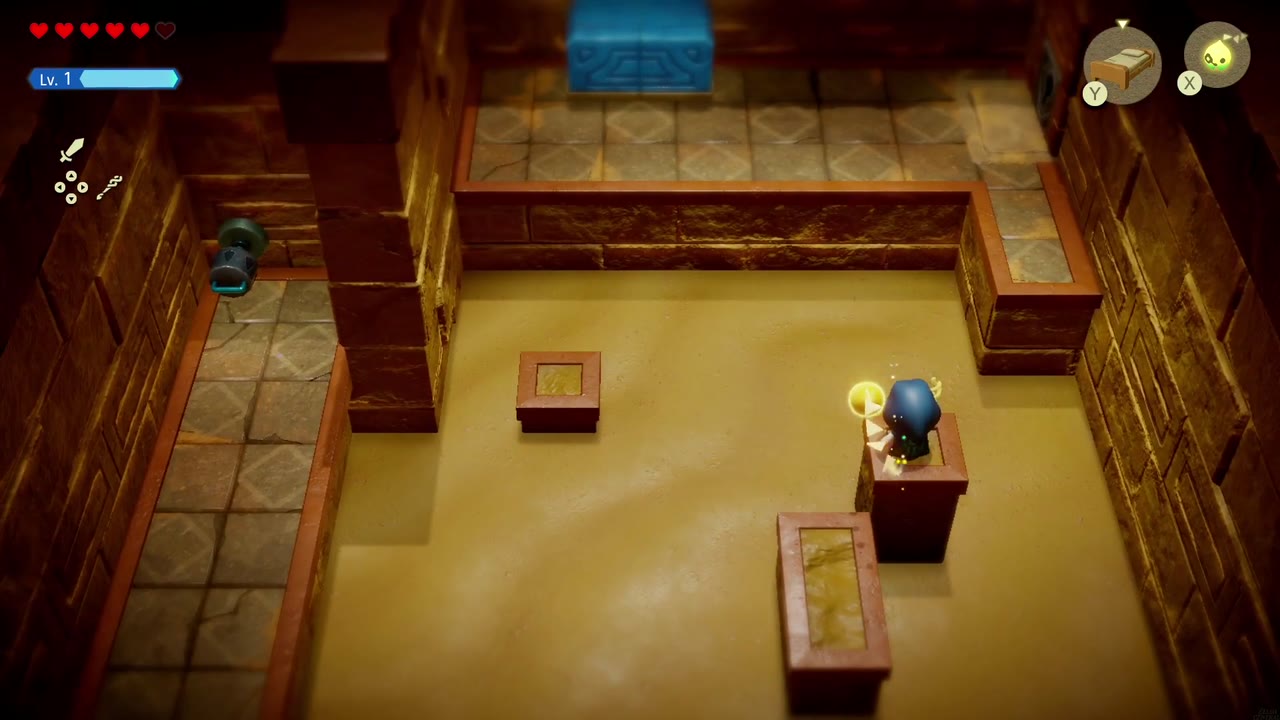
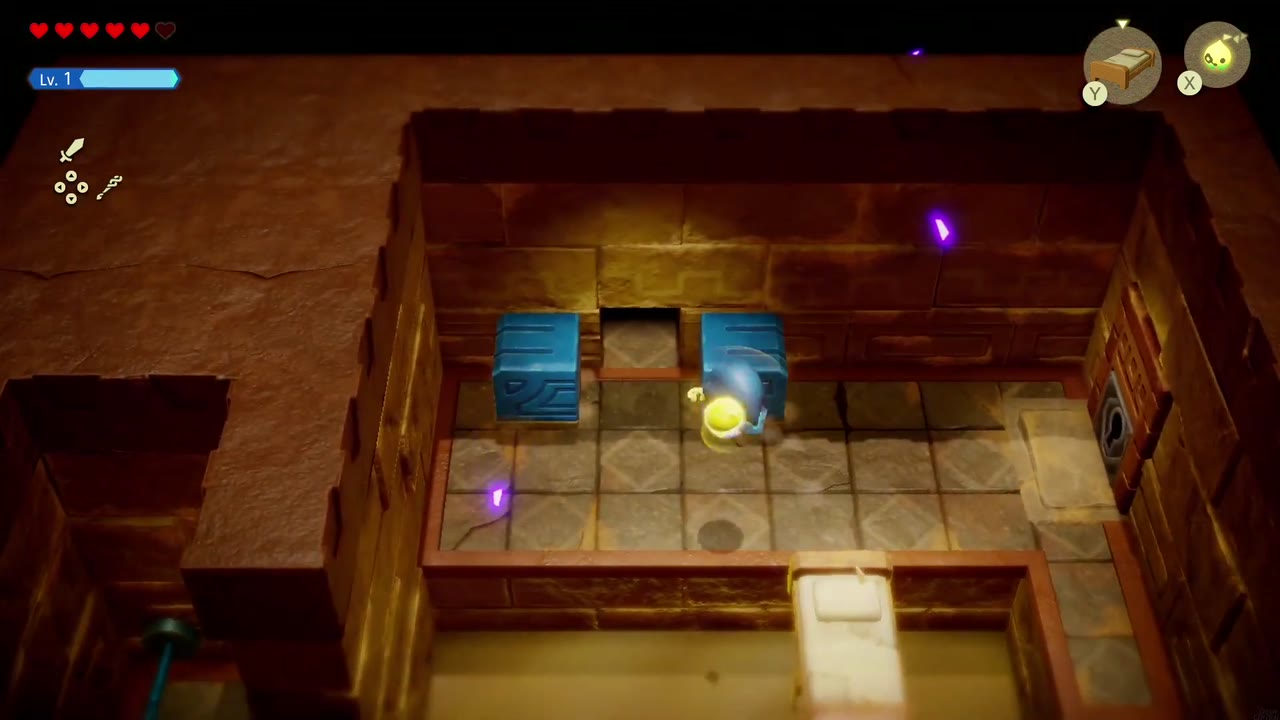
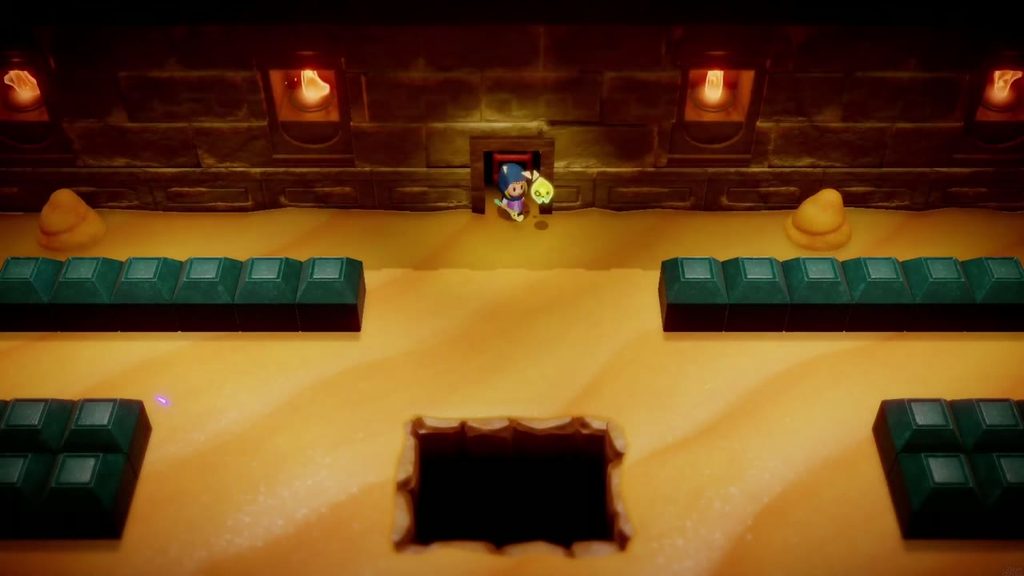
Re-enter the dungeon through the left door. In the sandy room beyond, clear out the spinning enemies, then hop onto the short stone pillars and lay a line of Old Bed echoes across the sand up to the raised walkway along the right. At the top, blue cubes block a doorway: Bind the pole on the room’s left side and pull it to drag the cubes apart, then go through.

The Cat Statue Room
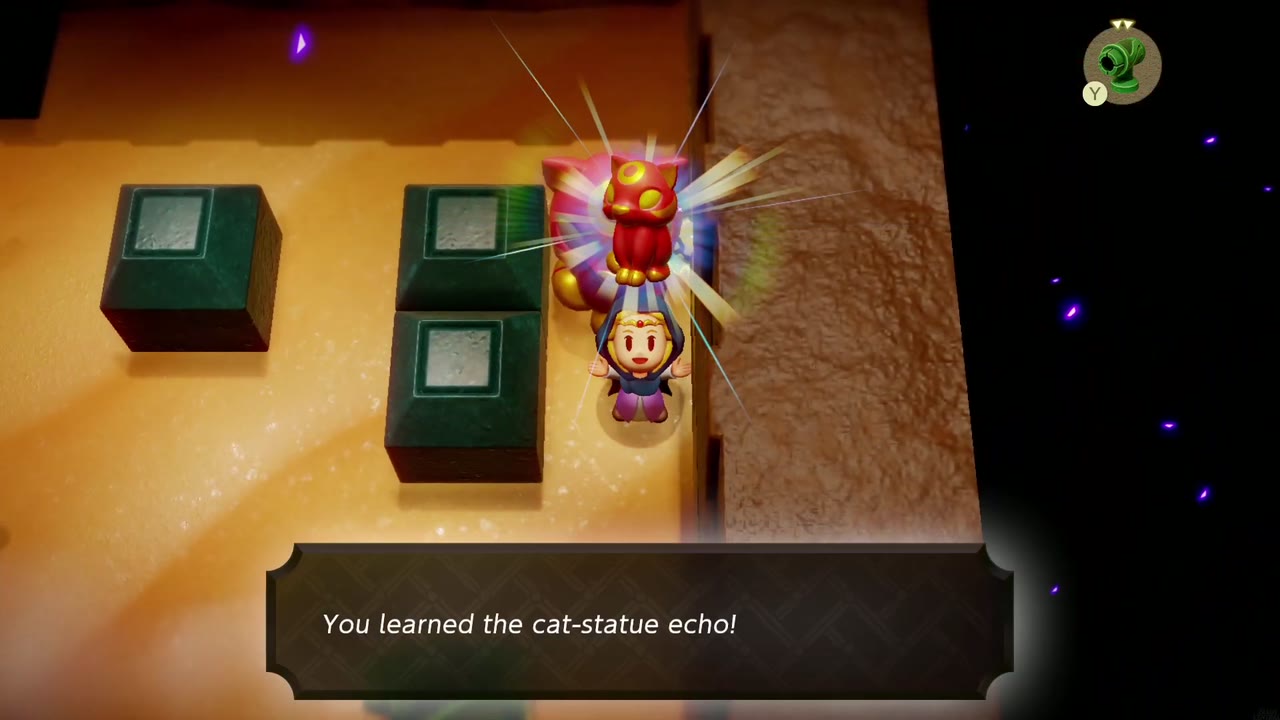
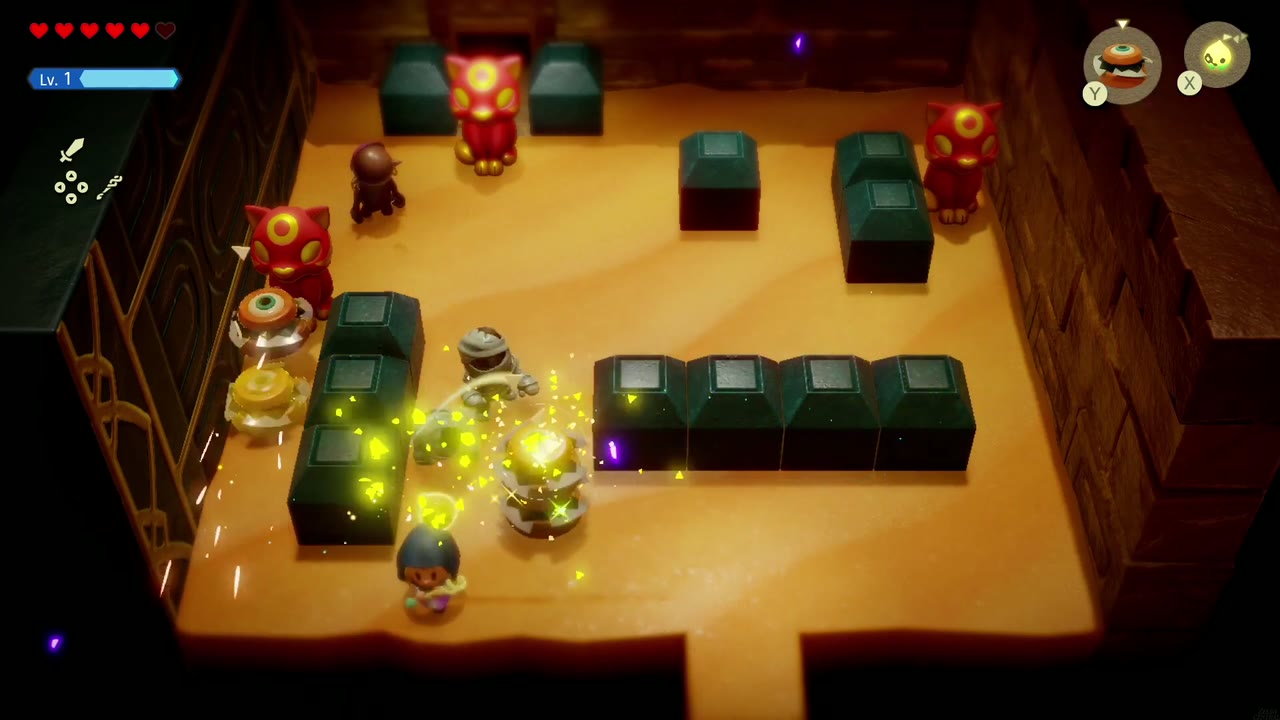
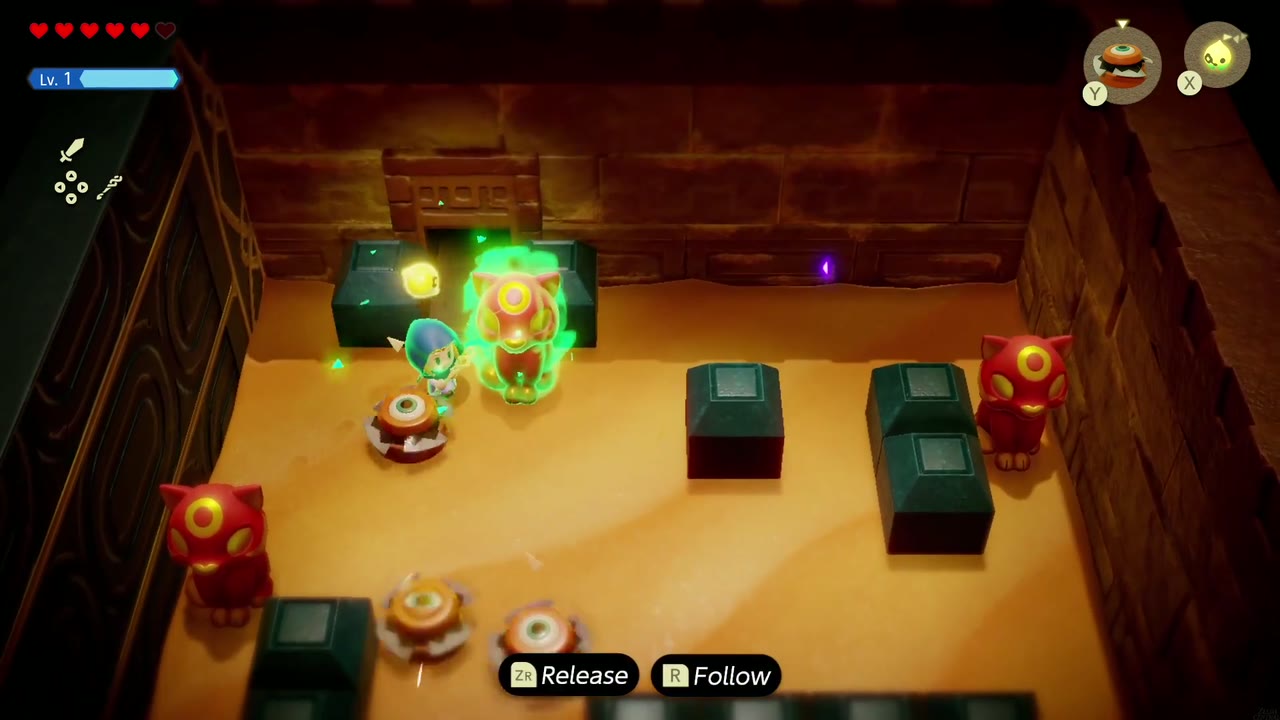
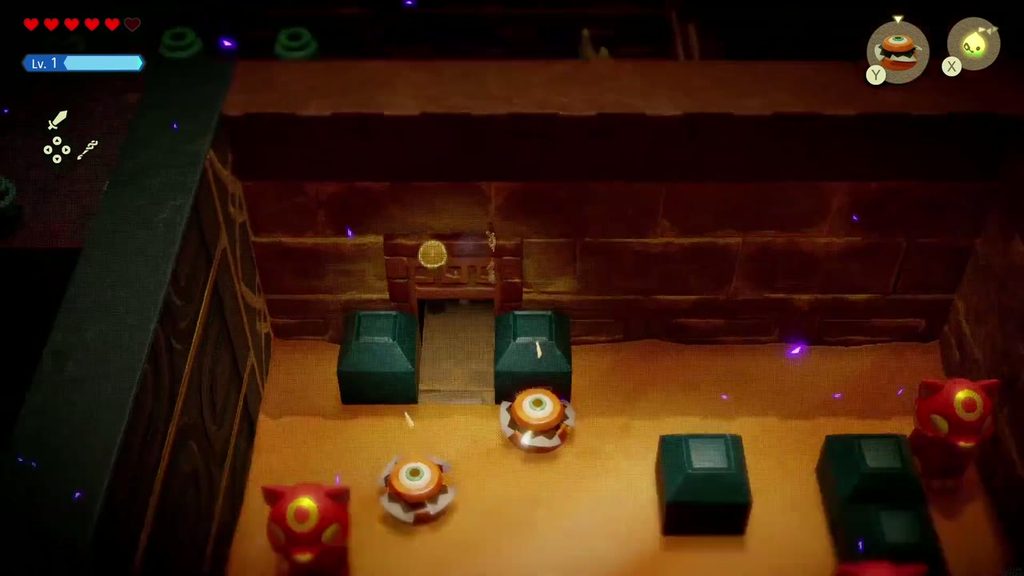
The next room is full of red cat statues, mummy enemies and spinners. Learn the Cat Statue echo off the statue right beside you as you enter, then clear the room with your echoes (a Wind Cannon will also blow away the sand piles). When it’s quiet, Bind the cat statue standing in front of the door in the top-left corner, drag it aside and go through.
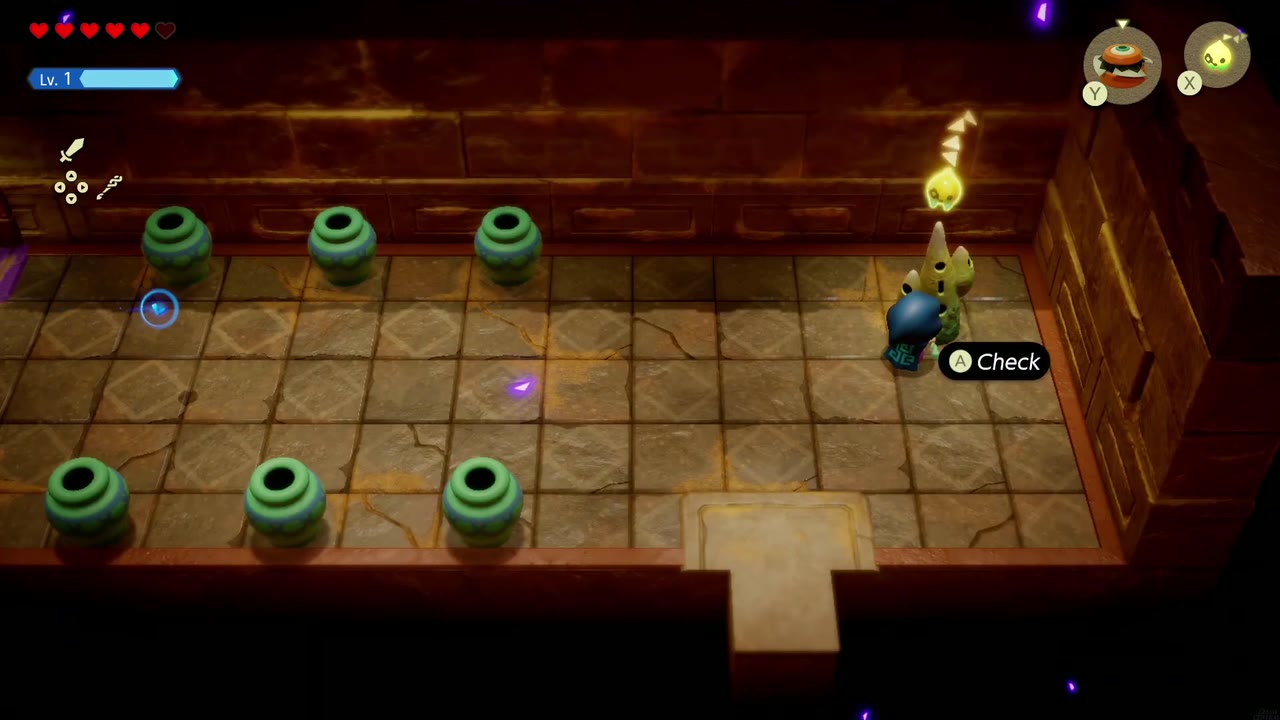
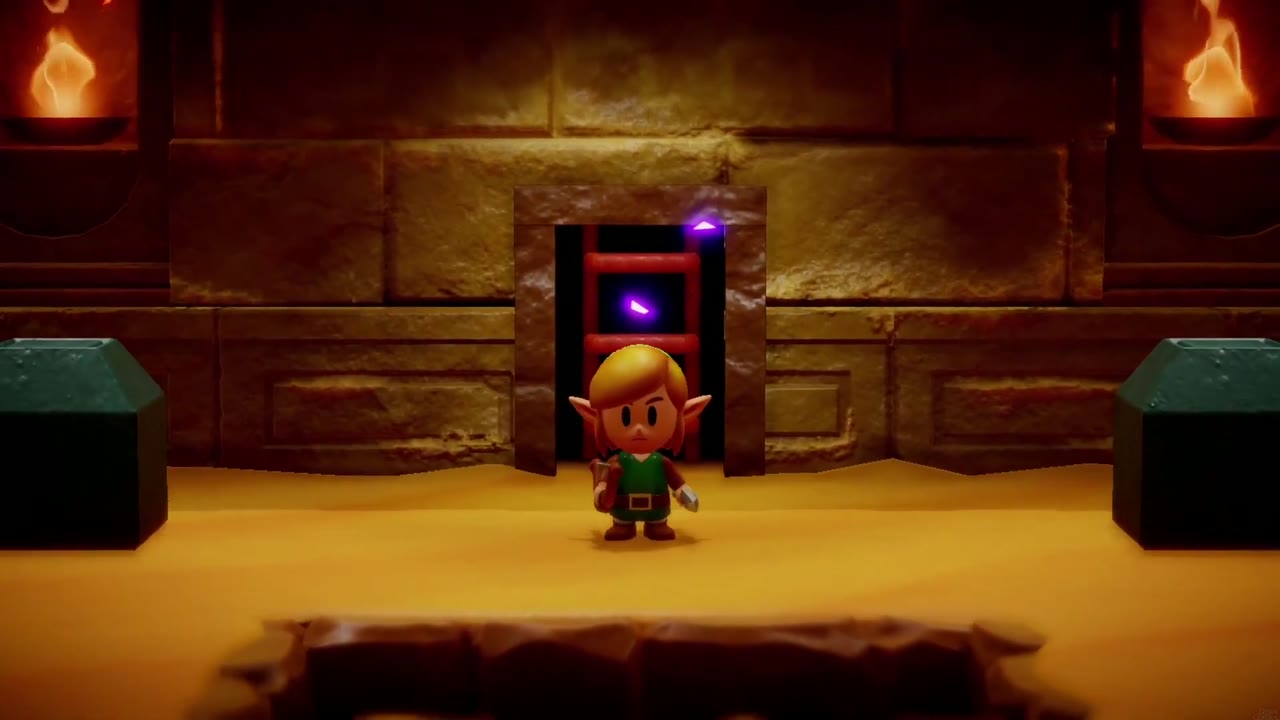
Activate the Waypoint in the room lined with green pots and take the far door. In the big sand room with the pits, Link appears in front of the gated door, carrying a bow. This time he’s on your side: a horde of spinning enemies attacks, and he fights alongside you, firing arrows while your echoes and Swordfighter Form handle the rest. Mind the pits.
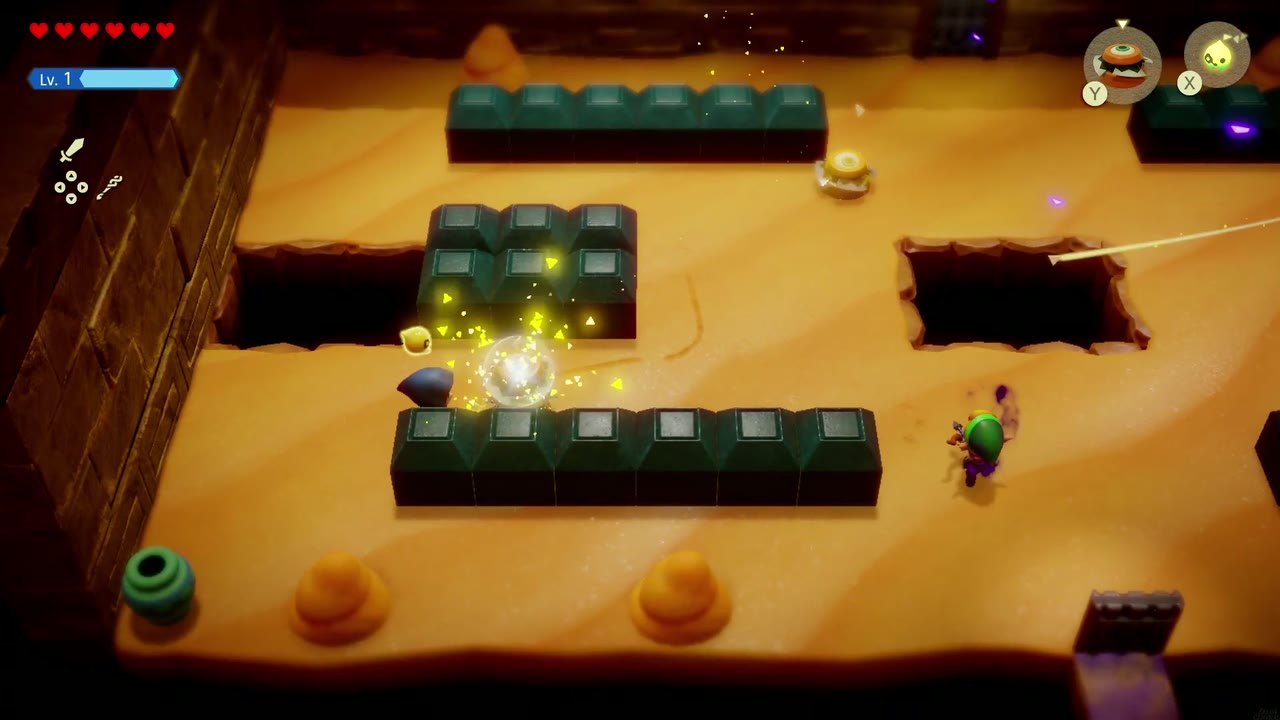
Link’s Last Stand
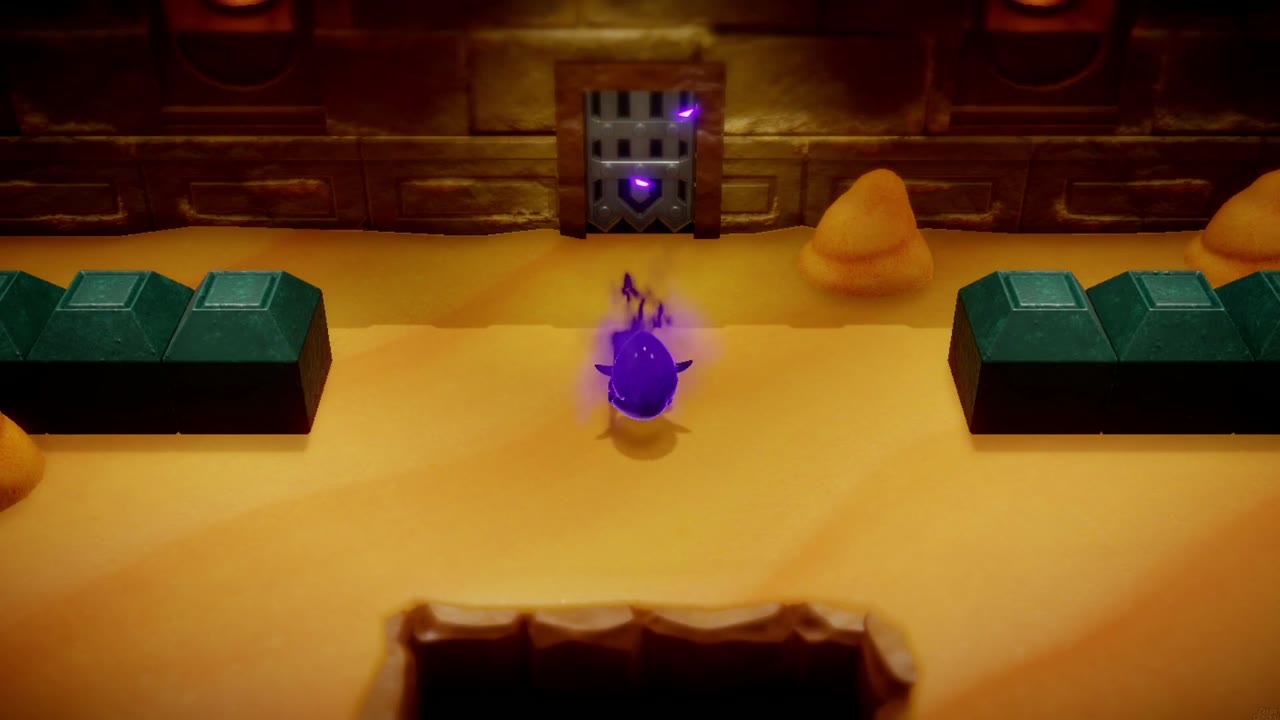
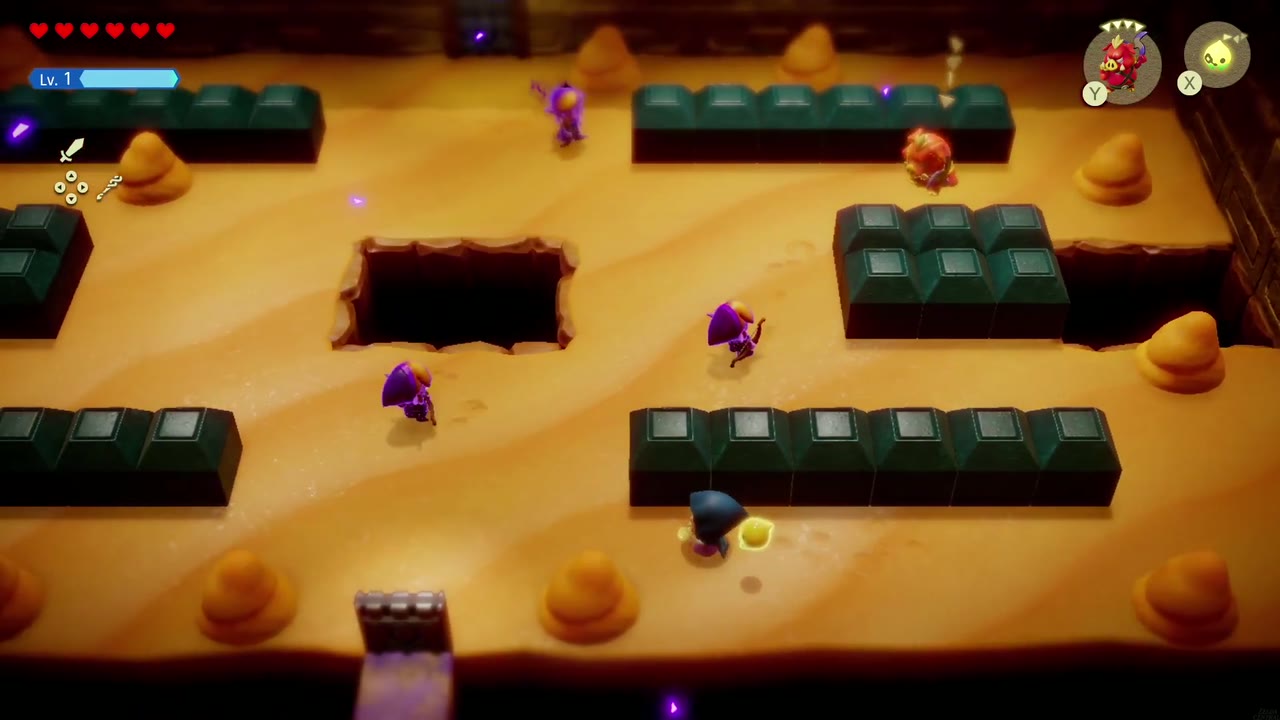
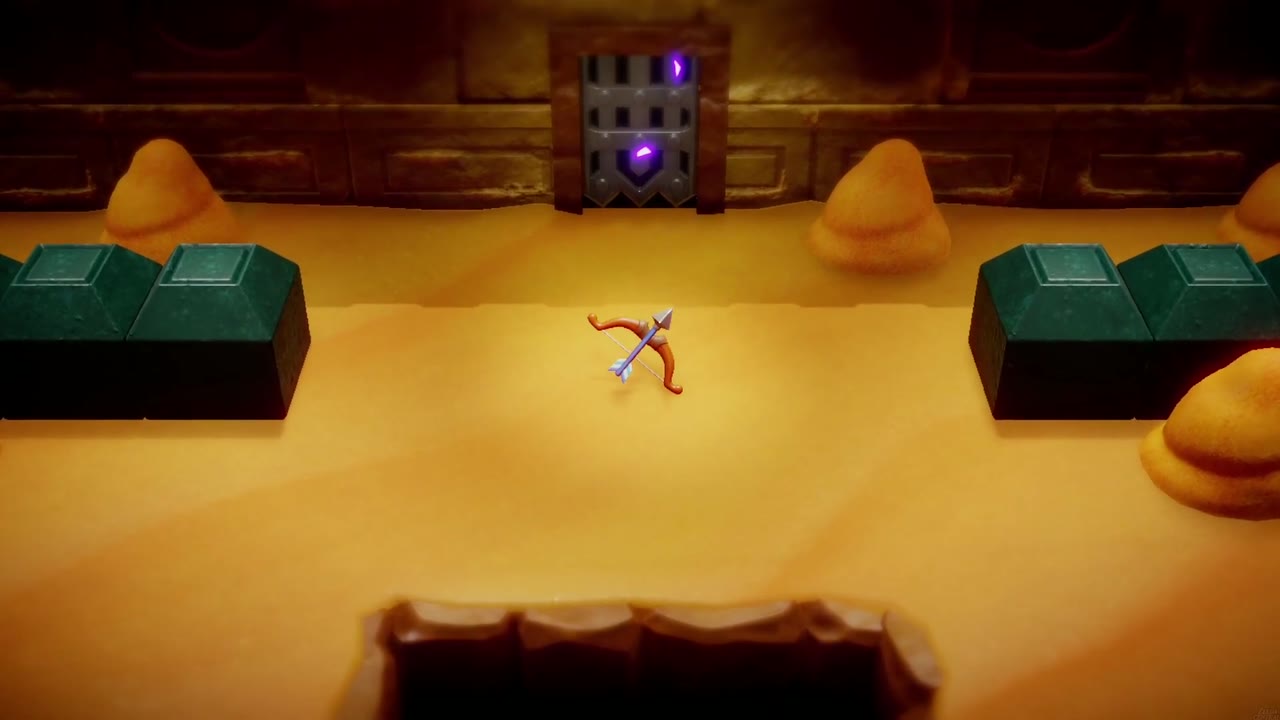
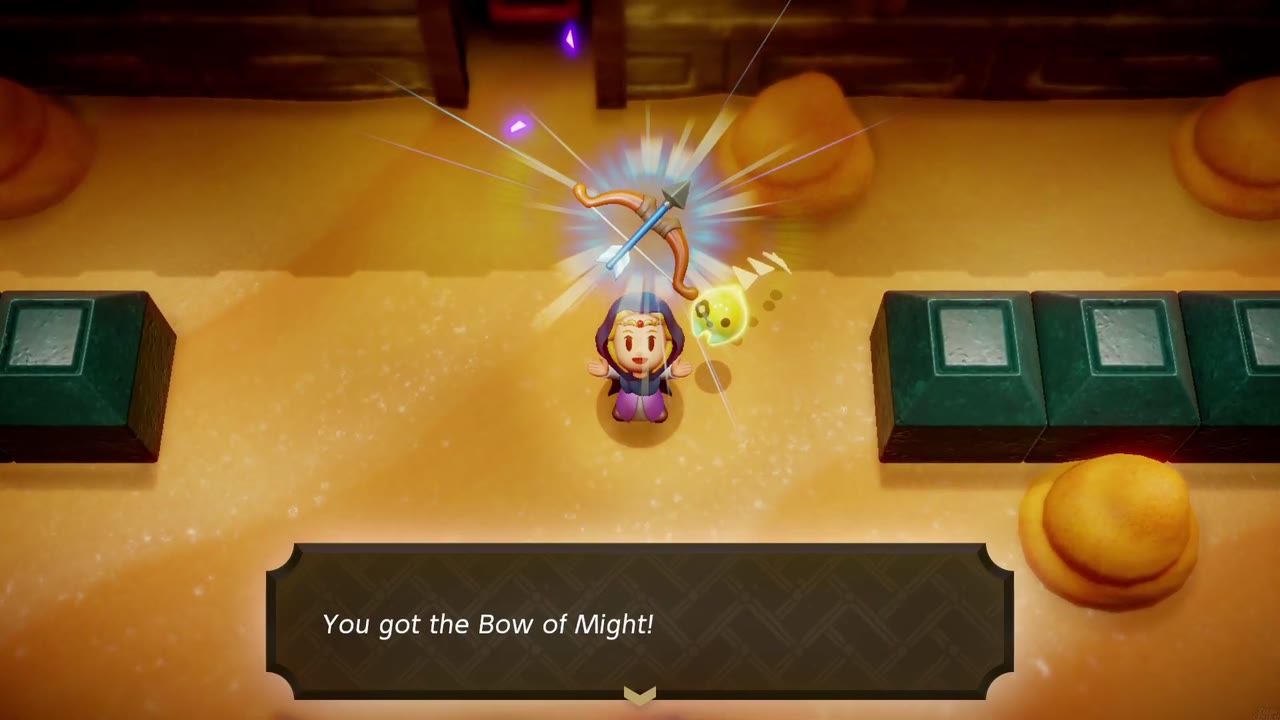
Once the room is clear, Link walks up to the gate and a dark rift swallows him. A wave of purple shadow archers and other monsters pours in; the jars and sand piles hold hearts if you need them. Fight back with echoes (a Boarblin works well) and Swordfighter Form until they’re all gone. Link’s bow is left lying on the sand: pick up the Bow of Might, which lets Zelda fire arrows with X in Swordfighter Form. Tri suspects this is like what happened with Facette at the castle, and that fixing the rift might help the real Link. Use a Wind Cannon to blow the sand piles aside and head for the next door.
The Elephant Statue
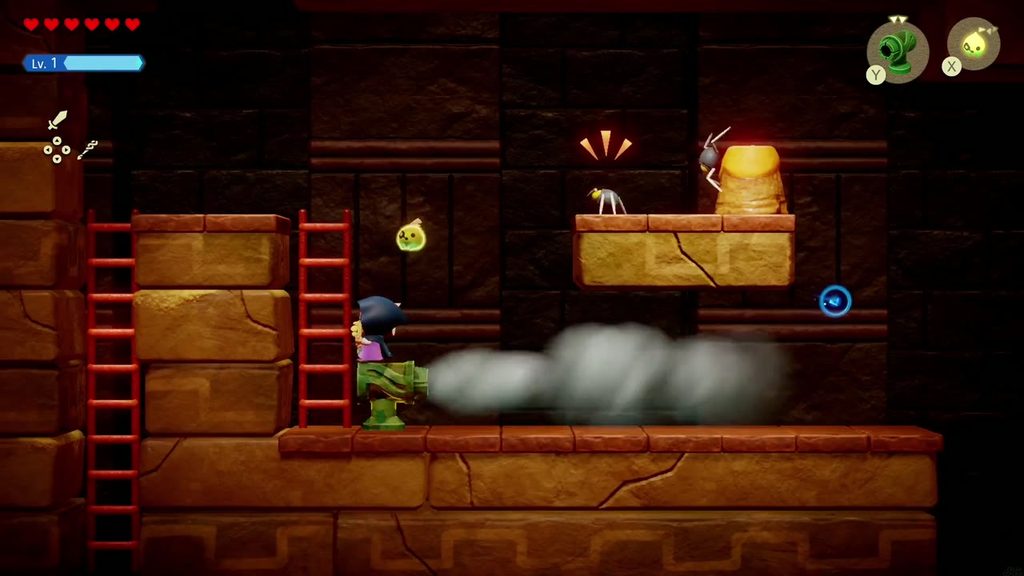
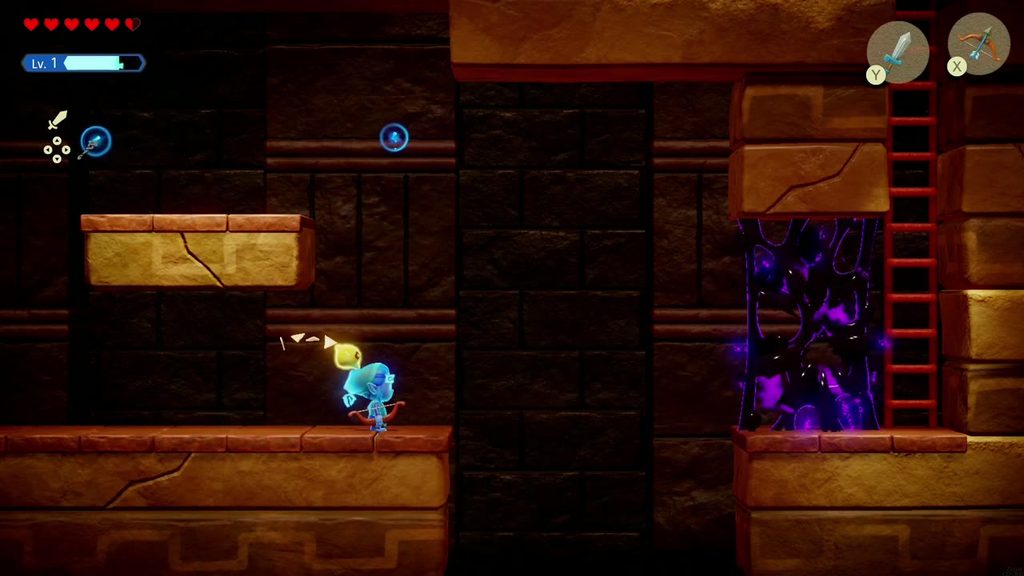
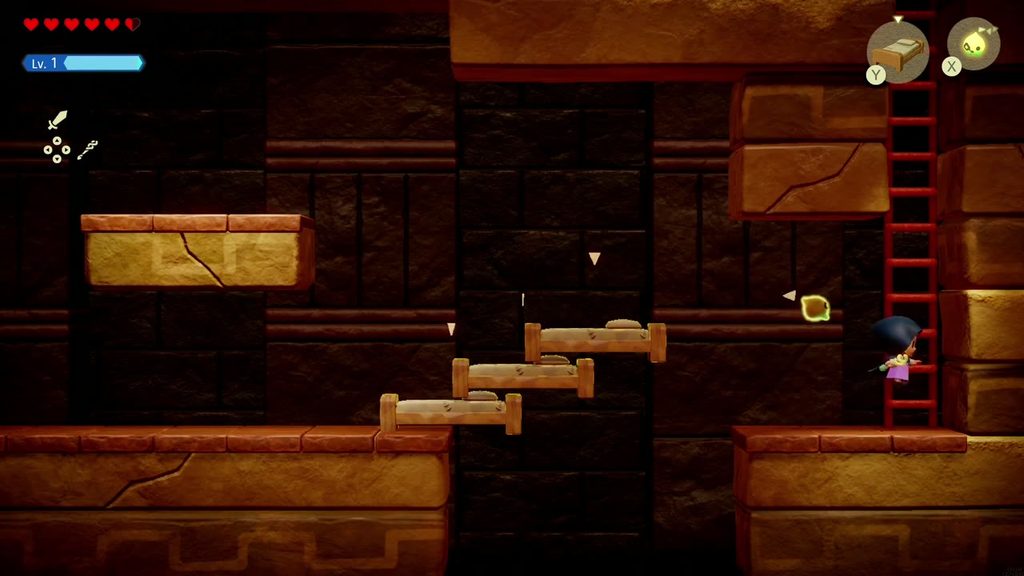
The next room is a side-view chamber of ledges and ladders, with spiders crawling across the floor. Blast them away with a Wind Cannon or fight them off, then switch to Swordfighter Form and break the purple goo wall beside the right-hand ladder. Stack Old Beds into steps to reach the ladder and climb up; on the upper ledge, cut through a second goo wall on the left with your sword to move on.

The Moving Floors
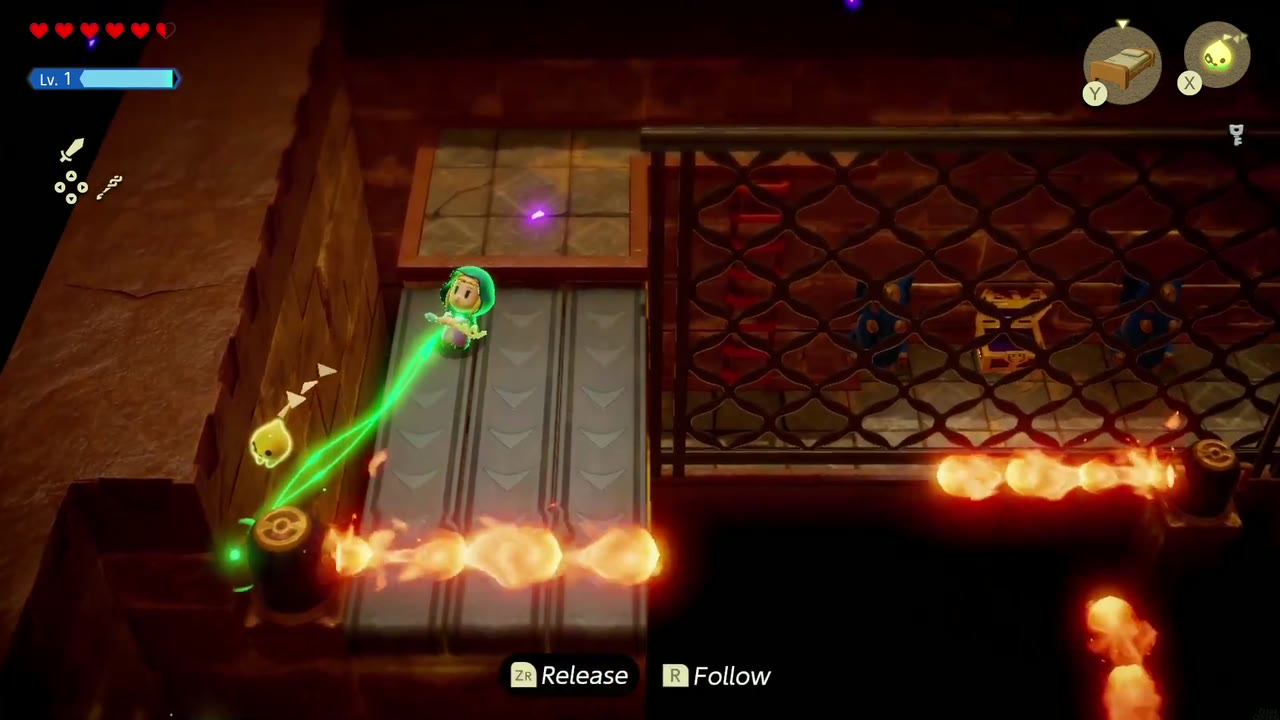
The next room has a Waypoint just inside; activate it. Ahead, moving floors run over a dark pit, guarded by flame-spitting devices. Standing on solid ground at the belt’s edge, Bind the flame device and pull to rotate it away from your lane, then ride across.

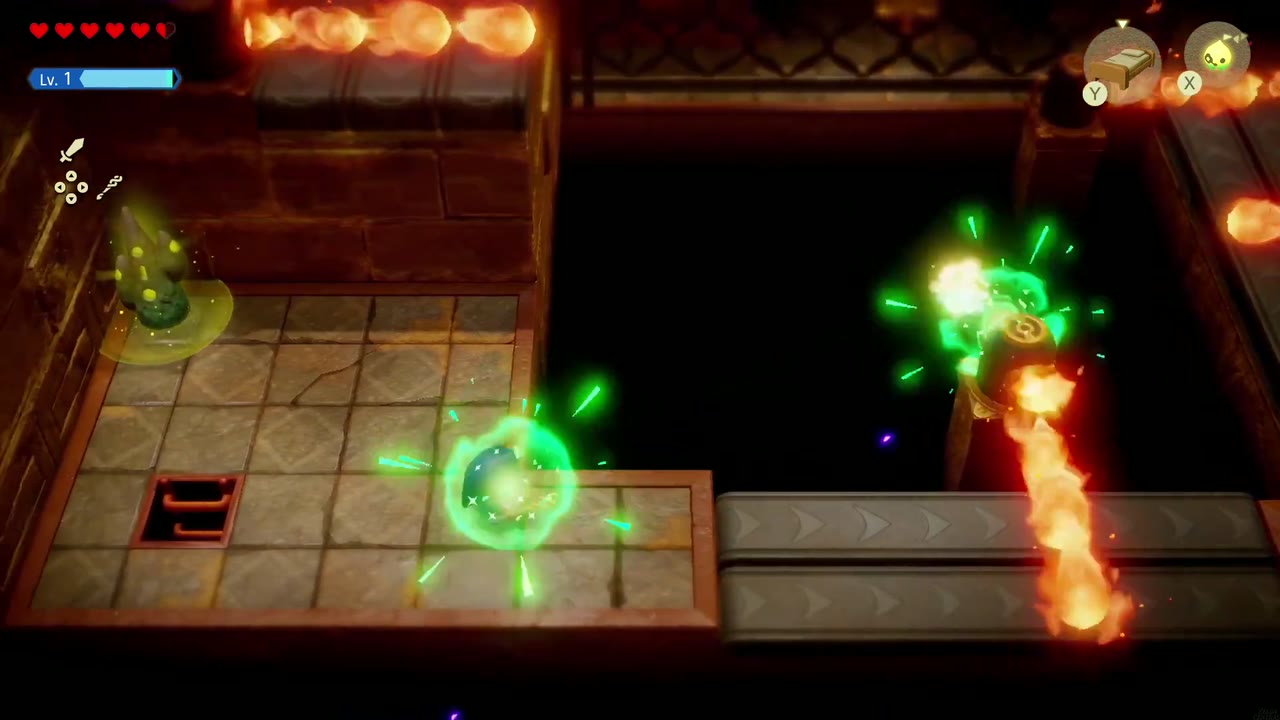

The Elephant Statue and the Second Small Key
The next belt runs north past more flame devices. Turn what you can from solid ground; for the rest you have to ride the floor and Bind them mid-ride, dragging each one around before you reach it. Past the flames, learn the Elephant Statue echo off the blue statues, one of the sanctum’s tribute statues.

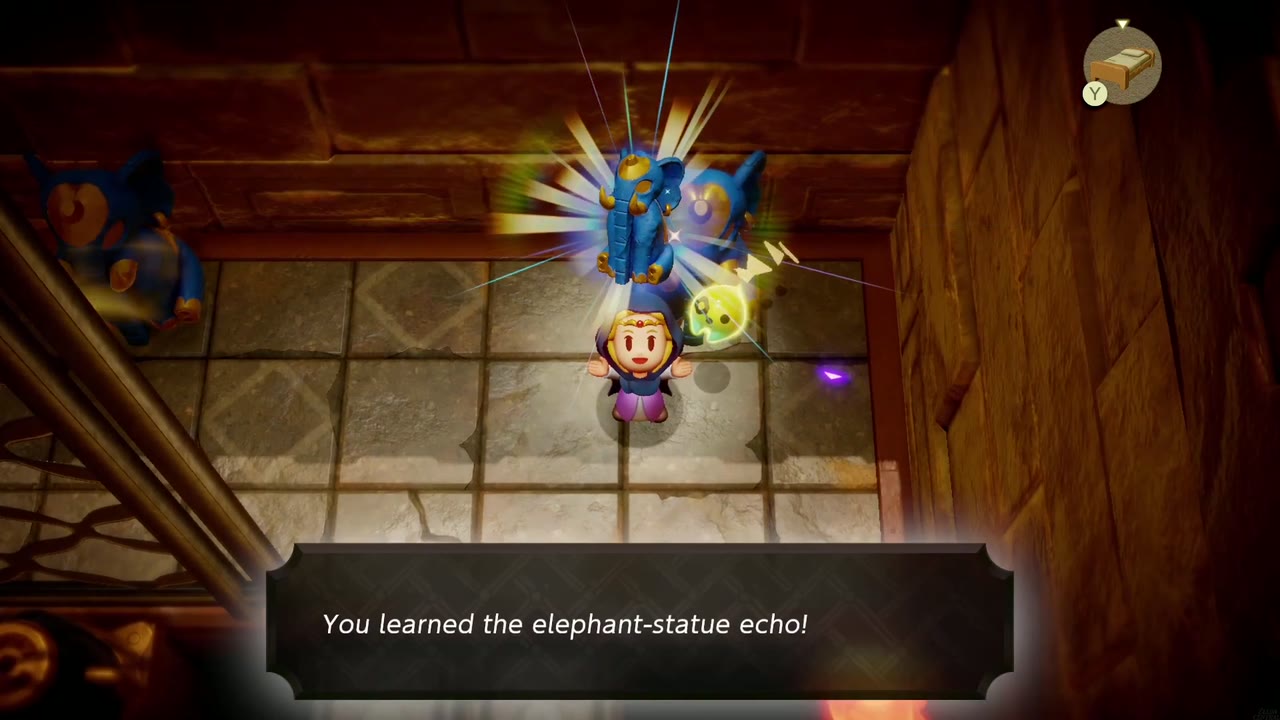
Grab the Small Key from the chest on the left, behind the lattice among the elephant statues. Then head back the way you came: ride the southbound belt (Bind its end flames away fast), drop back down into the side-view room, and return through the sand pit room to the pot room.

The Hawk Statue
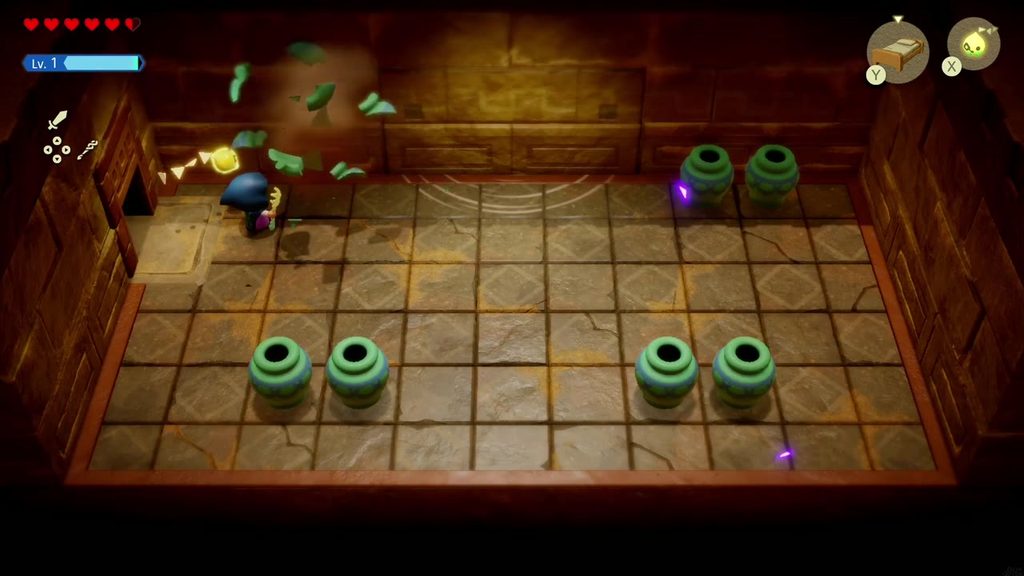
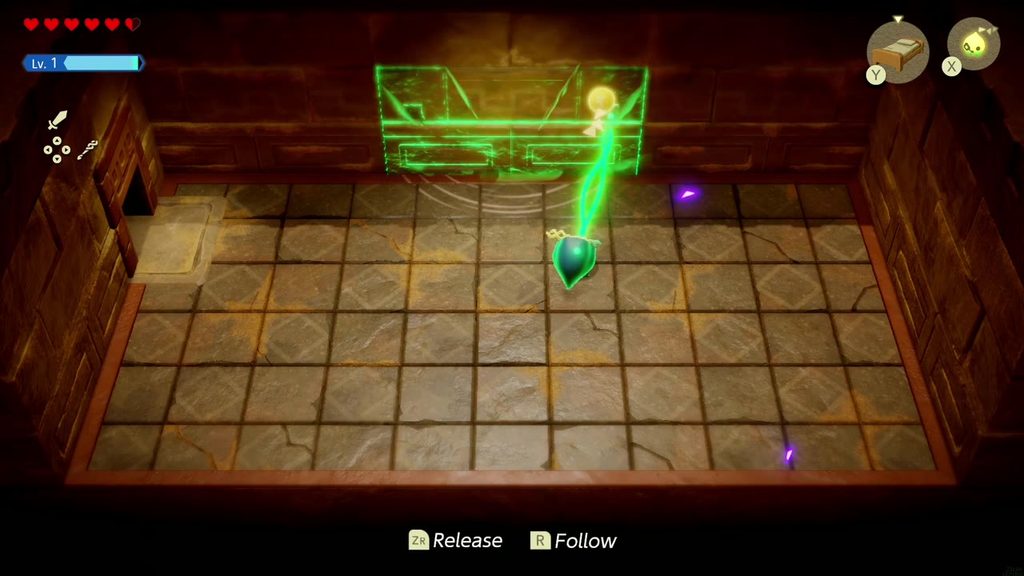
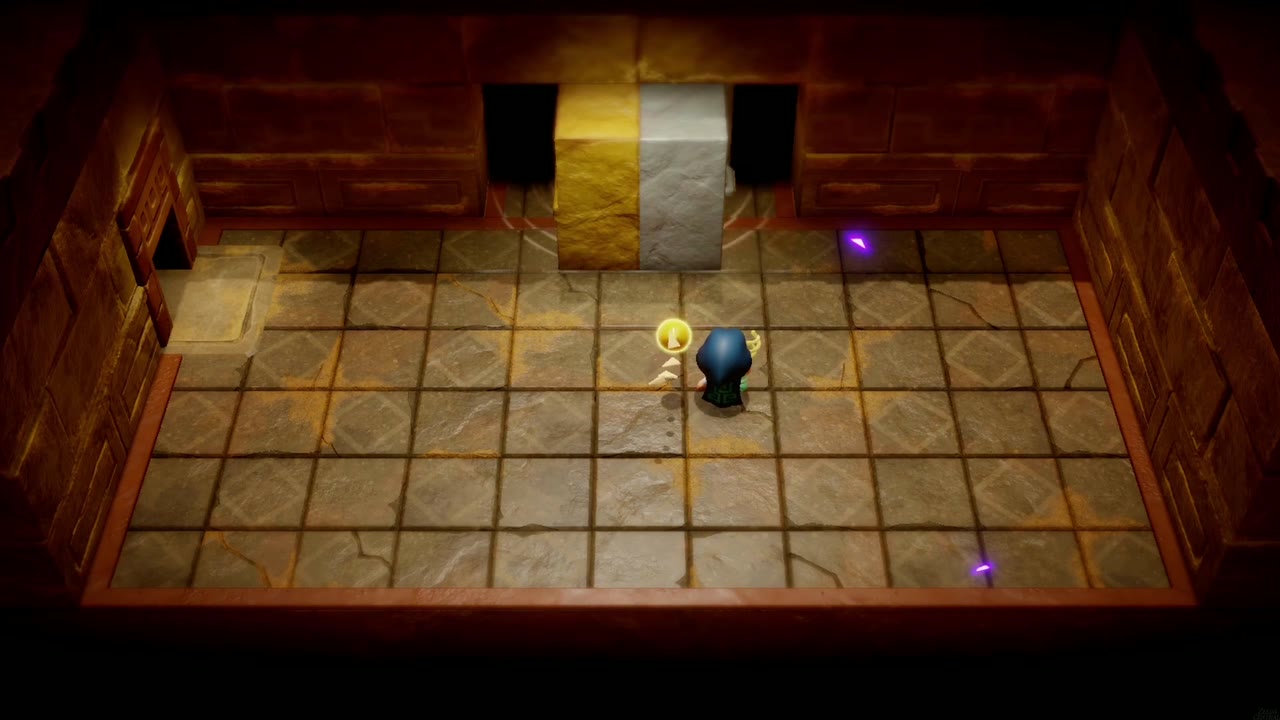
With the Small Key in hand, head down through the sand room to the jar-filled rooms beyond. The last jar room looks like a dead end, but the middle of the rear wall is a lighter block with a different pattern. Bind it and pull to drag it out of the wall and open the secret passage.
The Fire Room and the Hawk Clue
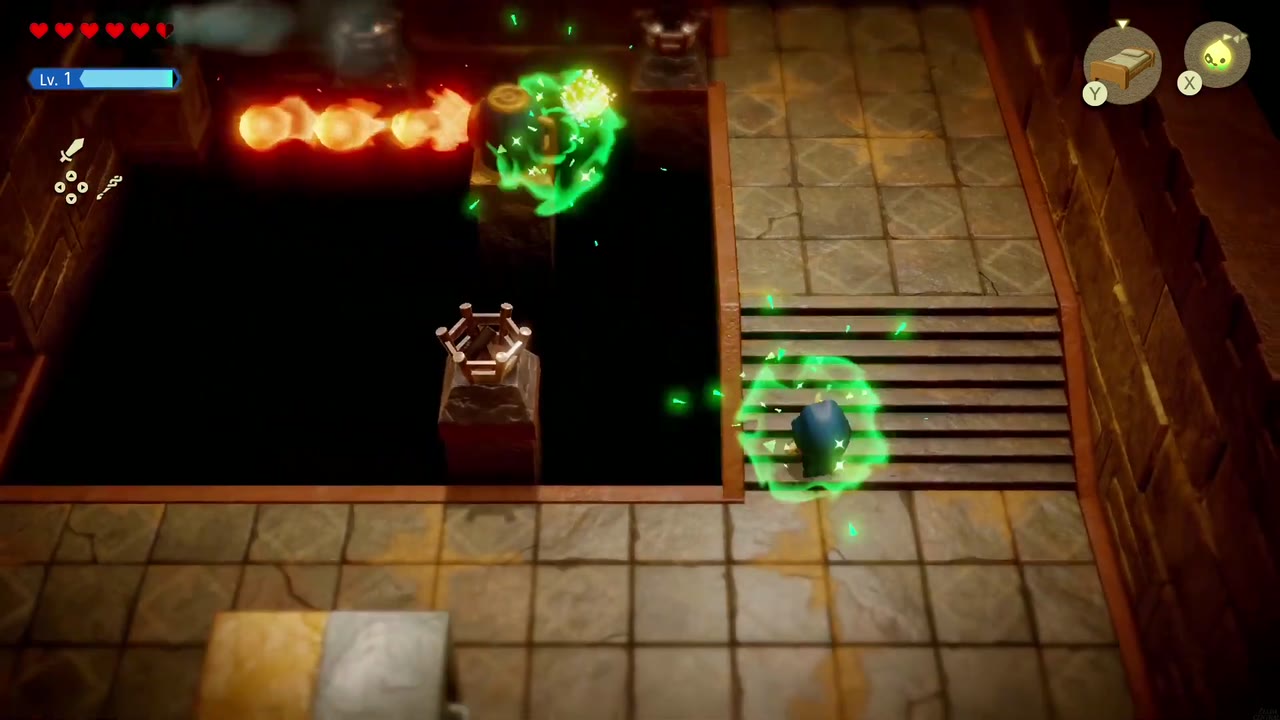
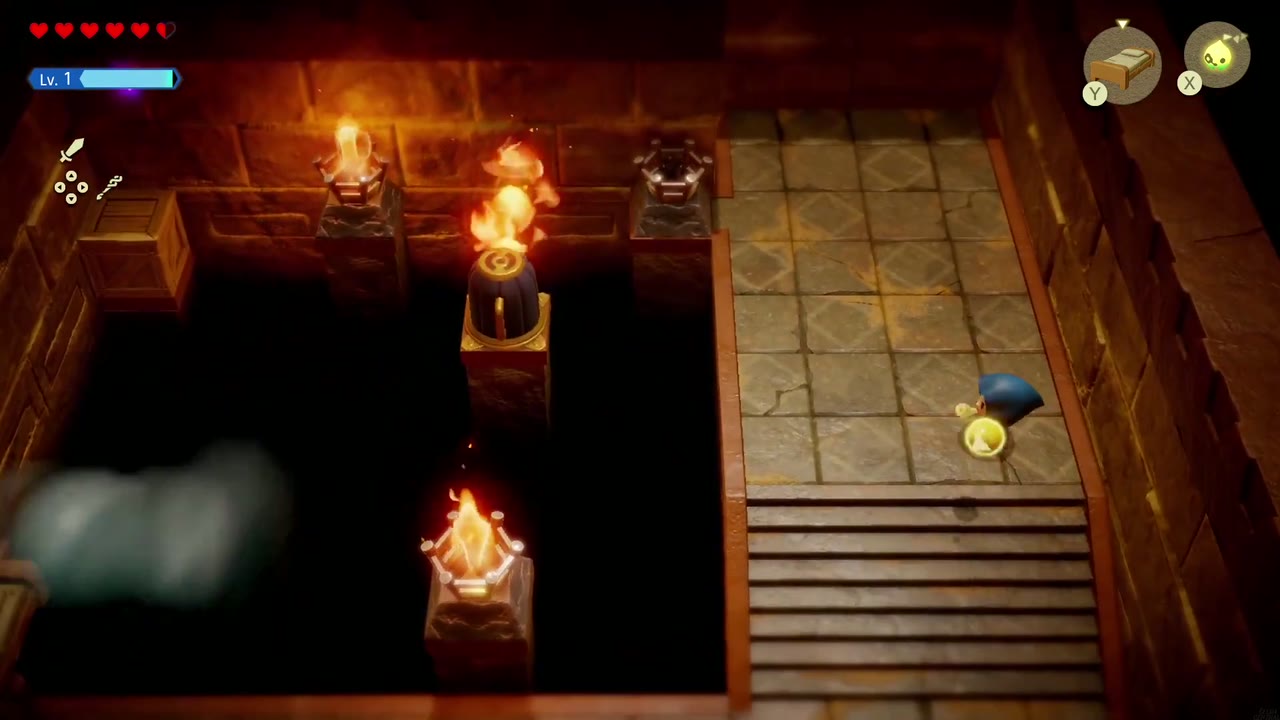
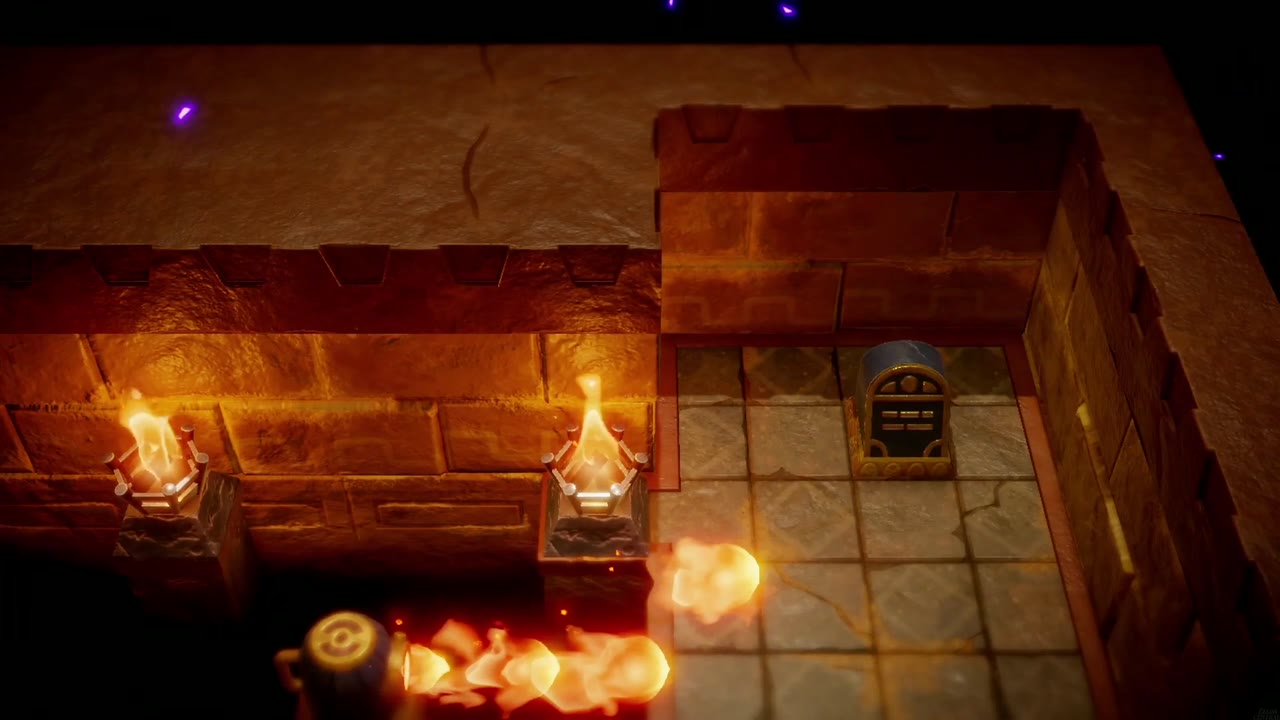
The passage leads into a fire room: dark pits, unlit braziers on pillars, a steam vent, and flame-spouting devices whose jets shoot across the pits. Bind each flame device and pull to swing it around until its jet hits a brazier, and drag Old Beds into place as a bridge to reach the ones beside the steam vent. Light every brazier to open the nook in the back wall.

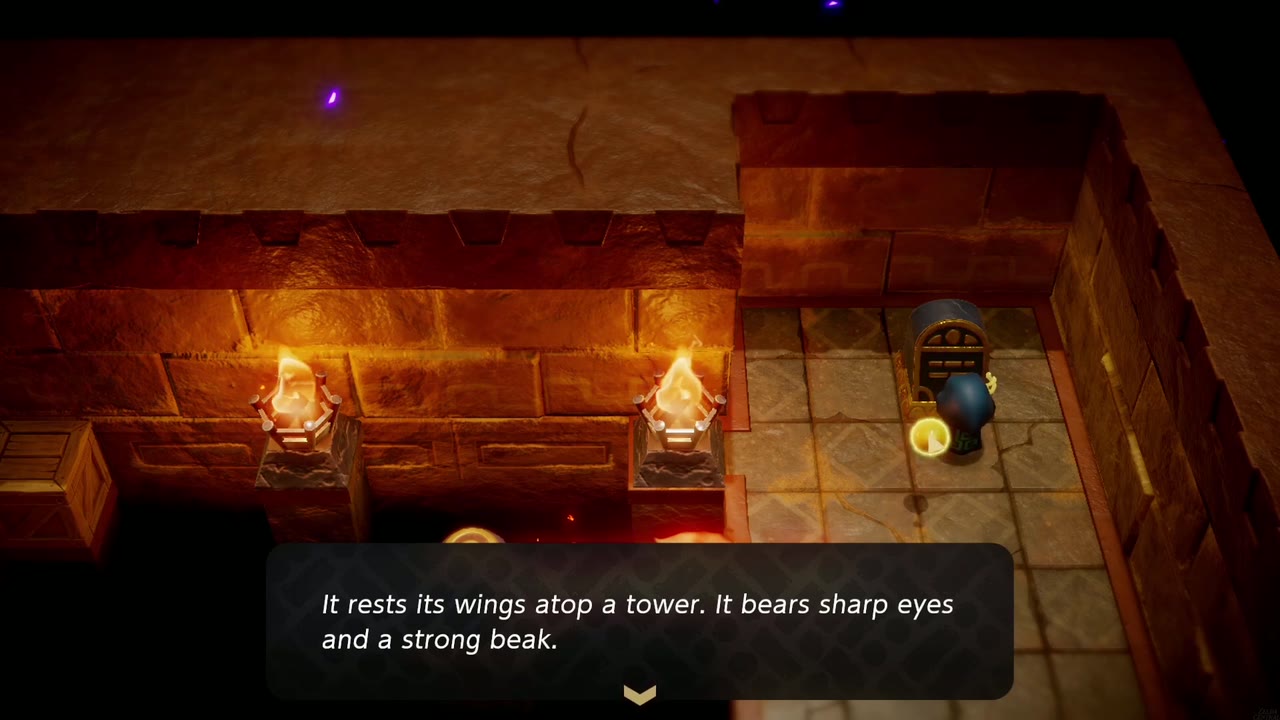
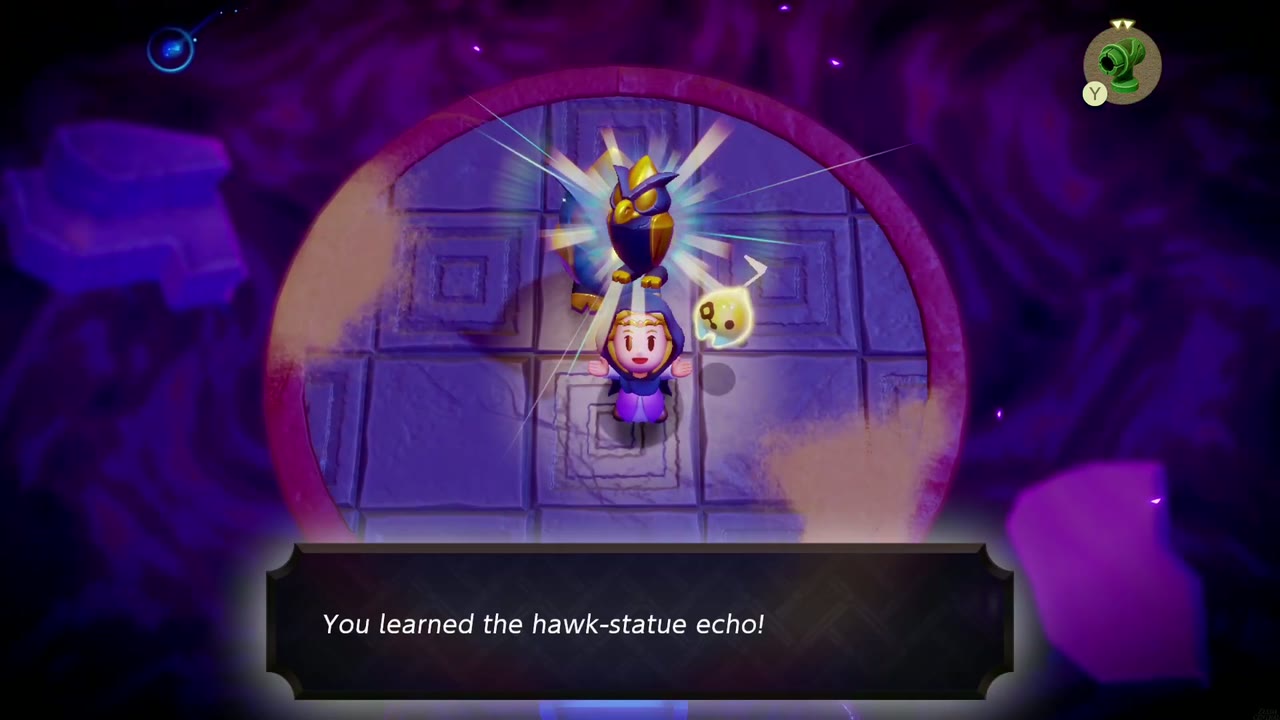
In the nook, between two lit braziers, a tablet reads: “It rests its wings atop a tower. It bears sharp eyes and a strong beak.” That’s the Hawk Statue, and it lives outside, in the Stilled Gerudo Sanctum. (If you explored the outside thoroughly earlier, you may already have it.)
Back Outside
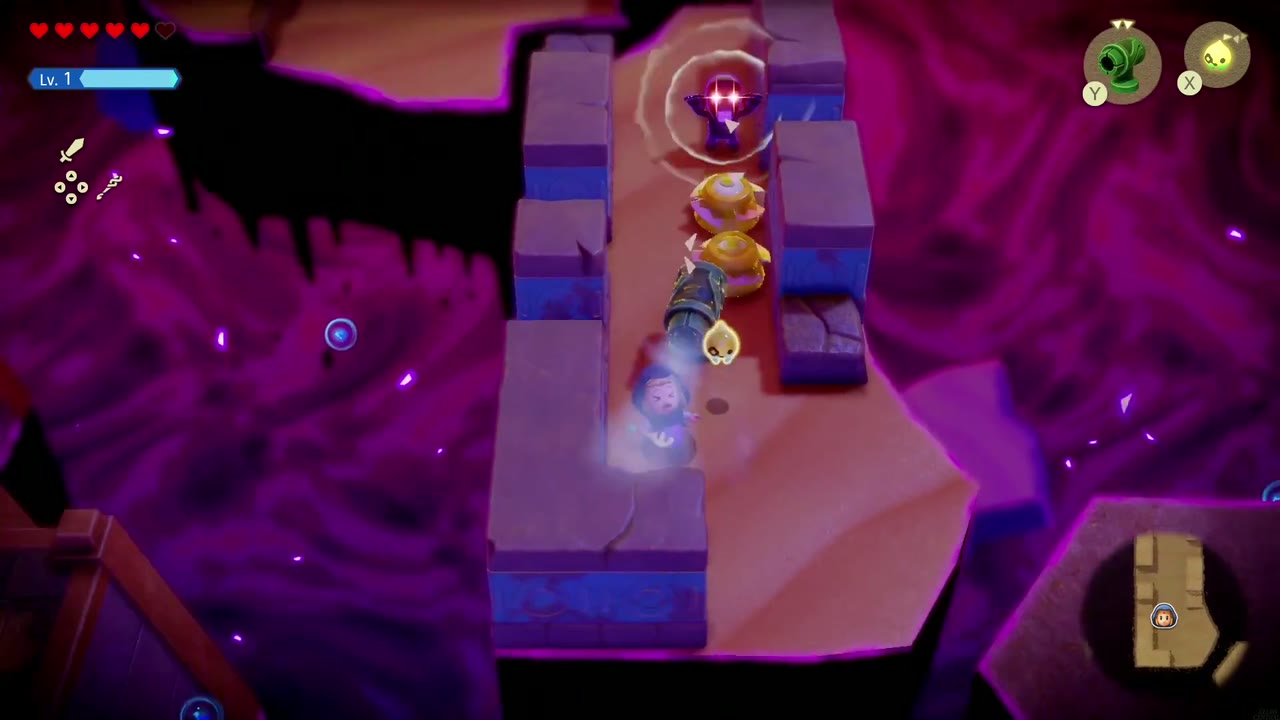
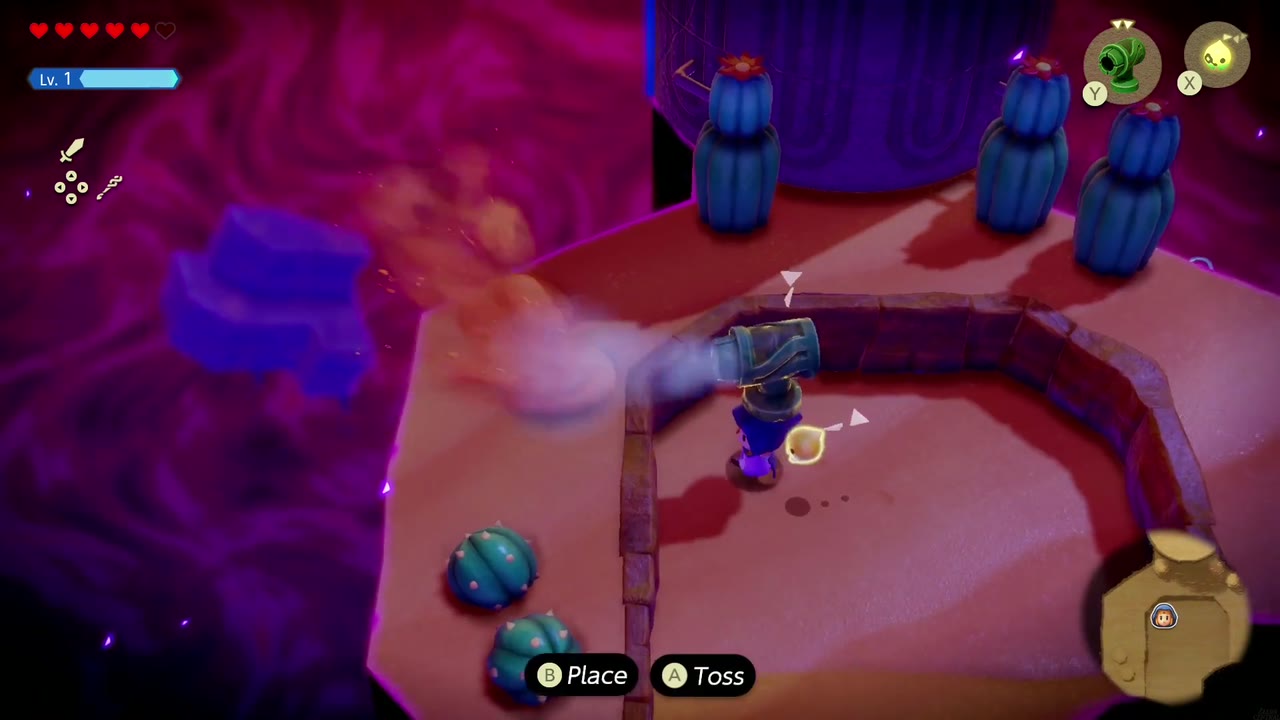
Head out into the purple Stilled Gerudo Sanctum and work your way along the narrow ledges and walkways, fighting the enemies that block them. When you reach a ledge of blue cacti blocked by sand mounds, place a Wind Cannon to blow the sand away.
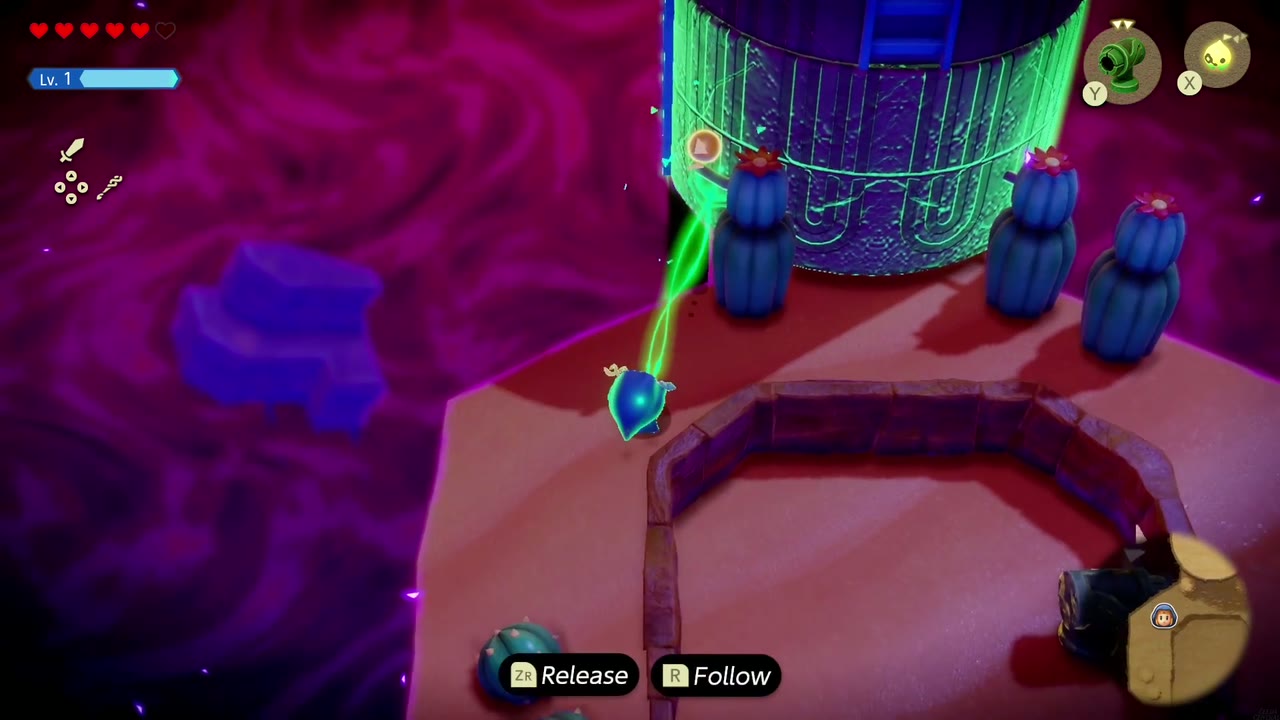
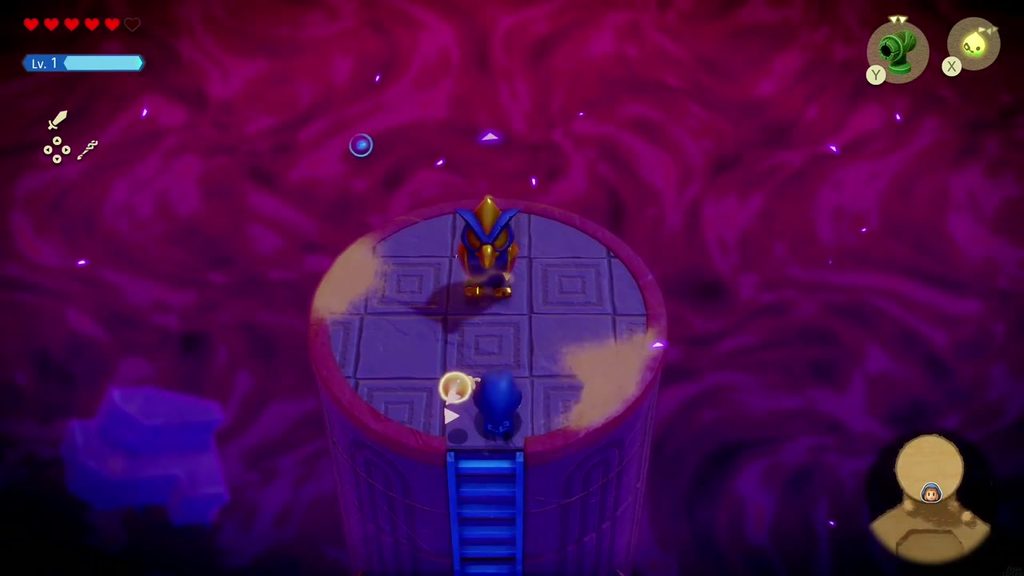
Beyond the cacti stands a tall blue tower whose ladder faces away from you. Bind the tower and pull until it rotates the ladder around to your side, then climb it. At the very top sits the Hawk Statue, tribute number two.

Big Key and Boss Door
Placing the Tributes
Return to the mysterious tablet room and place the Elephant Statue echo on one red tile and the Hawk Statue on the other. The great door opens.
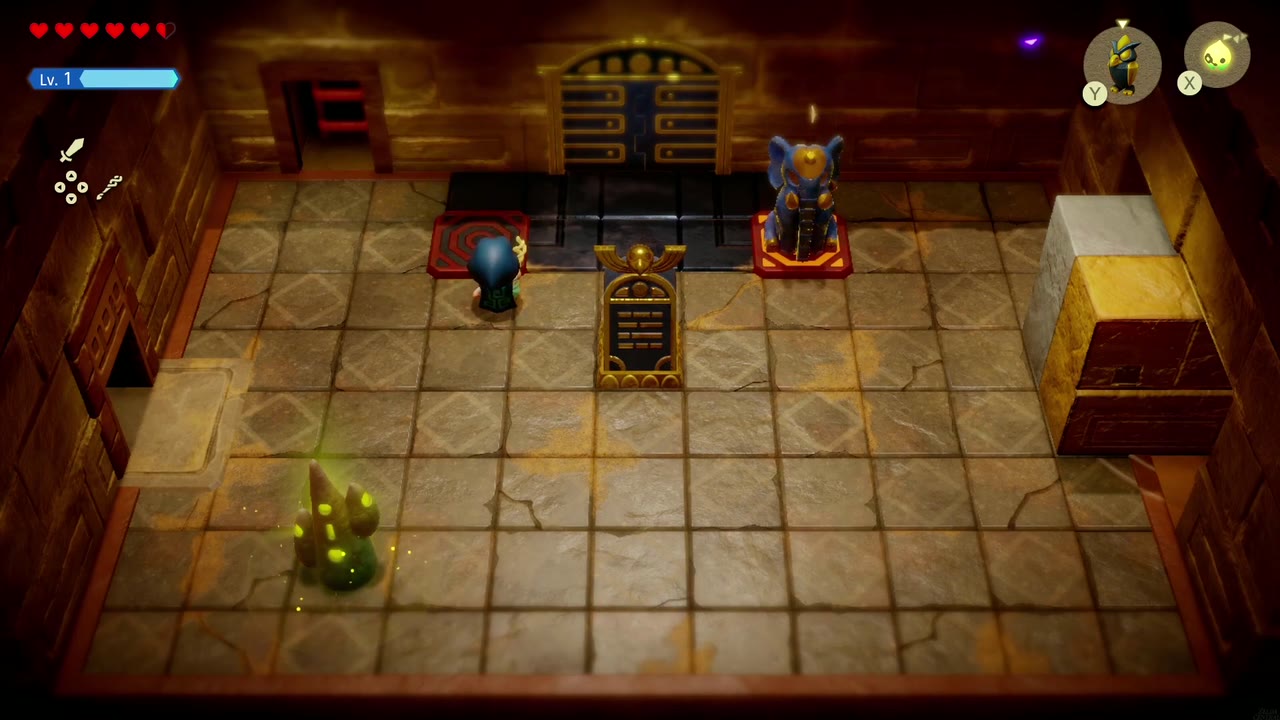
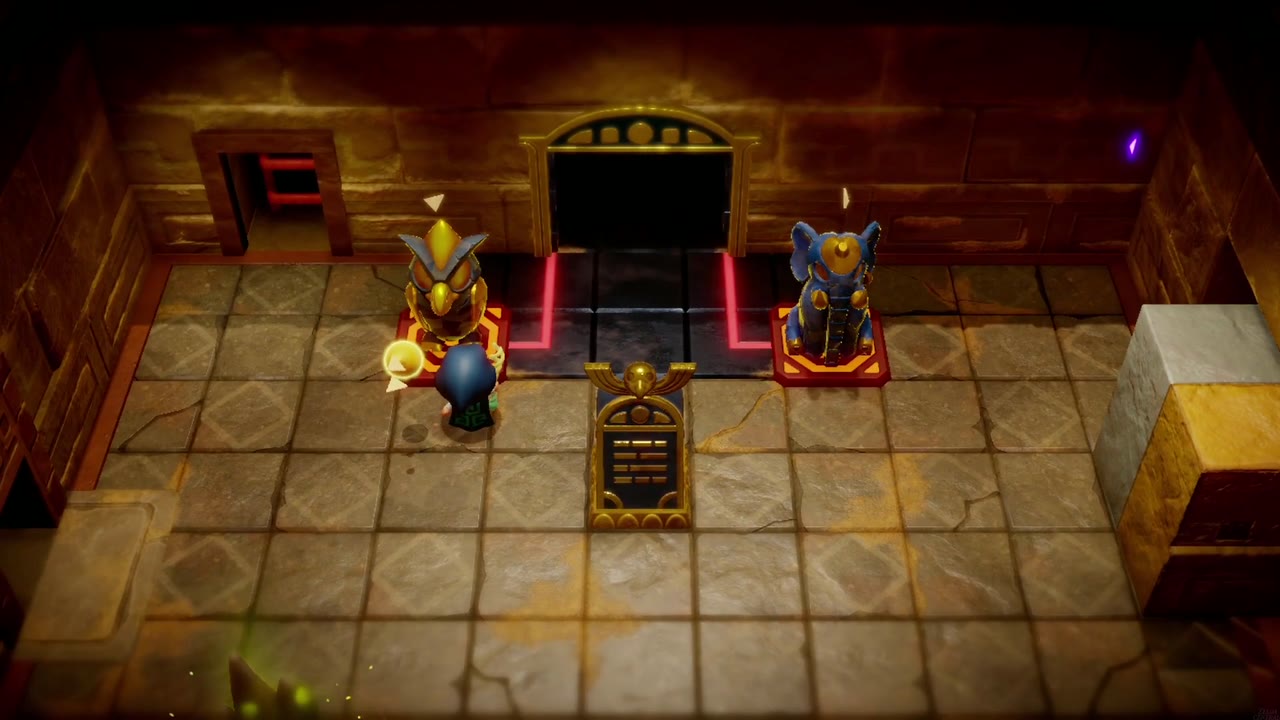
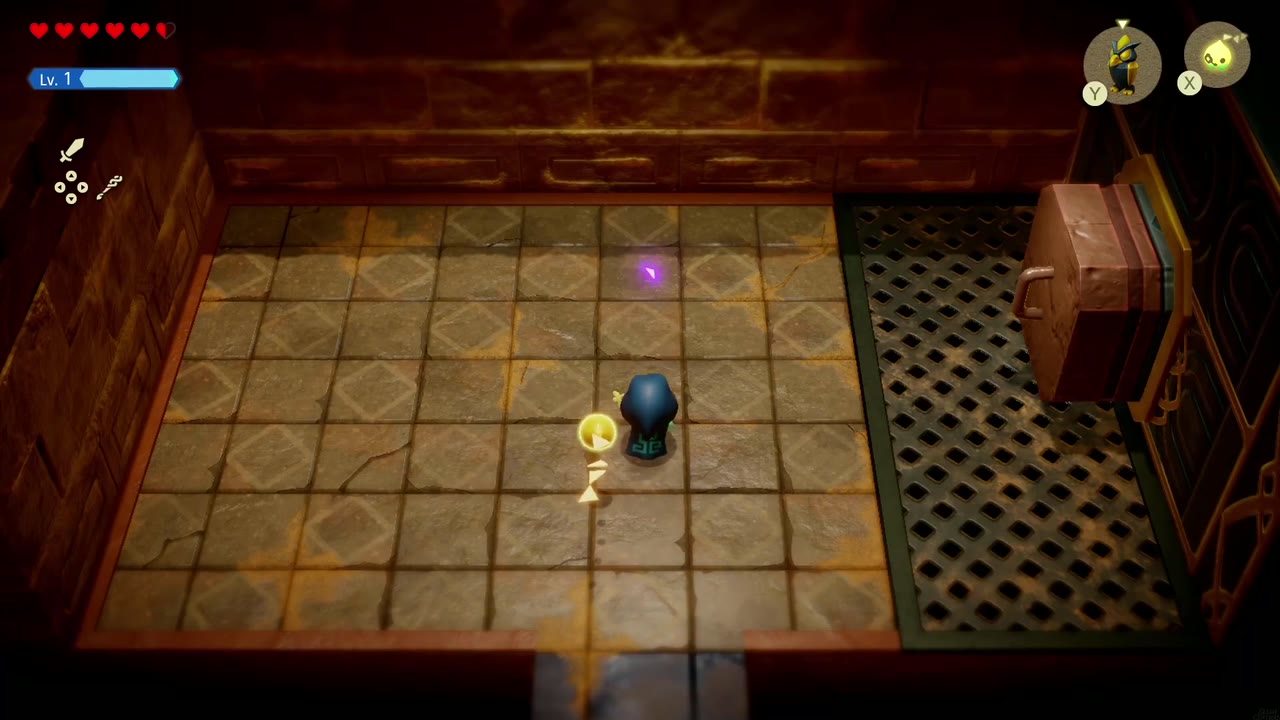
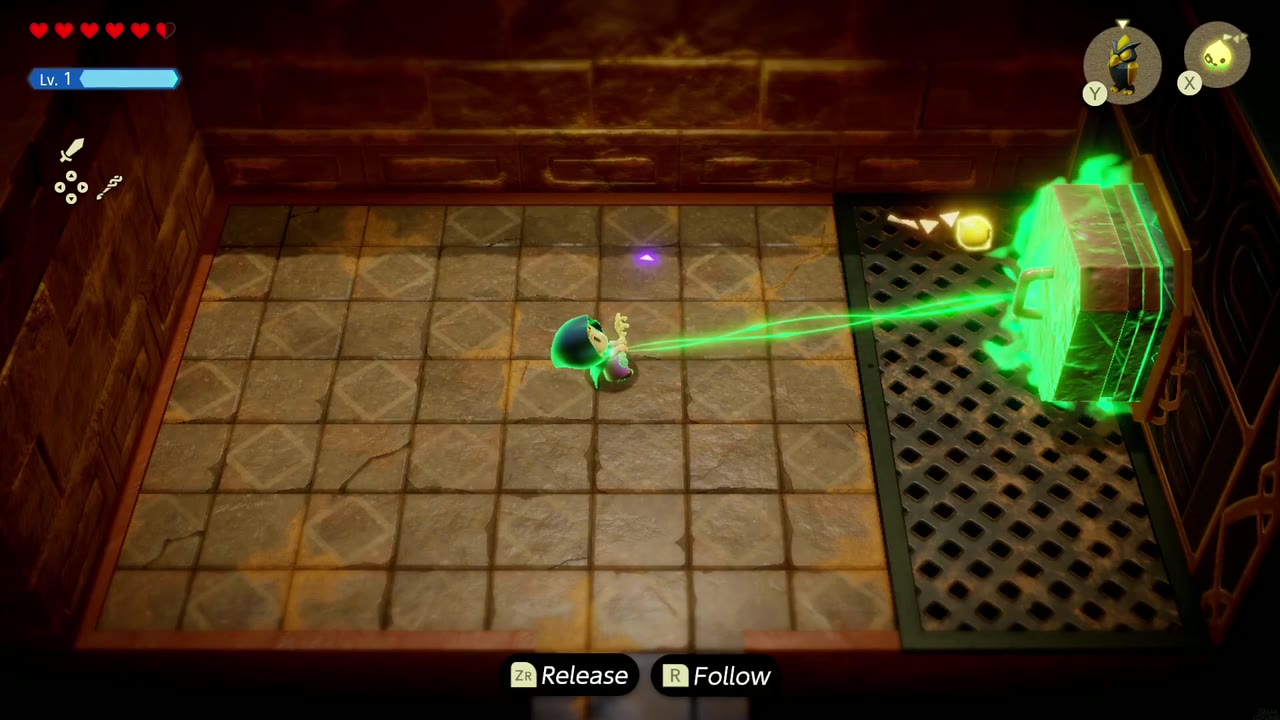
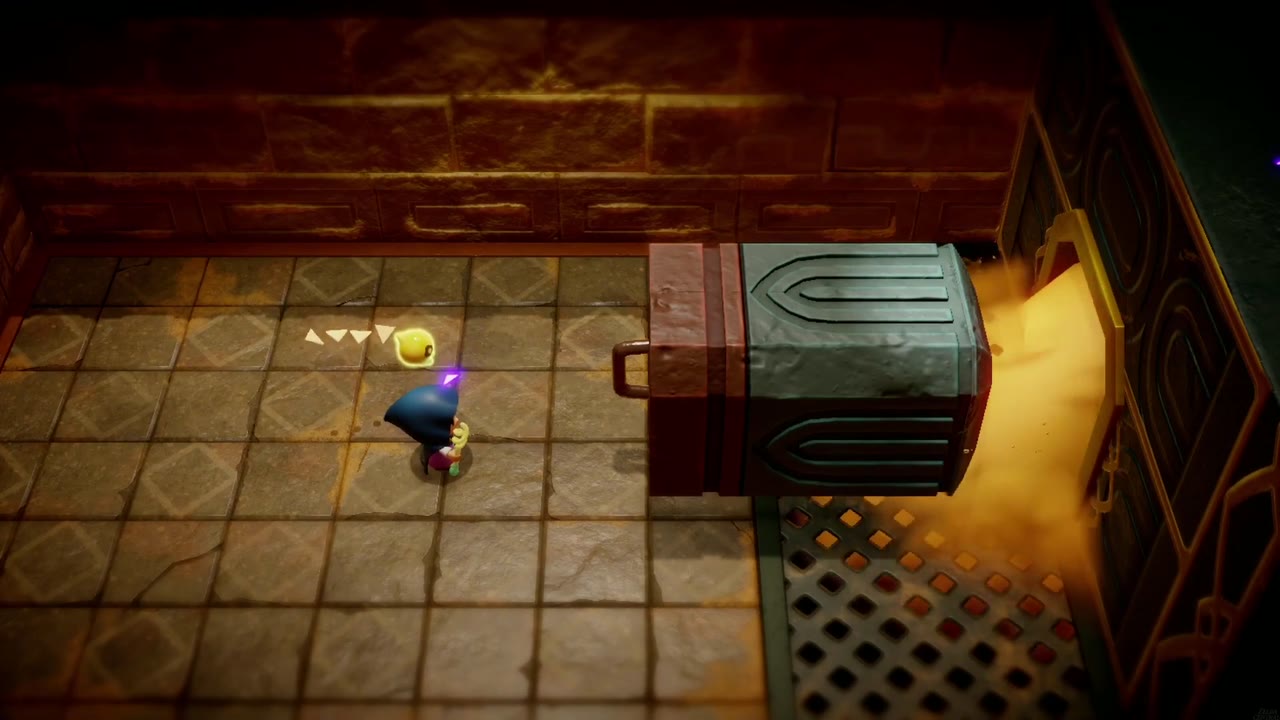
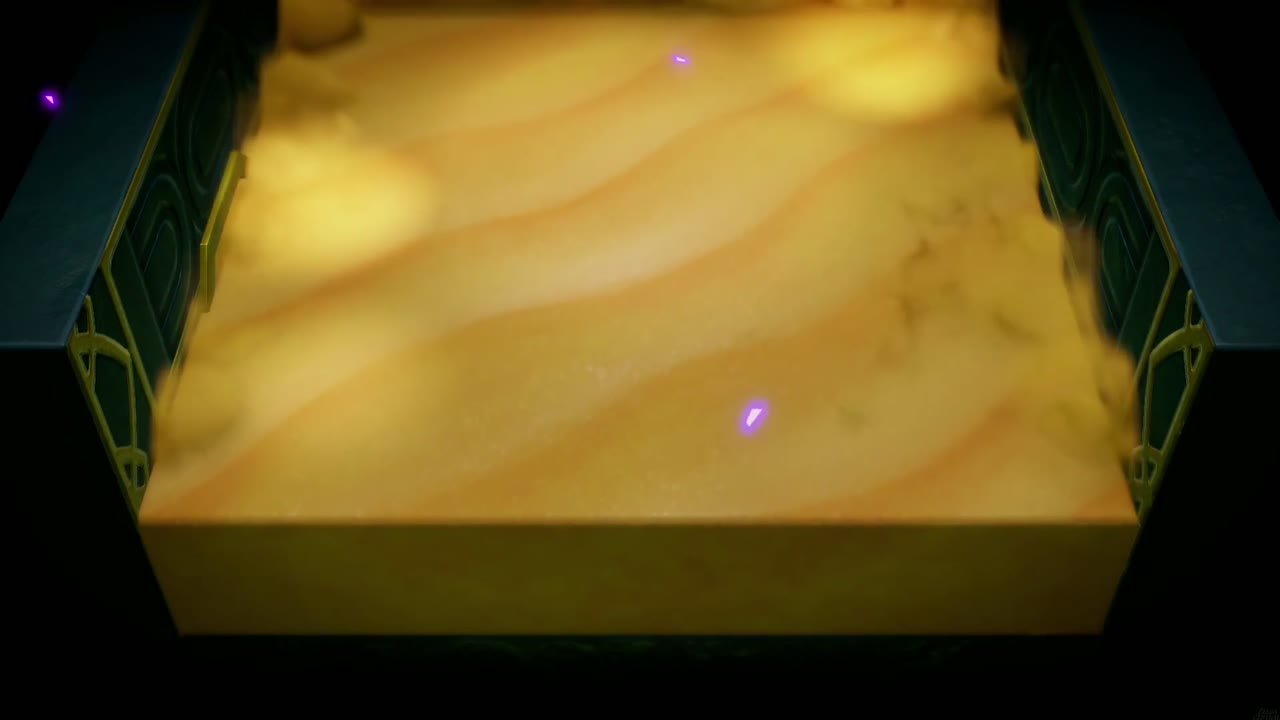
In the next room, a giant stone plug is set in the right-hand wall above a grate. Bind it and pull left; it slides out, sand pours from the hole, and a short scene shows the sand draining out of a round chamber deeper in the dungeon. Head on to that chamber.
The Rotating Rings and the Big Key
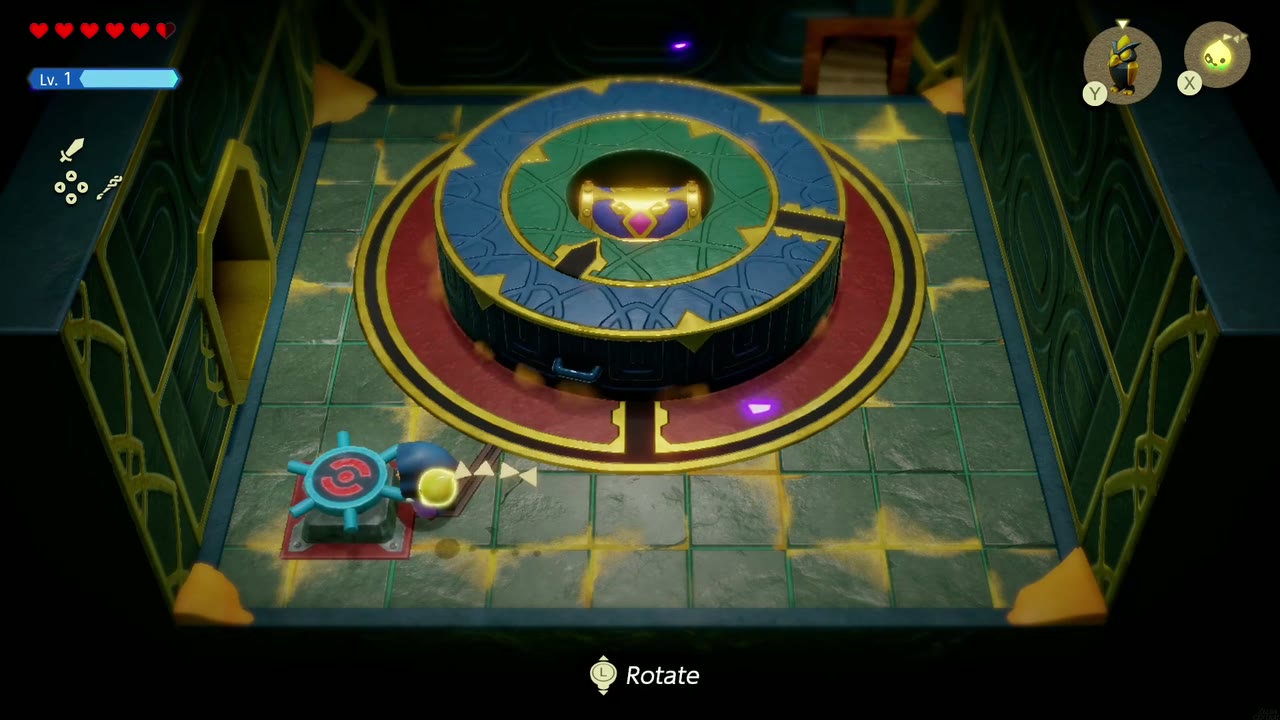
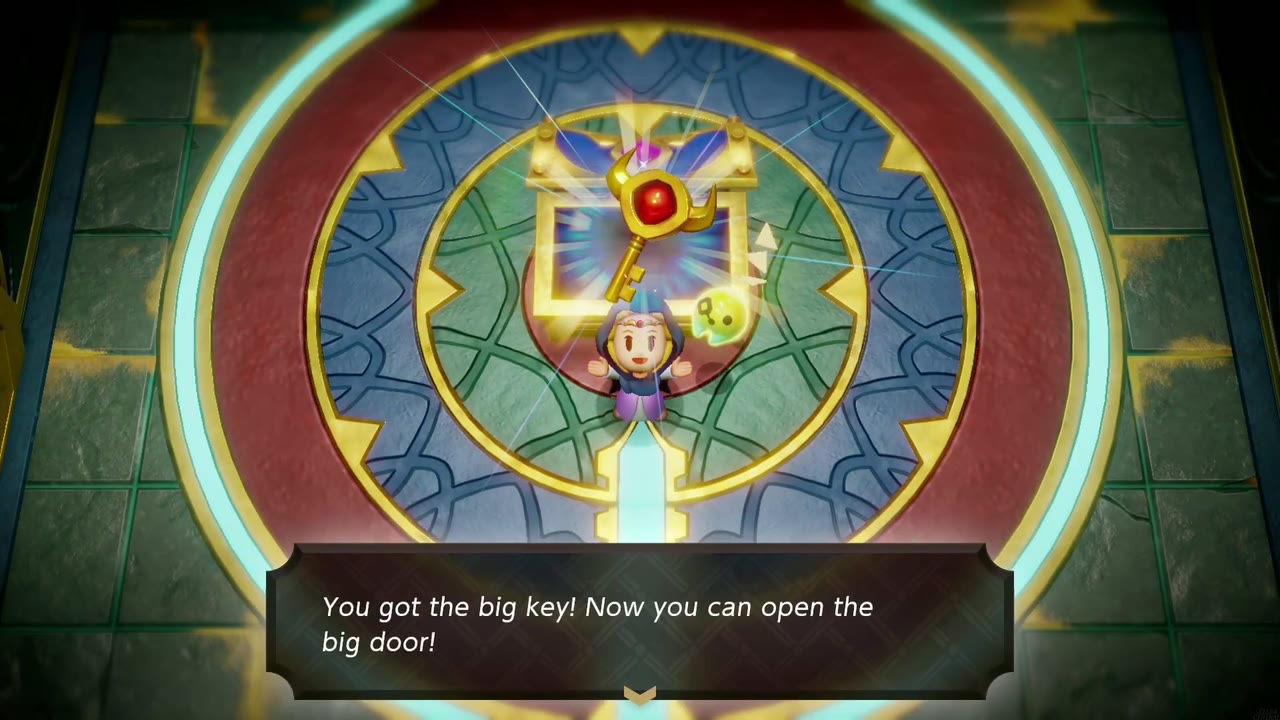
You’re facing a chest locked on a dais inside two concentric stone rings. Turn the wheel in the bottom-left corner to rotate the rings, and Bind the inner ring to turn it too, until each ring’s gap lines up with the line on the floor. When both line up the rings glow and the walls drop away; open the chest for the Big Key.
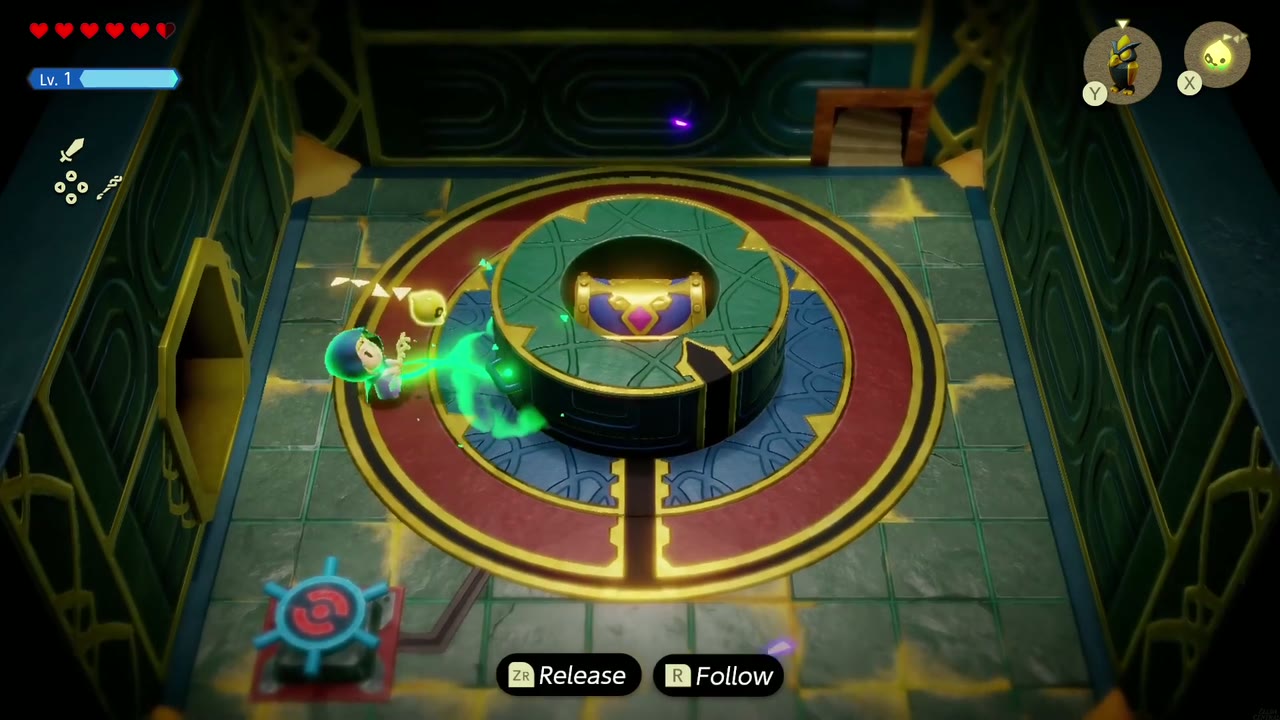
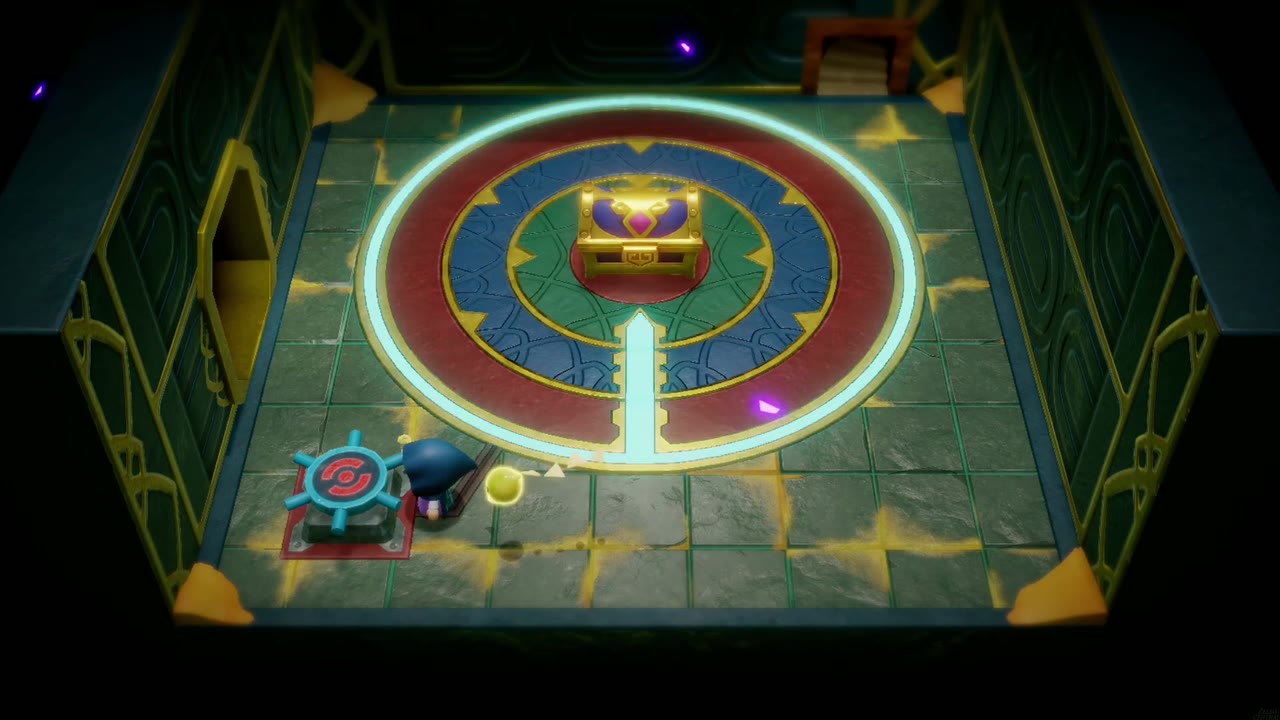
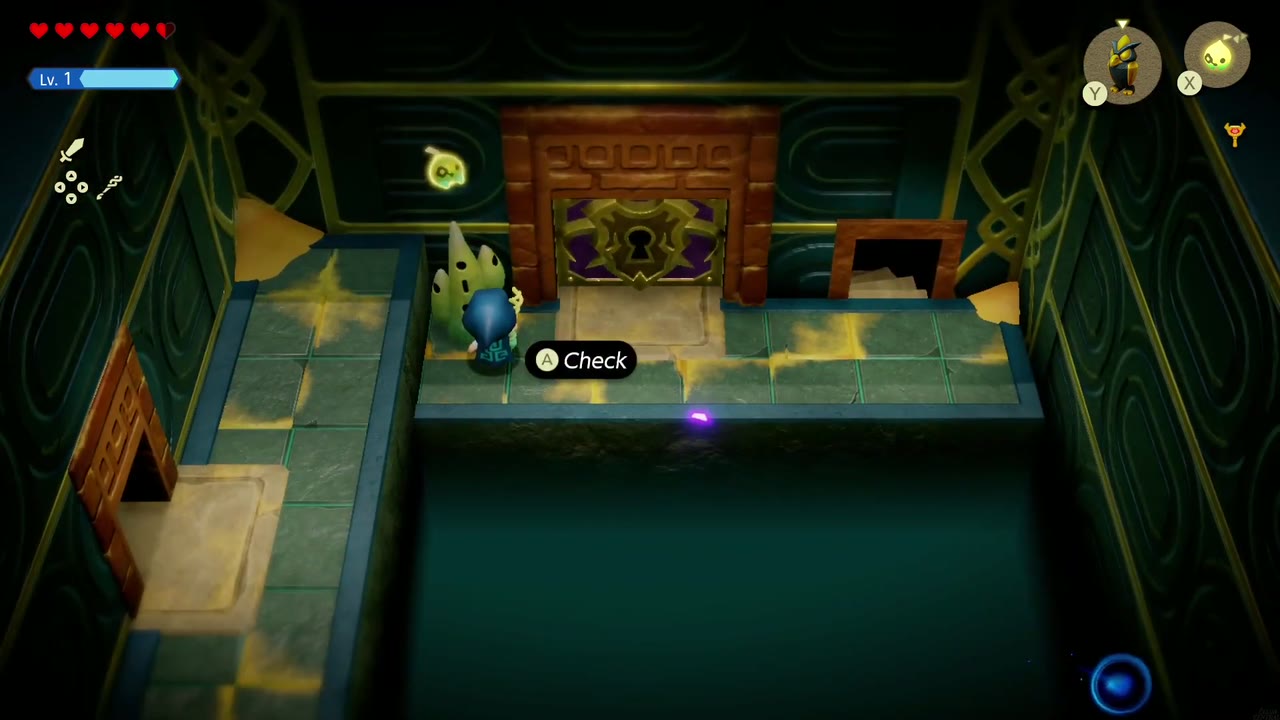
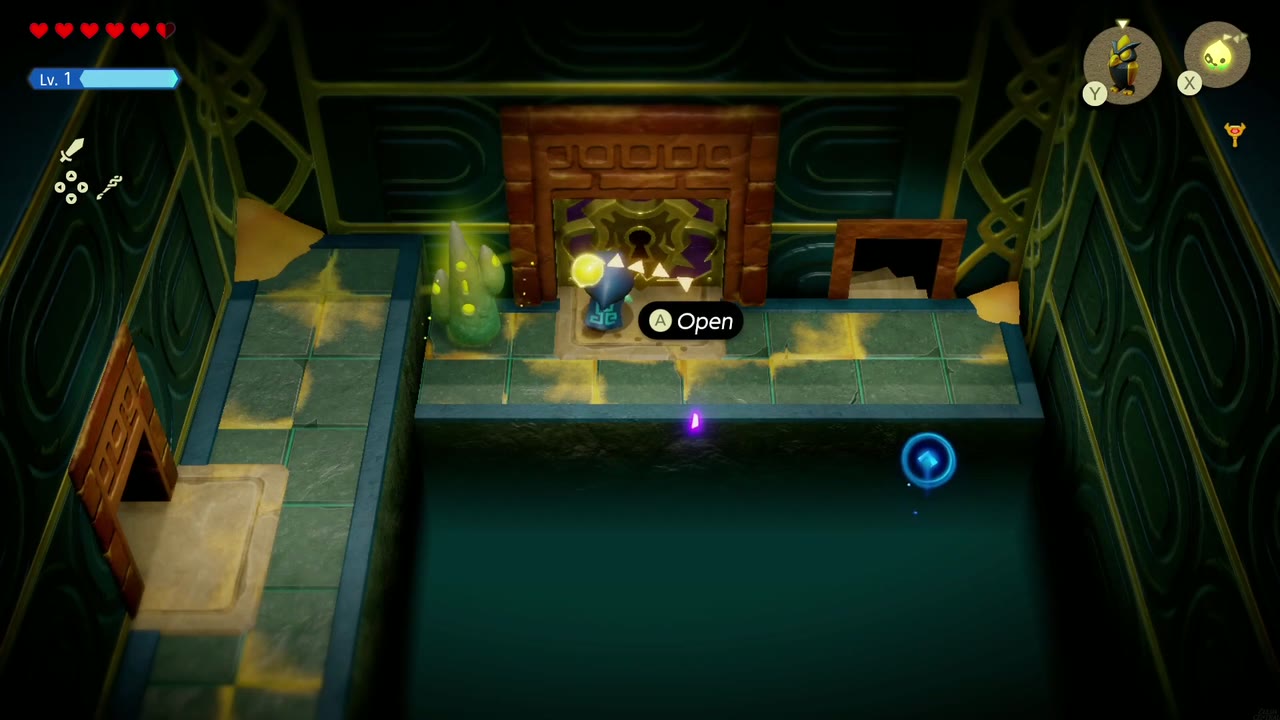
The door in the top-right corner takes you straight to the ornate boss door. Activate the Waypoint beside it, top off your hearts, and unlock it.

Boss: Mogryph
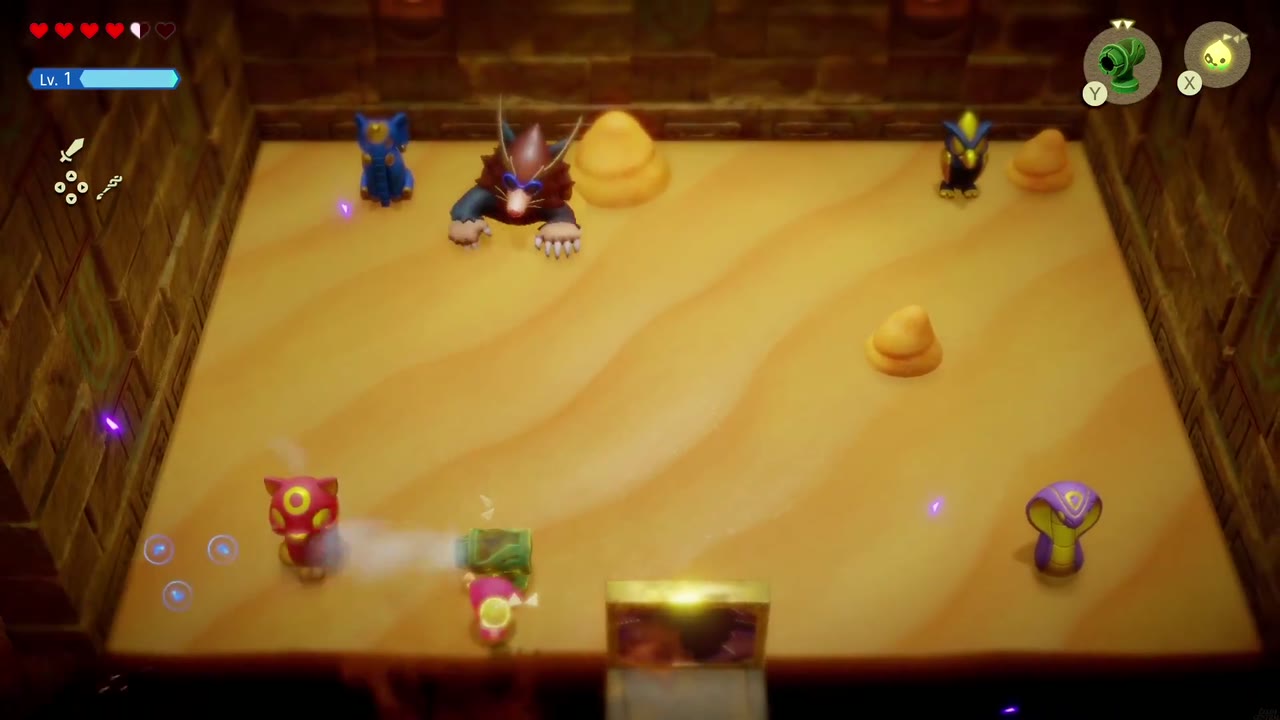
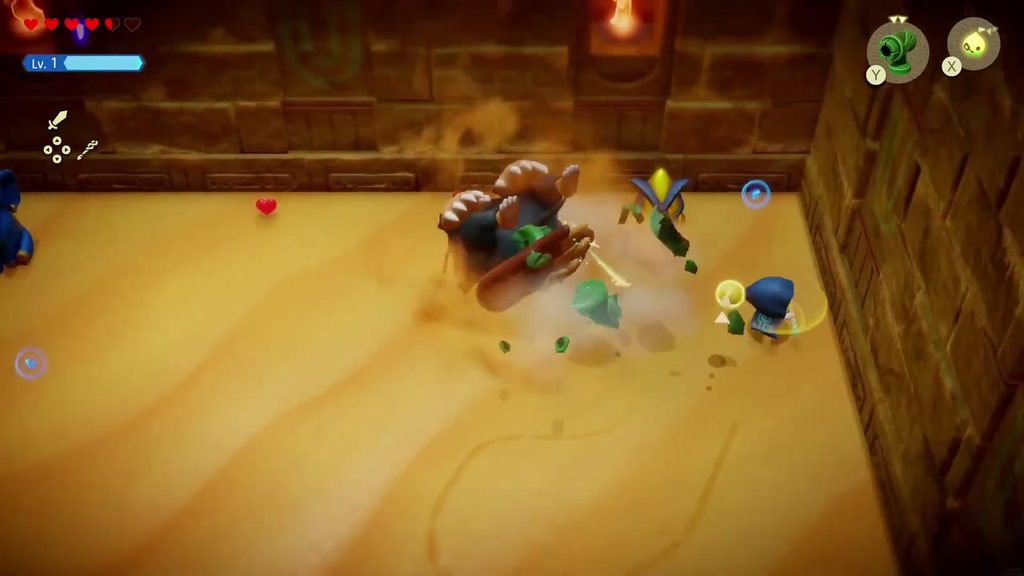
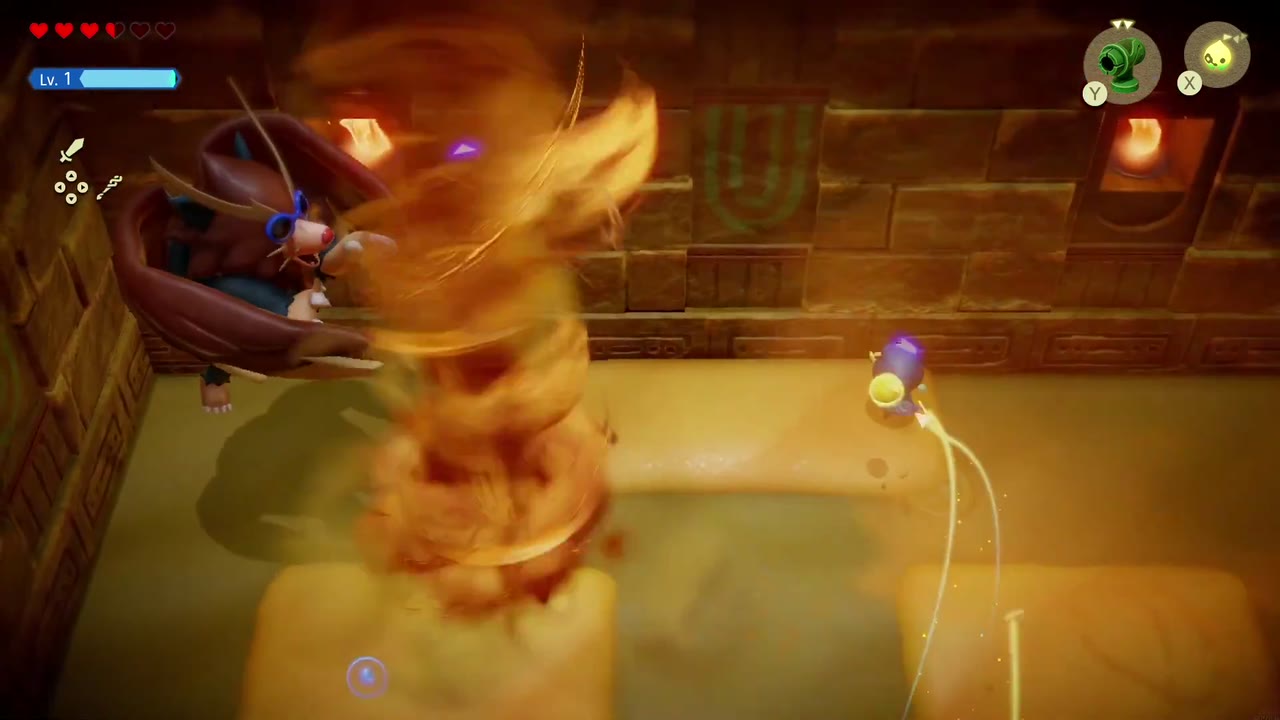
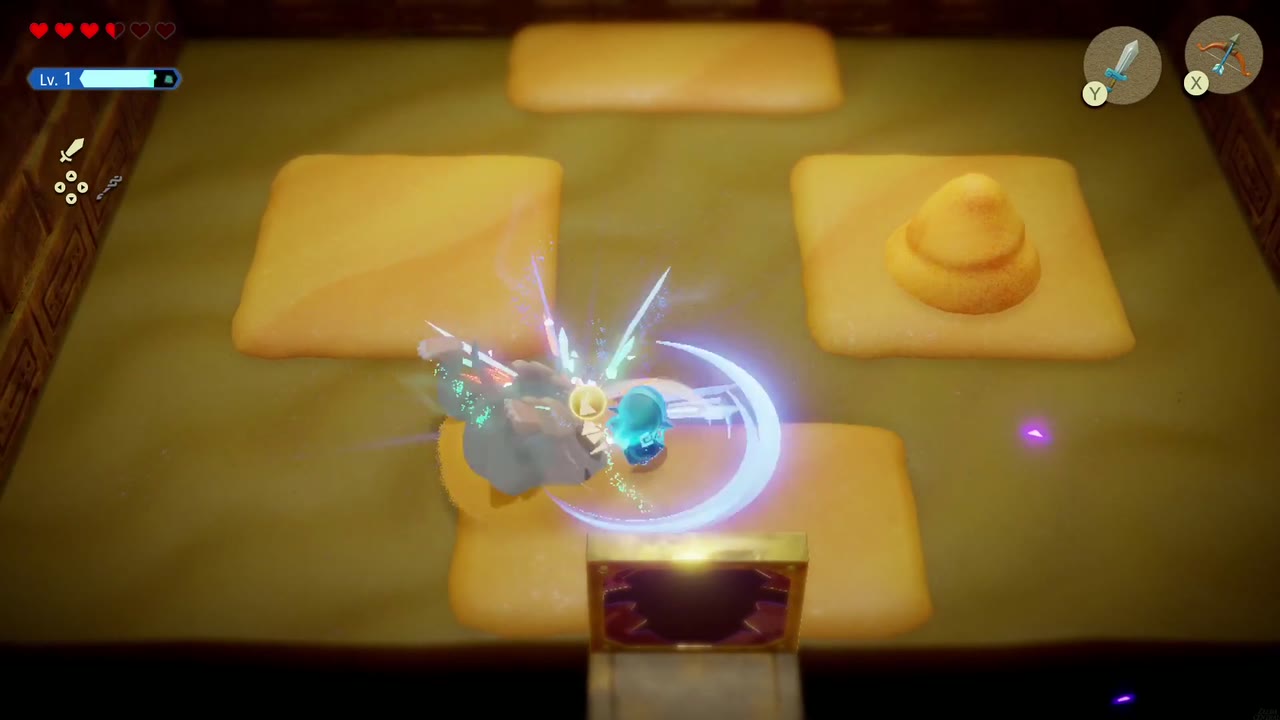
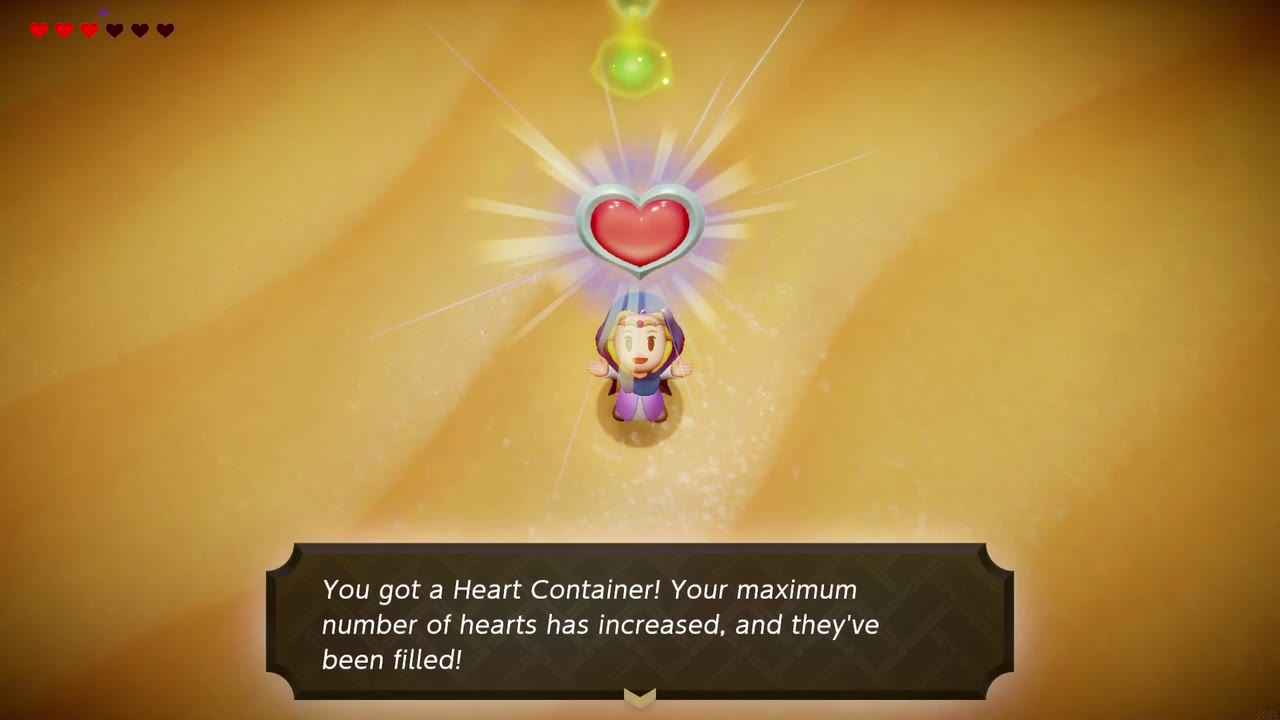
A goggled, burrowing desert beast. In phase one it tunnels under the flat sand floor and pops up around the edges of the arena; set down a Wind Cannon echo aimed at it to blast it out of the sand, then rush in and hit it while it’s exposed (Swordfighter Form speeds this up). For phase two the floor sinks away, leaving raised sand blocks to stand on, and Mogryph sprouts wings and flies around whipping up sand tornadoes. Keep to the blocks, dodge the tornadoes, and use Wind Cannons again to knock it out of the air, then finish it with Swordfighter Form. Beating it gives Zelda the ability to create echoes at a distance and drops a Heart Container.

Mending the Desert
With the desert mended, A Rift in the Gerudo Desert is complete. If you’ve followed this guide’s order, Jabul Waters is already done, so both regions are mended and the next main quest, Still Missing, sends you back to Lueburry’s home in Suthorn Forest and on to Hyrule Castle. (If Gerudo is your first region, Tri instead points you to the next rift, “far to the east in a place with lots of water”: Jabul Waters.)