Echoes of Wisdom 100% Completion Walkthrough16 chapters
- Prologueplaying as Link, escaping the castle jail, and the waterways to Suthorn Beach.
- Suthorn ForestSuthorn Beach and Village, meeting Tri, the first echoes, and mending the Suthorn Forest rift.
- Suthorn Ruinsthe first dungeon, the Shadow Link fight, and the Seismic Talus boss.
- Jabul Watersthe River and Sea Zora feud, Lord Jabu-Jabu, and Stilled Jabul Waters.
- Jabul Ruinsthe whirlpool chase, the five colored switches, and the Vocavor boss.
- Gerudo Desertthe Oasis, Gerudo Town, the desert rifts, and Cryptic Cavern.
- Gerudo Sanctumthe tribute puzzle, the Bow of Might, and the Mogryph boss.
- Hyrule Castlethe Hyrule Castle well rift, Stilled Castle Town, and the Ganon boss.
- Eldin VolcanoKakariko Village, the Eldin Volcano Trail, and saving Goron City.
- Eldin Templethe Bombs of Might, the lava hall, and the Volvagia boss.
- Faron WetlandsScrubton, Blossu’s House, and escaping the Deku Scrub Lockup.
- Faron Templethe small keys, the plant mini-boss, and the Gohma boss.
- Hebra Mountainmeeting Condé, the climb through the snow, and the Stilled Hebra Mountain rift.
- Lanayru Templefire orbs, fans and lasers, the slime mini-boss, and the Skorchill boss.
- Eternal Forestthe six Ancient Orb pedestals, the Deku Tree, and freeing Link in the Stilled Ancient Ruins.
- Null’s Bodythe final dungeon and the multi-phase fight against Null.
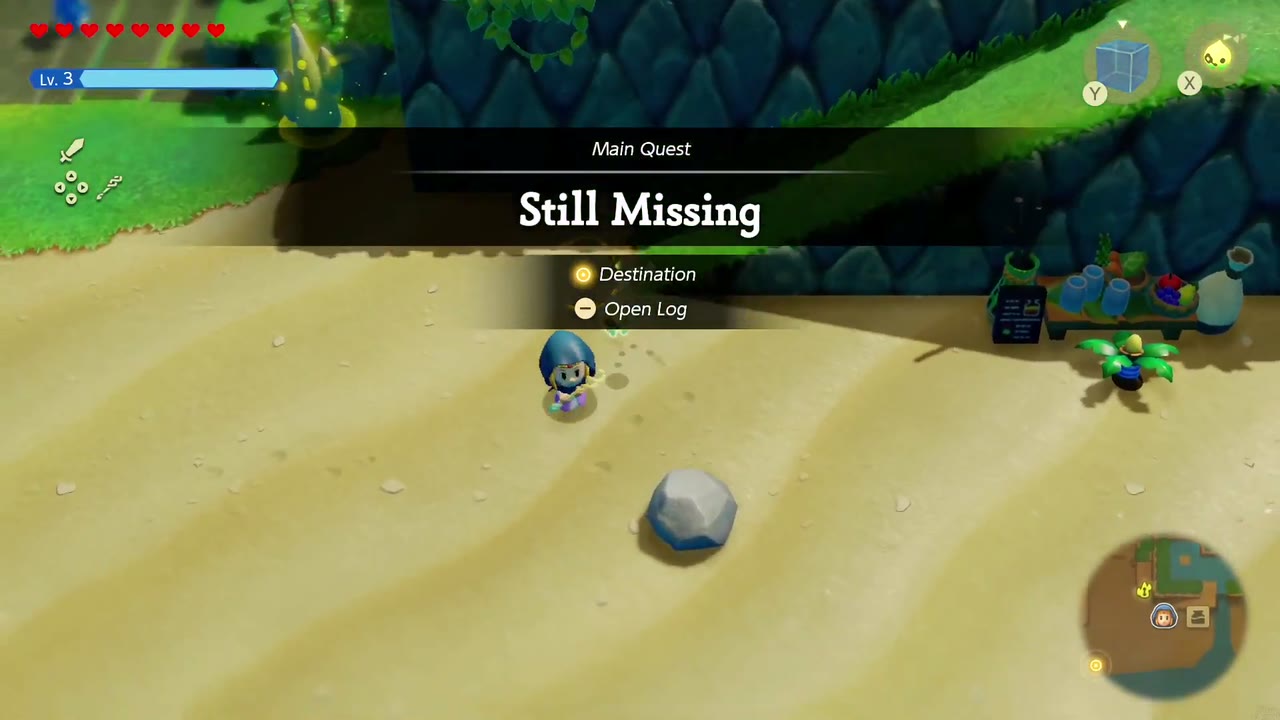
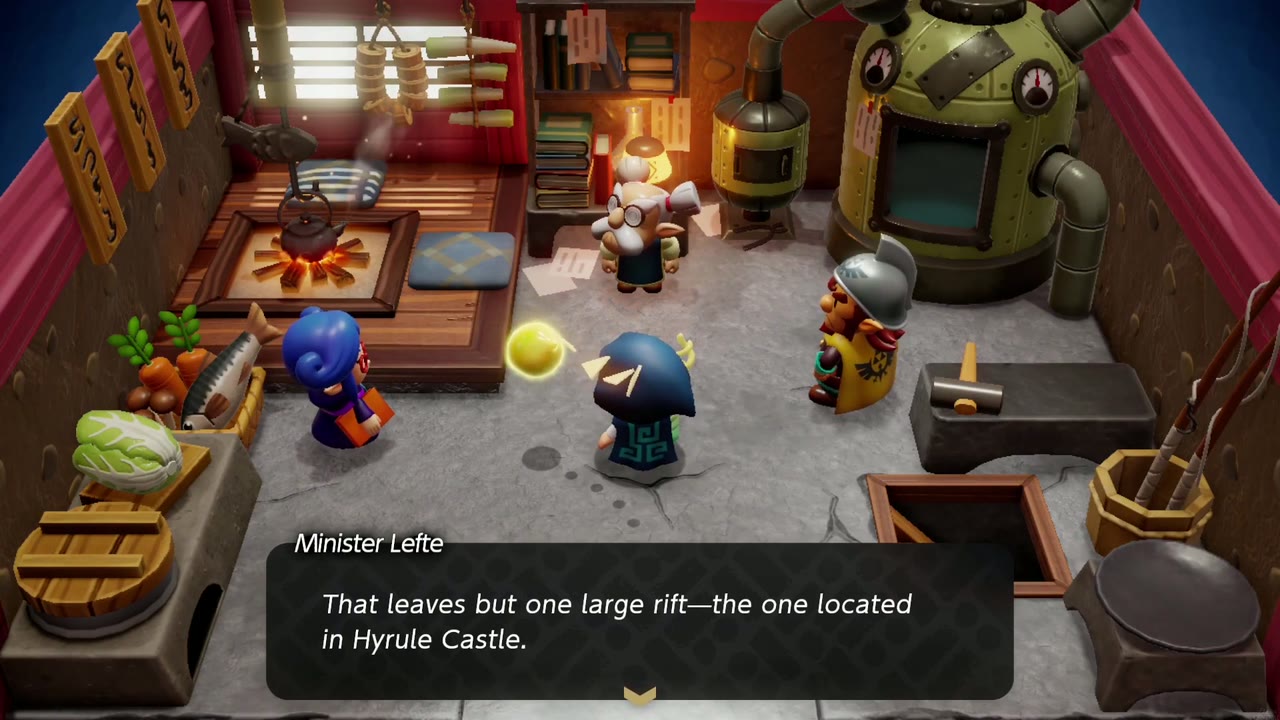
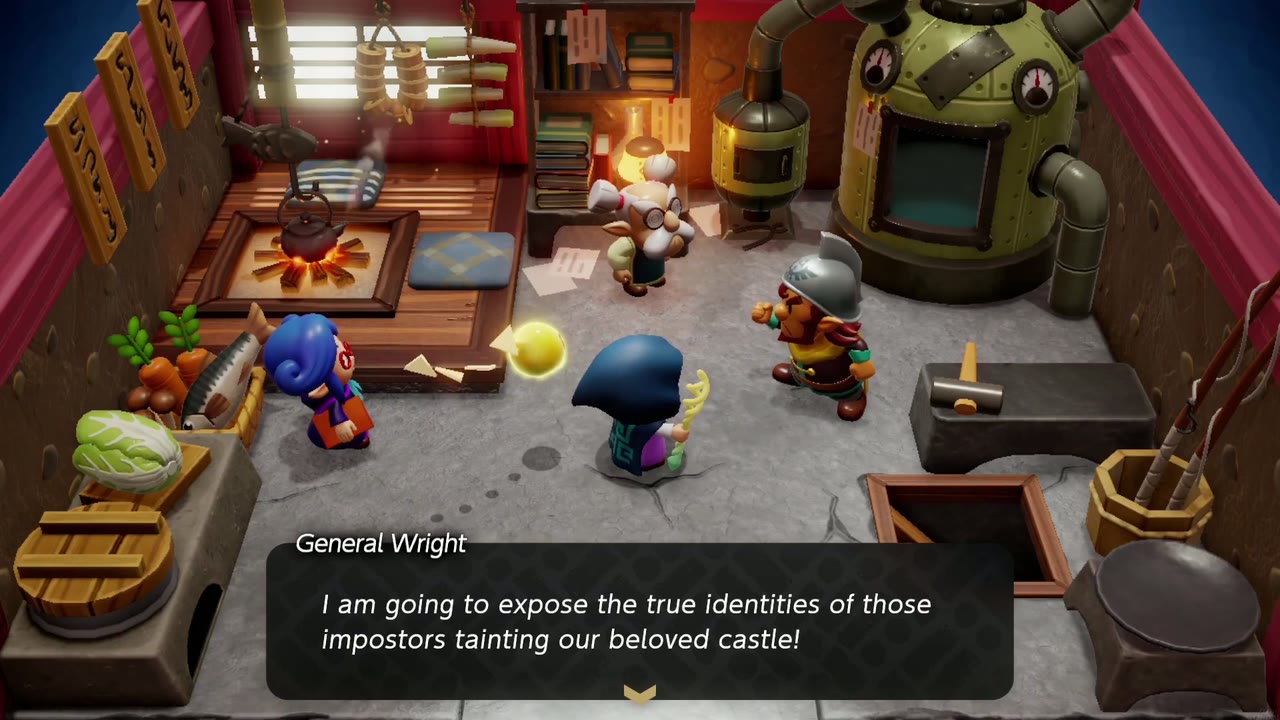
With Gerudo and Jabul mended, the main quest Still Missing sends you back to Lueburry’s house in Suthorn Forest. General Wright and Minister Lefte are already there with Lueburry: there’s still no sign of the king or Link, and Lefte points out that only one large rift remains, the one at Hyrule Castle. Wright vows to expose the impostors in the castle and charges out, with Lefte chasing after him. Before you follow, Lueburry can enhance your gear if you have Might Crystals to spare.
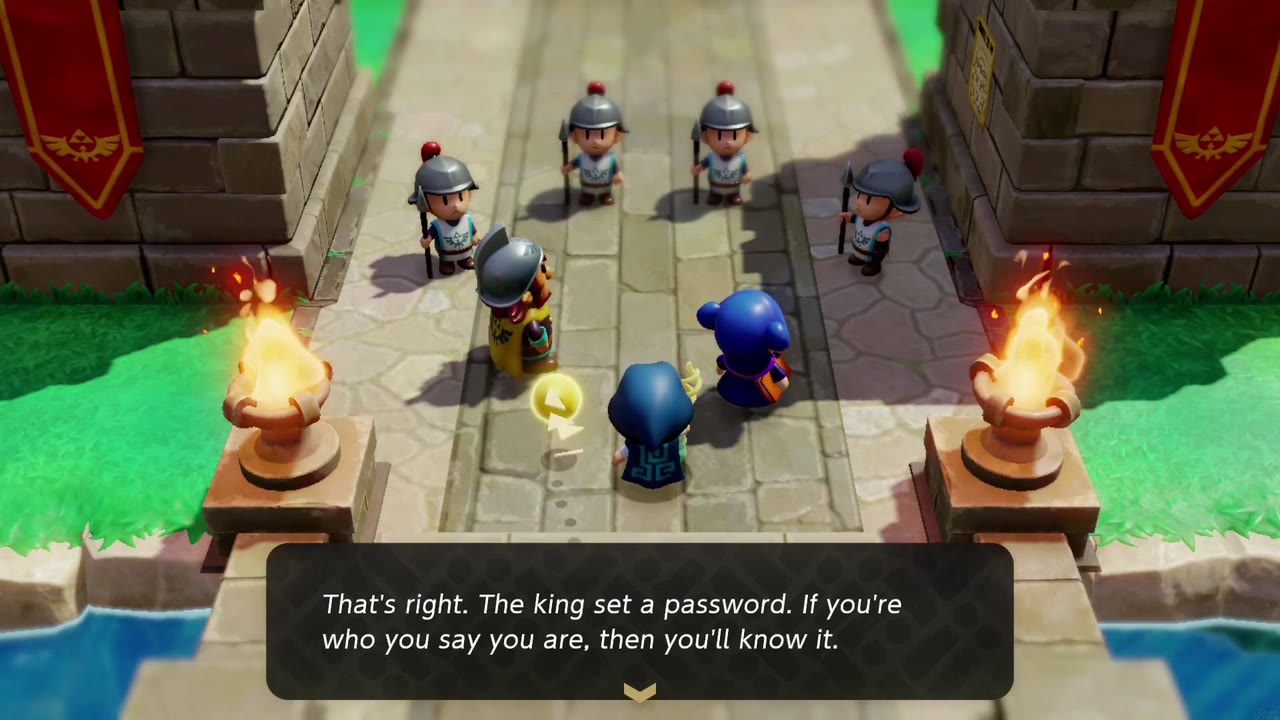
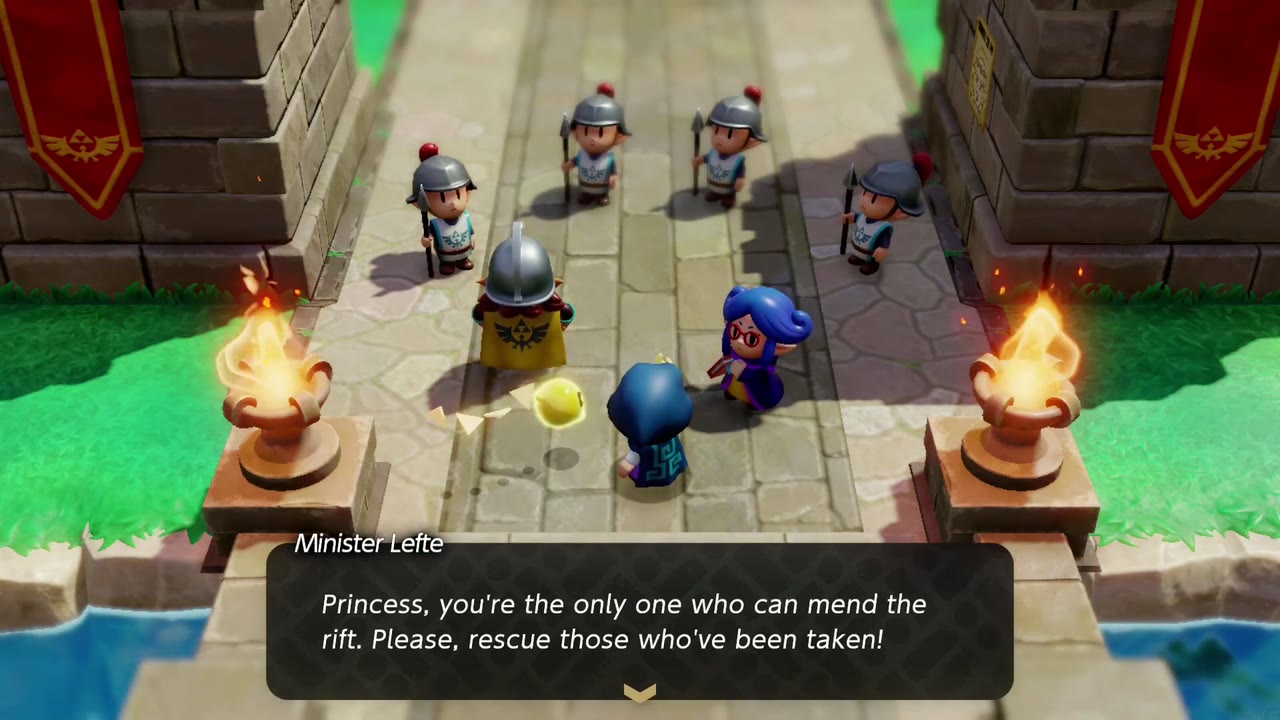
Follow them north to the gate of Hyrule Castle. The guards take Wright and Lefte for the impostors and demand the king’s password, and while they argue, a huge rift tears open and swallows much of Hyrule Castle Town, with shadow monsters spilling into the streets. Wright orders the soldiers to lead the townsfolk to safety and goes looking for anyone left behind, while Lefte asks you to mend the rift and rescue those who were taken. Head into town and deal with the monsters around the rift’s edge.


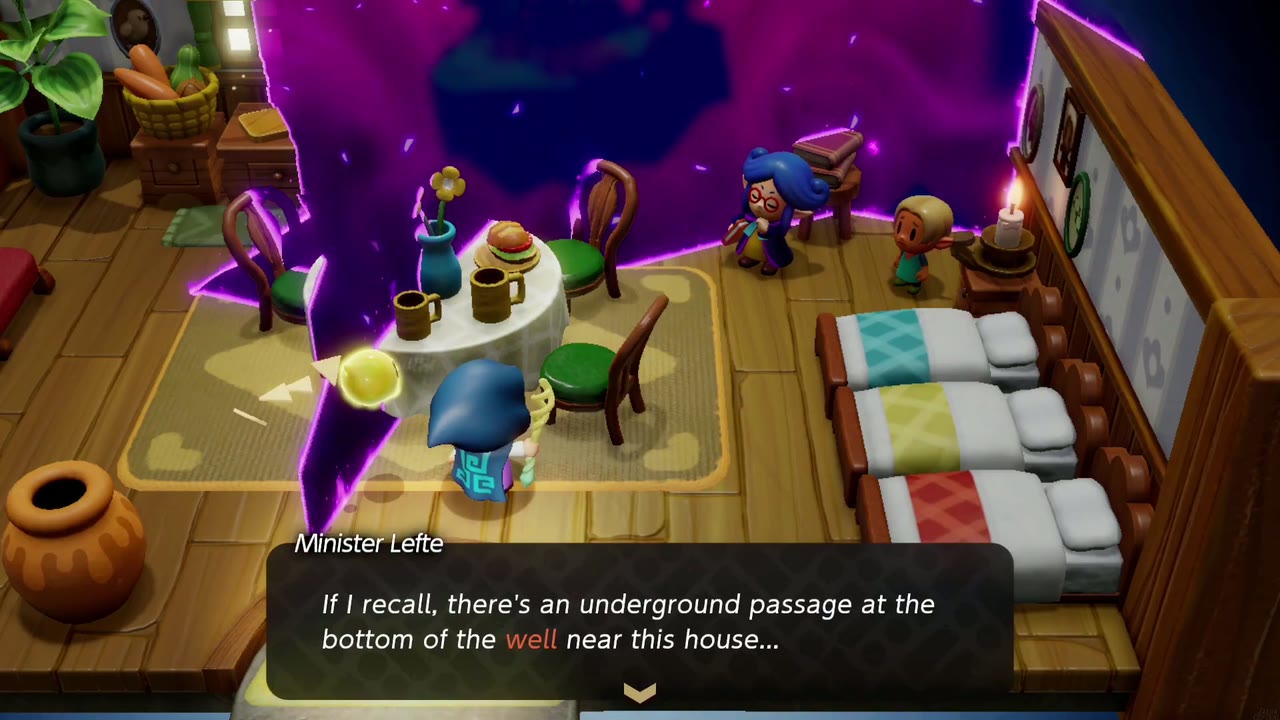
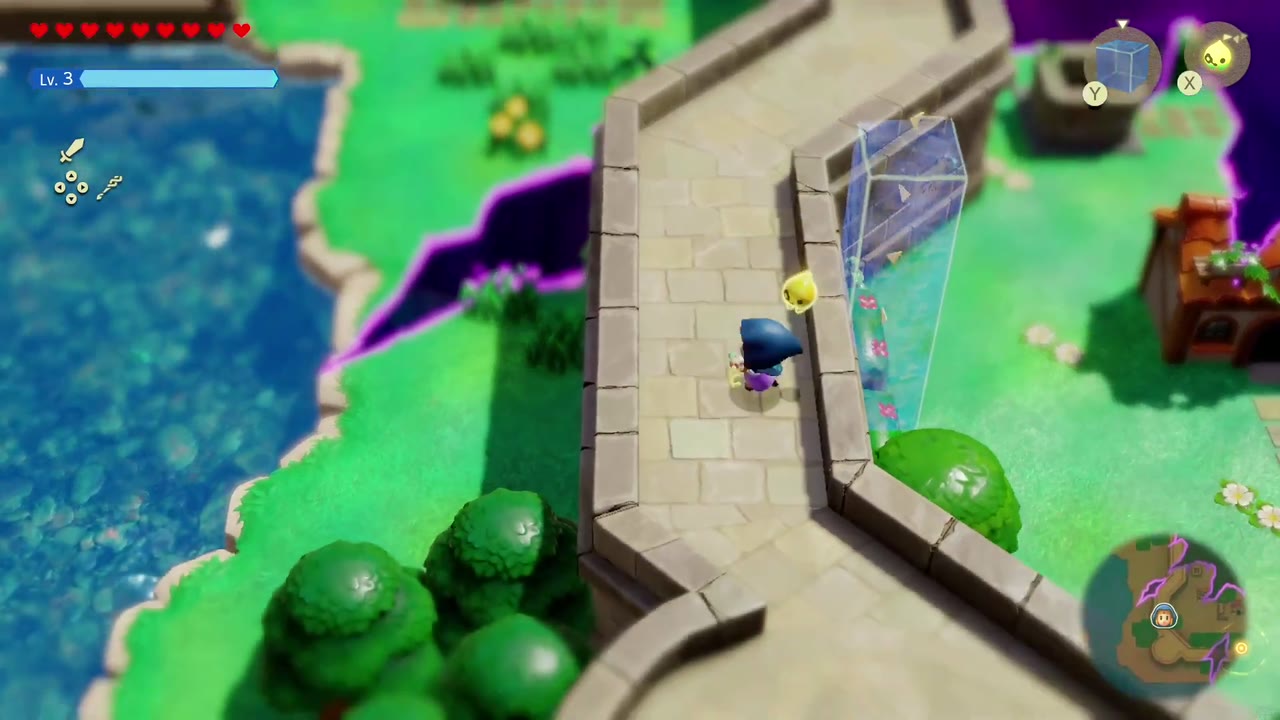
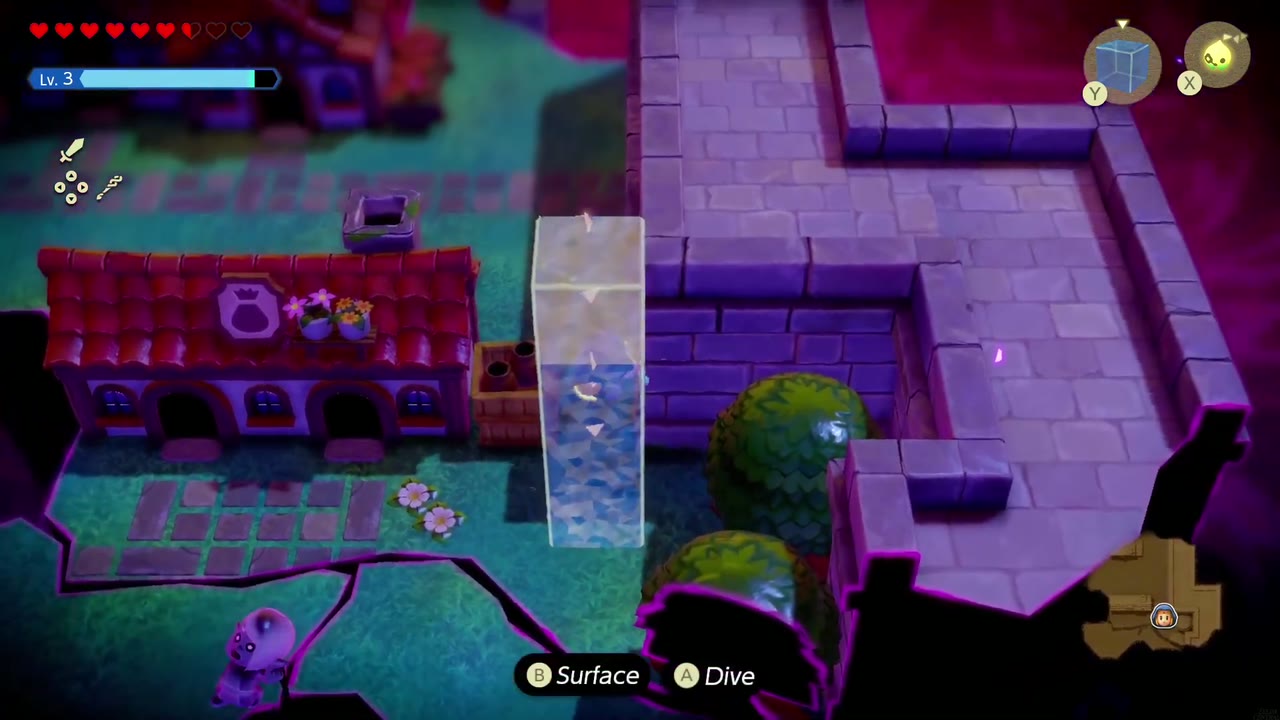
The way in is underground. In one of the rift-cut houses you’ll find Lefte looking after a child who was left behind; he recalls an underground passage at the bottom of the well near the house. The well sits behind a stone wall, so place a Water Block against the wall, swim up it, and drop over the other side to the well. At the Bottom of the Well a man explains he was napping down there when the monsters showed up; step past him and Tri opens a rift entrance at the bottom.


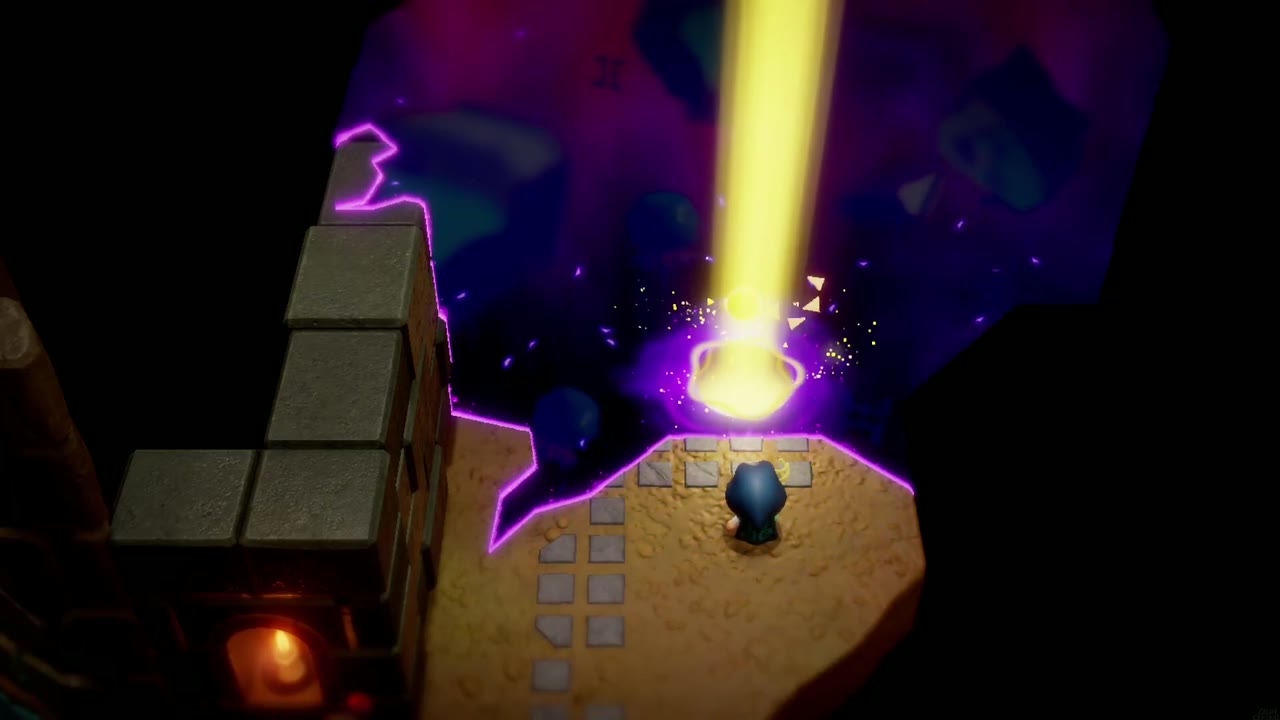
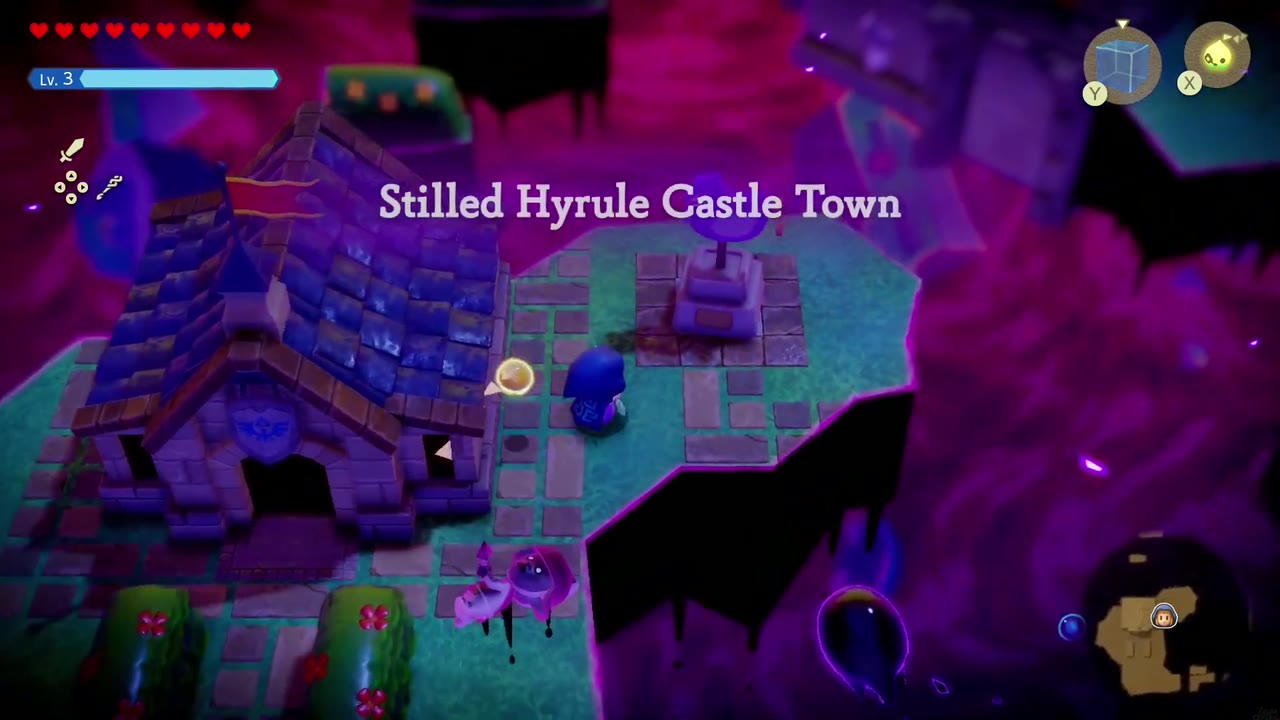
Stilled Hyrule Castle Town
Inside the rift you arrive at the bottom of the well; climb the stairs into the guardhouse barracks and leave through its south door to see what the Still World did to Castle Town: the guardhouse sits on its own floating island, and the streets around it hang in broken pieces over a purple void.
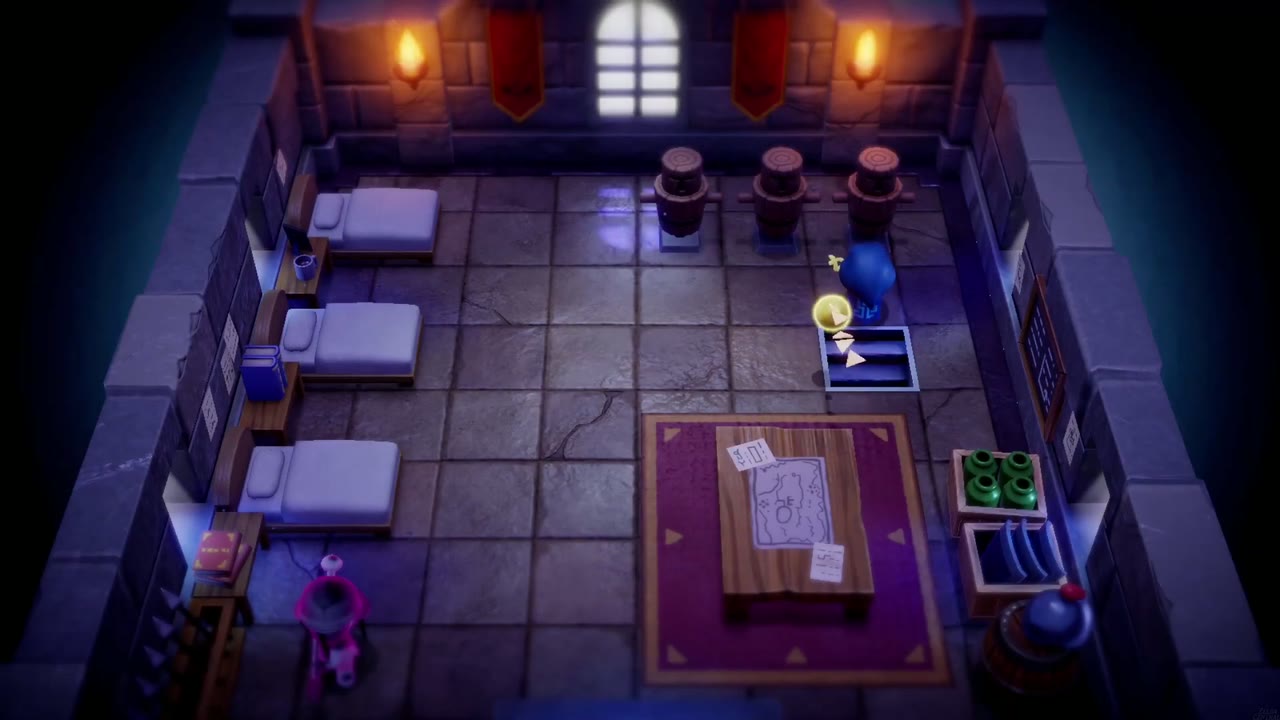
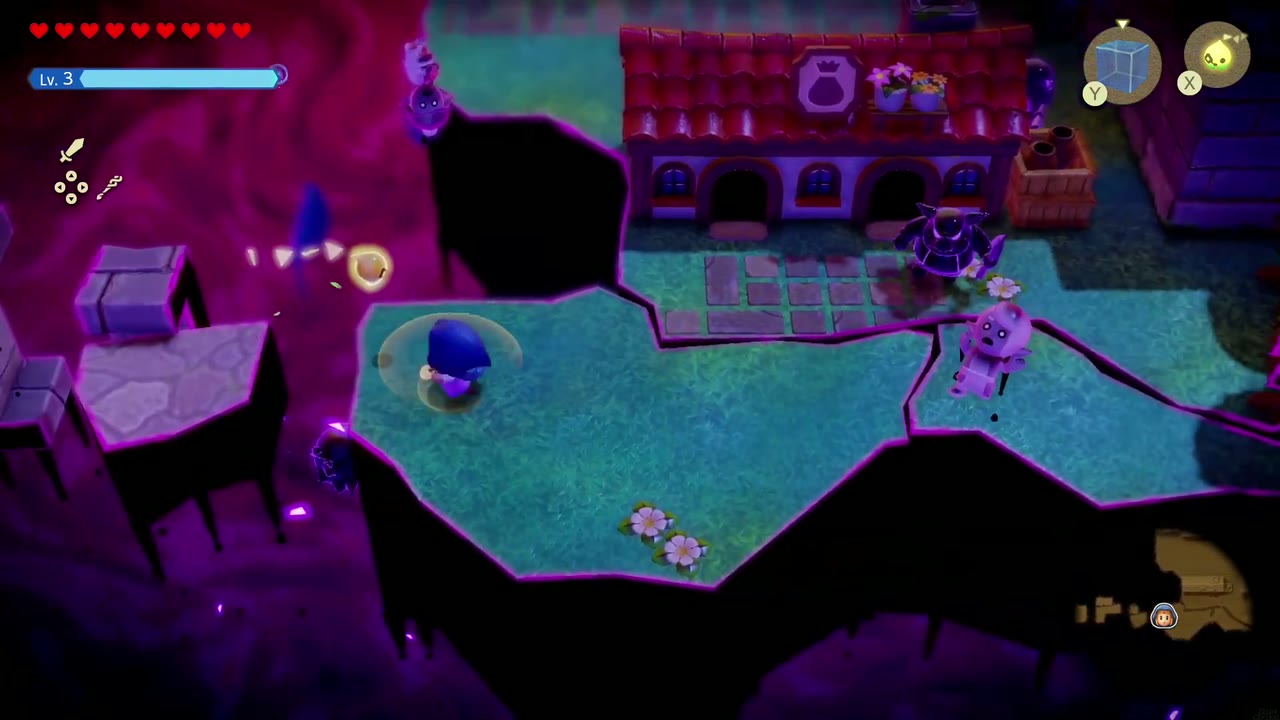
Rift monsters patrol the islands west of the guardhouse. Follow the broken street west to the item shop, clearing the axe-wielding shadows outside, then step inside: the shop itself is packed with enemies. Swordfighter Form makes short work of them.

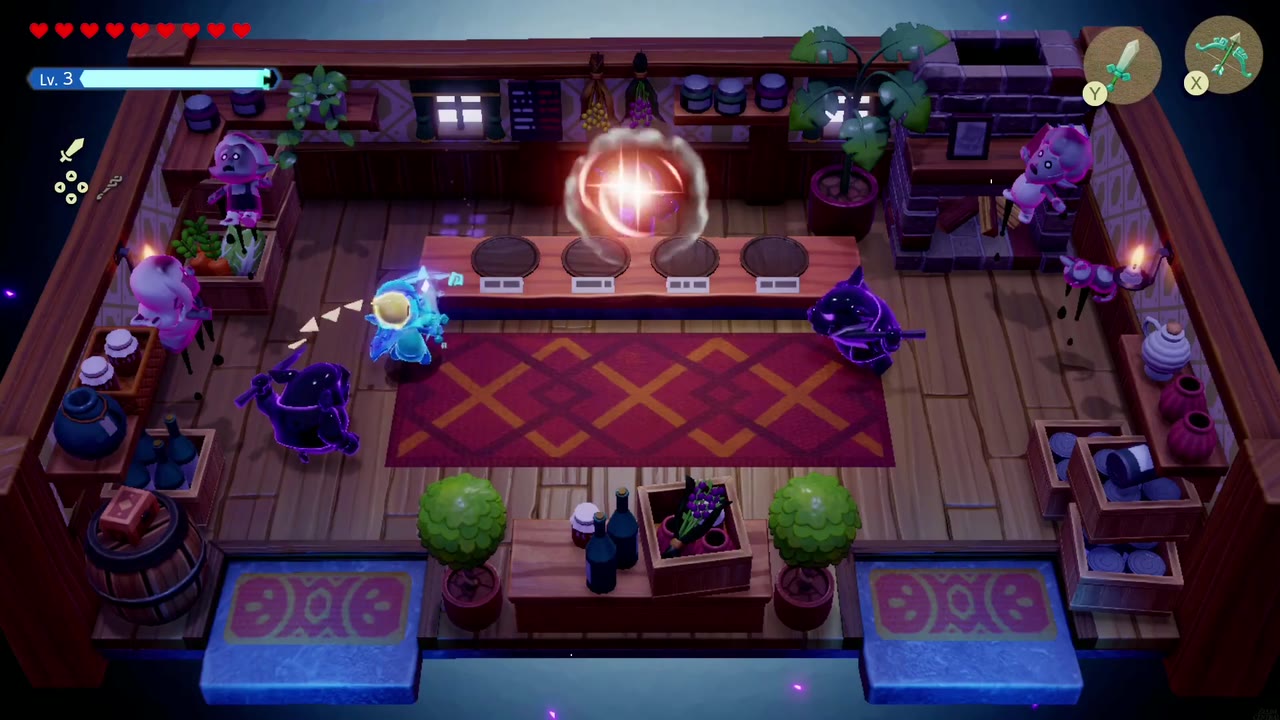
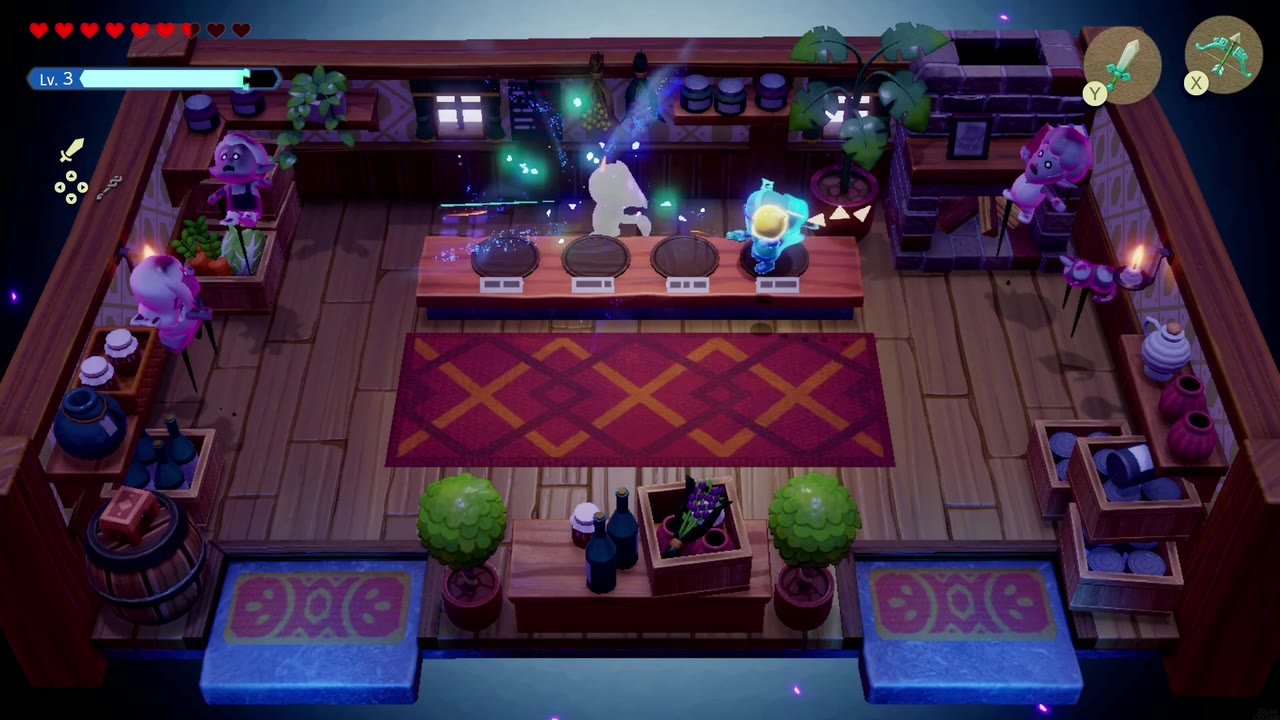
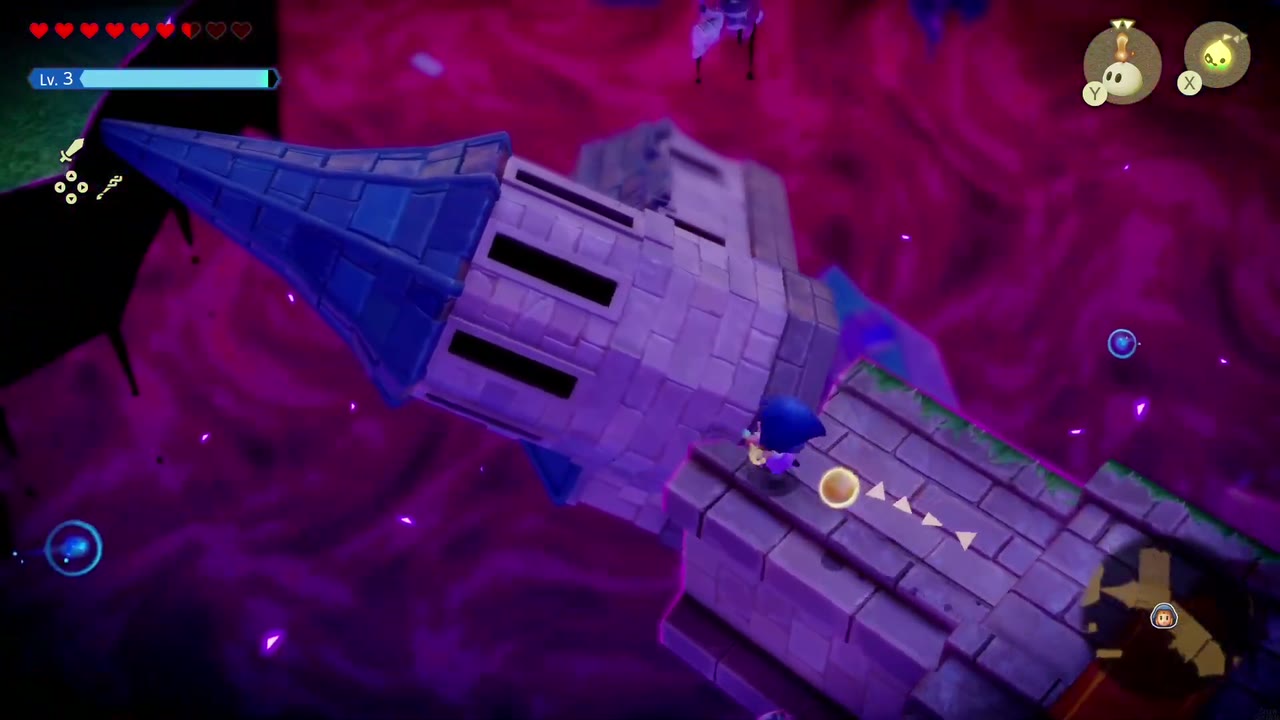
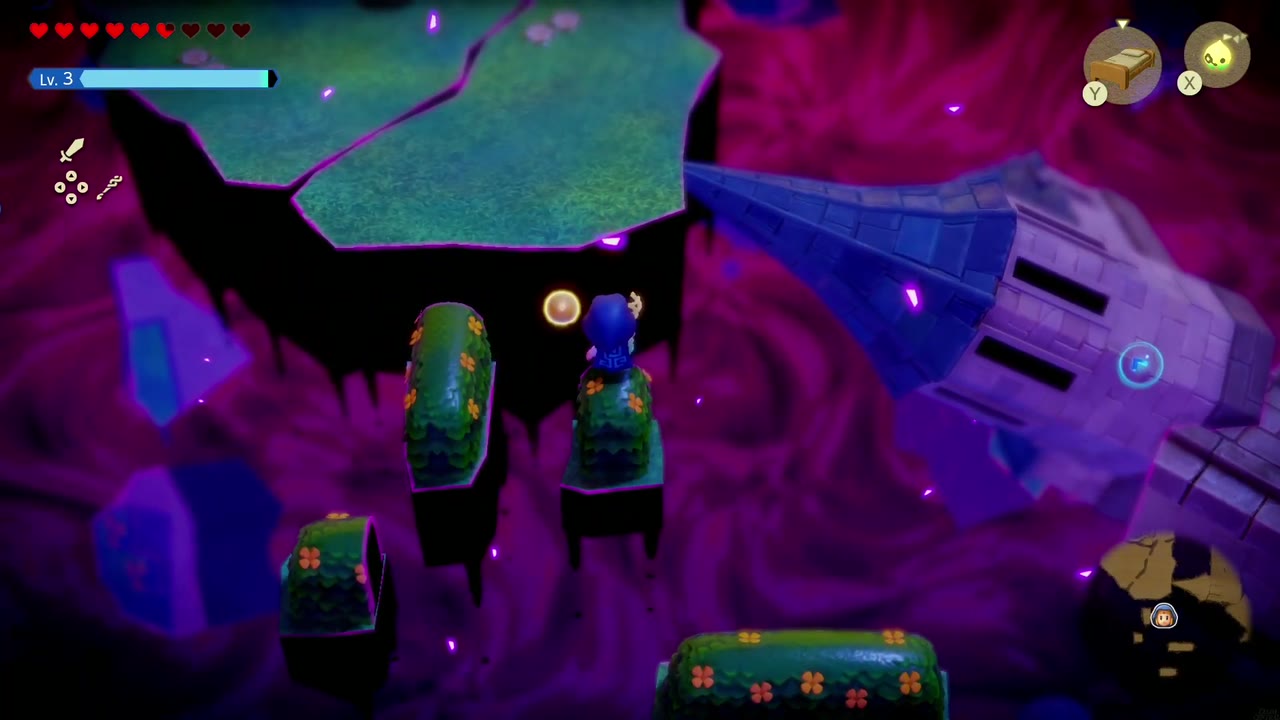
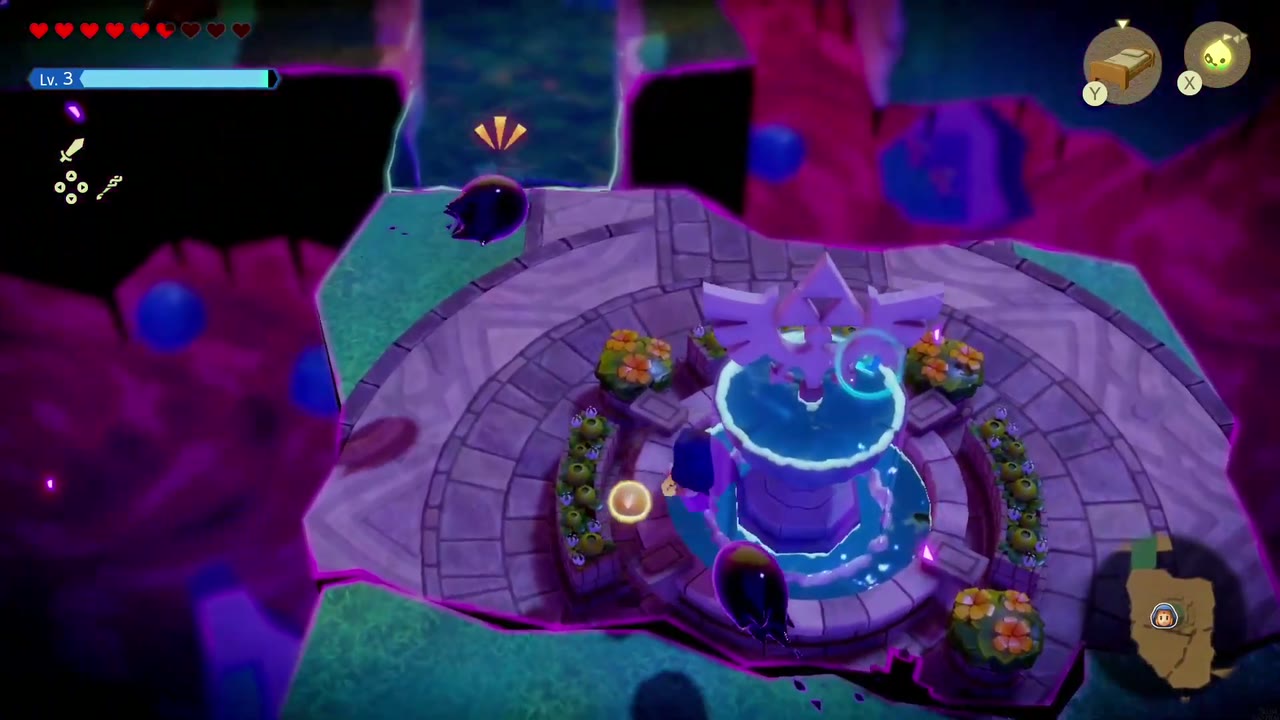
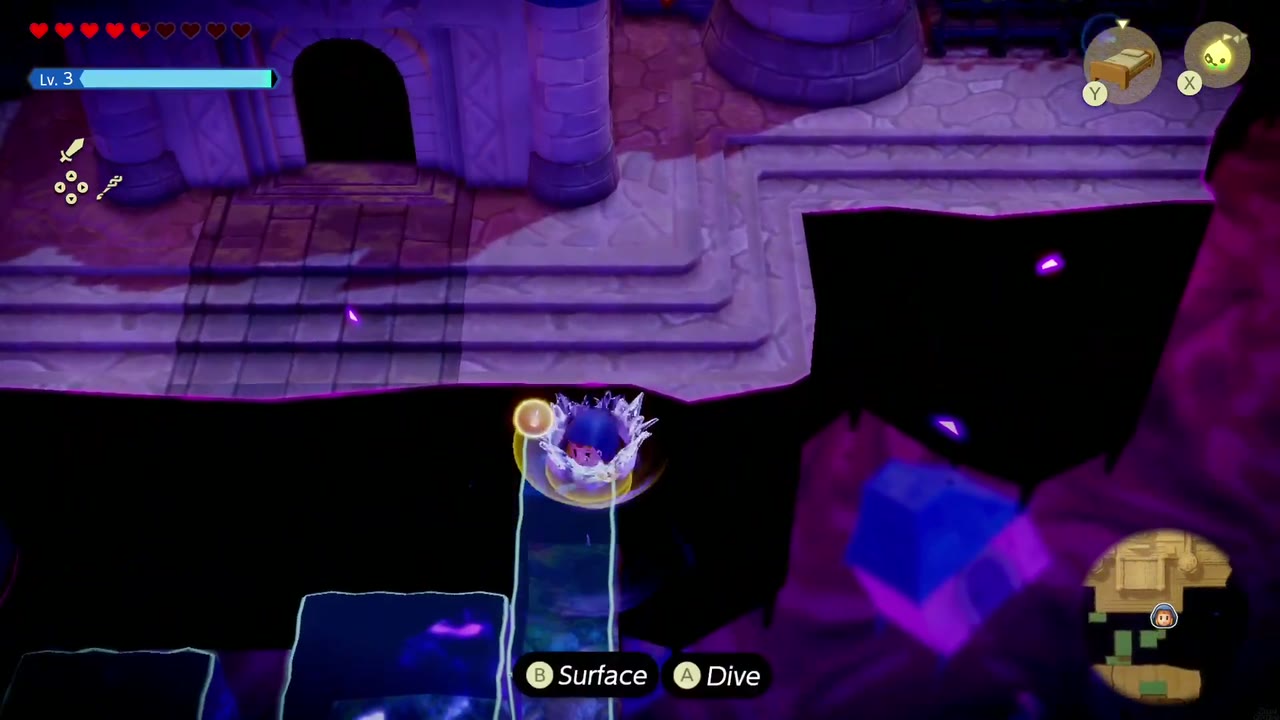
Back outside, place a Water Block against the town wall beside the shop and swim up onto it. Follow the wall north past a couple of stilled houses, cross the toppled stone tower lying over the void, and use Old Beds to bridge the string of floating shrubs that leads to the old fountain.
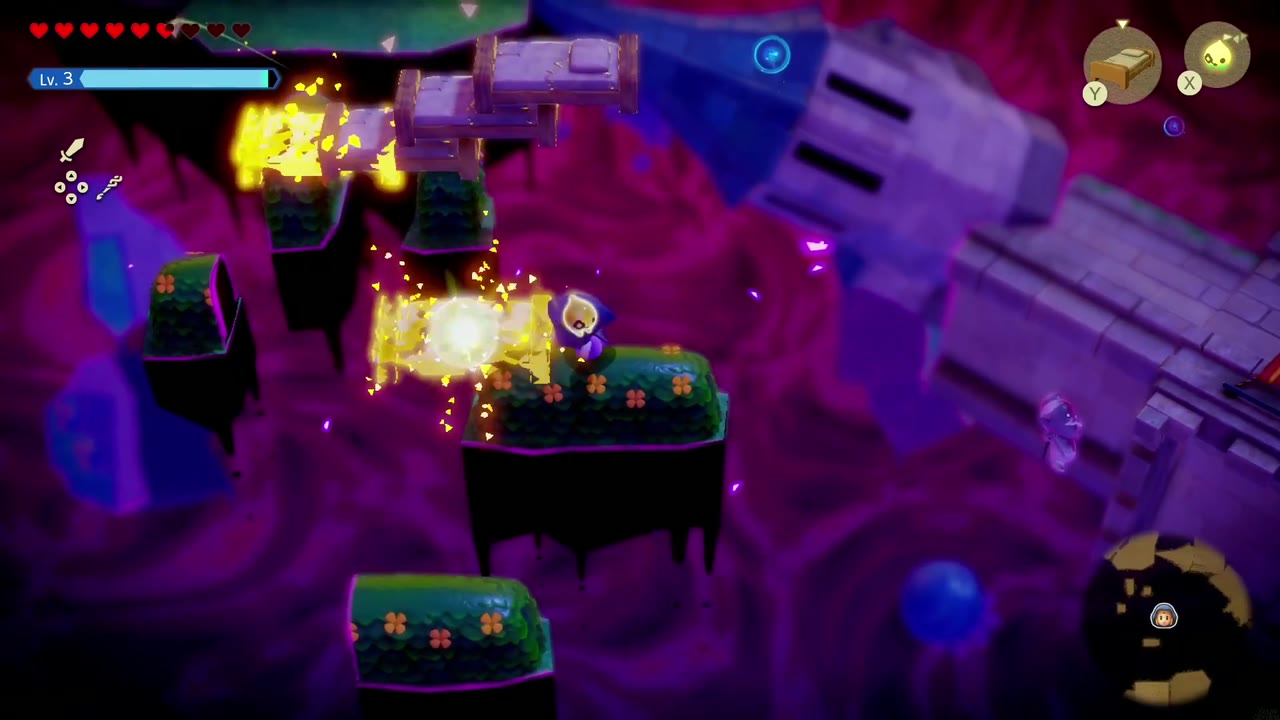
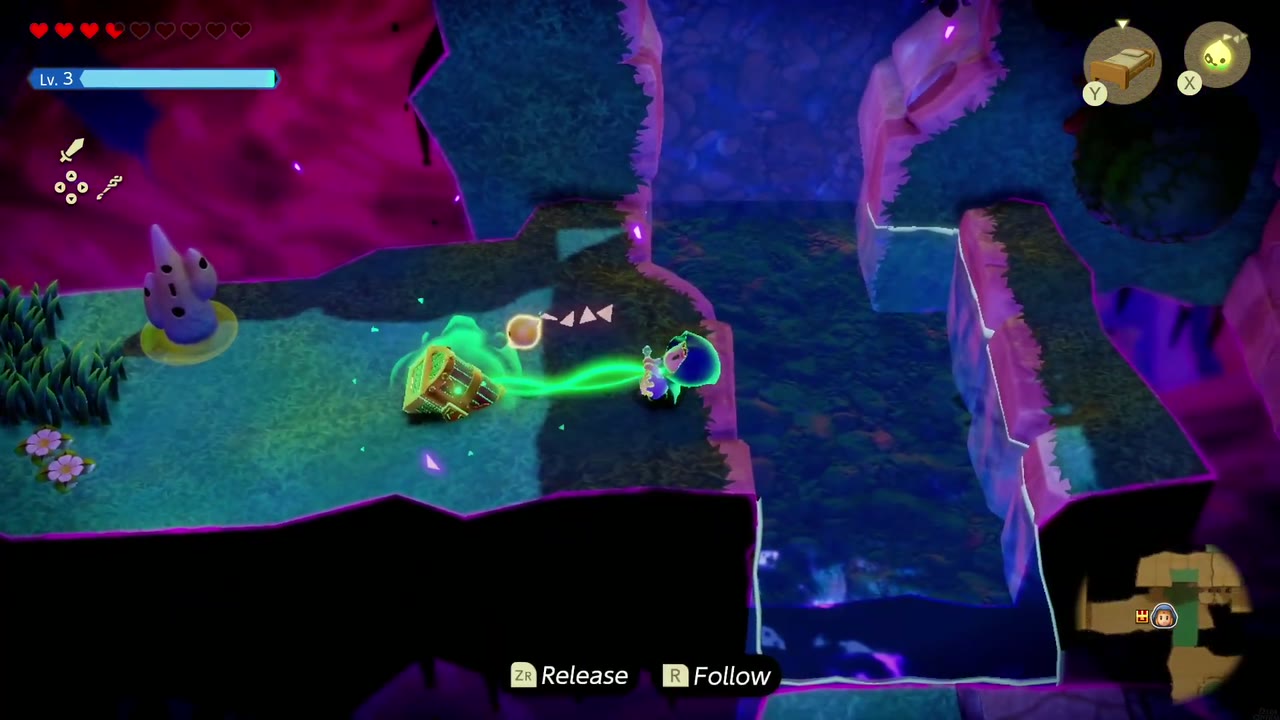
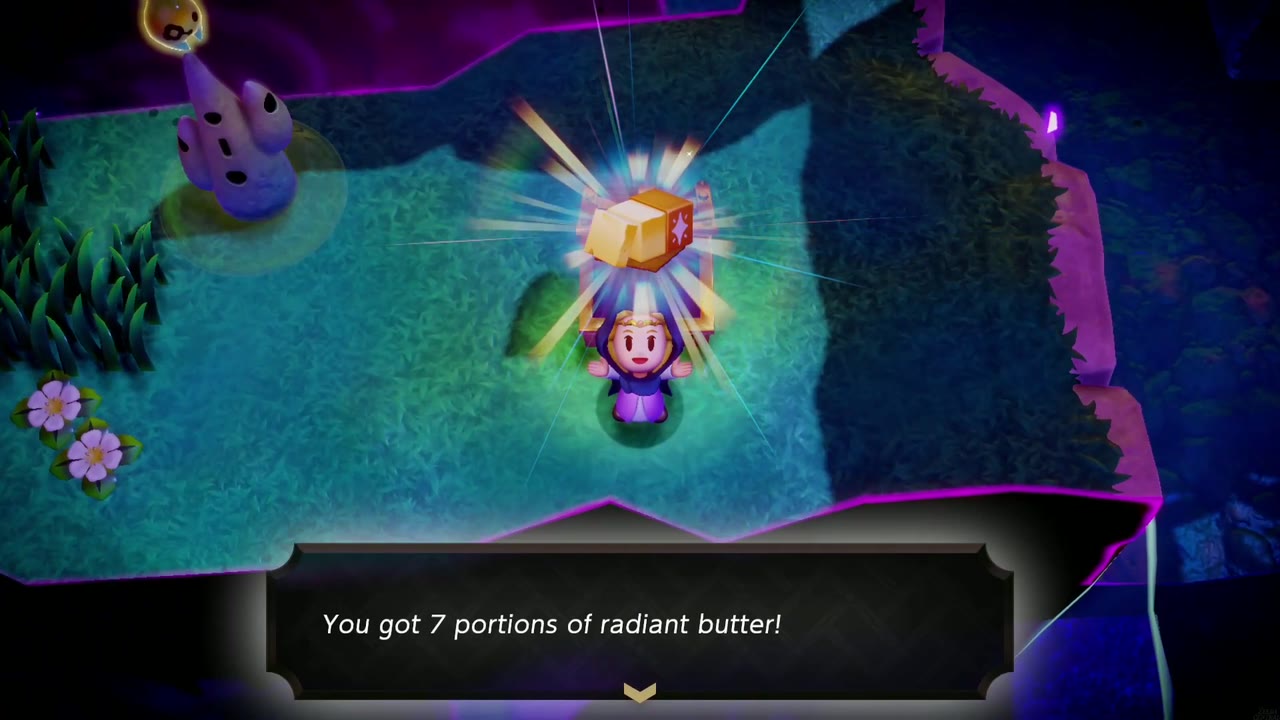
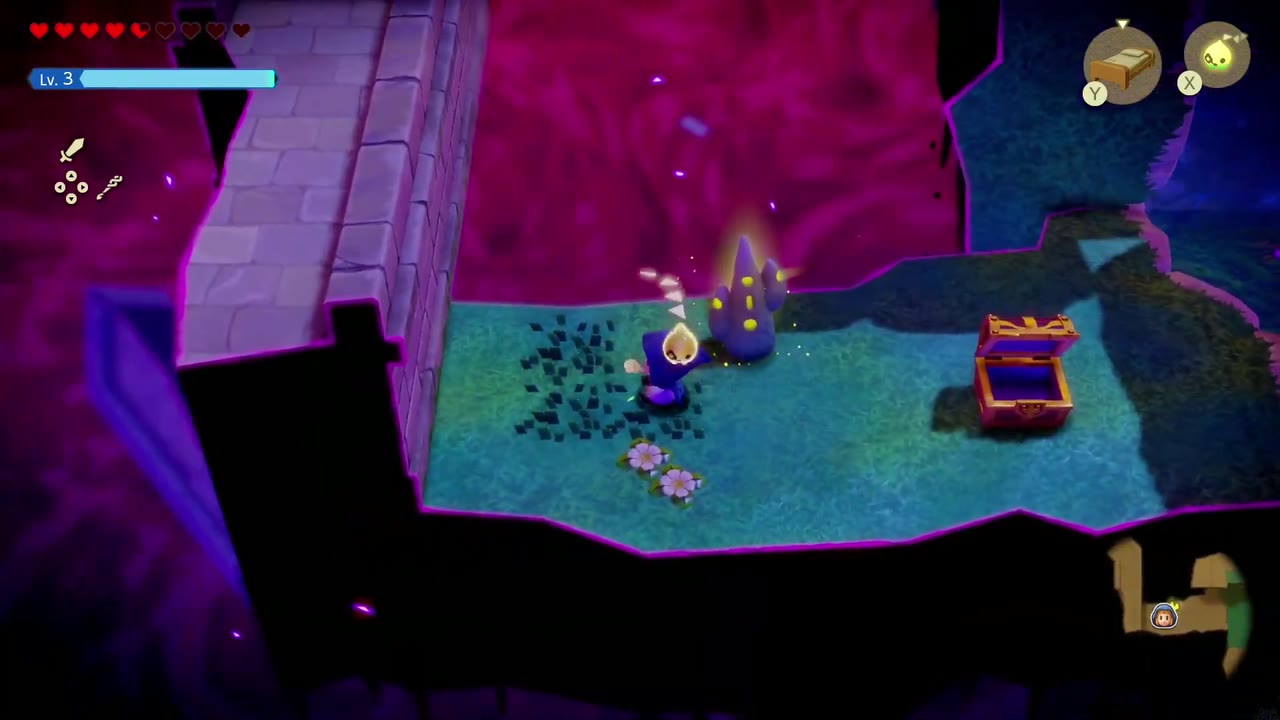
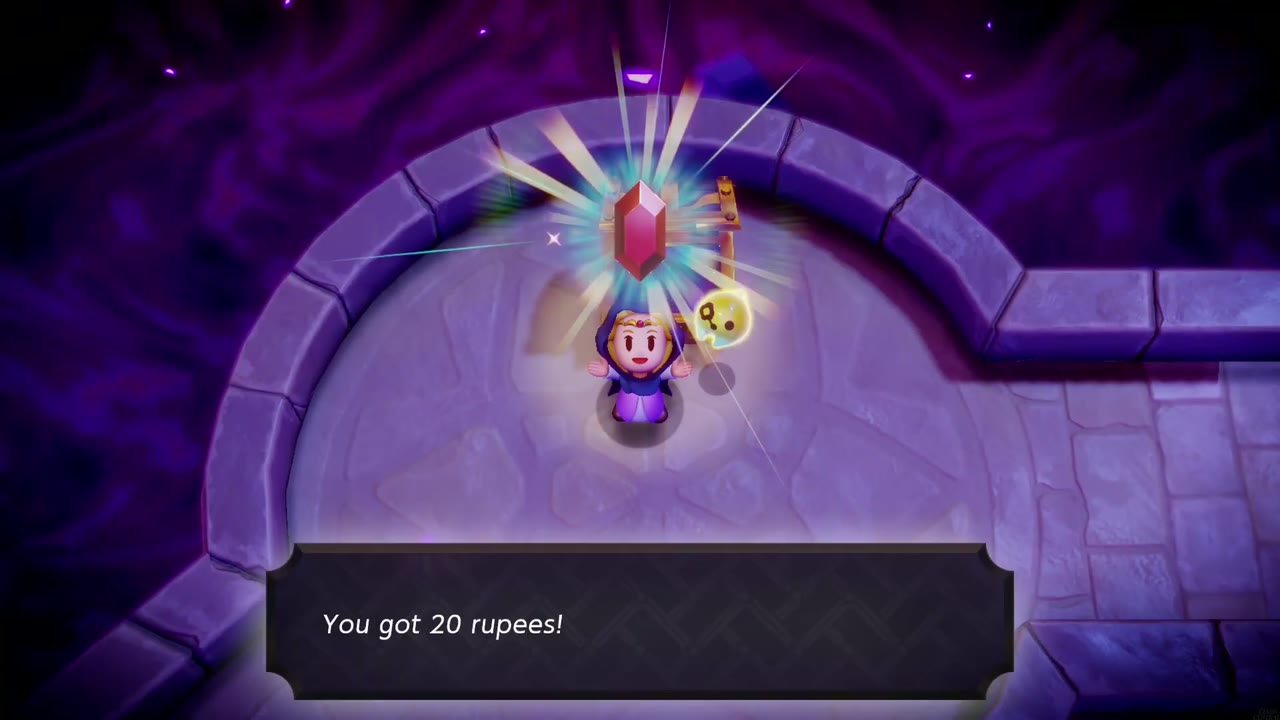
From the fountain, swim north up the water channel. A chest sits on a ledge across the water: Bind it and drag it over to get 7 Radiant Butter. The stone beside it is a Waypoint; touch it so you can warp back. Then Water Block up onto the wall to the west and lay Old Beds out to a round floating platform, where a chest holds 20 rupees.

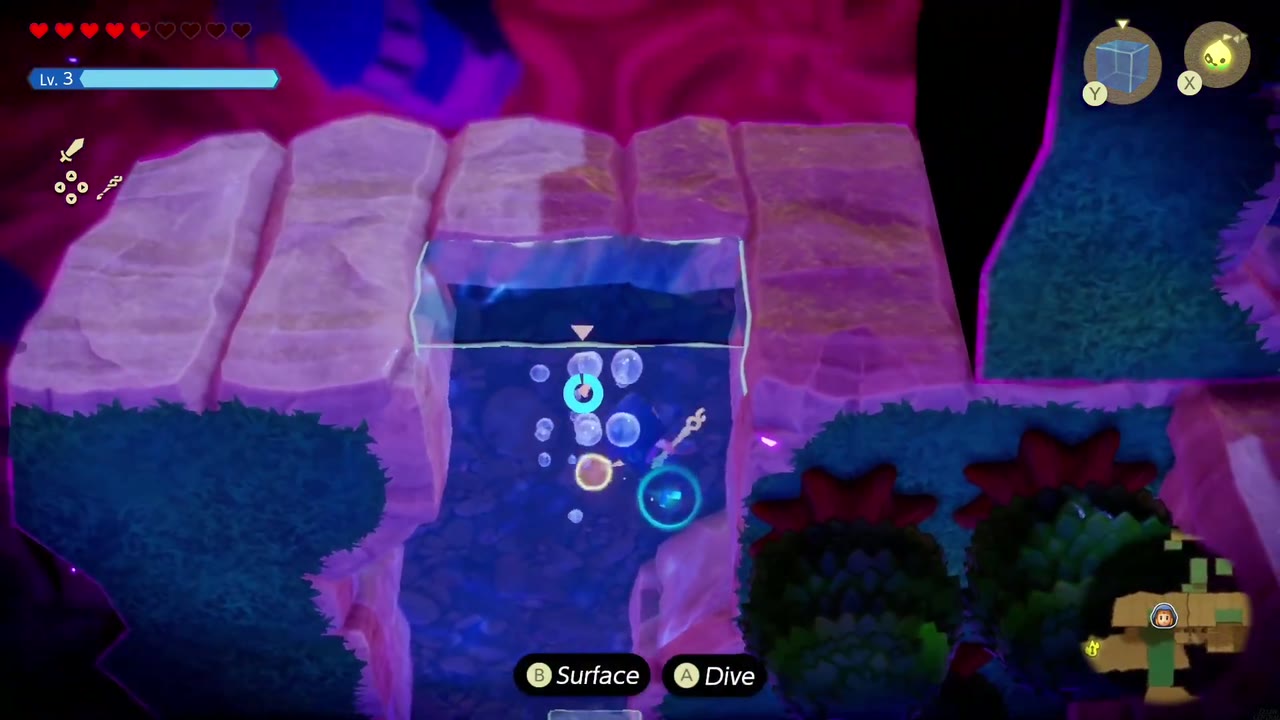
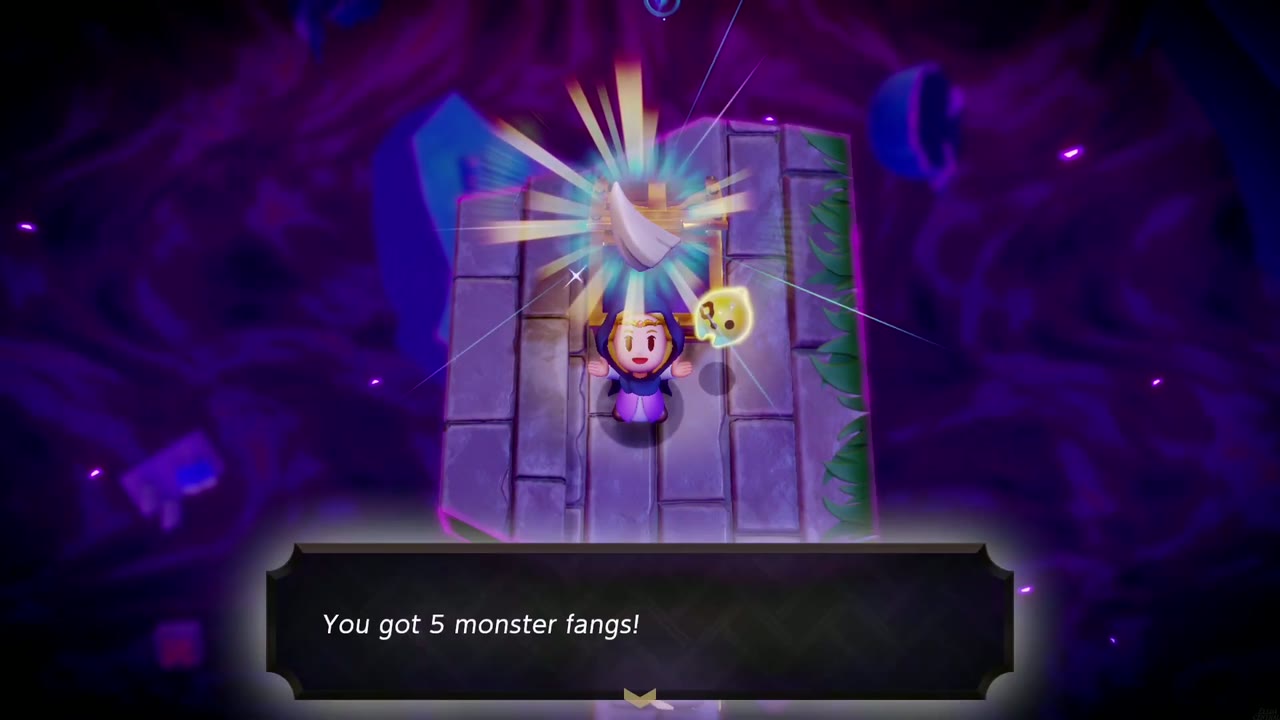
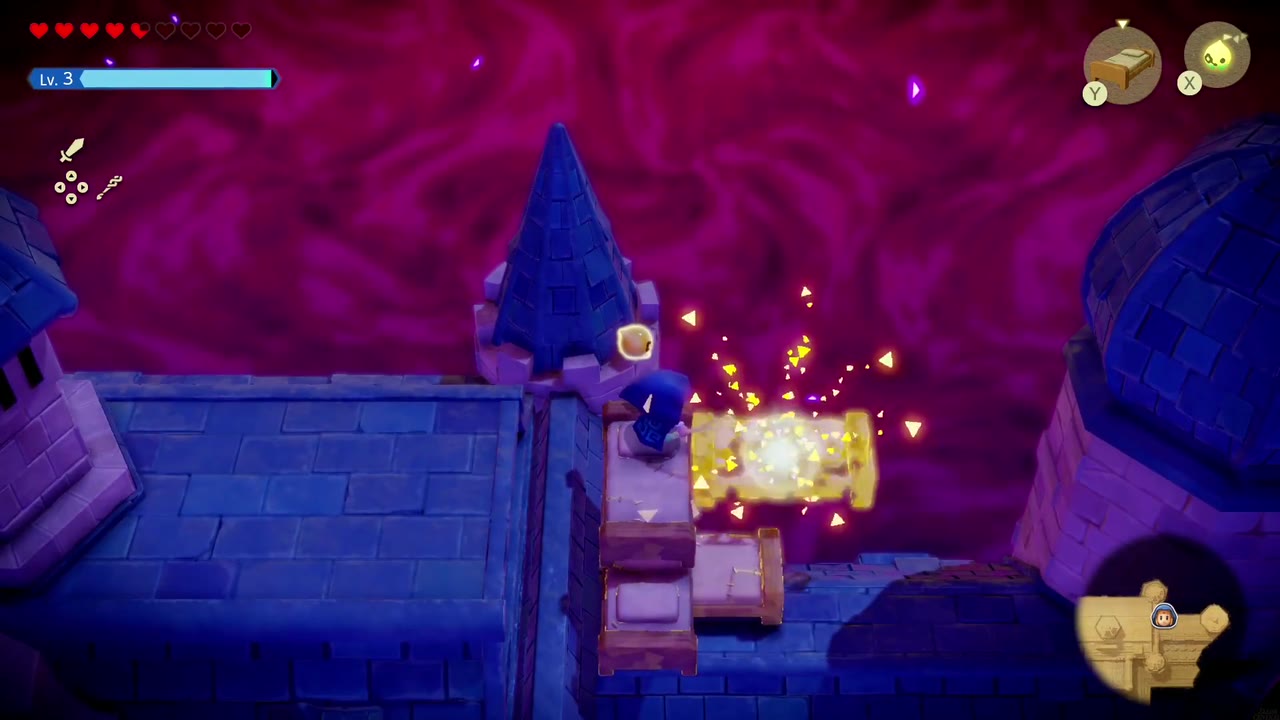
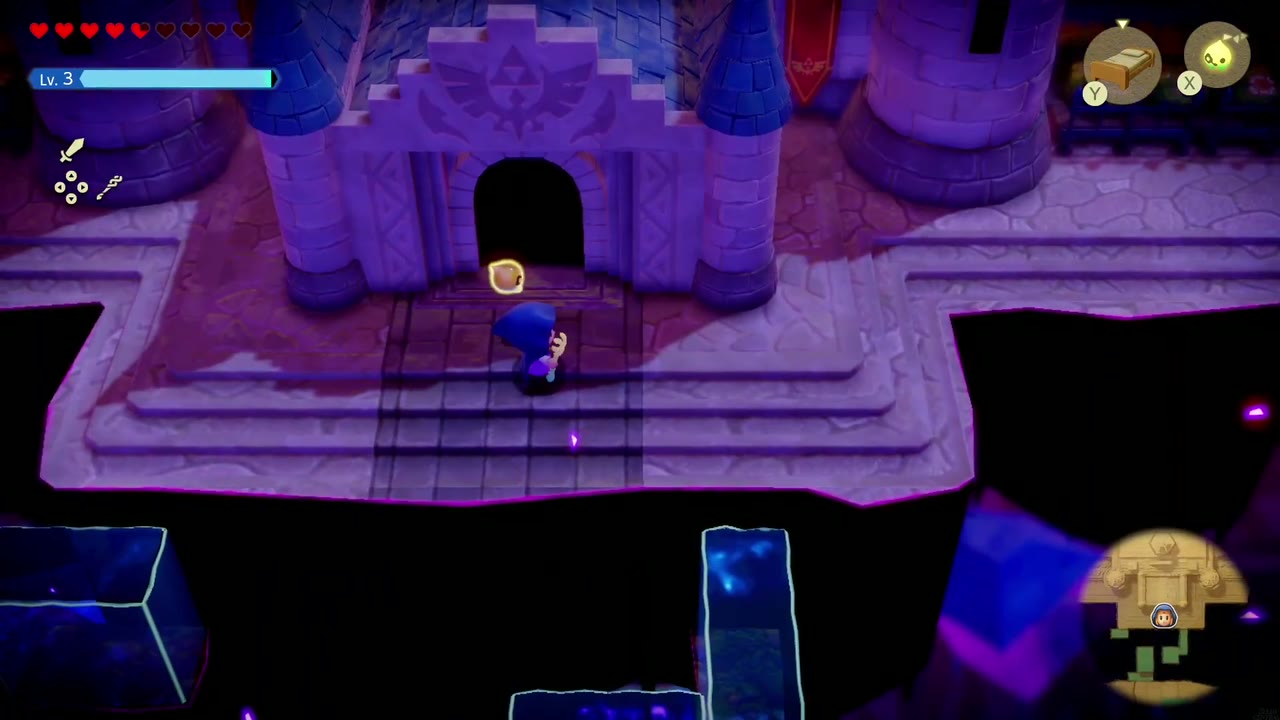
From there it’s a climb: swim up stacked Water Blocks between the floating ponds and ledges east of the Waypoint. If you want the 5 Monster Fangs, double back south past the fountain to the toppled tower and stack Old Beds up to the chest on a stone pillar. To finish, swim north through the ponds again, ride a column of Water Blocks up to the castle grounds, stack Old Beds onto the ramparts, and follow them round to the front steps and the castle door.
Stilled Hyrule Castle: Throne Room to Impa’s Cell
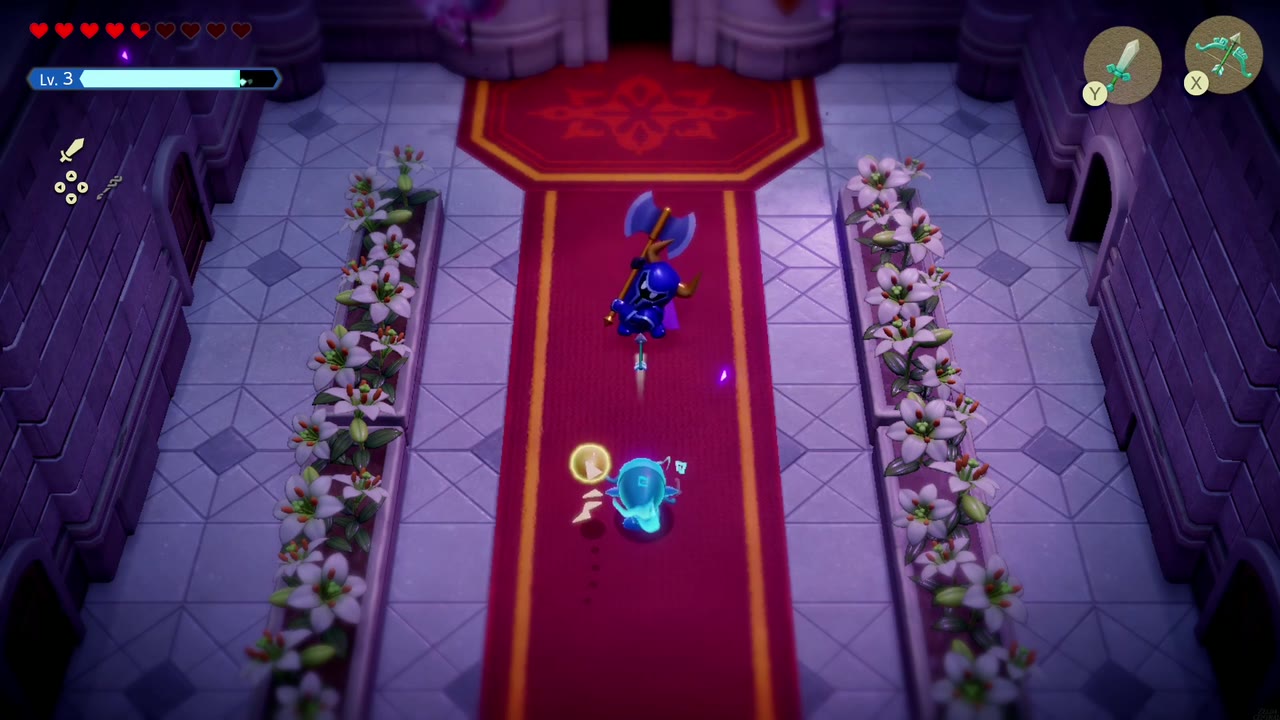
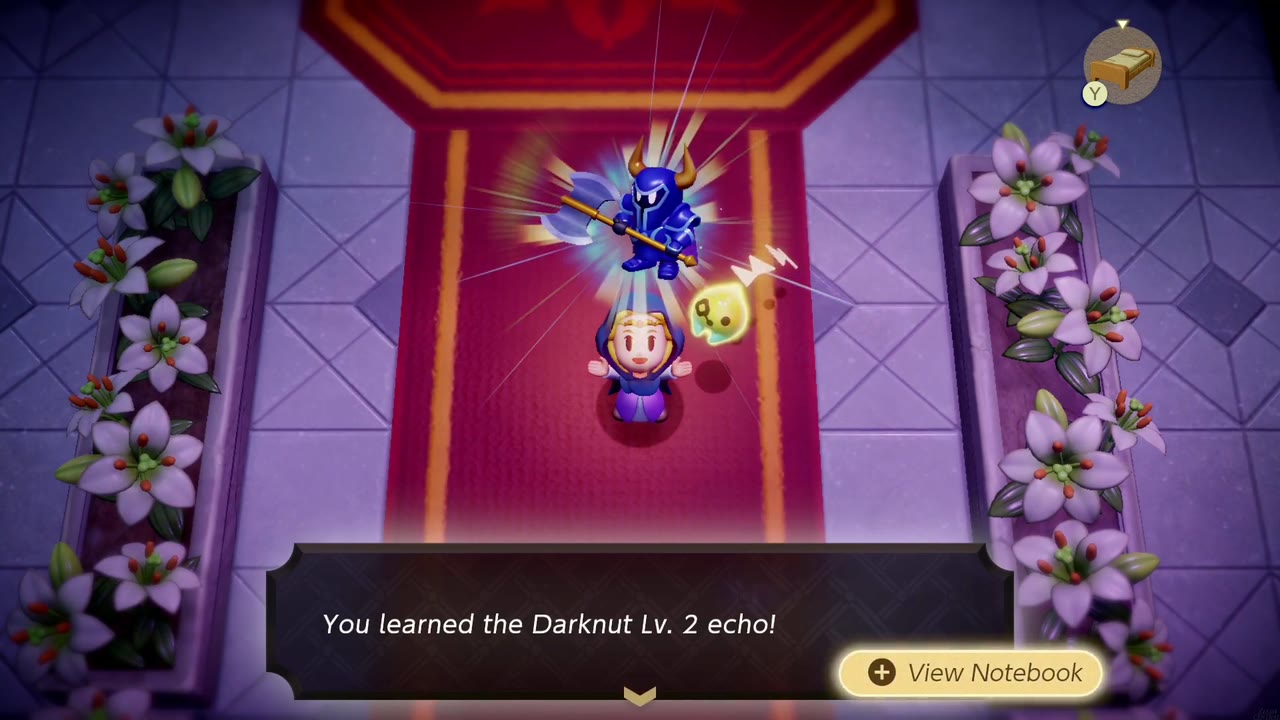
The entrance hall is the same one Zelda walked in the prologue, now dark and drifting with rift monsters. Head up the red-carpeted stairs and through the arched back door. The flower-lined hall beyond holds a Darknut Lv. 2; Swordfighter Form makes short work of him, and beating him teaches you the Darknut Lv. 2 echo, one of the best melee pickups in the dungeon.
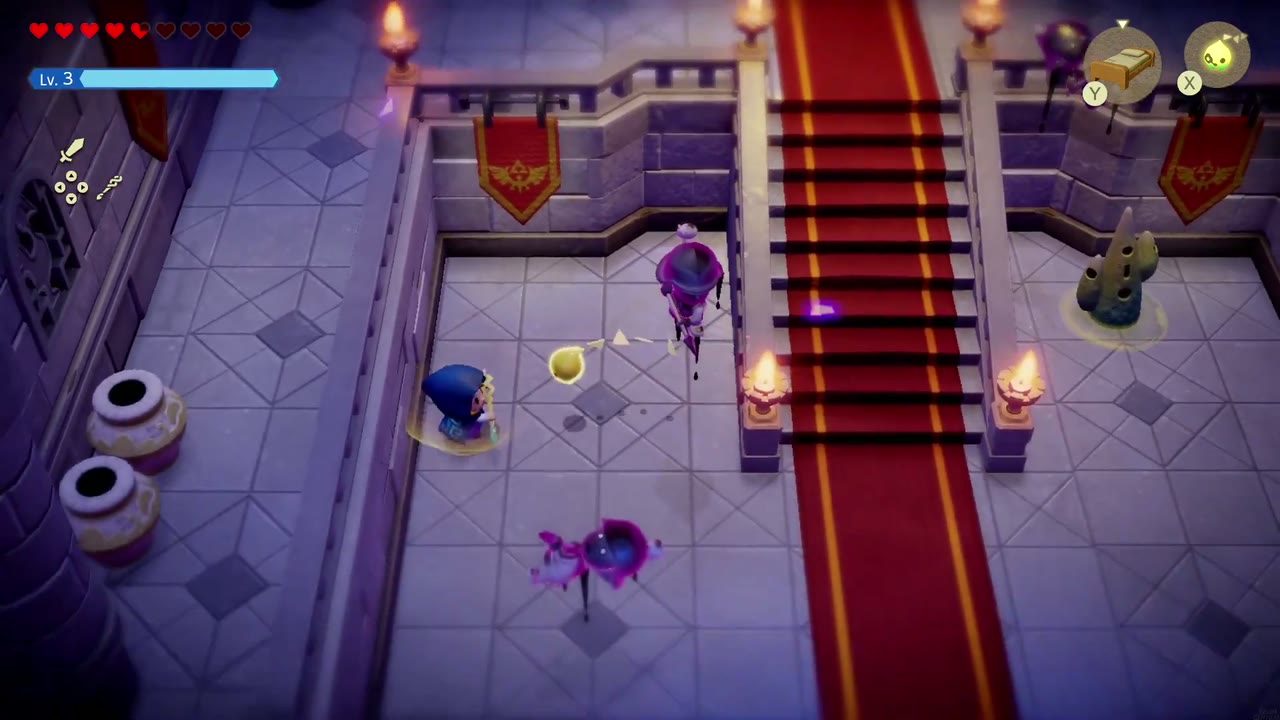
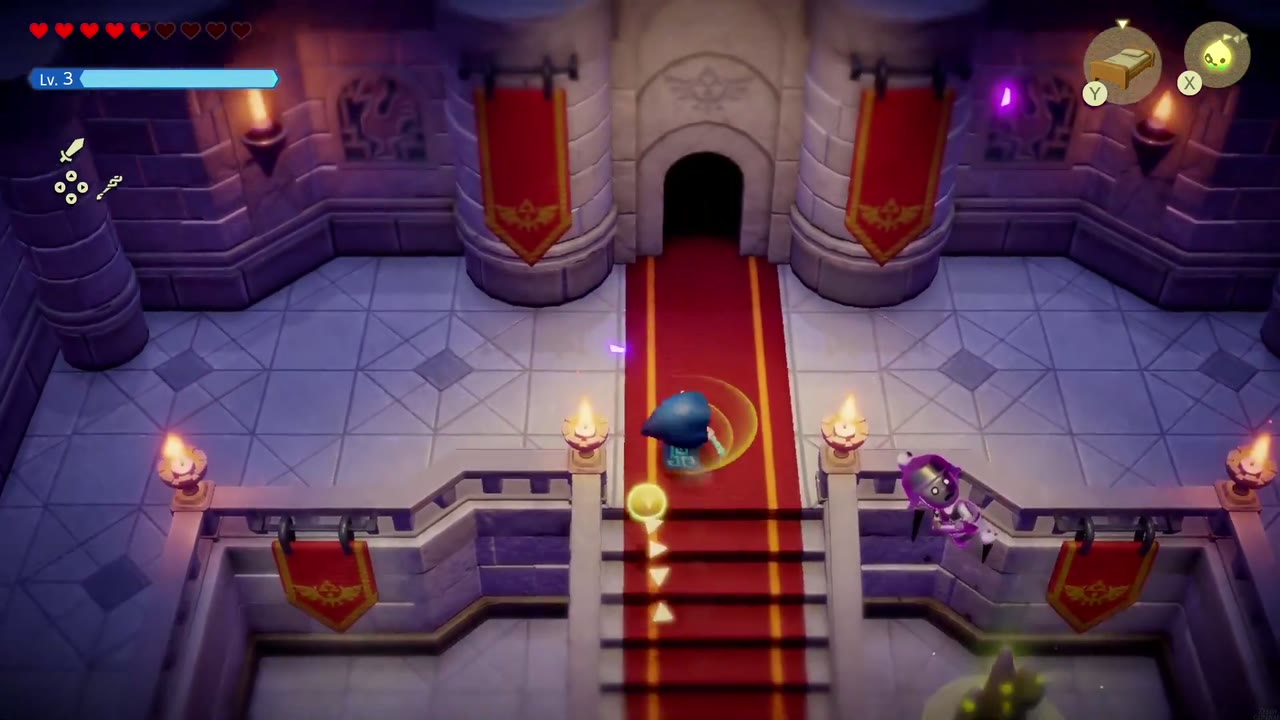
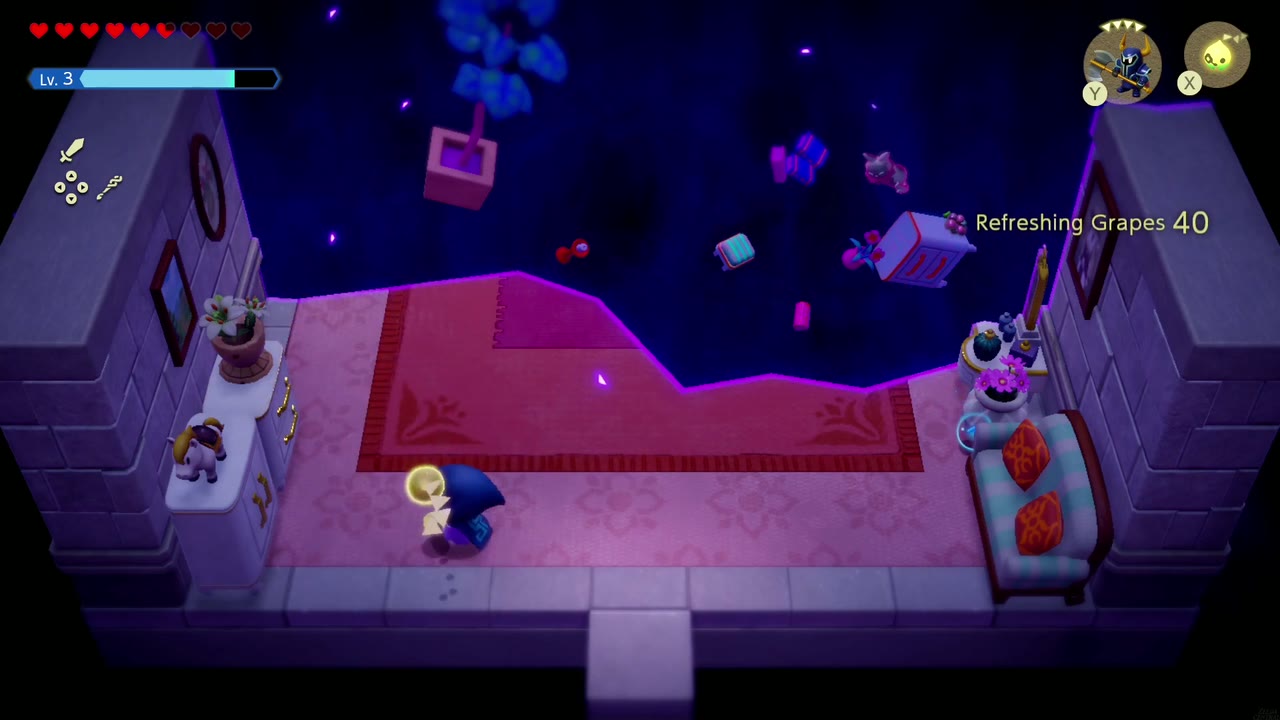
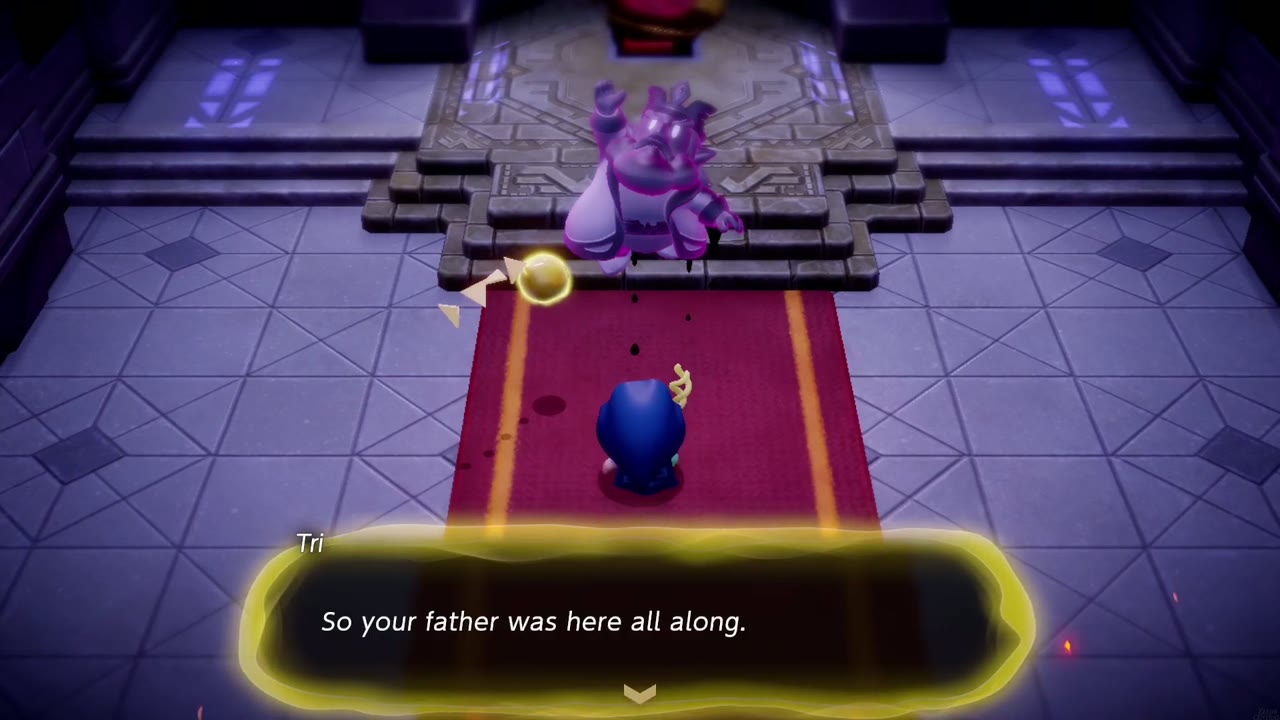
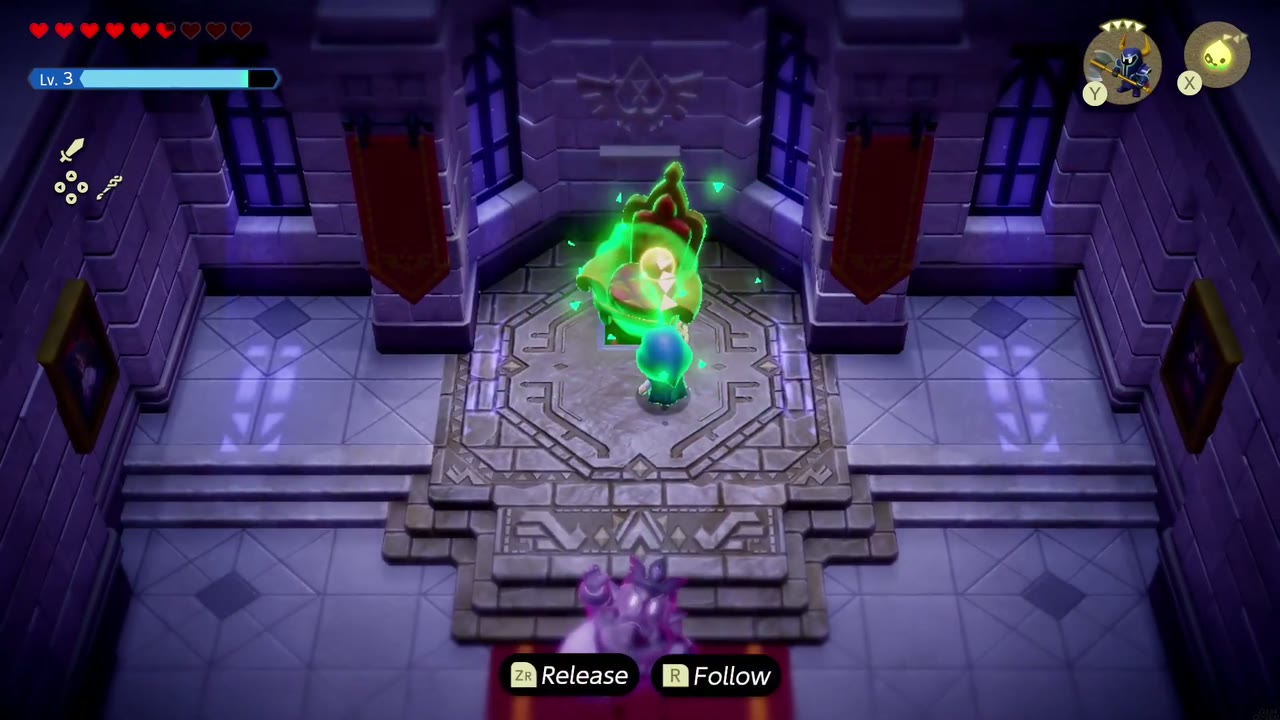
A door off the flower hall leads to a side room sliced in half by the rift; grab the Refreshing Grapes by the sofa, then head back and continue to the throne room. Your father, the king, stands stilled in front of the throne (“So your father was here all along”), and Tri promises he’ll go back to normal once the rift is mended. Bind the throne itself and drag it off the platform to uncover the opening hidden underneath.
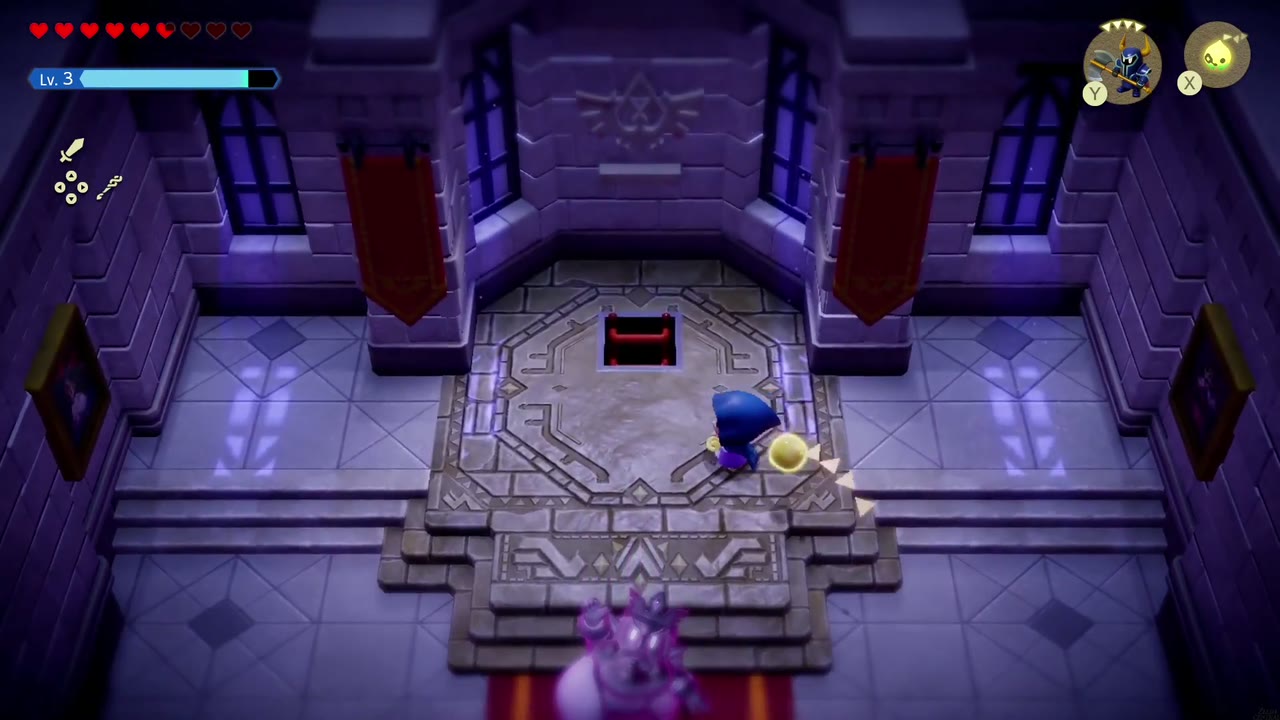
Drop through and climb down the ladders of the short side-view passage into B1. Touch the Waypoint statue in the first room, then Bind the stone block wedged in the doorway on the right and pull it out to open the way into a dark storeroom.
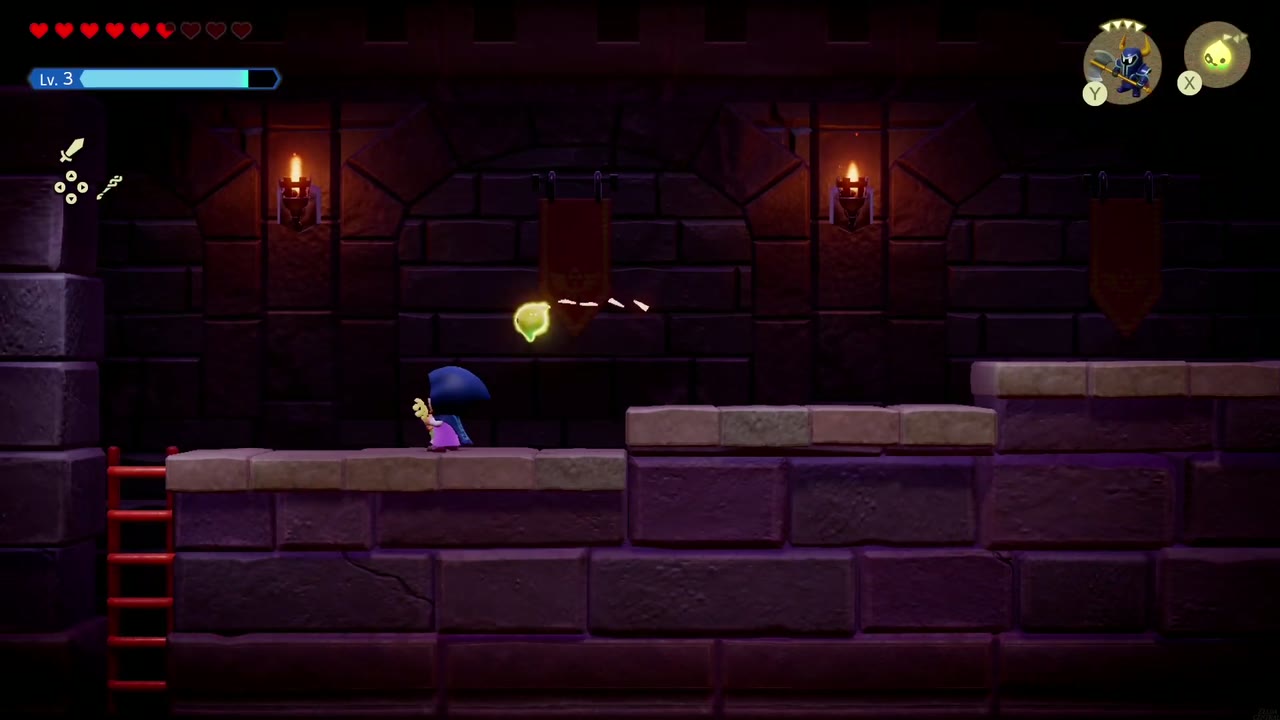
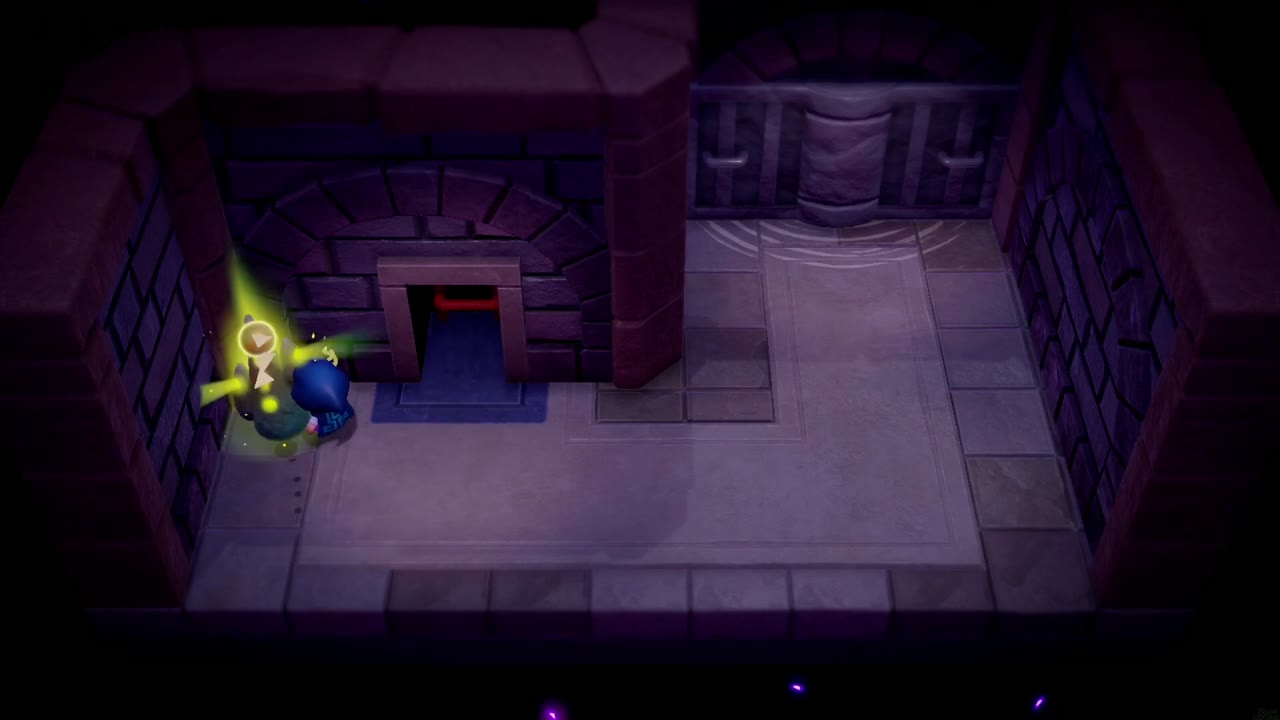
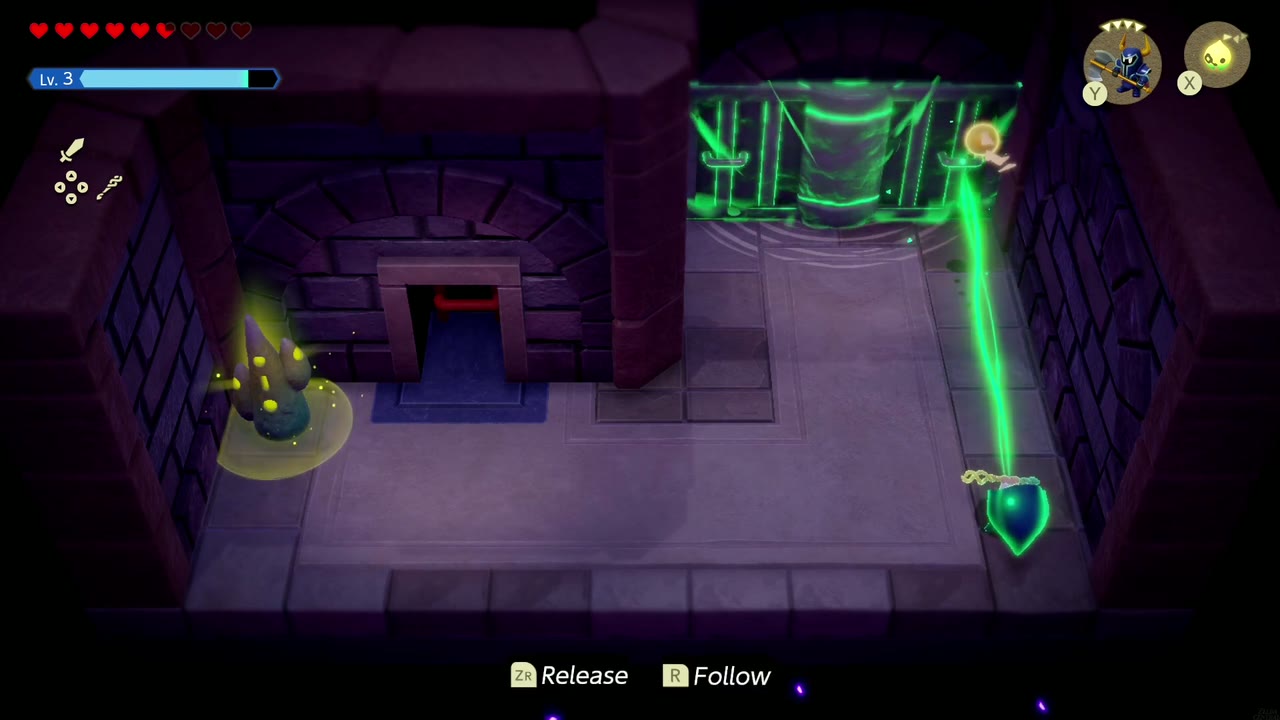
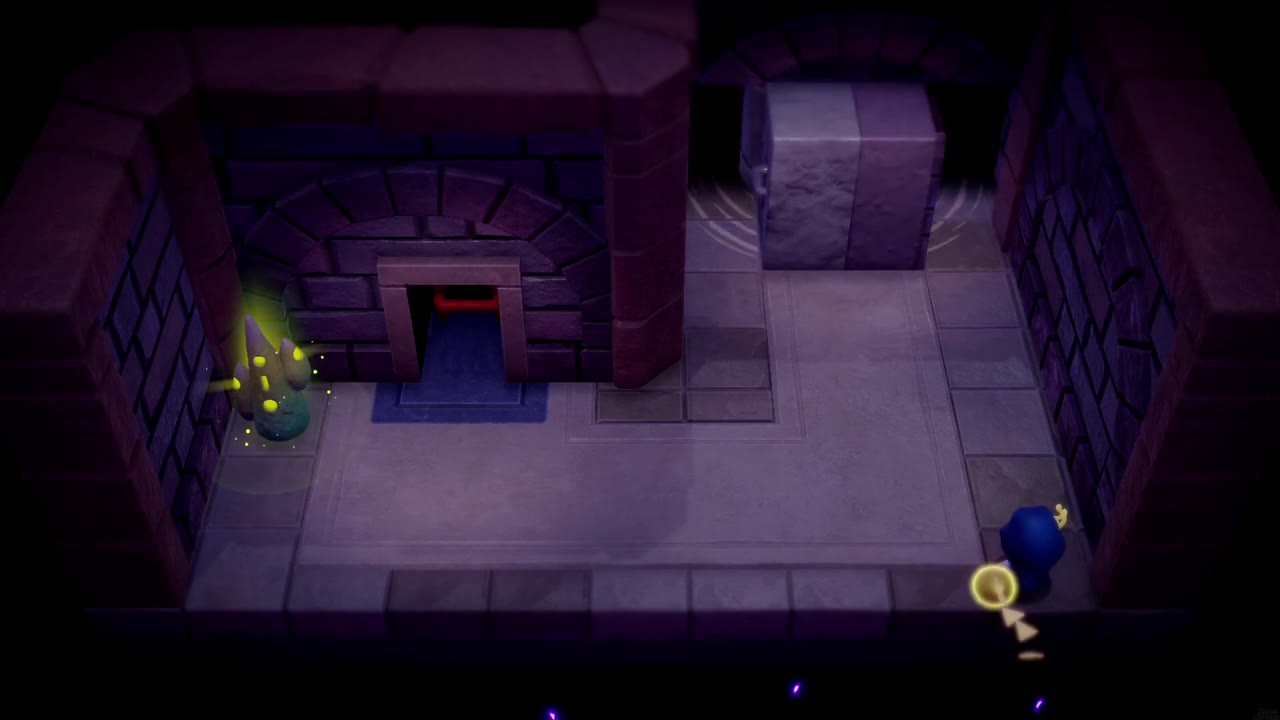
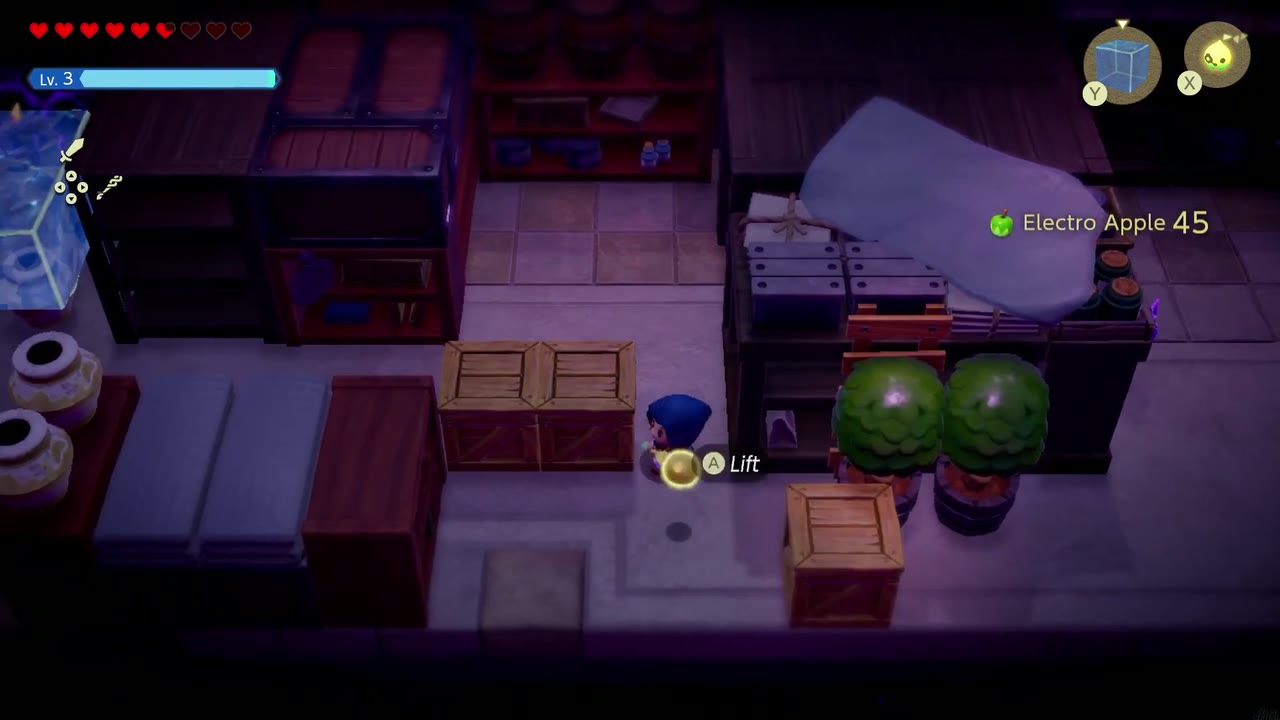
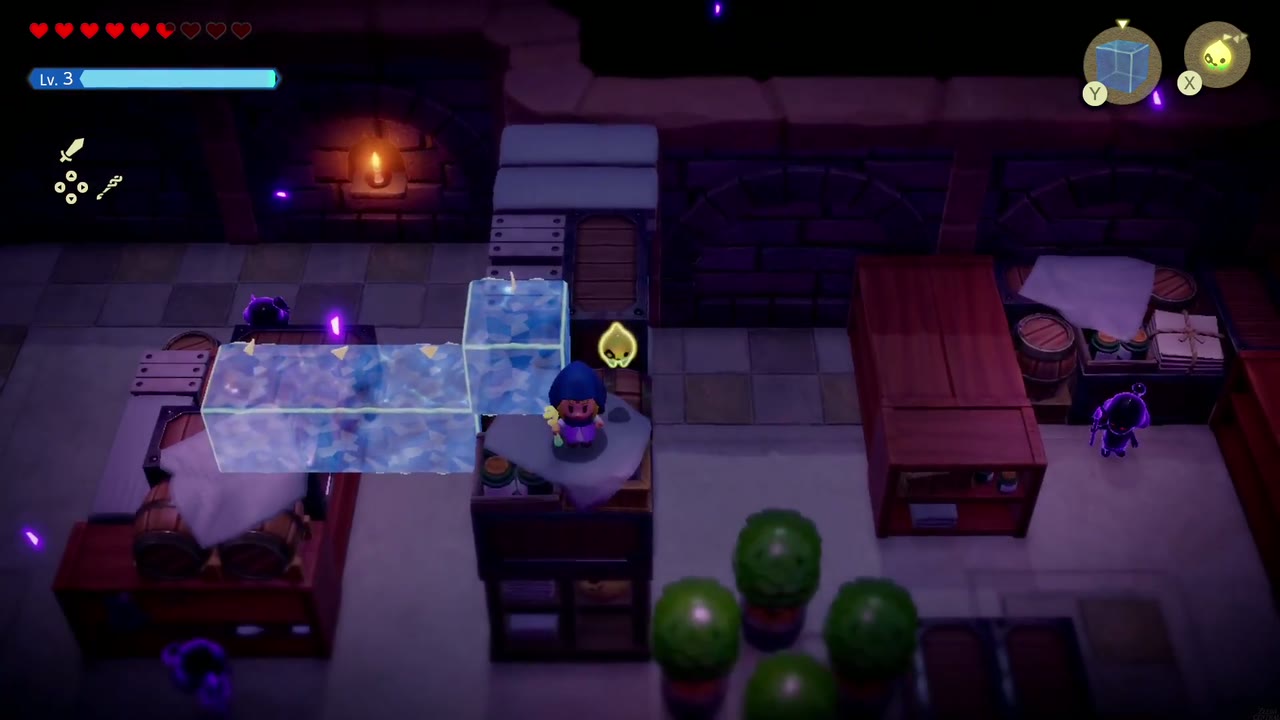
The storeroom floor is patrolled by shadowy spear-carrying guards, and they turn with a “?” when you make noise nearby, so the route runs over their heads. Stay on top of the crates, cabinets and shelves, and bridge each gap with a Water Block echo you can swim straight through, hopping from one piece of furniture to the next.
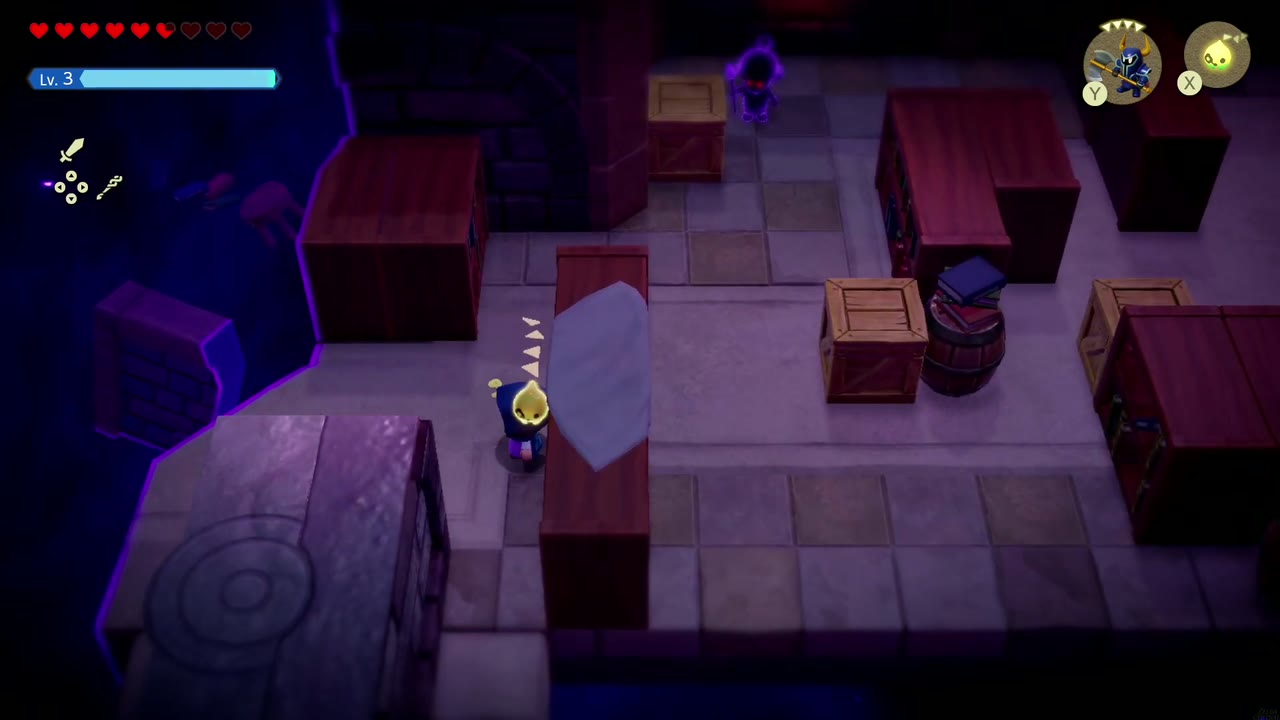
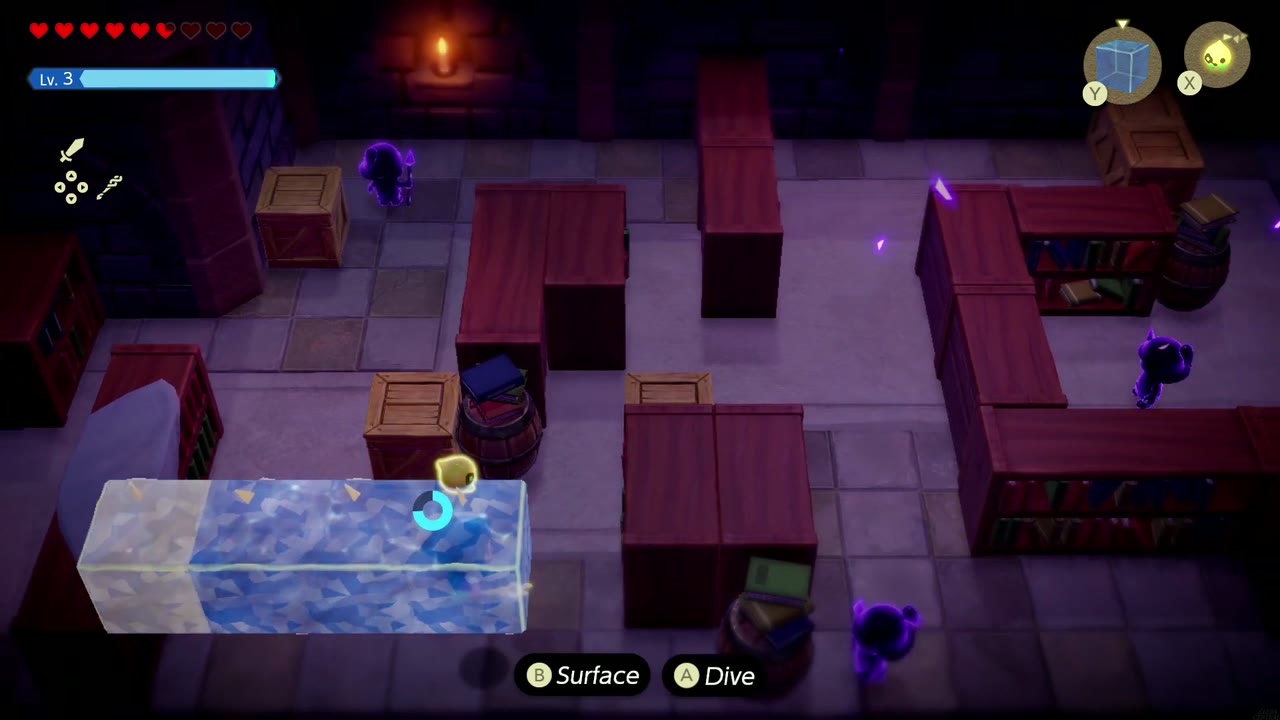
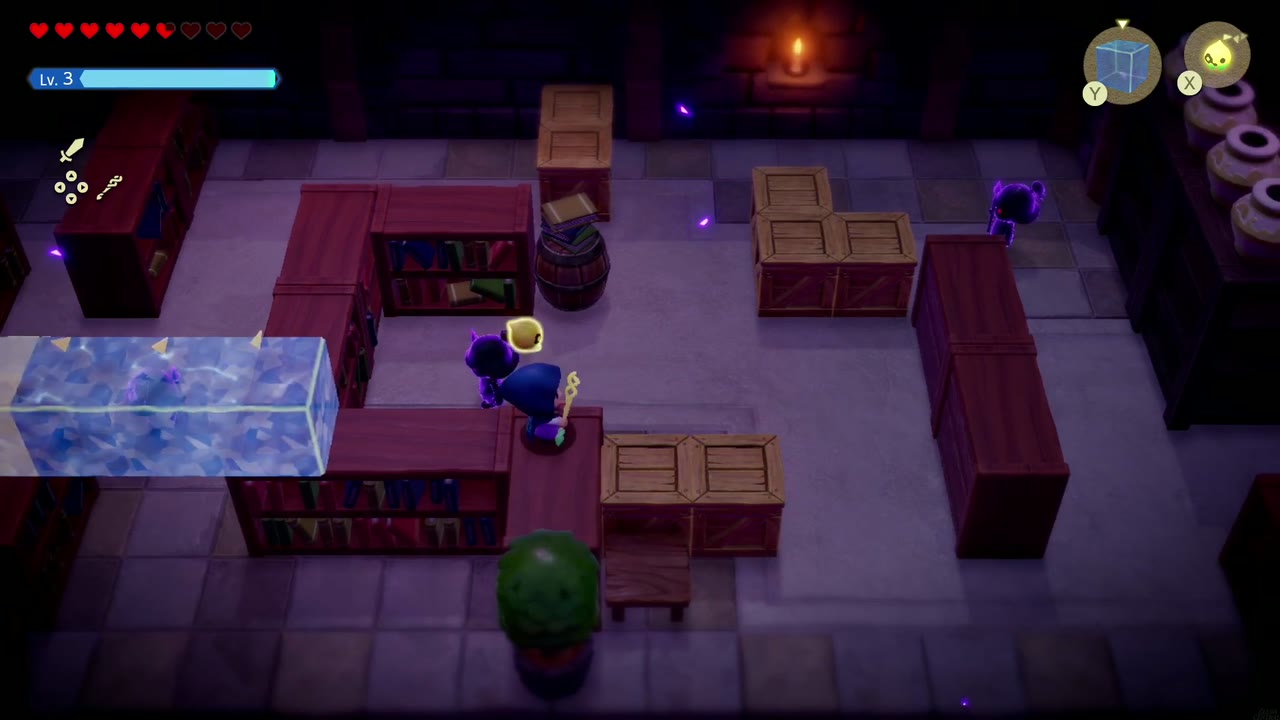

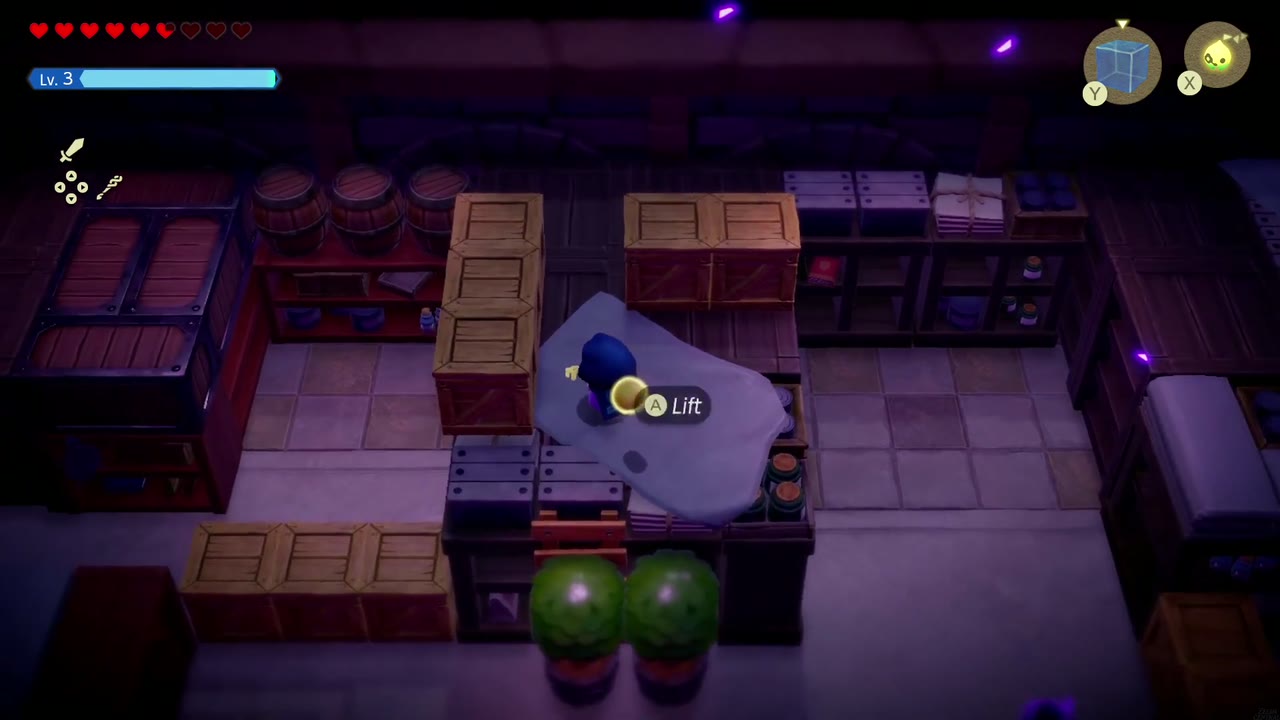
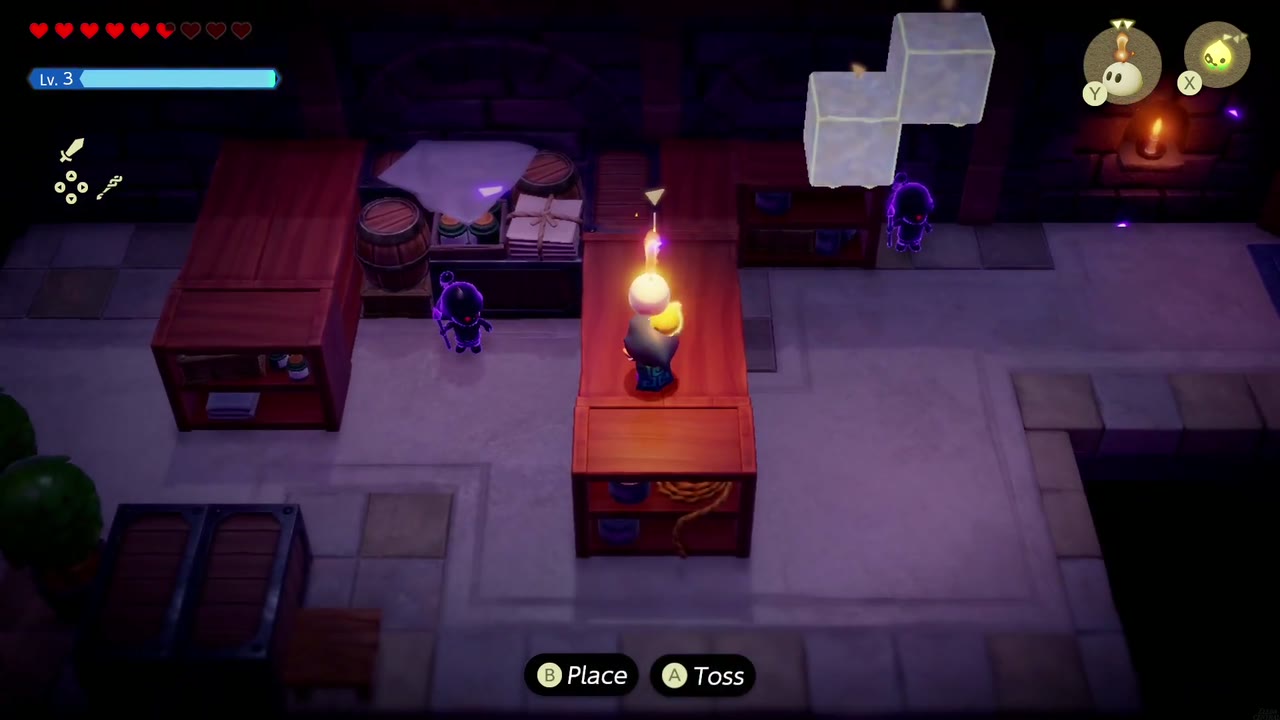
Keep working across the room the same way: lift and toss crates off the sheet-covered tables to clear your footing, and pick up the Electro Apple along the way. Near the far end, switch to the Ignizol echo and drop it on the guards below to clear the last stretch, then head out the exit at the back of the storeroom.

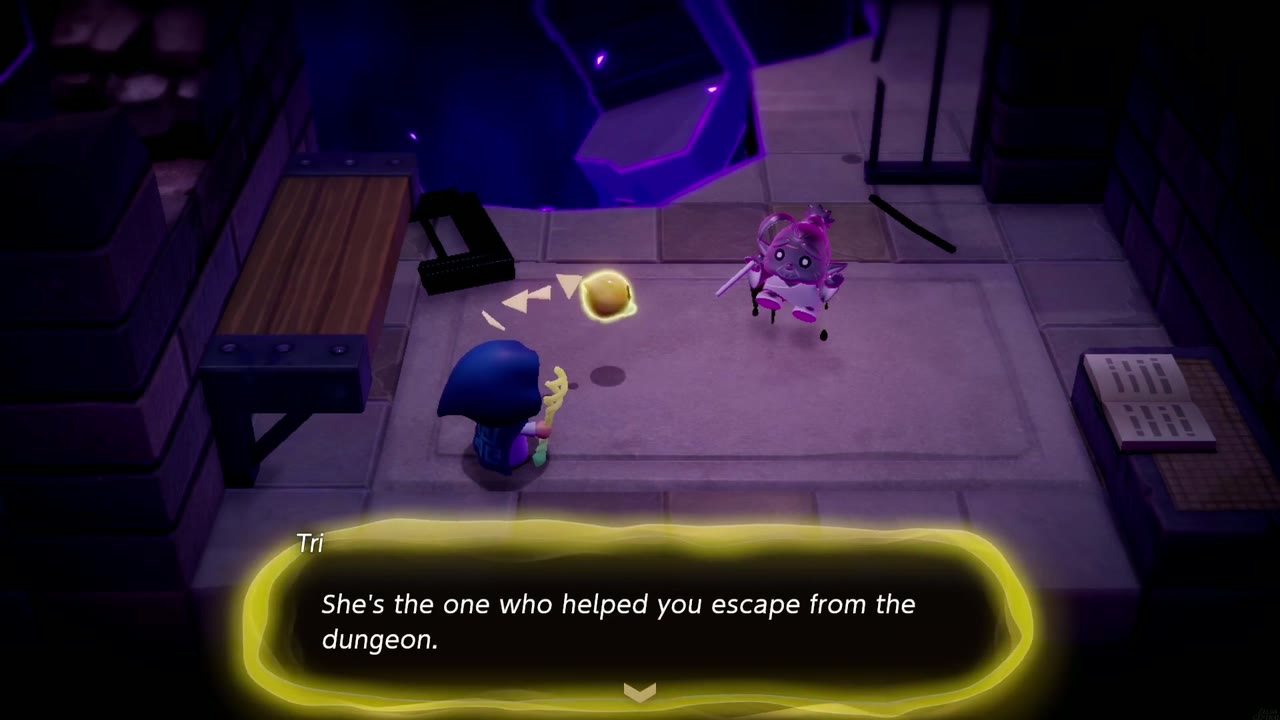
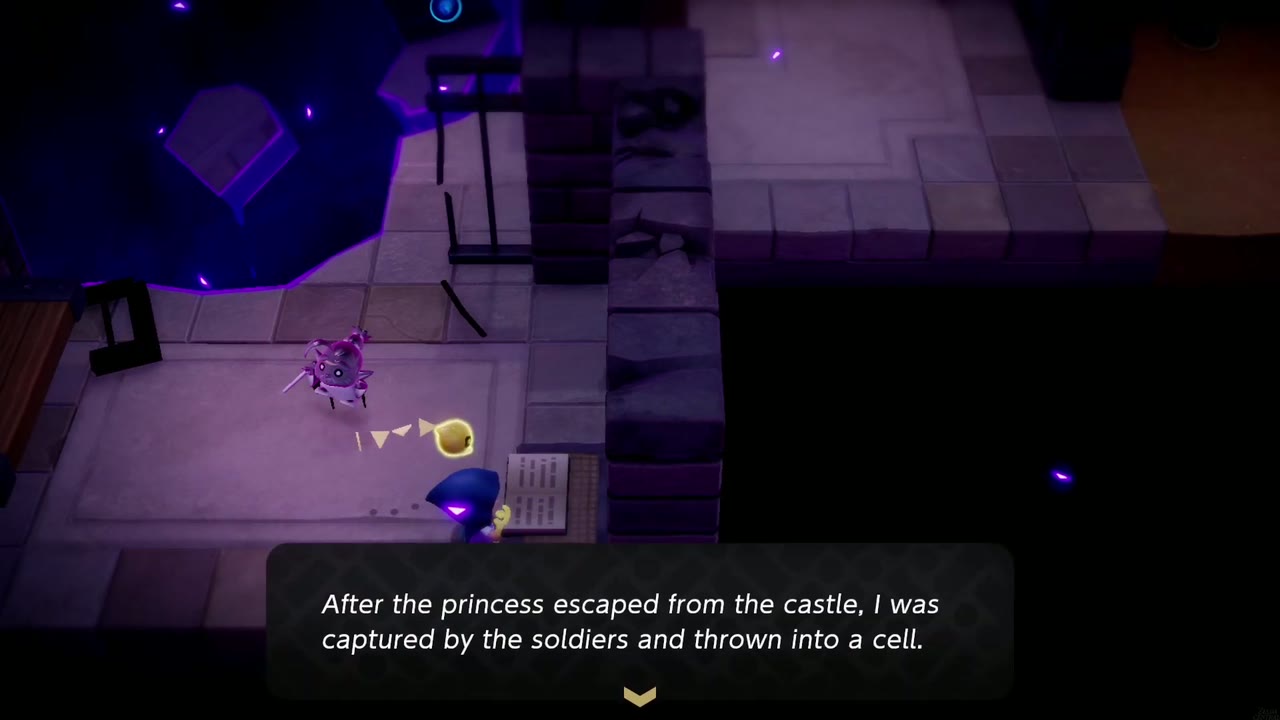
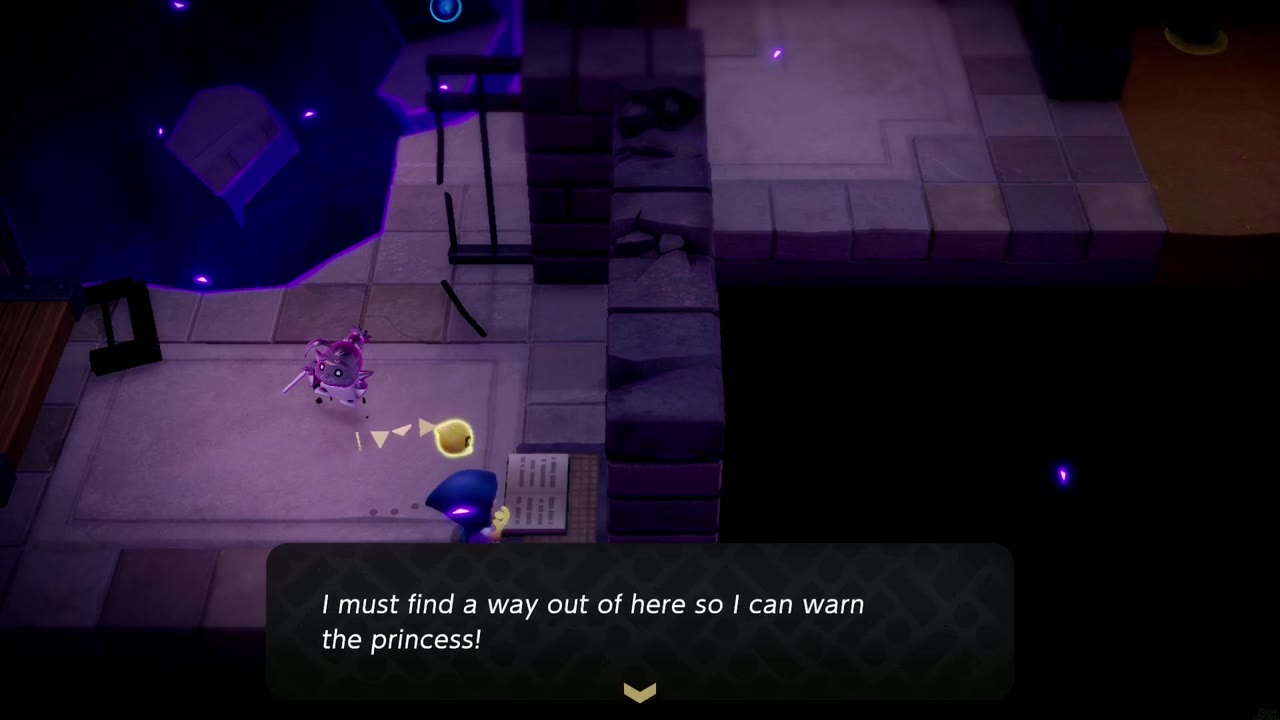
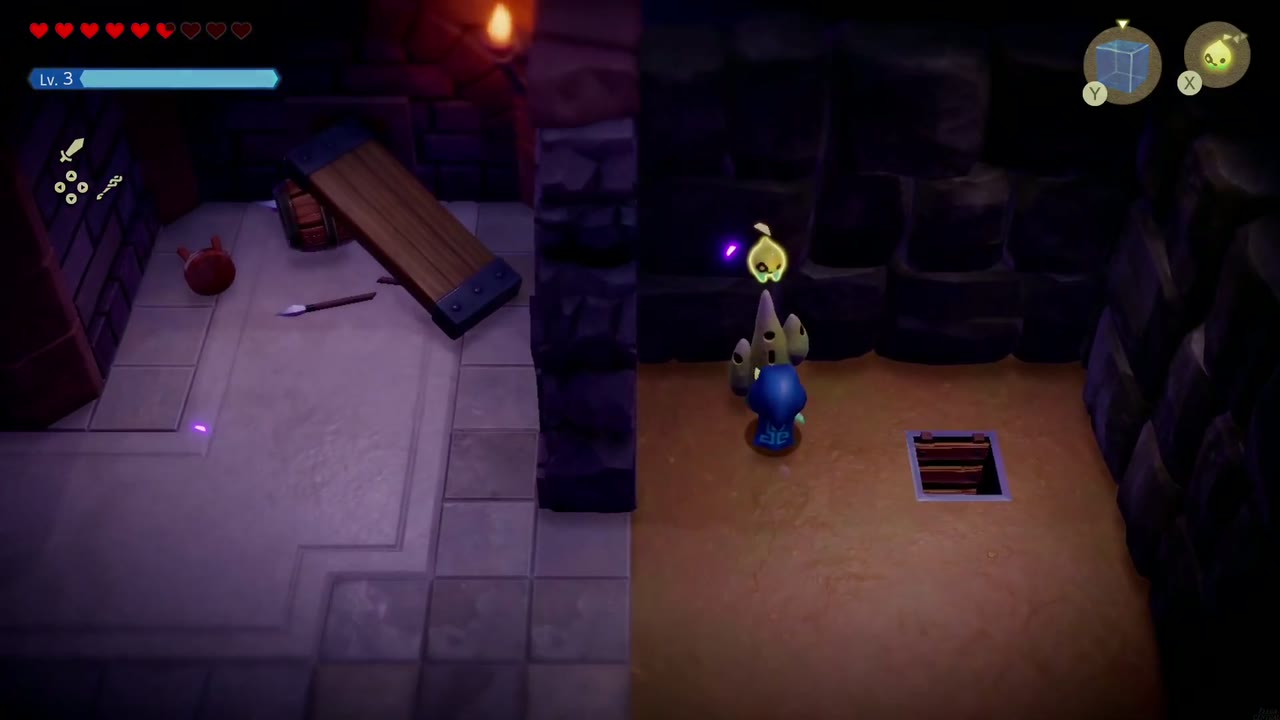
The next room has been cut open by the rift. Place a Water Block to get over the broken wall, and you’ll find Impa stilled in a cell; Tri recognizes her as the one who helped you escape from the dungeon. The note beside her is worth a read: after the princess escaped, she was captured and thrown into this cell, and she was desperate to find a way out and warn you. Leave through the next room, touch the Waypoint beside the hatch, and drop down to B2.
Torch Rooms and Gustmasters
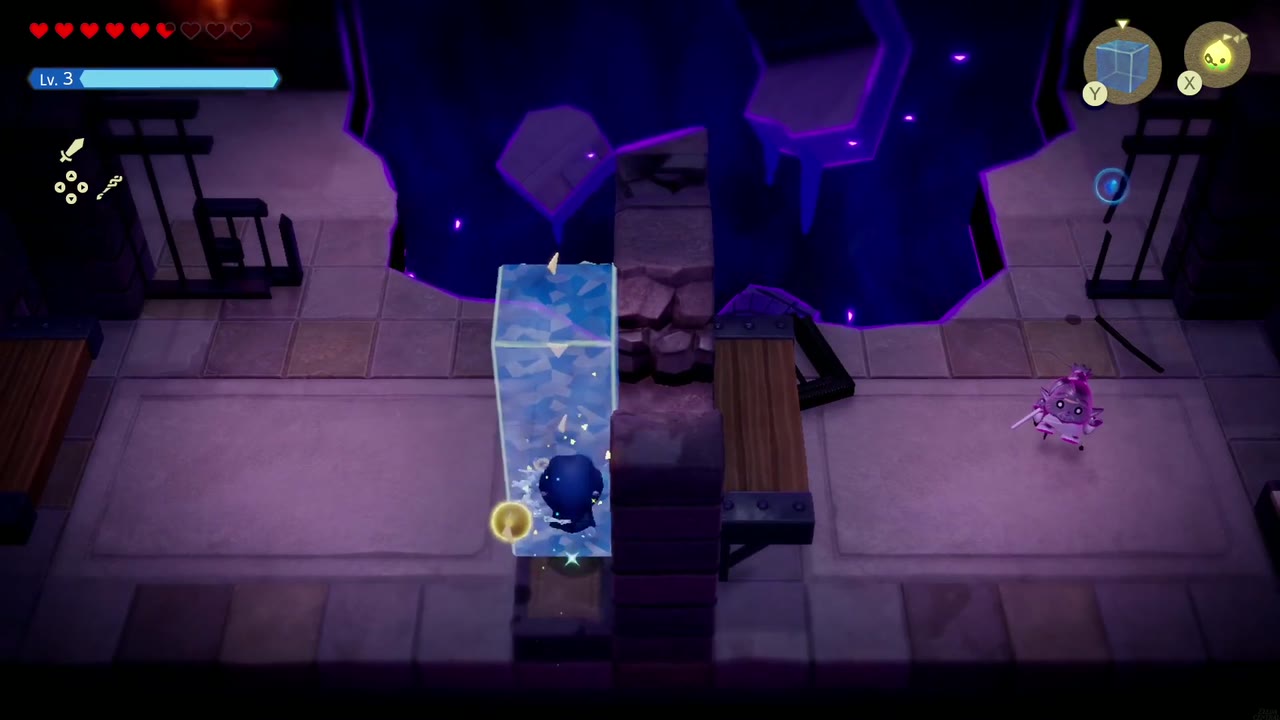
The ladder descent is a side-view combat stairwell. Climb down landing by landing and deal with the Darknuts waiting on the ledges, then the floating ghosts further down. A Darknut echo of your own or Swordfighter Form handles them well.

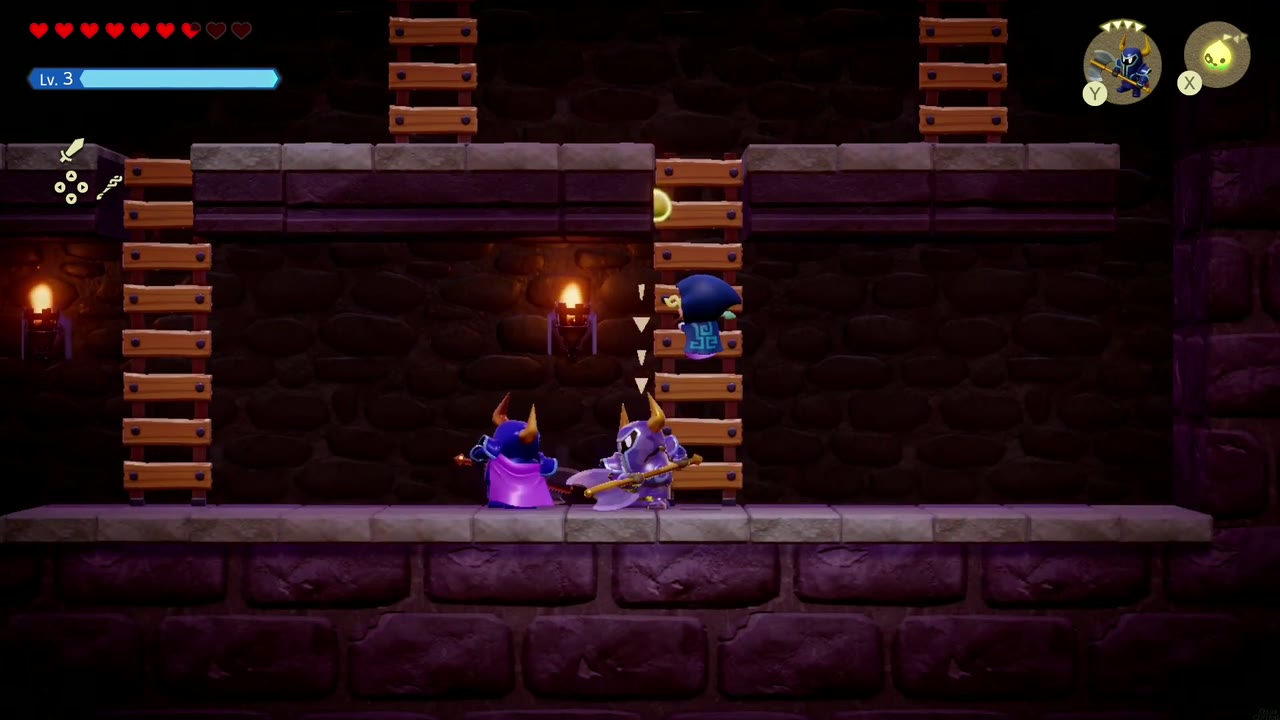
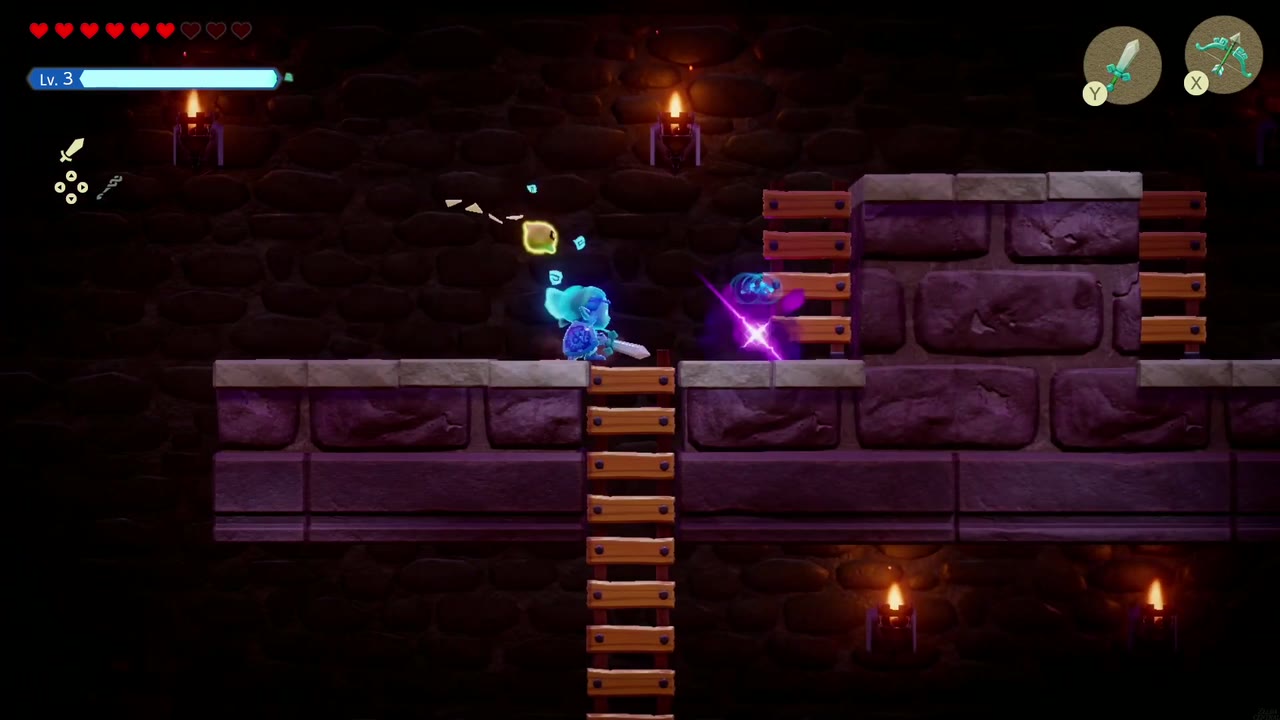
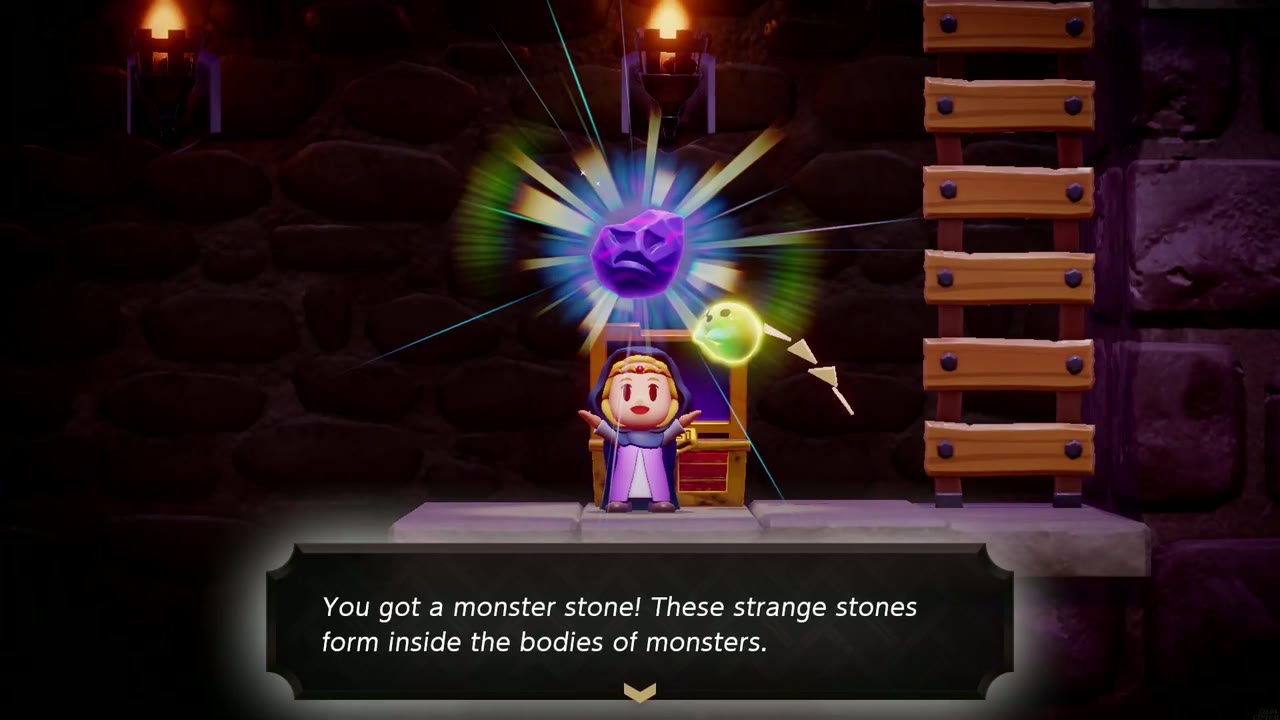
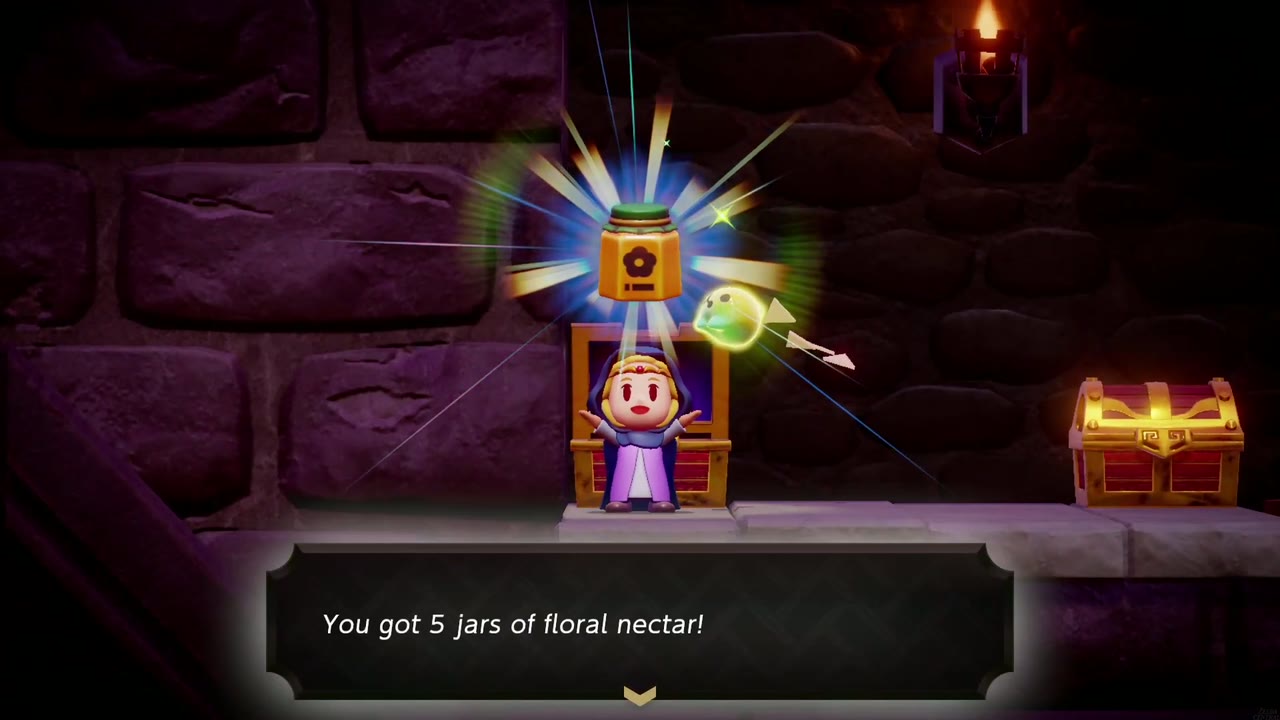
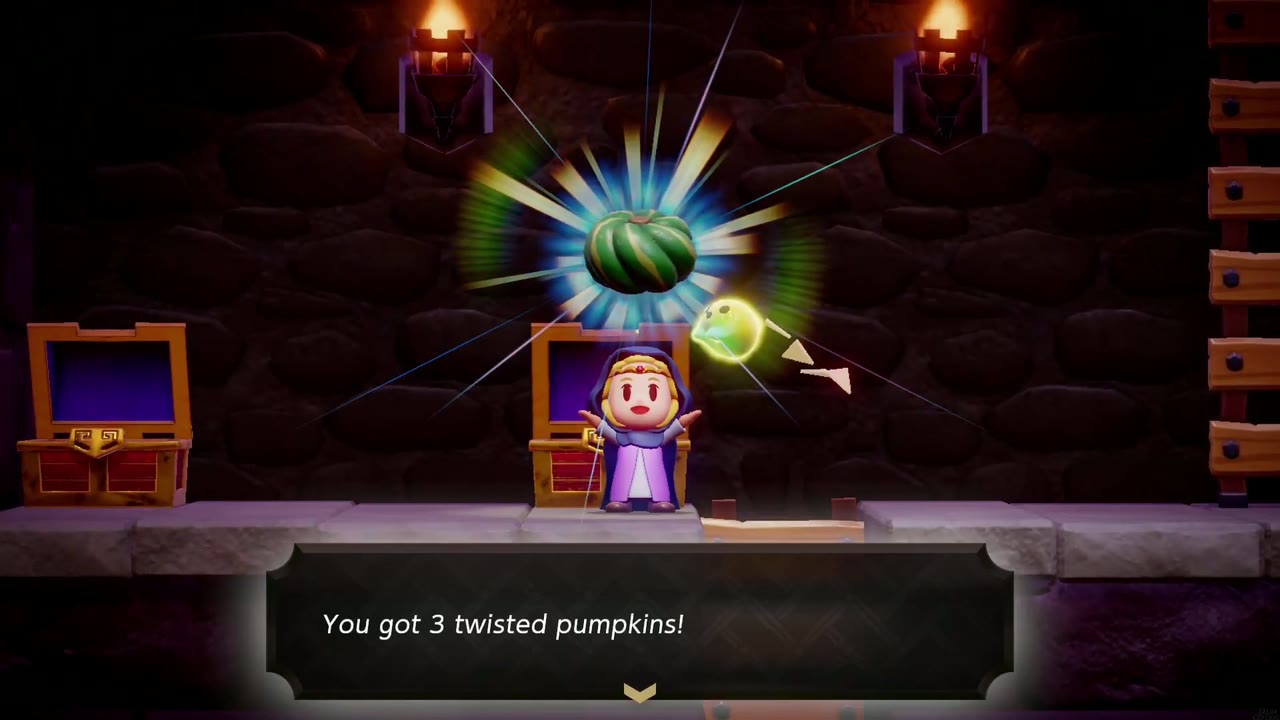
Check the chests on the way down. One on an upper ledge holds a Monster Stone, and a lower ledge has two chests side by side with 5 jars of Floral Nectar and 3 Twisted Pumpkins, both smoothie ingredients. Then keep heading down to the exit.
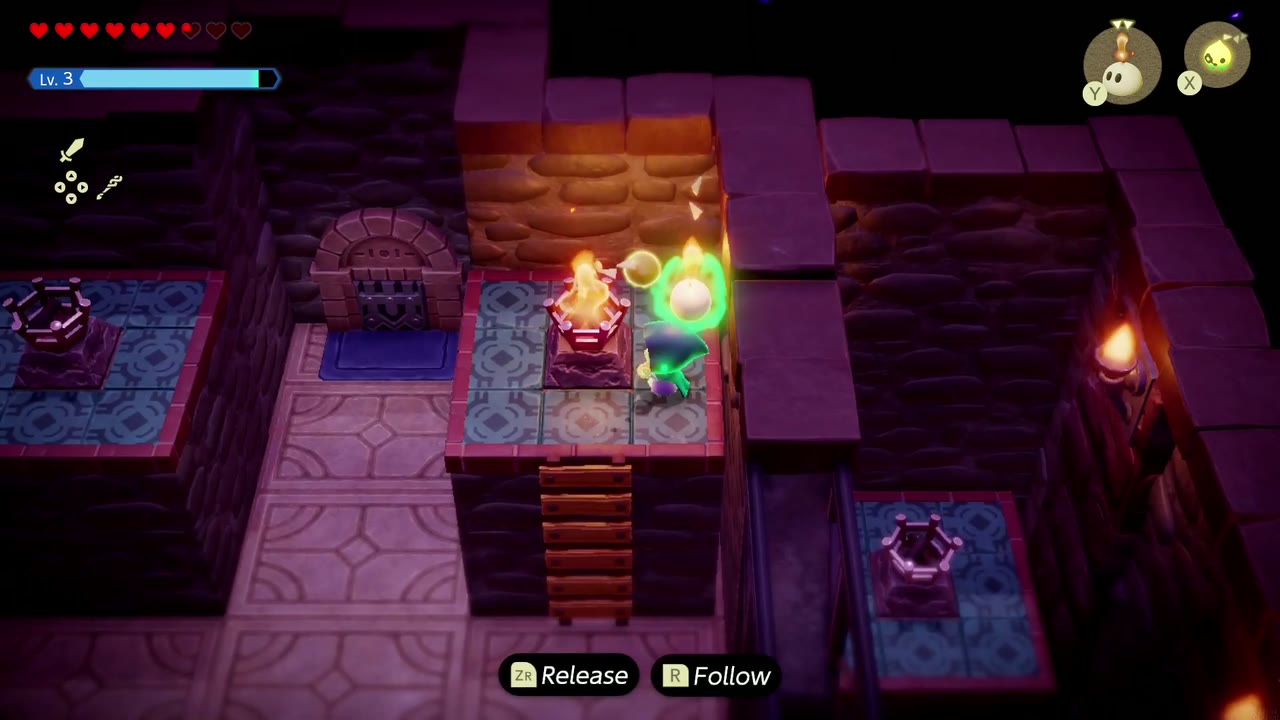
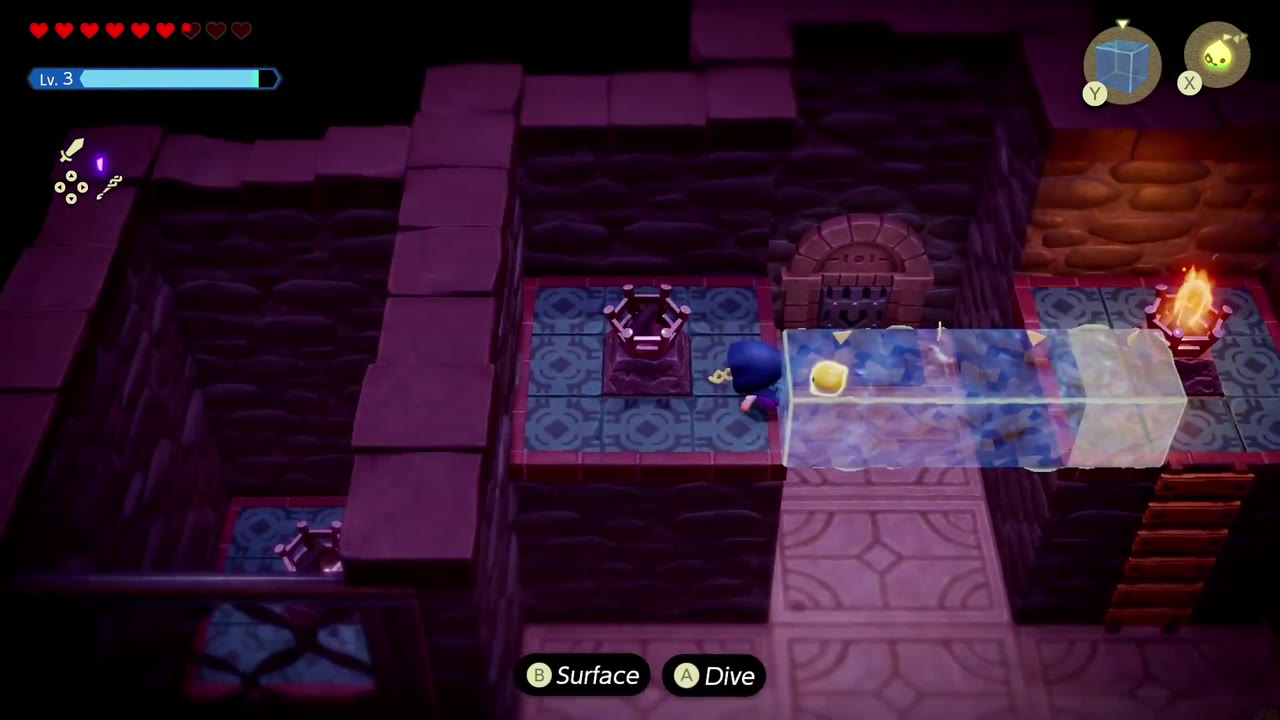
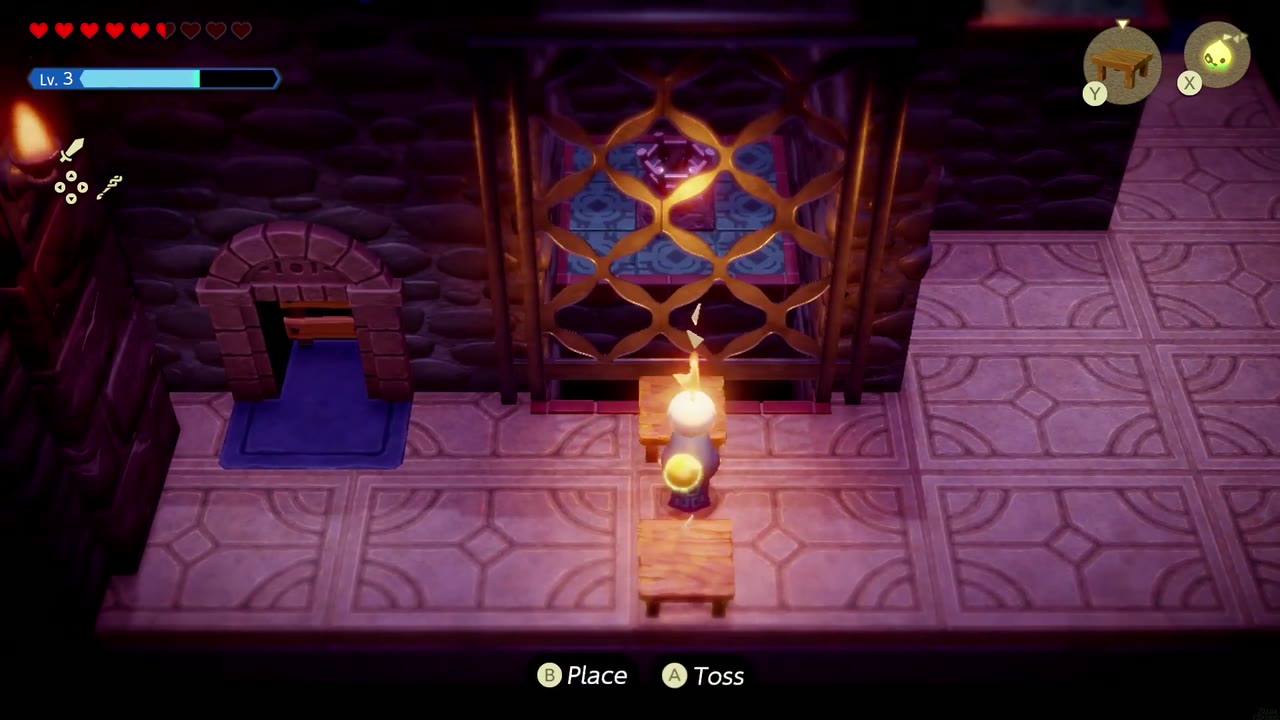
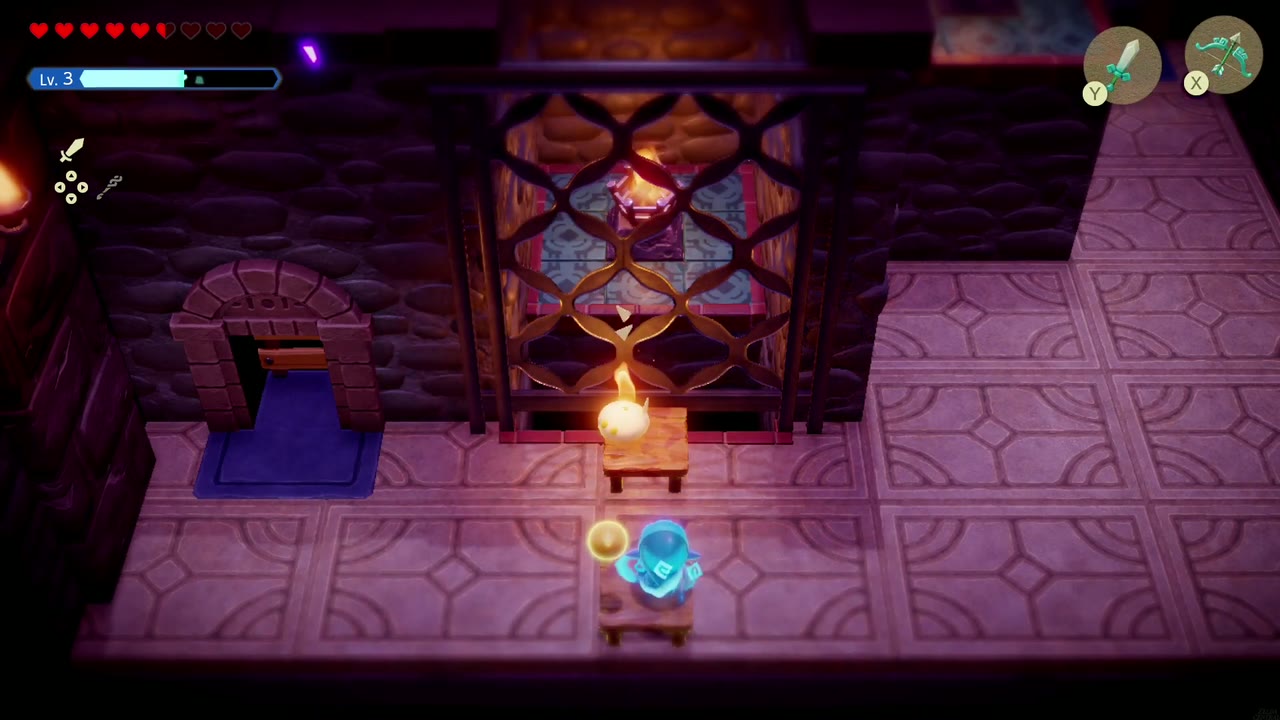
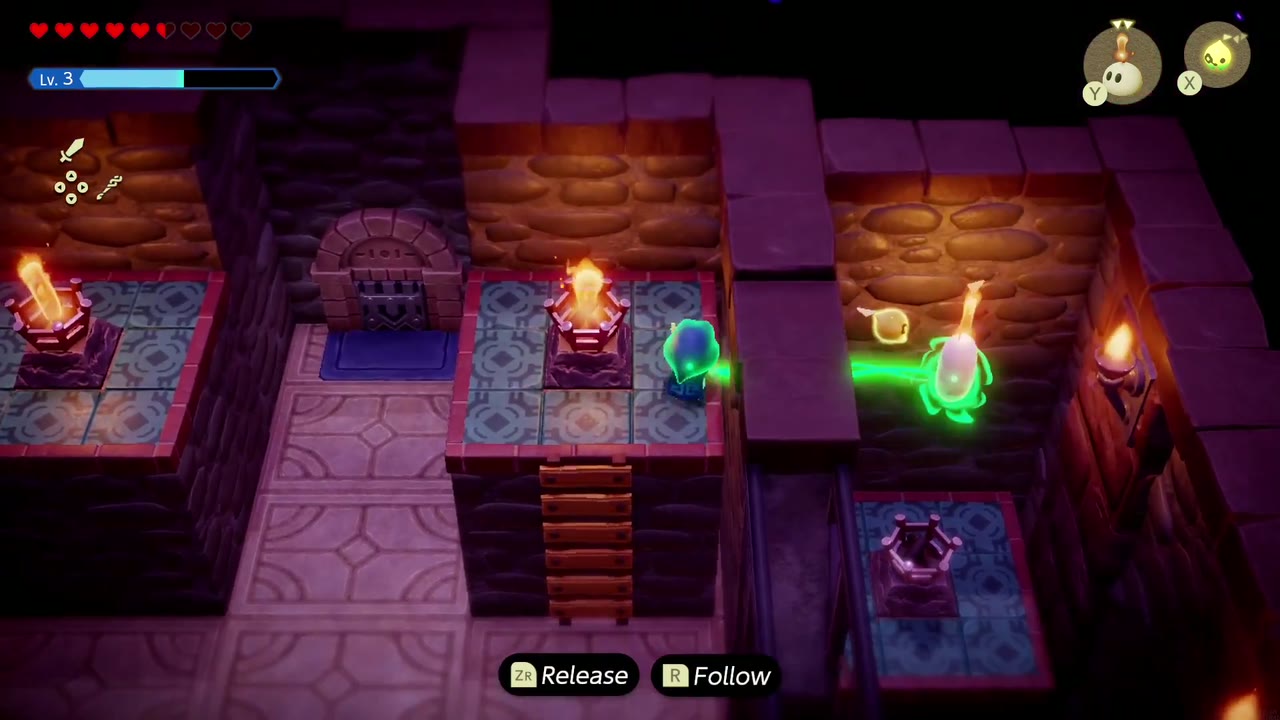
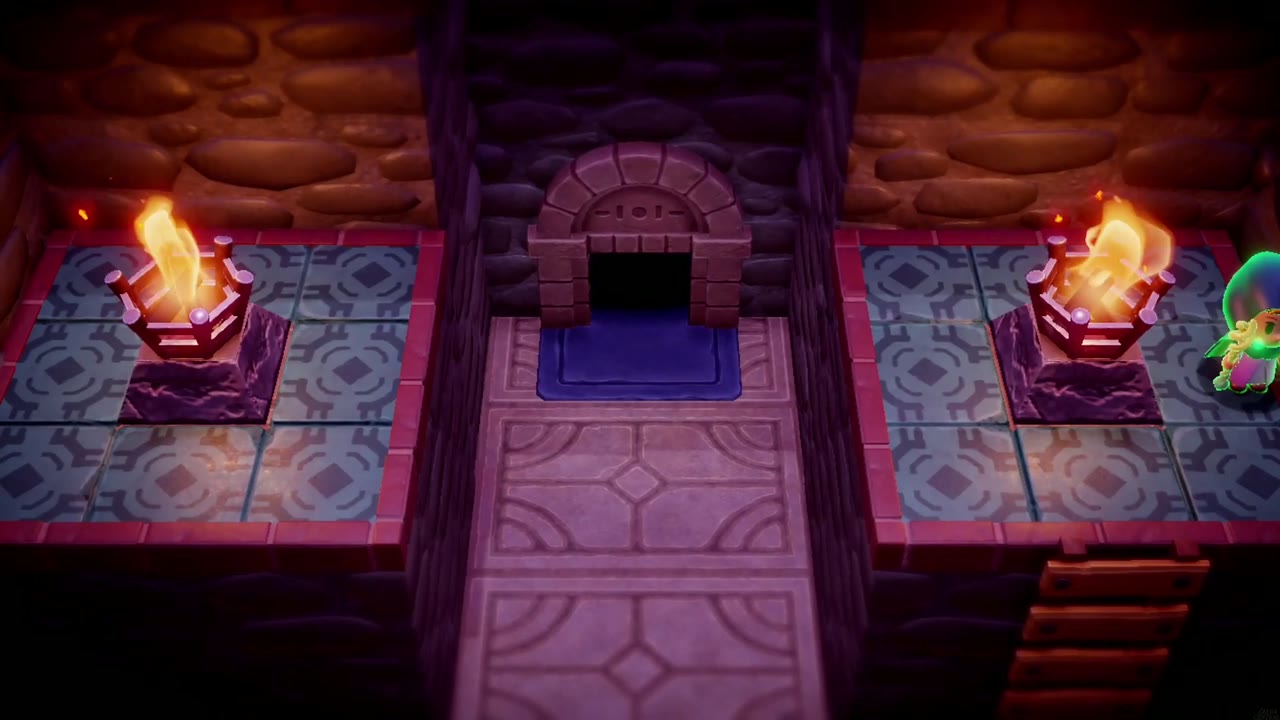
The next room is the four-torch puzzle, the dungeon’s one real brain-teaser. Tri points out the torch behind the grate straight ahead, but start with the two raised platforms. Climb the ladder on the right, clear the Darknut up there, then summon an Ignizol and Bind it into the torch. The left platform has no ladder, so lay a Water Block across from the right one, swim over, and light its torch with another Ignizol.

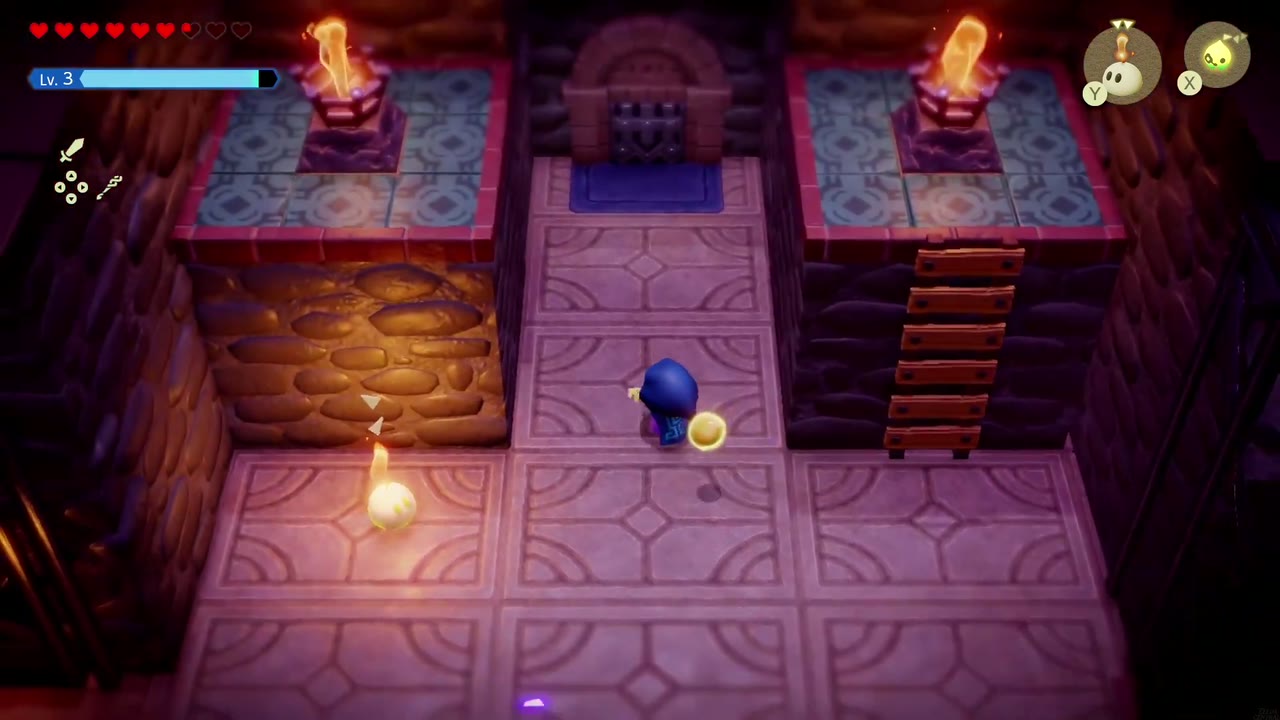
For the torch behind the grate, set a Table against the bars and put an Ignizol on top; its flame reaches through and lights it. The last torch sits in a fenced-off pit on the right side of the room. Bind an Ignizol at the fence, then climb back onto the right platform and steer it down into the pit to the torch. All four lit opens the door between the platforms.
Beyond are narrow walkways over a void, guarded by Gustmasters on pedestals whose gusts push you around. Bind the first one and finish it off to learn its echo. Take the rest out with a Spear Moblin echo, and lay Water Blocks to bridge the gaps until you reach a square room with Ignizols and a pack of enemies.

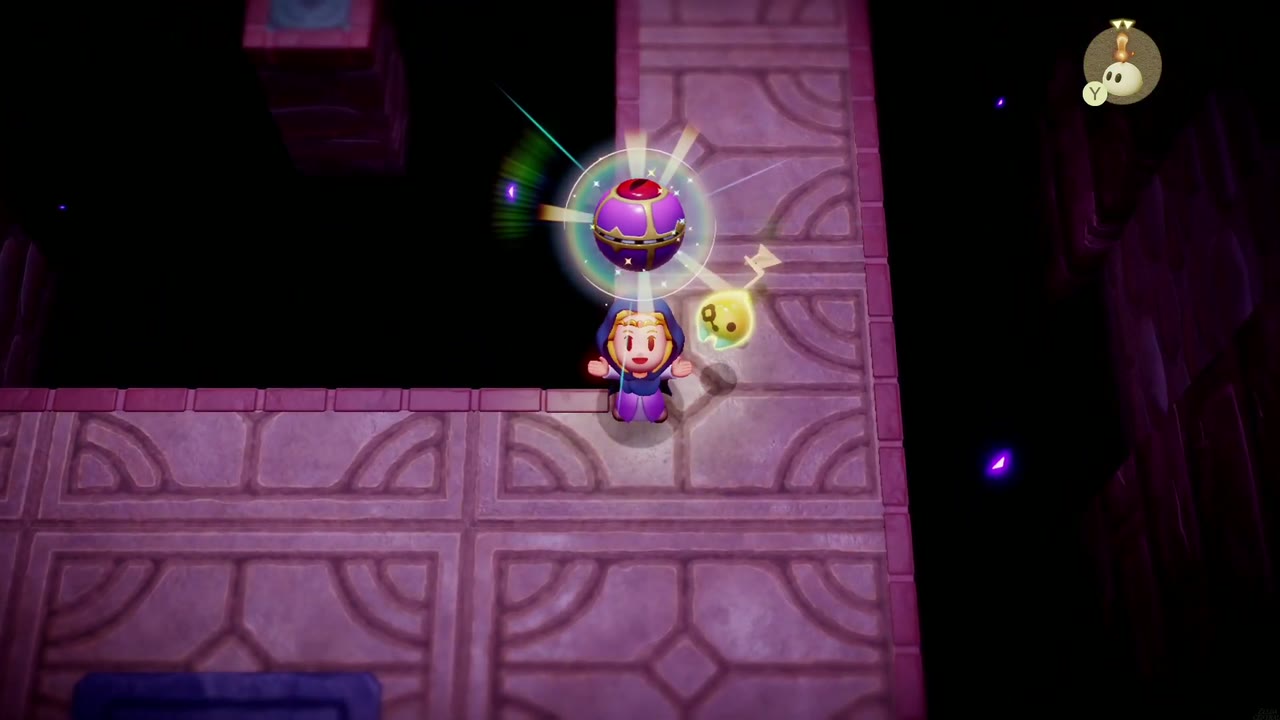
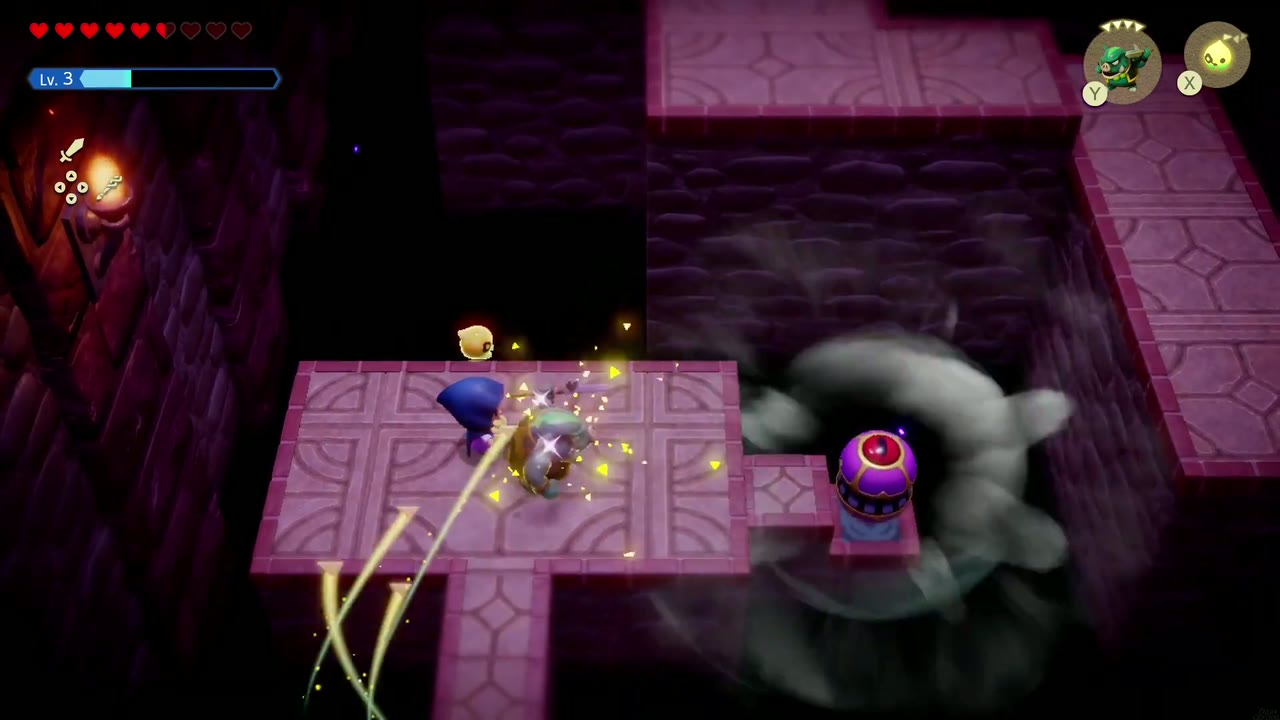
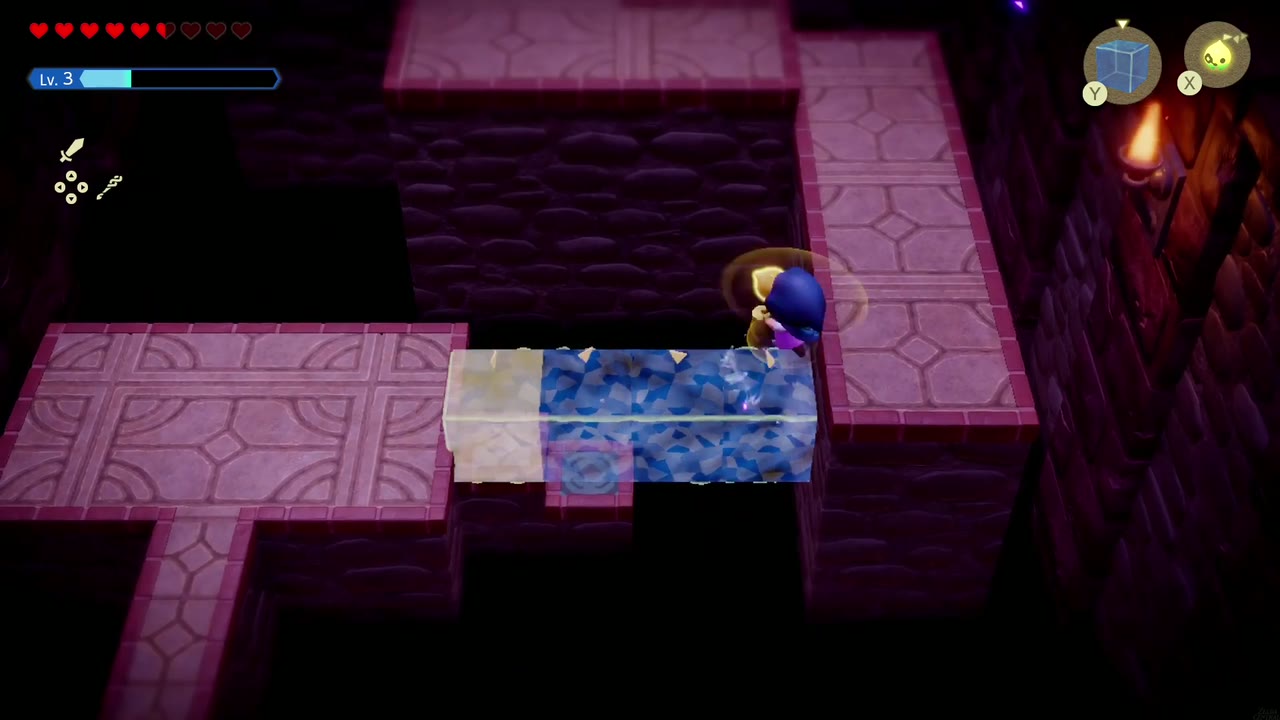
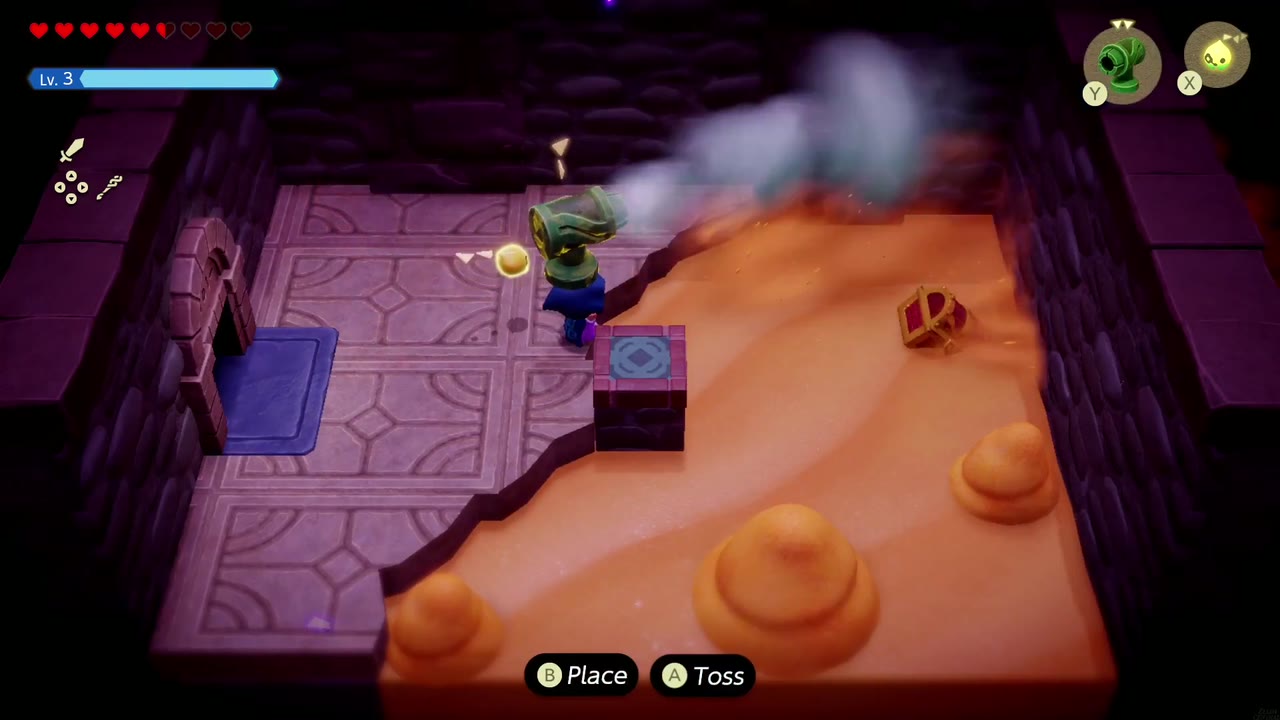
Through the right-hand door is a half-sand room. Summon a Wind Cannon and let it blow the sand piles away, uncovering a chest with the Dungeon Map. Head back out and north, then use another Water Block to cross the void to a pot room and the next chamber.
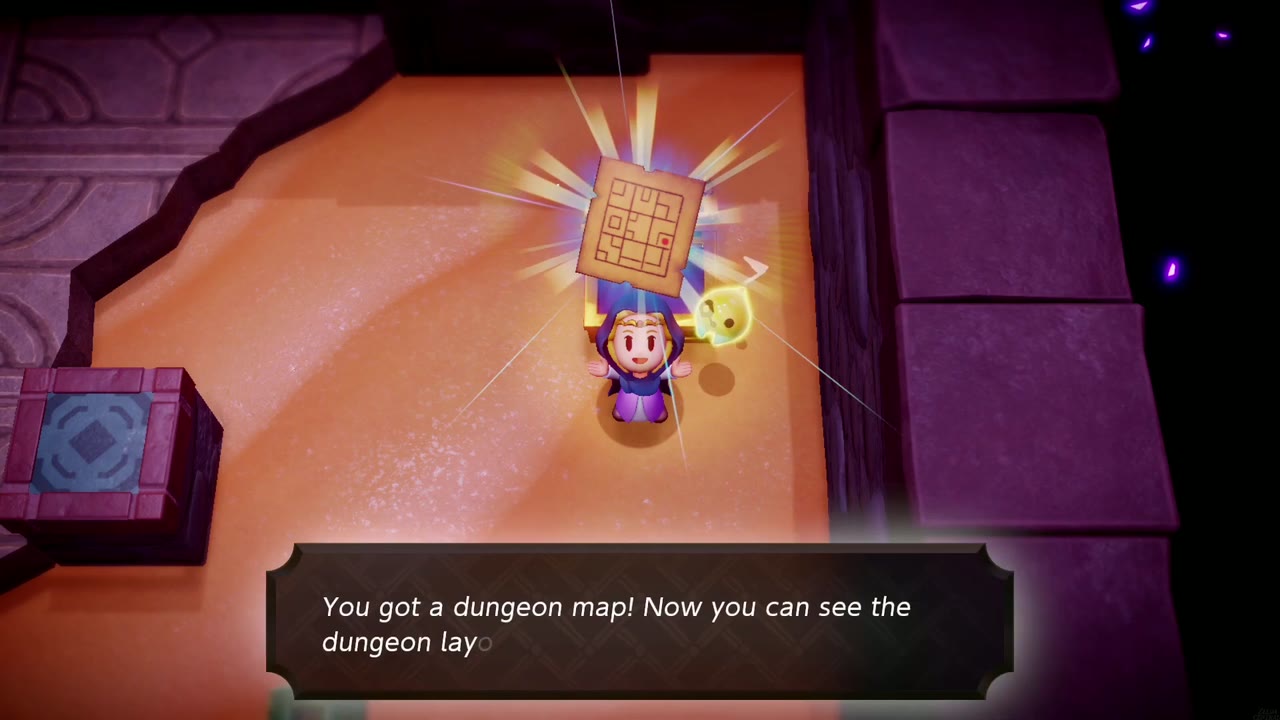
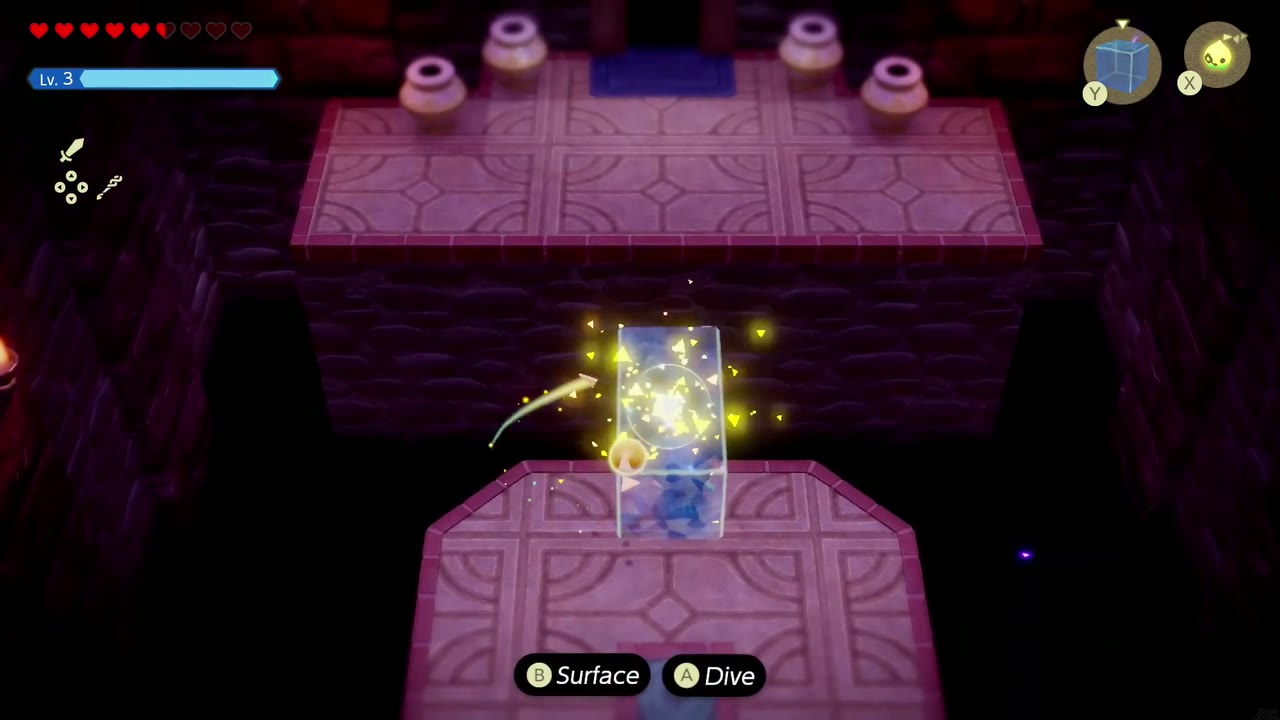
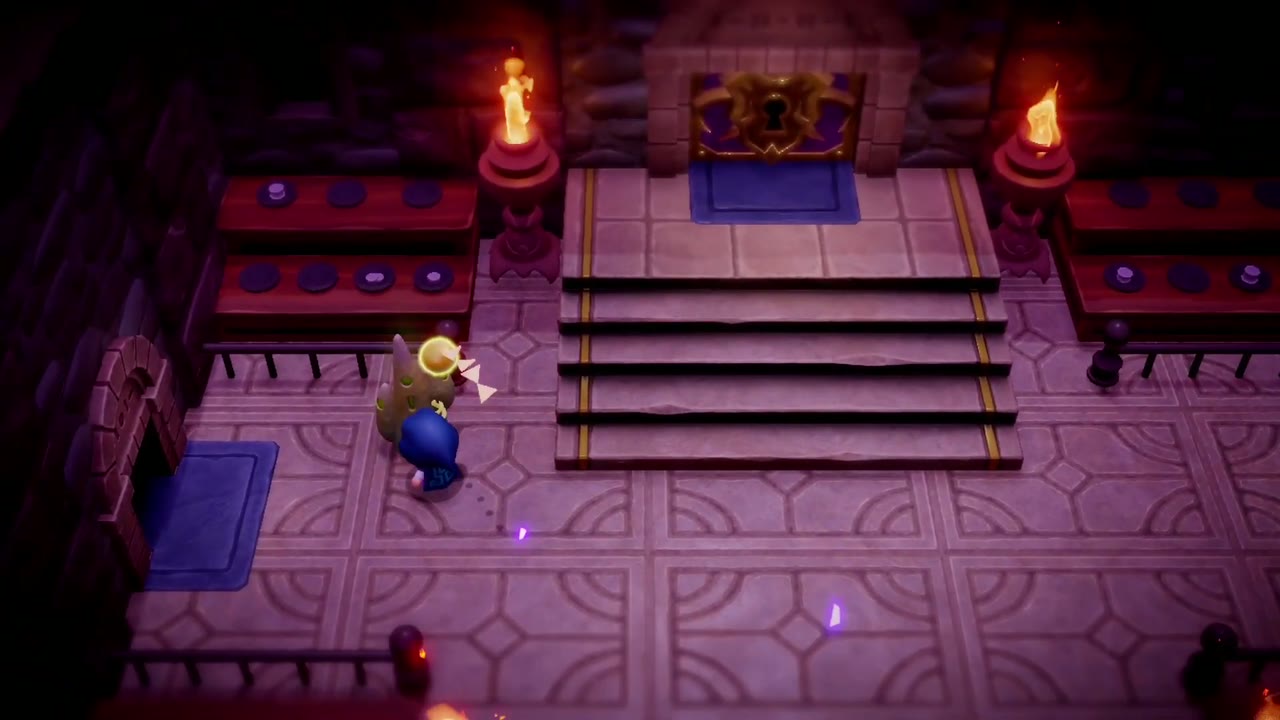
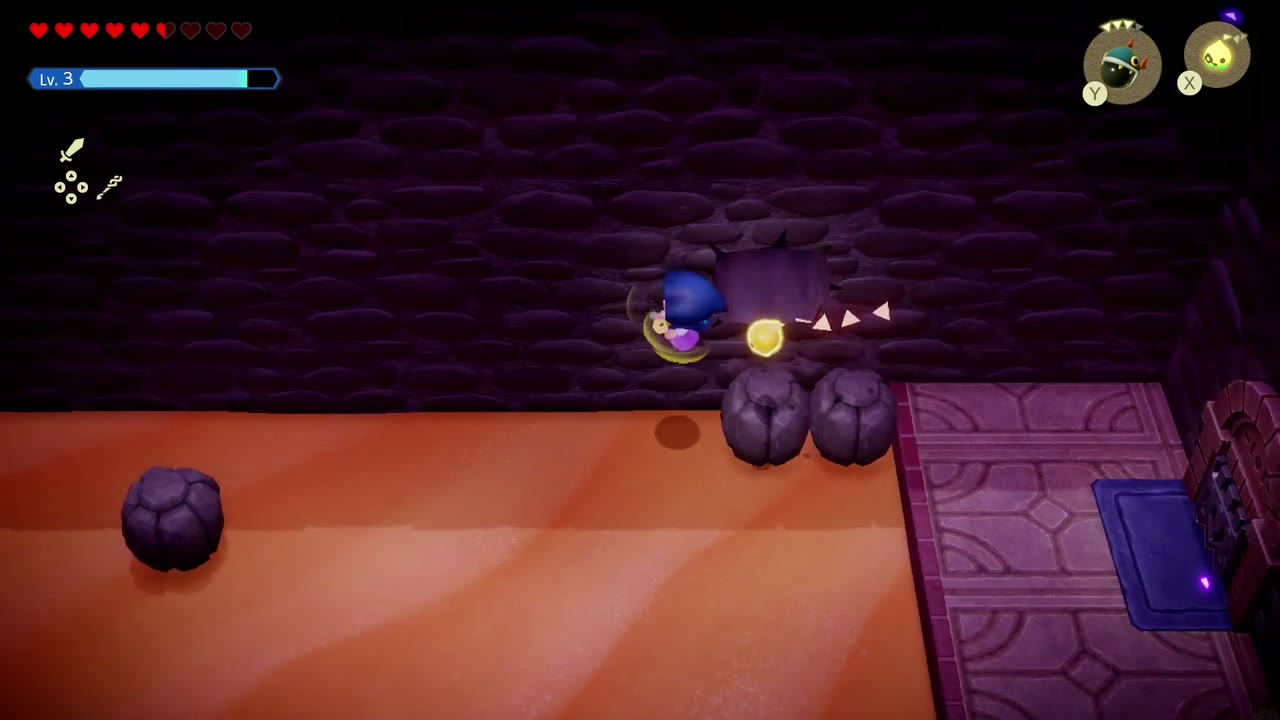
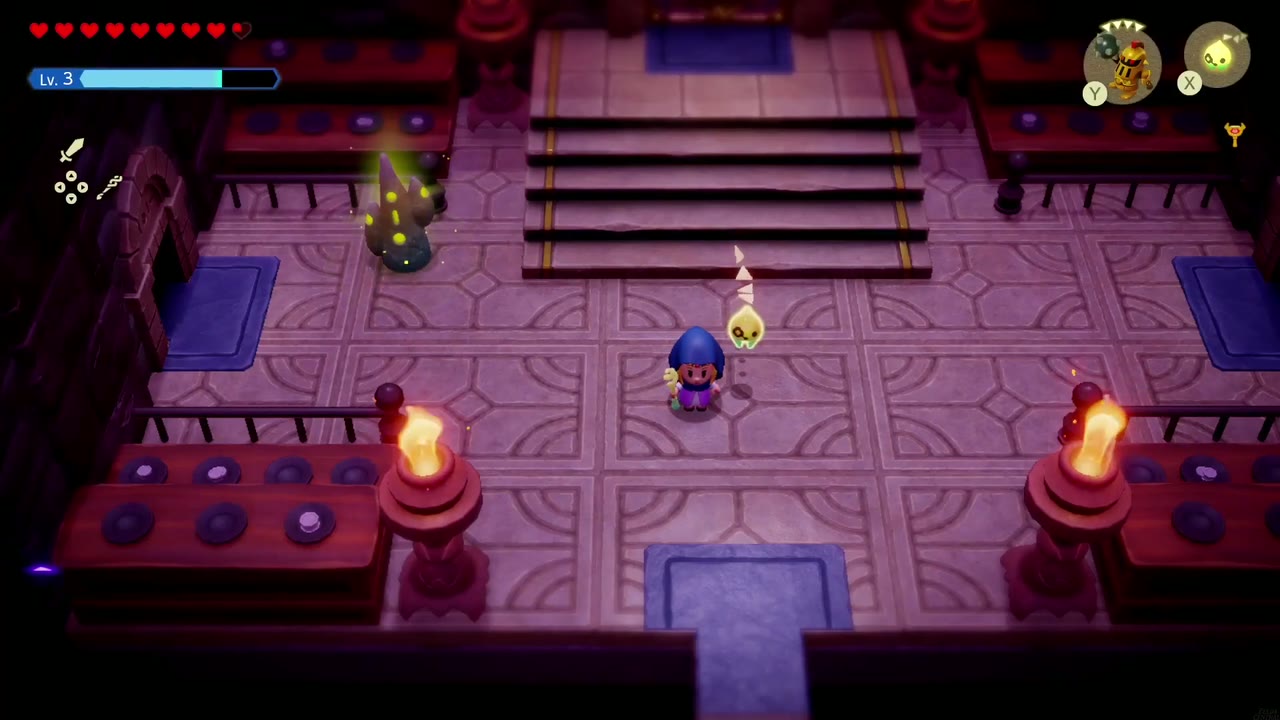
You’re now in the main room facing the big boss door at the top of the stairs. Activate the Waypoint to the left of the stairs, because both wings branch off from here. The right door leads to a sand room with boulders. A Bombfish echo blows open the cracked wall on its north side, and the chest in the alcove behind it holds a Purple Rupee (50).


The West Rooms: Small Key and Underwater Maze
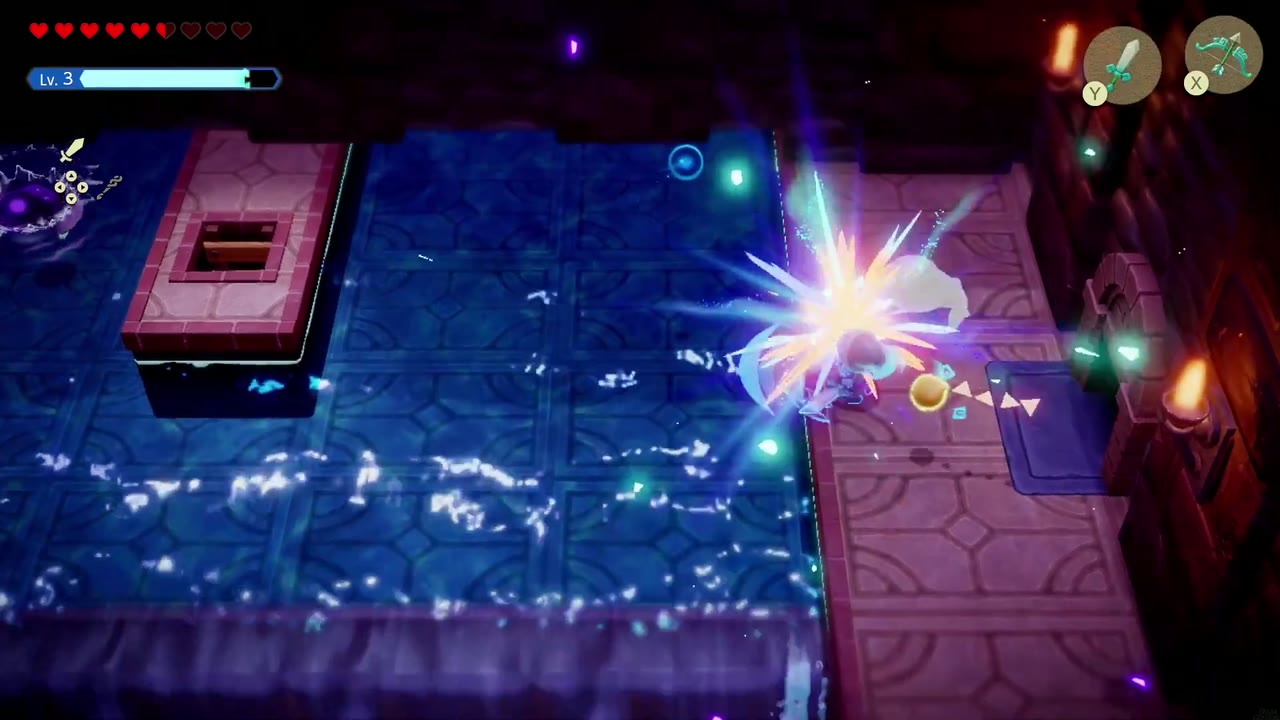
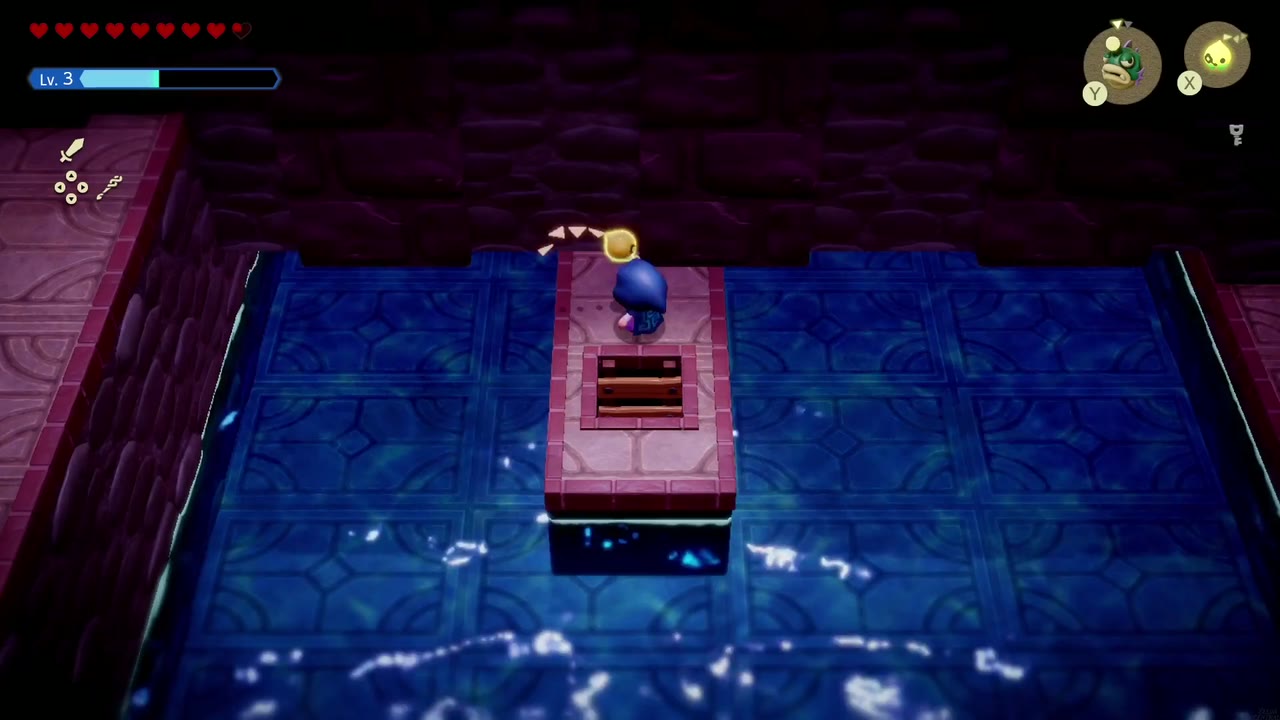
Take the left (west) door into a flooded room, where fast-moving water fills most of the floor around a raised block with a hatch in it. Deal with the enemies in the water, then lay a row of Old Bed echoes across to the block if you want a dry route. Ignore the hatch for now and take the west door to the next room.
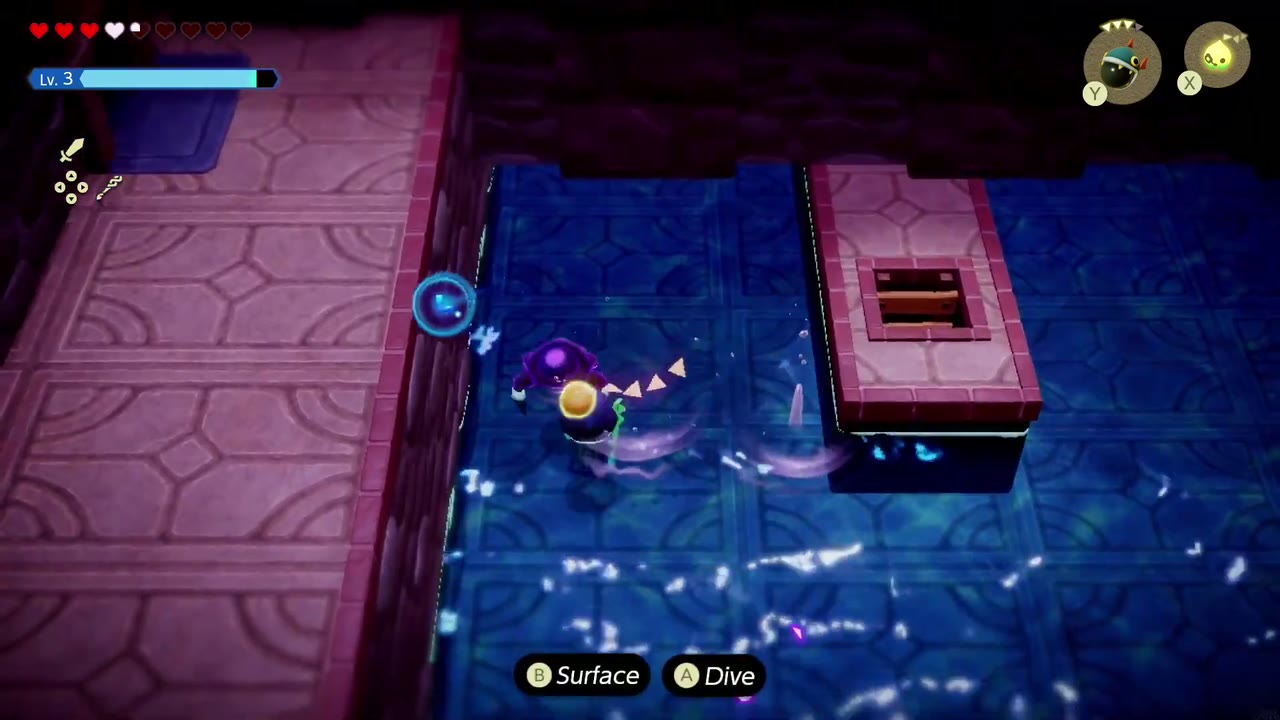
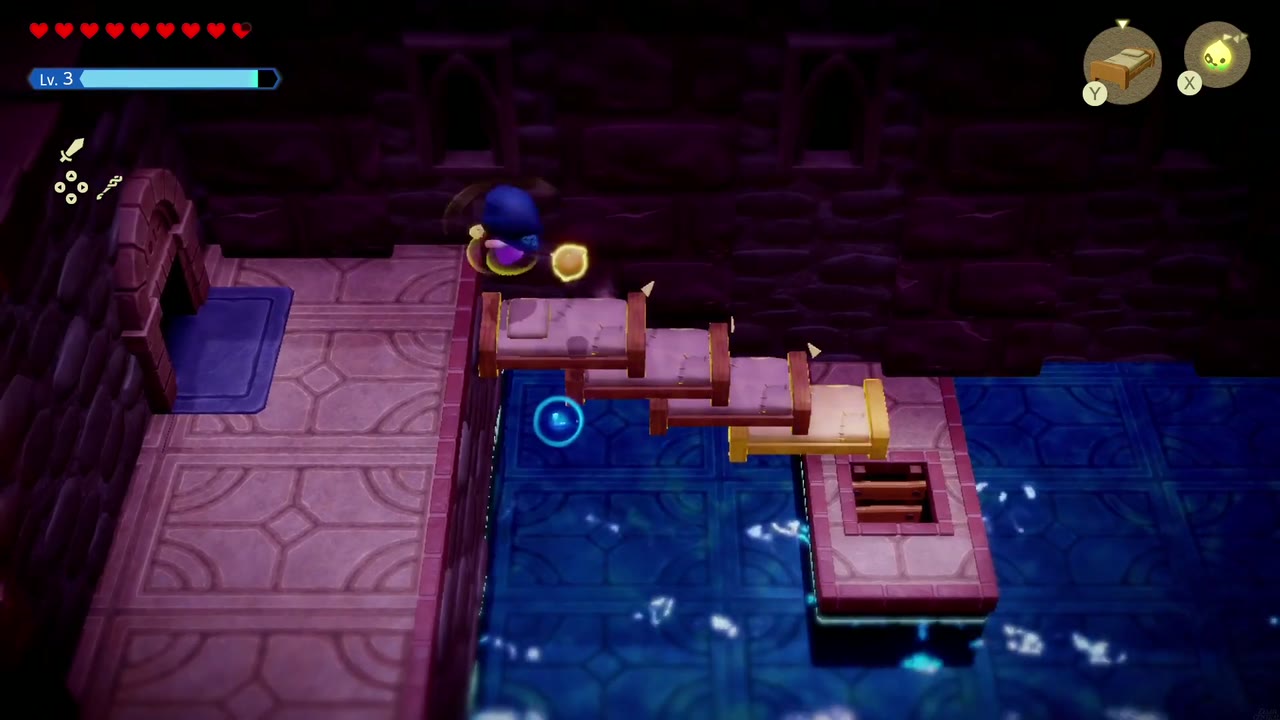
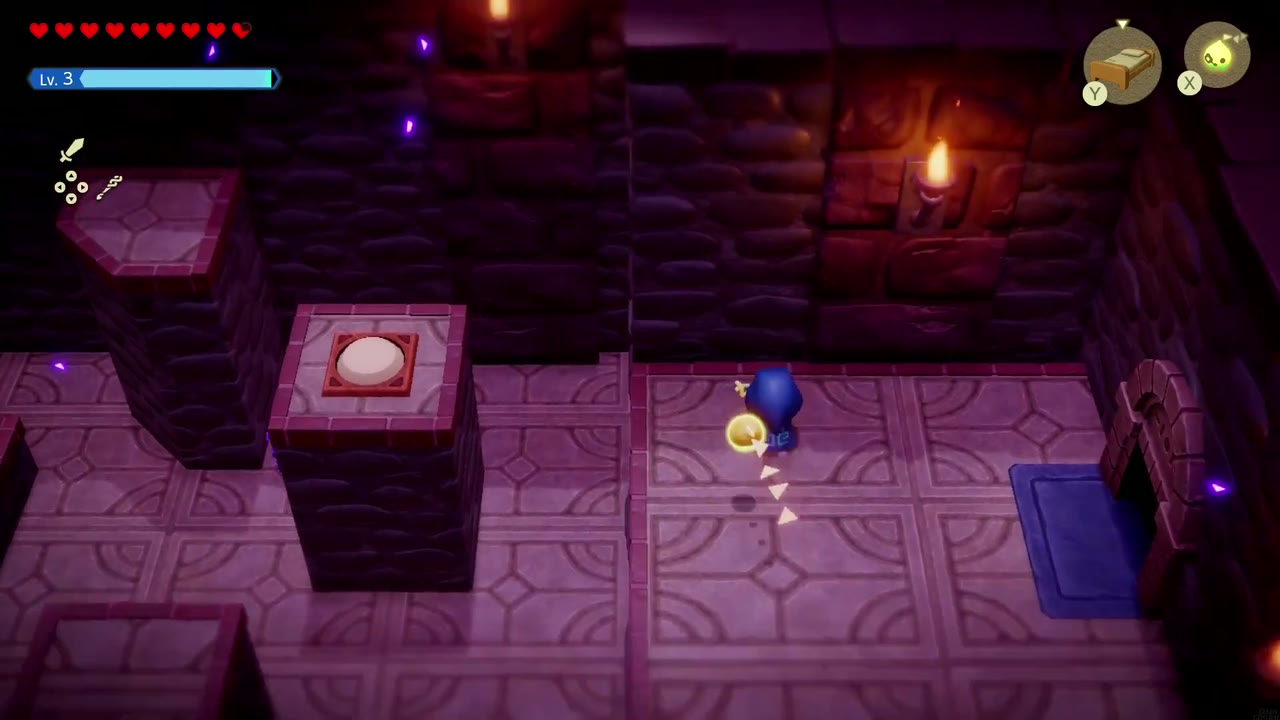
The next room has shadowy guards patrolling a floor of tall pillars, with a switch on top of one of them. Place an Old Bed beside that pillar, climb onto it, and stand on the switch. A chest appears in the sunken square between the two braziers. Use more beds as steps back down, avoid the patrols, and open the chest for the Small Key. Then drop through the hatch in the floor at the west side of the room.
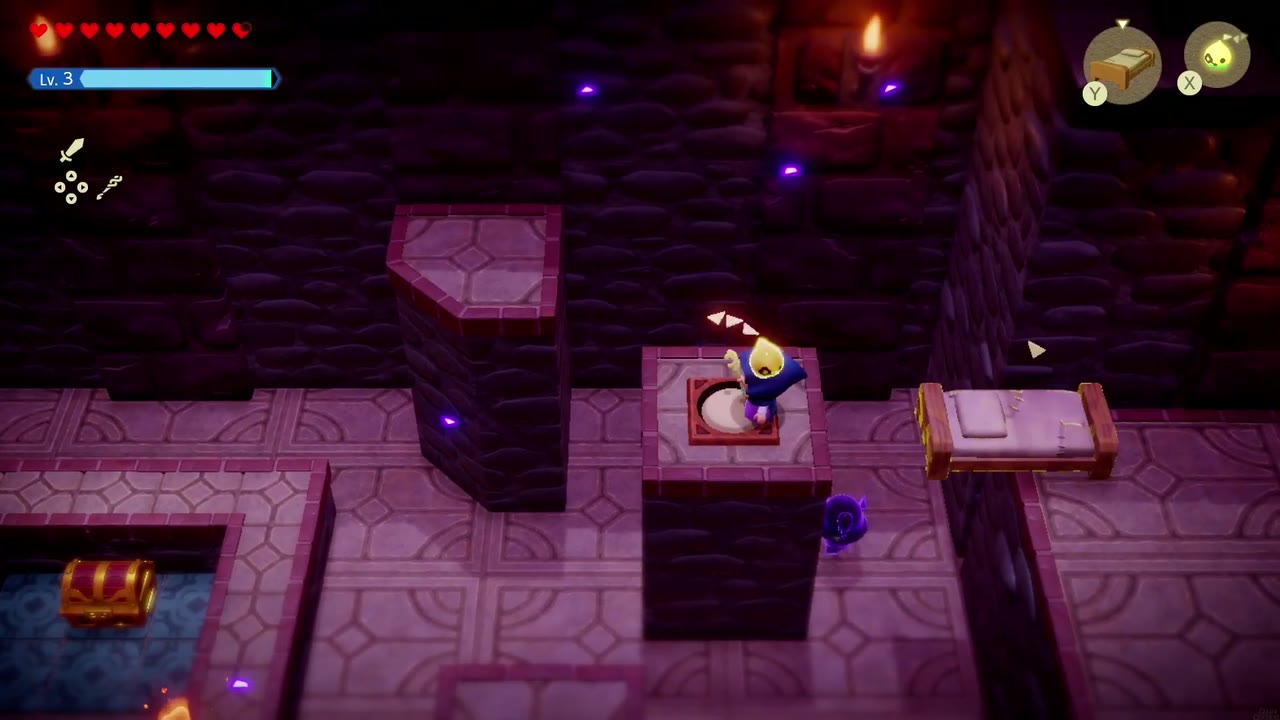
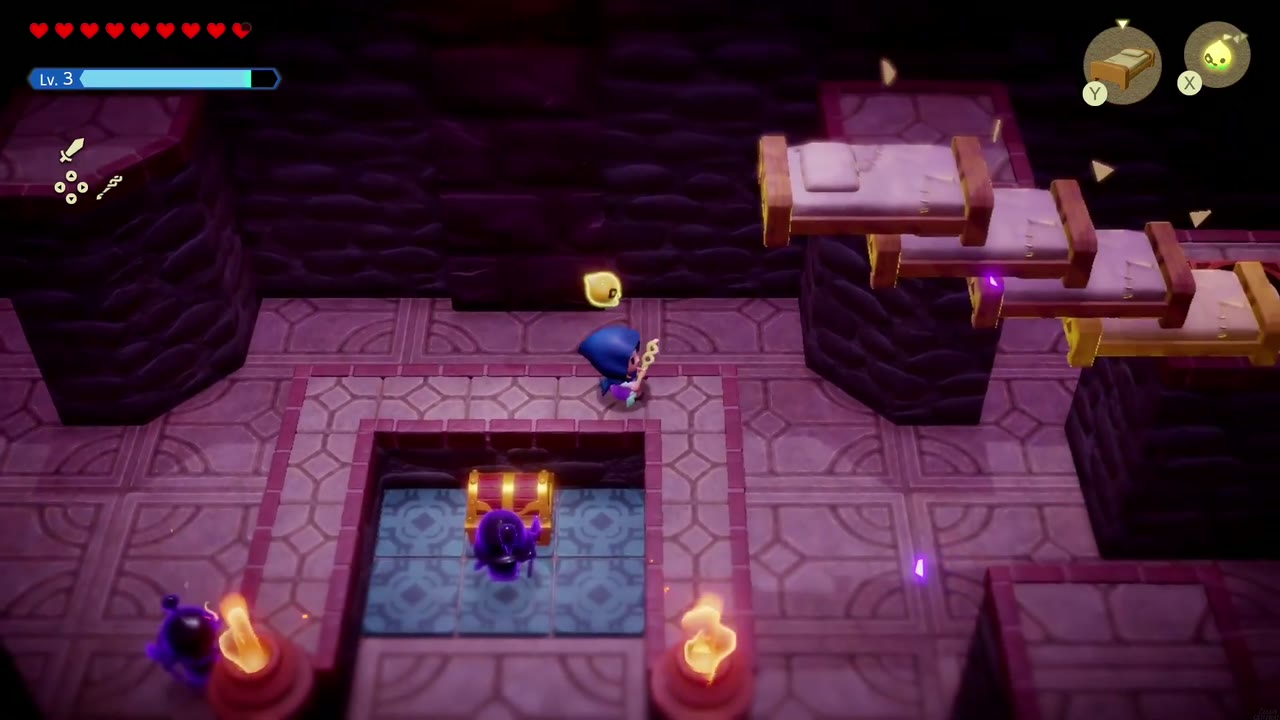

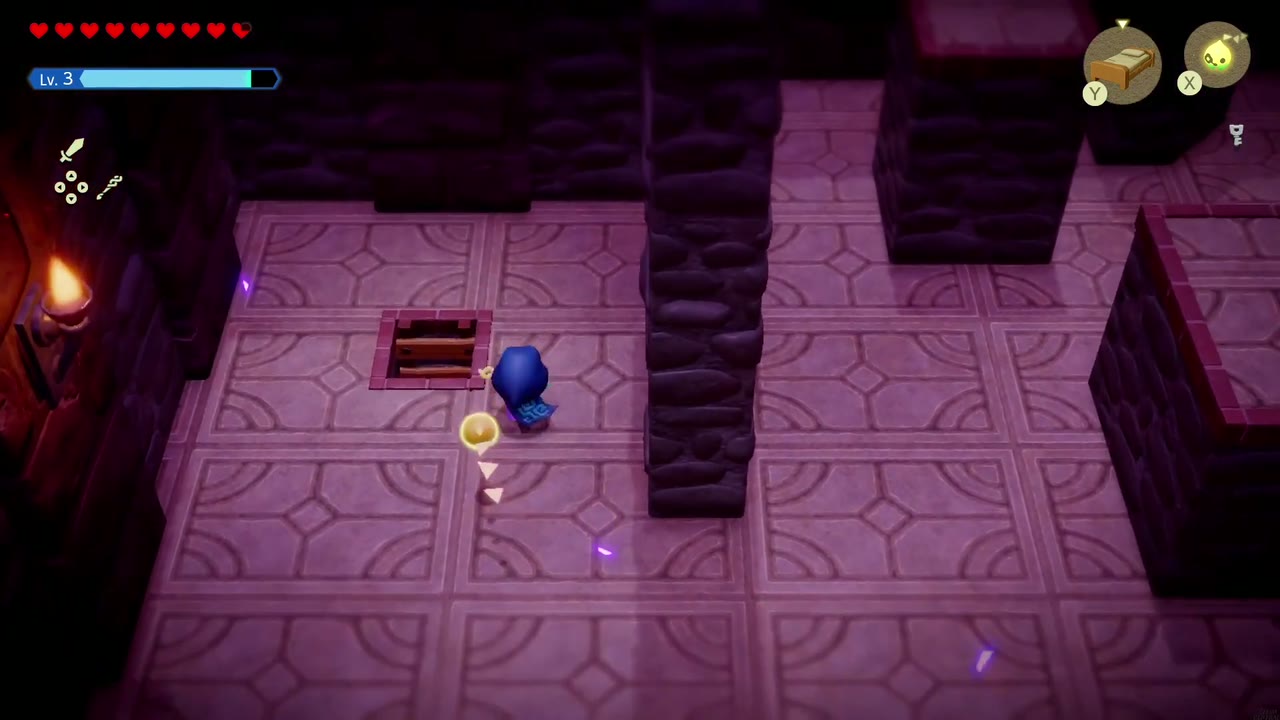
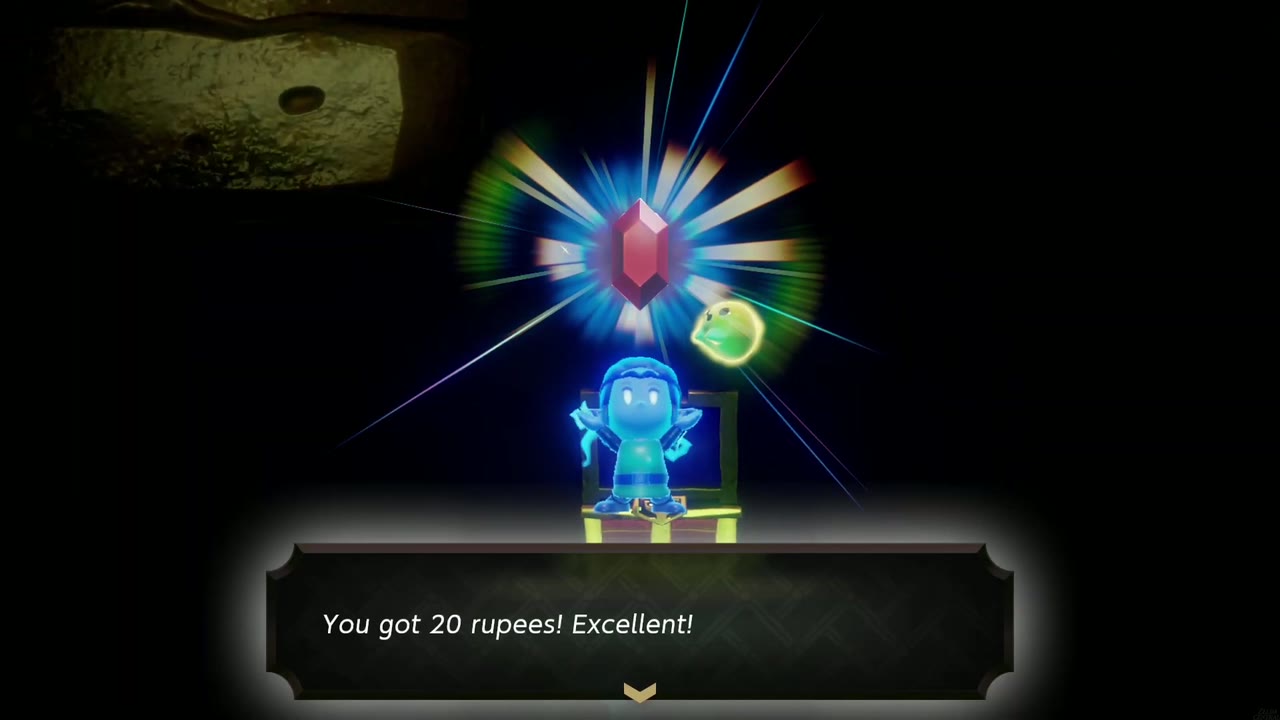
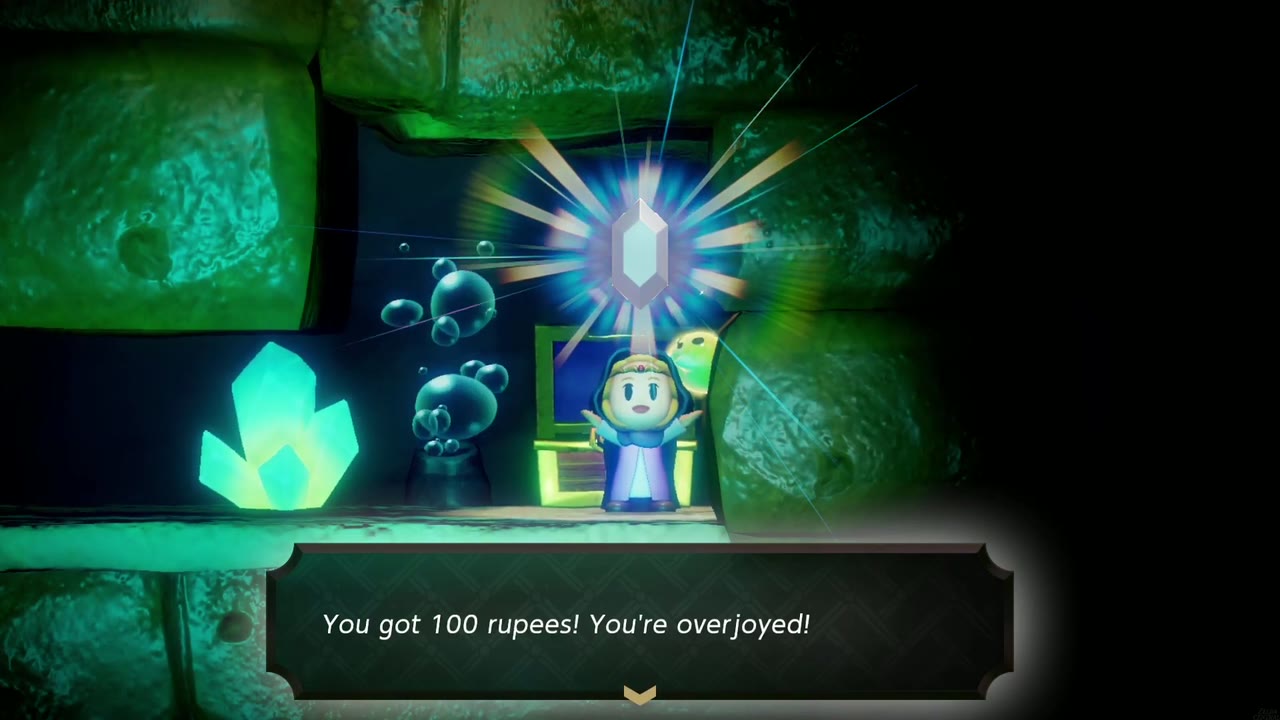
The hatch leads down into a dark underwater maze. Glowing green crystals light patches of it, and spiny fish and Bio Deku Babas lurk in the dark. Swordfighter Form cuts through the purple goo walls. One chest just past a goo wall holds 20 rupees, and a deeper one holds 100 rupees. At the end, climb the ladder and you come out of the hatch on the flooded room’s central block.


The East Rooms: Big Key
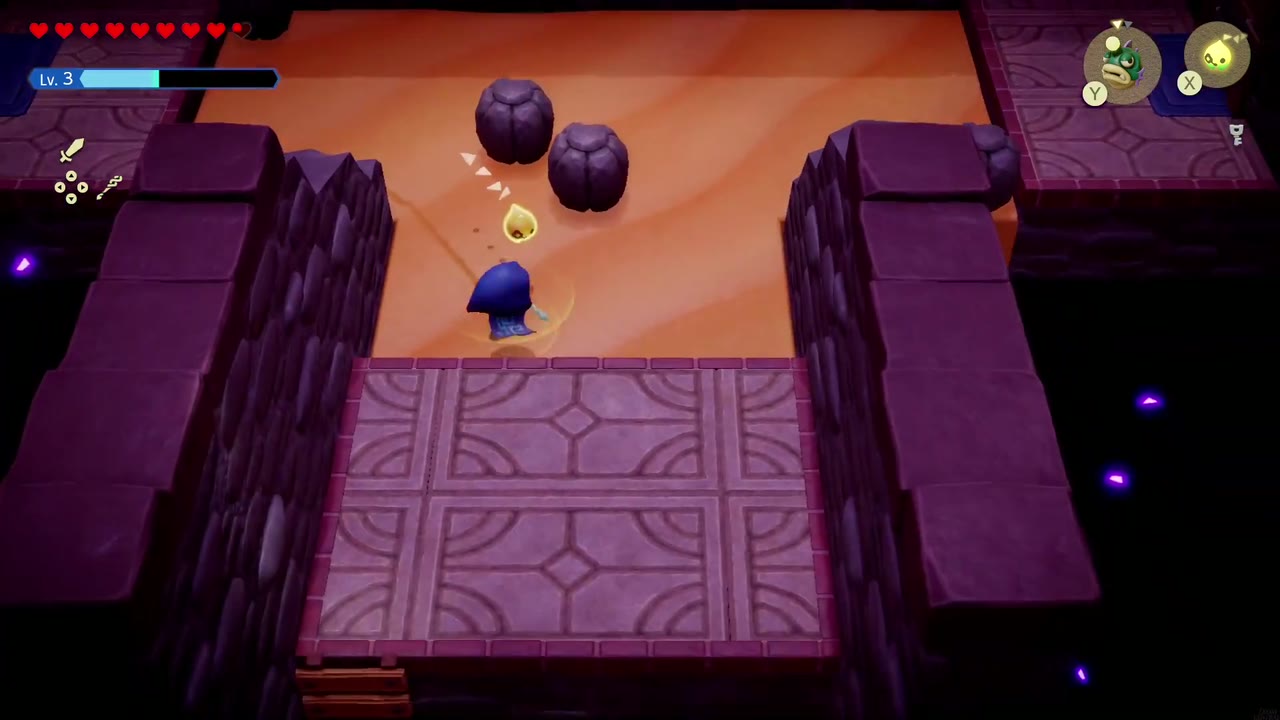
Swim to the east shore and head back to the Waypoint room. Take the right (east) door into the sand room and cross it to the south exit. The locked door there takes your Small Key and opens onto a ladder down.

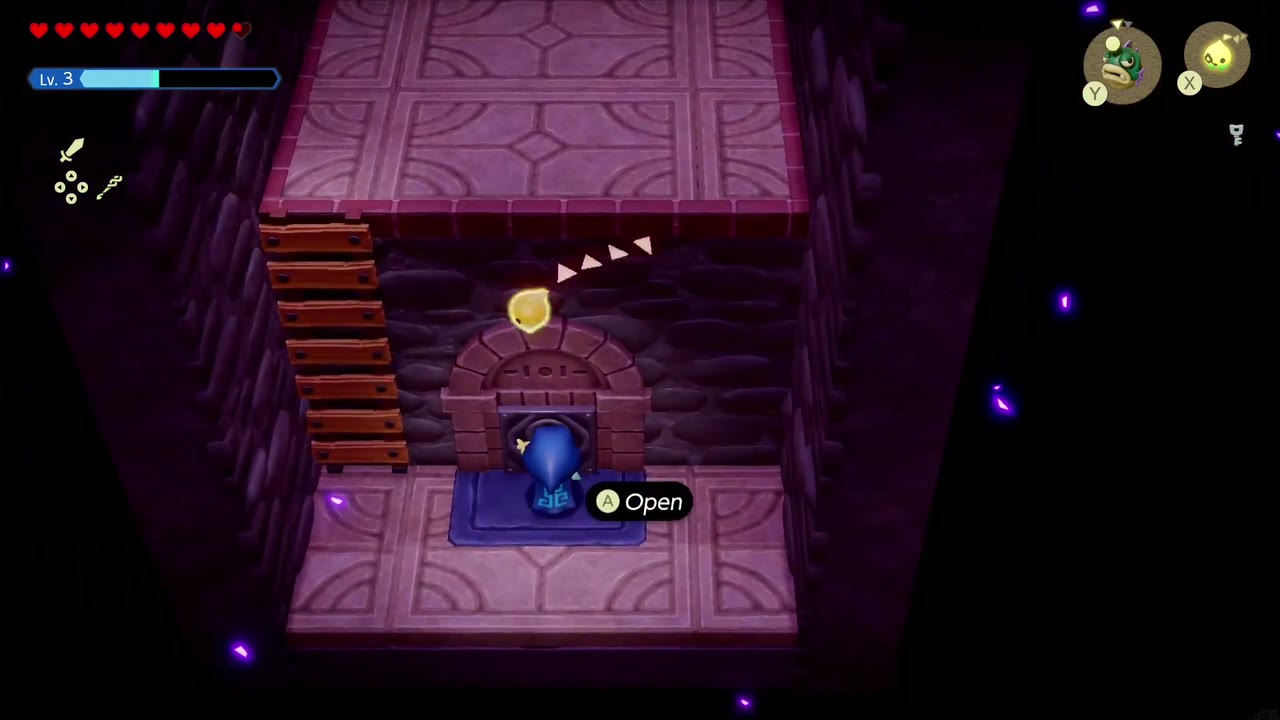
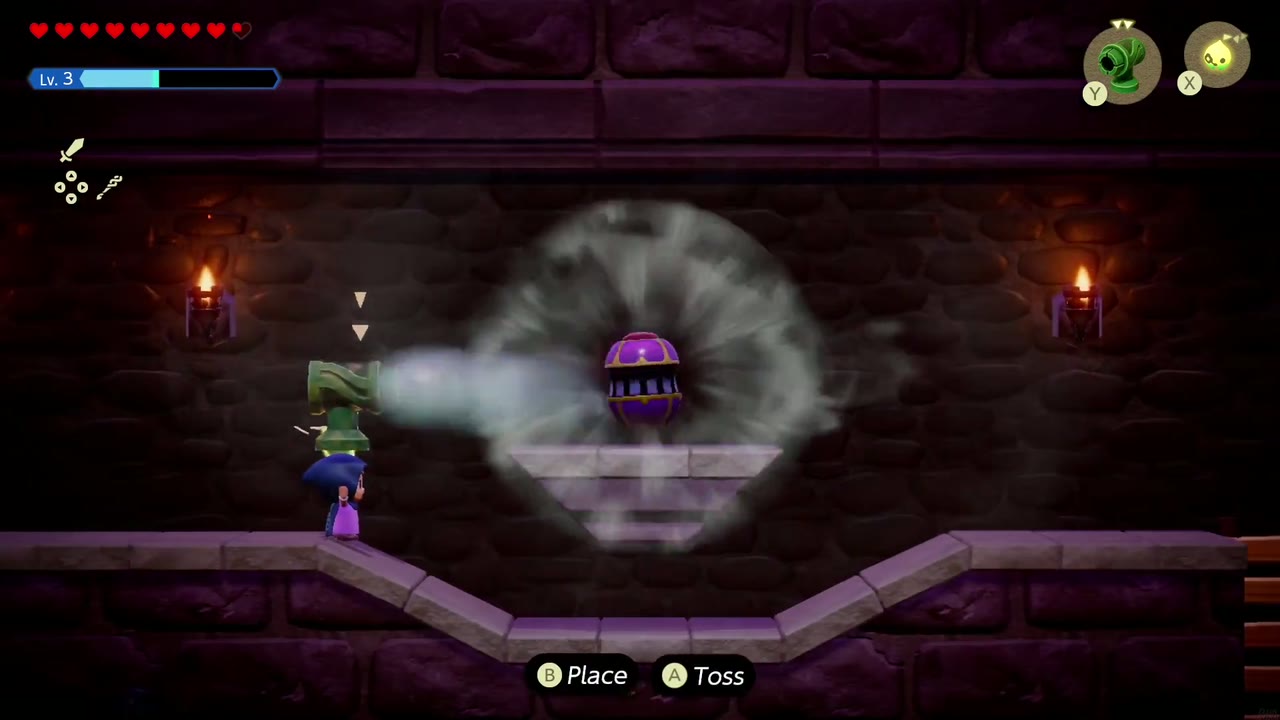
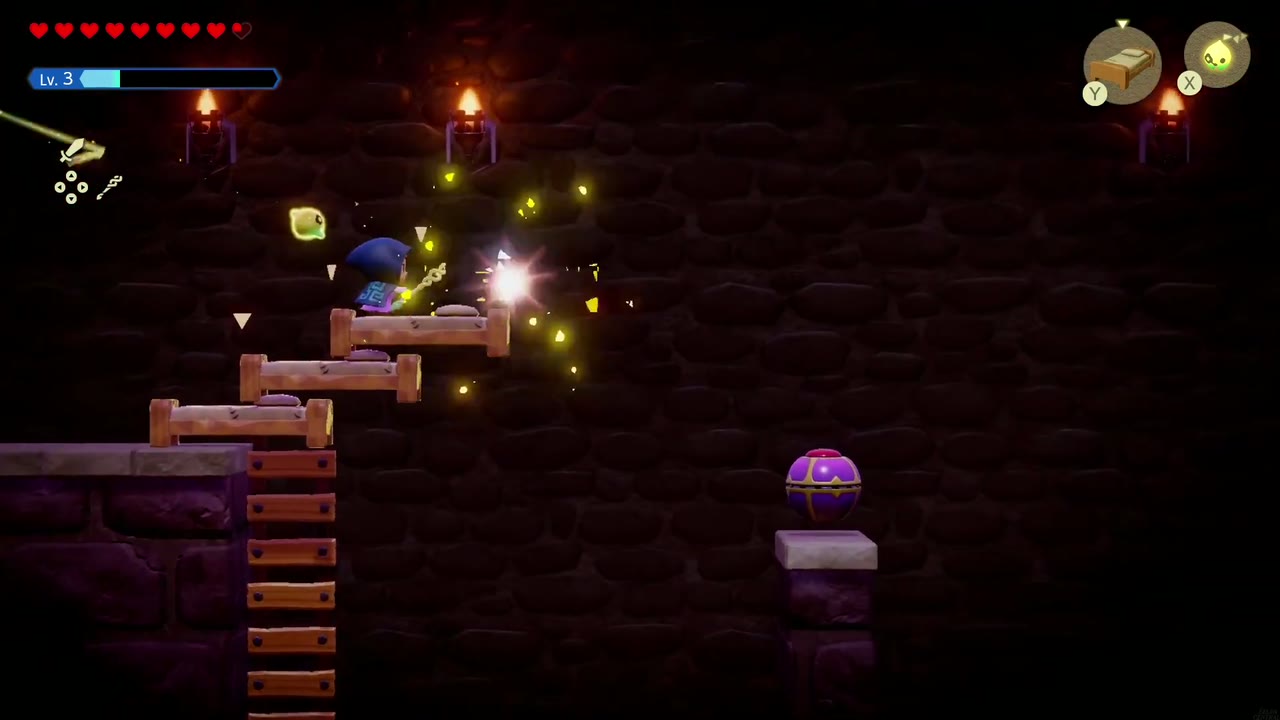
Below are side-view rooms guarded by Gustmasters, whose wind pushes you off the ledges. Drop an attacking echo next to the first one and finish it in Swordfighter Form. Get past the next one by stacking Old Beds into steps up to the ladder. Farther along, summon a Water Block against a high ledge and swim up it. Then clear the last Gustmaster by the ladder and climb out to the next room.


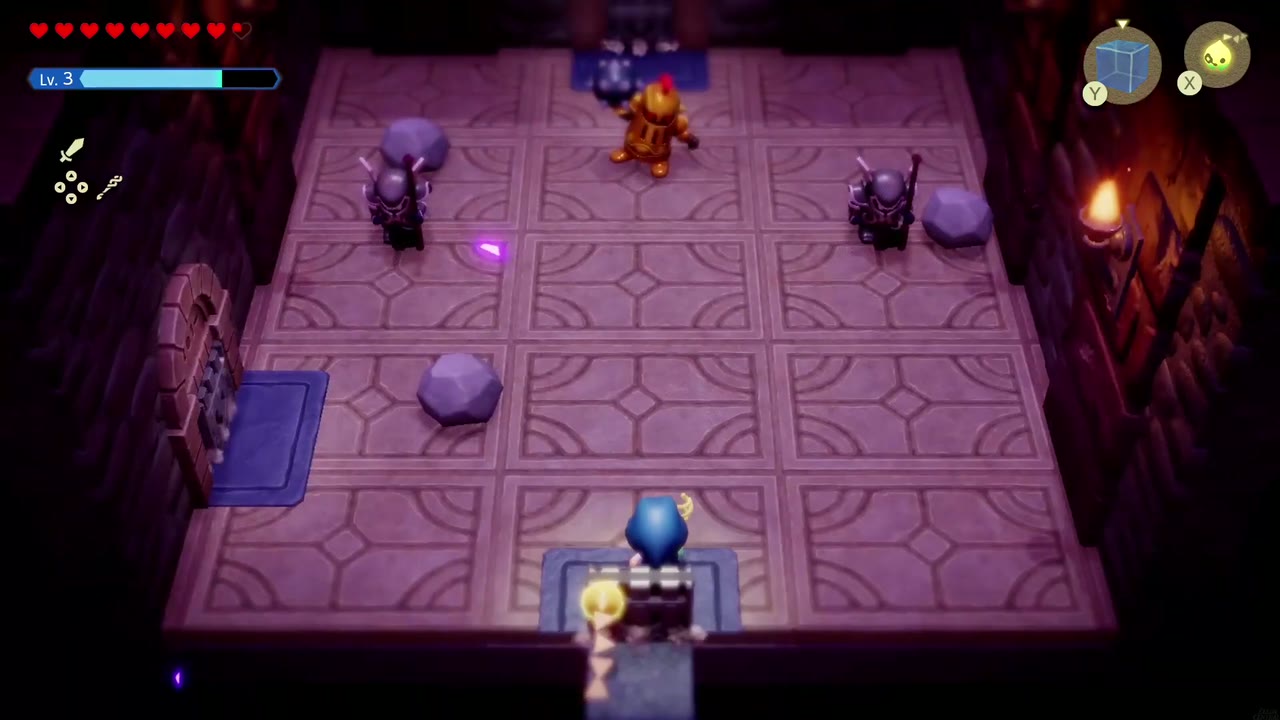
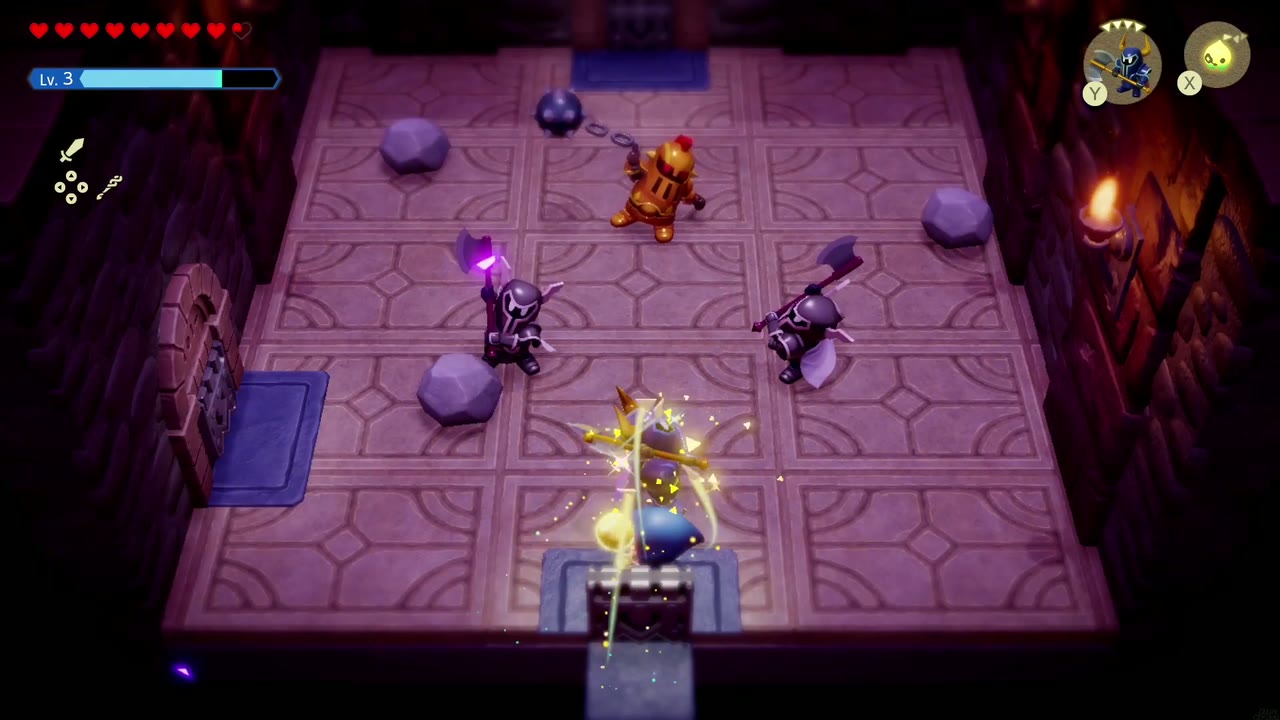
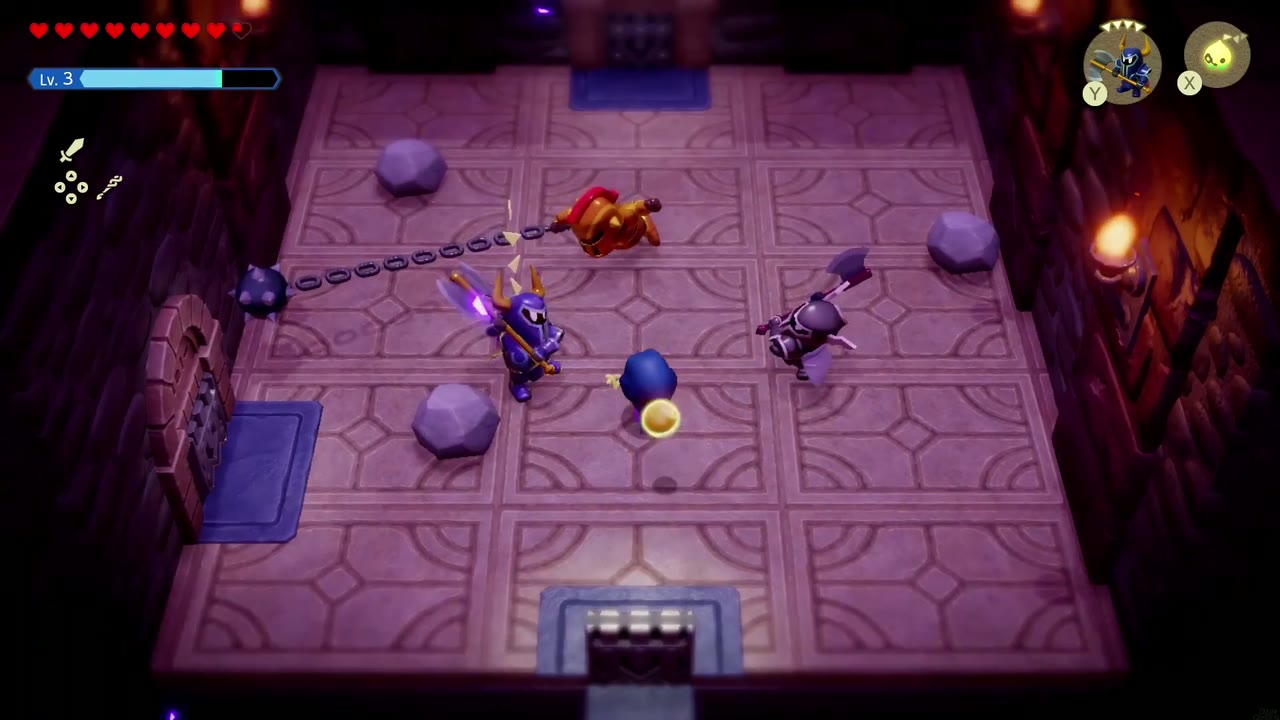
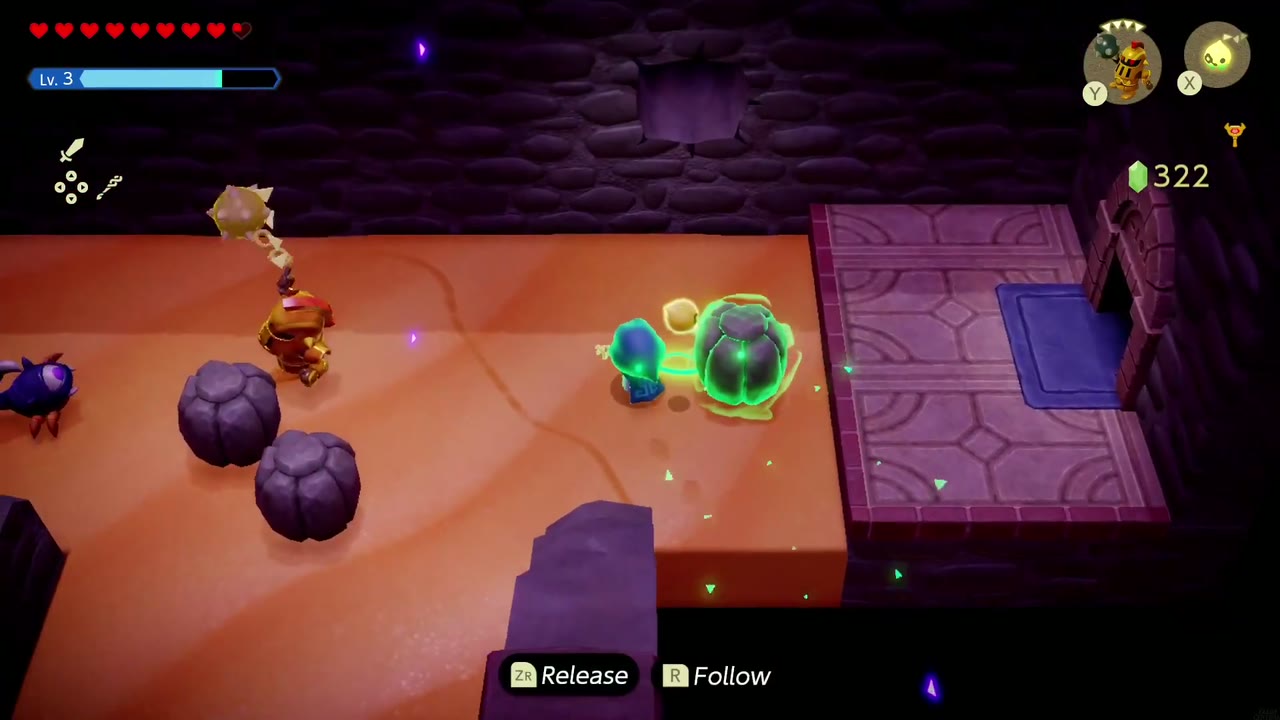
The doors lock when you enter. Inside are a Ball-and-Chain Trooper and two Darknuts. Summon Darknut Lv. 2 echoes to fight them, keep clear of the trooper’s swinging mace, and hit it while it recovers. When it falls, you learn the Ball-and-Chain Trooper echo.

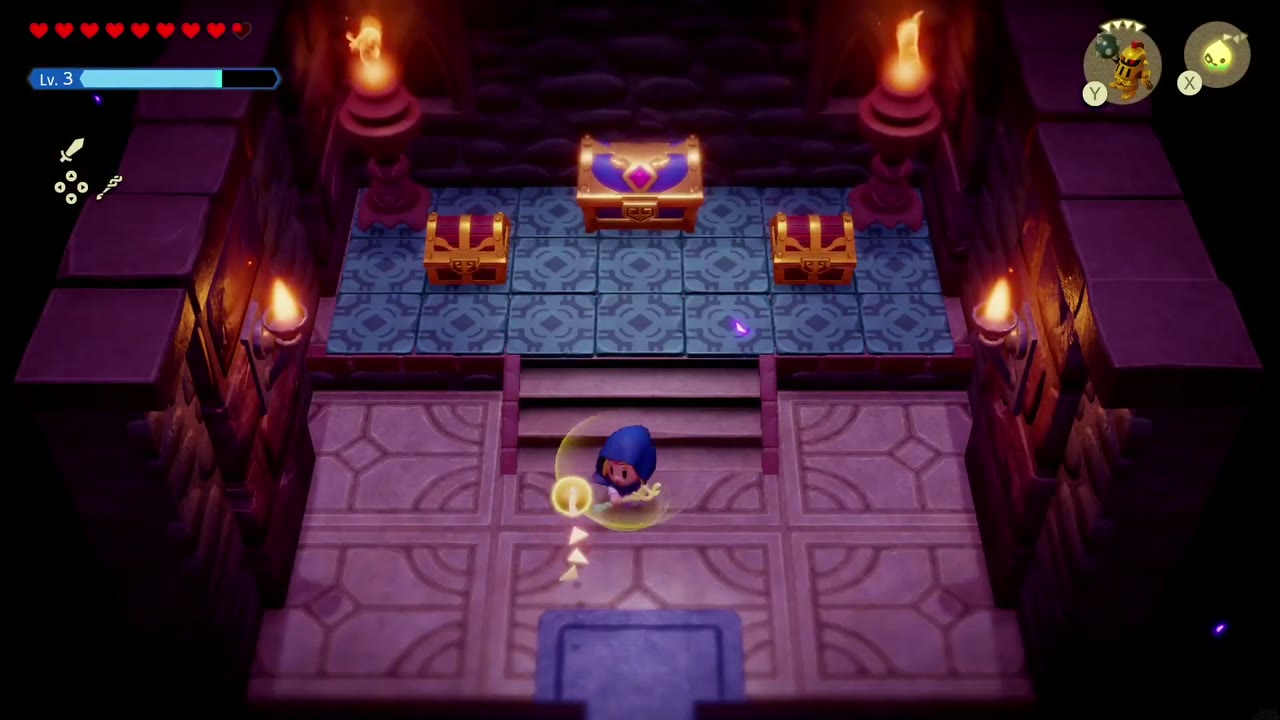
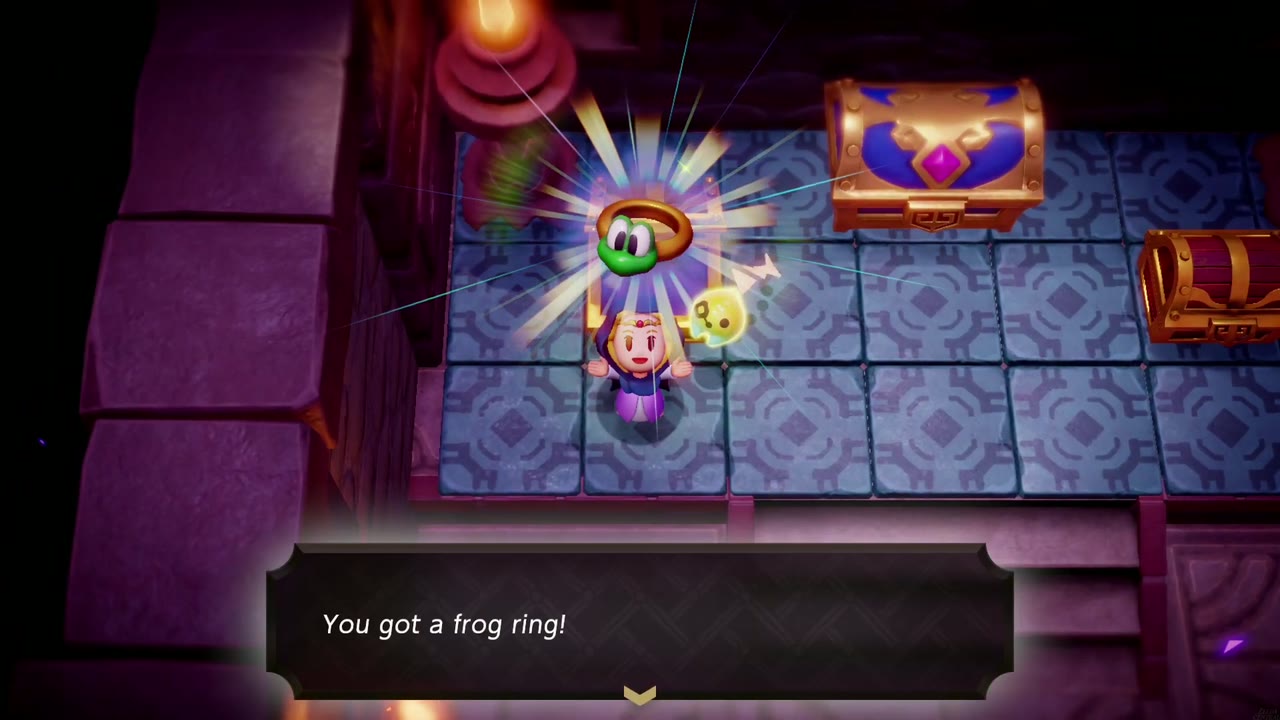
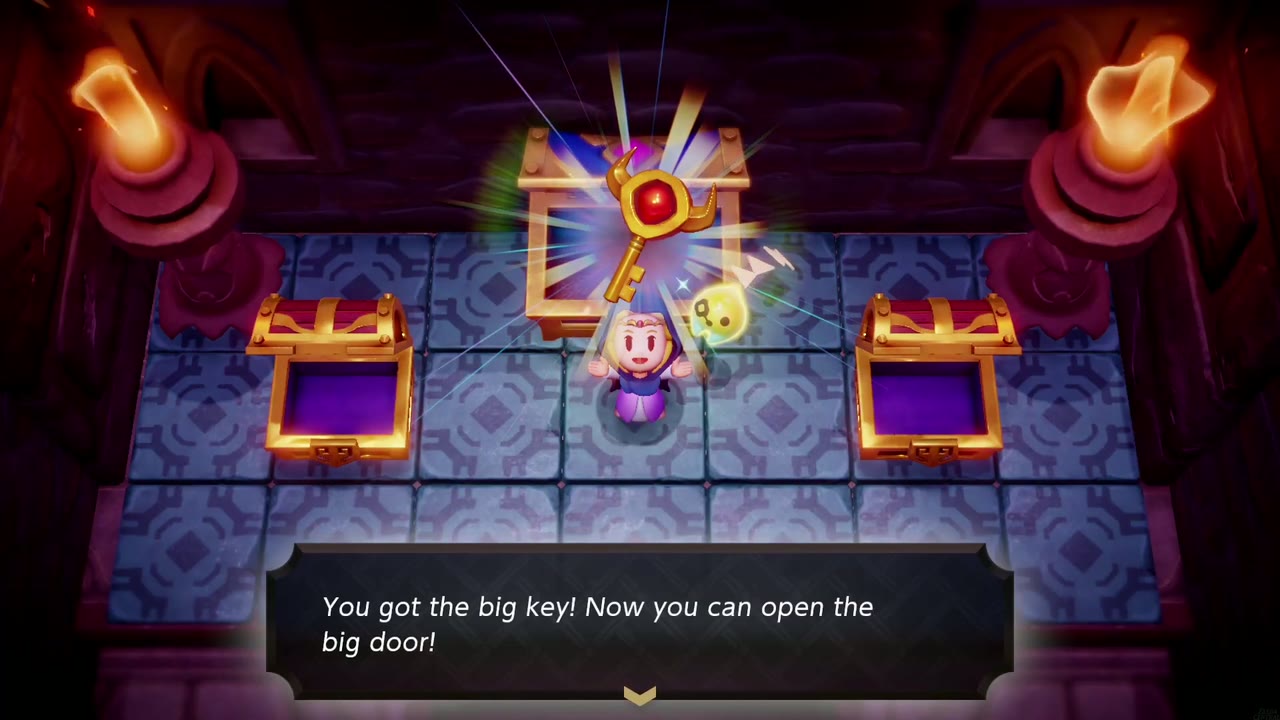
The treasure room to the north holds three chests. The left one has the Frog Ring, an accessory that lets you jump higher. The right one has a Golden Egg, and the big center chest holds the Big Key. Leave through the Ball-and-Chain room’s west door, which brings you back into the sand room. Your new Ball-and-Chain Trooper echo handles the enemies there. Then return to the Waypoint room and climb the stairs to the big boss door.

Boss: Ganon
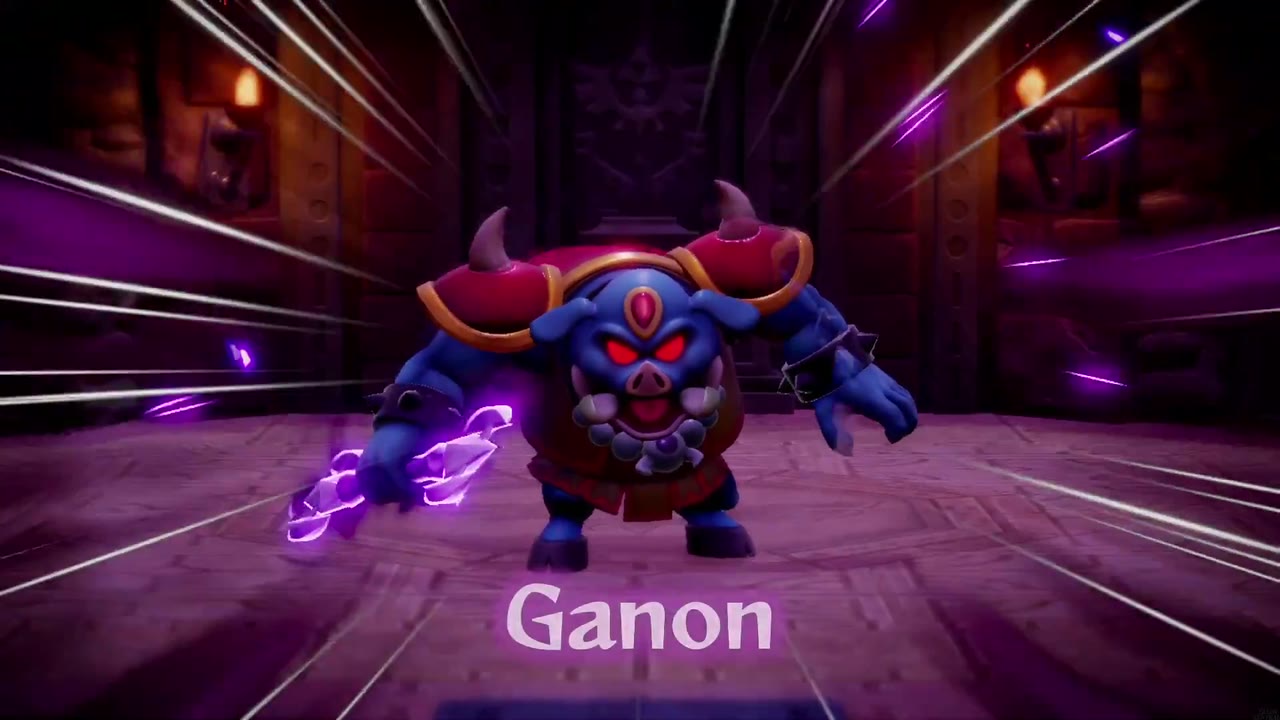
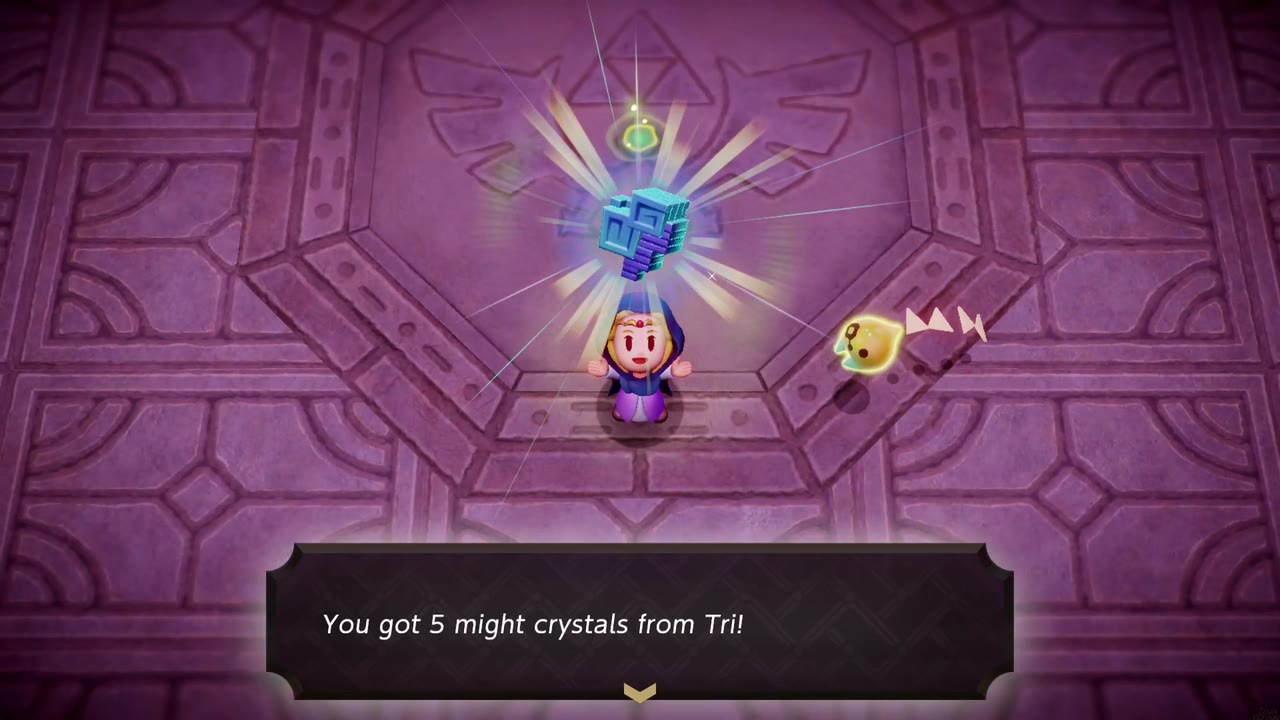
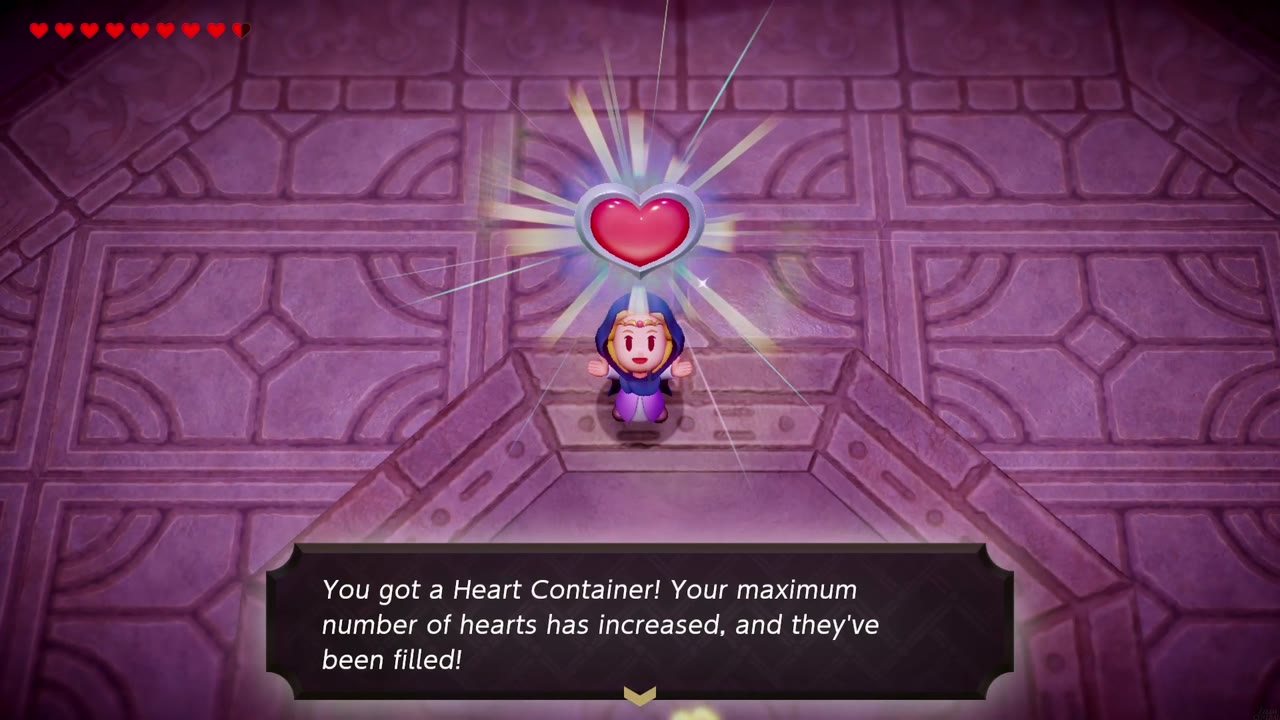
The “King of Hyrule” waiting in the octagonal chamber at the bottom of the castle drops the act and transforms into Ganon, and Tri realizes this blue monster is an echo made with the same power she uses. He hurls his trident like a spinning ring that sweeps across the arena, charges from wall to wall, and slashes trails of fire along the floor, so keep moving and stay out of his line. His key attack is a glowing energy ball: switch into Swordfighter Form and swing to bat it straight back at him, then rush in and punish while he’s reeling. Smoothies are worth having on hand, since he hits hard. Beat him and Tri’s power increases, giving you 5 Might Crystals, and a Heart Container appears in the arena.

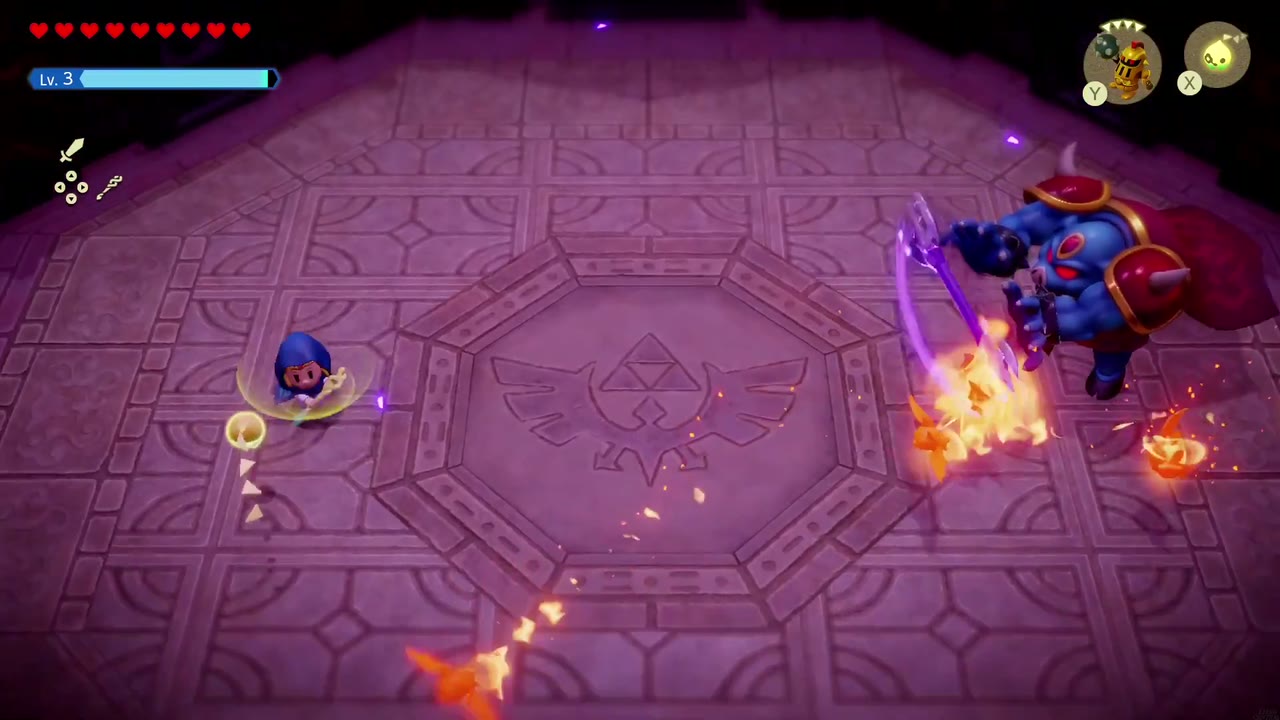
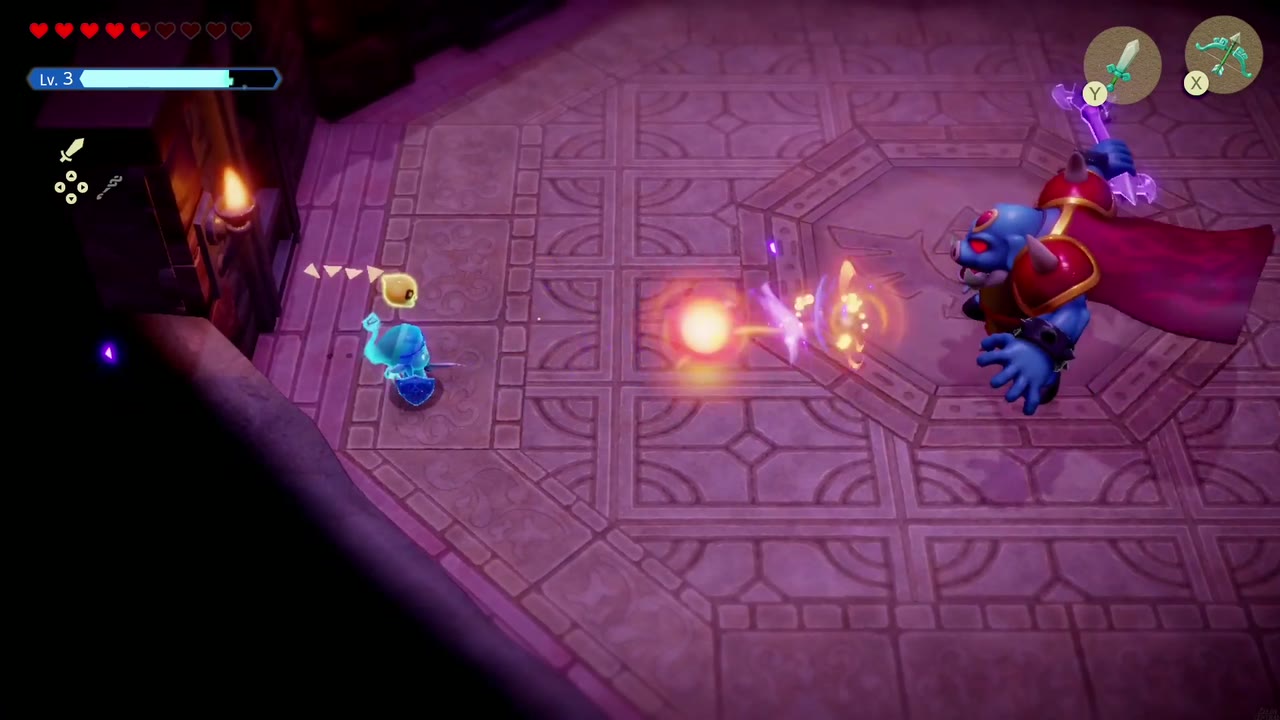
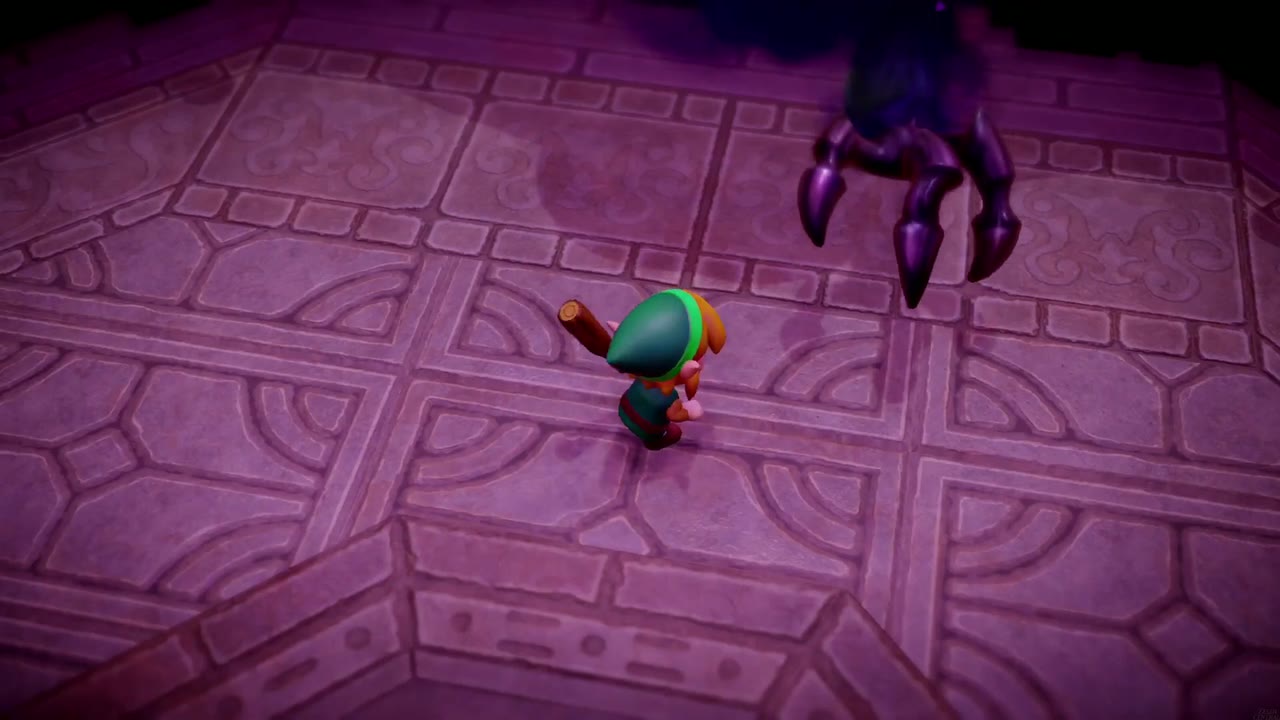
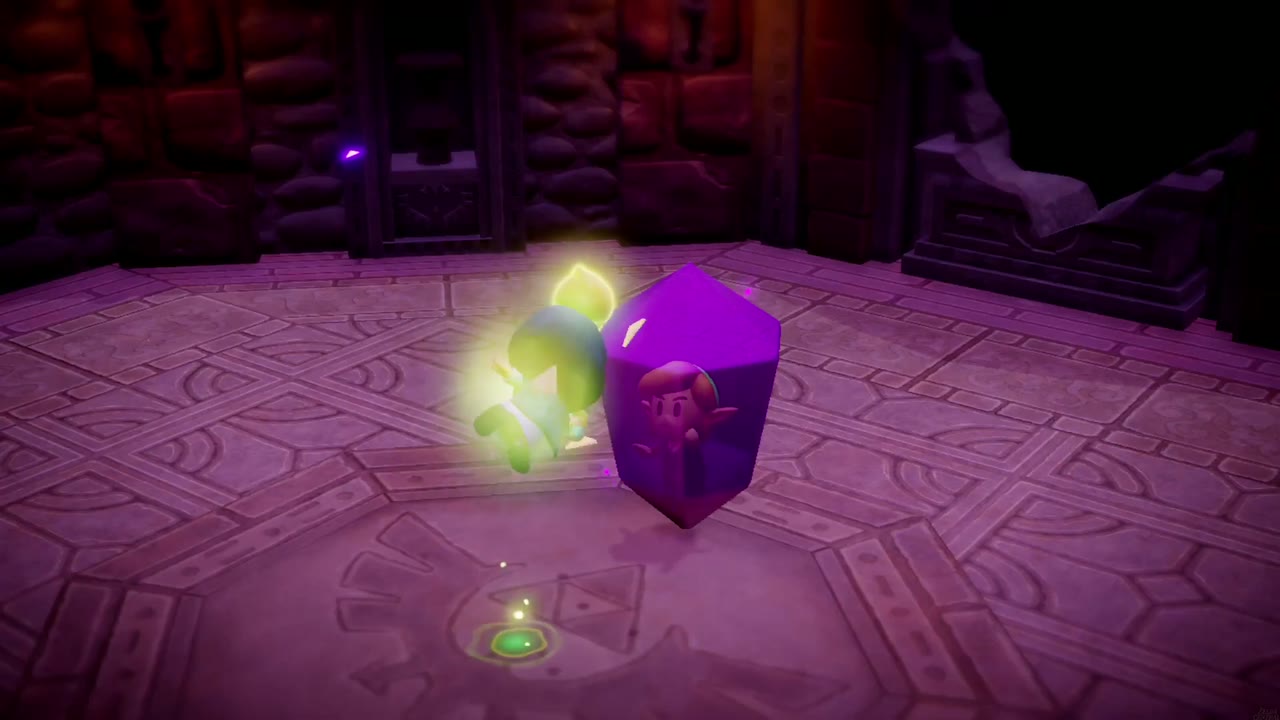
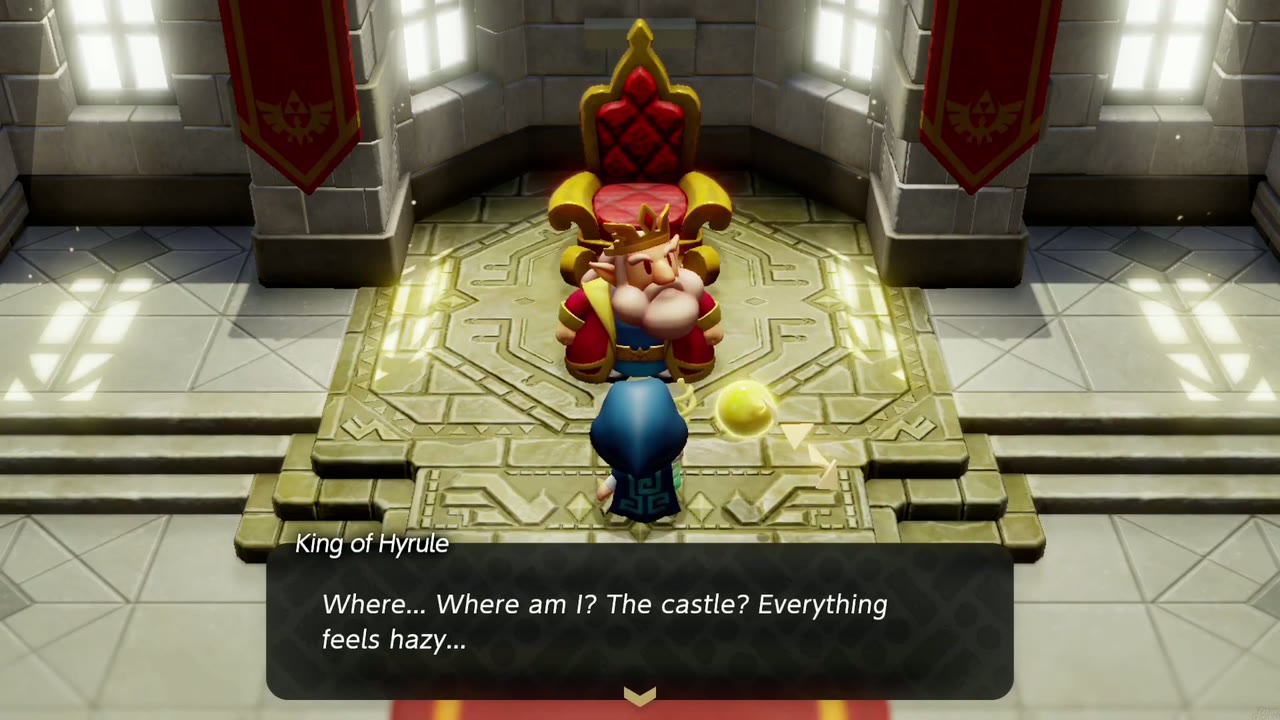
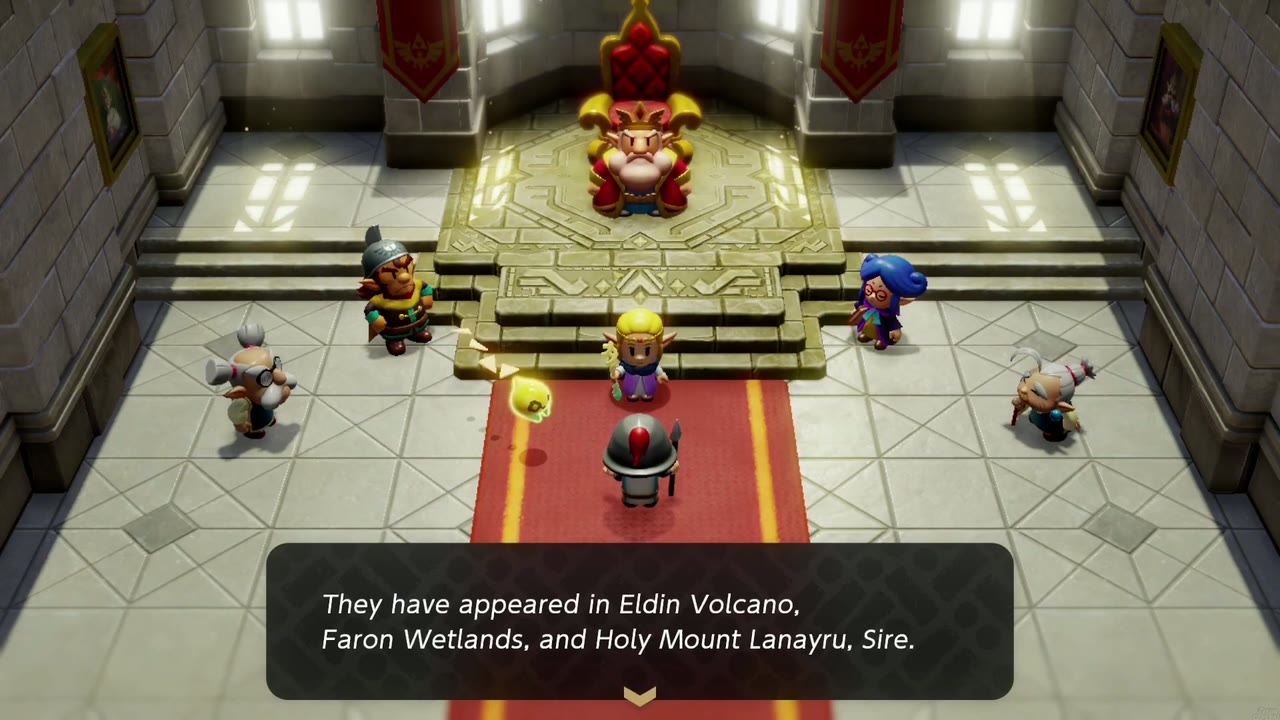
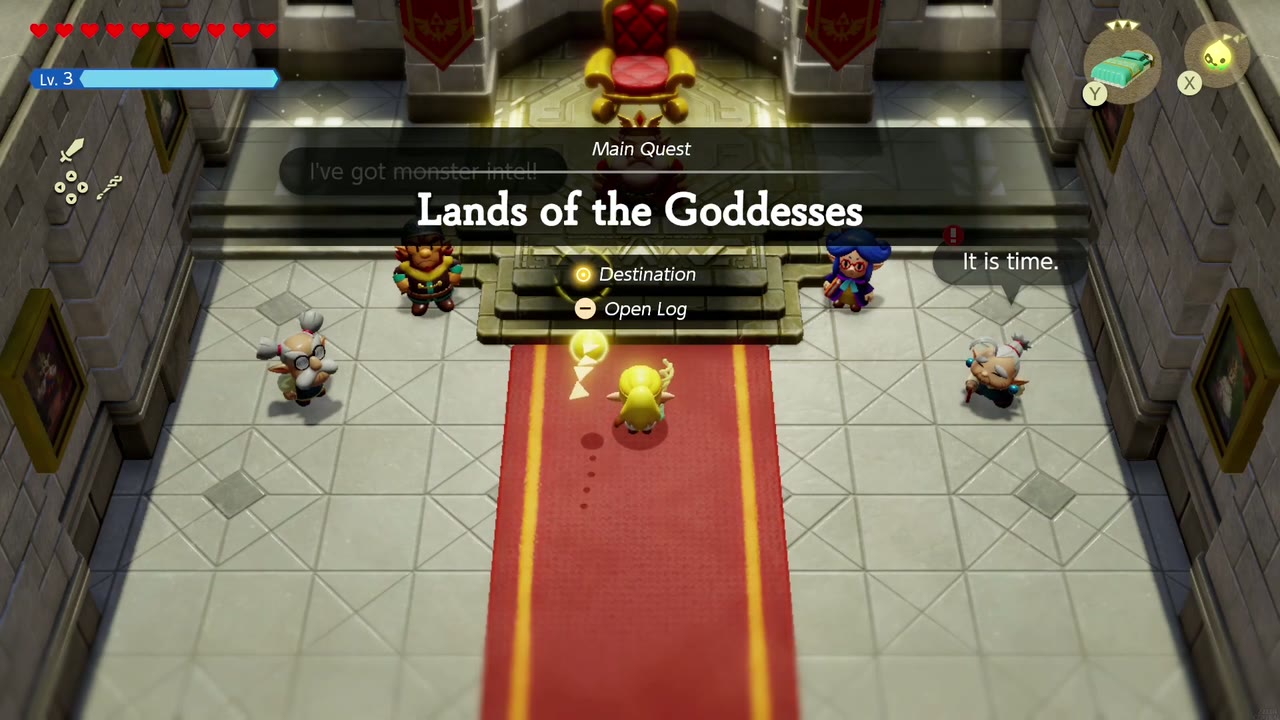
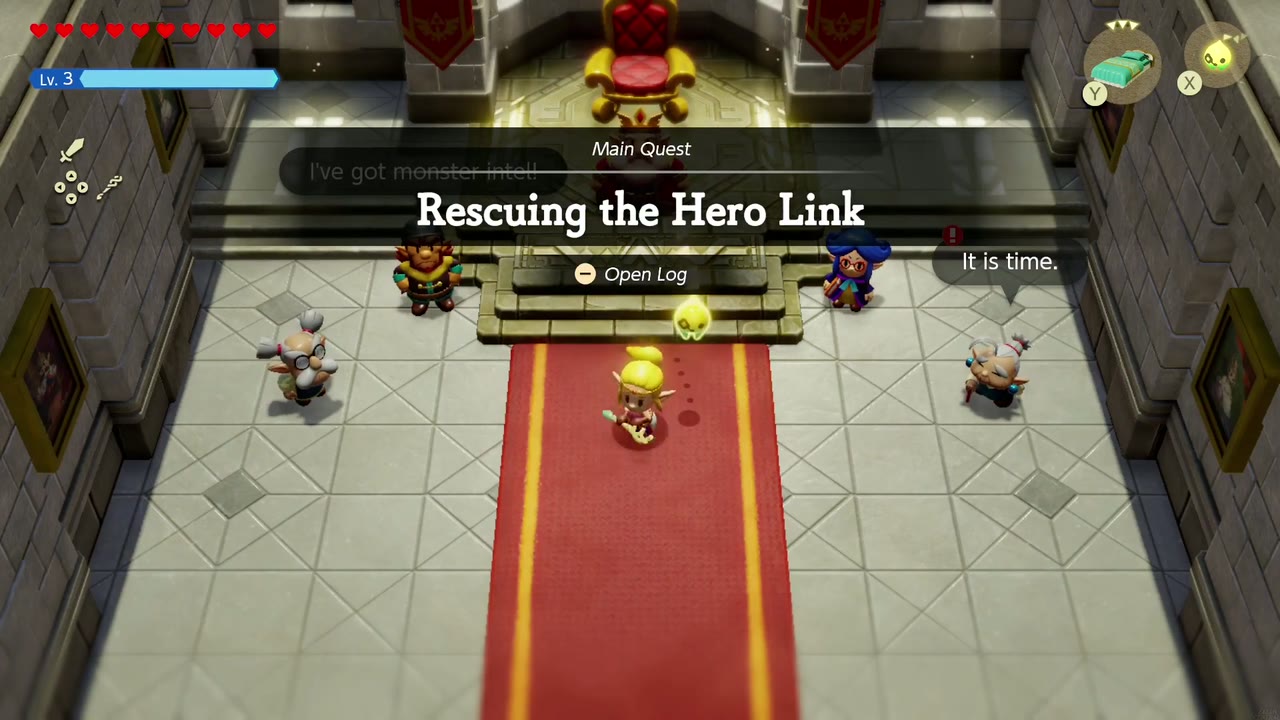
The fight isn’t the end. When you tell Tri you want to return to your world, the north wall of the arena bursts open, dark claws reach out of the rift, and Link finally reappears, shoving Zelda into the warp just before he’s sealed in a purple crystal and vanishes. Back home the real king wakes on his throne, and after Zelda rests in her room, Impa sends her to a council with the king, Minister Lefte, General Wright, and Lueburry. New rifts have opened in Eldin Volcano, Faron Wetlands, and Holy Mount Lanayru; the king hands Zelda her ancestral vestments and asks her to mend all three and find Link. Still Missing completes, and two main quests begin: Lands of the Goddesses and Rescuing the Hero Link.
Castle Town and Castle Outskirts Collectibles
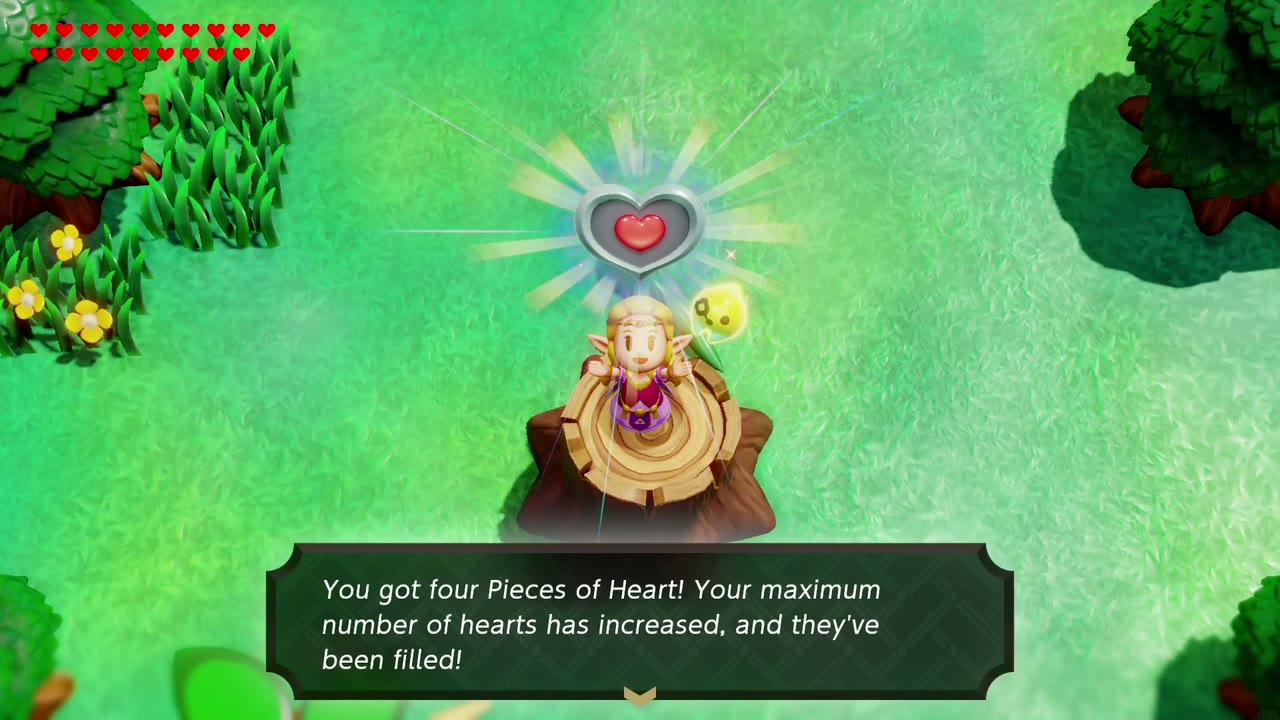
Hyrule Field and Castle Town are packed with collectibles: Pieces of Heart, Stamp Stands and Might Crystals turn up all over the field. The full list lives on the heart pieces page, but these four are close to the castle. Two of them you can grab on the walk to the castle during Still Missing, one sits right by Castle Town’s walls, and one is in the woods near Kakariko Village.
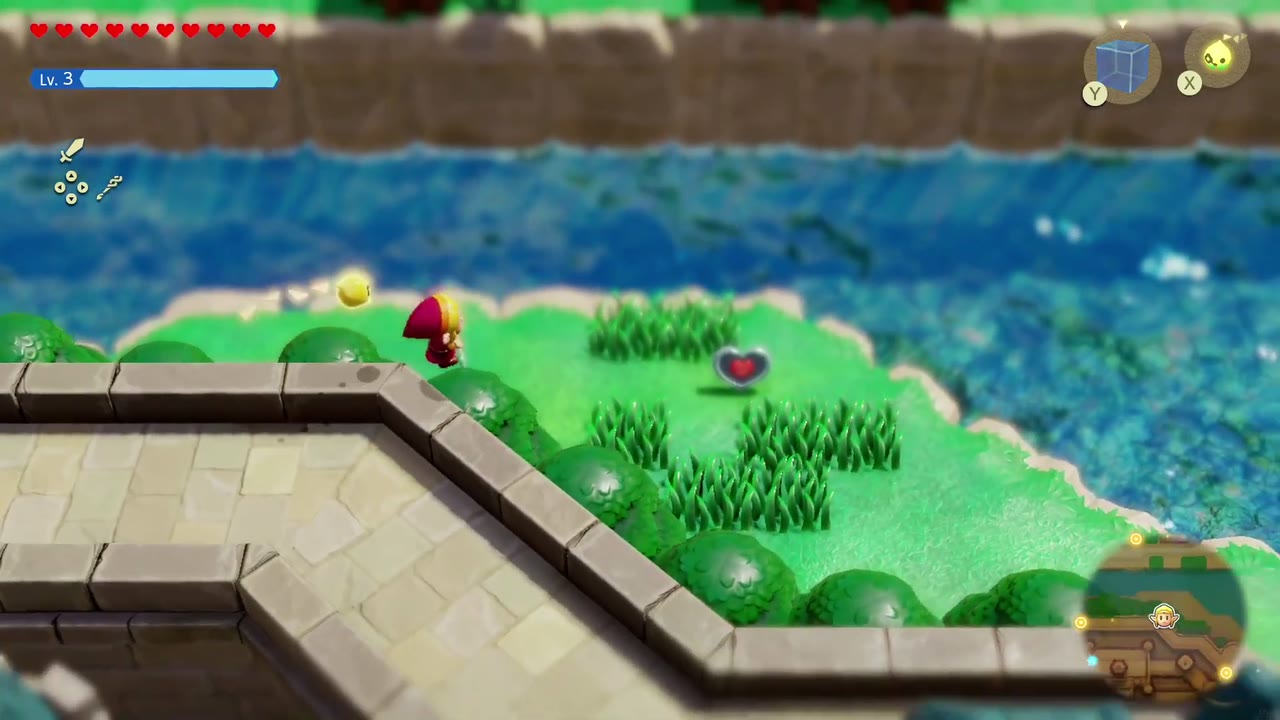
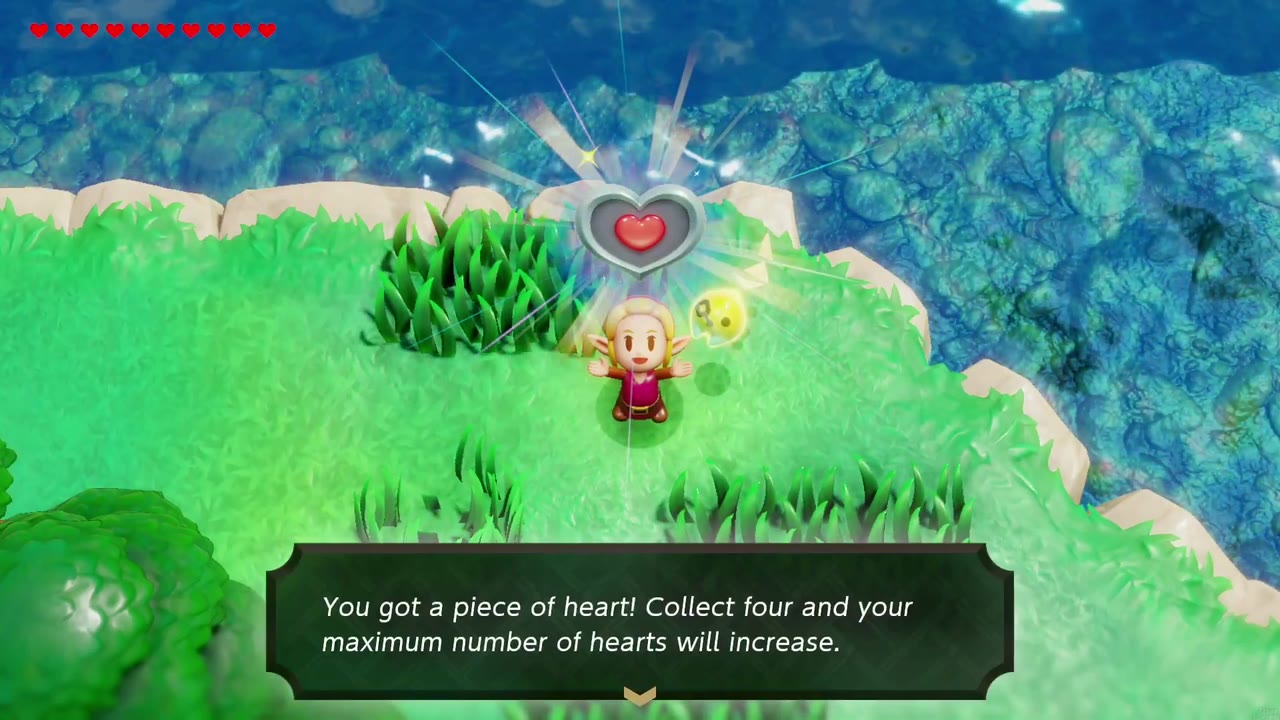
Piece of Heart: the castle moat ledge
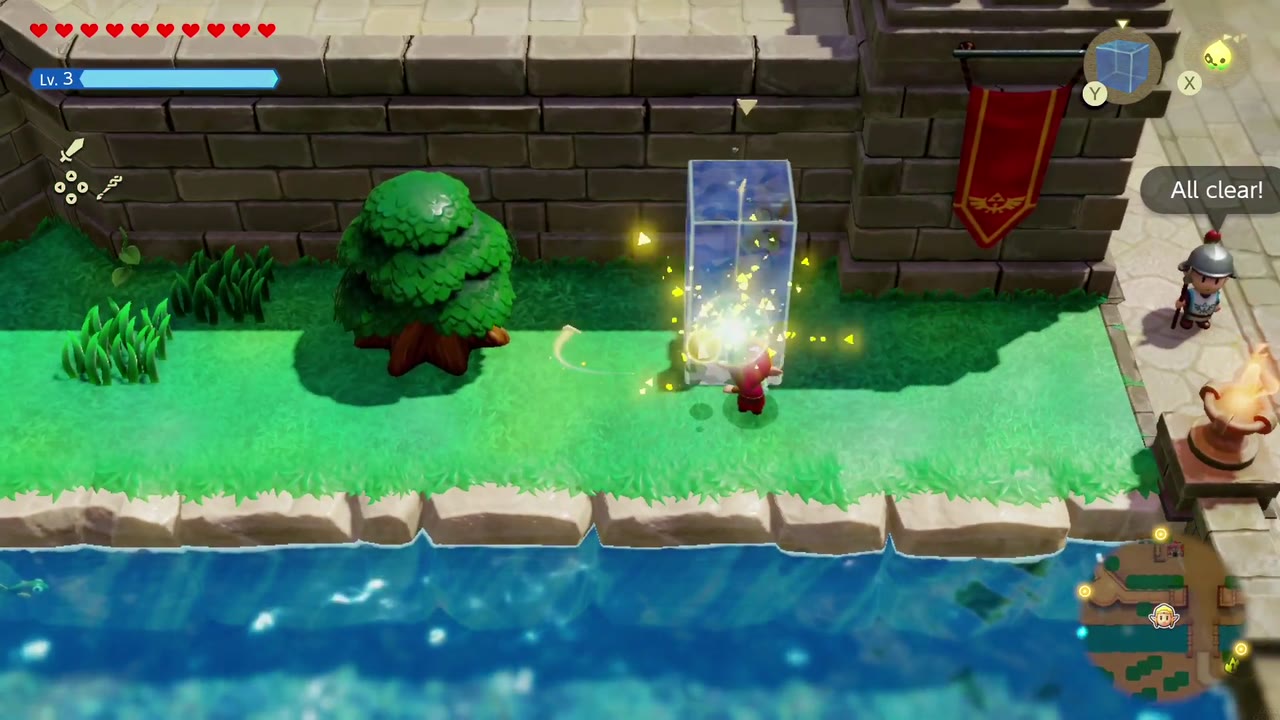
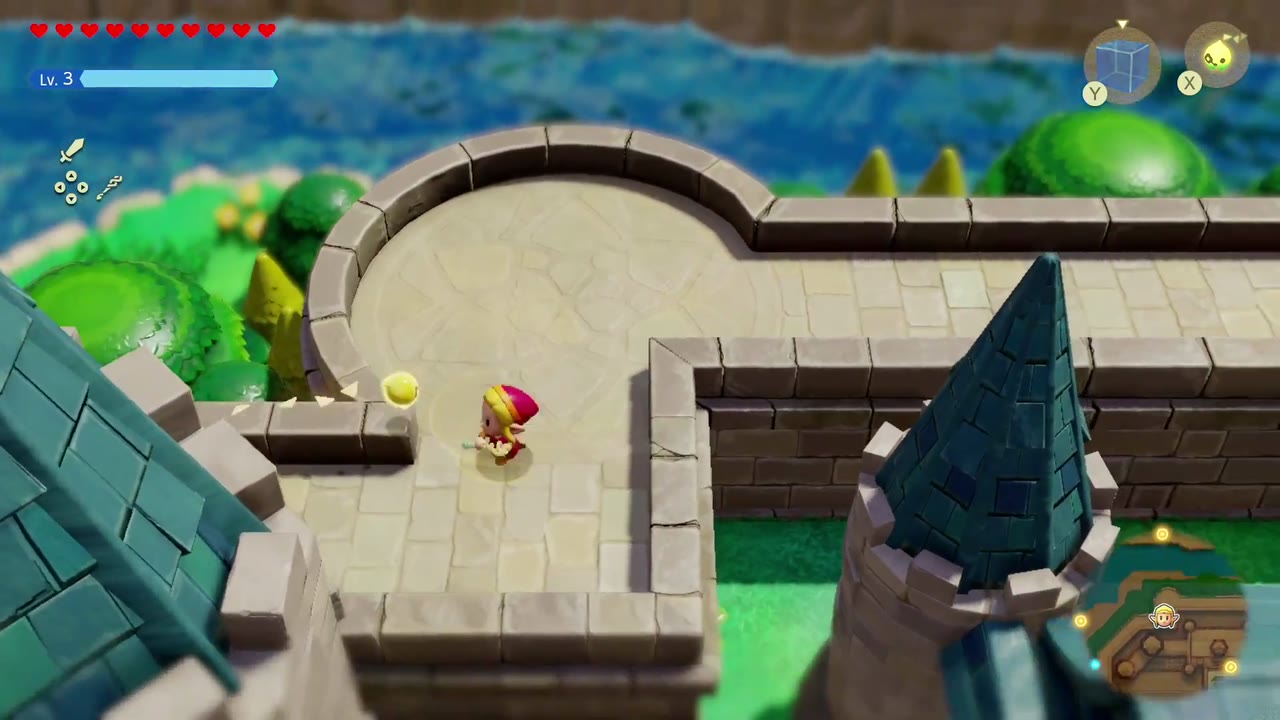
Just outside Castle Town’s outer wall, a Piece of Heart sits on a strip of grass between the wall and the moat. Summon a Water Block against the wall to climb onto the wall walk, follow the wall around the corner tower, and drop down onto the grassy ledge to grab it. To get back out, stack another Water Block and swim up it onto the wall.
Piece of Heart: the tree stump
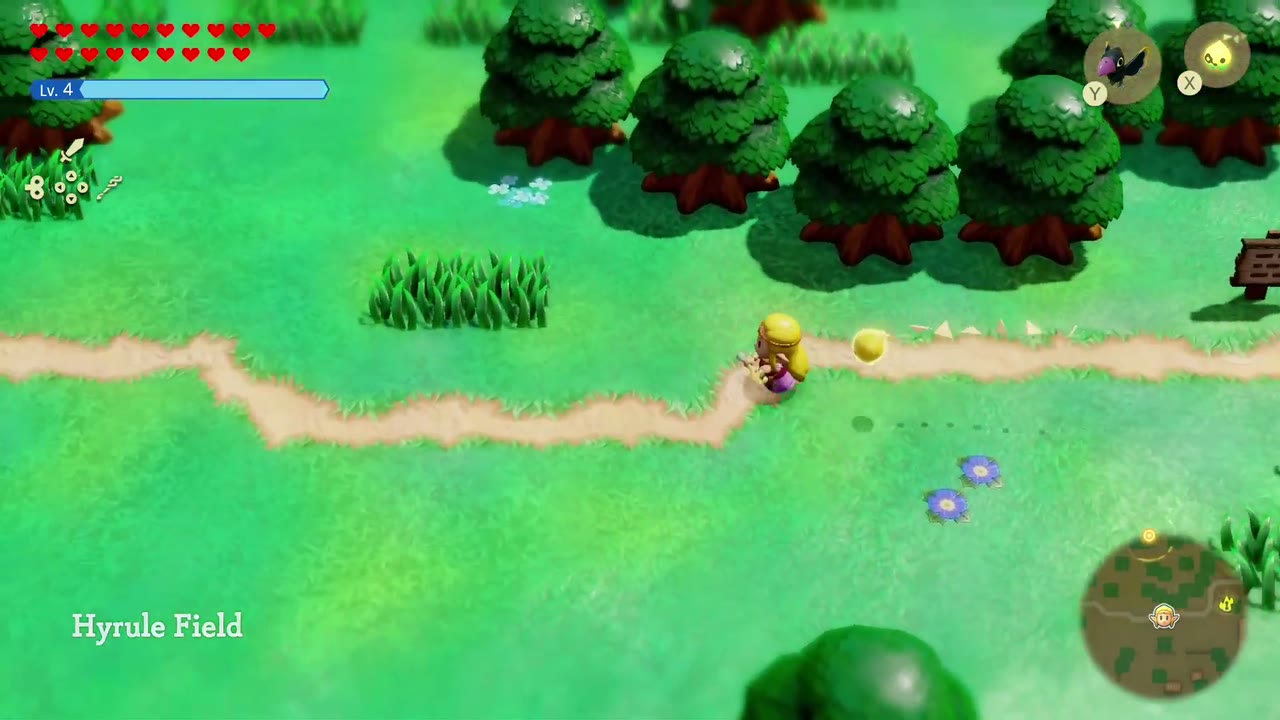
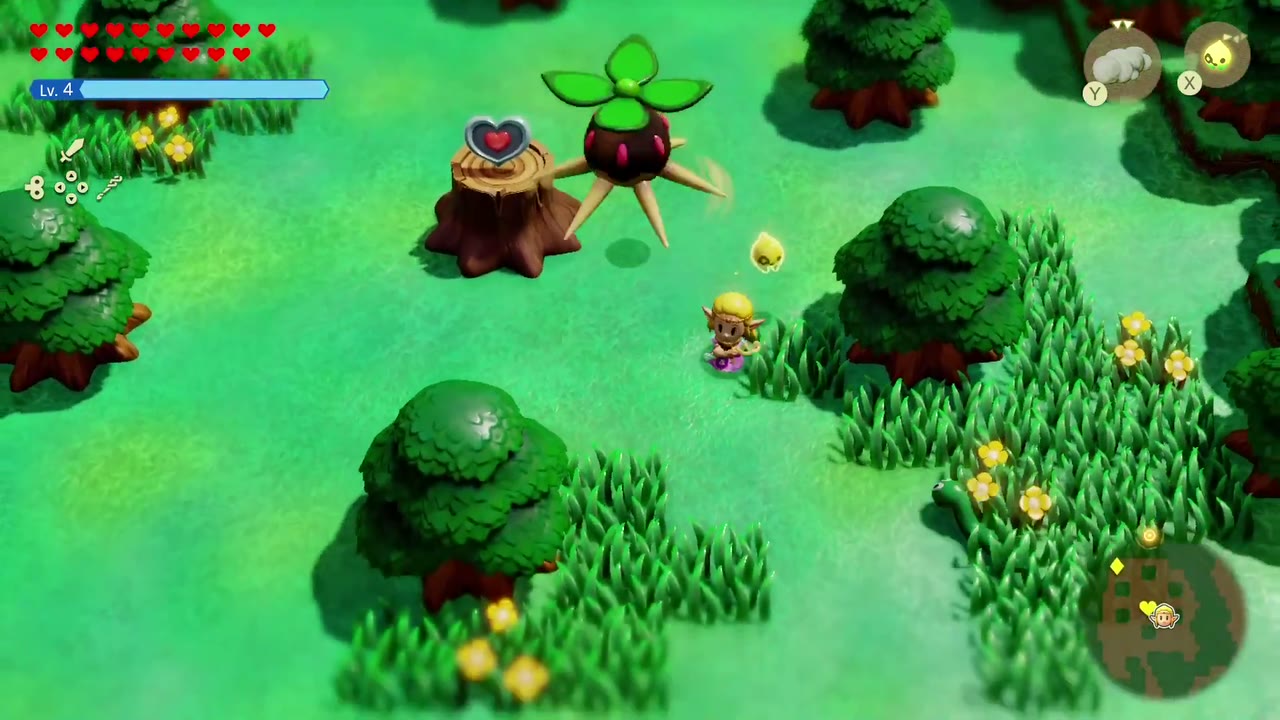
Past Kakariko Village (home of the Slumber Dojo), follow the path out into the Hyrule Field woods. Deep in the trees, a Piece of Heart sits on top of a low tree stump with a Deku Baba growing right beside it. Mind the Deku Baba and climb onto the stump to take the piece.

Piece of Heart: the ruins pillar by the rift
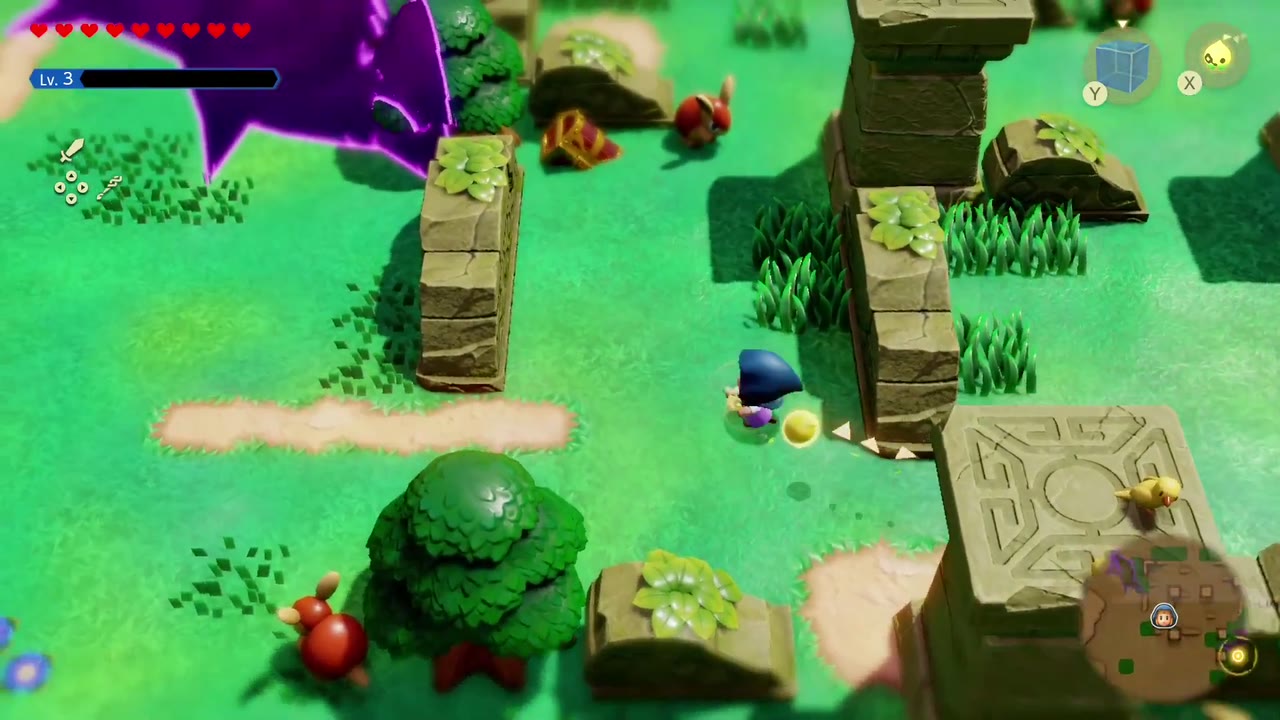
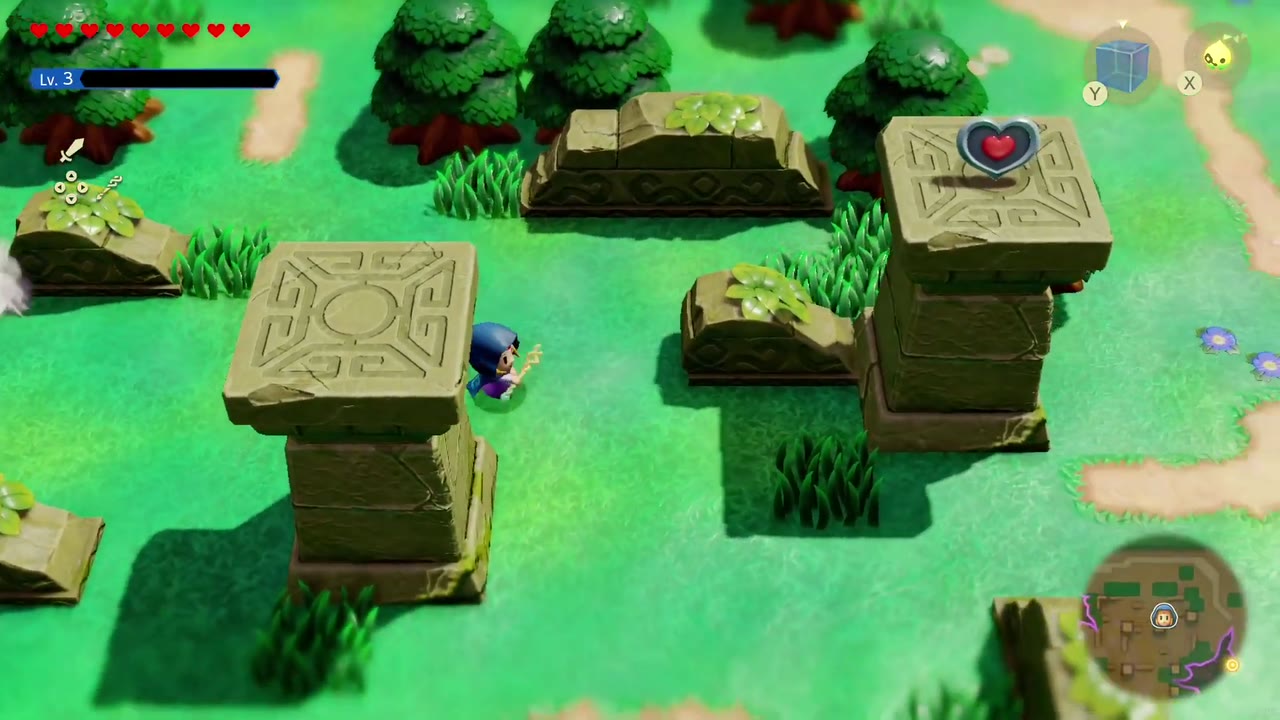
Beside a purple rift in Hyrule Field there’s a patch of crumbling stone ruins. The piece sits on top of the tallest carved stone pillar. Place a Water Block right next to the pillar, swim up it, and step across onto the top.
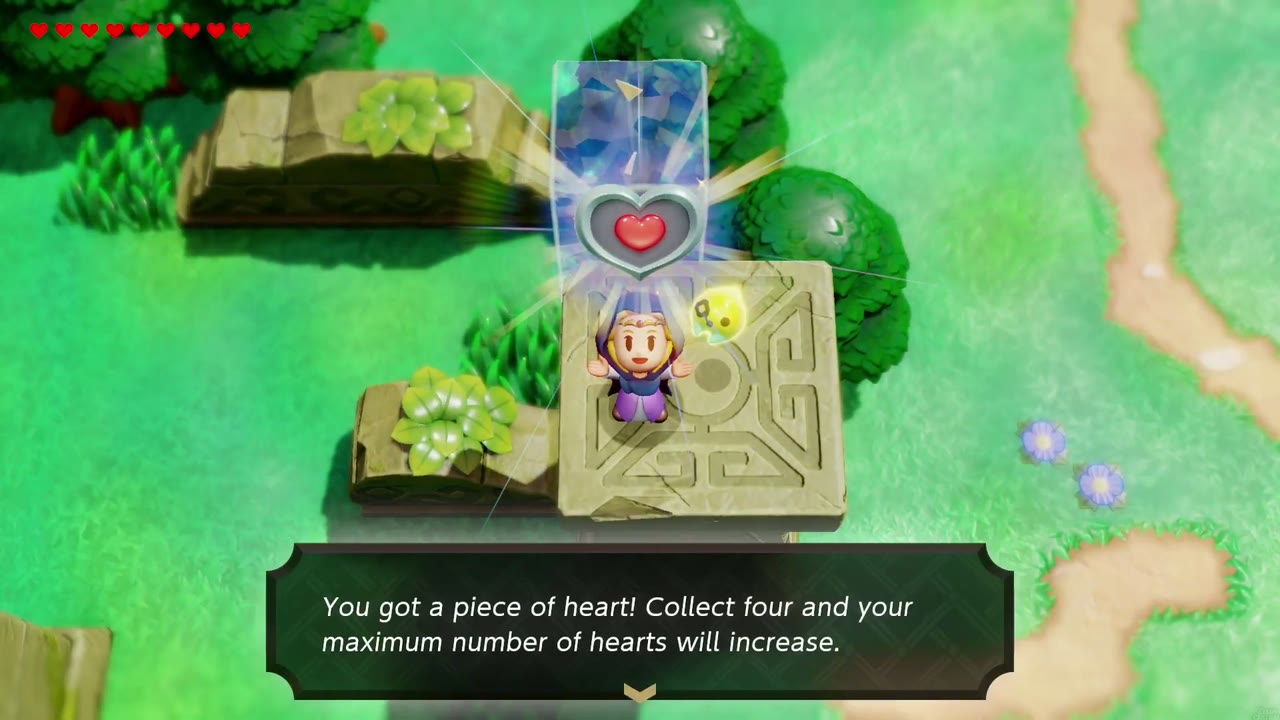
Piece of Heart: the pond pillars
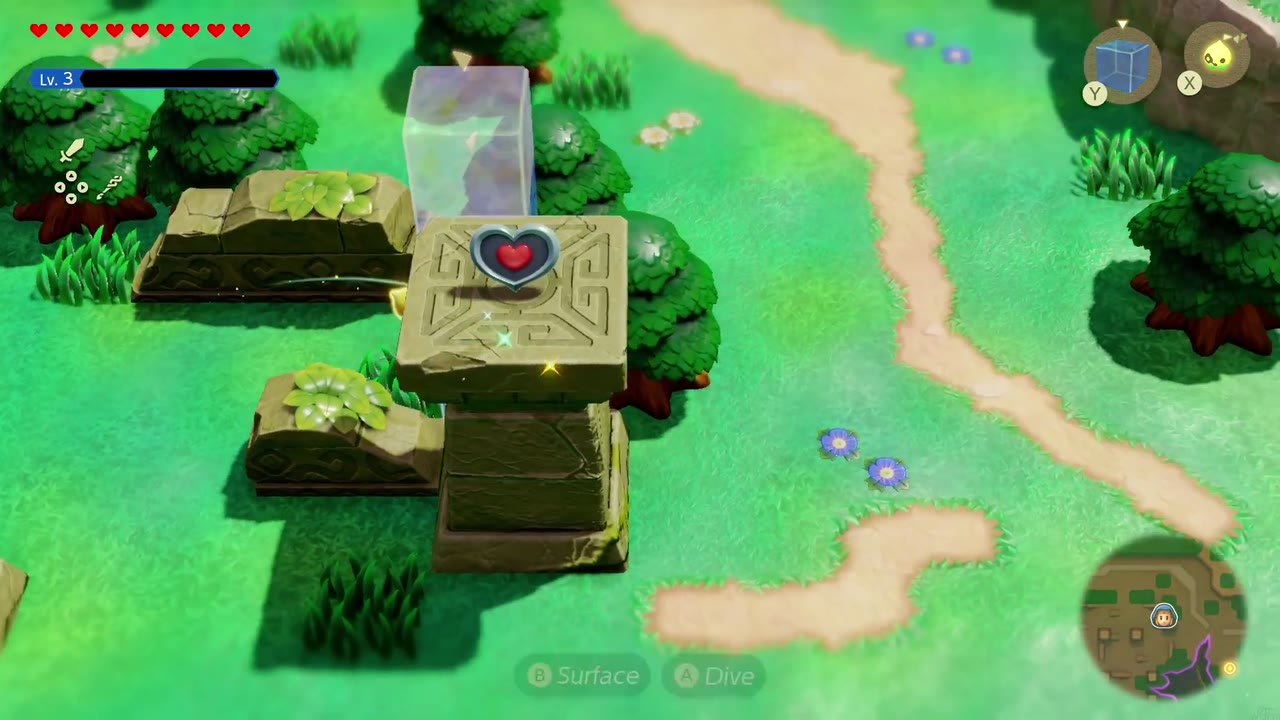
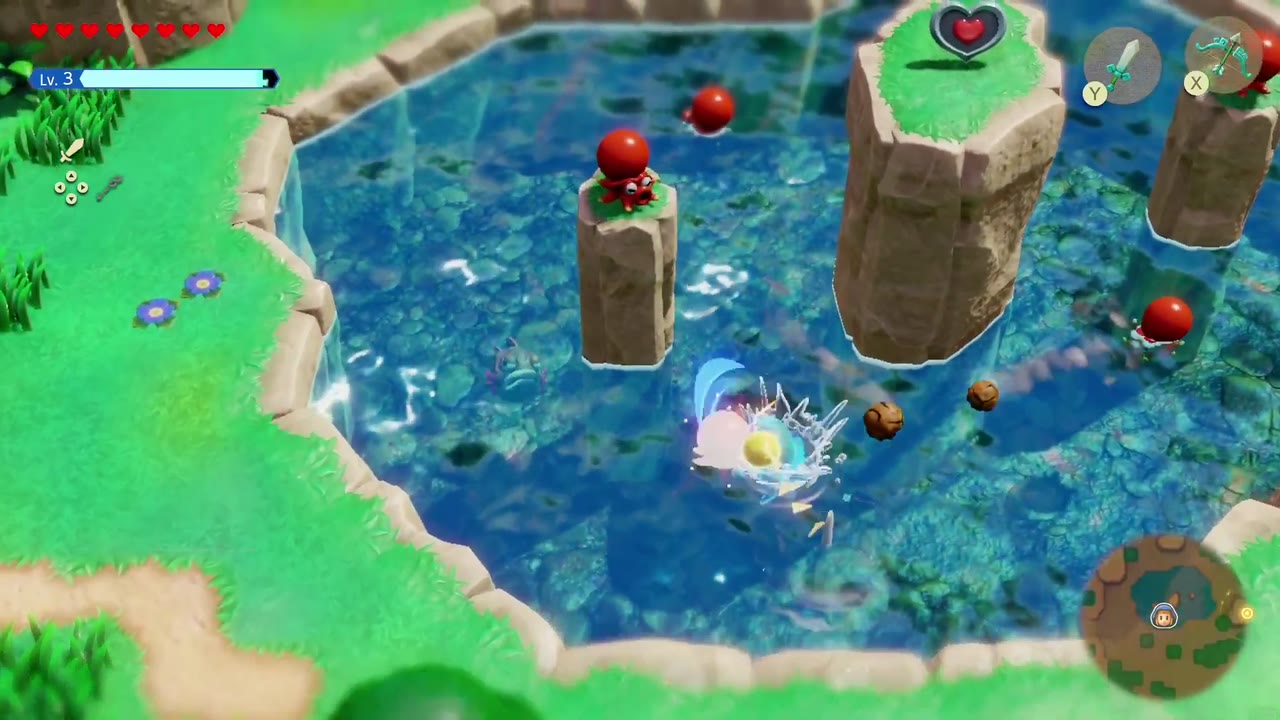
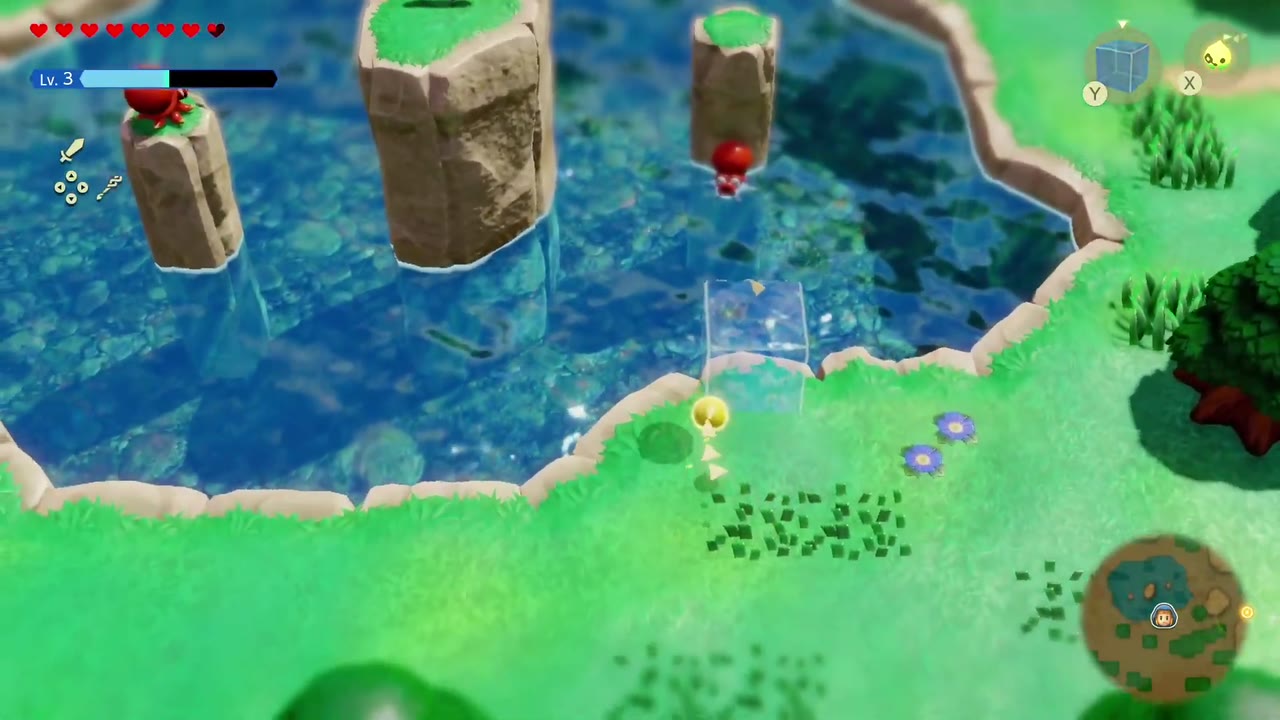
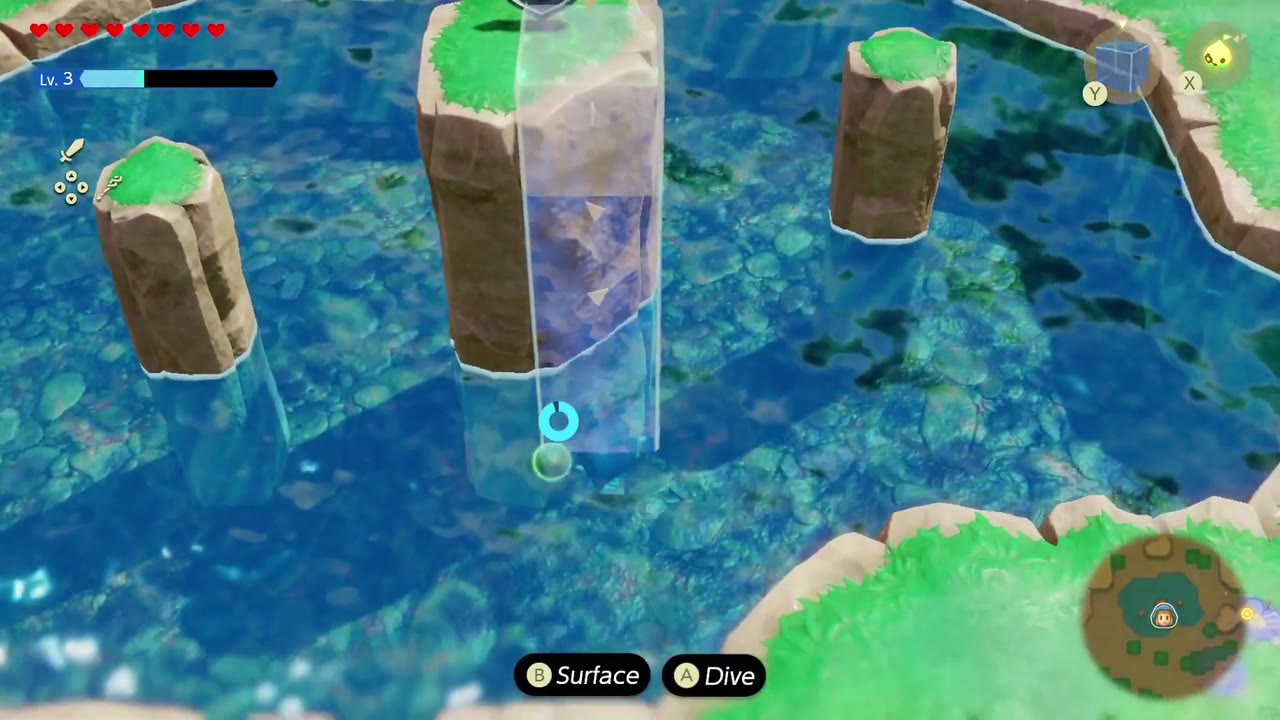
A Hyrule Field pond holds a cluster of stone pillars, with Octoroks perched on the shorter ones spitting rocks at you. The piece is on top of the tallest pillar. Swim out, drop Water Blocks into the pond and stack one against the tallest pillar, then swim up it and climb onto the top.
The nearby Stamp Stands
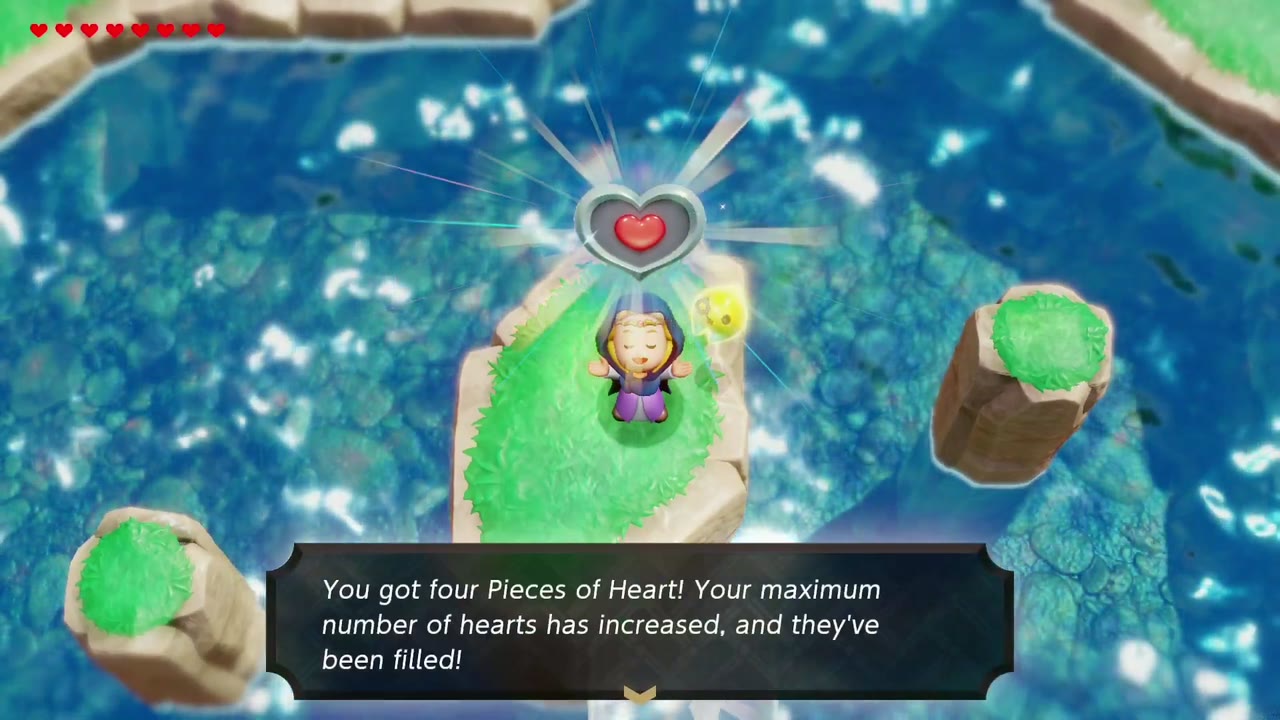
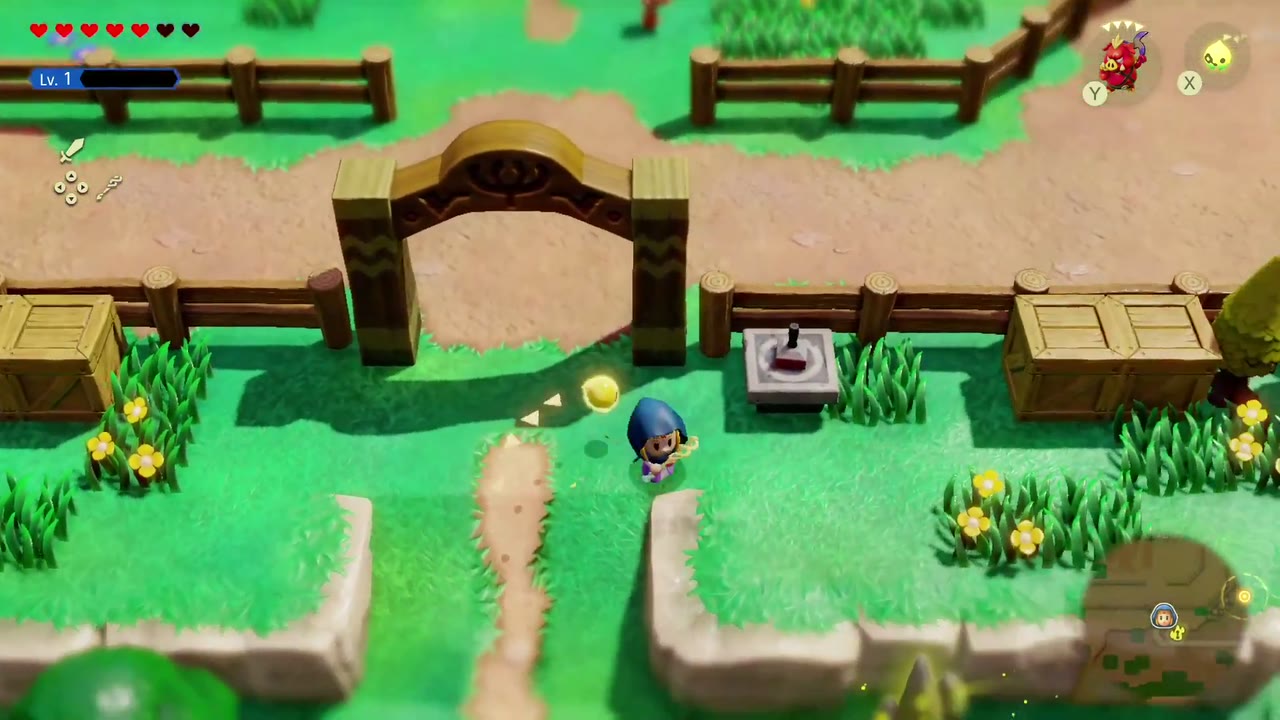
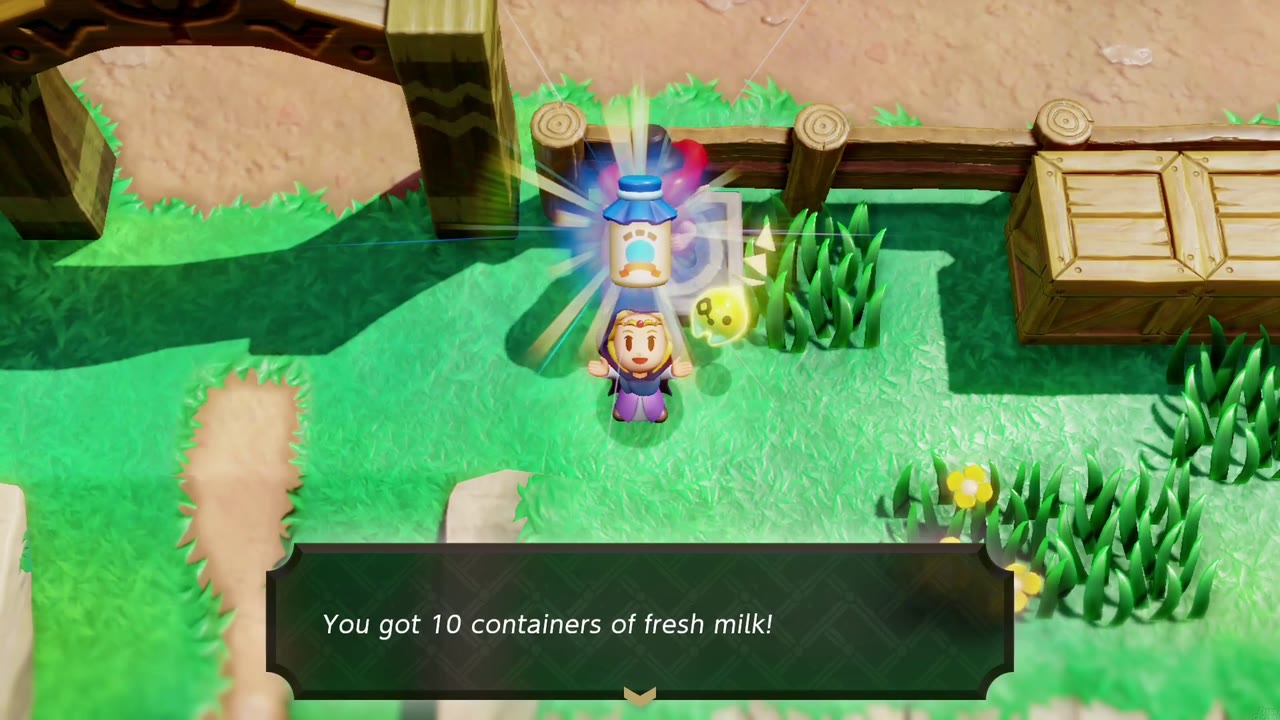
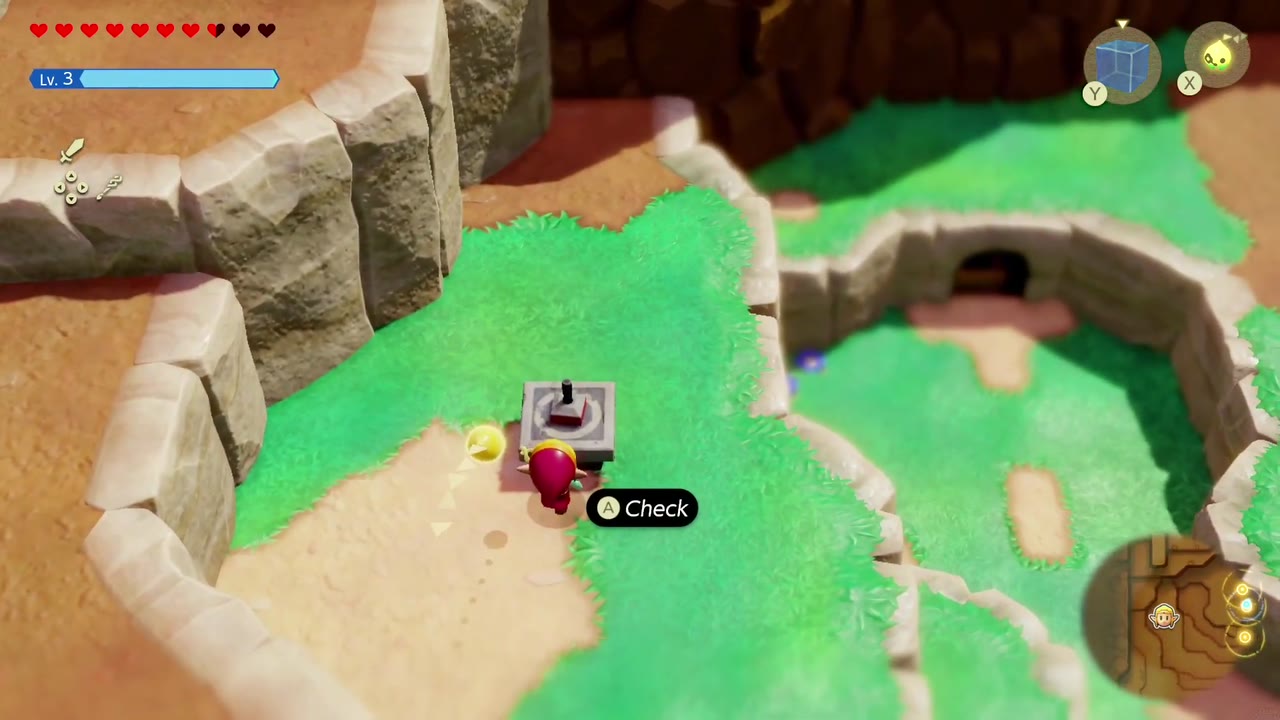
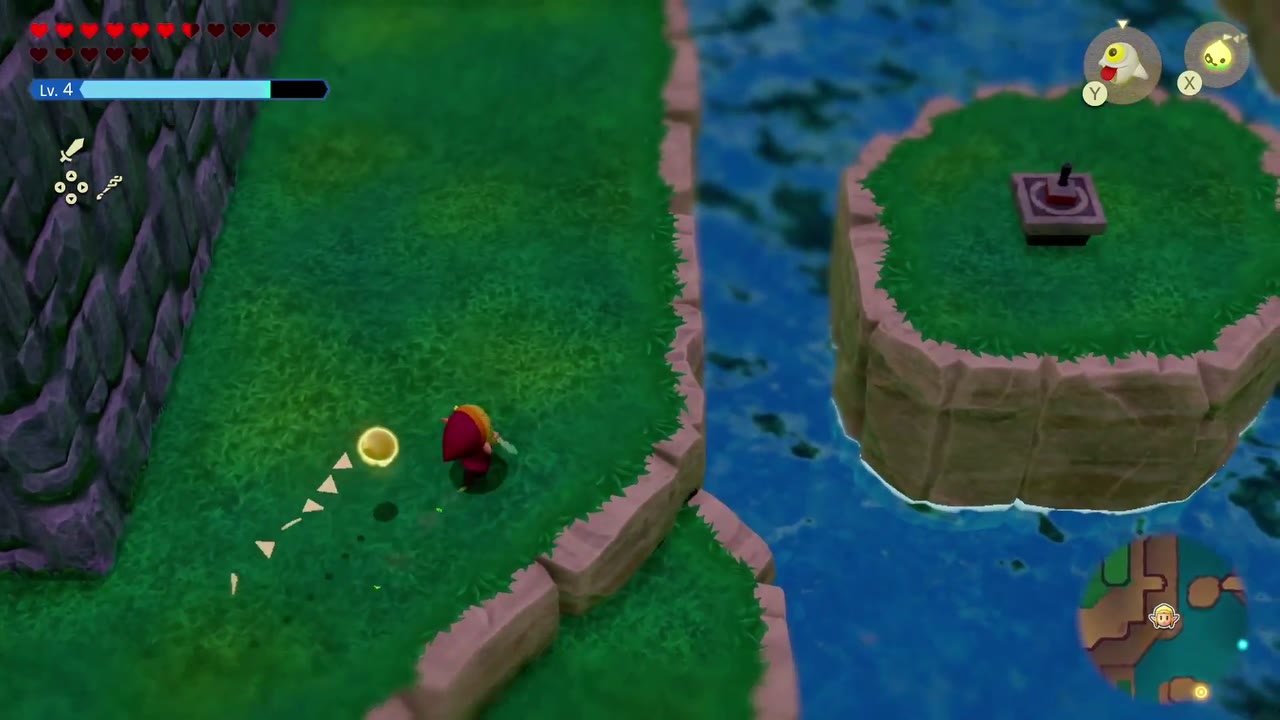
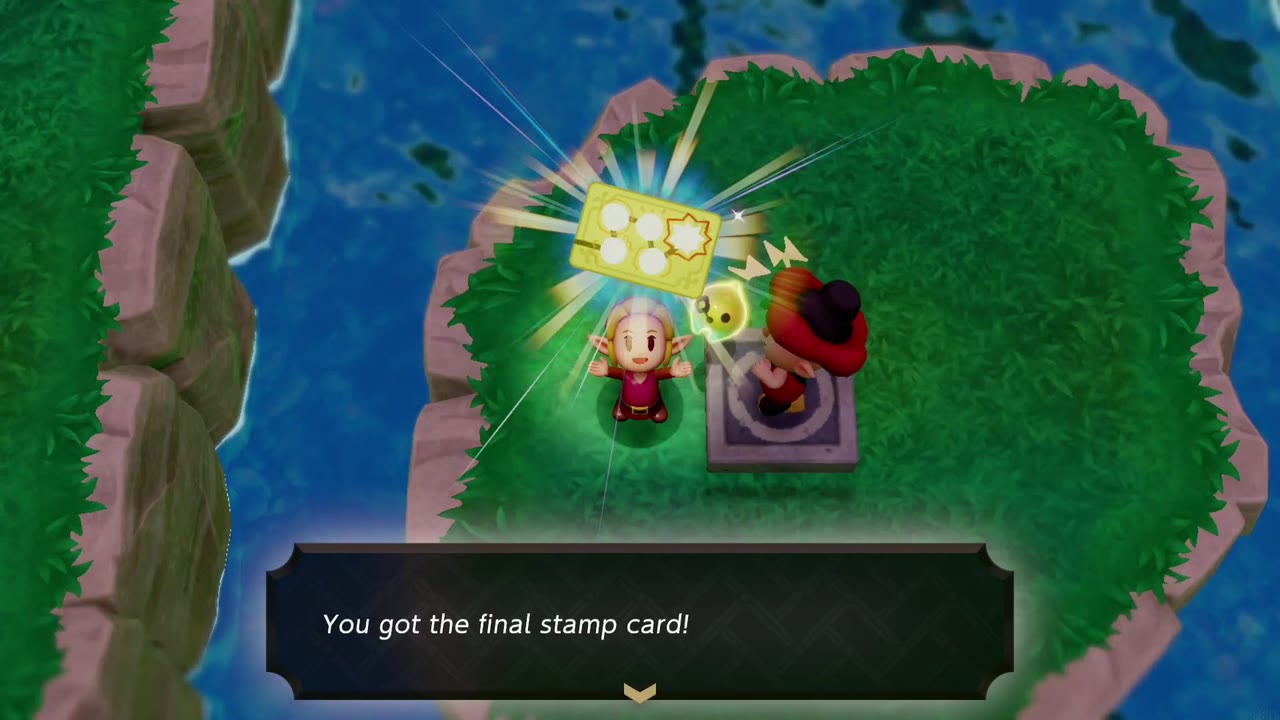
One stands just outside the wooden archway gate at Hyrule Ranch. In this run it was the fifth stand Zelda found, so the Stamp Guy popped up to hand over the first-card reward, 10 containers of fresh milk. Another sits on a small grassy island in a narrow river gorge in Hyrule Field, below a waterfall; this is where the run finished its fourth card and received the final stamp card, autographed by the Stamp Guy. A third is in a grassy canyon pocket in Western Hyrule Field. The rewards depend on how many stamps you’ve collected, not on the stand itself, so yours may come at a different stand.
Worth doing while you’re here
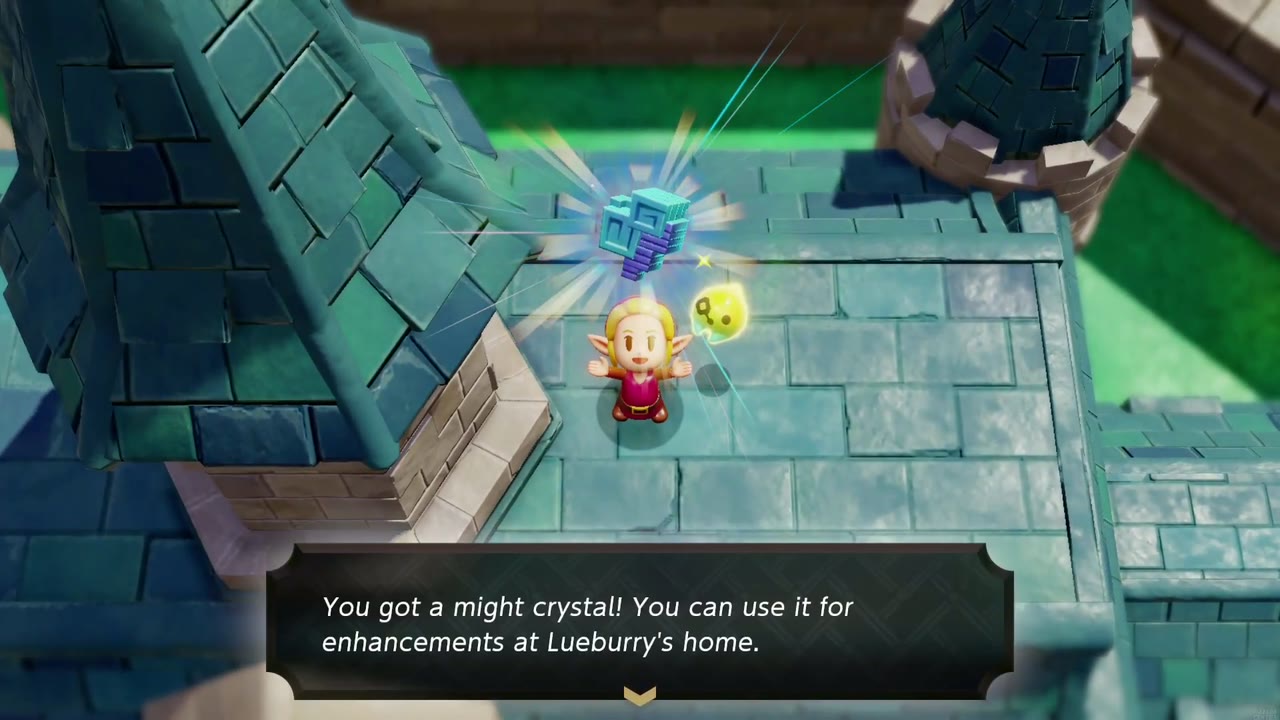
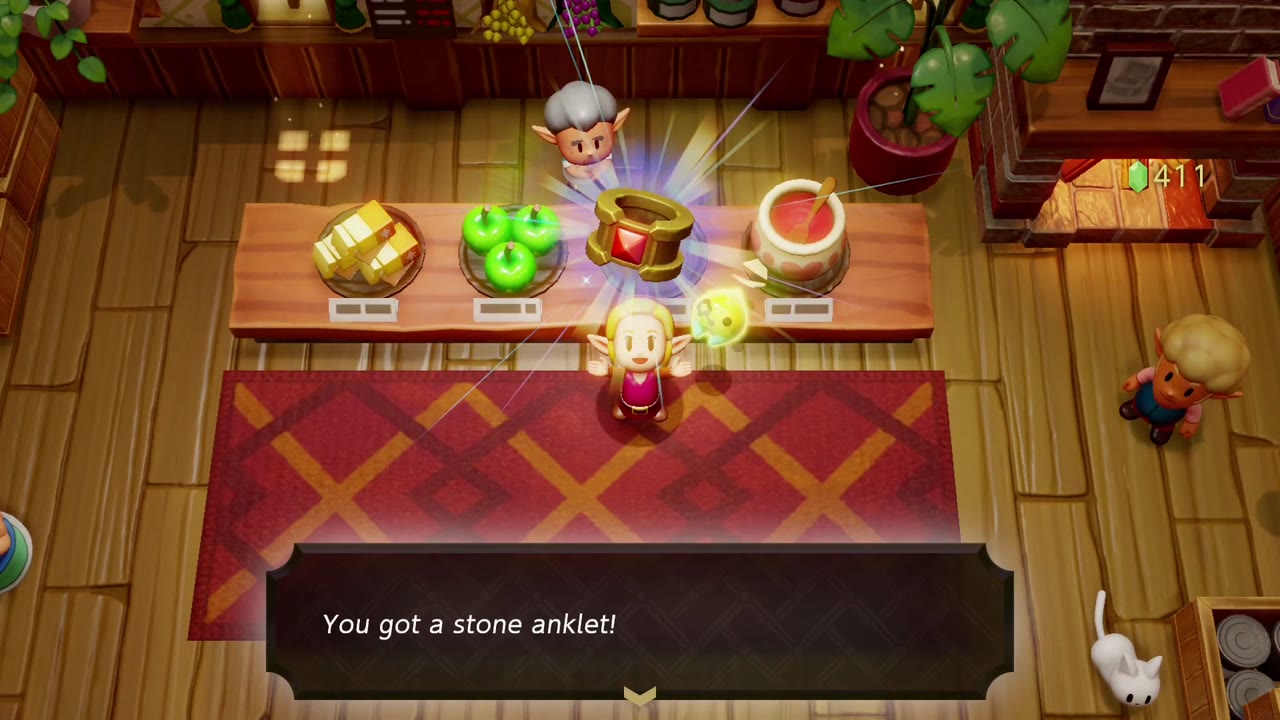
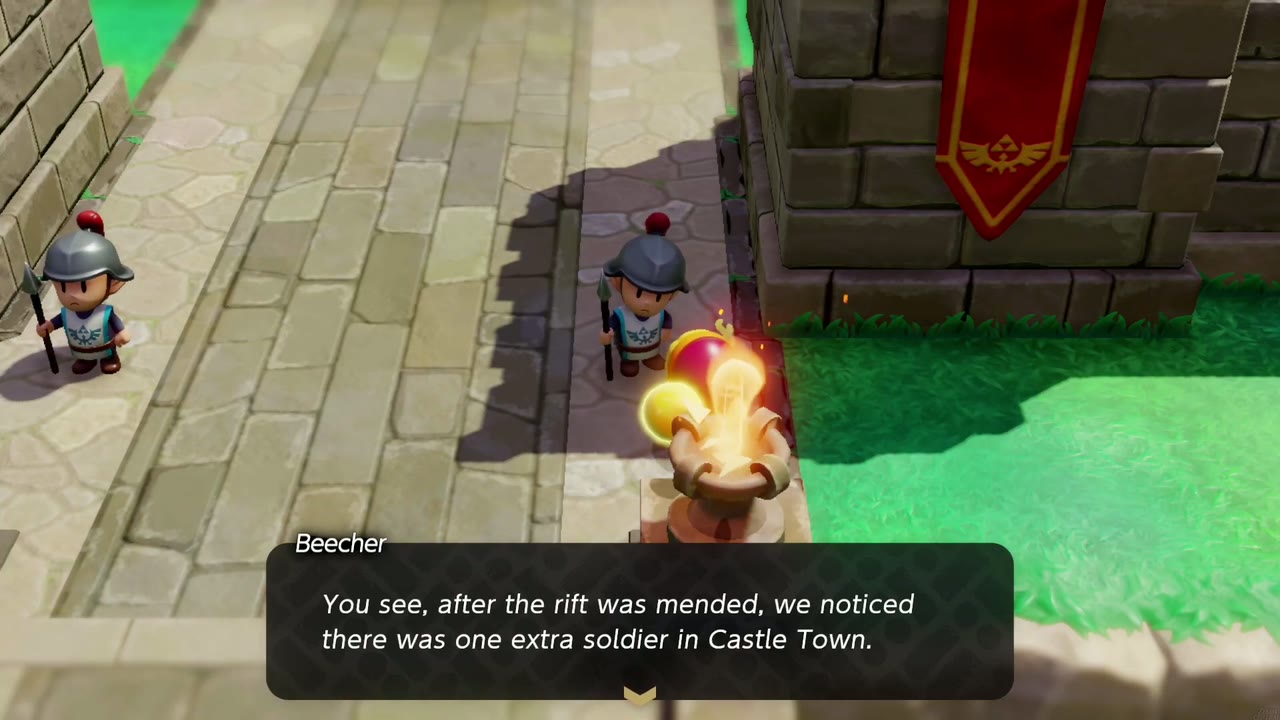
Once Still Missing is done, Impa starts Impa’s Gift in the throne room. She has raised a steed for Zelda at Hyrule Ranch. Before heading out, climb the castle roofs with Water Blocks for a Might Crystal. In Castle Town, the Zol-obsessed child starts A Curious Child by asking for a Zol that grows when it gets wet. Summon a Hydrozol and soak it until it’s huge to earn another Might Crystal. The shop sells the Stone Anklet (Knockback Reduced) for 400 rupees, and Beecher at the castle gate starts One Soldier Too Many, a hunt for an echo hiding among the town’s soldiers. Much later, after Dampé builds the Gizmol in Performance Artist!, come back for An Out-There Zol. Show the same child the Gizmol and you’ll get a Piece of Heart.