Echoes of Wisdom 100% Completion Walkthrough16 chapters
- Prologueplaying as Link, escaping the castle jail, and the waterways to Suthorn Beach.
- Suthorn ForestSuthorn Beach and Village, meeting Tri, the first echoes, and mending the Suthorn Forest rift.
- Suthorn Ruinsthe first dungeon, the Shadow Link fight, and the Seismic Talus boss.
- Jabul Watersthe River and Sea Zora feud, Lord Jabu-Jabu, and Stilled Jabul Waters.
- Jabul Ruinsthe whirlpool chase, the five colored switches, and the Vocavor boss.
- Gerudo Desertthe Oasis, Gerudo Town, the desert rifts, and Cryptic Cavern.
- Gerudo Sanctumthe tribute puzzle, the Bow of Might, and the Mogryph boss.
- Hyrule Castlethe Hyrule Castle well rift, Stilled Castle Town, and the Ganon boss.
- Eldin VolcanoKakariko Village, the Eldin Volcano Trail, and saving Goron City.
- Eldin Templethe Bombs of Might, the lava hall, and the Volvagia boss.
- Faron WetlandsScrubton, Blossu’s House, and escaping the Deku Scrub Lockup.
- Faron Templethe small keys, the plant mini-boss, and the Gohma boss.
- Hebra Mountainmeeting Condé, the climb through the snow, and the Stilled Hebra Mountain rift.
- Lanayru Templefire orbs, fans and lasers, the slime mini-boss, and the Skorchill boss.
- Eternal Forestthe six Ancient Orb pedestals, the Deku Tree, and freeing Link in the Stilled Ancient Ruins.
- Null’s Bodythe final dungeon and the multi-phase fight against Null.
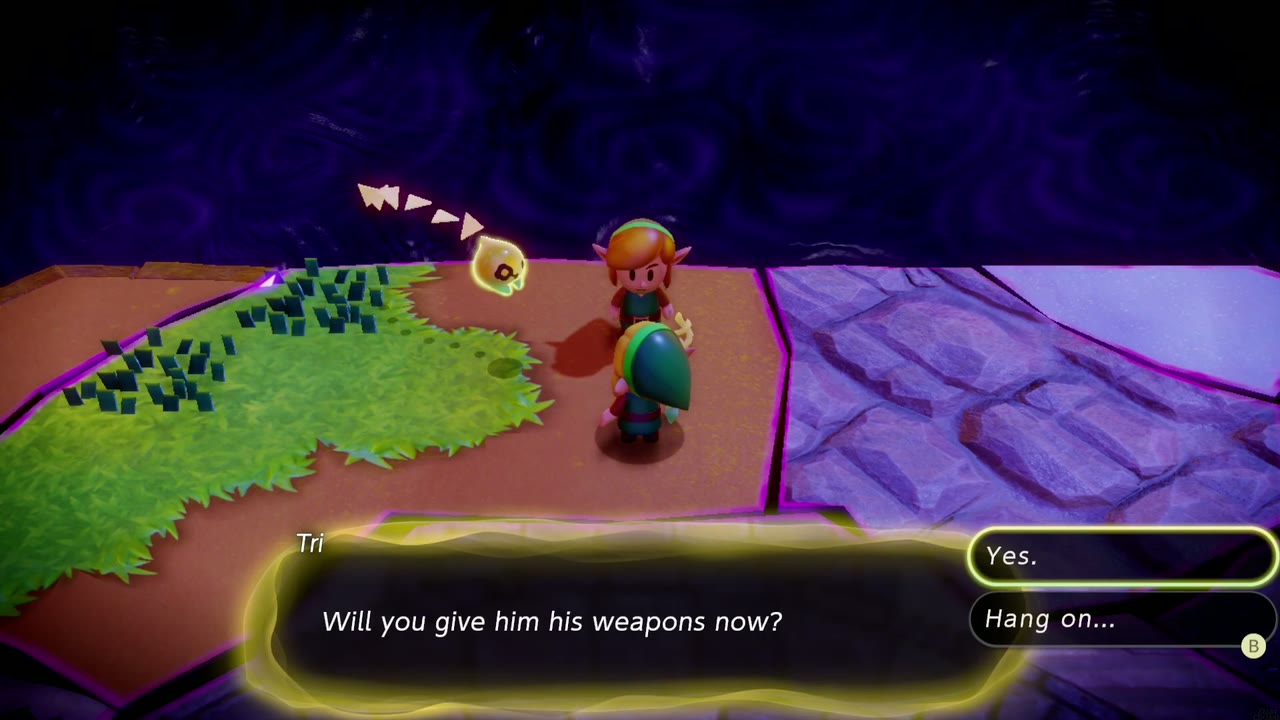
Point of no return. After rescuing Link, talk to him in the Stilled Ancient Ruins arena and Tri asks, “Will you give him his weapons now?” She warns that once you return them you won’t be able to use them anymore, so you lose Swordfighter Form for the rest of the game, the dungeon and the final boss included; the finale is fought with echoes and Link. Tri then asks if you’re ready, since there won’t be any backing out once you go inside. Answer “I’m not ready yet” if you need to prepare: wrap up remaining side quests, stock up on healing smoothies (a Tough smoothie’s Damage Reduction is worth drinking right before you go in), and fill your accessory slots. Recommended loadout: your strongest fighter echo (Lynel if you have it), a flying attacker, cheap spam echoes for bait, and automatons if Dampé built you any.

The Descent with Link
Choose “I’m ready” and Zelda gives Link back his weapons. Tri says “It’s time,” a huge rift tears open above the arena, and the two of you drop into Null’s Body. There are no treasure chests here; it’s a short dungeon of arena fights broken up by a few echo puzzles, with Link fighting alongside you, controlled by the game. He’s a perfectly capable fighter, so your job is swarm control: drop your best echoes and reposition. A winding membrane bridge leads to the first chamber.

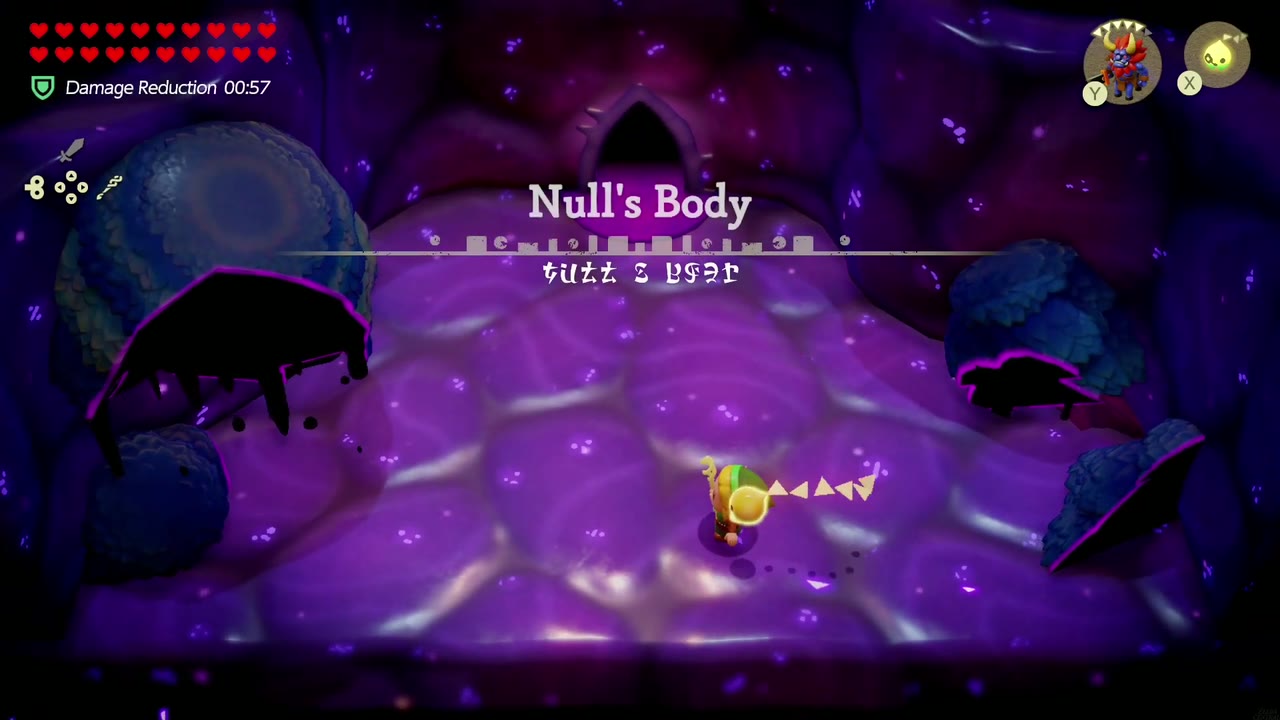
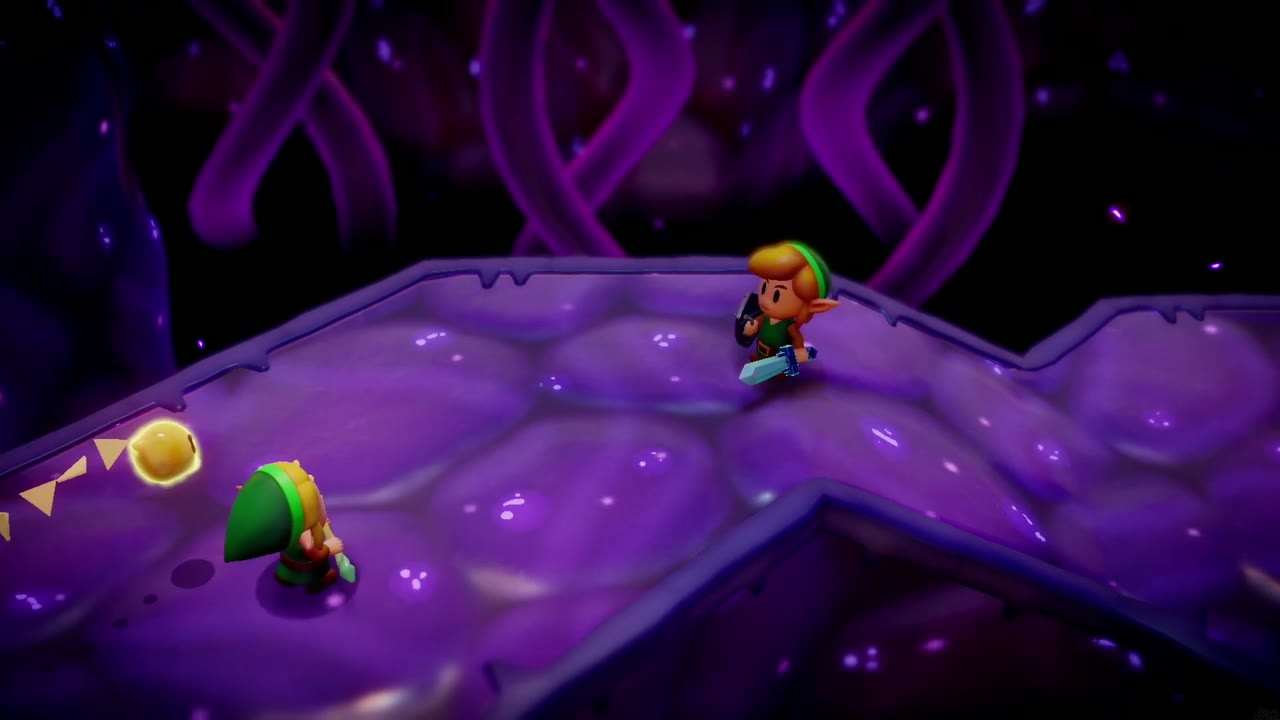
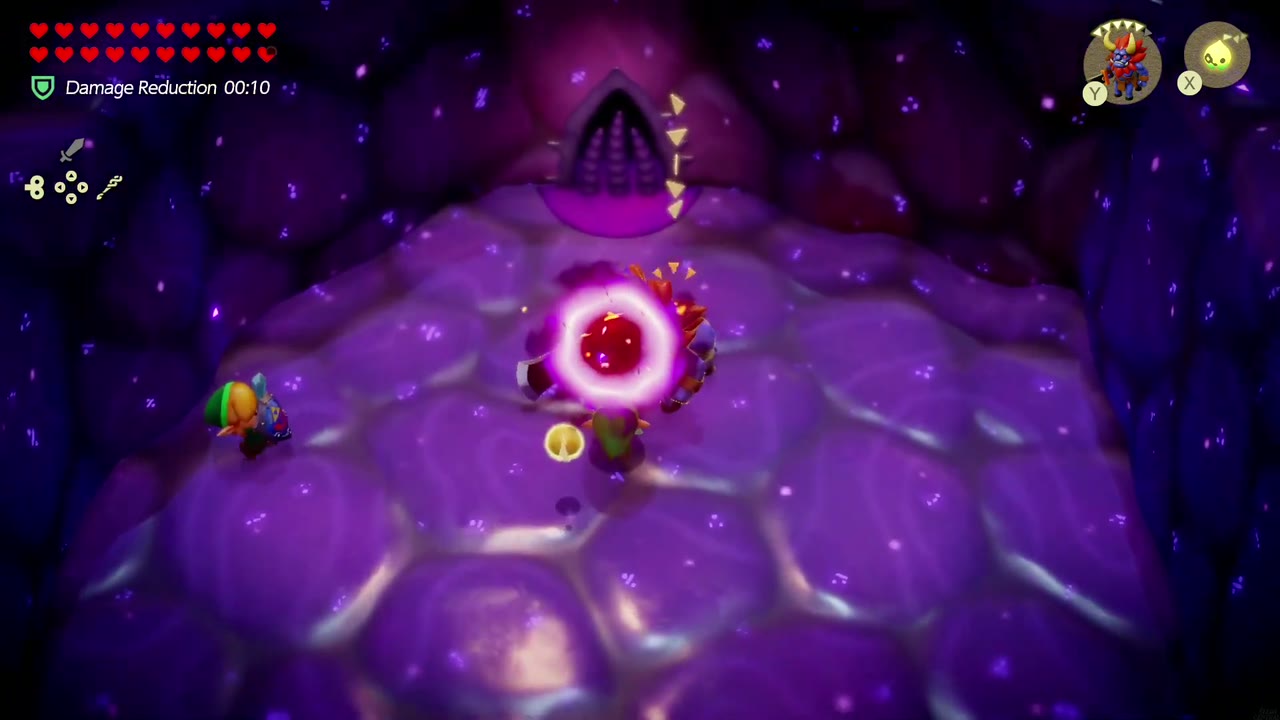
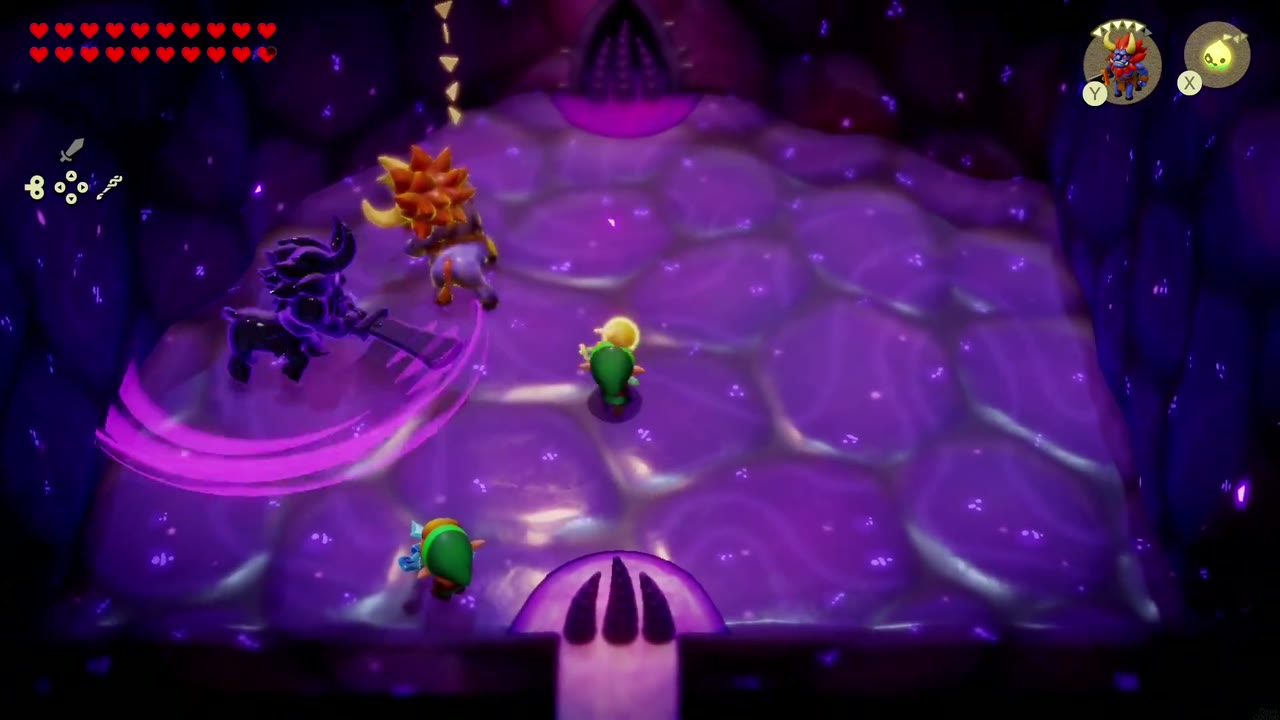
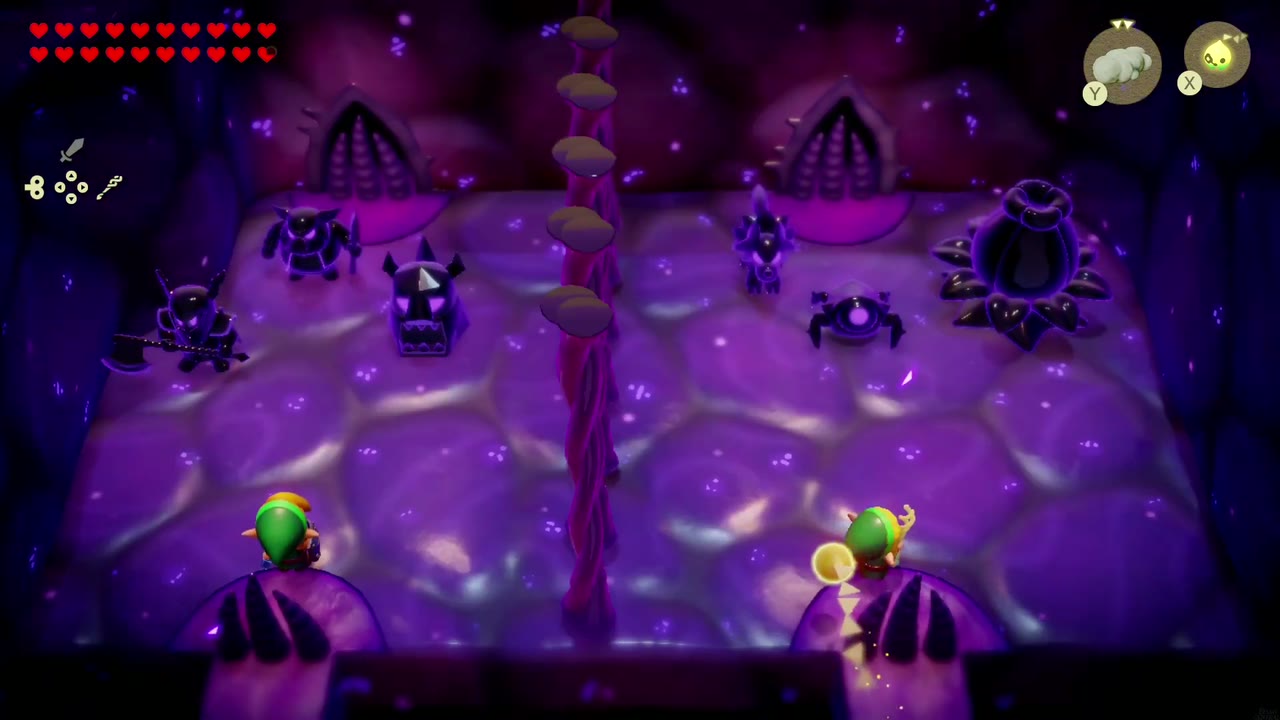
The first big chamber throws three waves of shadowy monsters at the pair of you, each heralded by red spawn portals: two portals’ worth of shadow creatures, then three portals that add a swarm of shadow Keese, and finally a single portal that brings a hulking, sword-swinging shadow knight. Keep your Lynel (or your strongest fighter) out and let Link do the heavy lifting.
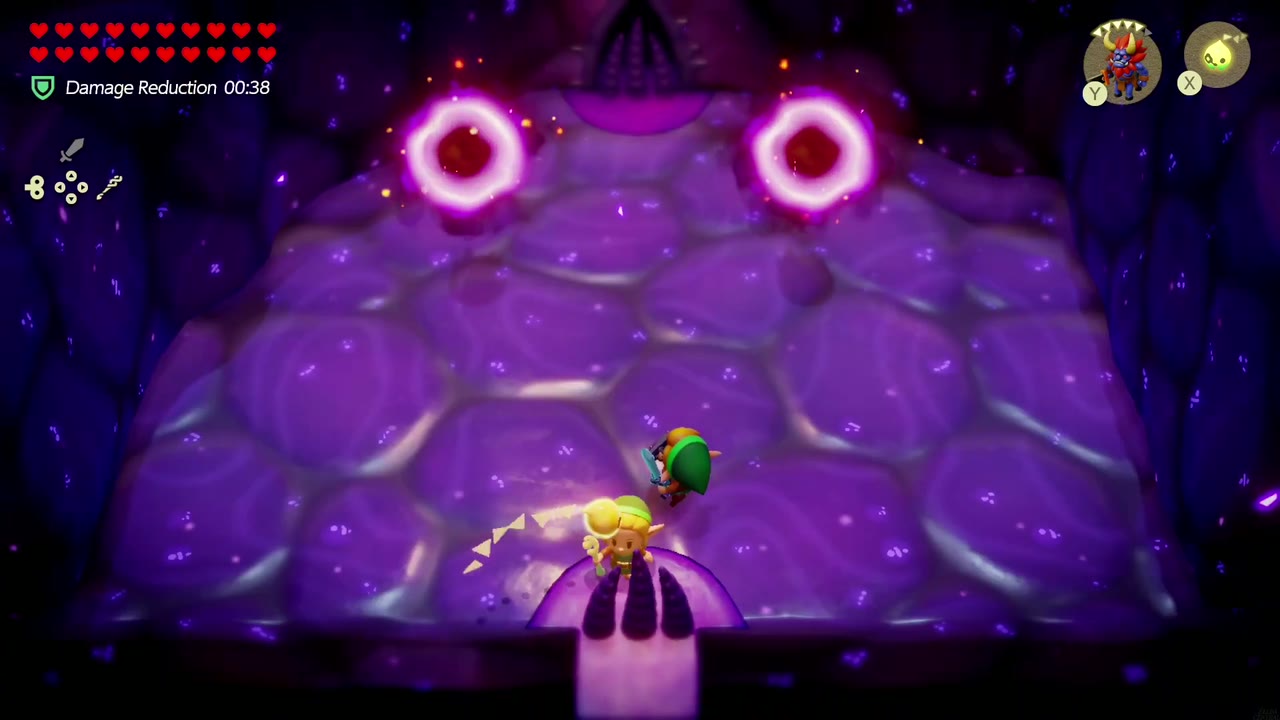

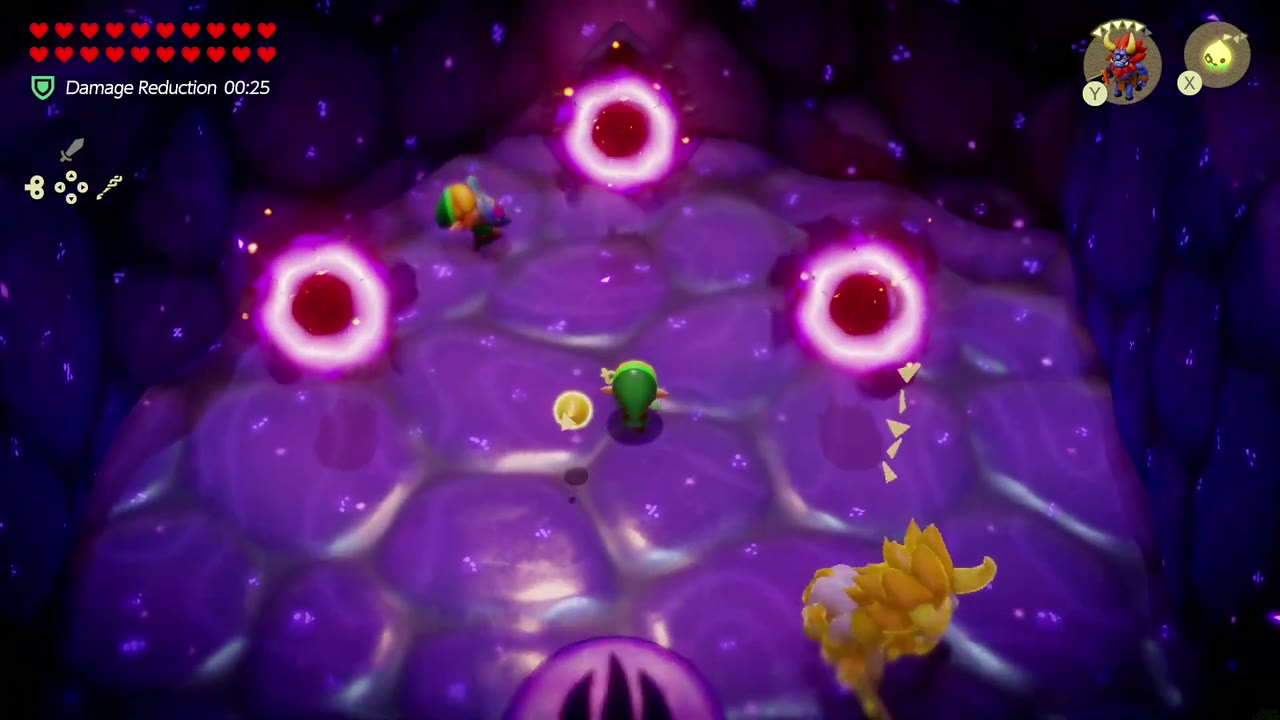
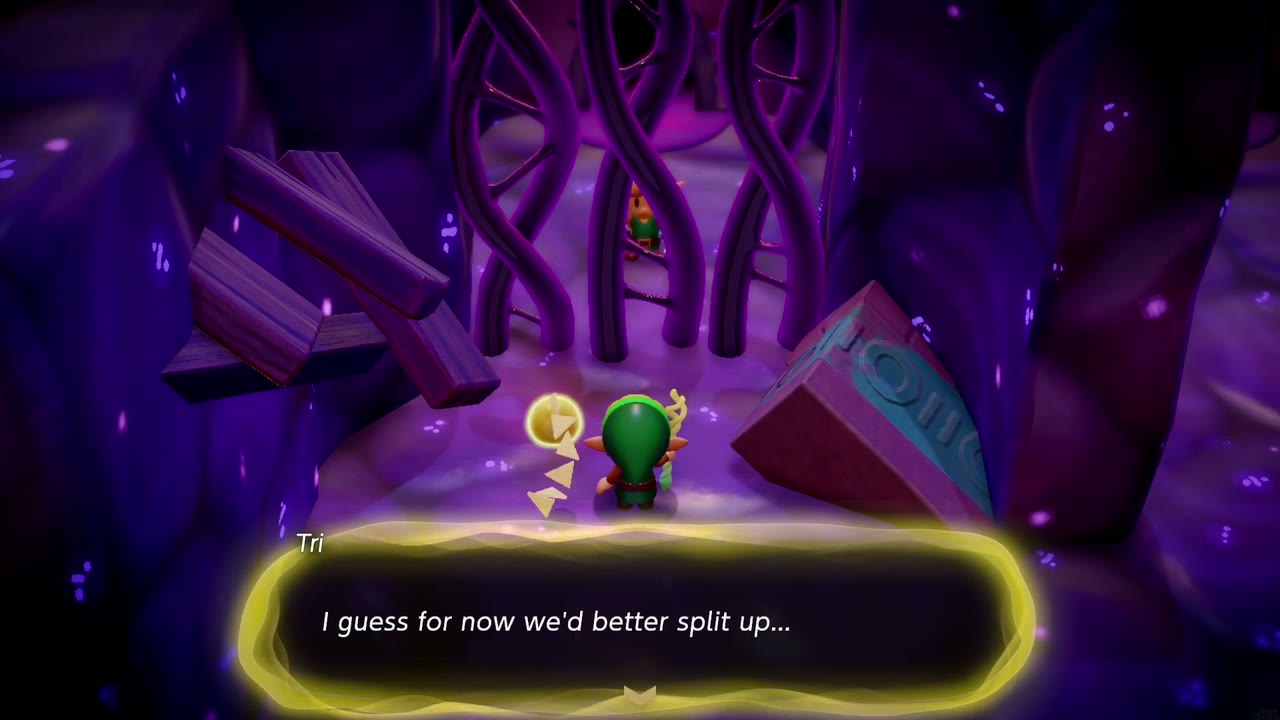
Further on, tentacles bar the gate and Tri decides you’d better split up: Link takes the left-hand path while Zelda goes through the other door. On Zelda’s side, lay Cloud echoes across the dark gaps to reach the platform beside a pillar topped with a glowing purple orb. The orb needs a blast: a Spark crawling up the pillar won’t set it off, but summoning a Zirro over it so it drops its bomb on the orb bursts it, and the way forward opens.
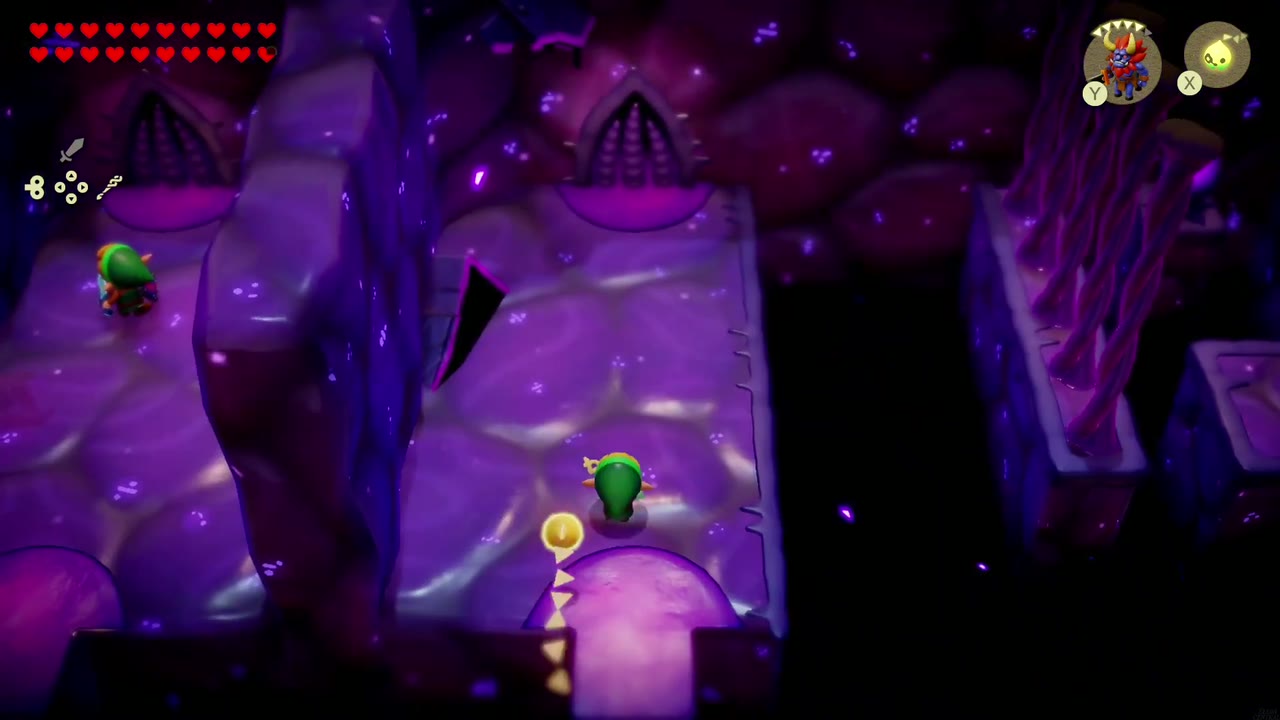
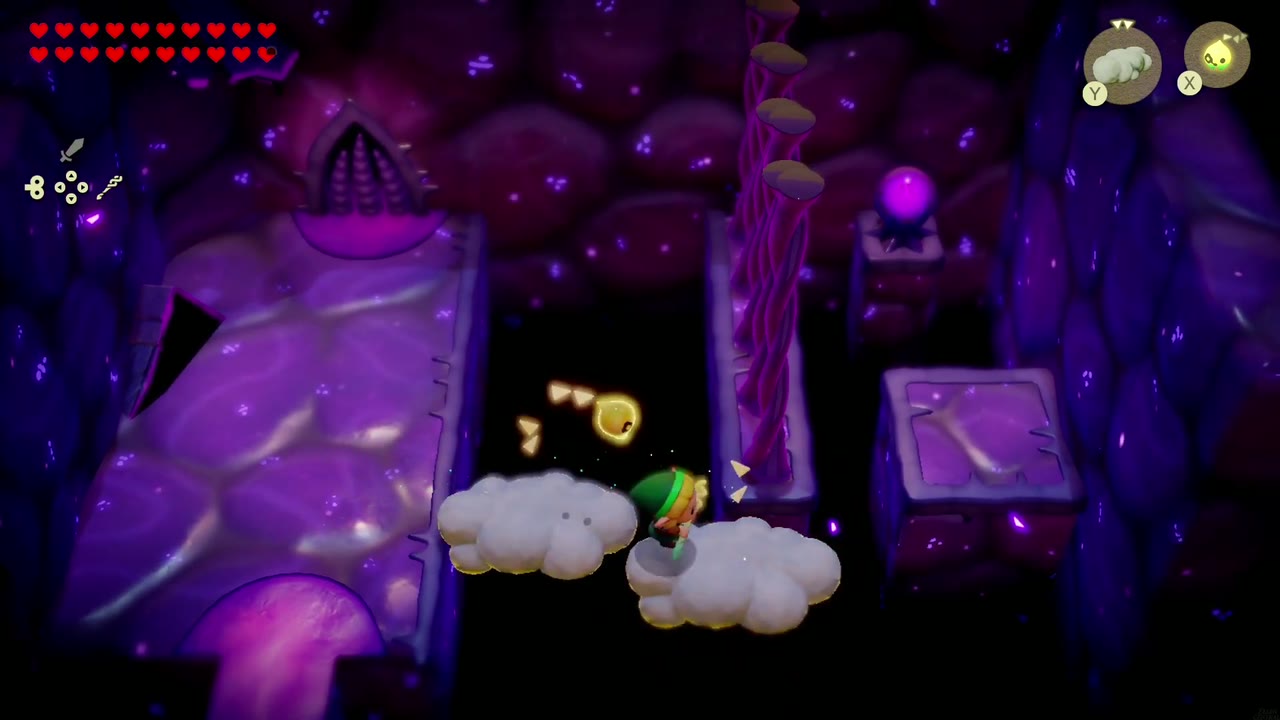
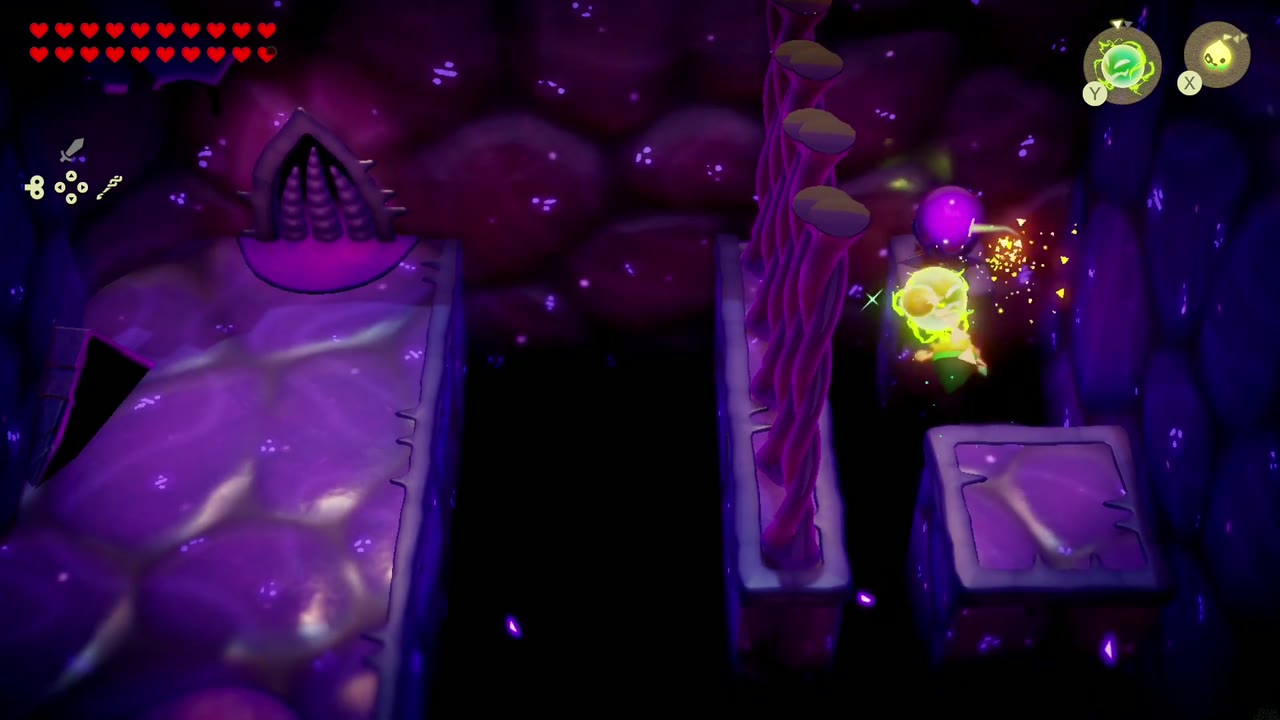
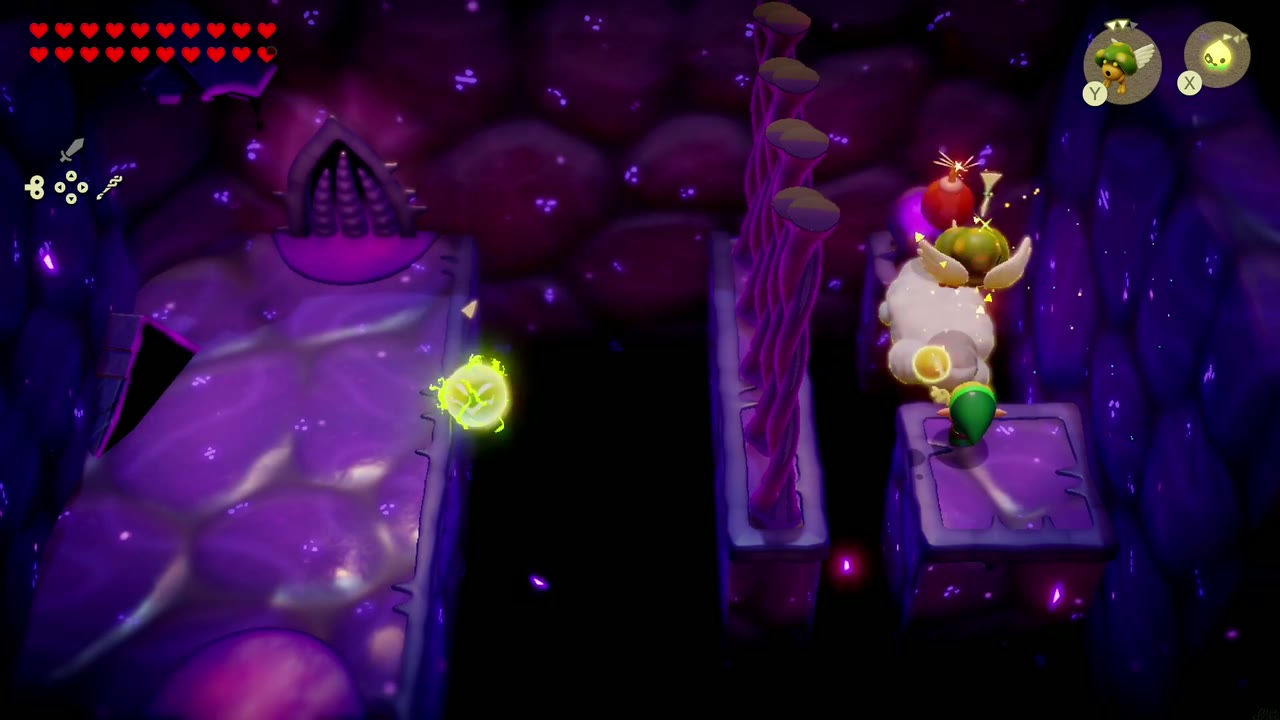

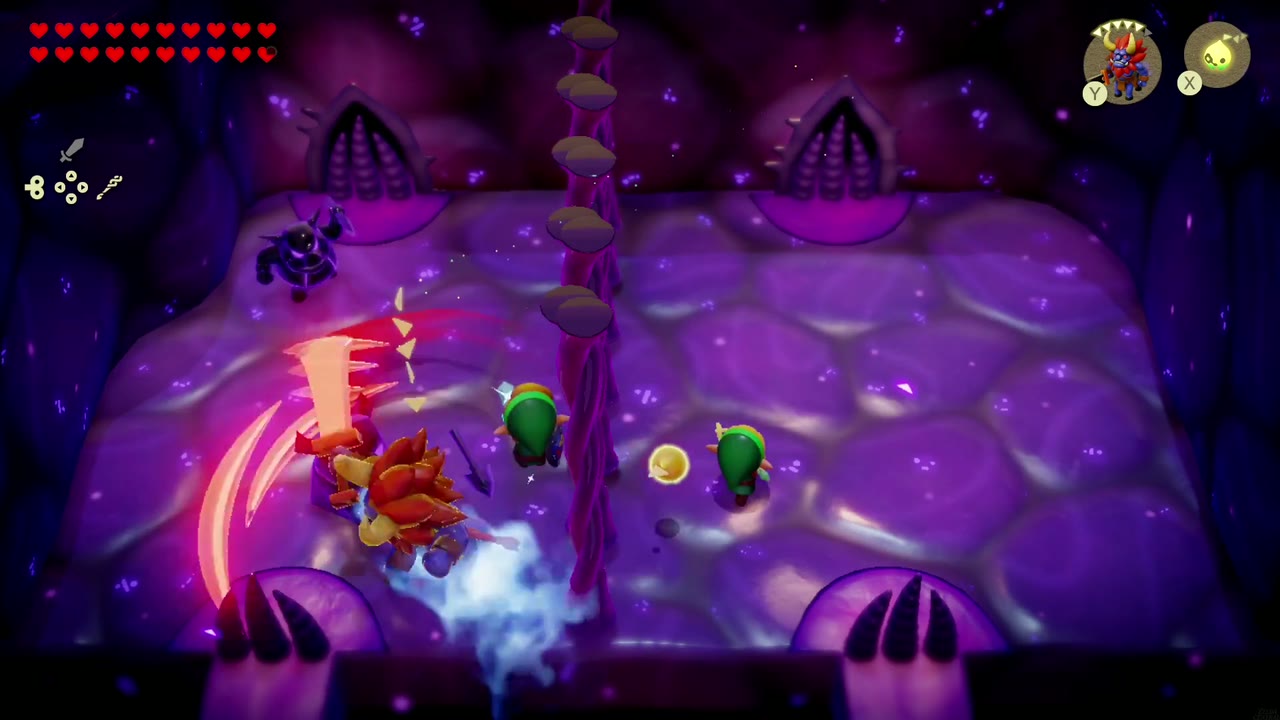
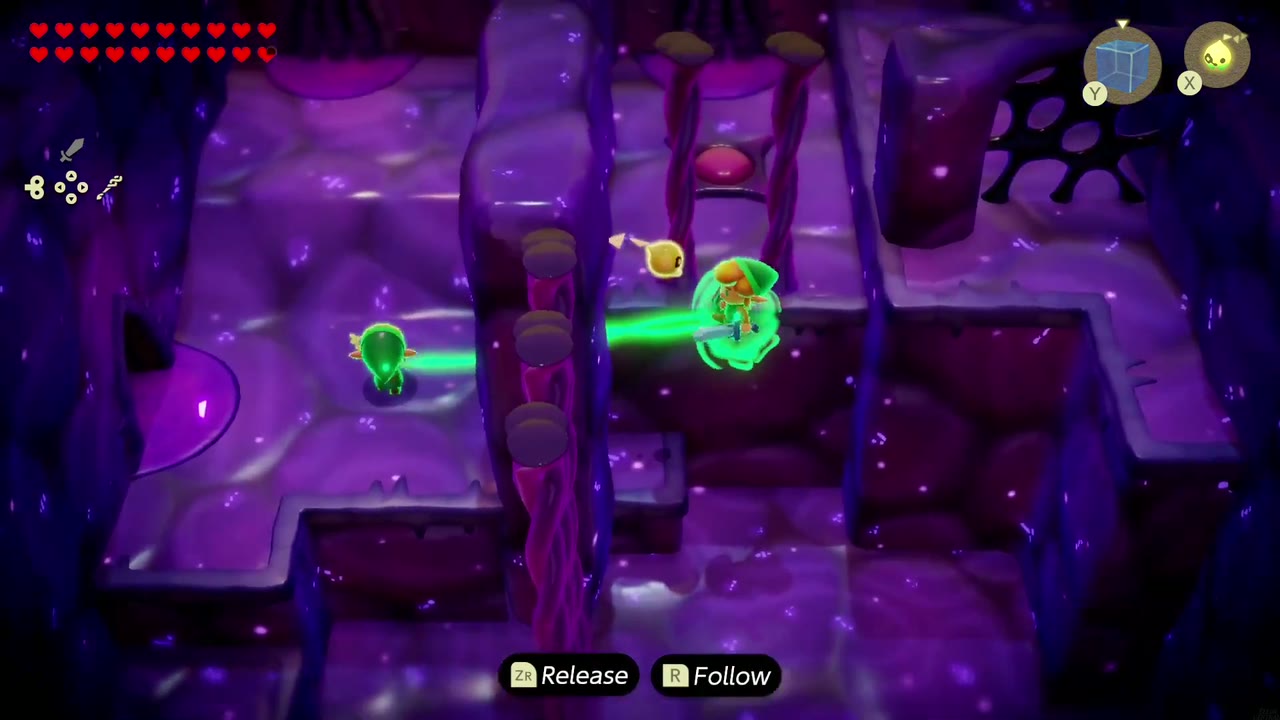
Through the door you’re nearly back together: you and Link enter a big chamber side by side, split down the middle by a line of fleshy pillars, and a swarm of monsters drops in on both halves. Summon a heavy hitter on your side (a Lynel echo makes short work of it) while Link clears his. Afterwards you head on alone and climb down a ladder hole into a side-view section: climb the ladders, make stepping stones out of Cloud echoes, and Bind the moving platforms to ride them across the gaps.
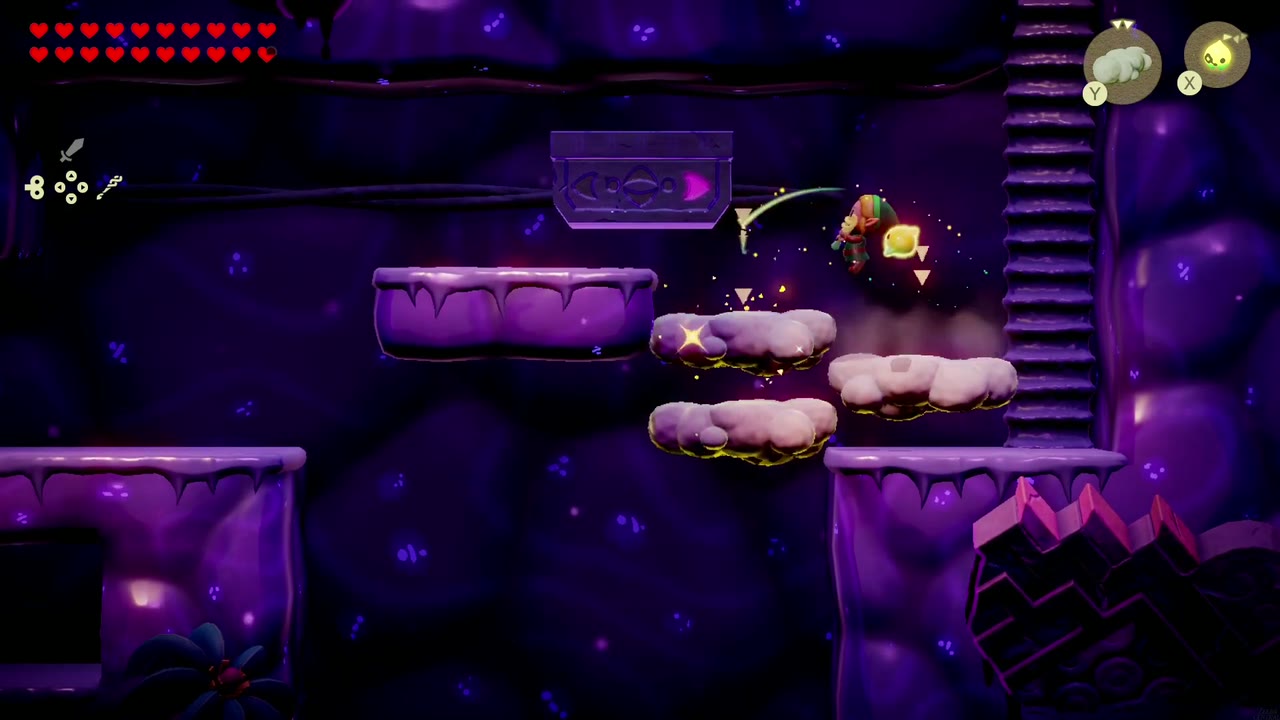
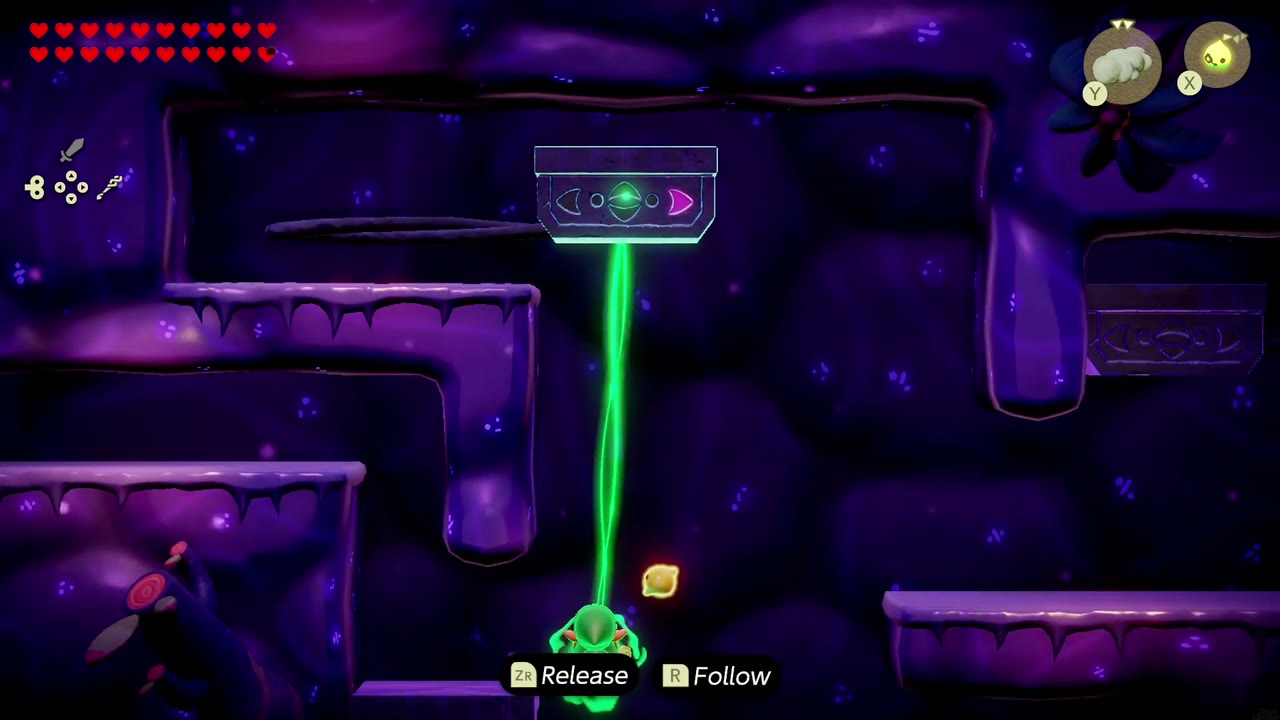
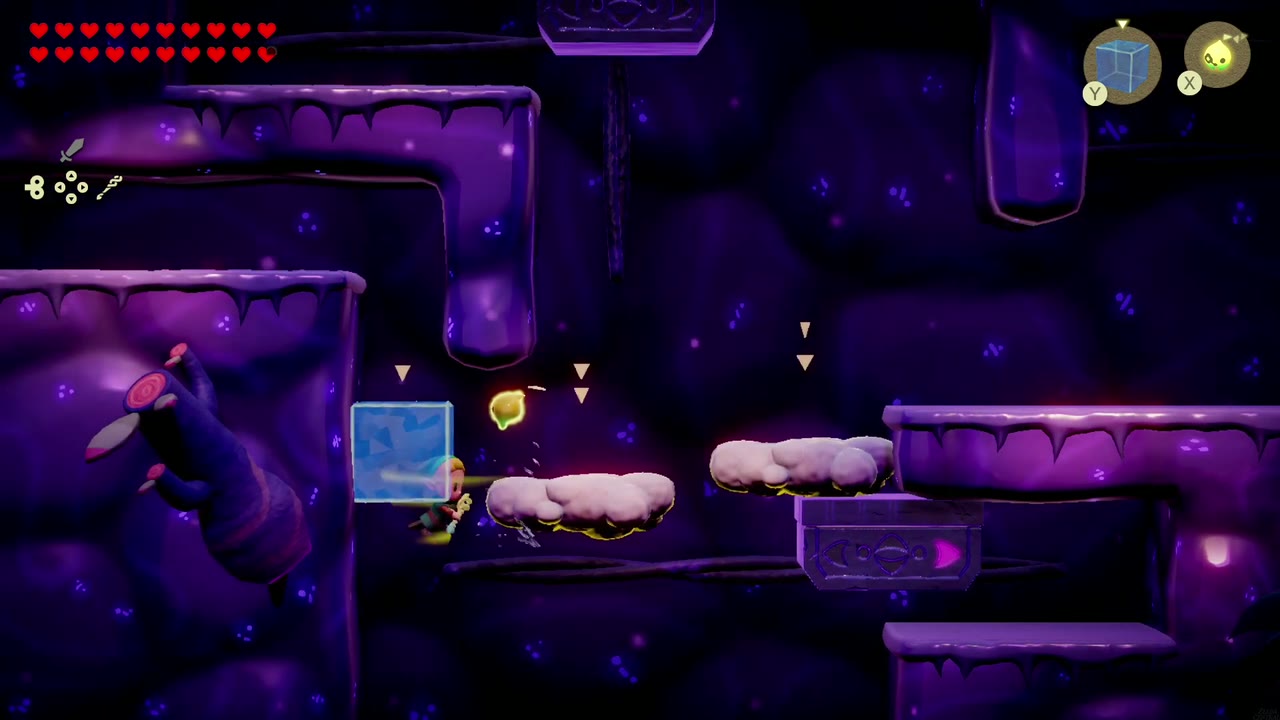
Further up, the climb gets wetter. Swap to Water Block echoes: line them up into a bridge across the widest gap, and stack them into towers you can swim straight up to reach high ledges. Dark vents puff out clouds of smoke and columns of white steam rise from the floor here, so keep hopping between ledges with Clouds and Water Blocks until a ladder takes you back up into a top-down room.


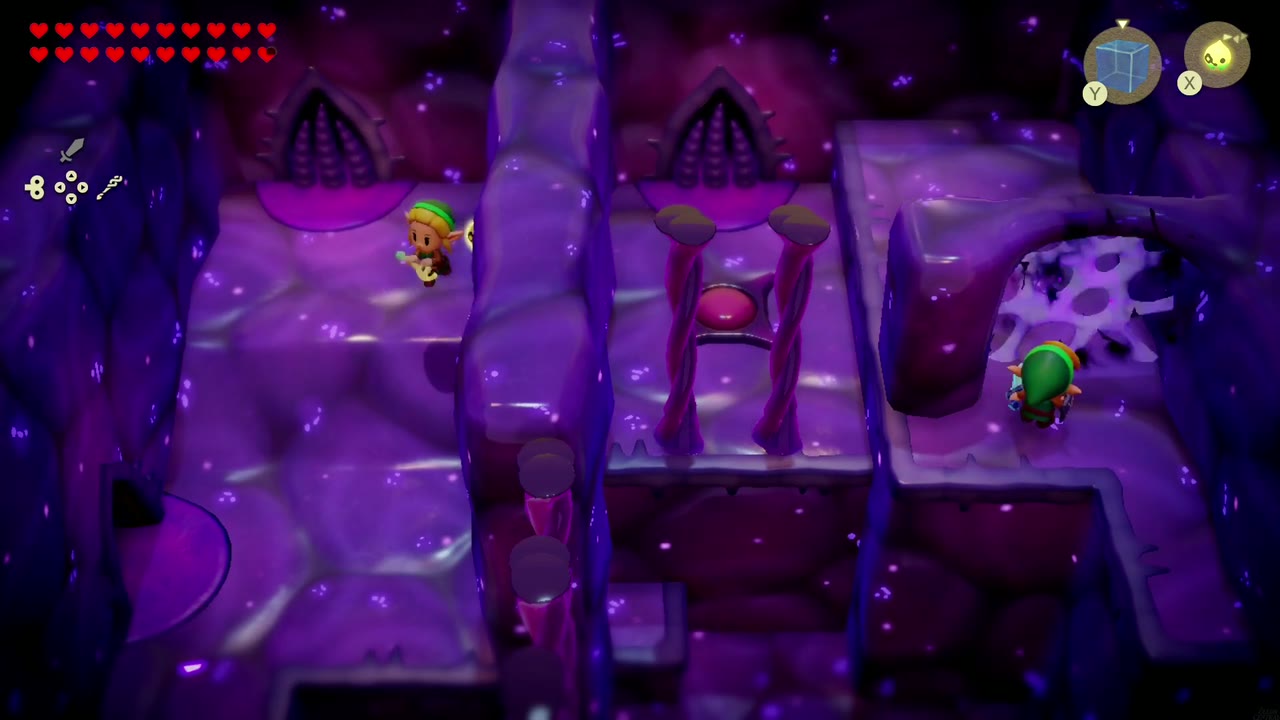
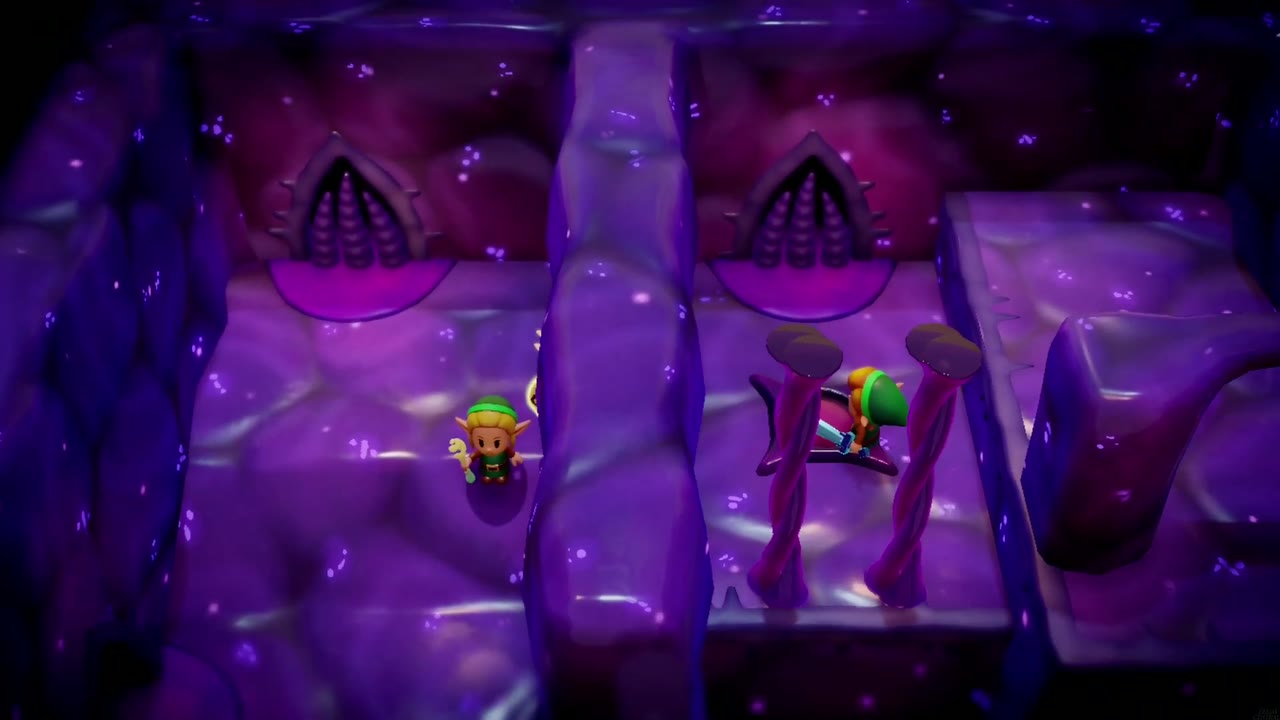
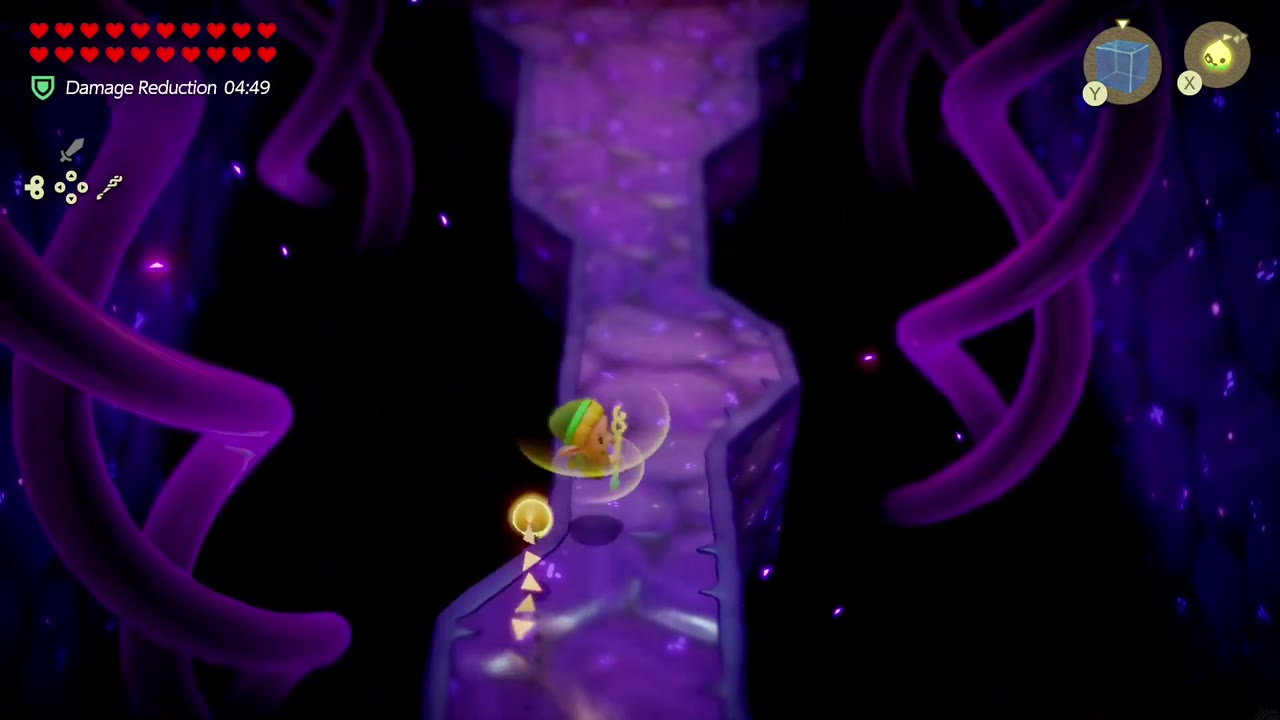
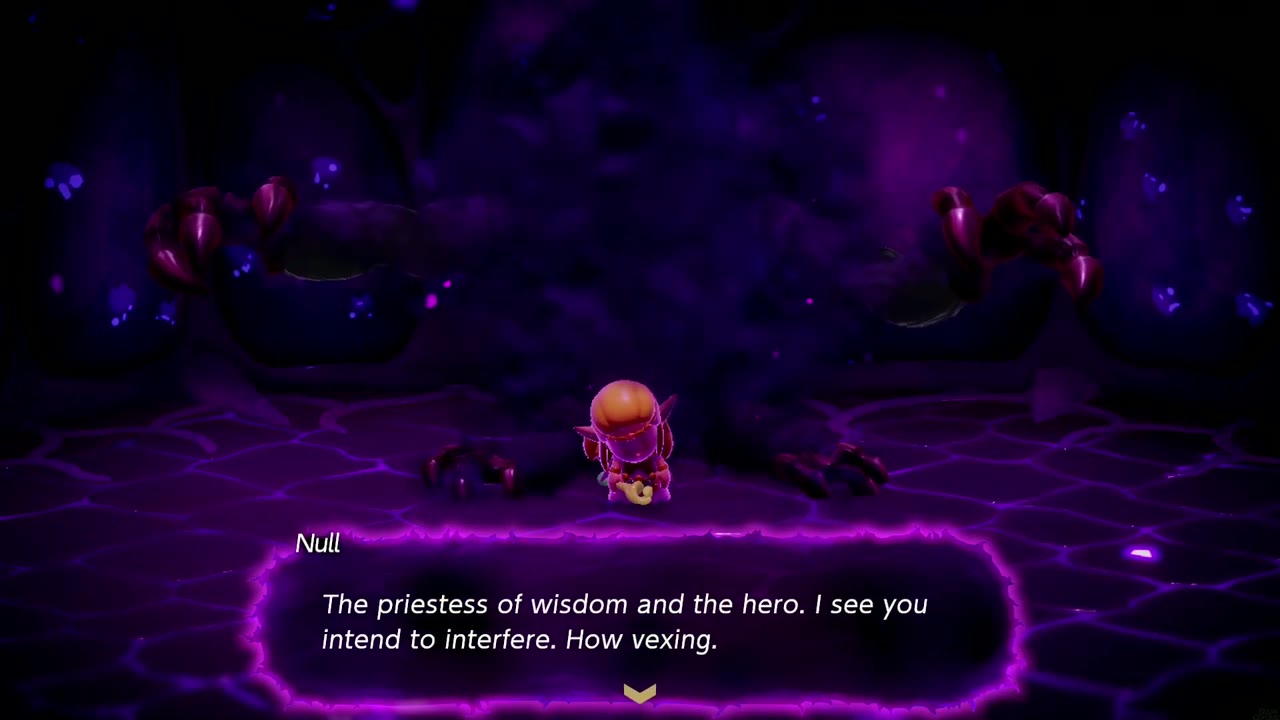
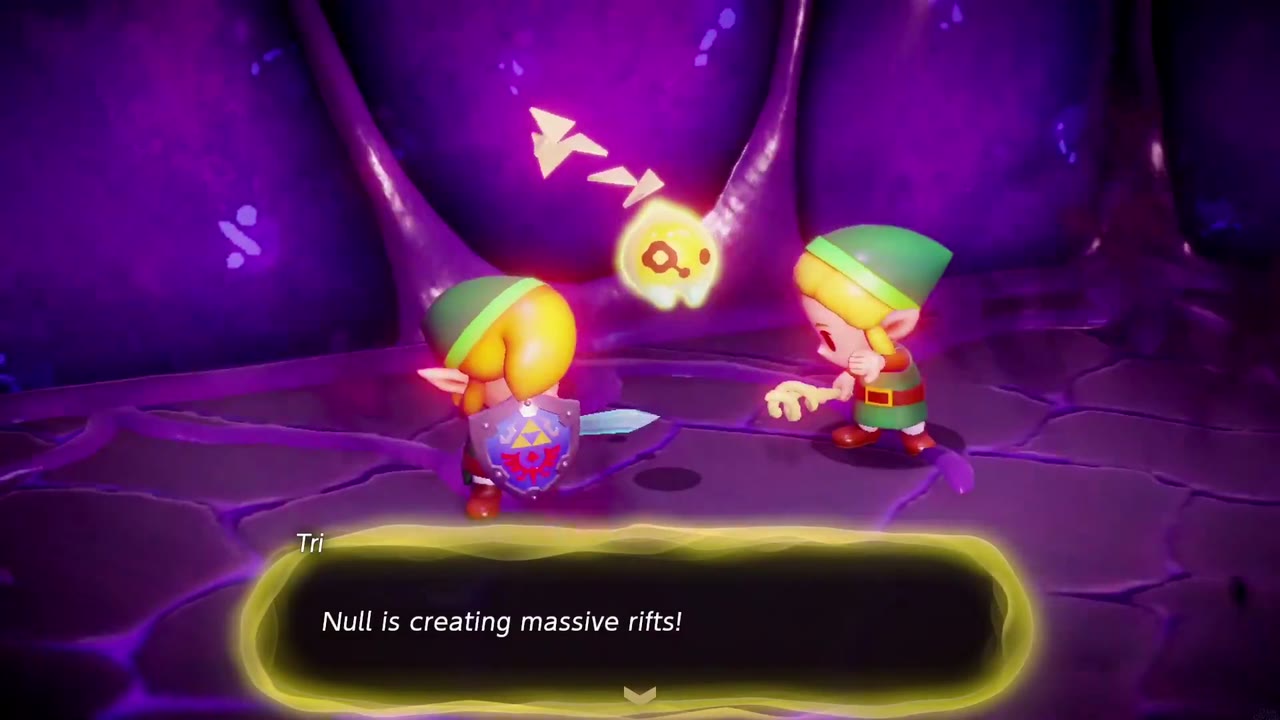
You come out in a chamber with two arched gates, with Link stuck on the far side of a pillar wall. Bind Link and lead him: drag him over to the black webbed barrier, which he slashes away, then on to the switch caged between pillars. Once he hits it, both gates open and you’re reunited. Heal up and top off with a smoothie, then follow the narrow purple ridges winding among the tentacles up to the core. Null is waiting there: “The priestess of wisdom and the hero.” It says the goddesses took everything from it, and since you’ve brought the Prime Energy straight to it, it will use their power to take it all back. The Prime Energy flares, Tri warns that Null is creating massive rifts across Hyrule, and Null, hungering for all of it, takes shape for the fight.
Boss: Null
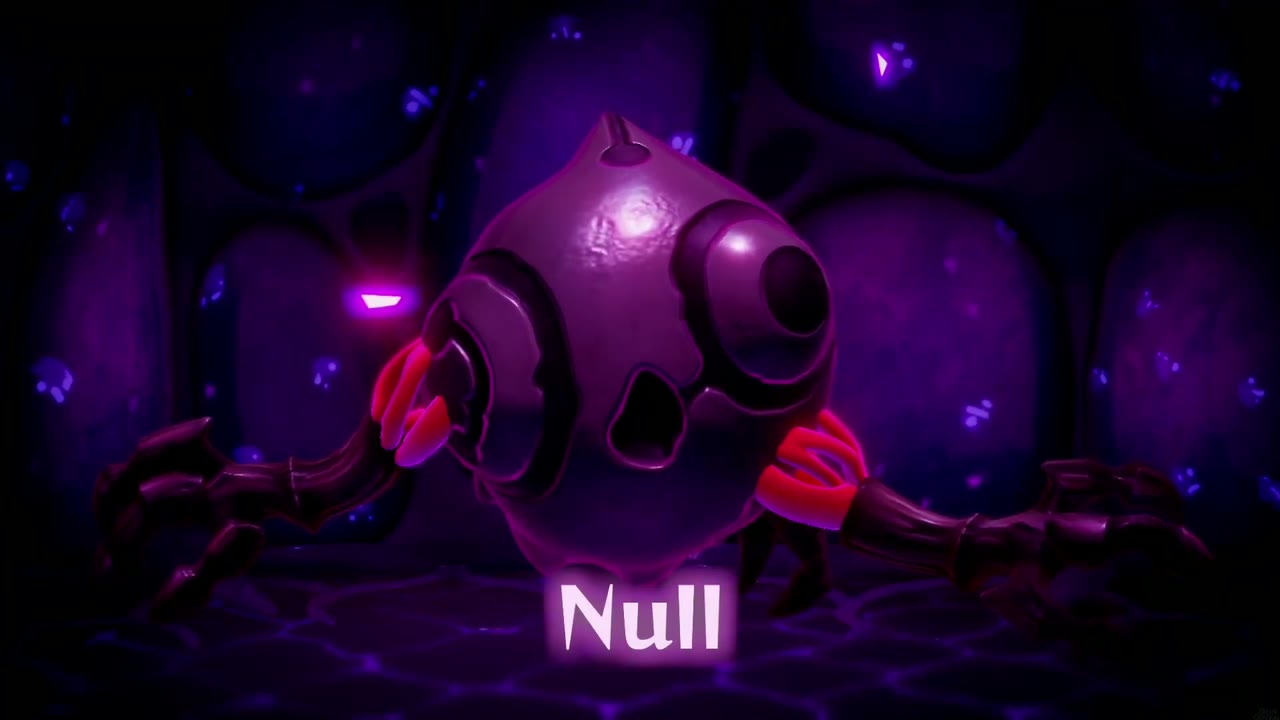
This is the game’s longest fight, and Null gets a proper title card when it appears. Zelda fights it alongside Link, who attacks on his own, while your echoes do the rest of the work. A flock of Zirro echoes bombing from above and a Lynel echo do most of the damage, ideally with a Damage Reduction smoothie already running as the fight opens. Keep smoothies handy: a Salted Tough Smoothie is the drink to have partway through.

Phase one
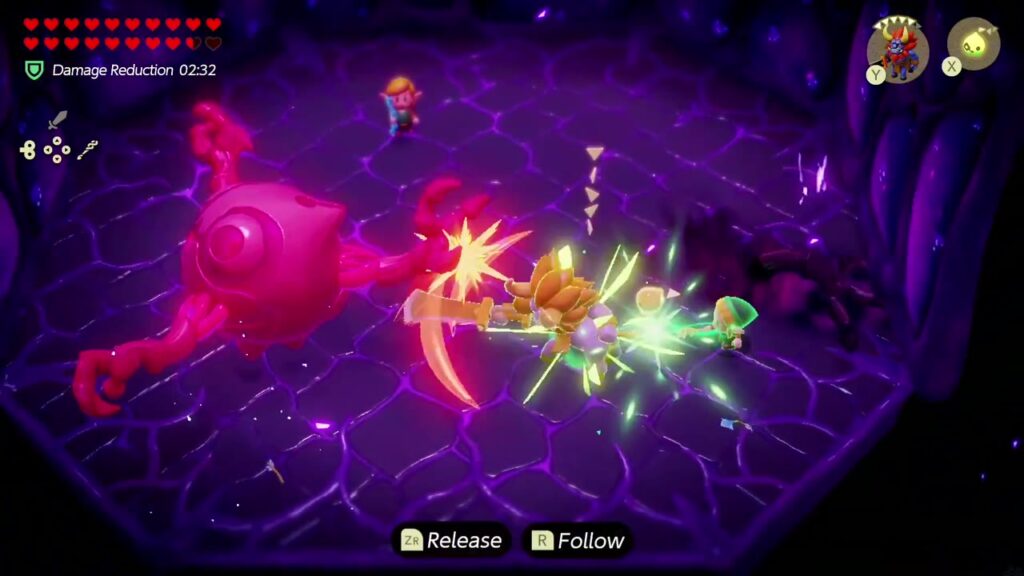
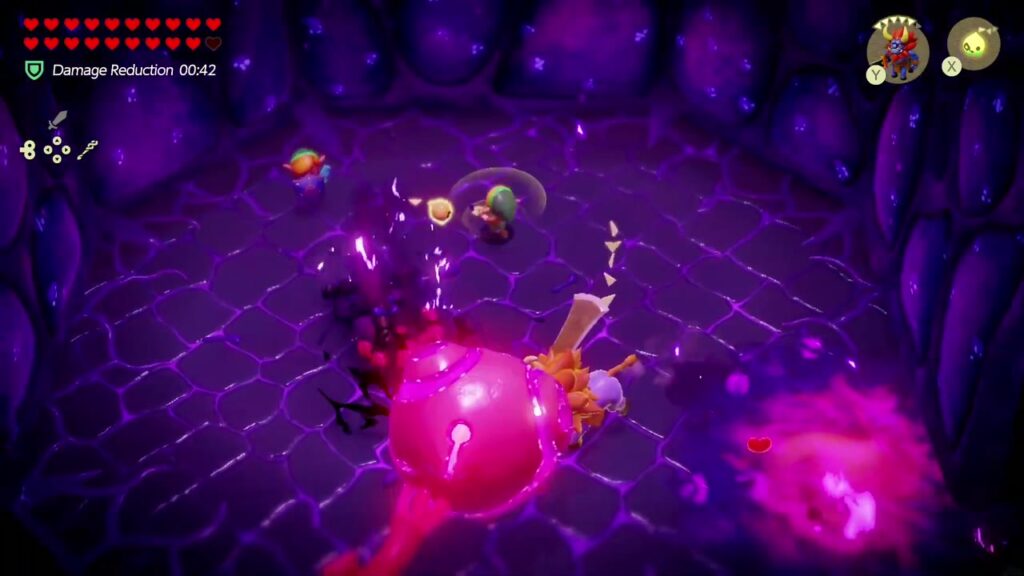
Null appears in the octagonal arena as a dark orb with clawed arms. Keep summoning echoes onto it while Link slashes at it; the orb flushes red as it takes damage. Before long Null sinks out of sight and leaves only its arms poking out of the arena walls to slam at you. Keep moving and let your echoes bomb and hack at the arms until the orb comes back.


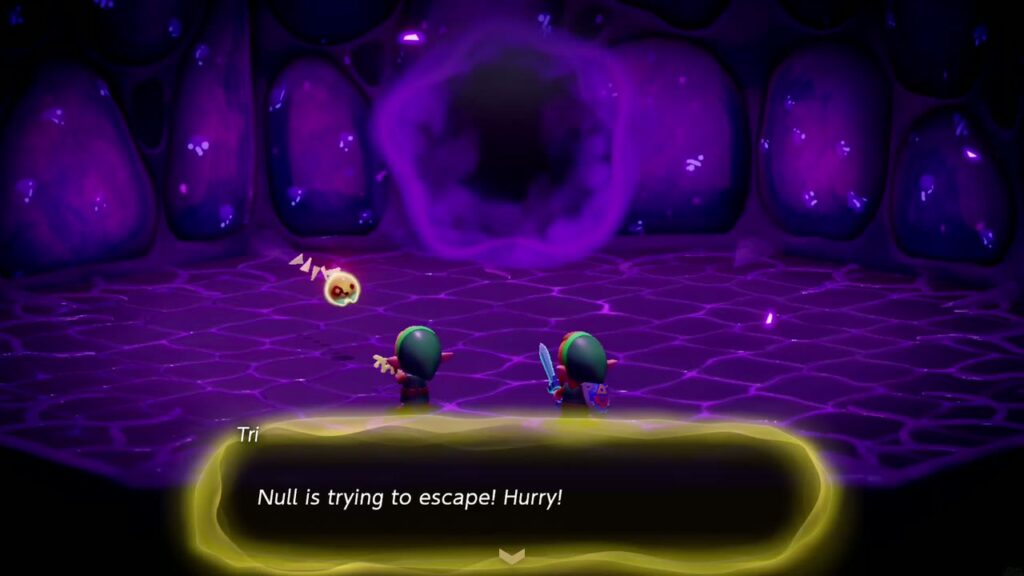
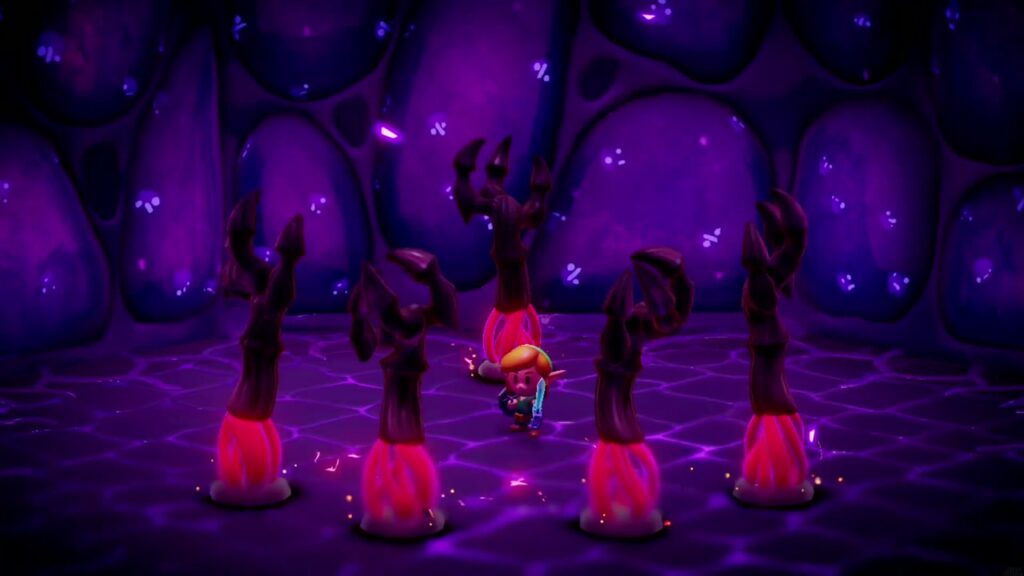
Null resurfaces and the cycle repeats. A Lynel echo is the heavy hitter here; Bind your own Lynel to drag it right up to Null. The next time the arms reach in from the walls, patches of pink goo start spreading over the floor, so keep clear of them while you fight. Wear Null down again and it tries to flee: Tri warns “Null is trying to escape! Hurry!” and a dark vortex drags Zelda through, leaving Link alone in the arena, ringed by Null’s arms.

Phase two
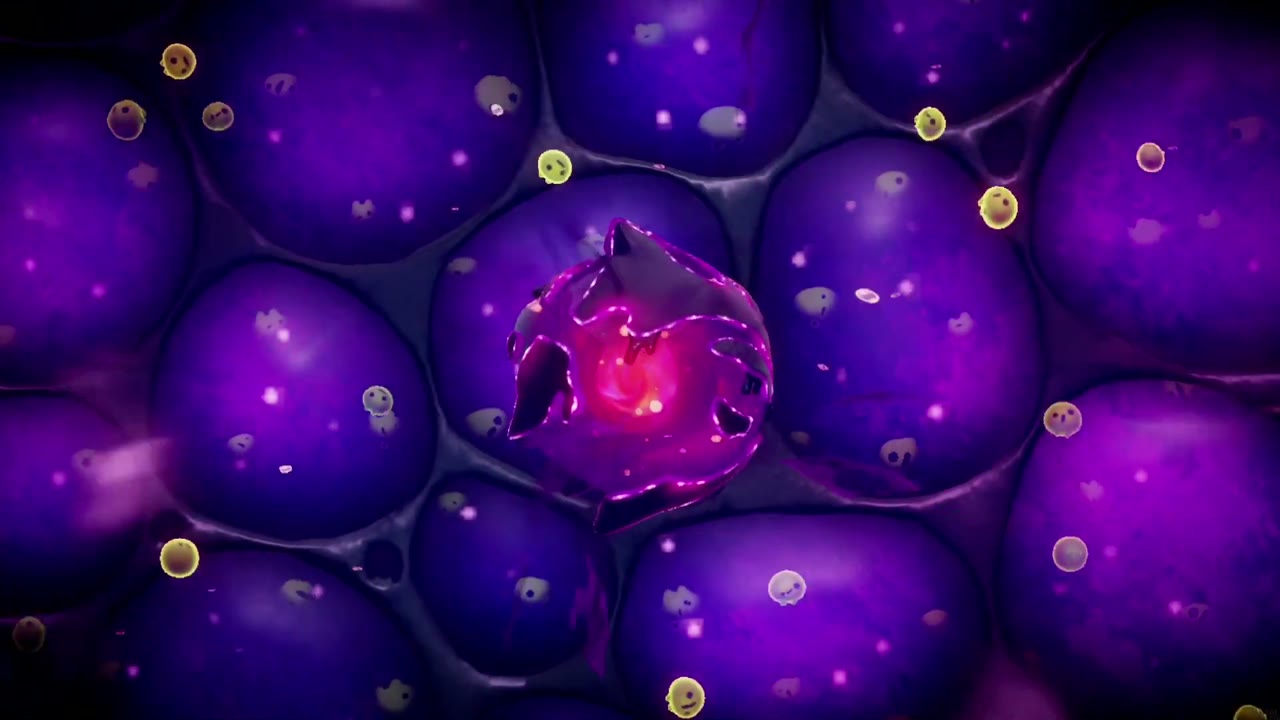
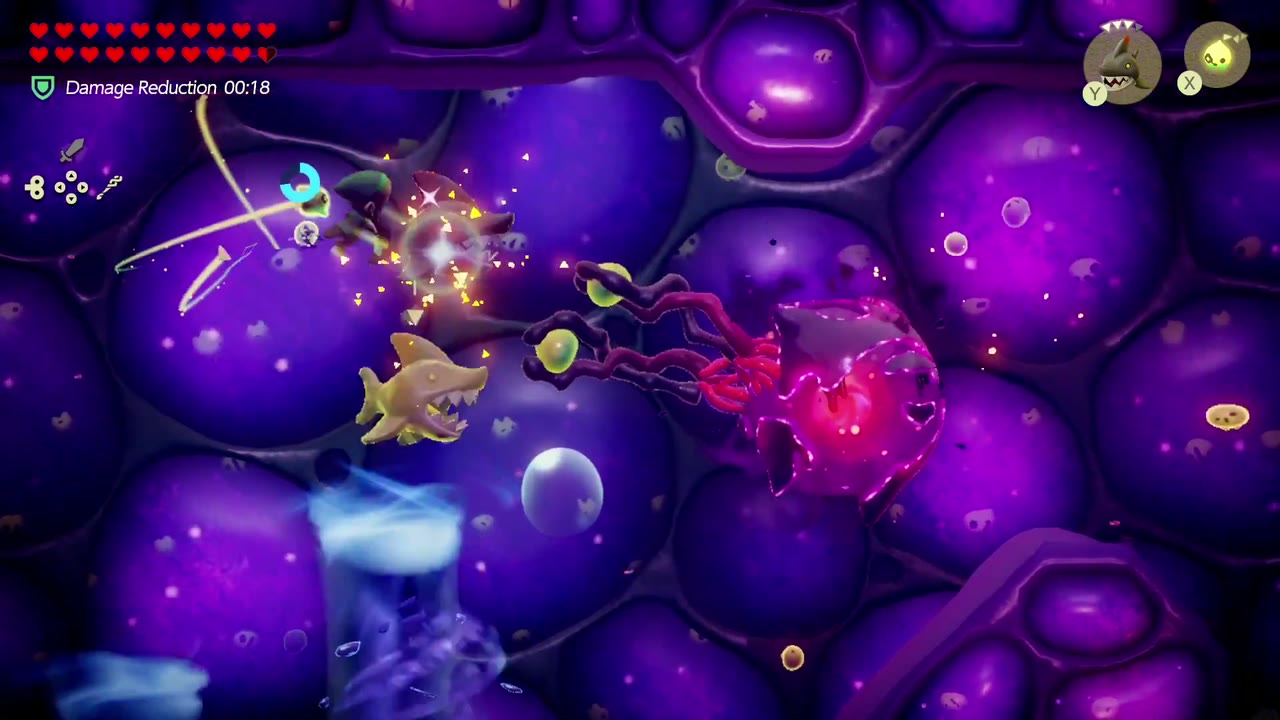
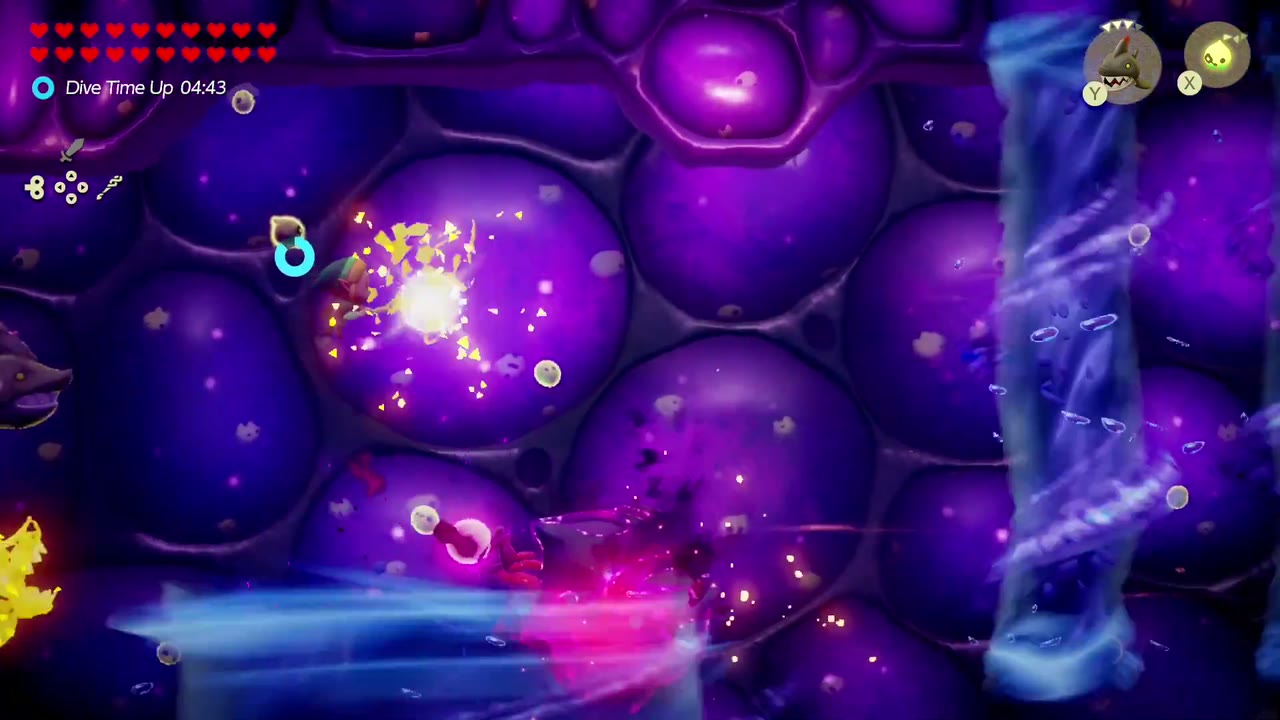
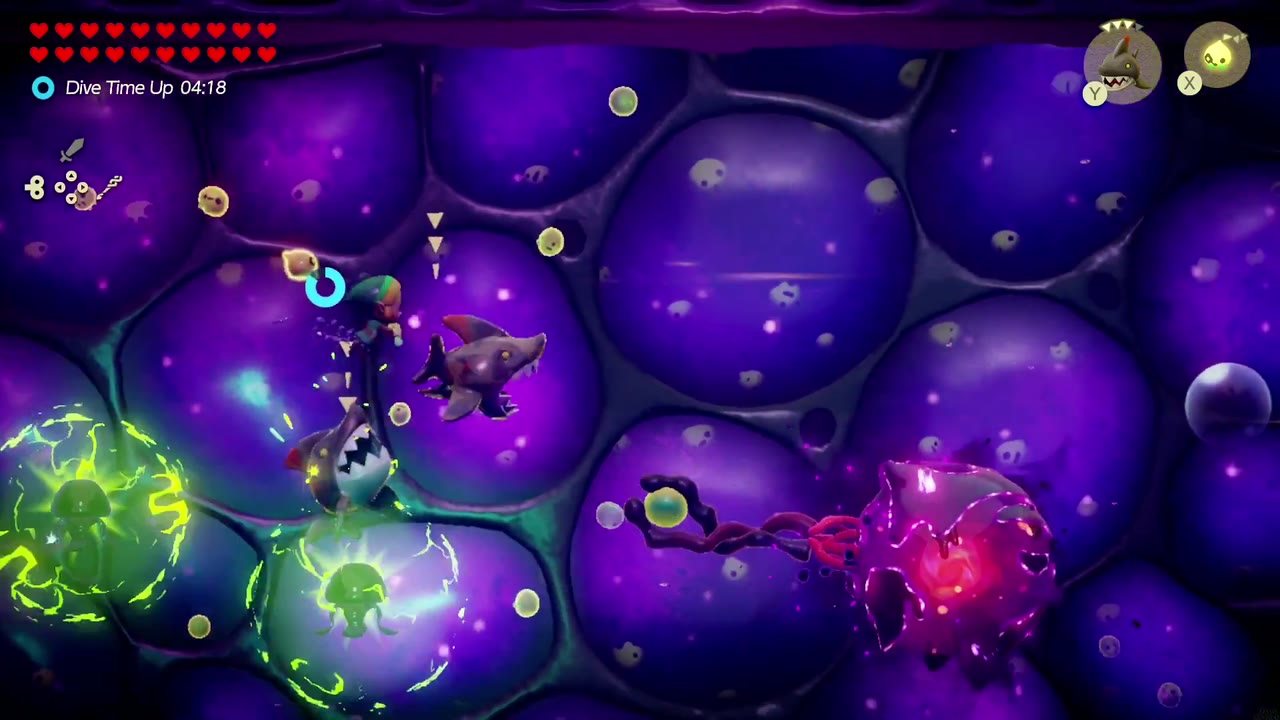
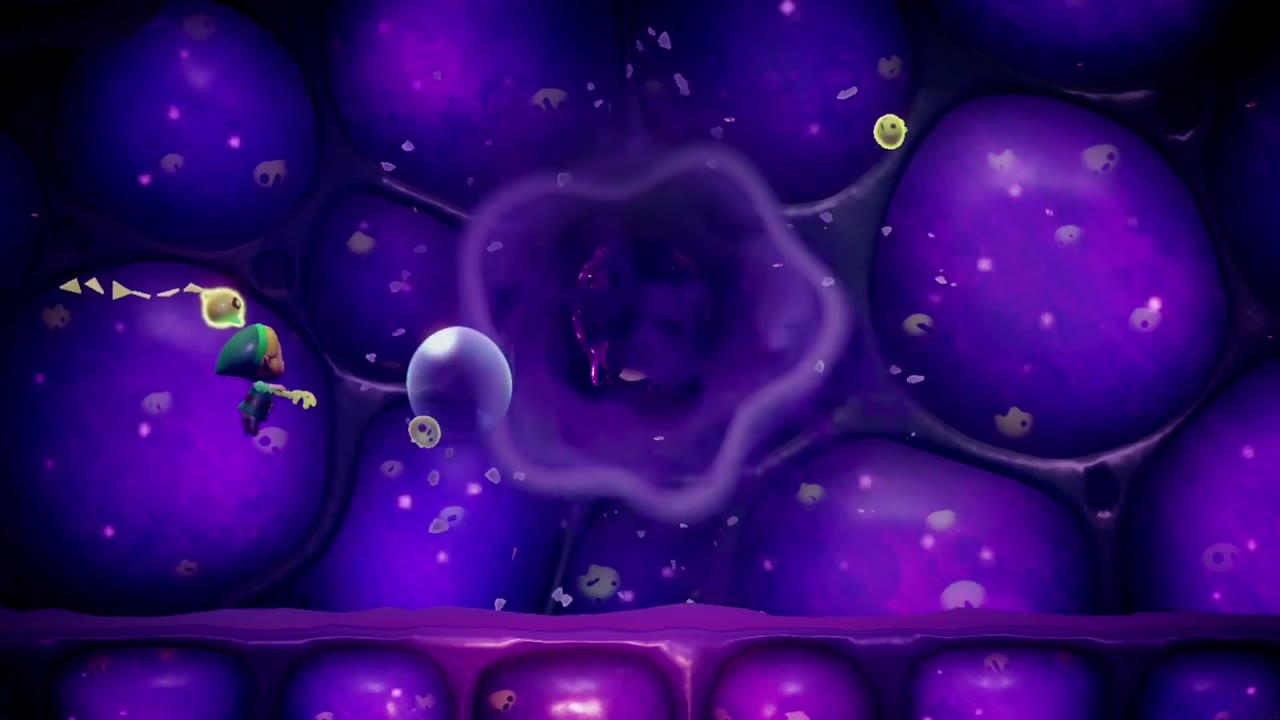
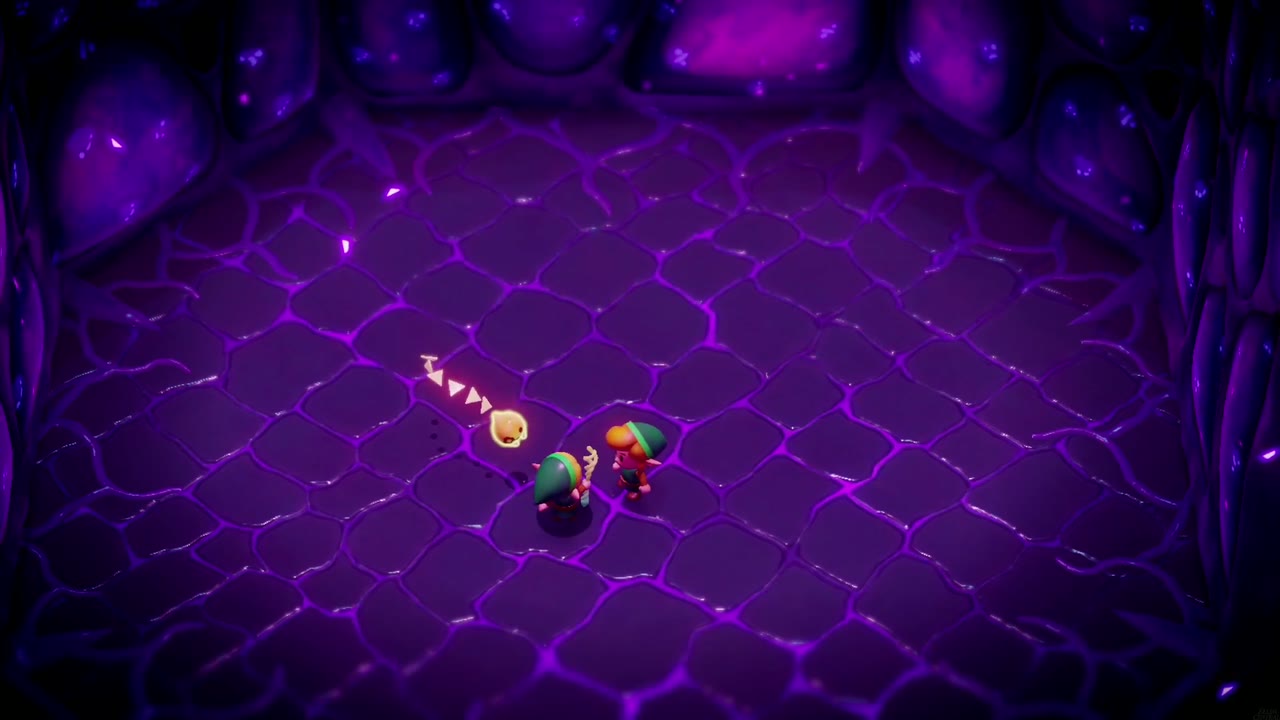
Zelda ends up alone, swimming in a side-view underwater space packed with giant purple cell bubbles, where Null is now a red core trailing tendrils. Equip the Zora Scale accessory if you have it for more dive time. Swirling water currents, shadow fish and crackling green bubbles get in the way. Aquatic echoes work best: summon a Chompfin or two to chew on the core and its tendrils. Destroy the core and a hole opens in the cell wall, carrying Zelda back to Link in the arena.
Phase three
Null drops back into the main arena, now glowing red, as a dark orb with clawed arms, and it starts calling up shadow copies of bosses you’ve already beaten. The first is a Seismic Talus that spins its rock arms across the floor, followed by sweeping tornadoes; keep to the edges and let your Lynel echo and Link work on the orb between summons. Hit it enough and Null sinks out of sight: arms reach up out of glowing rings in the floor to grab you, and small shadow enemies spawn around the room. Keep moving and clear the adds until the orb comes back.

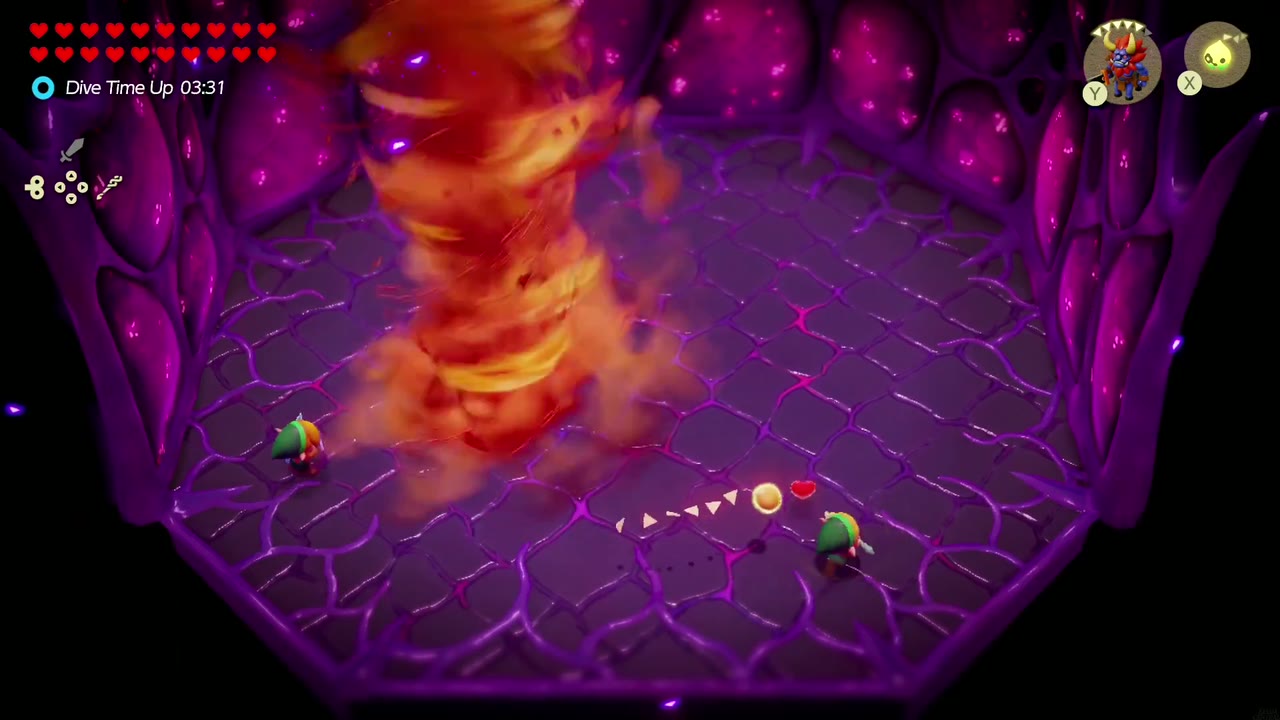
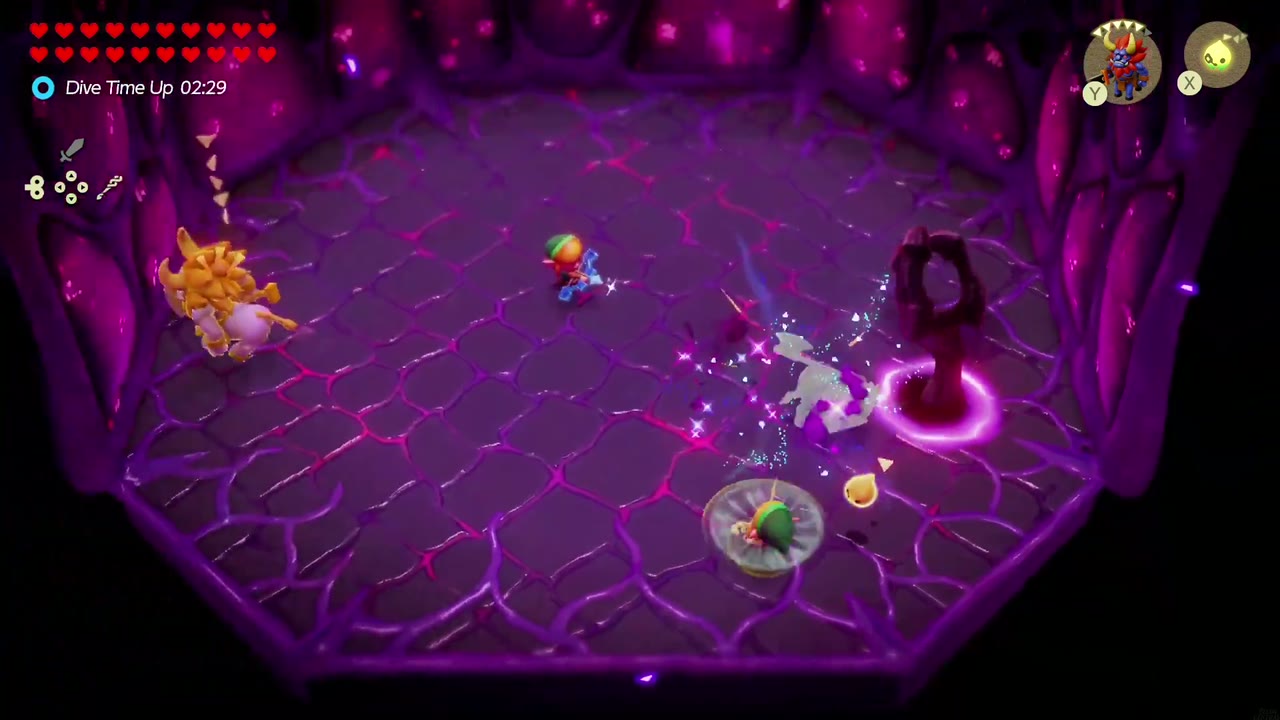
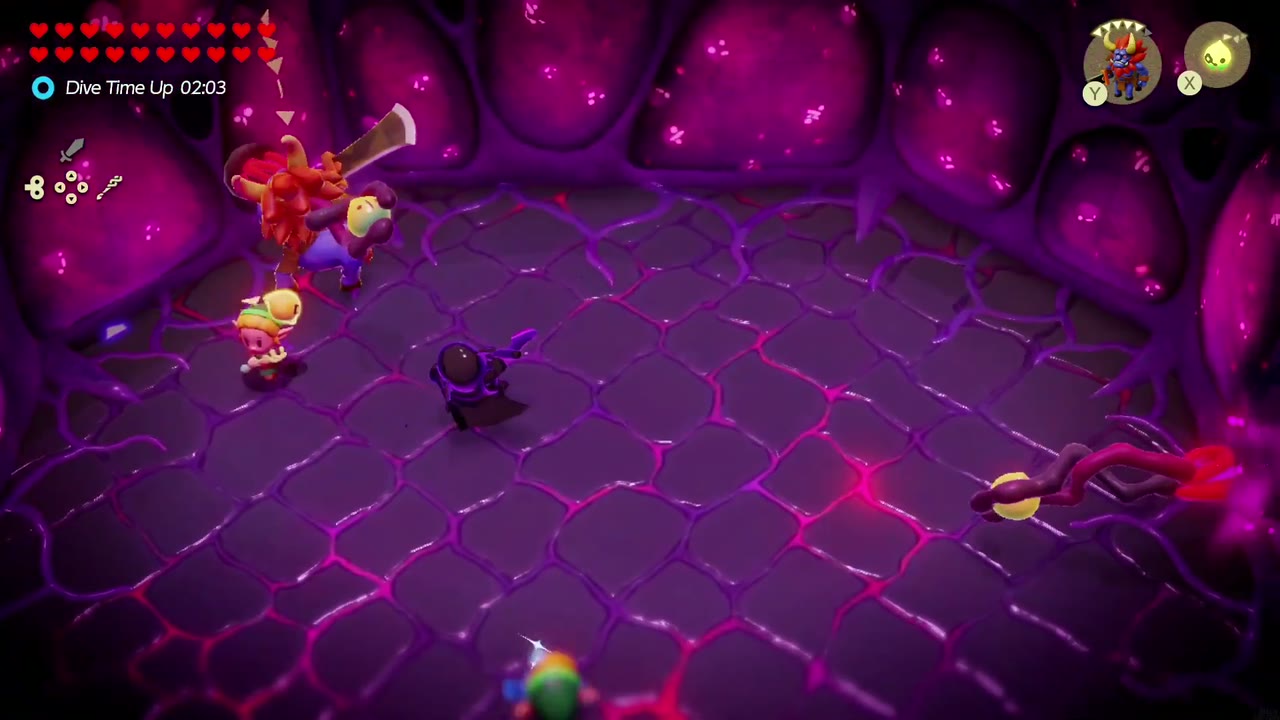
Each time the orb returns, the summons escalate: two dark Ganons lunging with tridents, then two Skorchills spinning through the room, followed by another floor round of arms and small shadows. Then the finale of summons: white web patches spat across the floor, a set of tornadoes, more trident-lunging Ganons, a Seismic Talus flanked by two Ganons, three Skorchills spinning together, and one last round of webs and tornadoes. Keep hitting the orb whenever the summons give you room.
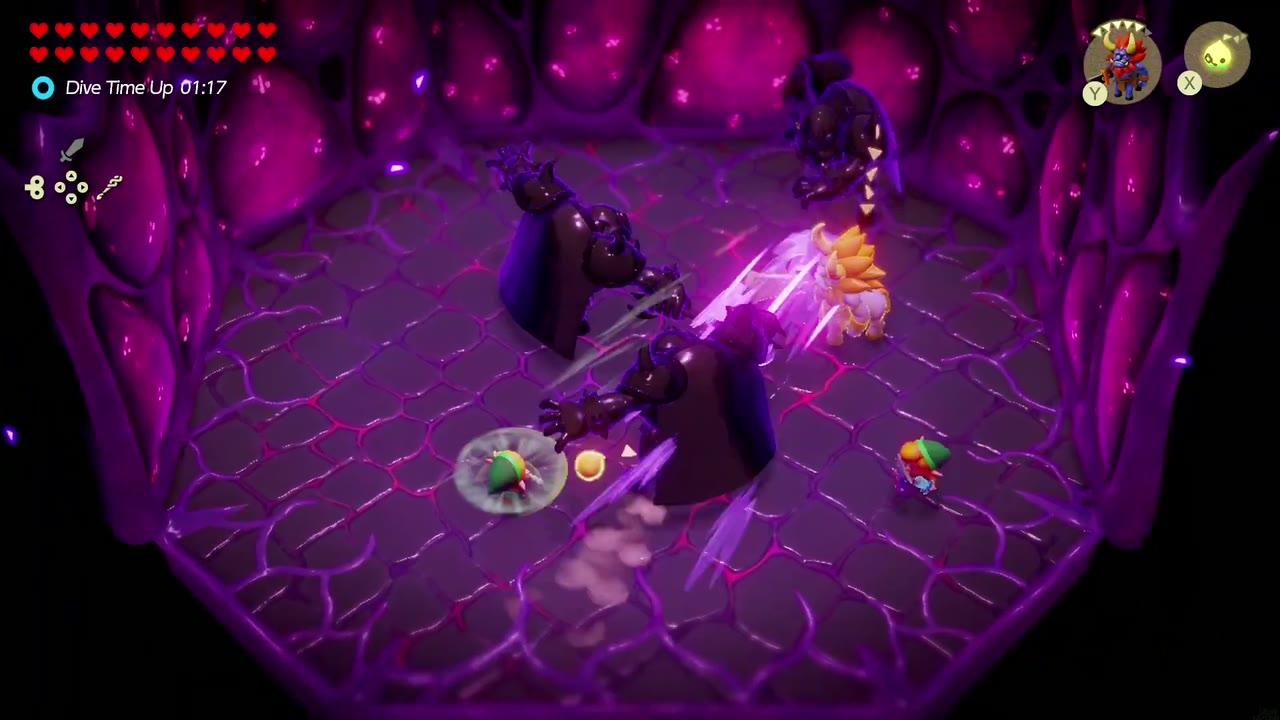

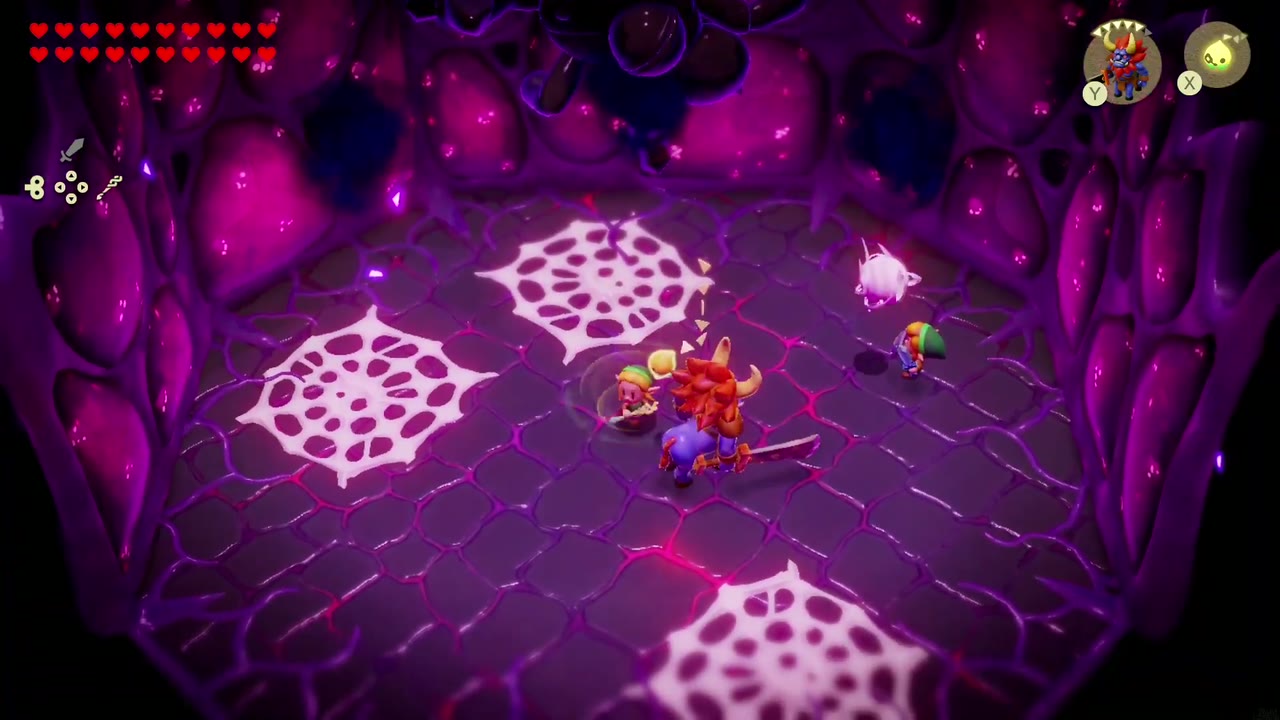

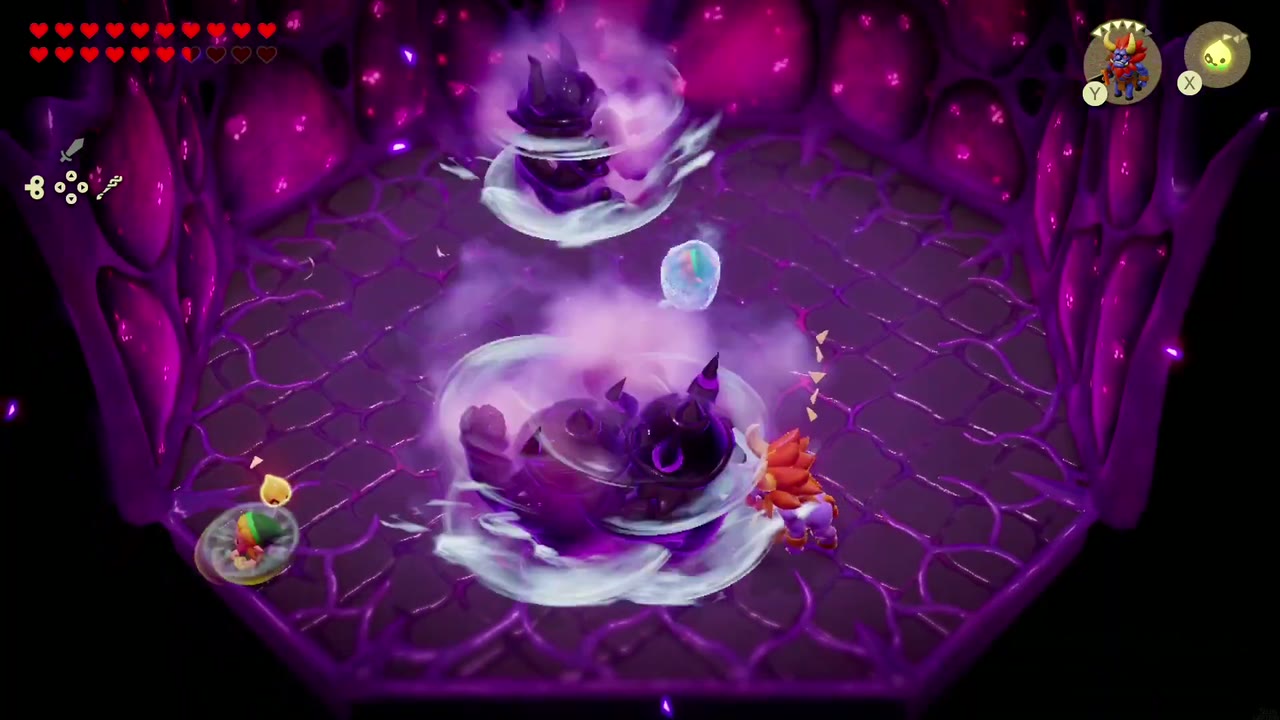
The end
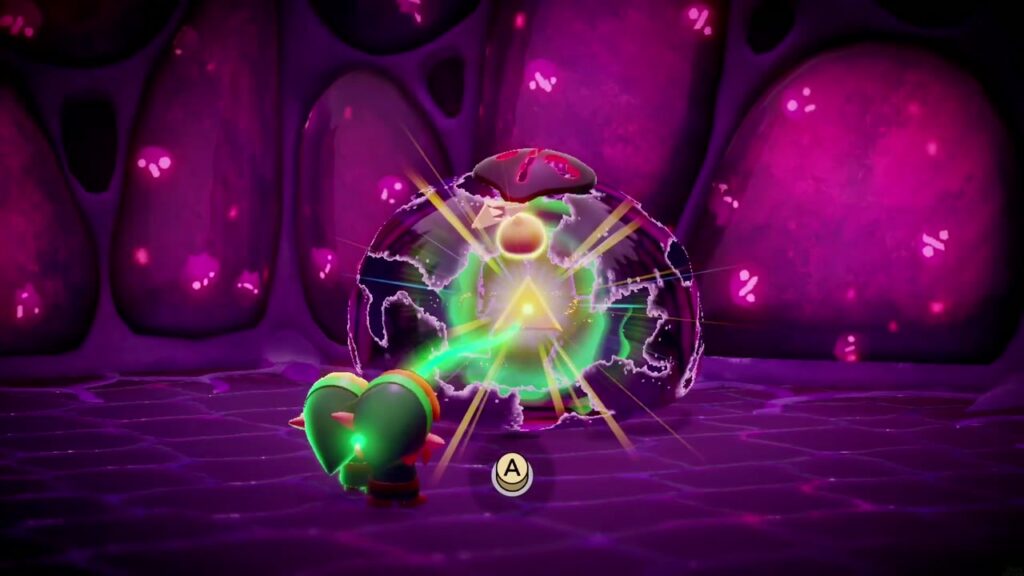
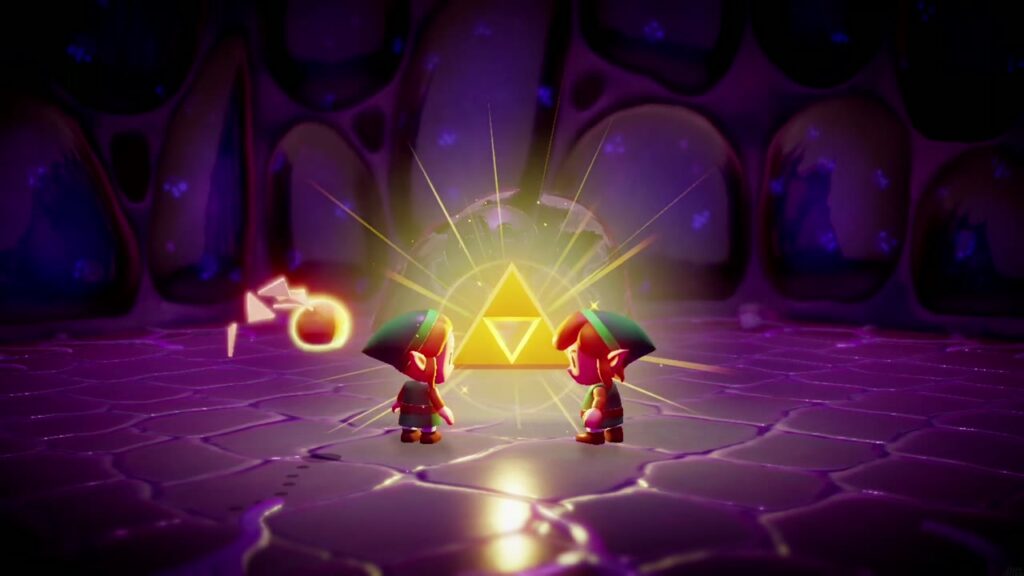
After the final summons, Null’s shell cracks open with the Prime Energy glowing inside. Bind it, and when the A prompt appears, keep pressing to tear it free. The Prime Energy rises between Zelda and Link, Null fades with a last “Give it…to…me…”, and the banner reads Main Quest Complete: The Prime Energy and Null. That’s the fight.

The Ending
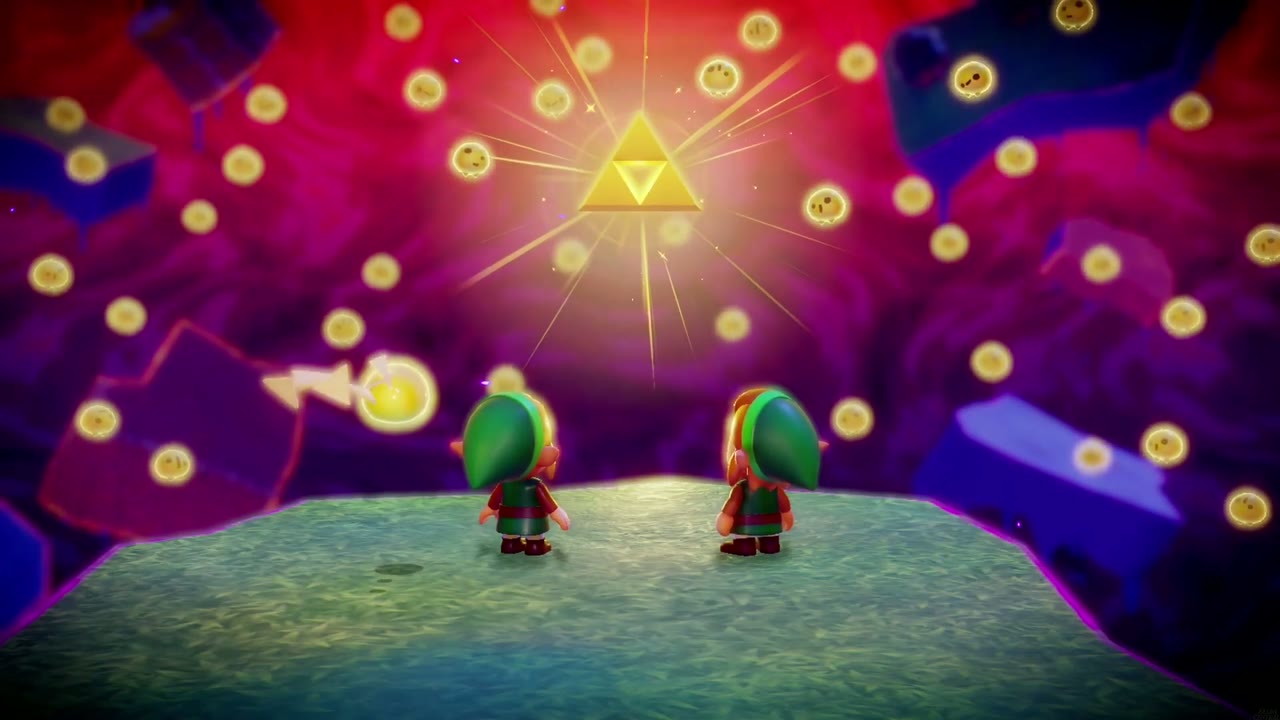
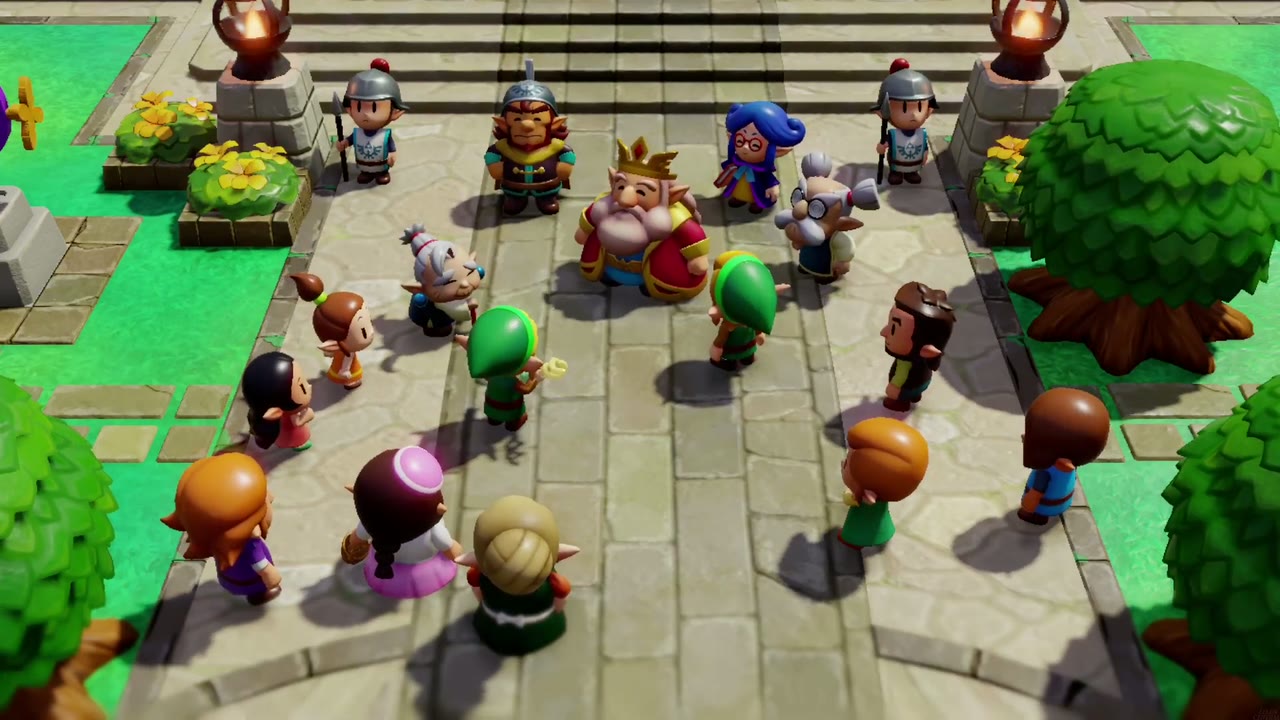
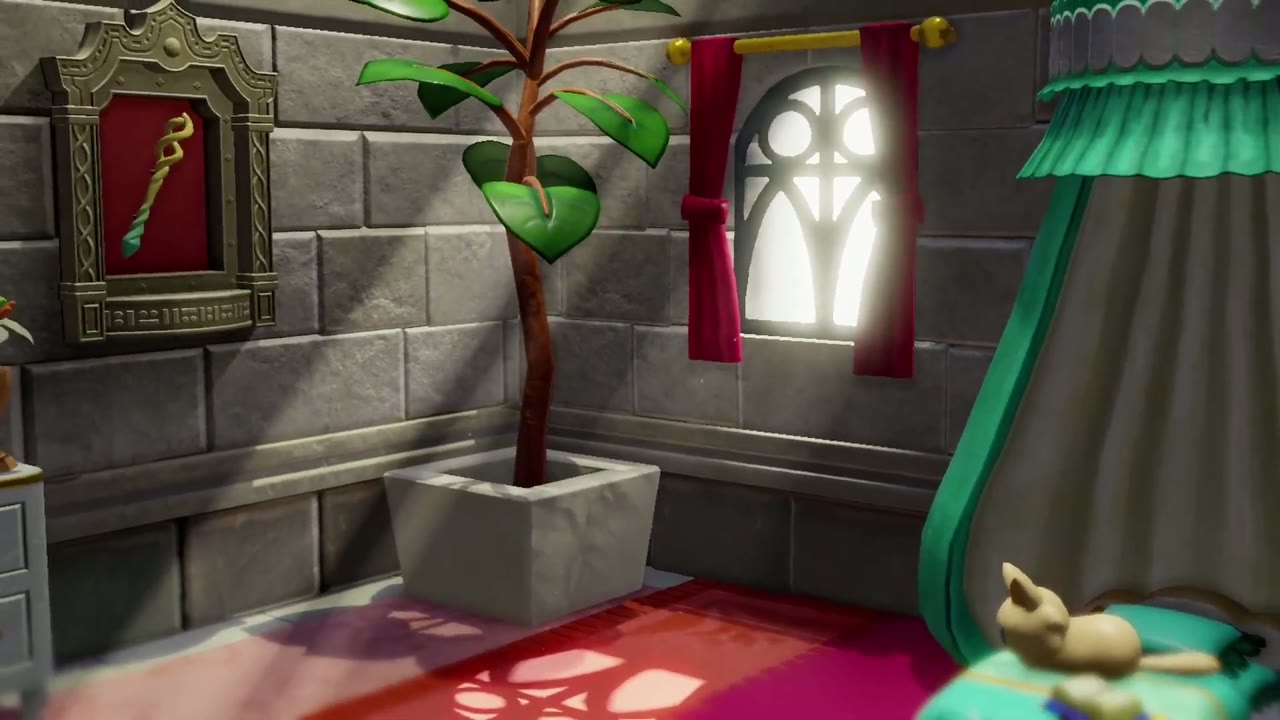
Sit back for the ending: Tri’s friends swirl around the Prime Energy to restore Hyrule, Tri says goodbye to Zelda, and the whole kingdom gathers in the Hyrule Castle courtyard to celebrate. Stay through the credits for a short scene in Zelda’s room, where the Tri Rod now hangs in a frame on the wall, then “The End” and the title screen. Any cleanup you still want to do is covered on the collectible pages: heart pieces, Might Crystals, stamps, Slumber Dojo and Mango Rush top ranks, and Dampé’s automatons.