





















| Beast | Vah Rudania, the salamander-shaped Divine Beast of the Gorons |
|---|---|
| Region | Eldin; circles Death Mountain above Goron City (settlement at x 1685, z -2467, height 622, map square G-2) |
| Champion | Daruk |
| Boss | Fireblight Ganon (health 800 for the first Blight you defeat, then 1,200, 1,600 and 2,000 for the fourth) |
| Bring | Two layers of fire protection (Flamebreaker pieces or Fireproof Elixirs), Remote Bombs, fire arrows, Magnesis and Stasis |
| Reward | Heart Container, Daruk’s Protection, Boulder Breaker (attack 60, durability 60) |
Vah Rudania sits on Death Mountain. Boss Bludo sends you to find his assistant Yunobo in the Abandoned North Mine; you then use a cannon to fire Yunobo at the beast while dodging its sentries, and follow it into the volcano. Inside you tilt the beast 90 degrees to rearrange the rooms and reach five terminals, then face Fireblight Ganon.
Before the assault
Reach the Abandoned North Mine
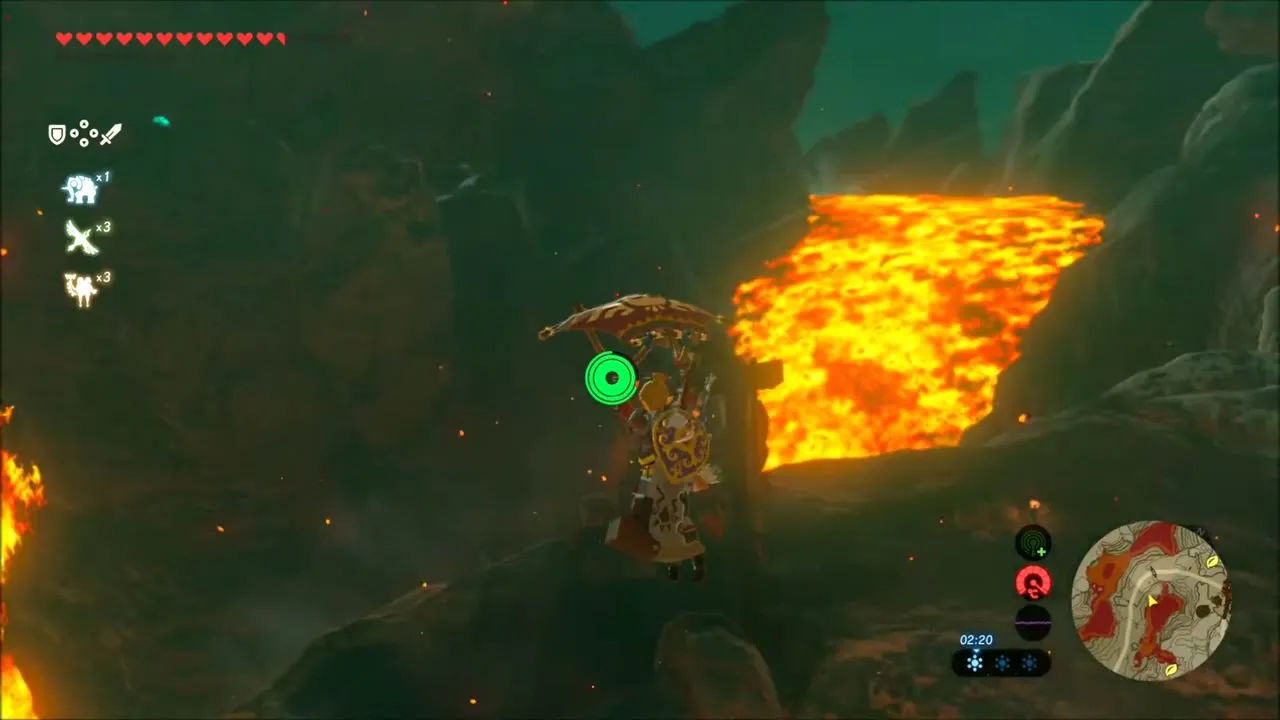
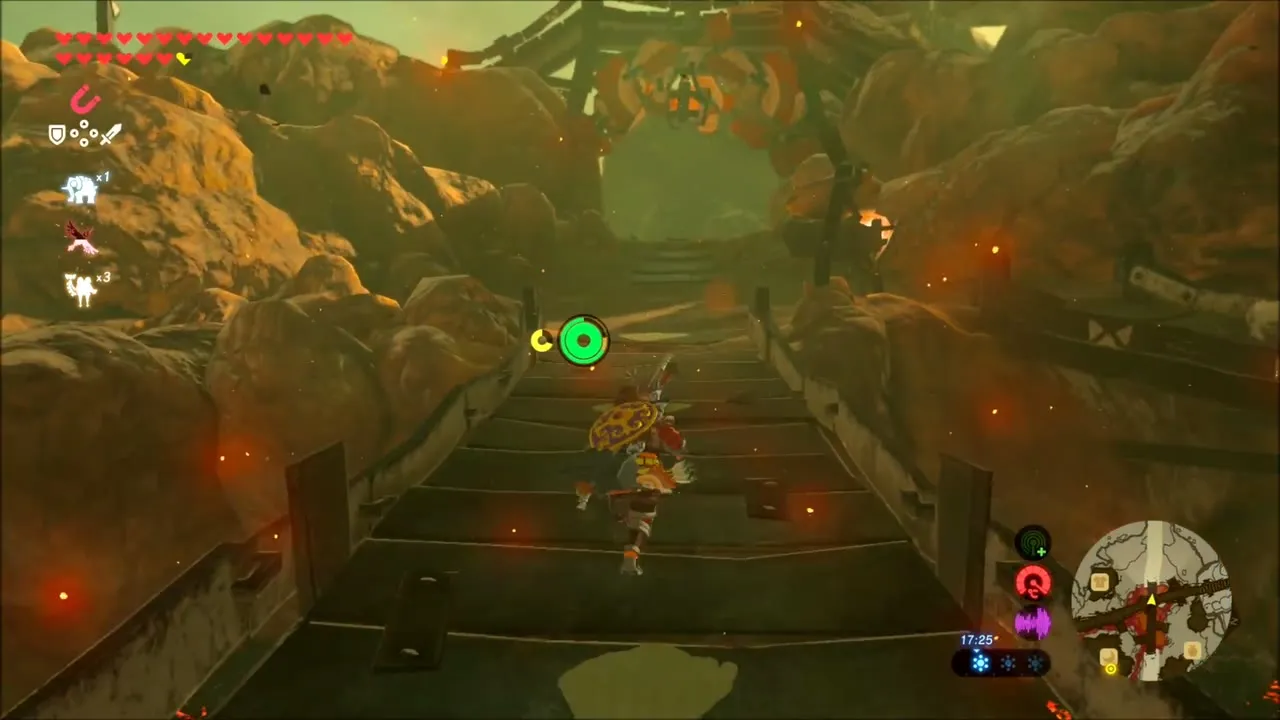
Leave Goron City by the northern hills and go past Shae Mo’sah Shrine toward the mine. The lava fields of Darunia Lake are hotter than the city, so a single piece of Flamebreaker armor or one elixir is not enough; combine two. Speak to Drak at the big cannon, who tells you Yunobo went to a vault in the middle of the lake.


Cross the lake and free Yunobo
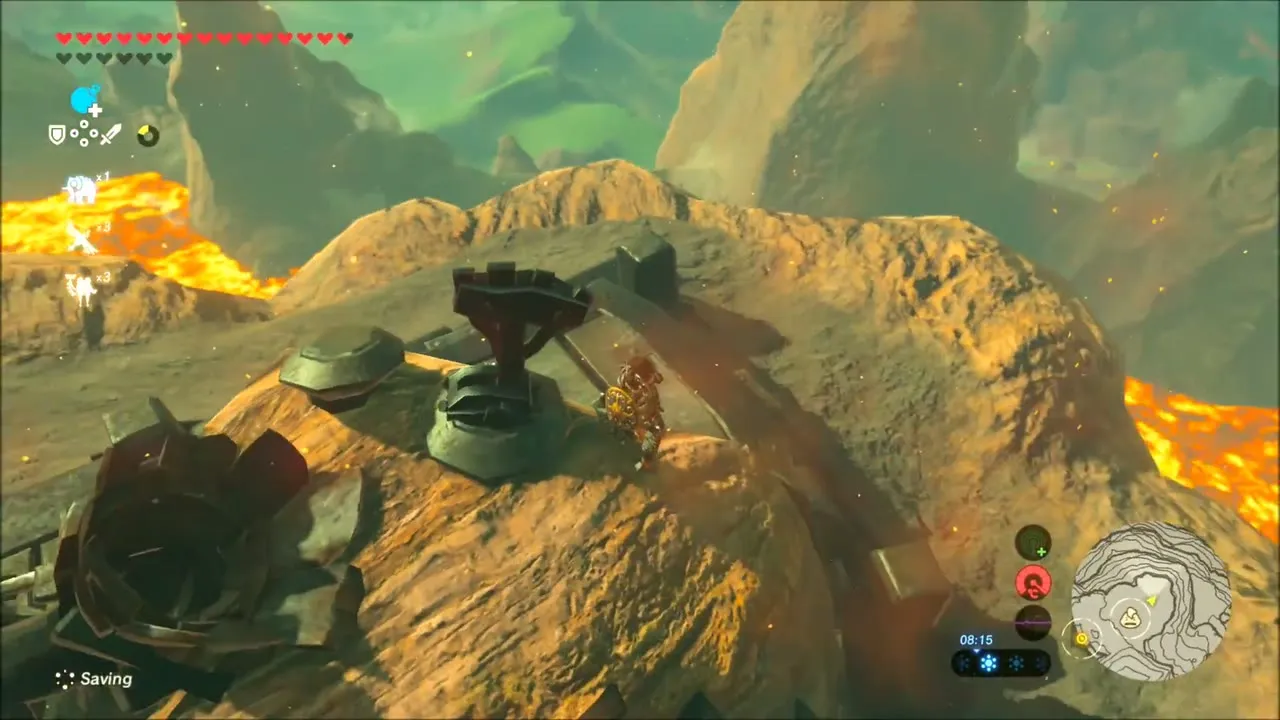
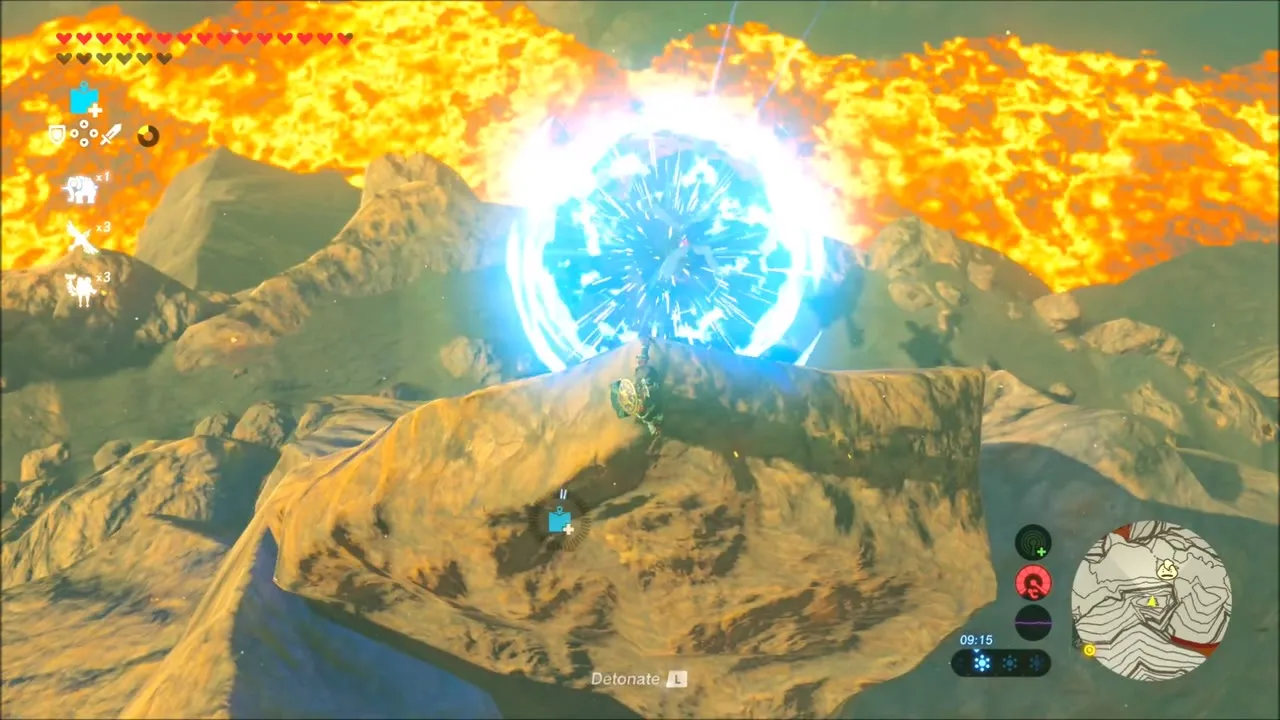
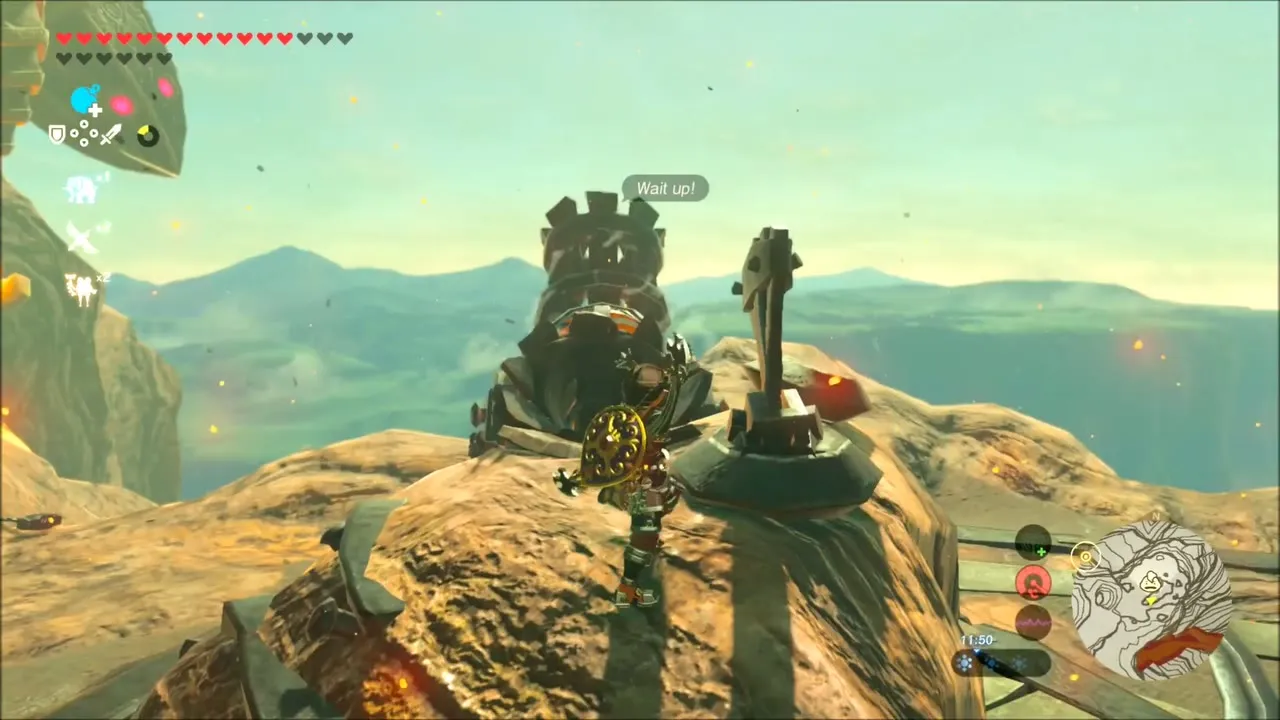
Glide between the islands on the geysers. Drop a round Remote Bomb in a cannon, hit the lever with a weapon to aim and detonate the bomb to send out the shot. Use cannons to clear the Lizalfos archers, to blow boulders off ore and vents, and to demolish the wooden tower. Fire at the boulder blocking the vault from the highest cannon. Yunobo thanks you and runs off; the vault holds Rupees and chests with a purple Rupee and 10 Ice Arrows.
Return to Bludo and meet Yunobo
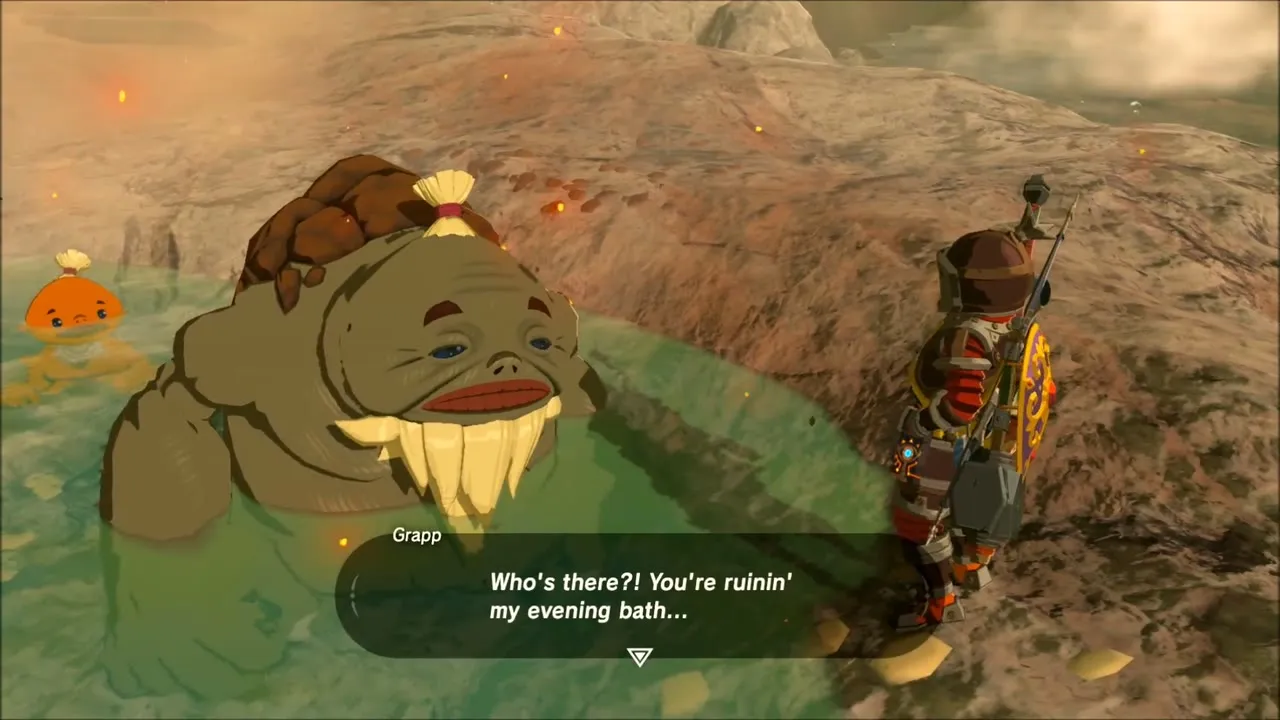
Bludo rewards you with three Fireproof Elixirs and sends you to Yunobo near Eldin Bridge. Follow the road back over Stolock Bridge and up past the Goron Hot Springs and Daqa Koh Shrine. Moblins are harassing Yunobo; deal with them, then place him in the cannon and fire a Remote Bomb to launch him across and lower the bridge.

Assaulting Vah Rudania
Sentries and cannons
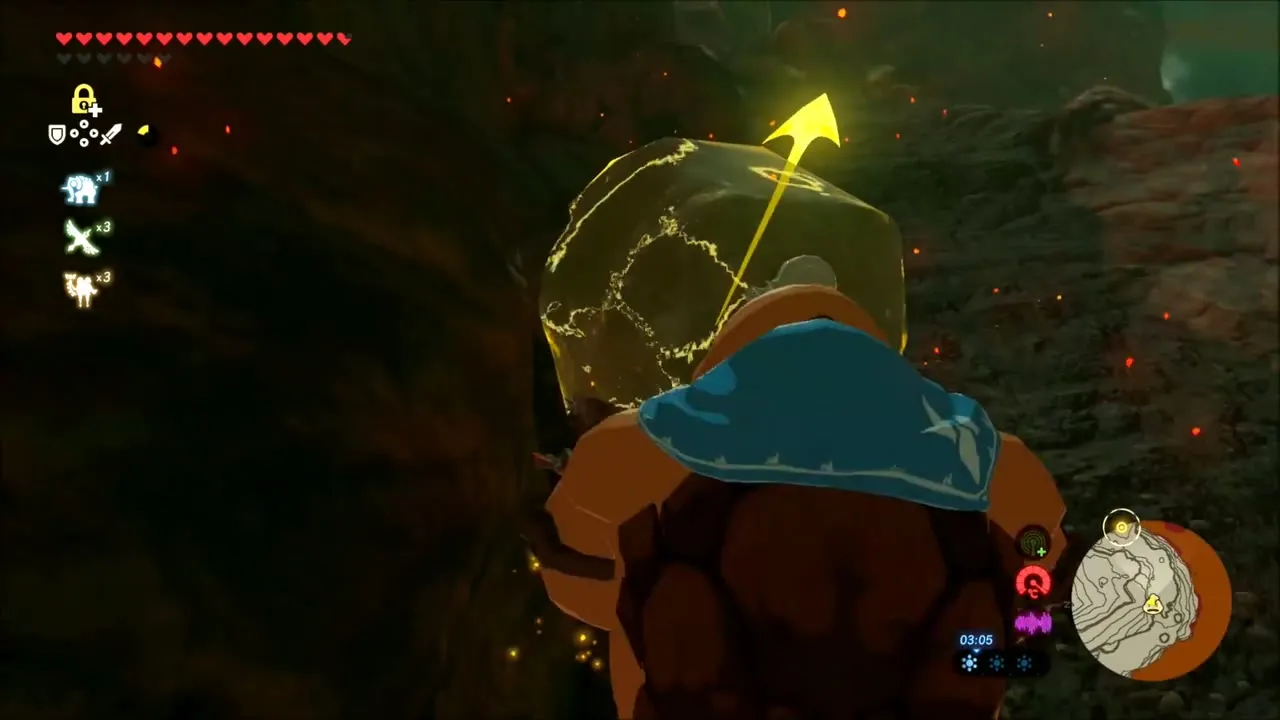
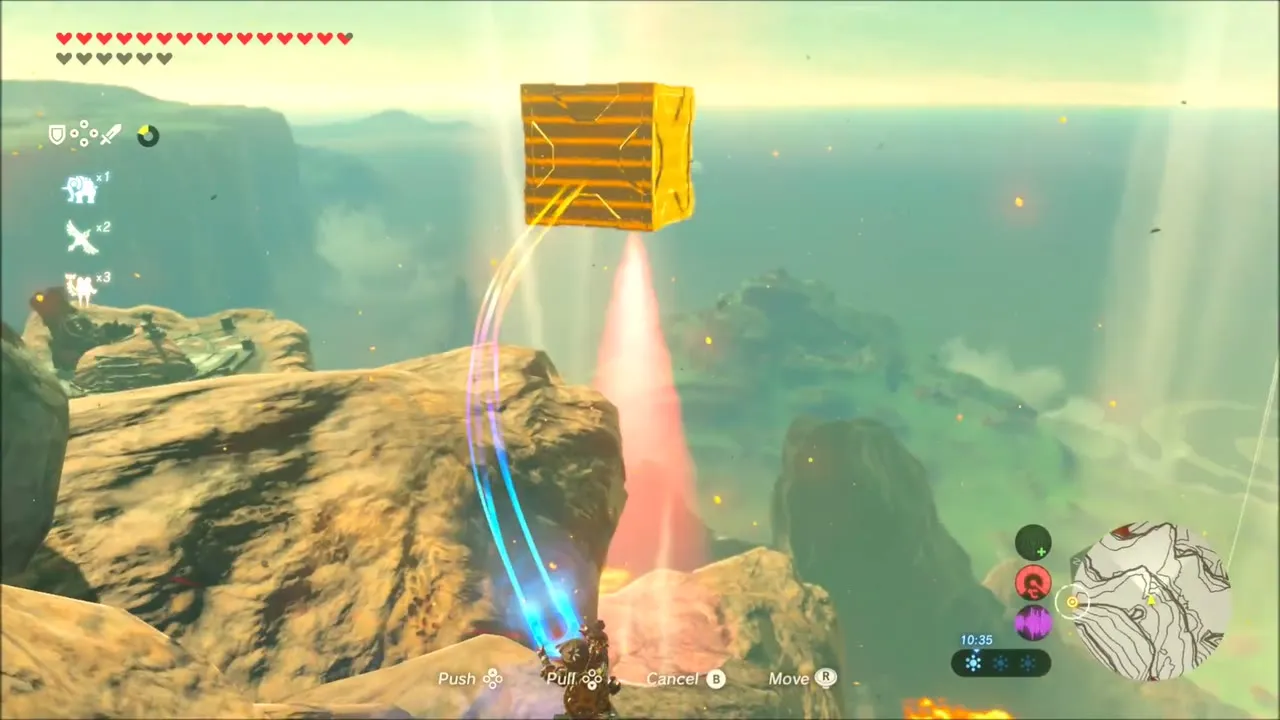
Rudania sends sentries along the path, and any beam that spots you rains magma bombs from the sky. Wait in tunnels until each sentry has passed, or climb above one and drop boulders on it. Leave Yunobo at the cannons and scale the left rocks to find metal crates that Magnesis can swing into groups of sentries.
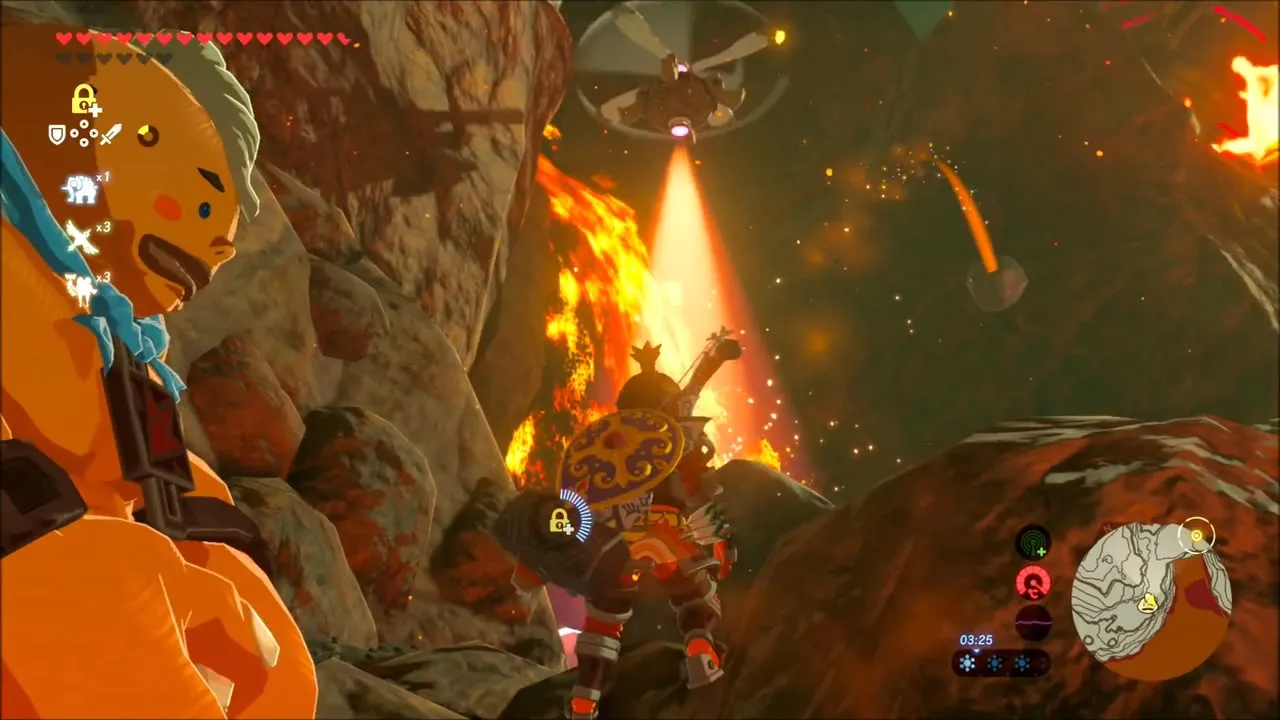
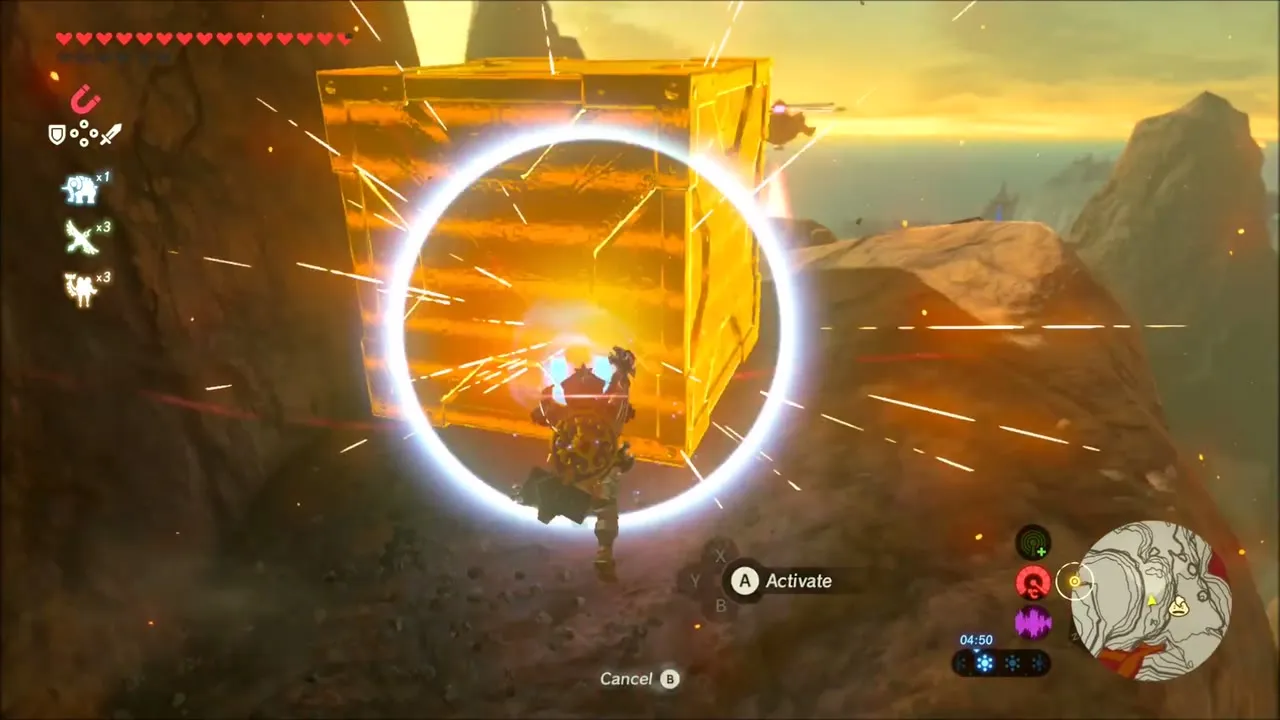
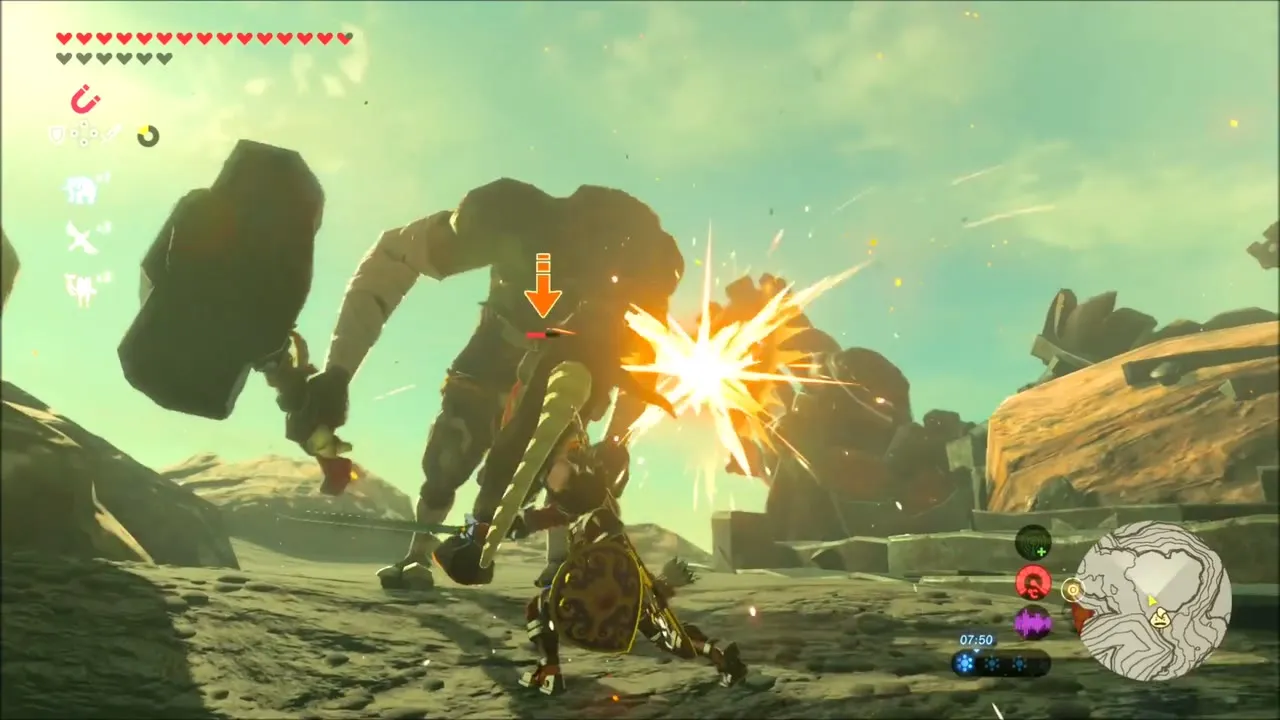
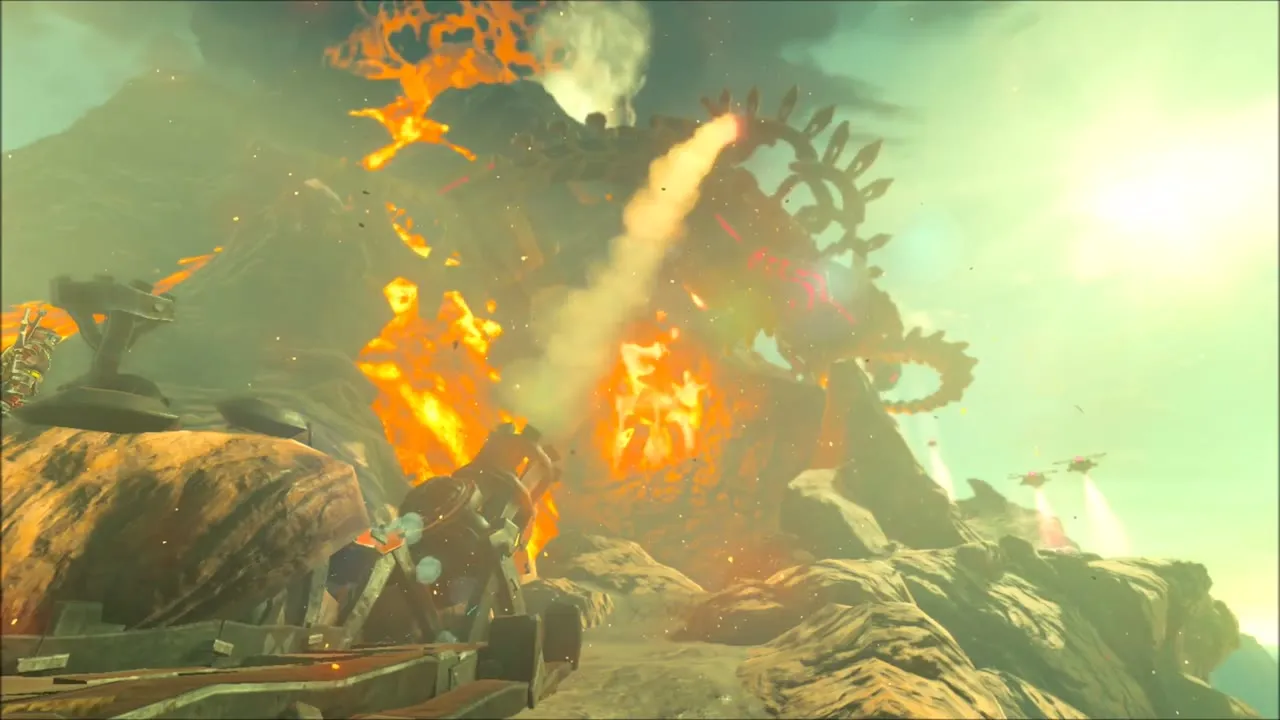
Moblins guard later cannons. Beat them, put Yunobo in and fire at the beast again. Bombs tossed from a distance ride gusty vents into sentries, and steel crates dropped from above clear the last Moblins. The final shot knocks Rudania into the volcano and you follow it in.

Inside Vah Rudania
Darkness and the map
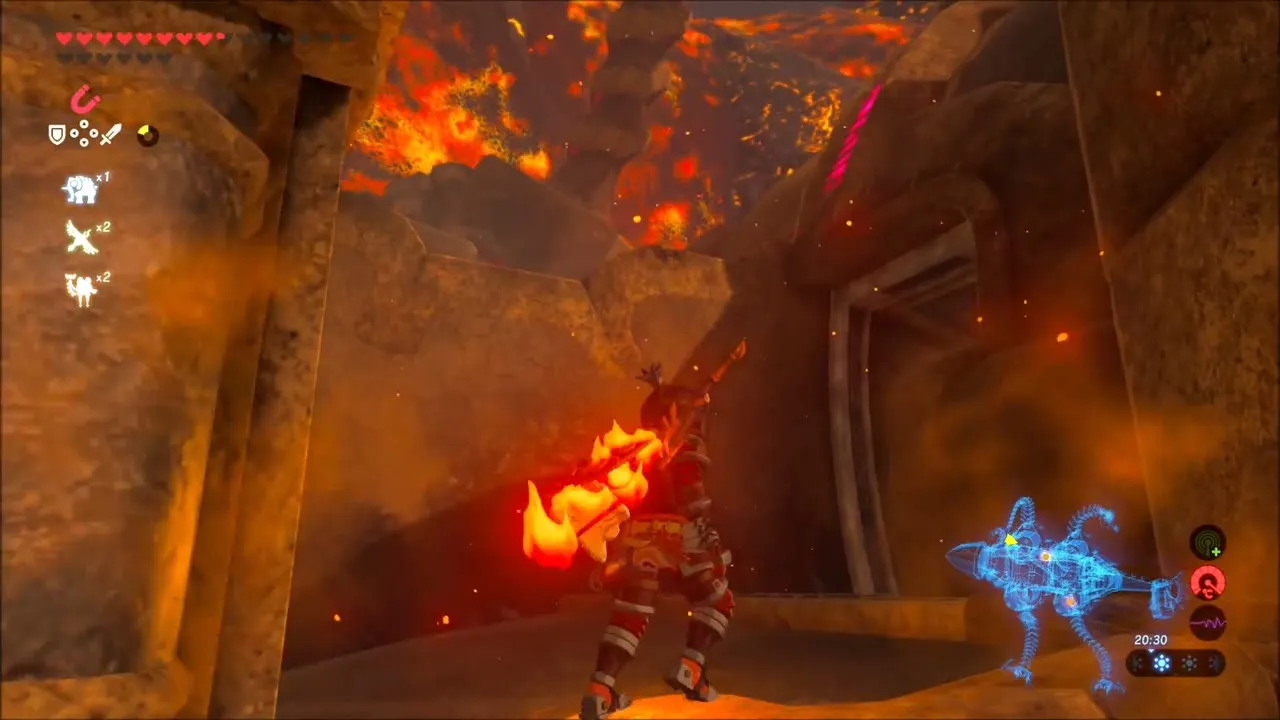
Check the chest on the tail for an Ancient Screw before entering. Inside it is dark, but the Blight and its eyes glow. Shoot the three eyes to open chests with a Dragonbone Boko Club, Ice Arrows and a special Torch. Light the torch from the blue flame by the entrance and use it on the brazier beside the sealed door. Beat the Guardian Scout, shoot the four eyes in the next room to open chests with arrows and a Knight’s Bow, and light the brazier to open the Guidance Stone.
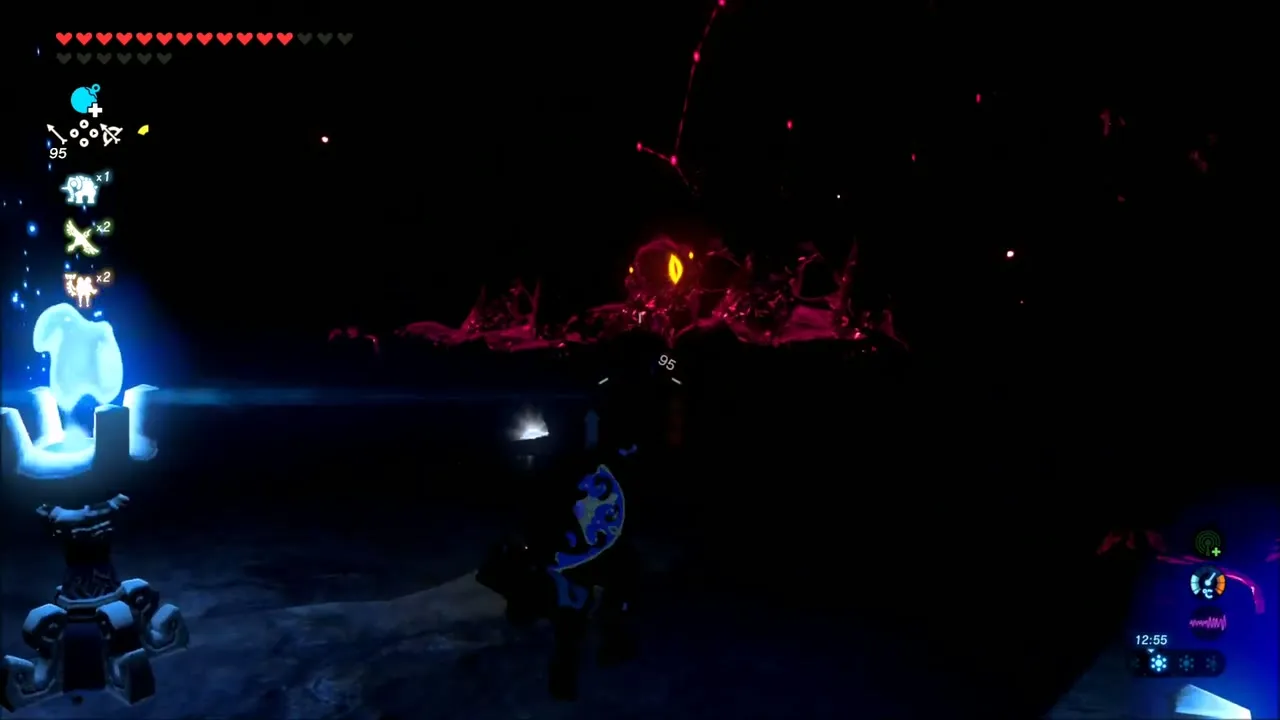

First and second terminals
Tilt the beast to move the first terminal onto an island, tilt back, and drop to it from the high ledge opposite. Return to the ledge and exit onto the spine, where Blight blocks the route. Clear it, open the spine chest for an Ancient Core, and tilt back to reach the second terminal behind its skull-spitting maw; shoot the eye first.
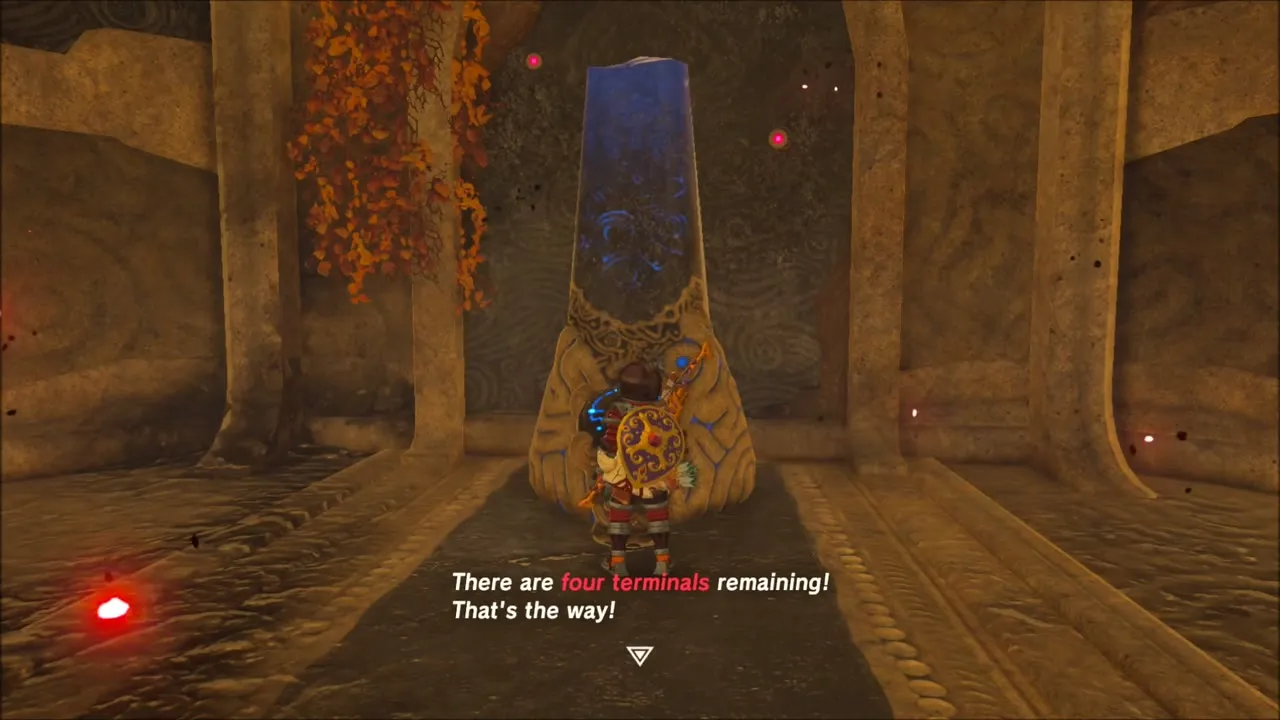

Rear legs: third and fourth terminals
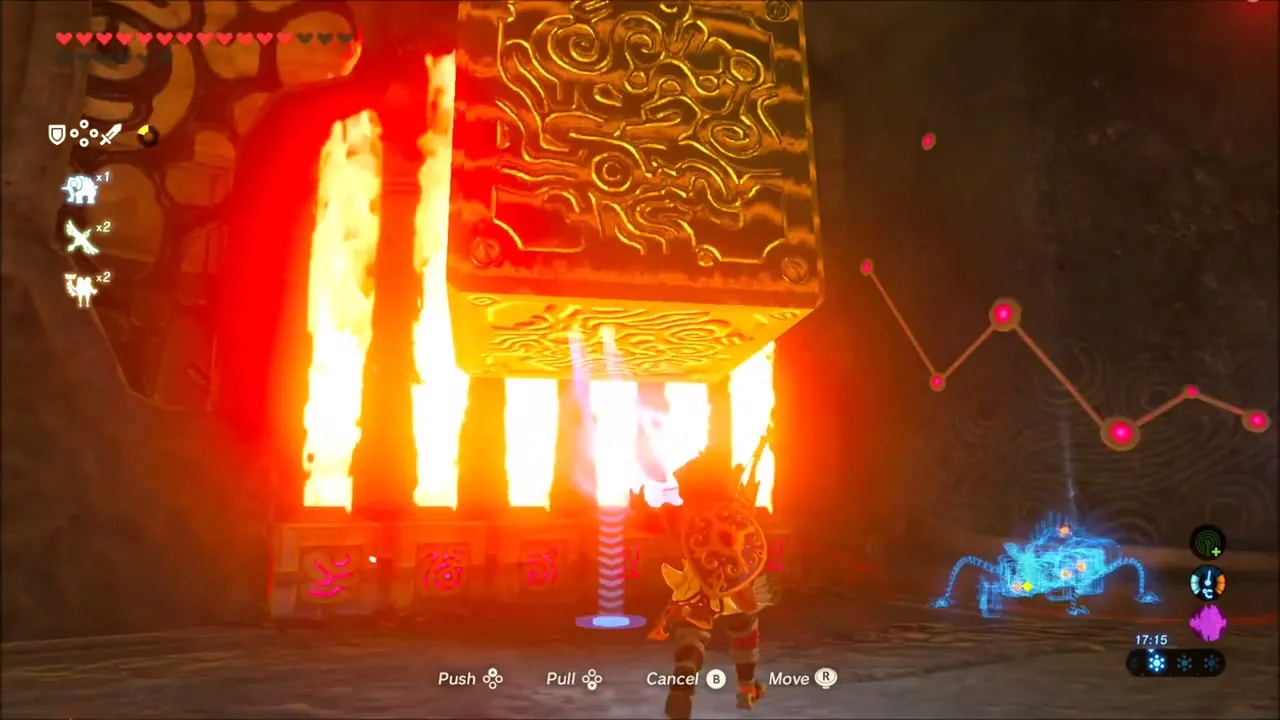
Light an arrow in the blue flame to burn the plank over the third terminal, then force the doors with Magnesis. Burn the dry leaves above to reveal an Ancient Gear. For the fourth, tilt the grate into a ramp, grab the Knight’s Bow chest midway, and follow it outside to a trapped sphere and an unlit brazier. A hole under the beast’s belly hides the switch for the gate. Light the brazier, freeze the sphere with Stasis as you tilt so it rolls in, then stop the metal block with Stasis so it empties into the receptacle.
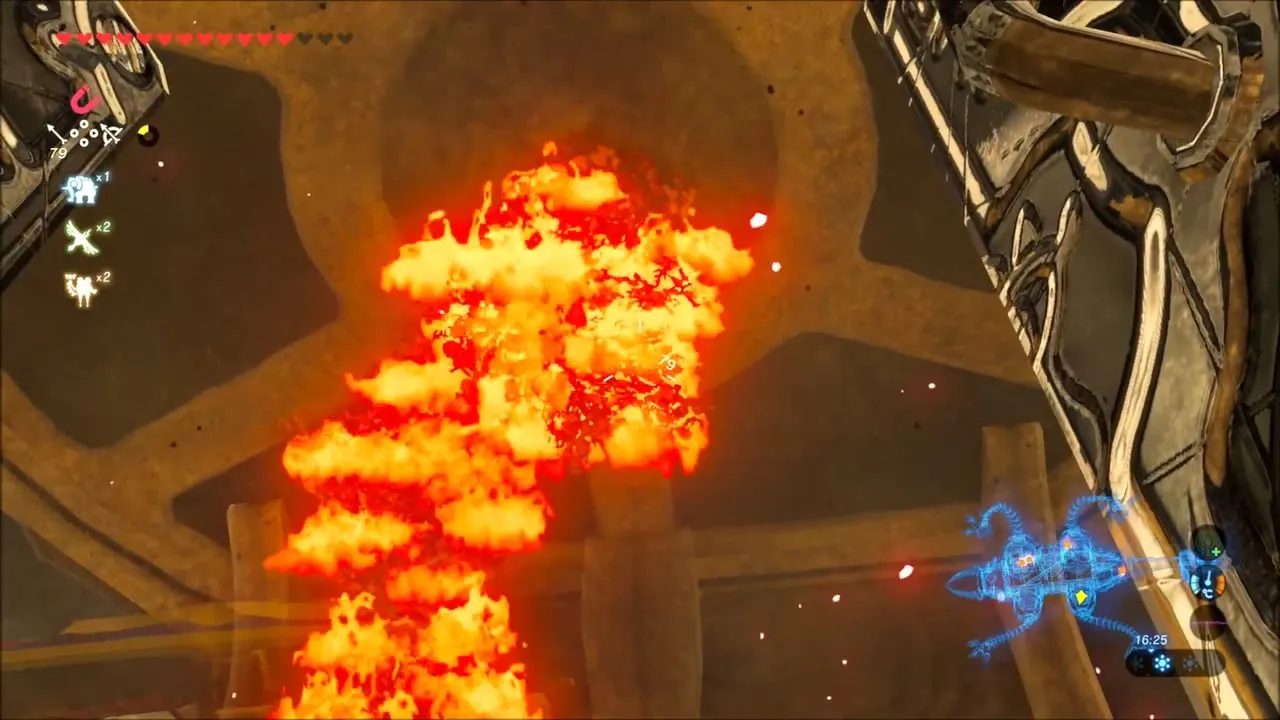
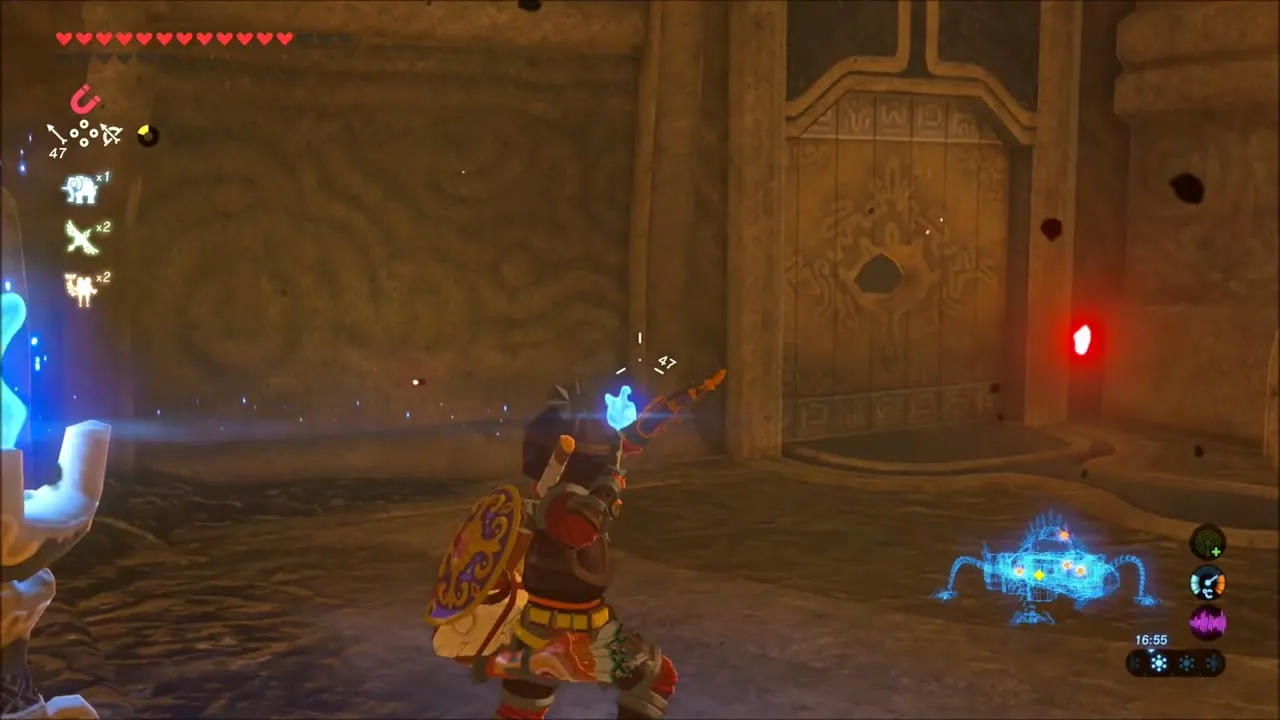
The tail terminal
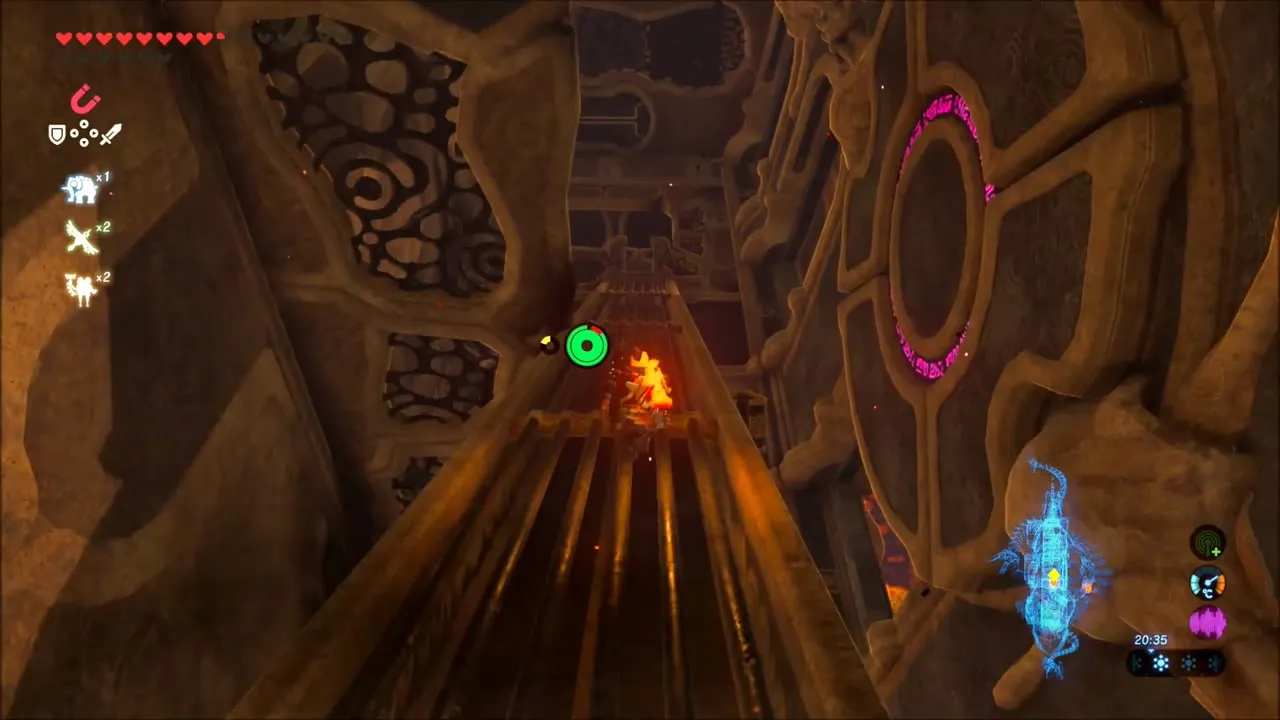
Tilt the beast onto its belly and shoot a flaming arrow through the hole of the sealed door to light the brazier. Burn the leaves on the ceiling to reveal a large metal box, move it over the flame jet with Magnesis, and tilt so you can crawl through under its cover to the final terminal.

Boss: Fireblight Ganon
Phase one
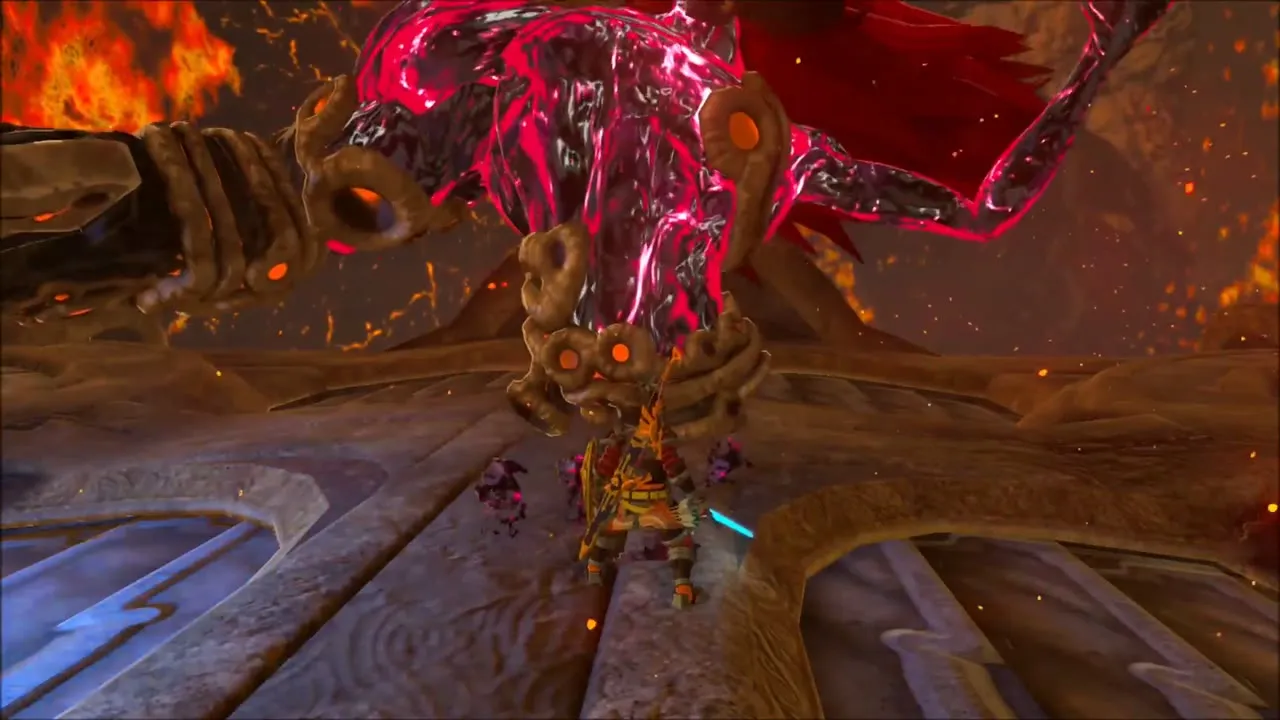
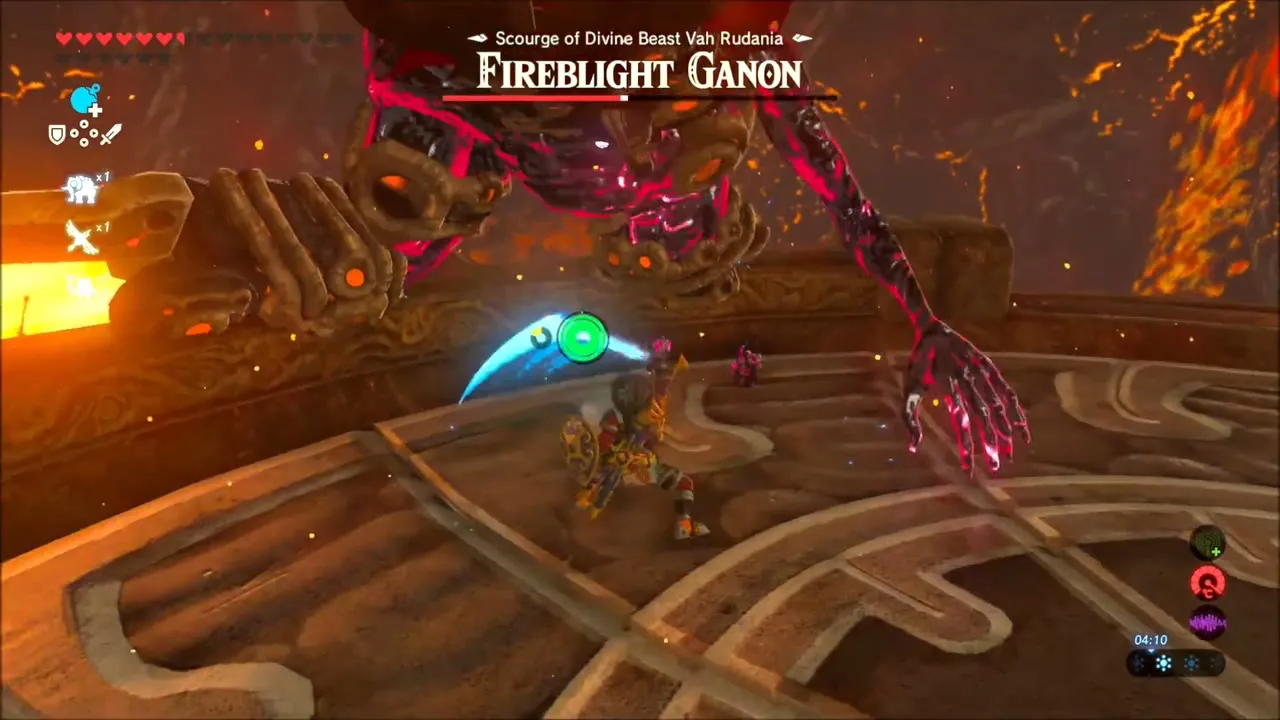
Fireblight Ganon uses sweeping, overhead and spinning sword attacks, each telegraphed by how he holds the blade. Dodge at the last moment for a counter. At range he lobs small fireballs, so keep moving.

Phase two
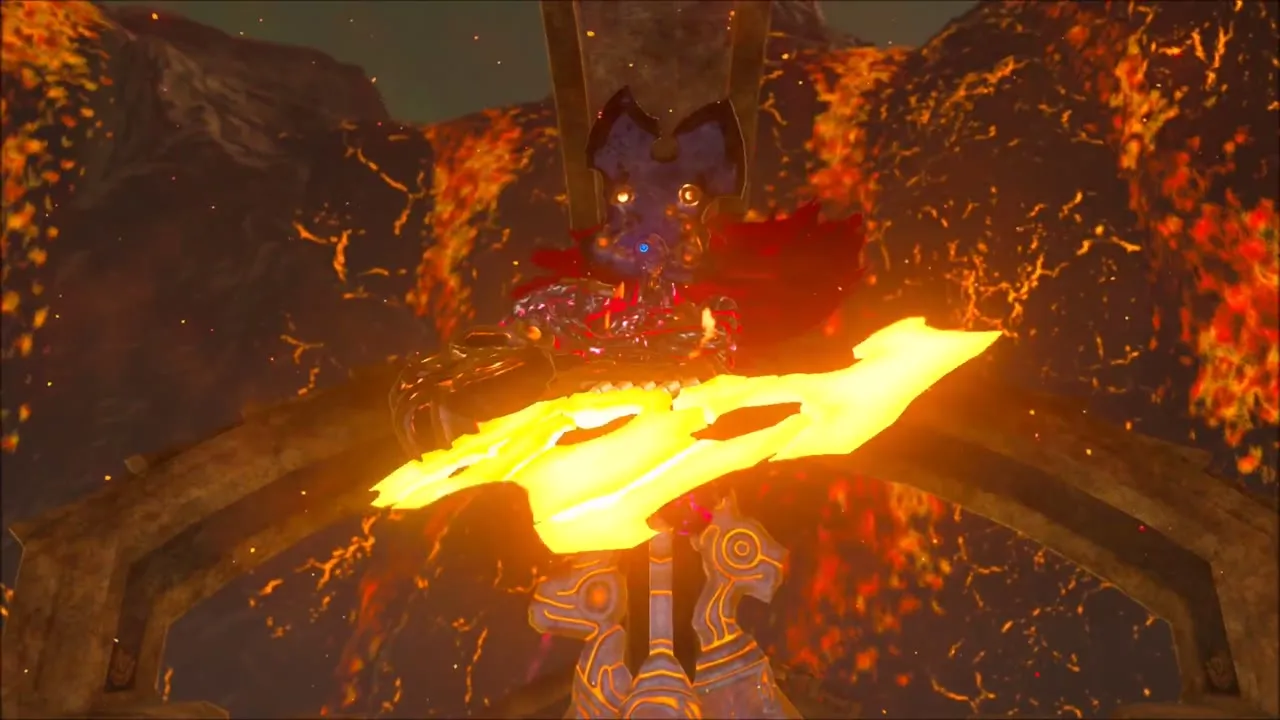
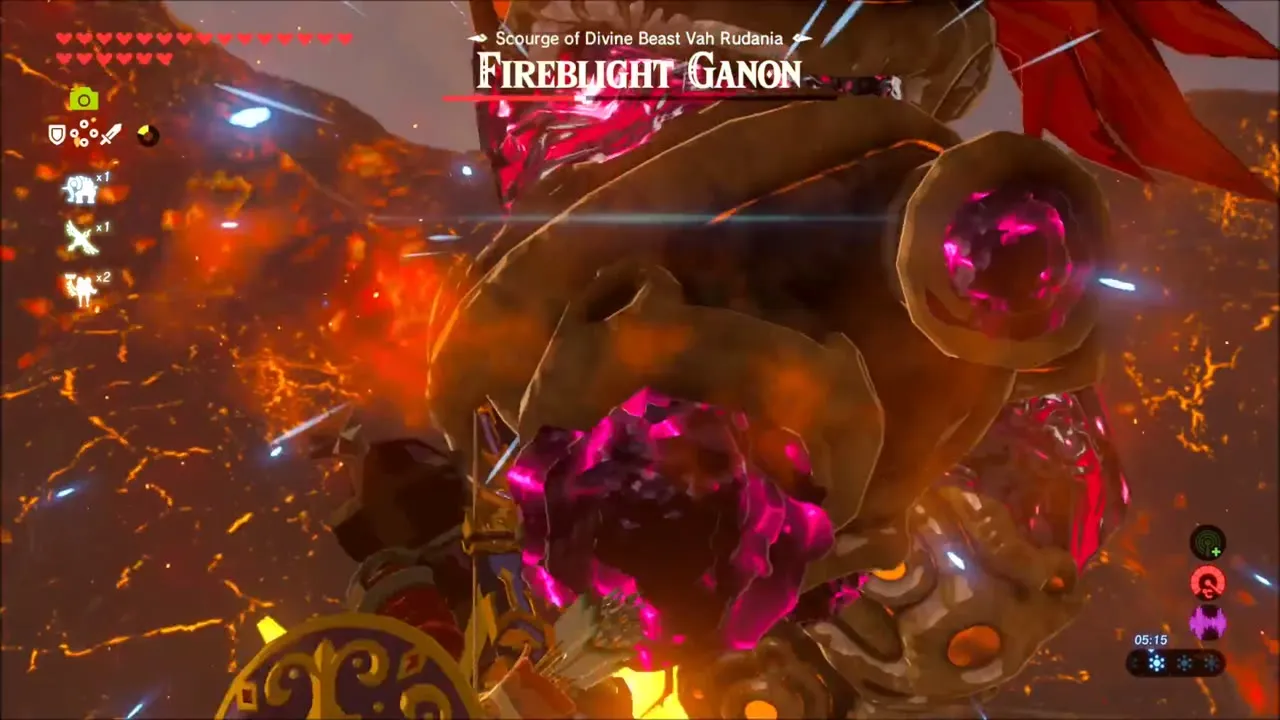
At half health he wreathes himself and the sword in flame and teleports to gather energy for a meteor. Toss a Remote Bomb at him as he draws it in and detonate it to break his shield. His flame trails create updrafts you can glide on for aimed shots at his eye, which stuns him.

Chests and rewards
| Item | Where | |
|---|---|---|
 | Heart Container | Boss reward |
 | Boulder Breaker (attack 60, durability 60) | Treasure in Bludo‘s house afterwards |
 | Ancient Screw | Chest on the tail outside |
 | Dragonbone Boko Club | Entrance eye chests |
 | Knight’s Bow (two) | Guidance Stone room and the rear grate |
 | Ancient Core | Spine chest |
 | Ancient Gear | Behind the leaves above the third terminal |
Freeing Daruk gives you Daruk’s Protection, which shields you from all damage while you hold guard and must recharge between uses.
