100% Completion Walkthrough21 chapters
- Great PlateauAll 4 Shrines, the Paraglider and Korok Seeds
- Kakariko Village and Dueling PeaksSeek Out Impa, Shrines and Korok Seeds
- Hateno VillageHateno Tower, the Ancient Tech Lab, Link’s House and Shrines
- Zora’s DomainReach Zora’s Domain, Vah Ruta, Lanayru Shrines and Korok Seeds
- Faron and Lurelin VillageLurelin Village, Faron Tower, Shrines and Korok Seeds
- Korok Forest and Master SwordHow to Get the Master Sword, Lost Woods, Shrines and Korok Seeds
- Hebra MountainsHebra Tower, Snowfield Stable, Shrines and Korok Seeds
- Rito Village and Vah MedohVah Medoh, Tabantha Tower, Shrines and Korok Seeds
- Gerudo HighlandsGerudo Tower, Gerudo Summit, Shrines and Korok Seeds
- Gerudo TownForbidden City Entry, the Thunder Helm, Desert Shrines and Korok Seeds
- Vah Naboris and Gerudo DesertThunderblight Ganon and the Gerudo Desert Shrines
- Lake HyliaLake Tower, Farosh, Lake Shrines and Korok Seeds
- Akkala and Tarrey TownTarrey Town, Akkala Tower, Shrines and Korok Seeds
- Death Mountain and Goron CityGoron City, Vah Rudania, Eldin Shrines and Korok Seeds
- RidgelandRidgeland Tower, Shrines, Memories and Korok Seeds
- Central HyruleCentral Tower, Captured Memories, Shrines and Korok Seeds
- Hyrule Castlethe Hylian Shield, Saas Ko’sah Shrine, Zelda’s Diary and Memories
- Calamity GanonLast Side Quests, Destroy Ganon and the Final Boss
- All Hinox, Talus and Molduga LocationsEvery Hinox, Stone Talus and Molduga, for Kilton’s Medals of Honor
- Trial of the Sword and EX TreasuresThe Trial of the Sword and every EX Treasure location (DLC Pack 1)
- Champions’ BalladOne-Hit Obliterator, Champion Trials and the Final Trial
| Region | Eldin |
|---|---|
| Shrines | 10: Tutsuwa Nima Shrine, Mo’a Keet Shrine, Sah Dahaj Shrine, Tah Muhl Shrine, Qua Raym Shrine, Shae Mo’sah Shrine, Daqa Koh Shrine, Kayra Mah Shrine, Gorae Torr Shrine, Shora Hah Shrine |
| Sheikah Tower | Eldin Tower |
| Korok seeds | 46 |
| Memories | Memory 5, Memory 6 |
| Towns and stables | Goron City, Foothill Stable |
This chapter of the 100% walkthrough covers the Eldin region in a route that collects everything along the way: 10 shrines, 46 Korok seeds, the Sheikah Tower and 2 memories, plus the quests, chests and minibosses you meet. Positions are map coordinates (x grows east, z grows south).
Lynel Fight in the Autumn Foothills
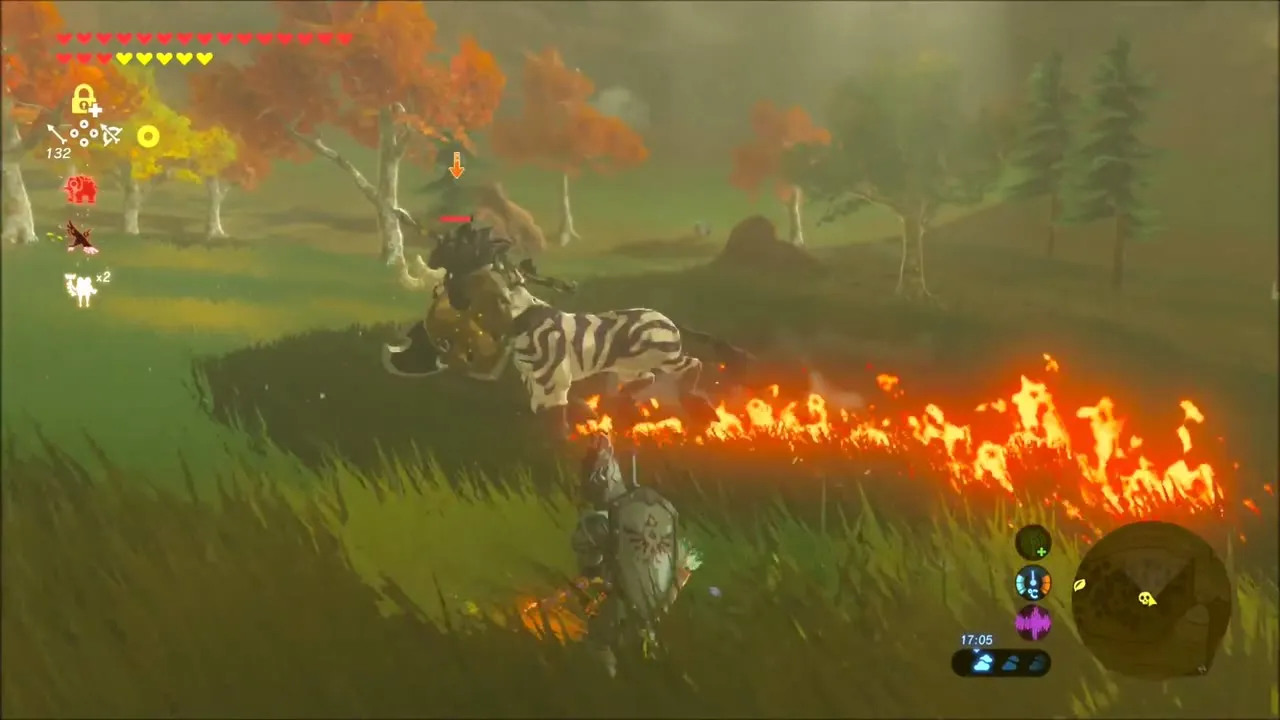
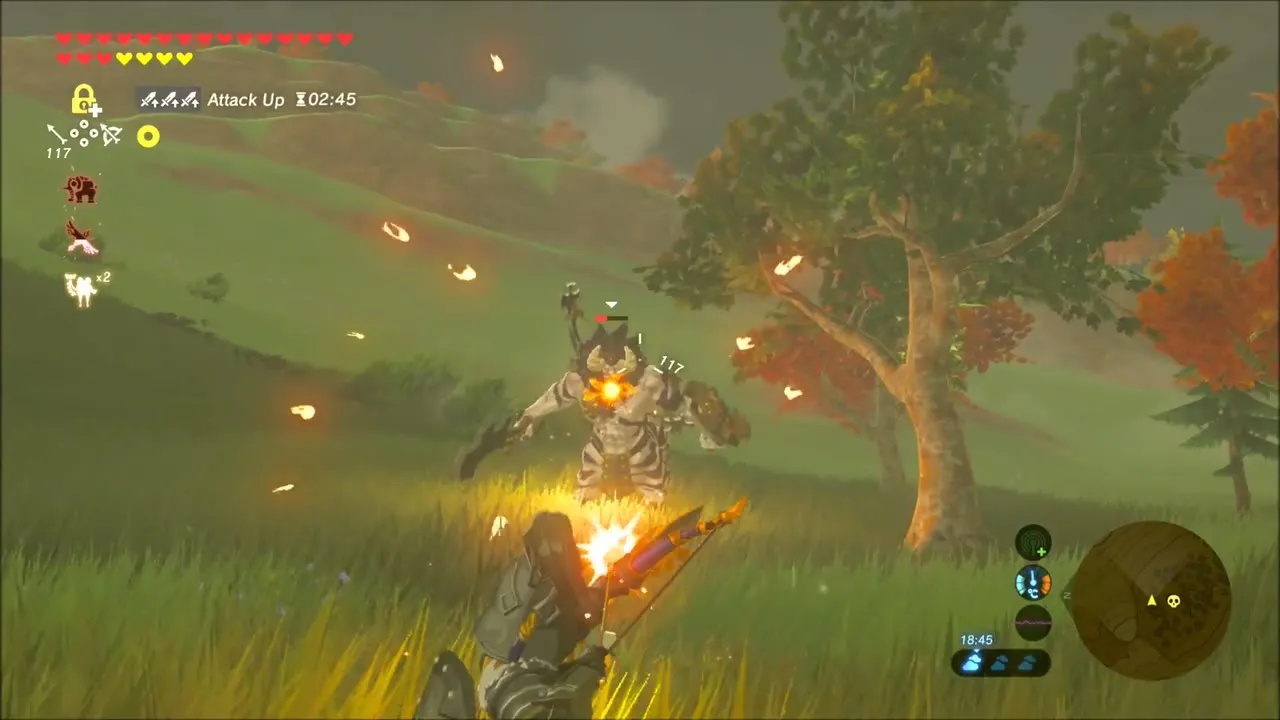
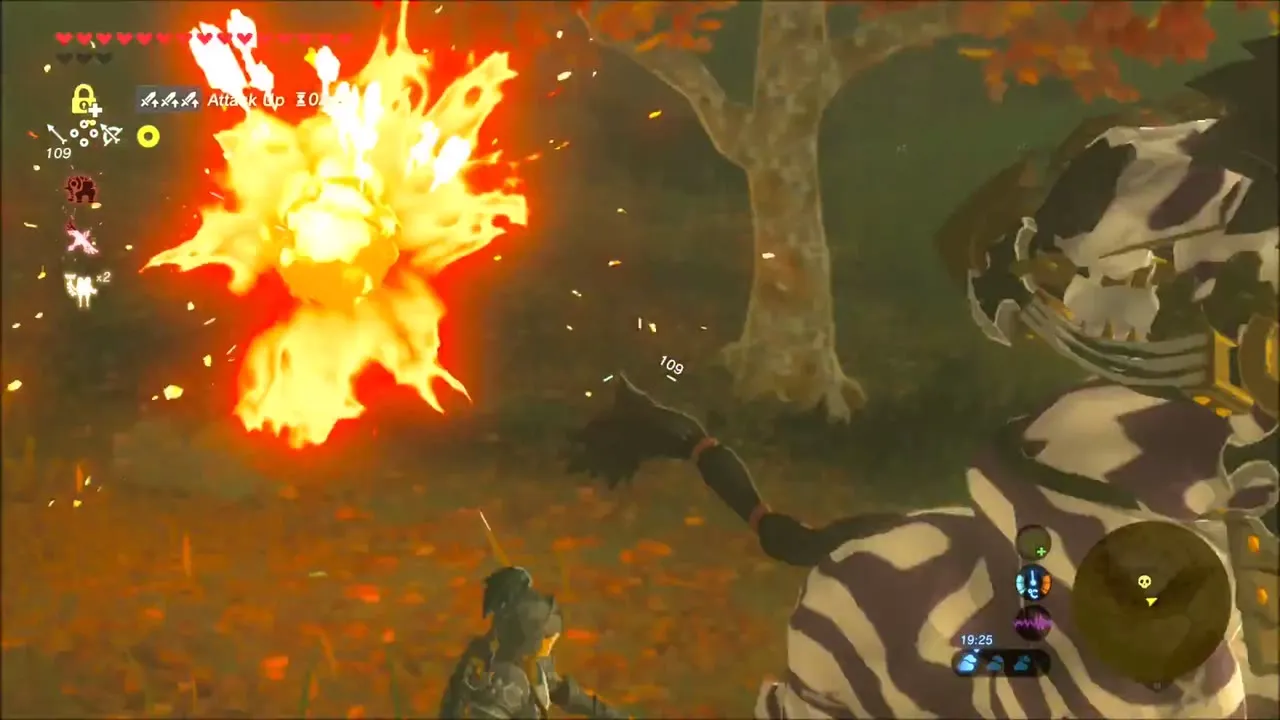
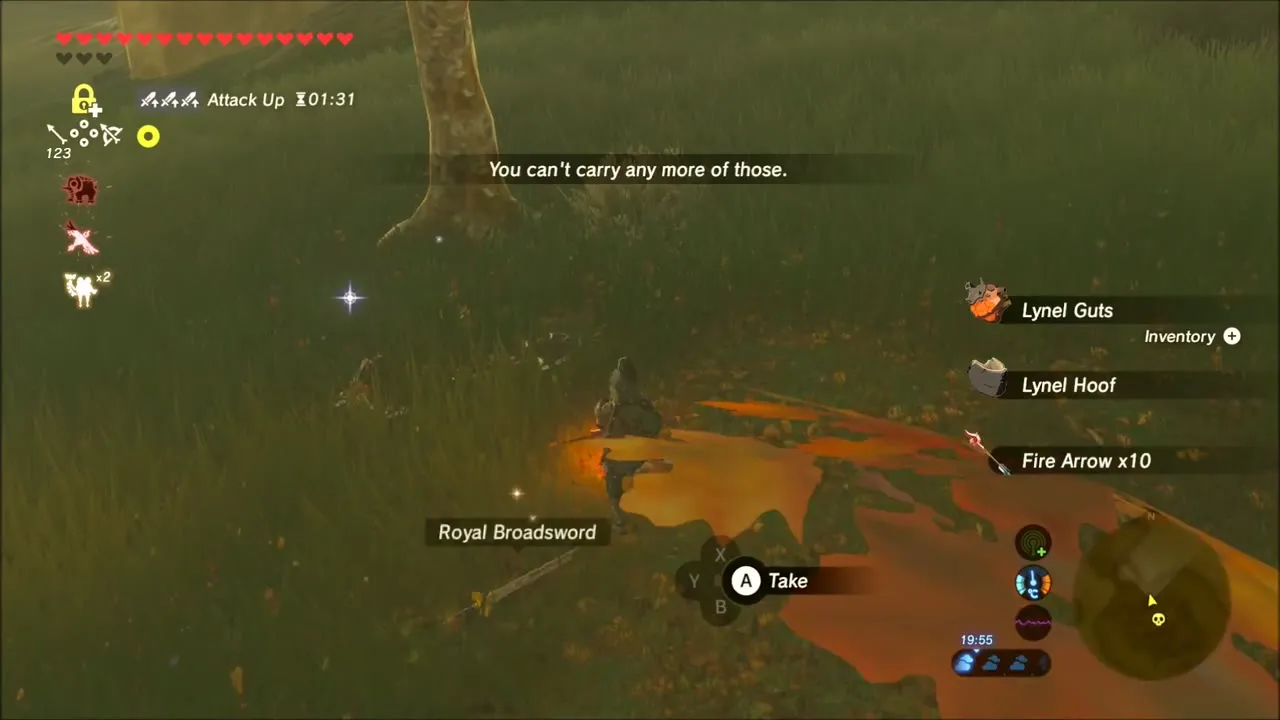
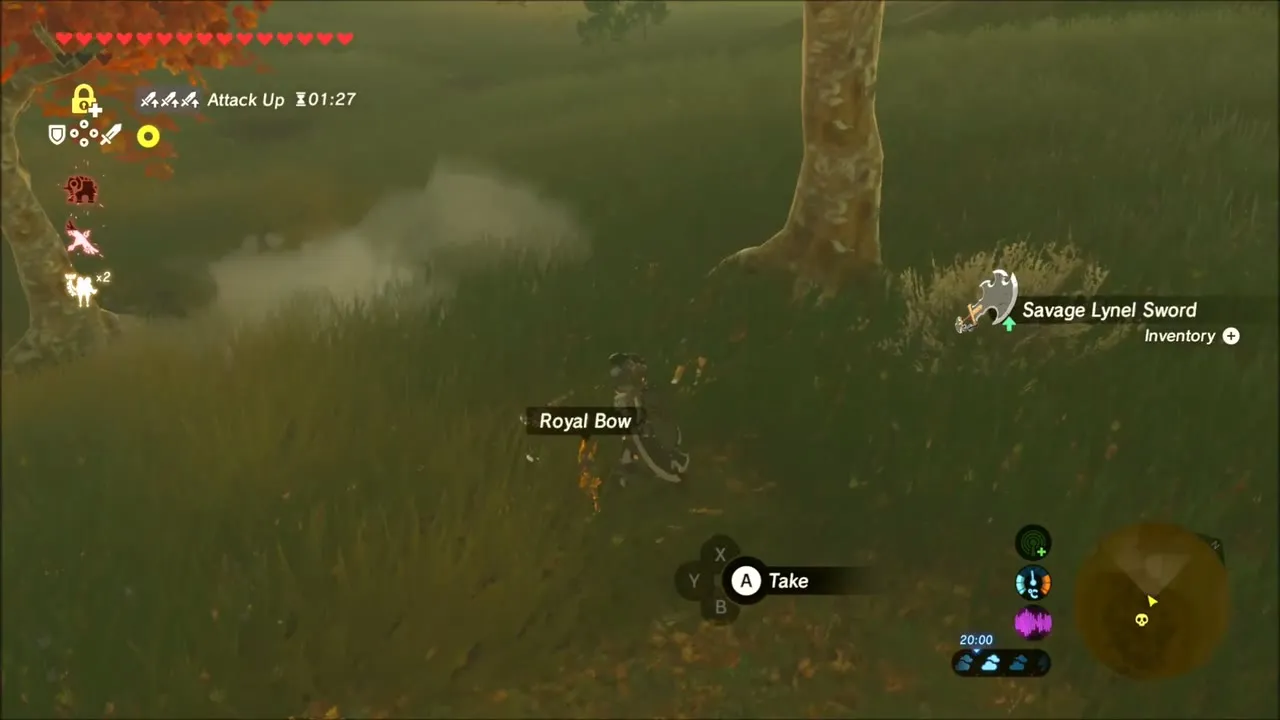
Start by taking on the Lynel patrolling the autumn-coloured grassland. Keep moving, fire arrows and bomb arrows whenever it rears up, and circle behind the trees to dodge its charges. Once it falls, loot the body for a Savage Lynel Bow, a Savage Lynel Sword and a Royal Broadsword (tier set by difficulty scaling).
Korok Seeds in a Ruined Arch and a Night Grove
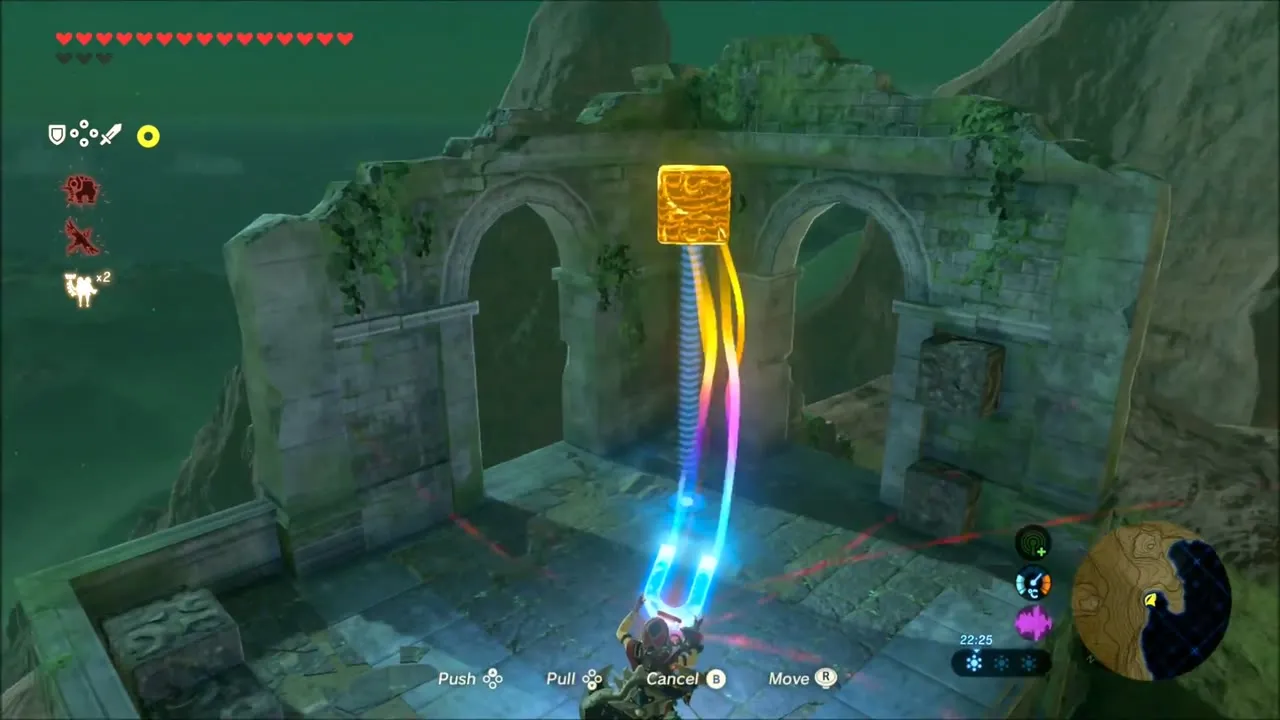
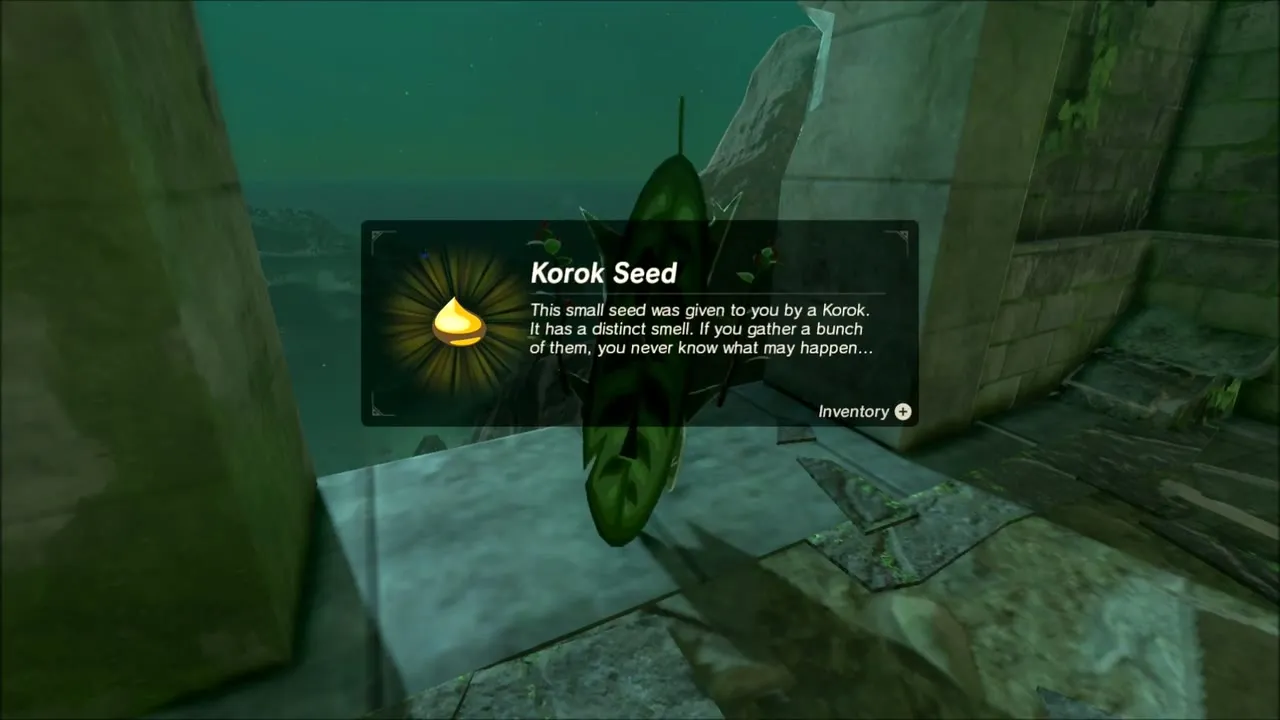
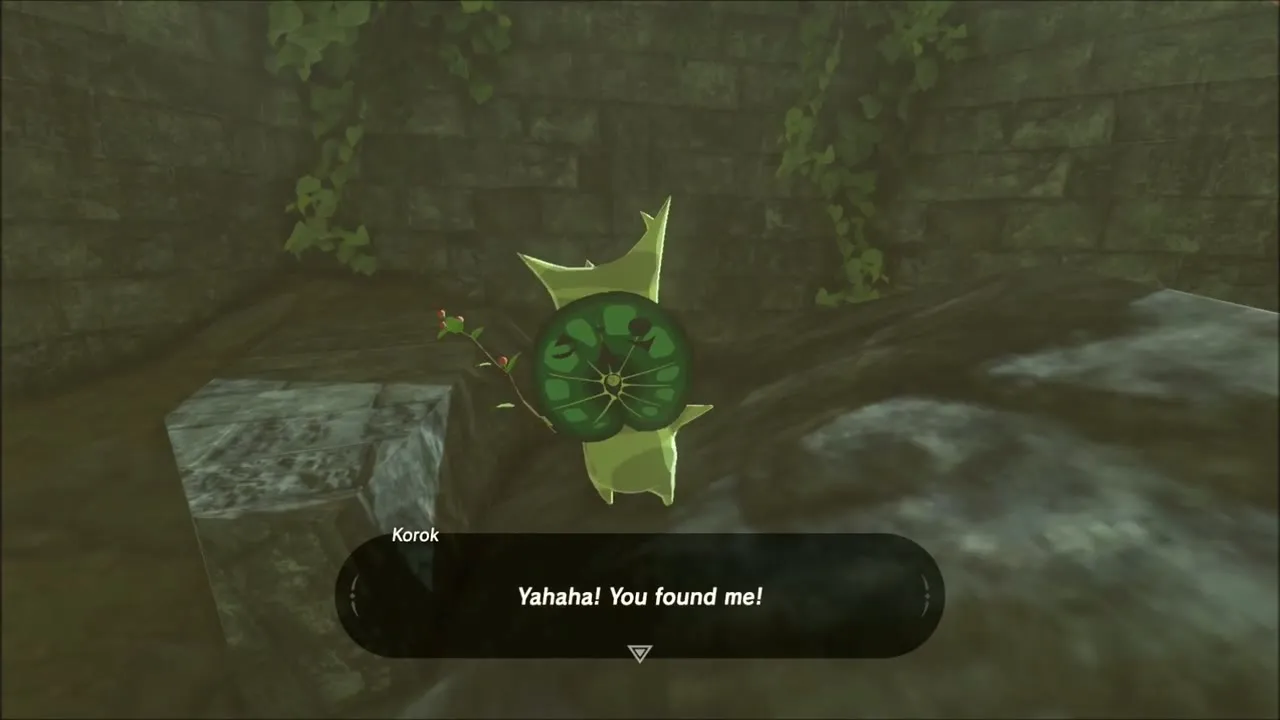
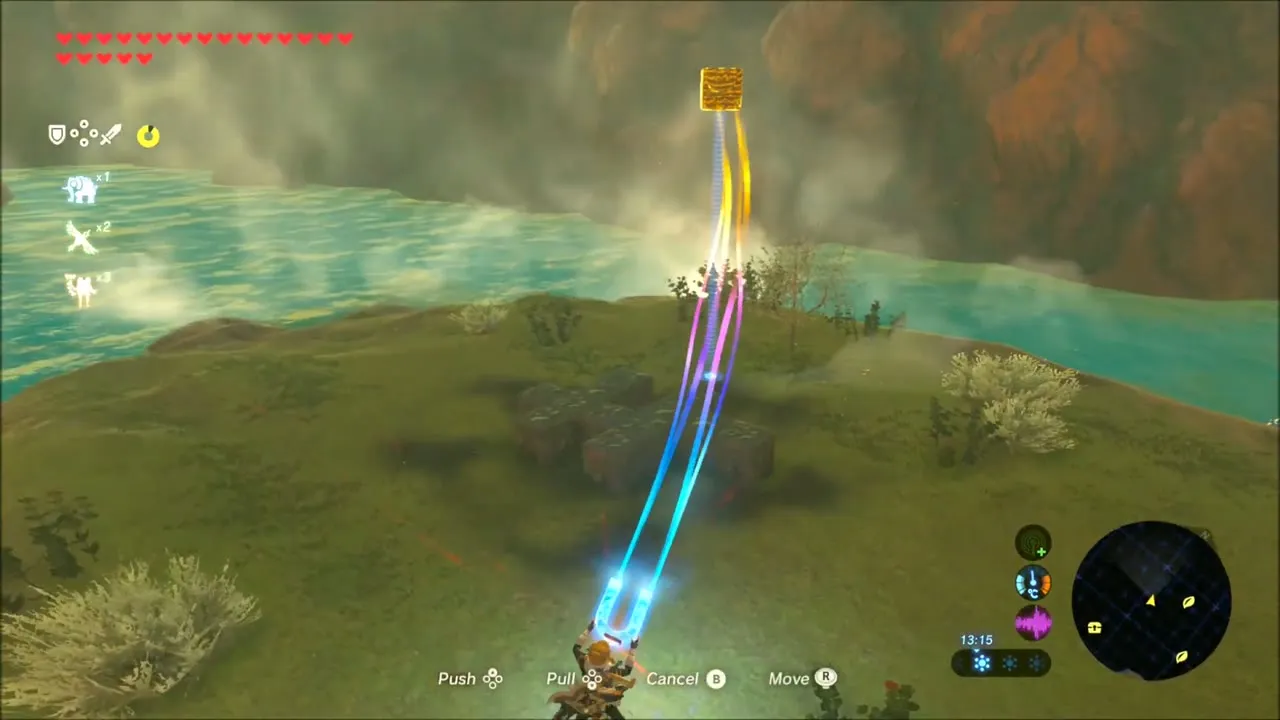
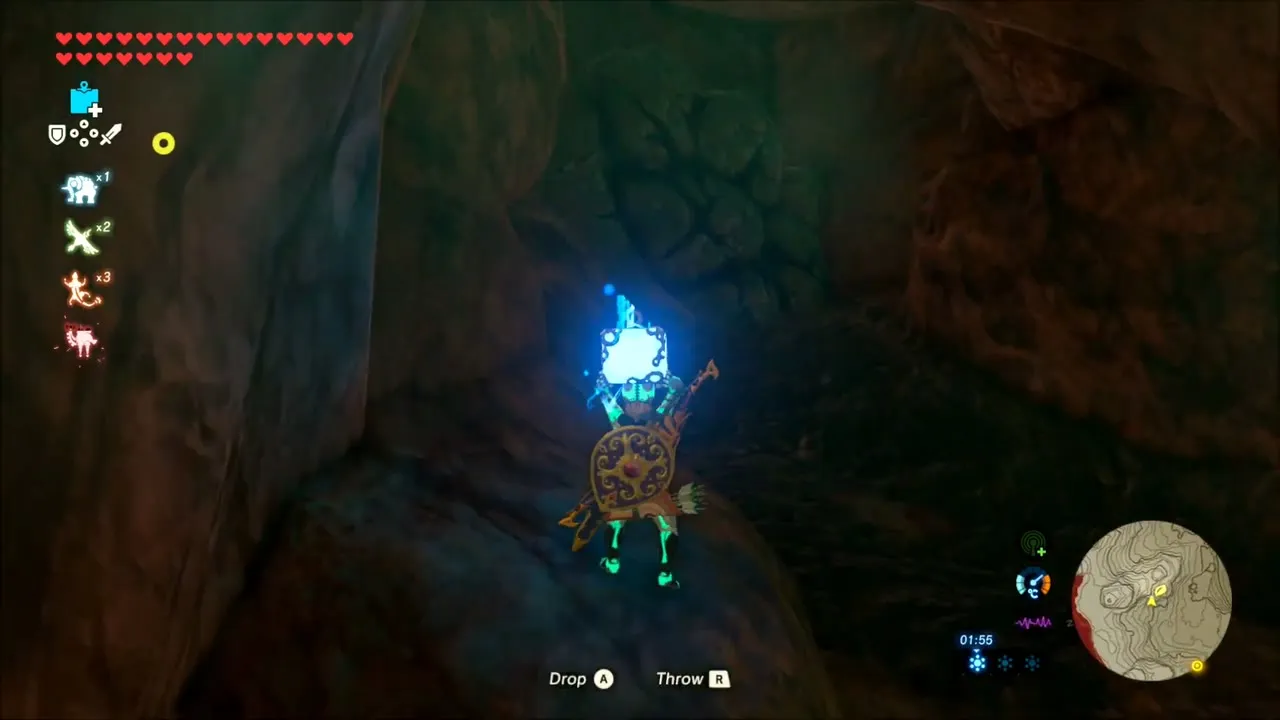
On a ridge above the grassland, a ruined stone archway holds a loose metal block. Grab it with Magnesis and carry it across the ruin to the end of the arch, and a Korok pops out beside the wall for a Korok seed.
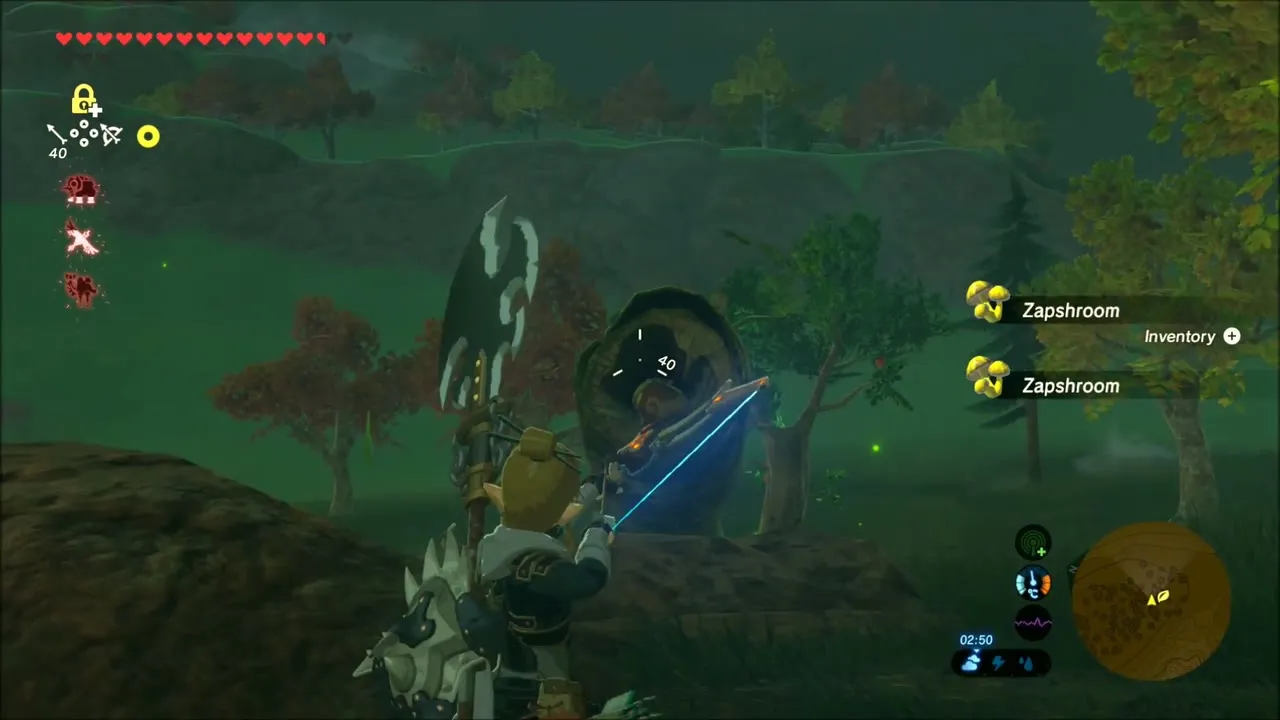
Later, in a dark grove at night, shoot a Fire Arrow at the round object hanging by the fallen logs. A Korok is waiting on the log behind it, and it hands over another Korok seed.

Spring of Power: Zelda’s Resentment Memory and the Dinraal Scale
Follow the path to the pond among the old trees and step onto the memory spot. A cutscene shows Zelda praying by the water and speaking of the weight of her duty: this is the Zelda’s Resentment memory for your album.

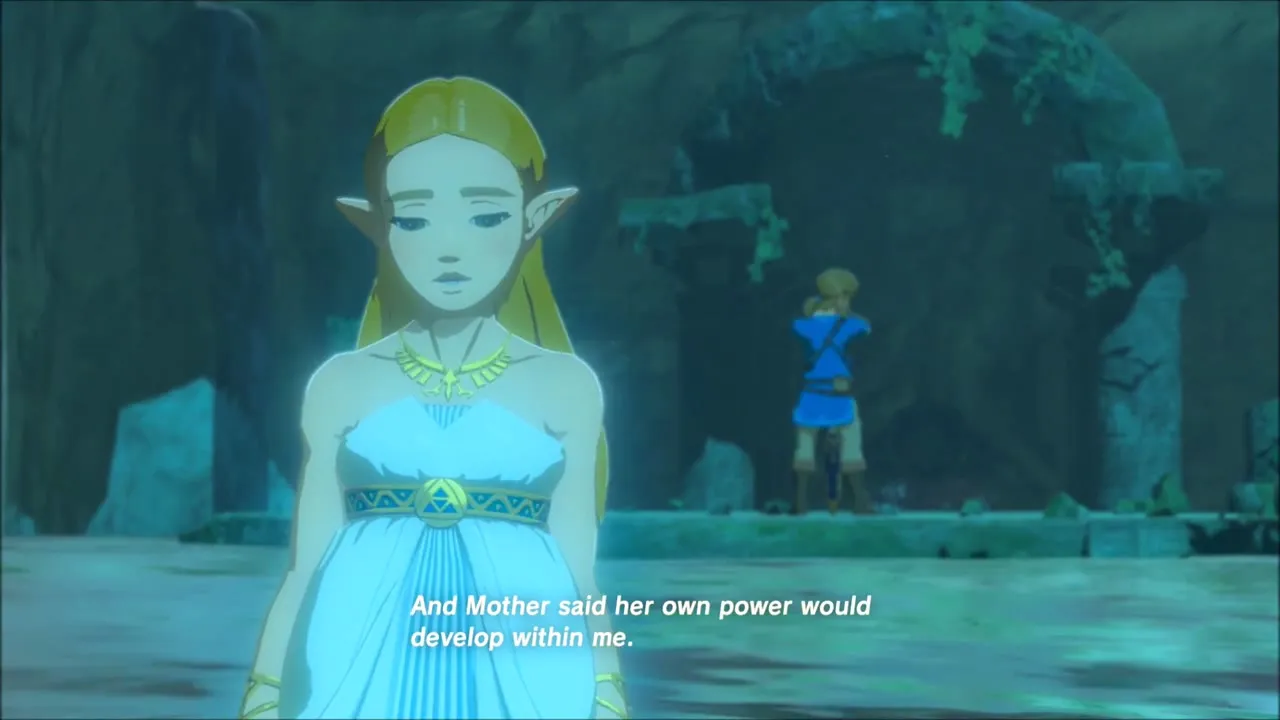
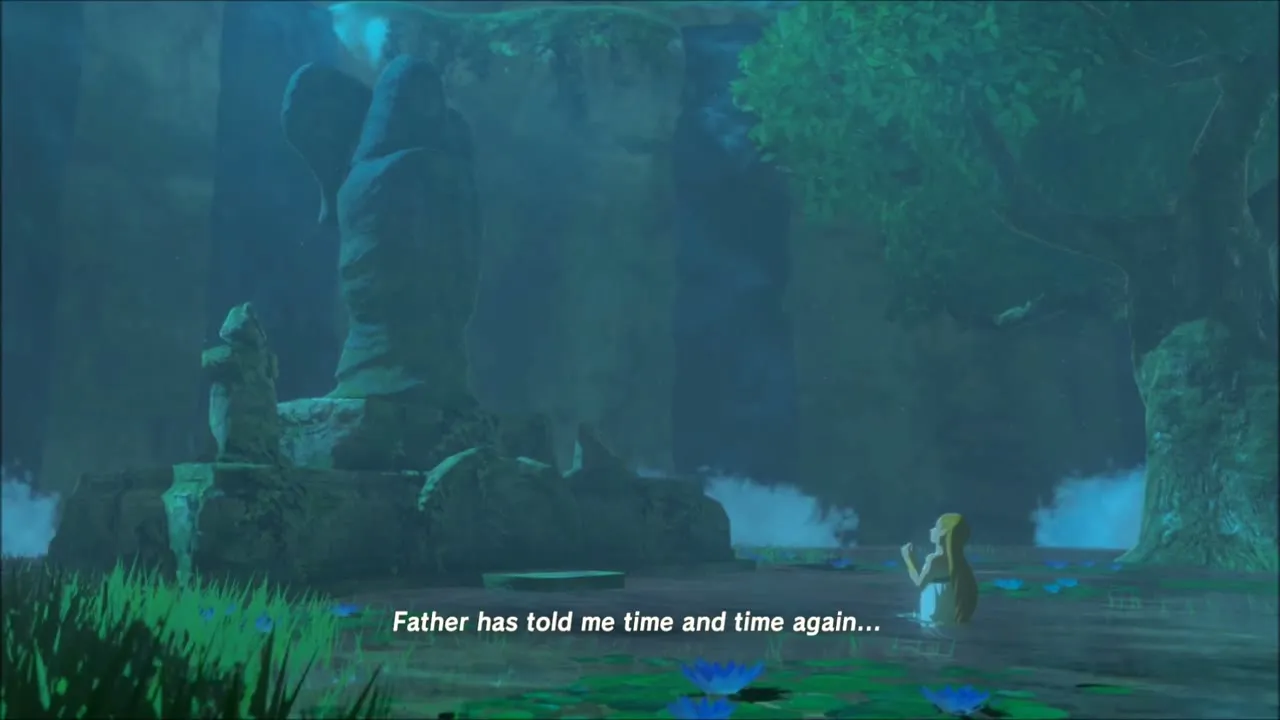

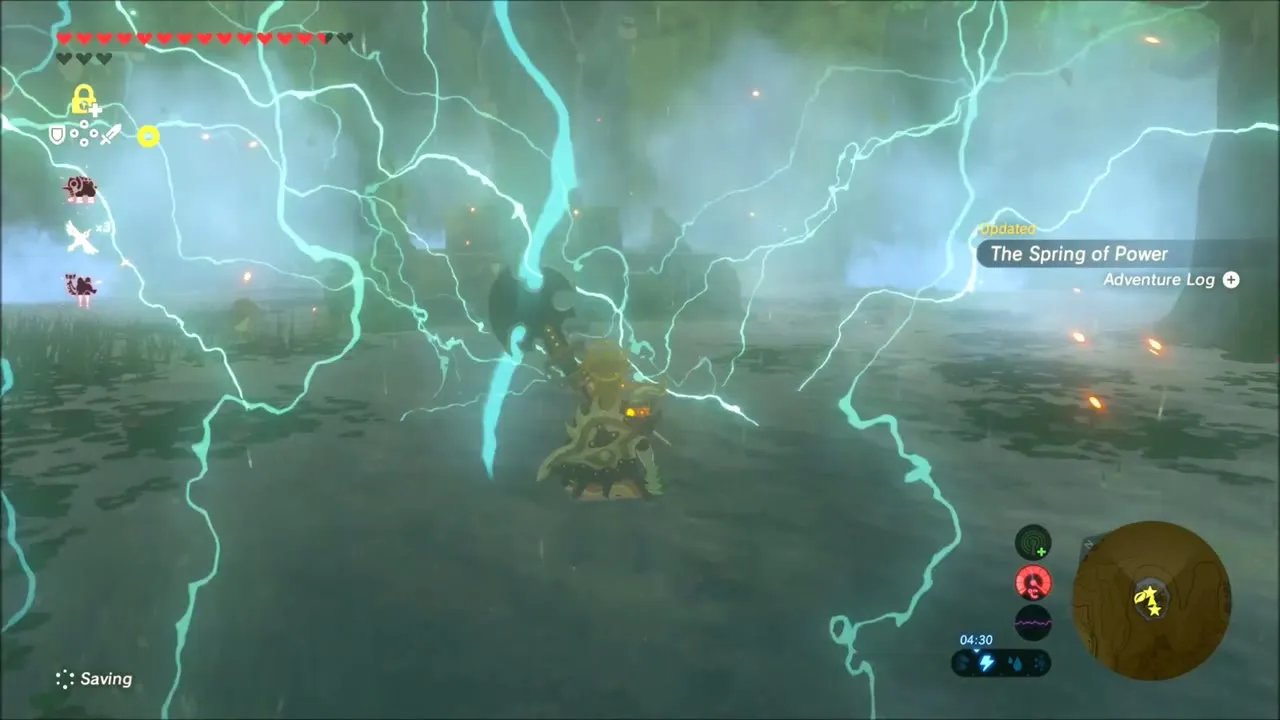
Go on to the goddess statue at the Spring of Power (x 3754, z -2672) and talk to her, then drop a Dinraal scale into the water in front of the statue. A column of golden light rises, both tasks of the shrine quest are done, and the entrance of Tutsuwa Nima Shrine appears. If you do not have a scale yet, see where to find and shoot Dinraal.


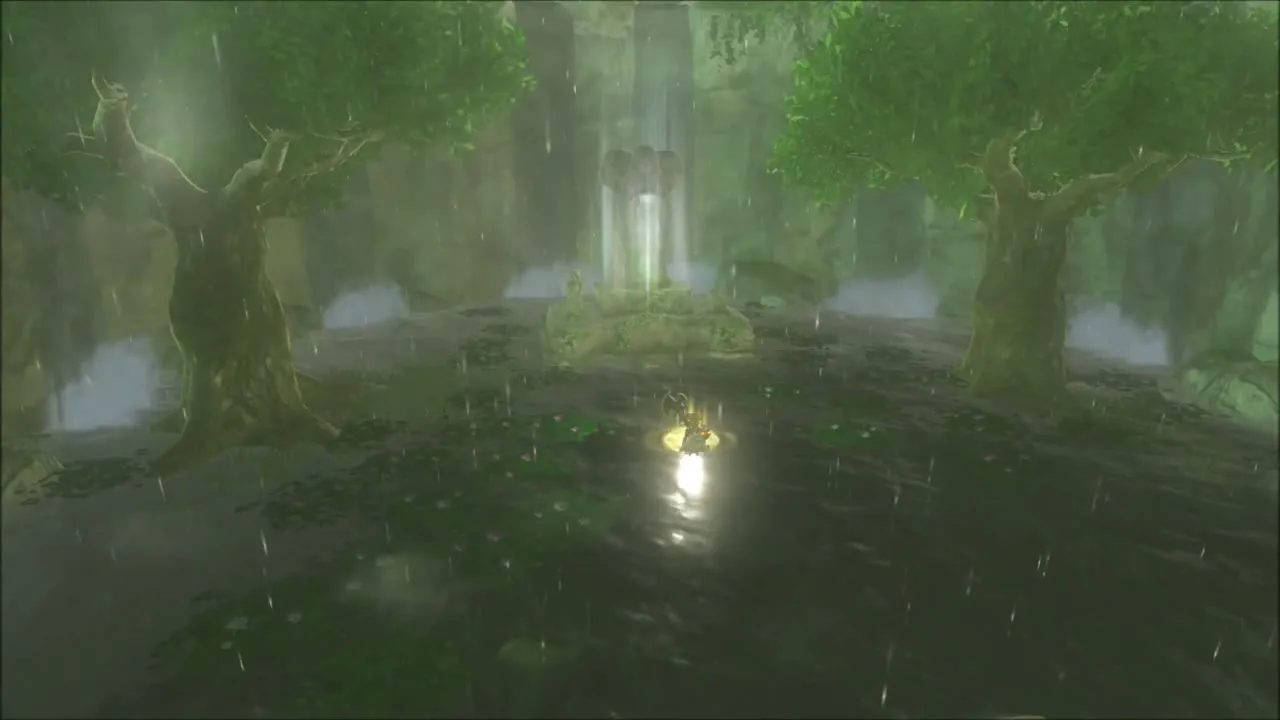
Tutsuwa Nima Shrine: A Major Test of Strength
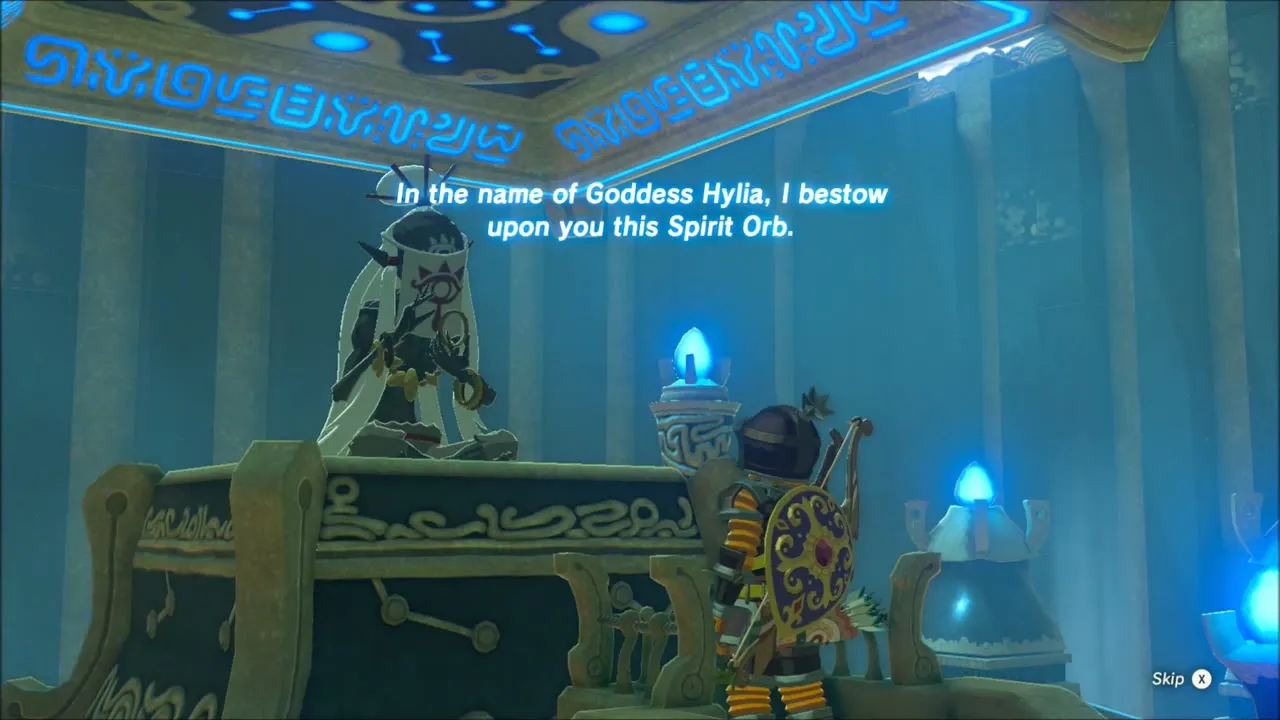
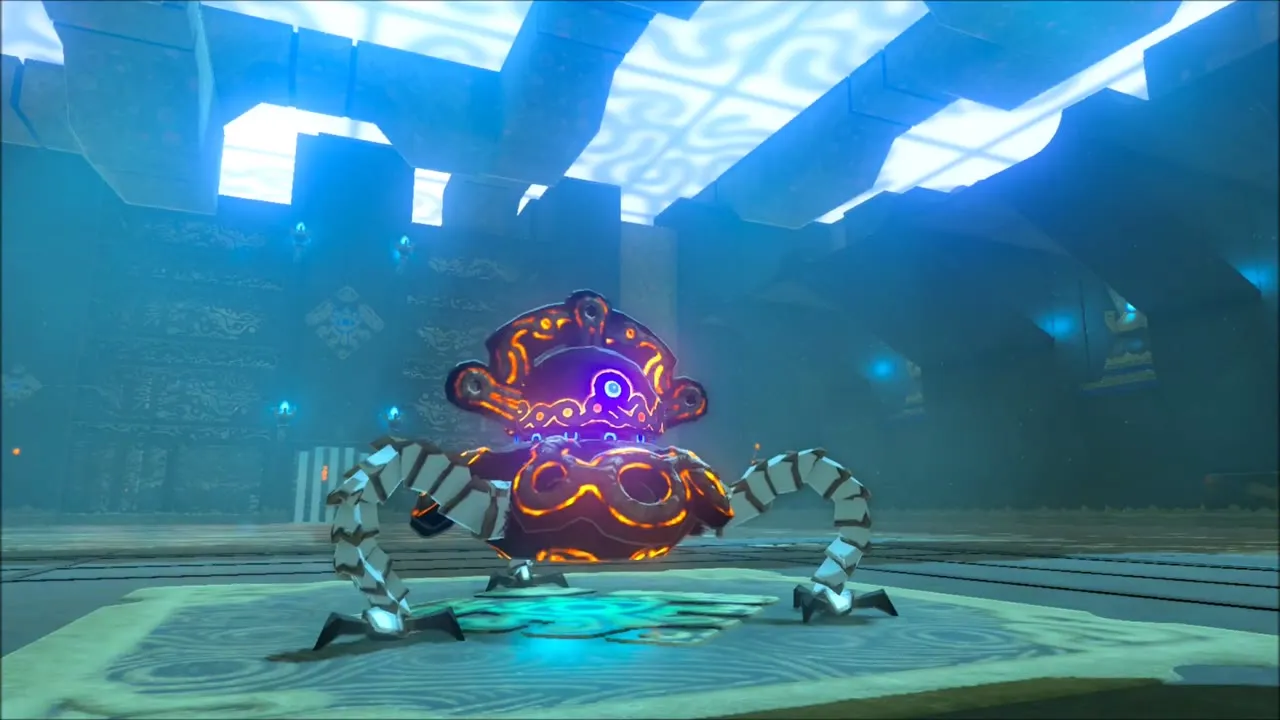
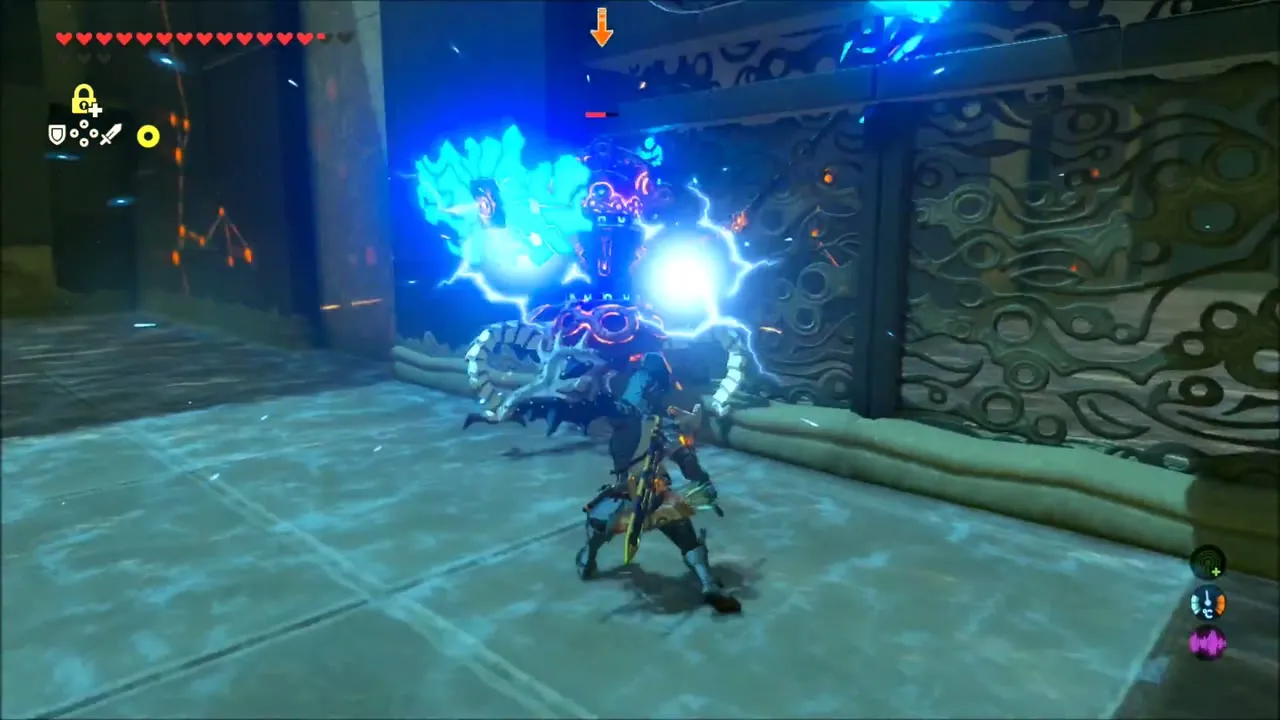
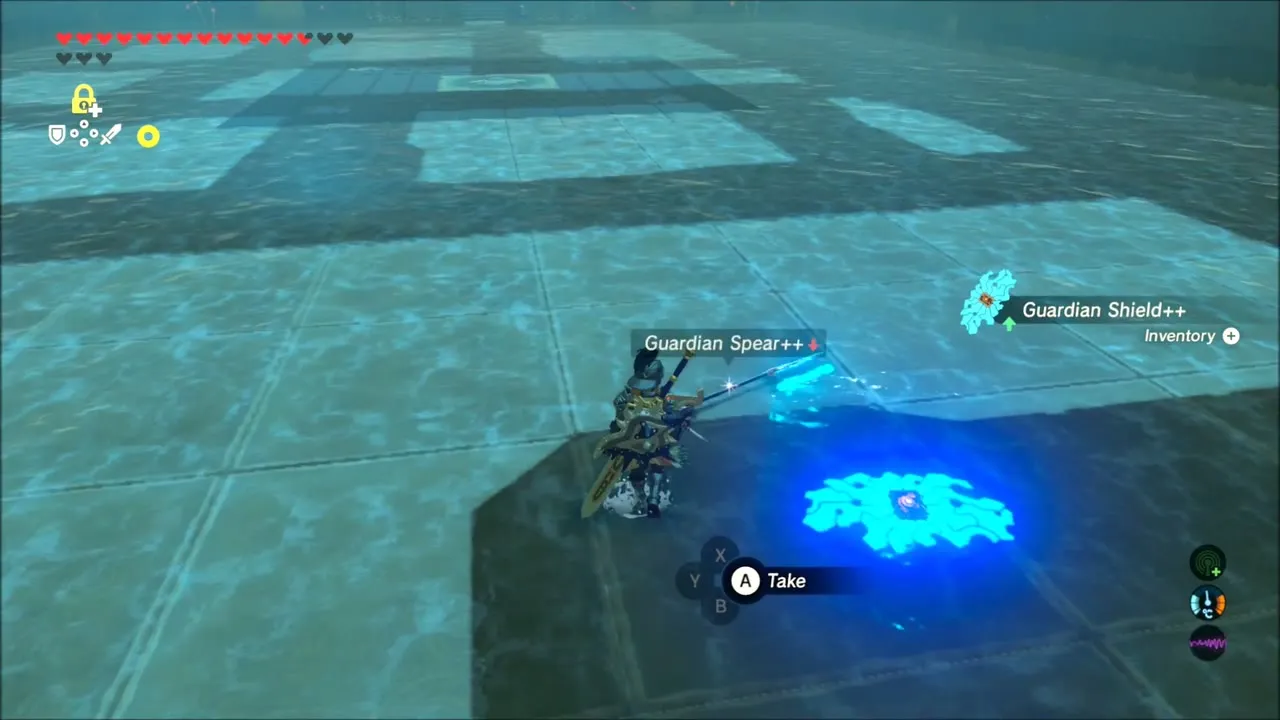
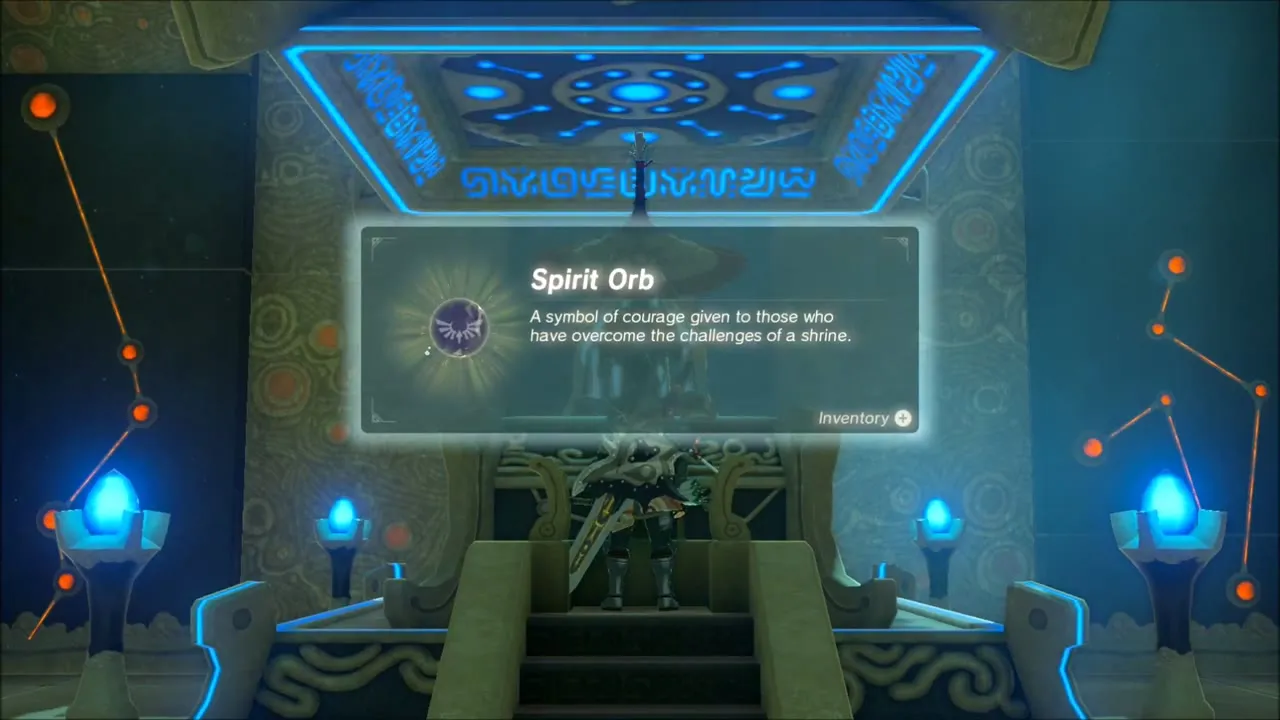
Tutsuwa Nima Shrine (x 3777, z -2704) is a straight fight against a Guardian Scout IV. Use Shock Arrows and electric or ancient weapons, and dodge at the last second to trigger flurry rushes. Pick up the weapons it drops, open the chest in the next room for the Flamespear (tier set by difficulty scaling), then take the Spirit Orb from the monk.
A Shady Customer: Photograph Kilton for Hoz
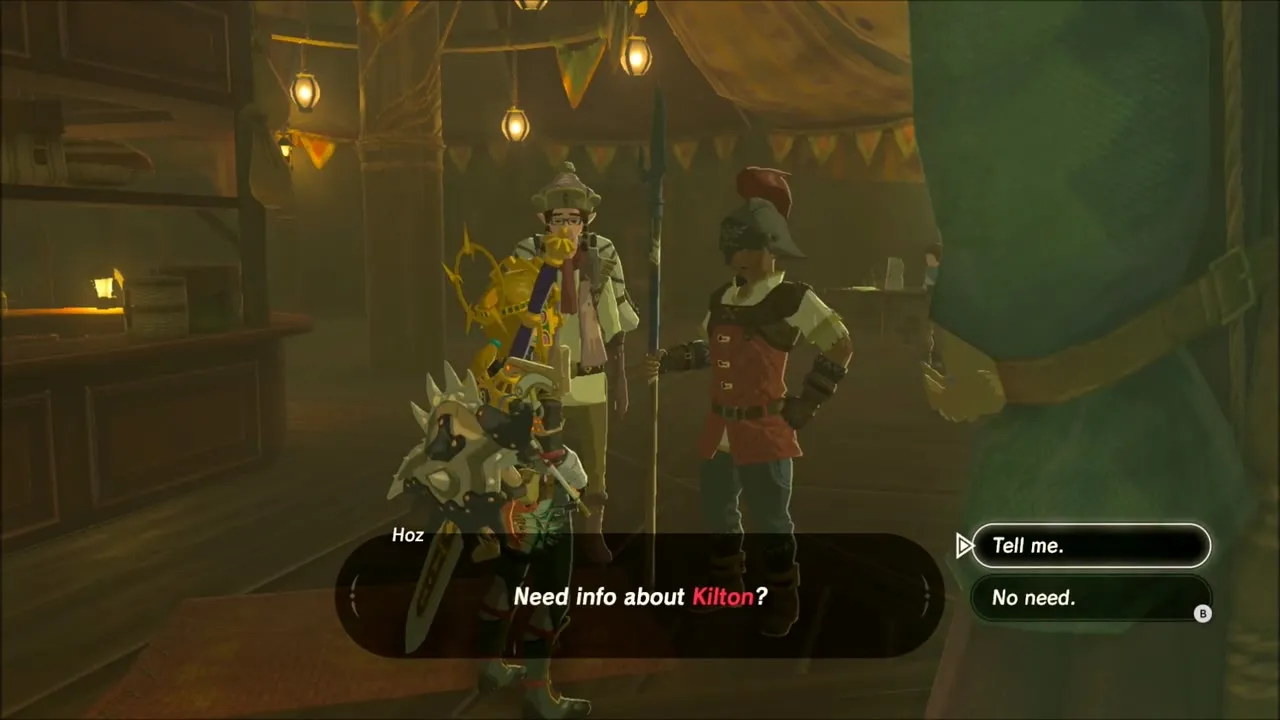
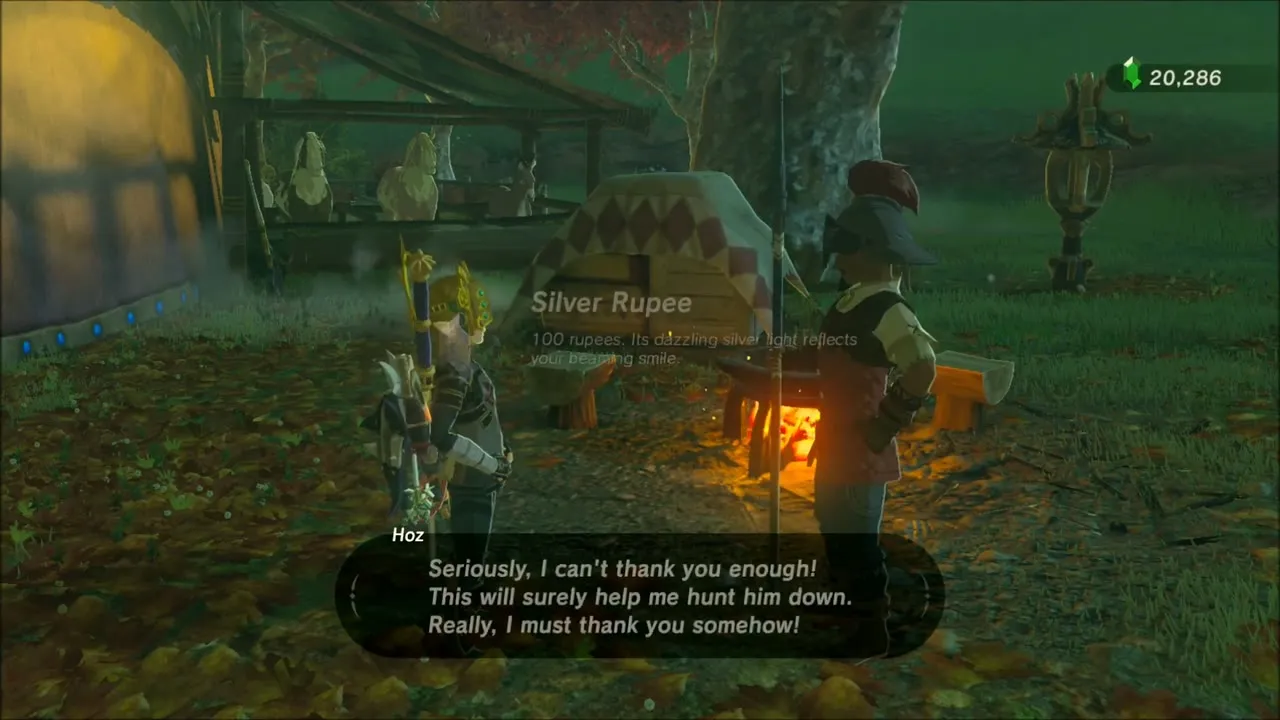
Head to East Akkala Stable (x 4228, z -2748) and speak to the guard Hoz, who offers to tell you about Kilton, the odd merchant who only appears after dark. Find Kilton, take a picture of him with the Sheikah Slate camera and bring it back to Hoz at the stable to finish A Shady Customer for a Silver Rupee.

Korok Seeds Around the Spring of Power Valley
Ride west from the stable. A glowing flower sparkles in the tall grass of one hillside: walk up to it and a Korok jumps out for a seed. A little further on, a metal block is stuck in a mossy cliff wall; pull it free with Magnesis and set it down to reveal another Korok on the rocks below.
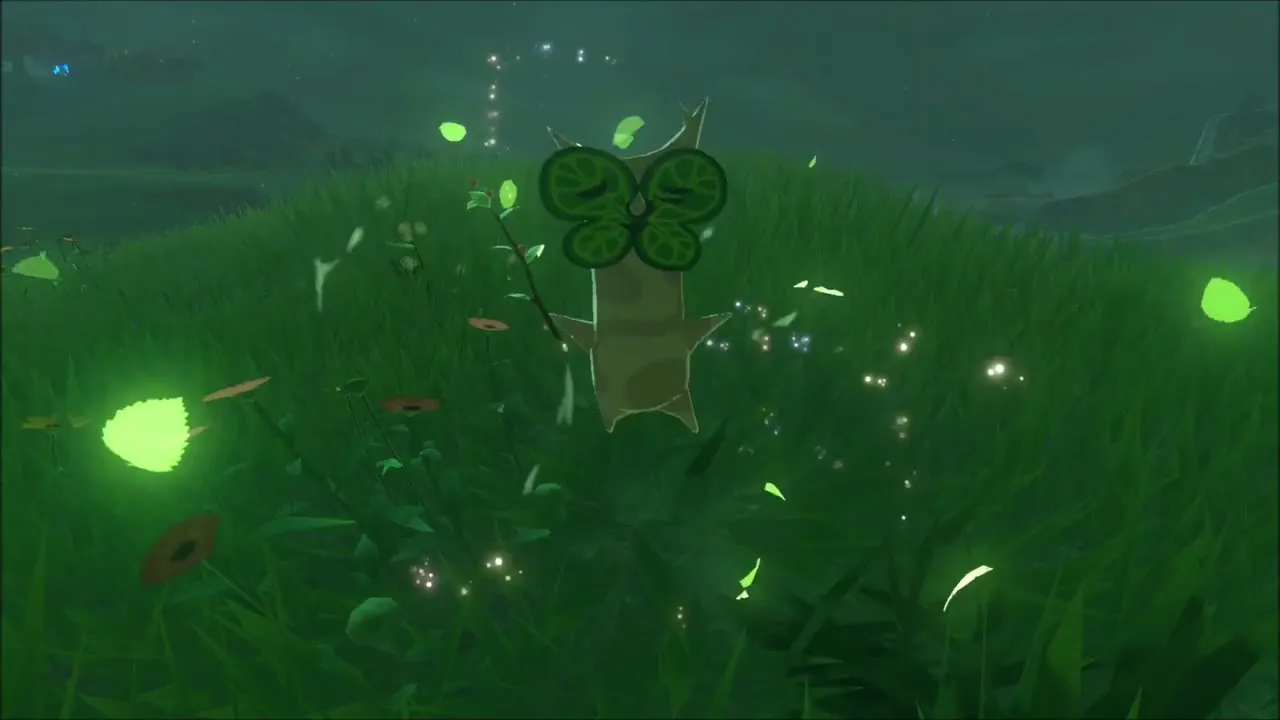

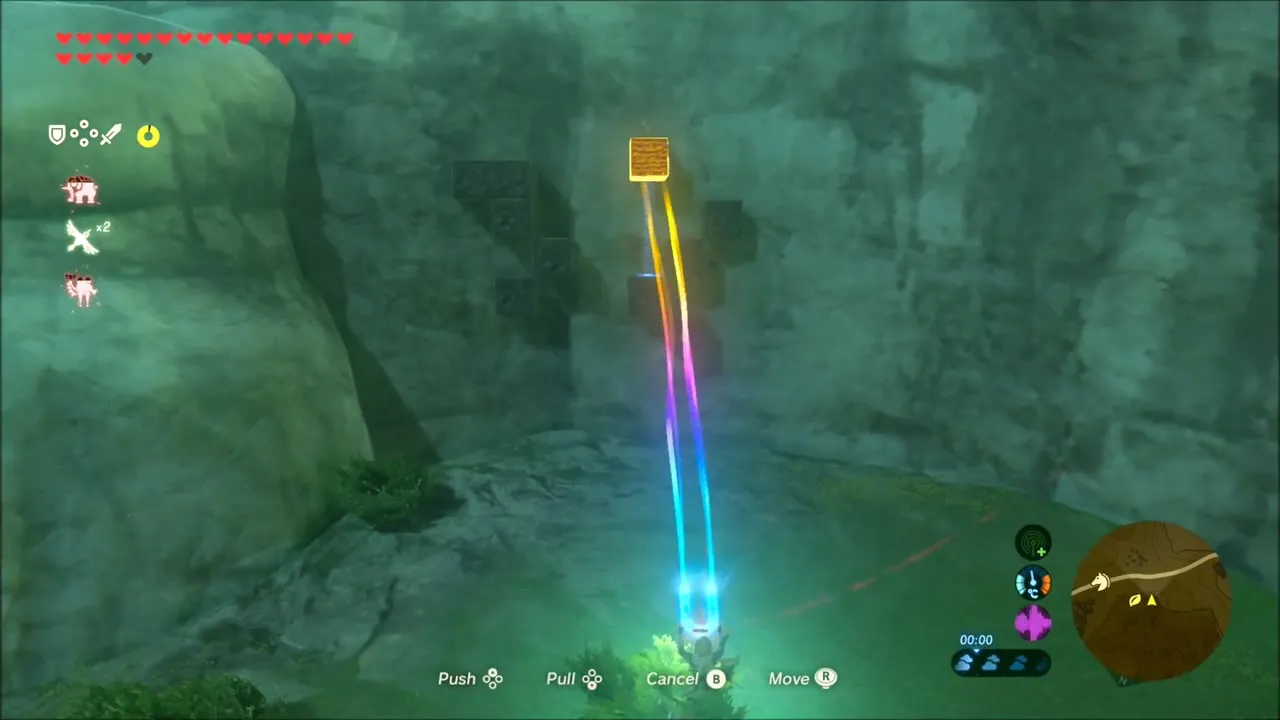
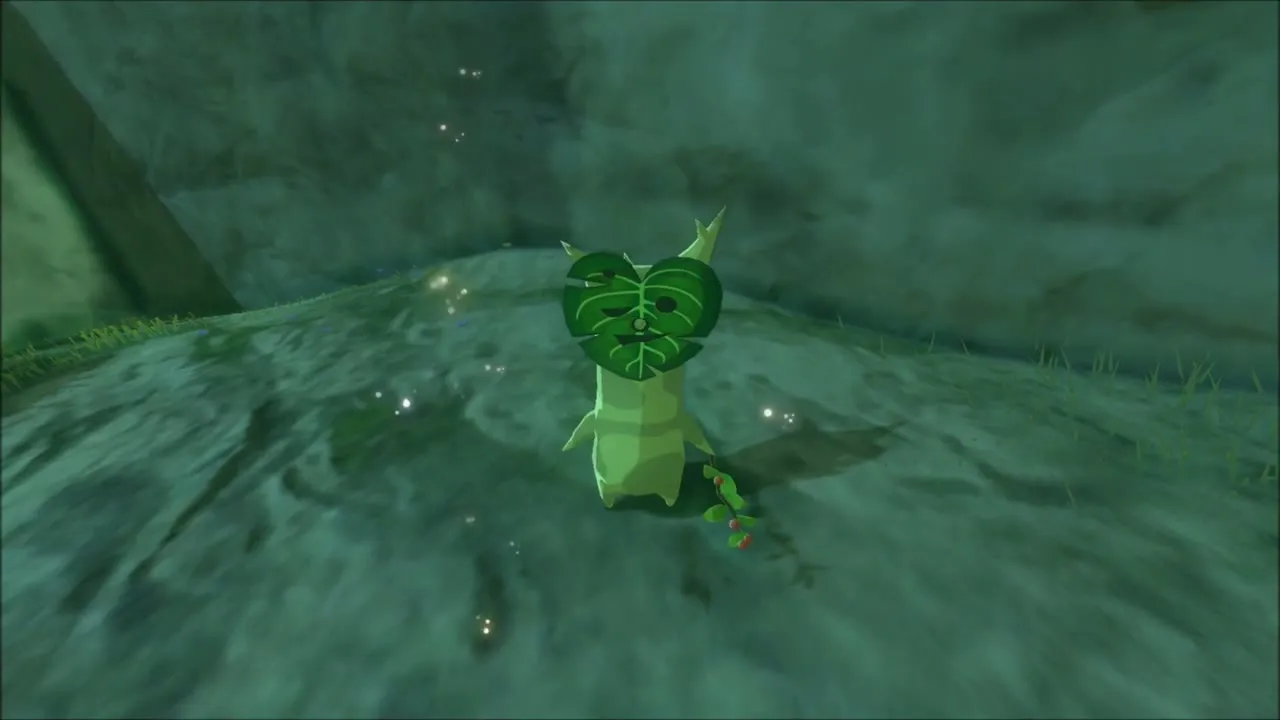
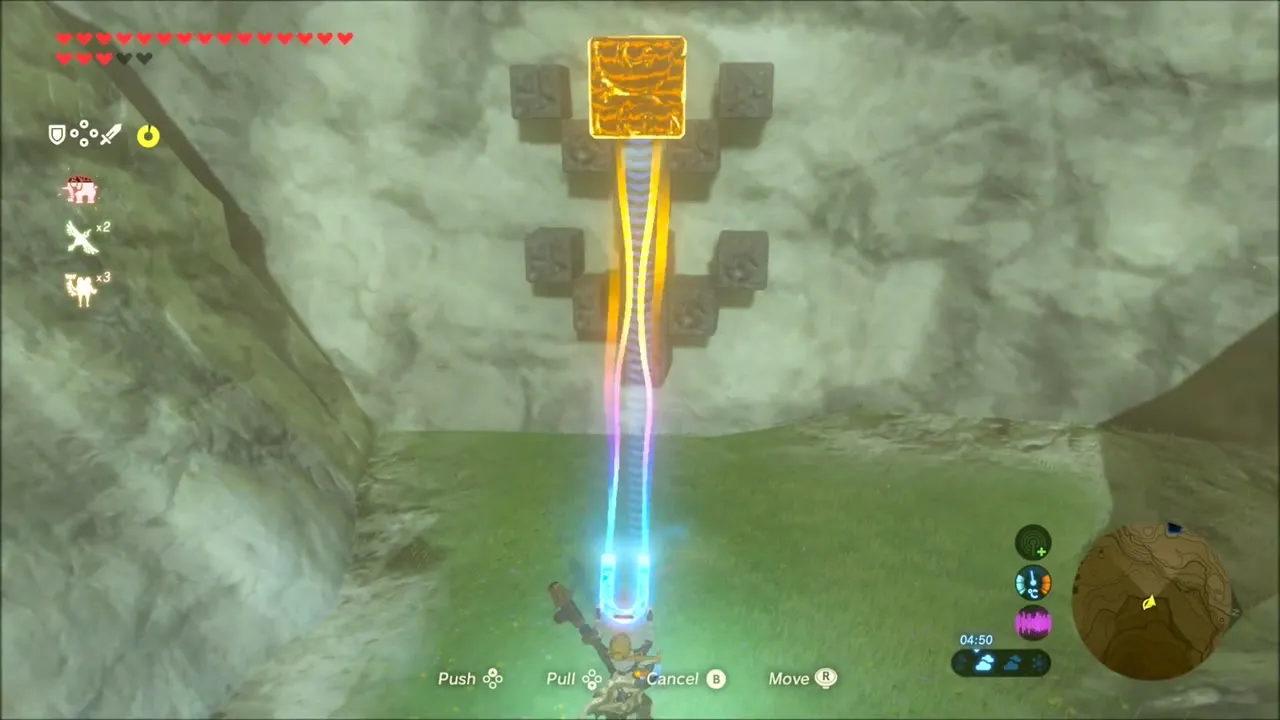
Near the spring a column of stone blocks stands against a rock face. Use Magnesis to lift the metal block onto the top of the column and a Korok appears on the grass for another seed. Guardian parts (Ancient Screws and Ancient Shafts) drop from the wrecked machines around this valley.

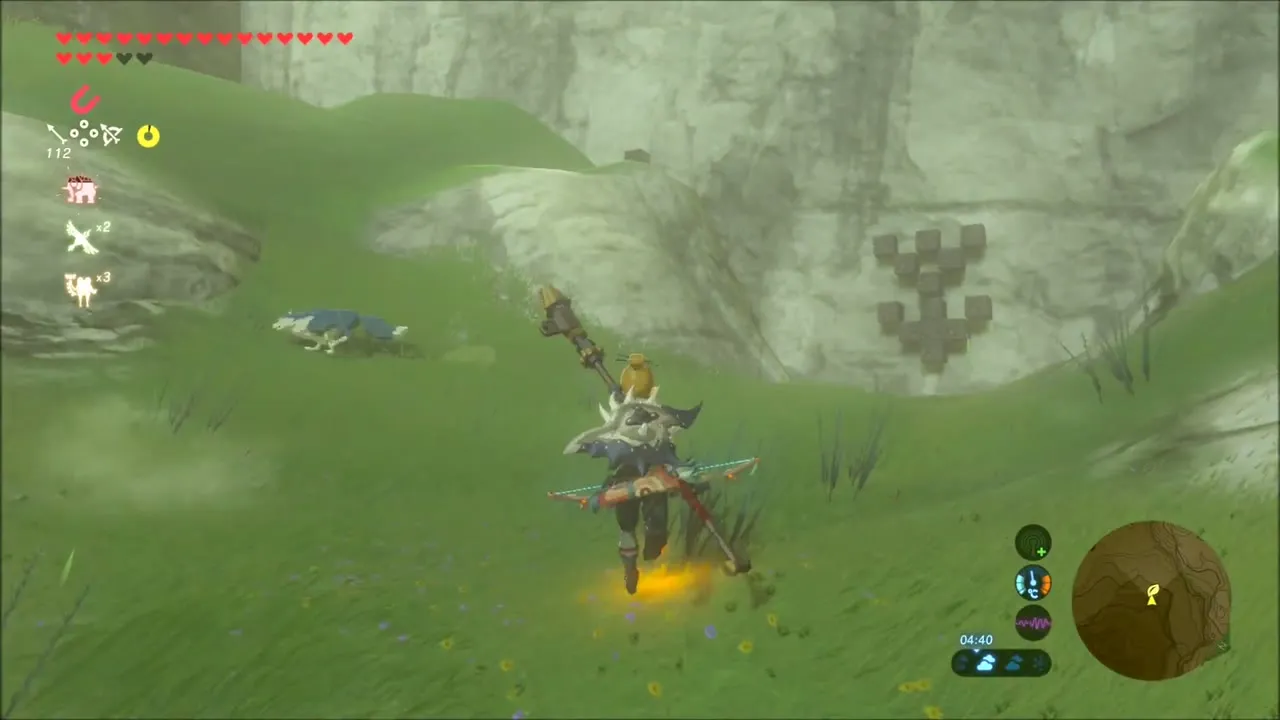

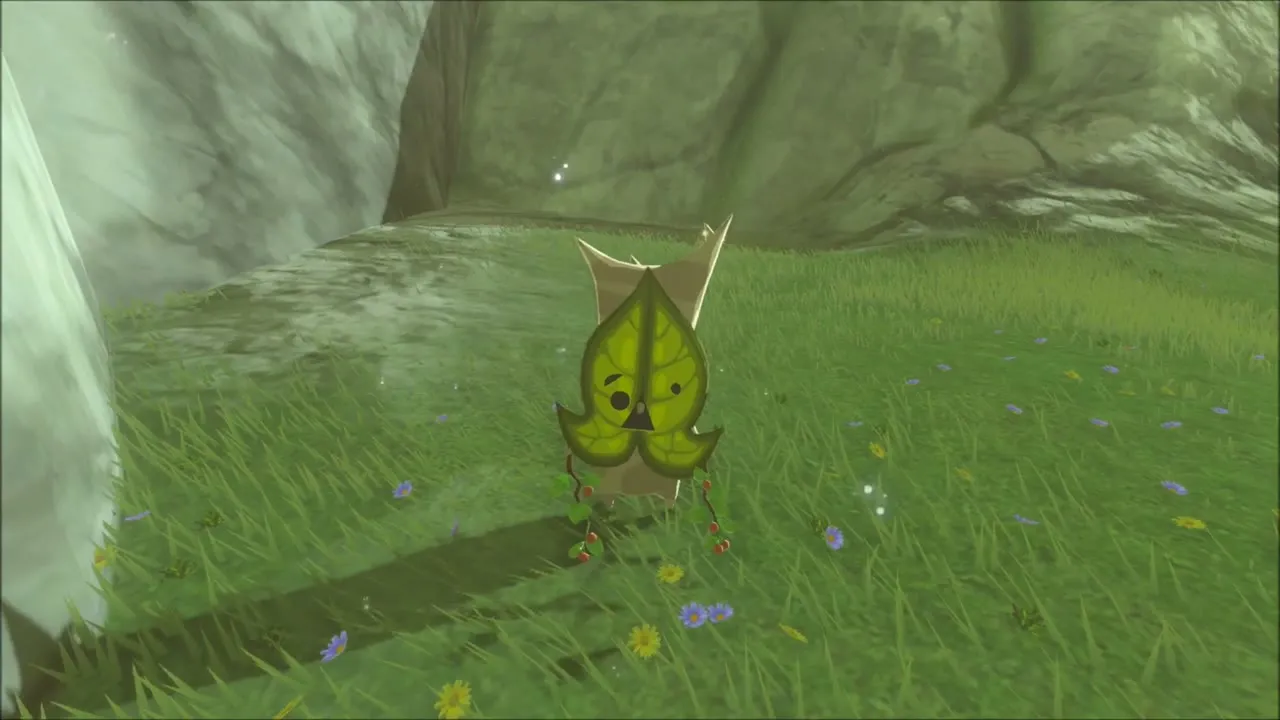
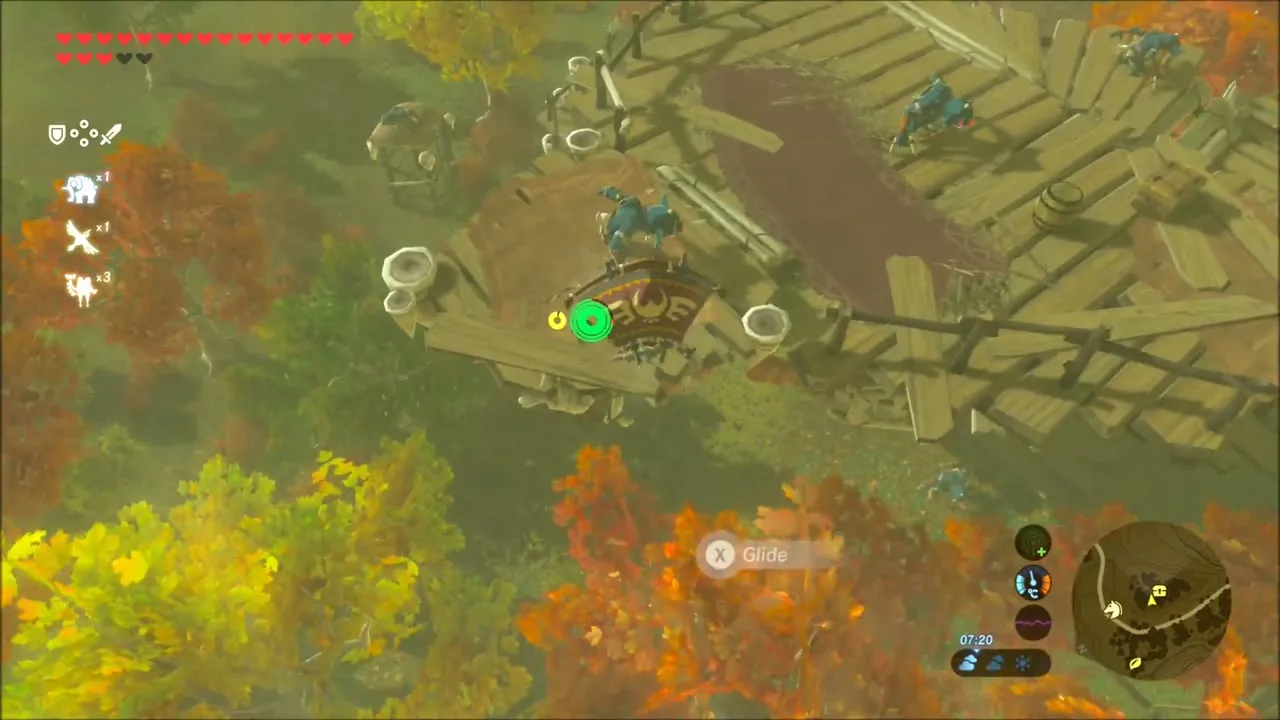
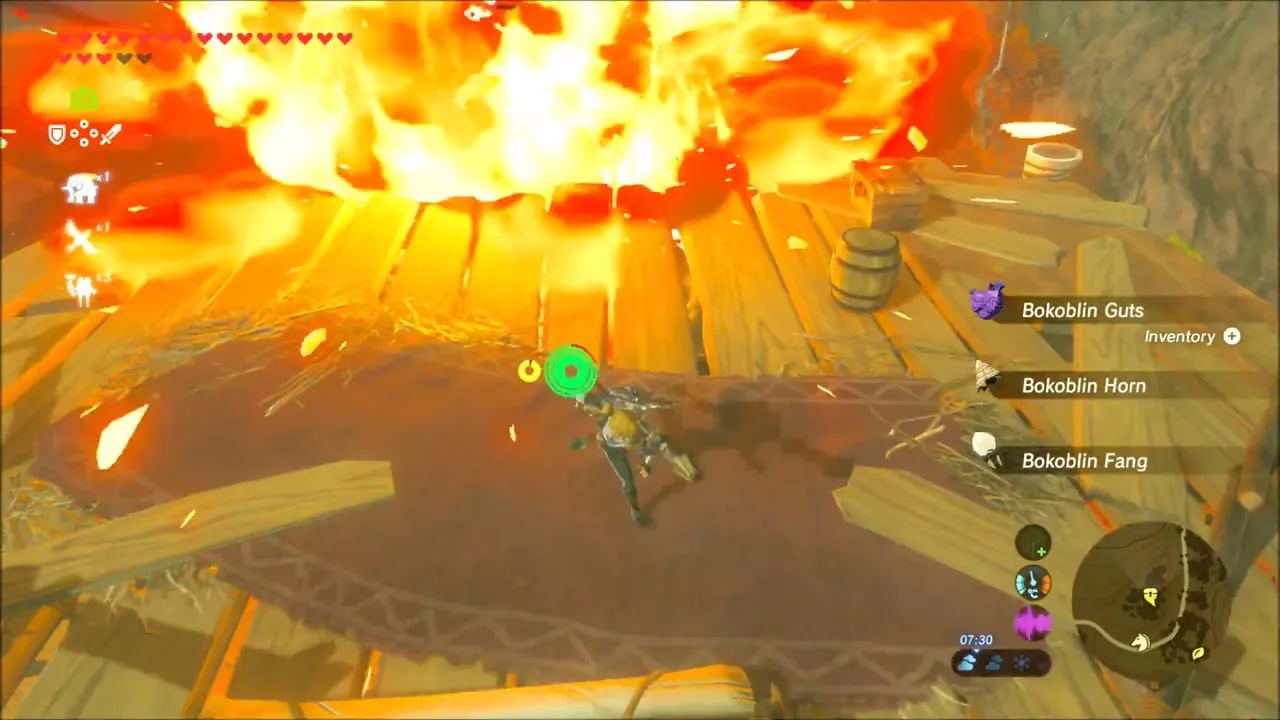
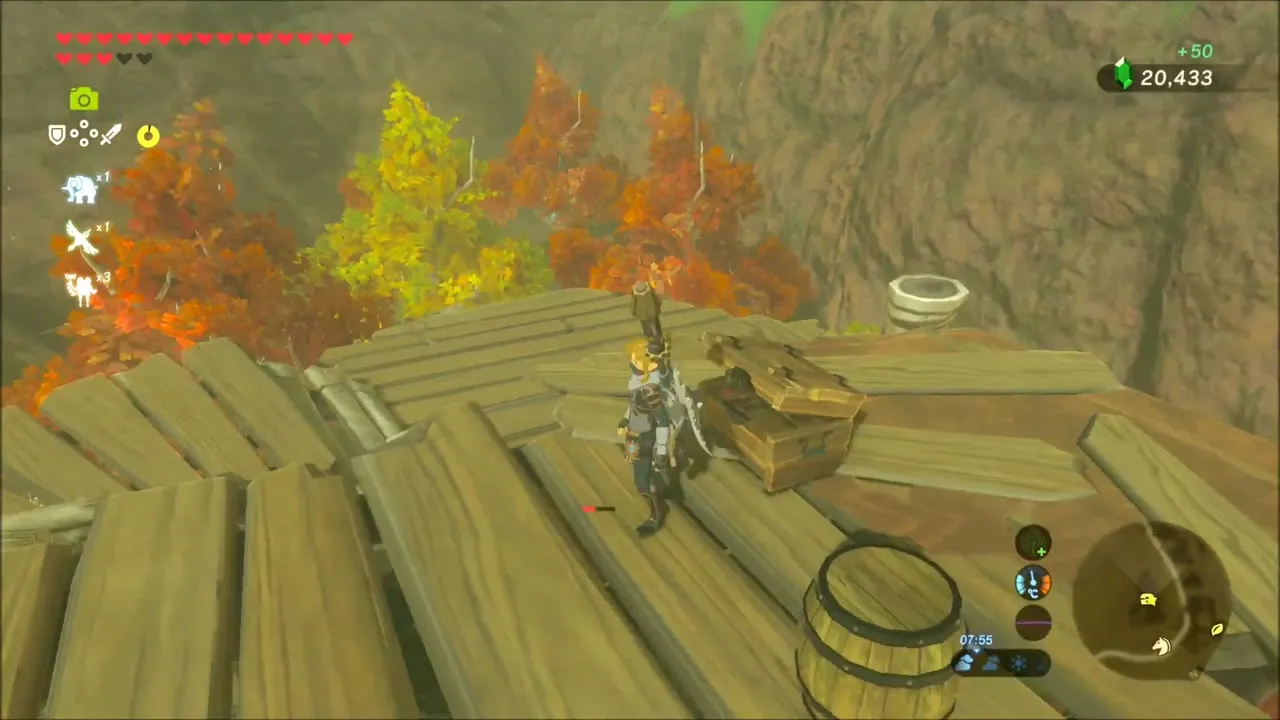
Climb the lone pine in the meadow and talk to the Korok sitting in its branches for a Korok seed. A Bokoblin camp on wooden platforms stands nearby: burn or blow up the planks to drop the Bokoblins and loot the chest that holds a Purple Rupee.

Lake Ruins: Drillshaft Chest, Korok Seeds and Hinox
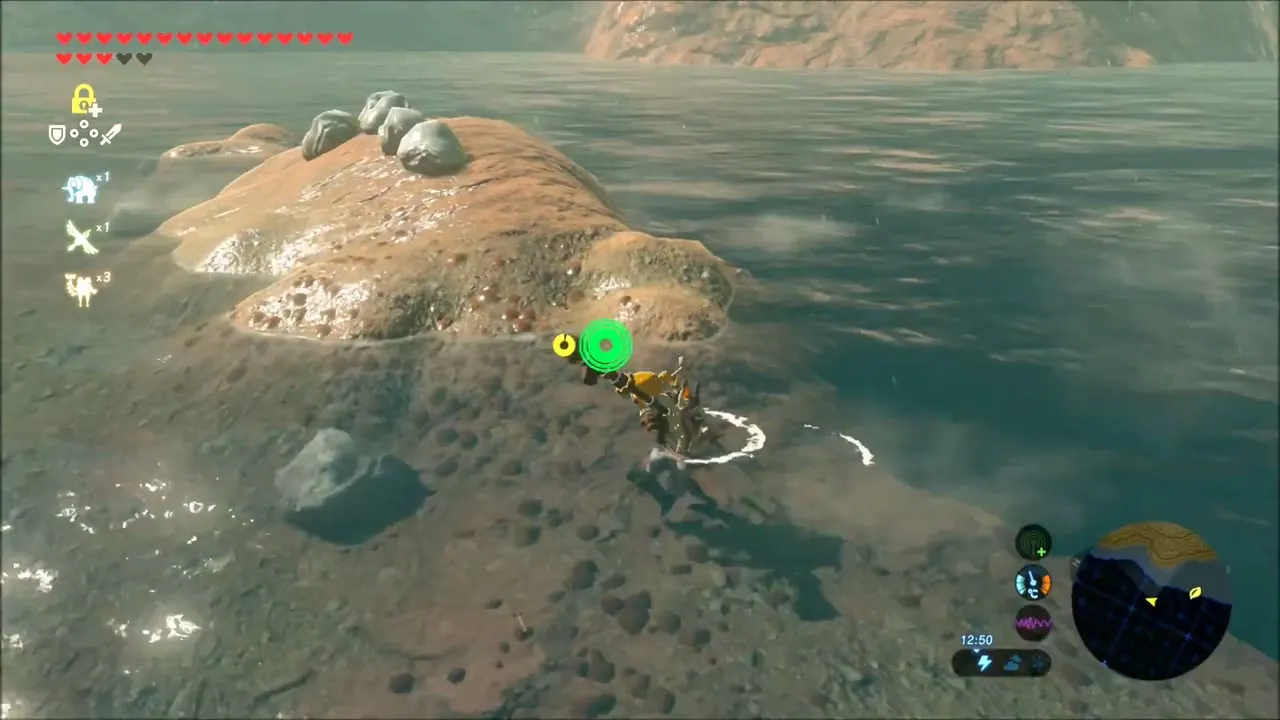
Ride to the ruined stone tower overlooking the lake and glide out to the rocky island, where a Korok is waiting for another seed. The splintered wooden raft nearby holds a Drillshaft (tier set by difficulty scaling).


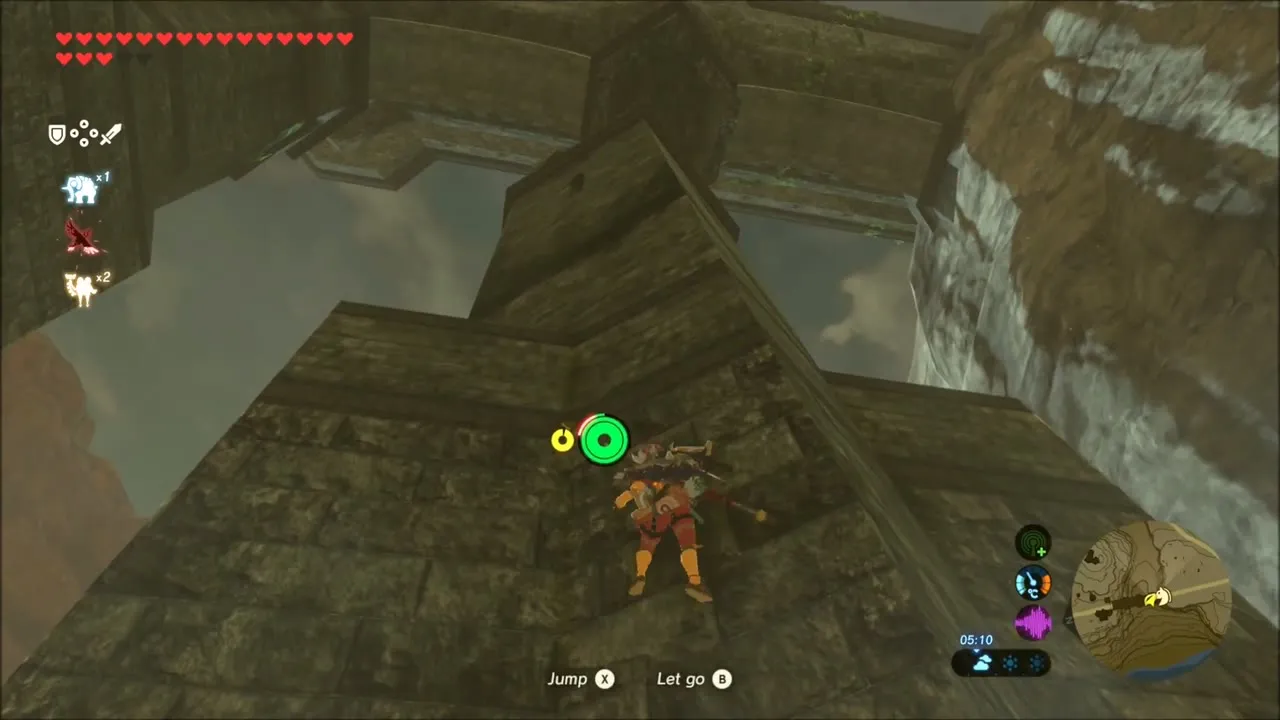
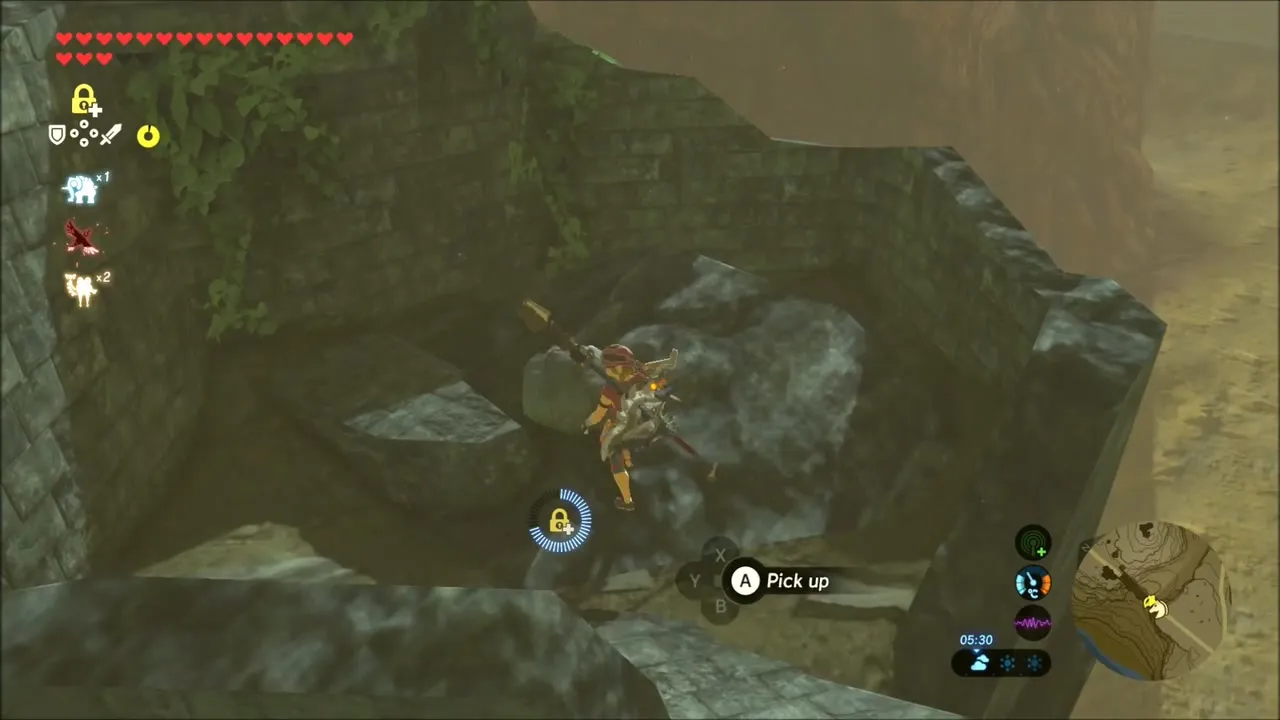
Put on your climbing gear and scale the ruined wall by the cliff. At the top, pick up the rock on the ledge to uncover a Korok, then glide down the canyon beyond.

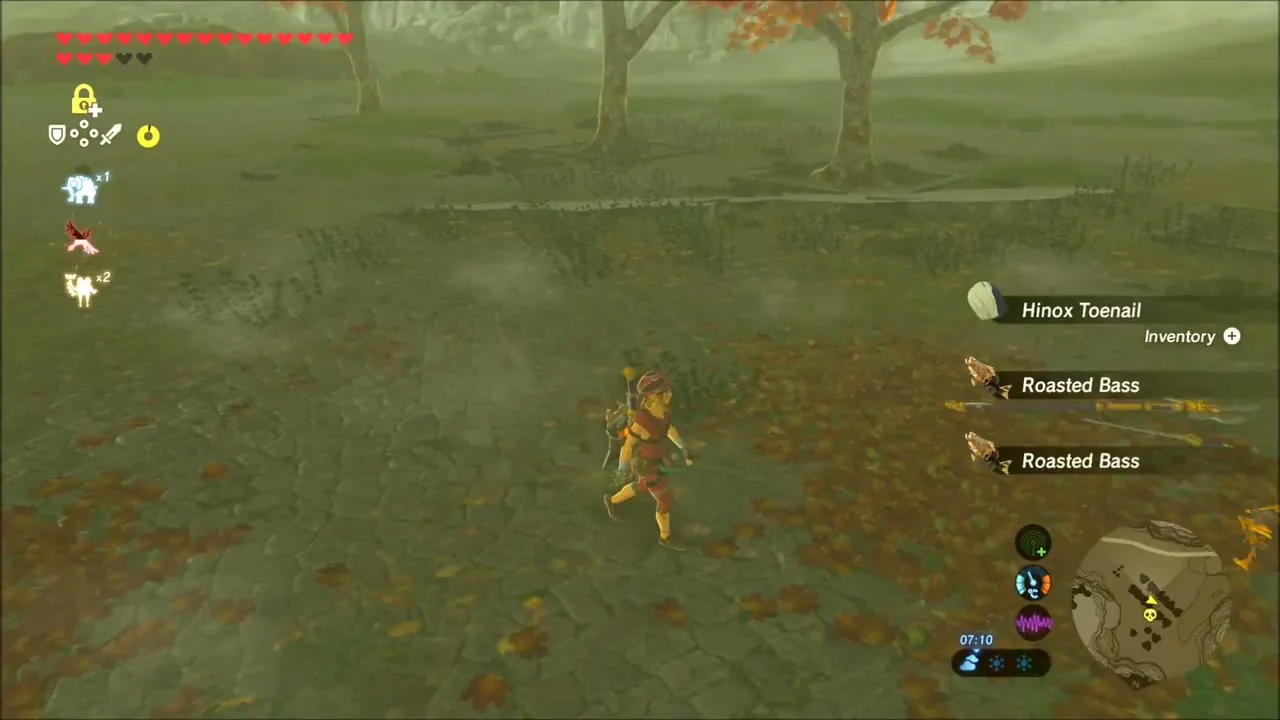
A Hinox is lying in the autumn clearing ahead. Take it down and loot the Hinox Toenail and the Royal Halberd (tier set by difficulty scaling) it leaves behind.


Bomb Arrows Chest and Foothill Stable
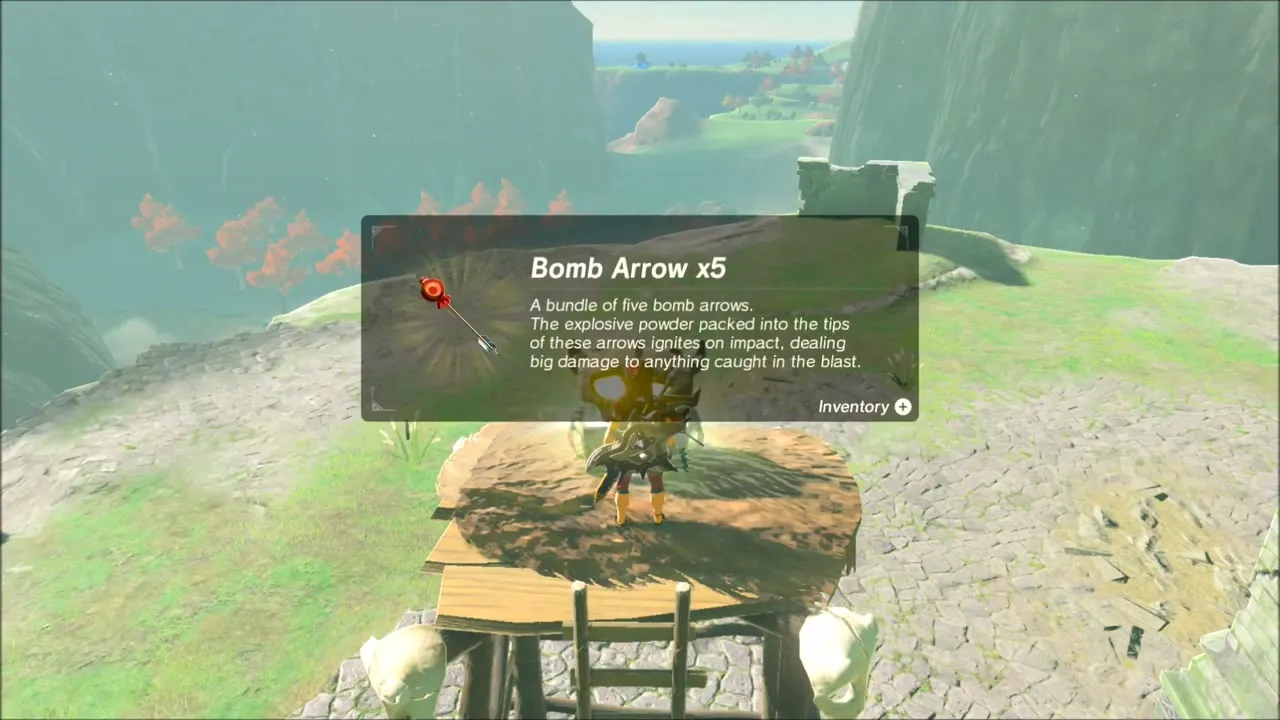
Glide across the pale plain to the ruined fort. Climb the wooden lookout tower for a platform holding five Bomb Arrows.


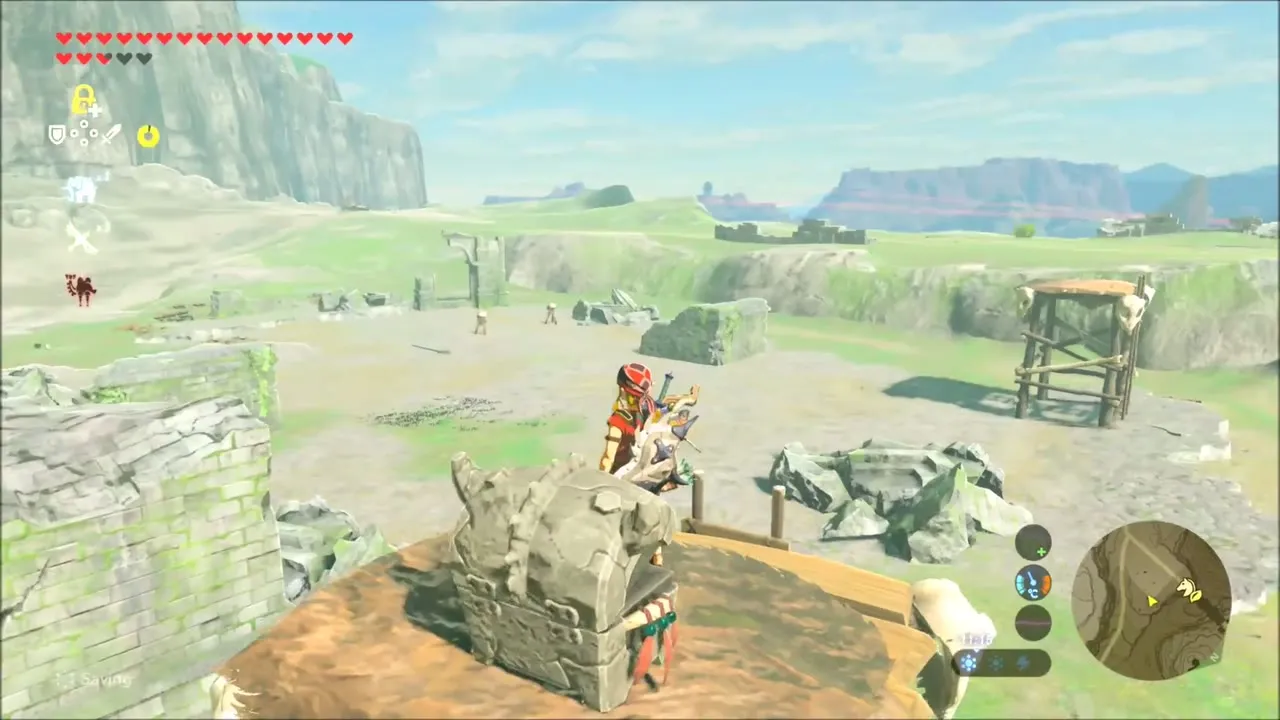
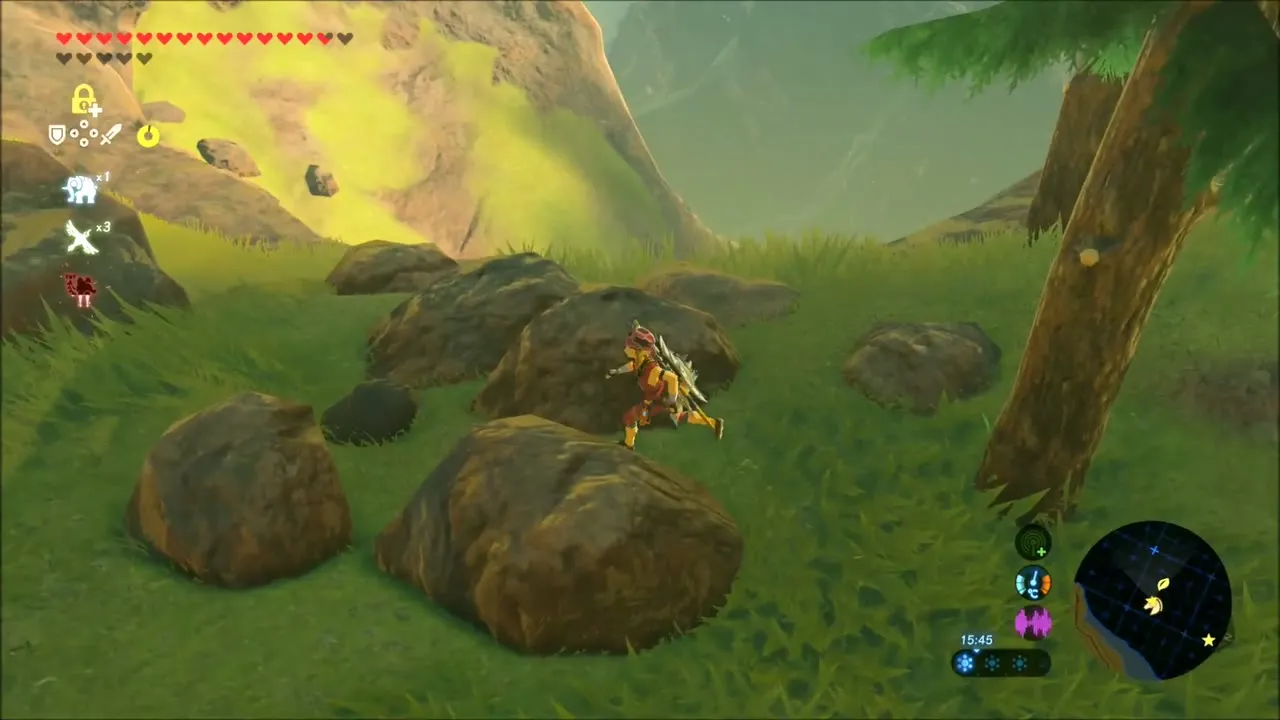
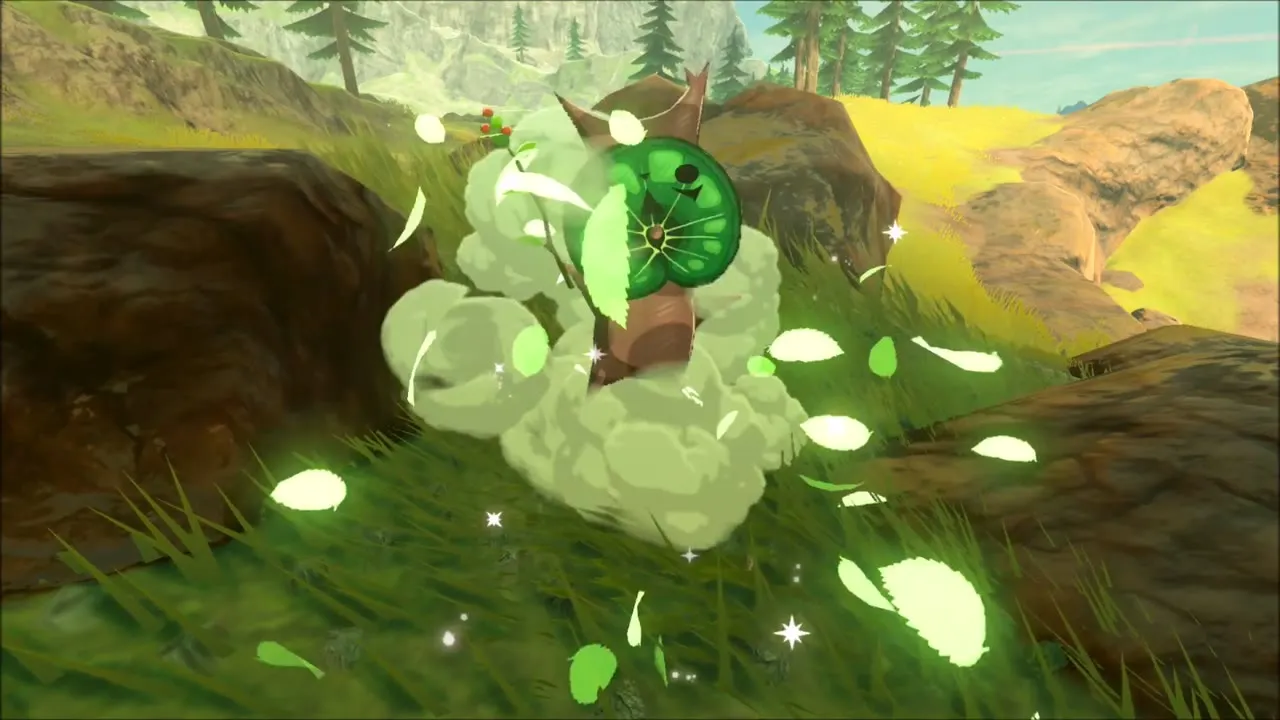
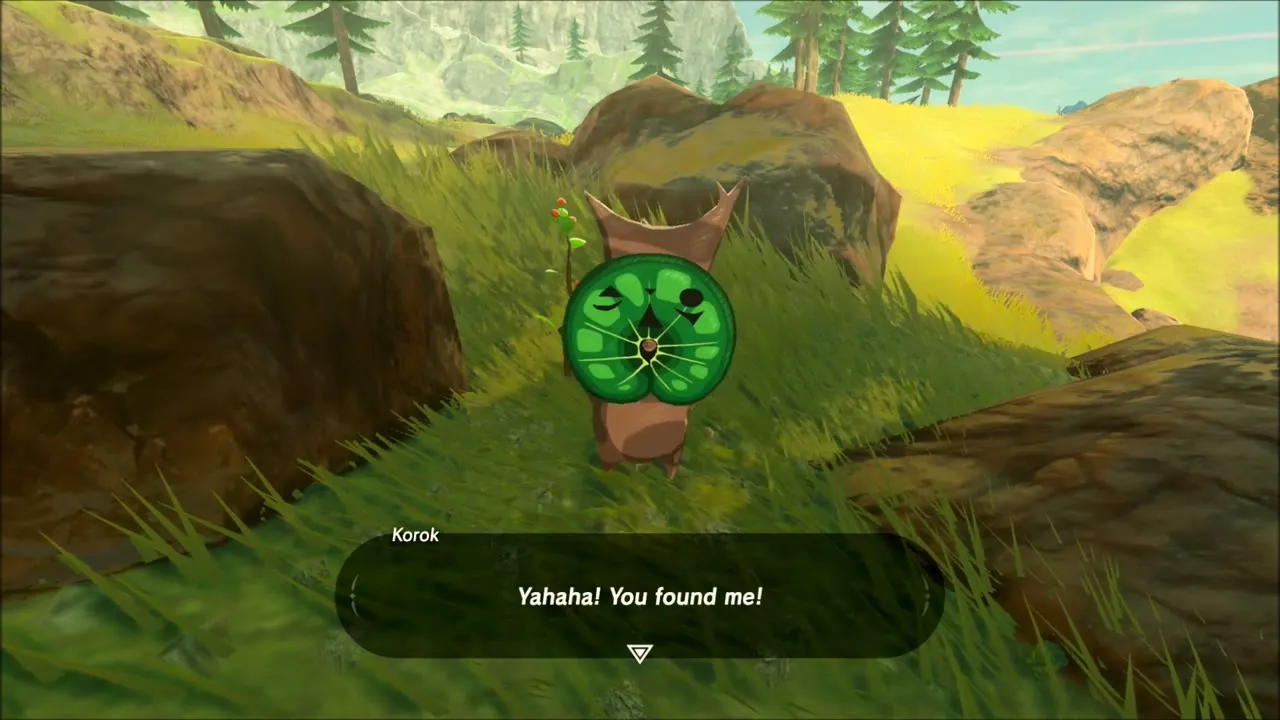
Ride up toward the foothills. Near the tree line, a Korok hides under a pile of boulders; lift the rocks away and it jumps out for another Korok seed.
Foothill Stable: A Landscape of a Stable
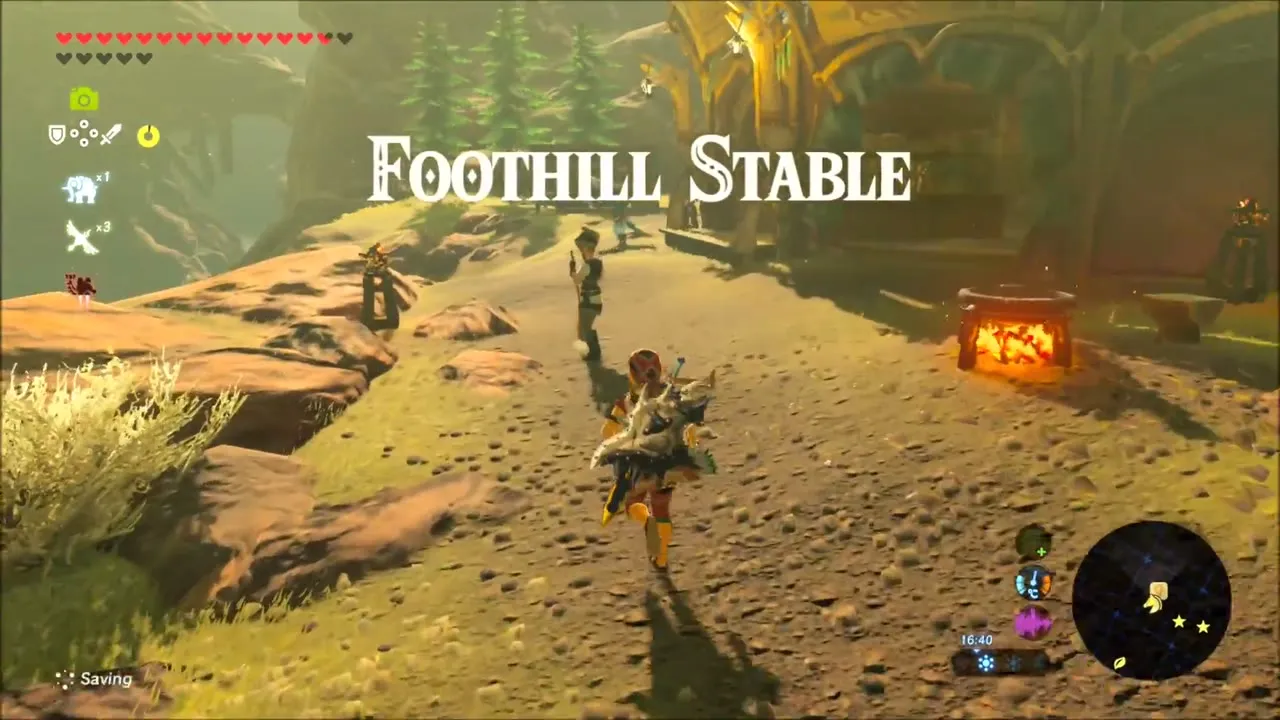
At Foothill Stable (x 2613, z -1144) talk to Mayro, who is studying a painting of the valley, to start A Landscape of a Stable. You finish the quest later in Trilby Valley.

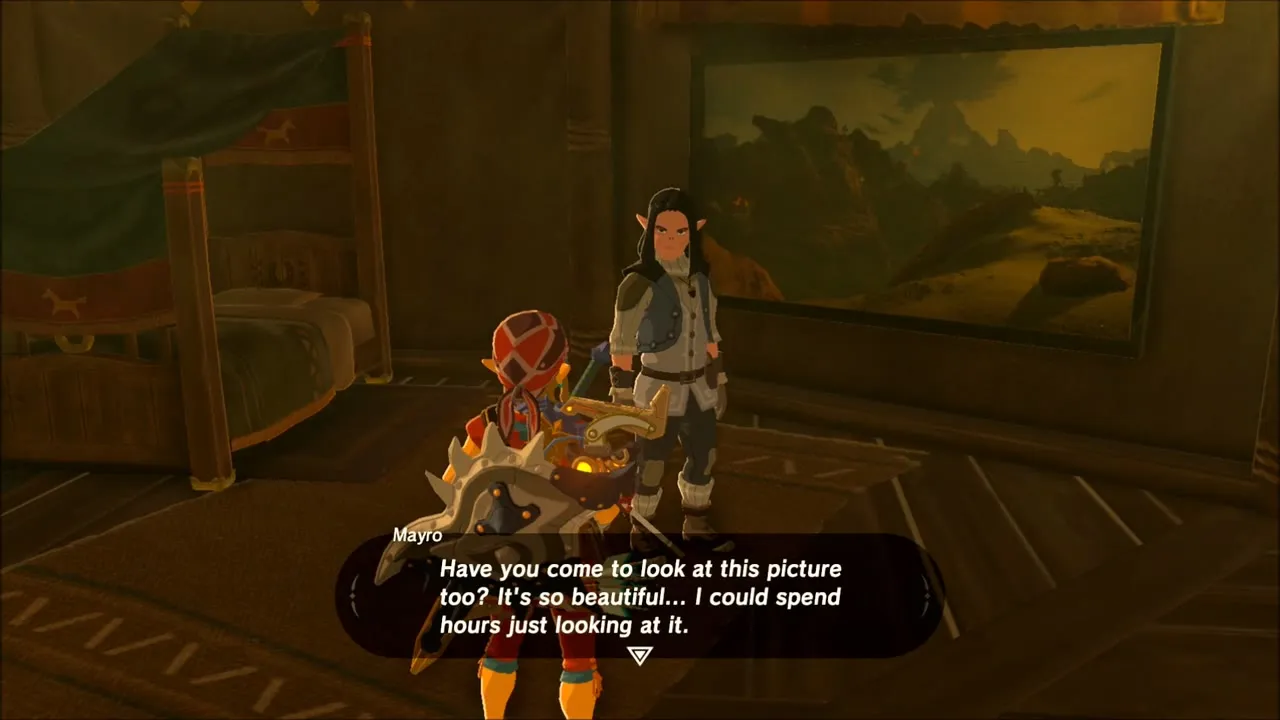
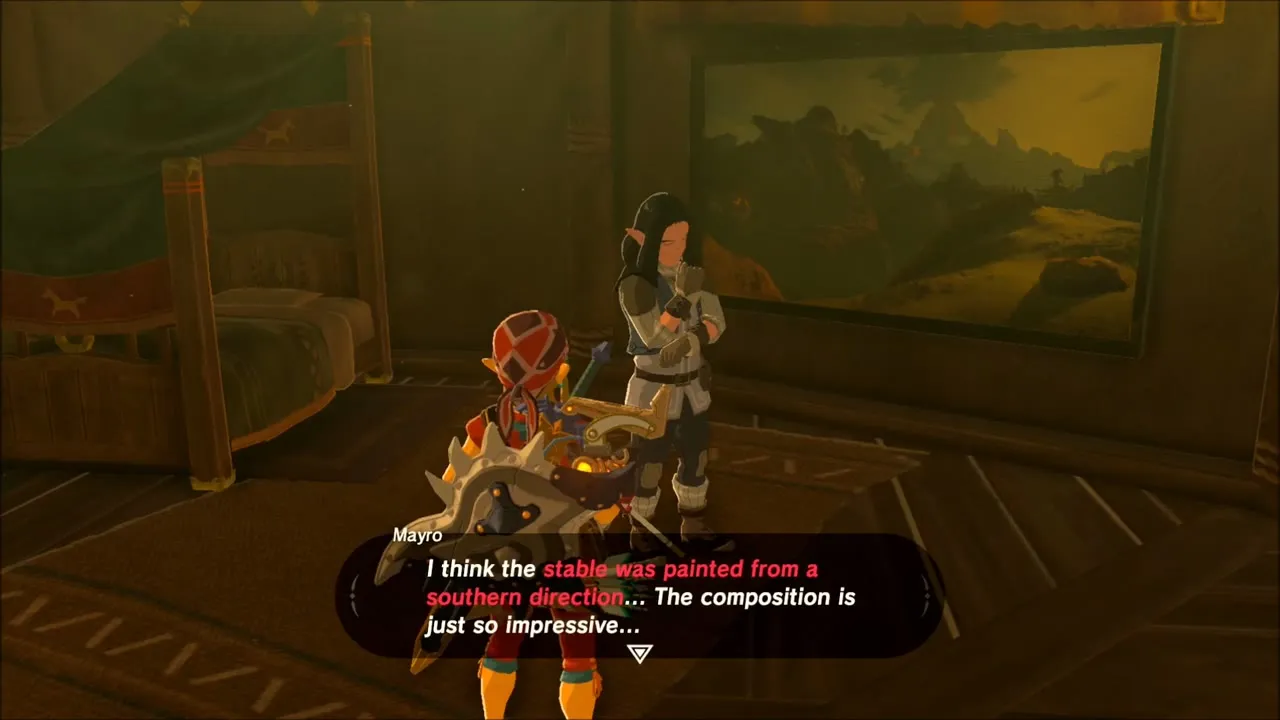
Mo’a Keet Shrine: Metal Makes a Path
Climb the hill above the stable to Mo’a Keet Shrine (x 2723, z -1165). Three slopes roll boulders down at you here. Stop the middle boulder with Stasis, and use Magnesis on the metal boulder to open the side chests: one holds a Knight’s Broadsword or Royal Broadsword (tier set by difficulty scaling).
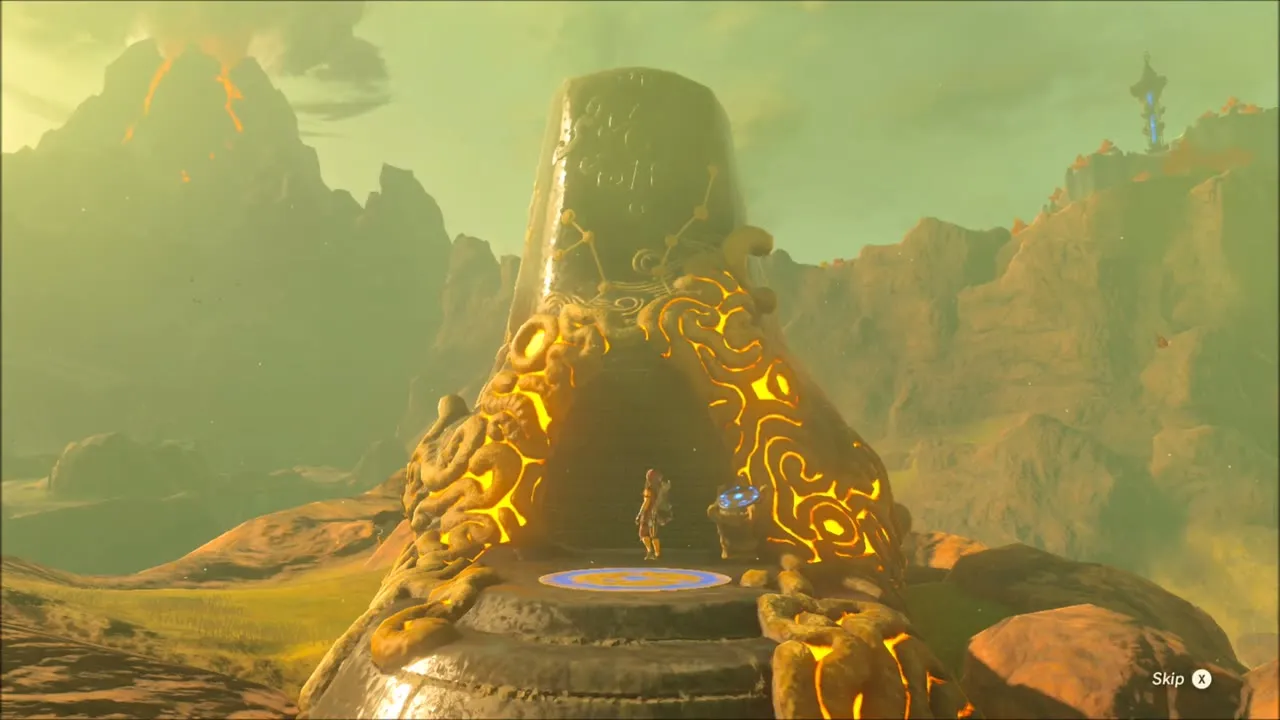
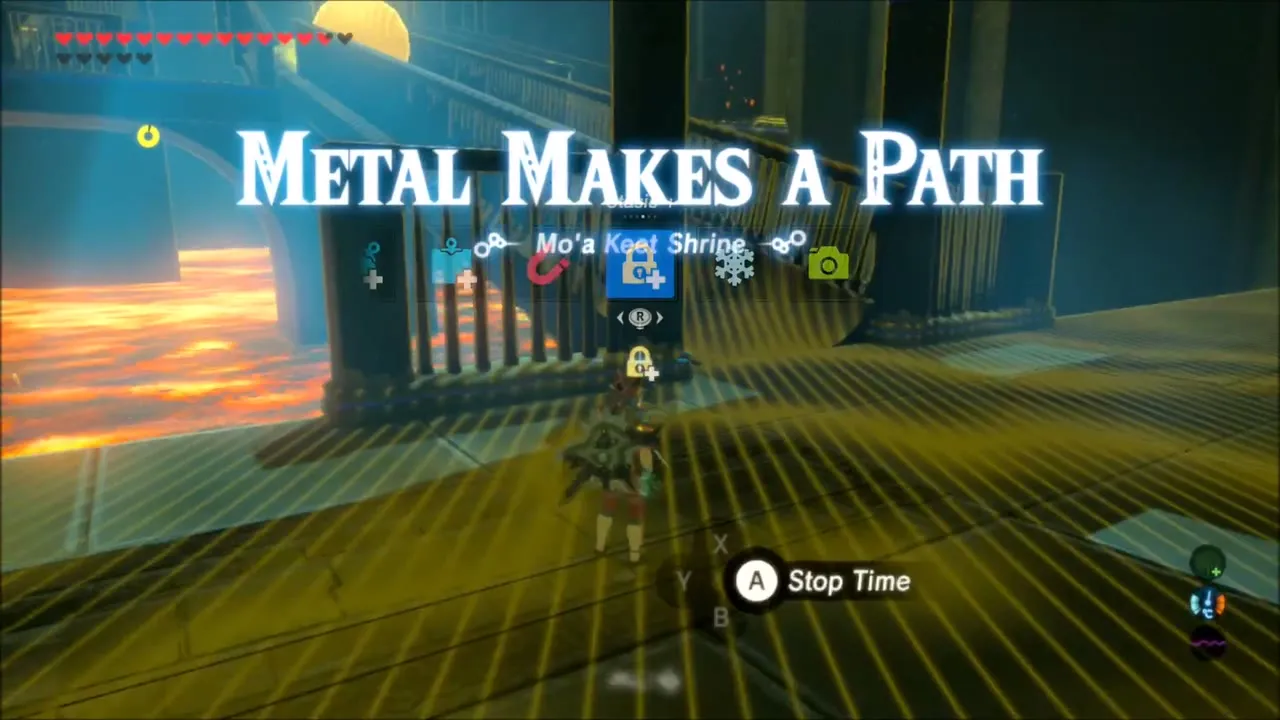
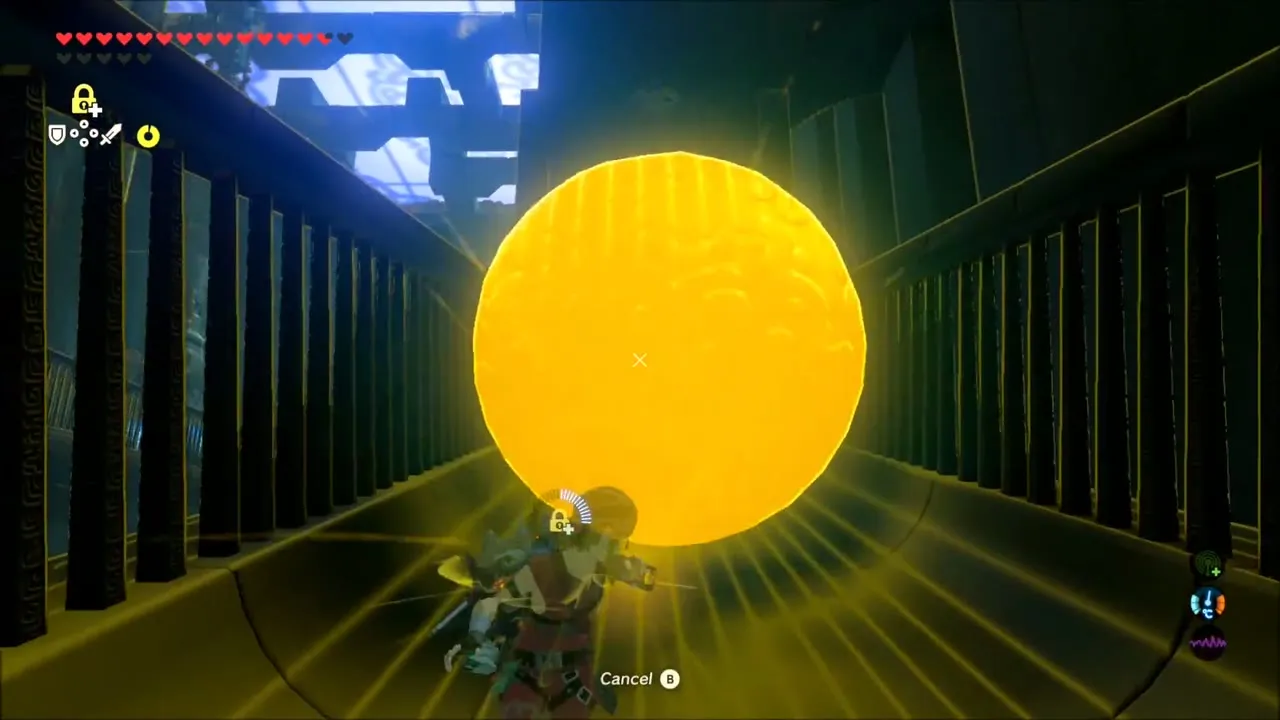
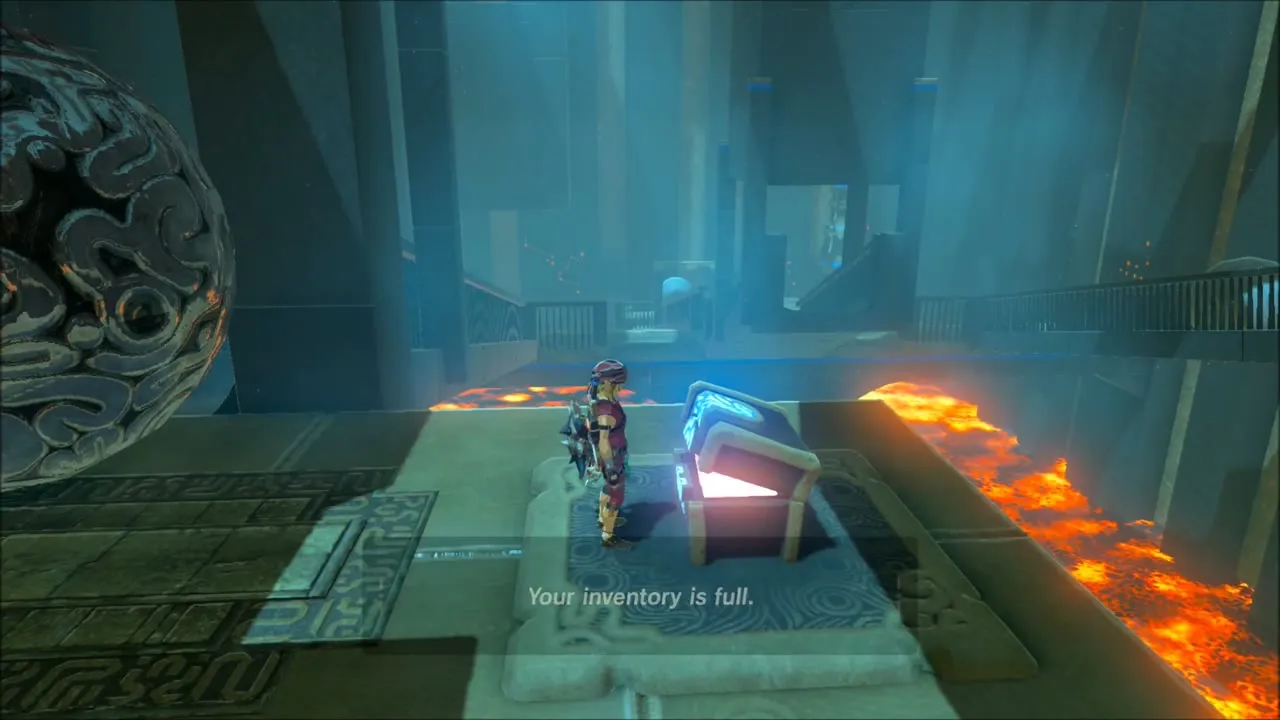
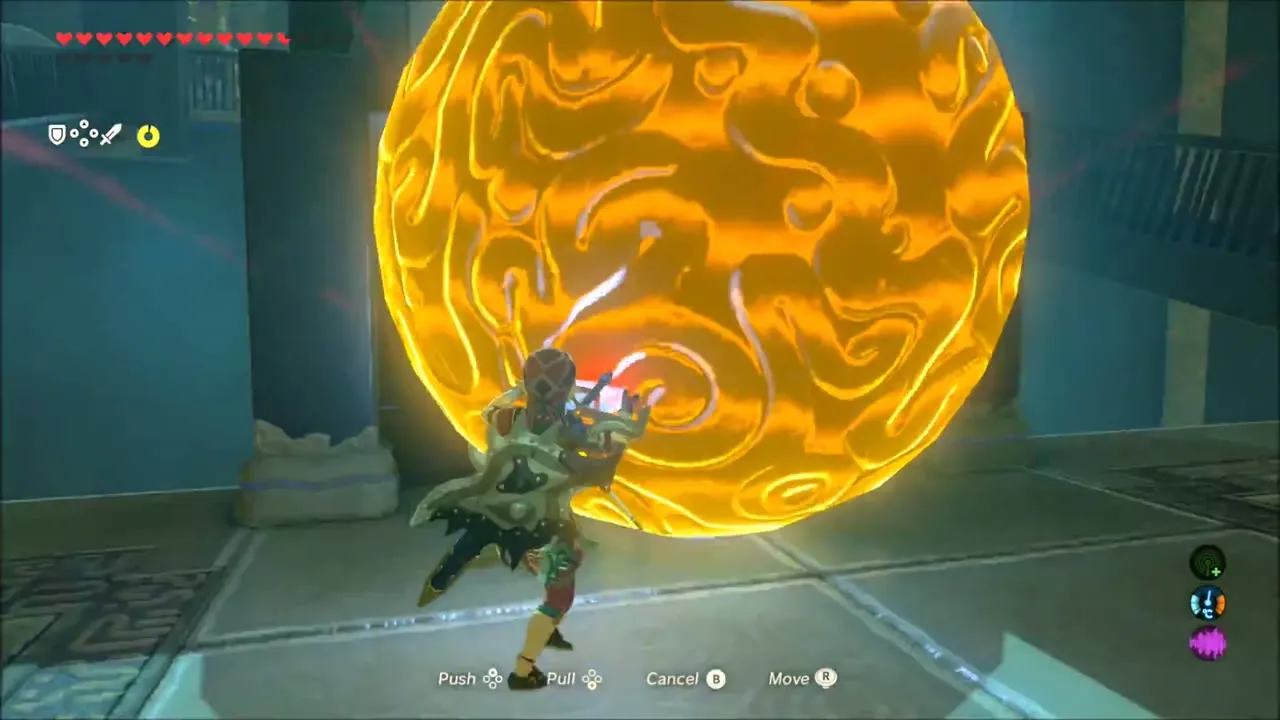
To finish, take the metal boulder to the left slope, hold it in front of you with Magnesis and push it up the slope as a shield against the other boulders. Walk behind it to the monk Mo’a Keet and take the Spirit Orb.

Cephla Lake Shore: Chuchus and the Chest on the Ice Block
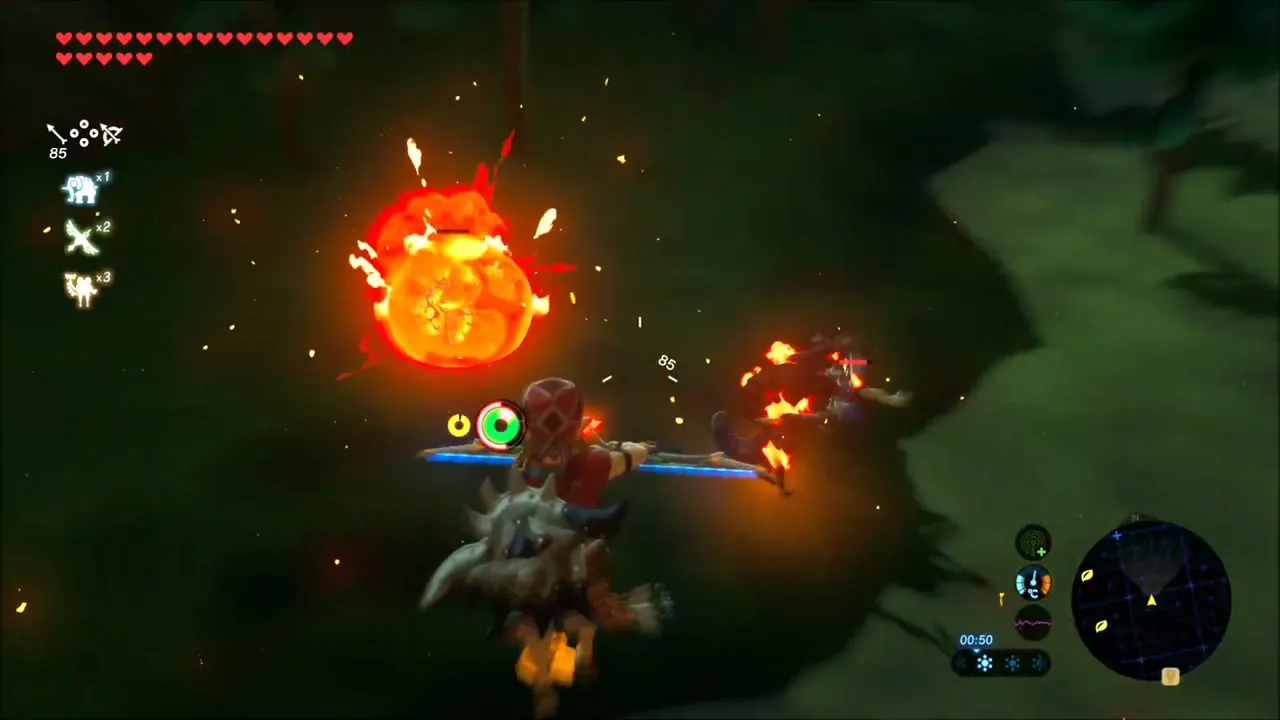
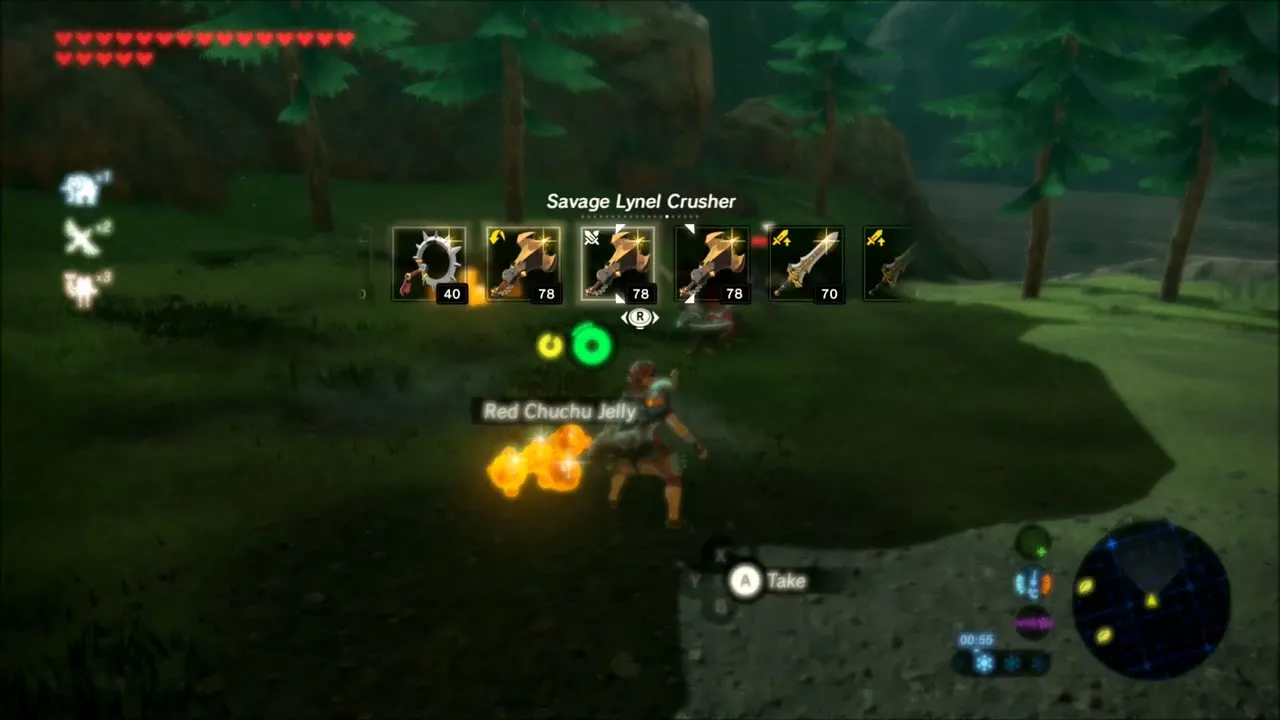
From the shrine, head north toward the lake shore. Fight the Red Chuchus along the way, taking Red Chuchu Jelly from each, and use Stasis on the slopes if you need to launch a rock at something out of reach.

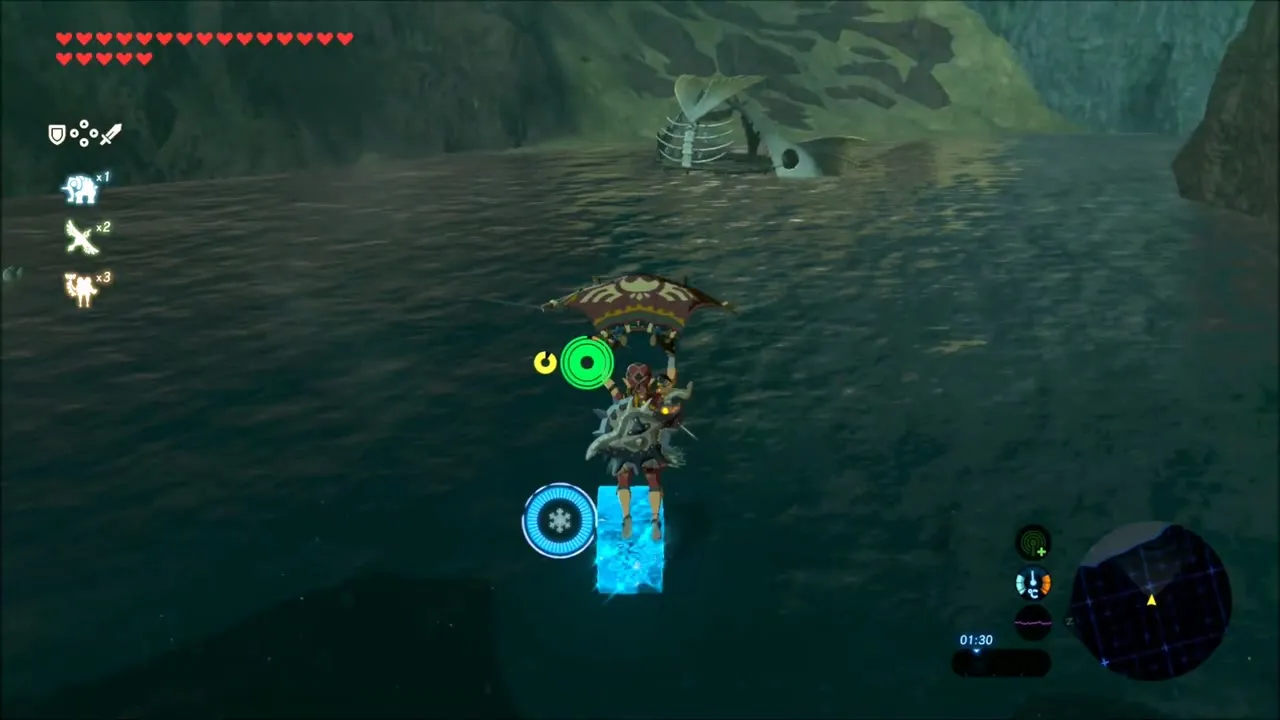
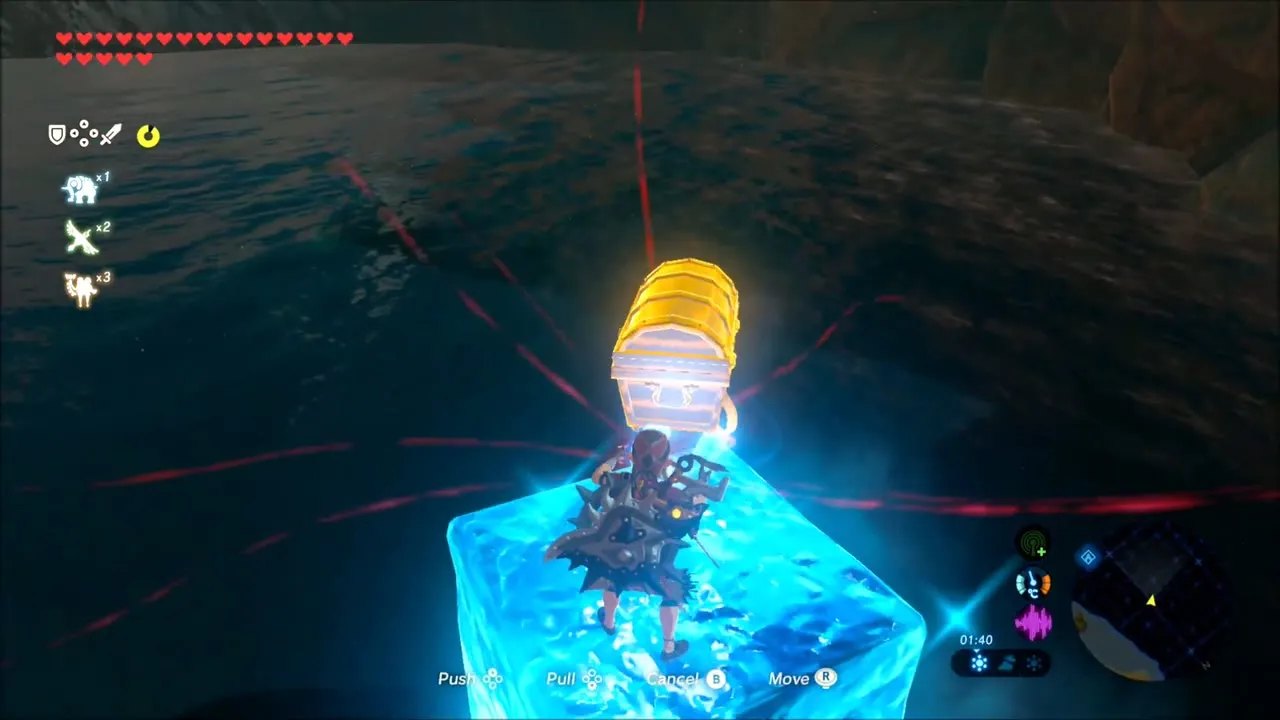
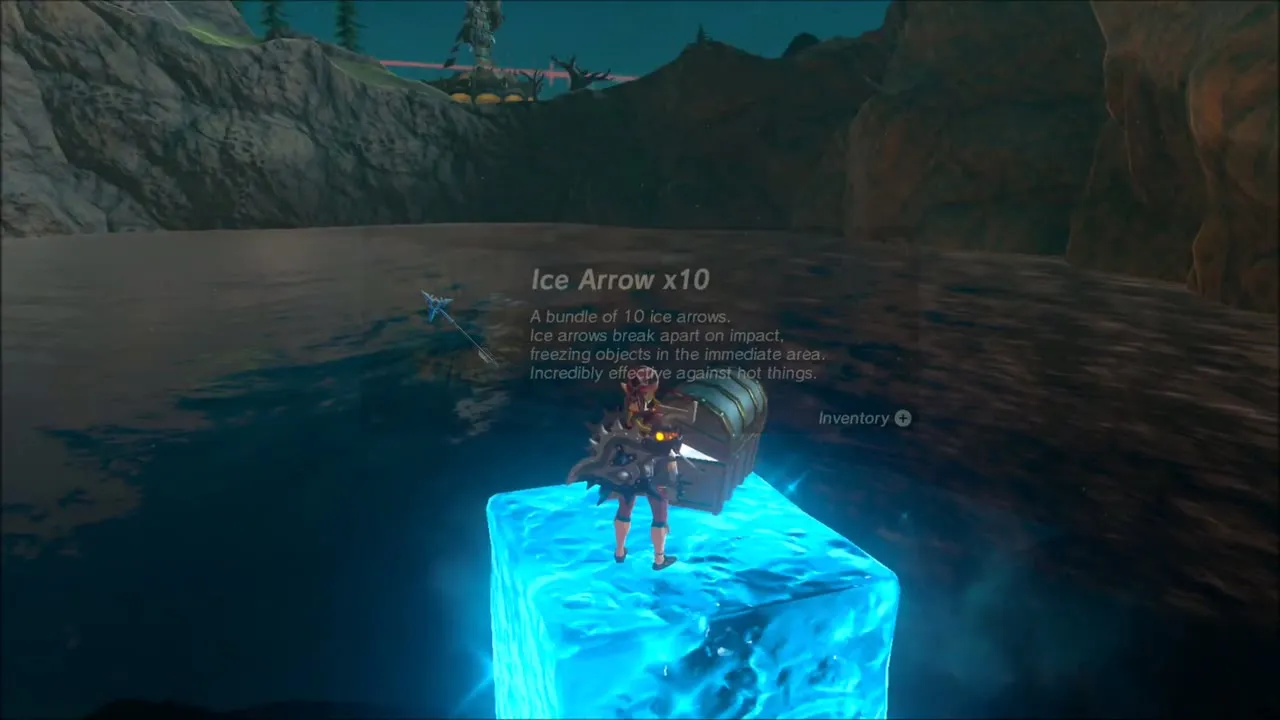
At a dark pool, raise an ice block with Cryonis and step onto it to reach the chest sitting on the water. Open it.
Korok Seeds on the Rocky Heights
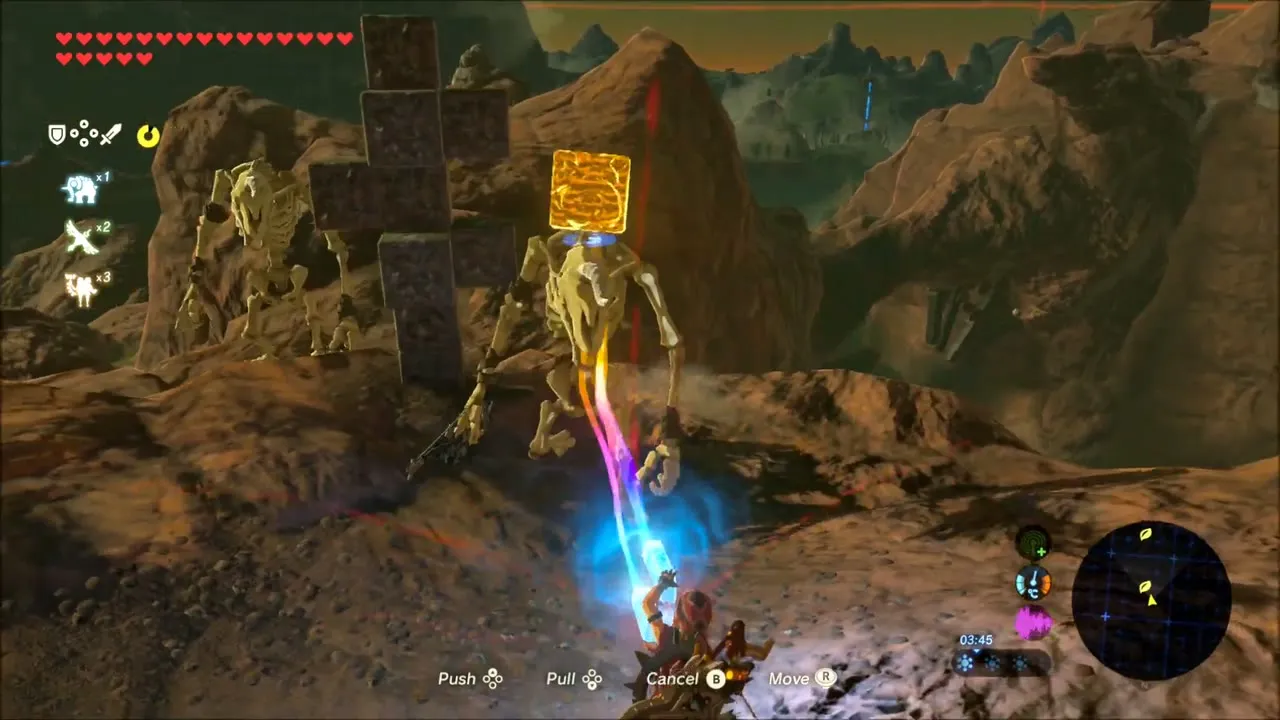
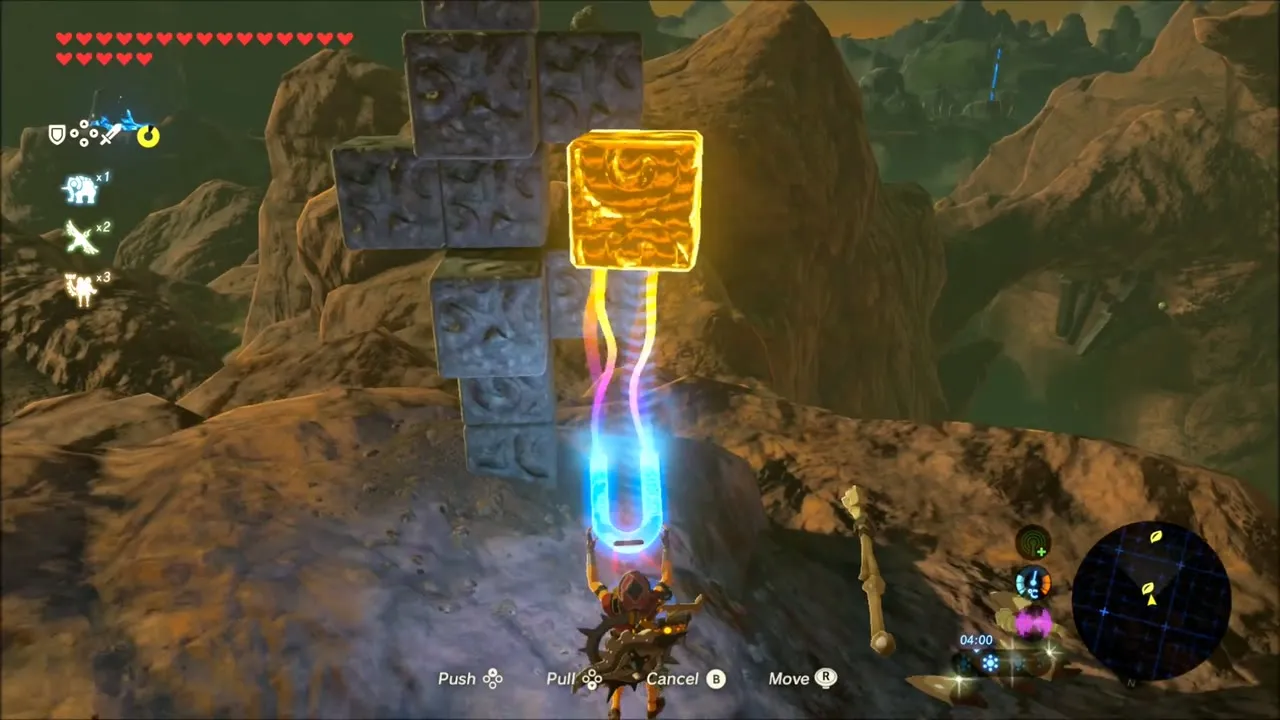
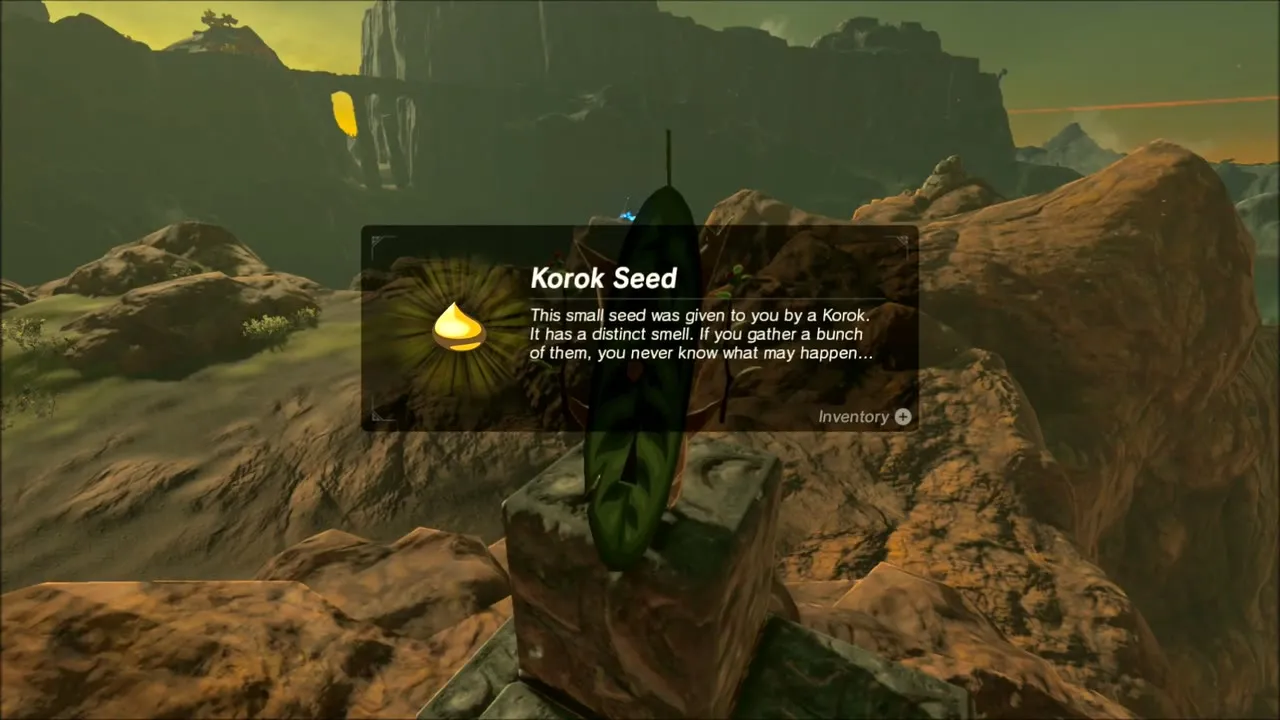
On the rocky heights above the shore, a stack of stone blocks stands on a ridge with a pair of Stalfos nearby. Defeat the skeletons, pull the metal block into place with Magnesis, and the Korok appears for a Korok seed. A second Korok sits a few steps along the same crag, tucked in beside a boulder.

Sah Dahaj Shrine: Power of Fire
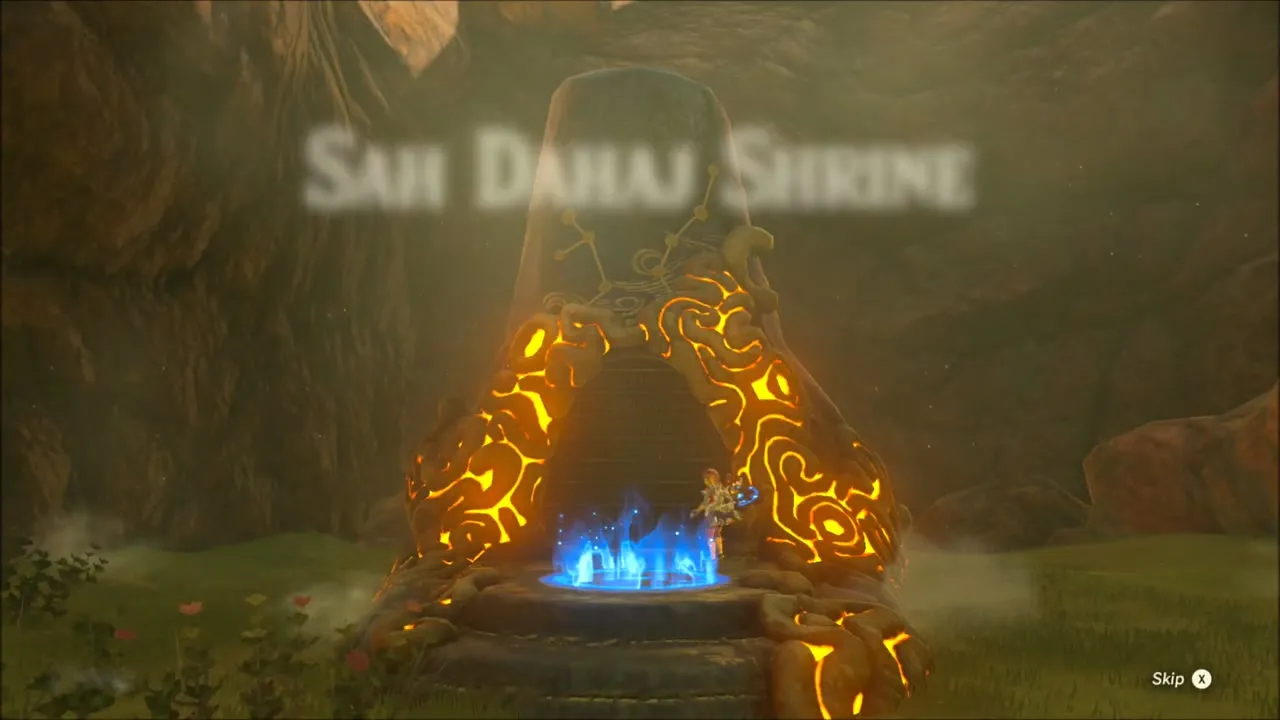
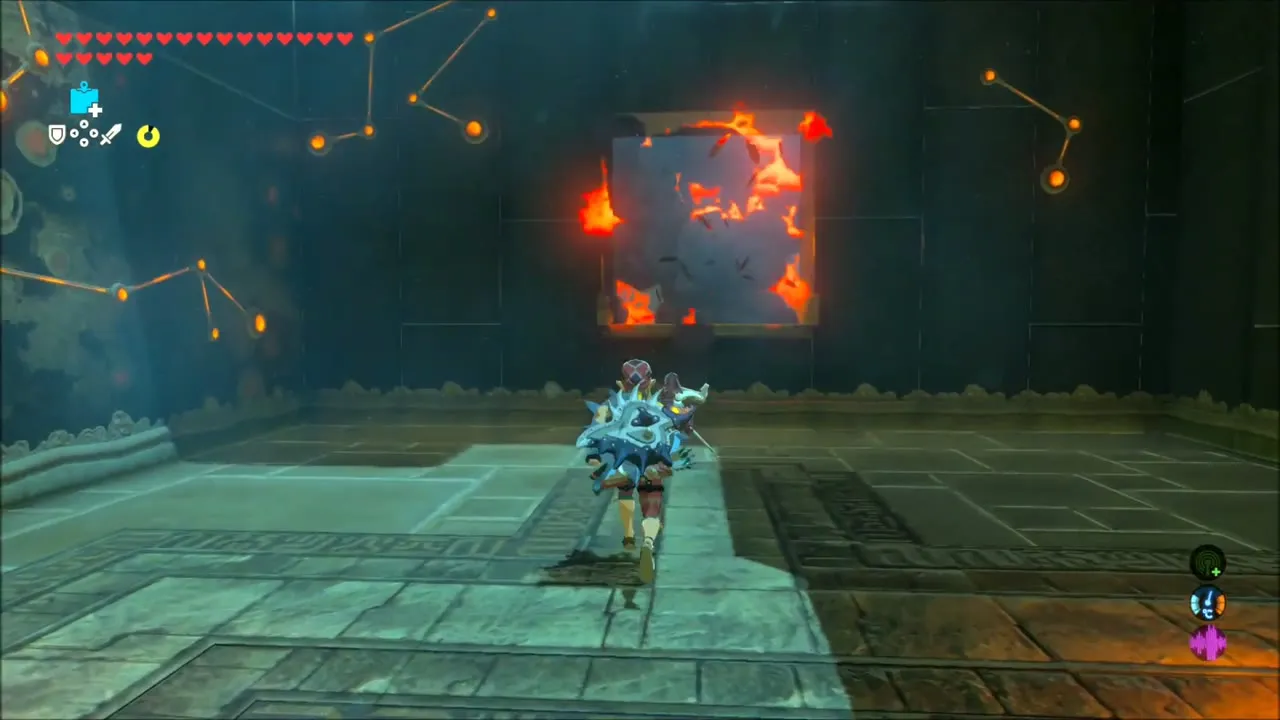
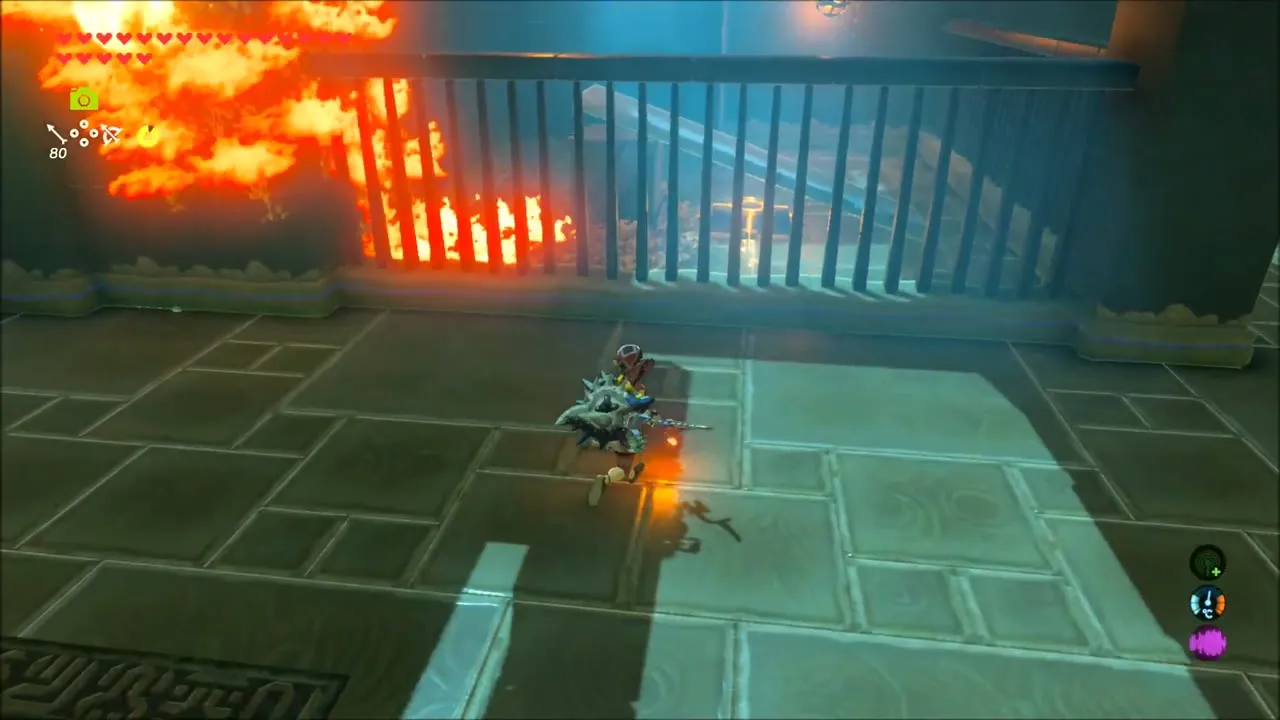
Sah Dahaj Shrine (x 2666, z -1580) sits in a rocky bay on the north shore of Cephla Lake. Light the dry leaves in the first room so the fire spreads to the crates blocking the way, beat the Guardian Scout in the next room, and shoot down the oil lamps to burn the foliage and free the chest, which holds a Knight’s Bow or Royal Bow (tier set by difficulty scaling). Finish by burning the two crates so the slab falls on the switch, then take the Spirit Orb from the monk.

Korok Seeds Around Cephla Lake
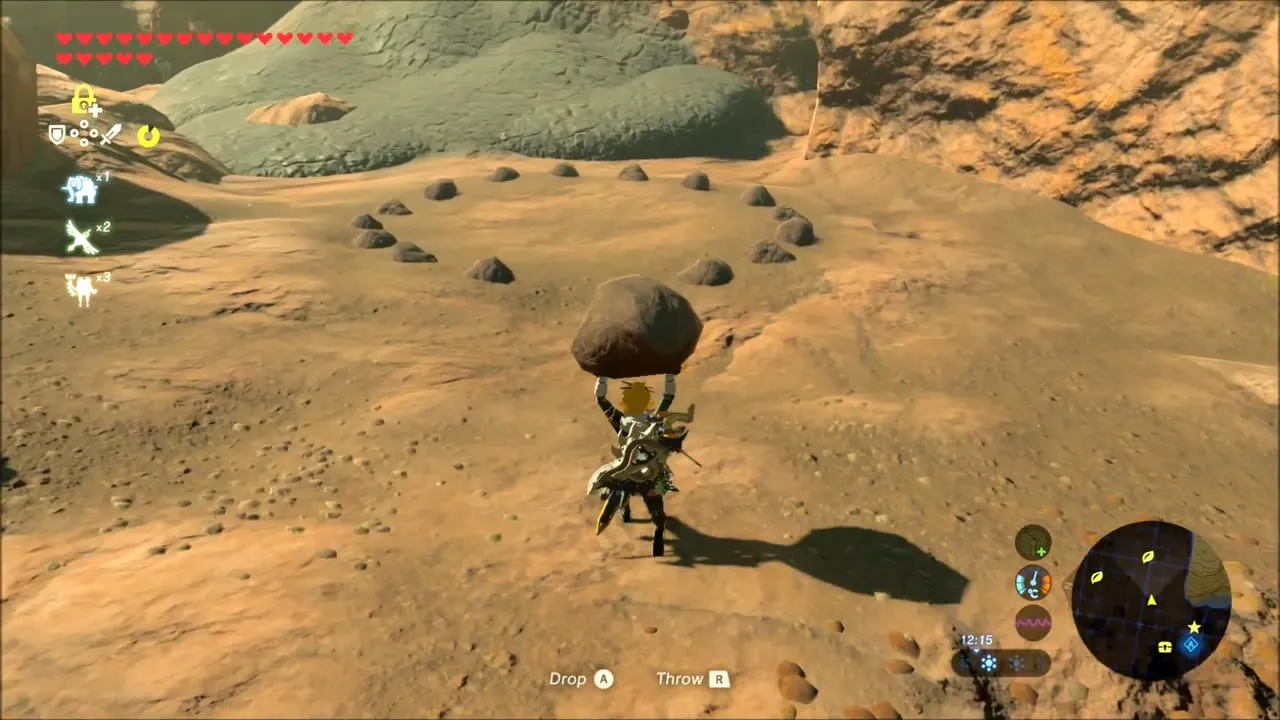
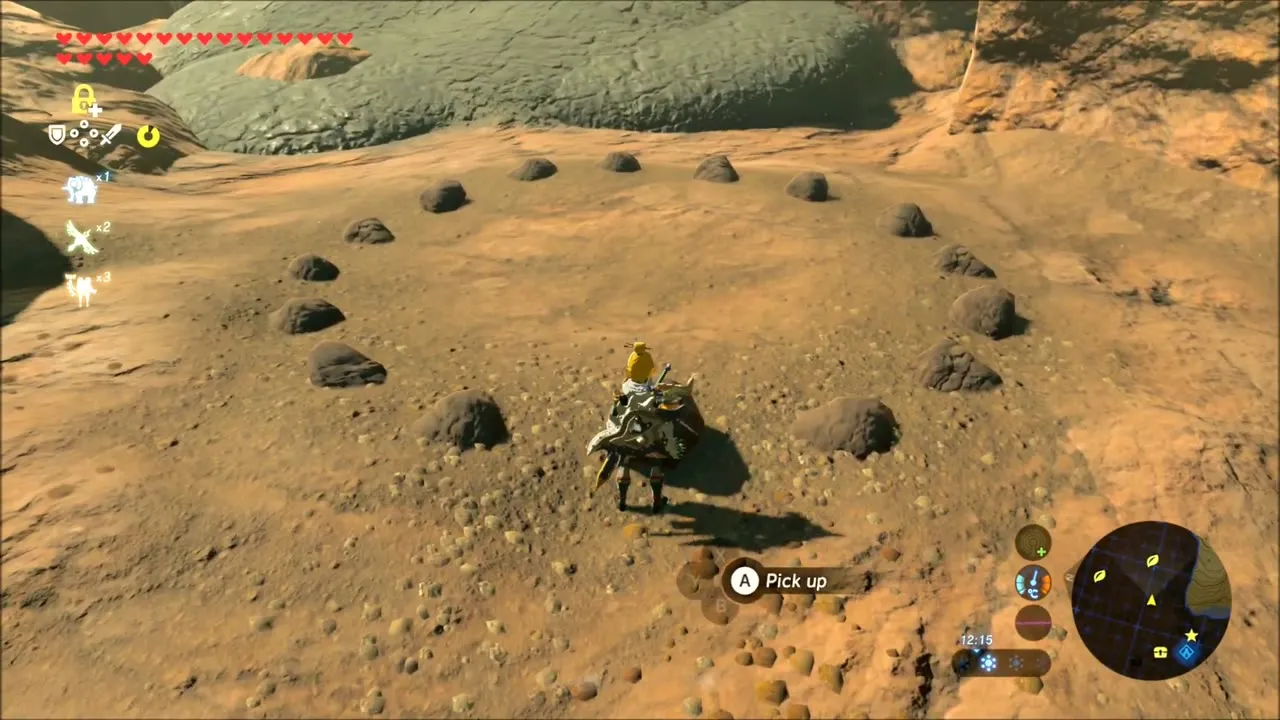
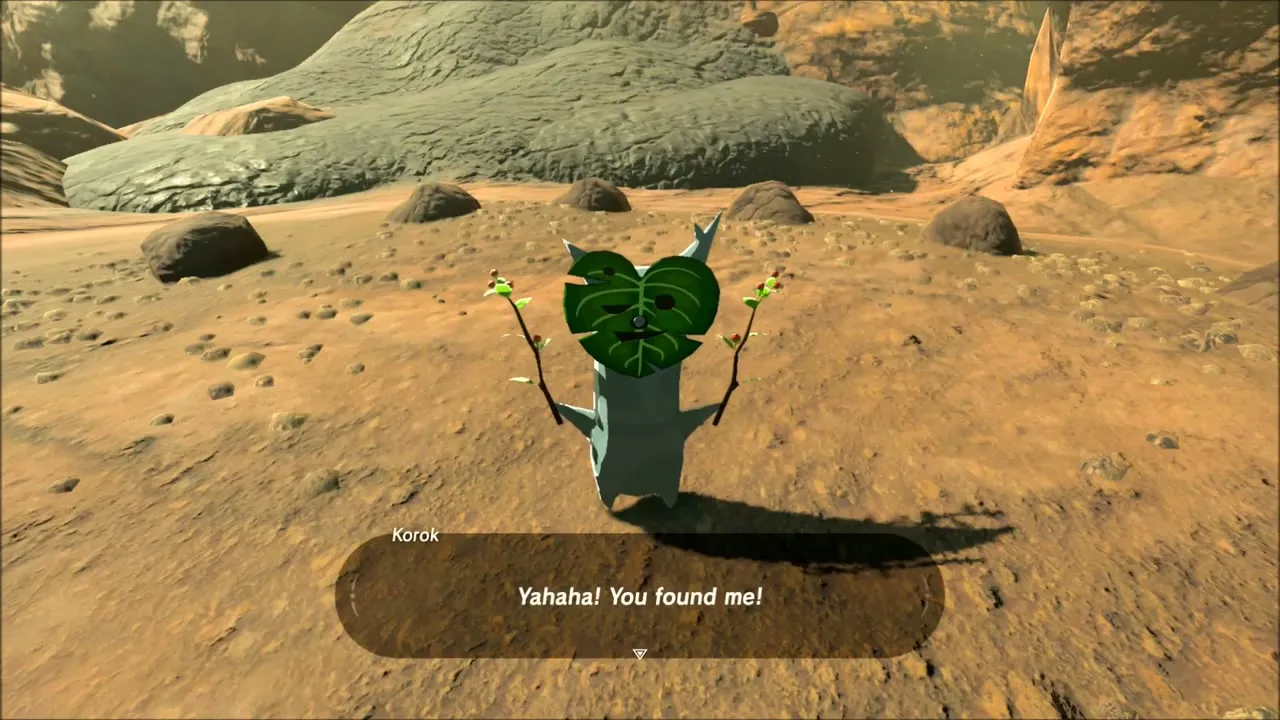
On an open stretch of bare ground, a ring of small rocks lies in the dirt with one rock missing from its centre. Pick up a boulder, carry it to the middle of the ring and drop it there; the Korok hands over a seed.
Out on the lake, a small island carries a stack of stone blocks. Cross the water to it, then use Magnesis on the metal block above the island to lift it into place and the Korok at the top gives you a seed.


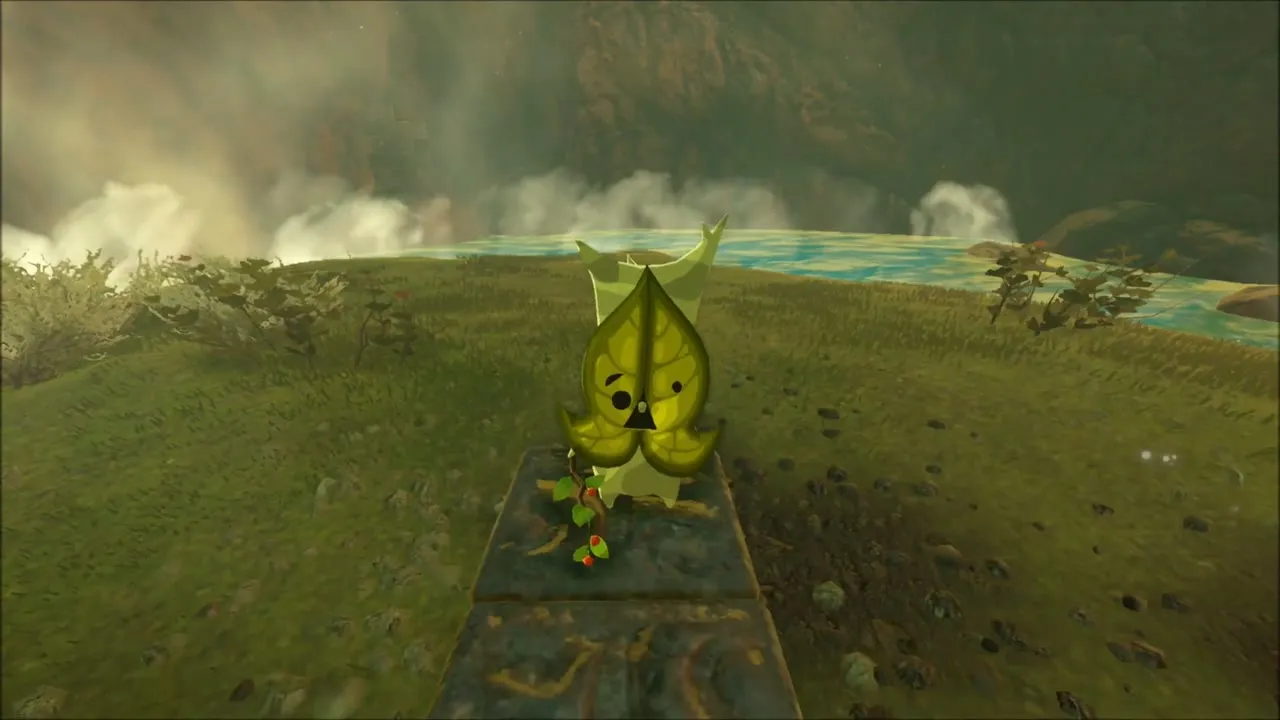
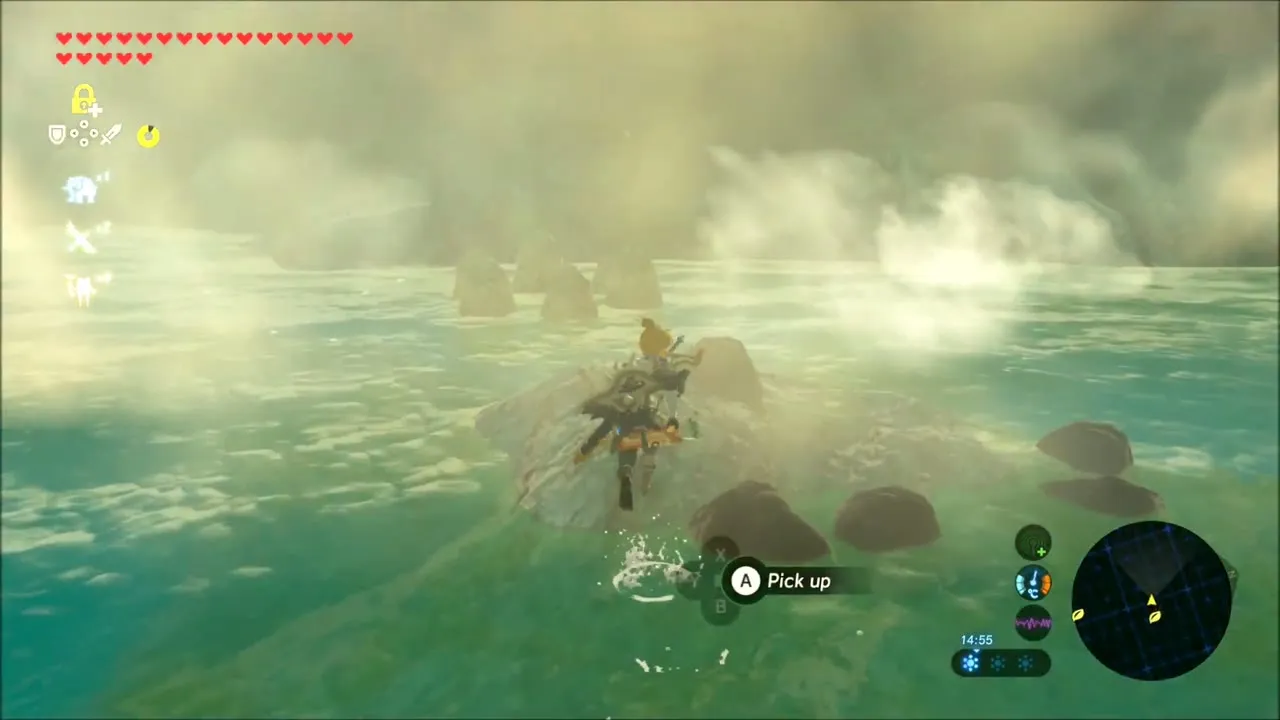
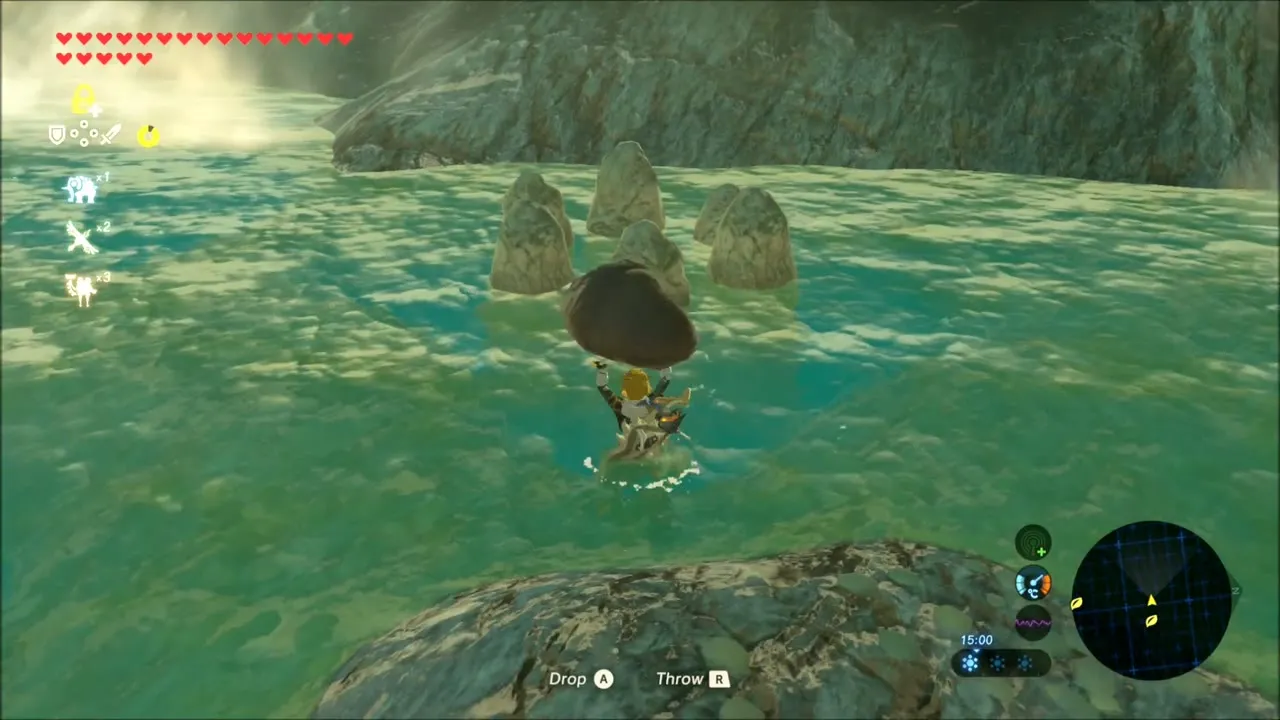
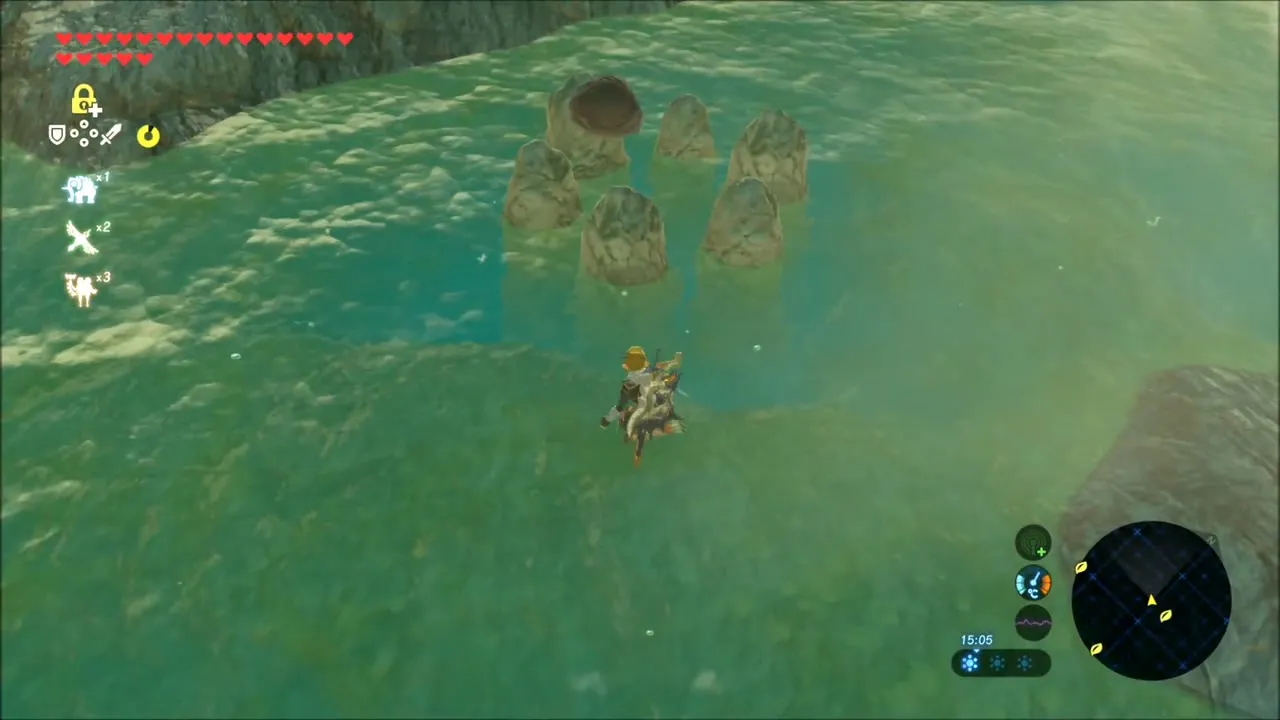
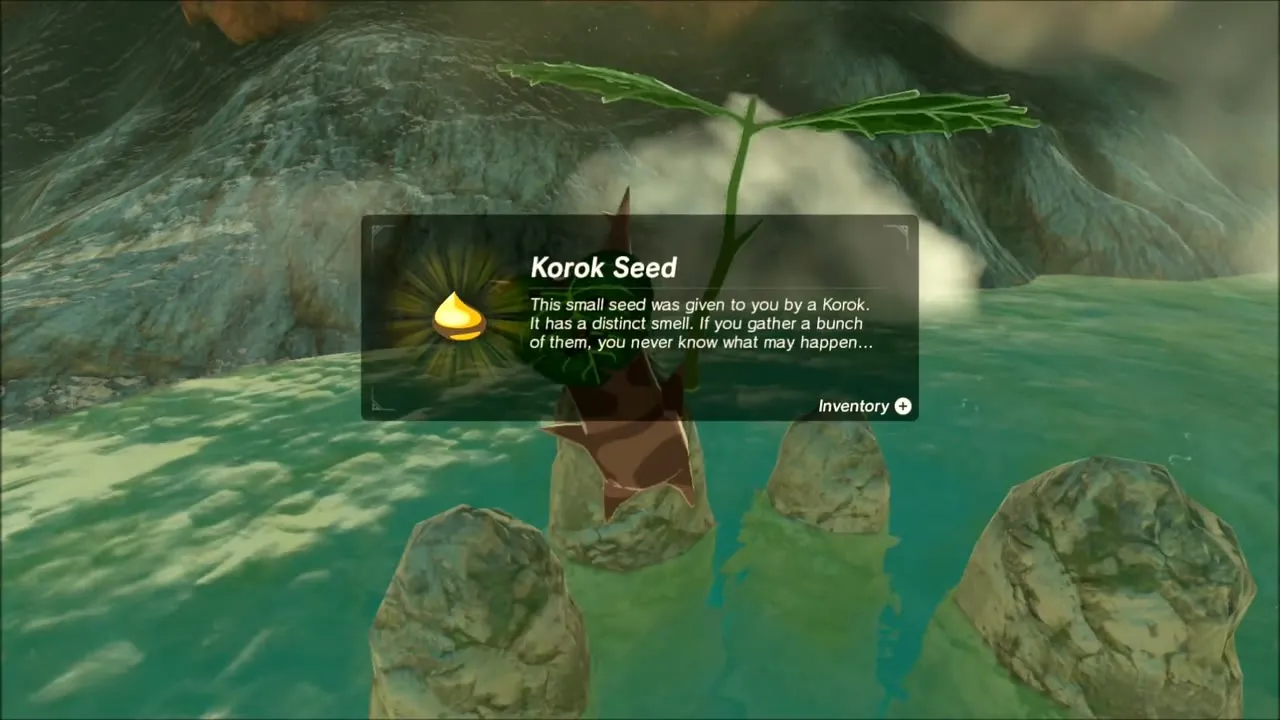
Further along, a row of stone pillars rises from the shallows with a Korok holding a leaf over them. Carry rocks into the water and set them on the empty pillars to finish the pattern for another seed.
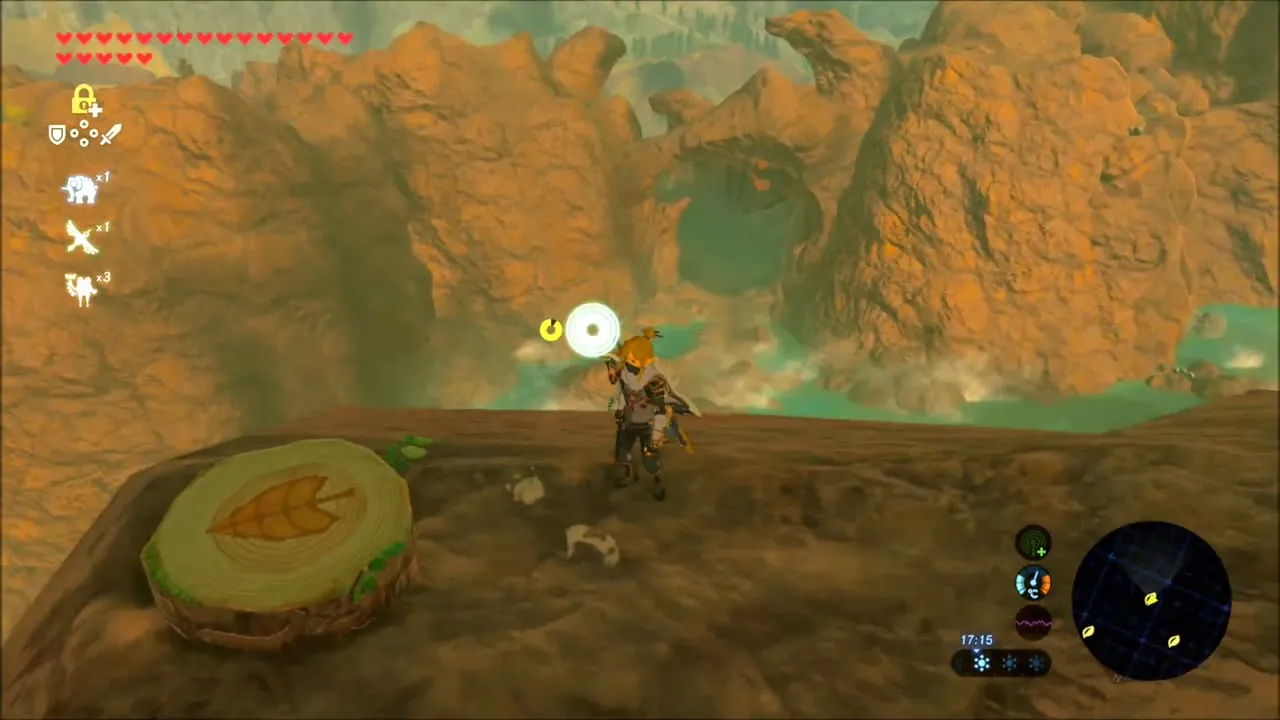
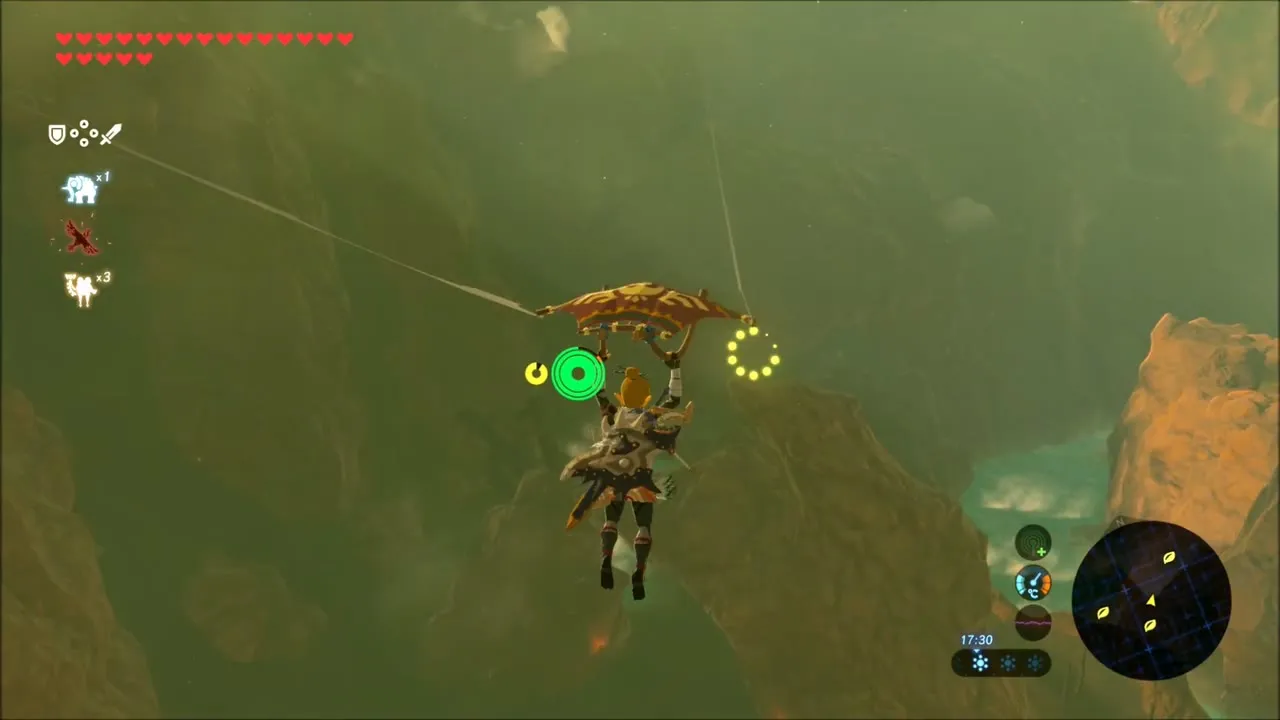
High up on the cliff, a leaf-shaped stone slab on a ledge starts a gliding challenge. Step on it, then glide through the ring of lights that appears and land safely for a Korok seed.

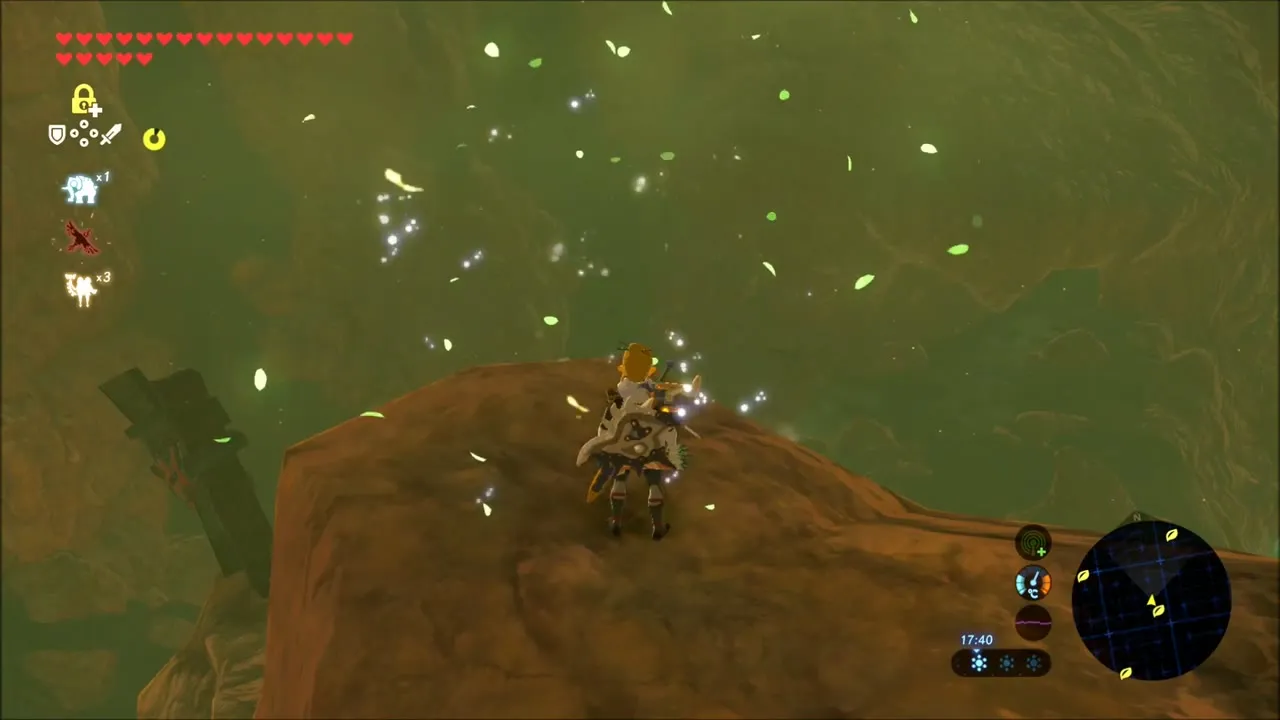
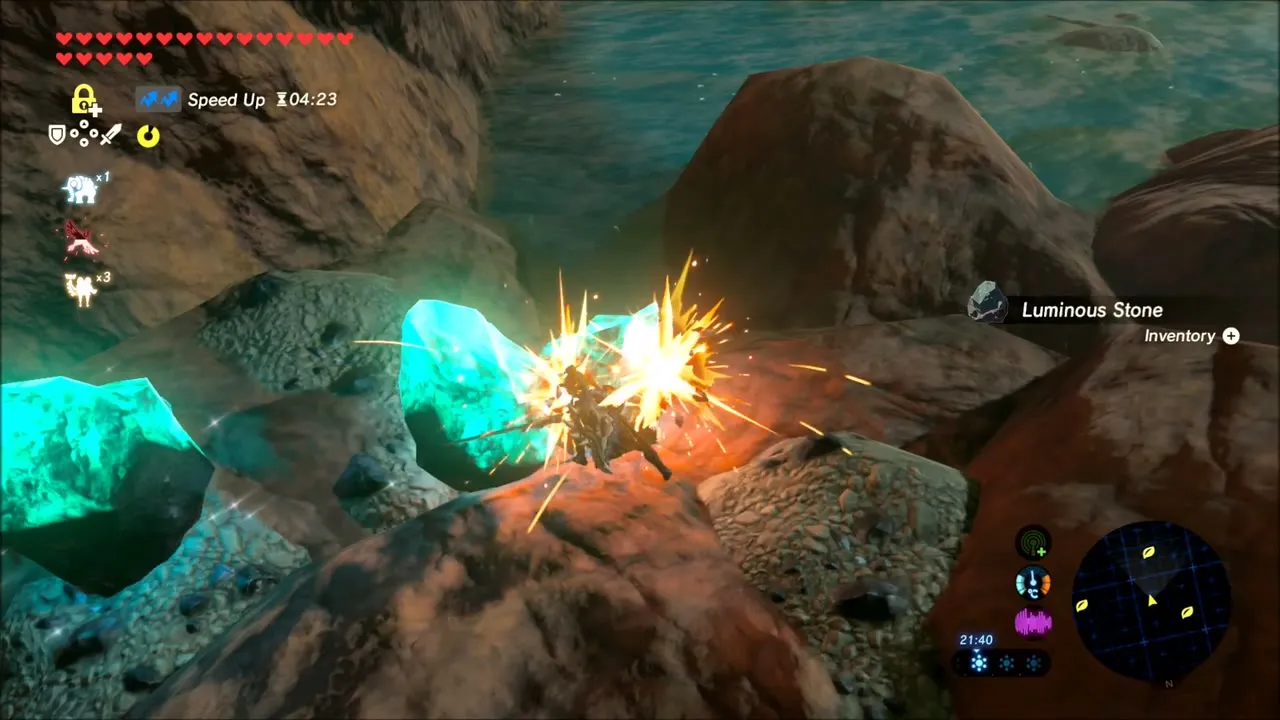
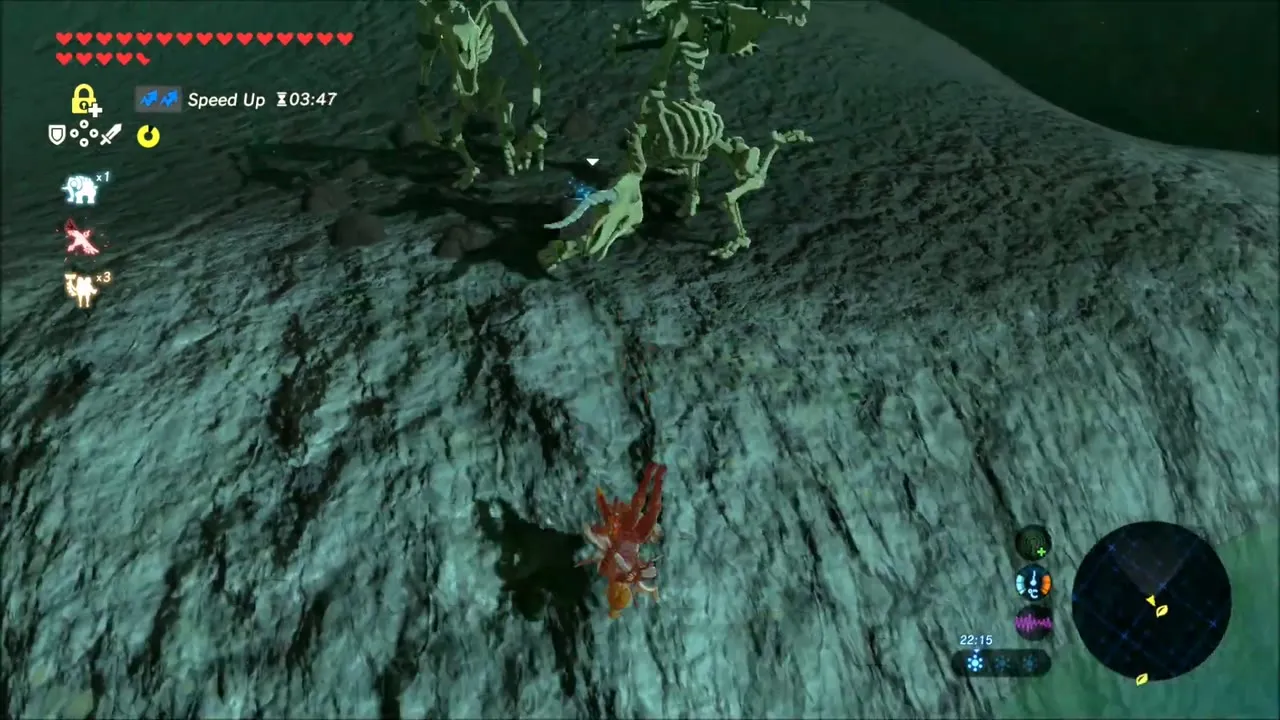
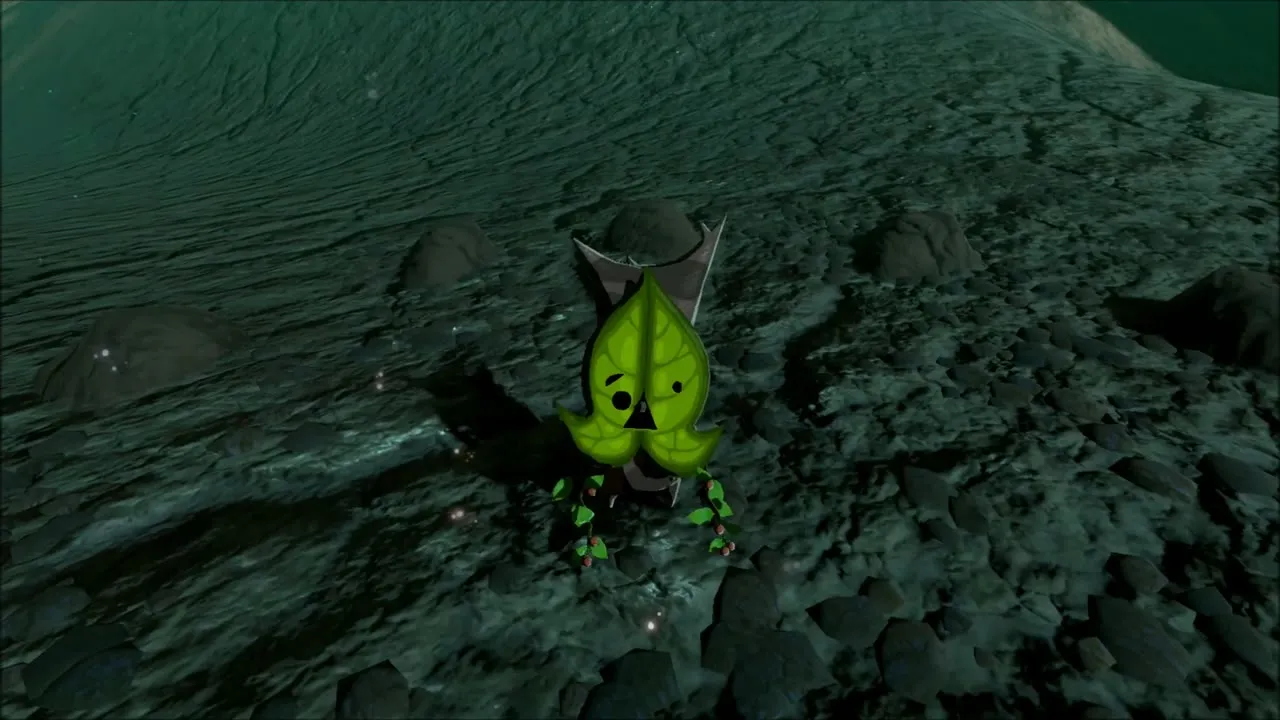
Gather a few Luminous Stones along the dark shoreline, then pick up a rock, carry it across the shallows past the skeleton pile and set it down where the Korok is waiting for a seed.


Tah Muhl Shrine: Passing the Flame and the Landscape of a Stable
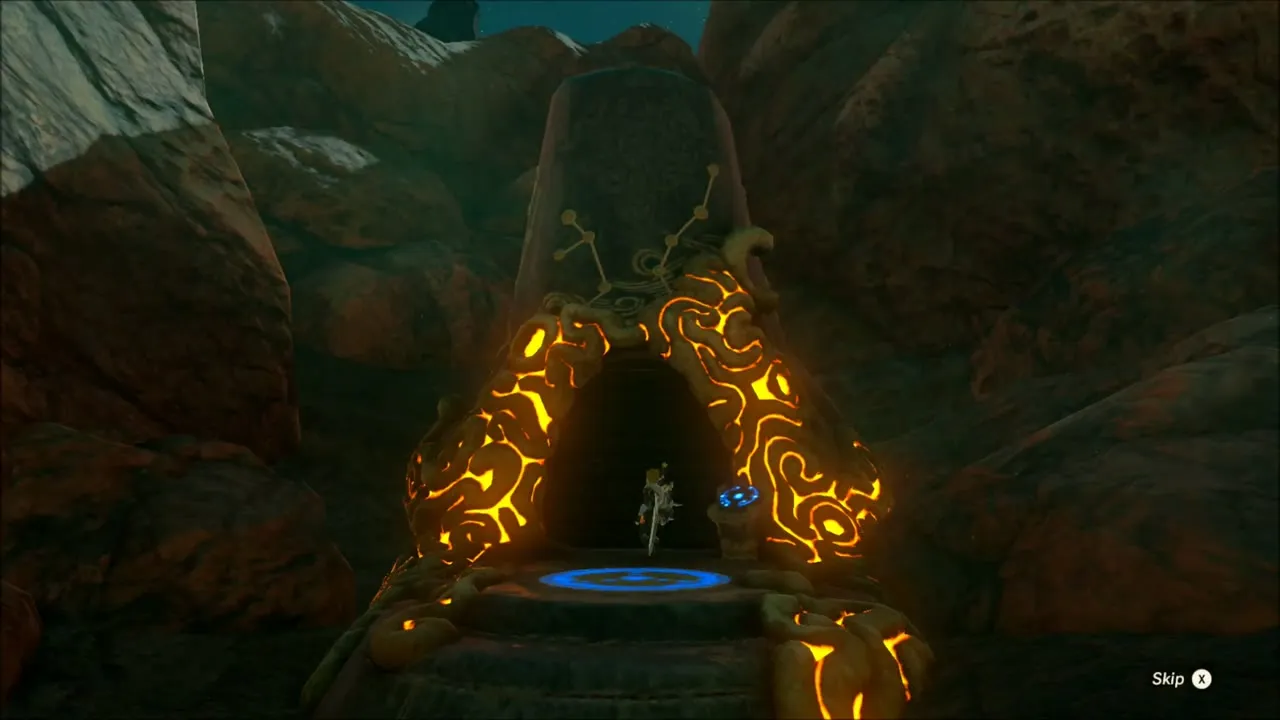
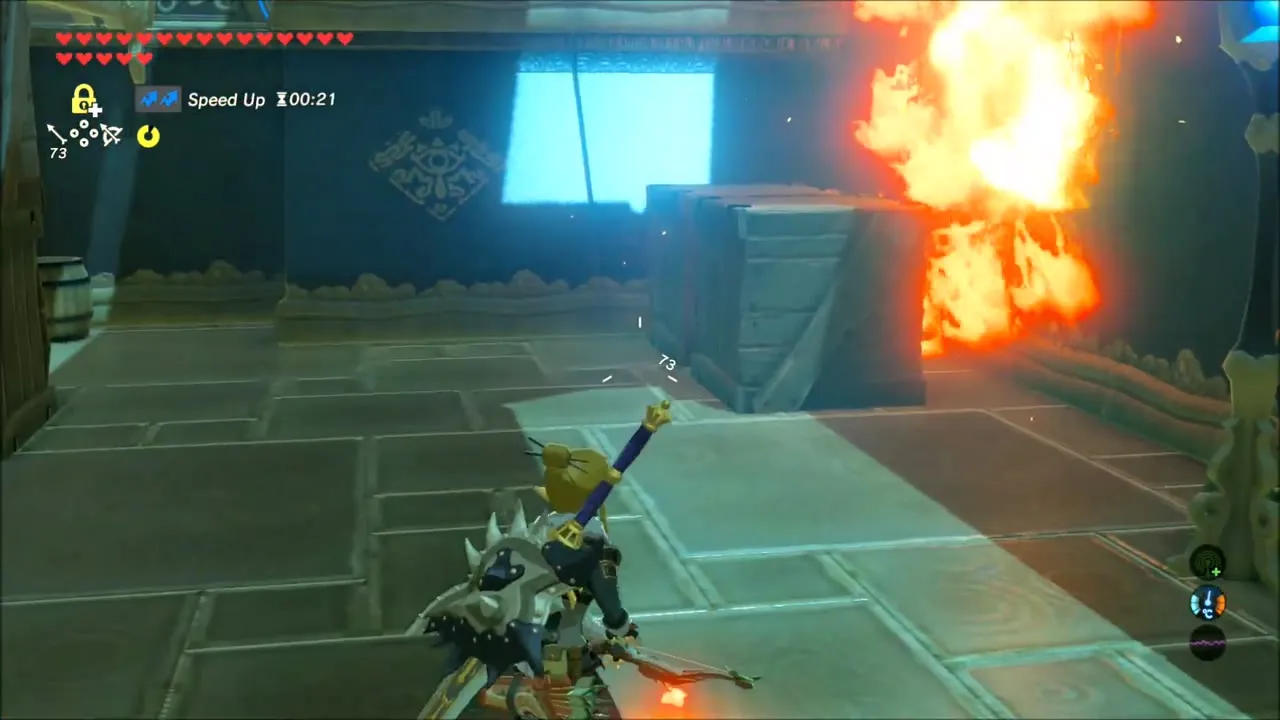
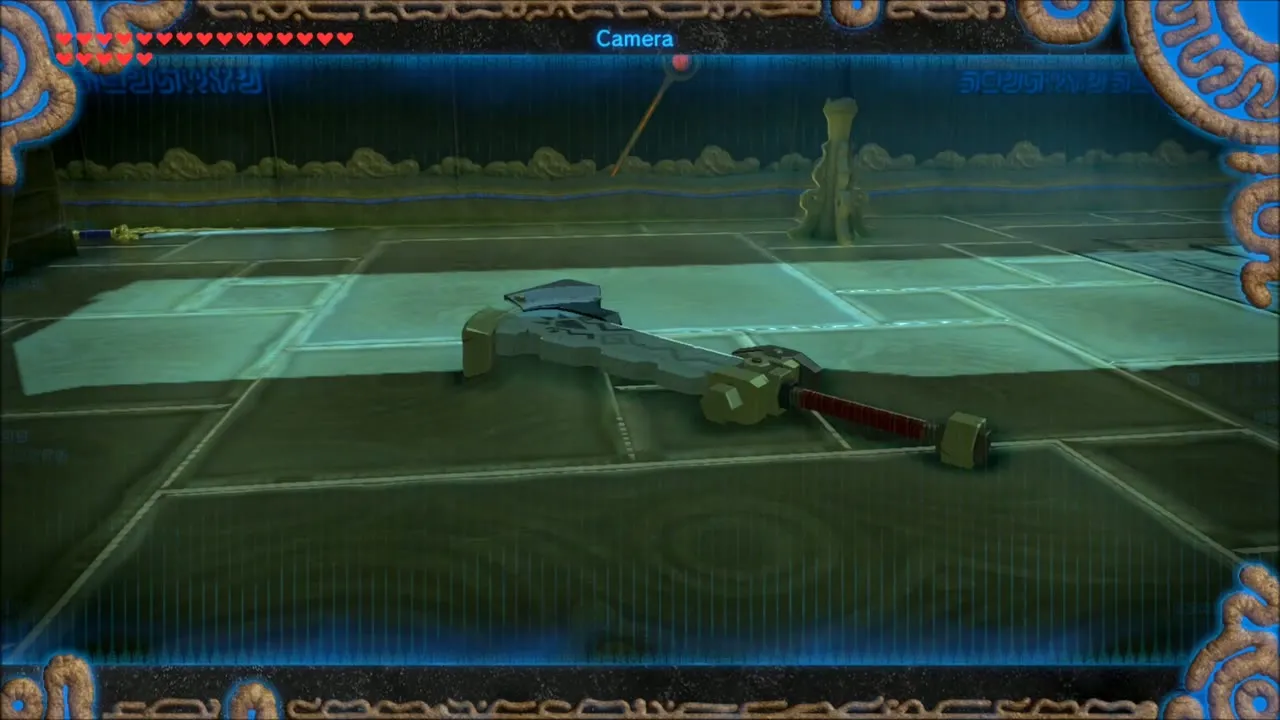
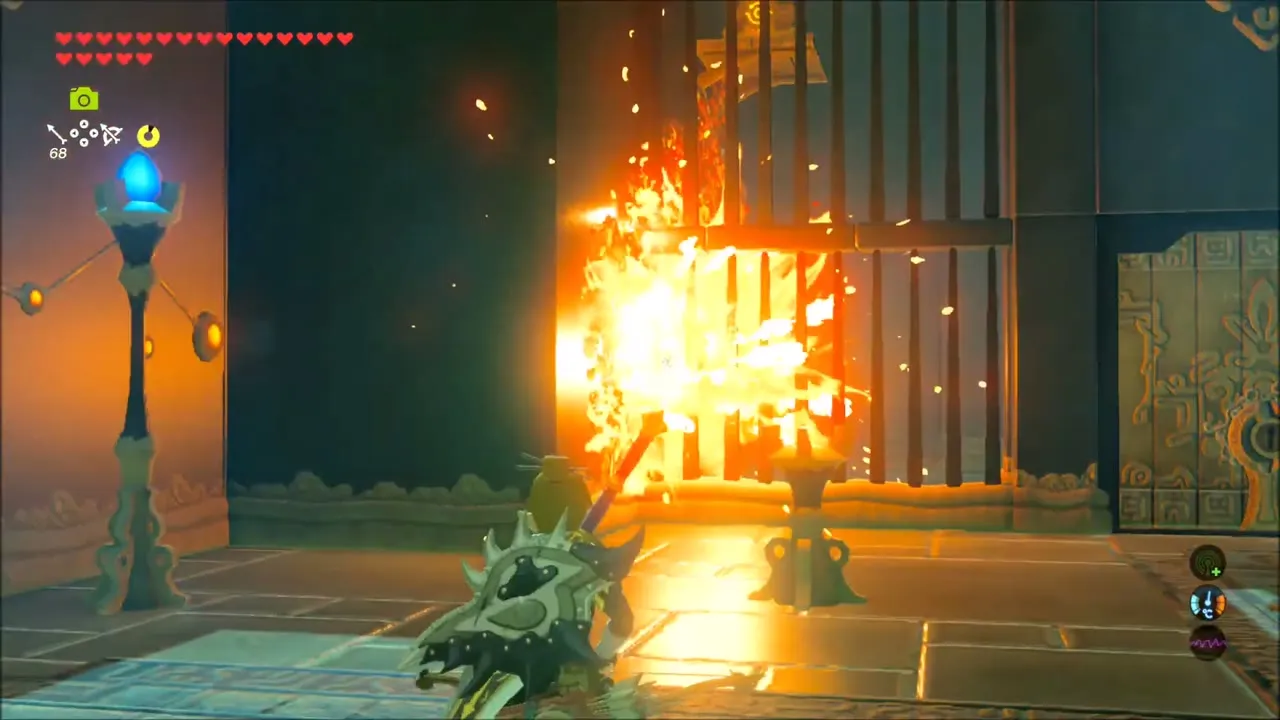
In Trilby Valley, line up the view from Mayro’s painting to finish A Landscape of a Stable, and the shrine appears below a small rock arch (x 2301, z -941). Inside Tah Muhl Shrine, use a torch or fire arrow to burn the vines and the crates under the walkway so it falls as a bridge. The side chests hold a Stone Smasher (tier set by difficulty scaling), a Ruby and a Small Key; use Magnesis to carry the key over the wall to unlock the last door, then take the Spirit Orb from the monk.


Korok Seeds on the Rock Spires
Glide between the tall rock spires of the canyon. One Korok sits in a cave below a spire, and another on a dark slab under a natural stone arch; carry a rock to the slab to complete the second one for another seed.

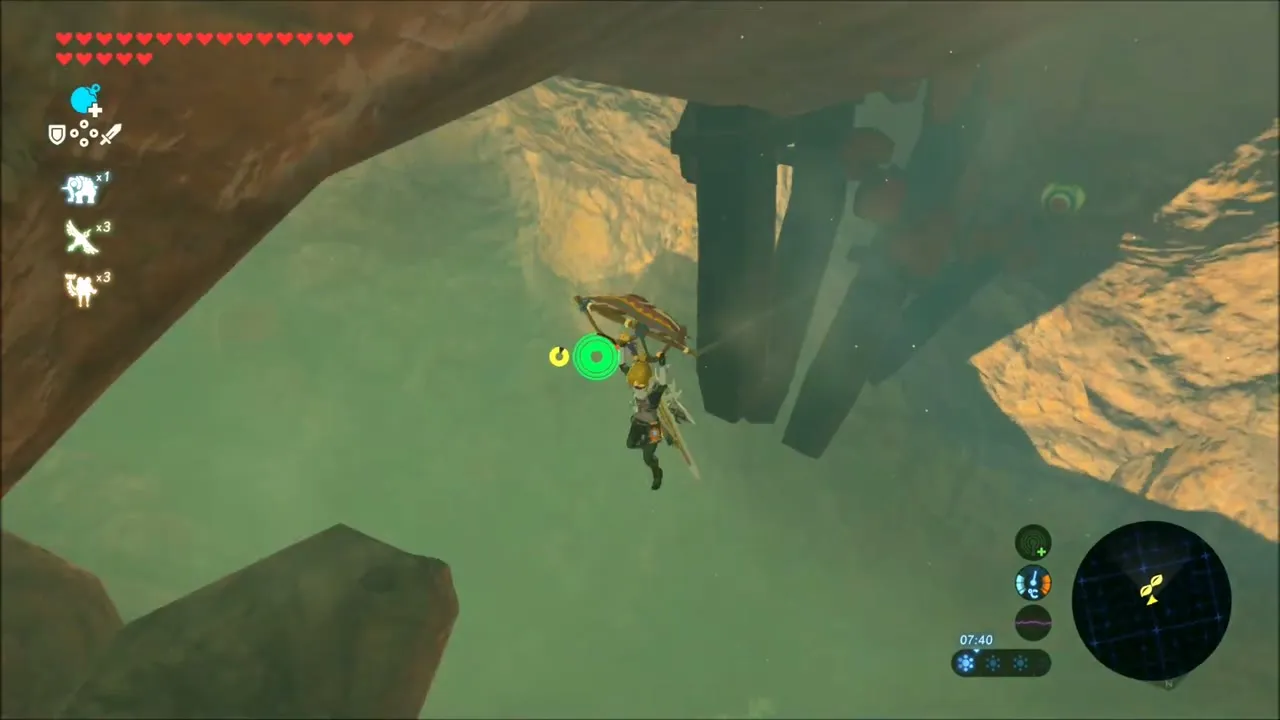
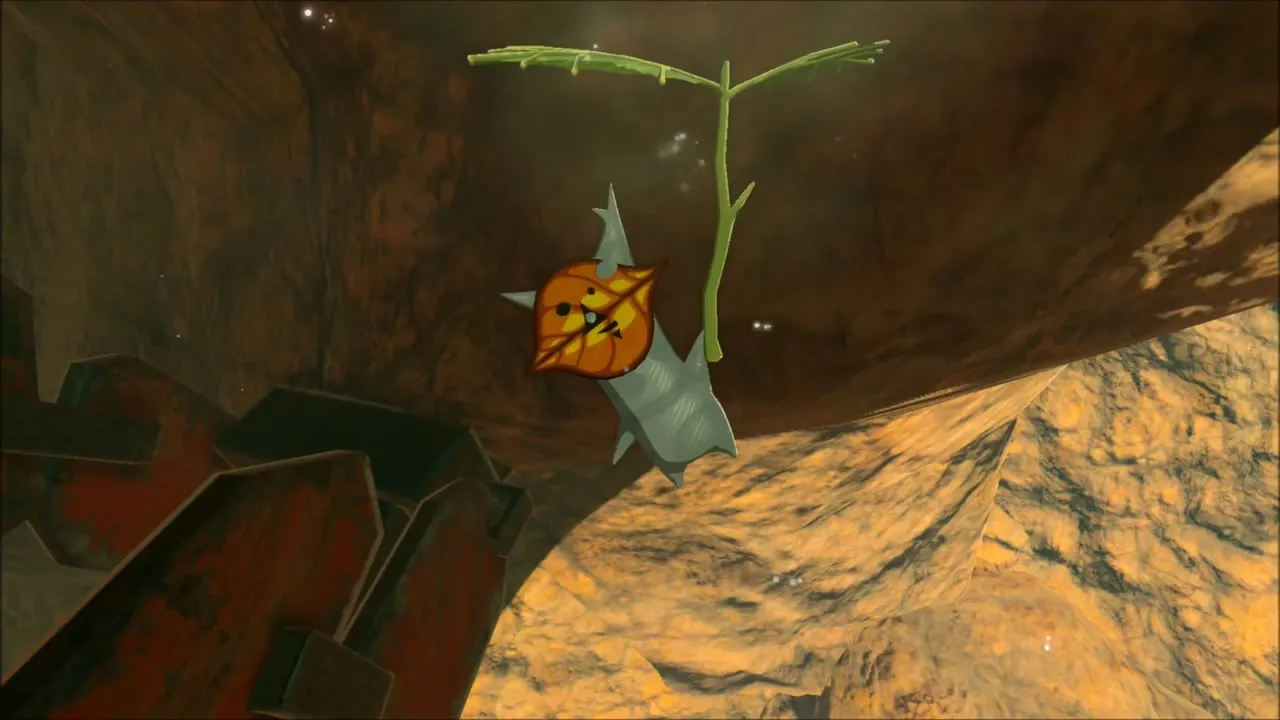
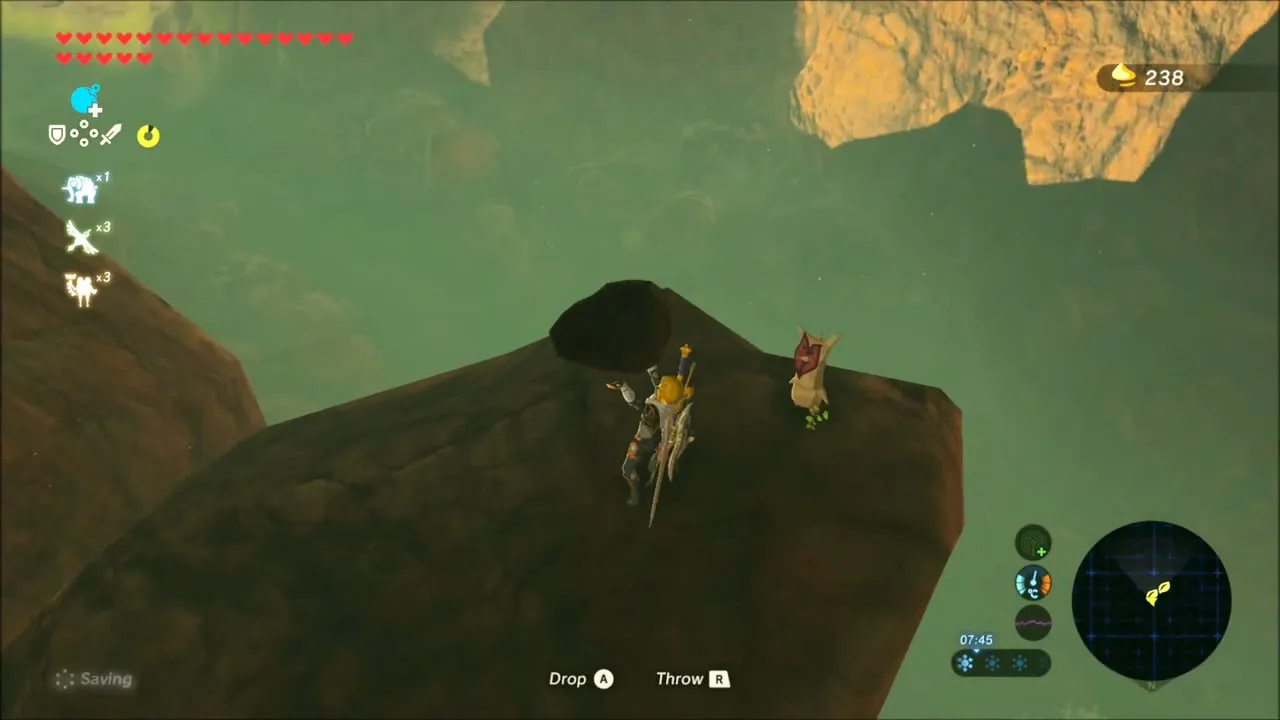
Lava Field Korok, Dark Cave Korok and Ice Arrows
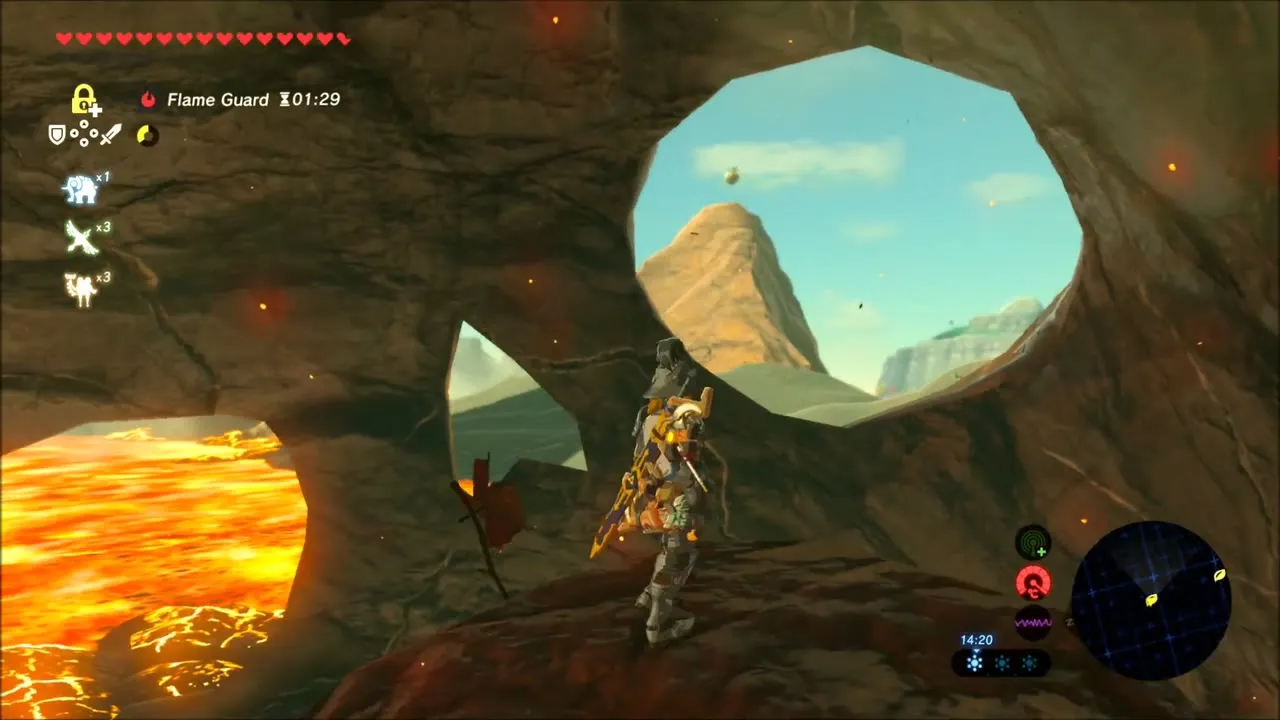
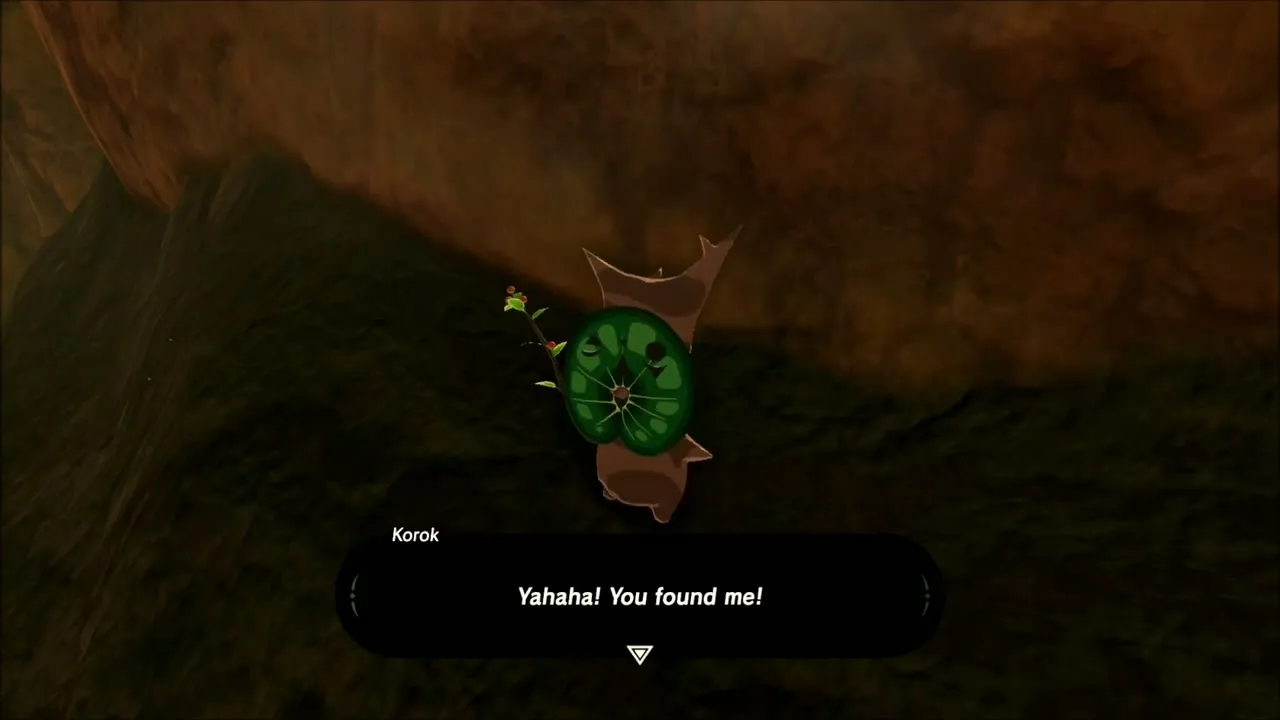
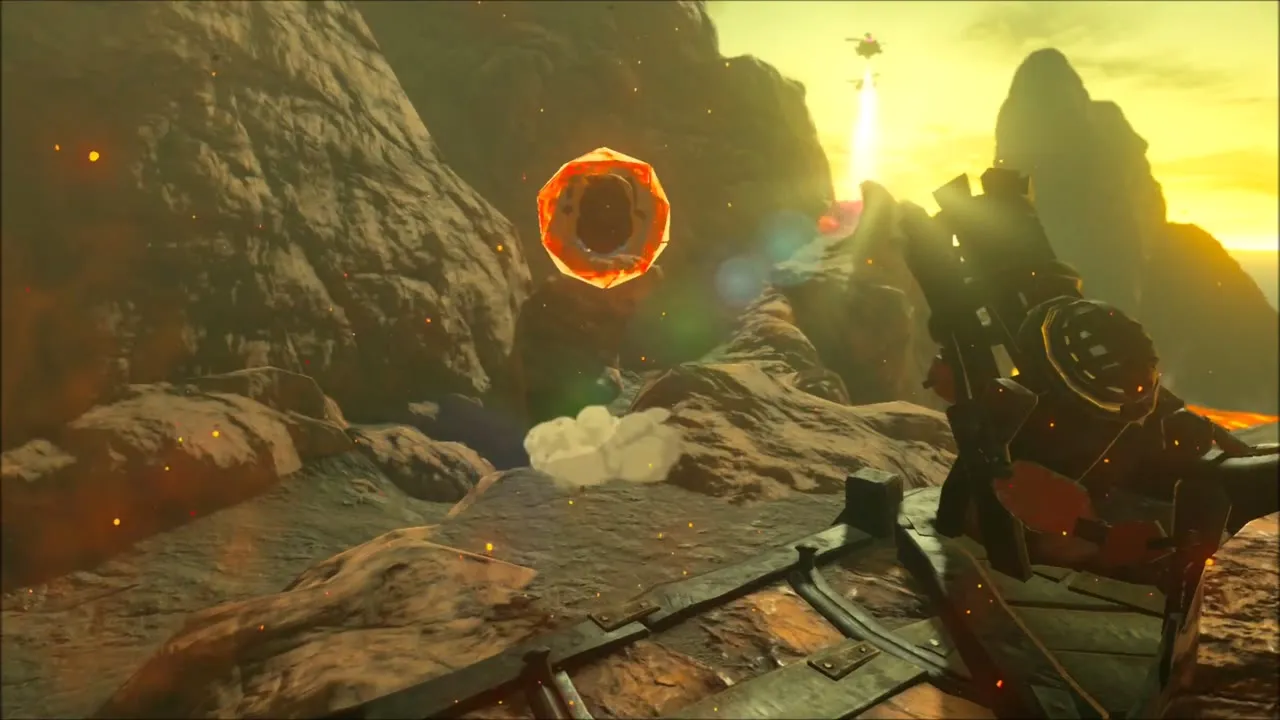
Drink a Flame Guard elixir or wear fireproof gear before crossing the lava field. From the rocks above it, aim an arrow through the hole in the rock ring and a Korok appears in the lava field for a seed.


Further on, glide from a ledge into a dark pocket where a Korok waits in the dark, then carry on through the cave filled with Chuchus and Bokoblins.


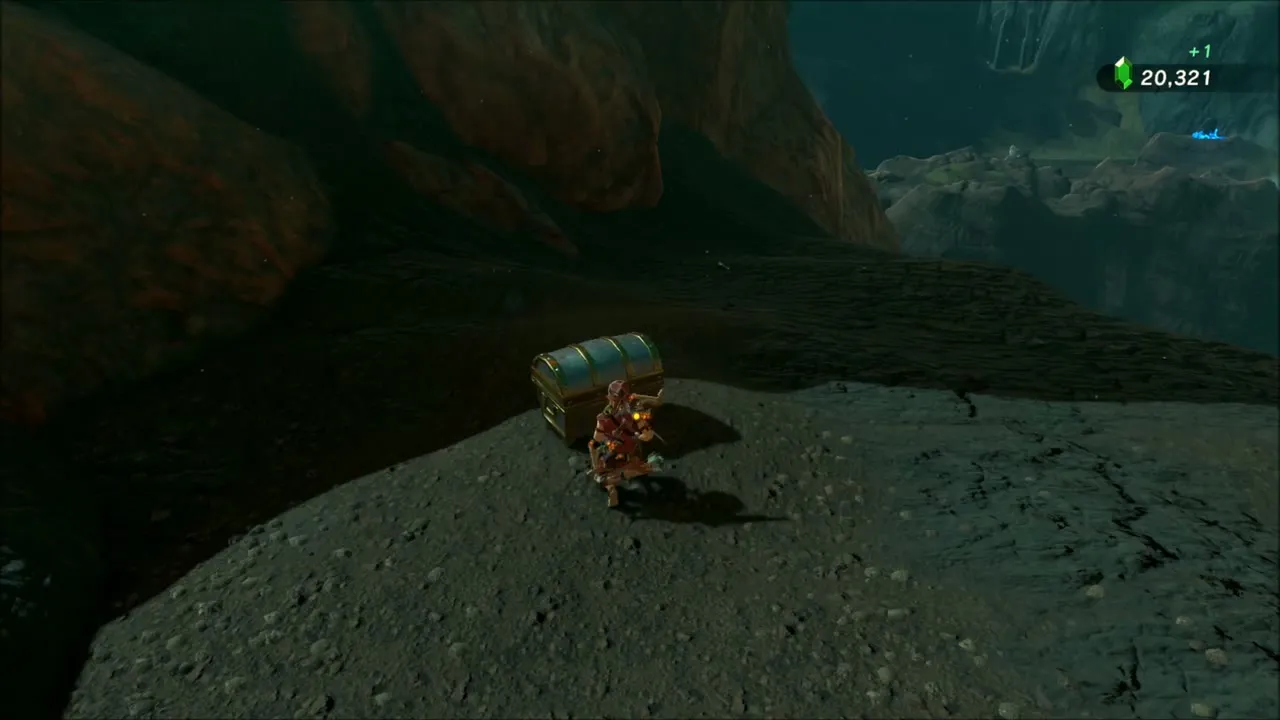
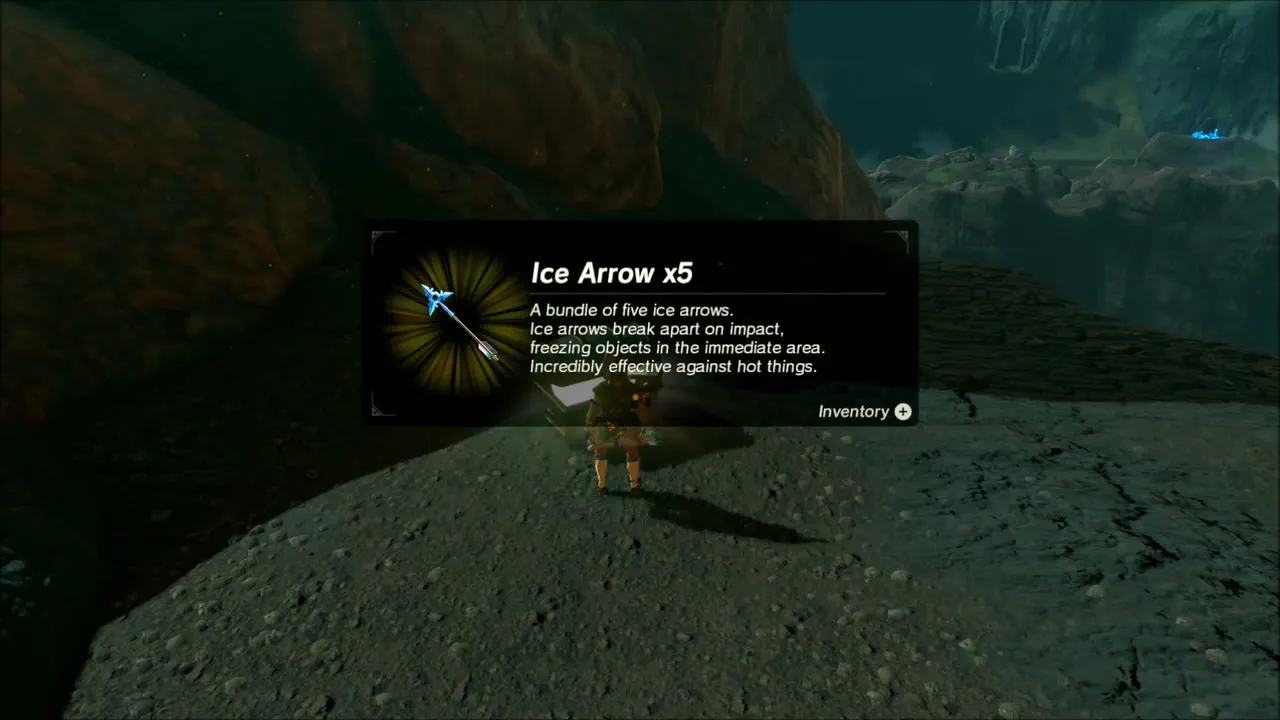
At the end of the dark cave, open the chest for five Ice Arrows.
Eldin Tower
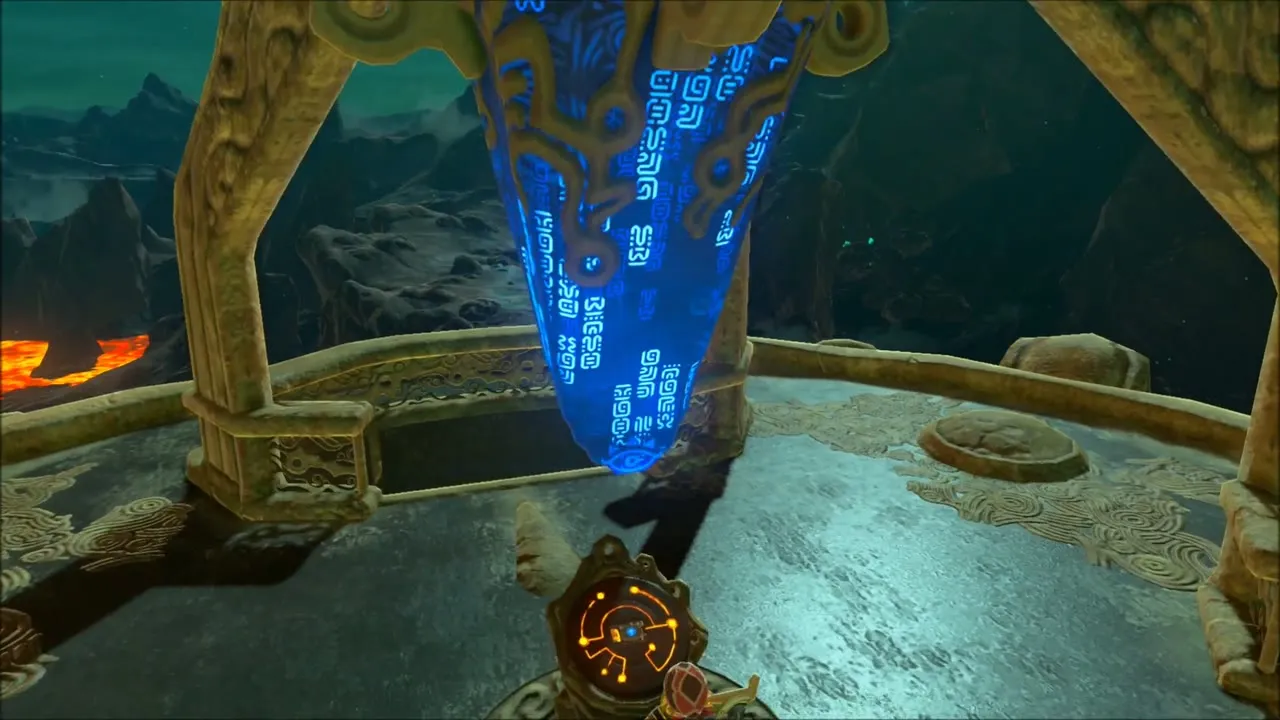
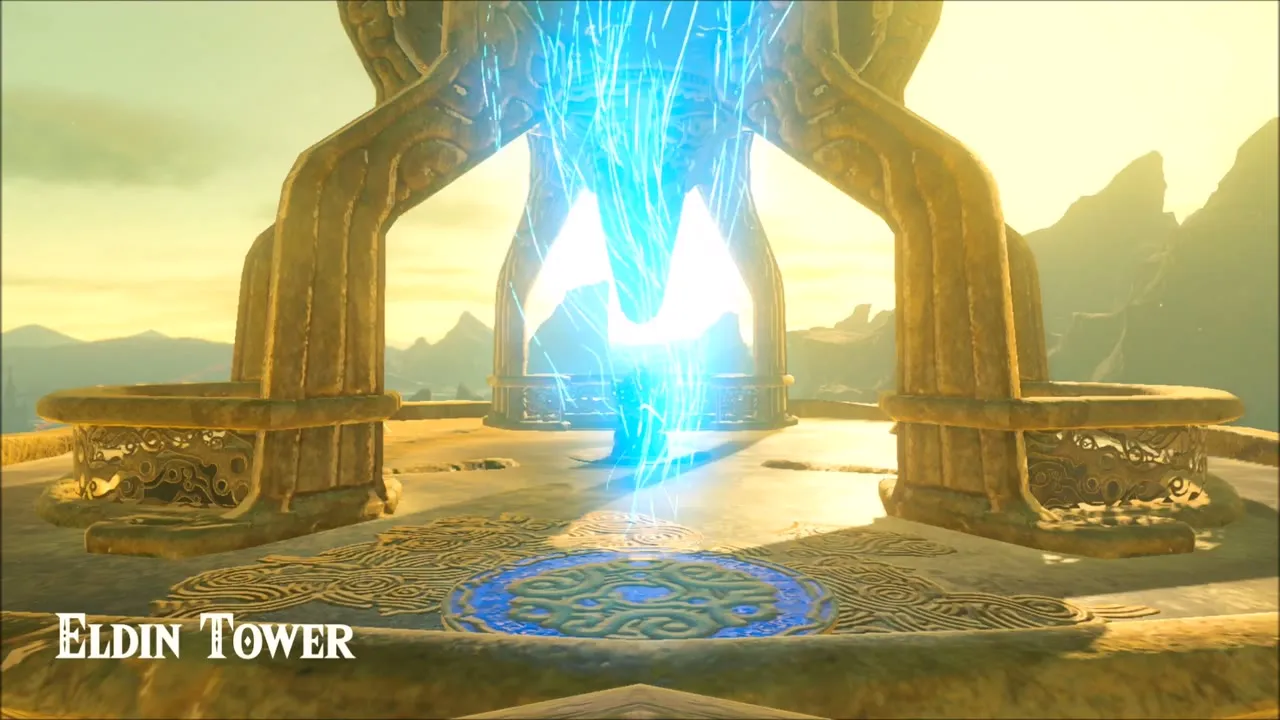
Climb the lava-lit bridge up to Eldin Tower (x 2174, z -1557) and activate it at the top. The tower scans in the Eldin region map.


Eldin Lowlands: Royal Bow, Silver Rupees and Korok Seeds
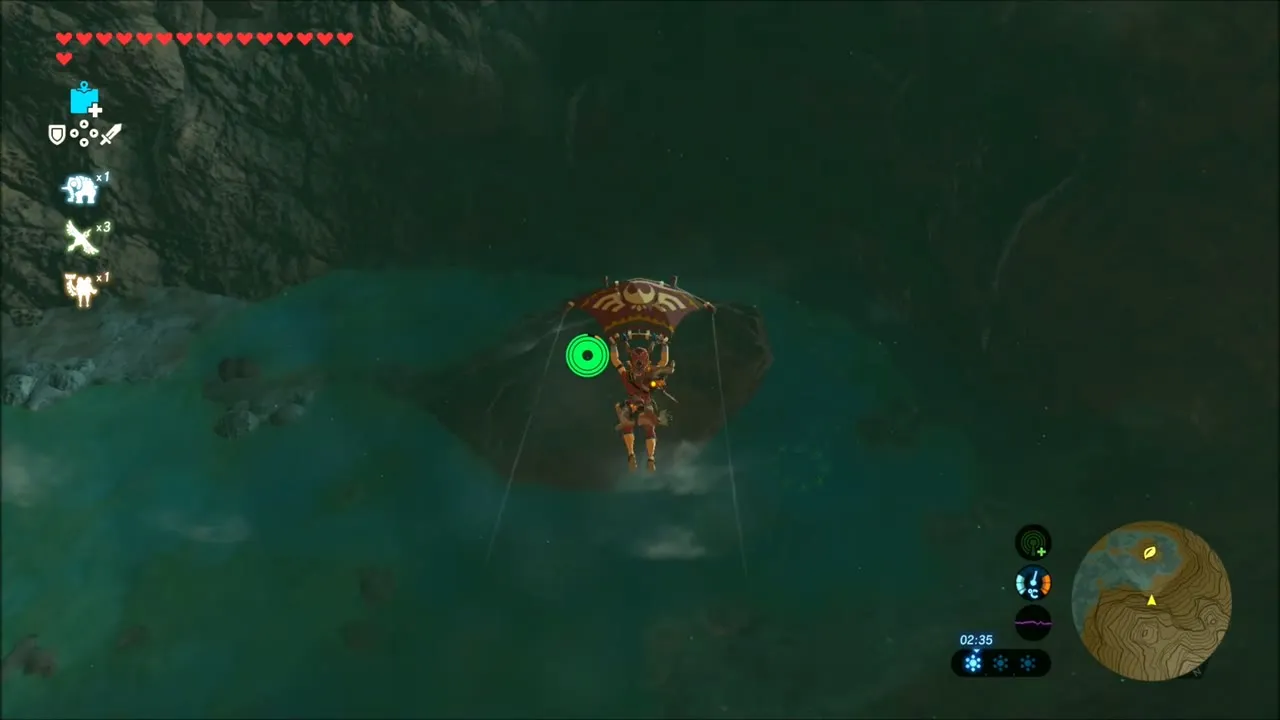
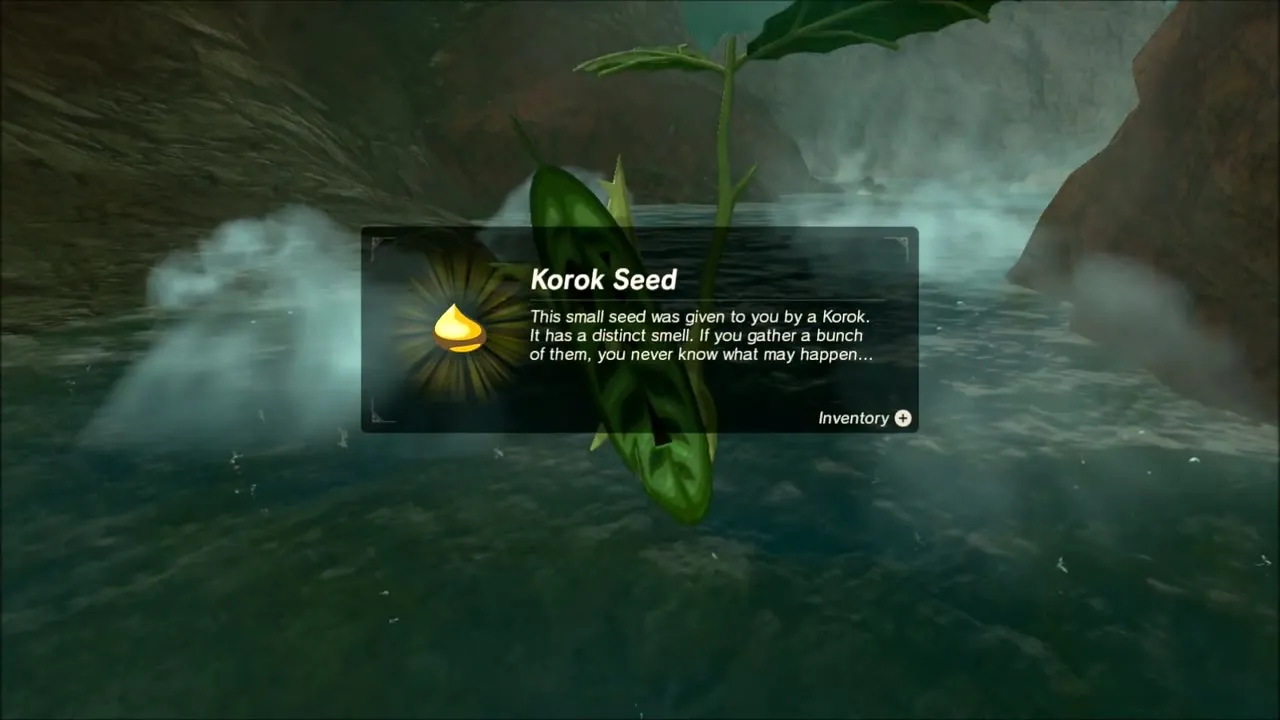
Start from the Sheikah tower platform on the edge of the lava country and glide down over the dark lake below it. Out on the water a Korok is waiting with a seed: swim over to it and it hands the seed over, so the detour is quick before you leave the lake behind.

Fast travel to the green hills and the Royal Bow
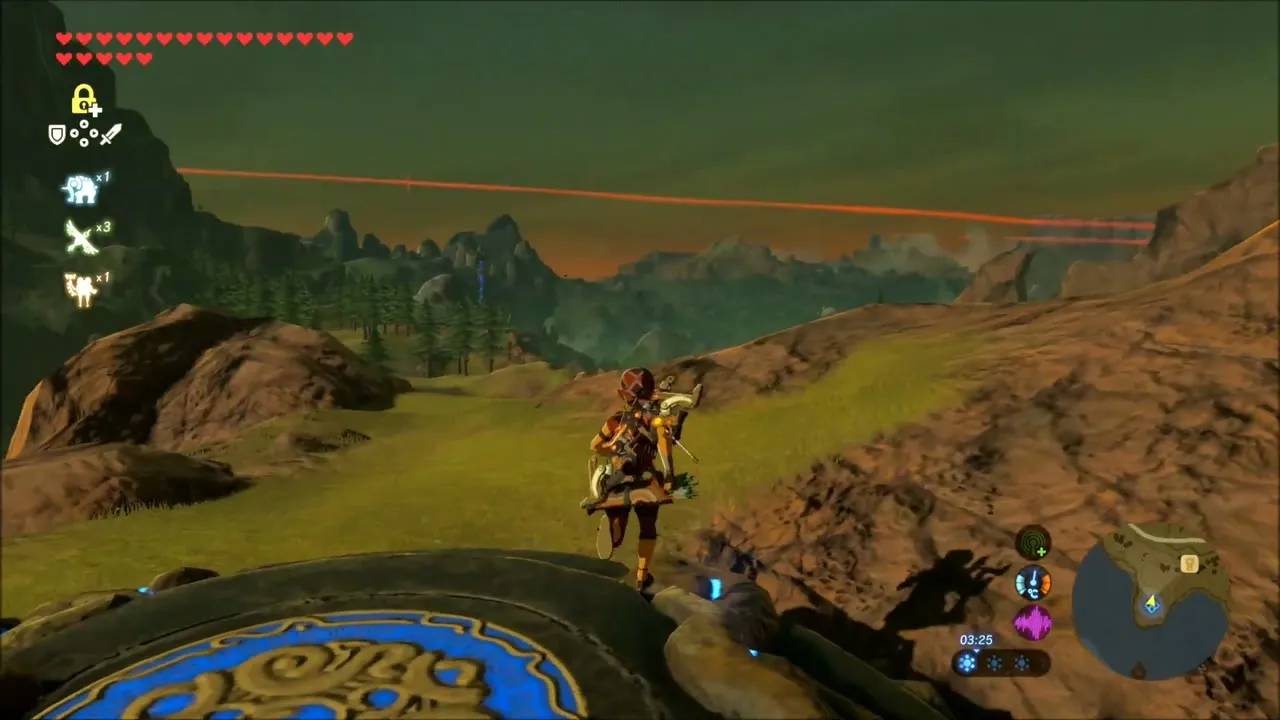
Warp to the tower platform in the grassy hills below Eldin, then work along the slopes. The ground is dotted with Bokoblin camps. Clear them and climb the wooden lookouts that stand beside the camps: the chest on one of these platforms holds a Royal Bow (tier set by difficulty scaling), a multi-shot bow worth carrying into Eldin.


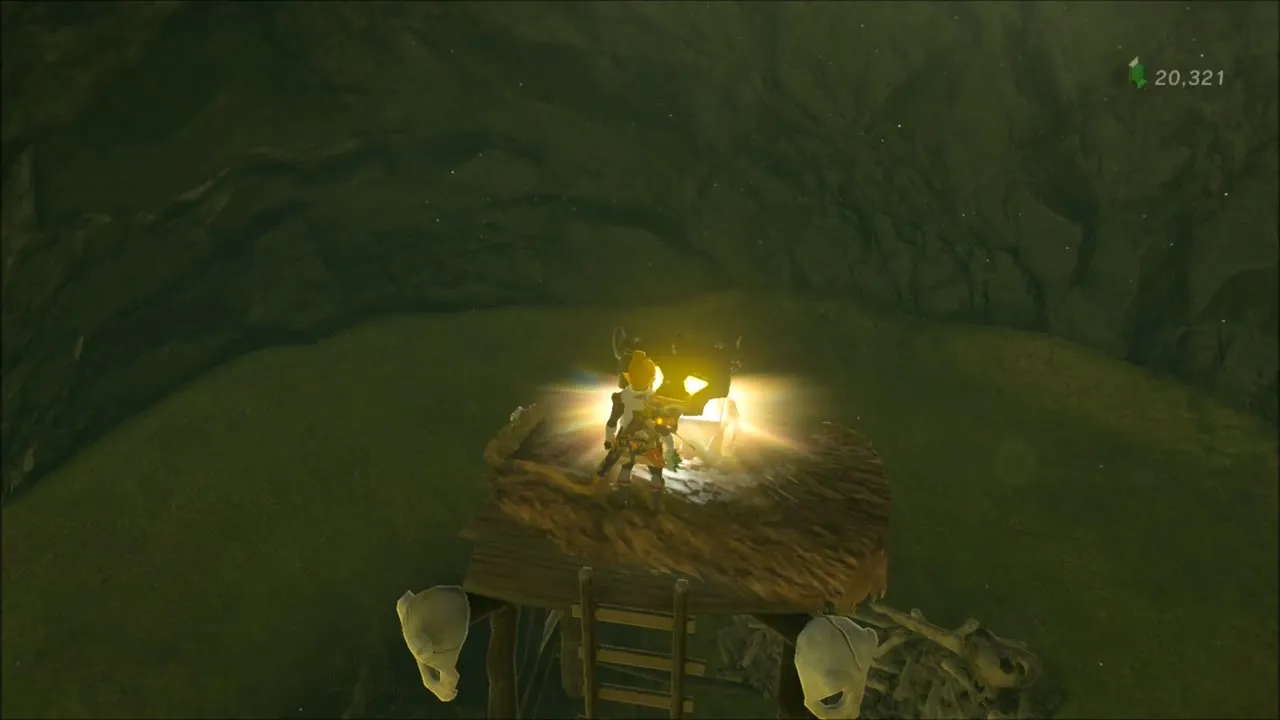
Keep going through the hills for more loot. A chest on a ladder lookout in the next camp holds a Silver Rupee (worth 100 Rupees), and a second Silver Rupee sits in a chest inside a small cave in the rocks farther on. A Korok seed rewards you for climbing a lone mound of earth in the middle of the valley: stand on top and the Korok pops out.


Fireproof Lizards and the Bokoblin tower
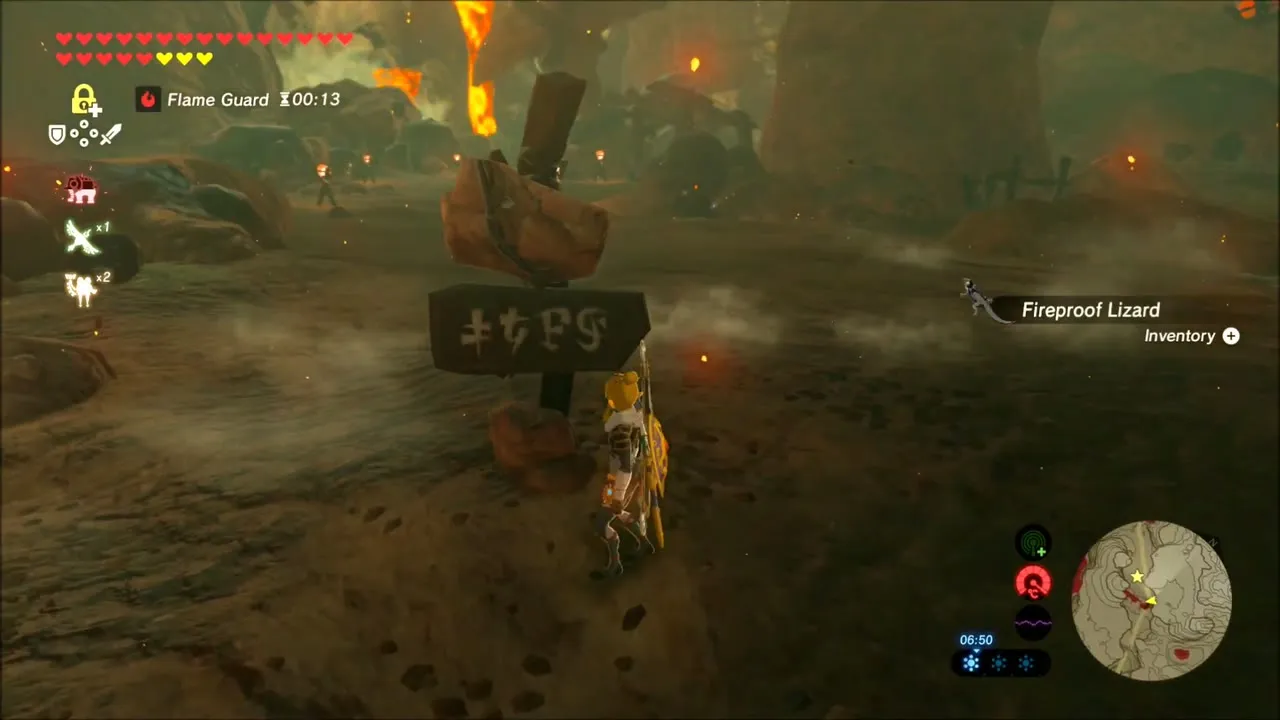
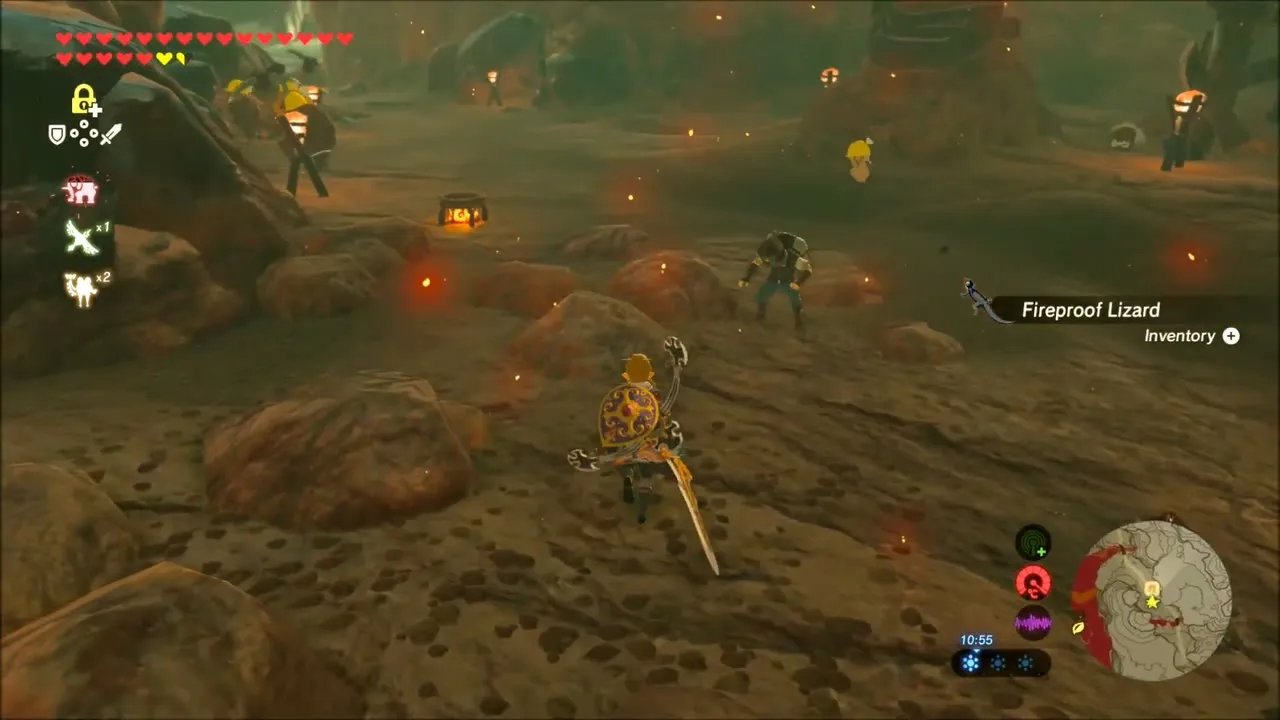
Along the rocky slopes you can catch Fireproof Lizards for Fireproof Lizard Roundup. Creep up on them, or photograph one with the Camera first so the Sheikah Sensor can track more. Collect ten: Kima in the Southern Mine pays for them with armor later in this route.


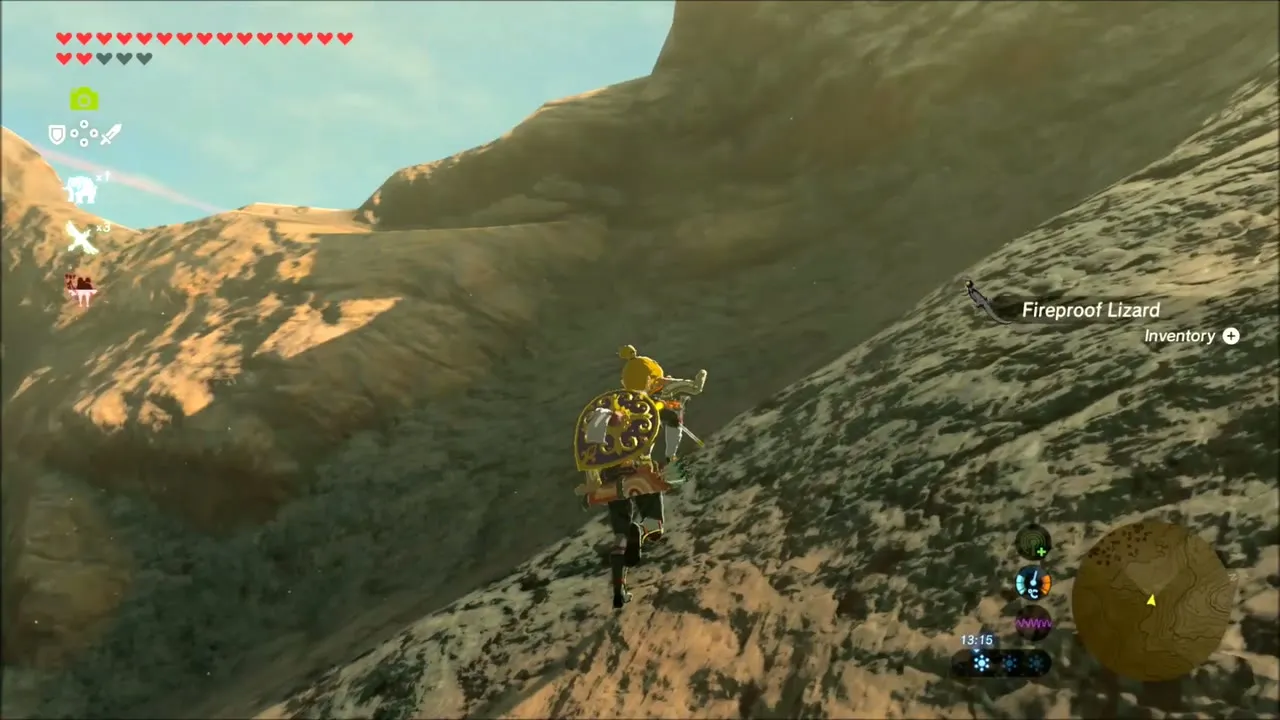
Before heading back to Eldin, take the big wooden Bokoblin lookout in the grass. Fight your way up the stairs and open the chest on the top deck. When you are done, fast travel to Eldin Tower.


Qua Raym Shrine: A Balanced Approach
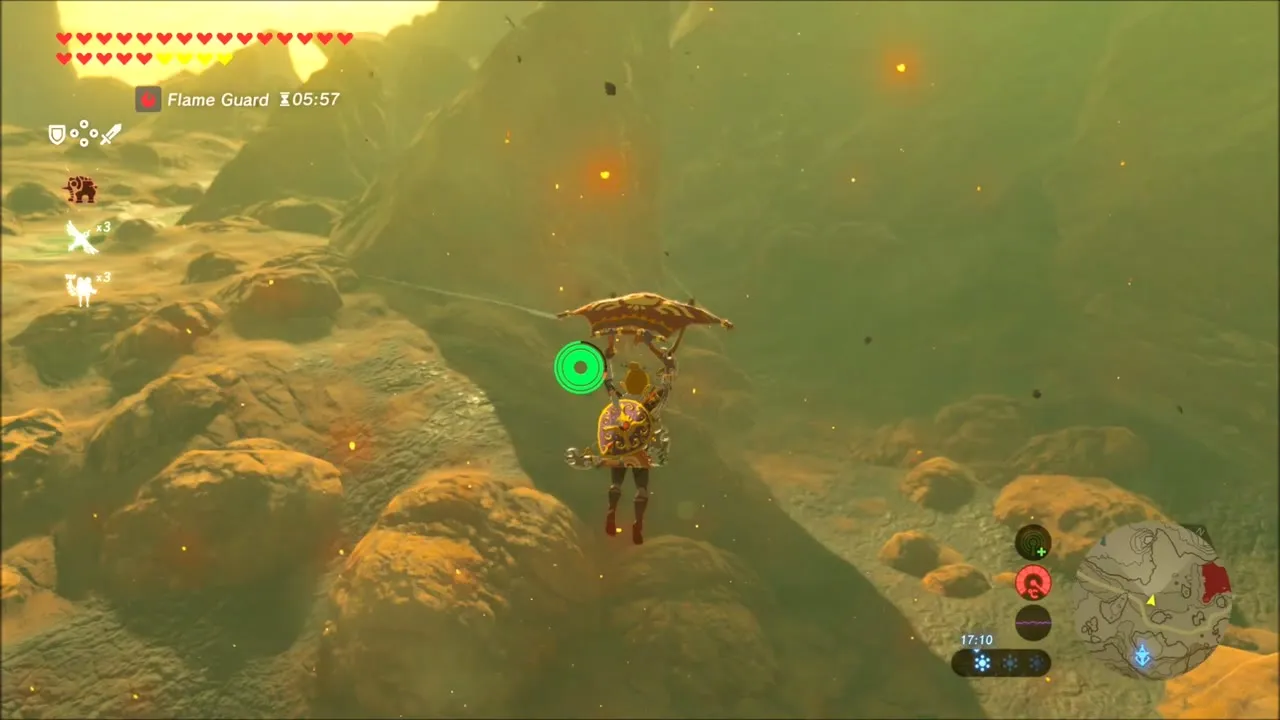
Eldin is hot enough to hurt you, so eat a heat-resistant dish or equip Flamebreaker gear before leaving the tower (the Flame Guard effect is active here), then glide down into Eldin Canyon. In a cave with a warm green pool a Korok seed is hidden: find the Korok at the back of the cave and take the seed, then continue to the cliffs above Goronbi Lake.


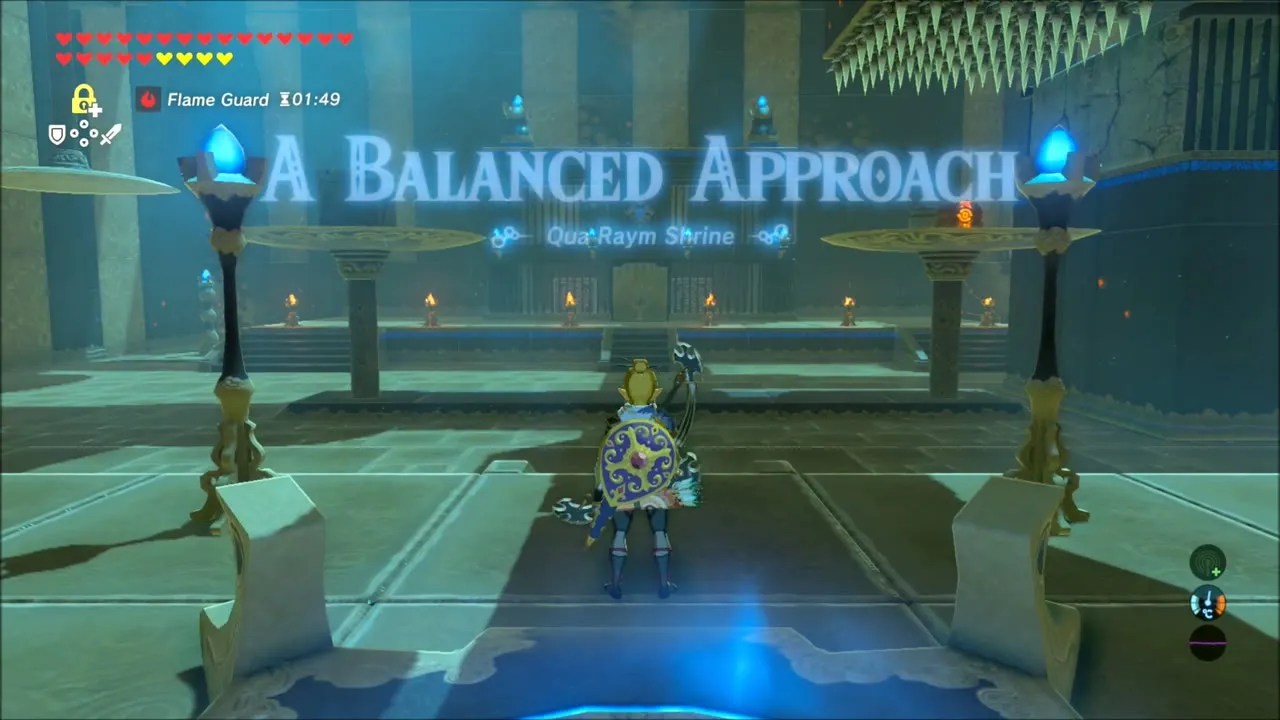
Glide across the lava of Goronbi Lake to the island where Qua Raym Shrine (trial: A Balanced Approach, x 1820, z -1518, height 401) stands. It is a Magnesis weighing puzzle. Burn the wooden block on the low side of the first scale to reach a chest with a Small Key, unlock the door for the metal cubes and use them as counterweights to lower the chest at the far end. That chest holds a Knight’s Claymore (tier set by difficulty scaling). Finally ride a scale up to the monk and take the Spirit Orb.


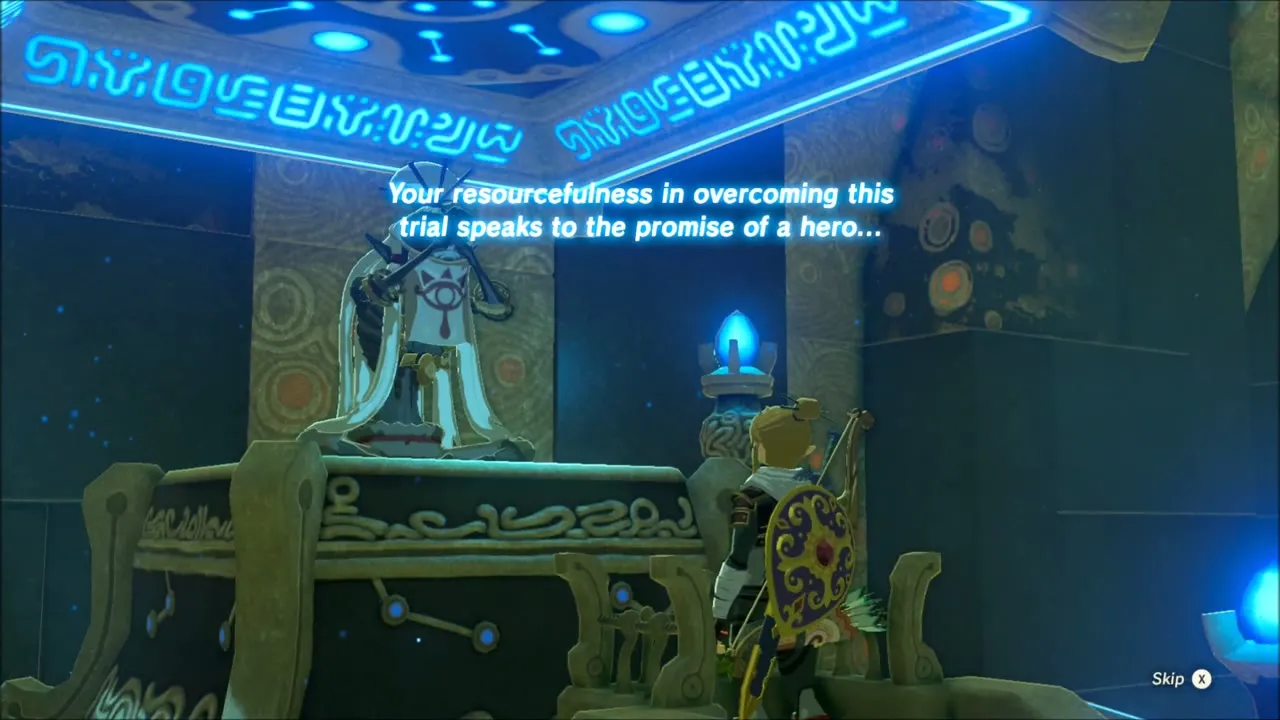
Igneo Talus and Flamebreaker Armor
Head back over the dark ridges toward the Southern Mine. On the way an Igneo Talus rises from the rock. Fight it on the slope, hit the ore deposit on its back and collect the amber and other ore it drops.

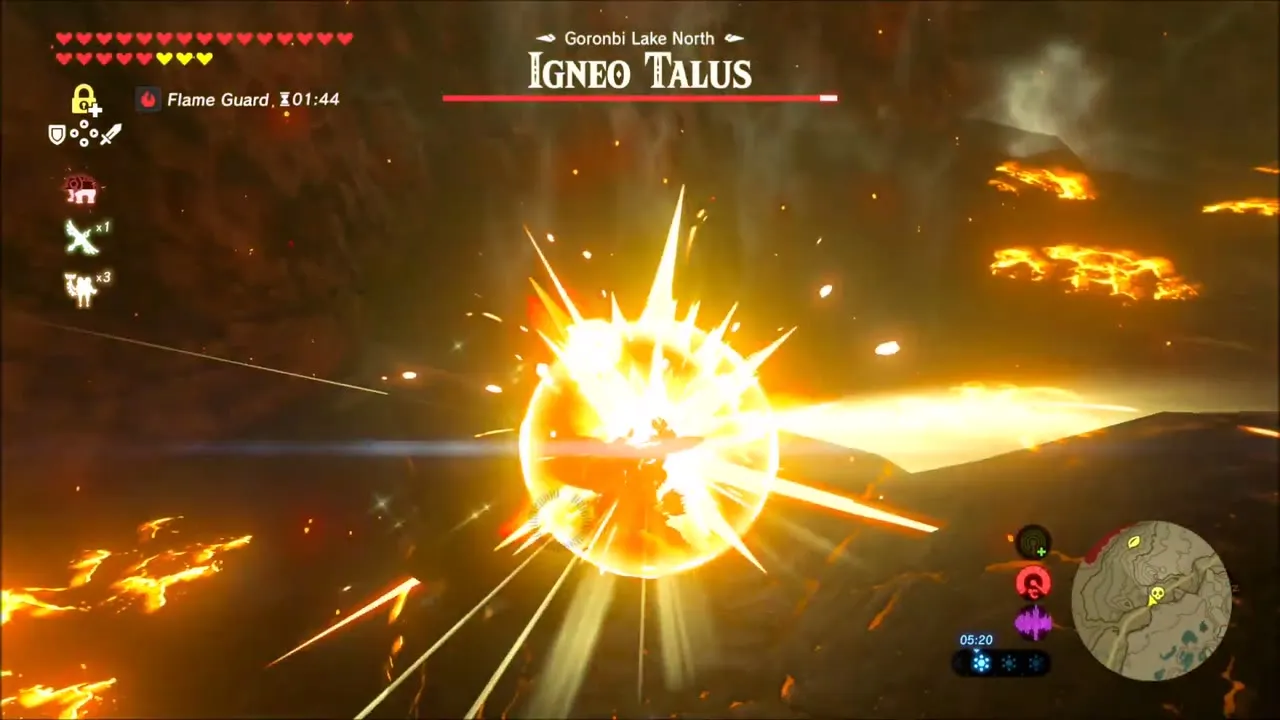

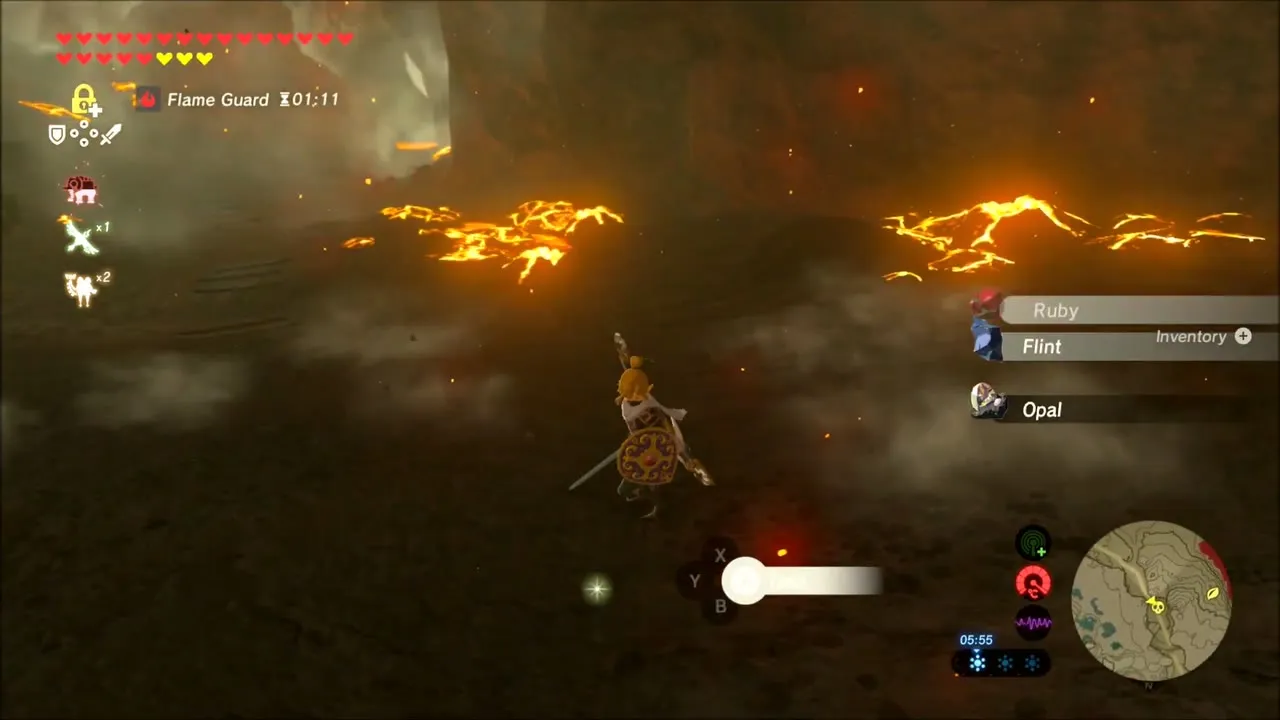
Kima’s Flamebreaker Armor
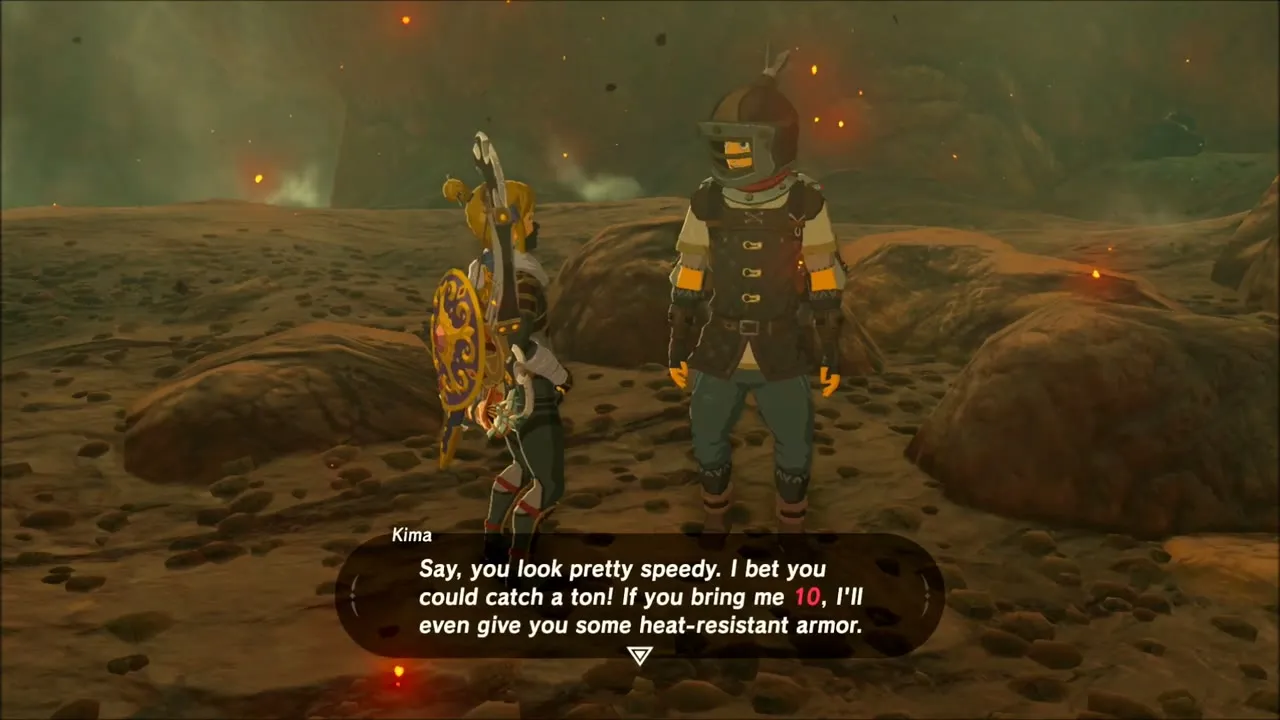
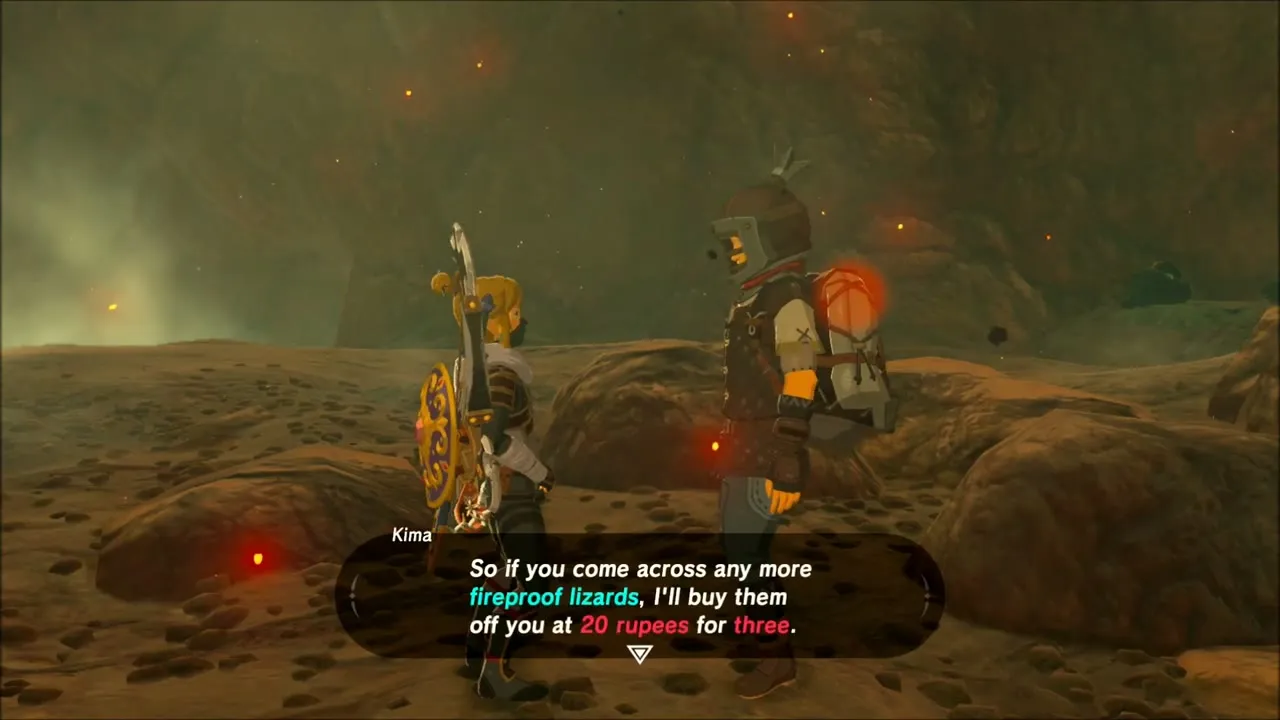
Enter the Southern Mine (x 1658, z -1974) and talk to Kima, the only non-Goron there. He wants ten Fireproof Lizards, so hand them over to complete the quest and take the Flamebreaker Armor. Afterwards he buys three lizards for 20 Rupees.

From the Ground Up: Greyson and Hudson
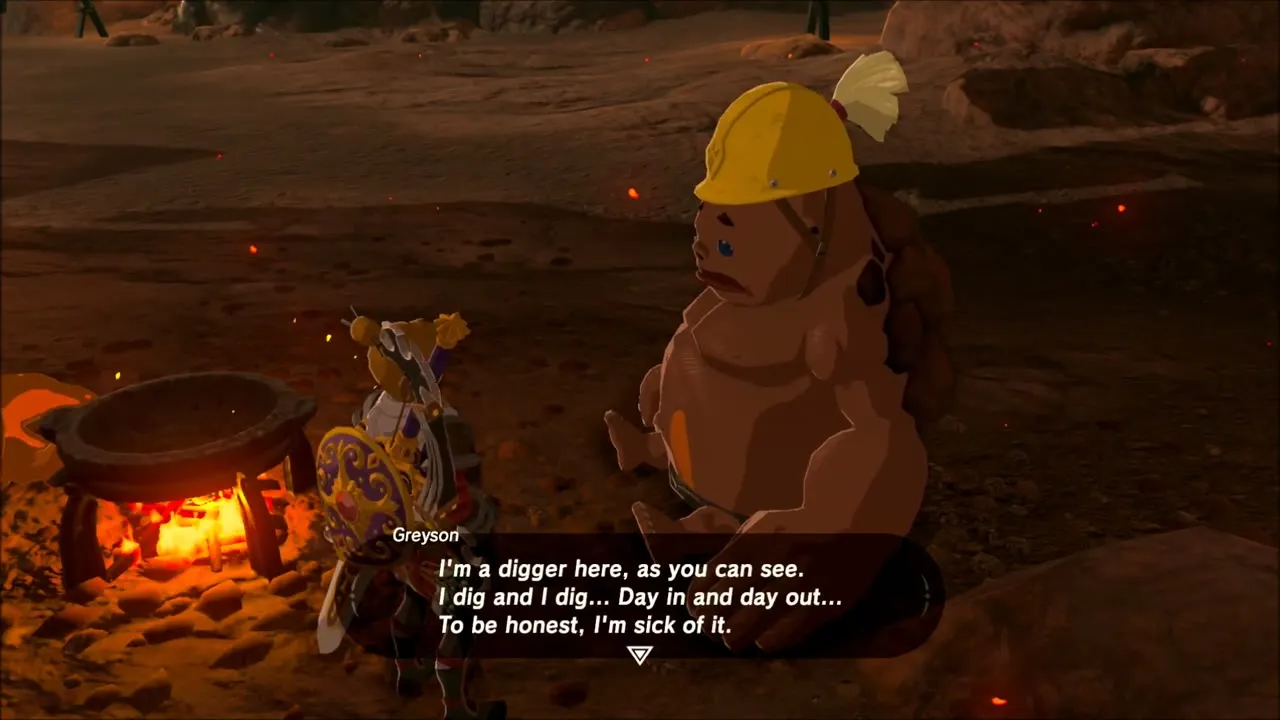
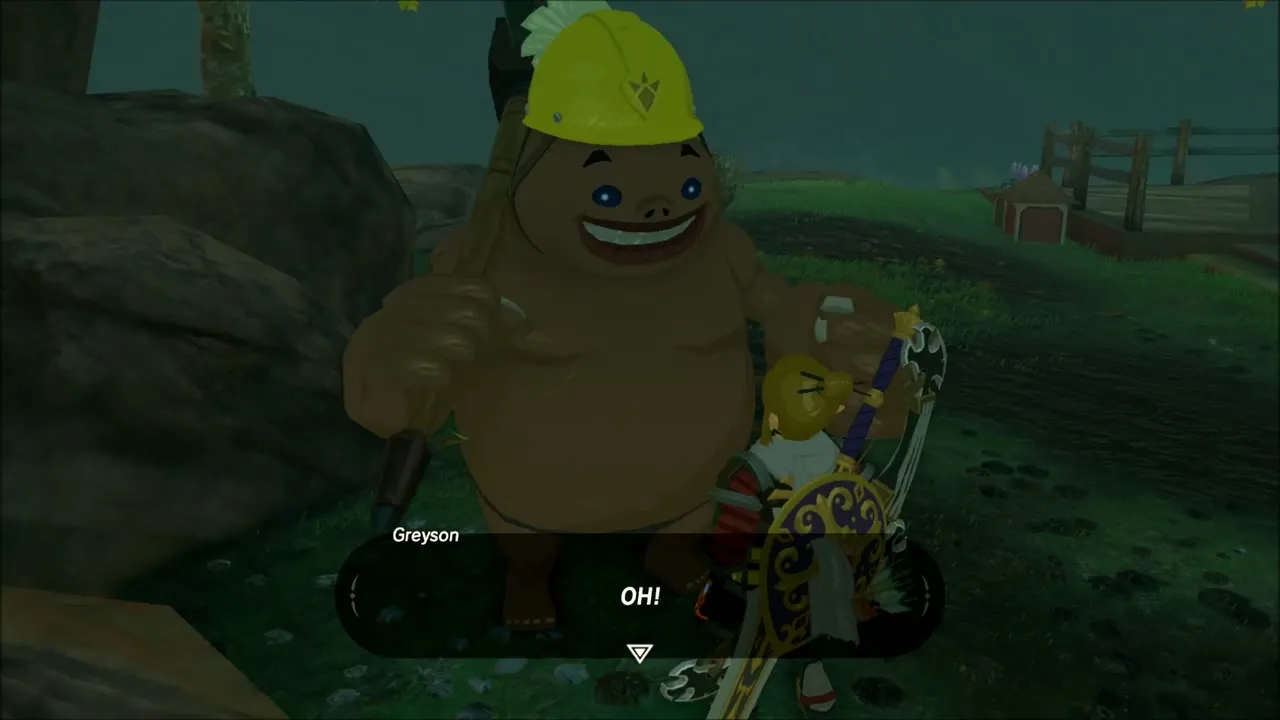
Walk through the Southern Mine and speak to the Gorons working there; more Fireproof Lizards scurry over the floor if you want extras. The Goron Greyson sits by a fire, tired of digging. Tell him about Hudson‘s new town and he decides to try his luck in Akkala. That completes task two of From the Ground Up.


Tarrey Town and the Goddess Statue
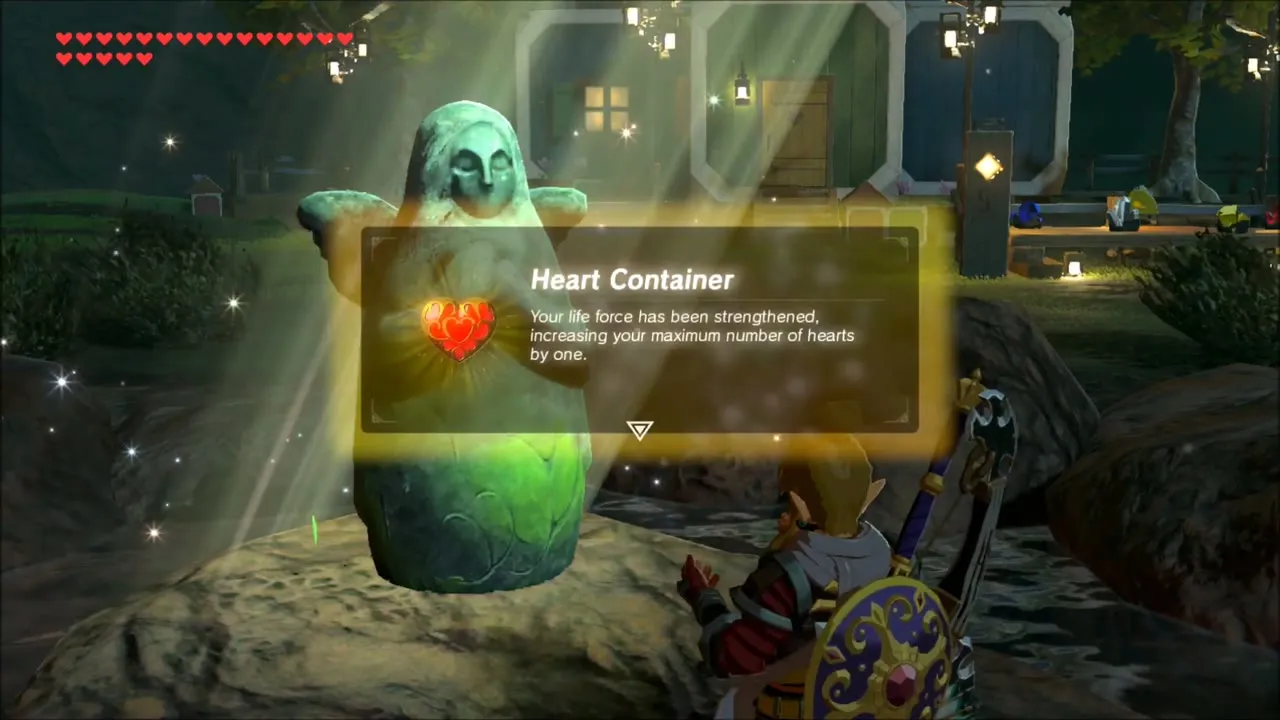
Travel to Tarrey Town and give Hudson 20 bundles of wood, which completes task three. Greyson has followed you and talks to Hudson as well. Pray at the Goddess Statue and trade Spirit Orbs for a Heart Container.



Korok Seeds Around the Eldin Great Skeleton
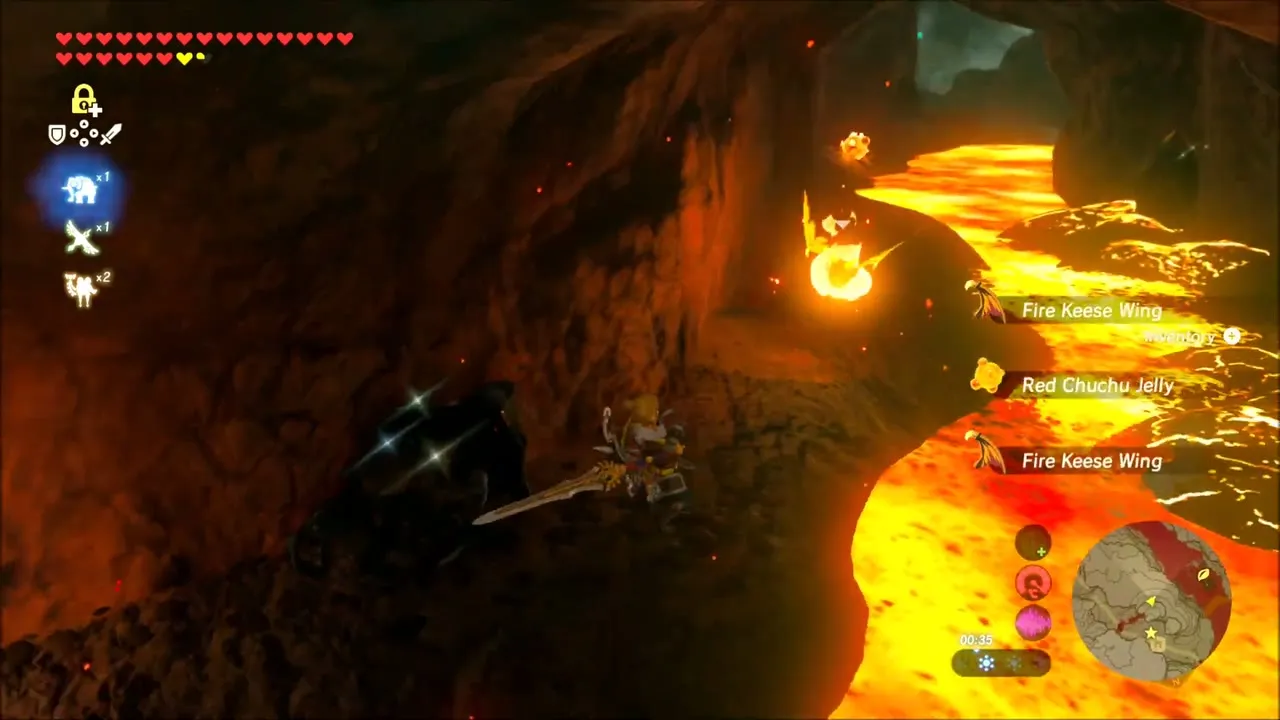
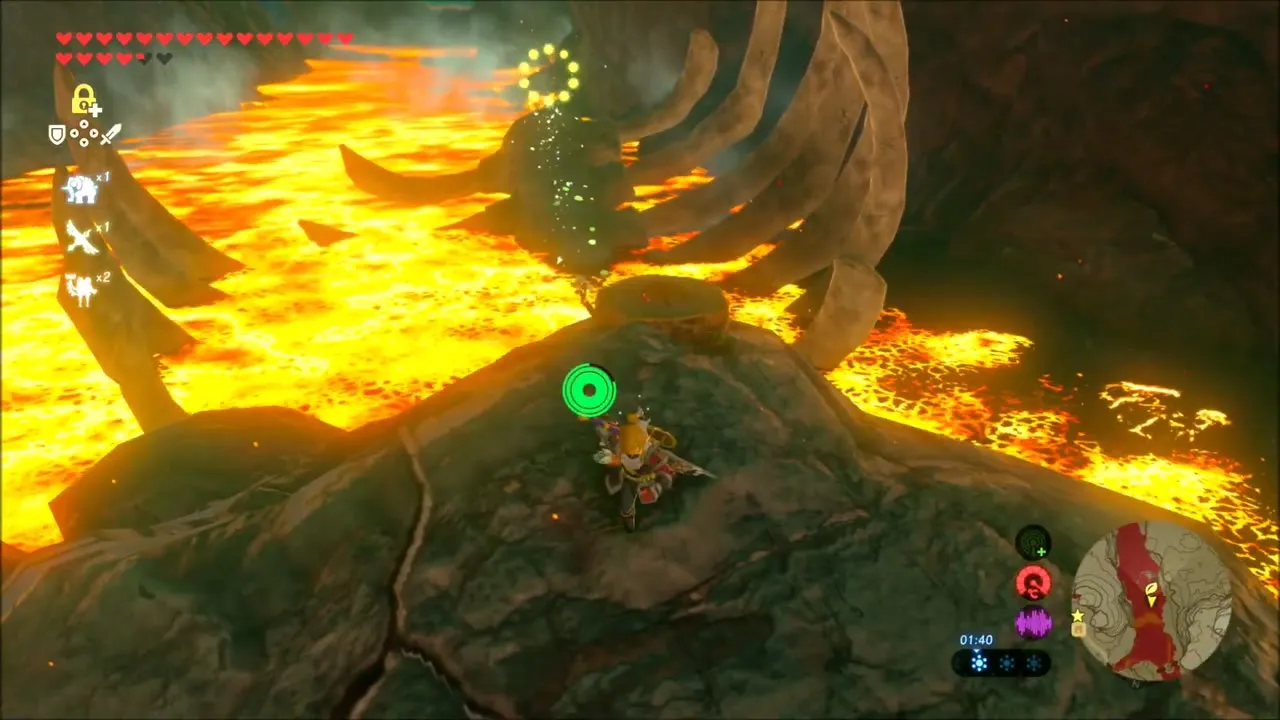
Warp back to the tower platform and glide into the lava caves. Lizalfos, Fire Keese and Chuchus guard the passages, and the rock walls hold gems such as diamond, sapphire and amber. Out in the lava stands the giant rib cage of the Eldin Great Skeleton (x 1547, z -3697). Glide between the ribs to a rock in the middle where a Korok seed hides, close to the datamined seed at (1615, -3661).

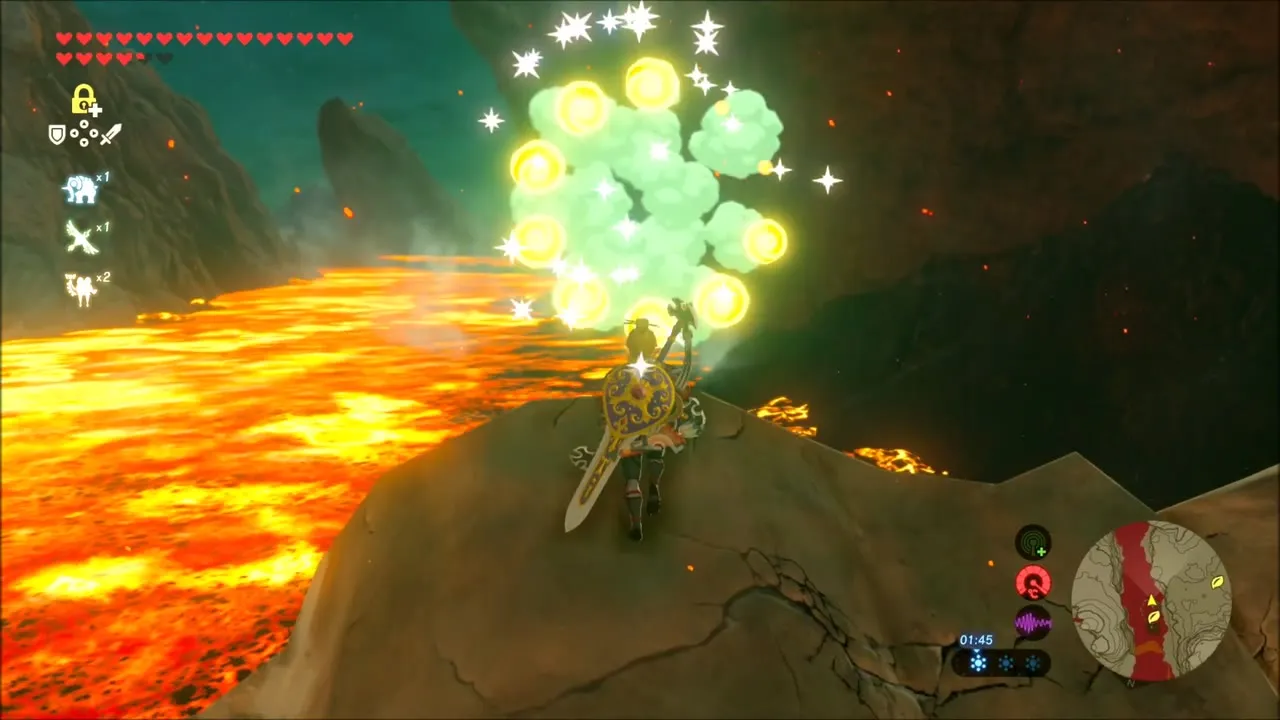
Another Korok seed is in a dark cave nearby. Several loose boulders lie on its floor; get past them and the Korok is waiting for you.

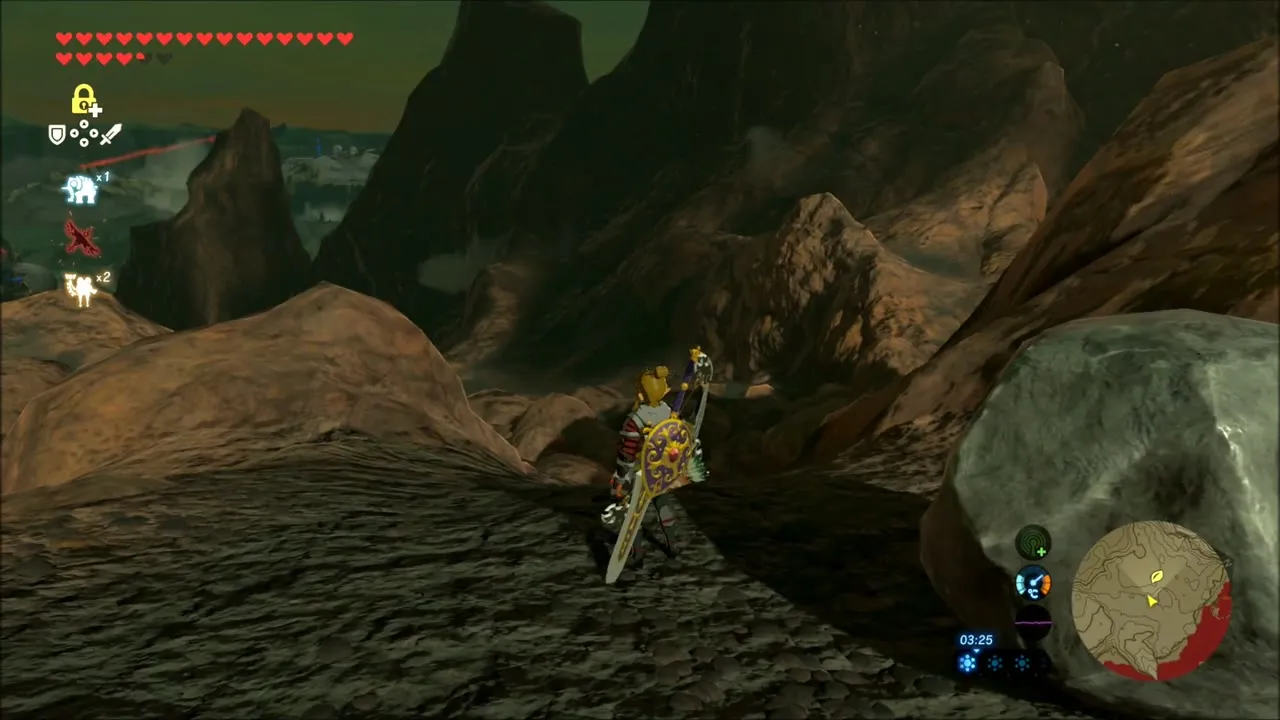

A Premonition
Climb the ridge above Goronbi Lake to a sandy plateau; a Korok seed is waiting on the rocks there. On the same plateau a ring of small stones looks out toward Hyrule Castle. Stand in front of the stones to match the photo in your album and trigger the memory A Premonition, where Link and Zelda talk about the growing beasts and the preparations needed.
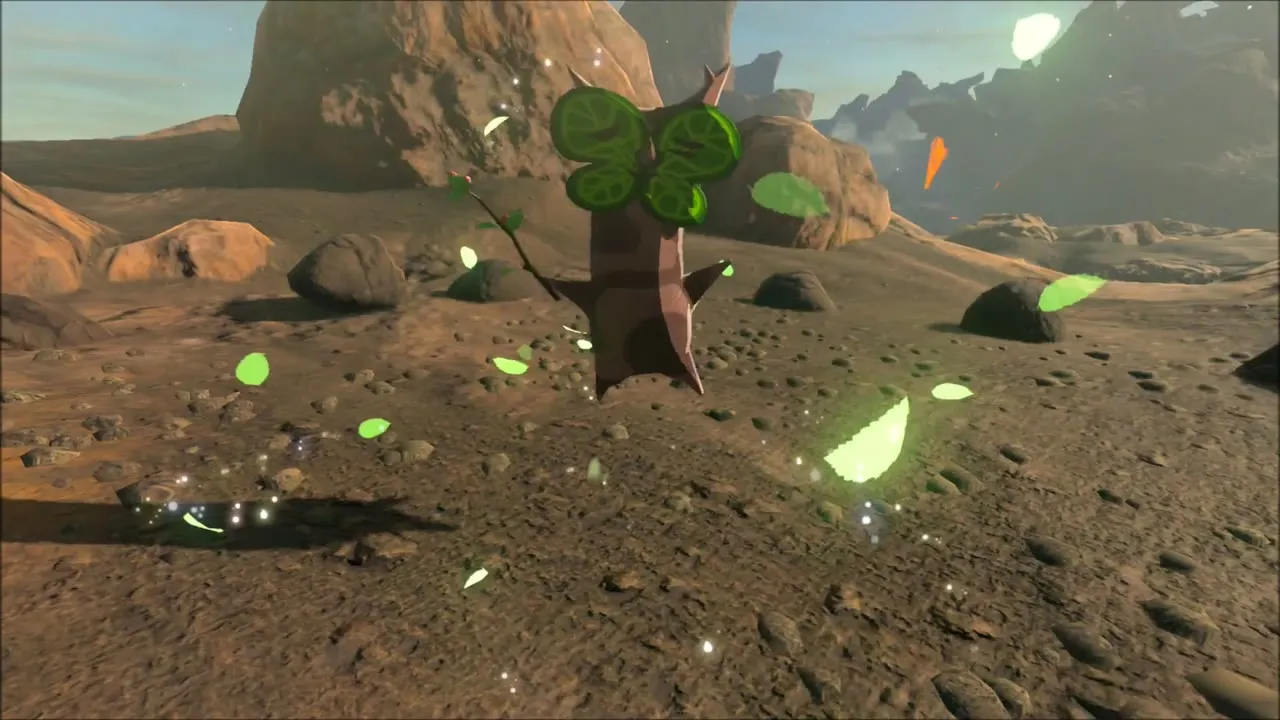


When the memory ends you are left on the high plateau; from here you can climb down toward the lava canyons that lead to Goron City.
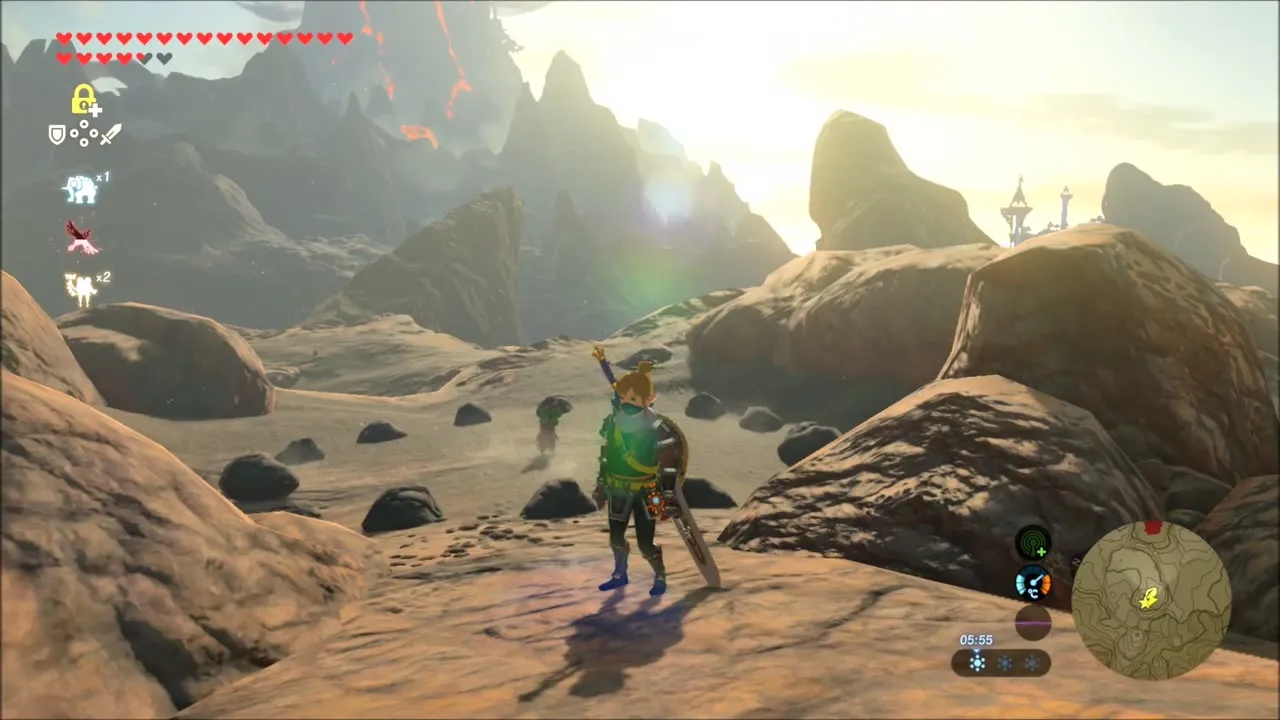
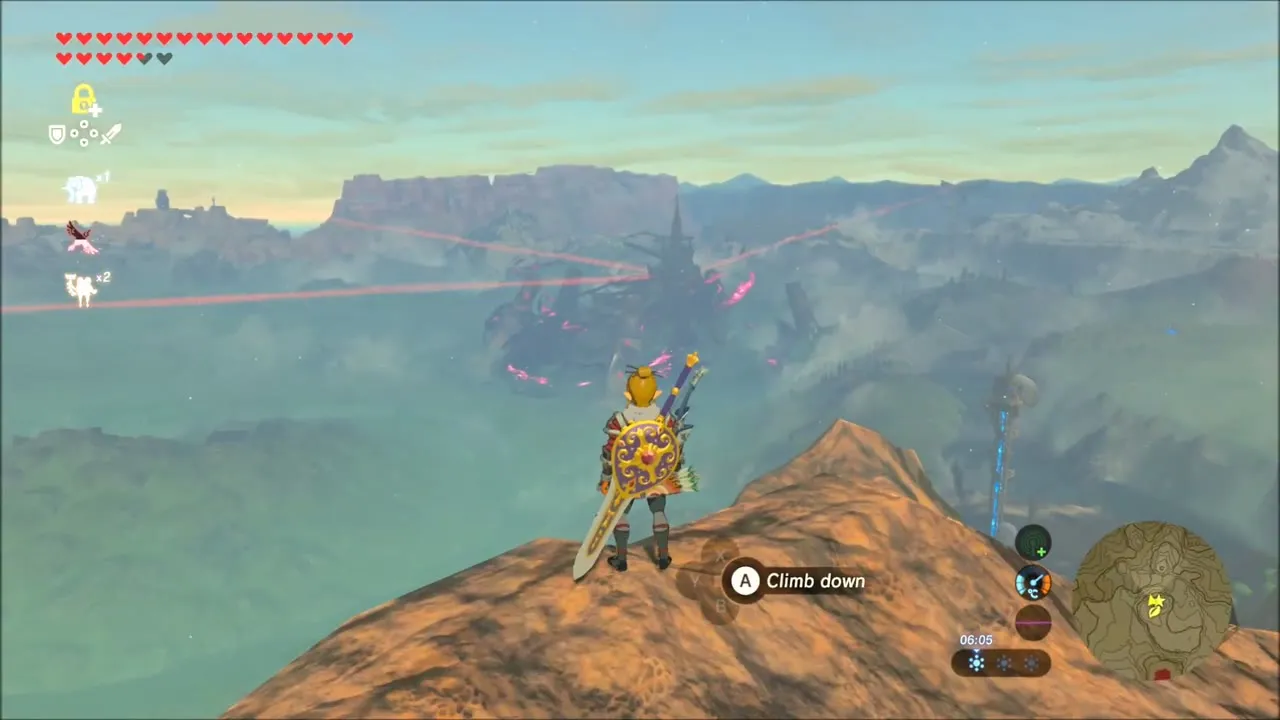

Lava Canyons Toward Goron City
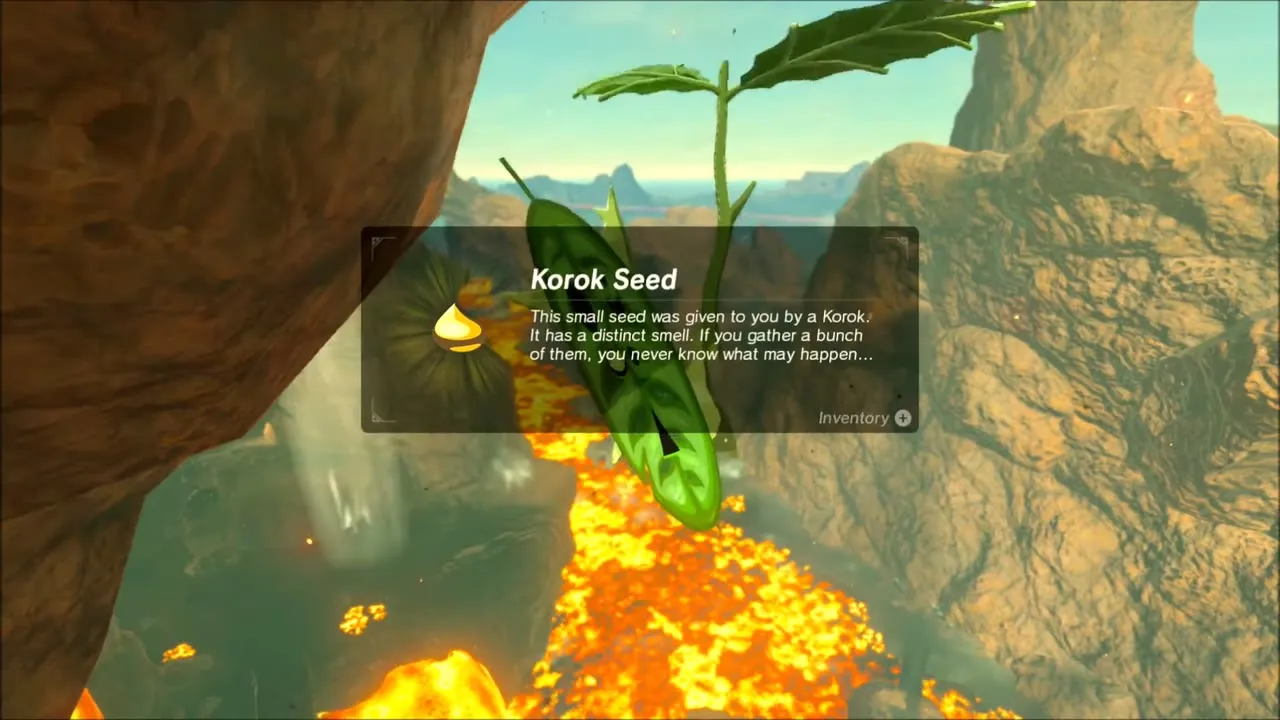
Climb down from the summit and glide along the canyon between the lava falls. A Korok hides on a ledge above the lava: reach it by gliding across and it gives you a seed.

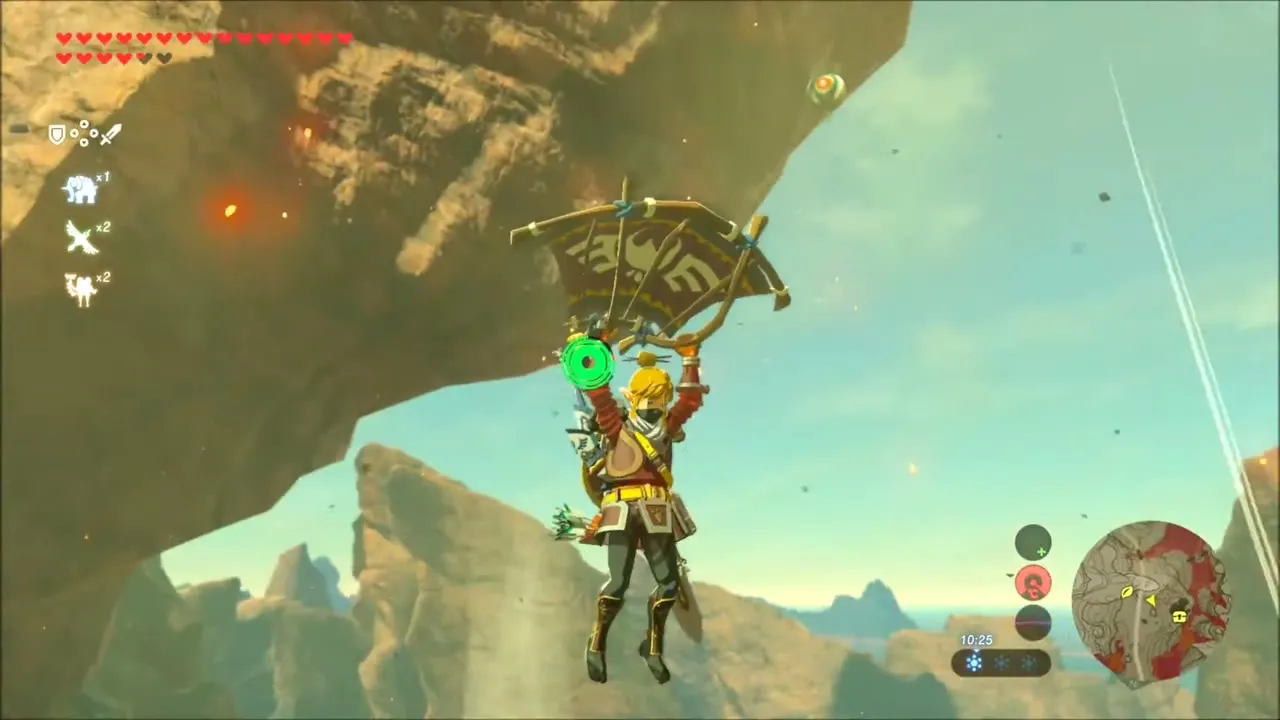
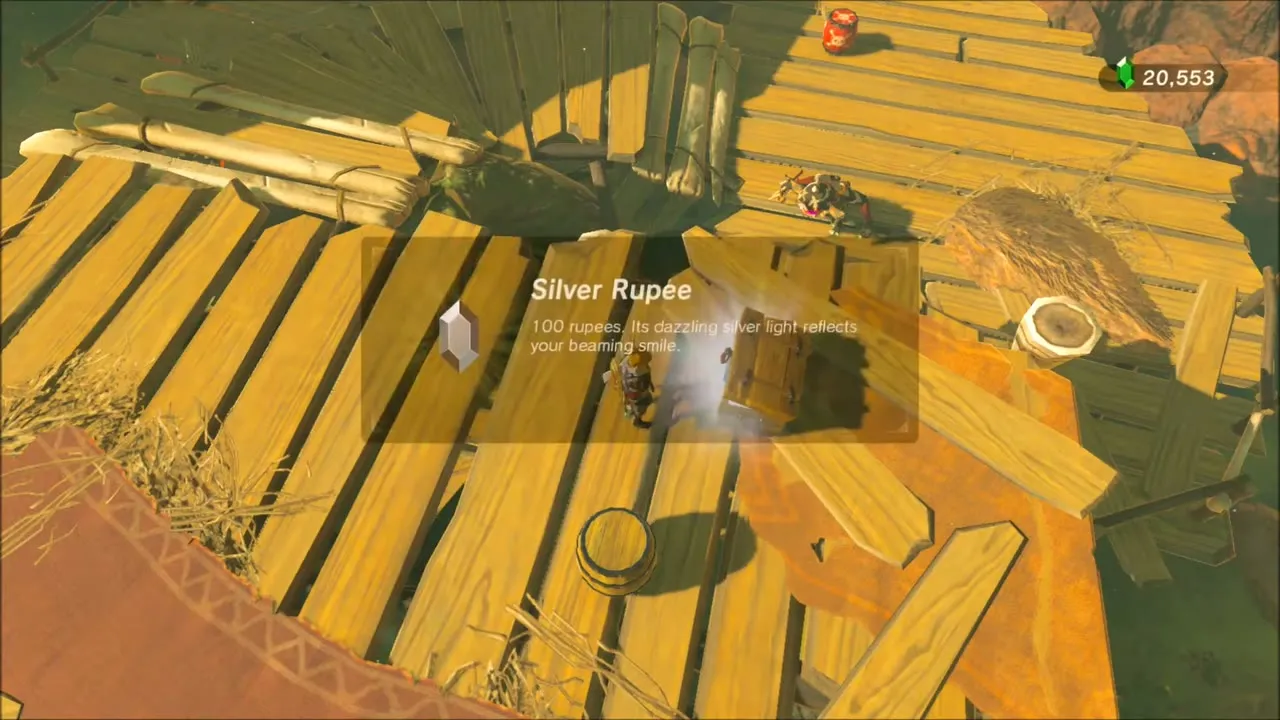
Bokoblin camps on wooden platforms line the canyon floor. Clear them and open the chests: one holds a Royal Shield (tier set by difficulty scaling), and another chest on a wooden deck holds a Silver Rupee.


Farther along, Malice-stained camps and a cave with a chest guard the route. Keep going until you reach the rock where a Korok seed is hidden: lift the rock aside and the Korok jumps out.

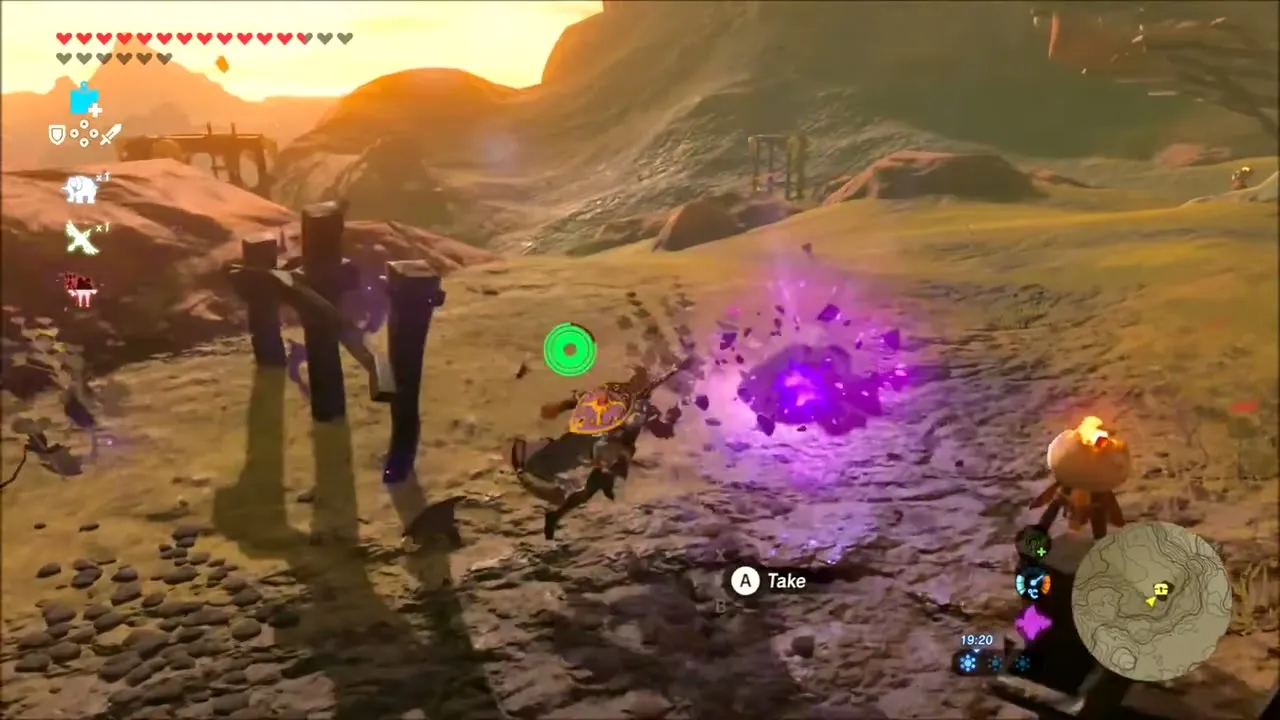

Goron City: Bludo and the Vah Rudania Quest
Glide toward the glowing volcano and enter Goron City (x 1685, z -2467, height 622). Speak to the Gorons at the entrance and then to the boss Bludo to start the main quest Divine Beast Vah Rudania. He asks you to find Yunobo at the Abandoned North Mine.

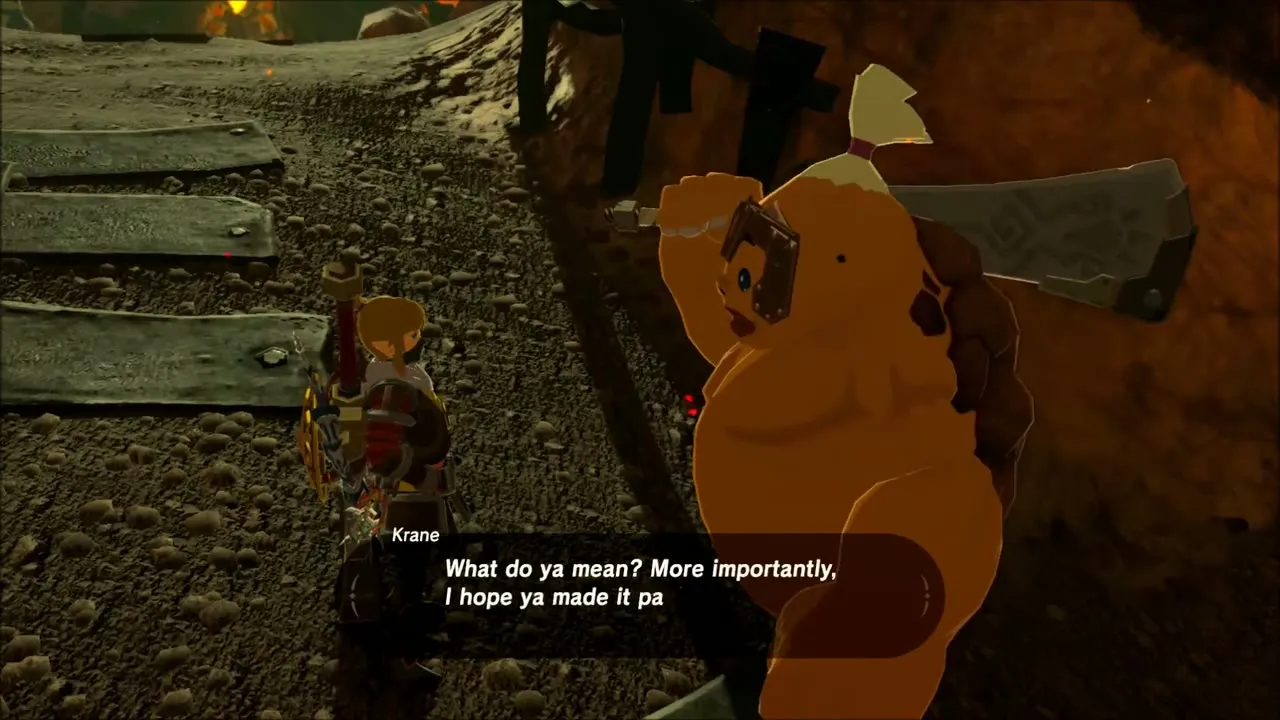

Shopping in the city
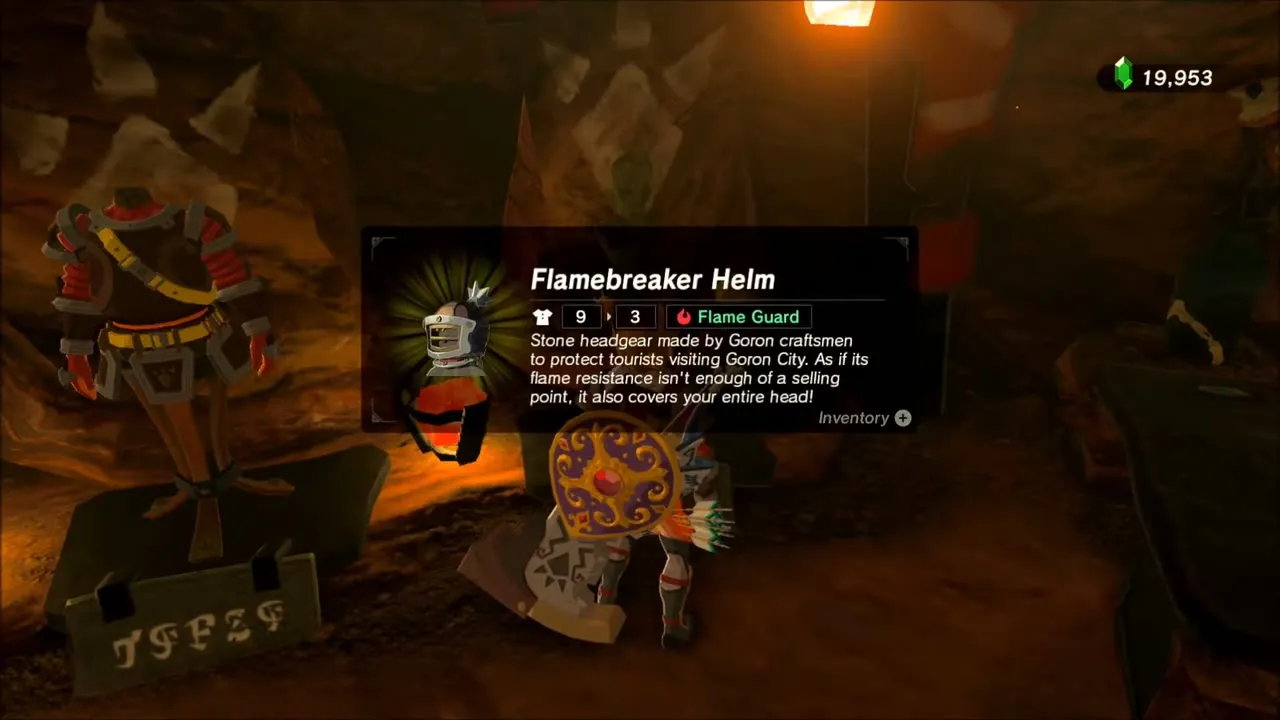
At the armor shop run by Rogaro you can sell gems you picked up on the way (topaz, opal, amber, sapphire and ruby) and buy the Flamebreaker Helm for 2,000 Rupees; the Flamebreaker Boots cost 700 Rupees. With the Flamebreaker Armor from Kima you then have the full set, and Eldin’s heat stops hurting you.


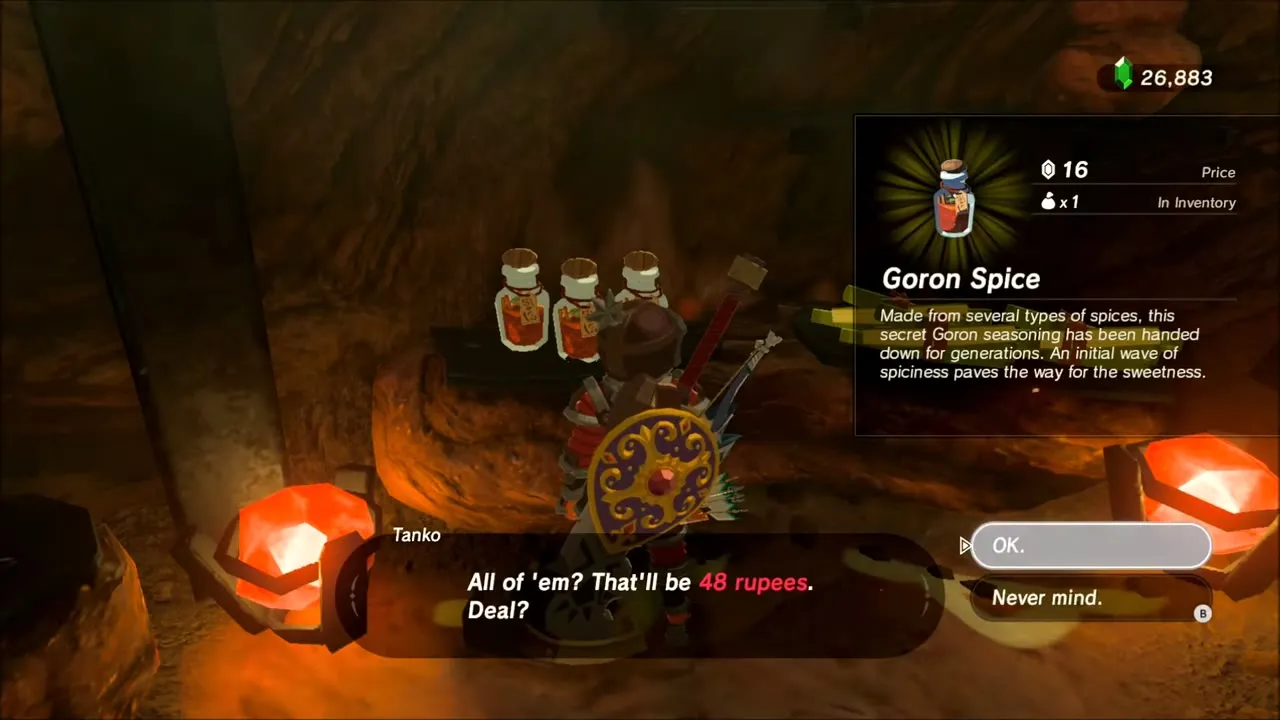
Tanko’s shop sells arrows and Goron Spice for 16 Rupees. Buy some spice for Lester at Rito Stable, who starts the side quest Curry for What Ails You and pays a Purple Rupee for it.

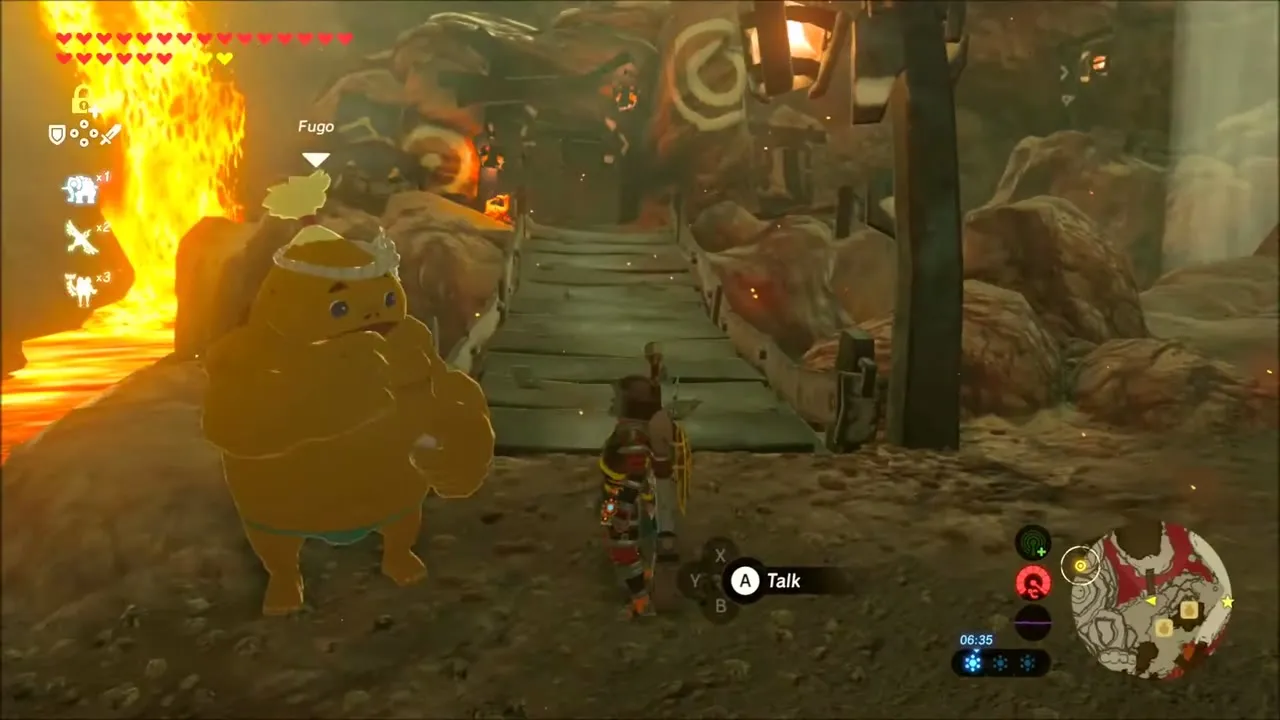
Bladon, in his hut on the west side of the city, starts the shrine quest A Brother’s Roast, and the Goron apprentice Fugo near the bridge asks you to beat the Igneo Talus at Darunia Lake in The Road to Respect. Both are worth starting now.


Shae Mo’sah Shrine: Swinging Flames
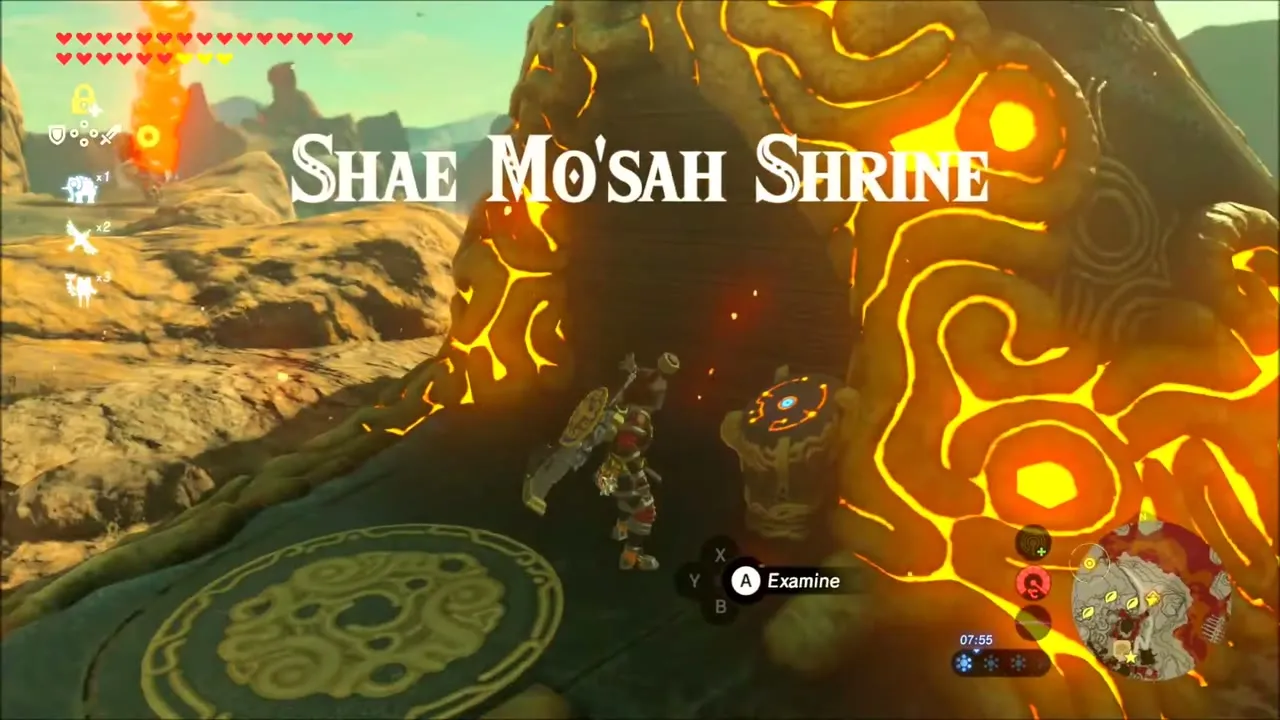
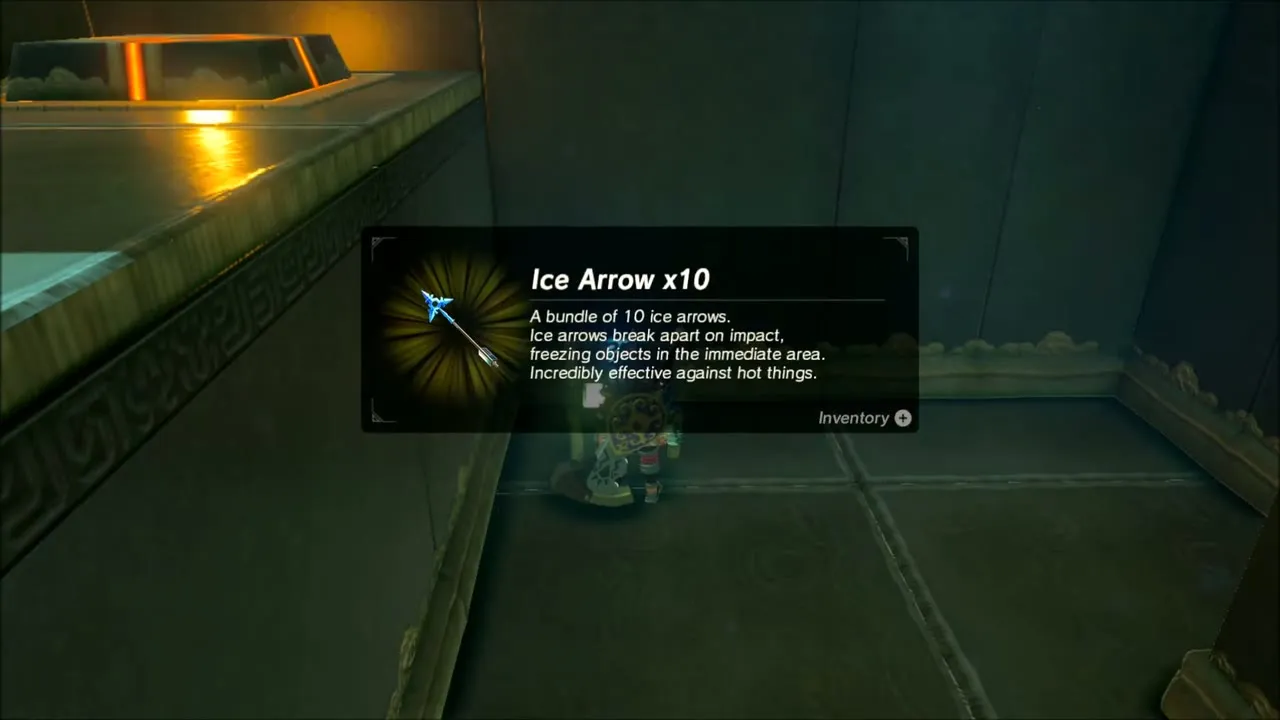
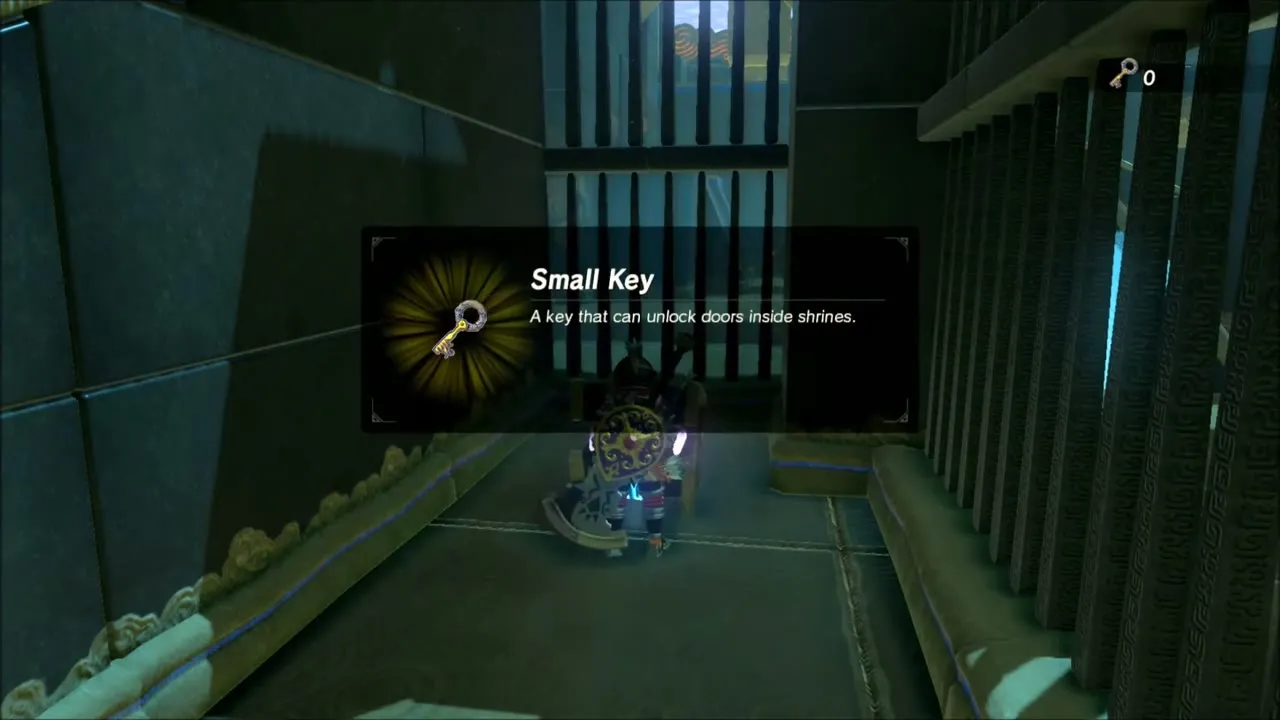
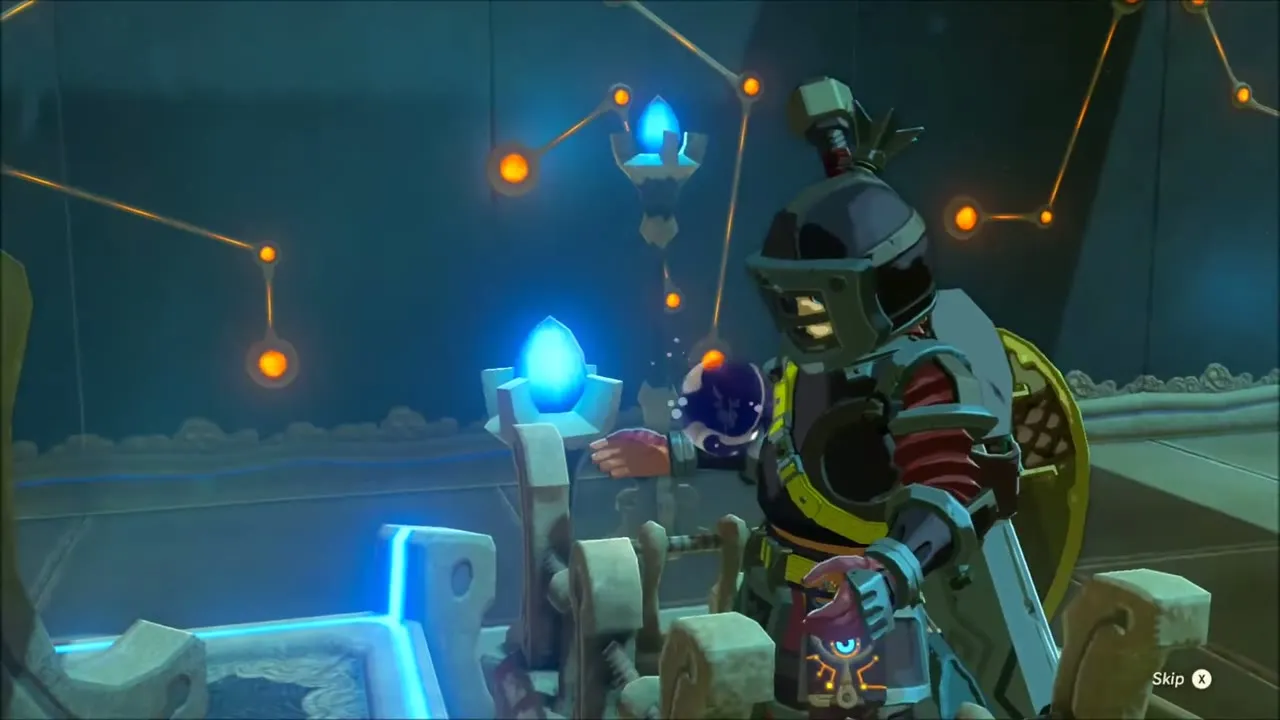
Leave Goron City by the hillside just north of town and find Shae Mo’sah Shrine (trial: Swinging Flames, x 1757, z -2562, height 548) on the slope above it. Shoot the rope of the hanging lantern so it drops into the dry leaves and burns the barrel onto the switch to open the first door. A Stone Smasher chest sits on the left of the second room and a Ruby chest past the Guardian Scouts. Swing the lantern into the upper leaves for a chest with 10 Ice Arrows, roll the sphere into the water wheel to open the gate to a Small Key and finally light the last leaves with the swinging lanterns to drop the barrel at the final door. The monk gives you the Spirit Orb.

Korok Seeds on the Way to the Abandoned North Mine
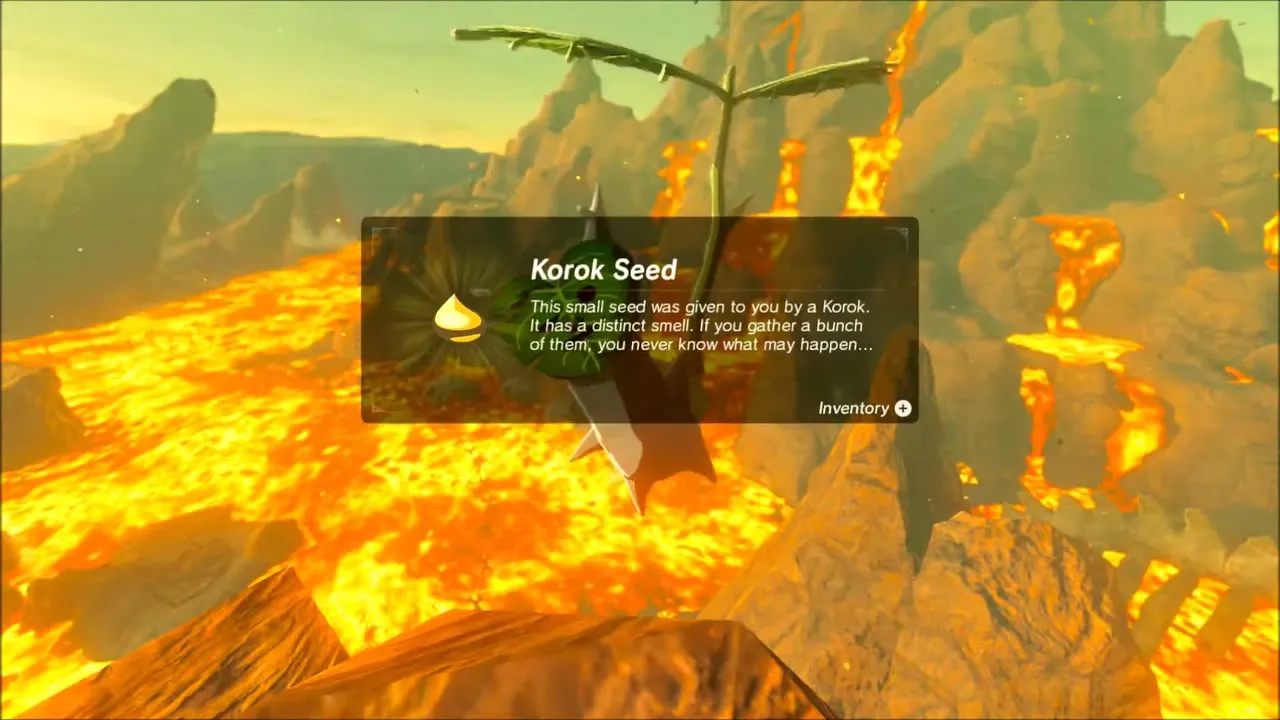
On the climb north of the shrine a Korok seed is hidden under a rock on the slope: lift the rock and take the seed. A little farther, glide off the rim to a dark cave where a Korok in a leaf costume gives you another seed.
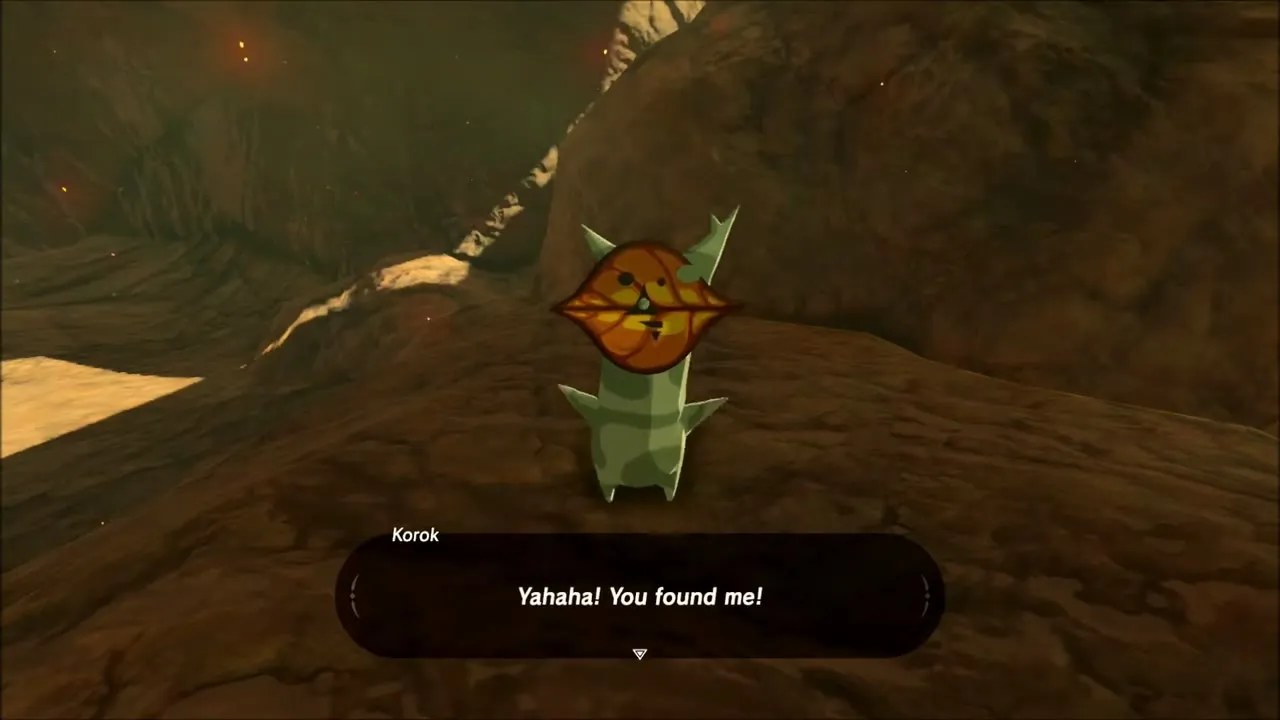
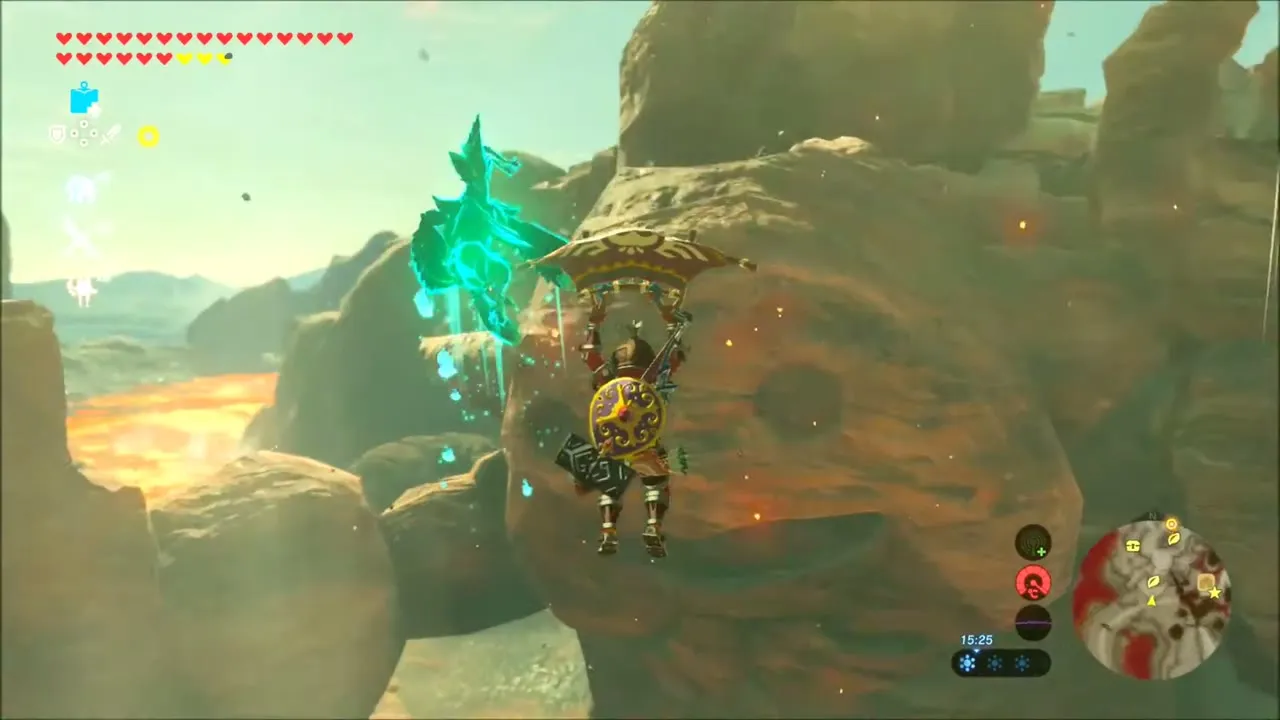

Eat a speed-boosting dish and climb the lava-ringed peaks above the canyon. A Korok seed waits on top of a pointed lava peak, reached by climbing the rock to the summit.
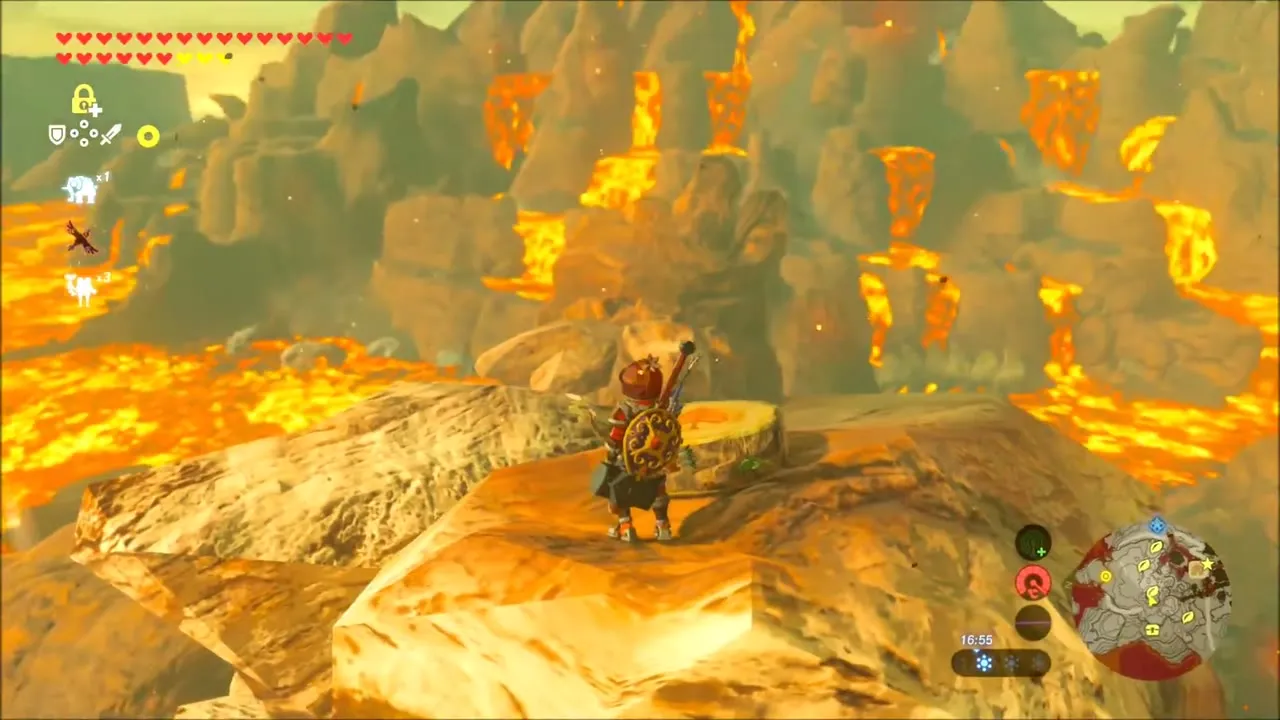

Abandoned North Mine: Finding Yunobo
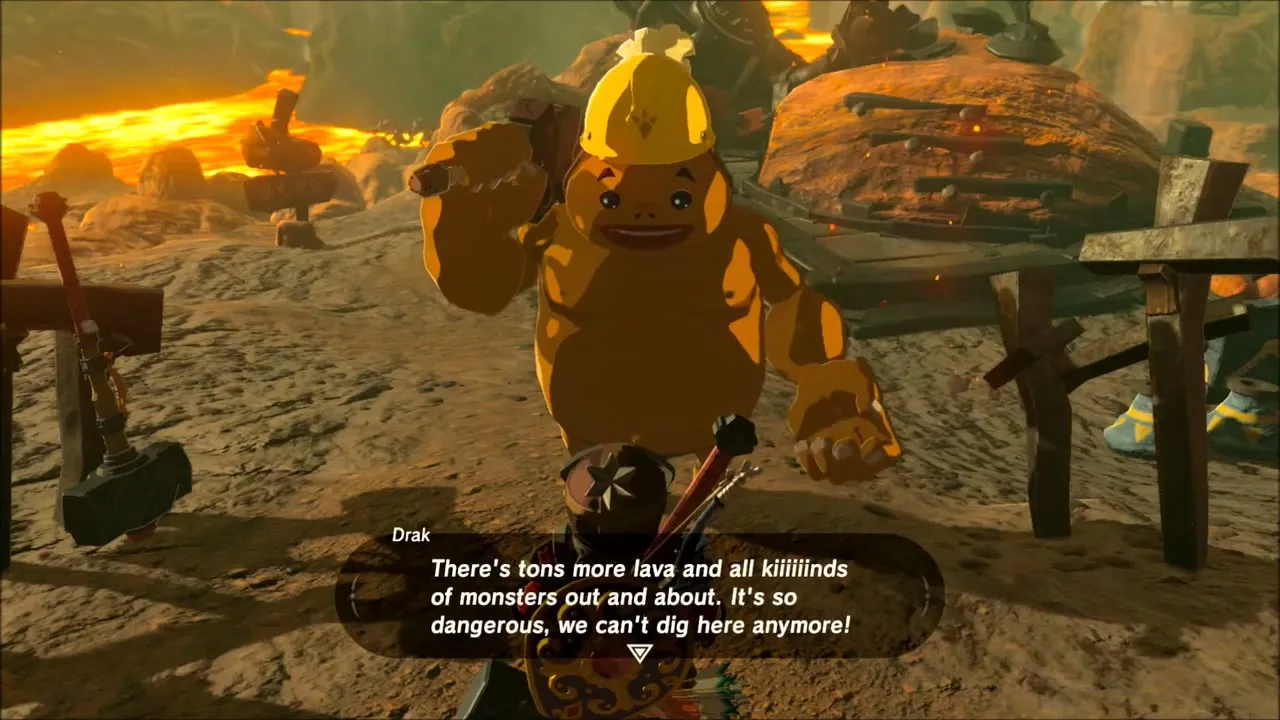
Enter the Abandoned North Mine (x 1644, z -2797) and speak to the Goron Drak beside the cannon. He warns that lava and monsters make the mine too dangerous to dig. The vault where Yunobo is trapped lies across the lava, hotter than the path, so keep both Flamebreaker pieces on or drink an elixir.
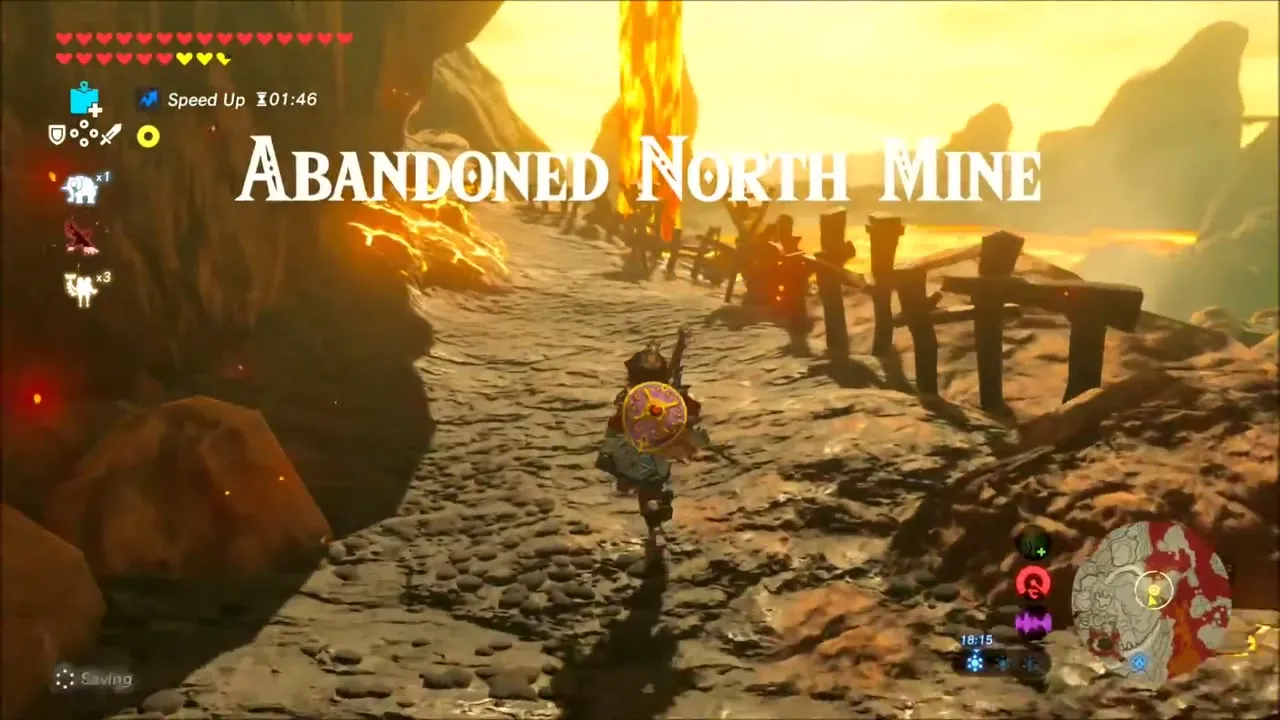


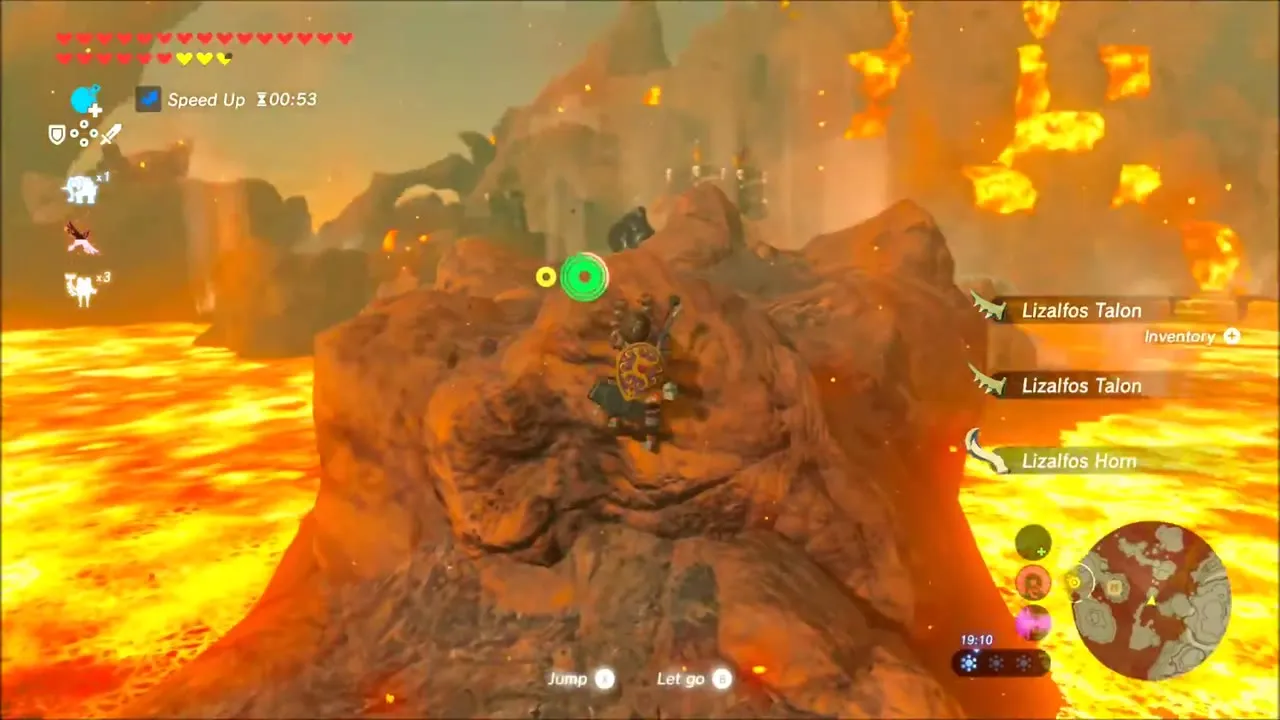
Load the cannon with a Remote Bomb, hit the lever to aim it and detonate the bomb to shoot Lizalfos camps and boulders. Glide between the lava islands and gather the Lizalfos parts and rock salt on the way. At the last cannon, blast the boulder blocking the vault to free Yunobo.

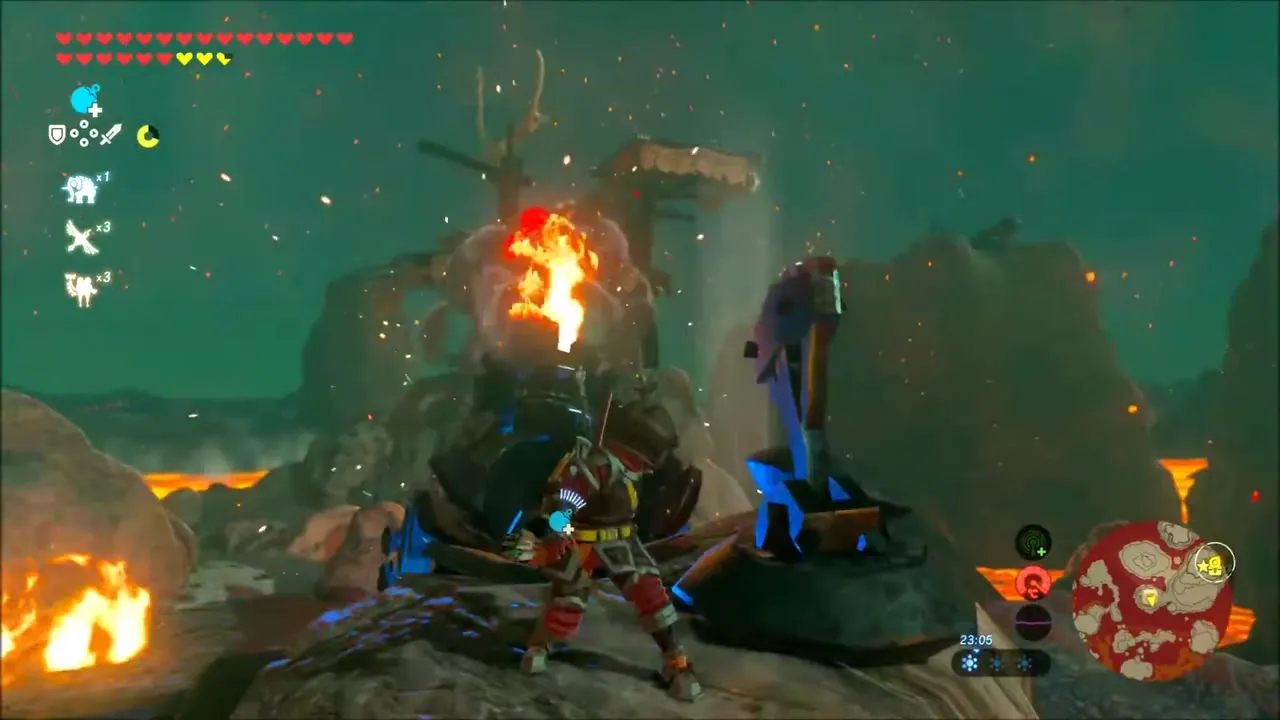
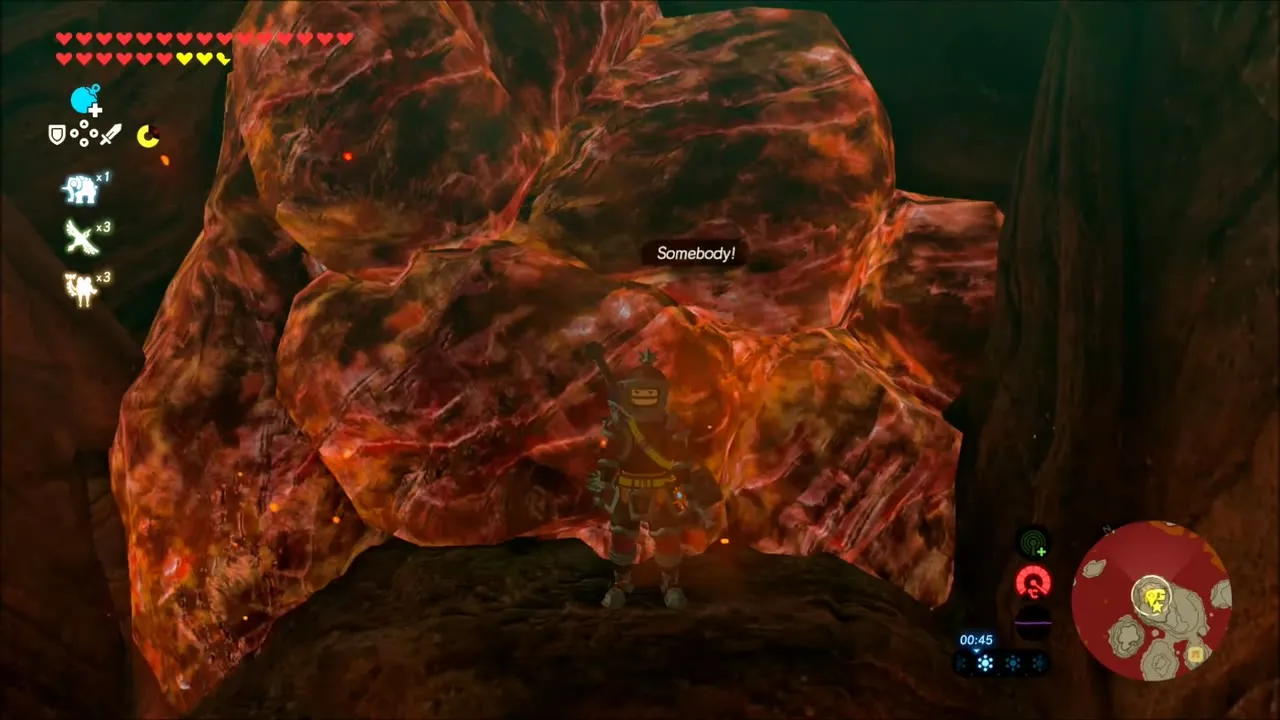

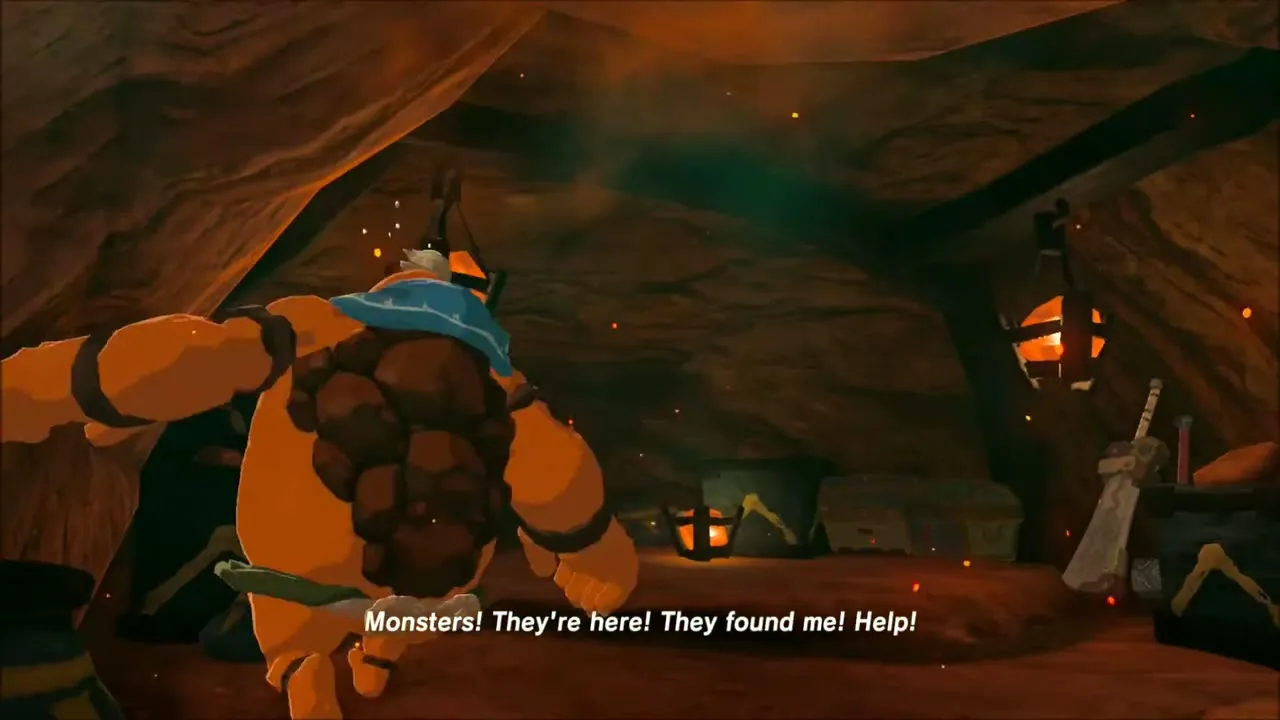
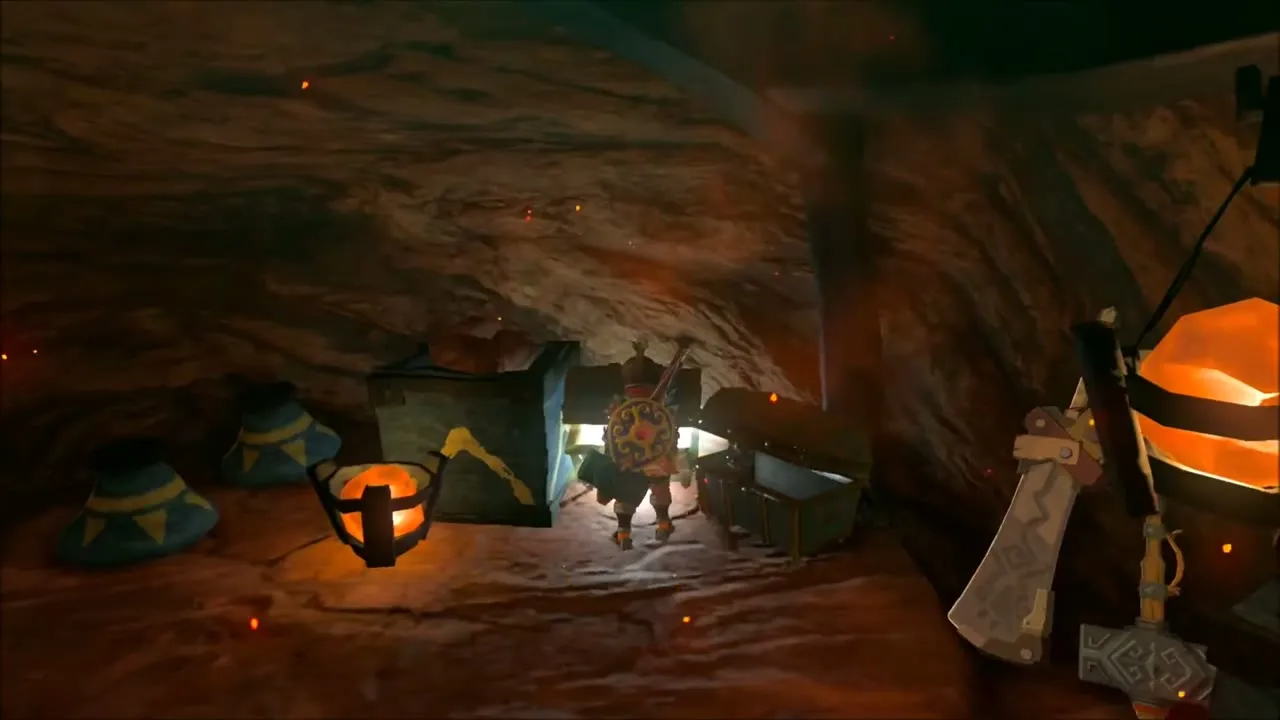
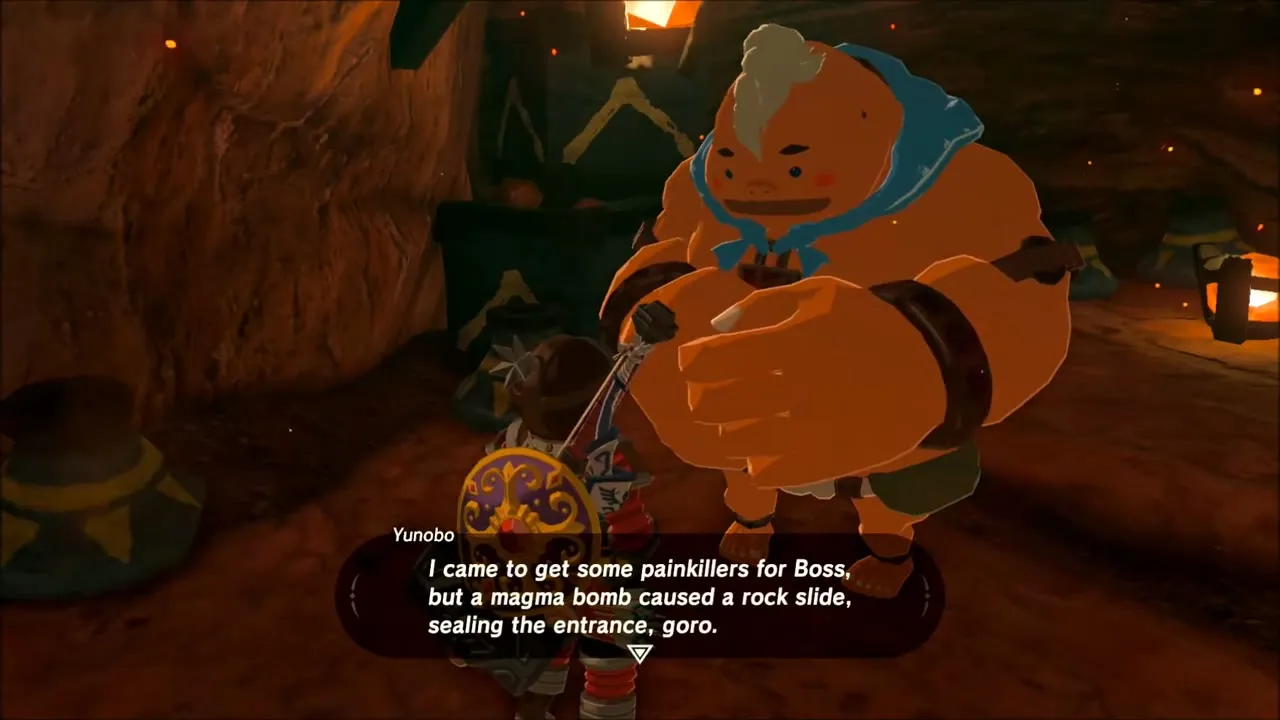
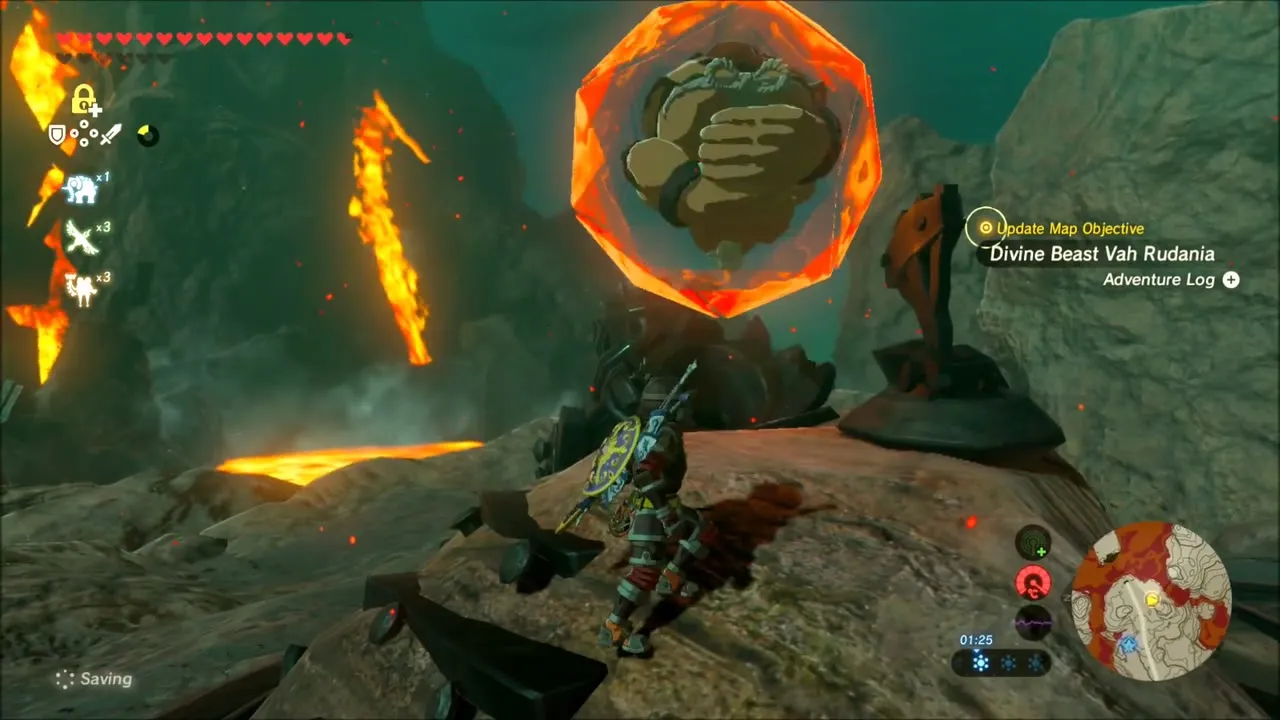
Inside the vault Yunobo calls out in a panic about monsters, then explains he came for painkillers for Boss but a magma bomb rock slide sealed the entrance. The vault has two chests, one with a Purple Rupee and one with 10 Ice Arrows. Yunobo promises a reward and your quest log updates to Divine Beast Vah Rudania.

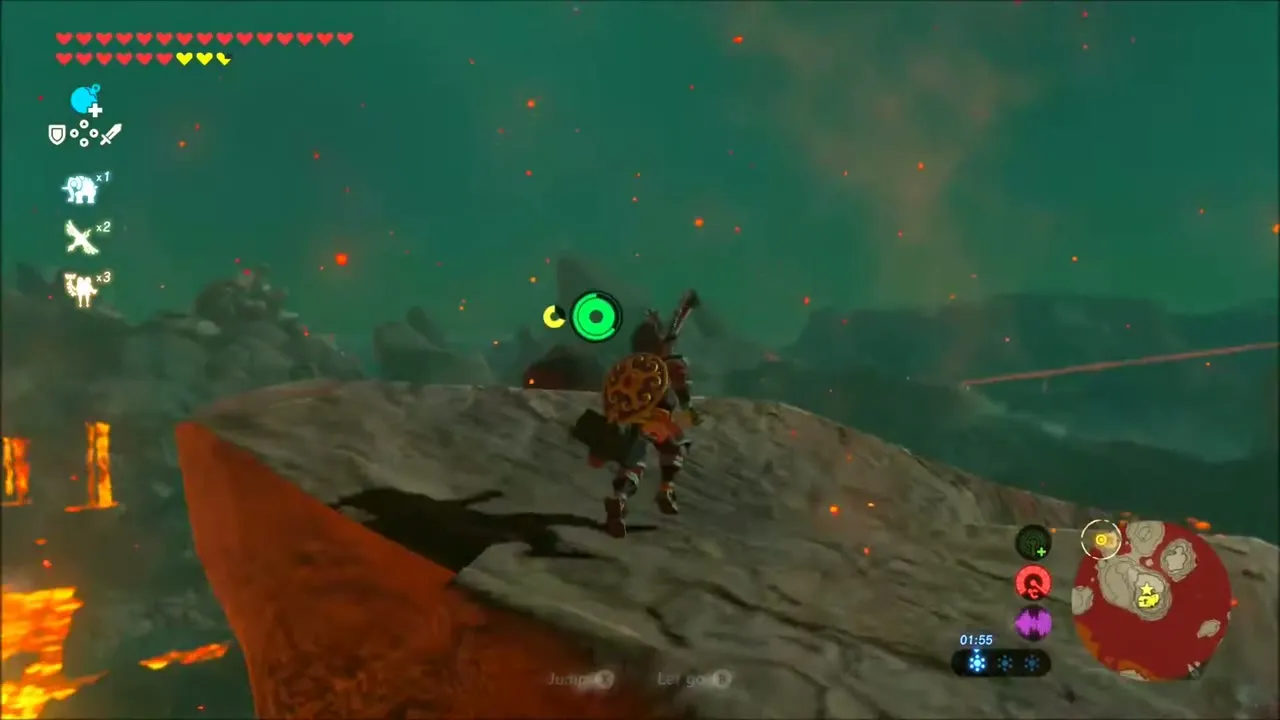
Back outside, a Korok seed is hidden on a rock peak above the lava: climb up to the small rock and the Korok shows itself.
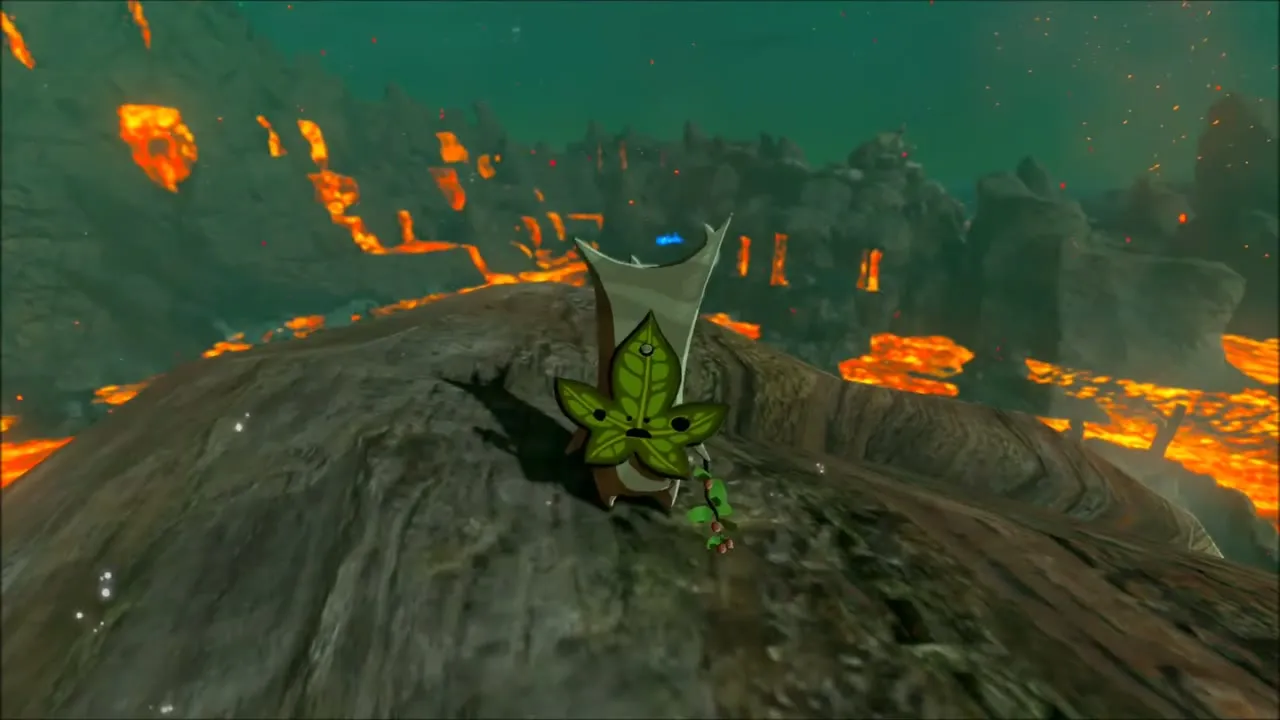

Bonus: Magnesis flying machine
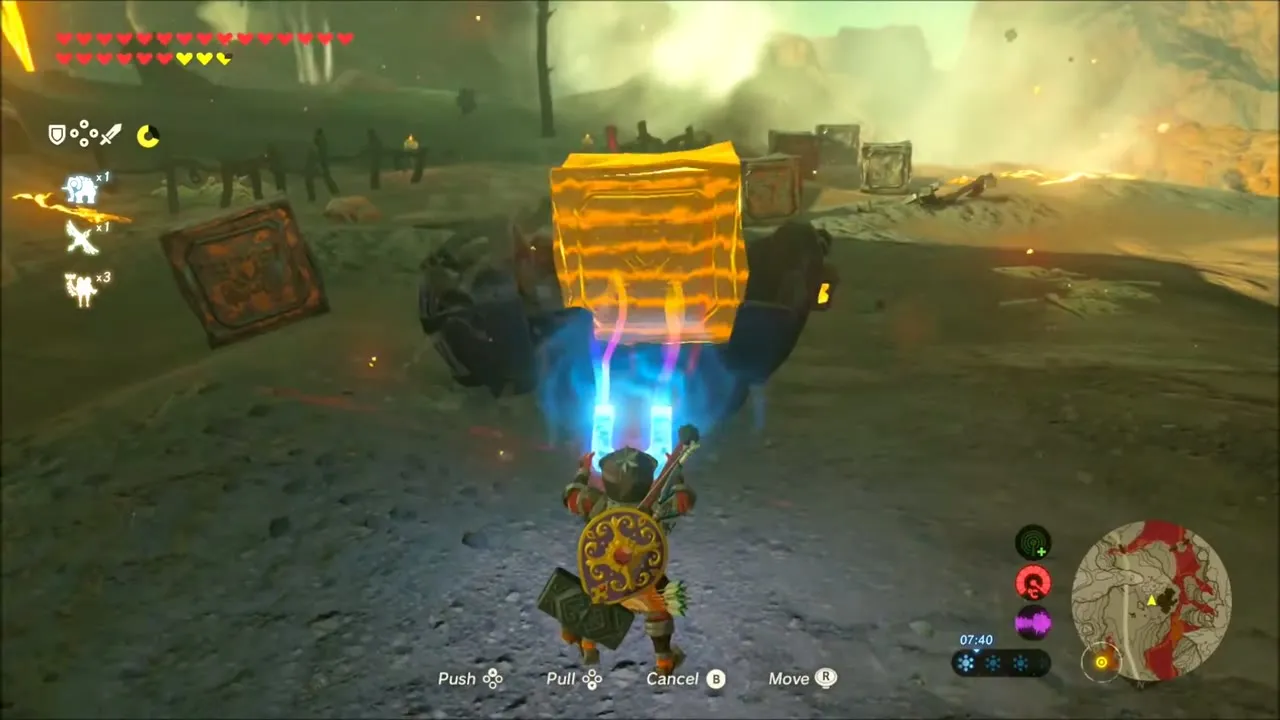
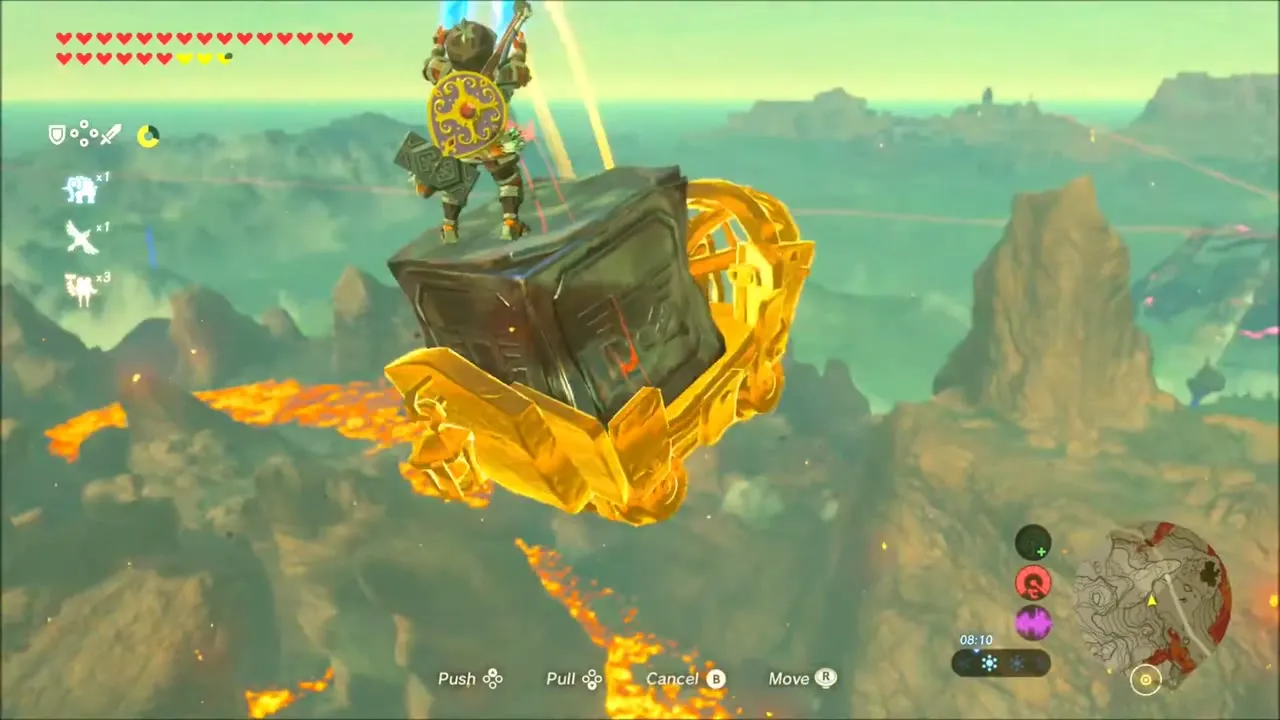
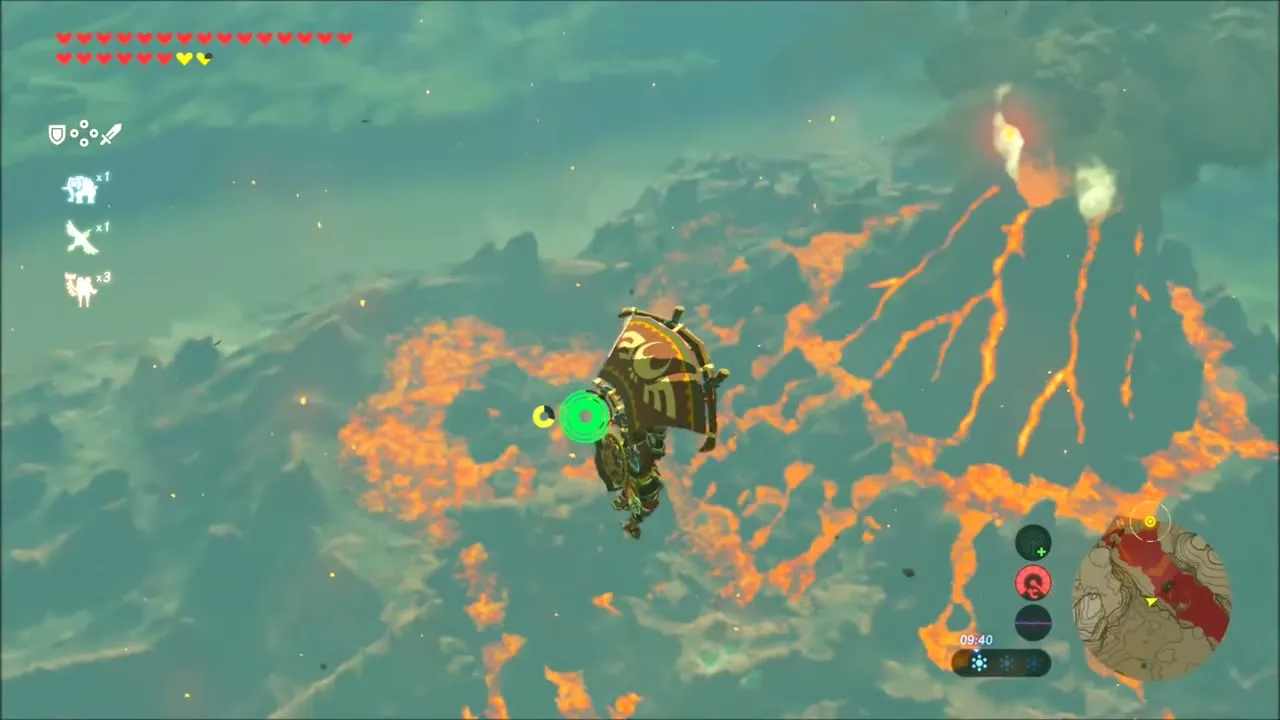
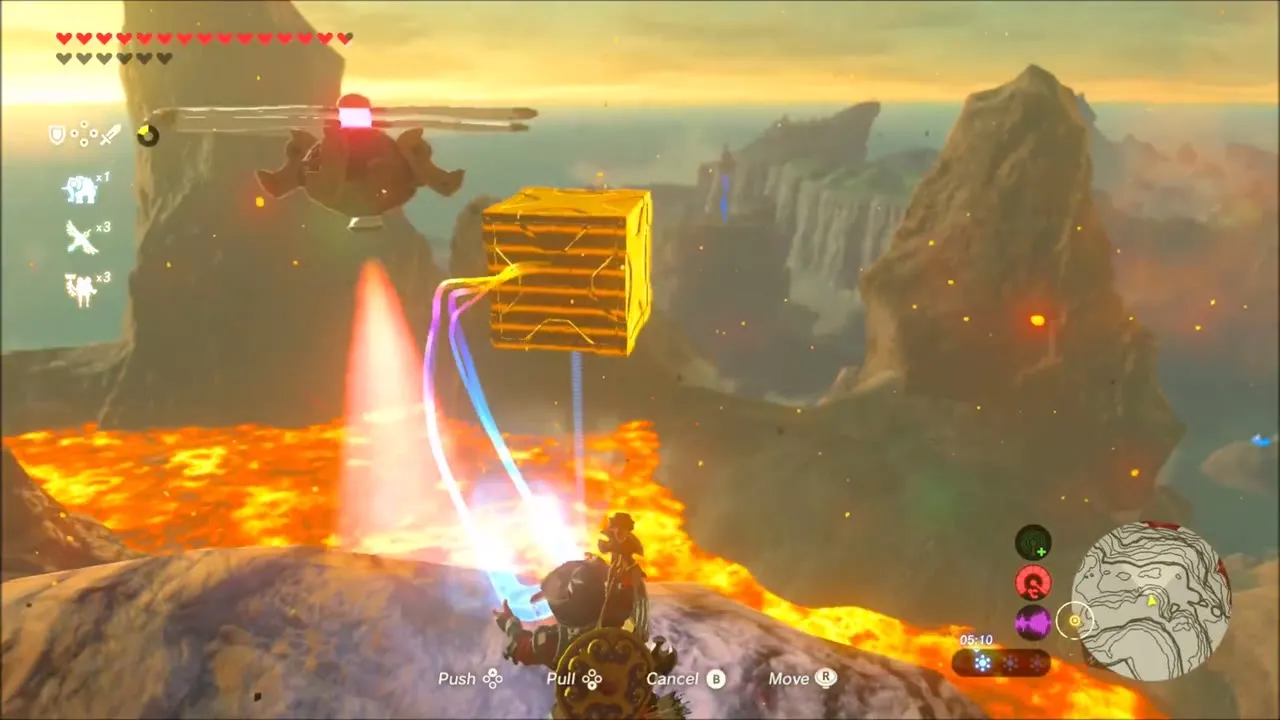
For a fun trip back, lift a large metal crate with Magnesis, stand on it and keep lifting it higher. The crate carries you high over Death Mountain, and you can glide from it across the lava canyons.

Goron City: Bludo and Daruk’s Memory
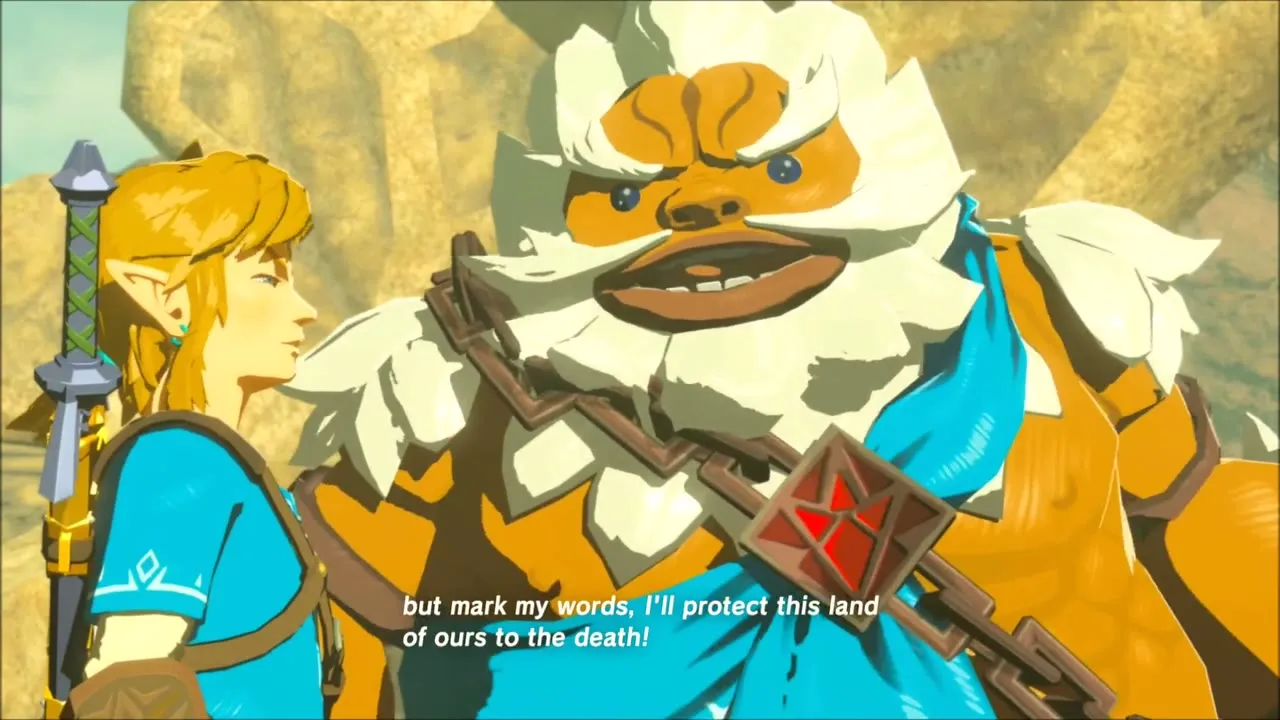
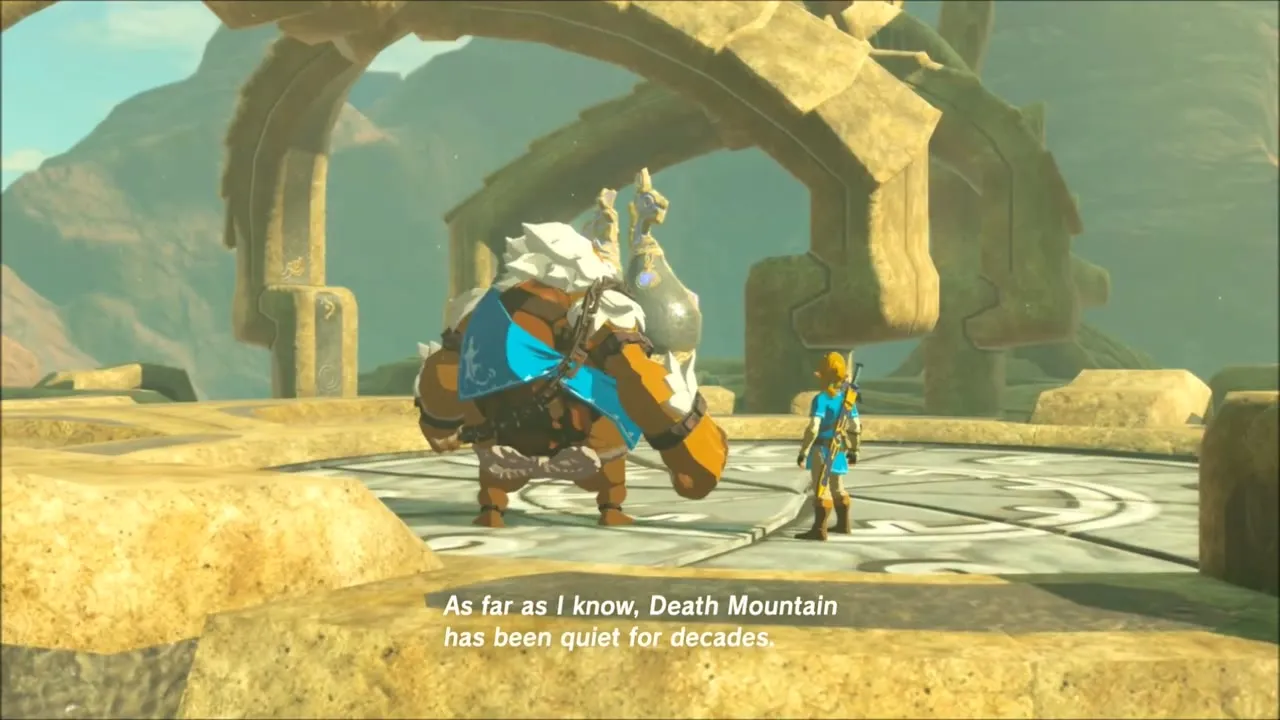
Back in Goron City, talk to Boss Bludo again. He has heard from Yunobo how you helped him in the Abandoned North Mine, and he wants the Divine Beast Vah Rudania, which circles Death Mountain, brought under control. Ask about Daruk and Bludo points you to the great statue of the Goron champion; look up at it and the Daruk’s Mettle memory plays, in which Daruk swears to protect his homeland. When it ends your objective becomes Get to Vah Rudania.

Goron Hot Springs and Daqa Koh Shrine: Stalled Flight
Dugby and Death Mountain’s Secret
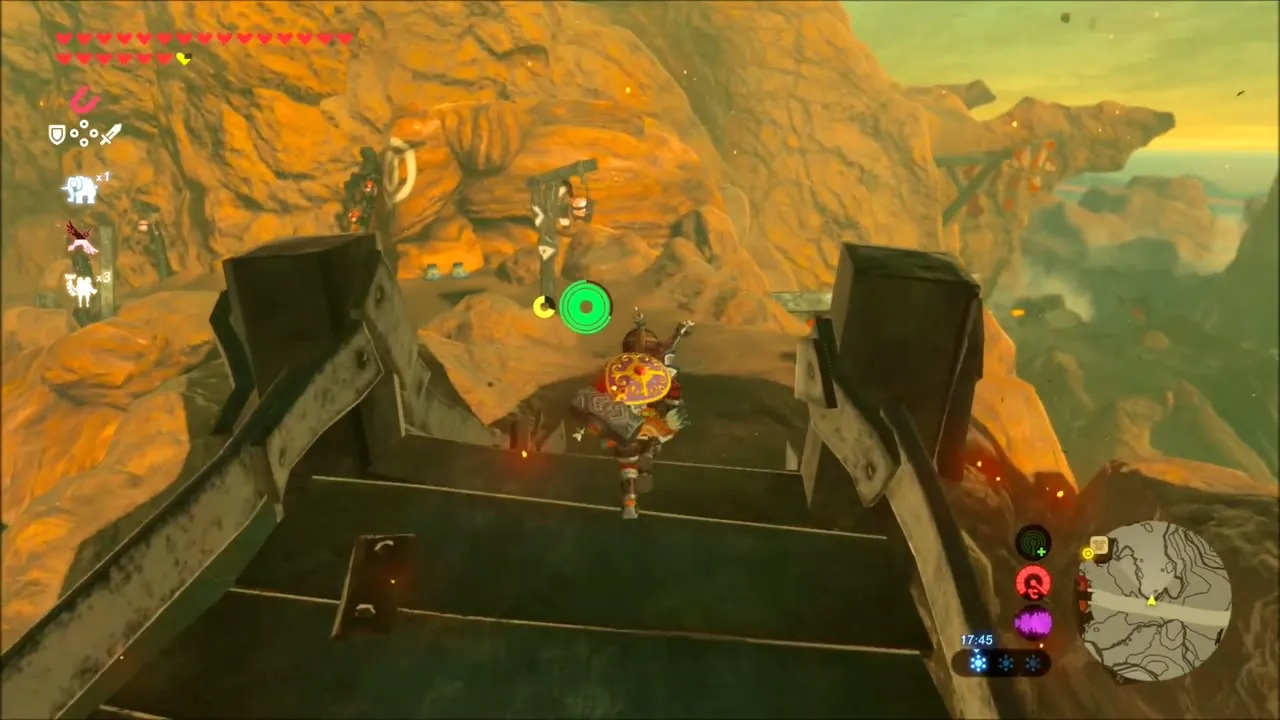
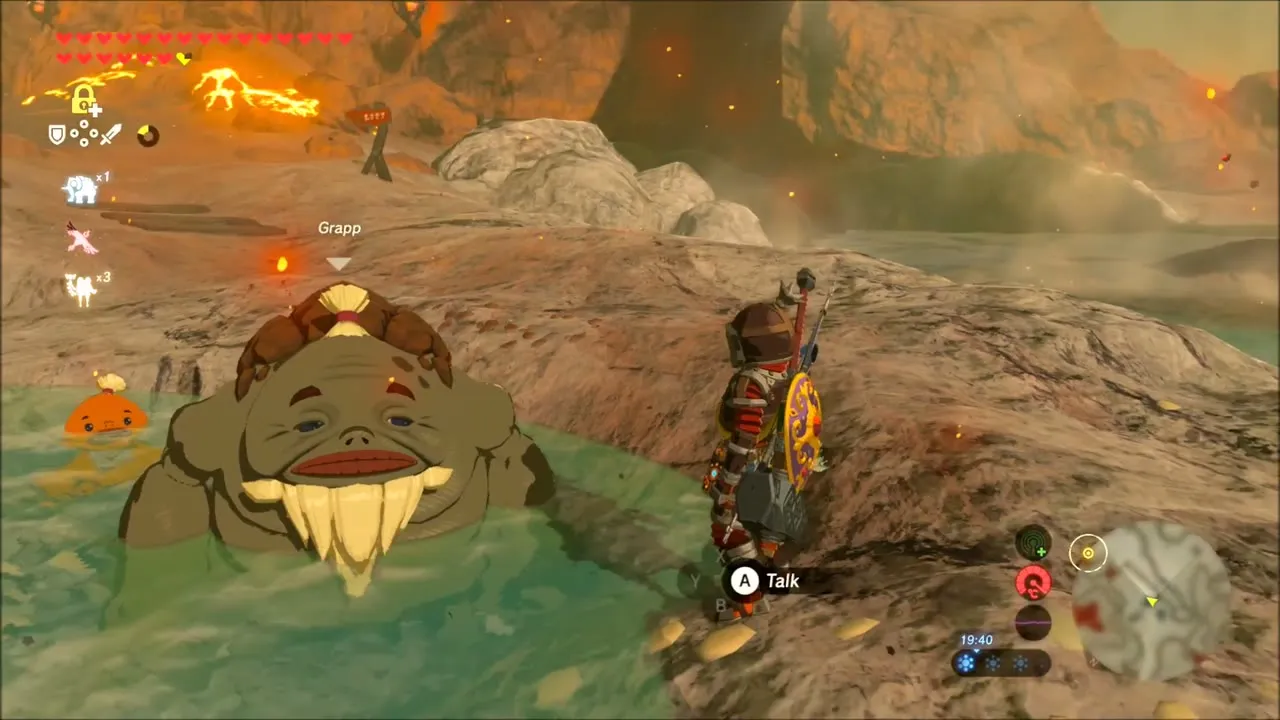
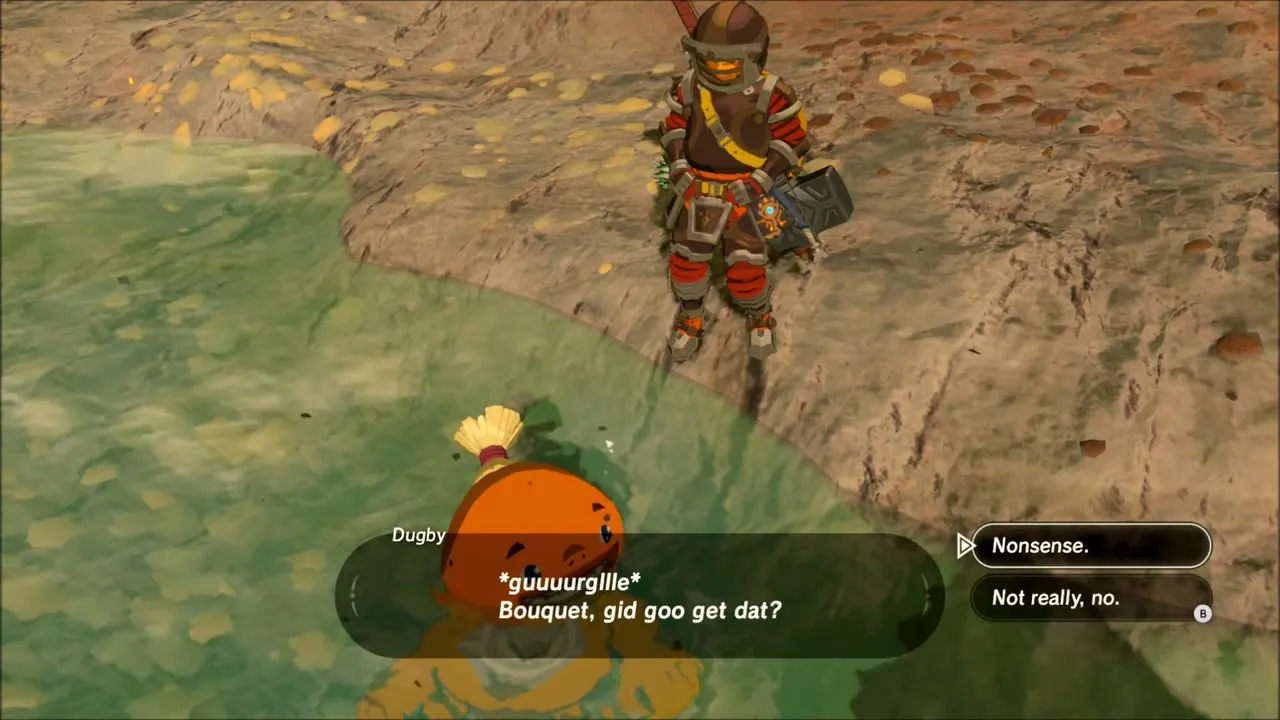
Leave the city toward the Goron Hot Springs, wearing heat protection (Flamebreaker pieces or a Fireproof Elixir). Climb the wooden scaffolding and swat the Fire Keese on the way. In the springs the Gorons Grapp and Dugby are soaking; talk to Dugby and he starts Death Mountain’s Secret, a hunt for a weapon he hid along the path toward Eldin Bridge. You can finish it once Vah Rudania is calmed.

Daqa Koh Shrine
Follow the path east and look for the glowing shrine entrance just off the trail, northeast of the springs. Daqa Koh Shrine (trial: Stalled Flight, x 2065, z -2328, height 611) is a Stasis puzzle. Ride the rising platform with the stone block, paraglide to the ledge left of the entrance for a chest with a Silver Rupee, then ride up again, freeze the block at its highest point with Stasis and glide through the gate it opens to the monk for the Spirit Orb.


Yunobo and the Cannons: Reaching Vah Rudania
Yunobo at Eldin Bridge
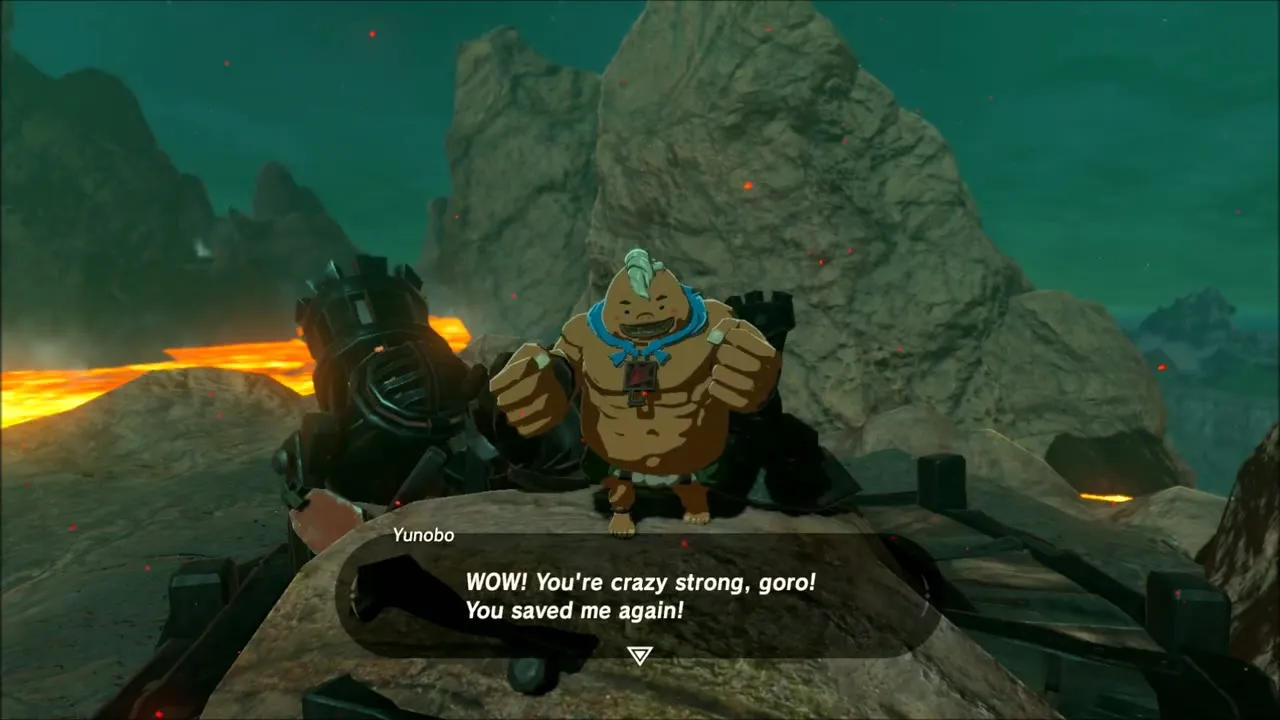
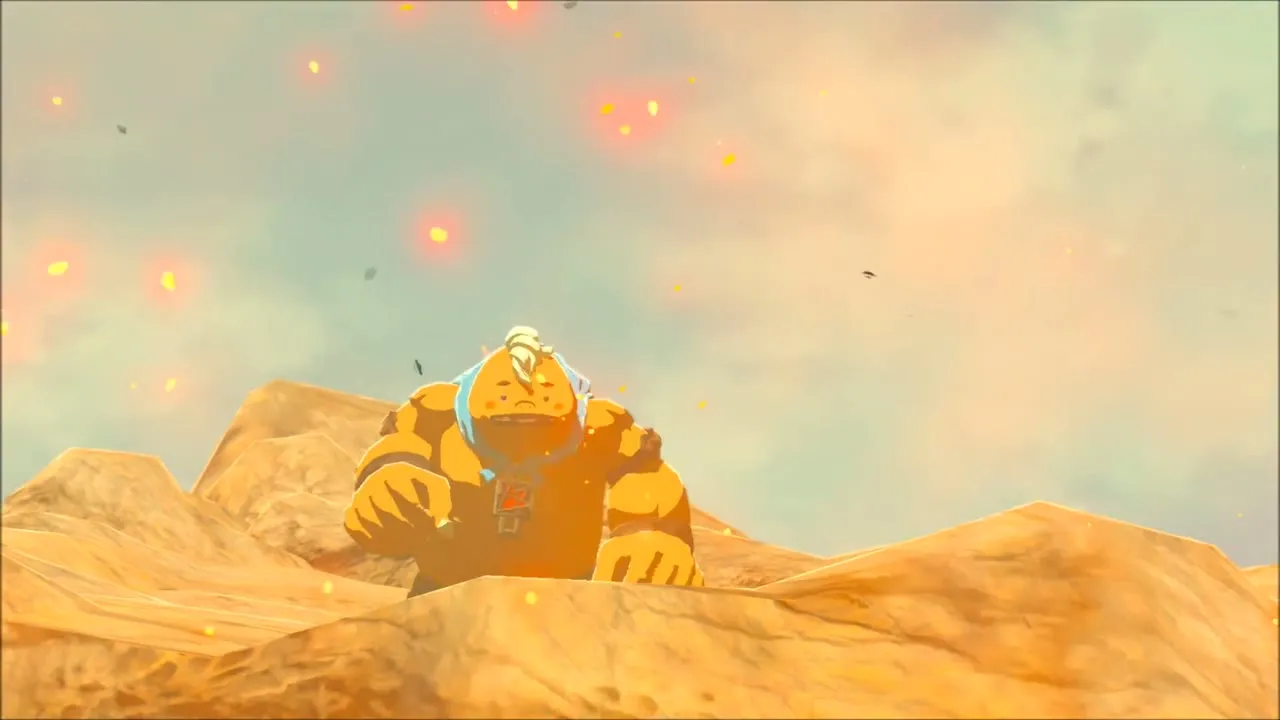
Press on toward Eldin Bridge, breaking ore and fighting Moblins on the lava-streaked slope (Opal and Amber turn up in the rocks). Yunobo is waiting by the first cannon and thanks you for saving him. He explains that the cannons are the way to hurt Rudania and that you must aim at the Bridge of Eldin first. Put him in the cannon, drop in a Remote Bomb and detonate it to fire him across the gap and lower the bridge. Your quest log now carries Free Divine Beast Vah Rudania.

Sentries, Moblins and cannon shots
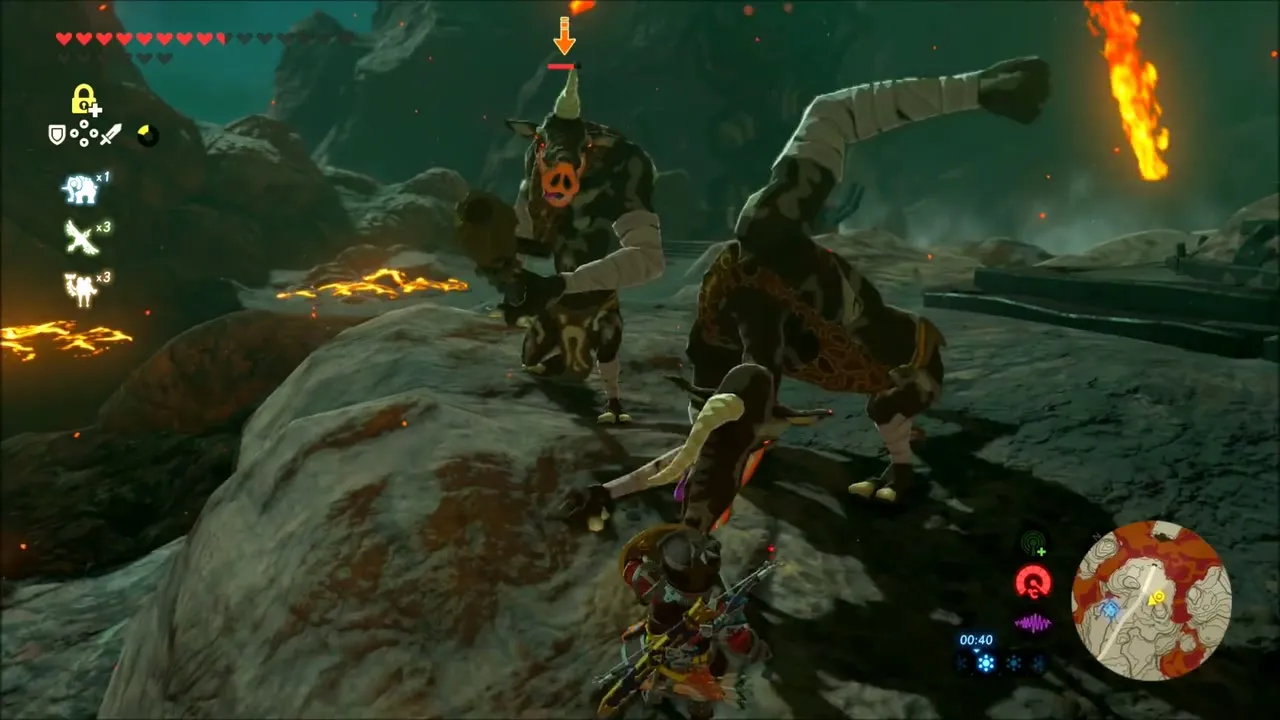
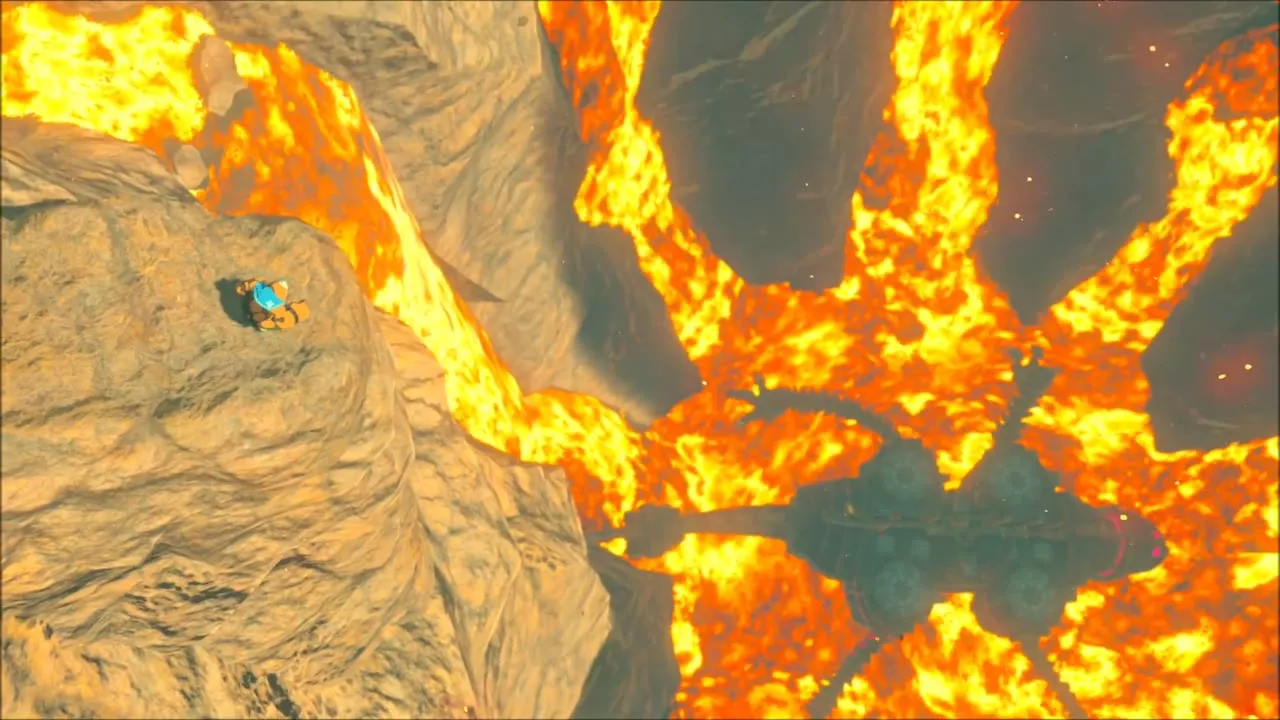
Cross the bridge and work up the mountain from cannon to cannon. Sentries hover over the path, and any red beam that finds you brings down magma bombs, so slip between rocks and tunnels and wait until each Sentry has drifted off. Moblins guard the cannons: beat them with your weapon, or use Magnesis to swing metal crates into the groups of Sentries. Each time the way is clear, load Yunobo and a Remote Bomb into a cannon and fire him at the Divine Beast. After the last shot Vah Rudania buckles and falls into the volcano, and Yunobo congratulates you before you climb in after it.

Divine Beast Vah Rudania: Dungeon Walkthrough
The tail, the dark entrance and the chests
Climb onto the beast’s tail and open the chest beside the entrance for an Ancient Screw before you step onto the lift. Inside it is pitch black, but the Blight and the glowing red eyes in the walls show you where to go. Shoot the three eyes in the first room to unlock chests holding a Dragonbone Boko Club, Ice Arrows and a Torch. Light the Torch at the blue flame, then use it on the brazier beside the sealed door. In the following rooms shoot the four eyes for chests with arrows and a Knight’s Bow (tier set by difficulty scaling), and light the brazier to unseal the Guidance Stone.


Tilting the beast: the five terminals
The Map Terminal tilts the whole beast by 90 degrees, and each of the five terminals is reached by tilting it so the rooms line up. Tilt for the first terminal, then clear the Blight on the spine and open the chest there for an Ancient Core before tilting back for the second. In the rear legs a flaming arrow burns the plank or the dry leaves (the leaves hide an Ancient Gear), and another chest holds a second Knight’s Bow. Use Stasis on the trapped sphere, Magnesis on the metal doors and boxes, and a carried flame to light the braziers; the last terminal sits at the tail.


Fireblight Ganon: Boss Fight
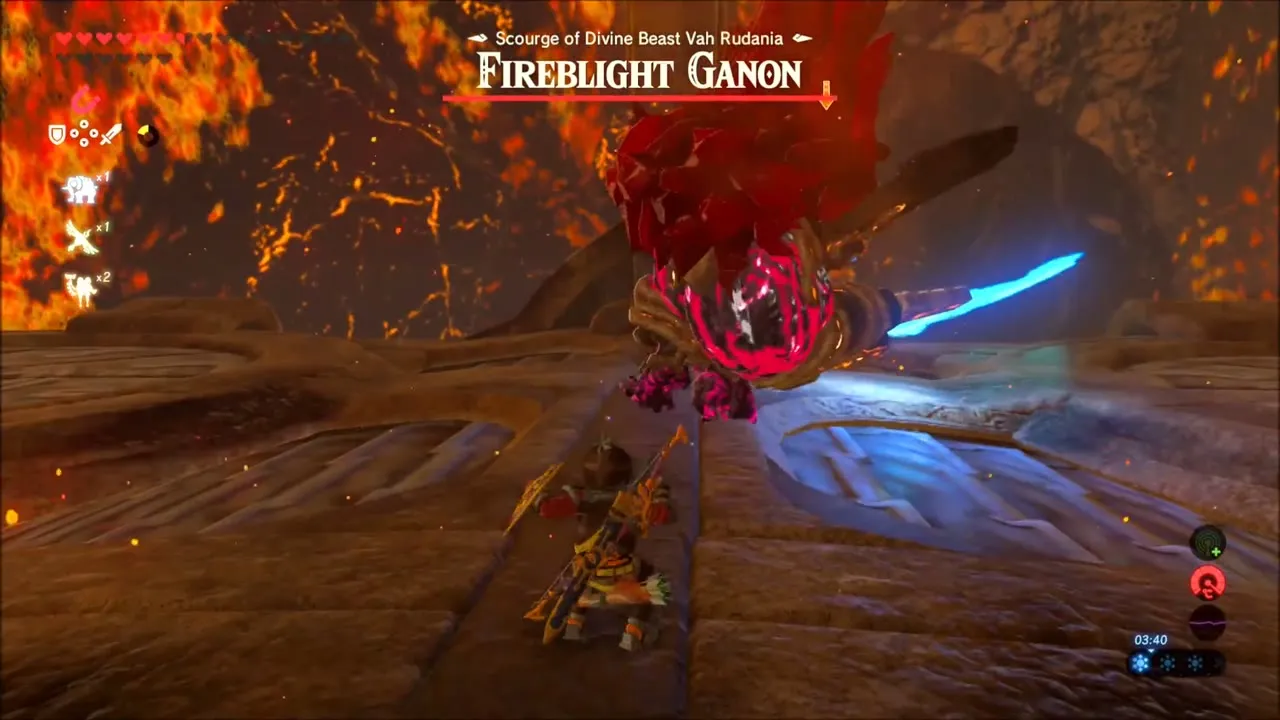
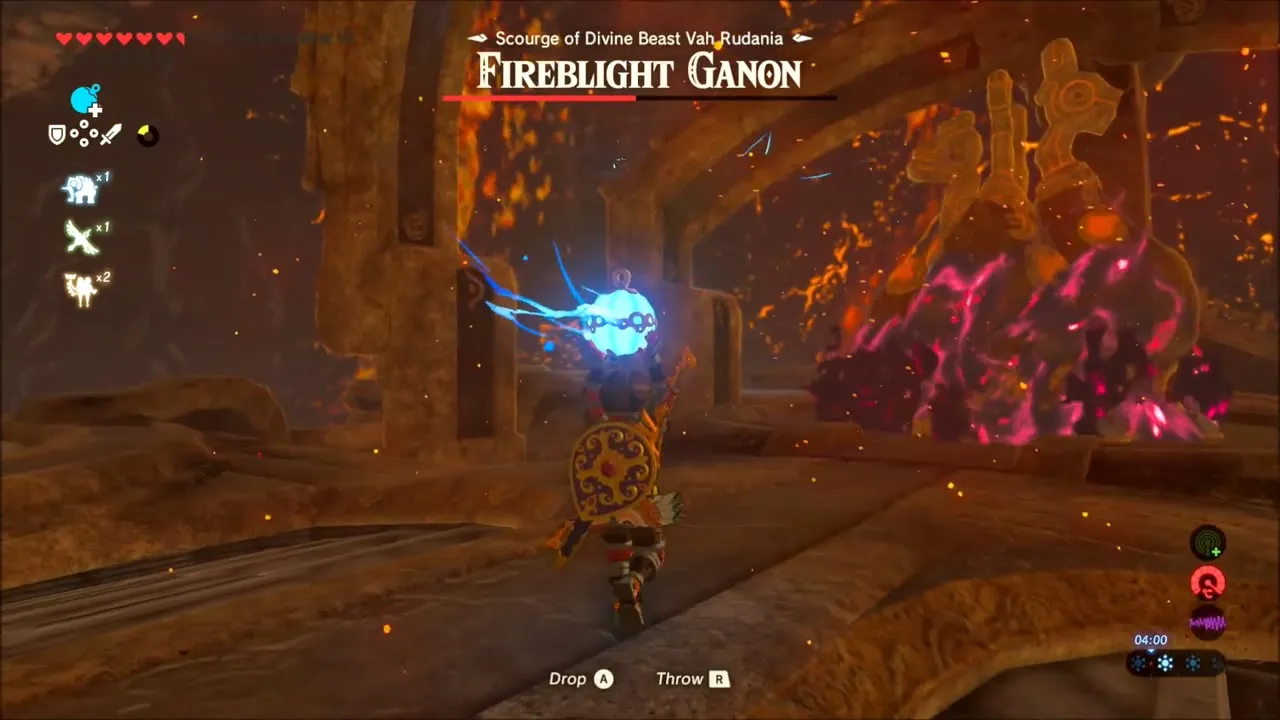
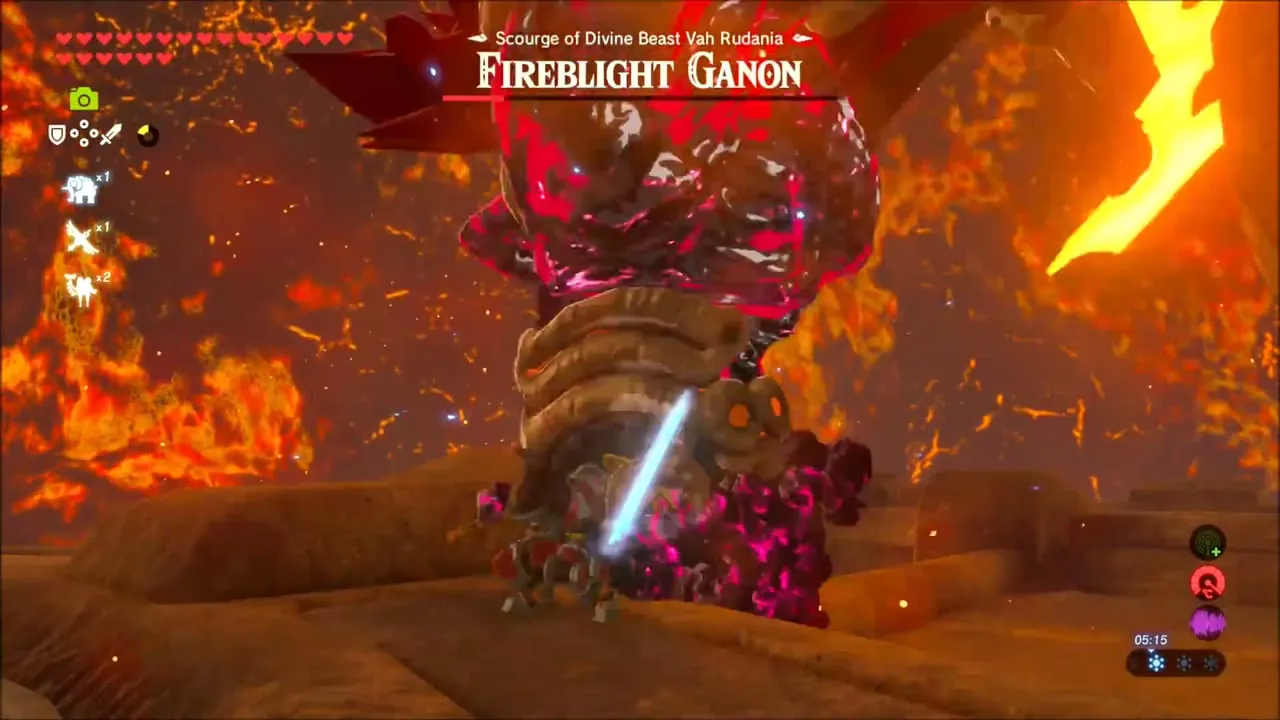
Fireblight Ganon rises in an arena ringed by lava and swings a huge sword. In the first phase he sweeps, smashes and spins, and the way he holds the blade tells you the direction of the swing: sidestep at the last instant to counter. At a distance he throws small fireballs, so keep moving. At half health he sets himself and the sword ablaze, teleports and gathers a meteor. When he draws that energy in, throw a Remote Bomb at him and detonate it to break his shield, and use the updrafts from his flame trail to glide up and shoot his eye. After he falls, the Blight is cleansed from the arena.

Heart Container, Daruk’s Protection and Boulder Breaker
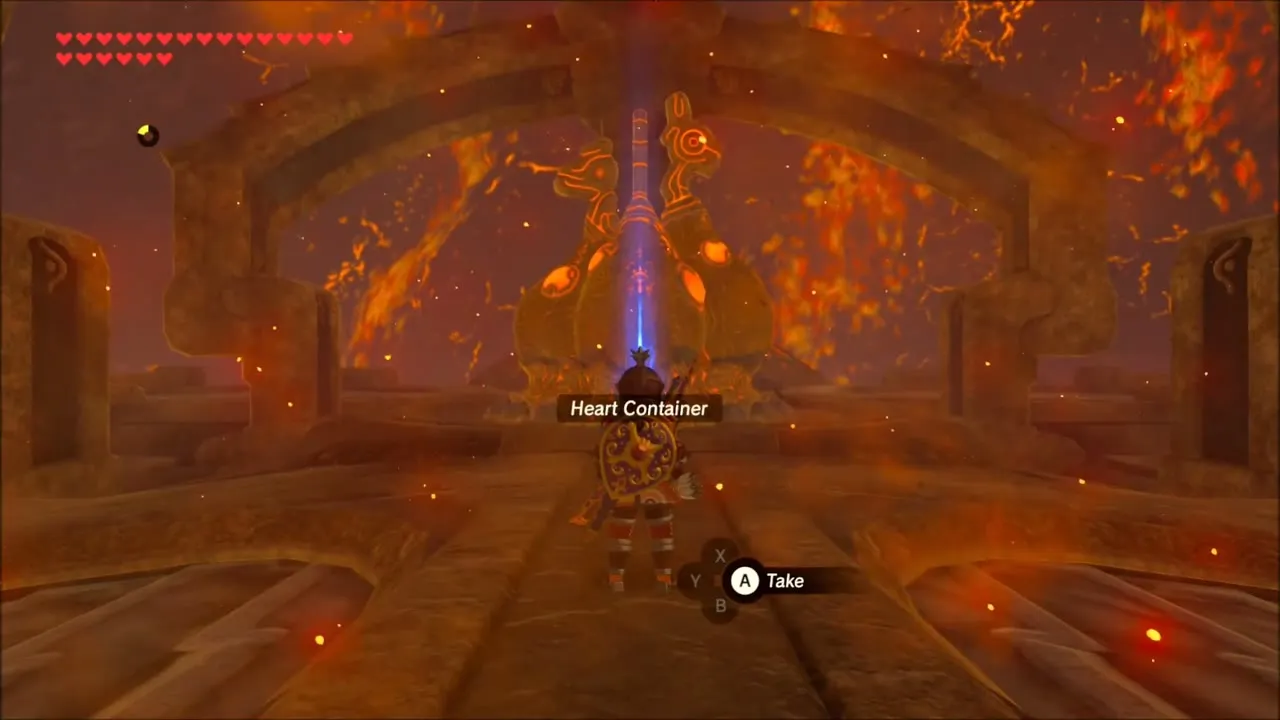
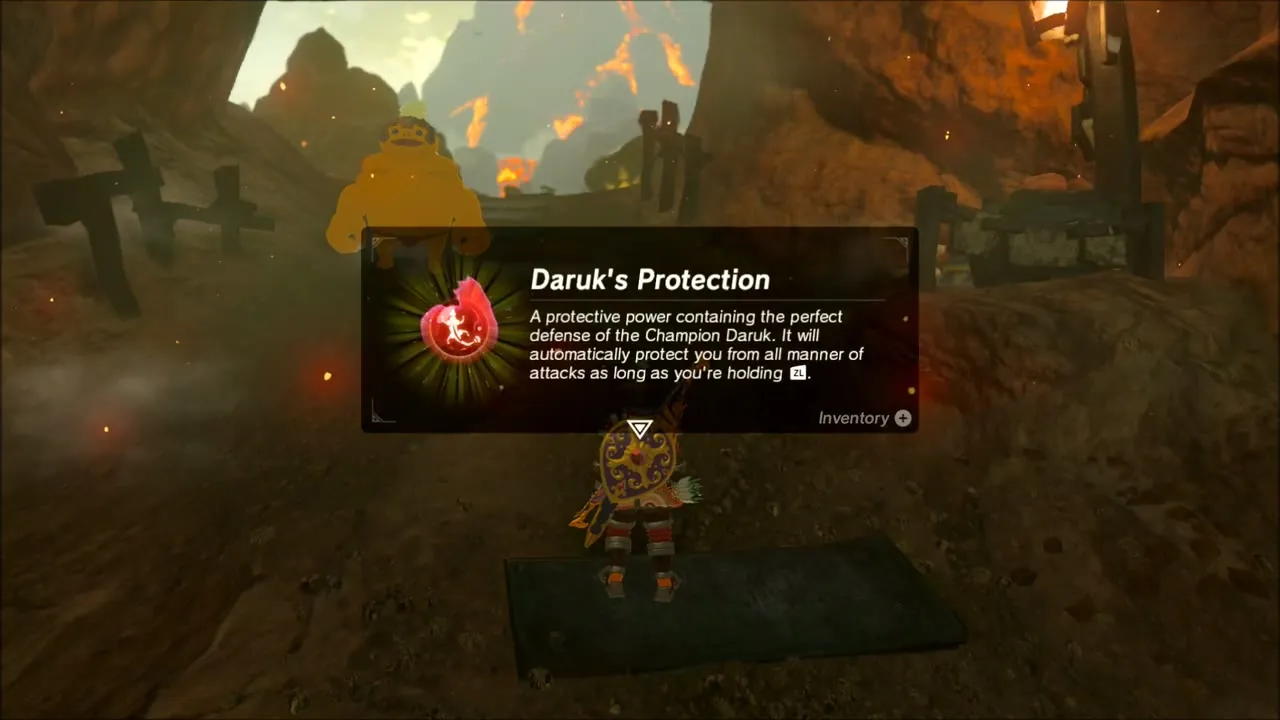
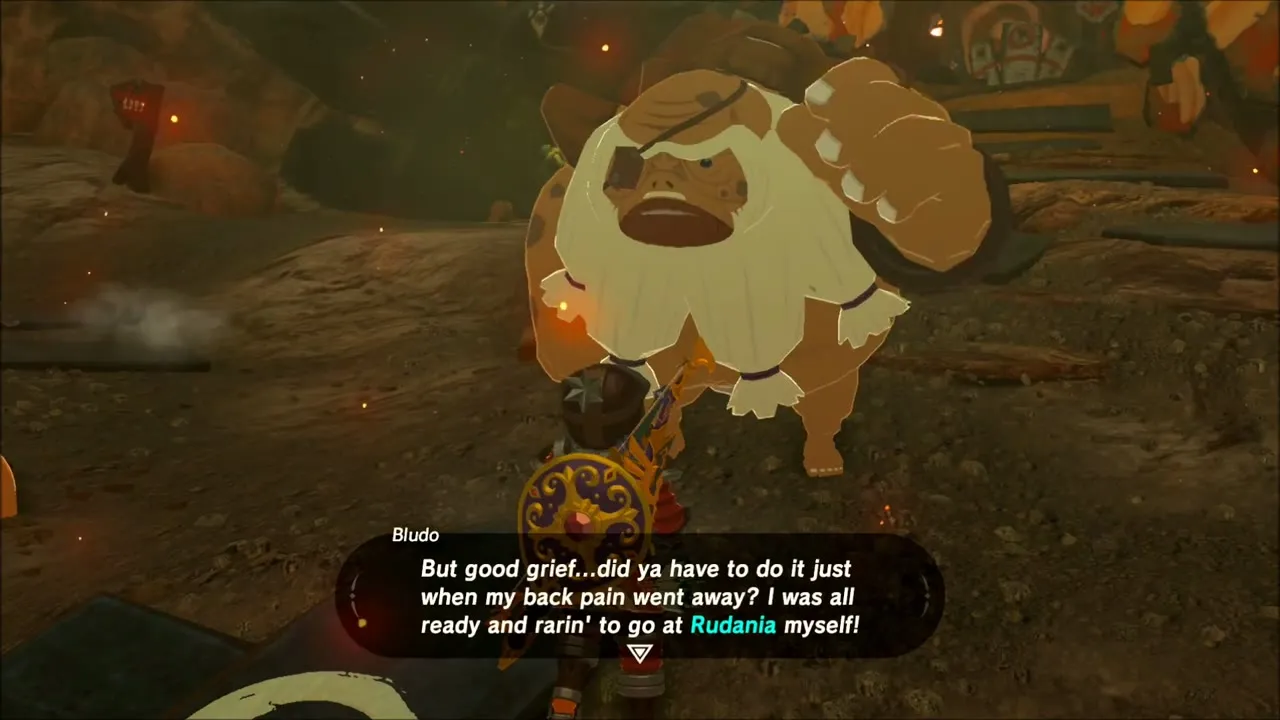
Take the Heart Container from the pedestal, then step into the light. Daruk‘s spirit speaks to you and gives you Daruk’s Protection, a power that automatically blocks all attacks while you hold it. Before it fades he says the Champions will be awaiting your clash with Ganon at Hyrule Castle. Back outside, Yunobo is waiting in Goron City. Talk to Bludo and he lets you take the Boulder Breaker (attack 30 here, up to 60 depending on difficulty scaling), the two-handed weapon Daruk once swung, from his house.

Goron City: The Jewel Trade
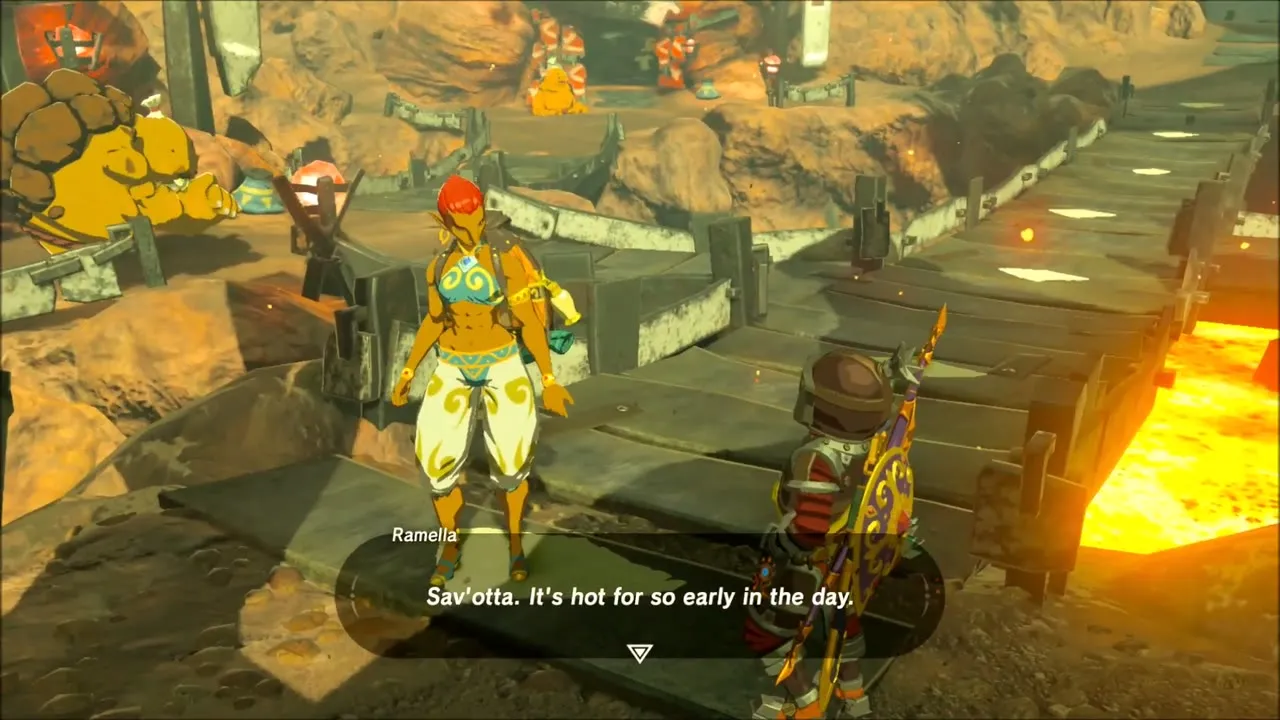
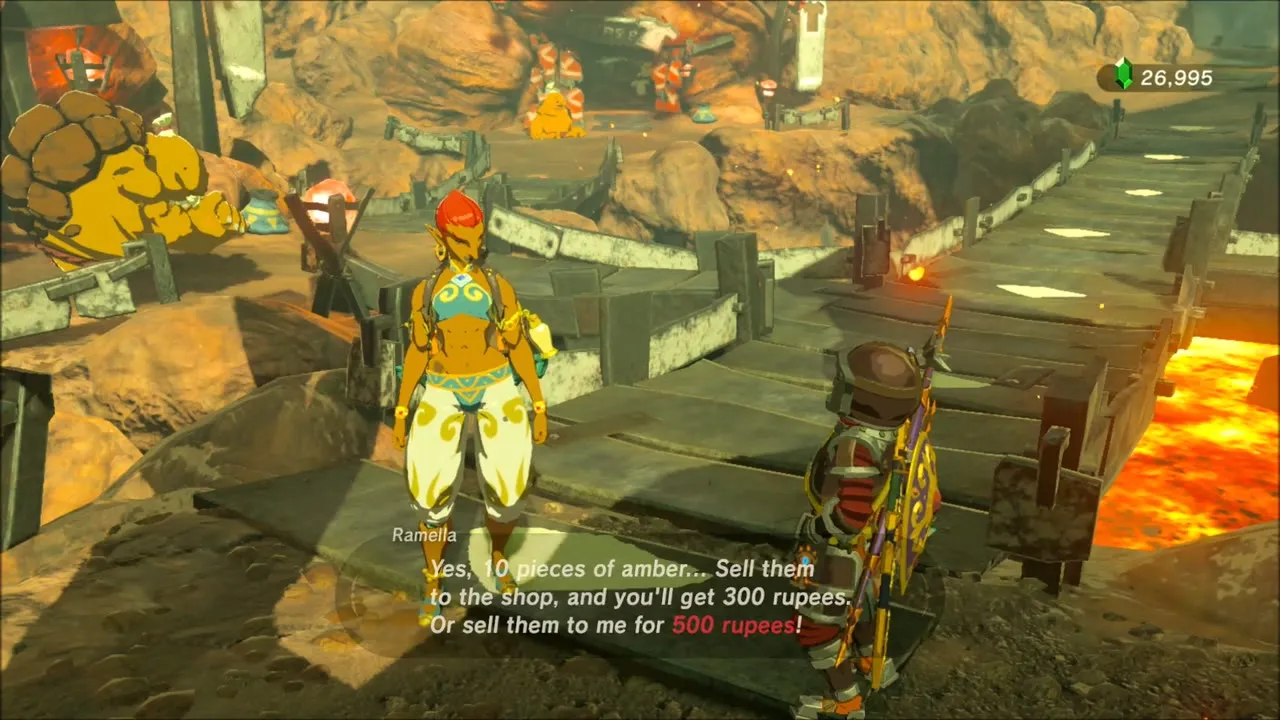
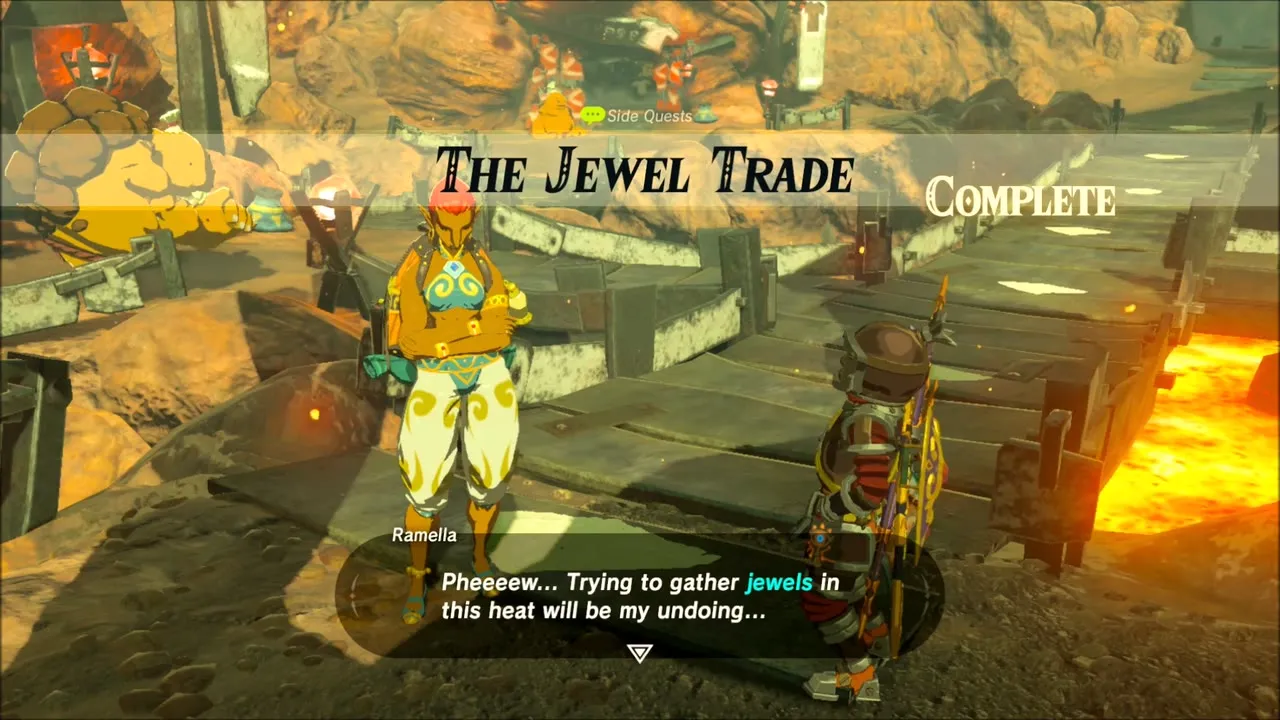
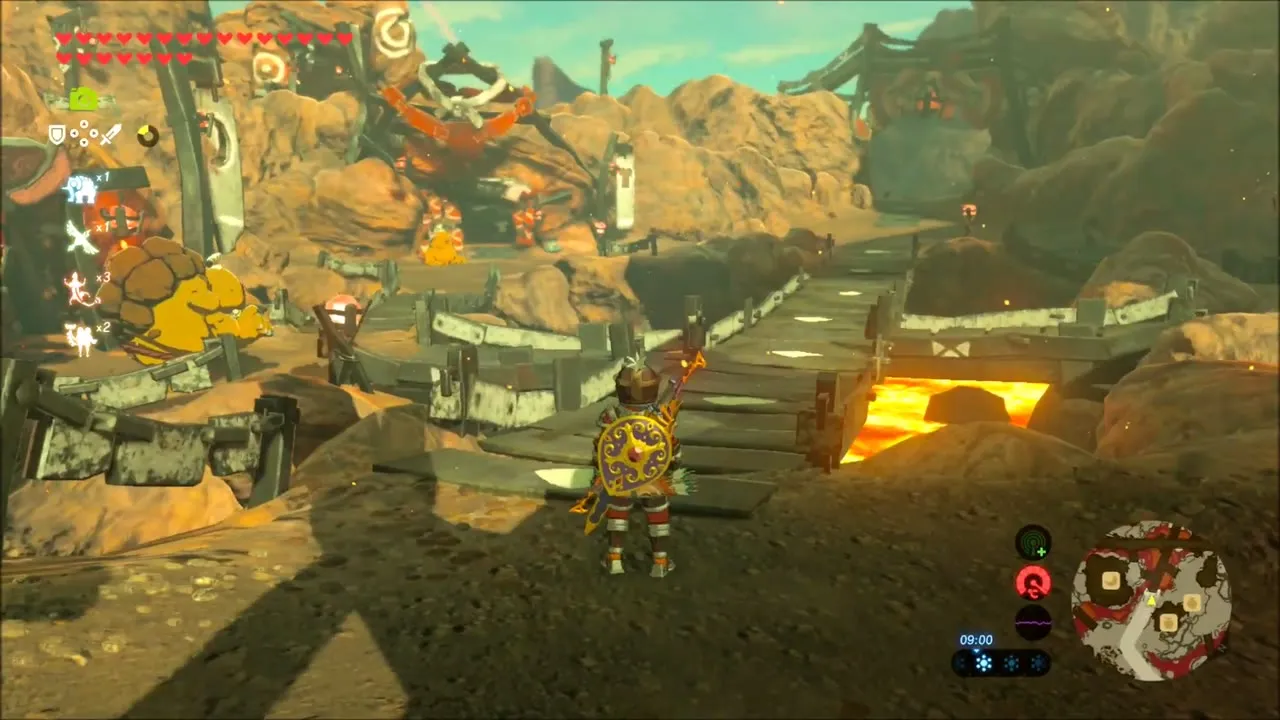
With Vah Rudania calmed, the Gerudo trader Ramella is standing on a bridge in Goron City. Talk to her to start The Jewel Trade: she pays more than a shop would for gems, 500 Rupees for ten Amber. Hand over the Amber you have collected on Death Mountain.
Kakariko Village: Report to Impa
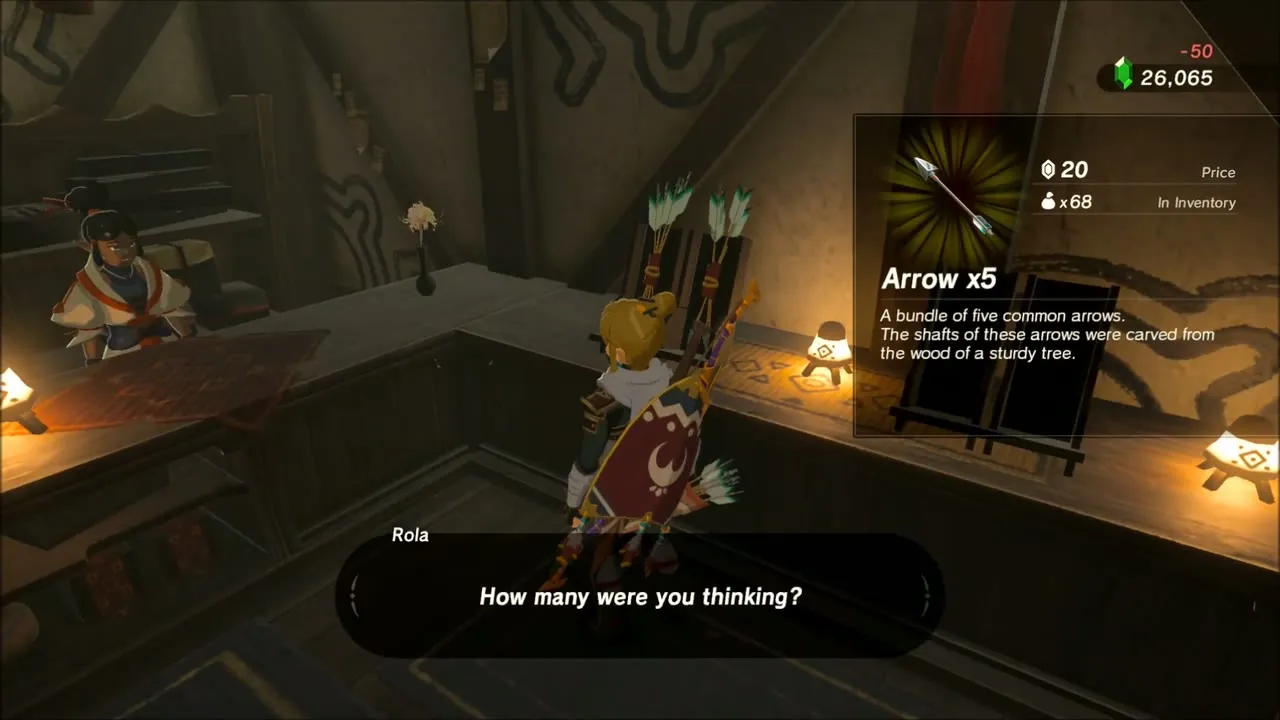
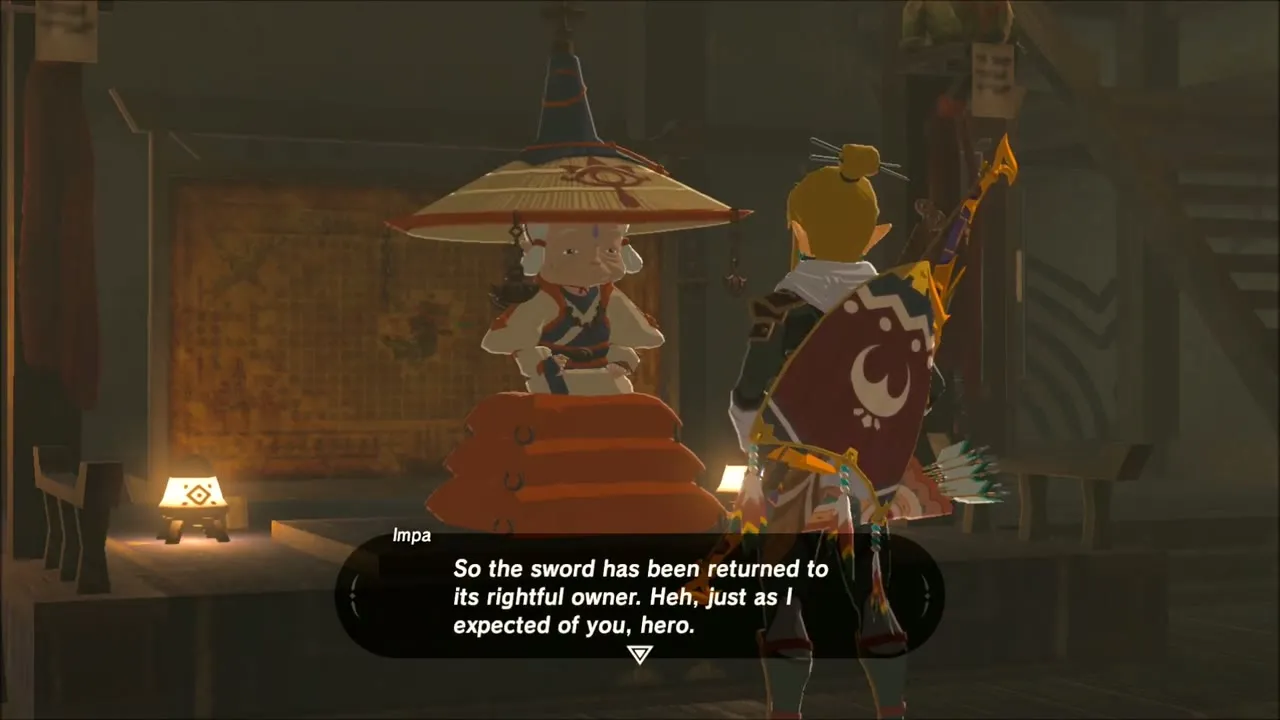
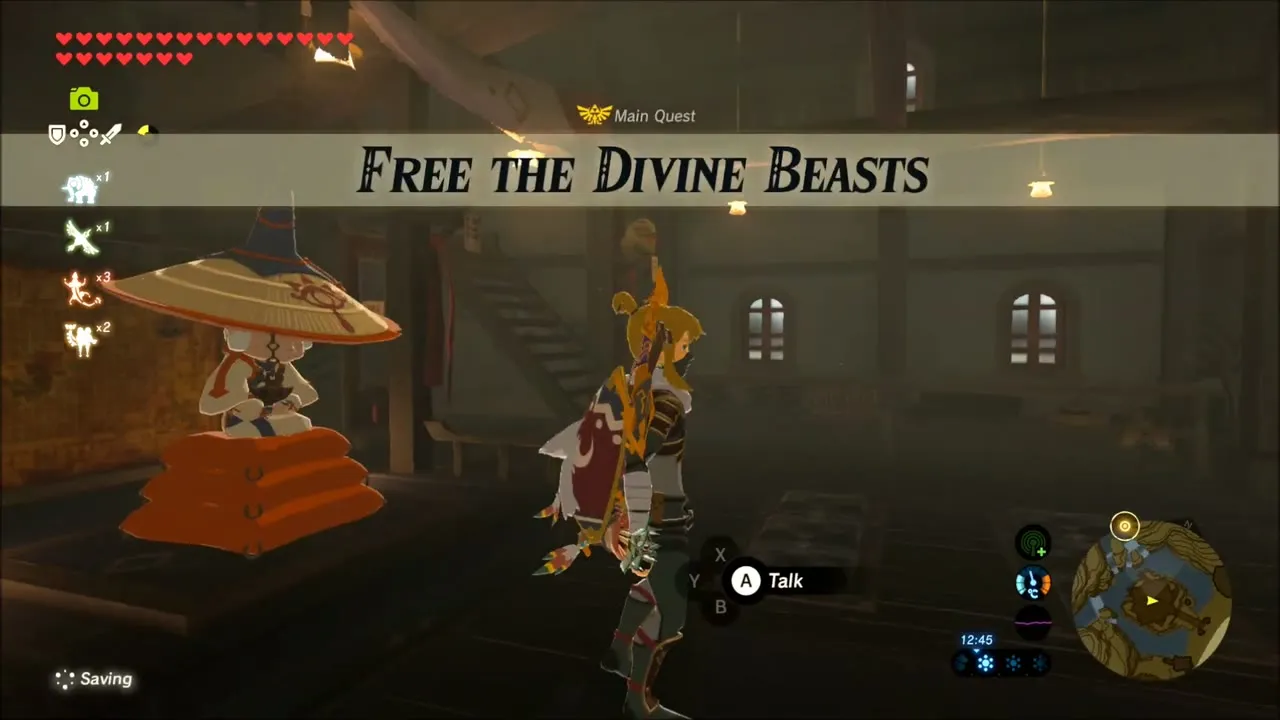
Warp to Kakariko Village and climb to Impa‘s house. Talk to her and she tells you that all four Champions’ spirits now serve the same purpose; the quest Free the Divine Beasts shows Complete. Rola’s shop in the village sells arrows if you need to restock.
From the Ground Up: Rhondson and Hudson
Gerudo Town and Kara Kara Bazaar
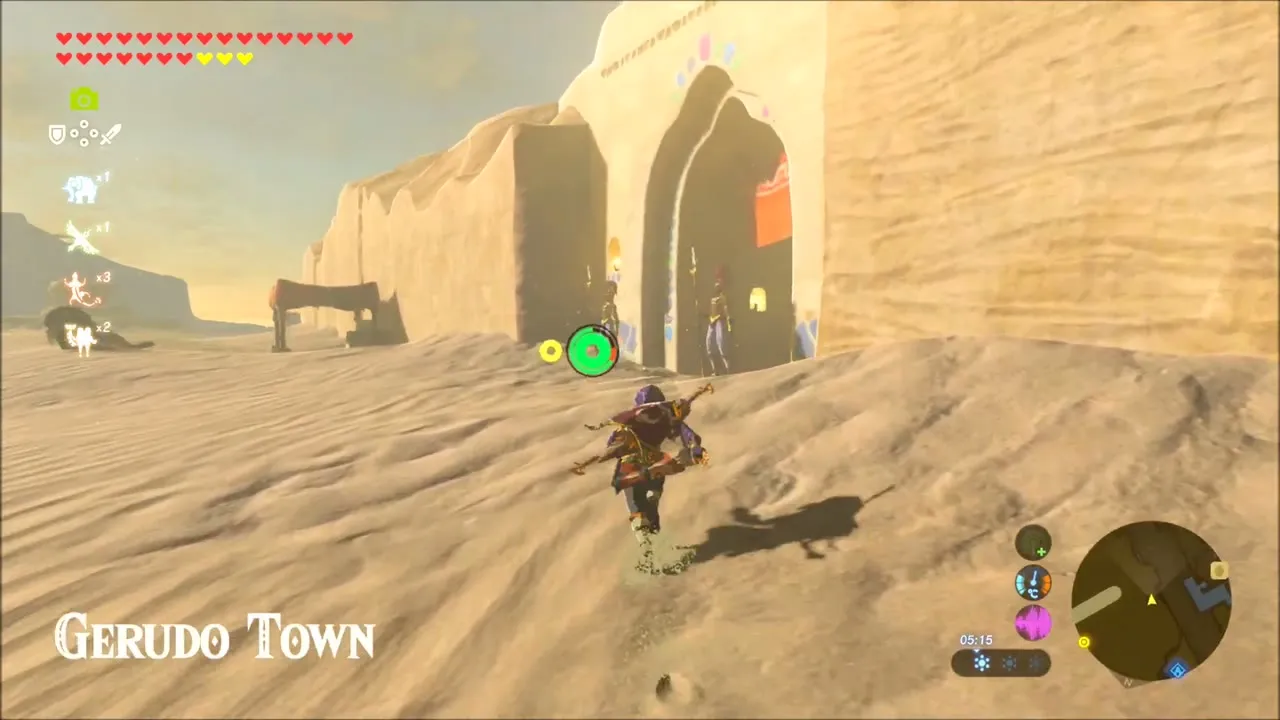
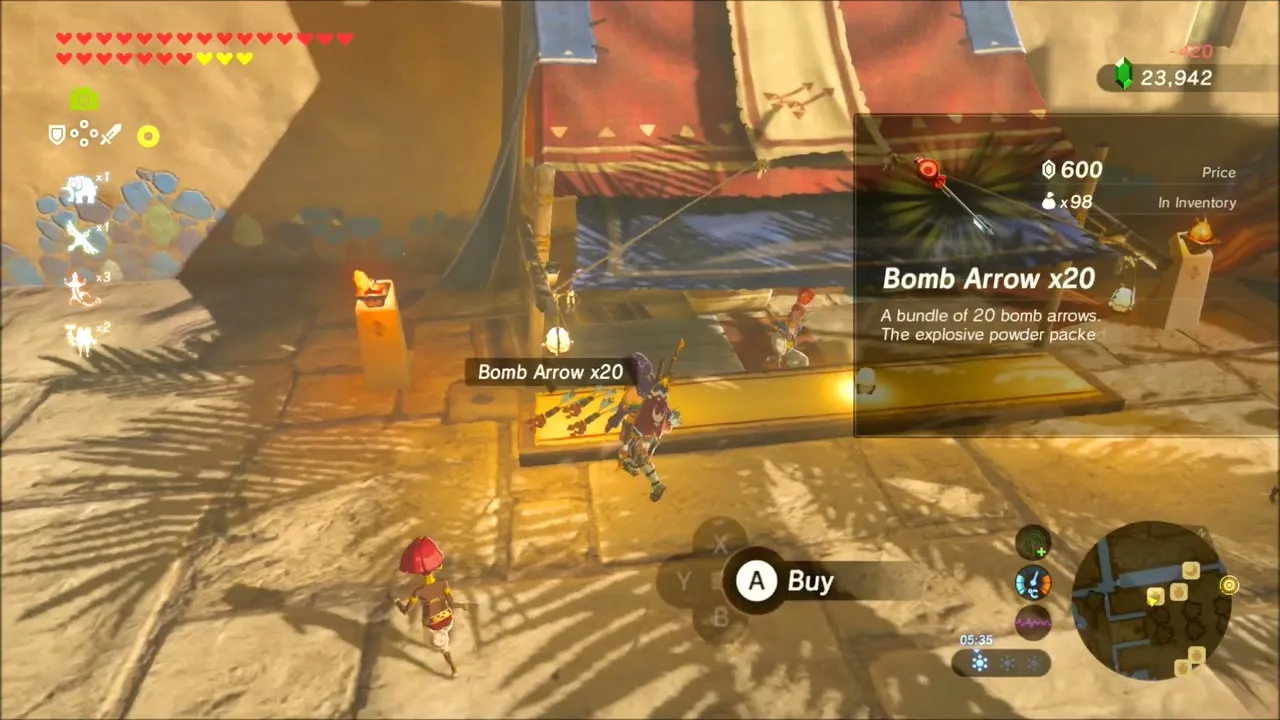
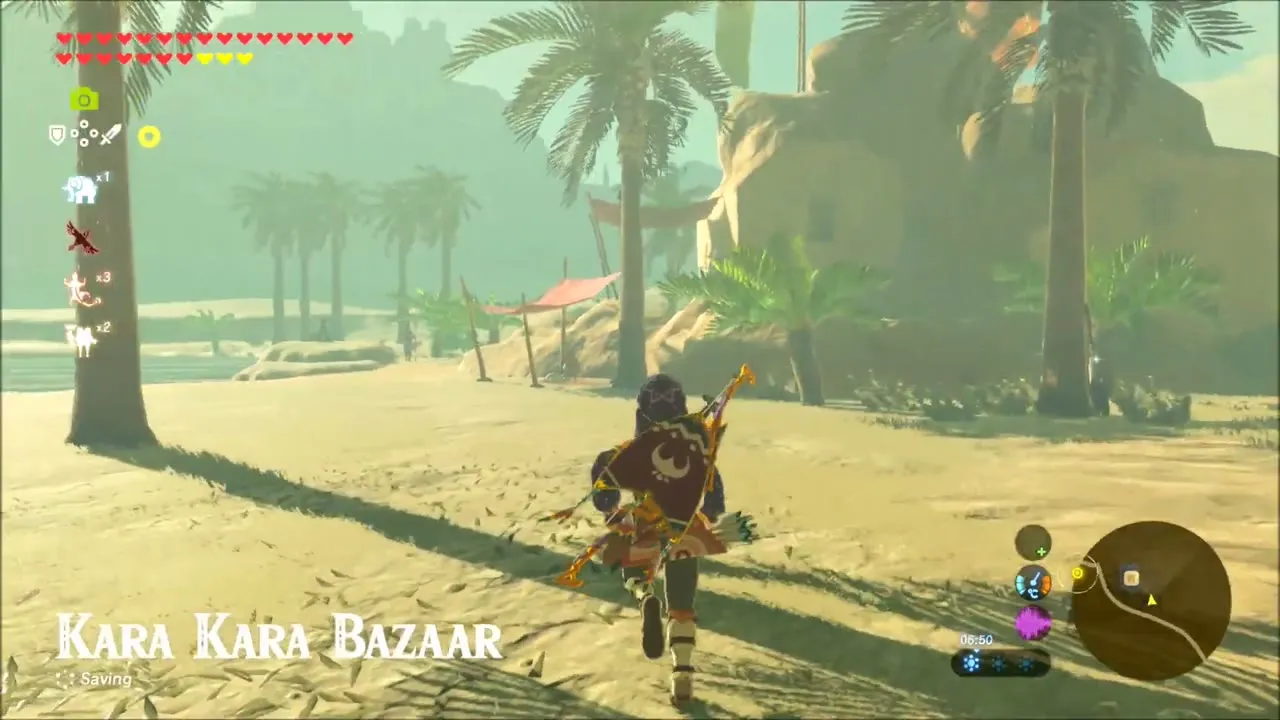
Travel on to Gerudo Town, where the shop stall sells Bomb Arrow bundles if you want to stock up. Then cross the sand to Kara Kara Bazaar and speak to the Gerudo Rhondson, which completes task four of From the Ground Up. She says you will see her again in Tarrey Town.

Tarrey Town
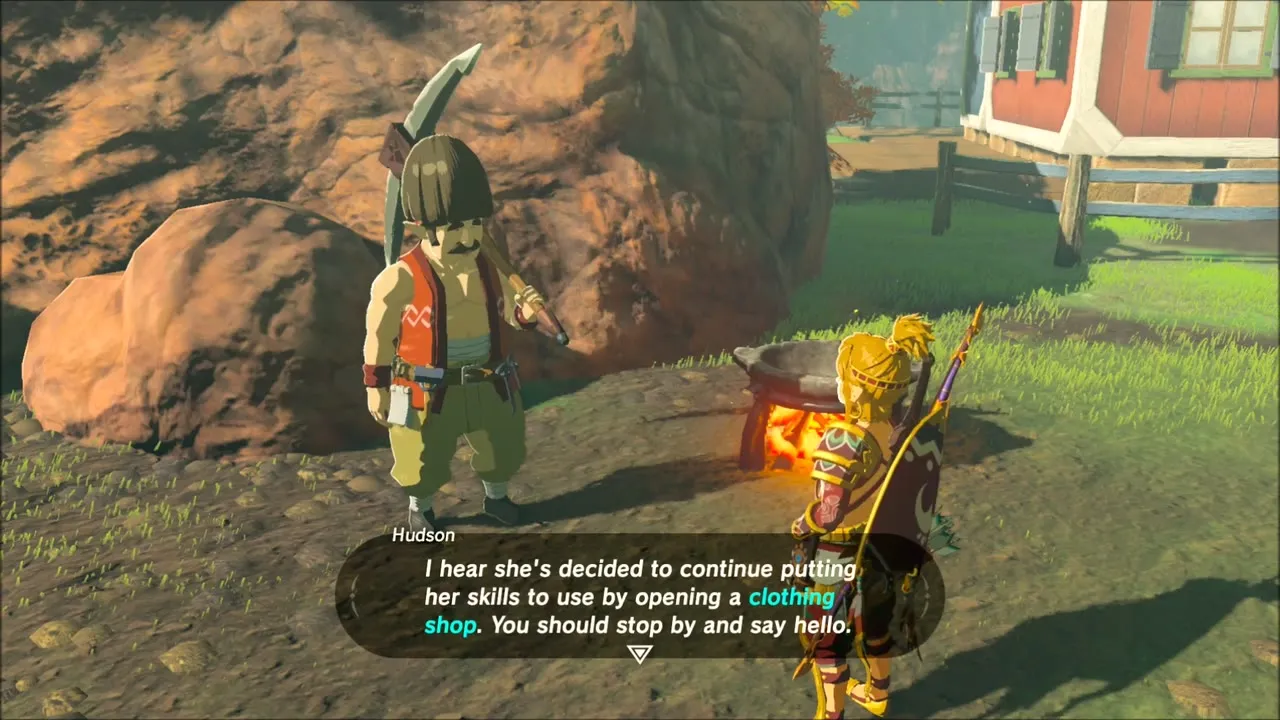
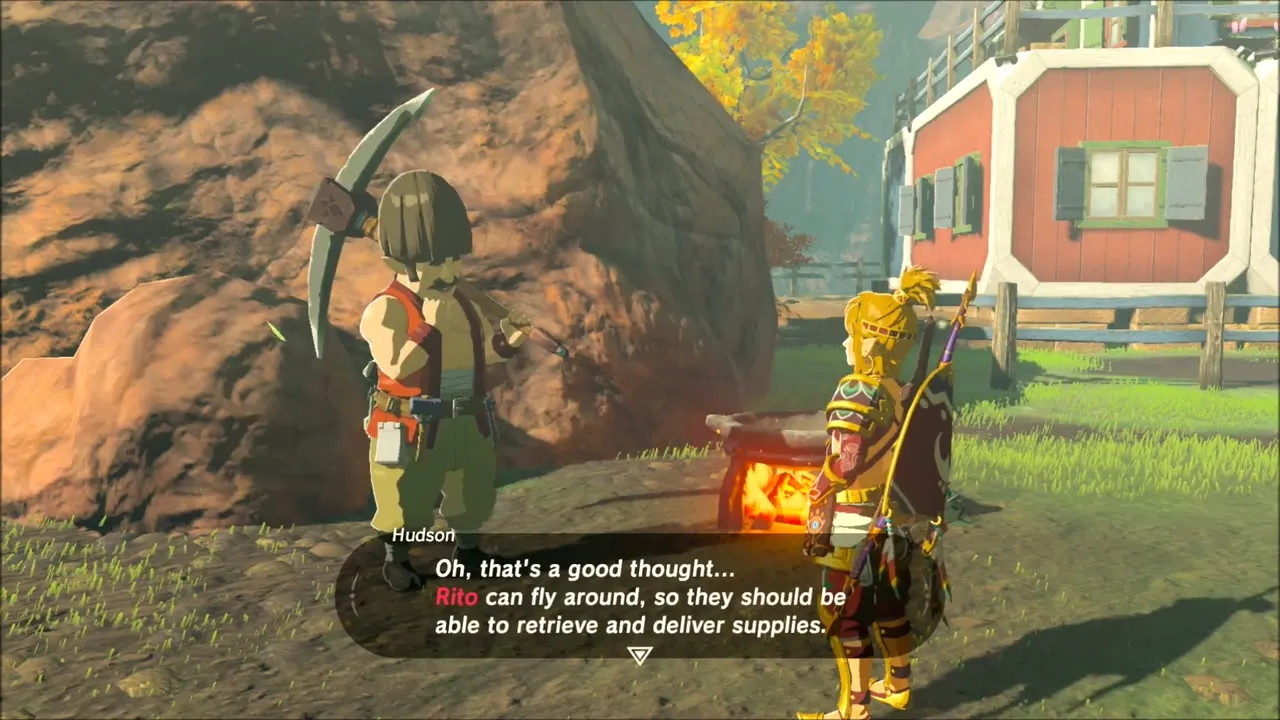
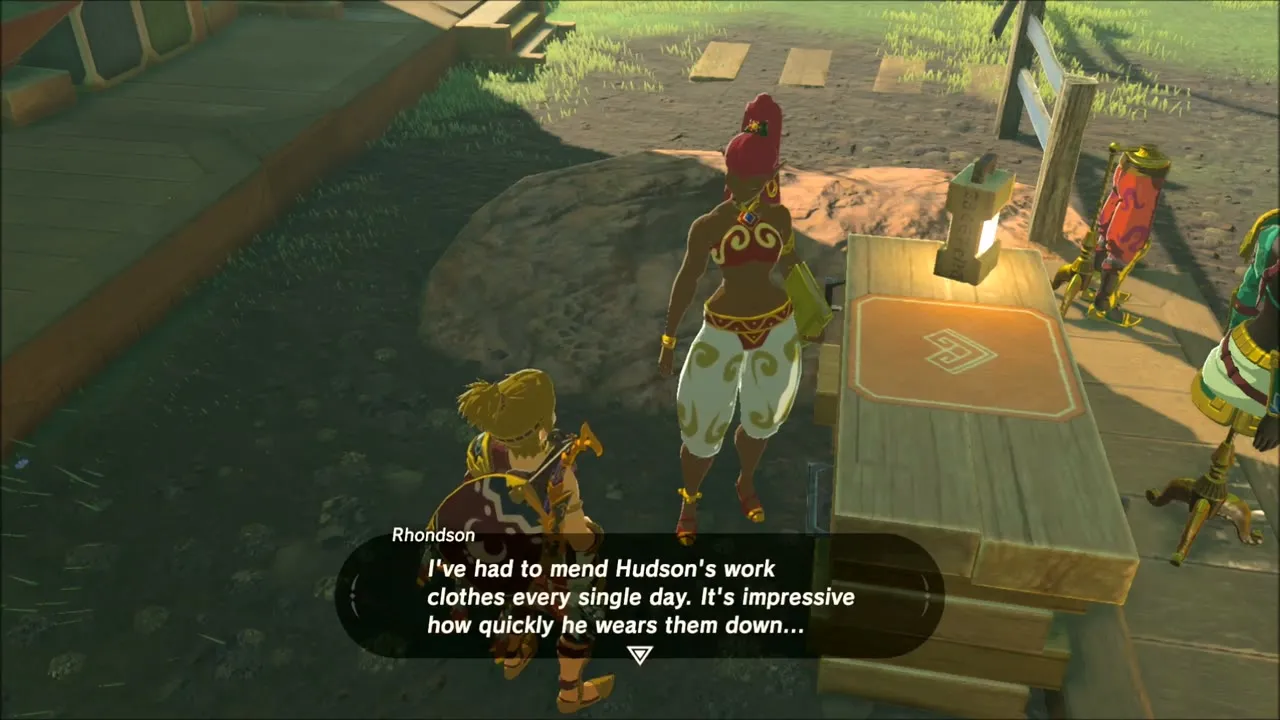
Warp to Tarrey Town and give Hudson 30 bundles of wood for task five. He tells you Rhondson means to open a clothing shop, and suggests the Rito, who can fly, could deliver supplies. Talk to the new residents, Rhondson and Greyson among them, before you go.
Great Fairy Mija: Armor Upgrades
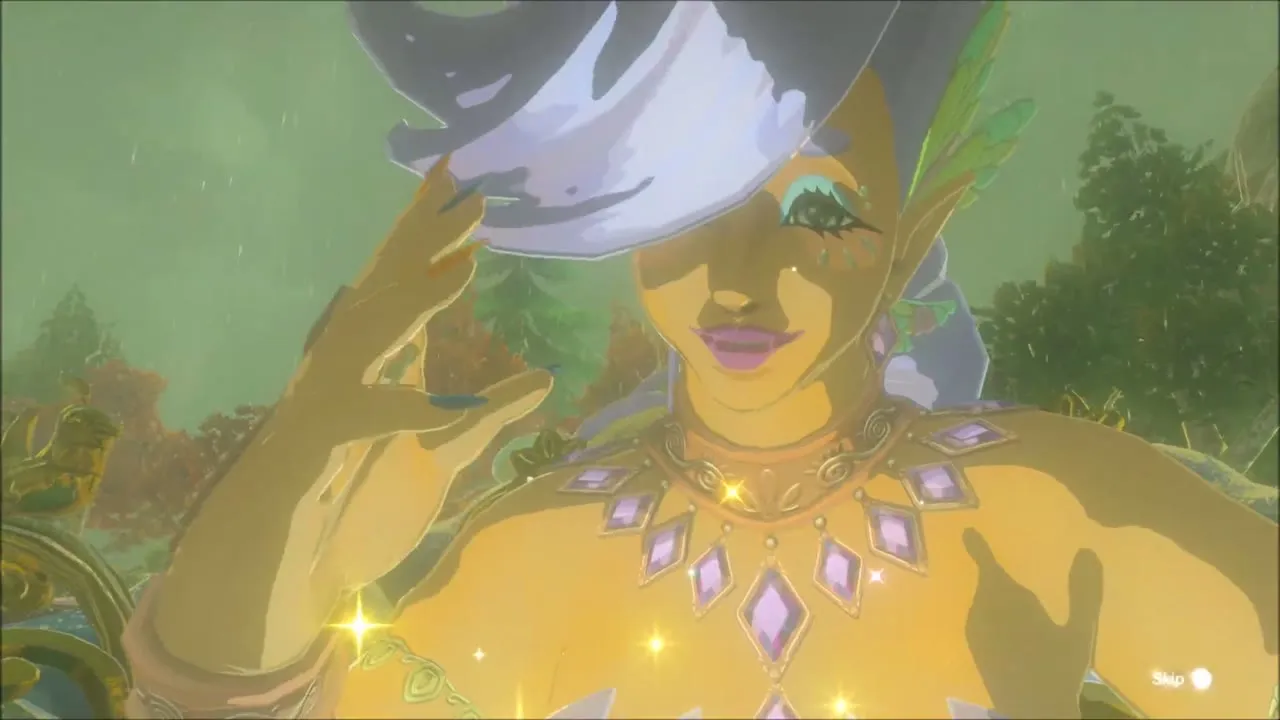
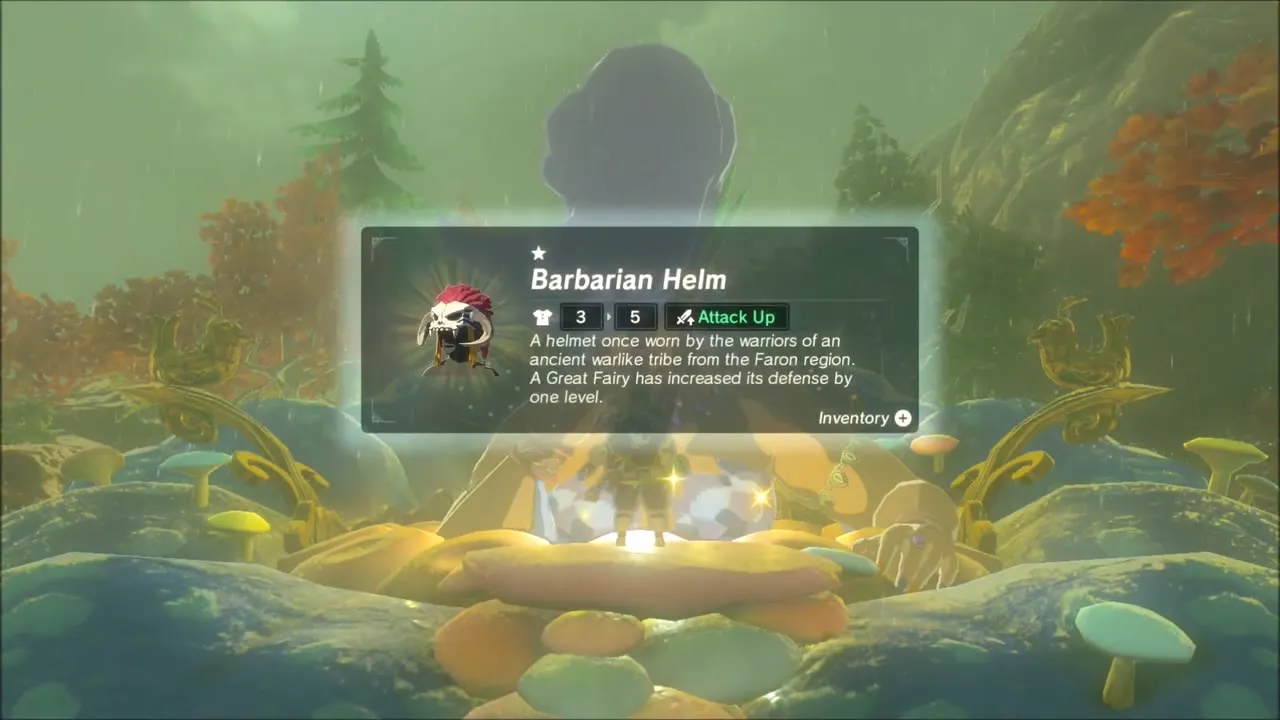
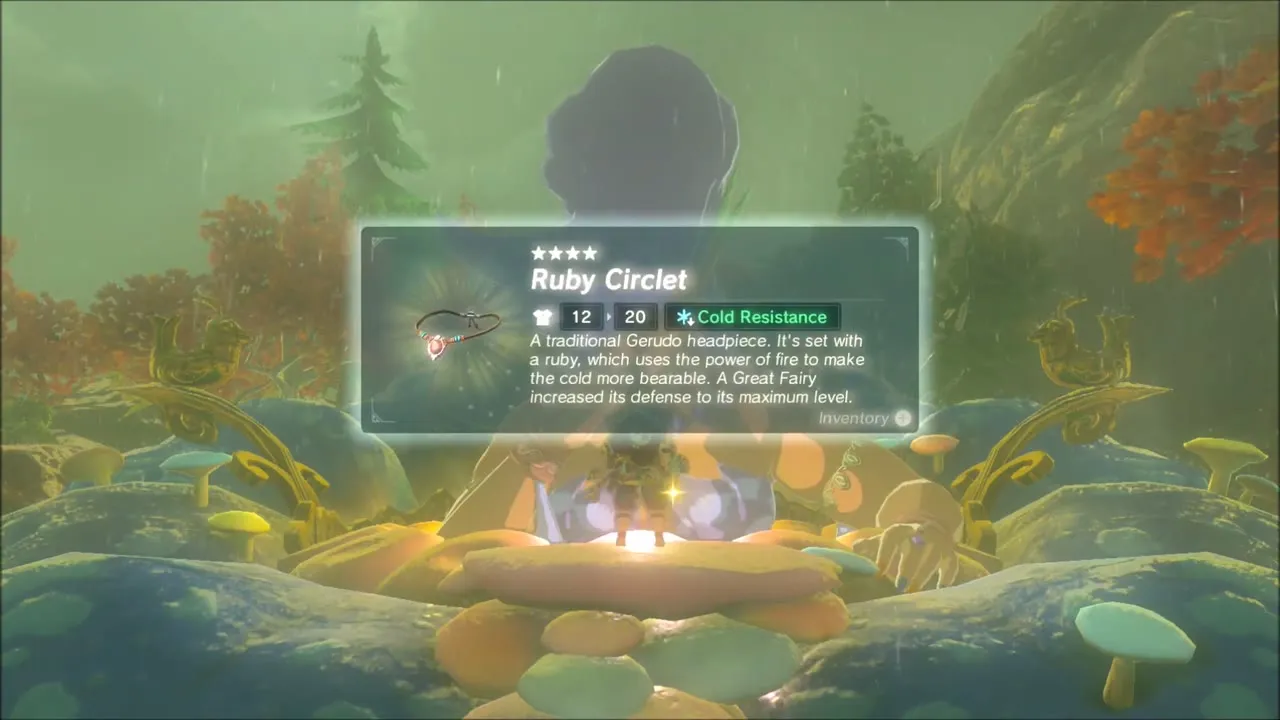
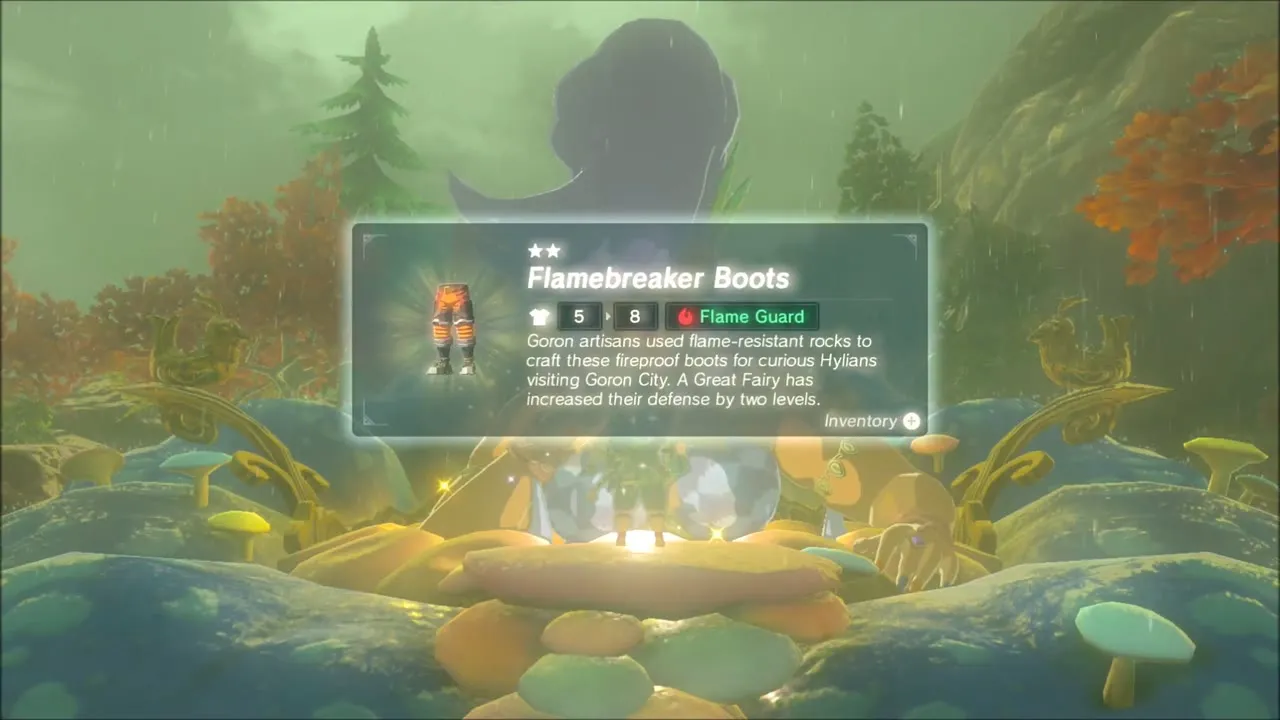
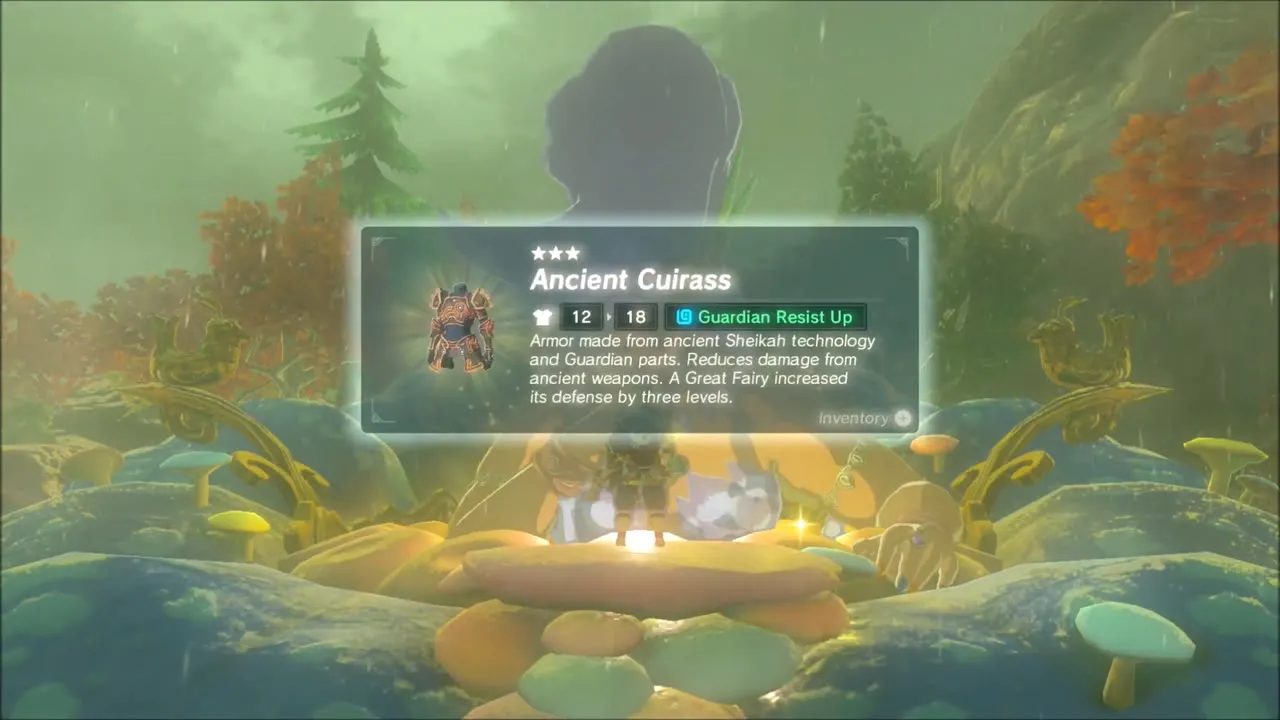
The Great Fairy Mija has her fountain in Akkala, in a grove east of Dah Hesho Shrine (x 4112, z -1378). Pay to wake her, then choose armor to enhance, trading in the monster parts and gems the screen asks for. This visit upgrades pieces such as the Barbarian Helm, Ruby Circlet, Flamebreaker Helm and Boots and the Ancient Cuirass (tier set by difficulty scaling).
Igneo Talus and Korok Seeds near Gorko Lake
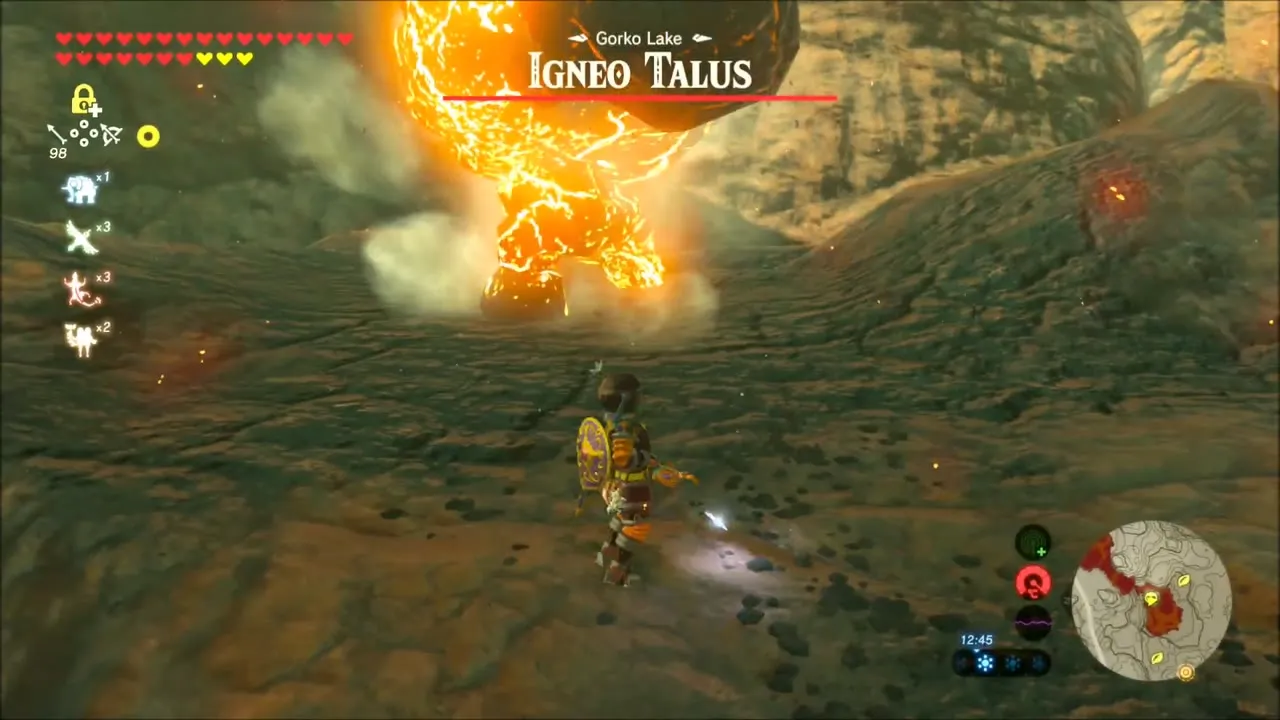
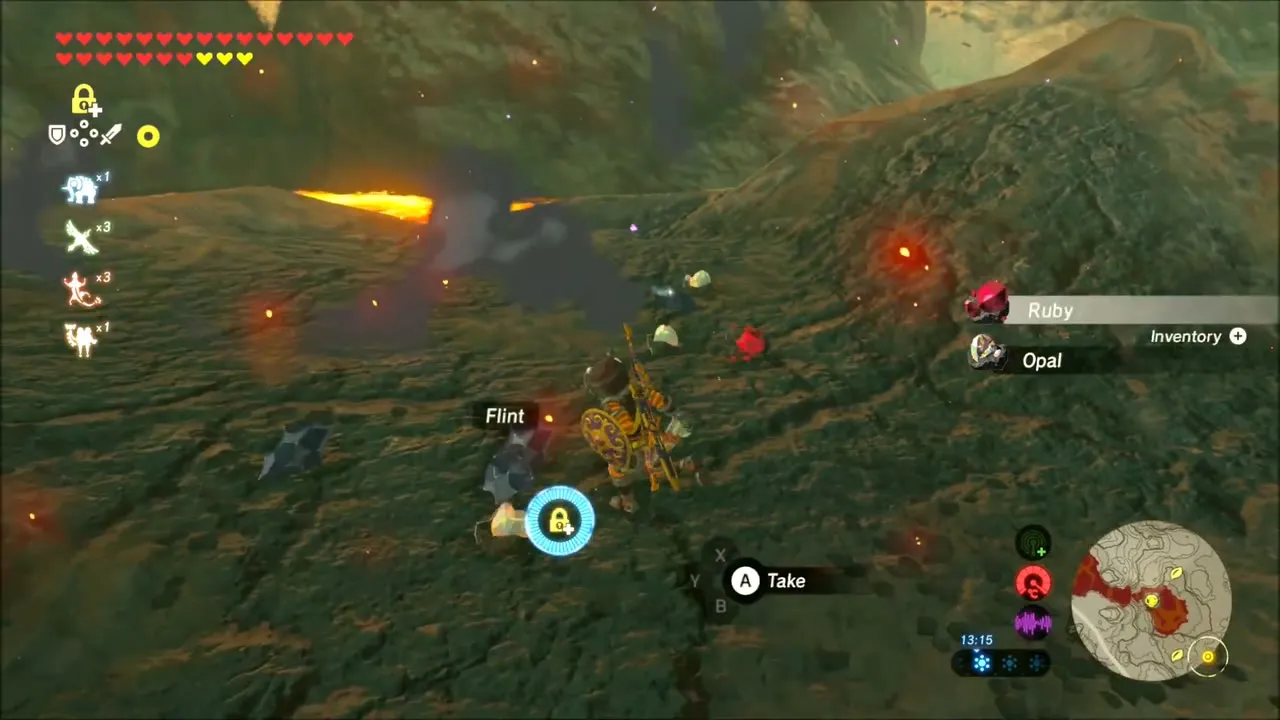
Warp back to Eldin and cross the volcanic hills toward Gorko Lake. An Igneo Talus heaves itself up from the rock beside the lava. Cool it with an ice attack or wear the Flamebreaker set, climb onto its back and break the glowing ore deposit; it leaves Flint, Opal and other gems behind.


Close to the Talus there are three Korok seeds. On a cliff face, a pattern of stone blocks has a gap in it: use Magnesis to pull the loose metal block into the gap and a Korok appears with a seed. Further on, a round boulder sits on a ledge; push and shift it and the Korok hiding beside it gives you a seed. A third Korok waits on a rock ledge beside a lava fall; glide across the gap to reach it.


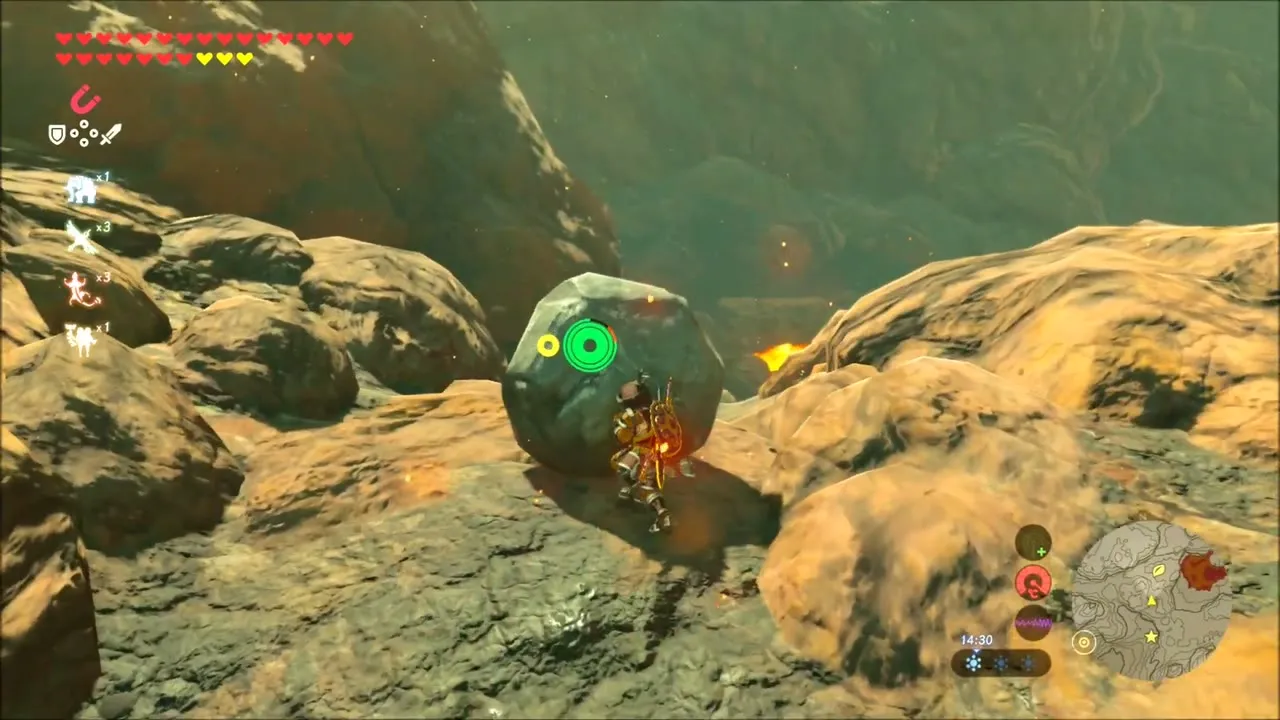
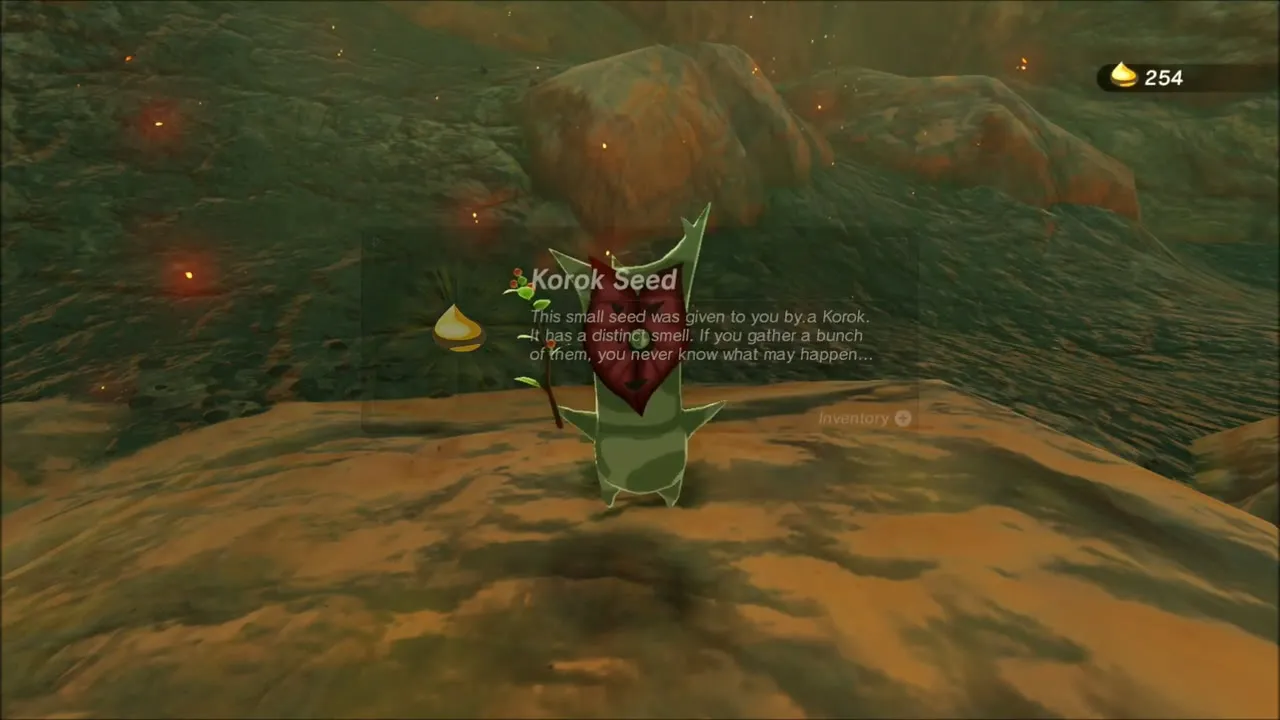
A Brother’s Roast: Gorko Tunnel
Talk to Bladon in Goron City to take on A Brother’s Roast. His brother Gonguron is exhausted inside Gorko Tunnel (x 2008, z -2013), southeast of the hot springs. Go through the springs and follow the track beside the minecart rails; Bladon turns up and asks you to bring a Rock Roast from Gortram Cliff, where Moblins and Fire Keese roam the slope. Carry the roast back to Gonguron, who eats it and starts mining until a hidden shrine is uncovered.
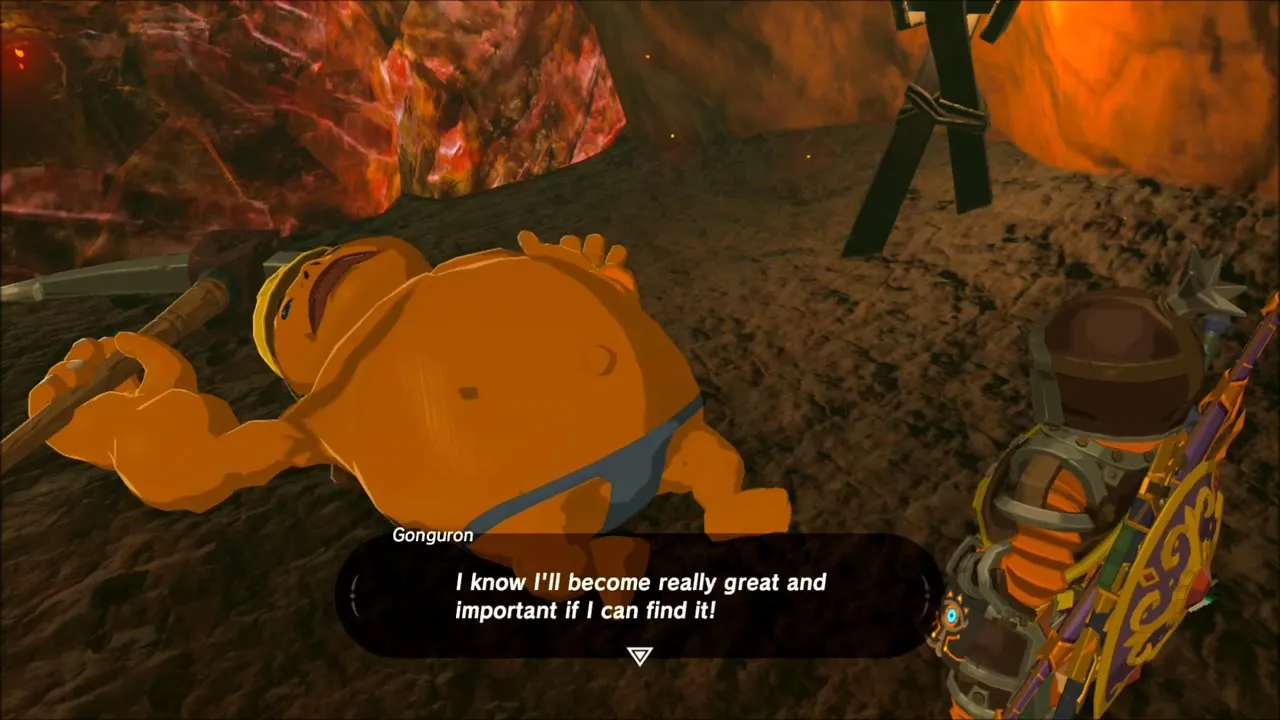
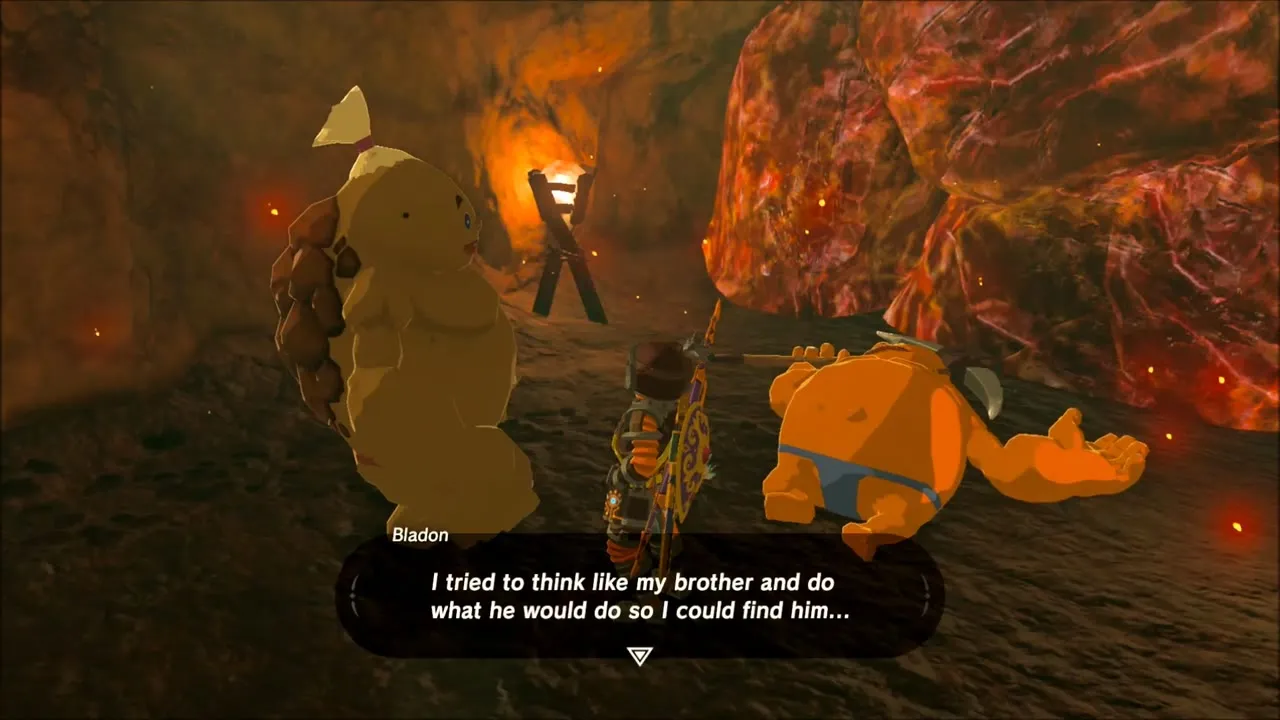


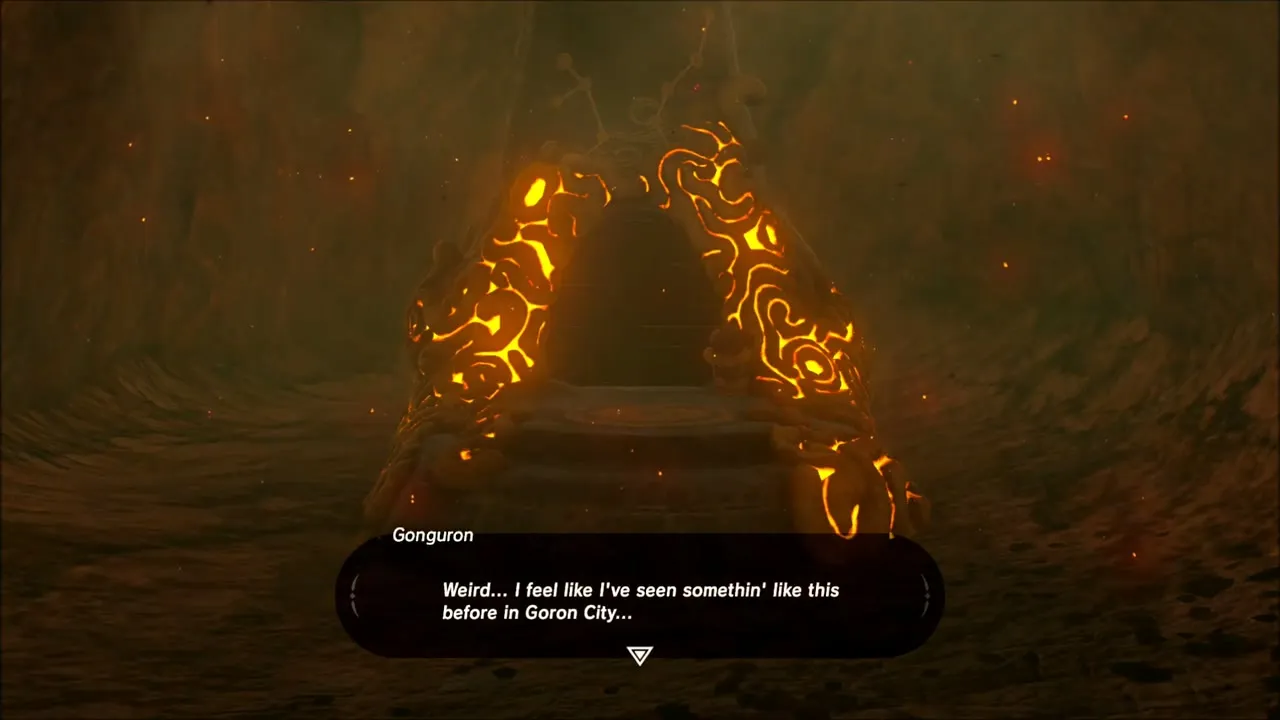
Kayra Mah Shrine: Greedy Hill
Kayra Mah Shrine (trial: Greedy Hill, x 2076, z -2040, height 534) is a single long climb. Run up the slope sidestepping the rolling metal boulders and spiked balls, using Magnesis to lift them aside or Stasis to stop them. Keep to the right for an alcove chest with a Ruby, then at the top glide to the chest with five Bomb Arrows before speaking to the monk for the Spirit Orb.


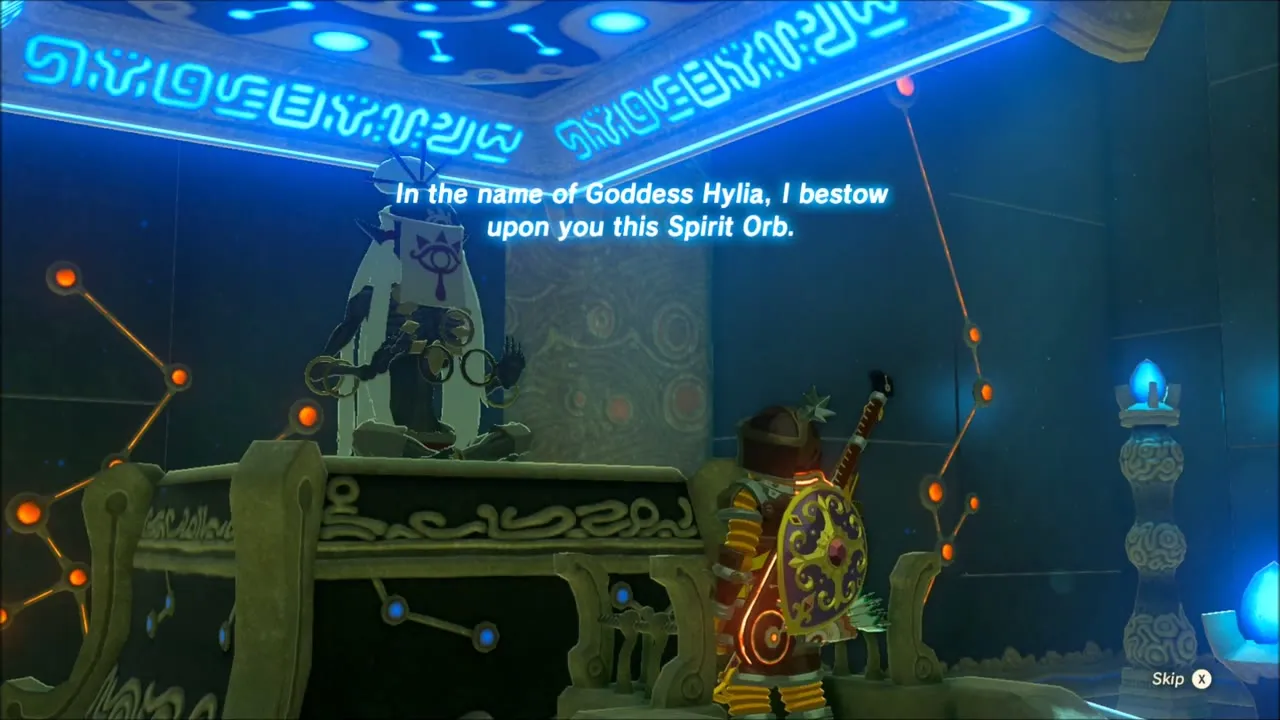
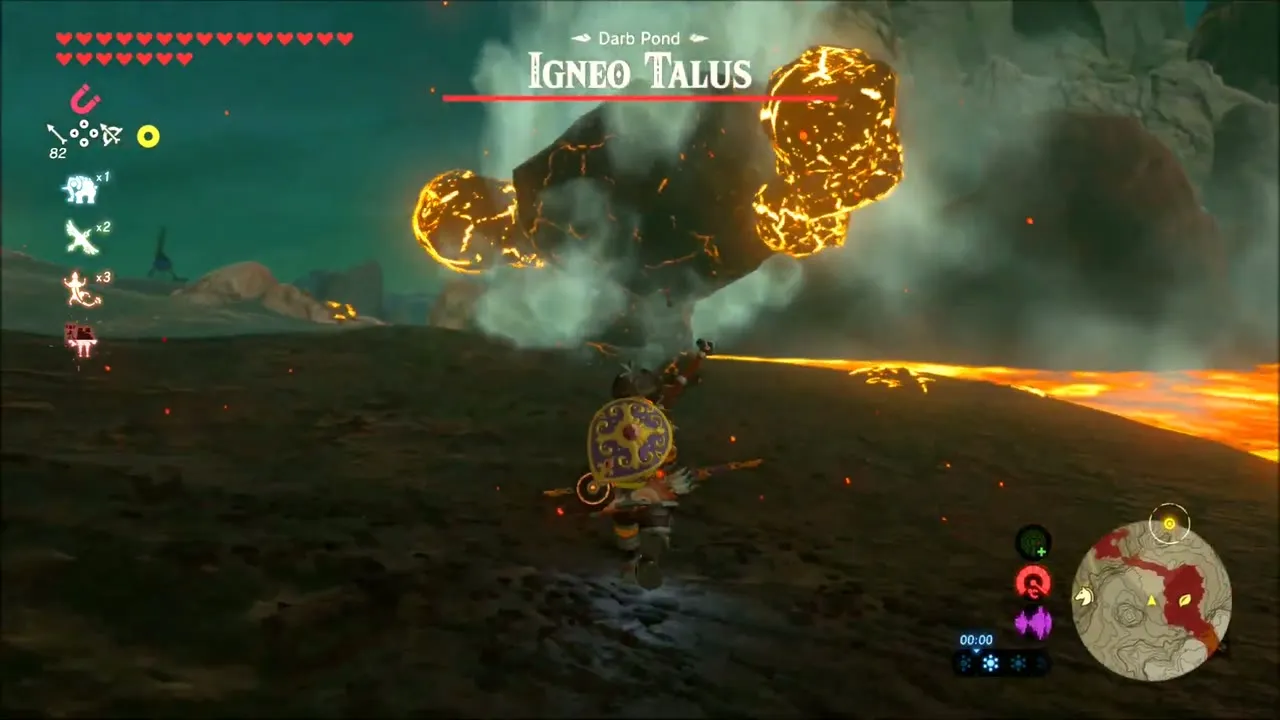
Darb Pond: Igneo Talus, Korok Seeds and Meteo Wizzrobe
Leave the shrine for the shore of Darb Pond, where a second Igneo Talus is waiting; beat it the same way and collect Flint and Opal from the ore. Then slip into a dark cave on the slope and set off a Remote Bomb at the wall: a Korok is hidden there with another seed.
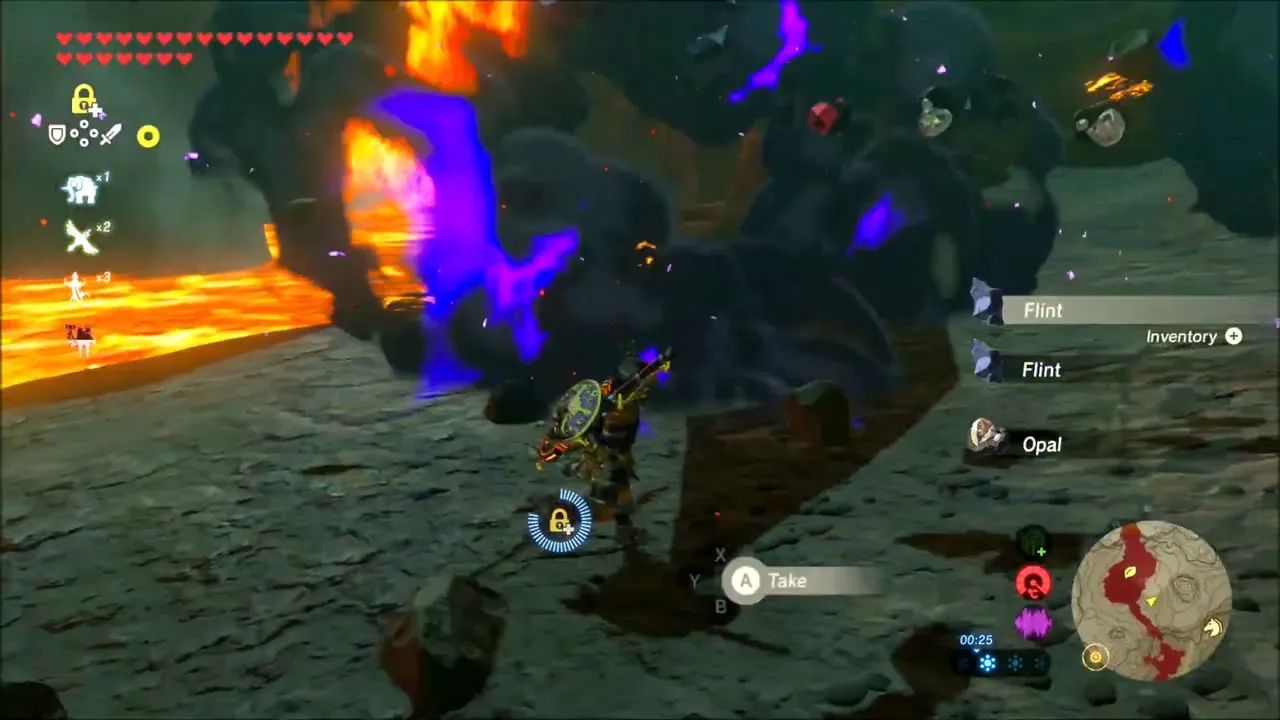

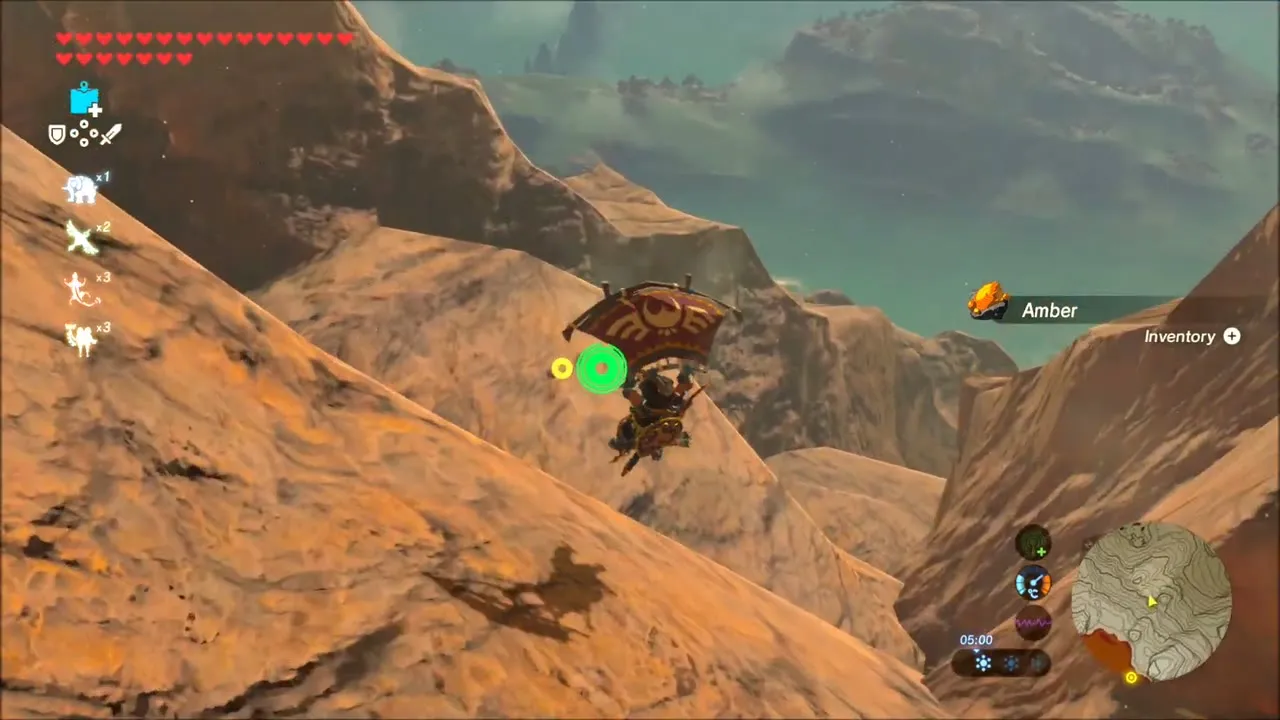
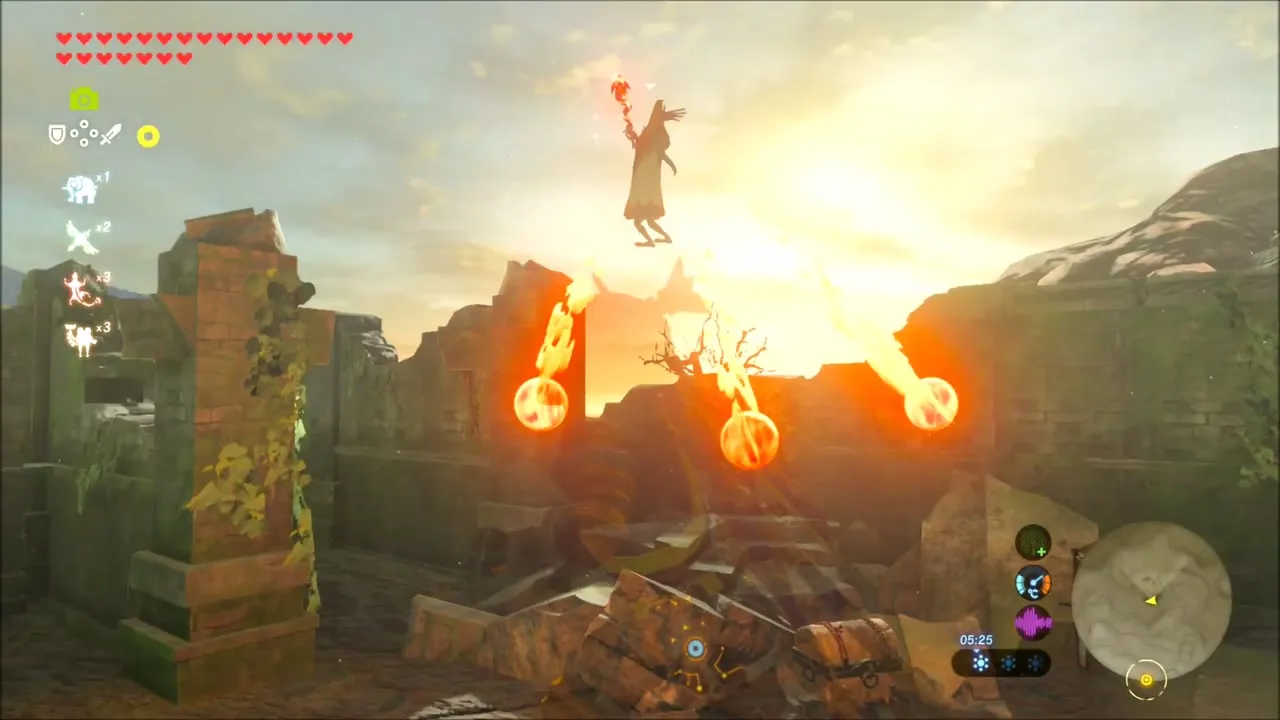
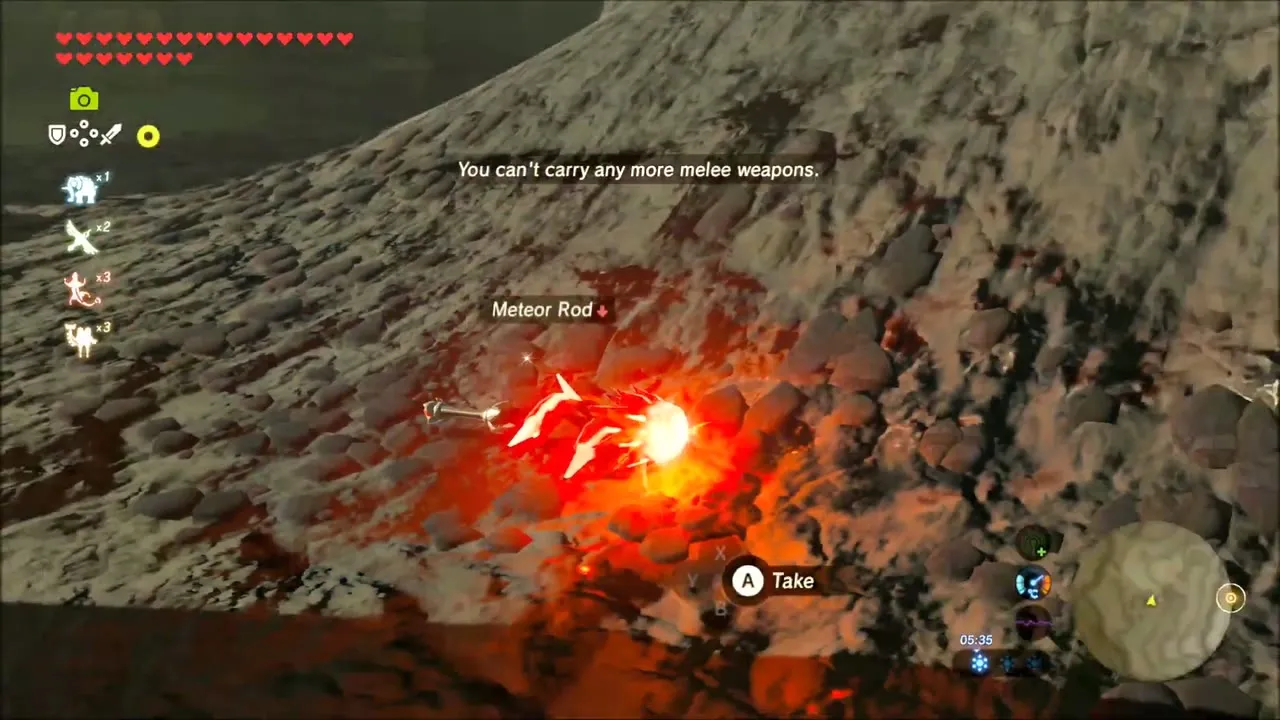
Climb the cliffs beyond for Amber and a Fireproof Lizard. Among ruined walls a Meteo Wizzrobe floats: shoot it down, take its Meteor Rod and photograph it for the Compendium. A chest here holds Bomb Arrows and a Gold Rupee. The last Korok seed of this stretch is in a cave in the cliffs, where you clear the way in and the Korok pops out.

The Gut Check Challenge: Gorae Torr Shrine
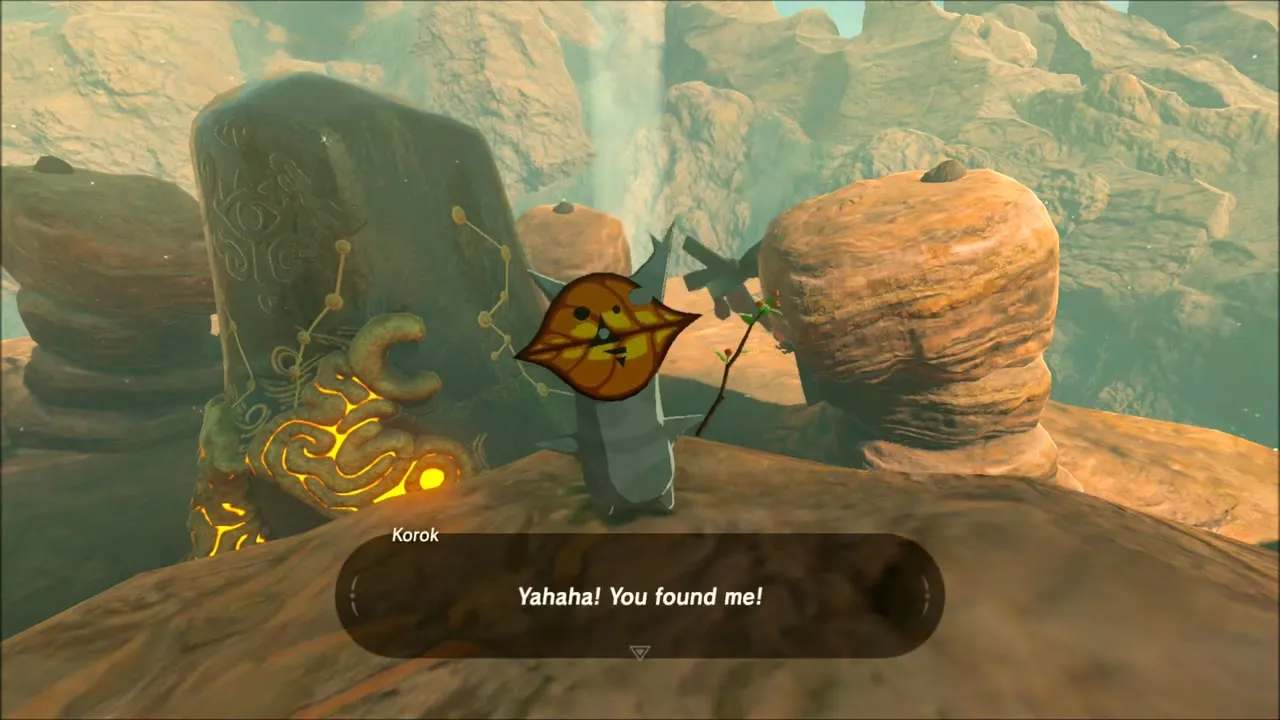
Make for the far northeast of Eldin and the cliff tops above Gut Check Rock. A Korok waits beside a carved stone; open it up and take the seed. Then glide down to the foot of the rock.


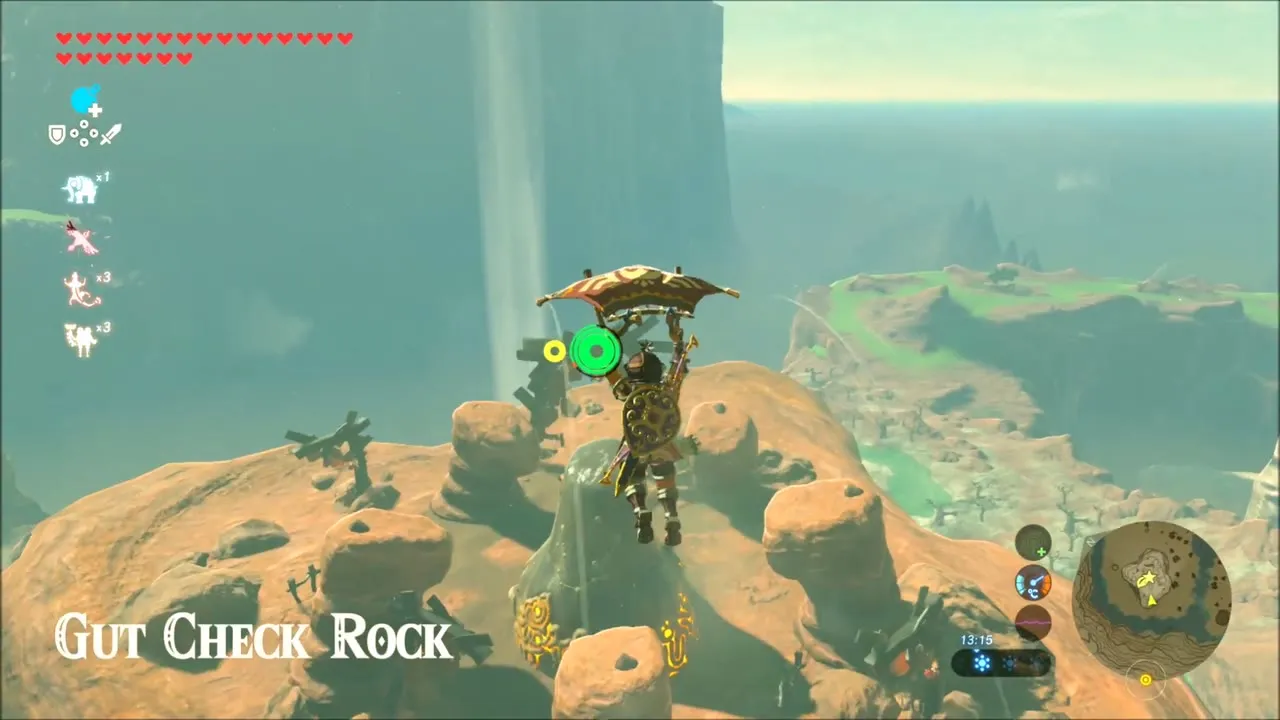
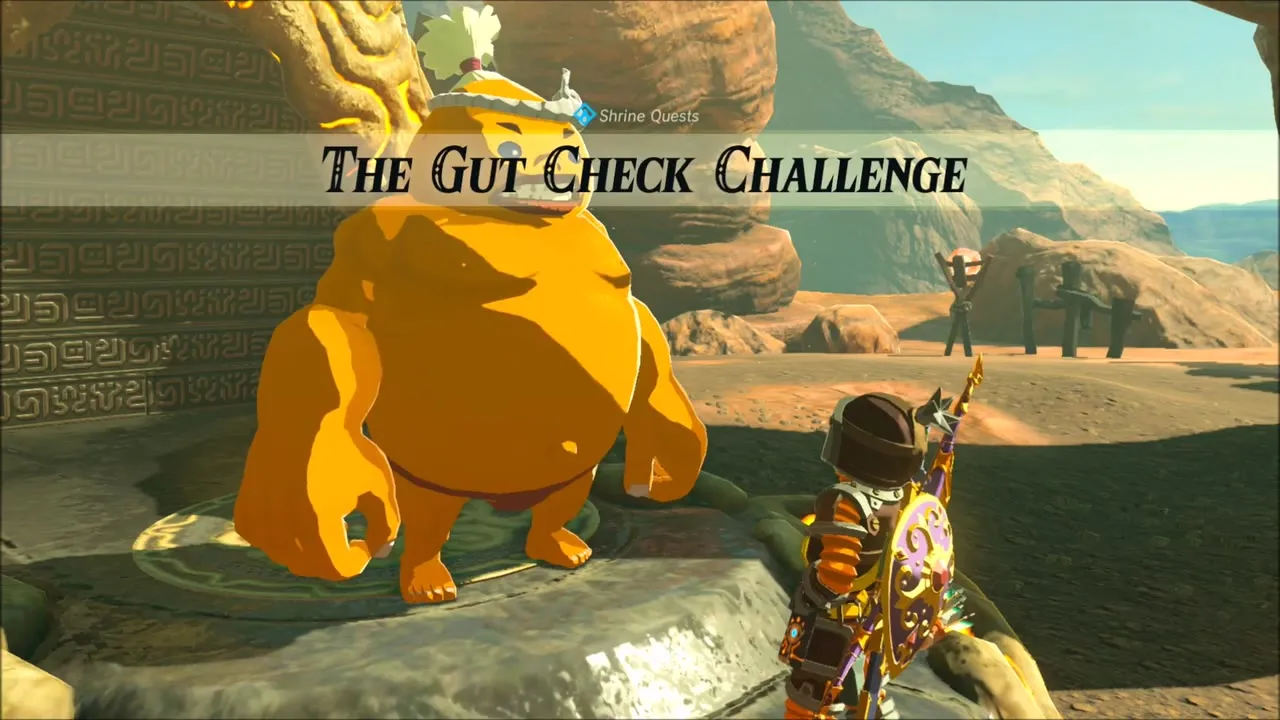
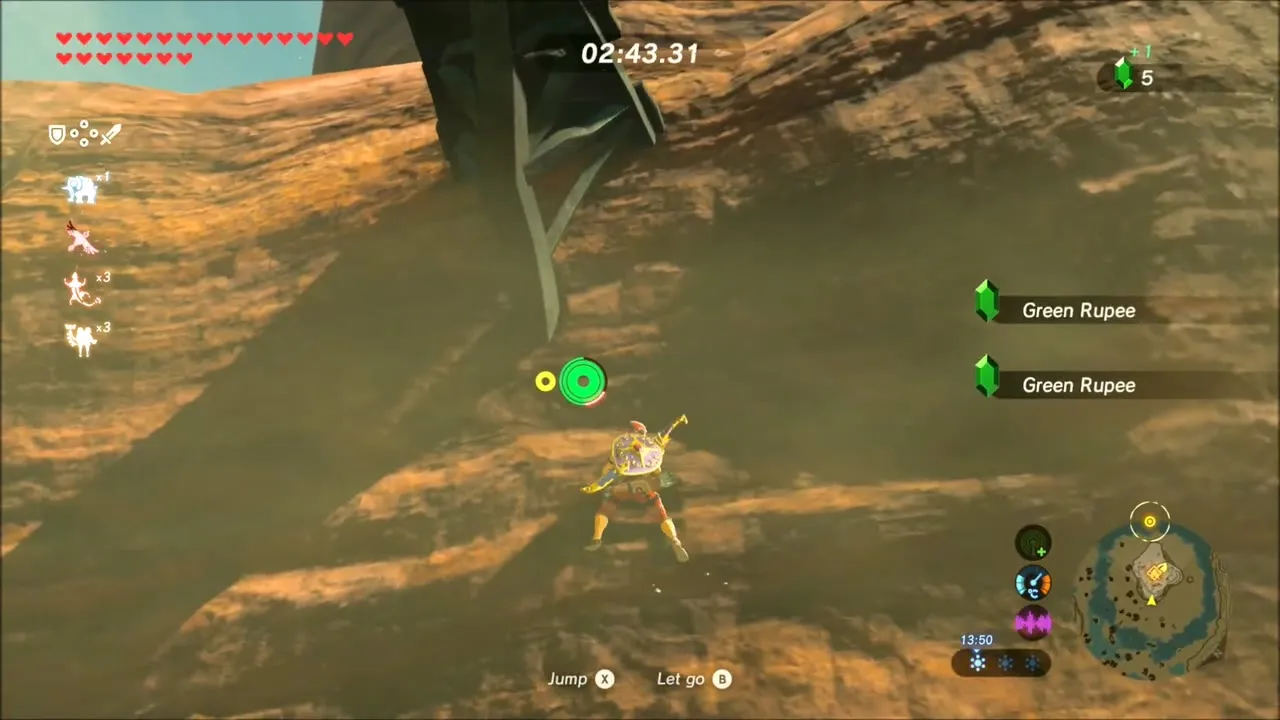
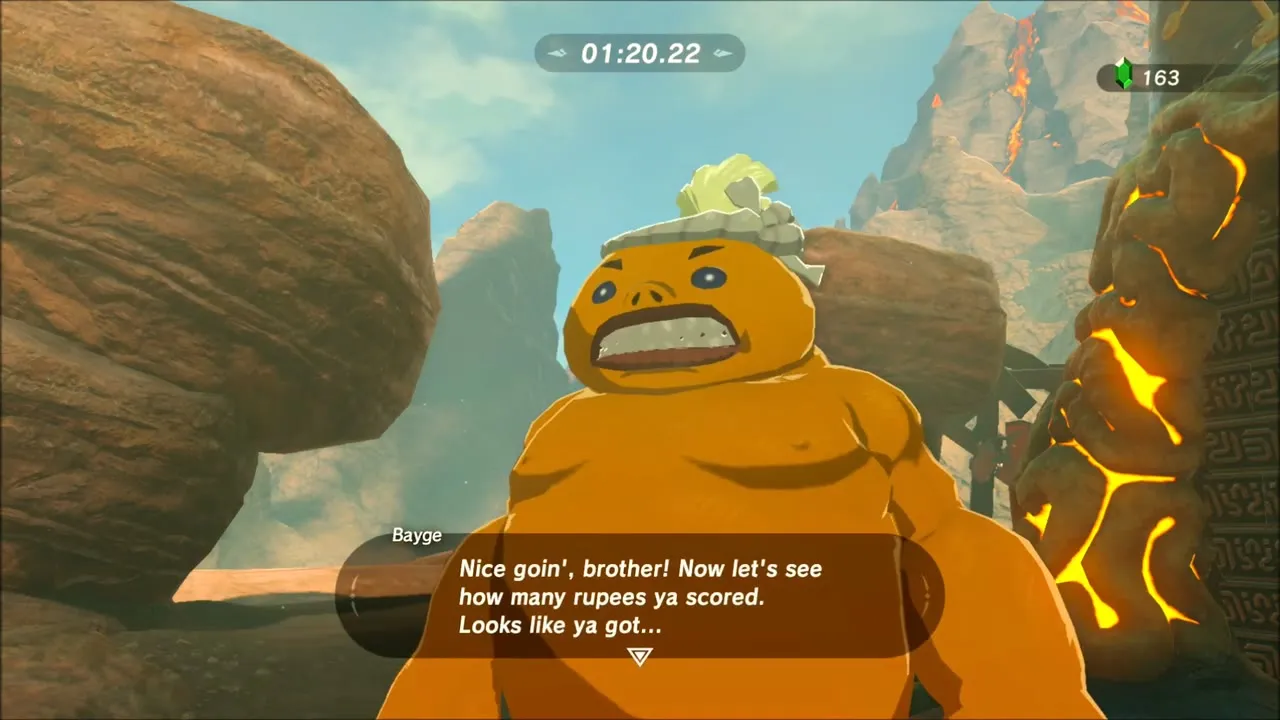
Talk to the Goron Bayge, who starts The Gut Check Challenge: climb Gut Check Rock within the time limit while collecting 100 Rupees. Pay the entry fee (a failed attempt costs it again), follow the green Rupees up the rock and rest on ledges when your stamina runs out. When you reach the top with your haul, Bayge opens the way to the shrine.

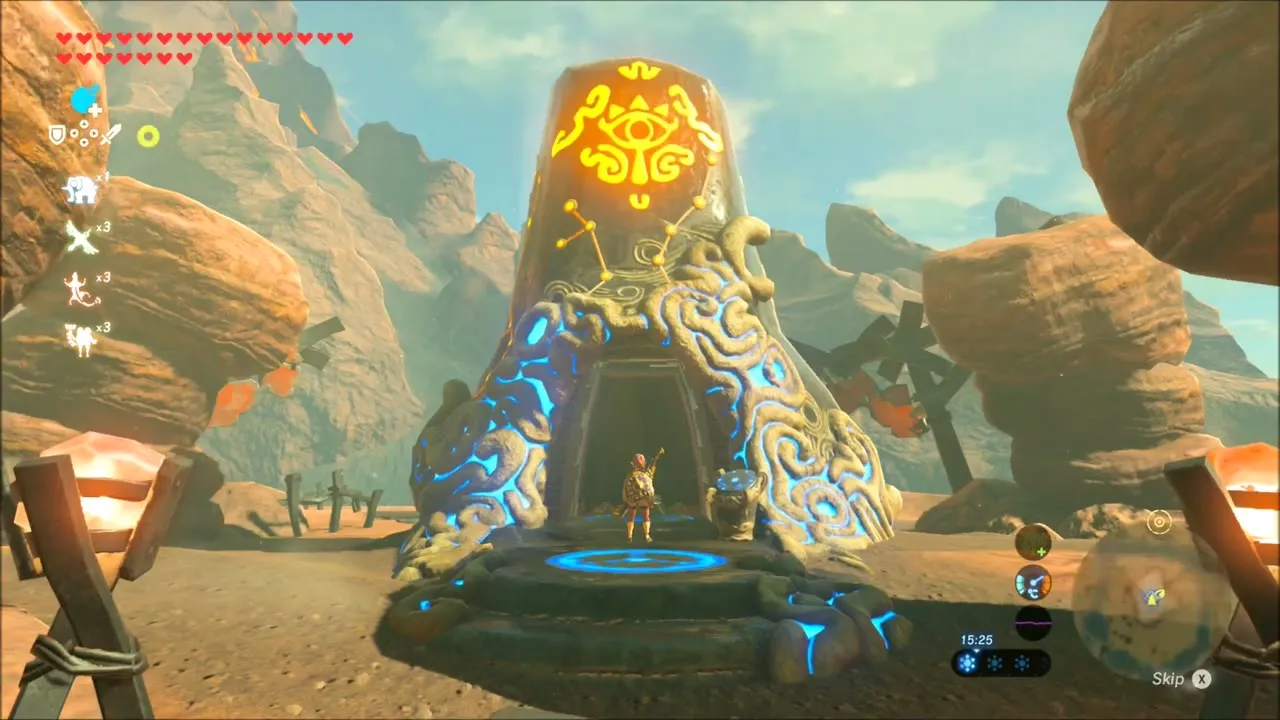
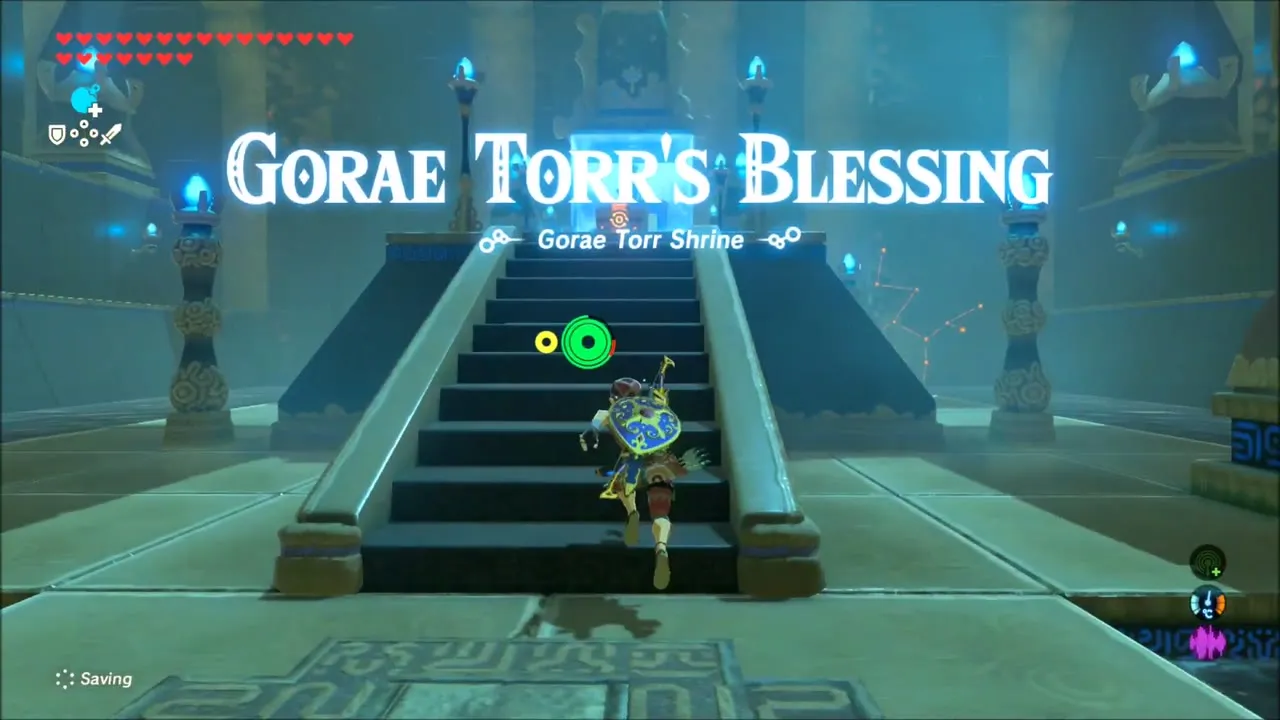
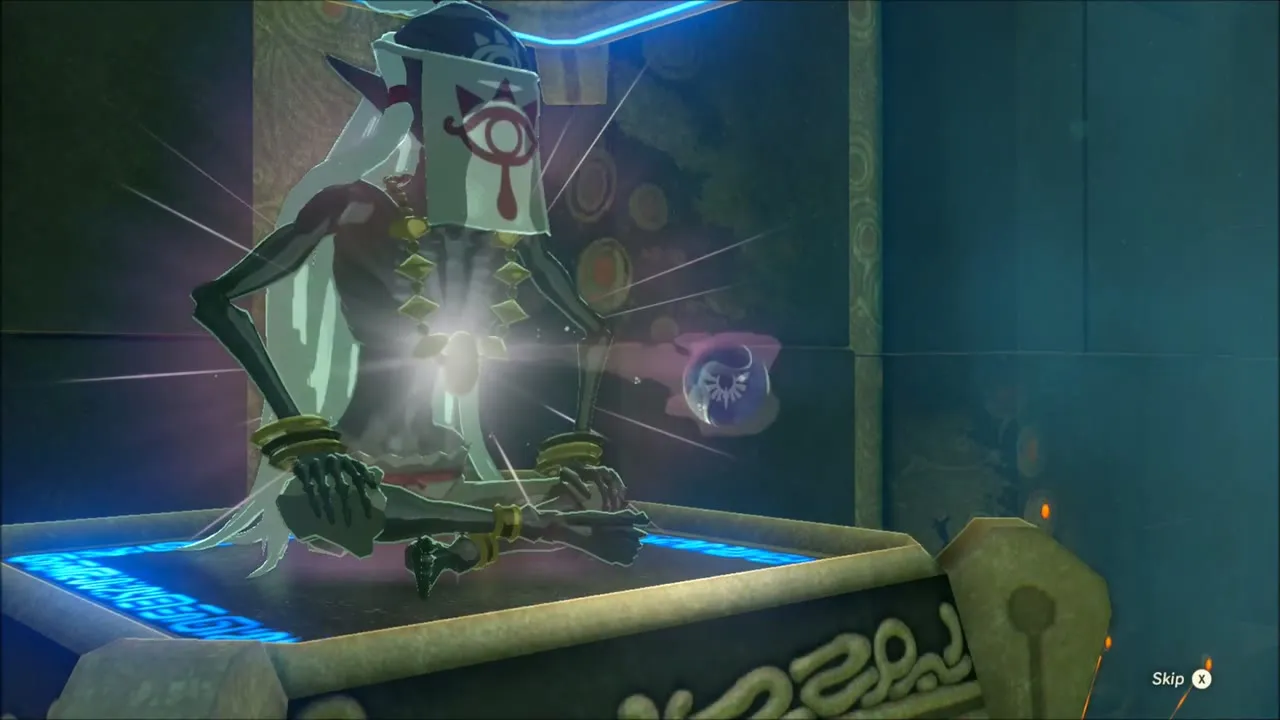
Gorae Torr Shrine (trial: Gorae Torr’s Blessing, x 2663, z -3457, height 483) is a blessing shrine: walk up the stairs, open the chest for a Great Frostblade and receive the Spirit Orb from the monk.

North Eldin: Hinox, Treasure Chests and Korok Seeds
Glide off Gut Check Rock into the valley, where a Hinox roams beside its camp. Aim at its eye to stagger it, then hit it while it is down. The camps and caves around here hold treasure: a chest in a small cave holds a Ruby, and a chest in a Bokoblin camp on a ridge holds a Gold Rupee. The rocks along the way are rich in Amber, Opal and Luminous Stones.
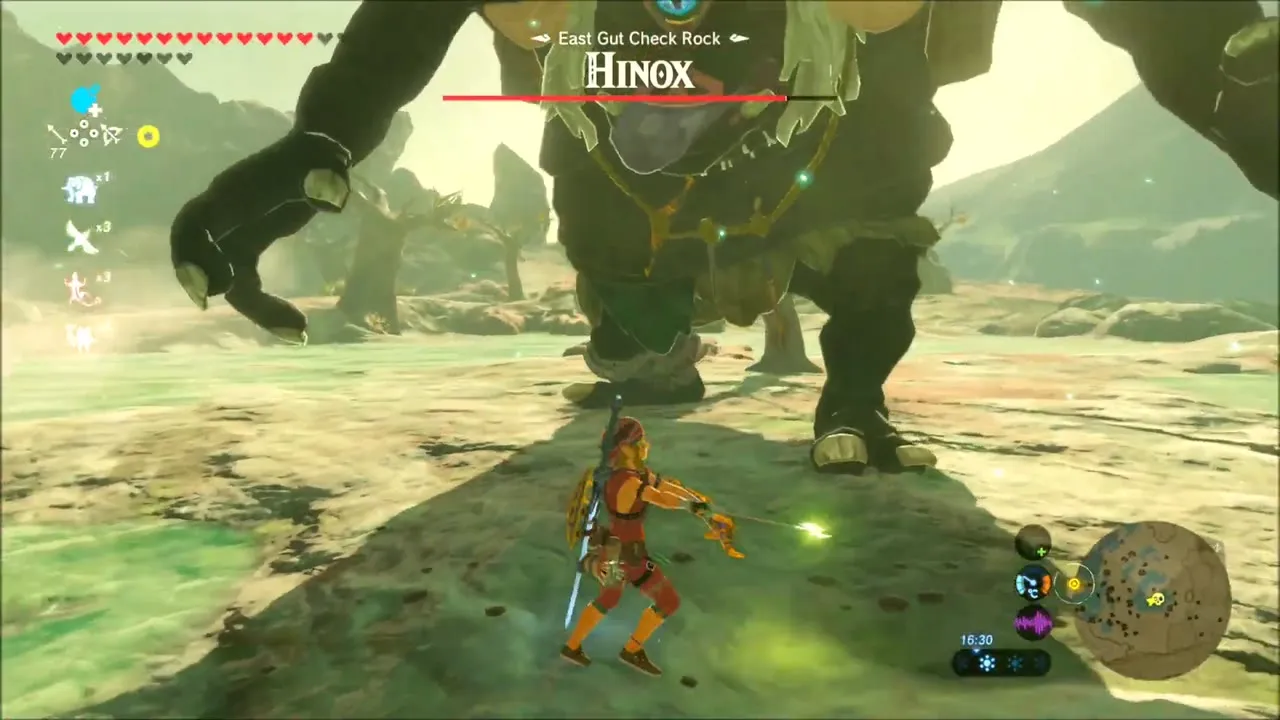
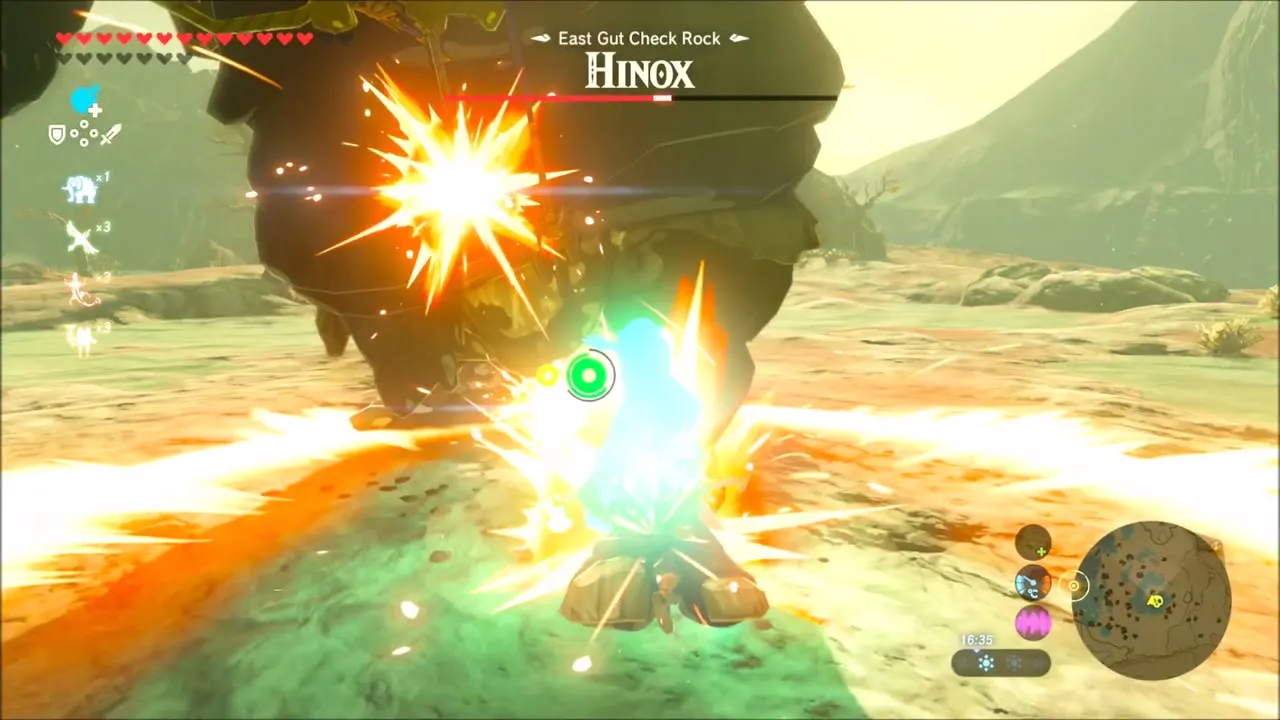


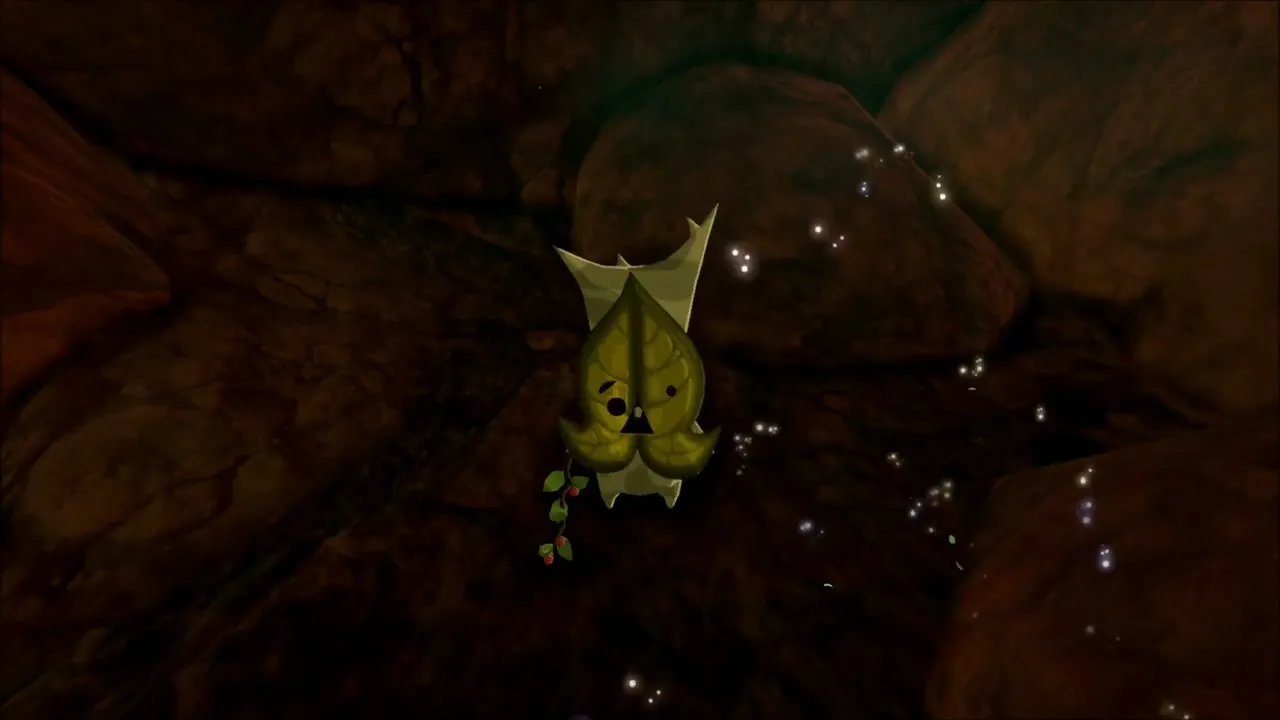
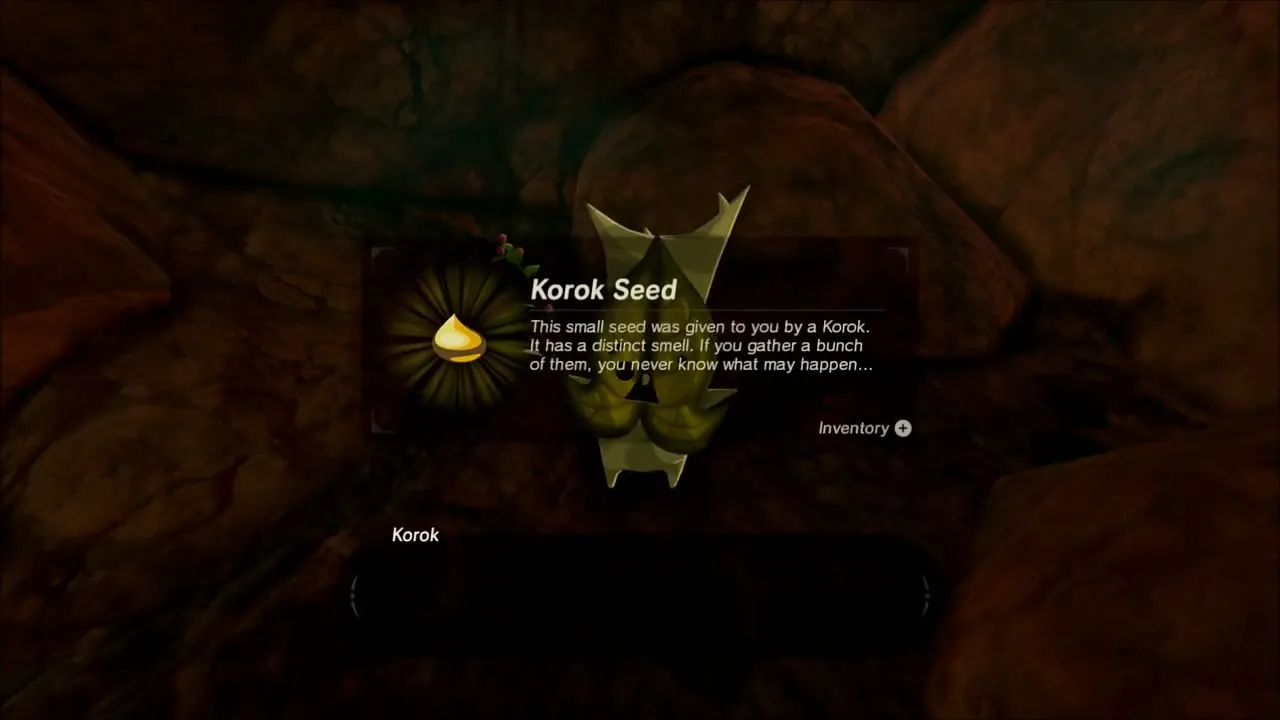
Three more Korok seeds are hidden in this valley. In a dark cave a Korok pops out of a flower once you reach it; another waits in a cave nook for you to find it. On a ridge higher up, another stone-block pattern needs a loose metal block pulled into place with Magnesis, and when it fits a Korok appears with a seed.
Eldin Great Skeleton: Leviathan Bones
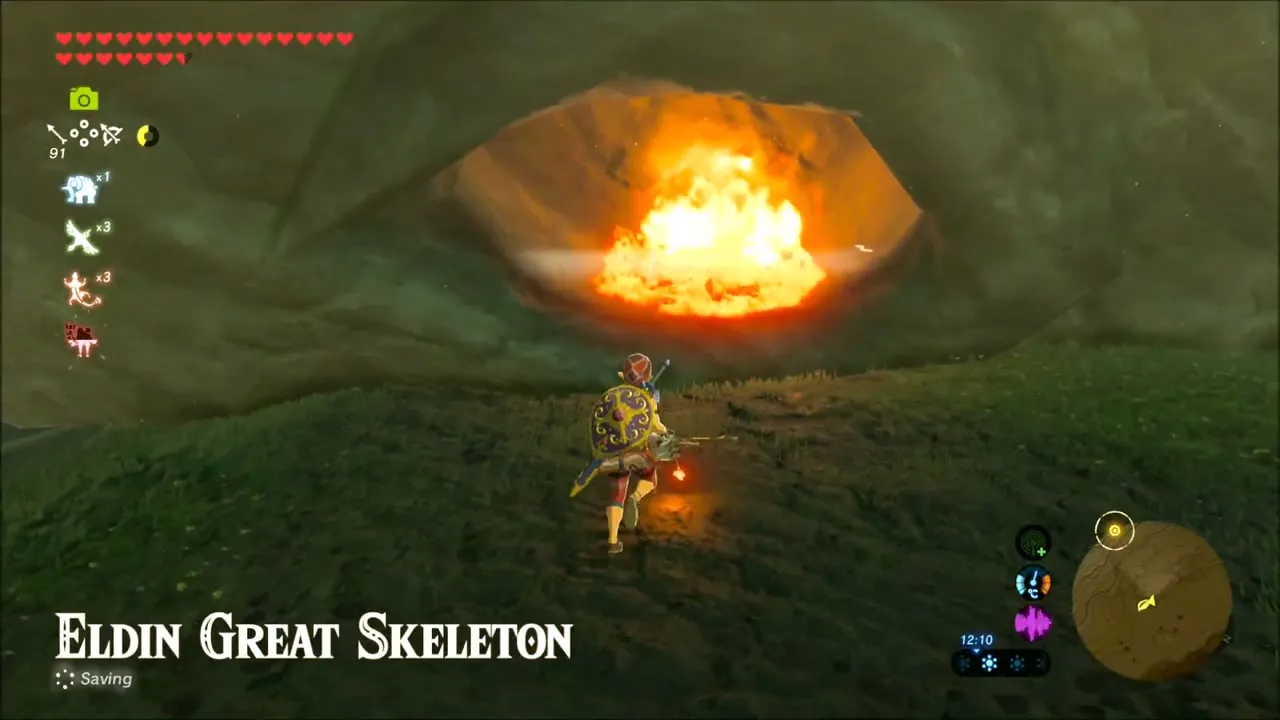
Travel to the Eldin Great Skeleton, the huge bones lying at the north foot of the mountain (x 1547, z -3697). Point the Camera at the skull to photograph the Leviathan, which completes the third entry of Leviathan Bones. A fire burns inside the skull’s eye socket; deal with it and a Korok gives you a seed.



Shora Hah Shrine: Blue Flame
Reaching the Isle of Rabac
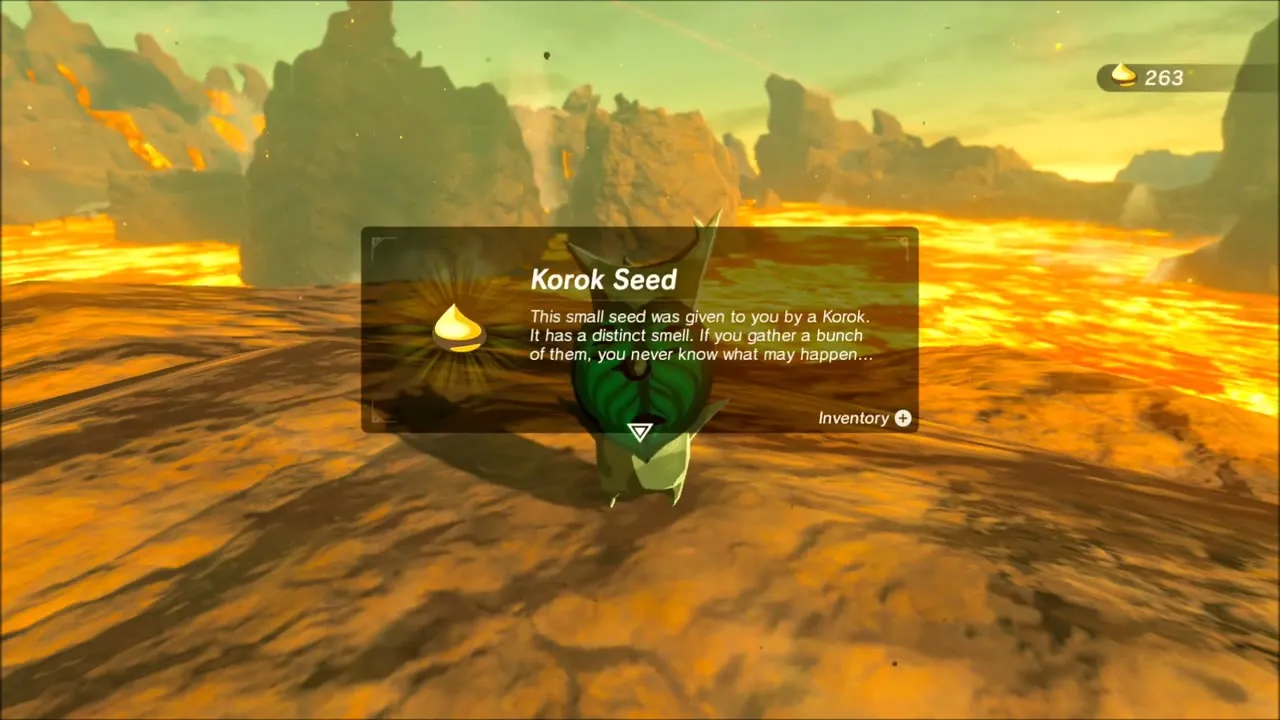
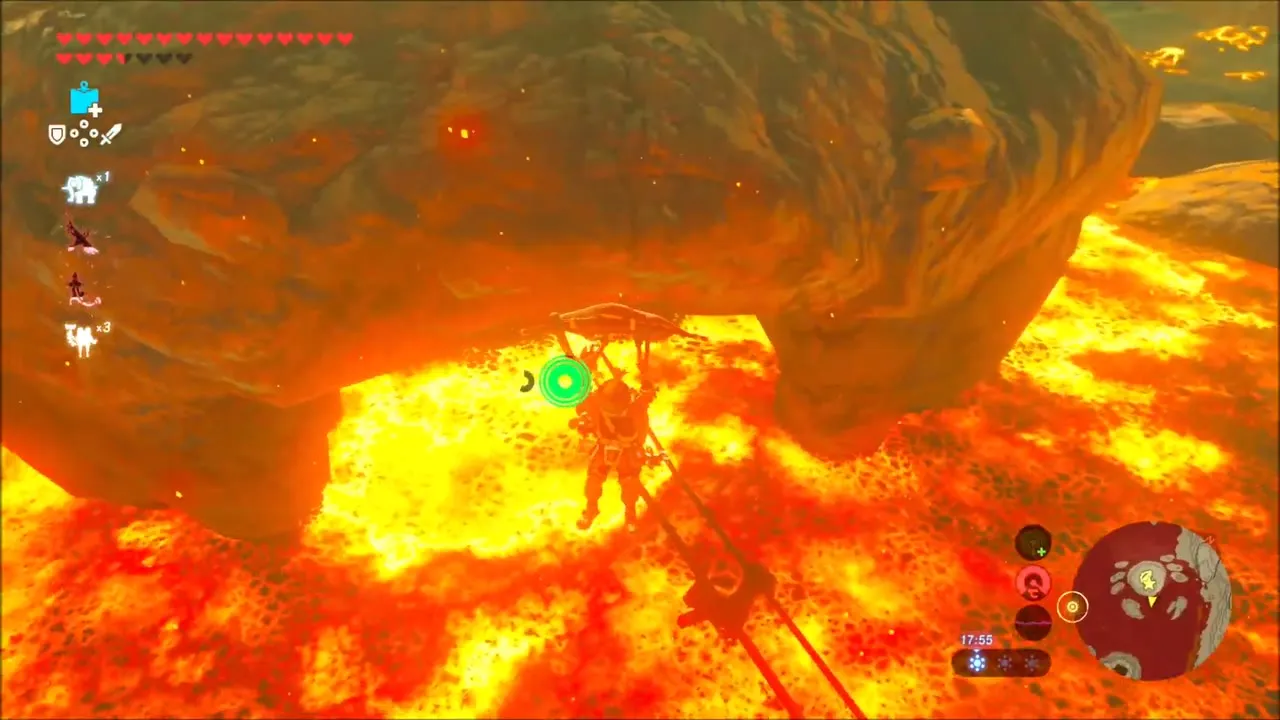
Head across the lava of Darunia Lake. On a rock outcrop in the lava a Korok is waiting: pick up the stone there and take the seed. Then ride the mine cart over the lava to the Isle of Rabac (x 1542, z -3074).


The trial
Shora Hah Shrine (trial: Blue Flame, x 1536, z -3117, height 520) is long: you carry blue flame from torch to torch on a torch, a wooden weapon or an arrow, while water jets try to put it out. Use Magnesis to line up platforms and lift a spike trap, and shoot lit arrows at far torches to run the lifts. Chests along the way hold a Royal Bow, a Great Flameblade, a Giant Ancient Core, a Silver Rupee, the Forest Dweller’s Sword and Ice Arrows.

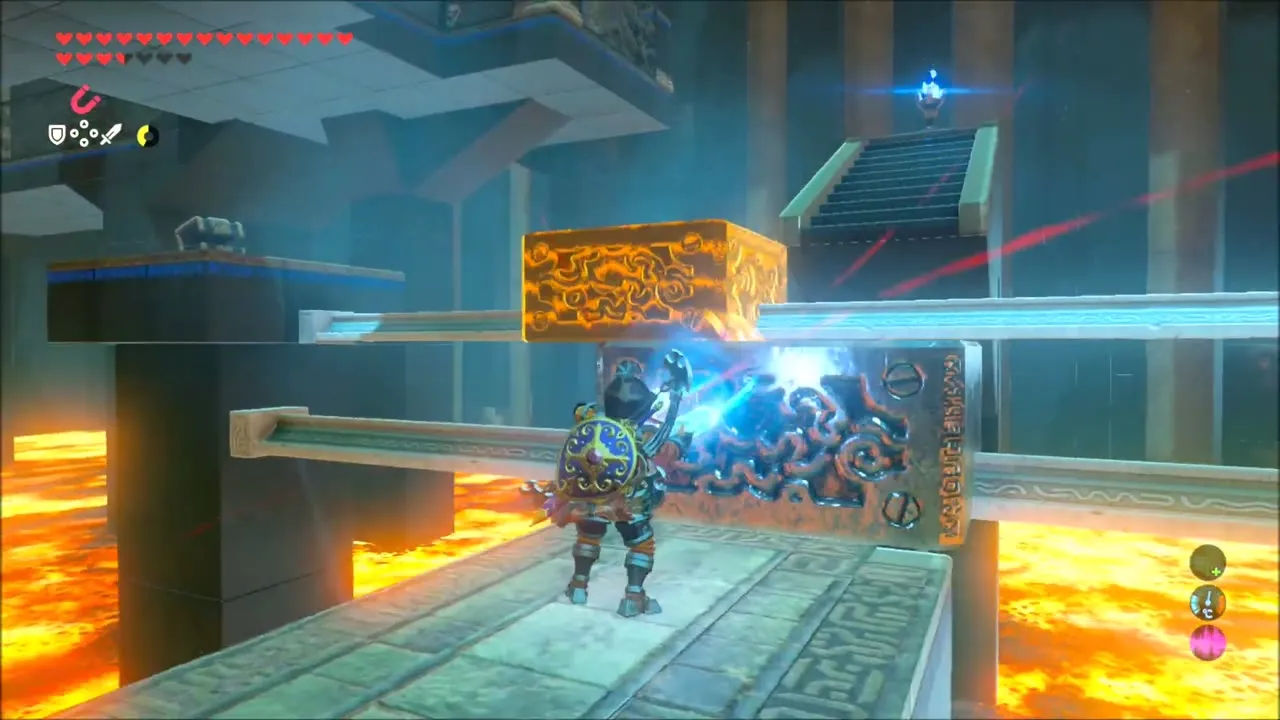


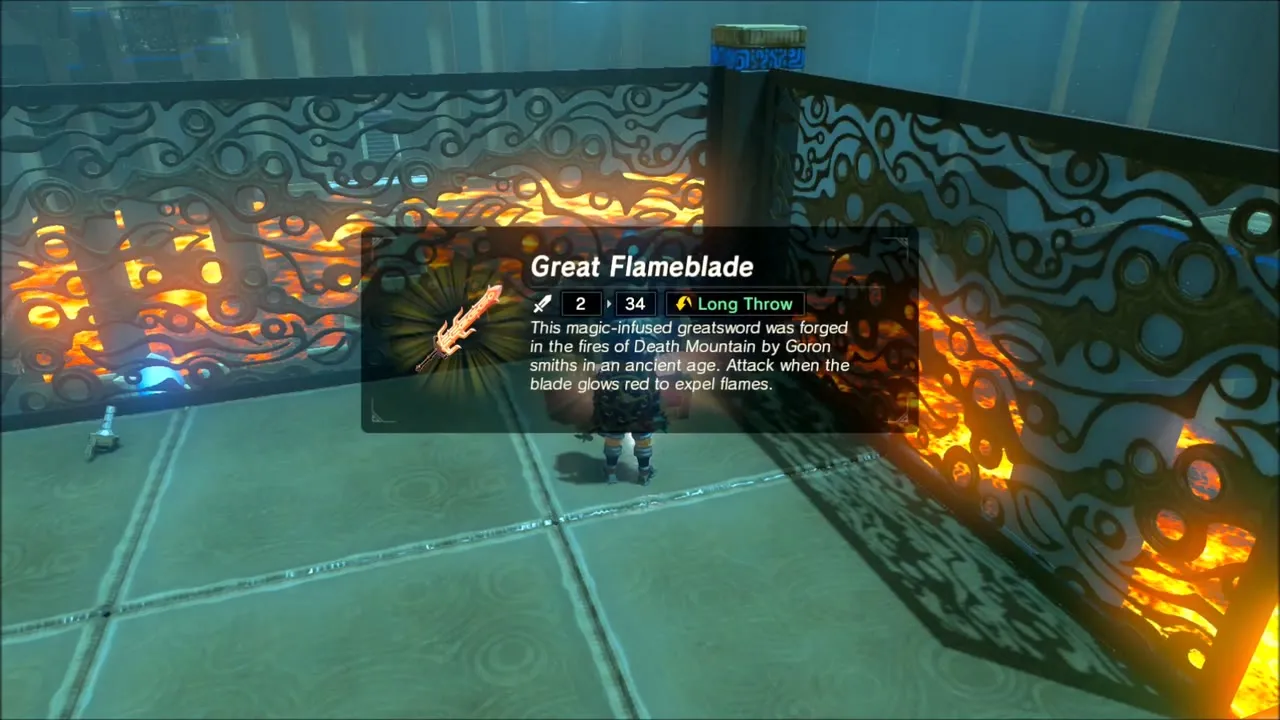
Beat the Guardian Scouts on the way (they drop Ancient Screws), light each torch room in order, and finish by lighting the last torch. Then speak to the monk to collect the Spirit Orb.