





















| Trial | Swinging Flames |
|---|---|
| Region | Eldin |
| Location | On the hill directly above Goron City, at the foot of Death Mountain |
| Map position | x 1757, z -2562, height 548 (map square G-2) |
| Runes used | Magnesis |
| Reward | Spirit Orb; chests: Stone Smasher, Ruby, 10 Ice Arrows, Small Key |
How to find it
Climb from Goron City onto the hillside just north of it. The shrine entrance is on the slope above the town.
Solution
Burn the barrel free
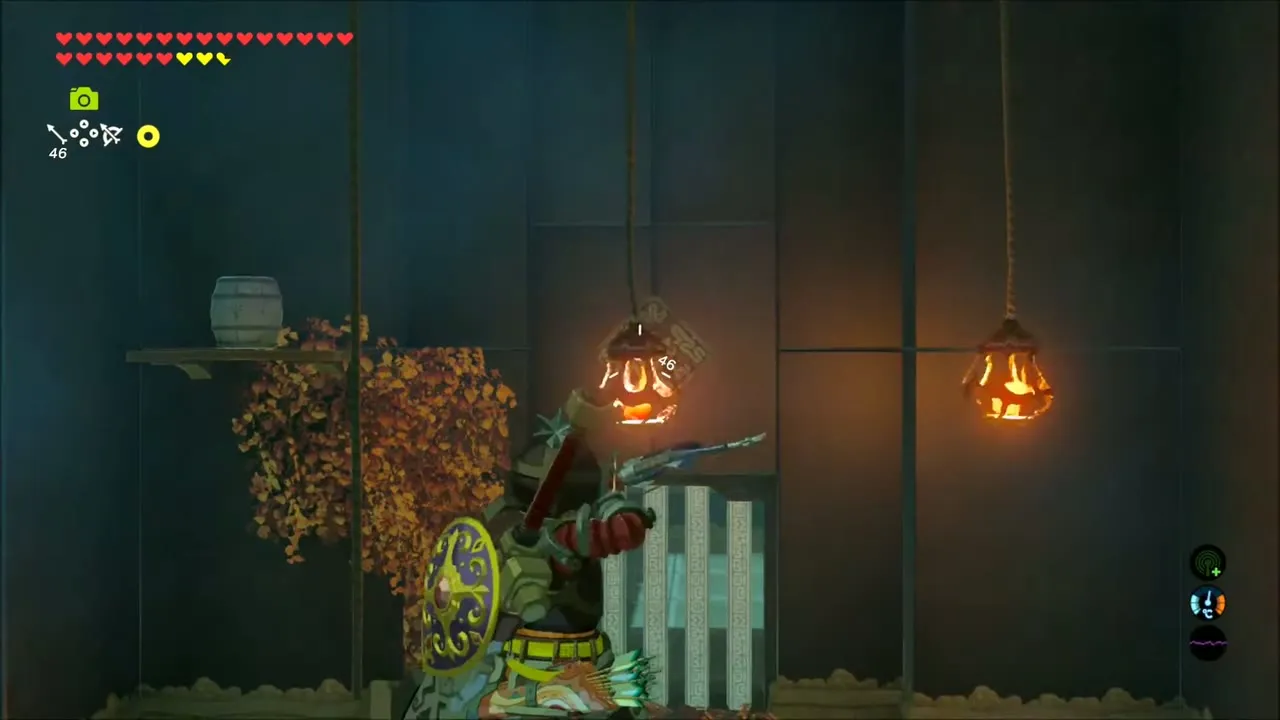
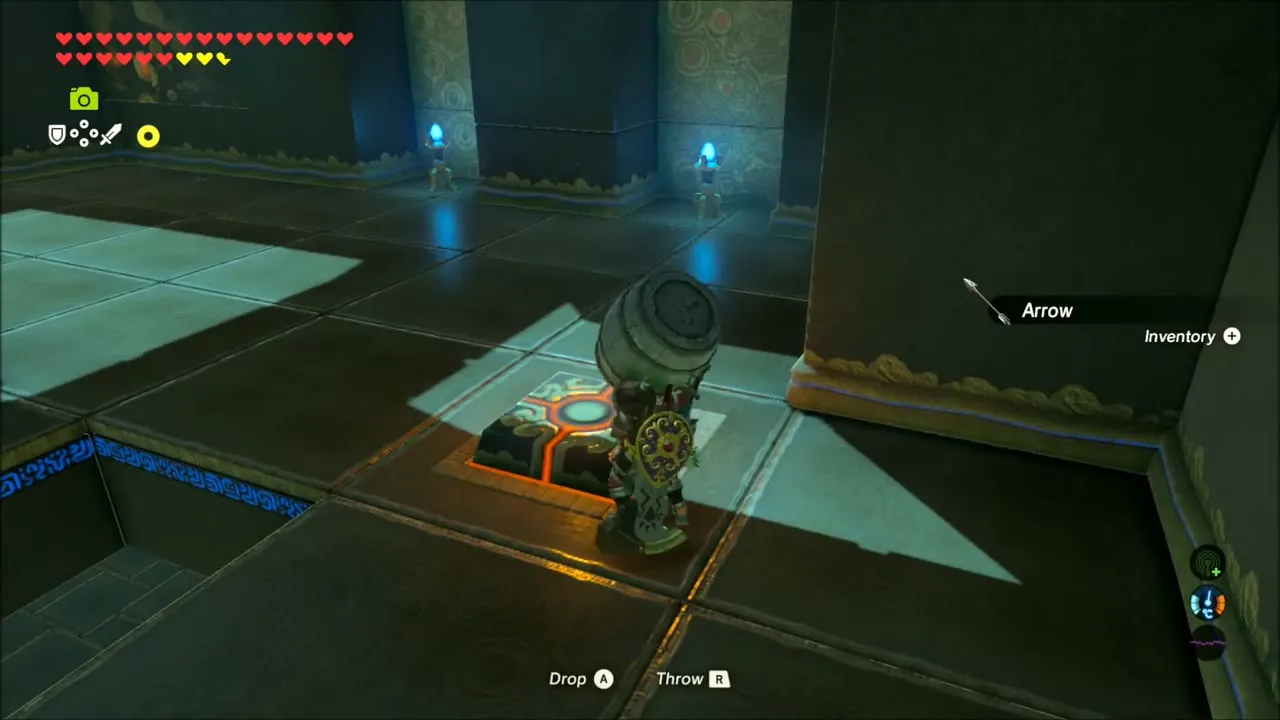
The first hall ends at a sealed door beside a switch that only works while weighted. Look up through the hole in the ceiling and shoot the rope of the hanging lantern. It falls onto the leaves and burns the ledge, dropping the barrel onto the switch.

Check the left side
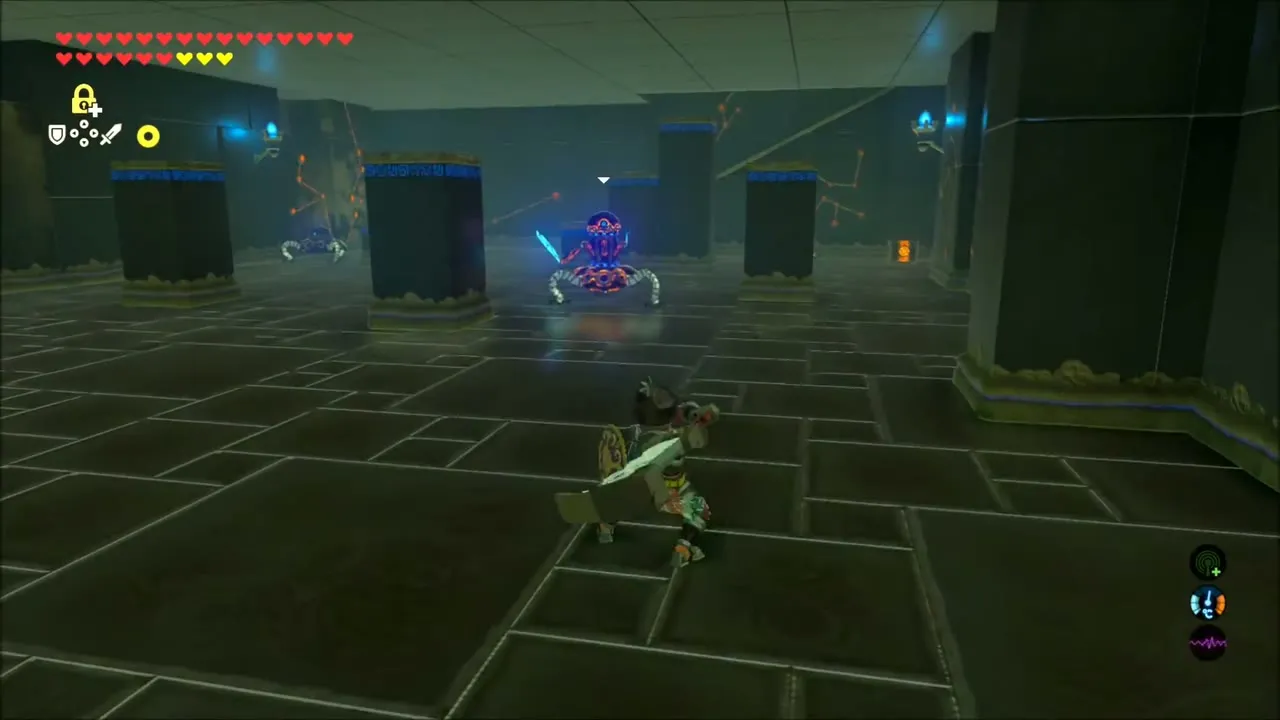
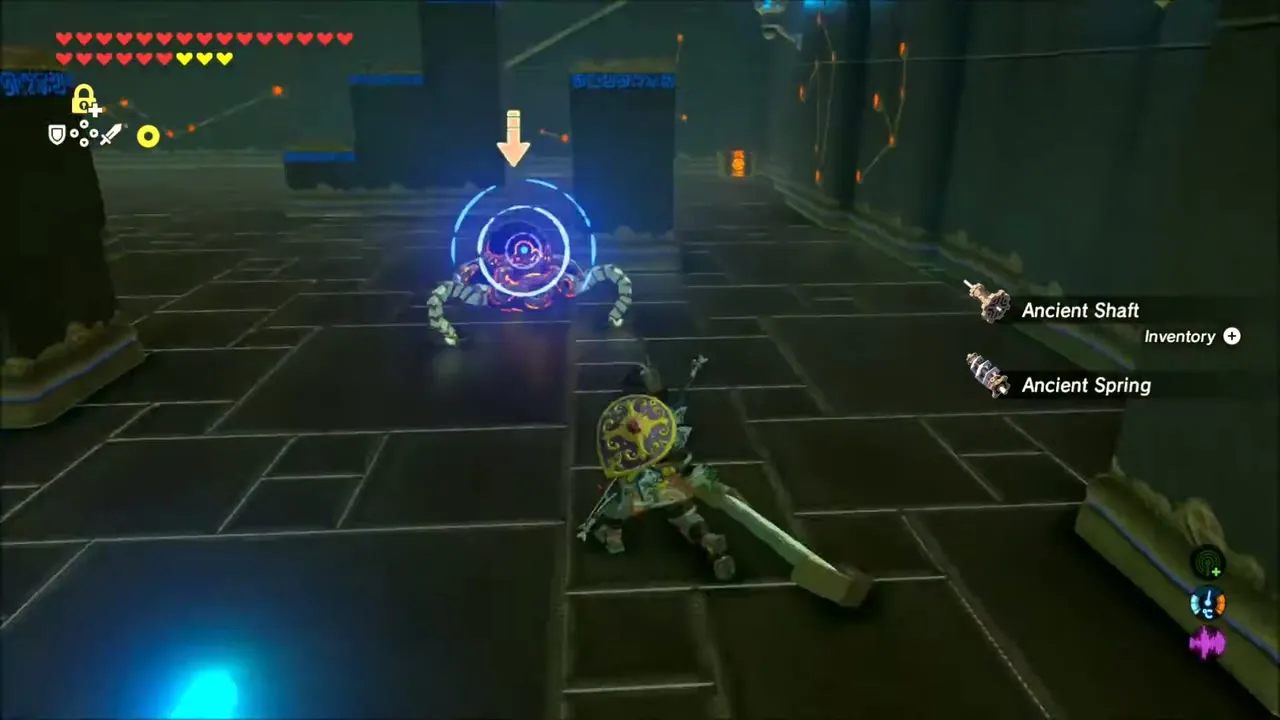
In the next room, a chest behind a torch on the left contains a Stone Smasher. Three Guardian Scouts patrol the platforms on the right, and a chest beyond them holds a Ruby.

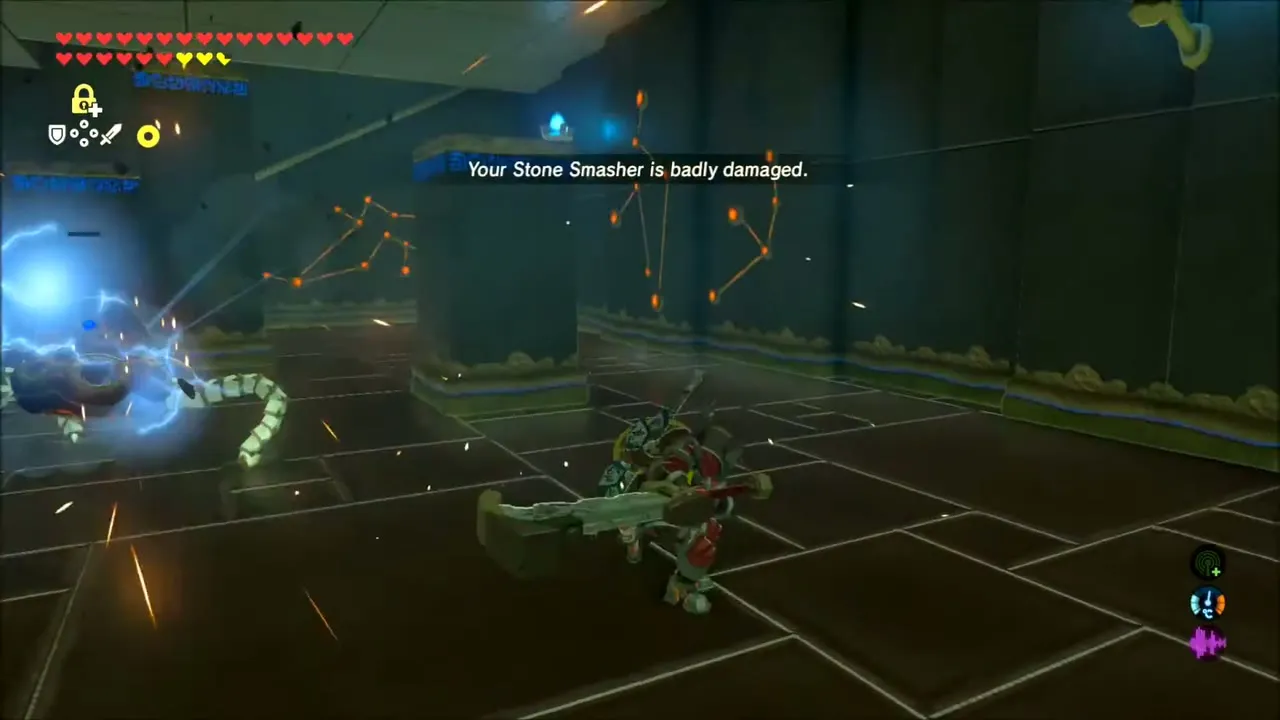
Swing the lantern
Take the slope to the upper level and find the sphere on a plank. A switch beside it lowers a lantern; grab it with Magnesis and swing it into the wall to light the leaves. A chest below the lantern holds 10 Ice Arrows.

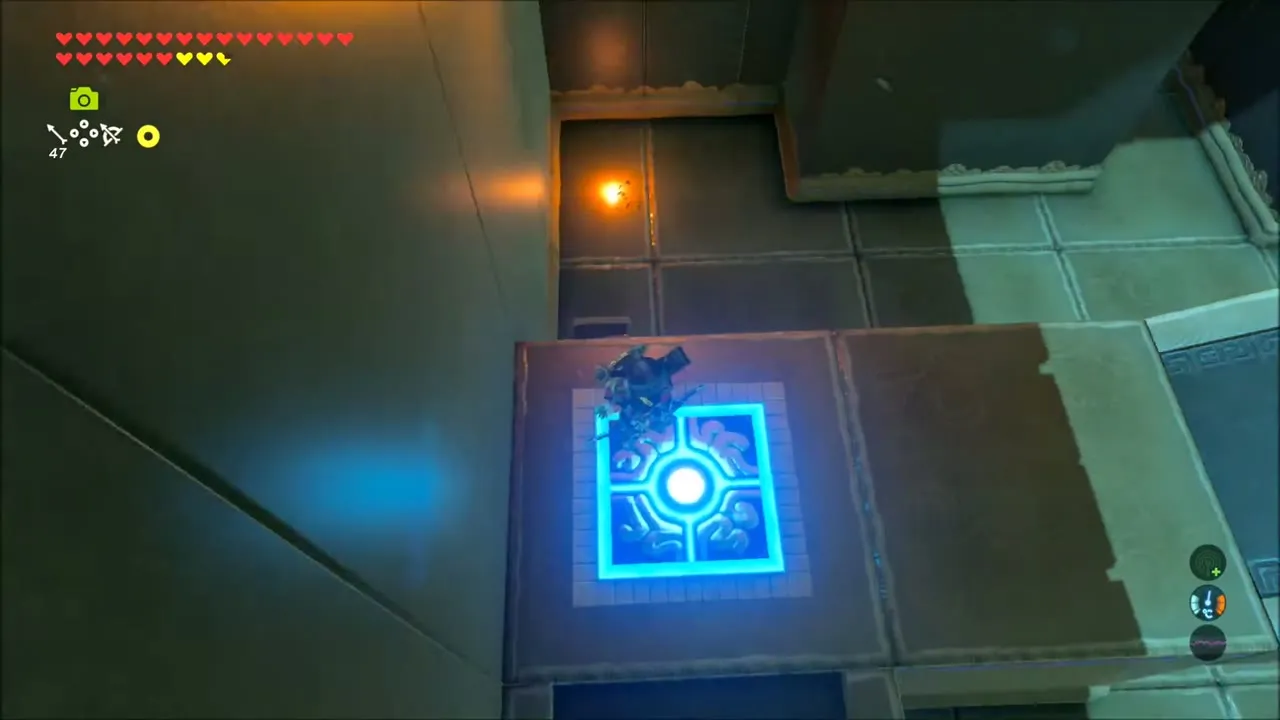
Roll the sphere
The sphere rolls into a gate. Run ahead to the ledge with the second switch, which opens the gate and lets the sphere strike the water wheel. A new gate opens near you; dash through before the wheel stops. The chest inside holds a Small Key.
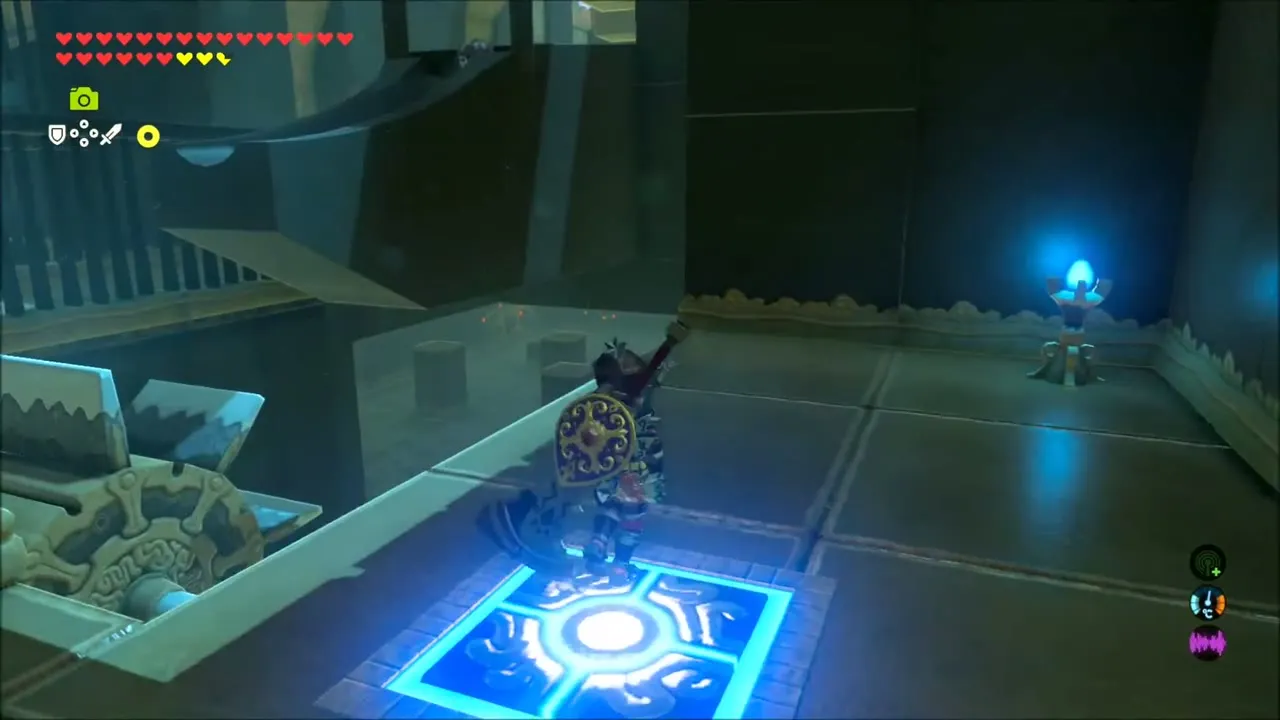

Light the last leaves
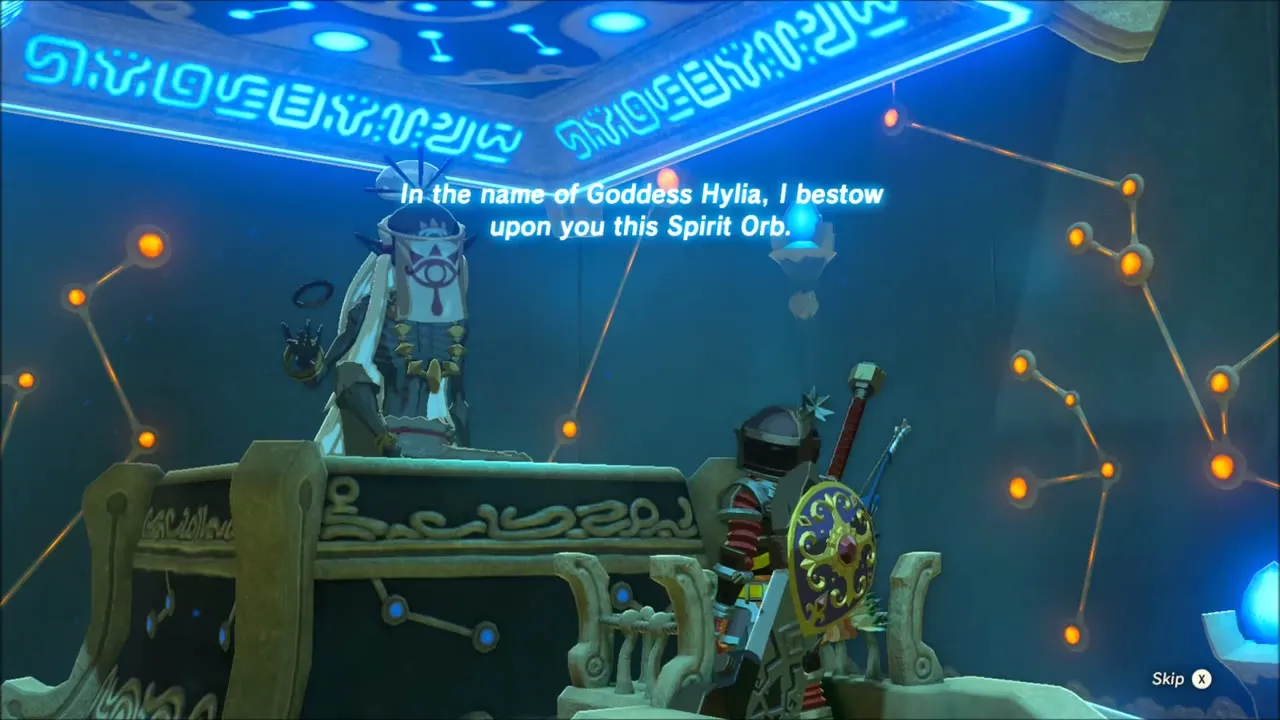
Use the key on the other sealed door. The switch upstairs lowers two lanterns. Push one back with Magnesis, then shoot it as it swings toward the leaves on the far side. A barrel drops to open the final door, where Shae Mo’sah waits with the Spirit Orb.
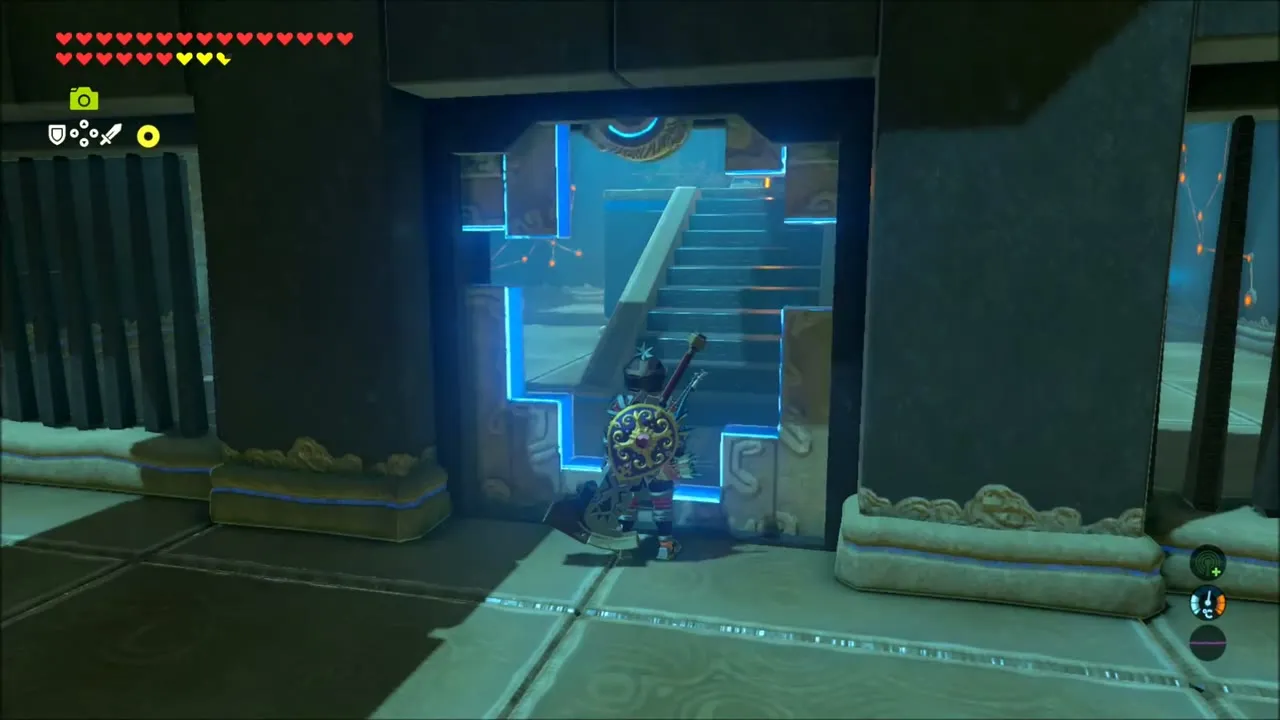

Chests and rewards
- Stone Smasher: chest behind a torch on the left of the second room.
- Ruby: behind the Guardian Scouts.
- Ice Arrows (10): below the lantern on the upper level.
- Small Key: in the room past the water wheel gate.
- Spirit Orb: from the monk Shae Mo’sah.
