





















Ocarina of Time 100% Completion Walkthrough20 chapters
- Kokiri Forest and the Lost WoodsKokiri Sword, Deku Shield, both Skull Kid Heart Pieces, upgrades, Saria’s Song, Skulltulas.
- Inside the Great Deku Tree (Dungeon 1)Map, Slingshot, Compass, all 4 Gold Skulltulas, Queen Gohma, Heart Container and the Kokiri’s Emerald.
- Hyrule Field and Hyrule CastleEvery field grotto, Pieces of Heart, Skulltulas, Din’s Fire, Zelda’s Letter and Lullaby.
- Kakariko Village and Hyrule MarketBottle, Sun’s Song, Heart Pieces, masks, mini-games, shops and Skulltulas.
- Death Mountain, Goron City and Hyrule MarketBracelet, Big Bomb Bag, Heart Pieces, Gold Skulltulas, the Great Fairy, Richard and Din’s Fire.
- Dodongo’s Cavern (Dungeon 2)Every room, Dungeon Map, Compass, Bomb Bag, 5 Gold Skulltulas, King Dodongo tactics and the Goron’s Ruby.
- Zora’s River and Zora’s DomainBean seller, frogs, Heart Pieces, Silver Scale, Ruto’s Letter, Lake Hylia, Farore’s Wind and Jabu-Jabu.
- Inside Jabu-Jabu’s Belly (Dungeon 3)Carrying Ruto, Boomerang, Map, Compass, 4 Gold Skulltulas, Big Octo, Barinade and Zora’s Sapphire.
- Transition to AdulthoodThe Ocarina, Song of Time, Door of Time, Sacred Realm, Light Medallion, Sheik, age change and the ruined Market.
- Lon Lon RanchEpona’s Song, Lon Lon Milk bottle, tower Heart Piece, 4 Skulltulas, Ingo’s races, Epona and the cow.
- Forest Temple (Dungeon 4)Minuet of Forest, all 5 Small Keys, 5 Gold Skulltulas, Fairy Bow, the four Poe Sisters and Phantom Ganon.
- Fire Temple (Dungeon 5)Goron Tunic, Bolero of Fire, 8 Small Keys, 5 Gold Skulltulas, Megaton Hammer, two Flare Dancers and Volvagia.
- Ice CavernReach it across Zora’s Fountain, Blue Fire, 10 Silver Rupees, 3 Gold Skulltulas, a Heart Piece and the Iron Boots.
- Water Temple (Dungeon 6)Three water levels, 6 Small Keys, 5 Gold Skulltulas, Dark Link, the Longshot, the Boss Key and Morpha.
- Bottom of the WellDrain the Kakariko well, beat Dead Hand for the Lens of Truth, then get the Map, Compass, keys, Skulltulas.
- Shadow Temple (Dungeon 7)All 5 Small Keys, Map, Compass, Hover Boots, Boss Key, 5 Gold Skulltulas, Bongo Bongo and Shadow Medallion.
- Gerudo’s Fortress and the Haunted WastelandFree the 4 carpenters, get the Gerudo Card, win the archery prizes, then cross the Haunted Wasteland.
- Gerudo Training GroundEvery room, all 9 Small Keys, the Silver Rupee puzzles and the Ice Arrows in the central treasure room.
- Spirit Temple (Dungeon 8)Child and adult routes, 5 keys, Map, Compass, Boss Key, 5 Skulltulas, Silver Gauntlets, Mirror Shield, Twinrova.
- Ganon’s Castle and Ganon’s TowerLight Arrows, six trials, Golden Gauntlets, Double Defense, the tower climb, Ganondorf and Ganon.
| Covers | The optional Gerudo Training Ground behind Gerudo’s Fortress, every room in the order you reach it, the nine Small Keys, three Silver Rupee puzzles and the Ice Arrows |
|---|---|
| Dungeon | Gerudo Training Ground (optional mini-dungeon, adult Link only): Gerudo Membership Card and 10 Rupees at each entry; Fairy Bow, Hookshot or Longshot, Megaton Hammer, Silver Gauntlets, Lens of Truth, Hover Boots, Iron Boots, Zora Tunic and the Song of Time used; no boss and no medallion |
| Rewards | Ice Arrows (central chest), 9 Small Keys (7 are enough), 15 Silver Rupees (three groups of five), assorted Rupee and ammo chests. No Piece of Heart and no Gold Skulltula |
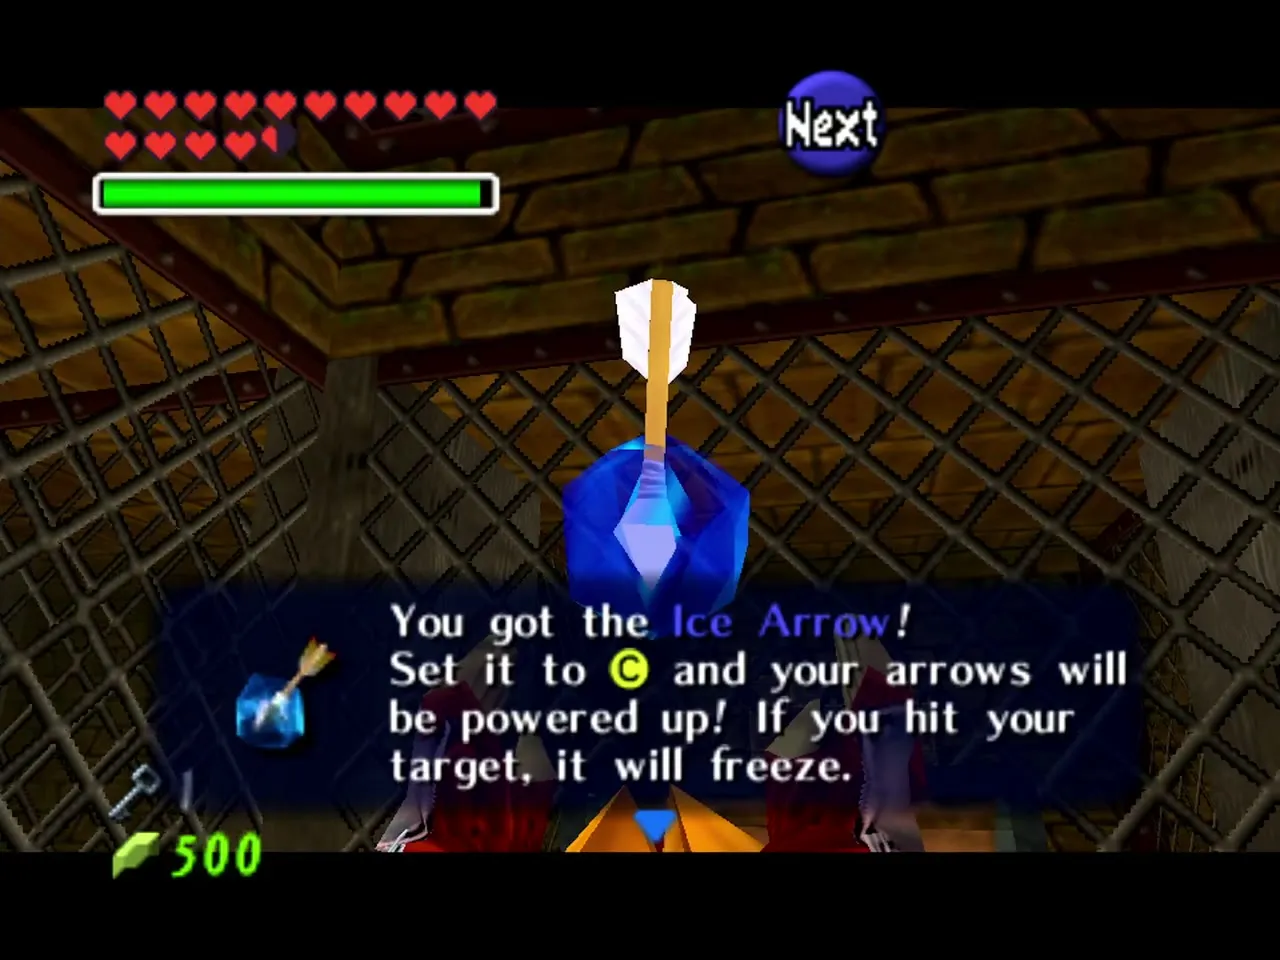
The Gerudo Training Ground is a trial course that the Gerudo built under their fortress. It has no boss and no map, only a ring of challenge rooms around a central treasure room that is locked behind a maze of doors. The prize is the Ice Arrows, the last of the three magic arrows. The dungeon is optional for finishing the story, but it is part of a 100% run because the Ice Arrows are a required item on that list, and it uses almost every item you have gathered.
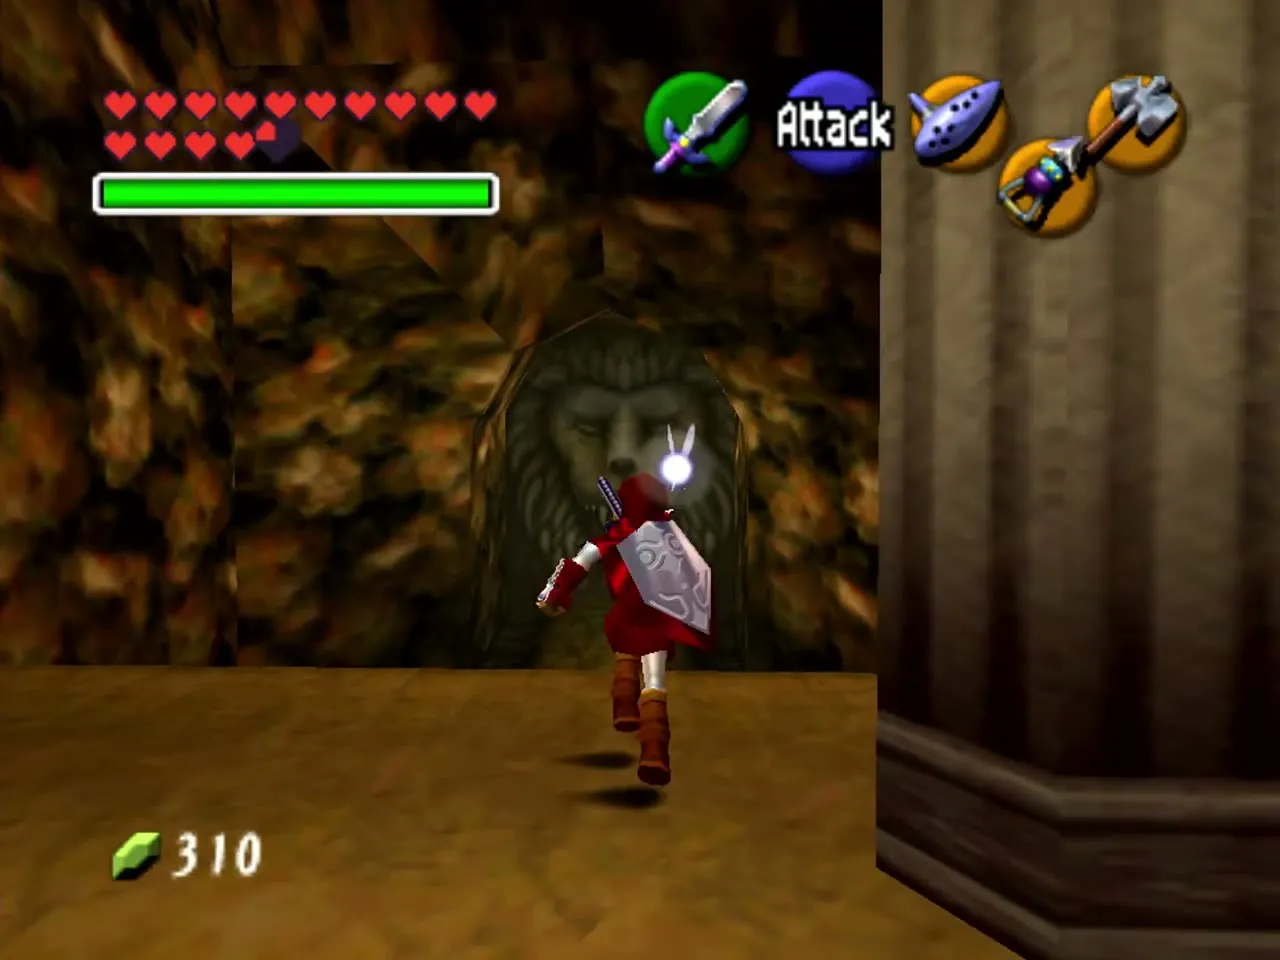
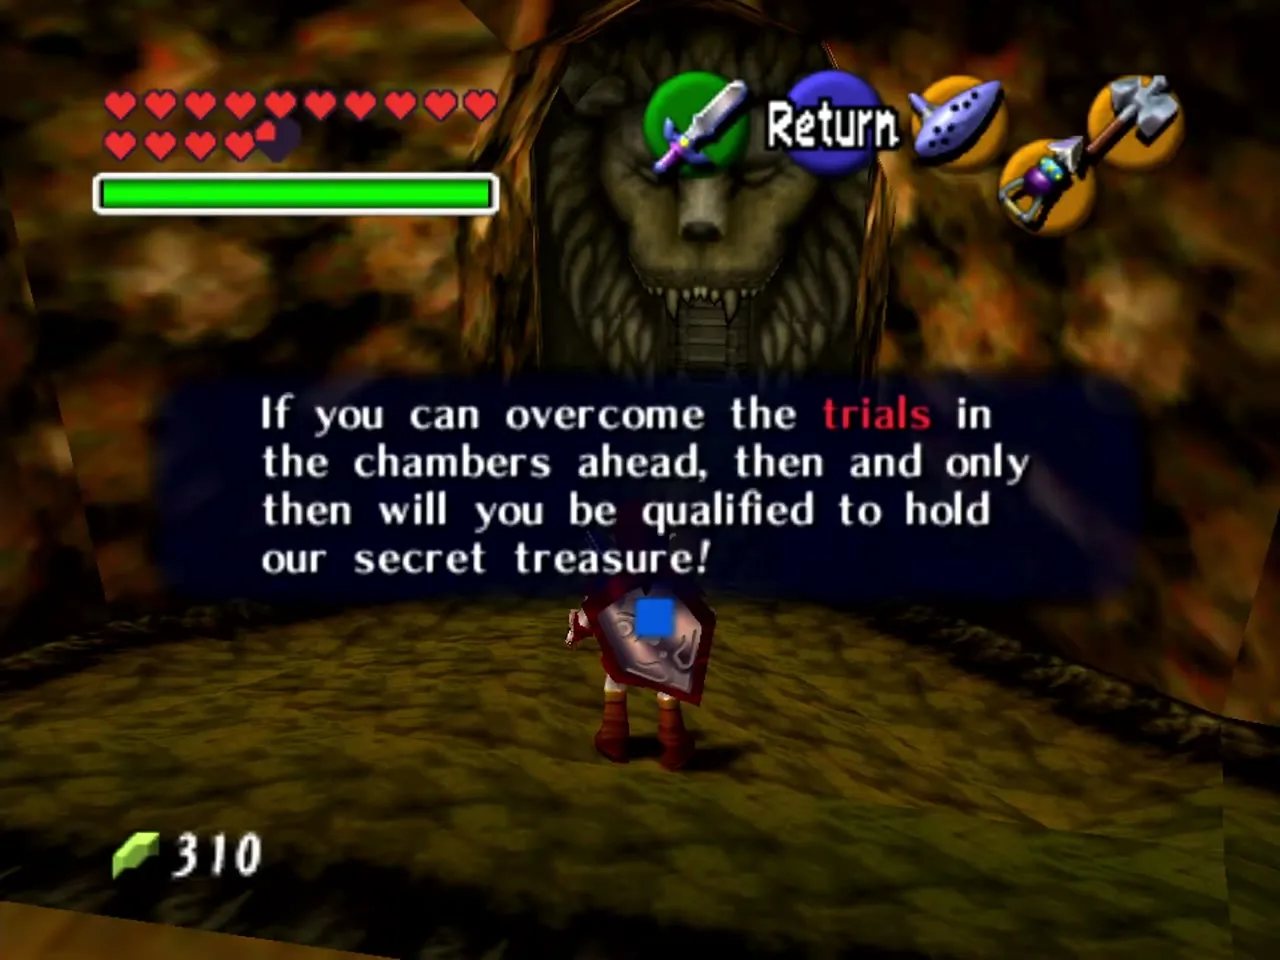
Table of Contents
Getting in and what to bring
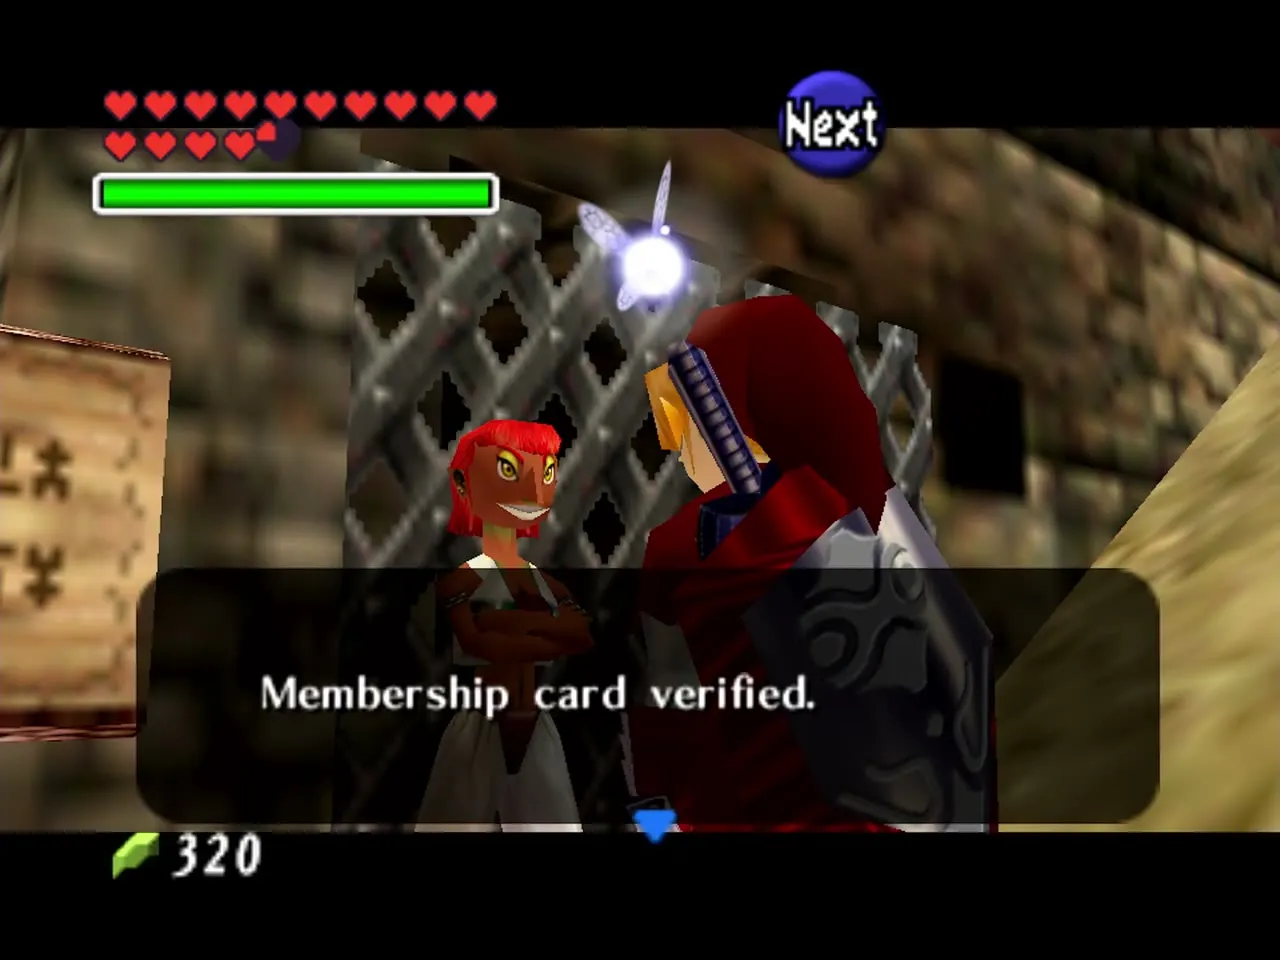
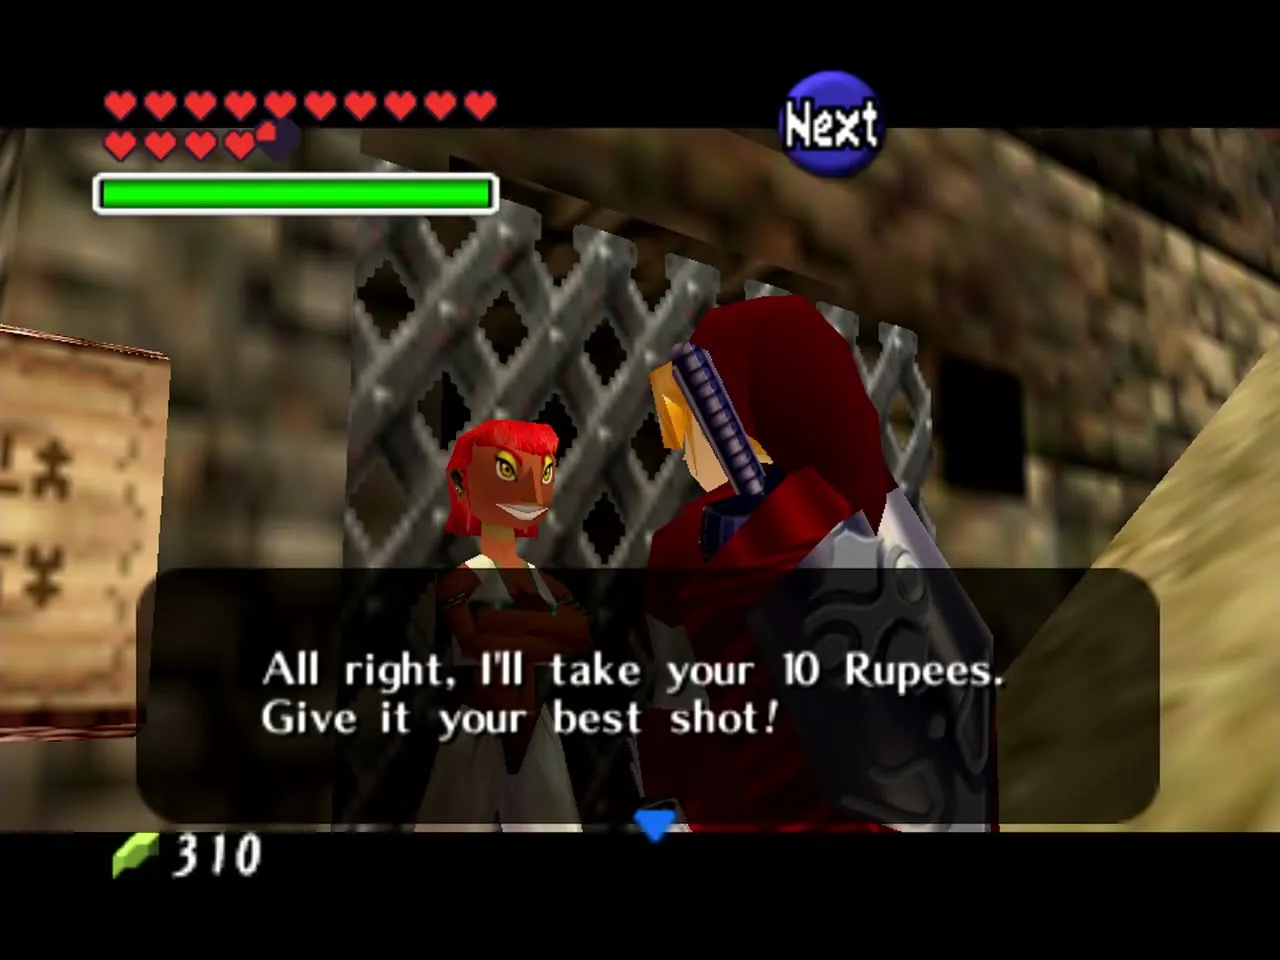
You need the Gerudo Membership Card, so first free all four carpenters in Gerudo’s Fortress and the Haunted Wasteland. Near the fortress entrance, a Gerudo woman in white stands in front of a barred gate. Pay her 10 Rupees and she opens it. You pay again every time you leave and re-enter, so plan to finish in one visit.

To collect all nine keys you need the Fairy Bow, the Megaton Hammer, the Longshot, the Silver Gauntlets, the Lens of Truth, the Hover Boots, the Iron Boots and Zora Tunic, Bombs, and the Song of Time. Fire Arrows and Din’s Fire speed things up, and the Scarecrow’s Song saves some climbing. You can reach the Ice Arrows with only seven keys by skipping one room, so you can come early if you know what to do, but this walkthrough assumes you bring everything.

The entrance hall
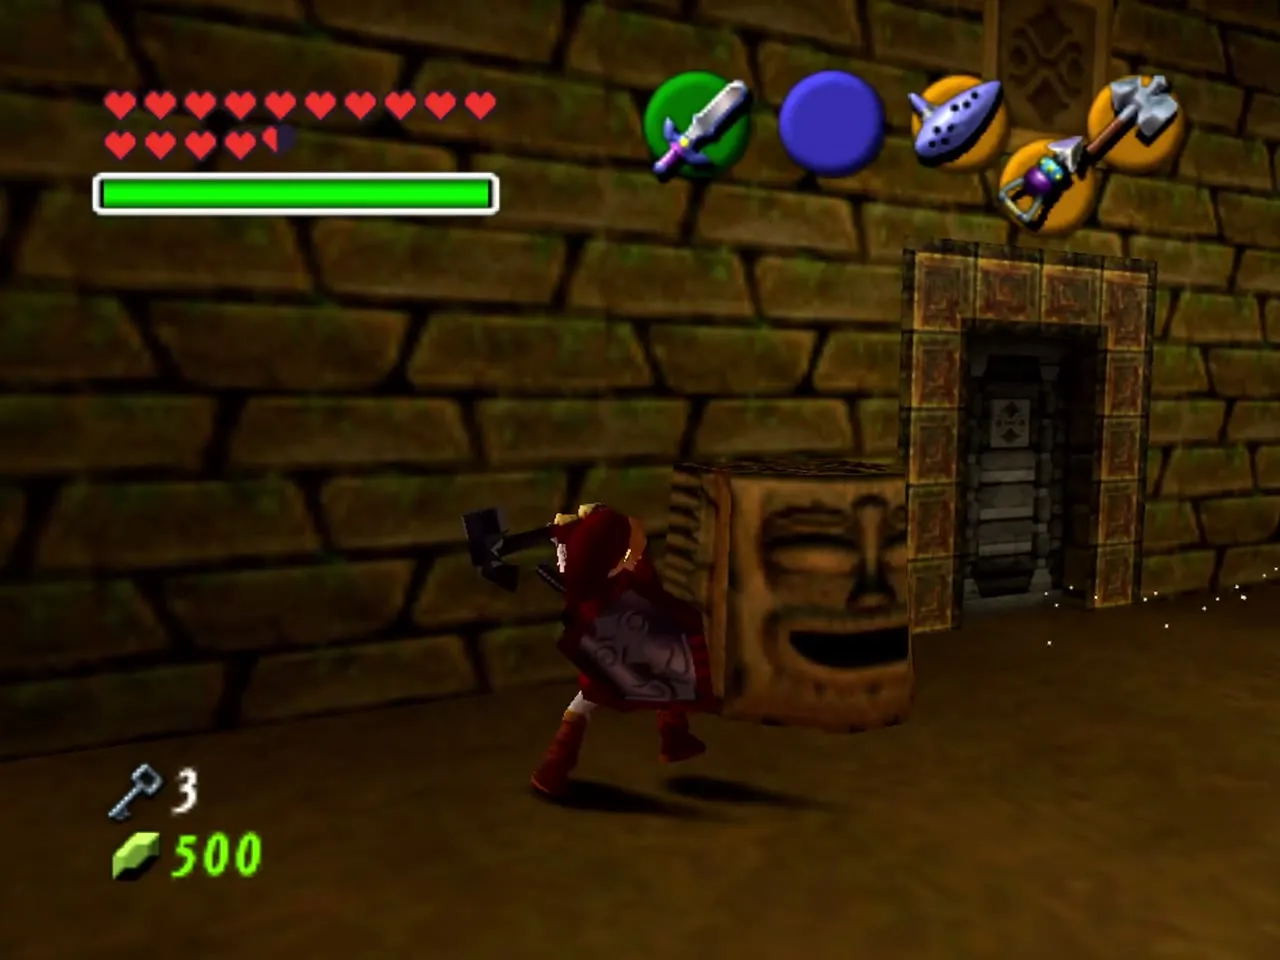
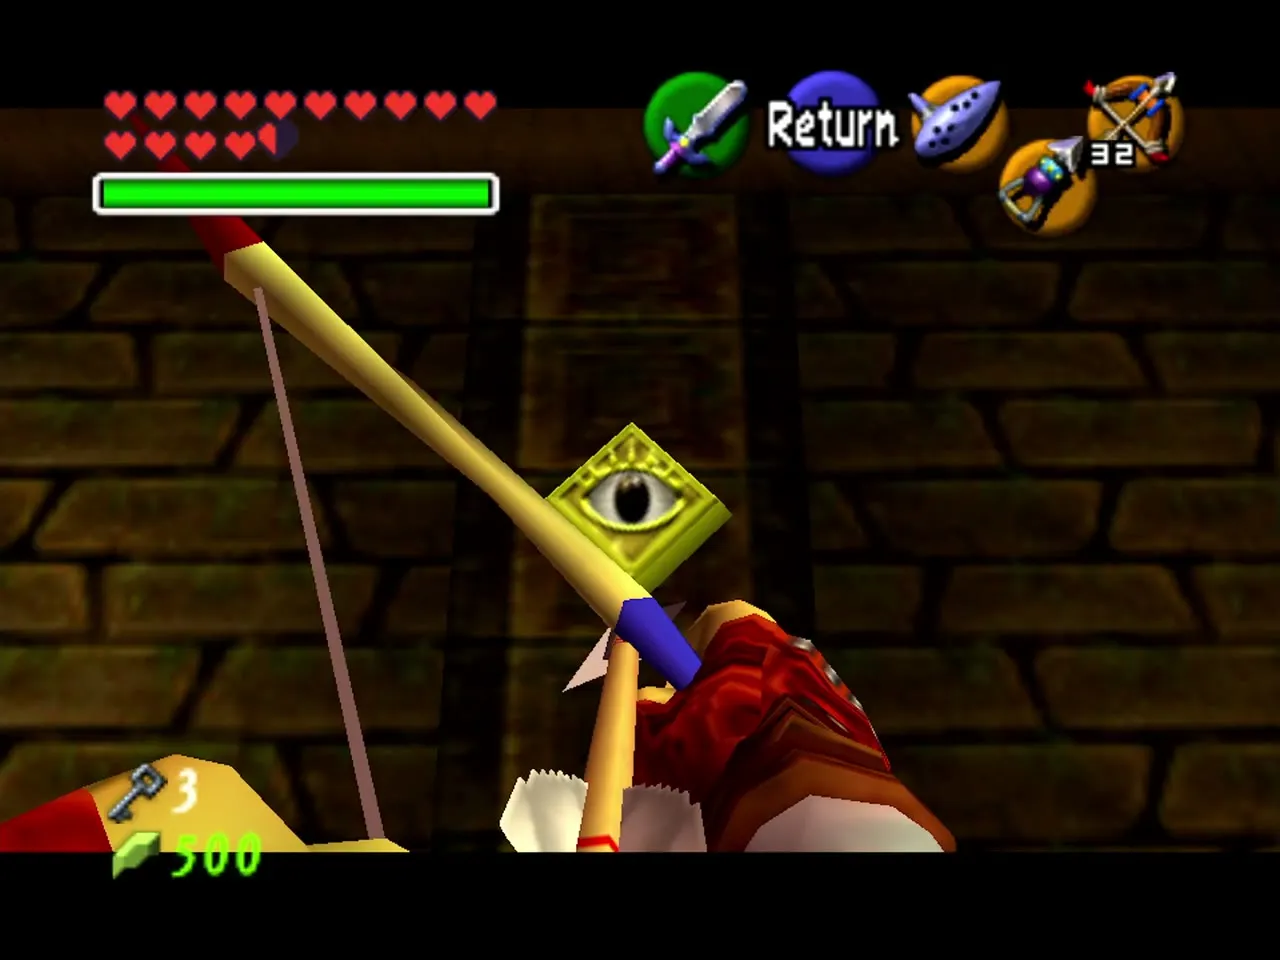
You arrive in a big hall with three doors. The middle door, straight ahead, leads to the Ice Arrows, but it is locked, so leave it for last. A chest on the left with a Blue Rupee is visible. Turn around and shoot the gold eye switch above the door you came in by, and a second chest appears on the right with arrows. Playing the Song of Storms in the centre calls a healing fairy. The course is a loop, so you can go either way. The left door is easier, and the right needs the Scarecrow’s Song for the first room.

Left route: Stalfos, boulders and Wolfos
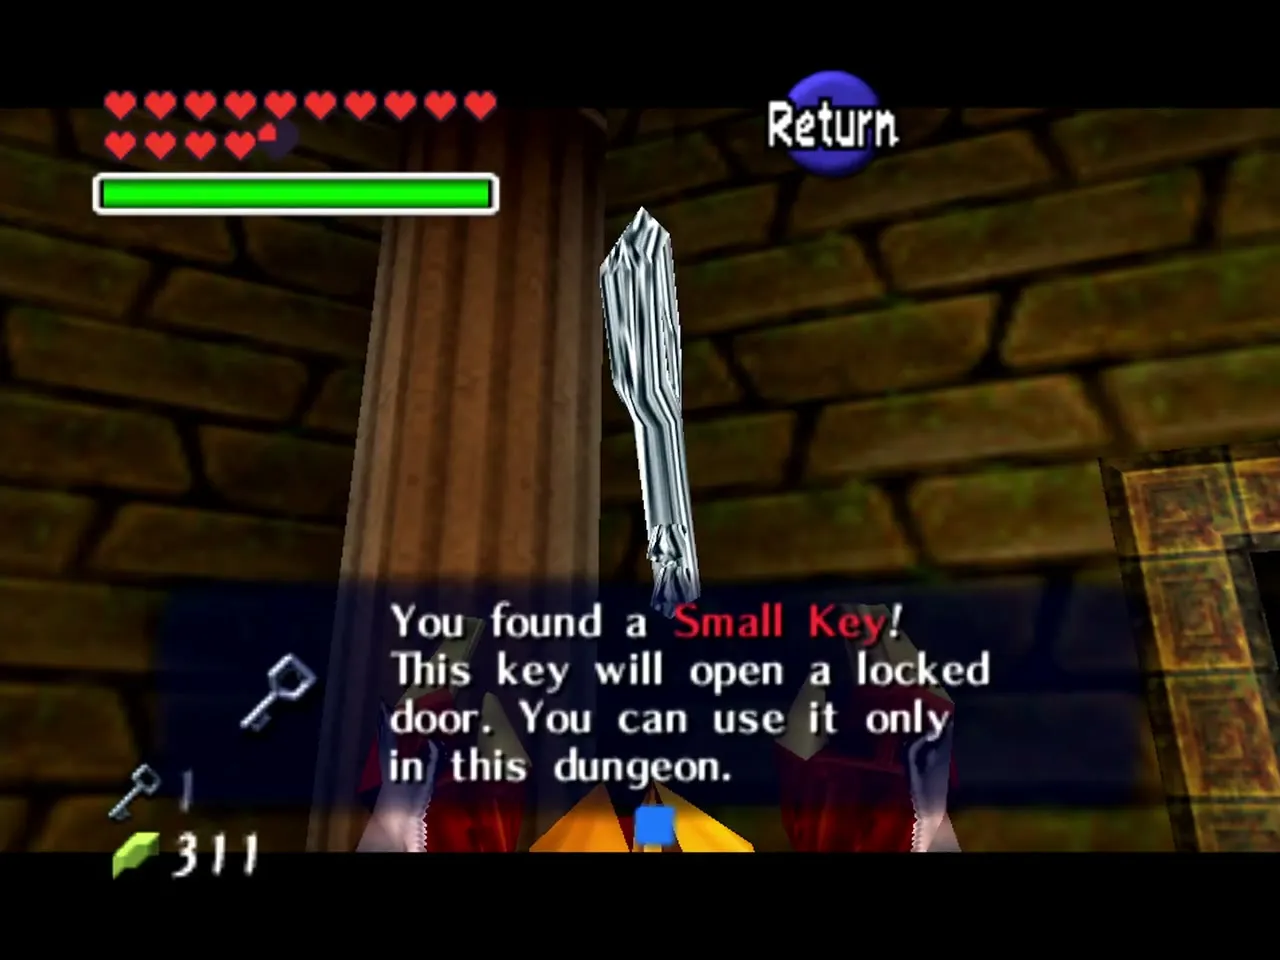
Sandy Stalfos room: Small Key 1
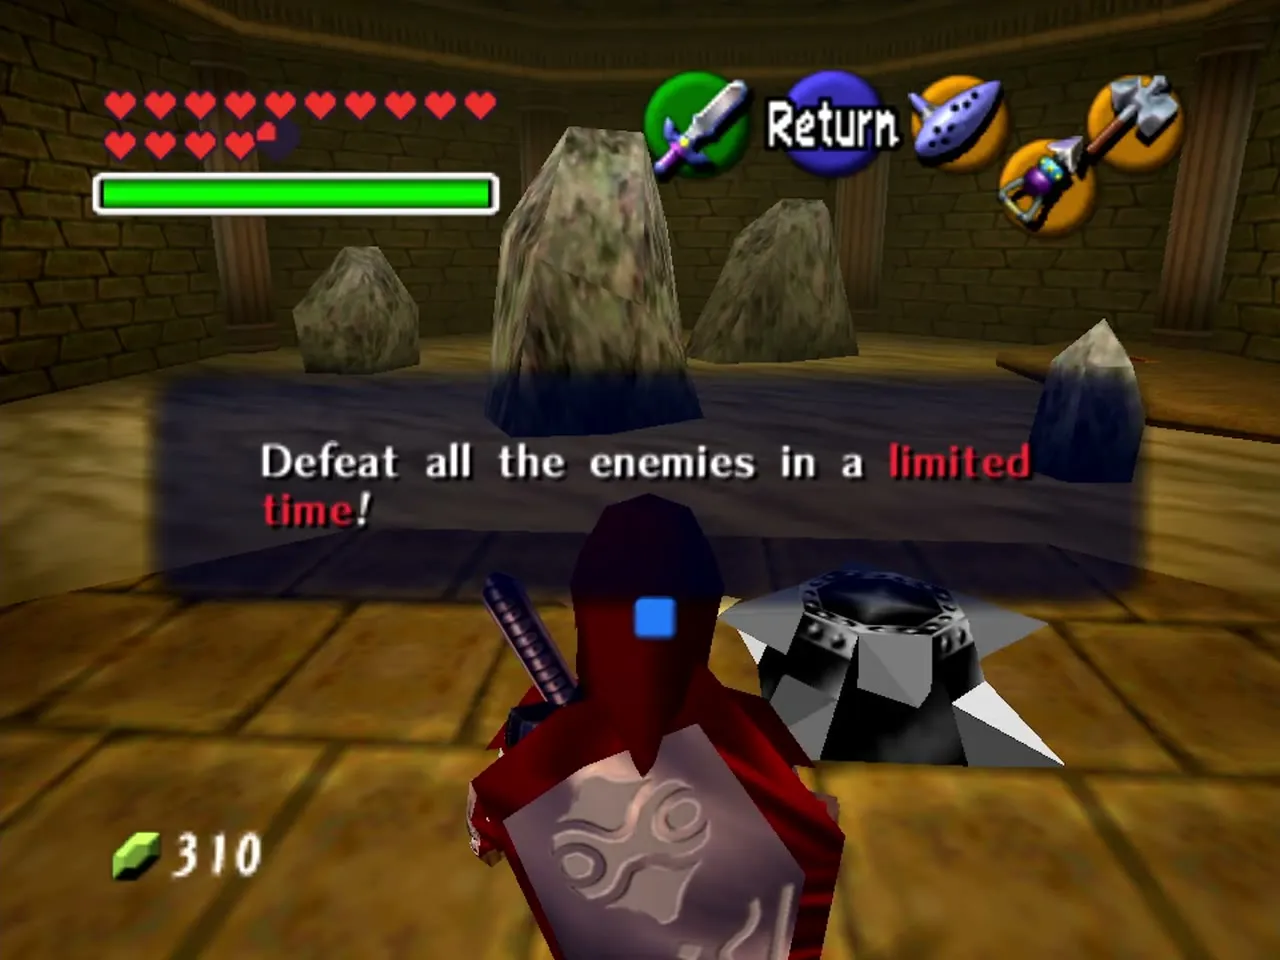
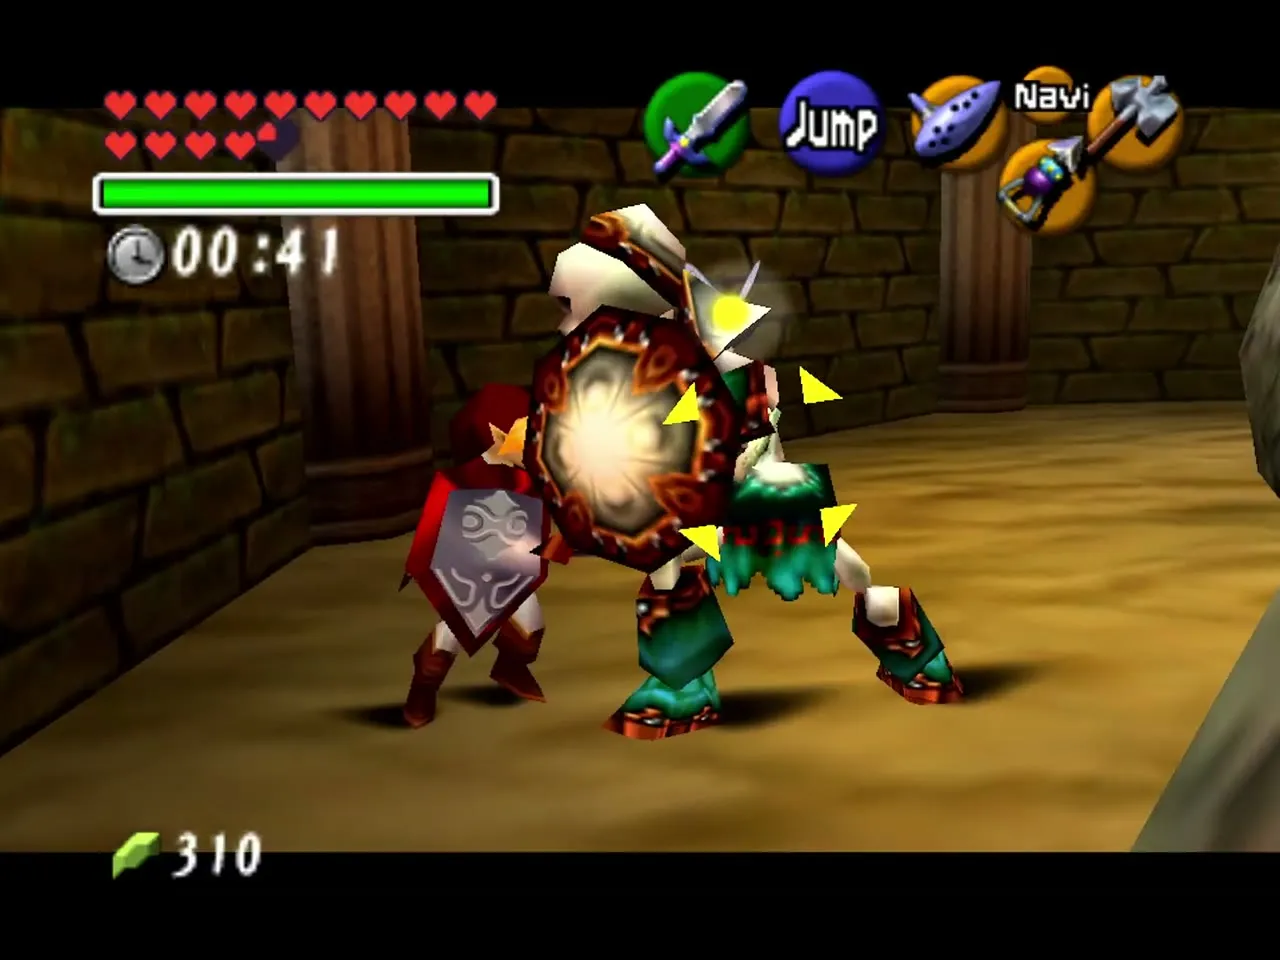
You have one minute to beat two Stalfos in a room with sand that slows you. Keep to the dry strip on the right. Arrows or the sword both work, and the Biggoron‘s Sword is fast. The chest that appears has Small Key 1.

Timed Silver Rupee room
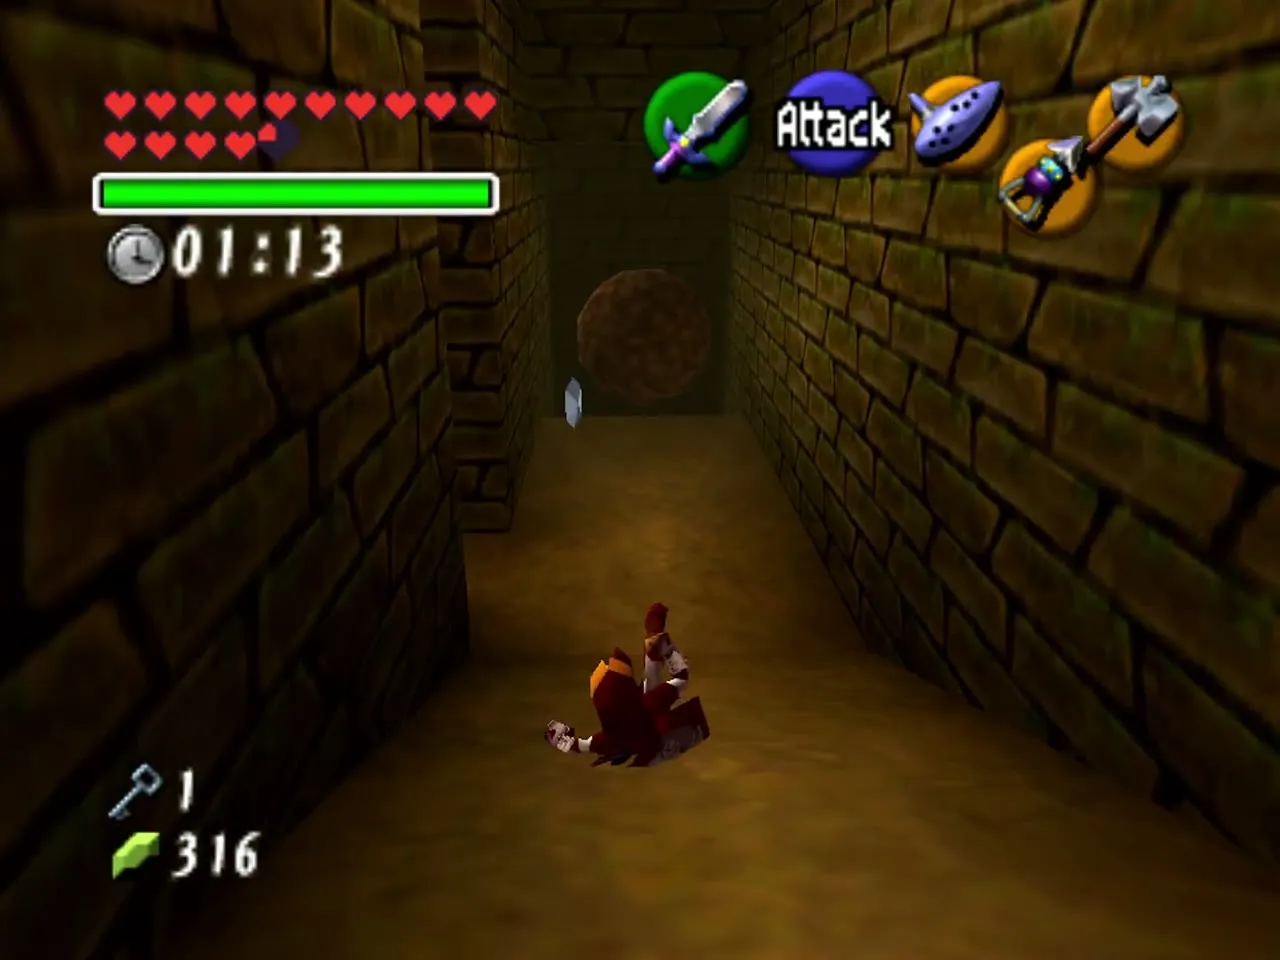
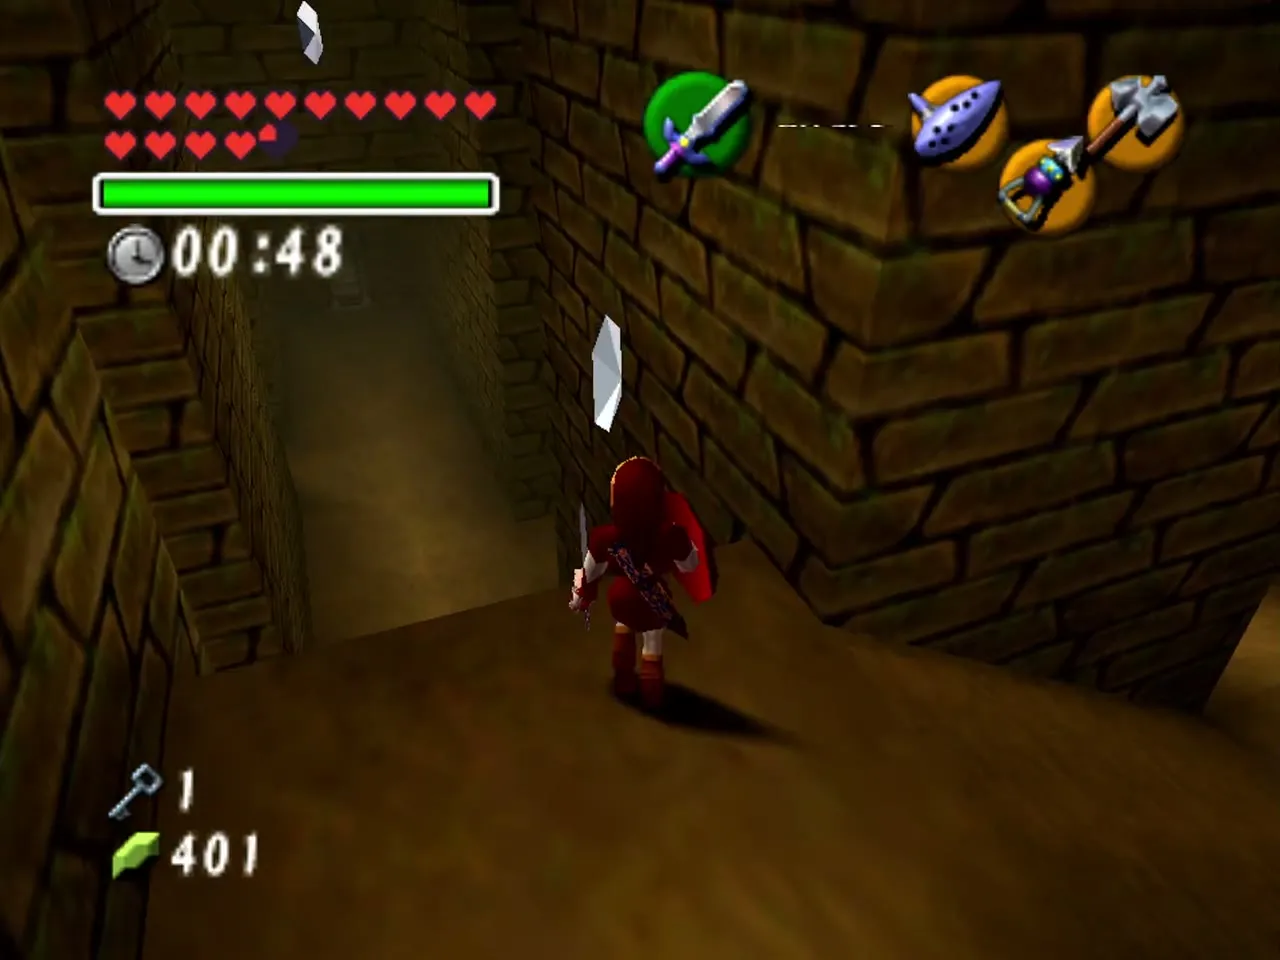
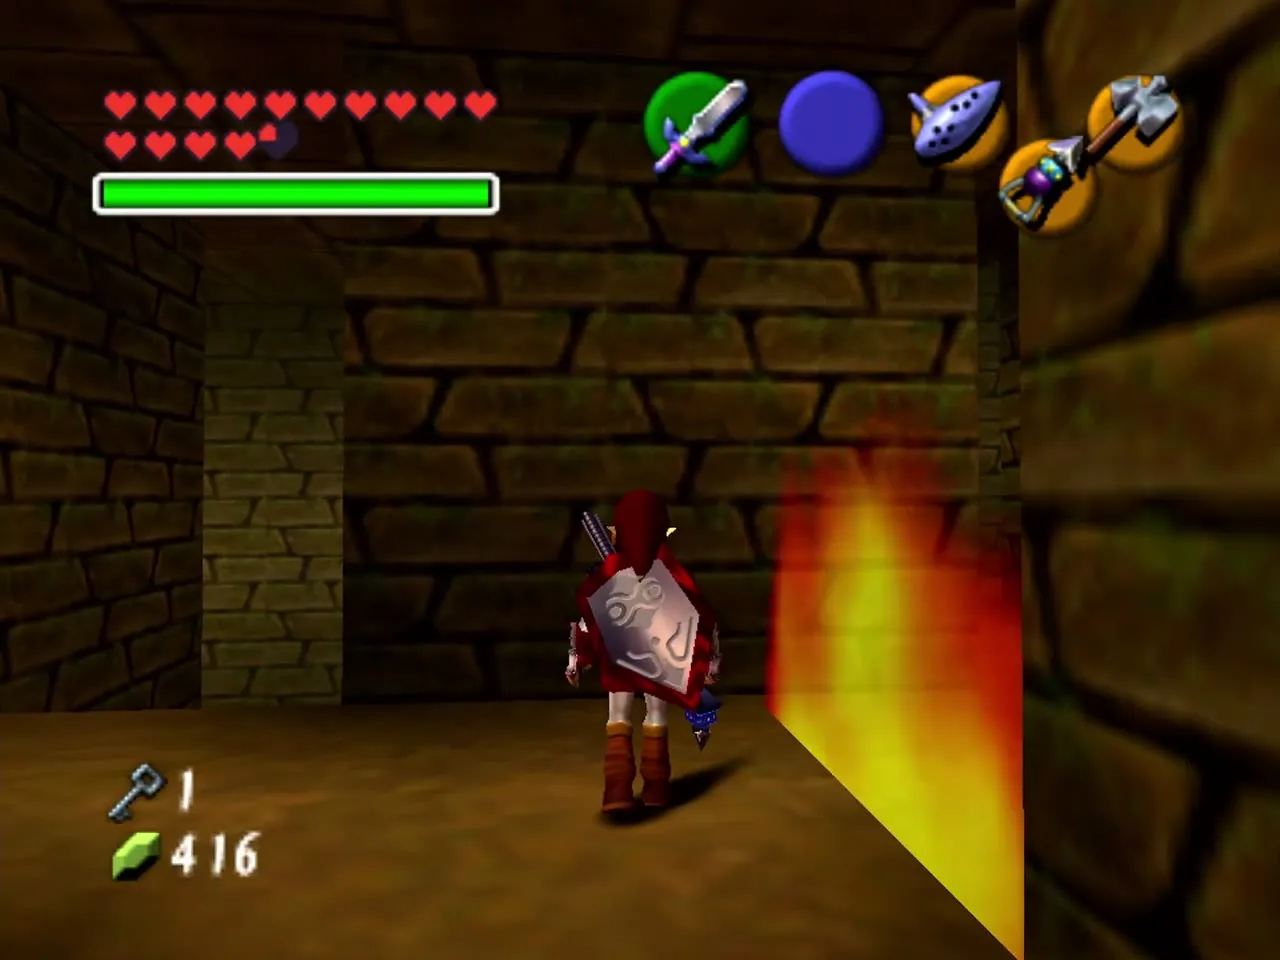
The next room has a Wallmaster, rolling boulders and invisible walls of flame, and you have a minute and a half to take five Silver Rupees. Ignore the Wallmaster. One: run forward and take a left, wait for the boulder to pass and take the rupee at the left corner. Two: duck into the side alcoves to avoid the boulder and take the one at the top. Three: from the middle corridor, which is higher and has no flames, jump off the right ledge. Four: in the right corridor, wait for the boulder and go clockwise around the corner. Five: Longshot the ceiling target ahead and fall onto it. The door opens. Go all the way up to it, Longshot the ceiling target to get past the flames, and go through the door.
Wolfos room and the hidden switch
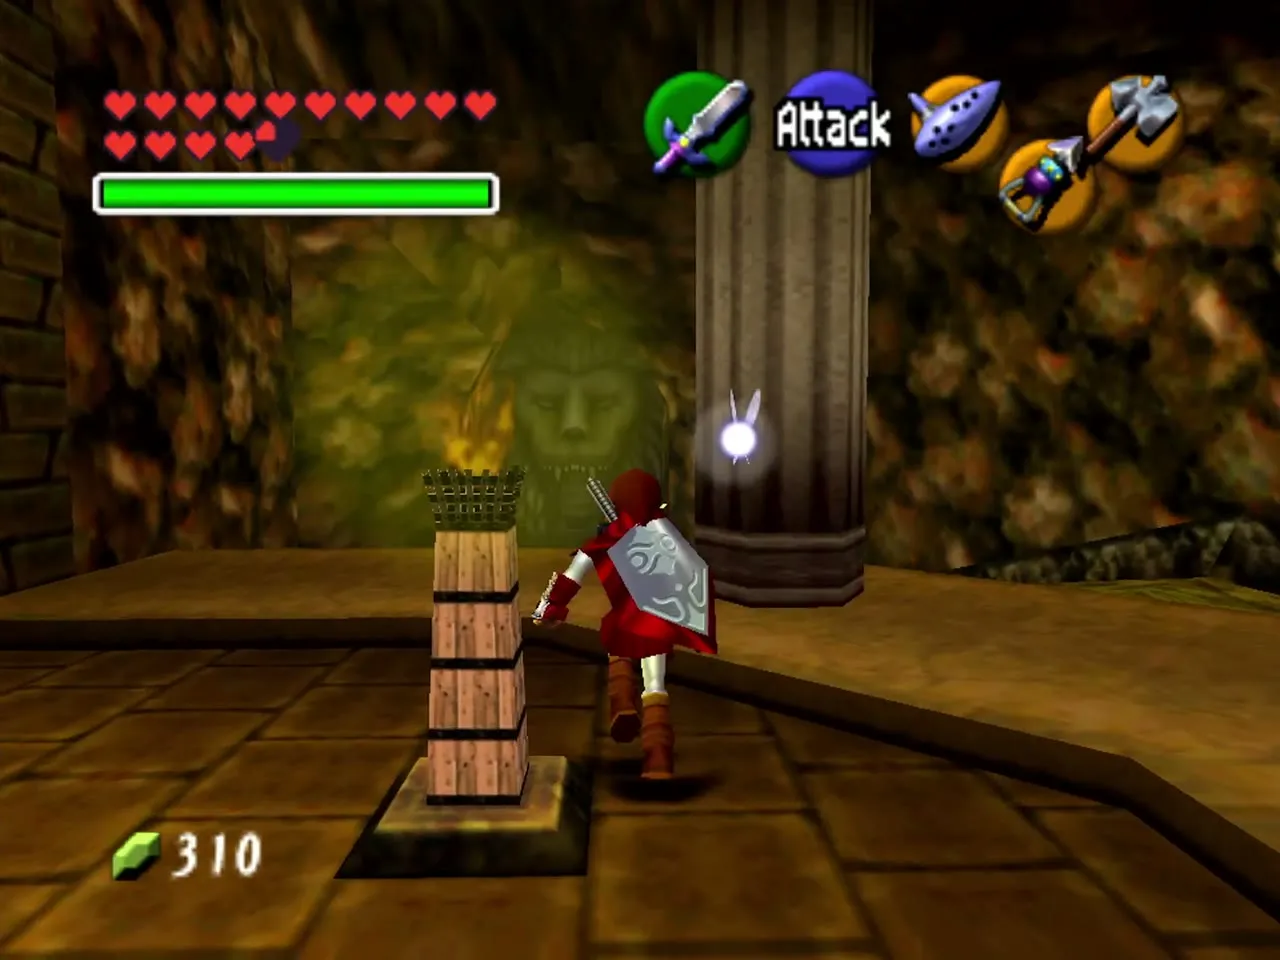
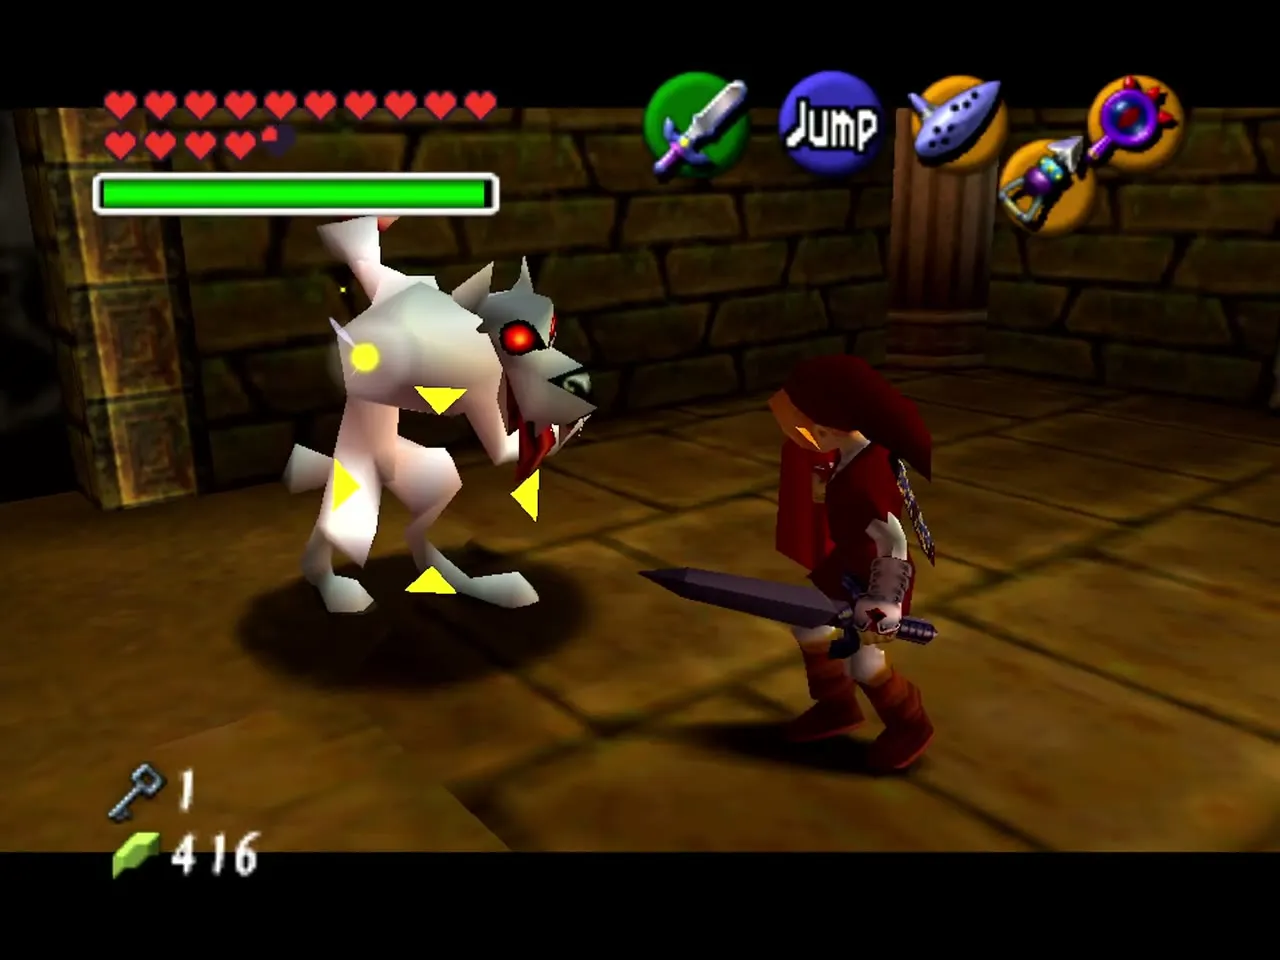
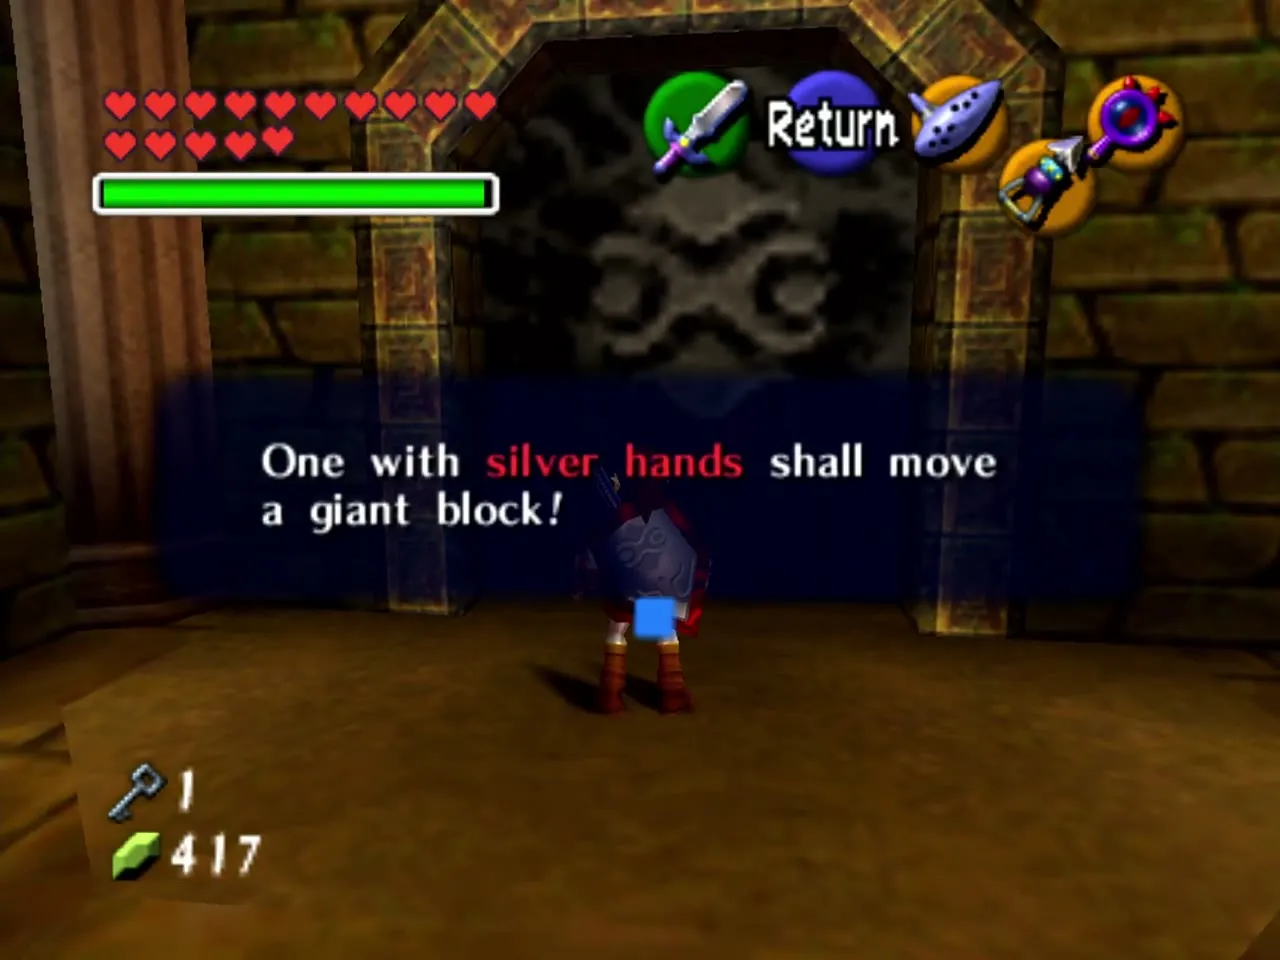
Two Wolfos and two White Wolfos attack here, and defeating them makes a chest of arrows appear. Put on the Lens to see a hidden alcove above the fake door. Longshot to its target and step on the switch inside, and both sealed doors below open. Jump down, put on the Silver Gauntlets and push the huge silver block into the hole. The door behind it is the next room.
Like Like room: Small Key 2
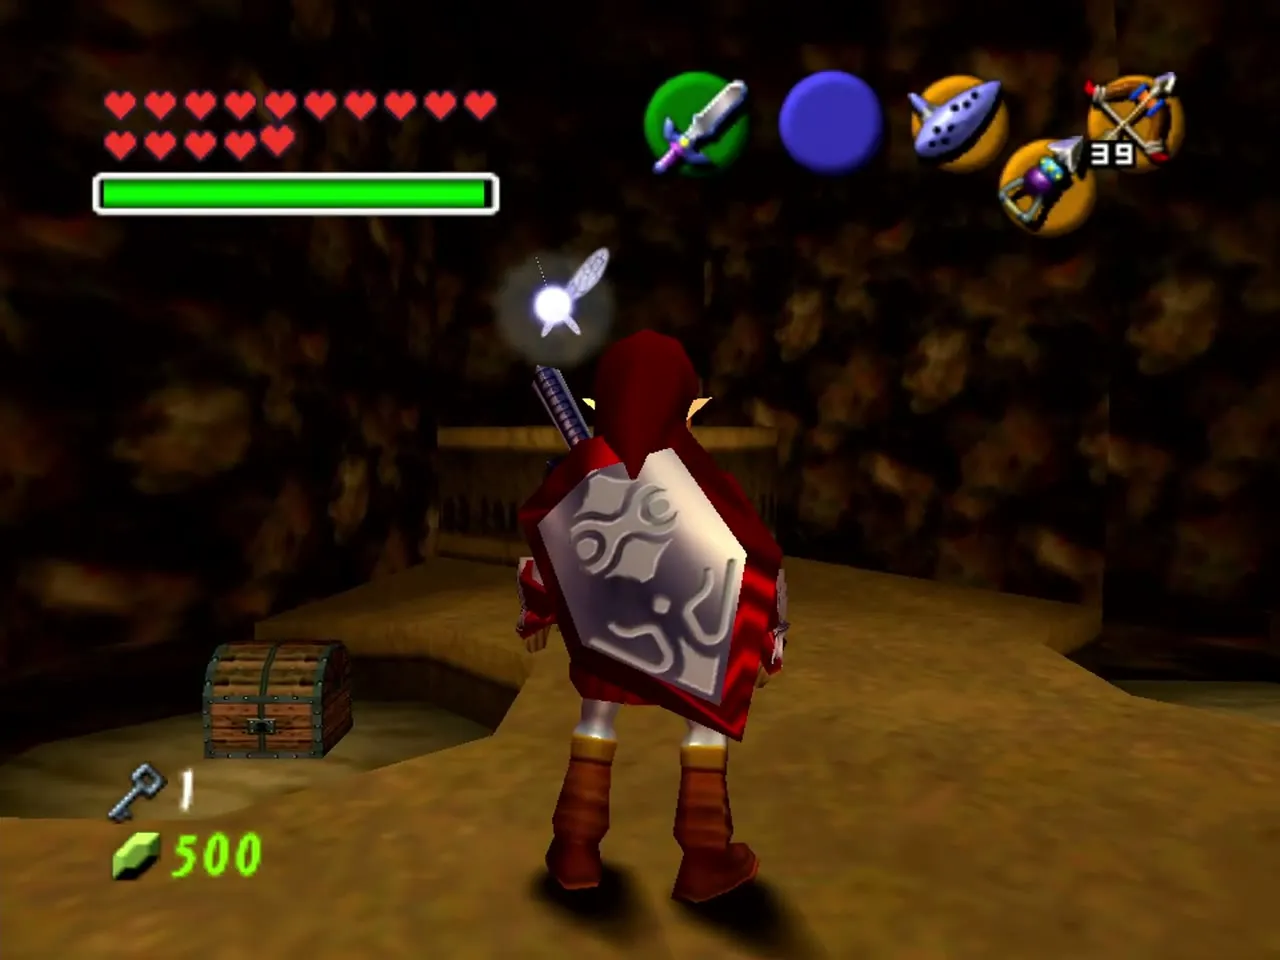
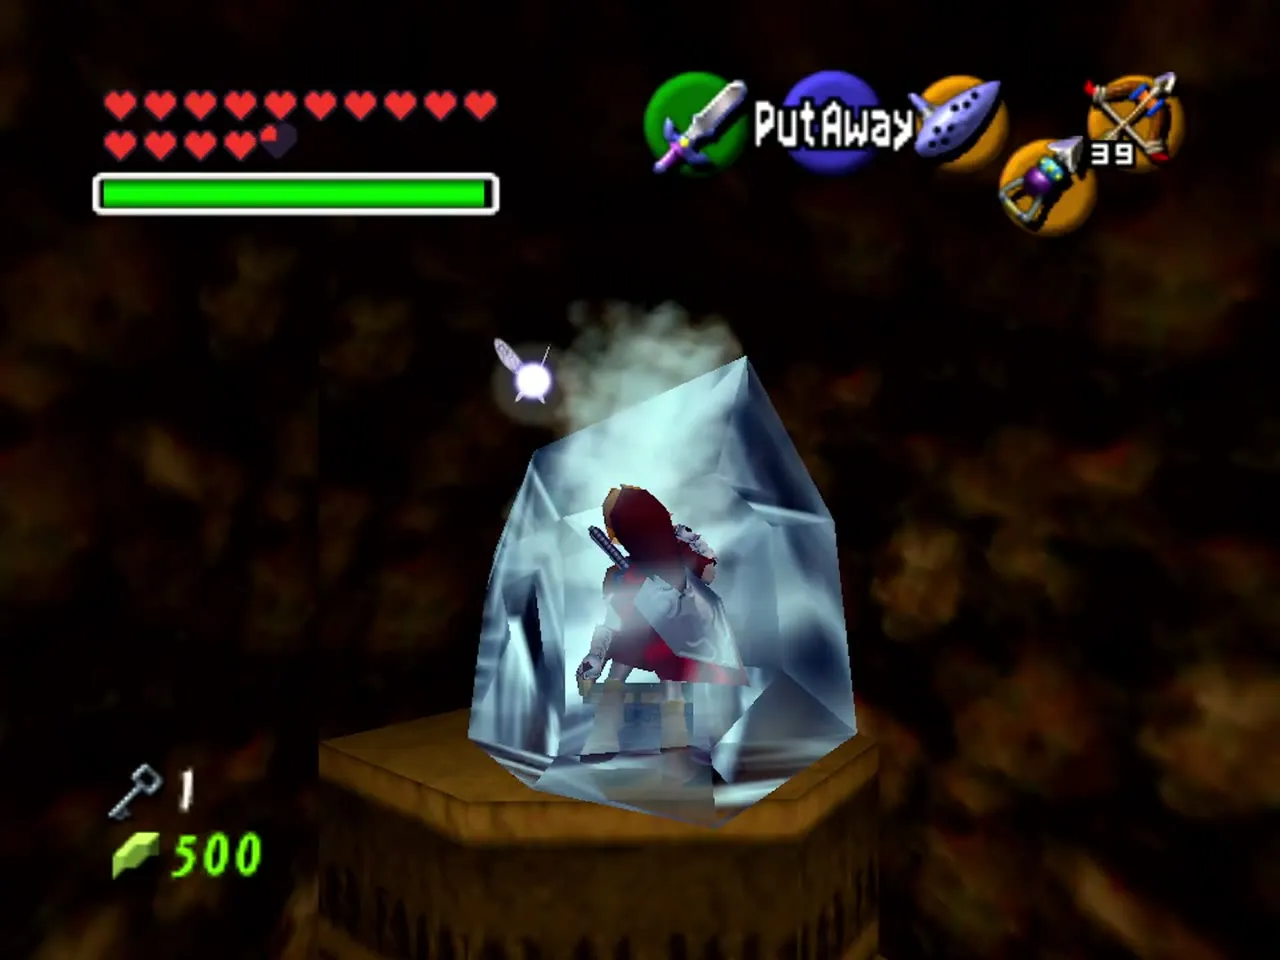
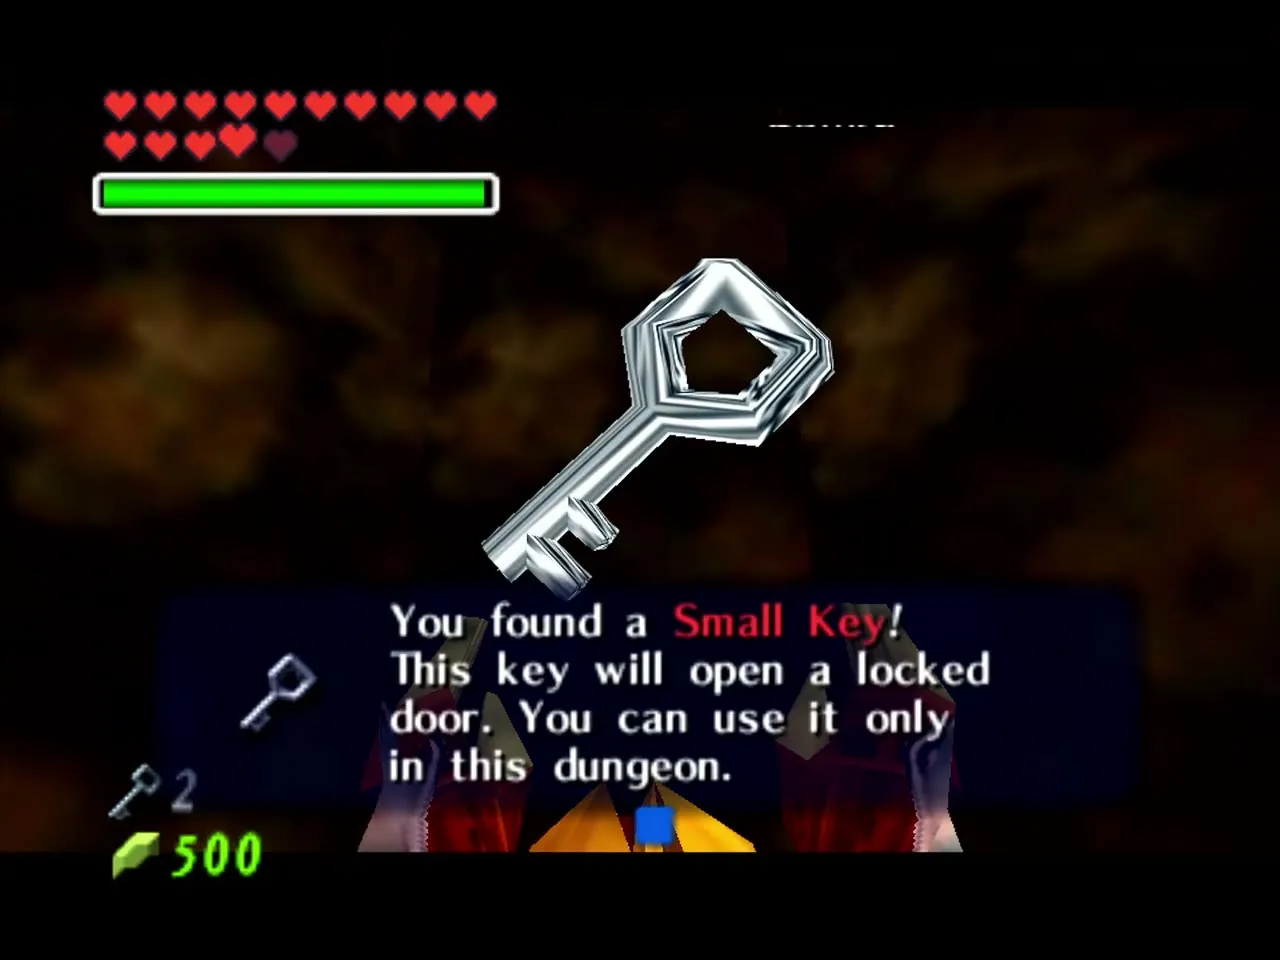
Three Like Likes live in this small room. Kill them, and two more chests appear. The chest on the raised platform is a trap that freezes you. The two near the front hold a Blue Rupee and a Gold (200) Rupee. The room has sand pits, and one holds an invisible chest. Use the Lens to find it in the last pit, and it holds Small Key 2. Return to the Wolfos room, Longshot back up to the alcove and go through the door there.
Eye statue room: Small Keys 3 and 4
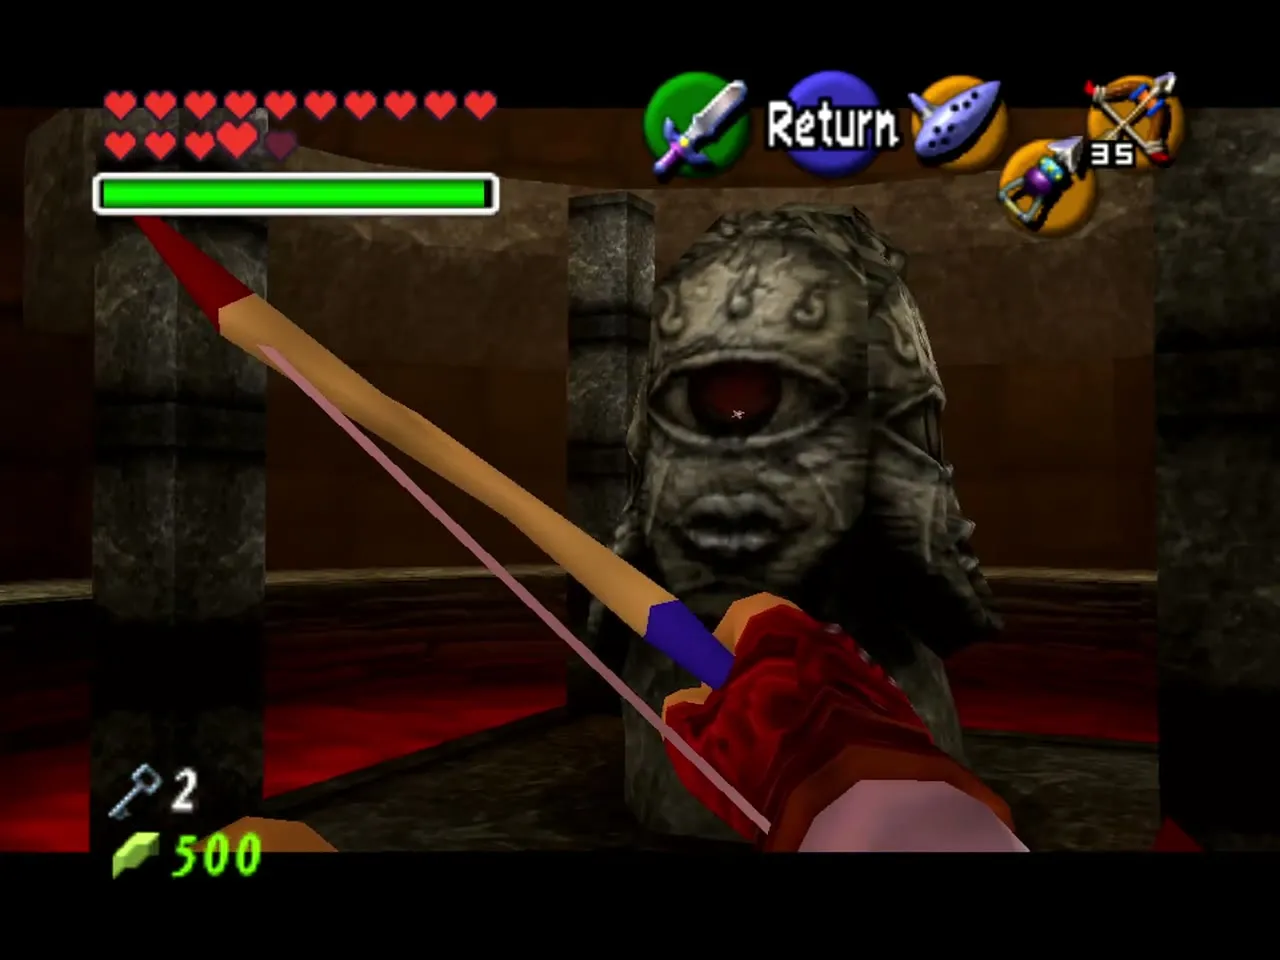
You start on a high ledge above lava, and a barred door is on that ledge. Face it with Navi green and play the Scarecrow’s Song to call Pierre, who will let you come back up. Now jump down to the round outer platform, which turns slowly. Aim at the statue in the middle and shoot each of its eyes once. When all of them are lit, a small chest appears beside the statue, and it holds Small Key 3. Longshot to it, then Longshot to the target near the entrance to get out.
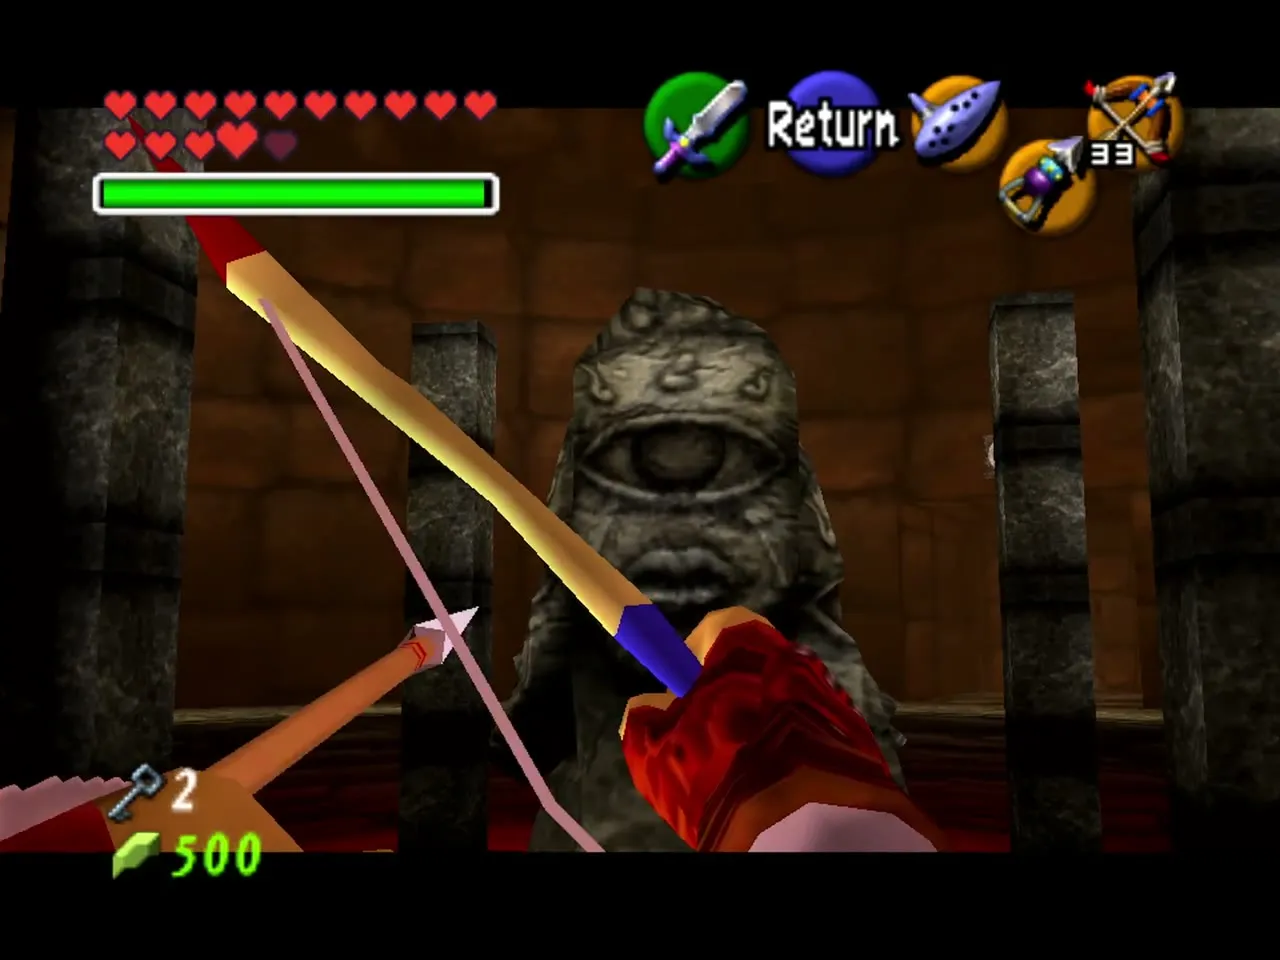
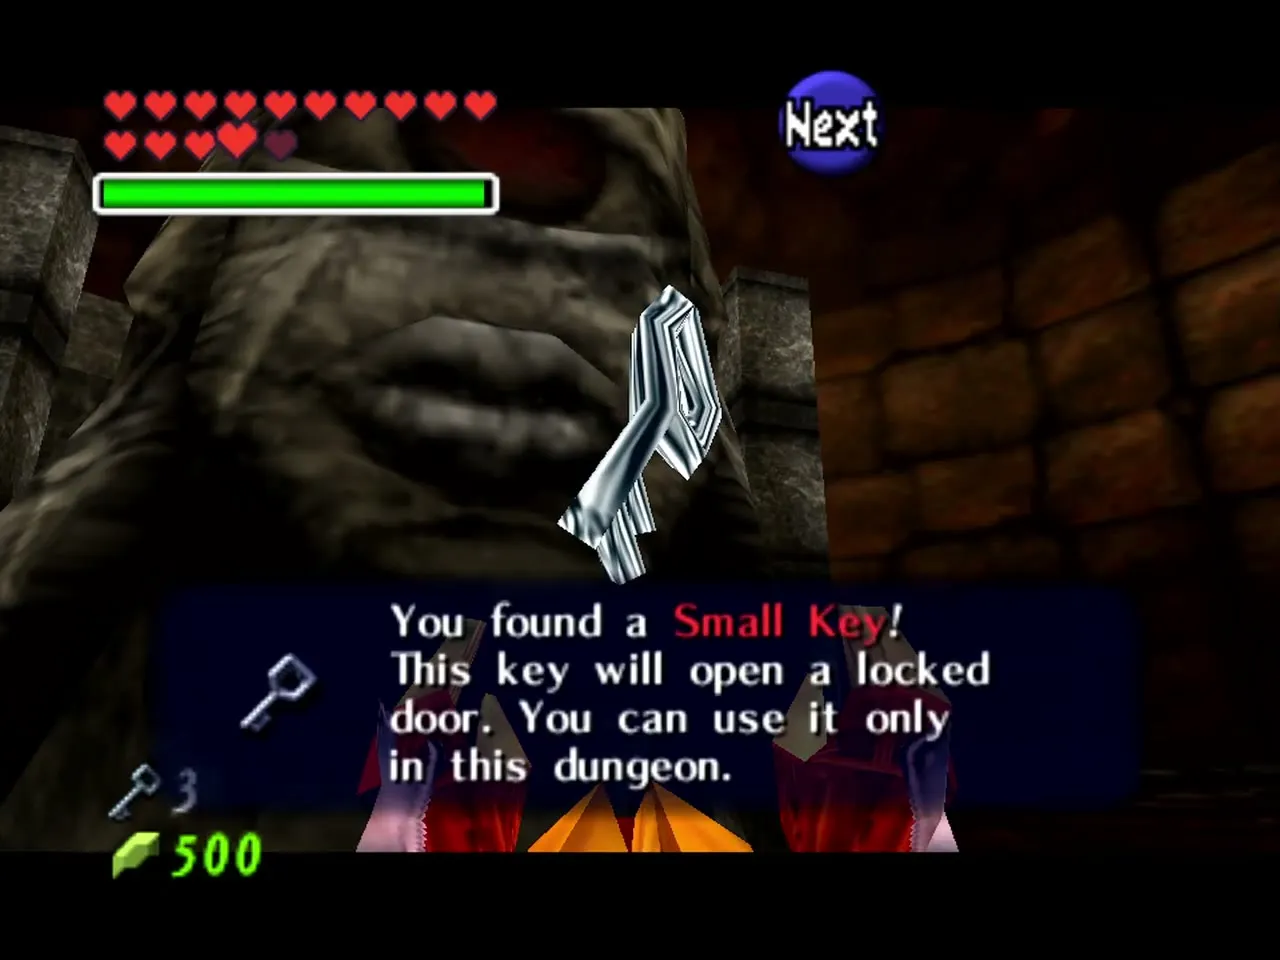
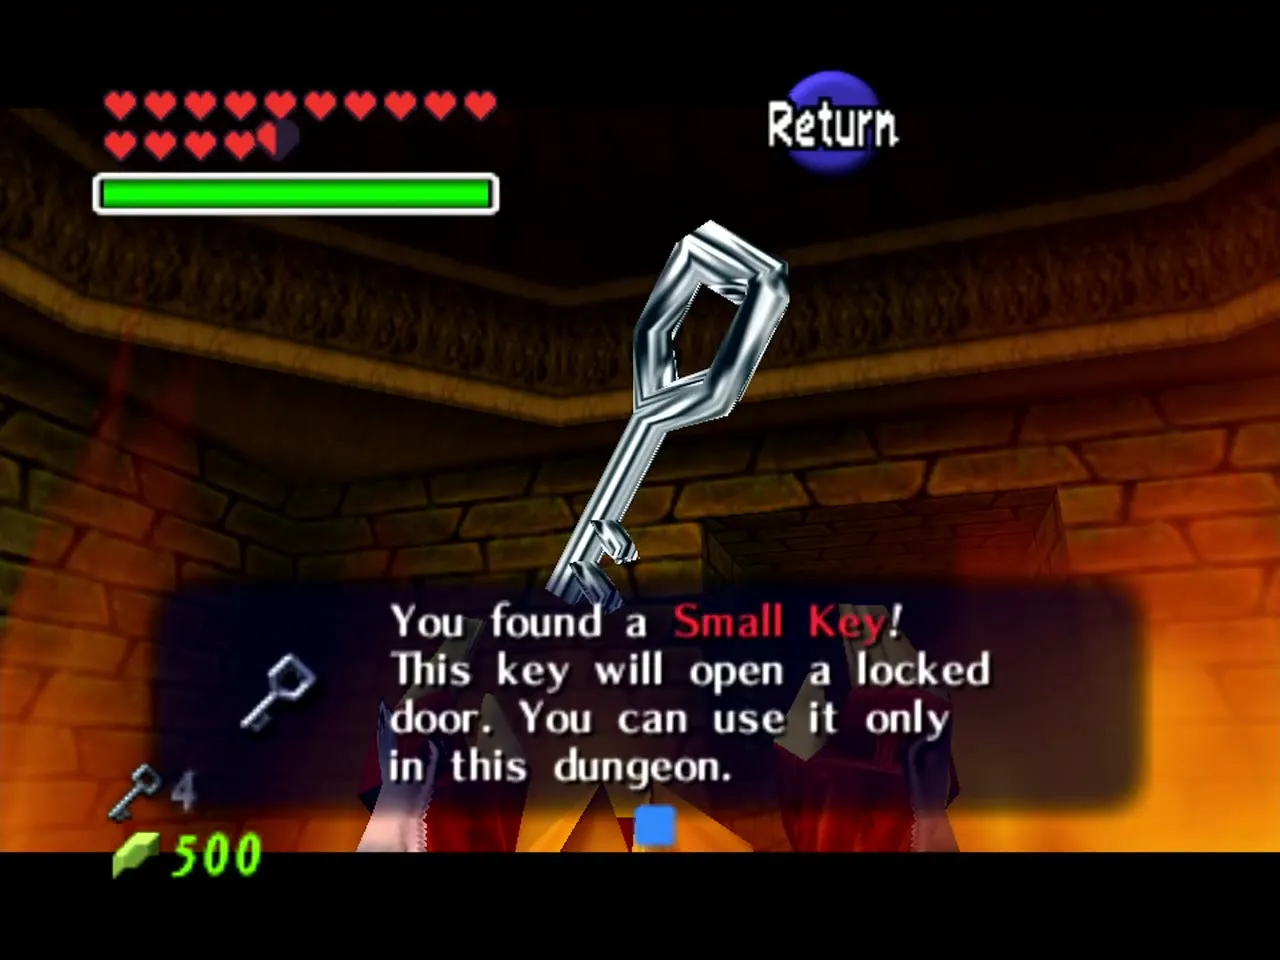
The barred door up top is now open. Climb back up with Pierre (or jump into the lava to restart at the entrance) and Longshot to him, and go through. A small chest holds Small Key 4. Go back, jump down, and take the other door.
Flame room: Small Key 5
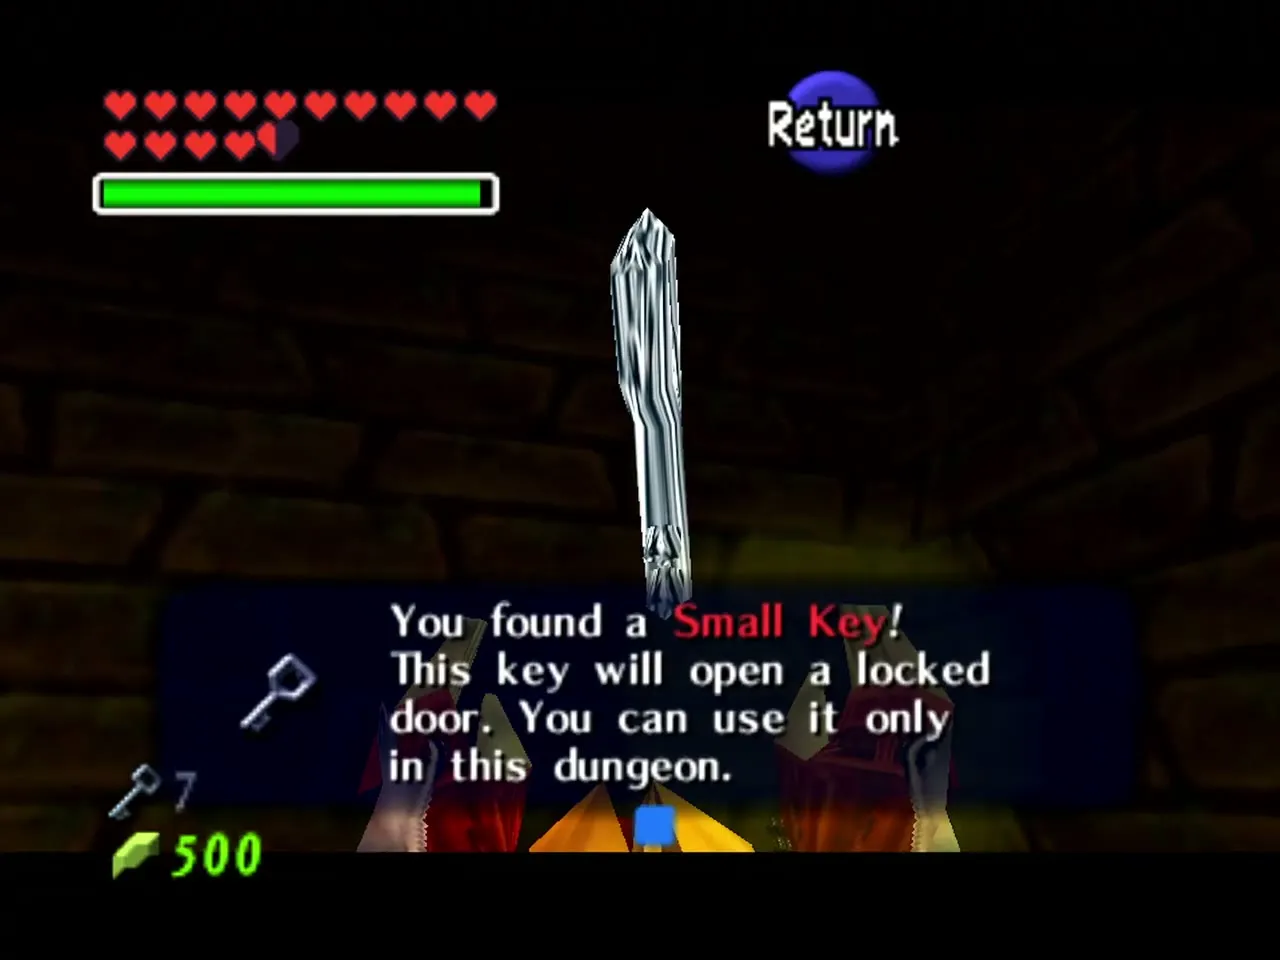
Kill the two Fire Keese and two Torch Slugs, and the door opens and a small chest of minor items appears. Use the Megaton Hammer on the statues to break them for goodies. Under the statue in the north-east corner is a floor switch in a hole. Step on it and quickly open the chest in the middle before the fire returns to protect it. It holds Small Key 5. There is also a gold eye switch if you ever return the other way, which opens the door to the statue room.
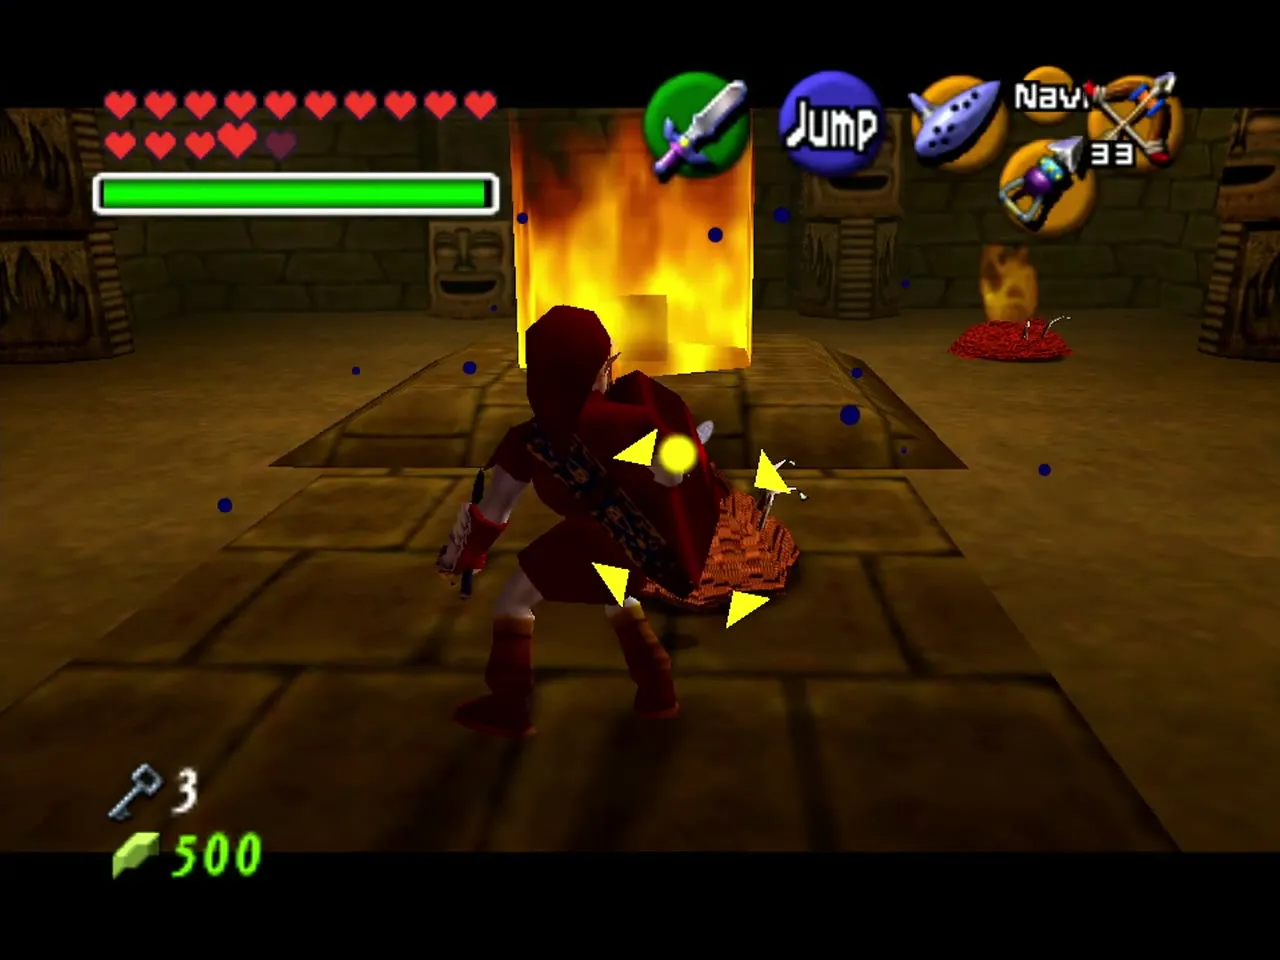
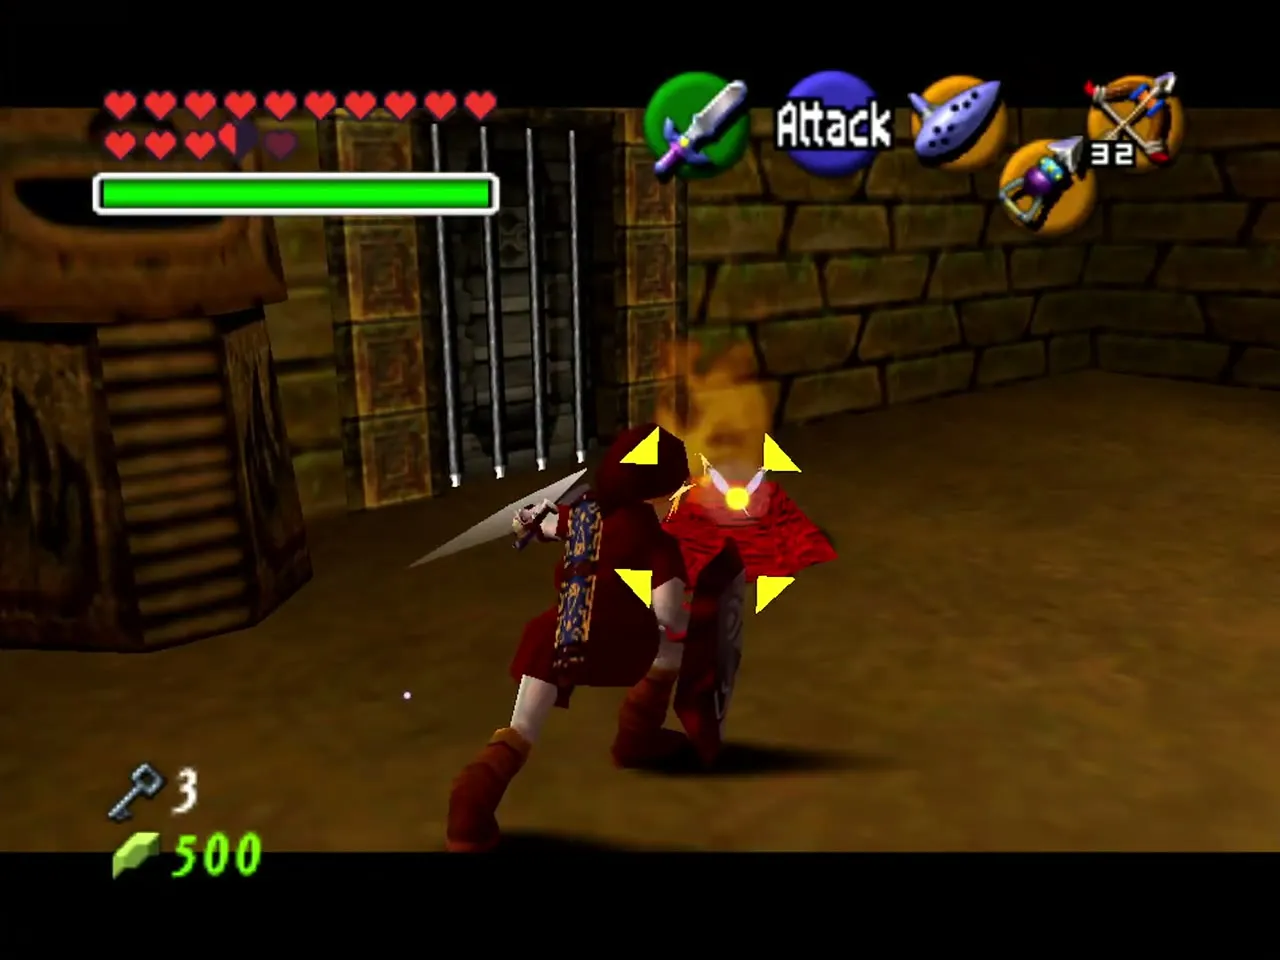
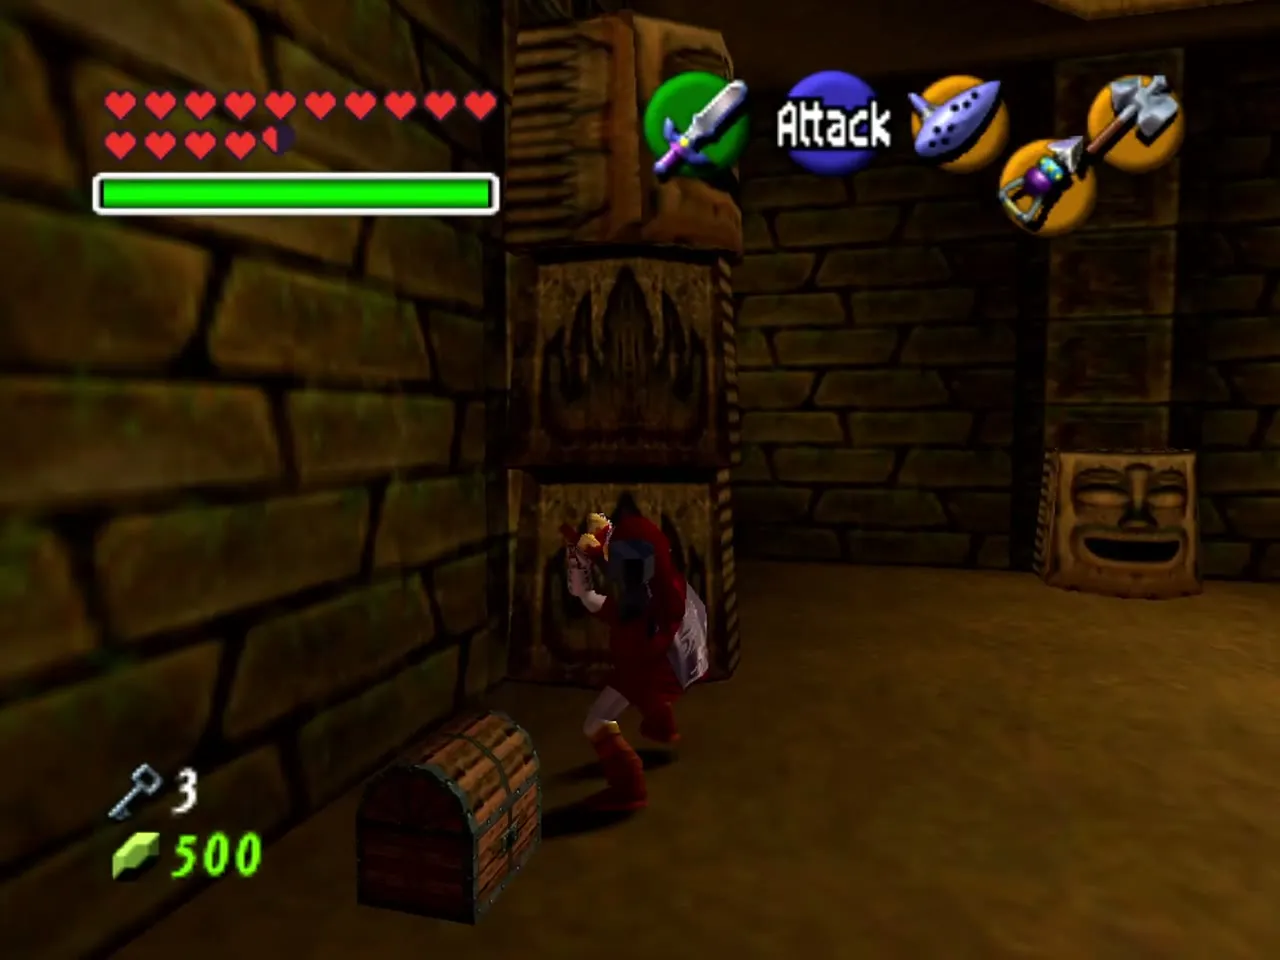
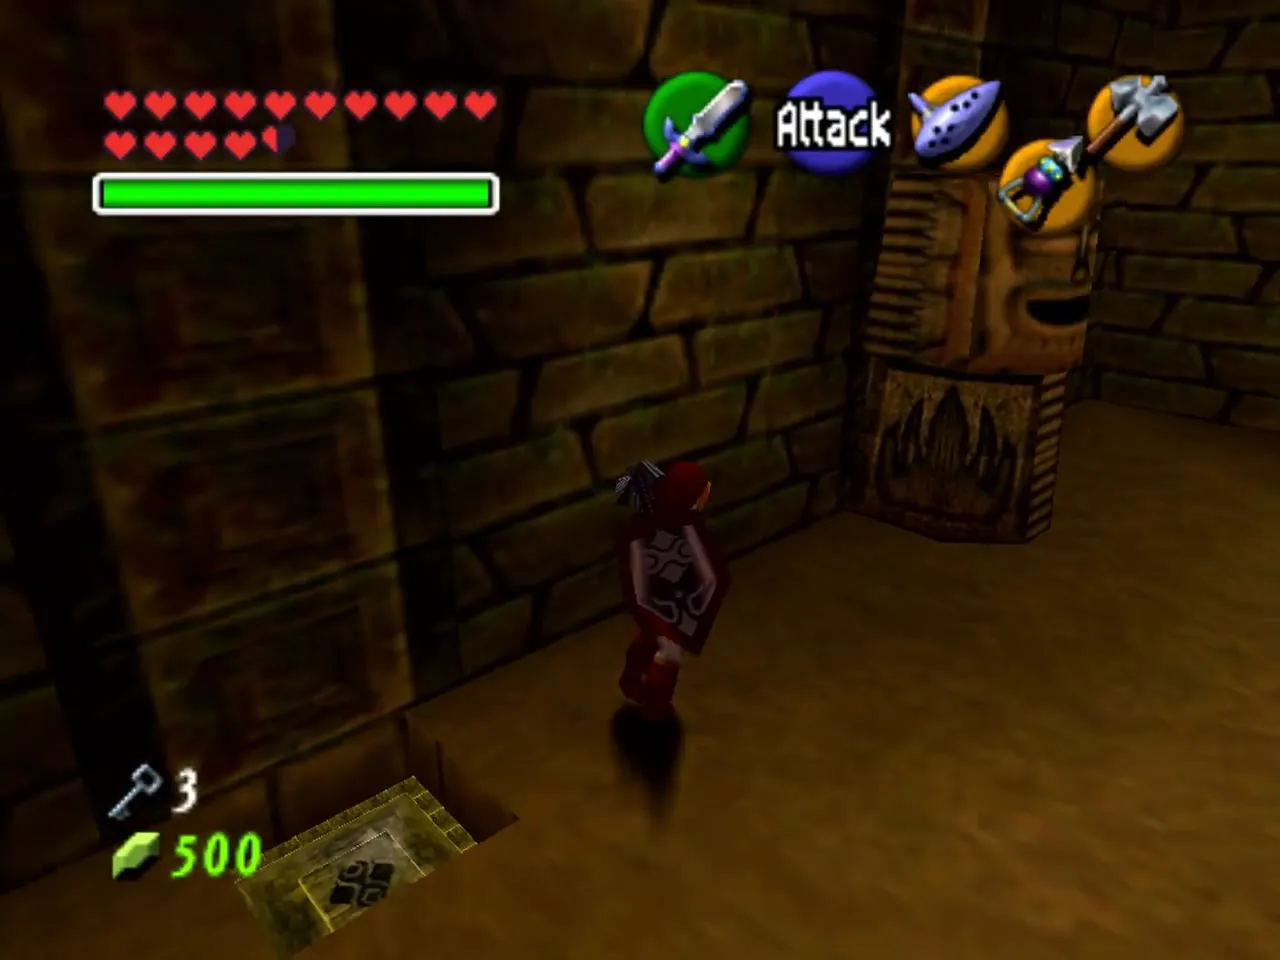
Lava room: Silver Rupees and Small Key 6
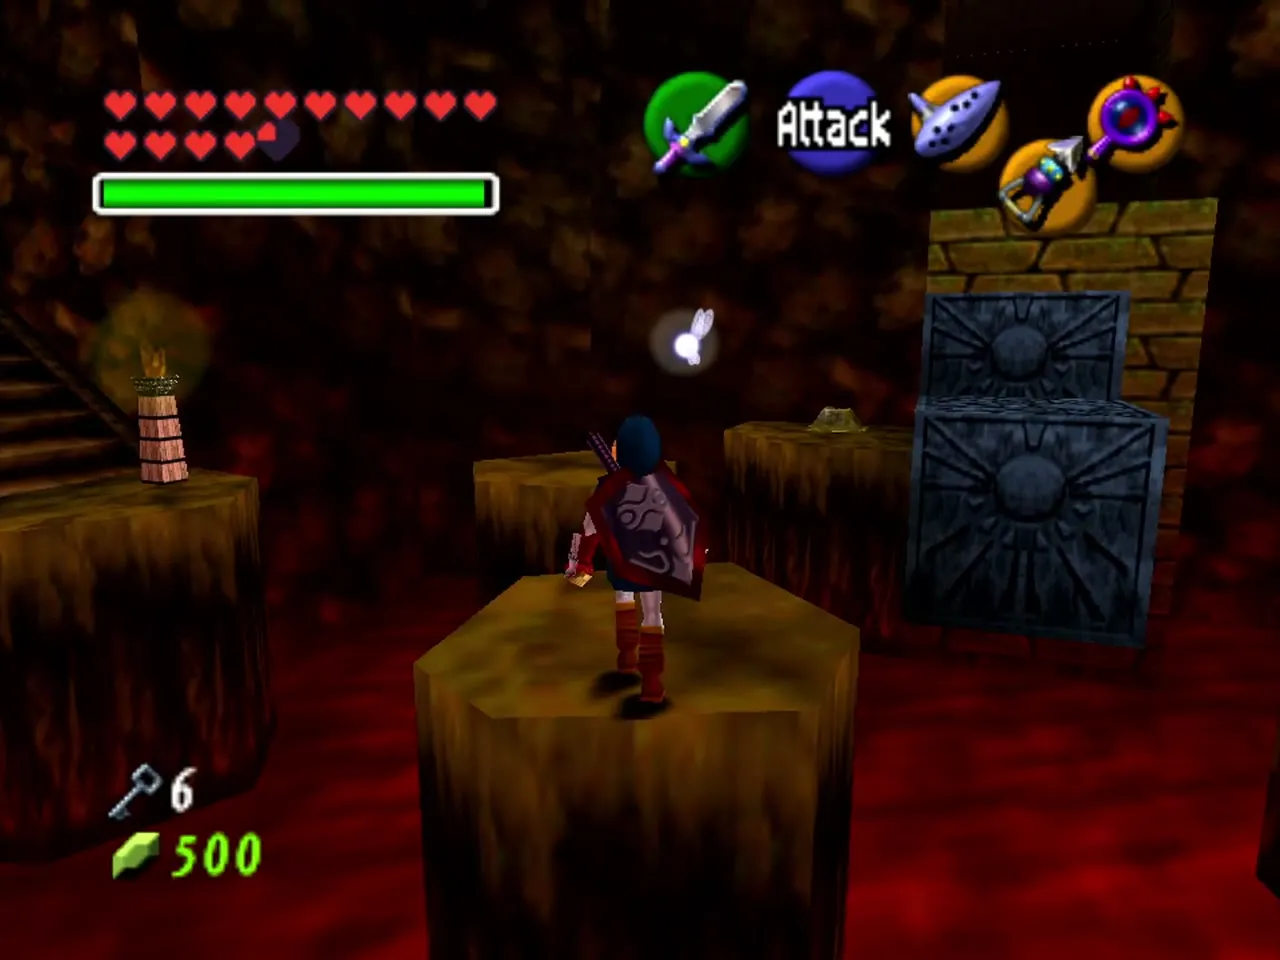
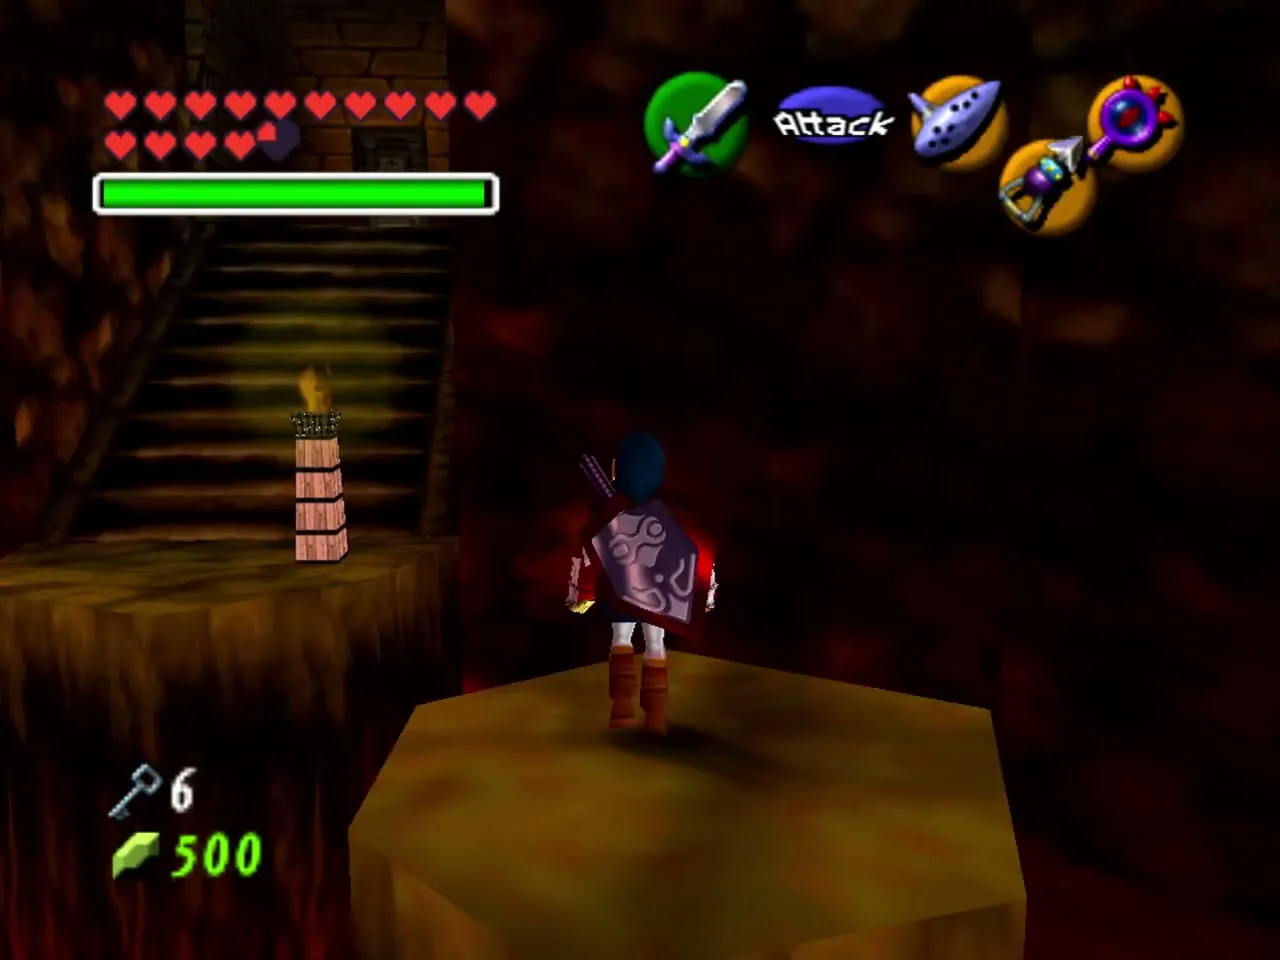
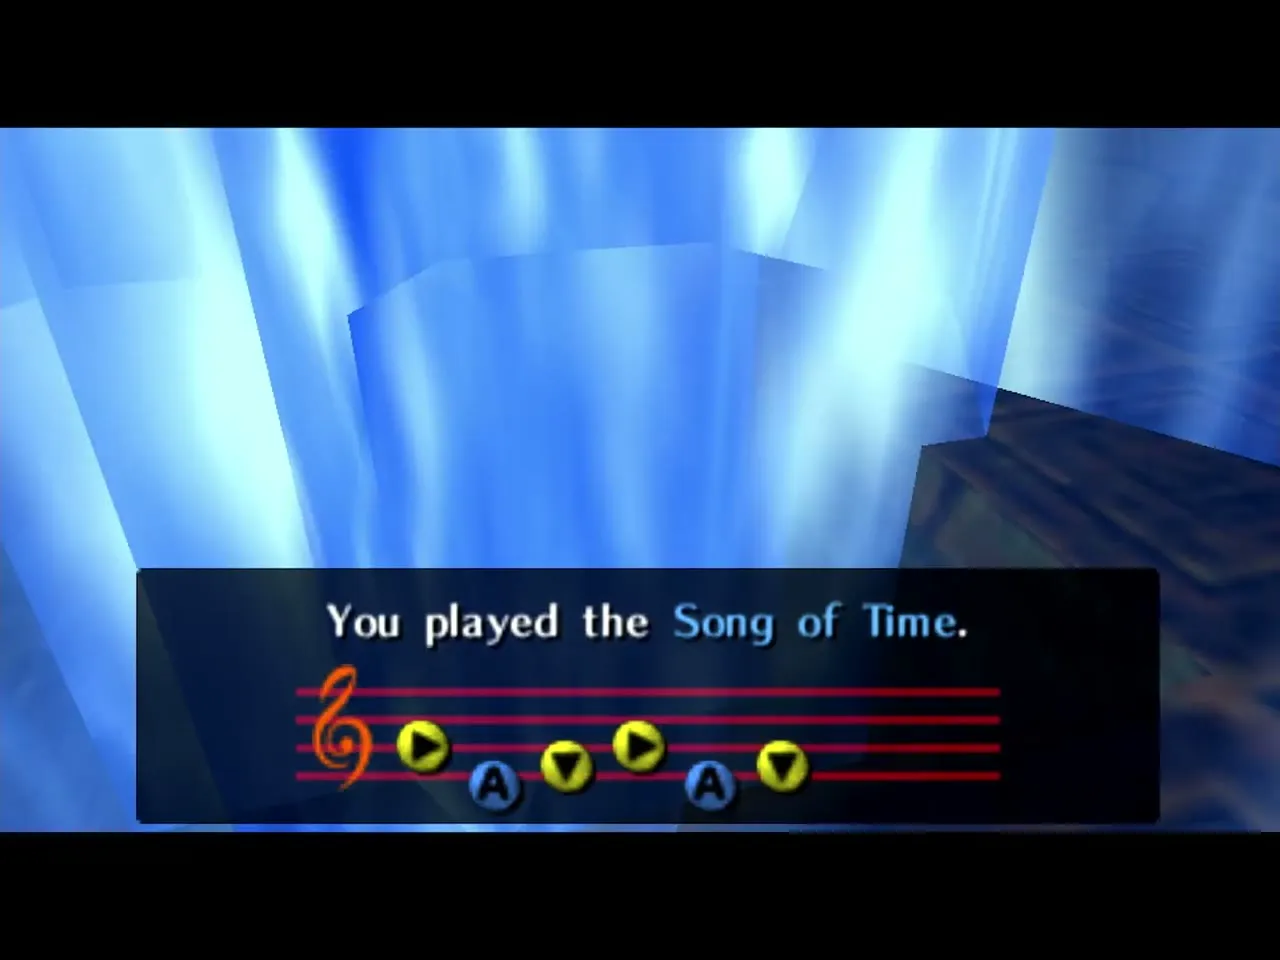
Five Silver Rupees open the east door, and falling into the lava restarts the room. First, turn back at the door and Longshot the target overhead for rupee 1. Jump down to the platform in front of you for rupee 2. Equip the Hover Boots to move to the middle platform. Navi turns green: play the Song of Time to make two Time Blocks and climb them for Small Key 6. Do not use that doorway.

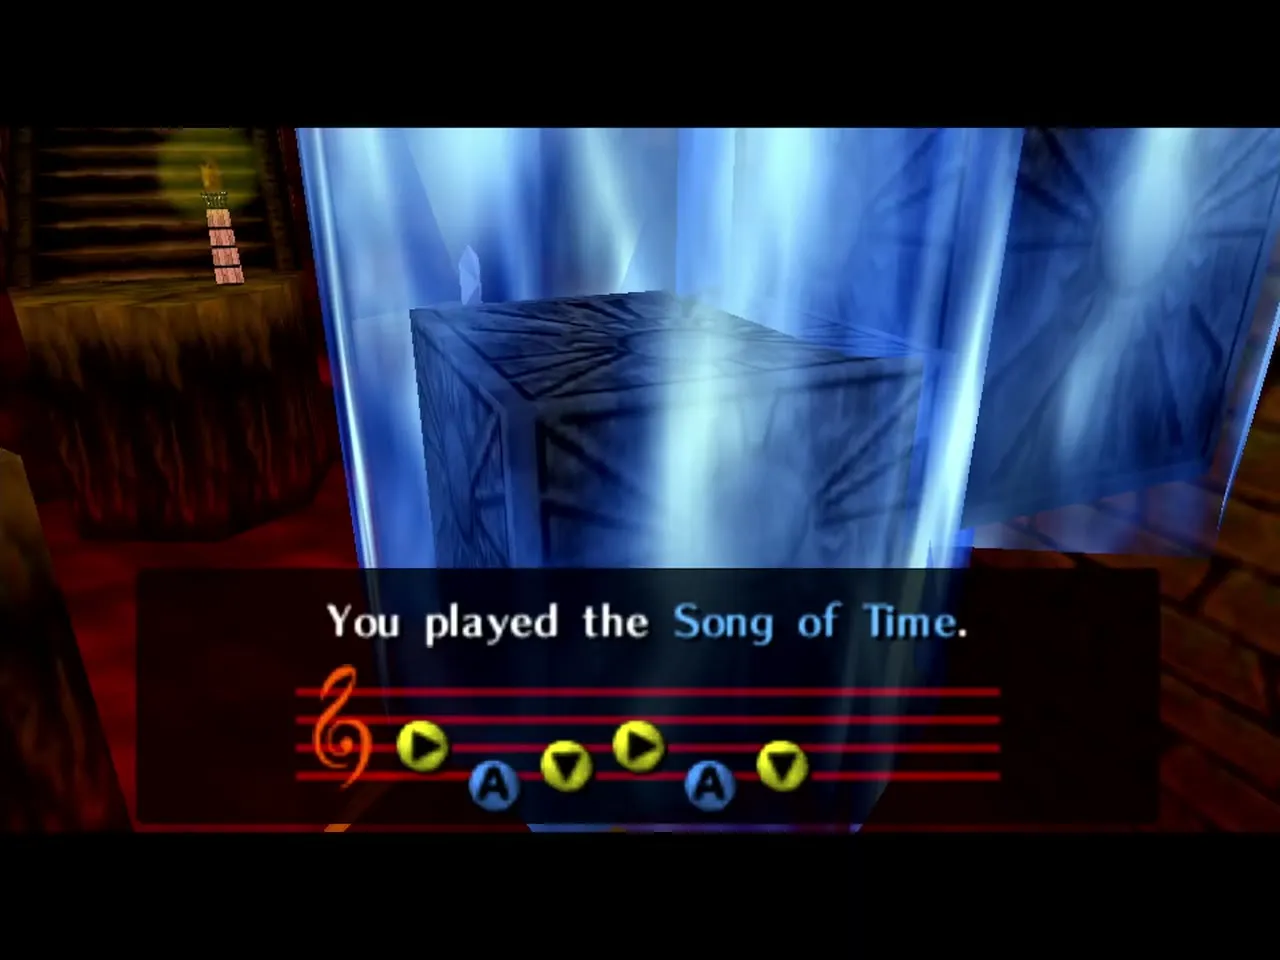
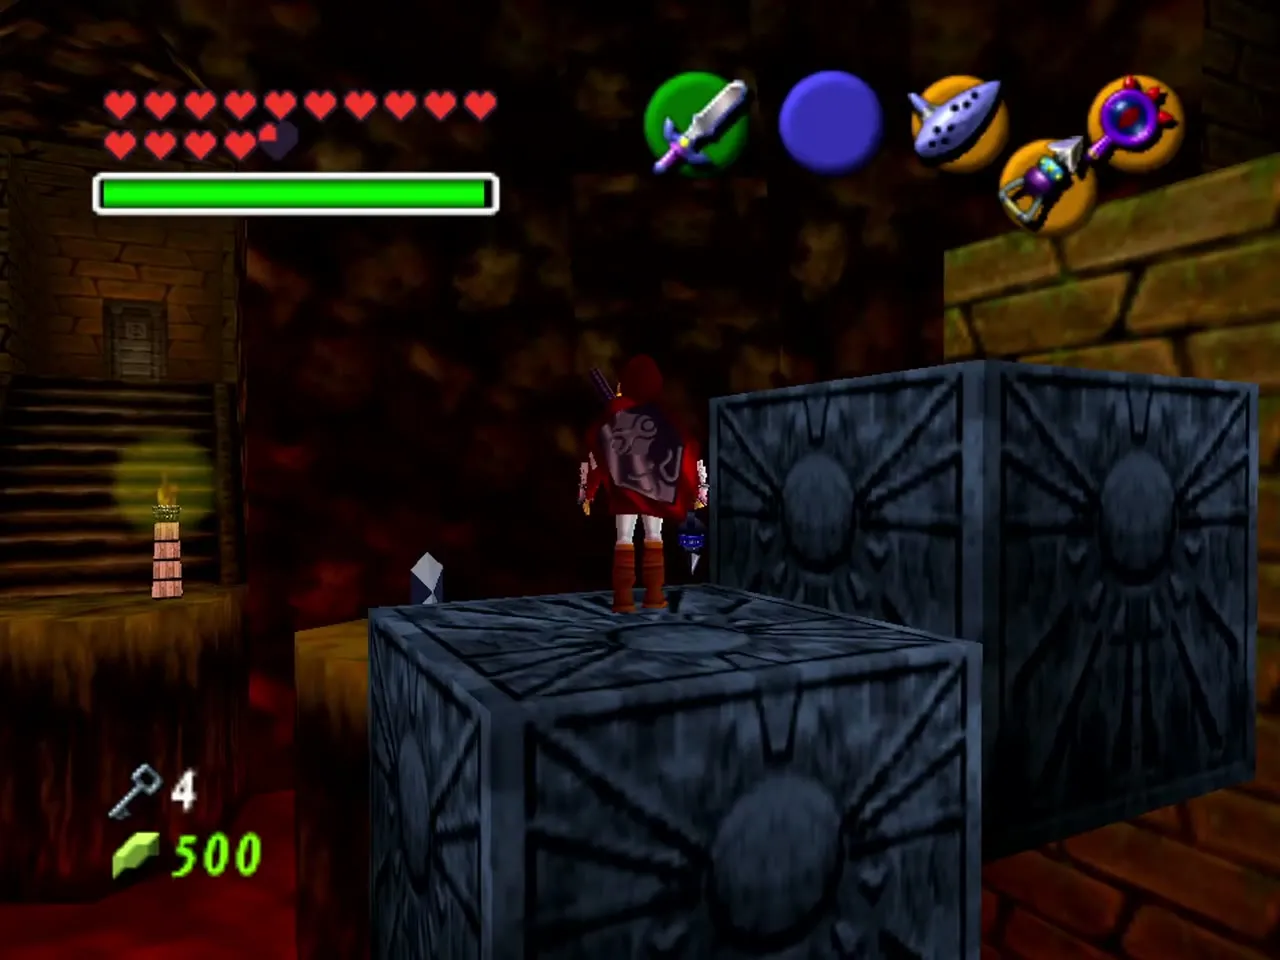
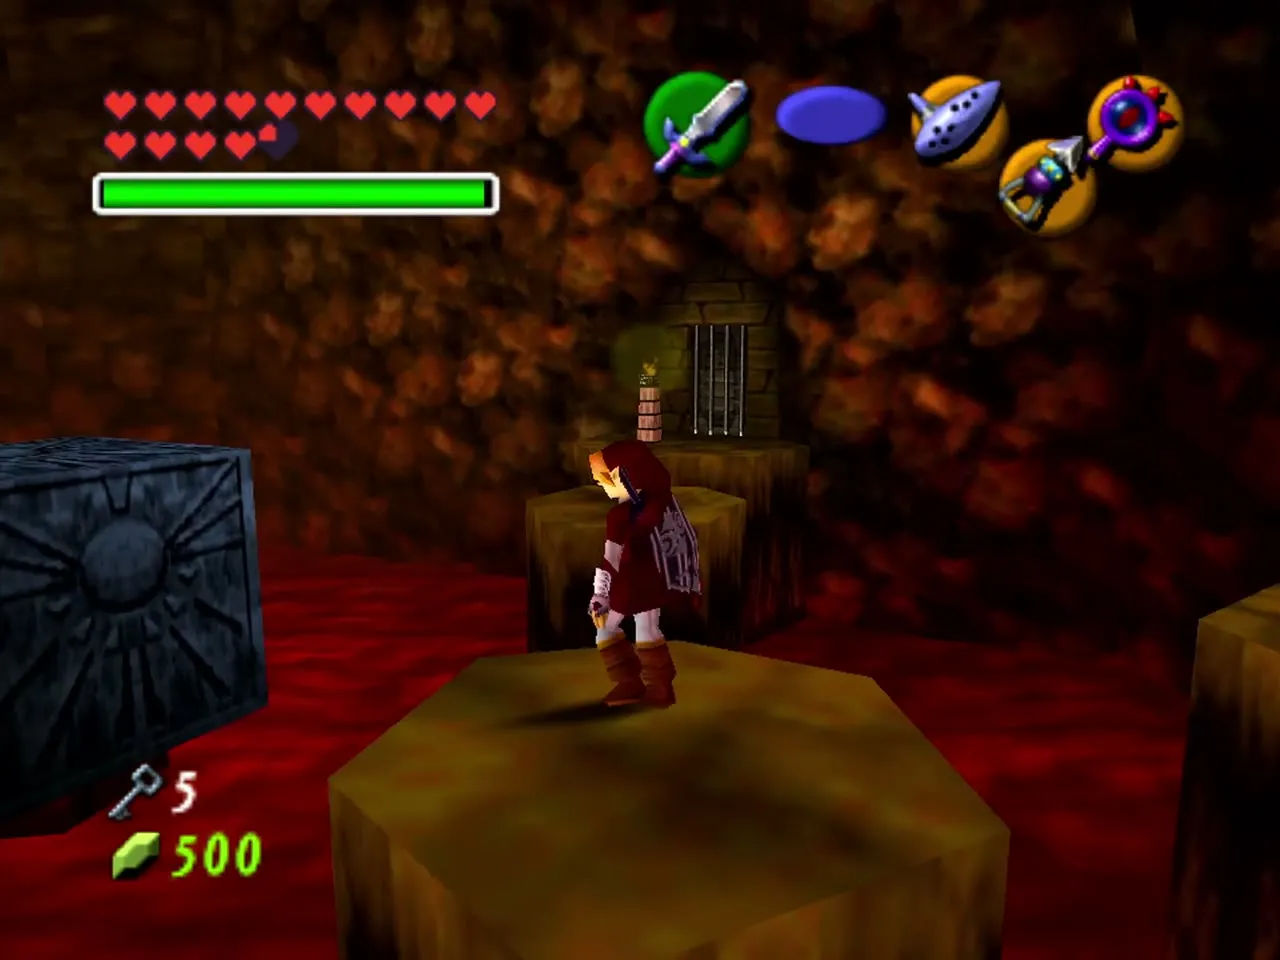
Jump off the side of the platform to a switch that puts out the fire on the opposite platform. Float along the platform path to rupee 3. Leave one rupee for last, since the door animation can drop you in the lava. Take rupee 4 on the far side, run back to the middle and take rupee 5. Enter the east door.

Water room: Silver Rupees and Small Key 7
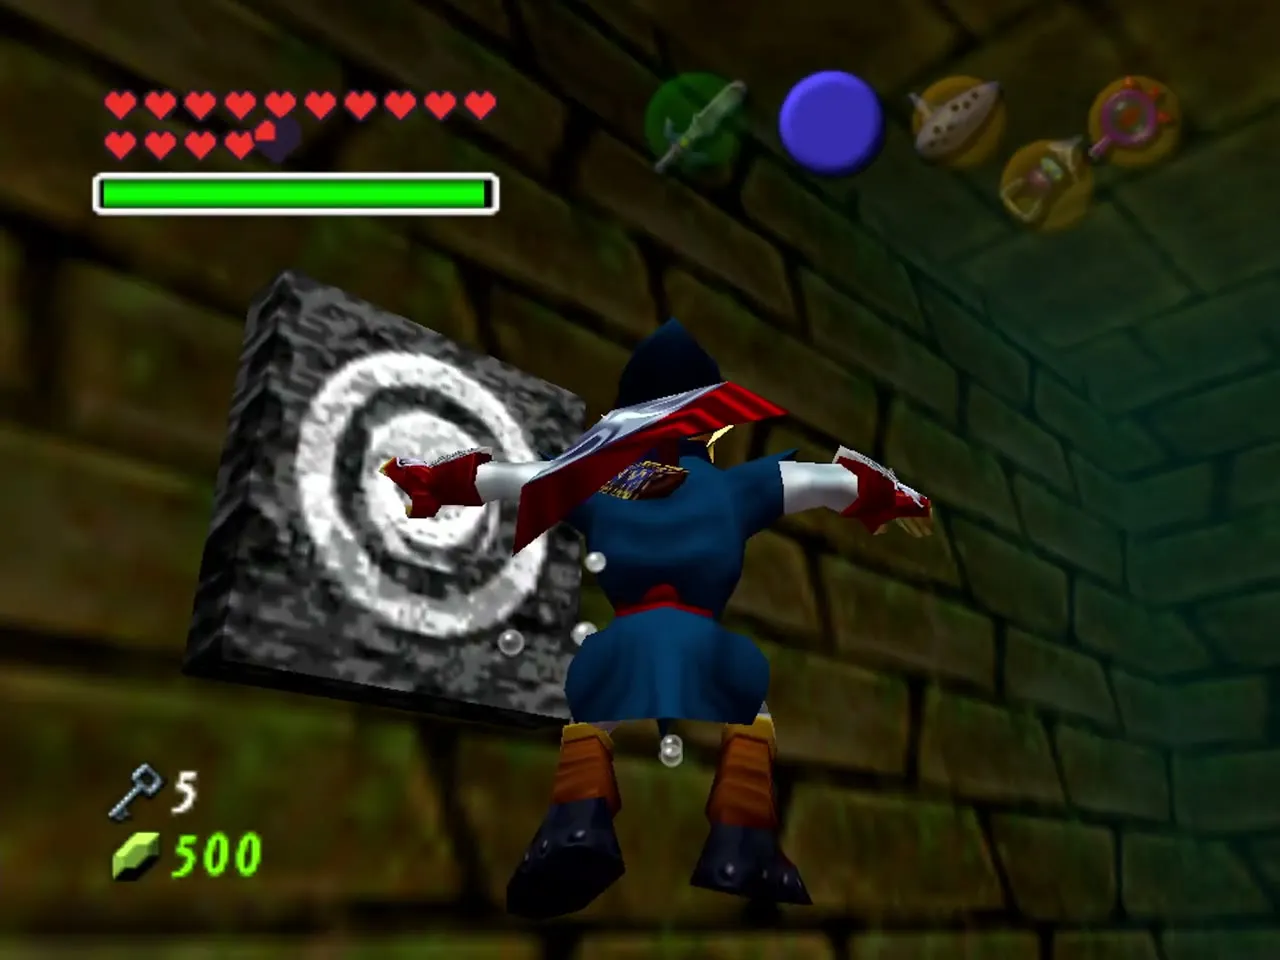
Play the Song of Time to remove the blocks that cover the floor and reveal a pool. Equip the Iron Boots and the Zora Tunic and sink down. Avoid the Blade Trap in the middle and kill the four Shell Blades with the Longshot. The first rupee is in the middle. For two and three, stand in line with a Longshot target on the west wall so you pass through the rupee, and again on the east wall for rupee four. Take off the Iron Boots, float to the ceiling and take the last rupee. A chest appears, and you can resurface to open it for Small Key 7. Return to the lava room, float across to the door on the left and head south.



Dinalfos room: Small Key 8
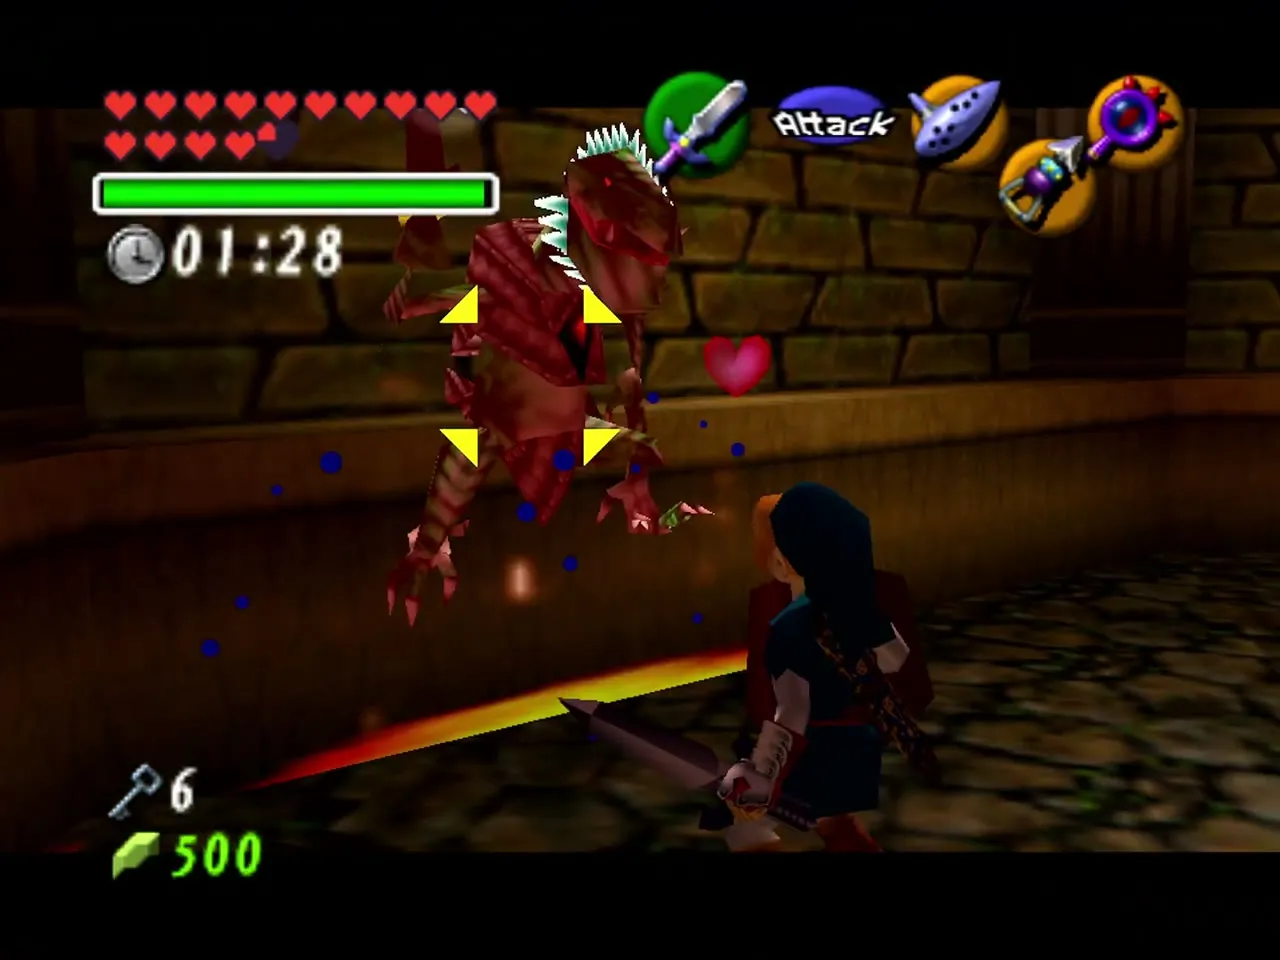
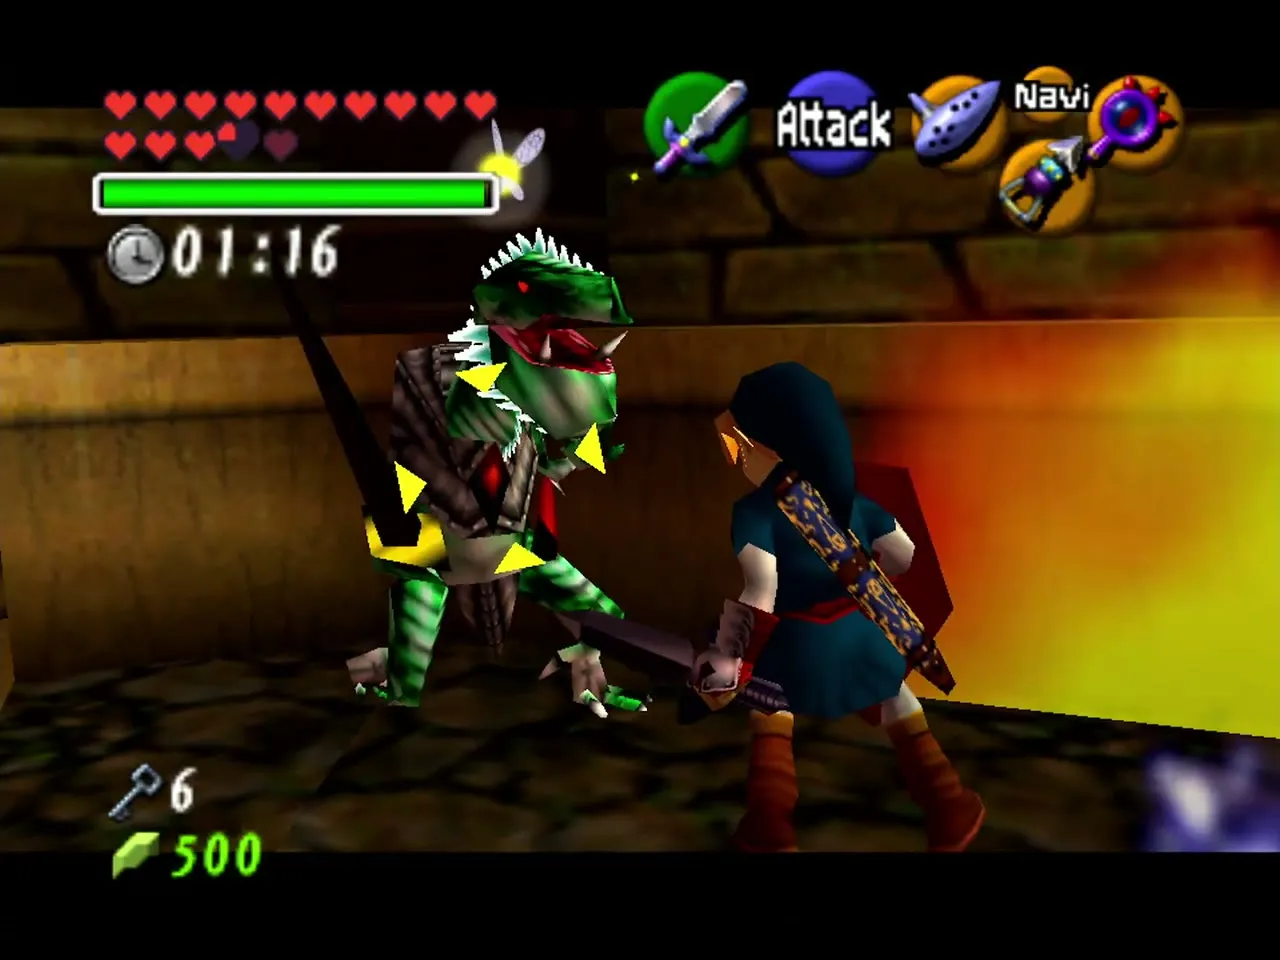
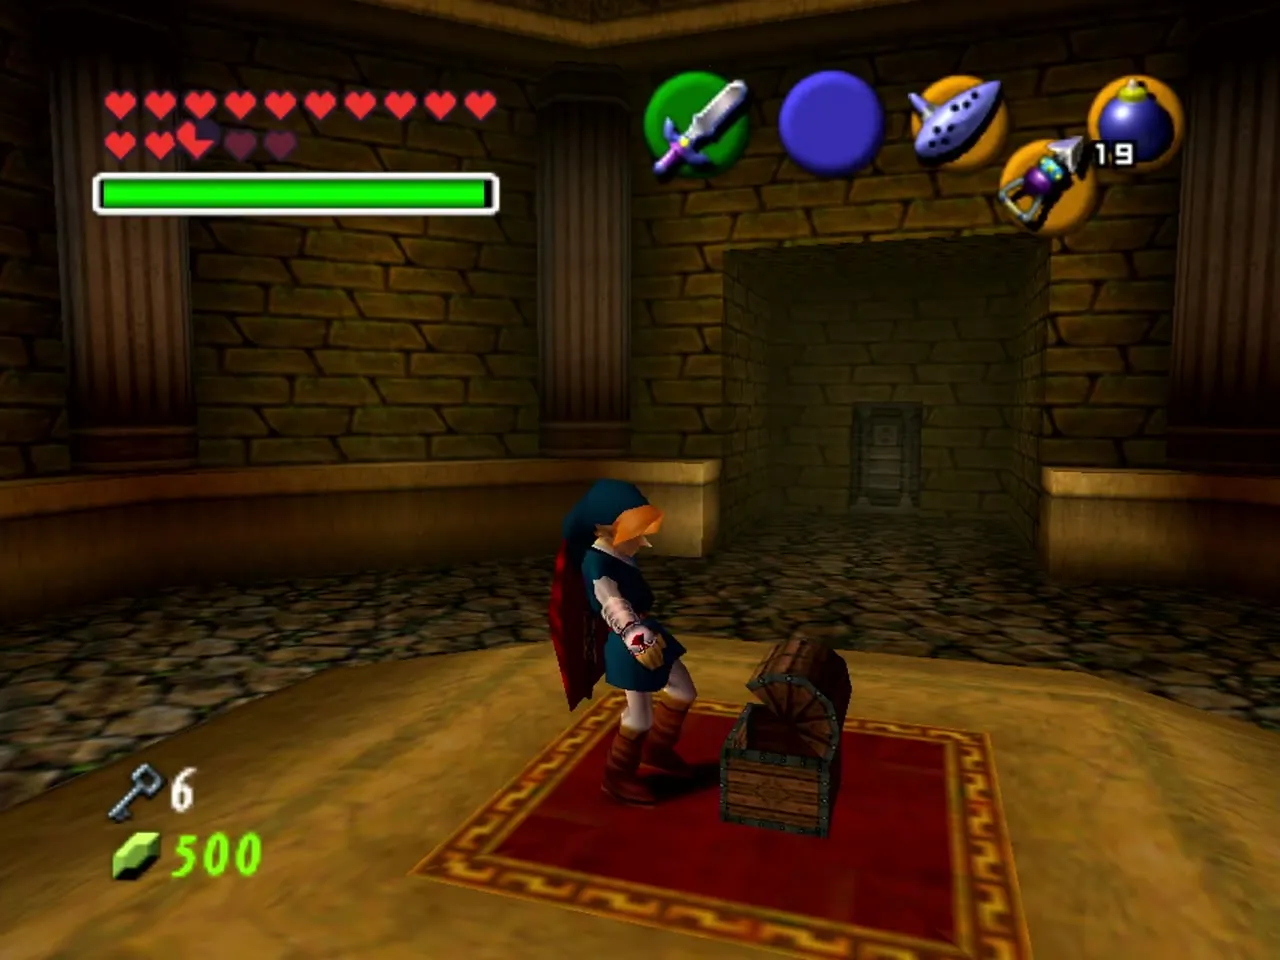
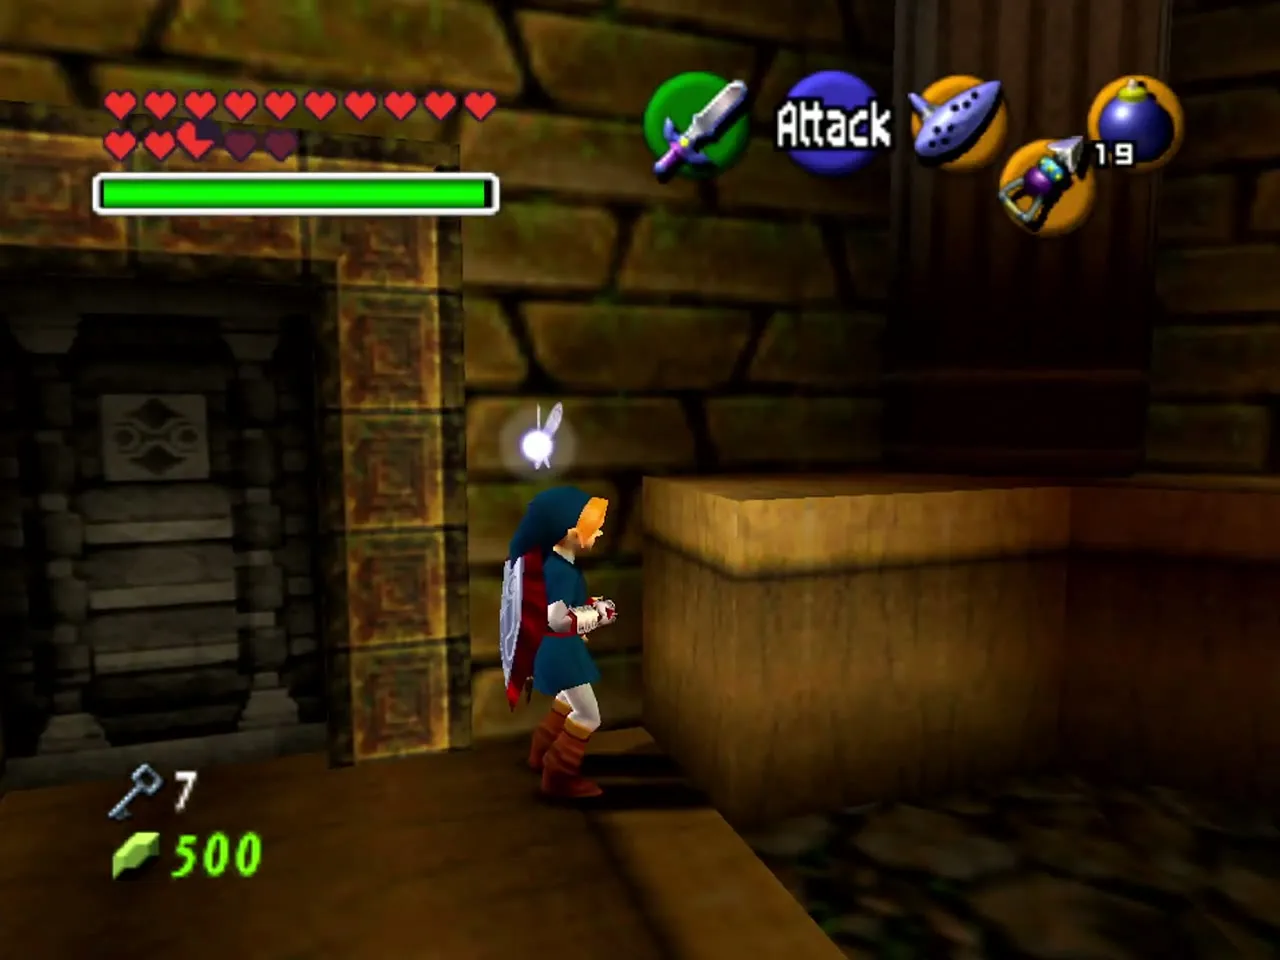
You have 1:30 in this room, and a Beamos and two Dinalfos guard it. Throw a Bomb at the Beamos at once. The Dinalfos do not take turns when targeted, so keep moving and attack quickly. Flame walls rise near the edges, so do not get cornered. When they are dead, the door opens and a chest appears with Small Key 8. The door returns you to the entrance hall.

Room of Locks and the Ice Arrows
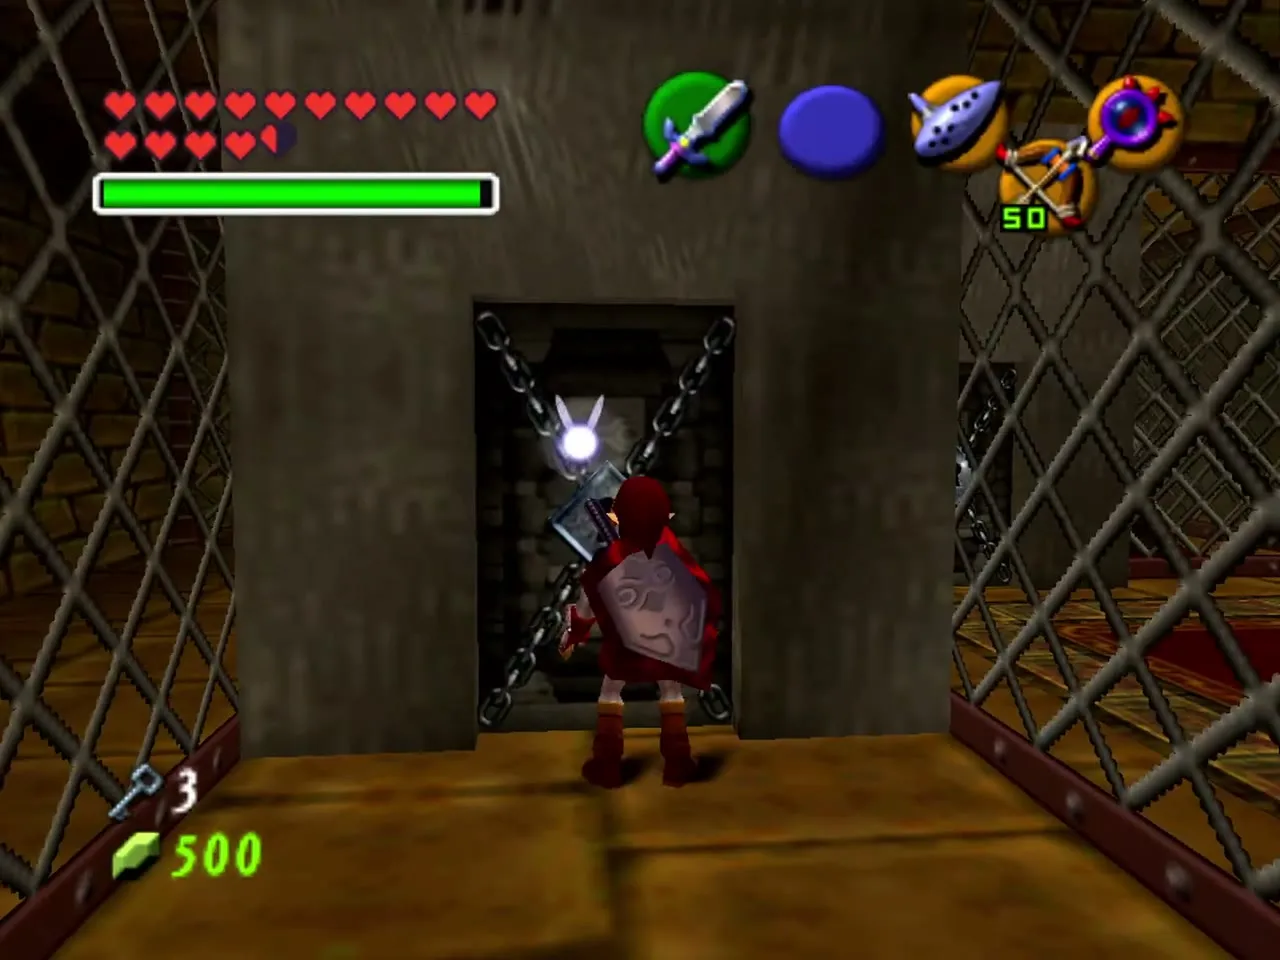
Now take the central door. A small maze of locked doors fills the treasure room. Enter the left door and use the Lens to look at the ceiling on your left. A gap hides a climbable grating, and the secret room above holds the ninth key. Climb back down and open the remaining doors on the left side, one key each, until you reach the middle. The chests along the way hold Bombchus, arrows and Rupees. The last chest holds the Ice Arrows. They freeze most enemies and many objects, and they use some magic. When you are done, exit the way you came.


Chapter checklist
| Type | Name | Where |
|---|---|---|
| Entry | Gerudo Membership Card, 10 Rupees | Gate in Gerudo’s Fortress; see Gerudo’s Fortress and the Haunted Wasteland |
| Key item | Ice Arrows | Last chest of the treasure room in the middle |
| Small Key | Key 1 | Sandy Stalfos room |
| Small Key | Key 2 | Invisible chest in a sand pit of the Like Like room |
| Small Key | Keys 3 and 4 | Eye statue room: chest by the statue; chest behind the high barred door |
| Small Key | Key 5 | Flame room, chest in the middle after the switch |
| Small Key | Keys 6 and 7 | Lava room Time Blocks; water room chest |
| Small Key | Keys 8 and 9 | Dinalfos room chest; hidden room above the Room of Locks |
| Silver Rupees | 15 (3 groups of 5) | Timed boulder room, lava room, water room |
| Heart Piece | None | Not in this trial |
| Gold Skulltula | None | Not in this trial |
