
























Ocarina of Time 100% Completion Walkthrough21 chapters
- Kokiri ForestKokiri Sword, Deku Shield, the village’s Rupees and its first Gold Skulltula.
- Inside the Great Deku Tree (Dungeon 1)Map, Slingshot, Compass, 3 Gold Skulltulas, Queen Gohma, Heart Container, the Kokiri’s Emerald and the Fairy Ocarina.
- Hyrule Field and Hyrule CastleThe Weird Egg, Talon, the castle courtyard, Zelda’s Letter and Lullaby, and the tree Gold Skulltula.
- Kakariko Village and Hyrule MarketBottle, Sun’s Song, Graveyard Heart Pieces, the mask chain and the Skull Mask trip, the Shooting Gallery and Skulltulas.
- Death Mountain Trail and Goron CityShow Zelda’s Letter at the gate, climb to Goron City, learn Saria’s Song for Darunia and take the Goron’s Bracelet.
- Dodongo’s Cavern (Dungeon 2)Every room, Dungeon Map, Compass, Bomb Bag, 5 Gold Skulltulas, King Dodongo tactics and the Goron’s Ruby.
- Death Mountain, Goron City and Hyrule MarketAfter Dodongo’s Cavern: Big Bomb Bag, bomb grottos, the Magic Meter, Heart Pieces, Gold Skulltulas, Richard, Bombchu Bowling and Din’s Fire.
- Zora’s River and Zora’s DomainBean seller, frogs, Heart Pieces, Silver Scale, Ruto’s Letter, Lake Hylia, the fishing pond, Farore’s Wind and Jabu-Jabu.
- Inside Jabu-Jabu’s Belly (Dungeon 3)Carrying Ruto, Boomerang, Map, Compass, 4 Gold Skulltulas, Big Octo, Barinade and Zora’s Sapphire.
- Transition to AdulthoodThe last child errands, the Ocarina, Song of Time, Door of Time, Sacred Realm, Light Medallion, Sheik and the ruined Market.
- Lon Lon RanchEpona’s Song, Lon Lon Milk bottle, tower Heart Piece, 4 Skulltulas, Ingo’s races, Epona and the cow.
- Forest Temple (Dungeon 4)The Hookshot and Song of Storms in Kakariko, Minuet of Forest, 5 Small Keys, Fairy Bow, the Poe Sisters and Phantom Ganon.
- Fire Temple (Dungeon 5)Goron Tunic, Bolero of Fire, 8 Small Keys, 5 Gold Skulltulas, Megaton Hammer, two Flare Dancers and Volvagia.
- Ice CavernAn adult round of Death Mountain and Kakariko, Zora’s adult tokens, Blue Fire, Silver Rupees, a Heart Piece and the Iron Boots.
- Water Temple (Dungeon 6)Three water levels, 6 Small Keys, 5 Gold Skulltulas, Dark Link, the Longshot, Morpha, then Lake Hylia’s Heart Pieces and tokens.
- Bottom of the WellDrain the well, the Lens of Truth, keys and Skulltulas, then the Treasure Chest Shop, the frogs and other child Song of Storms tasks.
- Shadow Temple (Dungeon 7)All 5 Small Keys, Map, Compass, Hover Boots, Boss Key, 5 Gold Skulltulas, Bongo Bongo and Shadow Medallion.
- Gerudo’s Fortress and the Haunted WastelandFree the 4 carpenters, get the Gerudo Card, win the archery prizes, then cross the Haunted Wasteland.
- Gerudo Training GroundEvery room, all 9 Small Keys, the Silver Rupee puzzles and the Ice Arrows in the central treasure room.
- Spirit Temple (Dungeon 8)Child and adult routes, 5 keys, Map, Compass, Boss Key, 5 Skulltulas, Silver Gauntlets, Mirror Shield, Twinrova.
- Ganon’s Castle and Ganon’s TowerLight Arrows, six trials, Golden Gauntlets, Double Defense, the tower climb, Ganondorf and Ganon.
| Covers | Leaving the forest, Hyrule Field, the road to Castle Town, the Hyrule Castle grounds, the moat and the courtyard |
|---|---|
| Dungeon | None. The castle is a story stop with a stealth section, and the Market behind the drawbridge is in the Kakariko and Market chapter. |
| Rewards |  Weird Egg (becomes a Cucco),  Zelda’s Letter,  Zelda’s Lullaby, 1 Gold Skulltula (the tree by the castle road), free Rupees at the drawbridge |
Hyrule Field is the hub that links every region, and the Hyrule Castle visit is the first real story beat after the Deku Tree. This chapter follows the straight route from the forest to Zelda, and picks up the Gold Skulltula and the Rupees you can take on the way. The Field’s grottos need Bombs and other later items, so they are covered in Transition to Adulthood.
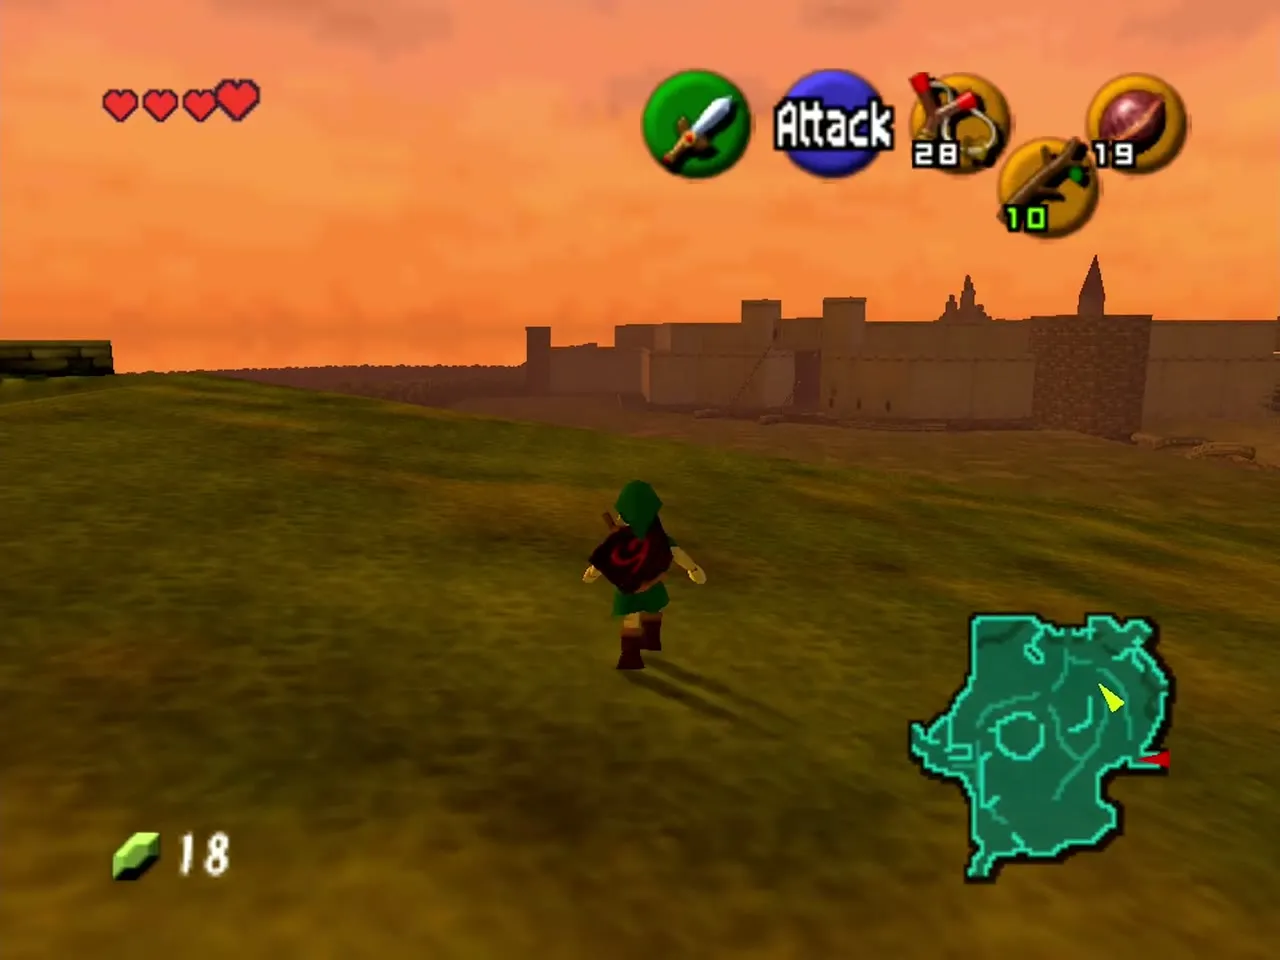
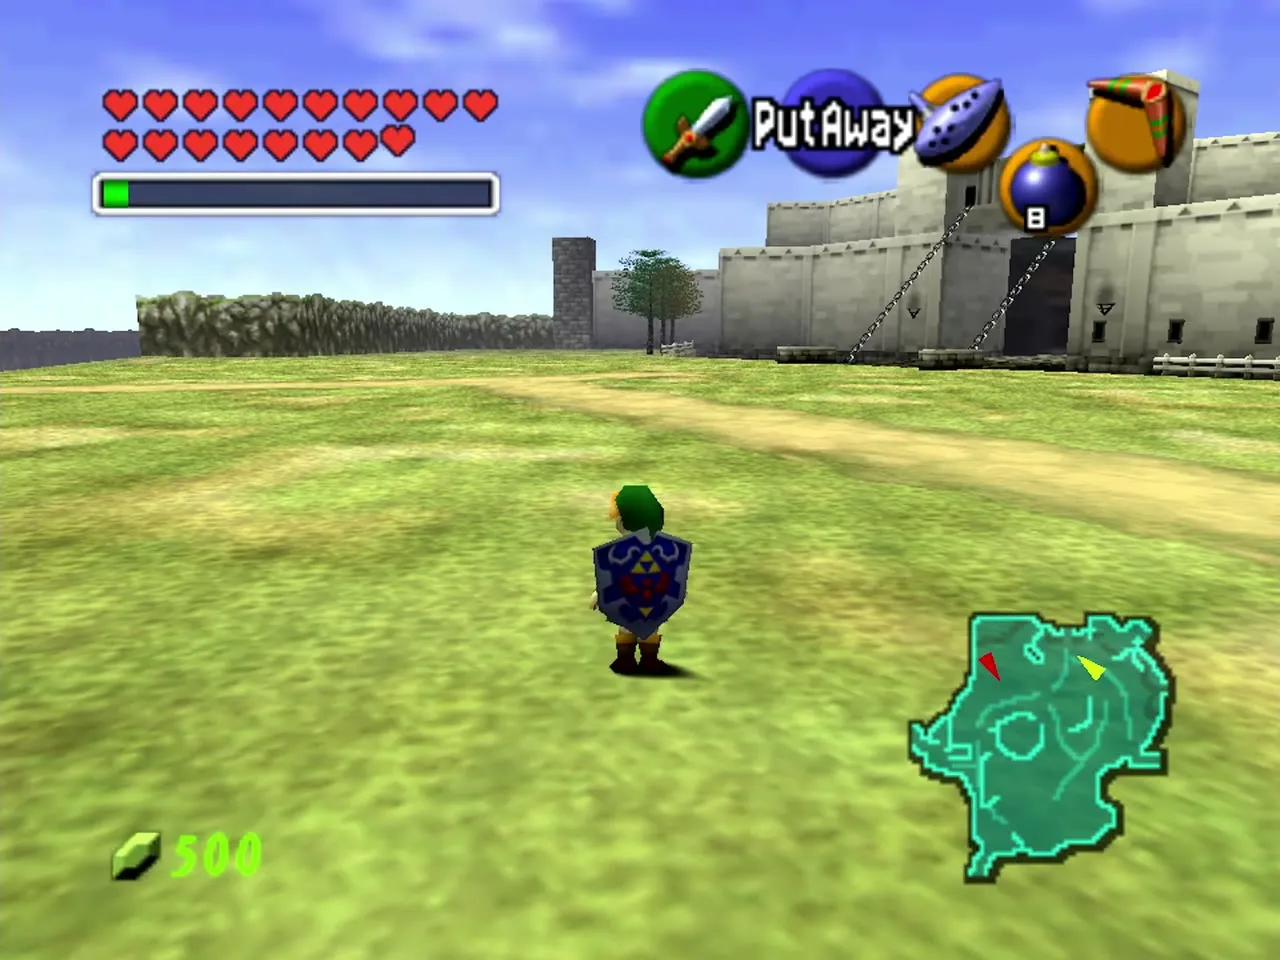
Table of Contents
Video Walkthrough with Lilly Hyrule
No-commentary video walkthrough with chapter timestamps for every major section.

Leaving Kokiri Forest
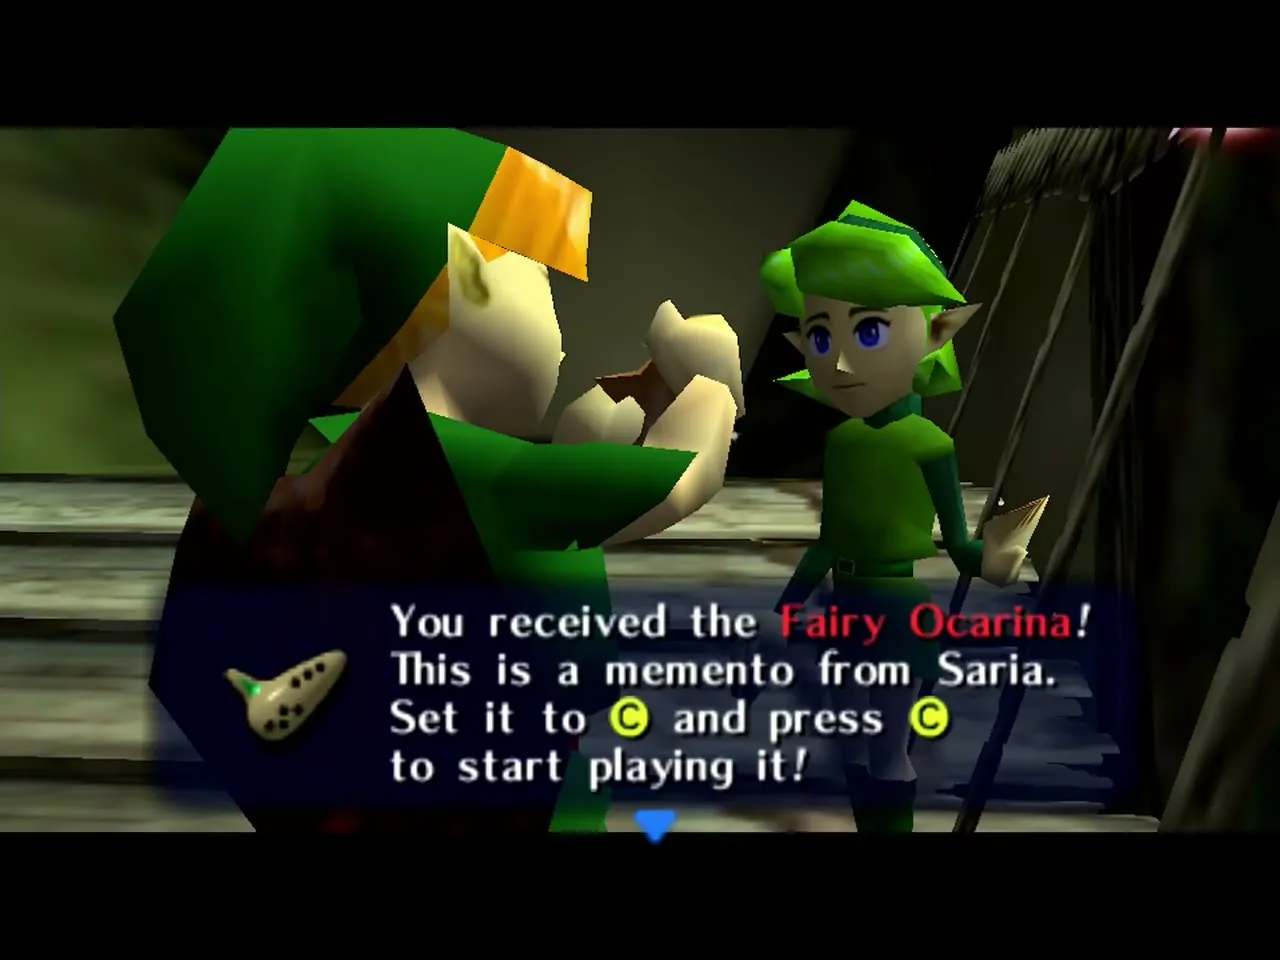
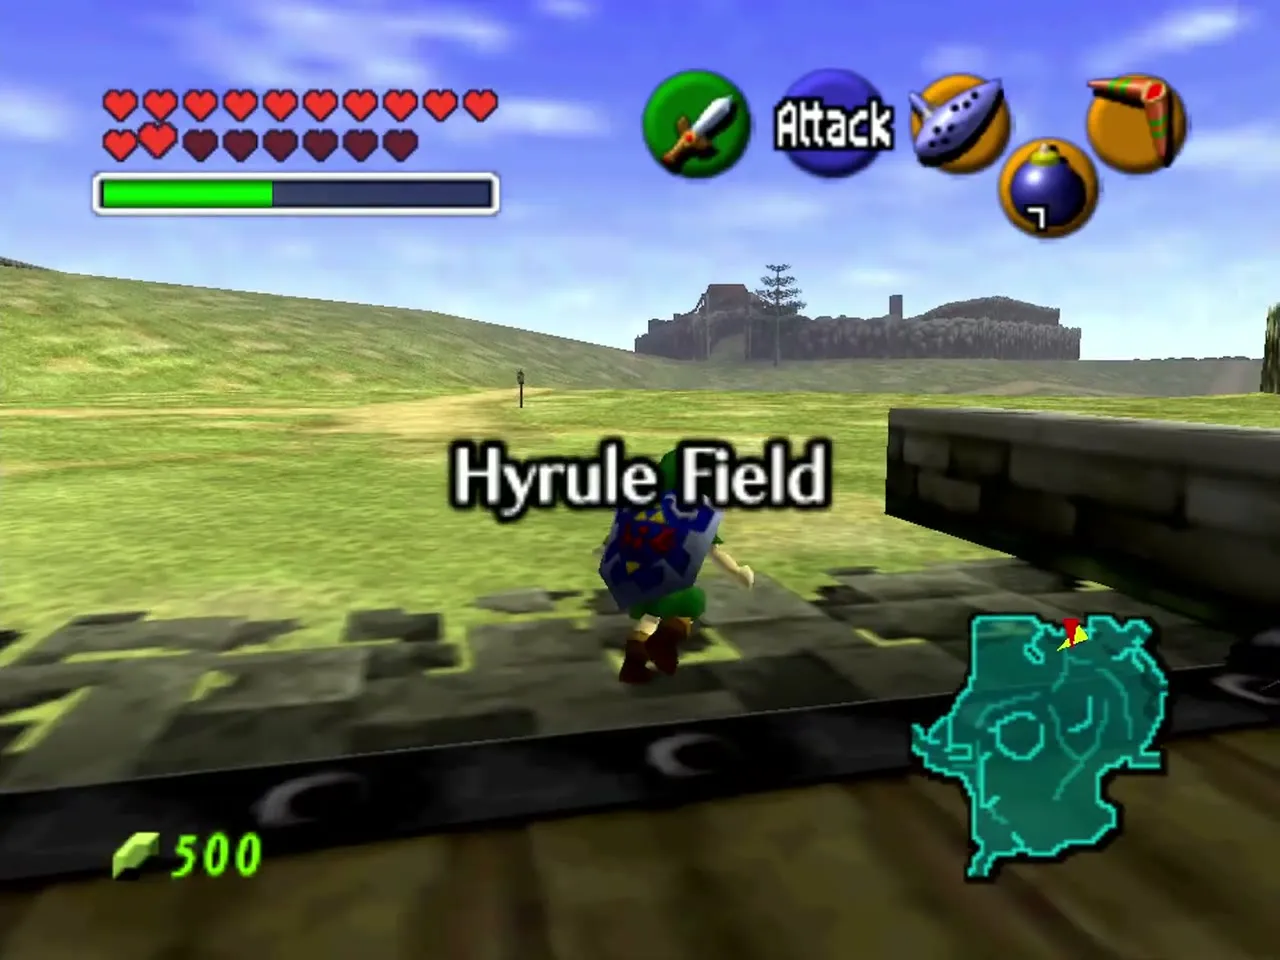
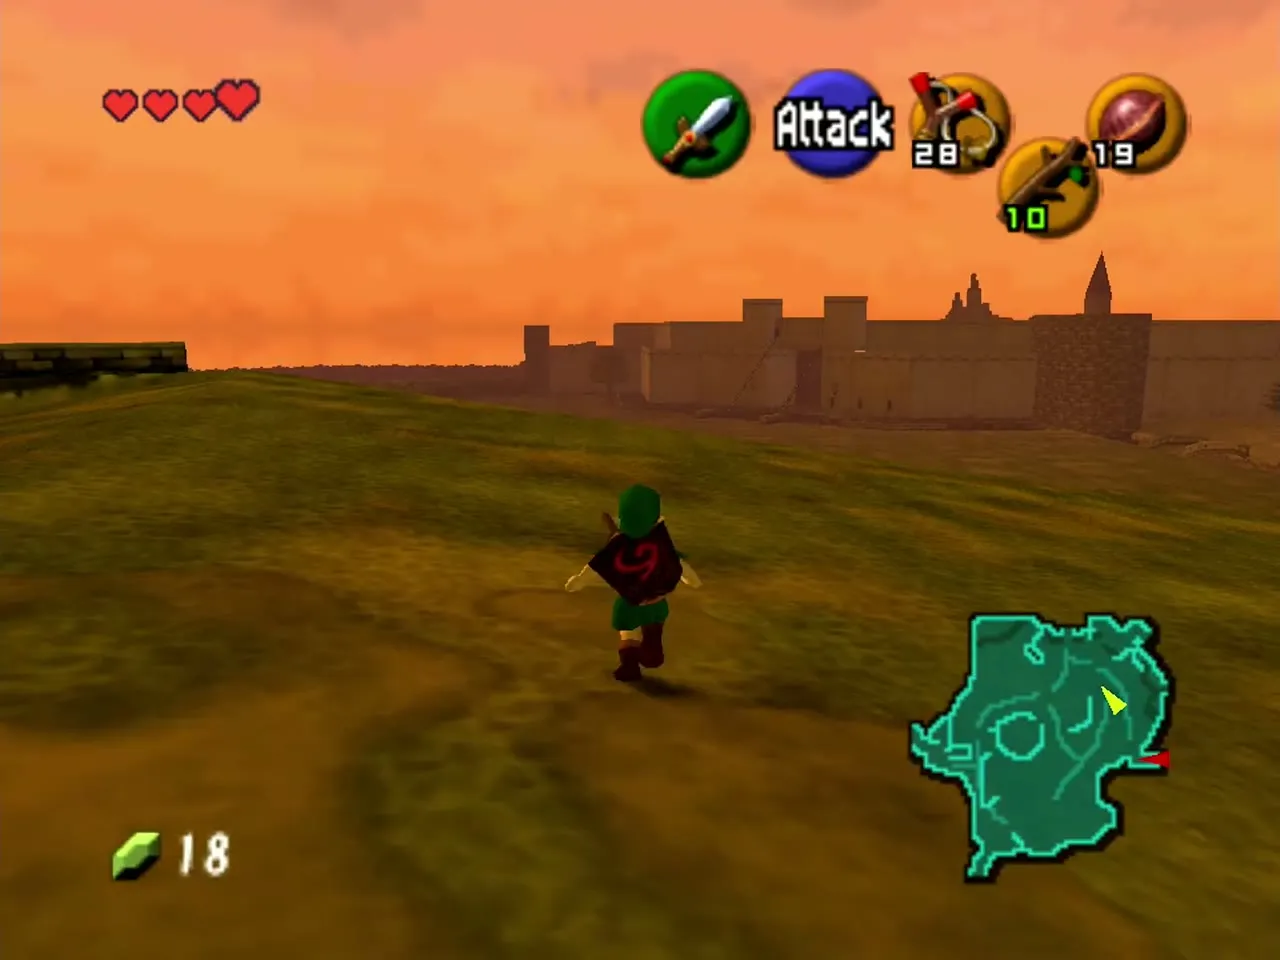
Cross the bridge out of Kokiri Forest. Saria gives you the Fairy Ocarina there, if you have not already got it (see the Deku Tree chapter). Past the end of the bridge the title card appears and Hyrule Field opens up in front of you: a huge round meadow with the castle in the distance. Keep moving, because the day is already running.
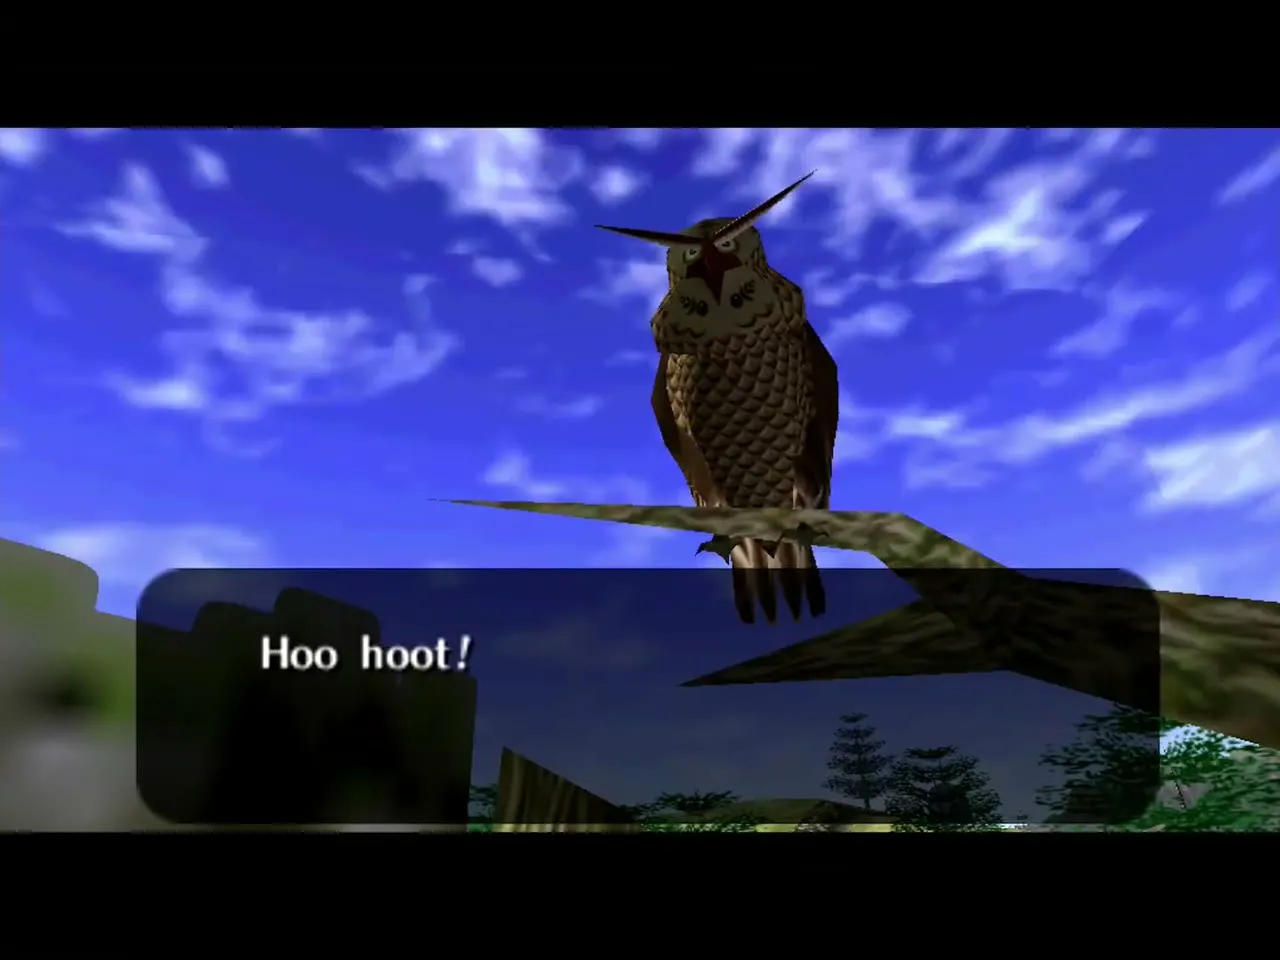
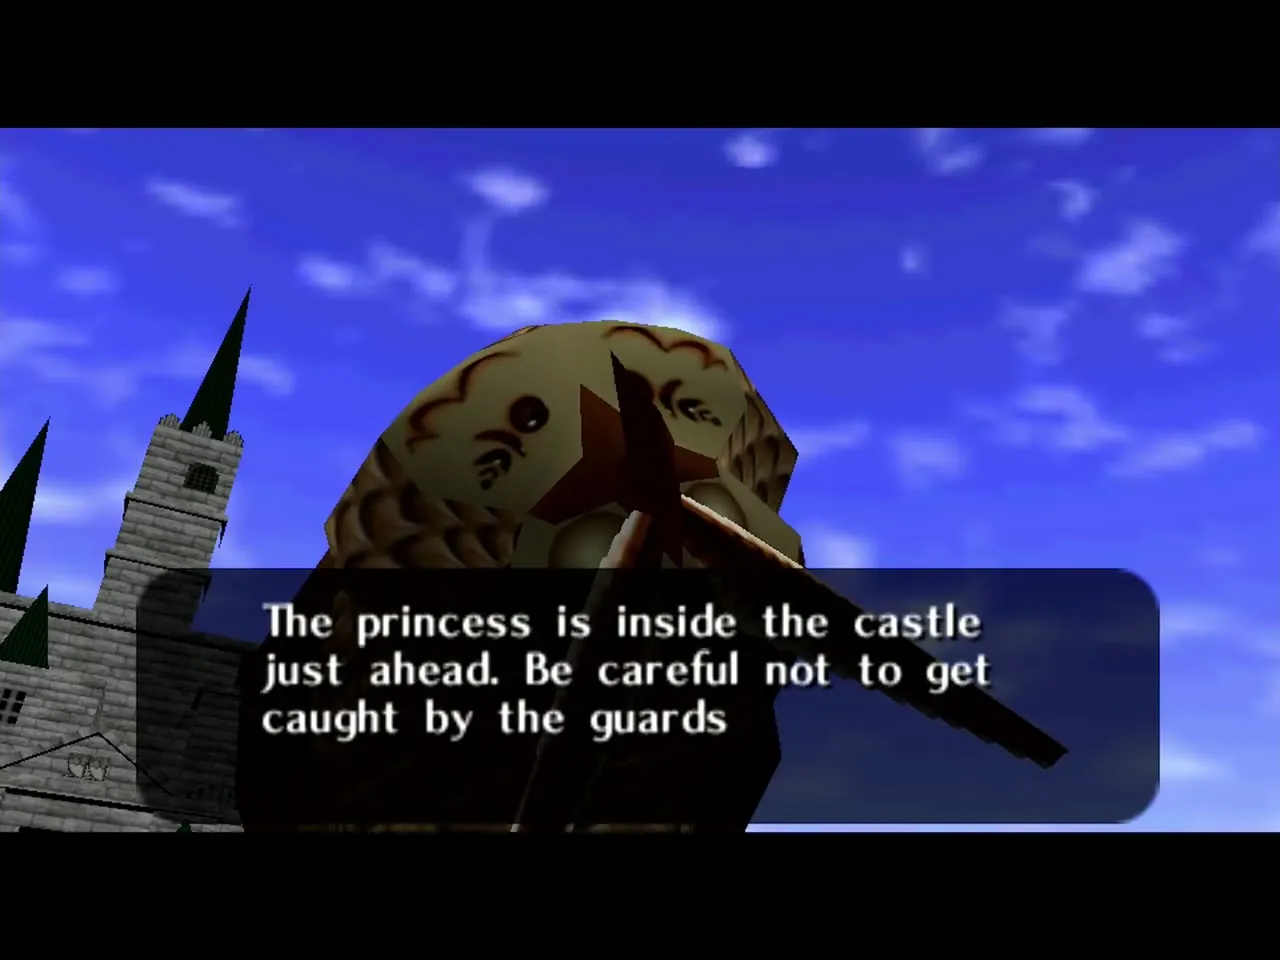
Kaepora Gaebora, the old owl, lands in front of you the first time you step out. He tells you to go to Hyrule Castle and see the princess, and he reminds you that you have a map. He loves to talk, so if he asks whether you want to hear it again, answer no. He appears again at the castle entrance and at several other spots later in the game, and he sometimes lifts you across a gap.
Hyrule Field
Day and night
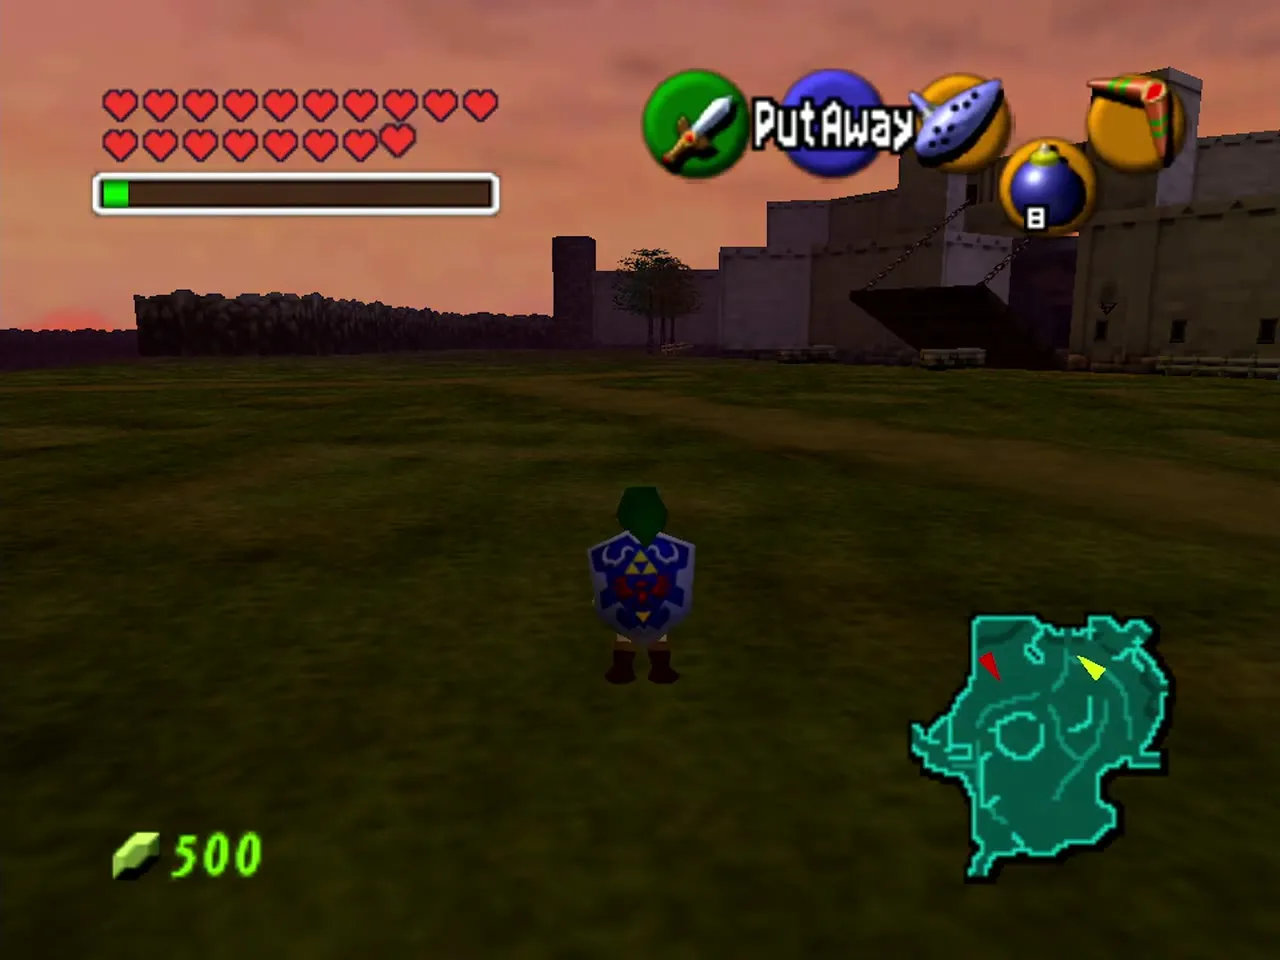
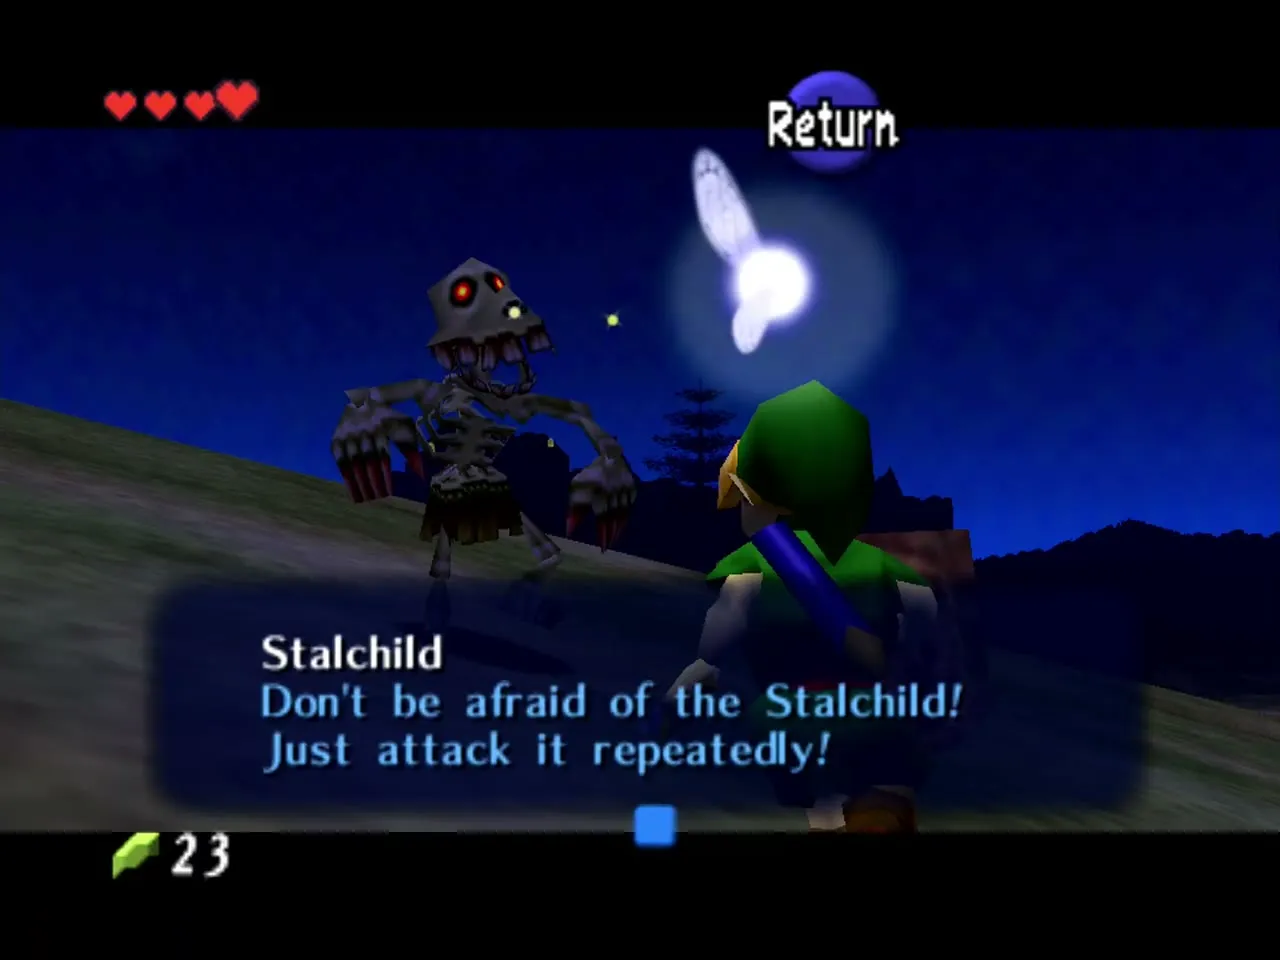
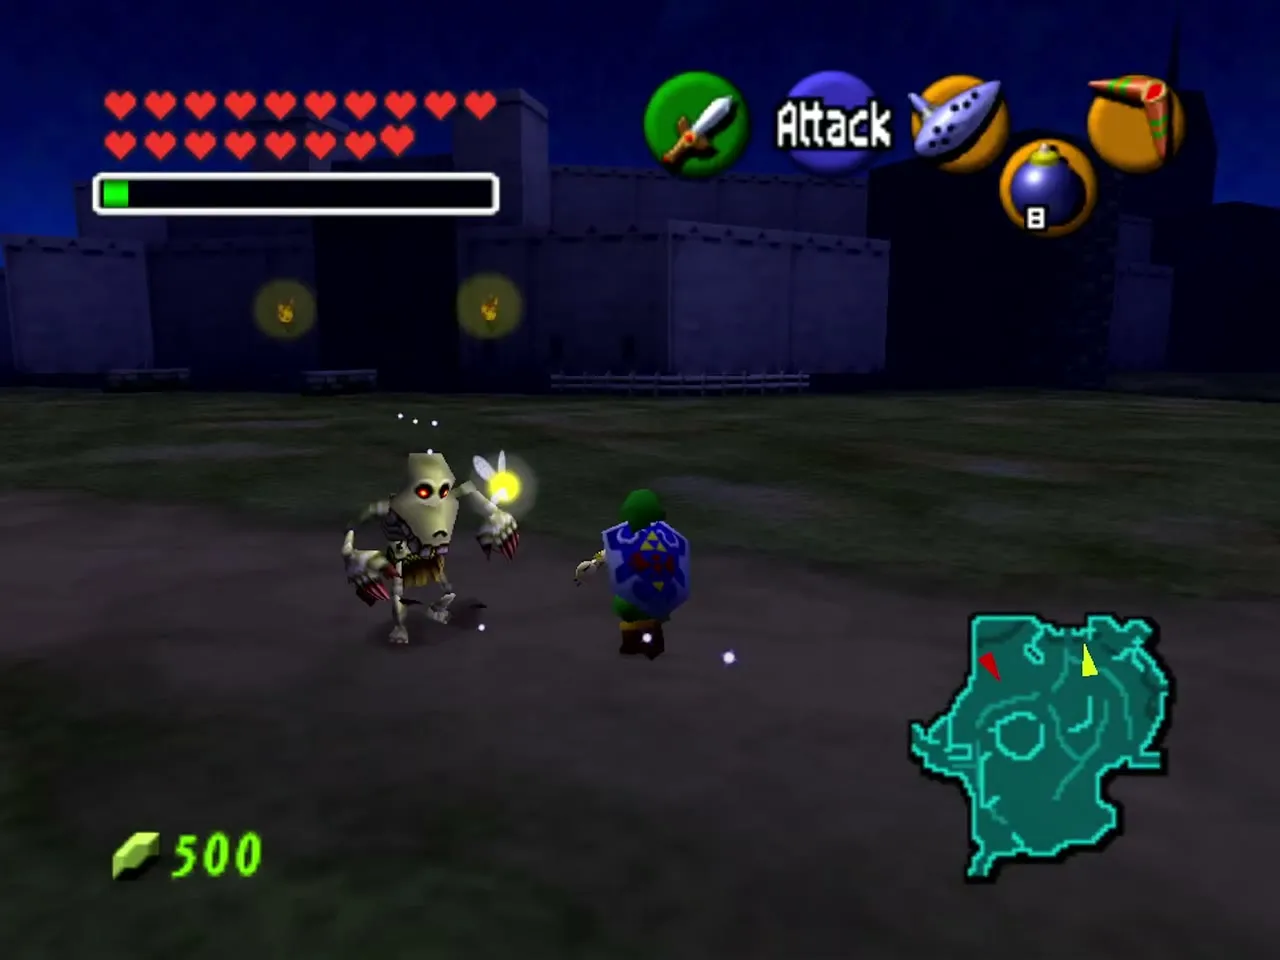
The Field runs on a day and night cycle, and it matters for your route. During the day, Peahats, flying plants with spinning blades, patrol the open ground; hit them in the roots when they land, and run from the small larvae they release. At night, skeletal Stalchildren climb out of the grass and chase you; kill enough of them and a larger one appears. Stalchildren never appear on dirt roads, so stay on the road after dark, or stand on a rock ledge by the moat if you reach the bridge too late. The drawbridge of Castle Town goes up at sunset and comes down at sunrise. The Sun’s Song, once you have it, changes the time.
What leaves the Field
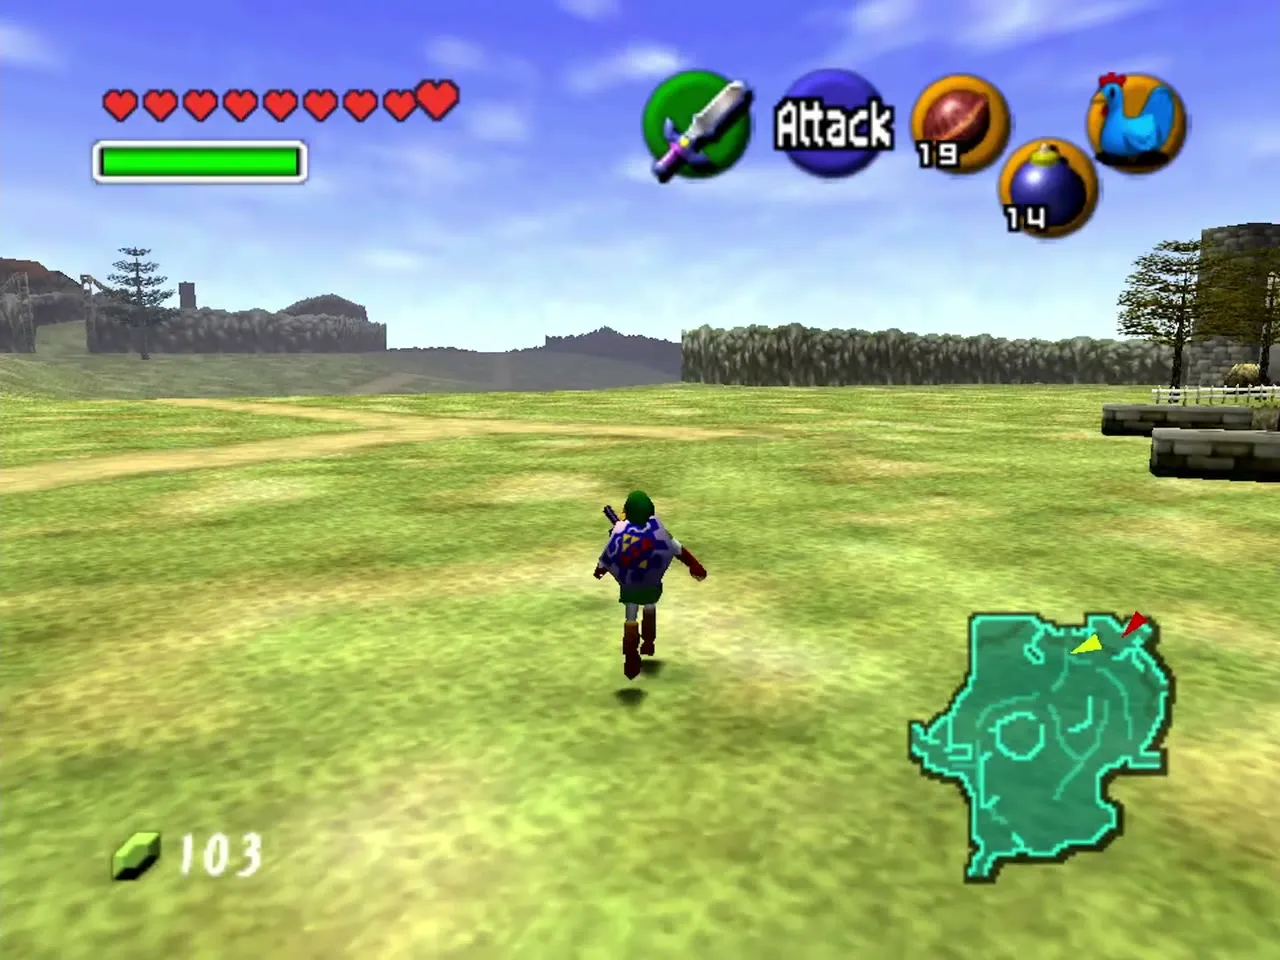
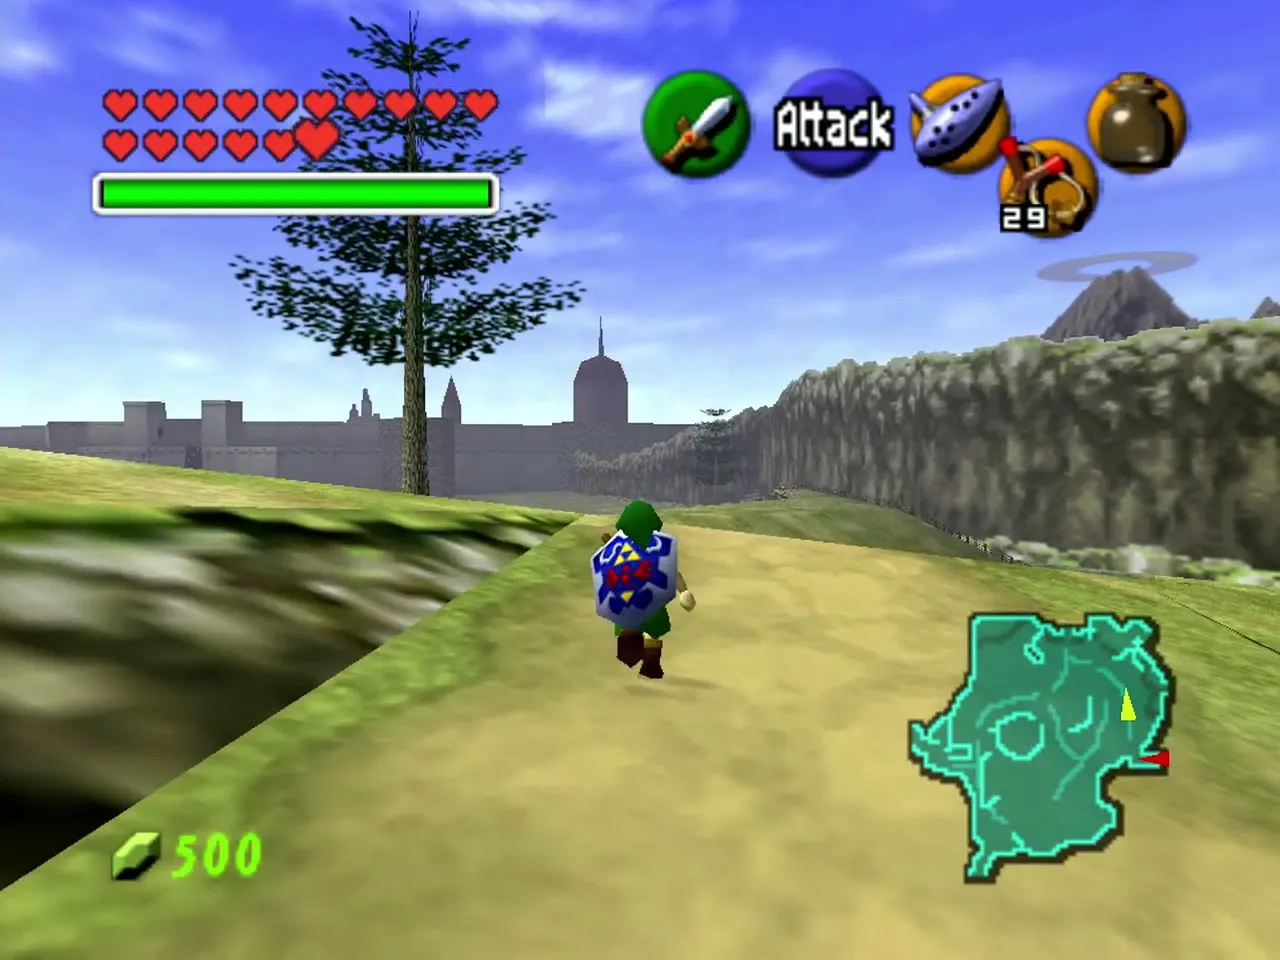
The Field connects every region. Castle Town is at the north end; Kakariko Village is to the north-east, with Death Mountain behind it; Lon Lon Ranch is in the middle (see Lon Lon Ranch); Zora’s River leaves to the east; Lake Hylia is to the south, behind a gate that you climb round by a ladder; Gerudo Valley is to the west; and the bridge you came by leads back to the forest. Owls watch over some of the exits.

Free money at the drawbridge
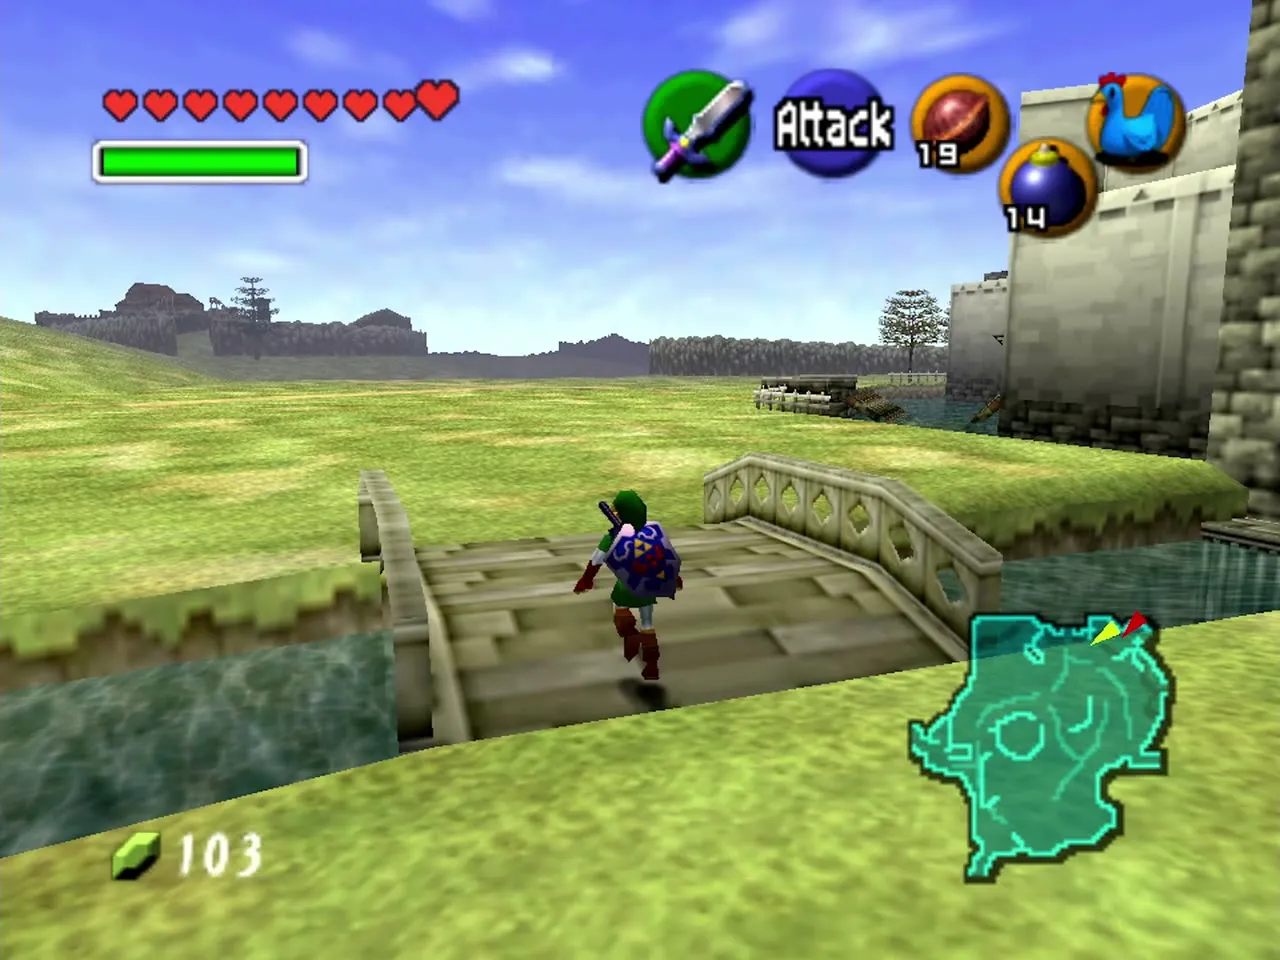
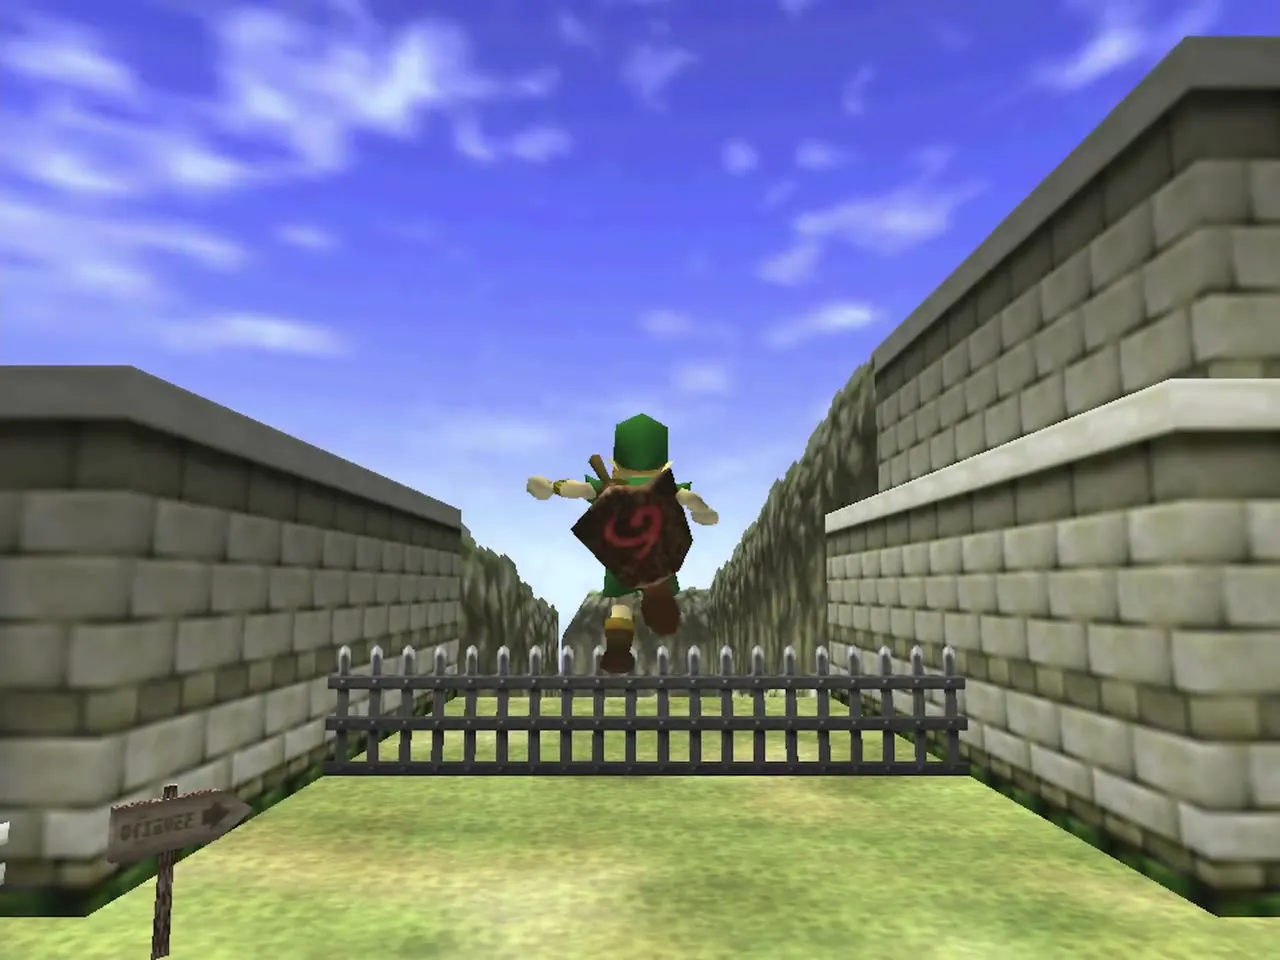
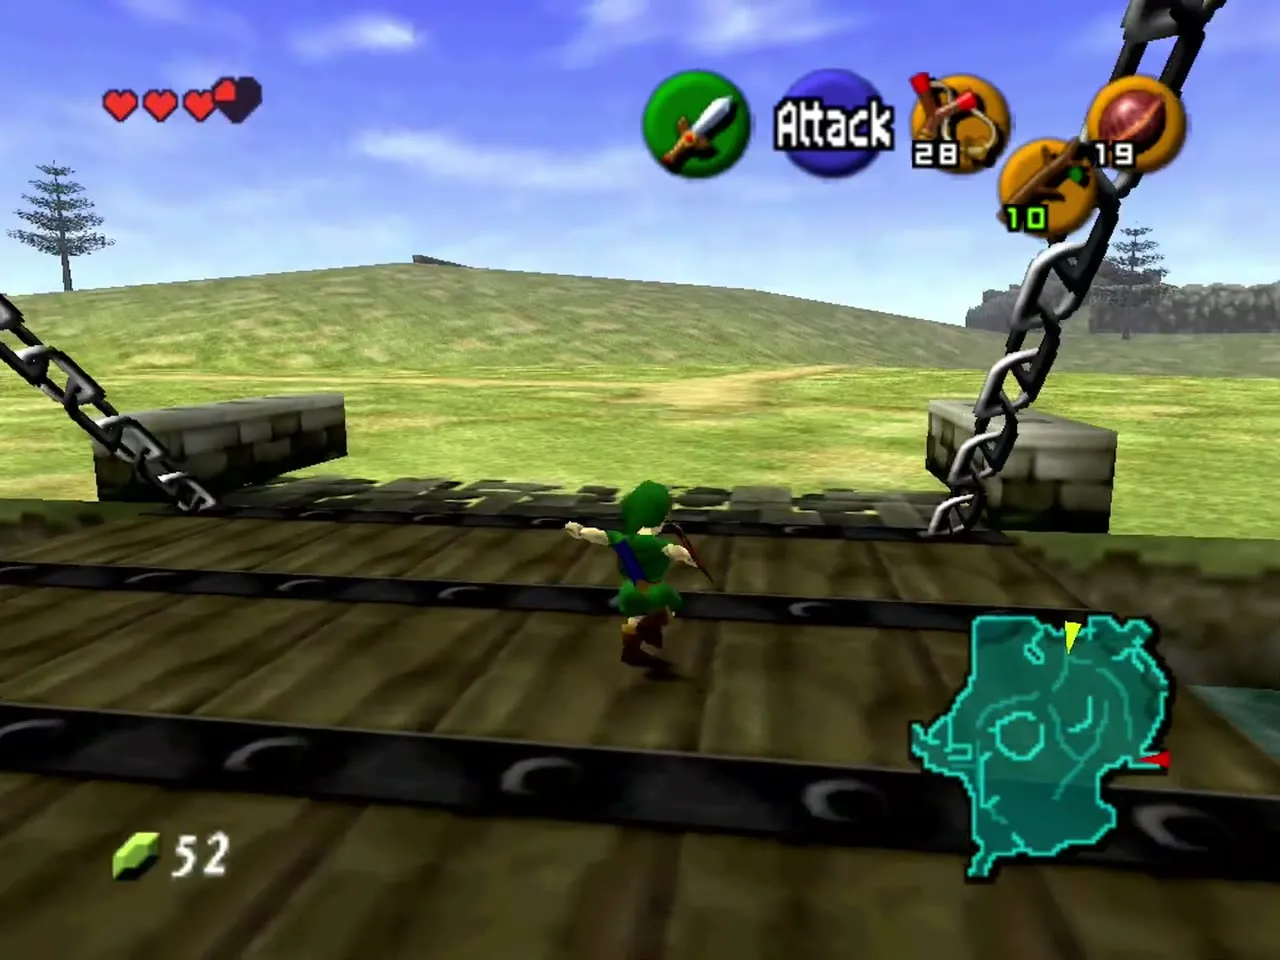
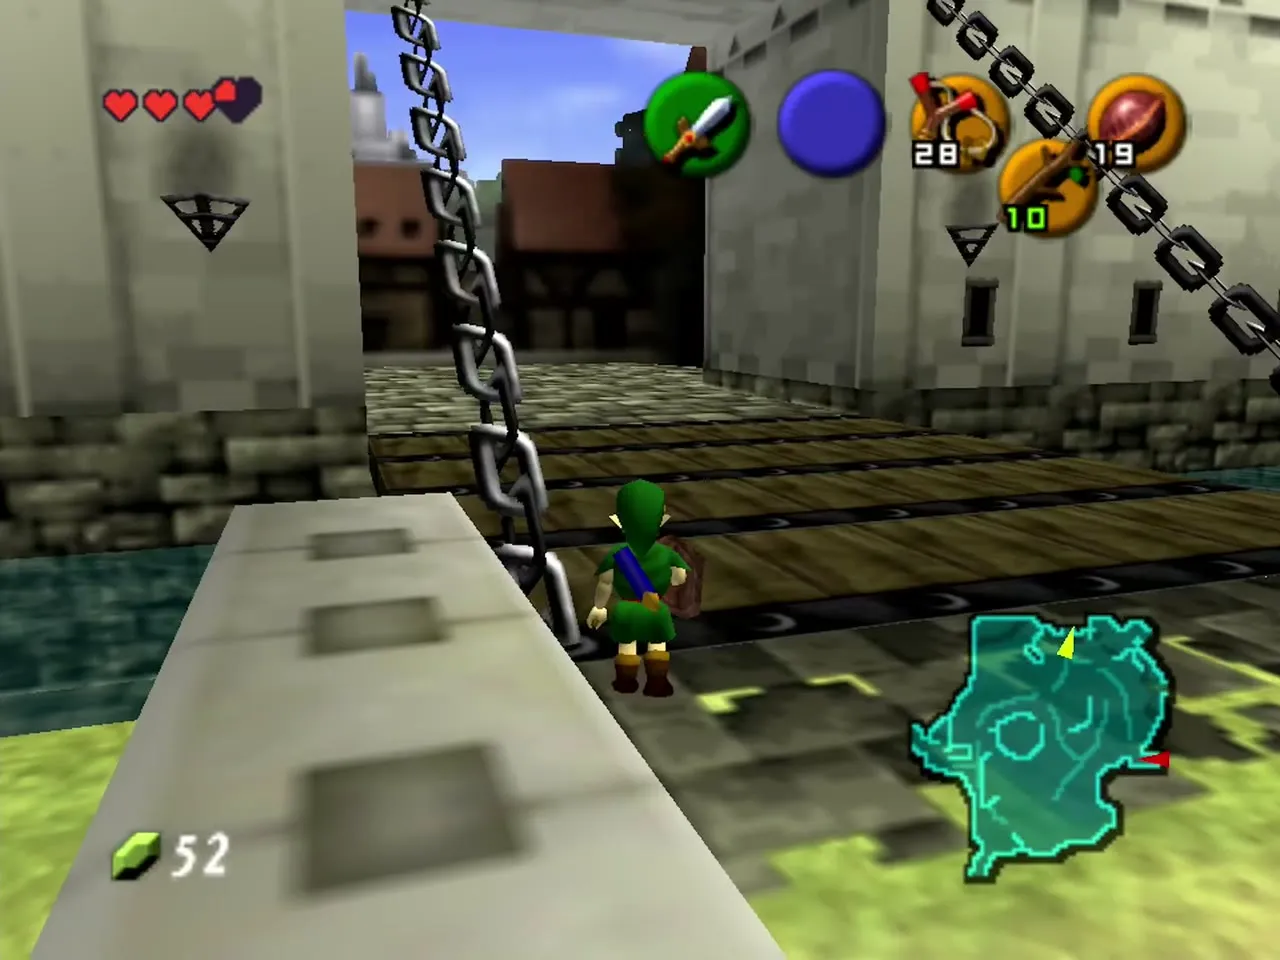
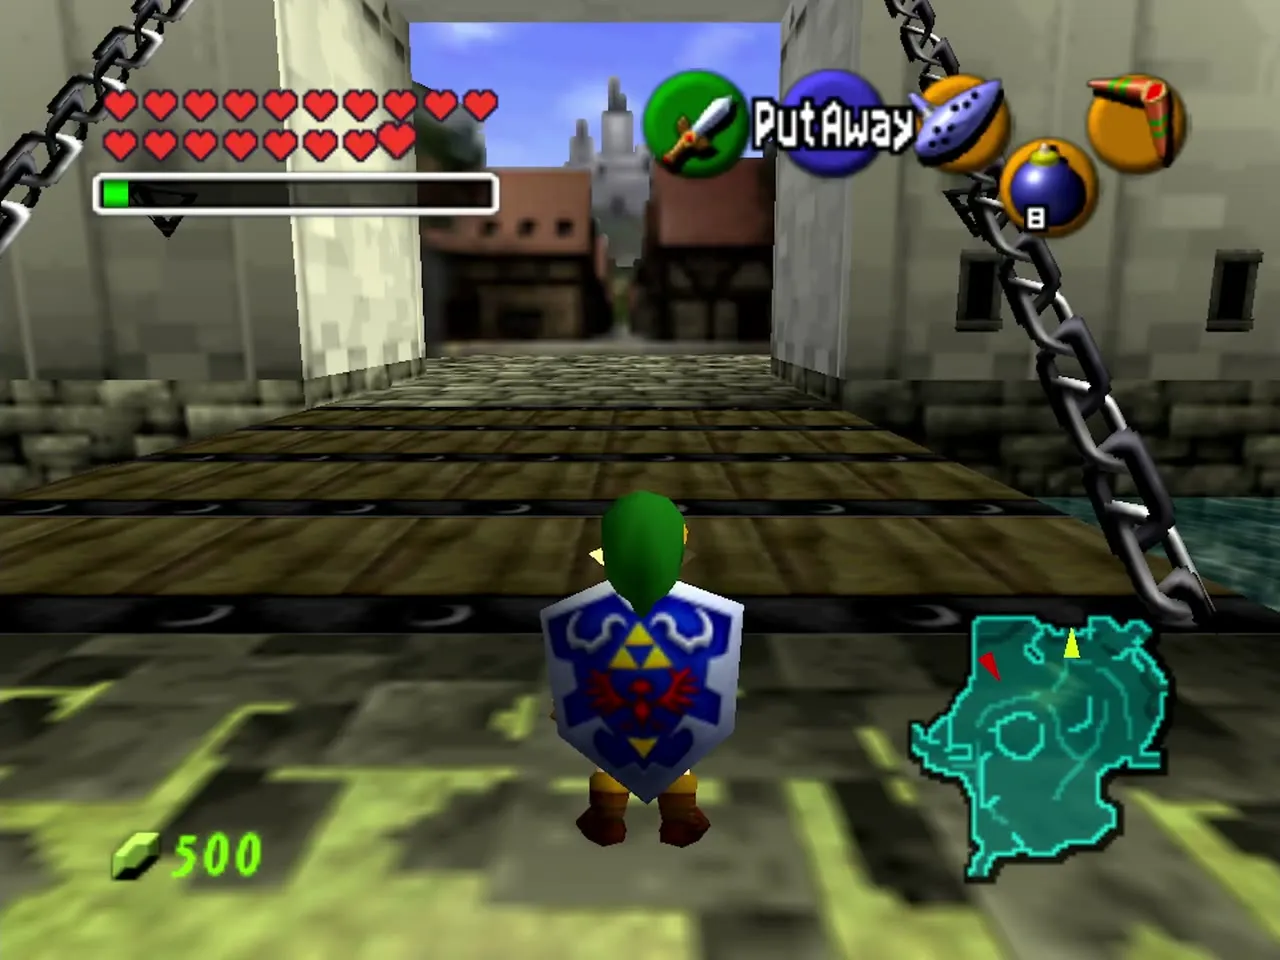
Hidden rupees are tucked along the chains of the Castle Town drawbridge: jumping off the chains, you can grab three 20-Rupee drops. They are a handy early source of cash, and they reset when you leave the area. Side-hop along the chains rather than trying to walk up the bridge, which is slow.
Castle Town and the drawbridge
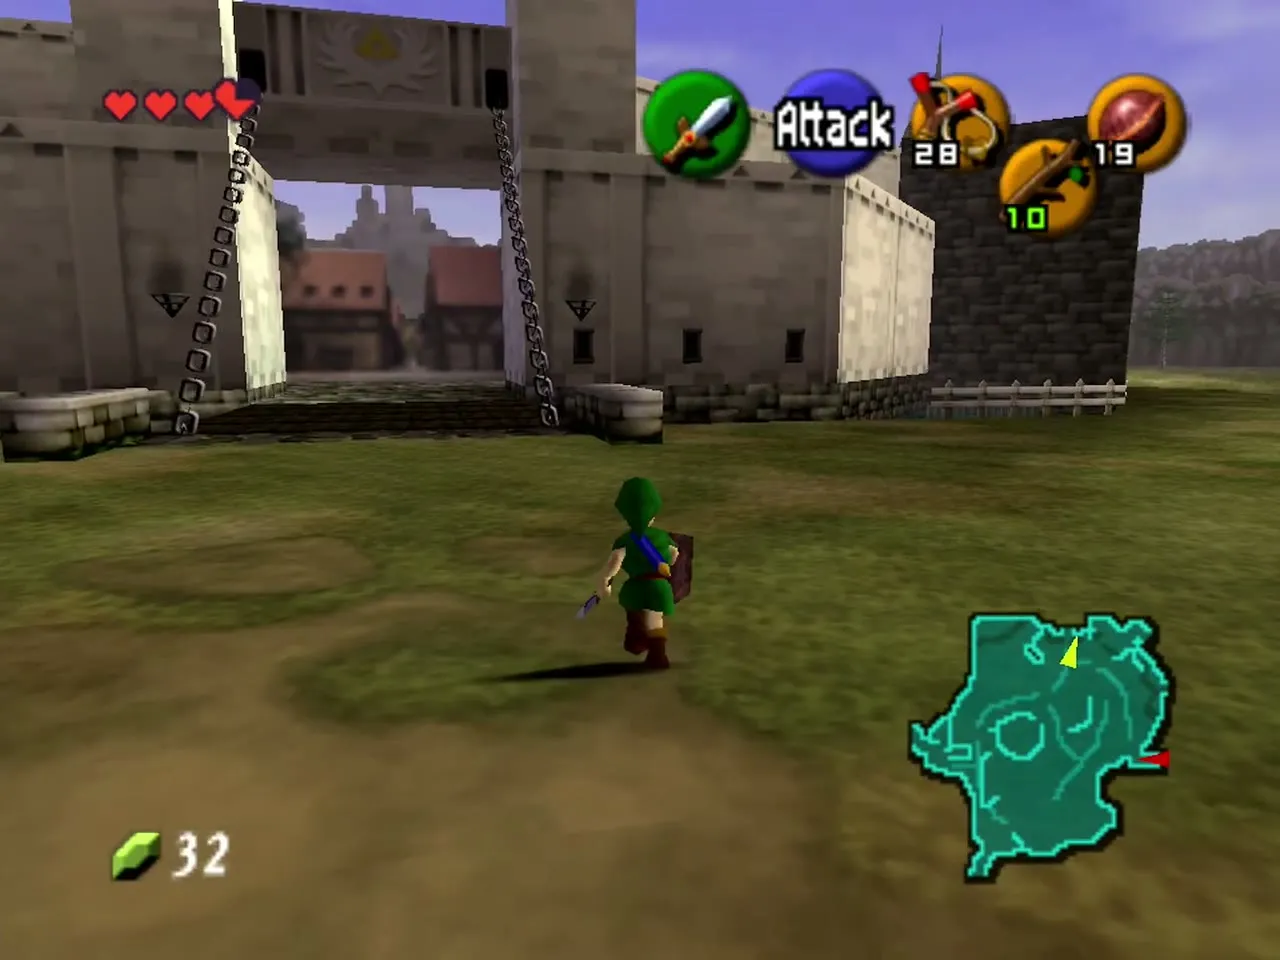
Follow the road north to the castle. The walls and towers of Castle Town rise ahead, and the drawbridge is lowered only in the day. If you arrive after dark, wait on the road for sunrise. The Market behind the gate holds the Bazaar, the Happy Mask Shop, three mini-games and a Heart Piece. They are all in the Kakariko and Market chapter.
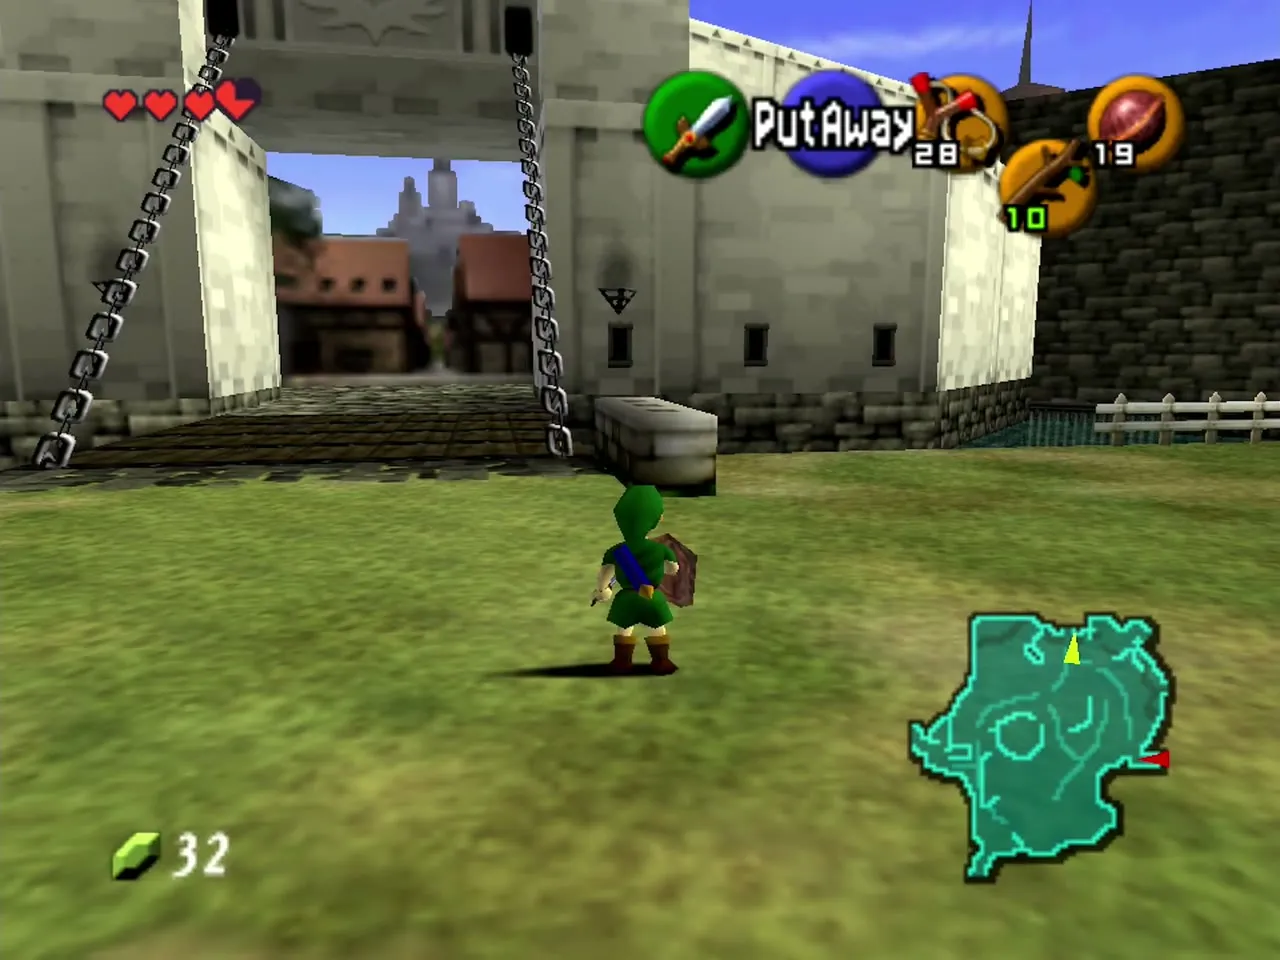
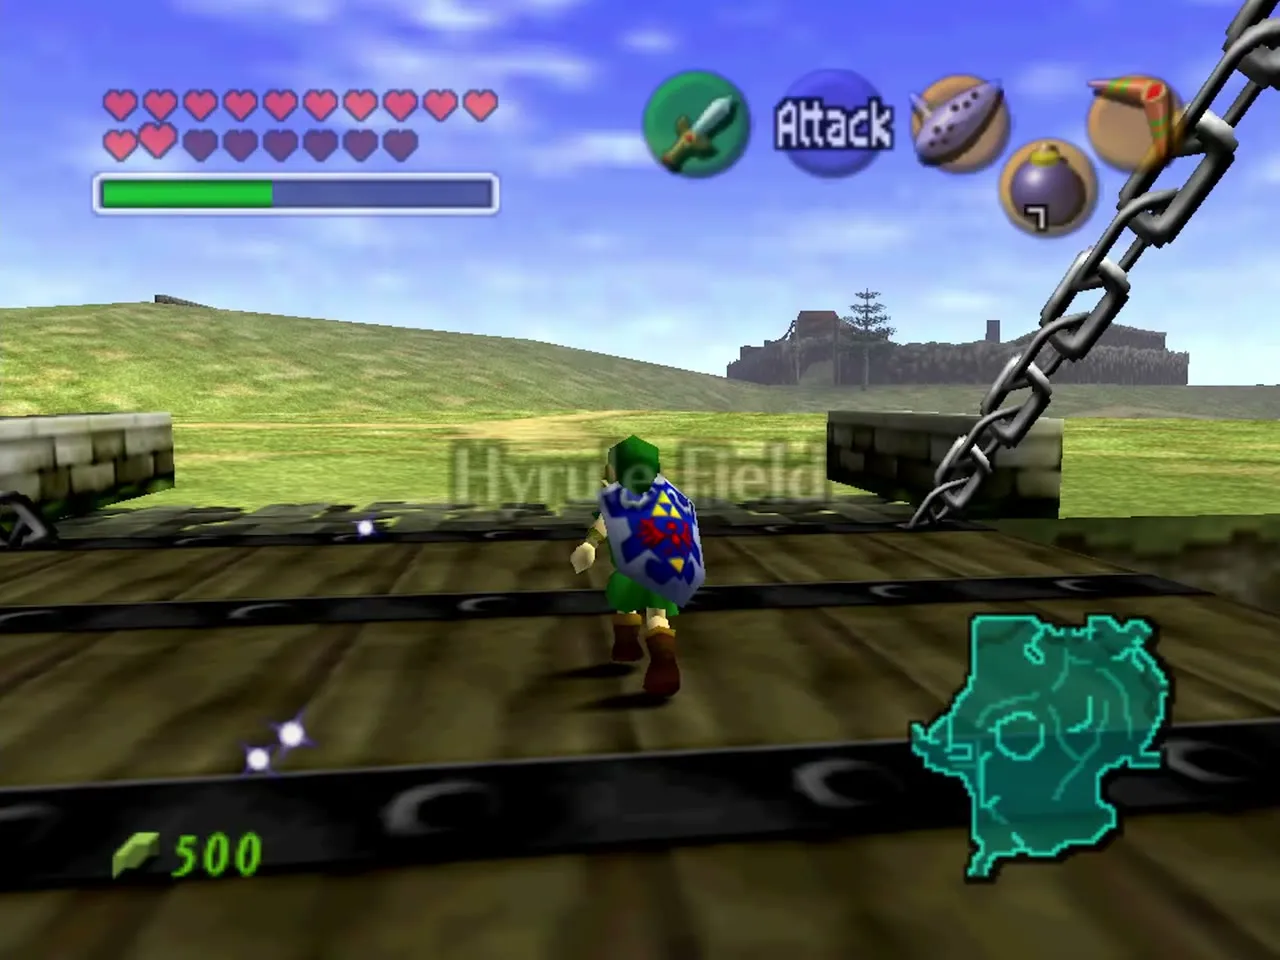
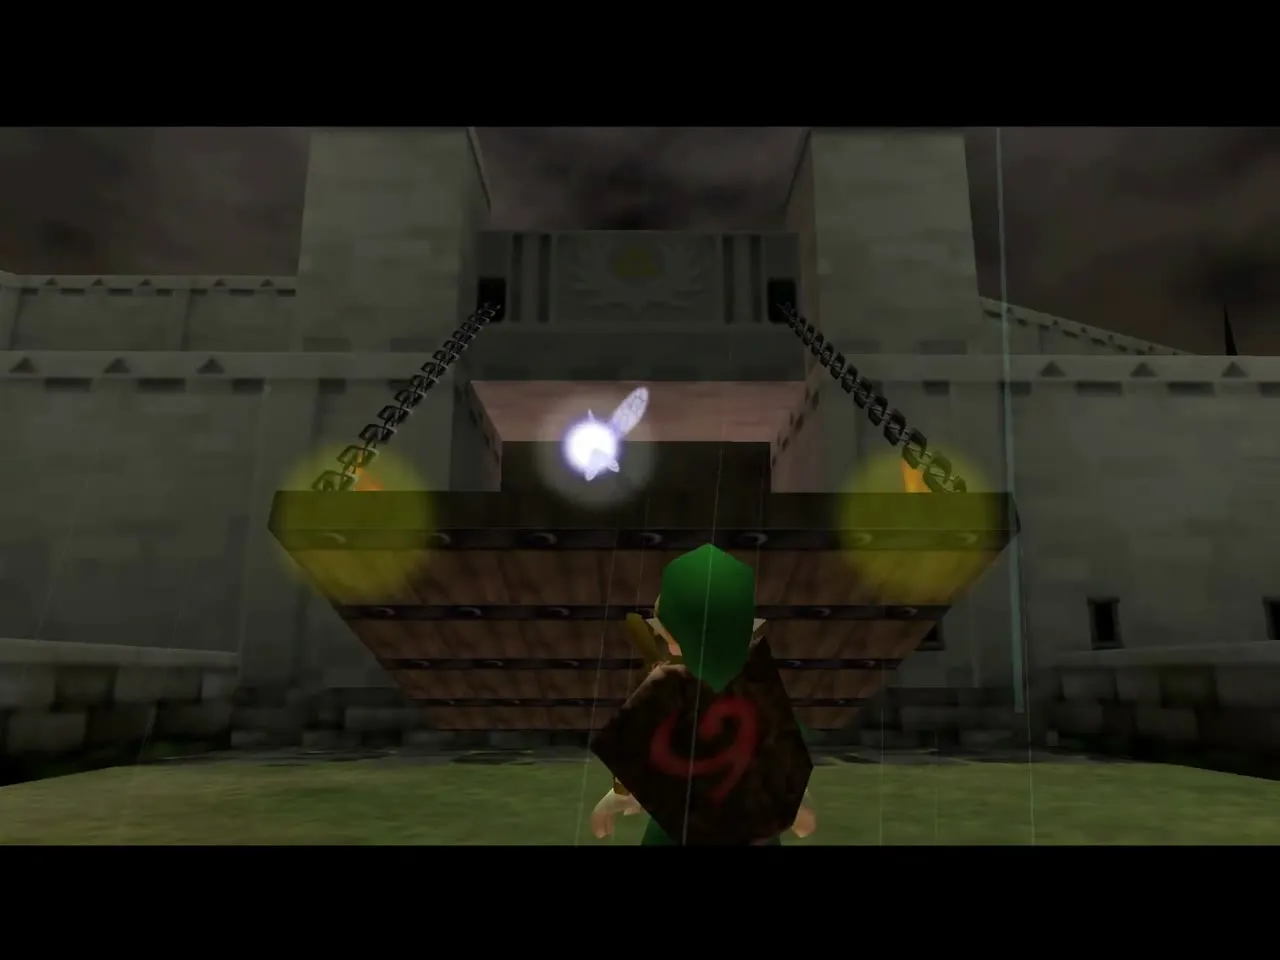
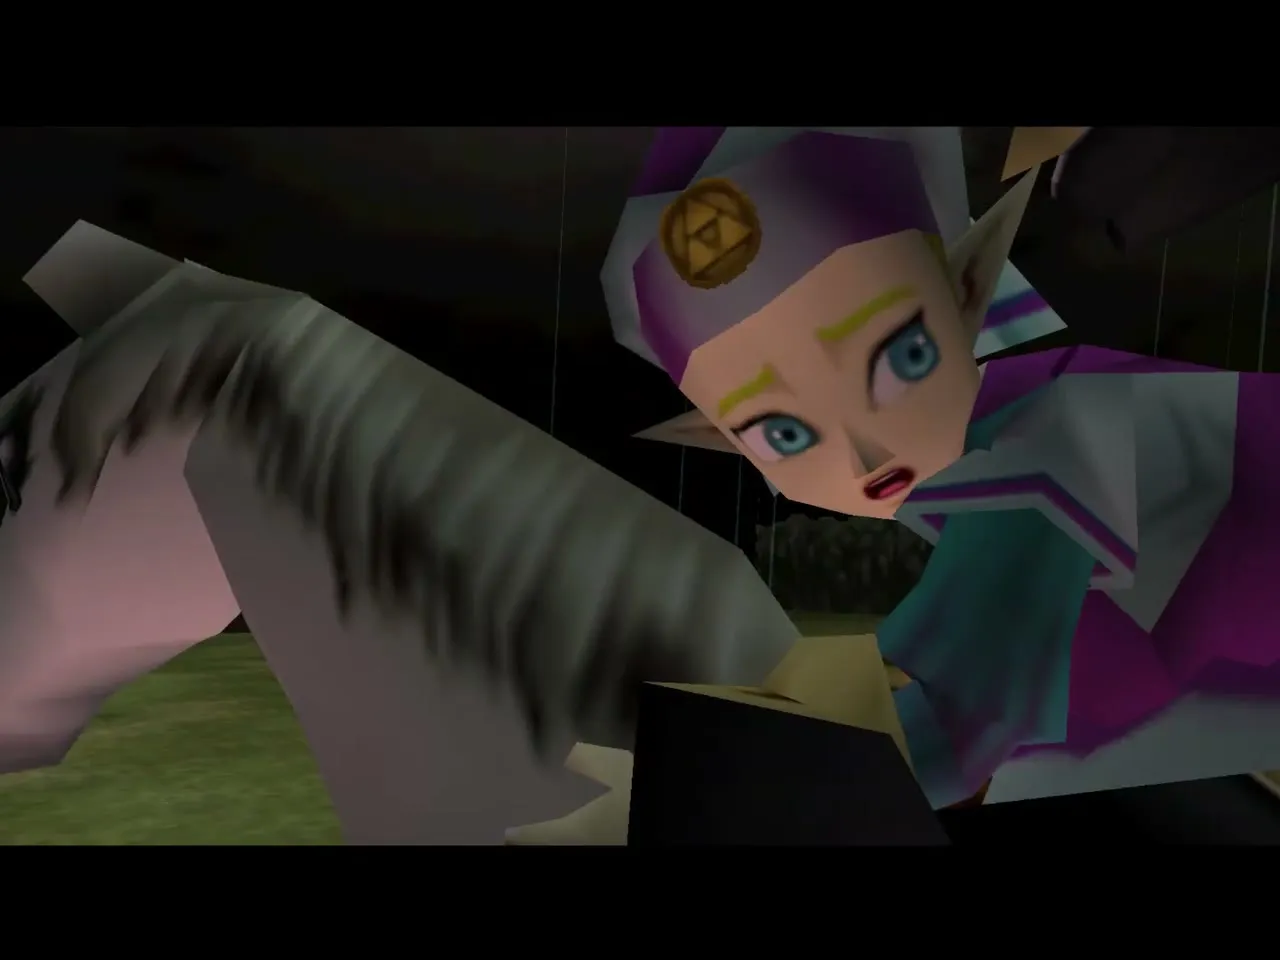
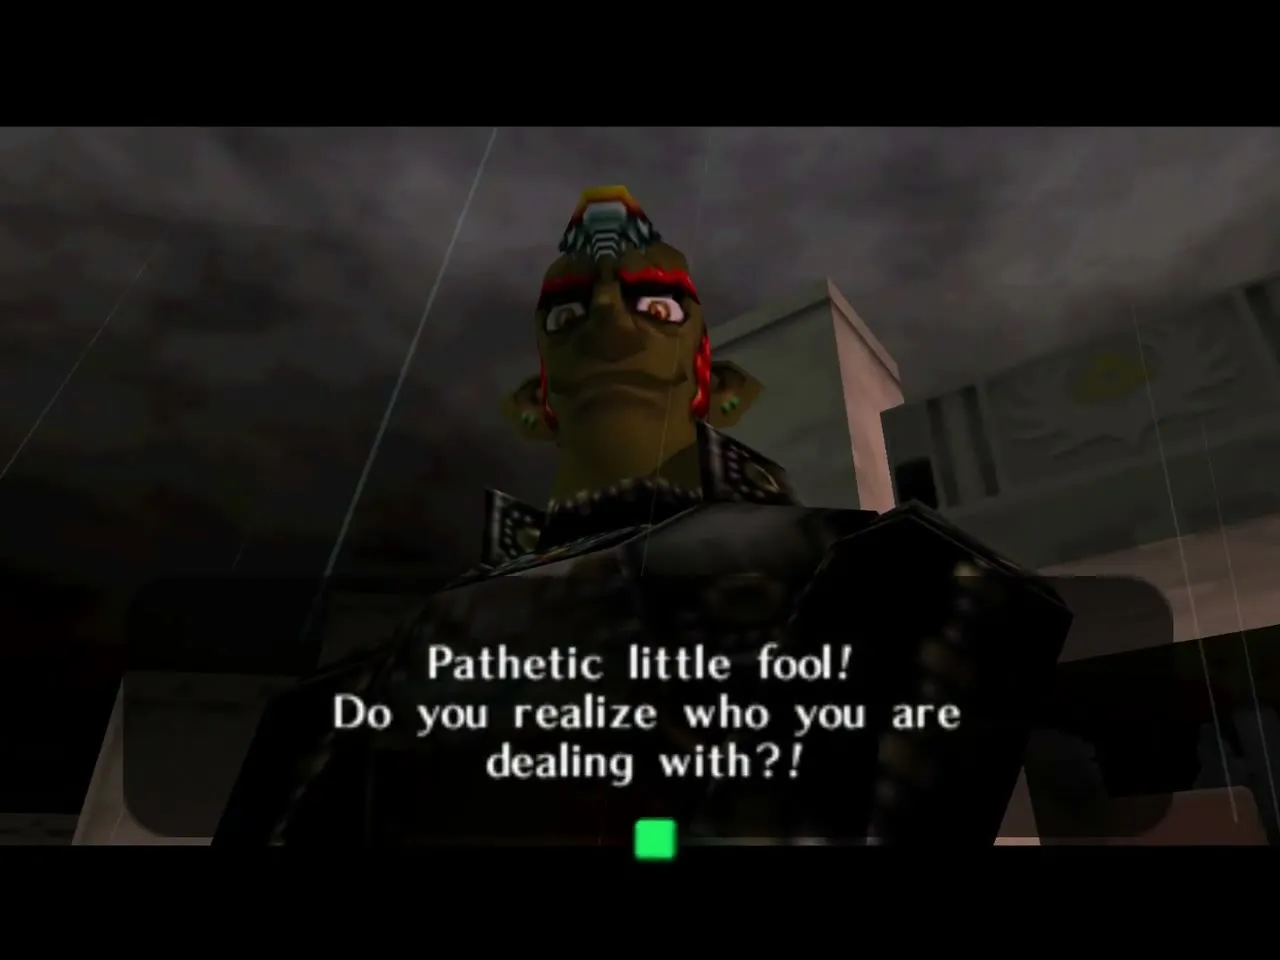
Later, once you hold all three Spiritual Stones and walk near the drawbridge, Zelda and Impa flee Ganondorf in a short scene, and Zelda throws the Ocarina of Time into the river. That is the start of the Master Sword chapter, so for now just note that the Market also leads to the Temple of Time.
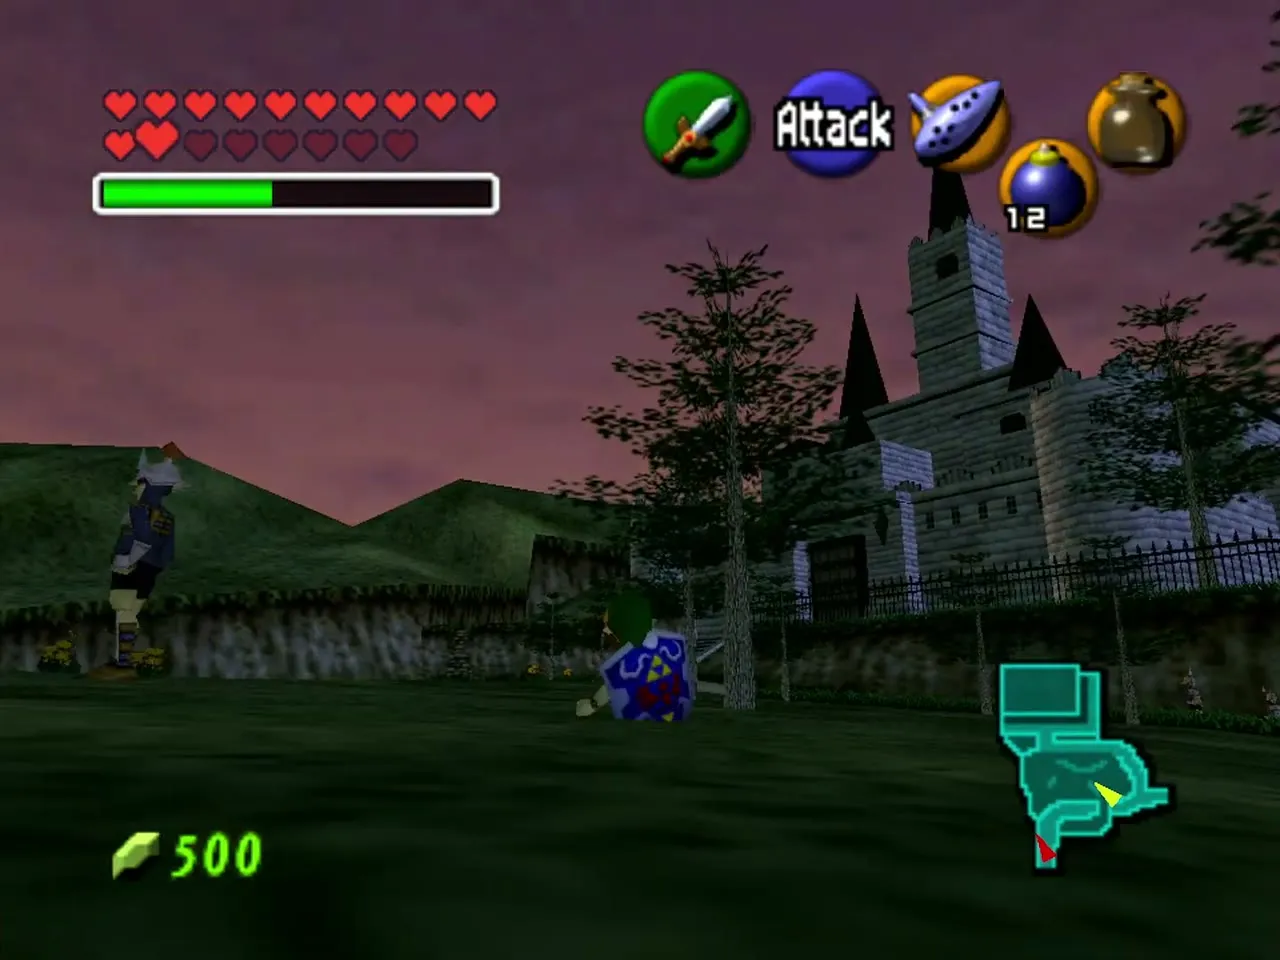
The Hyrule Castle grounds
The path to the gate
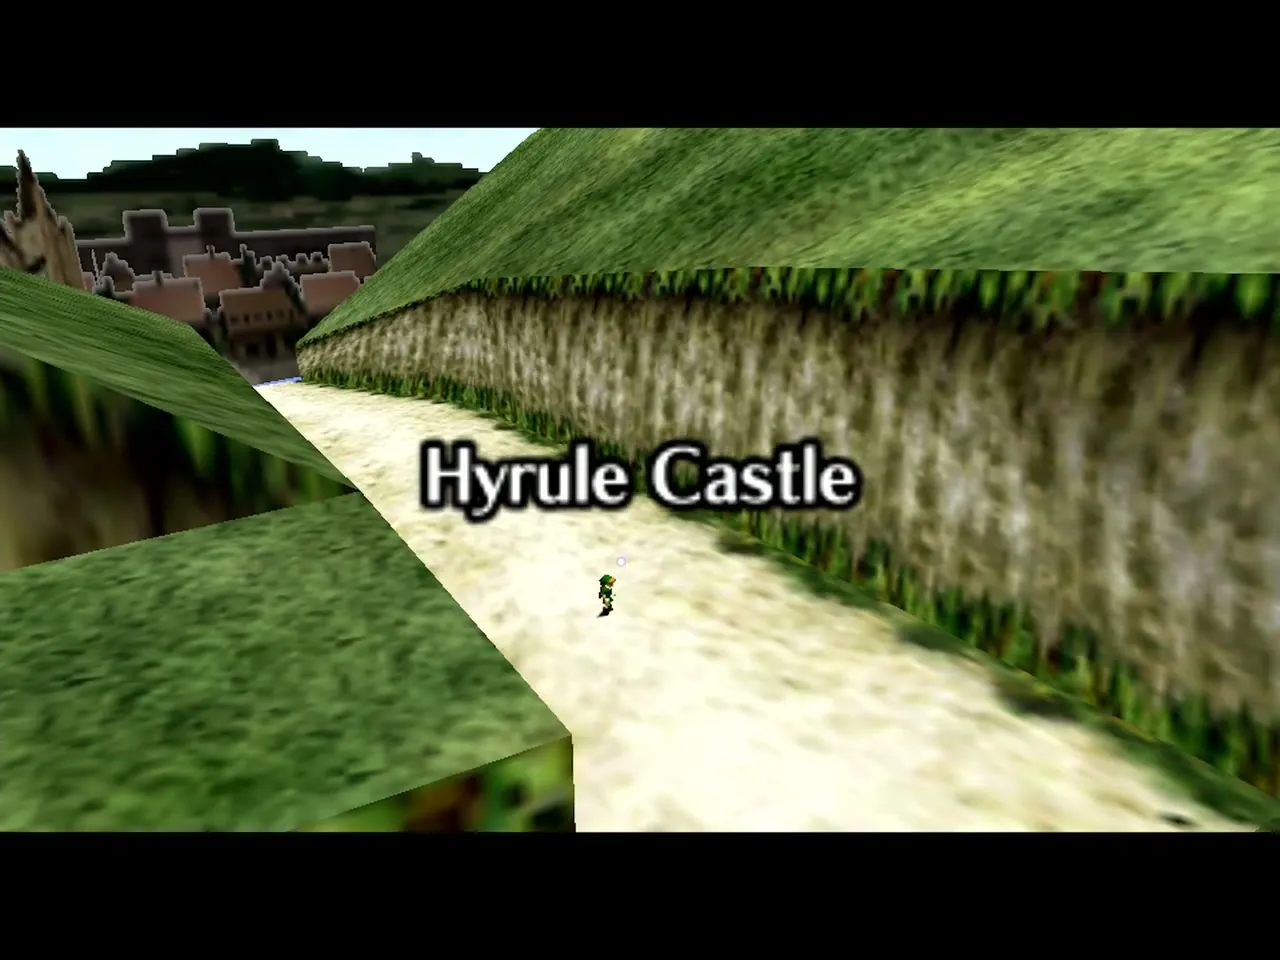
From the Market, go through the north gate and follow the castle road. A short cutscene introduces the castle the first time you arrive, and guards will not let you through the front. If Malon has not appeared yet, walk back to the Market and return. The owl waits here on top of a lone tree surrounded by three rocks. Talk to him, then roll into the tree: a Gold Skulltula falls out.
Malon and the Weird Egg
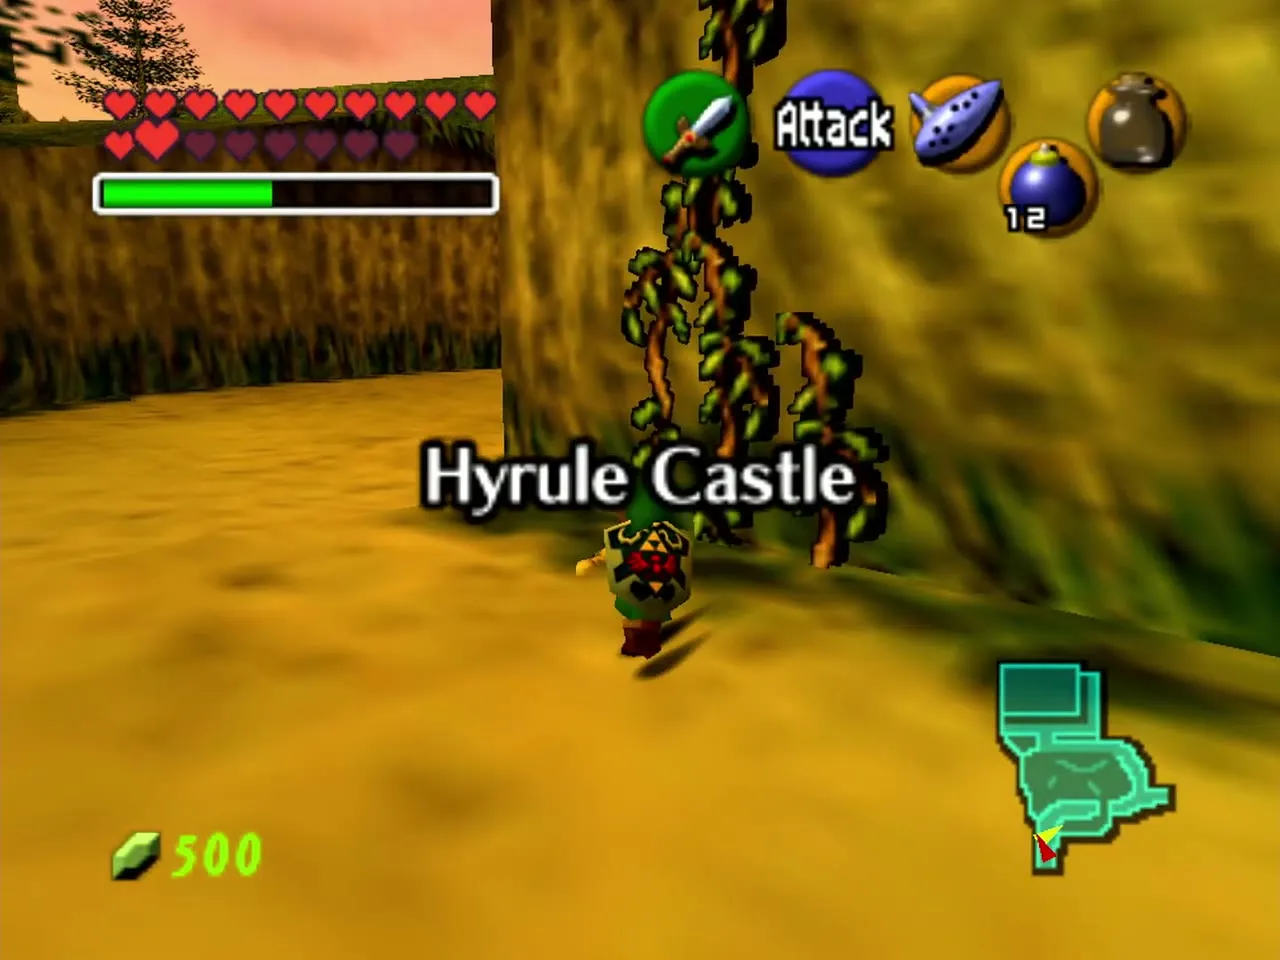
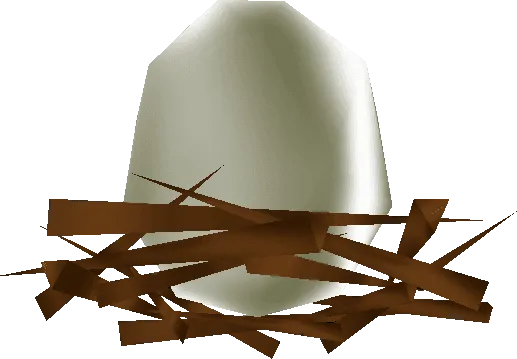
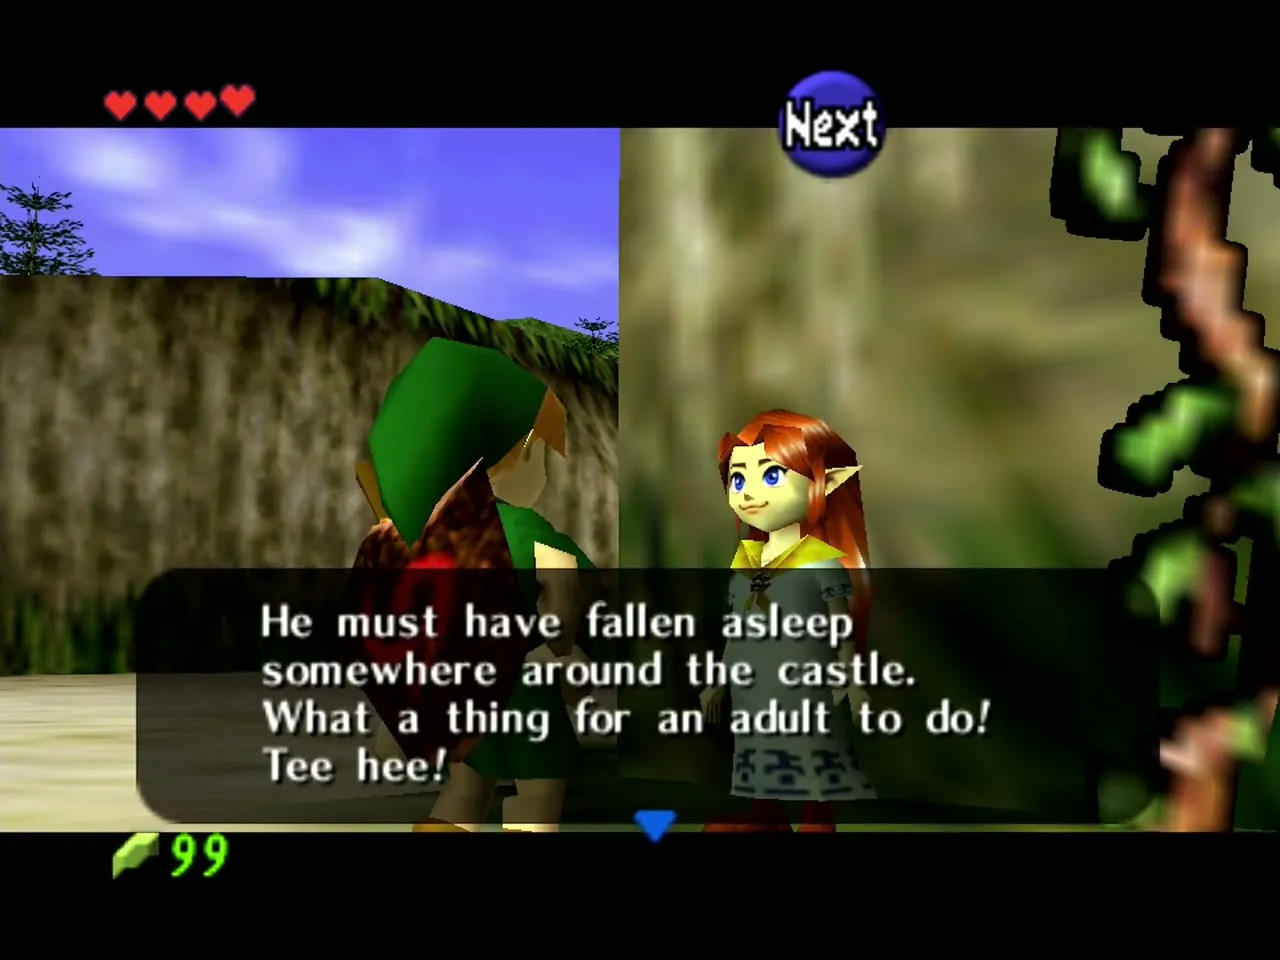
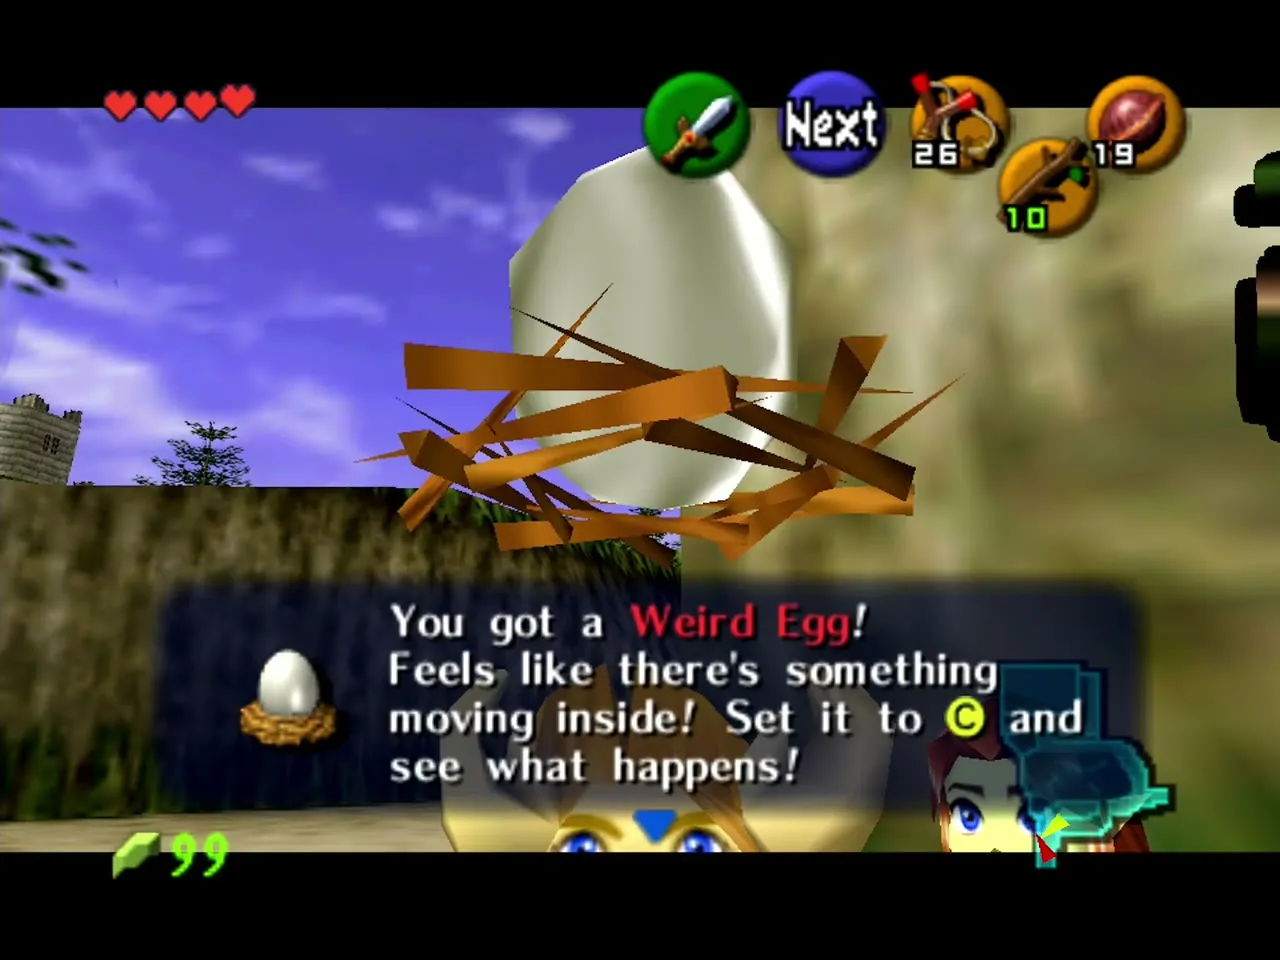
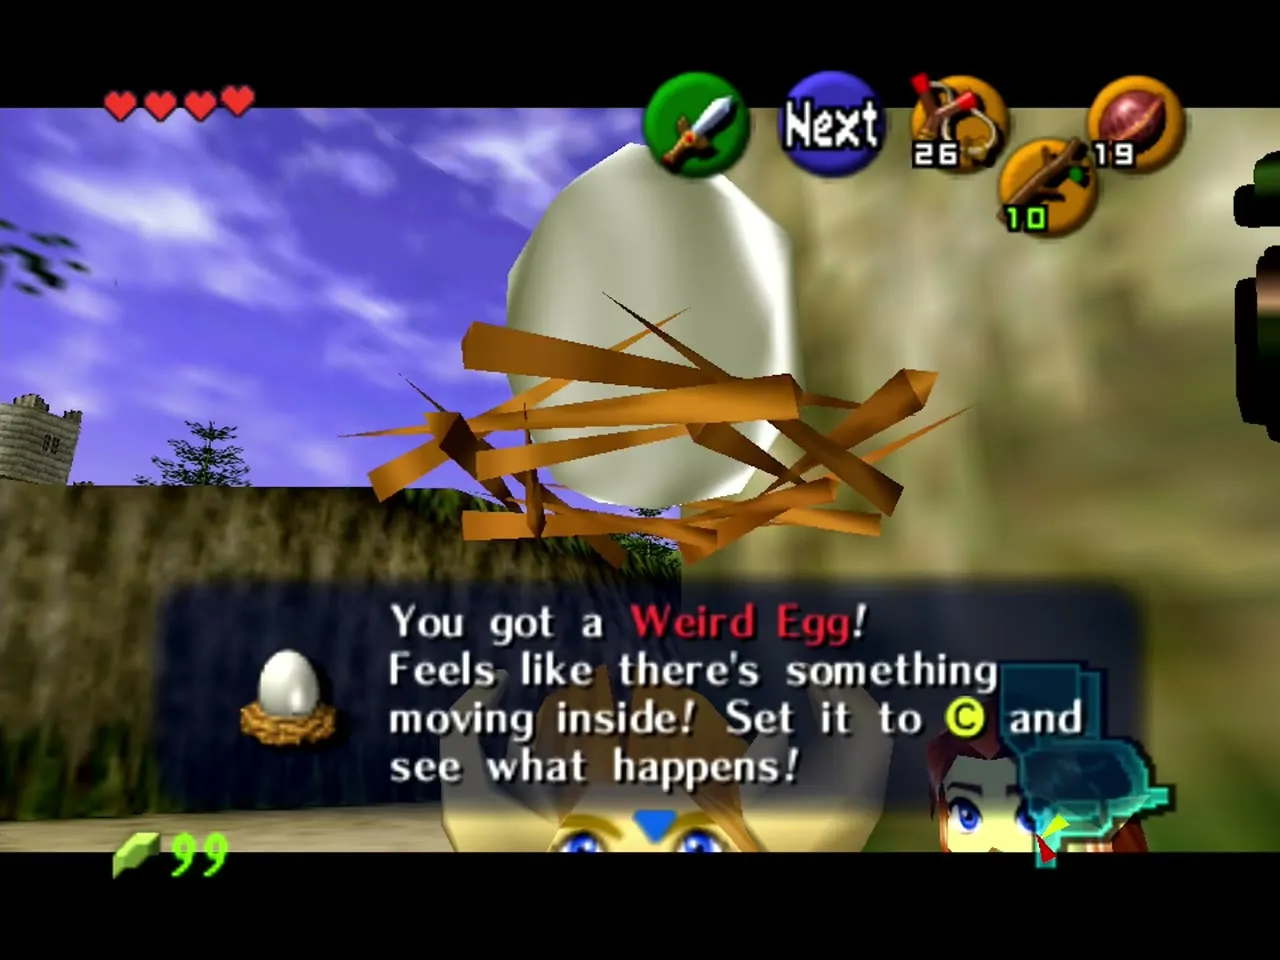
Malon from Lon Lon Ranch stands near some green vines on the wall. She is worried because her father Talon went to deliver milk to the castle and never came back. Talk to her twice and she gives you a Weird Egg, hoping you can wake him up. The egg hatches into a Cucco at the next sunrise, so if it is still an egg when you reach Talon, wait out the night and try again in the morning.
Sneaking in
Climb the vines
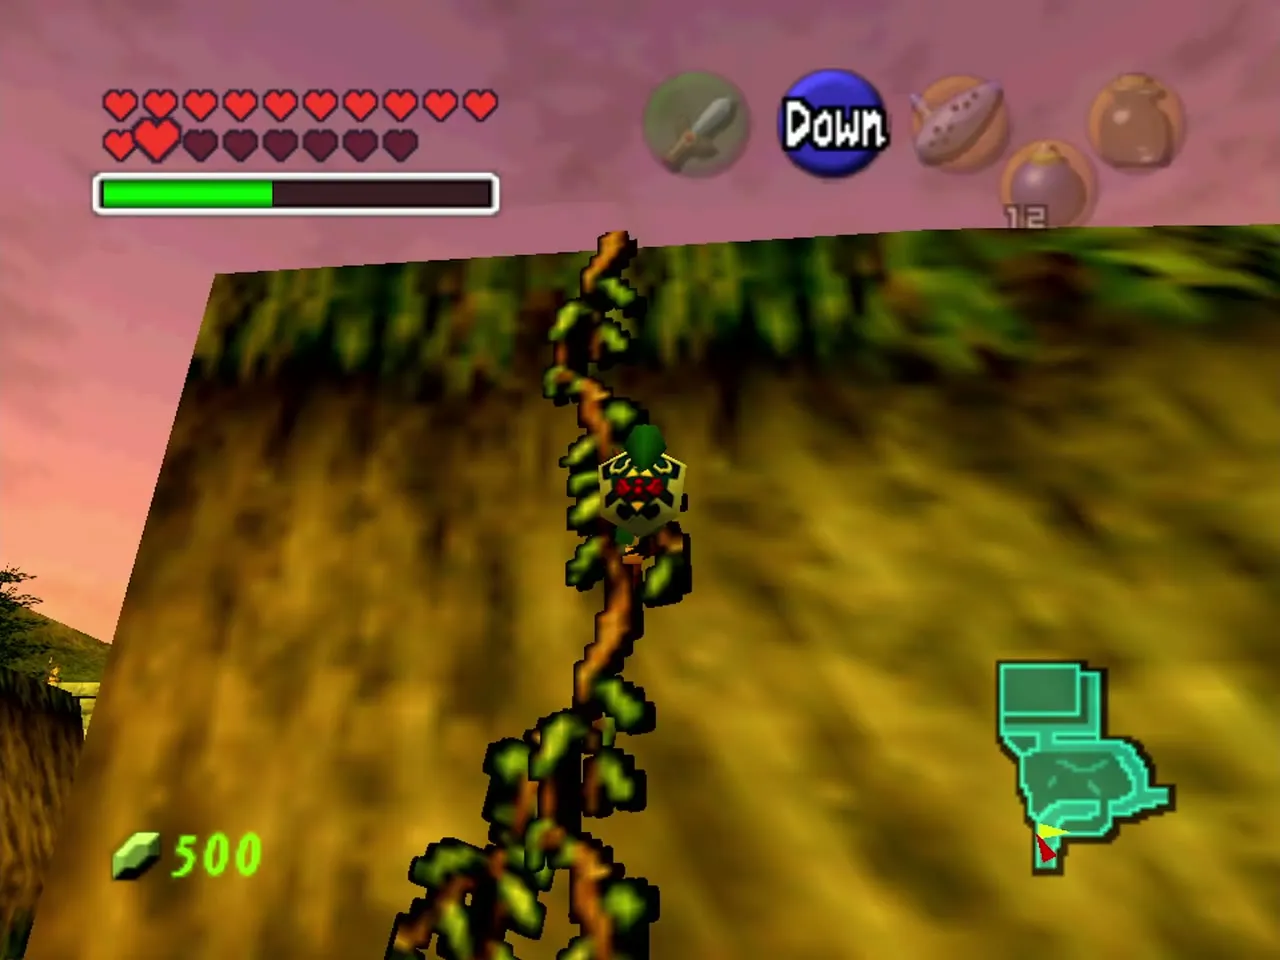
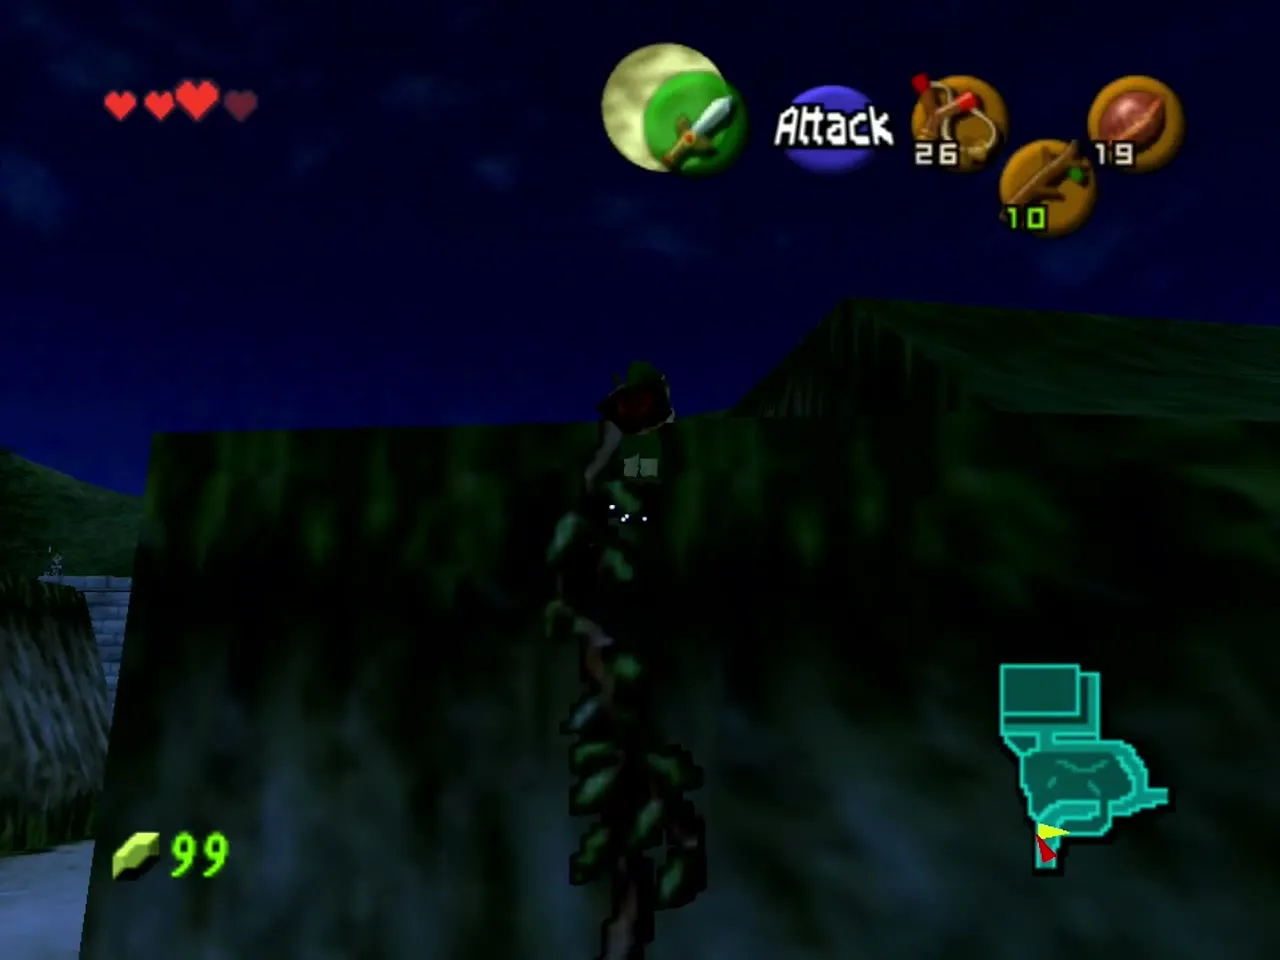
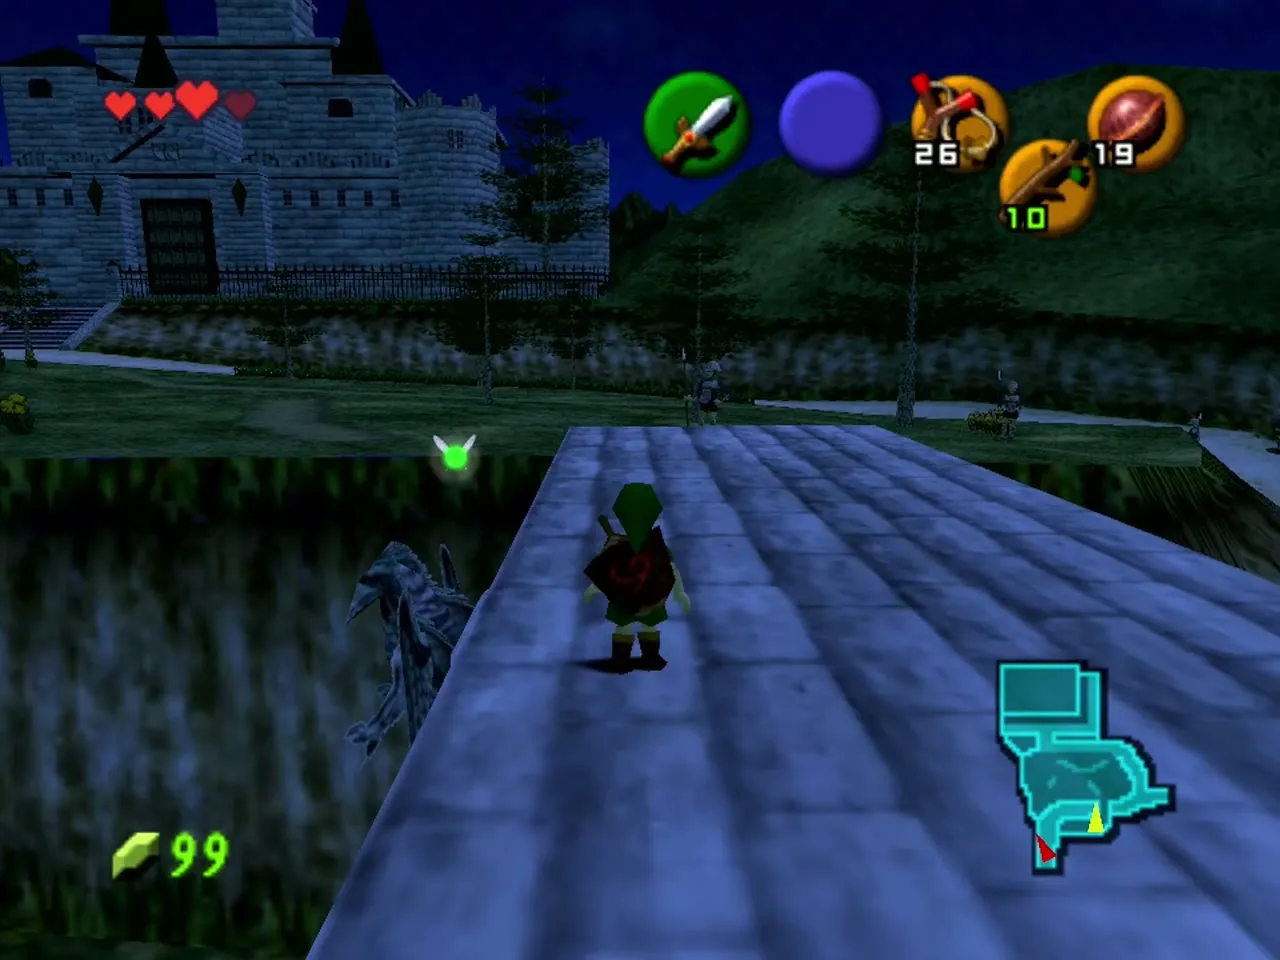
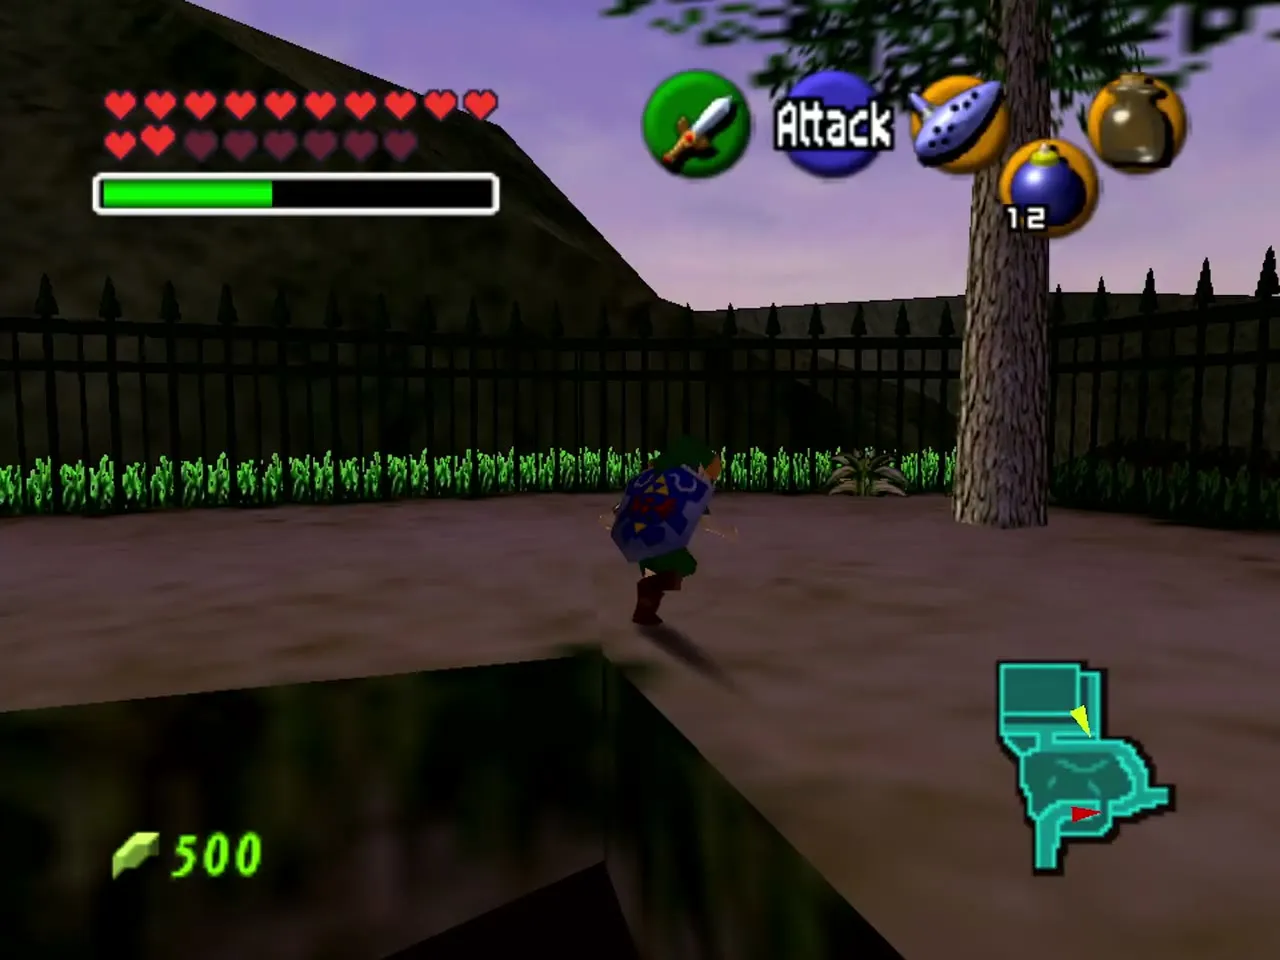
Climb the middle one of the vines by Malon. It leads to a ledge above the castle gate, where you follow the narrow edge around and drop to the ground on the other side. Take the dirt path up toward the castle but keep to the grass on the left, away from the guards, and do not try the stone steps. Along the left side a second set of vines runs up a castle wall; climb it and look down.
Swim the moat
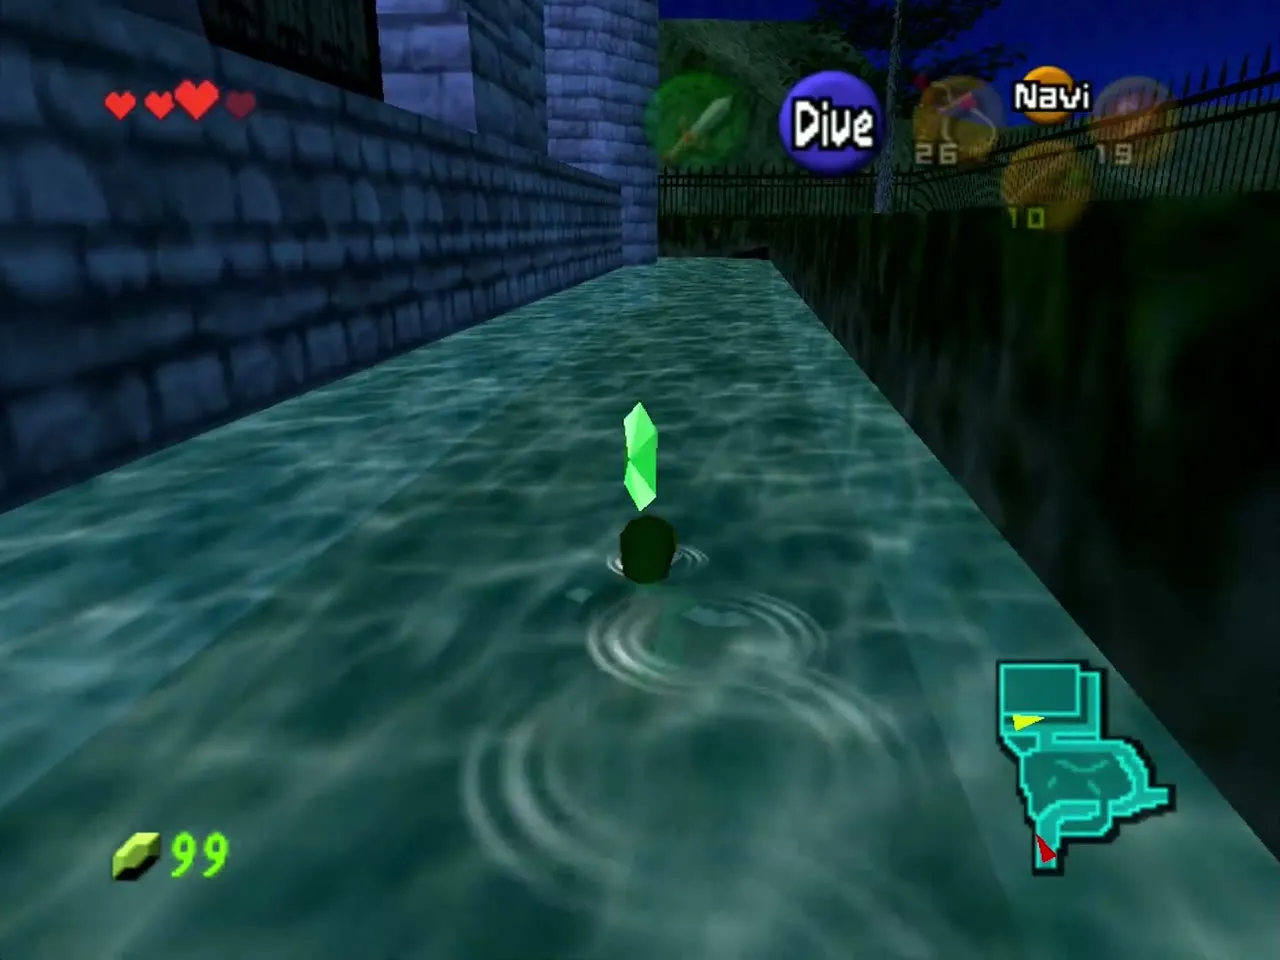
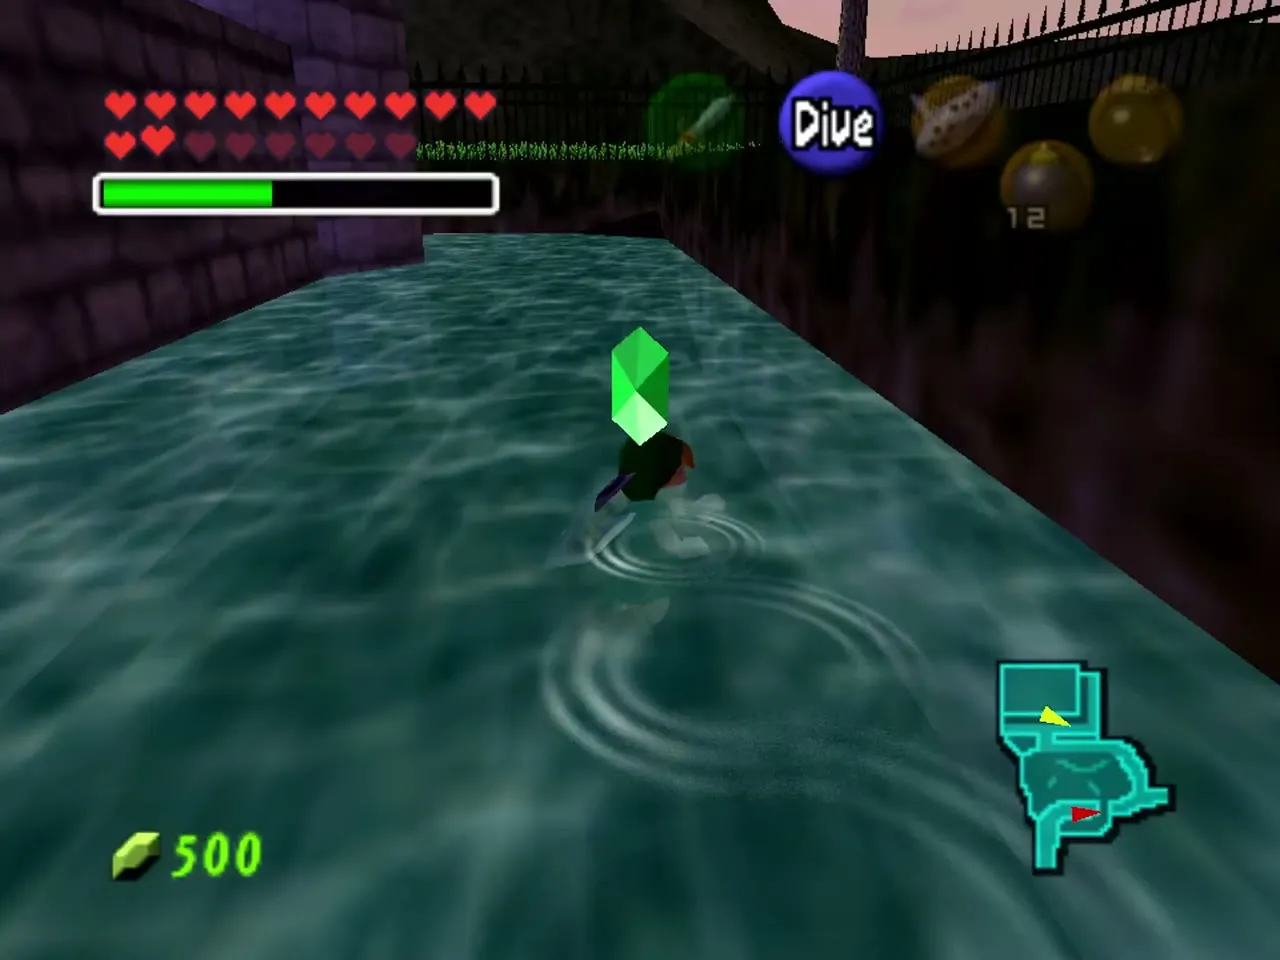
At the top you see the moat. Jump in and swim across the water to the far corner, collecting a few Rupees on the way if you pass the middle. Pull yourself onto the small bank on the other side.
Wake Talon
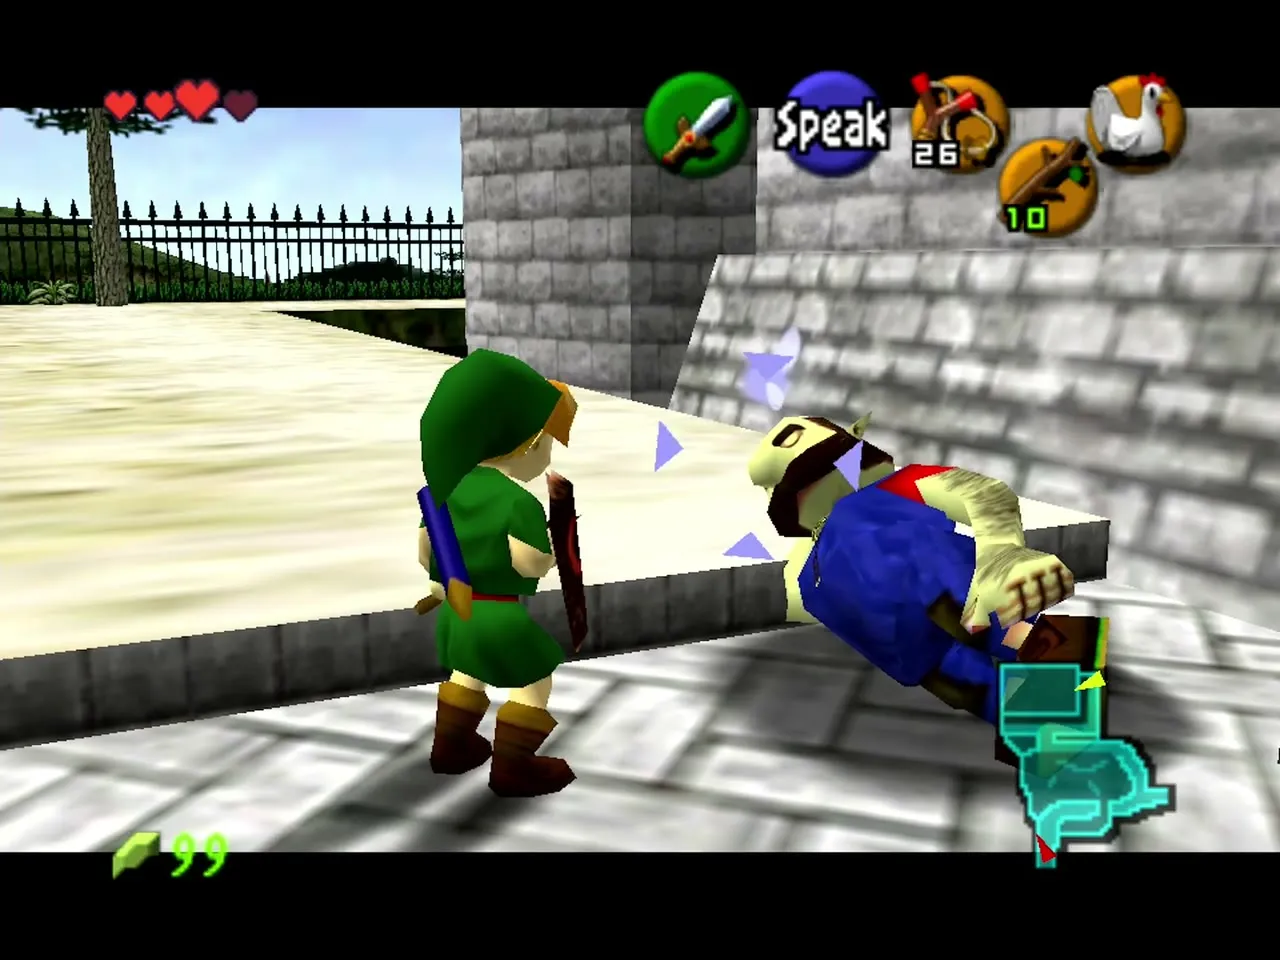
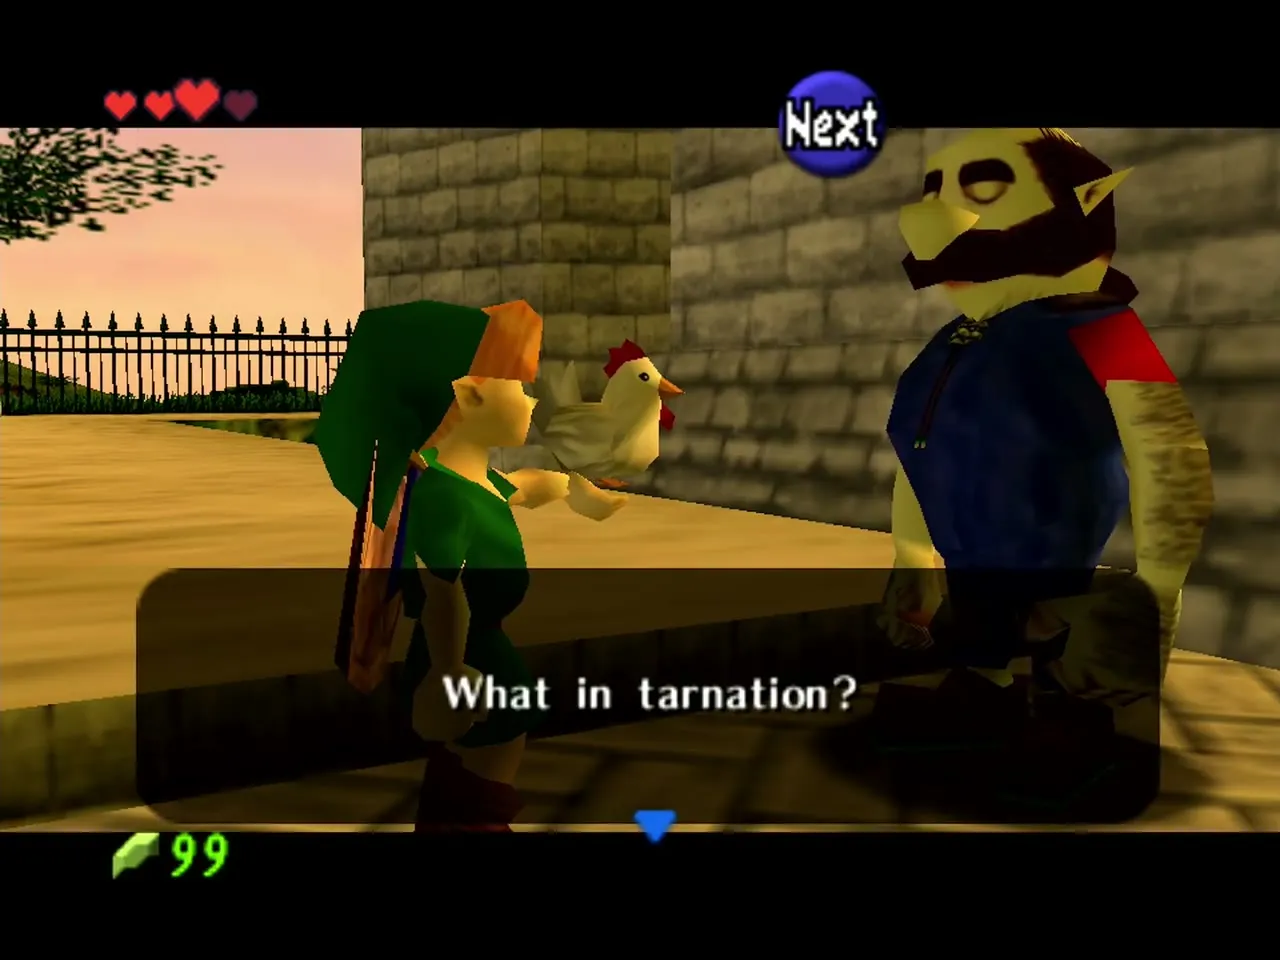
Talon is asleep beside two milk crates, dreaming about the ranch. Stand next to him, open your item menu and use the Cucco. It crows and wakes him up. He realizes how long Malon must have waited, and he runs off for home. He heads home to Lon Lon Ranch, which you can visit from now on (see Lon Lon Ranch).
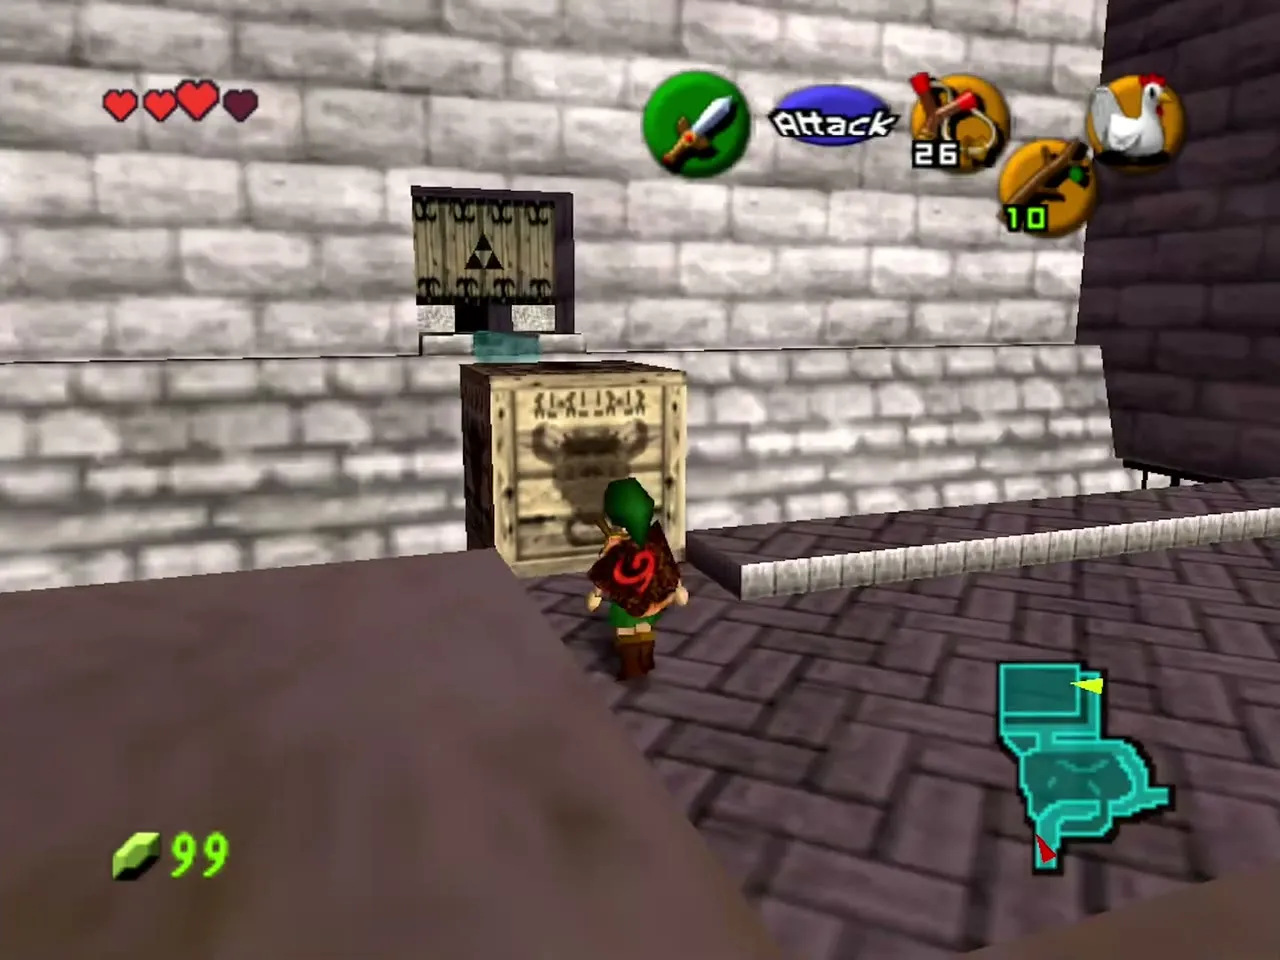
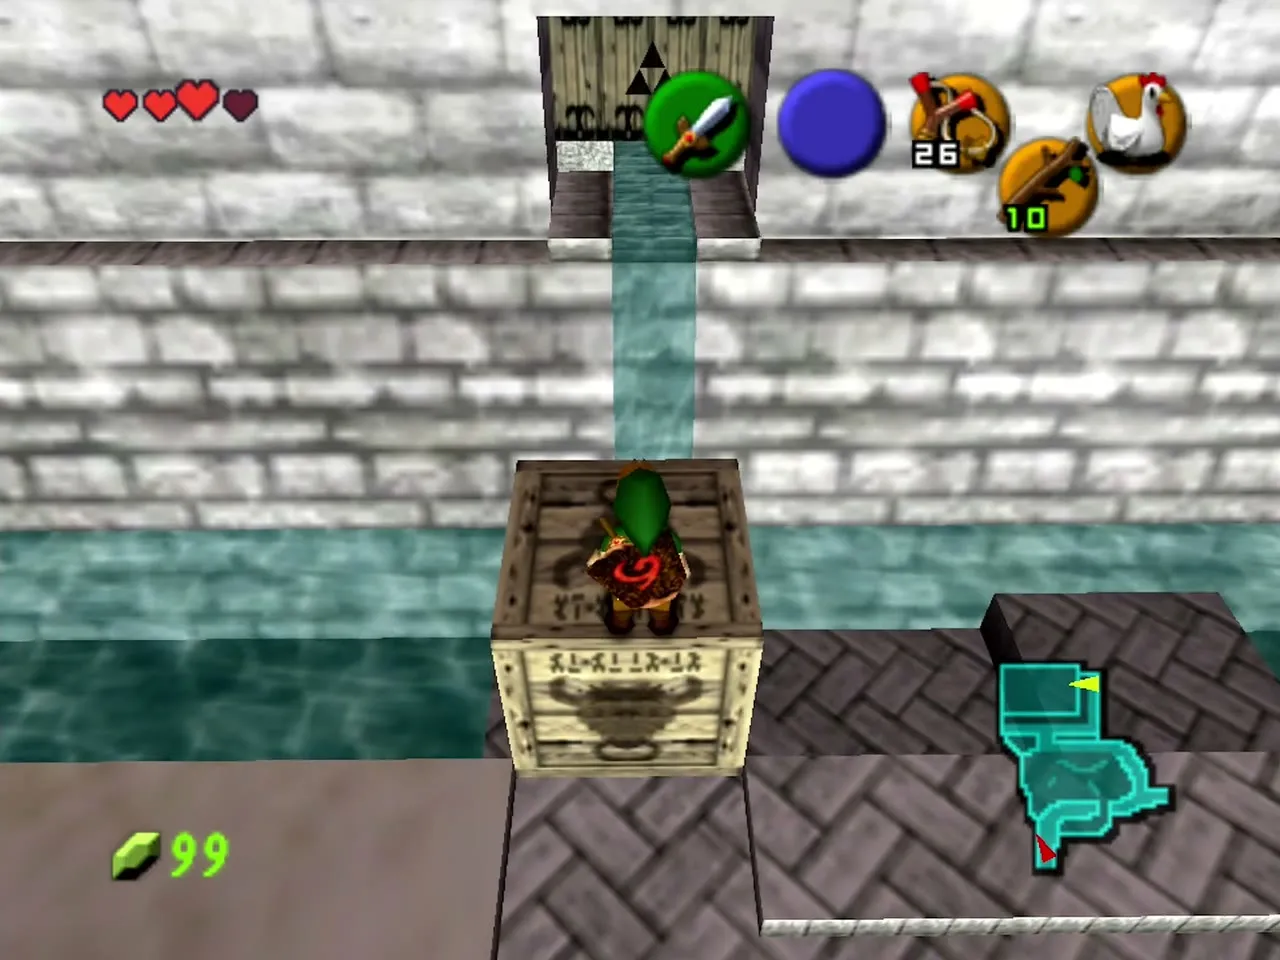
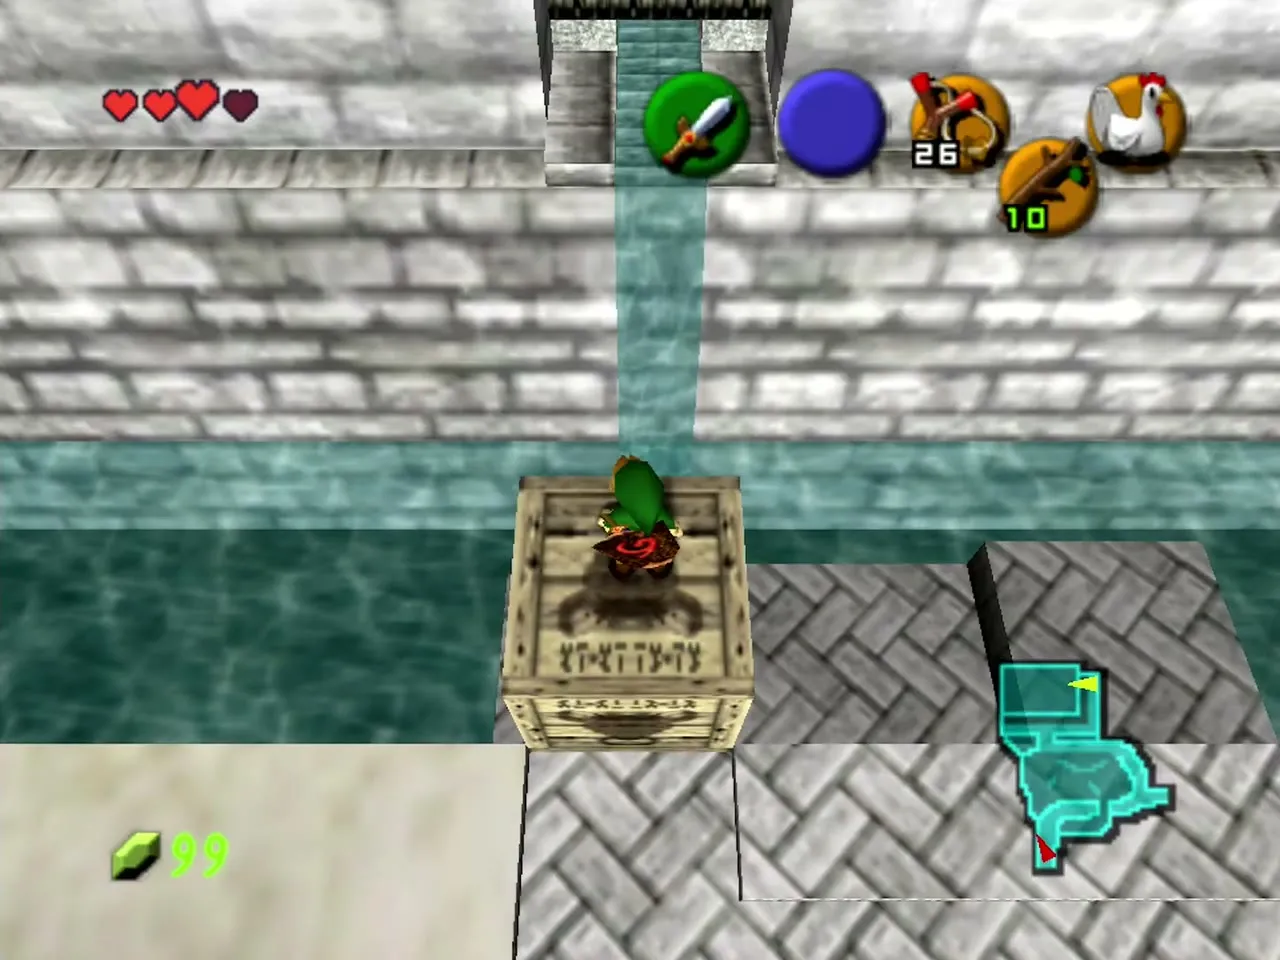
Move the crates and crawl in
With Talon gone, push and pull the two crates into place under the small opening in the castle wall, marked with a Triforce symbol above it, so that you can climb up and jump to it. Crawl through to enter the courtyard. Do the whole sneak-in in daylight, because the courtyard guards do not let anyone in at night.
The courtyard
Past the guards
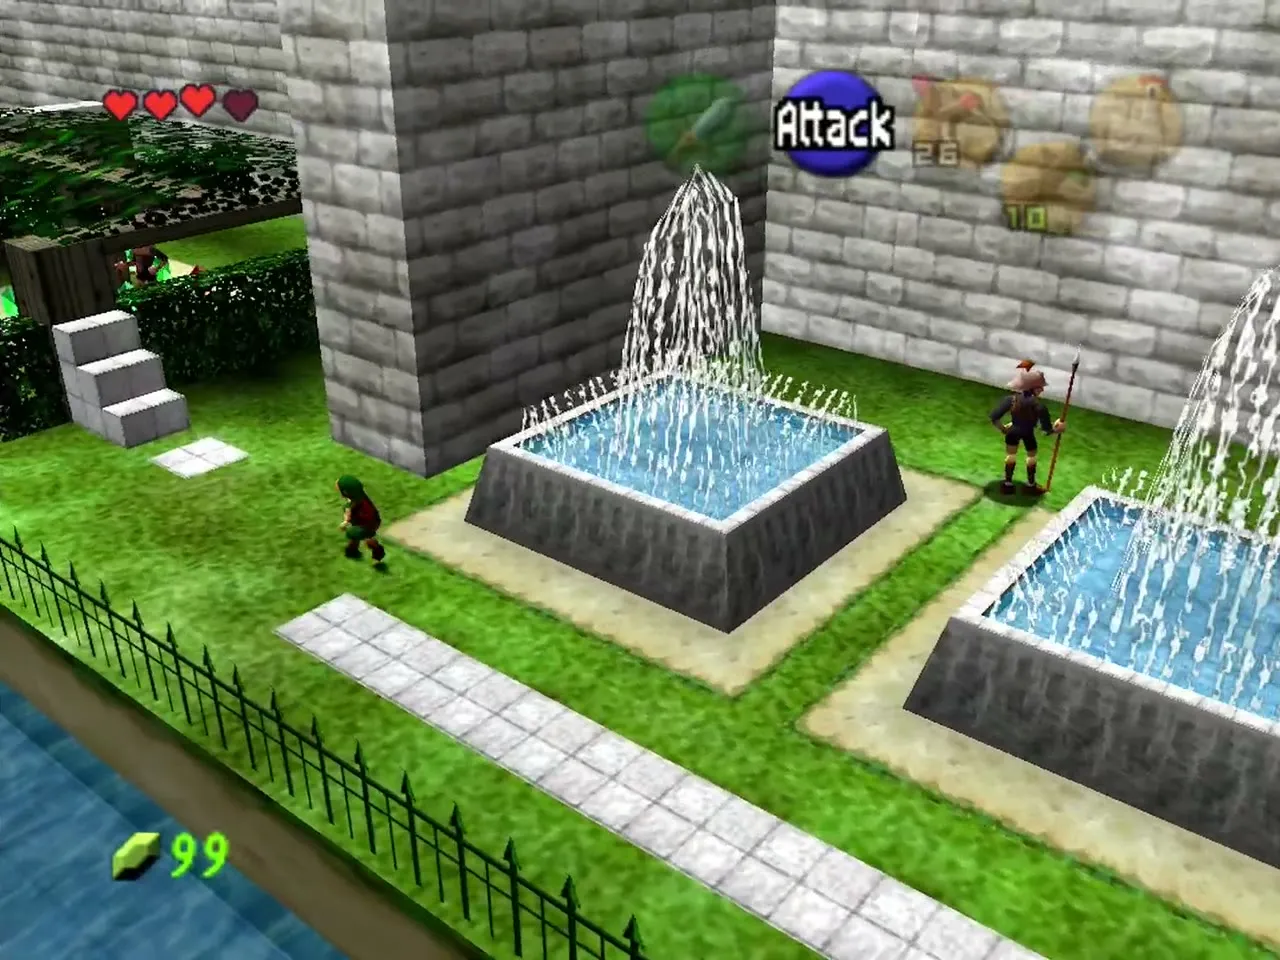
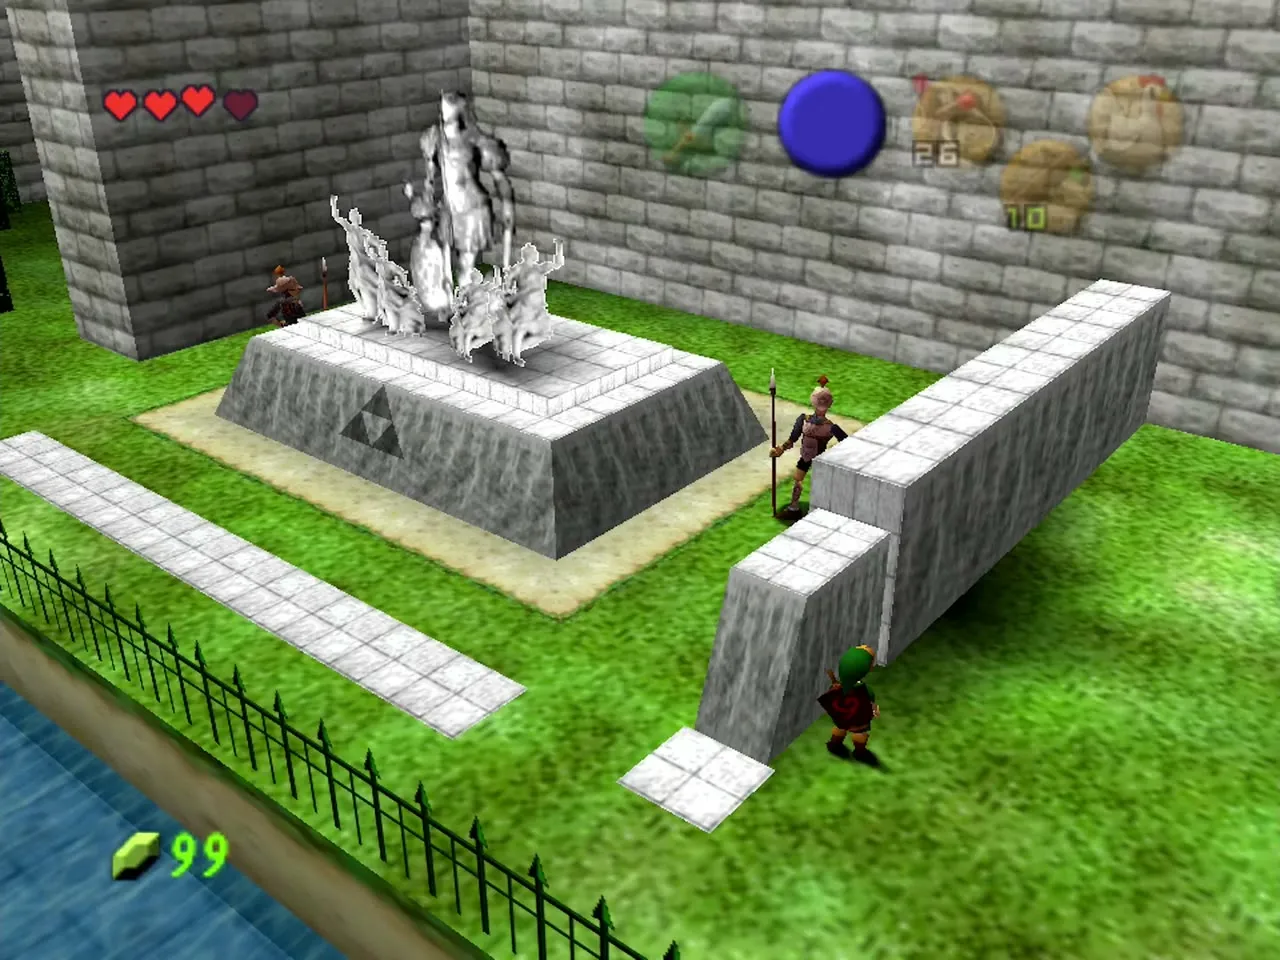
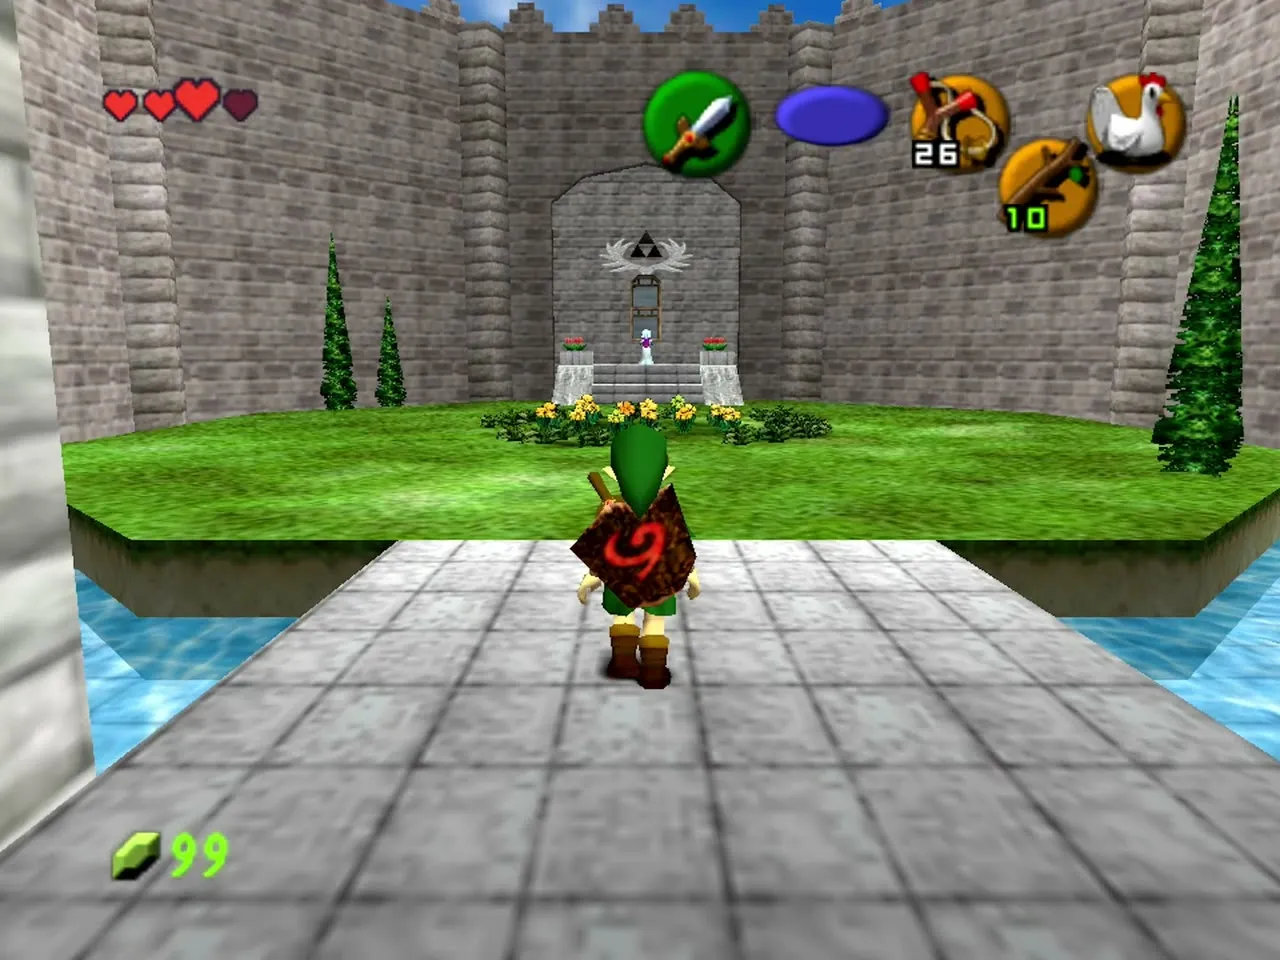
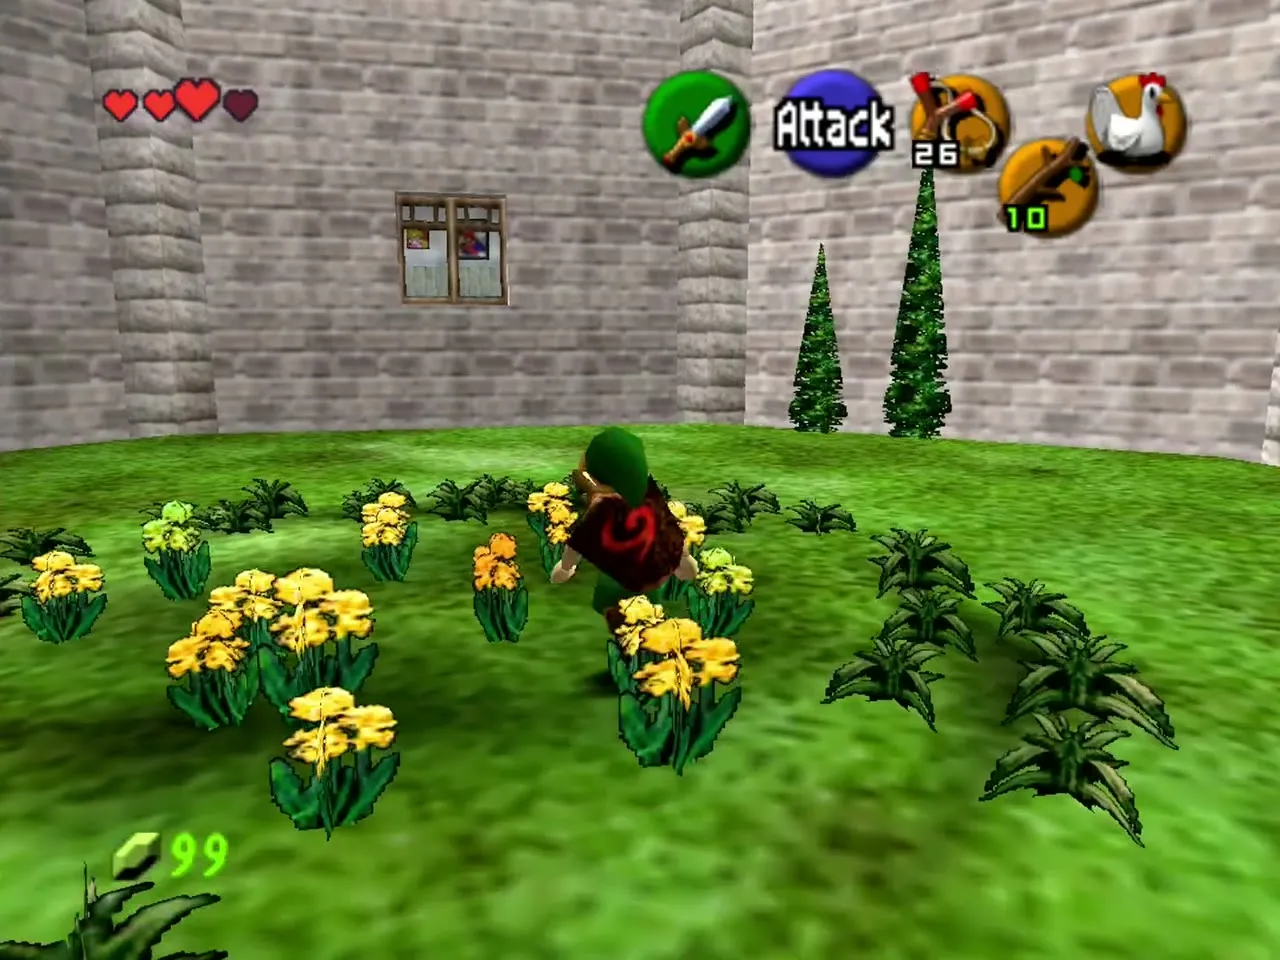
The courtyard is a stealth area with several patrolling guards. If one sees you, you are thrown out and have to start the section again. Study each guard’s route from behind a hedge, a fountain or a statue, and move when his back is turned. You can even run behind a guard, as long as you do not get too close. The guards get a little quicker as you go deeper, and the music changes when you reach the main courtyard. Take your time and keep to the shadows.
Zelda at the window
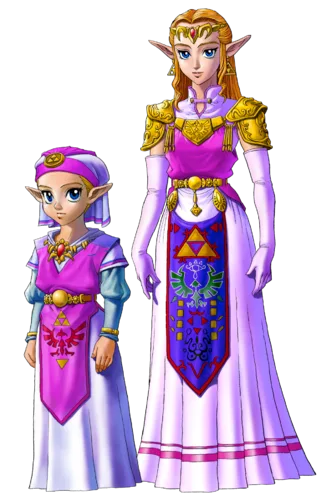
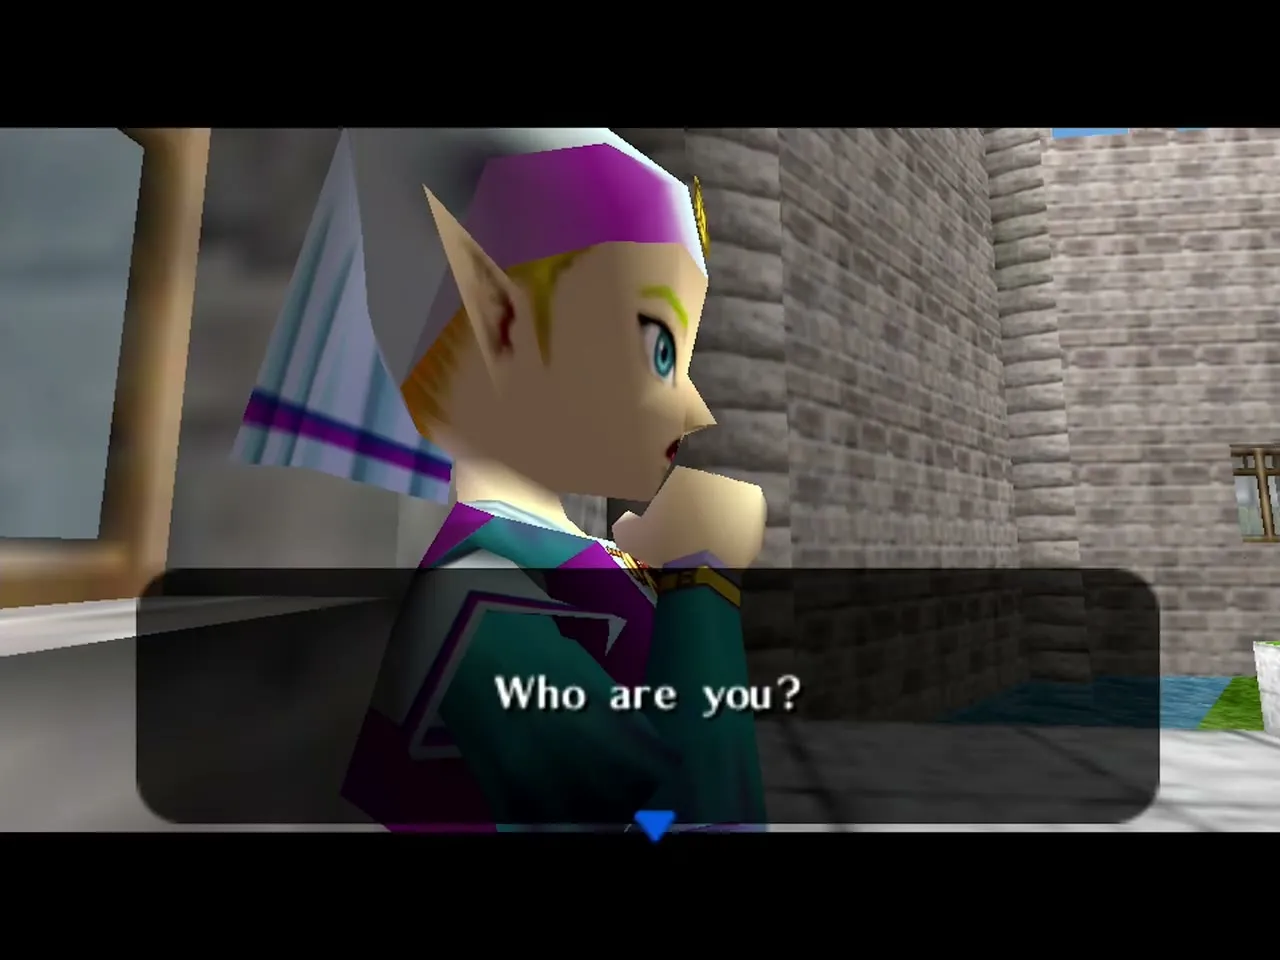
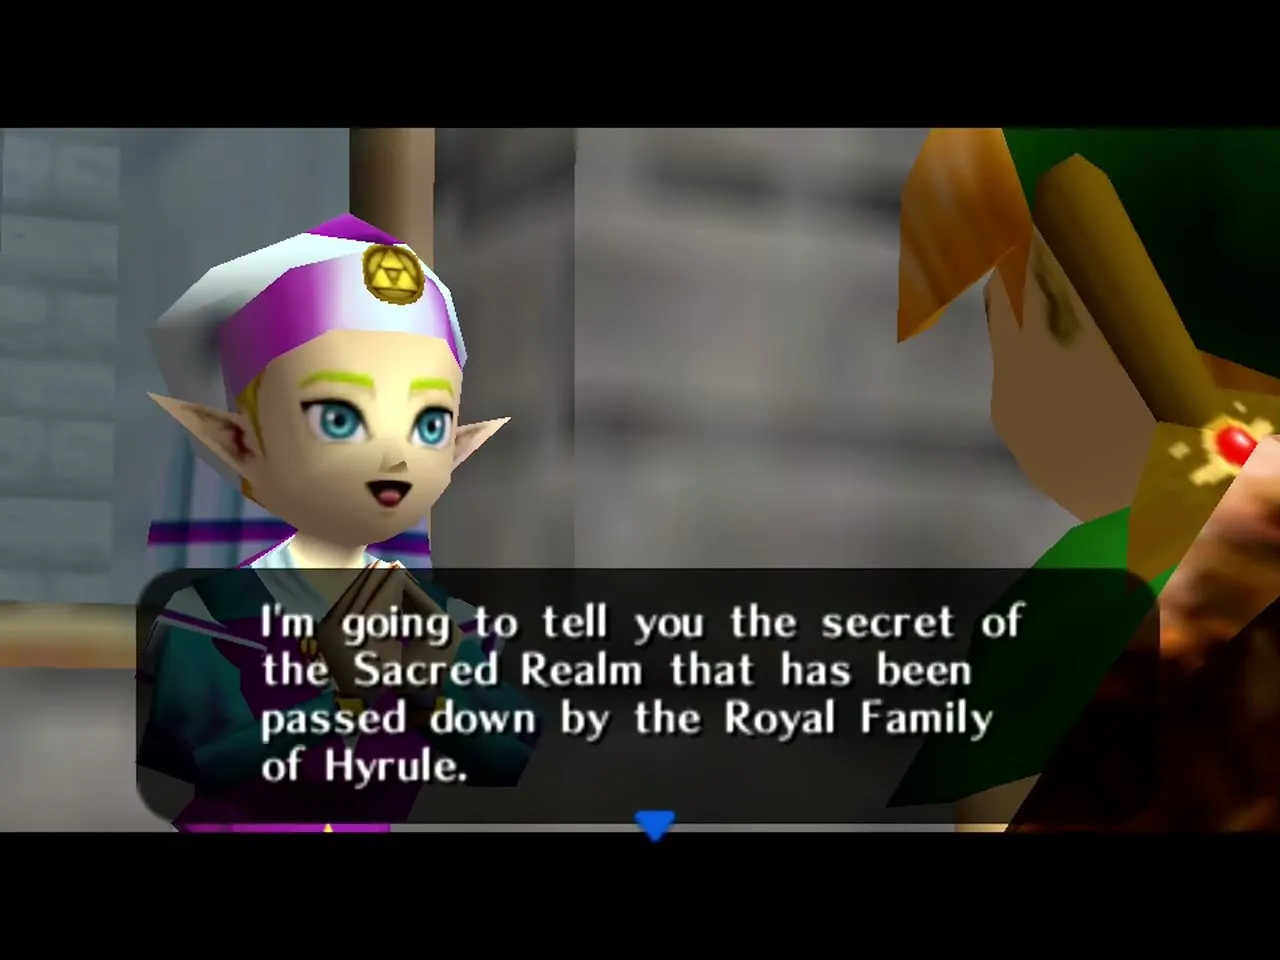
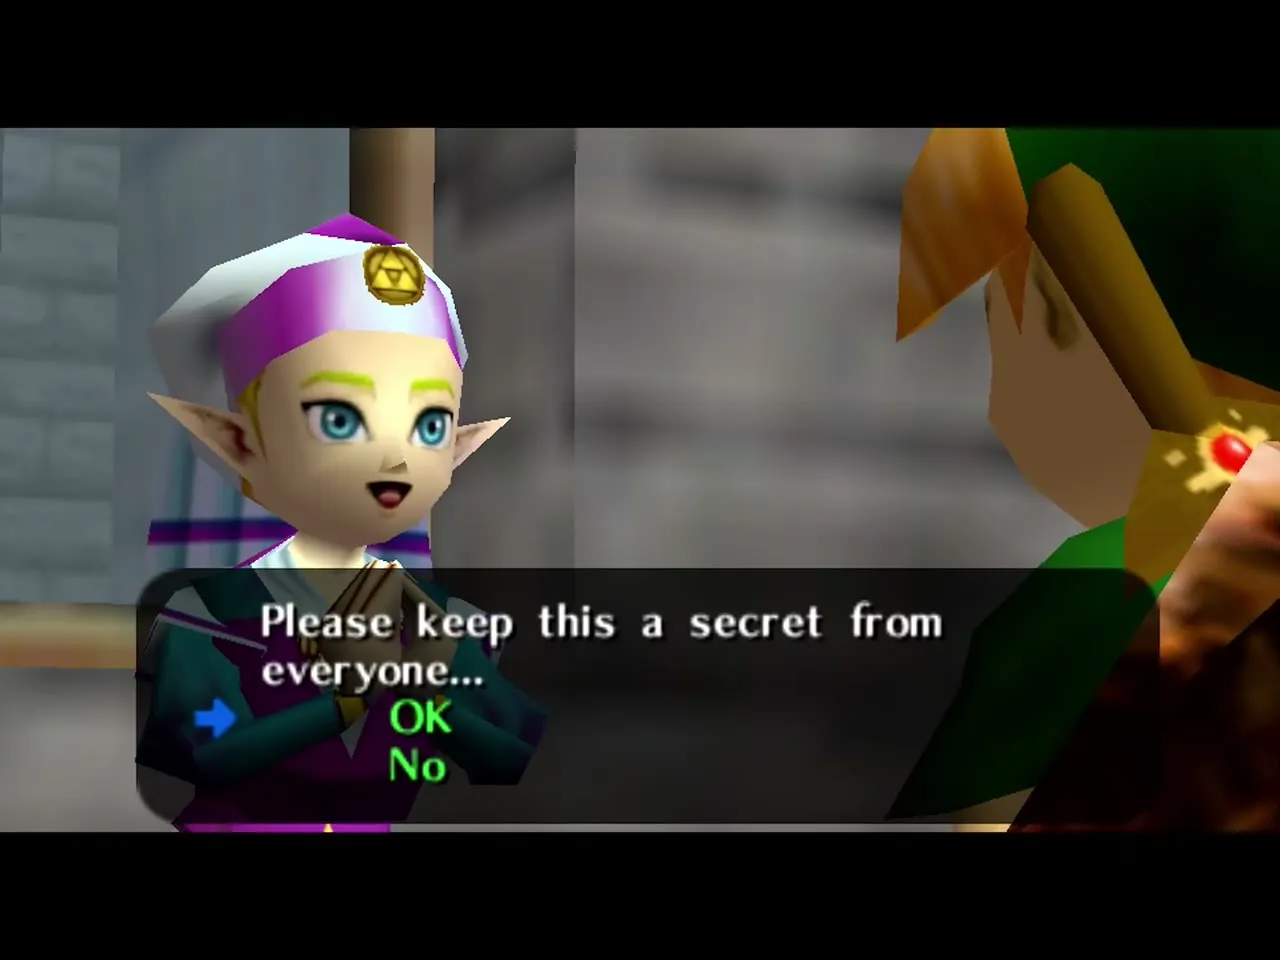
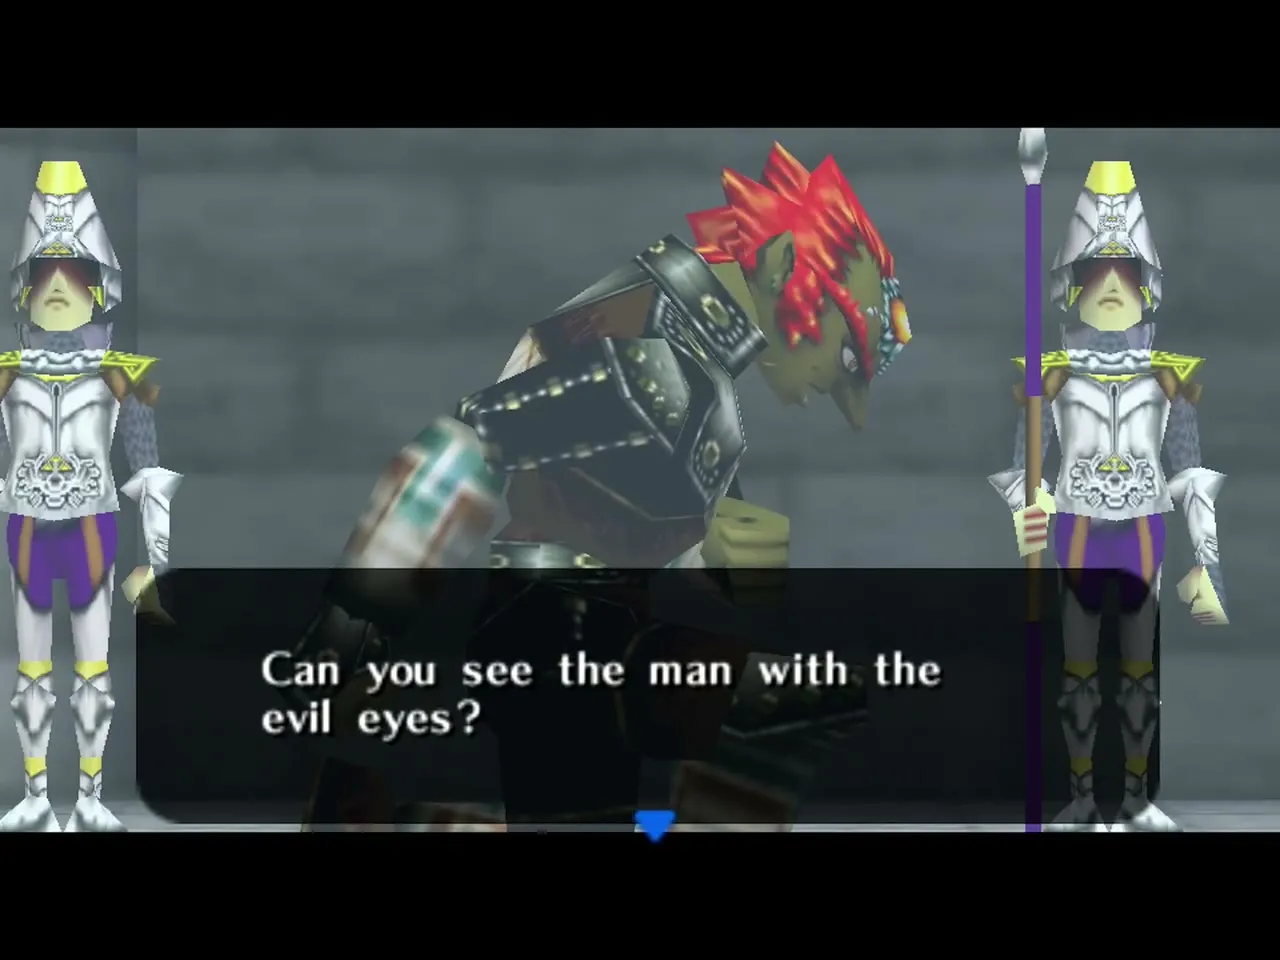
The princess stands at a window on the far left side of the main courtyard. She is surprised to see a boy, but she recognizes the Kokiri’s Emerald when you show it. She tells you about the dream she had, the Triforce and the Sacred Realm, and that the Temple of Time is the way in. She asks you to gather the other two Spiritual Stones and has you look through the window at the man in her dream: Ganondorf.
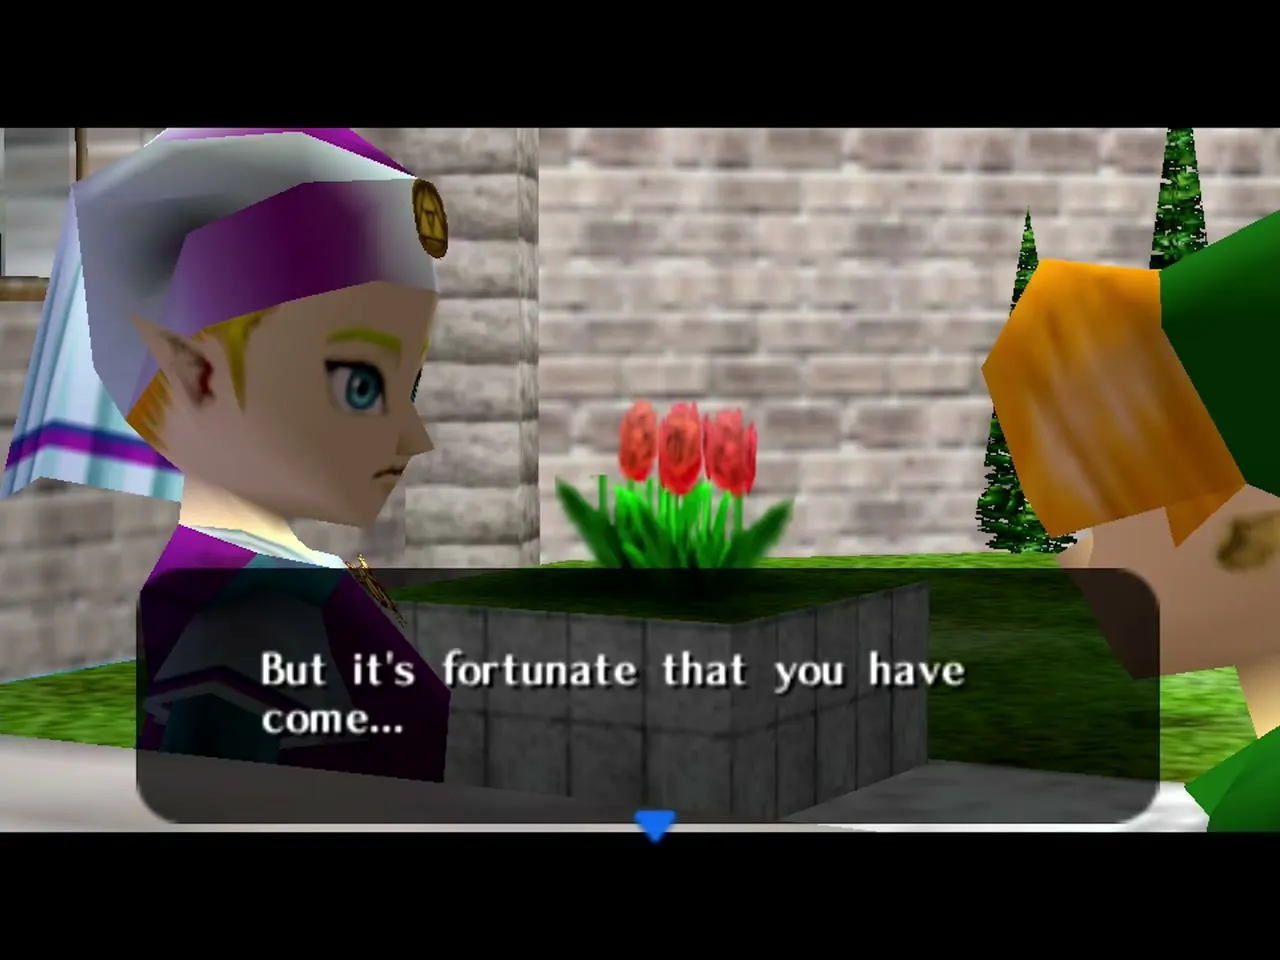
Zelda’s Letter and Zelda’s Lullaby
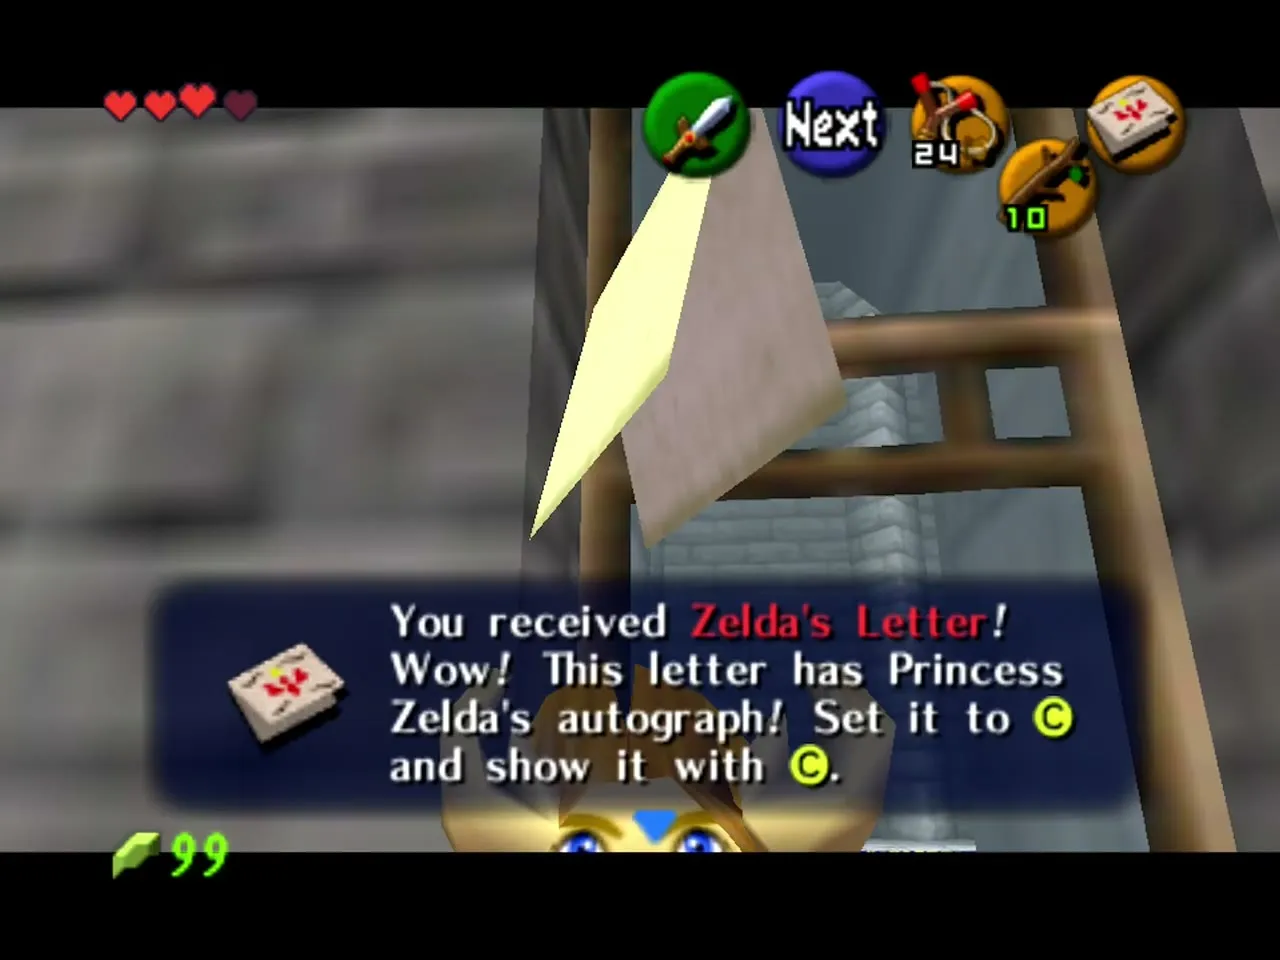
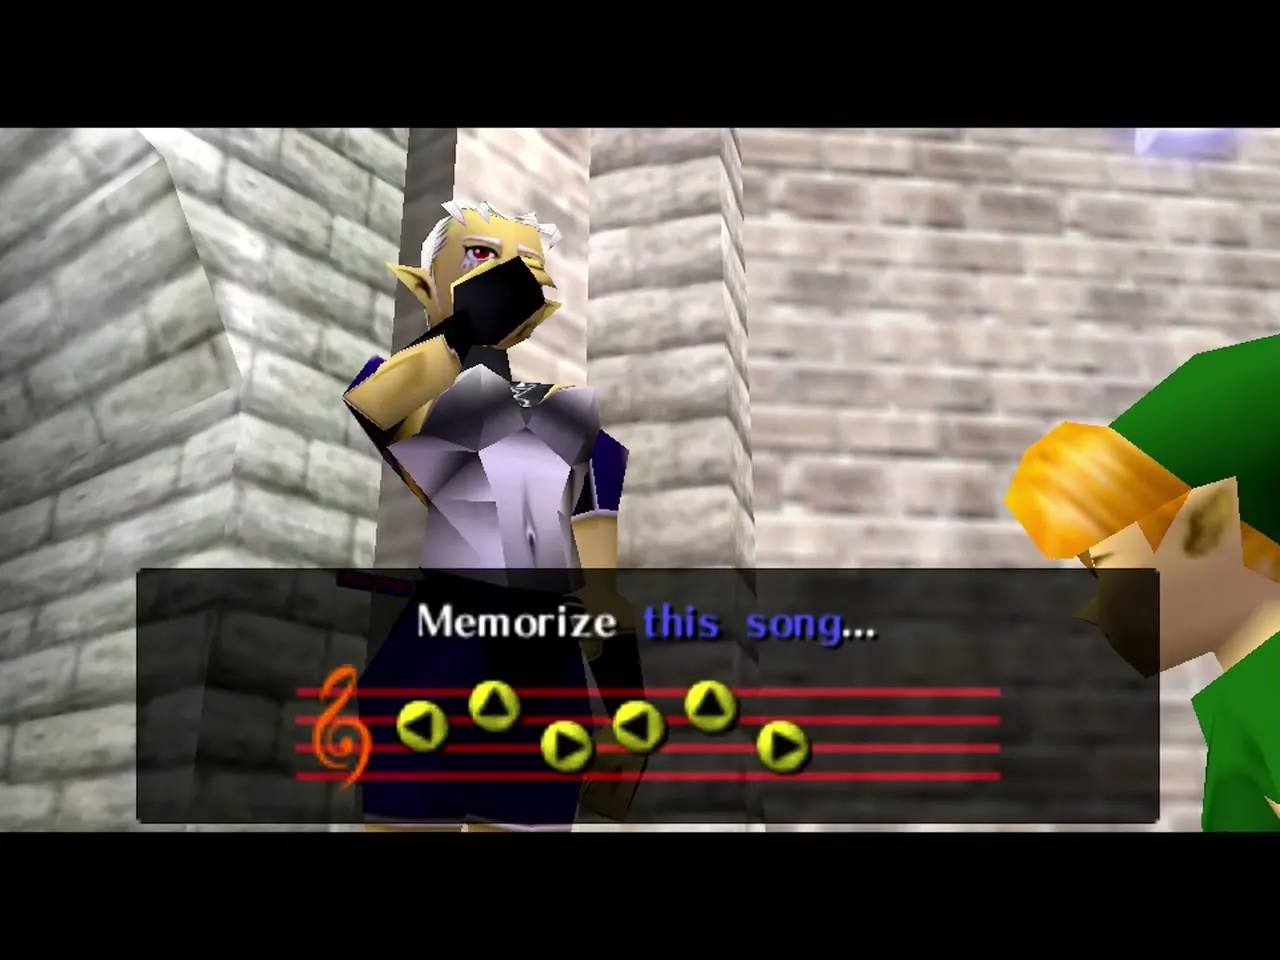
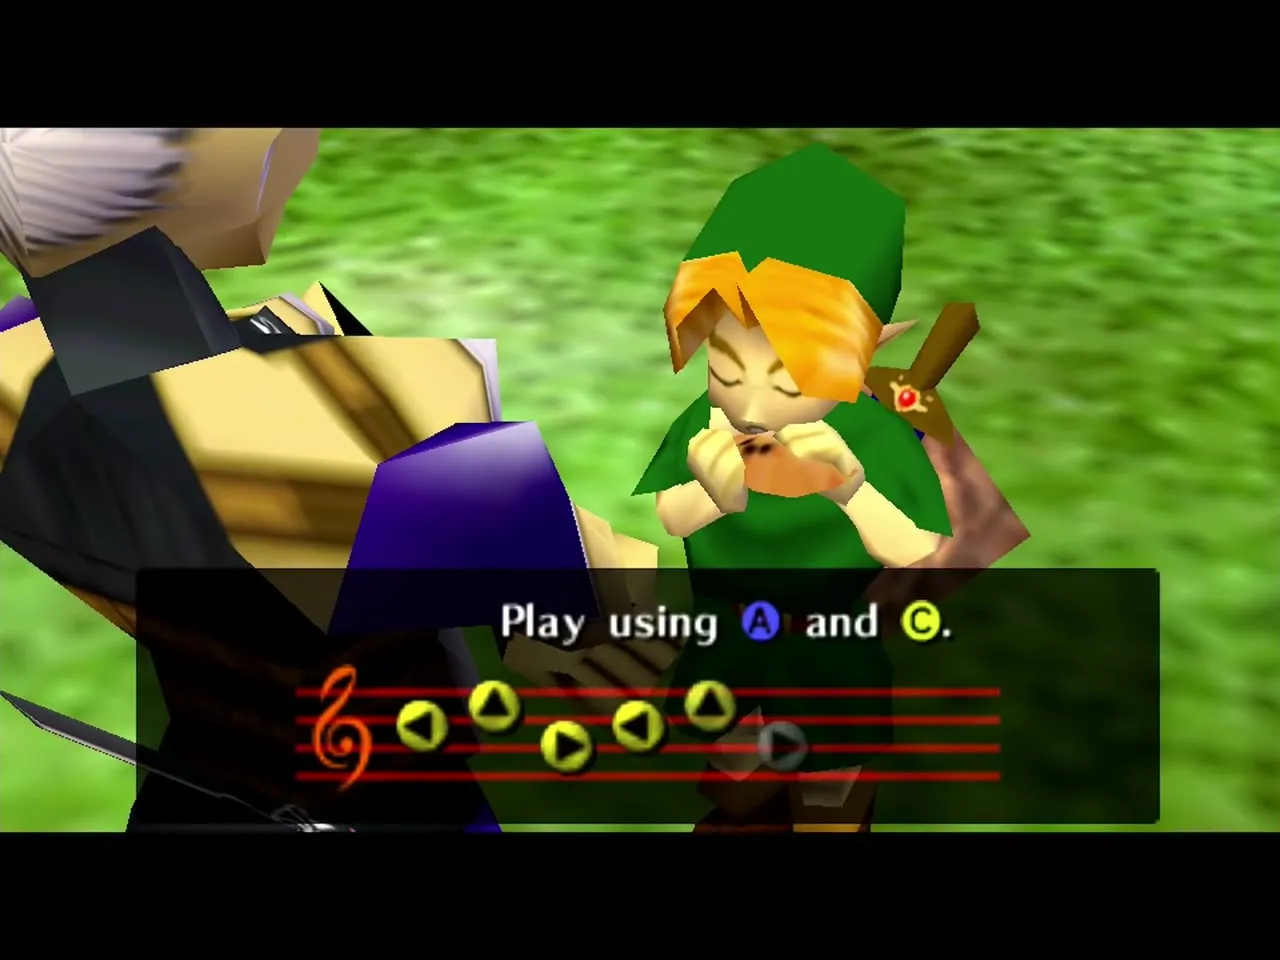
Zelda gives you Zelda’s Letter as proof of your mission. Impa then comes in, teaches you Zelda’s Lullaby (N64: C-Left, C-Up, C-Right, C-Left, C-Up, C-Right) and tells you to go to Kakariko Village, her home, and then to Death Mountain. She escorts you back to the drawbridge. Zelda’s Lullaby opens the doors of the Triforce symbols across Hyrule and calls Great Fairies, so you will use it constantly.
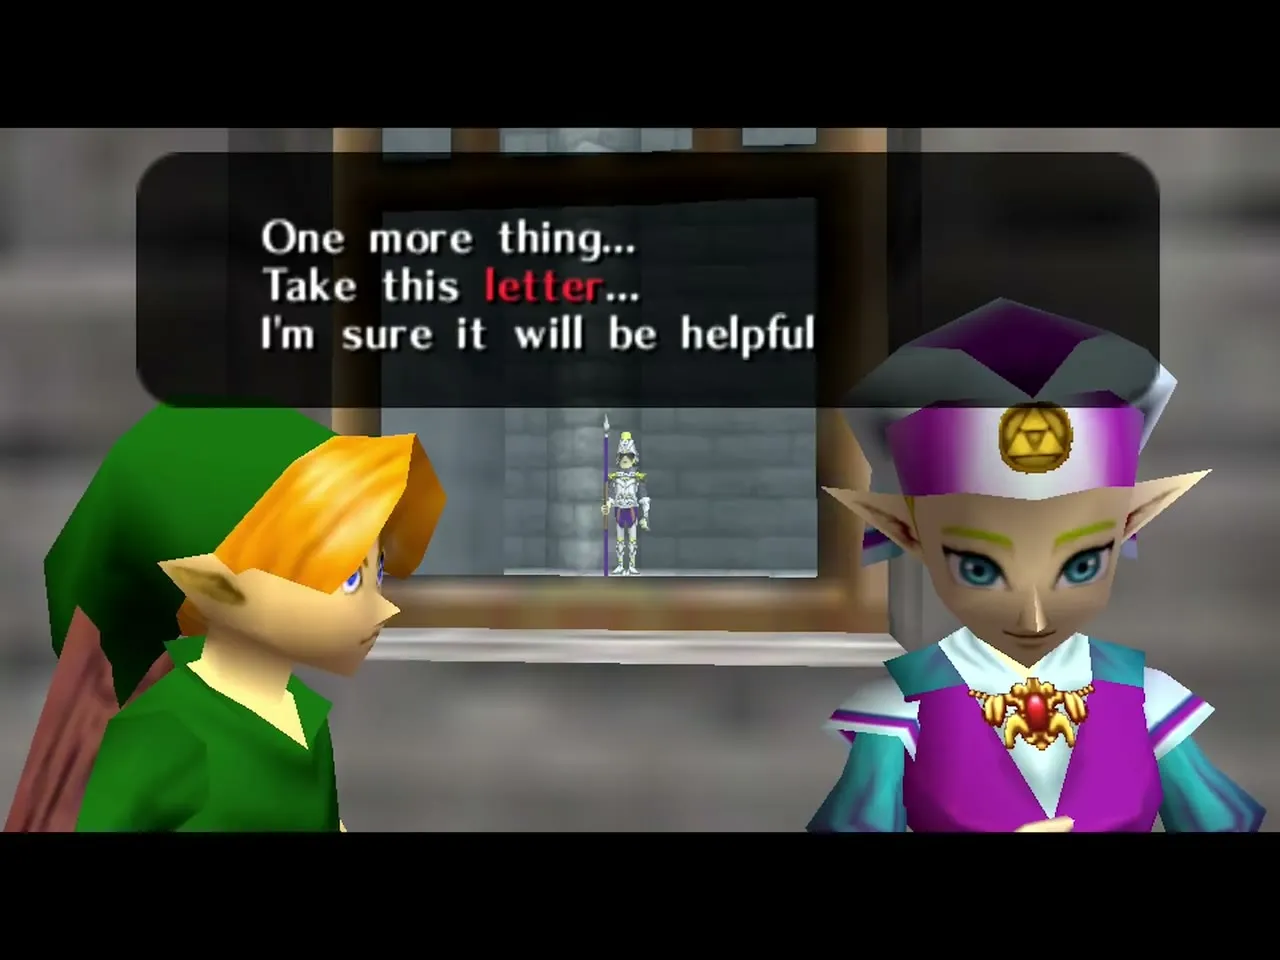
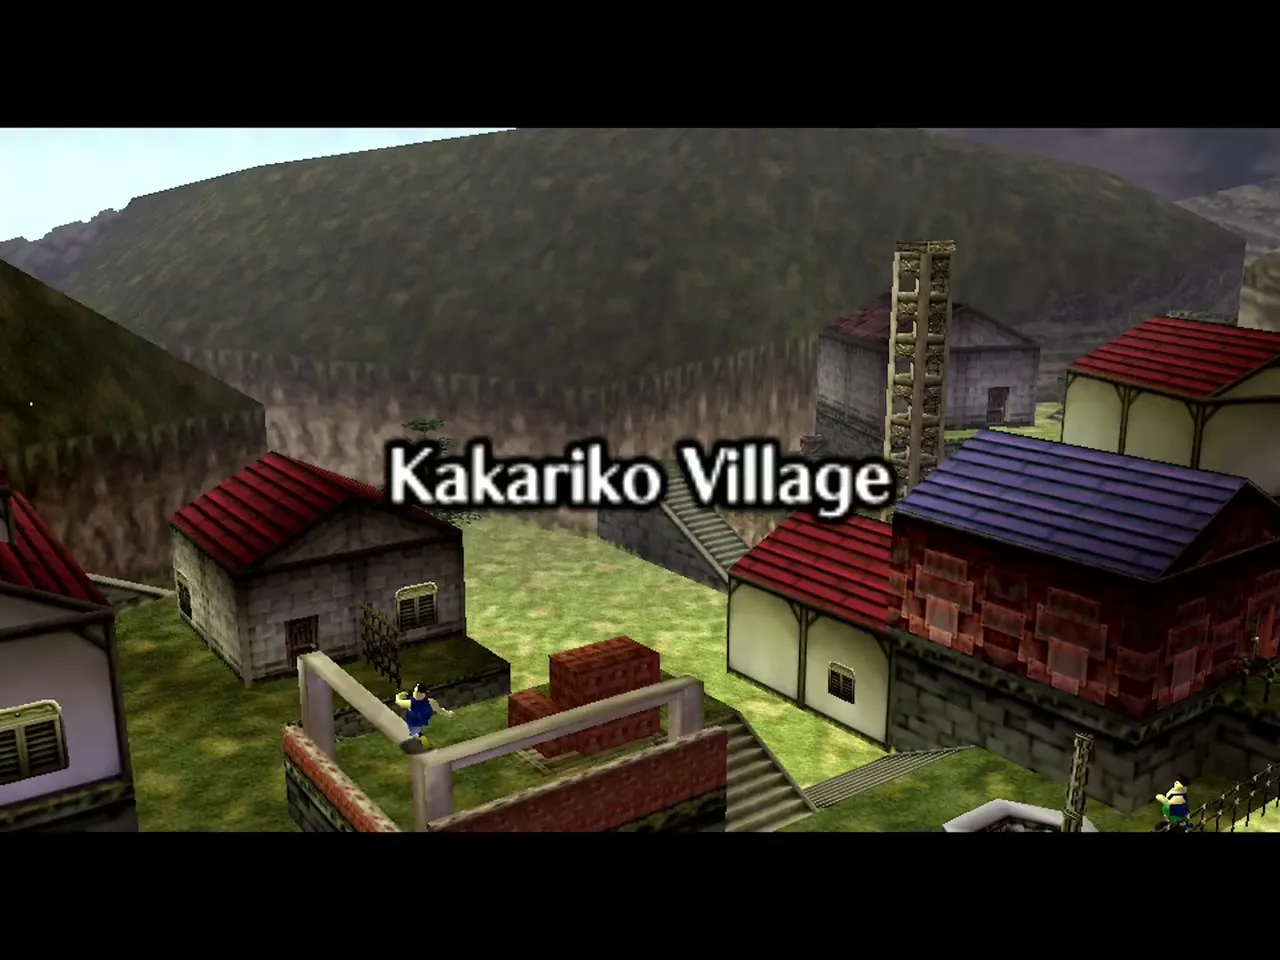
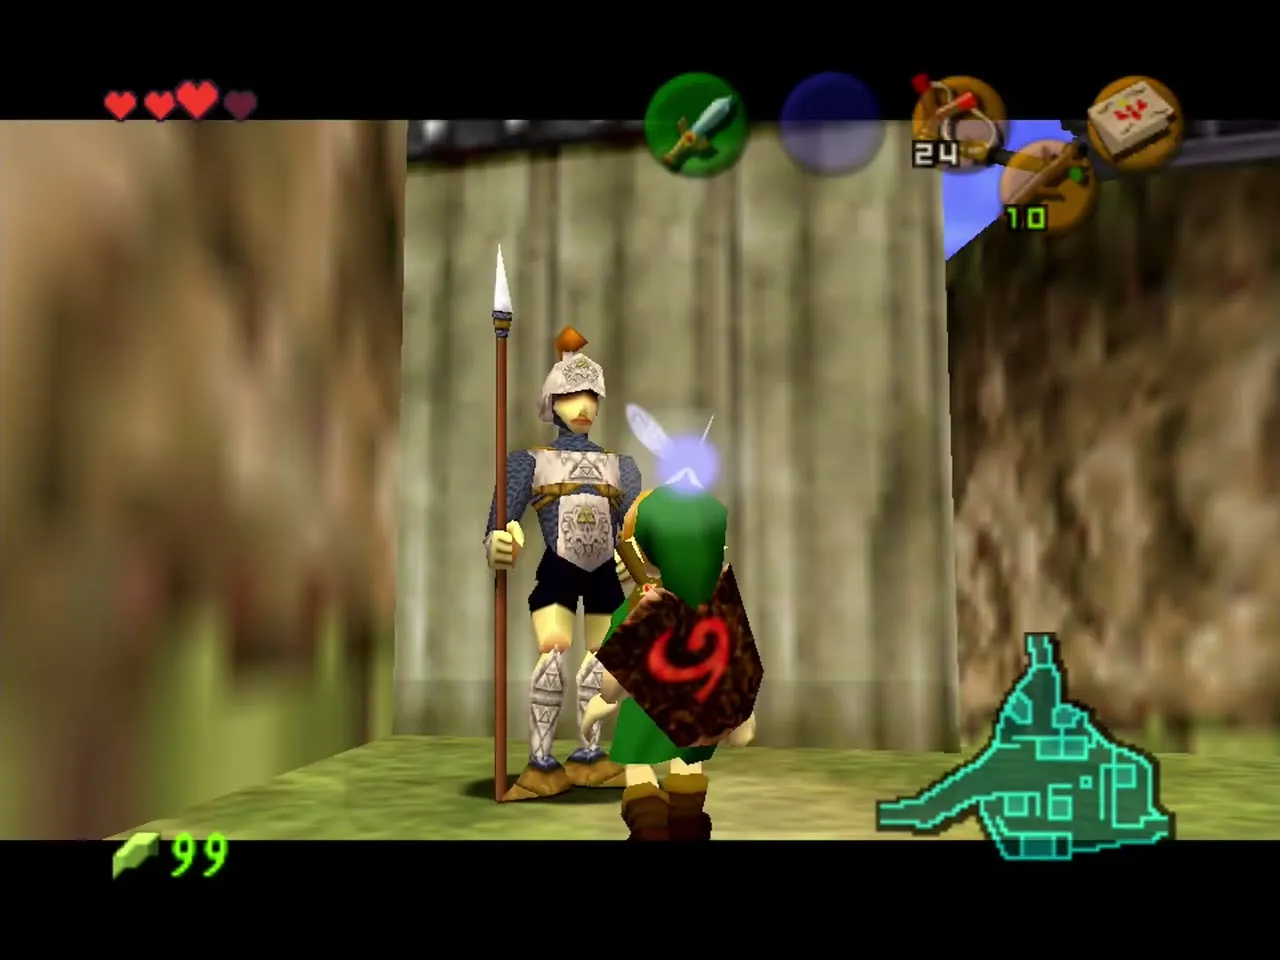
Go to Kakariko Village next: the gate guard there will let you pass up Death Mountain Trail when you show him Zelda’s Letter, and the Happy Mask Shop in the Market opens at the same time.
Chapter checklist
| Type | Name | Where |
|---|---|---|
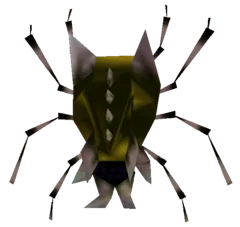 Gold Skulltula | Castle entrance tree | Tree with three rocks where the owl sits; roll into it; any time, child |
| Item | Weird Egg | Malon by the vines near the castle gate |
| Item | Zelda’s Letter | Princess Zelda, courtyard window |
| Song | Zelda’s Lullaby | Impa, after the meeting with Zelda |
| Rupees | Drawbridge chain drops, grotto chests | Hyrule Field |
