
























Ocarina of Time 100% Completion Walkthrough21 chapters
- Kokiri ForestKokiri Sword, Deku Shield, the village’s Rupees and its first Gold Skulltula.
- Inside the Great Deku Tree (Dungeon 1)Map, Slingshot, Compass, 3 Gold Skulltulas, Queen Gohma, Heart Container, the Kokiri’s Emerald and the Fairy Ocarina.
- Hyrule Field and Hyrule CastleThe Weird Egg, Talon, the castle courtyard, Zelda’s Letter and Lullaby, and the tree Gold Skulltula.
- Kakariko Village and Hyrule MarketBottle, Sun’s Song, Graveyard Heart Pieces, the mask chain and the Skull Mask trip, the Shooting Gallery and Skulltulas.
- Death Mountain Trail and Goron CityShow Zelda’s Letter at the gate, climb to Goron City, learn Saria’s Song for Darunia and take the Goron’s Bracelet.
- Dodongo’s Cavern (Dungeon 2)Every room, Dungeon Map, Compass, Bomb Bag, 5 Gold Skulltulas, King Dodongo tactics and the Goron’s Ruby.
- Death Mountain, Goron City and Hyrule MarketAfter Dodongo’s Cavern: Big Bomb Bag, bomb grottos, the Magic Meter, Heart Pieces, Gold Skulltulas, Richard, Bombchu Bowling and Din’s Fire.
- Zora’s River and Zora’s DomainBean seller, frogs, Heart Pieces, Silver Scale, Ruto’s Letter, Lake Hylia, the fishing pond, Farore’s Wind and Jabu-Jabu.
- Inside Jabu-Jabu’s Belly (Dungeon 3)Carrying Ruto, Boomerang, Map, Compass, 4 Gold Skulltulas, Big Octo, Barinade and Zora’s Sapphire.
- Transition to AdulthoodThe last child errands, the Ocarina, Song of Time, Door of Time, Sacred Realm, Light Medallion, Sheik and the ruined Market.
- Lon Lon RanchEpona’s Song, Lon Lon Milk bottle, tower Heart Piece, 4 Skulltulas, Ingo’s races, Epona and the cow.
- Forest Temple (Dungeon 4)The Hookshot and Song of Storms in Kakariko, Minuet of Forest, 5 Small Keys, Fairy Bow, the Poe Sisters and Phantom Ganon.
- Fire Temple (Dungeon 5)Goron Tunic, Bolero of Fire, 8 Small Keys, 5 Gold Skulltulas, Megaton Hammer, two Flare Dancers and Volvagia.
- Ice CavernAn adult round of Death Mountain and Kakariko, Zora’s adult tokens, Blue Fire, Silver Rupees, a Heart Piece and the Iron Boots.
- Water Temple (Dungeon 6)Three water levels, 6 Small Keys, 5 Gold Skulltulas, Dark Link, the Longshot, Morpha, then Lake Hylia’s Heart Pieces and tokens.
- Bottom of the WellDrain the well, the Lens of Truth, keys and Skulltulas, then the Treasure Chest Shop, the frogs and other child Song of Storms tasks.
- Shadow Temple (Dungeon 7)All 5 Small Keys, Map, Compass, Hover Boots, Boss Key, 5 Gold Skulltulas, Bongo Bongo and Shadow Medallion.
- Gerudo’s Fortress and the Haunted WastelandFree the 4 carpenters, get the Gerudo Card, win the archery prizes, then cross the Haunted Wasteland.
- Gerudo Training GroundEvery room, all 9 Small Keys, the Silver Rupee puzzles and the Ice Arrows in the central treasure room.
- Spirit Temple (Dungeon 8)Child and adult routes, 5 keys, Map, Compass, Boss Key, 5 Skulltulas, Silver Gauntlets, Mirror Shield, Twinrova.
- Ganon’s Castle and Ganon’s TowerLight Arrows, six trials, Golden Gauntlets, Double Defense, the tower climb, Ganondorf and Ganon.
| Covers | The whole of the Great Deku Tree as Child Link, from the mouth to Queen Gohma, plus the scenes outside the tree after the fight |
|---|---|
| Dungeon | Inside the Great Deku Tree (Level 1). Dungeon items: Map, Compass, Fairy Slingshot. No small keys, no Boss Key. Boss: Queen Gohma. No medallion or Ocarina song here. |
| Rewards |  Dungeon Map, Compass, Fairy Slingshot (30 Deku Seeds), 3 Gold Skulltula tokens (a fourth waits for the Bomb Bag and the Boomerang), 3 Recovery Heart chests, Heart Container, Kokiri’s Emerald, and the Fairy Ocarina from Saria at the bridge afterwards |
The Great Deku Tree is the first dungeon, and it teaches the tools you will use for the next ten hours: lock-on, shield deflection, the Slingshot, burning cobwebs with fire and swimming. You need the Kokiri Sword and Deku Shield equipped (see Kokiri Forest). The dungeon has no keys at all, so everything is solved by switches, fire, the Slingshot and the order you do things in. Three of the four Gold Skulltulas can be taken on your first pass; the fourth must wait until you have Bombs and the Boomerang.
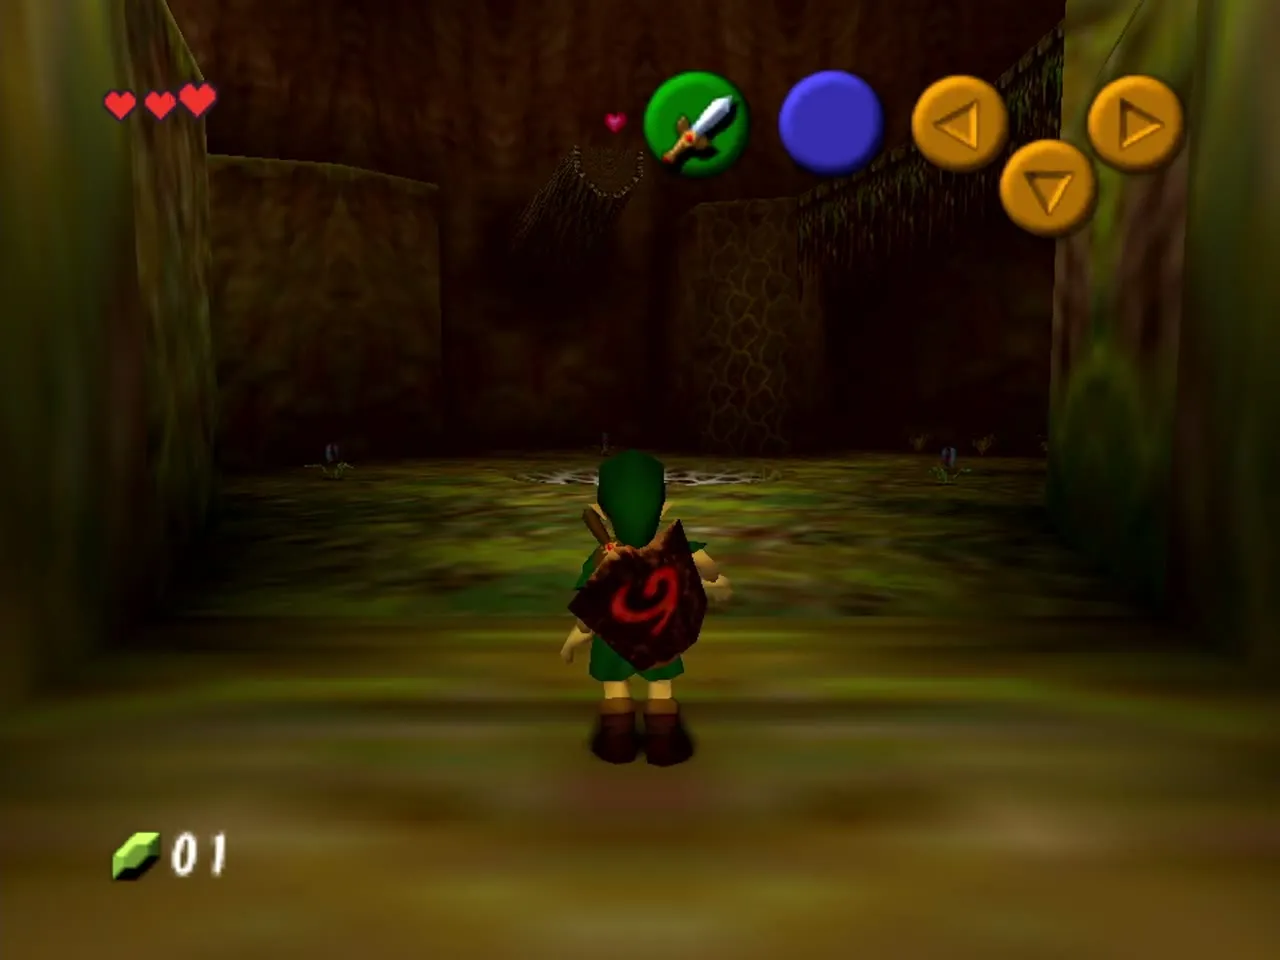
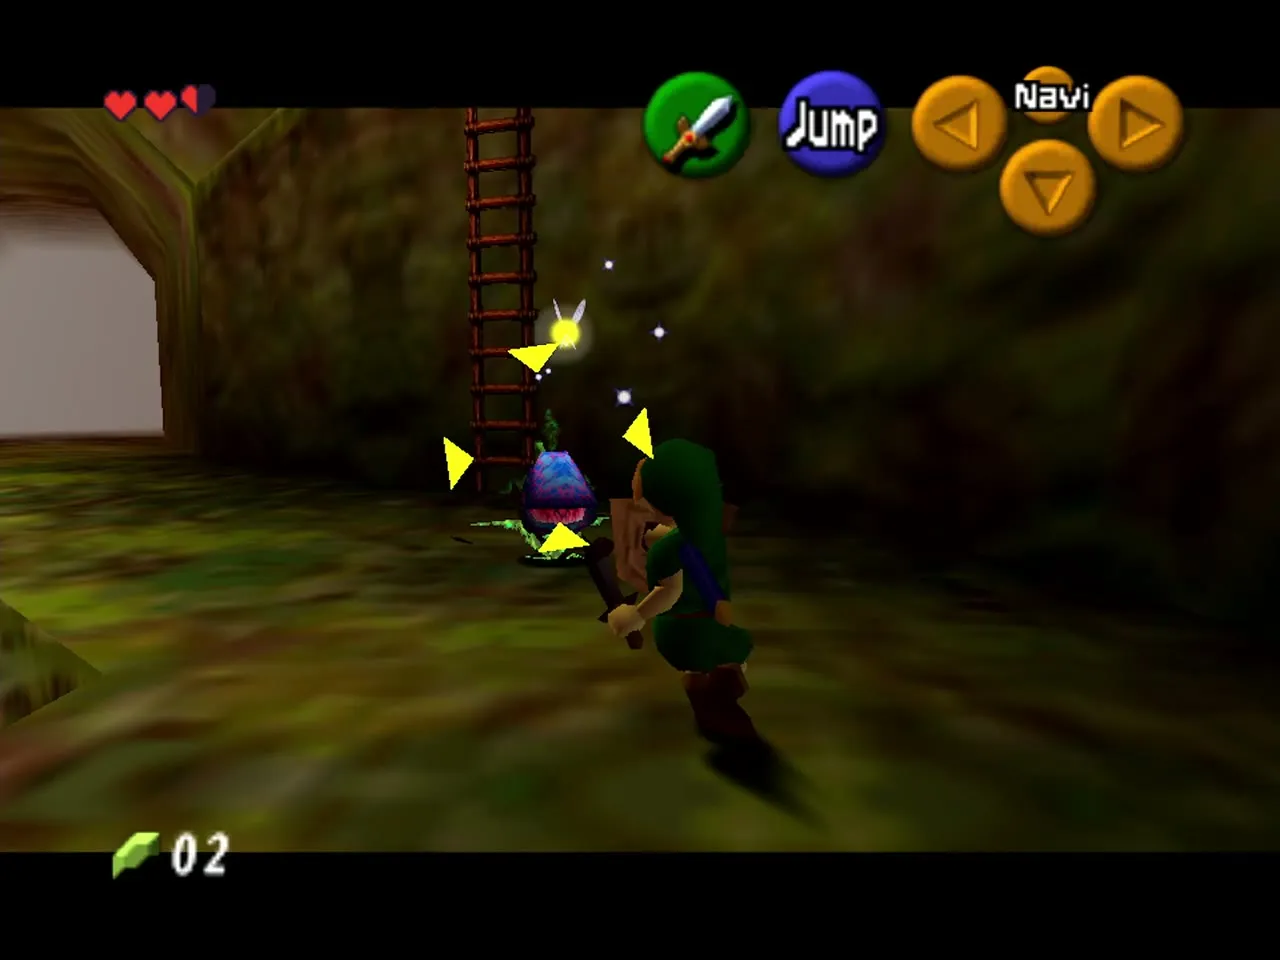
Table of Contents
Video Walkthrough with Lilly Hyrule
No-commentary video walkthrough with chapter timestamps for every major section.



Before you enter
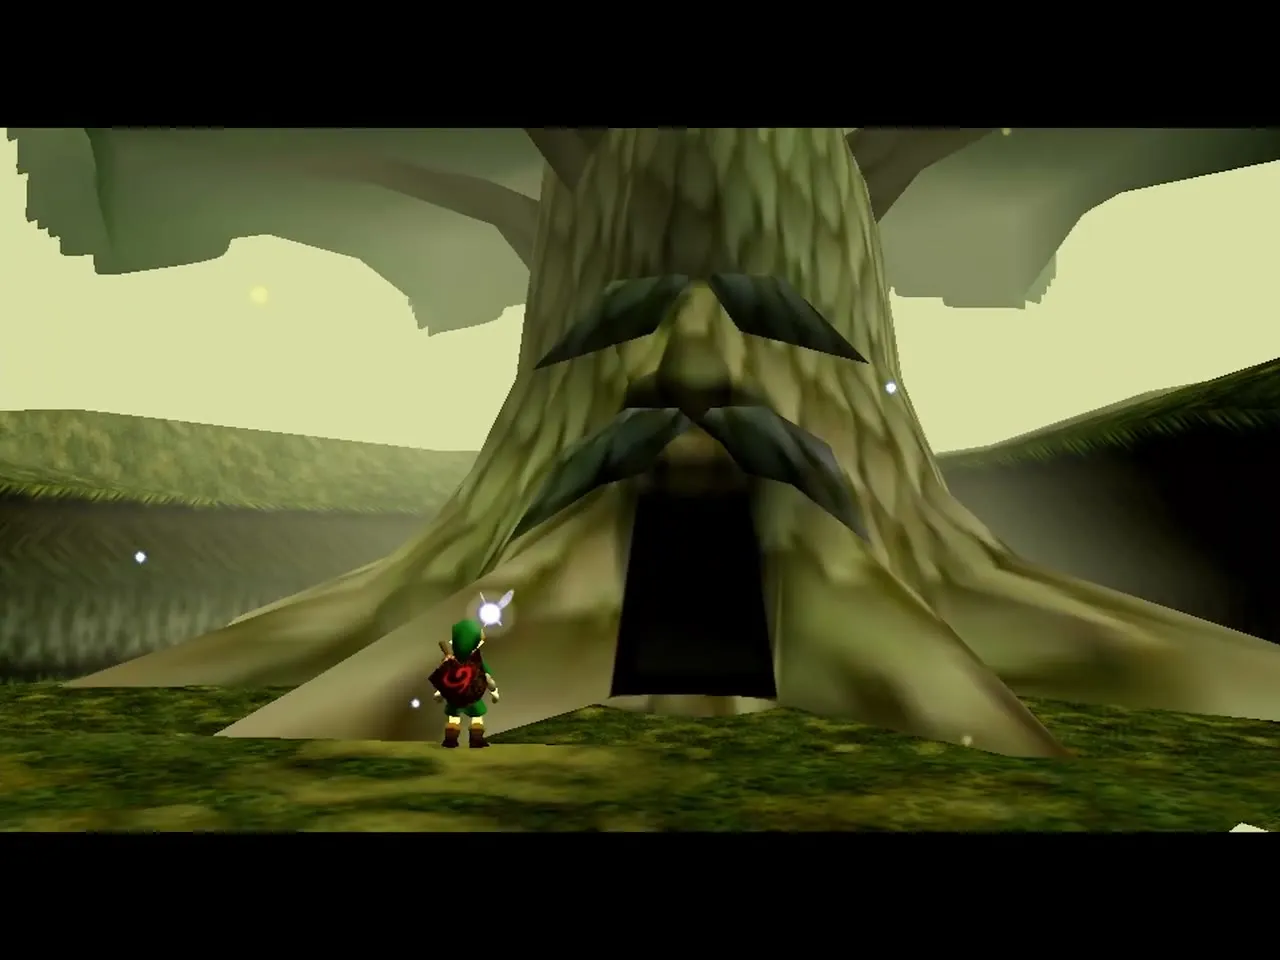
Fill up on Deku Sticks from the withered Deku Babas on the path from the village (you can carry 10) and cut a little grass for Rupees and hearts. You will use sticks to light torches and burn webs, and a stick burns out in a few seconds once lit, so carry a handful. The tree opens its mouth at the end of the conversation, and you walk in. Navi gives hints when you press C-Up and are near something she can read.

The main hall and the Dungeon Map
First floor: Deku Babas and the web
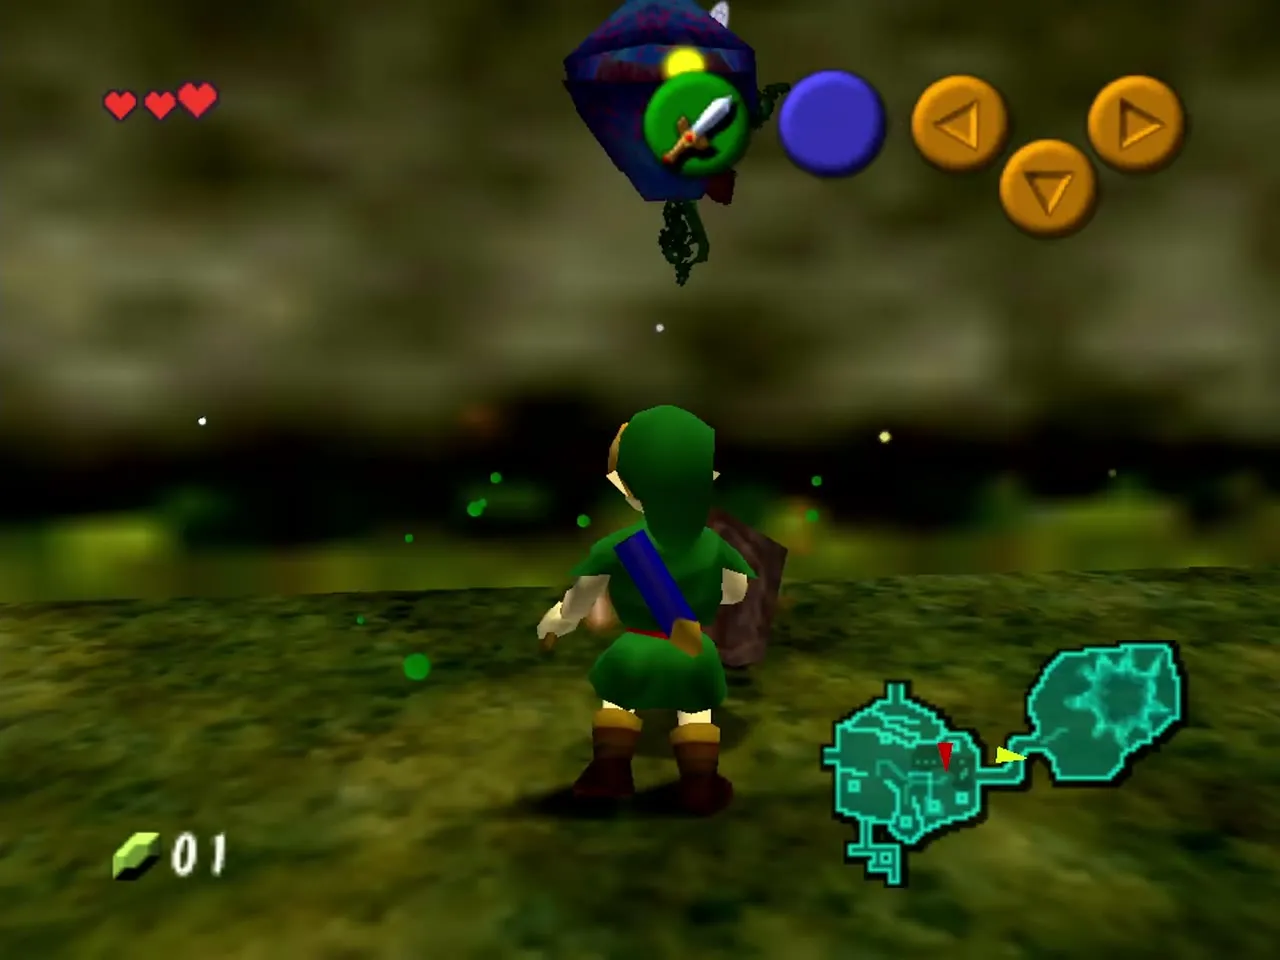
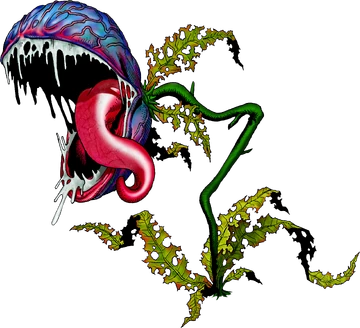
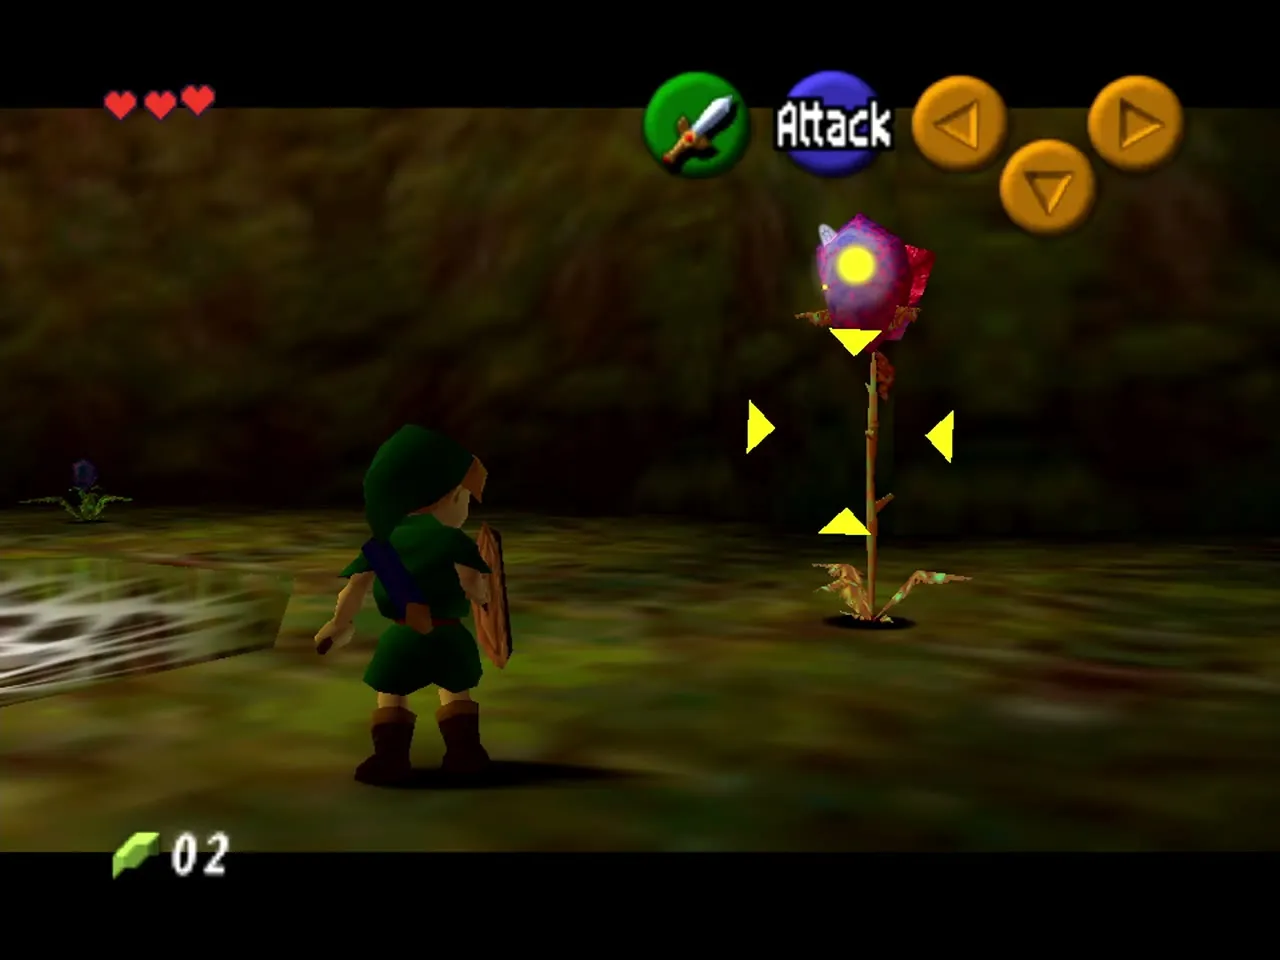
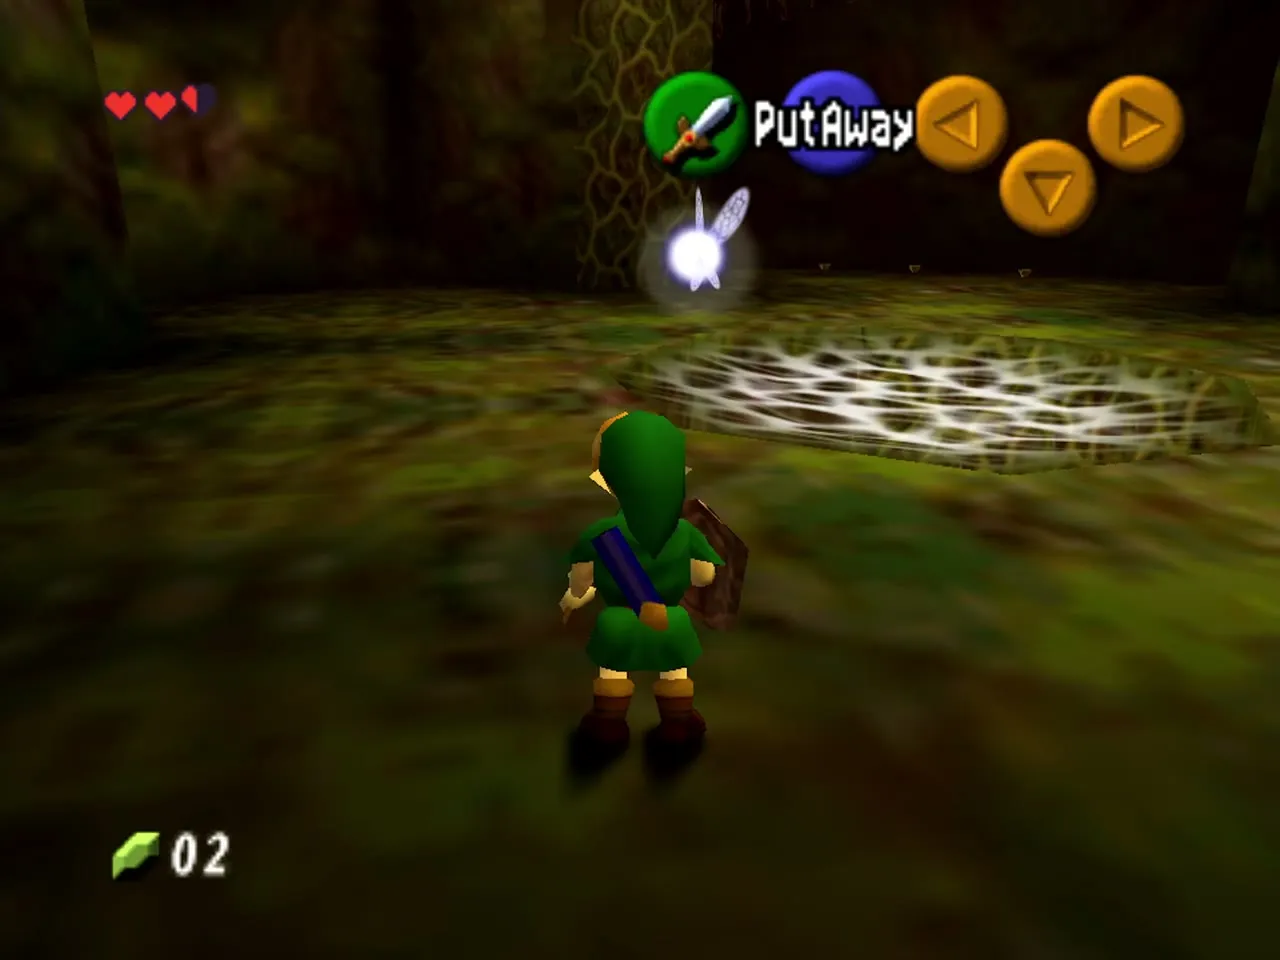
You land in a big round hall with a huge spider web stretched over the floor in the middle. Deku Babas rise out of the ground here. Unlike the withered ones outside, these lunge at you, so back up, let one strike and miss, then cut it down. A normal Deku Baba drops a Deku Nut, and a black withered one that stays put drops a Deku Stick. Cut the plants around the walls for Rupees and hearts. Notice the web: you will break through it much later.


Climb to the second floor
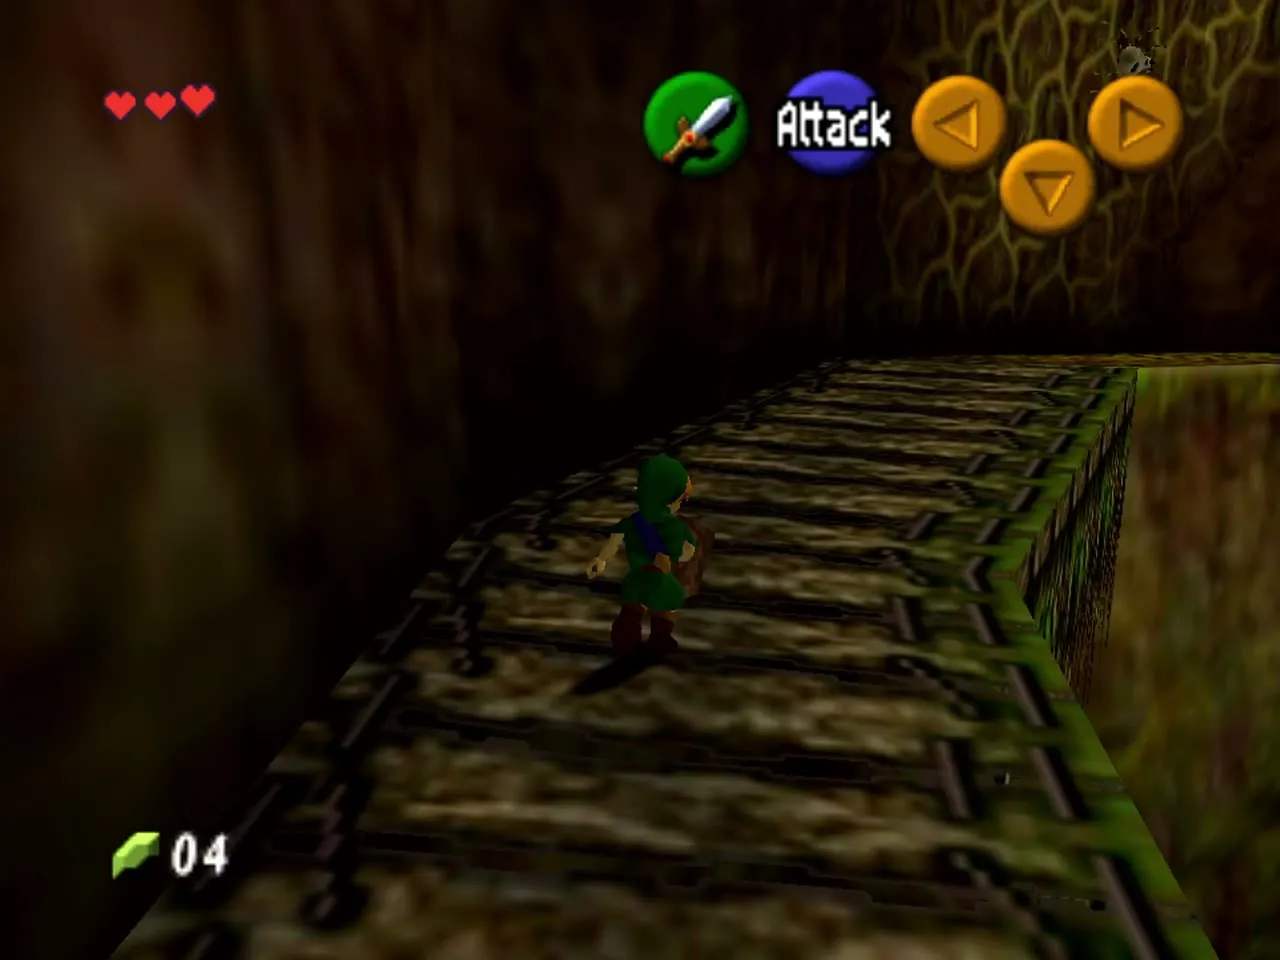
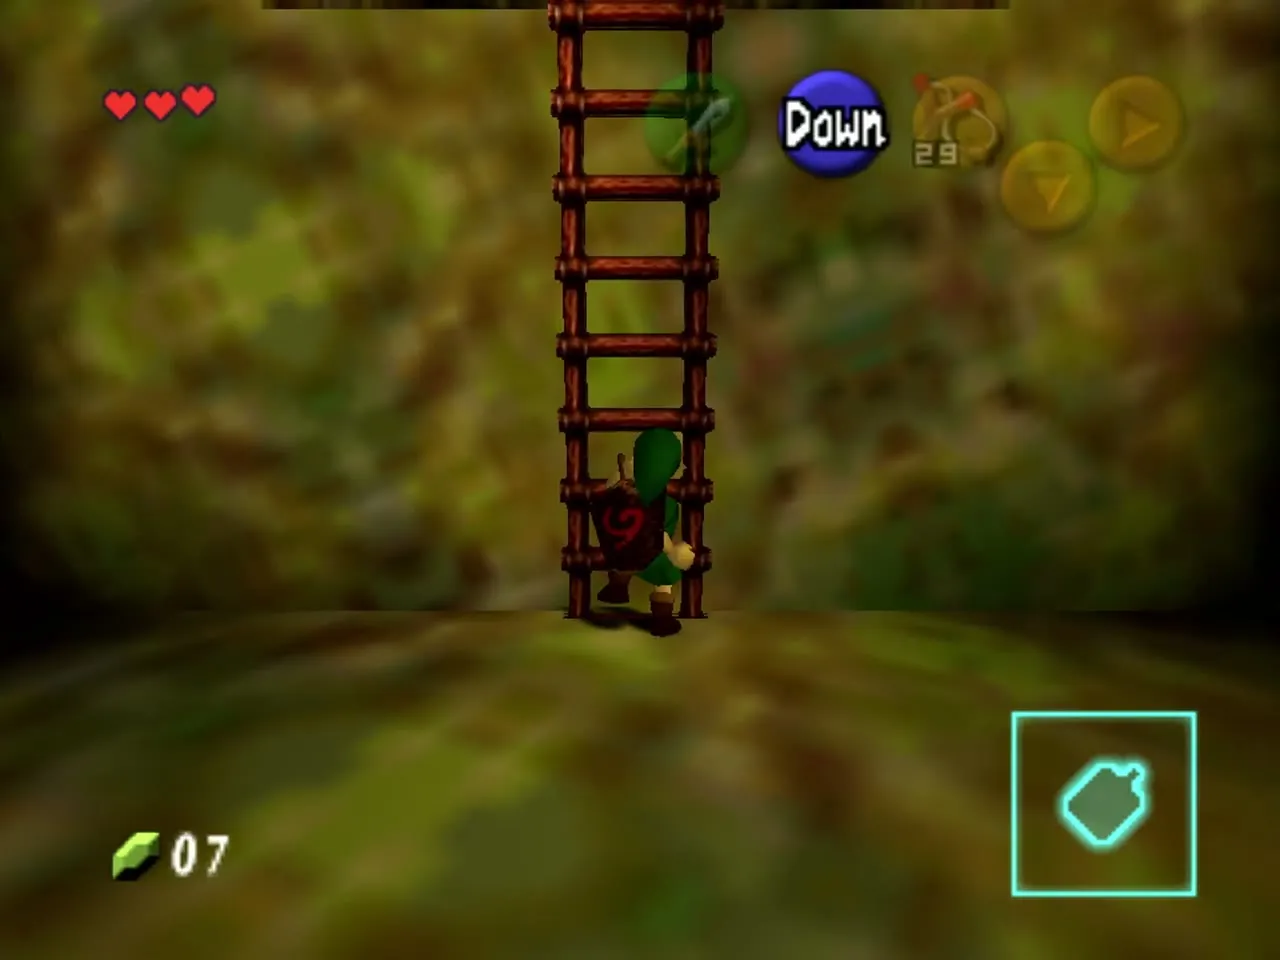
The only way is up. Climb the ladder or the vines on the central tower, and follow the walkway to the right. When there is a gap, push the stick toward it and Link jumps on his own. On the second level a large chest holds the Dungeon Map. Leave the vines behind the chest alone for now: they are covered with Skullwalltulas, spiders that knock you down if they face you while you climb.


Deku Scrub mini-boss and the Fairy Slingshot
The first Deku Scrub
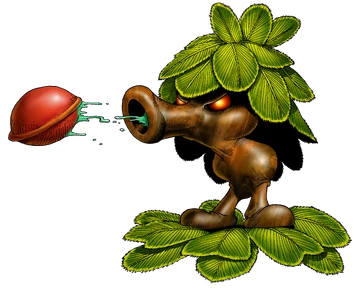
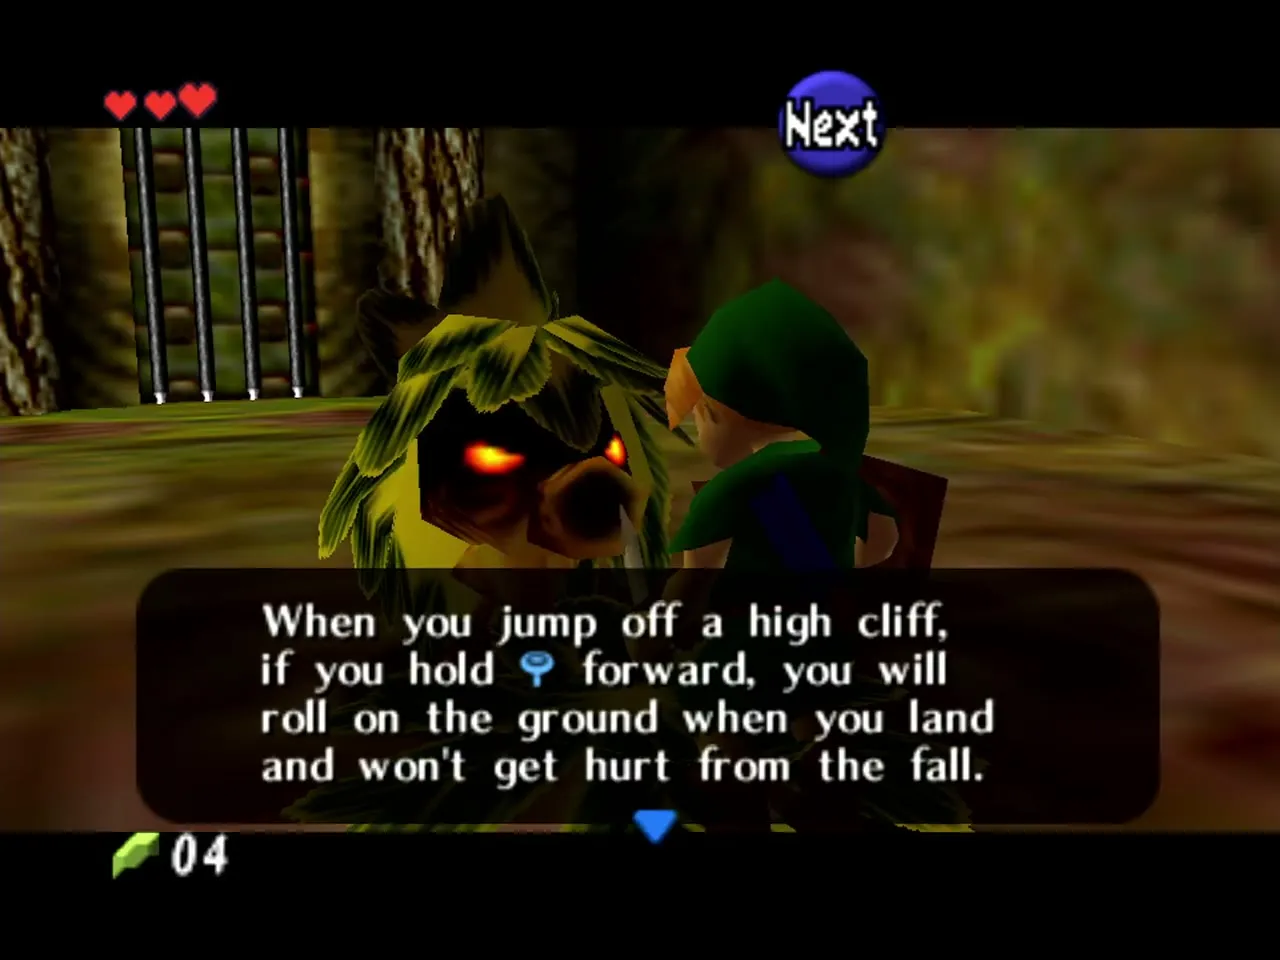
Continue forward to a door and go in. A Deku Scrub pops out of the ground and shoots Deku Nuts at you. Lock on to him (Z), hold up the Deku Shield (R) and let a nut bounce off the shield back into his face. One hit is enough to stun him. Chase him down and talk to him. He gives a hint about rolling when you land, and the locked door ahead unlocks.


Cross the platform and open the chest
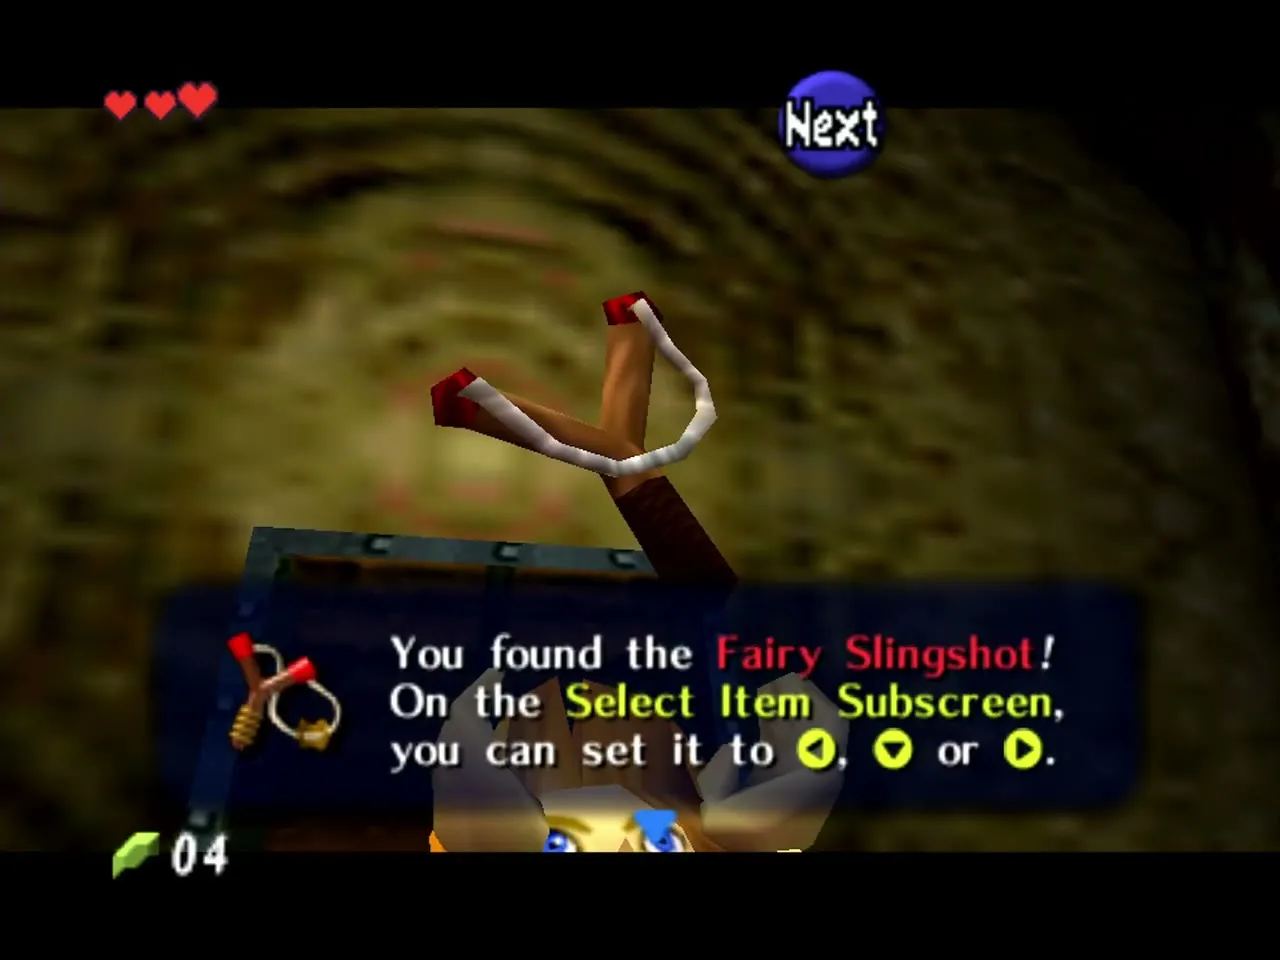
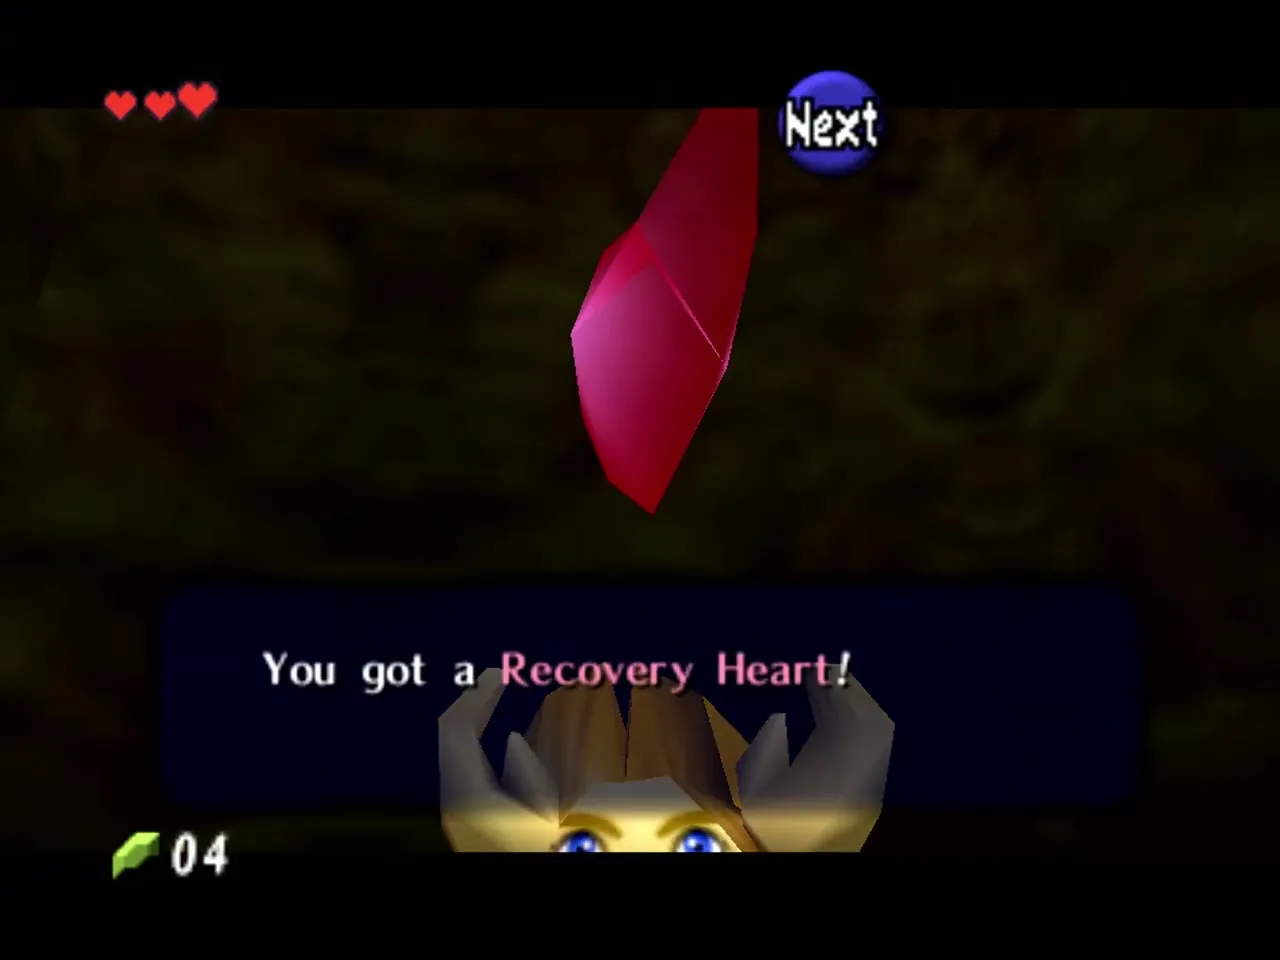
Jump onto the platform in the middle of the room and keep moving: it crumbles away behind you. On the far side a chest holds the Fairy Slingshot, the dungeon item. Put it on a C button. It holds 30 Deku Seeds (more with upgrades; see Equipment and Capacity Upgrades). A smaller chest reached by the vines on the left side holds a Recovery Heart. Break the grass in this room for seeds, because the Slingshot starts empty.

Shoot the ladder
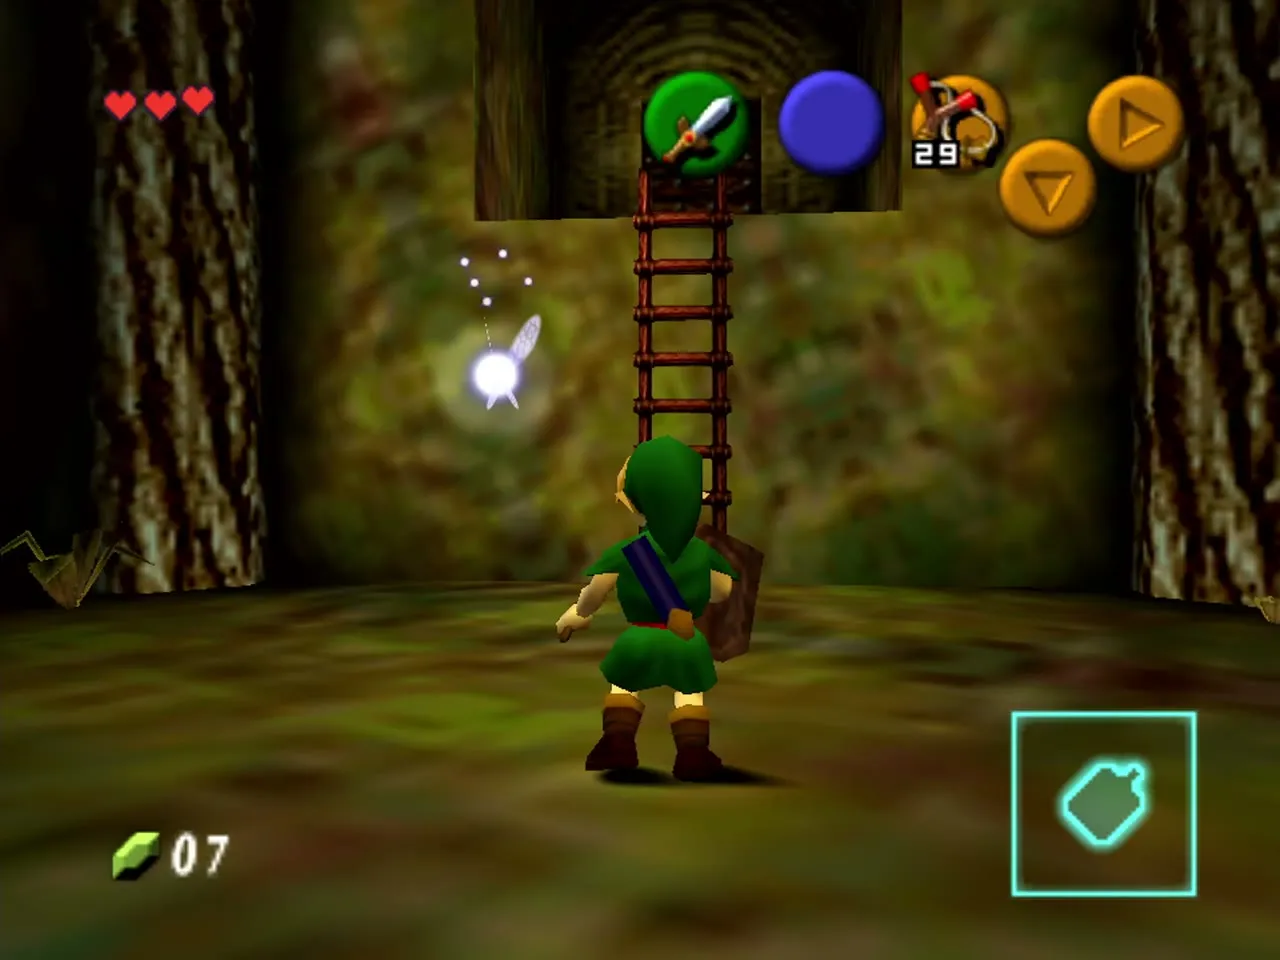
Turn around and look above the door you came in through. A ladder hangs there, rolled up. Aim at it with the Slingshot (Z-target and fire). It unrolls and gives you a way back to the hall without crossing the vanished platform. If you prefer, you can simply jump down from the door and climb the vines back up to reach the chest again later.
Up to the Compass
Shoot the Skullwalltulas
Back in the main hall, go to the vines that were covered with Skullwalltulas. You can now target each of the three with the Slingshot and shoot it off. Climb the vines to the next walkway and head right. Ignore the Big Skulltulas for now; they are slow and only matter when you pass under them. Enter the lone door.


The platform room
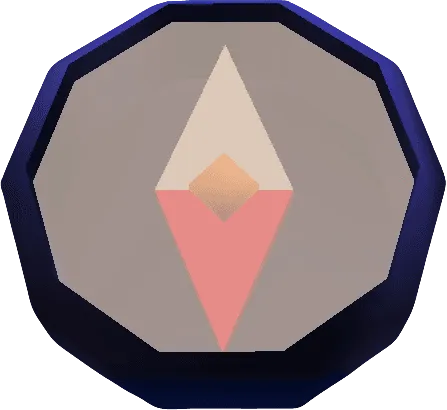
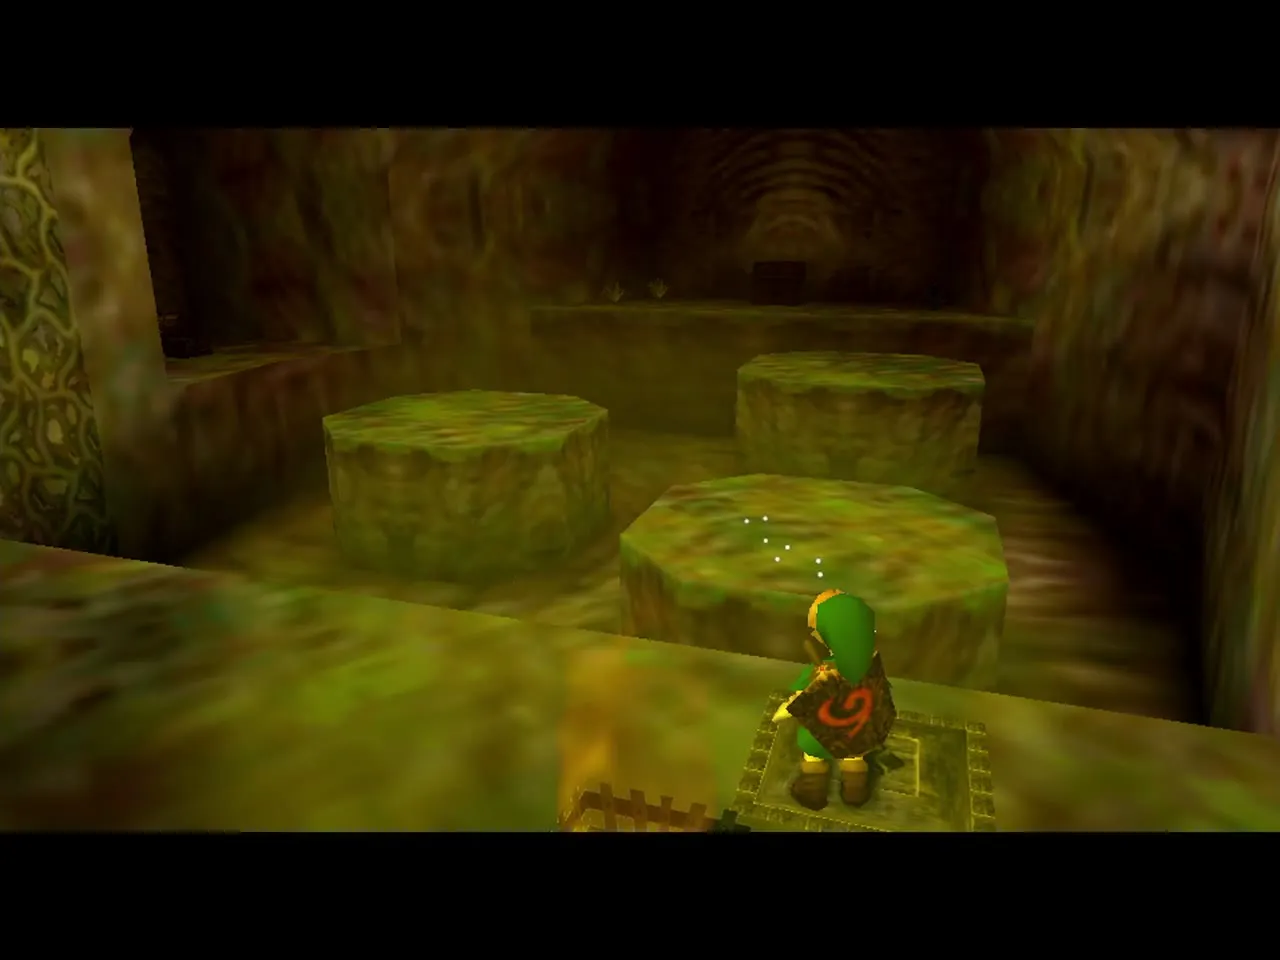
Inside, a switch on the floor beside a lit torch raises three platforms, but only for a short time. Press it and cross the platforms quickly, watching for the Deku Baba in the pit and the one at the far end. A Skulltula guards the nook on the near side. The chest at the far end holds the Compass, which shows chests and the boss on the dungeon map.

Gold Skulltula 1 and a Recovery Heart
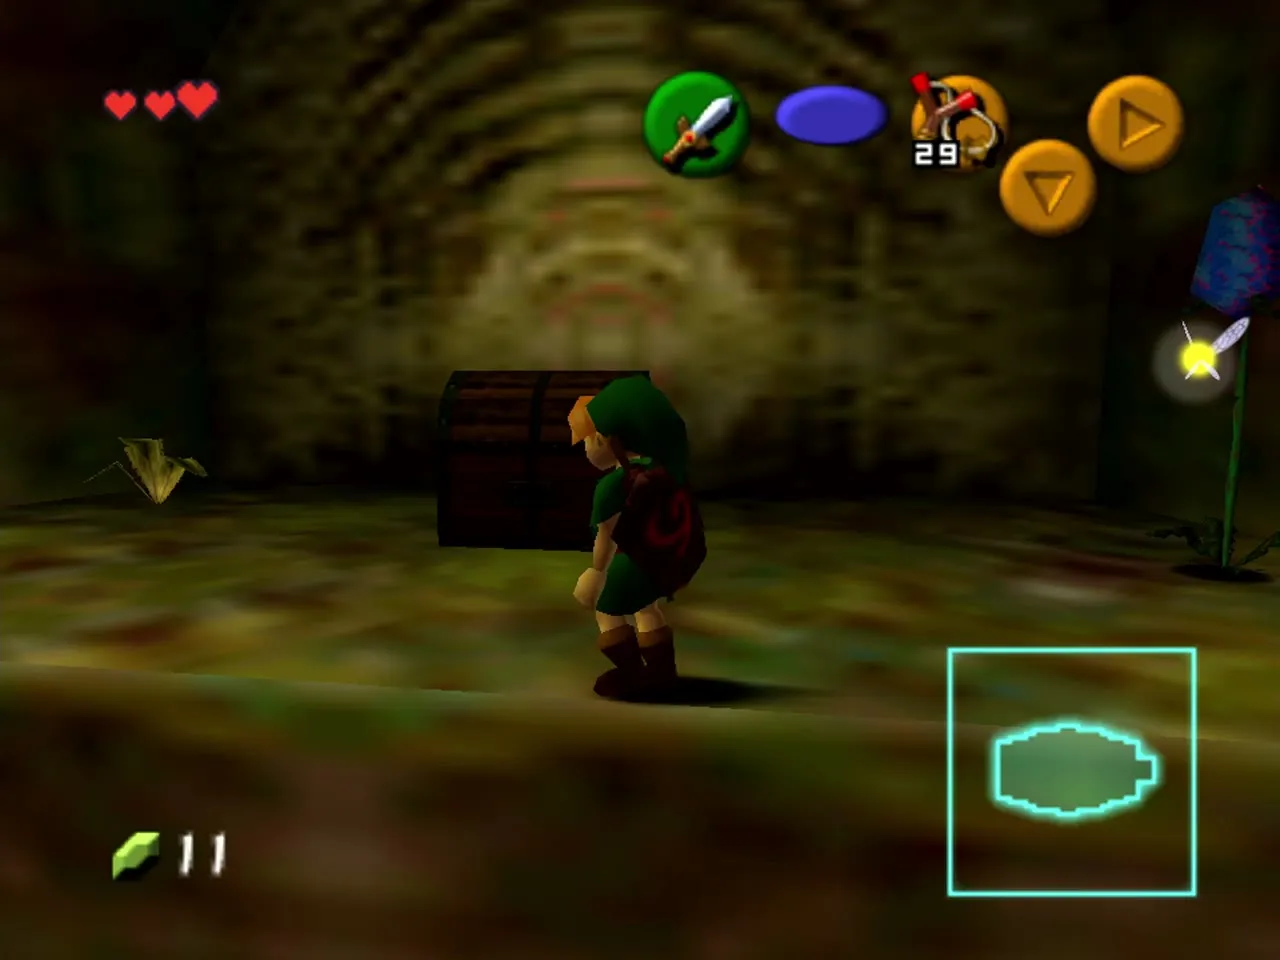
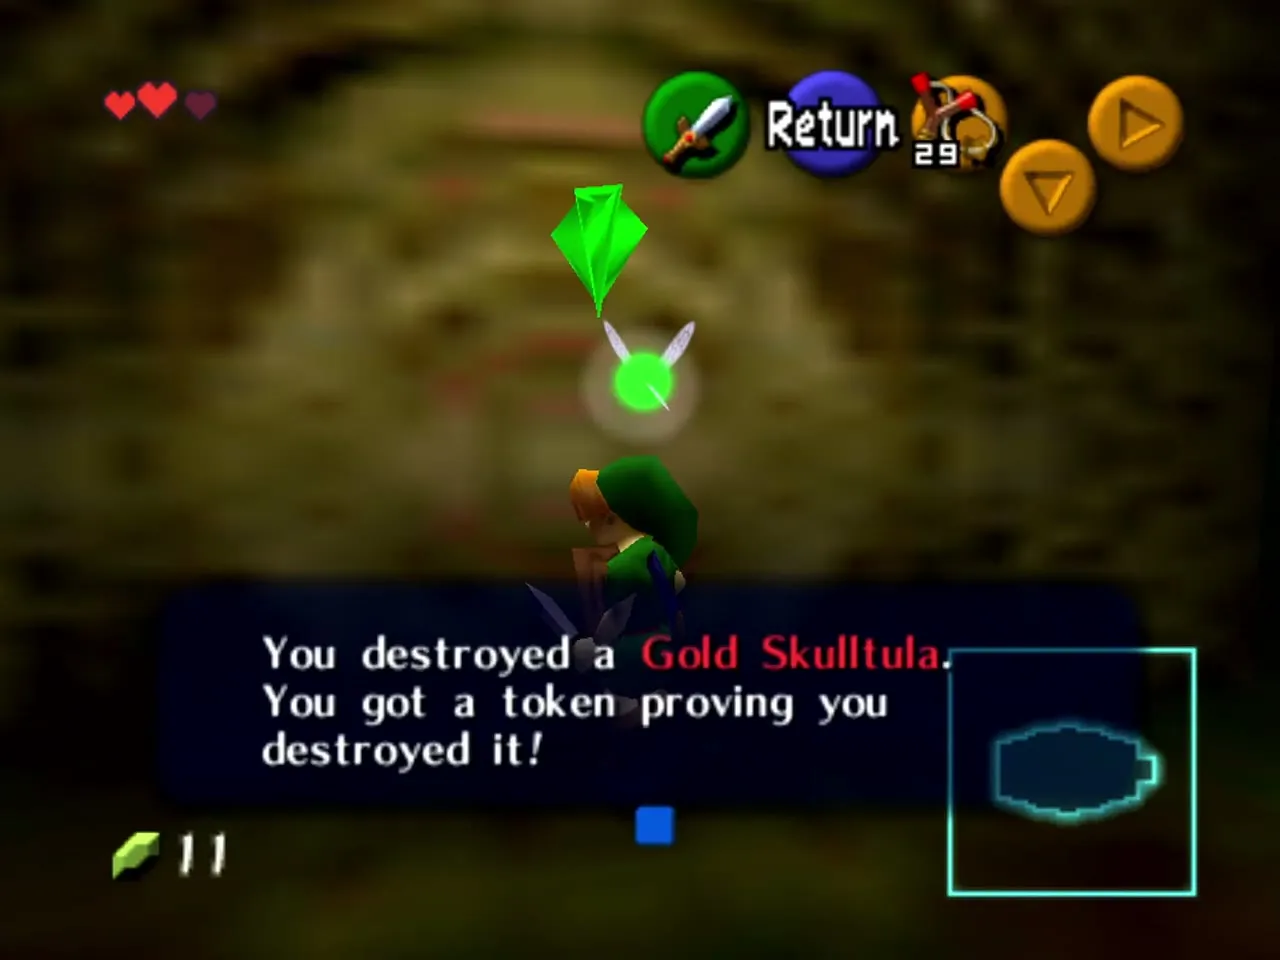
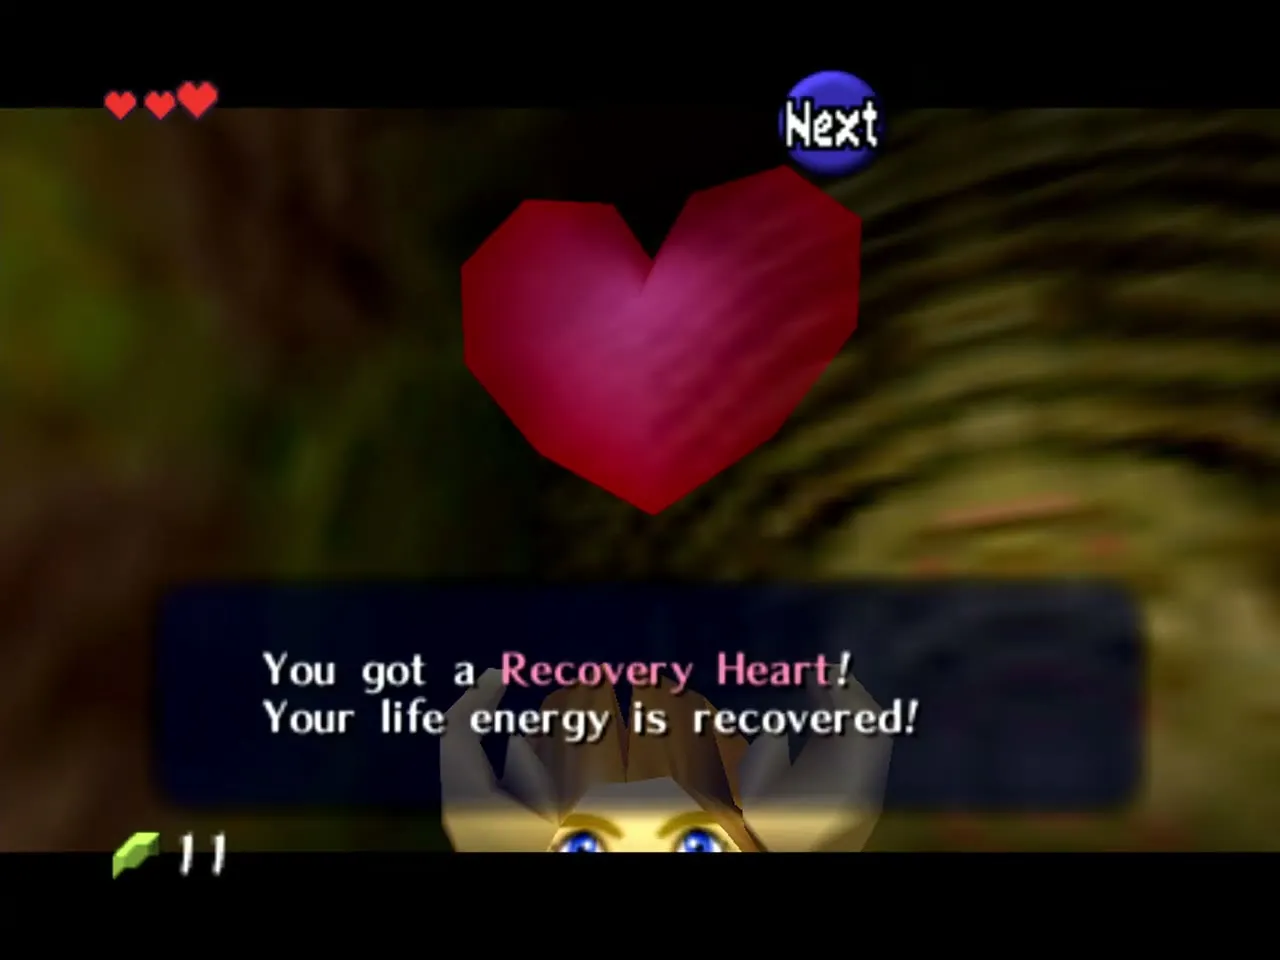
In the nook to the left of where you entered, a Gold Skulltula waits on the wall; another spider drops from the ceiling as you approach, so kill it first. Shoot the Gold Skulltula with the Slingshot and take the token. A small chest in the same nook holds a Recovery Heart. This is the first token in the dungeon.
Open the barred door with fire
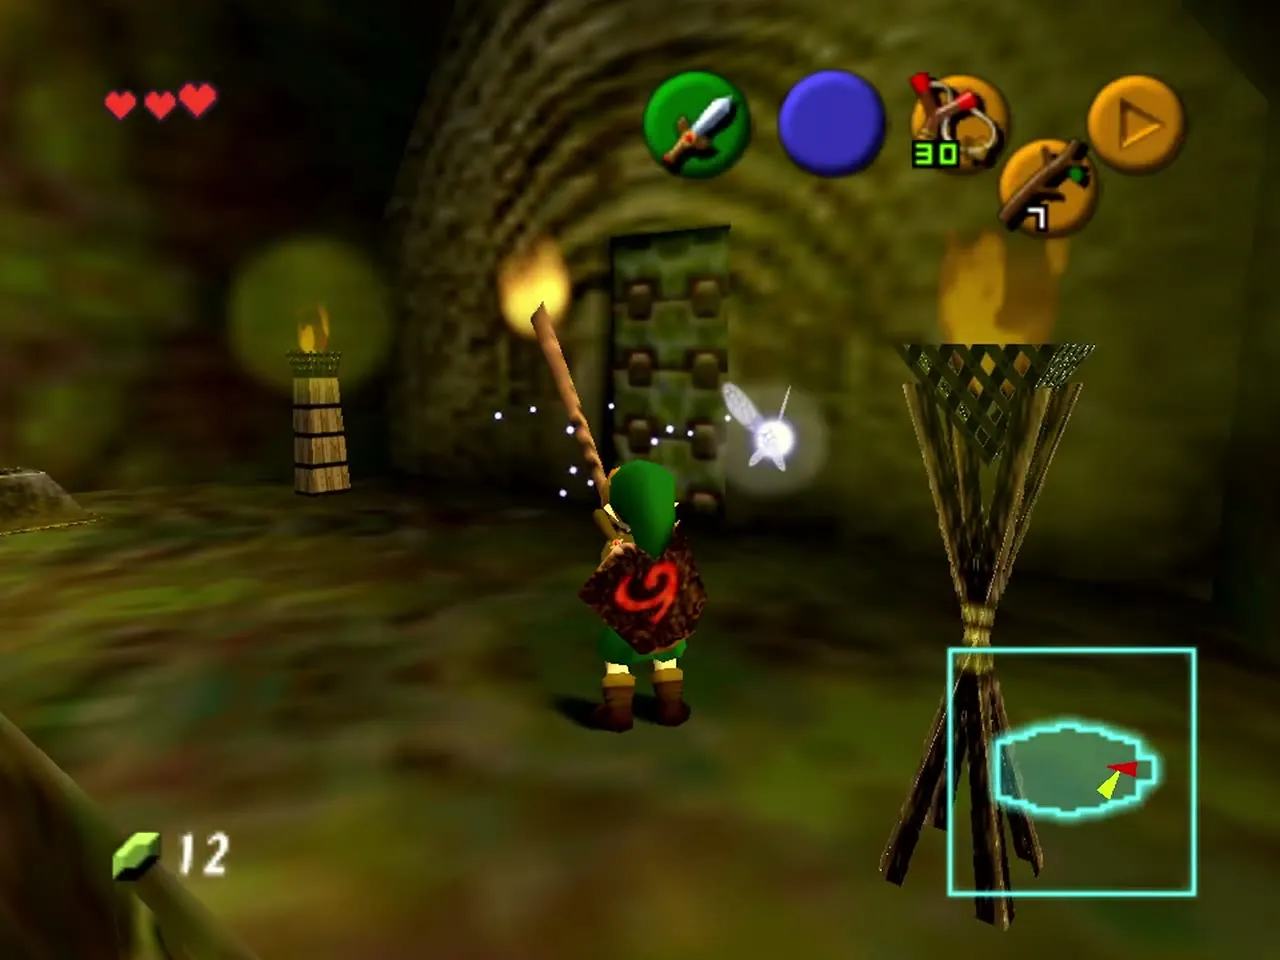
To leave, you must open the barred door. Stand beside the lit torch, equip a Deku Stick on a C button and swing it at the flame to light it. Cross the platforms again before the stick burns away, and touch it to the unlit torch at the other end. The bars lift. If the stick is about to go out, swing the sword to put it away, then relight a fresh one.

Drop through the web
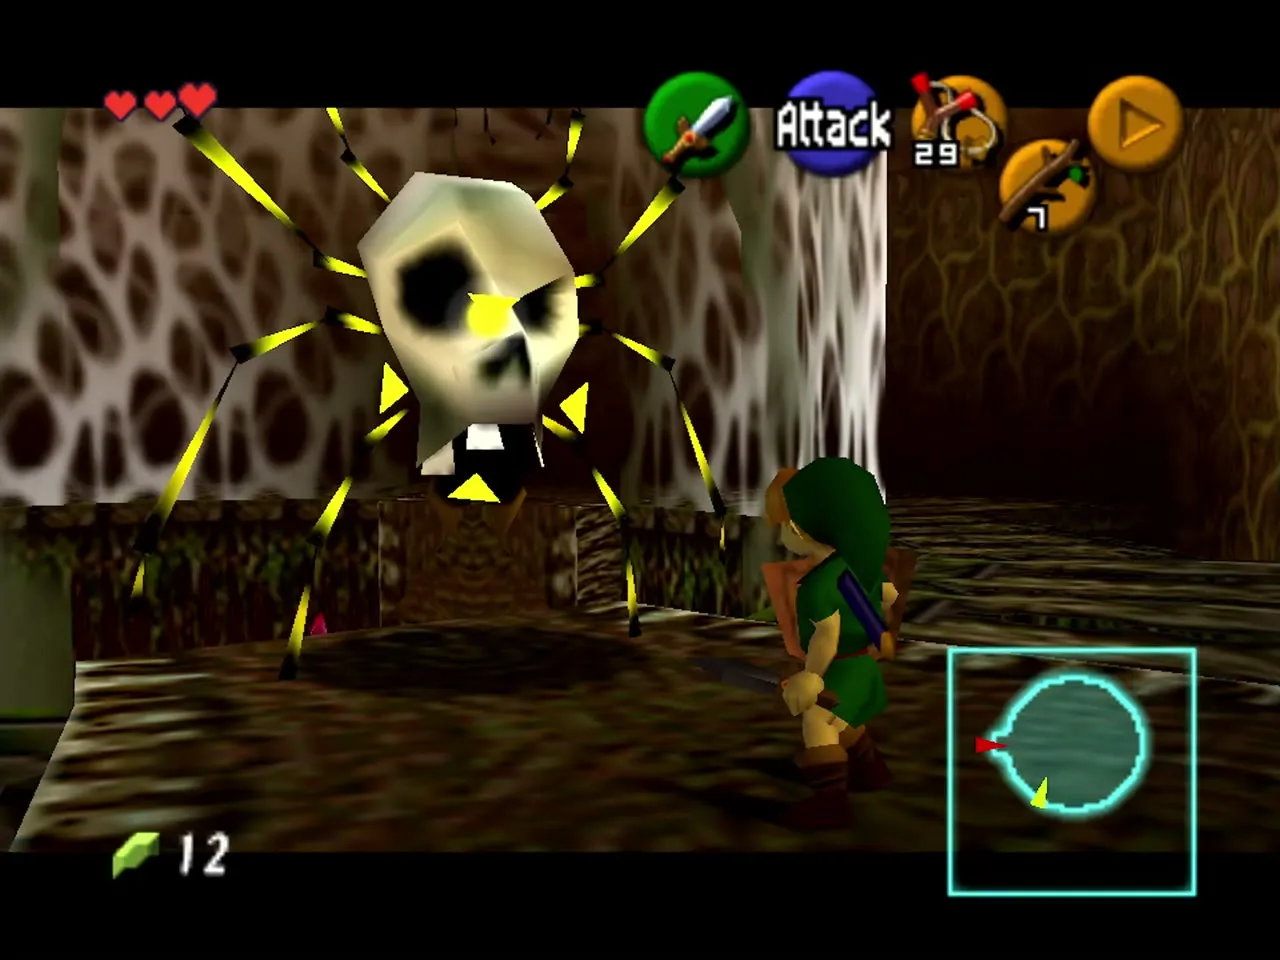
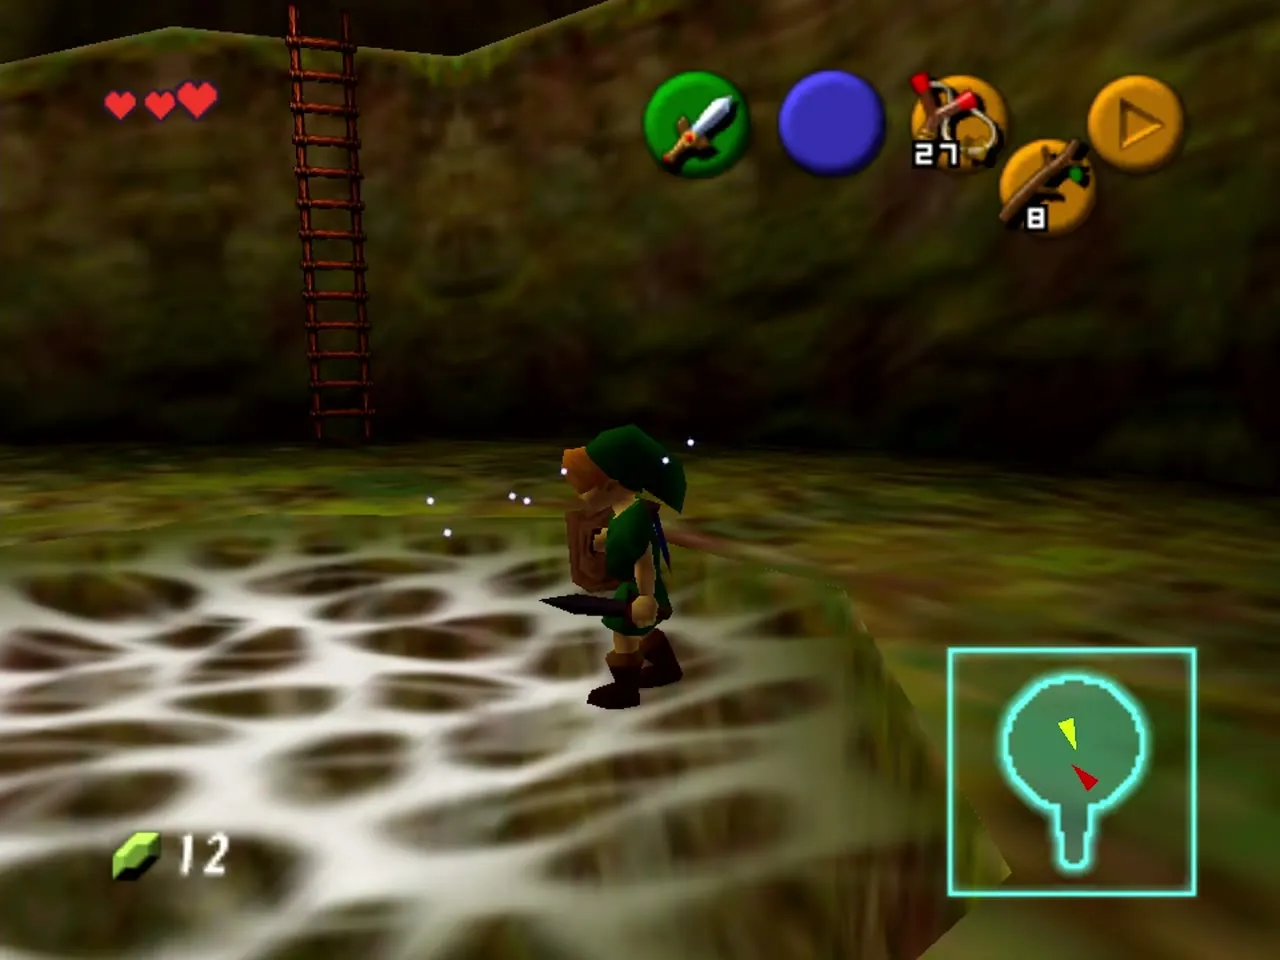
The door leads back into the main hall. Climb to the top of the hall, where a ring of web stretches over the gap with three openings and Big Skulltulas drop from the ceiling. Wait until a spider turns to show its soft belly and hit that. Then look over the edge: the heart floating in the middle of the hall marks the huge web on the floor far below. Jump toward the heart and fall through the web into the pool in the basement. If you land on the rim instead you will bounce off, so just climb up and try again.

The basement (first level down)
Gold Skulltulas 2 and 3
You land in water, so swim to a ledge. Look up the wall at the vines that lead back to the main level: a Gold Skulltula clings to them. Shoot it with the Slingshot and climb the vines to take the token. The second is on the metal grate near the water gate; shoot it, or slash it, then jump from the ledge with the switch to reach the token. Both can be taken now without any further item.


Burn the first web
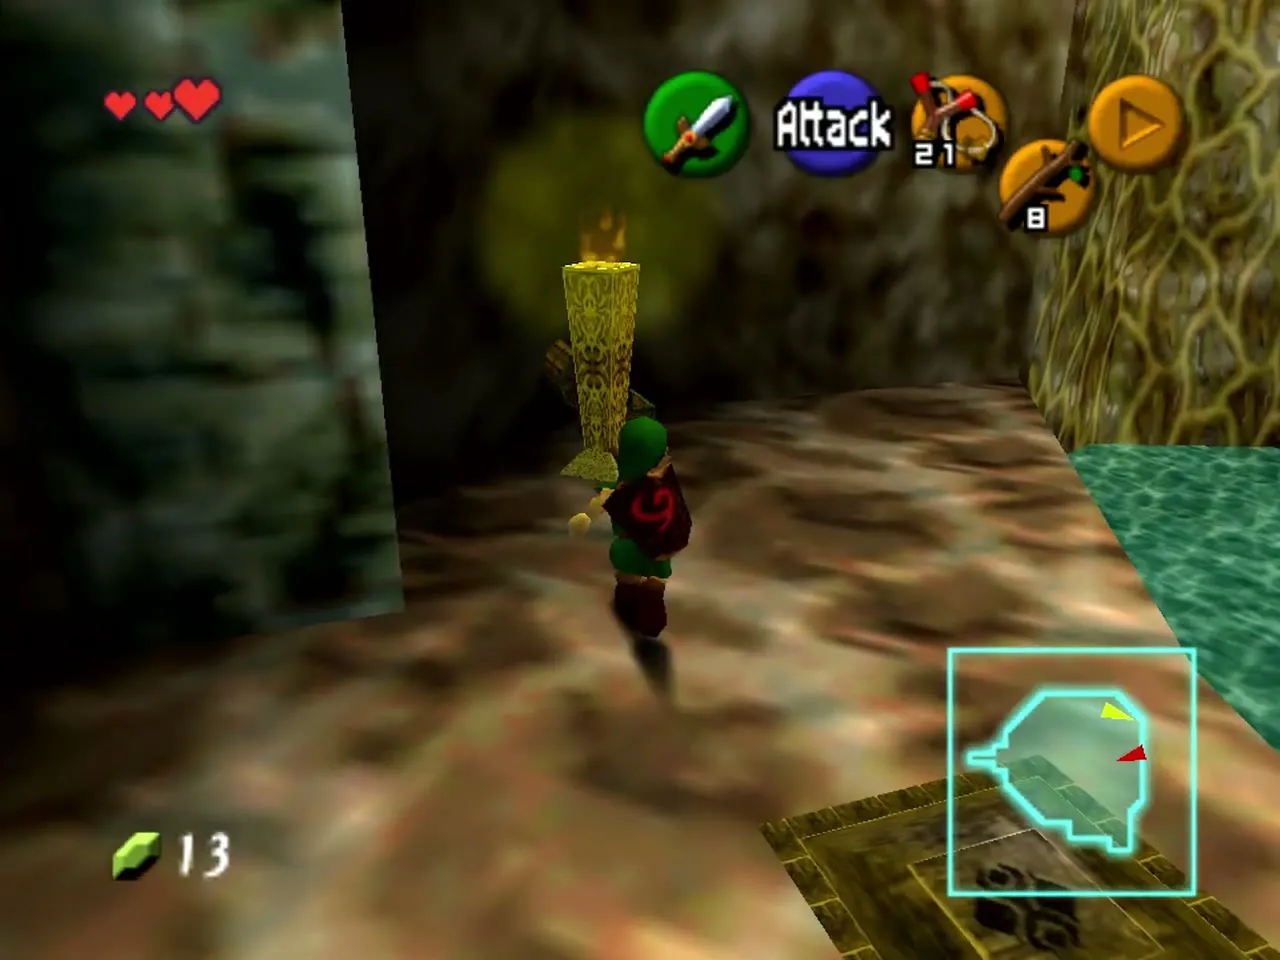
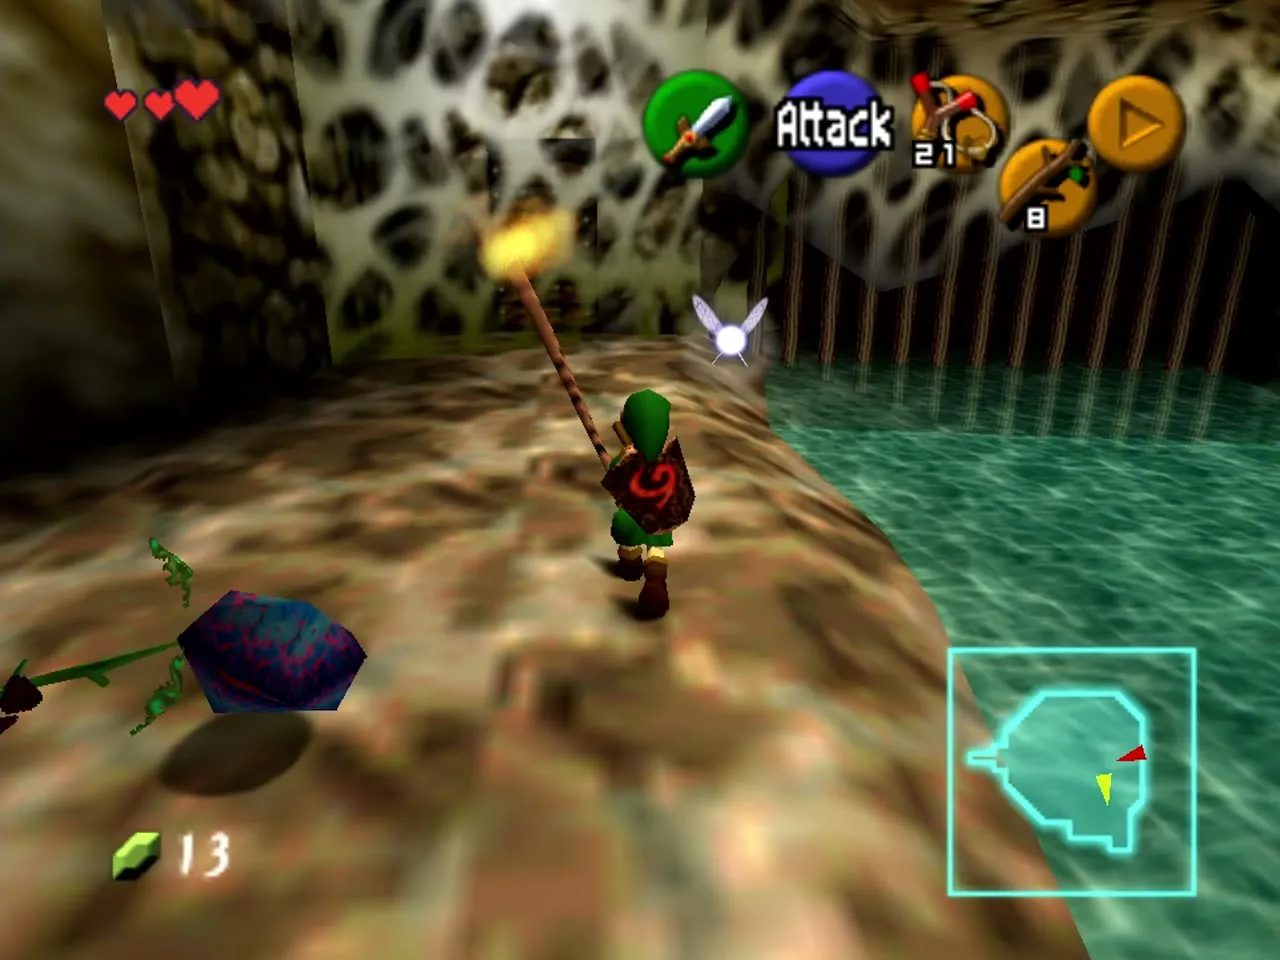
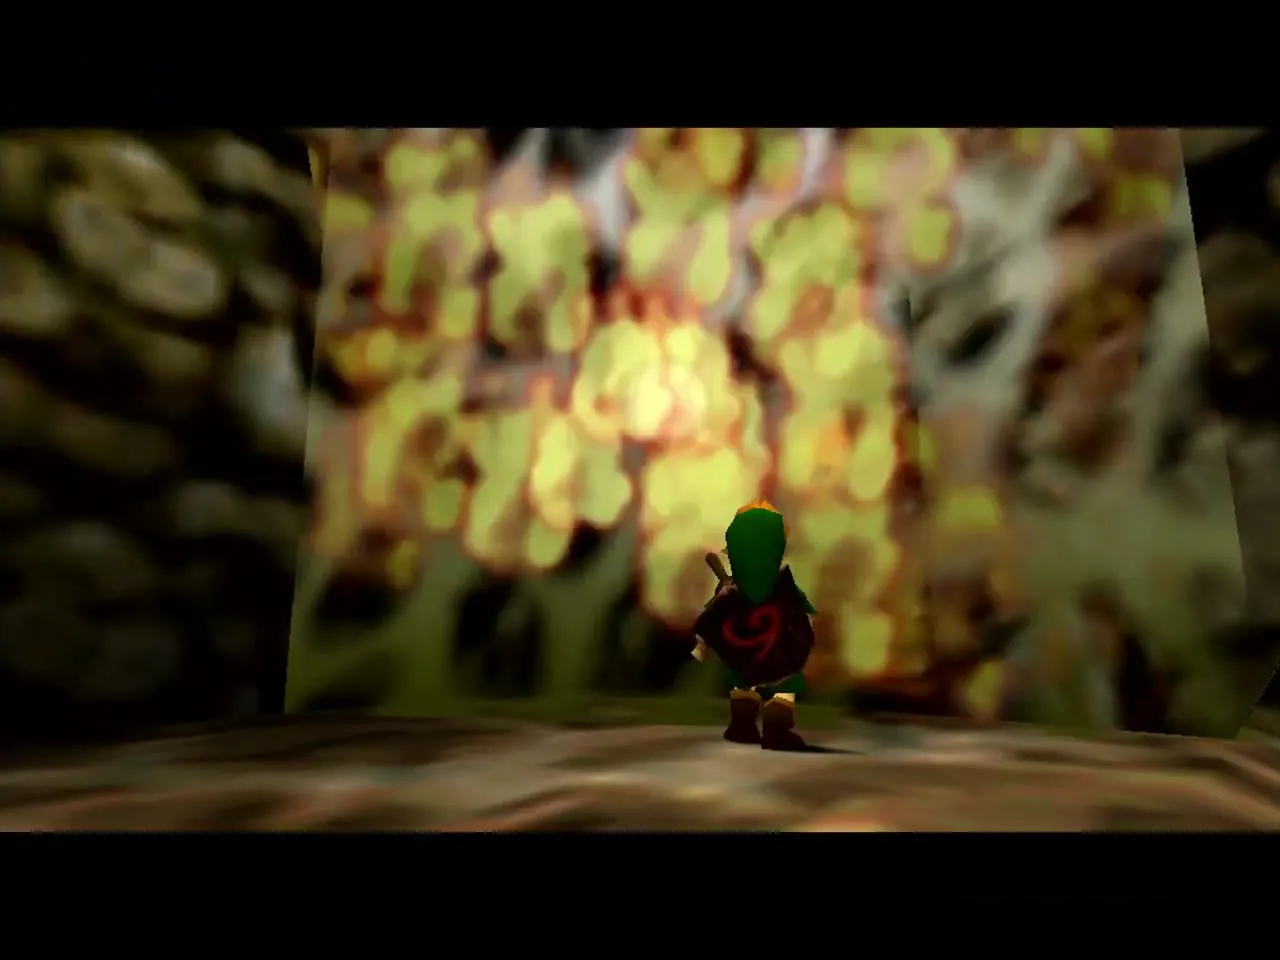
On the ledge with the button, step on the switch. It lights the torch behind you, which also burns the web on the wall next to it and reveals a small chest with a Recovery Heart. Light a Deku Stick on that torch, carry the flame across the shallow water, and burn the web at the far end. There is a single Deku Baba here to kill (take its stick). Go through the door that the web was hiding.

The second Deku Scrub and the eye door
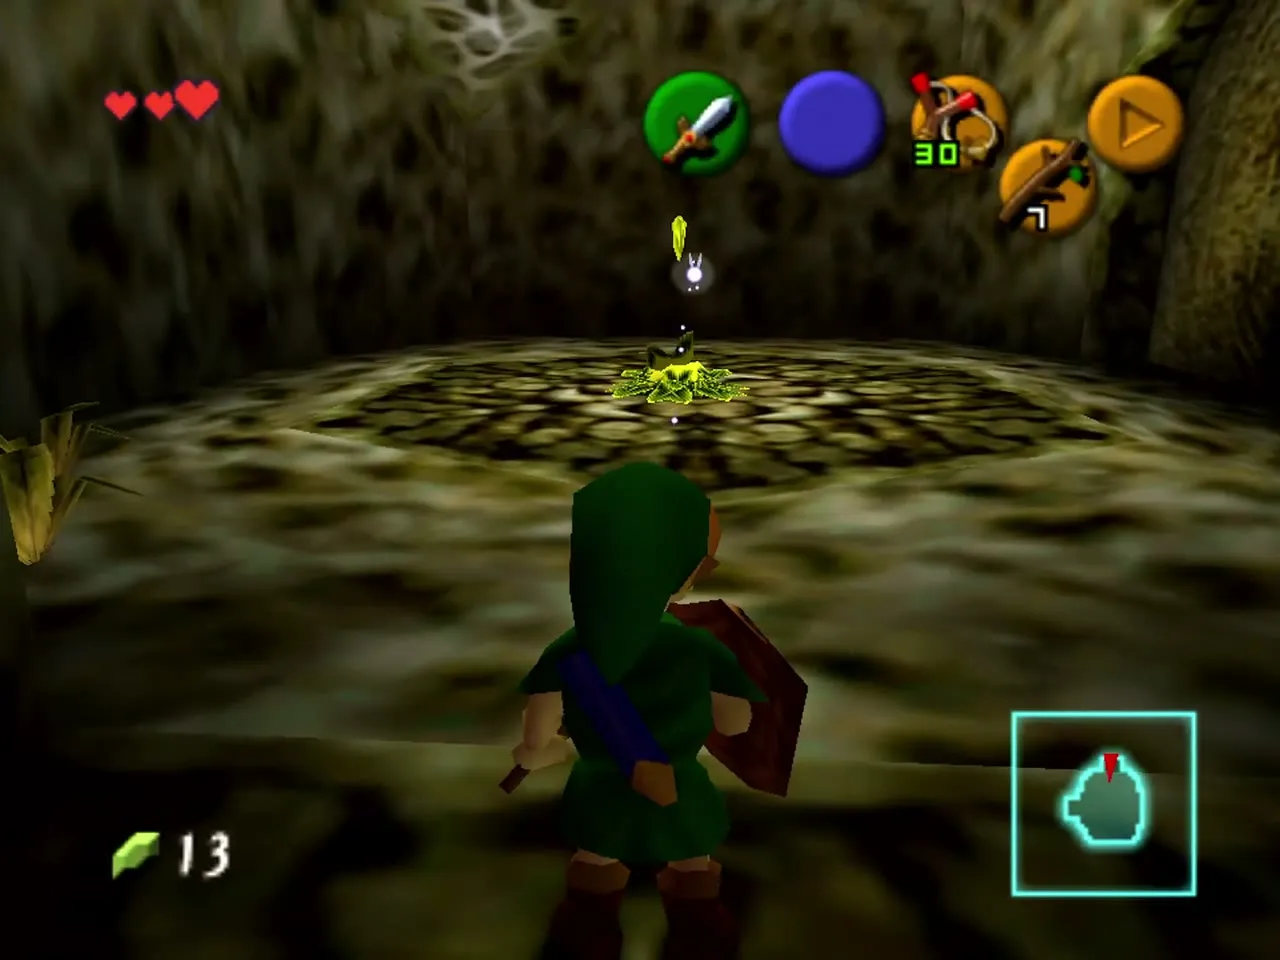
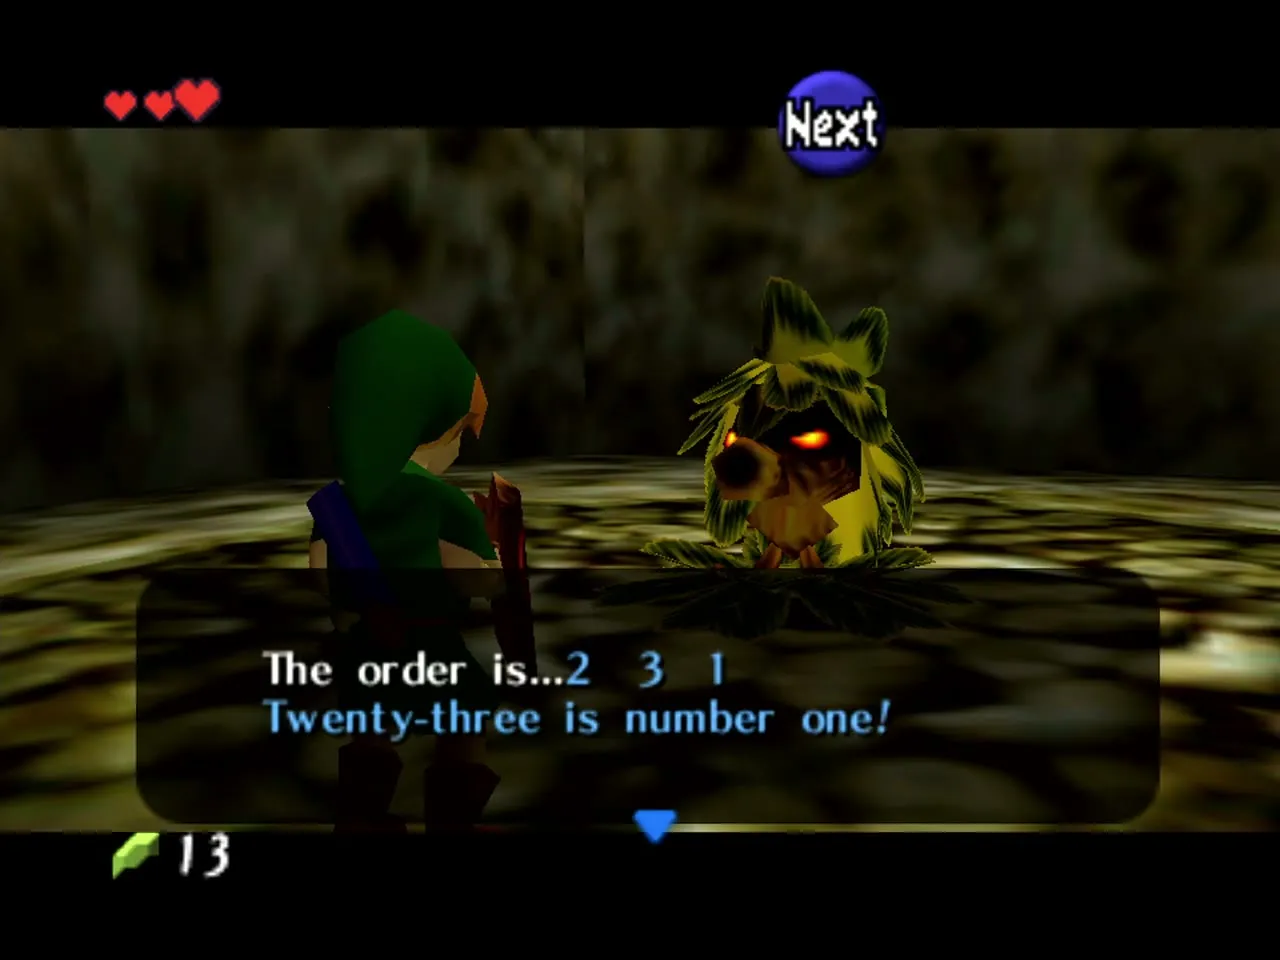
Another Deku Scrub waits in this room. Reflect his nuts to stun him, chase him and talk. He tells you the order to attack his brothers later: second, third, first. Above the locked door in the room is a painted eye. Shoot the eye with the Slingshot and the door opens.

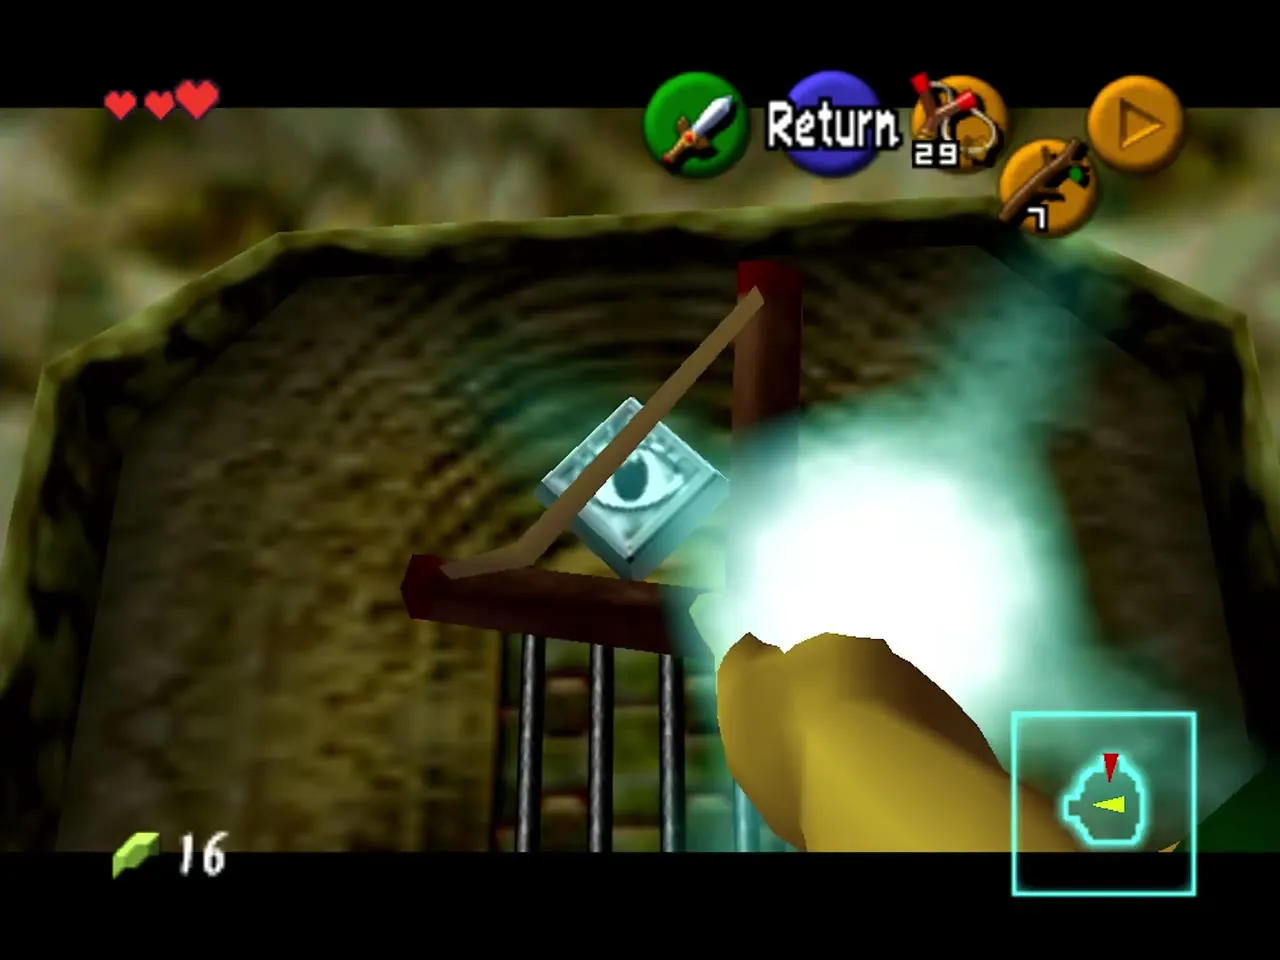
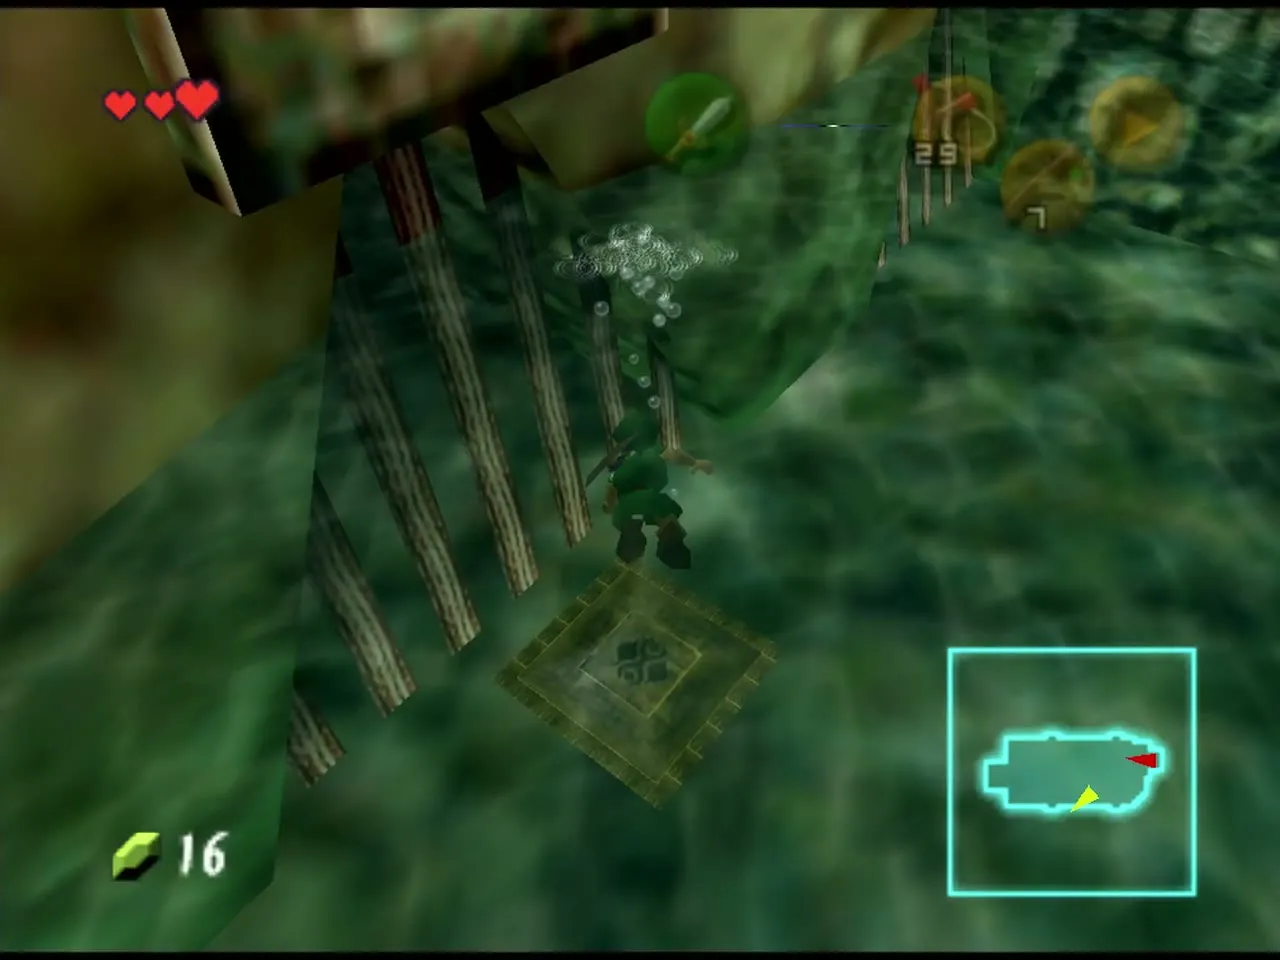
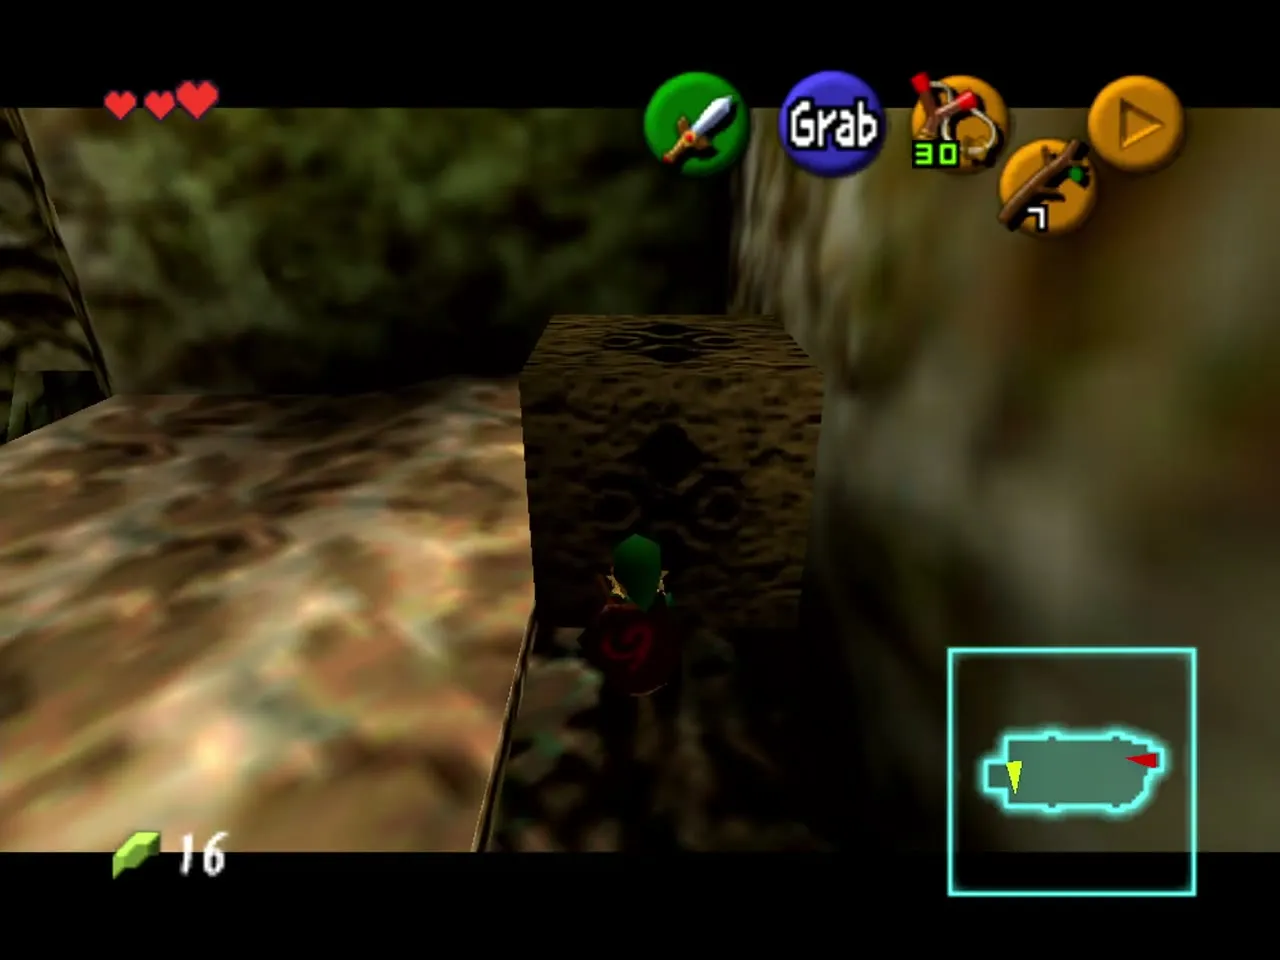
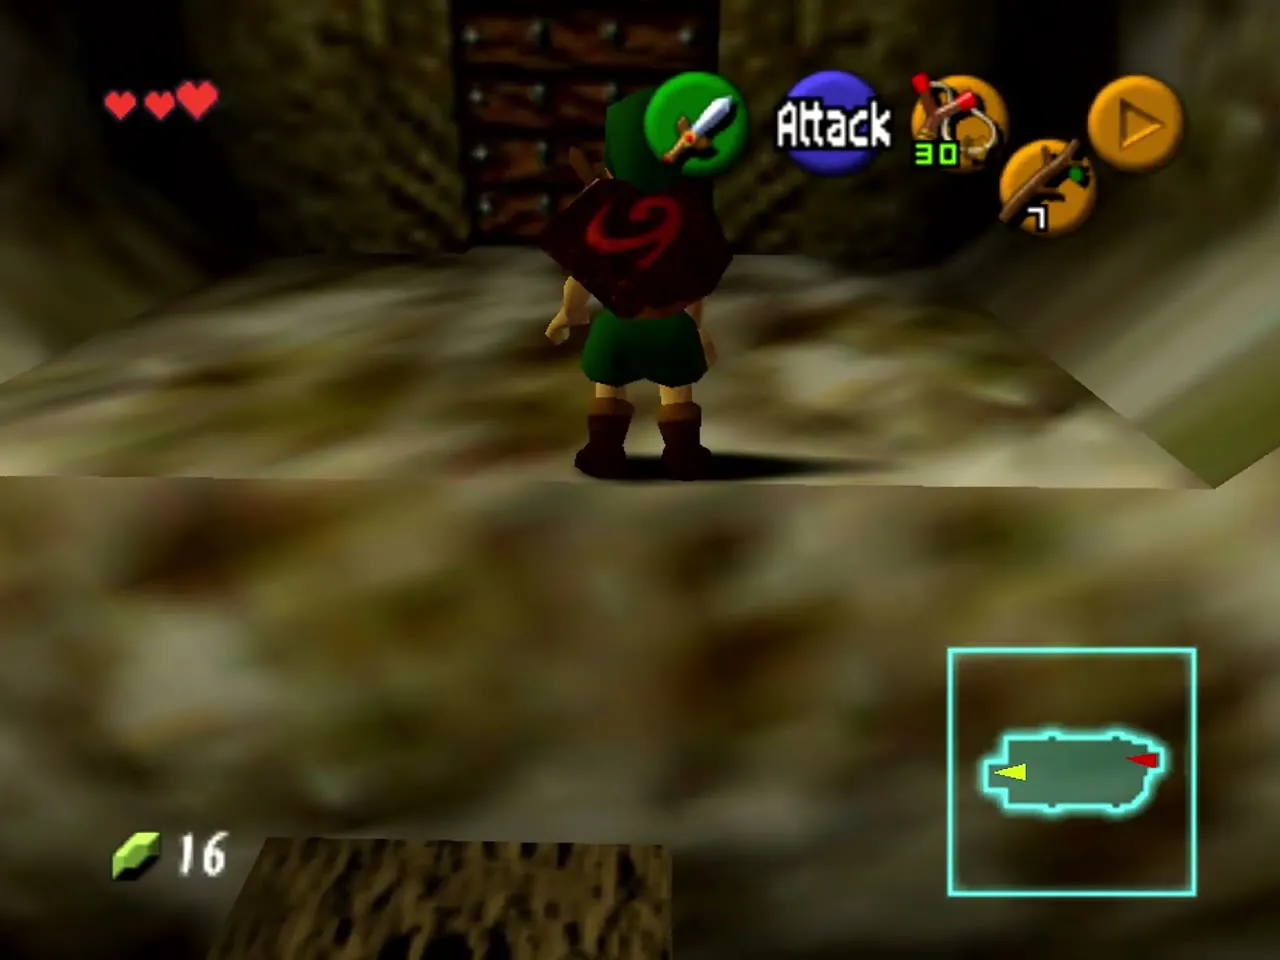
Spiked log room
A spiked log rolls back and forth across the room just above the waterline, and a floating platform will carry you across. Navi teaches you to dive: swim and press A to go under. Dive and look for a timed switch on the left side underwater. Hit it, and the water level drops. Quickly climb out and ride the platform under the log to the other side. A Skulltula is waiting at the far side. Kill it, then push the block under the tall doorway and climb on it to reach the door.
Torch room
The next room has two withered Deku Babas, one lit torch and two unlit torches. Light a stick from the lit torch and use it to light the other two torches, and a door opens. Kill the Babas for sticks to keep your supply up.


Gohma Larvae room and the two webs
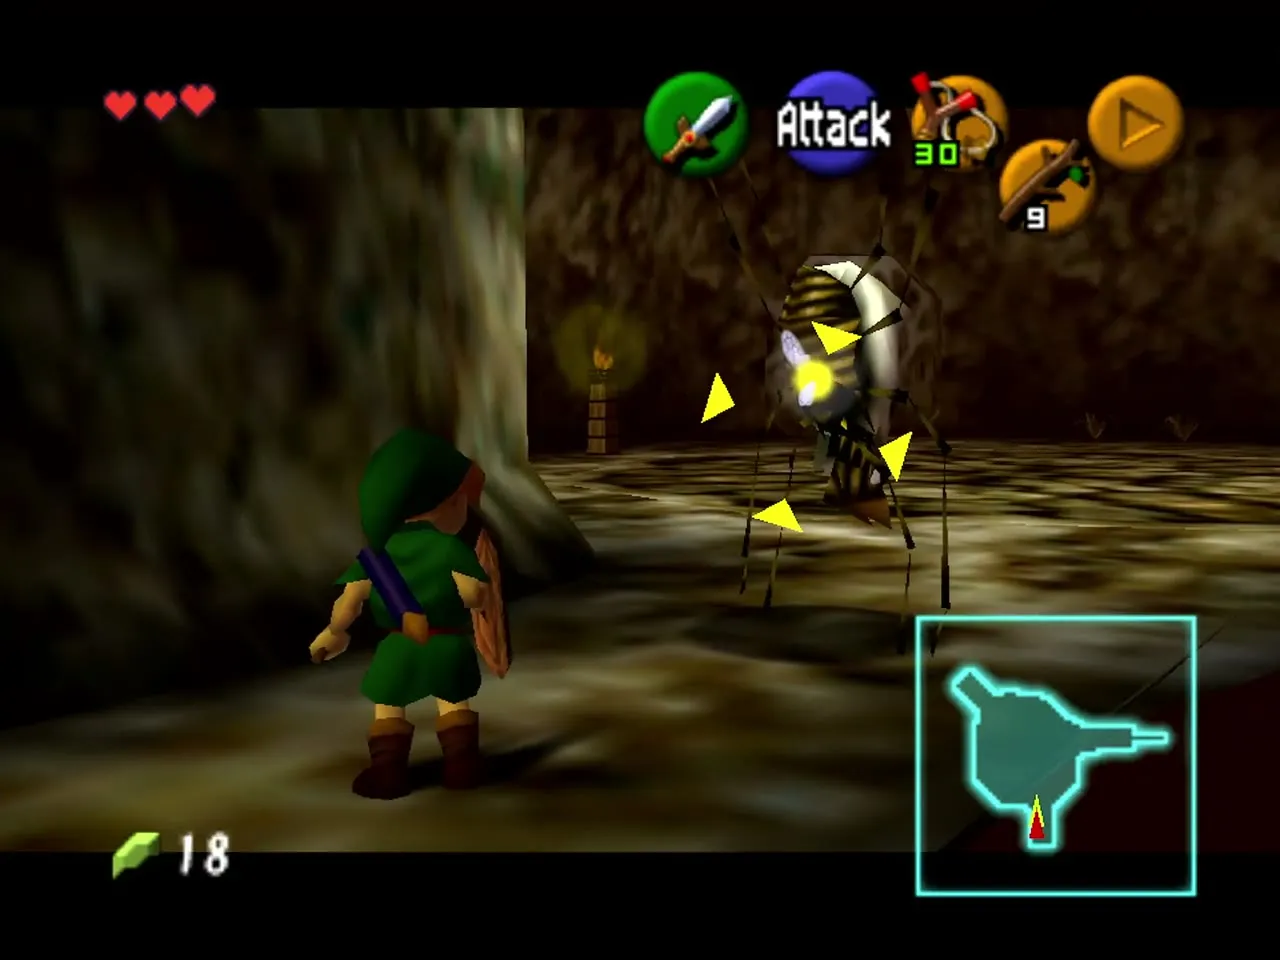
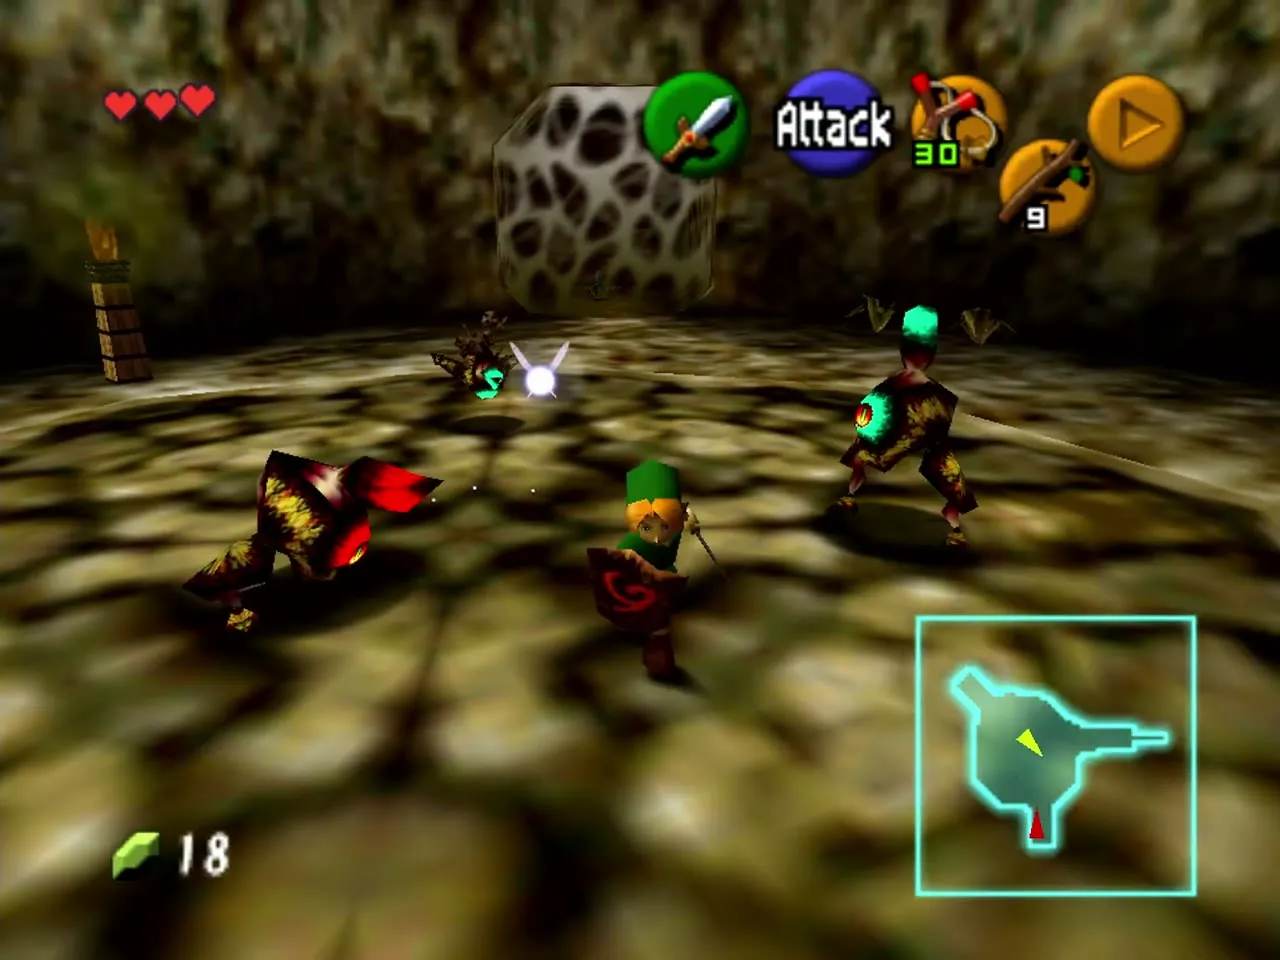
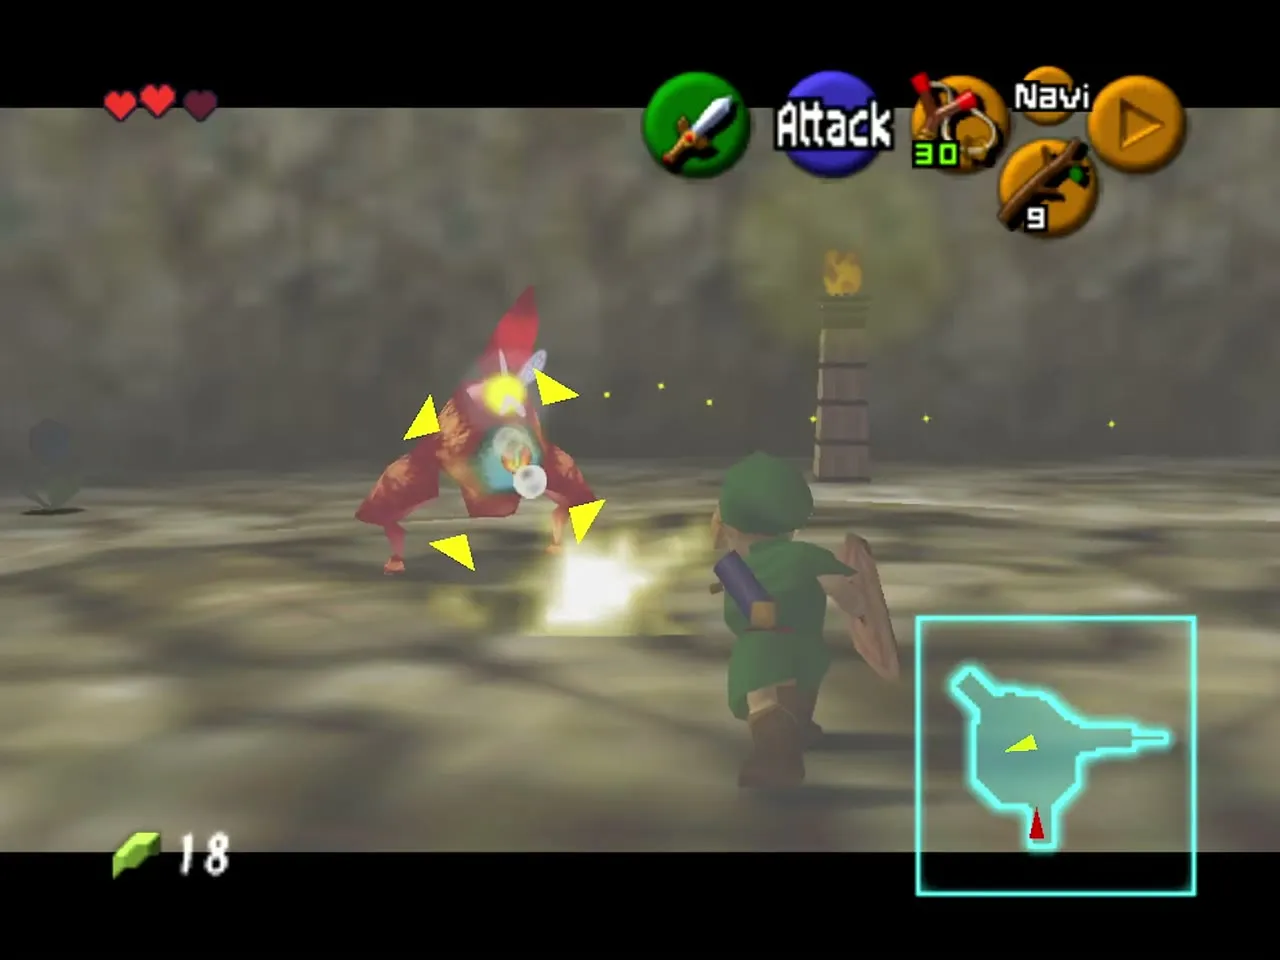
As you enter, a Skulltula drops in front of you. The ceiling has three red egg sacs; they hatch into Gohma Larvae that chase you. You can shoot the sacs from the doorway before they drop, or kill the larvae with the sword. The room has two webs to burn. One hides a short dead-end passage with a cracked wall. The other hides the crawl space that leads back to the main basement hall.
Crawl through and build a shortcut
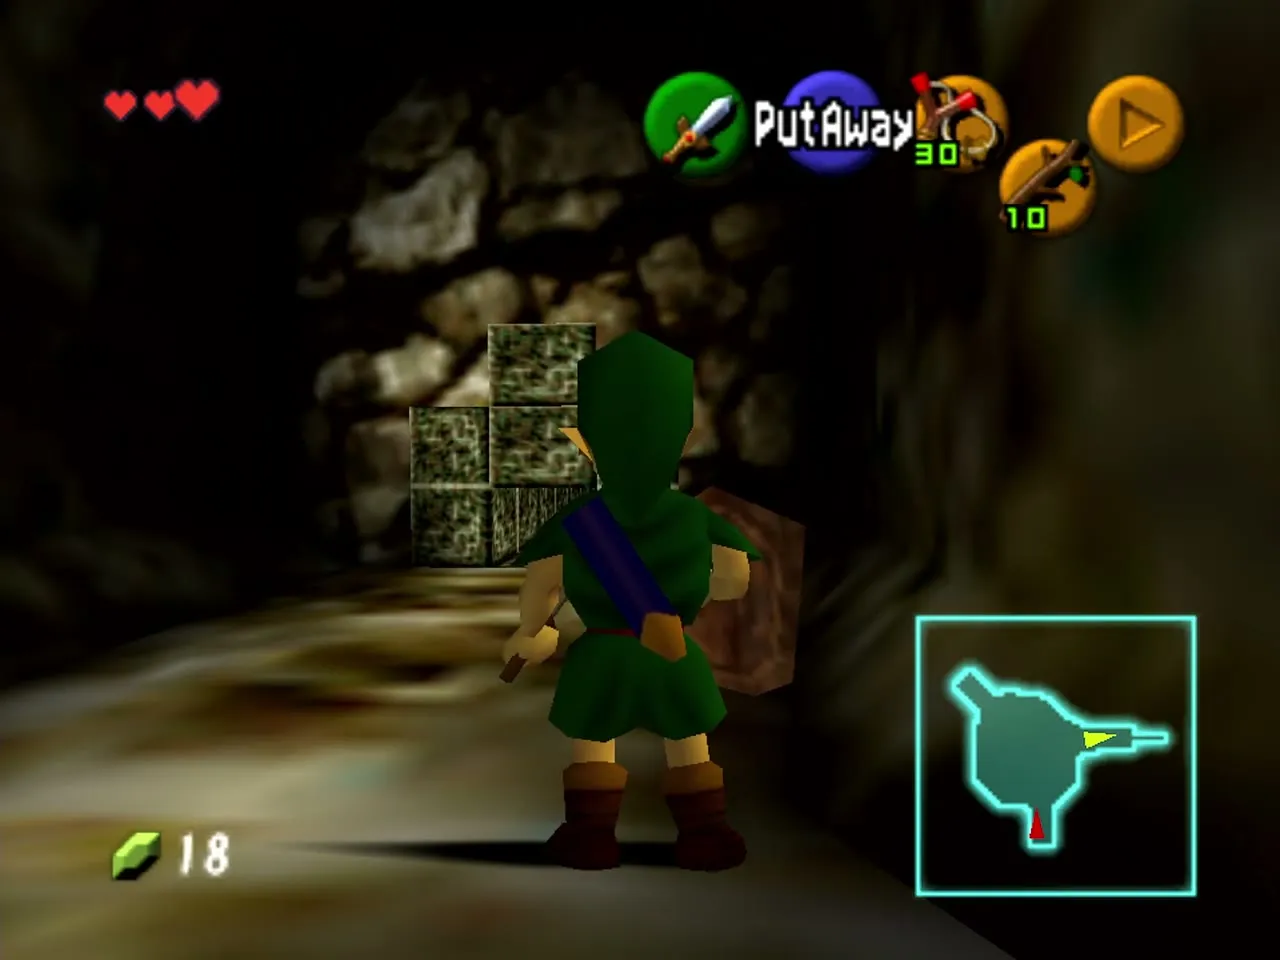
Burn the other web and crawl through the tunnel. You come out on the high ledge that you could not reach before. A web is stretched across the floor here, but the torches are too tall to reach. First push the block on the left into the water to make a stepping stone that lets you return to this ledge without redoing the puzzles. Then drop back to the torch you lit earlier, light a stick, climb back up the block and roll or swing the lit stick over the web in the floor to set it ablaze. You fall through the hole.

Three Deku Scrubs
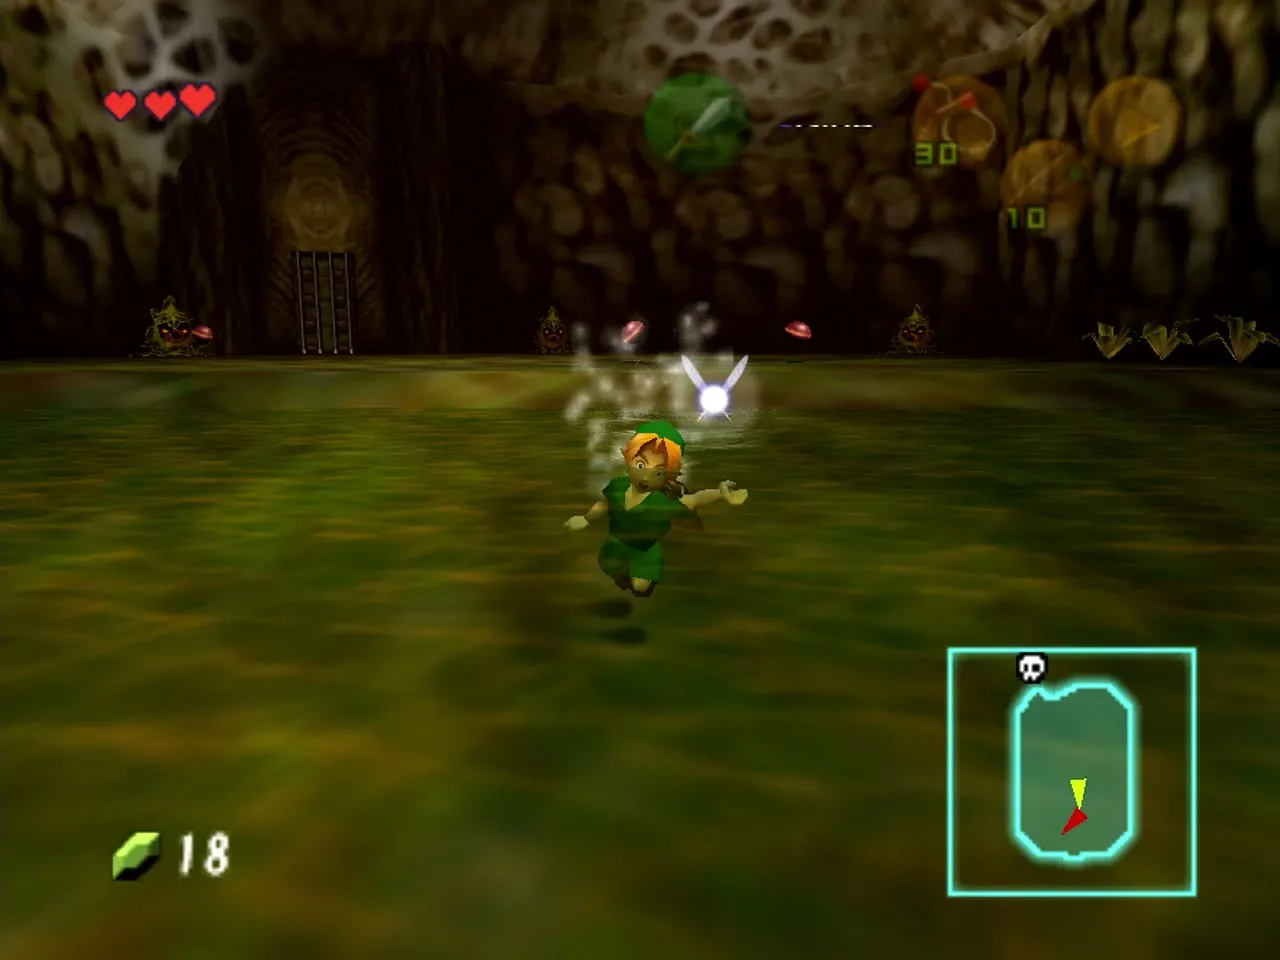
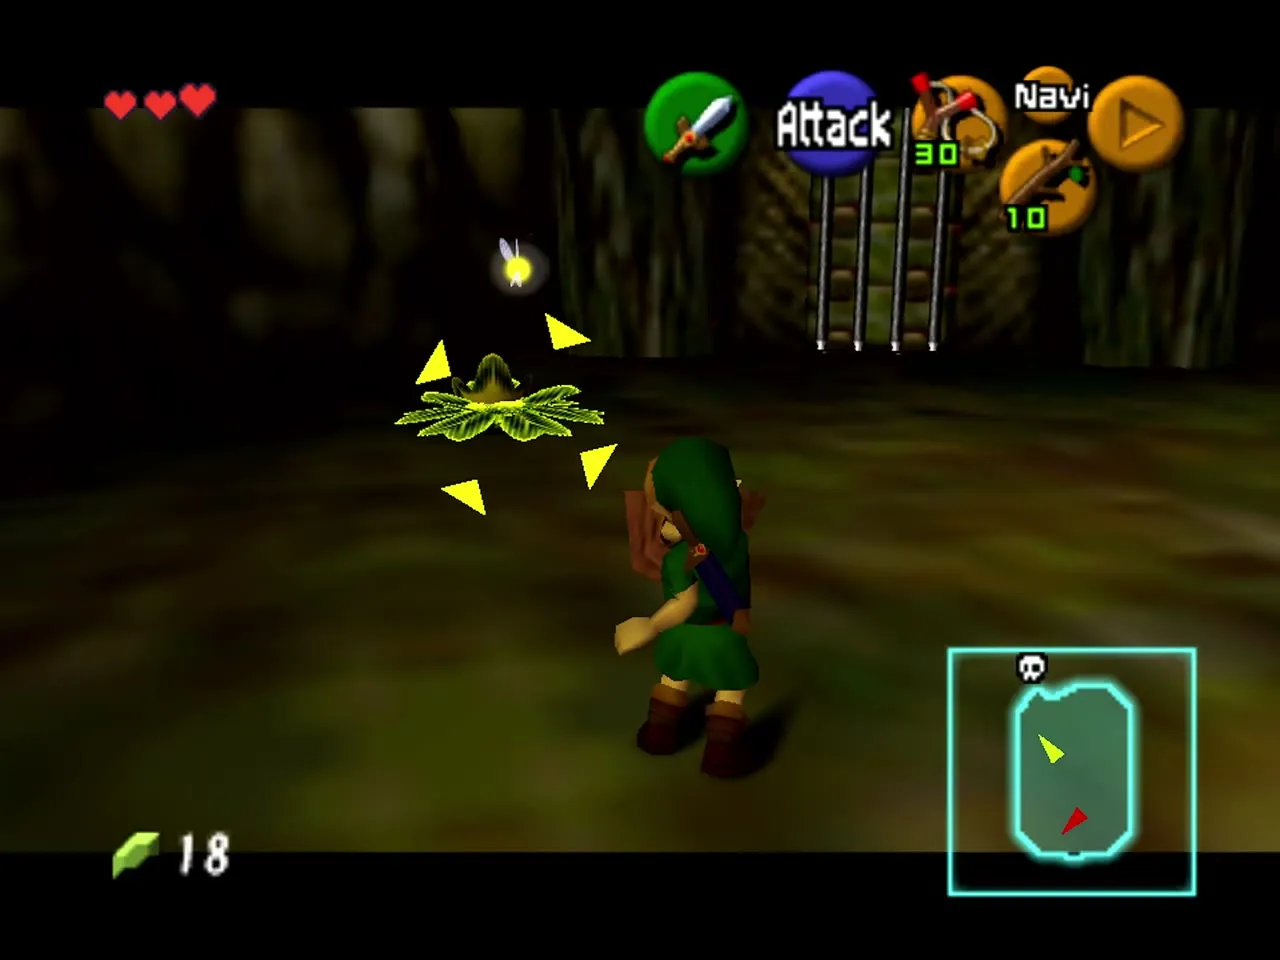
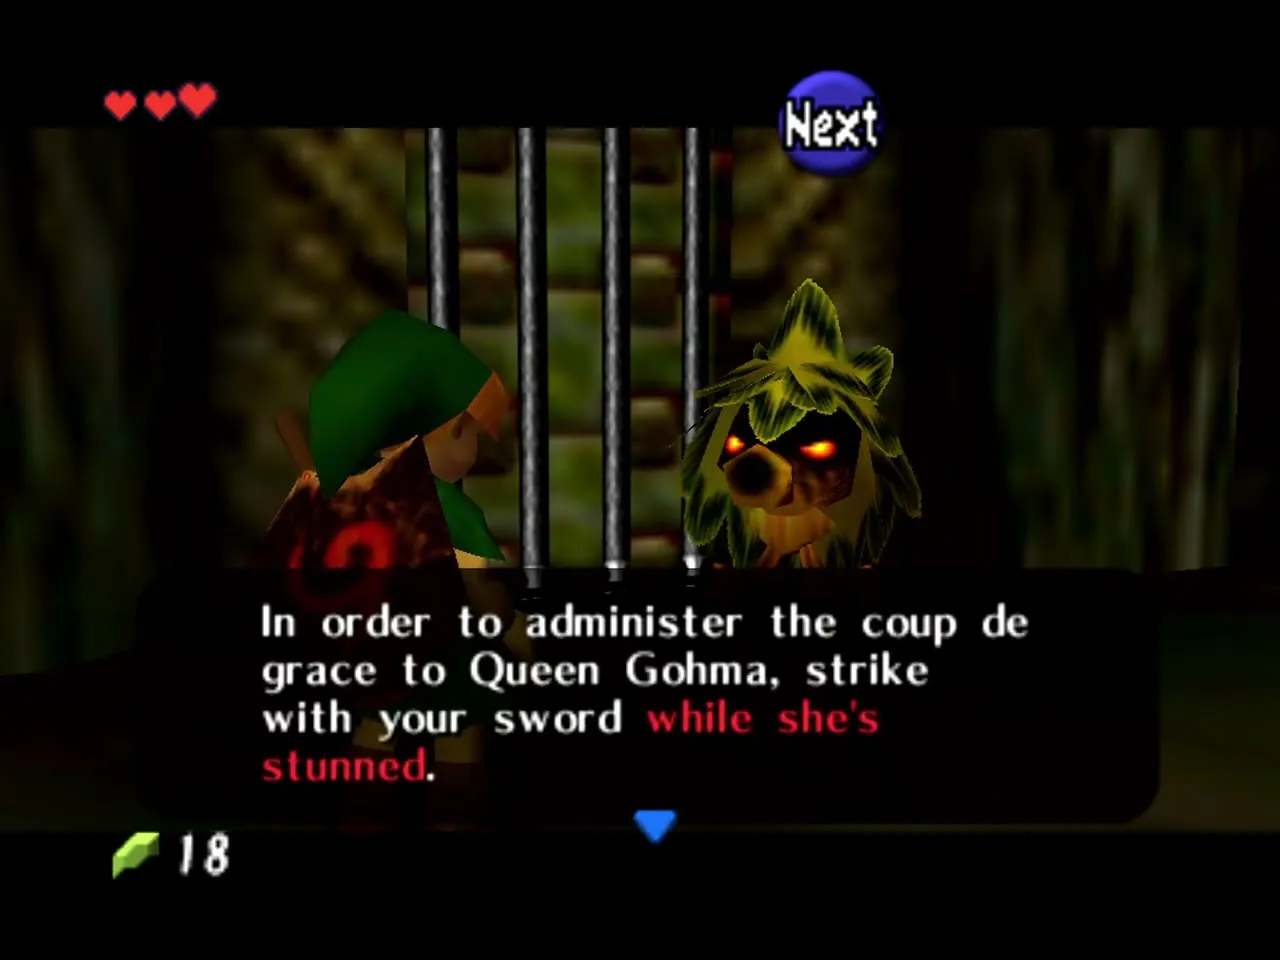
You land in a pool in the lowest room. Dive to collect the hearts if you need them, swim to land and step up to three stunned Deku Scrubs. Reflect their nuts in the order the second Scrub gave you: the middle one first, then the right one, then the left one. They turn blue when stunned. The last Scrub tells you how to beat Queen Gohma (hit her when her eye glows), and the door to her lair opens.
Boss: Queen Gohma
How the fight starts
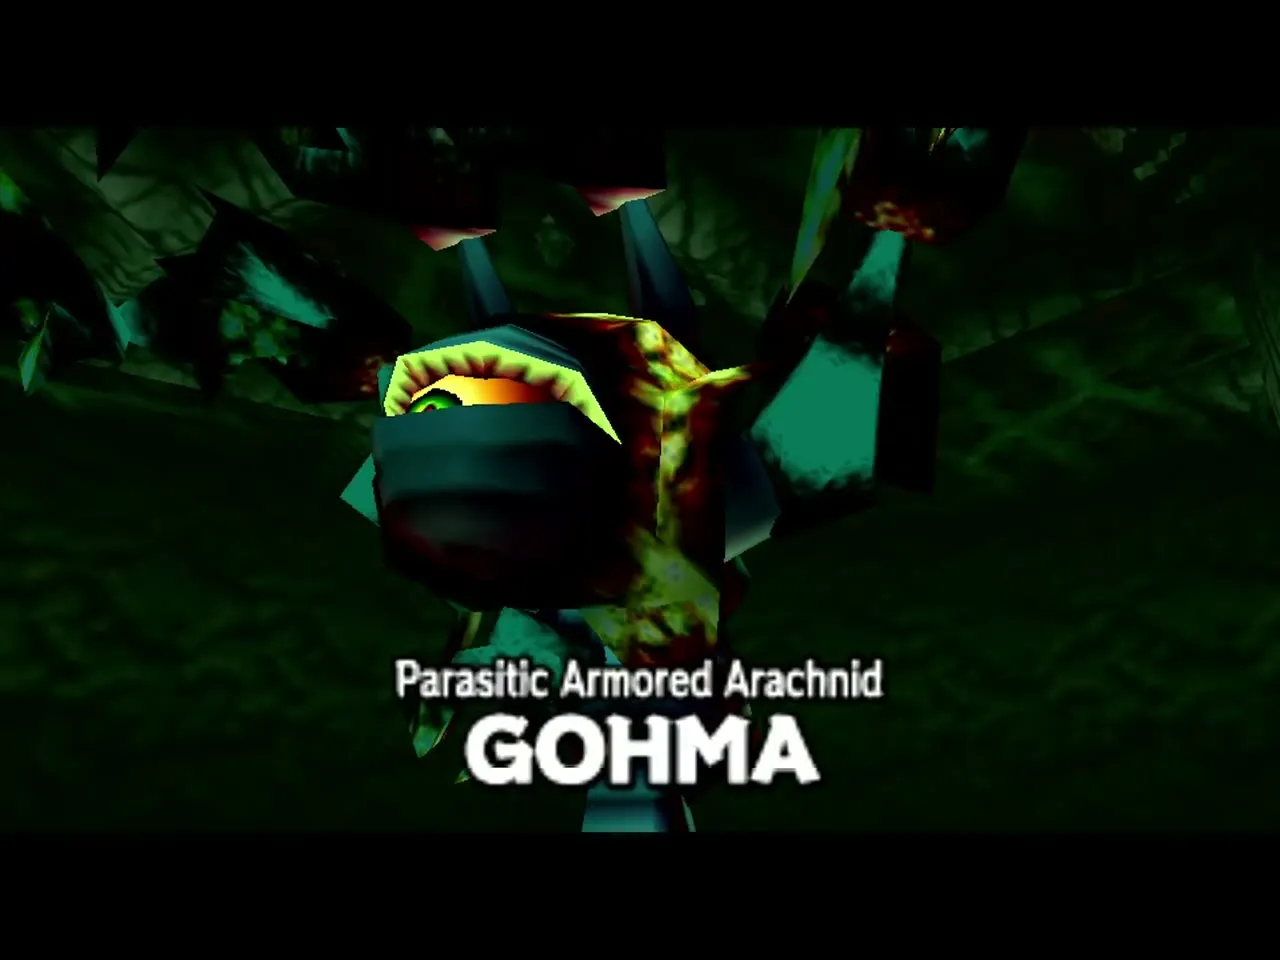
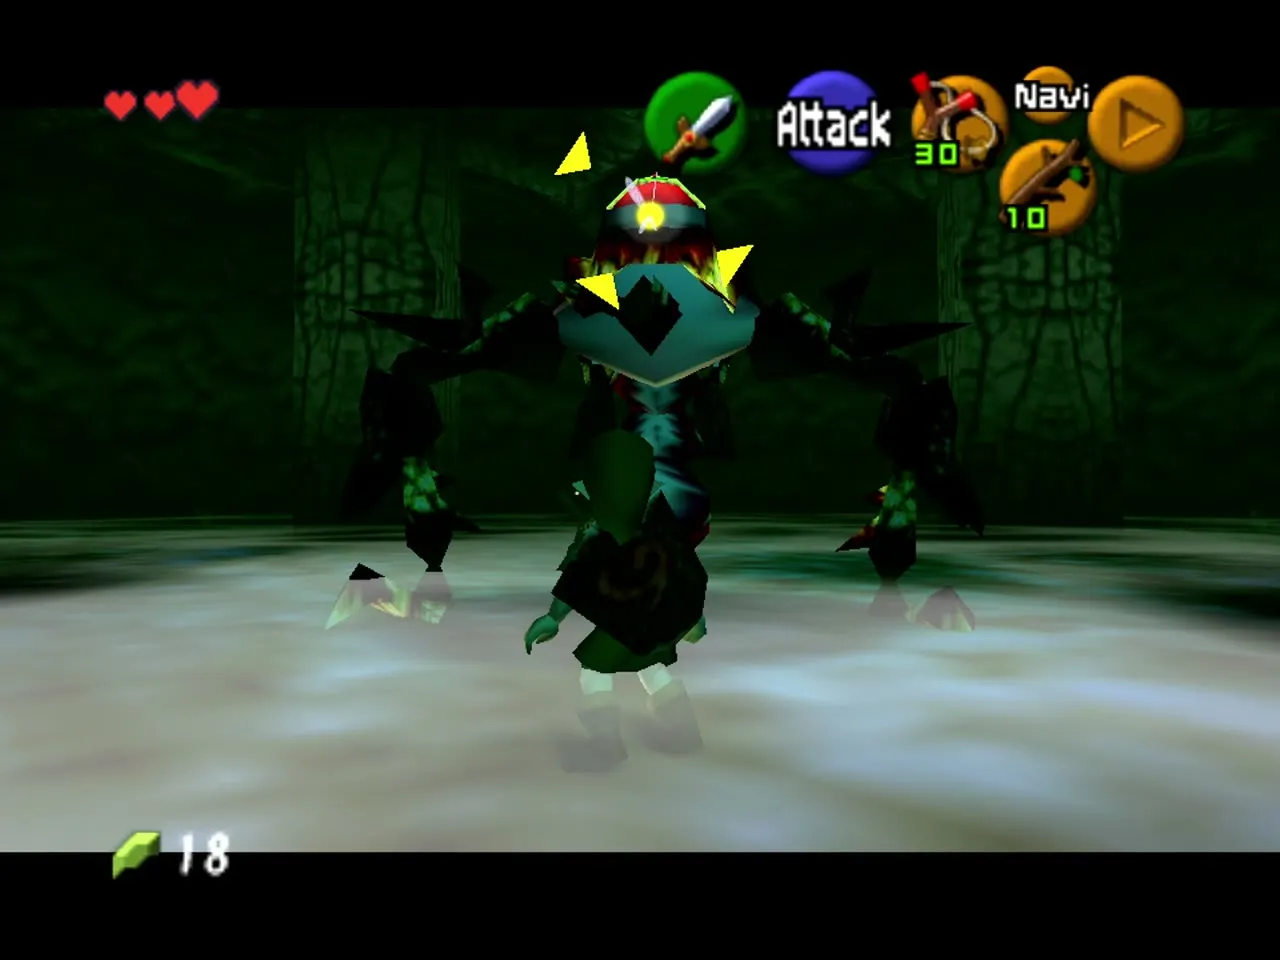
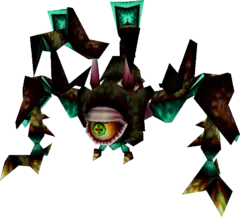
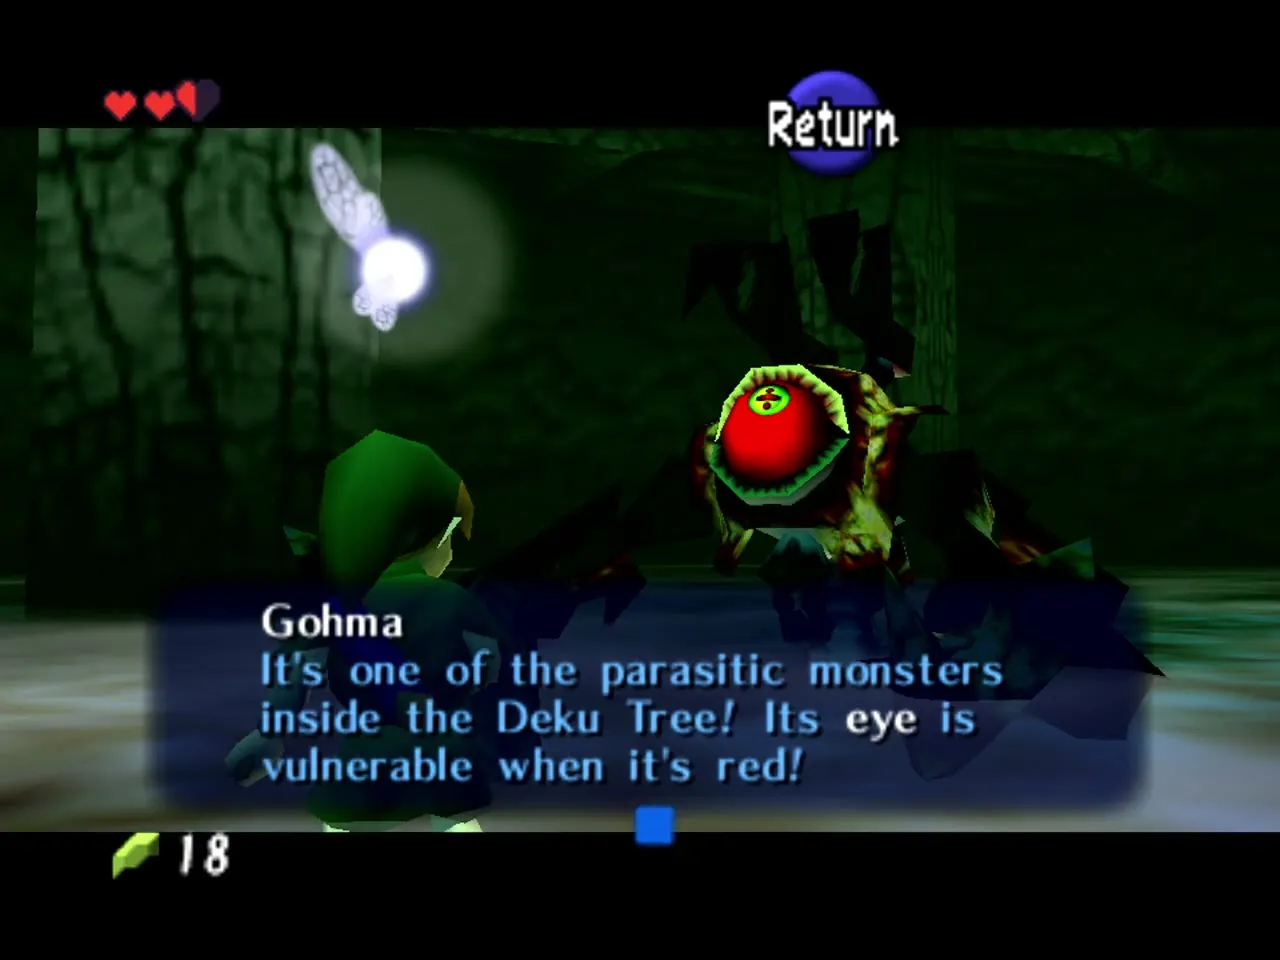
The room looks empty. Walk toward the middle and look up with the Slingshot raised or in first-person view: Gohma clings to the ceiling and drops down. The door shuts behind you, so there is no retreat. Her eye is the only weak spot, and it only counts while it glows red.
Stun, then slash
When Gohma is on the ground and her eye turns red, shoot it with the Slingshot (the stun lasts longer) or throw a Deku Nut. Run up and slash the eye while she is stunned. Deku Stick jump attacks hit about twice as hard as the sword, so three stick jumps usually finish a stunned Gohma. After a few hits she climbs the wall to the ceiling.


Ceiling phase and eggs
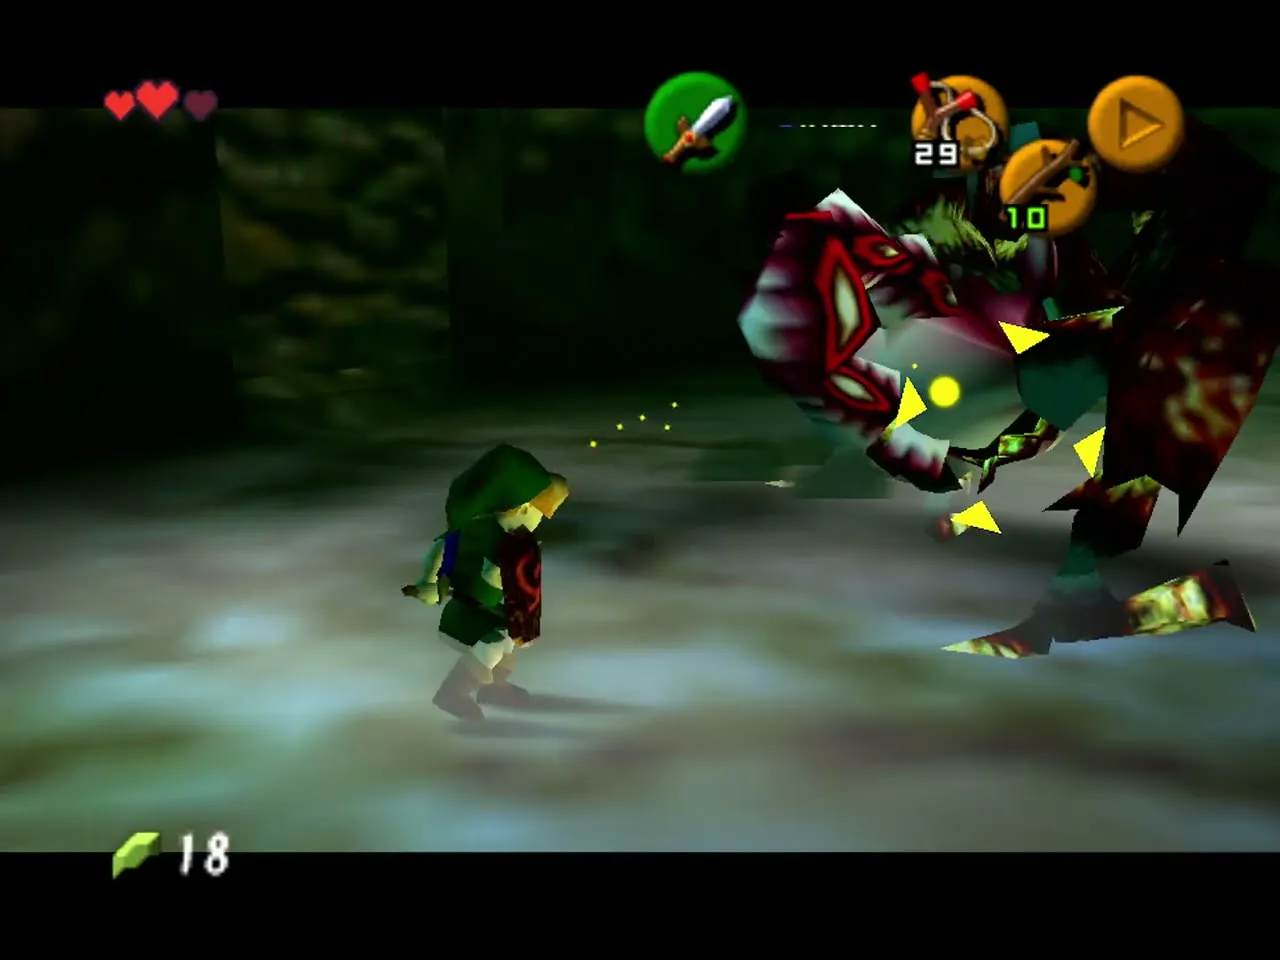
From the ceiling Gohma tries to lay three eggs. Shoot her eye when it turns red and she falls to the ground, stunned, and you can slash her again. If you miss, the eggs fall and hatch into Gohma Larvae. Kill the eggs with a nut or a slash before they hatch, or kill the larvae when they hatch. Cut the plants around the room for seeds and hearts. Repeat the stun and slash cycle a few times until she falls.


Heart Container
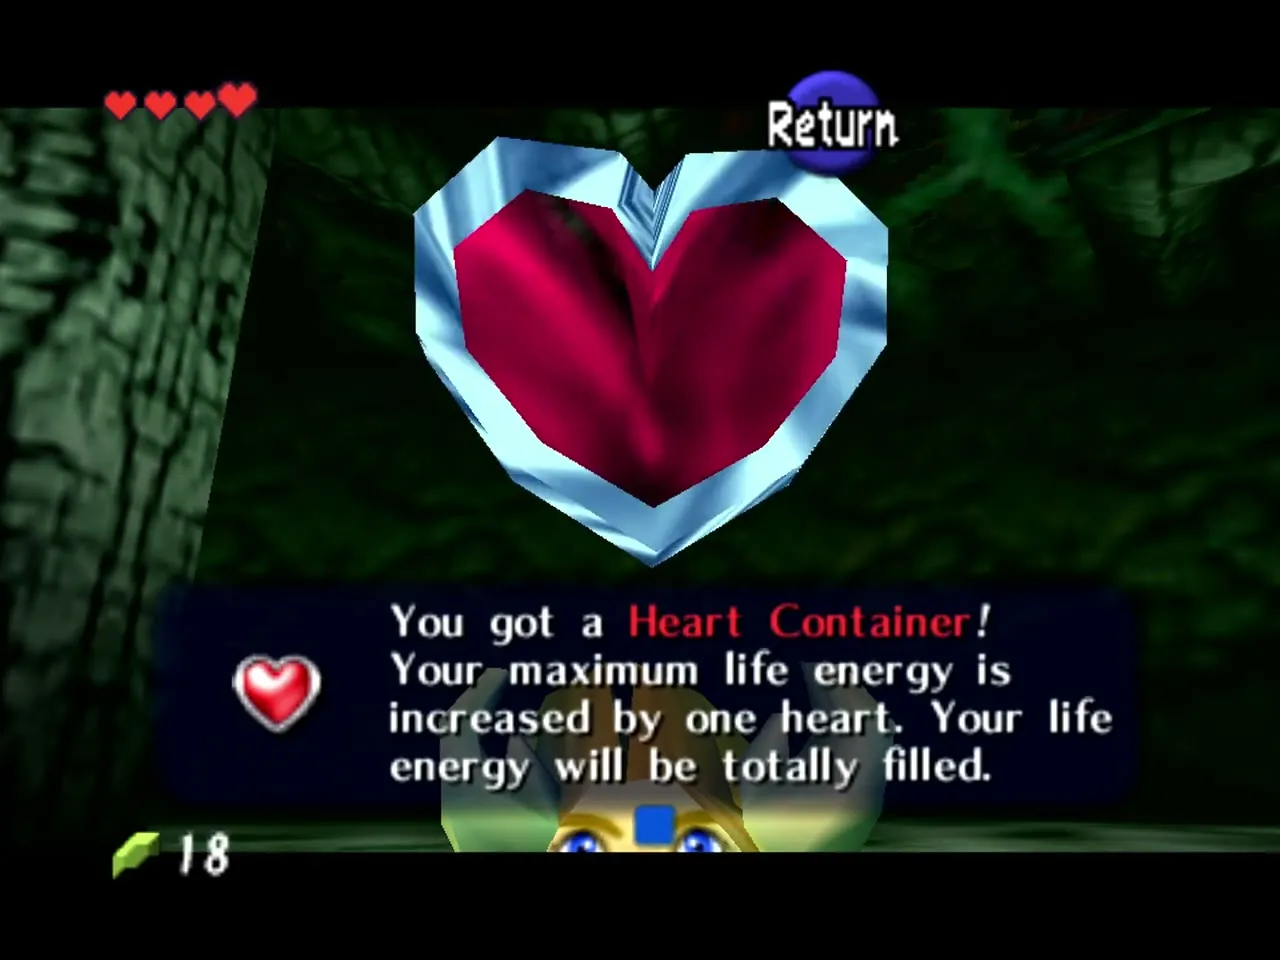
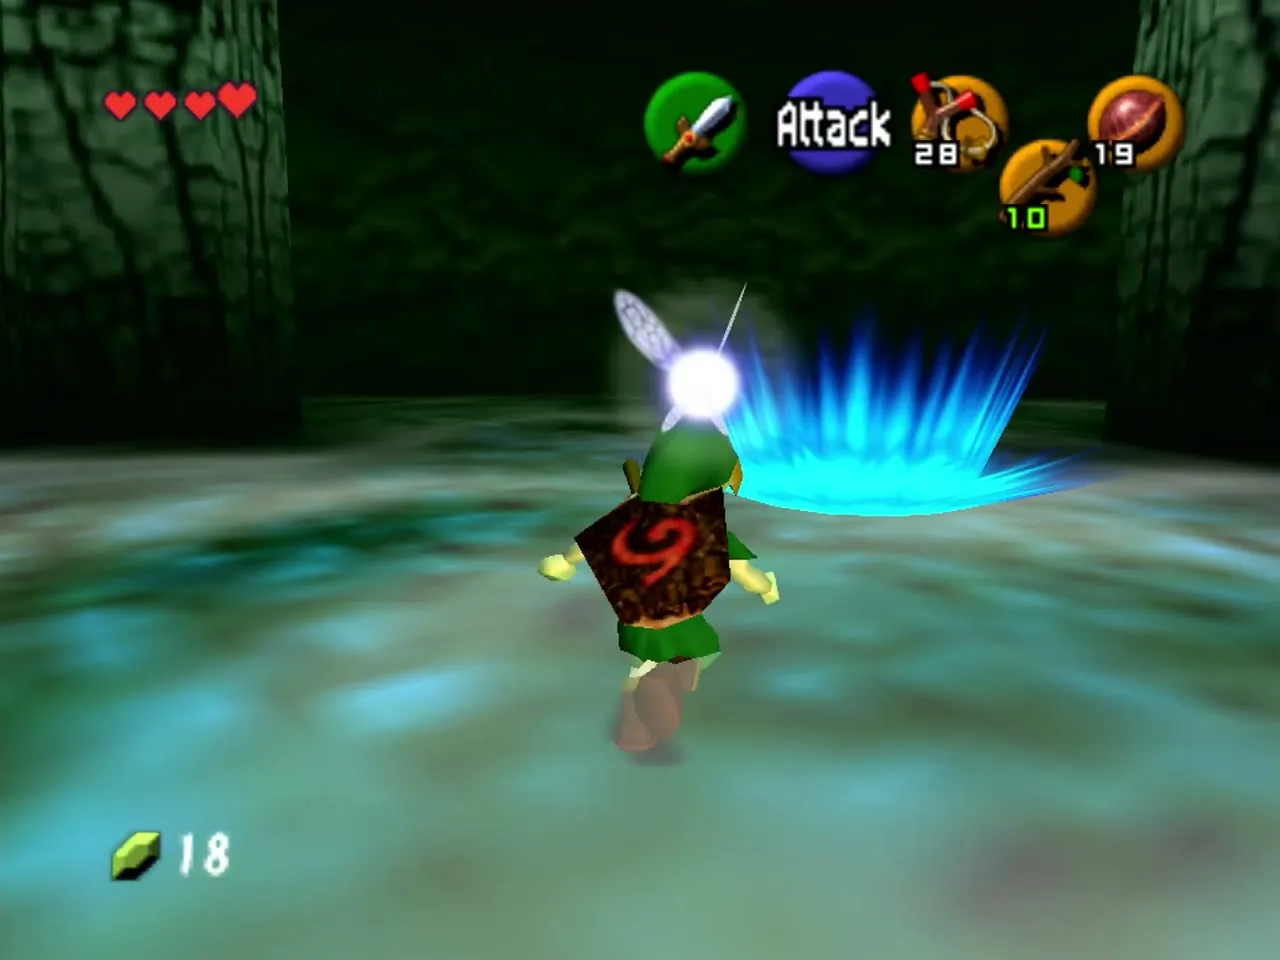
When Gohma disappears she leaves a Heart Container, which adds a permanent heart (from 3 to 4) and refills your life. Grab it before you step into the blue light that takes you outside.
After the fight: the Kokiri’s Emerald and the Ocarina
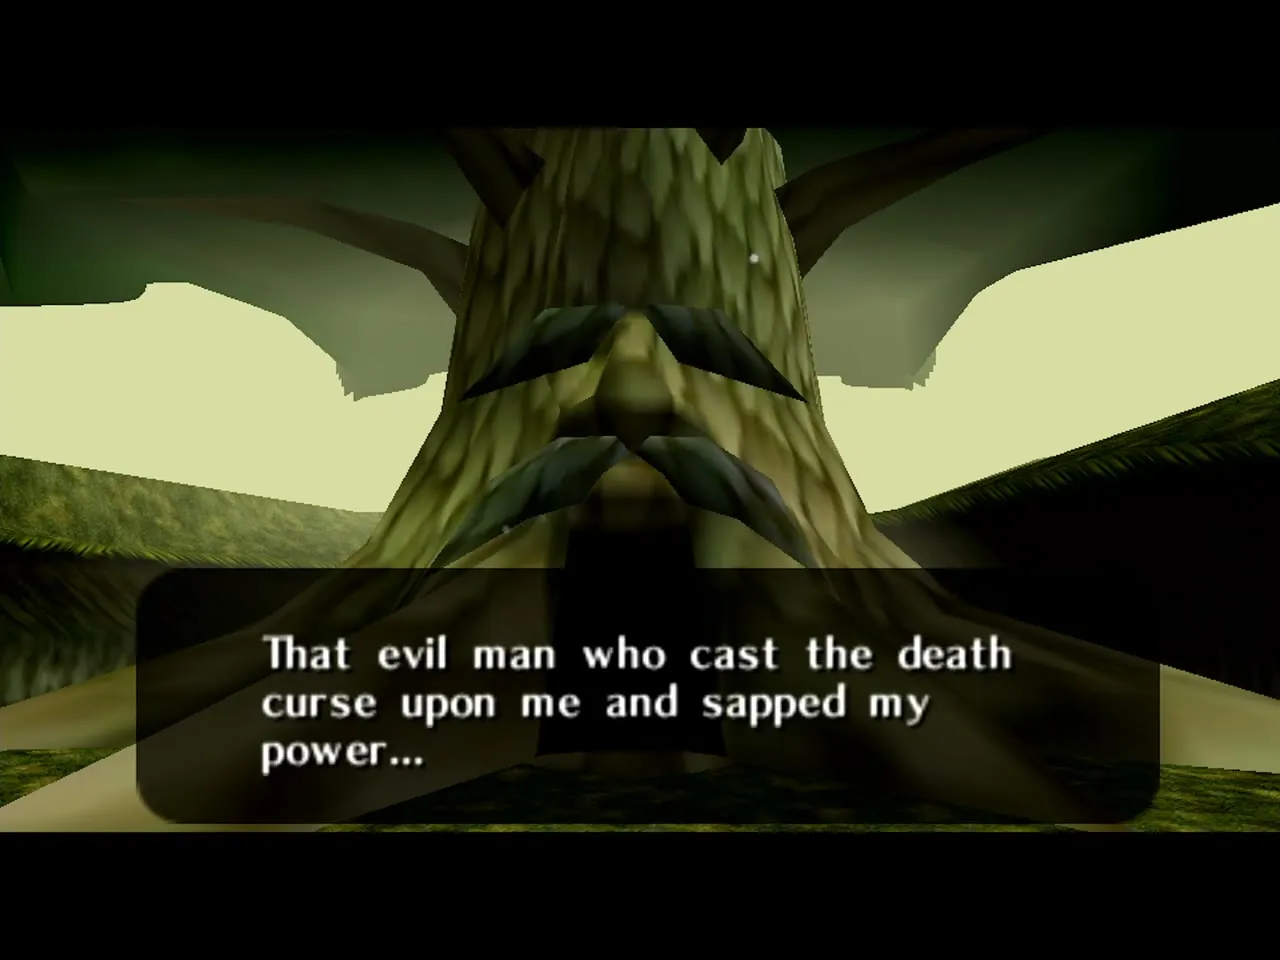
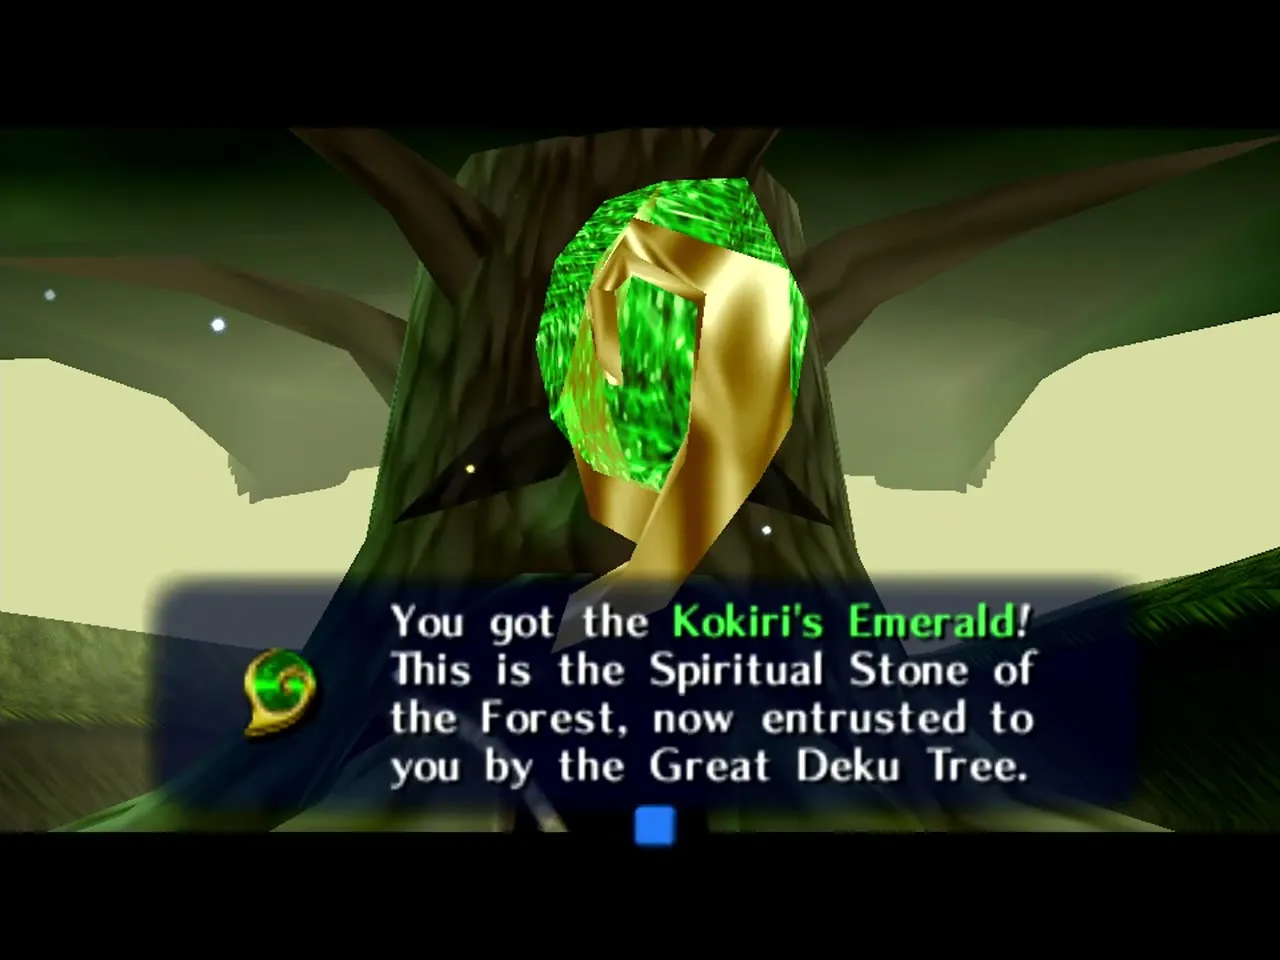
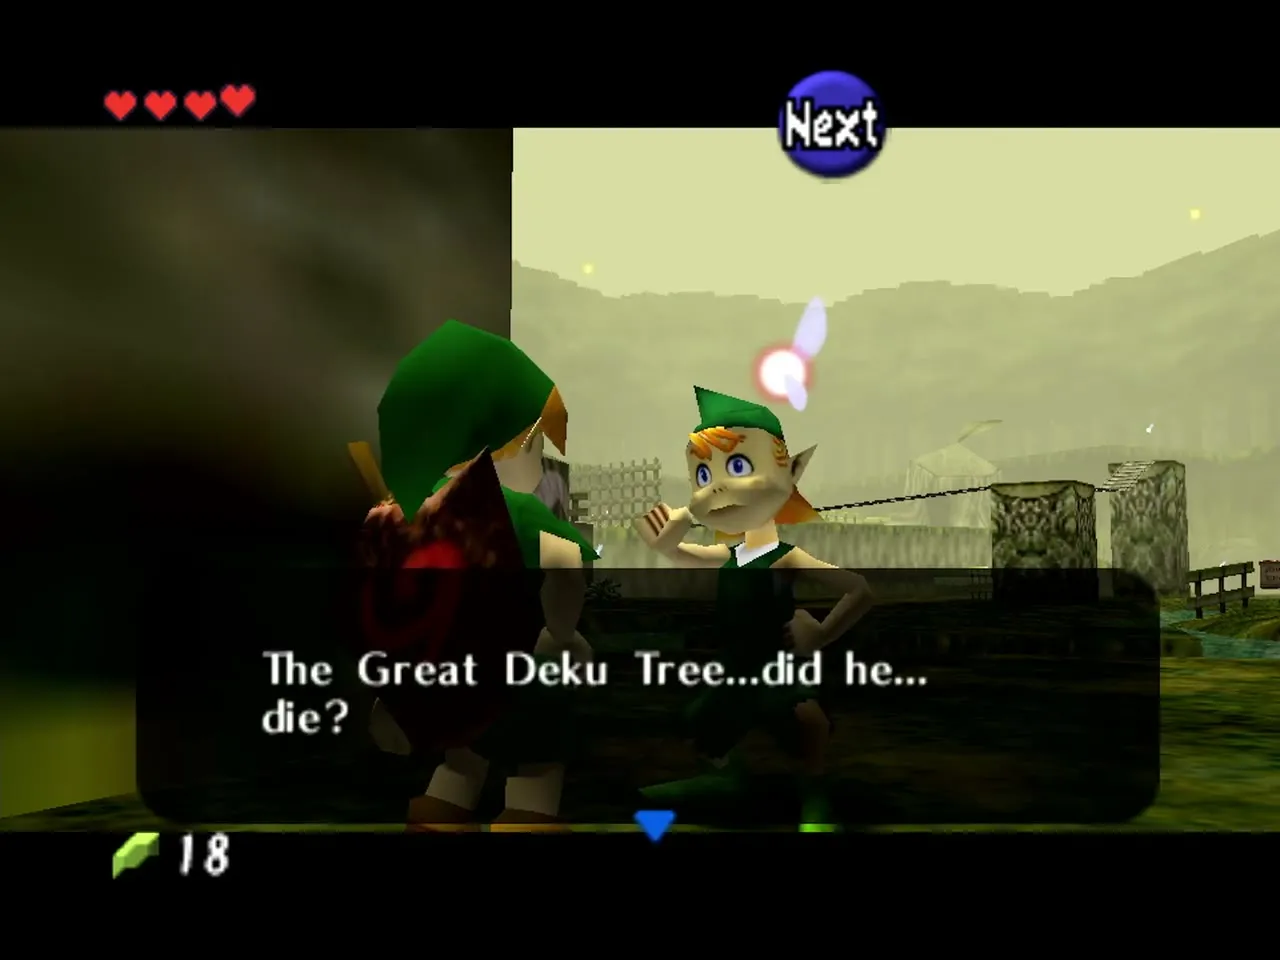
Outside, the Great Deku Tree explains the evil that infected him and that a man from the desert wanted the Kokiri’s Emerald. He is dying and has already been cursed. He tells you that the Emerald is one of three Spiritual Stones that open the way to the Sacred Realm, and asks you to go to the Princess of Destiny in Hyrule Castle. Then he gives you the Kokiri’s Emerald, the first Spiritual Stone, and dies.


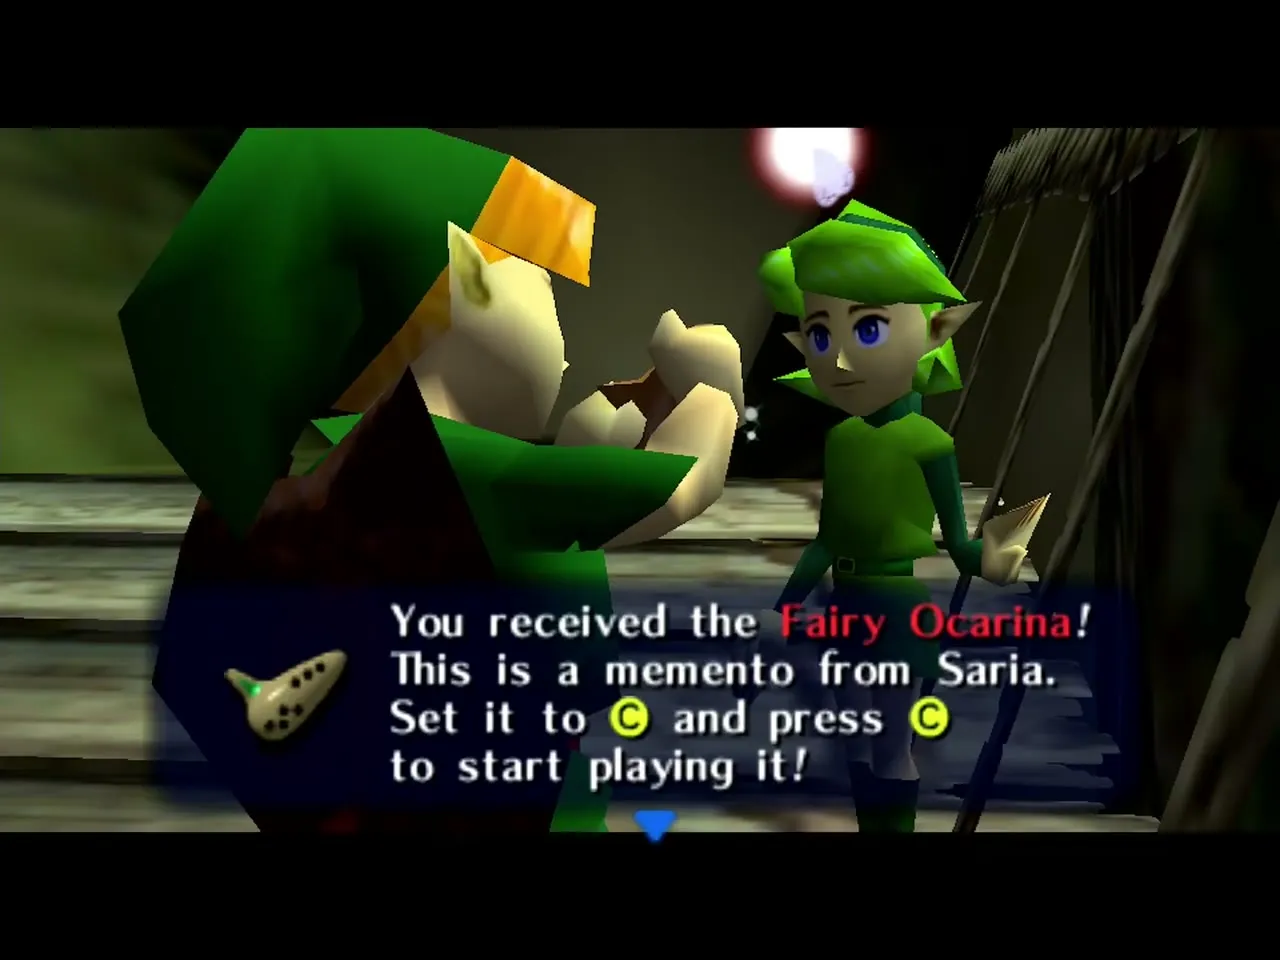
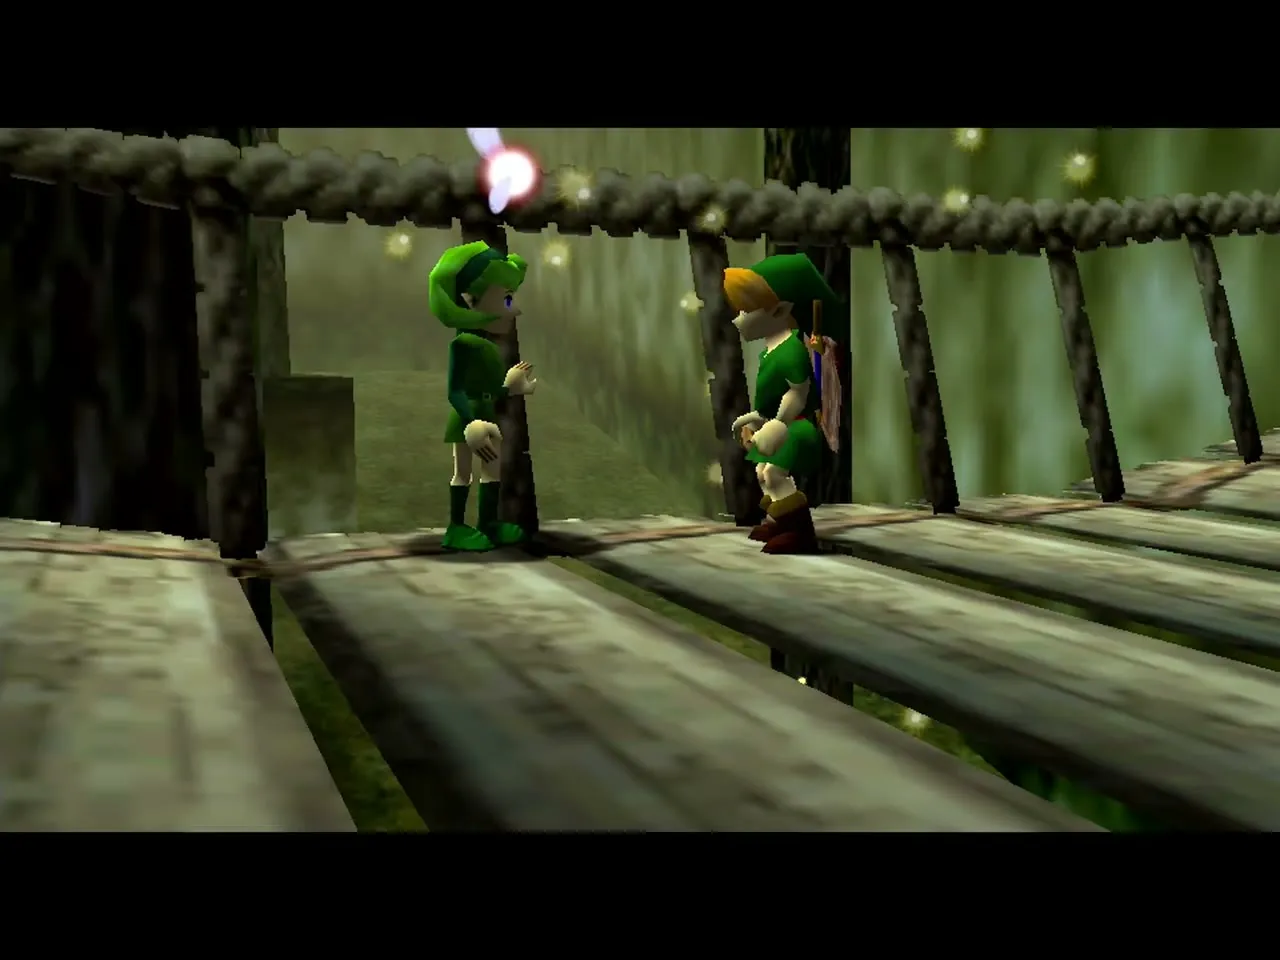
Walk back through the village toward the bridge. Saria stops you there and gives you the Fairy Ocarina as a farewell gift. You may now walk out of the forest. Go on to Hyrule Field and Hyrule Castle next.

Coming back to the tree
You can enter the Great Deku Tree again as a child whenever you like. The only thing left inside is the fourth Gold Skulltula, which needs Bombs and the Boomerang (see Transition to Adulthood). For the three Spiritual Stones see Medallions and Spiritual Stones, and for a short version of the Gohma fight see Bosses and Mini-Bosses.
Chapter checklist
| Type | Name | Where |
|---|---|---|
| Item | Dungeon Map | Chest on the second level of the main hall |
| Item | 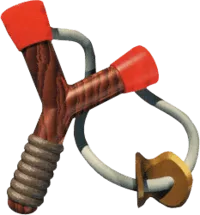 Fairy Slingshot | Chest beyond the first Deku Scrub and the crumbling platform |
| Item | Compass | Chest at the far end of the platform room |
| Chest | Recovery Heart (3) | Slingshot room vines; Compass room nook; basement web |
| Gold Skulltula | Compass room alcove | Left nook of the platform room; Slingshot; any time |
| Gold Skulltula | Basement vines | Vines leading back to the main level; Slingshot; any time |
| Gold Skulltula | Basement grate | Metal grate near the water gate; Slingshot or sword; any time |
| Boss reward | Heart Container | Queen Gohma |
| Spiritual Stone | Kokiri’s Emerald | Given by the Great Deku Tree after the fight |
| Item | 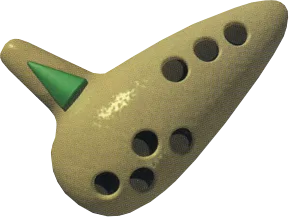 Fairy Ocarina | Saria, at the bridge leaving Kokiri Forest |
