
























| Heart Containers | 13 (8 from bosses, 5 hidden), so 16 hearts is the maximum with your 3 starting hearts |
|---|---|
| Triforce pieces | 8 pieces of the Triforce of Wisdom, one from each of Levels 1 to 8 |
| Dungeons | 9 levels, with Level 9 (Death Mountain) as the final one |
| Swords and rings | 3 swords and 2 rings |
| Bomb upgrades | 2, from 8 up to 16 capacity |
This checklist lists everything a 100% file needs in The Legend of Zelda for the NES. Boxes are remembered in this browser, so you can come back to them later. Each row links to the page that explains where to get it, and the walkthrough shows the order in which the chapters reach each one.
Table of Contents
Dungeons (9)
| Level | Entrance | Boss |
|---|---|---|
| Level 1: The Eagle | H4: tree on the island across the wooden bridge north of the start | 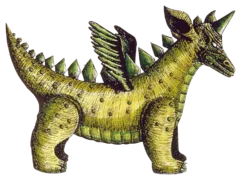 Aquamentus |
| Level 2: The Moon | M4: green hill in eastern Hyrule, north of the forest | 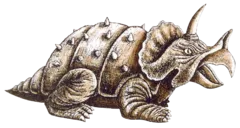 Dodongo (single) |
| Level 3: The Manji | E8: three screens west of the start screen | 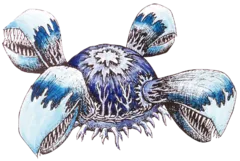 Manhandla |
| Level 4: The Snake | F5: island in the central lake, Raft from the dock at F6 |  Gleeok (two heads) |
| Level 5: The Lizard | L1: top of the Lost Hills, four screens up from L2 | 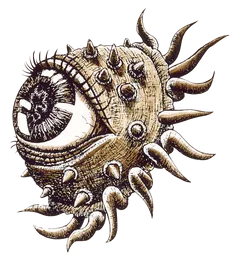 Digdogger |
| Level 6: The Dragon | C3: on the graveyard screen | 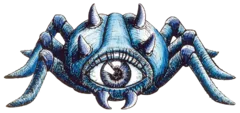 Gohma |
| Level 7: The Demon | C5: lake with no fairy, revealed with the Recorder | Aquamentus |
| Level 8: The Lion | N7: lone bush in the south-east forest, burned with a candle | Gleeok (four heads) |
| Level 9: Death Mountain | F1: Spectacle Rock, bomb the left rock; all 8 Triforce pieces to pass the Old Man |  Ganon |
Triforce of Wisdom pieces (8)
Each of the first eight levels holds one piece, and the Old Man at the Level 9 entrance checks that you have all of them. The full table is on Dungeons and Triforce Pieces.
| Piece | Where in the level | Level |
|---|---|---|
| Piece 1 | Room to the right of Aquamentus | Level 1: The Eagle |
| Piece 2 | Dark room to the left of the Dodongo boss room | Level 2: The Moon |
| Piece 3 | Room above the Manhandla boss room | Level 3: The Manji |
| Piece 4 | Room above the Gleeok boss room | Level 4: The Snake |
| Piece 5 | Room above the Digdogger boss room | Level 5: The Lizard |
| Piece 6 | Loop of rooms and a stairway past the Gohma room | Level 6: The Dragon |
| Piece 7 | Room to the right of the Aquamentus boss room | Level 7: The Demon |
| Piece 8 | Room above the Gleeok boss room | Level 8: The Lion |
Heart Containers (13)
Eight come from the dungeon bosses and five are hidden in the overworld. The rows below follow the order of the walkthrough, so the Heart Container numbered 1 is the first one you meet and the last row takes you to 16 hearts. The full list with directions is on Heart Container Locations.
| # | Heart Container | Overworld location | Needs |
|---|---|---|---|
| 1 | Hidden cave in the lower row | L8: four screens east of the start, lowest row | Bombs (bomb the wall left of the north path) |
| 2 | Cave under a large boulder | M3: north-east, past four screens east and five north | Bombs |
| 3 | Staircase under a bush | H5: three screens north of the start, fifth bush from the right | Blue or Red Candle |
| 4 | Level 1 boss, Aquamentus | Level 1: The Eagle | Beat the boss |
| 5 | Level 2 boss, Dodongo | Level 2: The Moon | Beat the boss |
| 6 | Level 3 boss, Manhandla | Level 3: The Manji | Beat the boss |
| 7 | Small island in the eastern sea | P3: out on the Raft, one screen north of the east-coast dock at P4 |  Raft |
| 8 | Level 4 boss, Gleeok (two heads) | Level 4: The Snake | Beat the boss |
| 9 | Far dock on the east coast | P6: eight screens east and two north of the start |  Stepladder |
| 10 | Level 5 boss, Digdogger | Level 5: The Lizard | Beat the boss |
| 11 | Level 6 boss, Gohma | Level 6: The Dragon | Beat the boss with arrows |
| 12 | Level 7 boss, Aquamentus | Level 7: The Demon | Beat the boss |
| 13 | Level 8 boss, Gleeok (four heads) | Level 8: The Lion | Beat the boss |
Swords (3)
| Sword | Needs | Where |
|---|---|---|
| Wooden Sword | Nothing | Cave on the start screen, from the Old Man |
 White Sword | 5 hearts | Cave at K1, just above the waterfall screen at K2 |
 Magical Sword | 12 hearts | Movable tombstone on B3, in the right-hand side of the cemetery |
Rings (2)
| Ring | Needs | Where |
|---|---|---|
 Blue Ring | 250 rupees | Hidden shop under the middle Armos of the top row |
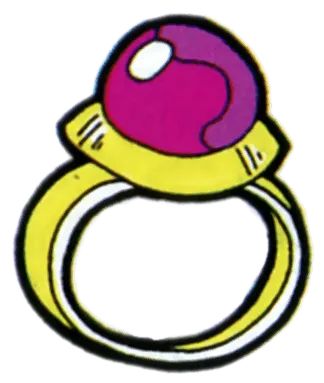 Red Ring | Nothing extra | Level 9: Death Mountain, after the eight Triforce pieces |
Bomb upgrades (2)
| Upgrade | Cost | Where |
|---|---|---|
| Capacity 8 to 12 | 100 rupees | Level 5: The Lizard, hidden room behind a bombed wall |
| Capacity 12 to 16 | 100 rupees | Level 7: The Demon, behind a locked door |
Potions and the Letter (3)
| Item | Cost | Where |
|---|---|---|
| The Letter | Free | Old man in the cave at O1, in the north-east of Hyrule |
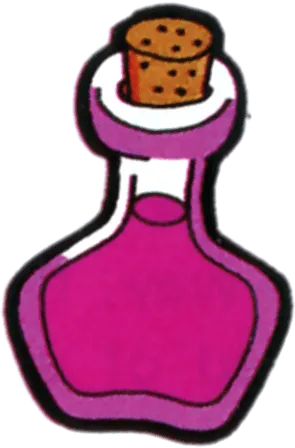 Red Potion | 68 rupees | Medicine women in hidden caves, after you show them the Letter |
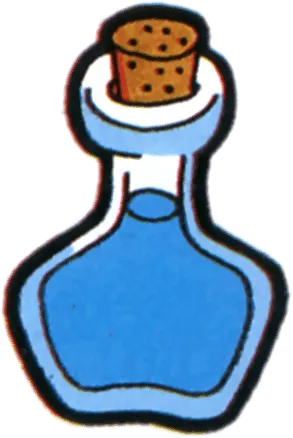 Blue Potion | 40 rupees | Medicine women in hidden caves, after you show them the Letter |
Key items (14)
Most key items are dungeon rewards. The items that come from shops or the overworld are noted in the Where column.
| Item | Where |
|---|---|
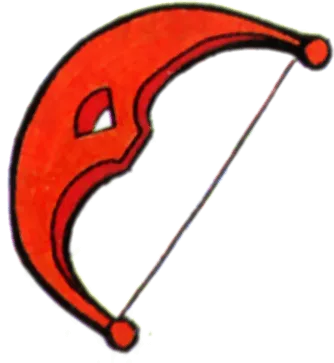 Bow | Level 1: The Eagle |
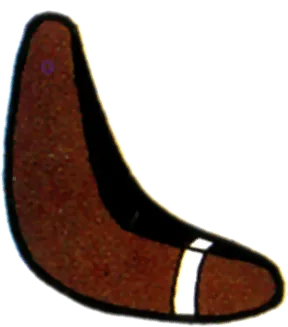 Boomerang | Level 1: The Eagle, Goriya room |
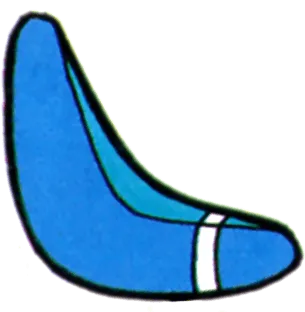 Magical Boomerang | Level 2: The Moon, blue Goriya room |
| Raft | Level 3: The Manji |
| Stepladder | Level 4: The Snake |
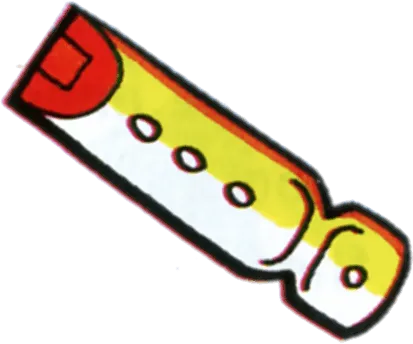 Recorder | Level 5: The Lizard |
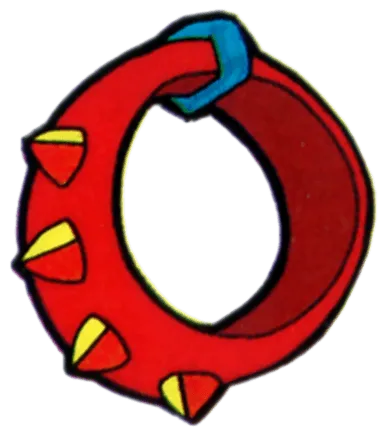 Power Bracelet | Overworld, found by touching the right-most Armos of the top row in the Armos field |
 Magical Rod | Level 6: The Dragon |
 Red Candle | Level 7: The Demon |
 Book of Magic | Level 8: The Lion |
 Magical Key | Level 8: The Lion |
 Silver Arrow | Level 9: Death Mountain |
 Blue Candle | Shop, 60 rupees |
 Magical Shield | Shops, 90, 130 or 160 rupees |
Secret rupees and money caves
The Money Making Game and the secret caves are the two ways to earn rupees for the purchases above. You can carry 255 rupees at most, so spend as you go.
| Source | Where |
|---|---|
| Money Making Game (three games) | Tree in the north-east of the first section, plus a cave in the east and one on Death Mountain |
| Secret caves paying 10, 30 or 100 rupees | Burned trees, bombed walls and moved Armos across the overworld |
Second Quest
The Second Quest unlocks after you finish the First Quest and moves most items and hearts. It is not counted in the totals above. Read Second Quest before you start it, and follow the Second Quest walkthrough in route order. Each row links to the chapter that explains it.
| Dungeons | 9 dungeons, with 8 Triforce of Wisdom pieces from Levels 1 to 8. Level 9 gives the Triforce of Power from Ganon, not a piece |
|---|---|
| Heart Containers | 13, listed in route order below |
| Bomb upgrades | 2, from 8 to 12 in Level 4 and from 12 to 16 in Level 8 |

Second Quest dungeons (9) and Triforce pieces (8)
| Level | Entrance | Boss | Triforce piece |
|---|---|---|---|
| Level 1 | H4: dead tree on the island across the lake bridge | Aquamentus | Piece 1 |
| Level 2 | E4: stairway under the middle Armos of the top row | Gleeok (two heads) | Piece 2 |
| Level 3 | M4: pond on the green hill in the east, drained with the Recorder | Three Dodongos | Piece 3 |
| Level 4 | L2: Lost Hills, lift the easternmost boulder with the Power Bracelet | Digdogger | Piece 4 |
| Level 5 | F5: island in the central lake, Raft from the dock at F6 | Three-headed Gleeok | Piece 5 |
| Level 6 | A4: middle-west of the graveyard, Recorder reveals the stairs |  Blue Gohma (arrows only) | Piece 6 |
| Level 7 | M7: forest tree, burned with the Blue Candle | Four-headed Gleeok | Piece 7 |
| Level 8 | J2: cliff wall above the river, after crossing with the Ladder | Three Dodongos | Piece 8 |
| Level 9 | A1: bomb the middle of the north wall in the far north-west | Ganon | None (Triforce of Power) |
Second Quest Heart Containers (13)
Listed in route order, so the first row is the first heart you collect. Eight come from bosses and five are hidden.
| # | Heart Container | Where | Needs |
|---|---|---|---|
| 1 | Graveyard room | Graveyard at A3, reached by pushing a tombstone | Nothing |
| 2 | Aquamentus | Level 1 | Beat the boss |
| 3 | Gleeok | Level 2 | Beat the boss |
| 4 | Desert cave | K4, north-east corner of the desert, Recorder staircase | Recorder |
| 5 | Three Dodongos | Level 3 | Beat the bosses |
| 6 | Digdogger | Level 4 | Beat the boss |
| 7 | Gleeok | Level 5 | Beat the boss |
| 8 | Island cave | P3, sandy island in the north-east, Raft from the dock at P4 | Raft (take the heart, not the potion) |
| 9 | Recorder staircase | G1, just right of Spectacle Rock | Recorder (take the heart, not the potion) |
| 10 | Blue Gohma | Level 6 | Arrows |
| 11 | Far dock | P6, dock on the east lake | Stepladder |
| 12 | Four-headed Gleeok | Level 7 | Beat the boss |
| 13 | Three Dodongos | Level 8 | Beat the bosses |
Second Quest key items and upgrades
| Item | Where | Chapter |
|---|---|---|
| Blue Candle | Shop on the overworld, 60 rupees | Start |
| Power Bracelet | Statue field at E3, east of the graveyard | Start |
| Wooden Boomerang | Level 1, Goriya room | Level 1 |
| Recorder | Level 2, basement behind the stairwell | Level 2 |
| Magical Boomerang | Level 3, room behind the Monster Bait door | Level 3 |
| Book of Magic | Level 4, stairwell past the Aquamentus door | Level 4 |
| Raft | Level 4, staircase after the three Dodongos | Level 4 |
| Bow | Level 5, gray-brick room at the top of the stairs | Level 5 |
| Arrows | Cave shop at F3, 80 rupees | Arrows, Magical Sword and Letter |
| Magical Sword | Stairs under the left-most boulder in the northern mountains, needs 12 hearts | Arrows, Magical Sword and Letter |
 Letter | Stairs under the left-most boulder in the north-west rock fields | Arrows, Magical Sword and Letter |
| Ladder (Stepladder) | Level 6, gray-brick passage behind the Vire room | Level 6 |
| Red Candle | Level 7, underground passage below the centre blocks | Level 7 |
| Magical Rod | Level 8, stairway under the centre block in the Wall Masters room | Level 8 |
| Magical Key | Level 8, stairway in the fourth row of the Stalfos room | Level 8 |
| Silver Arrow | Level 9, stairwell behind the block in the Wizzrobe room | Level 9 and Ending |
| Red Ring | Level 9, staircase in the Patra room under the blue Lanmolas | Level 9 and Ending |
| Blue Ring | Hidden shop in the north-east, 250 rupees | Blue Ring and White Sword |
| White Sword | Cave above the waterfall in the north-east, needs 5 hearts | Blue Ring and White Sword |
| Bomb upgrade, 8 to 12 | Level 4, old man past the invisible passage, 100 rupees | Level 4 |
| Bomb upgrade, 12 to 16 | Level 8, man behind the left door past the Aquamentus, 100 rupees | Level 8 |
