





















| Dungeons | 9 levels. Levels 1 to 8 hold one Triforce of Wisdom piece each; Level 9 is Death Mountain, where Ganon waits. |
|---|---|
| Triforce pieces | 8 pieces of the Triforce of Wisdom, one from each of Levels 1 to 8. Level 9 holds no piece. |
| Entry to Level 9 | An Old Man at the entrance turns you back unless you hold all eight pieces. |
| Heart Containers from bosses | 8, one from each of Levels 1 to 8 |
The First Quest has nine levels. Levels 1 to 8 each give you one piece of the Triforce of Wisdom and a boss Heart Container. Level 9 is Death Mountain, the final dungeon, where Ganon holds Princess Zelda. You must have all eight pieces before the Old Man at the Level 9 entrance will let you in. There is no ninth piece of the Triforce to collect; the Triforce of Power is Ganon’s, and you take it from him when you defeat him.
Table of Contents
Quick reference
| Level | Name | Entrance and requirement | Key item | Mini-boss | Boss | Reward |
|---|---|---|---|---|---|---|
| 1 | The Eagle | H4: tree on the small island across the wooden bridge north of the start; no item needed | Bow, Boomerang | None | Aquamentus | Piece 1 and a Heart Container |
| 2 | The Moon | M4: stairway on a green hill in eastern Hyrule, north of the forest; no item needed | Magical Boomerang | None | Dodongo (single) | Piece 2 and a Heart Container |
| 3 | The Manji | E8: three screens west of the start; no item needed | Raft | None | Manhandla | Piece 3 and a Heart Container |
| 4 | The Snake | F5: island in the central lake; launch the Raft from the dock at F6 | Stepladder | Manhandla | Gleeok (two heads) | Piece 4 and a Heart Container |
| 5 | The Lizard | L1: top of the Lost Hills, after climbing north four times from L2 | Recorder | Dodongos | Digdogger | Piece 5 and a Heart Container |
| 6 | The Dragon | C3: on the graveyard screen | Magical Rod | Gleeok (three heads) | Gohma | Piece 6 and a Heart Container |
| 7 | The Demon | C5: lake without a fairy; play the Recorder beside it | Red Candle | Digdogger, Dodongos | Aquamentus | Piece 7 and a Heart Container |
| 8 | The Lion | N7: burn the lone bush in the south-east forest with a candle | Book of Magic, Magical Key | Manhandla (three), blue Gohma (two) | Gleeok (four heads) | Piece 8 and a Heart Container |
| 9 | Death Mountain | F1: bomb the south side of the left rock of Spectacle Rock; all eight pieces to get past the Old Man | Silver Arrow, Red Ring | Patra, Lanmola | Ganon | Triforce of Power and Princess Zelda |
Suggested order
Levels 1 to 8 can be done in number order, which is the route this guide follows. Level 3 gives you the Raft, which you need for Level 4 and for the island heart. Level 4 gives you the Stepladder, which you need for the far dock. Level 5 gives you the Recorder, which reveals the Level 7 entrance and weakens the Level 5 boss. Level 8 holds the last piece, so finish it before you attempt Level 9.

Level by level
Level 1: The Eagle
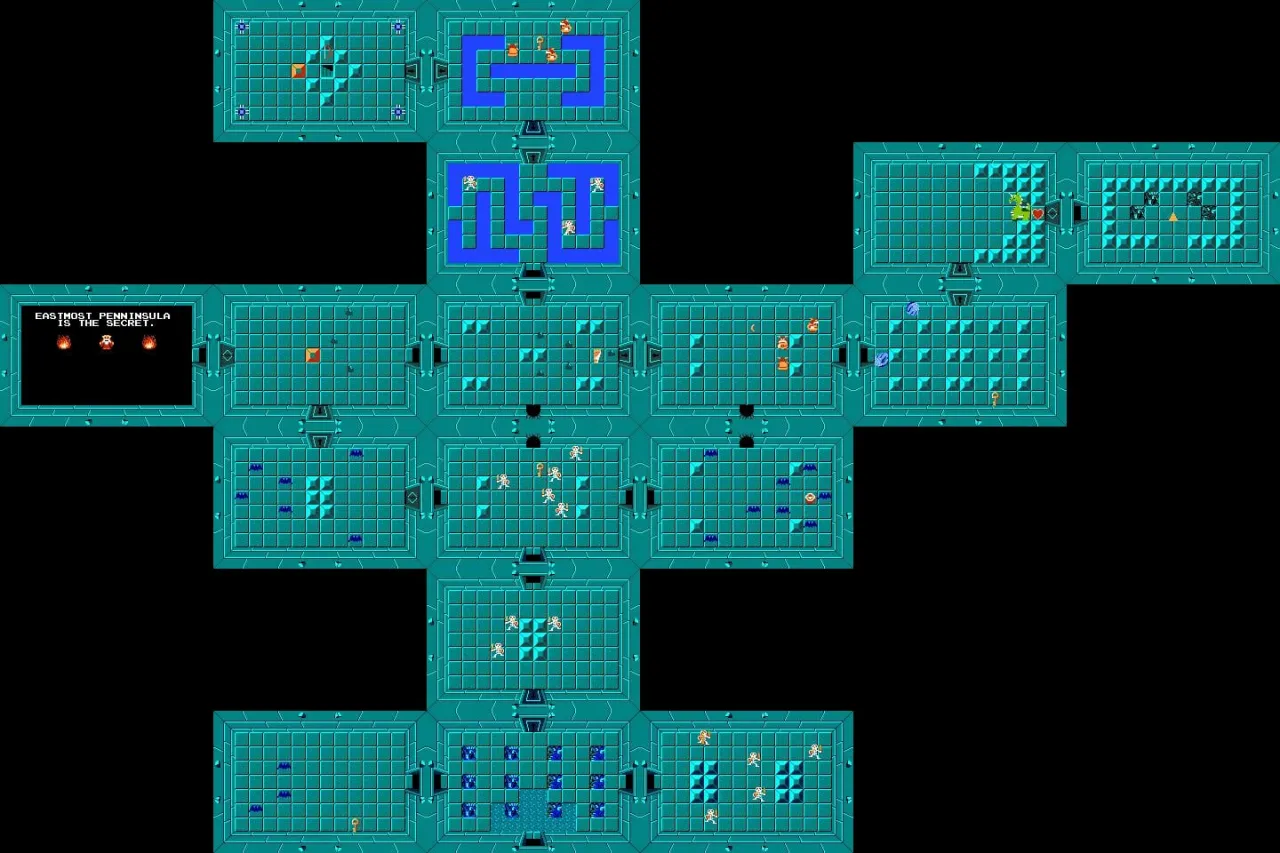
Level 1: The Eagle dungeon map

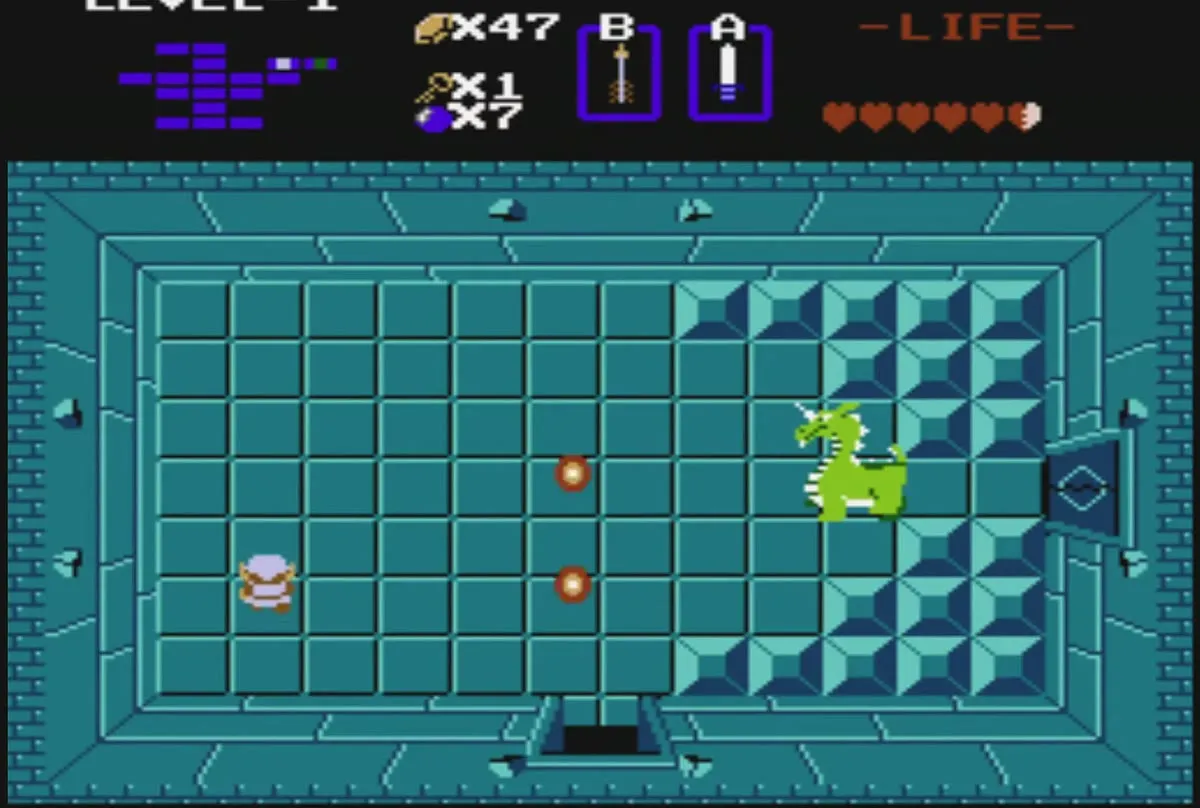
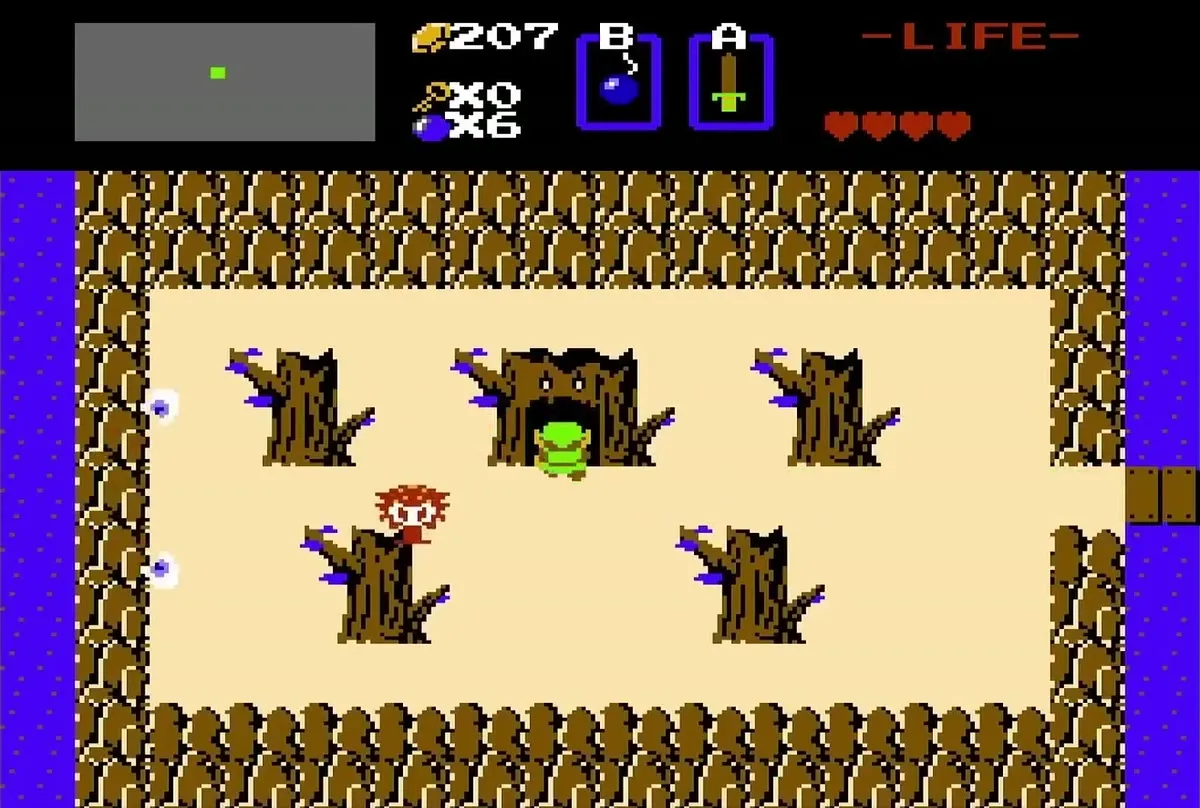
The entrance is a tree on a small island at H4, four screens north of the start. Cross the bridge and walk into the tree. You do not need an item to enter. Inside you collect the Bow and the Boomerang and fight Aquamentus at the end. Its Heart Container is the first boss reward, and the Triforce piece is in the room to its right. This is the first of the walkthrough chapters.



Level 2: The Moon

Level 2: The Moon dungeon map
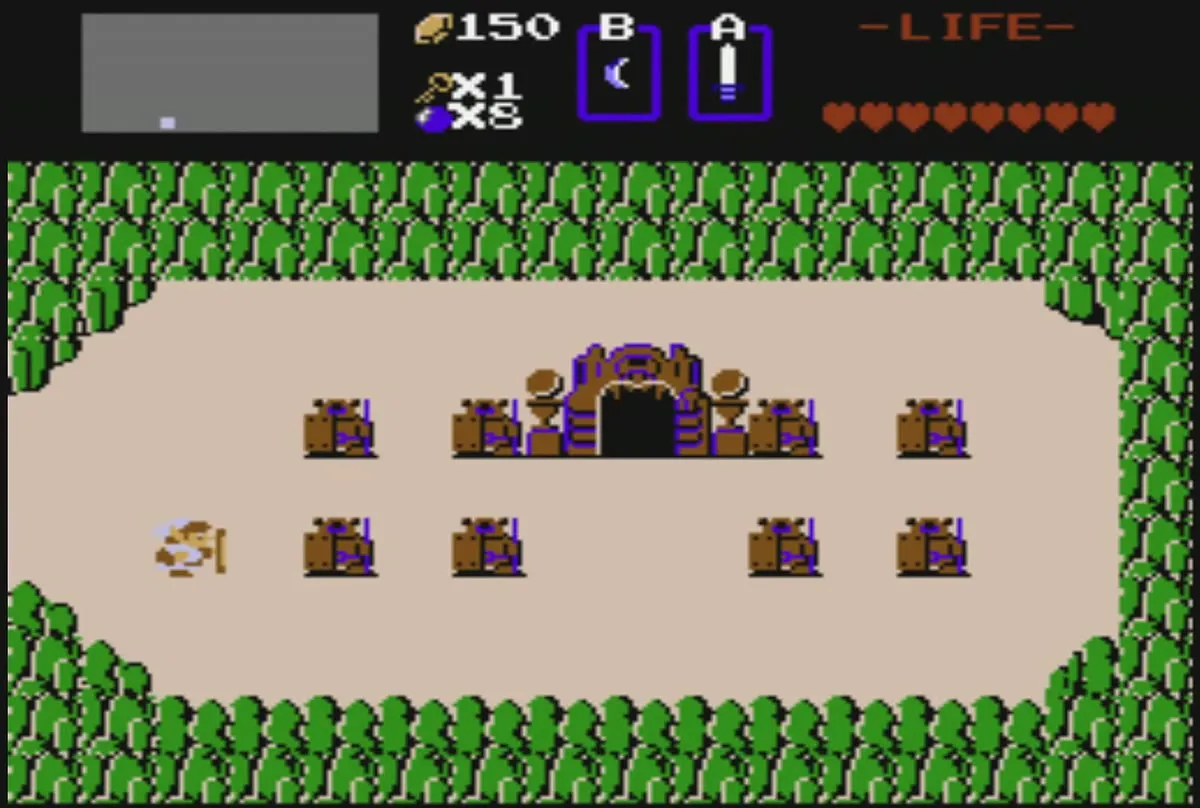
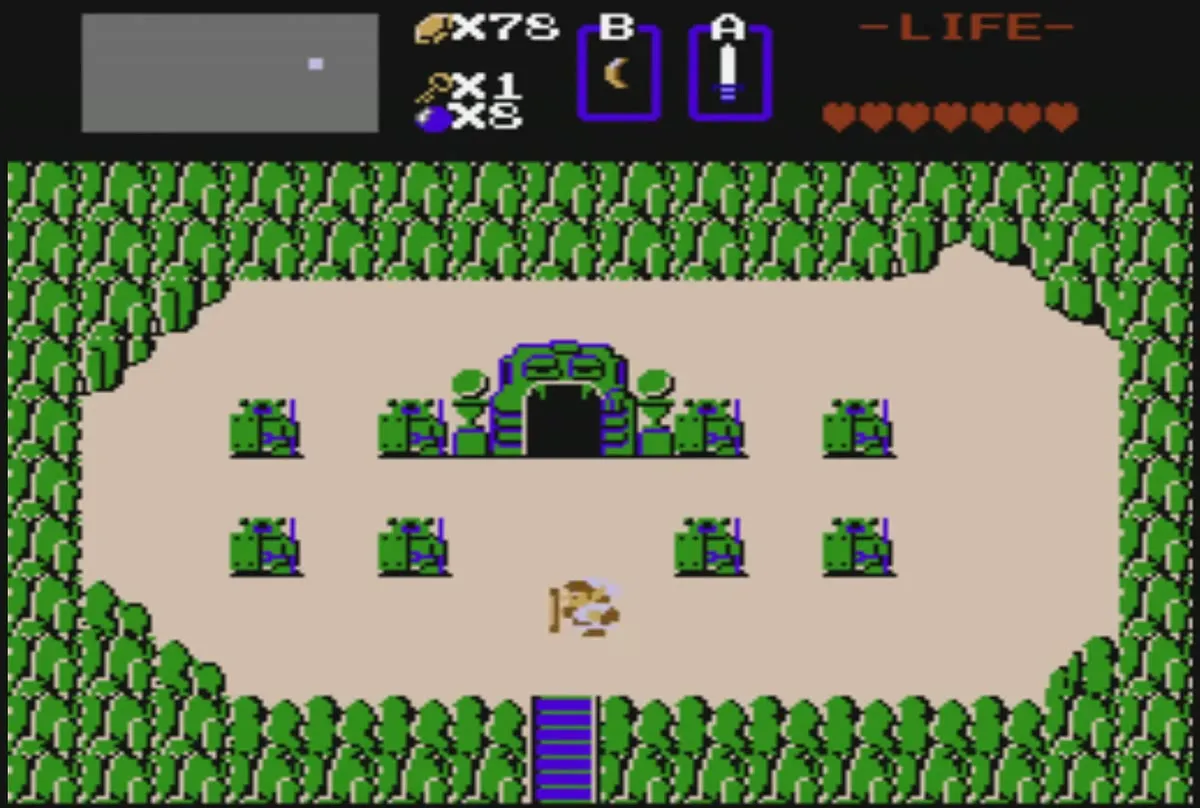
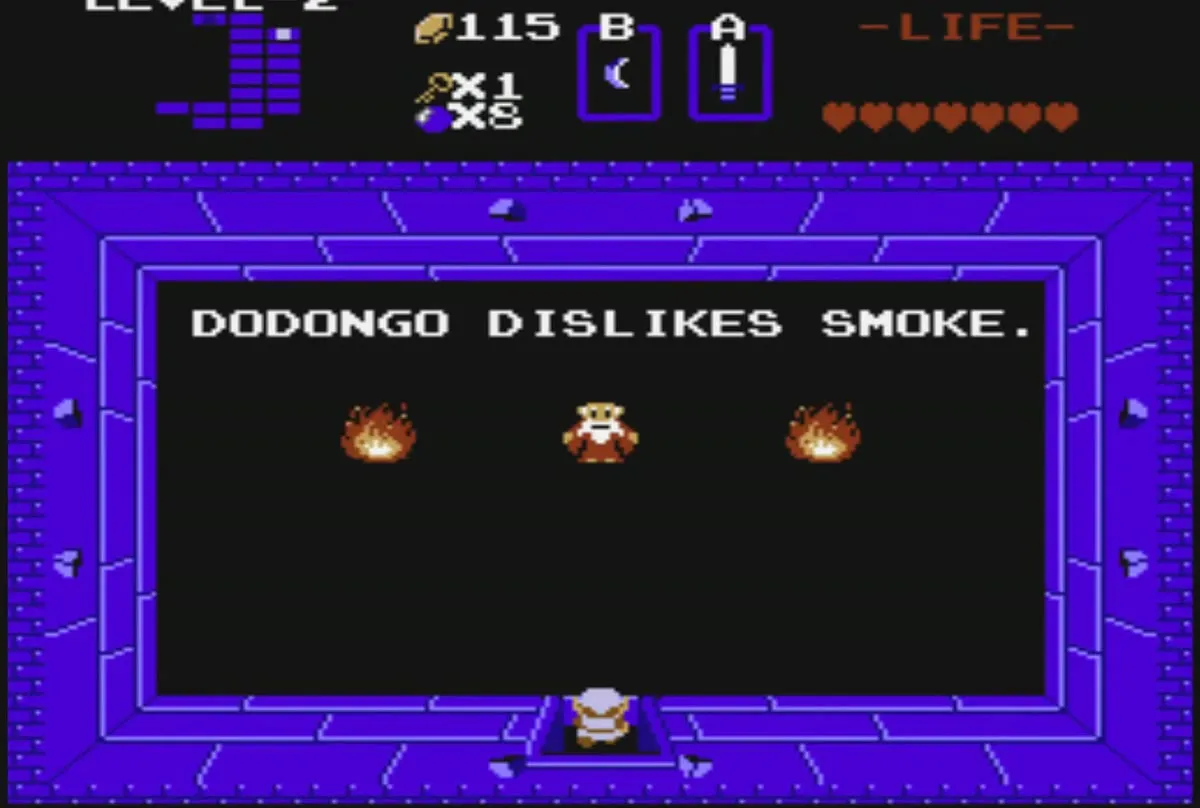
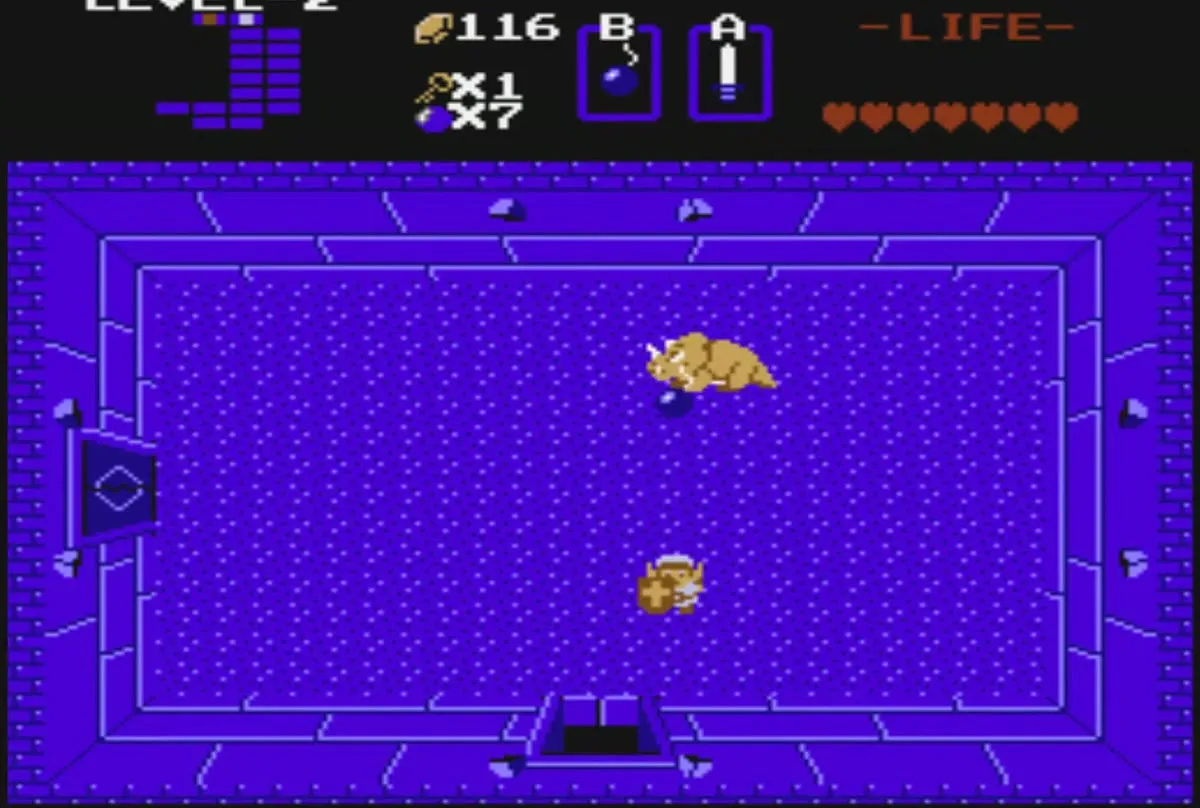
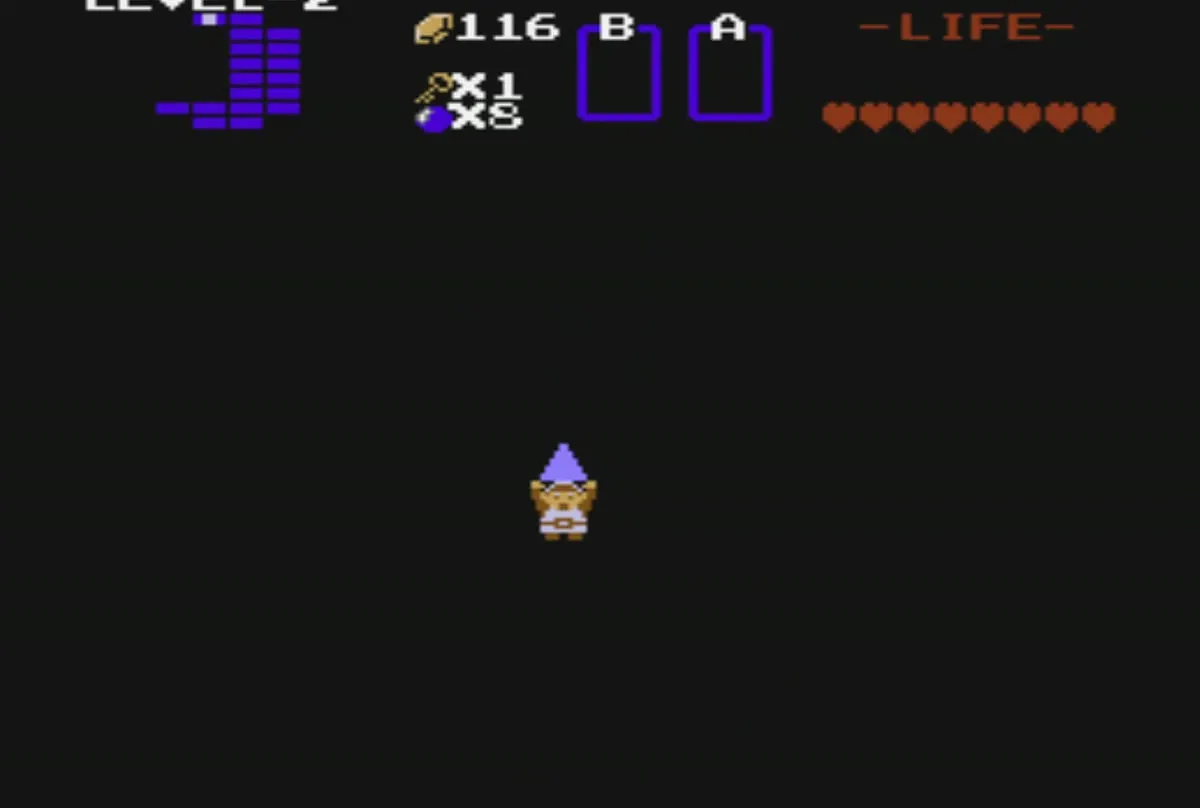
Enter at M4, from the green hill in eastern Hyrule, north of the forest. You need the Magical Boomerang here. An Old Man with three fires gives a hint: “DODONGO DISLIKES SMOKE.” The single Dodongo at the boss room is weak to bombs. The second piece of the Triforce is in the dark room to the left of the boss room. Read the Level 2 walkthrough for the full route.
Level 3: The Manji
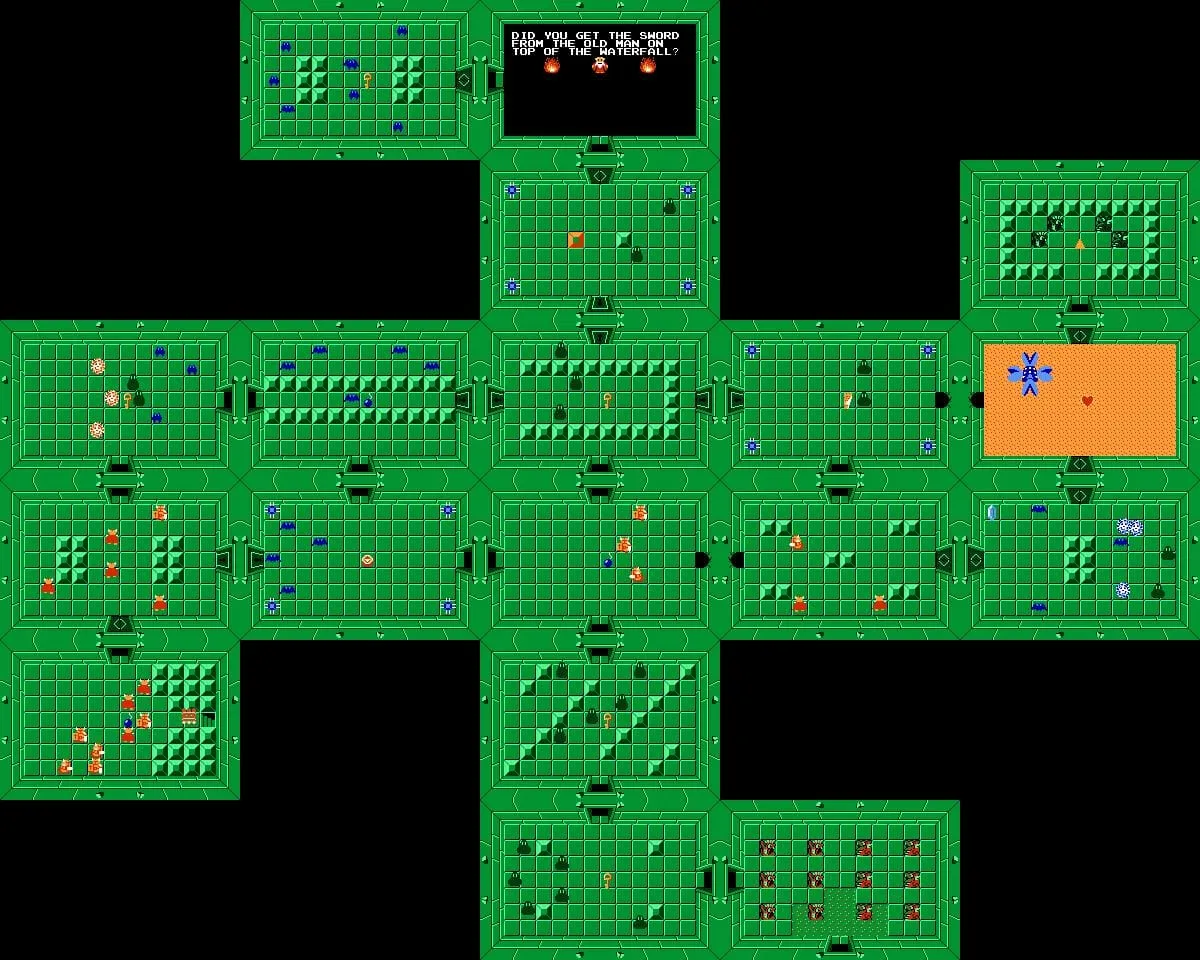
Level 3: The Manji dungeon map

Enter at E8, three screens west of the start screen. The main item is the Raft, which you need to cross water on the overworld. The boss is Manhandla, a spinning plant with four heads that moves faster as it loses them. A well-placed bomb can remove all four heads at once. The third piece sits in the room above the boss room. See the Level 3 walkthrough.
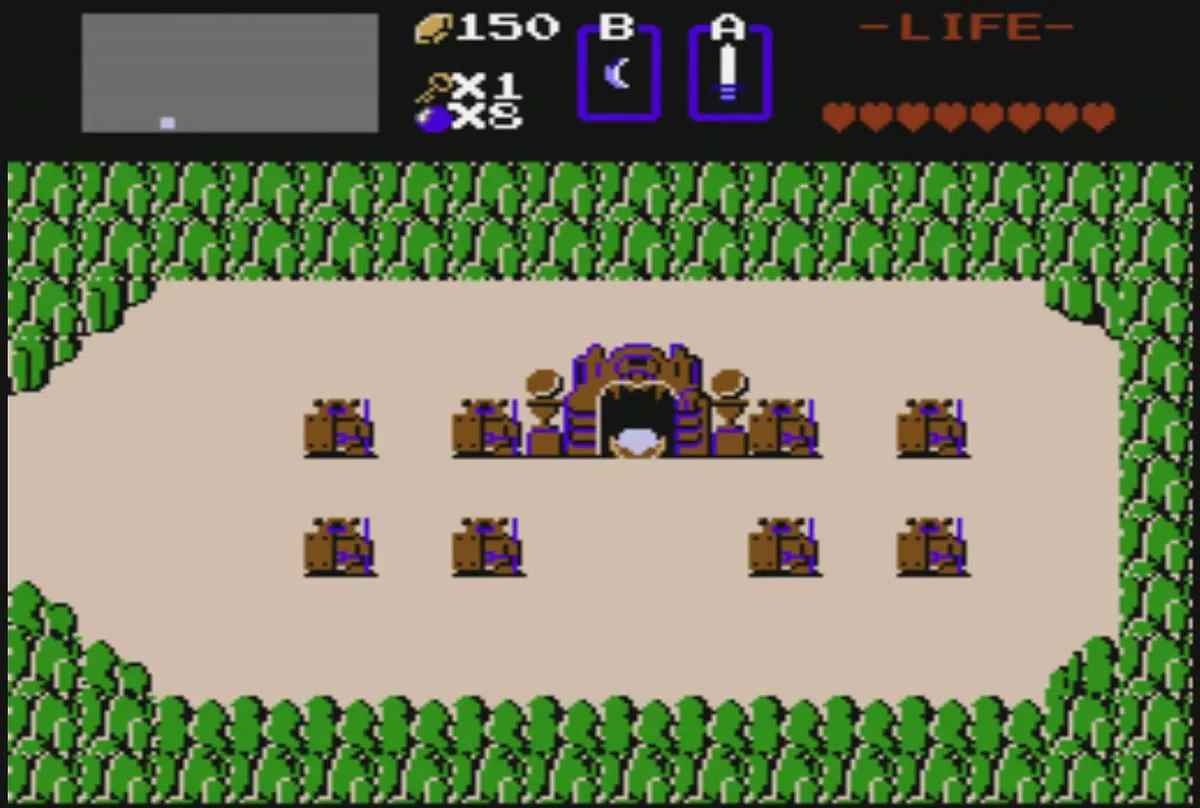
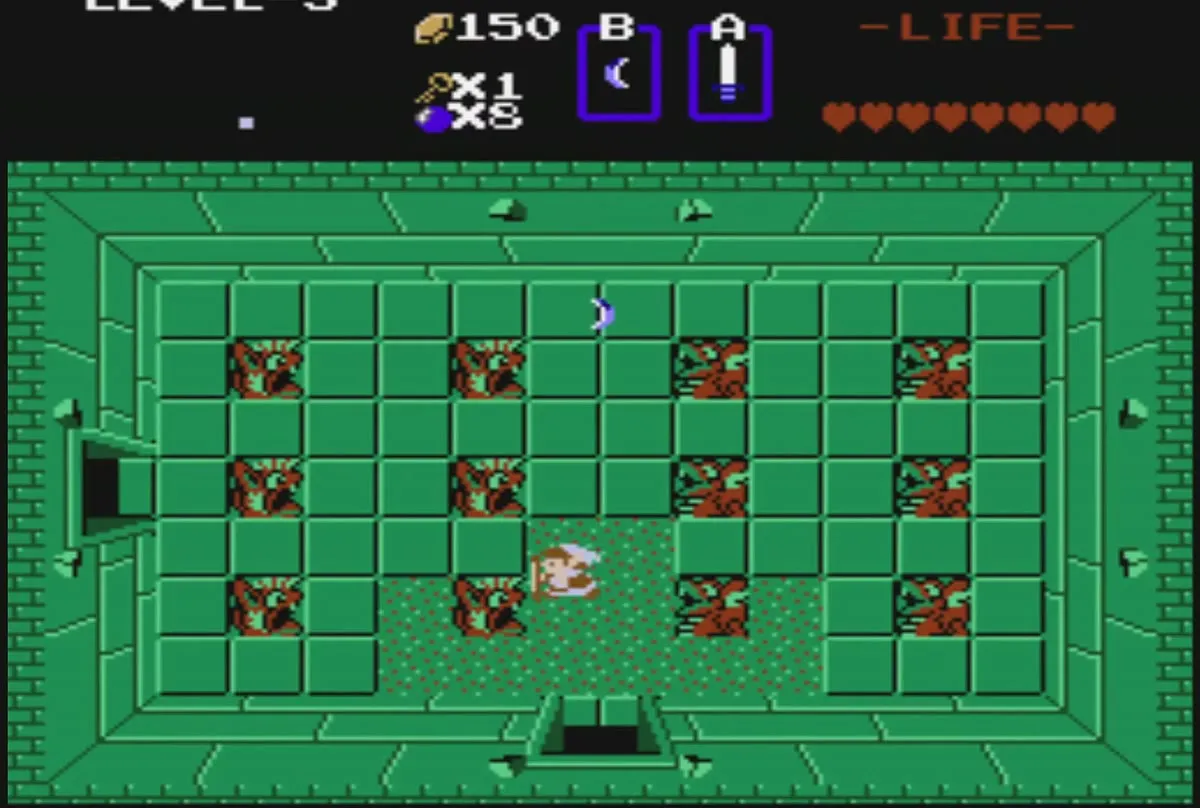
Level 4: The Snake

Level 4: The Snake dungeon map

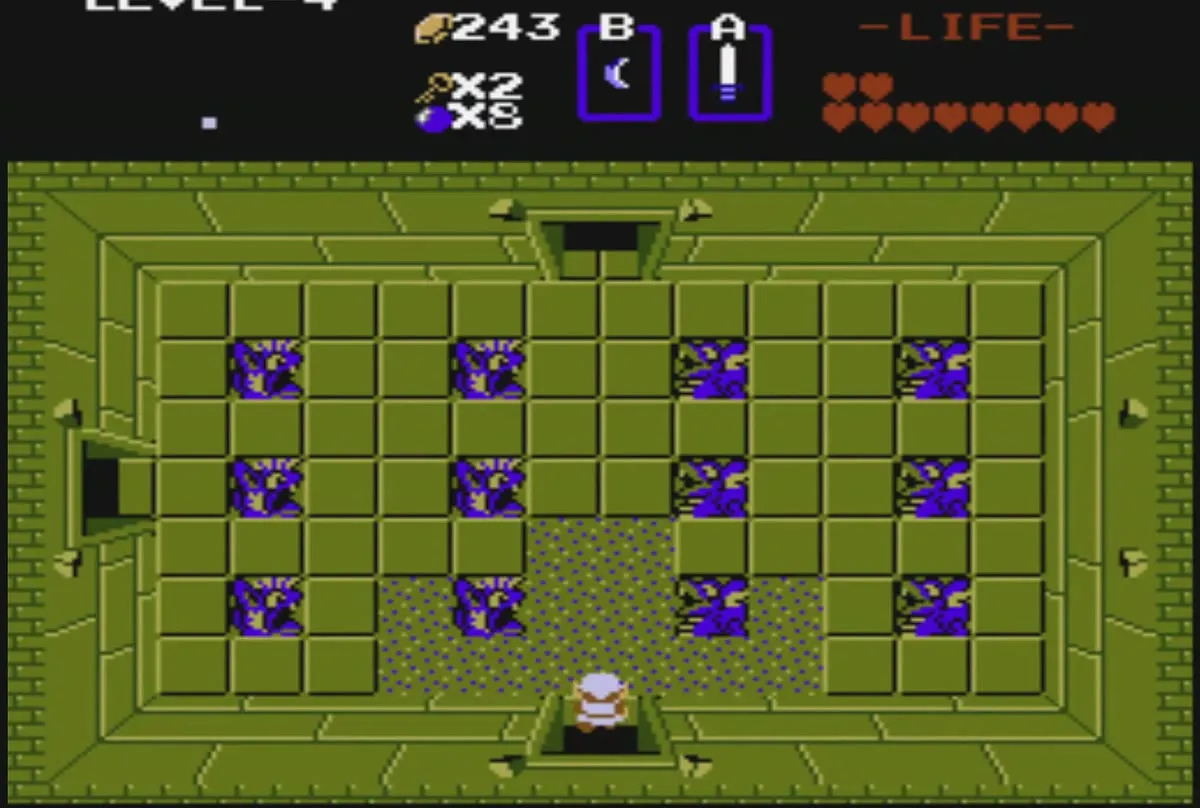
The entrance is on the island at F5 in the central lake, so you need the Raft from Level 3: walk to the dock at F6, board the Raft and sail one screen north. Inside you find the Stepladder, which you need on your way to the far dock. The rooms are dark, so carry a candle. The Gleeok with two heads fights you at the end, and the fourth piece is in the room above the boss room. Read the Level 4 walkthrough.

Level 5: The Lizard

Level 5: The Lizard dungeon map

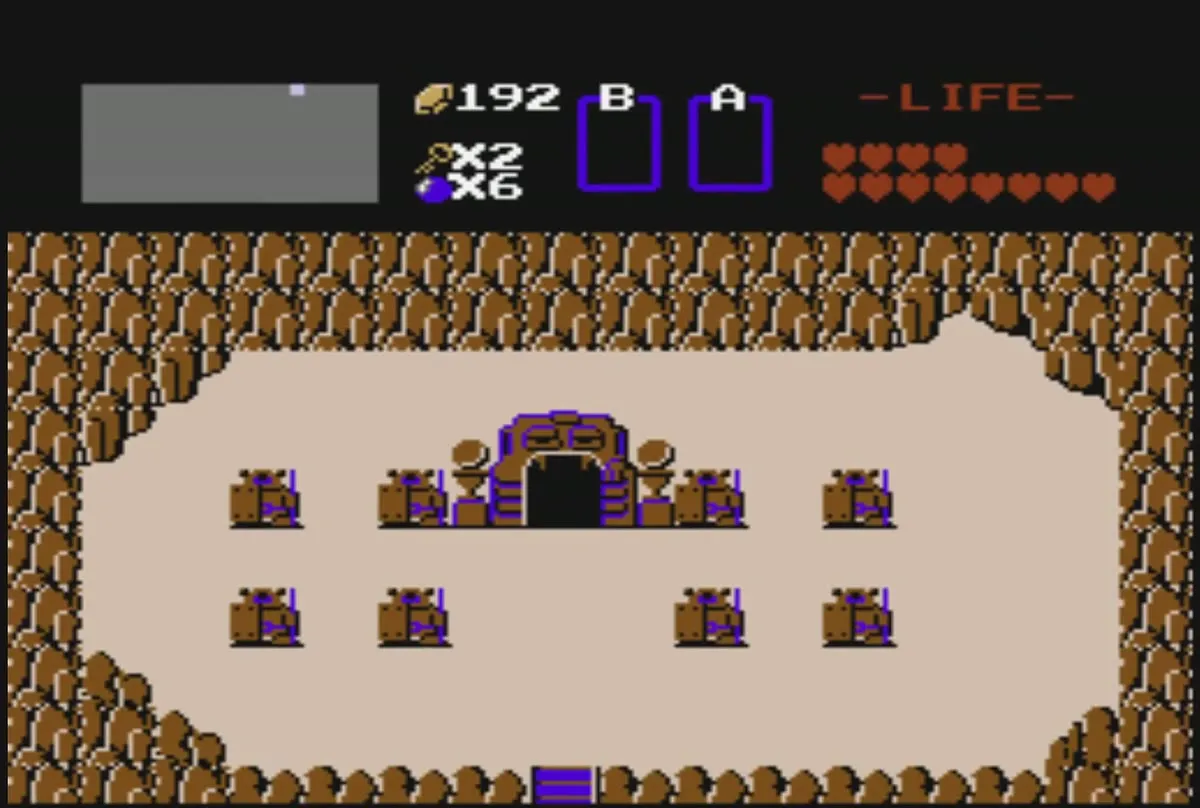
The entrance is at the top of the Lost Hills: start at L2 and climb north four times to reach L1. The Recorder is the main item here. Its sound splits Digdogger, the boss, into small pieces that your sword can hit. An Old Man behind a bombed wall, in the room east of the room of six Keese, sells a bomb upgrade from 8 to 12 for 100 rupees. The fifth piece is in the room above the boss room. See the Level 5 walkthrough.
Level 6: The Dragon
Level 6: The Dragon dungeon map

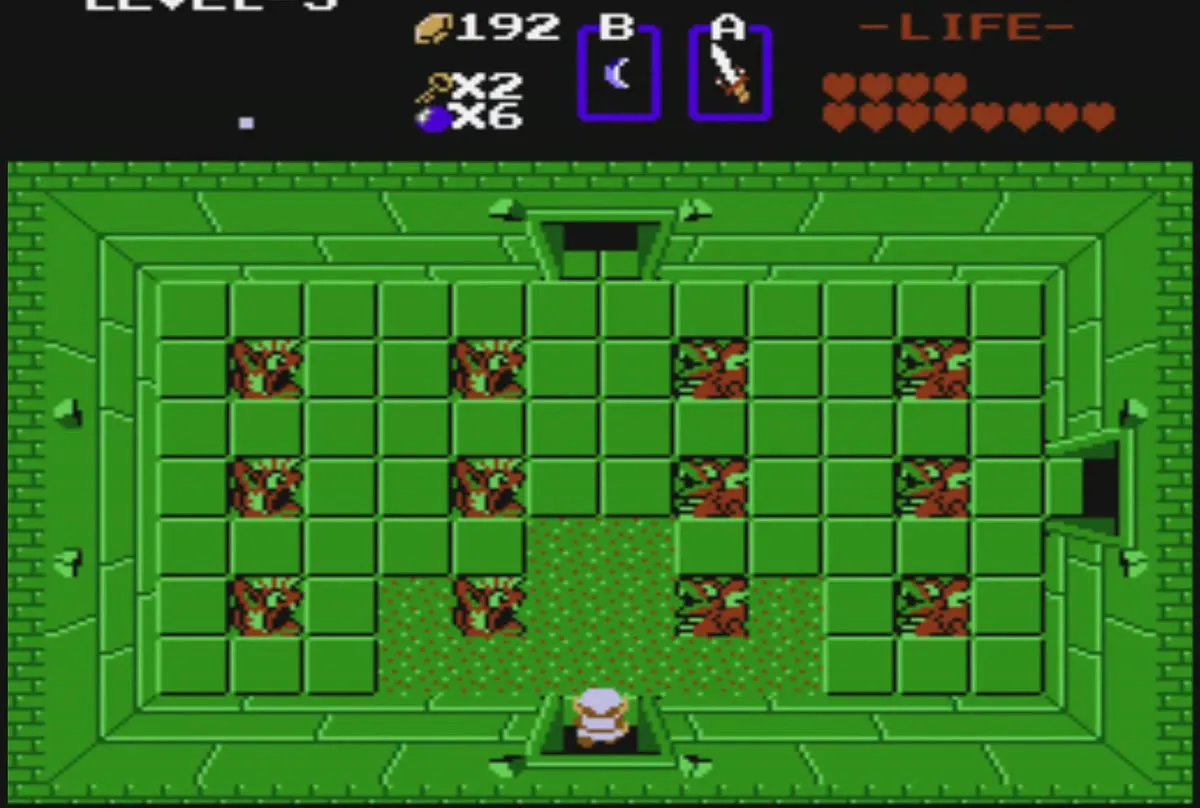
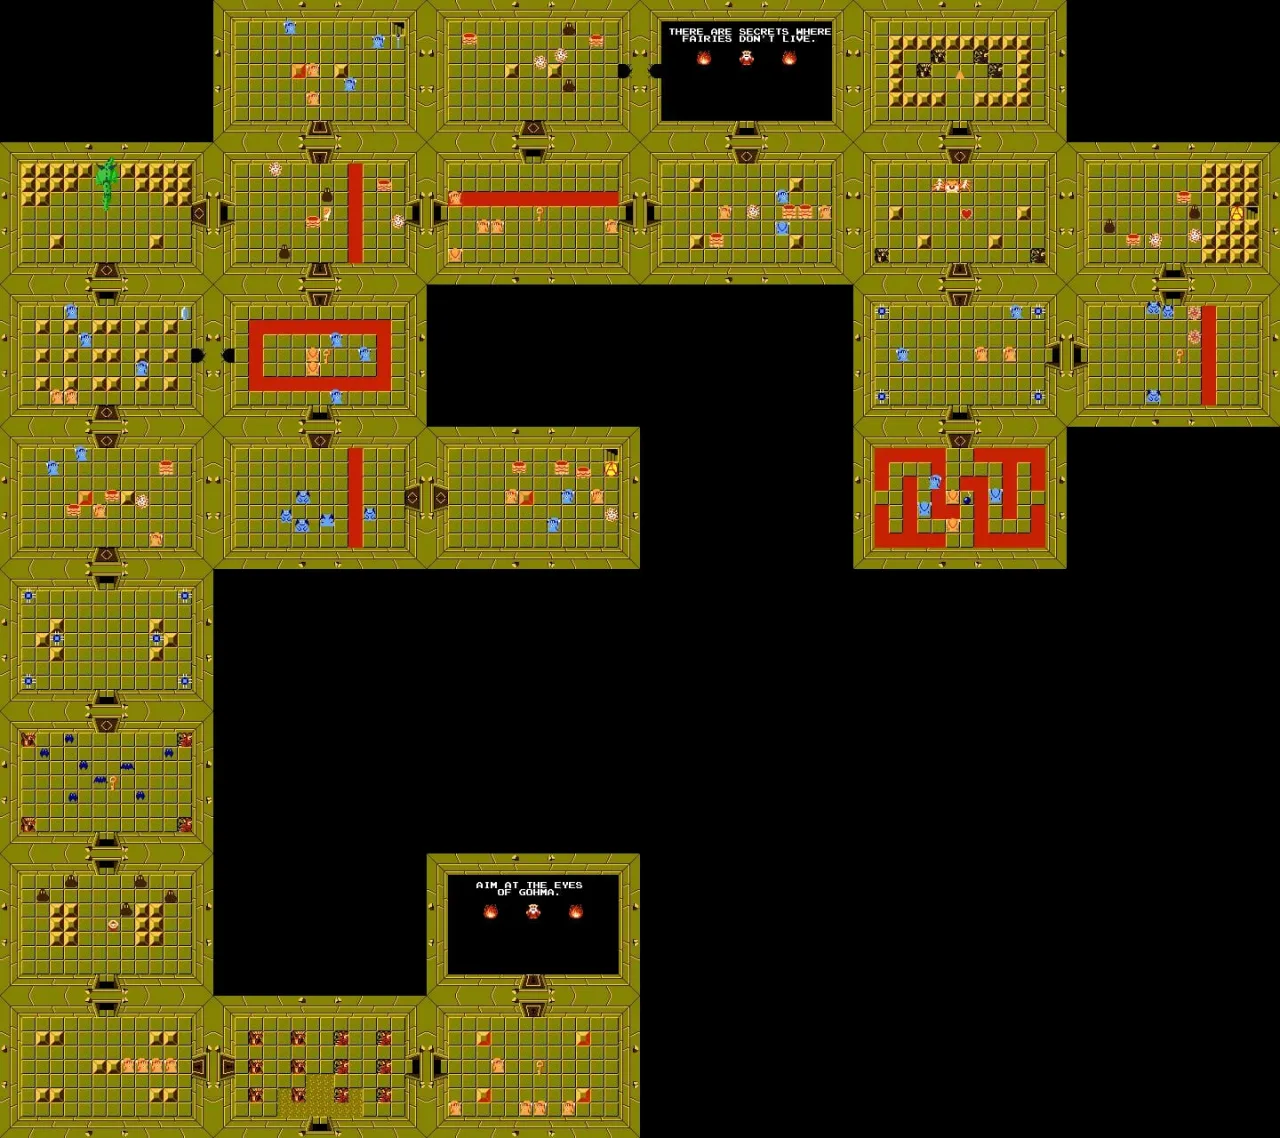
The entrance is on the graveyard screen at C3. The Magical Rod is the main item. The mini-boss is a three-headed Gleeok, and the boss is Gohma. Gohma’s eye is the only weak point, and only arrows can hit it, so bring a Bow and arrows. The Heart Container drops when Gohma dies. The sixth piece is not in the room above the boss: you reach it by a loop of rooms and a stairway beyond Gohma’s room, as the Level 6 chapter describes. Read the Level 6 walkthrough.

Level 7: The Demon
Level 7: The Demon dungeon map
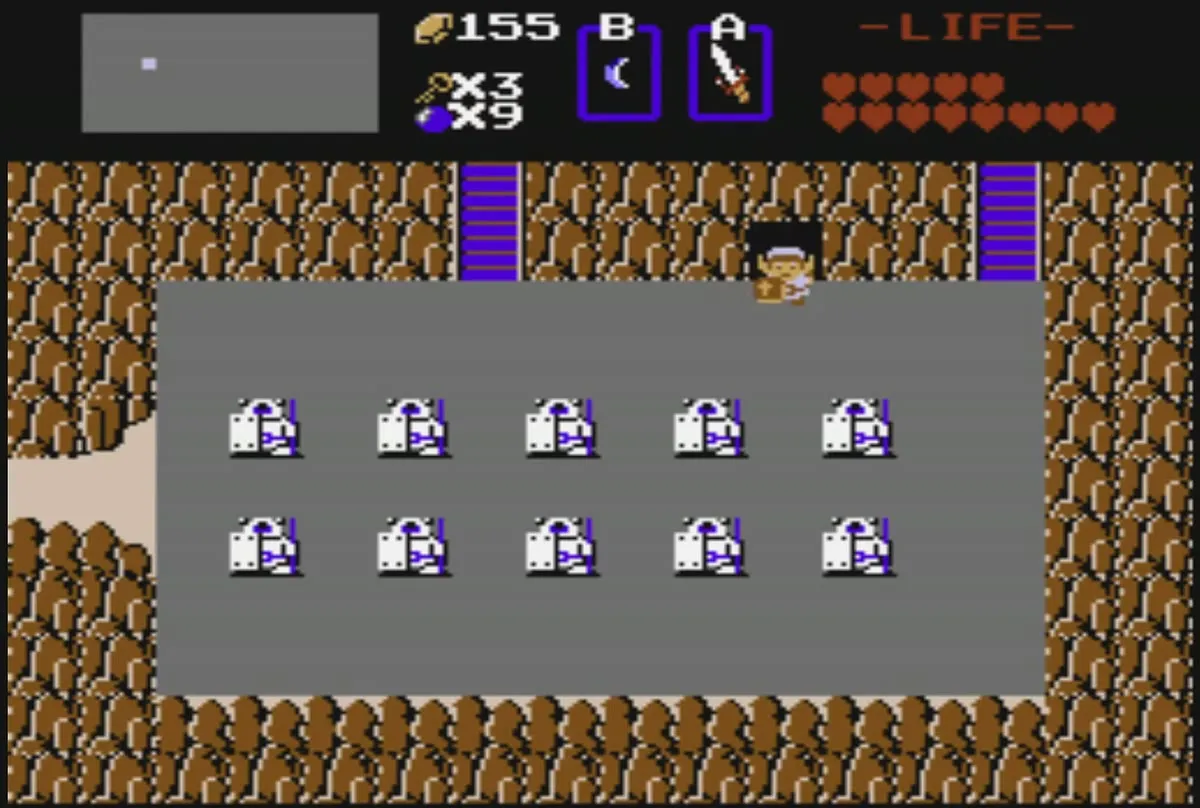
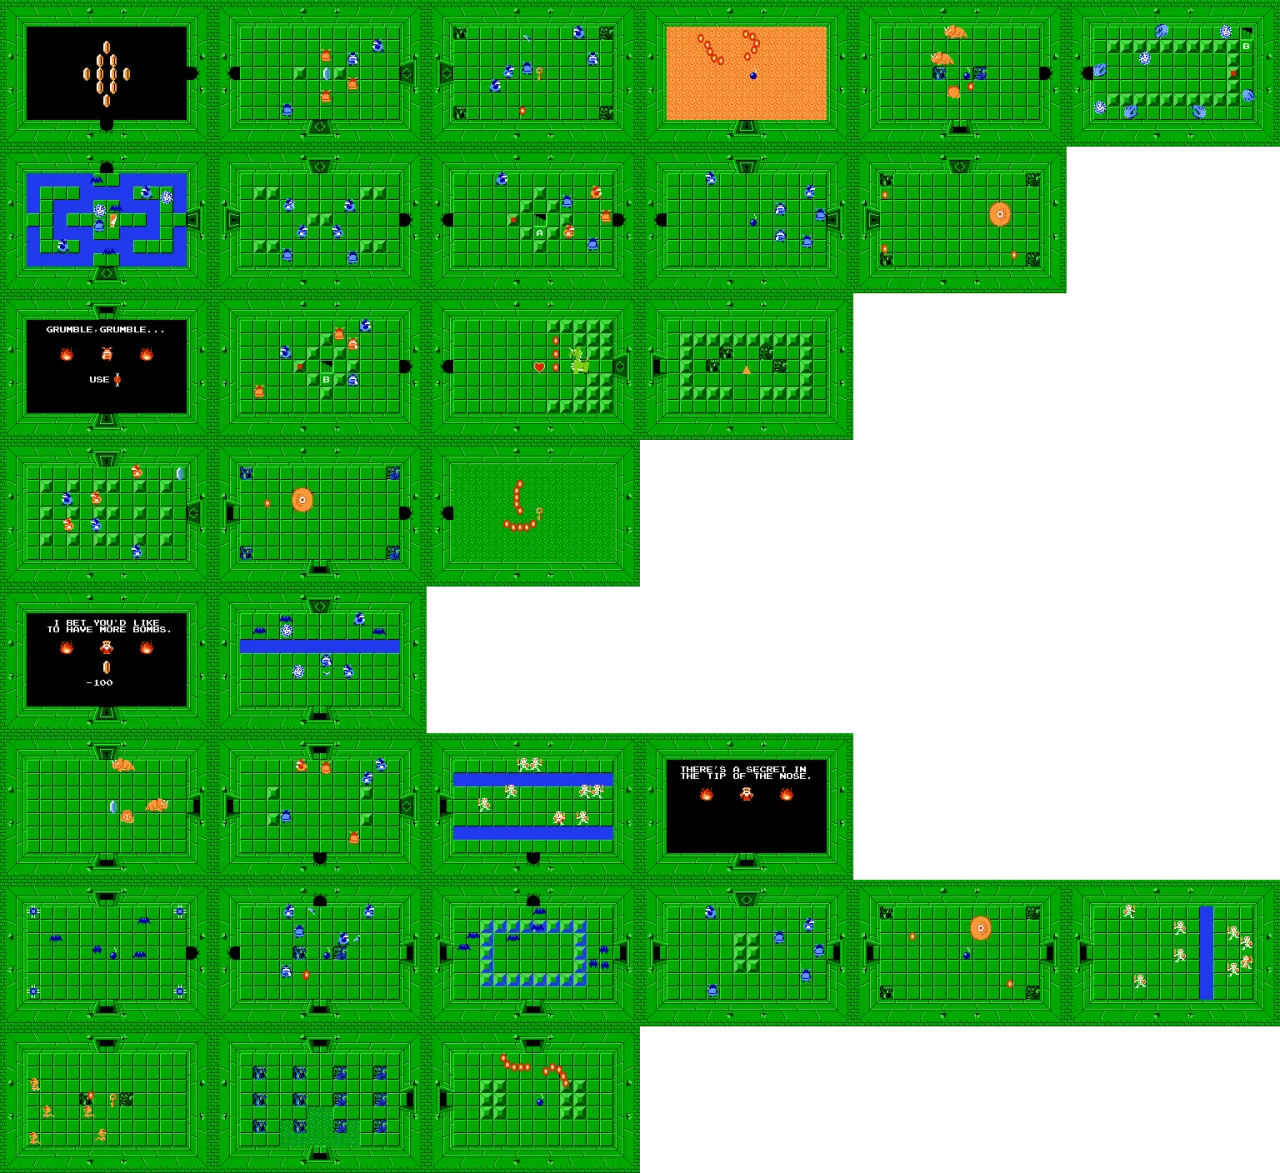
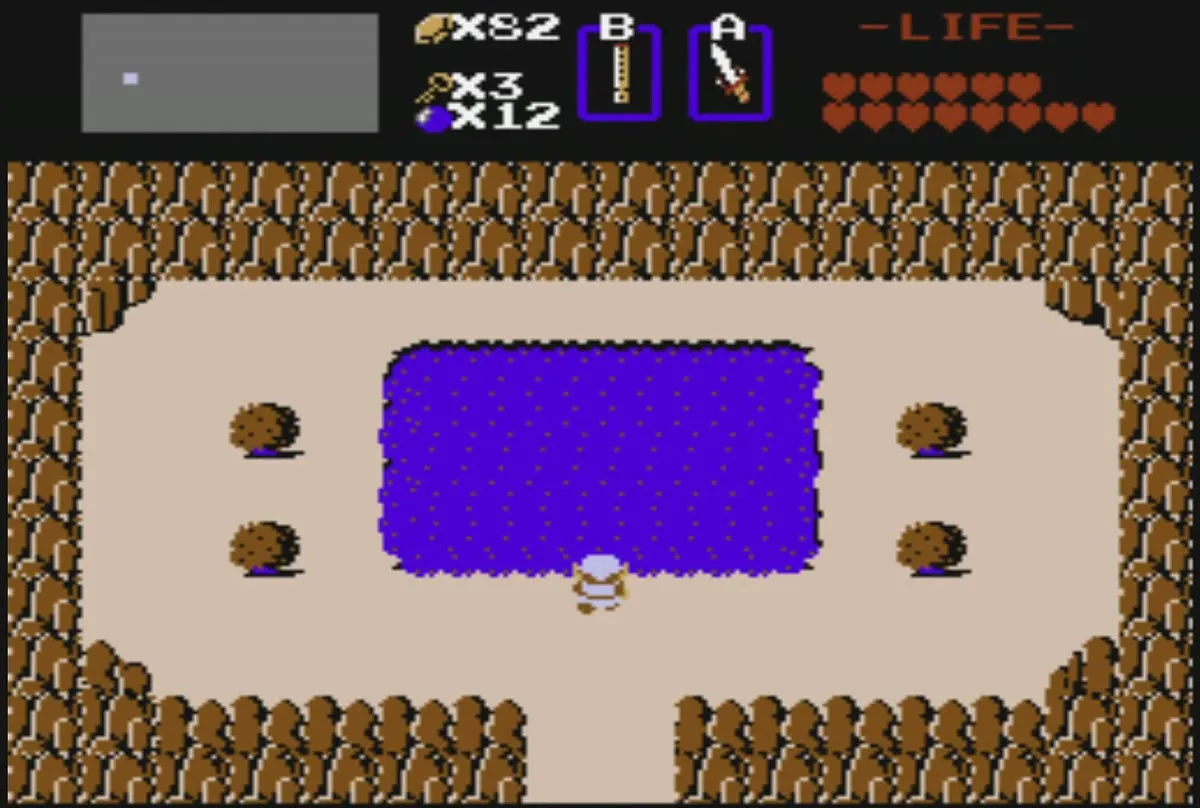
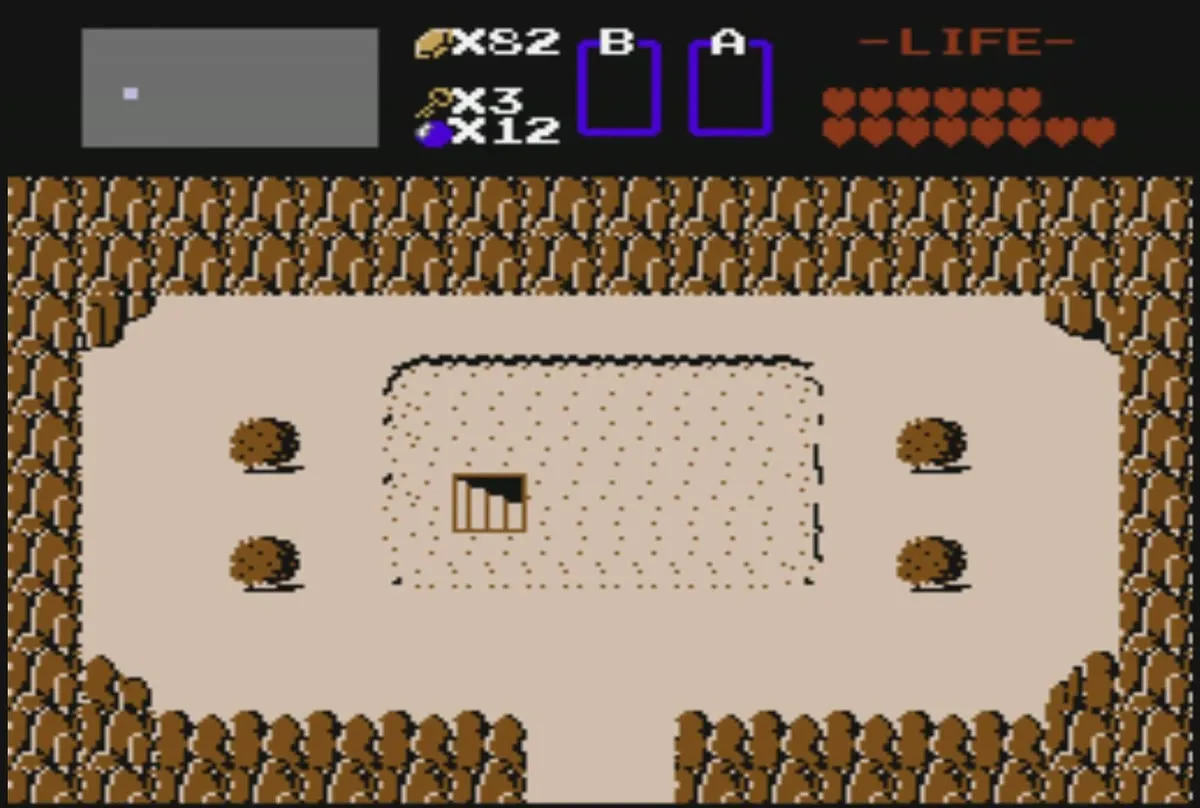
The entrance is at C5, a lake where a fairy should be, and you reveal it by playing the Recorder beside the water. Most of the enemies are Digdoggers and Dodongos. One Goriya will not let you pass until you feed it Monster Bait. The boss is Aquamentus, and you beat it the same way as in Level 1. The seventh piece lies in the room to the right of the boss. See the Level 7 walkthrough.
Level 8: The Lion

Level 8: The Lion dungeon map

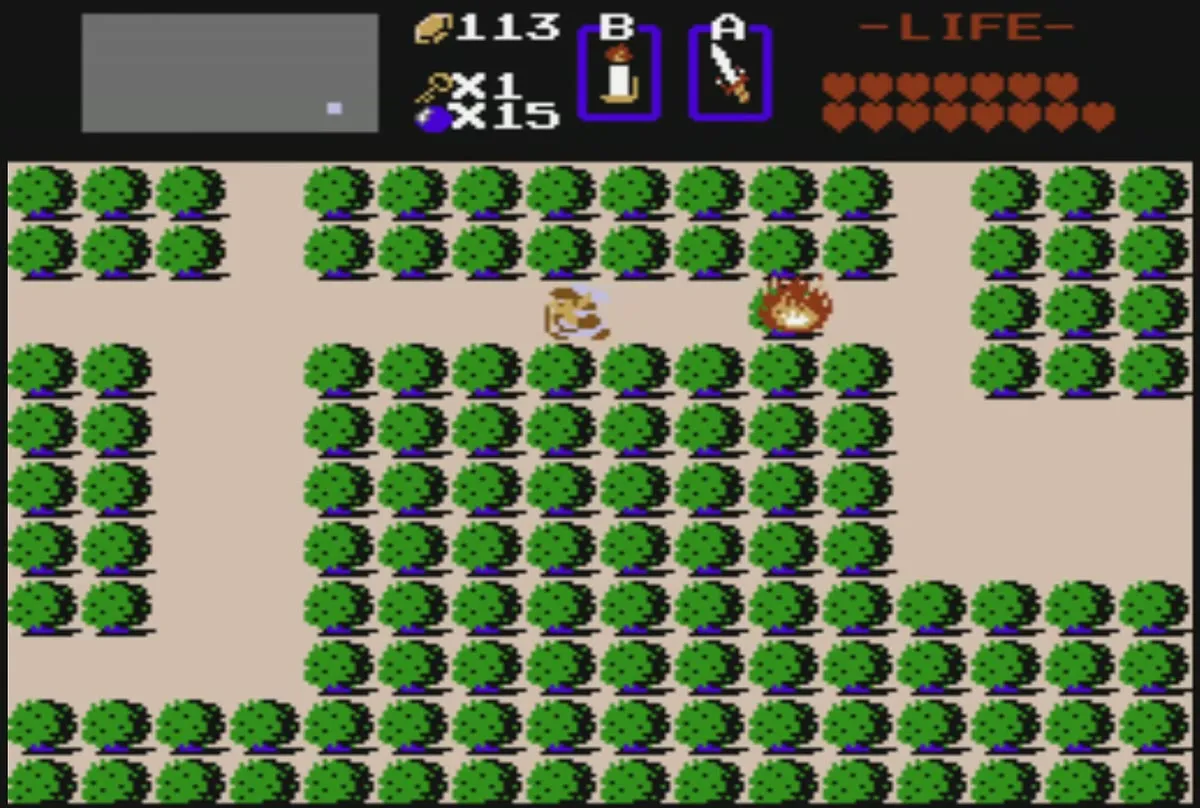
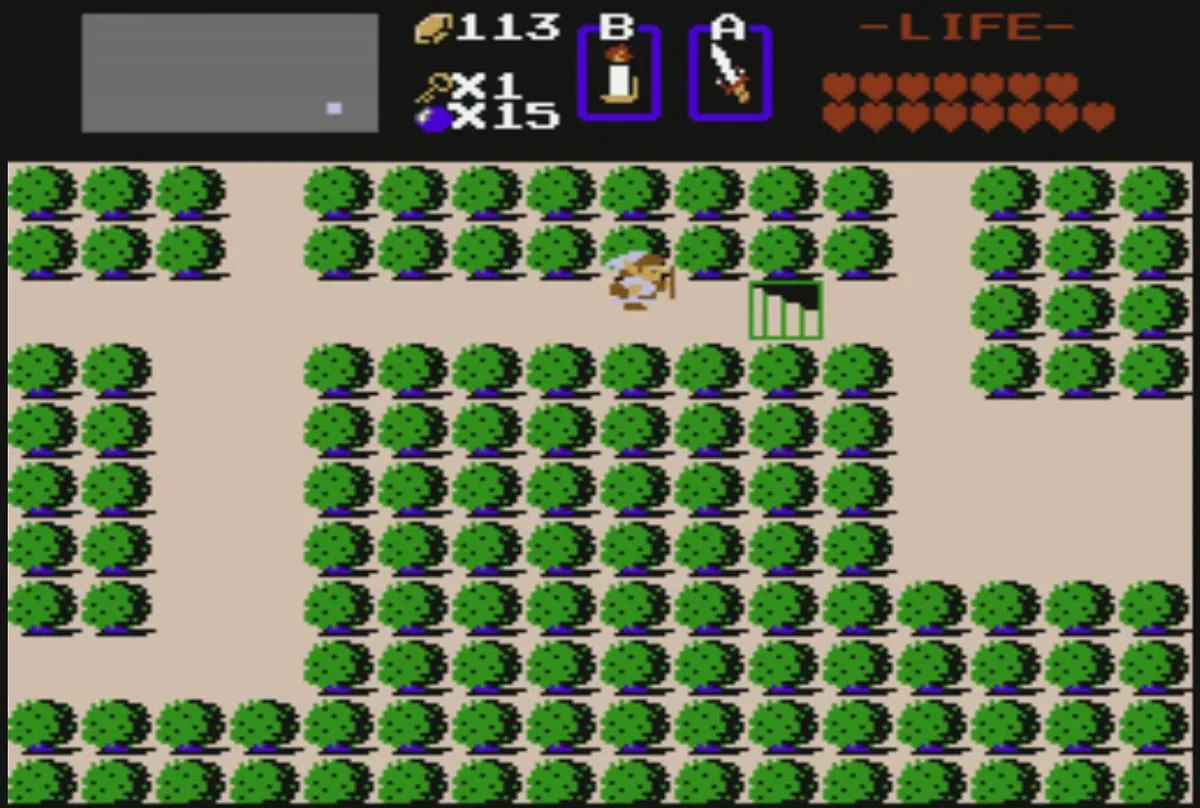
Burn the lone bush at N7, in the south-east forest, with a Blue or Red Candle to open the entrance. The level is full of Darknuts, and its mini-bosses are three Manhandla and two blue Gohma. The Book of Magic and the Magical Key are inside. The boss is a four-headed Gleeok, which you beat by cutting off every head. The eighth and last Triforce piece is in the room above the boss room. Read the Level 8 walkthrough.
Level 9: Death Mountain

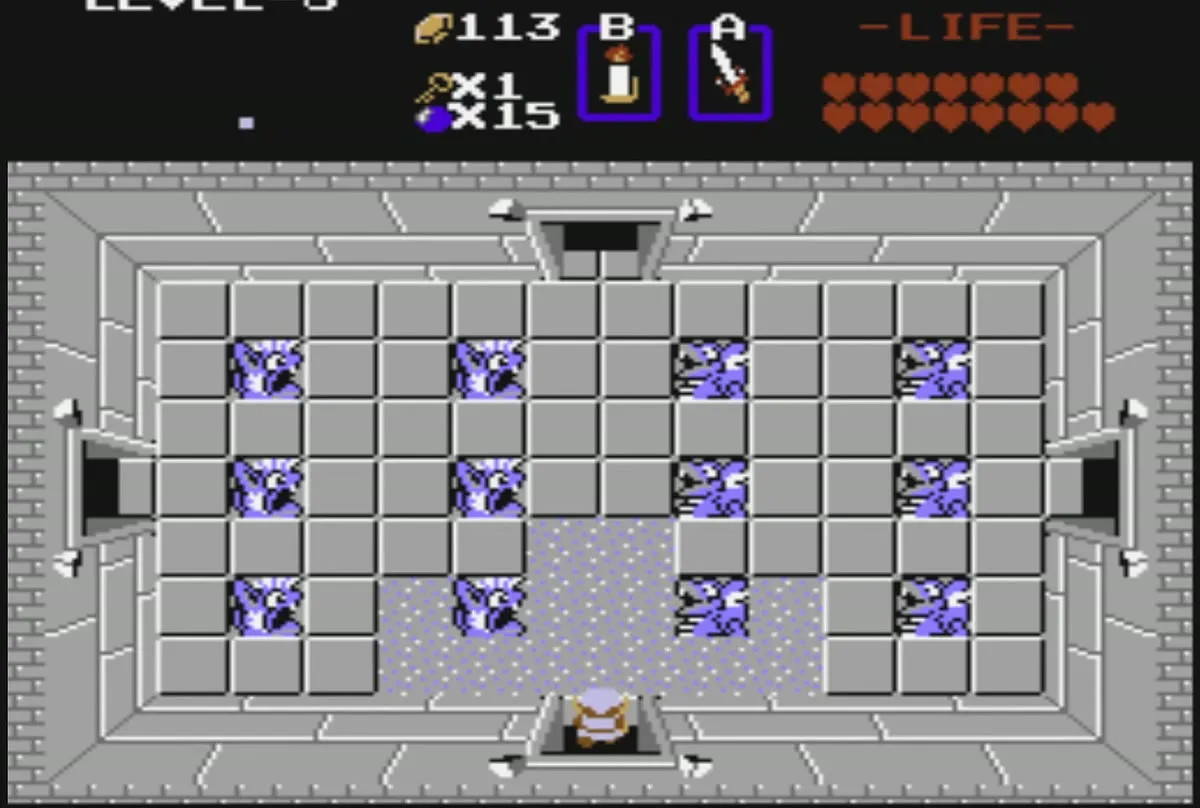
Level 9: Death Mountain dungeon map
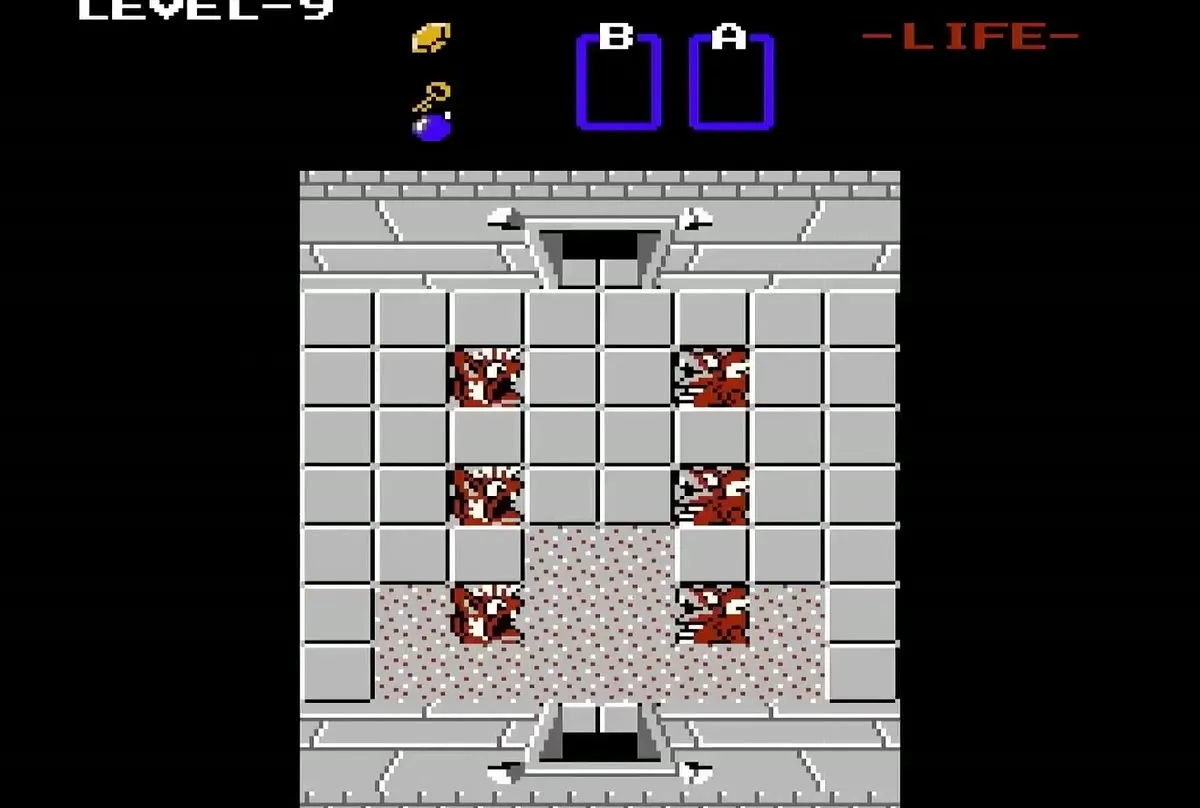
The entrance is on Spectacle Rock at F1: bomb the south side of the left rock. An Old Man in the first room will stop you unless you hold all eight Triforce of Wisdom pieces. Once you are in, the level is large, and it holds Lanmolas, several Patra rooms, the Red Ring and the Silver Arrow. Ganon is the final boss. Defeating him gives you the Triforce of Power, and the room above holds Princess Zelda. See the Level 9 walkthrough.

The eight Triforce pieces

| Piece | Level | Where you collect it |
|---|---|---|
| 1 | Level 1, The Eagle | Room to the right of Aquamentus |
| 2 | Level 2, The Moon | Dark room left of the Dodongo boss room |
| 3 | Level 3, The Manji | Room above the Manhandla boss room |
| 4 | Level 4, The Snake | Room above the Gleeok boss room |
| 5 | Level 5, The Lizard | Room above the Digdogger boss room |
| 6 | Level 6, The Dragon | Loop of rooms and a stairway past the Gohma room |
| 7 | Level 7, The Demon | Room to the right of the Aquamentus boss room |
| 8 | Level 8, The Lion | Room above the Gleeok boss room |
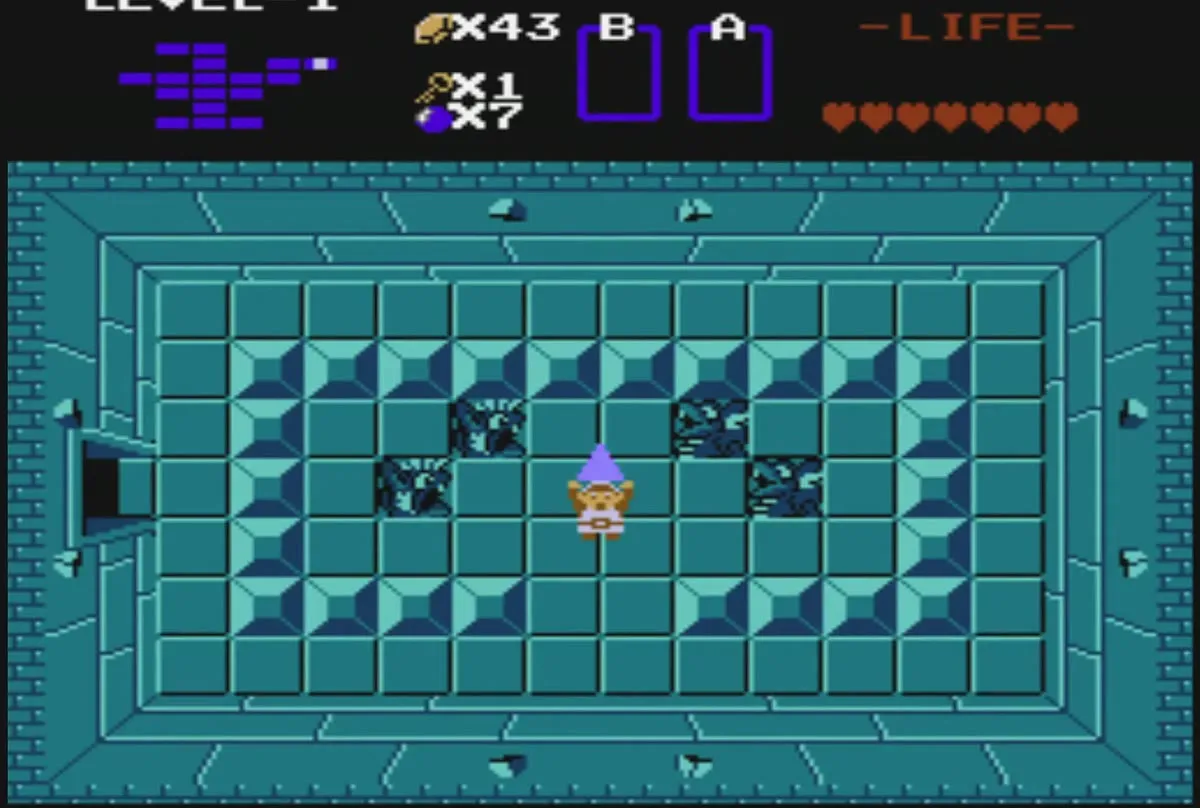
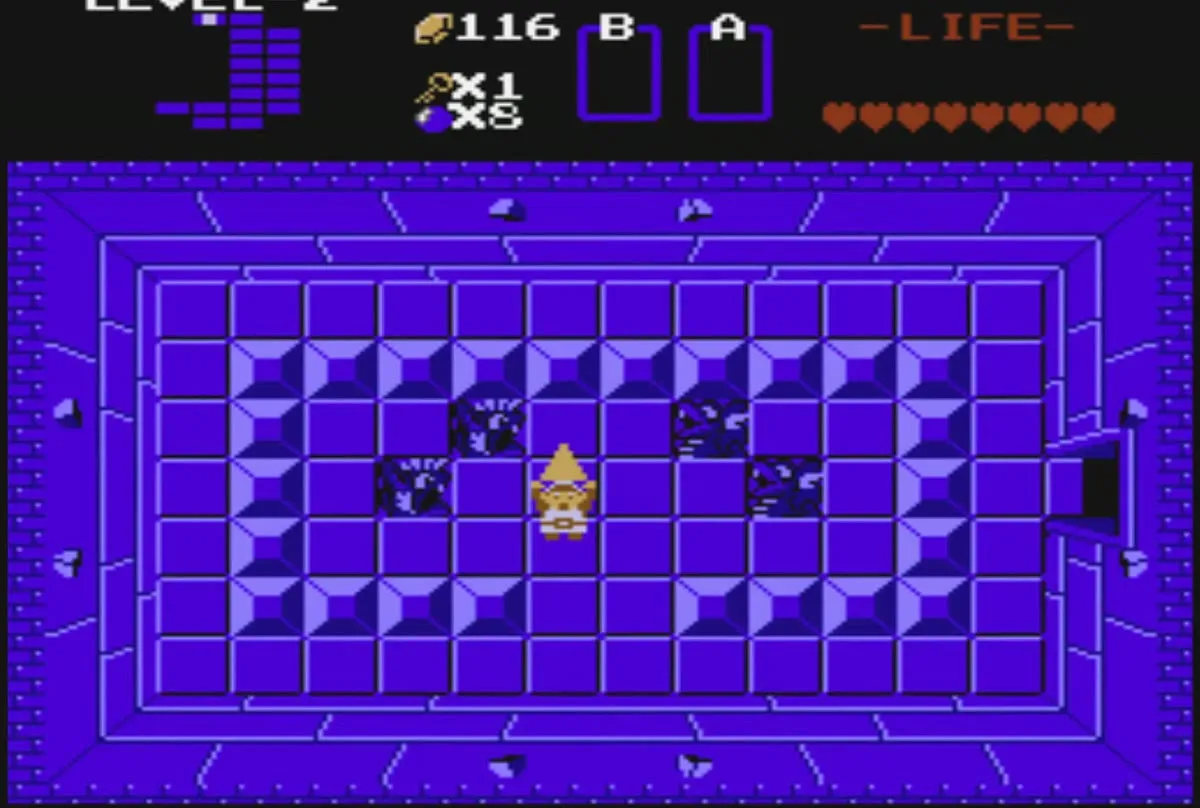
Link holds each piece overhead when he picks it up. Keep all eight, because the Old Man at the Level 9 entrance checks for them.
Second Quest dungeons
The Second Quest unlocks after you finish the First Quest. Its levels are in different places and hold different items, so these entries do not apply to it. Level 1 stays at H4, and the others move to E4, M4, L2, F5, A4, M7, J2 and A1. The Second Quest page lists the entrances, items and bosses, and the Heart Container Locations guide covers its hidden hearts.
What each level asks you to bring
| Level | Bombs | Candle for dark rooms | Other items that matter |
|---|---|---|---|
| 1 | Optional: the north walls of the Compass room and the room before it hide shortcuts that save keys | One dark room near the Map; a candle makes it easier | Arrows for the Bow you find here |
| 2 | Yes: several north walls on the way up are bombed open, and the boss is beaten with bombs | No | Plenty of bombs |
| 3 | One bomb opens the shortcut wall in the Map room | No | None; the Raft is found here |
| 4 | One bomb opens the wall near the Map | Yes, around five dark rooms | Raft to enter; the Stepladder is found here |
| 5 | Yes: several bombed walls, plus the Dodongo rooms | Yes, several dark rooms | 100 rupees for the bomb upgrade; the Recorder is found here; arrows for the Pols Voices |
| 6 | Not on the main route | Yes, about three dark rooms | Bow and arrows for Gohma; the Magical Rod is found here |
| 7 | Yes: many hidden walls | Yes, about four dark rooms | Recorder to enter and for the Digdoggers; Monster Bait for the hungry Goriya; 100 rupees for the bomb upgrade |
| 8 | Yes: three walls to bomb on the way to the boss | One dark room; the Book of Magic found here also lights rooms | Bow and arrows for the two blue Gohma; the Magical Key is found here |
| 9 | Yes: many bombed walls | Yes, about three dark rooms | All eight Triforce pieces to enter; the Silver Arrow is found here and ends Ganon |
A different route through a level can need fewer bombs or more, so treat the numbers as a floor rather than a promise. Keep your rupees above 100 before Levels 5 and 7 so you can buy the bomb upgrades, and keep a full stock of bombs for Levels 2, 5, 7 and 9.
