





















| Enemy types | Dozens, spread across the overworld, caves, towns and palaces |
|---|---|
| EXP per kill | 0 to 200 for most enemies; palace enemies are worth more than overworld ones |
| Level cap | Attack, Magic and Life each go up to level 8 |
| Enemies that drain EXP | Moa, Wosu, Mau and Ra (they take unspent points when they hurt you) |
| Enemies that steal EXP and magic | Bubble (in the palaces) |
Enemies in Zelda II give experience points, and those points raise your Attack, Magic and Life levels. Overworld enemies are usually worth only a few points, while armored knights and palace monsters give far more. A few enemies take your unspent points if they hit you, so spend your points before you go near them. The table below lists EXP values for the NES version, and the sections after it cover the enemies you will meet most often.
Table of Contents
Quick reference: EXP values

Bit (red)
Where you meet it: Overworld
EXP (NES): 2
Notes: Weakest blob on the overworld

Bot (blue)

Ache (blue)
Where you meet it: Caves, trees
EXP (NES): 3
Notes: Swoops down from the ceiling
Bago-Bago
Where you meet it: Overworld
EXP (NES): 3 (Western Hyrule)
Notes: 5 in Eastern Hyrule

Lowder
Where you meet it: Caves and overworld
EXP (NES): 3
Notes: Crawls along the ground

Moby
Where you meet it: Overworld
EXP (NES): 2

Acheman
Where you meet it: Overworld
EXP (NES): 10
Notes: Human who turns into an Ache

Orange Goriya
Where you meet it: Plains and caves
EXP (NES): 20
Notes: Throws boomerangs
Blue Goriya
Where you meet it: Plains and caves
EXP (NES): 30
Notes: Throws boomerangs

Red Moblin
Where you meet it: Plains
EXP (NES): 20
Orange Moblin
Where you meet it: Plains
EXP (NES): 10 (spear-throwing)
Notes: Throws spears

Red Octorok
Where you meet it: Overworld
EXP (NES): 10
Blue Octorok
Where you meet it: Overworld
EXP (NES): 20

Leever
Where you meet it: Overworld
EXP (NES): 10
Notes: Rises from the sand in groups

Tektite
Where you meet it: Overworld
EXP (NES): 50

River Zora
Where you meet it: Water and caves
EXP (NES): 50
Notes: Needs Fire to defeat in the cave north of Nabooru
Geldarm
Where you meet it: Overworld
EXP (NES): 5

Boon
Where you meet it: Overworld
EXP (NES): 50

Geru (rock-throwing / red / orange / blue)
Where you meet it: Overworld
EXP (NES): 50 / 100 / 150 / 200
Notes: Colors go up in value

Aruroda
Where you meet it: Overworld
EXP (NES): 150
Notes: Called Skettlar or Scorpion elsewhere; only hurt while its eye is open
Parutamu (red / blue)
Where you meet it: Palaces
EXP (NES): 50 / 70
Aneru (blue)
Where you meet it: Palaces
EXP (NES): 20
Fiery Moa
Where you meet it: Palaces
EXP (NES): 50
Notes: Drops fire as it flies
Doomknocker
Where you meet it: Palaces
EXP (NES): 100
Blue Fokka
Where you meet it: Palaces
EXP (NES): 100
Red Fokka
Where you meet it: Palaces
EXP (NES): 70

Red Stalfos
Where you meet it: Palaces
EXP (NES): 30
Notes: Shield covers the upper body; strike low
Blue Stalfos
Where you meet it: Palaces
EXP (NES): 50
Notes: Shield covers the upper body; strike low
Wizzrobe
Where you meet it: Palaces
EXP (NES): 100

Bubble
Where you meet it: Palaces
EXP (NES): 50
Notes: Steals EXP and magic on contact

Moa (red / blue)
Where you meet it: Graveyards; Old Kasuto, Valley of Death
EXP (NES): 10 / about 50
Notes: Drains unspent EXP when it hits. Red Moas are worth 10, the invisible blue and purple ones 50
Orange Iron Knuckle
Where you meet it: Parapa, Midoro, Palace on the Sea
EXP (NES): 50
Notes: Hit it with jumping stabs to the head
Red Iron Knuckle
Where you meet it: All palaces
EXP (NES): 100
Notes: Hit it with jumping stabs to the head
Blue Iron Knuckle
Where you meet it: All palaces
EXP (NES): 150
Notes: Fires sword beams when hit; wait out the flurry
Gooma
Where you meet it: Parapa, Midoro, Palace on the Sea
EXP (NES): 50
Notes: Throws maces; slip in between throws
Orange Daira
Where you meet it: Death Mountain, swamps
EXP (NES): 70
Notes: Axe cannot be blocked
Red Daira
Where you meet it: Death Mountain, swamps
EXP (NES): 100
Notes: Throws axes that your shield cannot block
Mago (Margo)
Where you meet it: Parapa, Midoro, Palace on the Sea
EXP (NES): 200
Notes: Throws fire; hurt it only while it is solid
Fokkeru (Fokkel)
Where you meet it: Great Palace
EXP (NES): 200
Notes: Bird-knight; very tough
Mau and Kobold
Where you meet it: Palaces
EXP (NES): 5 / 0
Notes: Both steal EXP when they hit you
Ra (grey / gold)
Where you meet it: Palaces, Great Palace
EXP (NES): 20
Notes: Wavy flyer that steals EXP; Downward Thrust works
Values come from the NES (international) release. Lower Famicom Disk System values are not used here. Blank notes mean no special tactic is needed beyond a normal sword strike.
Every sixth kill pays out a jar or a bag instead of EXP. The weakest enemies drop a blue jar or a 50 EXP bag, while Iron Knuckles, Dairas, Gerus and the other strong enemies drop a red jar or a 200 EXP bag, so the tougher the enemy, the better the reward.
Overworld and caves
Bits and Bots
Bits are red jelly blobs worth 2 EXP. Bots are the blue version, worth 2 EXP on the overworld, and they jump at you. Bots in the Great Palace are worth 10 EXP each, far more than their overworld cousins.
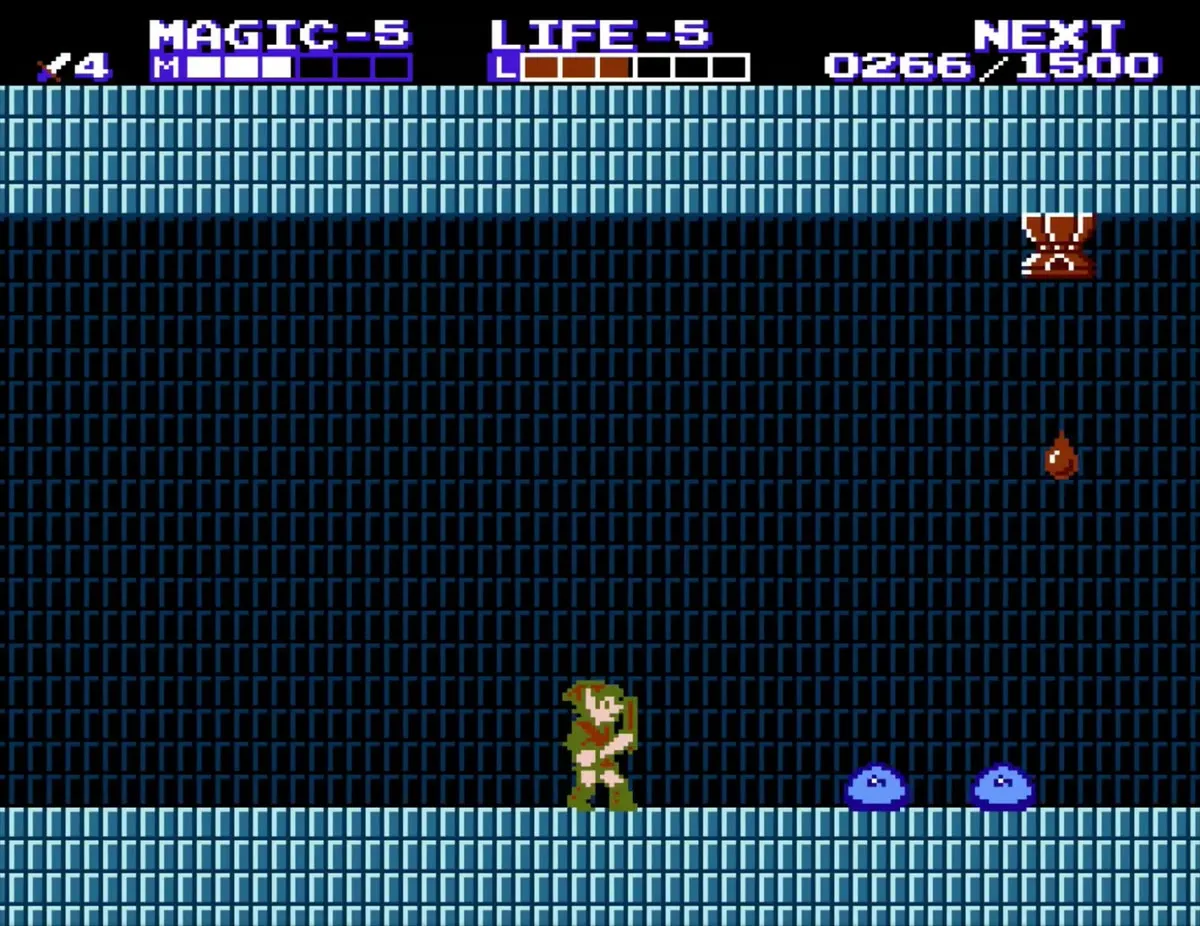

Ache and Acheman
Aches are bats that hang from cave ceilings and tree branches. Blue Aches are the common kind and are worth 3 EXP. Purple Aches disguise themselves. Acheman is a human who turns into an Ache and is worth 10 EXP.

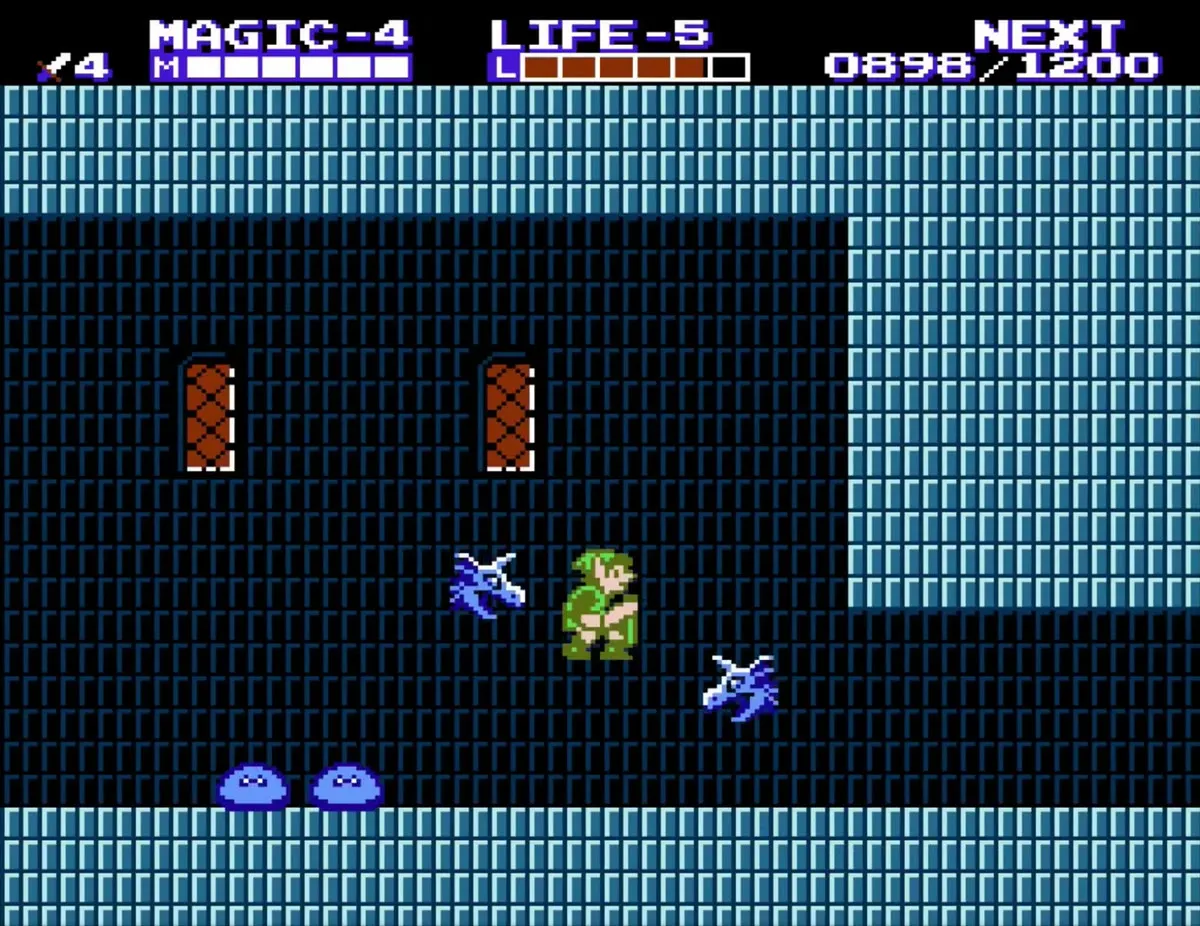
Lowder and Moby
Lowders are beetles that crawl through caves and across the overworld, worth 3 EXP each. Moby is a small creature worth 2 EXP.
Goriya
Goriyas throw boomerangs that return to them. Watch where the boomerang is held: a low throw needs a crouch block, a high throw needs a standing block. Orange Goriya is worth 20 EXP and blue Goriya 30. An orange Goriya guards the Heart Container in Parapa Desert, and a red Goriya, worth 20 EXP like the orange one, guards the Trophy in the cave north of North Palace.
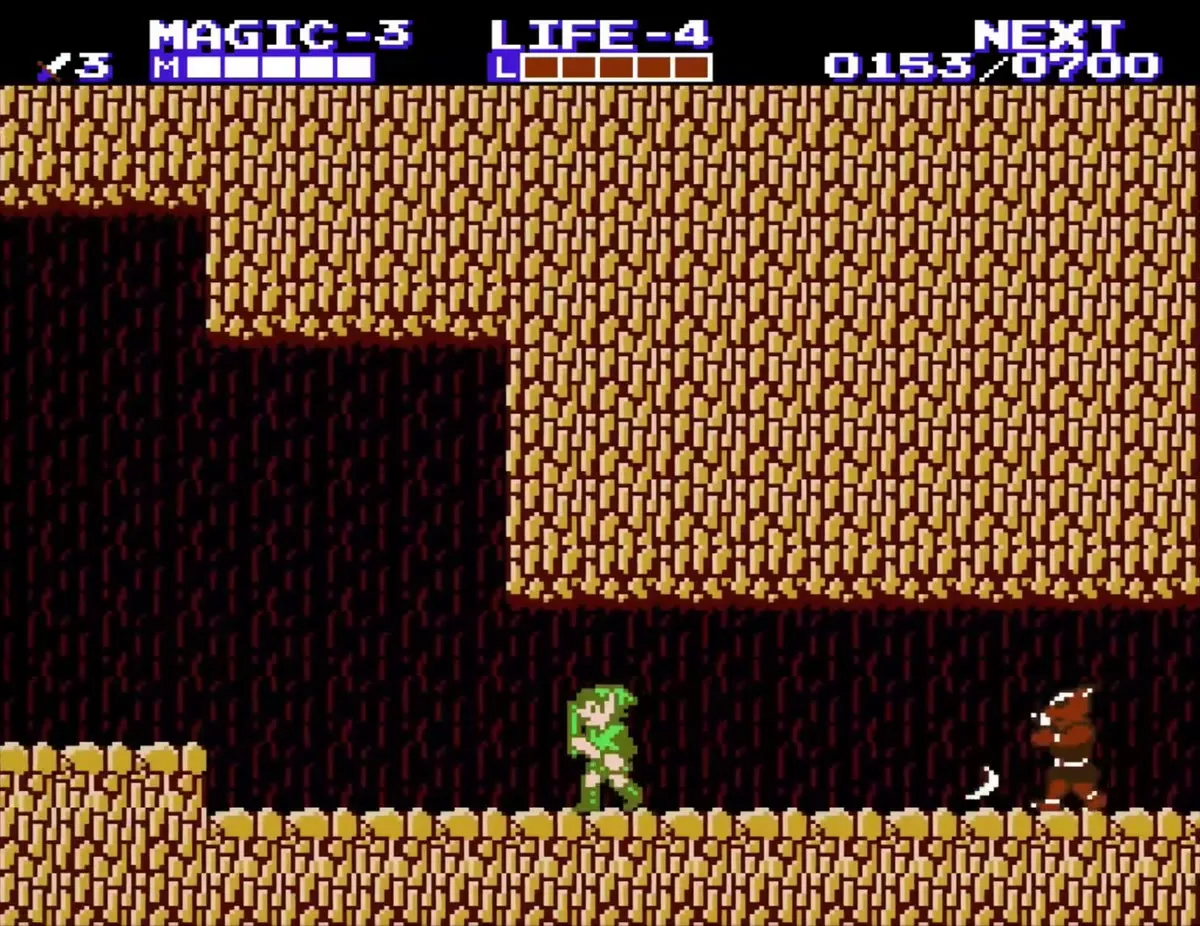
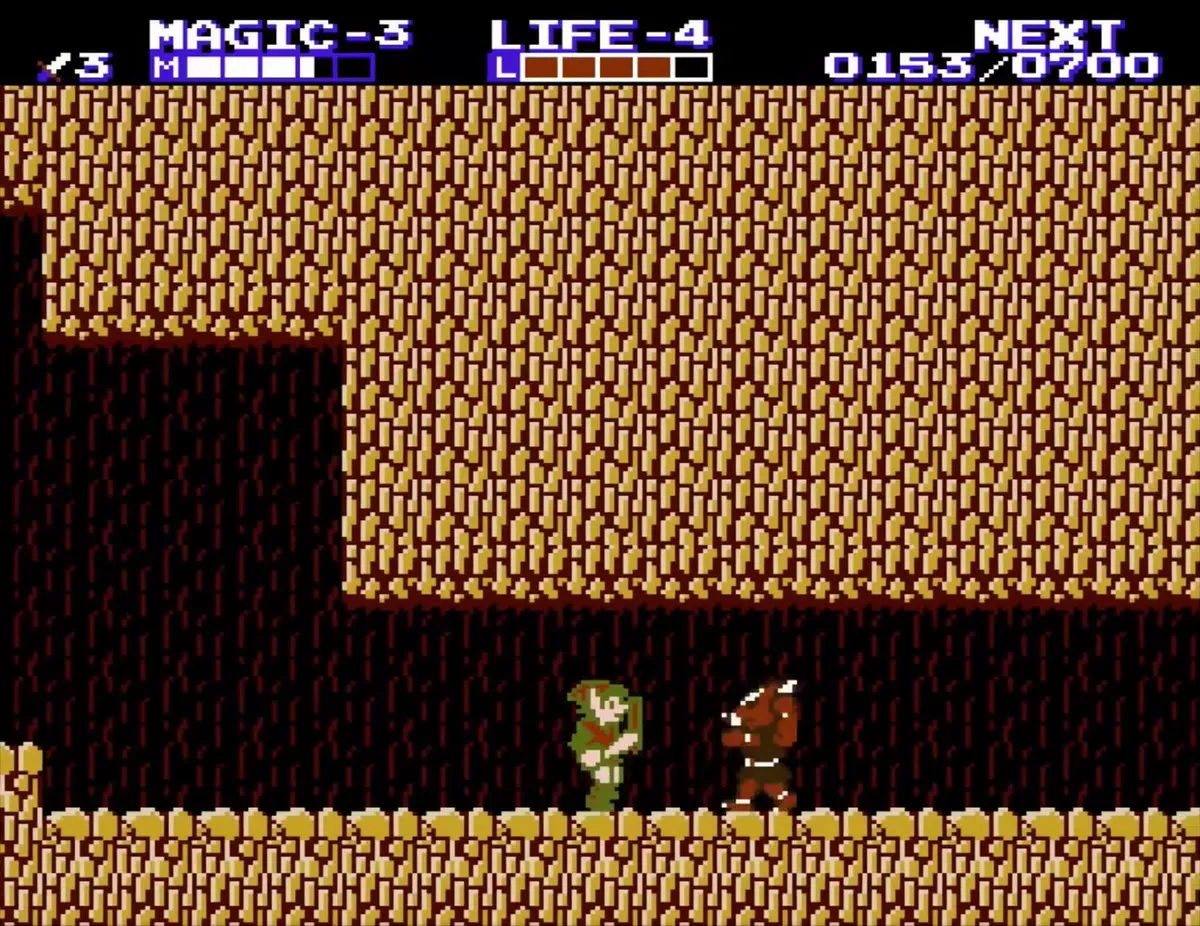
Moblins and Octoroks
Red Moblins are worth 20 EXP. Orange Moblins throw spears and are worth 10 EXP. Red Octoroks are worth 10 EXP and blue Octoroks 20.
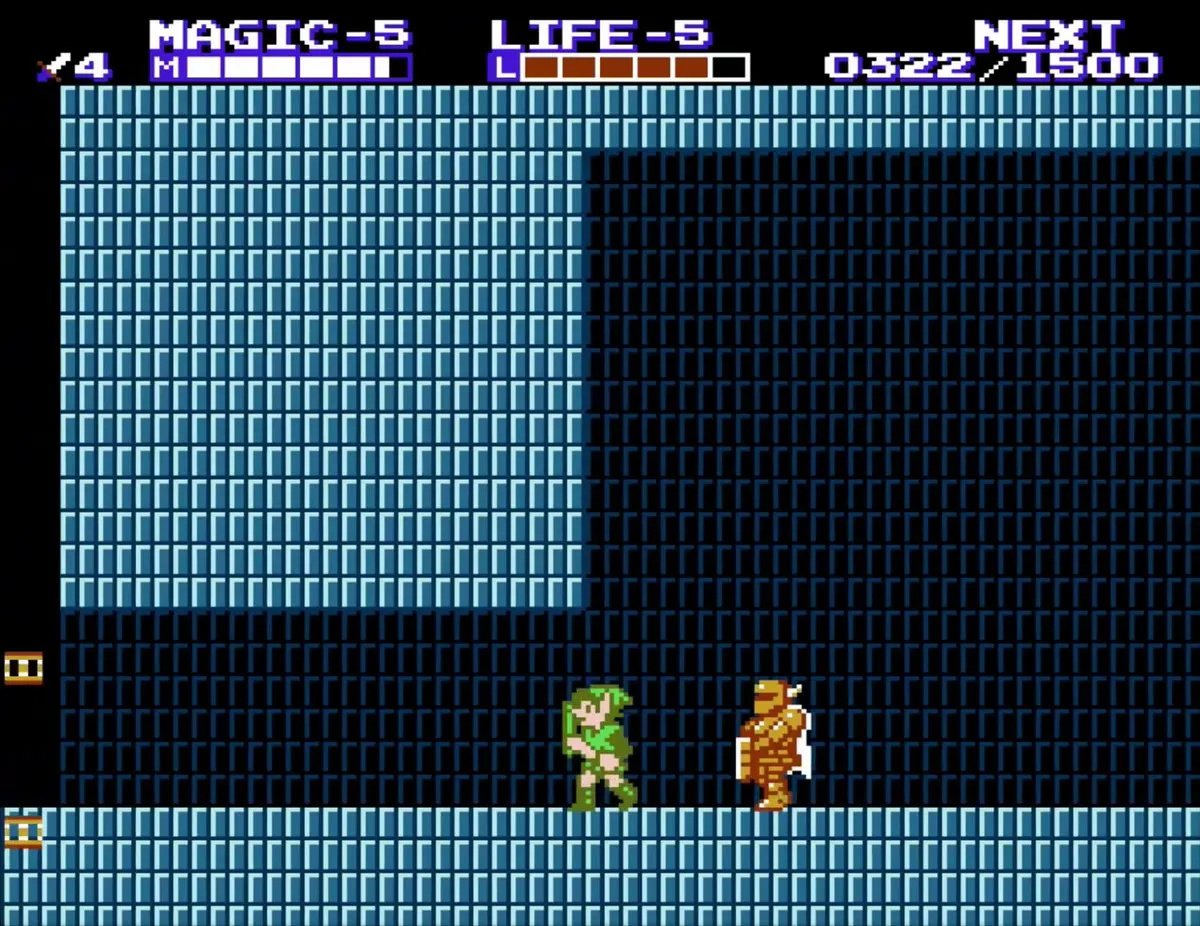

Tektite, River Zora and Leever
Tektites are worth 50 EXP and Leevers 10. River Zoras live in water and in caves, worth 50 EXP. A River Zora in the cave north of Nabooru needs the Fire spell to defeat.
Geru, Boon and Aruroda
Geru comes in four kinds: the rock-throwing kind is worth 50 EXP, then red Geru 100, orange Geru 150 and blue Geru 200. Boon is worth 50 EXP, and Aruroda is worth 150.
Moa, Wosu, Mau and Ra
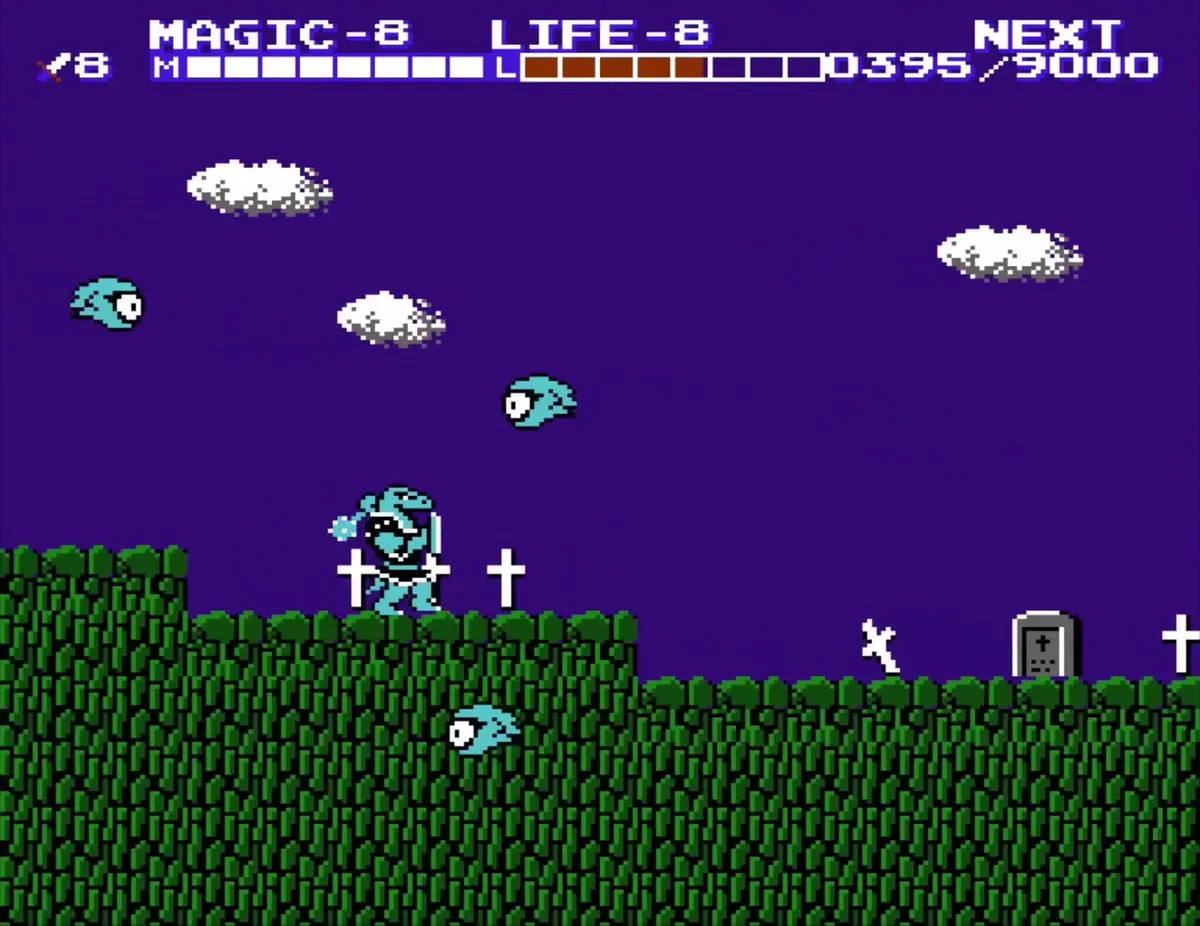
Moas are ghosts that float over graveyards. Red Moas in Western Hyrule are weaker and visible to anyone, and worth 10 EXP. Blue and purple Moas in Eastern Hyrule are stronger, worth about 50 EXP, and can only be seen once you have the Cross. Every time a Moa hits you, it takes part of your unspent EXP. Wosu, Mau and Ra do the same, so spend your points before you go near them.


Palace enemies

Iron Knuckles
Iron Knuckles are armored knights with shields. Orange, red and blue versions appear in the palaces, worth 50, 100 and 150 EXP. Jump strikes get past the shield, and the Downward Thrust does not work on them. Statues at some palace entrances hold jars, and a red Iron Knuckle may come out of one.

Stalfos
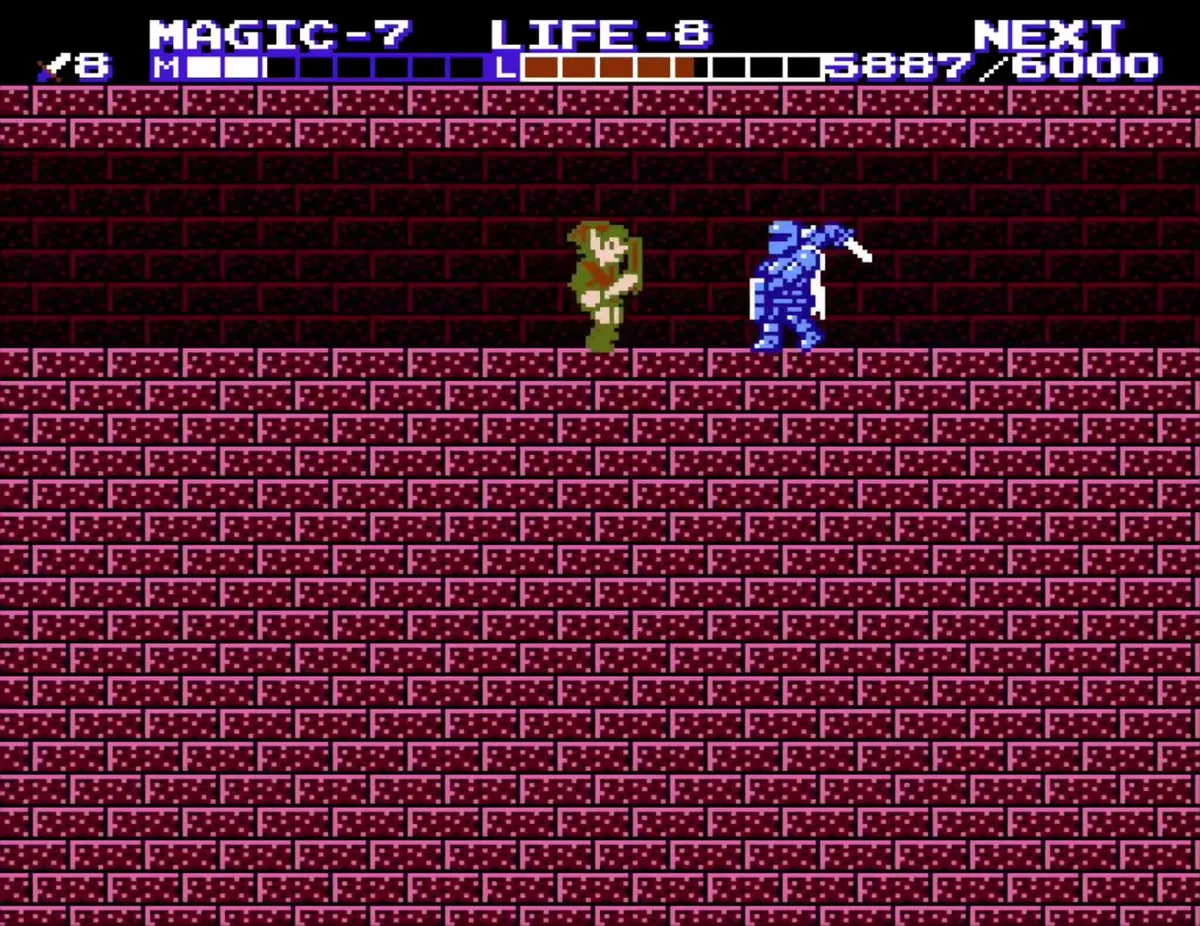
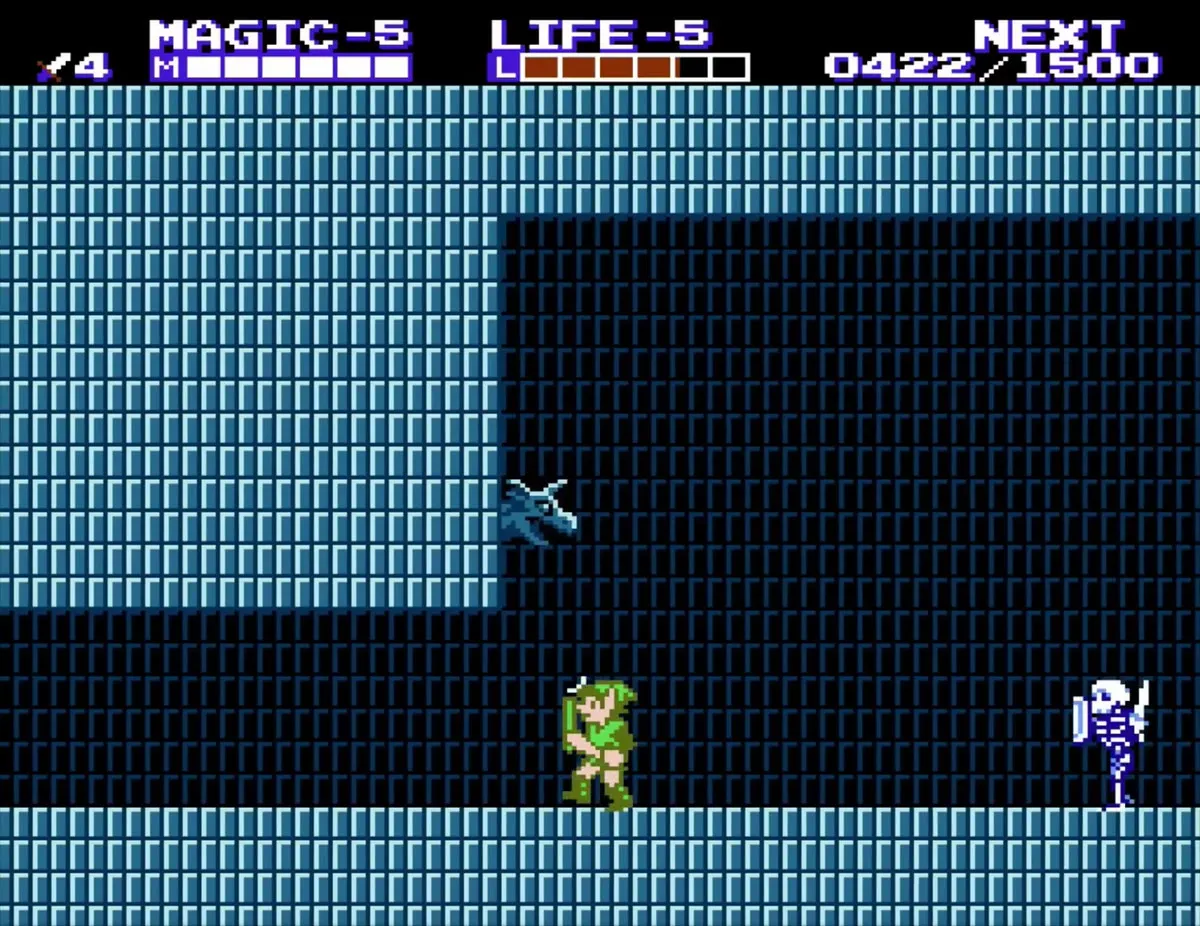
Red Stalfos is worth 30 EXP and Blue Stalfos 50. Their shields cover the upper body, so their legs are open to a low strike.

Bubble
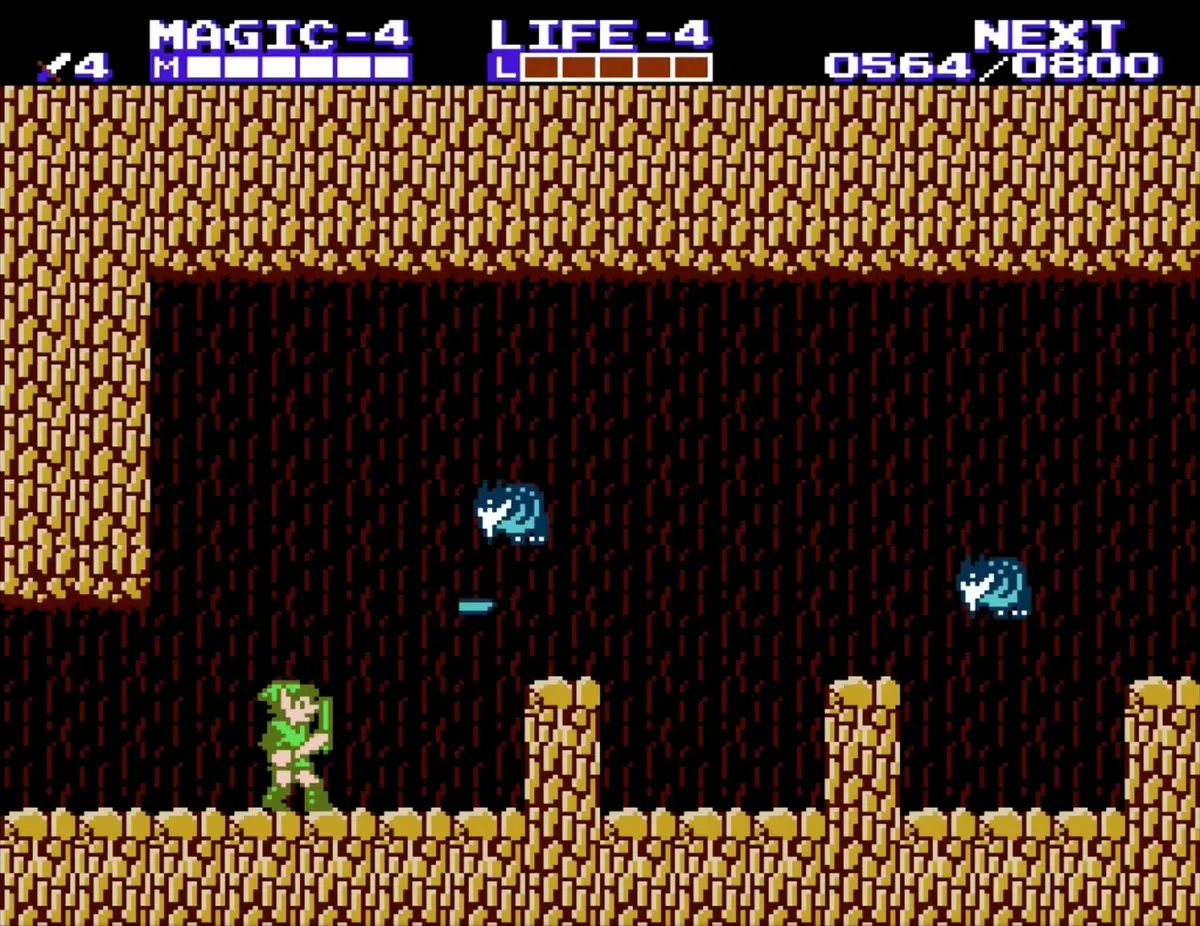
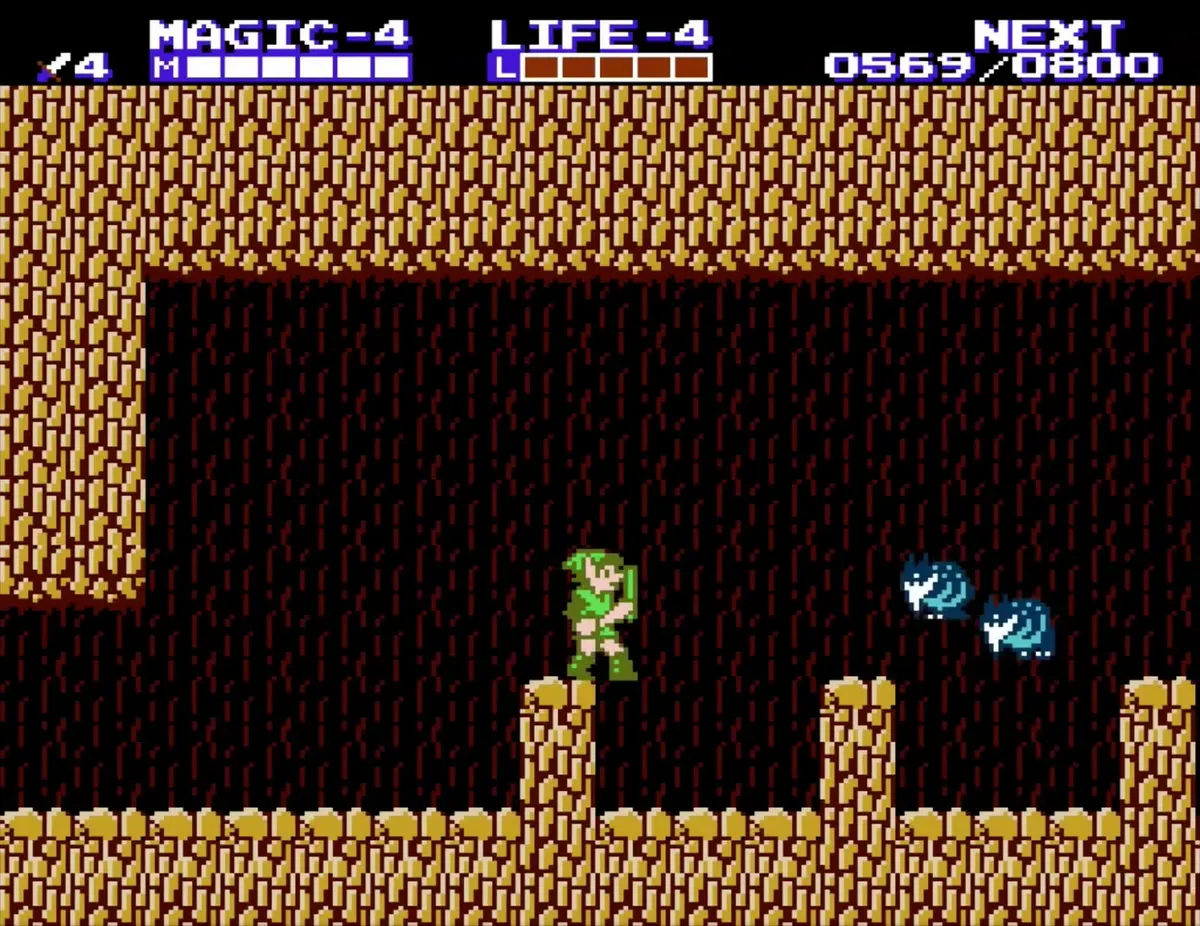
Bubbles float toward you and steal both your EXP and your magic on contact. They take many hits, so the usual advice is to avoid them. Giant Bubbles appear later in the Great Palace.

Wizzrobe and Mago
Wizzrobes are found in several palaces, and each is worth 100 EXP; Reflect turns their magic back on them. Mago throws flames, mostly in the Palace on the Sea, and is worth 200 EXP.


