





















The Legend of Zelda Second Quest Walkthrough12 chapters
- Second Quest StartBuy the Blue Candle, get the 100-rupee cave gift, take the first Heart Container and Power Bracelet, reach Level 1.
- Second Quest Level 1Wooden Boomerang, Map and Compass, Aquamentus for a Heart Container.
- Second Quest Blue Ring and White SwordBuy the 250-rupee Blue Ring from the hidden northeast shop, get the White Sword with five hearts.
- Second Quest Level 2Enter via the Armos stairway, collect keys, the Map and the Recorder, then beat two-headed Gleeok for a Heart Container.
- Second Quest Level 3Pond entrance and Recorder, Monster Bait for the Magical Boomerang, three Dodongos, and the third Triforce piece.
- Second Quest Level 4Enter the Lost Hills dungeon, get the Magic Book, Compass, Map, bomb upgrade, Heart Container, Raft.
- Second Quest Level 5Raft to the lake labyrinth, get the Bow, Map and Compass, beat the three-headed Gleeok and take the Triforce piece.
- Second Quest Magical Sword and LetterHeart Containers 8 and 9, the arrow shop, the Letter, then the graveyard stairs to Level 6.
- Second Quest Level 6Open the graveyard entrance with the Recorder, get the Stepladder, and beat blue Gohma for the Triforce piece.
- Second Quest Level 7Burn the forest tree, collect the Red Candle, Map and Compass, then beat Gleeok for Heart Container 12.
- Second Quest Level 8Enter with a ladder and bombs, get the Magical Rod and Magical Key, buy the bomb upgrade, beat three Dodongos.
- Second Quest Level 9 and EndingReach the north-west entrance, collect the Map, Compass, Red Ring and Silver Arrow, then defeat Ganon.
| Covers | the walk to the Level 1 island in the Second Quest, the whole dungeon, and the overworld walk back east toward the graves |
|---|---|
| Dungeon | Level 1 (the E-shaped dungeon in the Second Quest). Nothing is needed to enter. Boss: Aquamentus. Triforce piece: the first one. |
| Rewards | Wooden Boomerang, Map, Compass, 1 Heart Container from Aquamentus, 1 Triforce piece |
This chapter clears Level 1 of the Second Quest, the first dungeon of the quest. You will leave with the Wooden Boomerang, the dungeon Map and Compass, a Heart Container and the first Triforce piece. No items are needed to get in. You cross the lake bridge to the dead tree, work through the dungeon from the entrance, defeat Aquamentus, and then walk back out to the overworld.
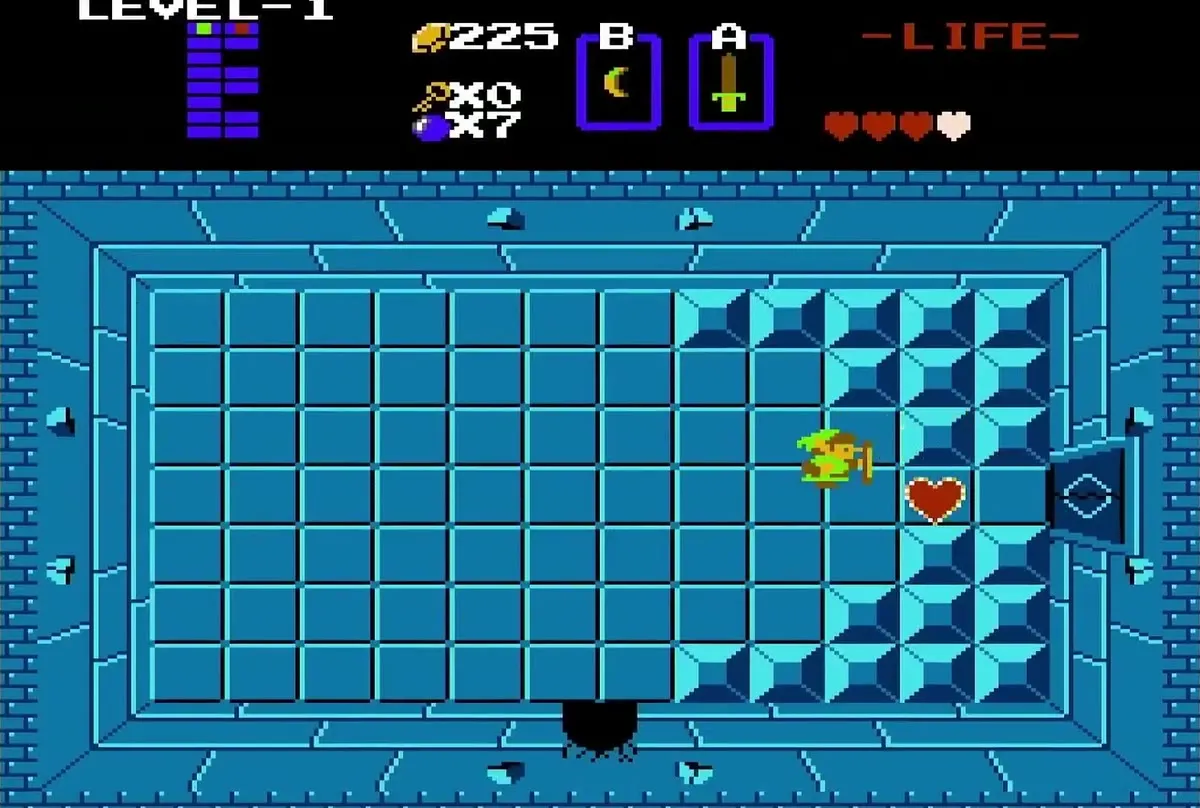

Table of Contents
Reaching Level 1
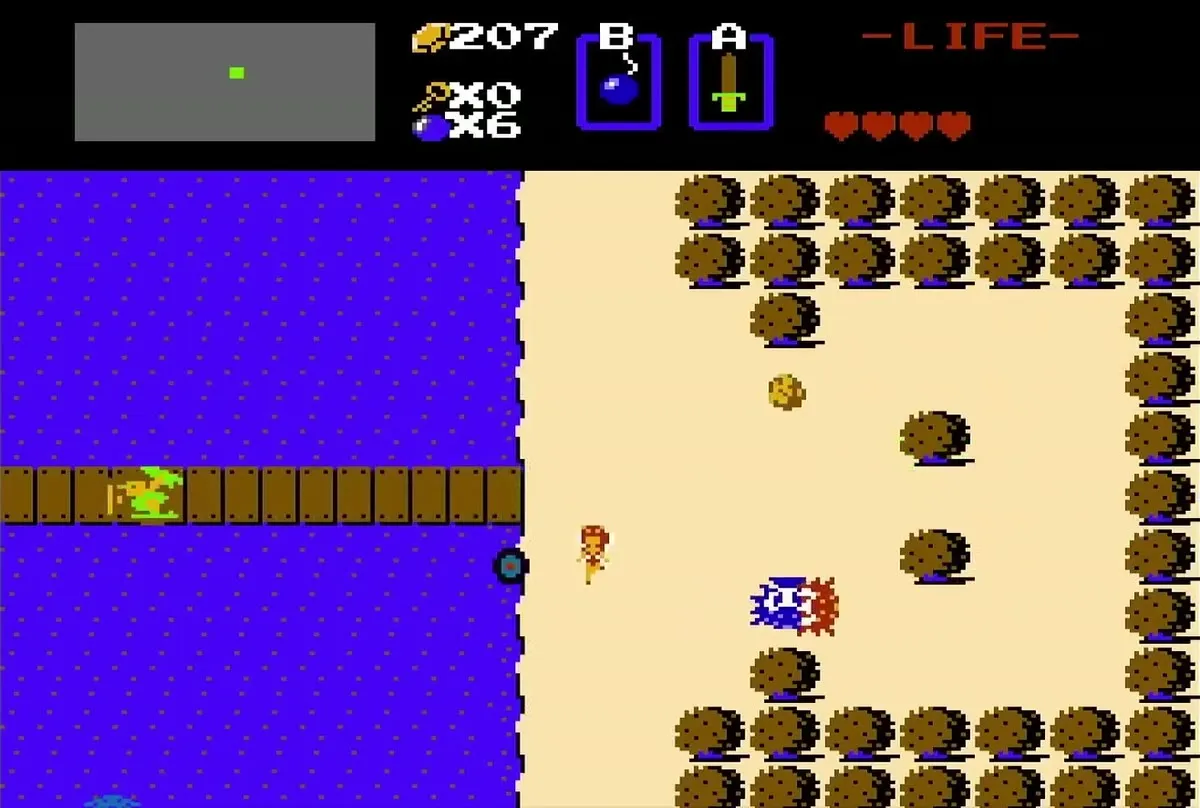
Cross the bridge to the island
Level 1 sits on an island in the middle of a lake. Walk onto the bridge that crosses the water and continue to its far end. Watch for enemies on the path, since the screens around the lake are open.

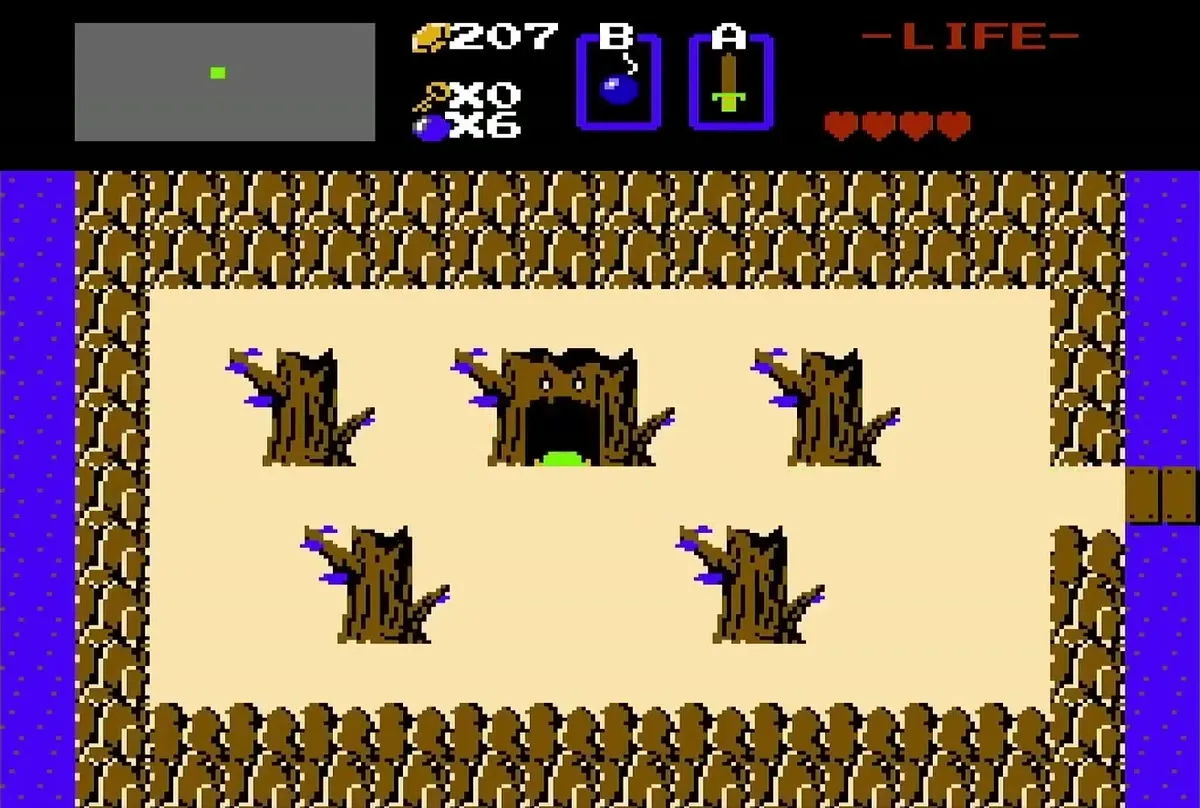
Walk into the mouth of the dead tree on the island to enter the dungeon. The entrance is in the same place as in the First Quest, so if you already know that route, you can reach it the same way.
Level 1: the entrance rooms and the Wooden Boomerang
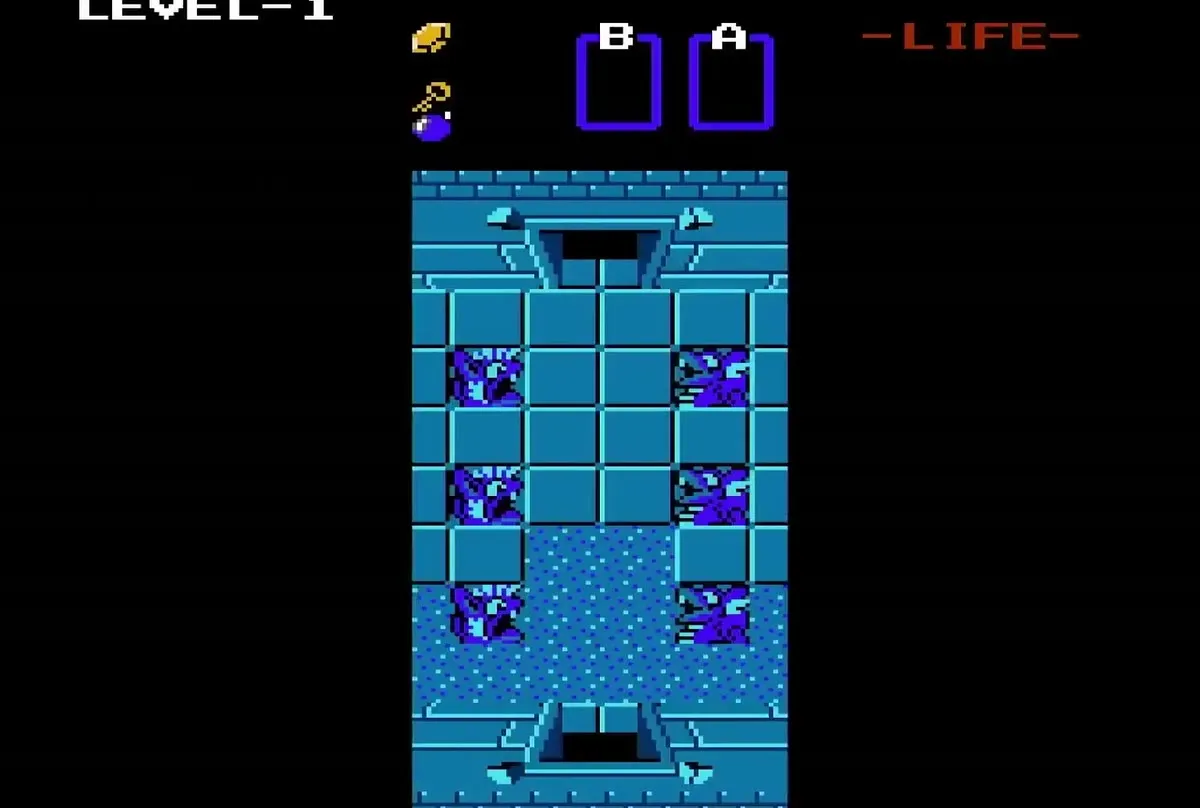
Clear the Goriya room
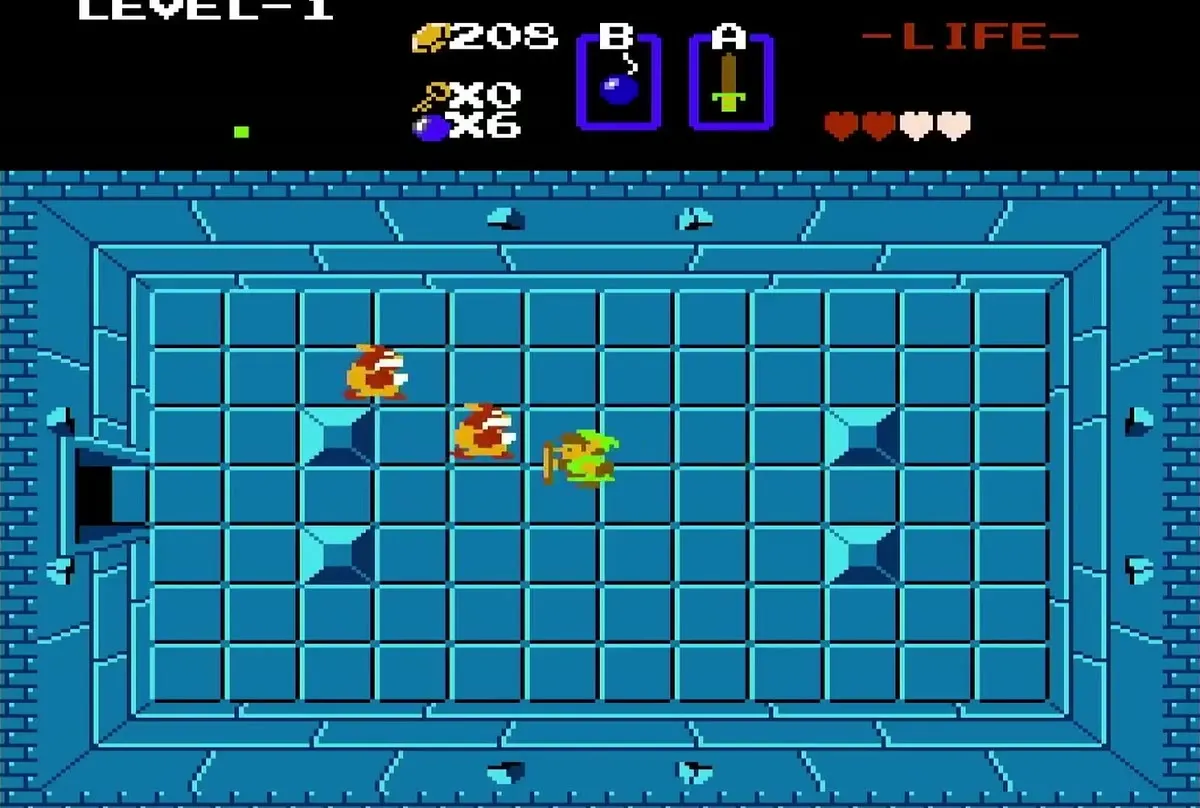
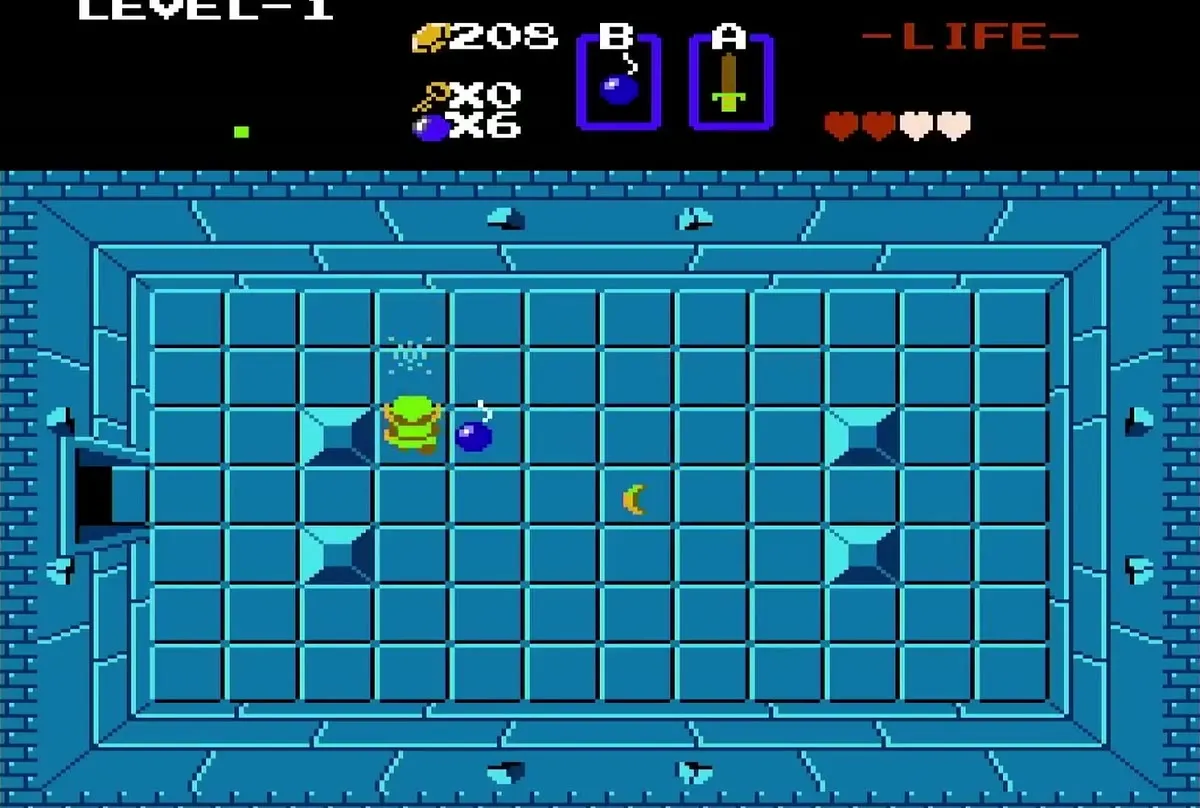
From the entrance room, go through the door on the right side. The room beyond holds a group of Goriyas. Defeat them all, and the Wooden Boomerang appears in the room. Walk over it to take it. The Boomerang is the only main item in this dungeon, so clear the room fully before you leave.
Level 1: the middle section
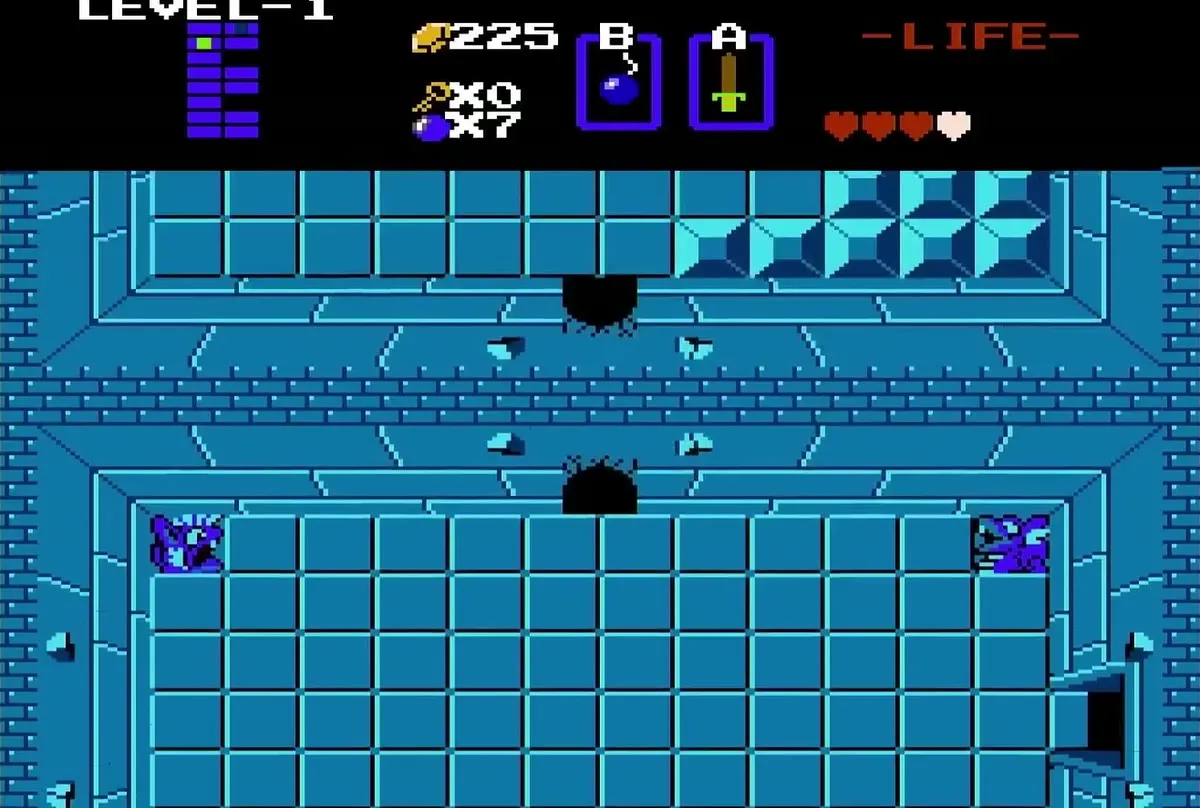
Bomb the top wall and find the Map
Bomb the top wall of the room with the Keese to reveal a passage. Go through the passage and defeat the Keese. When the room is clear, push the block on the far left side of the room to open the way down into the underground passage.

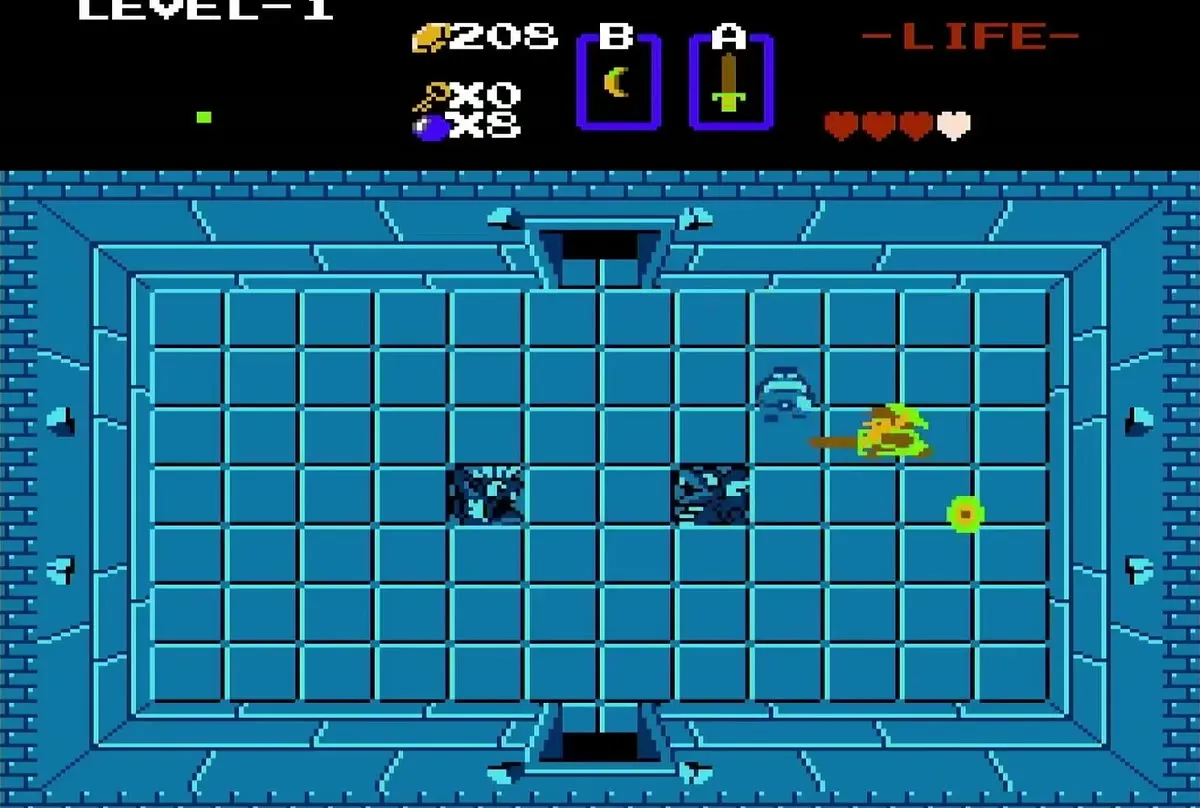
The middle section is optional, but it holds a spare key, some bombs and the dungeon Map. Reaching the Map costs bombs, so keep a few in your pack before you start. You can skip this section entirely if you are short on bombs, since it does not block the route to the boss.

Watch for Wall Masters in the upper section
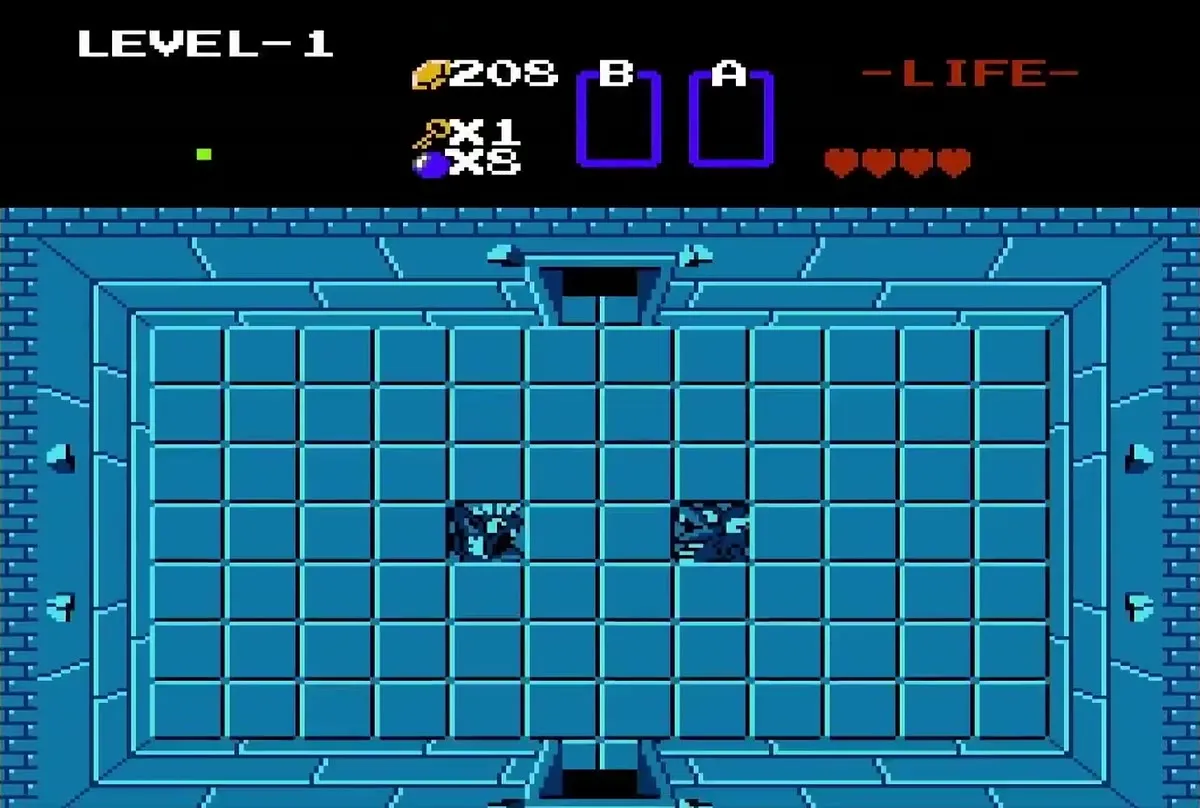
Take the underground passage up toward the top of the dungeon. Wall Masters live in these rooms. If one catches you, it carries you back to the entrance, so defeat them quickly. Defeating a Wall Master here leaves a key, which unlocks the left door.
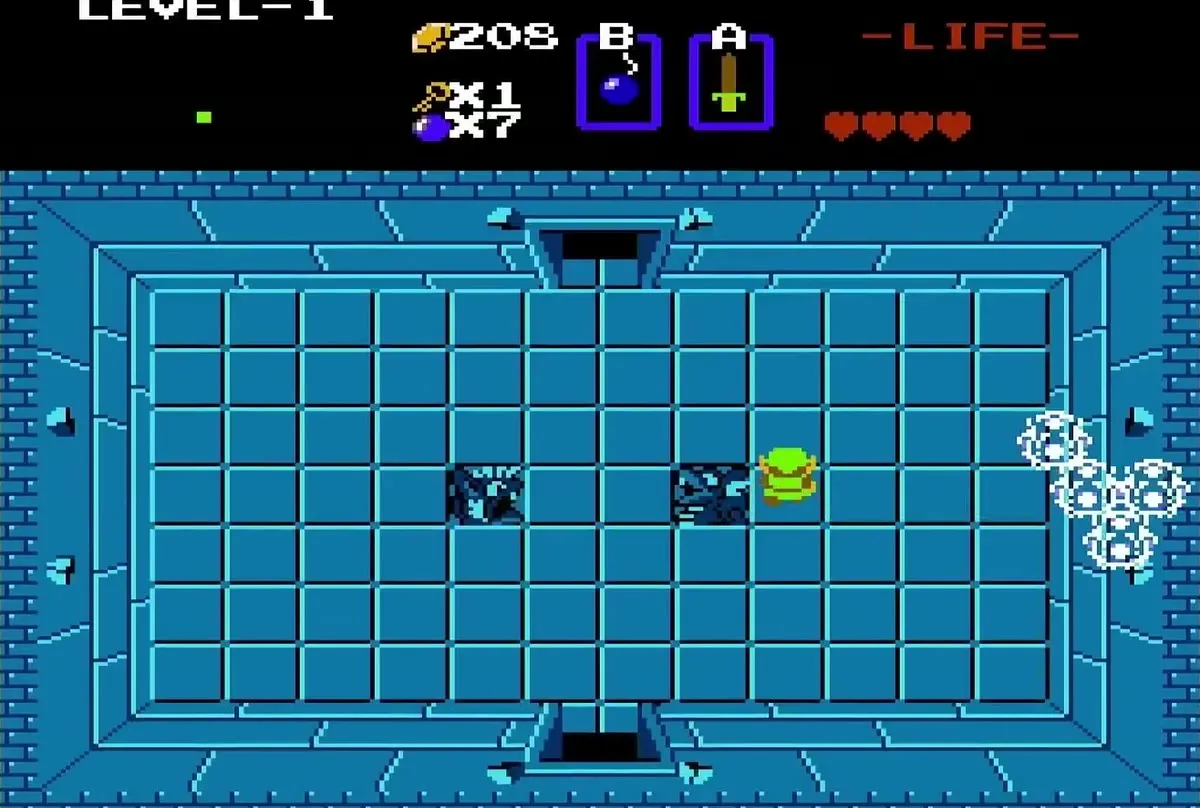
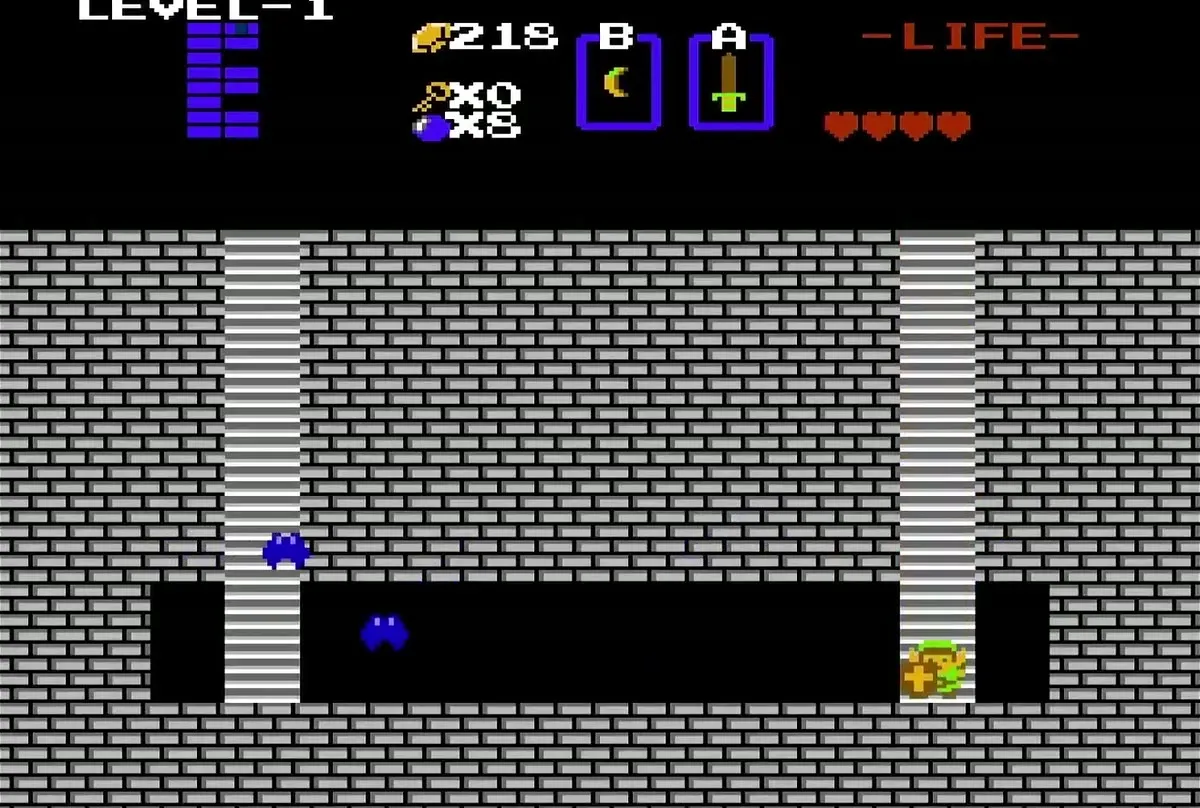
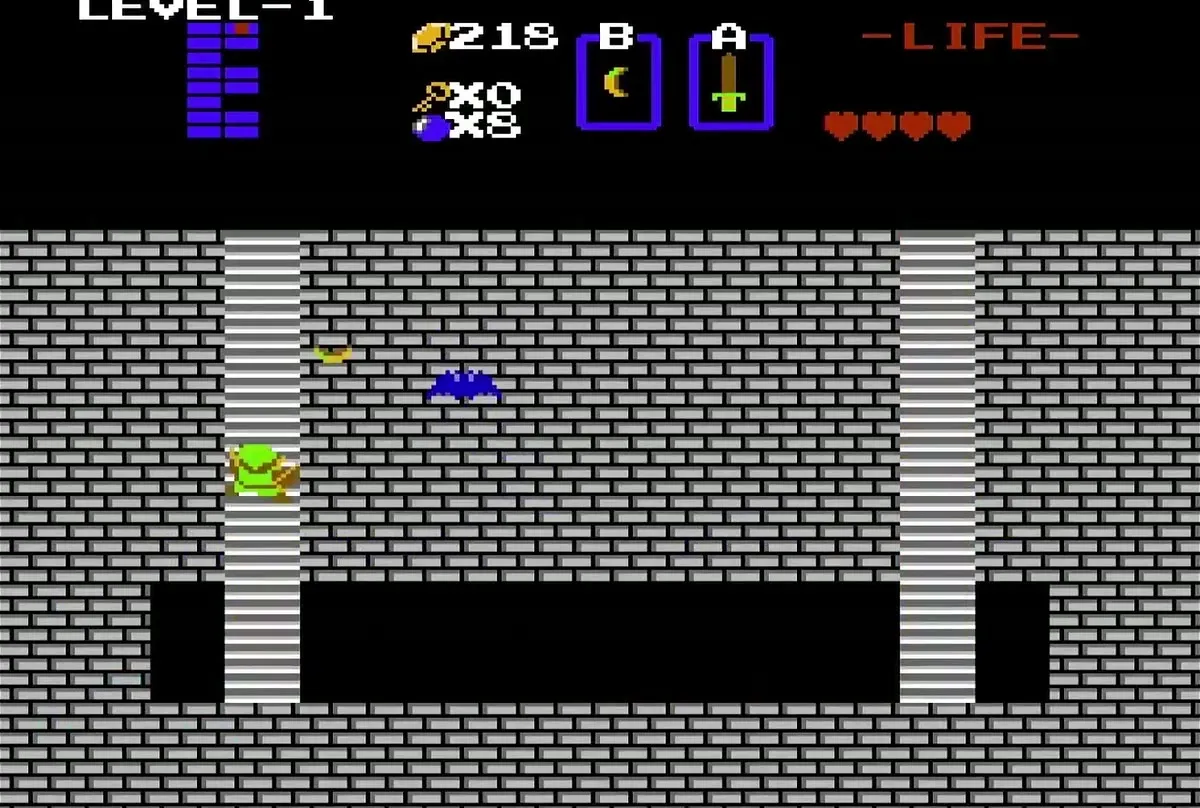
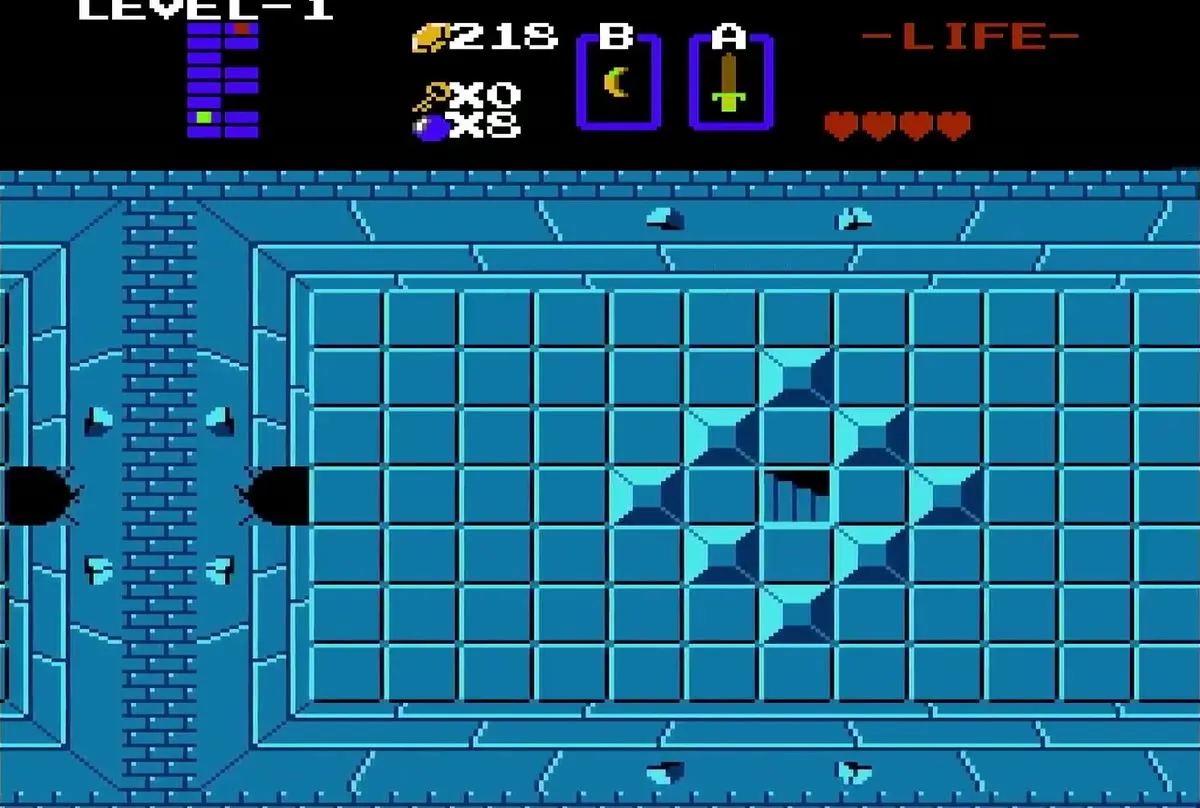
Use the new key on the left door, then travel left through the rooms and defeat all the blue Goriyas. Bomb the top wall of the last room to open a path toward the boss.

Level 1: the Compass and the path to the boss
Pick up the Compass
The Compass is in one of the rooms on the way to the boss. Walk into it and take the item to add the Compass to your pack. The Compass helps you read the layout of the dungeon on the map screen, so check the map once you have it.
Reach the boss room
Follow the opening you bombed through the top wall. It leads to the boss room, where Aquamentus waits on the far side of the room.

Aquamentus boss strategy
Fight Aquamentus
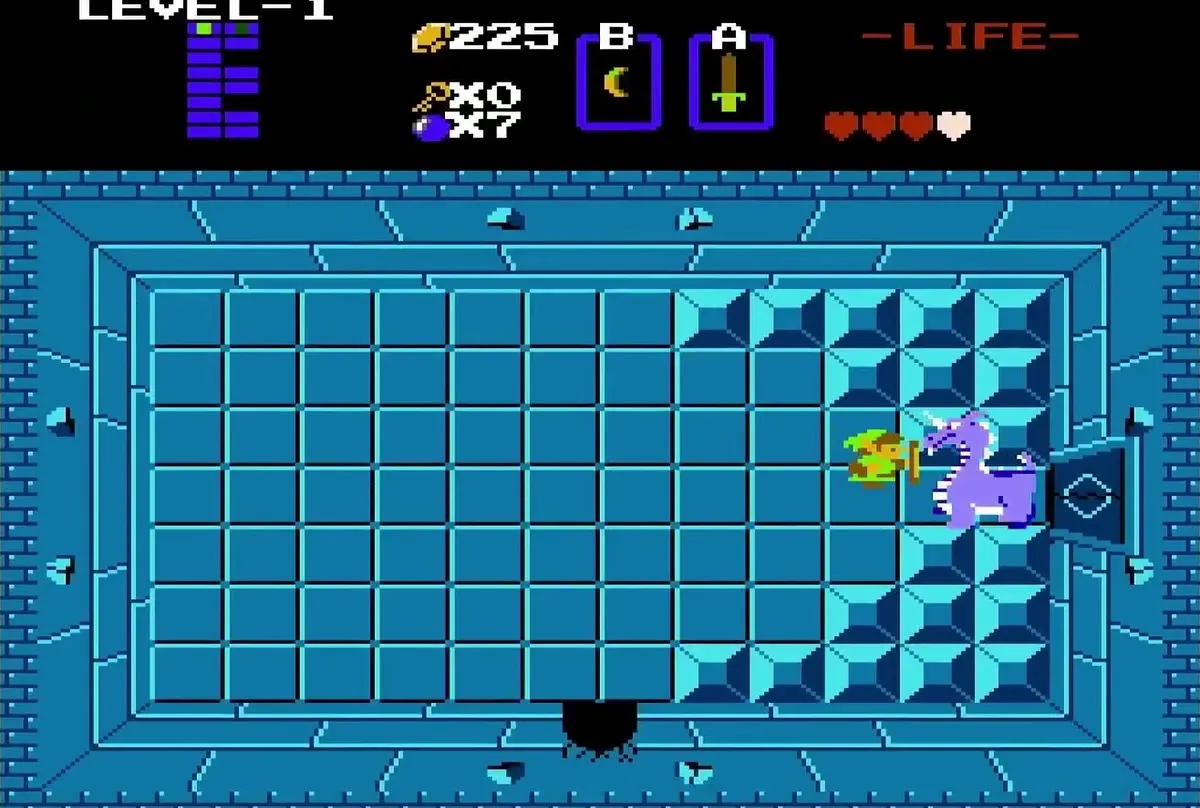
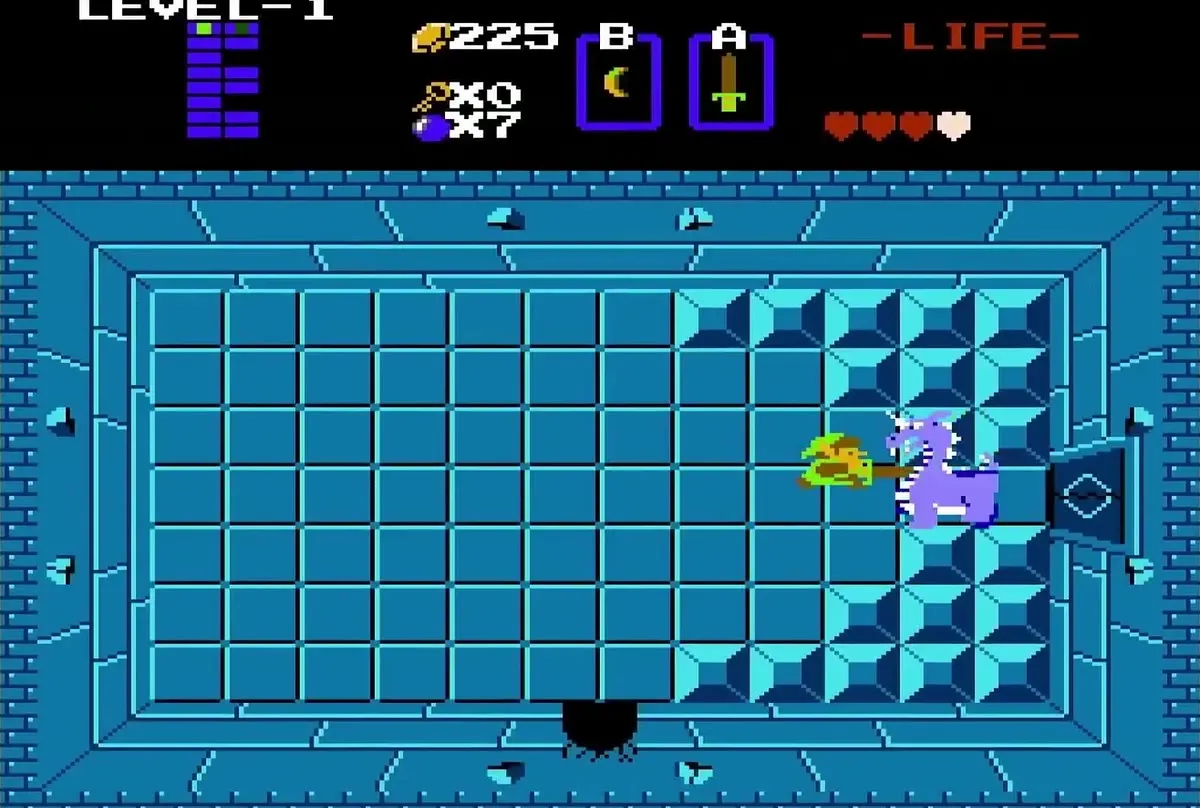
Aquamentus is the green dragon who guards this dungeon. He fires energy orbs from his horn and moves back and forth in the room. Stay out of his line of fire, and move up toward his head when the orbs have passed.

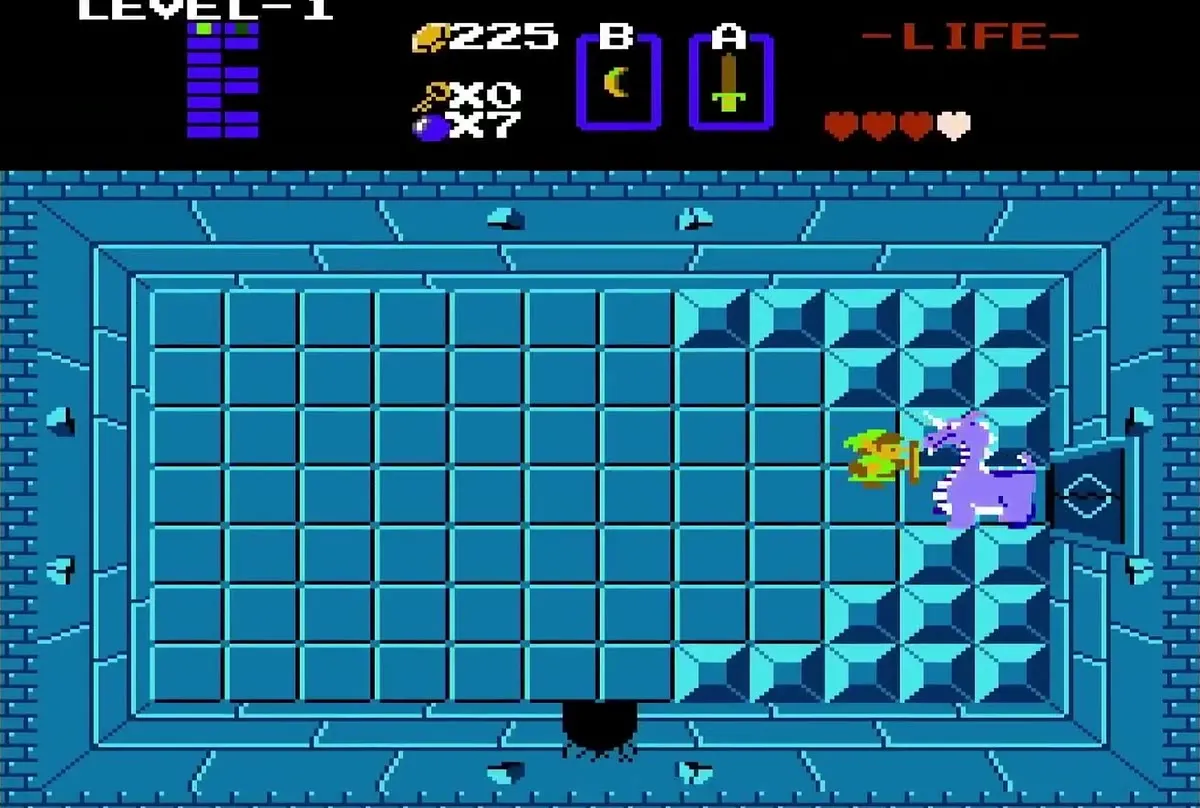
You need six strikes to his head with the Wooden Sword, or three with the White Sword. Time each strike for the gap between two orbs, so you do not take damage while you are close to him.
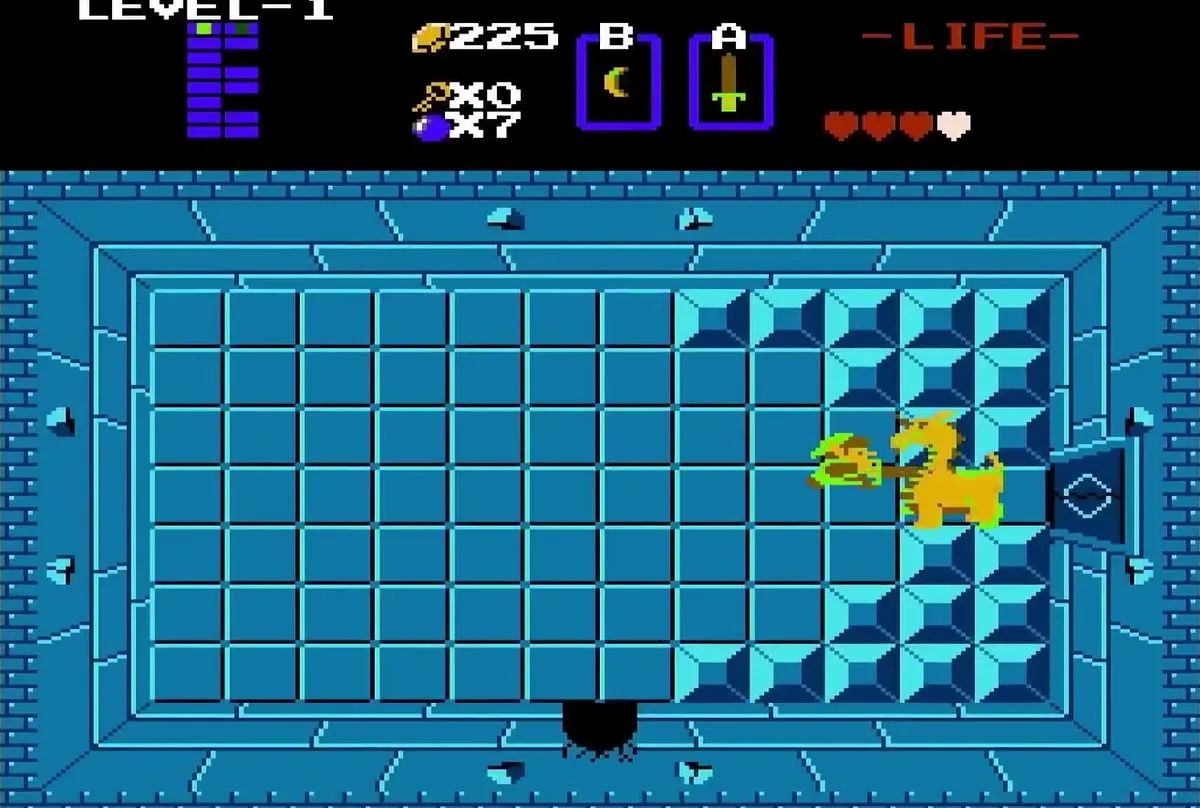
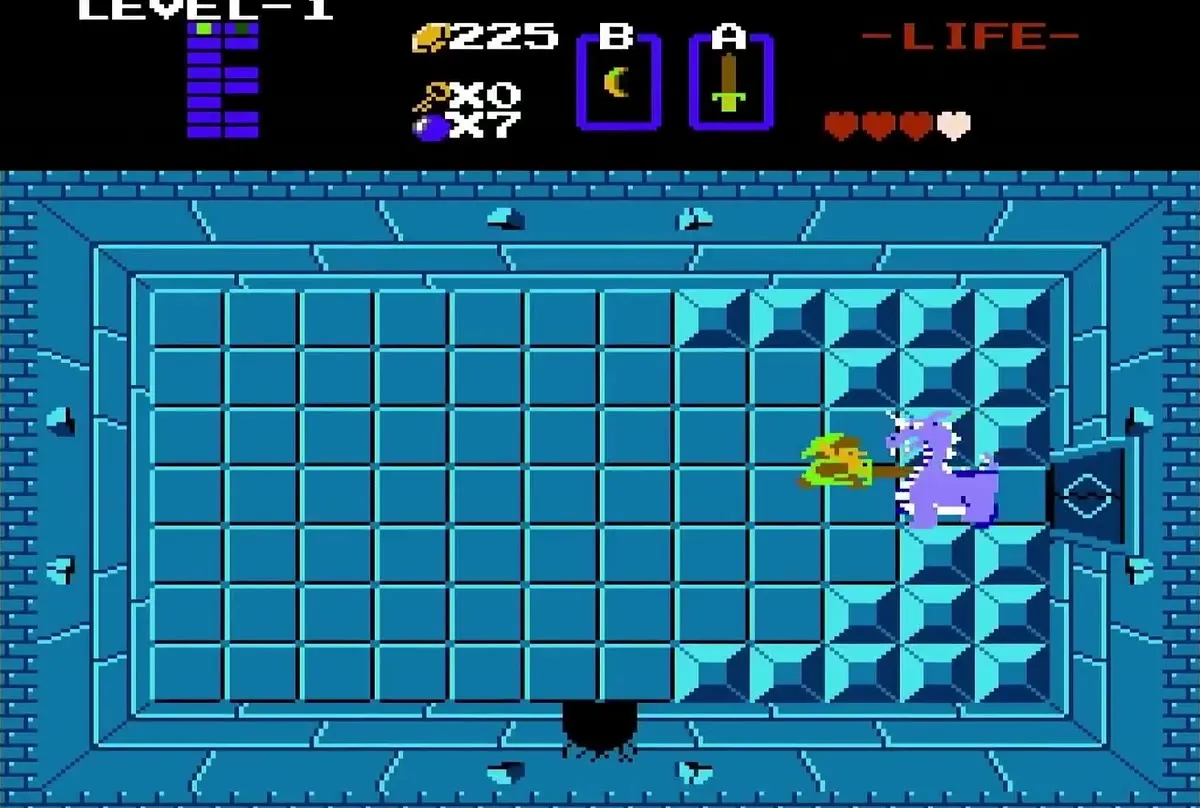
The Magical Shield is the only shield that absorbs his energy orbs. If you block with the Wooden Shield, the orbs get through and hurt you, so rely on your sword timing instead.
Take the Heart Container
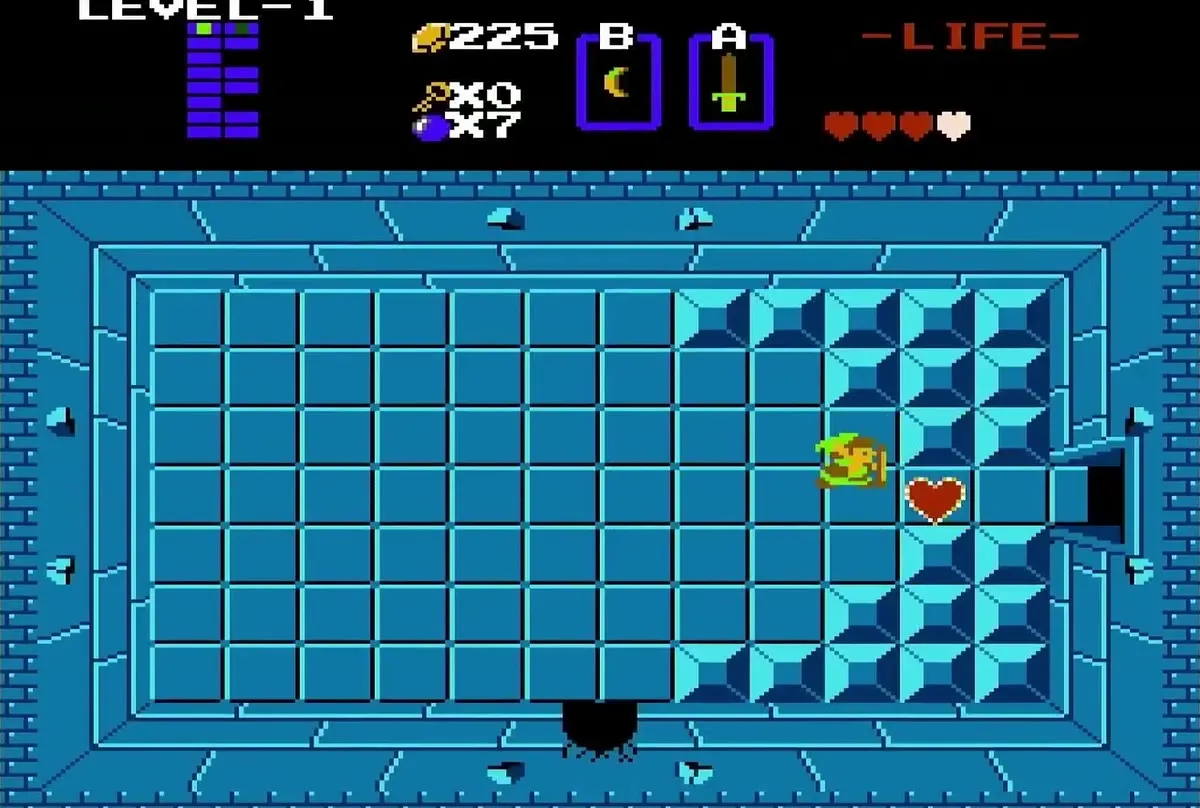
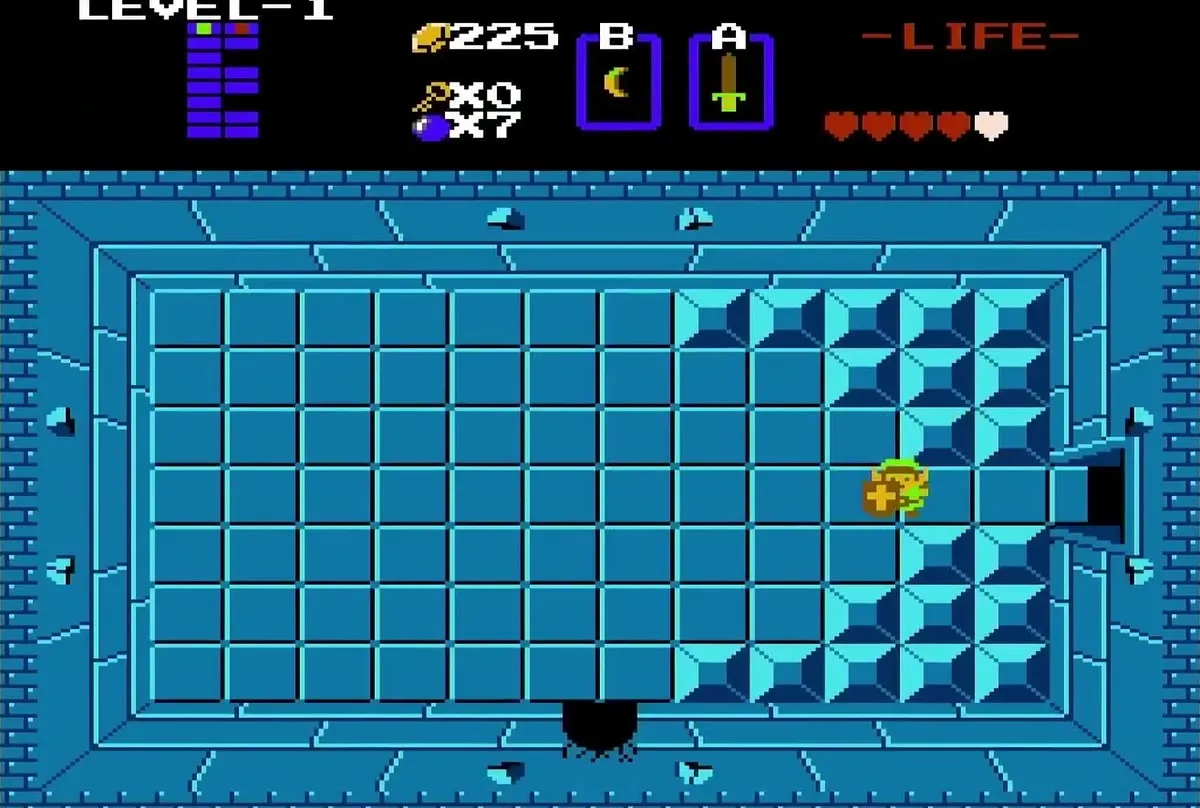
When Aquamentus falls, a red heart appears in the room. Walk onto it to collect a Heart Container, which adds one more heart to your life meter and fills it. For more on where the containers are found, see the heart container locations page.
Get the first Triforce piece
The first Triforce piece is in the room to the right of the boss room. Go through the door on the right side of the boss room, and you will enter a room with a Triforce piece lying on the floor. Walk onto the piece to pick it up, and Link raises it above his head.
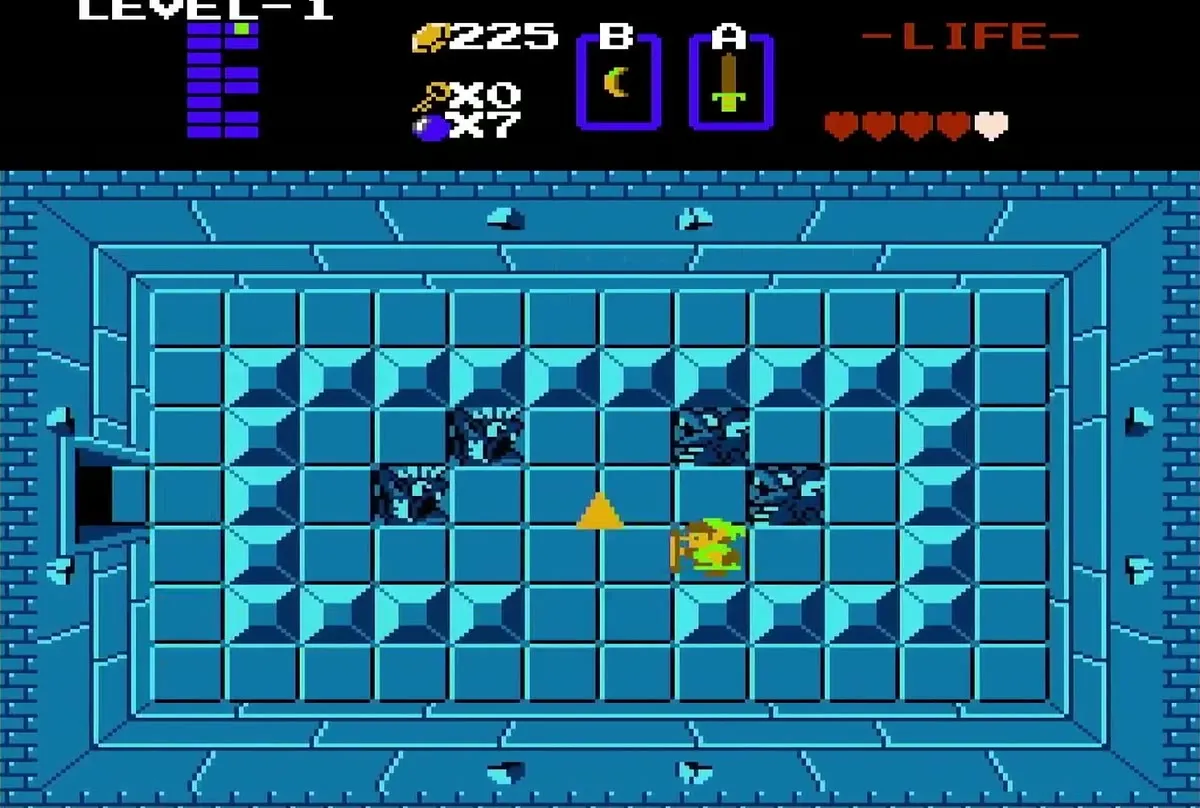

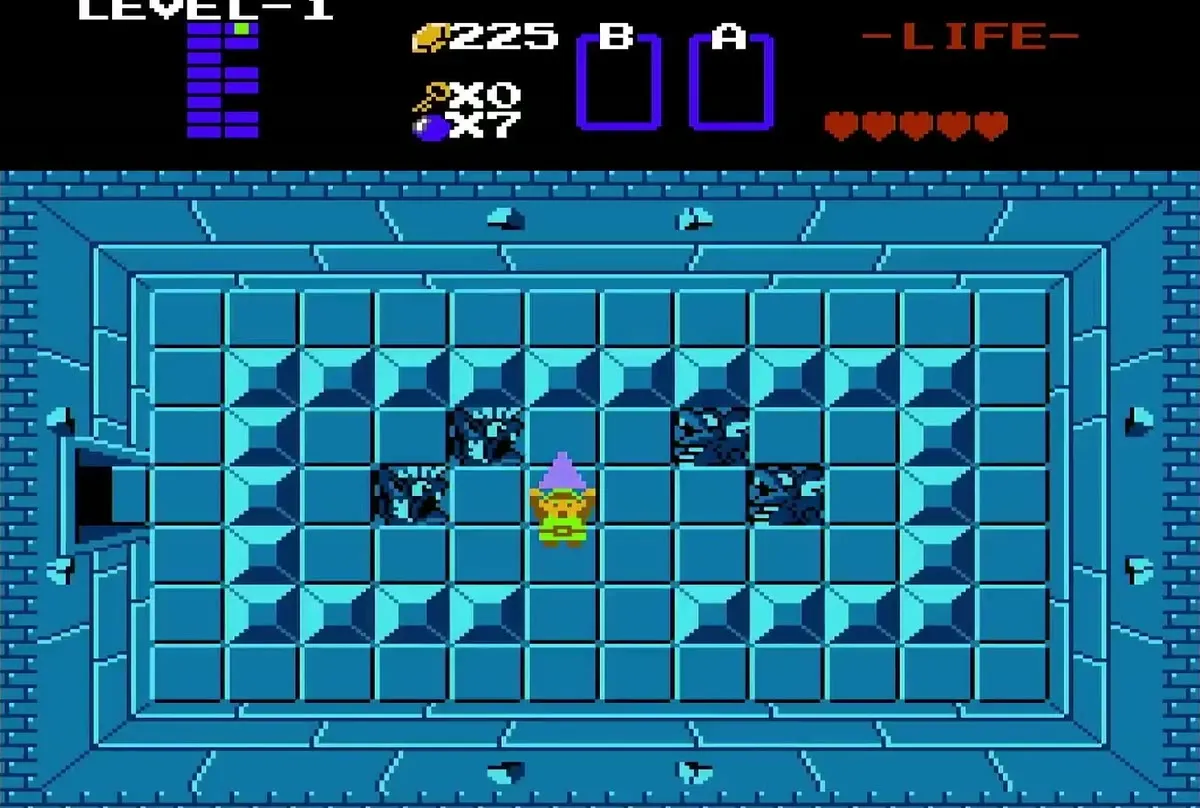
Once you have the piece, the game returns you to the overworld, outside the dead tree entrance. For the full list of Triforce pieces in the game, see the dungeons and Triforce pieces page.
Back to the overworld
Walk east toward the graves
From the dead tree, cross the lake bridge heading east. The overworld screens here hold a few enemies and boulders, but no items. Keep moving through the open screens until you reach the north-east corner of the map.
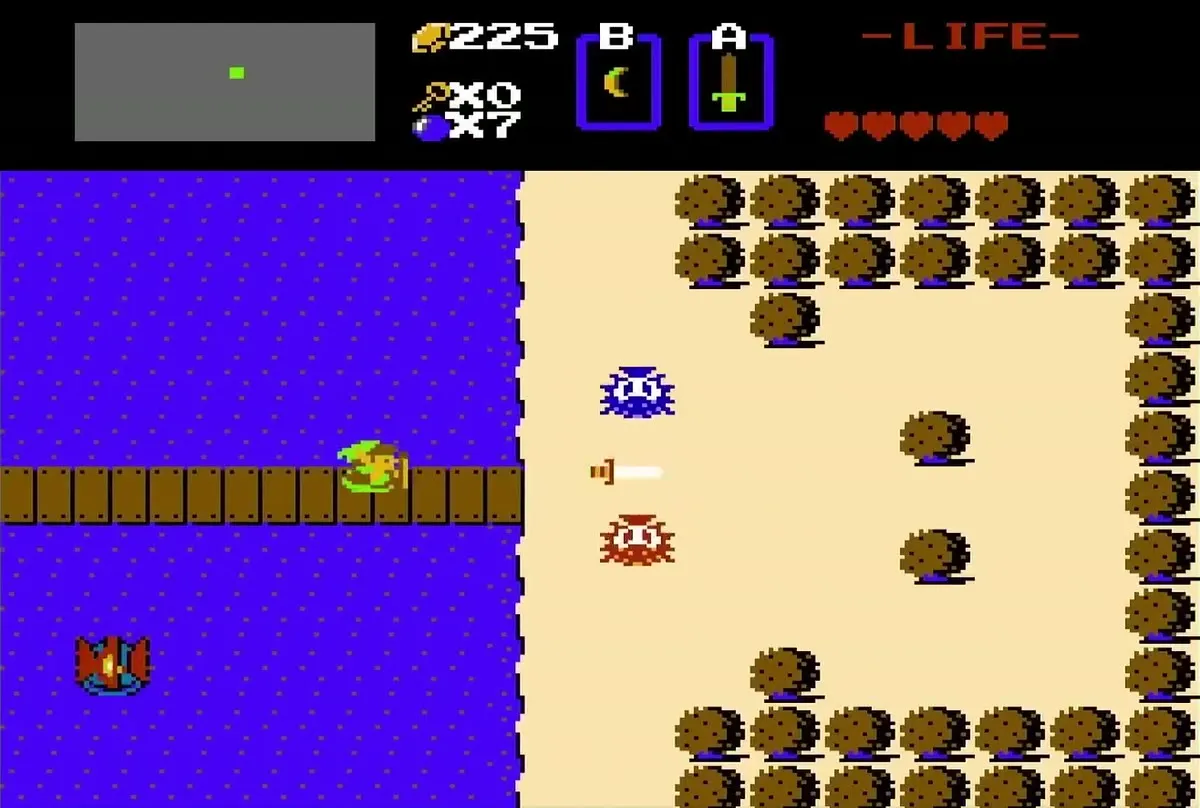
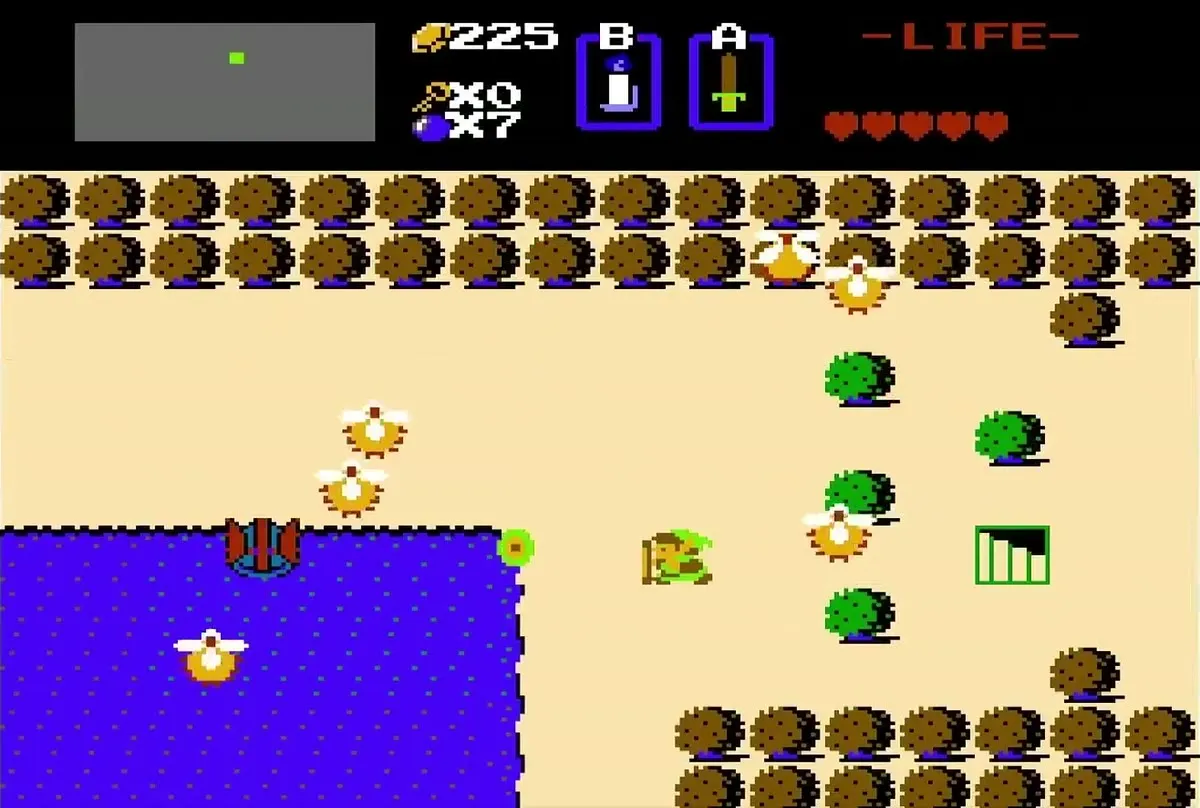
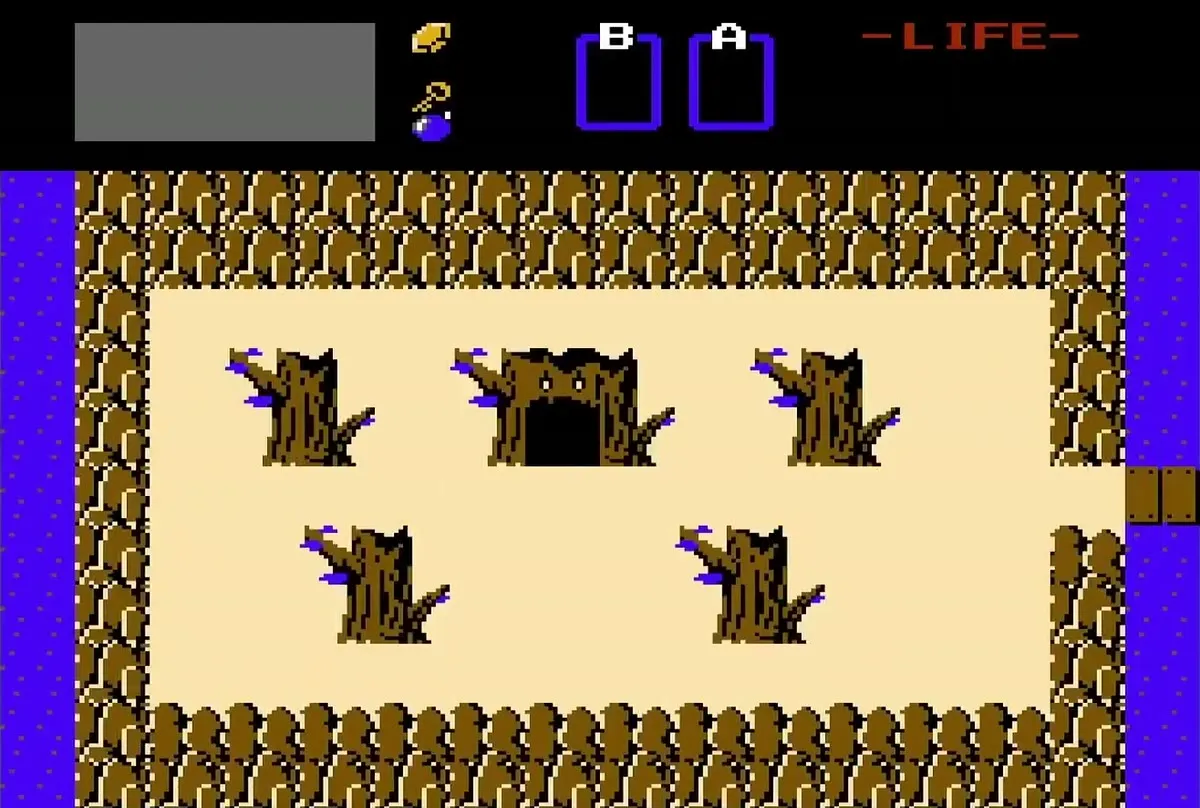
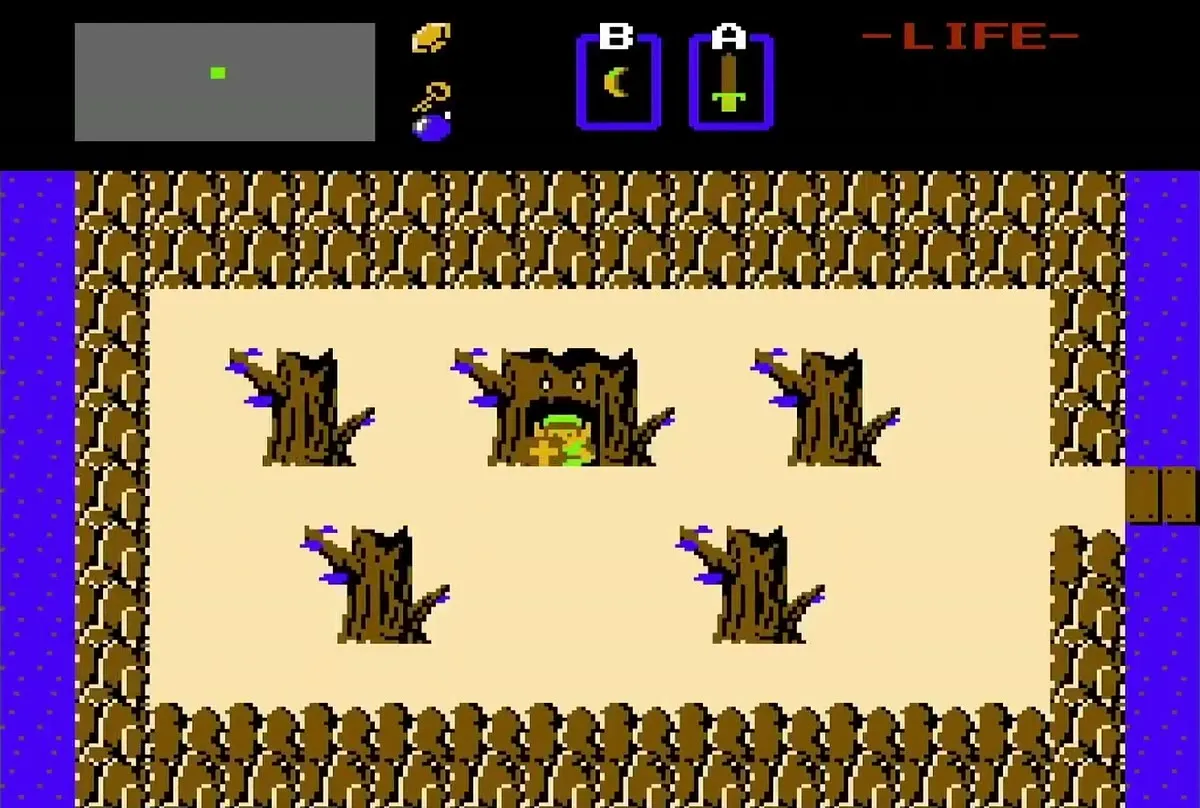
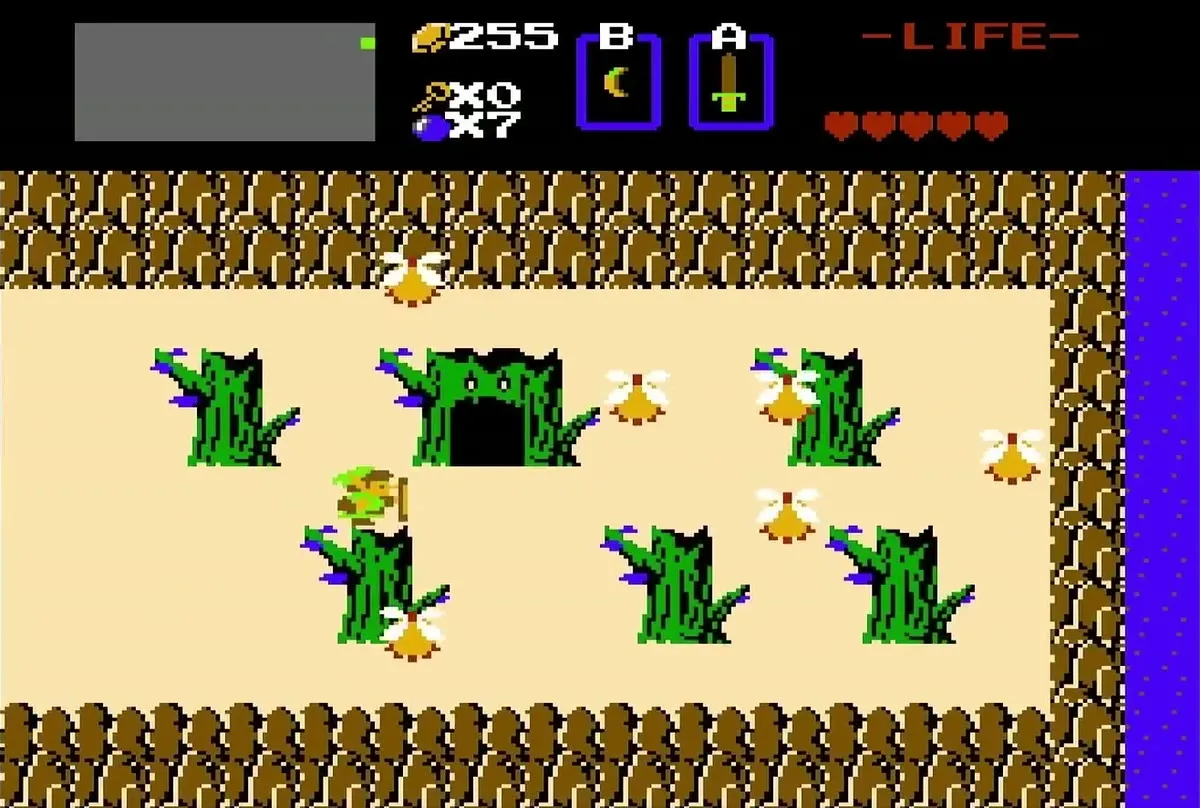
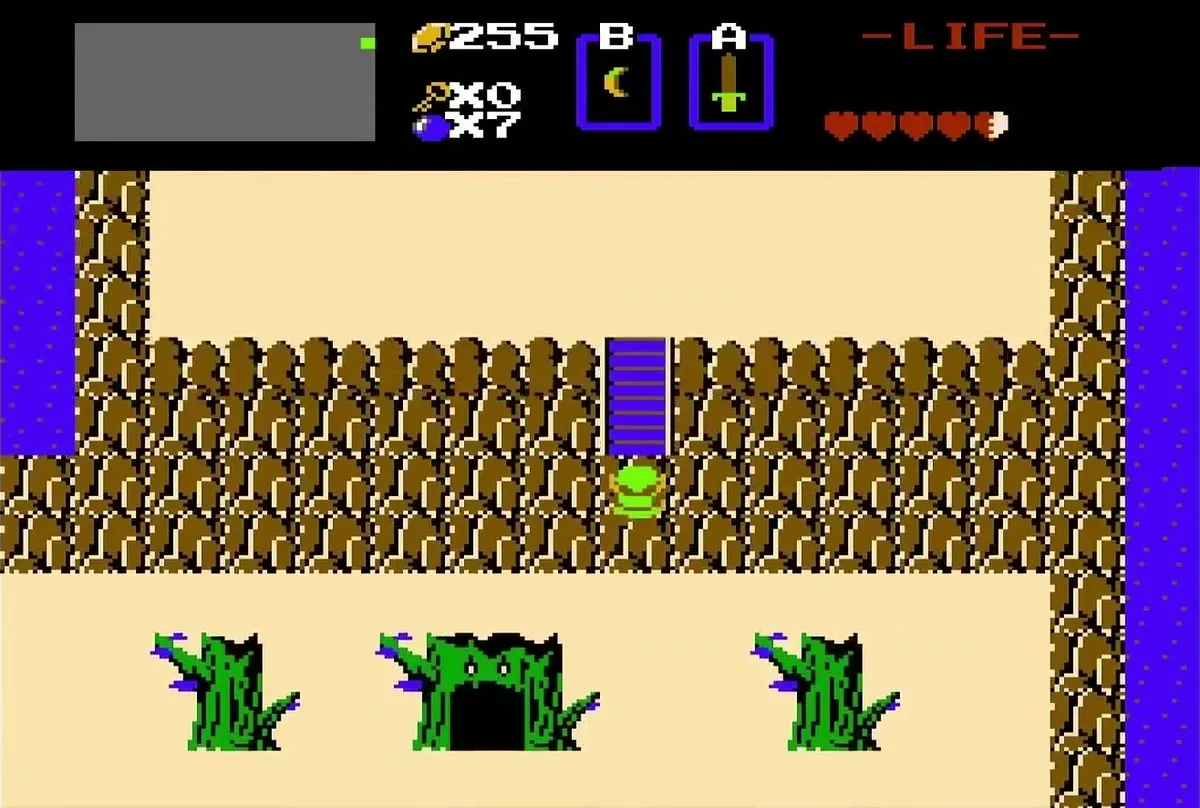
The stretch ends at a sandy field with three green statues and a dark opening under the middle one. That is the hidden shop (P1) that the next chapter uses for the Blue Ring.
Chapter checklist
| Type | Name | Where |
|---|---|---|
| Weapon | Wooden Boomerang | Goriya room, first room past the entrance |
| Dungeon item | Map | Middle section, reached by bombing a path |
| Dungeon item | Compass | Room on the route to the boss |
| Heart Container | Boss reward | Aquamentus‘s room, after the boss falls |
| Triforce piece | First Triforce piece | Room to the right of the boss room |
| Key | Spare key and the key from a Wall Master | Middle section and the upper section |
