





















The Legend of Zelda Second Quest Walkthrough12 chapters
- Second Quest StartBuy the Blue Candle, get the 100-rupee cave gift, take the first Heart Container and Power Bracelet, reach Level 1.
- Second Quest Level 1Wooden Boomerang, Map and Compass, Aquamentus for a Heart Container.
- Second Quest Blue Ring and White SwordBuy the 250-rupee Blue Ring from the hidden northeast shop, get the White Sword with five hearts.
- Second Quest Level 2Enter via the Armos stairway, collect keys, the Map and the Recorder, then beat two-headed Gleeok for a Heart Container.
- Second Quest Level 3Pond entrance and Recorder, Monster Bait for the Magical Boomerang, three Dodongos, and the third Triforce piece.
- Second Quest Level 4Enter the Lost Hills dungeon, get the Magic Book, Compass, Map, bomb upgrade, Heart Container, Raft.
- Second Quest Level 5Raft to the lake labyrinth, get the Bow, Map and Compass, beat the three-headed Gleeok and take the Triforce piece.
- Second Quest Magical Sword and LetterHeart Containers 8 and 9, the arrow shop, the Letter, then the graveyard stairs to Level 6.
- Second Quest Level 6Open the graveyard entrance with the Recorder, get the Stepladder, and beat blue Gohma for the Triforce piece.
- Second Quest Level 7Burn the forest tree, collect the Red Candle, Map and Compass, then beat Gleeok for Heart Container 12.
- Second Quest Level 8Enter with a ladder and bombs, get the Magical Rod and Magical Key, buy the bomb upgrade, beat three Dodongos.
- Second Quest Level 9 and EndingReach the north-west entrance, collect the Map, Compass, Red Ring and Silver Arrow, then defeat Ganon.
| Covers | the Second Quest entrance to Level 9 in the far north-west, all of Level 9 up to Ganon’s door, the fight with Ganon, and the rescue of Princess Zelda |
|---|---|
| Dungeon | Level 9 (Second Quest): enter at A1 by bombing the north wall of the narrow passage in the far north-west of Hyrule. Mini-bosses: three Patra. Boss: Ganon. |
| Rewards | Dungeon Map, Compass, Red Ring, Silver Arrow. No Heart Container and no Triforce of Wisdom piece in this dungeon. Ganon drops the Triforce of Power. |
Level 9 is the largest dungeon of the Second Quest, and it is the last one you need to clear. Its entrance has moved to a remote corner of the map, and its layout is shaped like Ganon’s head rather than the skull of the First Quest. This chapter takes you from that entrance through the dungeon in order, collecting the Map, Compass, Red Ring and Silver Arrow, and ends with the fight with Ganon and the rescue of Princess Zelda.
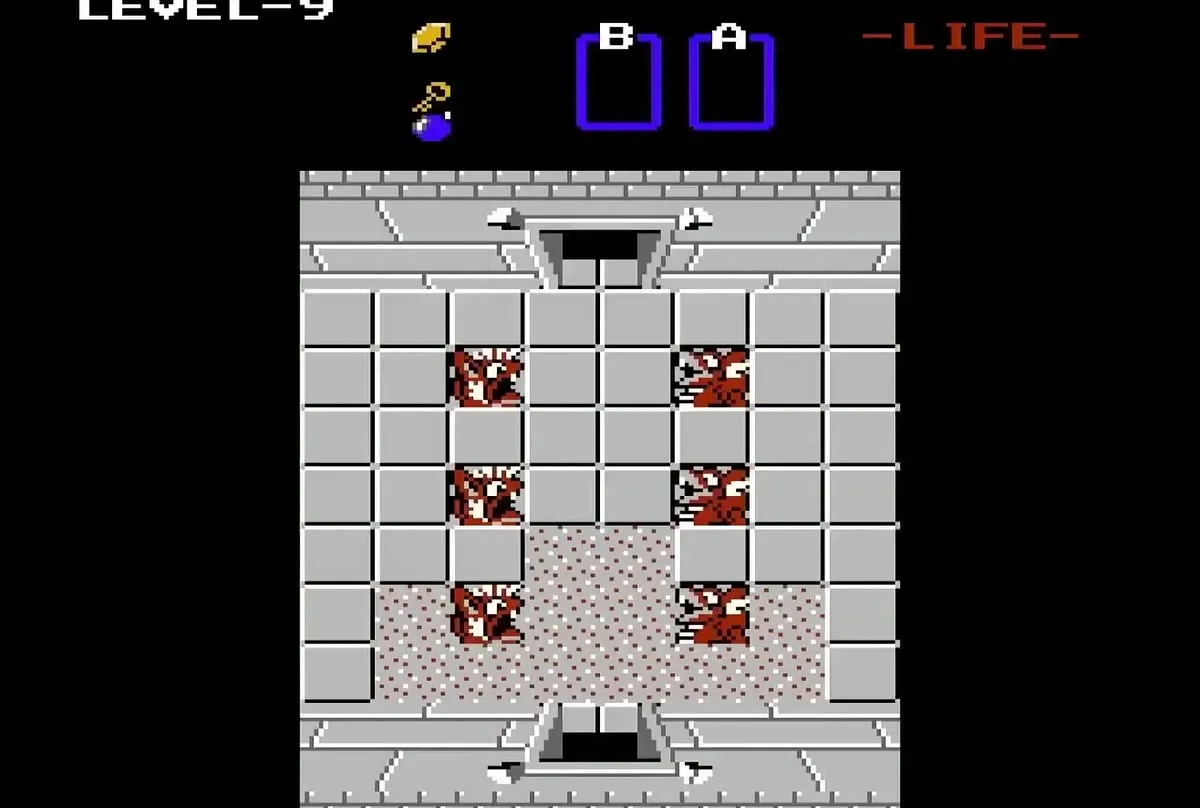

Table of Contents
Reach the Level 9 entrance
Bomb the north wall in the far north-west
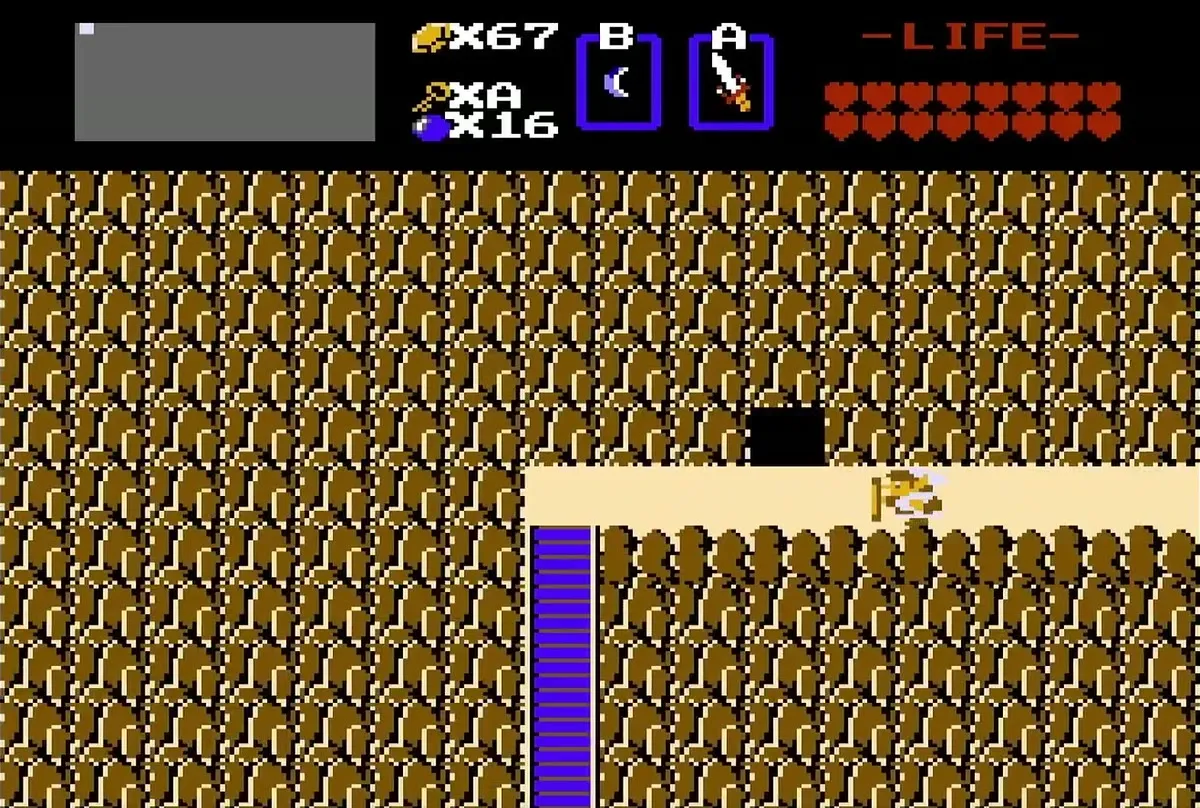
The Level 9 entrance is in the north-west corner of the overworld, not on Spectacle Rock as in the First Quest. Go to the narrow passage in that corner of the map, at square A1. Place a bomb against the middle of its north wall, and the wall gives way to the stairs down into the dungeon.


Level 9 first rooms
Get past the guard
From the entrance, go up one room to find a man standing guard. He will not let you through unless you already hold all eight pieces of the Triforce of Wisdom, so collect them from the first eight dungeons before you come here. Once you have them, go through the door in the room above.
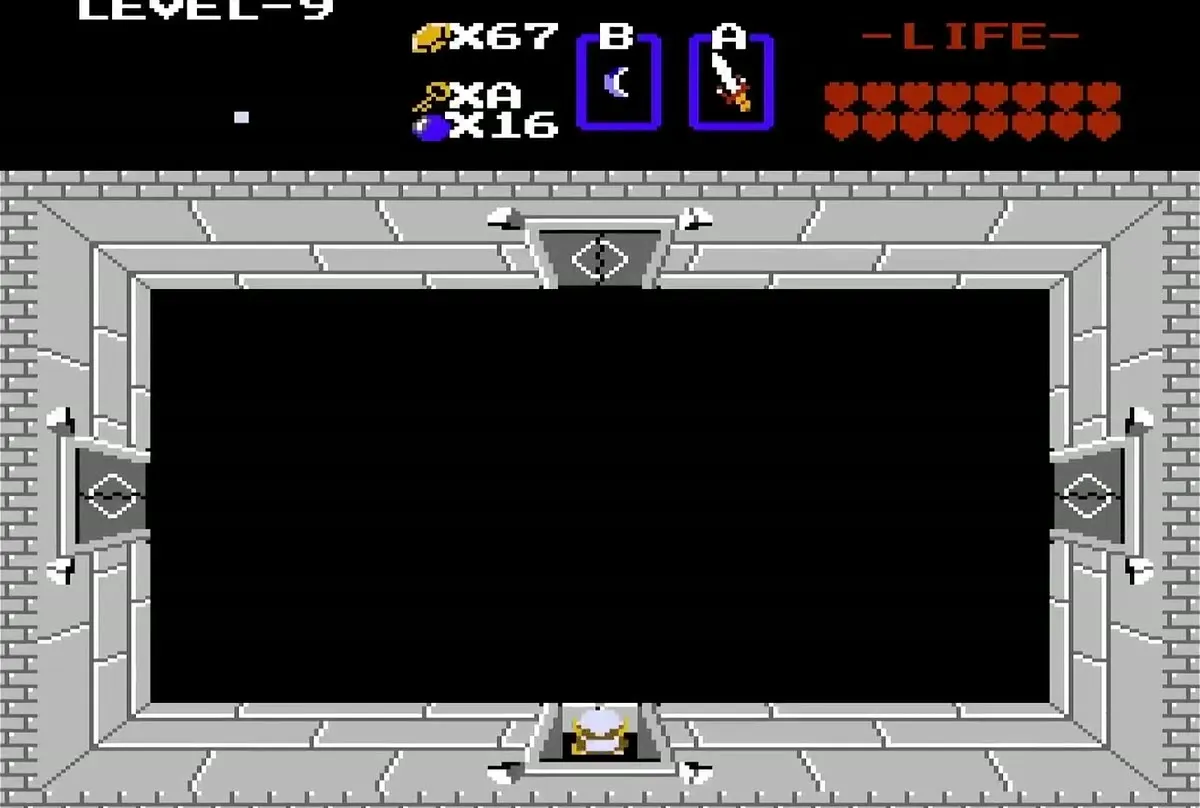
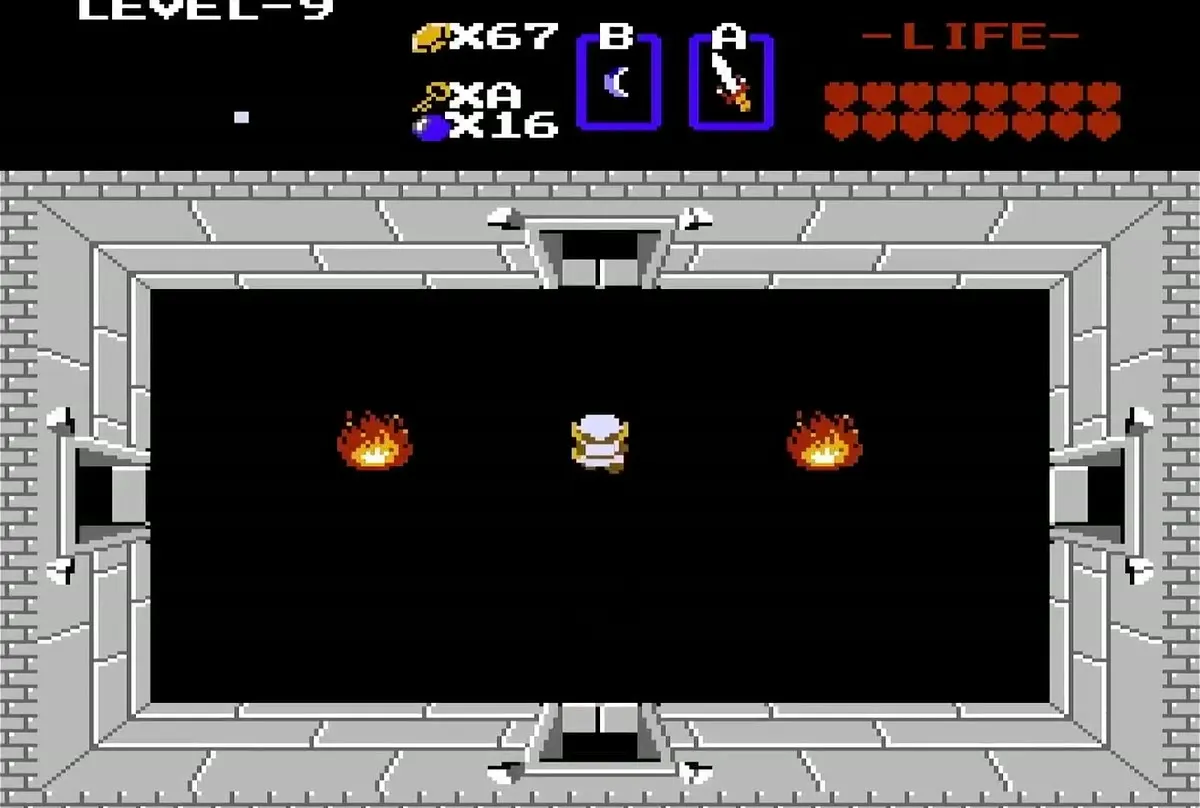
In the room above the guard, fight the Zols while you avoid the traps along the floor. Push against the right wall to find a hidden passage, then walk the corridor, fighting the Keese as you go. Push against the right wall again at the end of the corridor to find a second hidden passage.
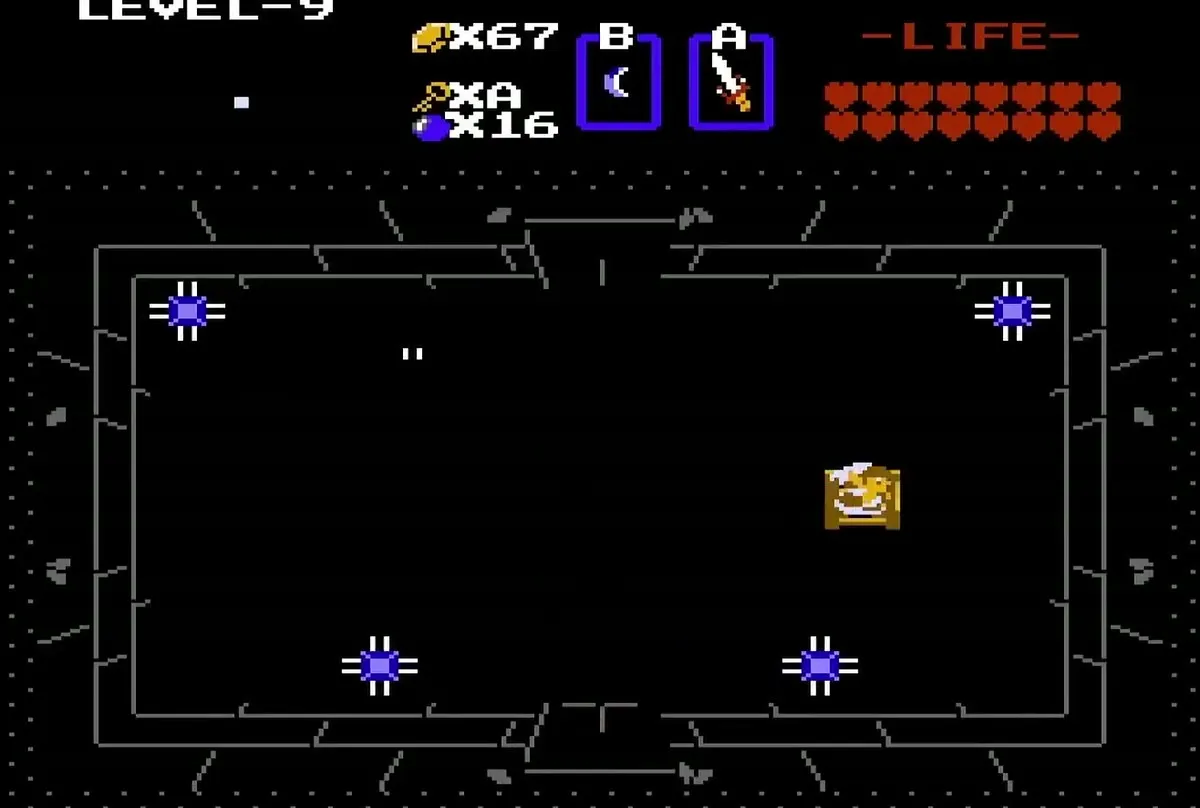

Level 9 Map from the Patra
Defeat the Patra for the Map
Fight the Wizzrobes in the room past the second hidden passage, then bomb the top wall to open a passage. Go through it and defeat the Patra in the next room to collect the Dungeon Map. Push against the left wall of that room to find another invisible passage.

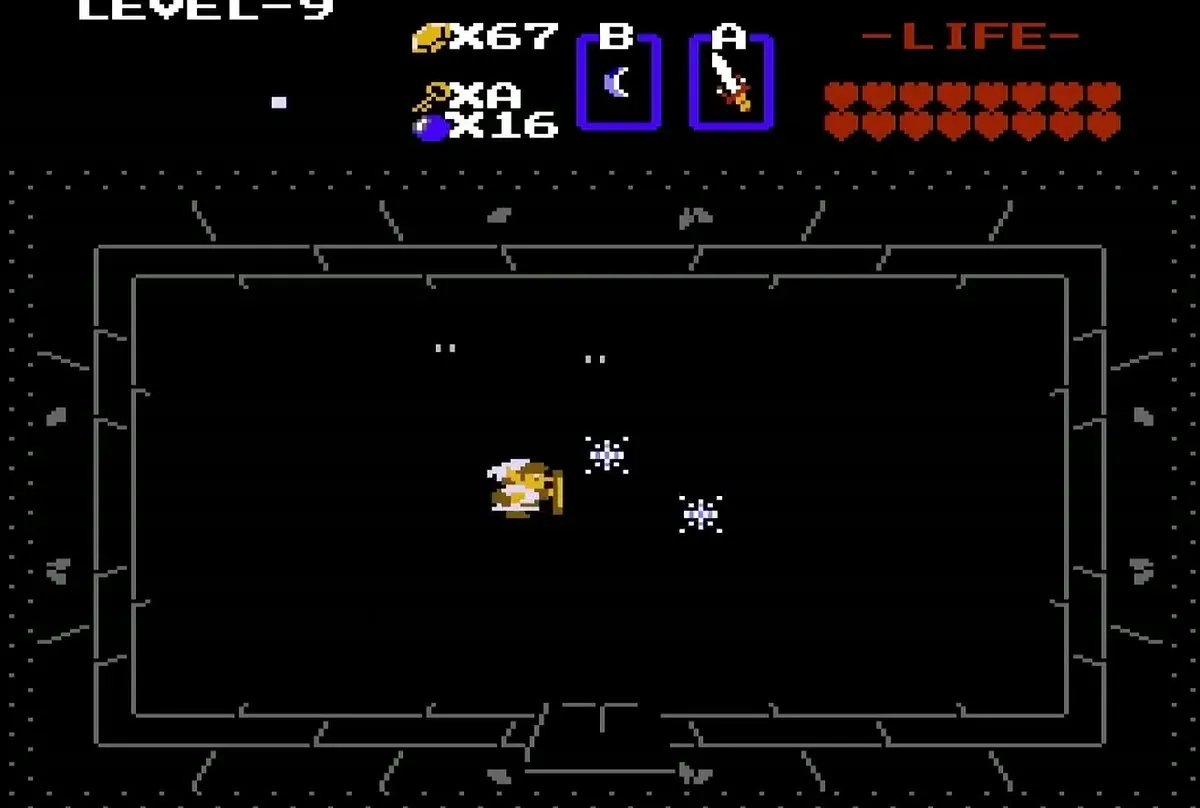
Level 9 Silver Arrow
Open the stairwell to the Silver Arrow
Defeat every Wizzrobe in the room and push the block to uncover a stairwell. Take the stairs down to find the Silver Arrow, which is the only weapon that can finish Ganon once he is stunned. Collect it and climb back up to the room you came from.
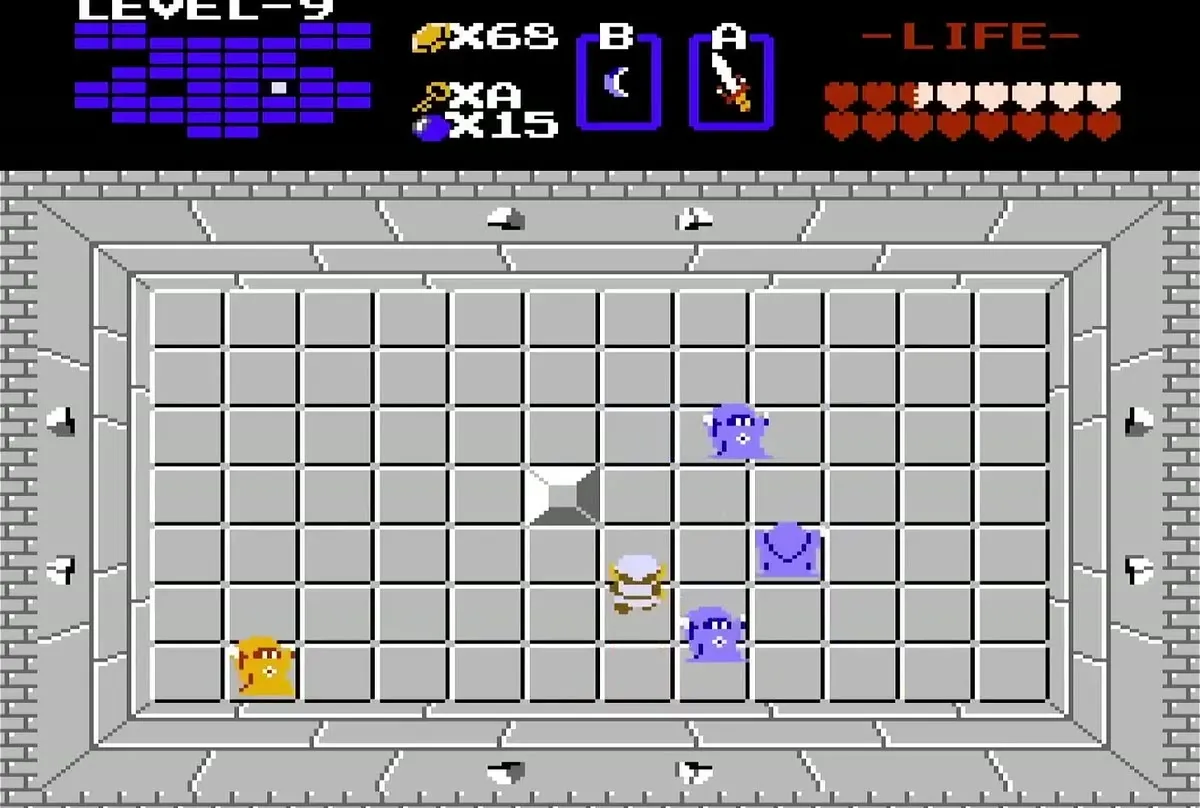
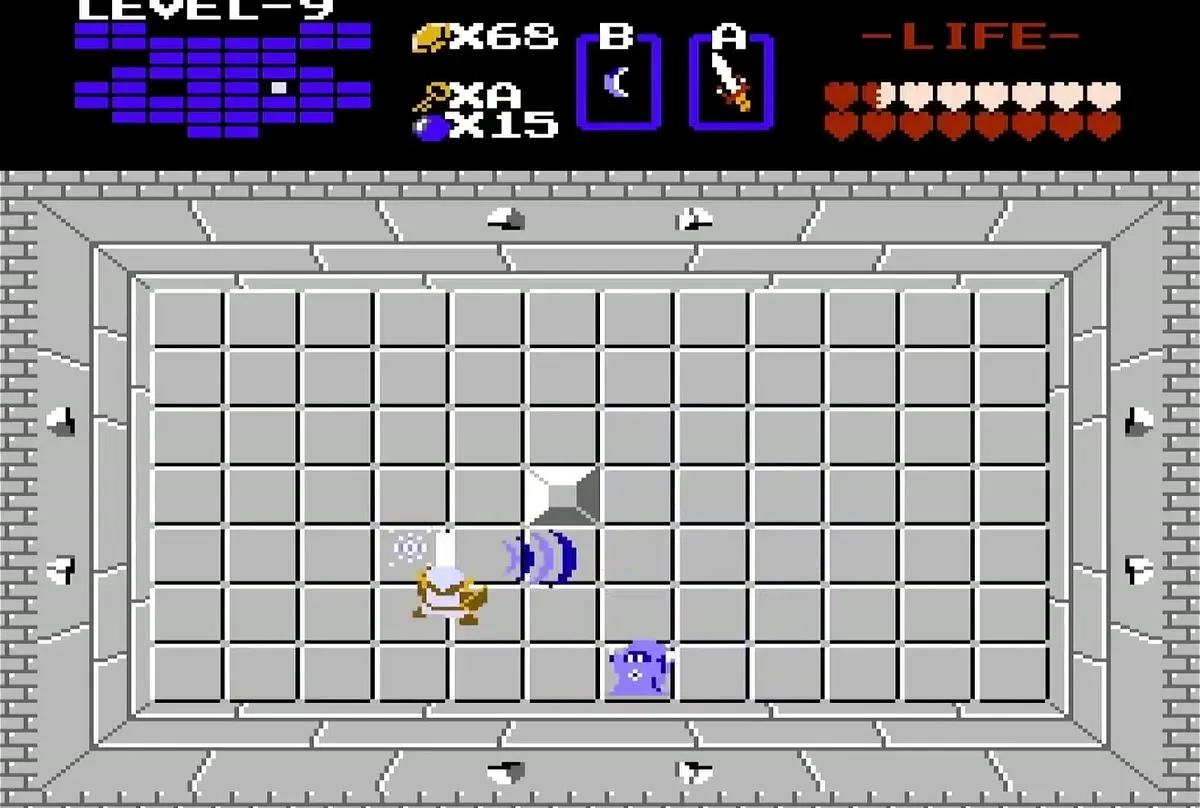
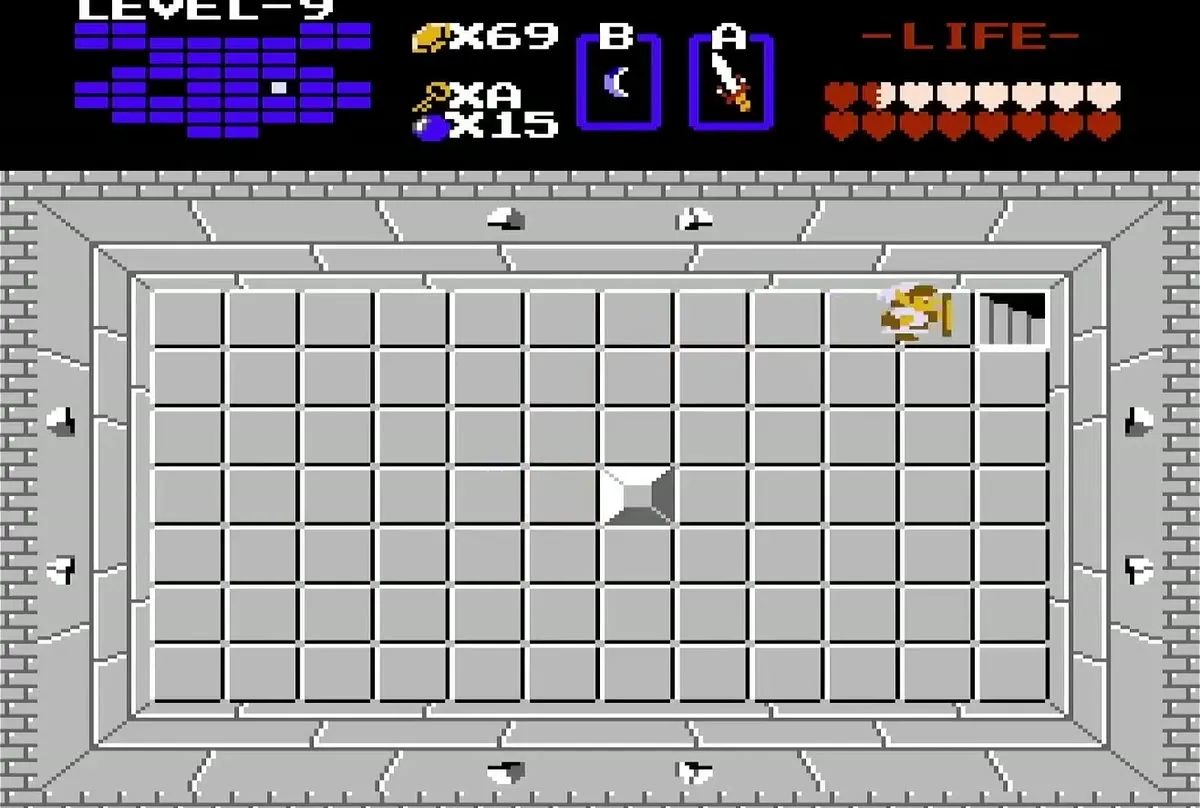
If you need a blue rupee, bomb the bottom wall of this room and defeat the Keese that come through. The rupee is a reward for clearing them, and you can return to the room afterwards.
Level 9 bombs and locked doors
Bomb the walls and clear the Lanmola
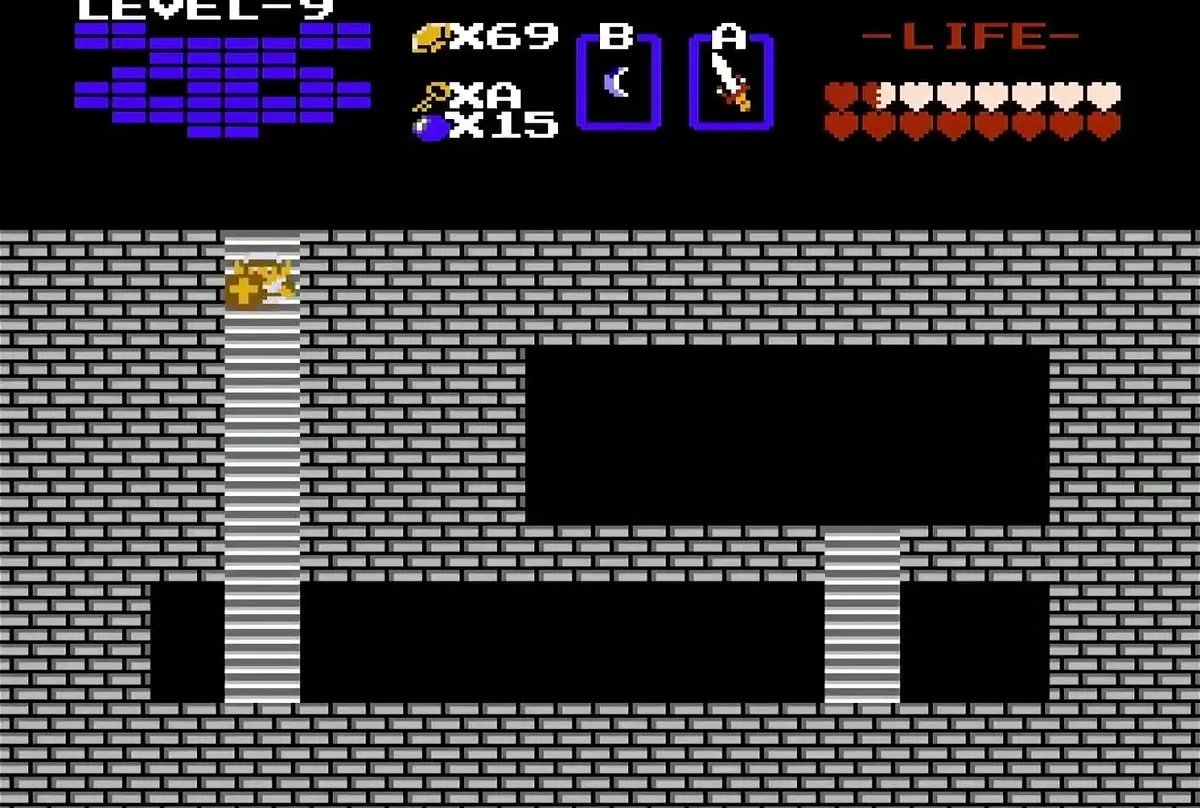
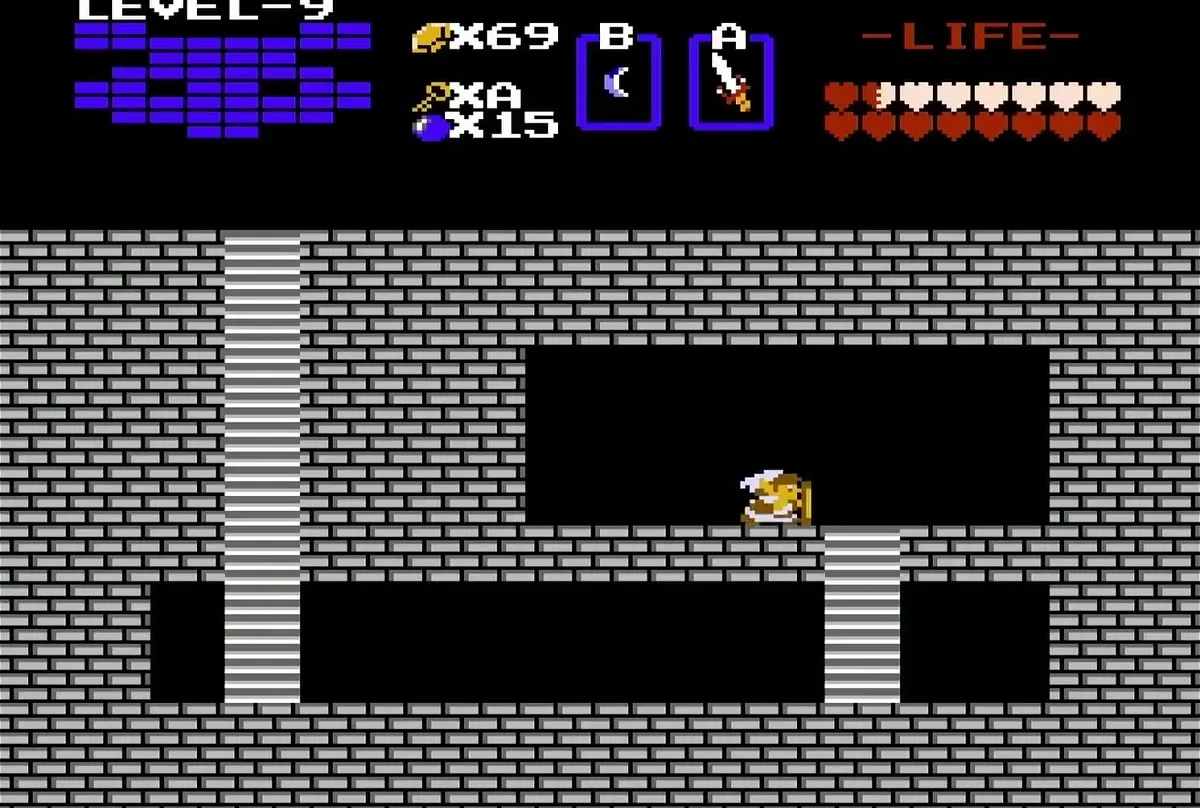
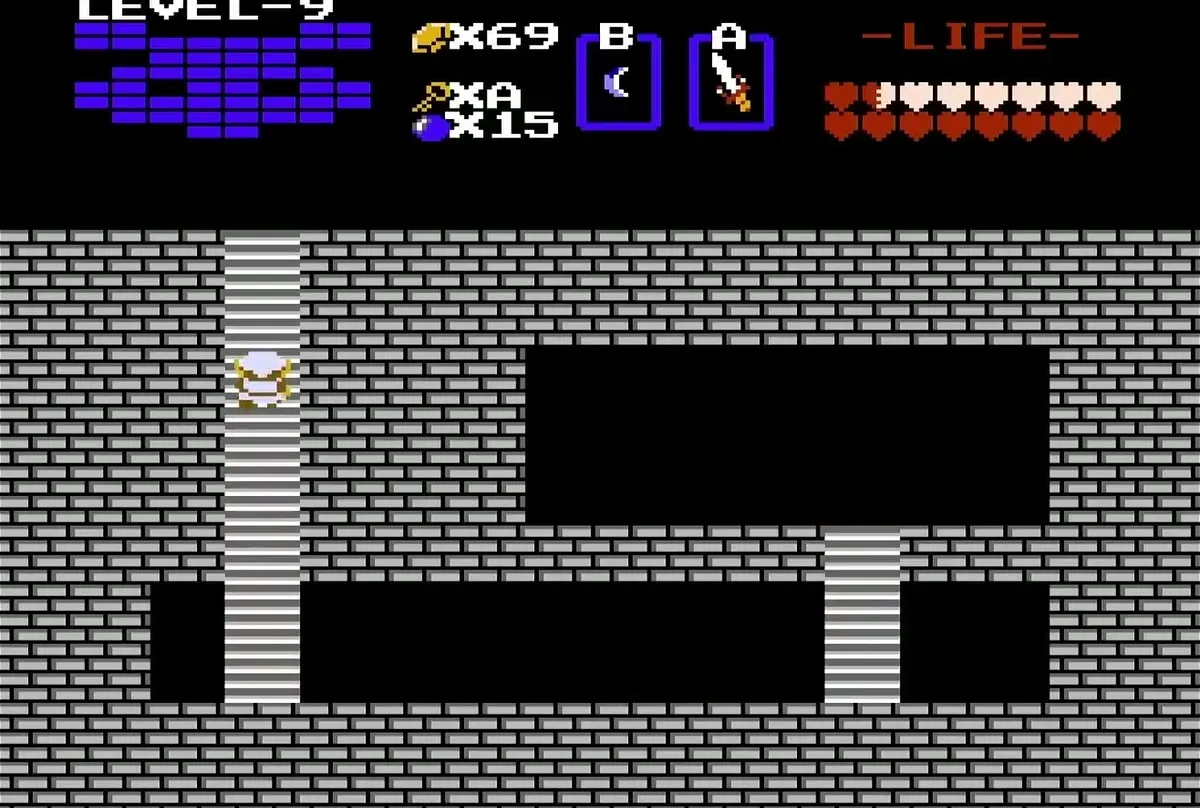
Push against the top wall for a one-way invisible passage, and avoid the red Bubbles on your way through. Push the left block to reveal a stairwell to an underground passage, which brings you out one room to the left of the entrance. If a red Bubble hit you, a blue Bubble in this room is there to counter it.

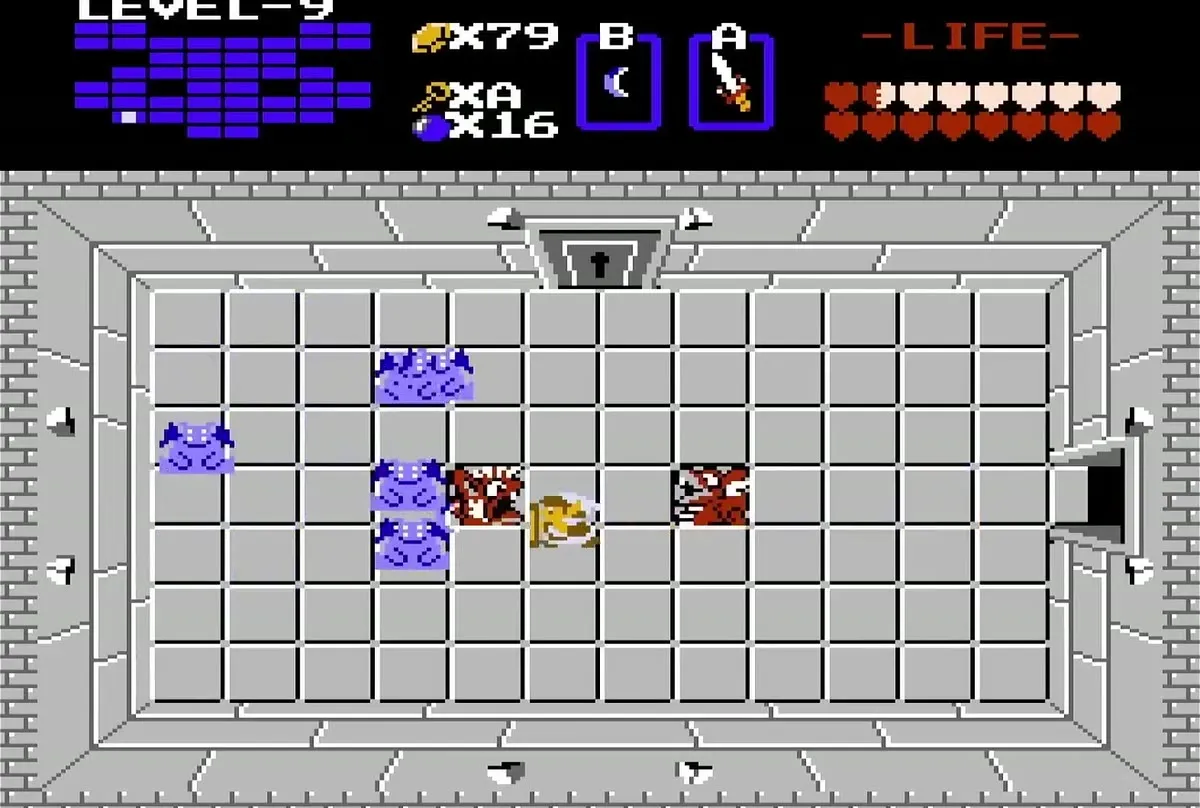
Bomb the top wall of the room and go through the passage it reveals. Defeat the blue Lanmola to open the left door, which leaves a set of bombs behind. Go through the left door and fight past the Like-Likes, avoiding the traps as you go.

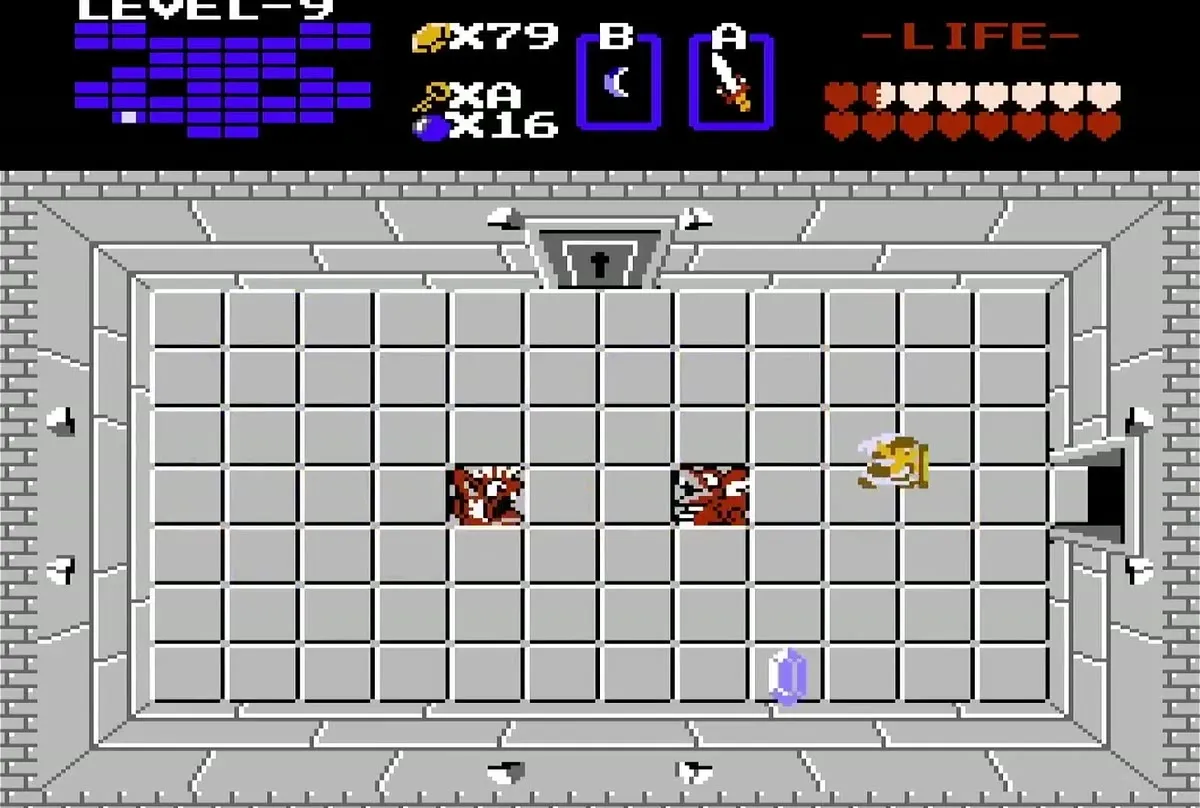
Defeat the Vires to collect a blue rupee, then unlock the top door. Beyond it, fight the Keese and unlock the next top door to continue. Push the centre block up, bomb the left wall, and go through the passage. Turn around immediately to avoid a red Bubble, then push the block to the right and head through the top door.


Level 9 Compass
Clear the Zols for the Compass
Avoid the traps and fight the Wizzrobes in the next room, then go through the right door. Fight the Wizzrobes and bomb the bottom wall to reveal a passage. Take the bottom passage and defeat all the Zols there to collect the Compass.
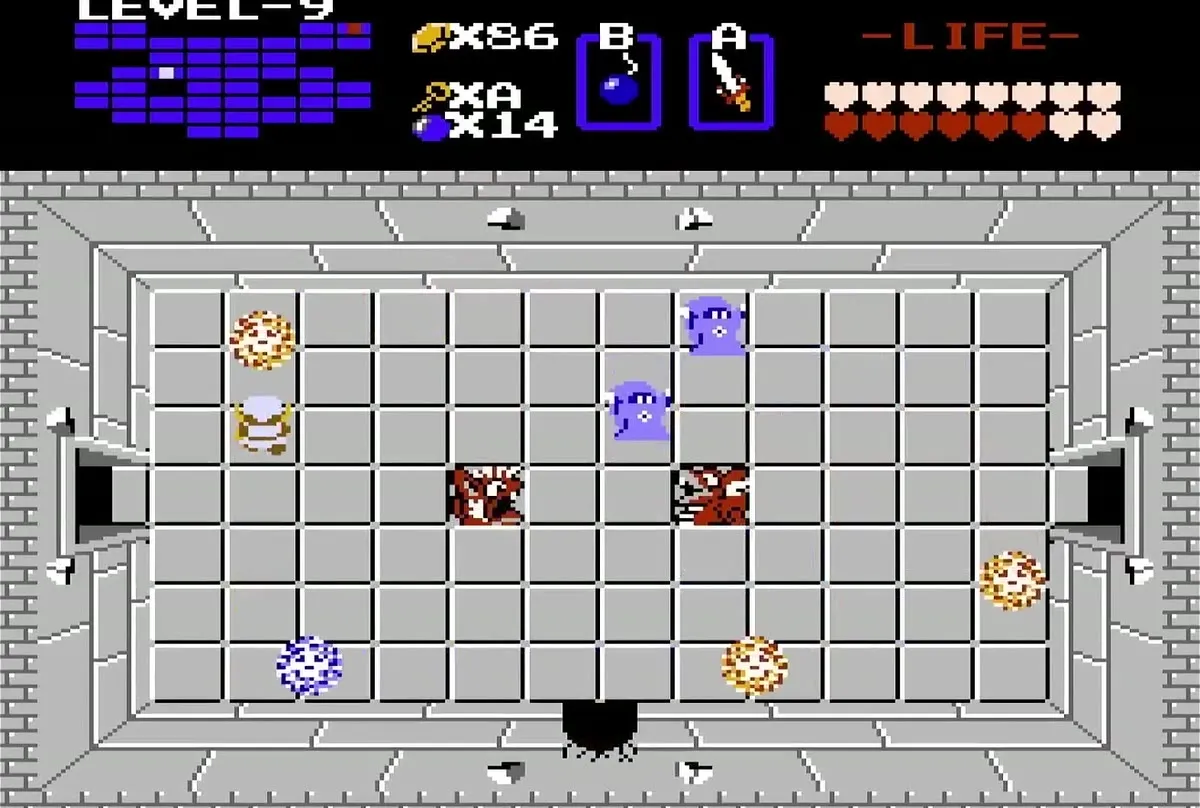

The passages in this area are one way, so return through the passage above rather than continuing. Once you are back in the room above, bomb the top wall and go through that passage to keep moving.


Level 9 Red Ring
Follow the second guard
Fight the blue Wizzrobes and unlock the right door. Fight past the Wizzrobes and Like-Likes, then enter through the top door. A man in this room tells you to go to the next room, so follow his advice and push against the left wall to find an invisible passage.


Avoid the traps, fight past the Like-Likes and enter the left door. Fight through the Wizzrobes and go through the top door. You can deal with the Patra in the next room now, or leave it for later, because you will return through this room.
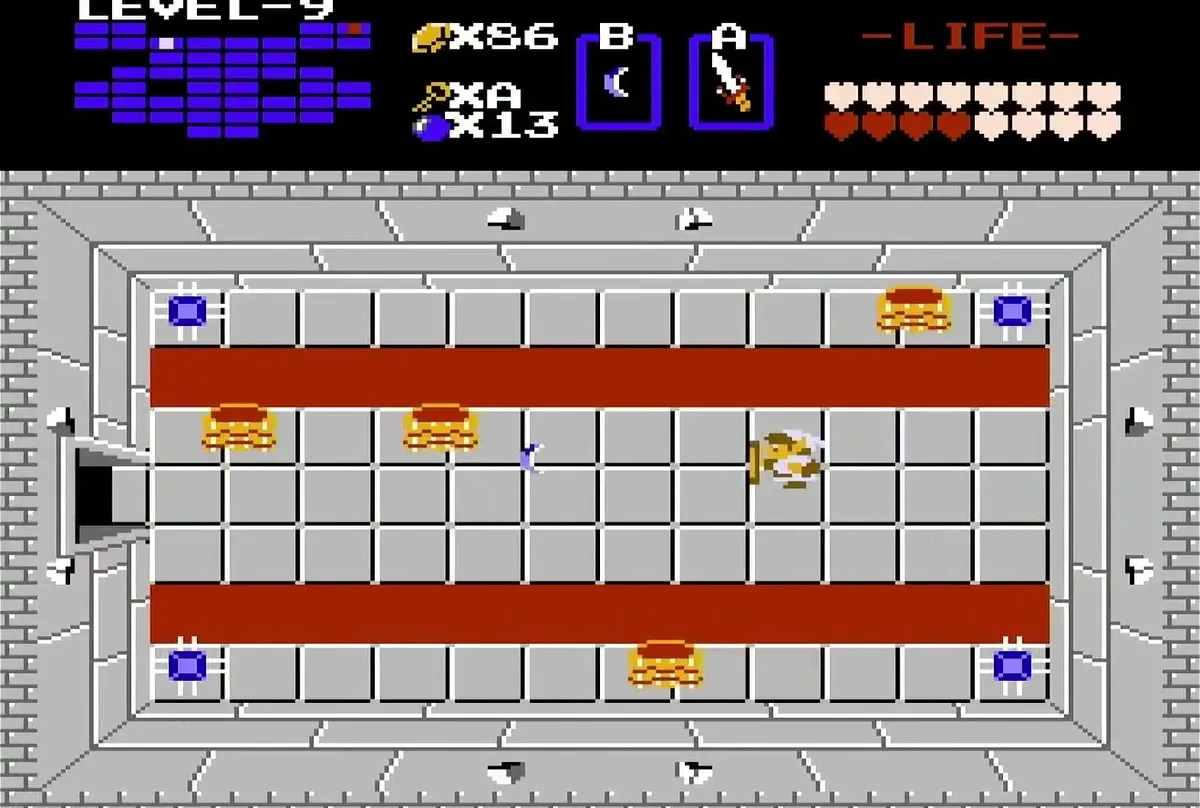
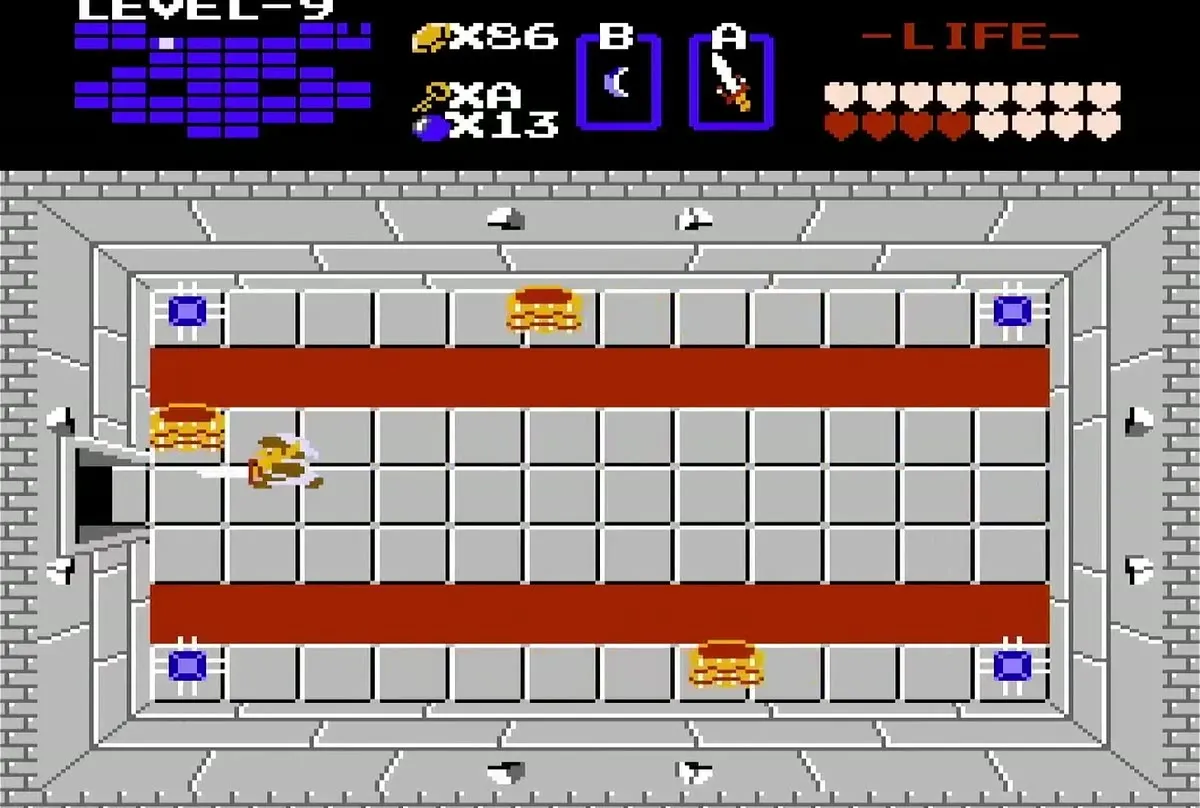
Take the stairs to the Red Ring
In the Patra room, push against the left wall to find another invisible passage. Defeat the blue Lanmolas, then push the left block to reveal a staircase. Take the stairs to find the Red Ring, which cuts the damage Link takes to a quarter of the normal amount. When you have it, push against the right wall to return to the Patra room.


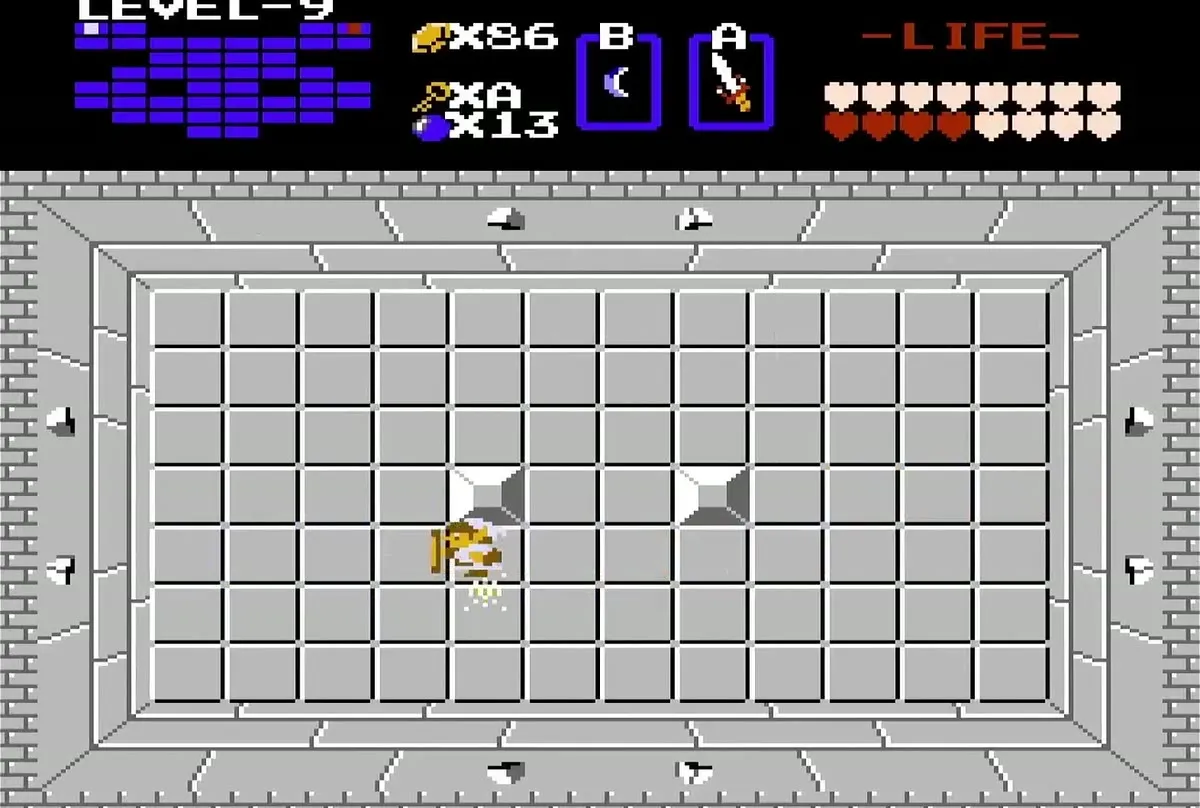
Level 9 route to Ganon
Defeat the last Patra
Defeat the Patra if you have not already done so, then push the left block to reveal a staircase to a hidden passage. The passage leads to the far side of the dungeon, into a room full of Wizzrobes. Bomb the right wall of that room to reveal a new passage.


Go through the passage and defeat the third Patra, which opens the door to the right. Go through that door to reach the boss room. If you are not ready to face Ganon, push against the top wall of the room to find a one-way invisible passage, then push the block inside it to reach another underground passage.

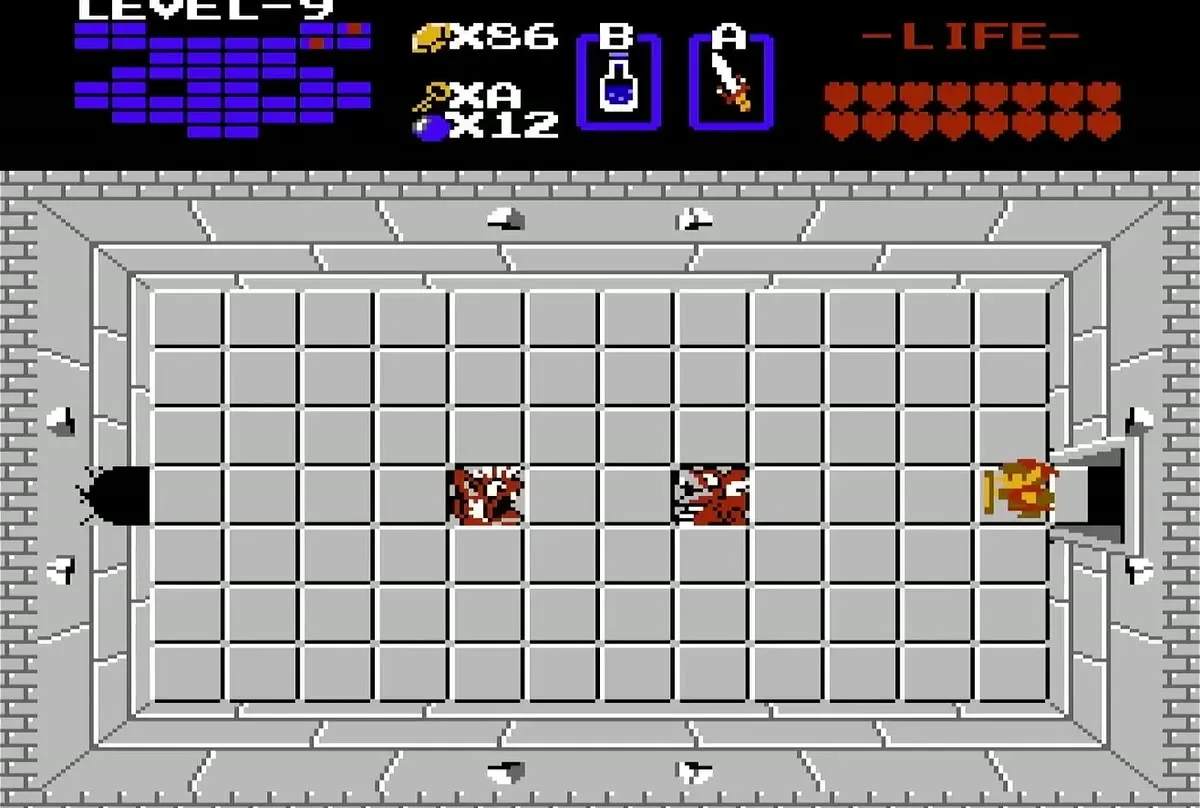
Fight Ganon
Learn Ganon’s pattern
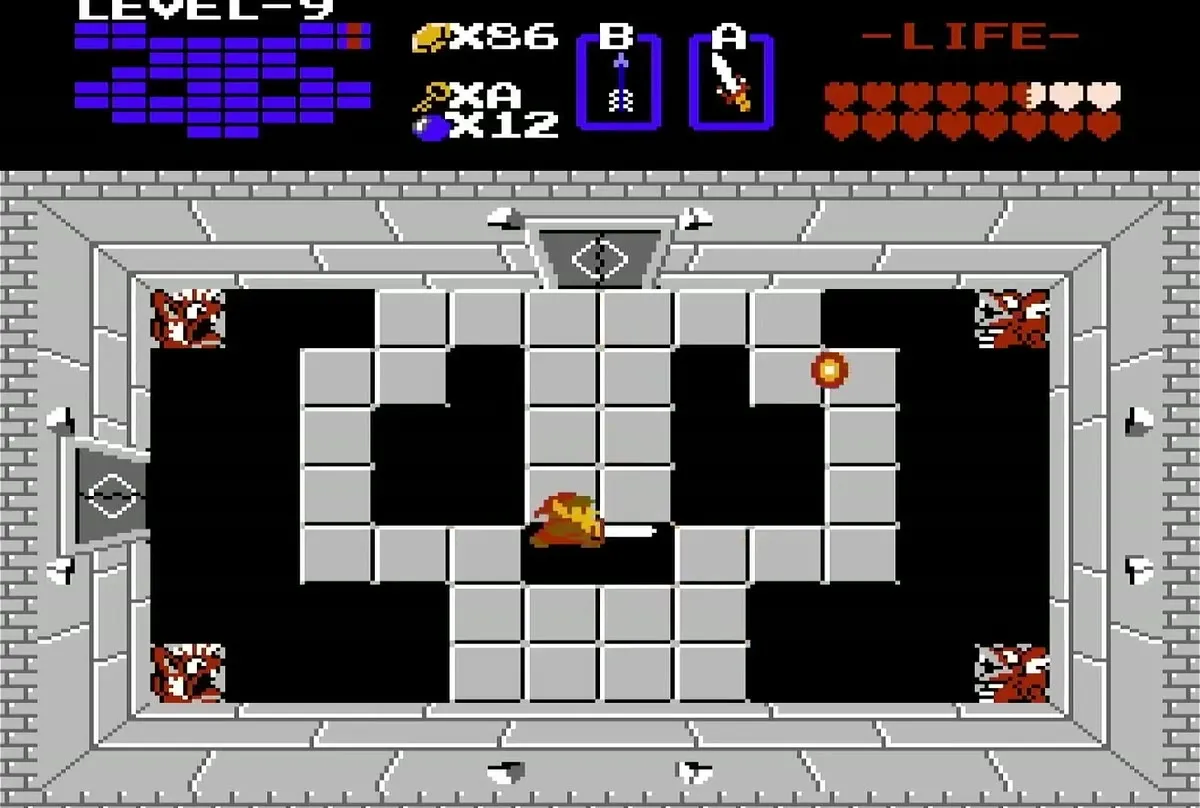
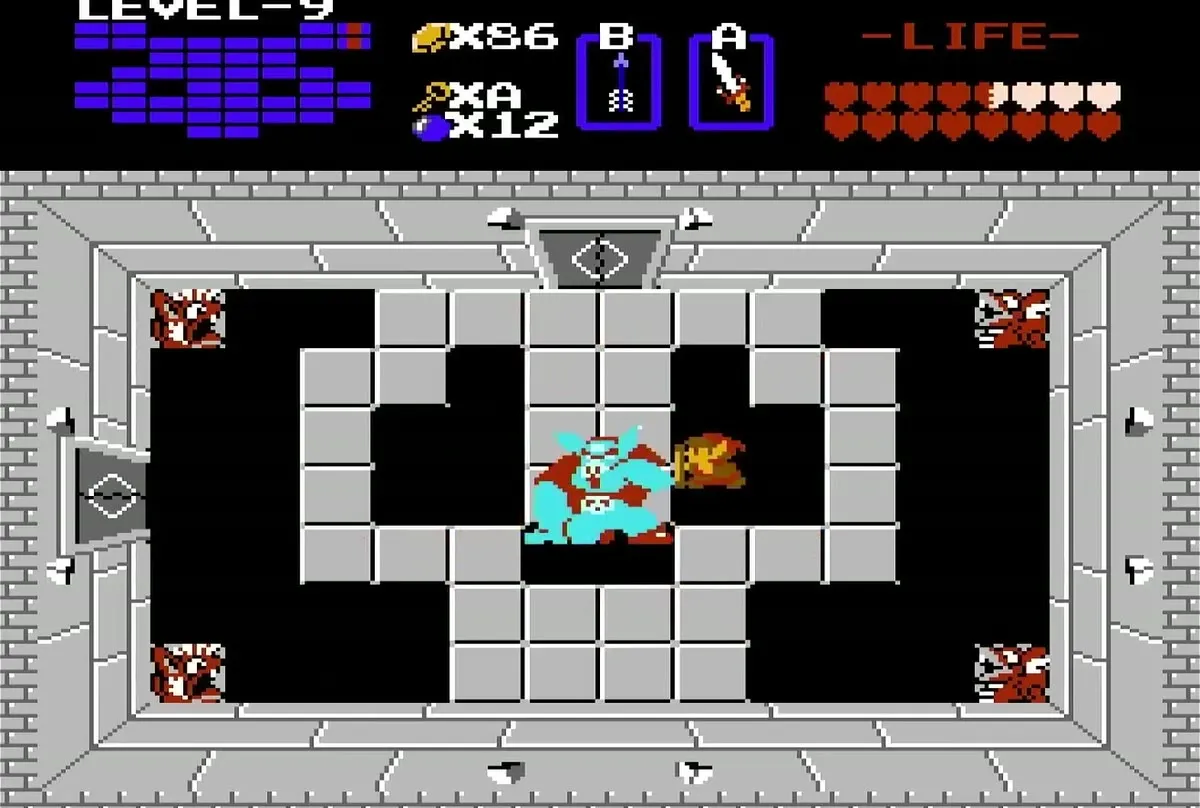
Ganon appears briefly and then turns invisible. He circles the room firing energy orbs, and you cannot block the orbs with the Magical Shield. Watch for the moment he flickers into view, then stab into the space where you expect him to be next.
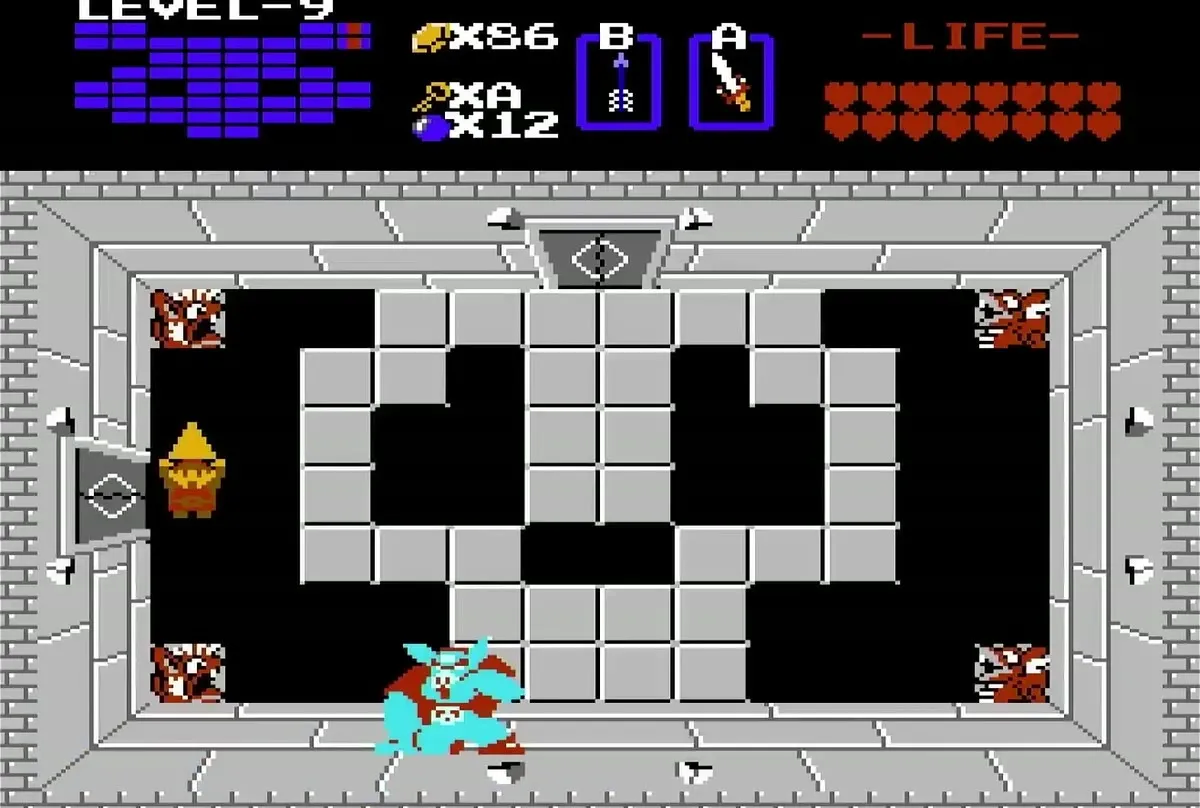
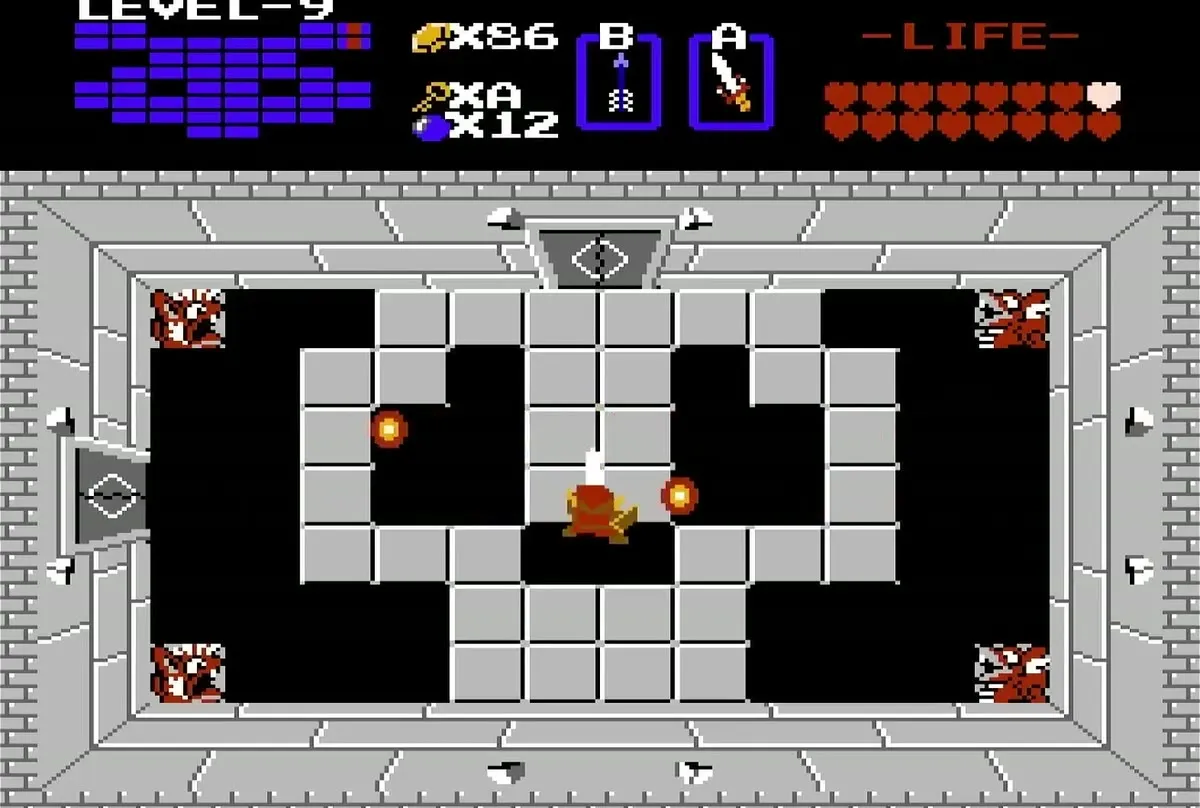
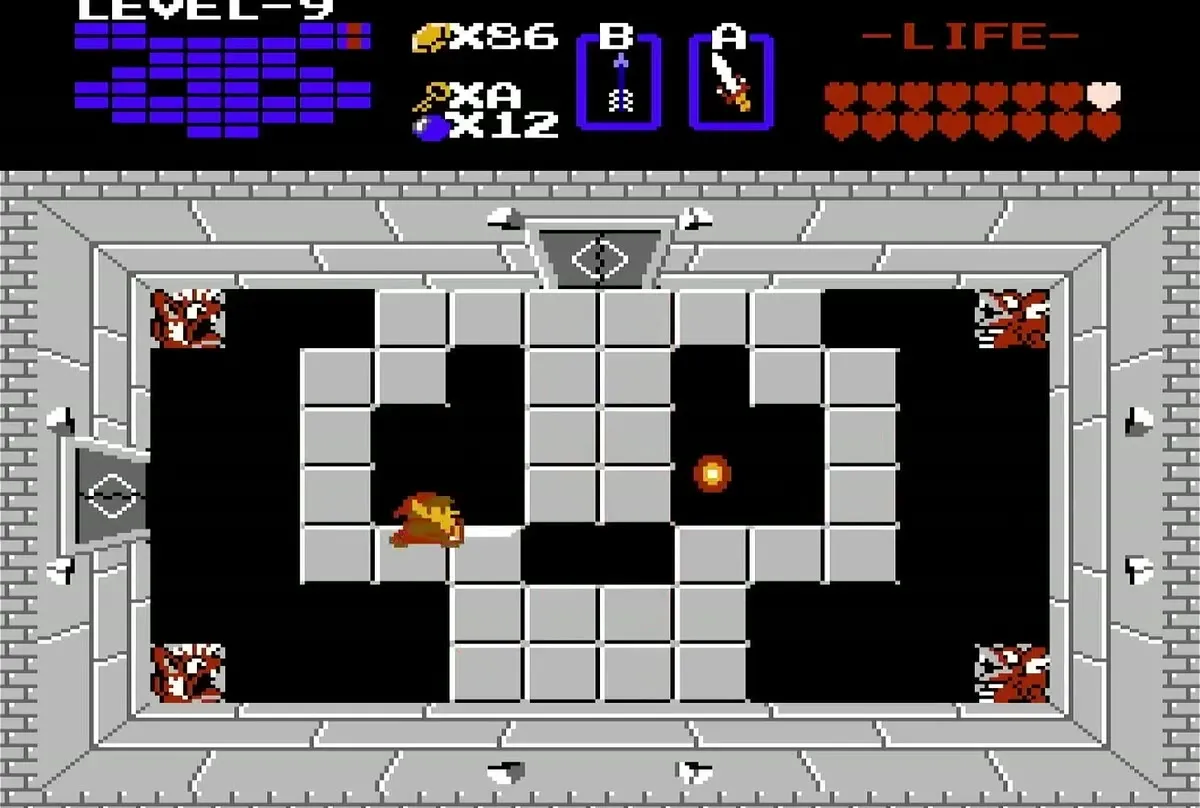
Each hit with your sword makes him appear for a short while before he resumes his pattern. Four hits with the Magical Sword stun him and change his colour, and that is the moment to fire a Silver Arrow at him. Without the Silver Arrow he recovers after a few seconds, so keep it ready.

Take the Triforce of Power
Once Ganon falls, the Triforce of Power is left among the remains, and you collect it from there. Continue to the room above, where fires burn around the captive Princess Zelda. Cut through the flames with your sword to reach her.
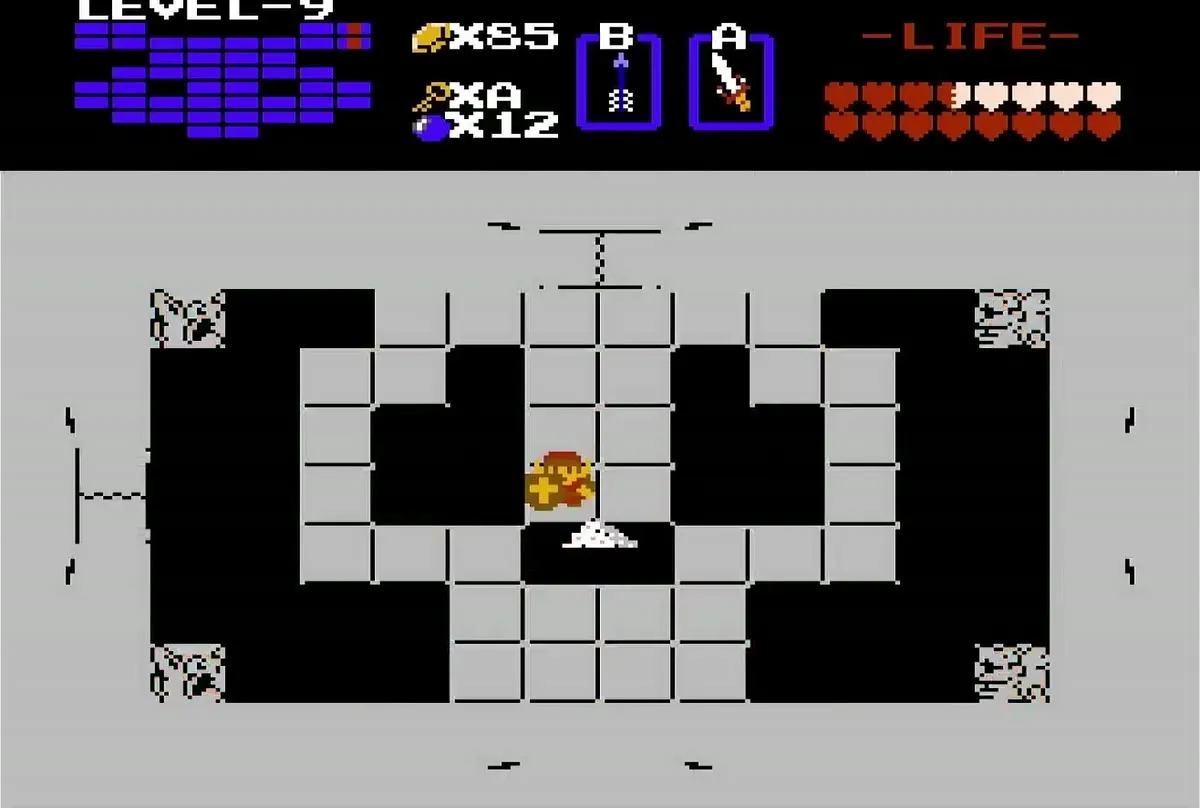


The rescue of Princess Zelda and the rest of the ending follow once the fires are out. For the closing sequence and the credits, see The Ending Walkthrough.


Chapter checklist
| Type | Name | Where |
|---|---|---|
| Dungeon item | Map | Patra room past the second hidden passage, after the Wizzrobes |
| Dungeon item | Compass | Bottom passage, past the right door, after the Zols |
| Ring | Red Ring | Staircase in the Patra room, under the blue Lanmolas |
| Key item | Silver Arrow | Stairwell behind the block in the Wizzrobe room near the start |
| Bomb supply | Set of bombs | Left door after the blue Lanmola |
| Heart Container | None in this dungeon | Level 9 has no Heart Container |
| Triforce | None in this dungeon | The Triforce of Power is dropped by Ganon |
