
























The Legend of Zelda Second Quest Walkthrough12 chapters
- Second Quest StartBuy the Blue Candle, get the 100-rupee cave gift, take the first Heart Container and Power Bracelet, reach Level 1.
- Second Quest Level 1Wooden Boomerang, Map and Compass, Aquamentus for a Heart Container.
- Second Quest Blue Ring and White SwordBuy the 250-rupee Blue Ring from the hidden northeast shop, get the White Sword with five hearts.
- Second Quest Level 2Enter via the Armos stairway, collect keys, the Map and the Recorder, then beat two-headed Gleeok for a Heart Container.
- Second Quest Level 3Pond entrance and Recorder, Monster Bait for the Magical Boomerang, three Dodongos, and the third Triforce piece.
- Second Quest Level 4Enter the Lost Hills dungeon, get the Book of Magic, Compass, Map, bomb upgrade, Heart Container, Raft.
- Second Quest Level 5Raft to the lake labyrinth, get the Bow, Map and Compass, beat the three-headed Gleeok and take the Triforce piece.
- Second Quest Magical Sword and LetterHeart Containers 8 and 9, the arrow shop, the Letter, then the graveyard stairs to Level 6.
- Second Quest Level 6Open the graveyard entrance with the Recorder, get the Stepladder, and beat blue Gohma for the Triforce piece.
- Second Quest Level 7Burn the forest tree, collect the Red Candle, Map and Compass, then beat Gleeok for Heart Container 12.
- Second Quest Level 8Enter with the Stepladder and bombs, get the Magical Rod and Magical Key, buy the bomb upgrade, beat three Dodongos.
- Second Quest Level 9 and EndingReach the north-west entrance, collect the Map, Compass, Red Ring and Silver Arrow, then defeat Ganon.
| Covers | the forest entrance to Second Quest Level 7, its labyrinth, the Gleeok boss room, and the caves on the overworld that you pass before Level 8 |
|---|---|
| Dungeon | Level 7 (Second Quest): burn the forest tree, carry the Stepladder and 50 rupees, four-headed Gleeok as boss, Triforce piece 7 |
| Rewards | Red Candle, Map, Compass, a small key, Heart Container 12, Triforce piece 7; Monster Bait from the hidden shop (60 rupees) and the money-making game in the caves |
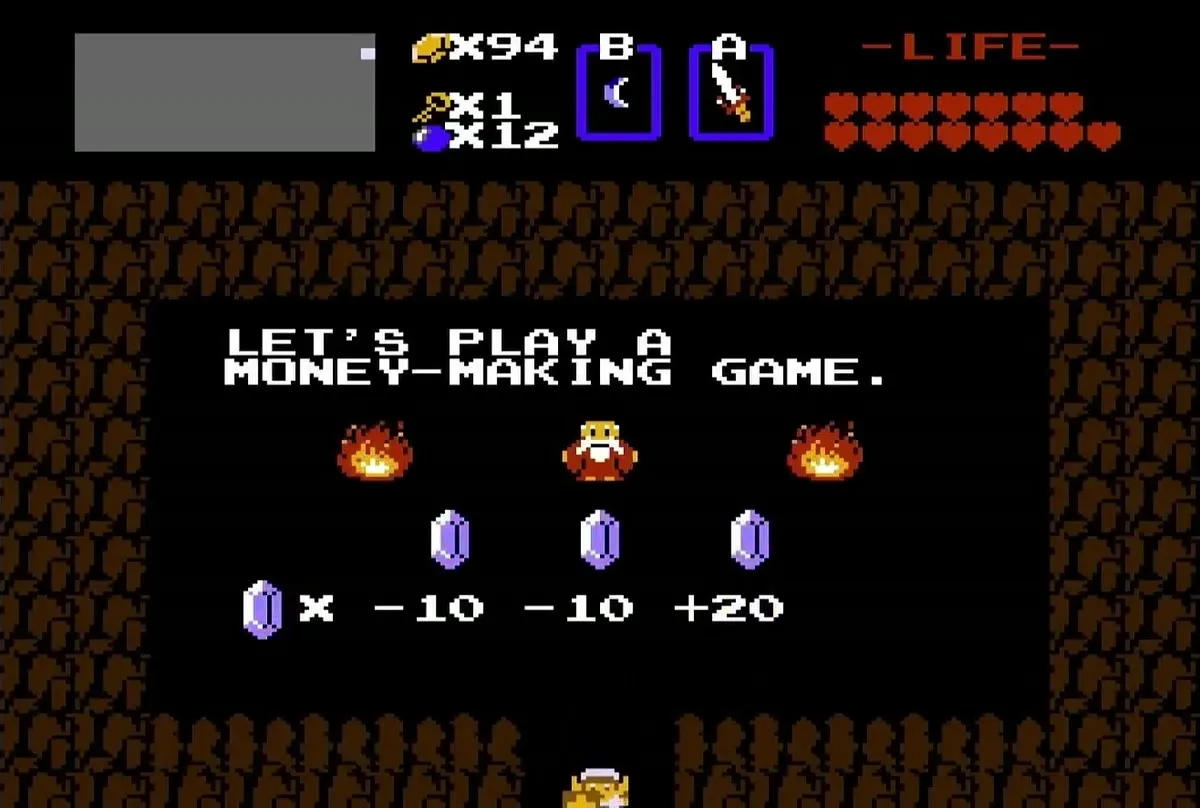
This chapter clears Second Quest Level 7, the spiral labyrinth that you reach from the forest. Burn the tree that blocks the way, clear the Darknut rooms, and collect the Red Candle, Map and Compass. Pay the old man 50 rupees instead of a Heart Container, then beat the four-headed Gleeok for Heart Container 12 and the seventh piece of the Triforce. The chapter ends in the far north-east, where you can try the money-making game and buy Monster Bait for Level 8.
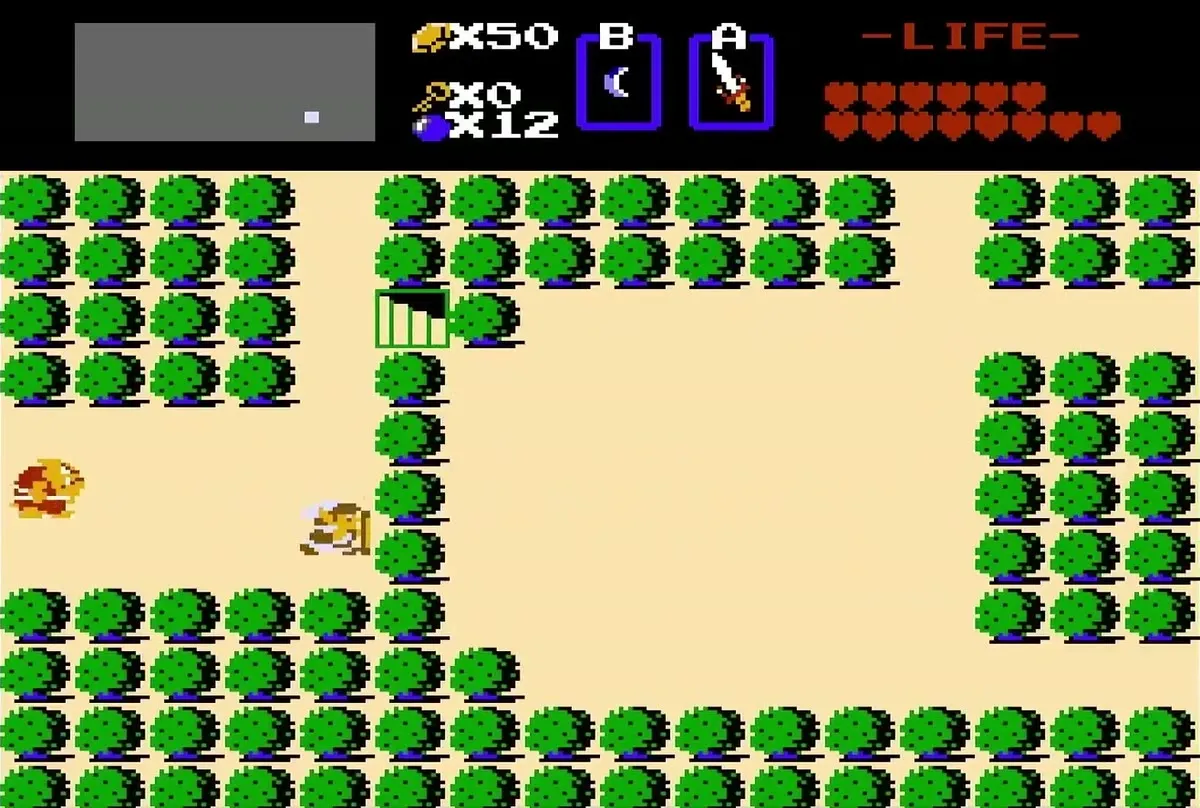
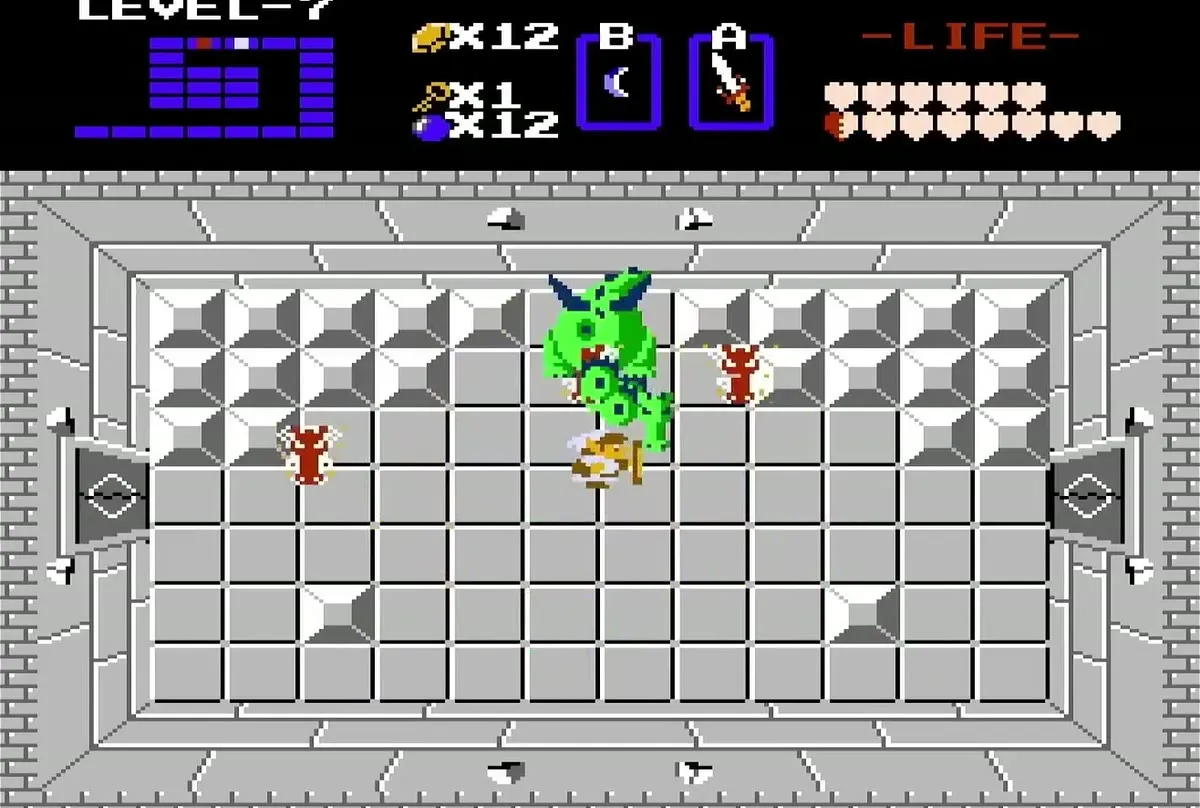
Table of Contents
Reach the Level 7 entrance
Burn the tree in the forest
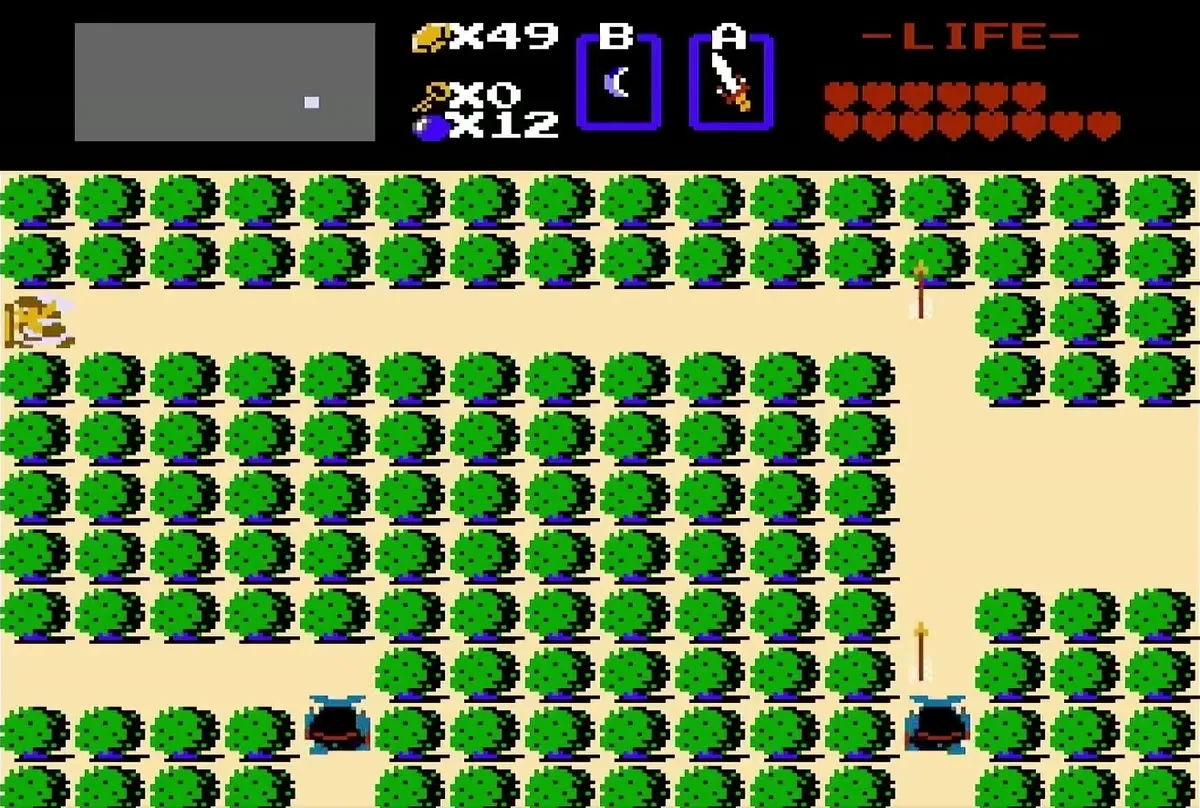
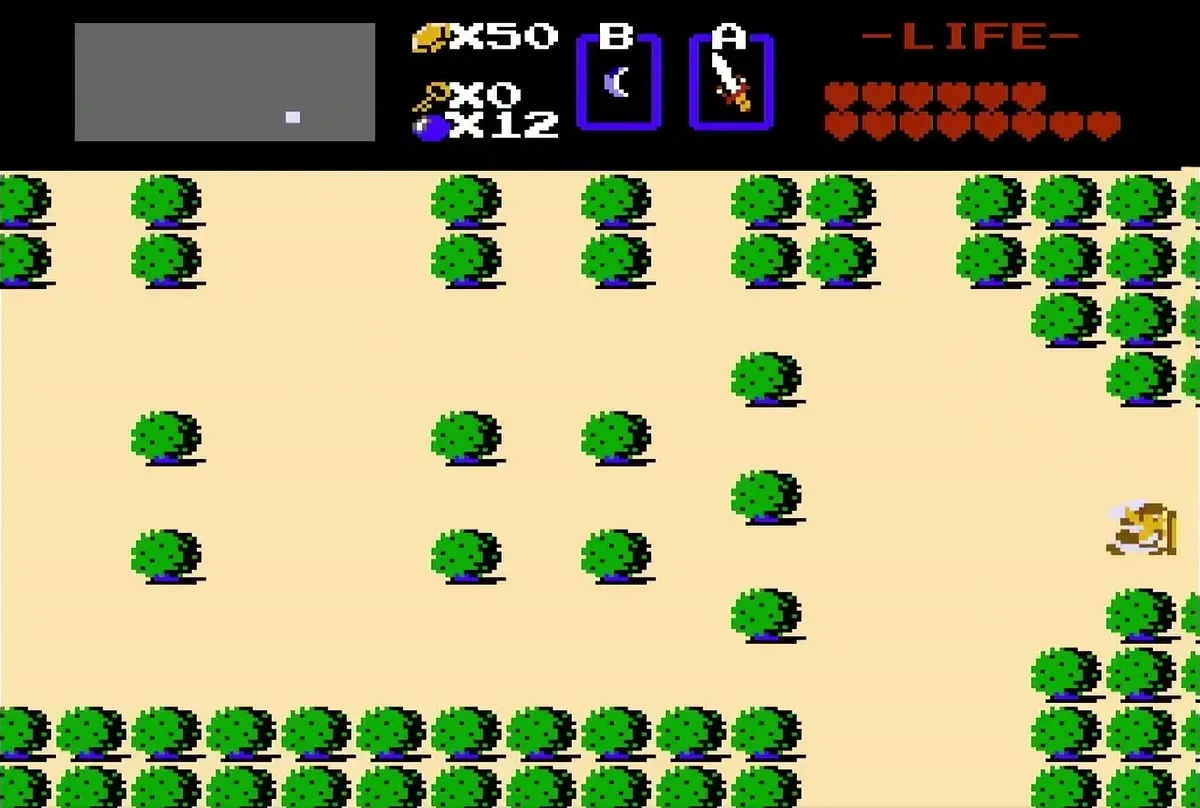
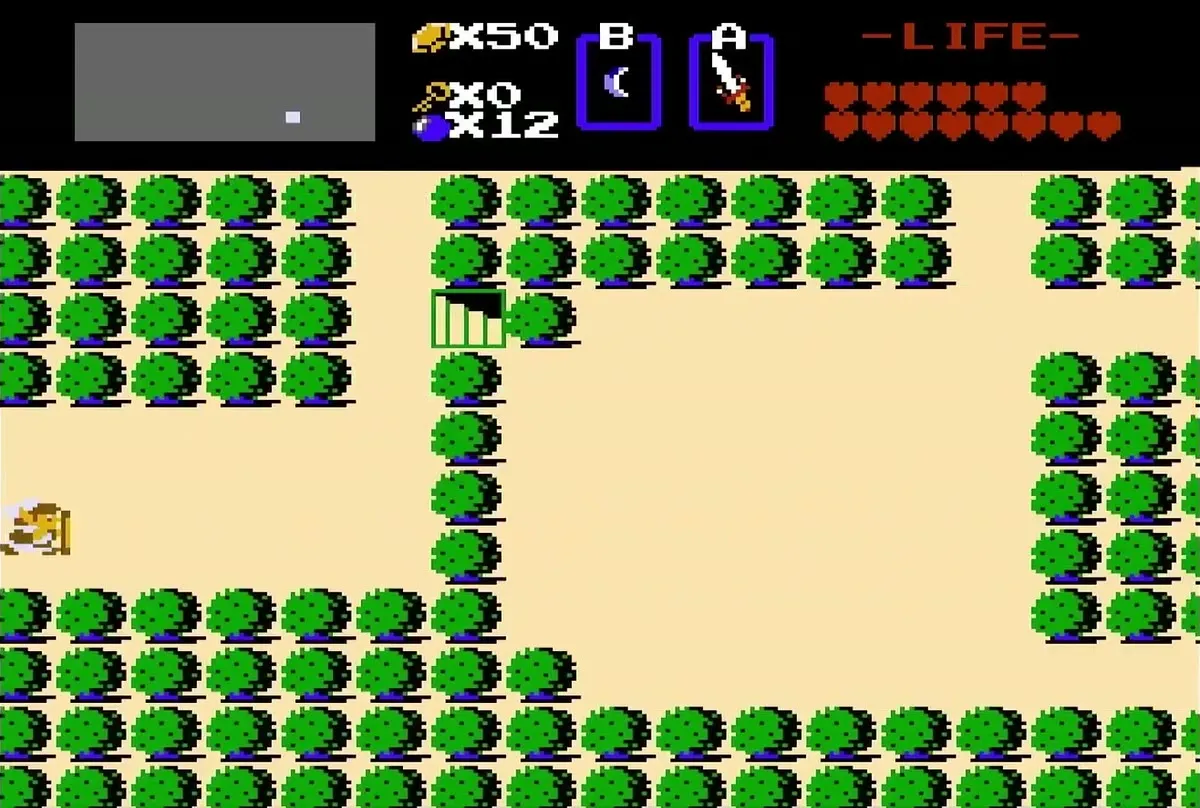
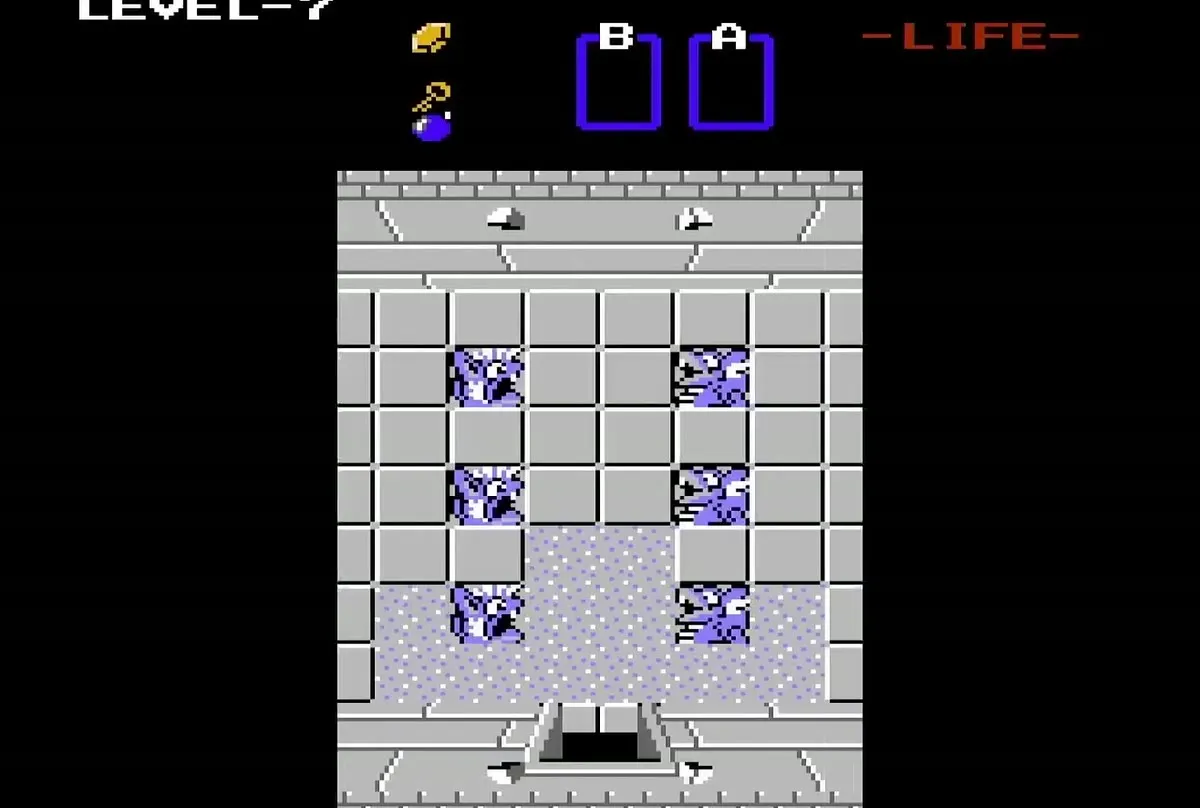
The entrance is a staircase in the forest at M7. Find the pair of trees at the top of the column of trees that divides the area, and burn the left-hand tree with the Blue Candle. Loop around and come in from the west side to reach the entrance. Walk down the stairs to enter Level 7.
Bring the Stepladder and 50 rupees
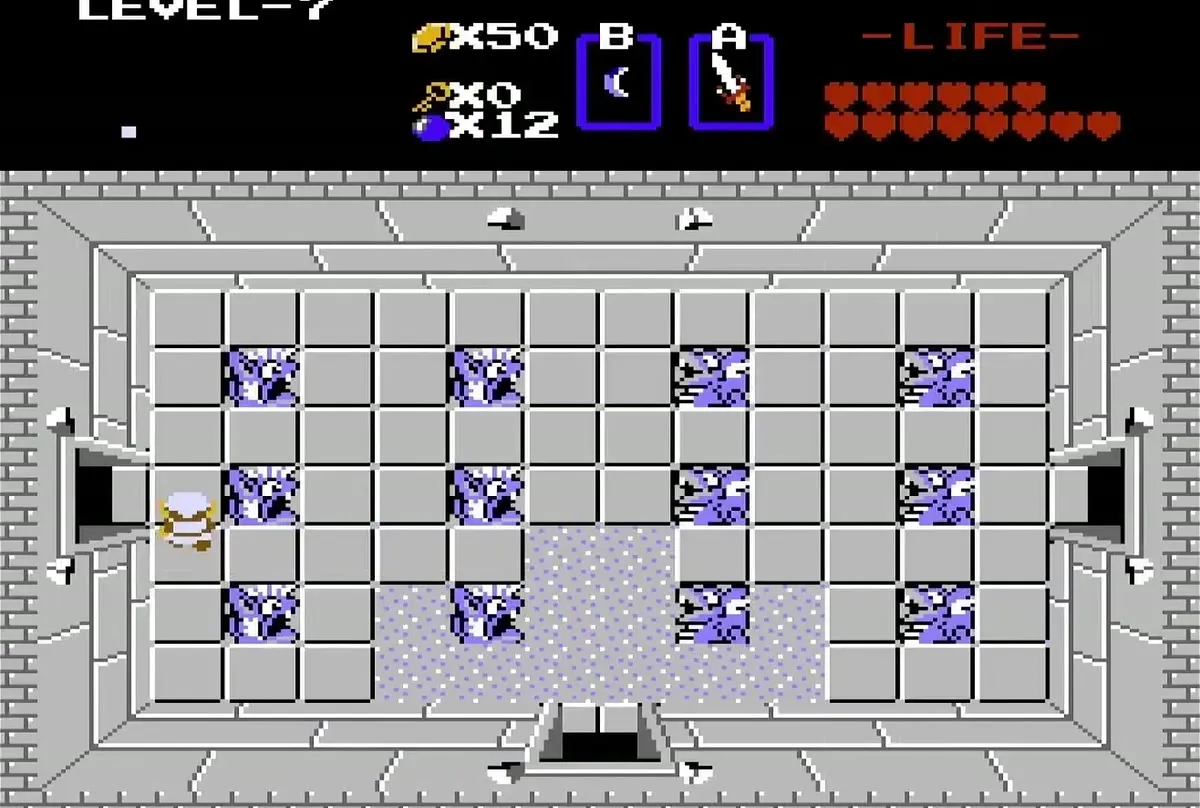
Collect the Stepladder from Level 6 before you enter the labyrinth. You need it to cross a stream inside, and you can get stuck on the far side without it. Carry at least 50 rupees as well, because one man in the labyrinth makes you pay that price or give up a Heart Container. Keep the Blue Candle in your B slot for the trees and bushes you meet on the way in.
Labyrinth rooms, Compass and the key
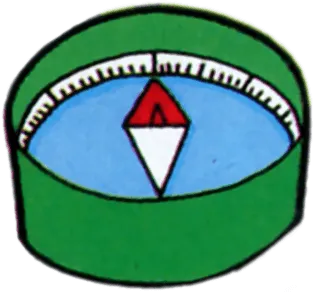
Take the Compass through the left door
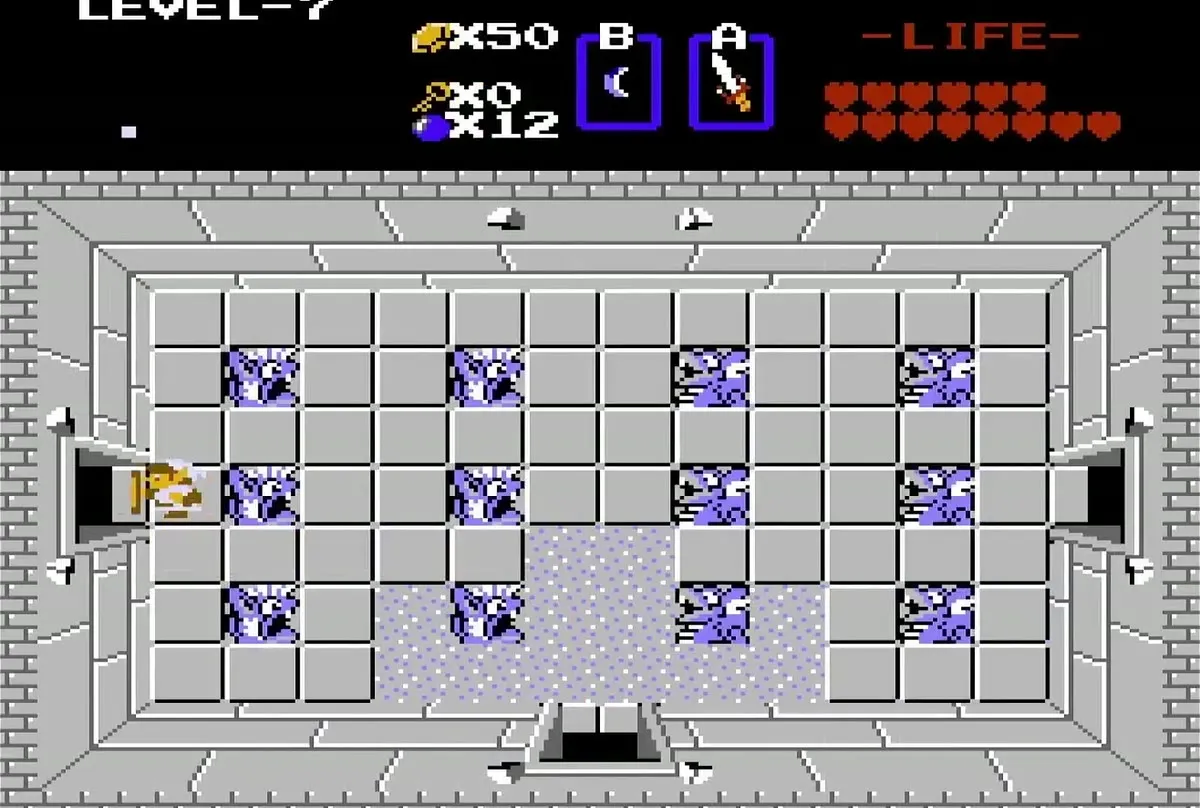
From the entrance room, go through the left door and defeat the Zols in the room beyond. The Compass is in that room, so pick it up before you leave. Return to the entrance and head right, where Darknuts and Pols Voice guard the next door.
Cross the stream and open the stair block
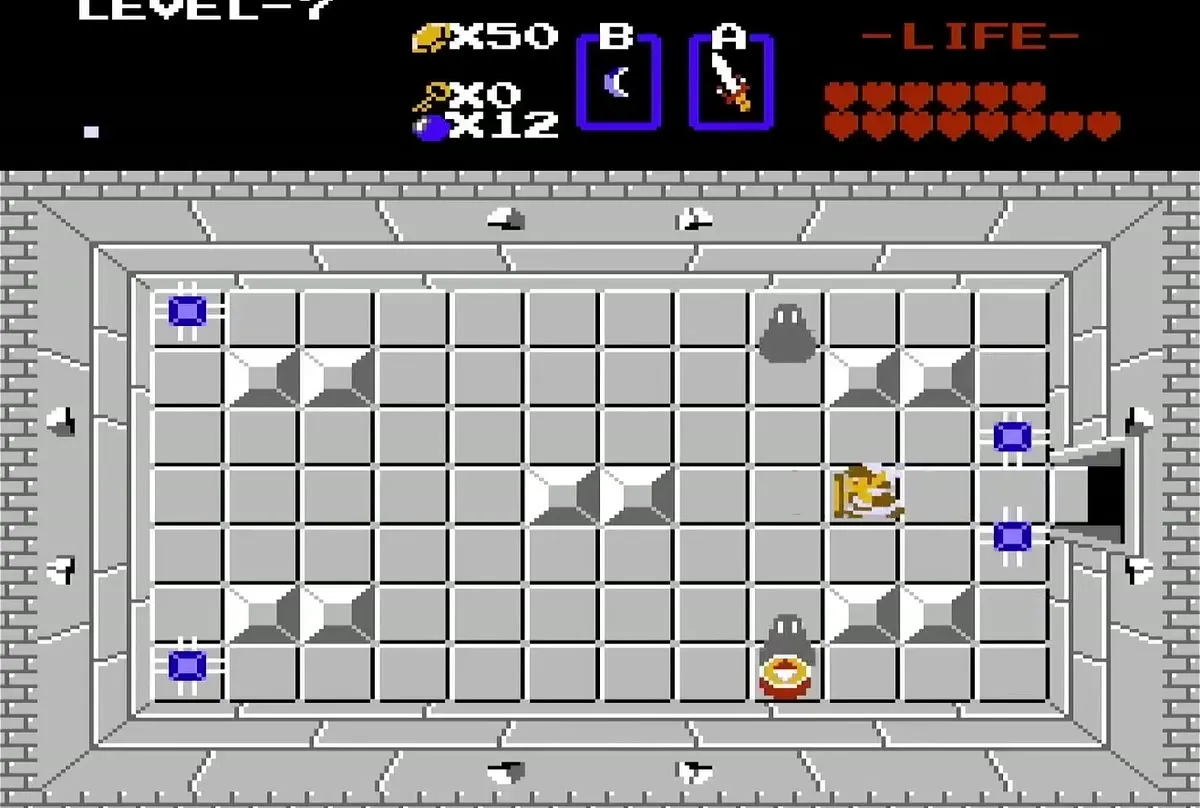
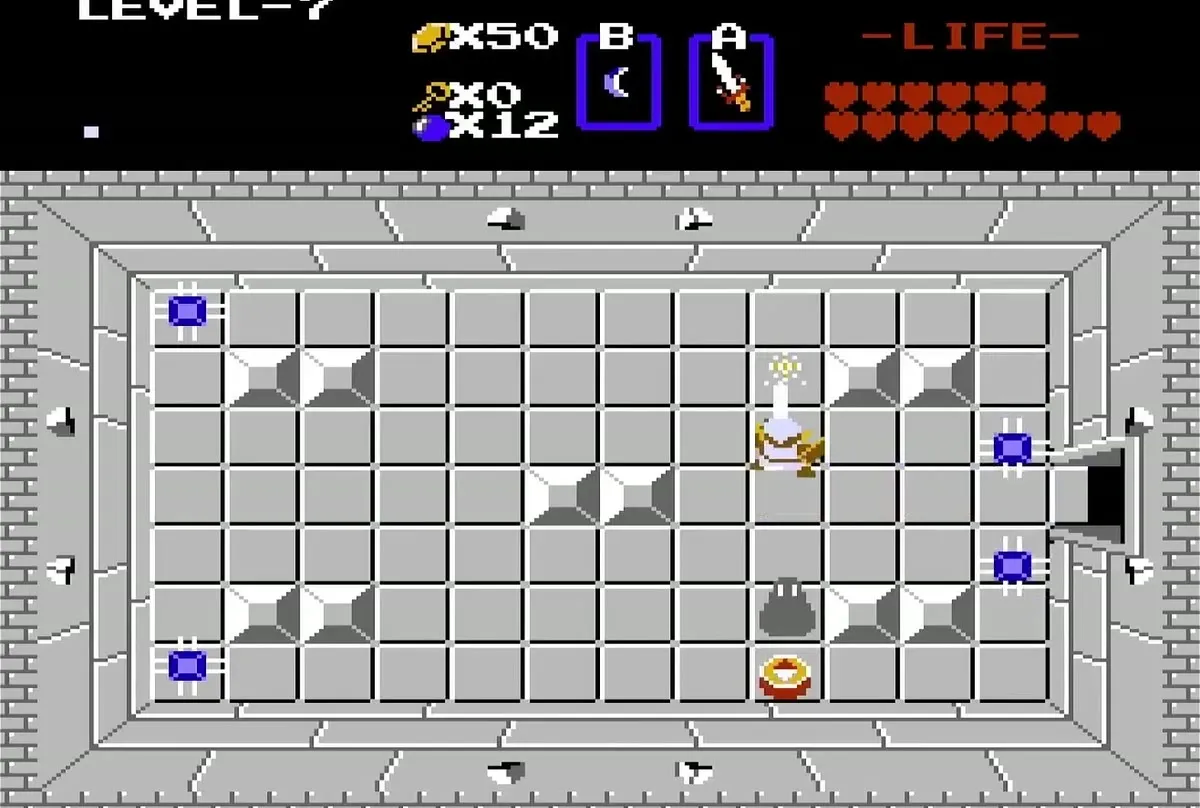
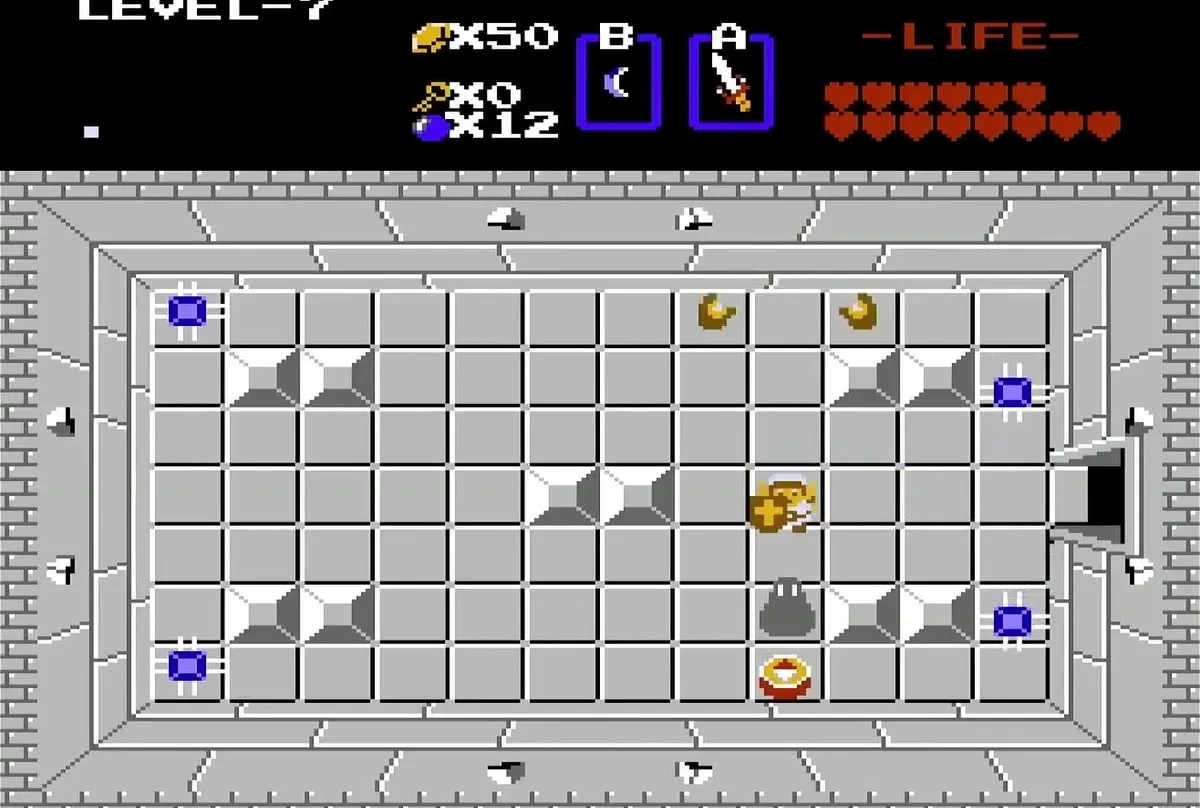
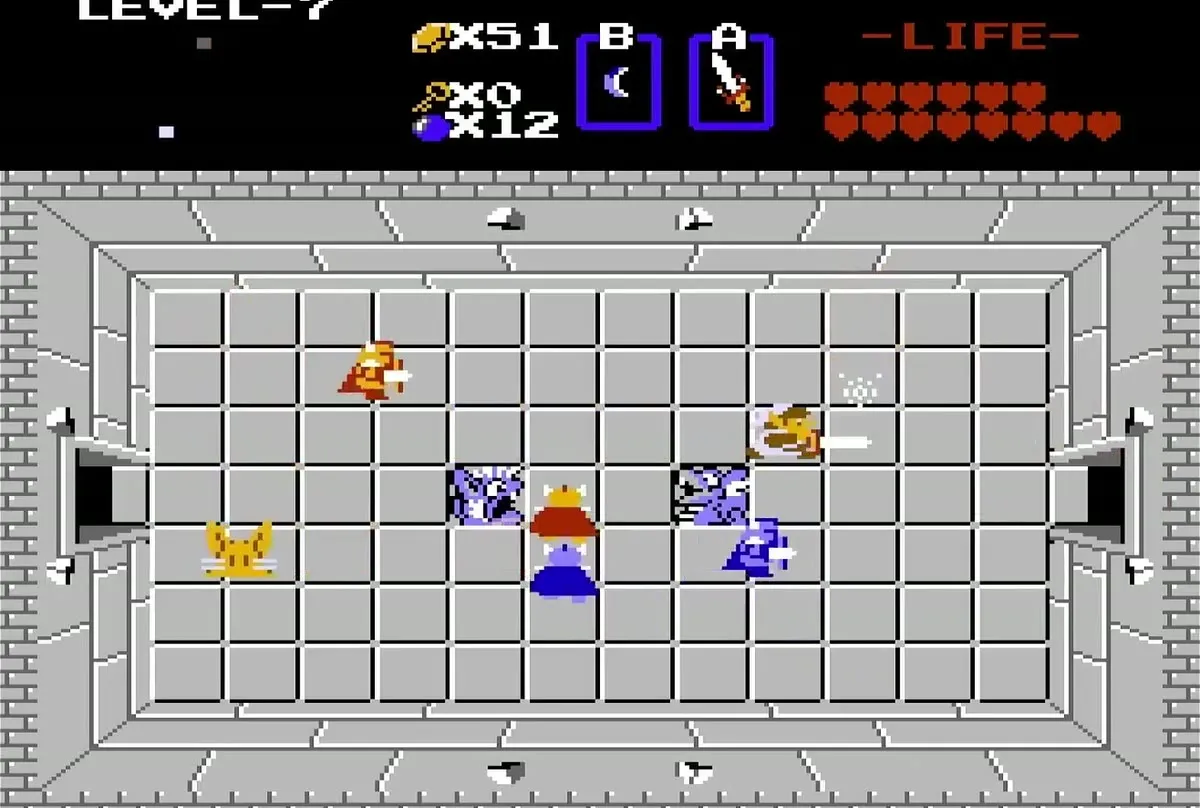
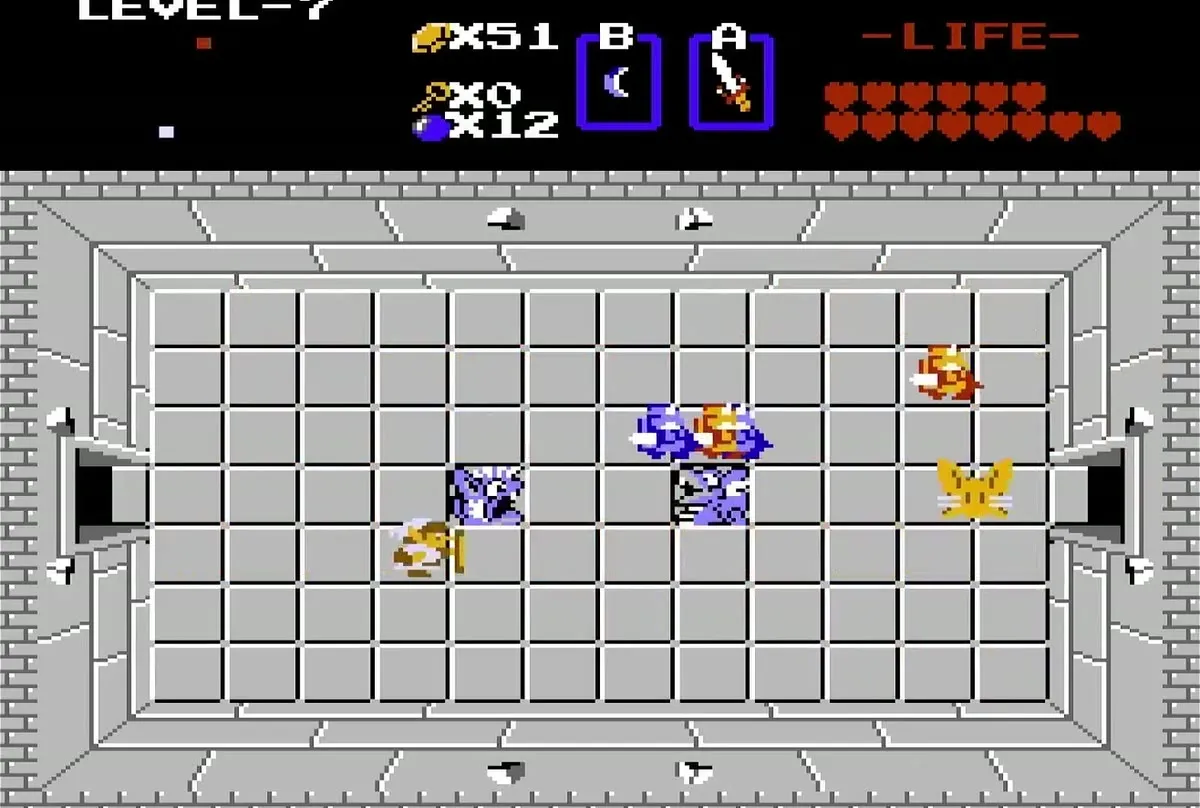
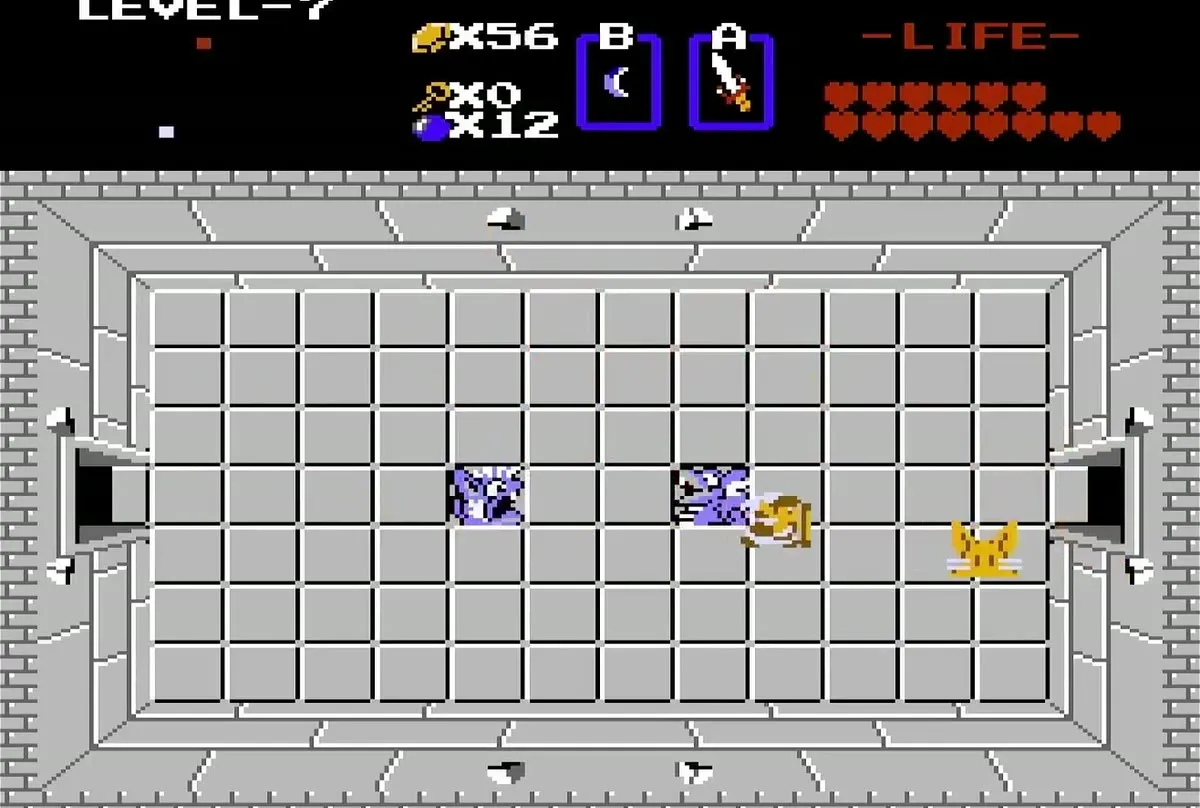
Fight past the Darknuts and use the Stepladder to cross the stream. Keep clear of the red bubbles while you cross, and then take the right door. Defeat every Darknut and Gibdo in the next rooms, then push the block that lines up with the left door to reveal a staircase into an underground passage.
Find the small key
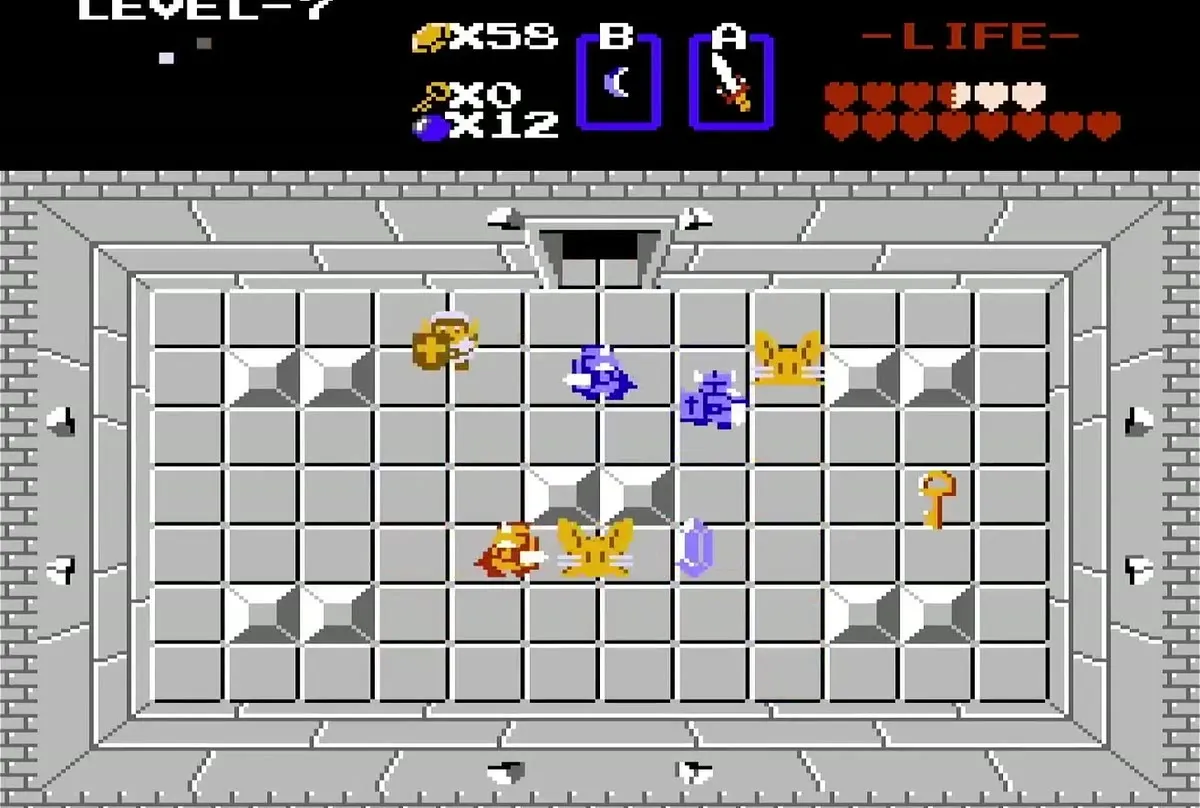
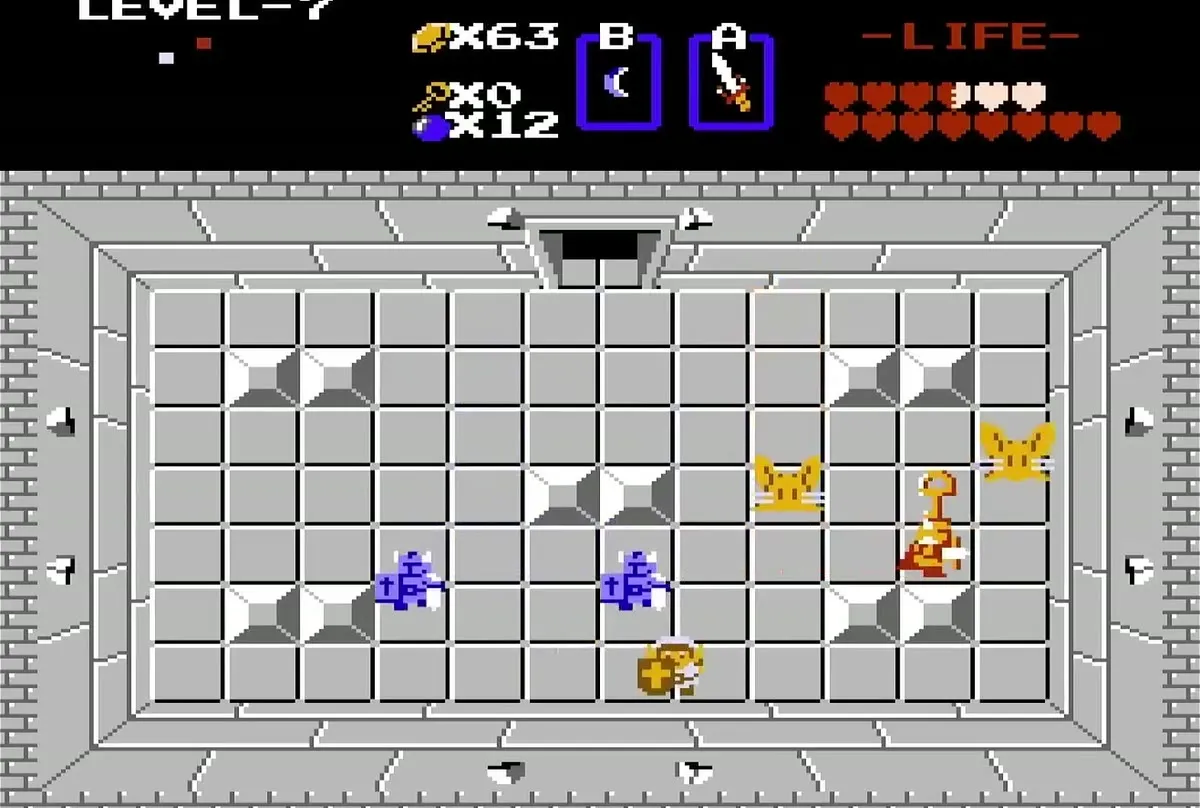
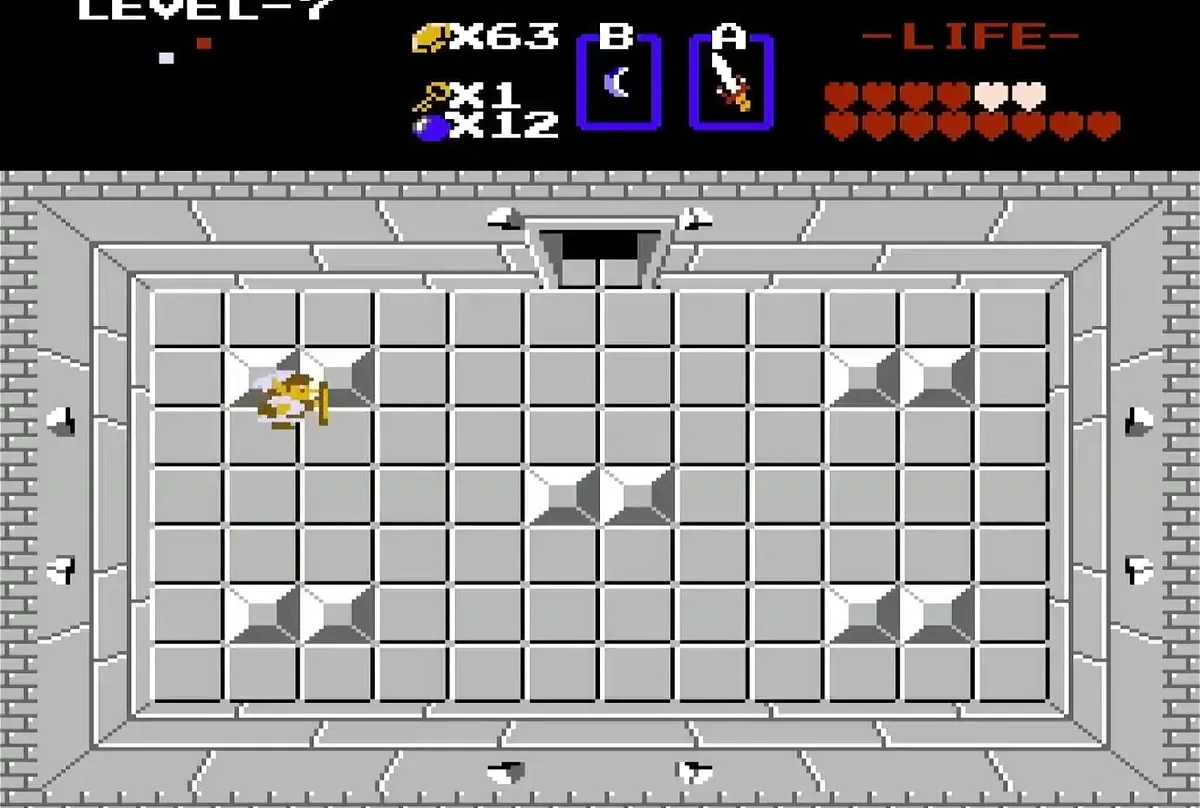
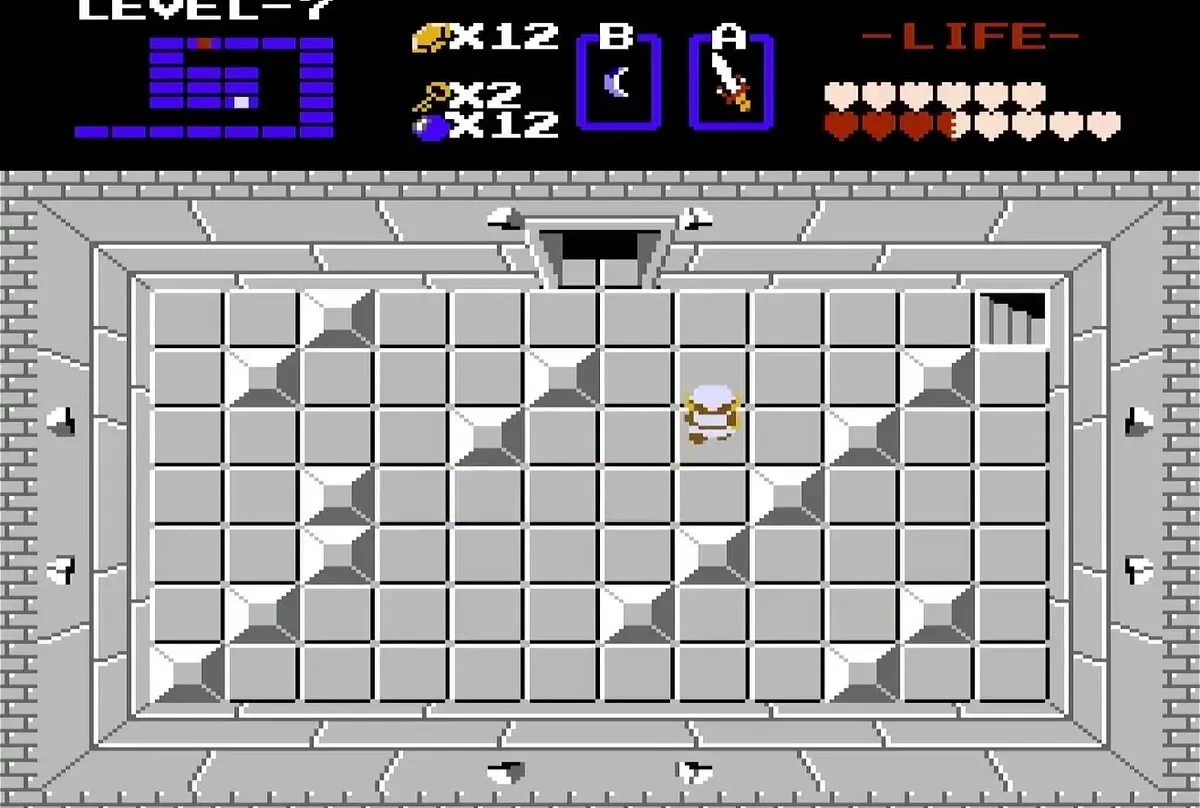
A room with a pattern of white diagonal blocks holds a small key against its right wall, among Darknuts and Pols Voice. Defeat the enemies and walk over to collect it. You need the key for the locked doors further in.
The Red Candle
Take the stairs below the centre blocks
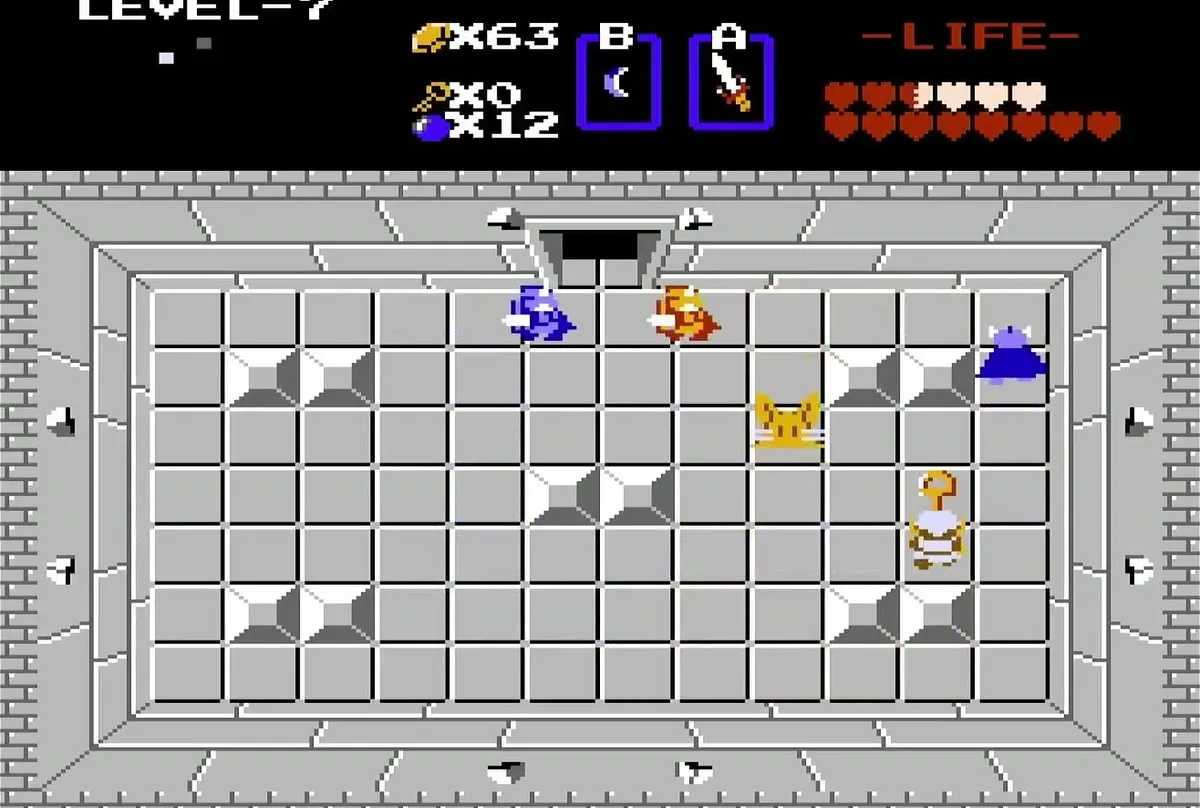
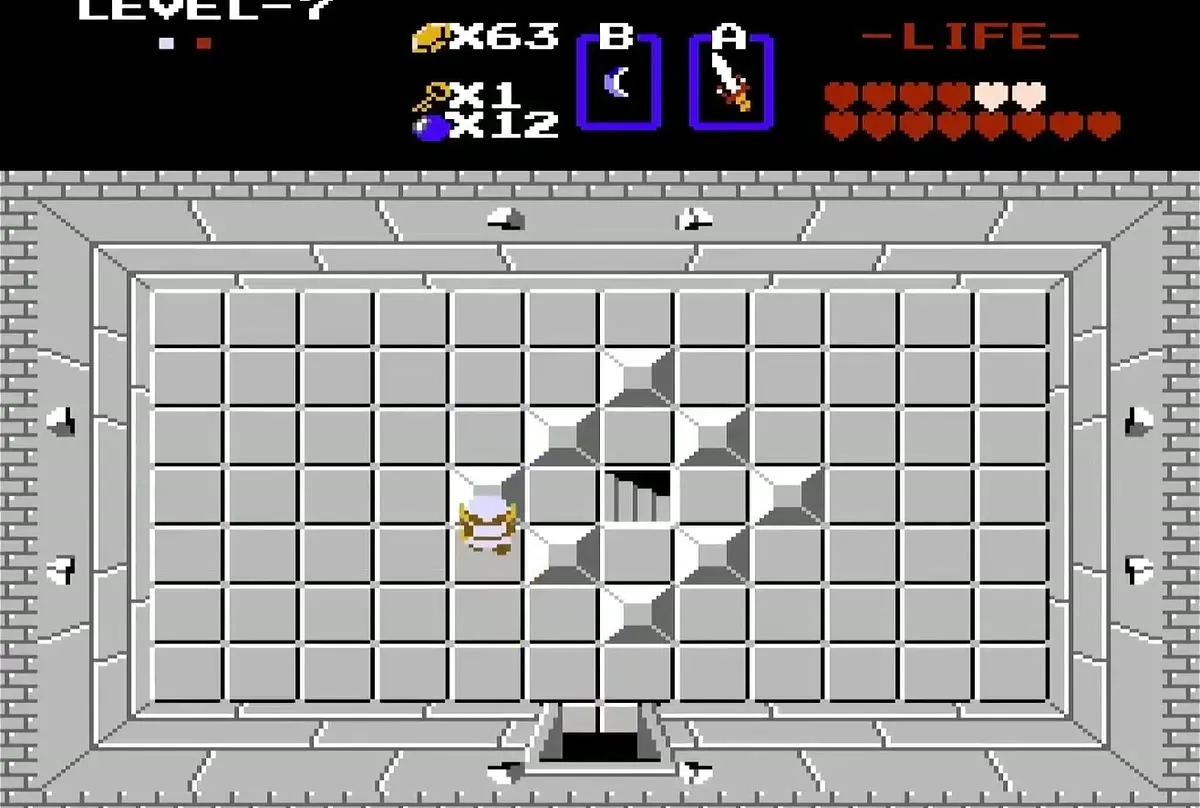
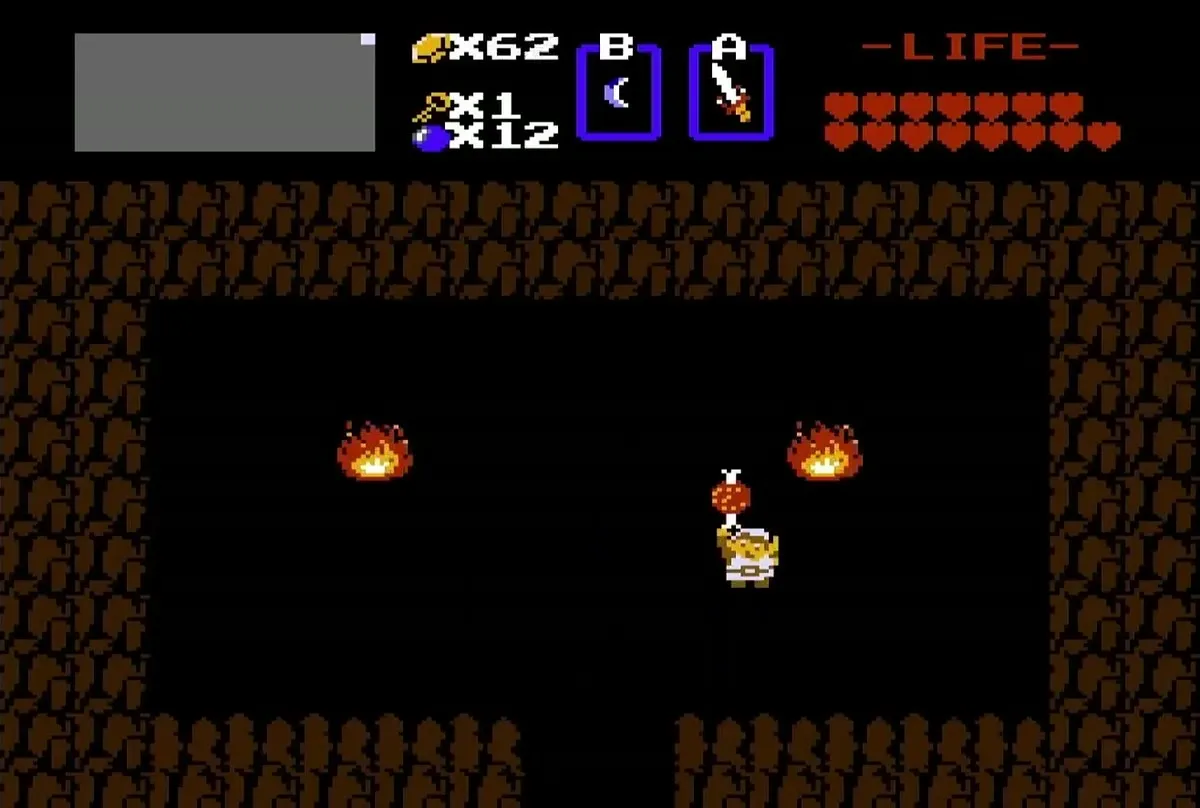
In the room with the centre blocks, defeat the Darknuts and the Pols Voice, then push the leftmost of the centre blocks to uncover a stairwell. Take the stairs into the dark, striped underground passage. The Red Candle sits along that passage, with a flame burning beside it.
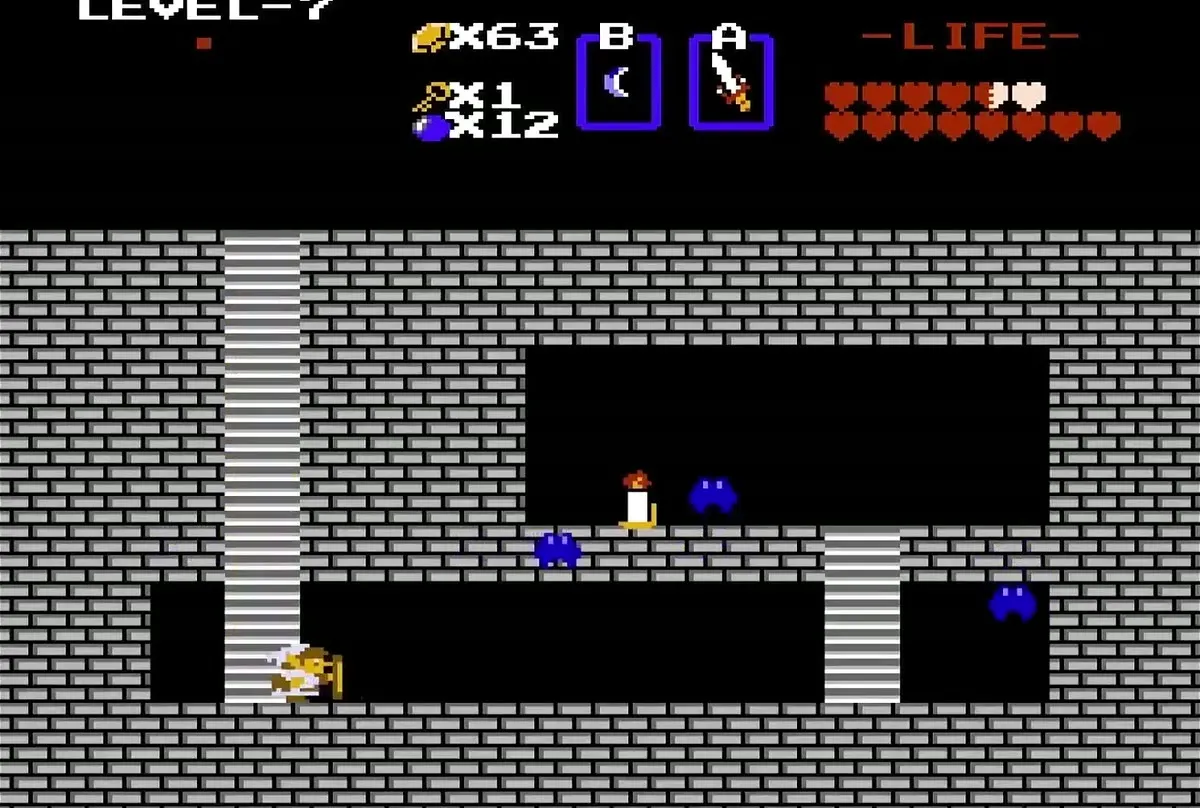
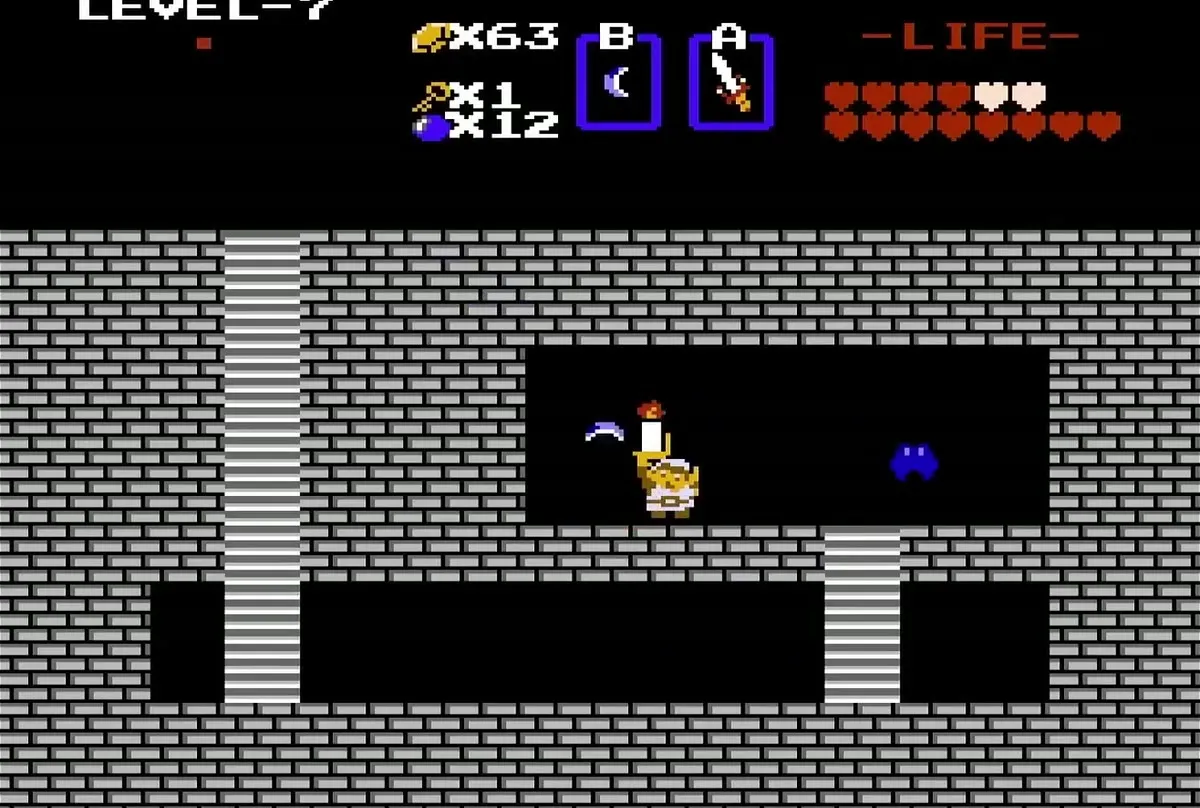
Once you have the Red Candle, go back up to the room above and defeat every Keese there. Doing so frees the leftmost block, which opens the underground passage that brings you back. Unlike the Blue Candle, the Red Candle can place more than one fire in an area at a time.
Map and the old man

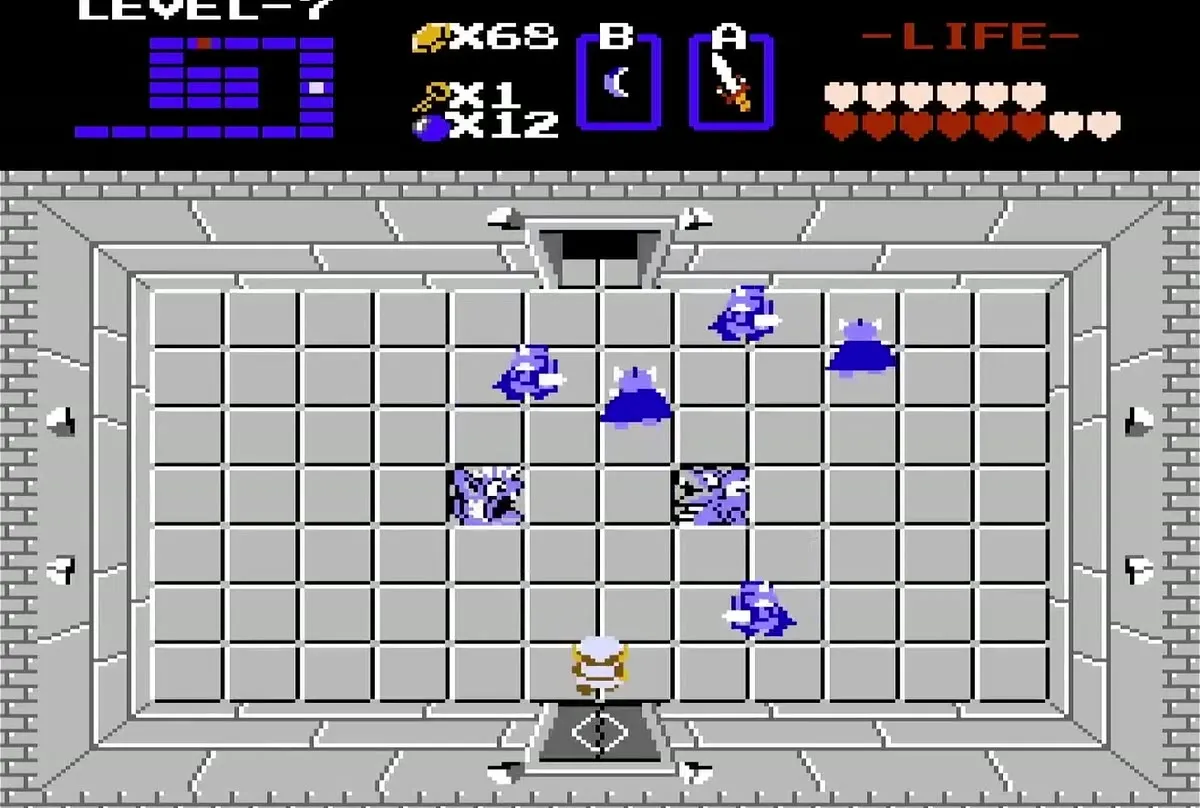
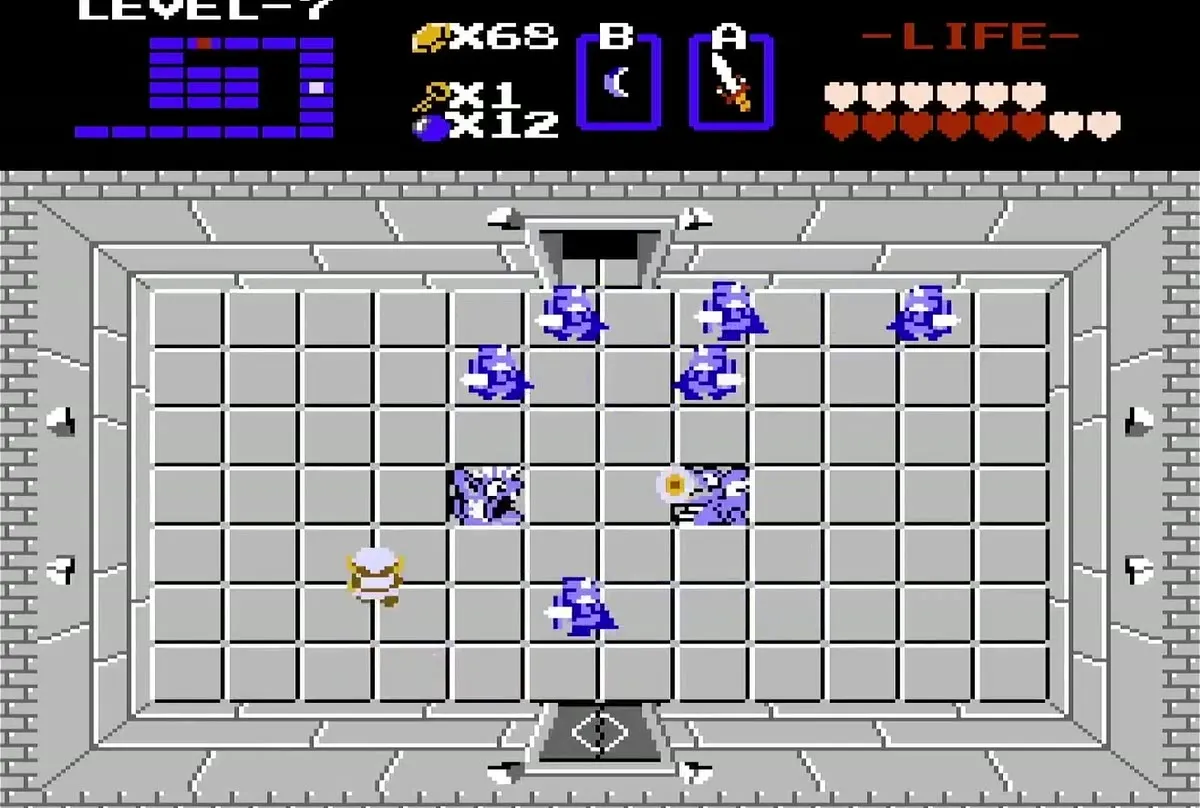
Defeat the Darknuts for the Map
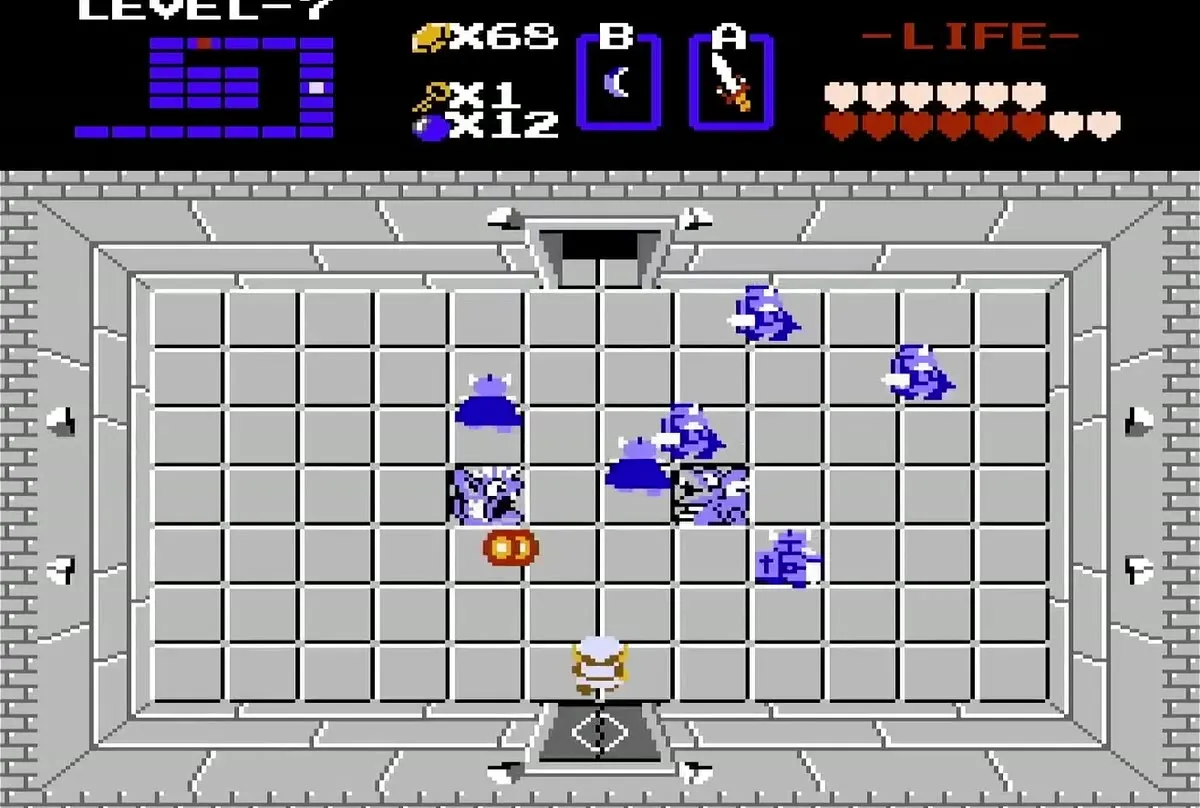
Go through the top door of the room and clear the Darknuts in it to receive the Map. Your item screen then lists both the Map and the Compass as collected. Continue through the top door to reach the next set of rooms.
Pay the old man, keep your Heart Container
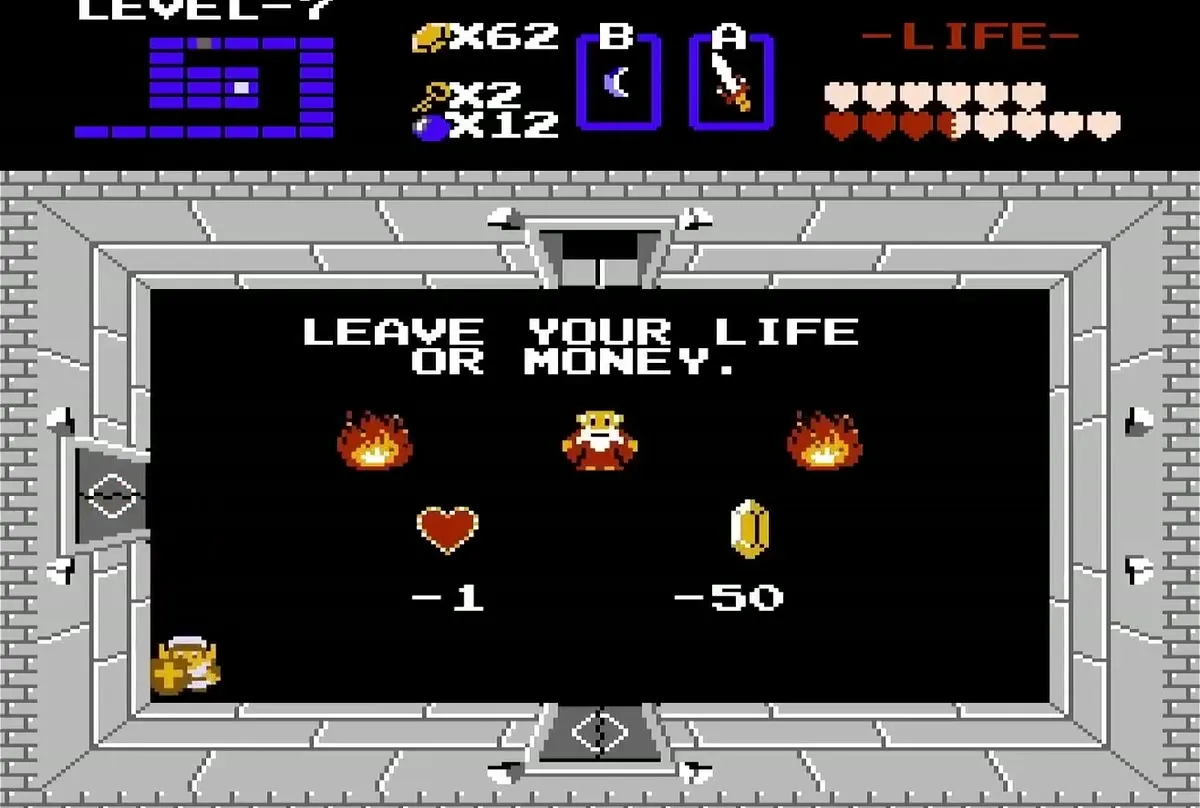
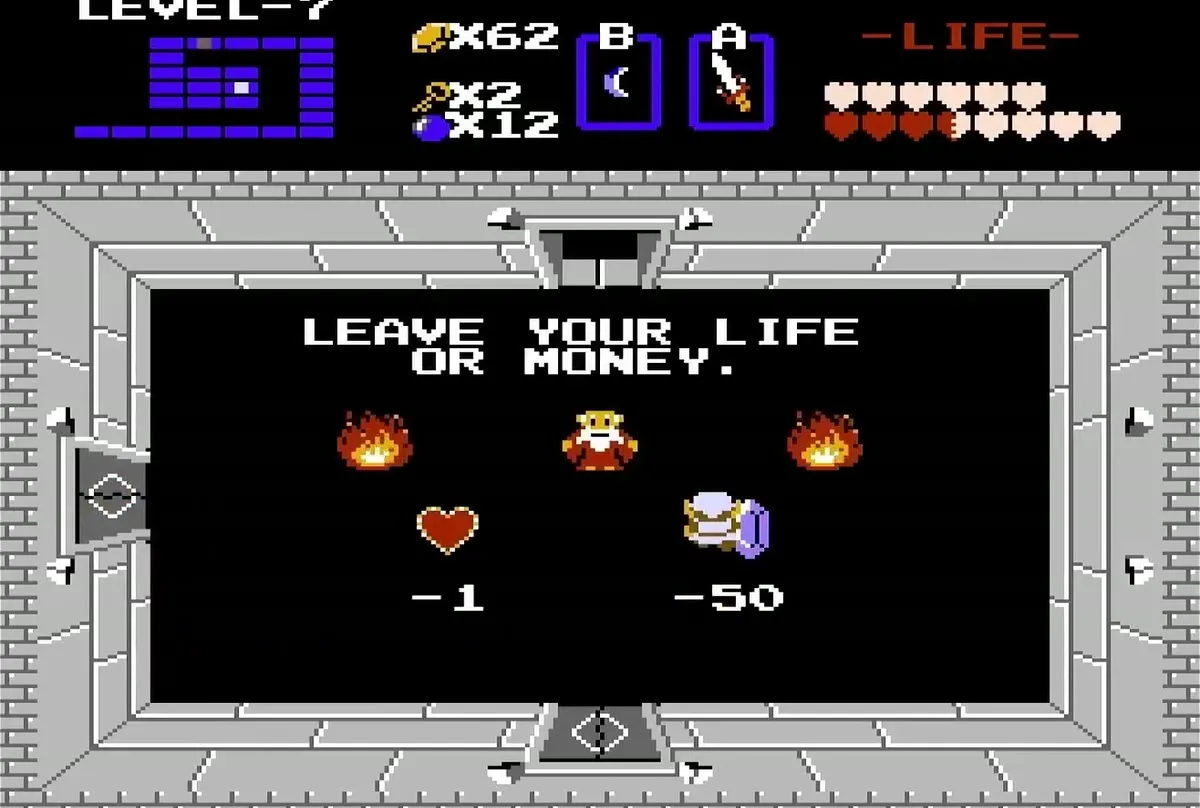
Push the centre block and head right, but only if you carry 50 rupees. A man in this room forces you to leave behind either one Heart Container or 50 rupees. Pay the 50 rupees, because a Heart Container you give up is gone for good.
Reach the stairs in the centre row
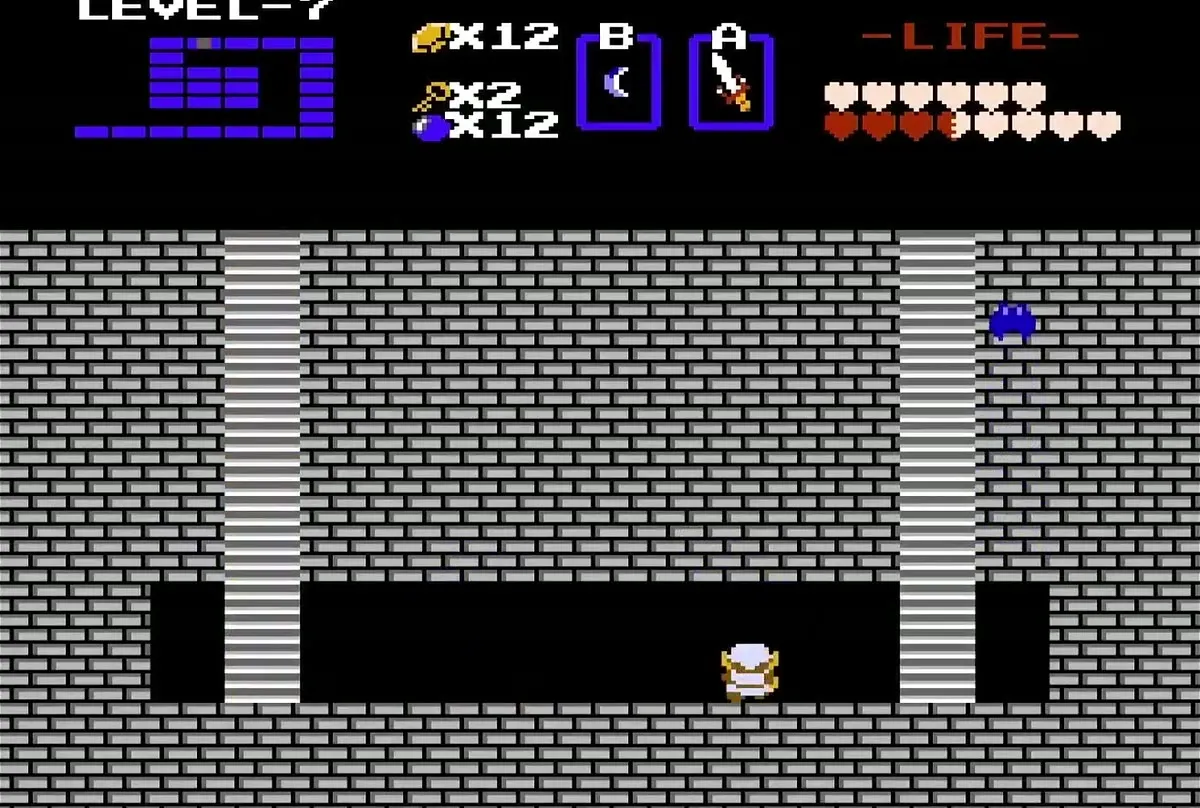
Through the door below, defeat the Darknuts and push the leftmost block in the centre row to reveal another staircase. Take it into an underground passage, then fight past the Darknuts and bubbles there. Unlock the door on the left with your key to reach the boss area.
Gleeok and the Triforce piece
Clear the room before the boss
Defeat all of the blue Darknuts in the room before the boss to open the left door. Defeating them also yields a set of bombs. Go through the left door to enter the boss room.

Beat the four-headed Gleeok
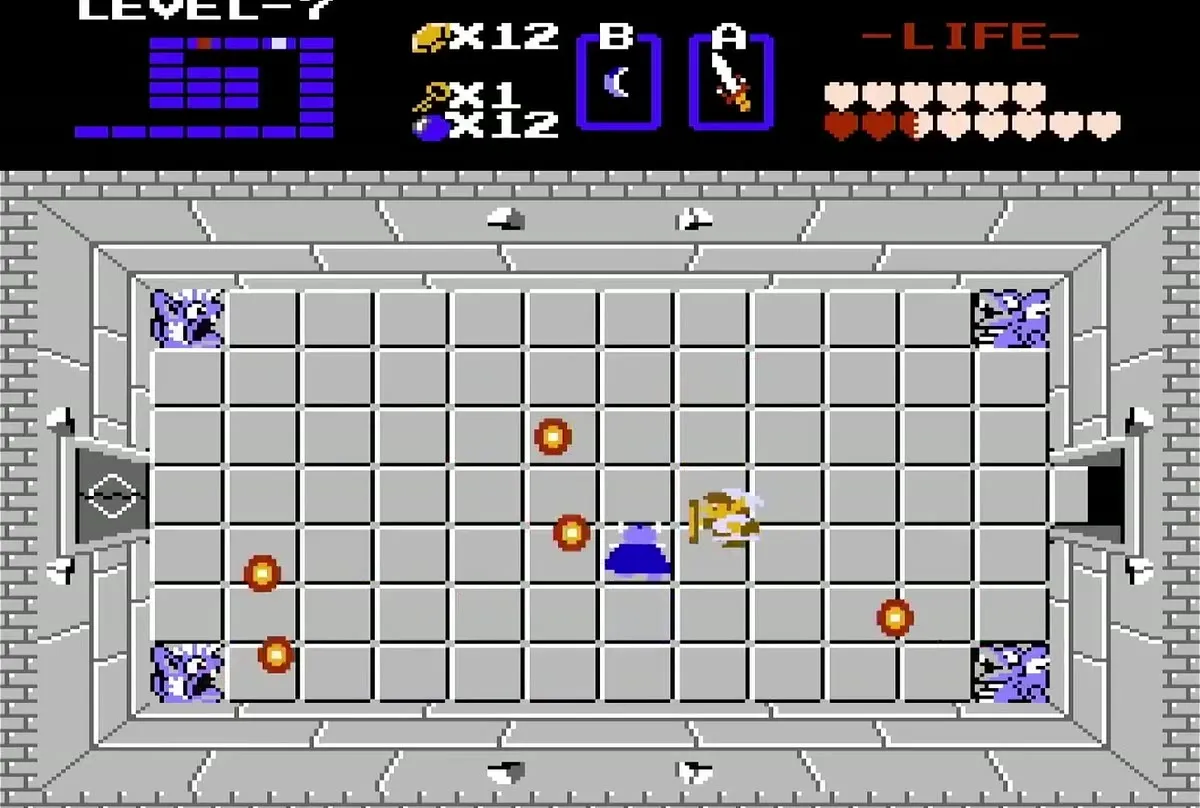
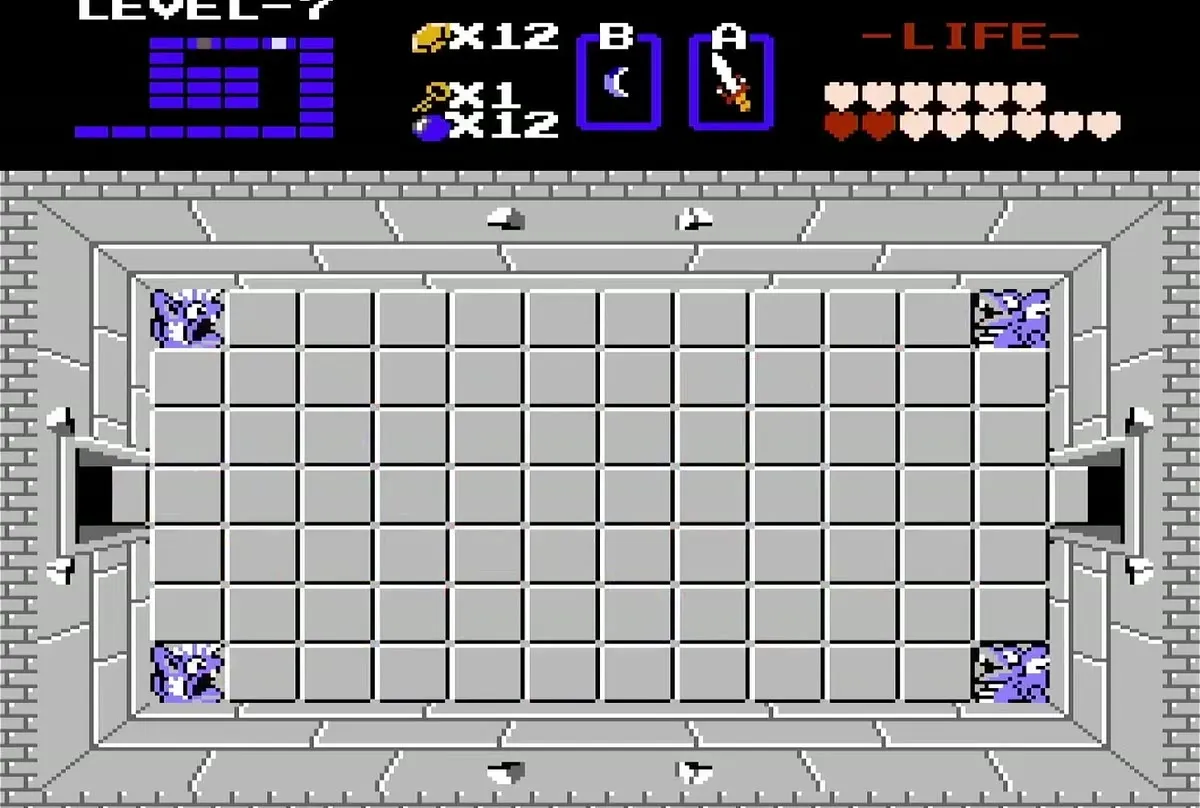
The boss is a four-headed Gleeok. Stab each head until it breaks loose and flies around the room. A loose head keeps attacking you, and the Gleeok can only be defeated once every head is gone.
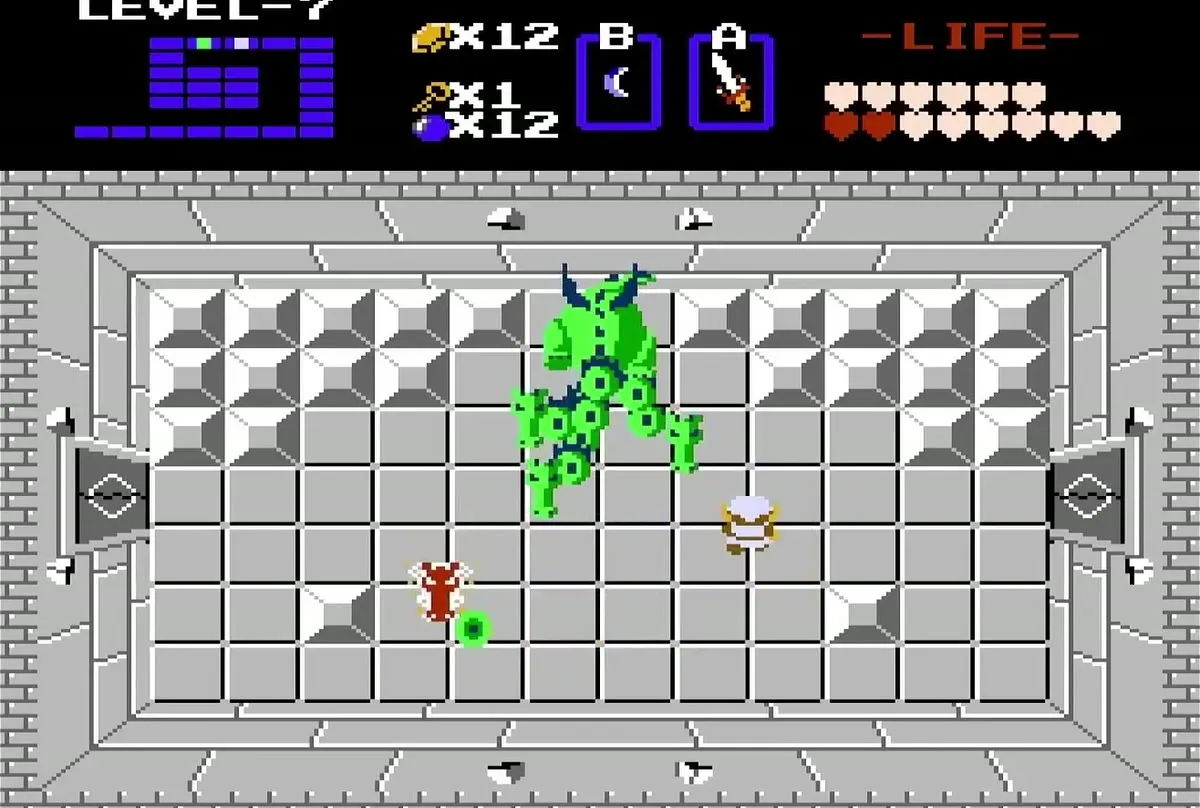
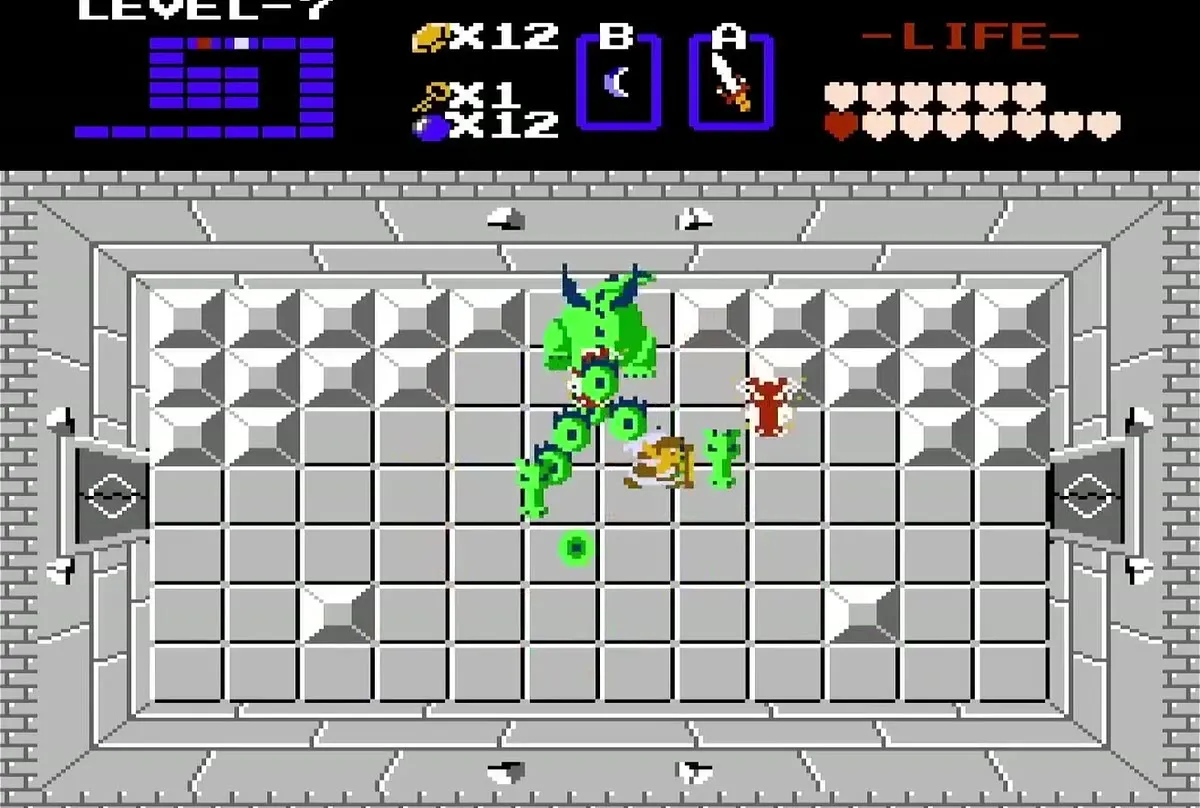
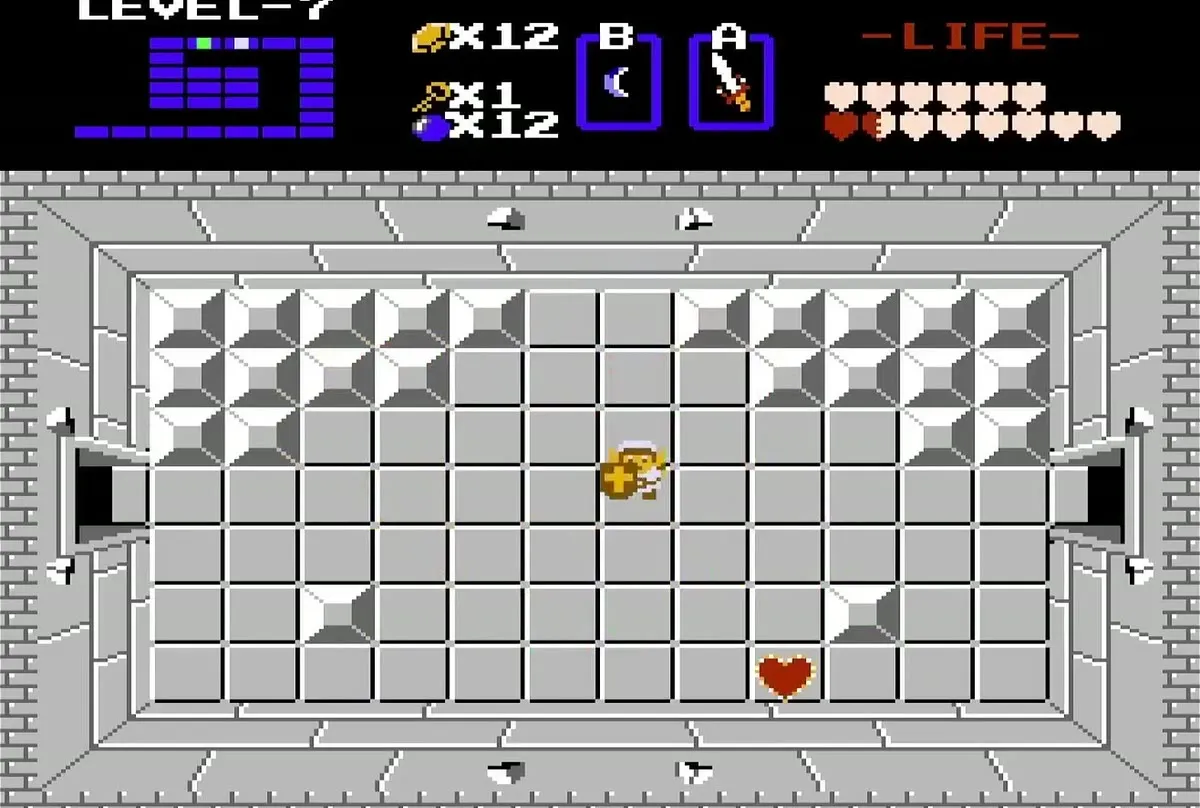
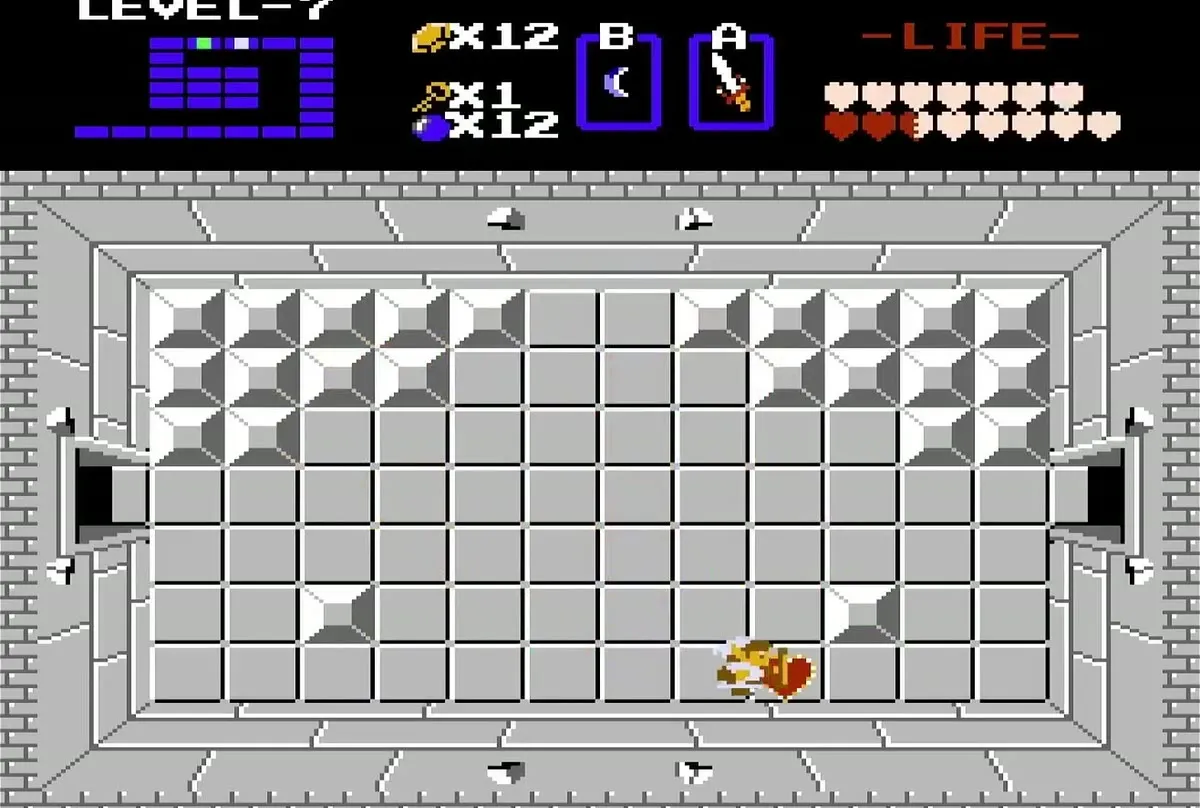
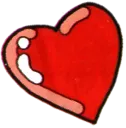
When the last head falls, the Gleeok dies and leaves a red Heart Container on the floor. Walk onto it to collect Heart Container 12. This is the twelfth Heart Container you collect in the Second Quest.

Take the seventh Triforce piece
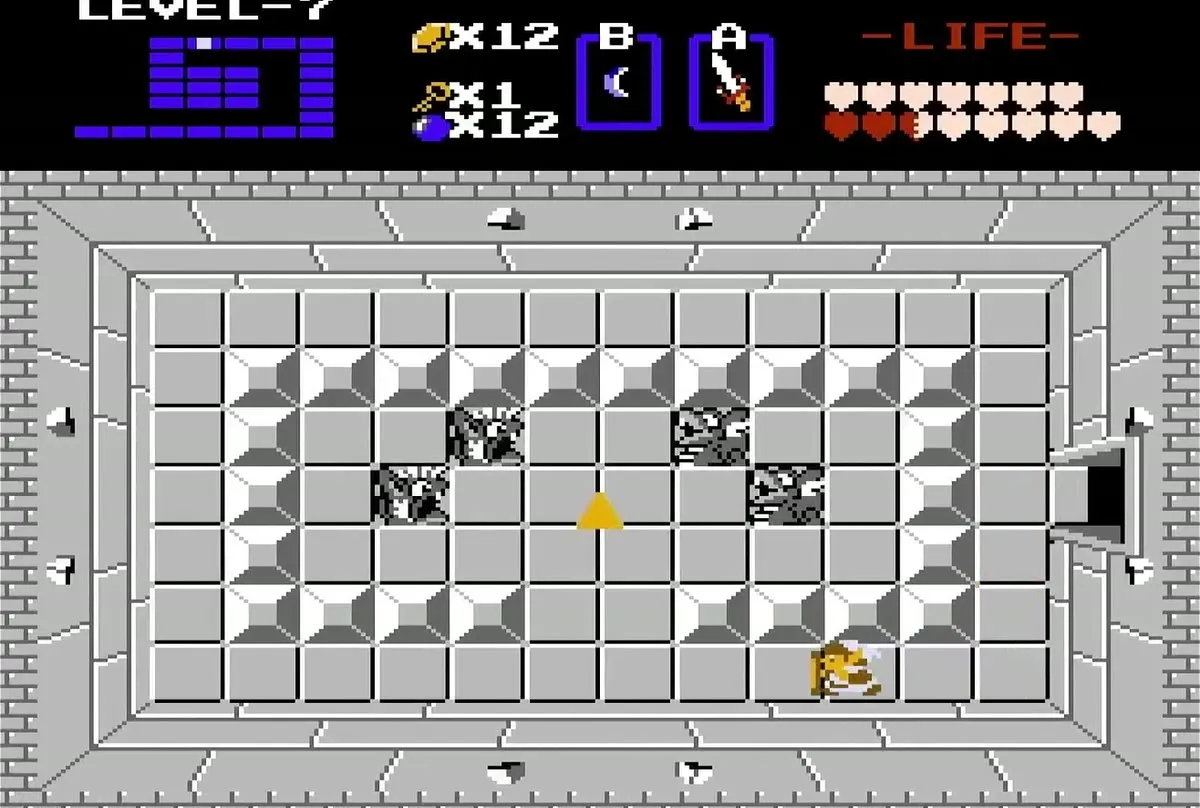
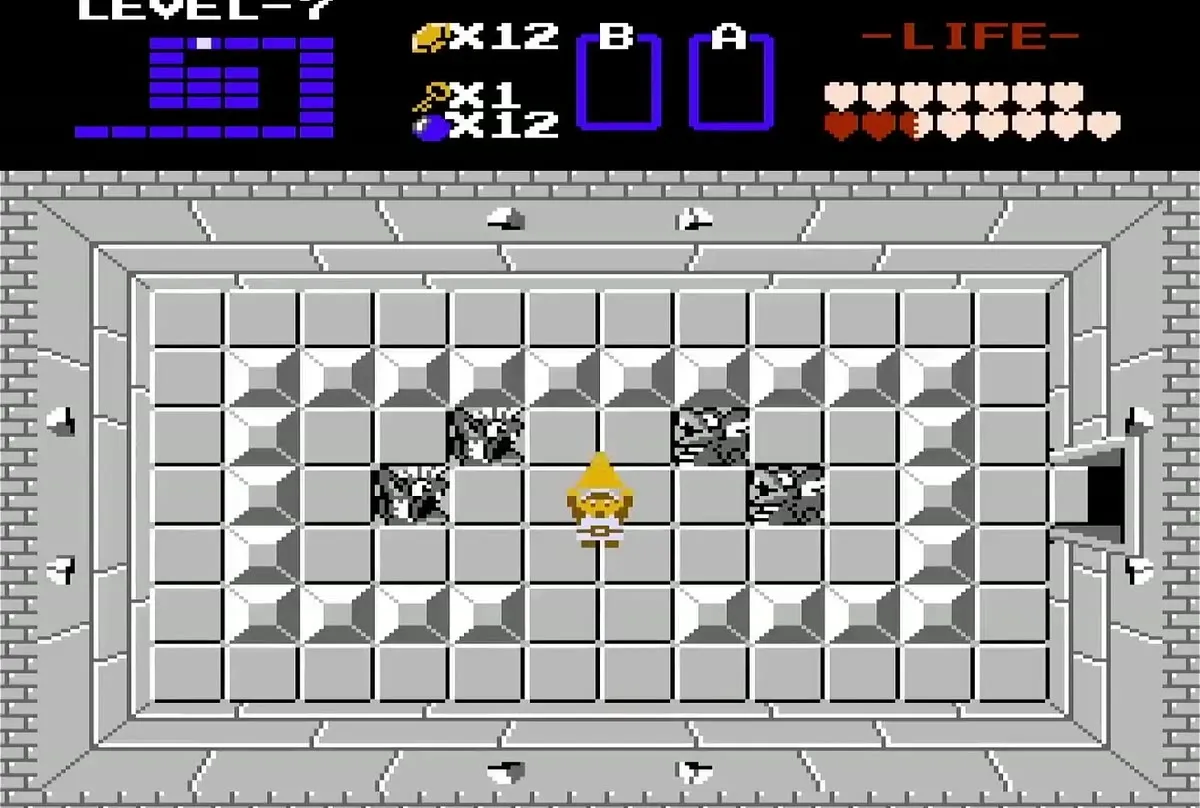
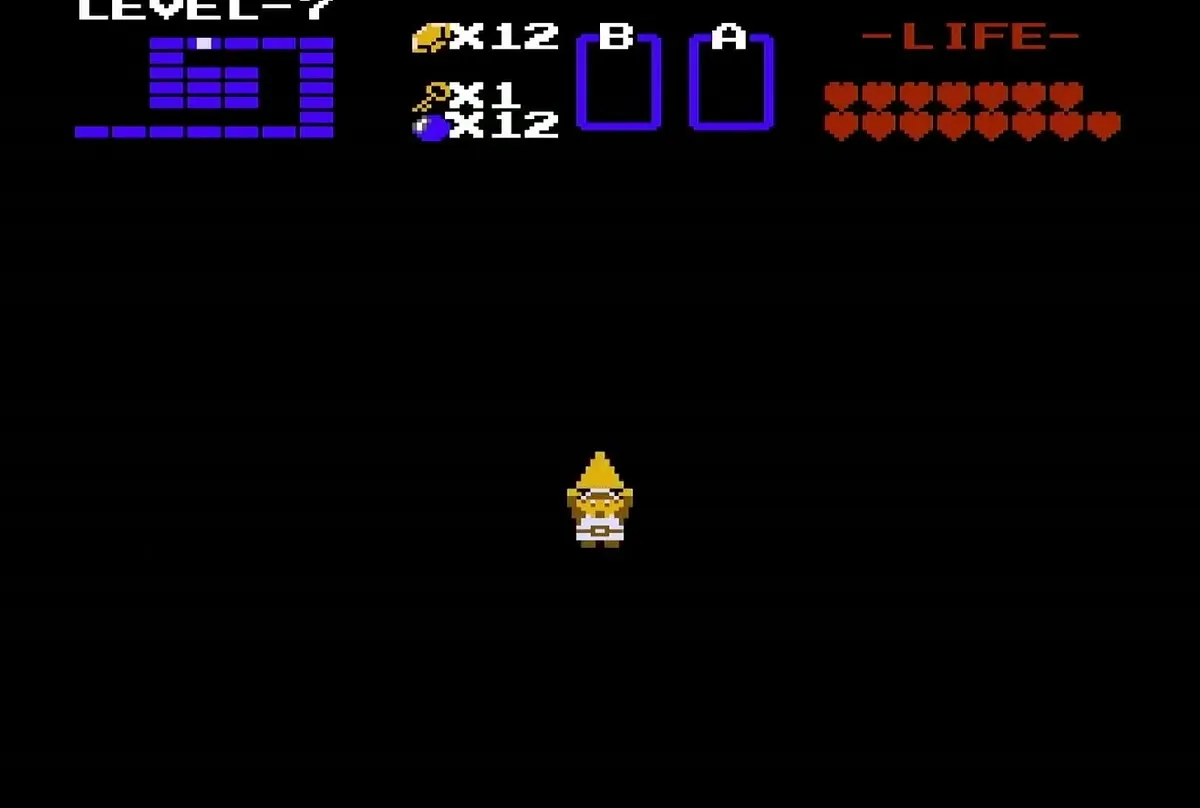
Go through the door on the far side of the boss room to reach the Triforce room. Pick up the seventh piece of the Triforce, which rises above Link’s head when you take it.
Caves in the north-east before Level 8
Try the money-making game
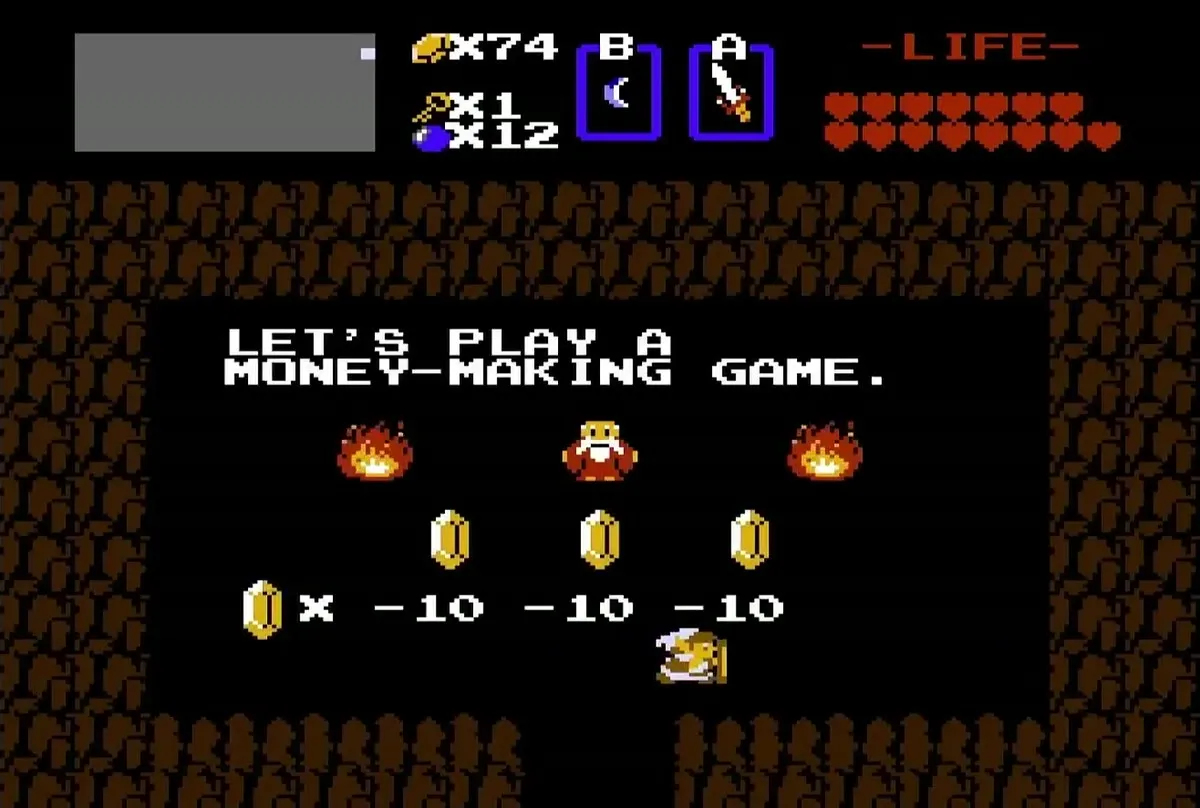
Leave the labyrinth and find the cave with the money-making game. The screen shows three icons above a row of rupees, and each bet costs 10 rupees. The money-making game page covers how the game works, so read it before you spend a lot of rupees here.
Chapter checklist
| Type | Name | Where |
|---|---|---|
| Item | Compass | Room through the left door of the entrance room, after the Zols |
| Key | Small key | Room of white diagonal blocks, against the right wall |
| Item | 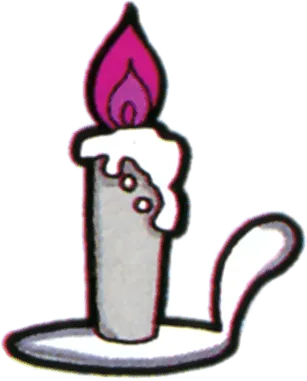 Red Candle | Underground passage below the stairs by the centre blocks |
| Item | Map | Room of Darknuts past the top door |
 Heart Container | Heart Container 12 | Floor of the Gleeok boss room |
 Triforce | Triforce piece 7 | Room beyond the Gleeok boss room |
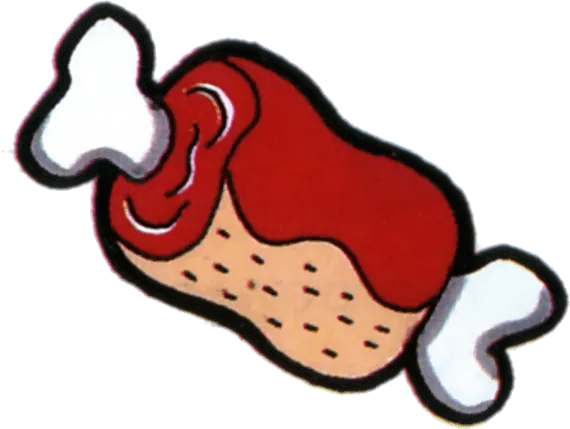
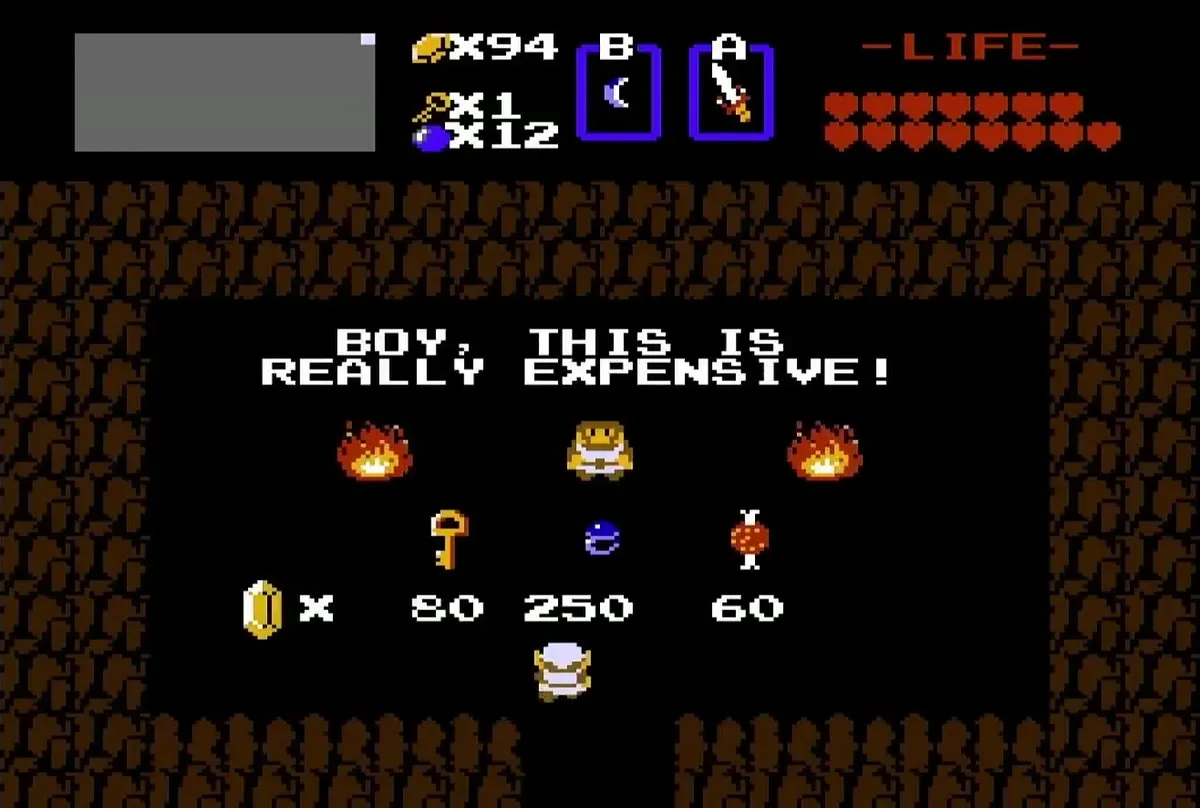
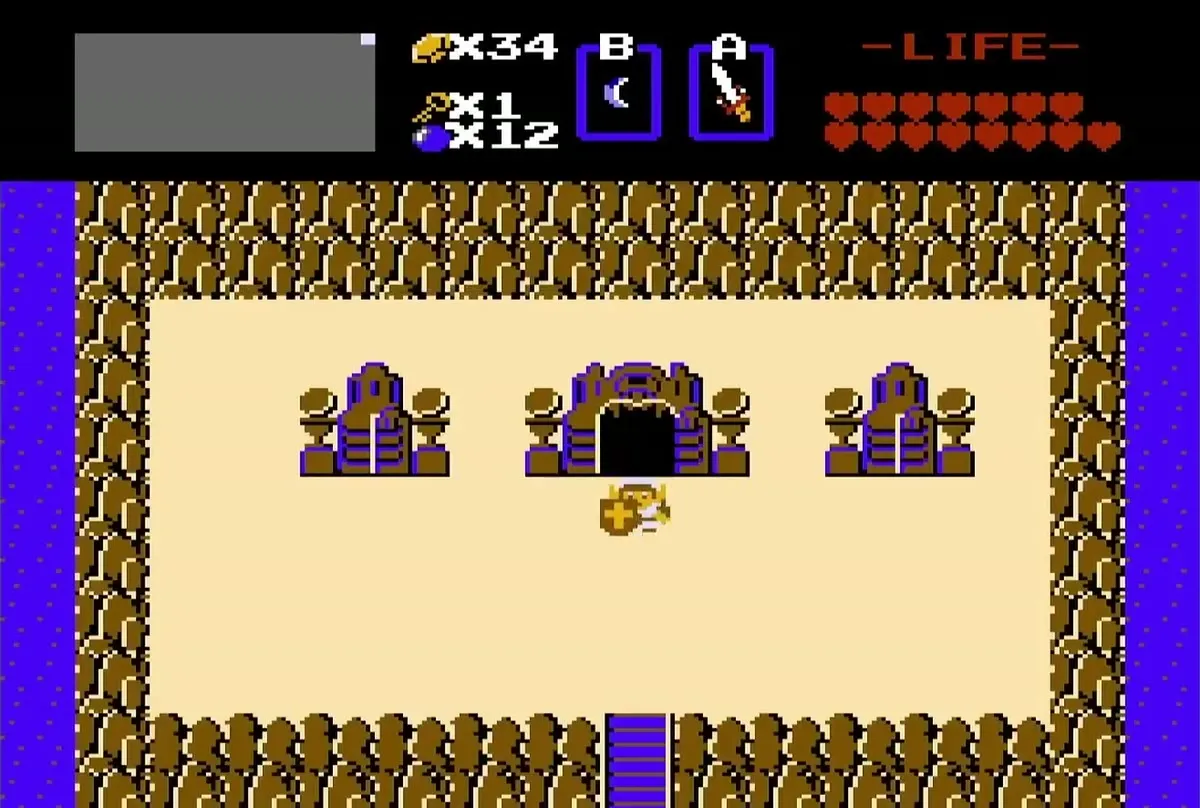
| Shop | Monster Bait (60 rupees) | Hidden shop under the middle of three statues, far north-east (P1) |
| Money-making game | Bets of 10 rupees | Cave in the north-east, next to the hidden shop |
