





















The Legend of Zelda Second Quest Walkthrough12 chapters
- Second Quest StartBuy the Blue Candle, get the 100-rupee cave gift, take the first Heart Container and Power Bracelet, reach Level 1.
- Second Quest Level 1Wooden Boomerang, Map and Compass, Aquamentus for a Heart Container.
- Second Quest Blue Ring and White SwordBuy the 250-rupee Blue Ring from the hidden northeast shop, get the White Sword with five hearts.
- Second Quest Level 2Enter via the Armos stairway, collect keys, the Map and the Recorder, then beat two-headed Gleeok for a Heart Container.
- Second Quest Level 3Pond entrance and Recorder, Monster Bait for the Magical Boomerang, three Dodongos, and the third Triforce piece.
- Second Quest Level 4Enter the Lost Hills dungeon, get the Magic Book, Compass, Map, bomb upgrade, Heart Container, Raft.
- Second Quest Level 5Raft to the lake labyrinth, get the Bow, Map and Compass, beat the three-headed Gleeok and take the Triforce piece.
- Second Quest Magical Sword and LetterHeart Containers 8 and 9, the arrow shop, the Letter, then the graveyard stairs to Level 6.
- Second Quest Level 6Open the graveyard entrance with the Recorder, get the Stepladder, and beat blue Gohma for the Triforce piece.
- Second Quest Level 7Burn the forest tree, collect the Red Candle, Map and Compass, then beat Gleeok for Heart Container 12.
- Second Quest Level 8Enter with a ladder and bombs, get the Magical Rod and Magical Key, buy the bomb upgrade, beat three Dodongos.
- Second Quest Level 9 and EndingReach the north-west entrance, collect the Map, Compass, Red Ring and Silver Arrow, then defeat Ganon.
| Covers | the Lost Hills entrance and Level 4 in the Second Quest, from the first room to the Raft |
|---|---|
| Dungeon | Level 4 (Second Quest): needs the Power Bracelet, the Recorder, a Blue Candle and 150 rupees to comfortably finish; boss is Digdogger; reward is the fourth Triforce piece |
| Rewards | Magic Book, Compass, Map, Raft, one bomb capacity upgrade (8 to 12), one Heart Container, fourth Triforce piece, three small keys on the main route |
Level 4 is the dungeon where you pick up the Book of Magic, the Raft and the fourth Triforce piece in one trip. The route below clears the dungeon in order: solve the entrance rooms, split the Digdogger with the Recorder, buy the bomb upgrade, pay the toll, beat the boss and collect the Raft before you take the Triforce piece. Bring 150 rupees so you never have to give up a heart container.
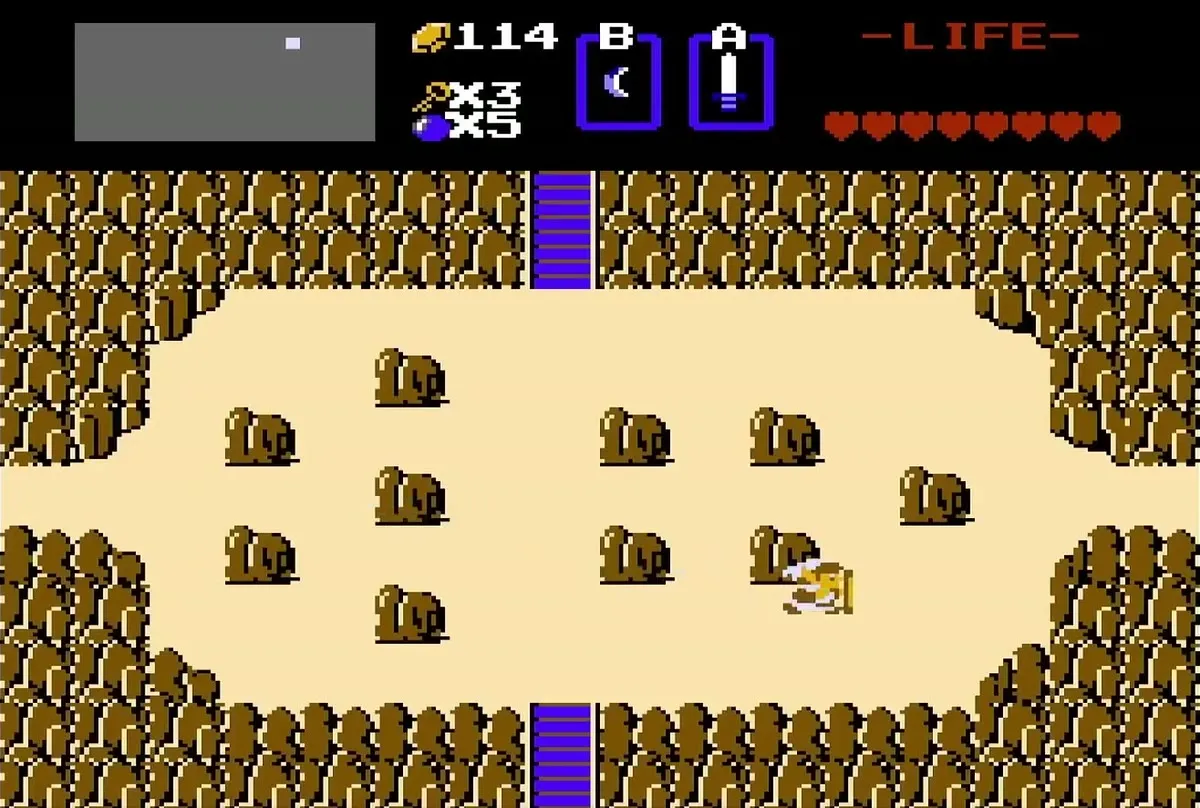
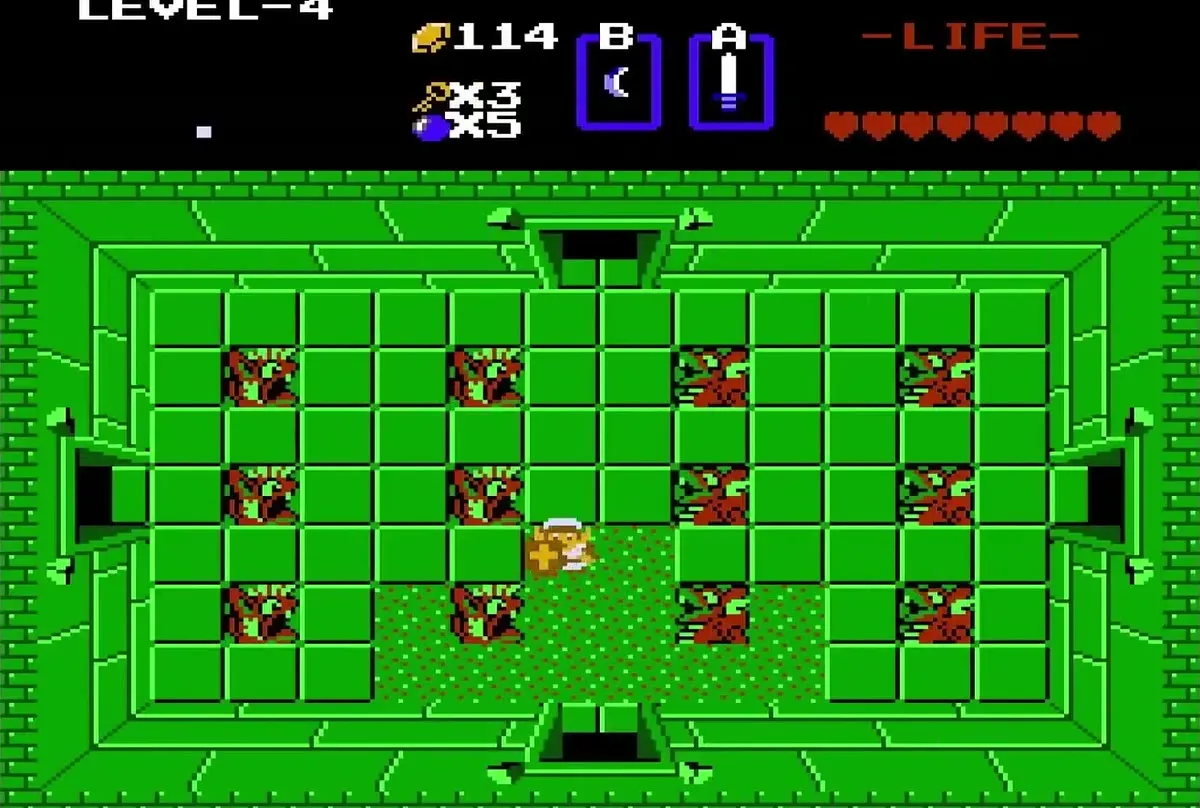
Table of Contents
Getting to Level 4
Lost Hills entrance
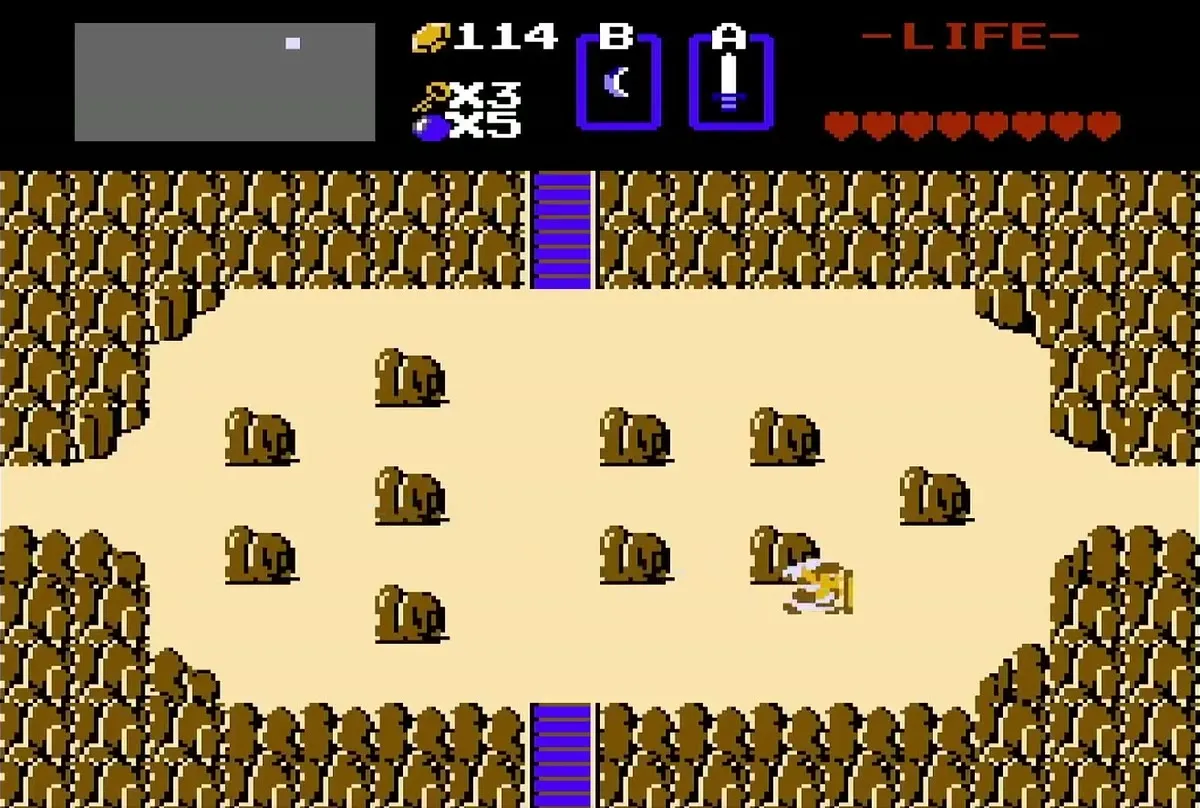
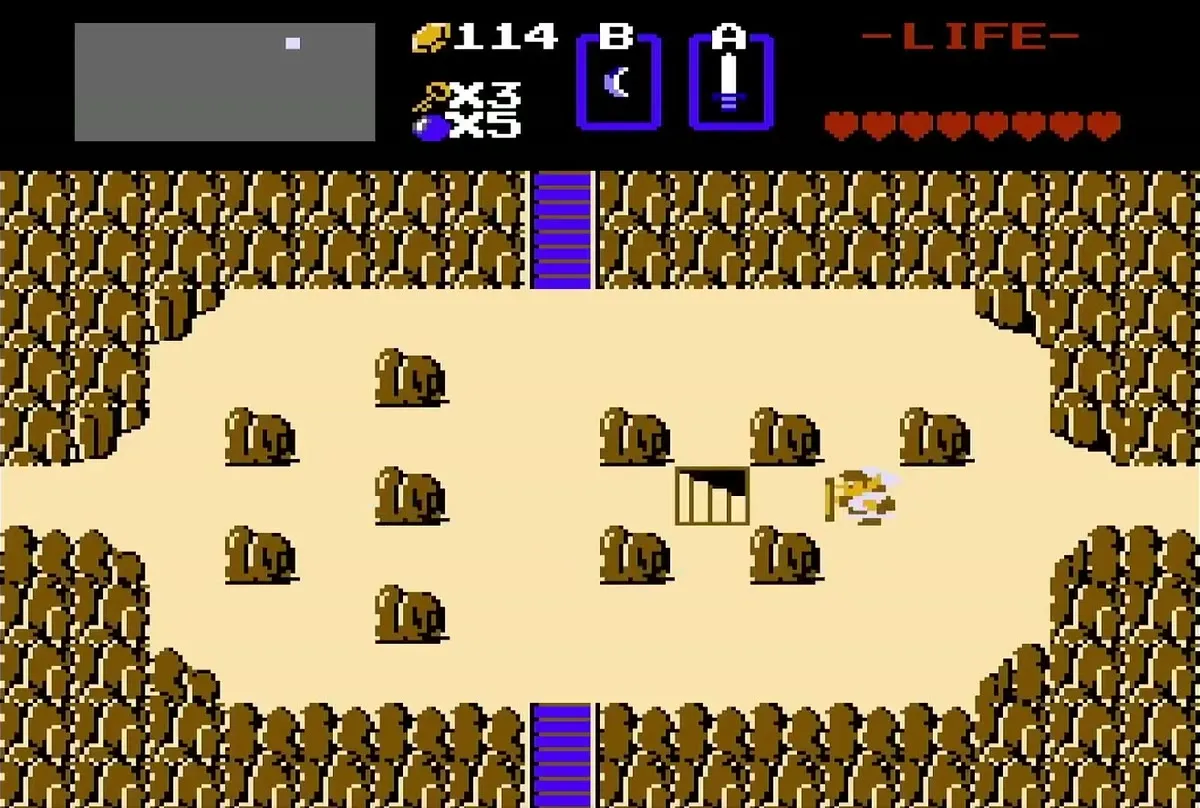
Level 4 is not on top of the Lost Hills (L2) but inside them. Stand next to the easternmost boulder and lift it with the Power Bracelet to uncover the staircase down. Keep the Recorder equipped before you go in, because you need it for both Digdogger fights, and light the dark rooms with your Blue Candle.
Level 4 walkthrough
Entrance rooms and the first key
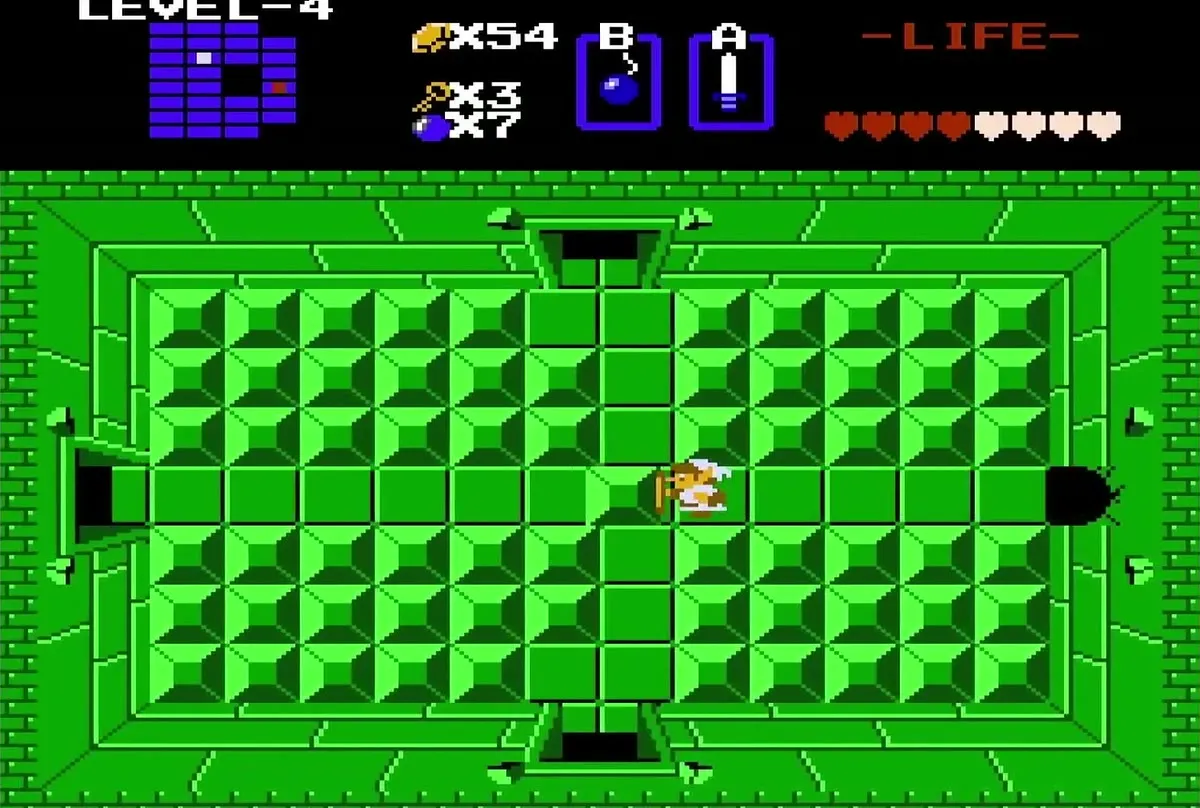
Start in the entrance room and walk west into a dark room that you can light with the Blue Candle. Defeat the Zols and Keese there, and a small key appears where the last enemy falls. Red bubbles on the way will stop you from drawing your sword until you touch a blue bubble, and one blue bubble sits in the room up and to the right of the entrance.
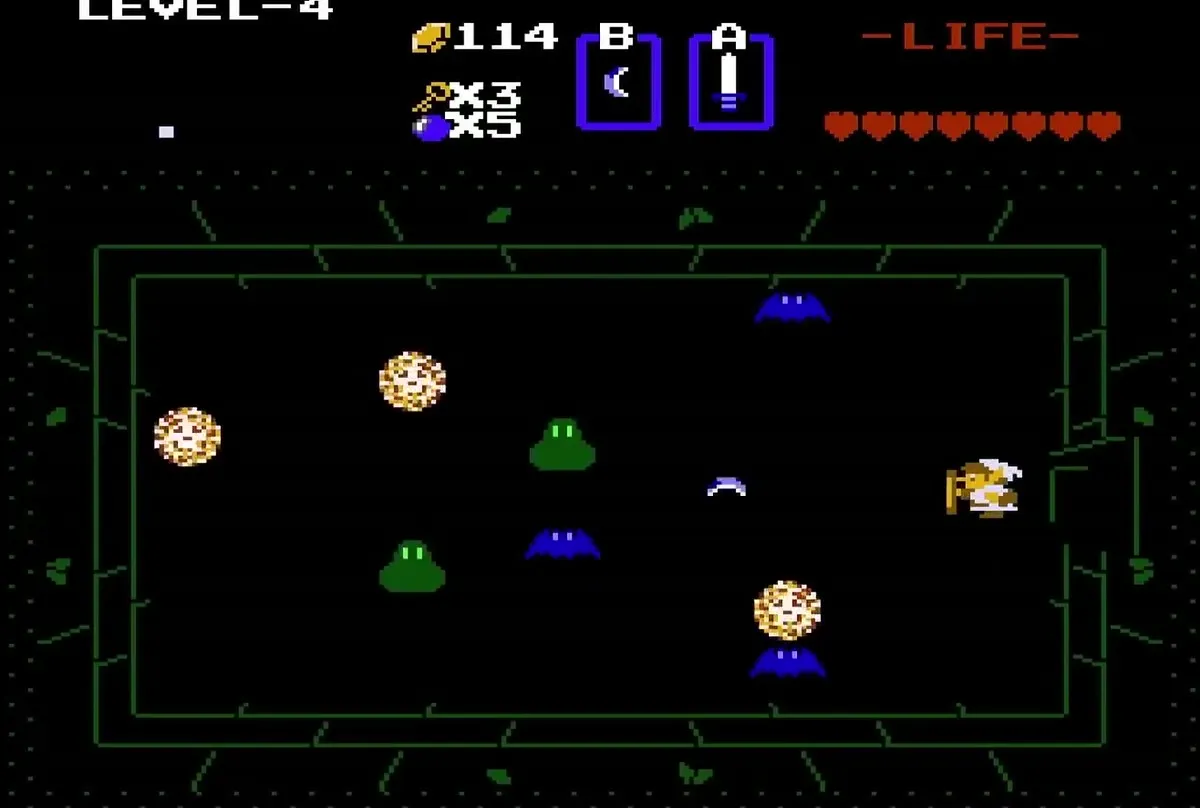
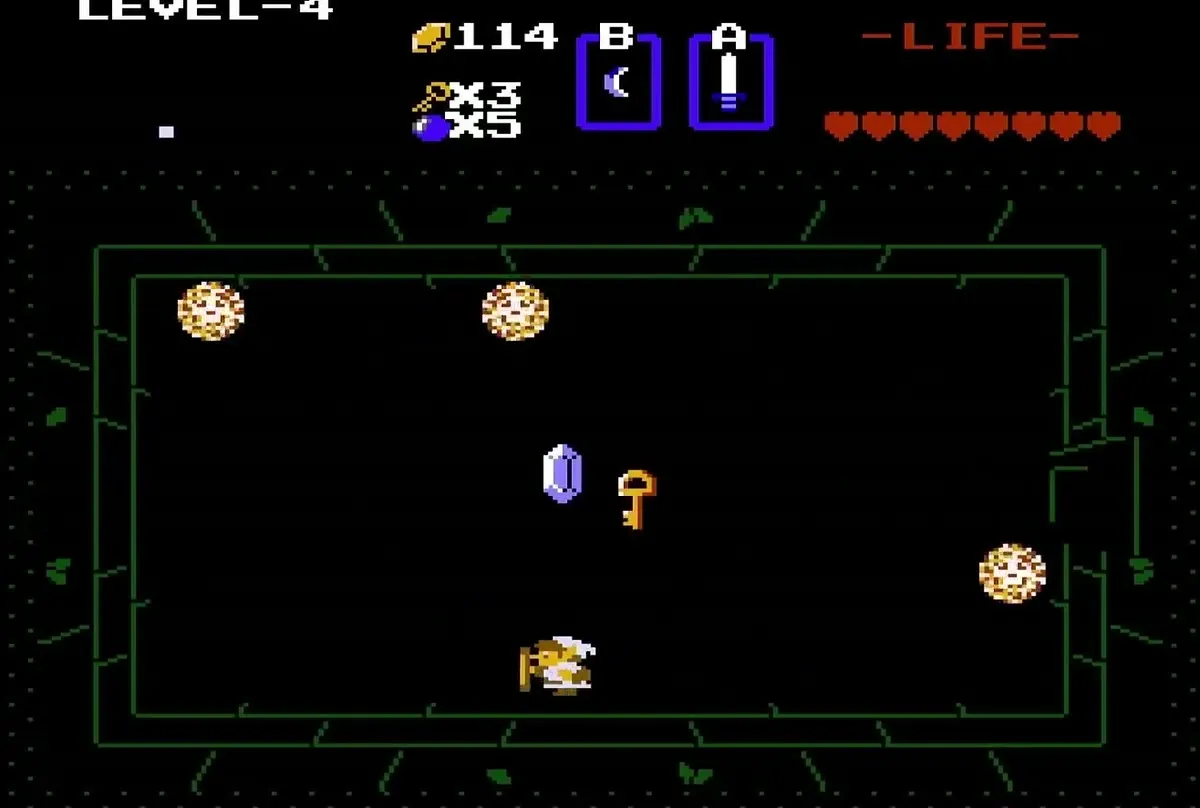
Recorder, Digdogger and the Compass
Go back to the entrance and take the top door to meet a Digdogger guarding the way forward. Play the Recorder to split it into three smaller Digdogger, then defeat all three to open the door to the left.
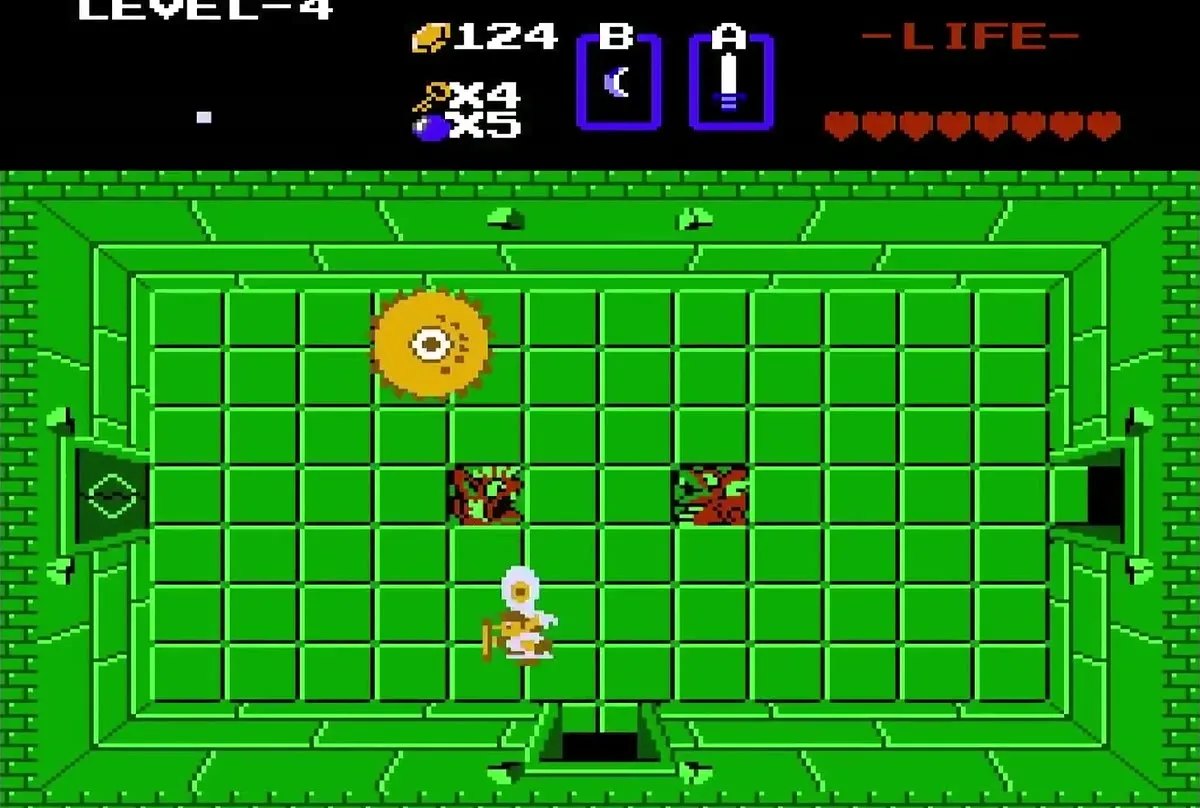
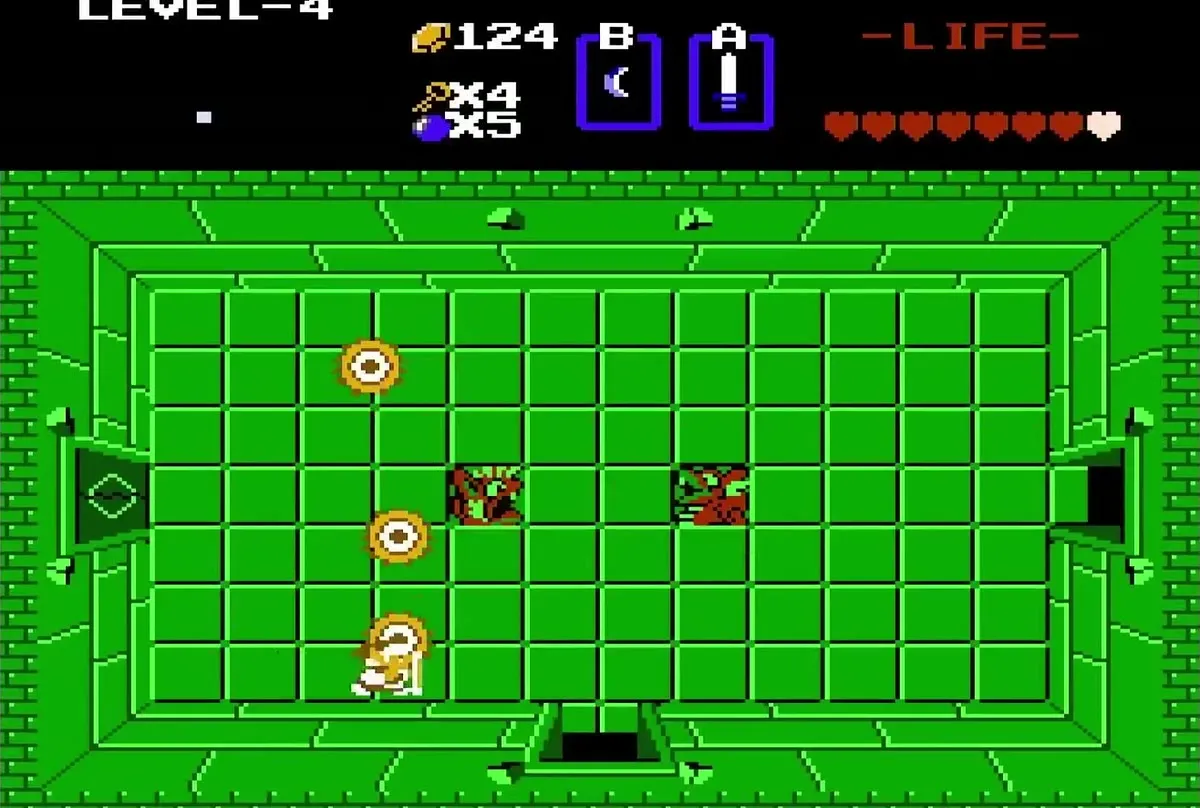
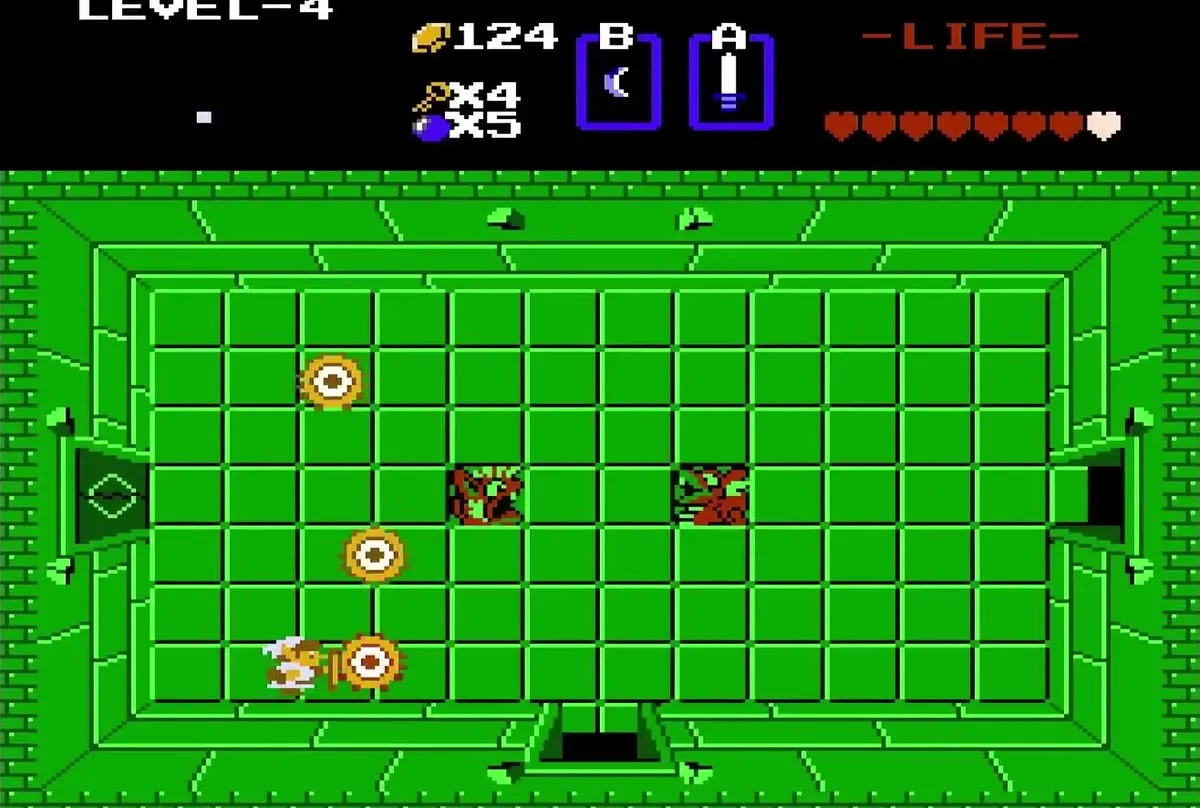
Beyond that door, clear the Darknuts and Pol’s Voices to earn the Compass. Once you have it, the Compass marks the boss and the Triforce piece on your map, which makes the rest of the dungeon easier to plan.
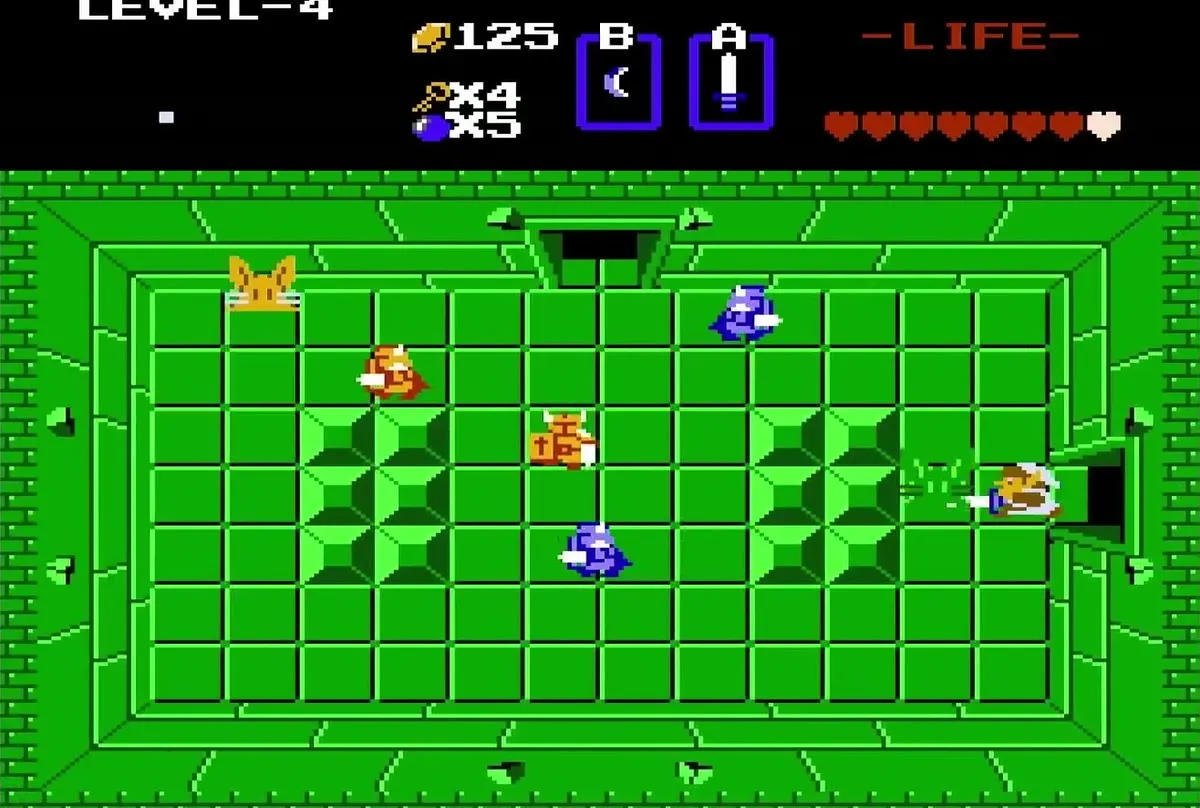
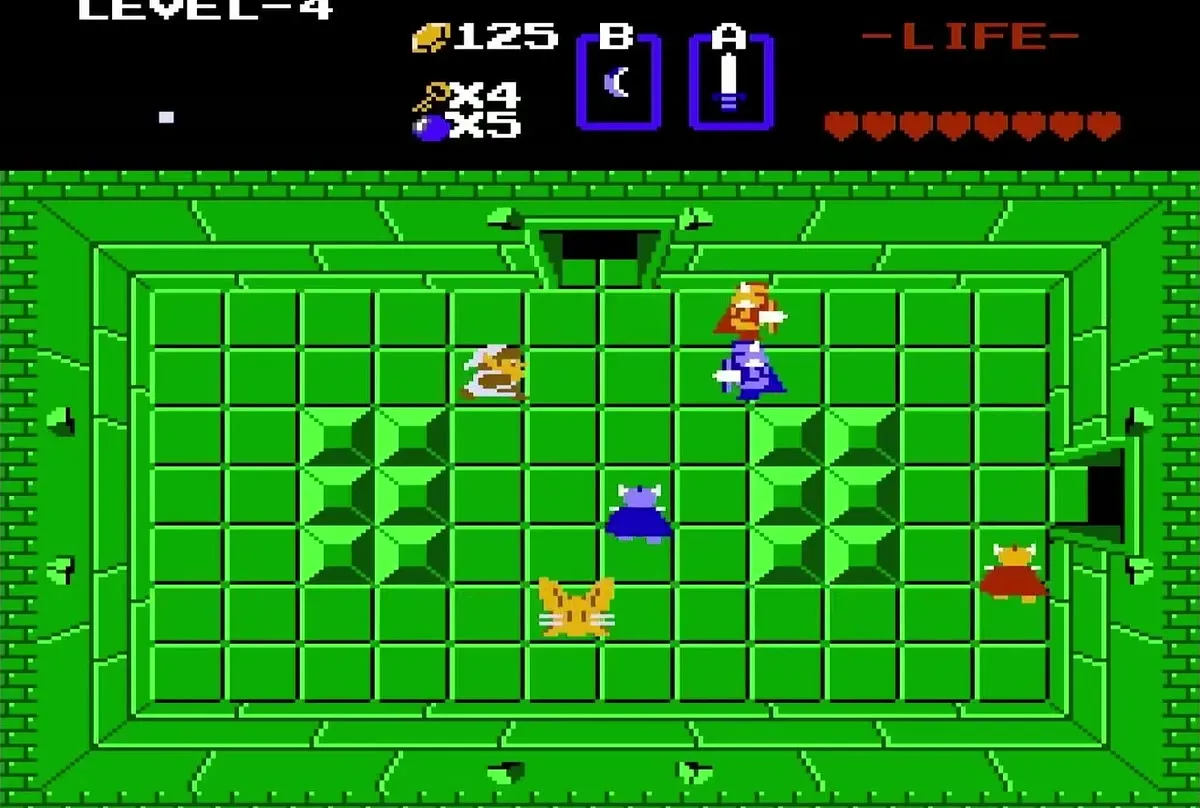
Aquamentus door and the Magic Book
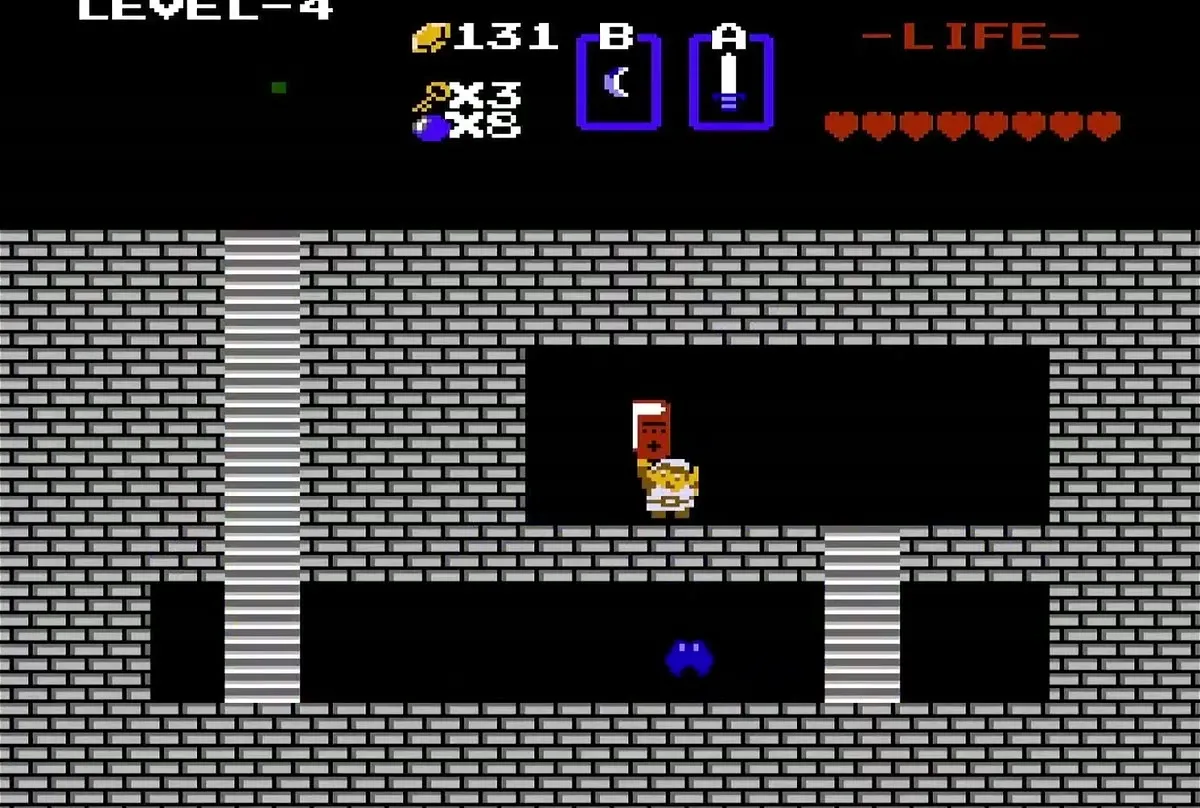
Enter the room above and fight past the Darknuts to unlock the door to the right. Beat the Aquamentus to open the door on the far side, then clear every monster in the next room. The Magic Book is hidden under the stairs there: push the left-most block in the center row to reveal the stairwell.
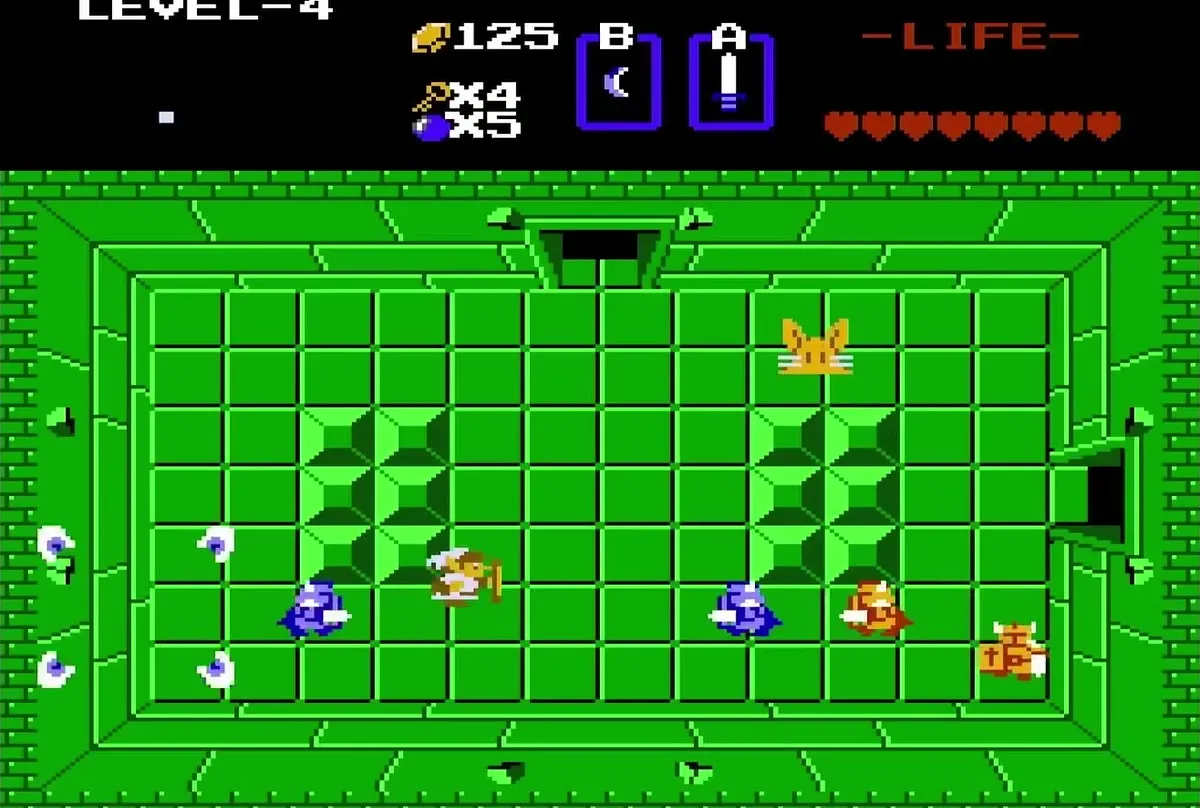
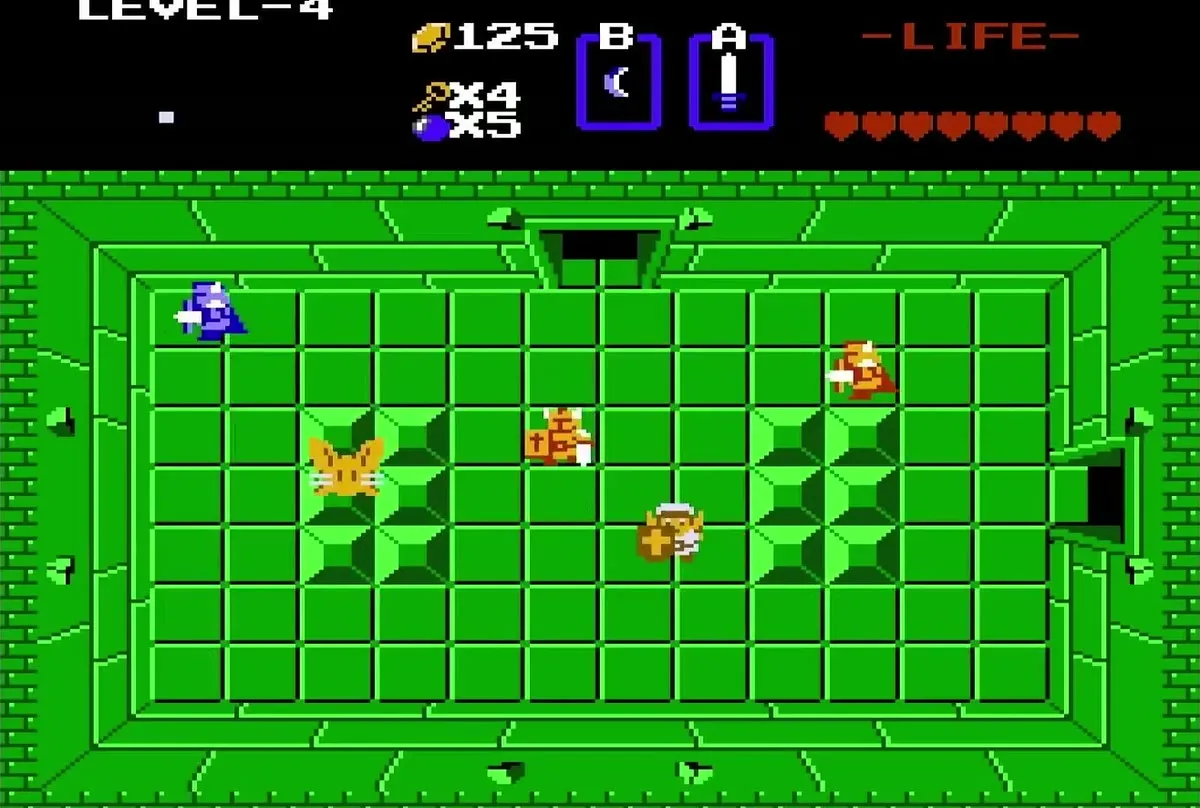
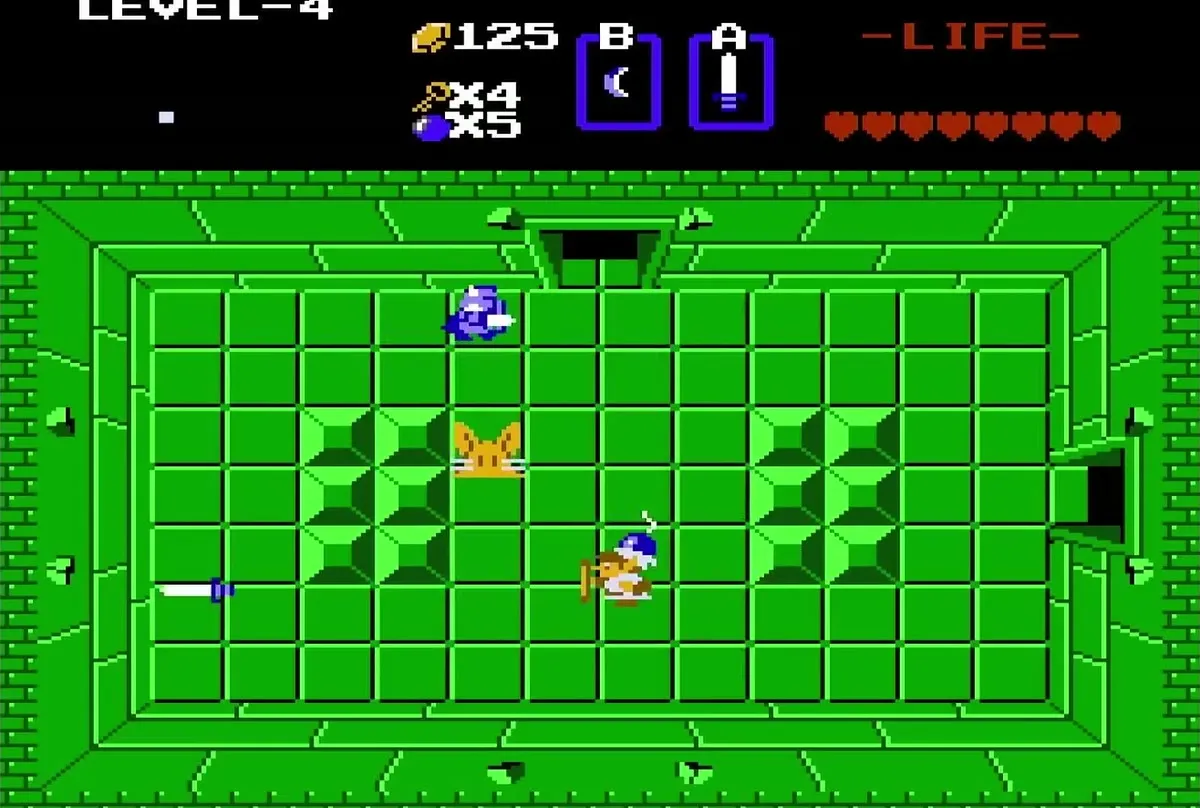
Walk down the stairwell to collect the Book of Magic, then head back up the same way. The passage you came through from this room is one-way, so finish any business in the room before you leave.
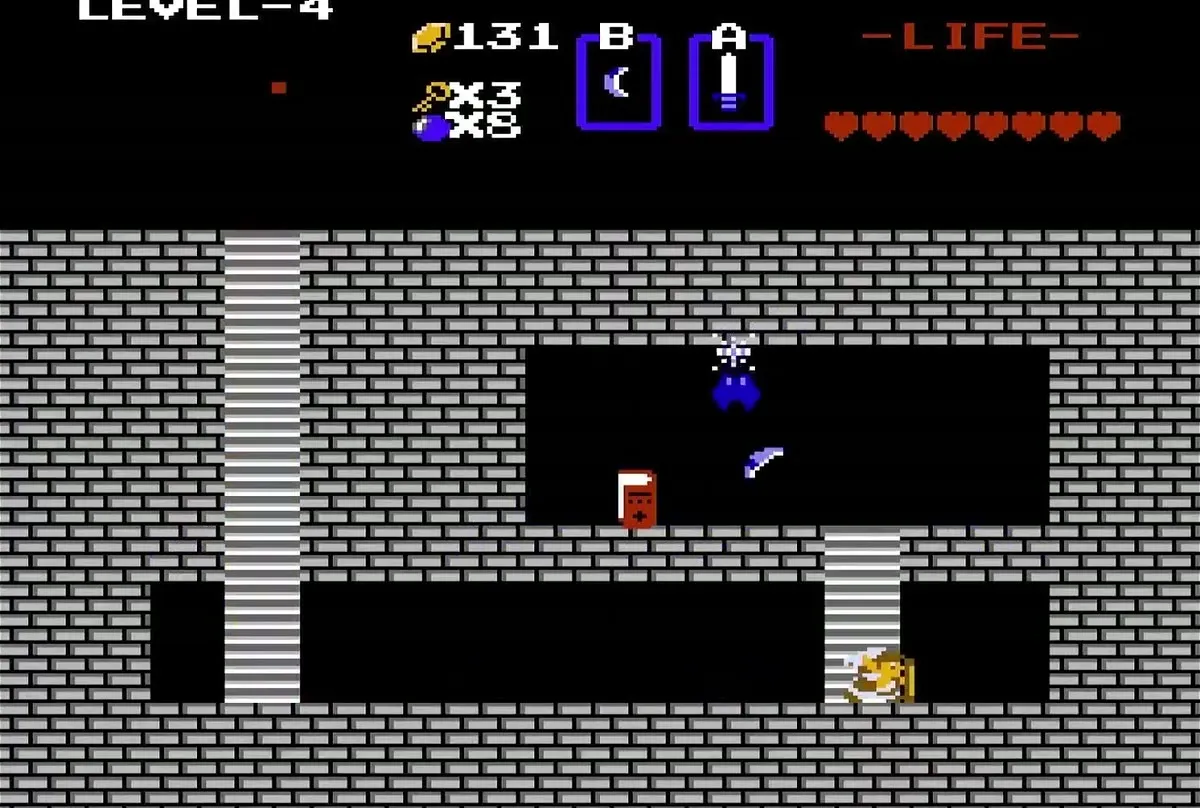
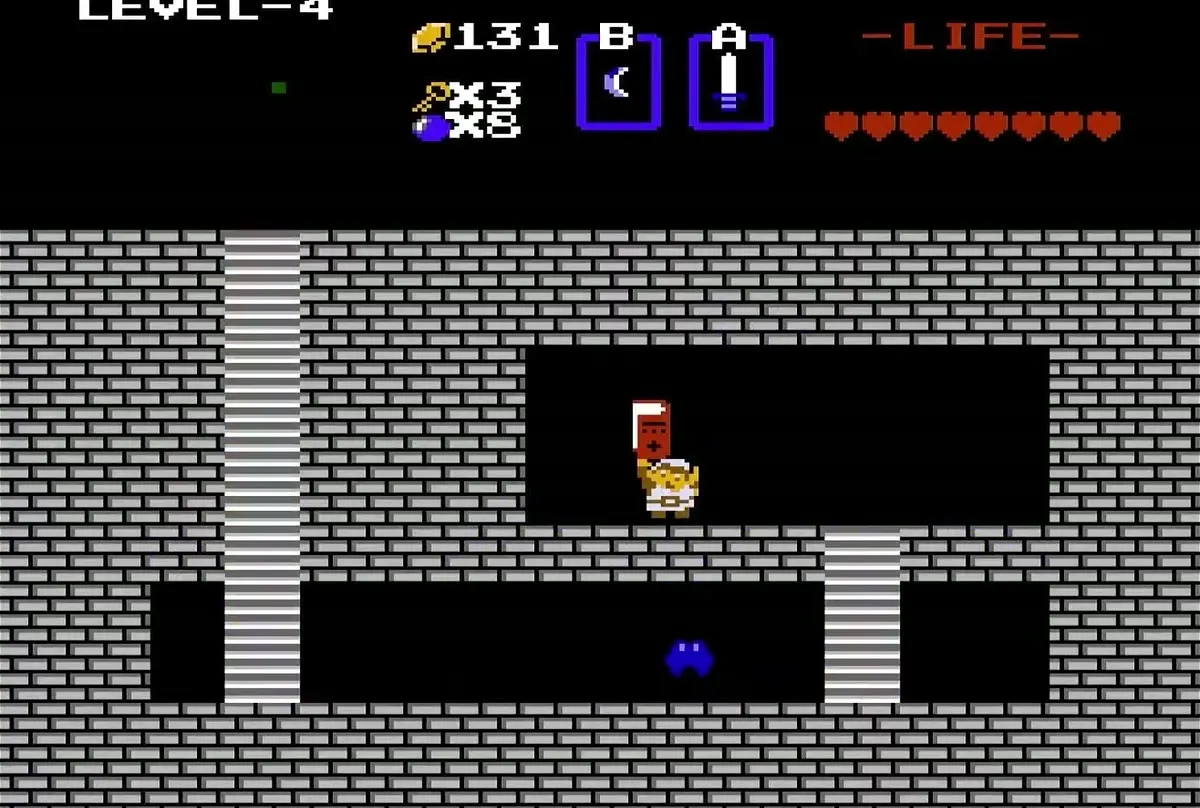
Bomb upgrade for 100 rupees
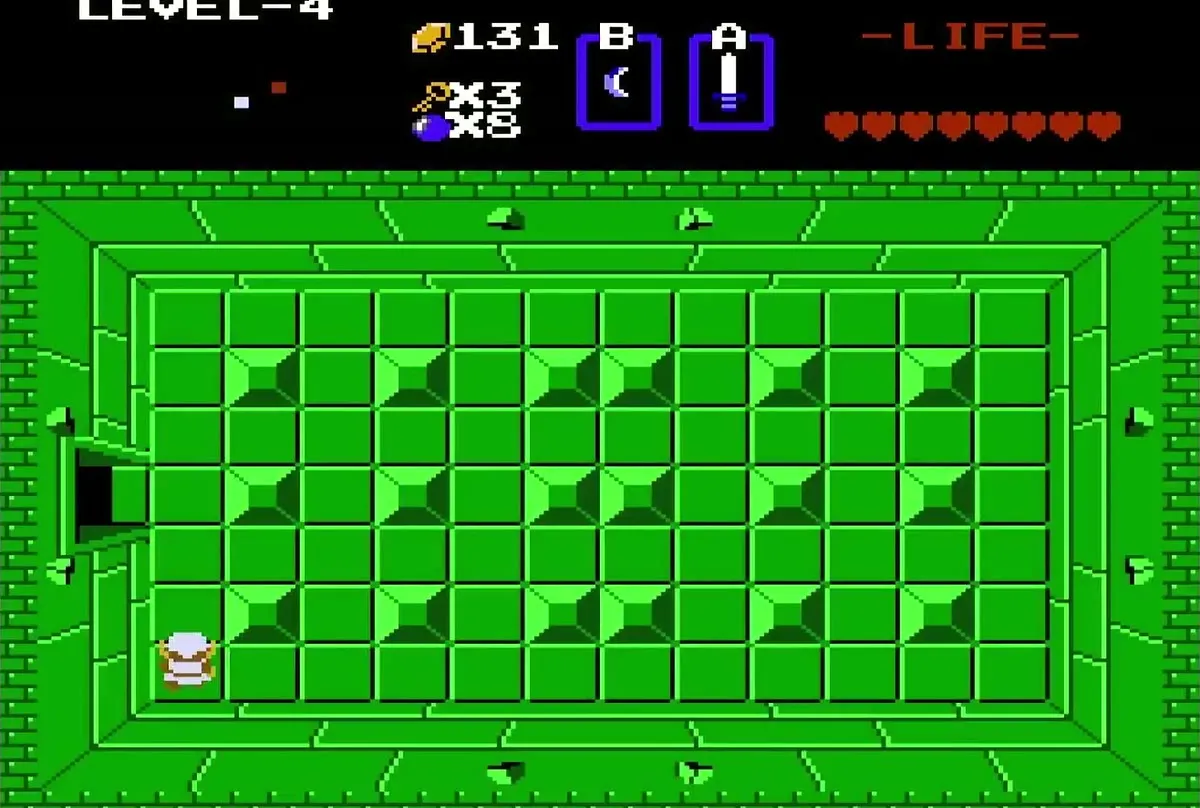
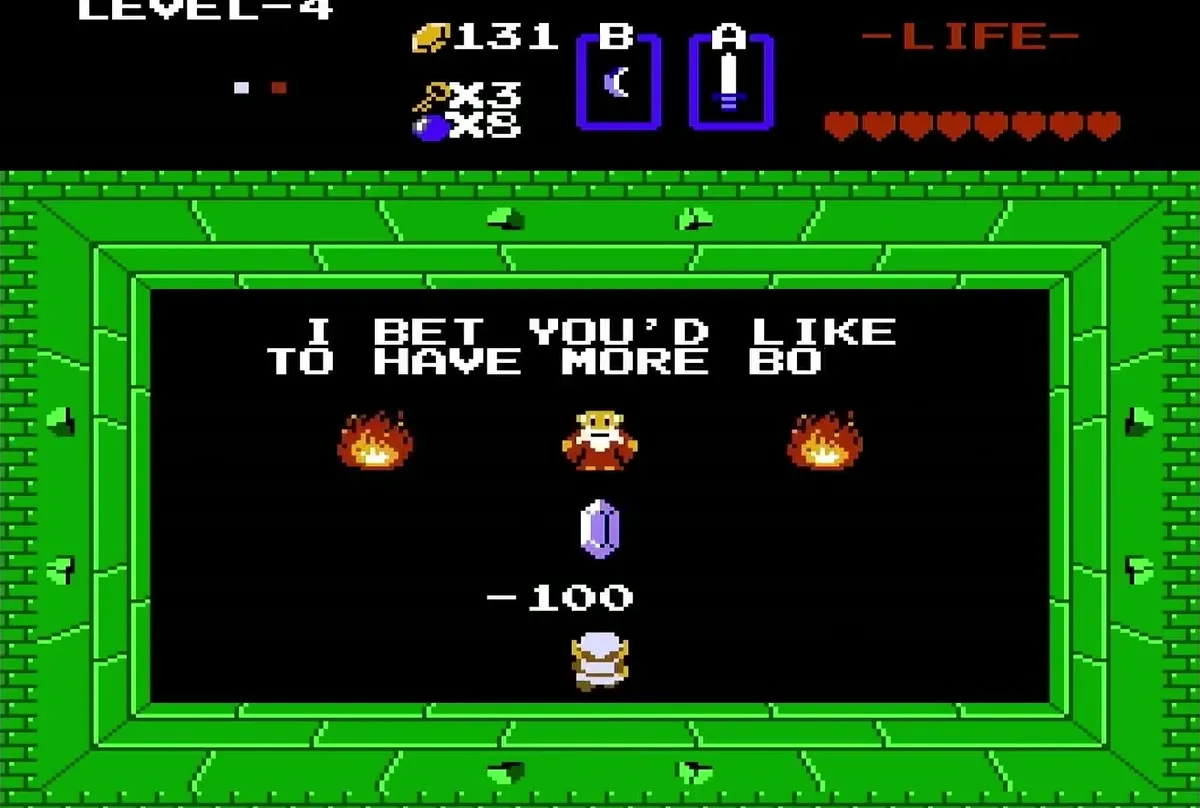
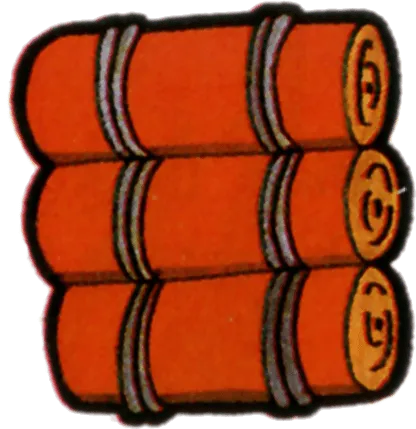
Once you have the Book, push against the top wall of the room to pass through an invisible passage to an old man. He sells a bomb upgrade for 100 rupees, which raises your carrying capacity from 8 to 12 bombs. Pay him and head back out, since you will need the rupees for the toll later.
Keys and the Map
Push against the left wall to find a second invisible passage that works in both directions. Defeat the Darknuts in that room to collect a set of bombs. Then unlock the left door and defeat every blue Darknut to get the second small key.
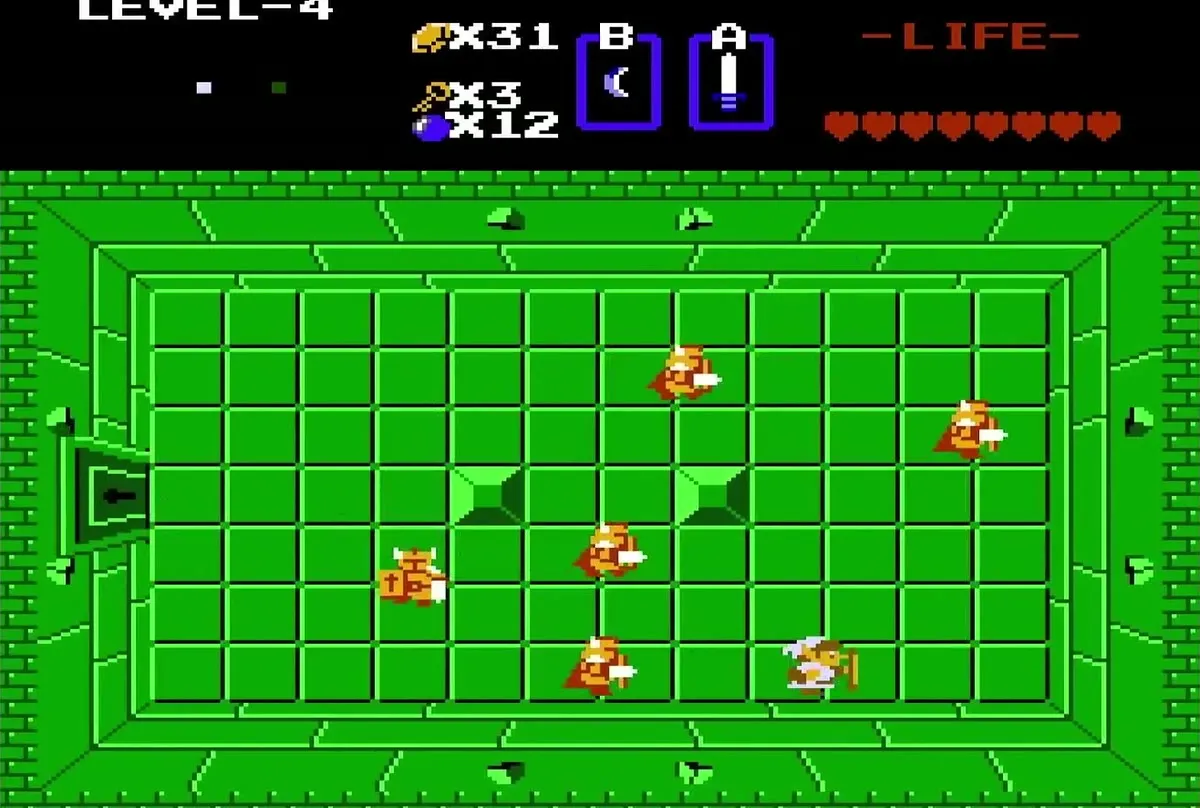
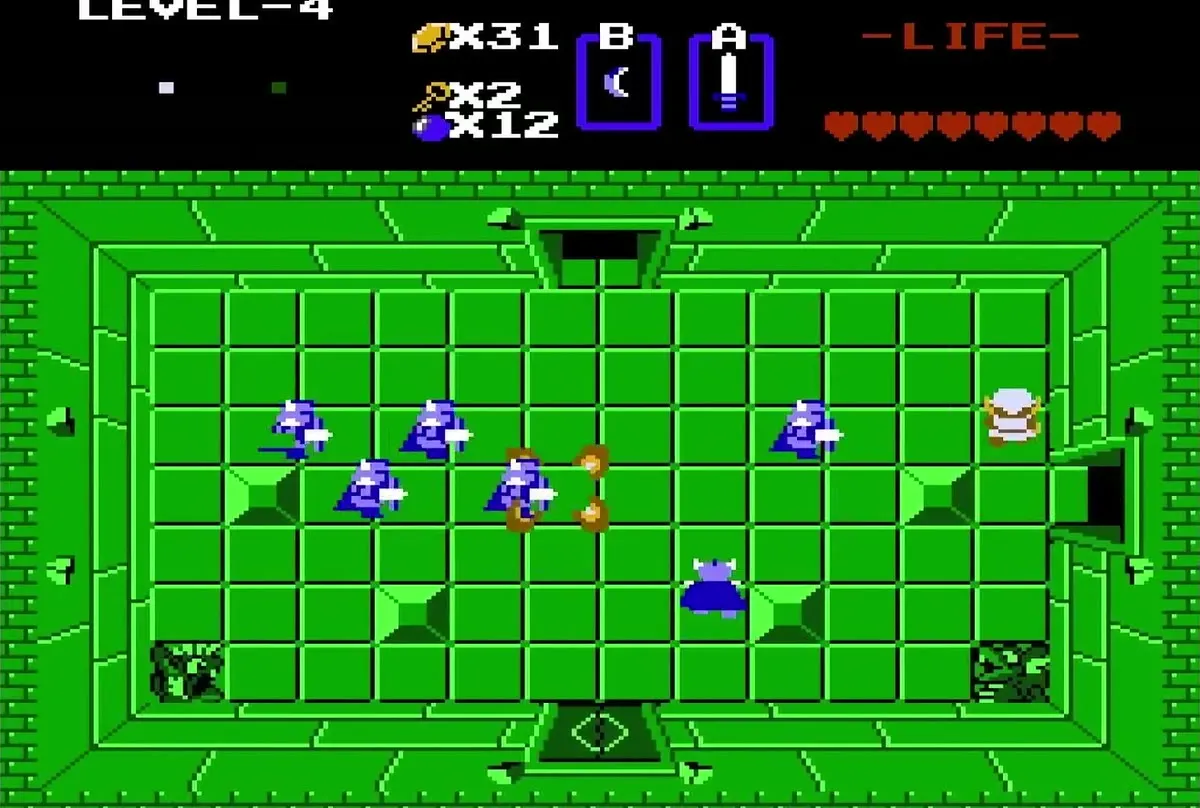
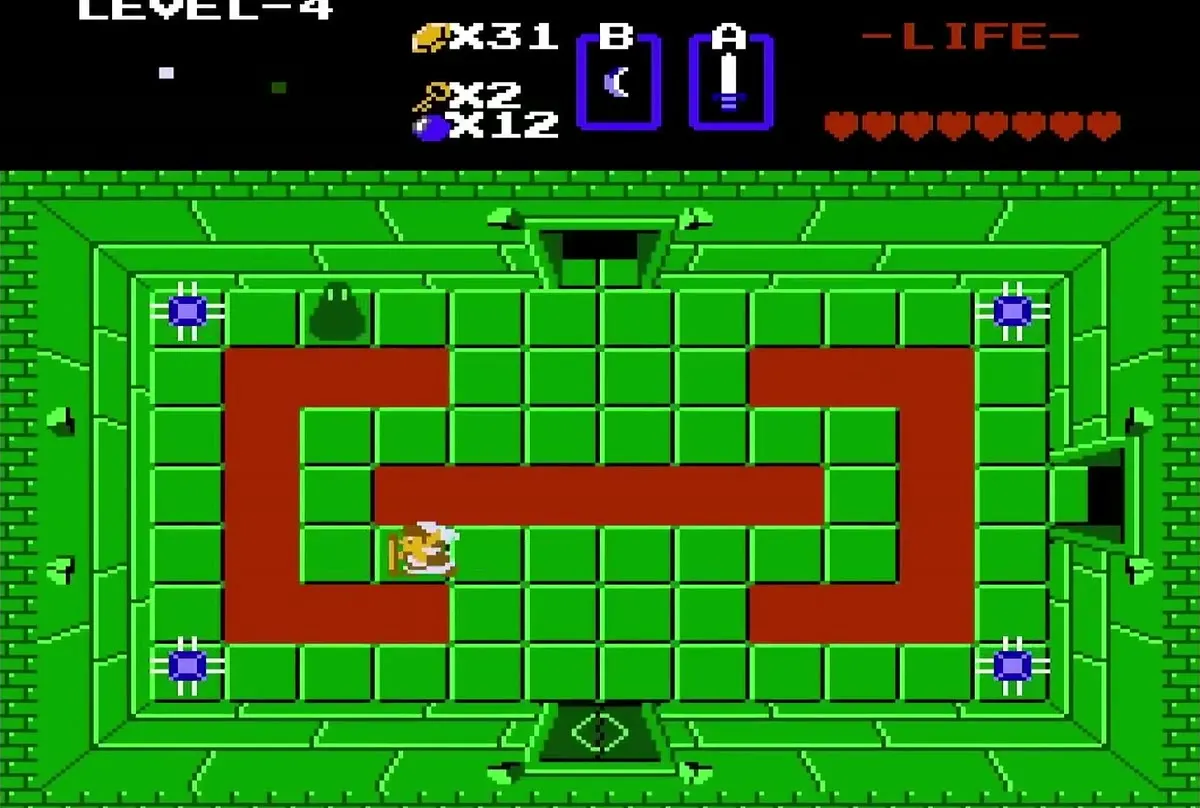
Head north through the top door, fight the Zols, and avoid the traps near the next door. In the room with the center block, push that block in the direction you walk and bomb the right wall to reach a passage. Defeat the Dodongo to open the top door, then clear the blue Darknuts for the Map.
Toll and stairs
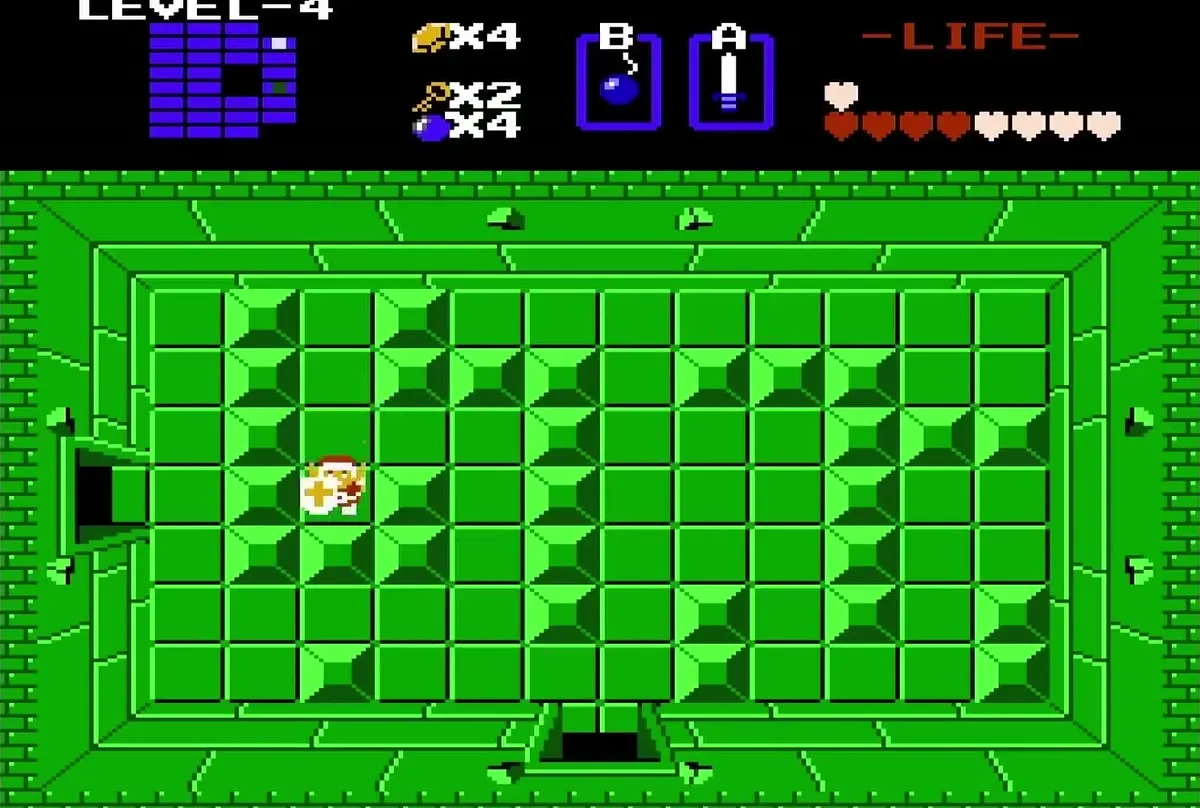
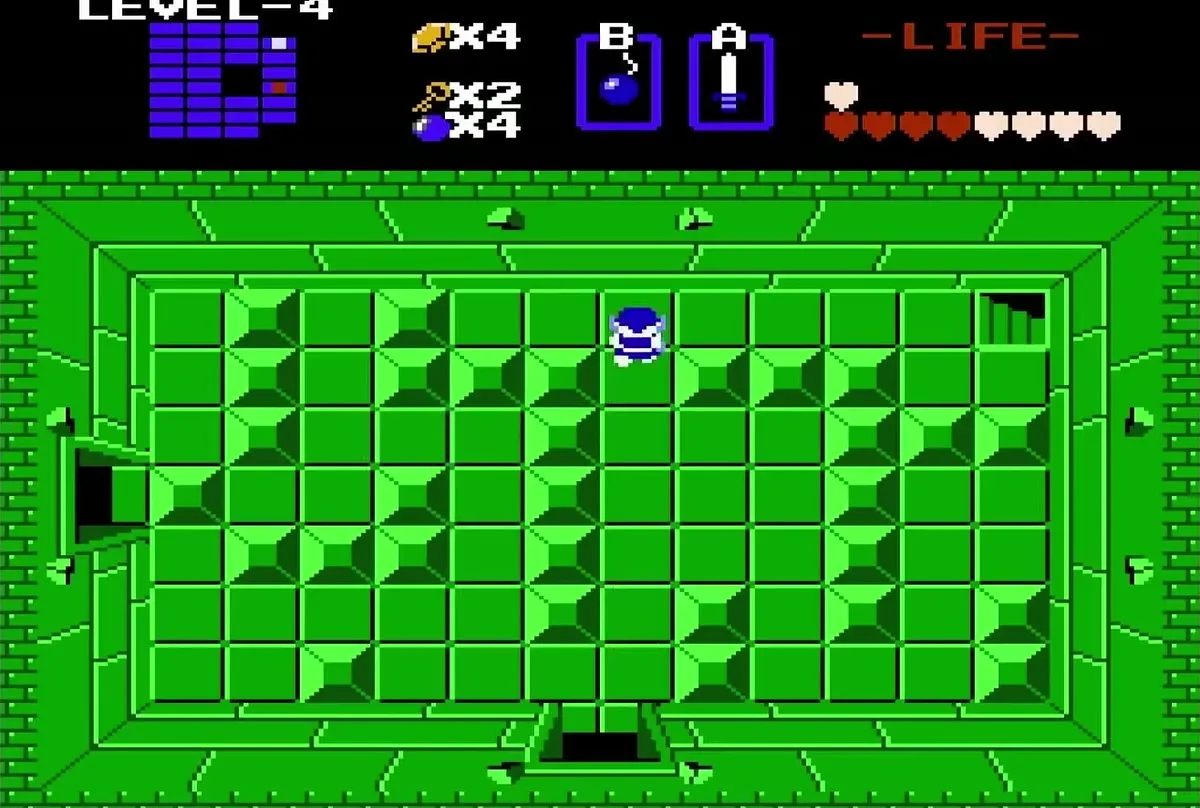
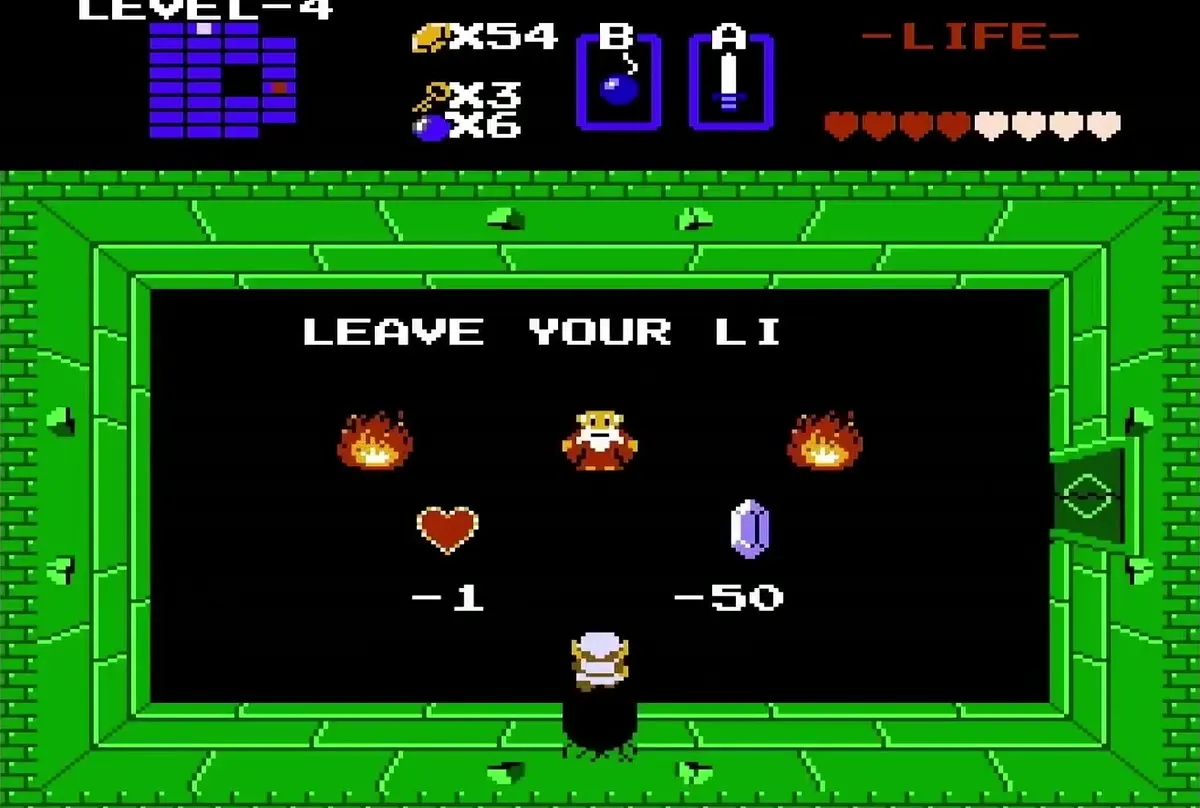
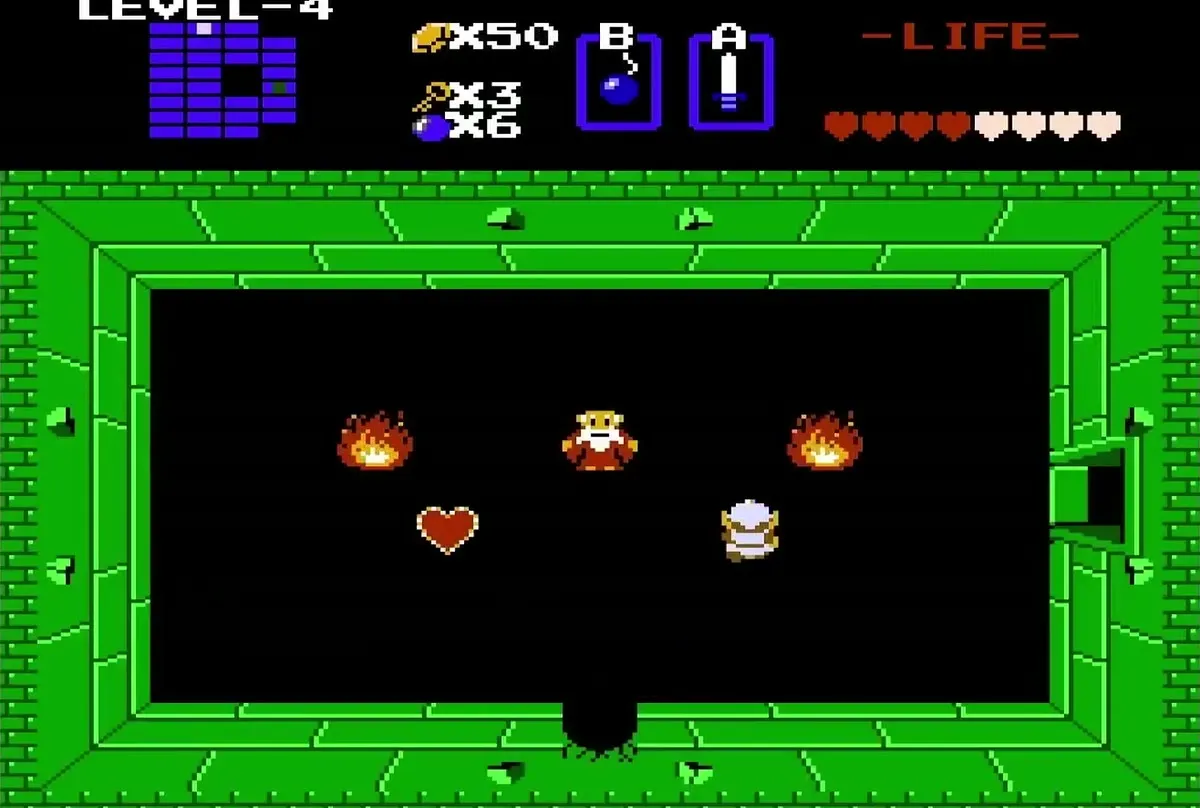
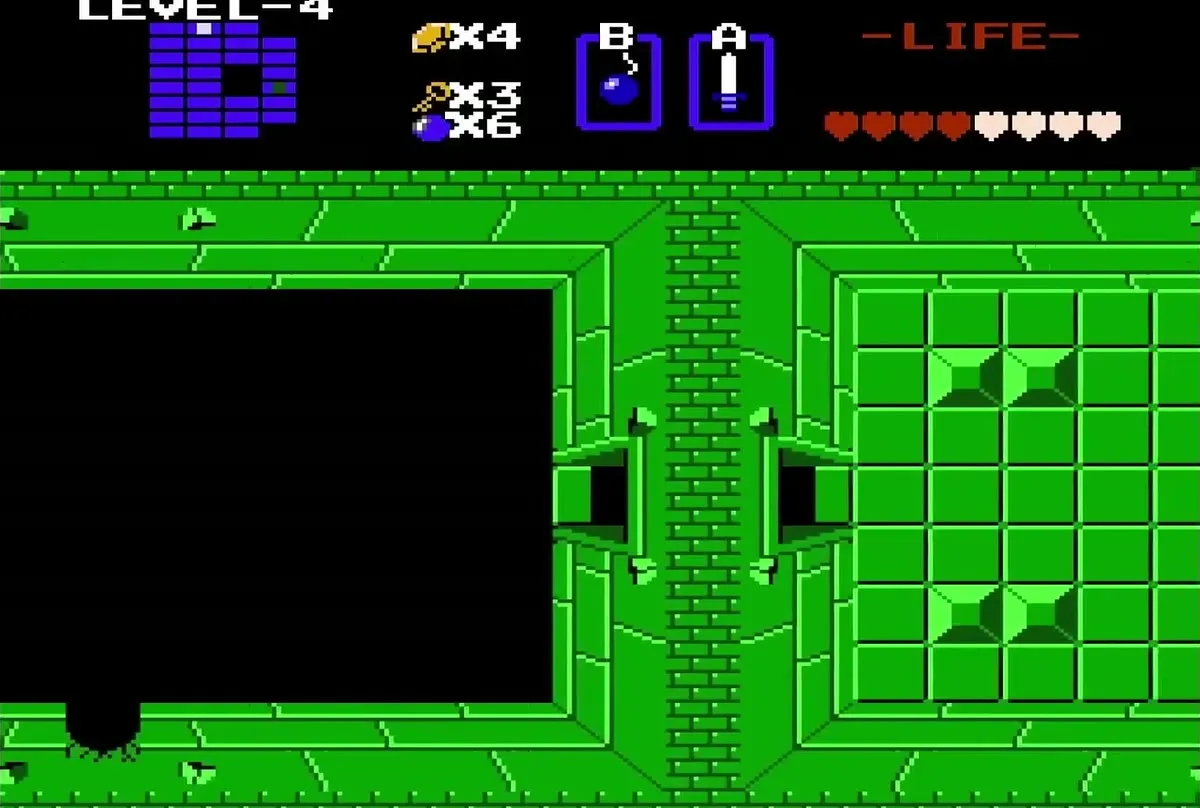
Go east, push the center block, and continue north into a room lit by the Blue Candle. Bomb the north wall to open a hole and pass through it. Here the east door asks for a toll: pay the old man 50 rupees, or give up a heart container, which is never worth it this early. Push the left-hand middle block to reveal stairs, and follow the passage back up; if a red bubble touches you there, go down to the blue bubble room, touch a blue bubble, and return.

Digdogger boss
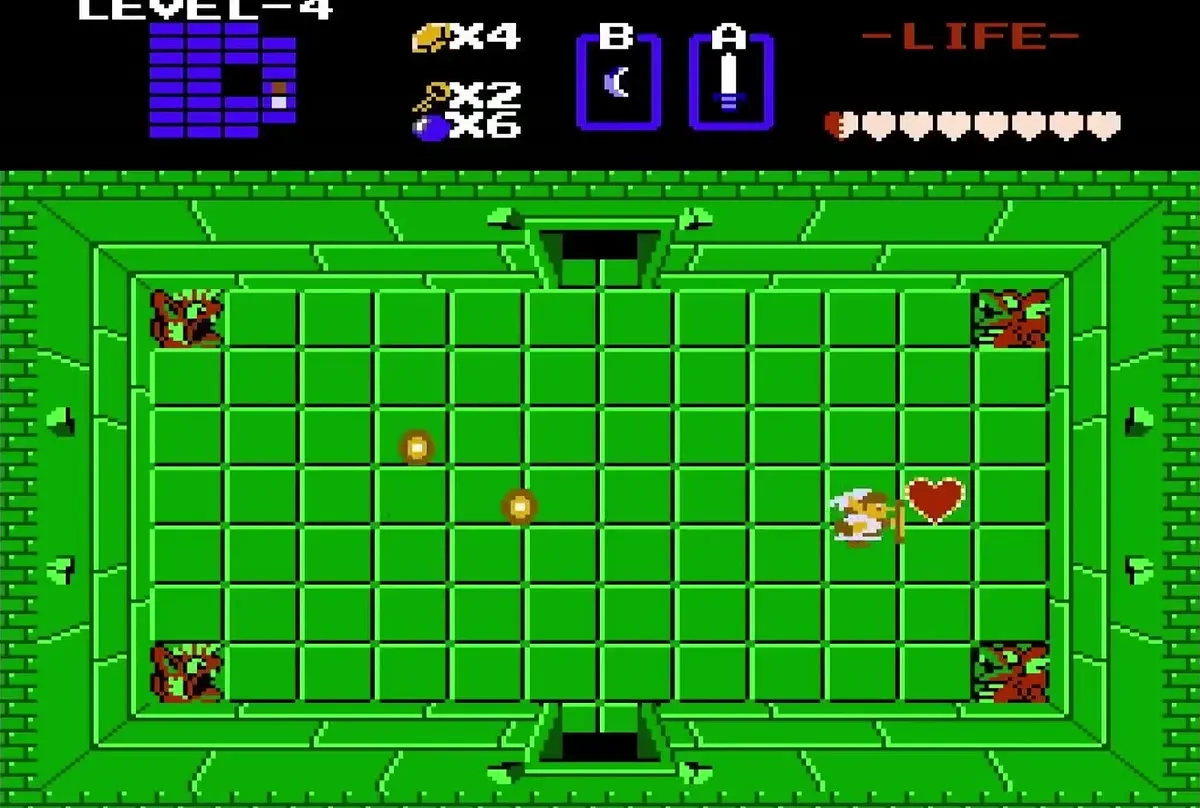
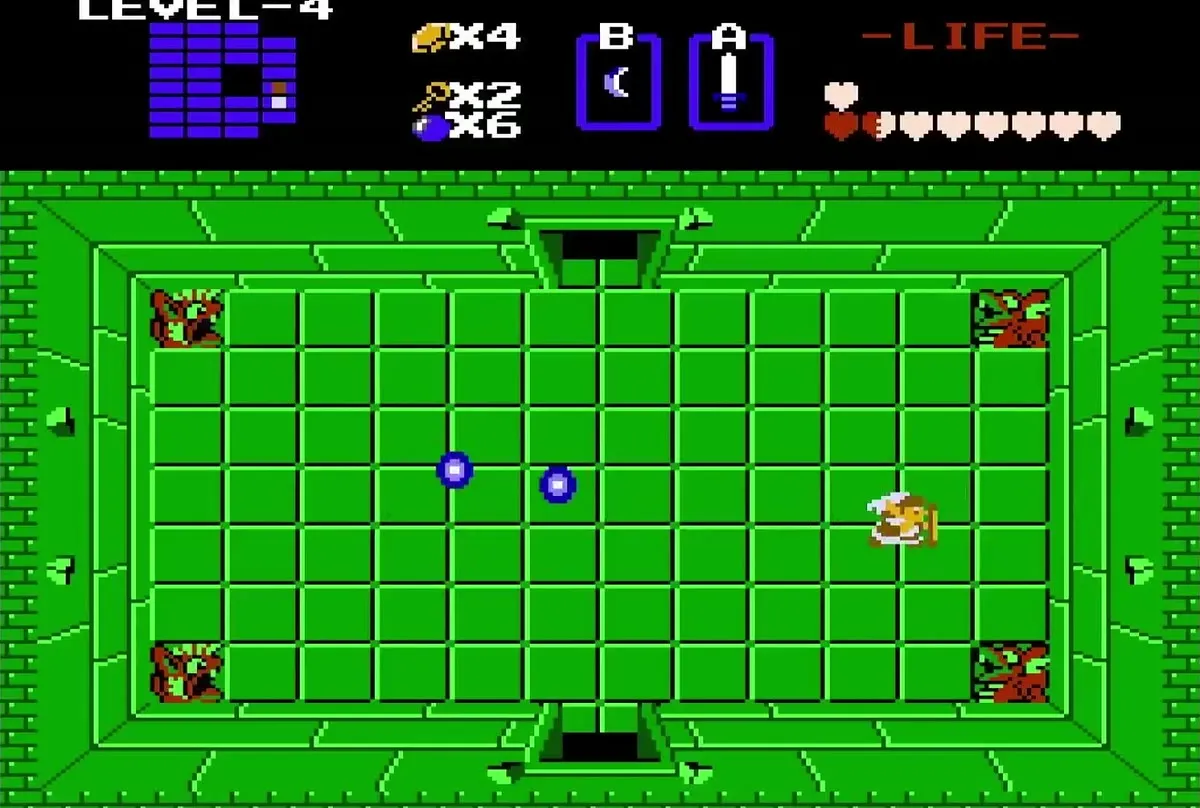
Unlock the north door to reach the boss. It is a triple-splitting Digdogger, so use the Recorder as soon as it appears and then defeat the three smaller Digdogger with your sword.
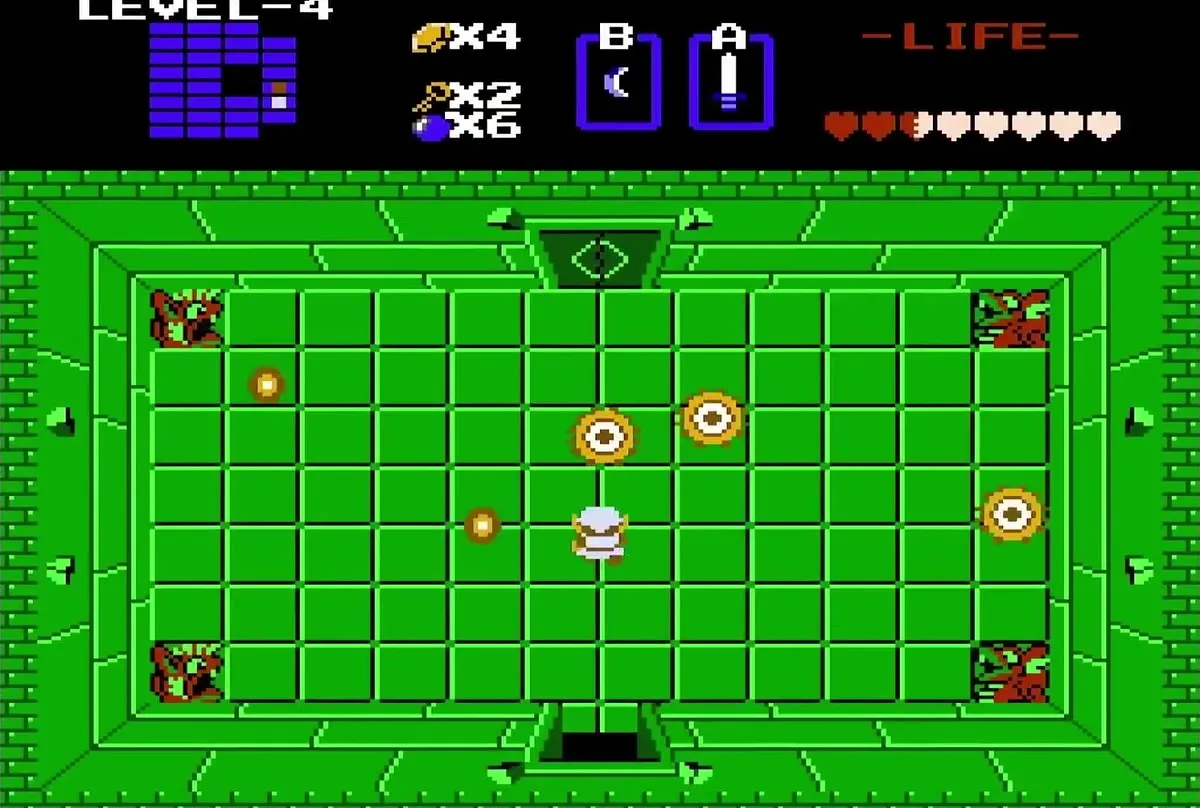
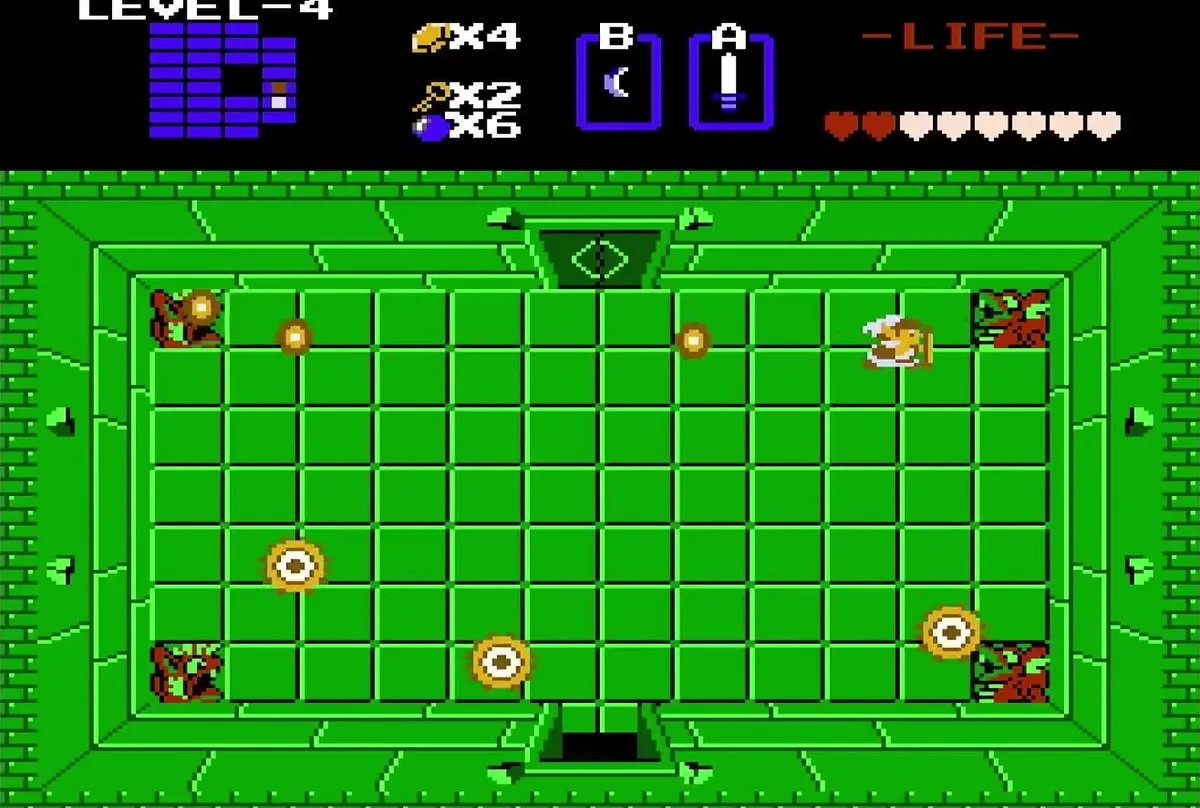
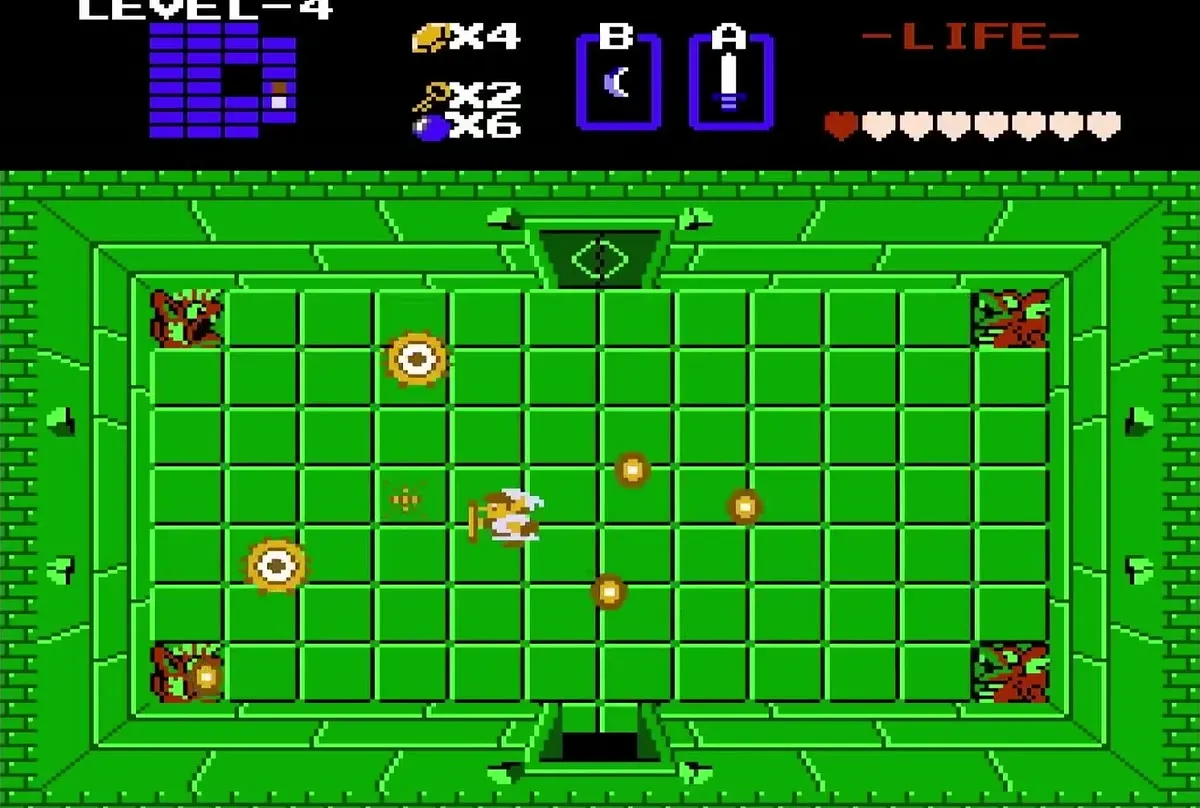
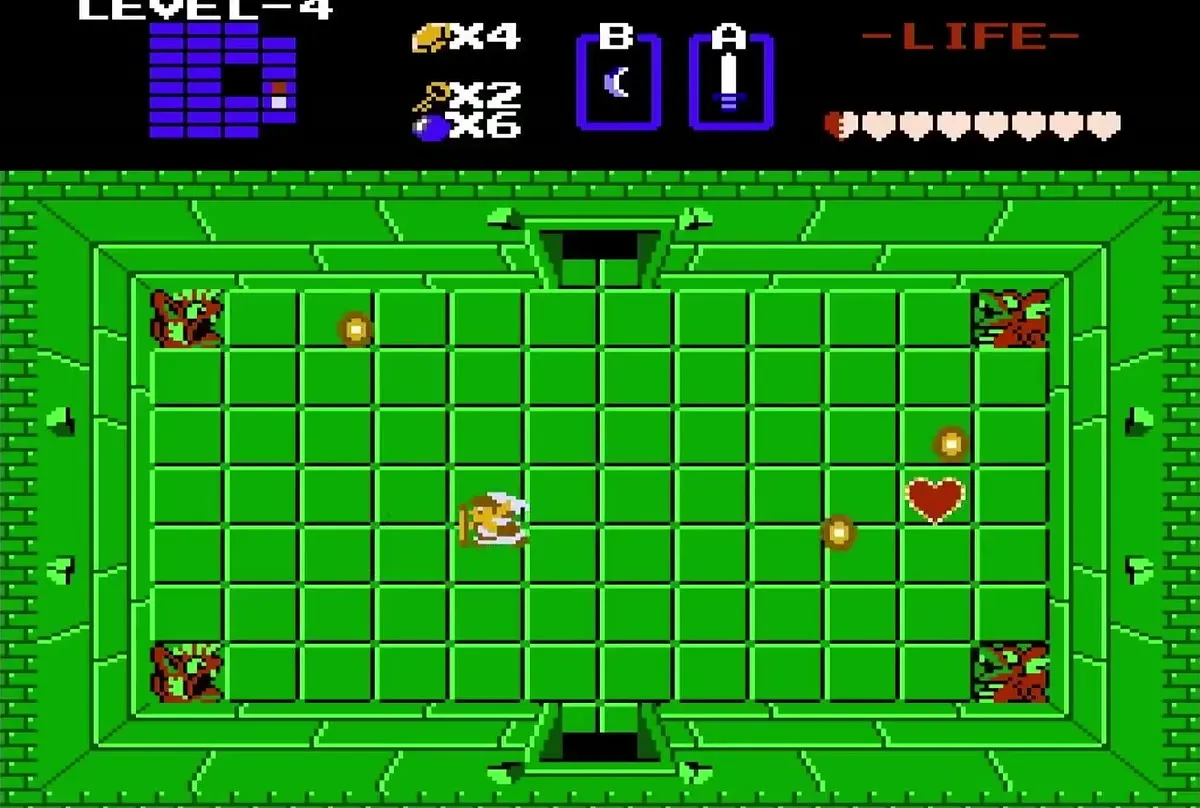
Defeating the boss drops a Heart Container. Pick it up before you move on, because it adds a heart to your maximum health for the rest of the game.
Triforce room and the Raft
The door above the boss room leads to the Triforce room. Leave the Triforce piece where it is for now. Walk around the Triforce wall and push against the top wall to pass through an invisible passage instead.

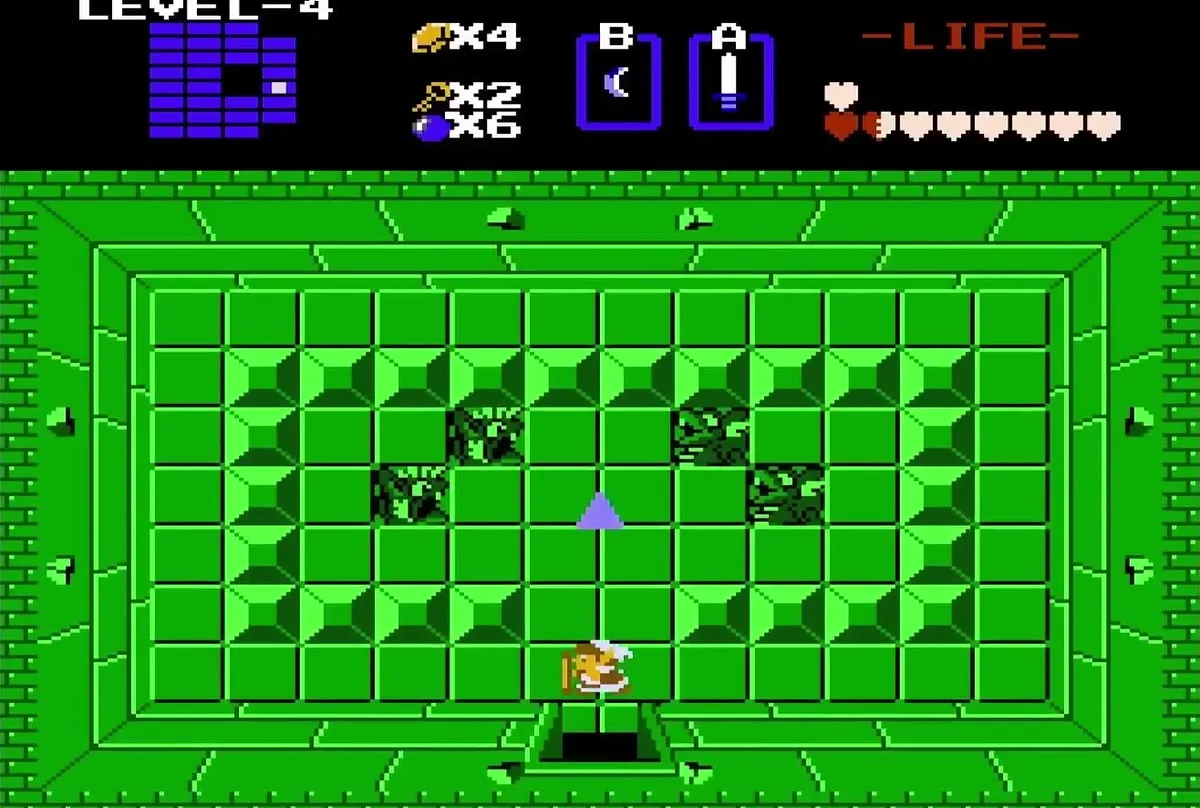
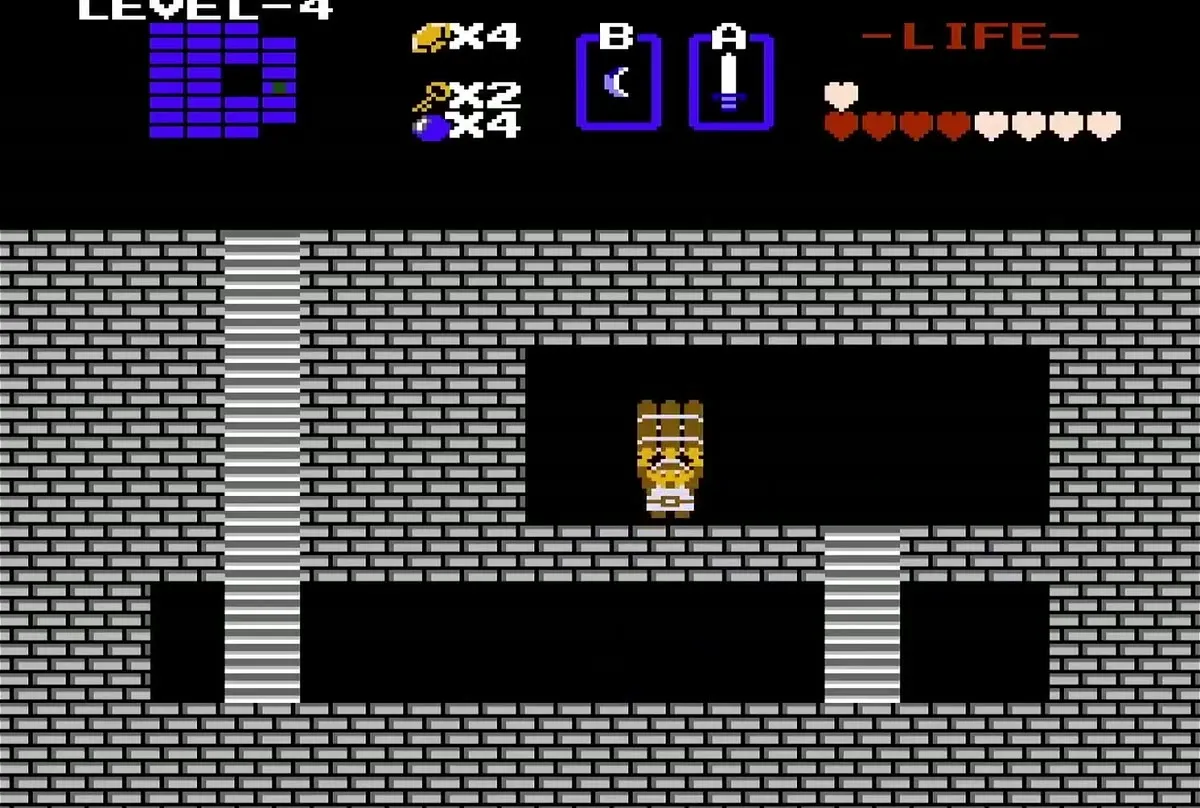
Defeat the Darknuts to open the door above, then defeat the three Dodongo to open the next door. In the room that follows, clear the Darknuts and Pol’s Voices, and push the block nearest the left door to reveal a staircase. Walk down it to collect the Raft.

Fourth Triforce piece
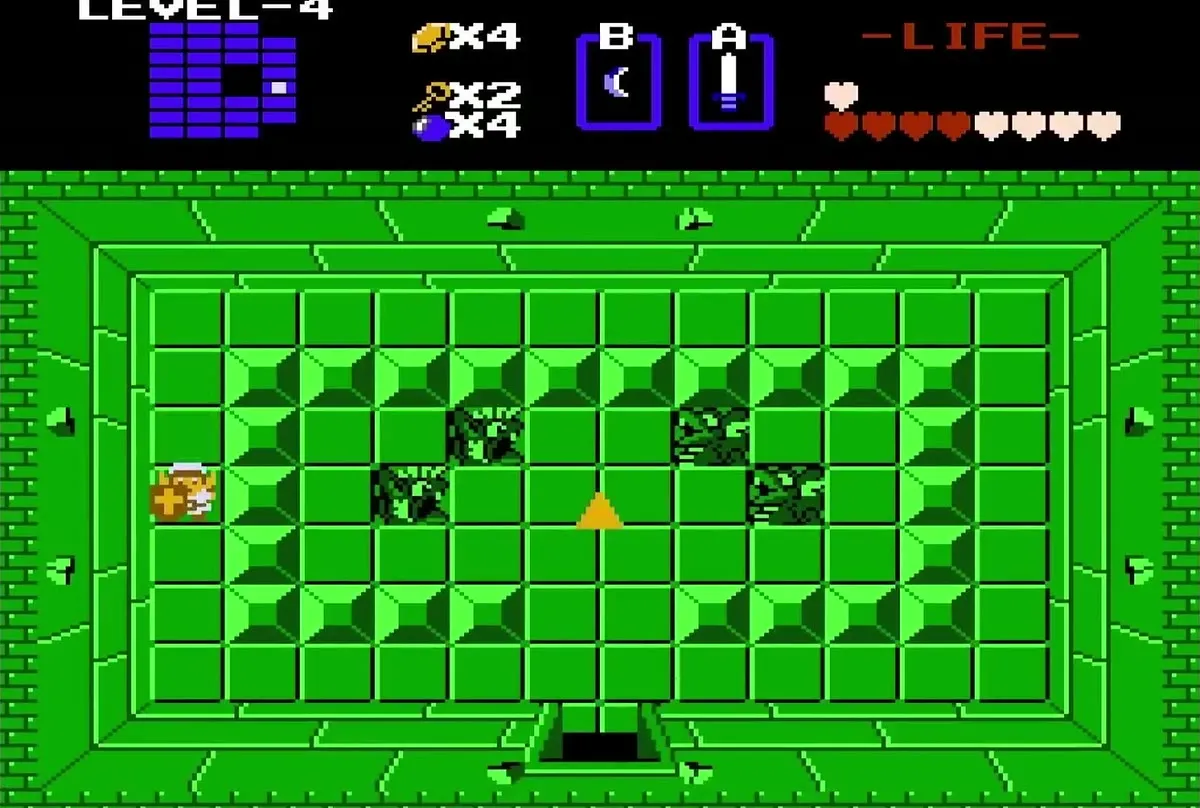
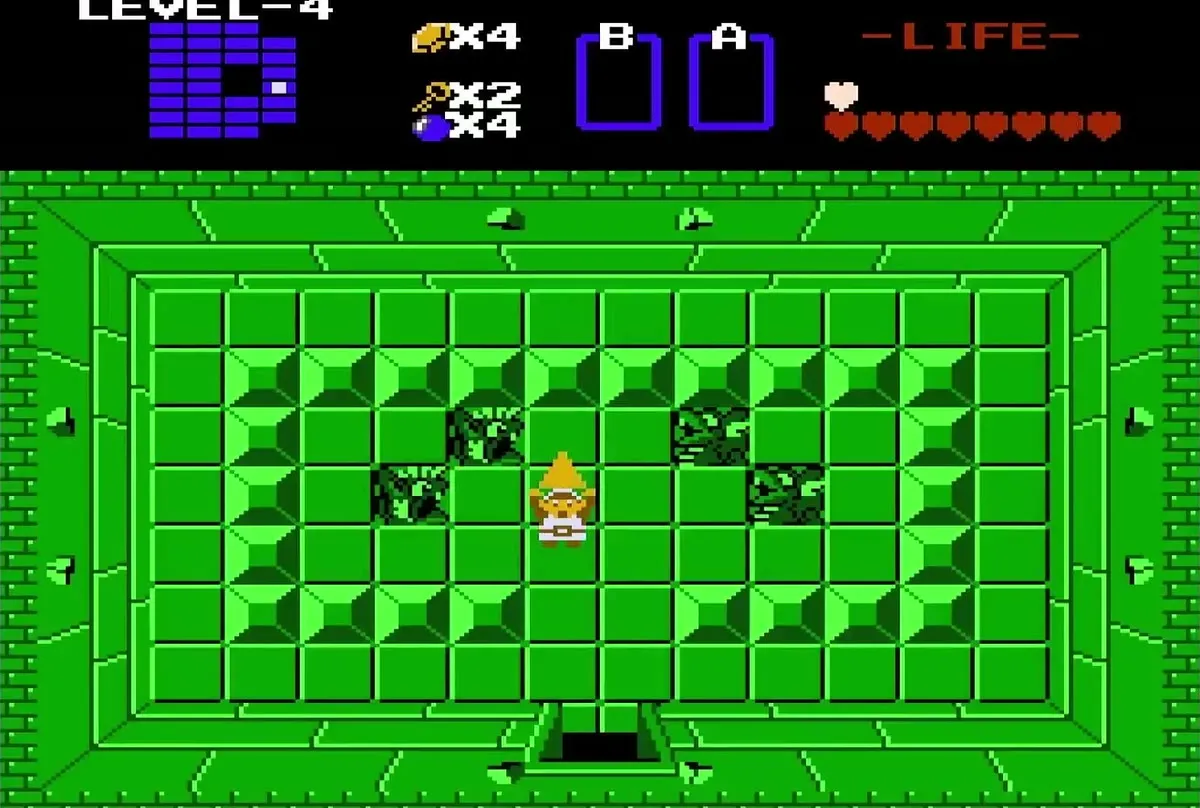
Go back up the stairs and head toward the dead end on the south side of the Raft area. Push against the middle of the south wall to pass through and claim the fourth Triforce piece. The left doorway of the Raft room is one-way, so take the Raft before you leave that side of the dungeon.
Chapter checklist
| Type | Name | Where |
|---|---|---|
| Key item | Book of Magic | Stairwell in the room past the Aquamentus door |
| Dungeon item | Compass | Room behind the Digdogger door at the top of the entrance area |
| Dungeon item | Map | Room past the Dodongo passage, after the blue Darknuts |
| Upgrade | Bomb capacity 8 to 12 | Old man beyond the invisible passage, 100 rupees |
| Key item | Raft | Staircase in the room after the three Dodongo |
| Heart Container | Heart Container | Dropped by the Digdogger boss |
| Triforce piece | Fourth Triforce piece | Triforce room, collected after the Raft |
| Keys | Three small keys on the main route | Entrance room, blue Darknut room, Gibdo room |
