





















| How to unlock | Beat the game, or enter ZELDA as your name on the file screen |
|---|---|
| Dungeons | 9, in new places and with new layouts |
| Heart Containers | 13: 8 from bosses and 5 hidden, as in the first quest |
| Triforce pieces | 8, one from each dungeon up to Level 8 |
| Bomb capacity upgrades | Level 4 and Level 8, each adding four bombs |
The Second Quest is a harder replay of the same game. Once you beat Ganon, you can start it from the same save file, or you can enter ZELDA as your name to start it straight away. Its nine dungeons sit in new places and have new layouts, the items move to new dungeons, and several enemies appear in new rooms. The totals stay the same, so you still need eight Triforce pieces and 13 Heart Containers, but you have to find them all again.
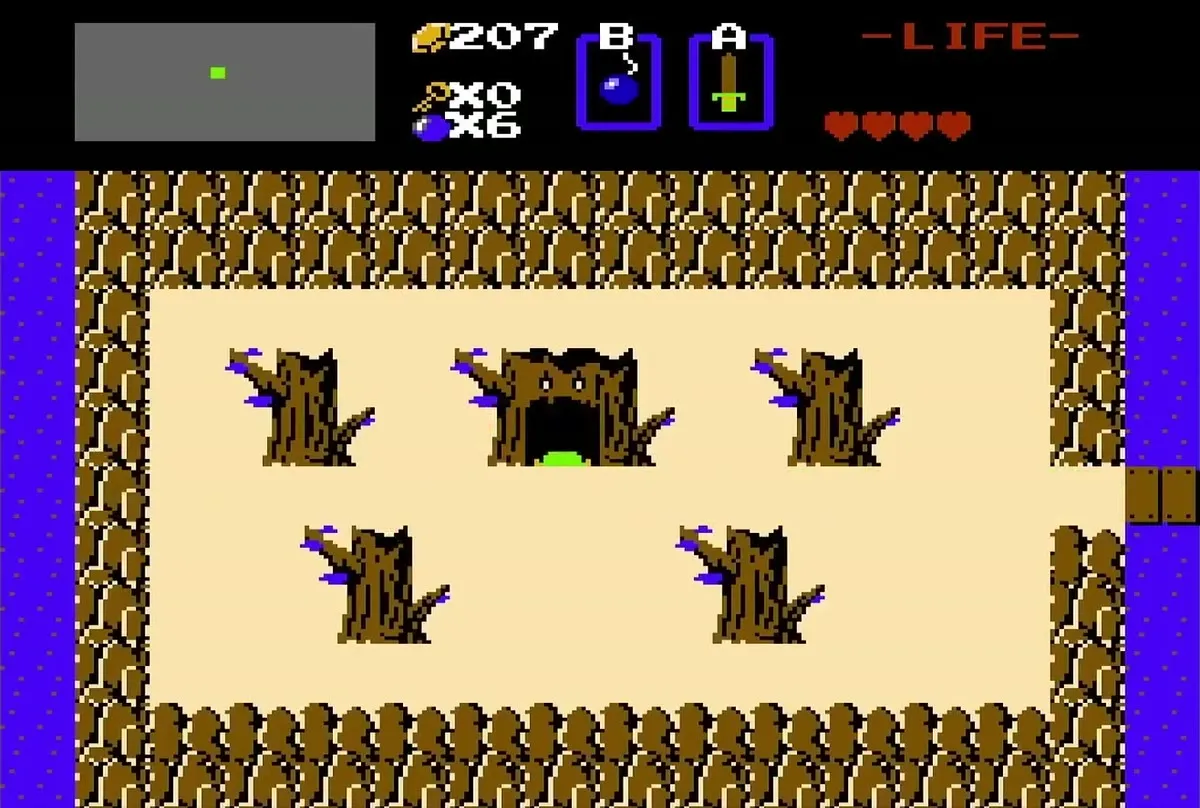
Table of Contents
Unlocking the Second Quest
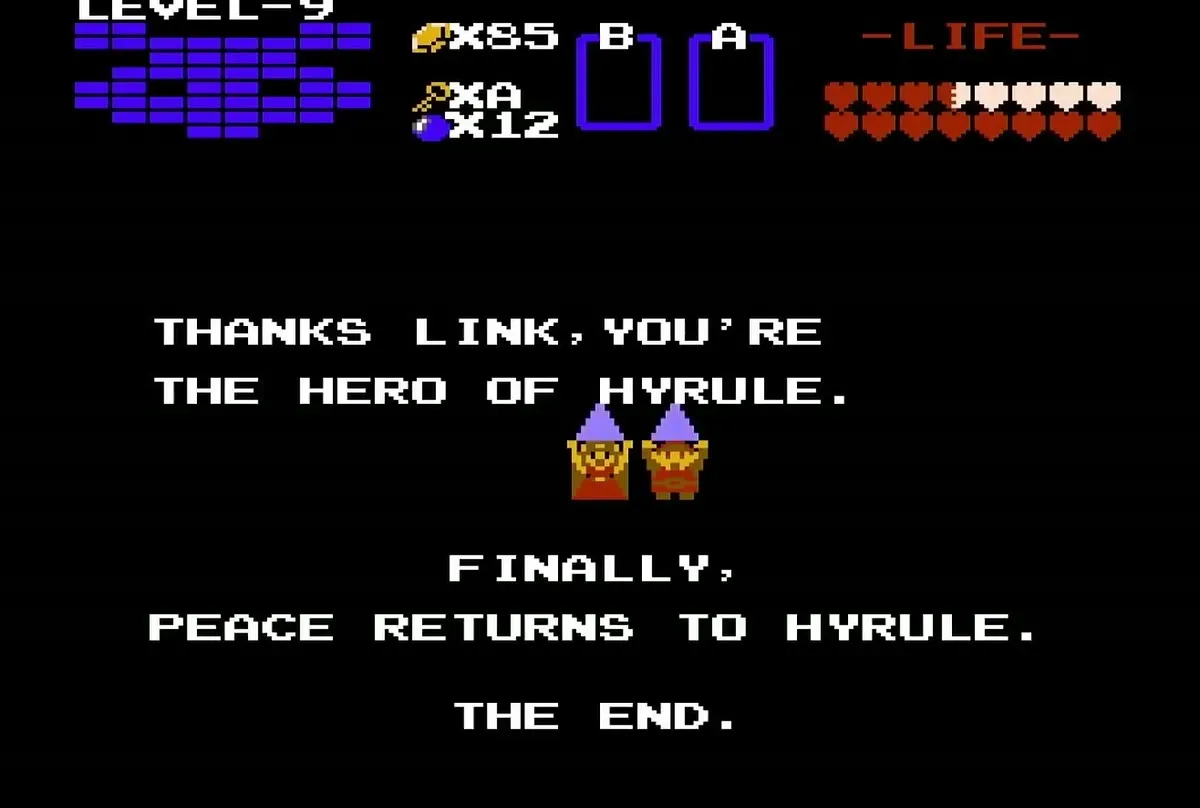
Finish the game by defeating Ganon and rescuing Zelda, and the save file keeps a Second Quest option for later. You can also enter ZELDA as your name on the file screen. Either way the Second Quest starts when you choose the file, and the save keeps the Second Quest once you finish it.
Dungeons in the Second Quest
| Level | Second Quest entrance | Main item | Boss |
|---|---|---|---|
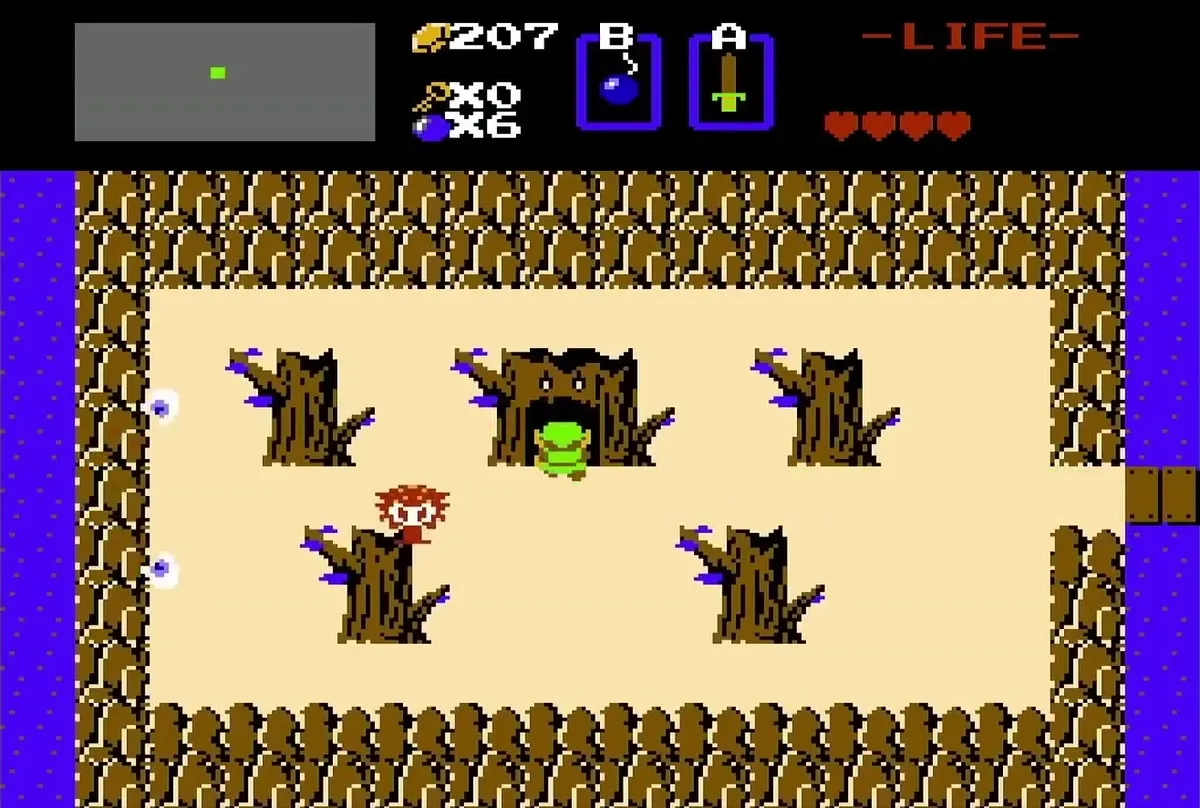
| 1 | H4, the dead tree on the island across the lake bridge, the same as in the first quest | Wooden Boomerang | Aquamentus |
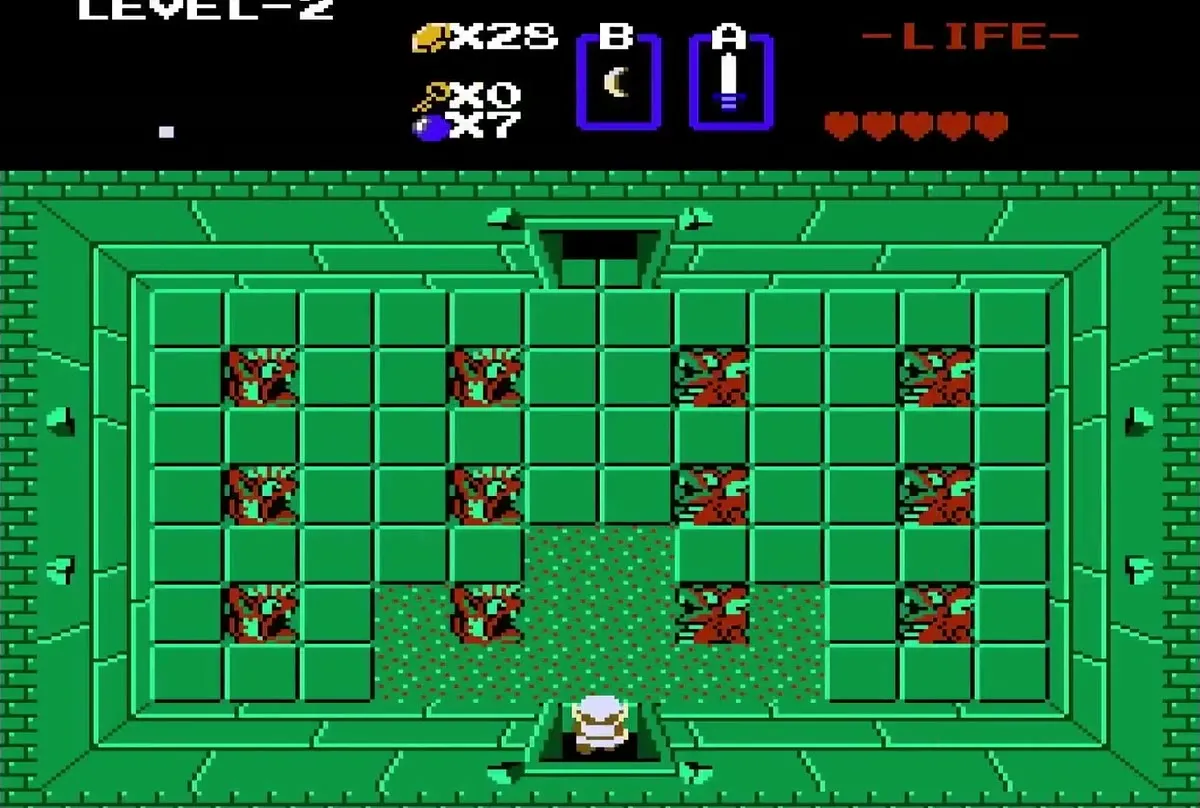
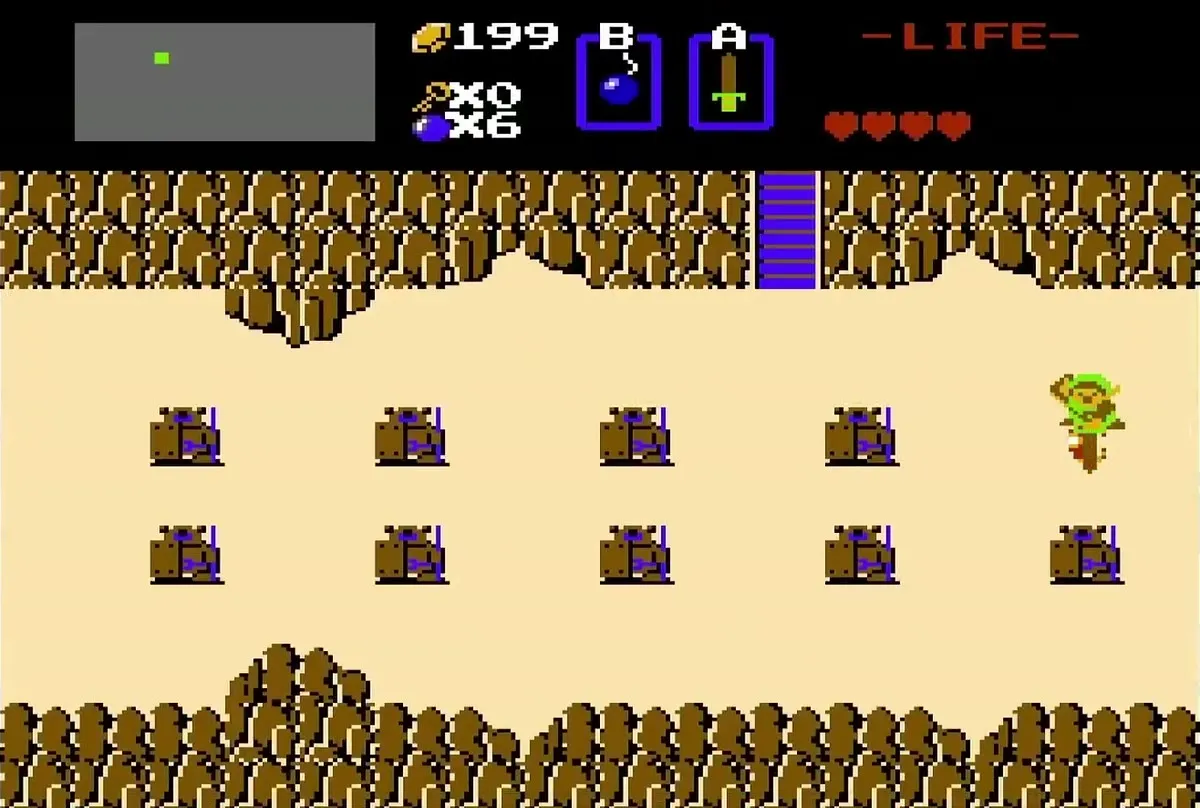
| 2 | E4, the stairway under the middle Armos of the top row, where the Blue Ring shop used to be | Recorder | Gleeok |
| 3 | M4, the lake where the first quest’s Level 2 stood; play the Recorder to open it | Magical Boomerang | Three Dodongos |
| 4 | L2, the Lost Hills screen: lift the easternmost boulder (bring the Power Bracelet) | Book of Magic, Raft and a bomb upgrade | Digdogger |
| 5 | F5, the island in the central lake, reached by Raft from the dock at F6 | Bow | Three-headed Gleeok |
| 6 | A4, a headstone in the graveyard; play the Recorder to open it | Stepladder | Blue Gohma |
| 7 | M7, a tree in the south-east forest, burned with a candle | Red Candle | Four-headed Gleeok |
| 8 | J2, use the Ladder to reach the river, then bomb the cliff wall above it | Magic Rod, Magical Key and a bomb upgrade | Three Dodongos |
| 9 | A1, bomb the middle of the north wall in the far north-west corner | Red Ring and Silver Arrow | Ganon |
Level 1: Eagle

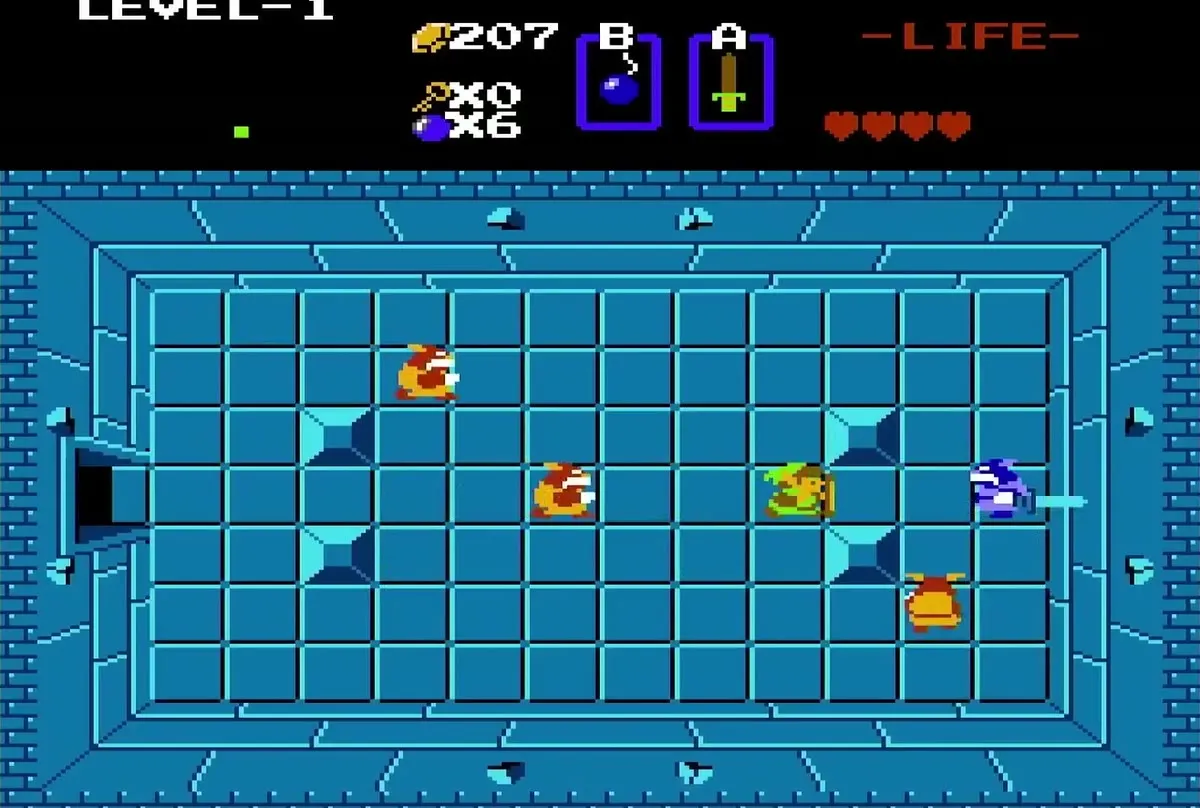
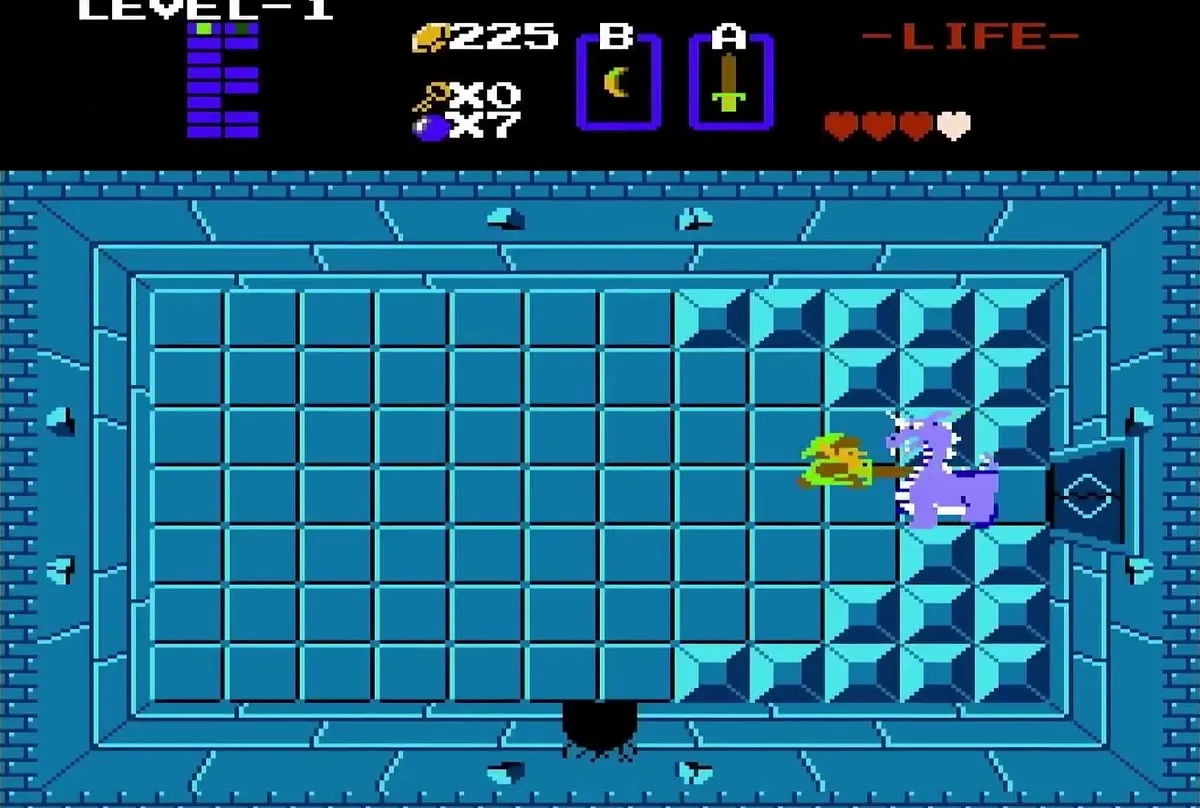
The entrance to Level 1 is in the same place as before, so the first trip is familiar. The layout is new and much larger, and the middle section is optional: it holds a spare key, some bombs and a map, but the map costs bombs to open. The only main item here is the Wooden Boomerang, which a group of Goriyas guards in the right-hand room. Aquamentus waits at the end.
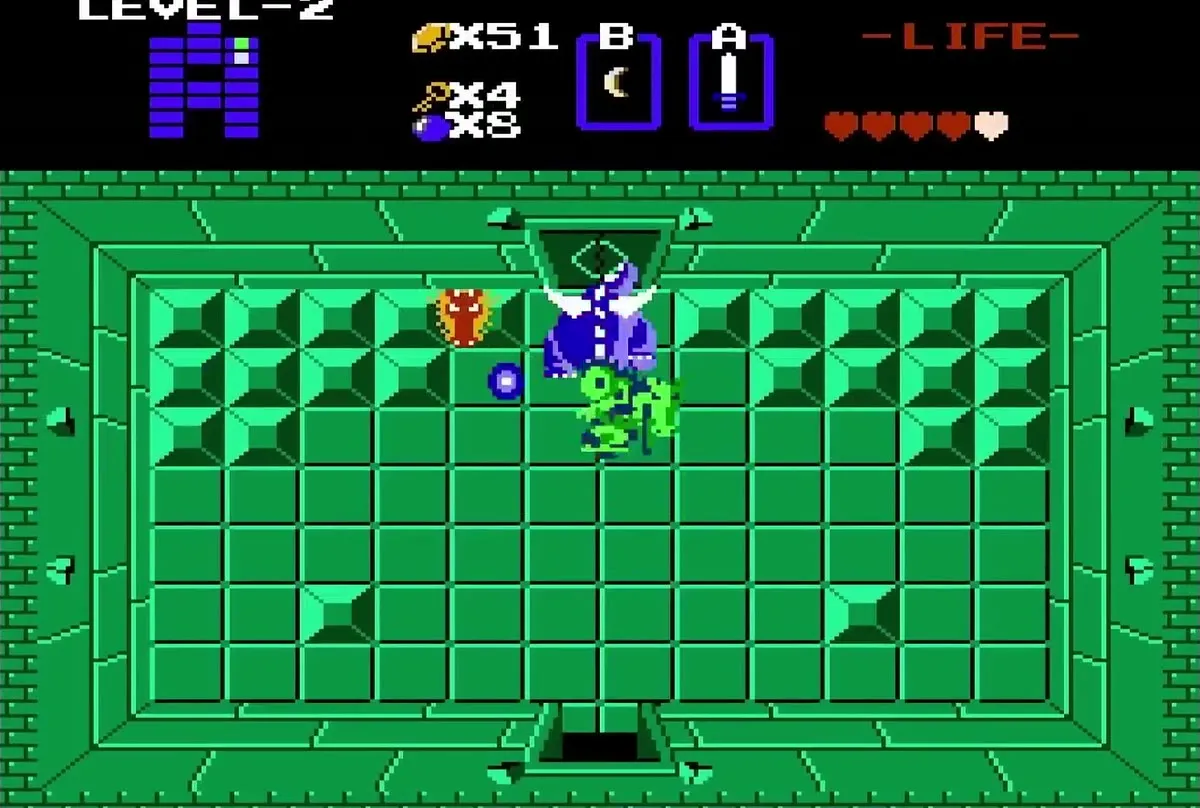
Level 2: Moon
The entrance to Level 2 sits under an Armos, in the spot where the Blue Ring shop stood in the first quest. The main item is the Recorder, and a Manhandla guards the way to the boss, a Gleeok. Level 2 is shaped like the letter A, and its colour scheme is green.

Level 3: Manji

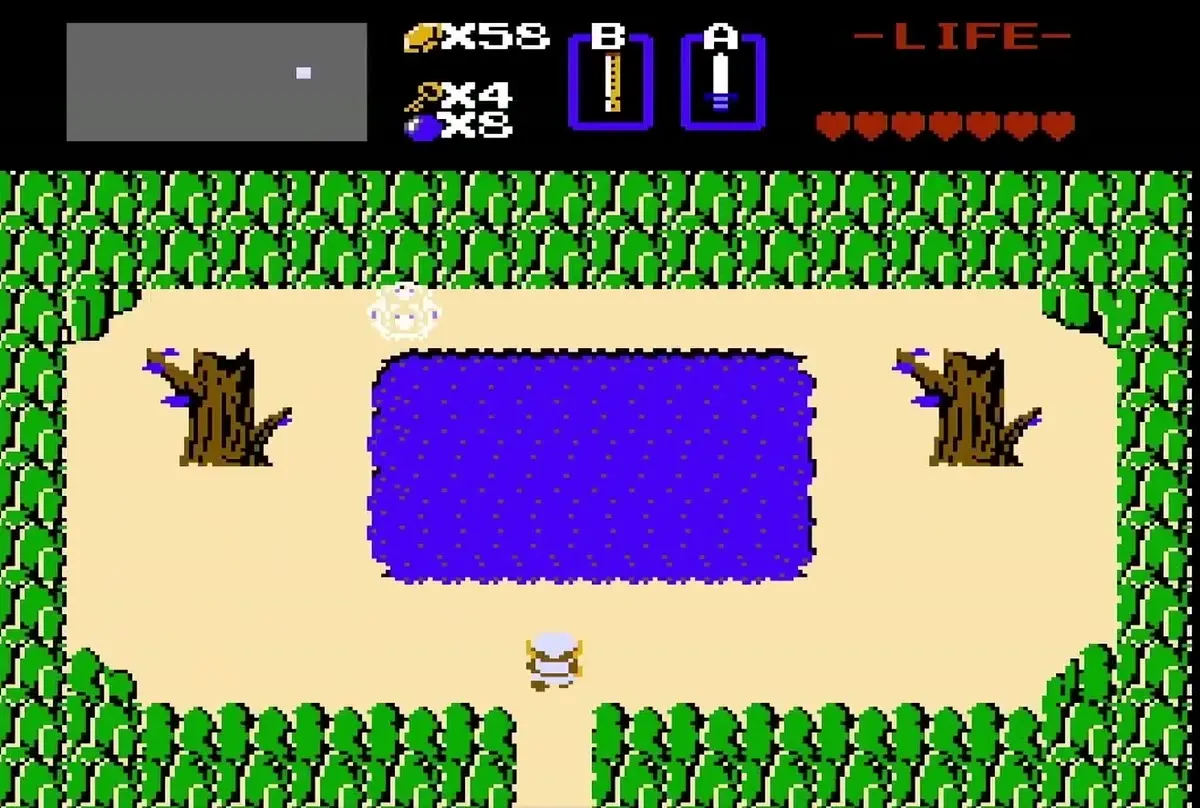
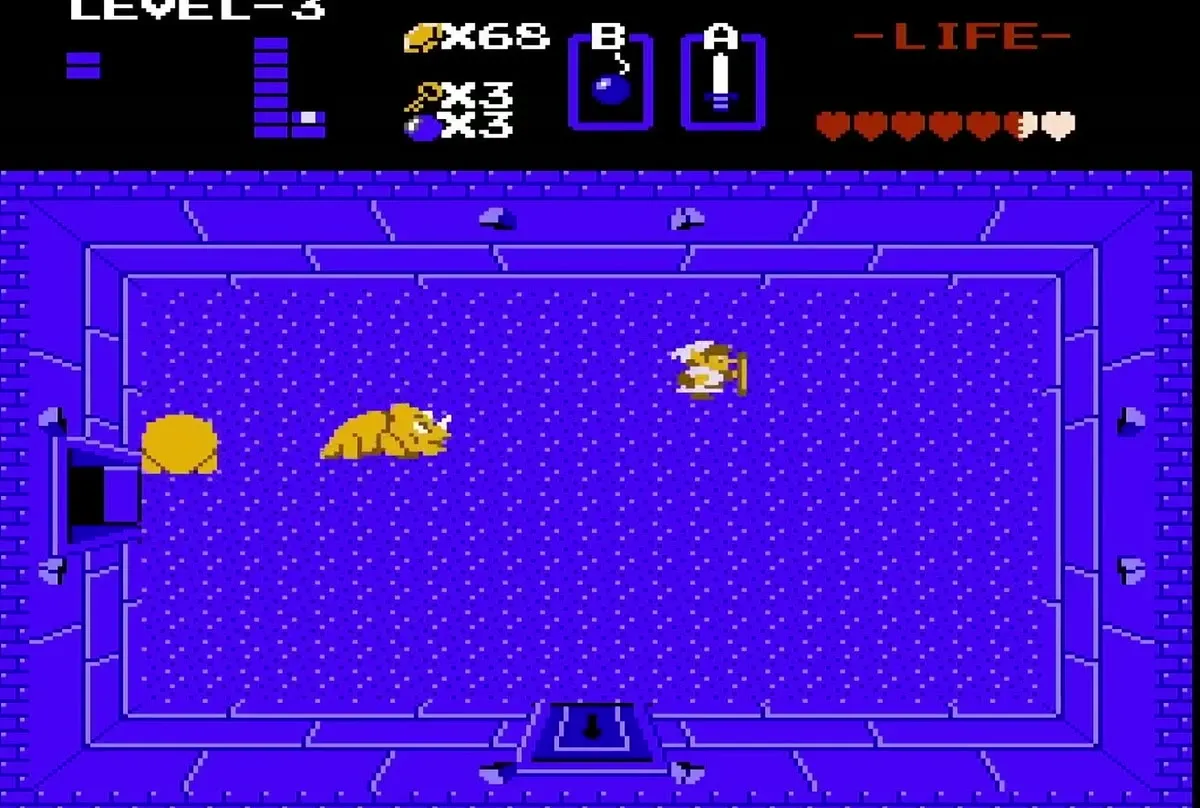
Level 3 is under a pond on a green hill in the east, and you need the Recorder to drain it and reveal the staircase. The main item is the Magical Boomerang, which sits behind a hungry creature that lets you pass only when you hand it Monster Bait, sold for 60 rupees in the north-east shop. Three Dodongos are the boss.

Level 4: Snake

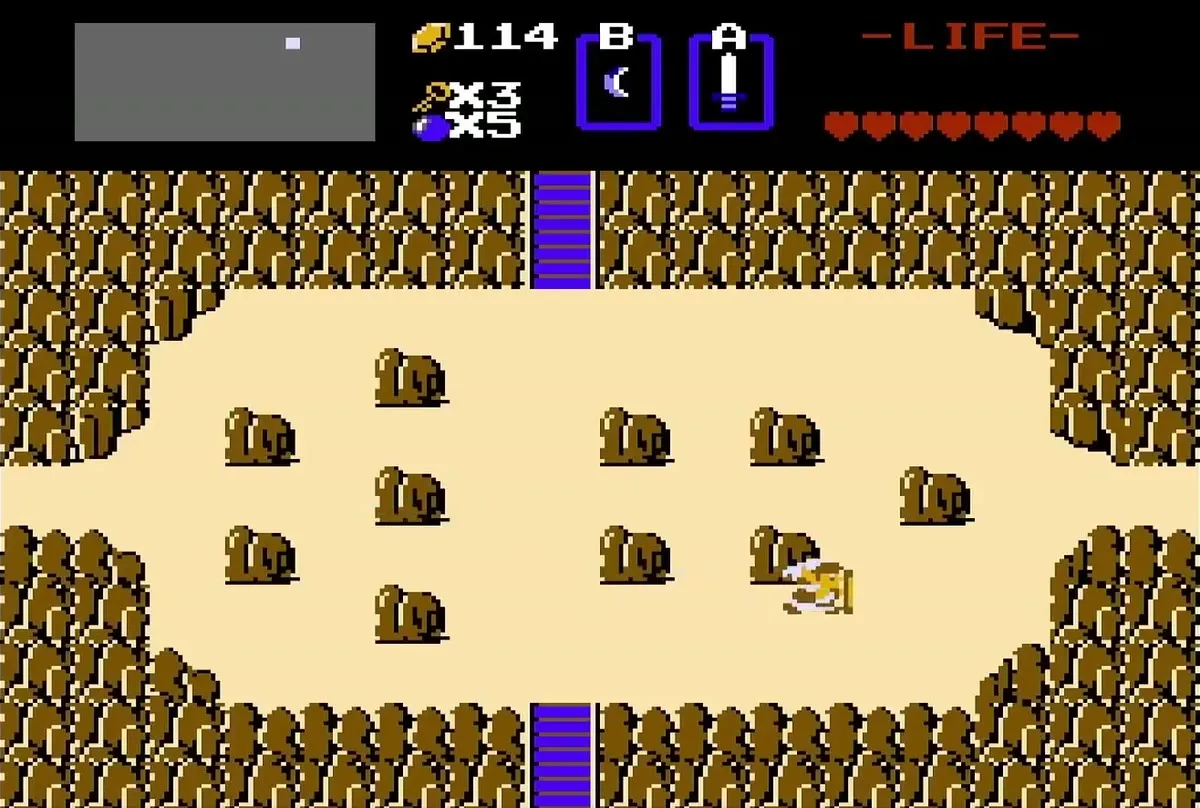
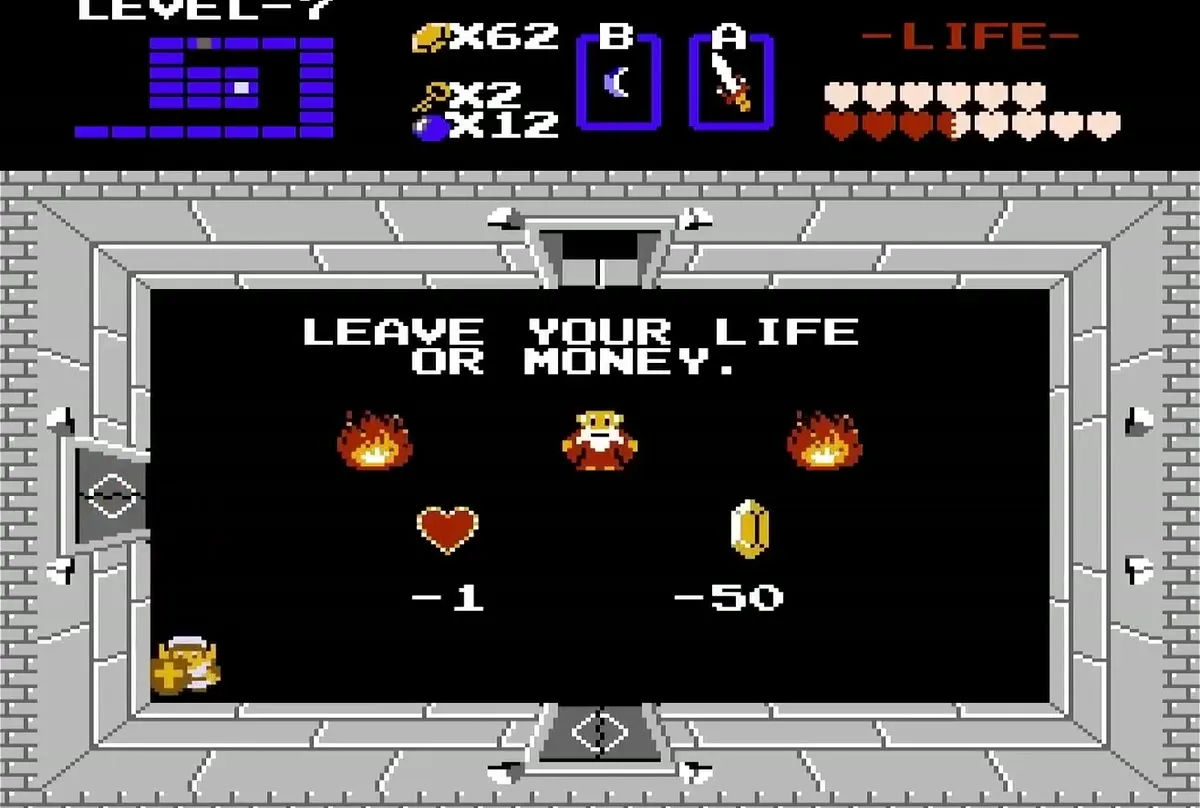
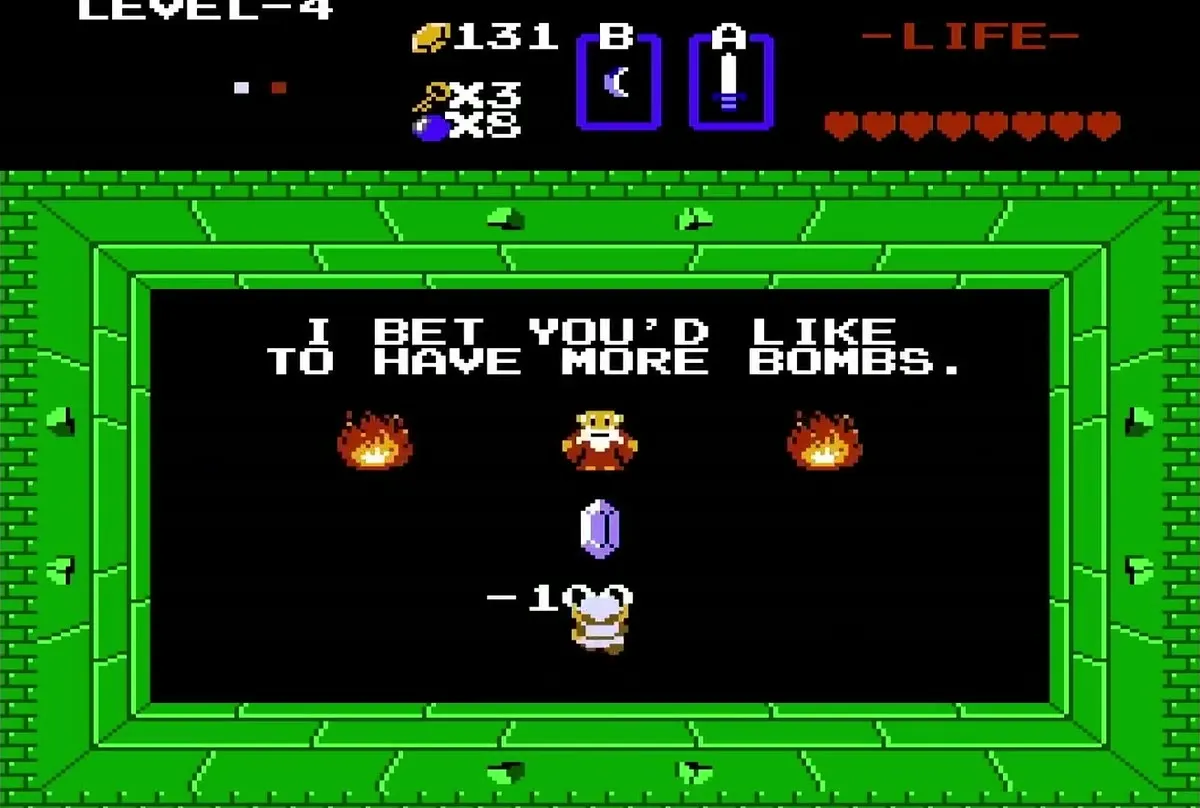
Level 4 is inside the Lost Hills, not above them, and you reach it by lifting a boulder with the Power Bracelet. Bring at least 50 rupees: an Old Man further in wants 50 rupees or a Heart Container before he lets you through, and Level 7 has one more toll of the same kind. This dungeon brings in red Bubbles and blue Bubbles, and the main items are the Book of Magic and the Raft. The Raft is found after you beat Digdogger. A bomb upgrade is also here, and it costs 100 rupees.


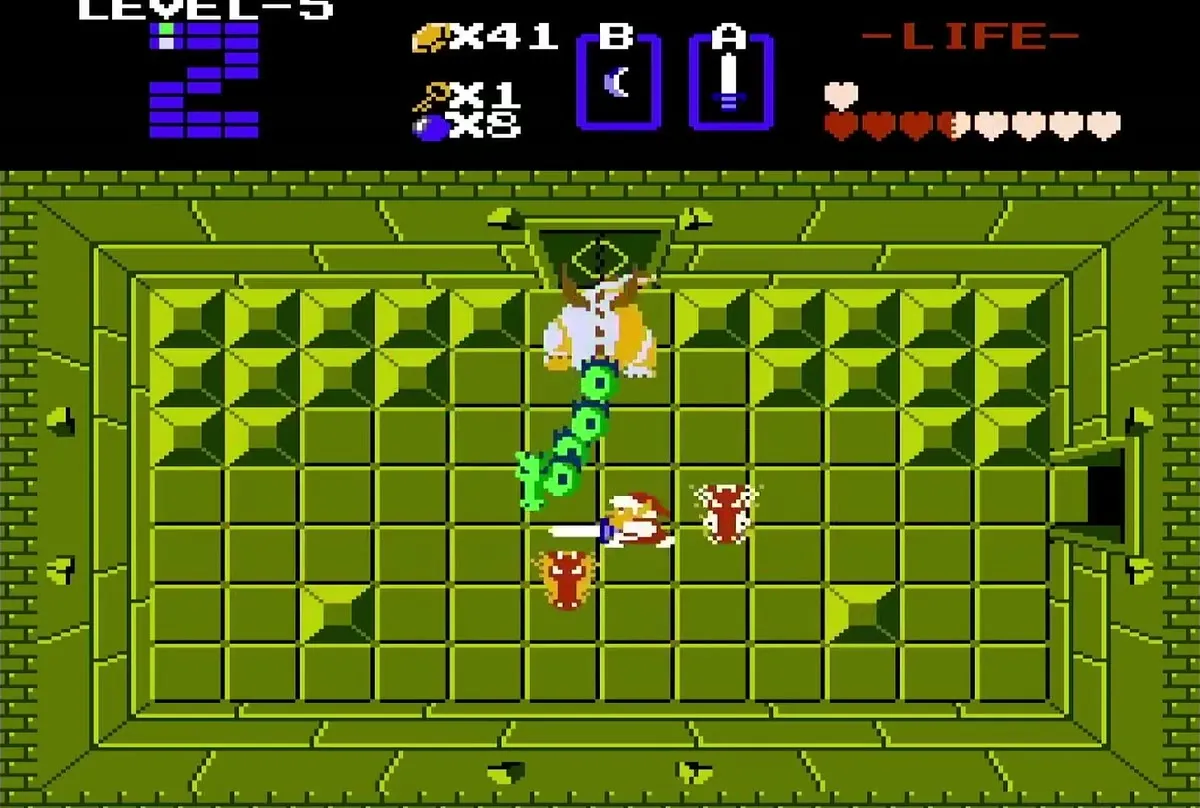
Level 5: Lizard

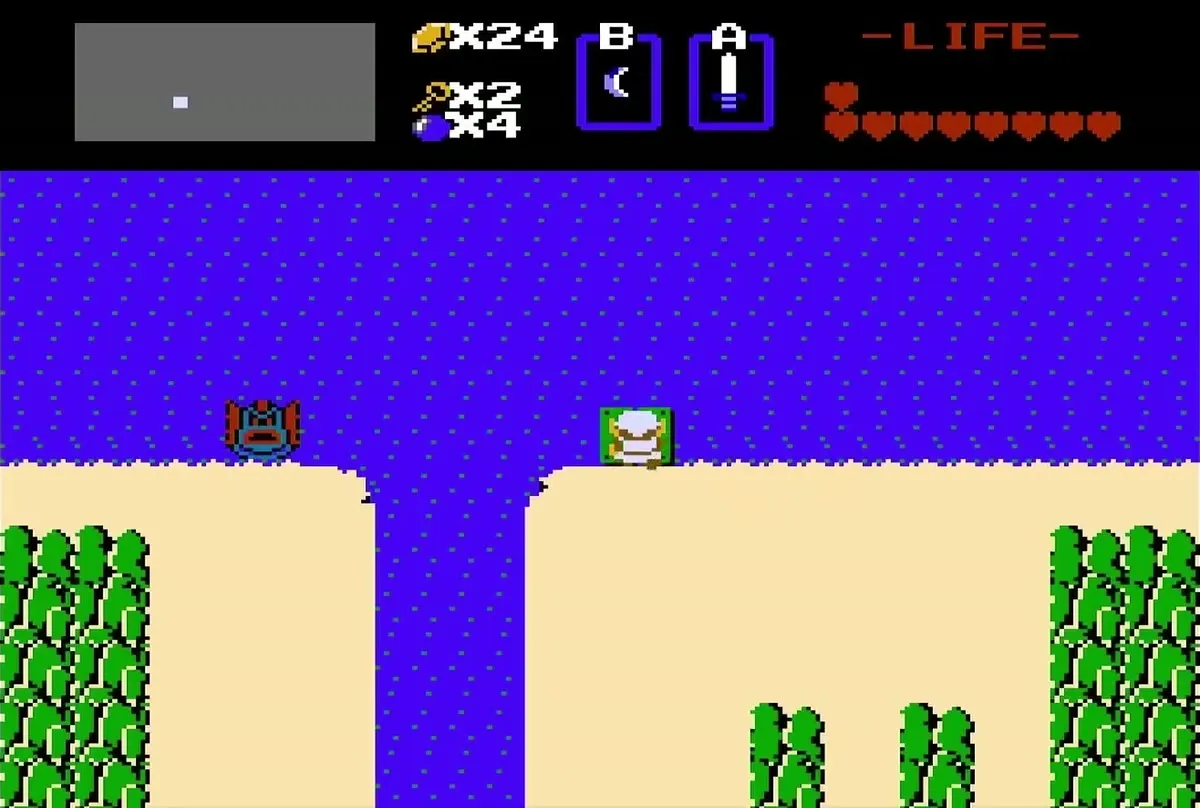
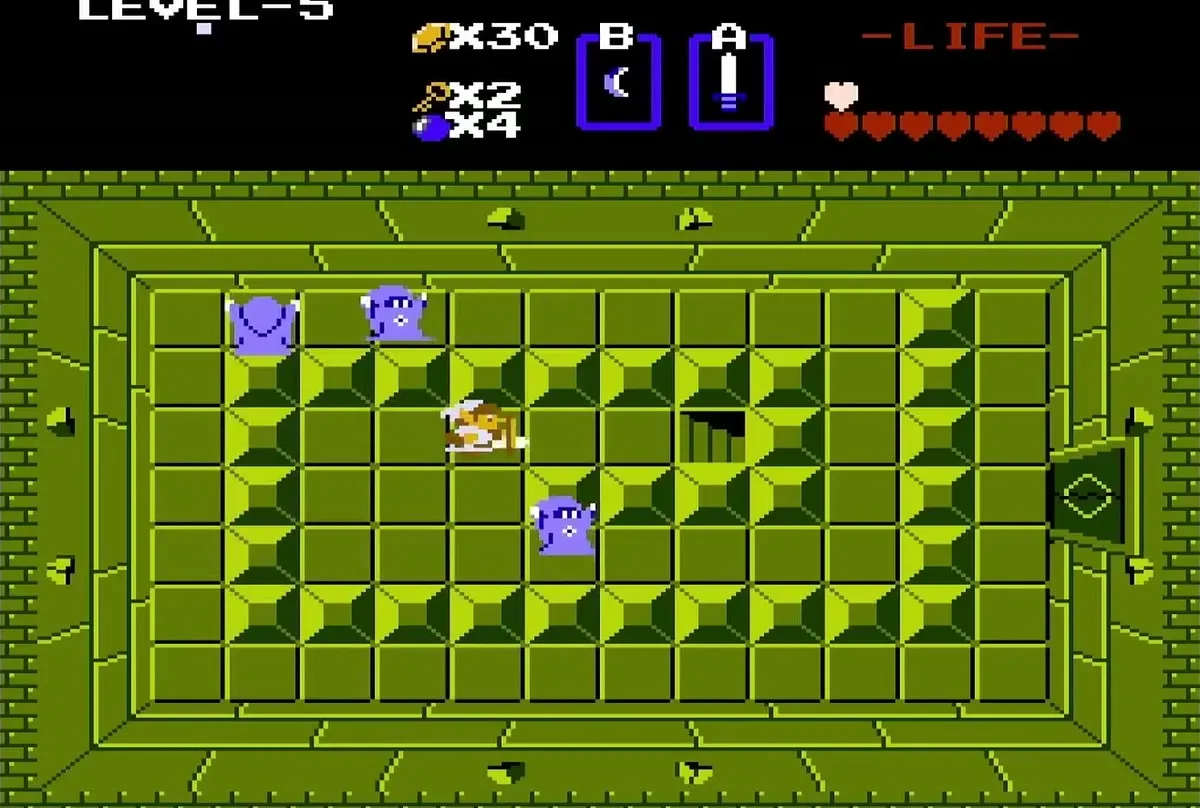
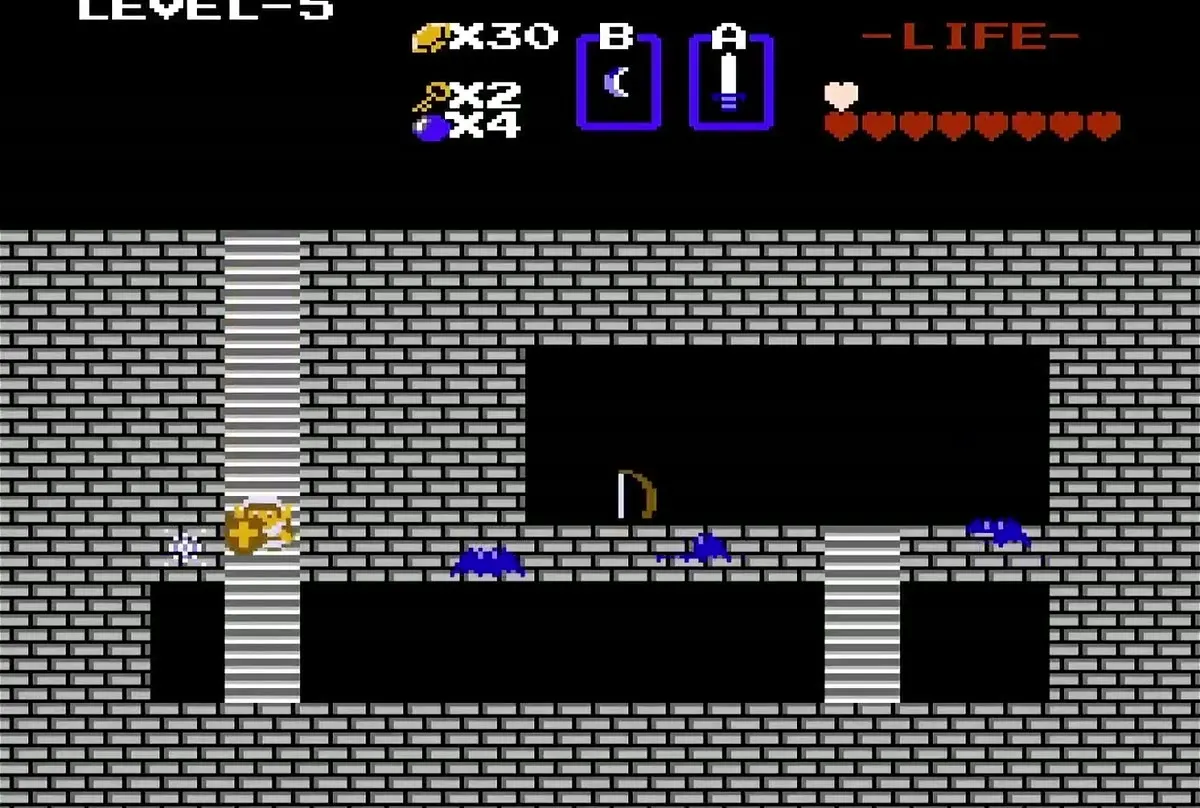
Level 5 is in the central lake, so you reach it by Raft. The main item is the Bow, which you reach by a staircase after you defeat the Wizzrobes. Blue Gohma is in the room above, and the boss is a three-headed Gleeok. Like Likes and Wizzrobes fill many rooms.
Level 6: Dragon

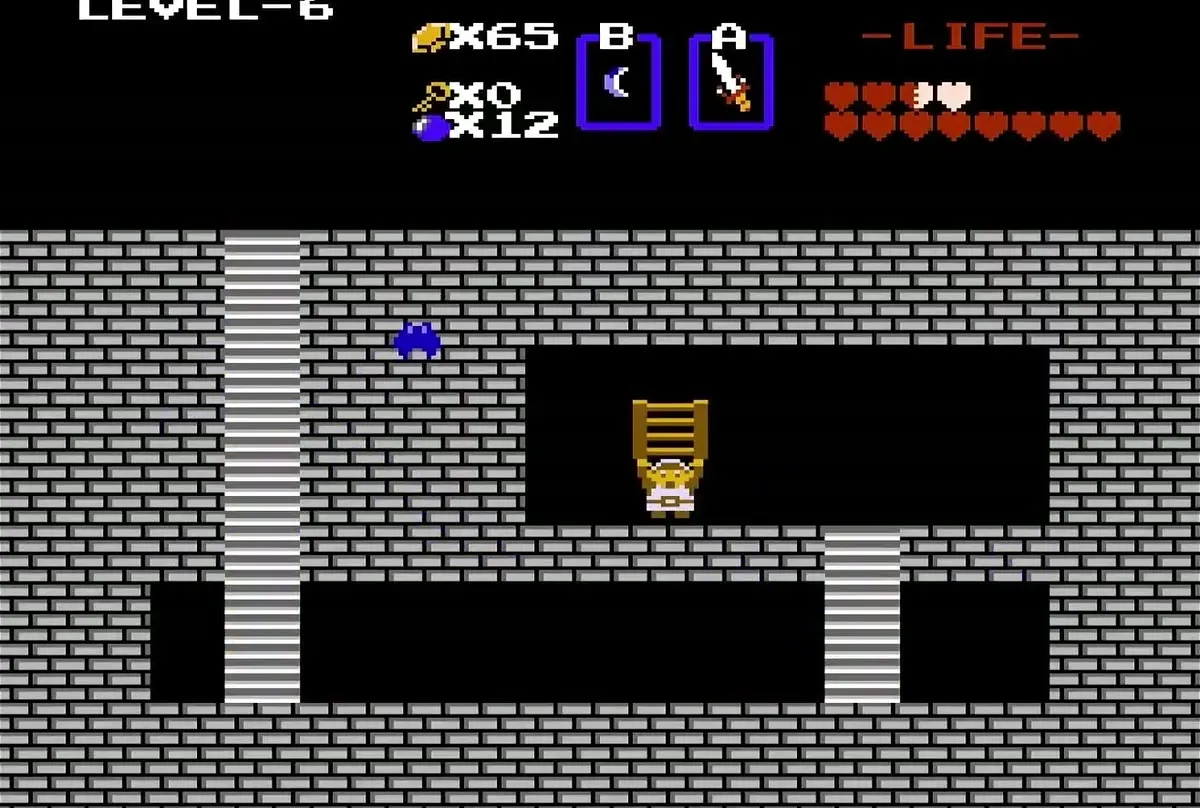
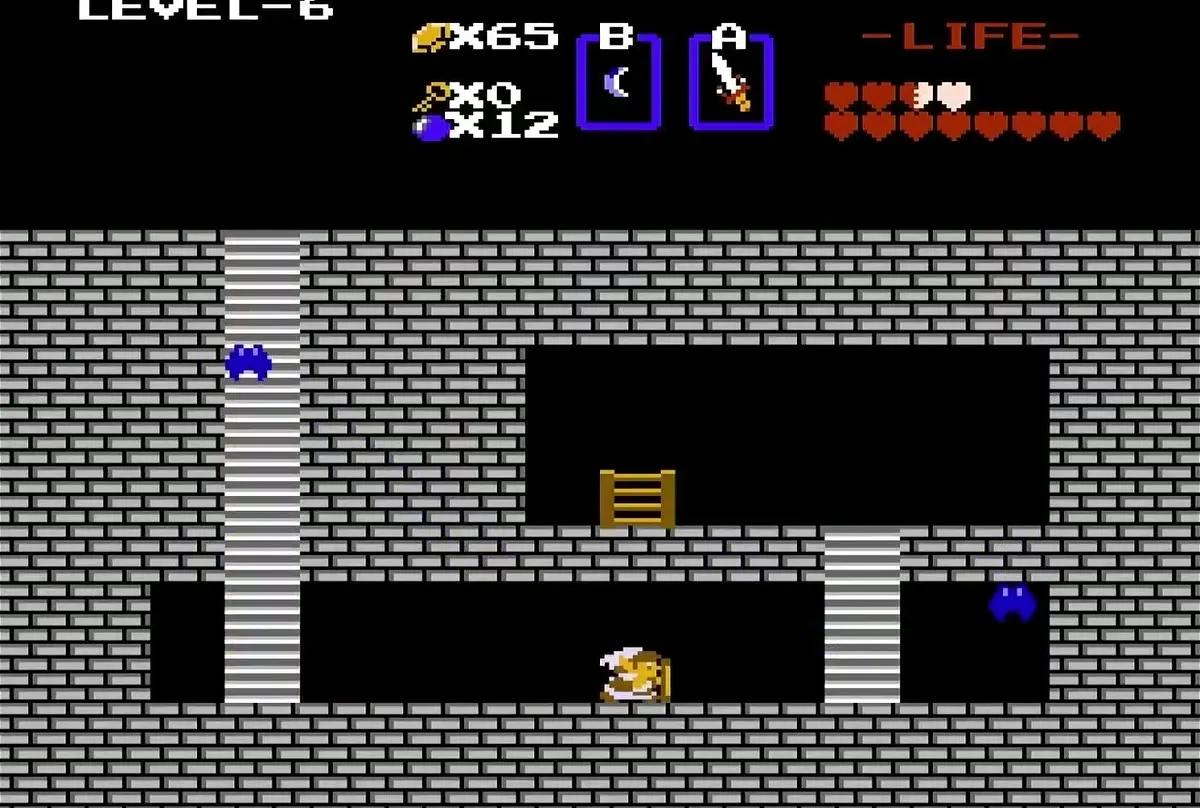
Level 6 is in the middle-left of the graveyard. Play the Recorder there to reveal the staircase into the dungeon, whose main item is the Stepladder. The boss is blue Gohma, which only arrows hurt, and the rooms are full of Wizzrobes, Like-Likes and Keese.


Level 7: Demon
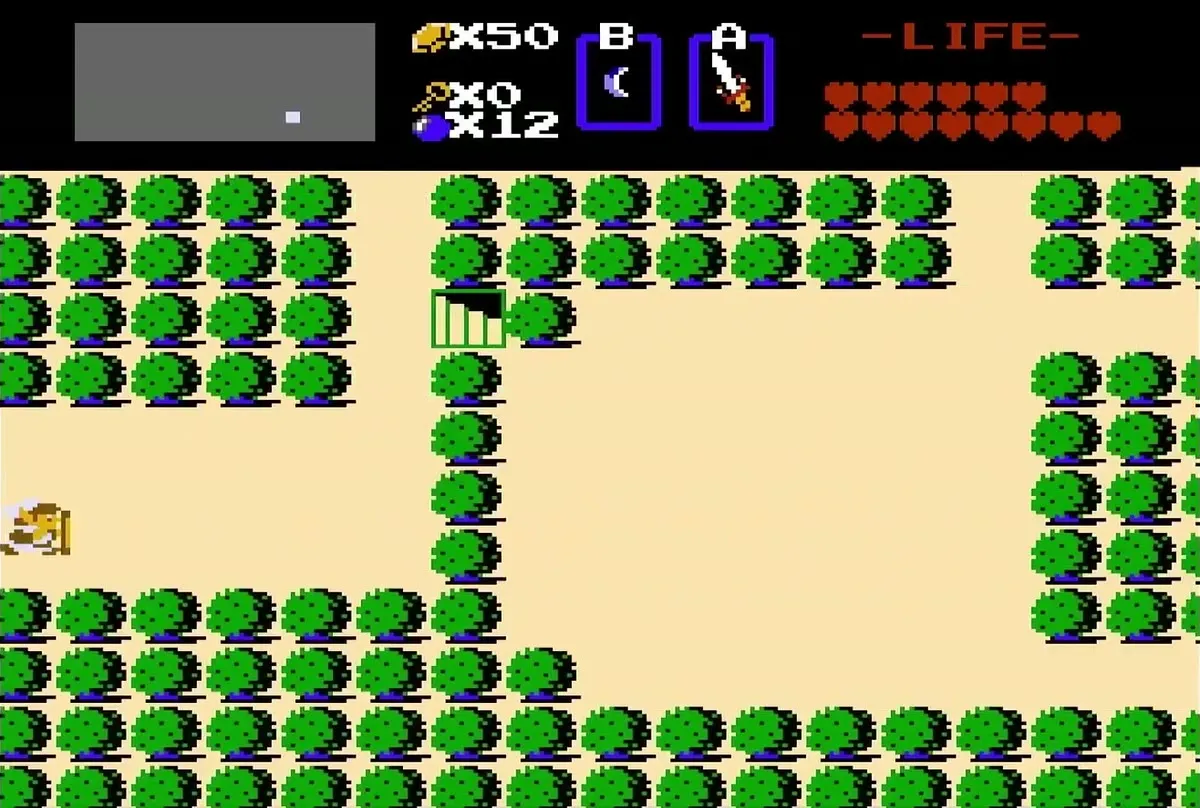
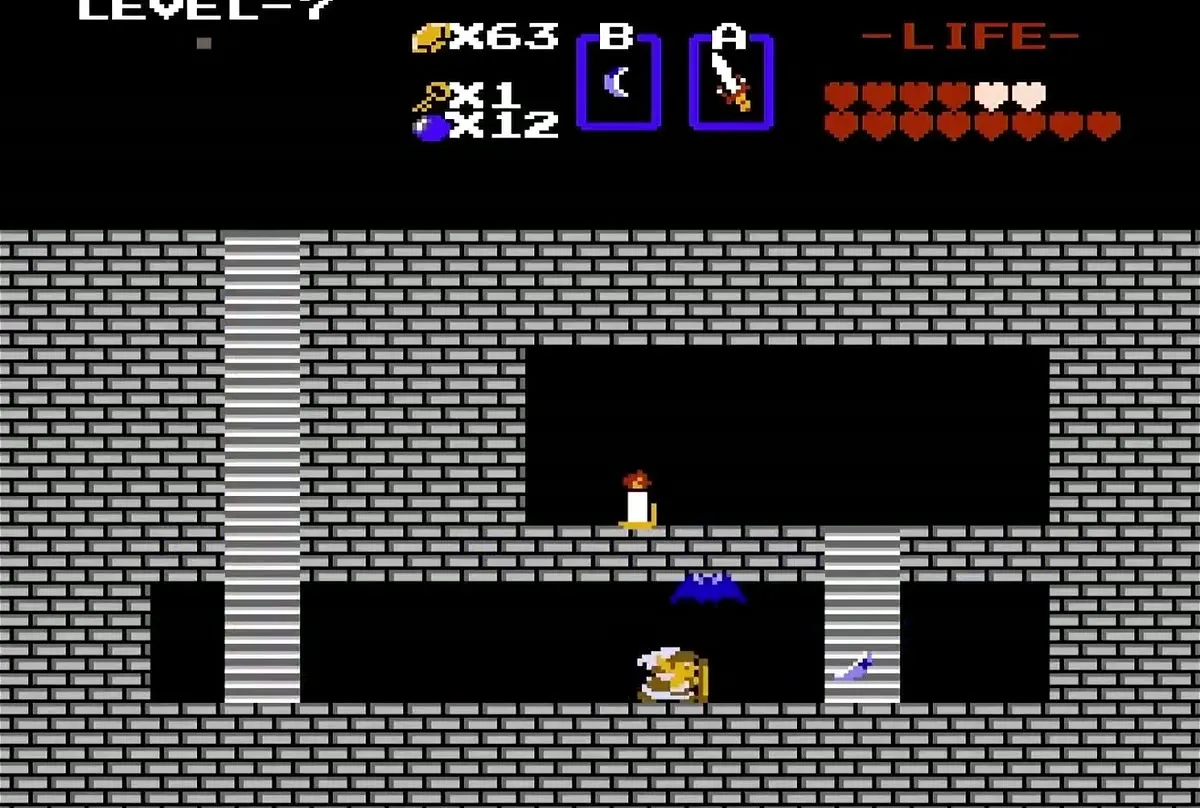
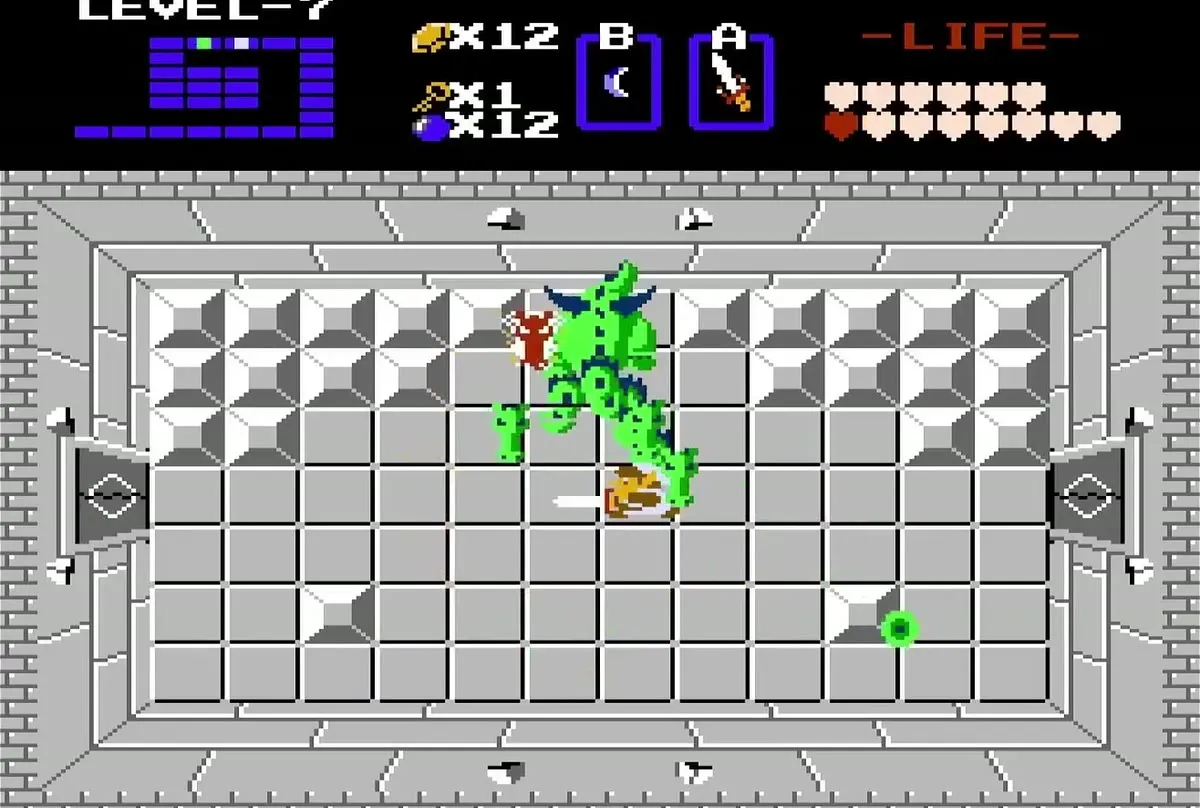
Level 7 is in the forest south-east of the first quest’s Level 8, and you reach it by burning a tree in M7. Burn the left-hand tree of the pair that stands at the top of the trees, approaching from the east or north, then come round to the west side to get in. The main item is the Red Candle, and Darknuts and Pols Voice fill the rooms. One old man asks for 50 rupees or a Heart Container before he lets you pass. The boss is a four-headed Gleeok, and the layout is a spiral.
Level 8: Lion

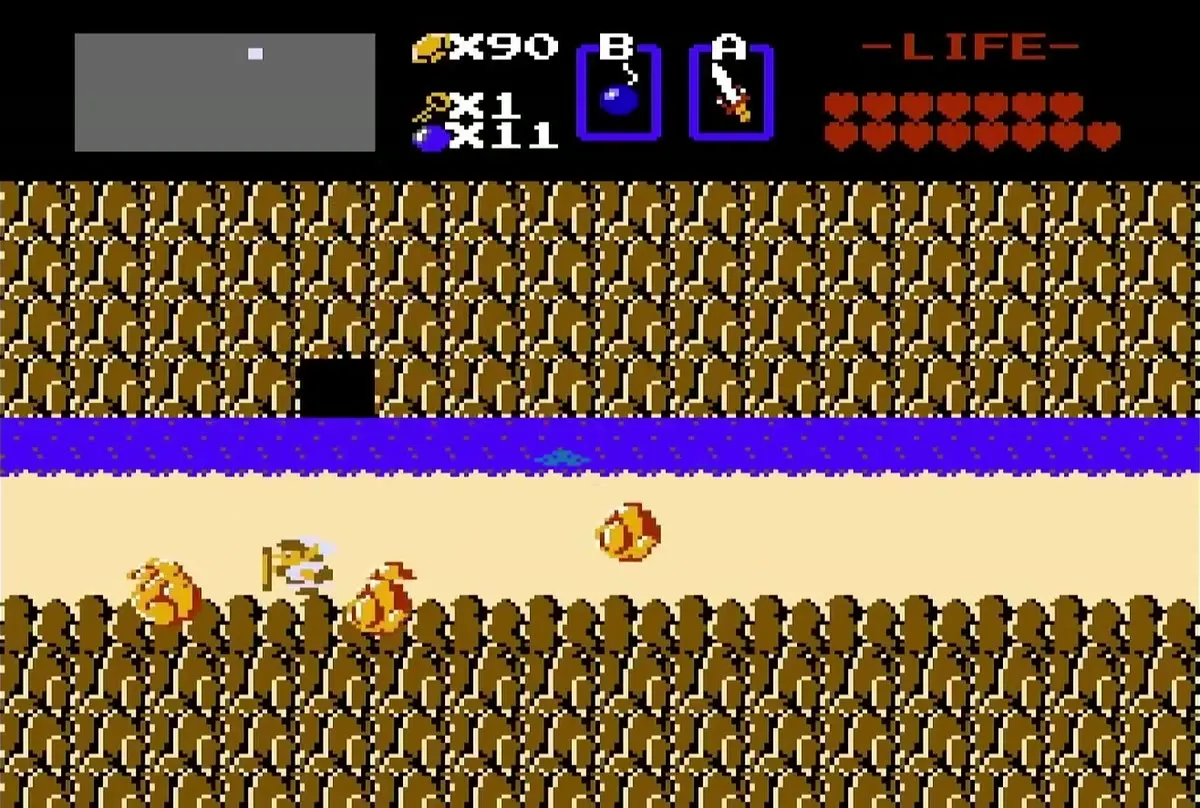
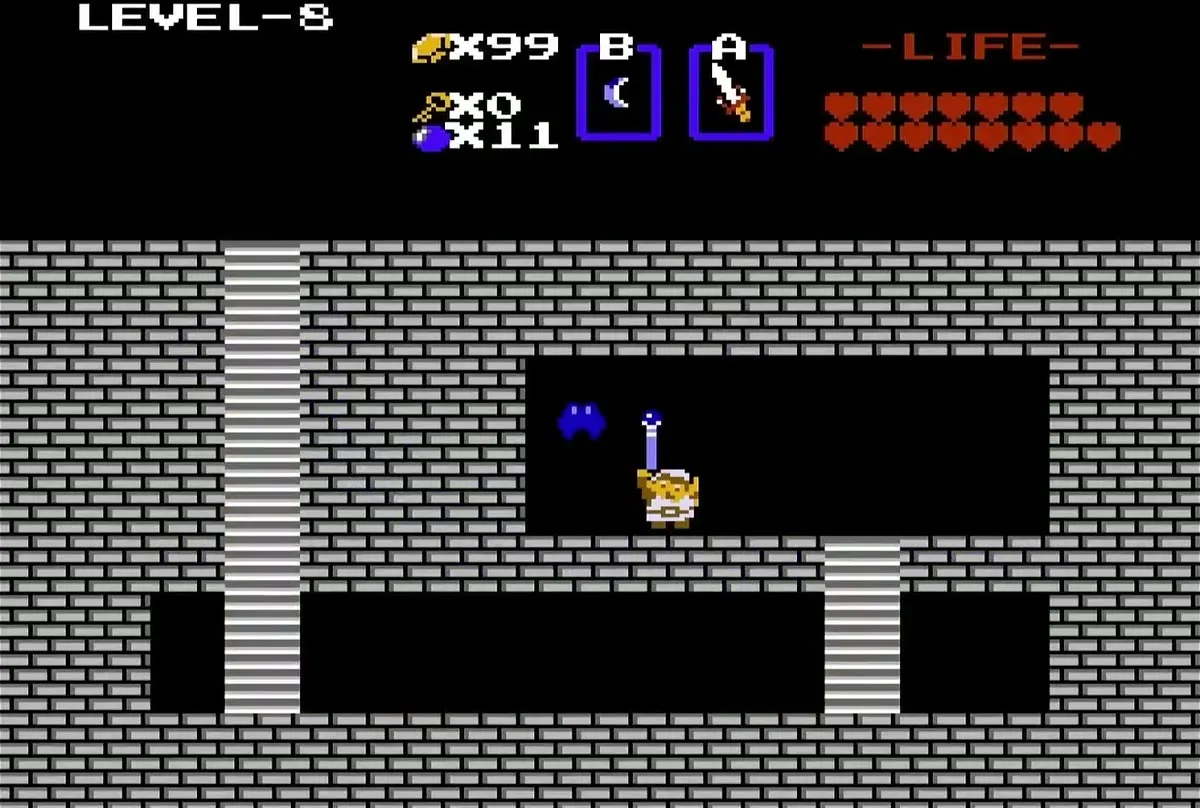
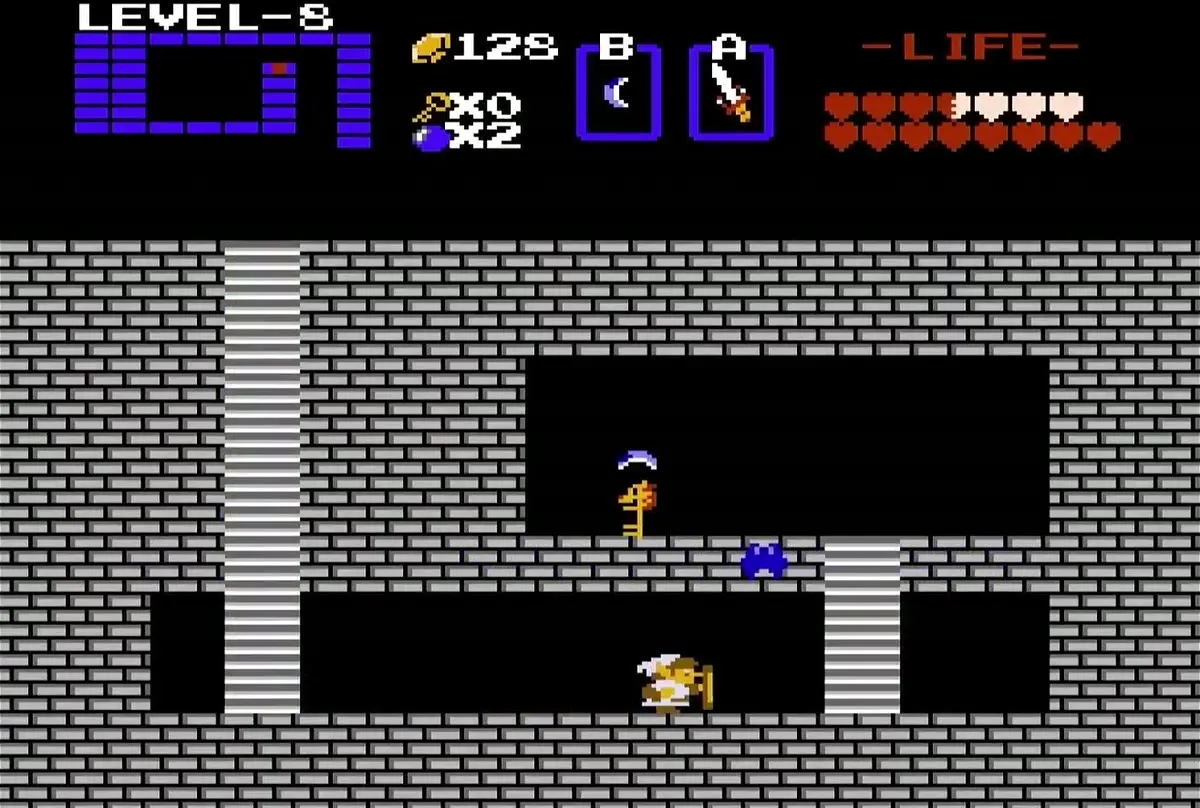
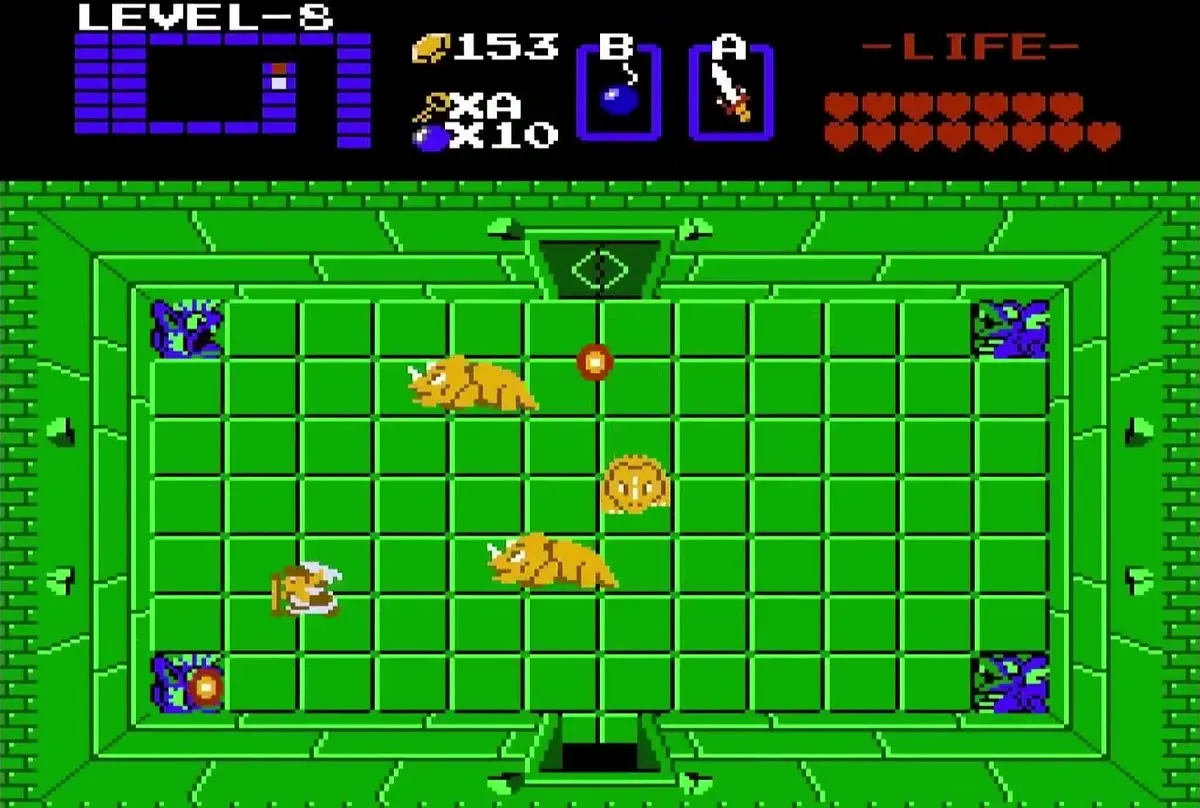
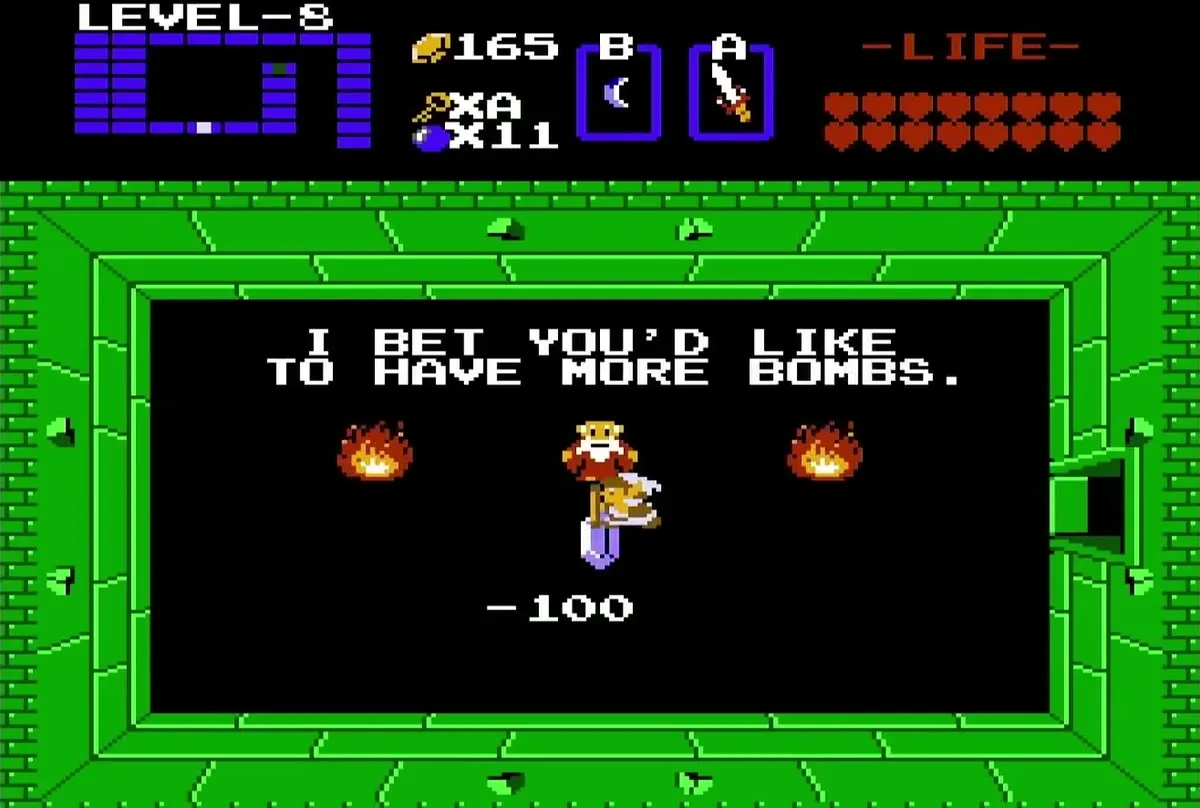
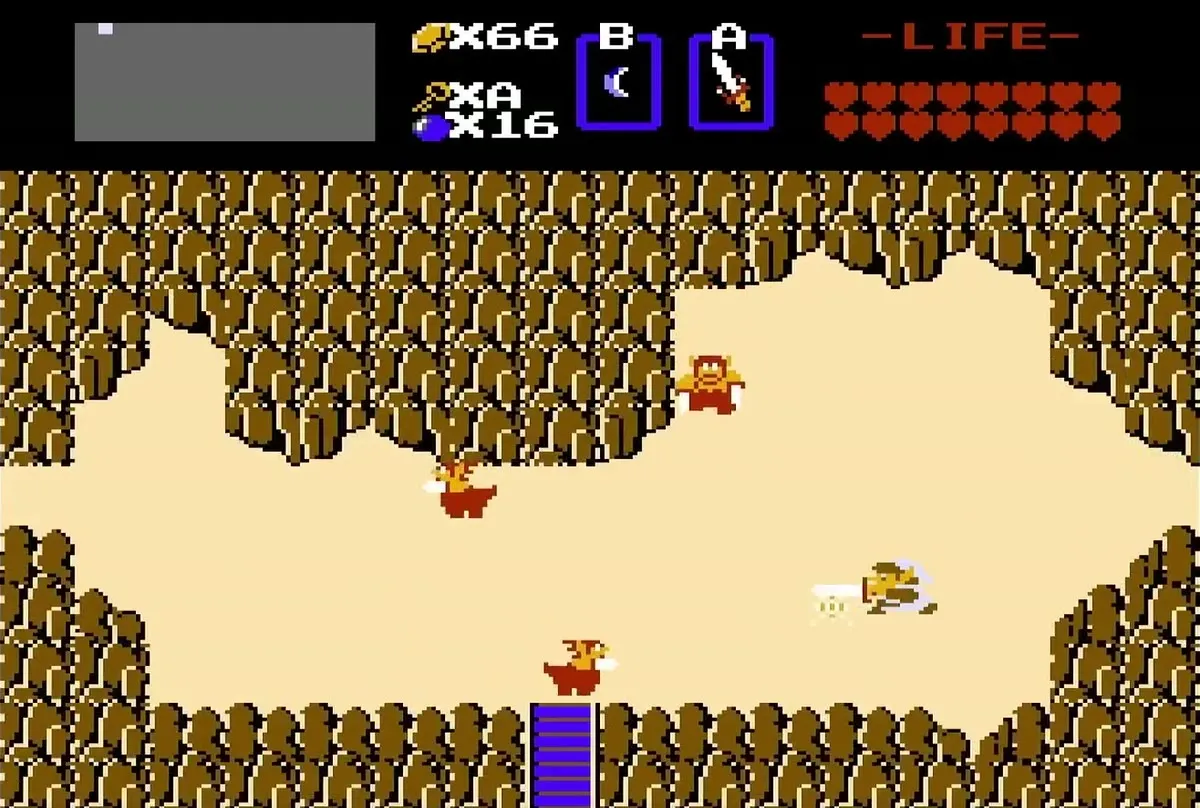
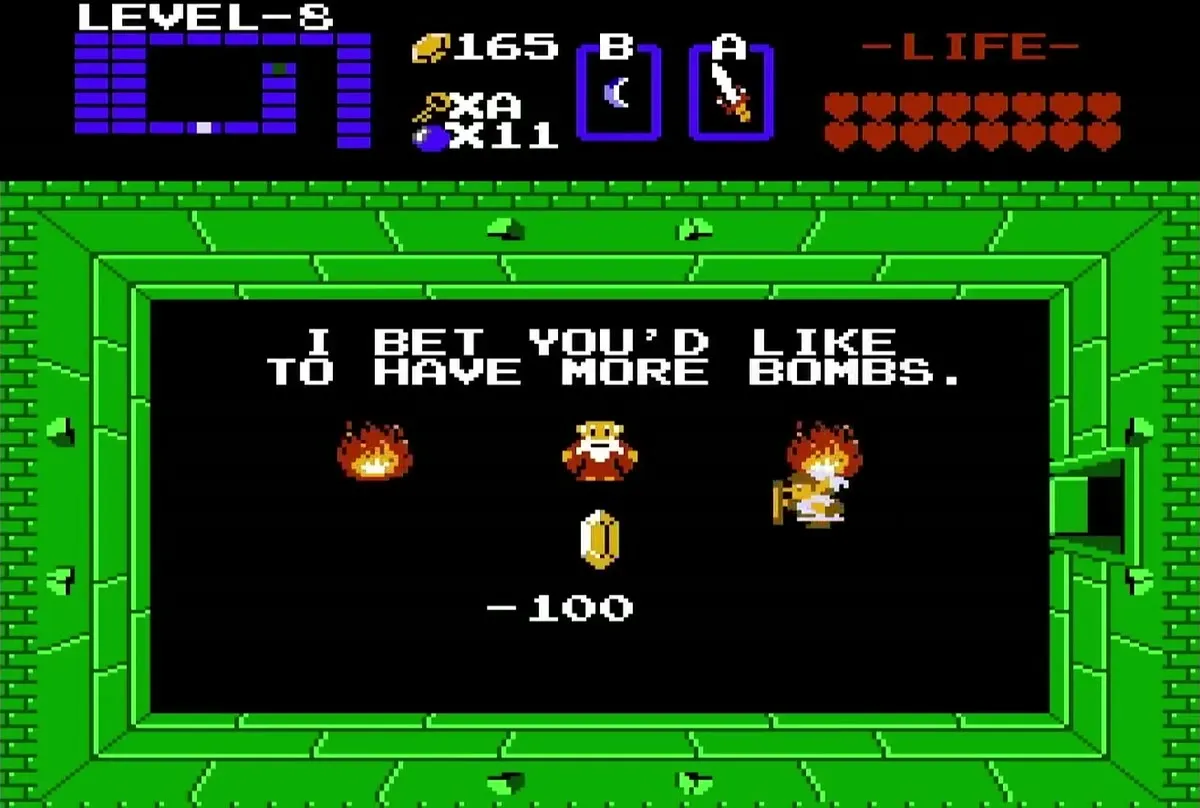
Level 8 is west of the desert. Use the Ladder to reach the river, then bomb the cliff wall directly above it in J2. The main items are the Magic Rod and the Magical Key, and a bomb upgrade adds four more bombs for 100 rupees. A hungry Moblin blocks one door until you feed it Monster Bait, and the boss is a group of three Dodongos. The layout is a vortex.
Level 9: Death Mountain
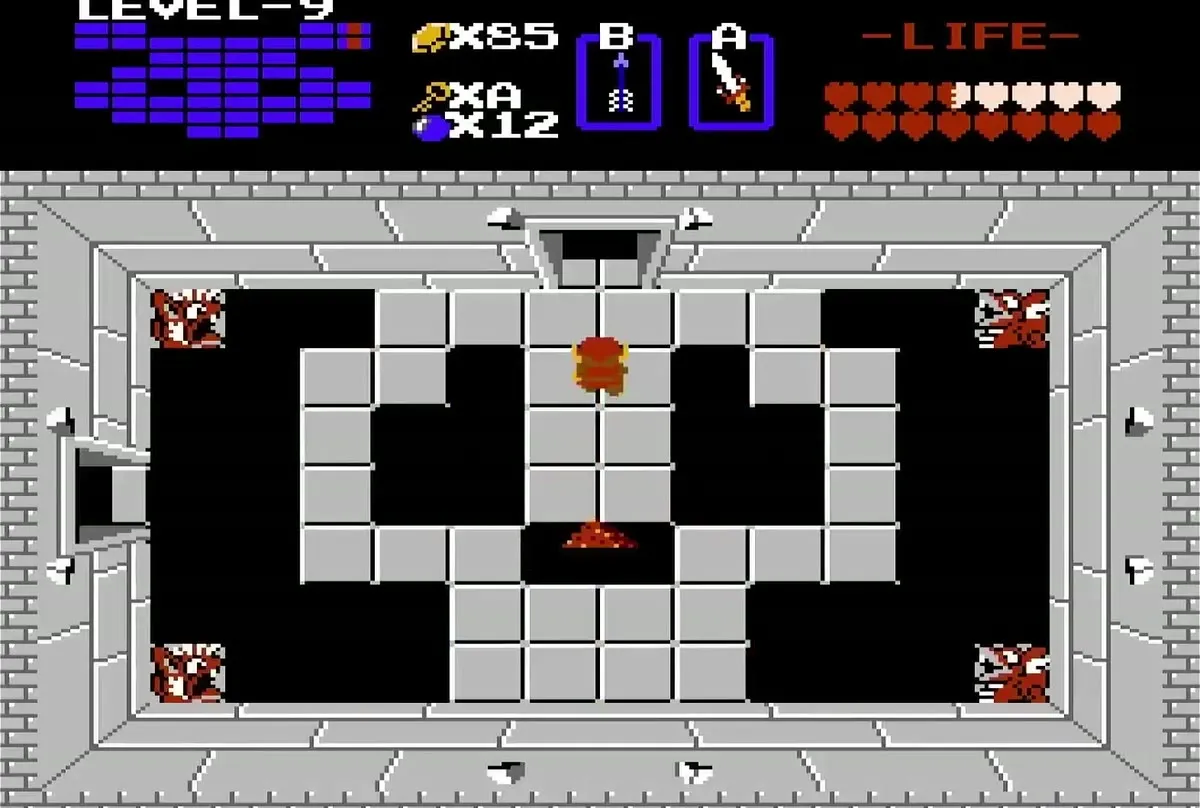
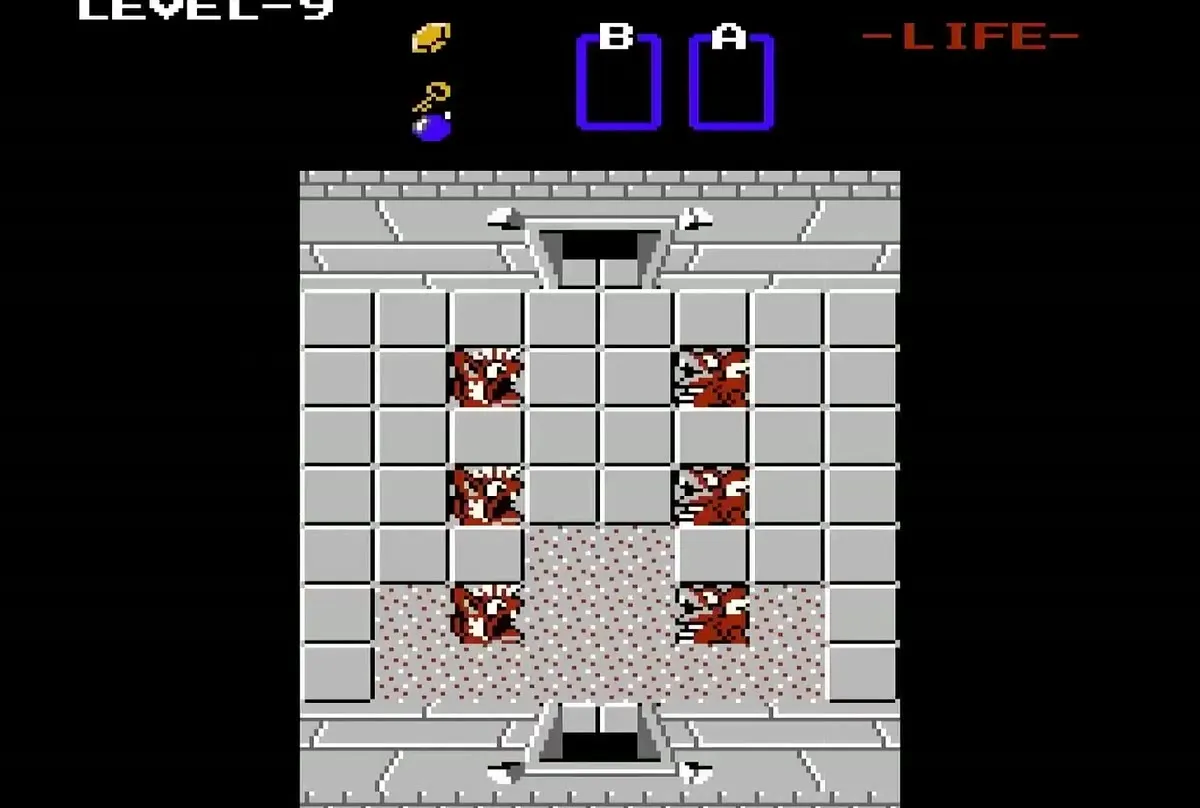
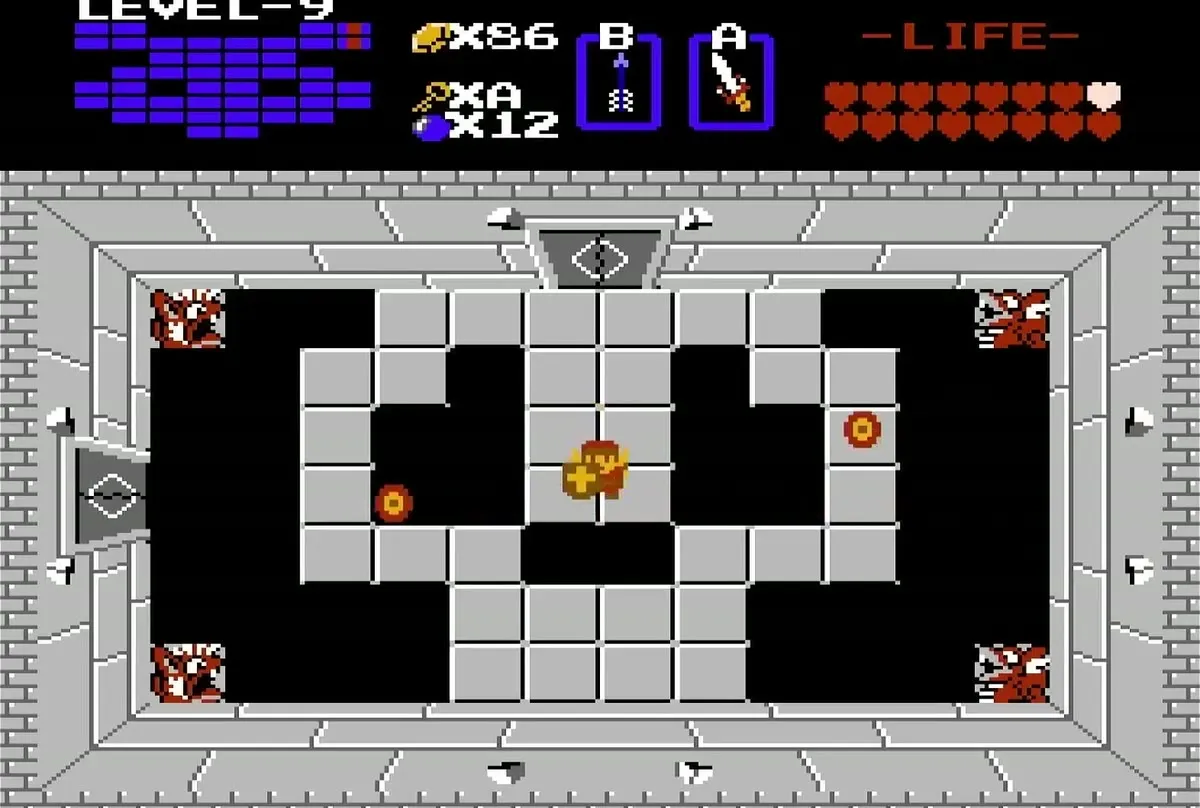
The entrance to Level 9 has moved to a remote corner of Hyrule: bomb the middle of the north wall in A1, which is the far north-west. A man stands in the first room and will not let you through until you hold all eight Triforce pieces. The main items are the Red Ring and the Silver Arrow, and Ganon waits at the end. The dungeon is shaped like Ganon’s head and is the largest of the nine.
Hyrule changes
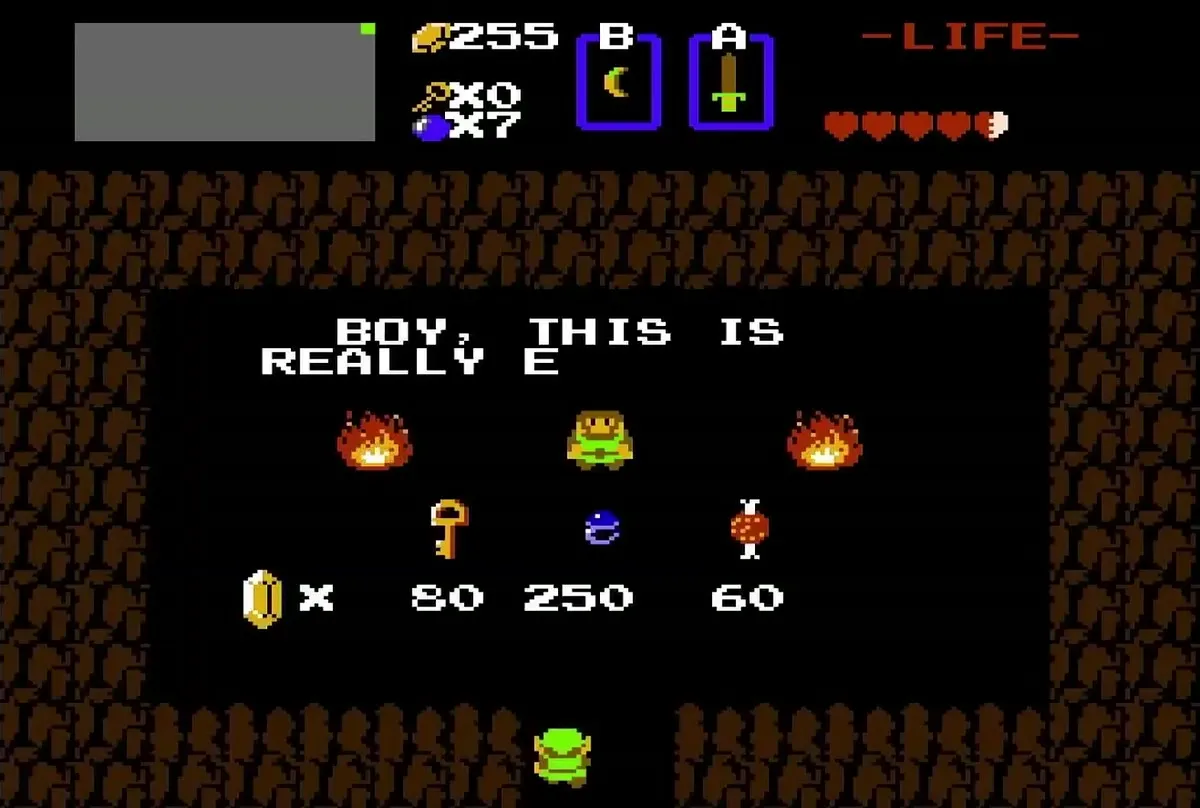
The Blue Ring shop moves. Under the Armos in E4, you now find the stairway to Level 2. The Blue Ring is sold instead in a hidden shop in the far north-east, in P1, for 250 rupees. The same shop sells a key for 80 rupees and Monster Bait for 60 rupees.

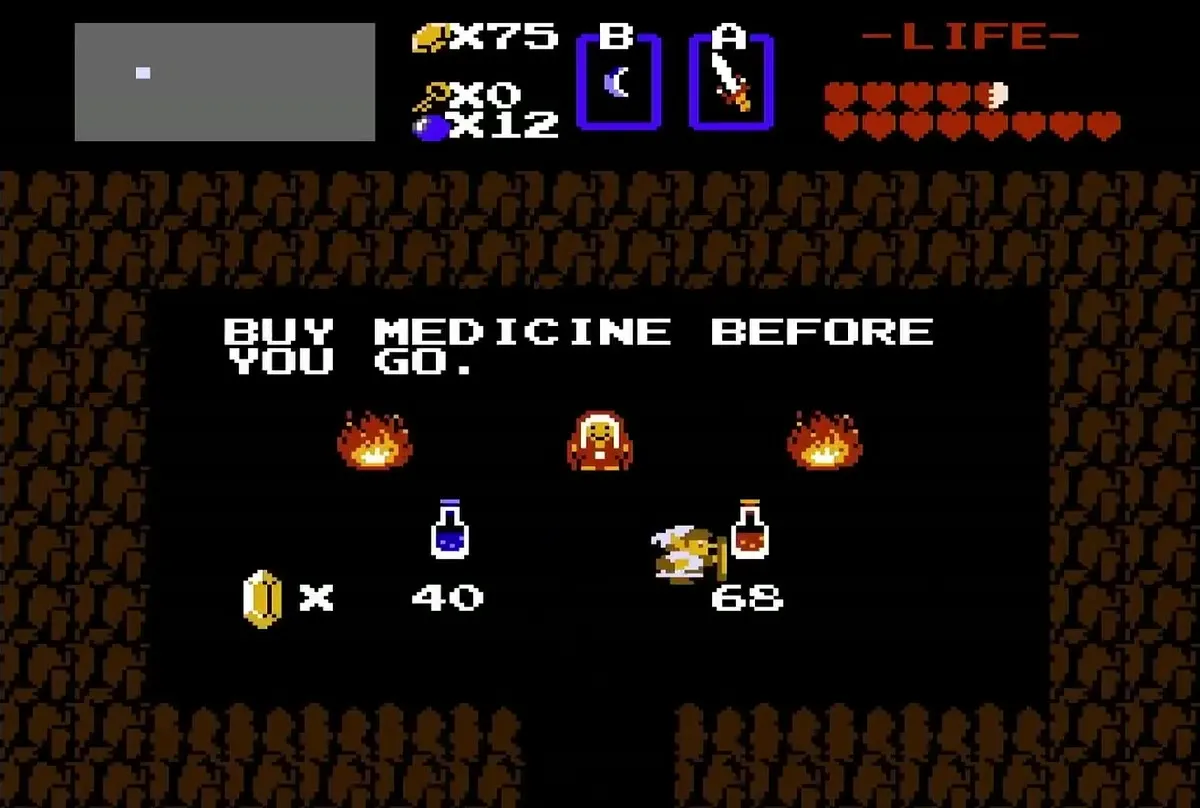
The Letter is somewhere else. The cave in O1 is now a shop, and the Letter is hidden under a boulder in B2. Push the left-hand boulder down to reveal a stairwell, and the Letter is at the bottom. Show it to a medicine woman to buy Potions, as before.
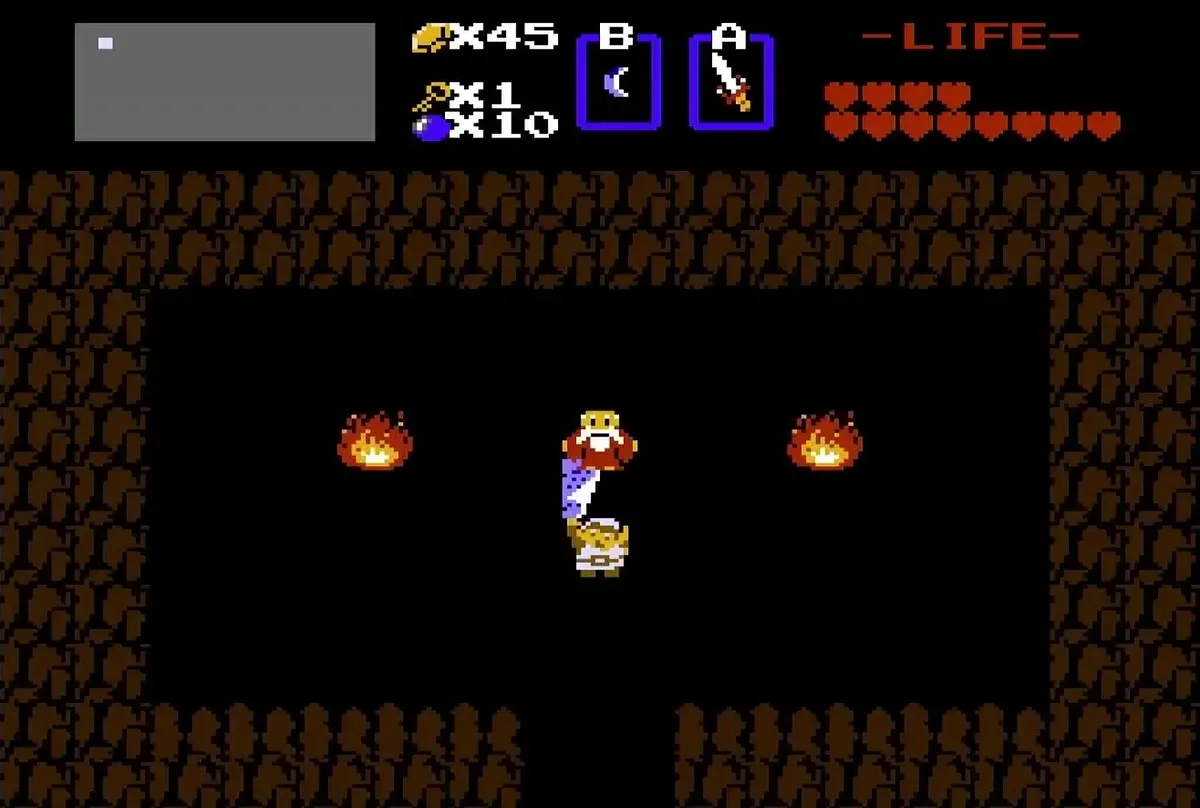
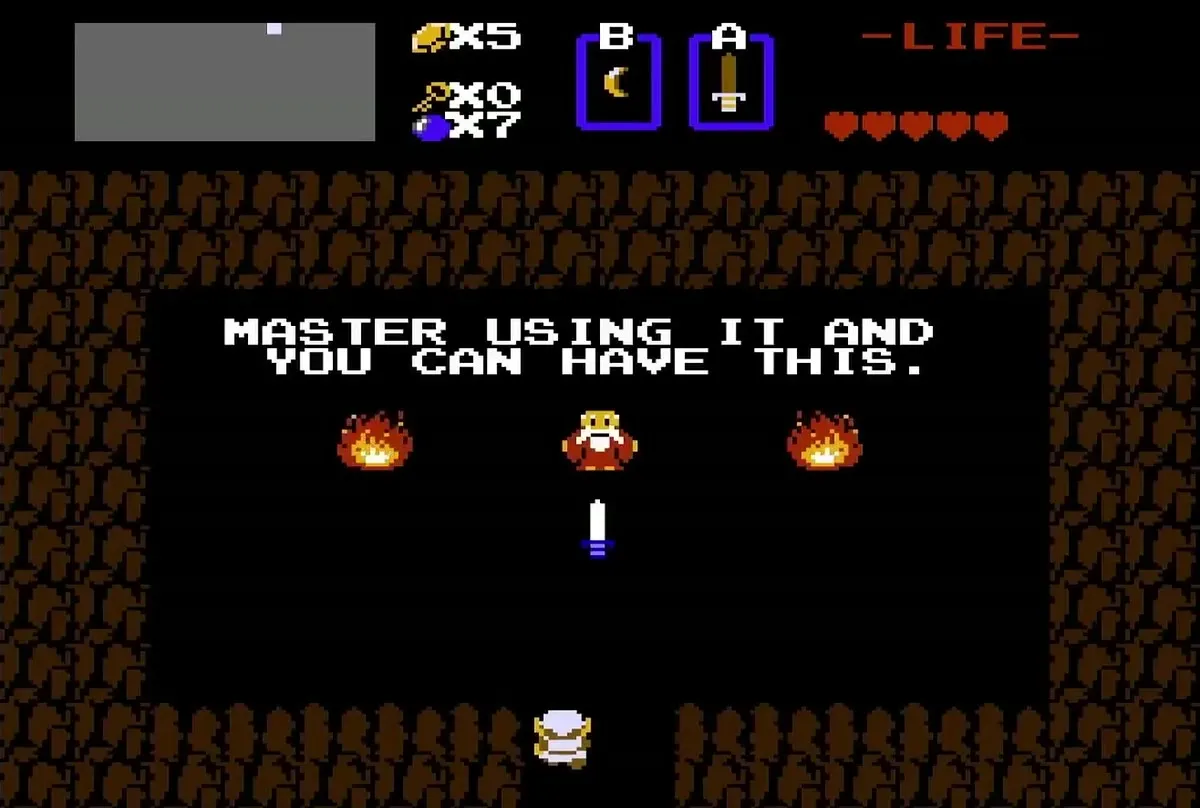
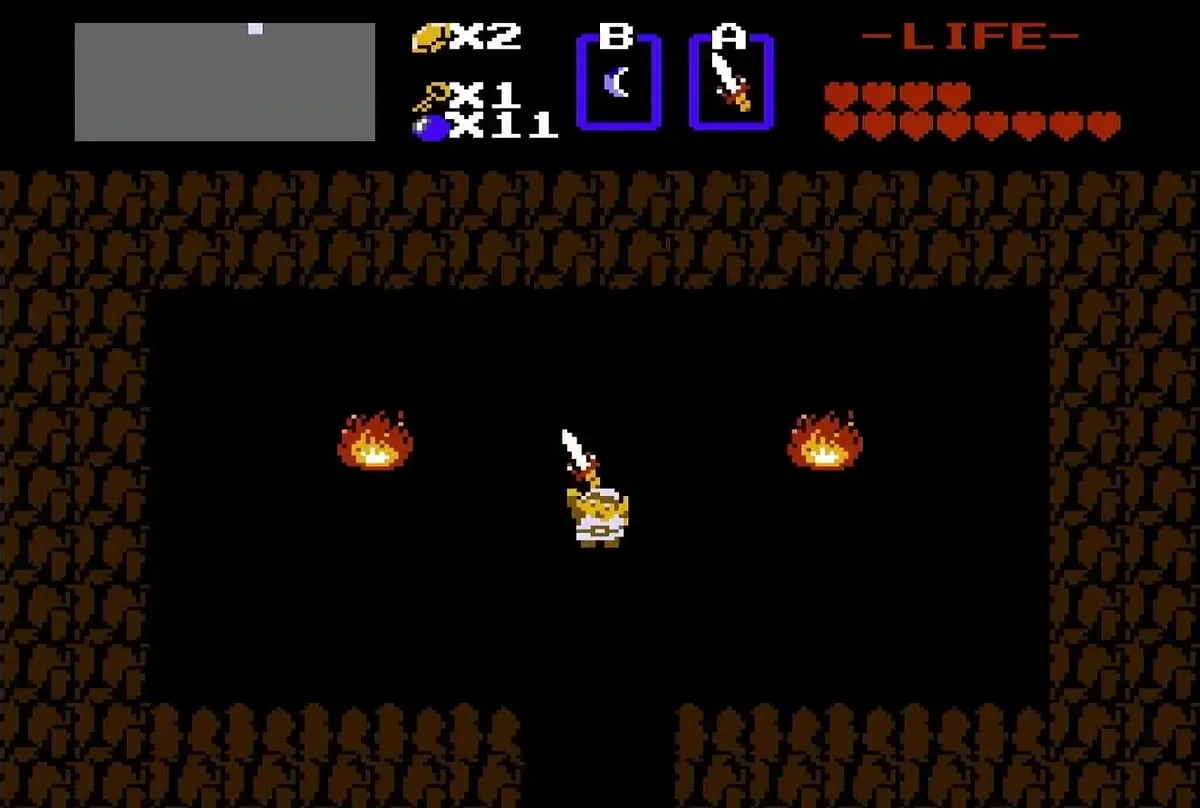
The Magical Sword moves as well. It is in J1, next to the cave with the White Sword. Push the left-hand boulder to reveal the stairwell, and you need 12 hearts to use the sword. The White Sword stays in the cave in K1, and it still needs 5 hearts.
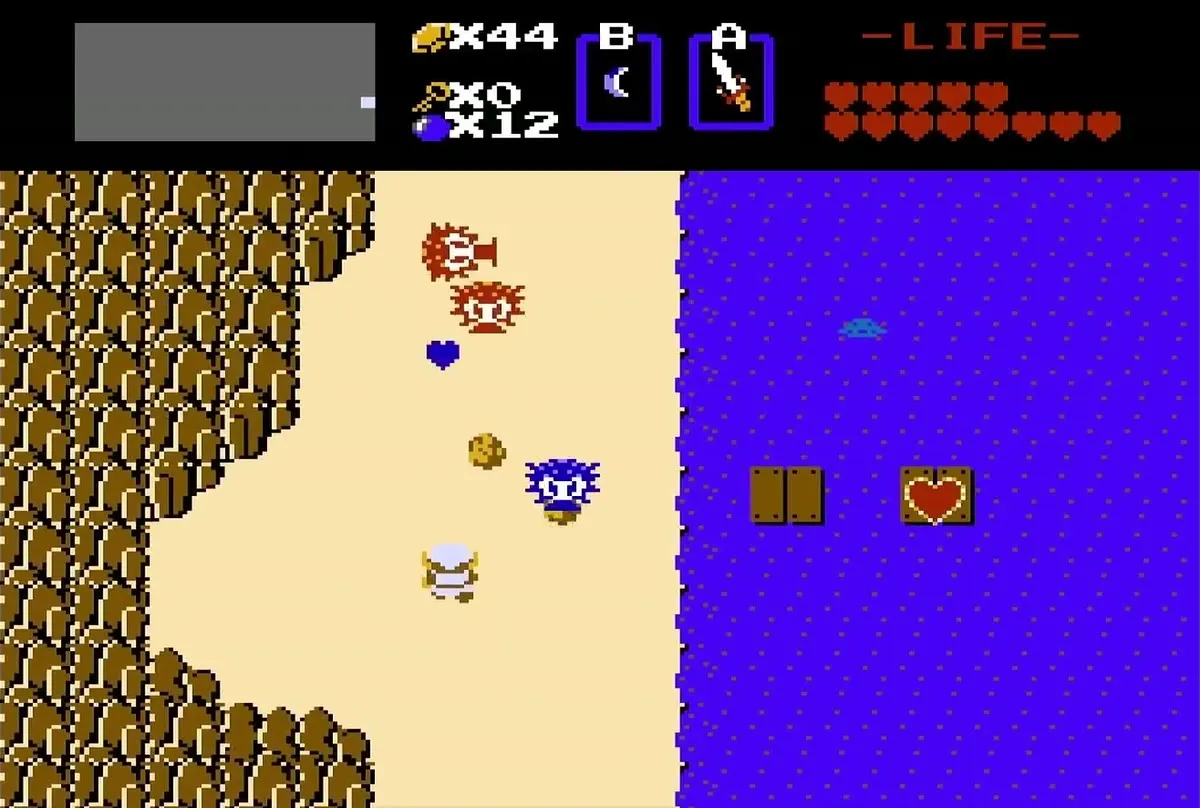
There are five hidden Heart Containers in the Second Quest, listed here in route order. Together with the eight boss hearts they make 13:

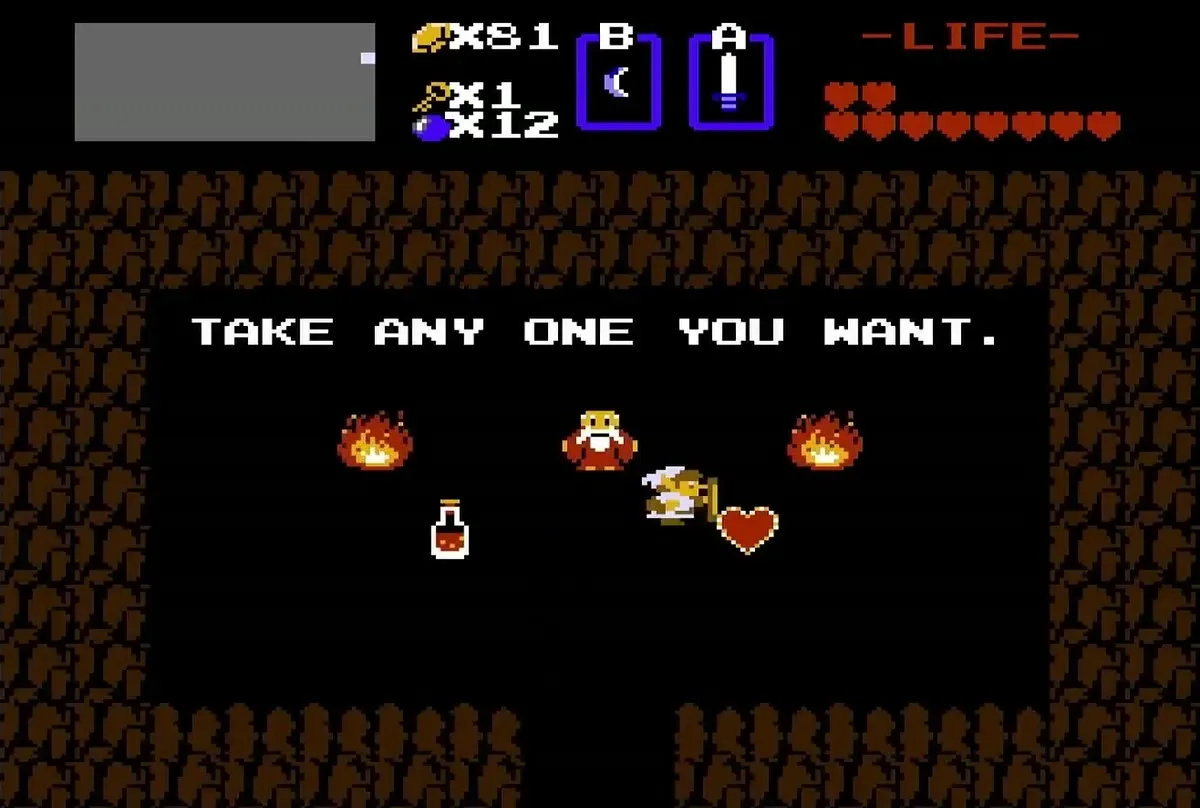
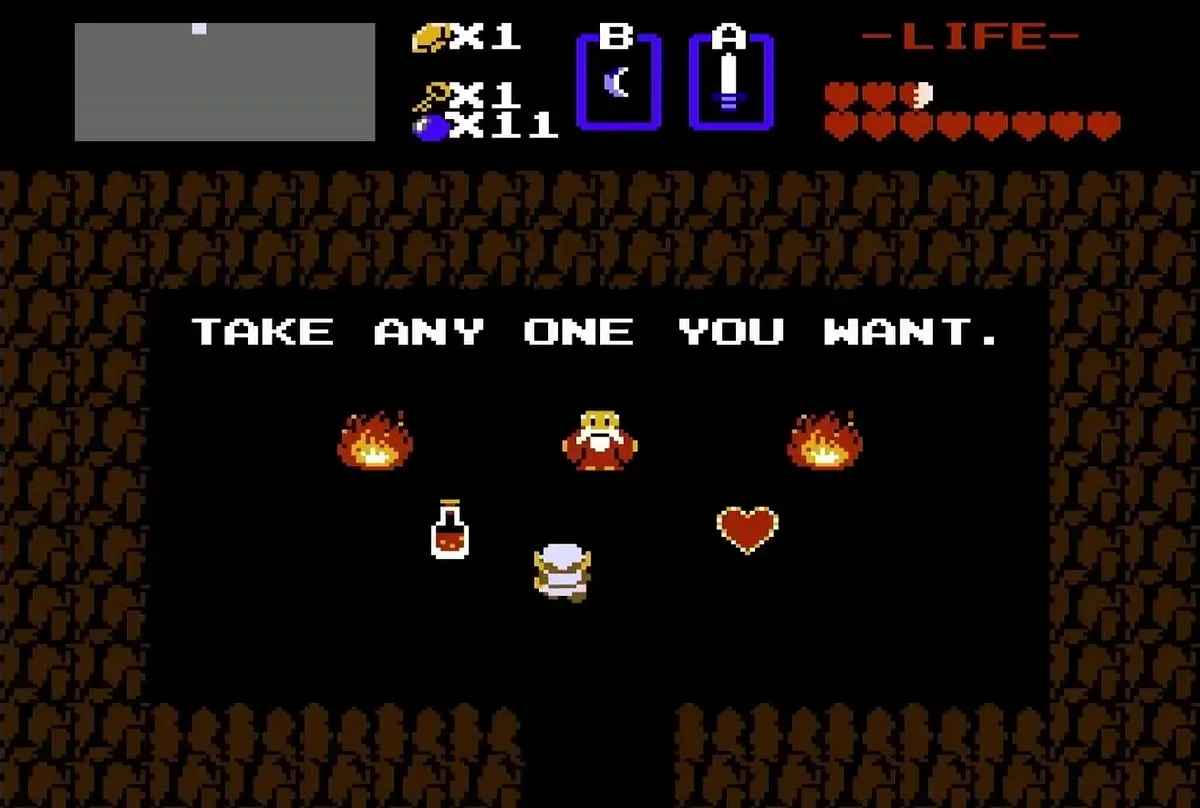
- A3 (heart 1): in the north-west of the graveyard, push the second tombstone from the left in the second row to reach a small room, where you choose between a Heart Container and a potion.
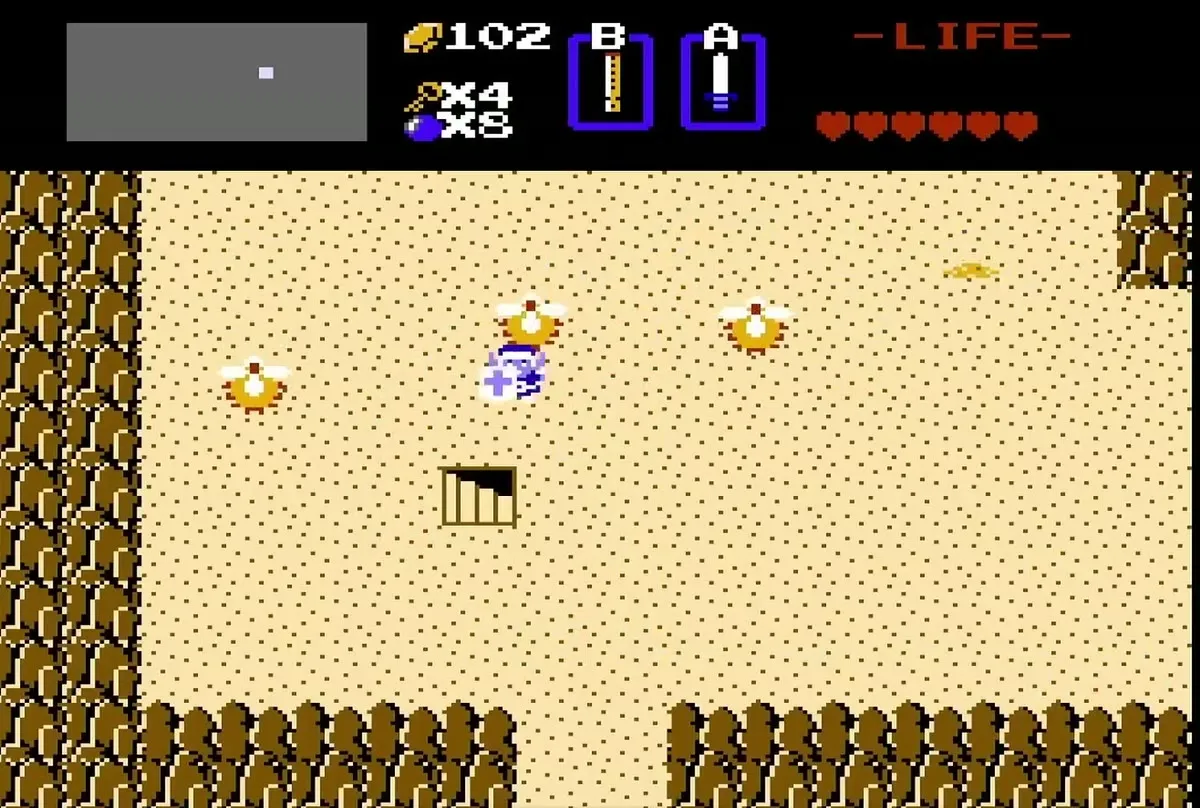
- K4 (heart 4): in the north-east corner of the desert, play the Recorder to reveal a staircase, then go down and choose the Heart Container over the Red Potion.
- P3 (heart 8): take the Raft from the dock at P4 and enter the cave on the island. As in the first quest, taking the Red Potion here instead loses the heart.
- G1 (heart 9): just to the right of Spectacle Rock, play the Recorder to reveal a staircase, then take the Heart Container, not the potion.
- P6 (heart 11): on the far dock, reached with the Stepladder from Level 6. It is the only one of the five that sits on a dock rather than in a cave or room.
Enemy changes
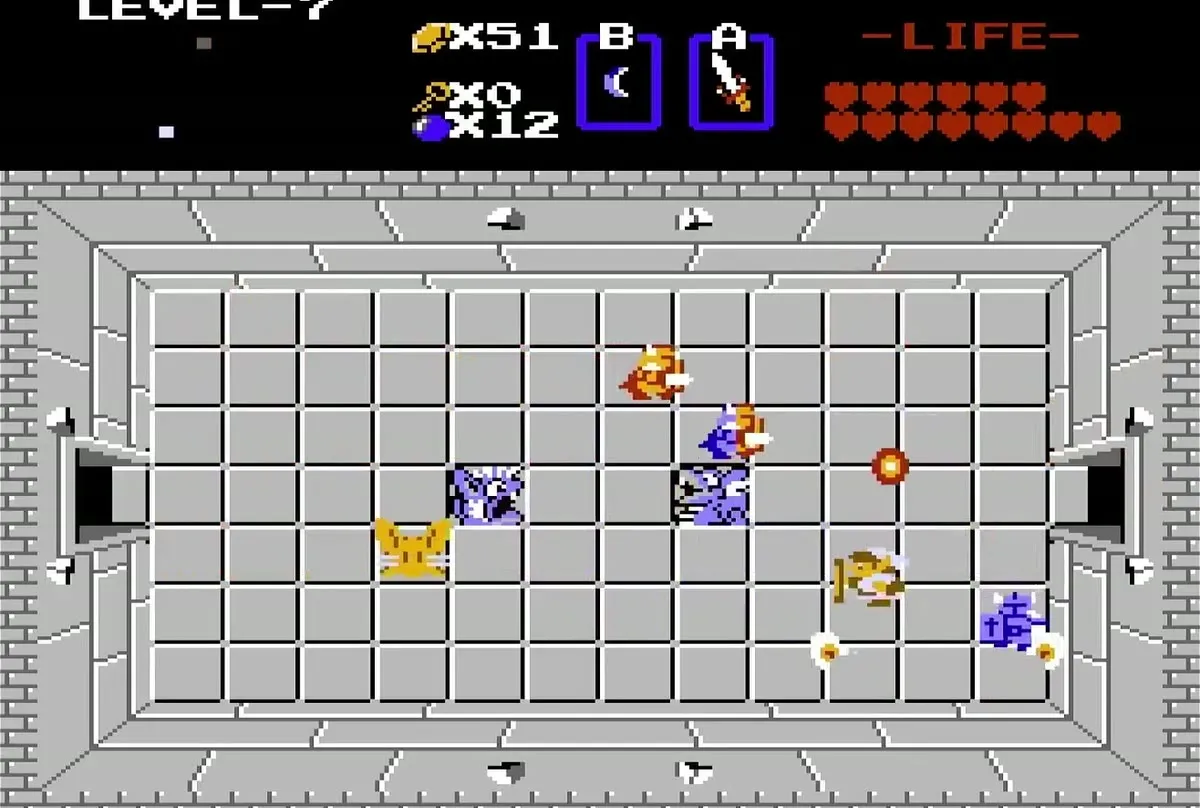
Bubbles come in two colours in the Second Quest. A red Bubble stops your sword until you touch a blue one, and the first red Bubbles appear in Level 4. Stalfos can fire sword beams, which makes them harder to approach. Like Likes and Wizzrobes appear in Level 5 as well as their usual dungeons, and Darknuts are common in Level 7.
Bomb upgrades
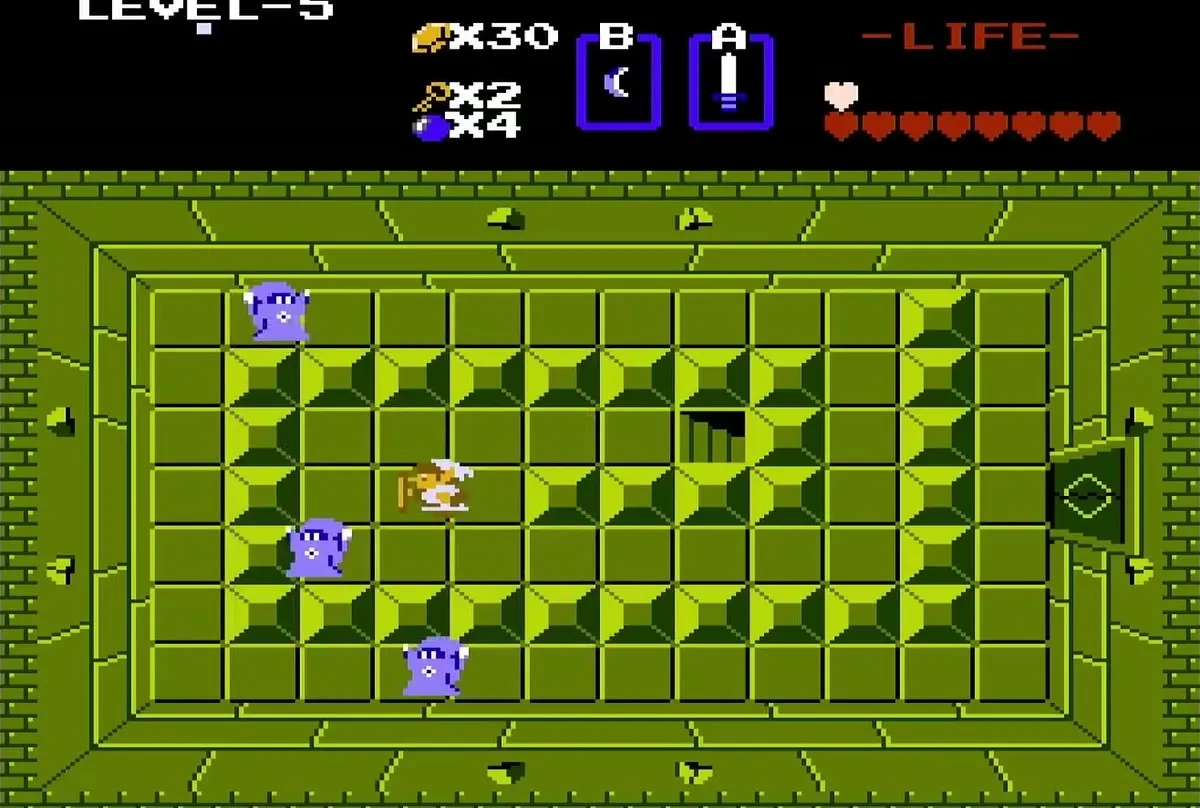
The two bomb upgrades are in Levels 4 and 8 in the Second Quest. Each adds four bombs to your capacity, taking you from 8 to 12 and then to 16 across the two upgrades. The first quest has its upgrades in Levels 5 and 7 instead.
A sensible Second Quest order
Follow the walkthrough chapters in route order, because each one collects what the next needs. Level 1 comes first, and its Aquamentus Heart Container brings you to the five hearts the White Sword needs. The Blue Ring and White Sword come next, then Level 2, whose Recorder opens the Level 3 pond and the Level 6 graveyard stairs. The Magical Sword comes after Level 5, and it needs 12 hearts, so take it when you have them. The Stepladder from Level 6 is what reaches the far-dock heart.

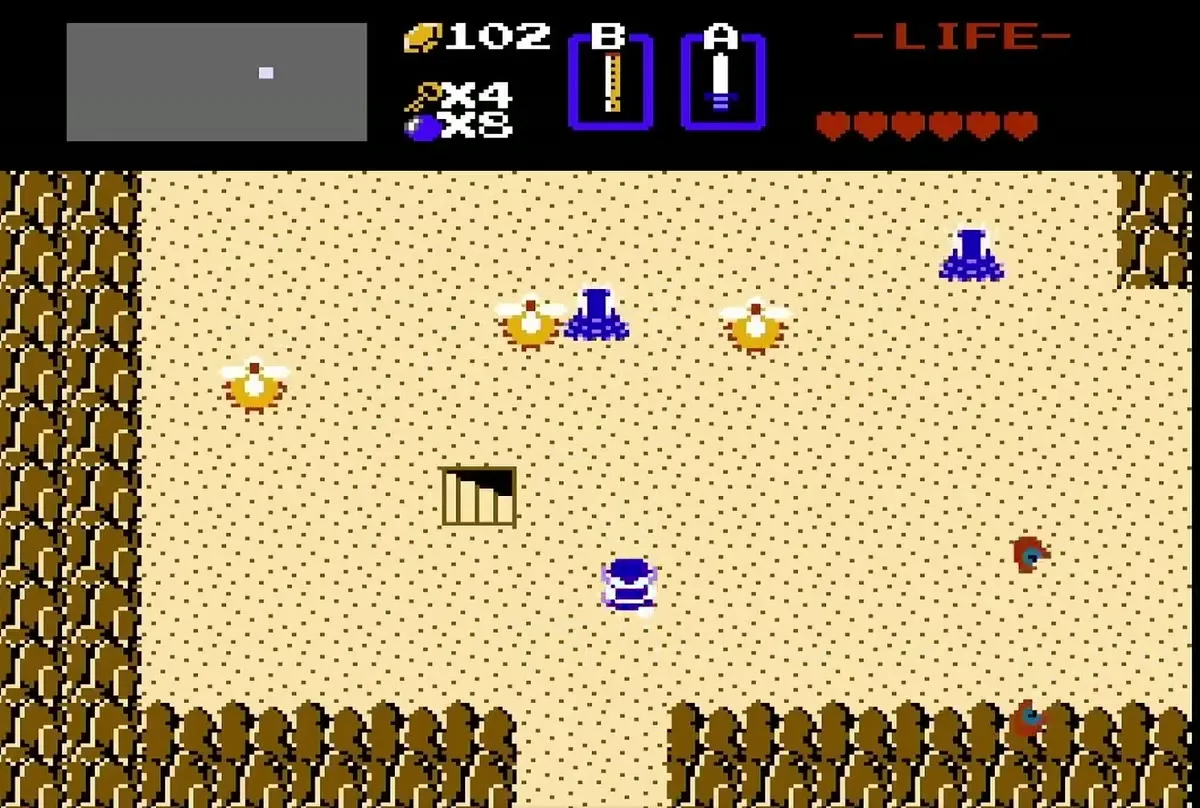
The Recorder does more in this quest than in the first. It opens the Level 3 pond (M4), the Level 6 graveyard stairs (A4) and two Heart Container staircases: one in the north-east corner of the desert (K4) and one beside Spectacle Rock (G1).
If you die in either quest, choose Continue to restart with three hearts and everything you carry. Inside a dungeon you restart at its entrance, and outside one you restart on the start screen at H8. Save writes your file, and Retry throws away what you did since your last save, so do not choose it by accident. After you finish the First Quest, your file offers the Second Quest and you can also name a file ZELDA to start it straight away.
The Second Quest walkthrough starts with the start chapter, which covers the Blue Candle, the 100-rupee cave gift, the first Heart Container and the Power Bracelet. It then follows the route in twelve chapters through to Level 9 and the ending.
