





















The Legend of Zelda Second Quest Walkthrough12 chapters
- Second Quest StartBuy the Blue Candle, get the 100-rupee cave gift, take the first Heart Container and Power Bracelet, reach Level 1.
- Second Quest Level 1Wooden Boomerang, Map and Compass, Aquamentus for a Heart Container.
- Second Quest Blue Ring and White SwordBuy the 250-rupee Blue Ring from the hidden northeast shop, get the White Sword with five hearts.
- Second Quest Level 2Enter via the Armos stairway, collect keys, the Map and the Recorder, then beat two-headed Gleeok for a Heart Container.
- Second Quest Level 3Pond entrance and Recorder, Monster Bait for the Magical Boomerang, three Dodongos, and the third Triforce piece.
- Second Quest Level 4Enter the Lost Hills dungeon, get the Magic Book, Compass, Map, bomb upgrade, Heart Container, Raft.
- Second Quest Level 5Raft to the lake labyrinth, get the Bow, Map and Compass, beat the three-headed Gleeok and take the Triforce piece.
- Second Quest Magical Sword and LetterHeart Containers 8 and 9, the arrow shop, the Letter, then the graveyard stairs to Level 6.
- Second Quest Level 6Open the graveyard entrance with the Recorder, get the Stepladder, and beat blue Gohma for the Triforce piece.
- Second Quest Level 7Burn the forest tree, collect the Red Candle, Map and Compass, then beat Gleeok for Heart Container 12.
- Second Quest Level 8Enter with a ladder and bombs, get the Magical Rod and Magical Key, buy the bomb upgrade, beat three Dodongos.
- Second Quest Level 9 and EndingReach the north-west entrance, collect the Map, Compass, Red Ring and Silver Arrow, then defeat Ganon.
| Covers | The Second Quest overworld from the start screen to the Level 1 entrance |
|---|---|
| Dungeon | Level 1 (Second Quest): entered across the bridge with no item needed; boss and Triforce piece are in the next chapter |
| Rewards | 1 Heart Container, Power Bracelet, Blue Candle (bought for 60 rupees), 100 rupees from a secret cave |
This chapter takes you from the Second Quest start screen to the Level 1 entrance. Along the way you buy the Blue Candle, collect 100 rupees from a hidden cave, take the first Heart Container from a graveyard cave and pick up the Power Bracelet. The shortest route is to buy the candle, make the graveyard detour, claim the bracelet and then cross the bridge to Level 1.
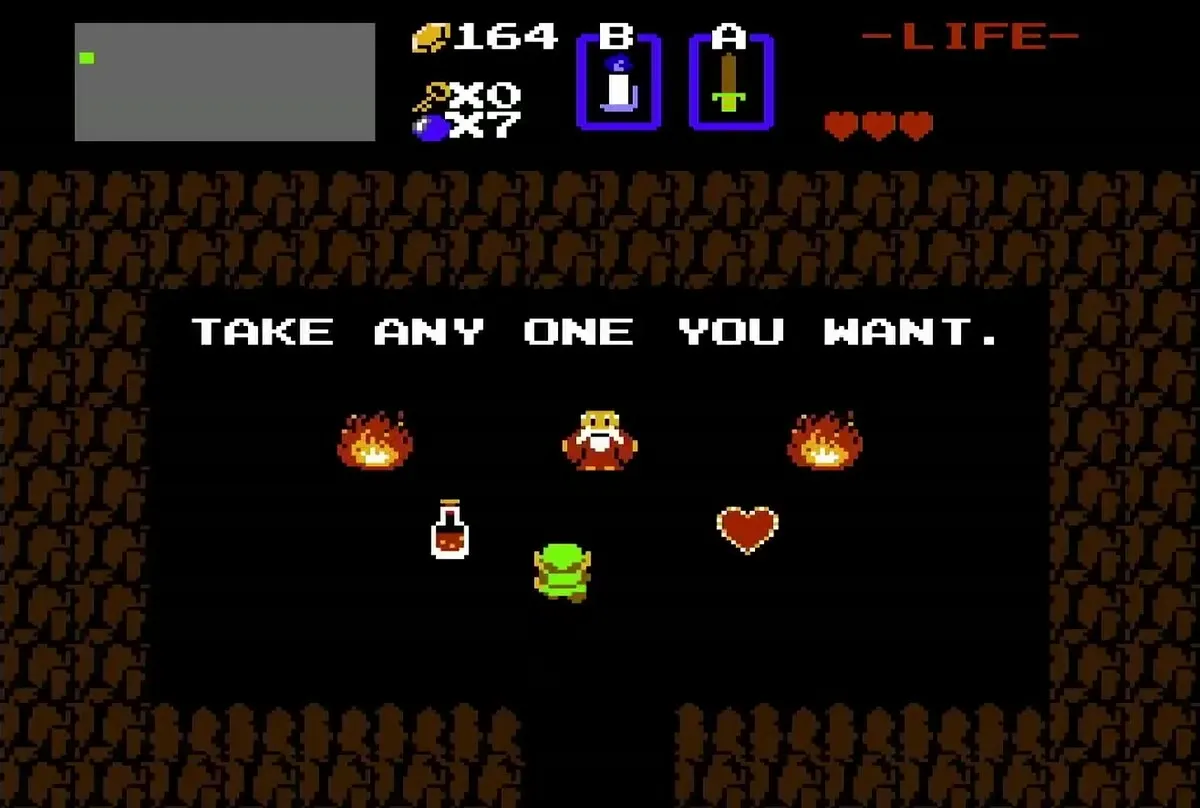
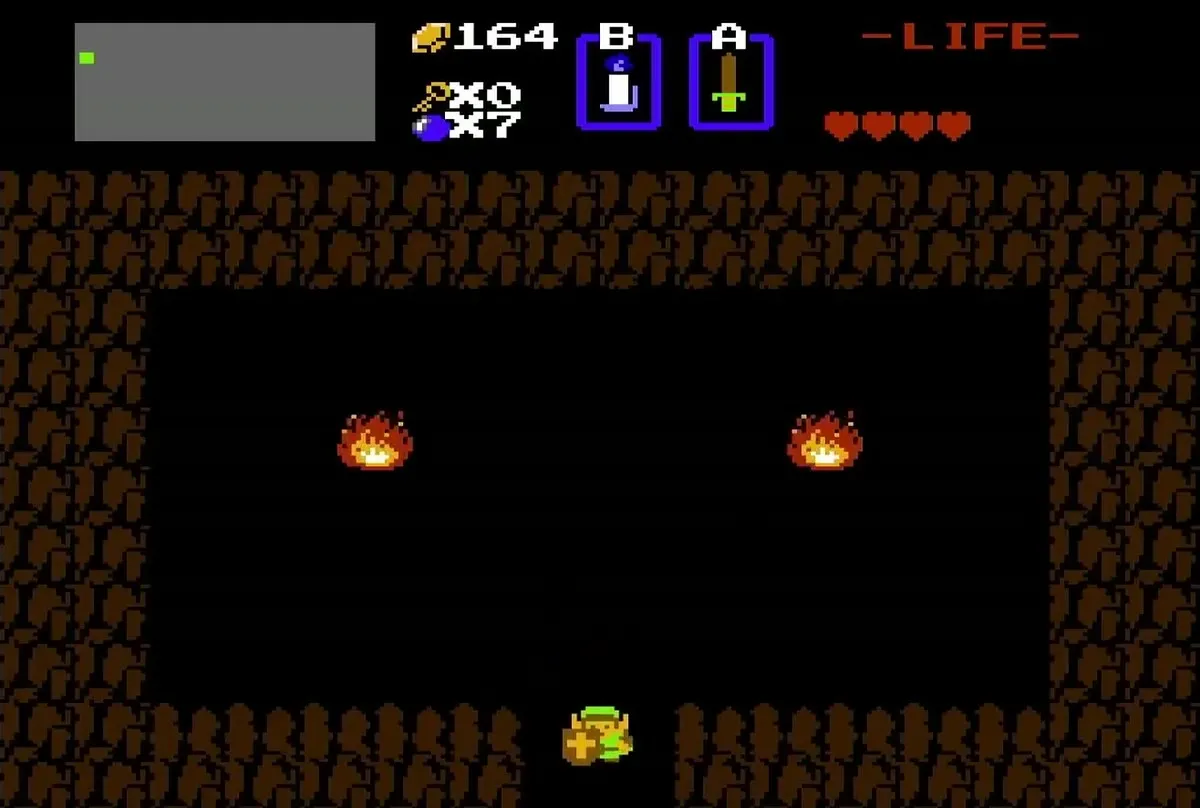
Table of Contents
Start screen and the first overworld screens
Leave the start screen
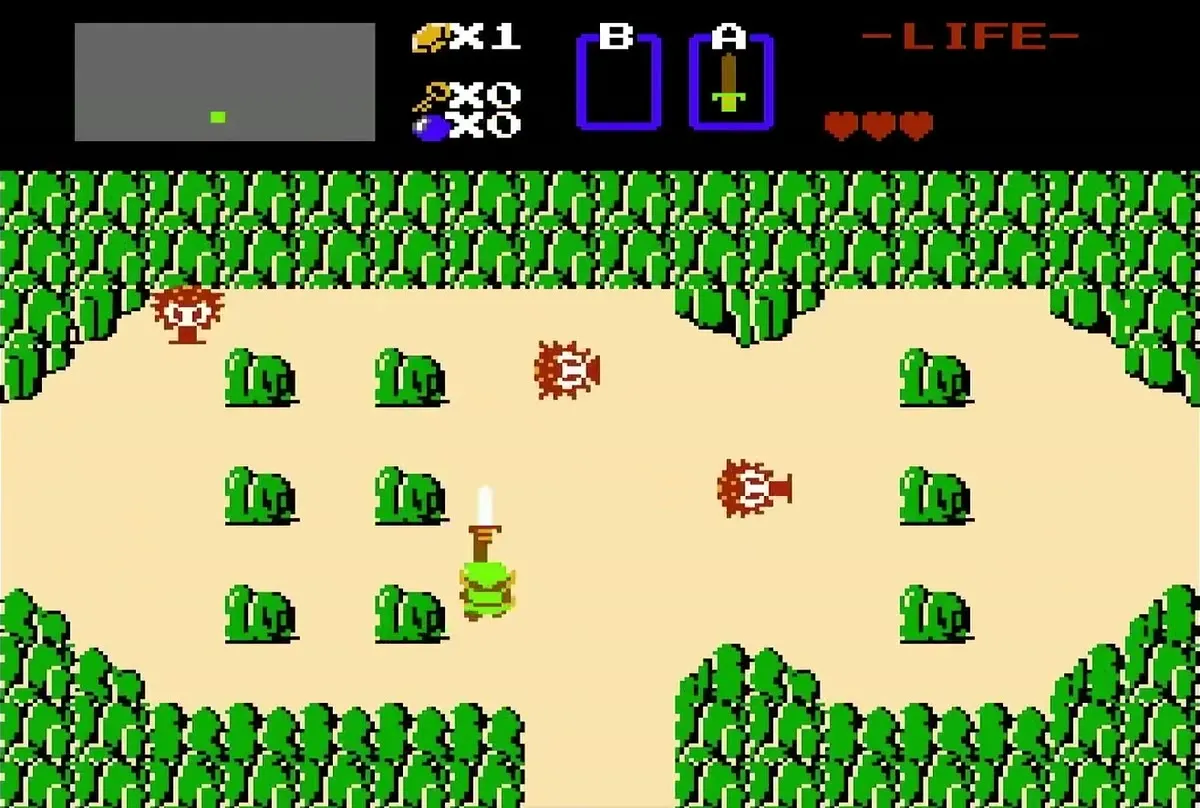
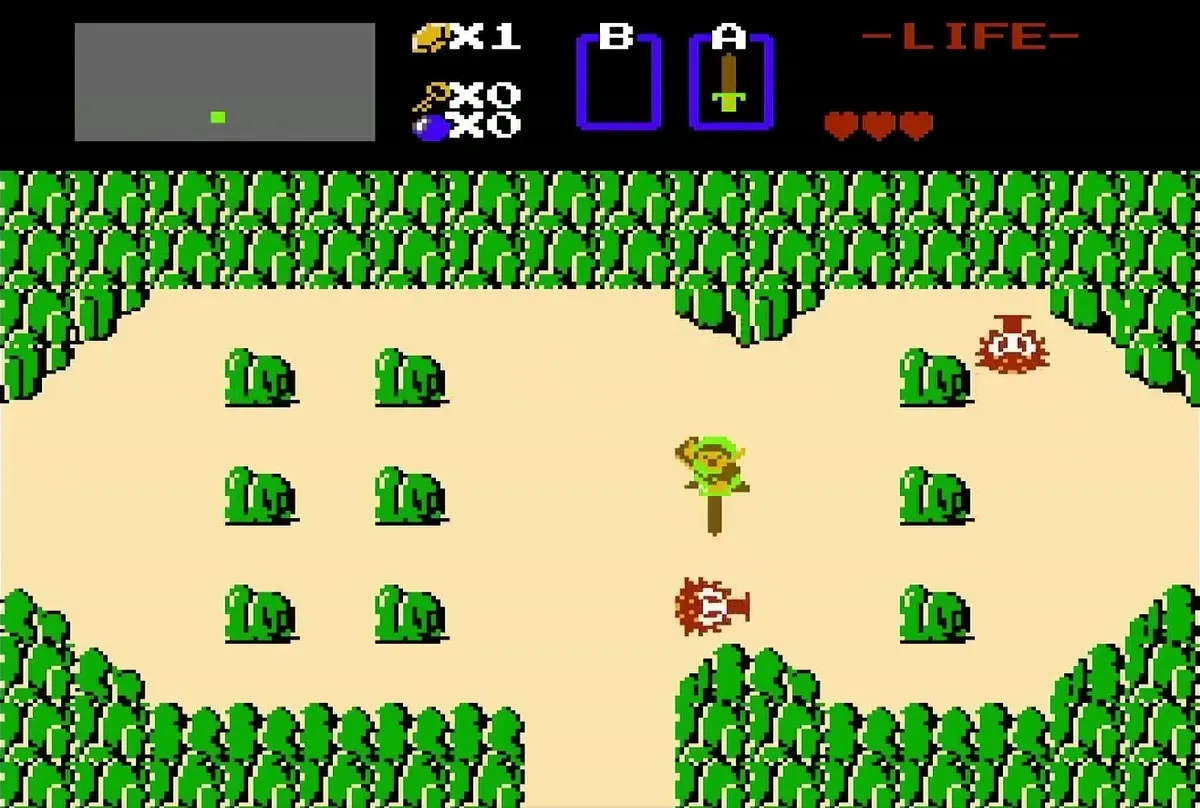
The Second Quest uses the same overworld map as the First Quest. What changes is where the dungeon entrances sit and where some shops and Heart Containers are hidden. Walk out of the start screen with the Wooden Sword you already carry and head through the lake and bush screens. Enemies are tougher in this quest, so keep your sword out as you move; the overworld has no items to pick up until you reach the first shop.
Blue Candle shop
Buy the Blue Candle
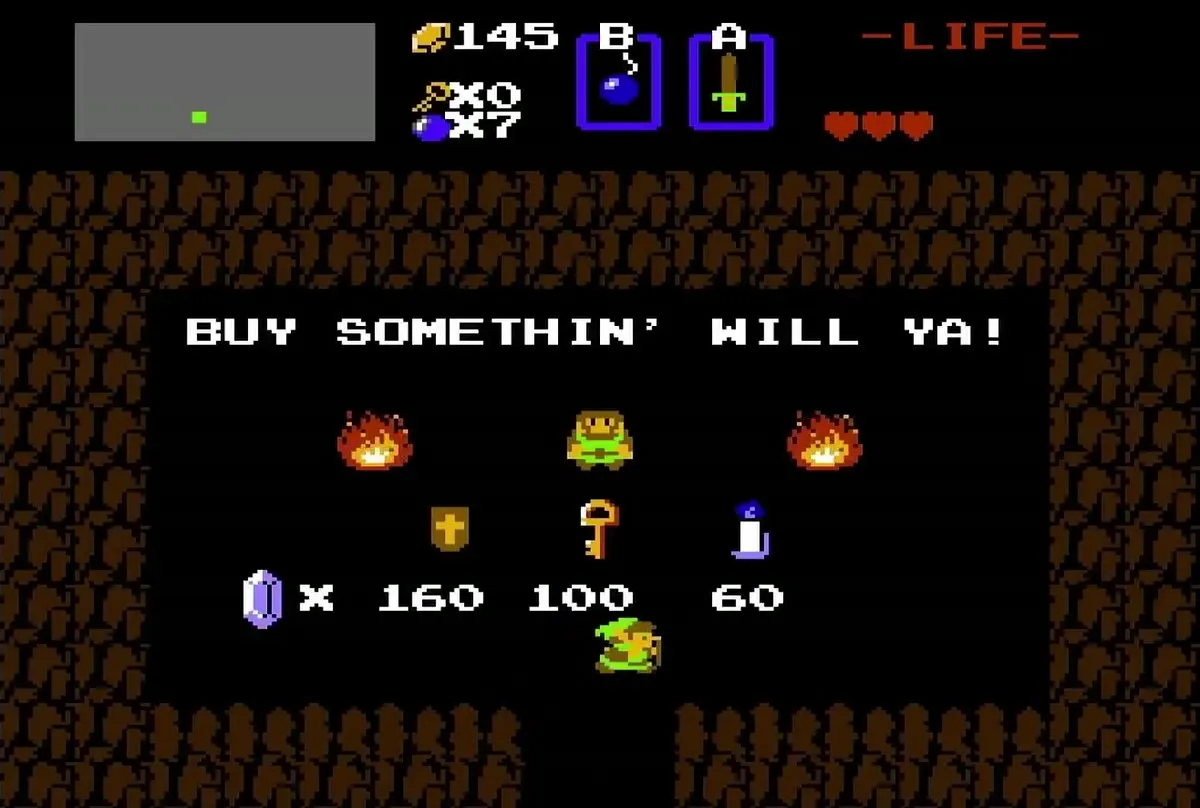
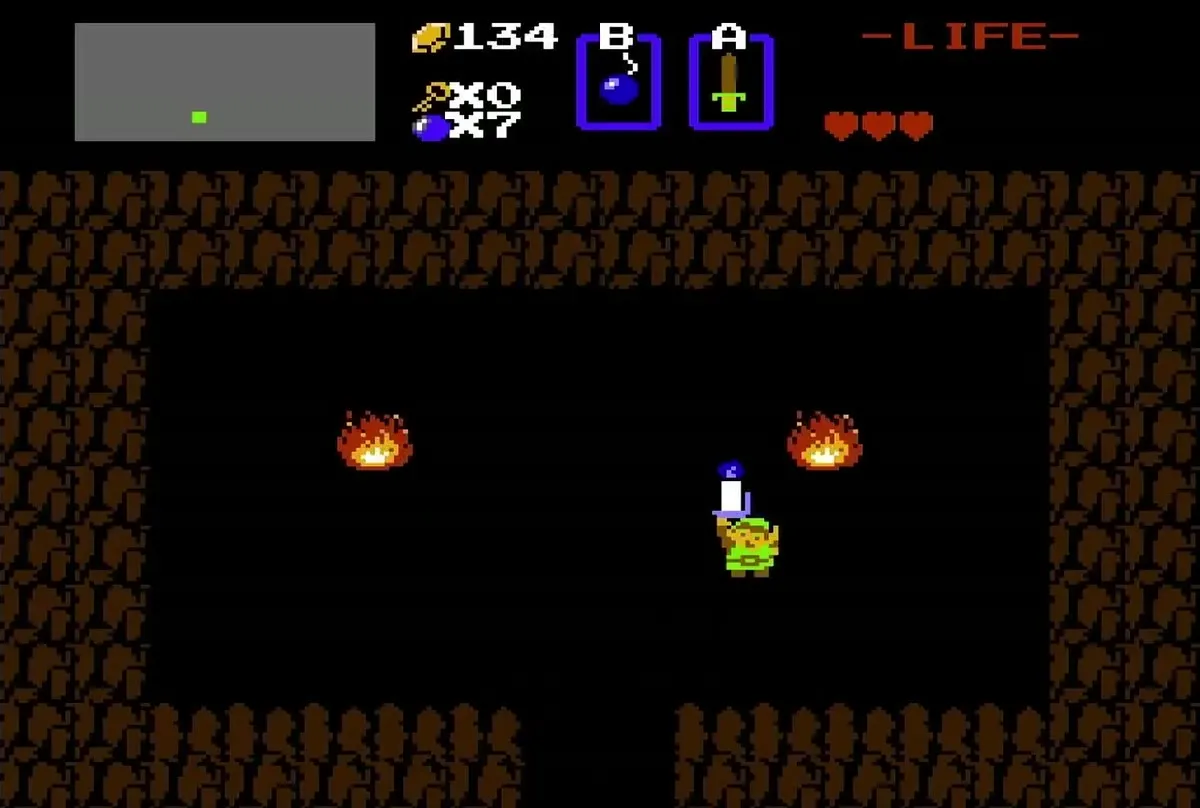
Continue through the boulder and grave screens until you reach a shop with three items. The left item costs 160 rupees and is a Magical Shield, the middle item costs 100 rupees and is a Key, and the item on the right costs 60 rupees and is the Blue Candle. Buy the candle, which lands on your B button. Burn the bushes with it when you need to open a path, and keep a few rupees for the prices in shops and prices.
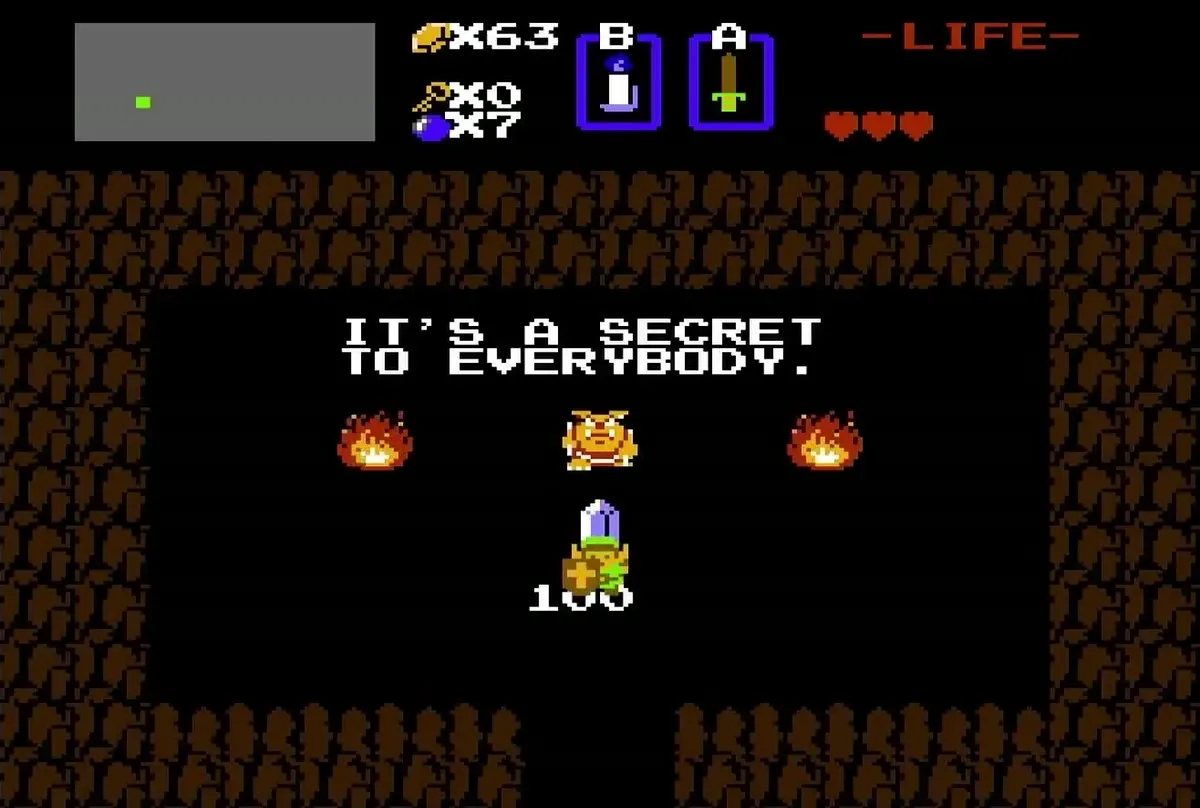
Secret cave: 100 rupees
Find the hidden passage
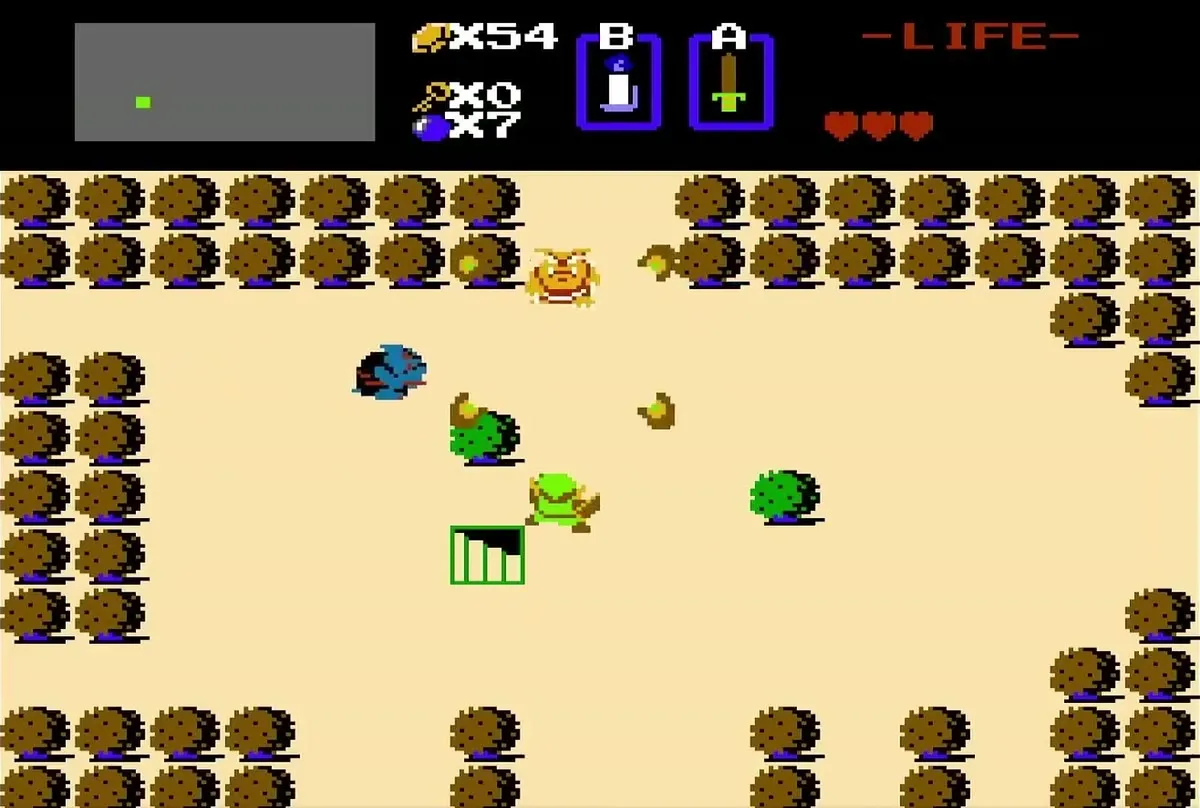
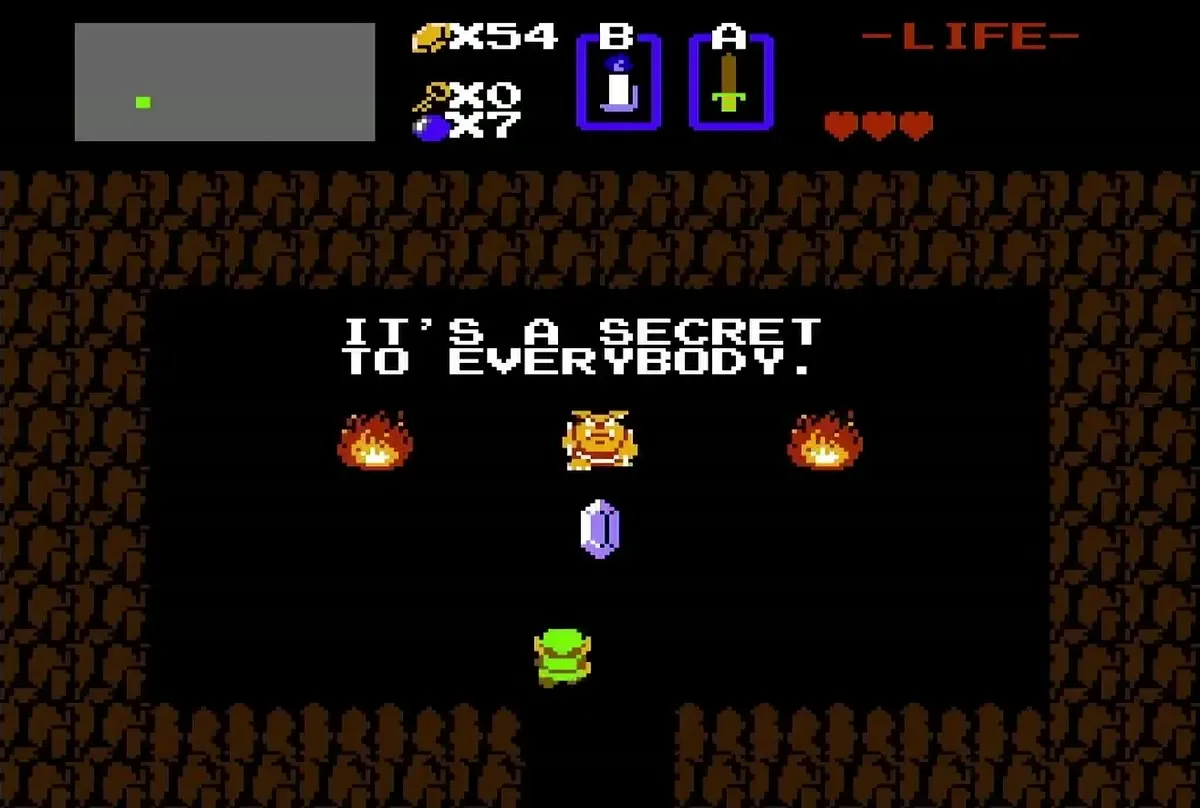
After the shop, work through the forest and tree screens toward the south-west of the overworld (D6). Look for a lone bush standing apart from the trees and burn it with the Blue Candle to reveal a staircase, then step inside. The secret cave hands you 100 rupees, which is worth taking early because the Second Quest shops charge more than you expect. Leave through the same staircase and head north-west for the graveyard.
Graveyard Heart Container
Push the tombstone
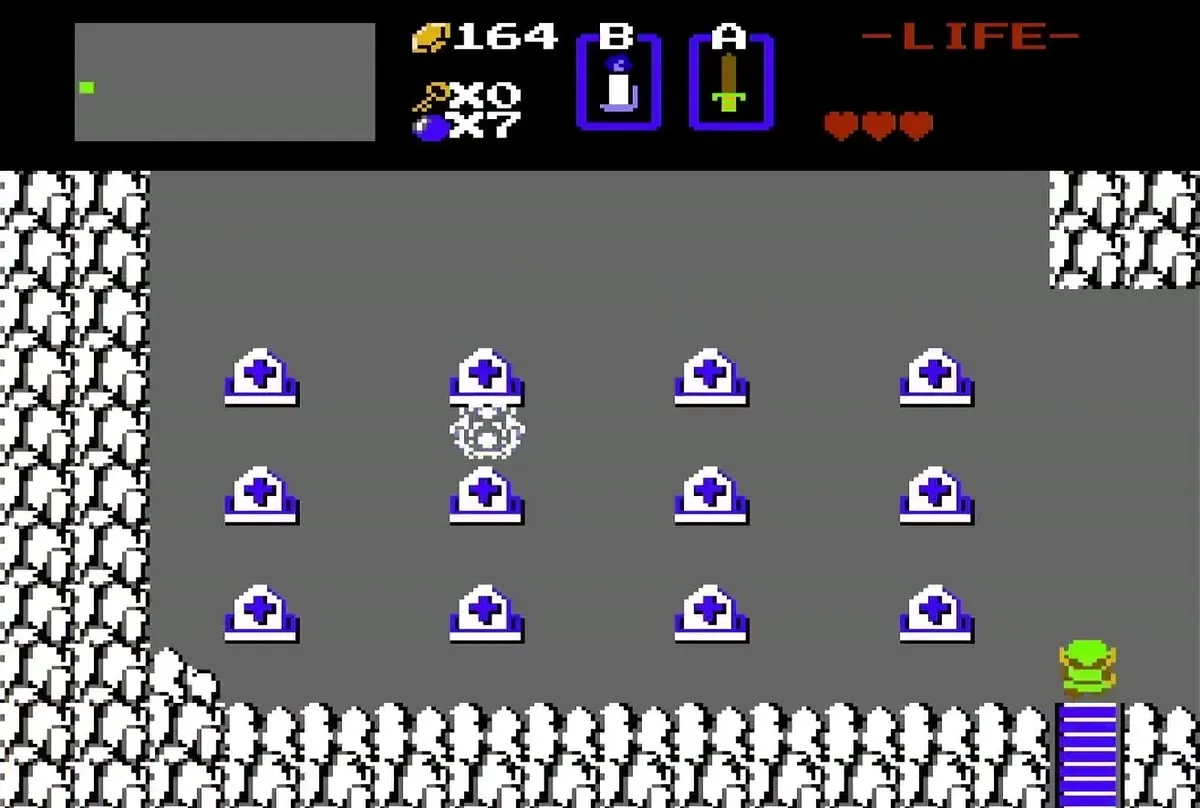
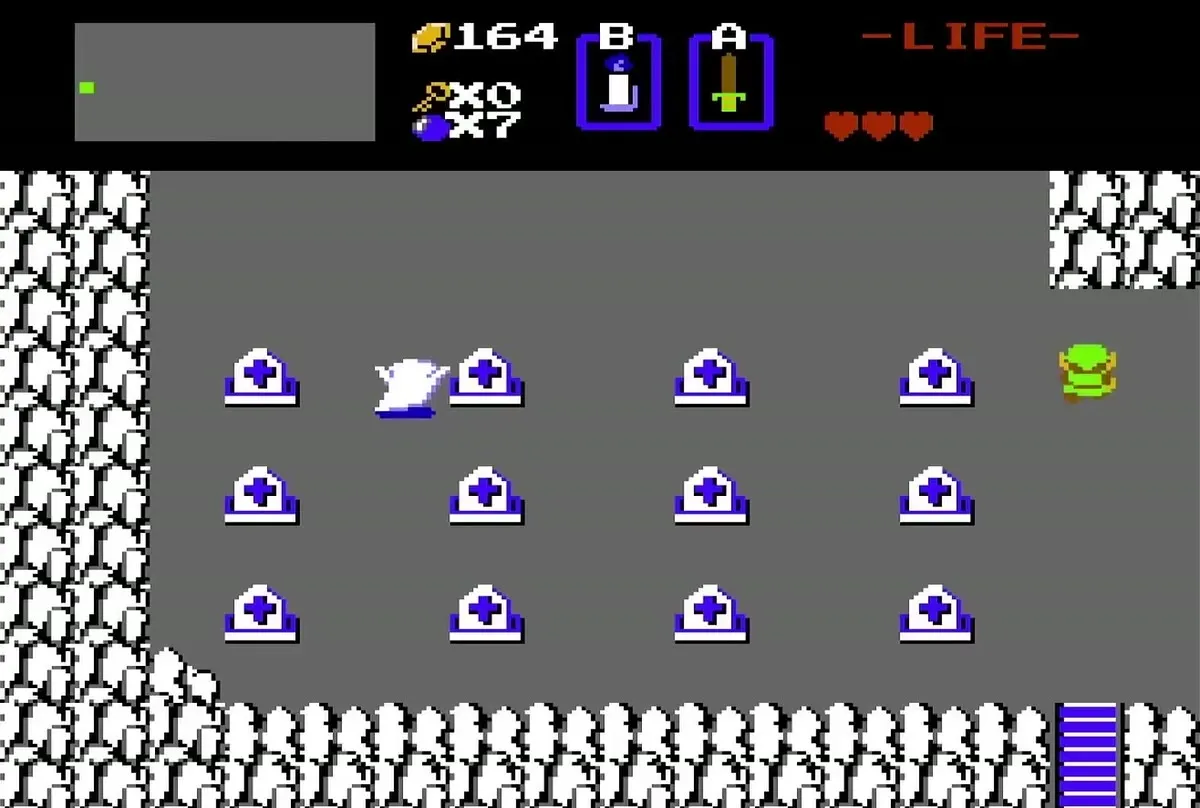
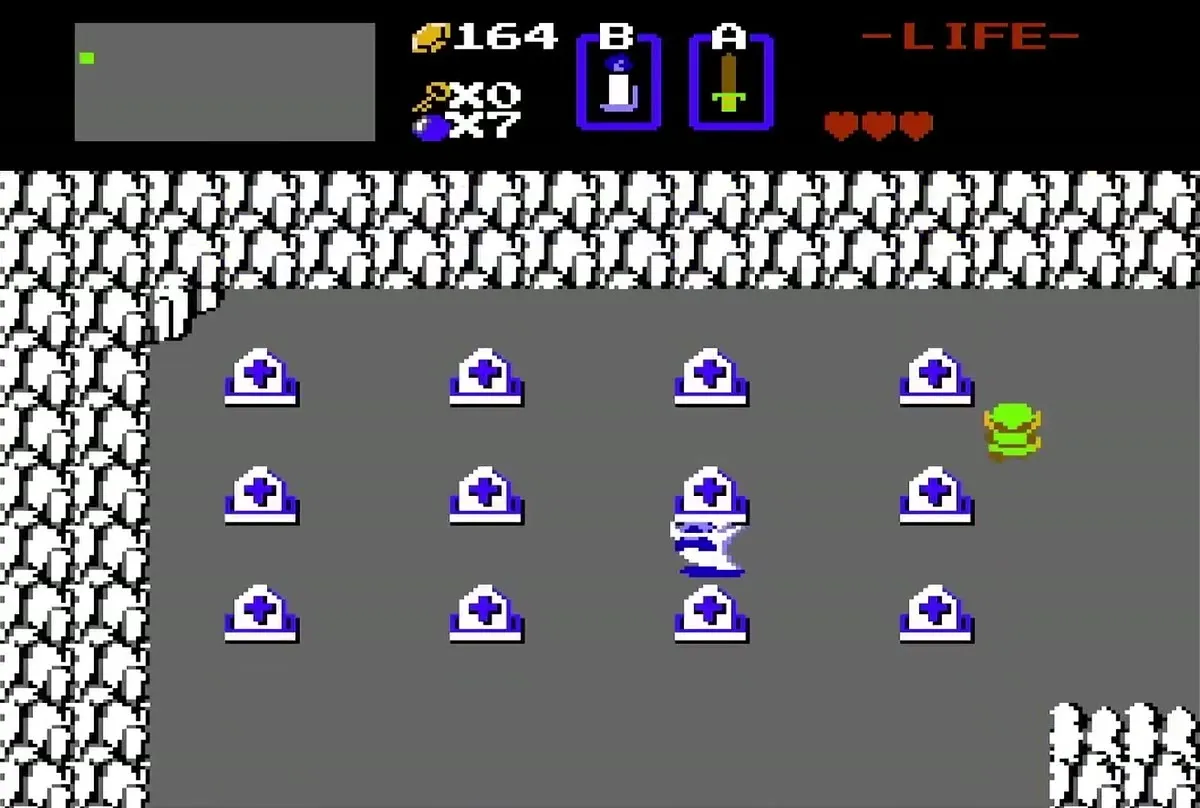
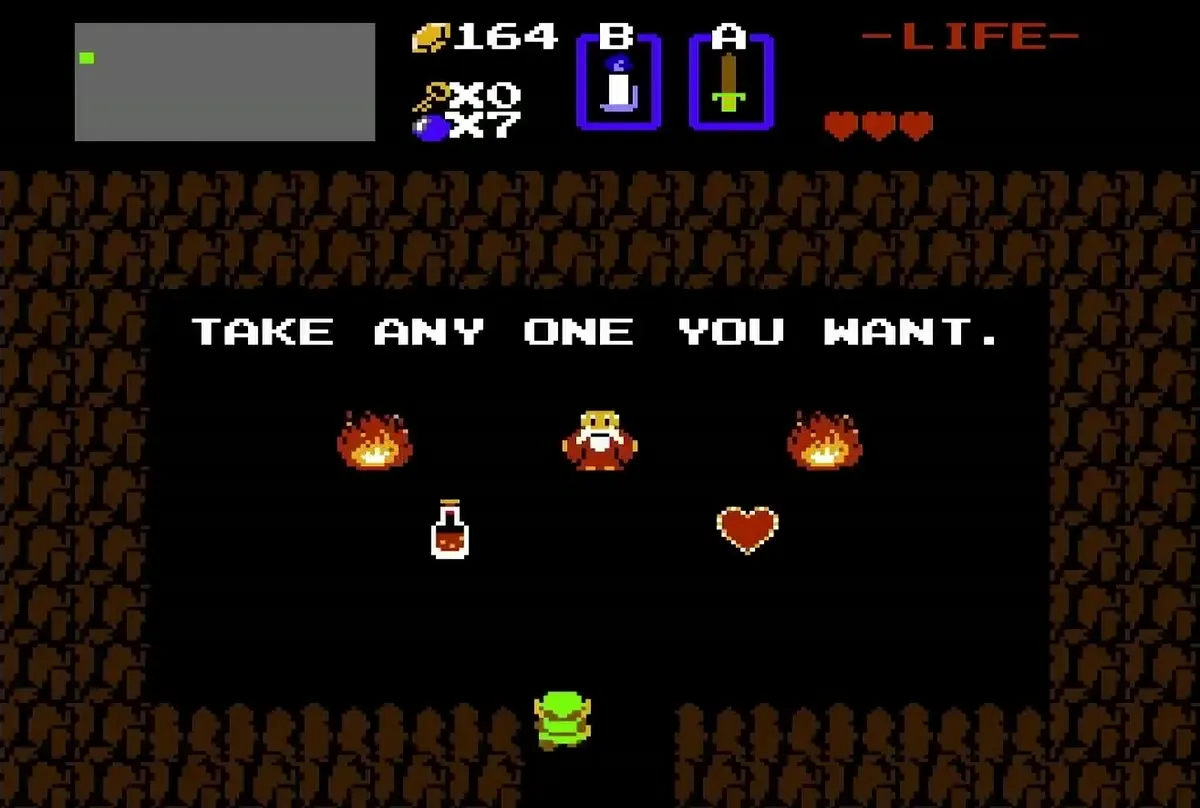
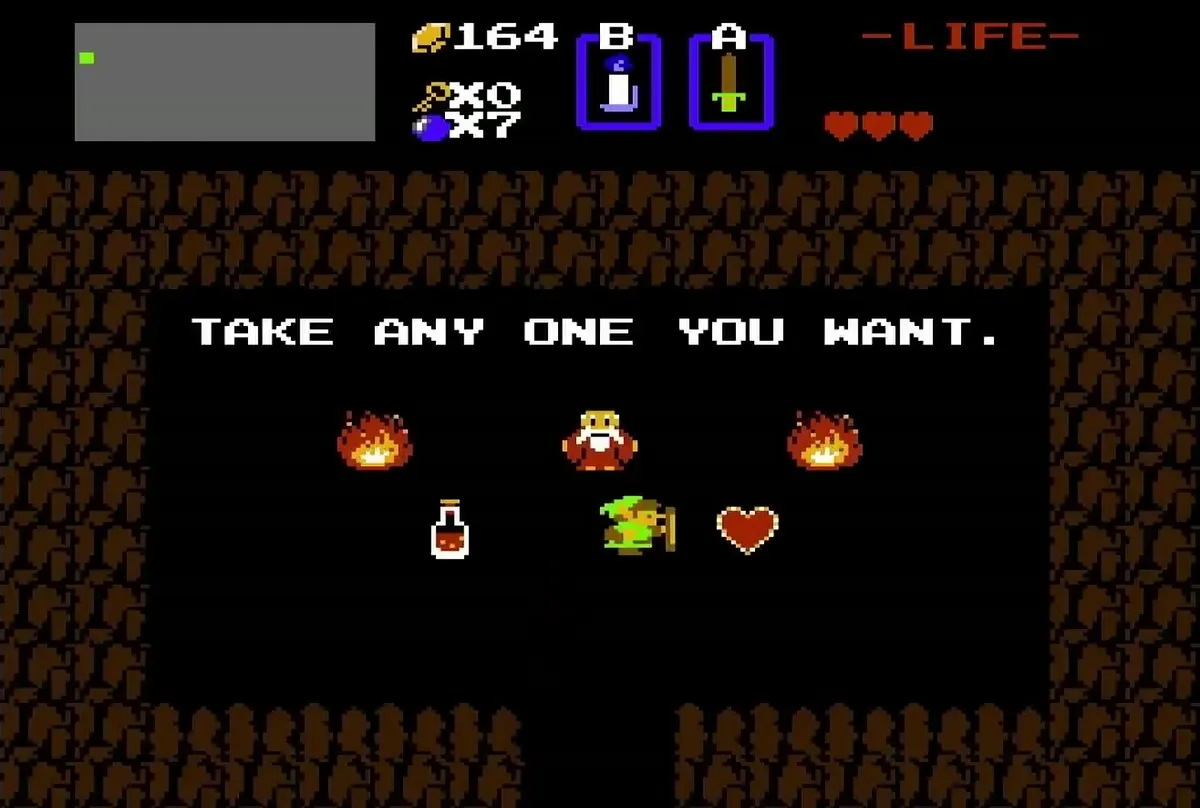
Enter the graveyard in the north-west corner of the map (A3), a grey field of tombstones guarded by ghost-like enemies. Push the second tombstone from the left in the second row to open the way down. Go through the opening to reach a small room with a pair of fires, a potion and a Heart Container.
Take the Heart Container
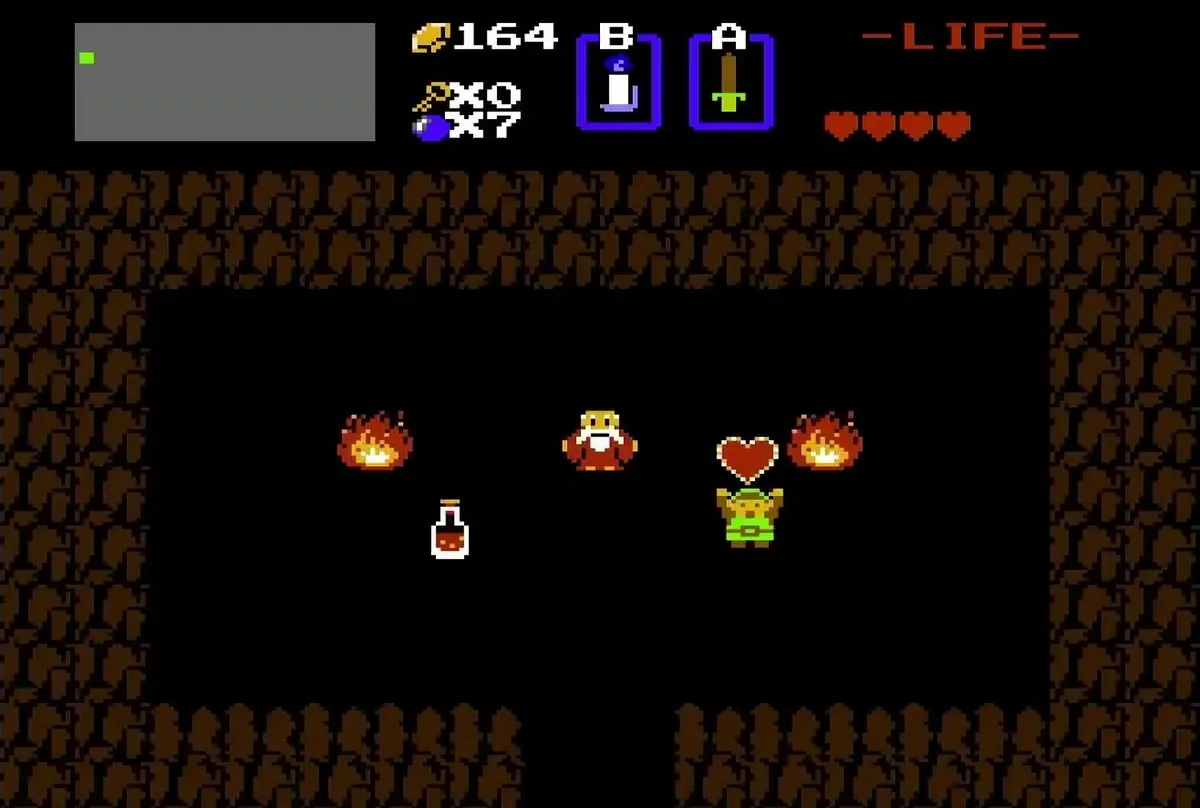
The room offers a choice of gifts. Take the heart and leave the potion behind, because the Heart Container is the one that raises your maximum health. Your hearts grow to four, and you can use this extra health to get through the caves ahead. This is the first Heart Container of the Second Quest; the other Heart Containers are covered in the chapters that follow.
Power Bracelet
Move the statue
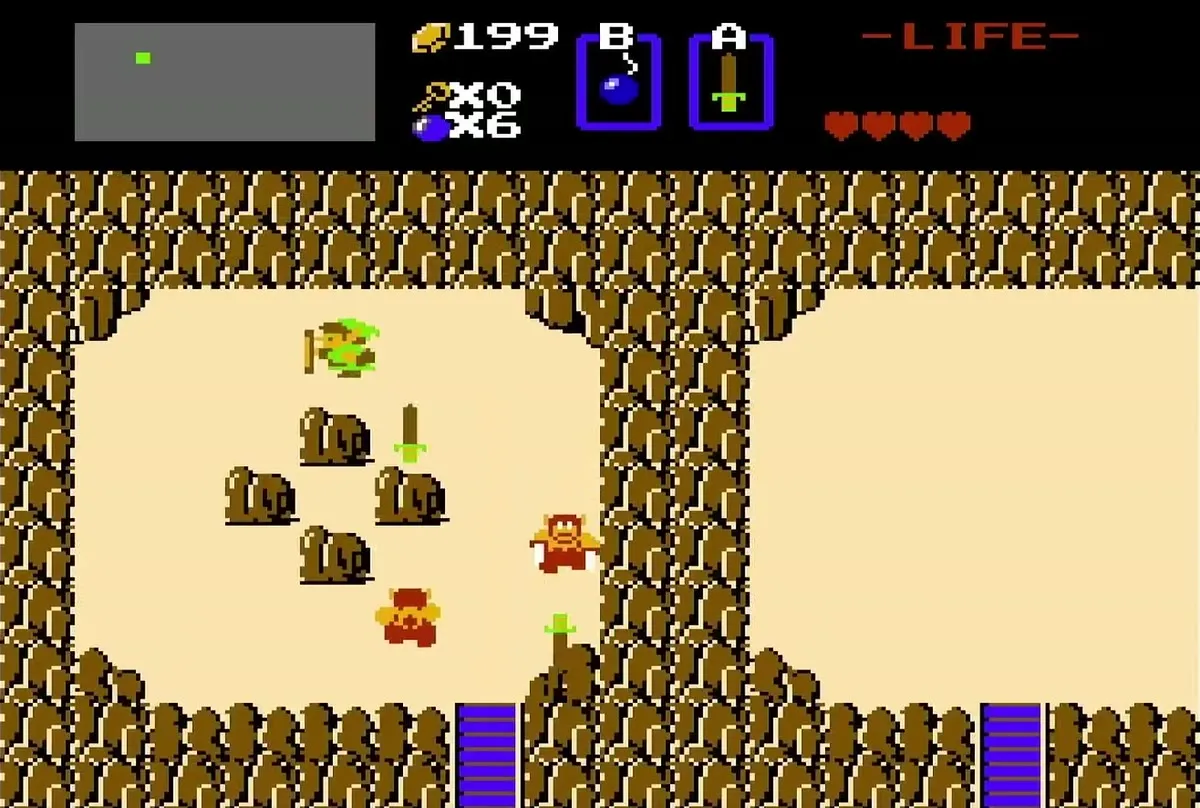
From the graveyard, head east along the top of the map to the field of statues (E3). Touch the right-most statue in the top row to make it move. The Power Bracelet is on the spot where the statue stood, so step onto it to claim the item. You need the bracelet to move the rocks that hide several passages in the overworld, so grab it before you go on.

Route to Level 1
Cross the bridge
Head east to the lake with a wooden bridge across it. Cross the bridge to reach the island where the Level 1 entrance sits (H4). The entrance is in the same place as the First Quest’s first dungeon, and you can enter without any item. Level 1 is covered in the next chapter.


Chapter checklist
| Type | Name | Where |
|---|---|---|
| Heart Container | First Heart Container | Graveyard room at A3, reached by pushing a tombstone |
| Item | Blue Candle | Shop on the overworld, 60 rupees |
| Item | Power Bracelet | Statue field at E3, east of the graveyard |
| Rupees | 100 rupees | Staircase under a burned bush in the south-west (D6) |
| Dungeon entrance | Level 1 | Island across the bridge at H4, no item needed |
