





















The Legend of Zelda Second Quest Walkthrough12 chapters
- Second Quest StartBuy the Blue Candle, get the 100-rupee cave gift, take the first Heart Container and Power Bracelet, reach Level 1.
- Second Quest Level 1Wooden Boomerang, Map and Compass, Aquamentus for a Heart Container.
- Second Quest Blue Ring and White SwordBuy the 250-rupee Blue Ring from the hidden northeast shop, get the White Sword with five hearts.
- Second Quest Level 2Enter via the Armos stairway, collect keys, the Map and the Recorder, then beat two-headed Gleeok for a Heart Container.
- Second Quest Level 3Pond entrance and Recorder, Monster Bait for the Magical Boomerang, three Dodongos, and the third Triforce piece.
- Second Quest Level 4Enter the Lost Hills dungeon, get the Magic Book, Compass, Map, bomb upgrade, Heart Container, Raft.
- Second Quest Level 5Raft to the lake labyrinth, get the Bow, Map and Compass, beat the three-headed Gleeok and take the Triforce piece.
- Second Quest Magical Sword and LetterHeart Containers 8 and 9, the arrow shop, the Letter, then the graveyard stairs to Level 6.
- Second Quest Level 6Open the graveyard entrance with the Recorder, get the Stepladder, and beat blue Gohma for the Triforce piece.
- Second Quest Level 7Burn the forest tree, collect the Red Candle, Map and Compass, then beat Gleeok for Heart Container 12.
- Second Quest Level 8Enter with a ladder and bombs, get the Magical Rod and Magical Key, buy the bomb upgrade, beat three Dodongos.
- Second Quest Level 9 and EndingReach the north-west entrance, collect the Map, Compass, Red Ring and Silver Arrow, then defeat Ganon.
| Covers | the cave entrance to Level 8 in the Second Quest, all of Level 8, and the bomb upgrade man inside it |
|---|---|
| Dungeon | Level 8 (Second Quest). Needs a ladder, bombs and Monster Bait. Boss: three Dodongos. Triforce piece 8. |
| Rewards | Magical Rod, Magical Key, Map, Compass, bomb upgrade (four more bombs for 100 rupees), 1 Heart Container, Triforce piece 8 |
Level 8 in the Second Quest is a long dungeon full of locked doors and hidden stairways. Its boss is three Dodongos, and it hides the Magical Rod, the Magical Key and a man who sells a bomb upgrade. Plan on bringing a ladder, bombs and Monster Bait before you go in.

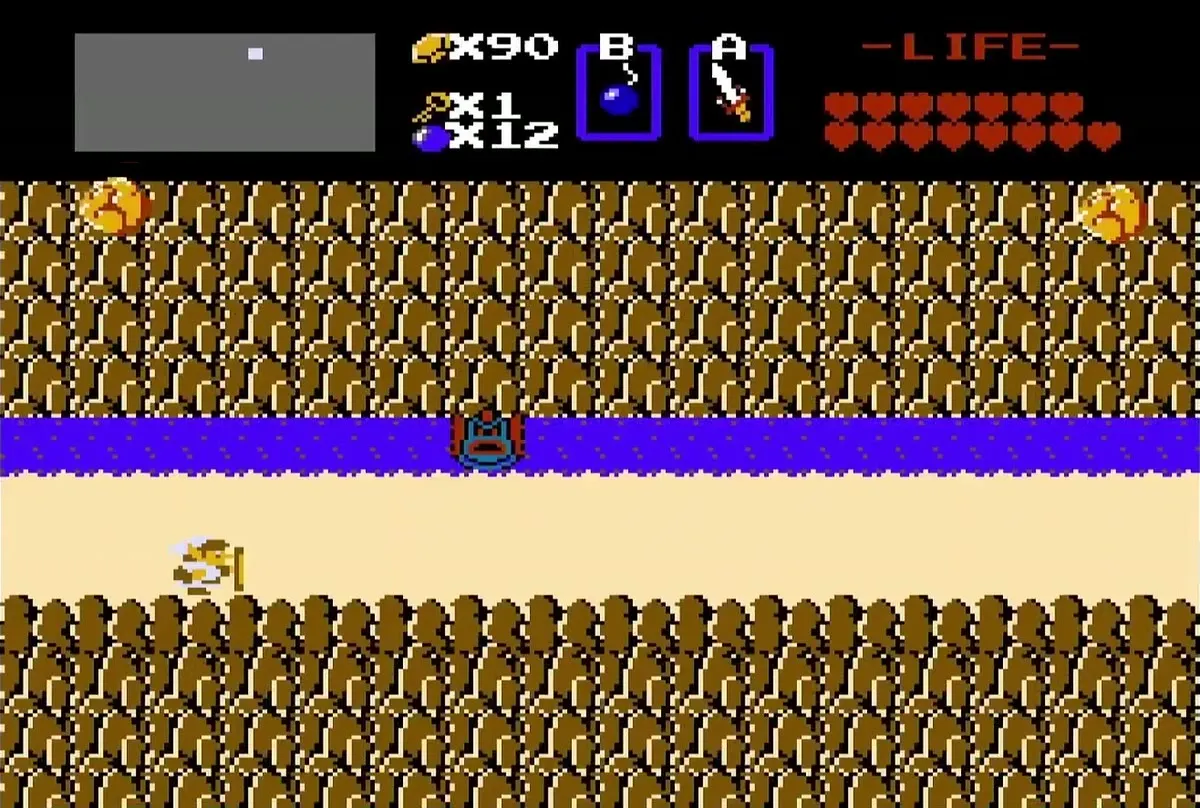
Table of Contents
Reaching the Level 8 entrance
Use the ladder on the river and bomb the wall
Leave the fairy fountain, head south and then west twice. Use the ladder to cross onto the river on the left half of the screen. Bomb the cliff wall directly above the river (J2), and if no cave opens, try another spot along the same wall. The opening leads into the Level 8 entrance.
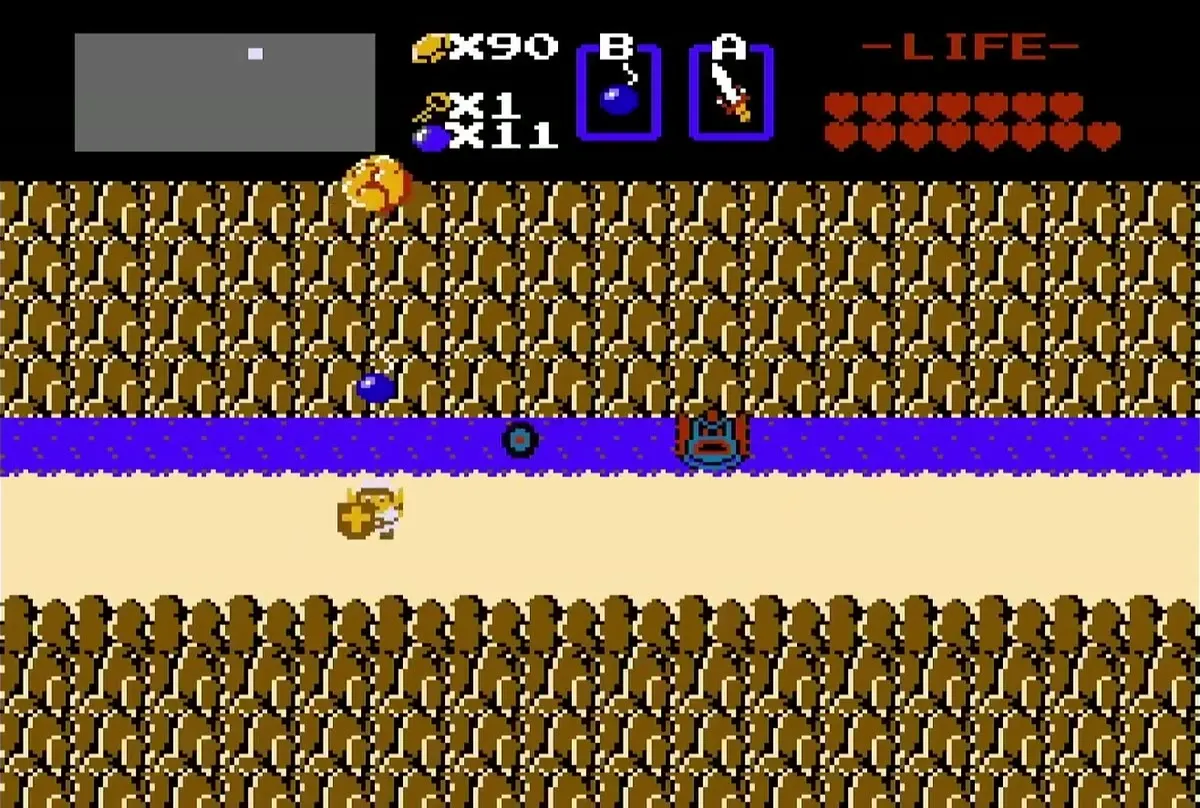


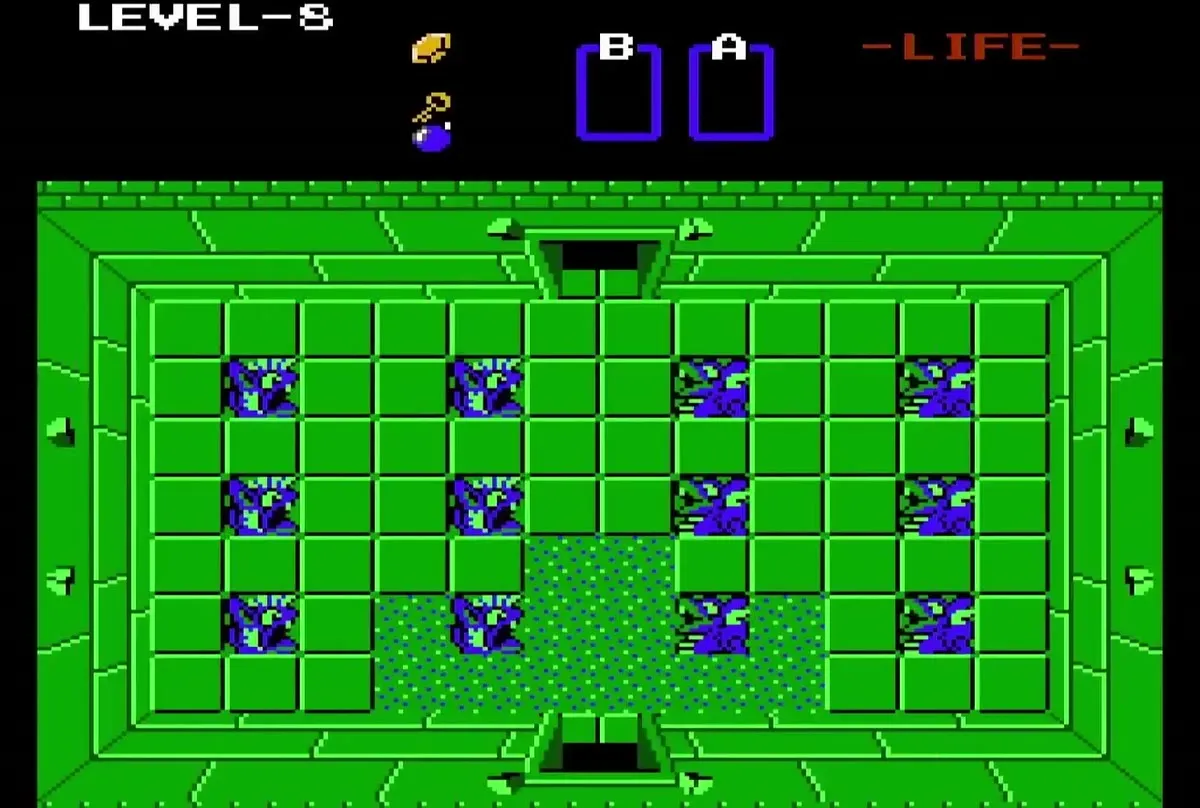
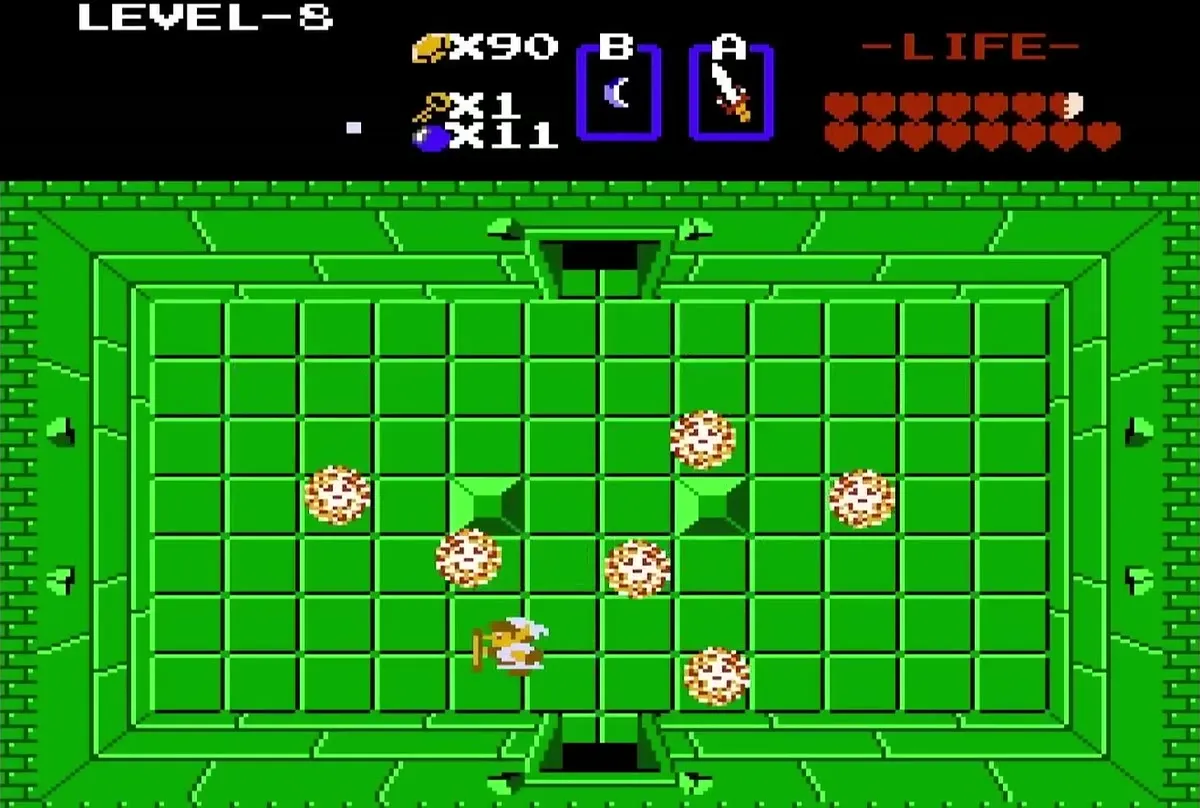
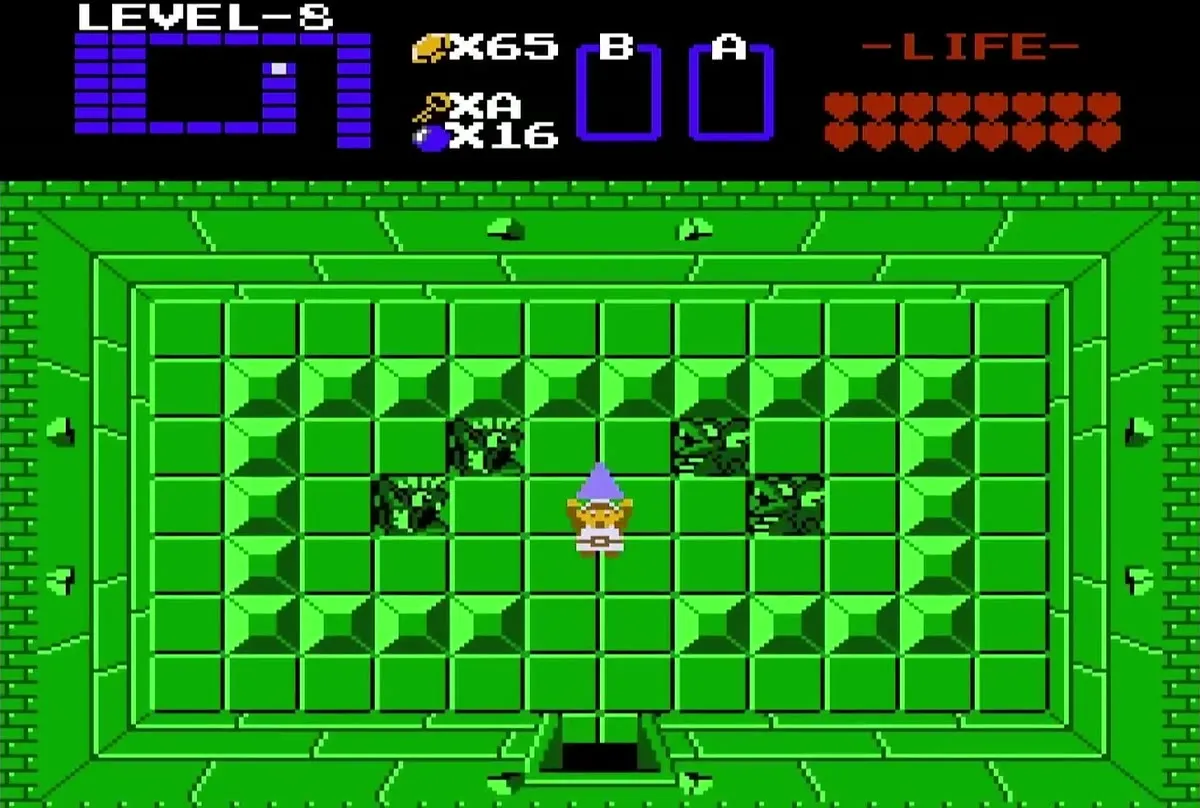
Enter the first room and head through the top door. You will meet a room full of red Bubbles. Stay clear of them while you push the leftmost block, which uncovers stairs down into an underground passage. You can also reach that passage by pushing against the wall of the Goriya room below it if the Bubbles catch you.

Level 8: room by room
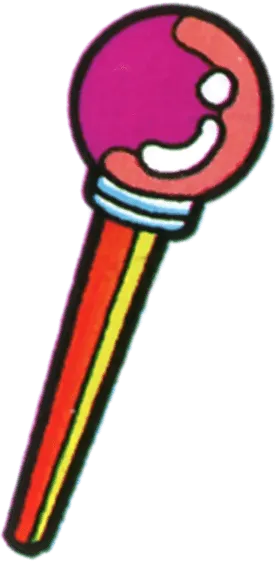
Find the Magical Rod
Defeat the Goriyas in the room past the passage and push against the south wall to find a hidden passage. Three Dodongos guard the locked door below. Unlock that door once they are defeated, and you will enter a room of Wall Masters. Defeat as many as you can without touching a red Bubble, then push the center block along the right column to reveal the stairs.


Take the stairs down to pick up the Magical Rod. It is the item you will use to strike enemies from a distance in the rooms ahead. Return to the Dodongo room afterward and continue through the right door.


Compass, map and the Digdogger
Defeat the Goriyas and Keese in the room past the right door and bomb the bottom wall to get the map. Fight the Keese in the next room and walk over the spike traps to the top door. The Compass sits behind the trap room, so light the room with your Candle or Rod to clear the Keese that hide it.
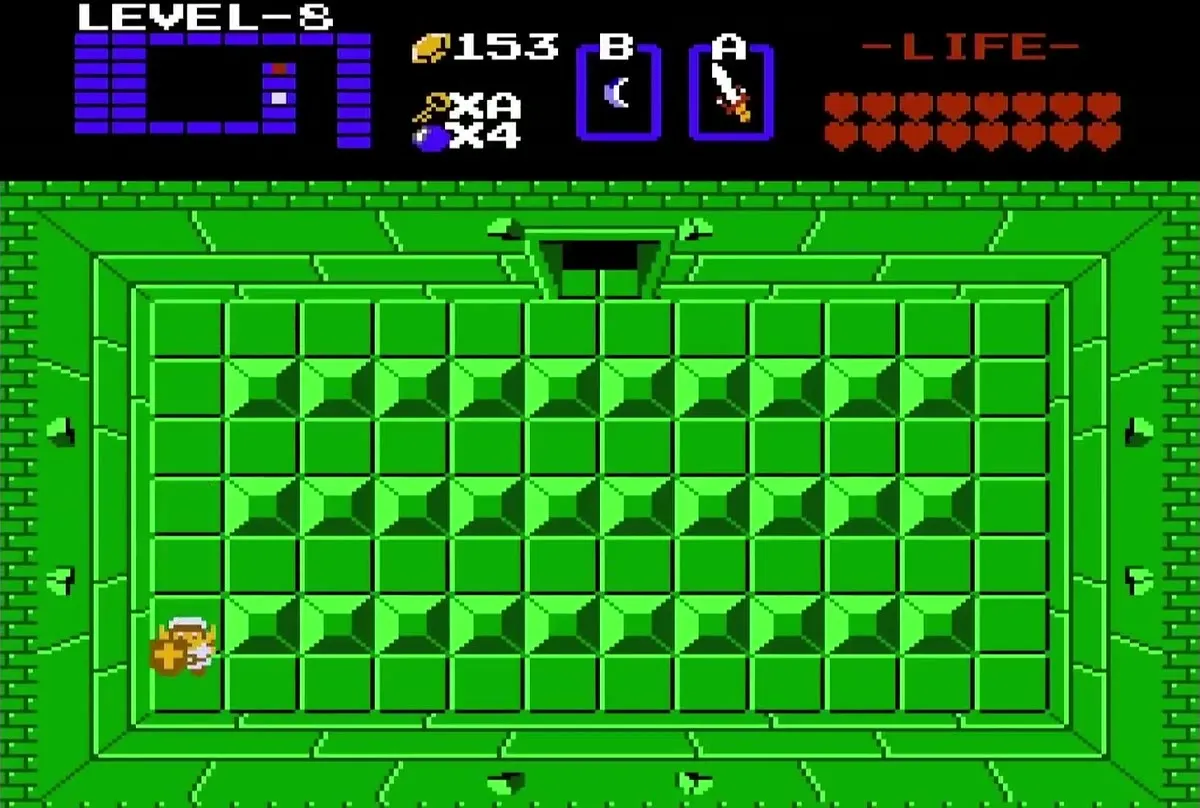
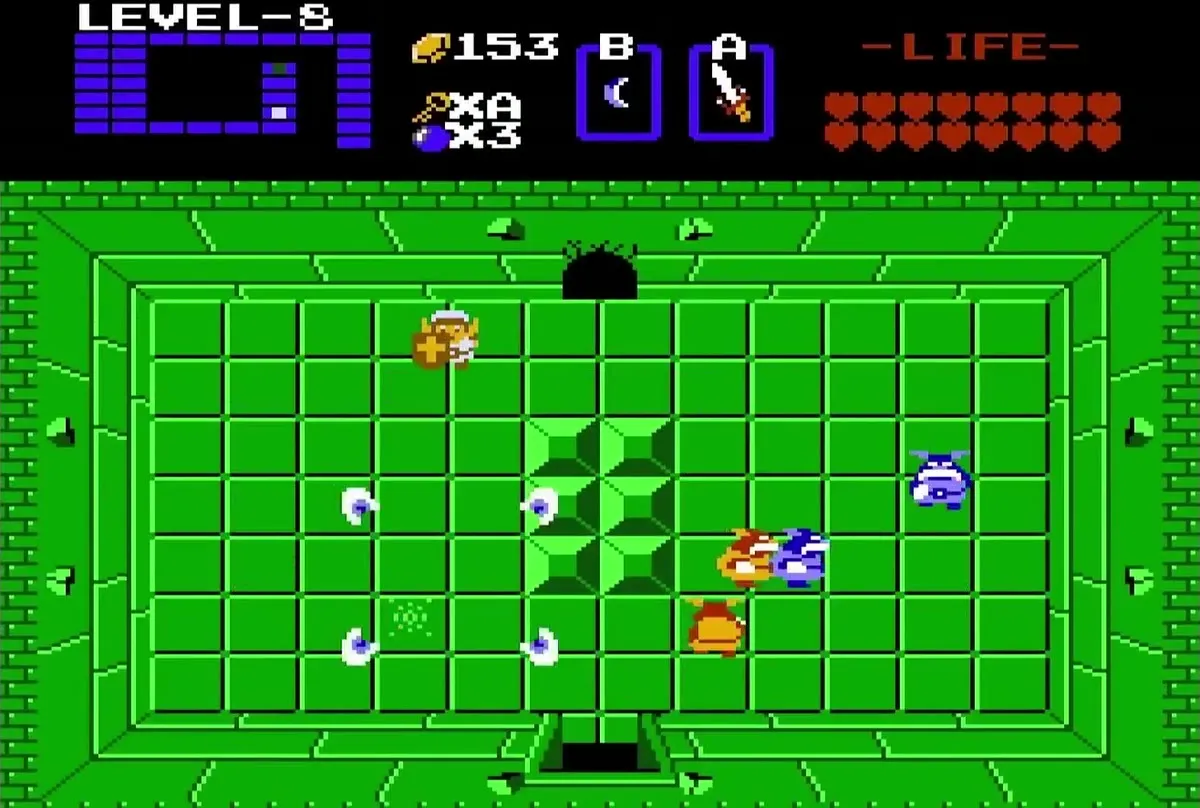
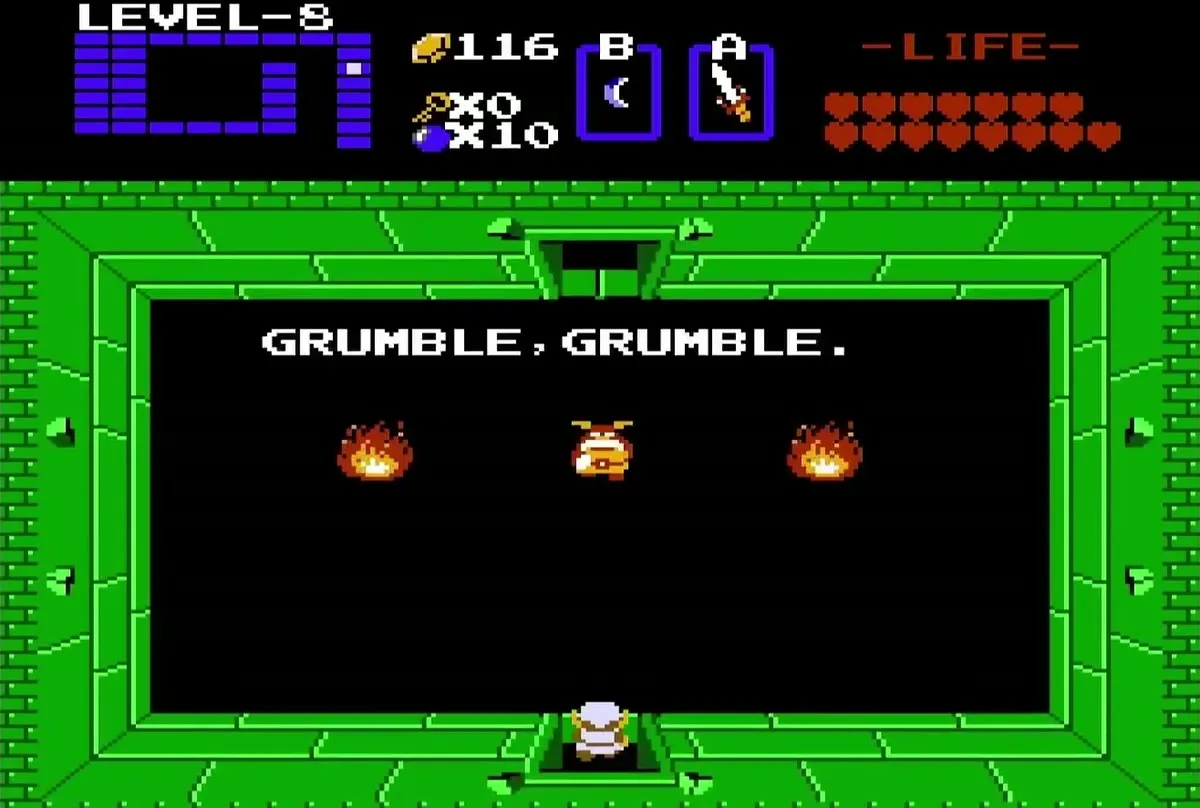
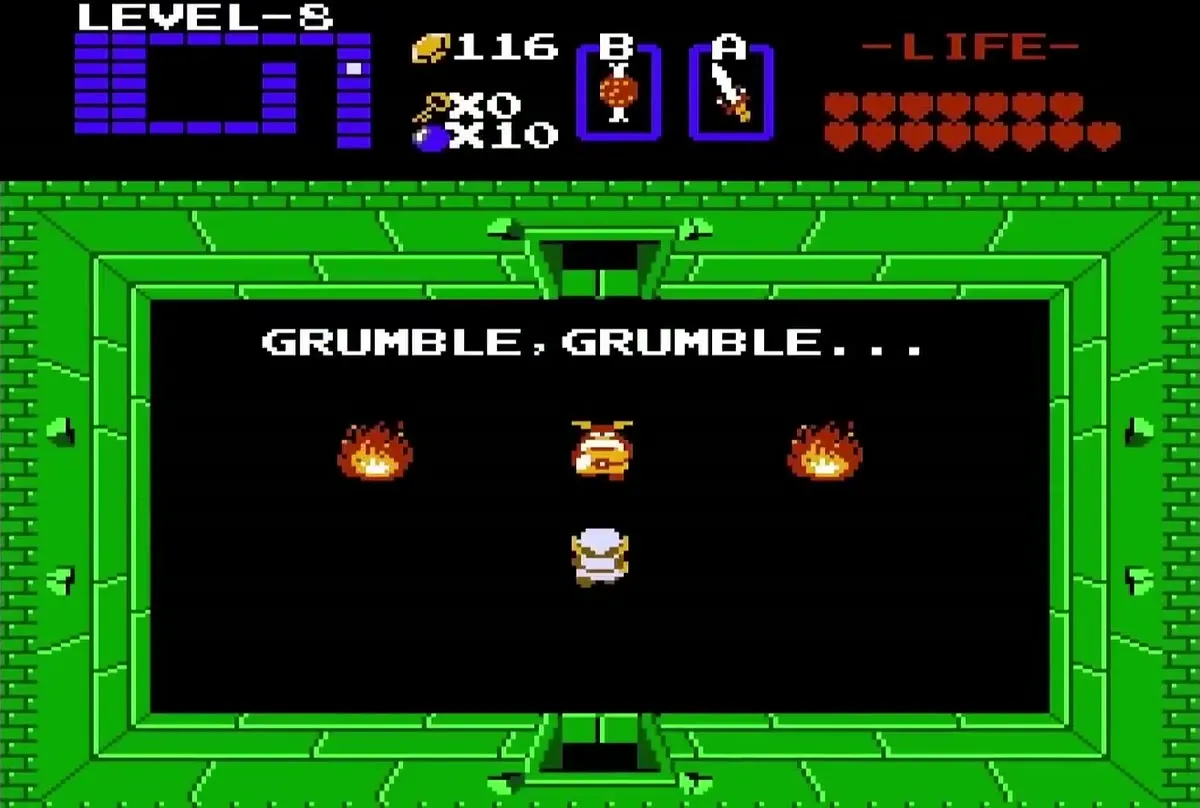
A Digdogger guards a passage that leads to a shortcut. You can skip the Magical Key by using that shortcut, but you will miss the key, so most players fight the Digdogger and continue through the top door. A hungry Moblin further along blocks the next door until you feed it Monster Bait.

Get the Magical Key
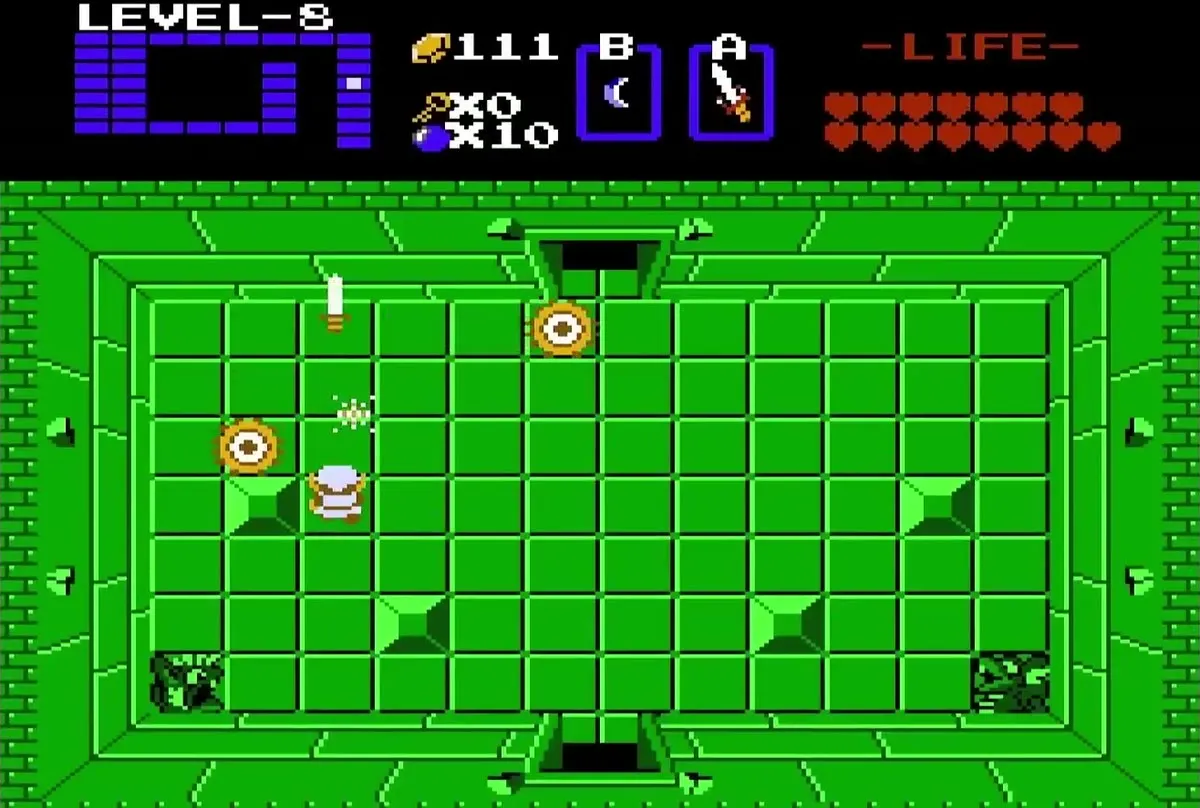
Work through the blue Goriya rooms to earn the small keys you need for the locked doors on the left, and bomb the left wall of the next room to continue. Use the keys on the locked doors and defeat the Stalfos in the room behind the left door. Push the block in the fourth row to reveal the stairway, and the Magical Key is waiting at the bottom.


The Magical Key opens every locked door in the dungeon, so you can use it to cross back through the rooms you already cleared. Return to the right and head through the bottom door. Dispatch the Ropes and push the center block down, then bomb the bottom wall of the next room to reach a hidden passage.
Buy the bomb upgrade
Defeat the Moldorms at the bottom of the dungeon and bomb the wall to reveal a passage. Take the passage and defeat the Goriyas for a blue rupee, then go through the bottom door. Defeat the Aquamentus to open the left door, then enter the room with Bubbles and Wall Masters.

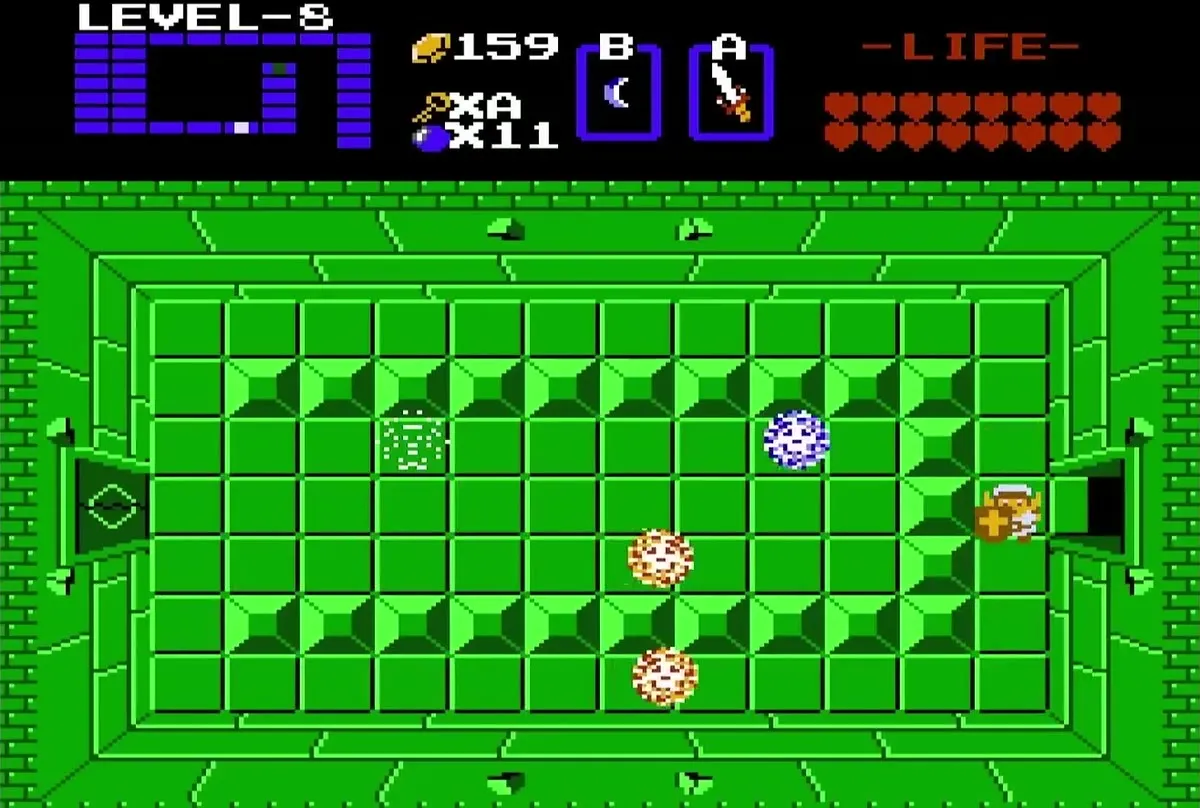
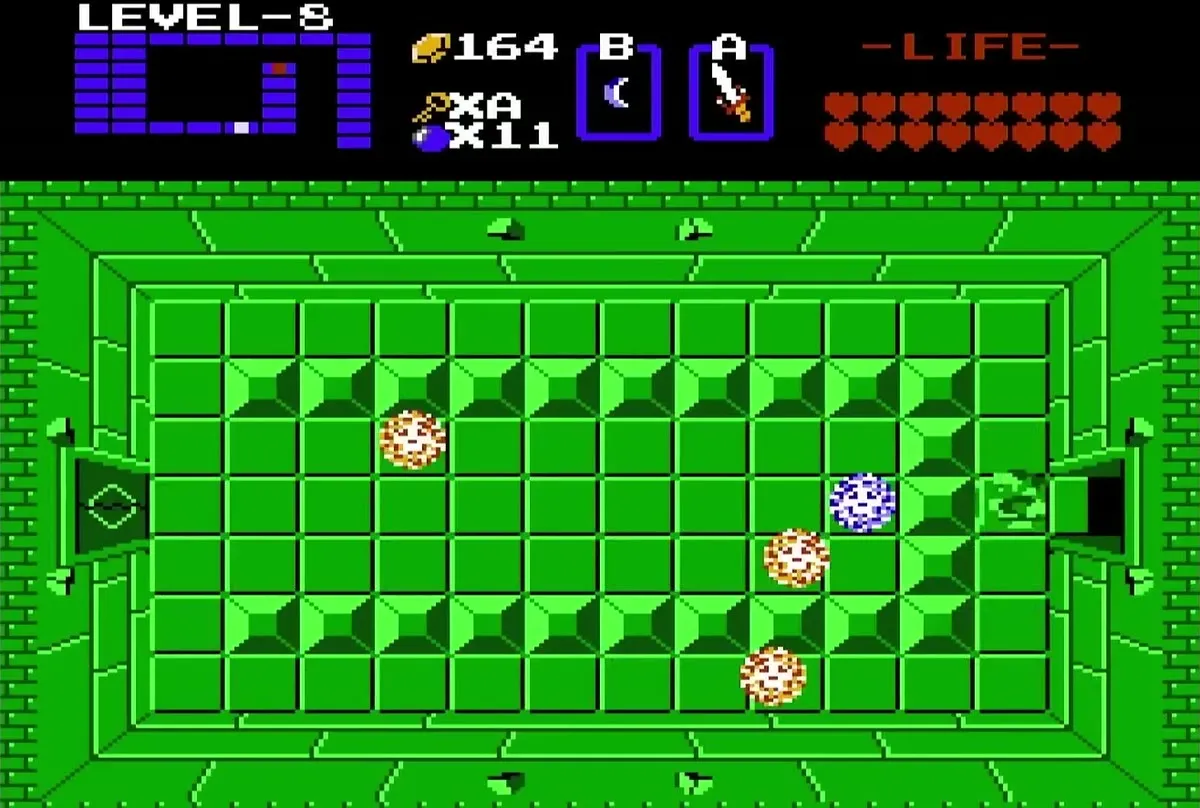
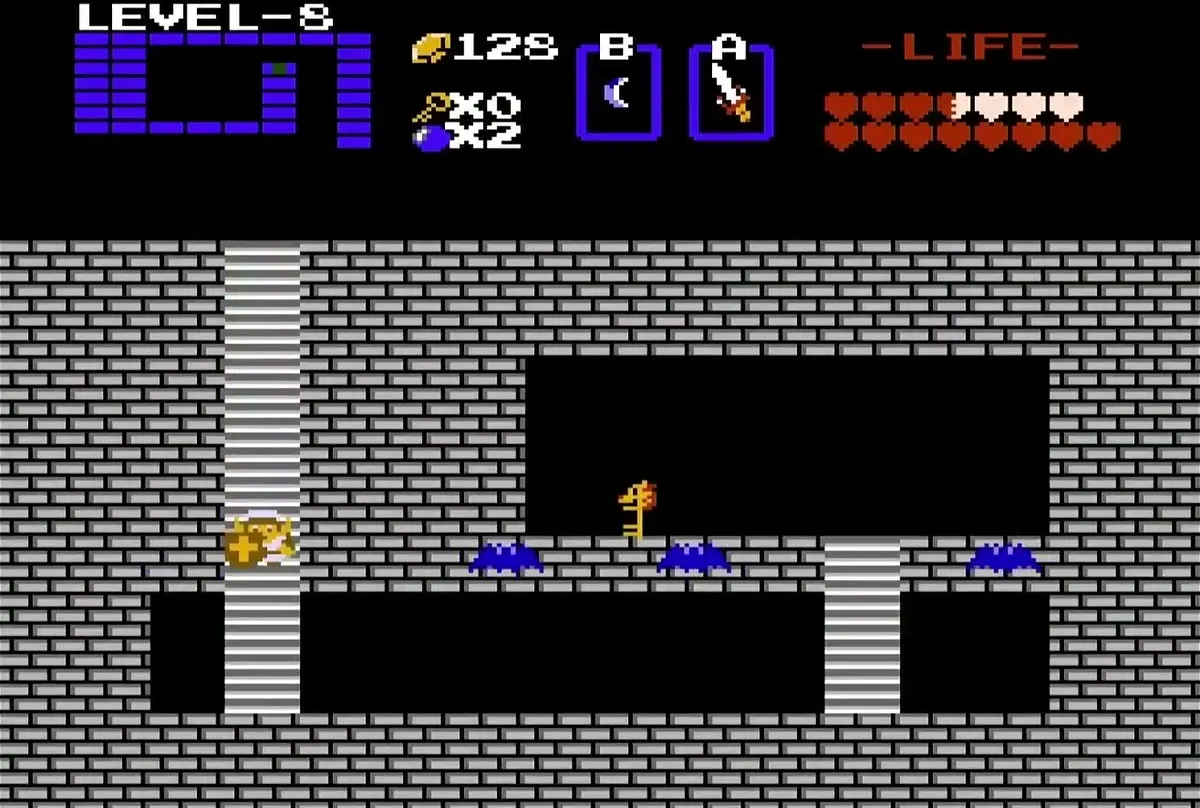
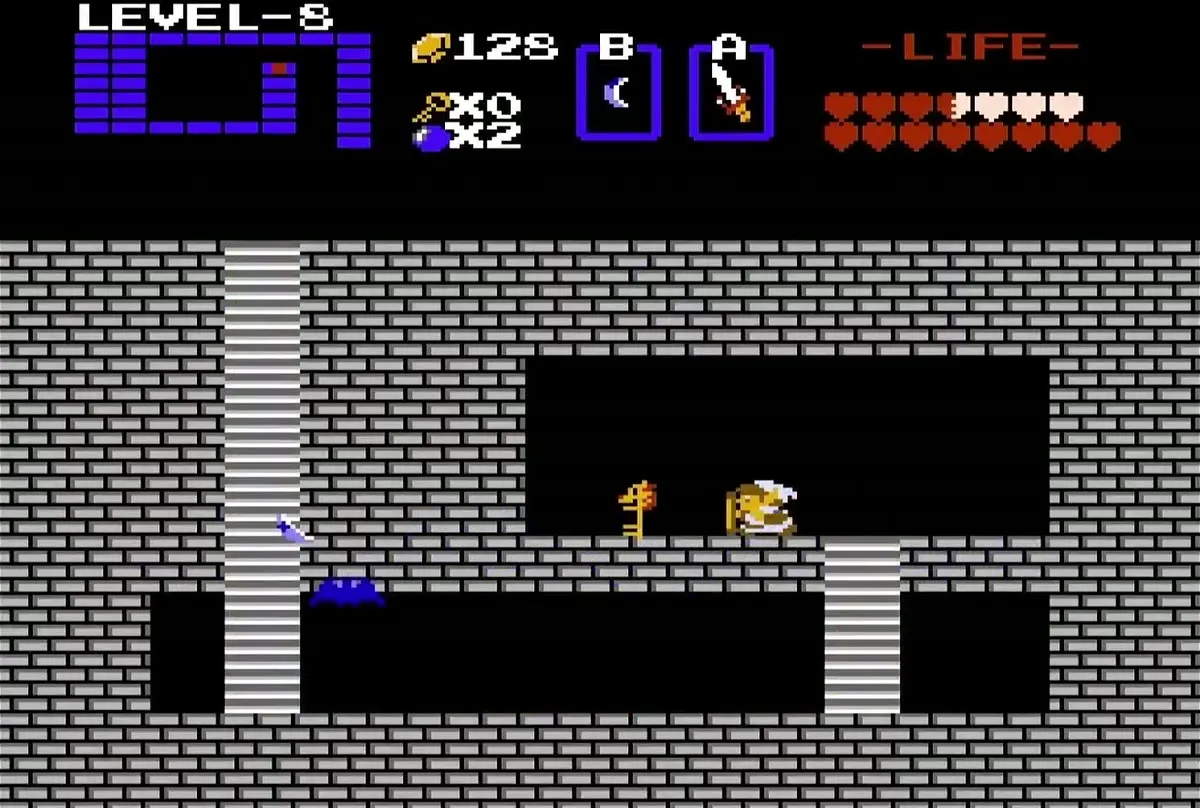
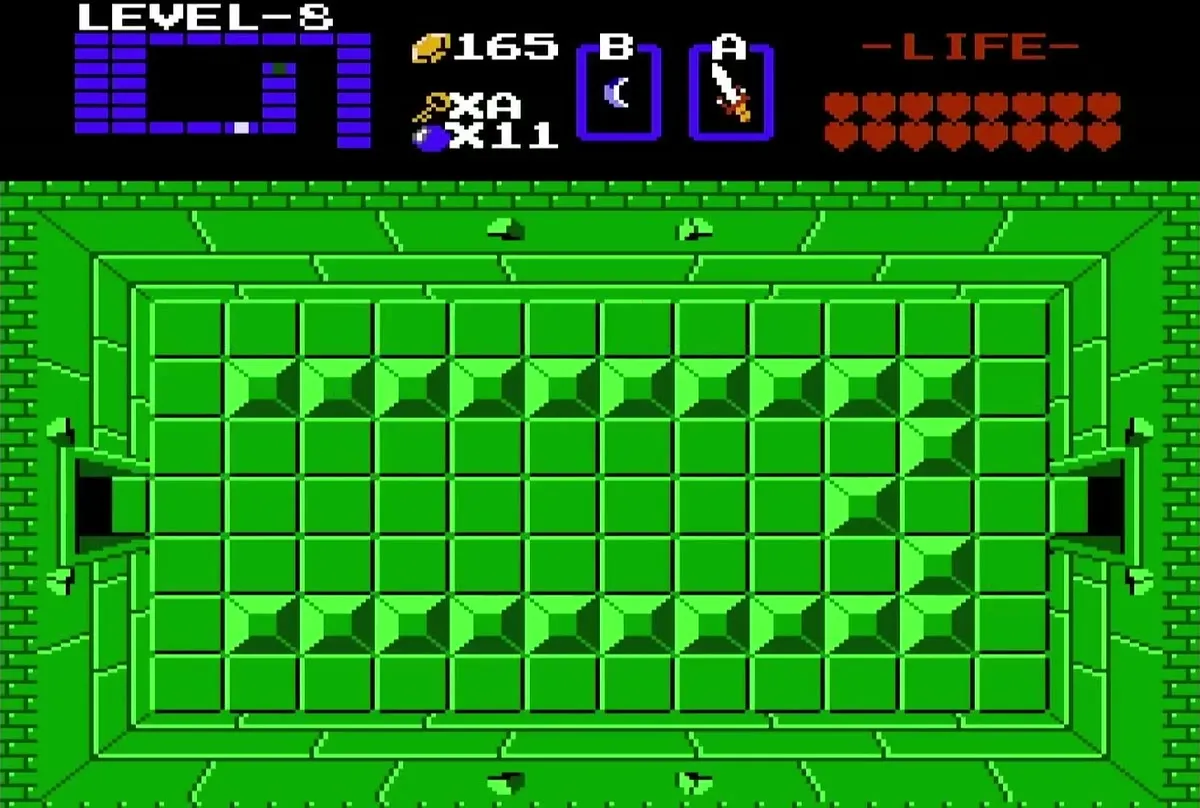
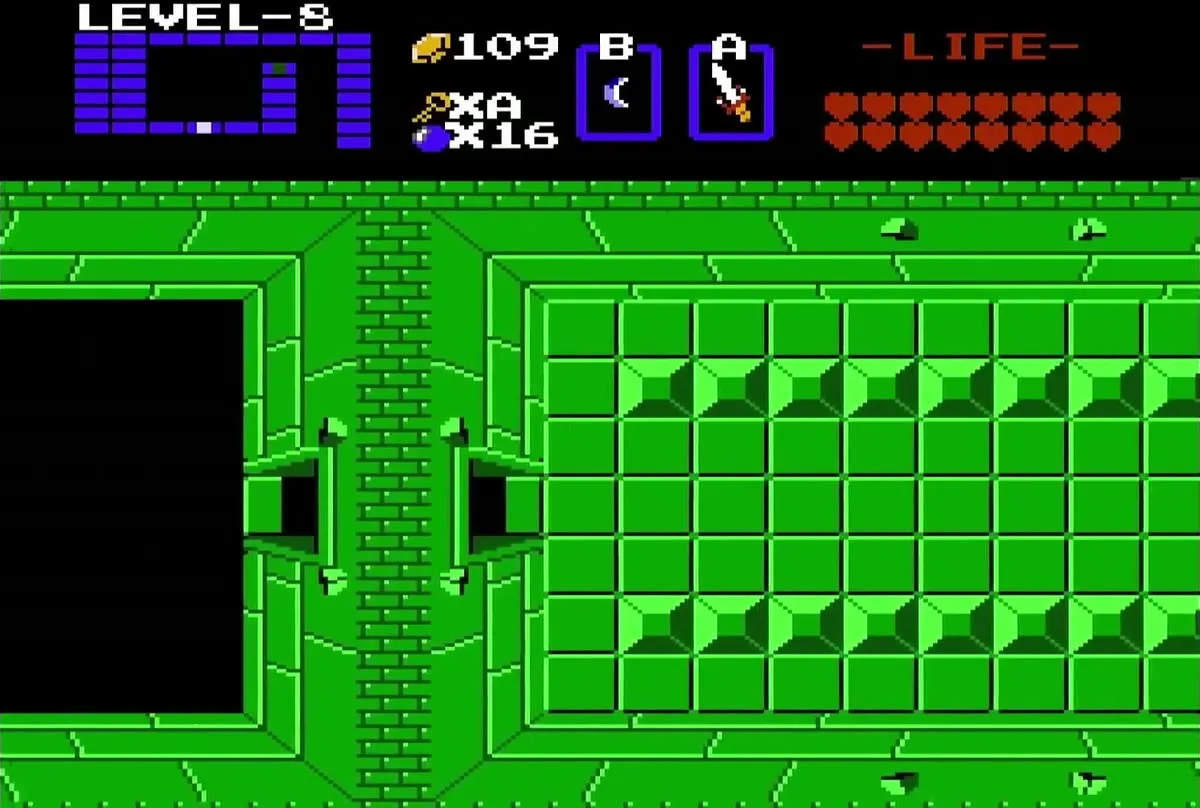
Kill all the Wall Masters, push the center block along the right column, and go through the left door. Behind it, a man sells a bomb upgrade for 100 rupees. The upgrade adds four to the number of bombs you can carry, so bring at least 100 rupees before you go in.

Three Dodongos and the Heart Container
Return to the room below the boss, unlock the top door, and enter the boss room. The boss is three Dodongos. Defeat them the usual way with bombs: either feed each one two bombs, or set off a bomb in its face and then strike it with your sword.
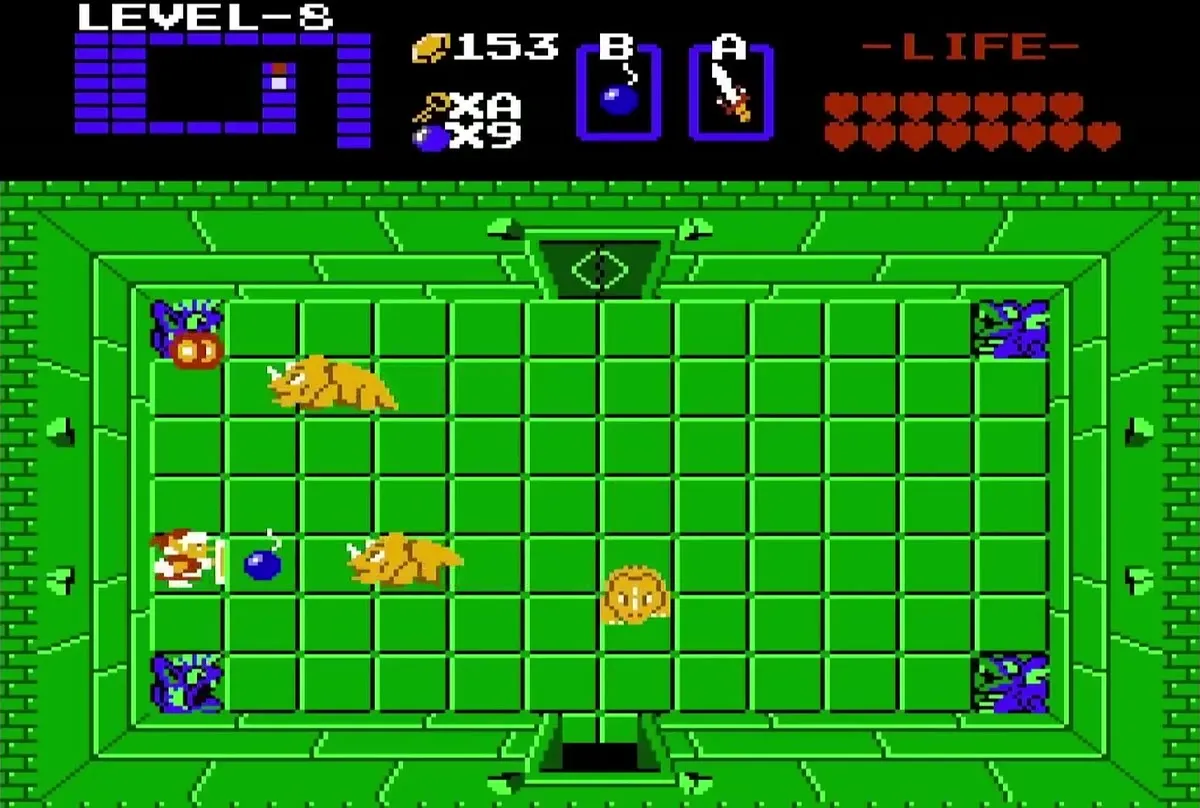
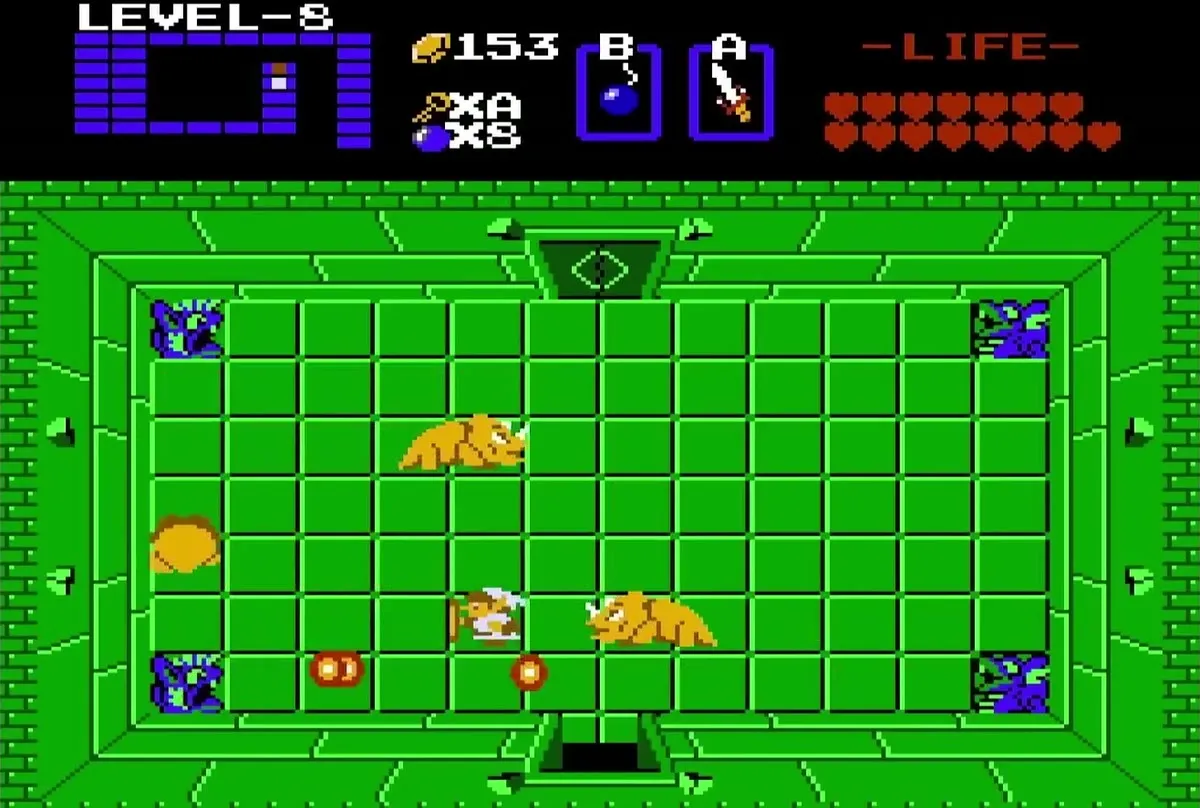
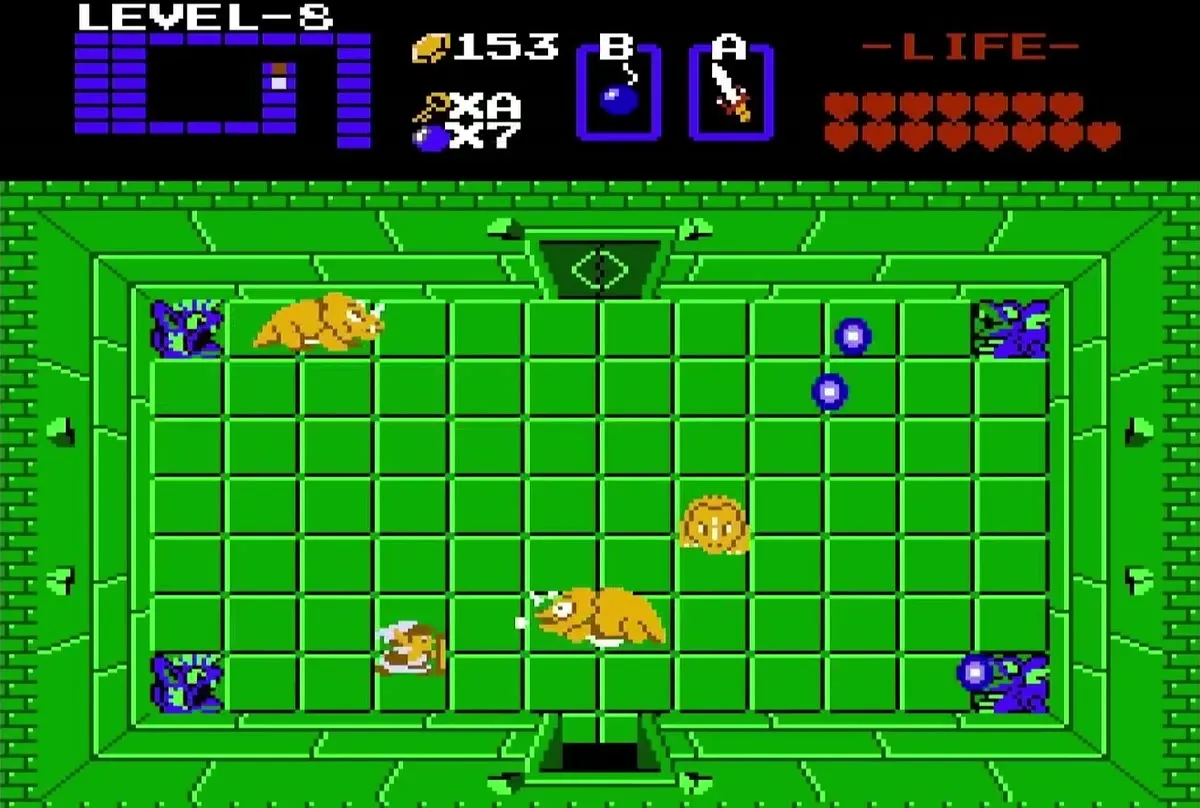
When the last Dodongo falls, a Heart Container appears in the middle of the room. Taking it raises your maximum health by one heart container. Pick it up before you leave the room.

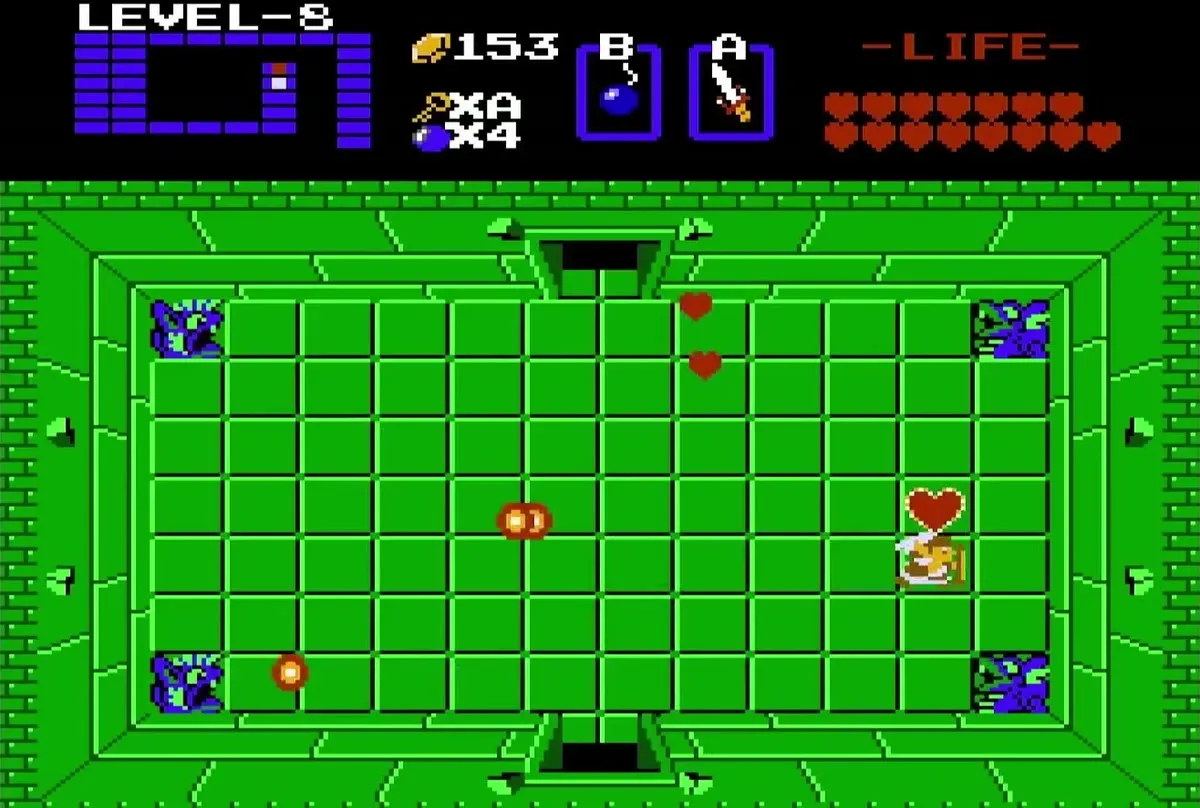
The Triforce piece for this dungeon sits in the room above the Heart Container room. Collect it to complete the eighth piece of the Triforce of Wisdom, and then head out through the dungeon exit.


Chapter checklist
| Type | Name | Where |
|---|---|---|
| Dungeon item | Magical Rod | Stairway under the center block in the Wall Masters room, past the three Dodongos |
| Dungeon item | Magical Key | Stairway in the fourth row of the Stalfos room, behind the left locked door |
| Dungeon item | Map | Hidden passage from the Dodongo room, through the south wall |
| Dungeon item | Compass | Keese room past the spike traps, after the Digdogger |
| Upgrade | Bomb upgrade | Old man behind the left door past the Aquamentus, 100 rupees, four more bombs |
| Heart Container | Heart Container 13 | Center of the Dodongo boss room |
| Triforce | Triforce of Wisdom piece 8 | Room above the Heart Container room |
