





















The Legend of Zelda 100% Completion Walkthrough14 chapters
- The GatheringGet the Wooden Sword, buy bombs, take your first Heart Container, collect early rupees and buy the Blue Candle.
- Money Caves, the Red Potion and the Blue RingMoney cave payouts, the Blue Candle, a Heart Container gift, the Magical Shield for 90, Red Potion for 68.
- Level 1 The EagleKeys, Bow, Boomerang, Dungeon Map, Compass, the Aquamentus boss, and the Heart Container.
- Level 2 The MoonReach the entrance, get the Magical Boomerang and Map, then beat Dodongo for a Heart Container and a Triforce piece.
- Level 3 The ManjiTake its keys, the Raft, Compass and Map, then defeat Manhandla for a Heart Container and the third Triforce piece.
- Level 4 The SnakeLevel 4 The Snake walkthrough with the lake route, keys and dark rooms, Stepladder.
- The Magical Sword and the Medicine ShopThe graveyard cave with the Magical Sword, the three-staircase warp cave.
- Level 5 The LizardReach the statue cave on the Lost Hills, collect small keys, and buy the 100-rupee bomb upgrade that raises bomb.
- Level 6 The DragonKeys, the Magical Rod, Gleeok mini-boss and Gohma boss tactics for its Heart Container and sixth Triforce piece.
- The Potion Shop and the Ring Shop AgainBuy the Red Potion and the Monster Bait between Level 6 and Level 7 in The Legend of Zelda NES.
- Level 7 The DemonRecorder entrance, bomb upgrade, Monster Bait, Red Candle, Map, Compass, Aquamentus and Triforce piece 7.
- Level 8 The LionBurn the entrance bush, get the Book of Magic and Magical Key, then beat four-headed Gleeok for its Heart Container.
- Level 9 Death MountainReach Spectacle Rock, clear the skull-shaped dungeon, and get its Map, Compass, Red Ring and Silver Arrows.
- The EndingBeat Ganon in his dark room with a Silver Arrow after the sword hits, take the Triforce of Power.
| Covers | the overworld from the Level 7 exit to the Level 8 entrance, and all of Level 8: The Lion |
|---|---|
| Dungeon | Level 8: The Lion. Burn the lone bush with a Red or Blue Candle to enter. Mini-bosses: three Manhandla and two blue Gohma. Boss: four-headed Gleeok. Triforce piece 8. |
| Rewards | Book of Magic, Magical Key, Map, Compass, 1 Heart Container, 1 Triforce of Wisdom piece (piece 8) |
Level 8: The Lion is the eighth dungeon of the first quest. It holds the Book of Magic, the Magical Key, the Map and the Compass, and it ends with a four-headed Gleeok that guards a Heart Container and the eighth Triforce of Wisdom piece. This chapter takes you from the Level 7 exit, across the overworld, into the dungeon, and room by room through to the boss.
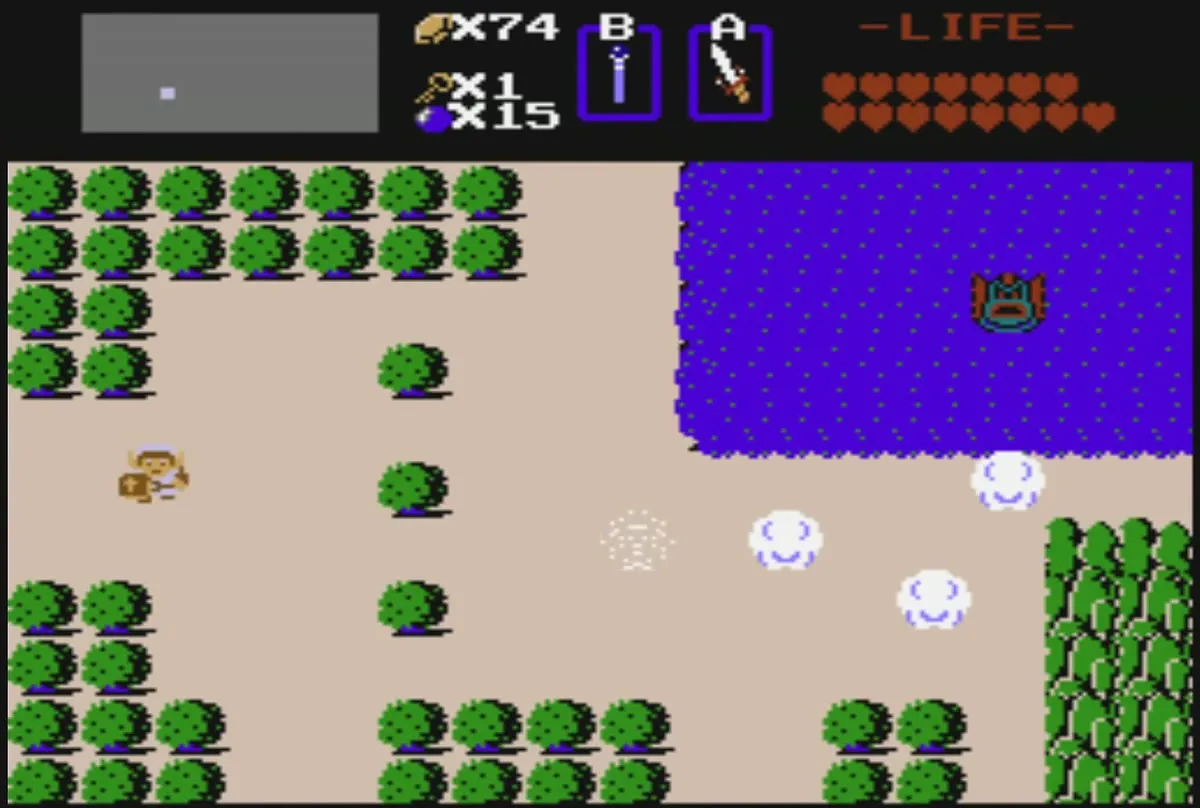

Table of Contents
Overworld route to the Level 8 entrance
Leave Level 7 and cross the rock hills
Once you leave Level 7, head east through the bush fields and the tan clearings. Cross the brown plank bridge that spans the purple river, then keep moving through the brown rock hills. Cut through the enemies on this stretch instead of stopping to fight every one.

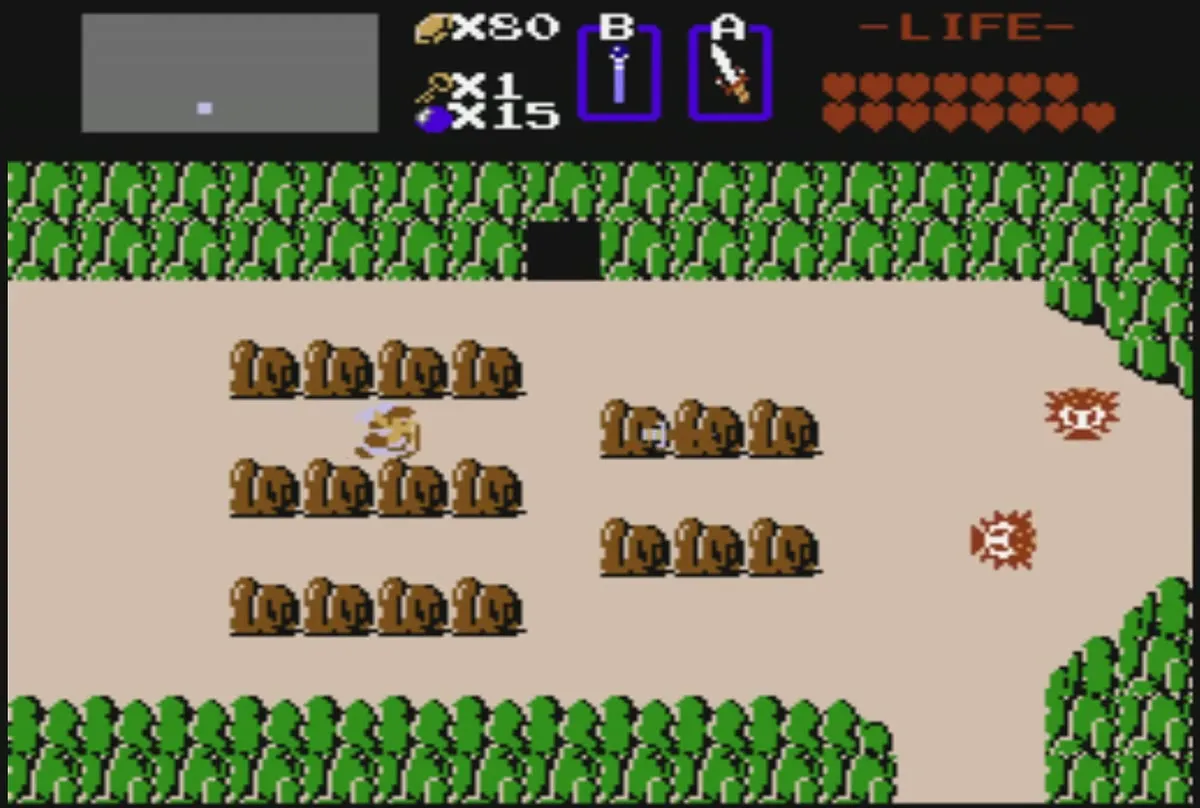
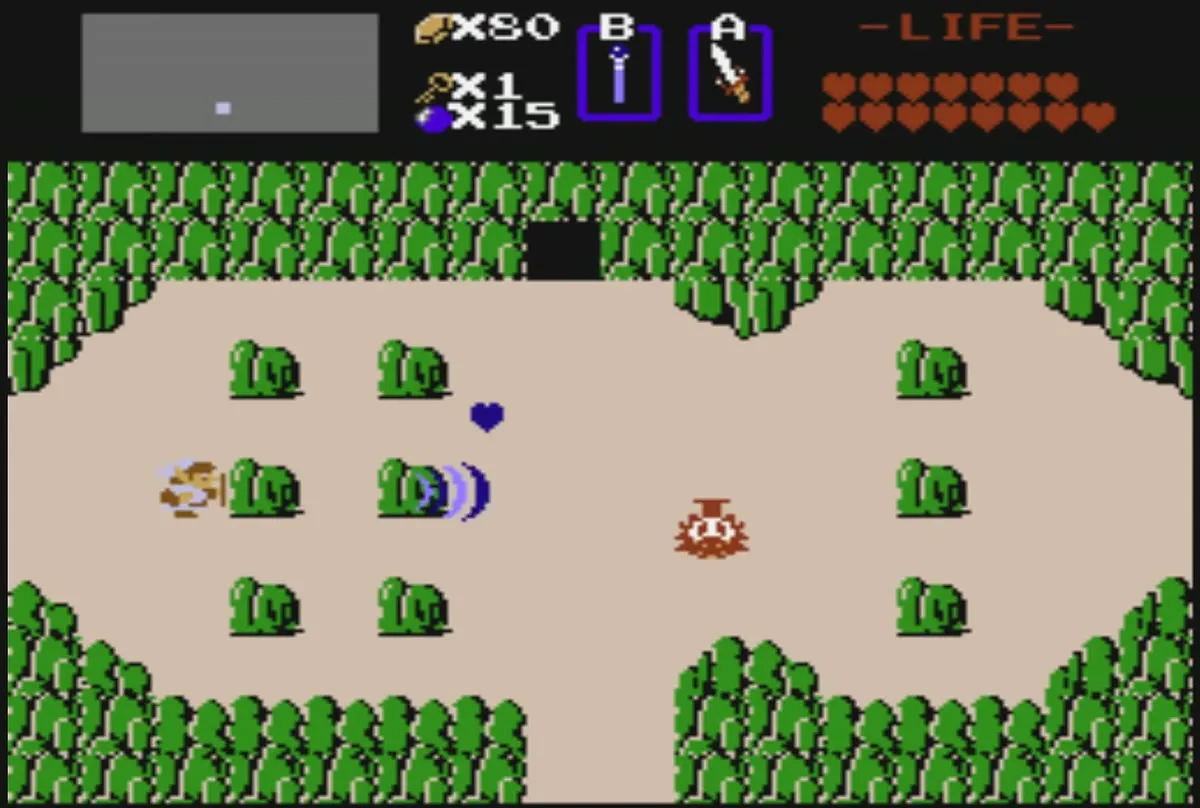
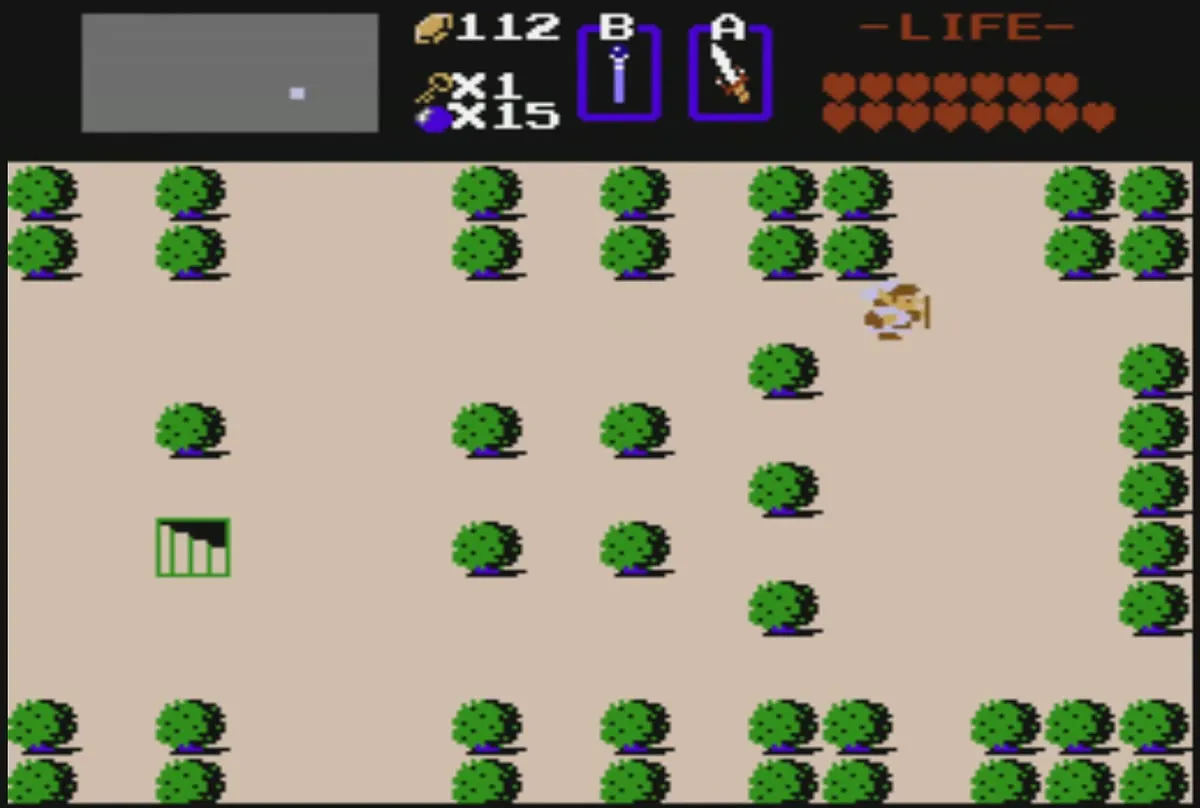
Keep heading east through the bush fields until you reach the forest in the south-east. The bush that blocks the way sits on N7, and it is the lone bush in that stretch of trees. From the start screen H8 the walk is four screens east, two north, one east, one south and one more east. Bring a Red or Blue Candle, and carry bombs into the dungeon, since you will need both.
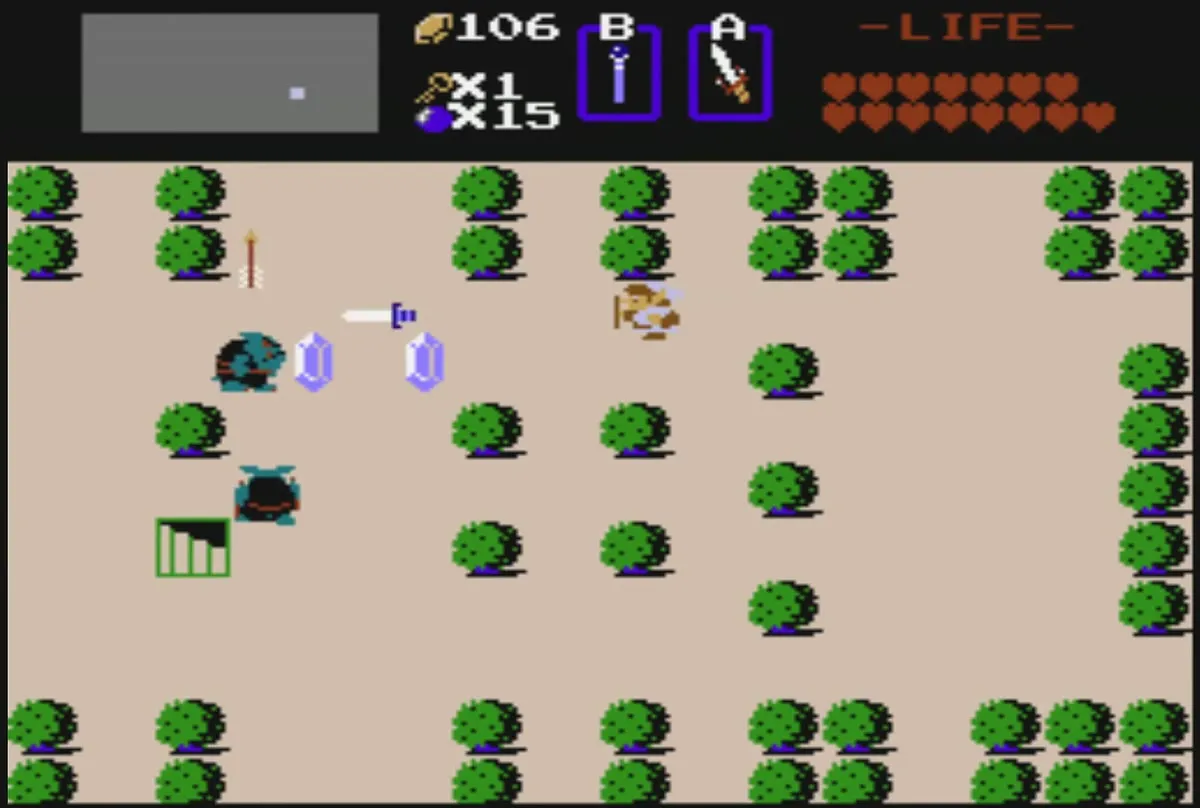
Burn the bush to reach the stairway
Stand next to the lone bush and light it with the Candle. Fire burns it away and uncovers a stairway underneath. Walk down the stairs to enter the Level 8 entrance room, where the locked doors and the first key begin.


Level 8: The Lion, room by room

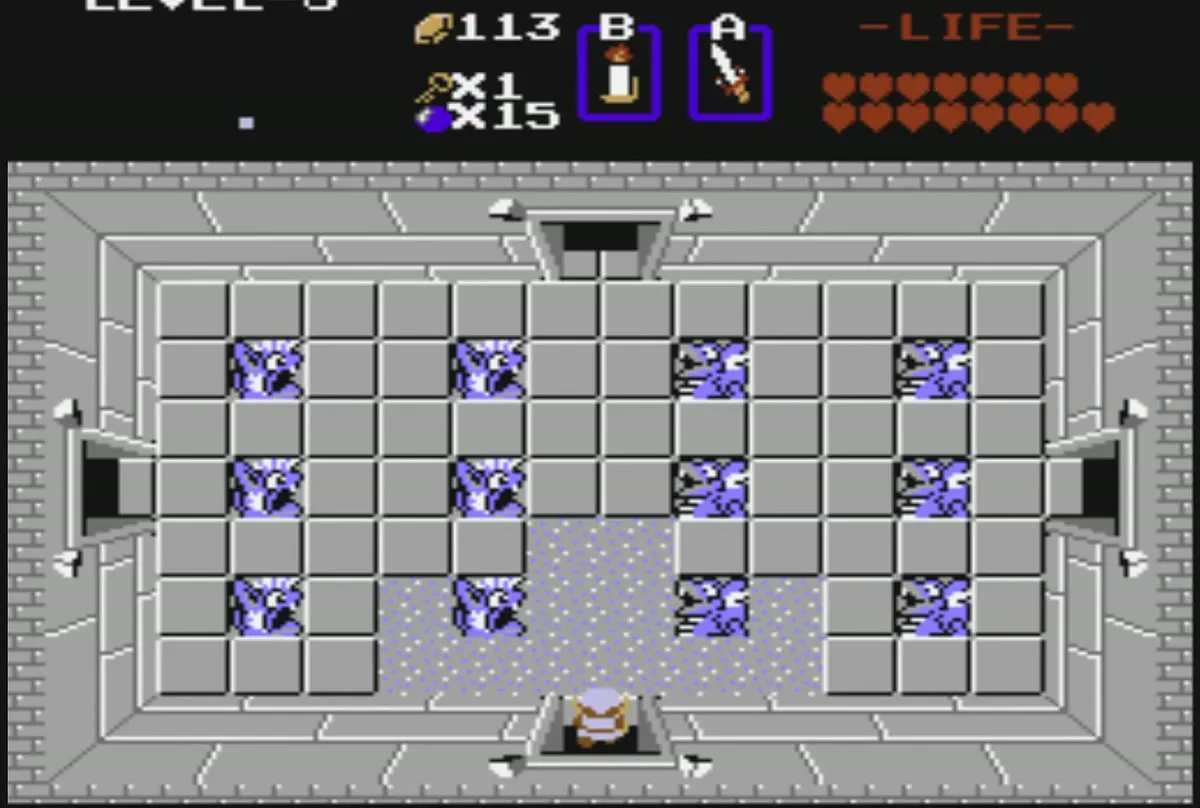
Entrance room and the first key
From the entrance, head right and collect the small key from the floor. Return to the entrance and head left. There you will meet the first Manhandla, which blocks the door on the left side of the room.
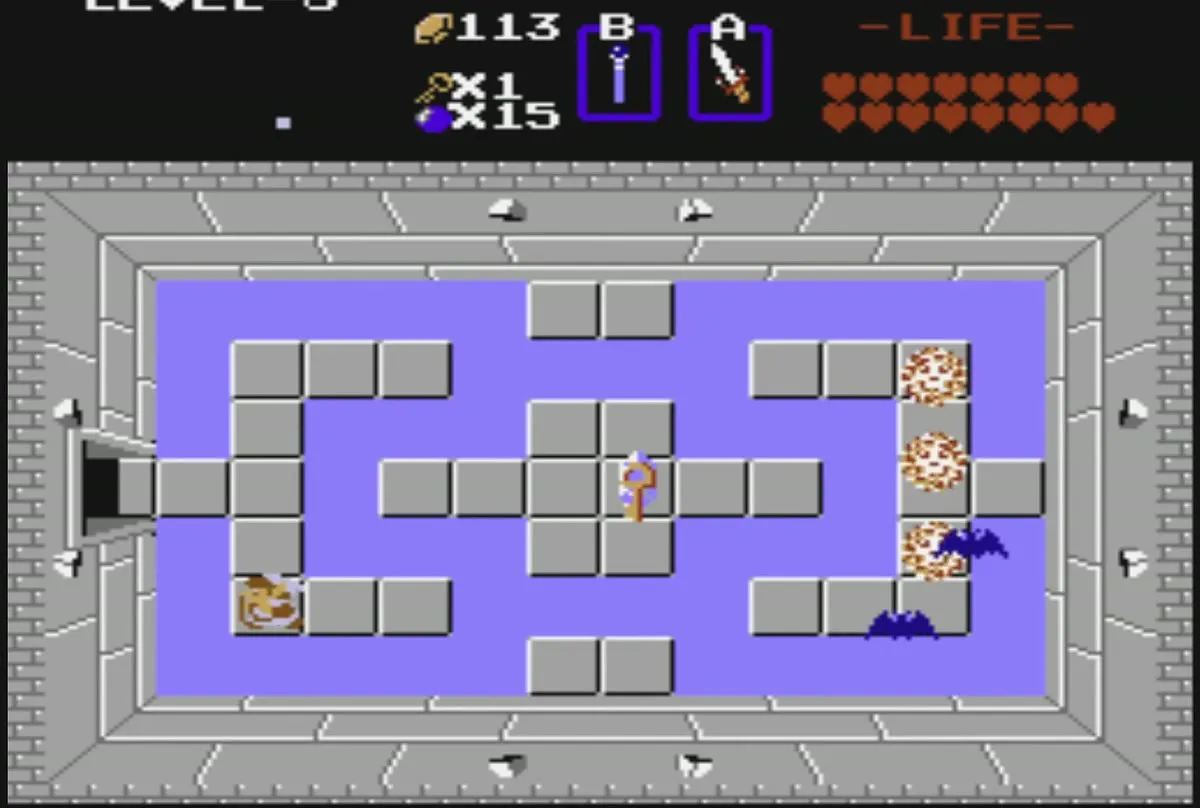
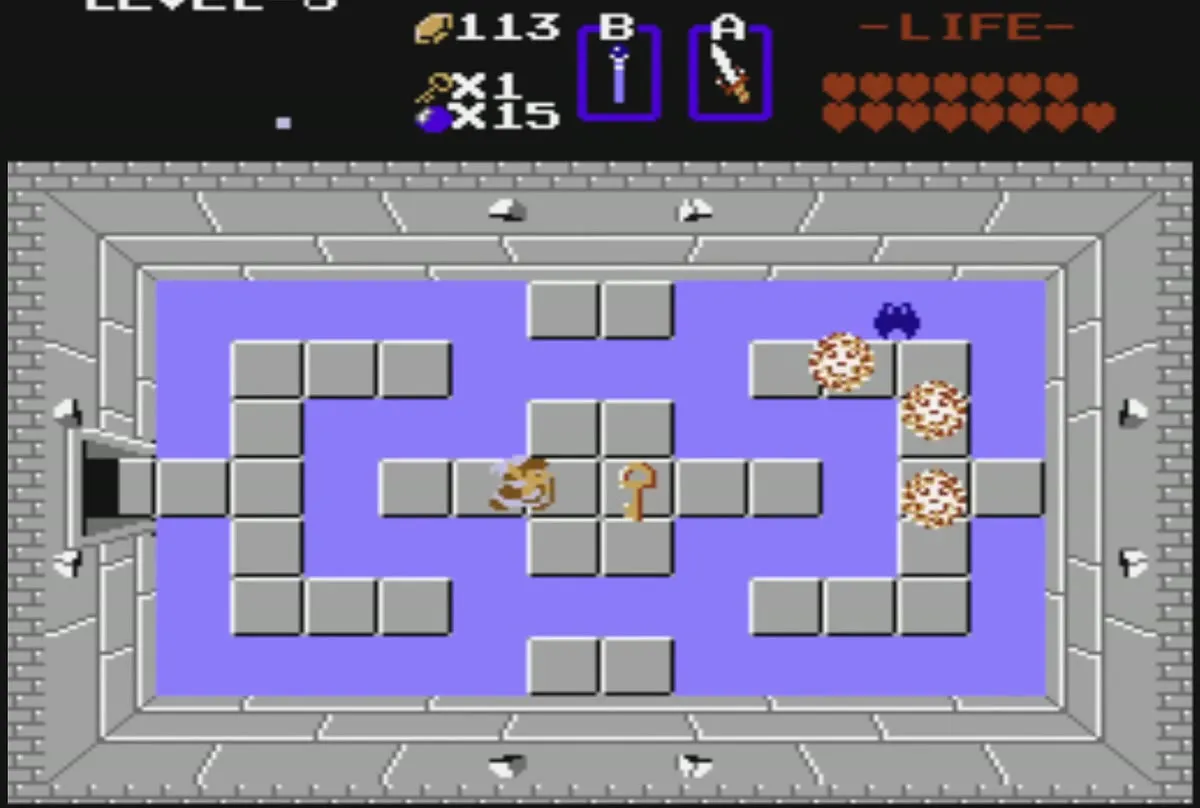
Defeat the Manhandla to open that door, then enter and clear the Darknuts and Gibdos inside. When the room is empty, push the left block aside to reach the stairwell, which holds the Book of Magic. With the Book, a shot from the Magic Rod now creates fire, so you can burn enemies and bushes with it.
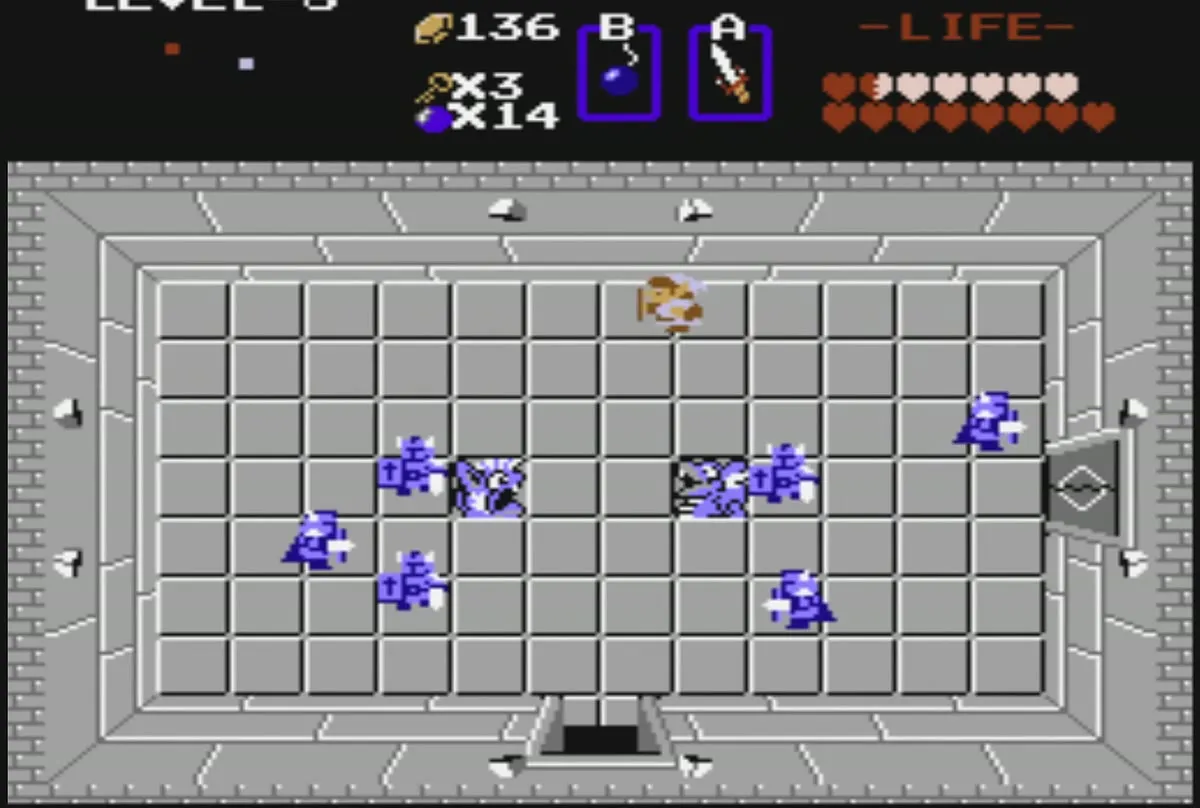
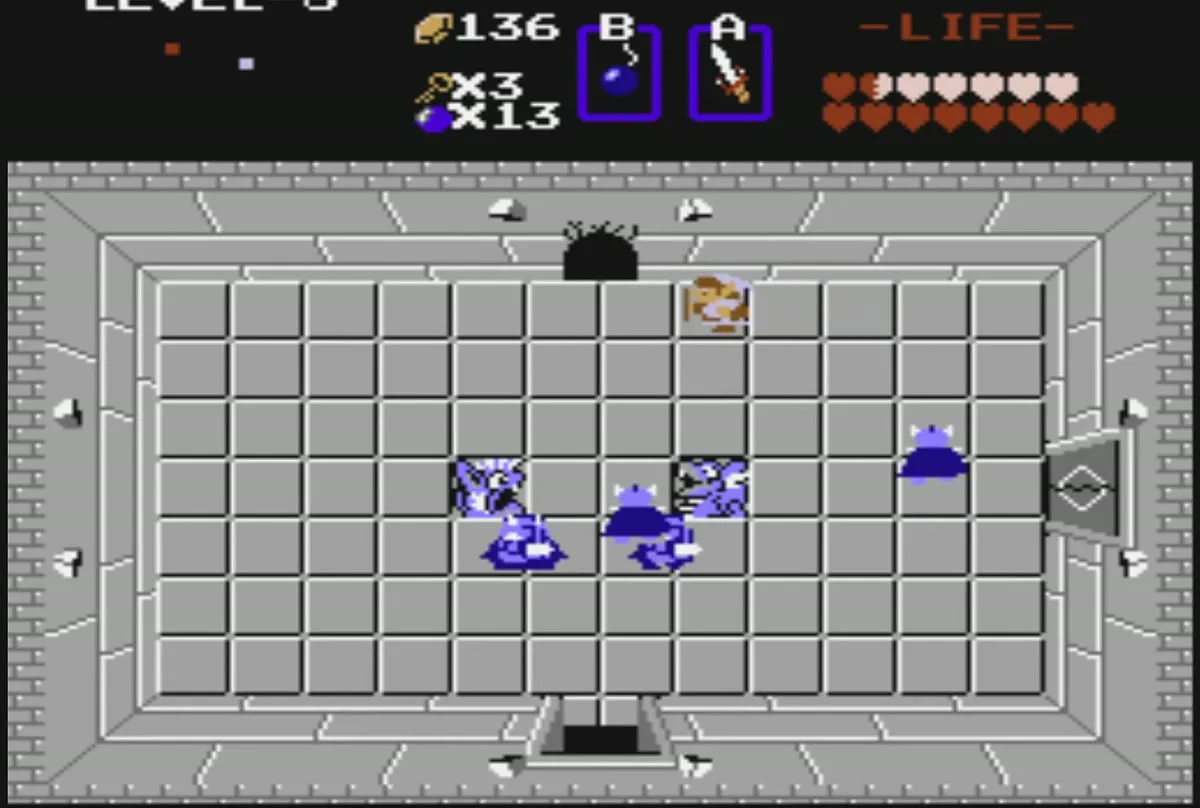
Keys, Compass and the blue Gohma
Return to the entrance, head up, and defeat the Manhandla in front of you. Bomb the top wall to open the passage into the next section of the dungeon. In the next room, and in the two rooms to its left, you can pick up more small keys.
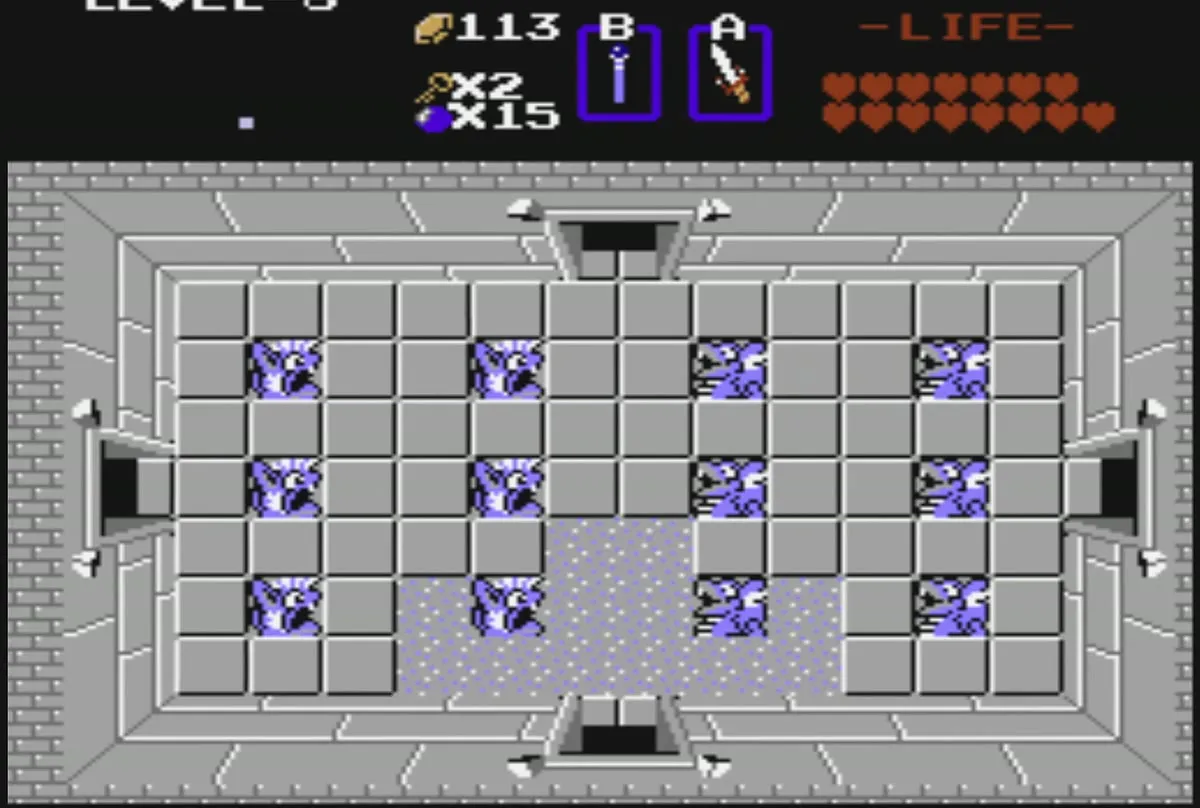
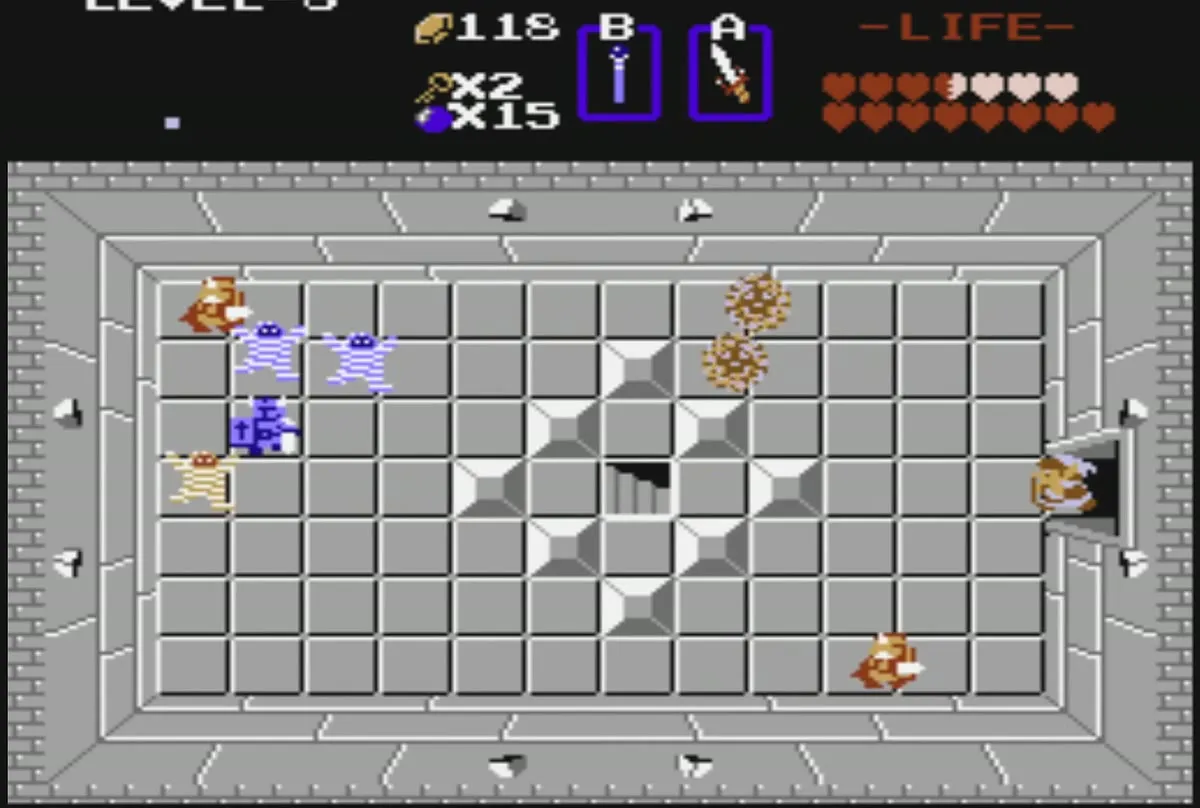
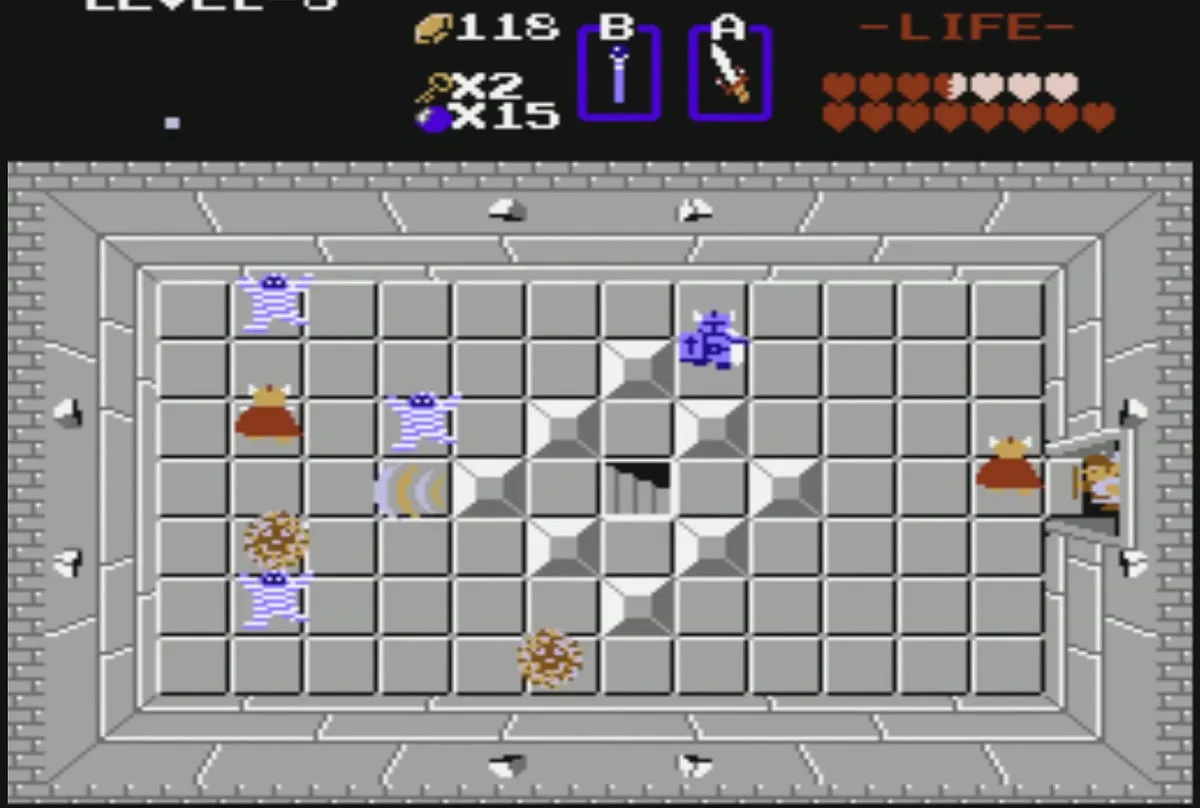
The room to the right holds the Compass. Go two rooms left of the Compass room and one room up to find a blue Gohma. Hit its eye with three arrows to kill it; the closed door above opens and a man there gives you a hint about Spectacle Rock.
Map from the third Manhandla
Continue up through the dungeon until you reach a room full of blue Darknuts. Once they are cleared, bomb the top wall and go through the passage behind it. The Manhandla waiting there rewards you with the Map when you defeat it.

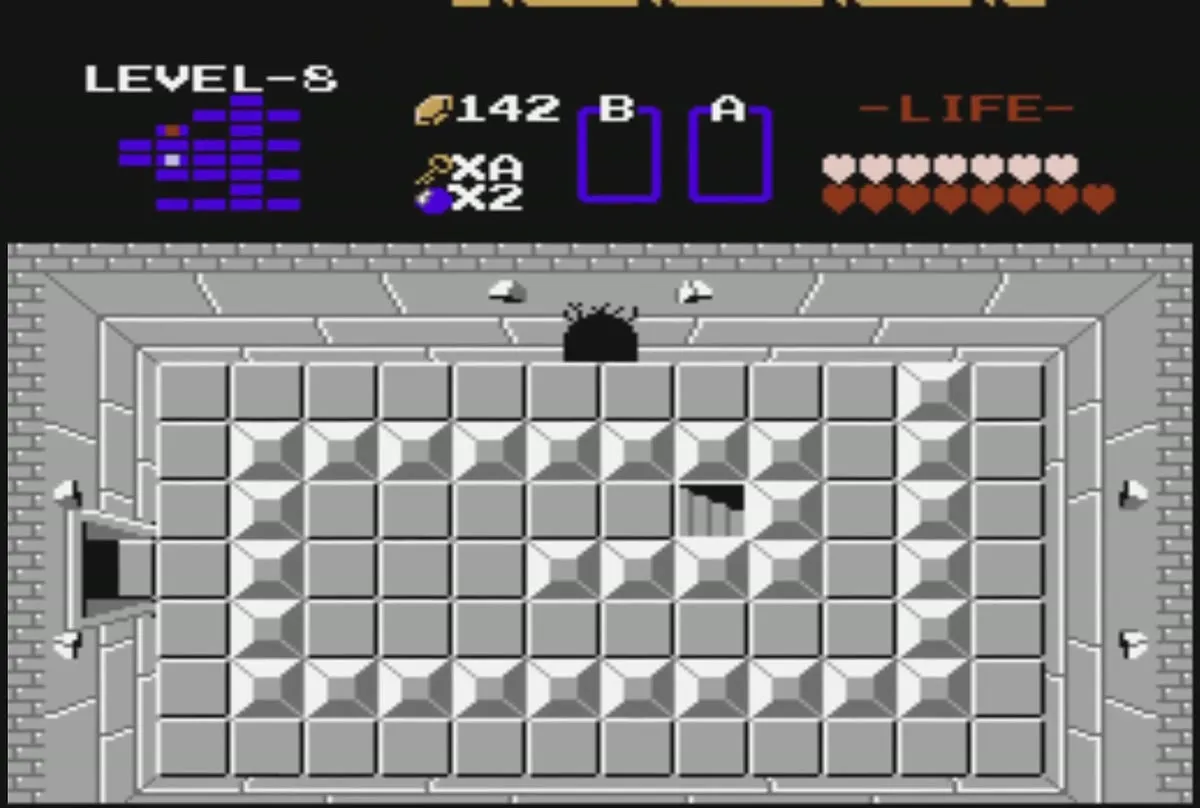
Magical Key and bombs
Above the Map room is another blue Gohma. Skip the top door and the left wall, and go through the right door instead. Defeat the Darknuts and Pols Voices inside, then push the leftmost block to reveal the stairs. Go down them to find the Magical Key, a master key that opens any locked door in the game.
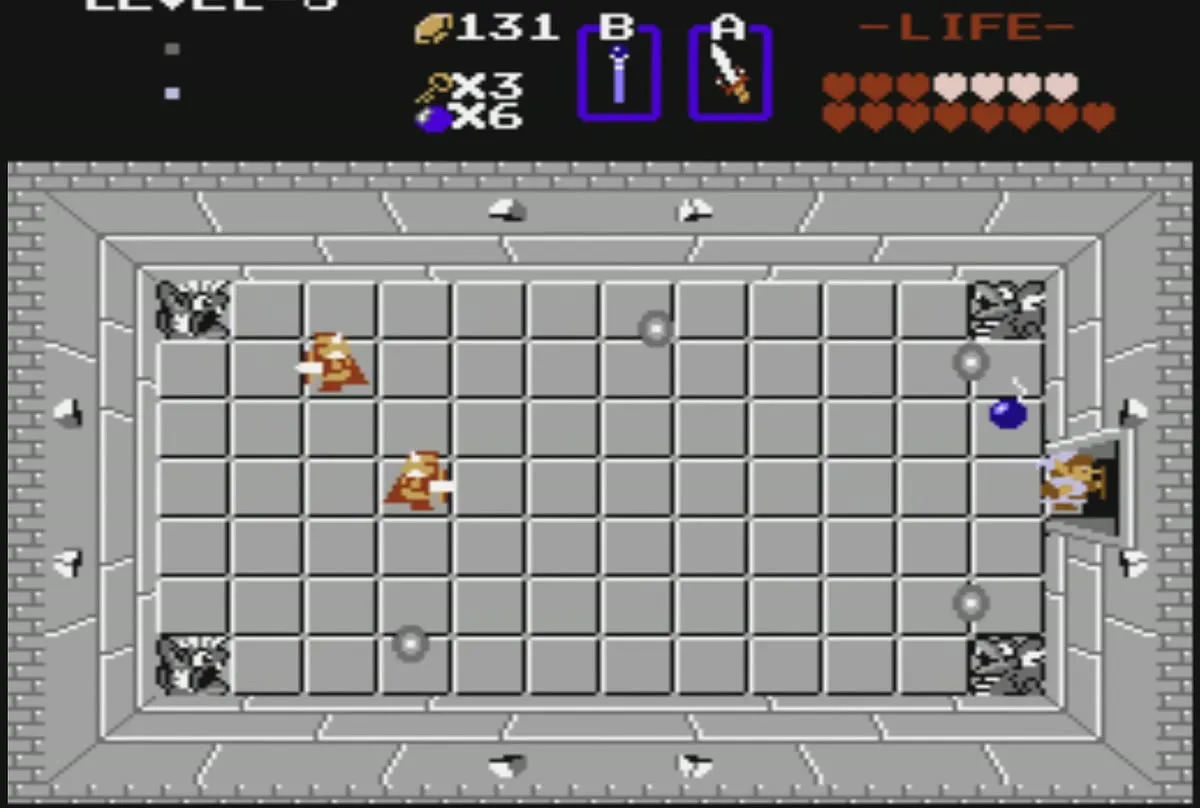
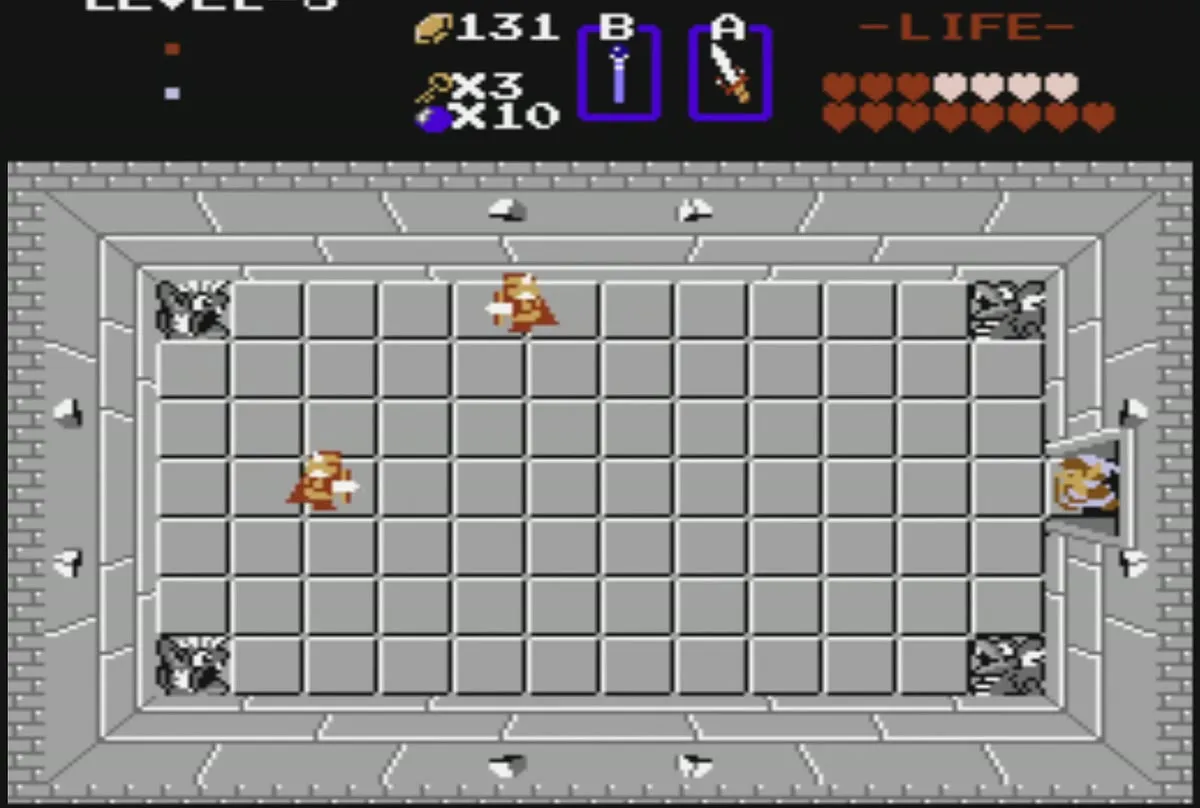
A blue bomb sitting near the right door of one of the grey rooms adds four bombs to your stock when you pick it up. Grab it before you leave that room. You will want a full bomb supply for the shortcut to the boss later in the dungeon.
Return to the blue Darknuts and take the shortcut
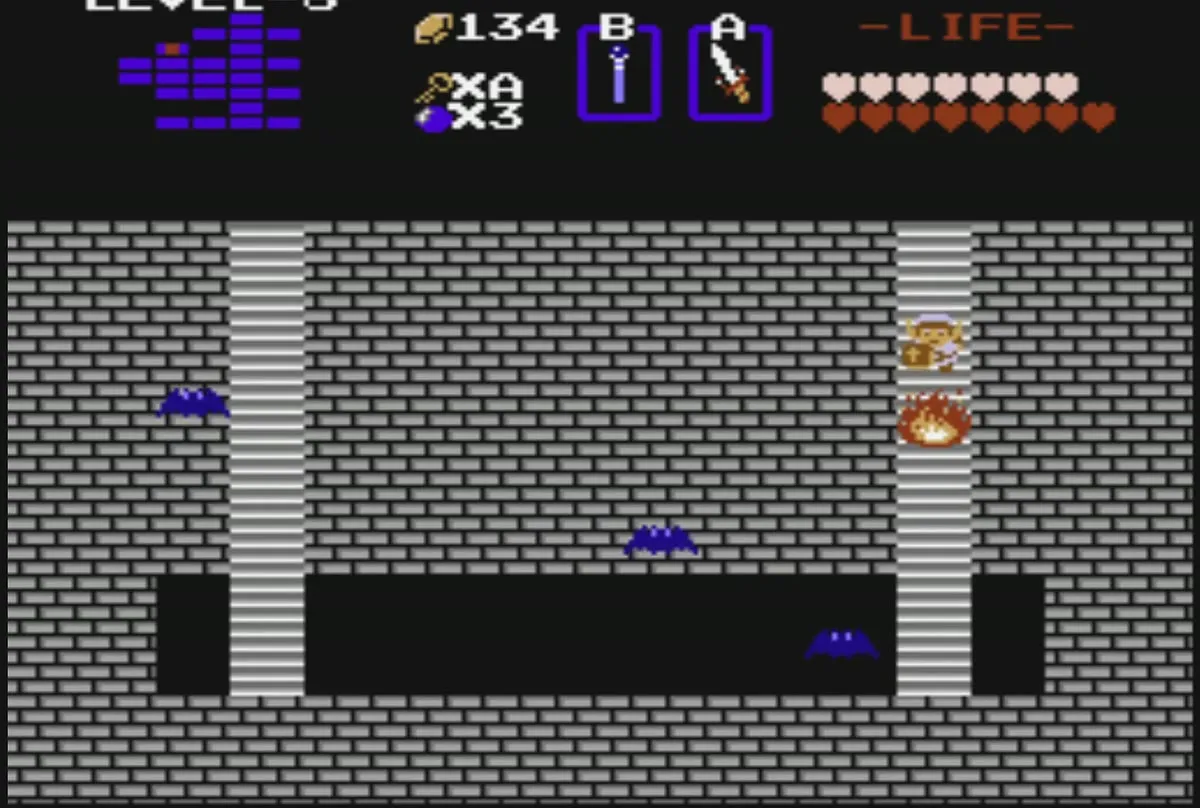
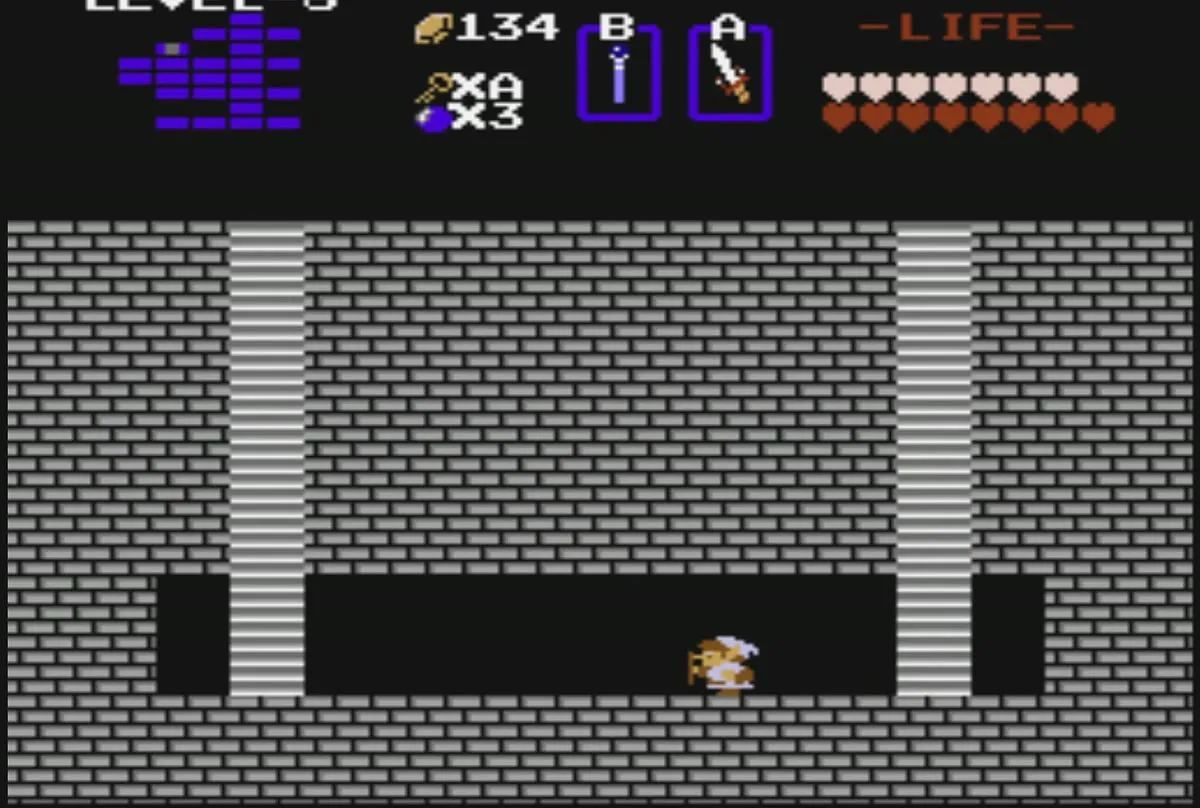
Go back to the room full of blue Darknuts and defeat all of them. This opens the door on the right. Go through it and take the stairs down into an underground passage that leads to the west side of the dungeon. Bomb the top wall there to make a shortcut to the boss.
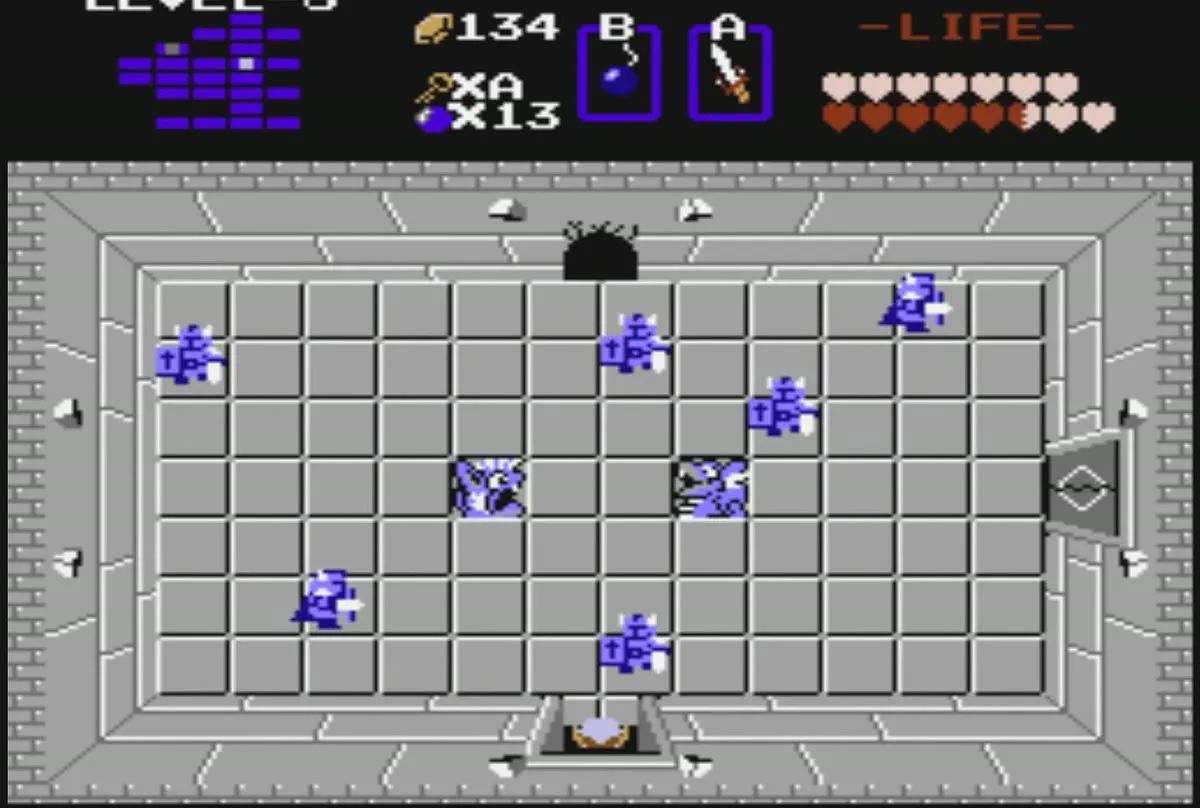
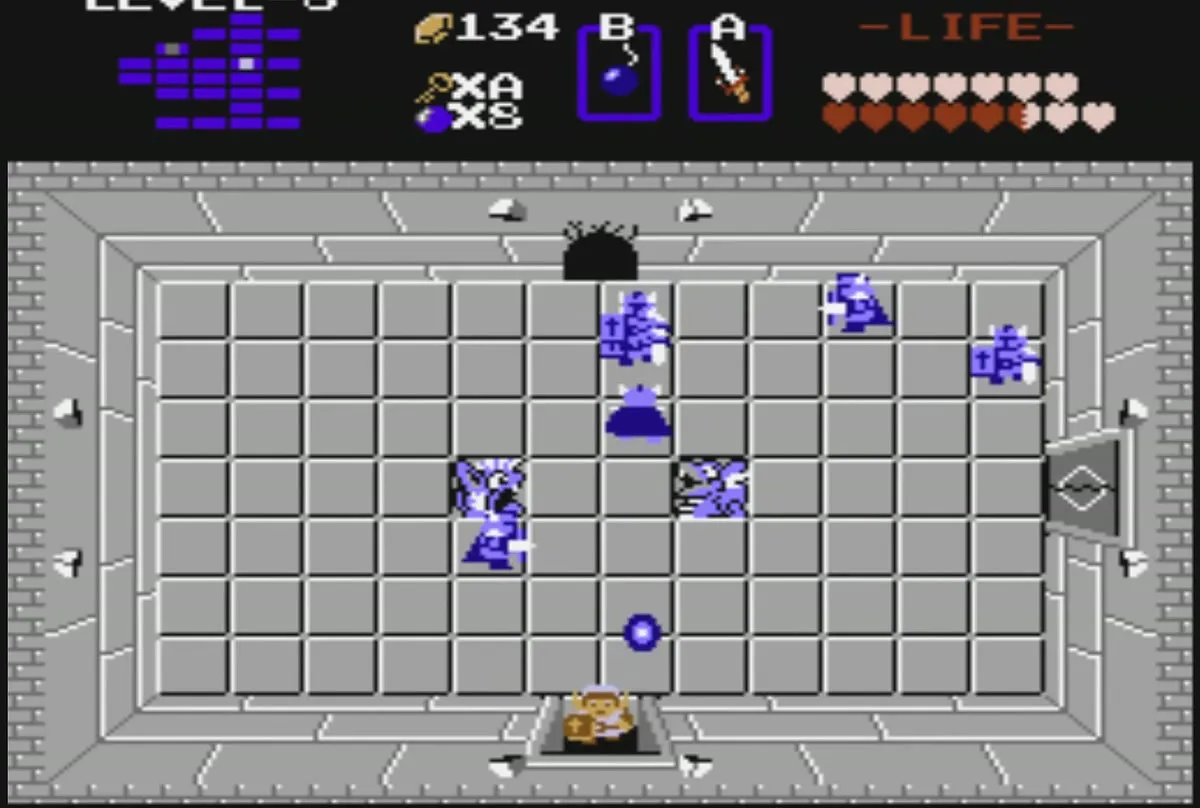
If you skip the shortcut, head left and fight the red Darknuts. Then go up for a cryptic message about bombs from a man, and head right to reach the boss room.

Gleeok boss strategy
The boss of Level 8 is a four-headed Gleeok. Apart from the extra heads, it fights the same way as the two-headed and three-headed Gleeoks in earlier dungeons. Keep striking the heads that are still attached to its body until every head has been knocked off.
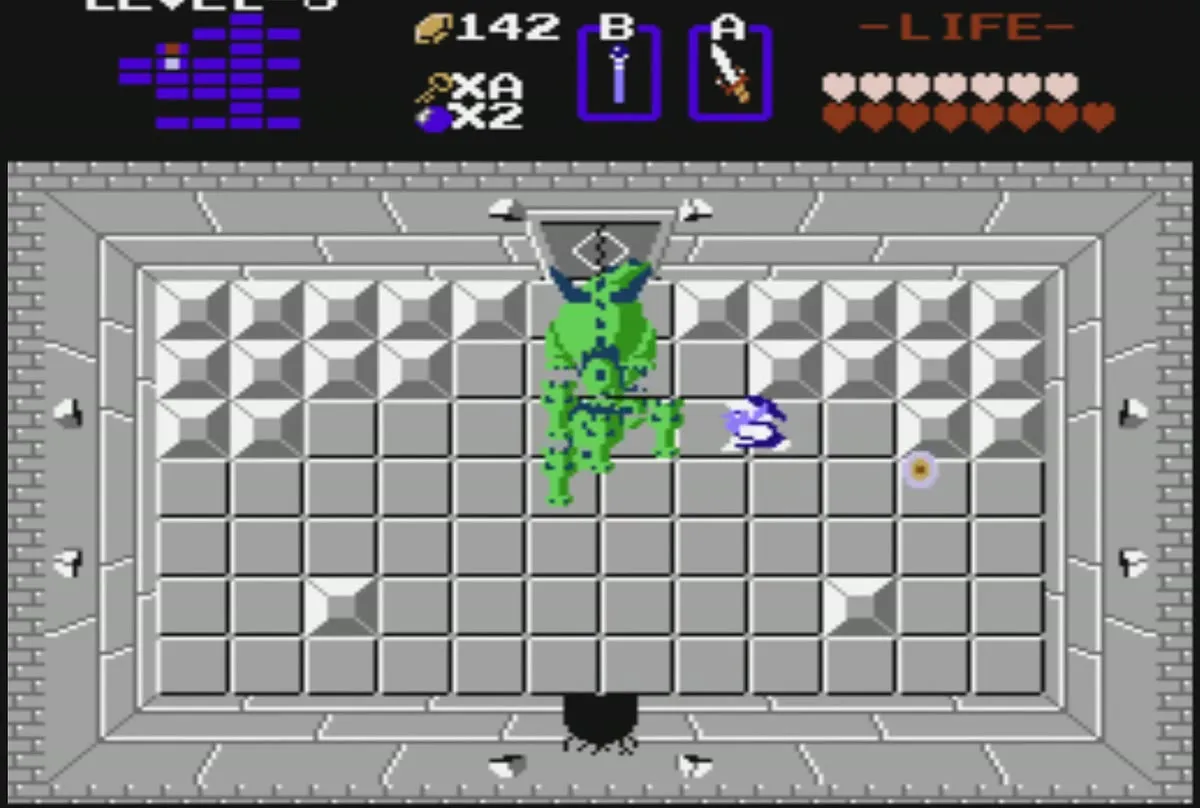
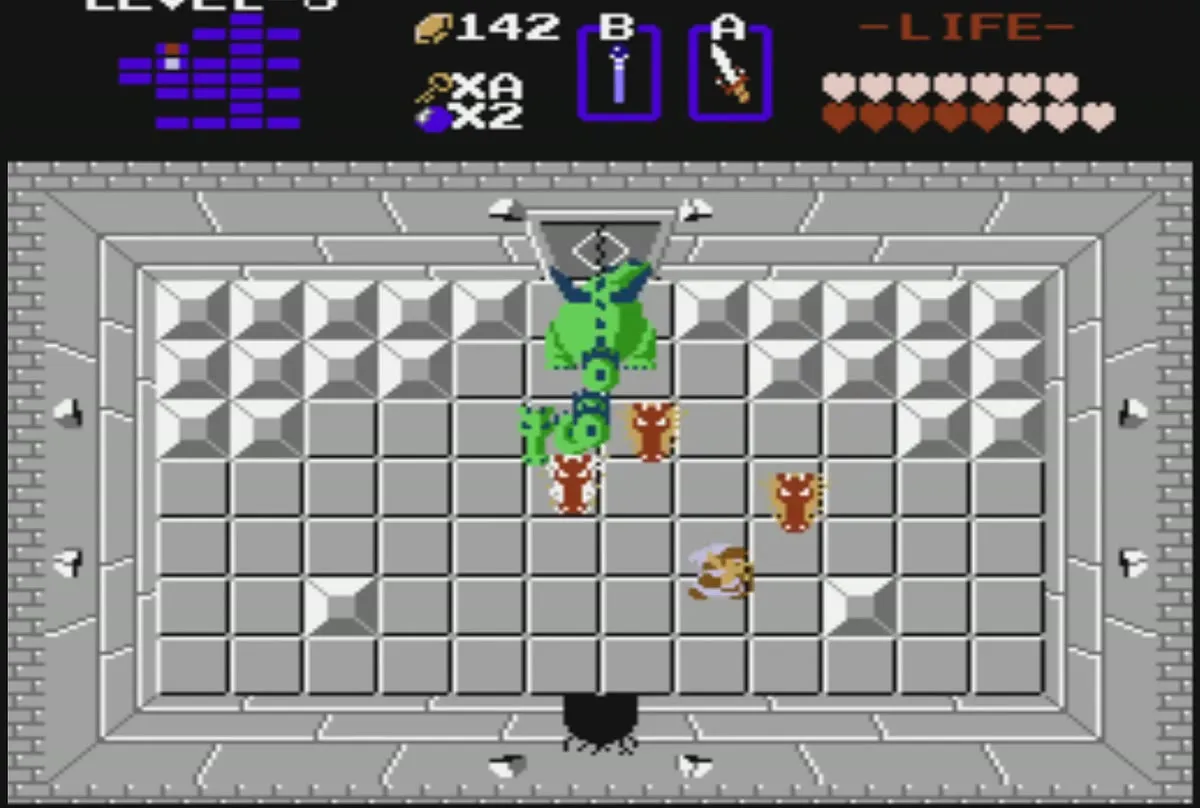
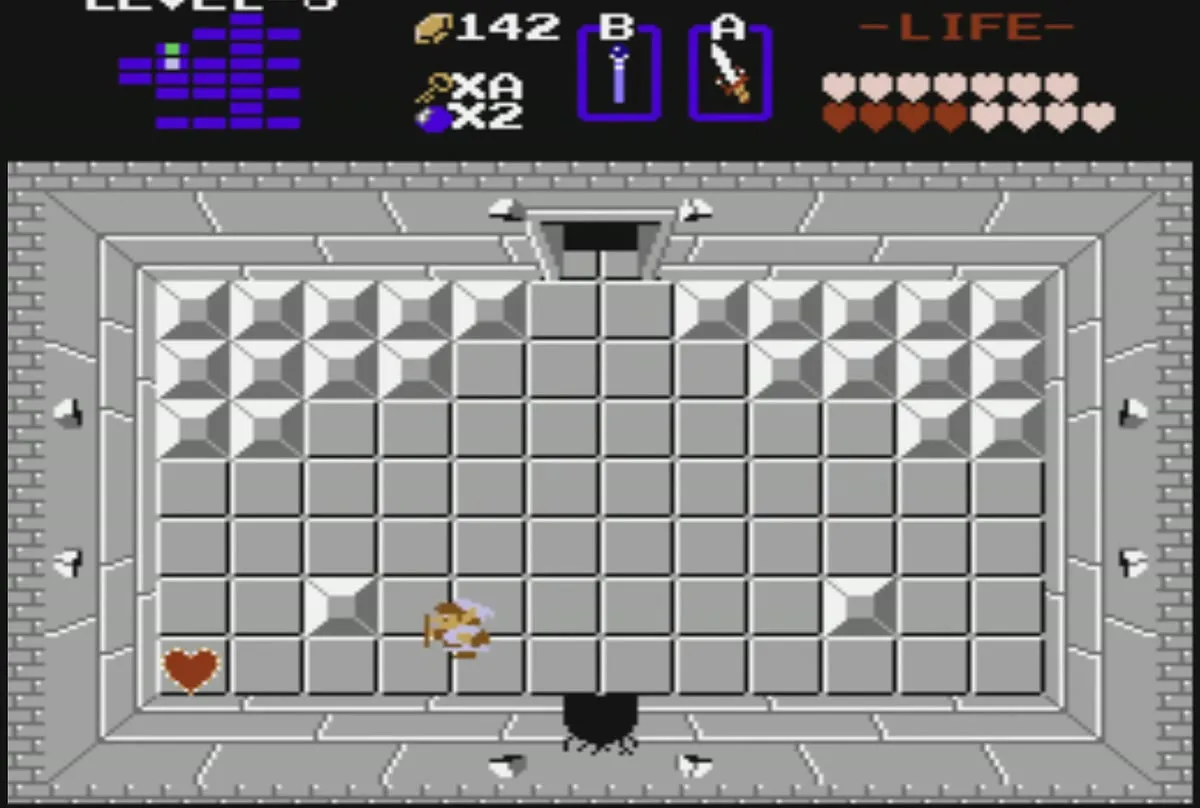
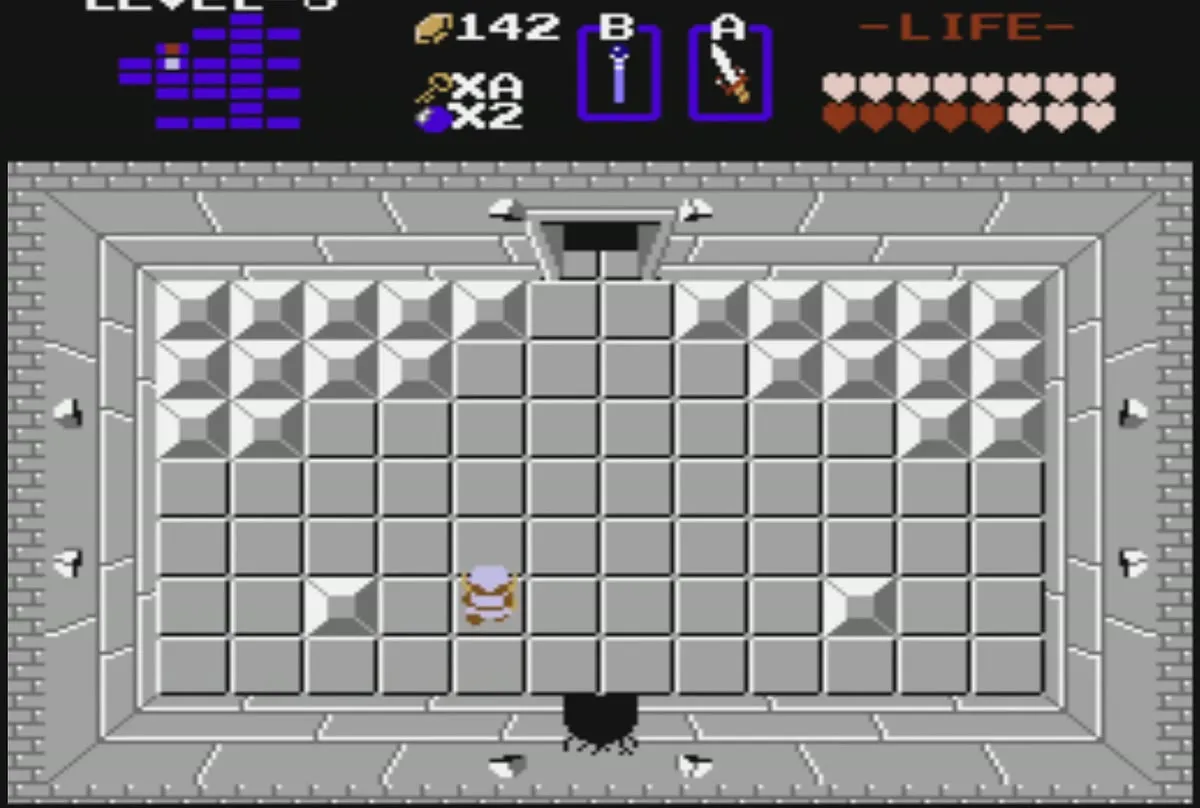
Defeat Gleeok to earn a Heart Container, which takes you from fifteen hearts to sixteen, the most you can hold. Then go into the room above the boss room, where the eighth Triforce of Wisdom piece waits for you.


Chapter checklist
| Type | Name | Where |
|---|---|---|
| Dungeon item | Book of Magic | Stairwell under the block in the Darknuts and Gibdos room, left of the entrance |
| Dungeon item | Compass | Room to the right of the key rooms |
| Dungeon item | Map | Manhandla in the passage behind the bombed top wall, past the blue Darknut room |
| Dungeon item | Magical Key | Stairwell under the leftmost block in the room above the Map room |
| Small keys | Small key | Entrance room and the two rooms to the left of the next room |
| Bombs | Blue bomb pickup | Grey room near the right door, adds four bombs |
| Heart Container | Gleeok reward | Gleeok boss room |
| Triforce piece | Triforce of Wisdom piece 8 | Room above the Gleeok boss room |
