| Temple bosses | 5: Stagnox (Forest), Fraaz (Snow), Phytops (Ocean), Cragma (Fire) and Skeldritch (Sand) |
|---|---|
| Story bosses | Byrne at the top of the Tower of Spirits, the Demon Train, Cole with the possessed Zelda, and the Demon King Malladus |
| Mini-bosses | Mothula, Rocktite, the Ice Keese, Snapper, Heatoise, Geozard Chief, Big Blin, the Stalfos Warriors and Dark Link |
| Boss rewards | A Heart Container from every temple boss, a Force Gem from the first four, and the Bow of Light from Skeldritch |
| Rematches | Take ‘Em All On! in Castle Town replays the temple bosses |
Spirit Tracks has five temple bosses, one for each temple in the Forest, Snow, Ocean, Fire and Sand Realms, followed by Byrne in the Tower of Spirits and a three-part finale with the Demon Train, Cole and Malladus. Most temple bosses are beaten with the item you find in their own dungeon, and each leaves a Heart Container; the first four also leave a Force Gem. This page gives the weak point, the tactic and the reward for every boss, then covers the mini-bosses one by one.
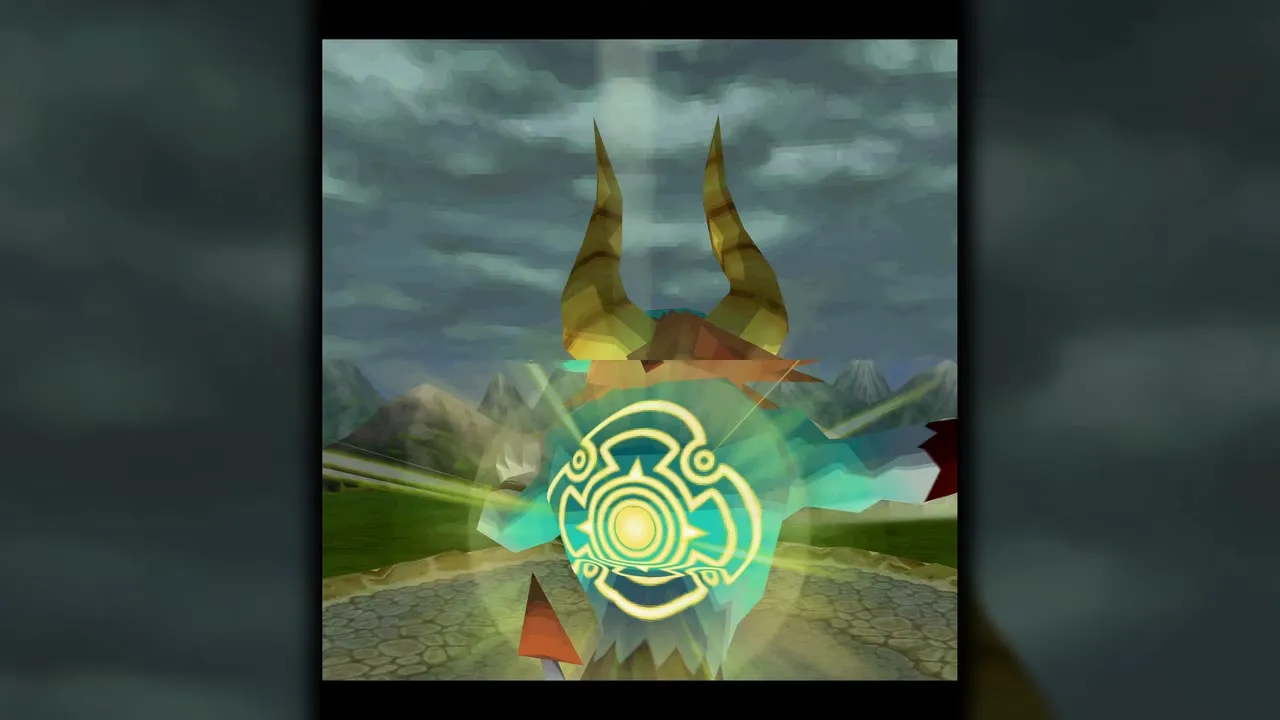
Table of Contents
Boss quick reference
| Boss | Where | Beat it with | Reward |
|---|---|---|---|
 Stagnox | Forest Temple | Whirlwind and sword | Heart Container, green Force Gem |
 Fraaz | Snow Temple | Boomerang with fire and ice torches, then sword | Heart Container, white Force Gem |
 Phytops | Ocean Temple | Whip and sword | Heart Container, blue Force Gem |
 Cragma | Fire Temple | Bow and Arrows | Heart Container, red Force Gem |
 Skeldritch | Sand Temple | Sand Wand, boomerang or bow, then sword | Heart Container, Bow of Light |
 Byrne | Top of the Tower of Spirits | Link’s sword and Phantom Zelda | Anjean’s Force Gem for the tracks into the desert |
 Demon Train | Dark Realm | Train cannon | Story progress |
| Cole and Zelda, then Malladus | Demon Train roof, then the final arena | Boomerang, Whip, Light Arrows, Lokomo Sword, Spirit Flute | The ending |
Temple bosses
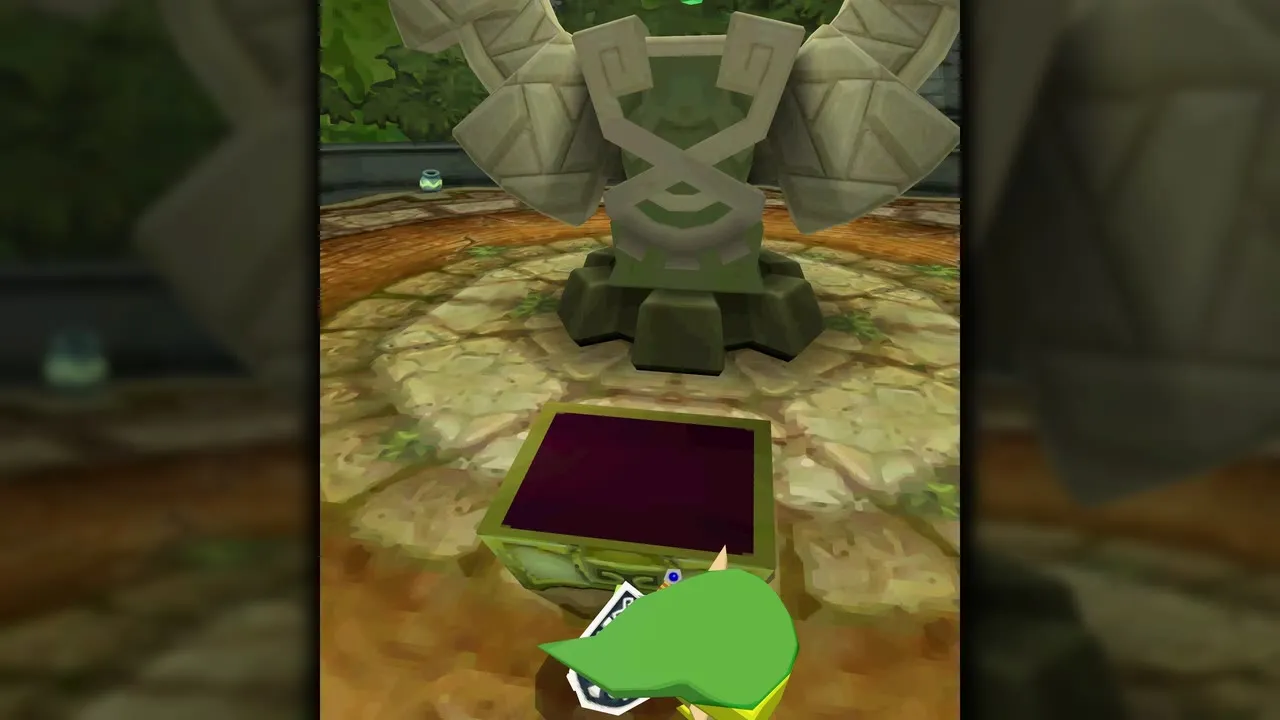
Stagnox (Forest Temple)
Stagnox, a giant stag beetle, waits at the end of the Forest Temple. Bring the Whirlwind, because it is the item that breaks the beetle’s guard. The fight has two stages, one on the ground and one in the air.

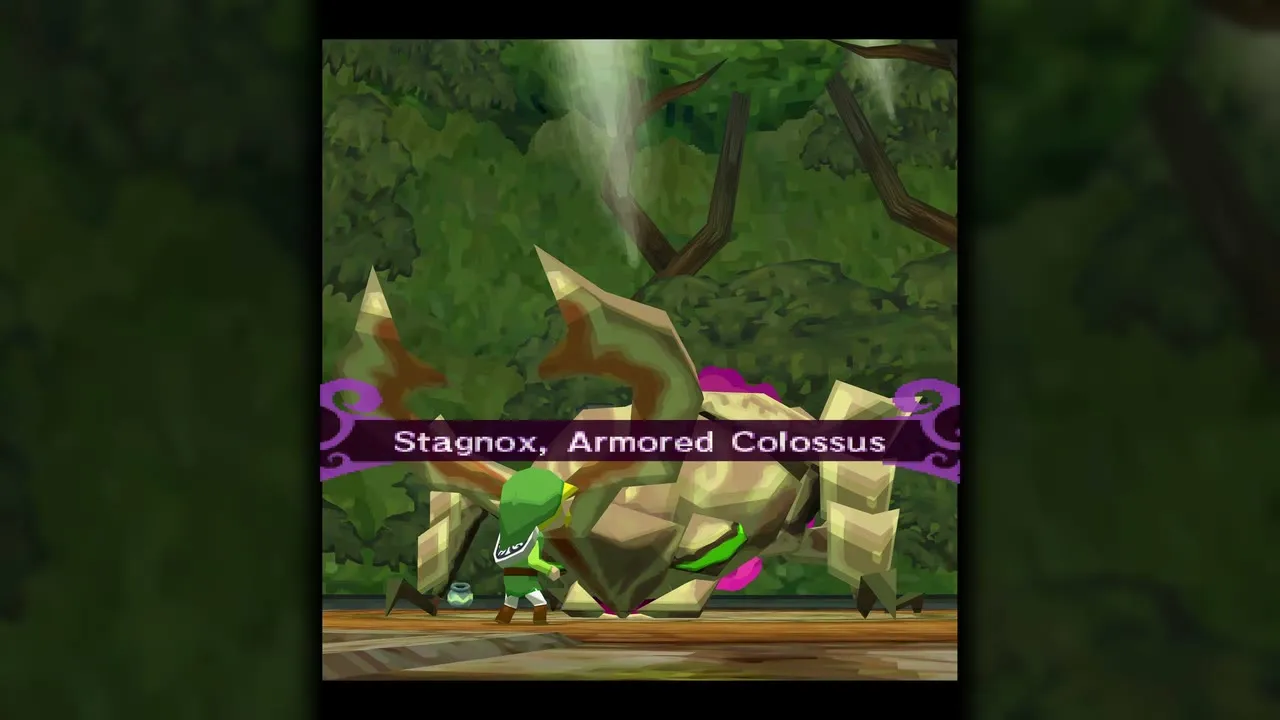
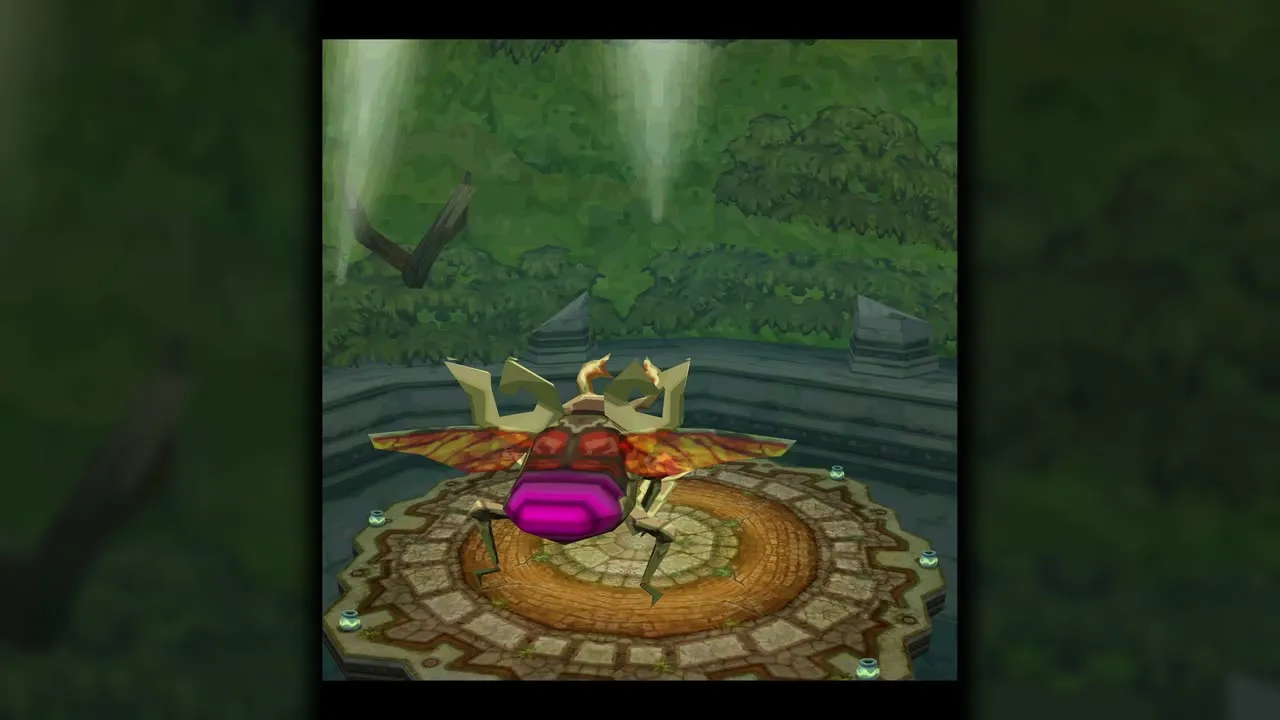
- Circle the edge of the room and stay clear of its horn, which it uses to ram you.
- When Stagnox charges, use the gap to run behind it.
- Blow the Whirlwind at the purple fog on its back, then slash the exposed spot. Step away and repeat until it takes off.
- In the air it drops three Blastworms. Hit one with your sword so it curls into a spiked ball and leave one curled.
- When Stagnox dives across the platform, aim the Whirlwind so the curled Blastworm blows into its face. The blast flips it onto its back, so slash it until it recovers and repeat.
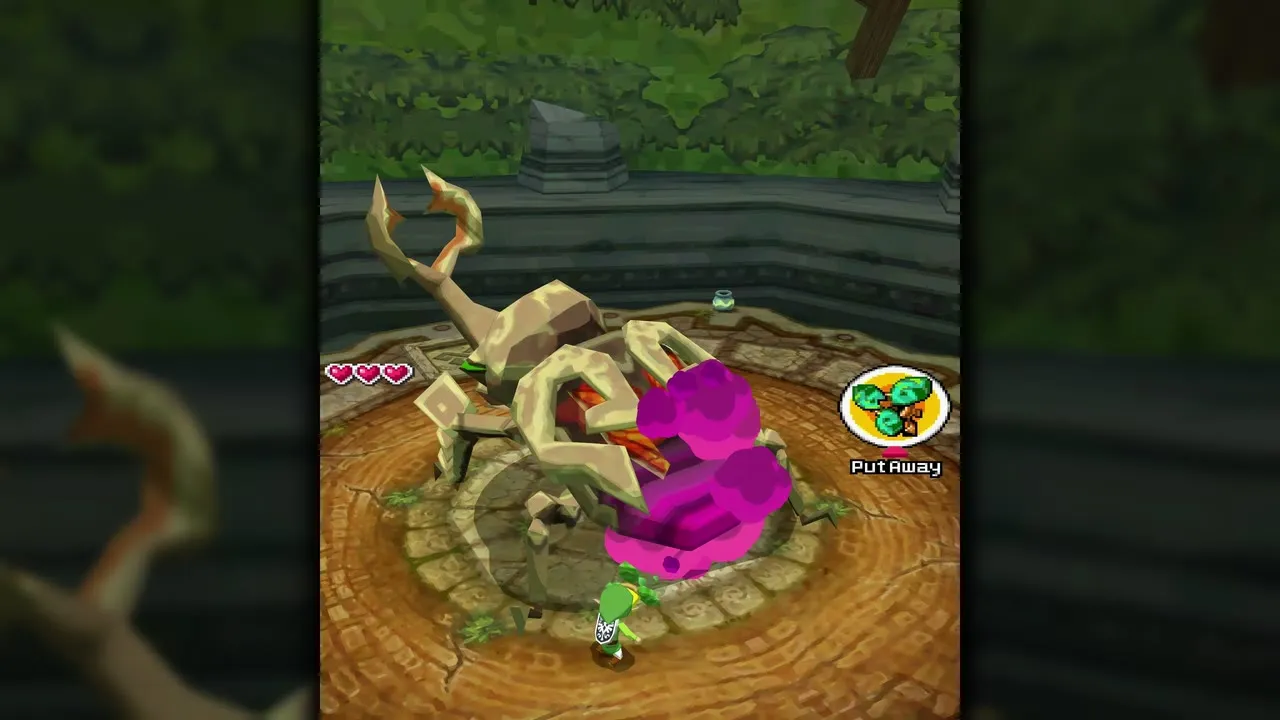
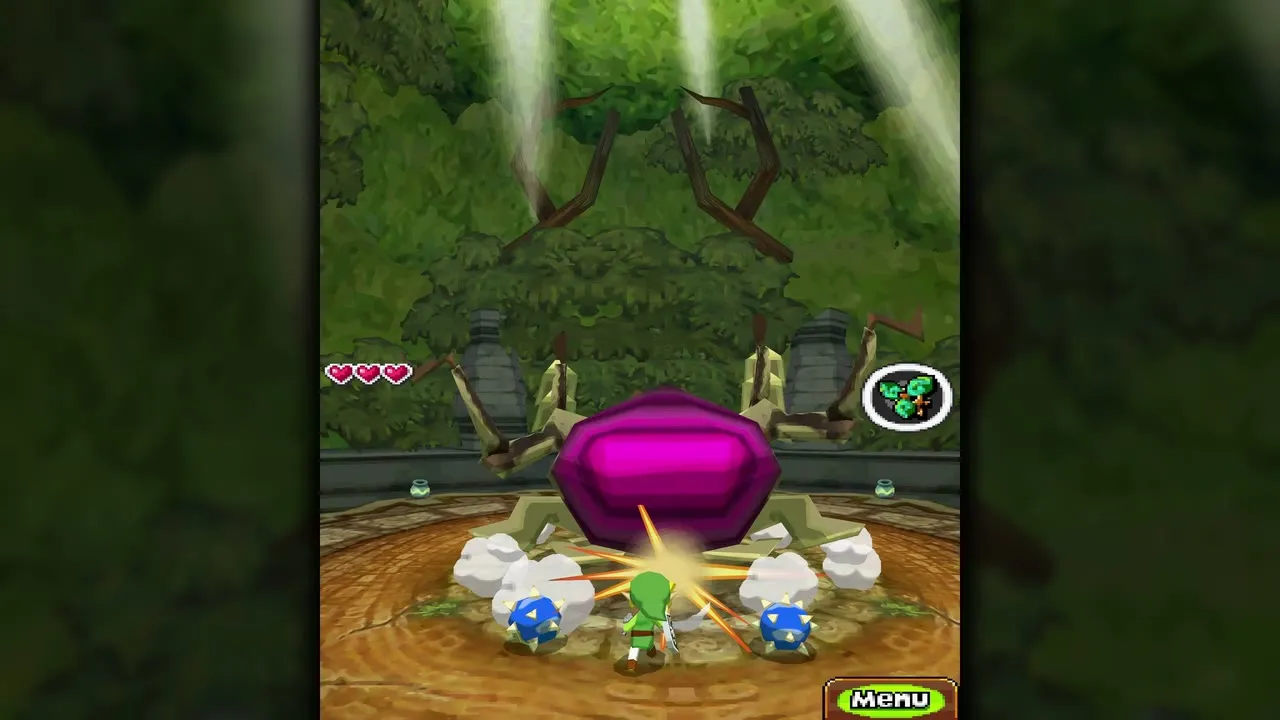
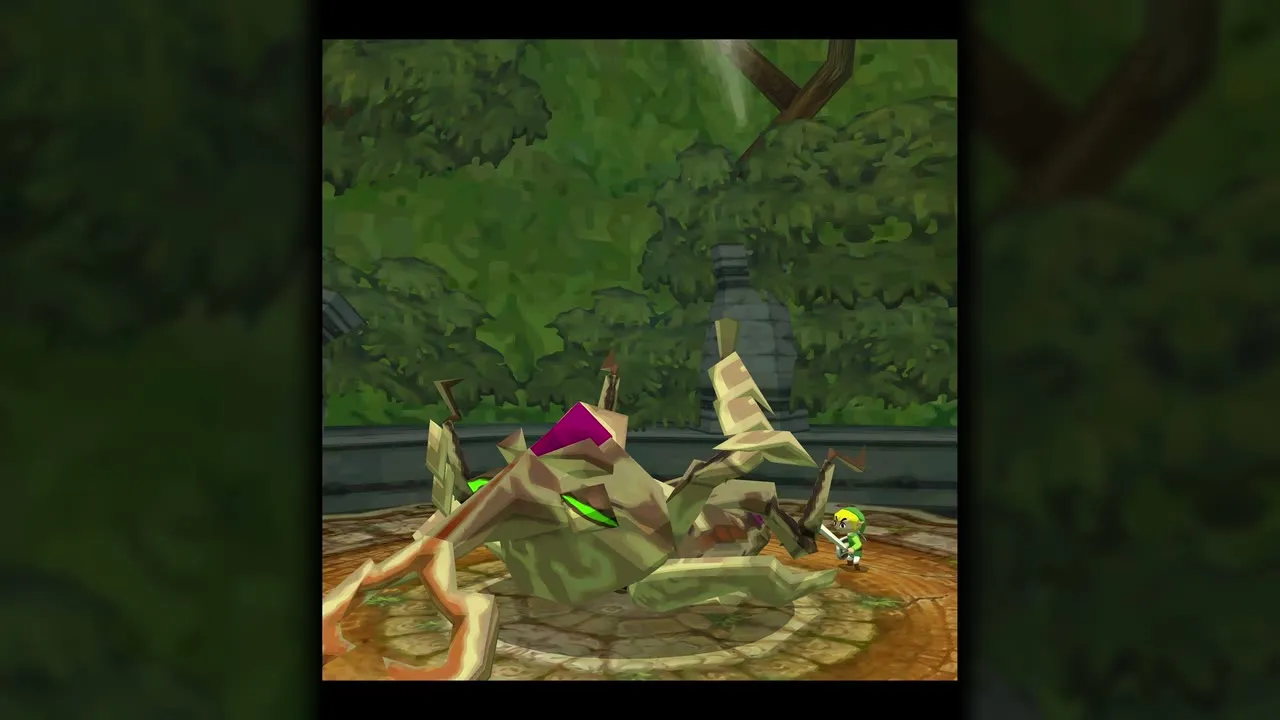
Once Stagnox is beaten you collect a Heart Container and the green Force Gem, which restores the energy flow of the Tower of Spirits.


Fraaz (Snow Temple)
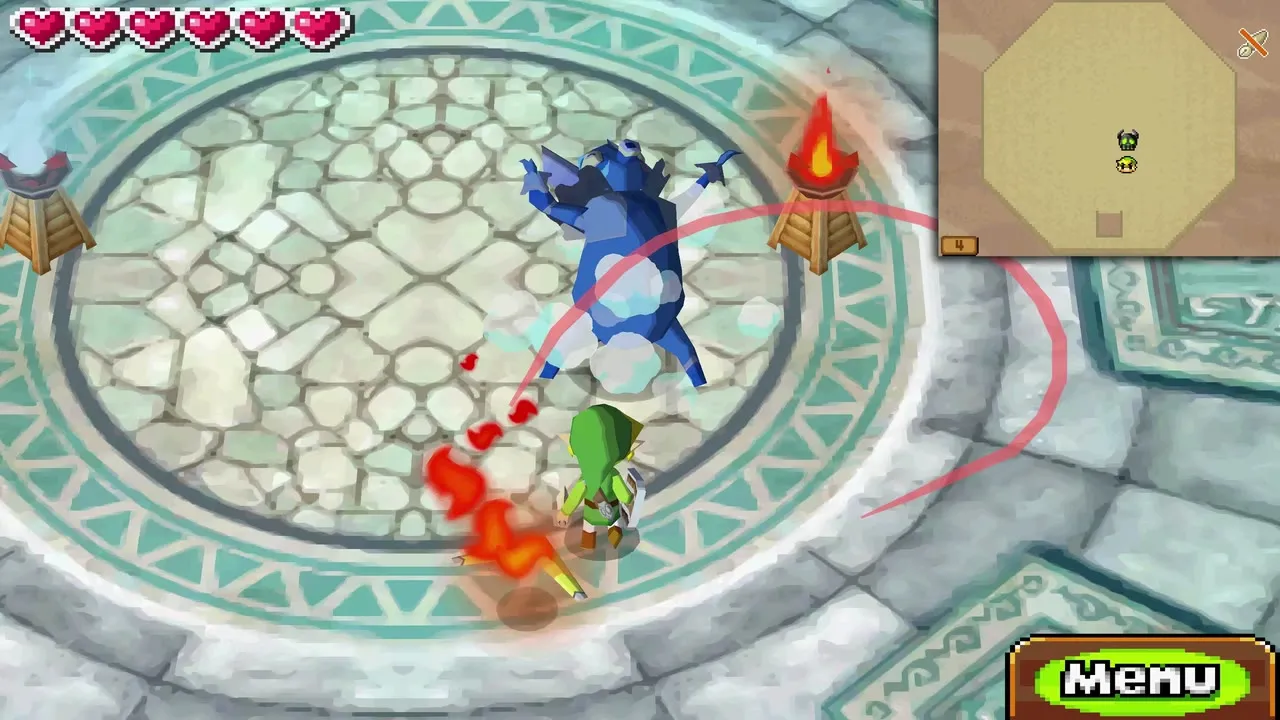
Fraaz is the boss of the Snow Temple. The arena contains a fire torch and an ice torch, and your Boomerang is the tool: carry flame or frost to Fraaz and use the opposite element against it. Fraaz prepares each attack with either fire or ice.


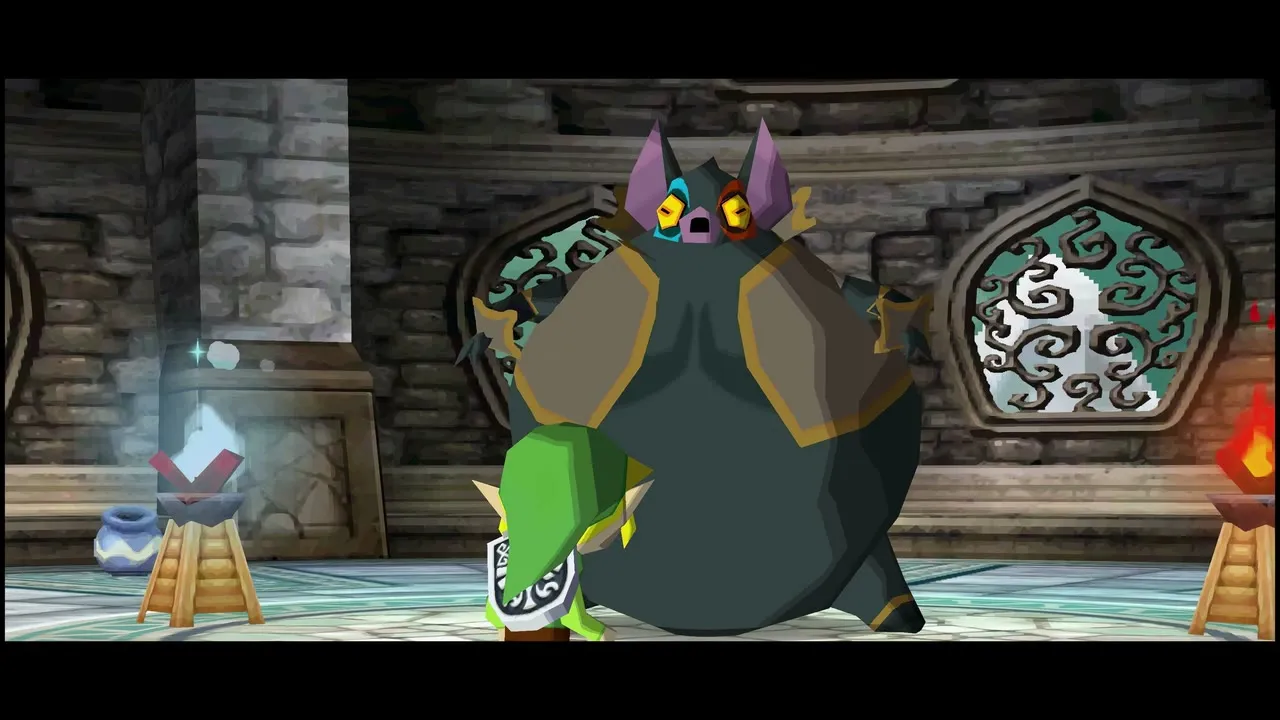
- Light your Boomerang at the torch that holds the opposite element to Fraaz’s current attack, then hit Fraaz with it. Enough hits stun it.
- While it is stunned, run in and slash it.
- After enough damage Fraaz splits into two elemental halves, Fraaz and Fraaz Jr. Use the map on the top screen to tell them apart, stun each with the opposite element and slash them. Beat the pair and Fraaz re-forms.
- Fraaz then destroys both torches, so you must catch the fire and ice from Fraaz and Fraaz Jr. themselves and use each element against the opposite one.
- Each round Fraaz inflates more and takes more Boomerang hits before it can be slashed. After a last round it inflates one more time and bursts.

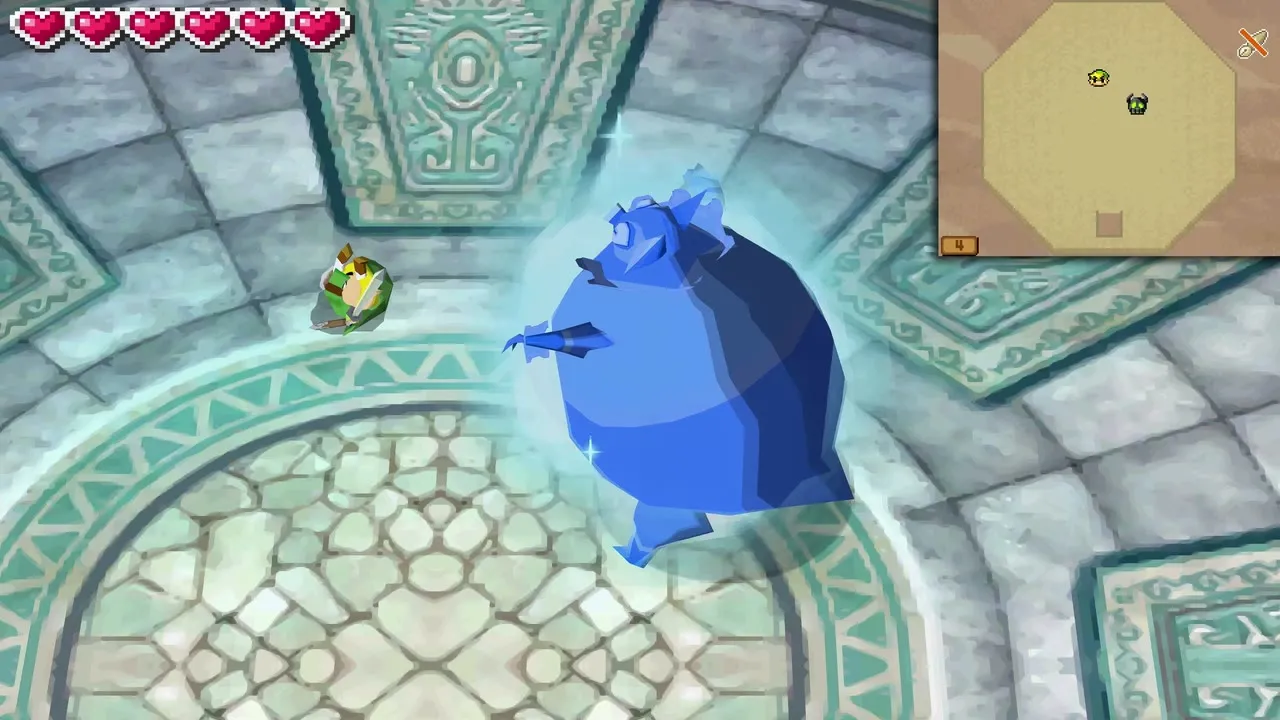
Fraaz leaves behind a Heart Container and the white Force Gem, which restores the Tower of Spirits’ energy flow once more.

Phytops (Ocean Temple)
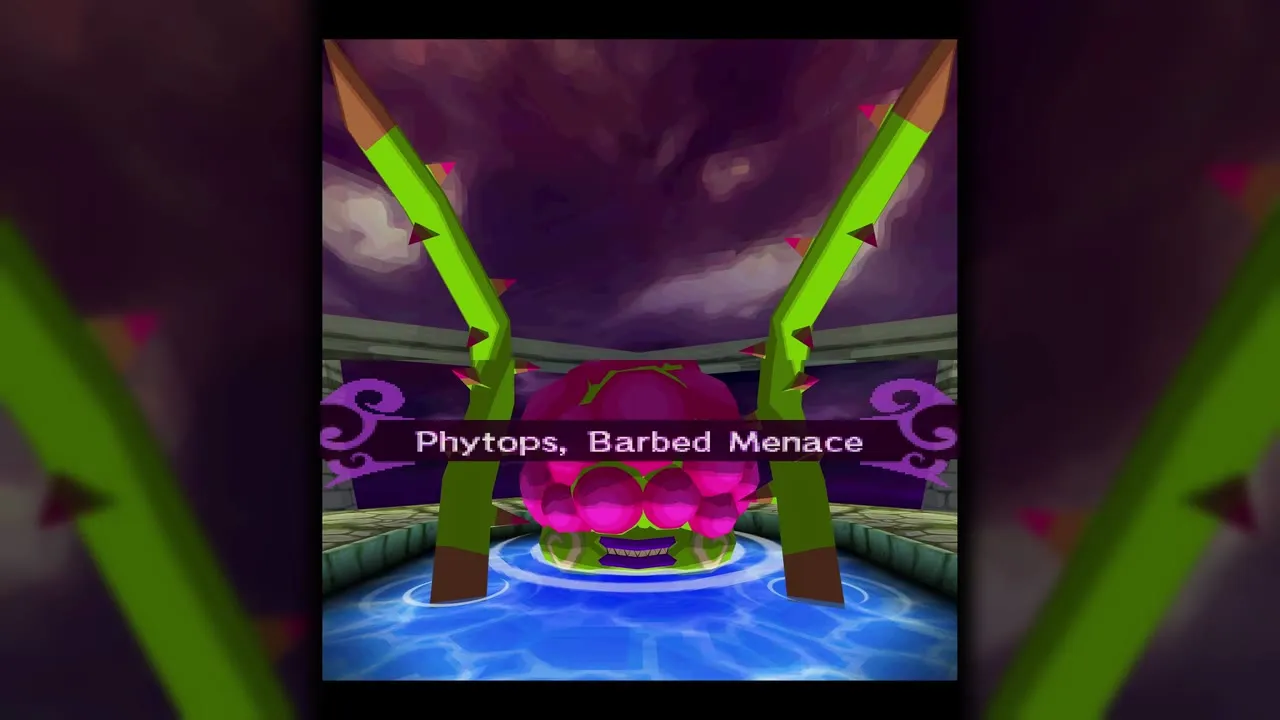
Phytops is a poisonous, thorned plant that lives in a pool on top of a tall pillar in the Ocean Temple. Climb the pillar by whipping from peg to peg. Its tentacles lash at you on the way up, and grabbing a thorn with the Whip and throwing it at the open eye makes them retract. Phytops also launches purple slime that you must dodge. At the top, latch the Whip onto a propeller to be carried to the pool.
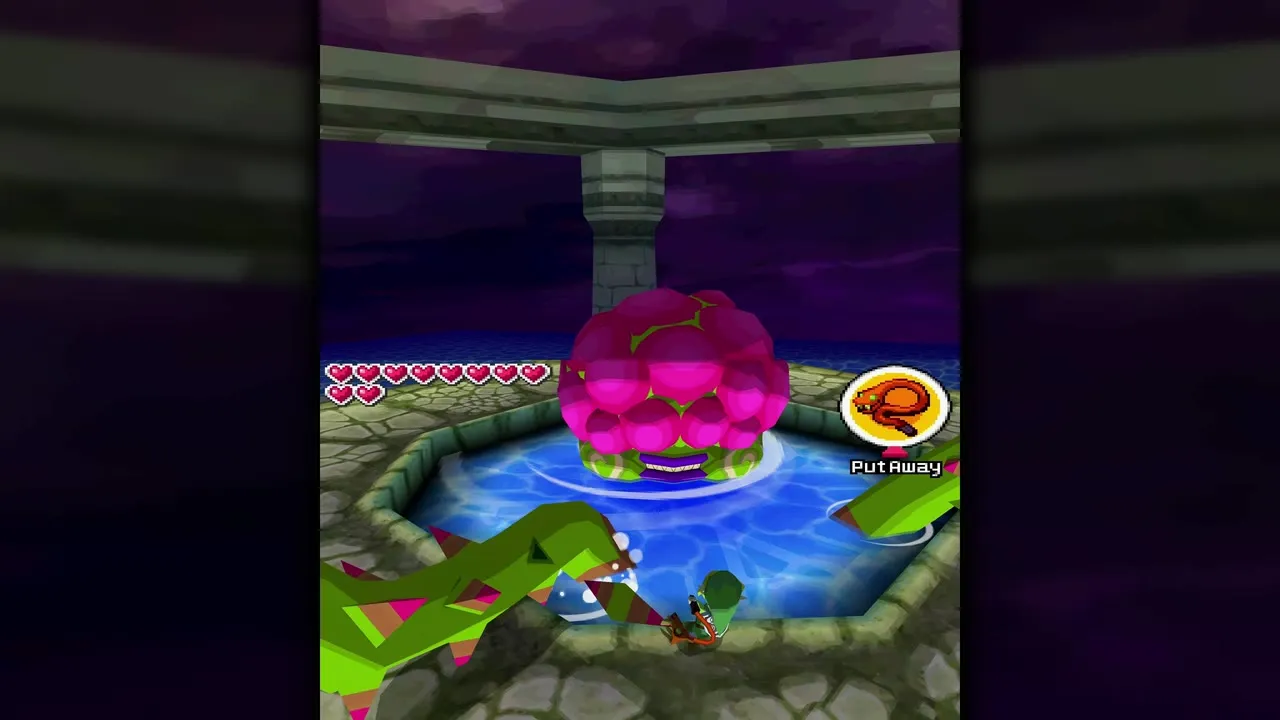
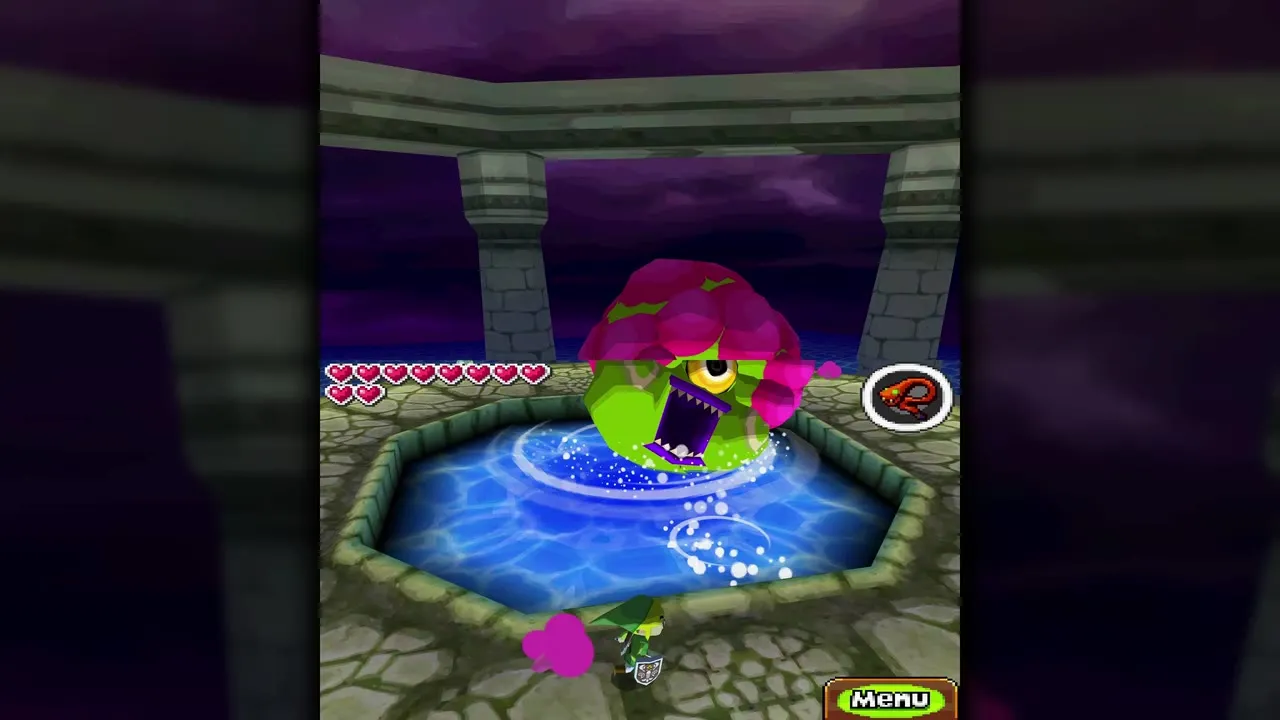
- Phytops attacks with its tentacles as soon as the fight begins. A smack with the Whip sends a tentacle reeling back.
- Pink blobs cover its eye. Grab a thorn from a tentacle with the Whip and throw it at the monster; repeat until the eye is fully uncovered.
- Throw a third thorn into the eye. Phytops lowers its head to the edge of the pool, and you can slash the open eye repeatedly.
- After the first hit it fights back harder, firing globs of purple acid from its head, so dodge them.
- It also uses all four tentacles at once. Repeat the thorn, eye and sword routine until it falls.
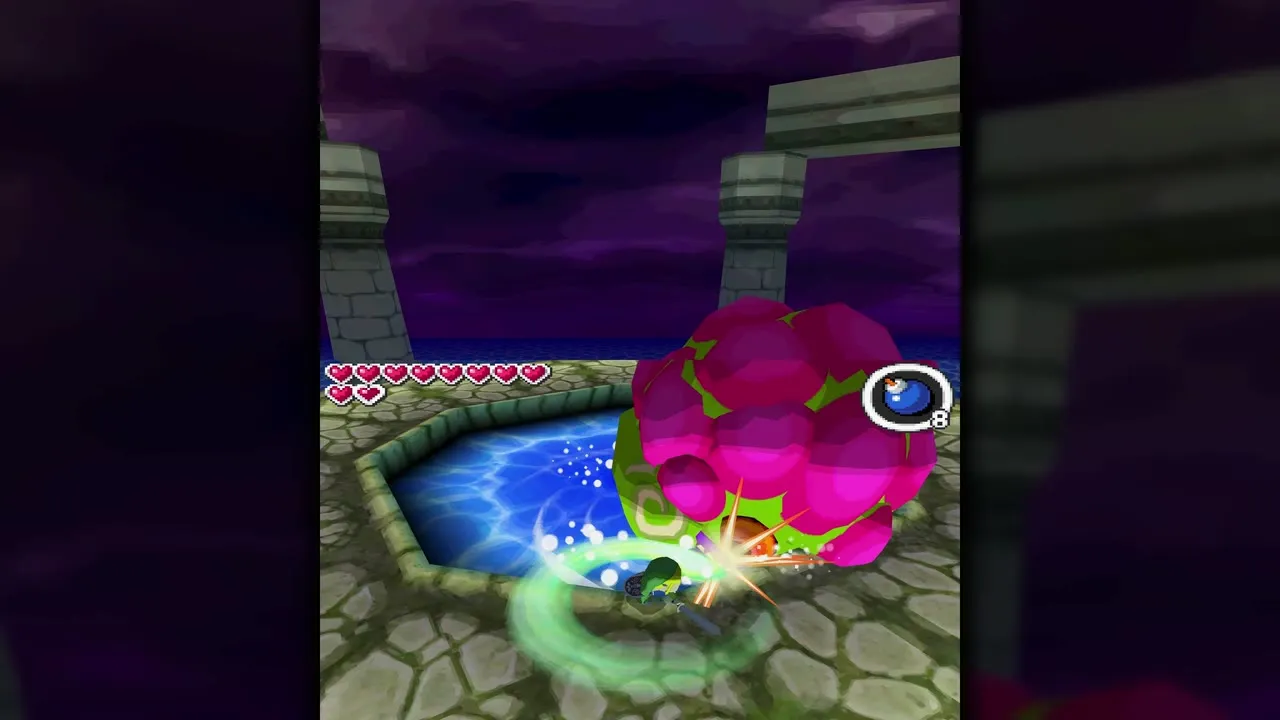
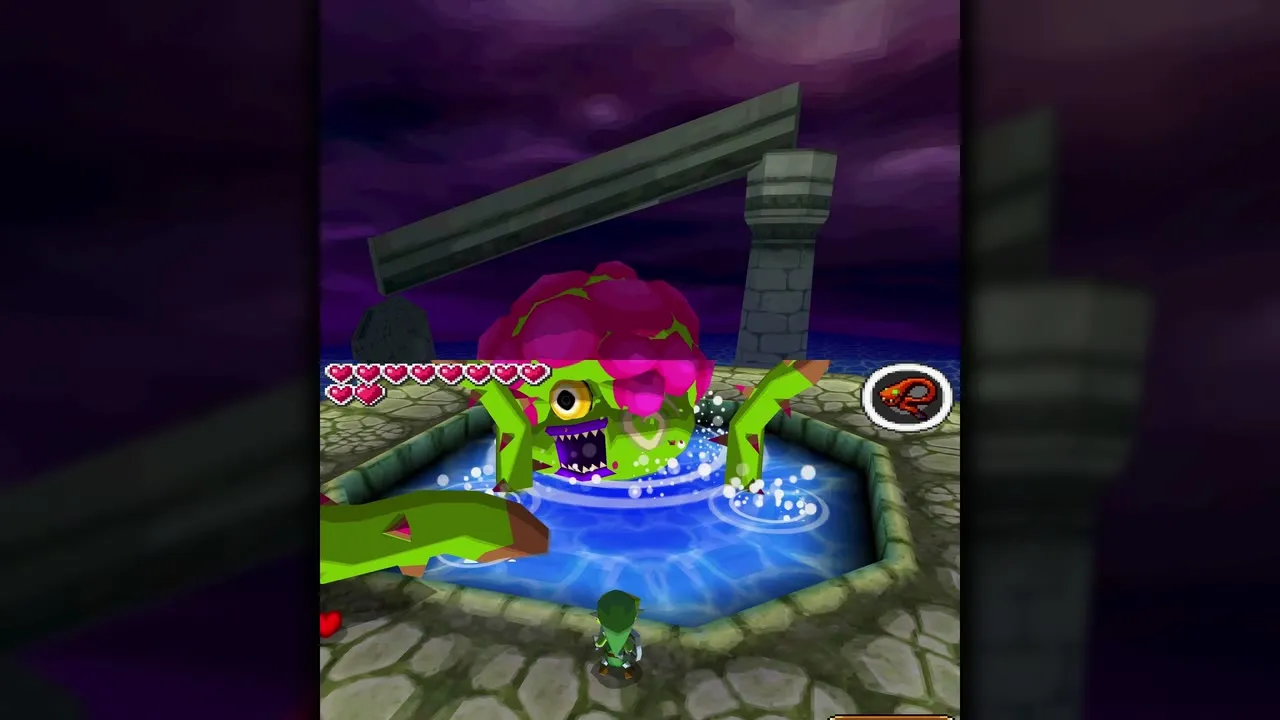
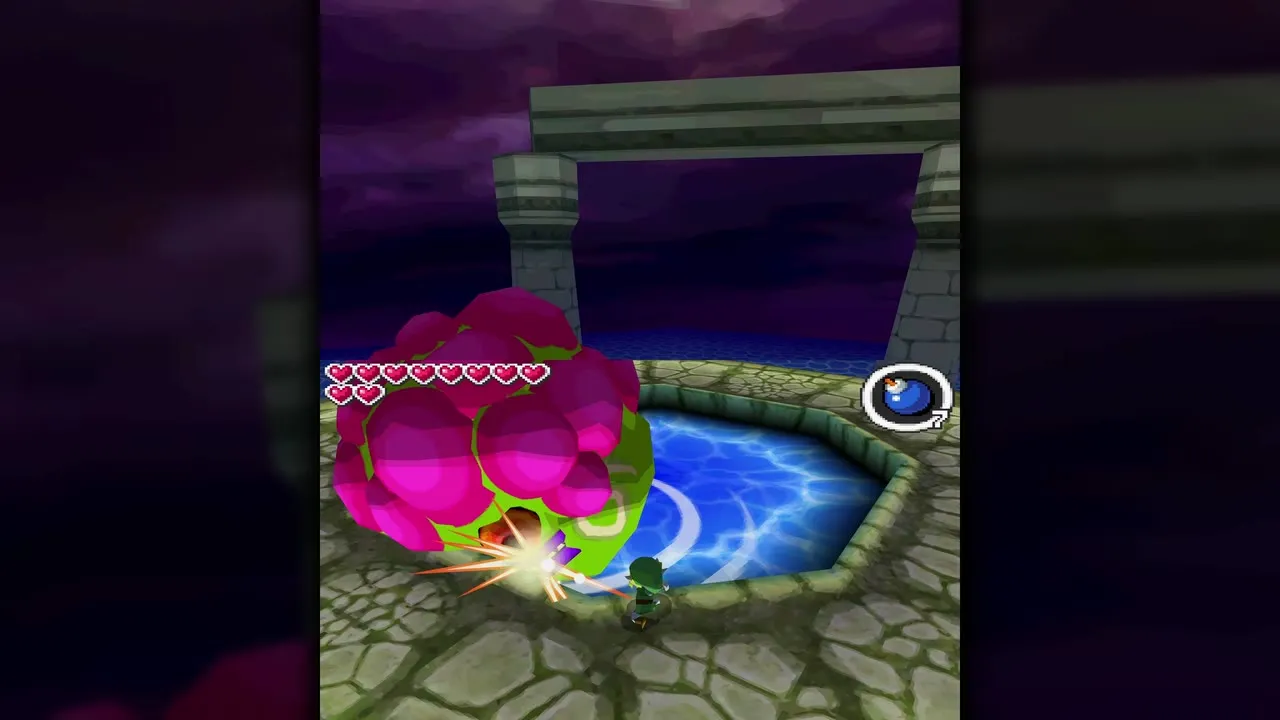
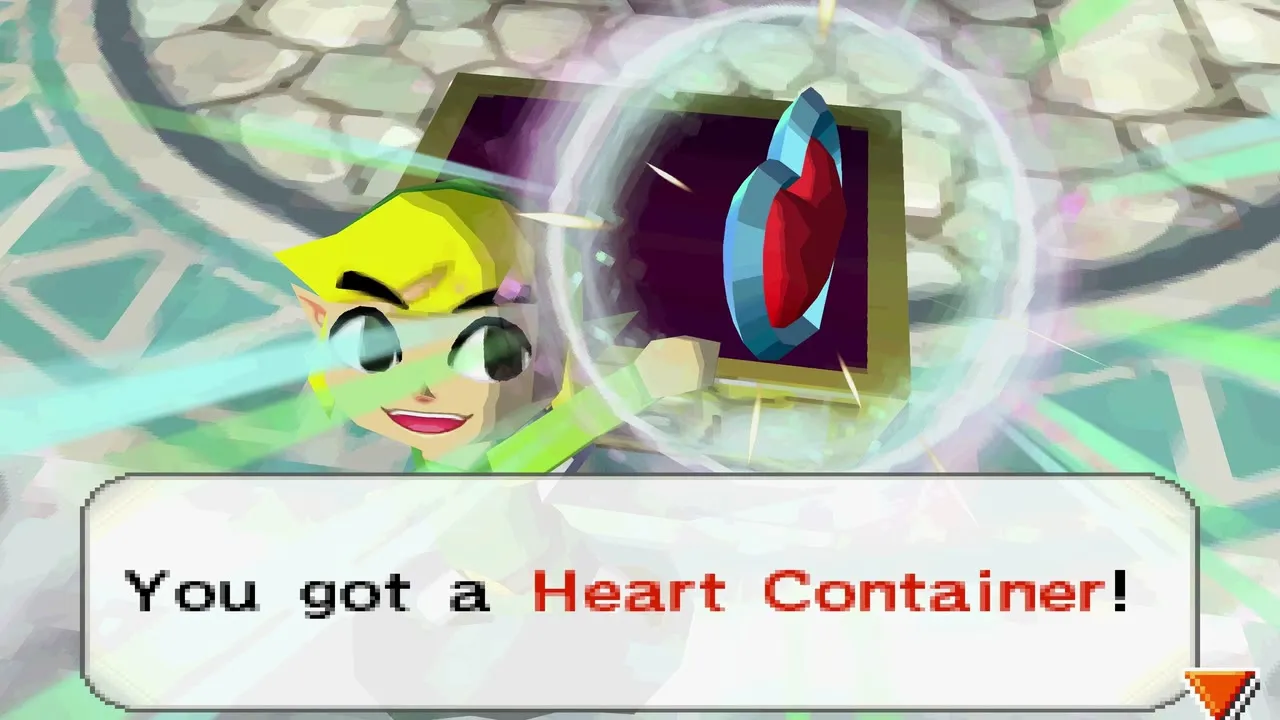
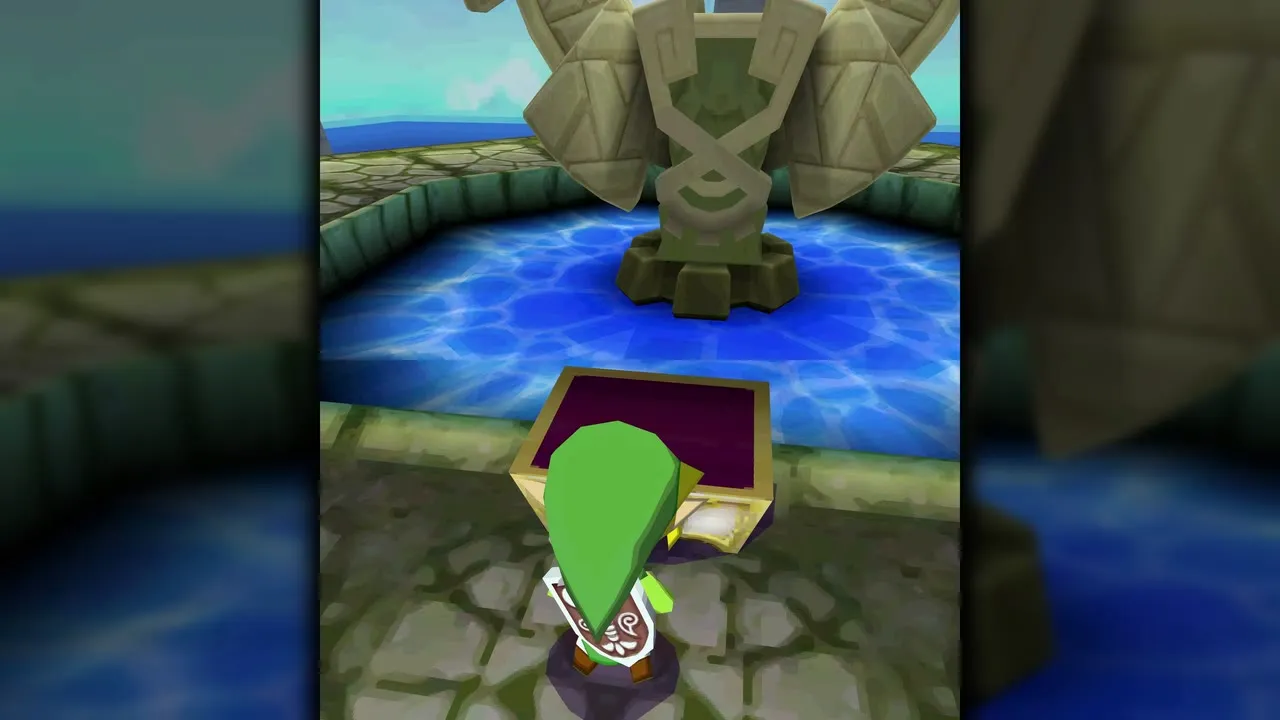
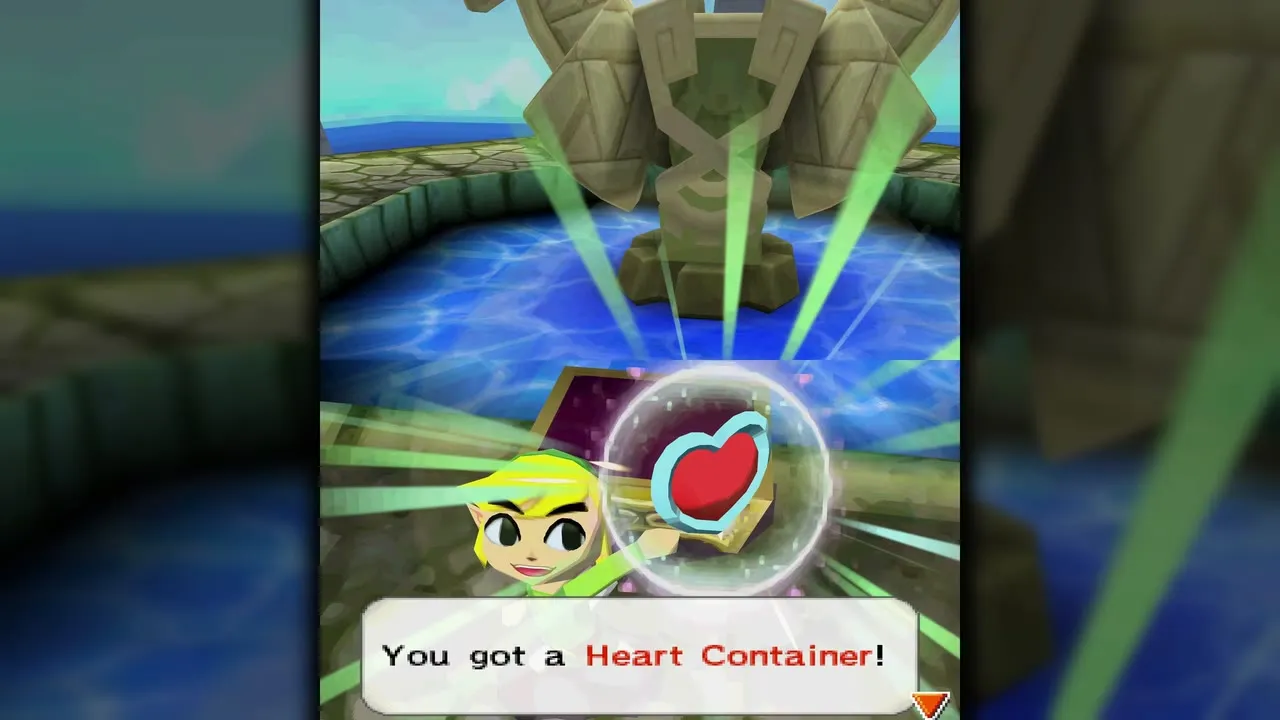
Phytops drops a Heart Container and the blue Force Gem. The second Take ‘Em All On! level opens up as well.

Cragma (Fire Temple)
Cragma is a large molten-rock cyclops in the Fire Temple. You need the Bow and Arrows, which come from the Heatoise mini-boss on the way. Cragma repeats one cycle several times.


- Cragma smashes at you with its fists. A glowing spot shows on its body just before it strikes, so shoot that spot.
- When it slams both fists and drops a large boulder, stand next to the boulder so Cragma smashes it flat, then dodge at the last moment.
- Pick up the flattened boulder as a platform. Set it over the magma spout between you and the mine cart, then jump into the cart.
- The cart circles Cragma. Shoot its glowing body parts; after two hits the cart climbs a level, and if you take too long it grabs you and throws you back to the bottom.
- On the third level, shoot its eye. That knocks Cragma over and exposes the top of its head, so climb out and slash it until it recovers, then start over. Three rounds finish it.


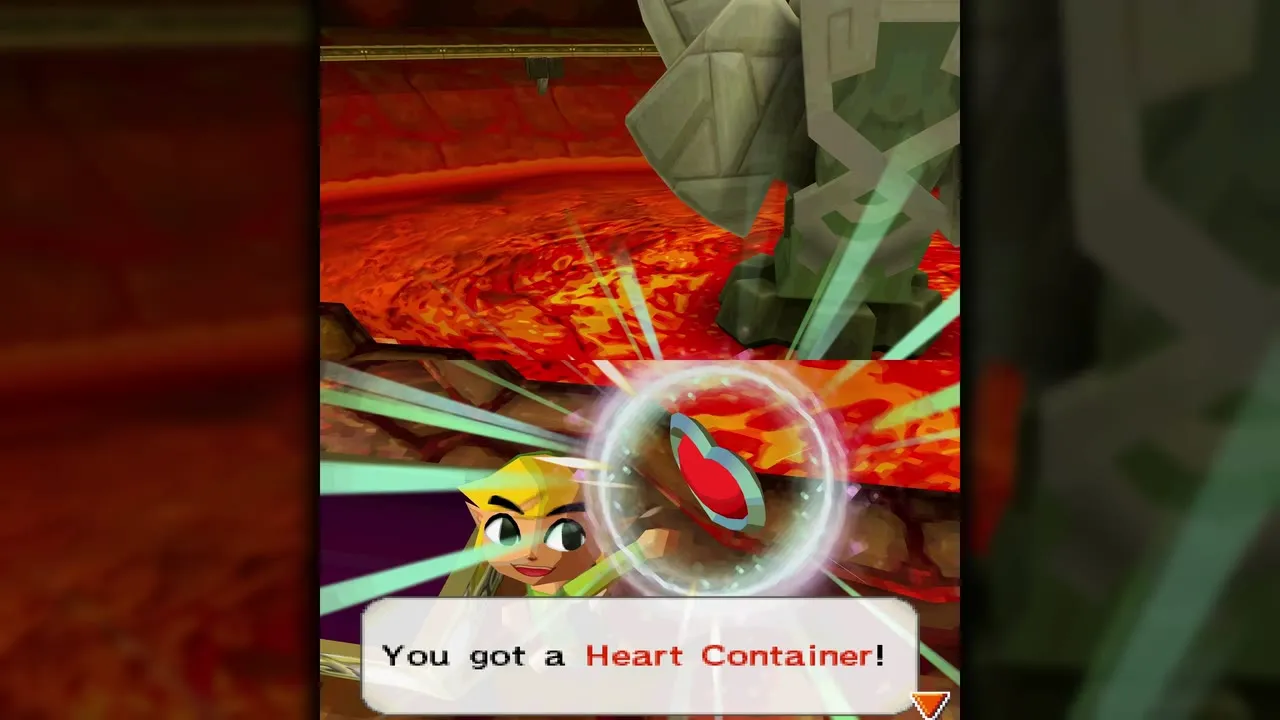
Pick up arrows from fallen rocks if you run low. When Cragma finally falls, you win a Heart Container and the red Force Gem, and a Quiver upgrade becomes available at the Goron Country Store.
Skeldritch (Sand Temple)
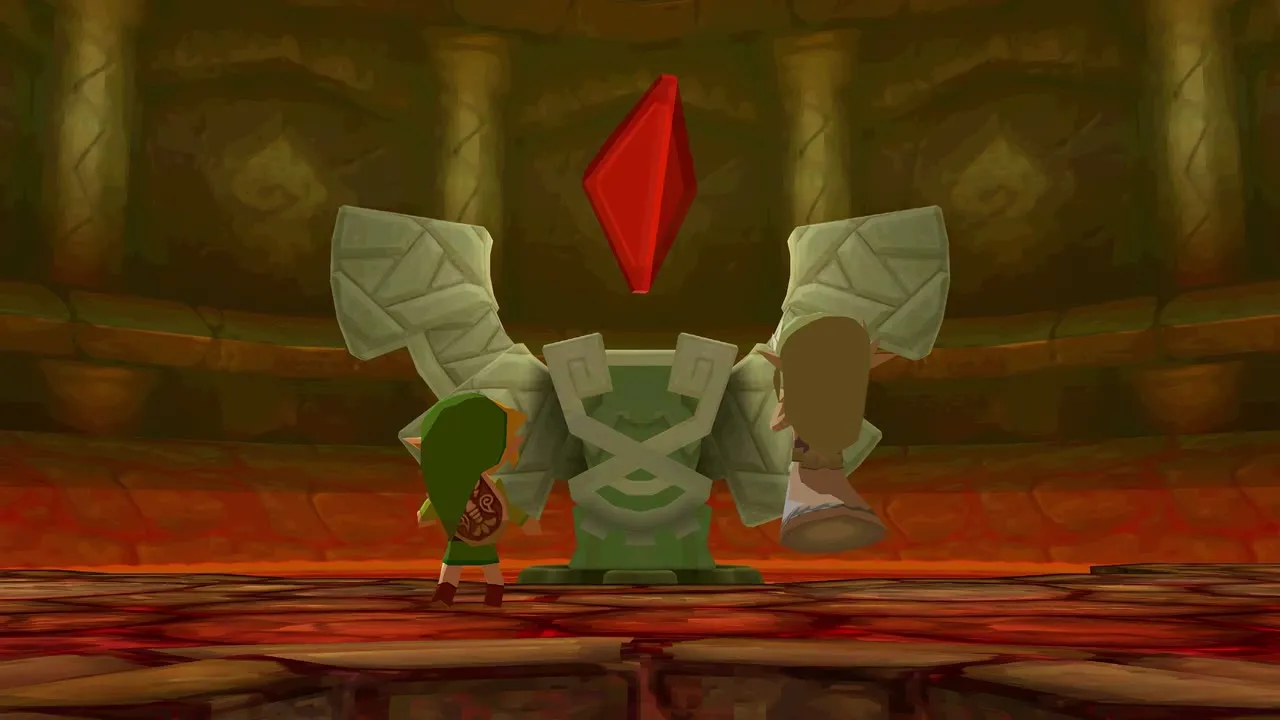
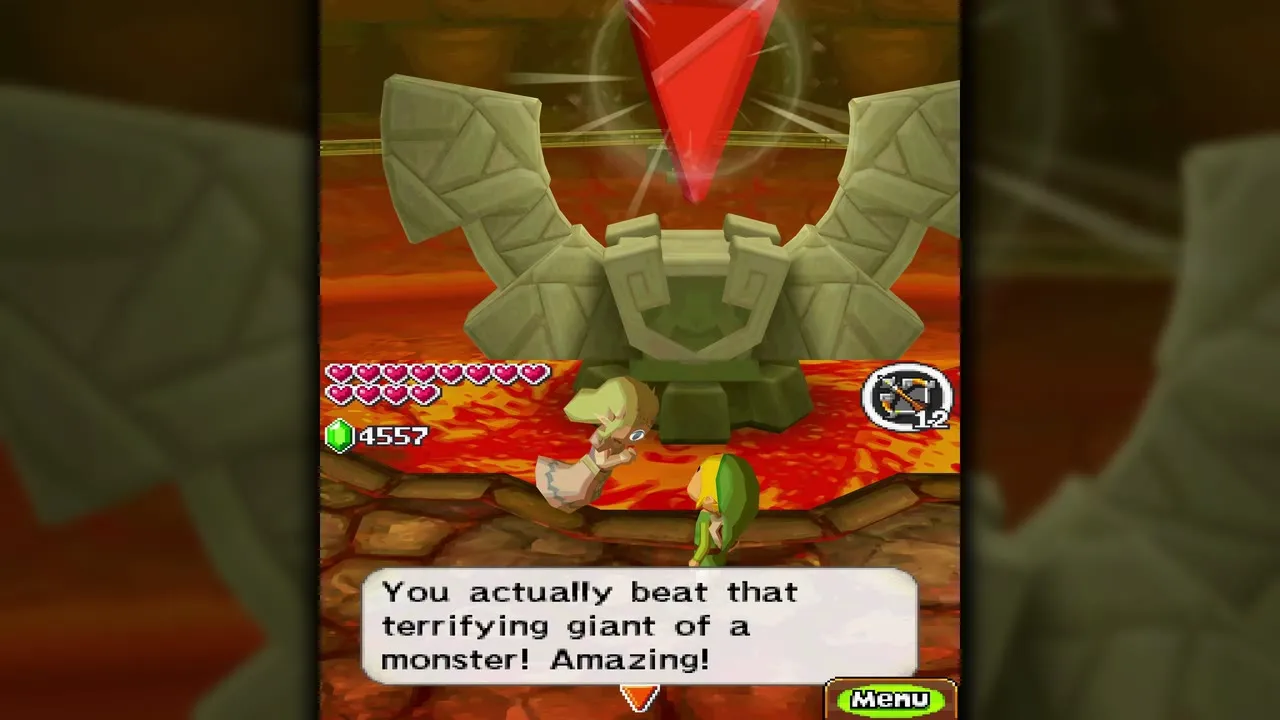
Skeldritch is a skull on a long spine that rises from a sand-filled ruin in the Sand Temple. Use the Sand Wand to raise sand walls that stop its boulders, and use the four catapults around the arena to destroy its spine.
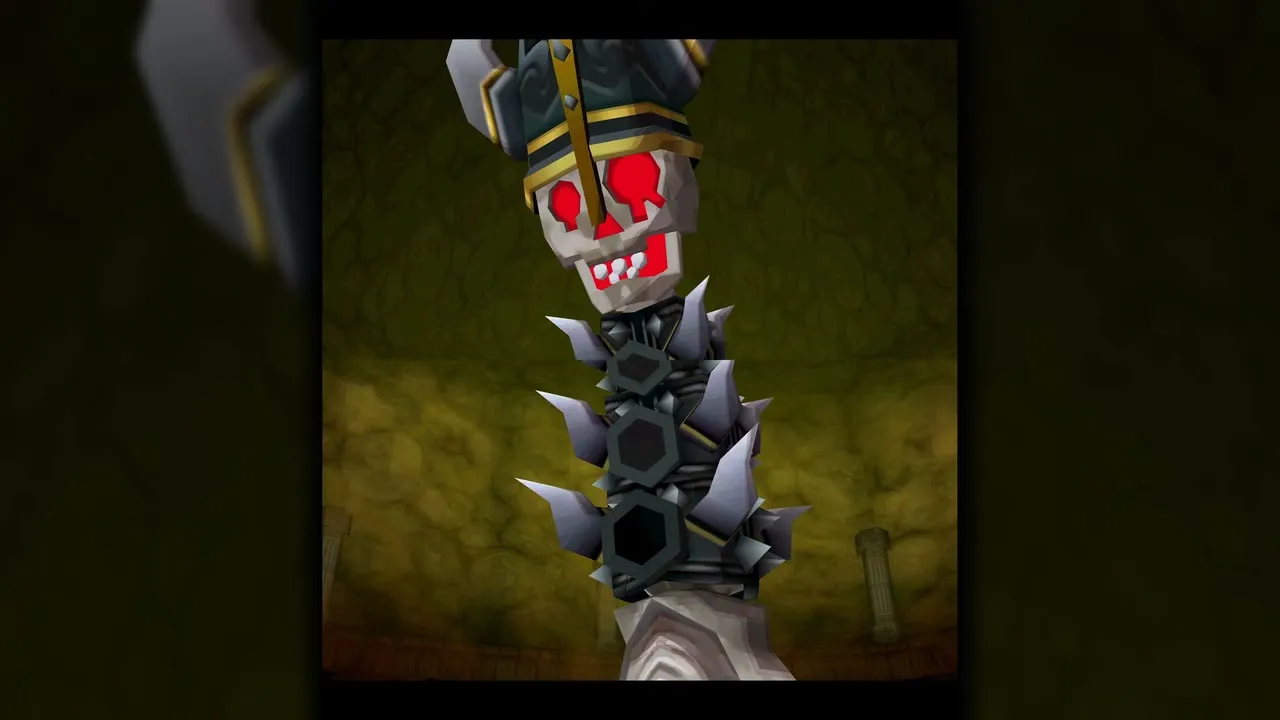

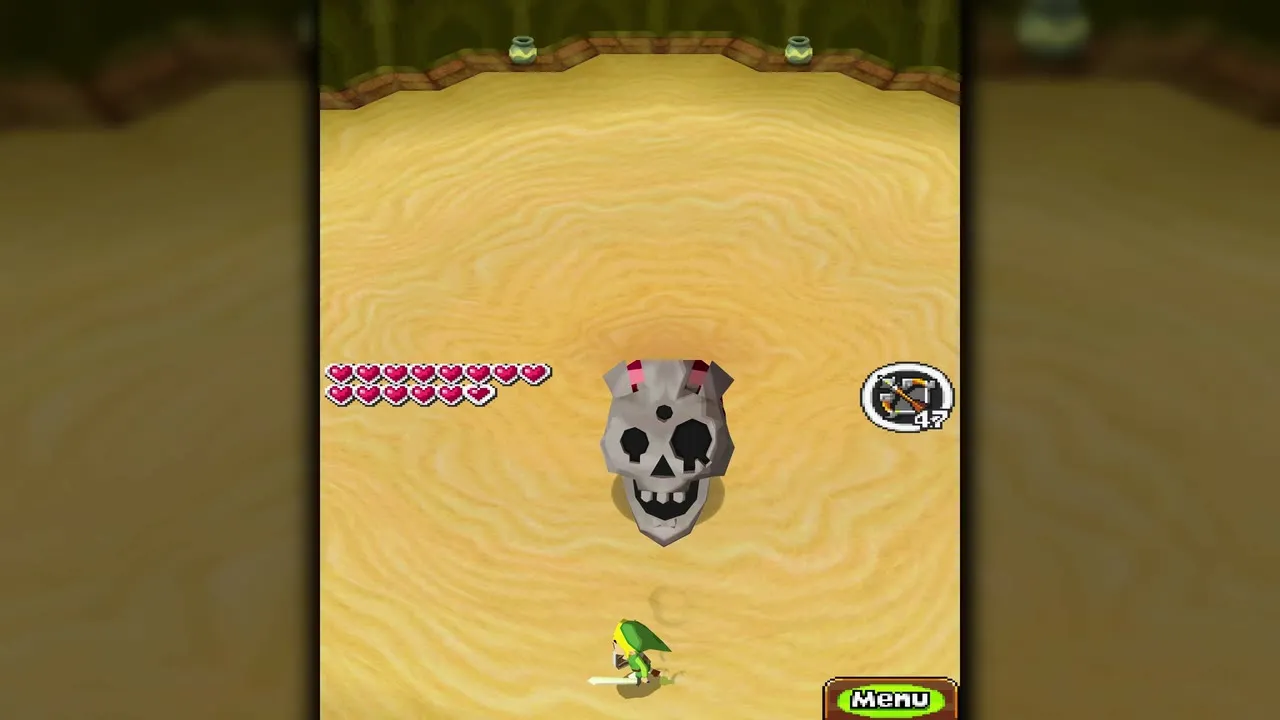
- Skeldritch fires boulders from its spine across the arena. Raise a wall of sand in front of each one to stop it.
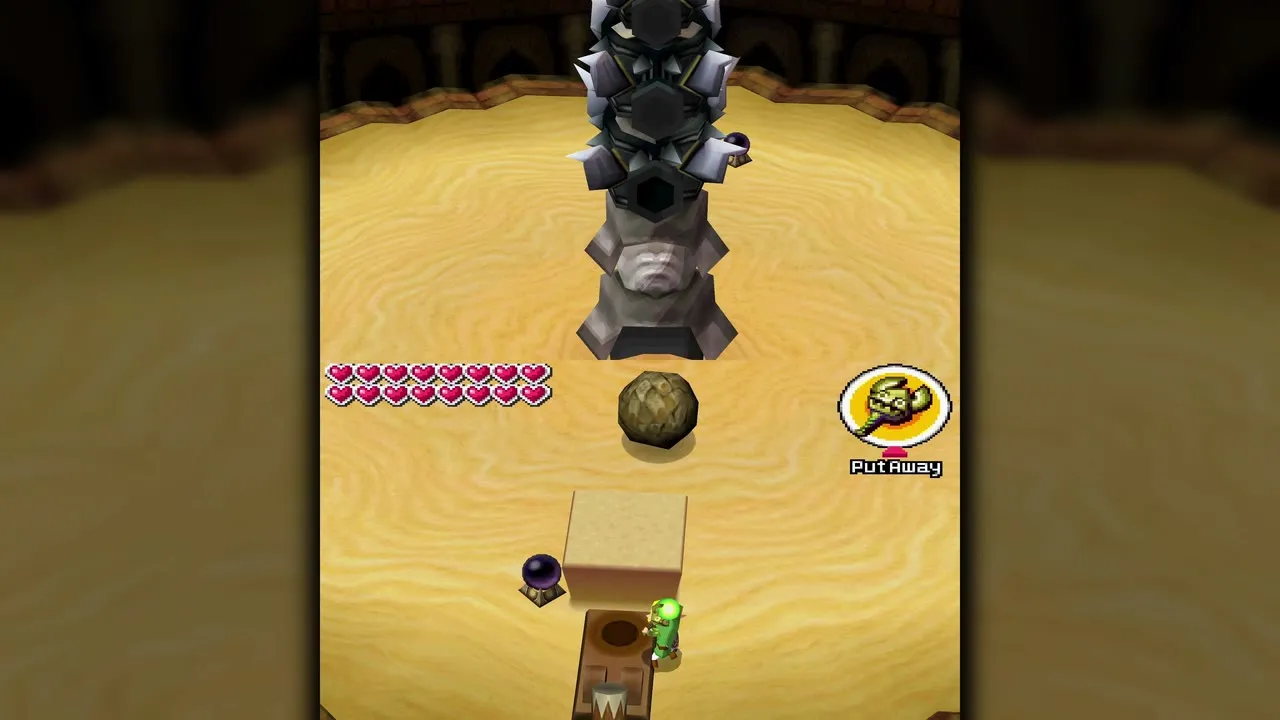
- Use the Sand Wand to push a boulder into a catapult, then strike the shock switch beside it. The boulder flies back and destroys one of Skeldritch’s vertebrae.
- The last three vertebrae are armored. Load a boulder into a catapult, run around the room so Skeldritch turns to face another way, then fire an arrow at the switch so the boulder hits an exposed vertebra.
- Skeldritch also shoots a laser from its mouth whenever it can, so keep moving.
- With every vertebra gone, the skull floats and tries to ram you. Wall it in with sand and it tries to break out; slash the ruby-like weak point on the back of the skull, or raise yourself on a sand pillar behind it to reach it.

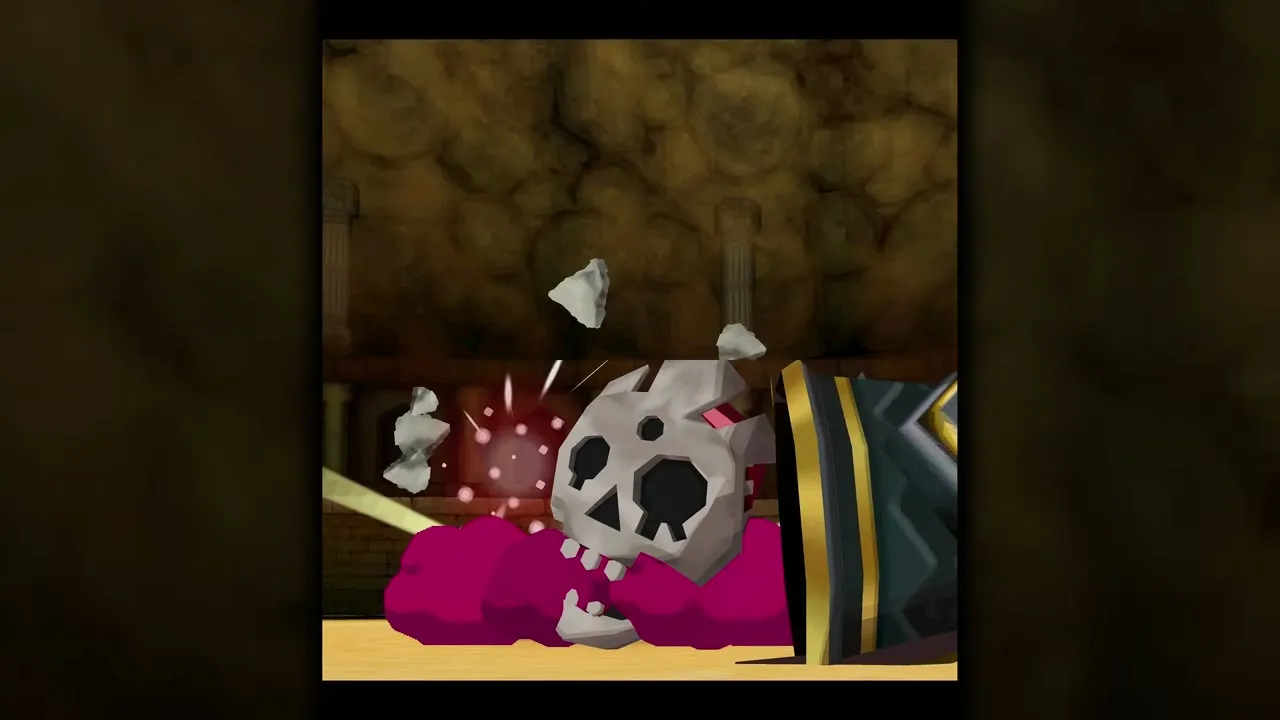
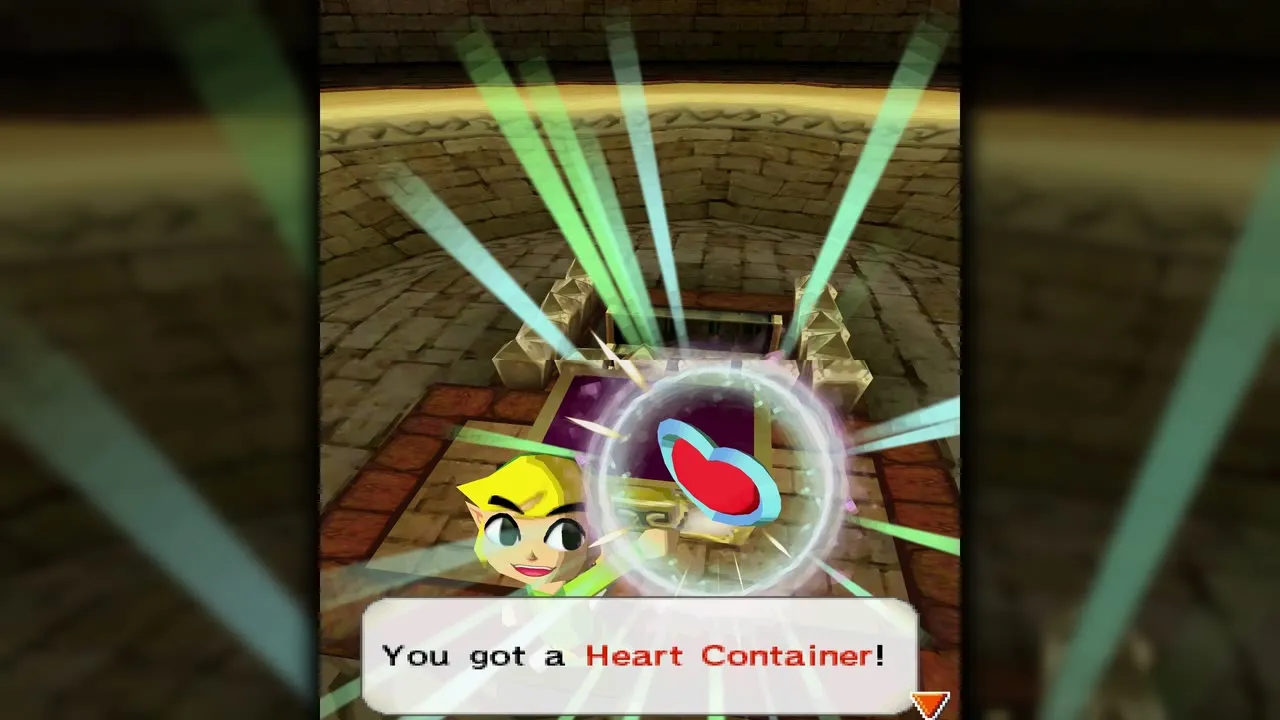
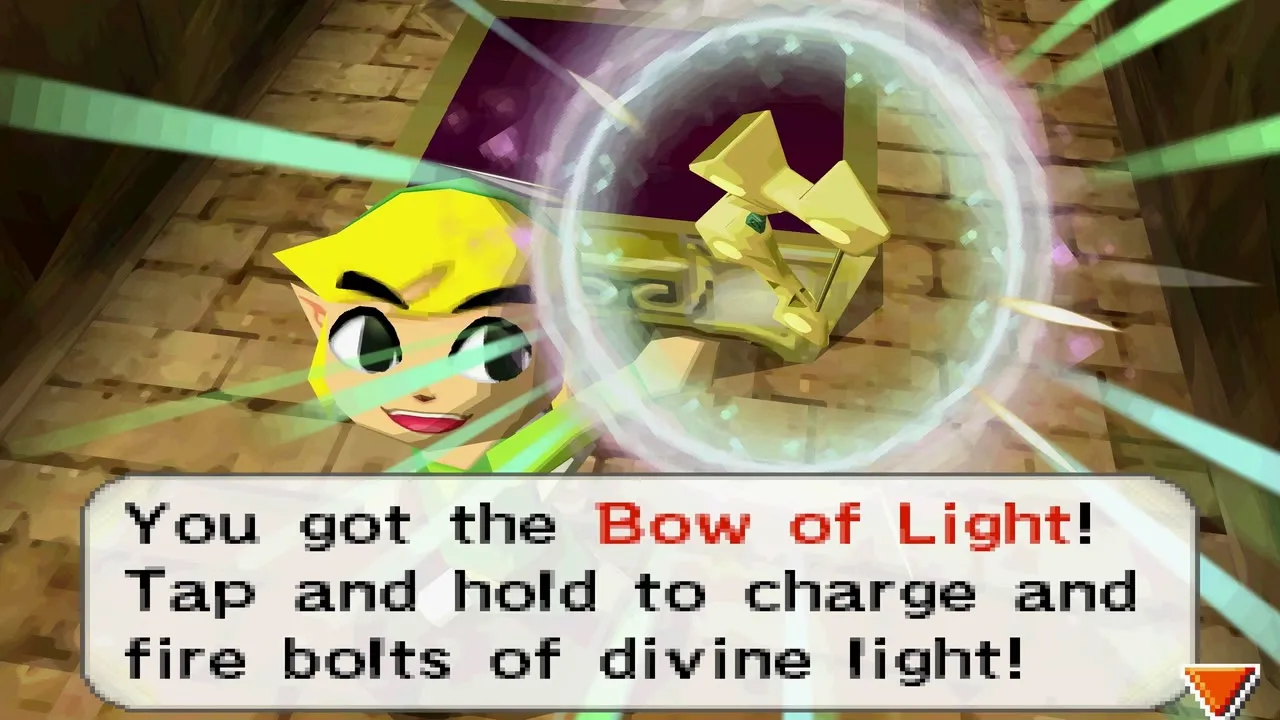
Once Skeldritch falls the sand drains from the room, revealing a chest with a Heart Container and a stairway to a lower room where you take the Bow of Light. You need the Bow of Light to finish the game, and Anjean gives you the Lokomo Sword in the train soon afterwards.
Story bosses
Byrne (top of the Tower of Spirits)
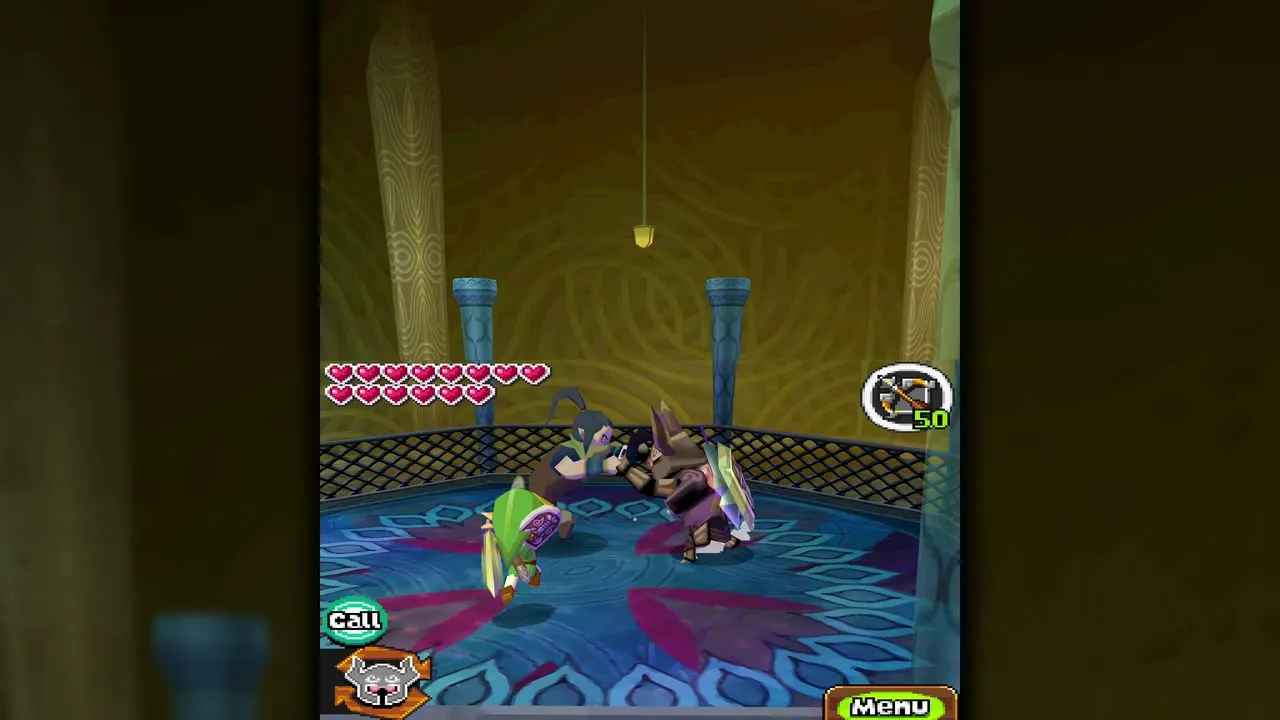
Byrne waits in a round chamber of stained glass at the top of the Tower of Spirits, after your fifth climb. Zelda fights beside you, and she is the key to the battle. Byrne hops between the pillars around the arena, attacking with his clawed hand and with magic such as a sword-beam-like swipe of energy and an orb of light.
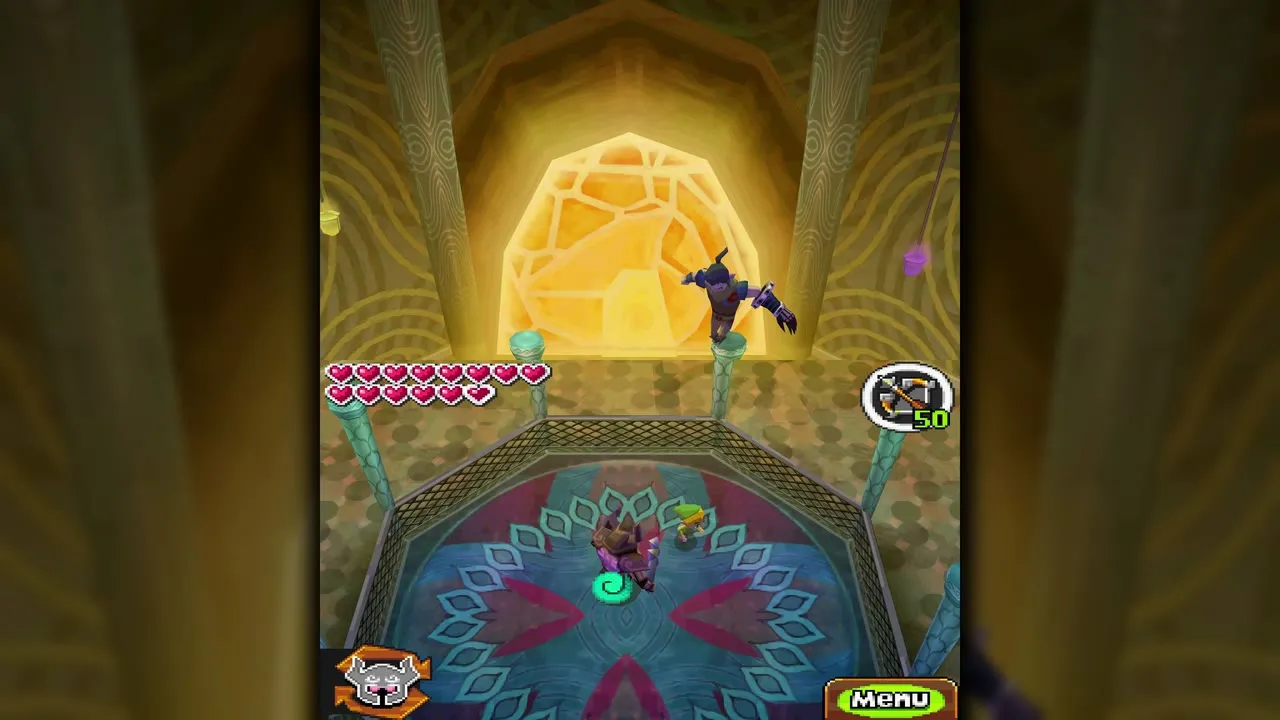
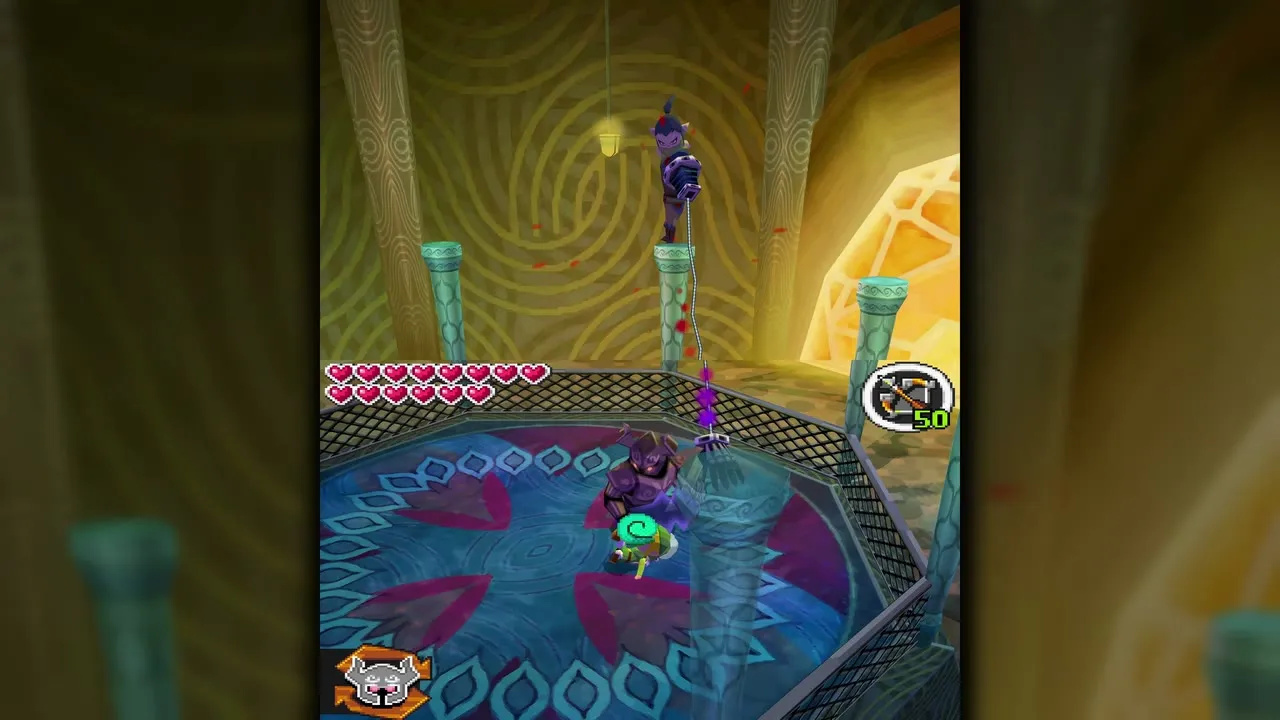
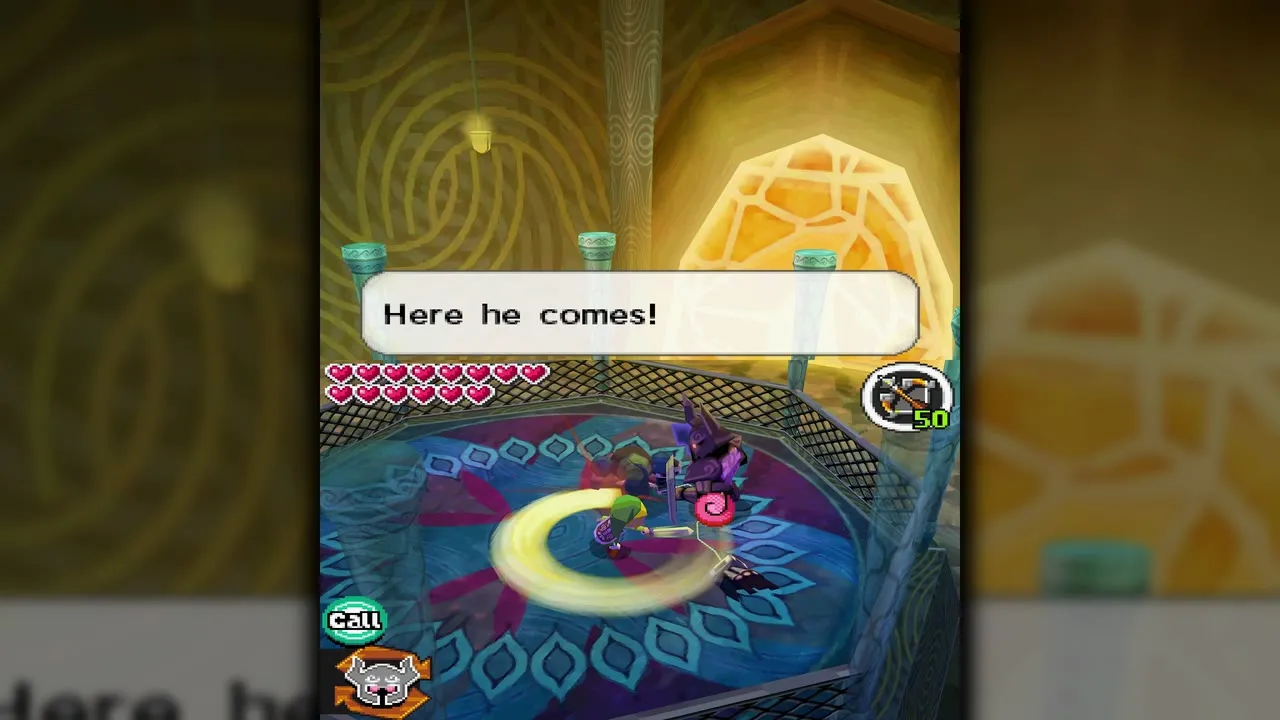
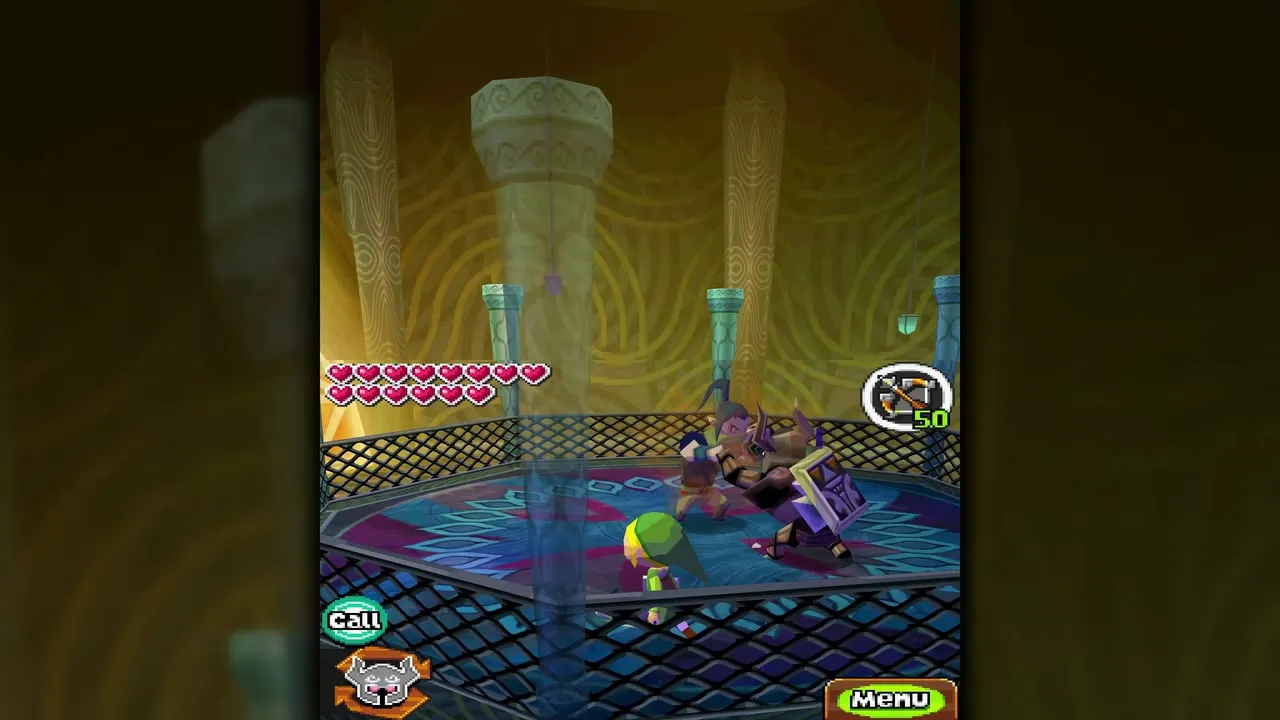
Draw a path for Zelda to Byrne’s arm. If she grabs it she pulls him off his pillar onto the floor, where you can slash him. If his charged orb hits Zelda she is stunned for a while, and if his clawed hand grabs her you must hit the hand to free her. Byrne adapts as the fight goes on and starts to go after Zelda as well. Once he fights on the ground he charges up an attack that Zelda has to intercept to hold him back while you hit him; repeated sword hits make him angry enough to use it. After the fight, Anjean gives you the Force Gem that repairs the tracks to the Sand Realm.

Demon Train (Dark Realm)
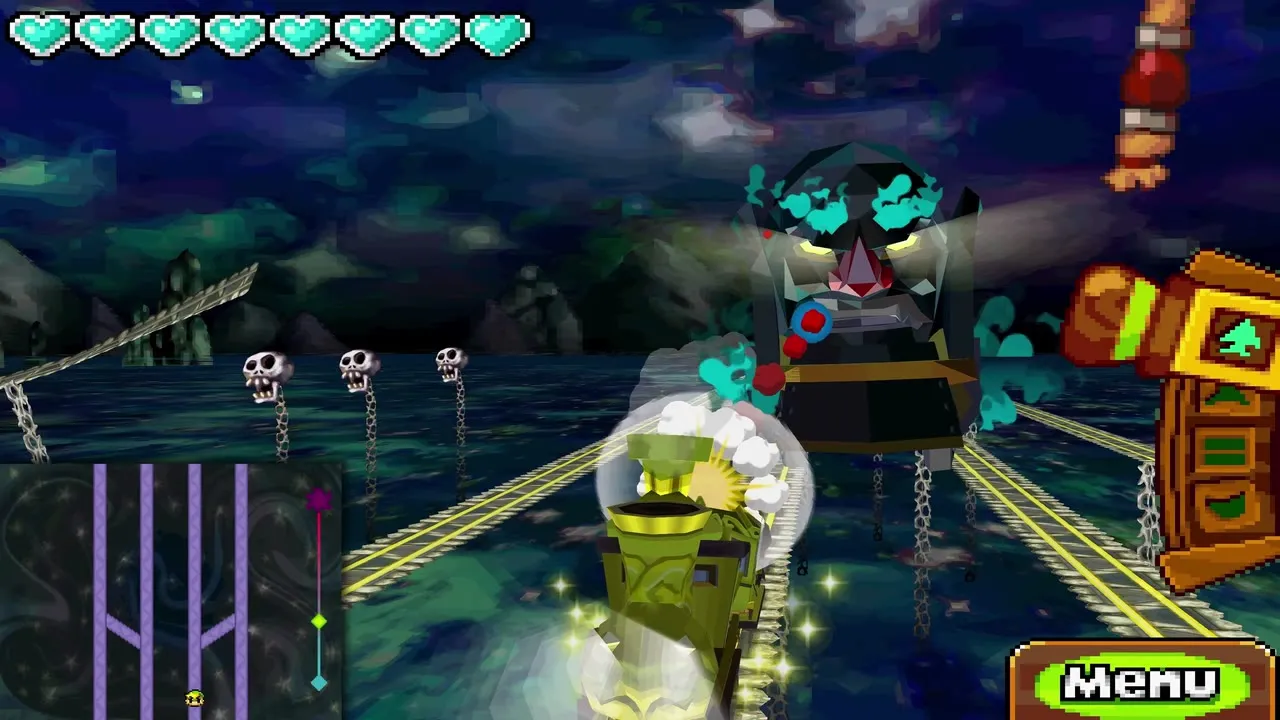
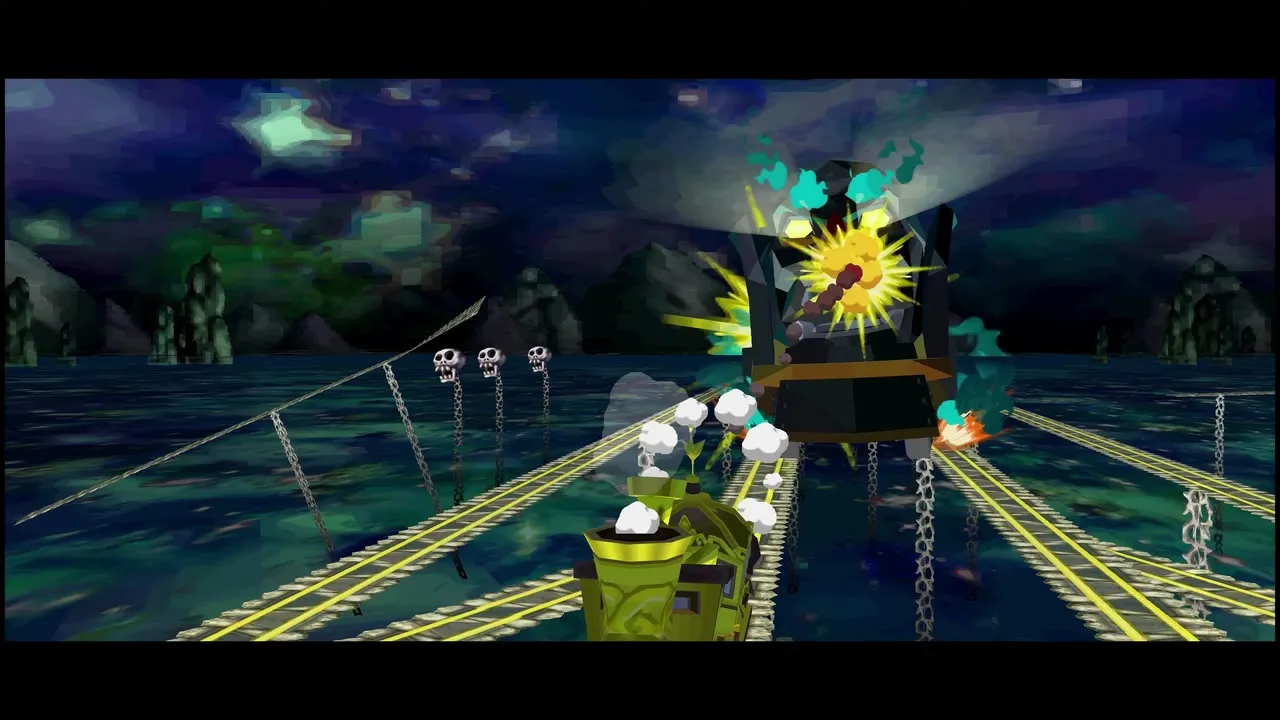
The Demon Train is fought from your own train in the Dark Realm with the cannon. The chase has three stages, and each stage has a time limit: if the tracks run out before you finish, your train falls into the abyss.
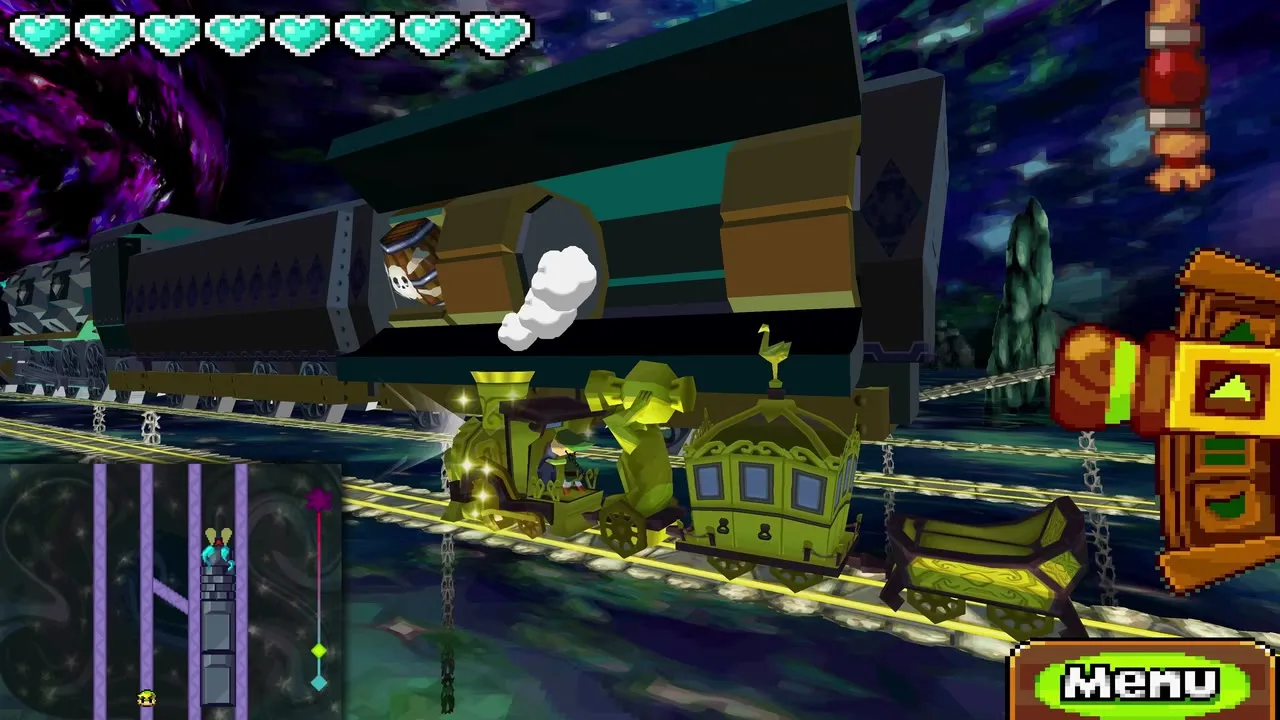
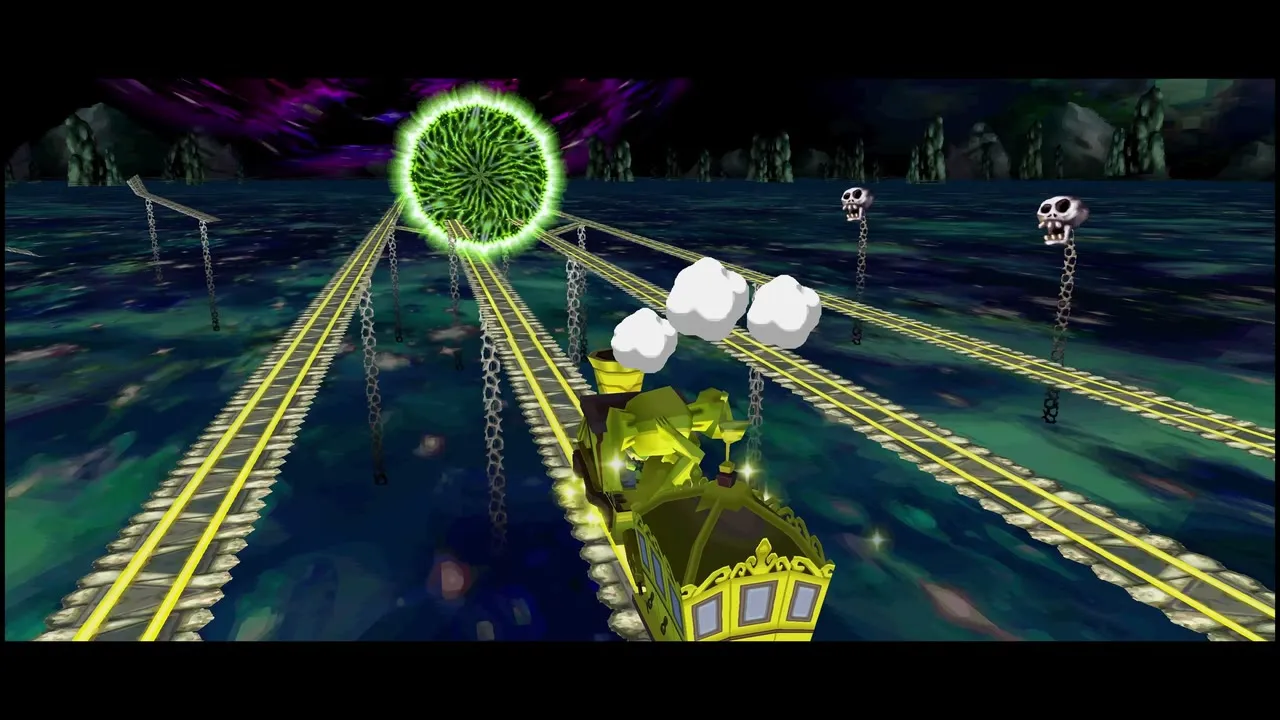
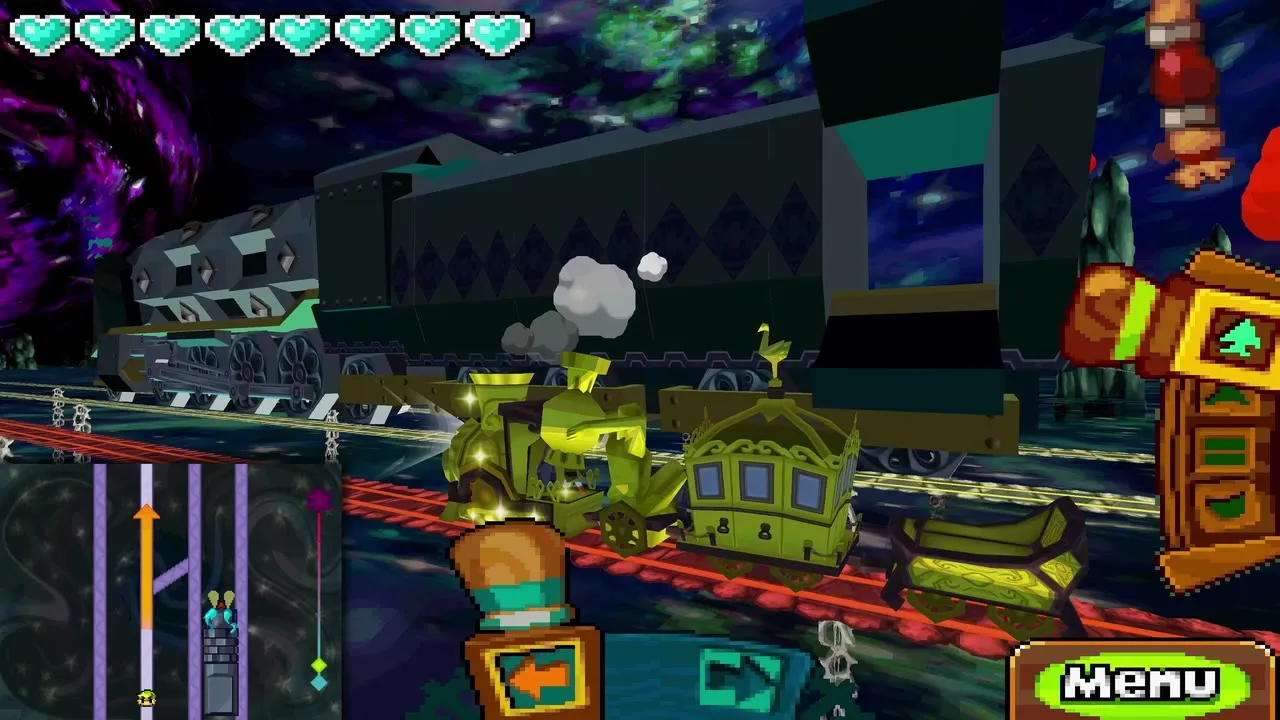
- The first stage has you ride alongside the Demon Train and shoot the bomb barrels it prepares to fire at you before they hit your train. Brake or speed up to line up shots.
- The second car carries laser cannons that fire along the track. Each cannon takes two hits, so destroy them before they hit you.
- In the last stage you catch up with the engine. Hitting each of the blue jewels on its side makes the train stop abruptly, which gives you easy access to its face, and you shoot the face. You must repeat this several times. The game lets you save afterwards.

Cole and Zelda (Demon Train roof)
Malladus now holds Zelda’s body, so her spirit rides a Phantom and you guide her along the roof toward the front of the train. Stay close to Zelda and protect her from Cole’s attacks. Cole sends electric mice at her. If a mouse touches Zelda, Cole takes control of her and she turns on you.


Break his hold by hitting Cole with the Boomerang from a distance, which cuts the strings. The mice come in a straight line of four or in a circle that tightens around Zelda. Use the Whip on the line and the spin attack on the circle. Dead mice drop arrows and hearts, and you should save the arrows. At the front, Zelda seizes Malladus. Fire a Light Arrow at him right away, because a hit with the Bow of Light forces him out of her body.


Malladus, the Demon King (final boss)
Malladus takes Cole’s body and becomes a huge beast. The battle has three rounds. In the first, Zelda gathers power while Malladus throws fireballs at her. Tap each fireball with the Lokomo Sword to destroy it, and if one hits Zelda she has to start gathering power again. Turn quickly, and when four arrive at once, stand beside Zelda and use a spin attack. Once Zelda glows gold, play the five-note Lokomo song with her on the Spirit Flute. A successful duet reveals a weak spot that only the Bow of Light can harm.
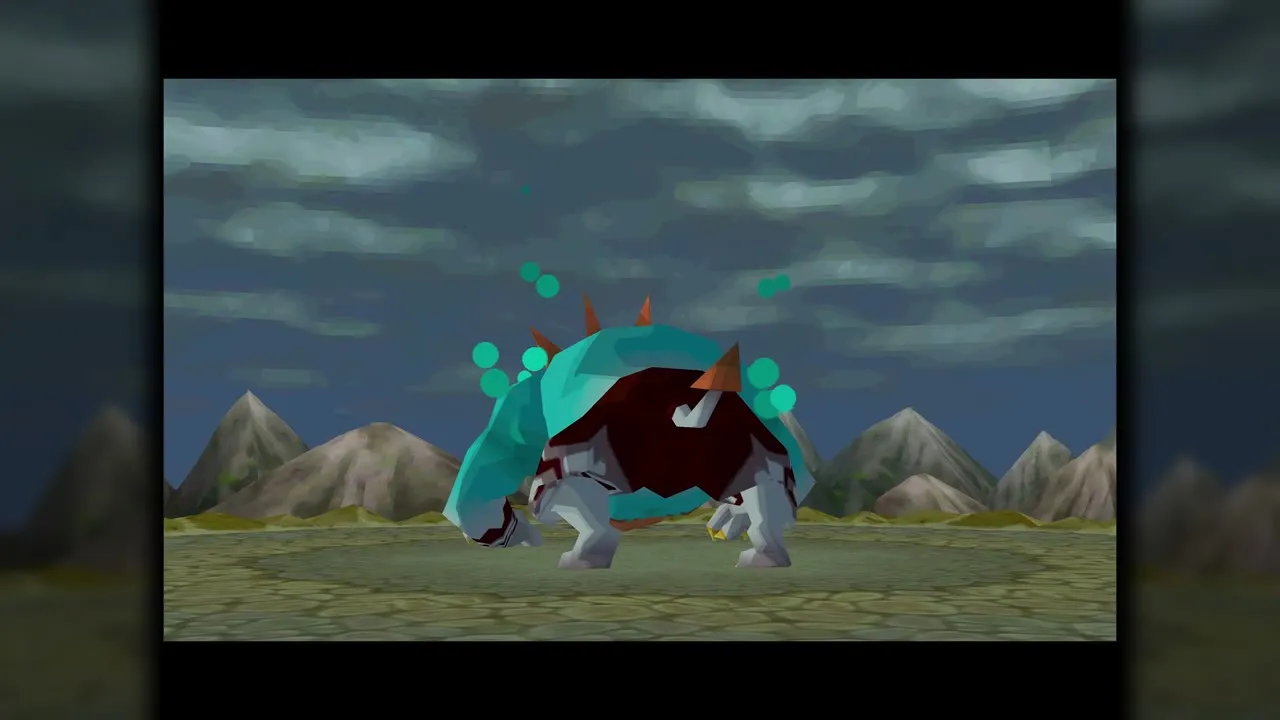
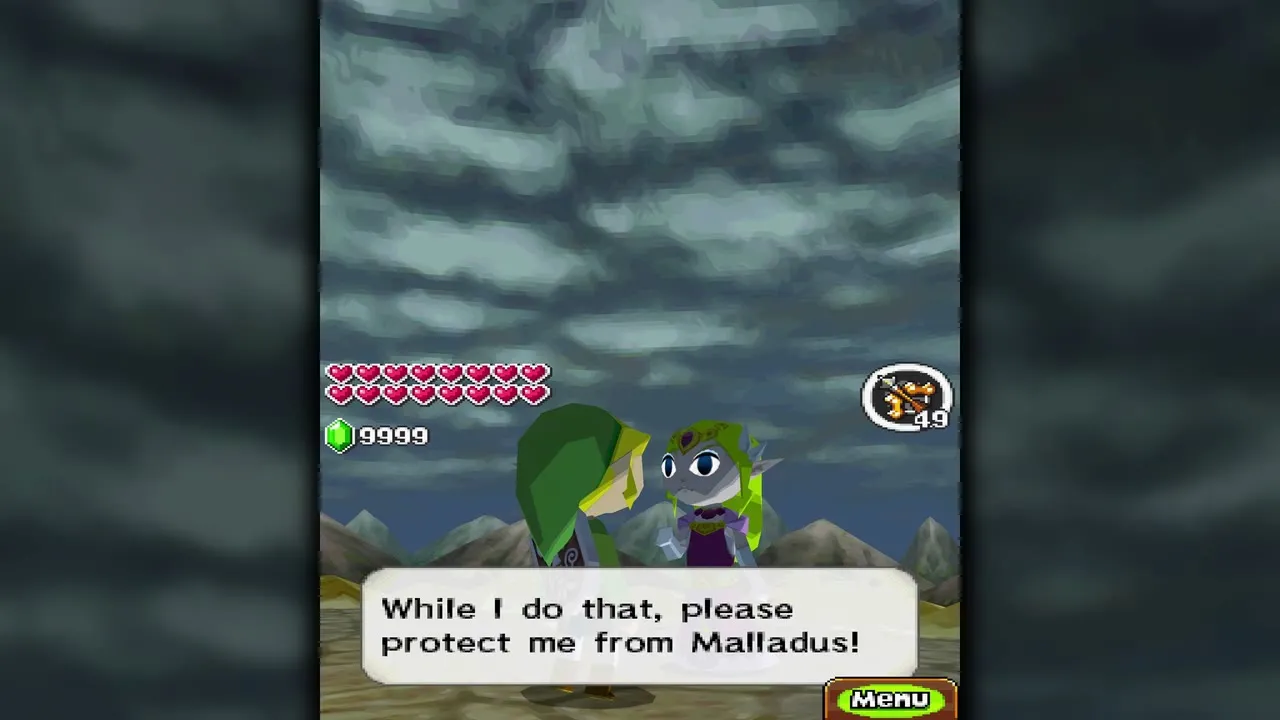

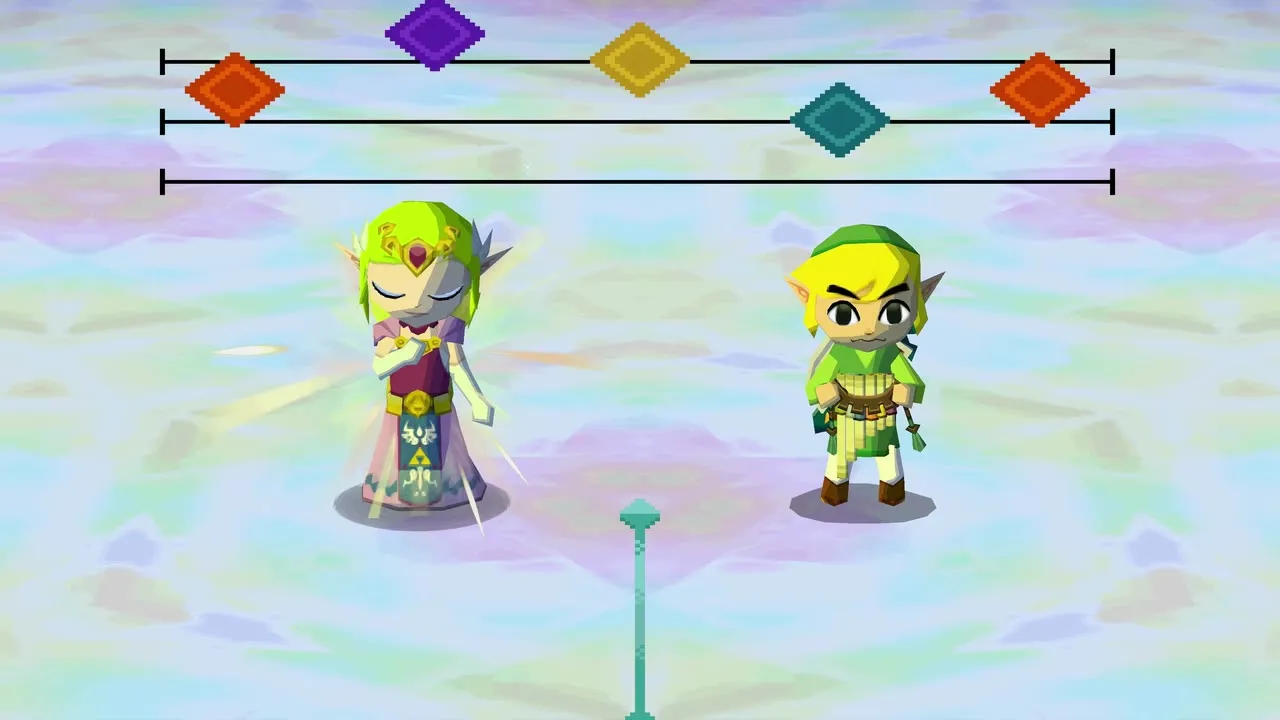
In round two, distract Malladus so his back faces Zelda, and she fires the Bow of Light at the weak spot. After three hits a gem forms on his forehead, and you strike it and a horn. After another three hits you do the same to destroy the second horn.
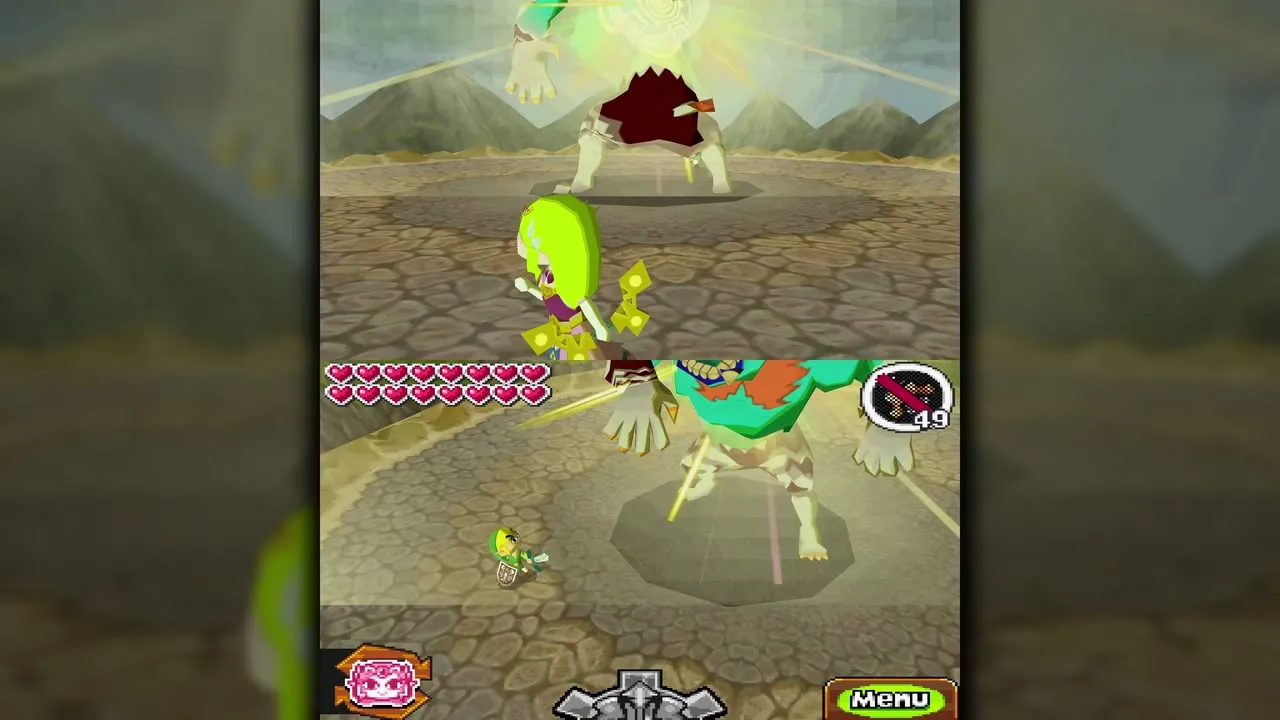
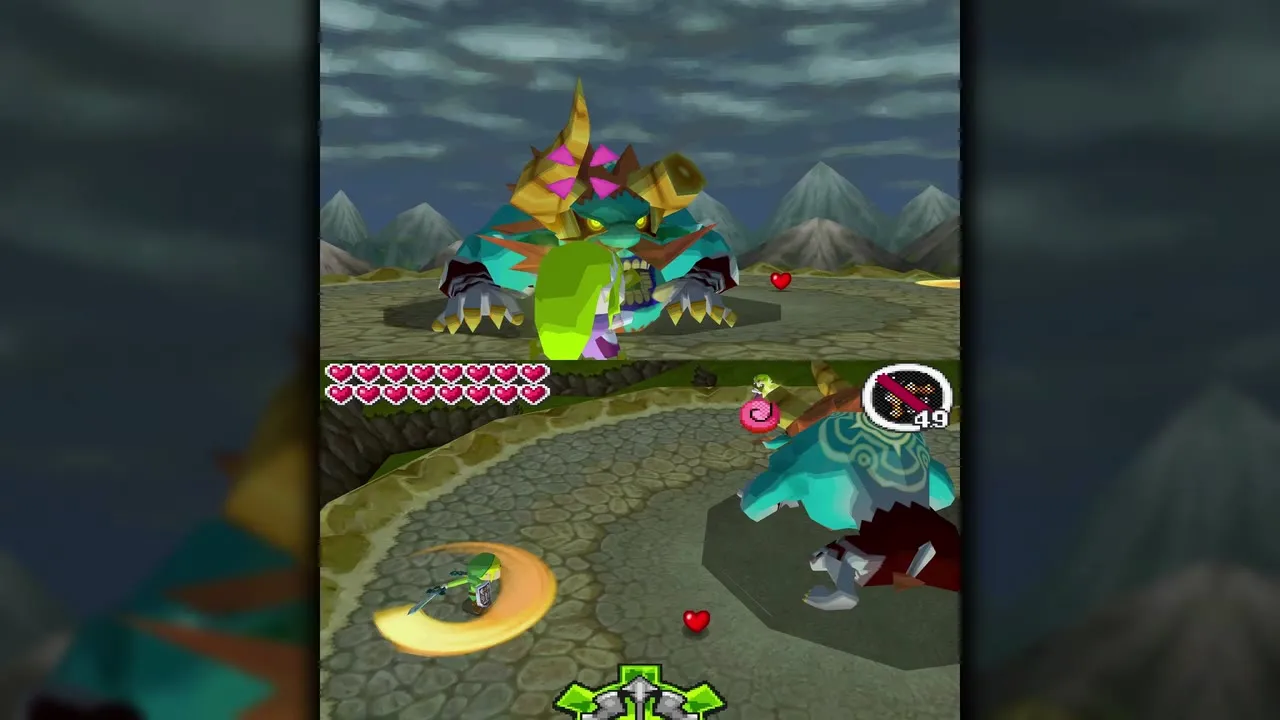
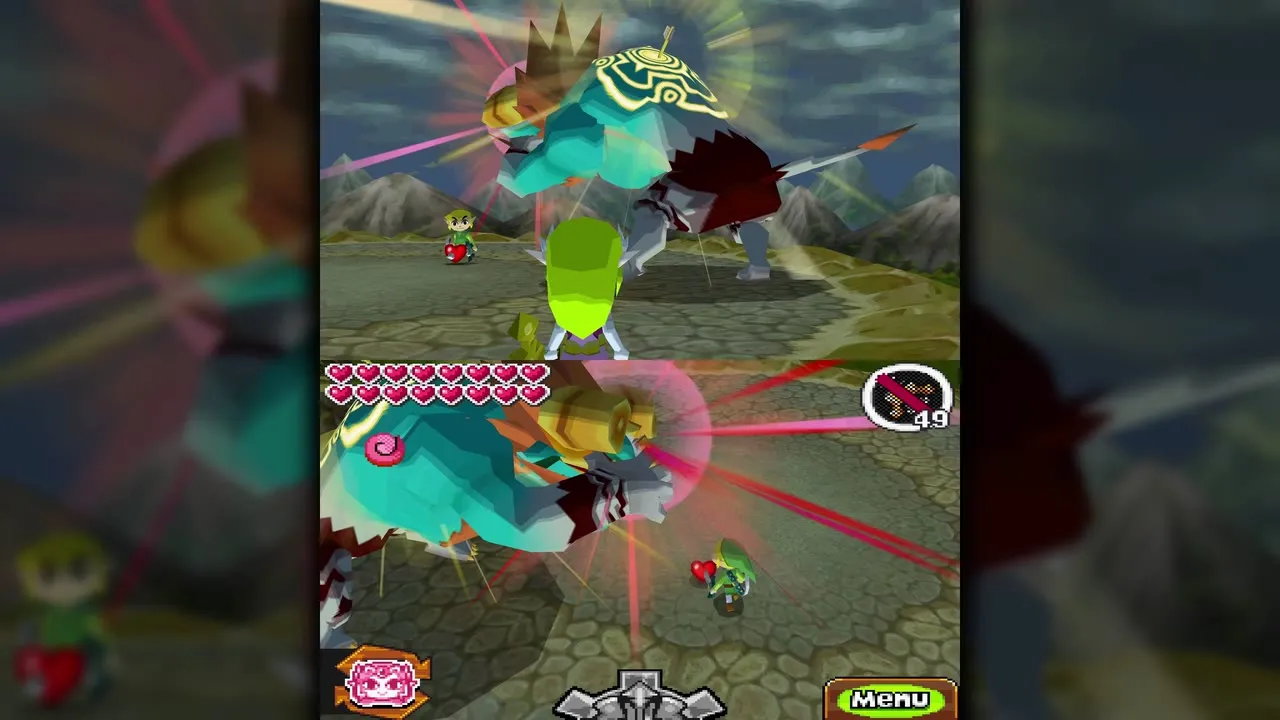
In the final round, have Zelda land one last Light Arrow in his back to force him down. Then drive the Lokomo Sword through his skull, and Zelda comes to help you shatter the jewel on his forehead. That destroys Malladus and Cole.

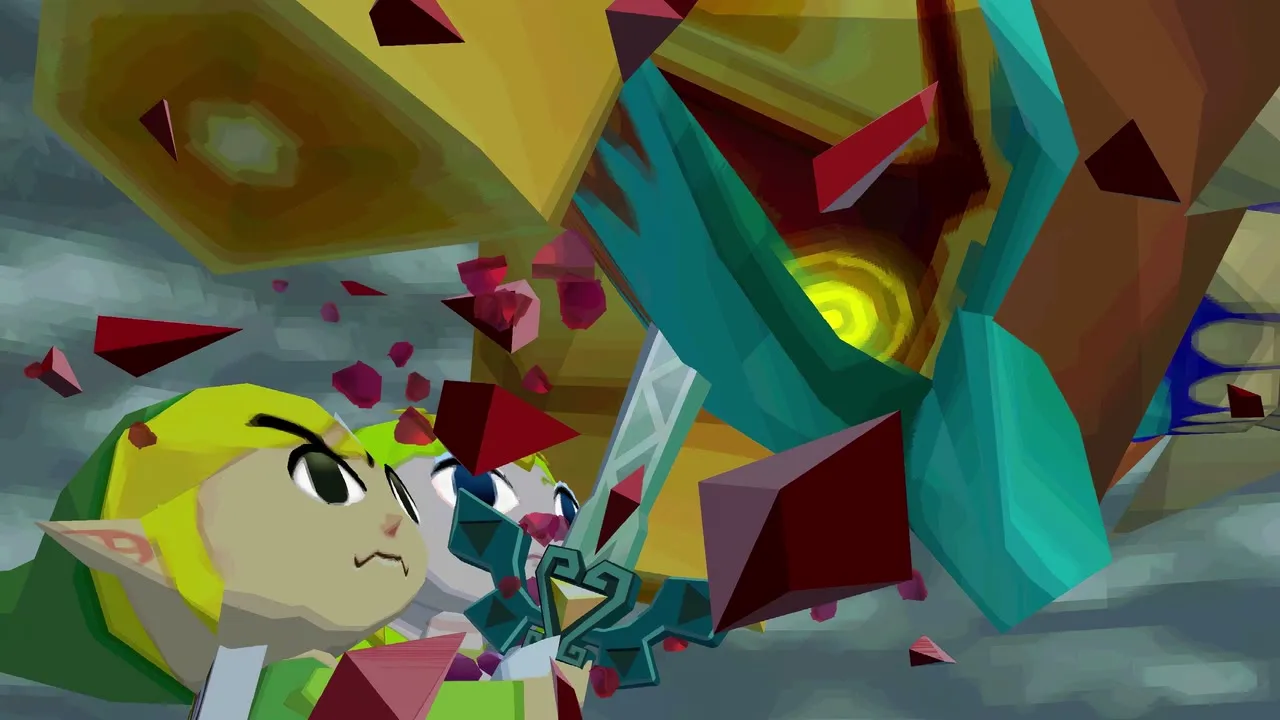
Mini-bosses
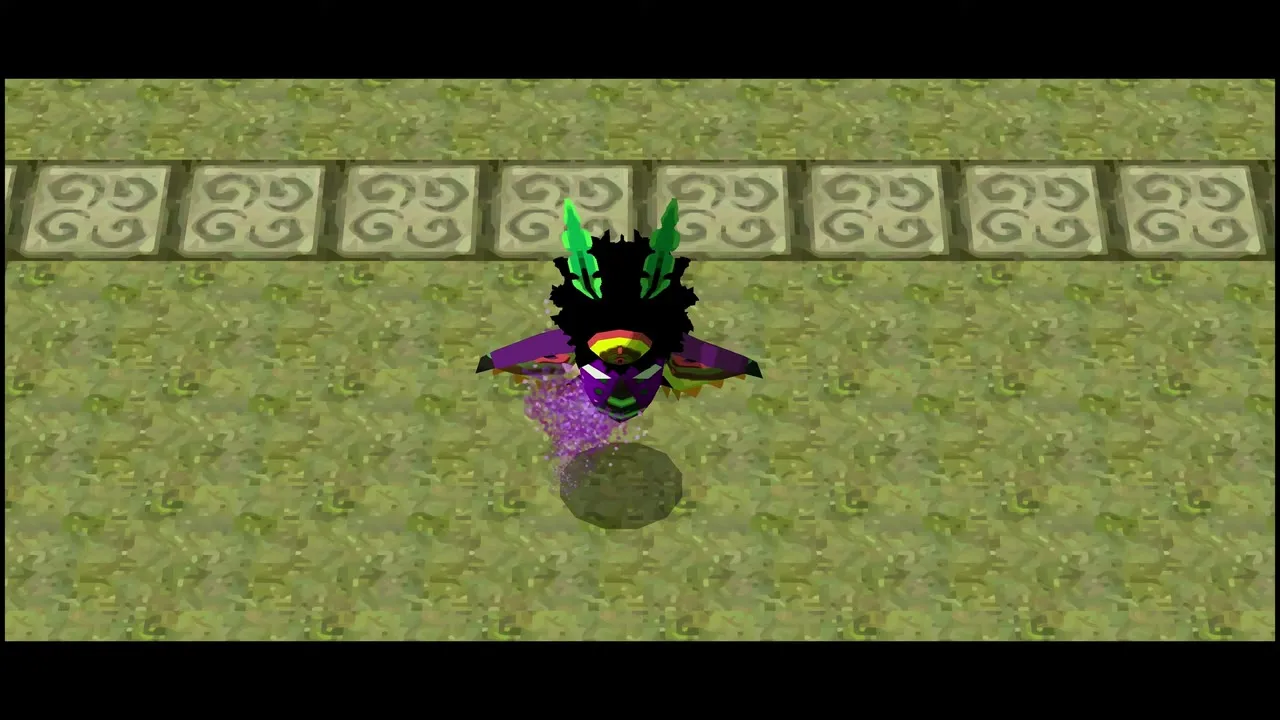
Mothula (Forest Temple)
Mothula launches Bubbles at you. Blow a Bubble back at it with the Whirlwind to stun it, then slash it. Do not blow wind at Mothula itself, because it returns the attack and stuns you. Defeating it lets you go upstairs toward Stagnox.
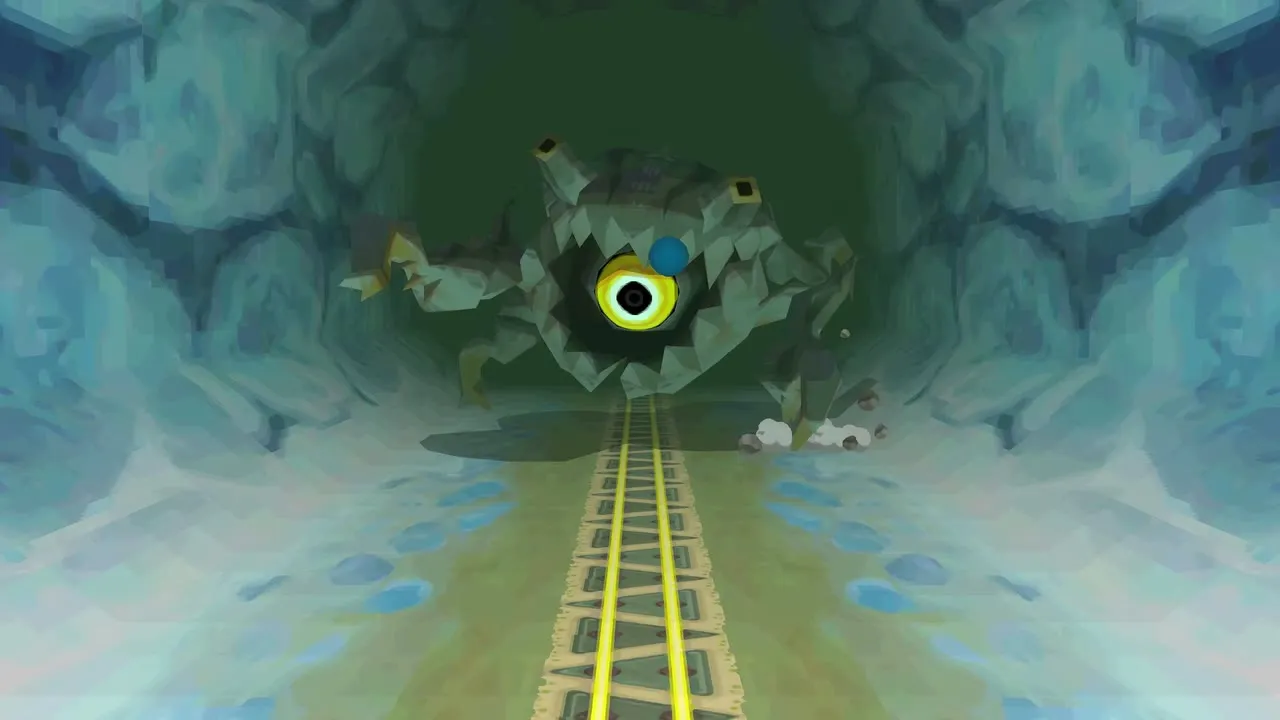
Rocktite (tunnels)
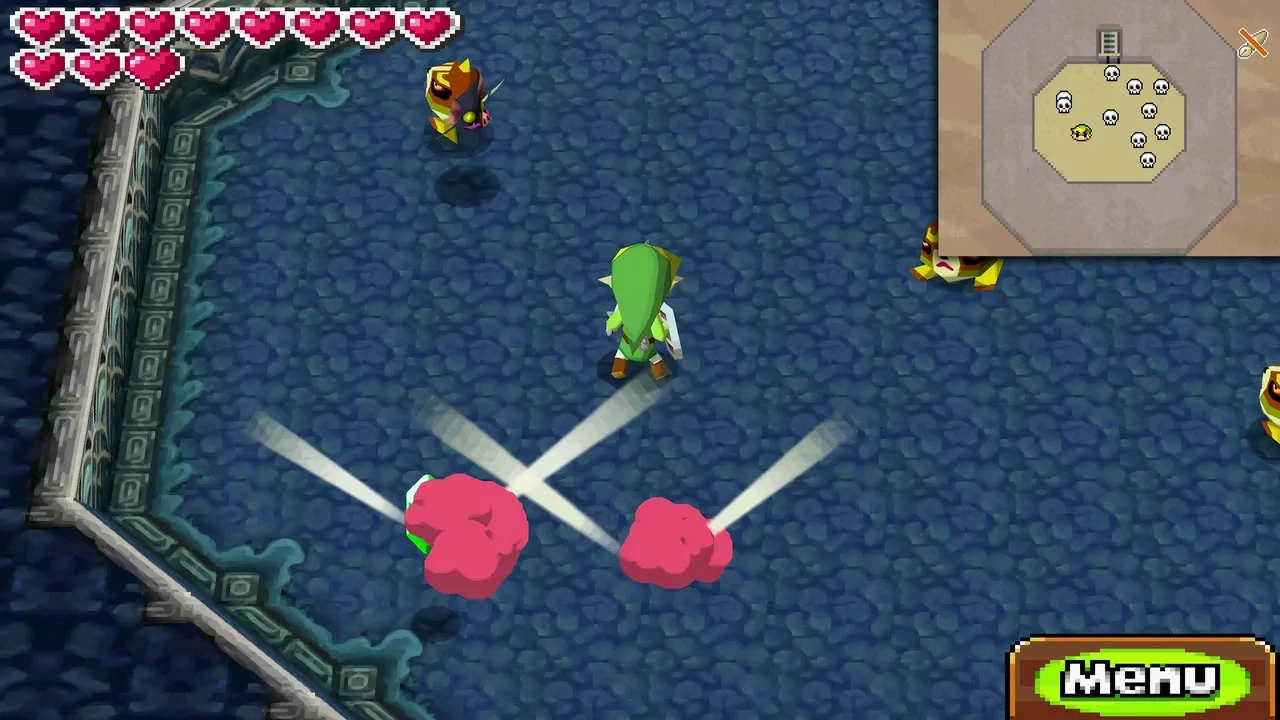
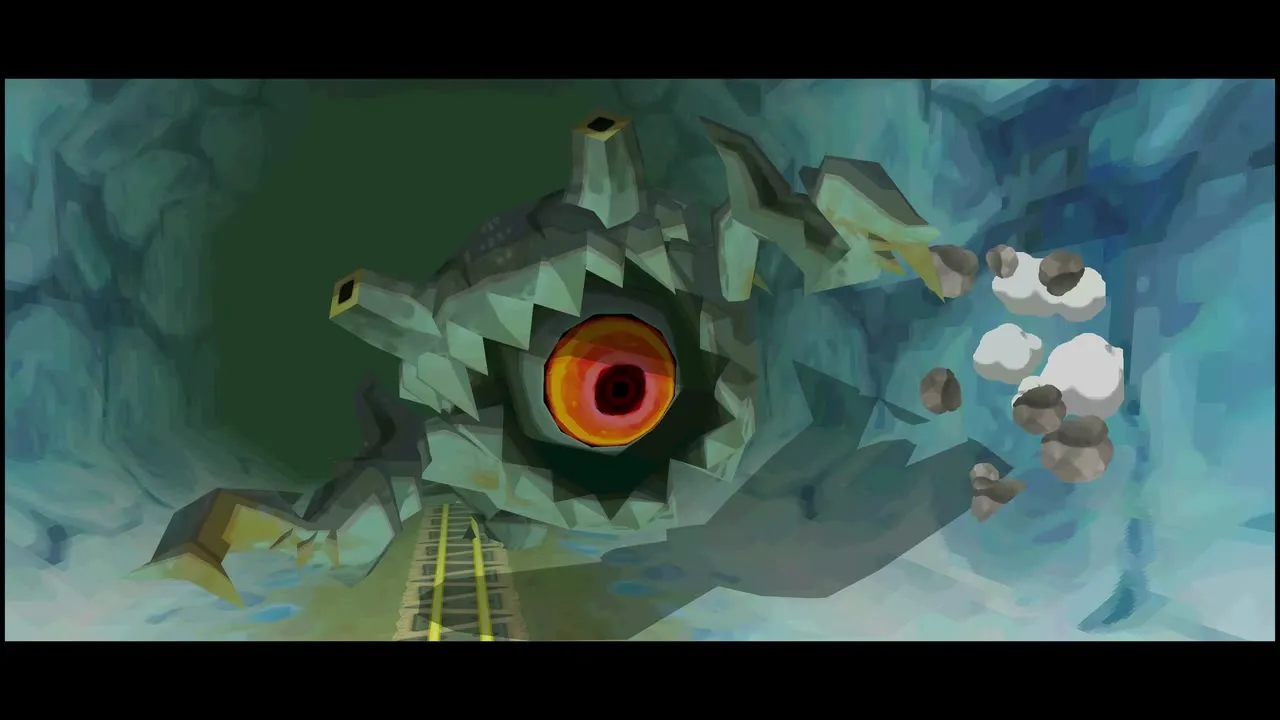
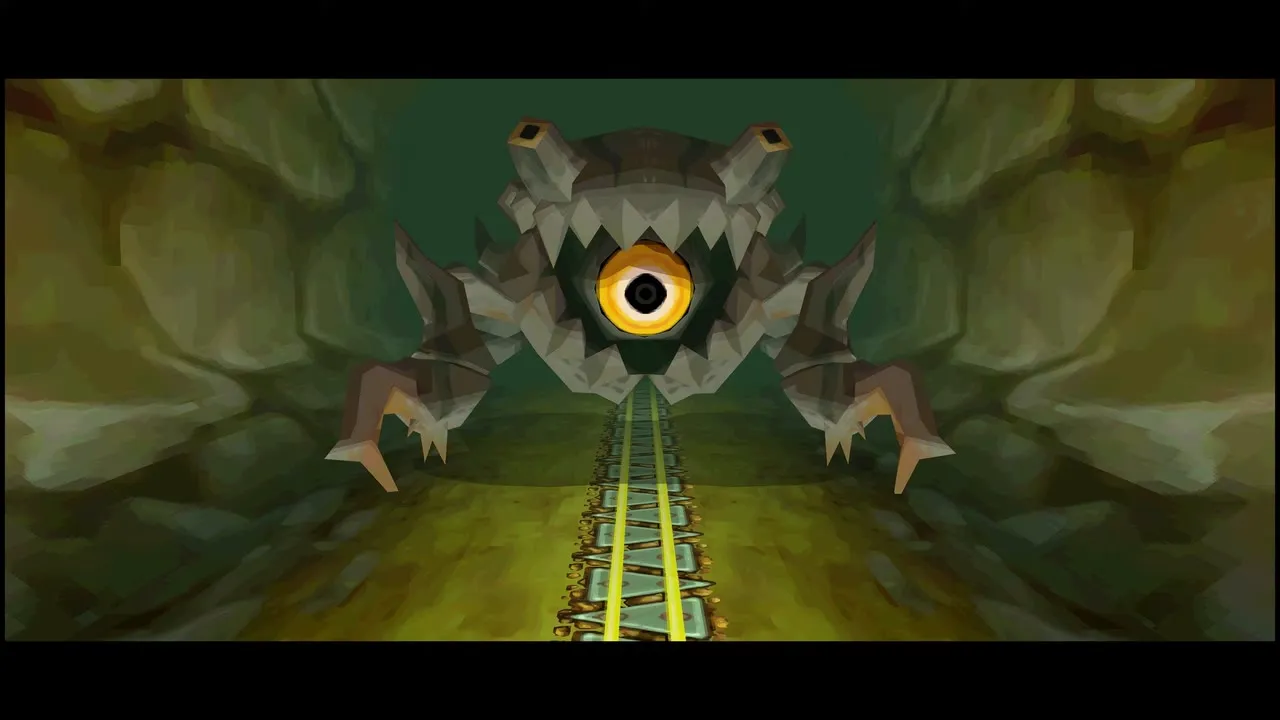
Rocktite is a one-eyed rock monster that waits on the ceilings of tunnels and attacks your train. You first meet it in the tunnel on the way to the Snow Sanctuary, where it chases you. Shoot its eye with the cannon; about 30 hits defeat it. The Rocktite that guards the first trial of the Sand Temple is trickier, because it sometimes keeps its eye shut. Aim at the explosive barrels in the walls and the blast startles it into opening up, so you can hit the eye.

Ice Keese (Snow Temple)
Three Ice Keese guard the chest with the Boomerang. Defeat all three before you open it.
Snapper (Ocean Temple)
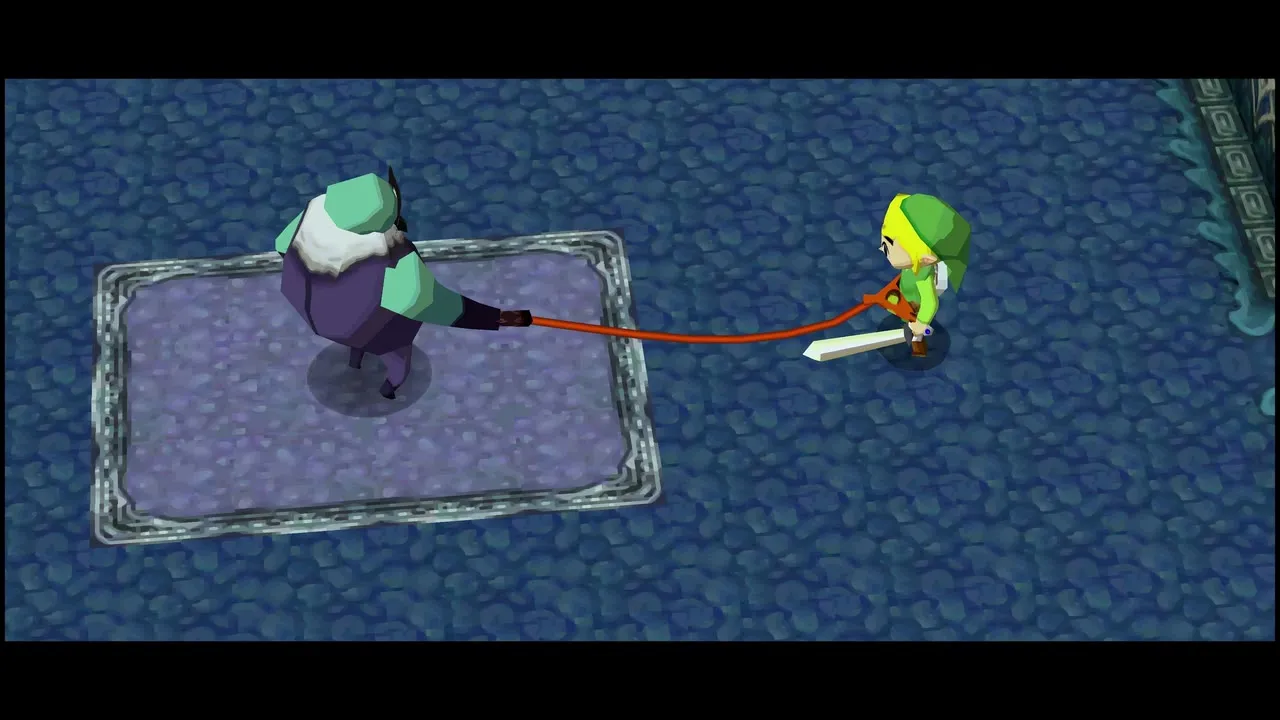
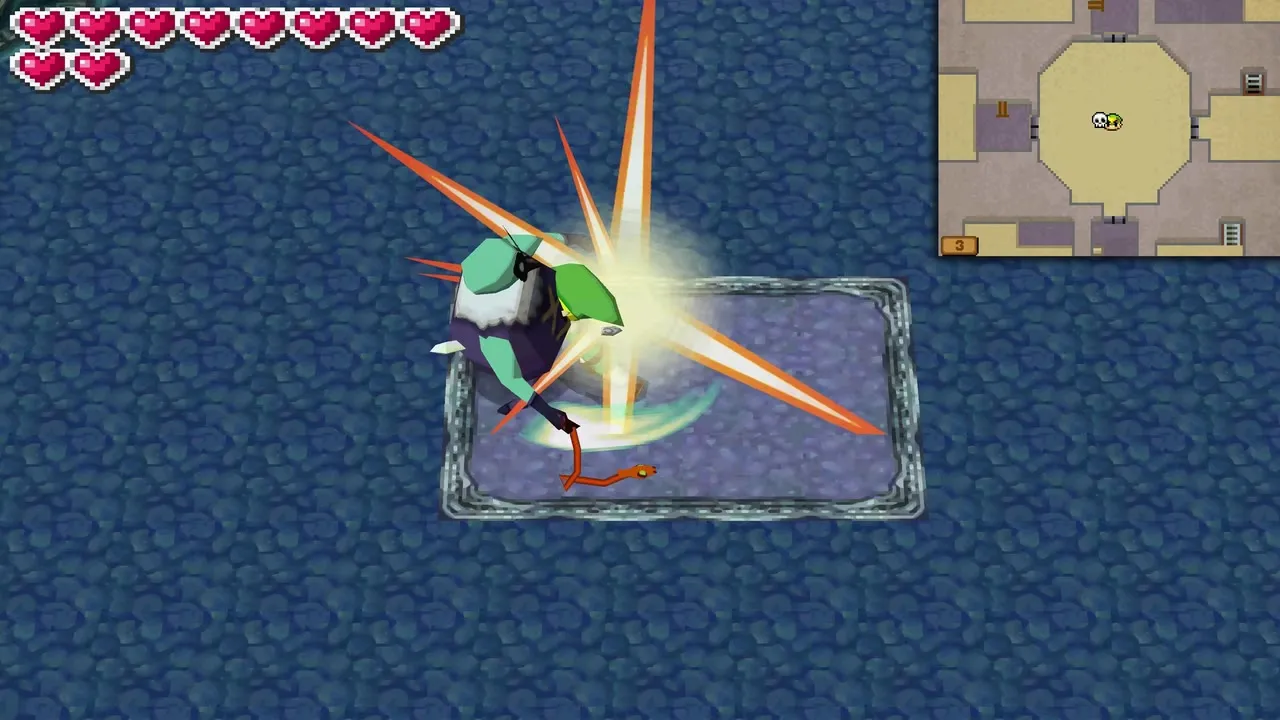
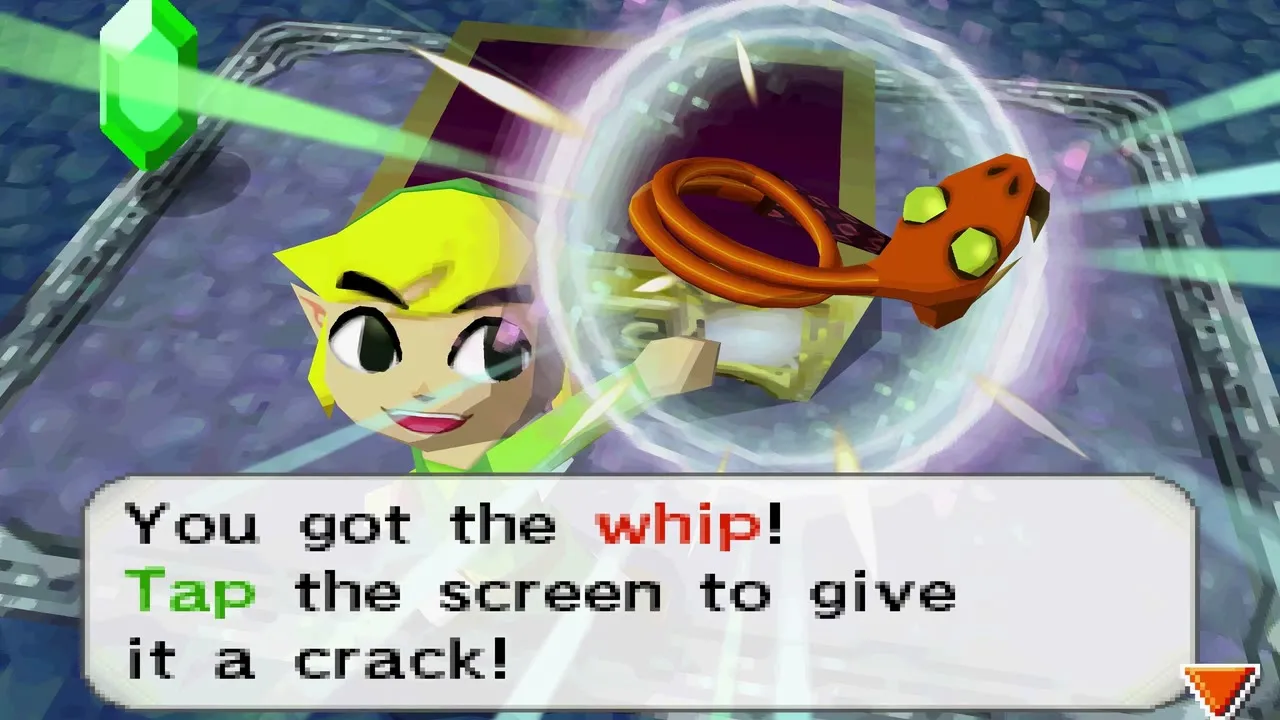
The first Snapper lashes you with a whip and pulls you toward it. Face it, and when it drags you close, slash it, and with good timing you can land several hits per pull. Repeat until it falls, and it gives you the Whip. Two Snappers come back near the upper rooms of the temple, and this time you use the Whip to stun them before slashing.
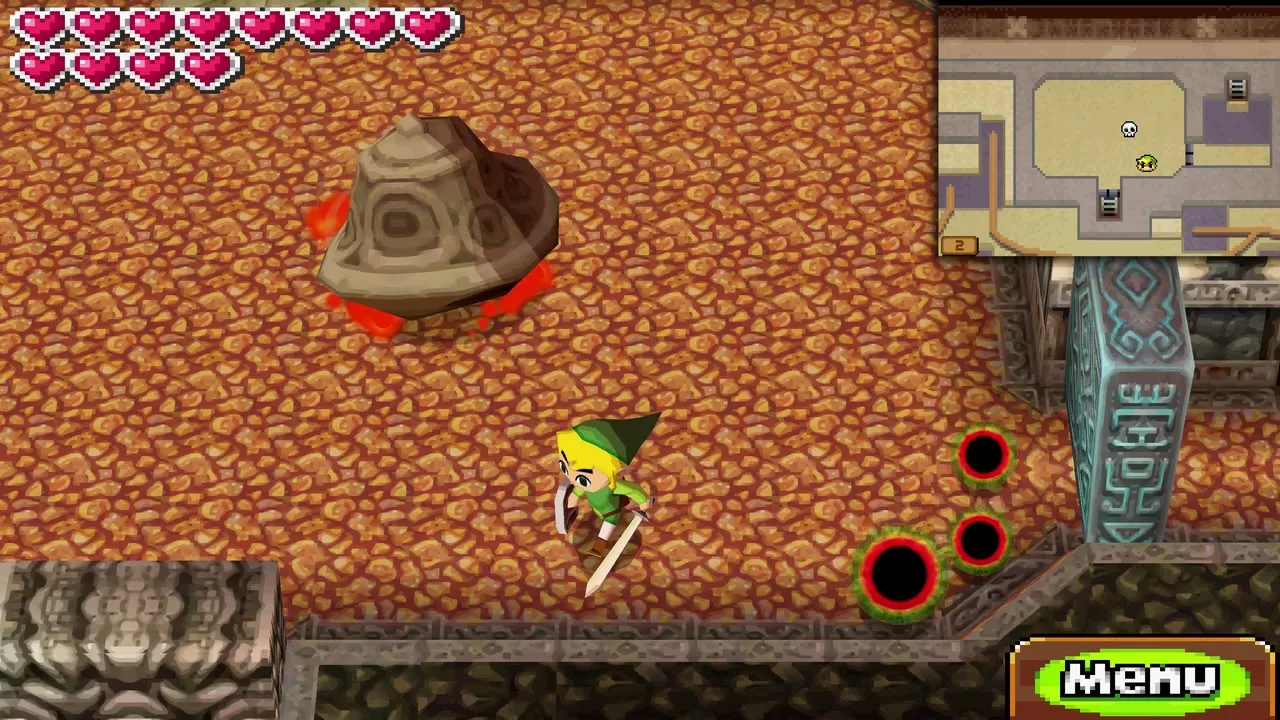
Heatoise (Fire Temple)
Heatoise fights in a room with electrified Winders circling the edge. Get close, and it pulls into its shell and rolls at you. Step aside so it rolls into a Winder and gets shocked, then slash its head while it is stunned. Repeat until it falls. Heatoise rewards you with the Bow and Arrows.
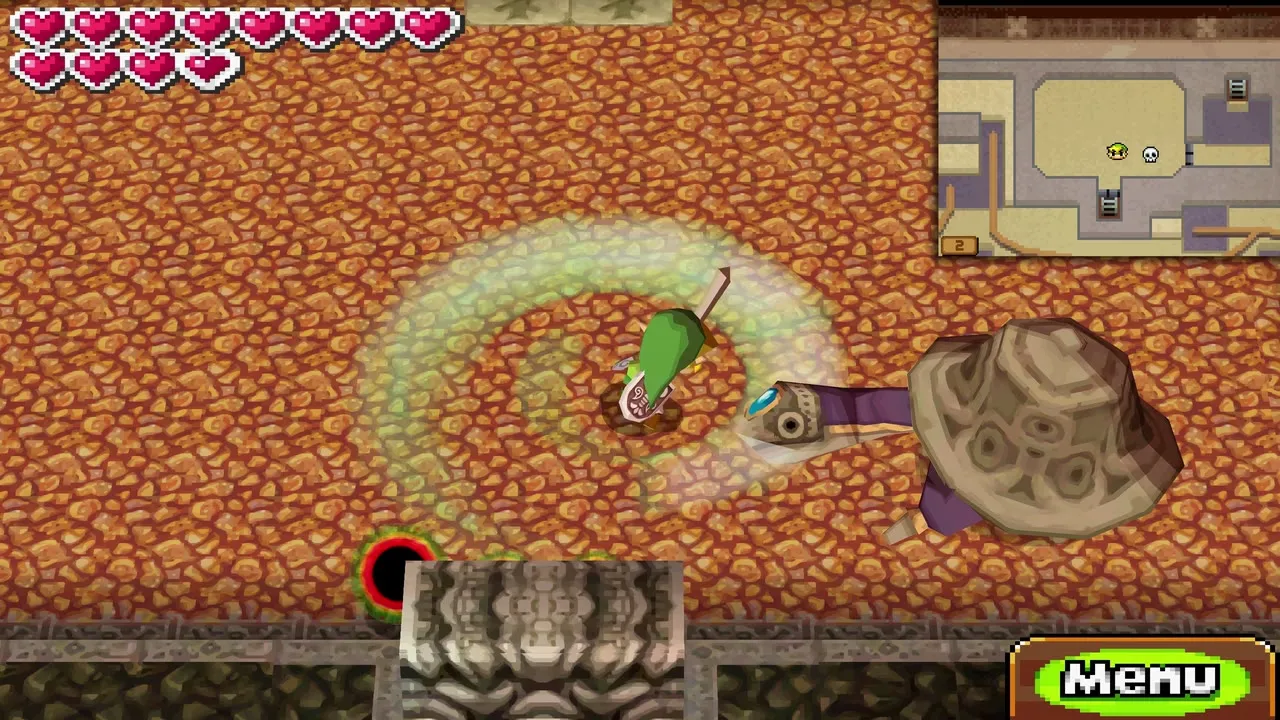
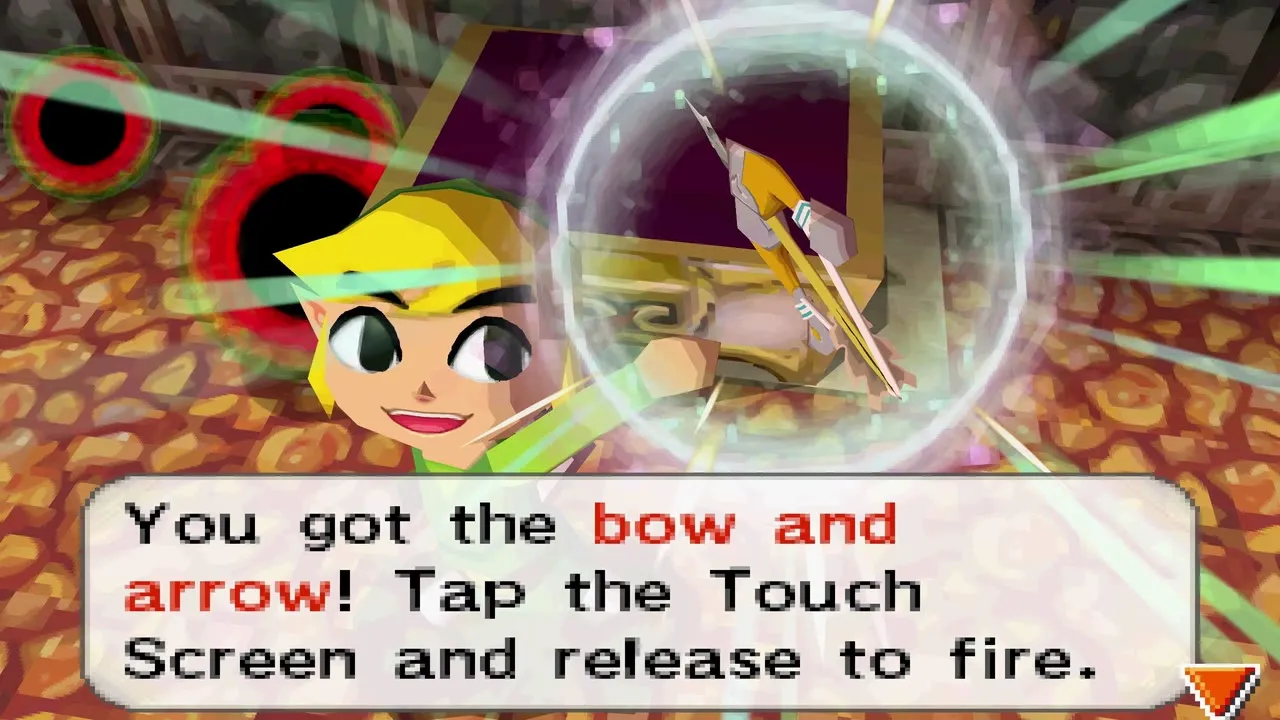
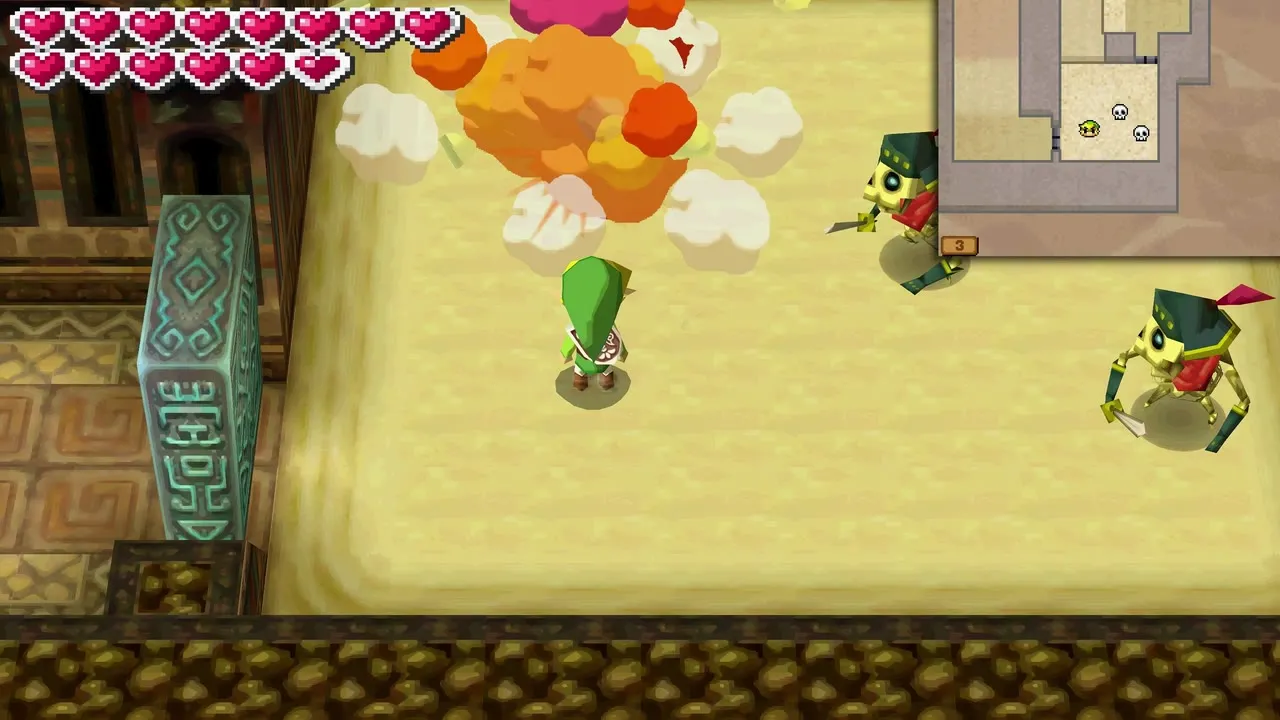
Stalfos Warriors (Sand Temple)
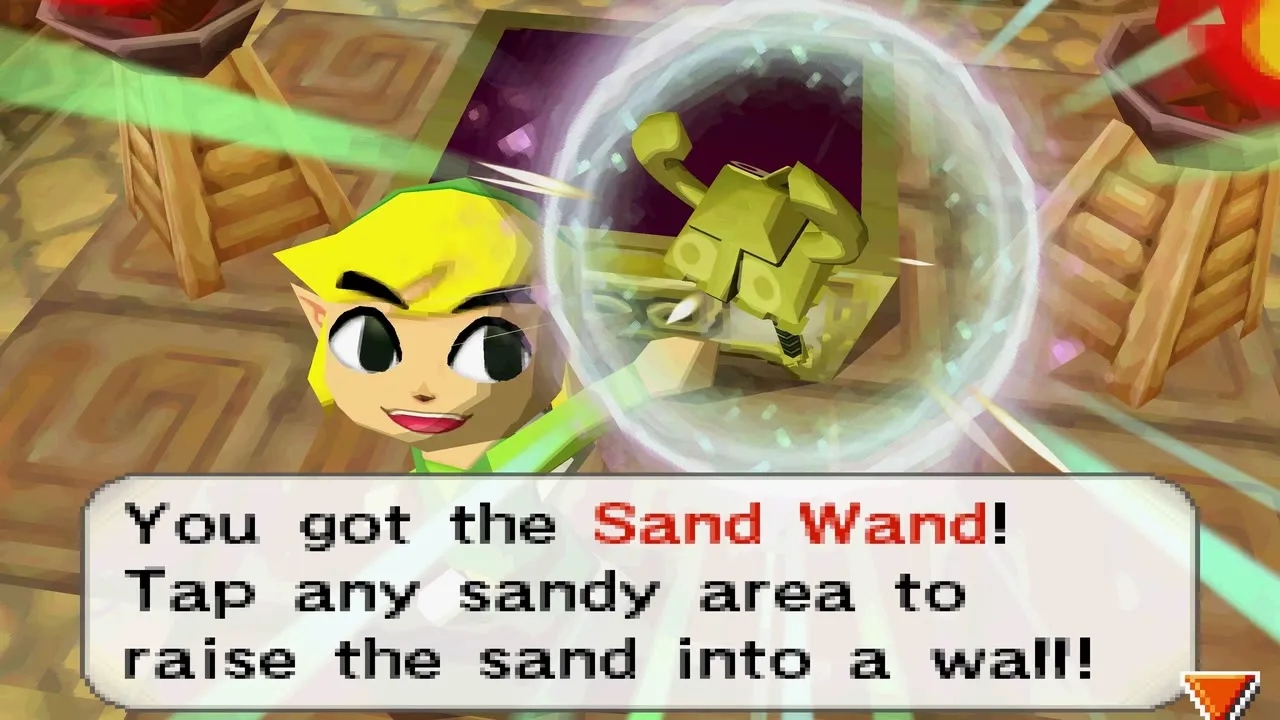
Stalfos Warriors guard rooms on several floors of the Sand Temple. Defeating three of them on the third floor wins you the Sand Wand.

Geozard Chief (Tower of Spirits)
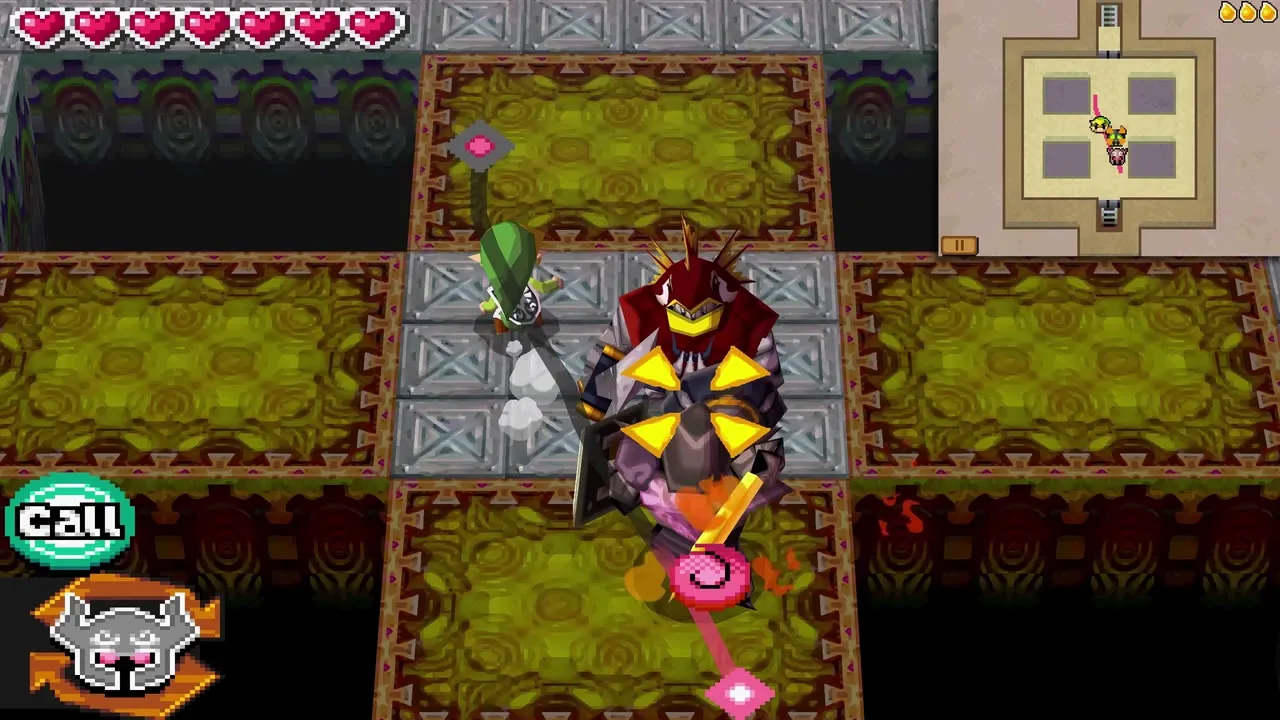
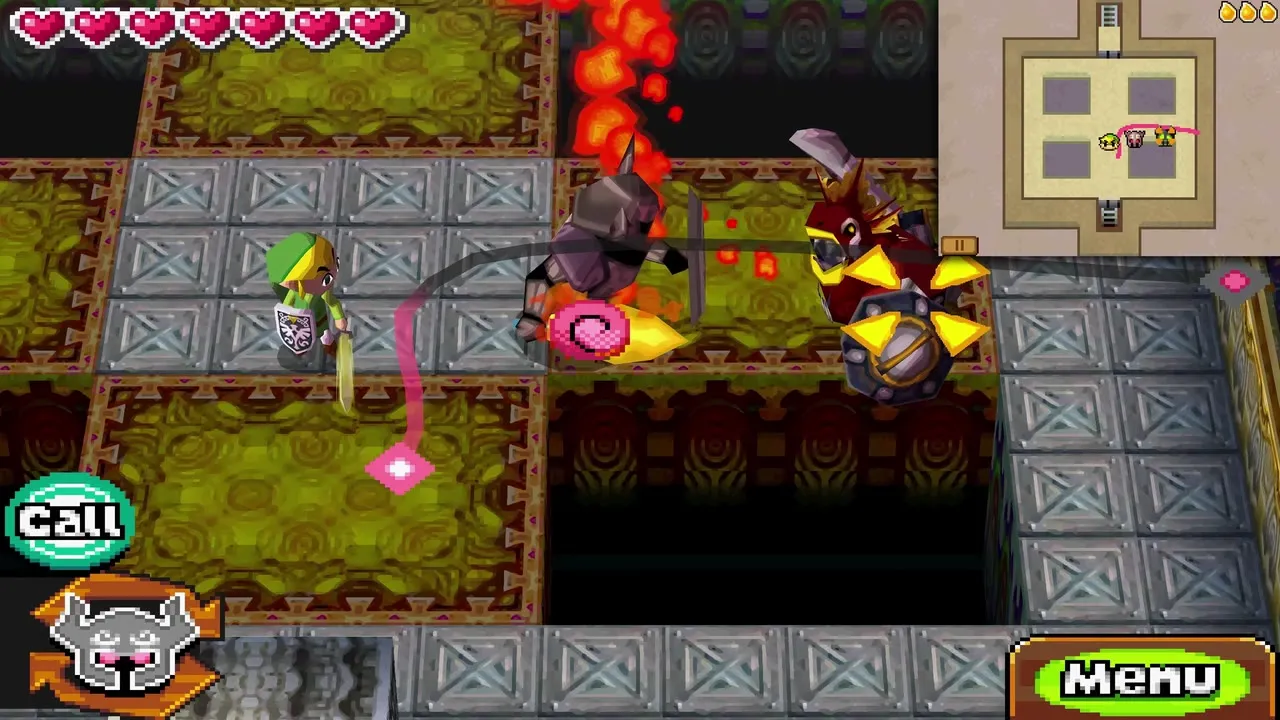
A lone Geozard Chief guards the Ocean Rail Map on floor 11 of the third climb, and three more challenge you on floor 26 of the last climb. They hide behind a shield and leap away to protect their backs, then blow fire in a line. Stun one with the Boomerang from behind, or pull its shield away with the Whip, and then attack. Phantom Zelda’s sword hurts a Chief once the shield is gone, and a Wrecker Phantom beats one in three hits.
Big Blin (Ocean Realm)
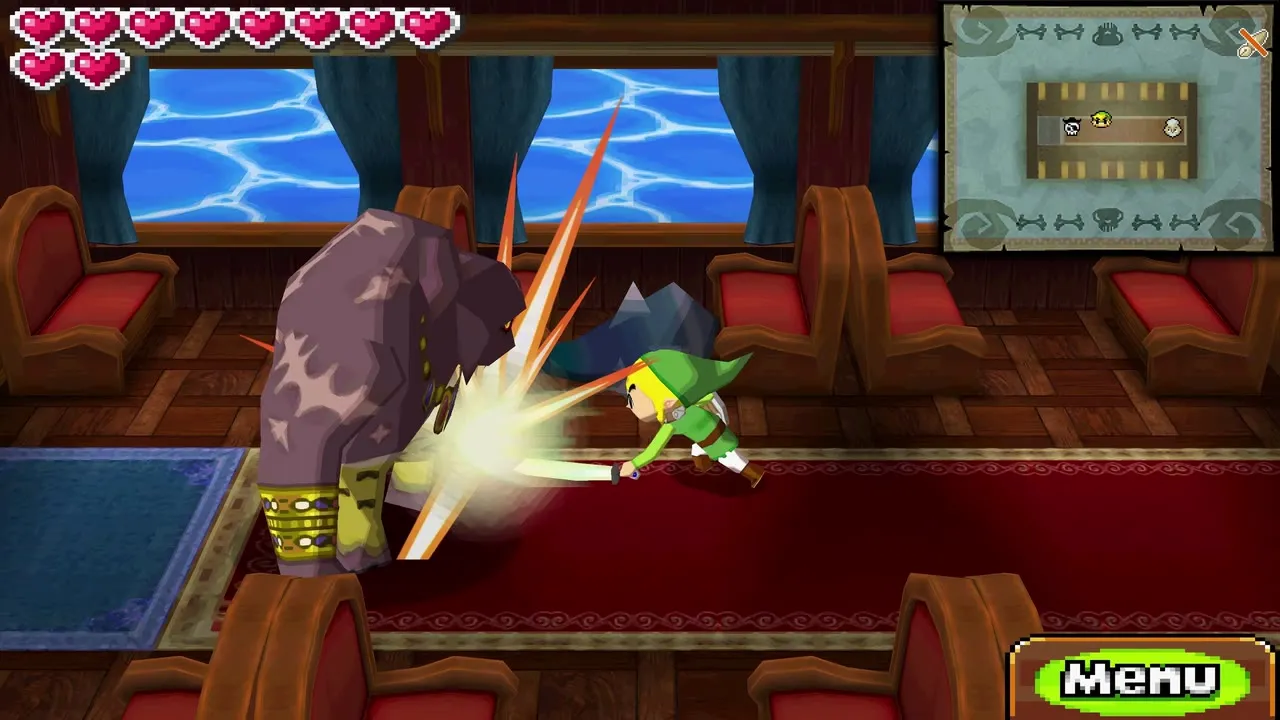
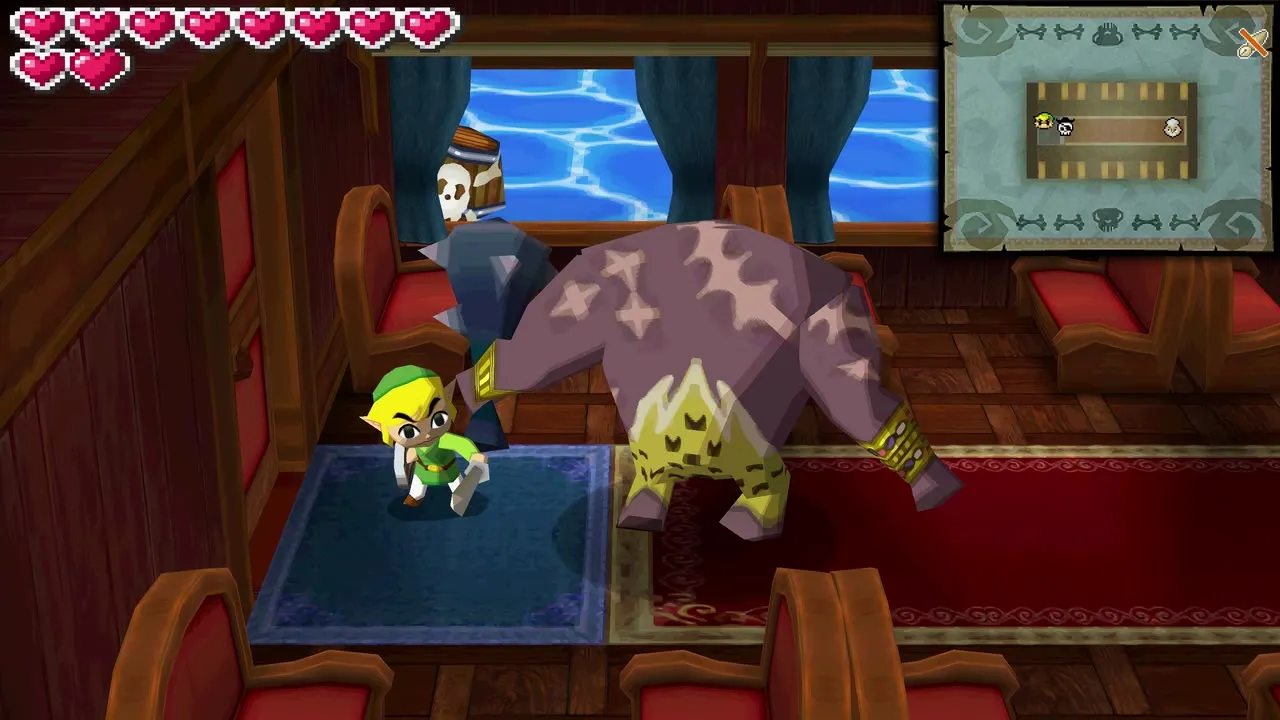
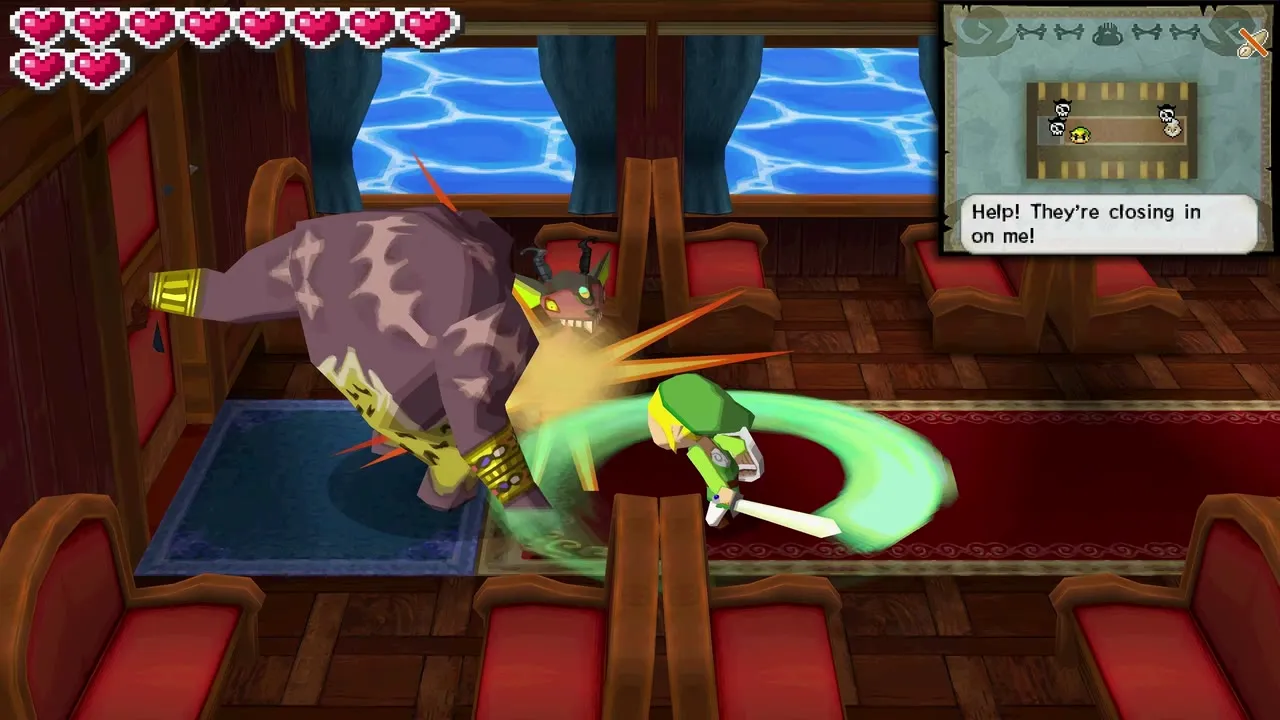
On the train ride to the Ocean Sanctuary, pirates and a Big Blin board the passenger car, and you must protect your passenger. A Big Blin takes a lot of punishment and a swing of its club can send you flying and leave you dizzy, but it reacts slowly, so dart in, hit it and run before the club comes down. Its wide swings can also hurt the Miniblins around it.
Dark Link (Take ‘Em All On! Level 3)
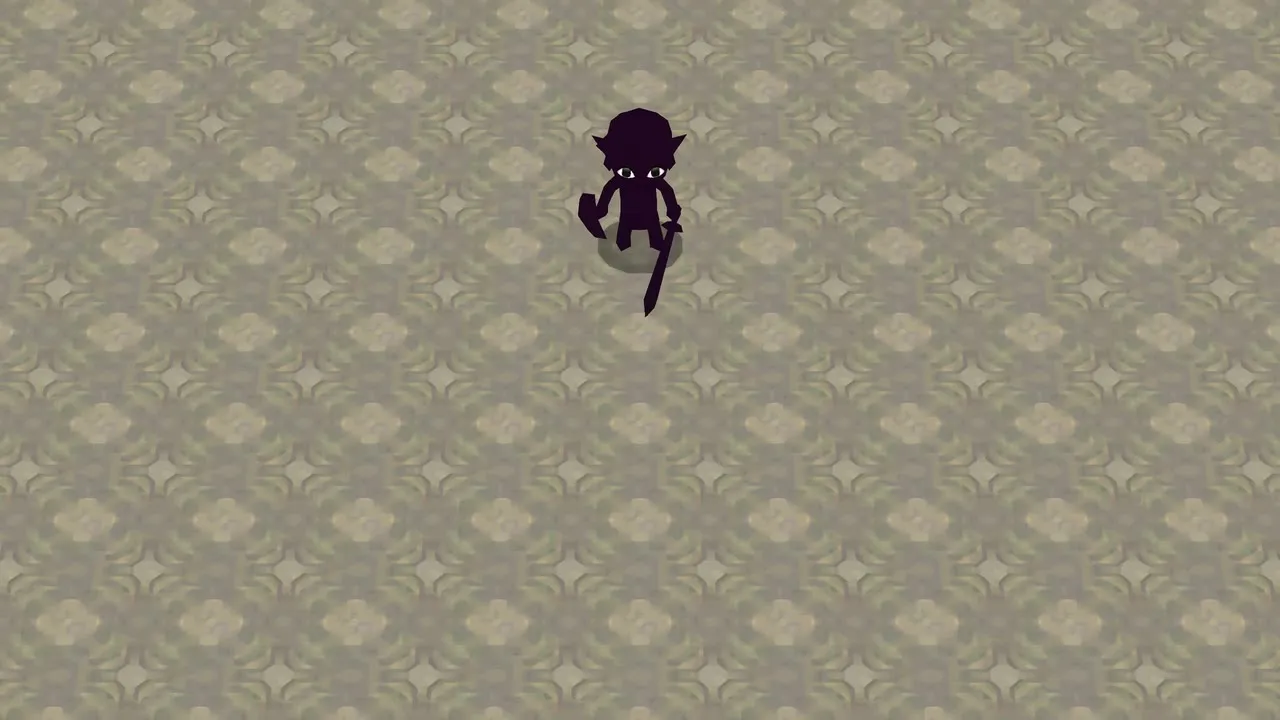
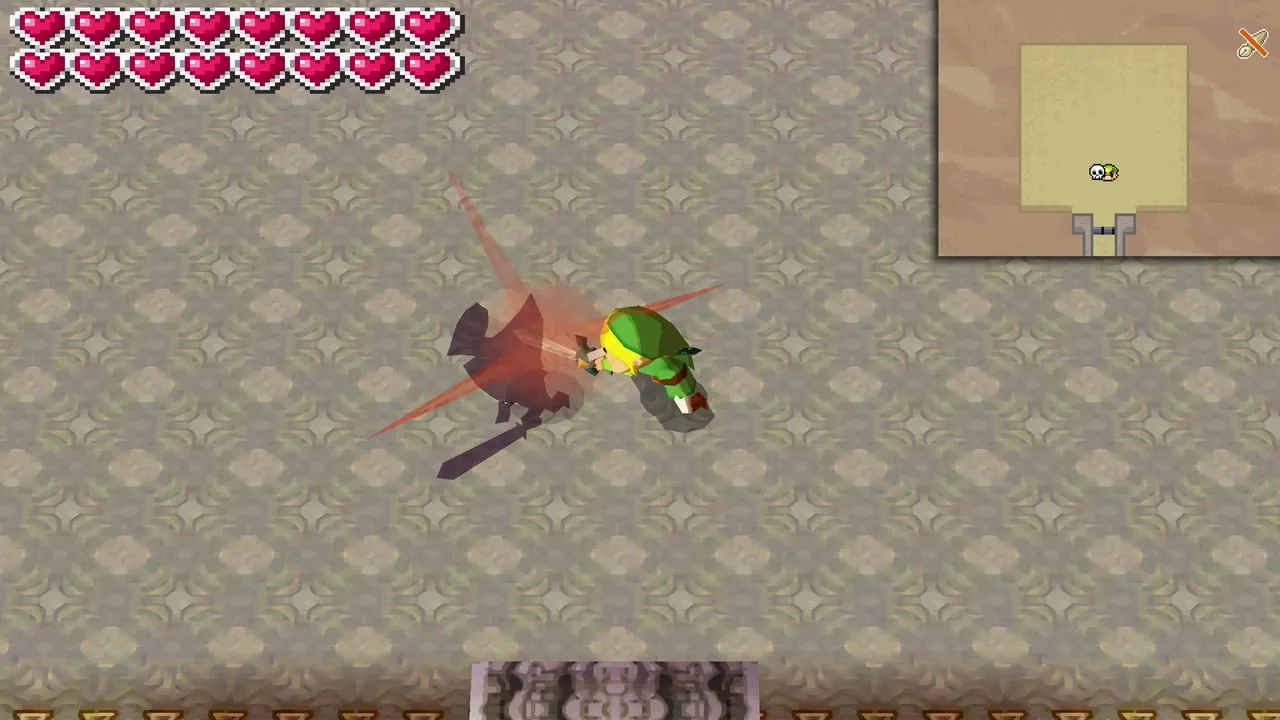
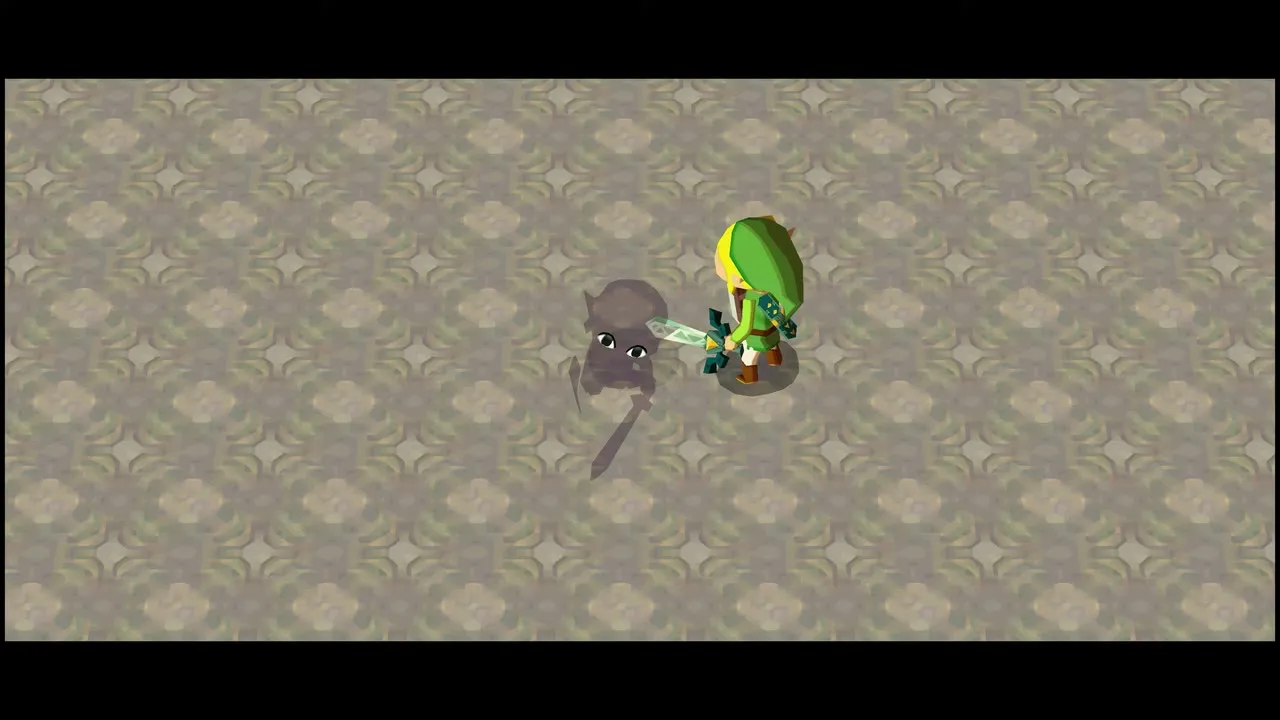
Dark Link is the last opponent of Level 3, which opens after the Sand Temple. He copies your sword attacks when he is not striking, so block his blows and counter. Defeating him pays a very rare treasure, either a Regal Ring or an Alchemy Stone.
Boss rematches
Take ‘Em All On! in Castle Town lets you fight the temple bosses again. Level 1 ends with Stagnox and pays a Heart Container, Level 2 adds Fraaz and Phytops and pays a Bomb Bag upgrade, and Level 3 includes all five temple bosses and Dark Link. Bring potions, since you cannot count on finding hearts mid-fight. The minigames page lists the entry fees and prizes, and the Heart Container page shows what the rematches are worth.