| Heart Containers | 13 (3 to start, 16 at the end) |
|---|---|
| Spirit Gems | 60: 20 Power, 20 Wisdom, 20 Courage |
| Treasure Maps | 31 |
| Golden Frogs | 6 |
| Sand of Hours | 25 minutes in total |
| Treasures | 8 kinds |
| Ship Parts | 9 sets of 8 parts |
| Fish | 6 species |
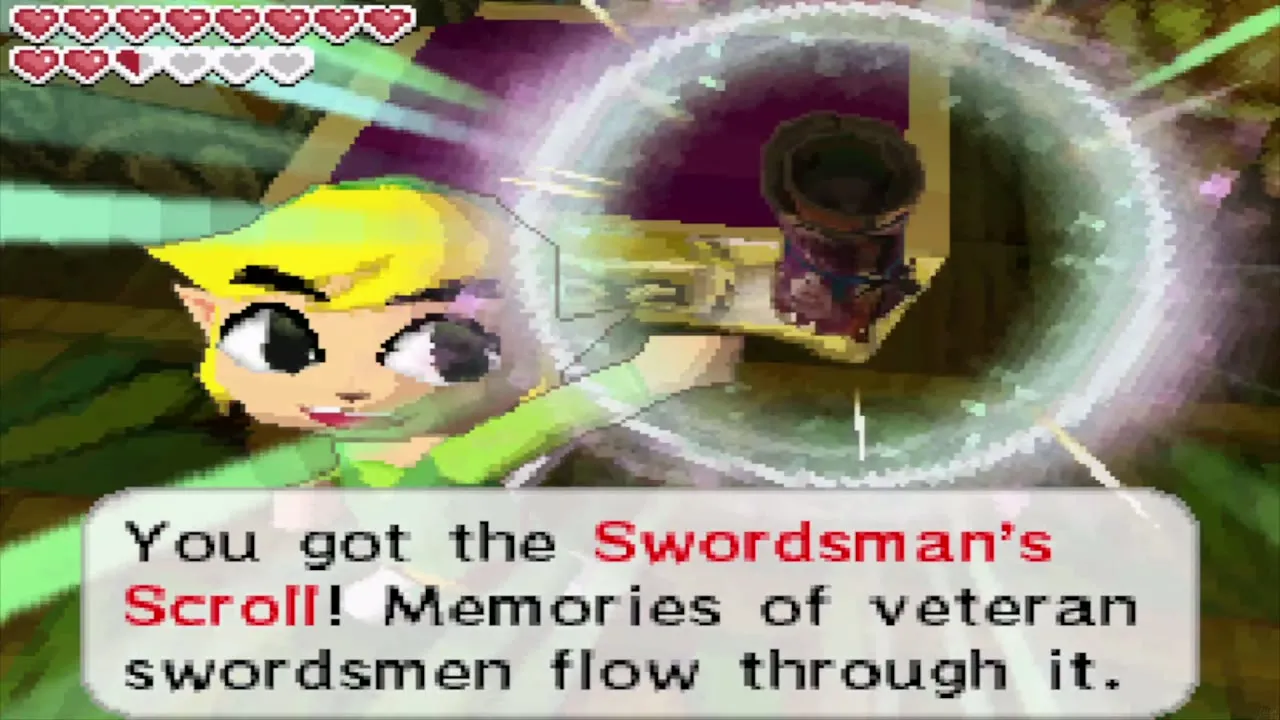
| Swordsman’s Scroll | 1 |
To finish Phantom Hourglass at 100%, you need all 13 Heart Containers, all 60 Spirit Gems, all 31 Treasure Maps, all 6 Golden Frogs, the full 25 minutes of Sand of Hours, every ship part set, every treasure, every fish, the Swordsman’s Scroll and every item and upgrade. This page lists each total and links to the page that shows you where to find it.
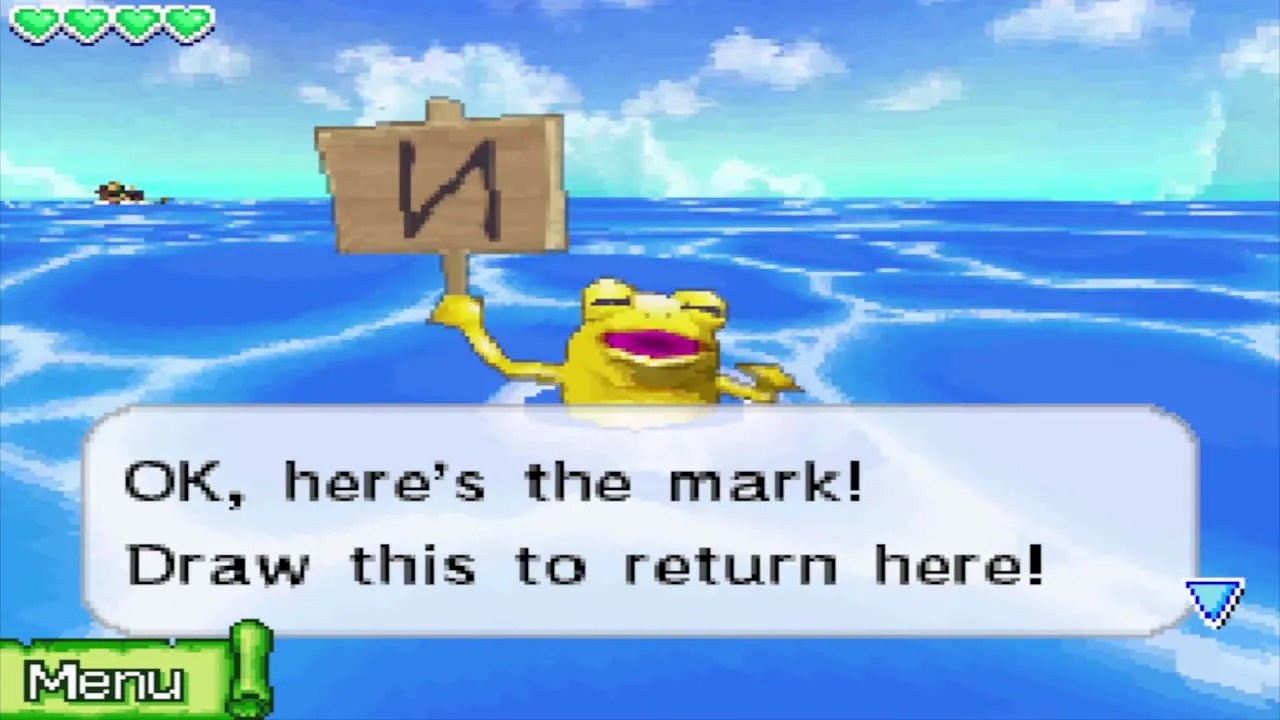
Table of Contents
Life and Spirit Upgrades

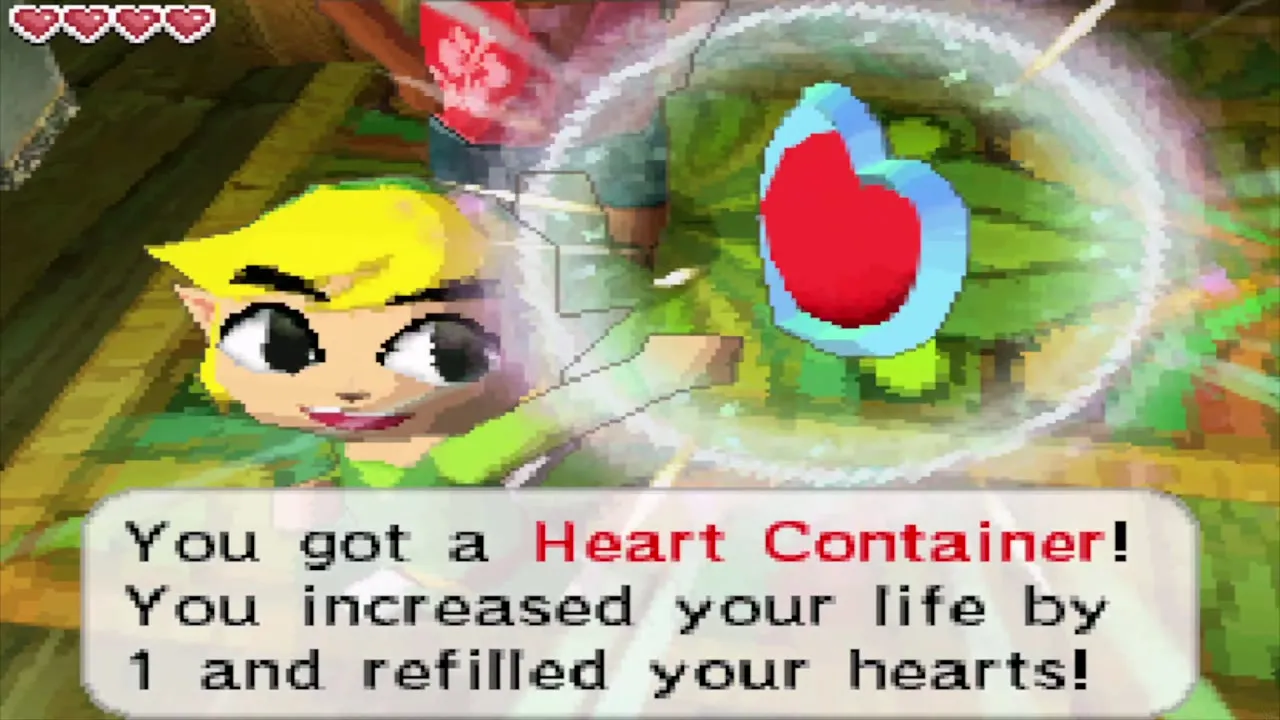
Heart Containers: 13
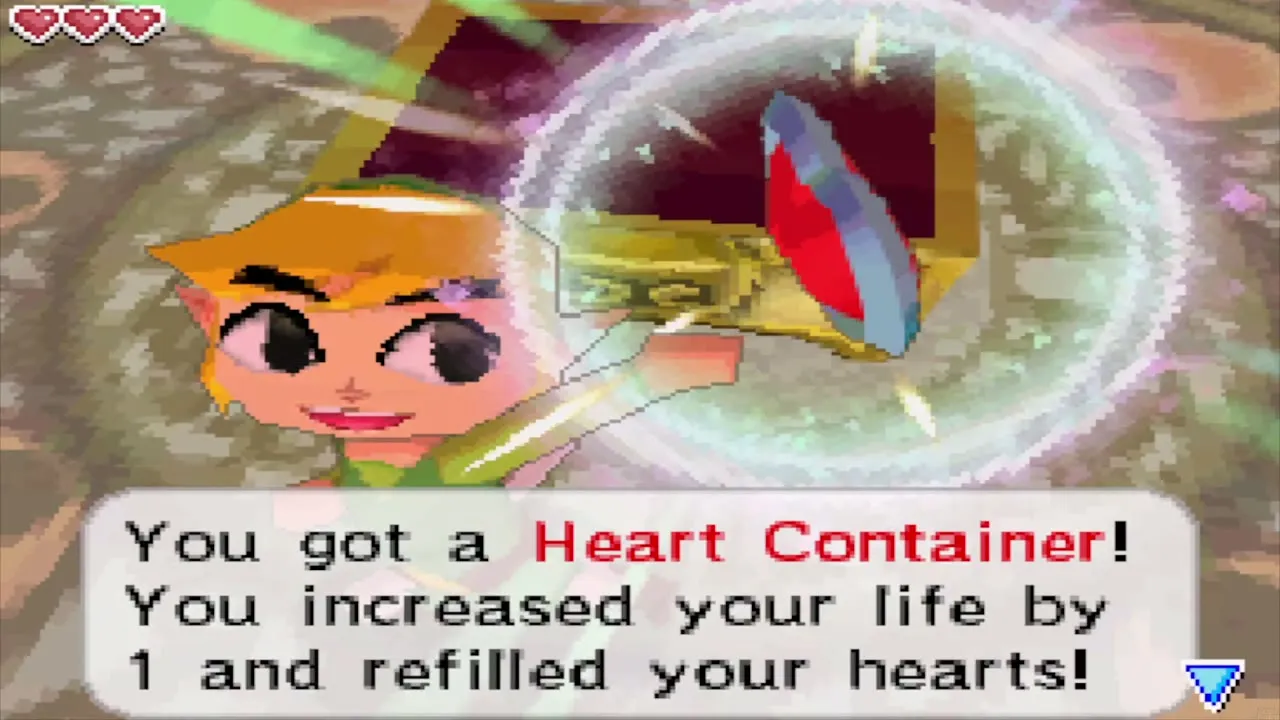
You begin with three hearts, and each of the 13 Heart Containers adds one, for a maximum of 16. Seven come from bosses: Blaaz, Cyclok, Crayk, the Diabolical Cubus Sisters, Dongorongo, Gleeok and Eox. The other six come from Beedle’s Masked Ship, fishing the legendary Neptoona, the Prince of Red Lions’ sparring match, the Shooting Range, an island shop and the Expert Treasure Maze.

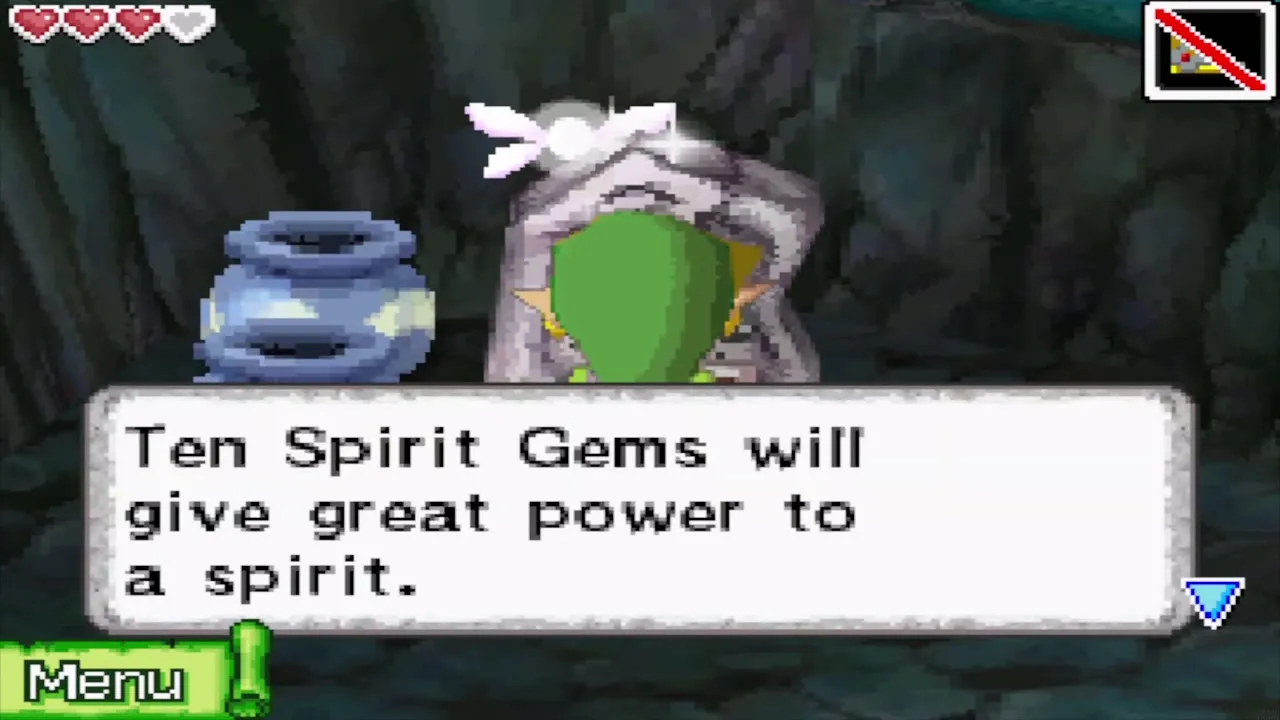
Spirit Gems: 20 + 20 + 20


- Power Gems: 20, which feed Leaf, the Spirit of Power. Ten gems give Level 1 and twenty give Level 2.
- Wisdom Gems: 20, which feed Neri, the Spirit of Wisdom. Ten gems give Level 1 and twenty give Level 2.
- Courage Gems: 20, which feed Ciela, the Spirit of Courage. Ten gems give Level 1 and twenty give Level 2.
You turn the gems in at the shrine on Spirit Island.
Sea Collectibles
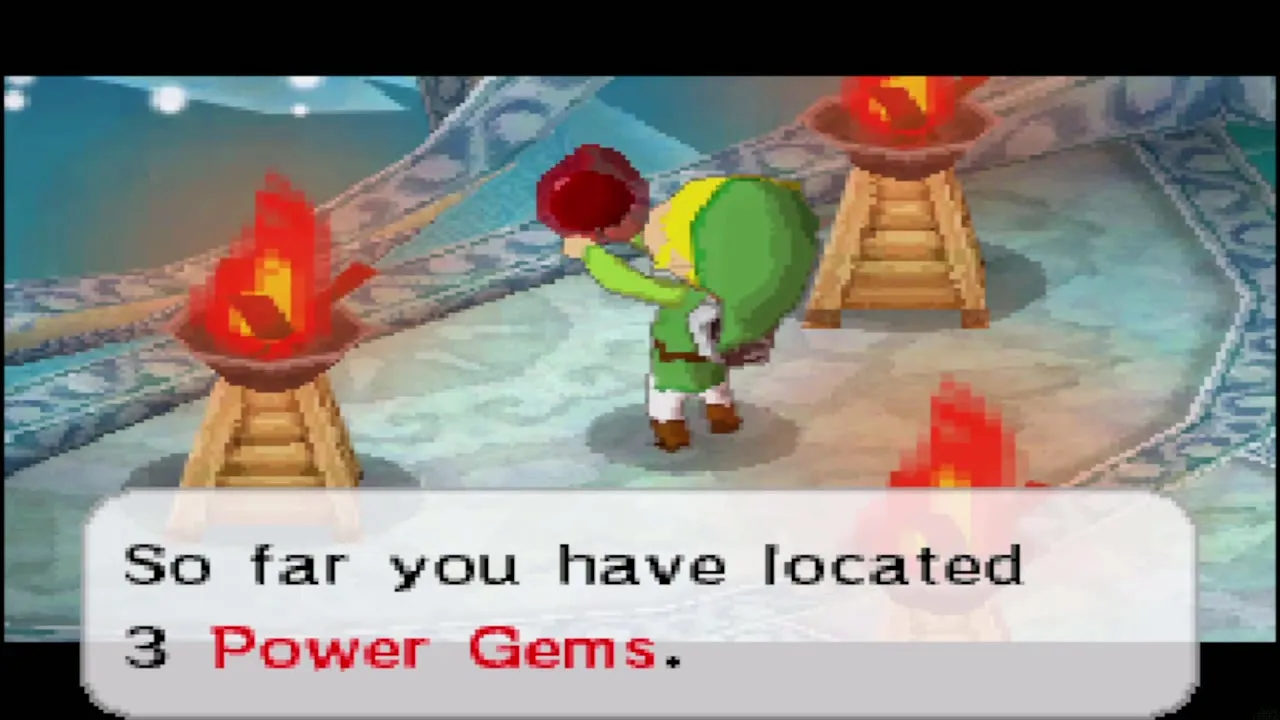
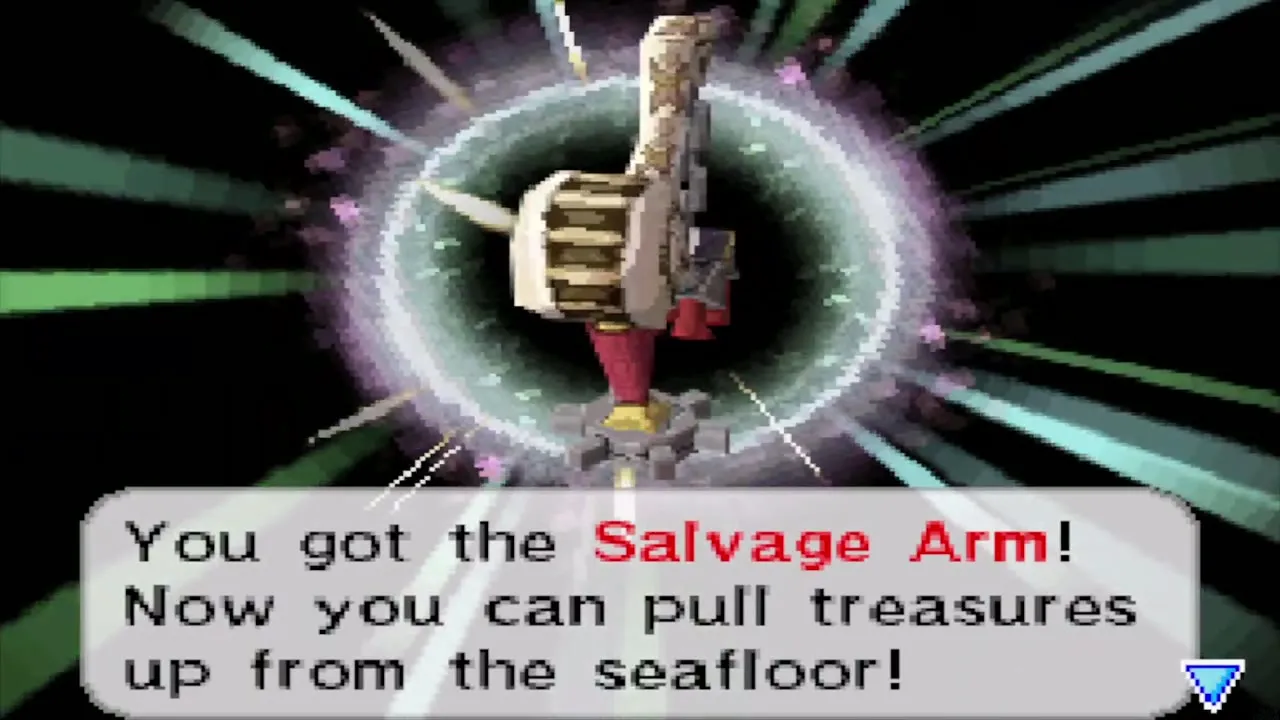
- Treasure Maps: 31. You need the Salvage Arm to raise what they lead to. In all, 23 maps point to ship parts, 5 to Sand of Hours, 2 to treasures and 1 to a Big Gold Rupee.
- Golden Frogs: 6, with two each in the Southwestern and Southeastern Seas and one each in the Northwestern and Northeastern Seas. You need the Cyclone Slate to learn their symbols.
 Sand of Hours: 25 minutes. The hourglass starts with 10, five bosses add 2 minutes each, and five sunken chests add 1 minute each.
- Treasures: 8 kinds, namely Pink Coral, Pearl Necklace, Dark Pearl Loop, Zora Scale, Goron Amber, Ruto Crown, Helmaroc Plume and Regal Ring.
- Ship Parts: 9 sets of 8 parts, one for each of the Prow, Anchor, Hull, Cannon, Handrail, Bridge, Chimney and Wheel slots. Your starting set is a given, which leaves 64 parts to find, and a full set raises the ship to 7 hearts.
- Fish: 6 species, namely Skippyjack, Toona, Loovar, Rusty Swordfish, Stowfish and Neptoona. You need the Fishing Rod from Bannan Island.
Skills, Items and Upgrades

Swordsman’s Scroll: 1
The game has a single Swordsman’s Scroll. You earn it by finishing the trading sequence that starts at the Man of Smiles’ Traveler’s Ship in the Northeastern Sea and ends at the Old Wayfarer’s hut on Bannan Island, and it teaches you the Great Spin Attack. Finish the Old Wayfarer’s mermaid quest first.
Items and Equipment
The full list, with where each piece comes from, is on the Items and Equipment page.
- Sword and shield: Oshus’s Sword, the Wooden Shield and the Phantom Sword.
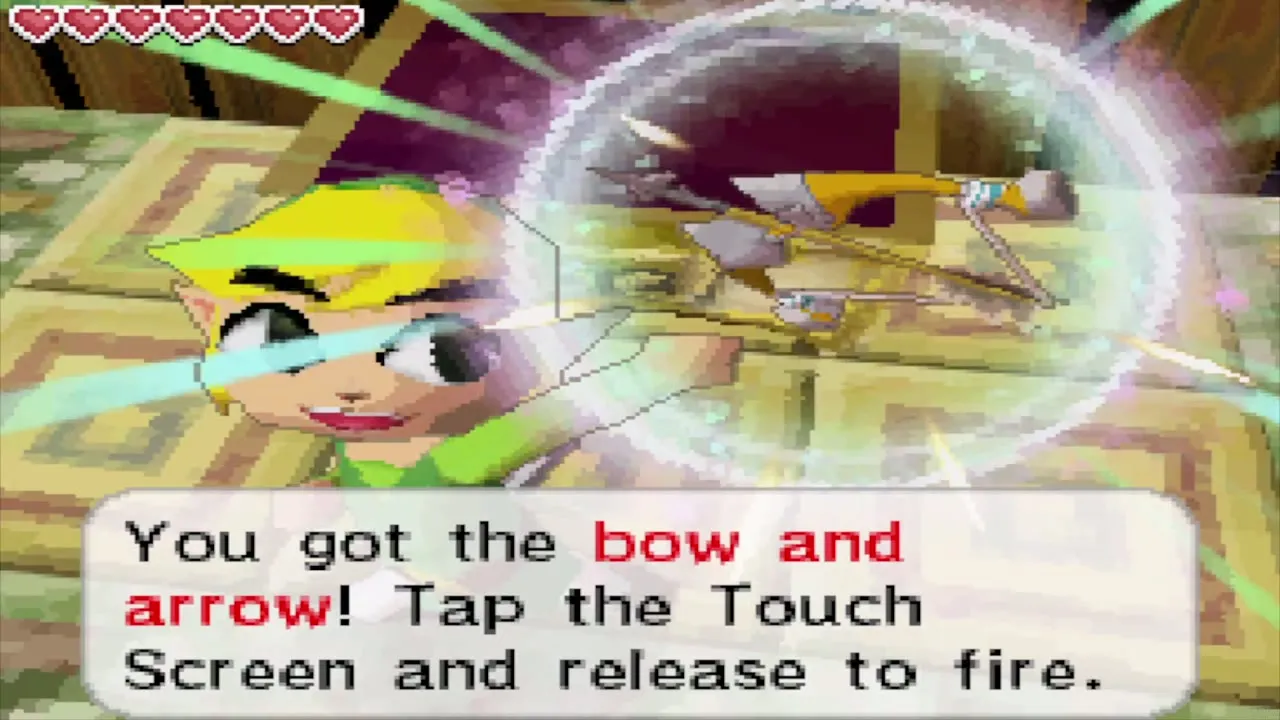
- Dungeon items: the Boomerang, Bombs, Bow and Arrows, Bombchus, Grappling Hook and Hammer, plus the Shovel from Molida Island.
- Ship items: the Cannon, Salvage Arm, Fishing Rod and Cyclone Slate.
- Potions: Red, Purple and Yellow.
- Key items: the Phantom Hourglass, Sun Key, Ghost Key, King’s Key, Regal Necklace and the three Pure Metals (Crimsonine, Azurine and Aquanine).

Bag Upgrades


- Bomb Bag: from 10 to 30 bombs, using Beedle’s Shop Ship and the Cannon Game.
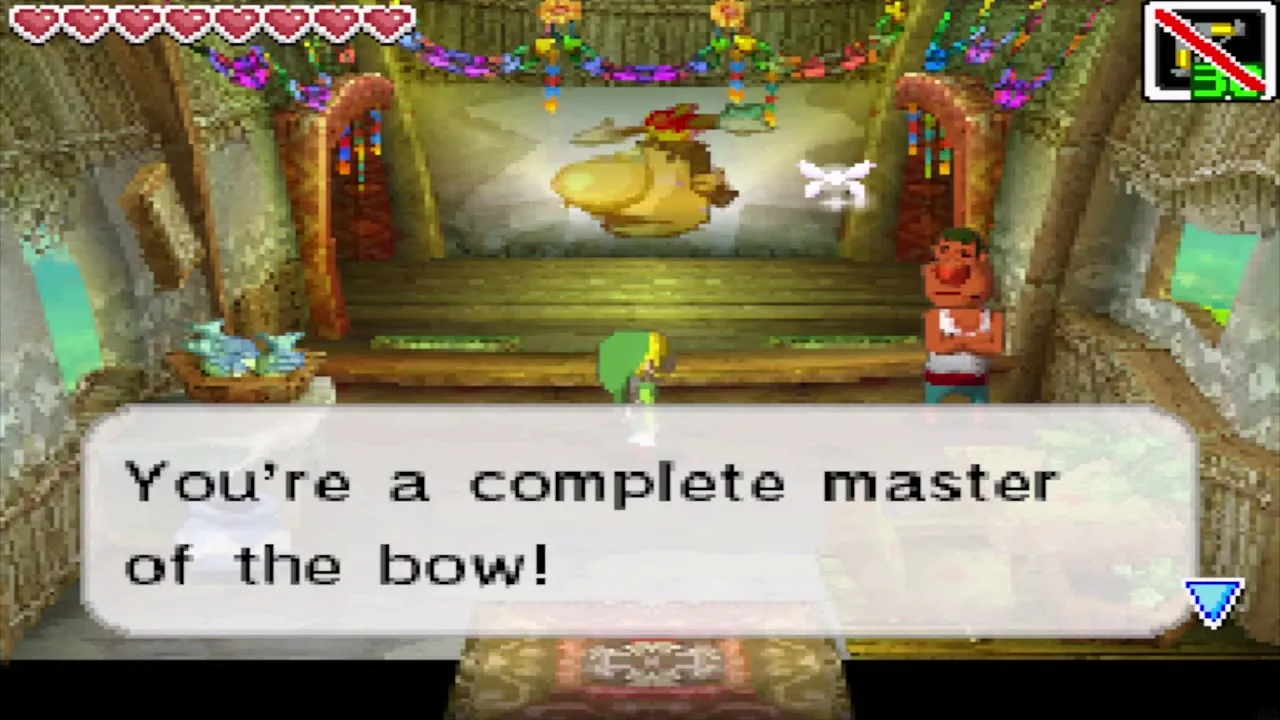
- Quiver: from 20 to 50 arrows, using the Molida or Mercay Island shop and the Shooting Range.
- Bombchu Bag: from 10 to 30 Bombchus, using the Goron Island shop and the Goron Game.
The Mini-Games and Side Quests page covers each of these prizes.
Story and Sea Charts
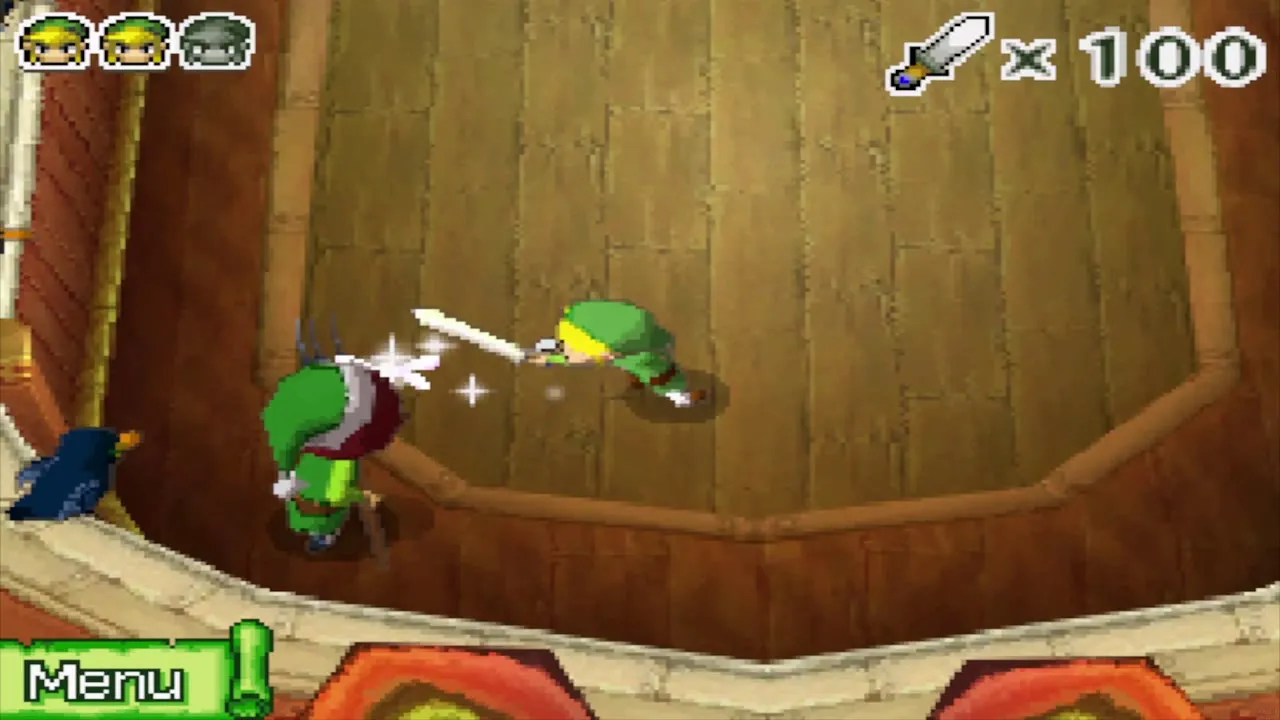
None of the totals above matter unless you reach every part of the sea. Clear the seven dungeons, visit all 16 islands and collect the four sea charts (see Maps). The walkthrough shows each collectible in the chapter where you can first reach it, and the boss guide covers the fights along the way.