





















Spirit Tracks 100% Completion Walkthrough18 chapters
- Aboda Village and Hyrule CastleThe first train ride, the Royal Engineer ceremony, Zelda’s escape, the Spirit Flute, sword and path to the Tower.
- Tower of SpiritsMeet Anjean, collect the three Tears of Light, use Phantom Zelda and claim the Forest Rail Map.
- Forest RealmReach Whittleton, solve the Lost Woods rail maze, learn the Song of Awakening and play the Gage duet.
- Forest TempleSong of Healing, Whirlwind, Mothula, Boss Key, Stagnox boss fight, Heart Container and Force Gem.
- Tower of SpiritsTears of Light, lava Phantoms, Zora Warrior, the Snow Rail Map, plus the Cannon and Rabbit Net.
- Snow RealmAnouki Village pairings, the Rocktite tunnel, Steem’s duet, the Heart Container shop and Ferrus’s blizzard map.
- Snow TempleGet the Boomerang, solve the bell puzzles, take the Boss Key from the Wolfos and beat Fraaz for a Heart Container.
- Tower of SpiritsDark floor 8, Torch Phantoms, Tears of Light, the Z door, Mighty Zora Warrior and Ocean Rail Map.
- Ocean RealmFix the Trading Post bridge, find the Regal Ring, learn the Song of Birds and free Carben at the Ocean Sanctuary.
- Ocean TempleReach the sunken temple, win the Whip, beat Phytops and claim the Heart Container and blue Force Gem.
- Tower of SpiritsBeat Warp Phantoms and Phantom Eyes, collect three Tears of Light and claim the Fire Rail Map.
- Fire RealmReach Goron Village, ferry Noko for Mega Ice, cool the lava, solve the Fire Sanctuary statues and play Embrose’s duet.
- Fire TempleSnurglar keys, Heatoise and the Bow, mine carts, Boss Key, Cragma, Heart Container and the Goron Quiver.
- Tower of SpiritsClimb Tower of Spirits floors 18-23, solve the Wrecker Phantom puzzles, take the Boss Key and beat Byrne with Zelda.
- Sand RealmSand Gyorg, desert rabbits, the Sand Sanctuary bomb puzzle, the Rael duet and the three trials to the Sand Temple.
- Sand TempleStalfos keys, Sand Wand, the Boss Key, the Skeldritch boss fight, the Heart Container, Bow of Light and Lokomo Sword.
- Tower of Spirits Floors 24-30 and the Compass of LightLight Arrows at the altar, every Phantom puzzle, the floor 26 gauntlet and the Compass of Light.
- Dark Realm, Demon Train and MalladusDestroy six Armored Trains, beat the Demon Train, free Zelda from Cole and defeat Malladus with the Lokomo Sword.
| Covers | Fire Realm rails, the three Snurglars at the summit, the Fire Temple from Floor 1 up to Floor 2 and down to Basement 3, Heatoise, Cragma, the return to the Tower of Spirits and the Goron Village shop |
|---|---|
| You need | Boomerang, Whirlwind, Bombs and Whip from the earlier temples; the Song of Light and the Embrose duet already played at the Fire Sanctuary; the cannon on your train; a few Bombs and potions |
| Rewards |  Bow and Arrows (Quiver of 20),  Boss Key, Fire Temple stamp,  Heart Container,  red Force Gem, Fire Seal, several treasure chests, the Fire Realm tracks back to the Tower, 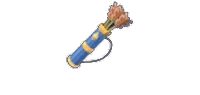 Quiver upgrade to 30 arrows on sale at the Goron Country Store |
The Fire Temple is the fourth dungeon, and it is the one where you pick up the Bow and Arrows. You free the road to the summit by stunning and shooting three Snurglars, work down through a lava-filled temple using mine carts, hit switches in the right order to carry the Boss Key by cart, and finish by shooting the weak spots of the lava giant Cragma to earn a Heart Container and the red Force Gem.
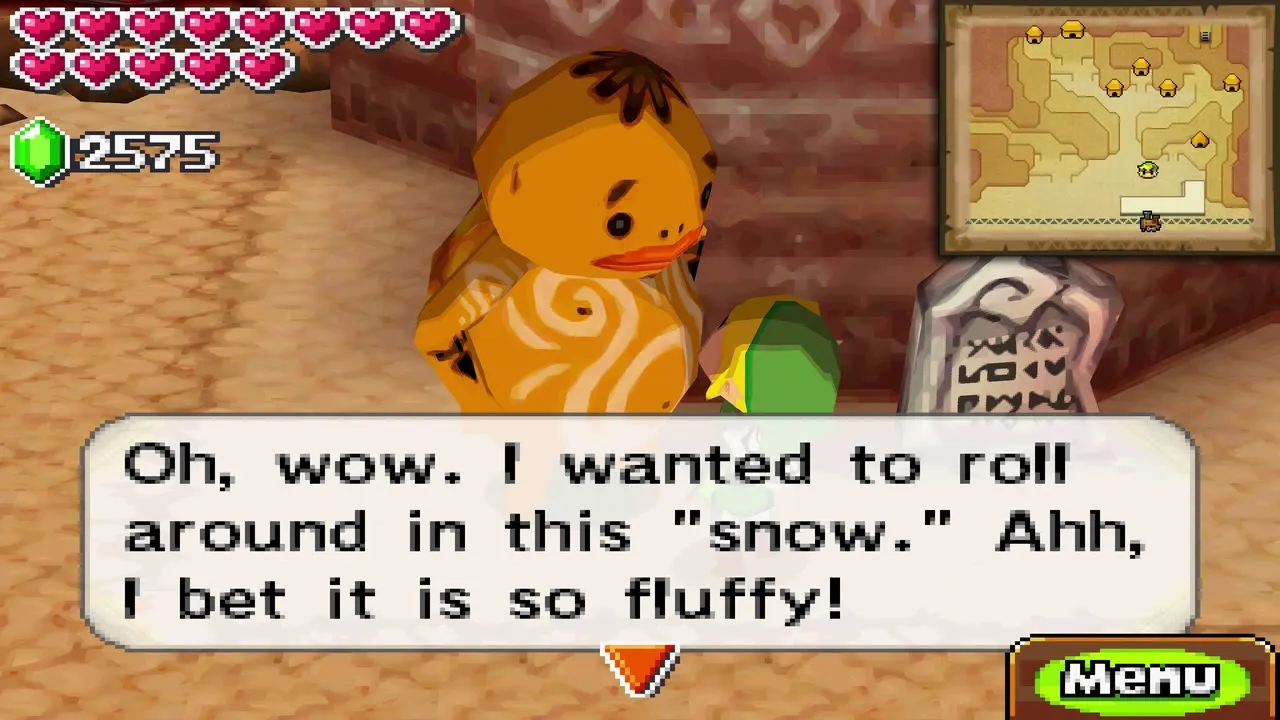
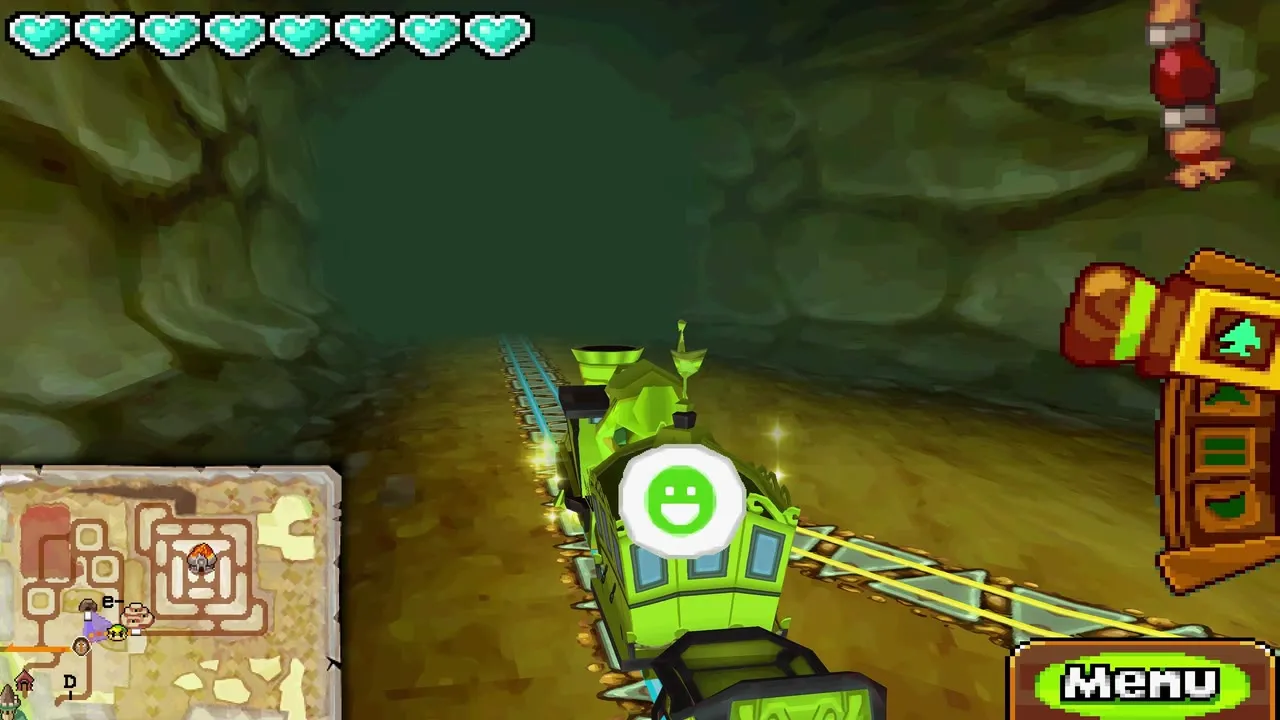
Table of Contents
Fire Temple entrance and Snurglar keys
Get the three keys from the Snurglars
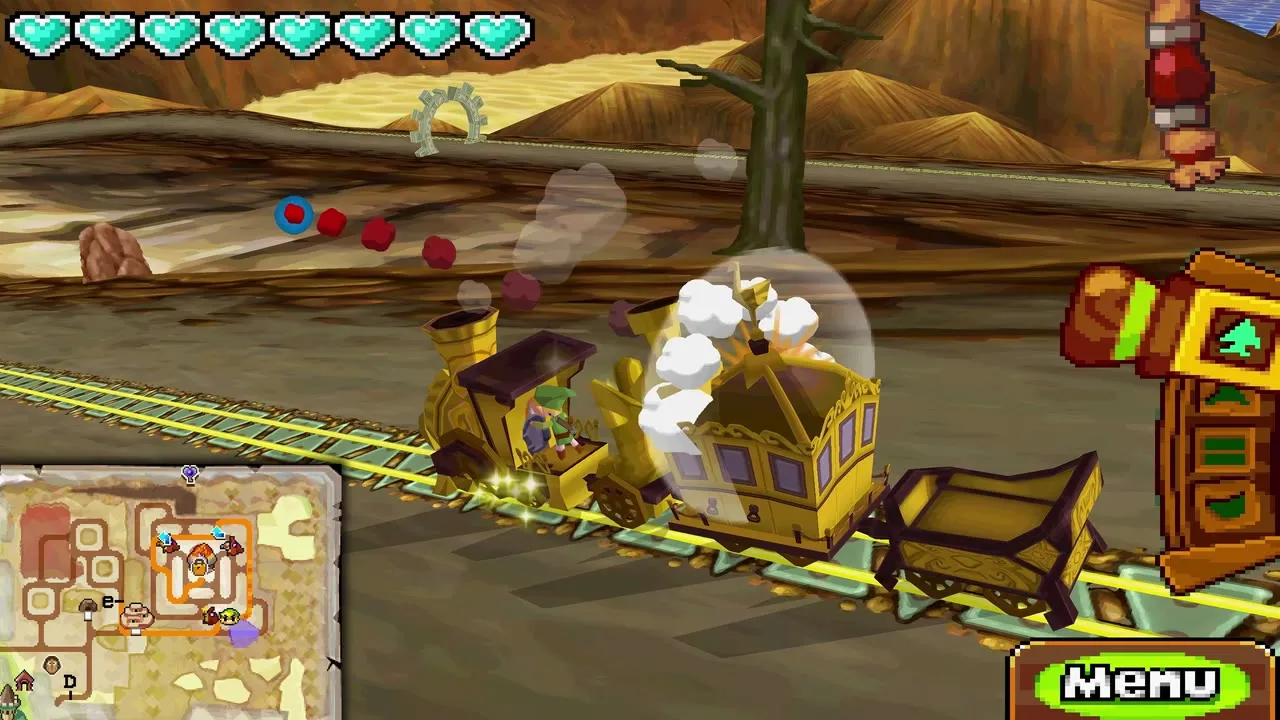
Three locks seal the road to the temple, and three Snurglars carry the keys. Stand your train so a monster is in front of you, play a short whistle followed by a long one to stun it, then fire the cannon to knock the key loose. Take them one at a time. Once you hold all three keys, ride on to the summit.
Catch Mountain rabbits on the way
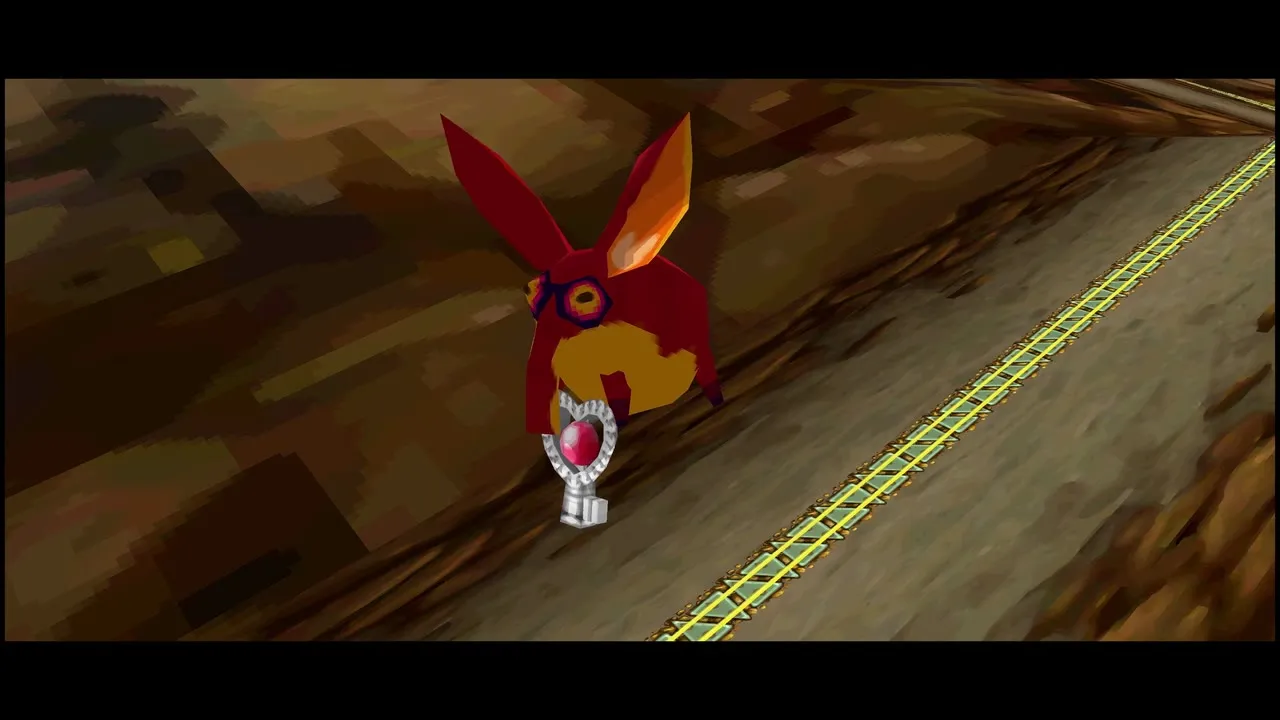
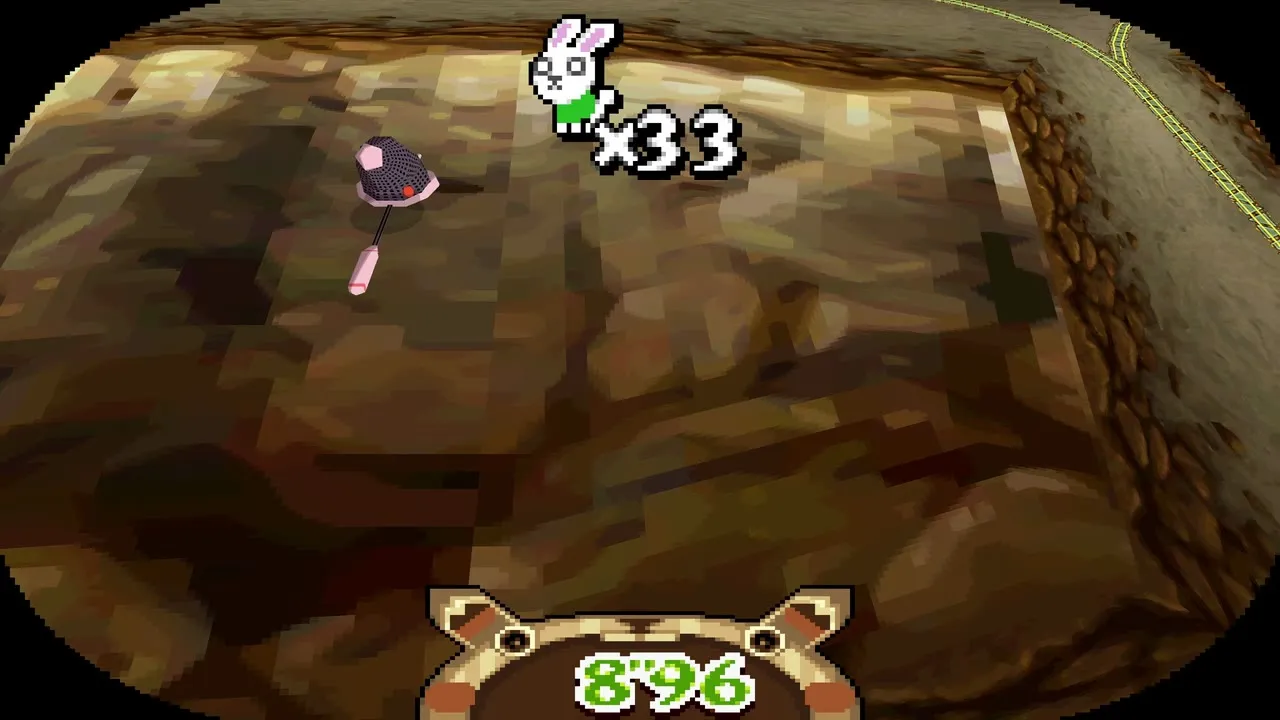
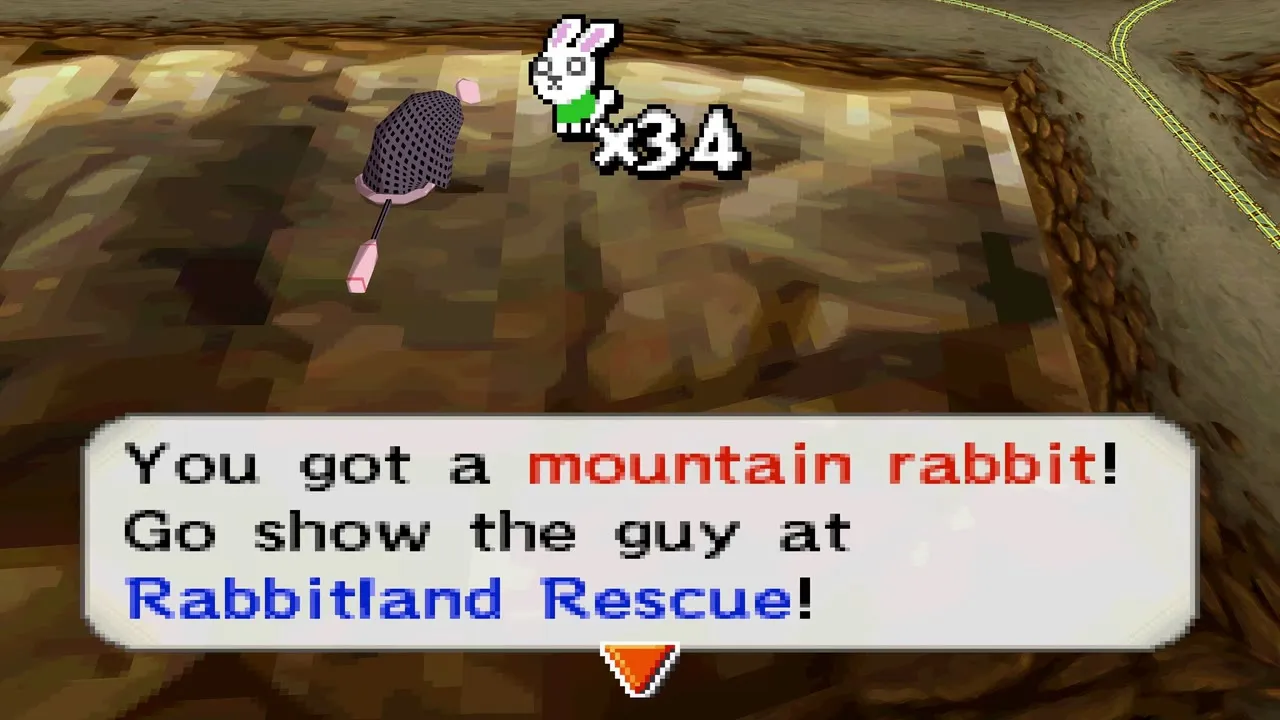
Any Mountain rabbits you spot beside the Fire Realm rails are worth catching now that you have the Rabbit Net: toot the whistle, blast the rock they hide behind with the cannon, then net the rabbit before the ten seconds run out. The Mountain Realm holds ten rabbits, but numbers nine and ten only appear after two later Force Gem quests, so leave those for the side-quest chapters.

Reach the temple
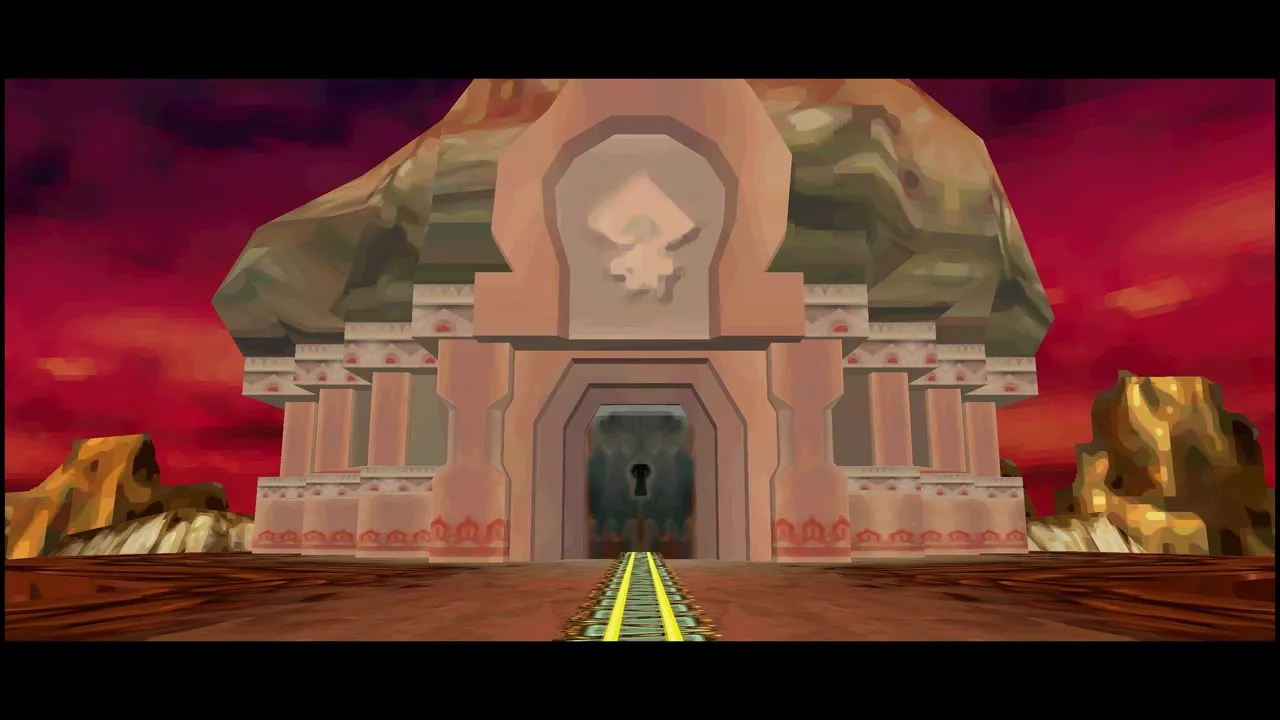
Park at the temple station and walk in. A short conversation with your companion sets the scene, and you start on Floor 1, where the first room has stone pillars and a lava channel.


Fire Temple Floors 1 and 2
Cross the pitfall room
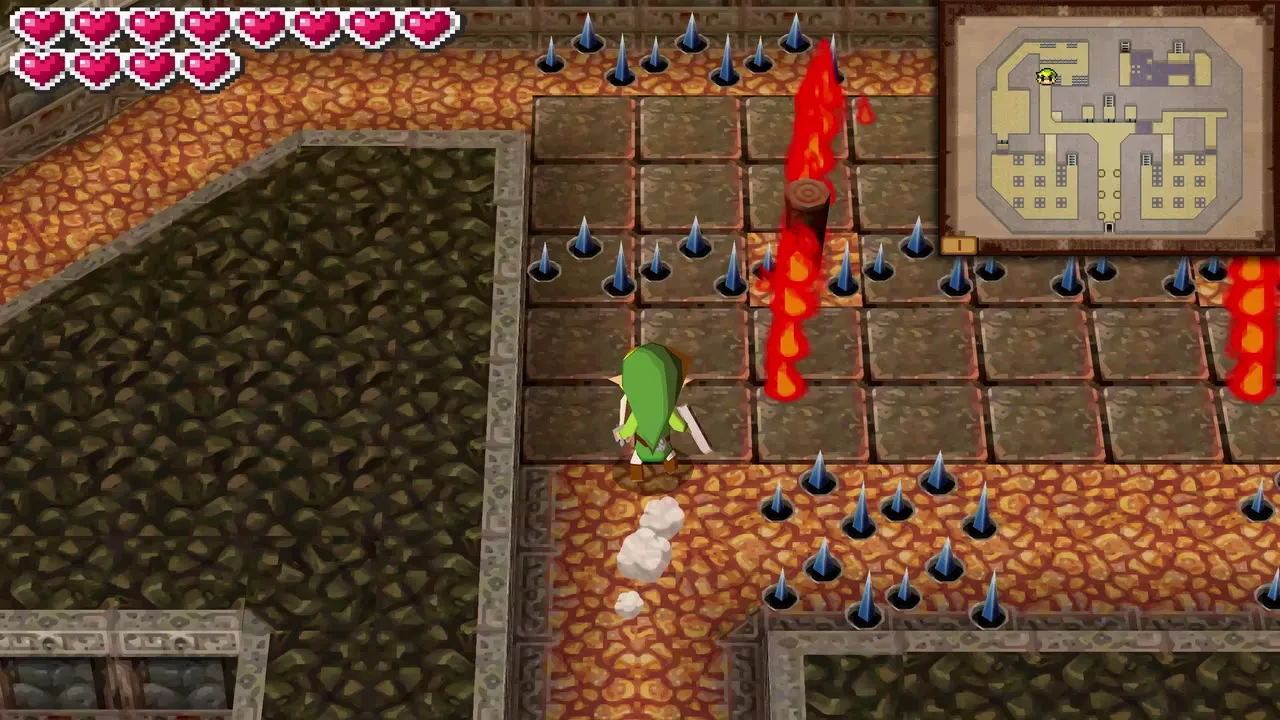
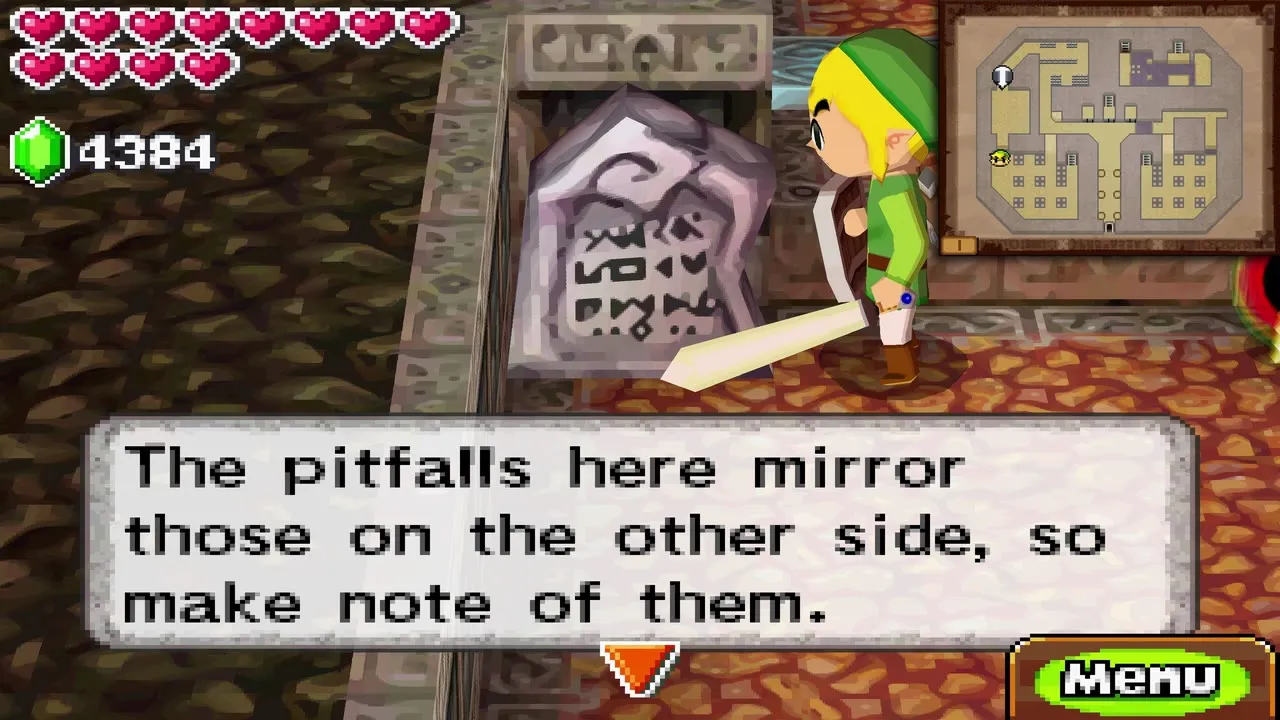
Use the Boomerang on the Fire Keese in the entry hall, then take the left-hand path around the spinning fire and spikes. A sign in the pitfall room explains that the trapdoors on one side mirror those on the other, so mark each wooden trapdoor on your map and copy the positions across to the opposite side before you walk over them. Fire-spitting spikes and lava jets fill the next rooms, so check your map before every move.
Take the first small key
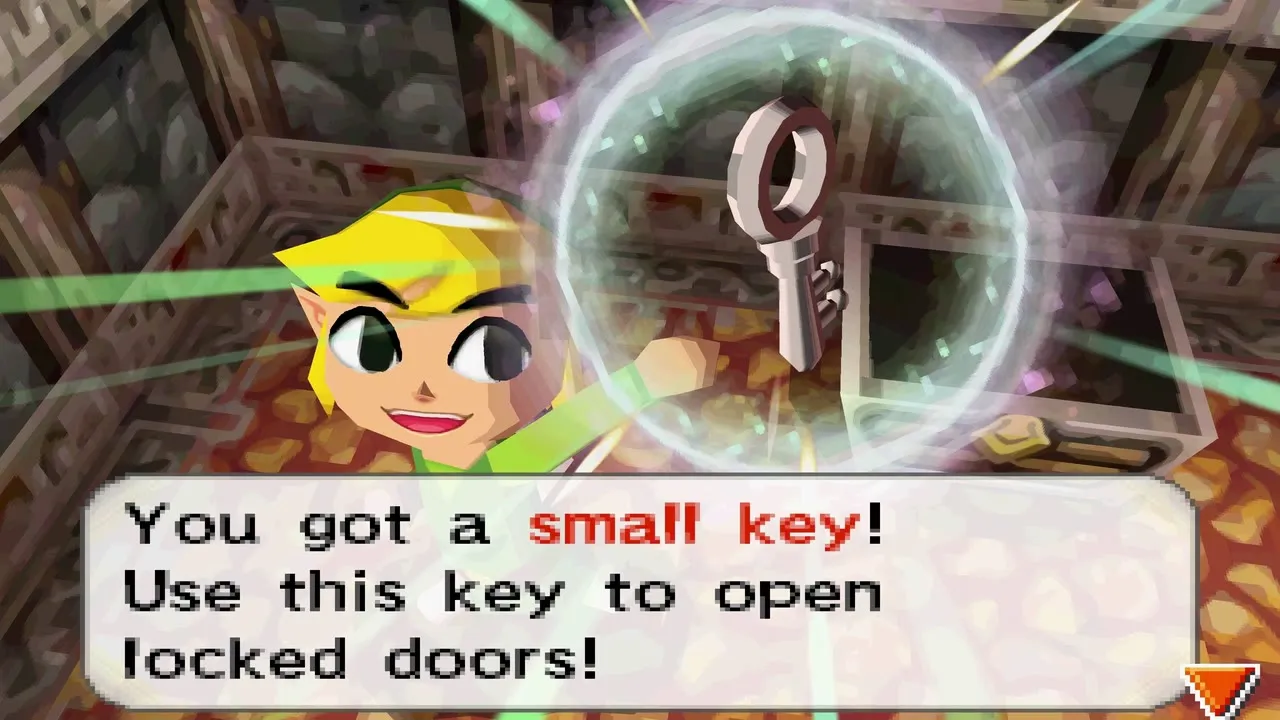
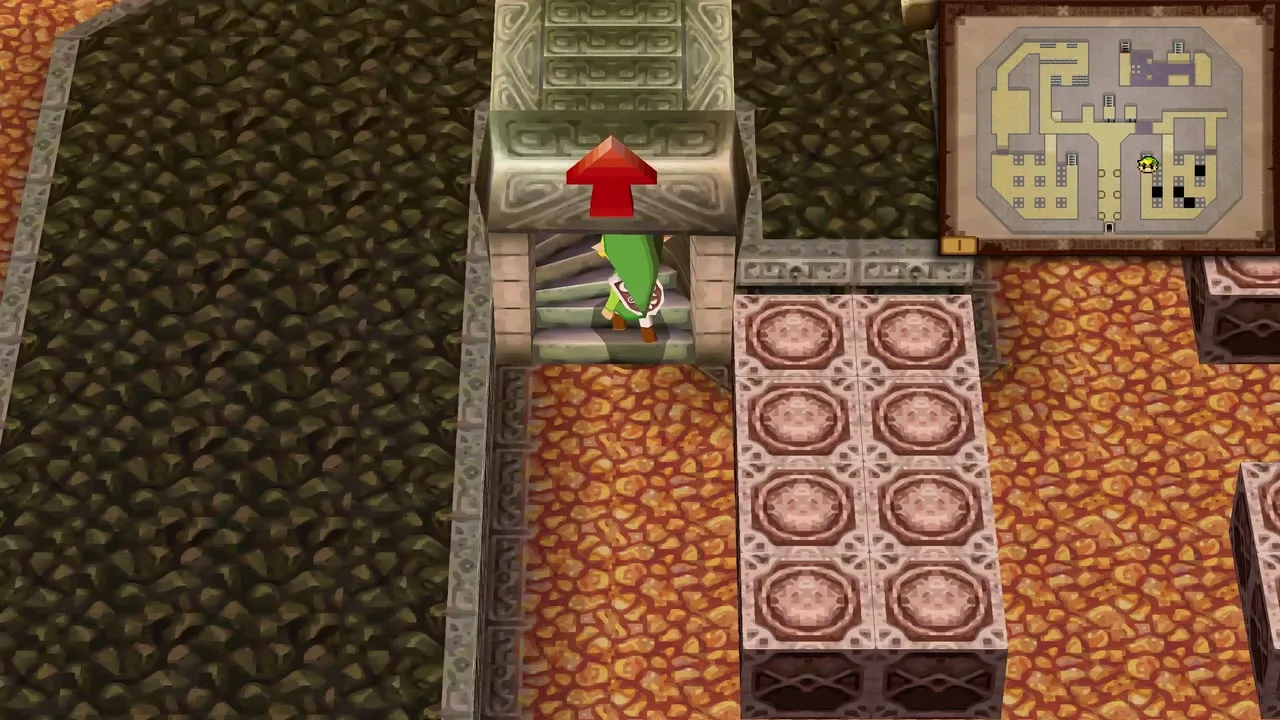
Climb the red-arrow stairs, hop into the old mine cart and ride it to a chest holding a small key. Ride back and head down the stairs again. Touch a locked door with a key to open it; each key is used once.

Make a platform for the lava jets
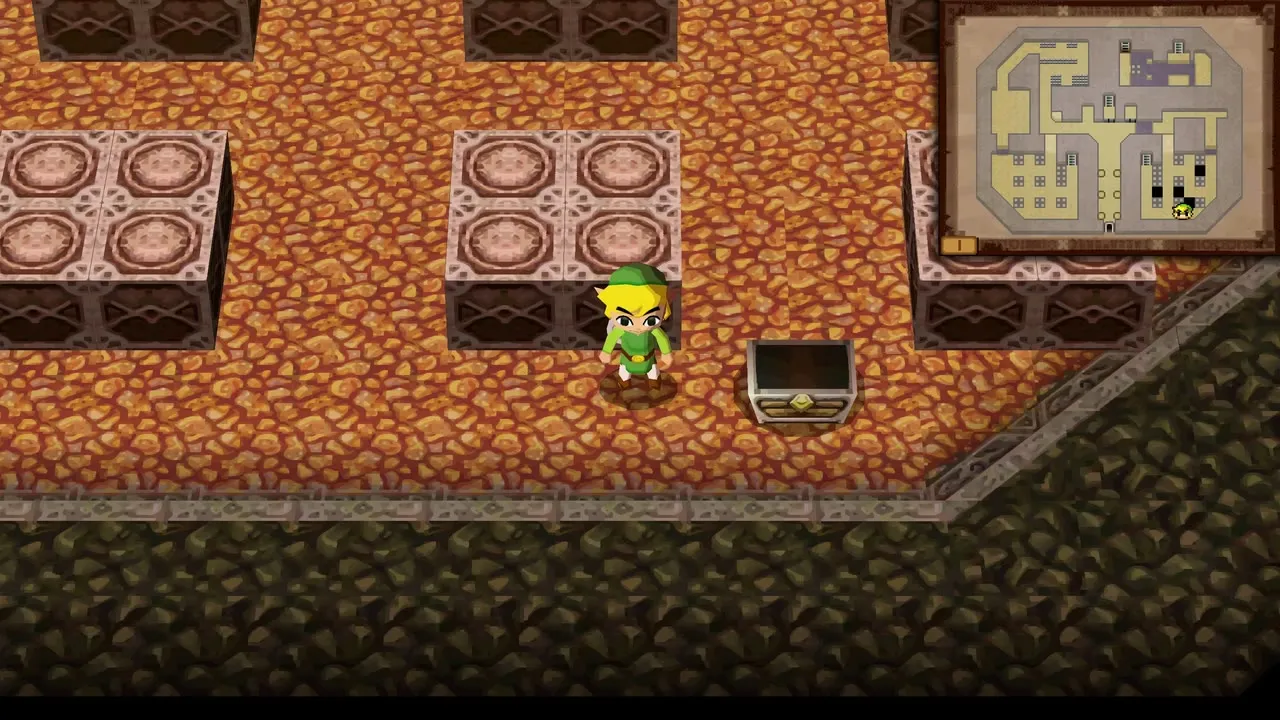
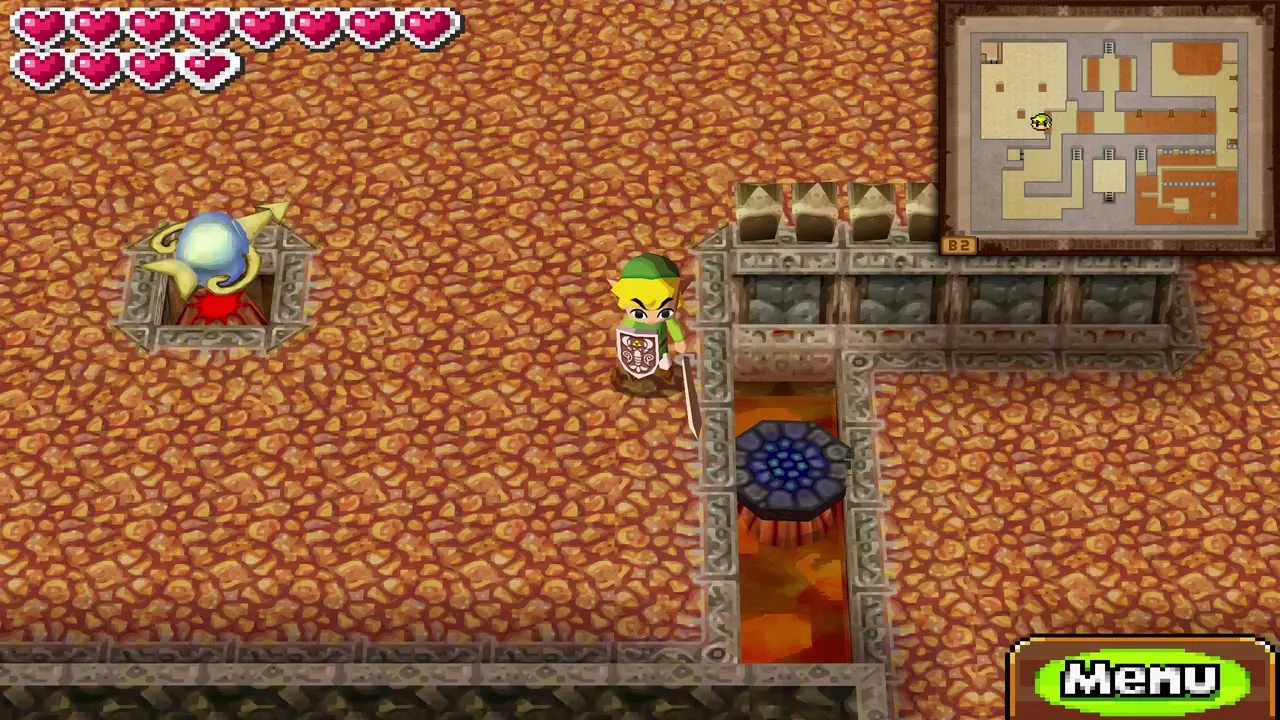
When you reach the short stairs, hit the crystal switch across the gap with the Boomerang. A round flat platform drops out. Carry it to the lava jet to the right of the three doors above the entrance and hop across it. Slide the block in the room beyond (down twice, right once, up twice, then right) so it plugs the fire spout, and cross into the mirrored half of the room, still avoiding the trapdoor spots you marked. The chest there holds a Red Potion. Take the stairs up to Floor 2.

Ride the Floor 2 carts
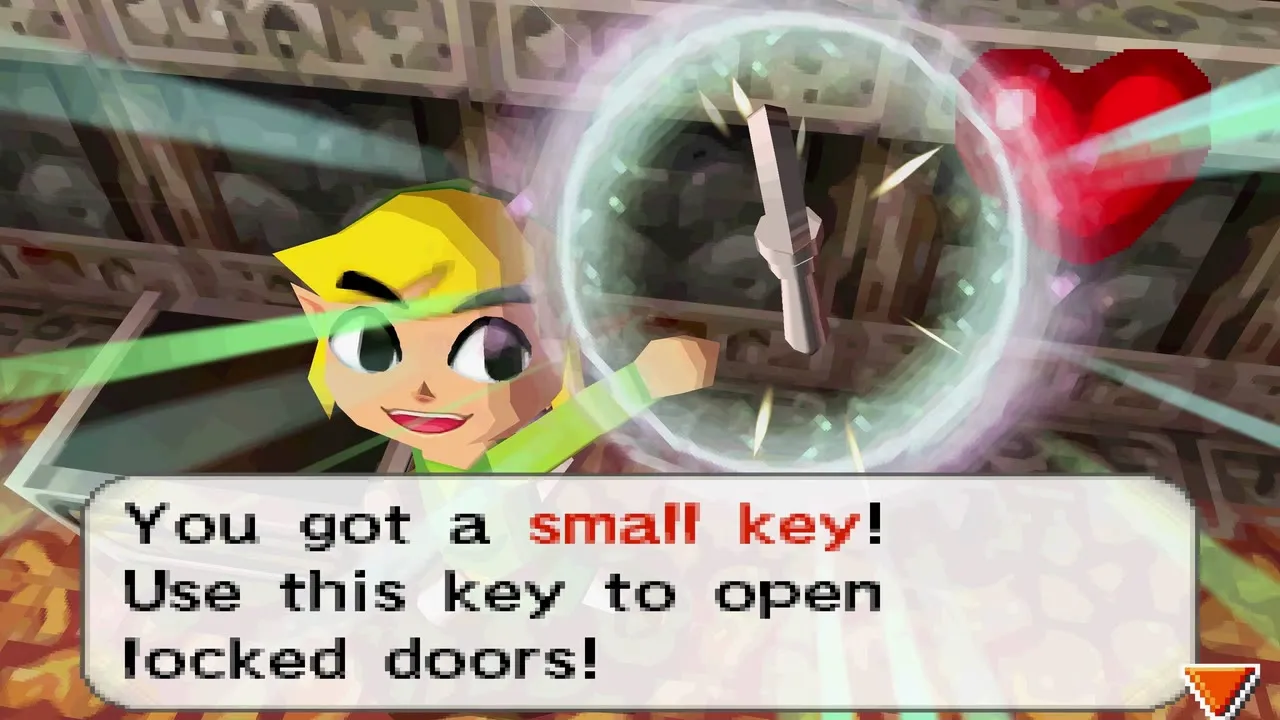
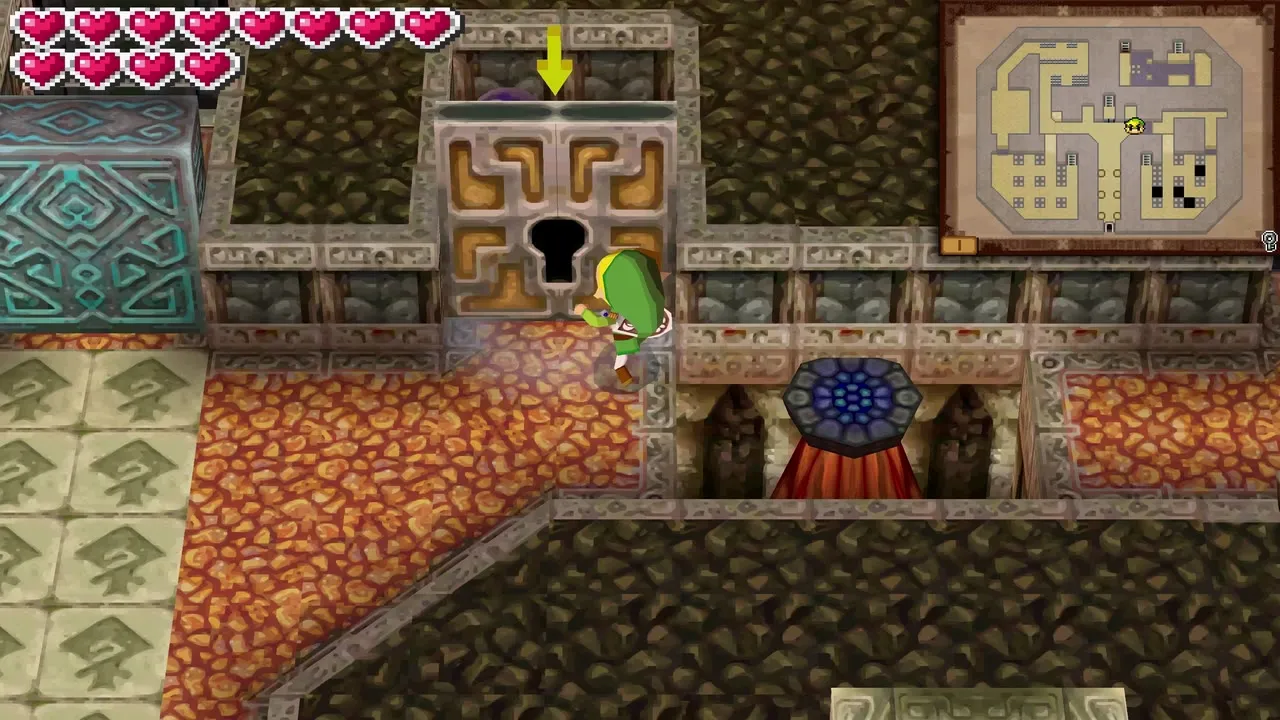
On Floor 2 a cart rail crosses the lava. Strike the first crystal switch but leave the second alone to reach a chest with a treasure, then ride back and strike both switches before the track junctions to reach the Stalfos room. Beat the Stalfos with a sword hit to the body, then a hit to the skull, and open the chest for a second small key. Return to Floor 1, use both small keys on the two locked middle doors and flick the two crystal switches in front of the blue door in quick succession with the Boomerang.


Collect the Floor 2 treasure
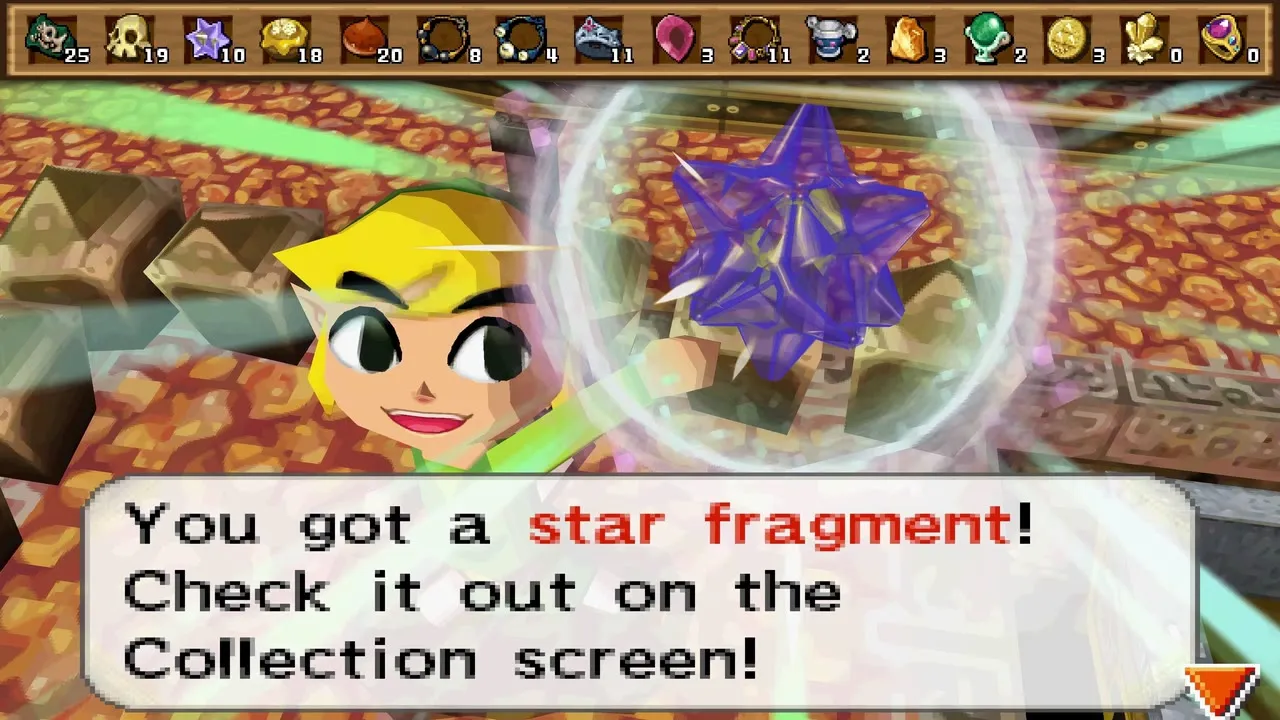
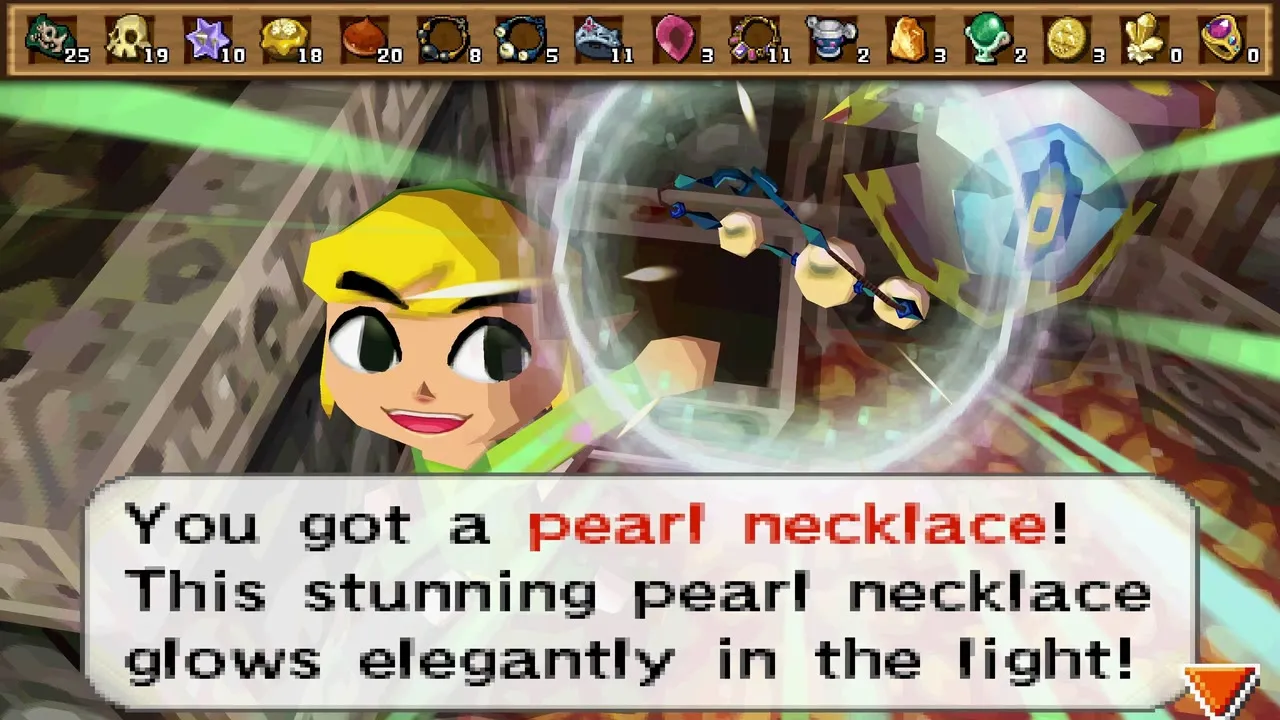
The chests along the Floor 2 lava rooms hold random treasure, so what you find varies. Keep whatever turns up: treasures sell to Linebeck and are the material for new train cars.

Heatoise mini-boss and the Bow
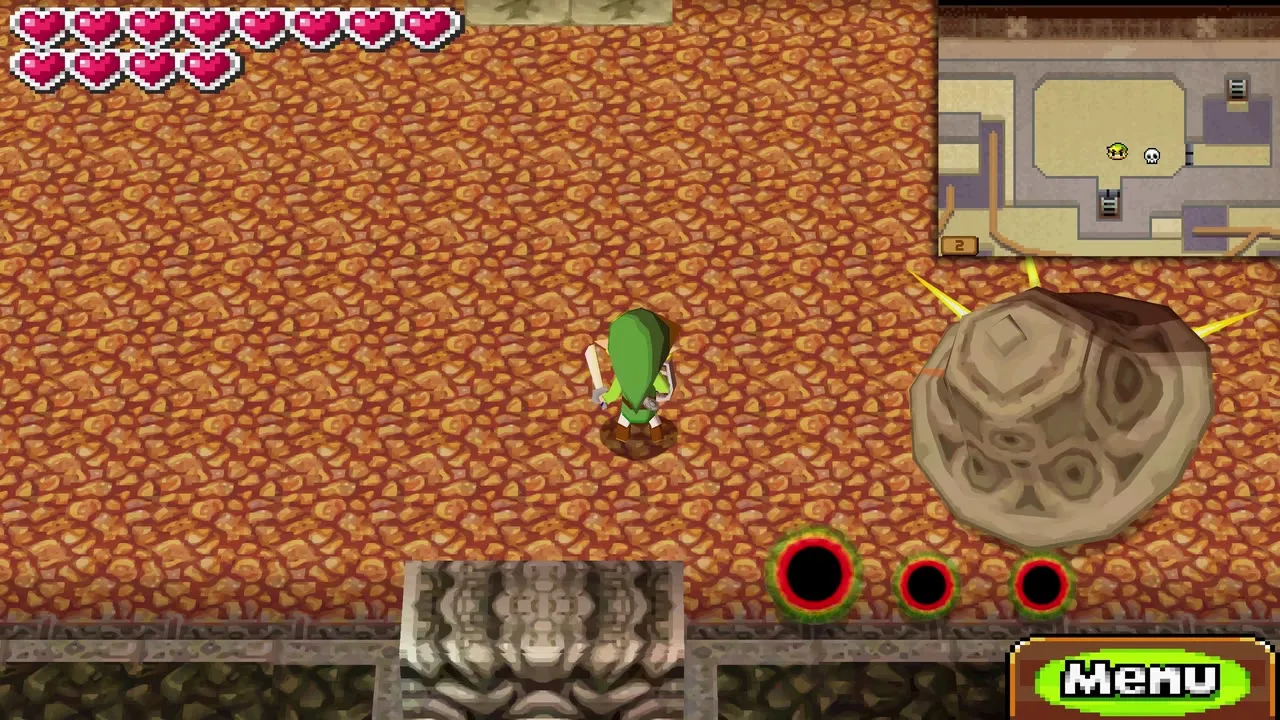
Heatoise fight
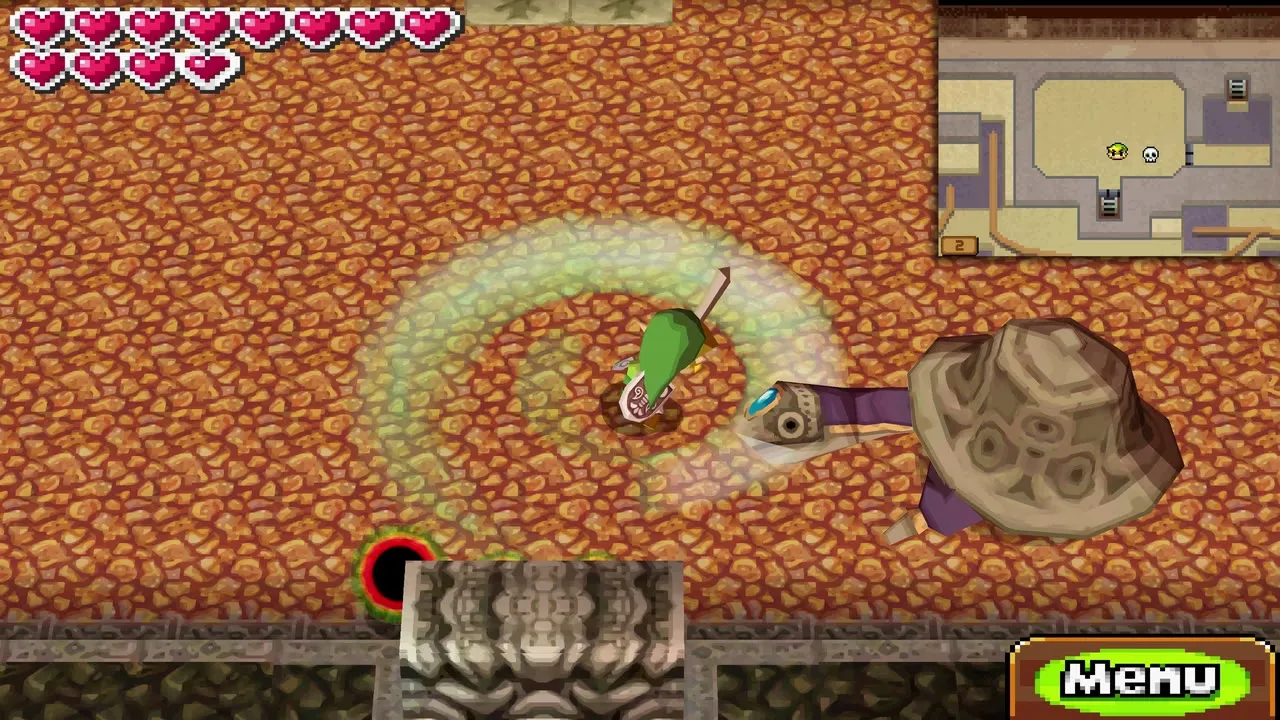
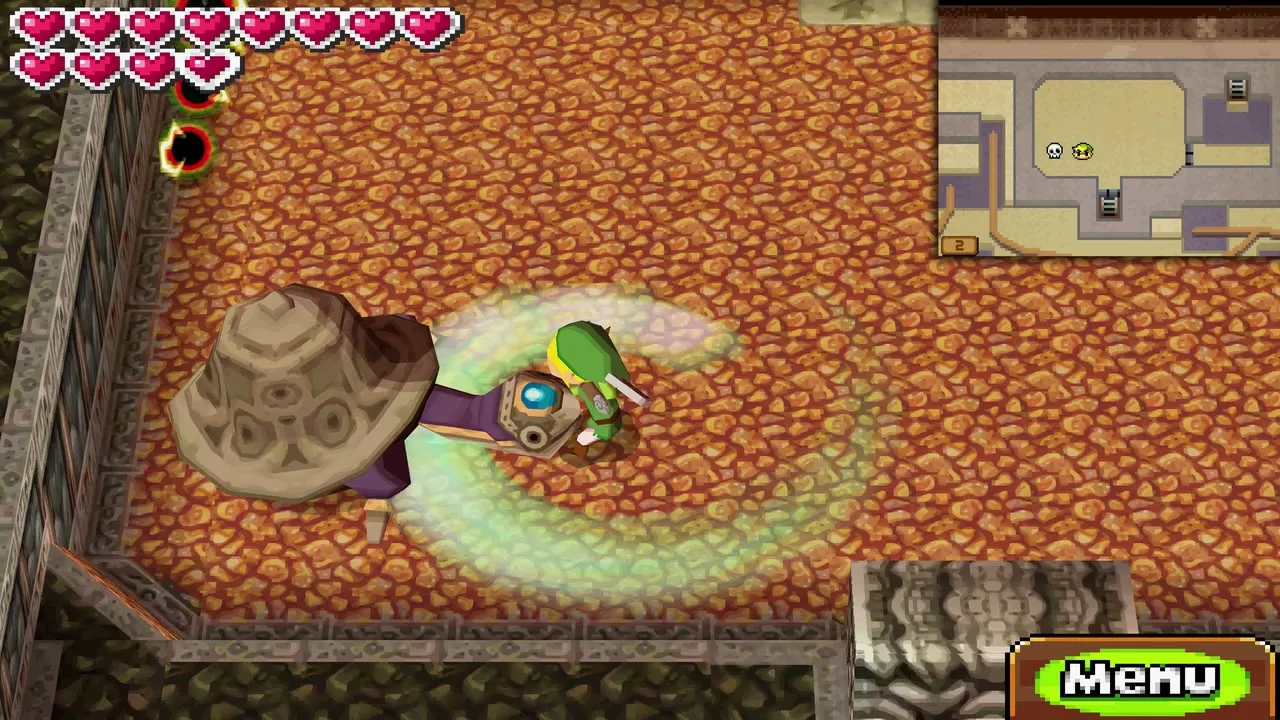
Beyond the blue door waits Heatoise, a shelled lava beast that curls up and rolls at you. It usually comes with a Winder, a spinning bar. Stand so its roll carries it into the Winder, which stuns it, then slash it with your sword. Repeat until it is beaten.
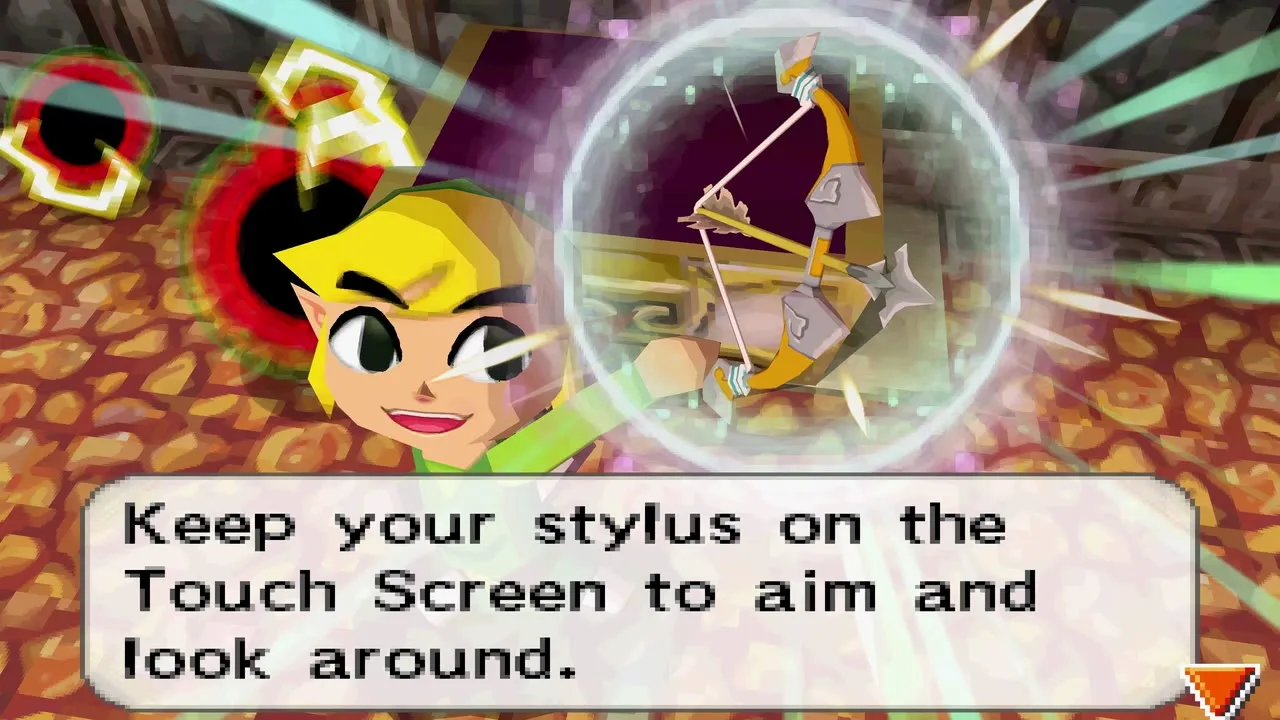
Get the Bow and Arrows
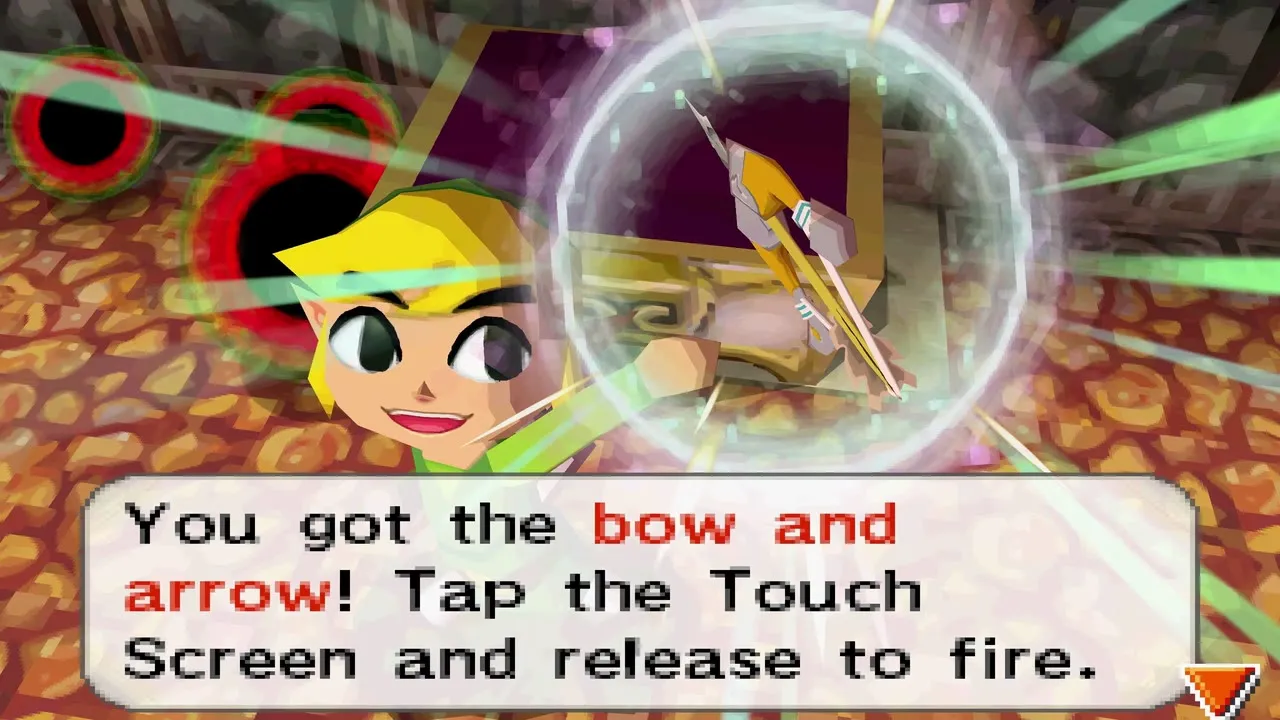
The chest in the next room holds the Bow and Arrows. Your Quiver carries 20 arrows, and arrows to the head also beat Heatoise. Arrow nuts in the temple refill your arrows, so shoot one whenever you run low.
First arrow puzzles
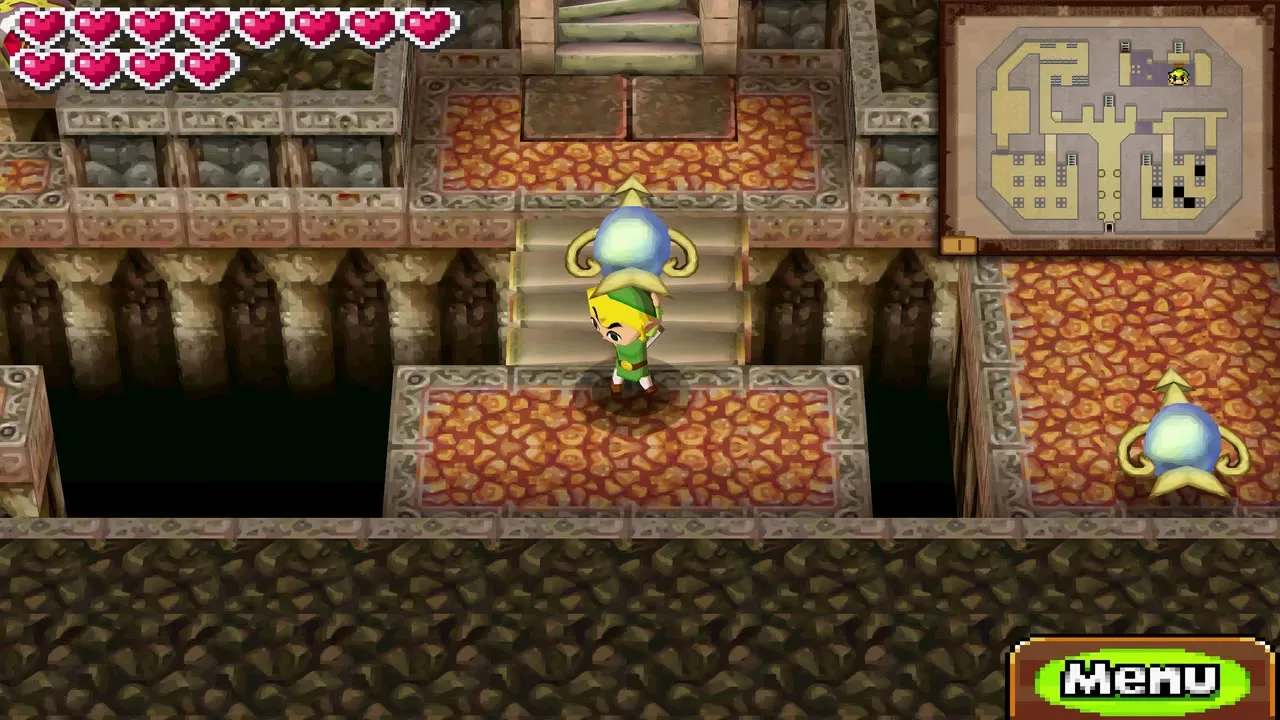
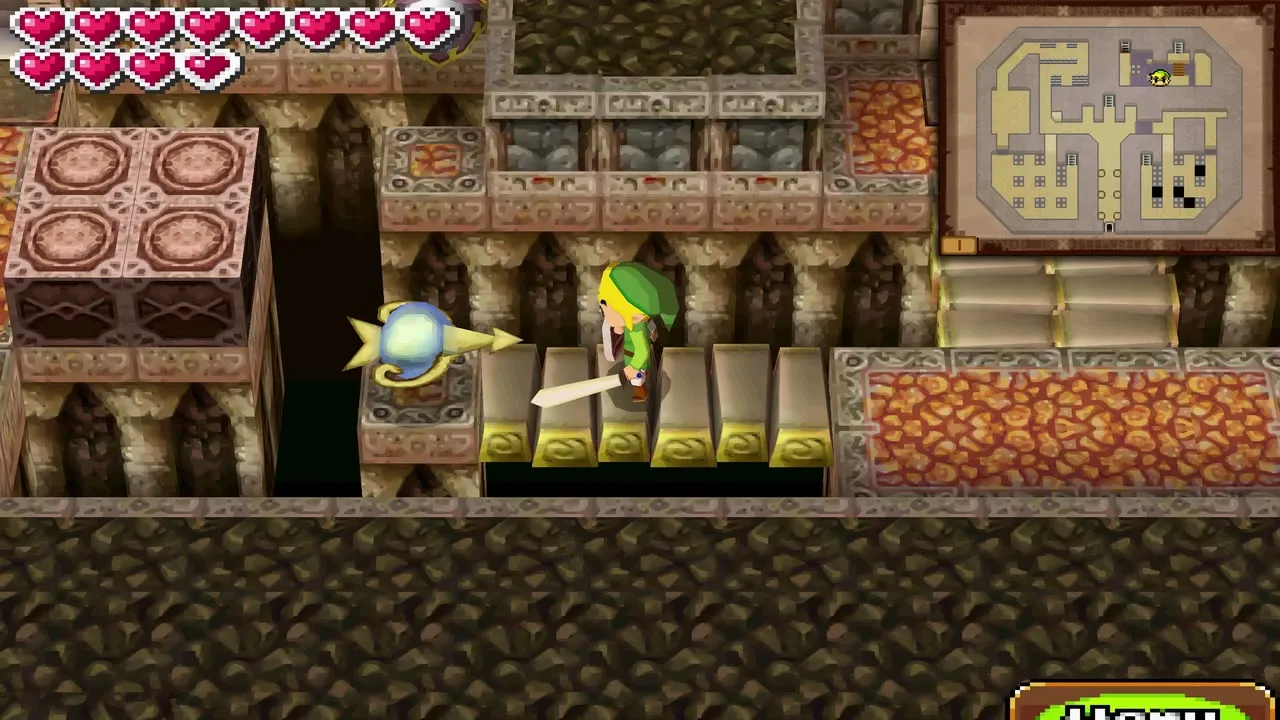
In the room to the right, shoot the eye on the back wall to lower a bridge, then hit the nut for arrows. Down on Floor 1, shoot the blue arrow-aimer block so it fires at the eye on the right wall, and cross to a chest with another treasure. Carry the block to the left tile, rotate it upward with the Boomerang and shoot it again to extend a bridge, then reposition it on the tile above, rotate it left and shoot it for a second bridge. From there take the stairs down.
Basements 1 and 2

Stalfos hall and the Whip
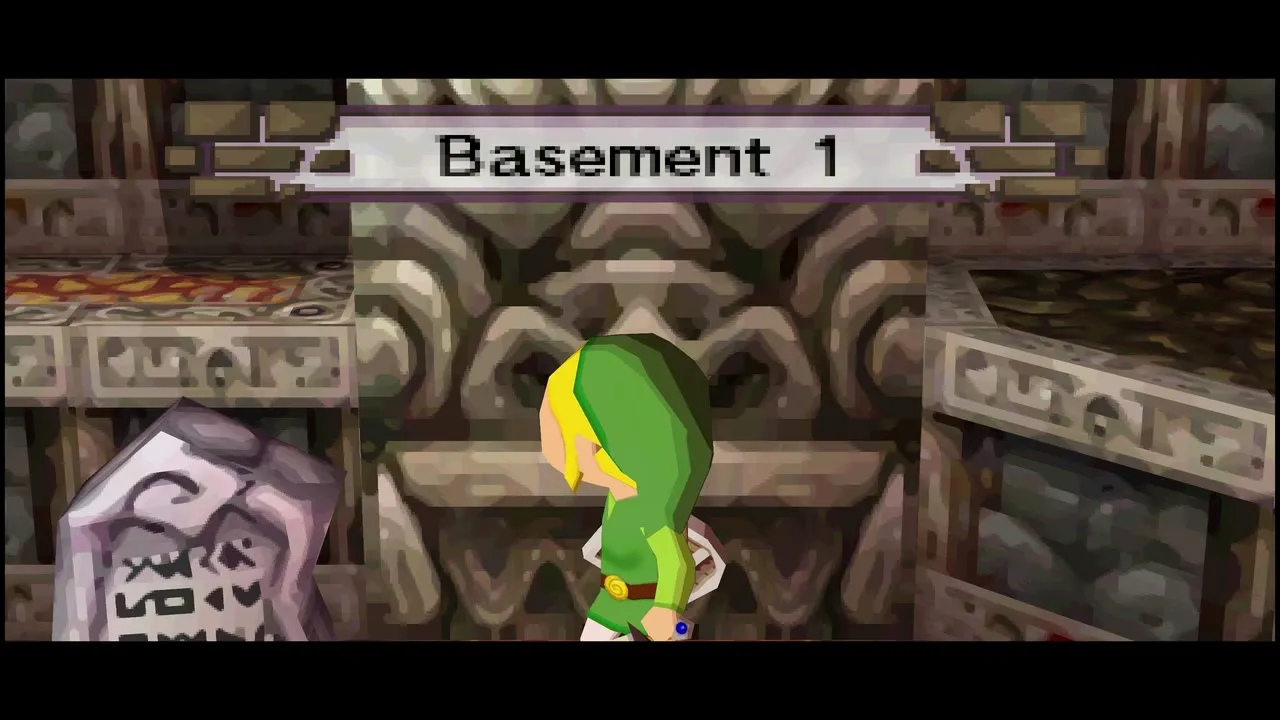
On Basement 1 a sign tells you the locked left door needs a key, so continue down. On Basement 2 two sets of Stalfos attack from both sides: one arrow collapses each, a second kills the skull. Refill from the arrow nut, go through the door that opens, shoot the block to stop the lava that blocks the Whip poles, run right and Whip across. Beat two more Stalfos, hop the lava platforms to a treasure chest, and Whip downward. Step on the switch to open the door, cross past the rising and falling traps, and open the chest below. Several chests in this temple hold random treasure.

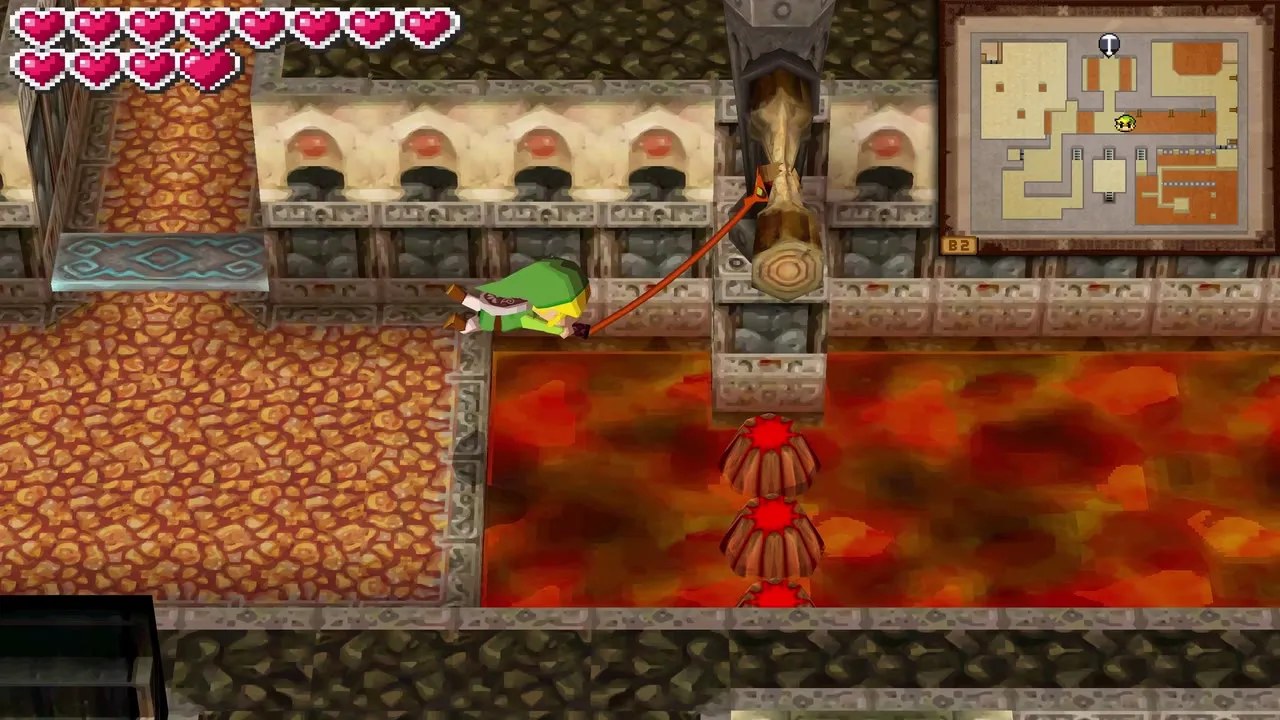
Light the torches
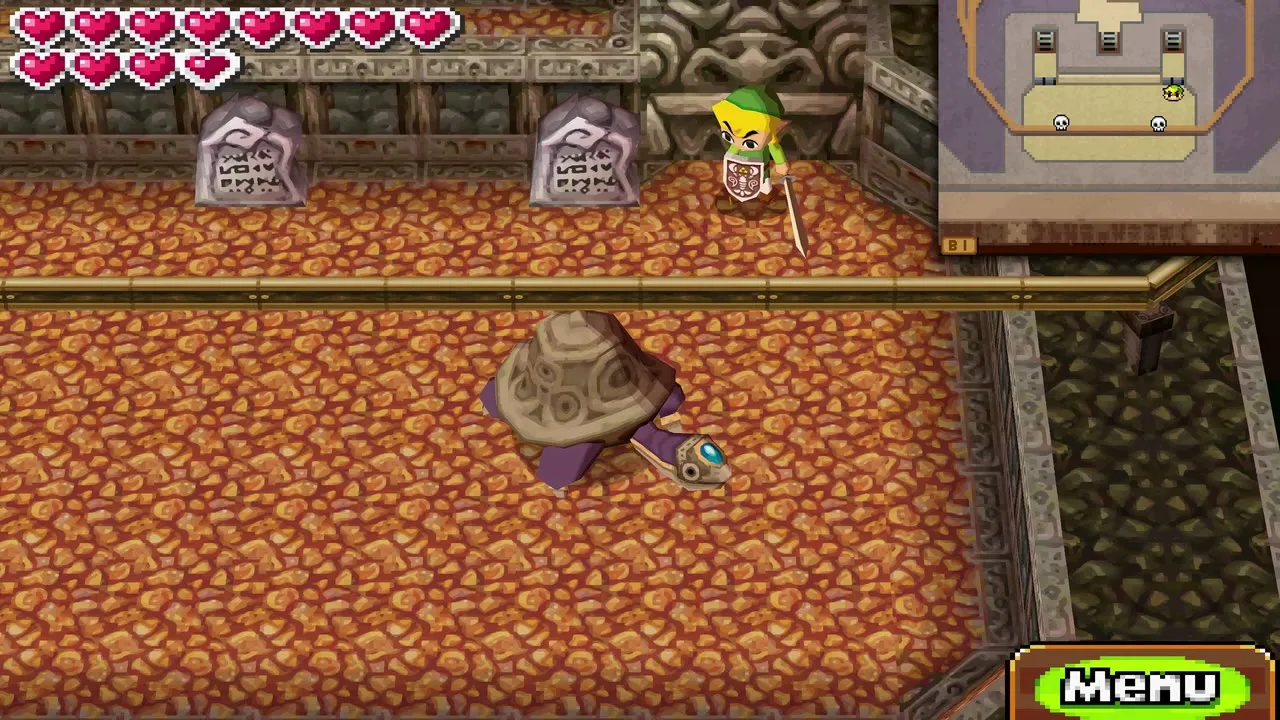
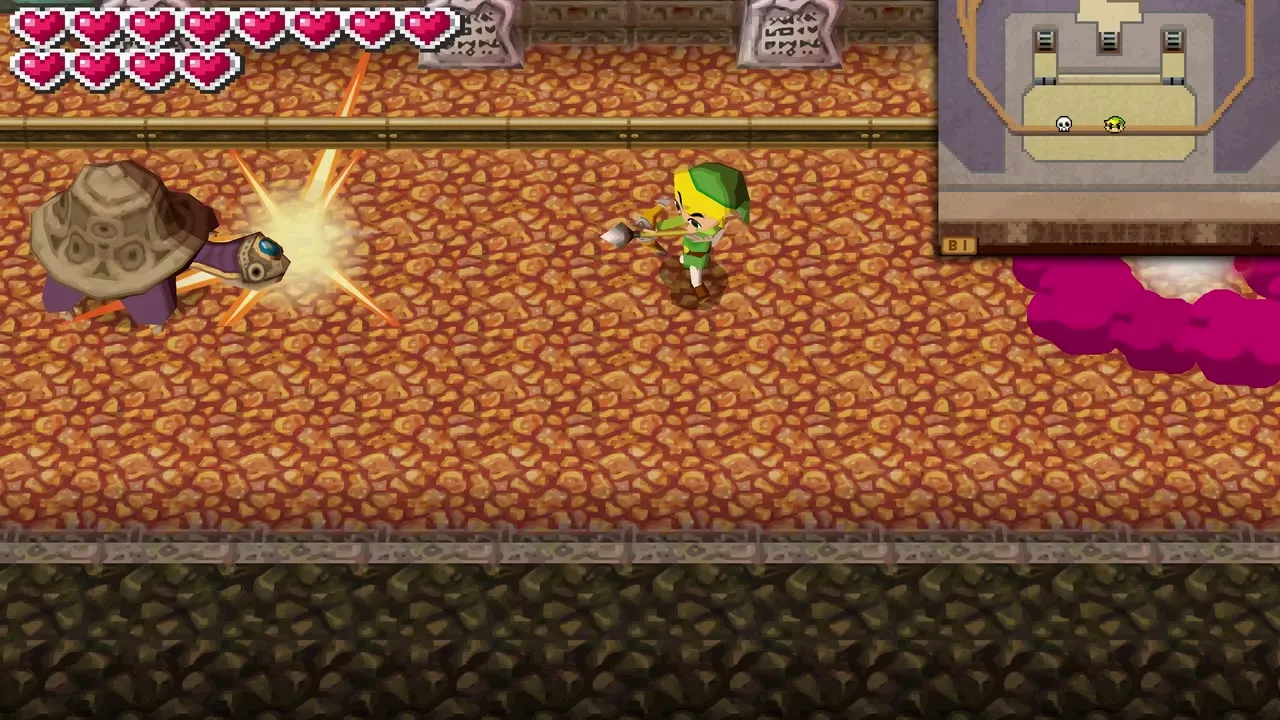
Carry fire from a Fire Keese to the two torches with the Boomerang. A lava platform drops onto a jet; cross it and head up to Basement 1. There you can shoot more Heatoises in the head with arrows, take the arrow nut in the bottom-left corner and open the treasure chest before returning down.
Third small key
Back on Basement 2, beat two Stalfos, step over the switch and fetch the arrow-aimer block to the north. Place it so an arrow hits the eye behind the door, press the switch and shoot the block to trigger that eye switch, which gives you a lava platform. Put the platform on the upper lava jet, carry the block upstairs, then hit the bottom-right crystal switch to extend a Whip pole. In the upper-right area, set both blocks on lava jets, put the platform on the left jet, turn the blocks to face one another and strike the crystal switch from the platform. Shoot the diagonal block, then shoot the eye to the left before the timer runs out. The chest beyond holds a small key. Drop down, Whip to the middle and climb to Basement 1.

Basement 1 carts and the Fire Temple stamp
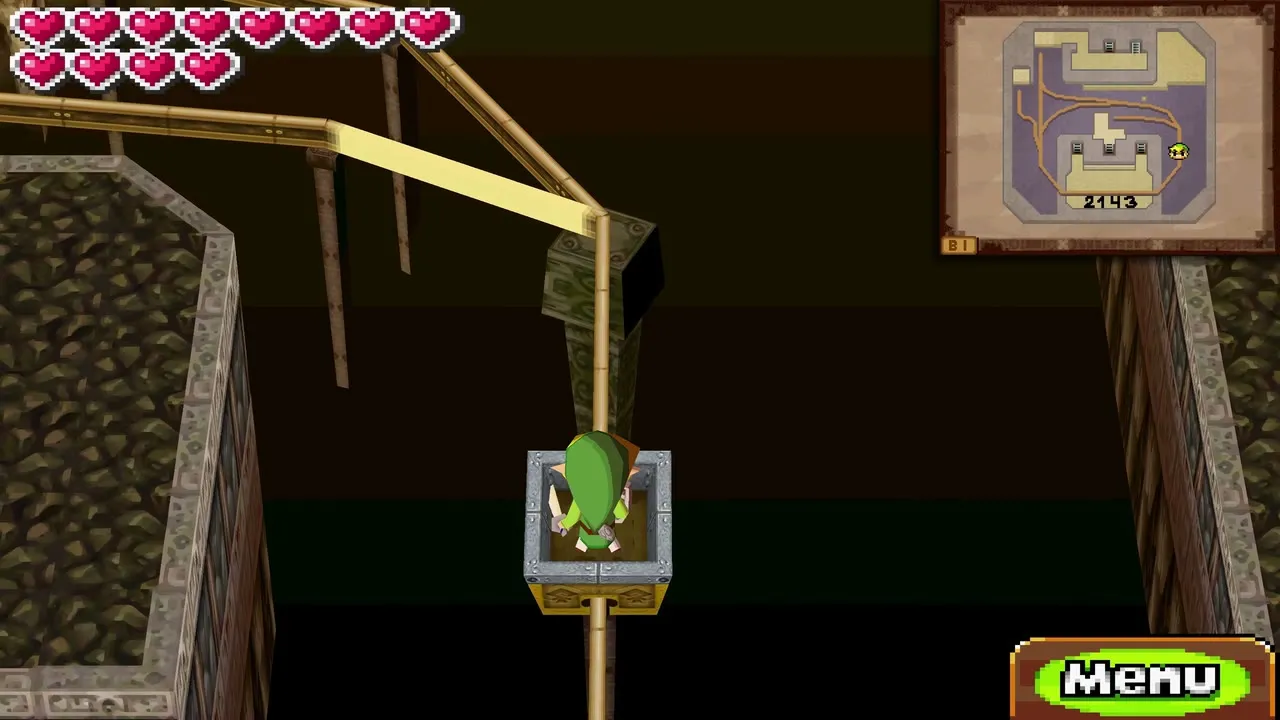
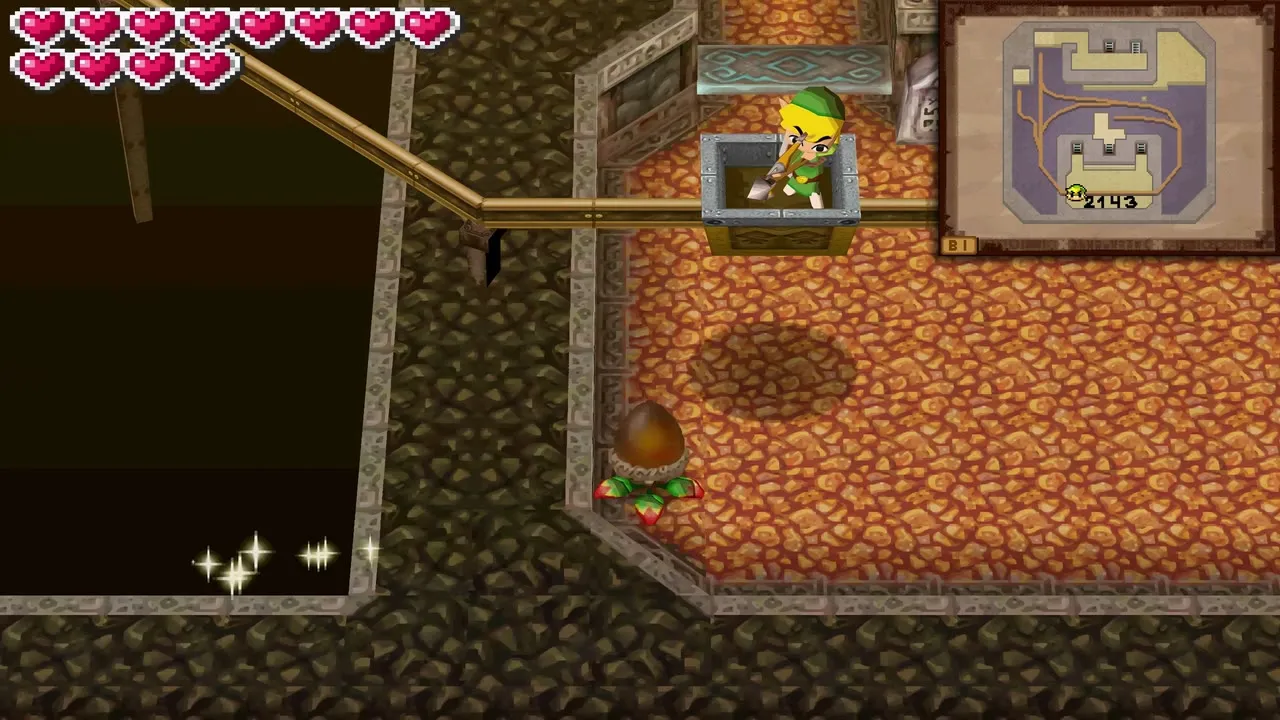
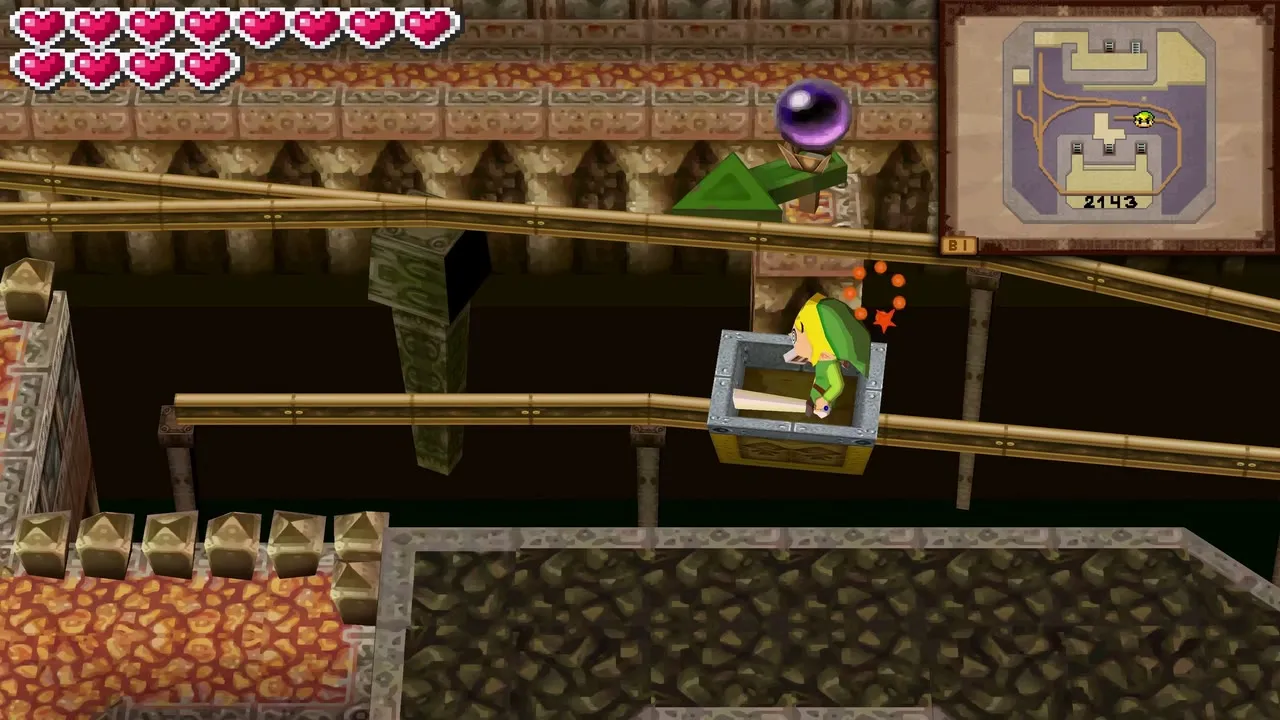
Ride the cart and hit the switches in order
Open the left door with the small key, refill from the arrow nut and ride the mine cart. Hit the four switches in the order 2, 1, 4, 3 as the cart passes them.
Fire Temple stamp
Before heading down, return to the cart and shoot the hidden crystal switch in the bottom-left corner with an arrow; the Boomerang is too slow. This opens the stamp station, so stamp your book here, then take the stairs down.

Basement 3 and the Boss Key
Bomb the boulder for a platform
Read the sign on the left and note the switch order it shows. Pick up the bomb flower, hop right and bomb the giant boulder: it becomes a lava platform. Put the platform on the jet and board the mine cart.
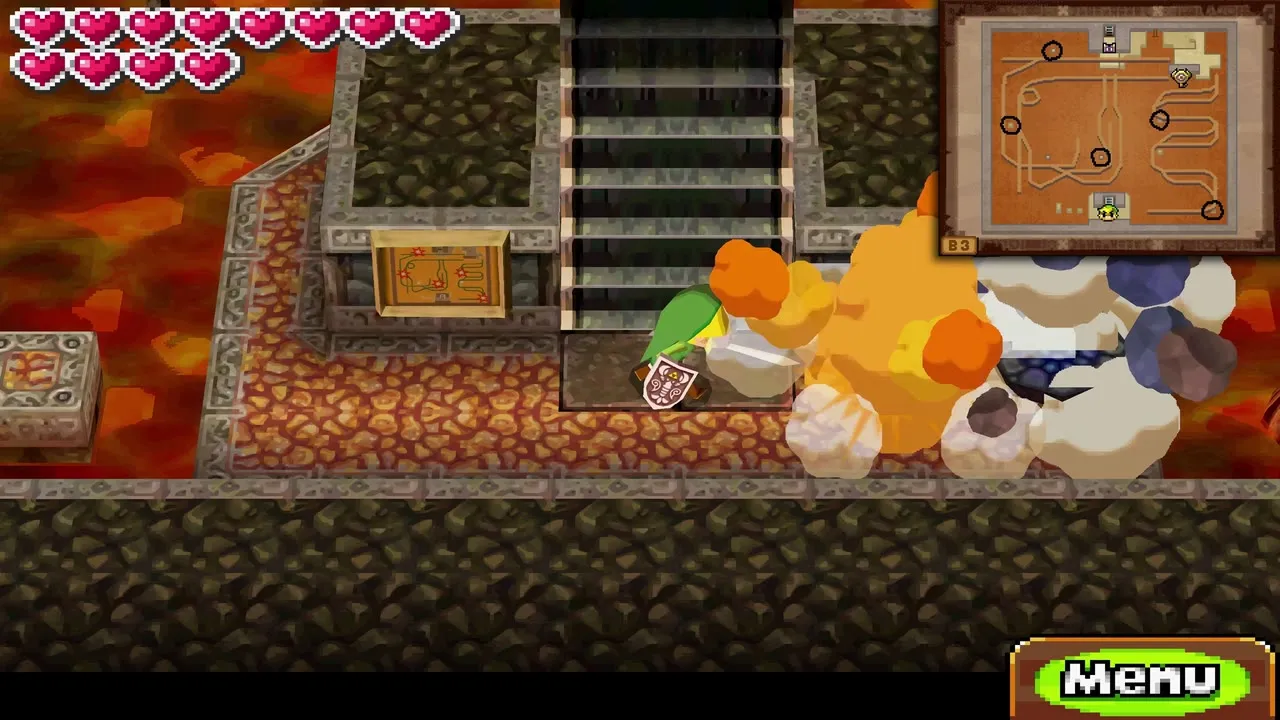

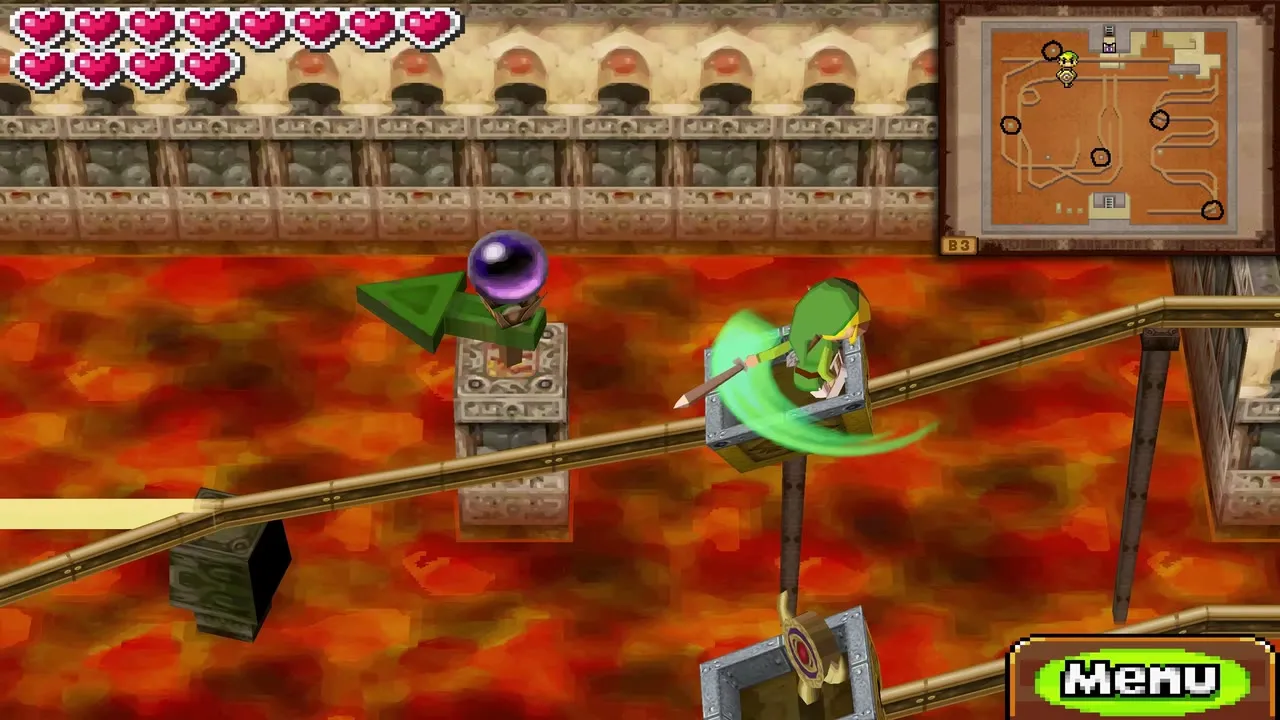
Carry the Boss Key by cart
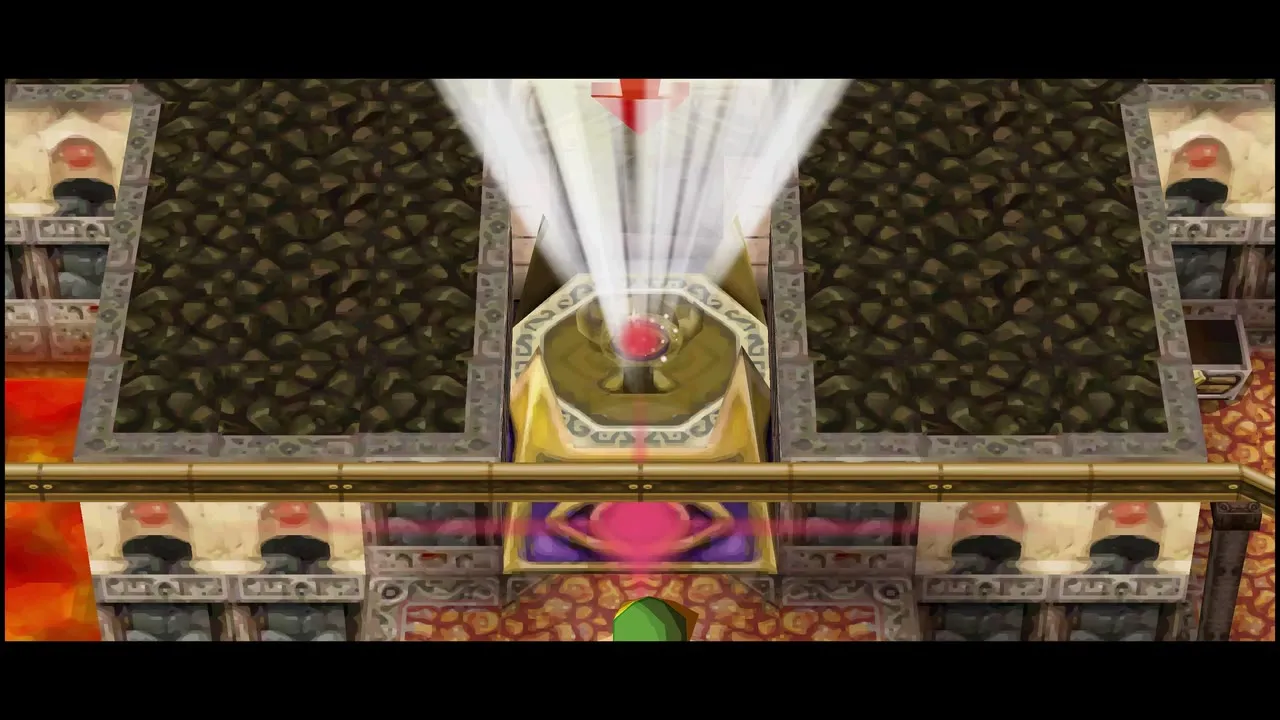
Hit the switches in your noted order. At the platform with a sign about carrying the Boss Key, go down the stairs first and Whip across to a treasure chest, then come back. Use the Whirlwind to blow the Boss Key into the upper cart, board the other cart and both start moving. Hit the switches in the order on the sign to the left of the stairs, so you and the key reach the big lock at the same time. Take the stairs down and read the sign, which creates a warp back to the entrance, then go up to the boss door.



Cragma boss fight
Opening and the boulder platform
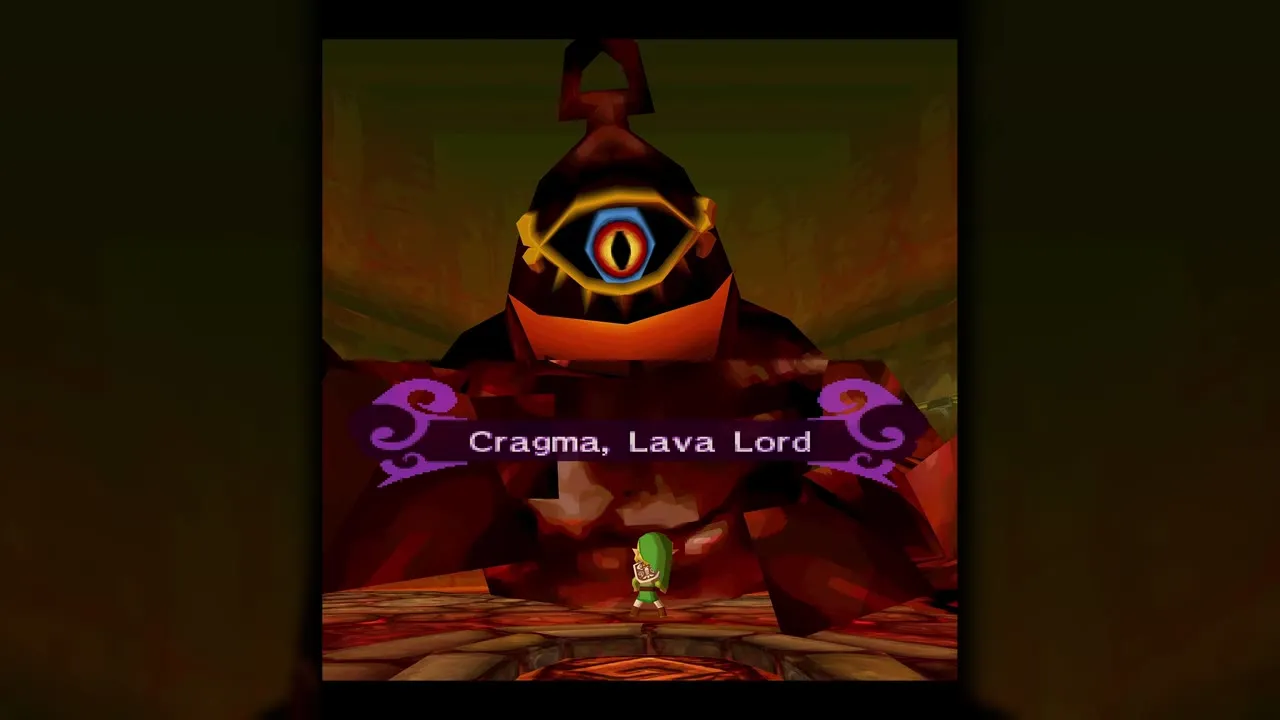
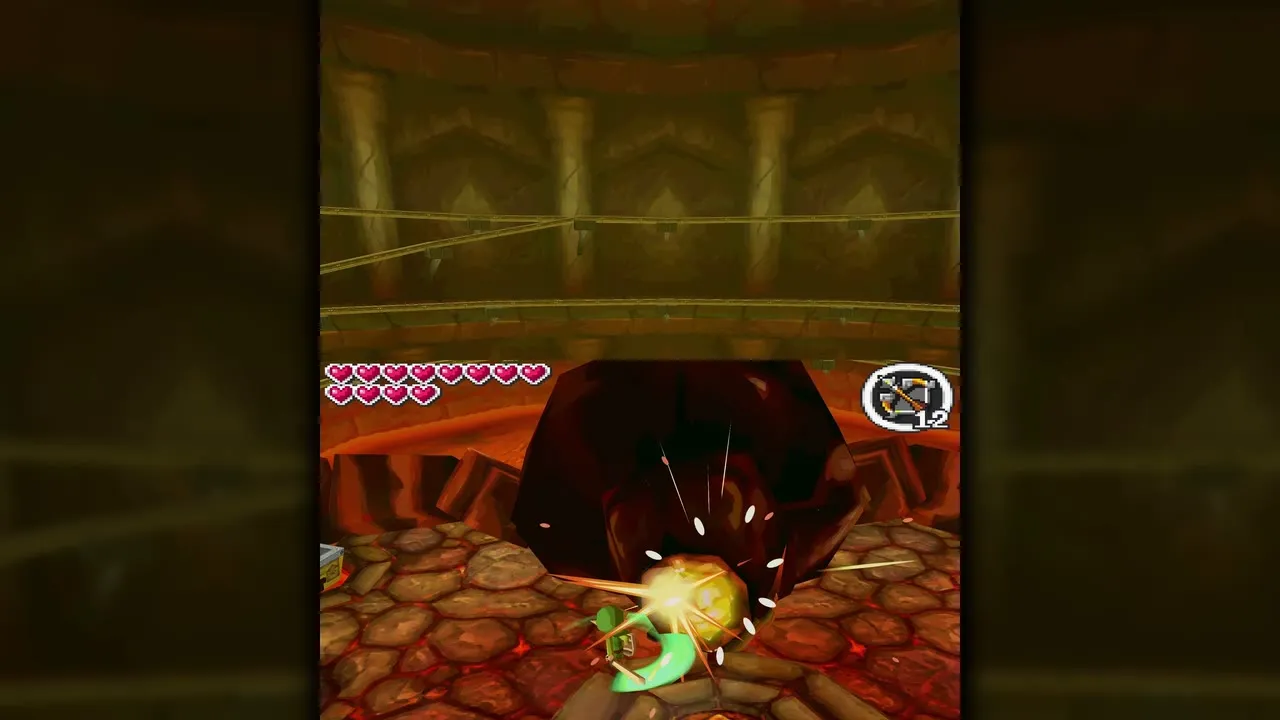
Cragma is a lava giant with one eye. He starts by smashing his right fist at you, and a glowing spot appears low on his body as he does. Shoot it with an arrow. He answers by slamming both fists, and a flaming boulder and smaller rocks fall; stand near the boulder so his fist smashes it, then dodge at the last moment. The flattened boulder becomes a platform you can carry. Pick up arrows from the falling rocks.
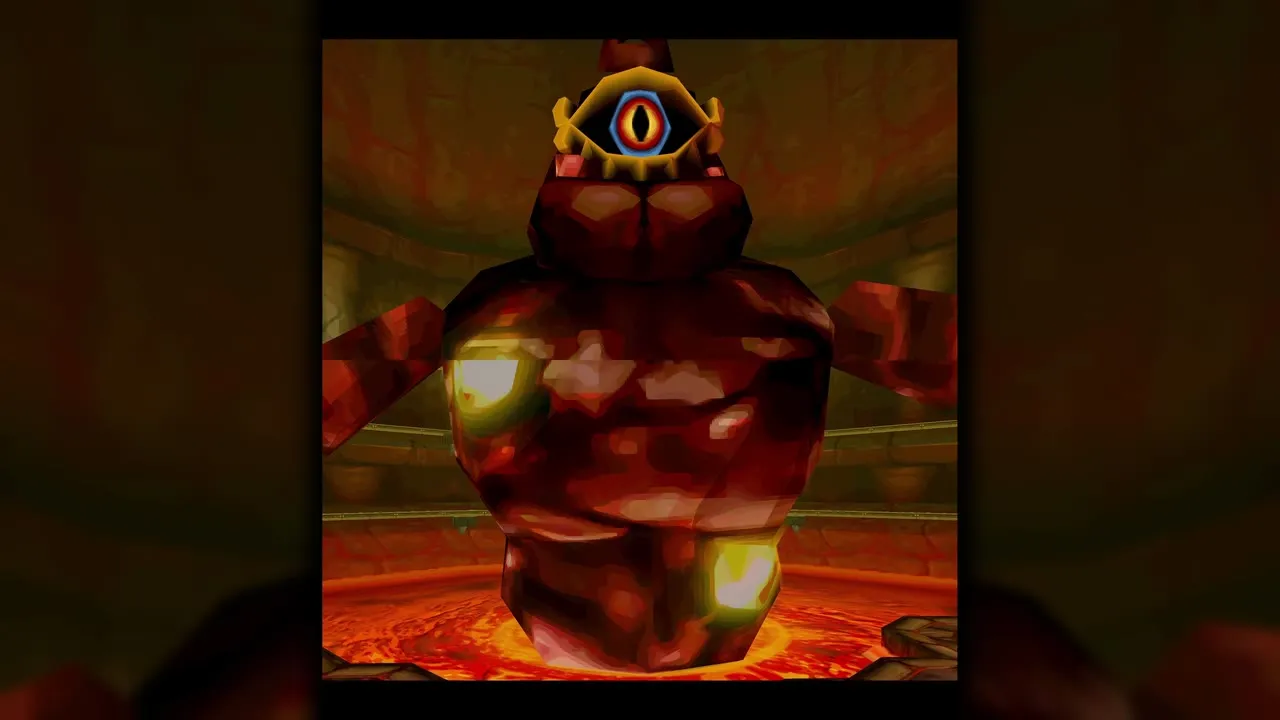

Ride the cart and shoot his weak spots
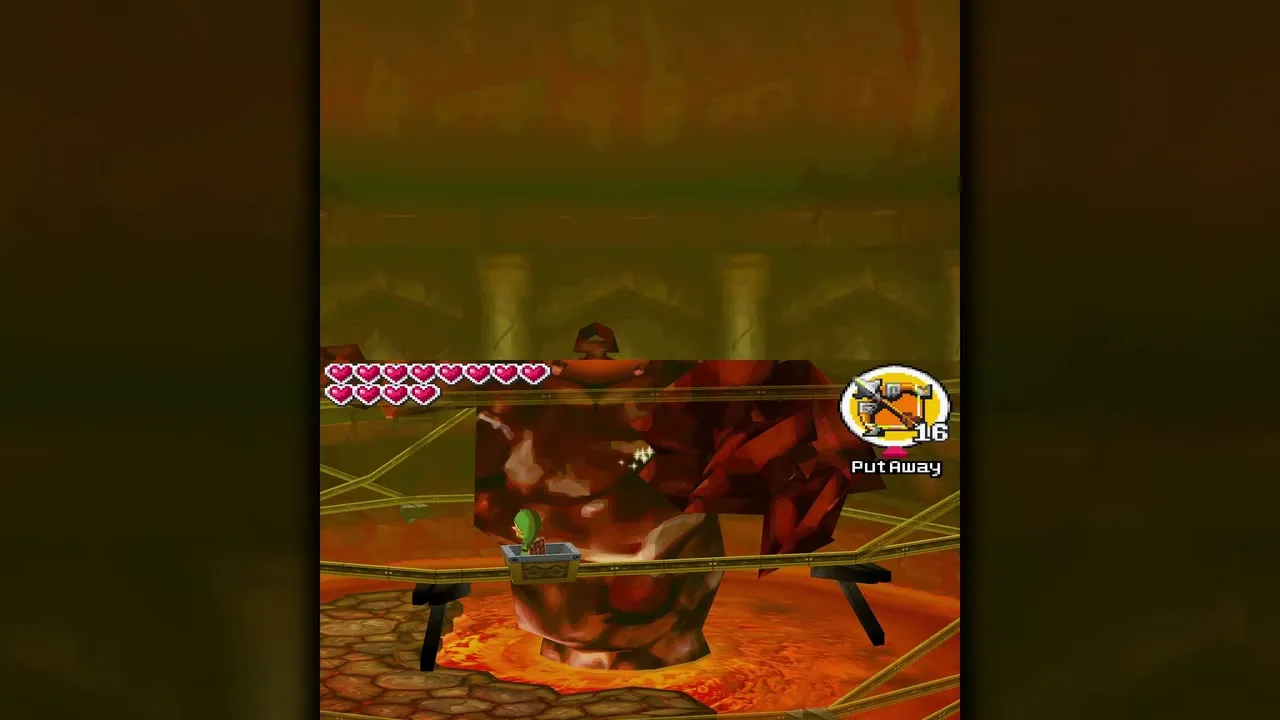
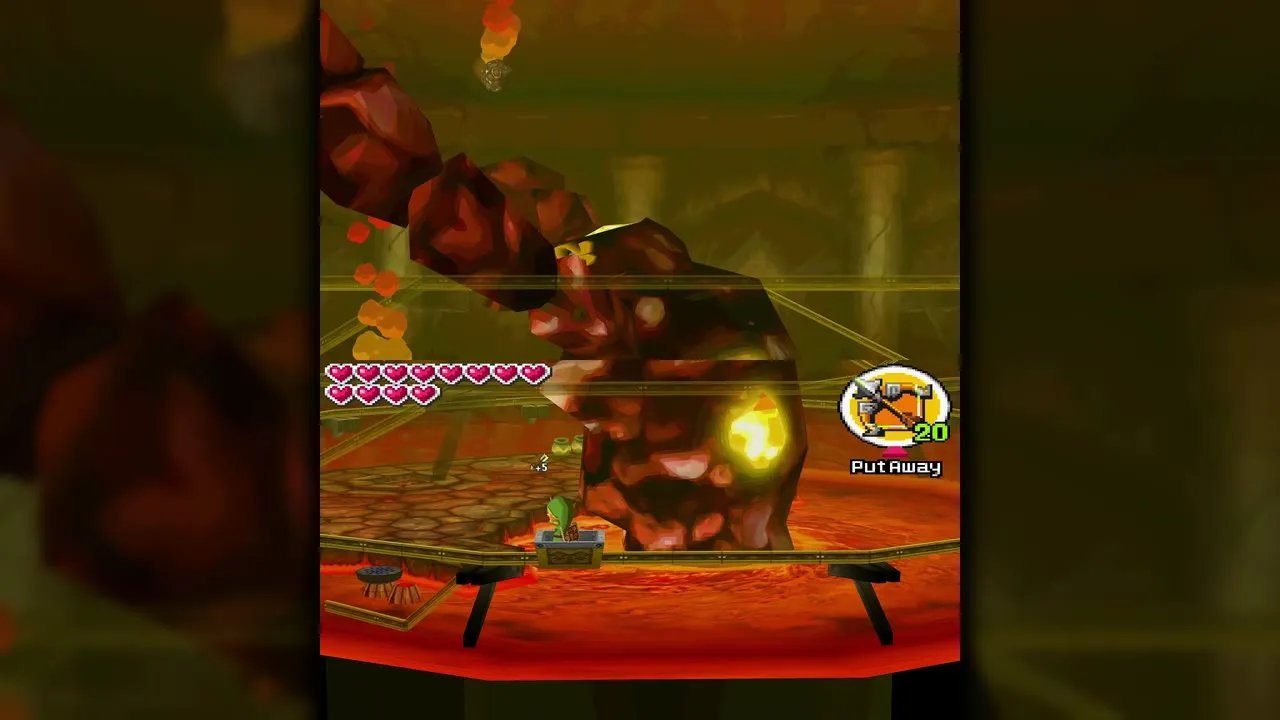
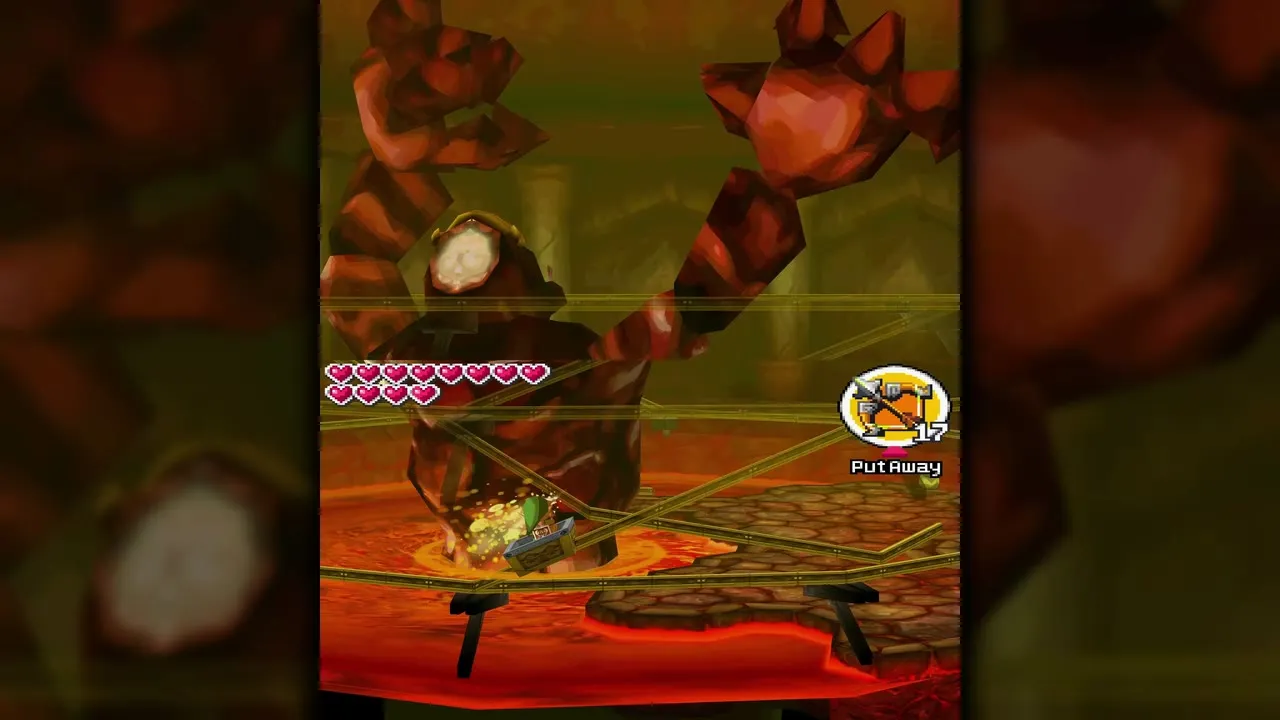
Carry the platform to the patch of lava on the right and jump into the mine cart. It spirals around Cragma. Shoot each glowing weak spot you pass. Once you have hit every weak spot on a level, the cart climbs one level higher. If you take too long, he grabs you and tosses you back to the bottom. On the third level, shoot his single eye and he collapses.
Slash the head and repeat
Hop out of the cart, run in and slash the glowing spot on top of his head until he recovers. Repeat the whole sequence (body shot, boulder platform, cart ride, eye shot, head slashes) at least three times until he is finished.
Heart Container, Force Gem and the Goron Quiver
Red Force Gem and Heart Container
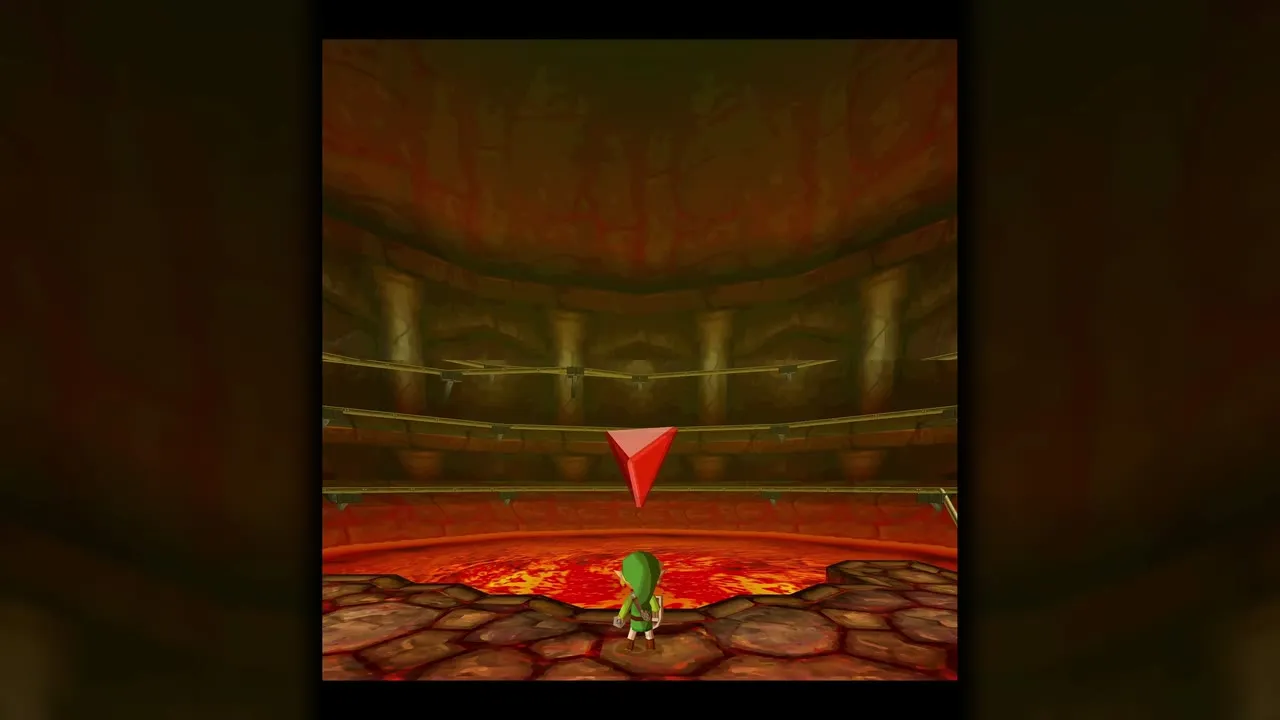
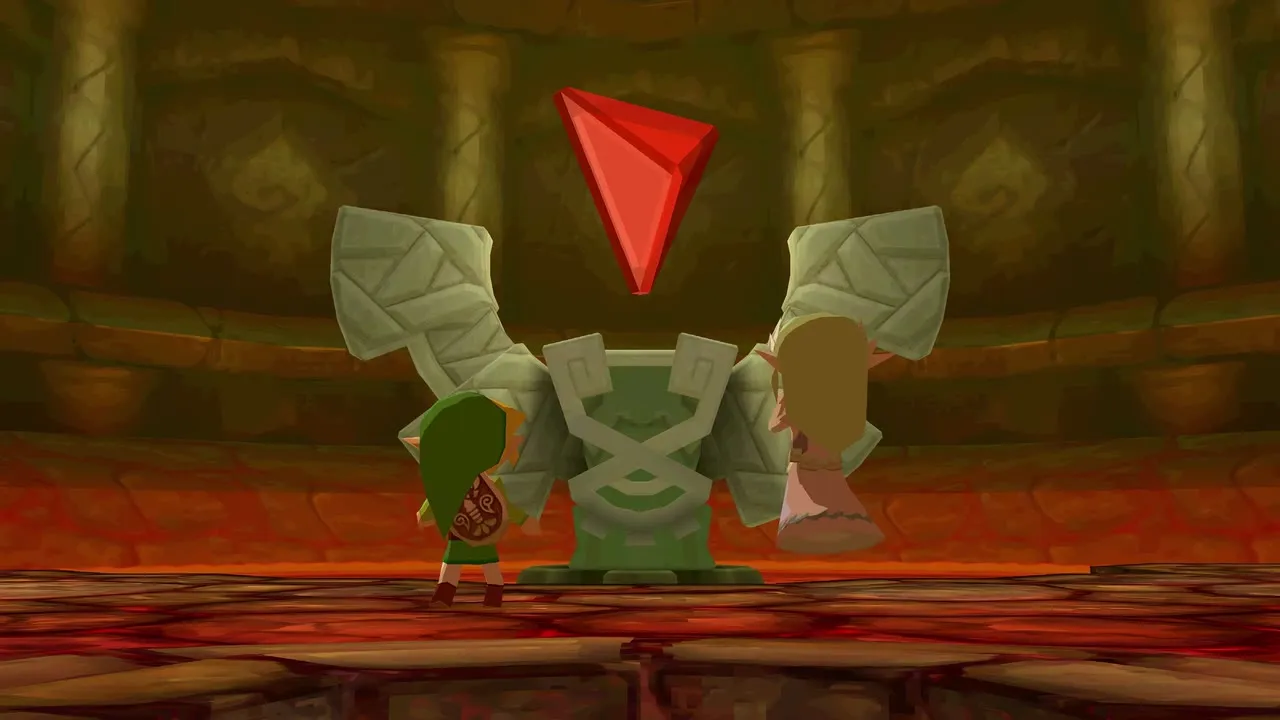
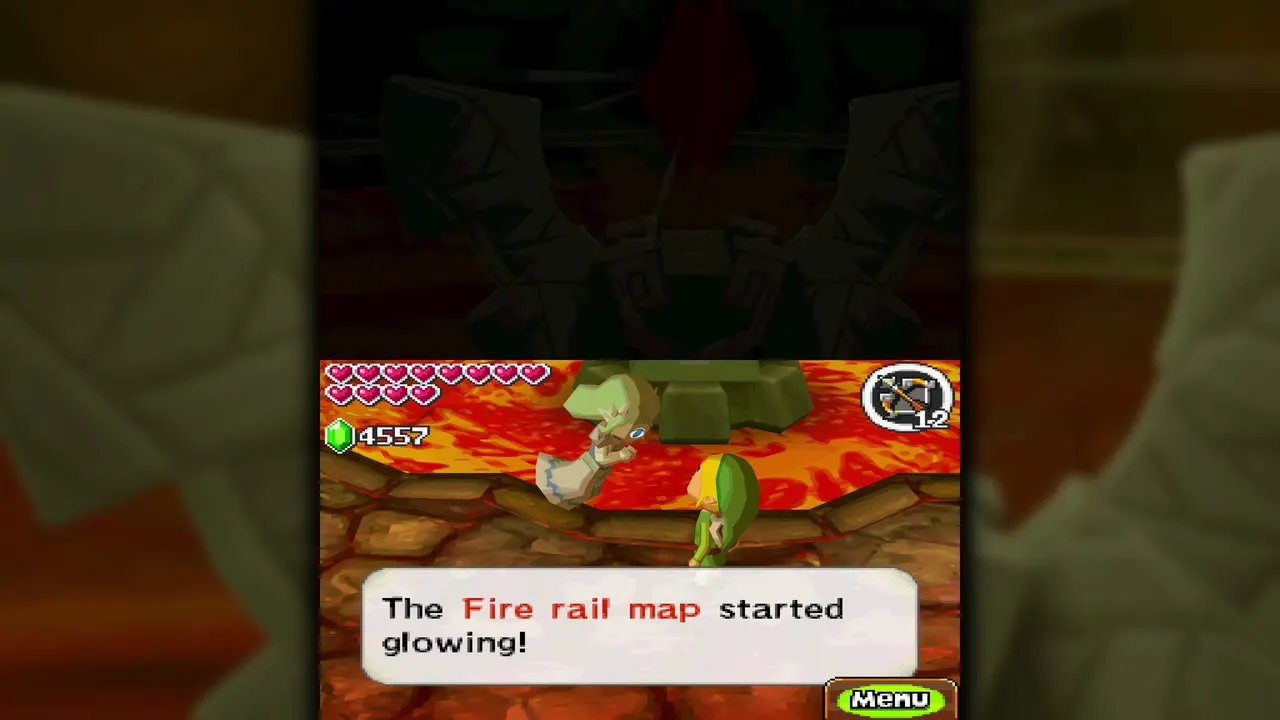
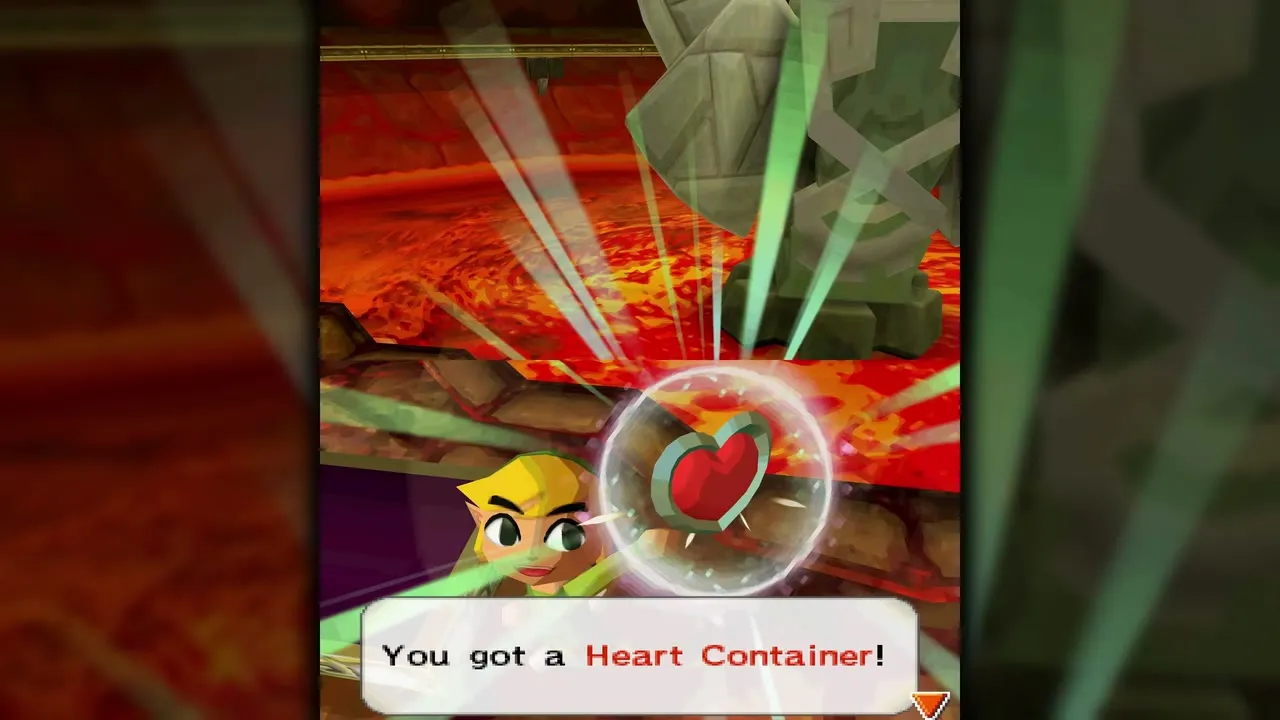
When Cragma falls, set the red Force Gem in the statue and a Heart Container rises from it. Take the Heart Container for a permanent extra heart. The Fire rail map lights up and the tracks between the Fire Realm and the Tower of Spirits are restored.
Buy the Quiver upgrade
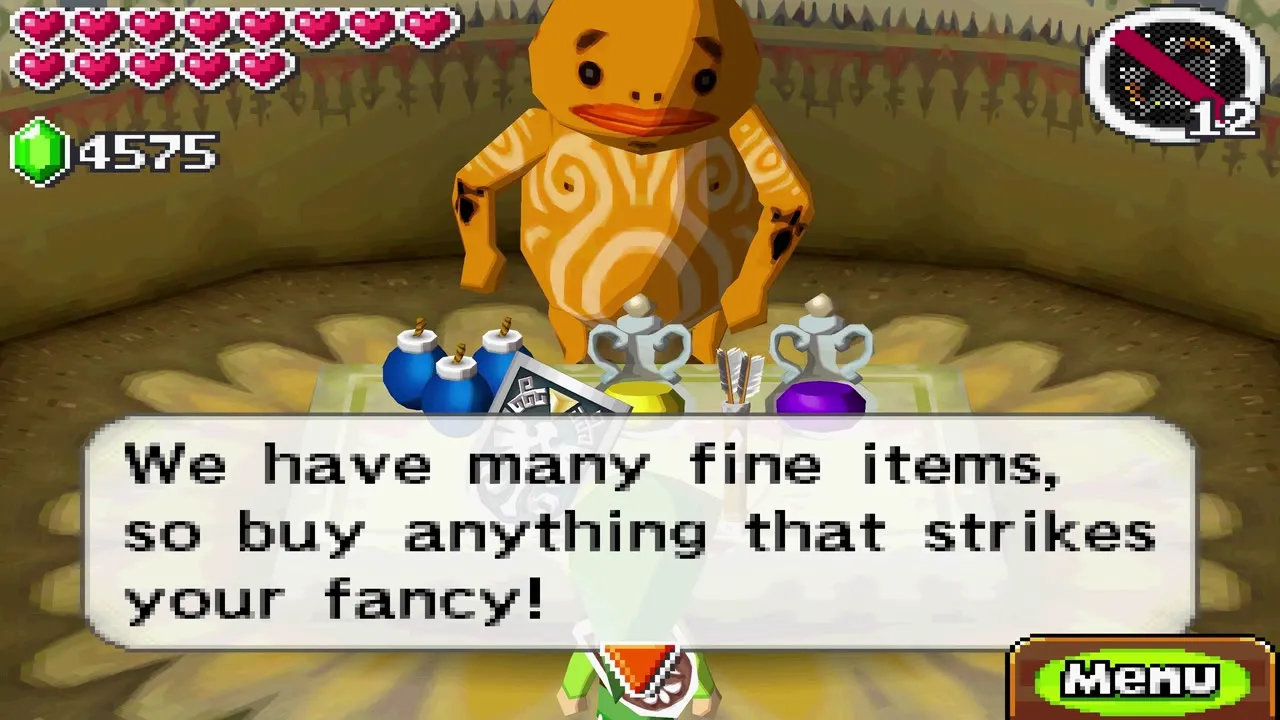
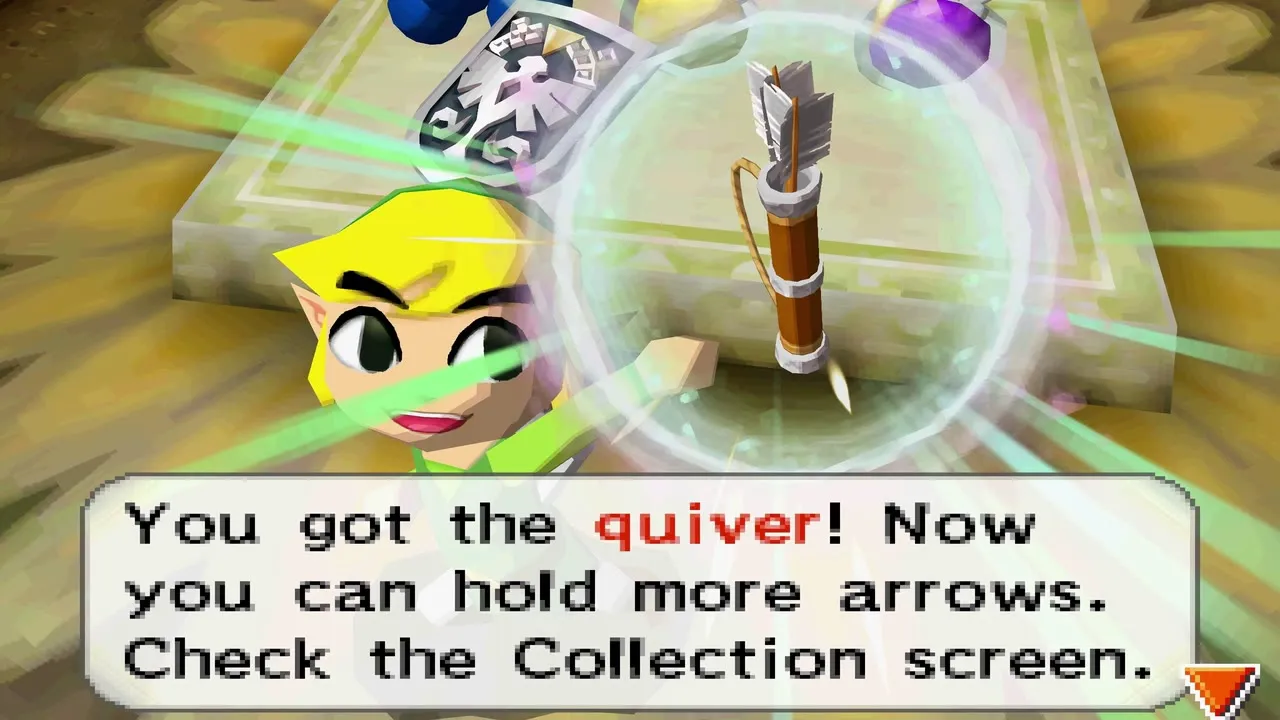
Ride to Goron Village and visit the Goron Country Store near the entrance. The Quiver upgrade costs 2,000 Rupees and can be bought only once; the shop also sells a Shield for 200 Rupees, far more than the 80 Rupees it costs in Castle Town. Buying the Quiver raises your arrow capacity to 30, and the shop then sells Prize Postcards at 100 Rupees in its place.
What the Fire Temple opens
Clearing this temple unlocks several Force Gem quests: the Goron who wants a ride to Anouki Village, the Goron Child who asks for Castle Town, and Niboshi’s Mega Ice delivery to Papuchia Village. They are covered in the side-quest pages. For the story, head back to the Tower of Spirits.

Chapter checklist
| Collectible | Type | Where |
|---|---|---|
| Bow and Arrows | Item | Chest after Heatoise, Floor 2 |
| Quiver upgrade (30) | Upgrade | Goron Country Store, 2,000 Rupees |
 Small keys | Key | Floor 1, Floor 2, Basement 2 chests |
| Boss Key | Key | Basement 3, carried by cart |
| Fire Temple stamp | Stamp | Basement 1, hidden switch near the cart |
| Random treasure | Treasure | Chests on Floors 1 and 2, Basements 2 and 3 |
 Red Potion | Potion | Chest on Floor 1 |
| Heart Container | Heart | Fire Temple, from the statue after Cragma |
| Red Force Gem, Fire Seal | Boss reward | Cragma |
With the Fire Realm tracks joined to the Tower of Spirits, your next stop is Tower of Spirits floors 18 to 23 and Byrne.
