
























| Story bosses | Every story battle after the opening tutorial, To the Great Plateau, features a boss or a group of powerful enemies |
|---|---|
| Archfiends | 4: Grimgera, Grimtorok, Grimgohma and Grimgibdo, fought several times each |
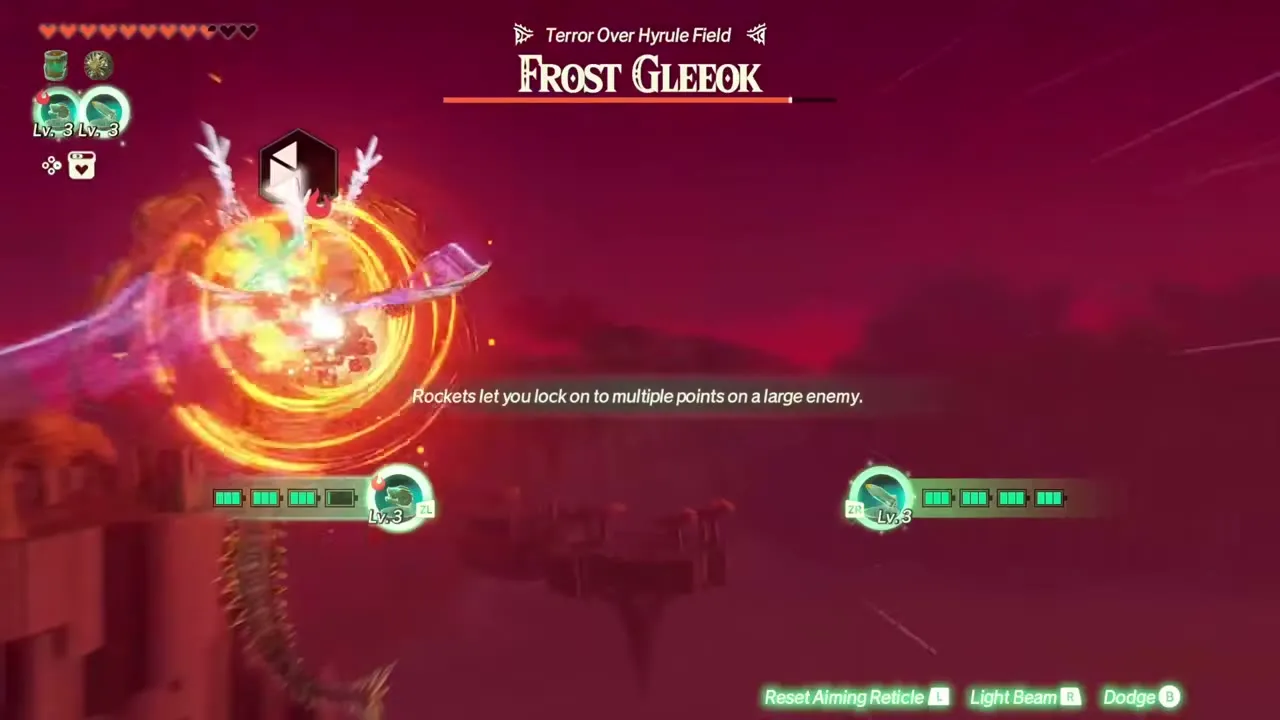
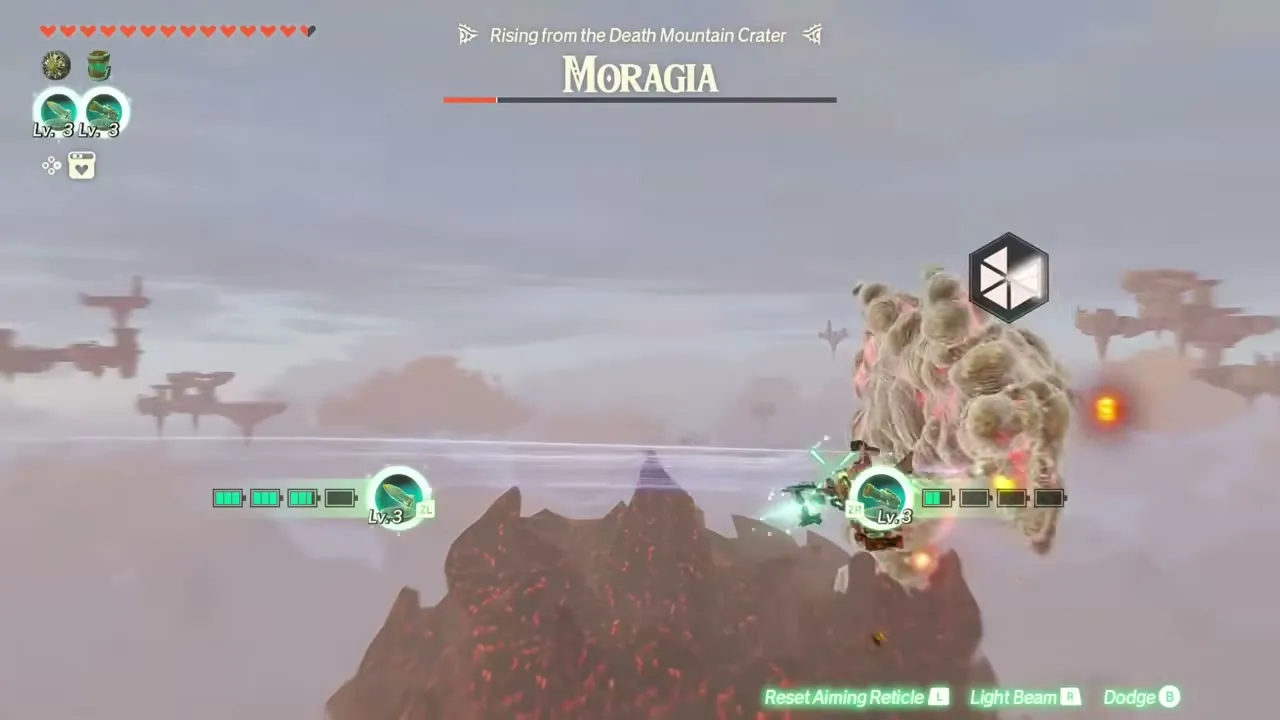
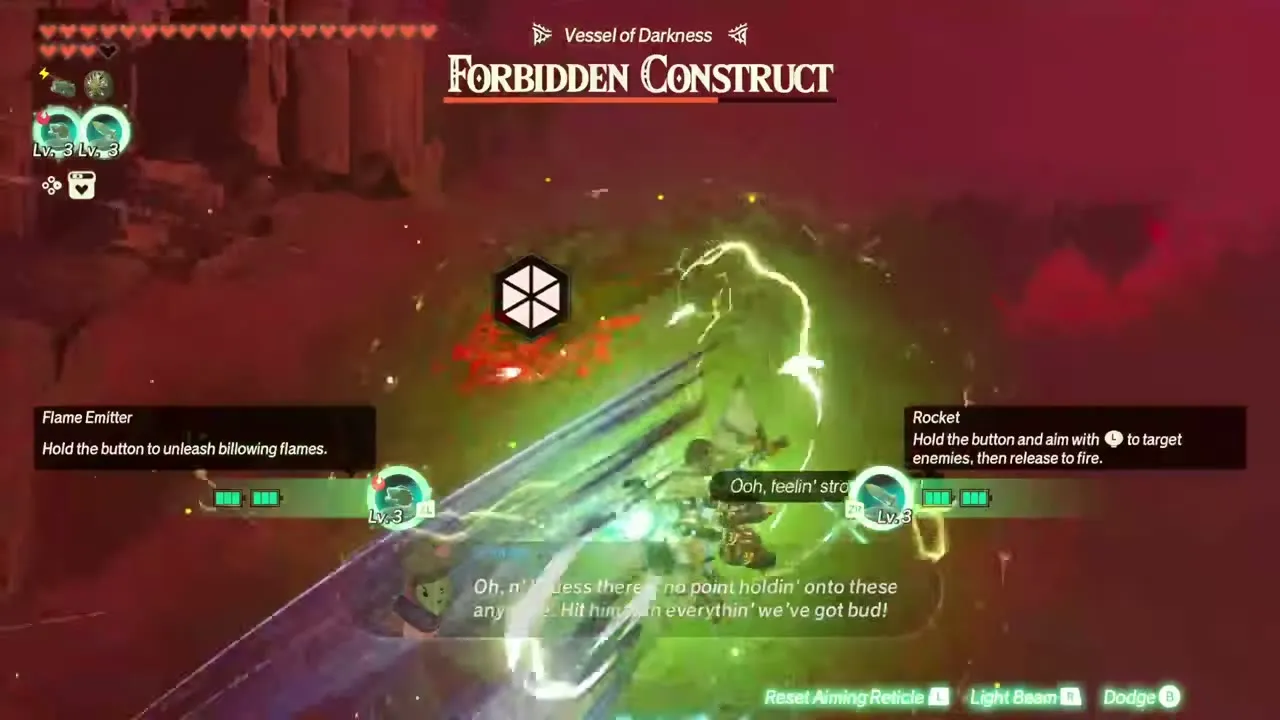
| Flight-mode bosses | 4: Frost Gleeok, Moragia, King Gleeok and the Forbidden Construct’s air phase |
| Final bosses | Demon King Ganondorf in The Final Confrontation, then the Forbidden Construct in A Clash of Constructs |
| Main weak point rule | Empty the Weak-Point Gauge, then press X for a Weak-Point Smash |
| Rematch challenge | The Archfiend Quartet (Lv 80), built around the four Archfiends |
Boss fights in Age of Imprisonment are won by draining a boss’s Weak-Point Gauge and finishing it with a Weak-Point Smash, and almost every boss has a weakness or a covering you must strip first. The four Archfiends (Grimgera, Grimtorok, Grimgohma and Grimgibdo) come back several times, Demon King Ganondorf and the Phantom Ganons fall to light, the Gleeoks, Moragia and the Forbidden Construct’s second phase are flight-mode fights won with Zonai devices, and the early chapters hand you smaller set-piece bosses such as Agraston, Ardi, the Lynels and the Flux Construct.
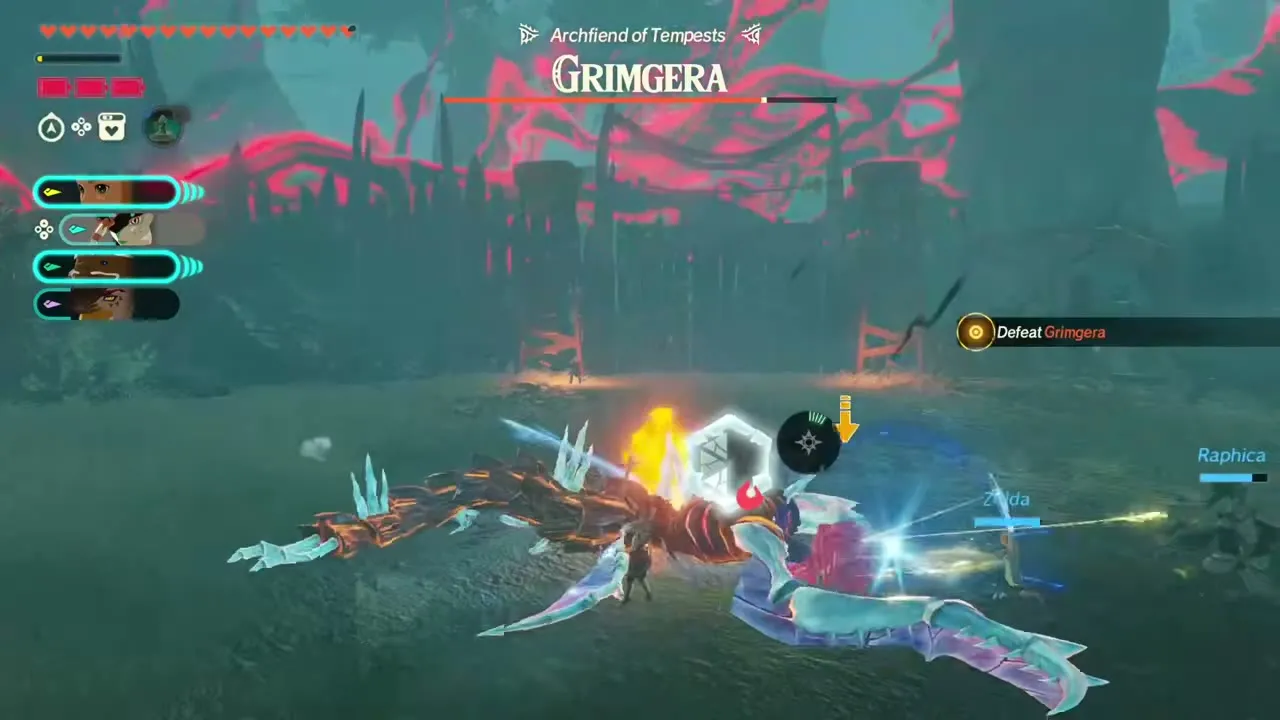
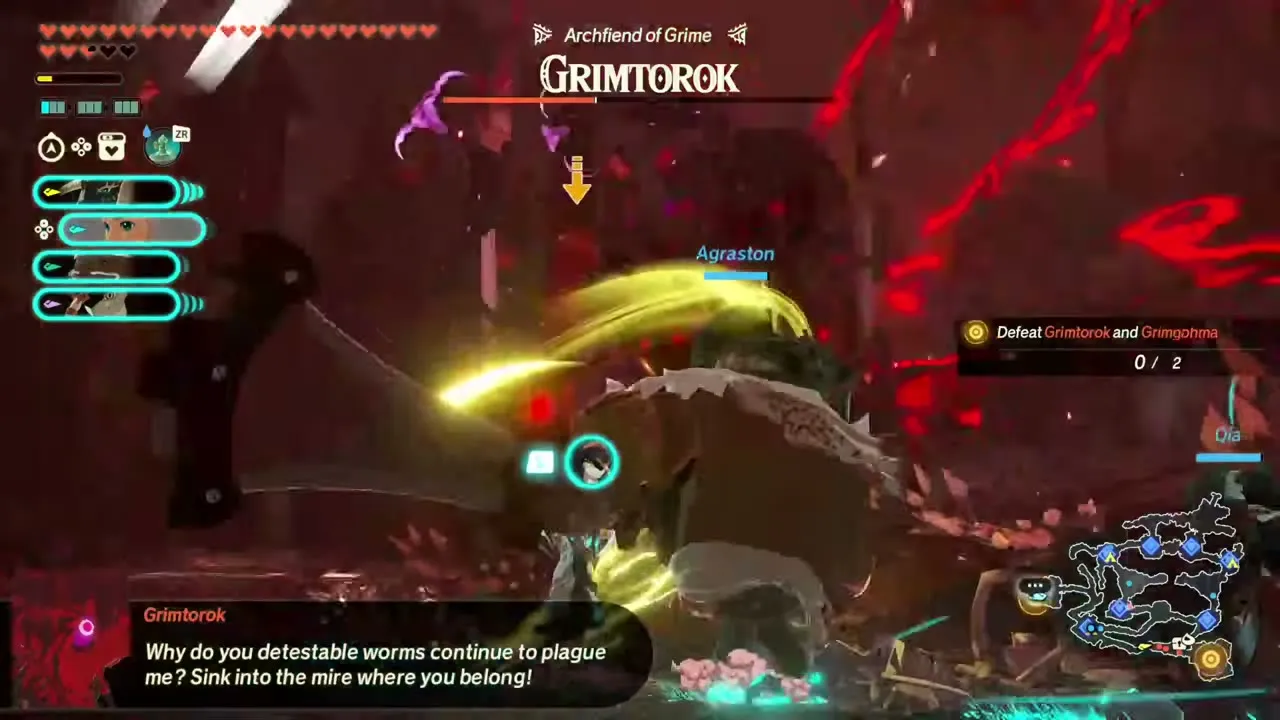
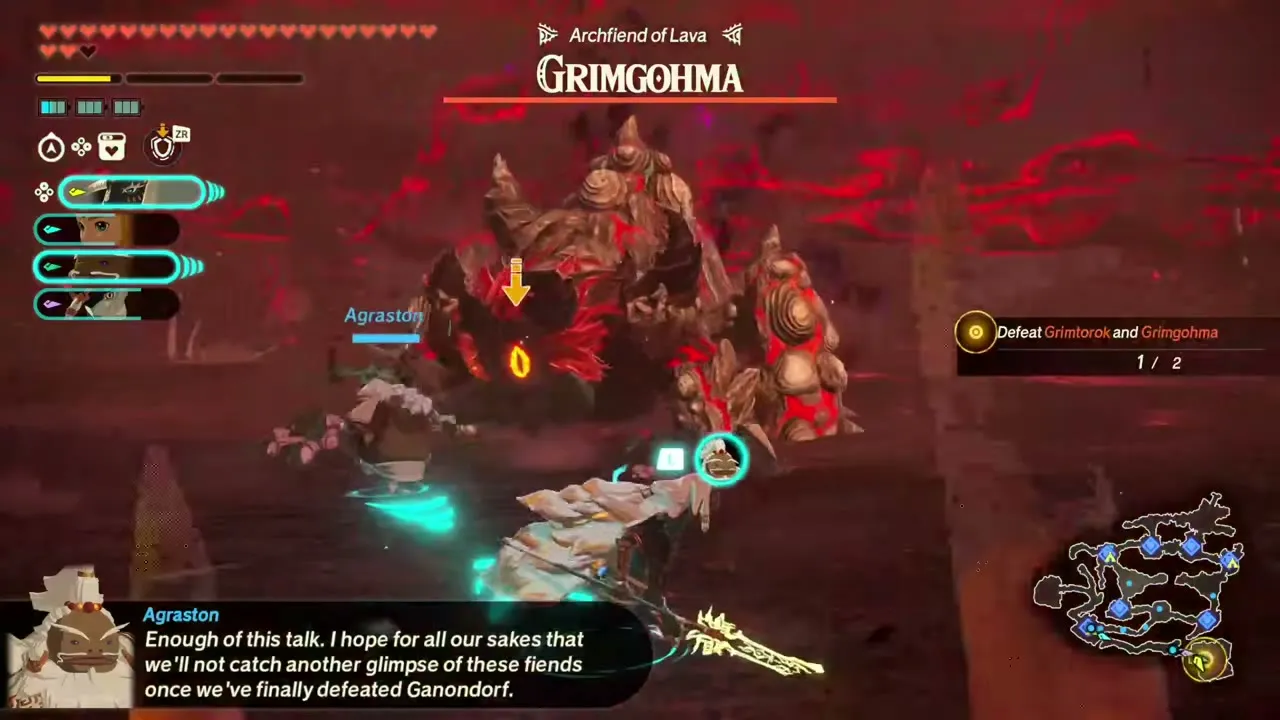
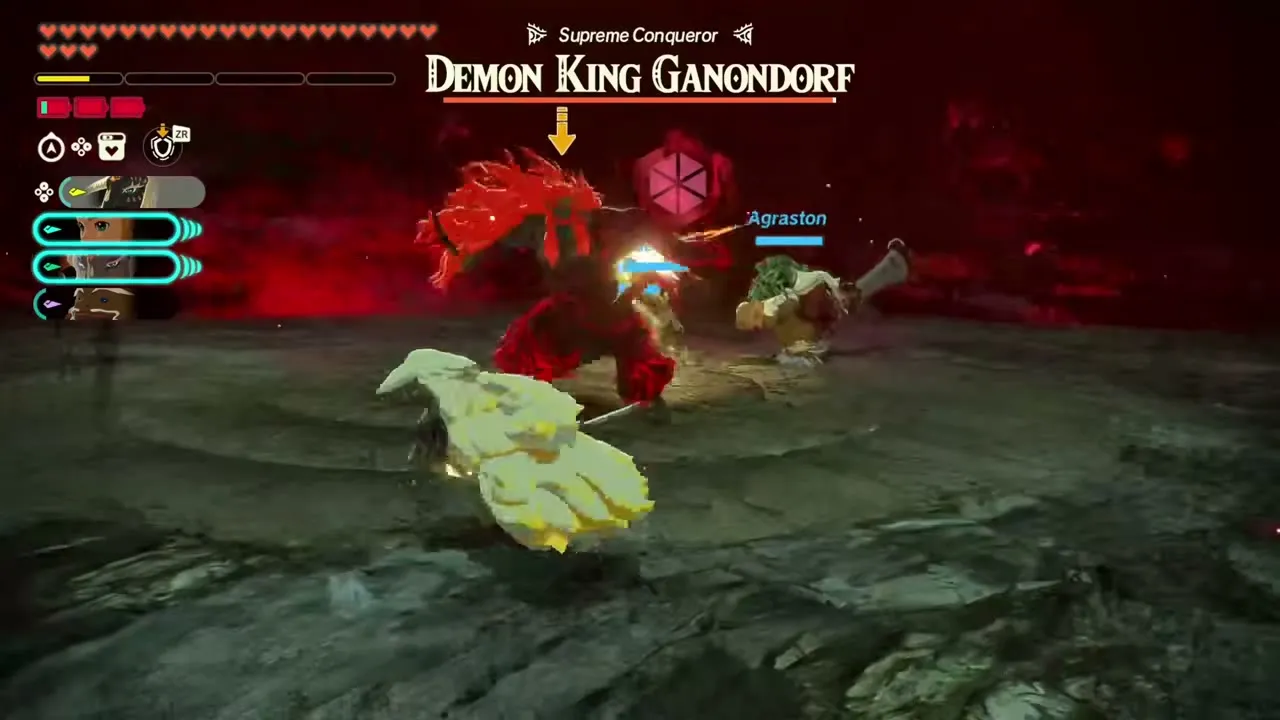
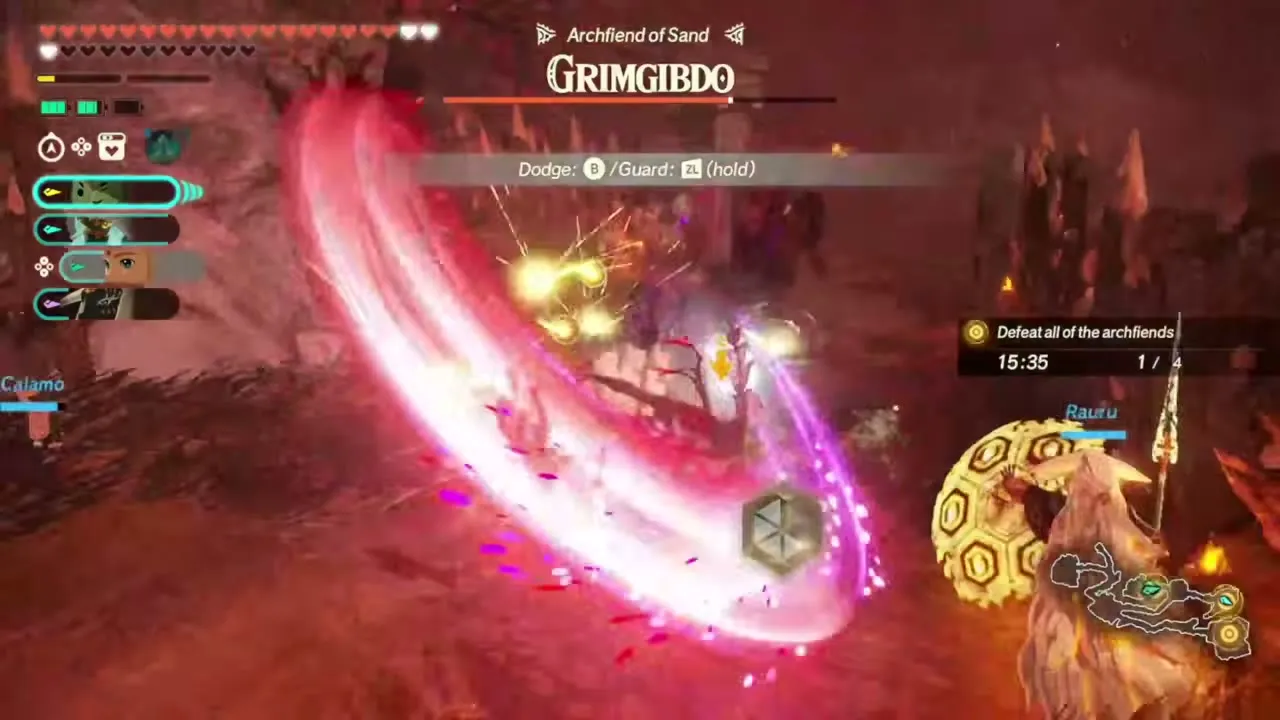
Table of Contents
How boss fights work
The Weak-Point Gauge and Weak-Point Smash
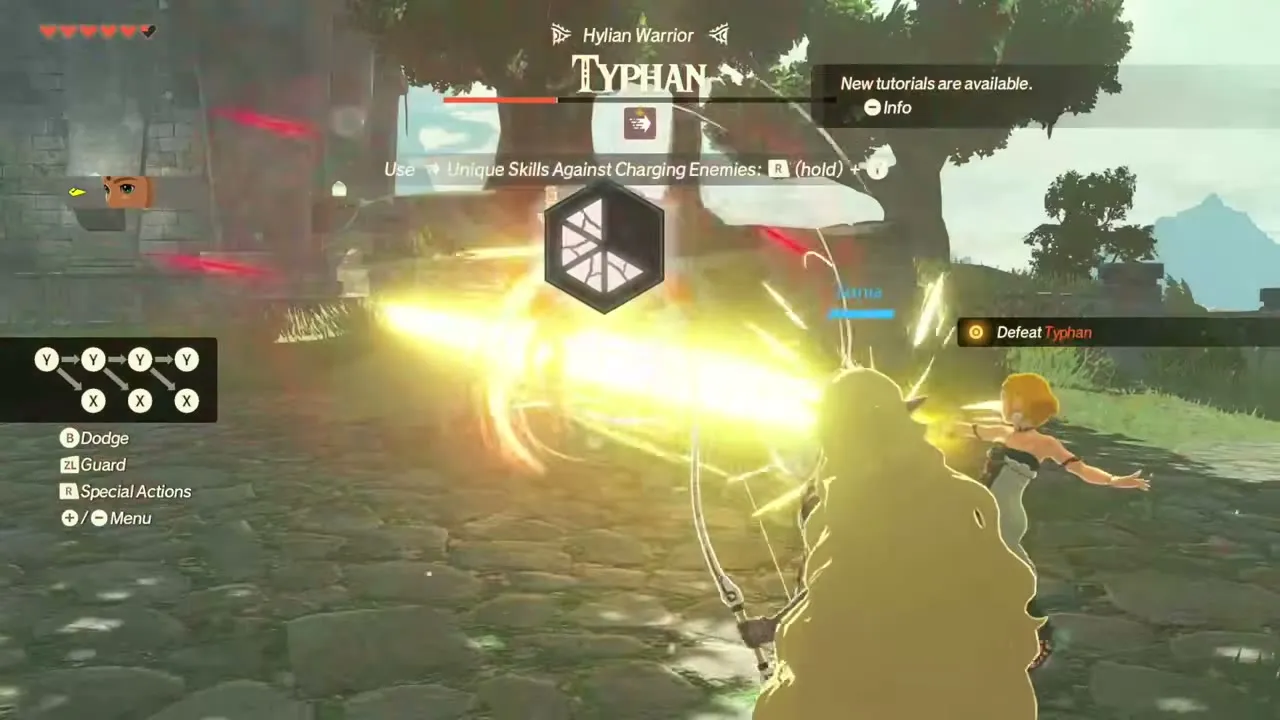
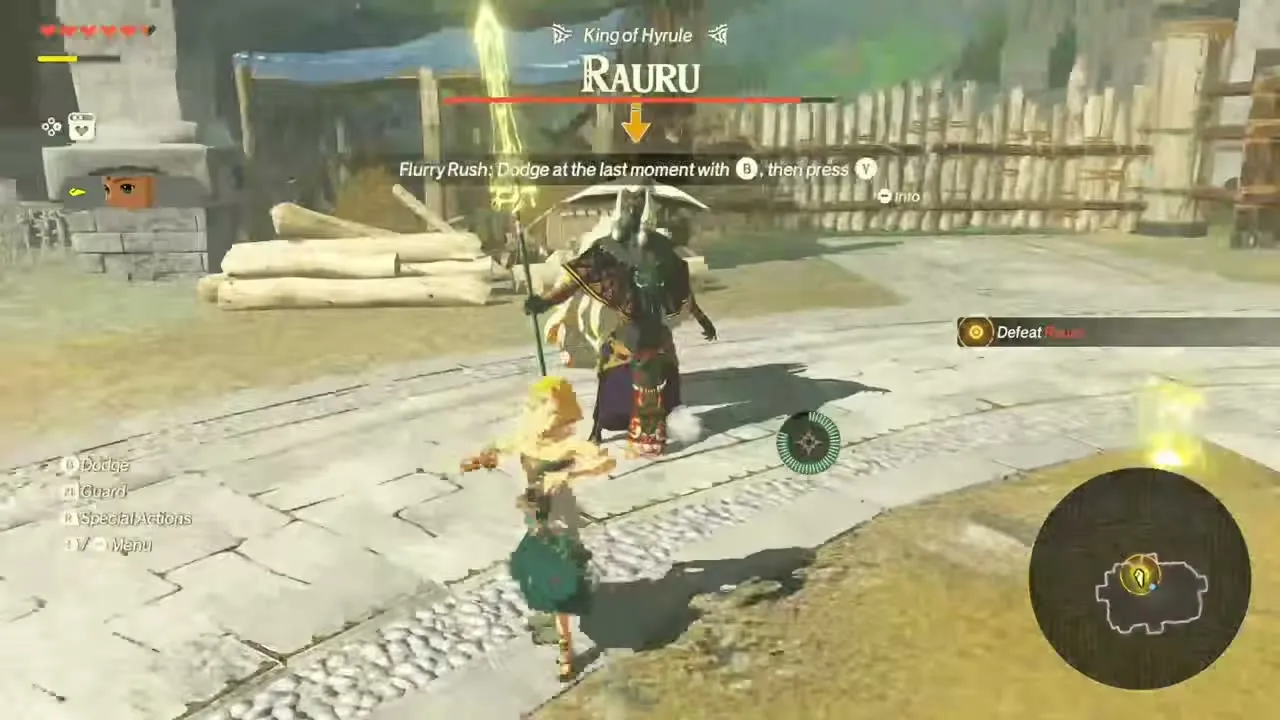
Bosses carry far more health than ordinary enemies, so the fastest way to hurt them is to open their Weak-Point Gauge. You expose it with a Unique Skill, by countering a red-flashing Dangerous Attack, or by landing a Flurry Rush after a perfect dodge. Keep hitting while the gauge is out, because it hides again after a few seconds, and when it is empty press X for a Weak-Point Smash, which deals heavy damage. Sync Strikes and Special Attacks also open or drain the gauge, so hold them for bosses rather than spending them on crowds.
Countering Dangerous Attacks
Strong attacks are telegraphed by a red flash and a short slowdown. Answer each with the matching skill type: a Rush skill against a charge, a Shield skill against a shield attack, an Air skill against a leap or flying attack and a Projectile skill against anything fired at you. A correct counter staggers the boss and opens its gauge, which is why a mixed party of fighters with different skills handles bosses better than one favourite warrior. Holding R slows time so you can pick the skill.
Weaknesses and coverings
Many bosses wear a covering that must be stripped before they take normal damage: ice or sand over the Archfiends, sludge over Grimtorok, stone shells over Grimgohma. Each covering has a matching counter. Sludge-covered foes are weak to water, sand-covered foes to wind, armoured and stone foes to shield-breaking moves, fire foes to ice and water, ice foes to fire, and gloom foes, Shades and Stal-type enemies to light. Once you have found a boss’s weakness, it shows under its name while you hold R. Unique Skills and Zonai devices tied to the right element are the quickest route, as the table below shows. See Enemies for the weaknesses of every regular foe.
| Element | Zonai device | Warriors with a matching Unique Skill |
|---|---|---|
| Fire |  Flame Emitter |  Agraston,  Calamo |
| Water | Hydrant |  Qia, Calamo |
| Ice |  Frost Emitter | Calamo |
| Wind |  Fan |  Raphica, Calamo |
| Lightning |  Shock Emitter |  Ardi, Calamo |
| Light | None | Zelda, Rauru |
Flight-mode bosses
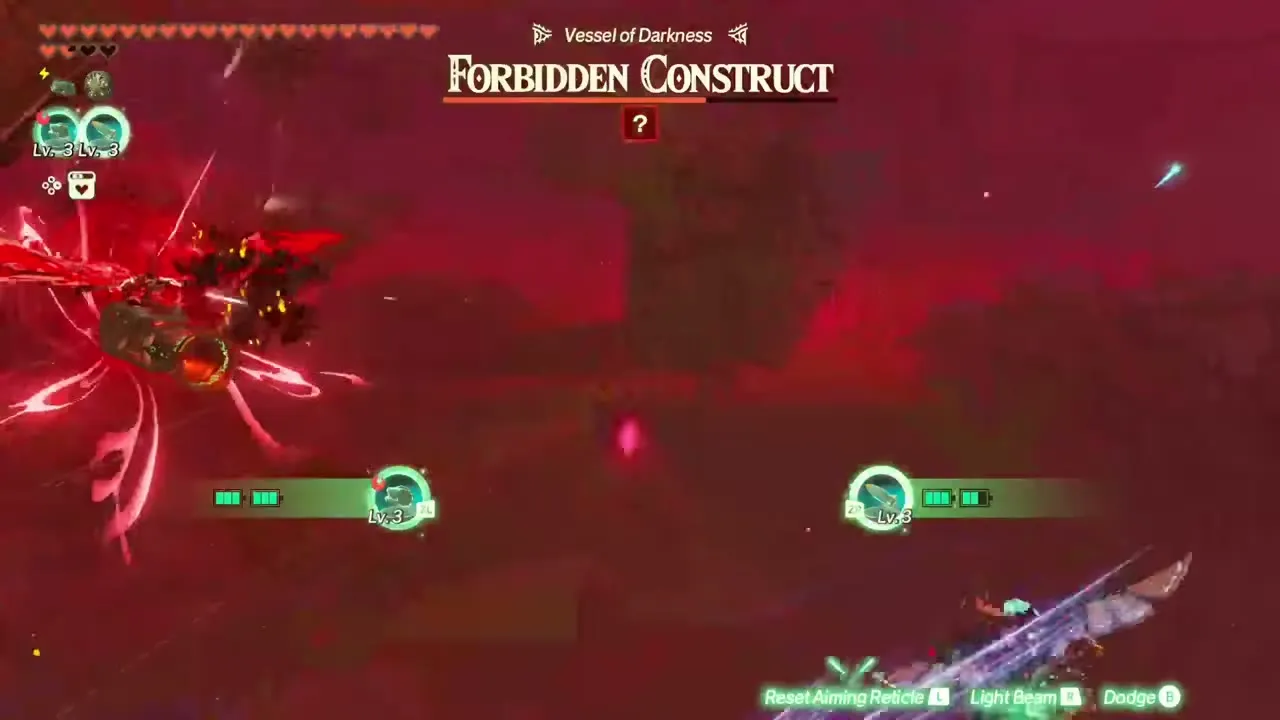
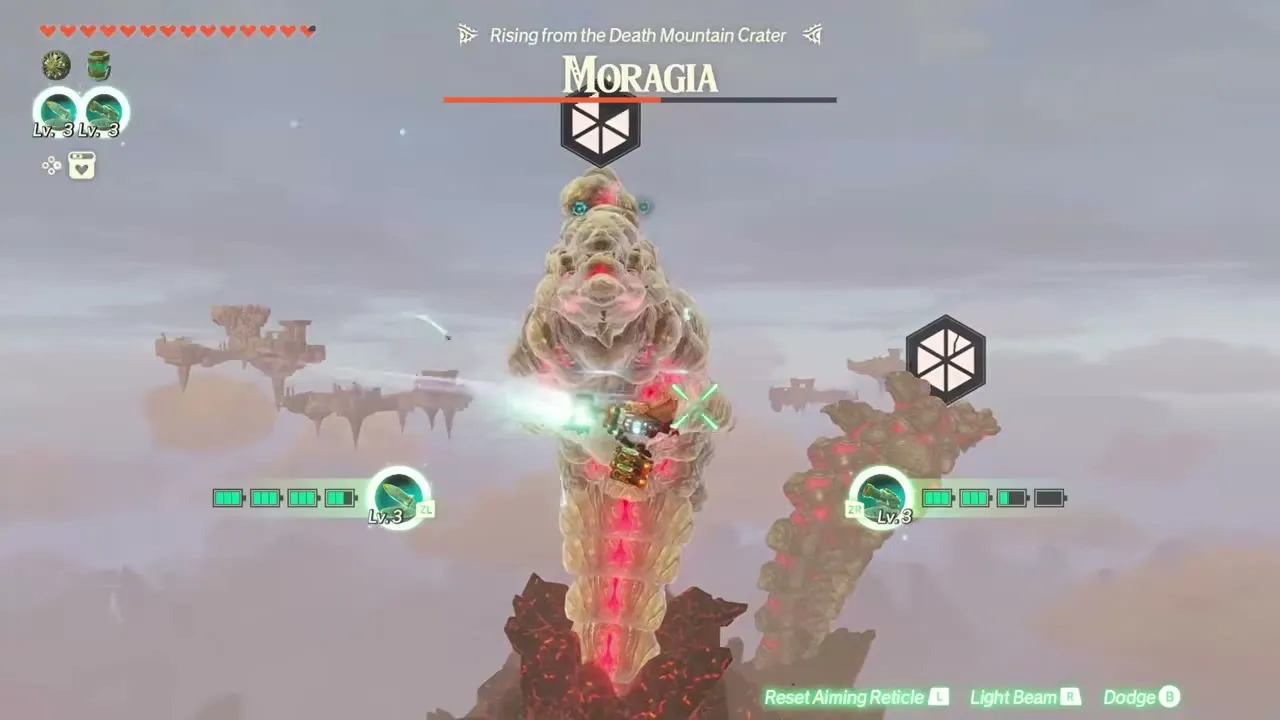
Four fights take place in the air with the Knight Construct, where you steer through rings and fire Zonai devices from your two equipped slots. Flight bosses have no melee option: you drain their gauge with devices, dodge, deflect with the Fan and smash when it empties. Save charge on both equipped devices before a boss comes into range.
Quick reference
All bosses at a glance
The table lists every story boss in the order you meet it. Levels are the recommended level of the battle.
| Boss | Battle (Lv) | Weak to | Key tip |
|---|---|---|---|
| Agraston | The Art of the Blade (1) | None | Final sparring bout, fought as Rauru |
| Flux Construct I | Where Ancient Wisdom Sleeps (2) | None | Counter its midair attack with an air attack |
| Ardi and her Gerudo Captains | Raging Sands (5) | None | Defeat Ardi; watch the wide attacks |
| Two Gerudo Captains | The Hands of Evil (5) | None | Interrupt their joint charge with an anti-charge skill |
| Forbidden Construct | Growing Suspicion (10), The Crimson Omen (29), A Clash of Constructs (56) | None | Counter air, rush and  Cannon attacks with the matching skill |
| Lynel | Striking North (13) | None | Avoid the roar, keep hitting after the blast |
| Frost Gleeok | Beneath the Blood Moon (13) | Fire | Flame Emitter and  Rocket in flight |
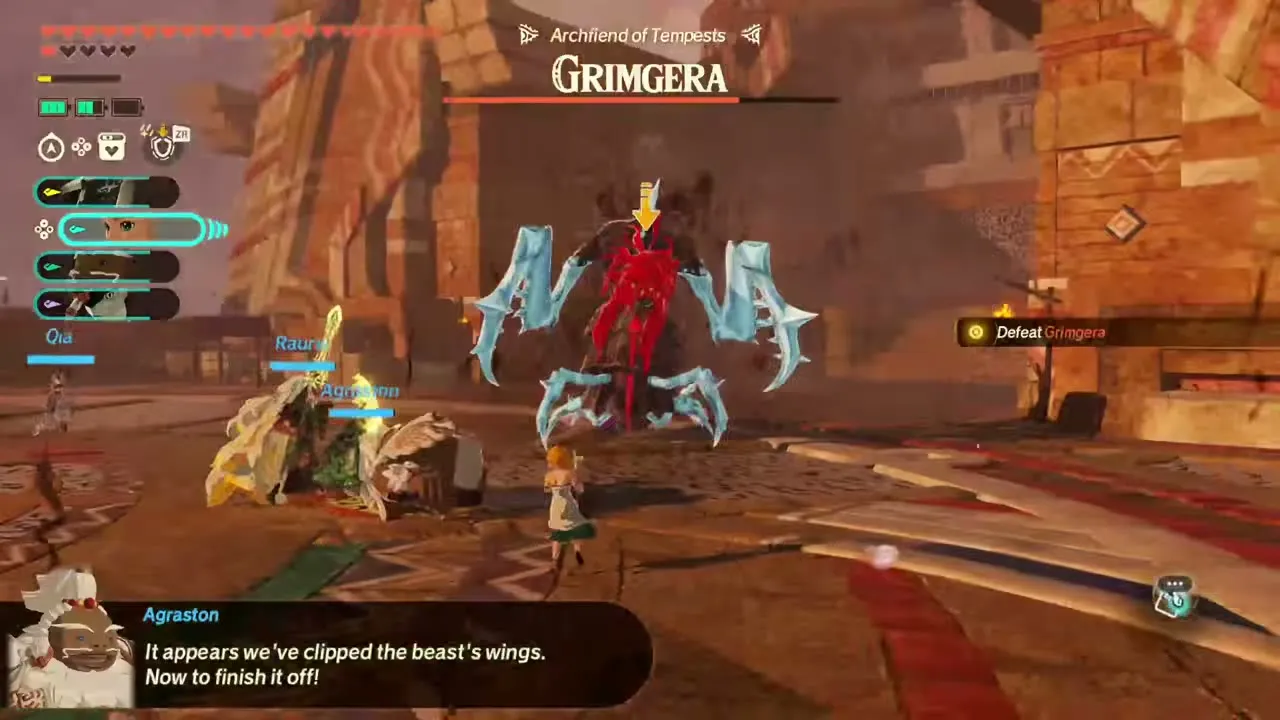
 Grimgera | The Howling Tempests (13), Under Cover of Mist (27), The Archfiend’s Return (47) | Fire, Air, Shield | Burn off the ice, pull it down, then fire and shield-breakers |
| Ice Lynel | Shadows in the Snow (20) | Fire, Shield | Fire attacks; allies can soften it |
| Grimtorok | Lanayru Defiled (20), The Battle of Hyrule Castle (52) | Water | Qia washes off the sludge |
| Moragia | The Behemoth in the Crater (24) | None | Cannon and Rocket; smash the boulder |
| Two Fire Lynels | Crisis on Death Mountain (24) | Ice, Water | Frost Emitter between them |
| Electric Moblins and Electric Boss Bokoblin | Terror of the Sands (29) | None | Defend the main outpost |
| Stalmoblins, Stalnox, Black Boss Bokoblin and White-Maned Lynel | A Time for Action (35) | Light (Stal enemies) | Defeat all five powerful enemies |
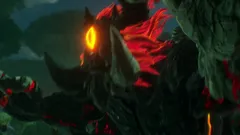 Grimgohma | The Counterstrike (37), The Battle of Hyrule Castle (52) | Shield first, then Ice and Water | Bomb the shell, return the rocks |
| Black Hinox | Ambush in the Depths (39) | None | Finish the flight, then fight it on foot |
| Phantom Ganon | Purging the Shadows (40), The Demon King, Ensnared (54), The Final Confrontation (56) | Light | Use Zelda or Rauru and bring anti-air |
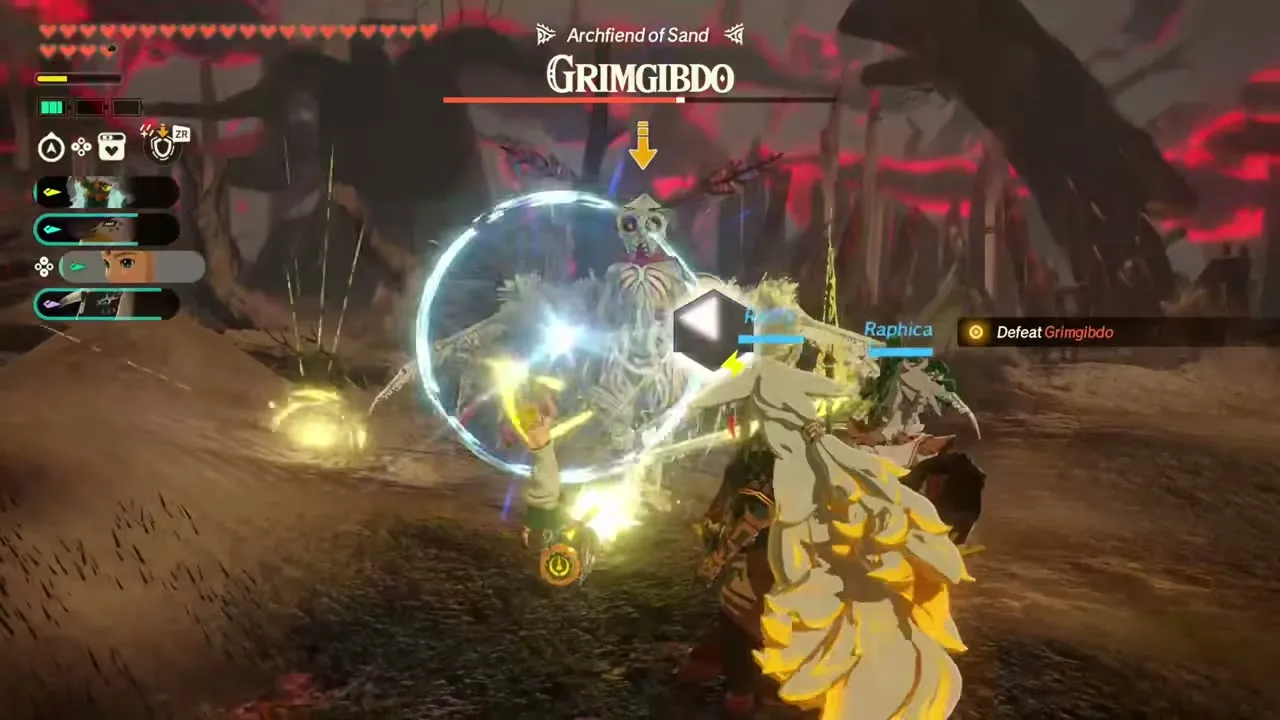
| Grimgibdo | Fire and Sand (43), The Battle of Hyrule Field (54) | Wind, Shield; every element once the sand breaks | Raphica and the Fan device |
| King Gleeok | Into the Fray (47) | Fire, Ice | Flame and Frost Emitters in flight |
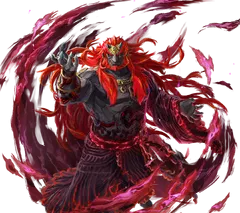 Demon King Ganondorf | The Final Confrontation (56) | Light | Zelda and Rauru, with a full party |
The Archfiends
Grimgera, Archfiend of Tempests
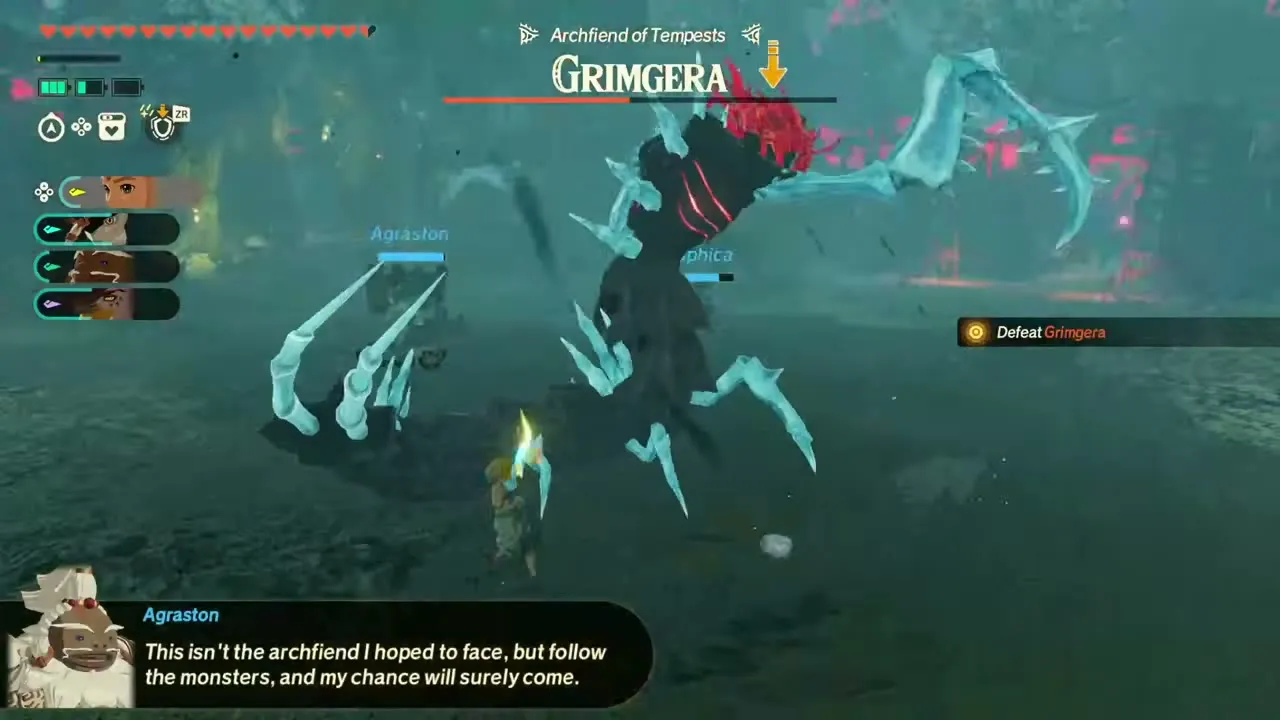
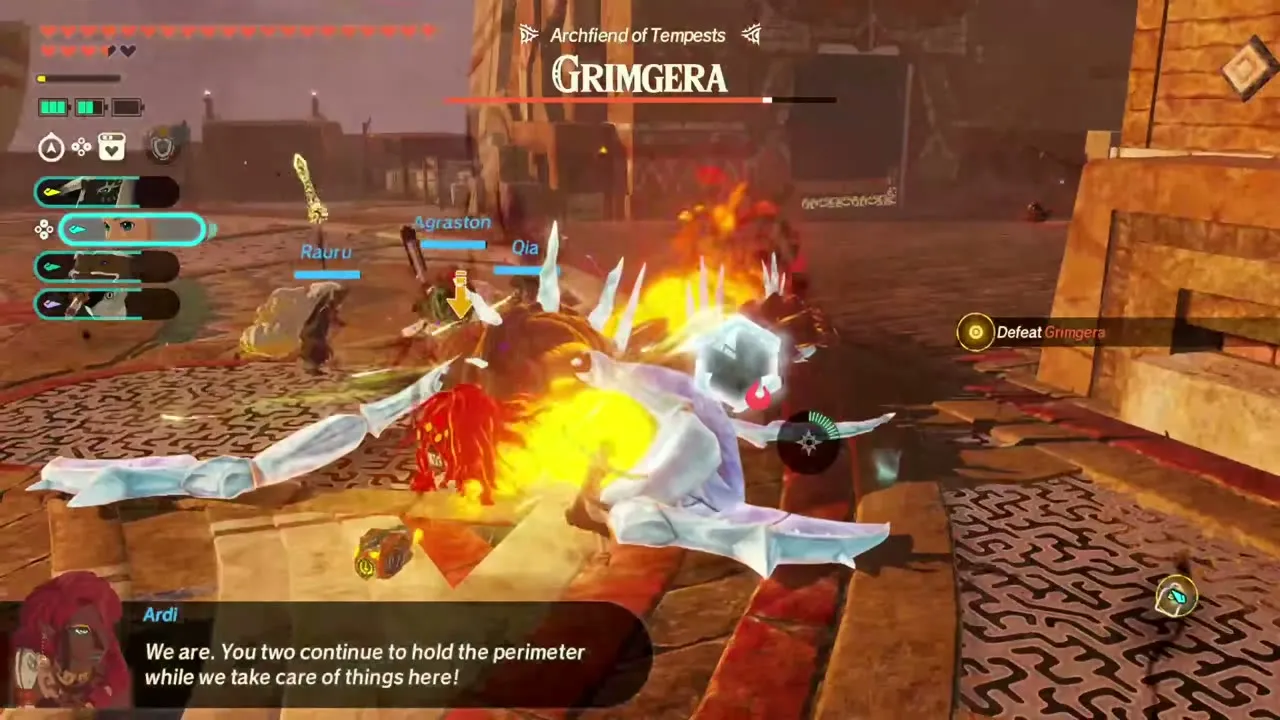
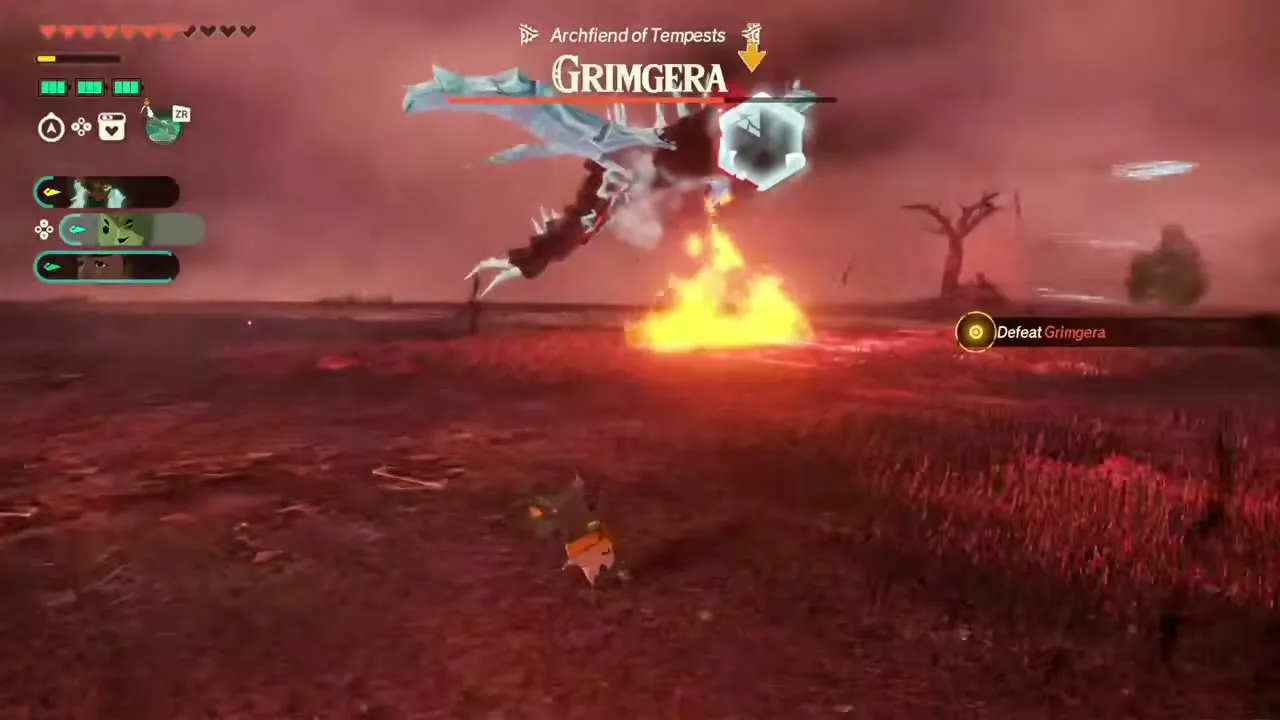
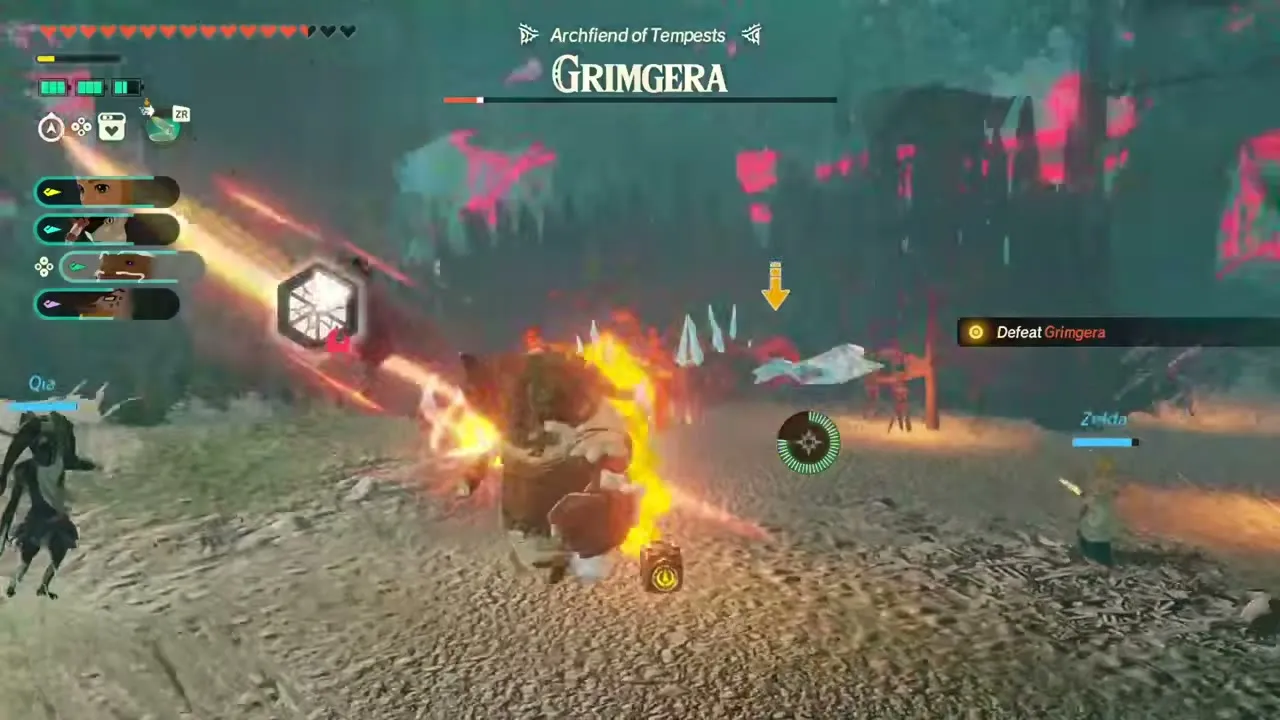
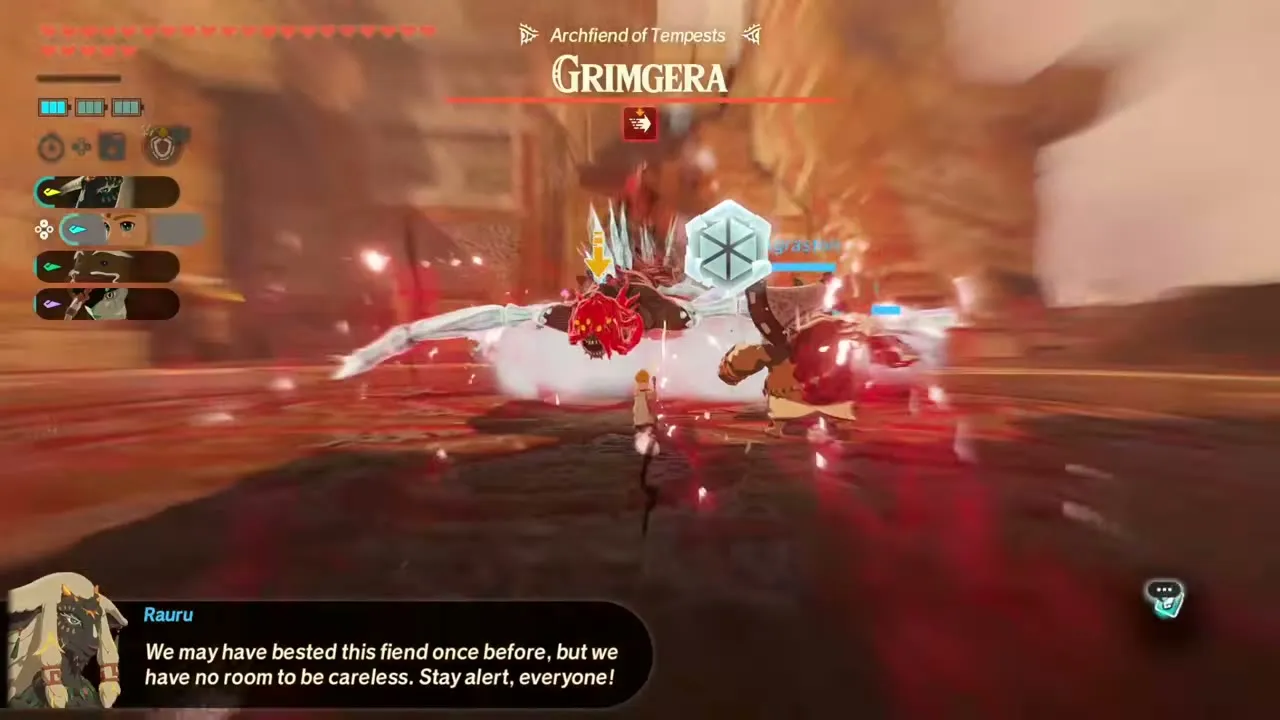
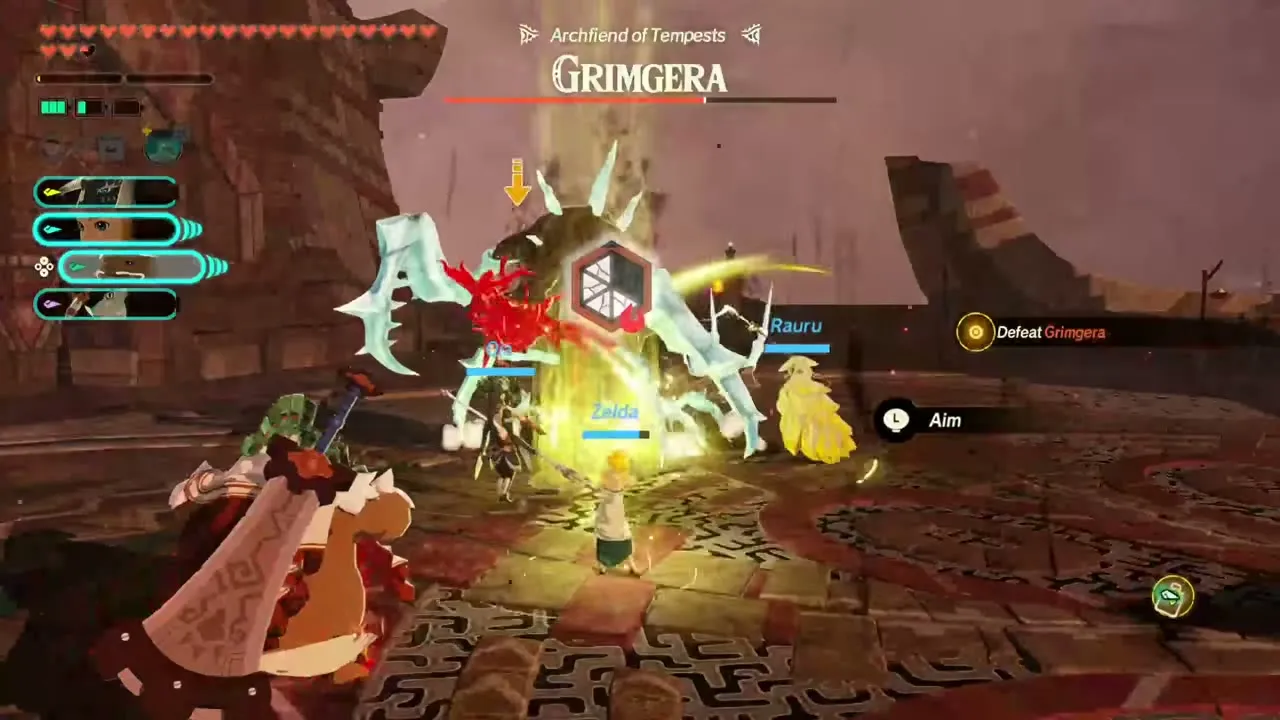
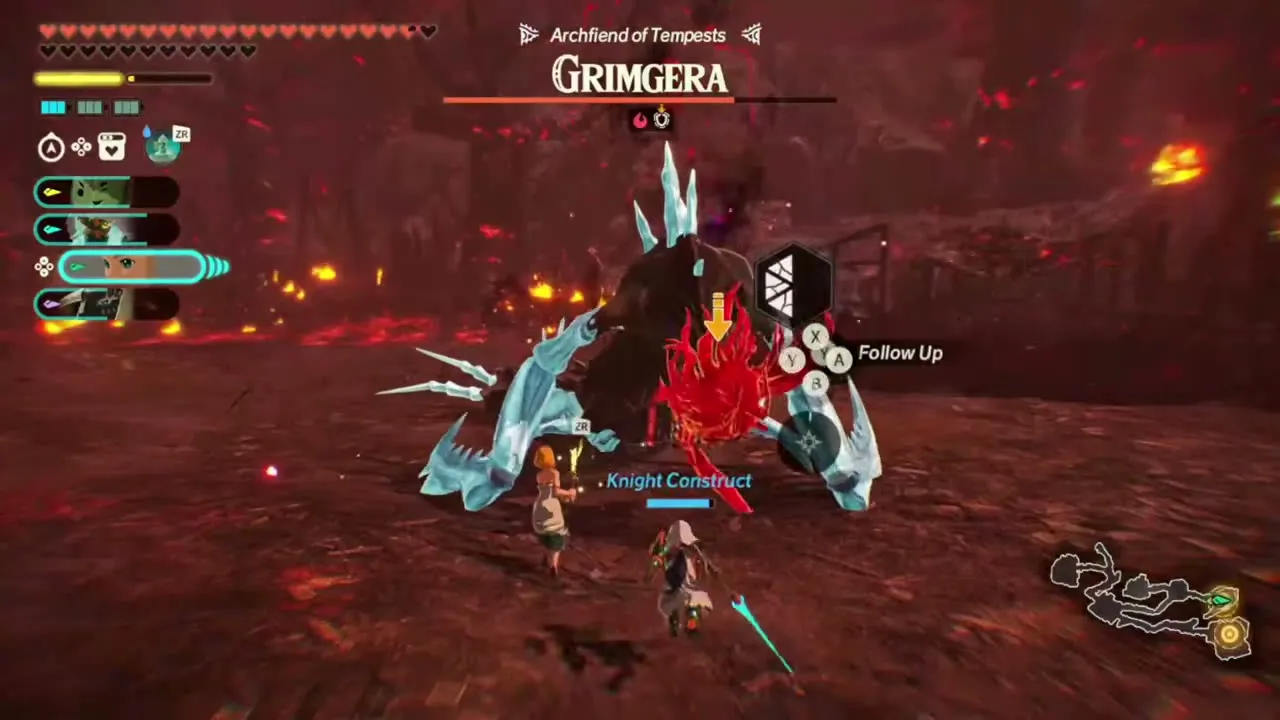
Grimgera, Archfiend of Tempests, is a winged, mantis-like monster with long white ice-blade wings, and it fights from the air behind a shield of ice that covers its weak point. It is weak to fire, Air attacks and shield-breaking moves, so open by burning off the ice with a Flame Emitter or an anti-air Unique Skill, and use Time Bombs as backup. Agraston is a good pick because some of his strong attacks are fire. After you break the first Weak-Point Gauge, Grimgera crashes to the ground and no longer takes extra damage from Air attacks, but fire and shield-breakers still work, so switch to those. It throws homing ice daggers that you can deflect with the Fan device or Zelda’s Temporal Counter, fires an Ice Ray that you dodge sideways before counterattacking from behind, and has a charge you can counter to stagger it. A weak-point smash after each gauge break takes off the most health.
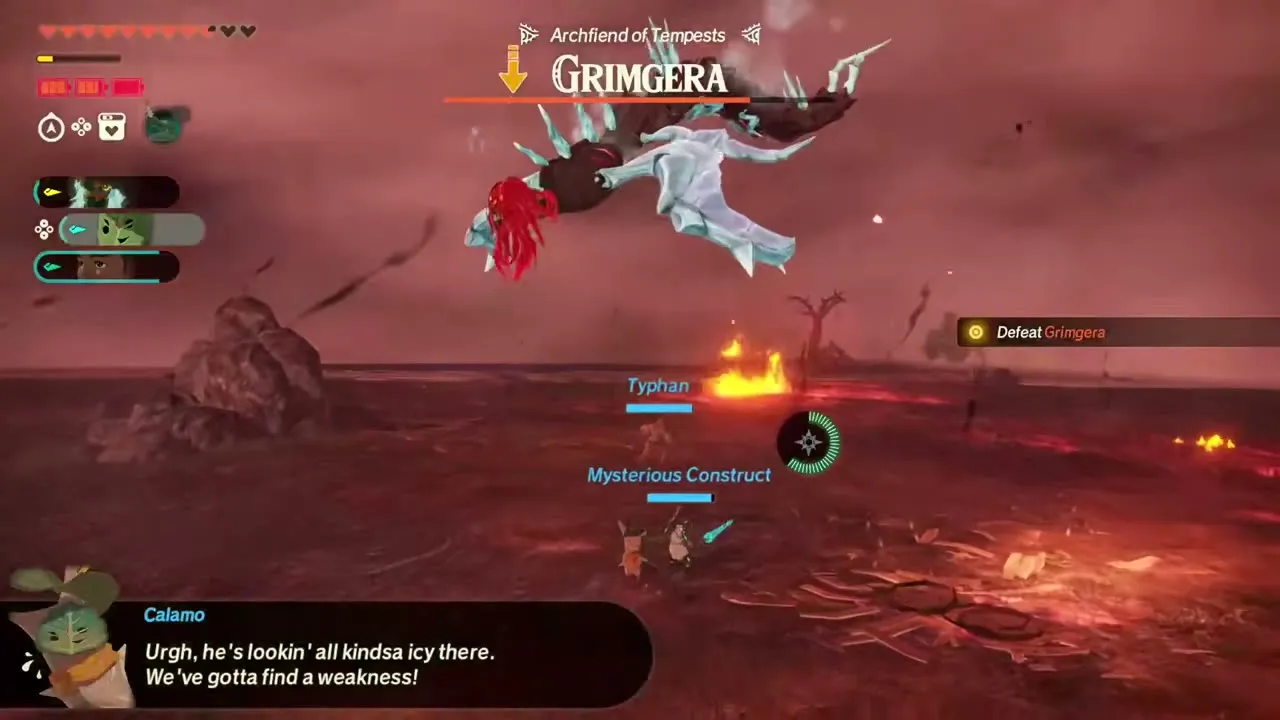
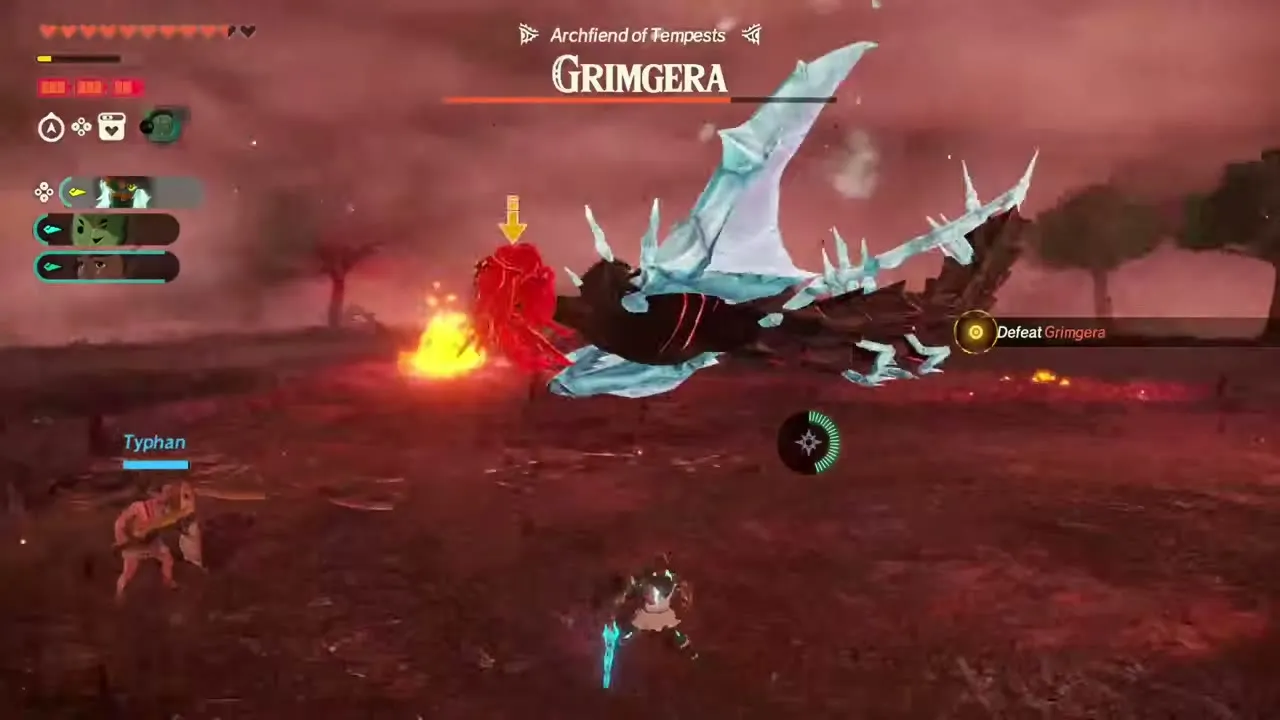
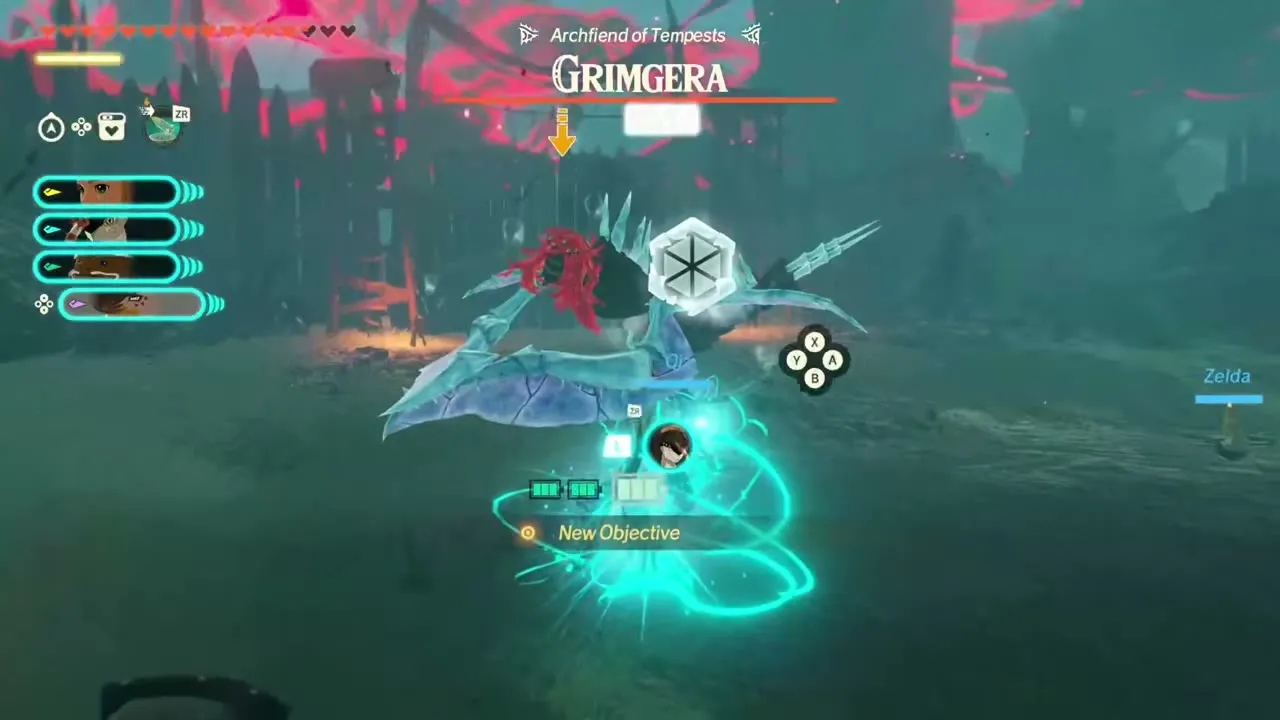
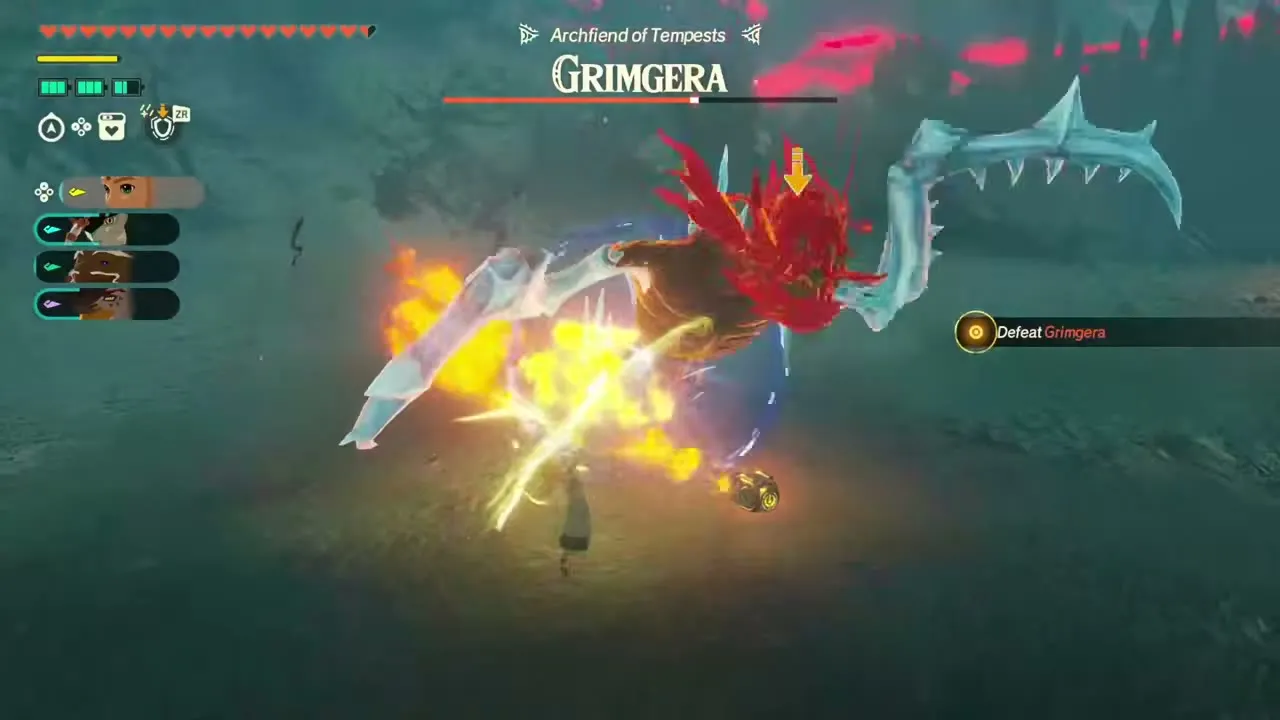
You fight Grimgera three times: at the end of The Howling Tempests (Lv 17), where you control the Knight Construct, Calamo and Typhan, in Under Cover of Mist (Lv 27) with Zelda, Qia, Agraston and Raphica, and in The Archfiend’s Return (Lv 47) with a party of Rauru, Zelda, Agraston and Qia, in the courtyard before the Hyrule Castle gate. You can replay each battle afterwards. The Aside Quests “Defeat 1 Grimgera” pay 3 Sapphire and 1,000 Rupees as Rauru, Pure Zonaite Steel (Two-Handed) and 1,000 Rupees as Agraston, and Pure Zonaite Steel (Bow) and 1,500 Rupees as Raphica.
Grimtorok, Archfiend of Grime
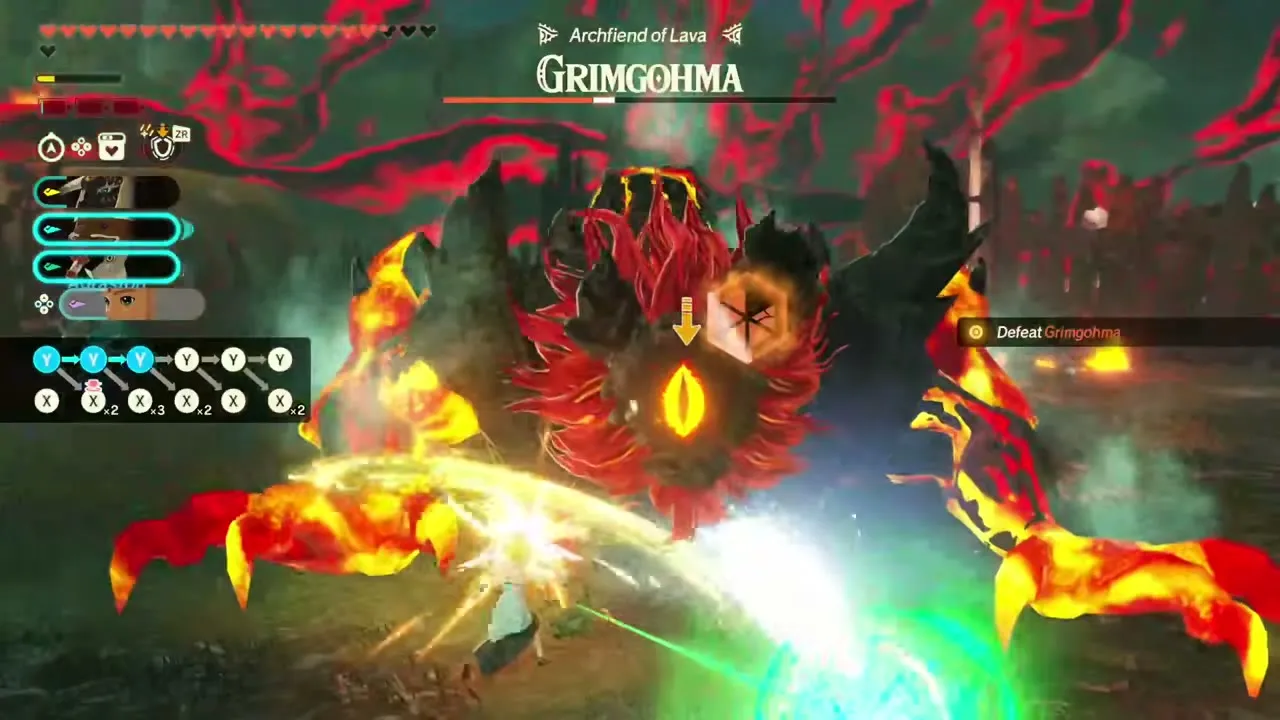
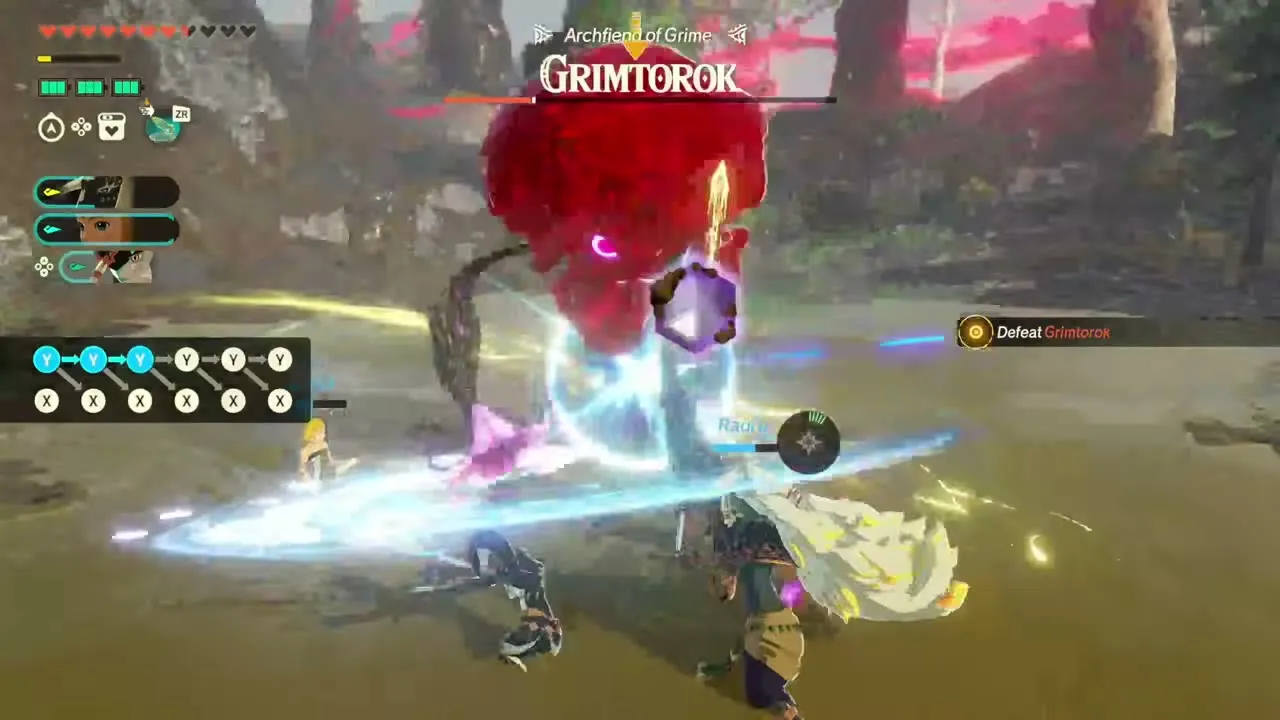
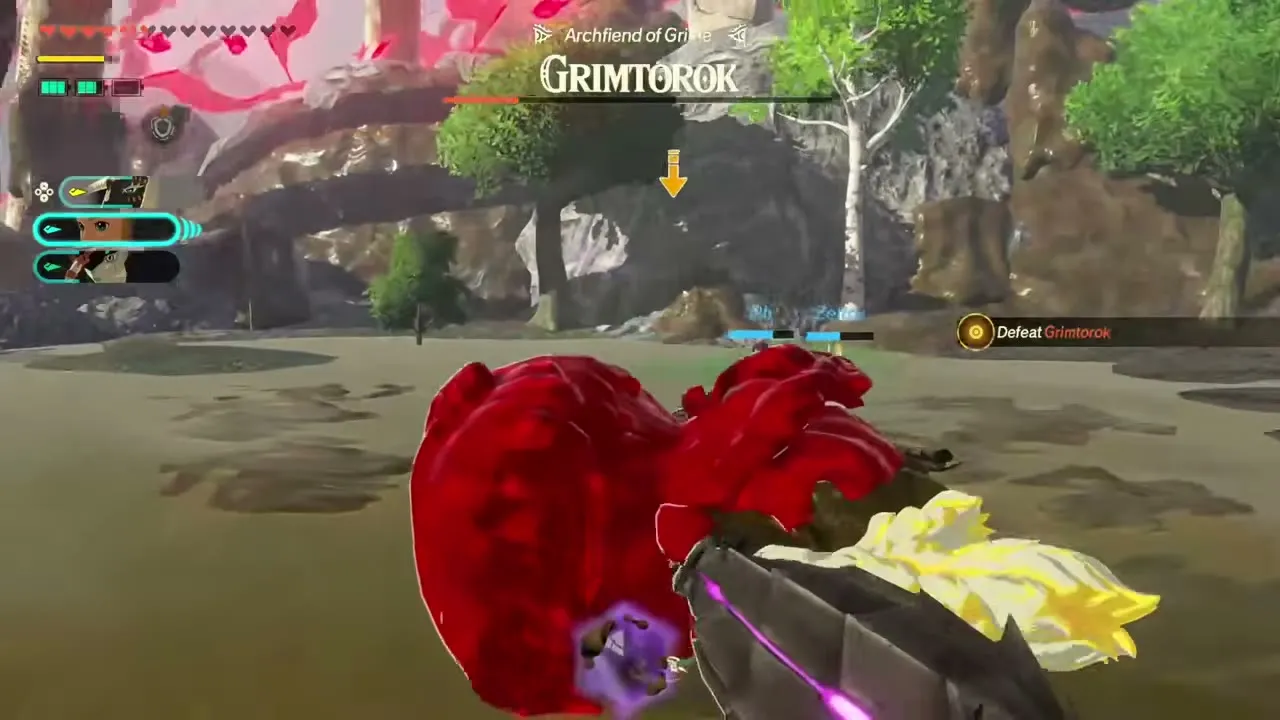
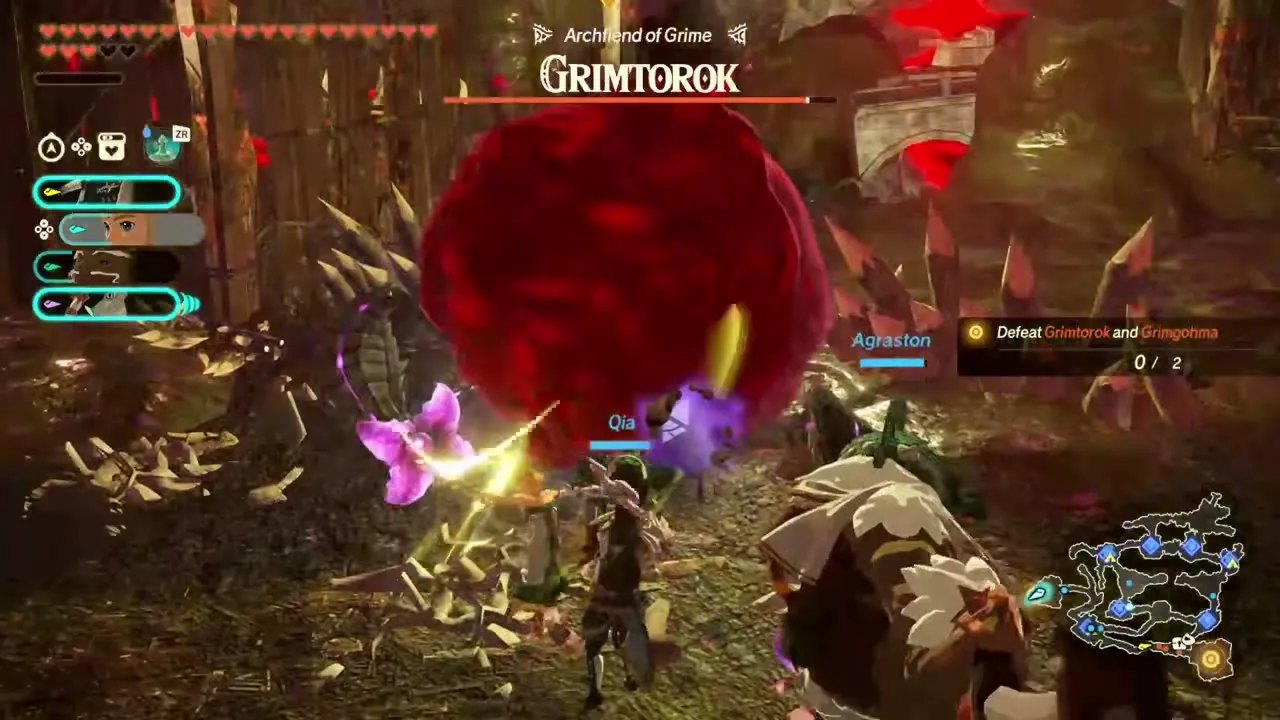
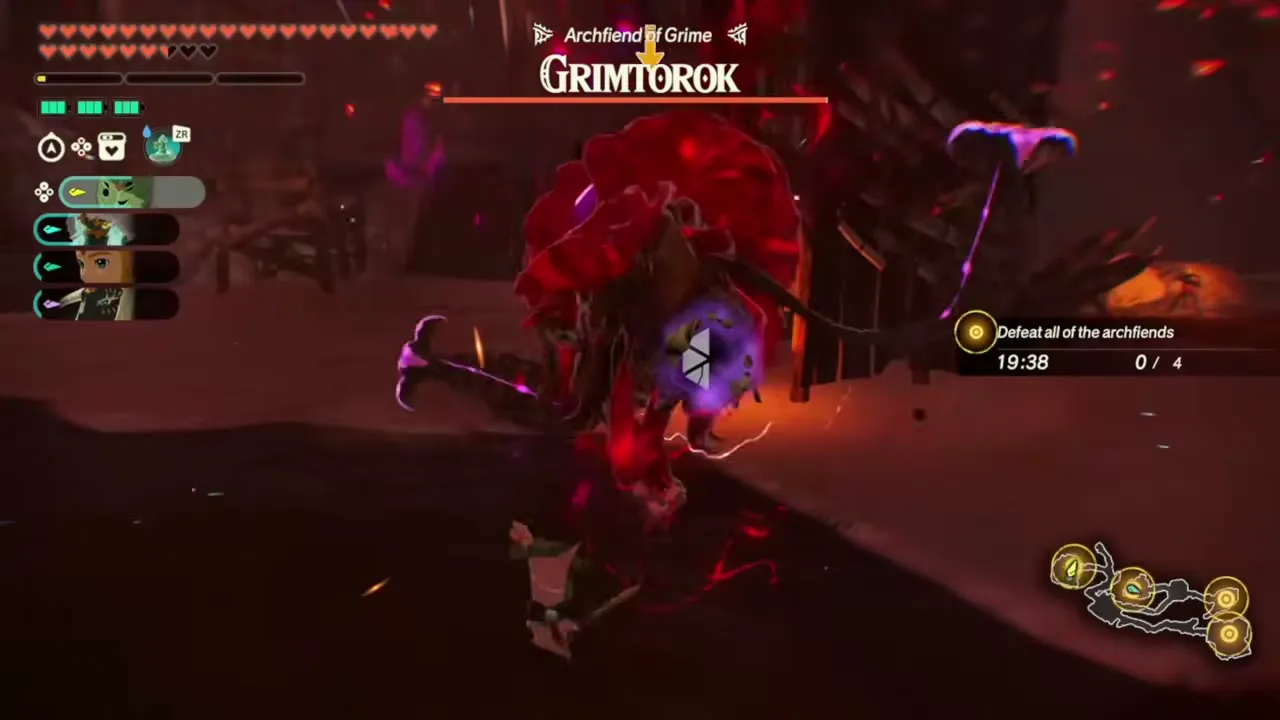
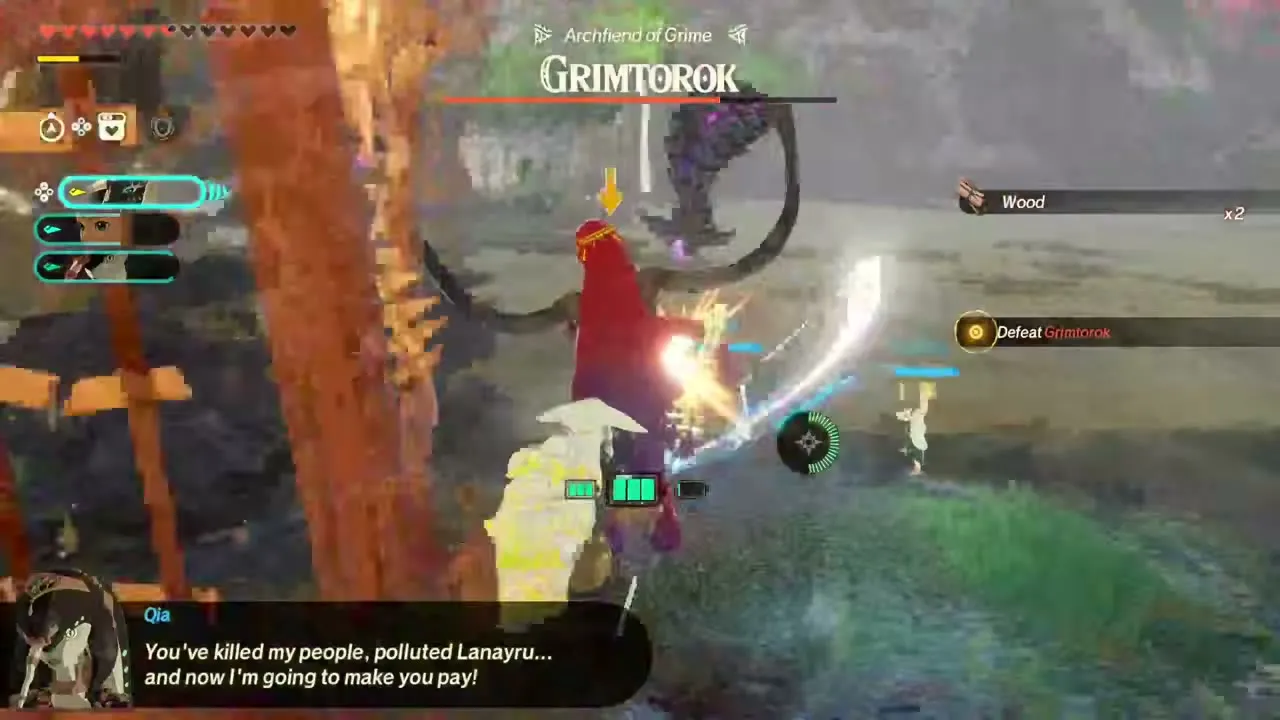
Grimtorok, Archfiend of Grime, is a jellyfish-like red bulb on trailing tendrils, coated in sludge. After the first gauge breaks it changes into a faster, humanoid red form with pink blossoms and a purple crystal on its body. The sludge makes it weak to water, so bring Qia: her water strong attacks and Torrential Wave strip the coating and empty the Weak-Point Gauge quickly. Once the gauge is gone and the red sludge has been removed from its head, ordinary attacks hurt it normally, but the sludge grows back after a while, so be ready to wash it off again. Fighting Grimtorok follows the same rhythm as Grimgera: break the first gauge, then finish the second form, which veils itself in sludge again. A Hydrant does the same job if Qia is not in your party.
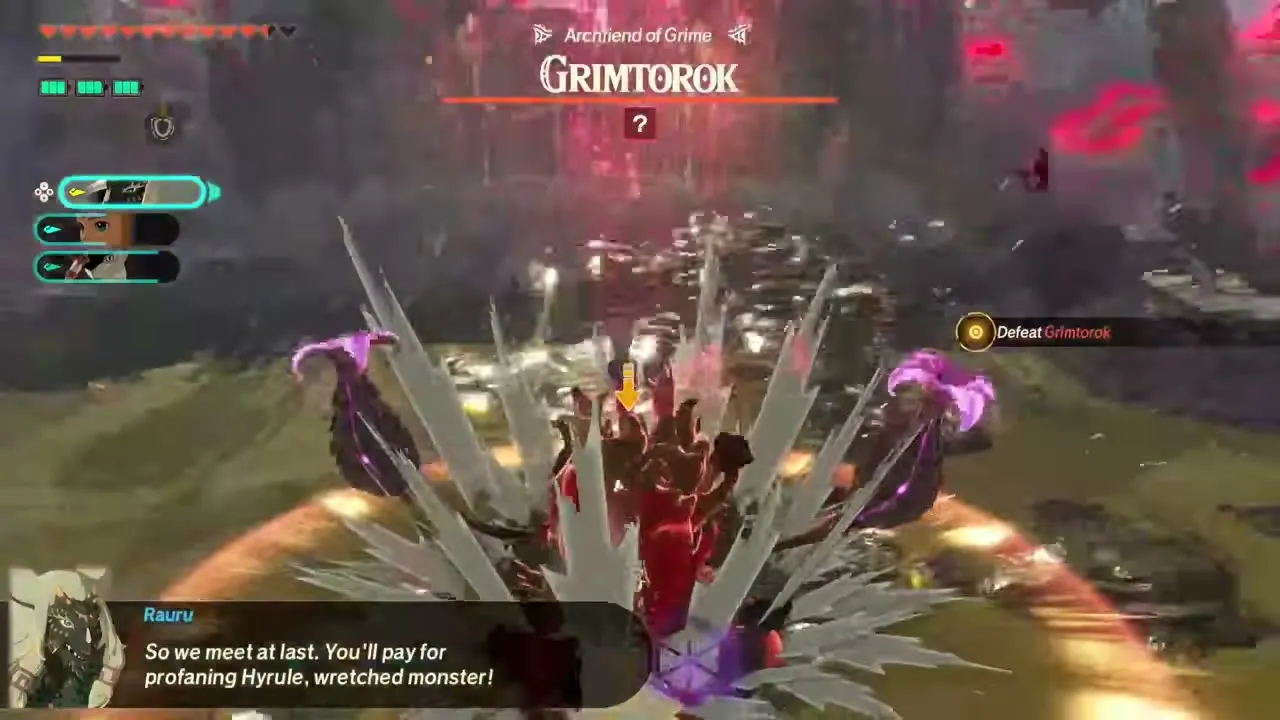
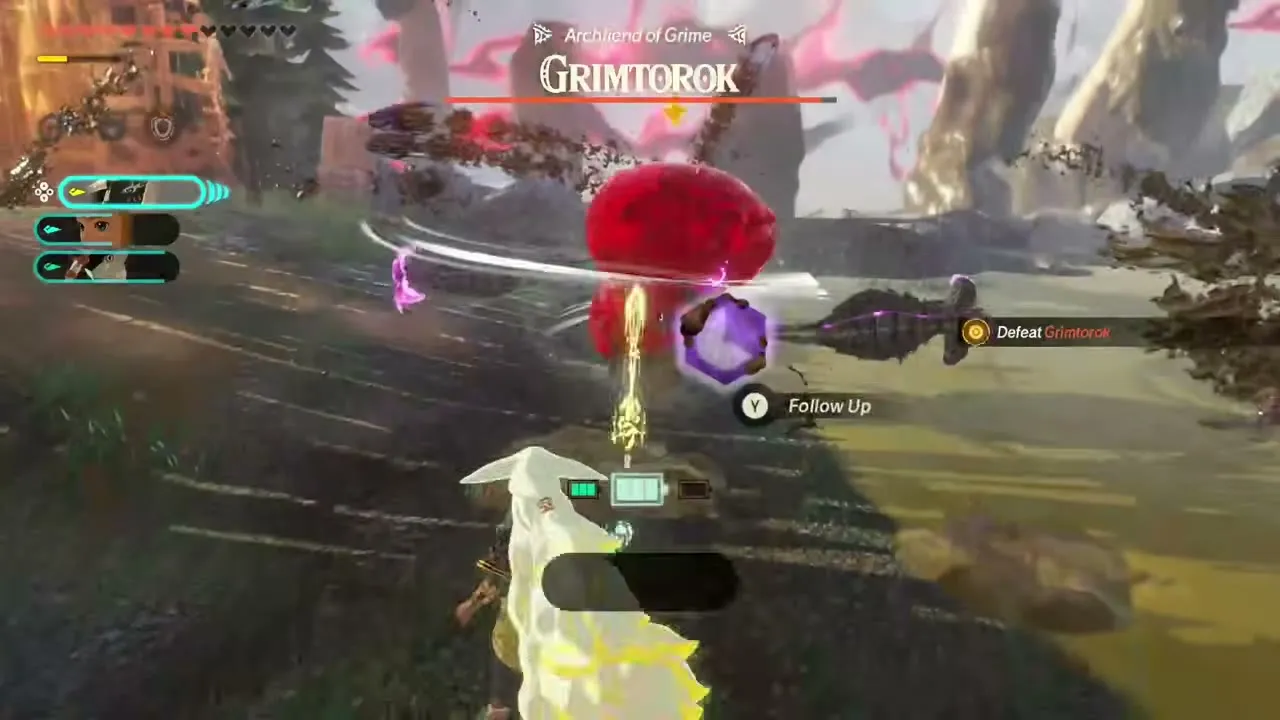
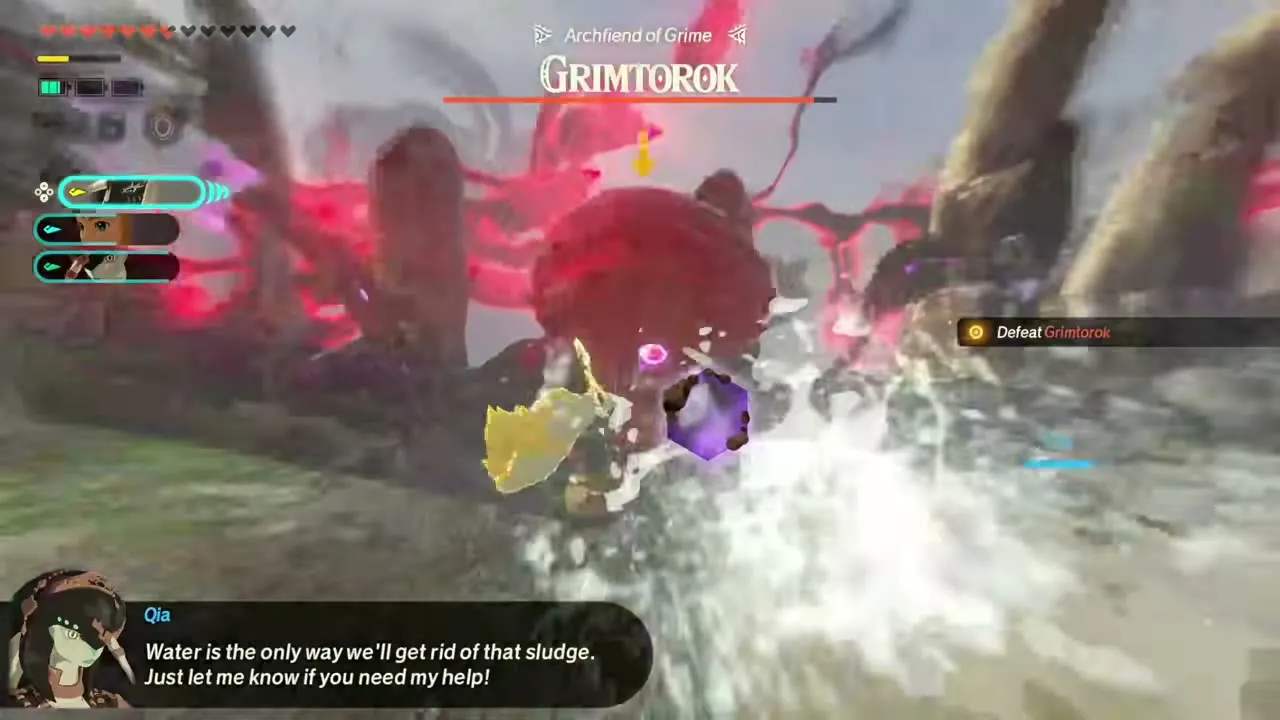
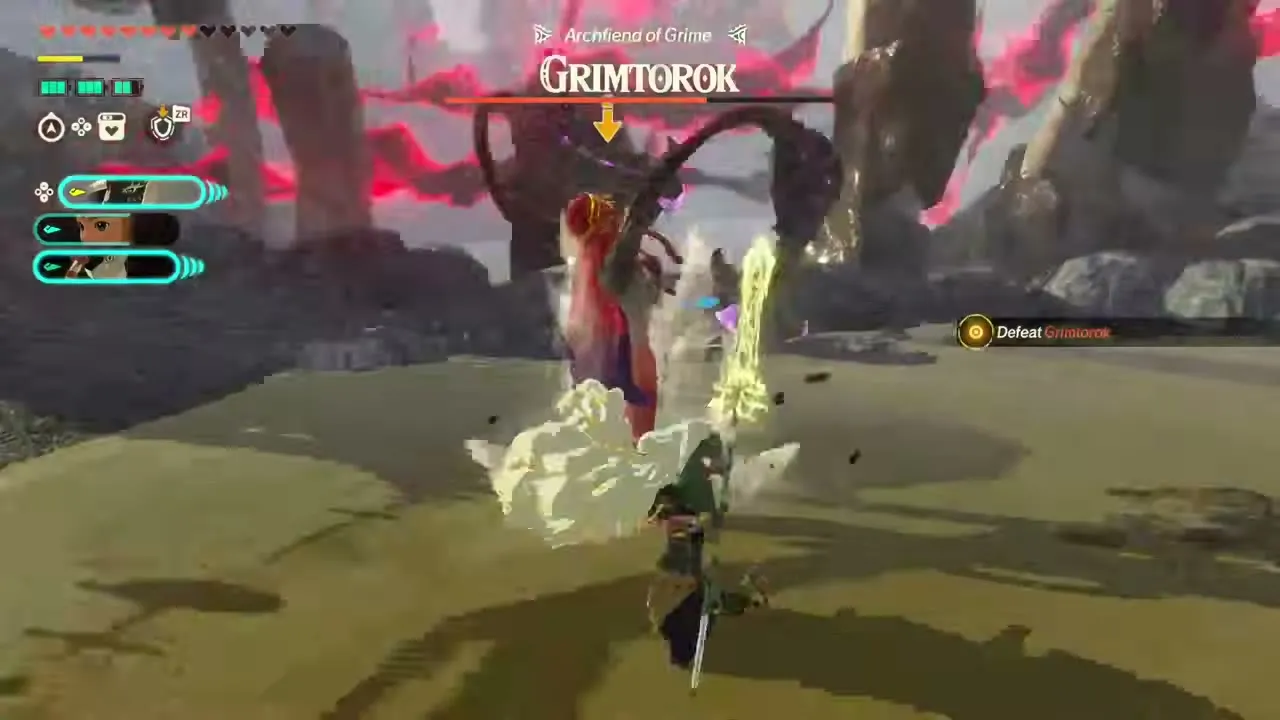
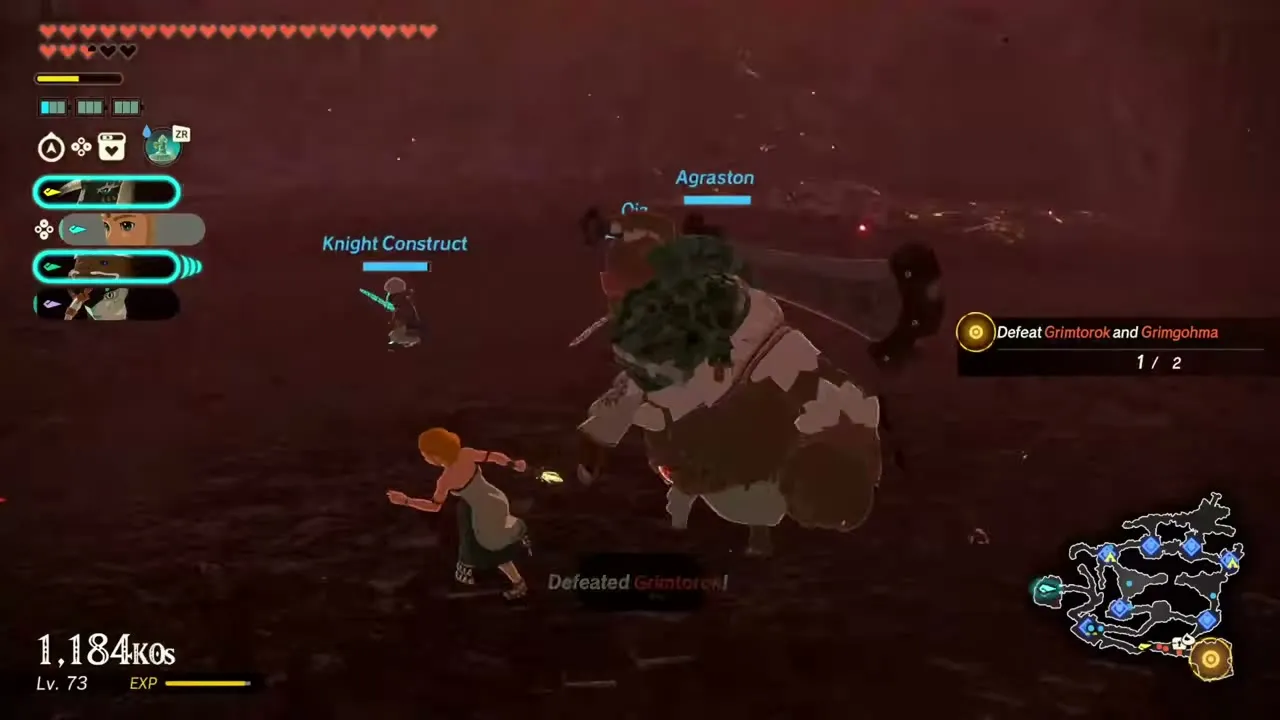
You fight it first as the end of Lanayru Defiled (Lv 20), where the whole battlefield is covered with sludge, and again in The Battle of Hyrule Castle (Lv 52), where the objective reads “Defeat Grimtorok and Grimgohma” and Grimtorok comes first, ahead of Grimgohma. When it falls, it has already summoned a Fire Moblin and its allies. Defeating one as Qia in an Aside Quest earns Pure Zonaite Steel (Spear).
Grimgohma, Archfiend of Lava
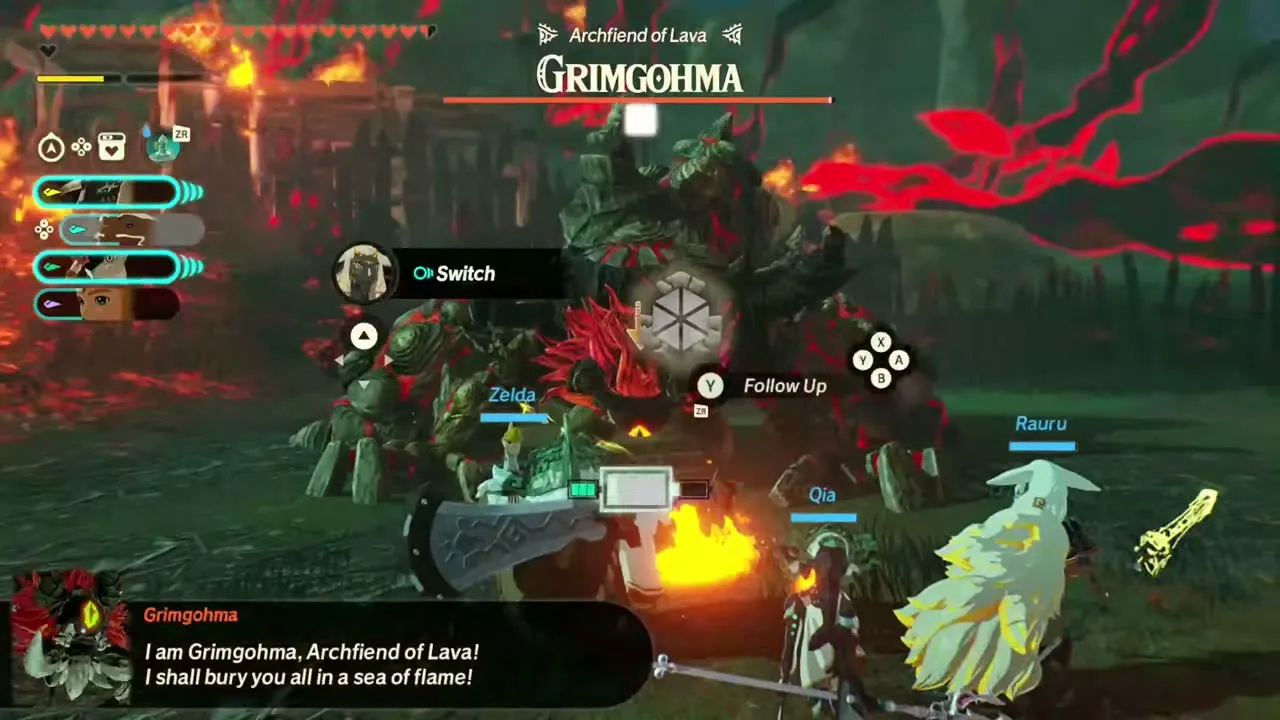
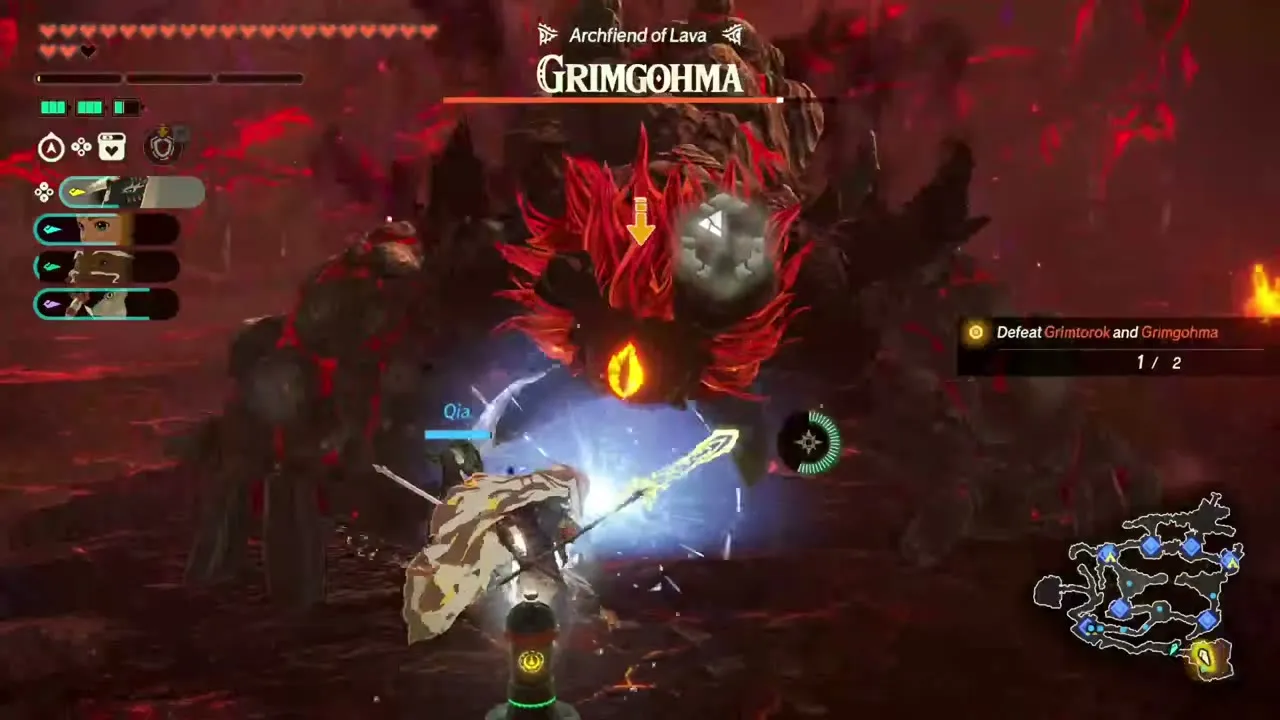
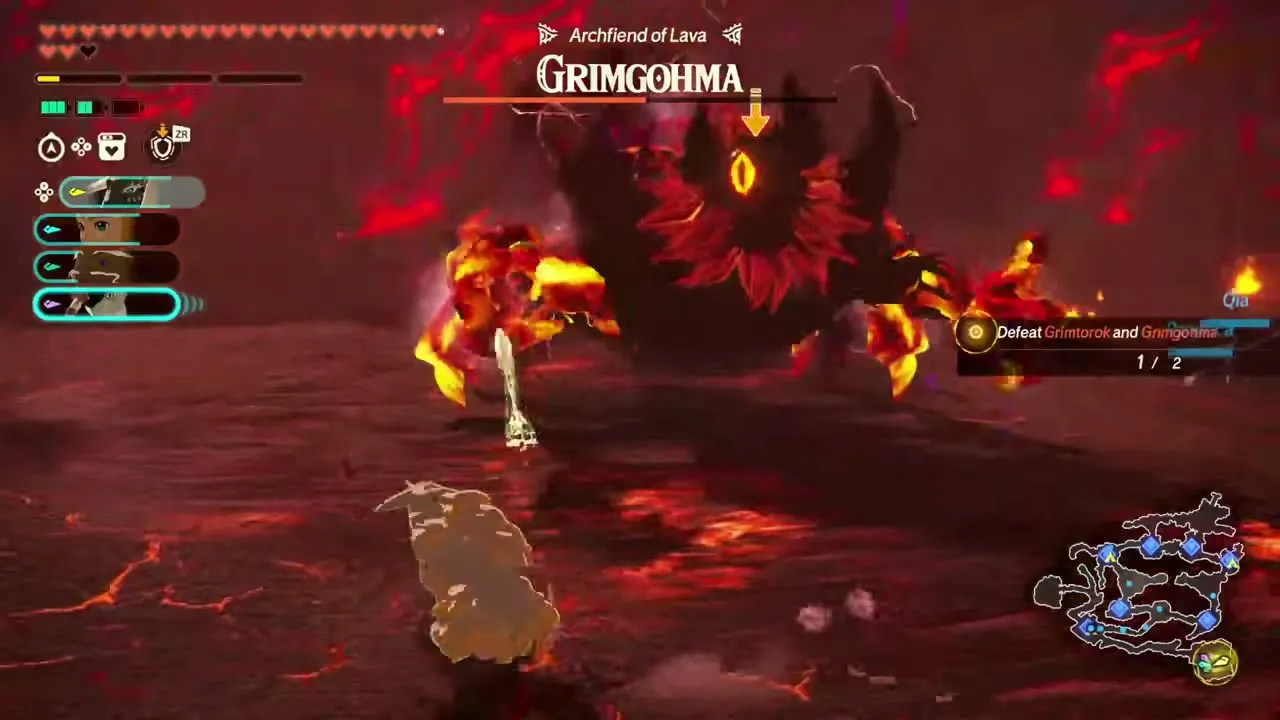
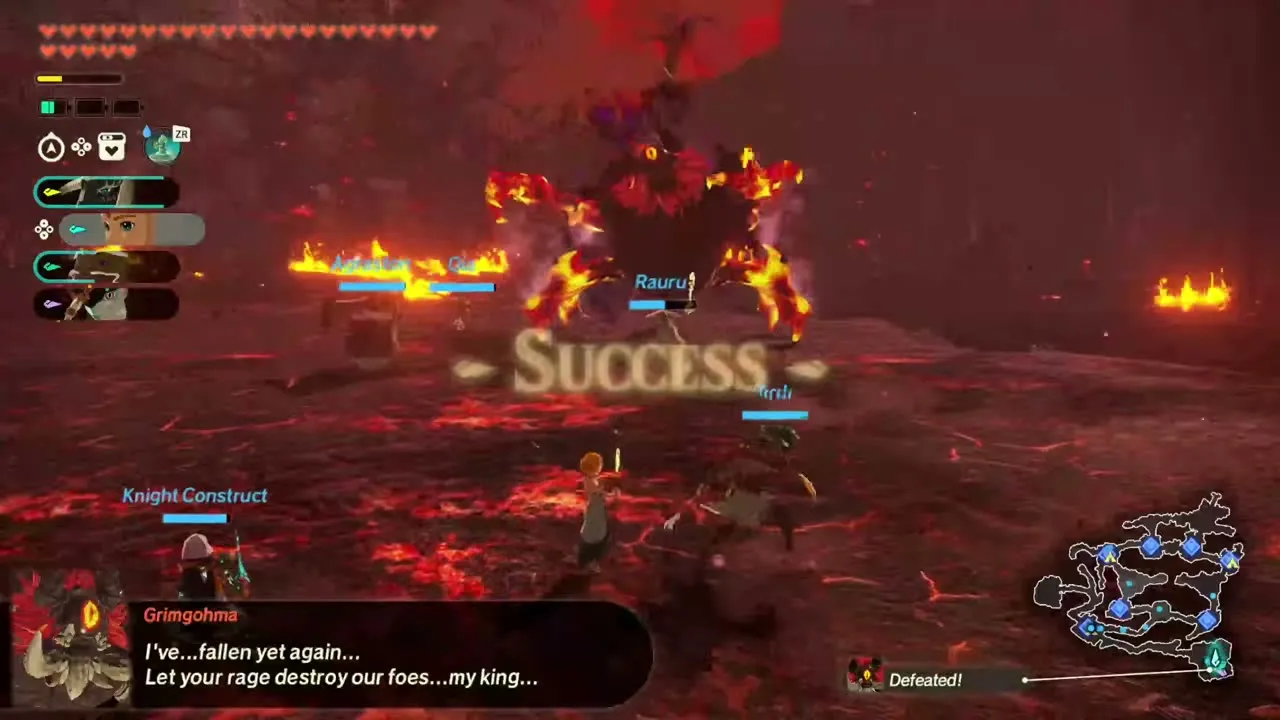
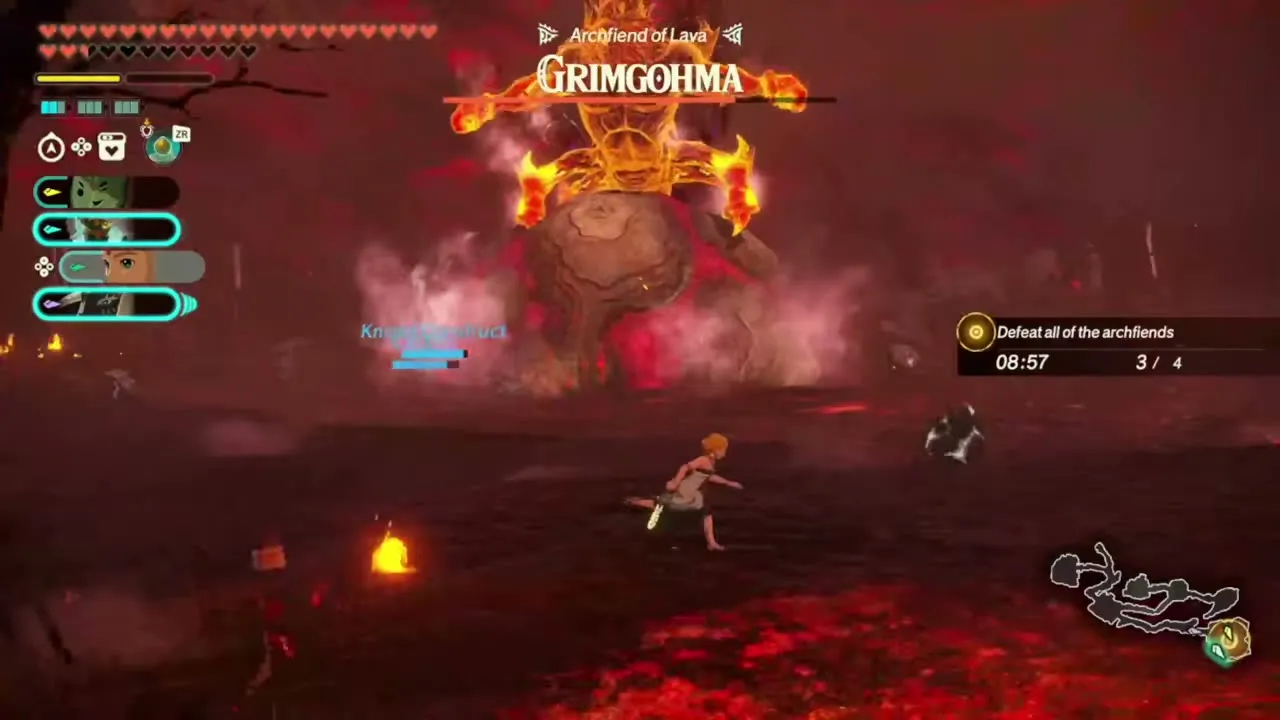
Grimgohma, Archfiend of Lava, is a hulking stone-shelled brute that later turns into a fiery, lava-streaked creature, and it rains explosive Gloom Rocks that go off a few seconds after they land. In the first phase his stone shell must be broken with Zonai bombs, with Batteries to keep your energy gauge up, and then you land a weak-point smash. In the second phase he raises a huge rock in the middle of the arena and hurls glowing rocks at you. Hit the rocks back with an attack (leave the ones already glowing, because they explode) and they smash into the big rock, emptying his gauge again. With the rock gone he is weak to ice and water, so use Qia, a Frost Emitter or a Hydrant. Stay away from stray rocks when you approach.
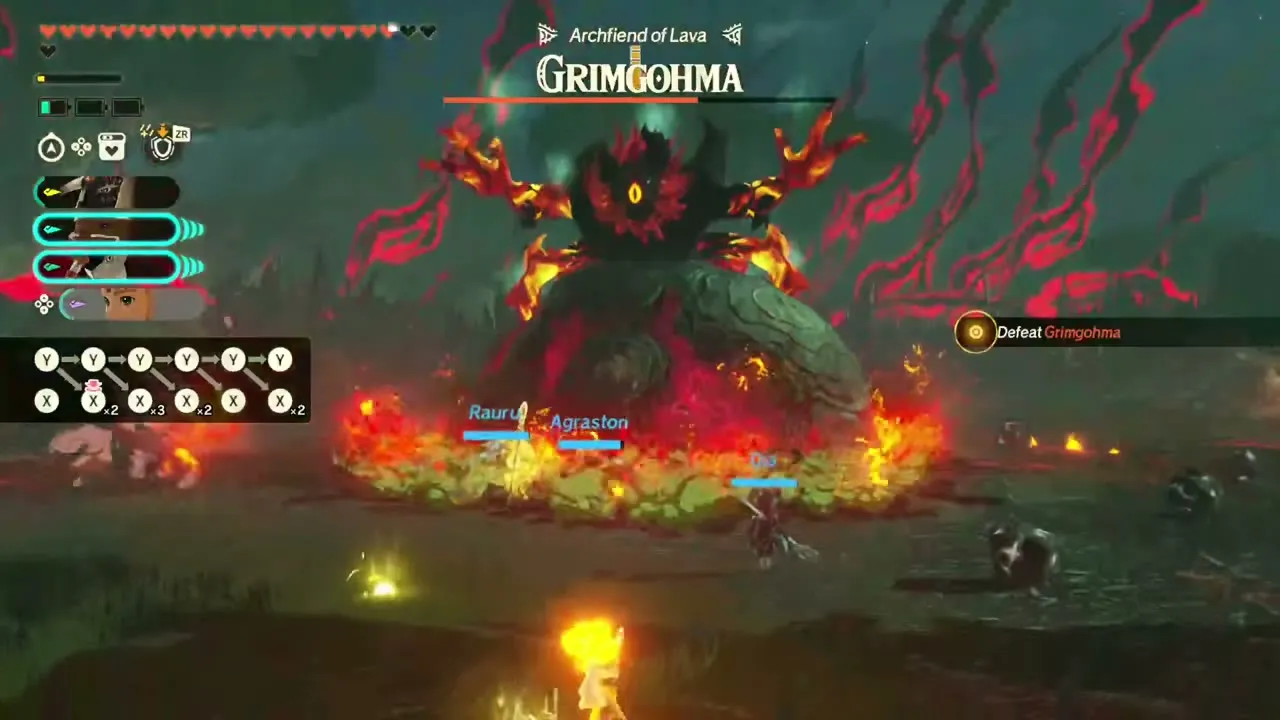
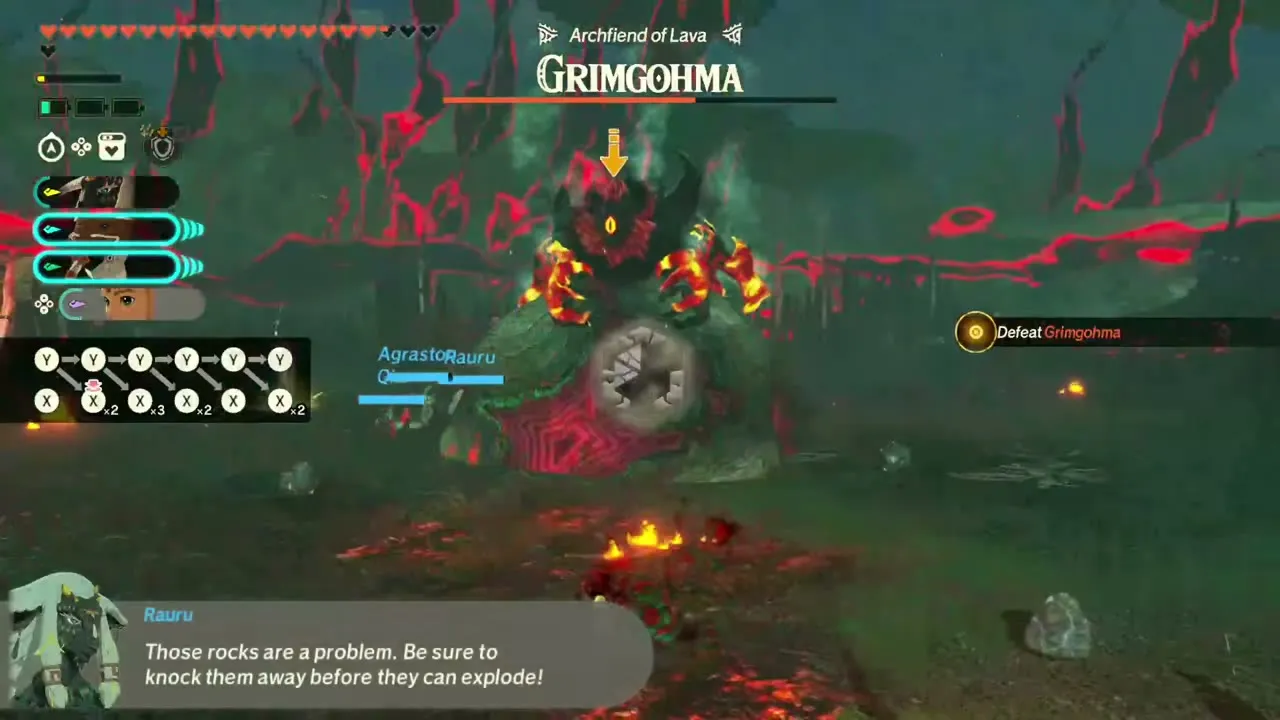
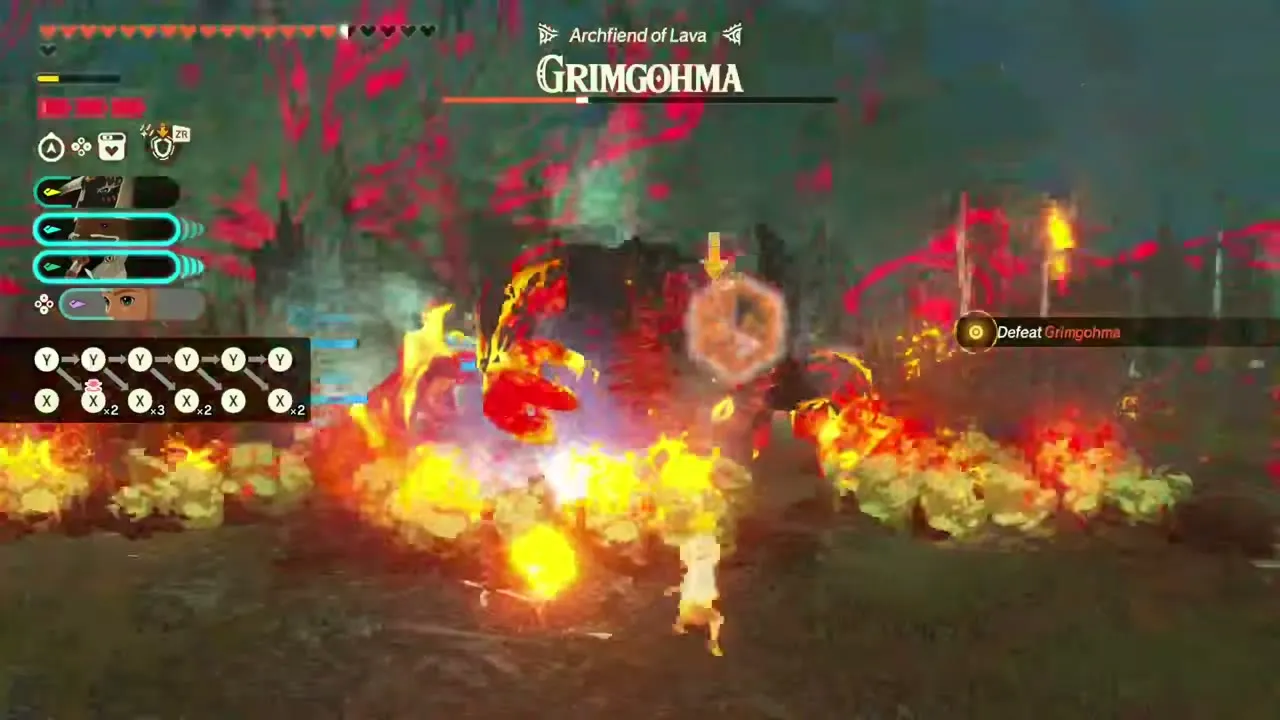
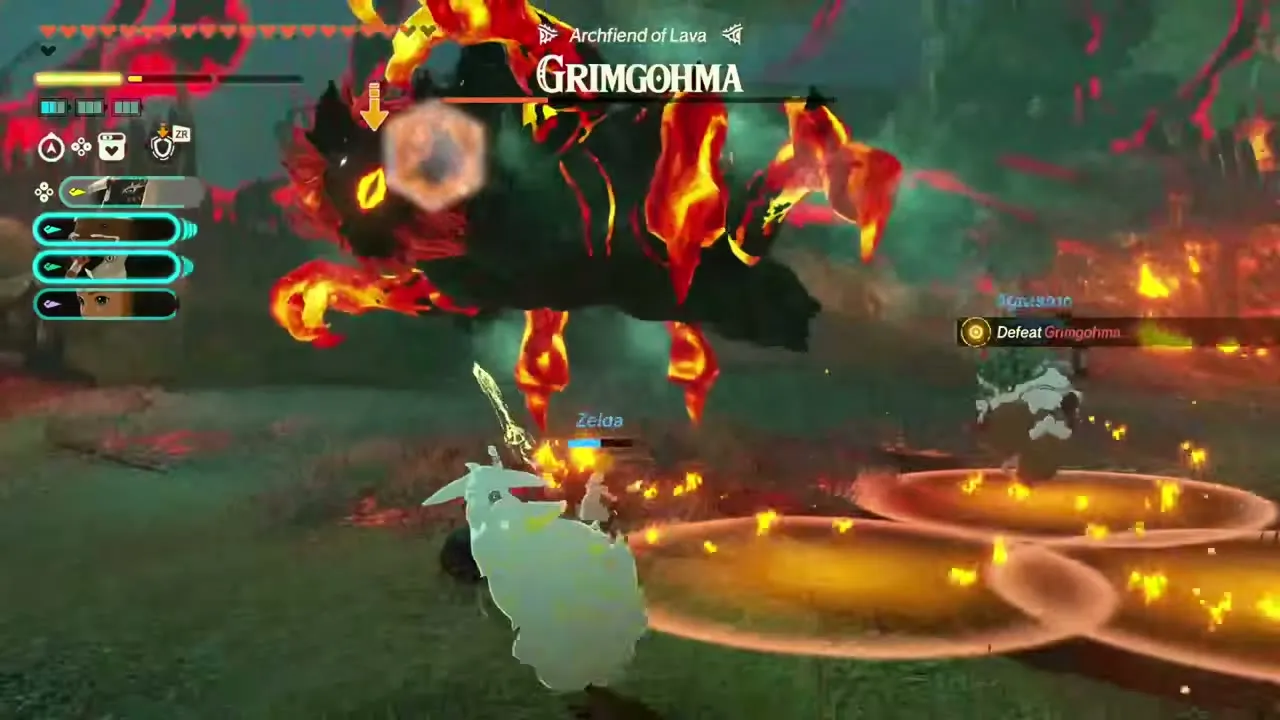
He is the final boss of The Counterstrike (Lv 37), where Rauru, Agraston and Qia lead the fight and Zelda joins midway, and he returns in The Battle of Hyrule Castle, where he is the second of the two Archfiends, fought after Grimtorok. He is also one of the Archfiends featured in the Archfiend Quartet challenge.
Grimgibdo, Archfiend of Sand
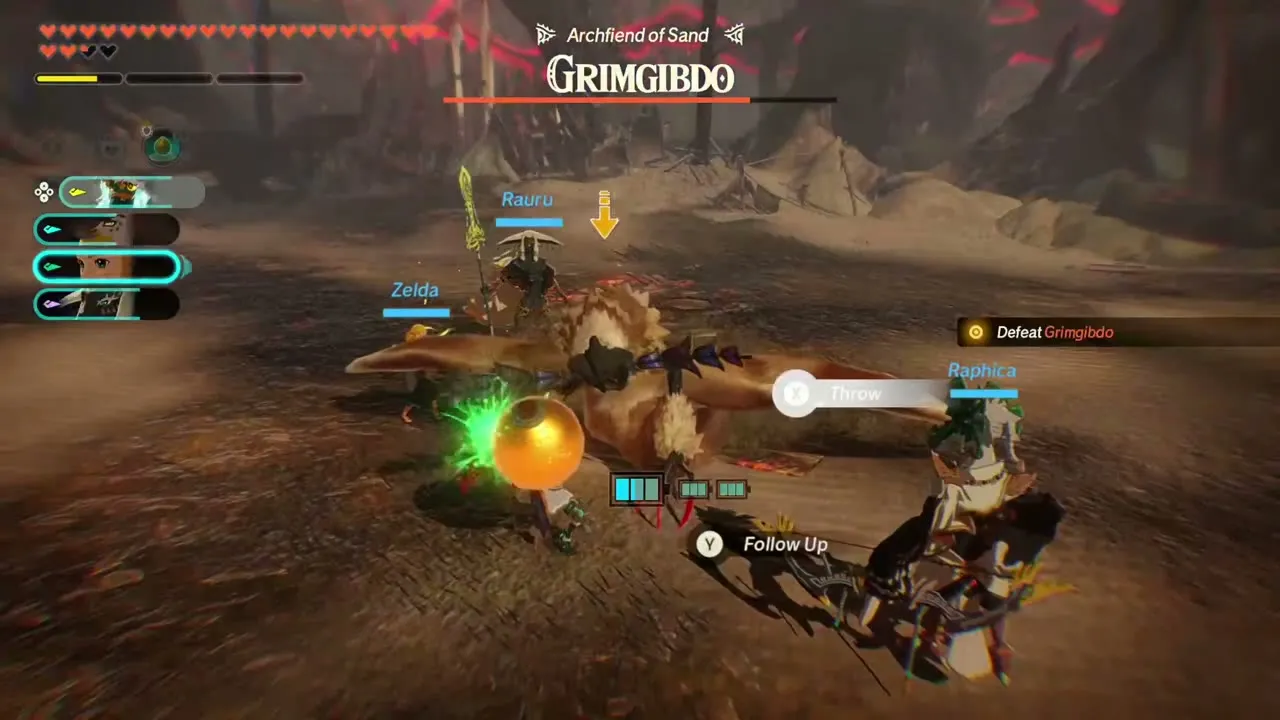
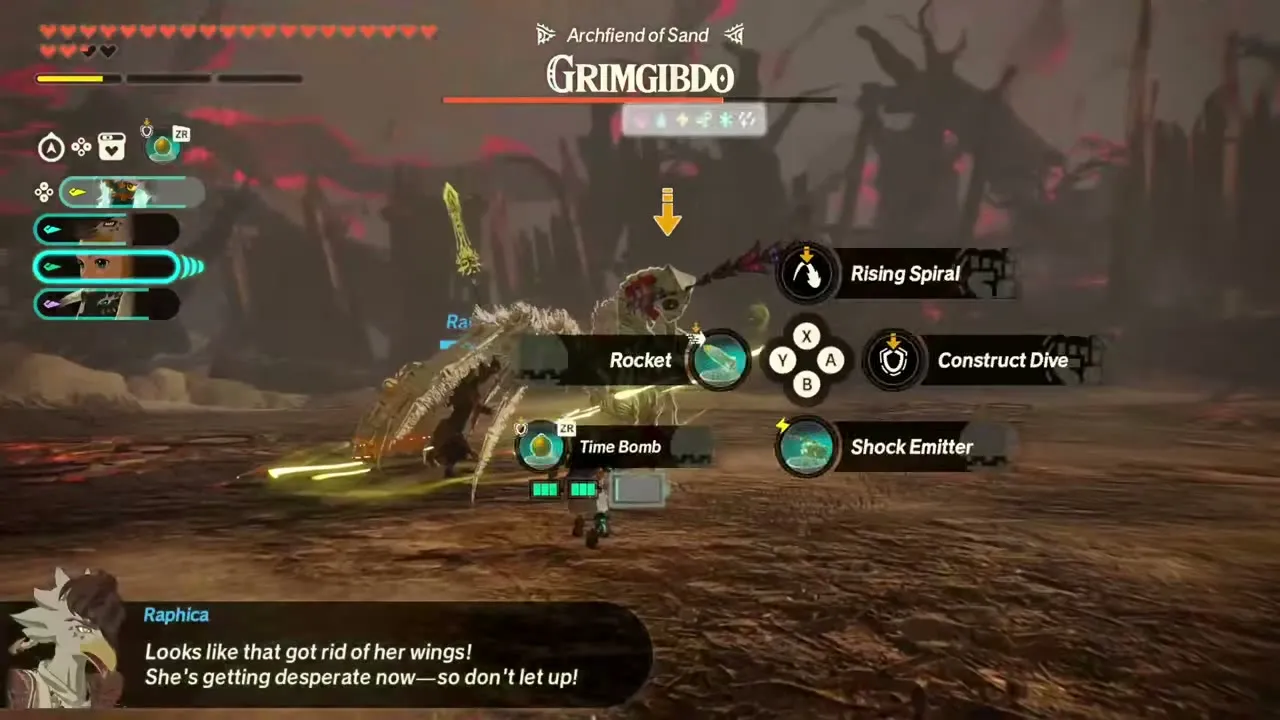
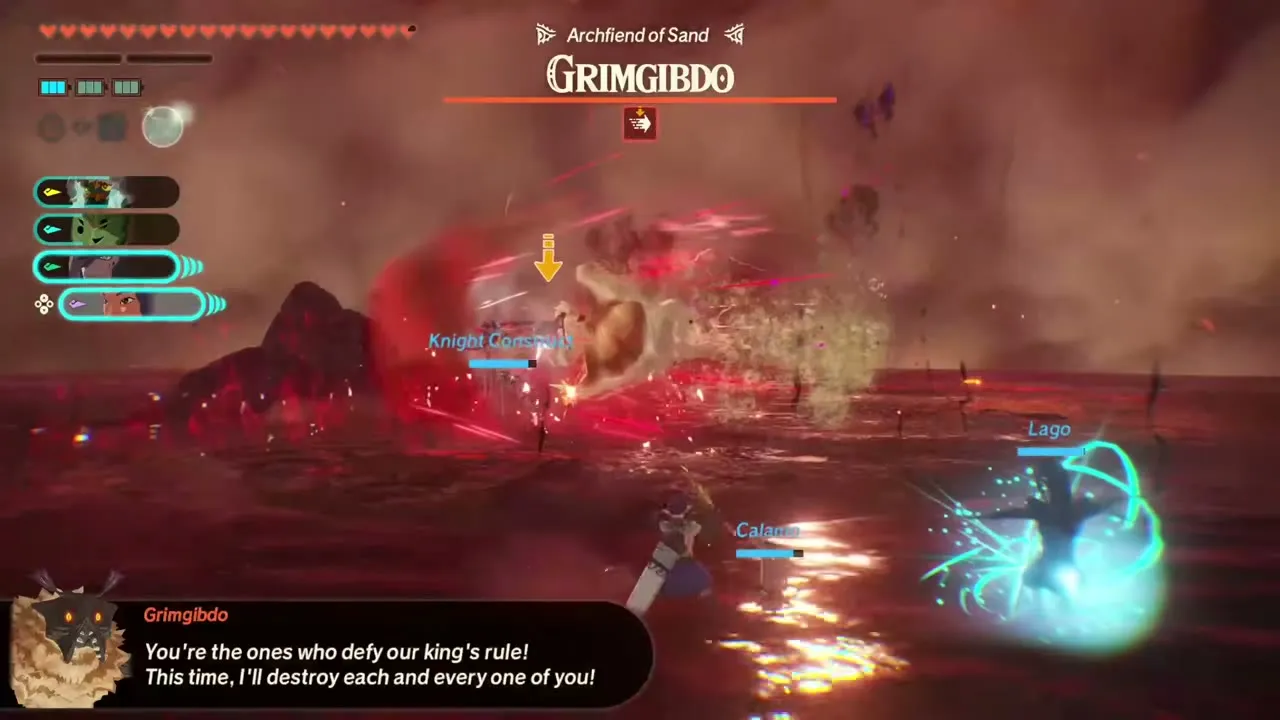
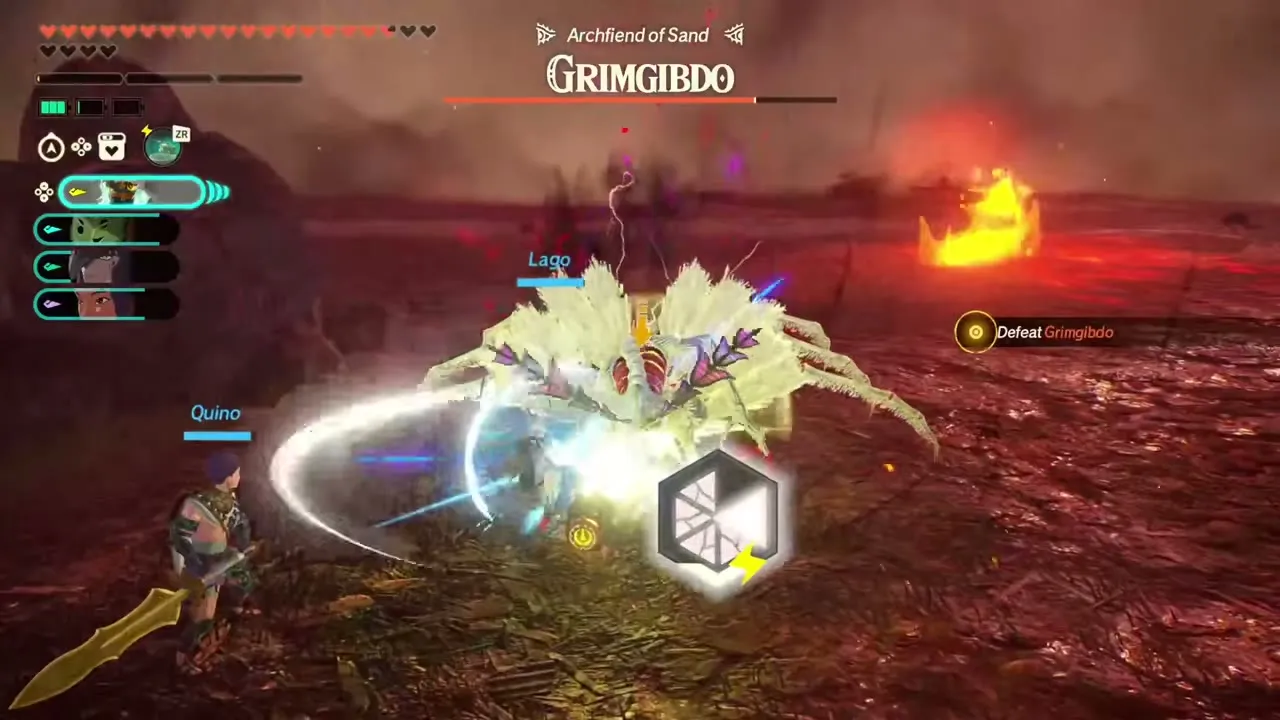
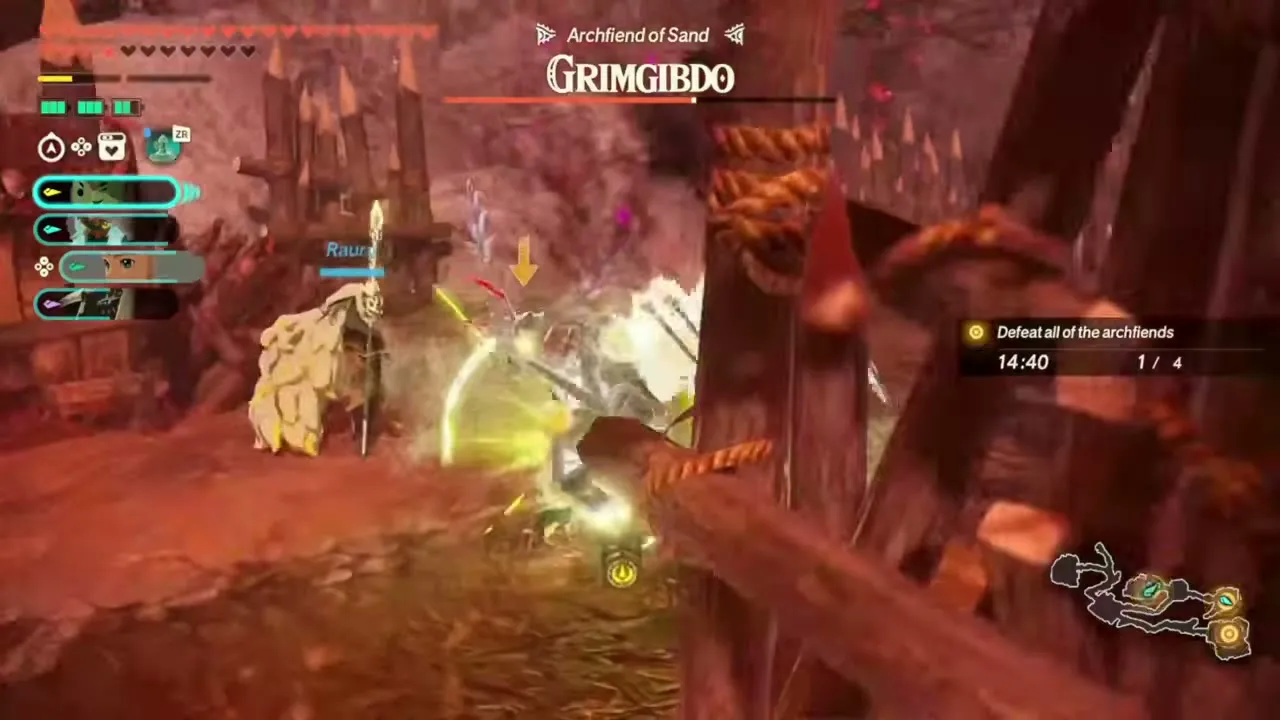
Grimgibdo, Archfiend of Sand, flies on wings and hides in a coat of sand that she uses for her attacks. While the sand is on, she is weak to wind and to shield-breaking moves, so Raphica’s wind combos and the Fan device do the best work, and the Fan also blows back her whirlwinds so you can counter and stagger her. Empty the first gauge and the sand falls away and her wings are lost, leaving a skeletal, spider-like body with antlers that is weak to every element, with a second gauge underneath. Break that one with elemental Special Attacks, then finish her. On the ground she moves faster and chains her attacks, so keep dodging.
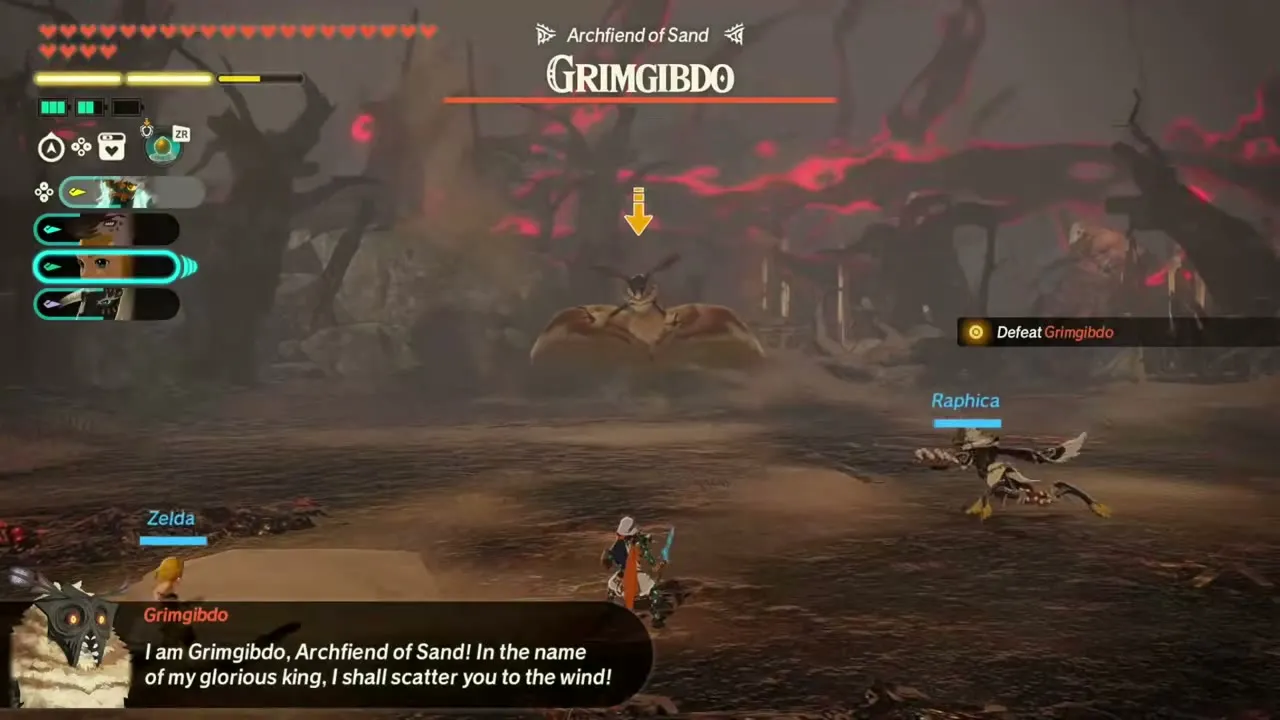
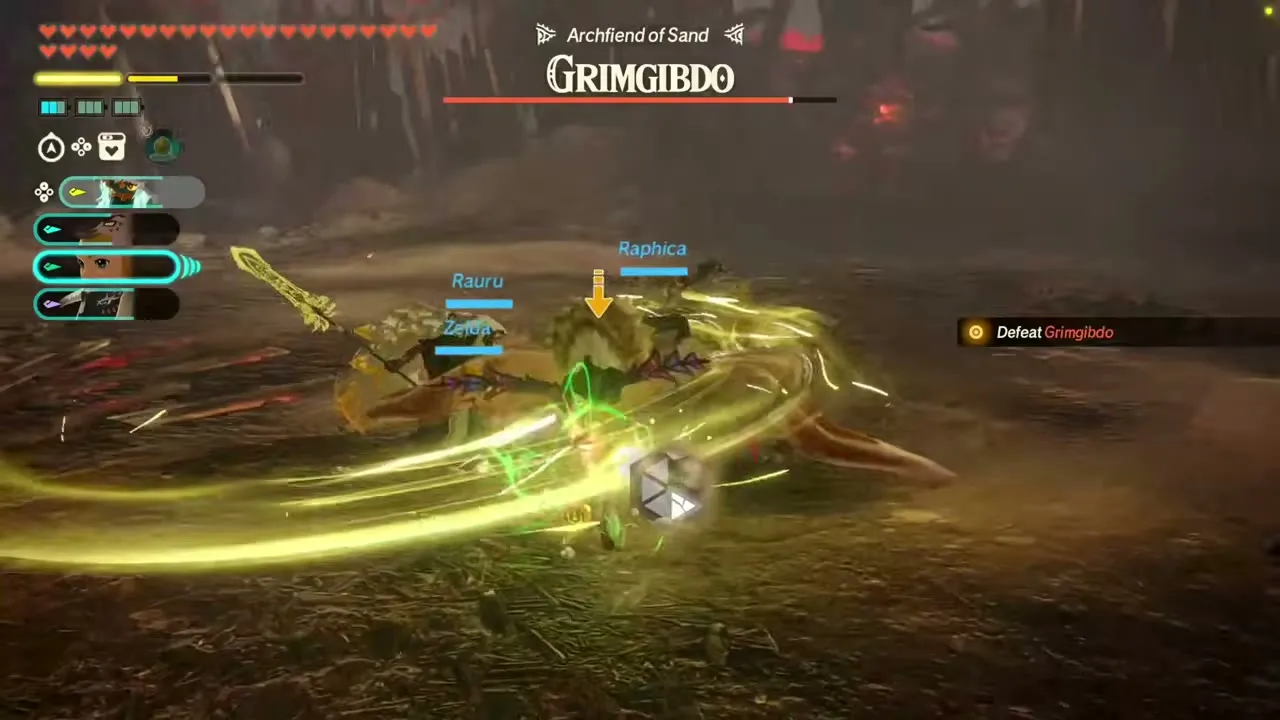
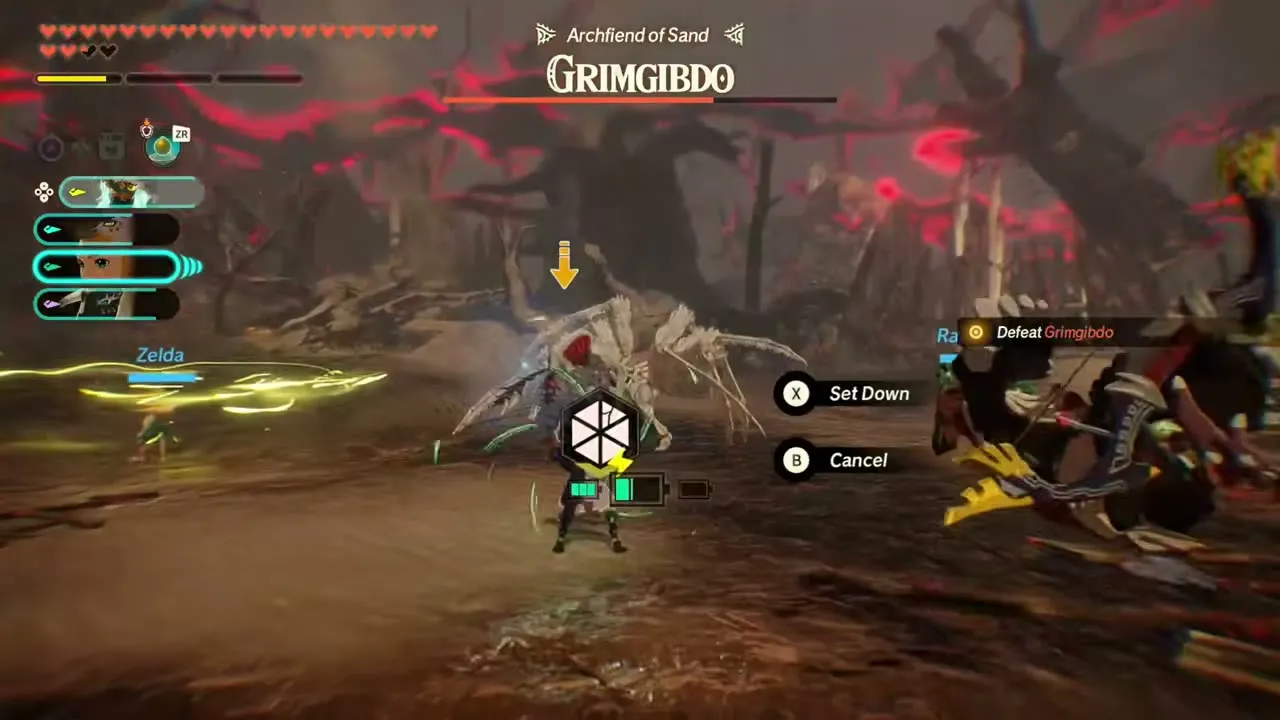
She appears in Fire and Sand (Lv 43), the last battle of Chapter 4, and as a surprise finisher in The Battle of Hyrule Field (Lv 54), where she arrives after the red army bar is emptied and you break her first gauge with bombs or counters while Calamo and the Knight Construct fight beside you. As Ardi, defeating one in an Aside Quest pays 1,000 Rupees and Pure Zonaite Steel (One-Handed).
The Archfiend Quartet challenge
Once you have finished the story, the challenge The Archfiend Quartet (recommended Lv 80, any warriors) is a time-limited fight built around the four Archfiends: the objective reads “Defeat all of the archfiends!” and they arrive one after another, Grimtorok first, then Grimgibdo, Grimgera and finally Grimgohma. Its reward is Ironshell Crab x20, Warm Darner x20, Hyrule Bass x20, Endura Carrot x15 and Pure Zonaite Steel (Pristine) x1, plus a Zonaite Steel (Spear). See Challenges Lv 51-90 for the full entry.
Demon King Ganondorf and the Phantom Ganons
Phantom Ganon
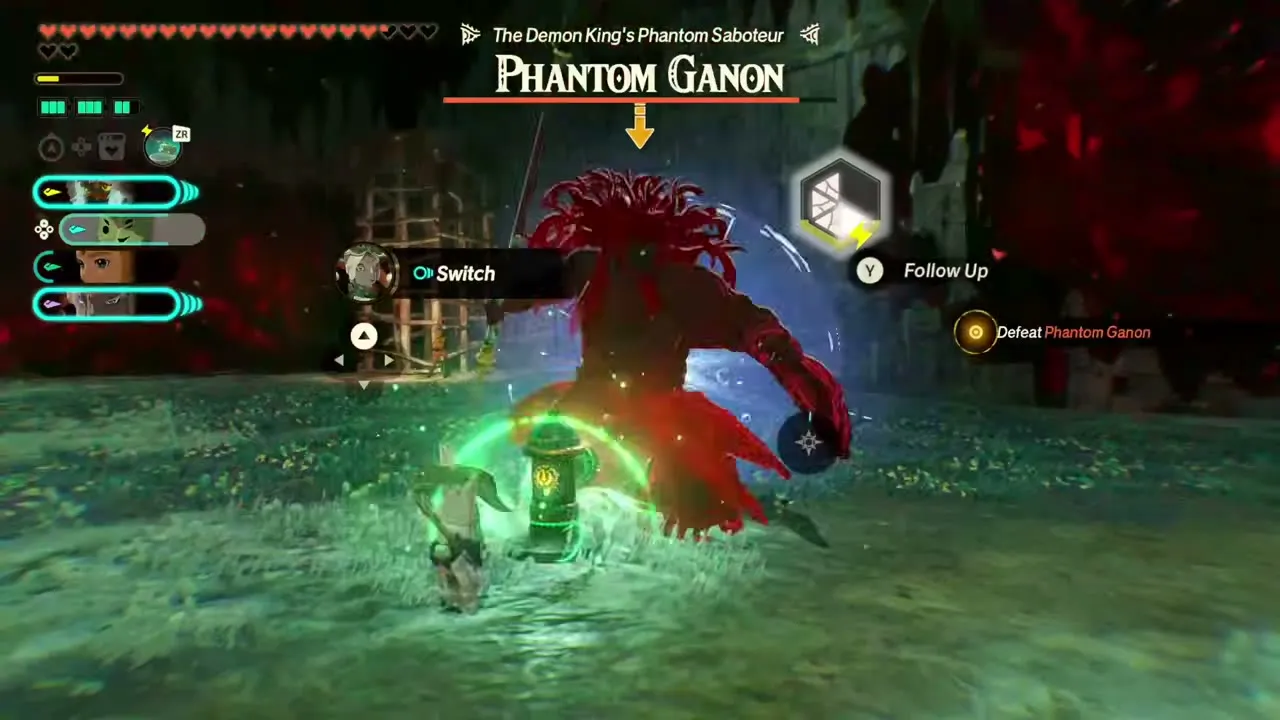
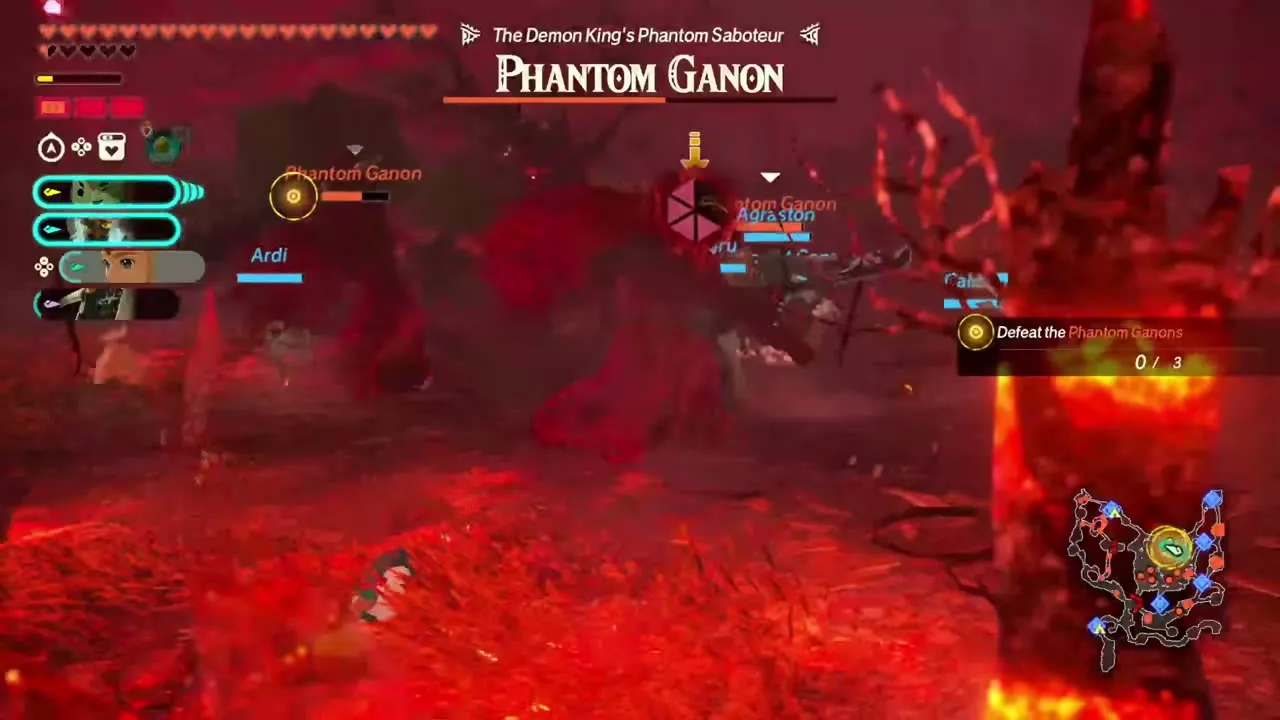
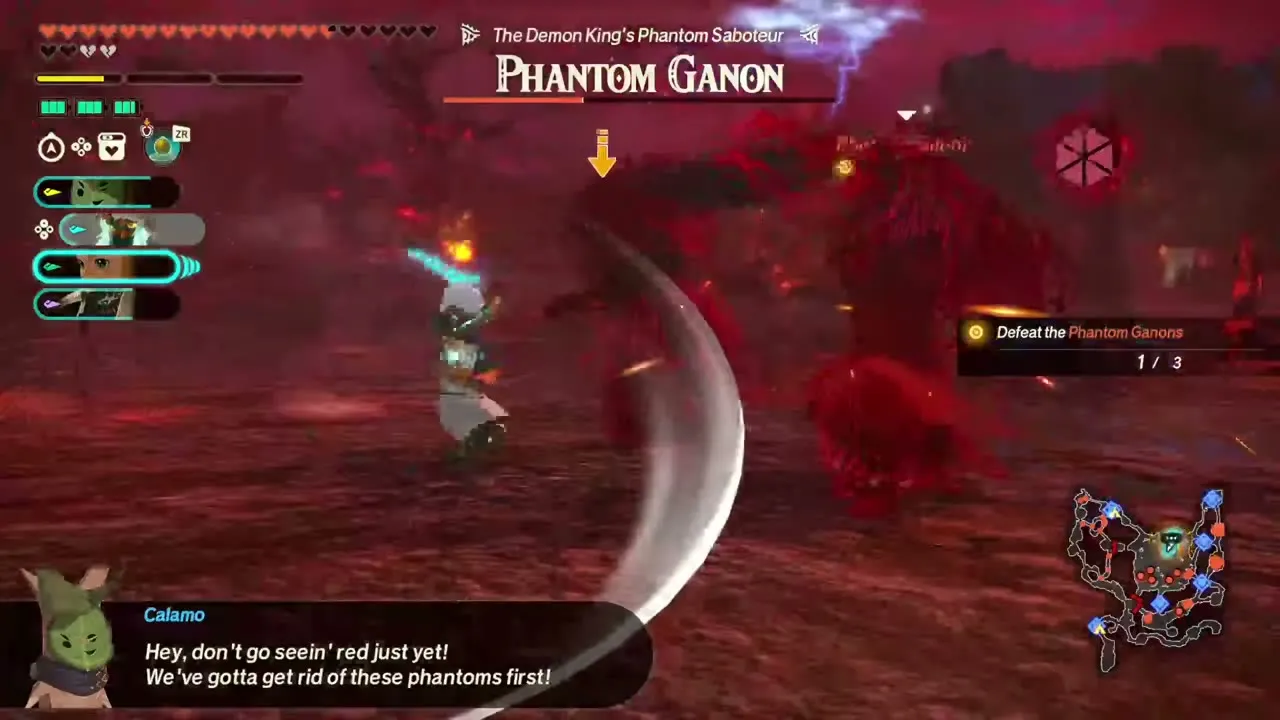
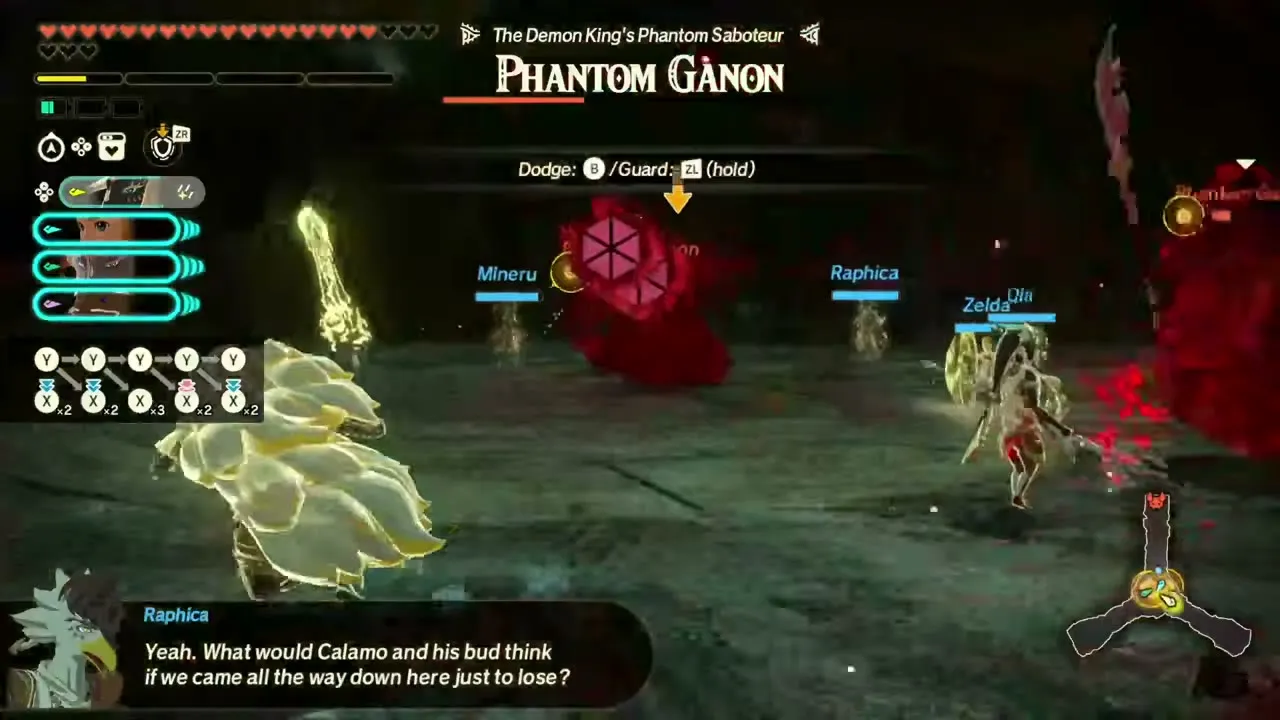
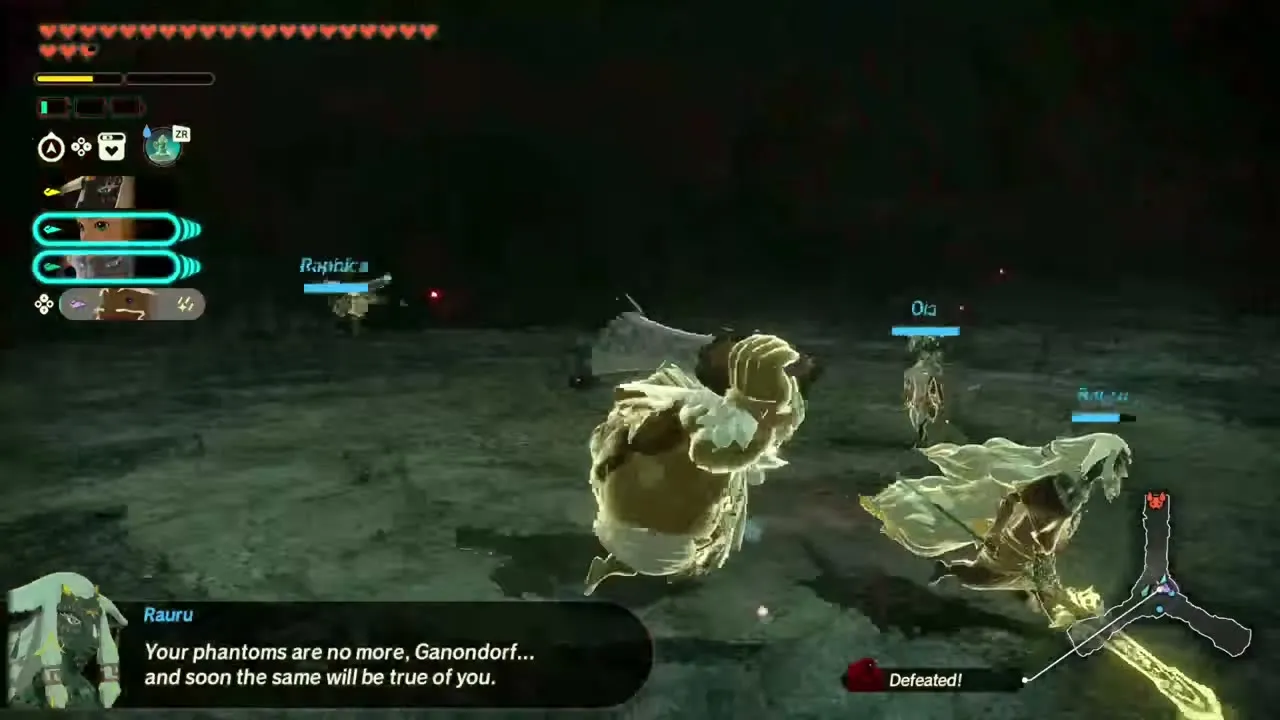
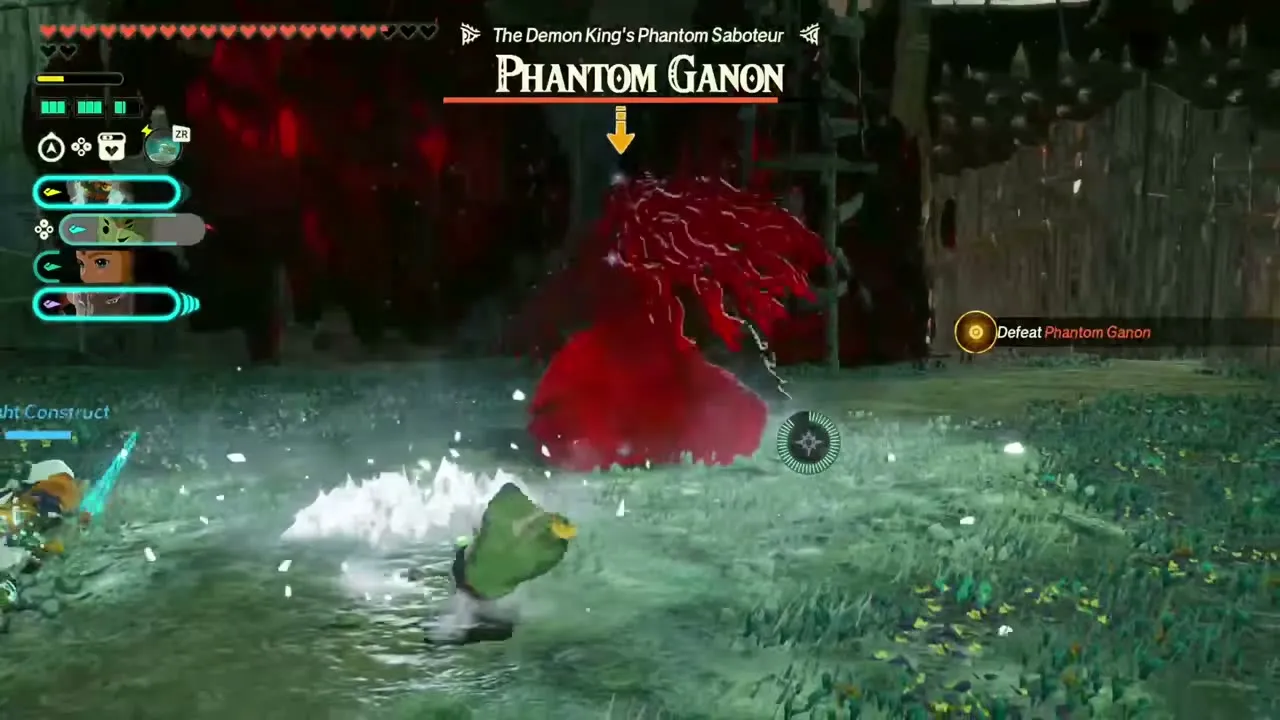
Phantom Ganon, “The Demon King’s Phantom Saboteur”, is a gloom puppet of Ganondorf and is weak to light, so play Zelda or Rauru and lean on strong attacks, Special Attacks and Unique Skills. It performs many jump attacks, so bring a warrior with an anti-air skill. Gloom lowers your maximum hearts for a while, and light attacks cleanse it. Defeating a Phantom Ganon as a specific warrior earns an Aside Quest reward: Zelda, Ardi, Lago, Pinnec or Sholani get Pure Zonaite Steel and 1,000 Rupees, Rauru gets Raw Whole Bird x5 and 1,000 Rupees, and Mineru gets Dark Clump x5 and 800 Rupees.
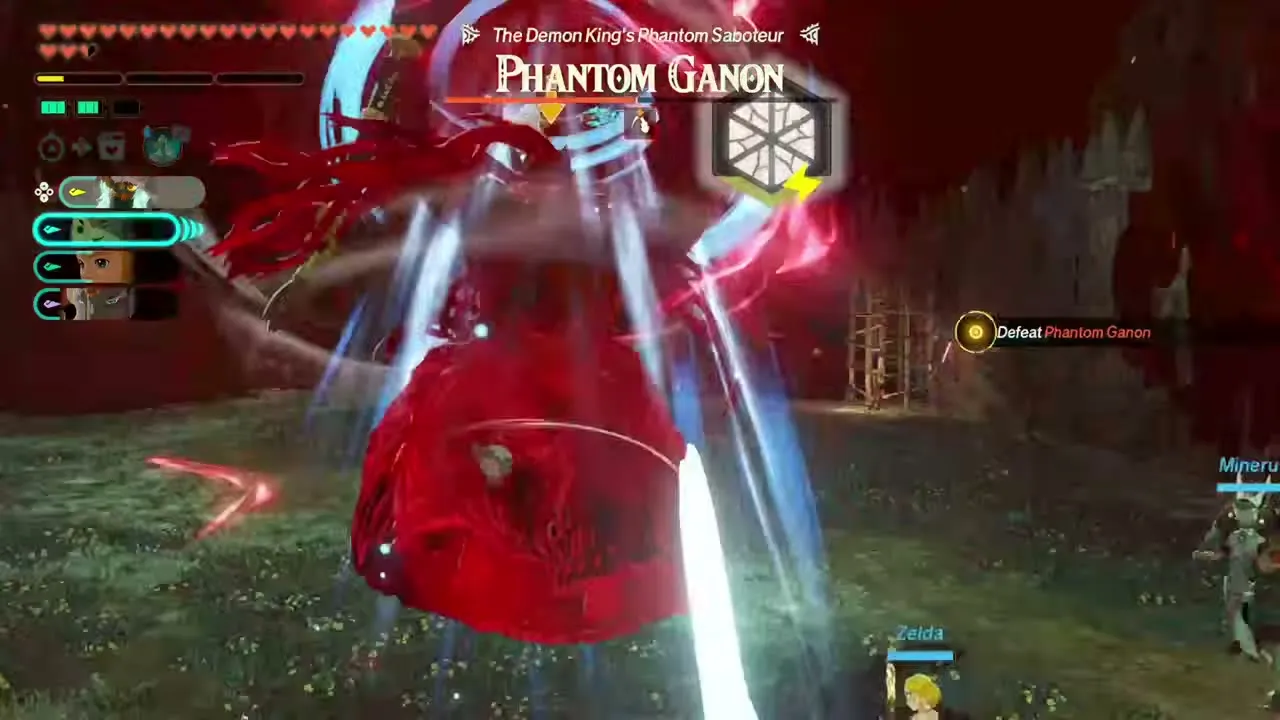
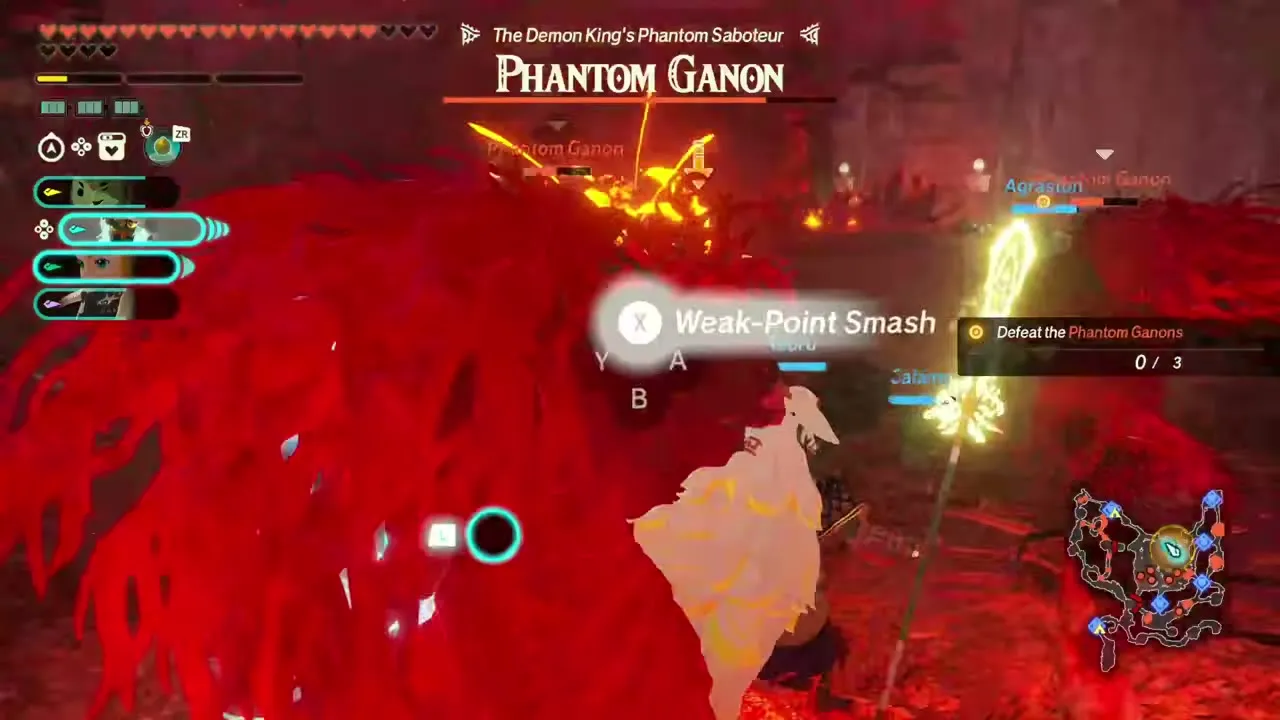
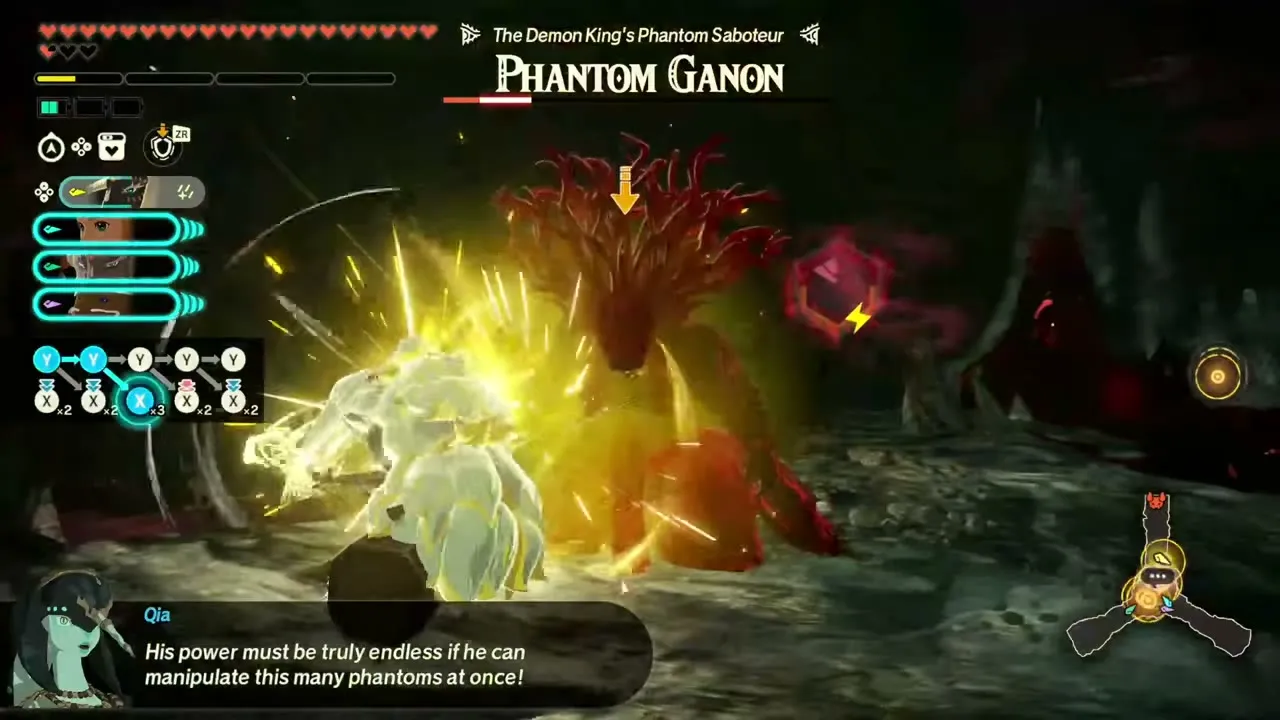
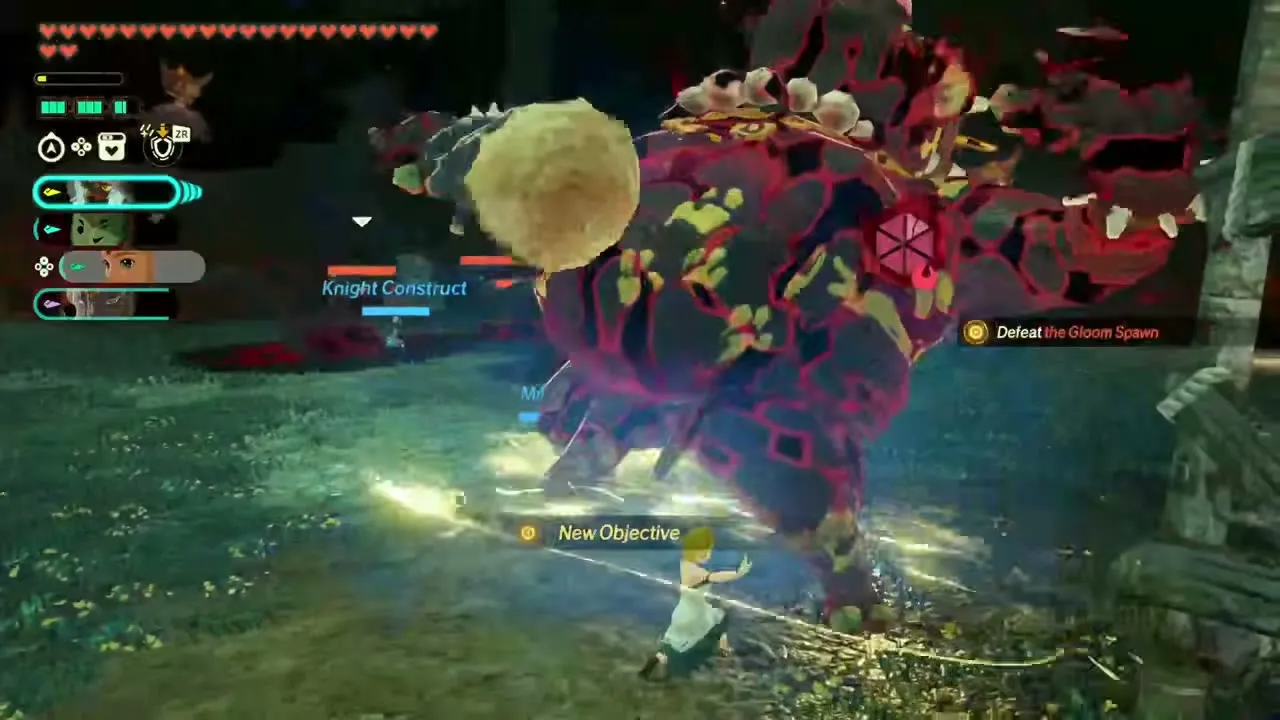
One is the boss of Purging the Shadows (Lv 40), after you defeat five Gloom Spawn at the final outpost. Three fight at once in The Demon King, Ensnared (Lv 54), where Sync Strikes and Special Attacks hit all three, and a larger crowd opens The Final Confrontation. Update 1.0.3 also adds random Phantom Ganon appearances in cleared battles, which drop extra Pure Zonaite Steel.
Demon King Ganondorf
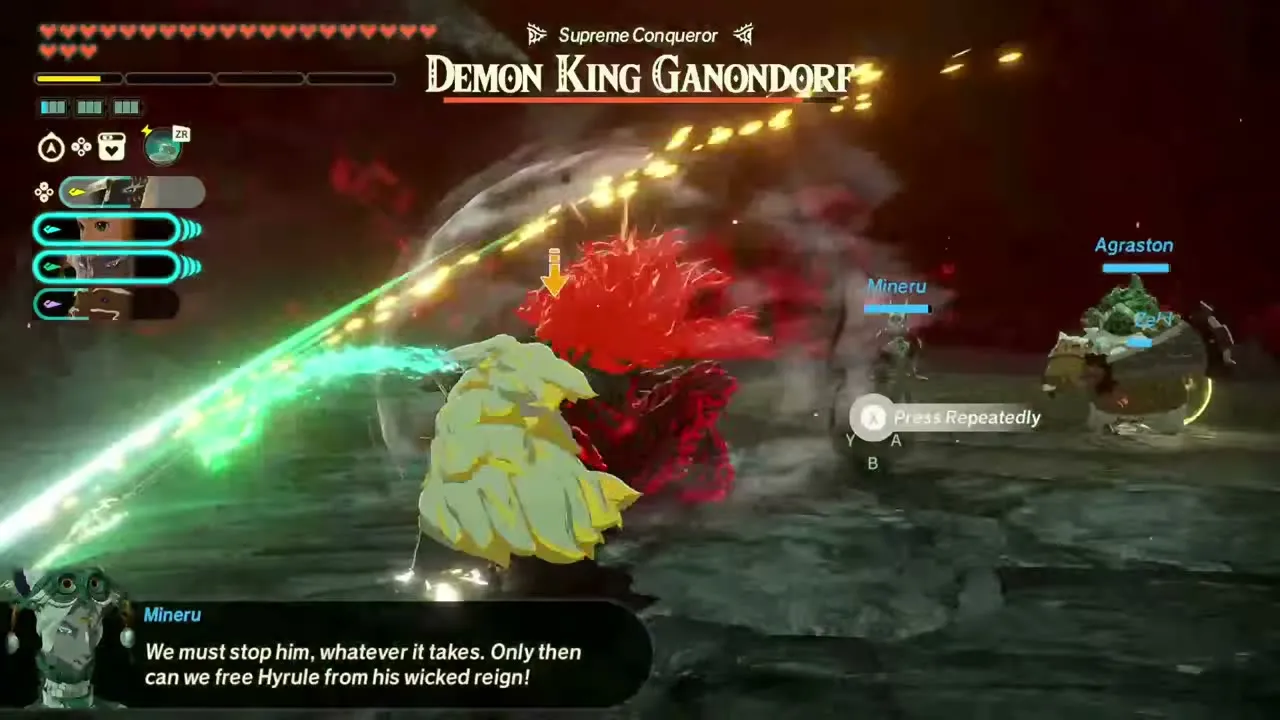
Demon King Ganondorf, the “Supreme Conqueror”, is weak to light, so the fight belongs to Zelda and Rauru, who take over the offensive with strong attacks, Special Attacks and Unique Skills. In this fight they lose the sacred-power bonus that made their skills recharge almost instantly, so you cannot spam them; use their skills back to back and bring a full four-member party (Qia and Ardi fill the last slots) so your other two can counter his Dangerous Attacks. He can dodge basic attacks and even dodge like a perfect dodge: when time slows, wait and dodge the follow-up instead. Flurry Rushes after your own perfect dodges give you more hits.
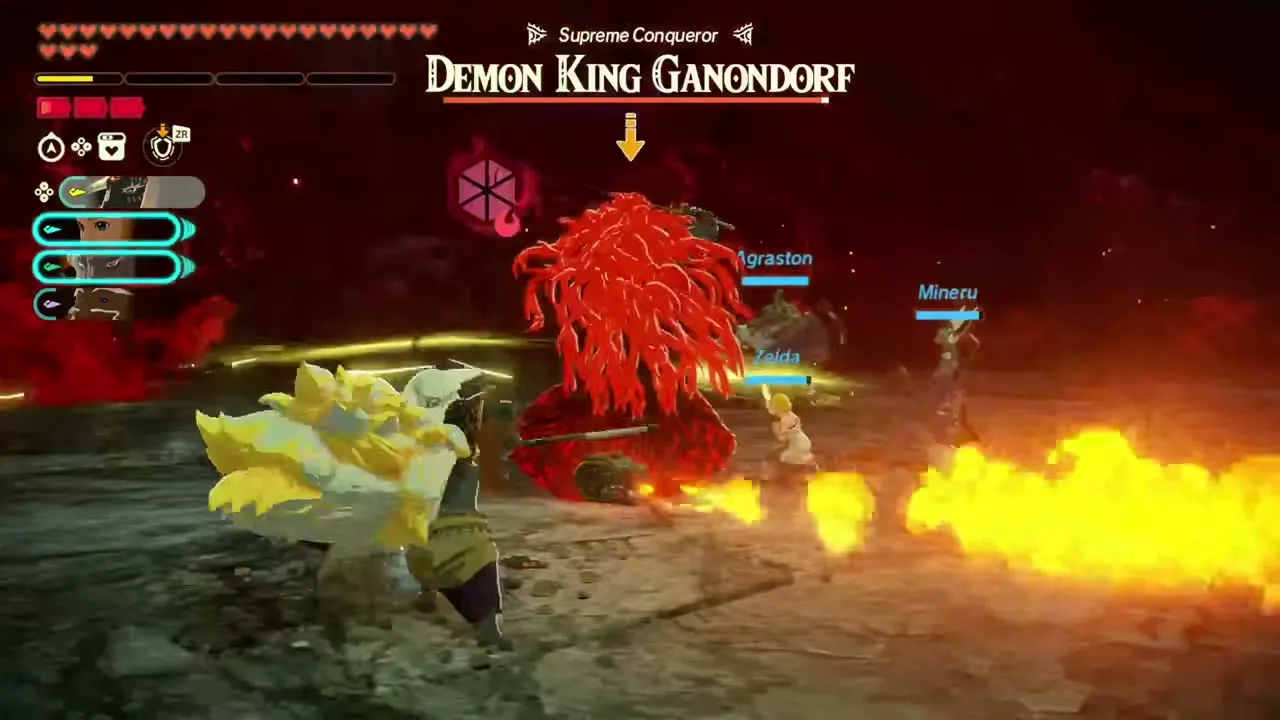
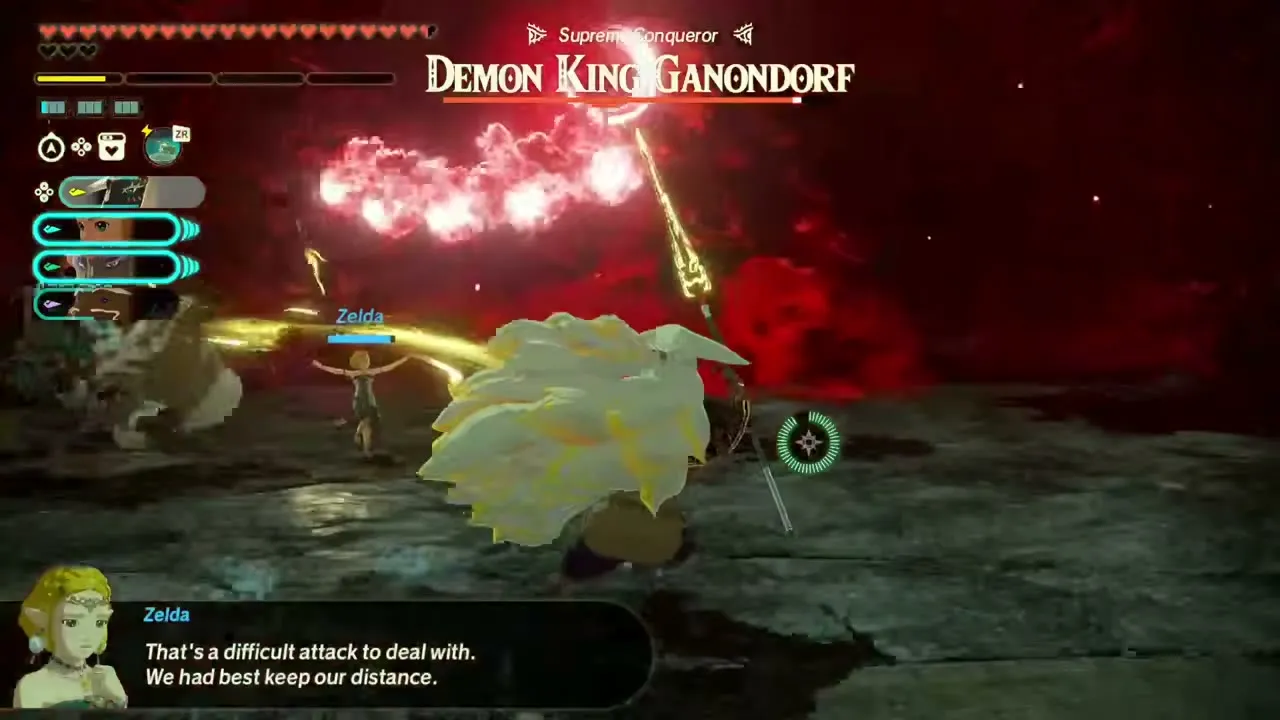
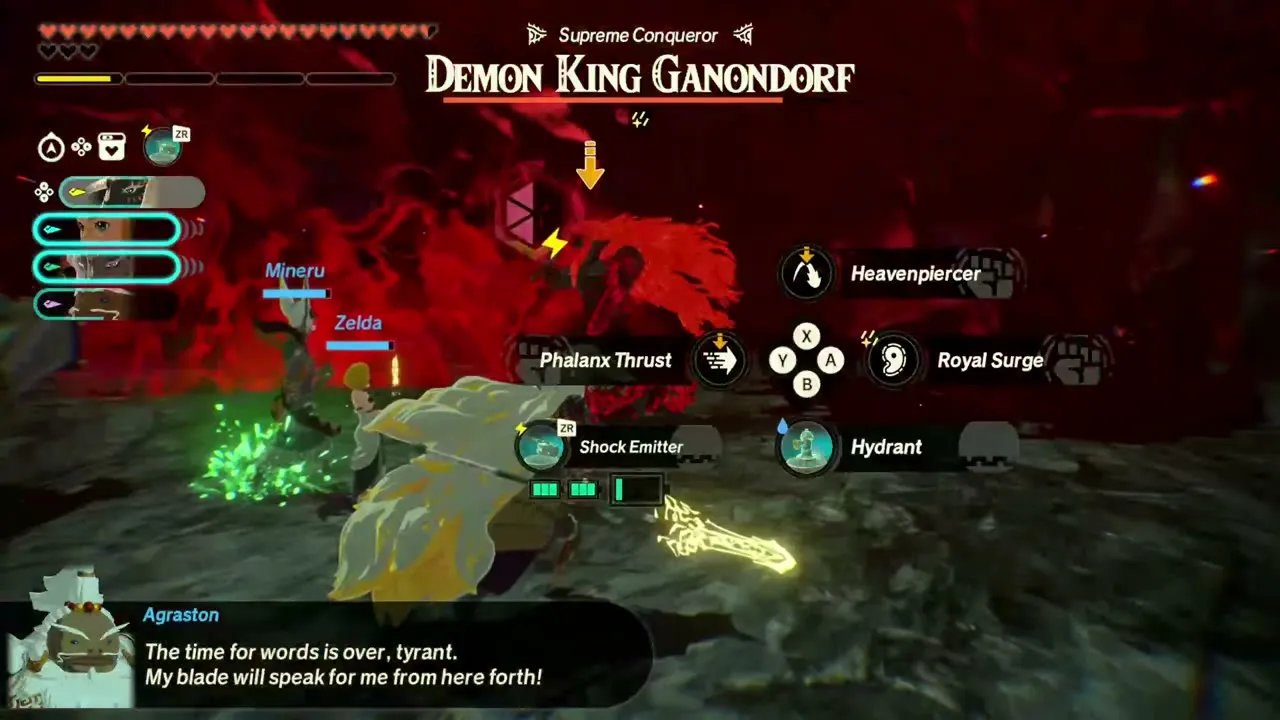
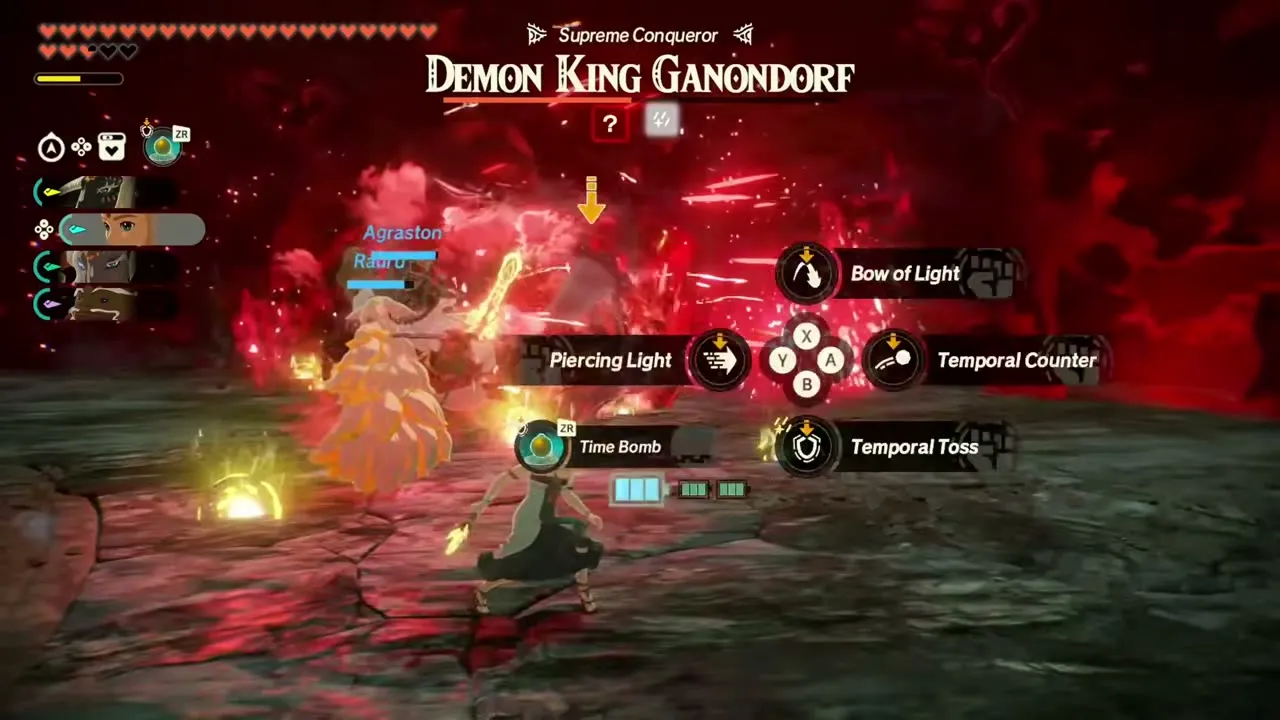
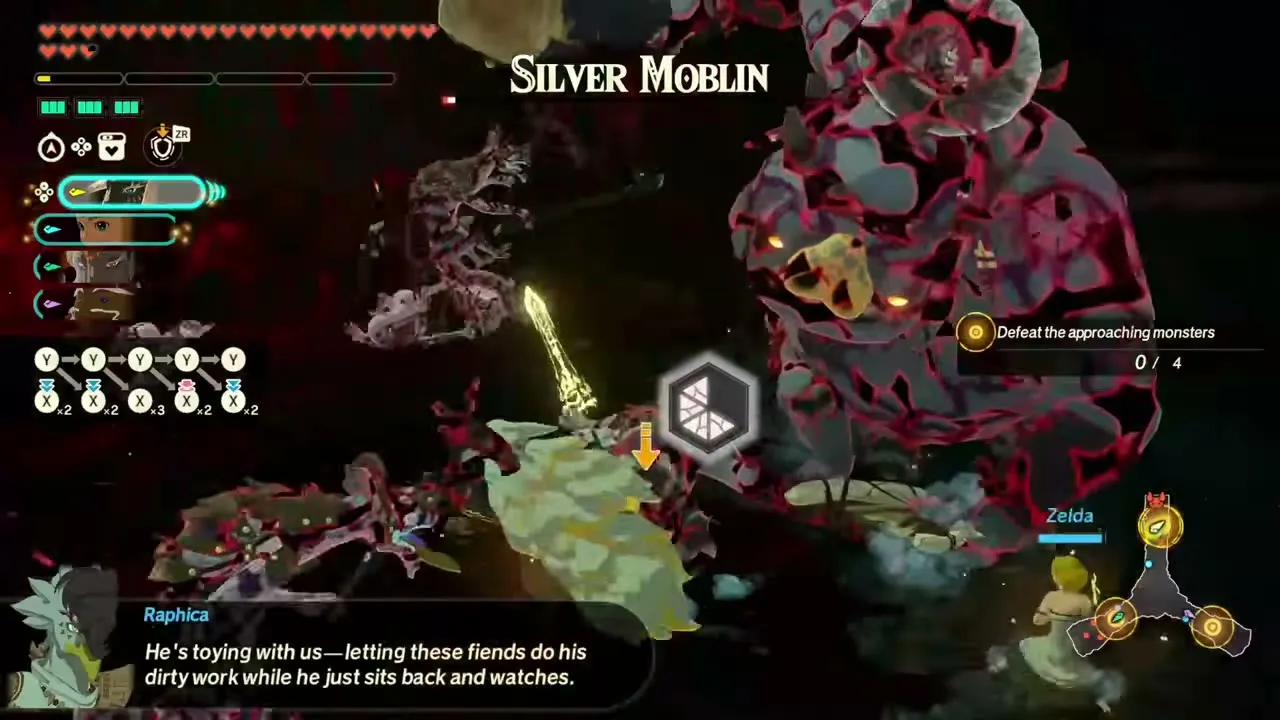
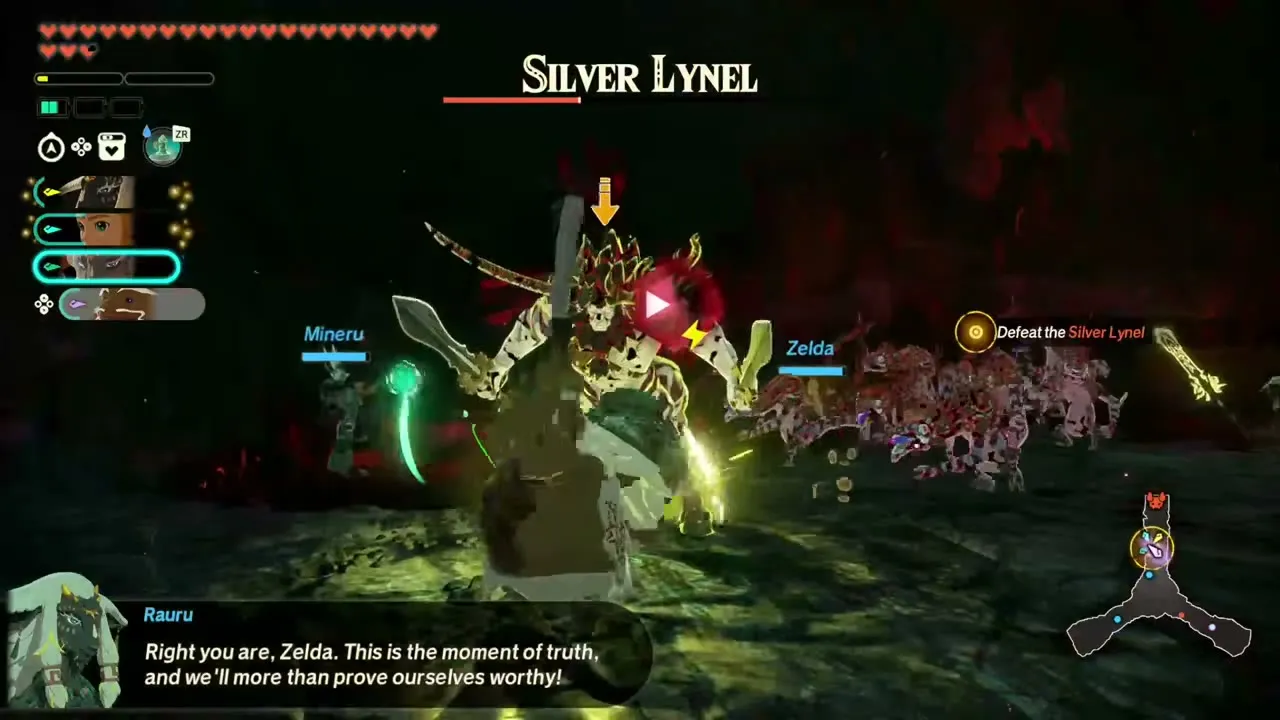
He is the boss of The Final Confrontation (Lv 56), the first half of the ending. Before him you beat a first wave of Silver and gloomed enemies, a Silver Lynel and a group of Phantom Ganons; press L when prompted to blast most of them away, which leaves three at half health. Defeating him ends the first half of the ending.
The Constructs
Forbidden Construct
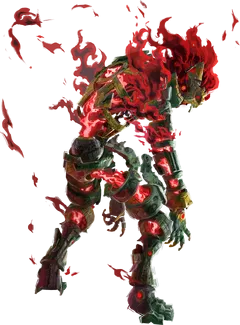
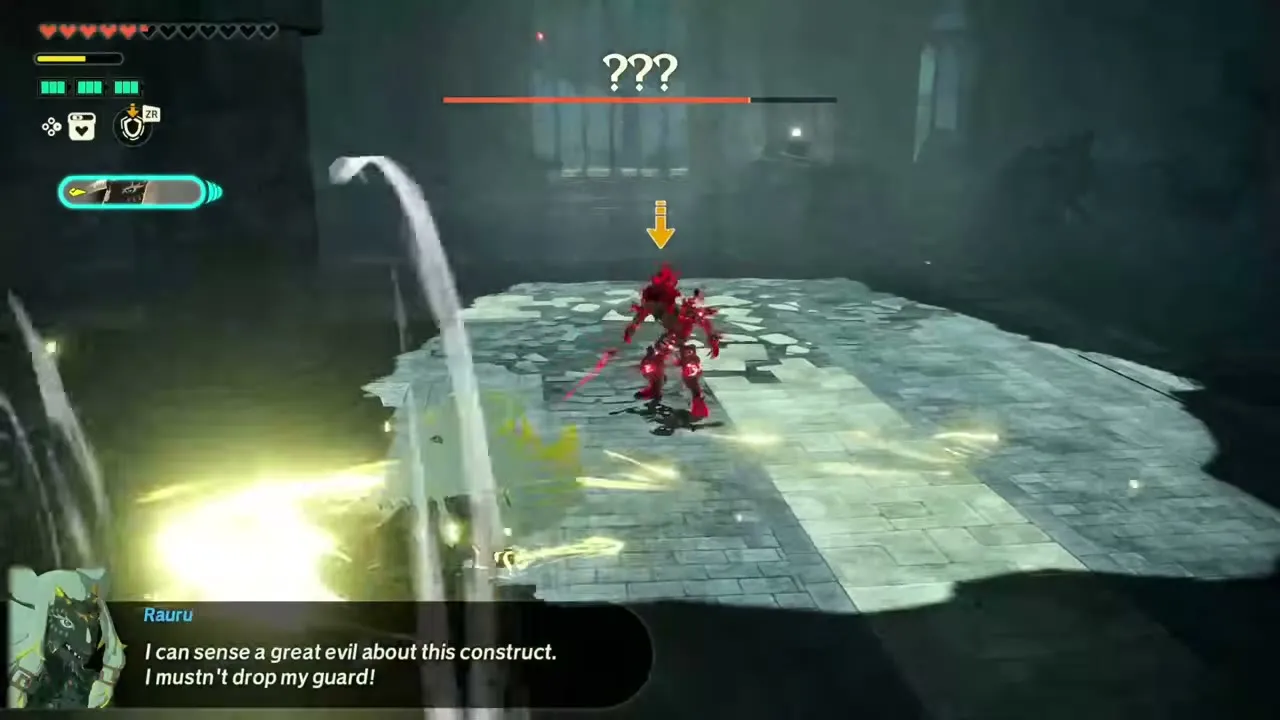
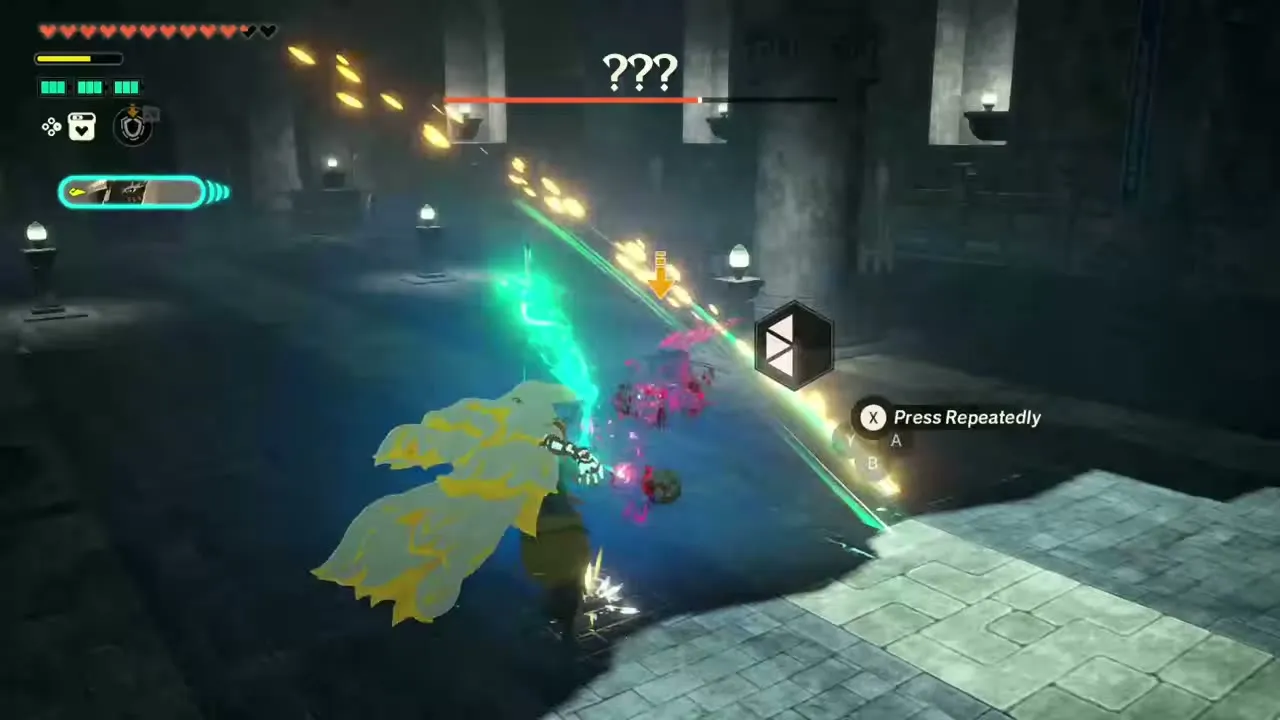
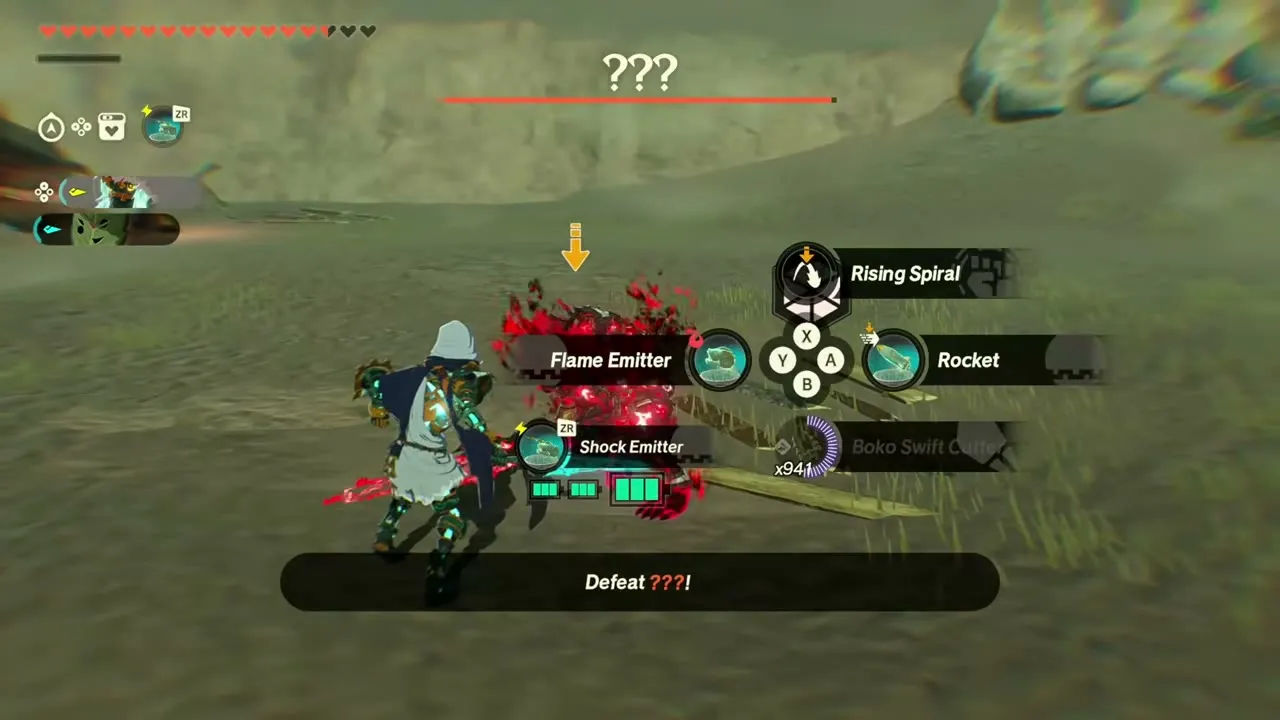
The Forbidden Construct, the “Vessel of Darkness”, is a corrupted Construct that absorbed the gloom of a Phantom Ganon when it woke beneath Tobio’s Hollow, and it hunts the Knight Construct. It has no elemental weakness, so the fight is about reading its attacks and countering them. When it leaps into the air, use an anti-air skill such as the Knight Construct’s Rising Spiral. When it turns into a spider-like form and rushes you, counter with an anti-charge skill like Counter Kick. When it pulls out a Cannon, answer with a projectile counter such as Whirling Tornado. An overhead leg smash is delayed, so do not dodge early, and its Frost Emitter freezes the ground after a delay: dodge about one second after the ground freezes for a perfect dodge and a Flurry Rush. Sync Strikes and Special Attacks may not work reliably here, so rely on dodges and counters.
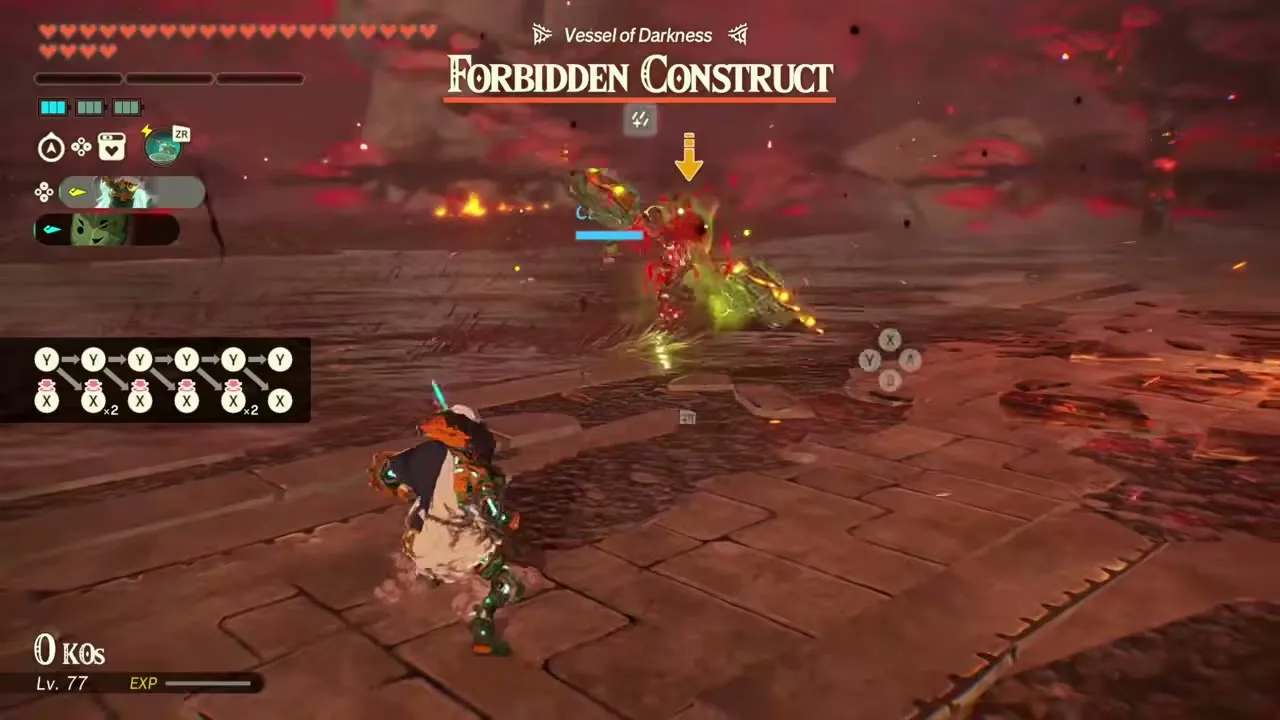
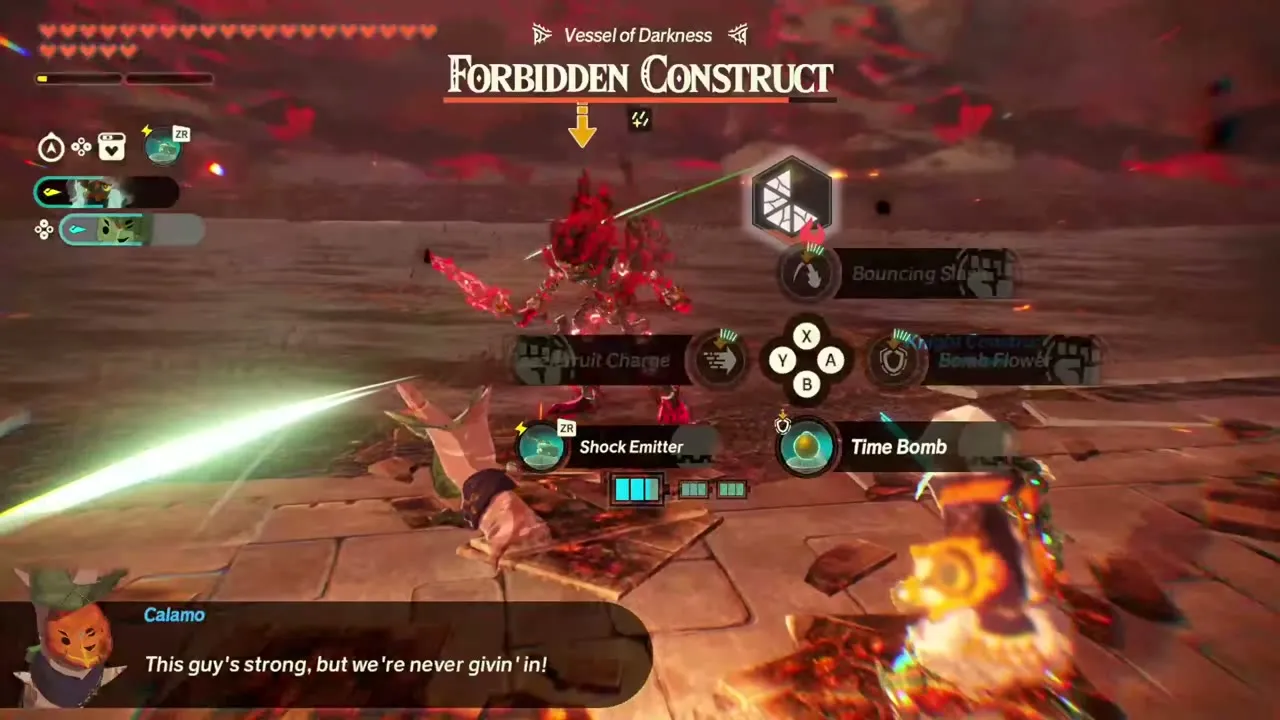
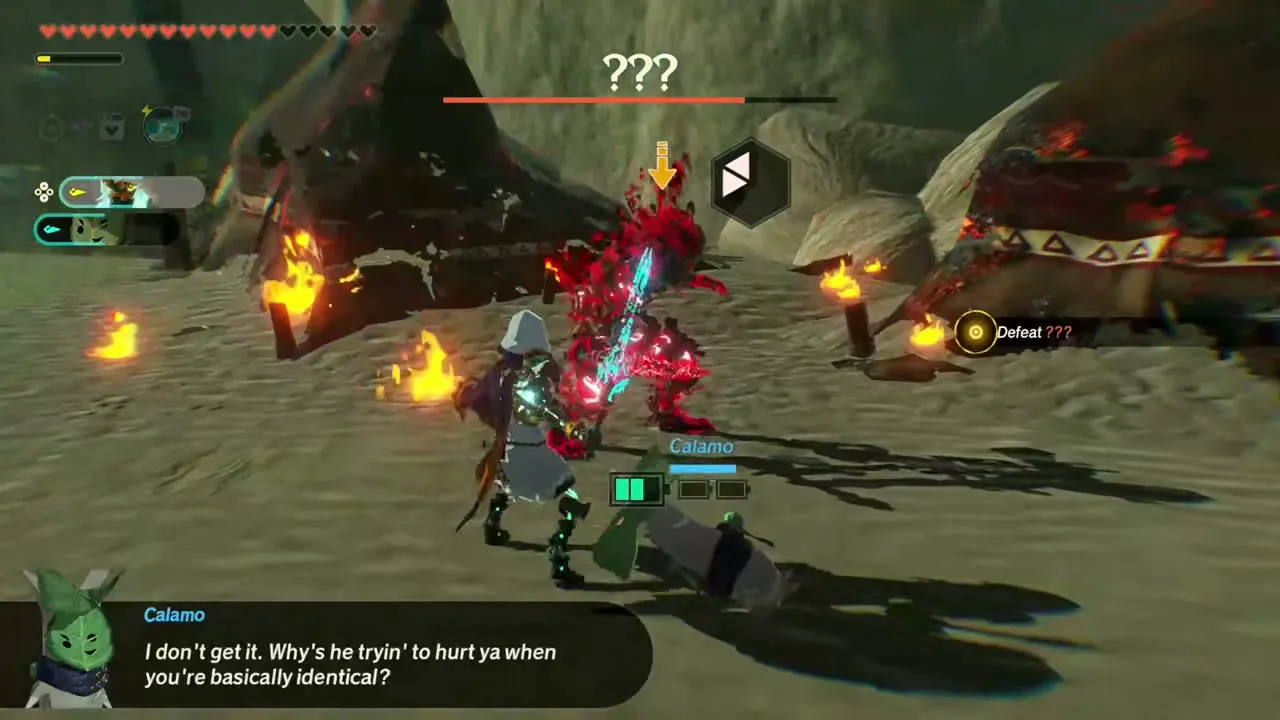
You fight it three times. In Growing Suspicion (Lv 10) it is labelled “???” and you face it as Rauru; save Unique Skills for its Dangerous Attacks and hold R to slow time when it glows red. In The Crimson Omen (Lv 29) it is a one-fight battle for Calamo and the Knight Construct. In A Clash of Constructs (Lv 56) it has three phases: the ground duel, an aerial flight phase once its health falls below 70% (use Calamo’s Lv.3 Rocket and Lv.3 Flame Emitter, with a Fan and Shock Emitter for dodging), and a second ground duel with more Gloom attacks. You only need to bring its health down to about 25%, just after the word Forbidden on the bar, to end the fight. Replaying the first two battles after the story shows its proper name. Defeating one as Calamo in an Aside Quest pays 1,000 Rupees and Pure Zonaite Steel (One-Handed).
Flux Construct I
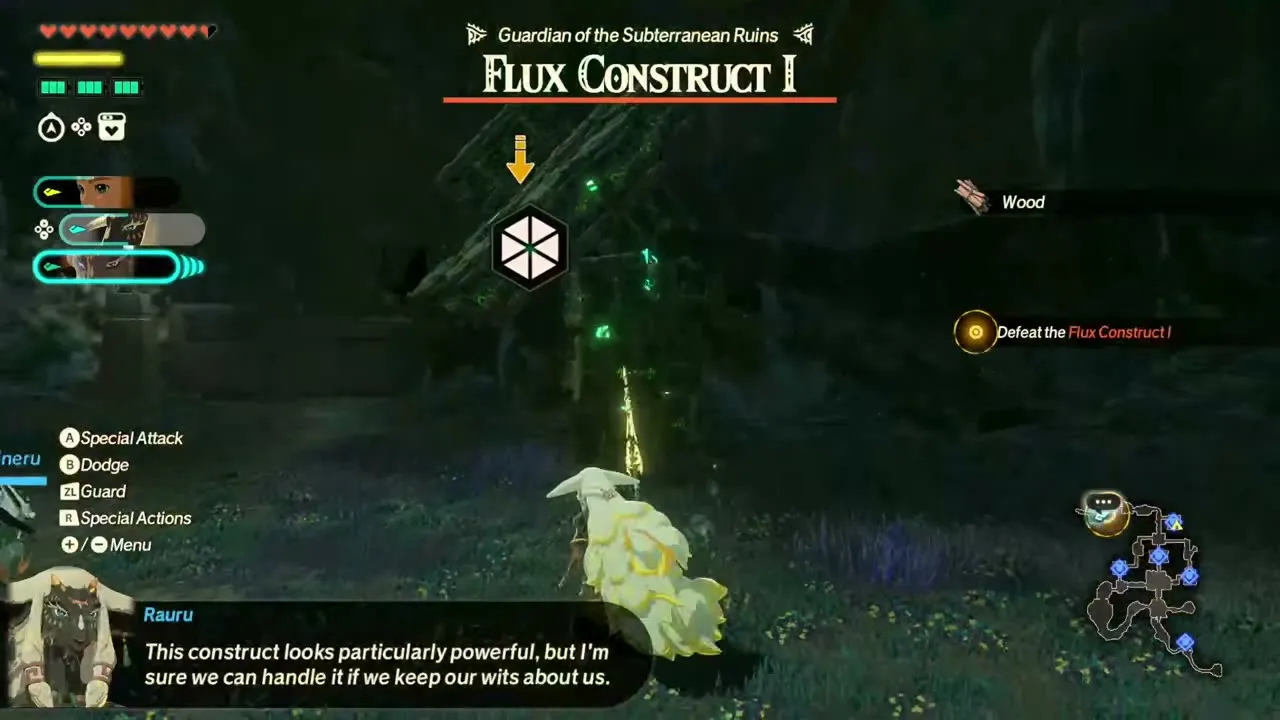
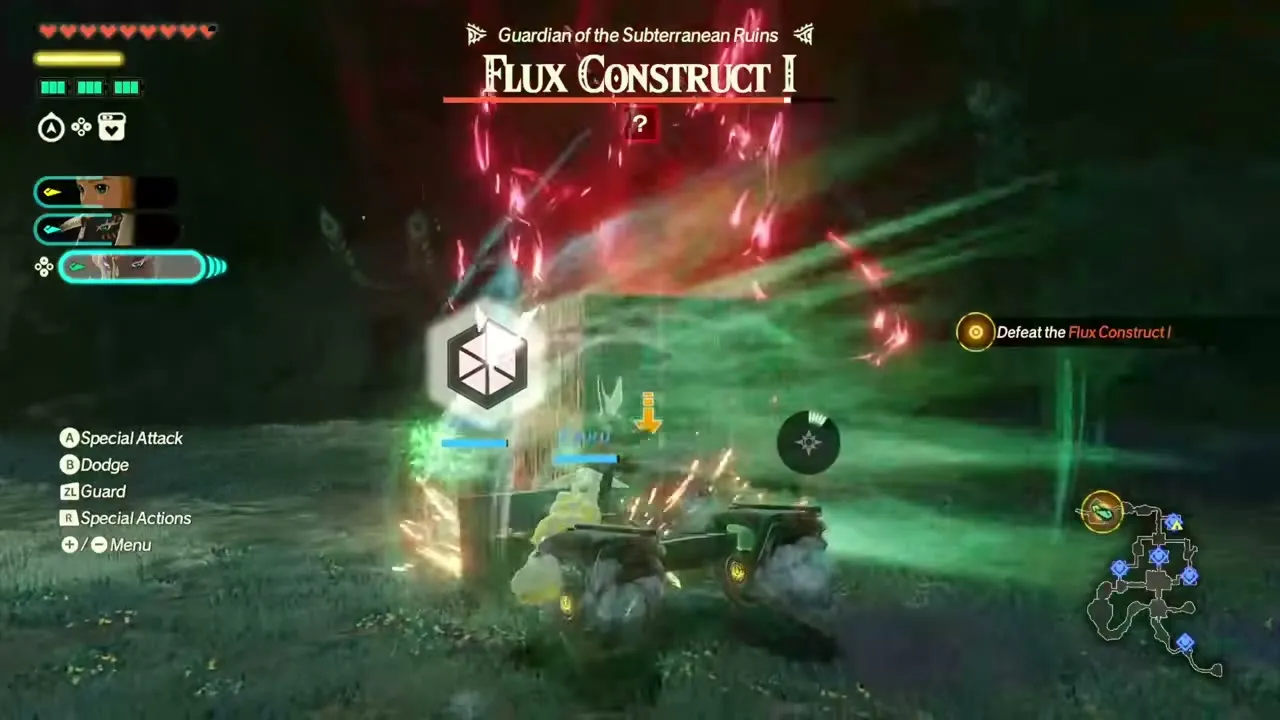
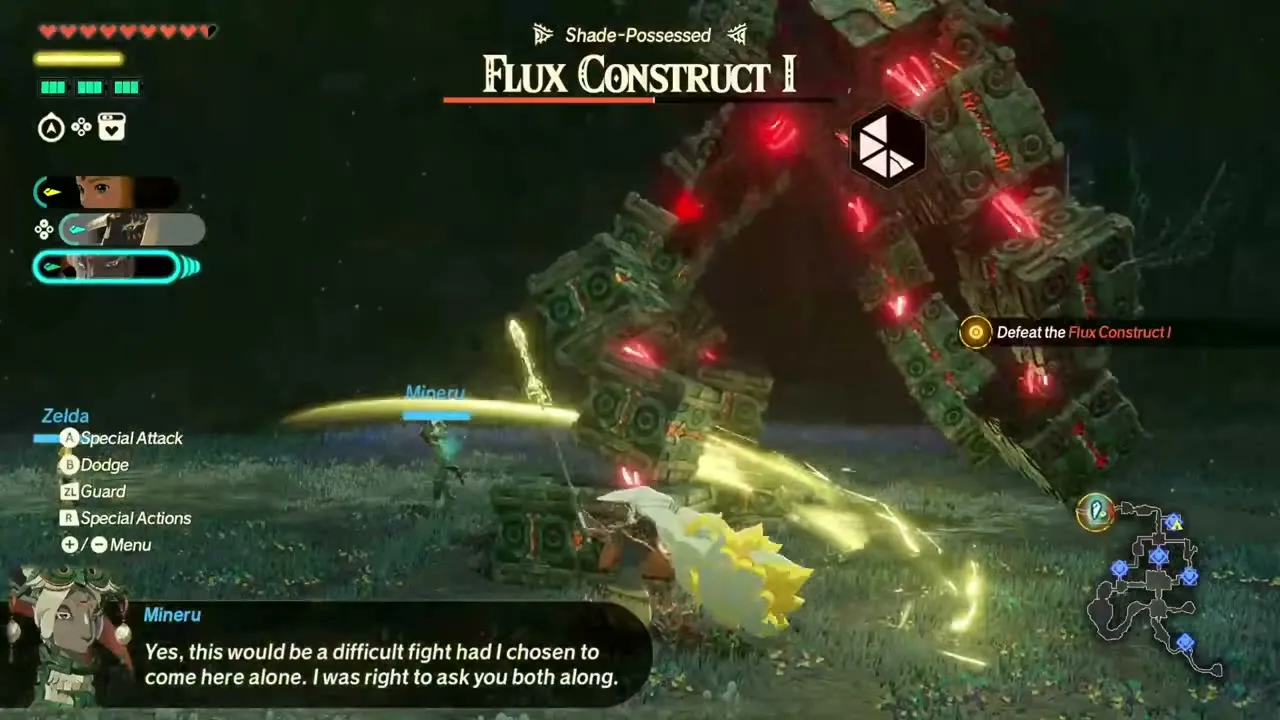
The Flux Construct I, “Guardian of the Subterranean Ruins”, is the boss of Where Ancient Wisdom Sleeps (Lv 2), after three emblems have been activated. In its first phase it leaps; counter its Dangerous Attack with an air attack while it is airborne. After it lands, use charge attacks as it rolls. It drops a Flux Construct I Core and has no elemental weakness; once a Shade possesses it, its title changes to “Shade-Possessed”. You also fight it in challenges such as “In the Name of Research” (Lv 8).
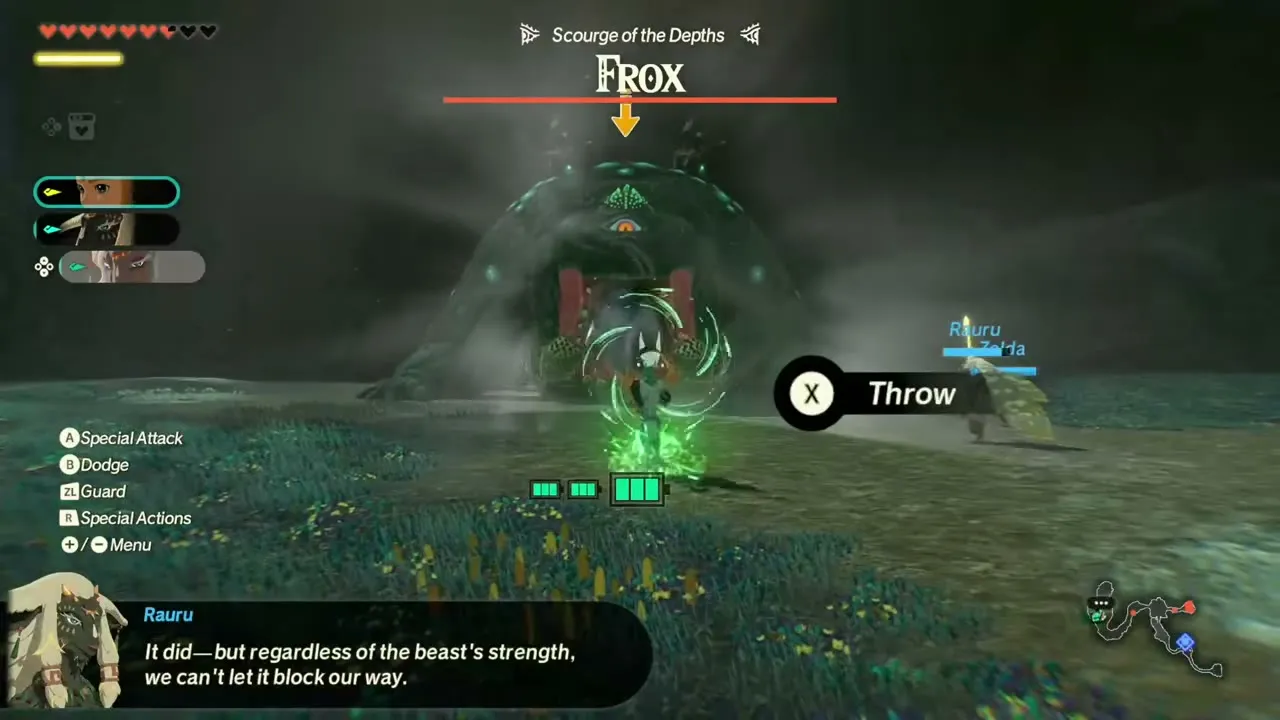
Frox and Stone Talus (Chapter 1 mini-bosses)
The same battle has two mini-bosses before the Flux Construct. Throw a Time Bomb into the Frox’s mouth while it inhales to stagger it and expose its weak point, then counter its Dangerous Attack to ride its back and hit the ore deposits. The Stone Talus has a fortified gauge: use Time Bombs with all three warriors, then land a Weak-Point Smash.
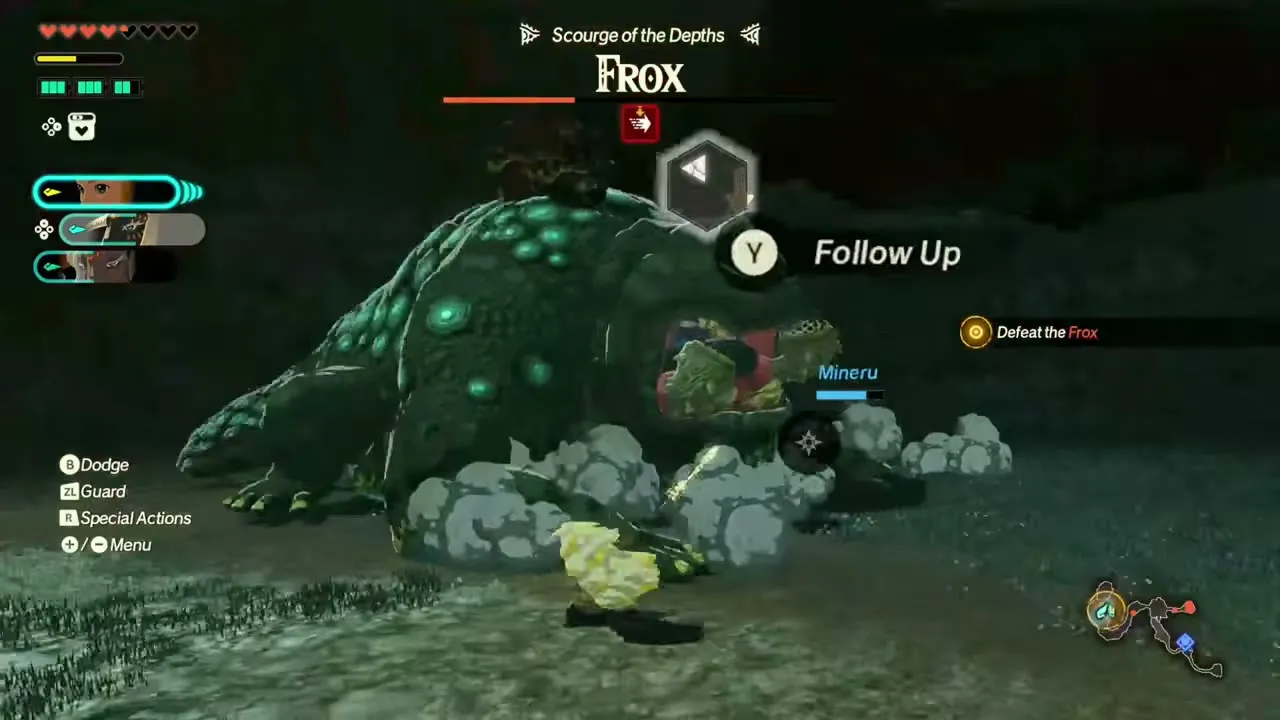
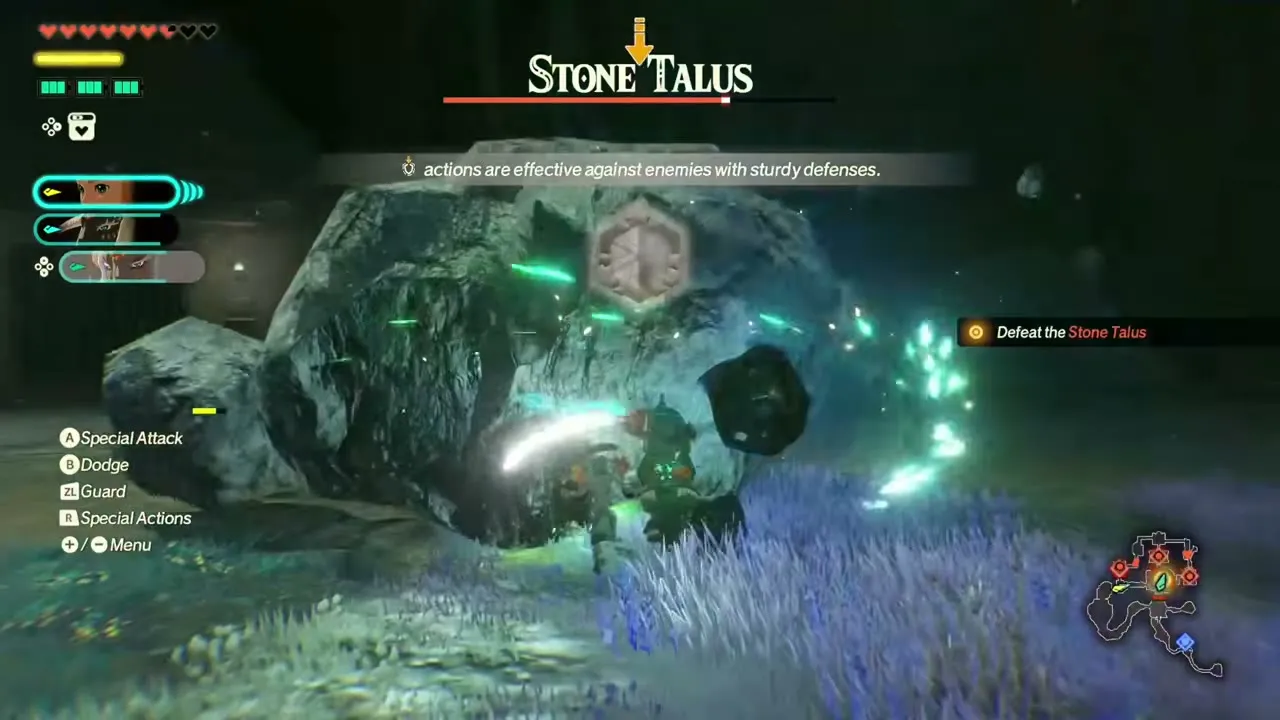
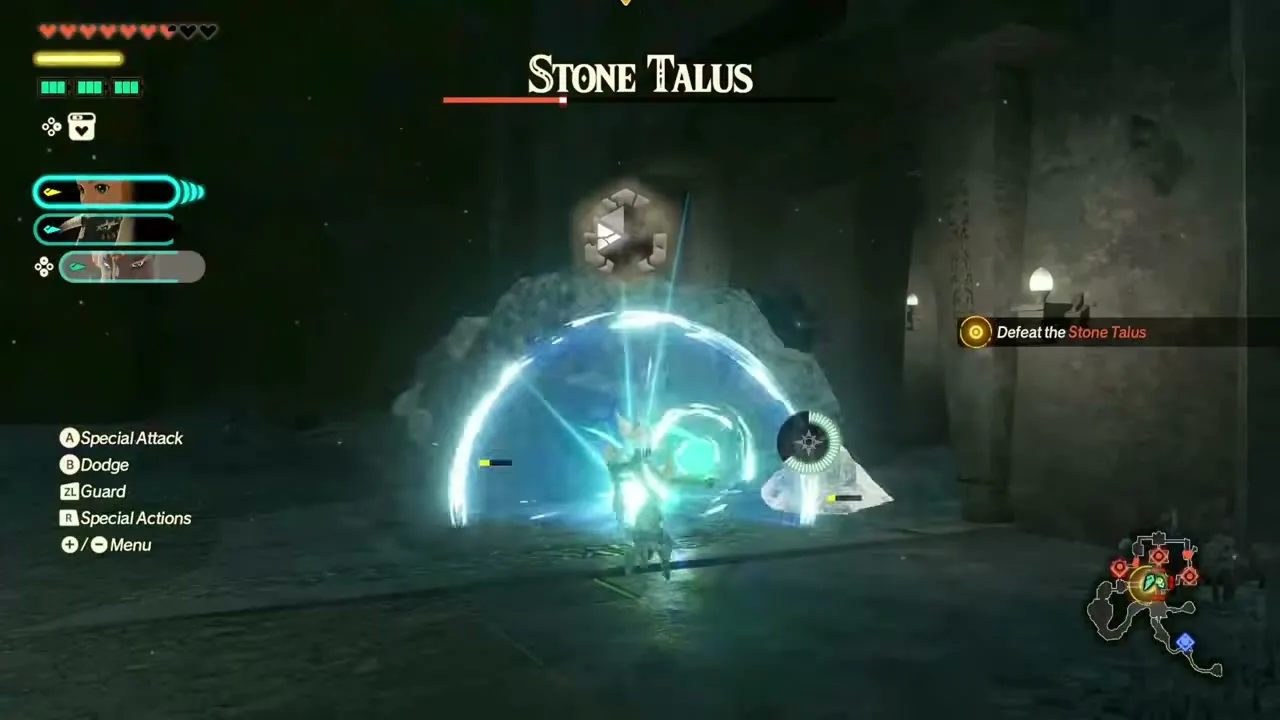
Early story bosses
Agraston
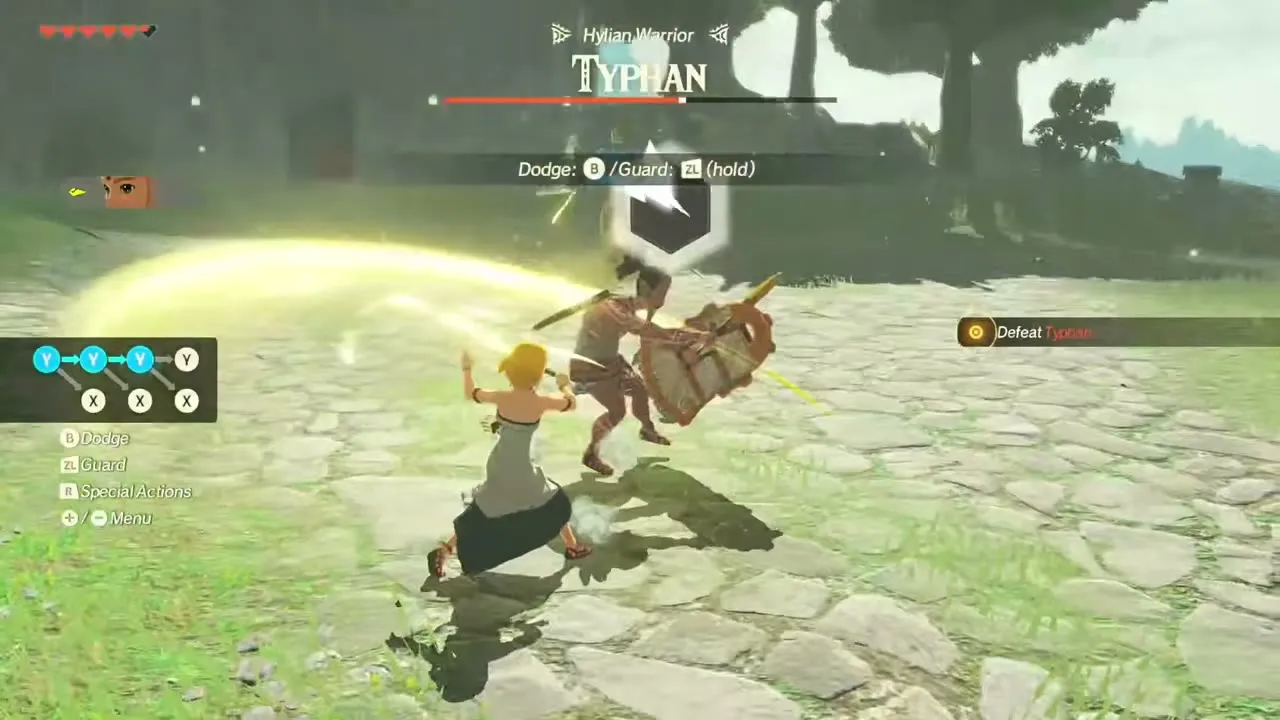
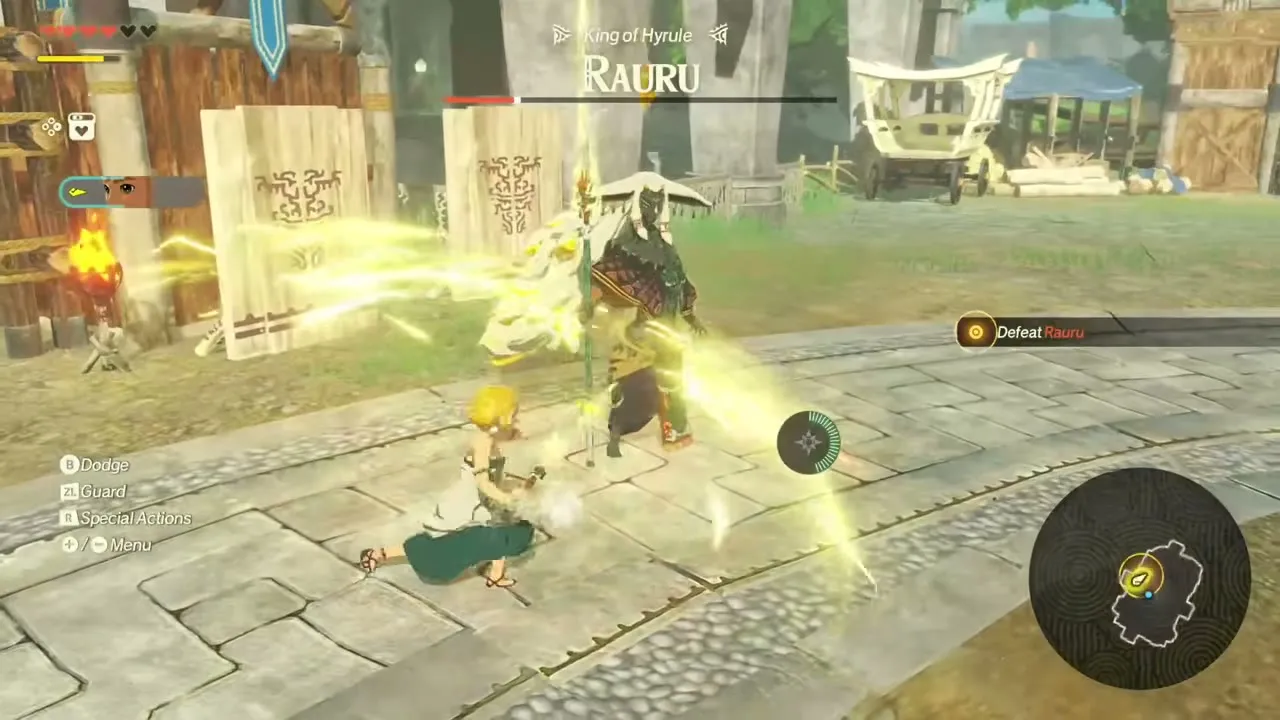
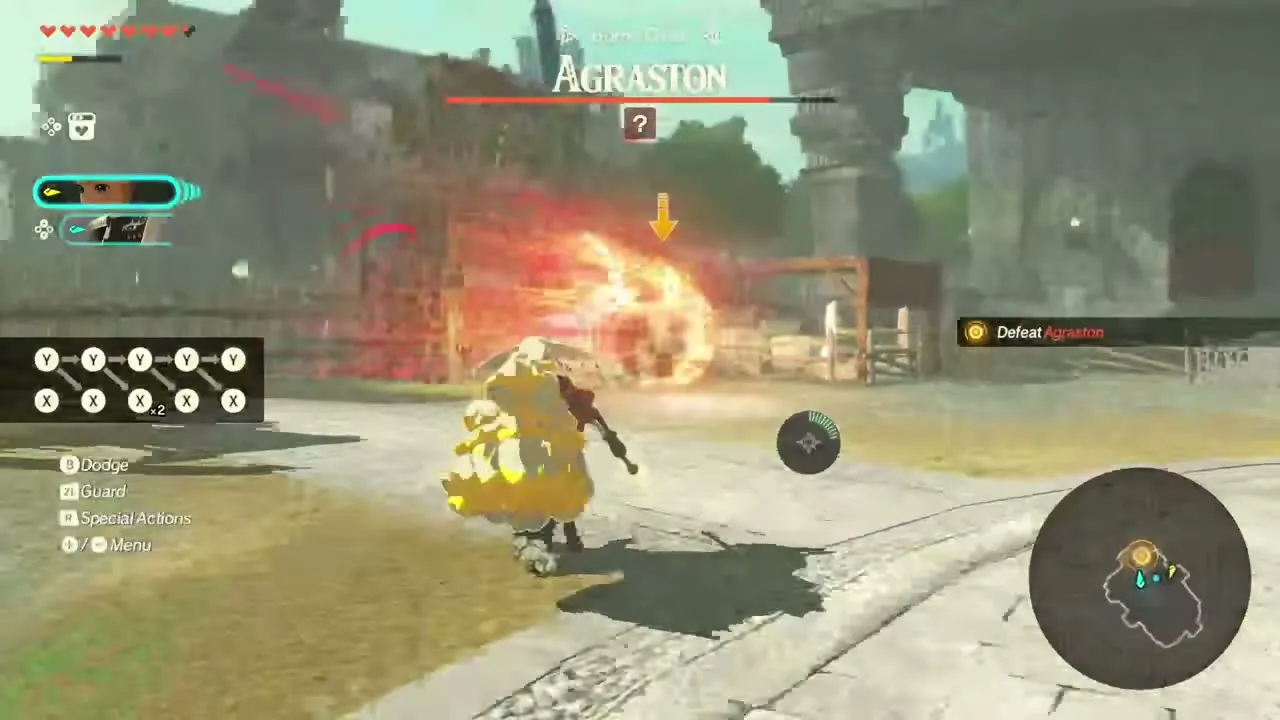
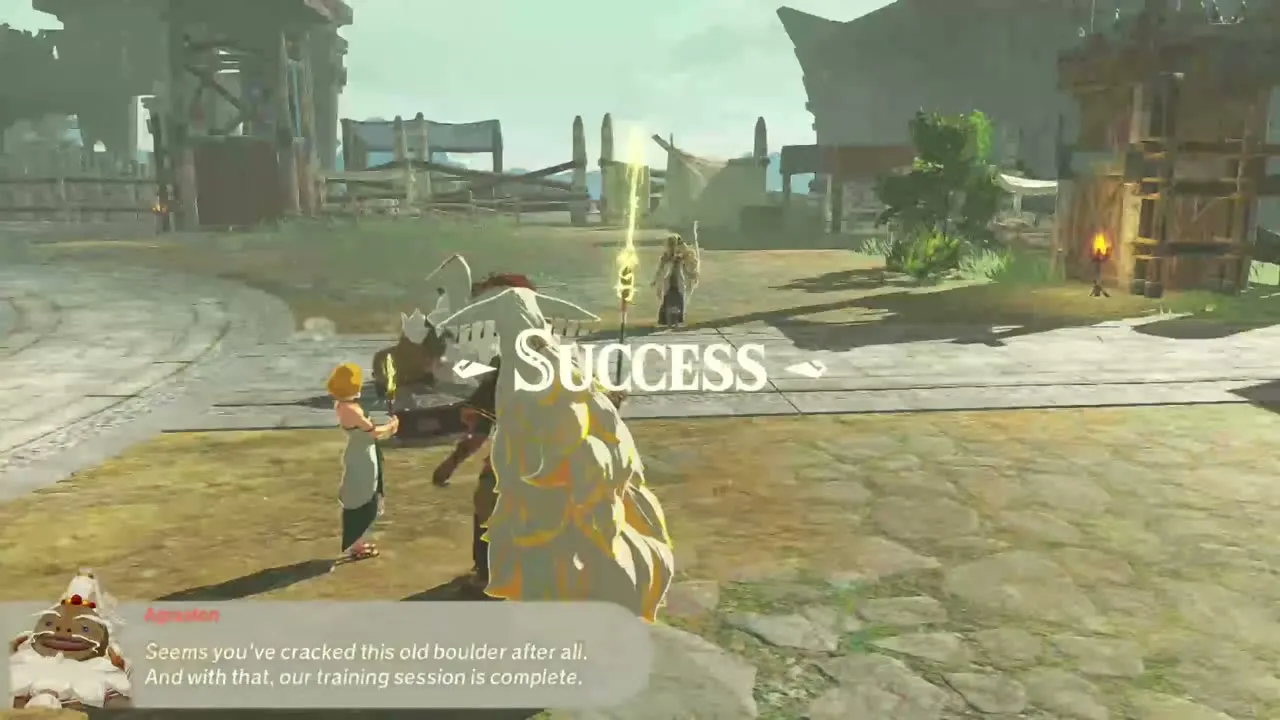
Agraston, the Goron Chief, is the last opponent in the tutorial-style sparring bout of The Art of the Blade (Lv 1), which you fight as Rauru after Pastos and Braton, and finishing him ends the battle. Before that bout you spar Typhan (counter his Charge attacks with Piercing Light to expose his weak point), Quino (counter his Jump attacks with Bow of Light) and King Rauru himself (Charge and Jump attacks; answer with the matching Unique Skill), and a Sync Strike with Sonia becomes available once Rauru is down to about 25% health. Use the Weak-Point Gauge here to learn the basic loop. Agraston becomes a playable warrior later, in Crisis on Death Mountain.
Ardi and the Gerudo Captains
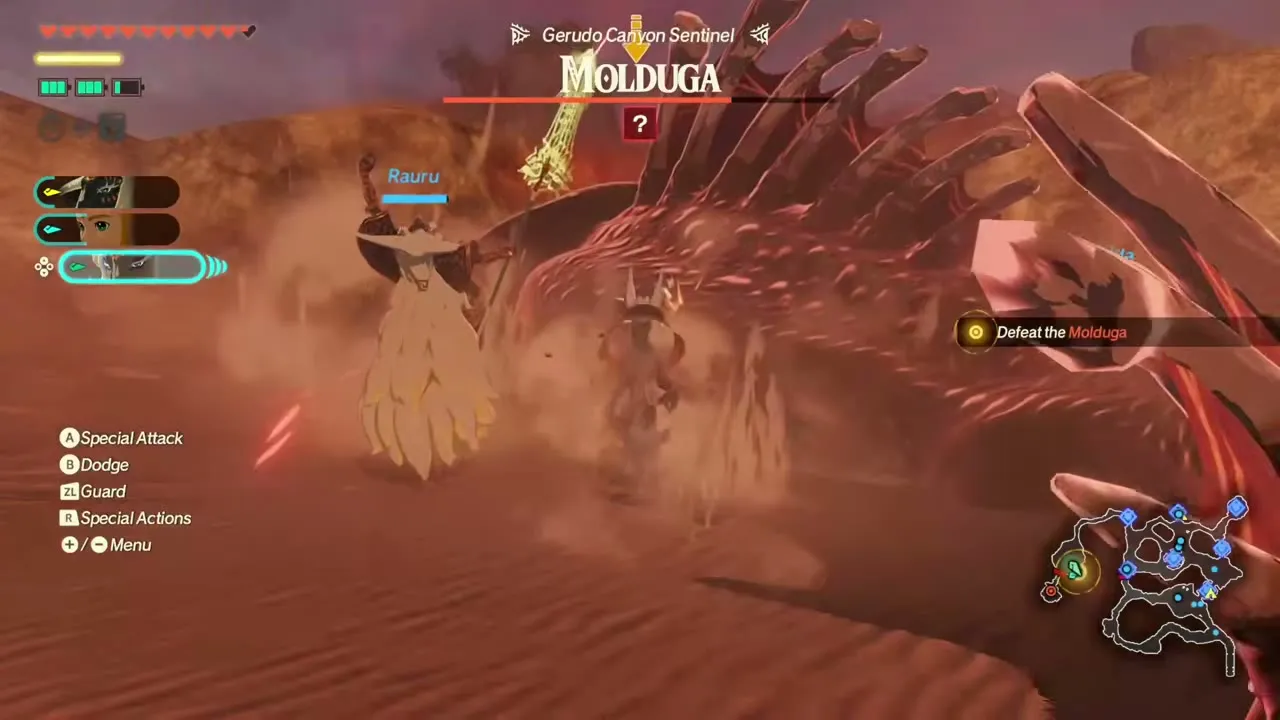
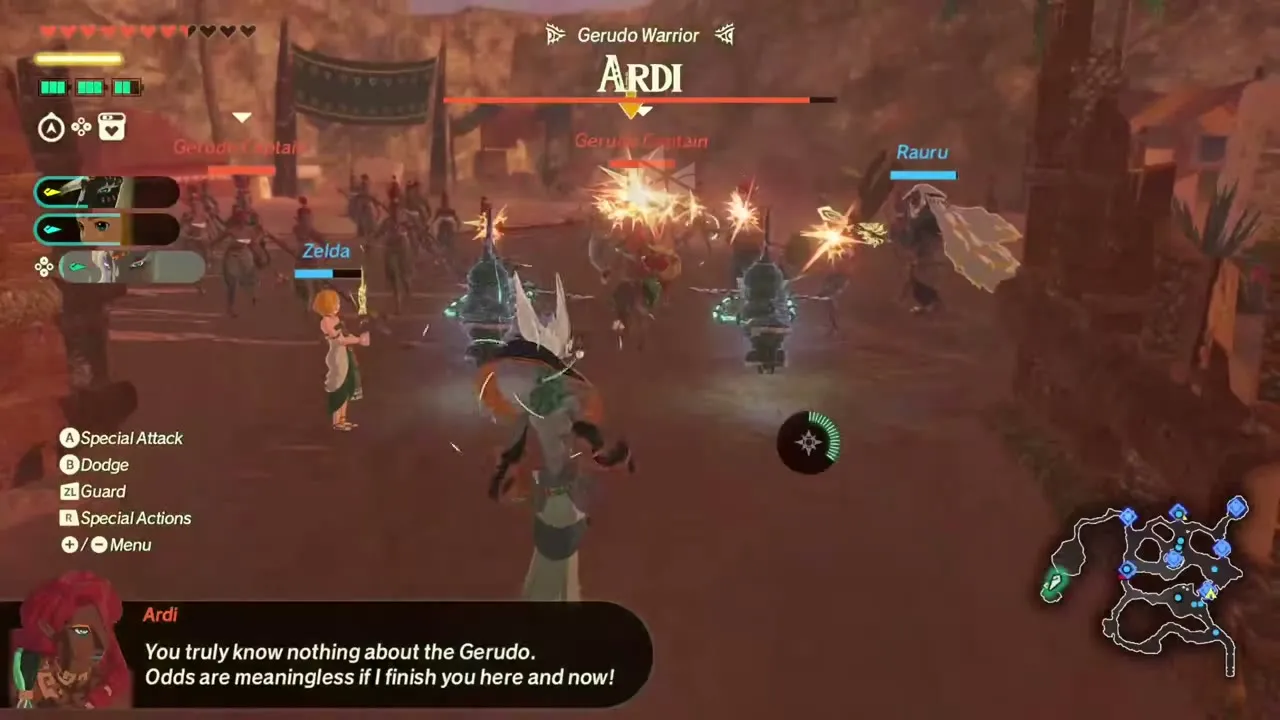
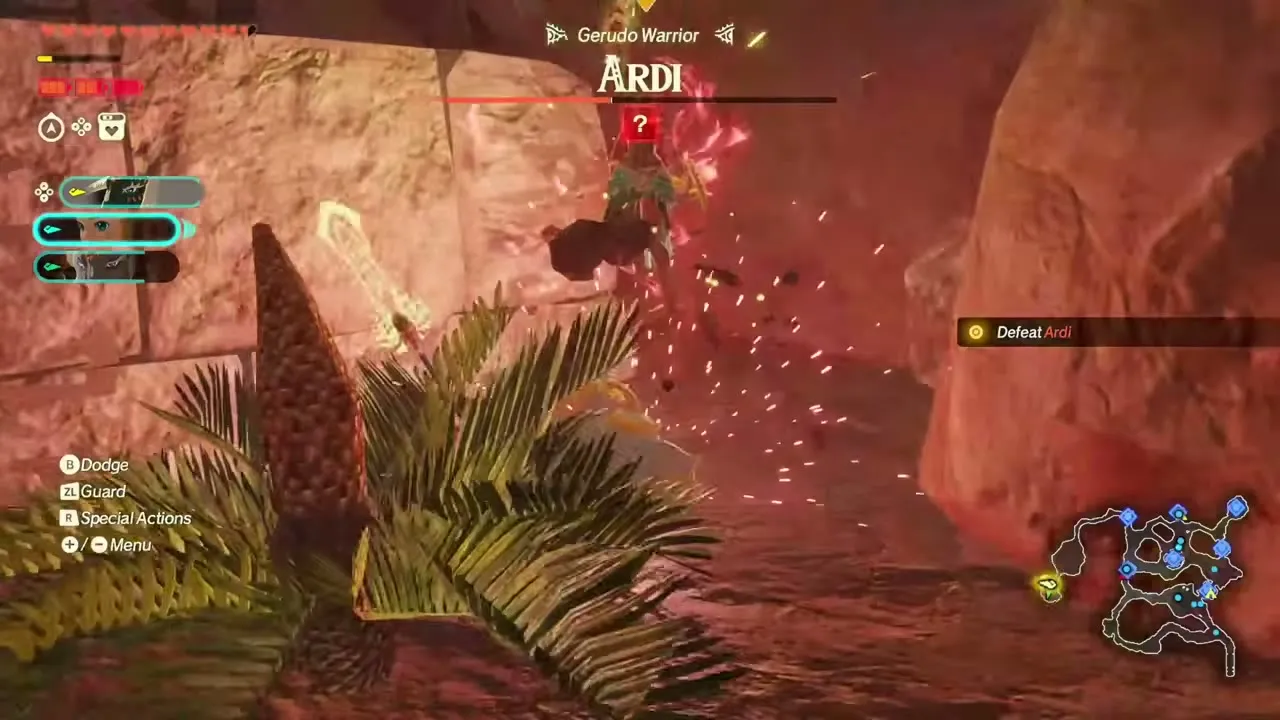
In Raging Sands (Lv 5) you first defeat four Gerudo Captains, spreading your allies across the upper half of the map, and then face Ardi, the Gerudo Warrior, with Gerudo Captains fighting at her side. The objective is simply “Defeat Ardi”. Neither she nor the Captains have an elemental weakness; the trick is Ardi’s wide-range attacks, so stay mobile and use a Battery to recharge your Zonai energy. Sholani, another Gerudo Warrior, also attacks earlier in the battle and retreats once beaten. Ardi joins you as a playable warrior later, in Terror of the Sands. Before Ardi you also meet the Molduga, the “Gerudo Canyon Sentinel”, in the canyon past the third outpost; it mostly stays above the sand; if it burrows before a Dangerous Attack, use an anti-air Unique Skill while it is airborne.
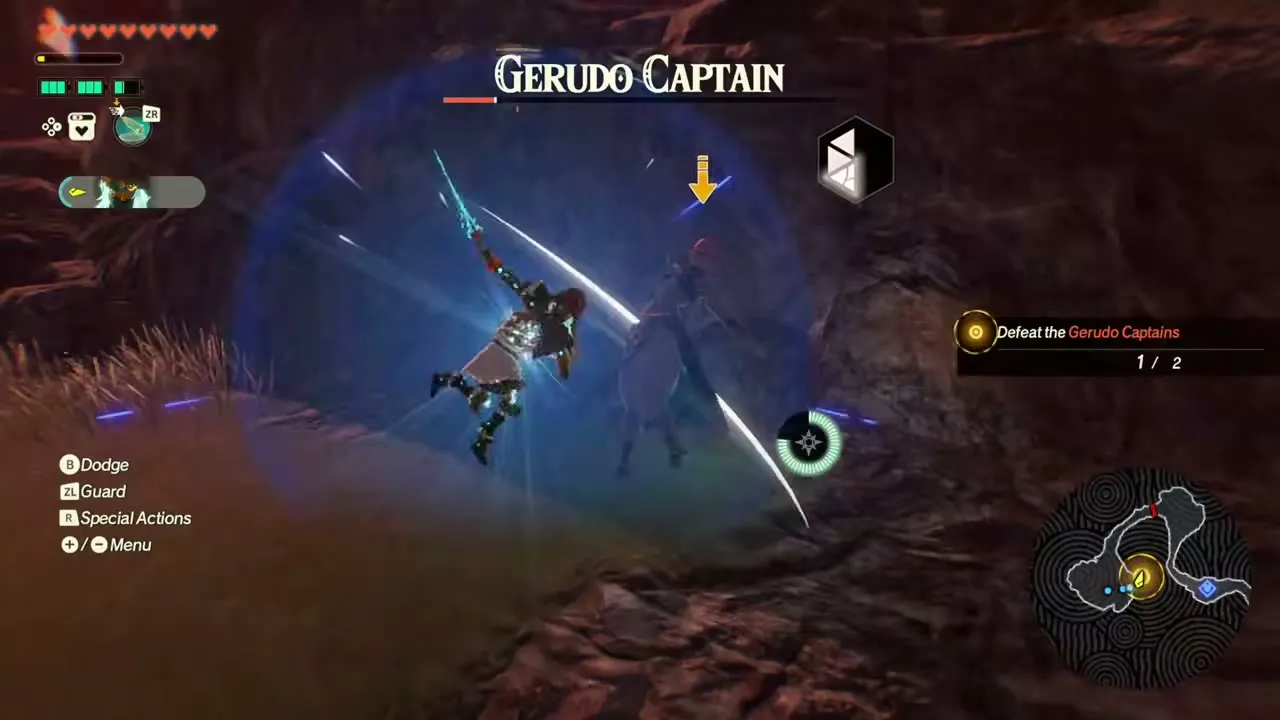
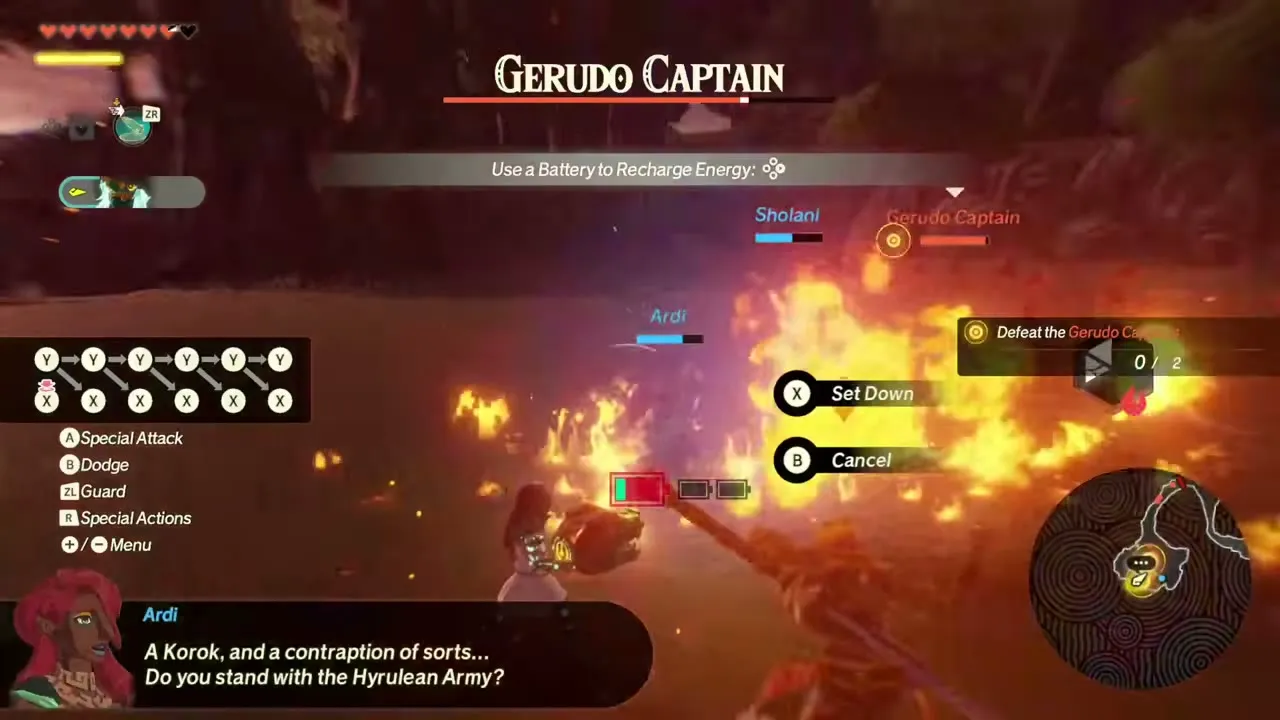
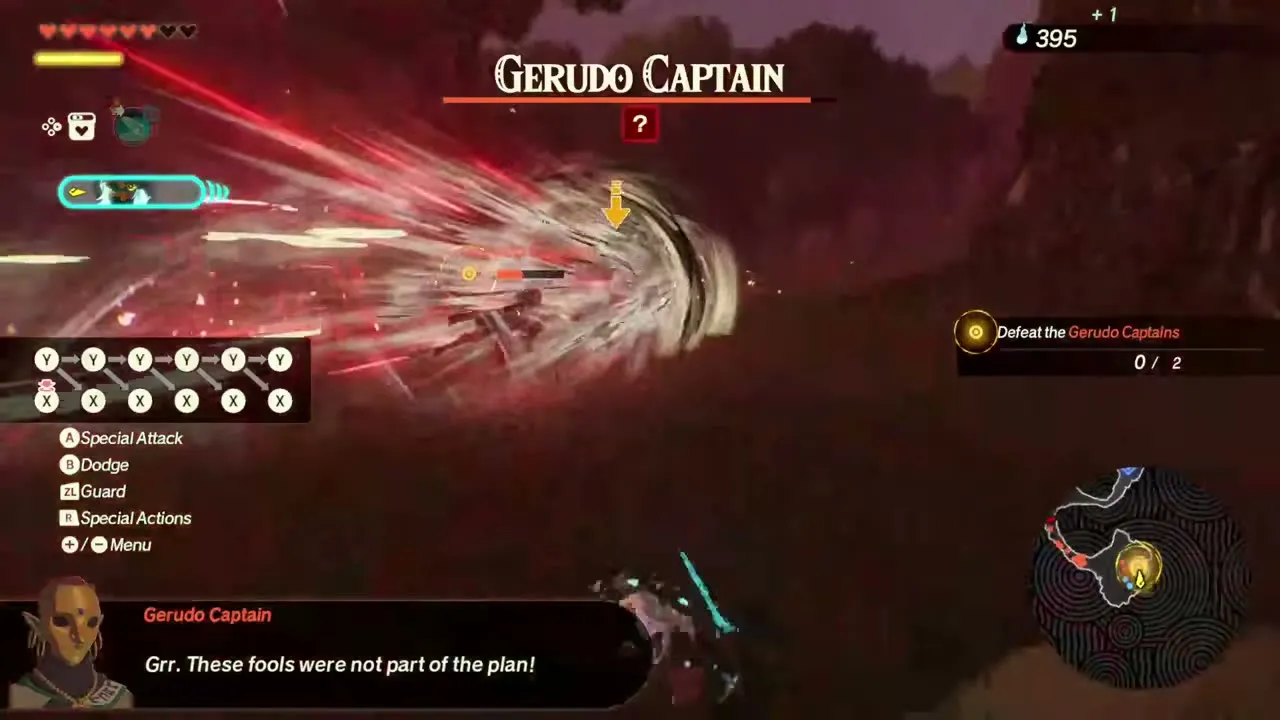
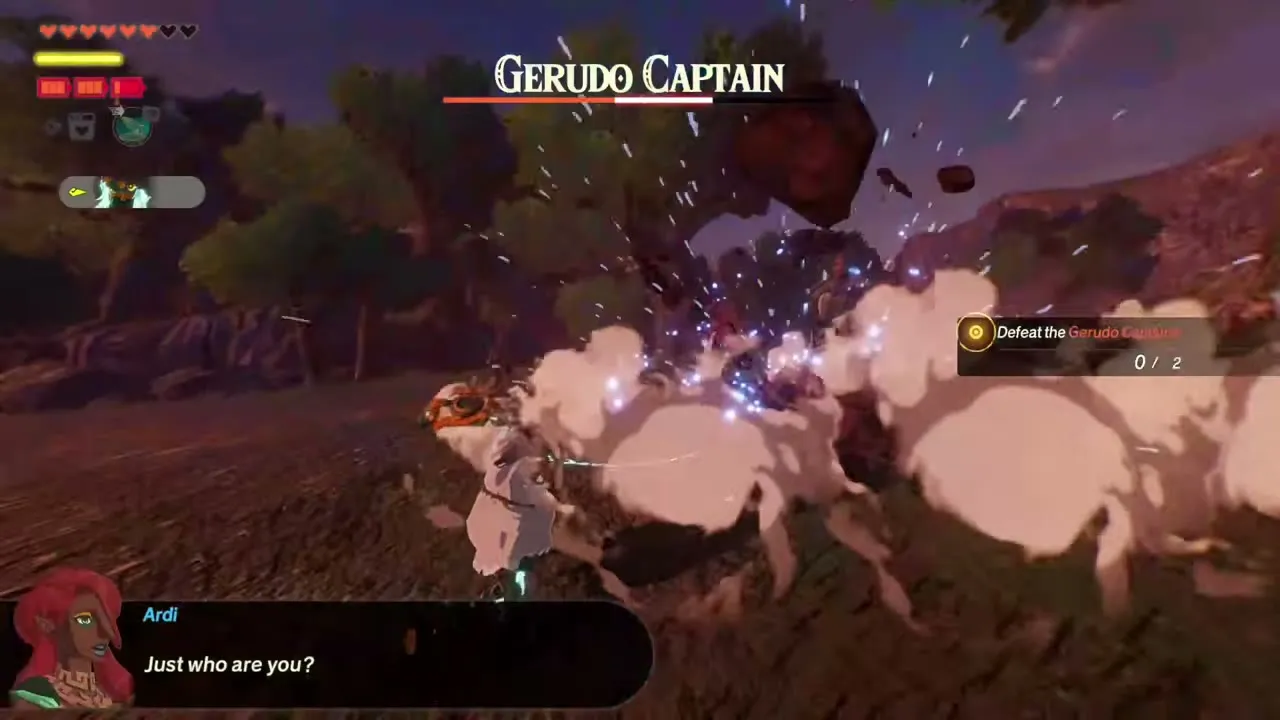
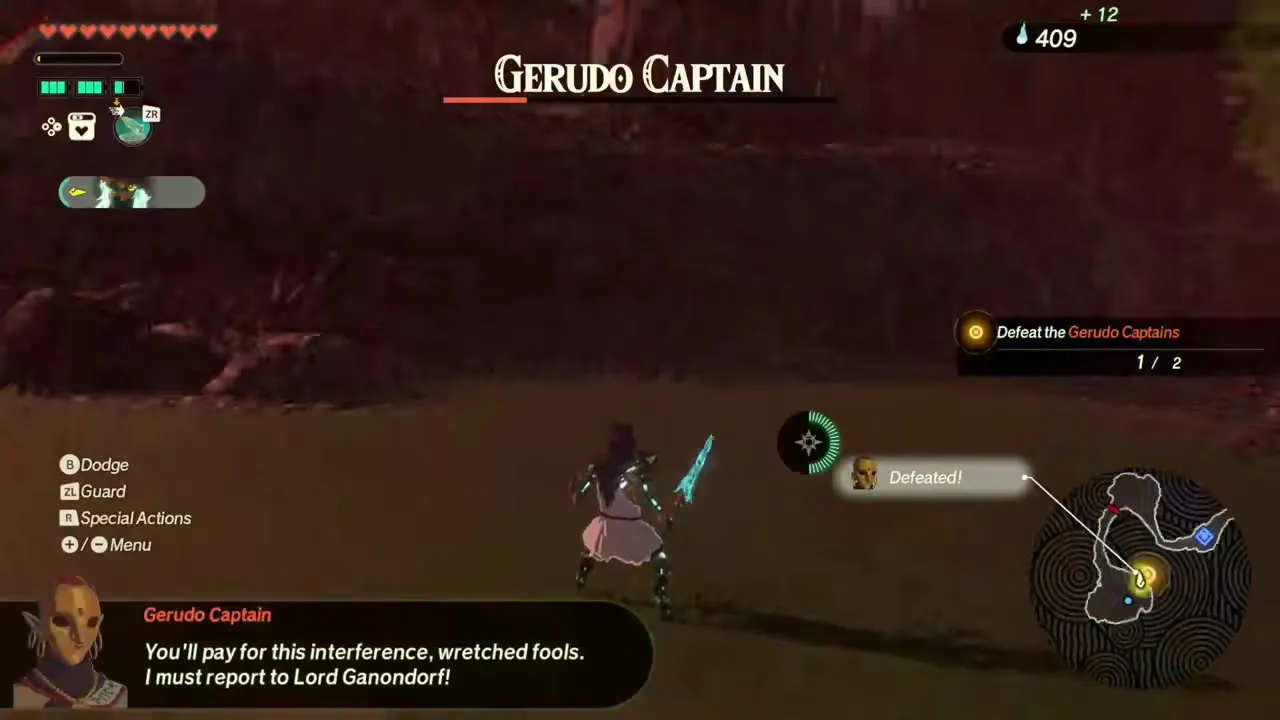
In The Hands of Evil (Lv 5) two Gerudo Captains who ambushed Ardi’s unit are the final boss (objective “Defeat the Gerudo Captains”, 0/2). You fight them one at a time with Ardi and Sholani beside you, and a joint charge attack is best interrupted with an anti-charge skill.
Lynels
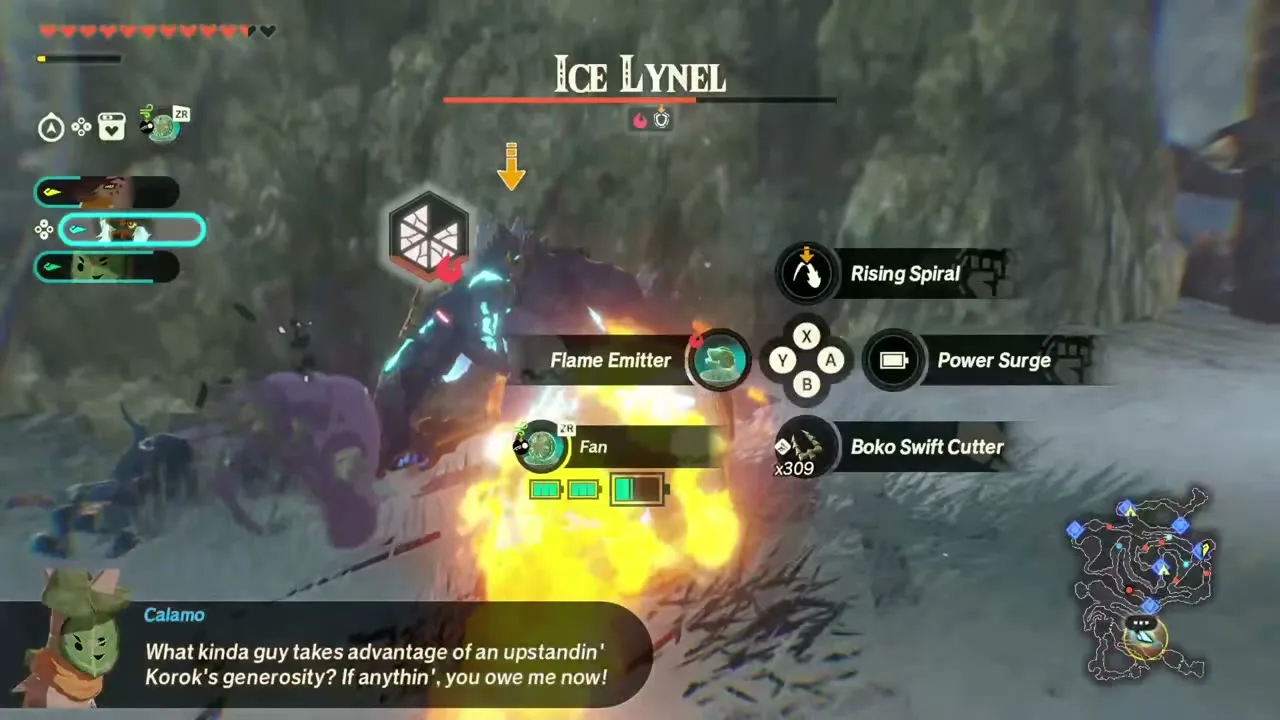
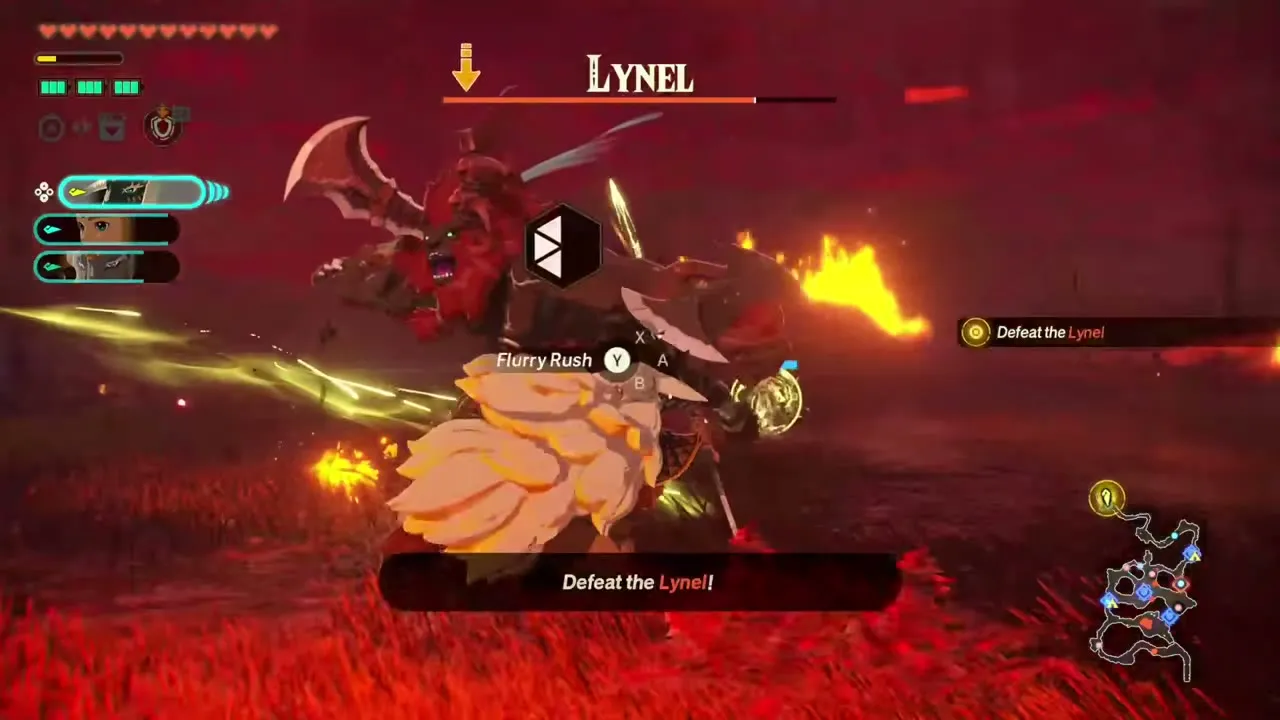
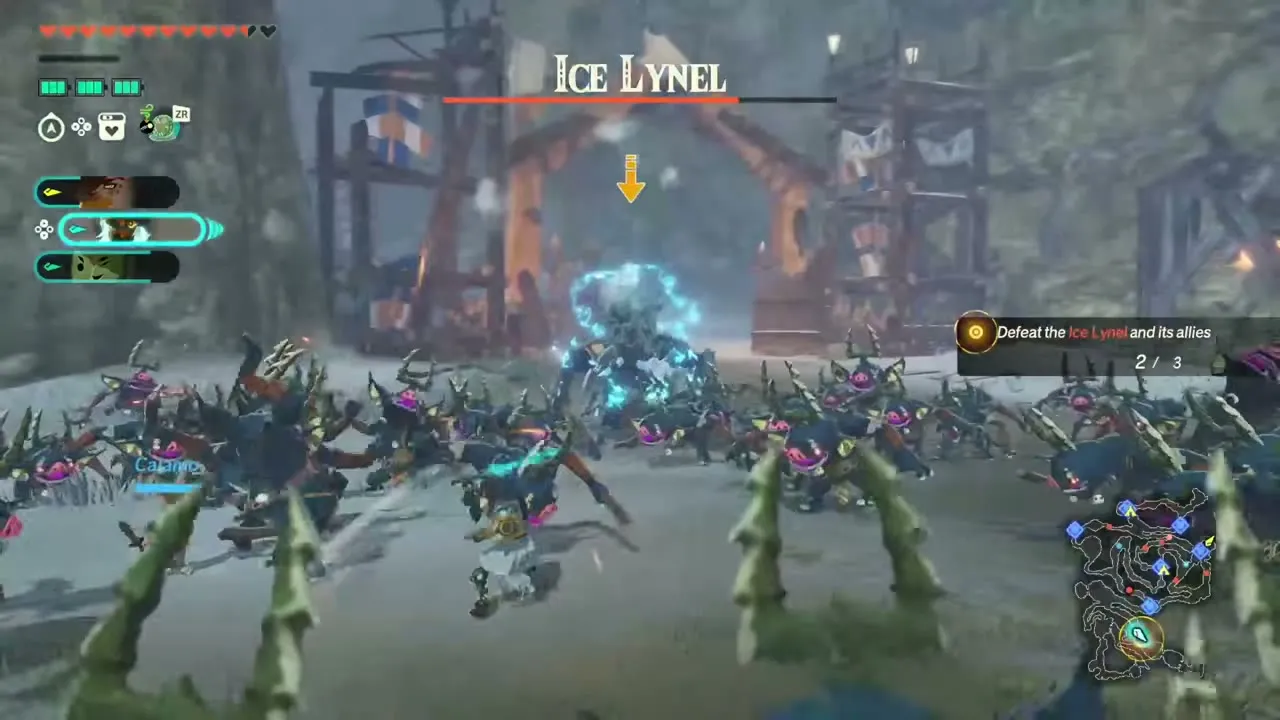
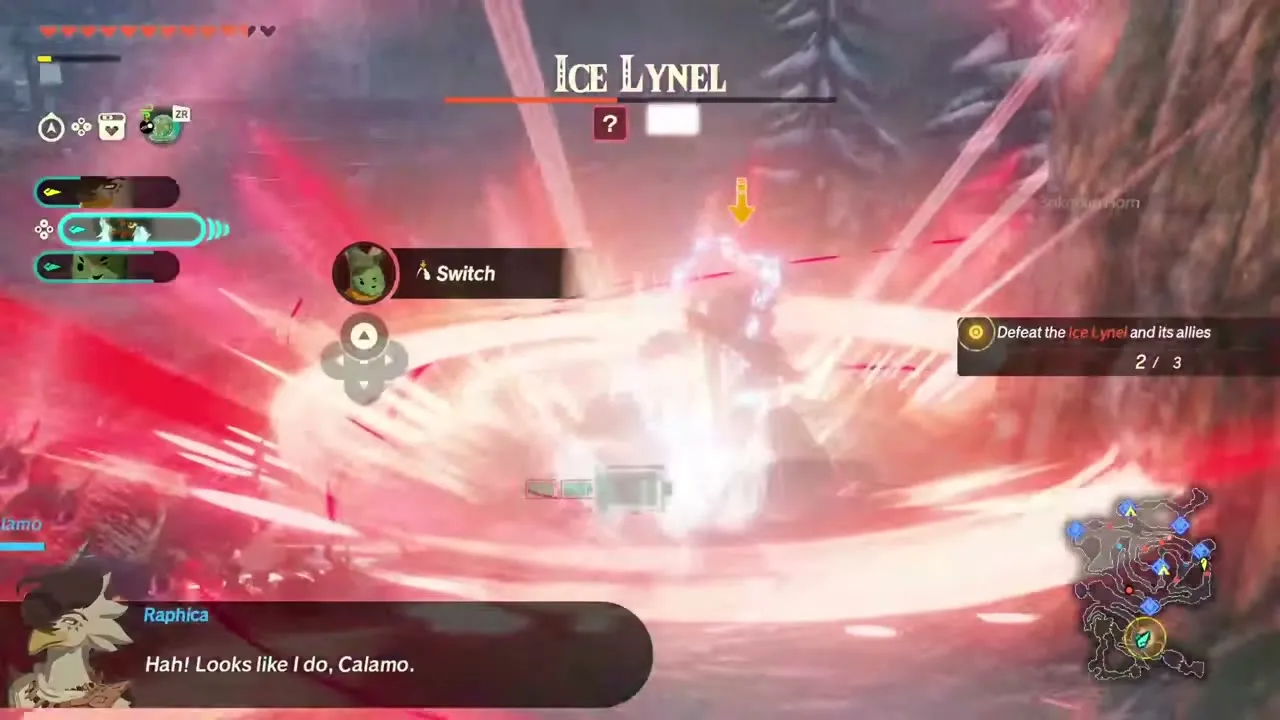
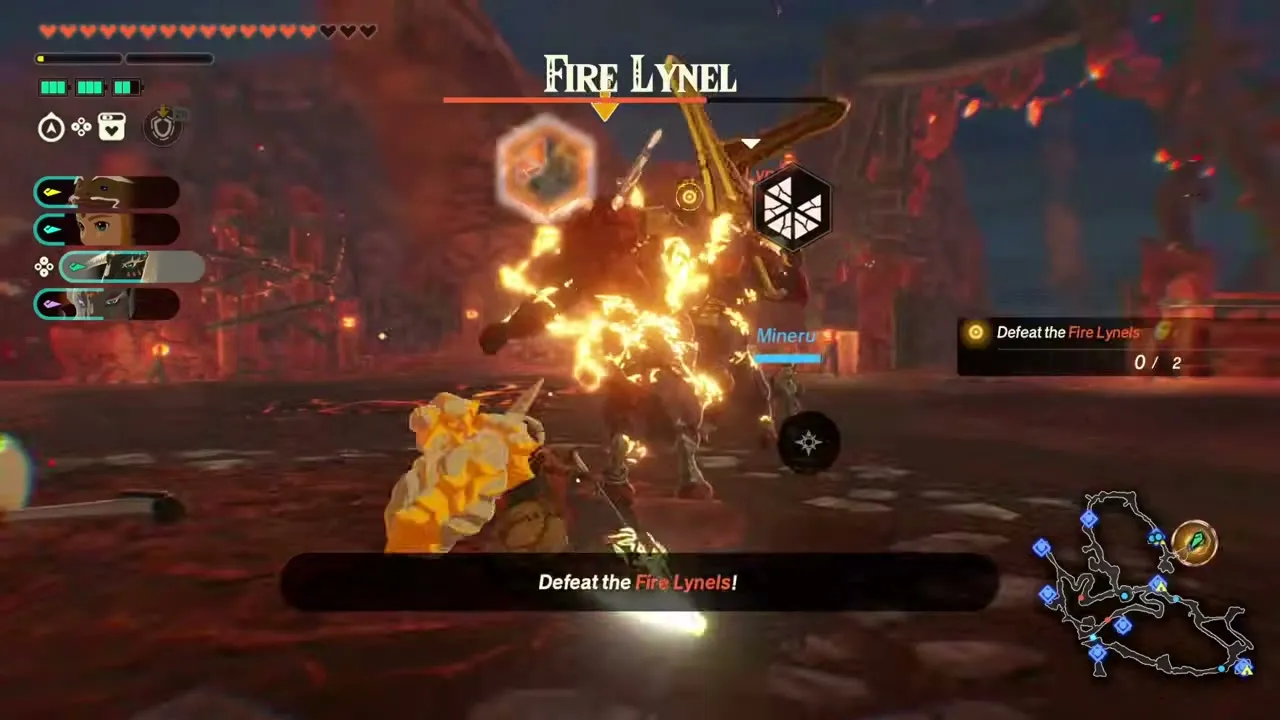
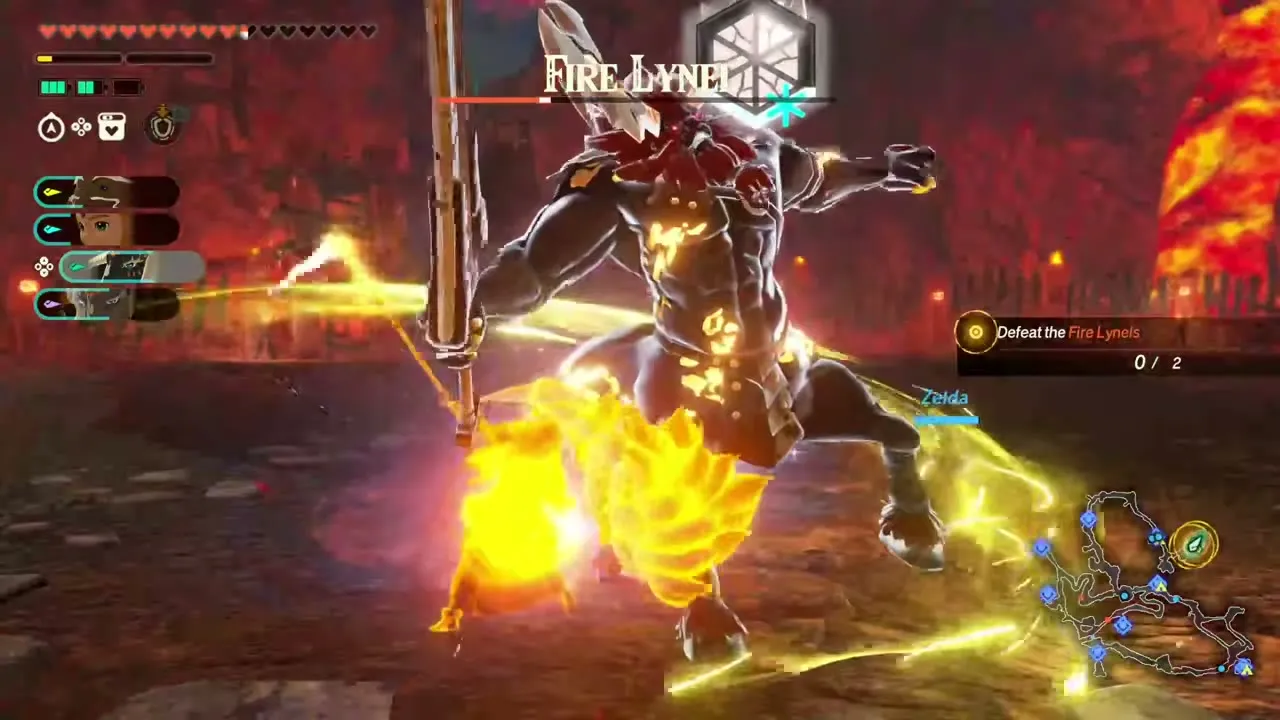
Lynels are the first big mounted boss type. The plain Lynel of Striking North (Lv 13) has no elemental weakness; avoid its roar and keep attacking after the explosion that follows. The Ice Lynel of Shadows in the Snow (Lv 20) is weak to fire and shield-breaking moves, and Rito support fire leaves it at 75% health. The two Fire Lynels (objective “Defeat the Fire Lynels”, 0/2) at the end of Crisis on Death Mountain (Lv 24) are weak to ice and water, so place a Frost Emitter between them. Lynel drops are Lynel Guts, Hoof and Saber or Mace Horns, used for quests and weapon services at the Weapons Research Base. See Enemies for the other Lynel types.
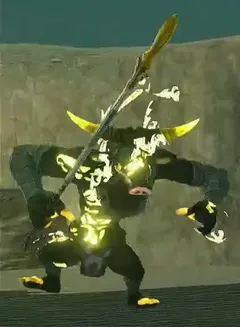
Terror of the Sands: Electric Moblins and Boss Bokoblin
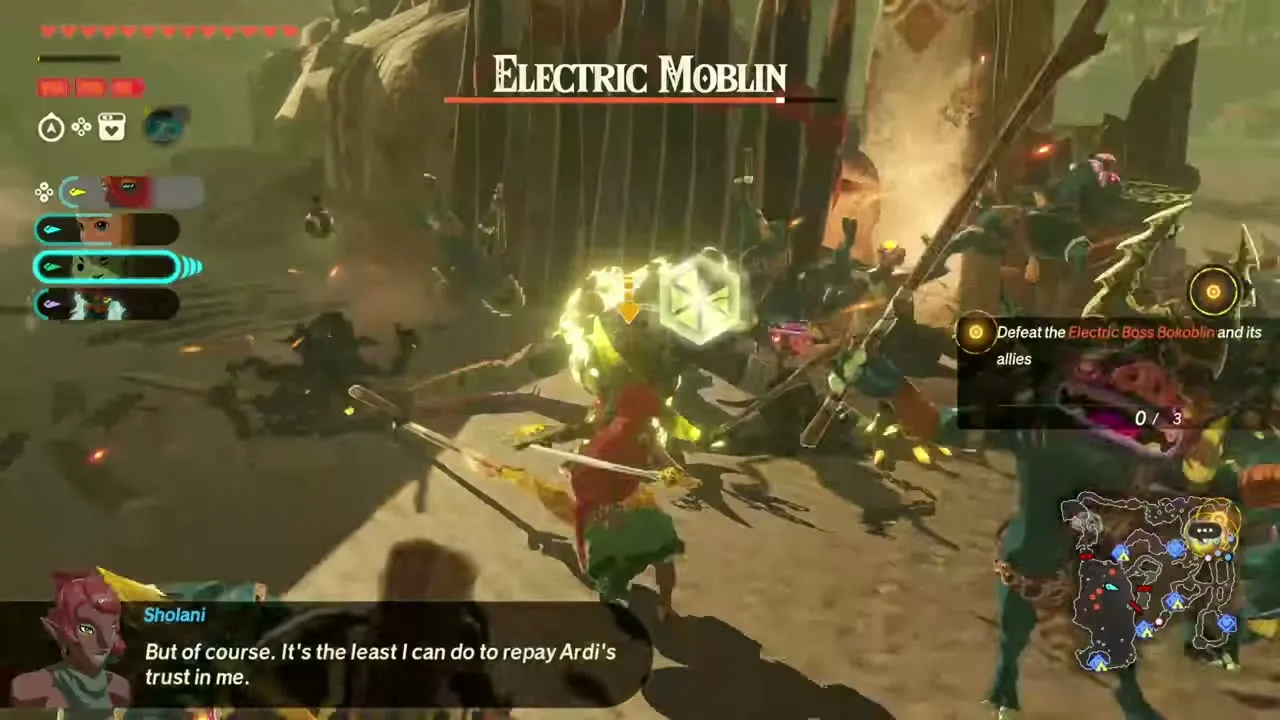
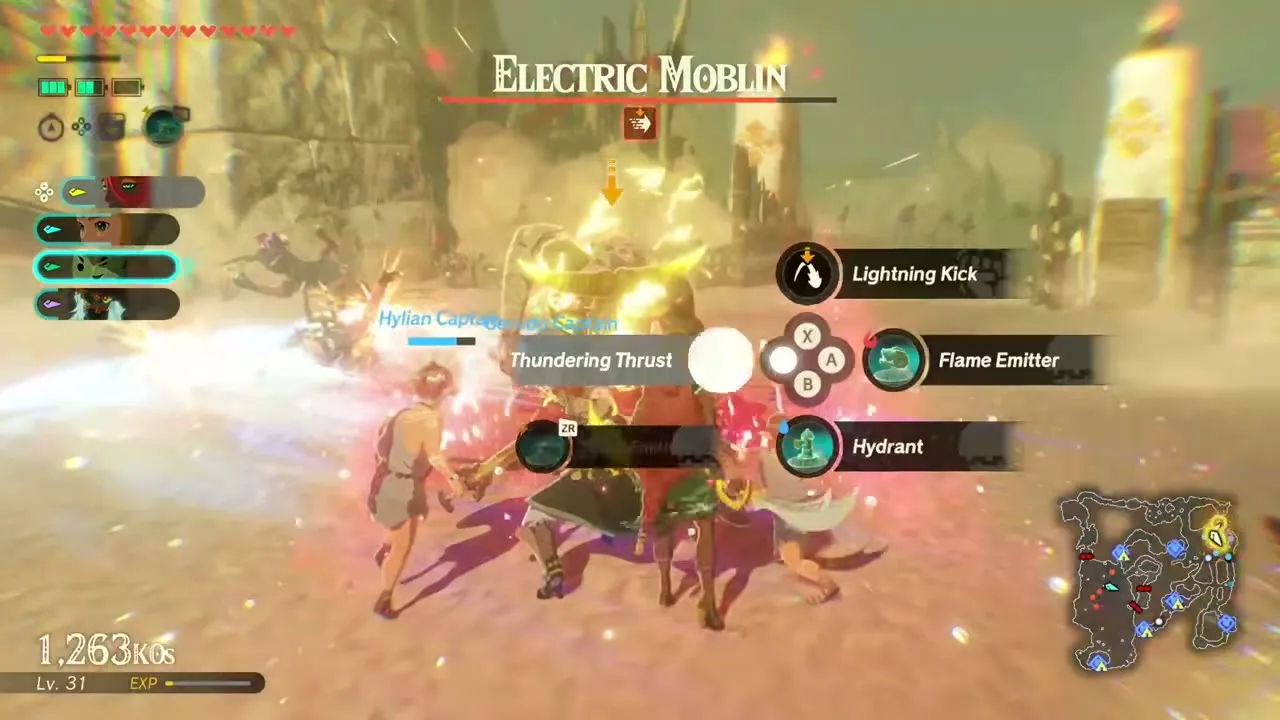
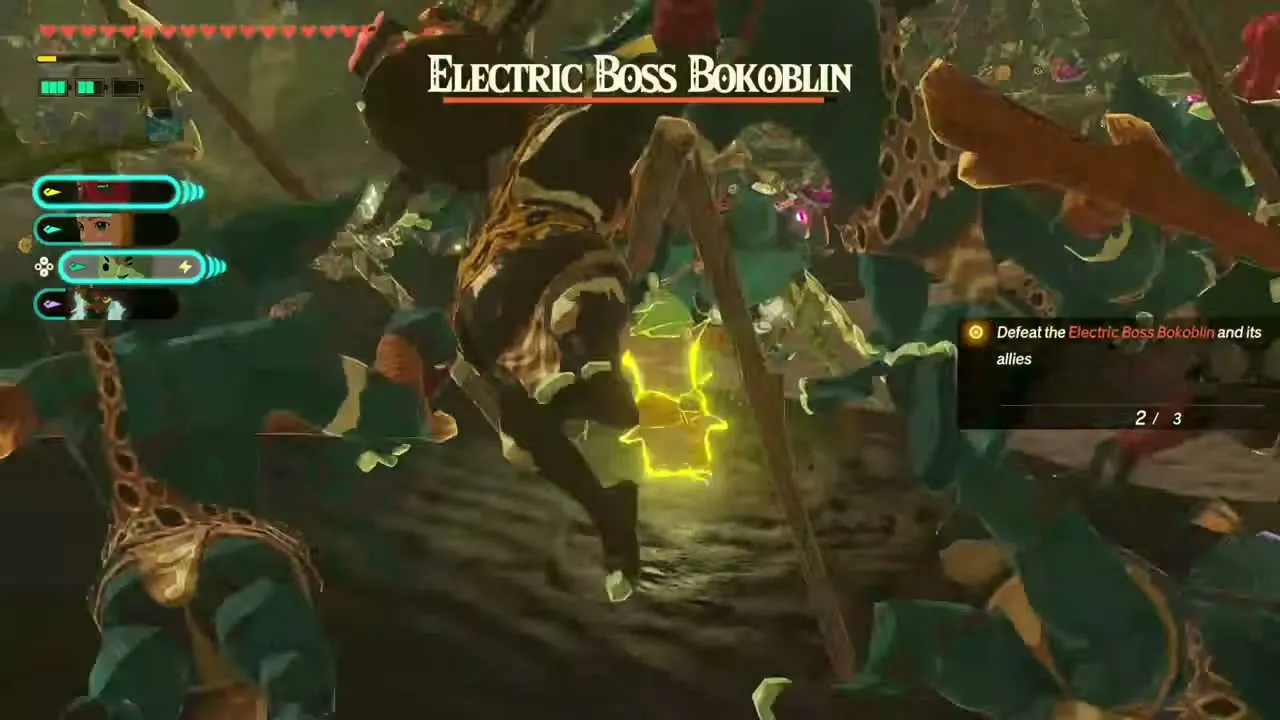
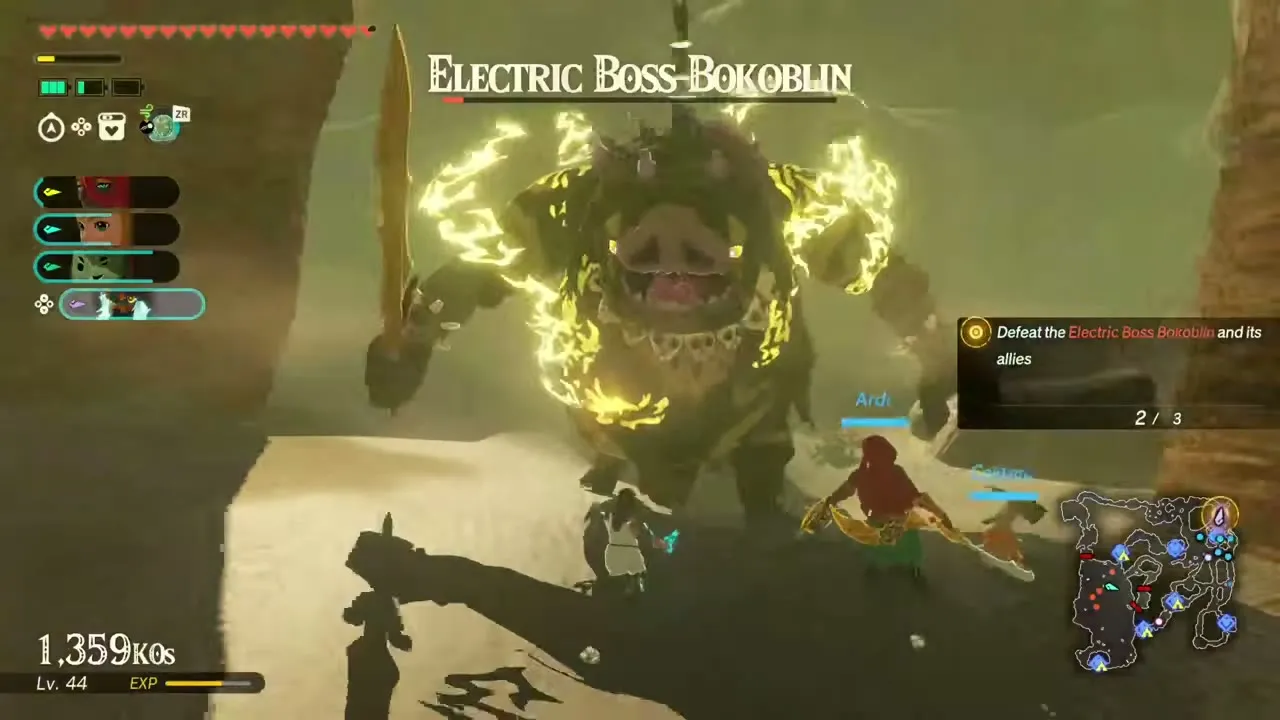
The final fight of Terror of the Sands (Lv 29) is a defence of the main north-east outpost against two Electric Moblins and an Electric Boss Bokoblin. The objective is “Defeat the Electric Boss Bokoblin and its allies” (three enemies), and none of them has an elemental weakness, so keep the outpost standing, because losing it fails the battle.
A Time for Action: five powerful enemies
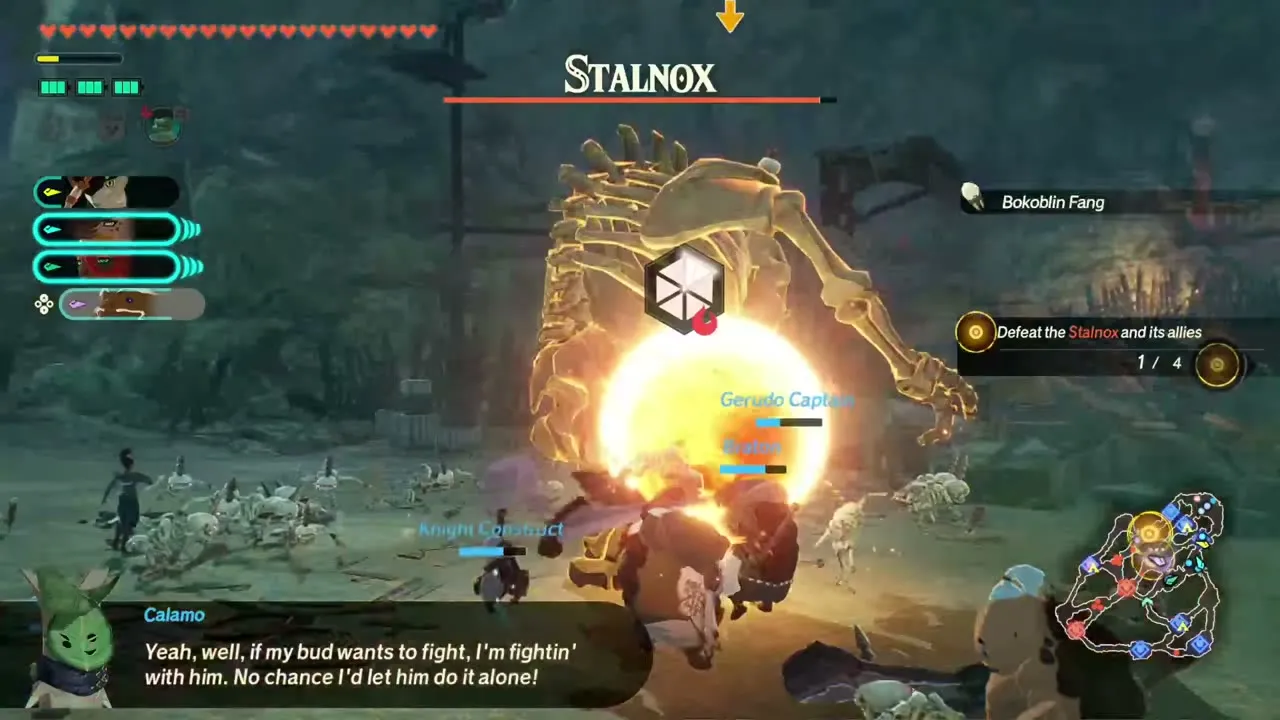
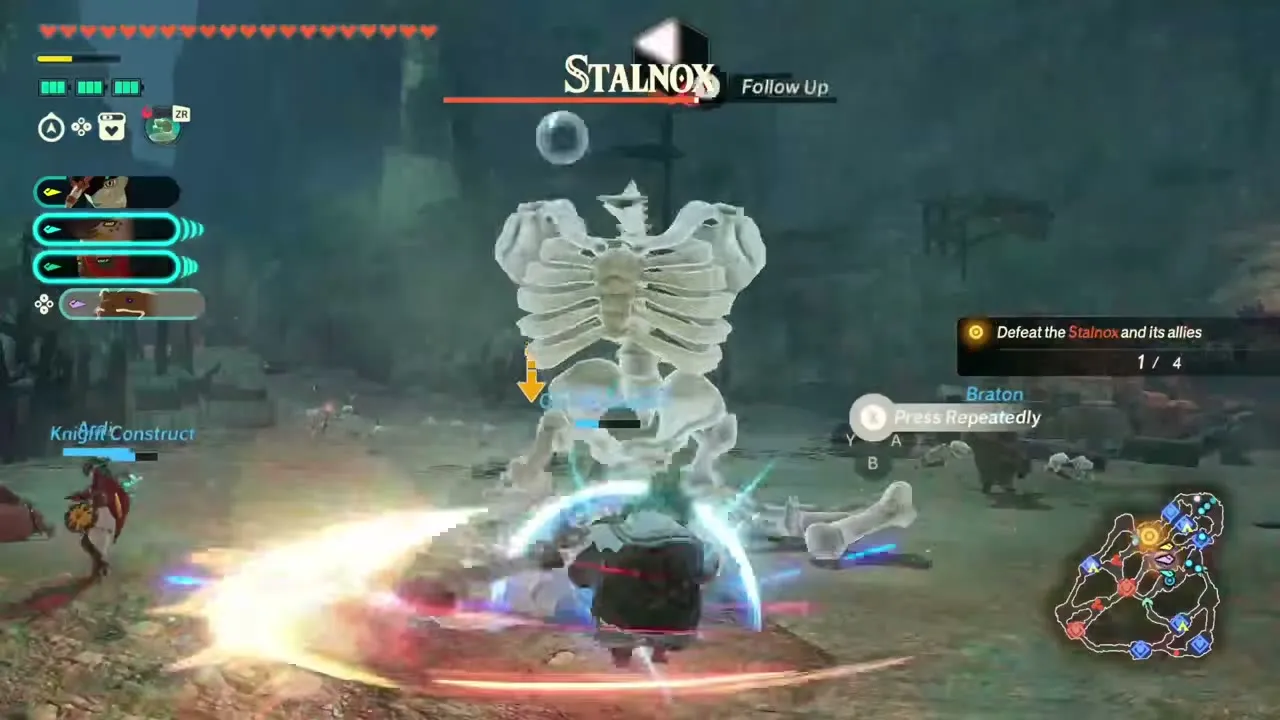
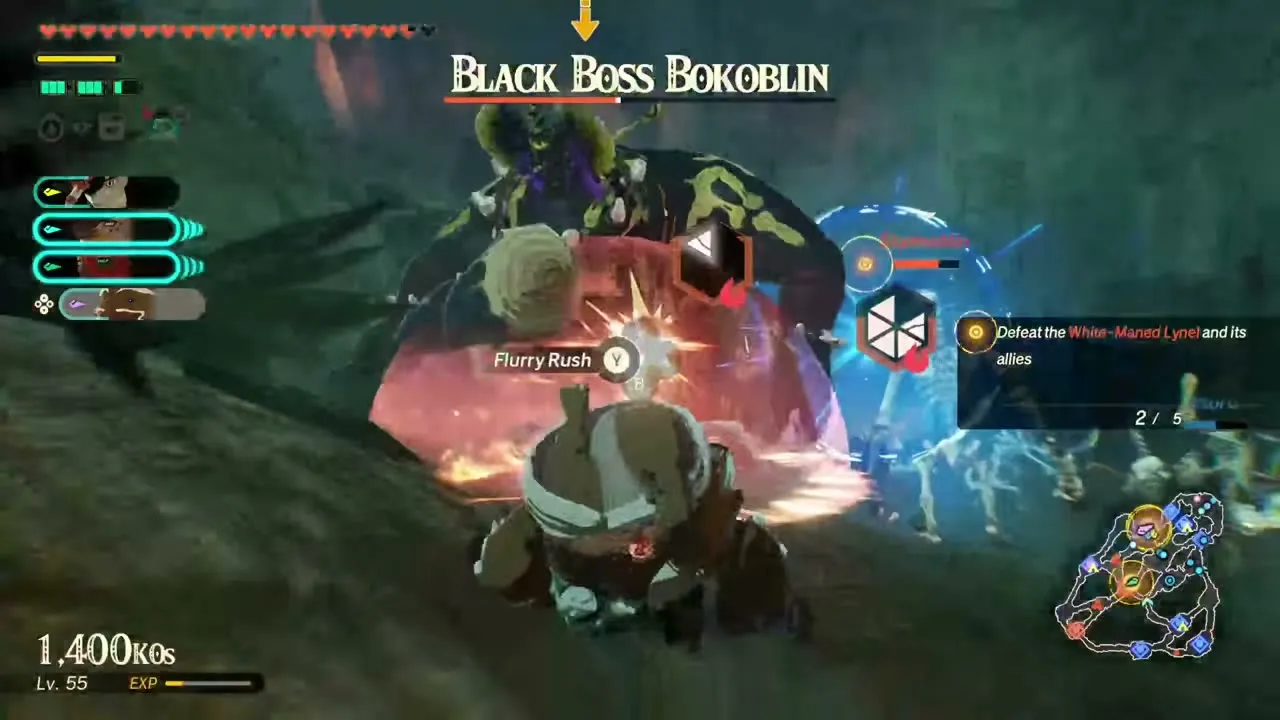
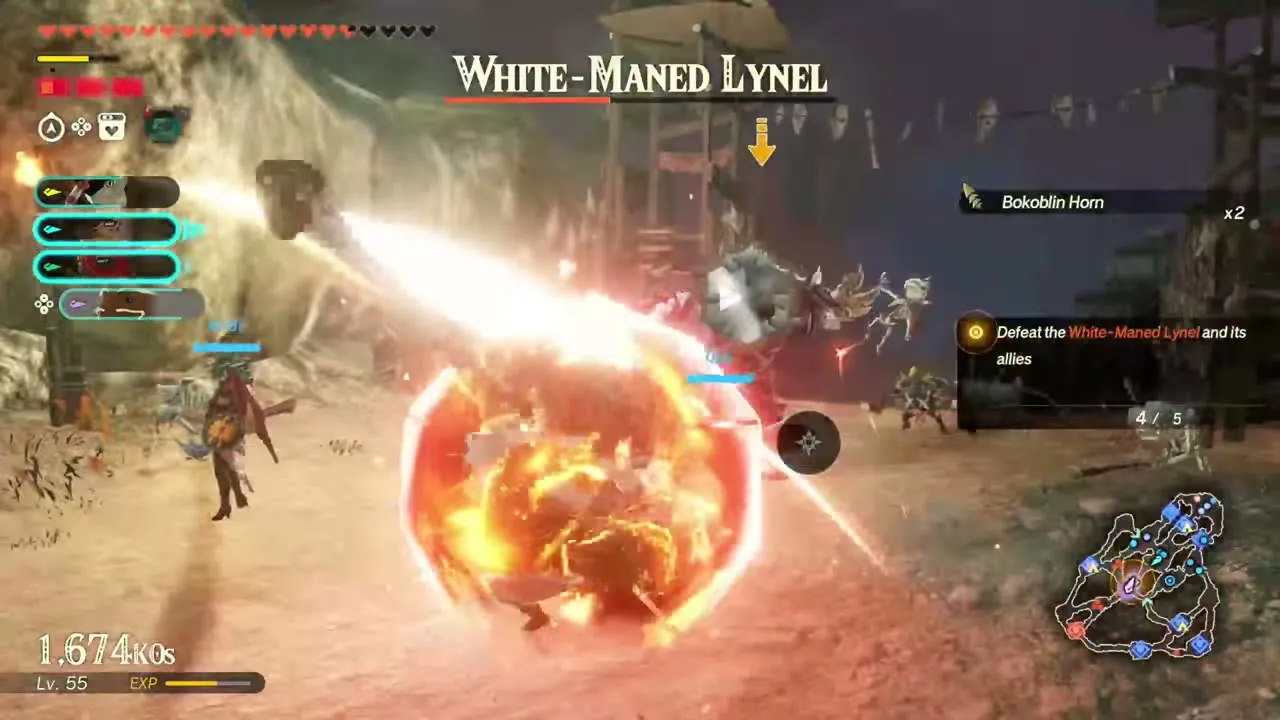
The finale of A Time for Action (Lv 35) has no single boss. Two Stalmoblins, a Stalnox, a Black Boss Bokoblin and a White-Maned Lynel (the objectives read “Defeat the Stalnox and its allies” and “Defeat the White-Maned Lynel and its allies”) hold different parts of the base, and after one of the first three falls the last two join the fight. Stalmoblin and Stalnox are weak to light, but your fixed party is Raphica, Agraston, Qia and Ardi, with no light user, so rely on your best elemental Unique Skills and use the Balloon to send help where it is needed.
Black Hinox
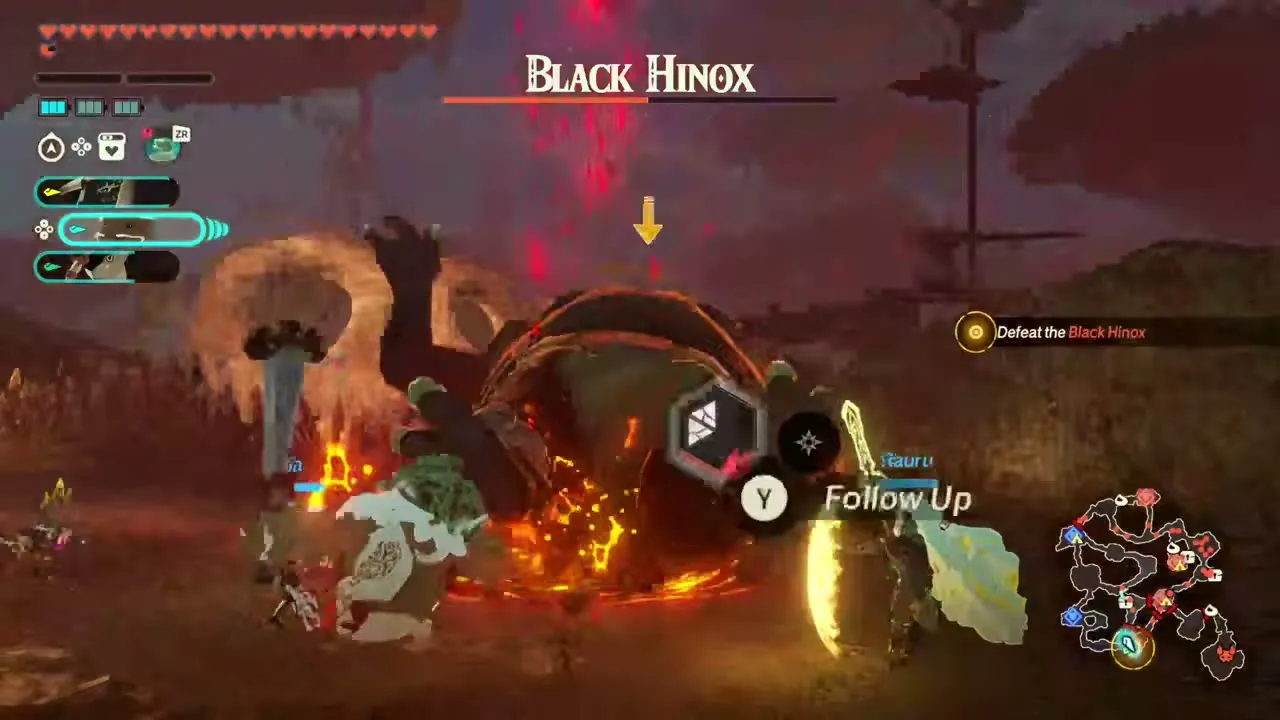
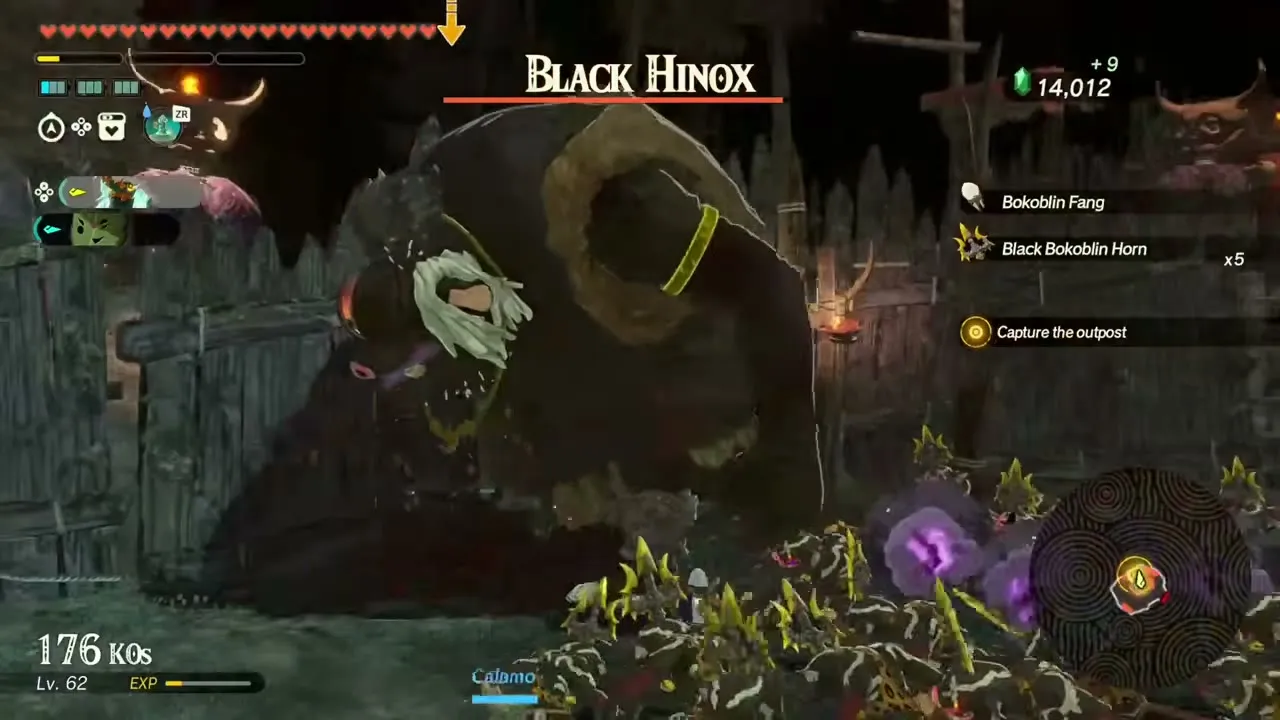
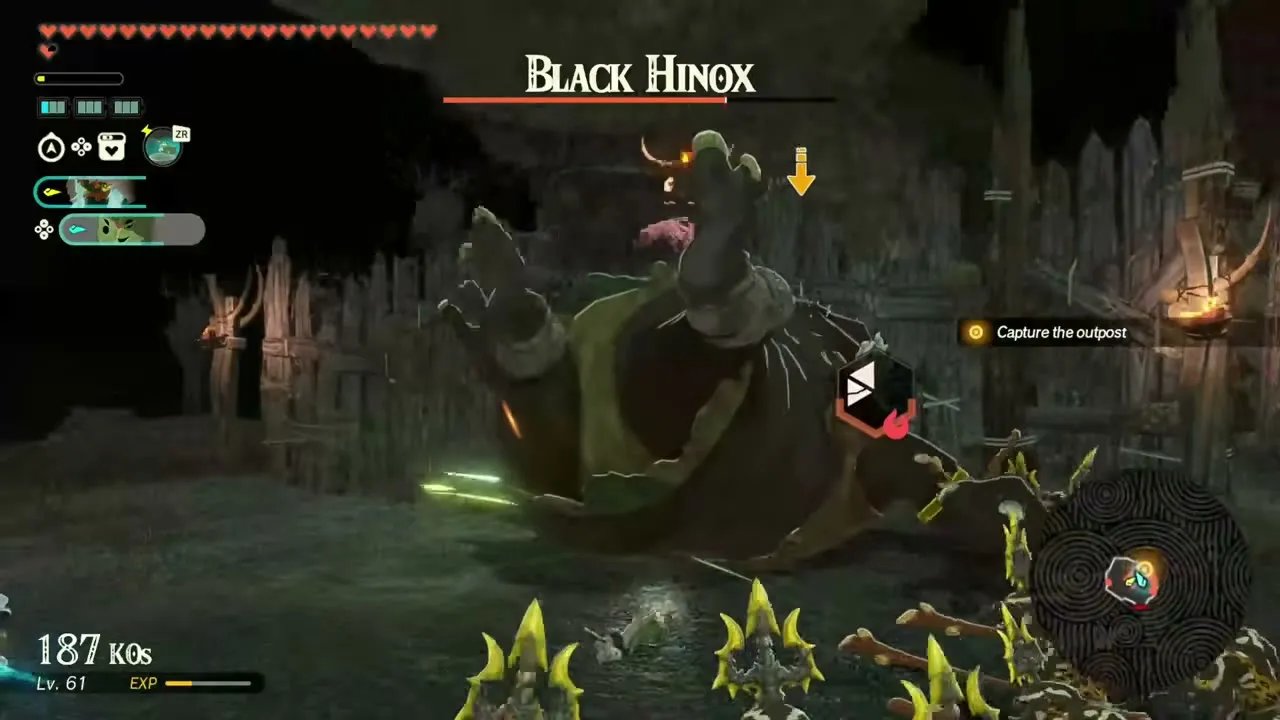
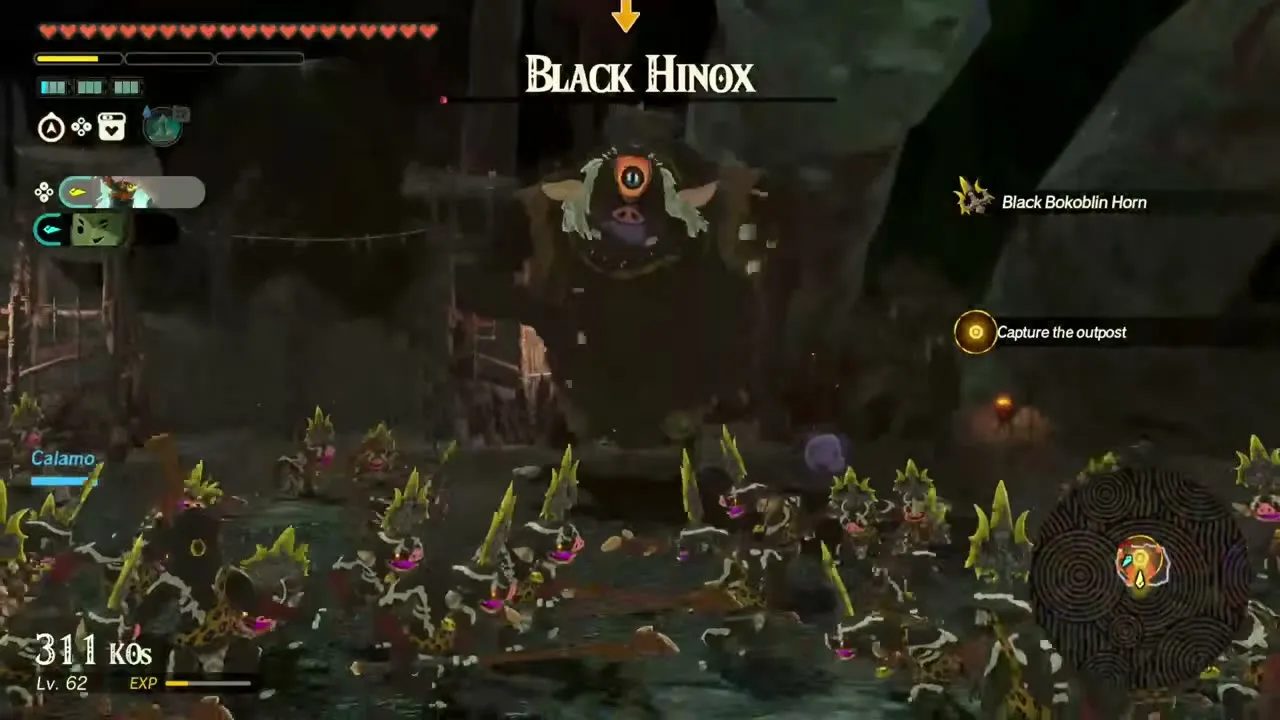
At the end of the flight battle Ambush in the Depths (Lv 39) you are thrown into a horde led by a Black Hinox. It has no elemental weakness; defeat it to capture the outpost and finish the battle. Hinox drops are Hinox Guts, Horn, Tooth and Toenail.
Flight-mode boss fights
Frost Gleeok
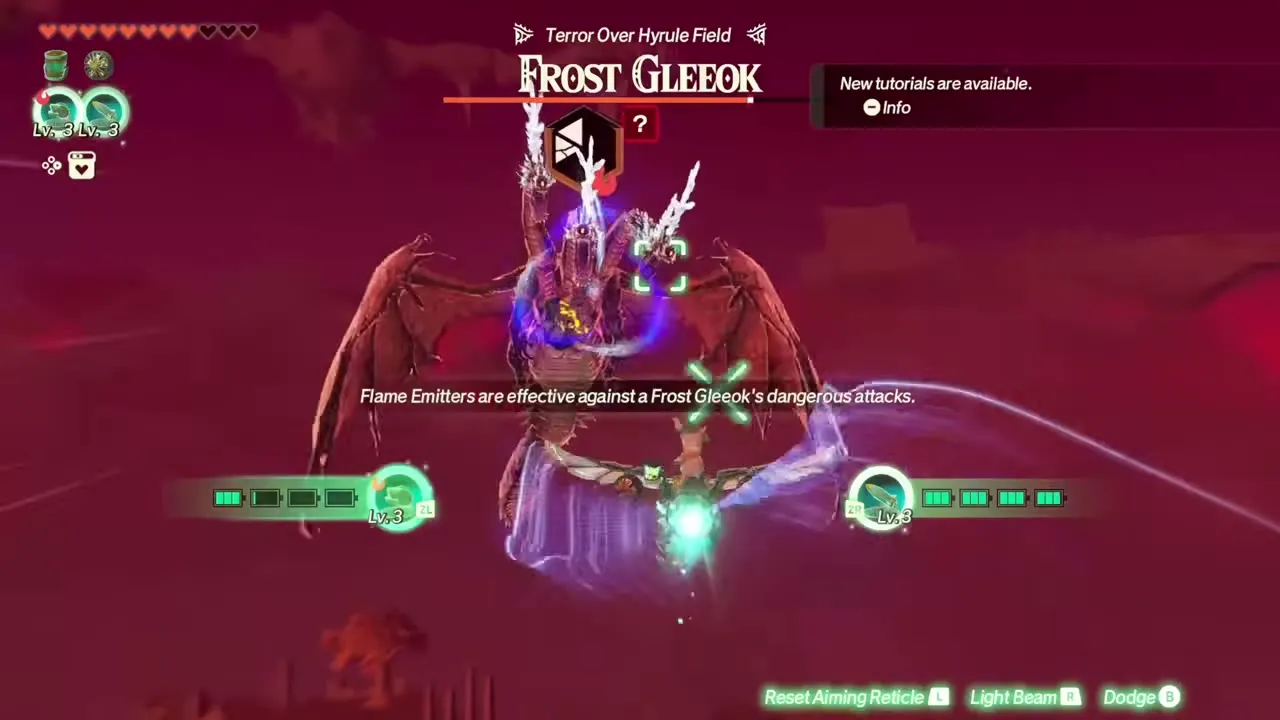
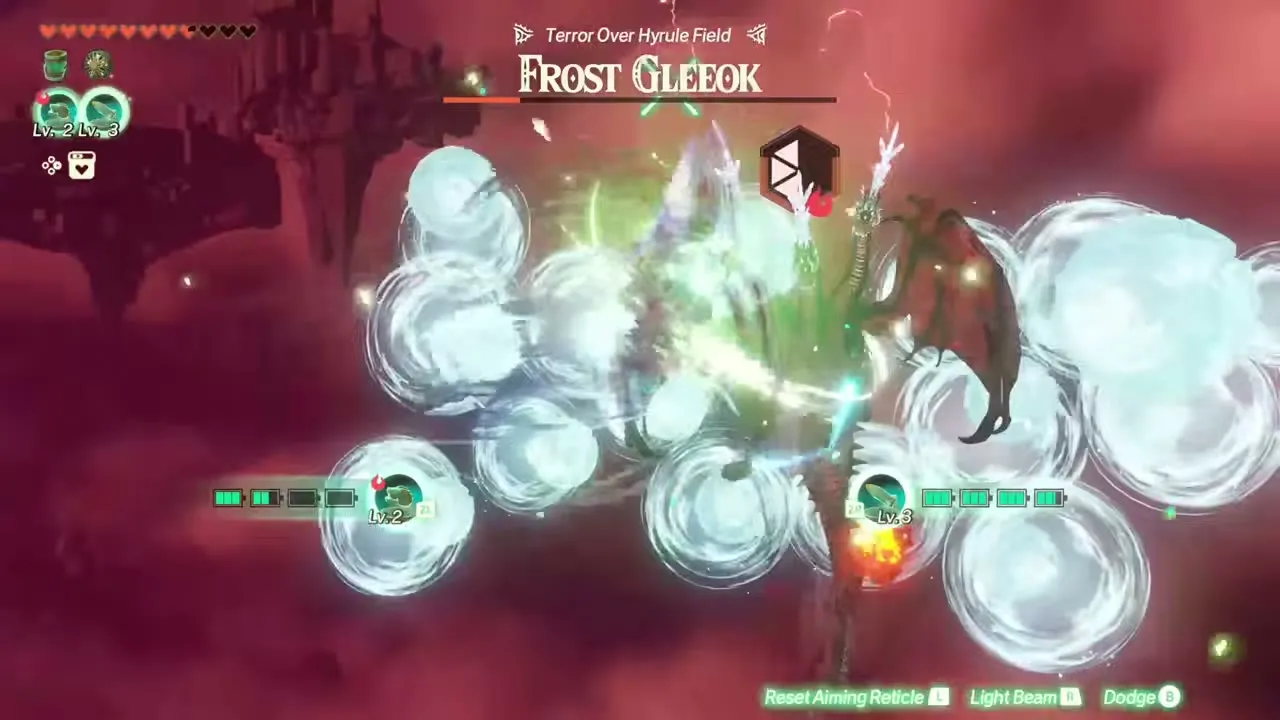
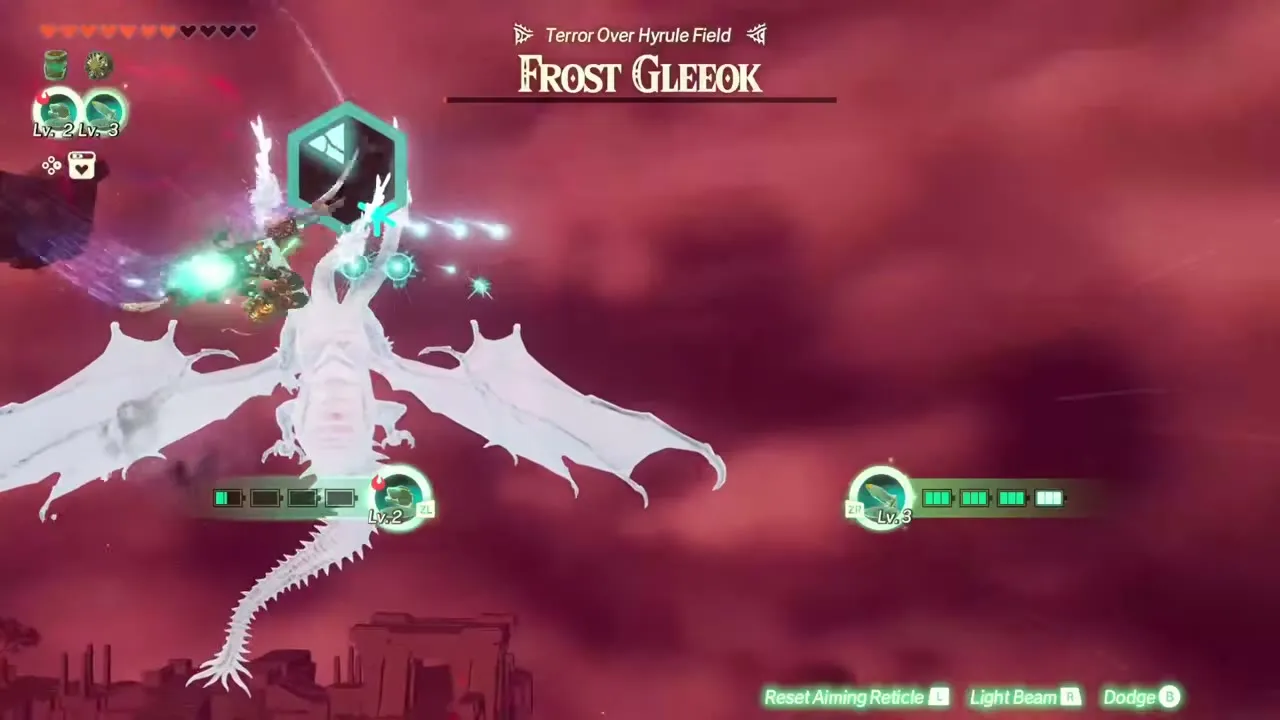
Frost Gleeok, “Terror Over Hyrule Field”, is a three-headed ice dragon that ends Beneath the Blood Moon (Lv 17). It is weak to fire, so equip the Flame Emitter and the Rocket and fire whenever you are not dodging, which exposes the Weak-Point Gauge. Dodge right before its attacks and use the Fan to deflect some of them, then finish with a Weak-Point Smash.
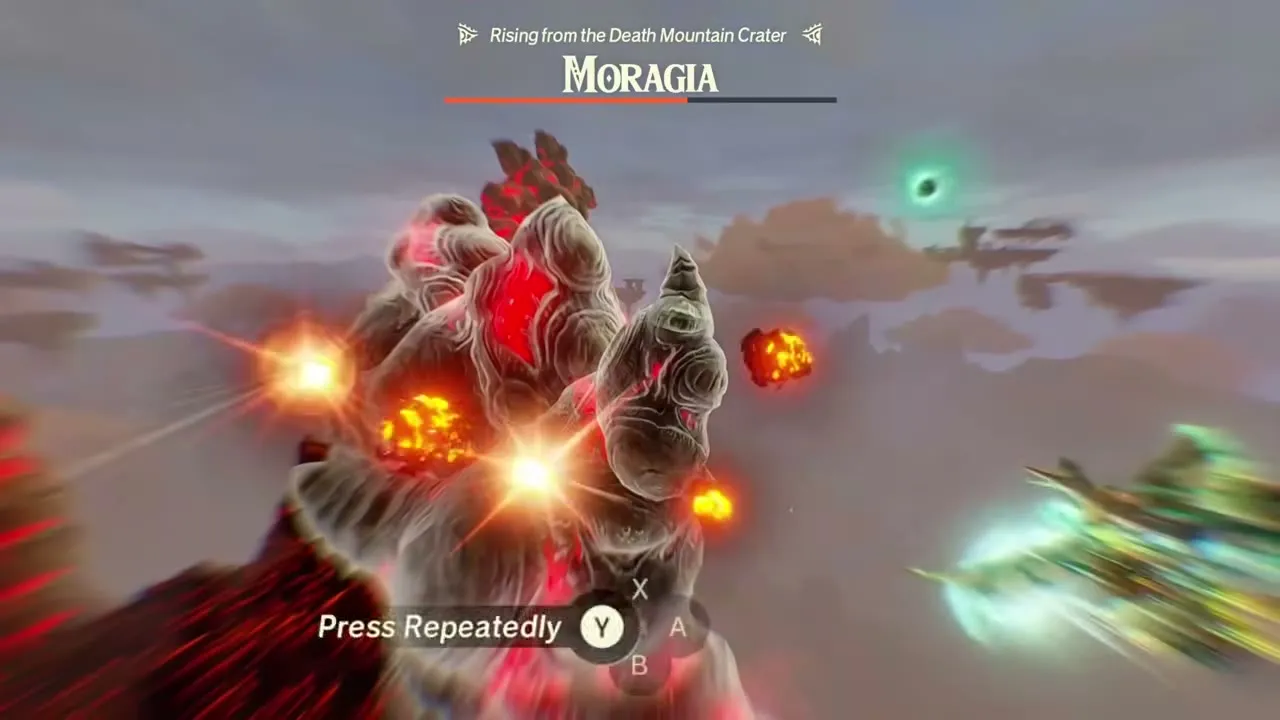
Moragia
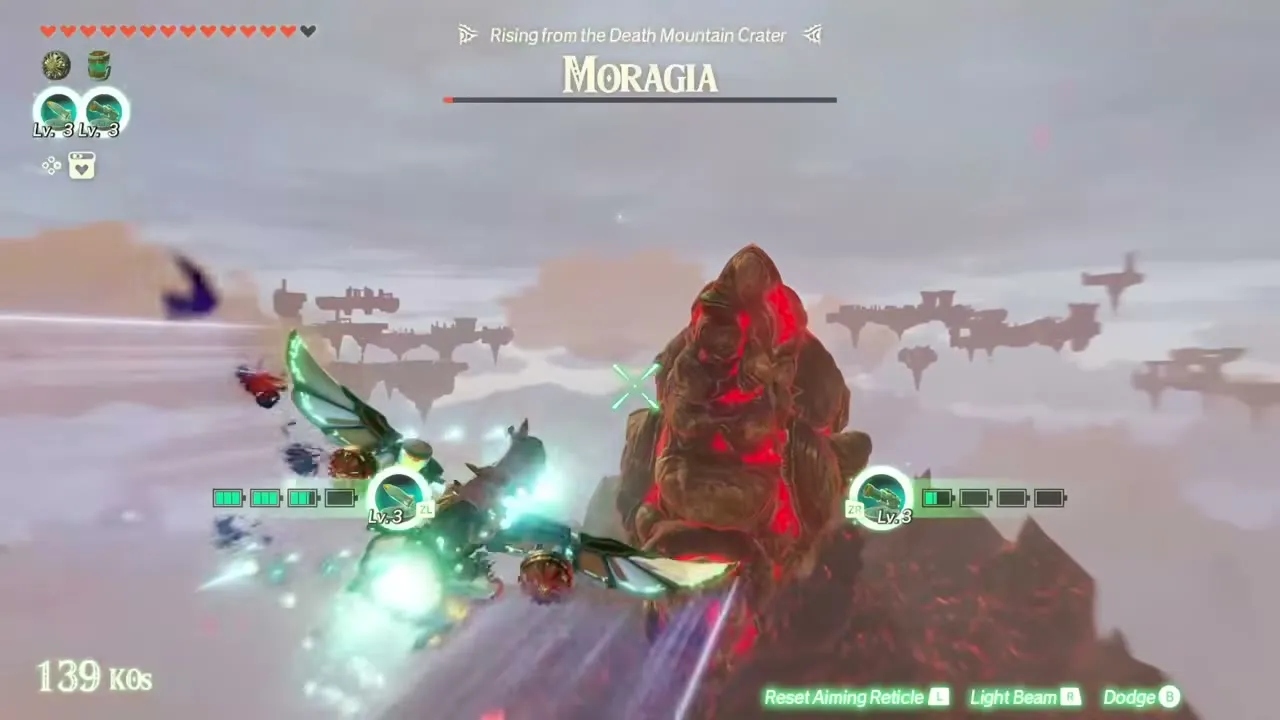
A three-headed monster of lava and Gloom Rock that waits in the Death Mountain crater at the end of The Behemoth in the Crater (Lv 24). It has no elemental weakness and each head has its own gauge, which the Cannon and Rocket drain. Dodge its fire breath with B, deflect its thrown boulders with the Fan, and save charge on both devices. When it forms a giant boulder, wait for it to finish, then hit it with both devices for a smash that damages every head. Bombard each head until the last one is destroyed.
King Gleeok
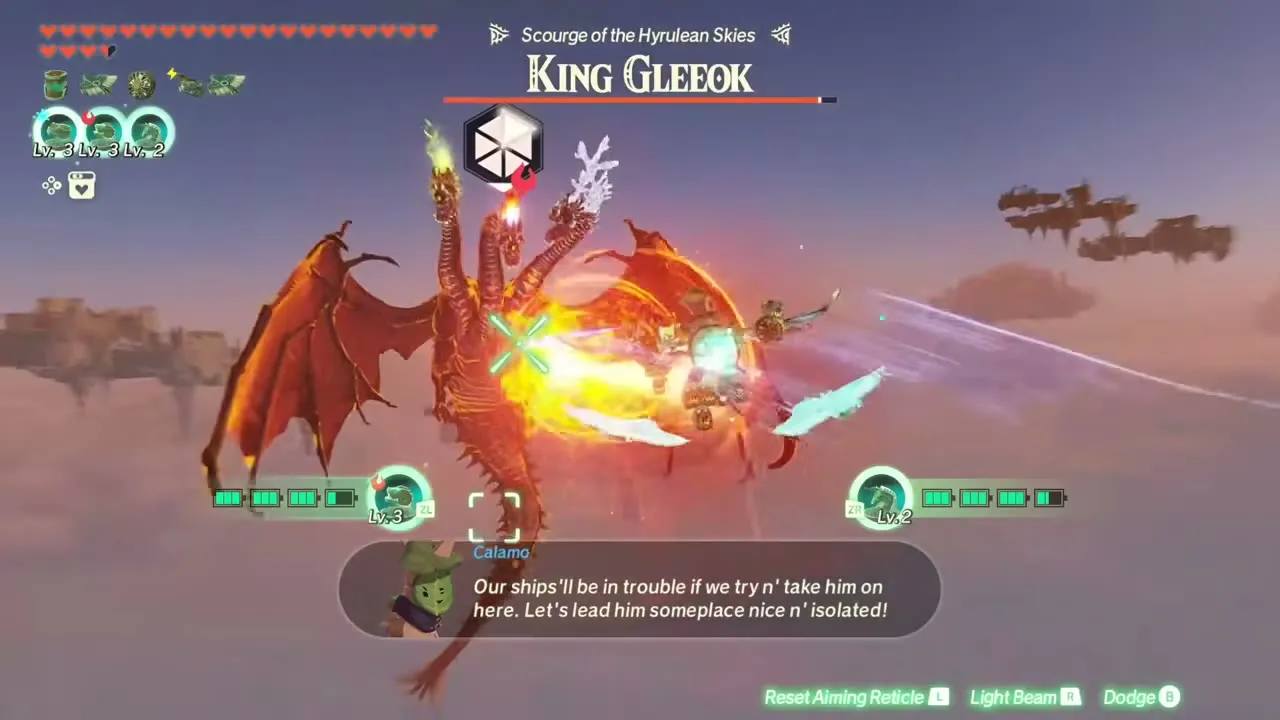
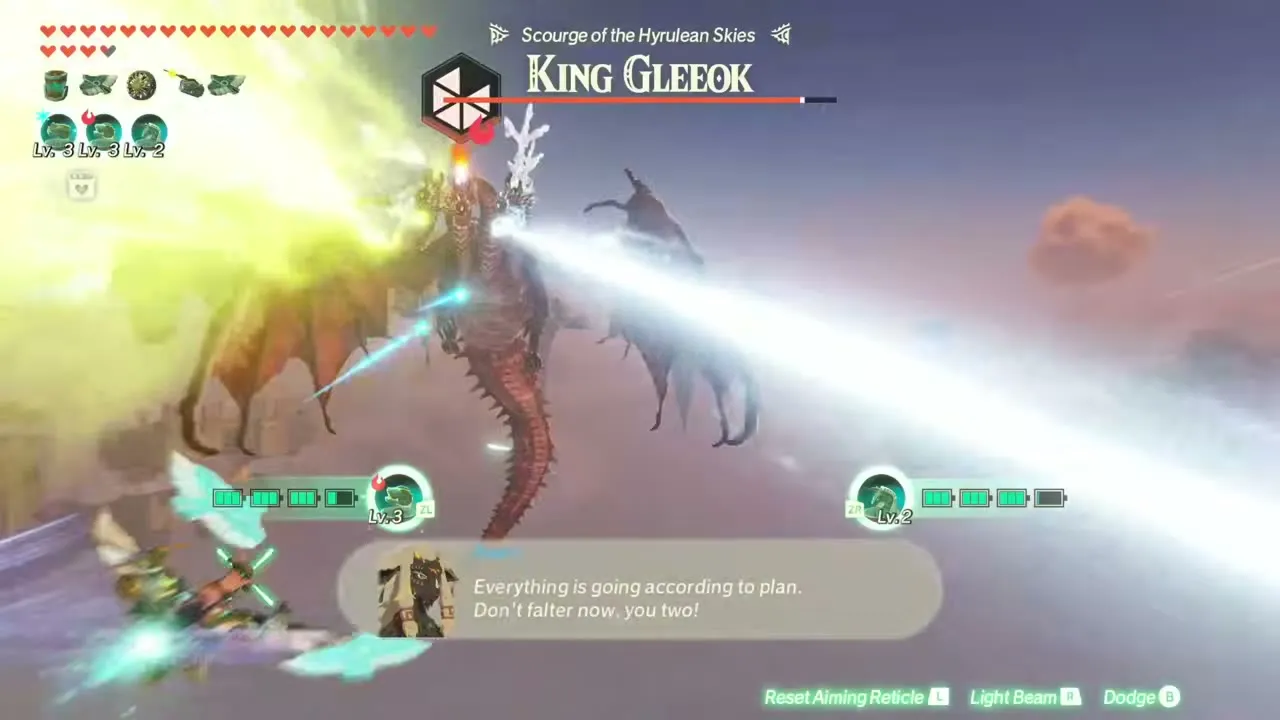
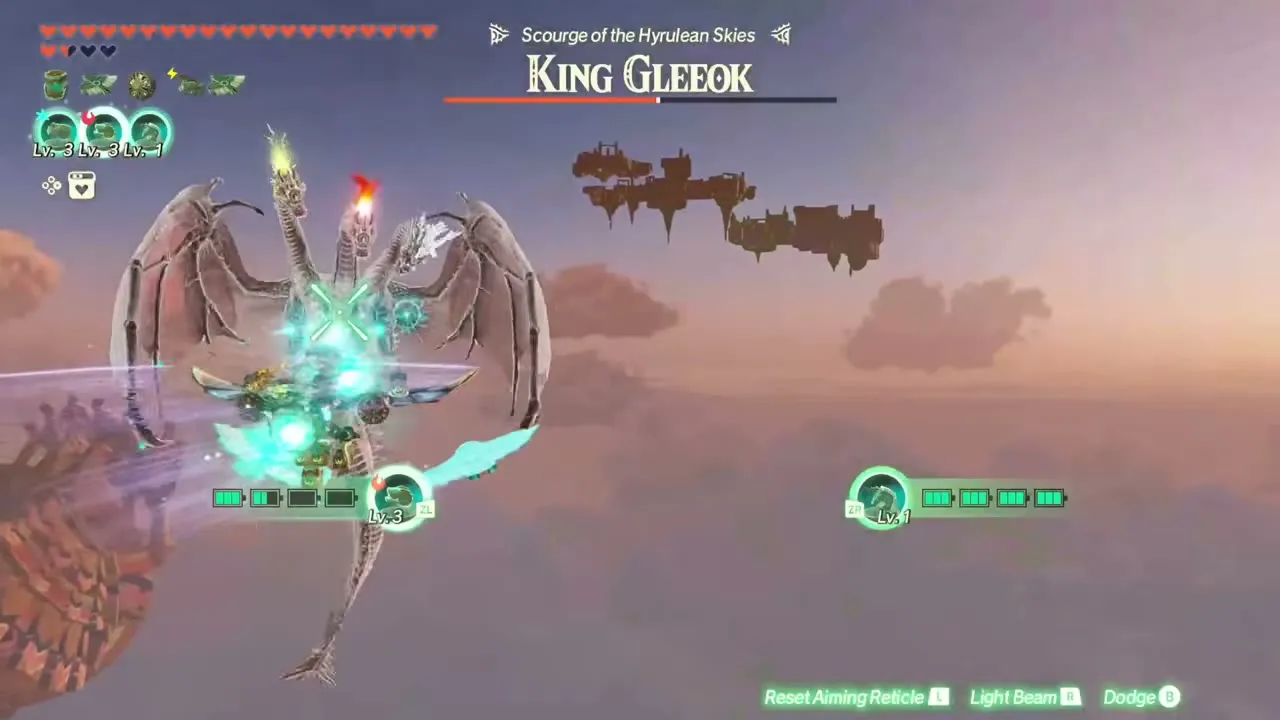
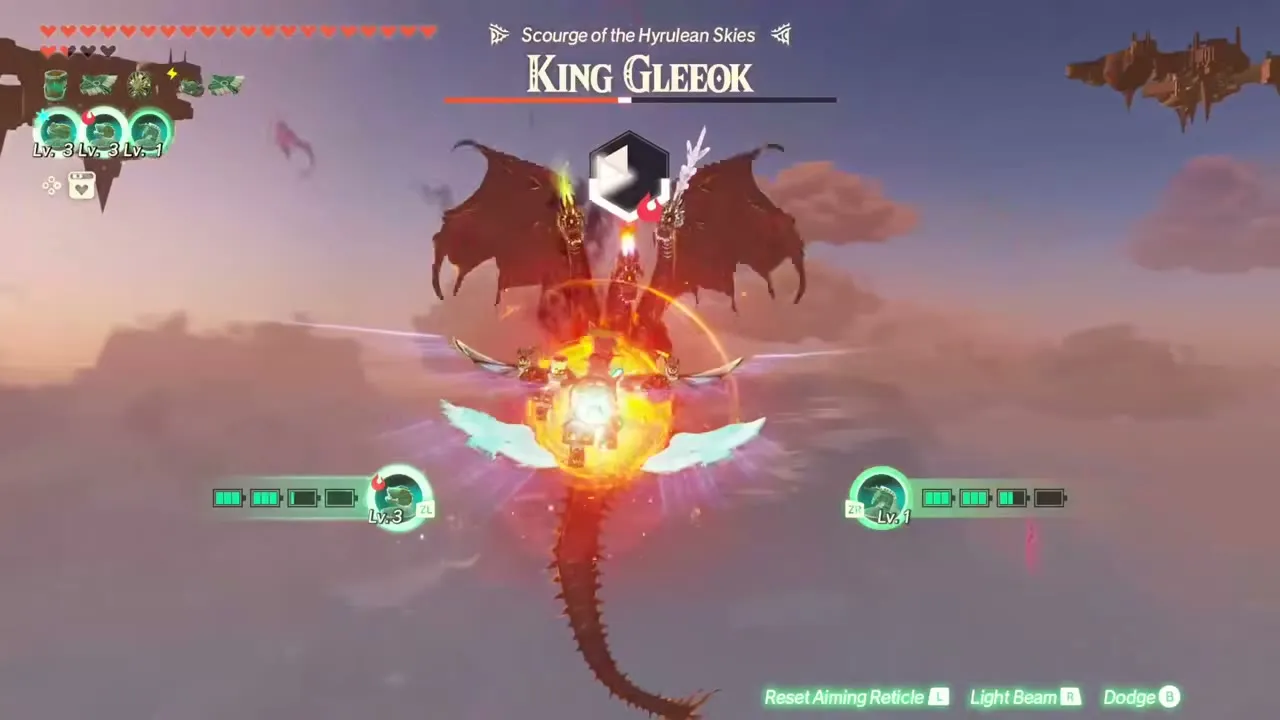
King Gleeok, “Scourge of the Hyrulean Skies”, has a different element on each head, and it is the boss of Into the Fray (Lv 47). It is weak to fire and ice, so keep the Flame Emitter and Frost Emitter in your slots (swap with right on the D-pad), burn or freeze it when you are not dodging, then break the exposed gauge with the Beam Emitter and a Weak-Point Smash. Repeat until it falls.
Boss Aside Quests
Rewards for defeating bosses as a specific warrior
Many warriors have an Aside Quest that asks you to defeat one boss while controlling them. The table lists the boss-specific ones; the rest are on the Aside Quests page.
| Boss | Warrior | Reward |
|---|---|---|
| Grimgera | Rauru |  Sapphire x3,  Rupees x1,000 |
| Grimgera | Agraston |  Pure Zonaite Steel (Two-Handed) x1, Rupees x1,000 |
| Grimgera | Raphica |  Pure Zonaite Steel (Bow) x1, Rupees x1,500 |
| Grimtorok | Qia |  Pure Zonaite Steel (Spear) x1 |
| Grimgibdo | Ardi |  Pure Zonaite Steel (One-Handed) x1, Rupees x1,000 |
| Forbidden Construct | Calamo | Pure Zonaite Steel (One-Handed) x1, Rupees x1,000 |
| Phantom Ganon | Zelda, Ardi, Lago, Sholani | Pure Zonaite Steel (One-Handed) x1, Rupees x1,000 |
| Phantom Ganon | Pinnec | Pure Zonaite Steel (Spear) x1, Rupees x1,000 |
| Phantom Ganon | Rauru |  Raw Whole Bird x5, Rupees x1,000 |
| Phantom Ganon (2) | Mineru | Dark Clump x5, Rupees x800 |
