Spirit Tracks 100% Completion Walkthrough18 chapters
- Aboda Village and Hyrule CastleThe first train ride, the Royal Engineer ceremony, Zelda’s escape, the Spirit Flute, sword and path to the Tower.
- Tower of SpiritsMeet Anjean, collect the three Tears of Light, use Phantom Zelda and claim the Forest Rail Map.
- Forest RealmReach Whittleton, solve the Lost Woods rail maze, learn the Song of Awakening and play the Gage duet.
- Forest TempleSong of Healing, Whirlwind, Mothula, Boss Key, Stagnox boss fight, Heart Container and Force Gem.
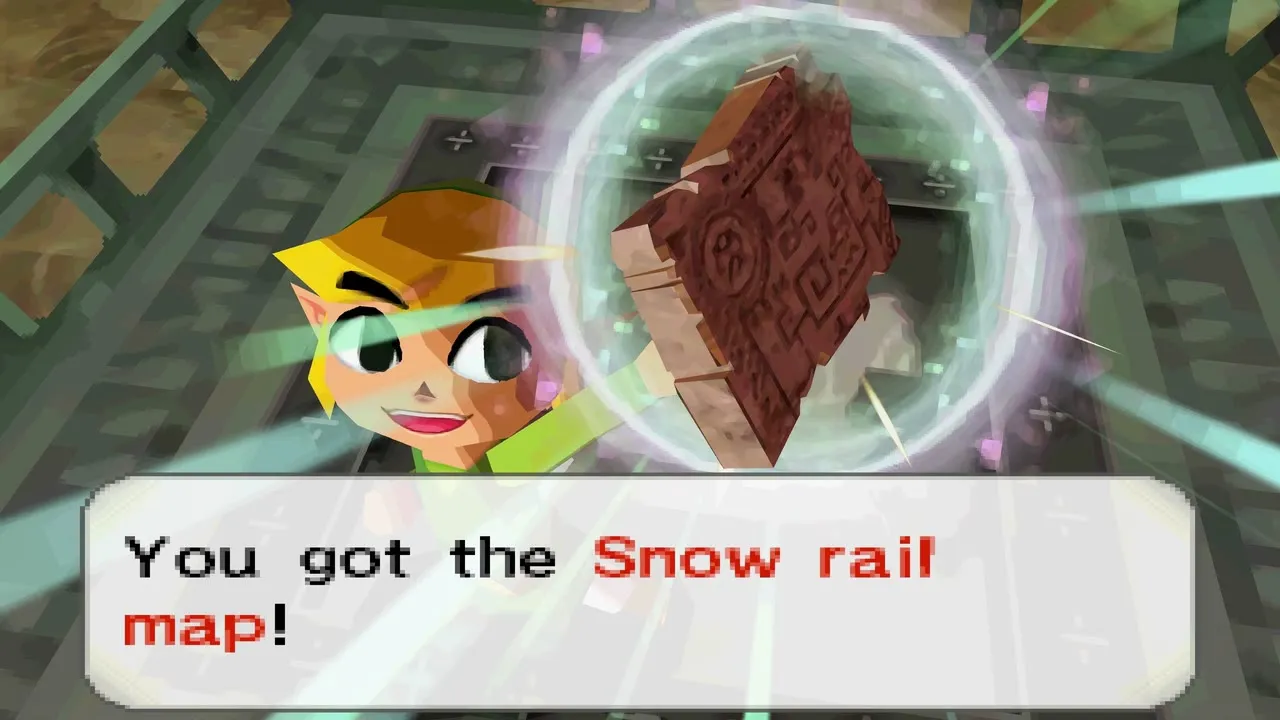
- Tower of SpiritsTears of Light, lava Phantoms, Zora Warrior, the Snow Rail Map, plus the Cannon and Rabbit Net.
- Snow RealmAnouki Village pairings, the Rocktite tunnel, Steem’s duet, the Heart Container shop and Ferrus’s blizzard map.
- Snow TempleGet the Boomerang, solve the bell puzzles, take the Boss Key from the Wolfos and beat Fraaz for a Heart Container.
- Tower of SpiritsDark floor 8, Torch Phantoms, Tears of Light, the Z door, Mighty Zora Warrior and Ocean Rail Map.
- Ocean RealmFix the Trading Post bridge, find the Regal Ring, learn the Song of Birds and free Carben at the Ocean Sanctuary.
- Ocean TempleReach the sunken temple, win the Whip, beat Phytops and claim the Heart Container and blue Force Gem.
- Tower of SpiritsBeat Warp Phantoms and Phantom Eyes, collect three Tears of Light and claim the Fire Rail Map.
- Fire RealmReach Goron Village, ferry Noko for Mega Ice, cool the lava, solve the Fire Sanctuary statues and play Embrose’s duet.
- Fire TempleSnurglar keys, Heatoise and the Bow, mine carts, Boss Key, Cragma, Heart Container and the Goron Quiver.
- Tower of SpiritsClimb Tower of Spirits floors 18-23, solve the Wrecker Phantom puzzles, take the Boss Key and beat Byrne with Zelda.
- Sand RealmSand Gyorg, desert rabbits, the Sand Sanctuary bomb puzzle, the Rael duet and the three trials to the Sand Temple.
- Sand TempleStalfos keys, Sand Wand, the Boss Key, the Skeldritch boss fight, the Heart Container, Bow of Light and Lokomo Sword.
- Tower of Spirits Floors 24-30 and the Compass of LightLight Arrows at the altar, every Phantom puzzle, the floor 26 gauntlet and the Compass of Light.
- Dark Realm, Demon Train and MalladusDestroy six Armored Trains, beat the Demon Train, free Zelda from Cole and defeat Malladus with the Lokomo Sword.
| Covers | Forest Temple, at the end of the Forest Realm tracks: the Song of Healing statue, the gas-filled floors, the Mothula mini-boss, the Boss Key and the Stagnox boss fight |
|---|---|
| You need | The Spirit Flute, your sword and the Song of Awakening, plus the tracks to the temple that Gage’s duet opens in the Forest Sanctuary |
| Rewards | 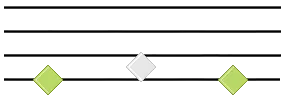 Song of Healing, 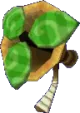 Whirlwind,  2 big green Rupees,  1 Dark Pearl Loop treasure, another random treasure,  1 Heart Container,  the green Force Gem, and  1 stamp station you can use once you own the Stamp Book |
The Forest Temple is the first real dungeon of Spirit Tracks. You pick up the Whirlwind, a fan you control by blowing into the microphone, and use it to clear poison gas and move keys. Then you beat the Mothula mini-boss, carry the Boss Key across a trapped floor and defeat the giant beetle Stagnox. It gives you a Heart Container and the green Force Gem, which starts the repair of the Tower of Spirits.
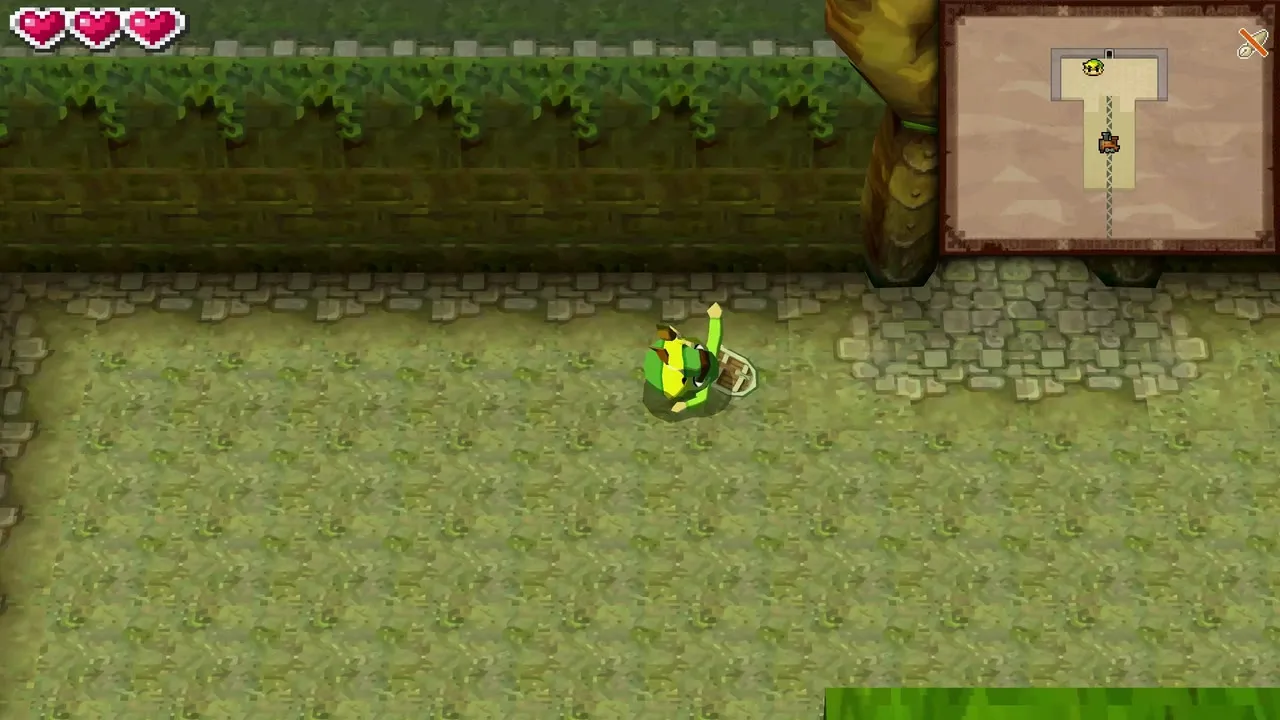

Table of Contents
Forest Temple entrance and Song of Healing
Learn the Song of Healing
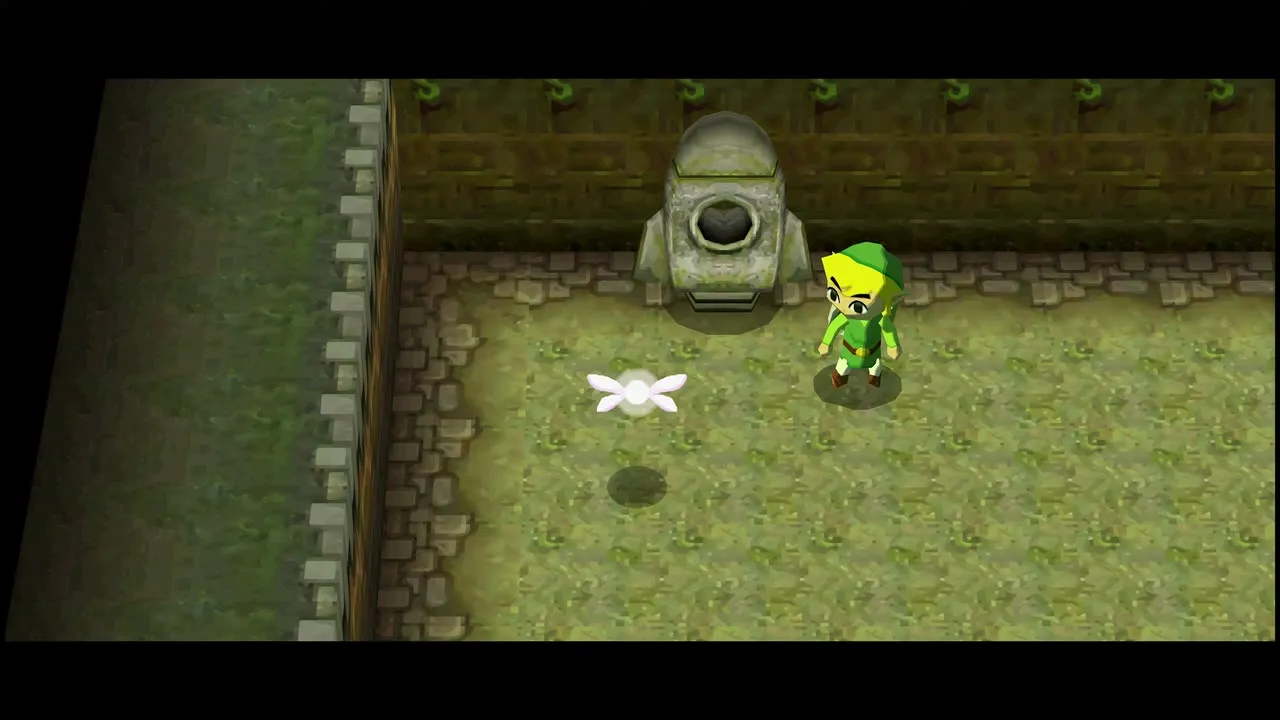
Leave your train at the platform outside the temple and do not go through the door yet. Look for the rocket-shaped statue just left of the door. Tap it to see its three notes (green, white, green) and copy that tune on the Spirit Flute.

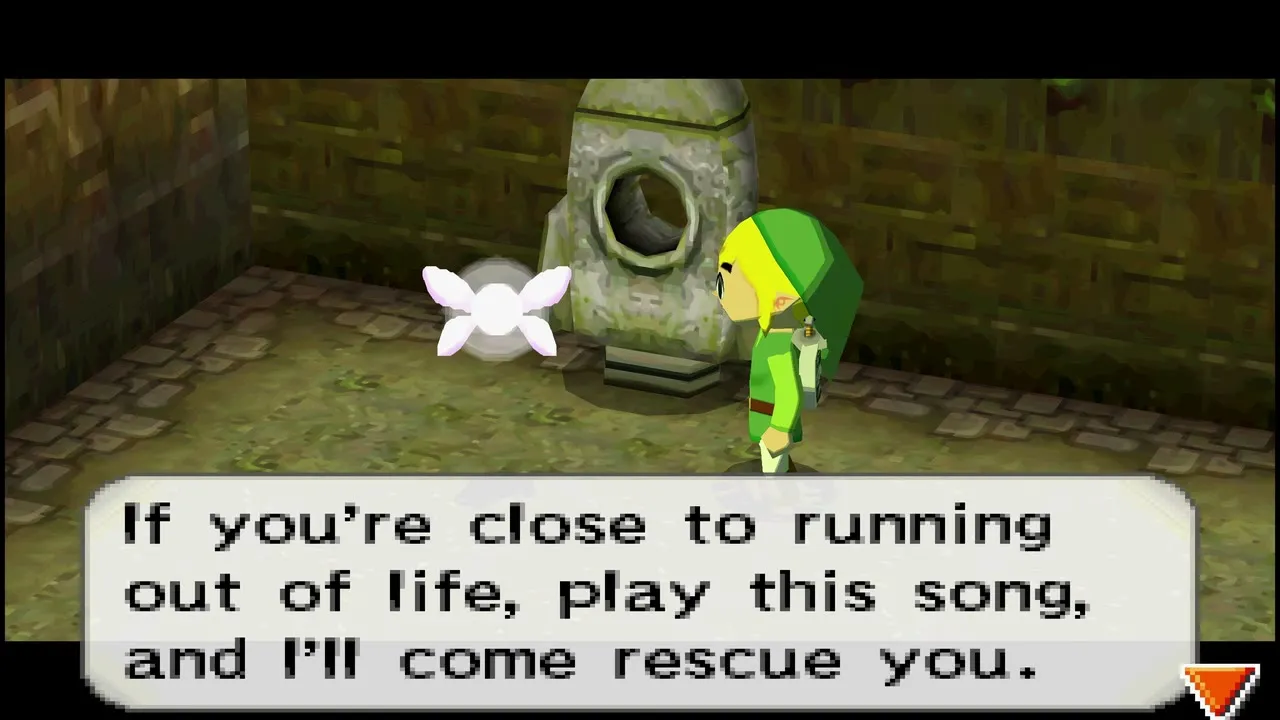
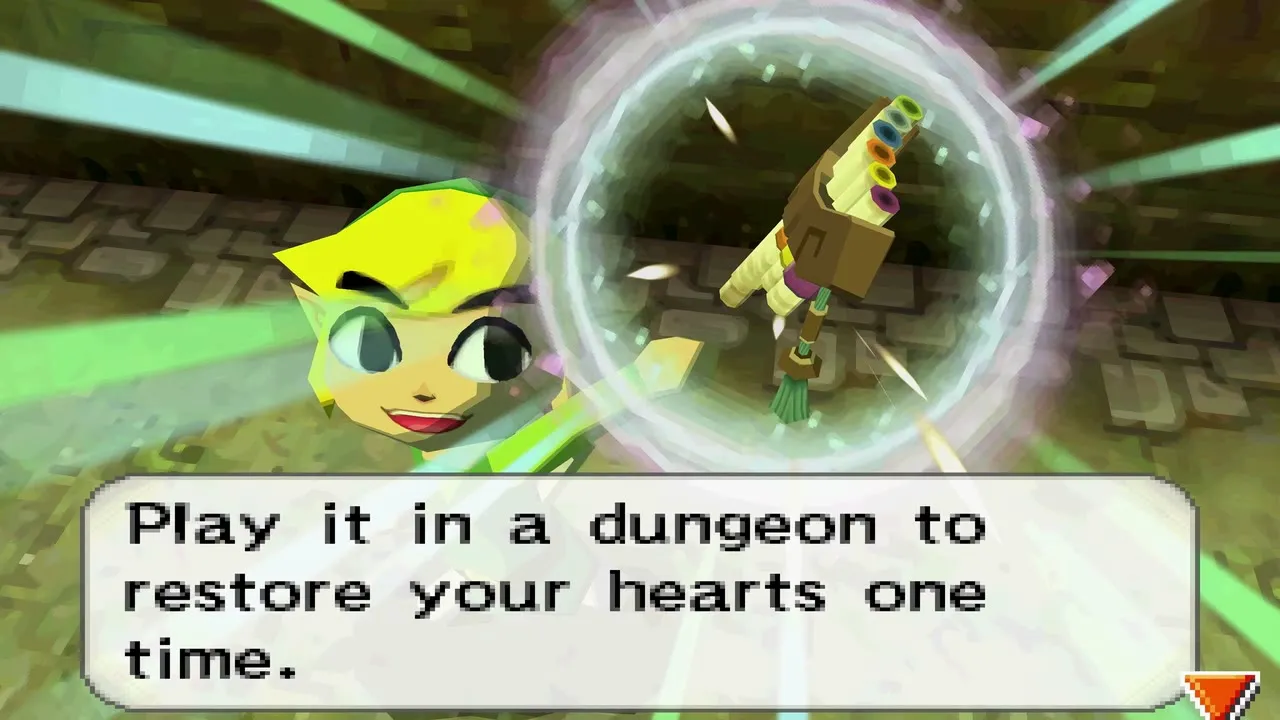
Play the Song of Healing on the Spirit Flute inside a dungeon and a fairy appears to restore all your hearts, or to revive you if you have already fallen. It works only once per dungeon, so keep it for the boss or for a bad moment on the way. For flute basics see the flute songs page.
Forest Temple walkthrough: lower floors and the Whirlwind
Cross the chasm and clear the first room
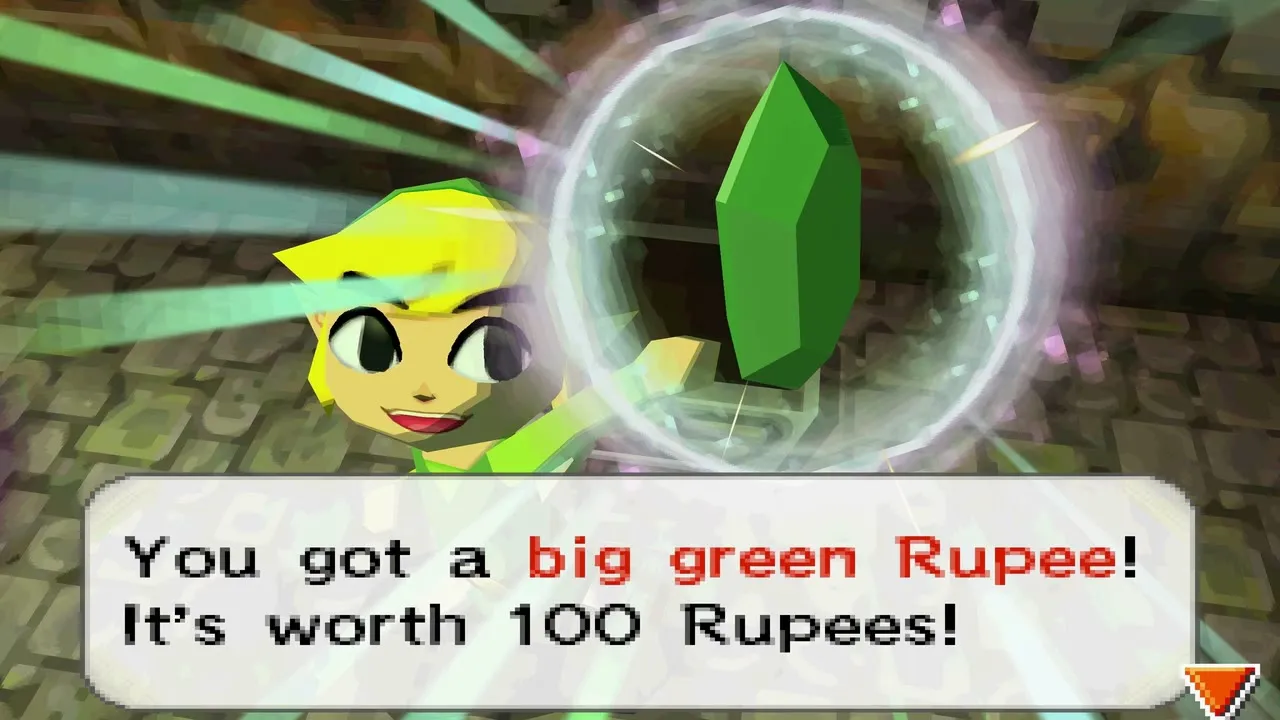
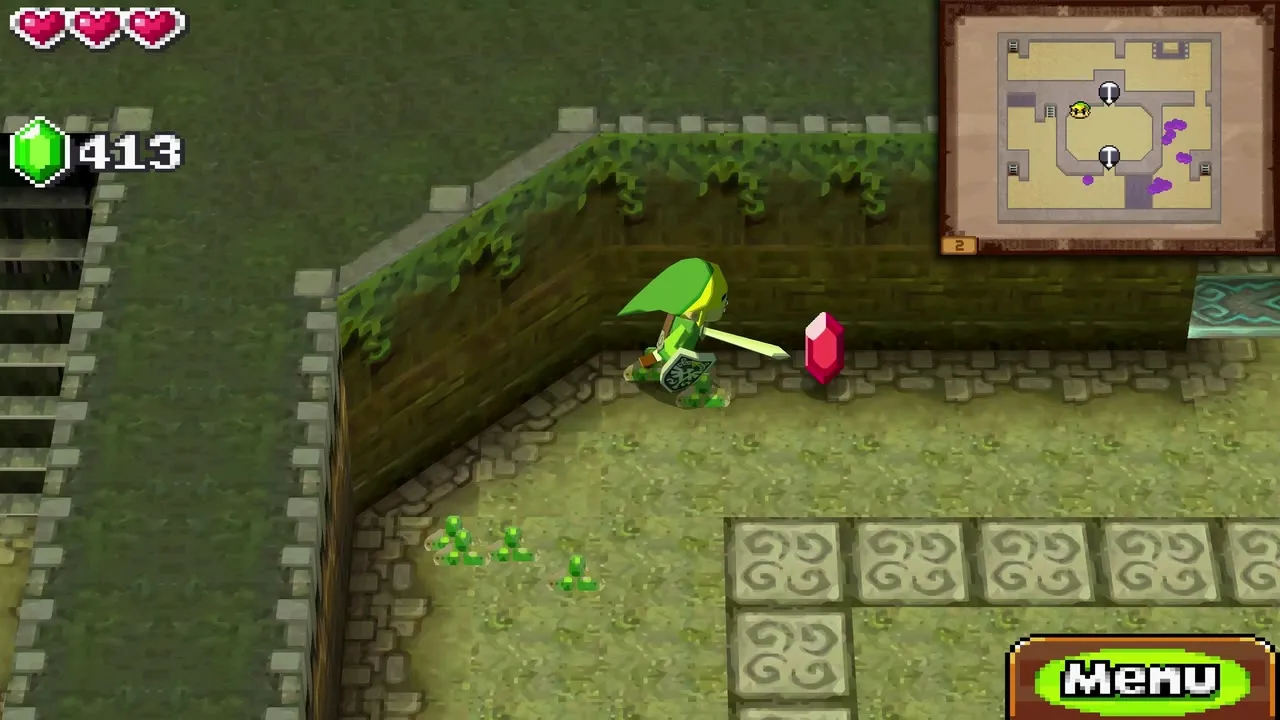
Go through the first door and pick up the acorn nearby. Carry it to the chasm and throw it at the switch on the far side to raise a bridge. Cross, then go south and defeat the three enemies in the room beyond. A chest with a big green rupee (100 Rupees) appears and the way upstairs opens.


How to get the Whirlwind
Upstairs, a room of four spiders guards a large chest in the top-right corner. Once the room is clear, open the chest to take the Whirlwind.

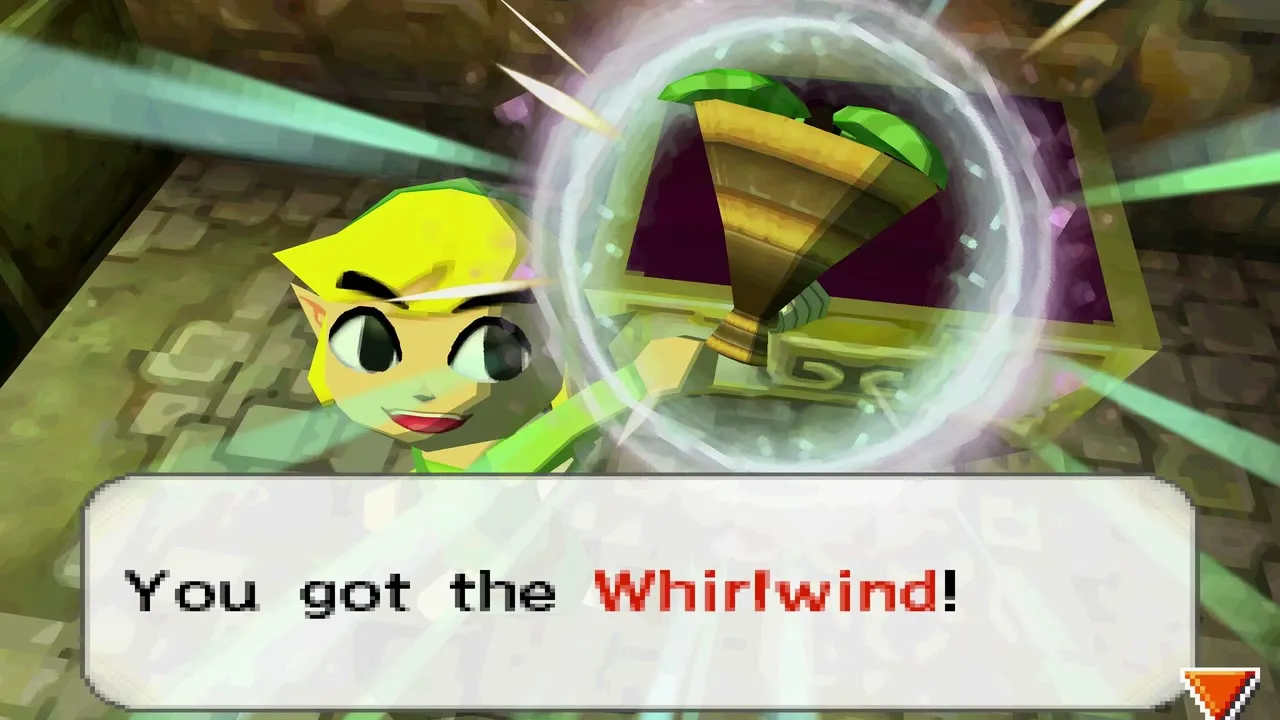
To use it, tap its icon, aim with the stylus and blow into the microphone. A cyclone flies out in the direction Link faces, pushes light objects, clears gas and makes fans spin.


Whirlwind puzzles: gas, fans and small keys
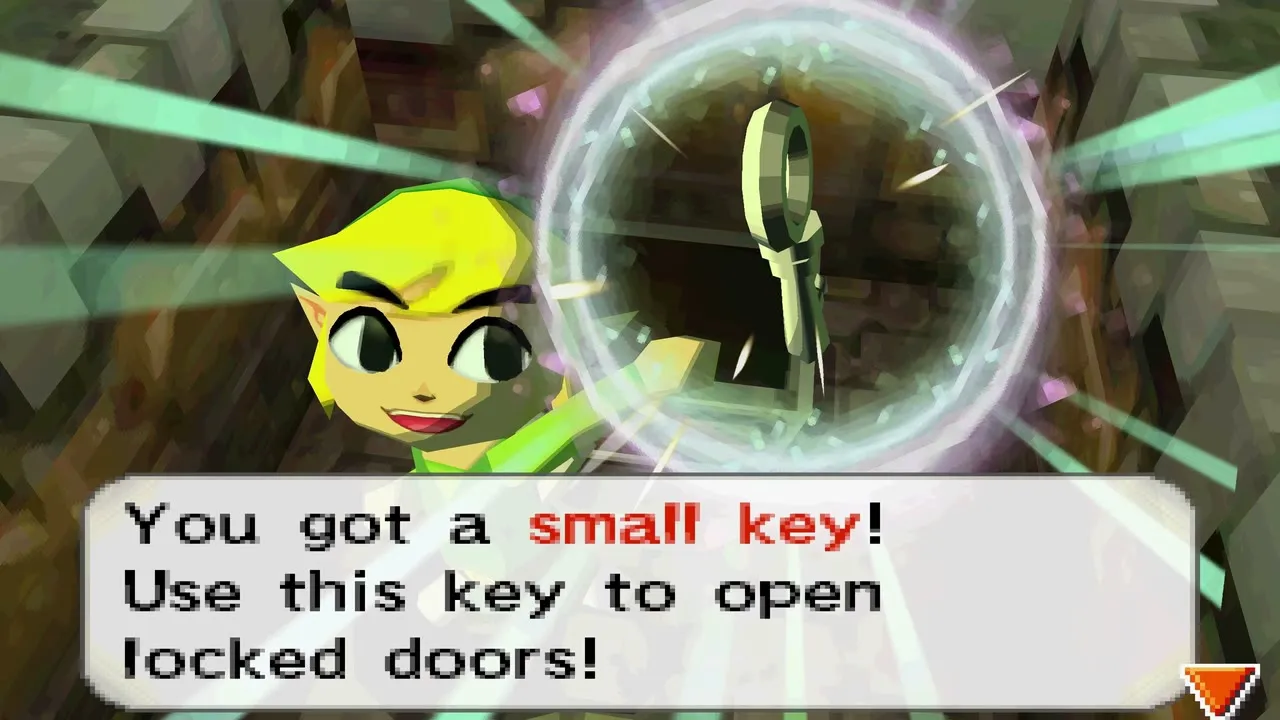
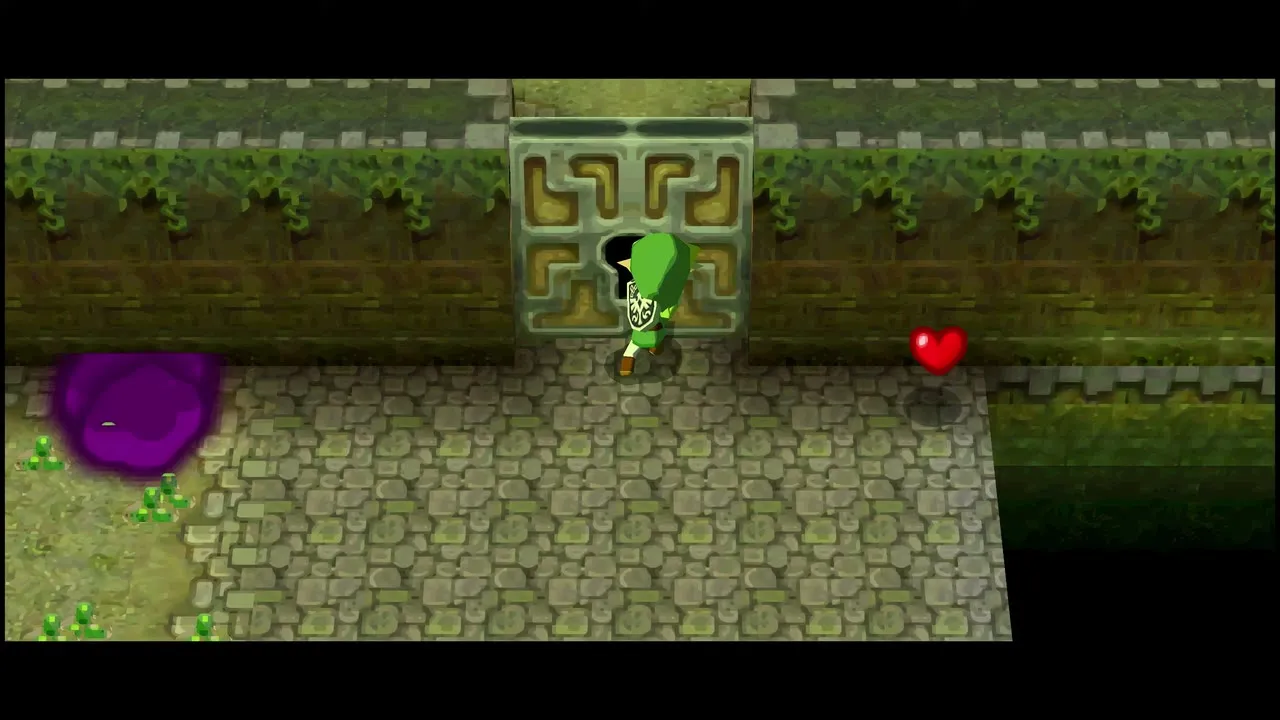
Purple fog drains your hearts while you stand in it, so blow it away before you walk through. Fans in the temple turn when the Whirlwind hits them. A small key sits on a platform across a chasm on the first floor: blow it across to your side, then use it on the locked door.
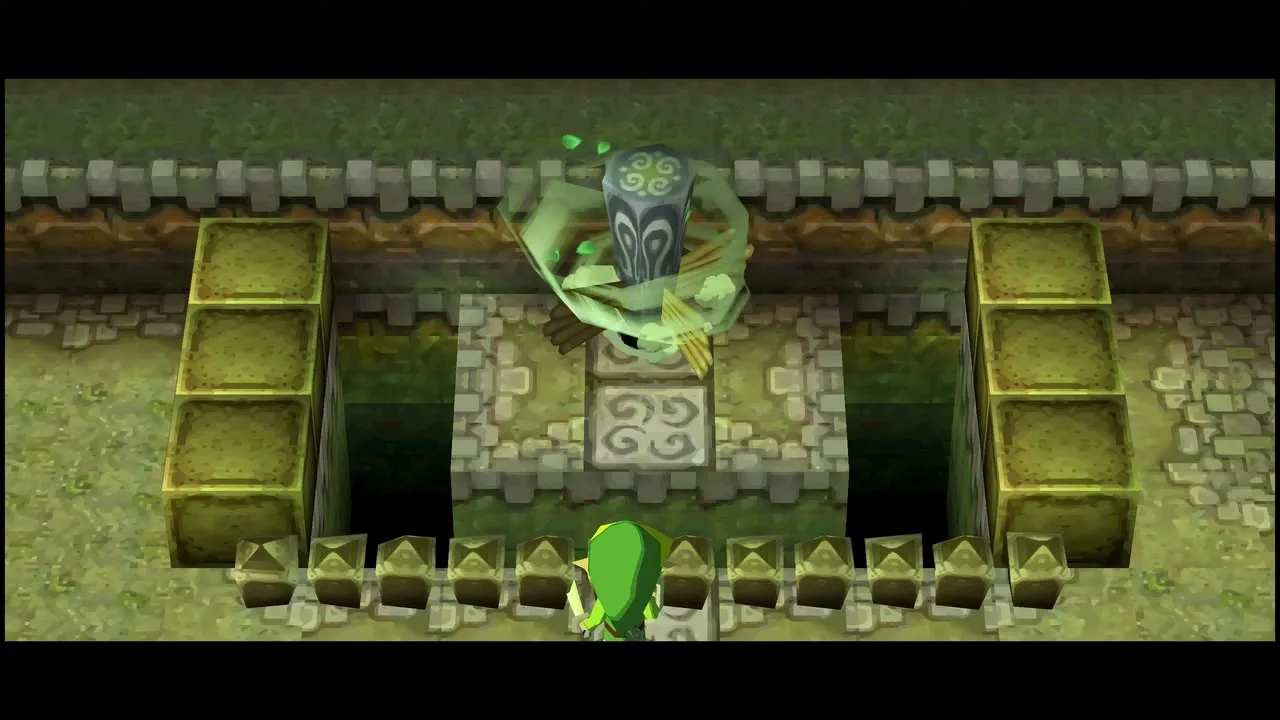
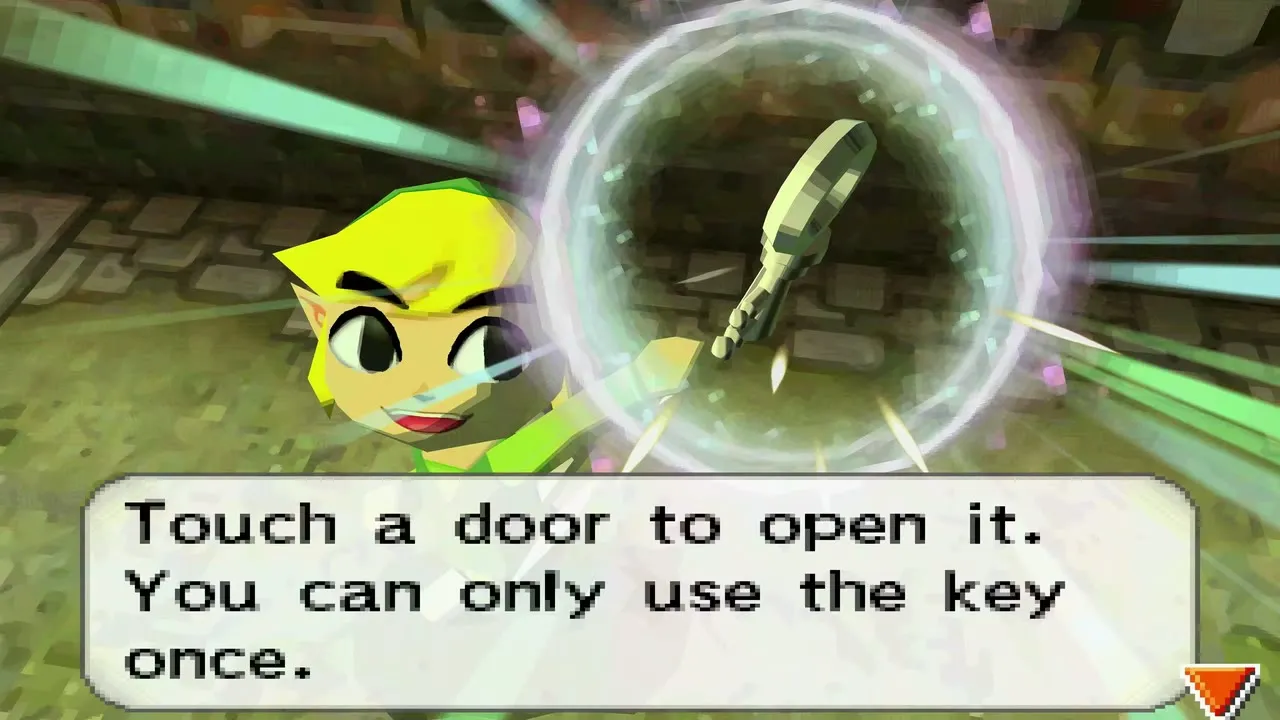
Acorns scattered around the temple work as ammunition. On the third floor you can blow one onto a distant floor switch, which reveals a chest holding another small key.
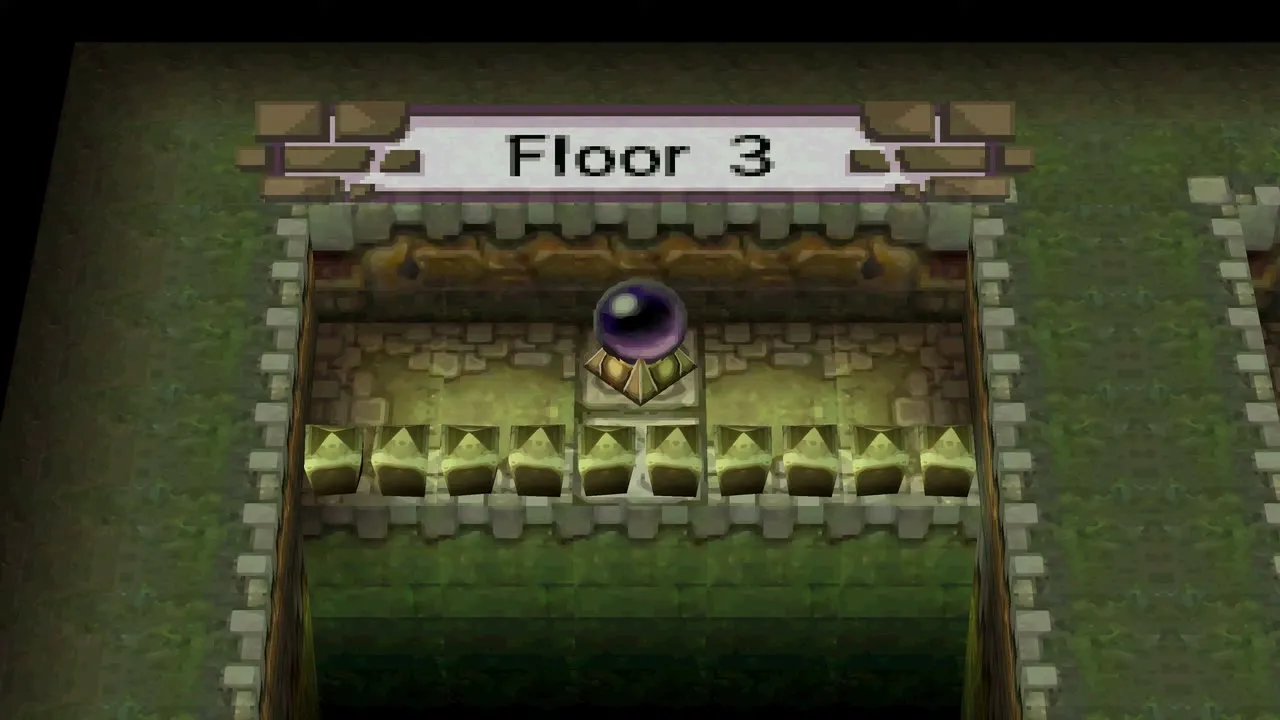
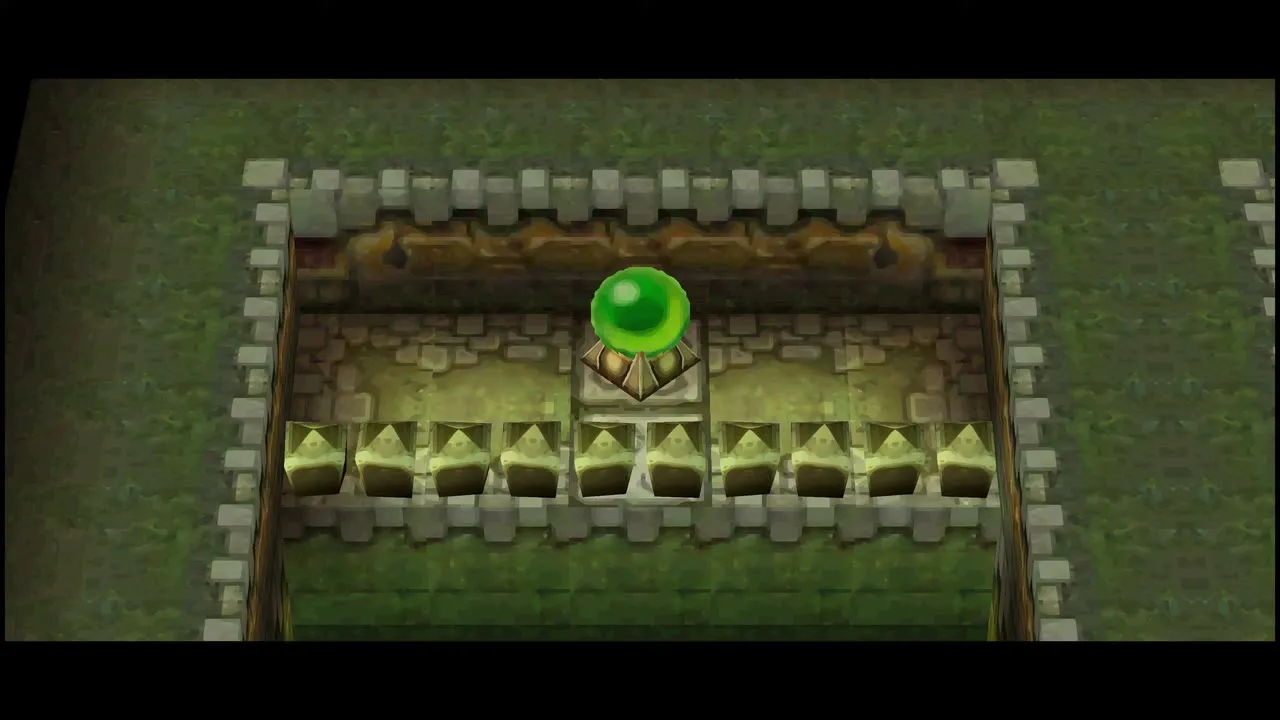
Stand in front of the small stone statues you find along the way and play the Song of Awakening. Each one wakes and, for a small fee (20 Rupees on the second floor), tells you whether the floor still hides a treasure, which saves you from searching empty corners. The only chest on the second floor sits in the fog near the stairs where you arrived and holds a treasure such as a Wood Heart, so blow the fog away with the Whirlwind and open it.
Gas-covered chests and switches
On the first floor, past the spider door, a large patch of fog at the top of the room hides a floor switch. Blow the fog away and step on the switch to raise a chest holding a big green rupee.

Forest Temple mini-boss: Mothula
How to beat Mothula
Go back to the second floor and use a small key on the locked door near the bottom of the floor. The door shuts behind you and Mothula, a dark moth-like creature, appears.


Do not approach Mothula or blow wind at it directly, because it reflects the cyclone and vanishes into the fog. Wait until it sends a bubble at you, aim the Whirlwind at the bubble and blow it straight back. Mothula is stunned, so run up and slash it.

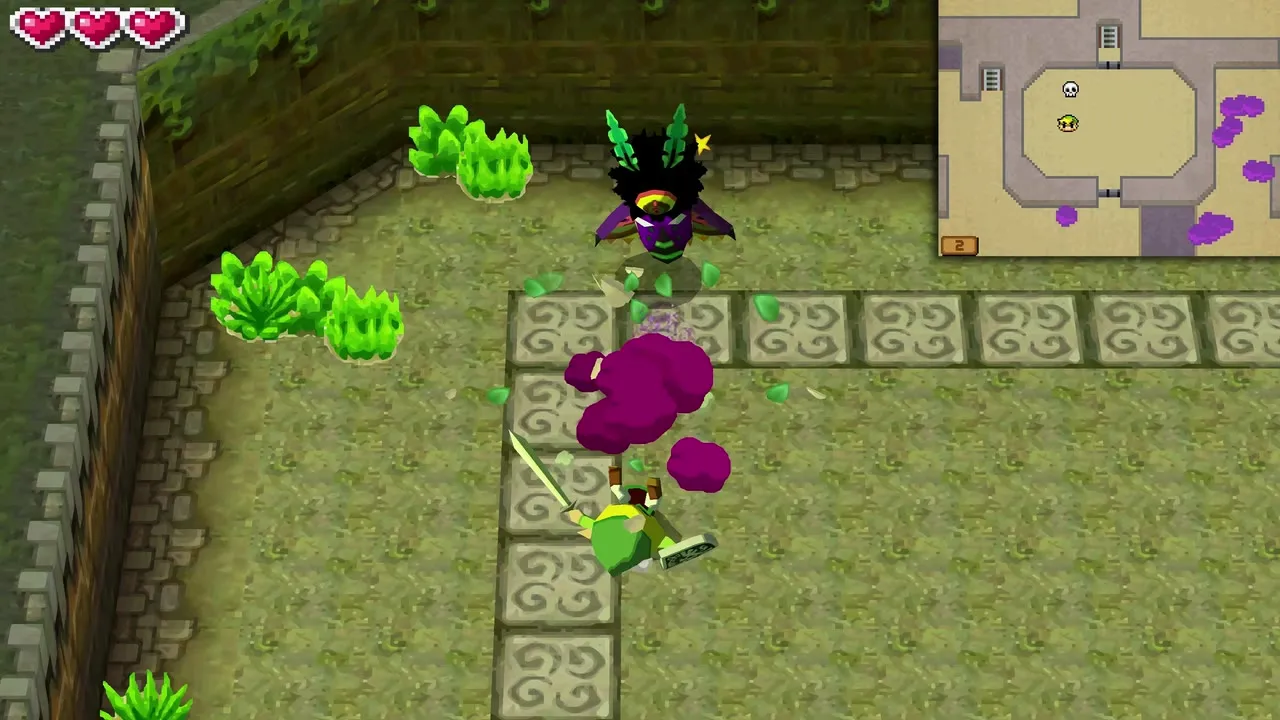
Repeat the trick once more and the mini-boss falls, dropping a red rupee. The way up to the Boss Key floor is now free.
Forest Temple Boss Key and Dark Pearl Loop
Blow blastworms into the blocks
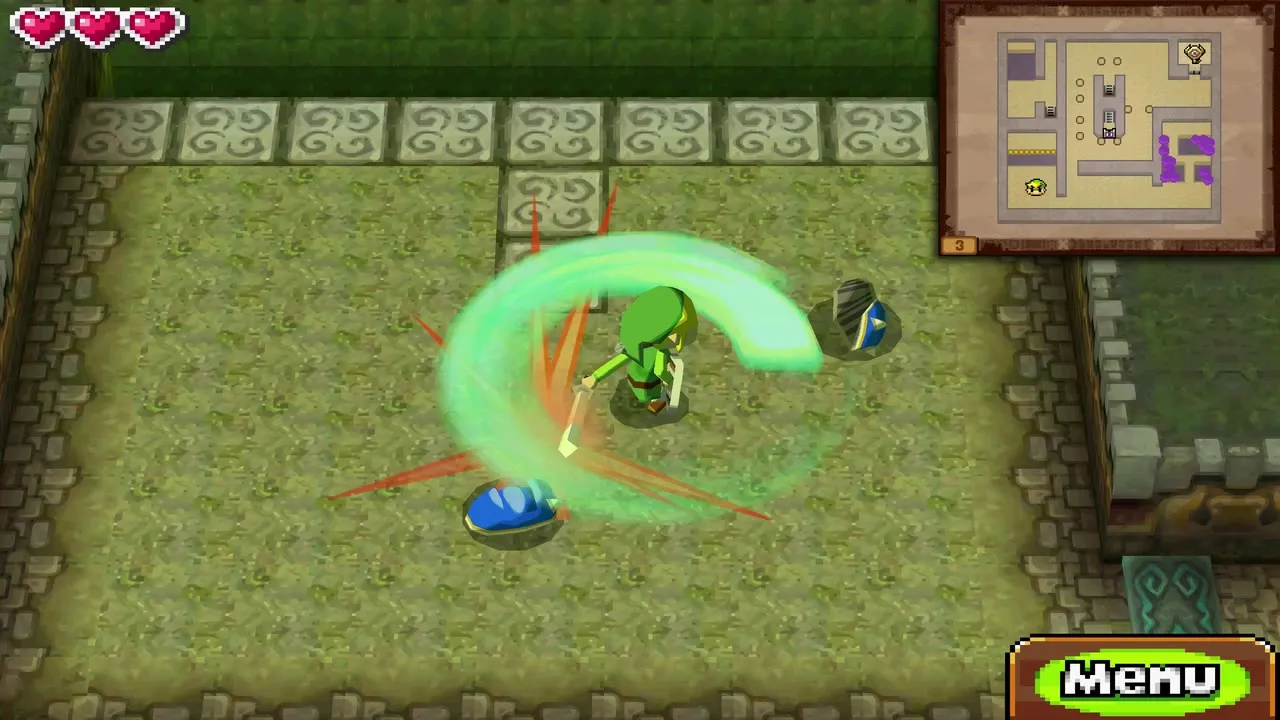
On the third floor, hit a blastworm with your sword or an acorn and it curls into a ball. Aim the Whirlwind at the ball and blow it into the cracked blocks; it explodes like a bomb and clears the way.


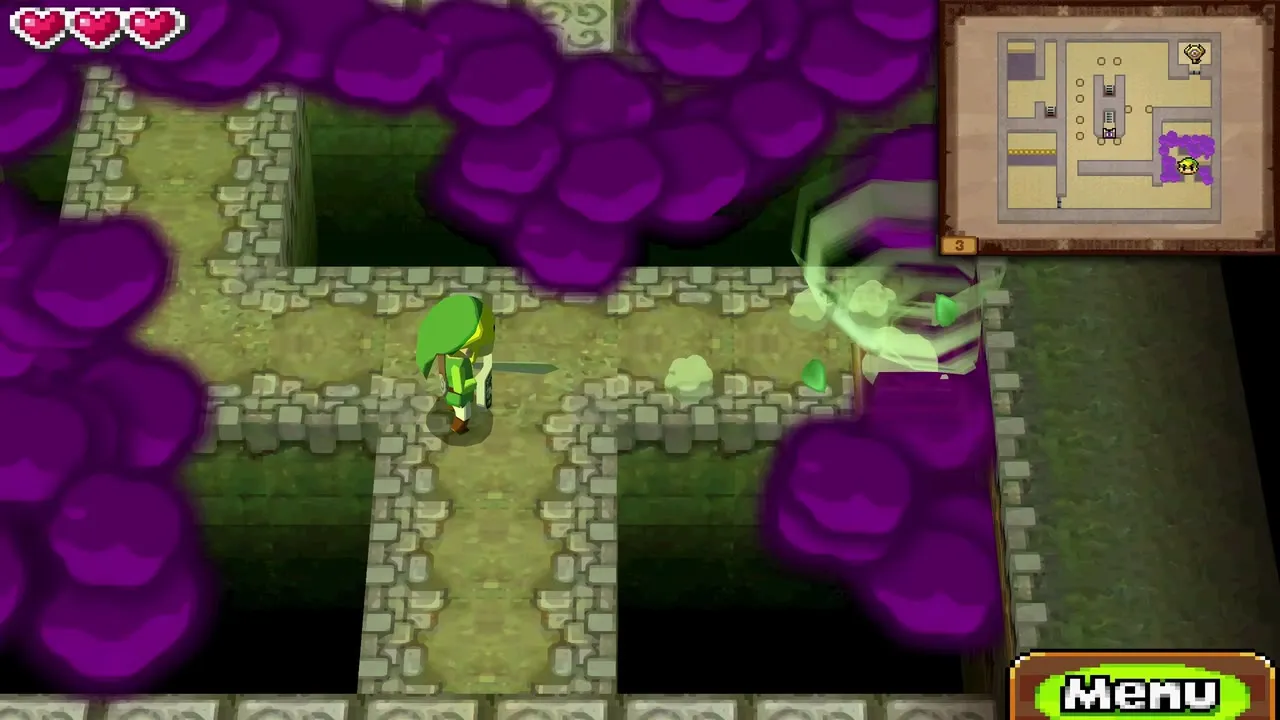
Clear the fog along the east wall to uncover a floor switch that makes a chest appear. Inside is the Dark Pearl Loop, a 150-rupee treasure that you can sell or later use for train parts at Linebeck’s.
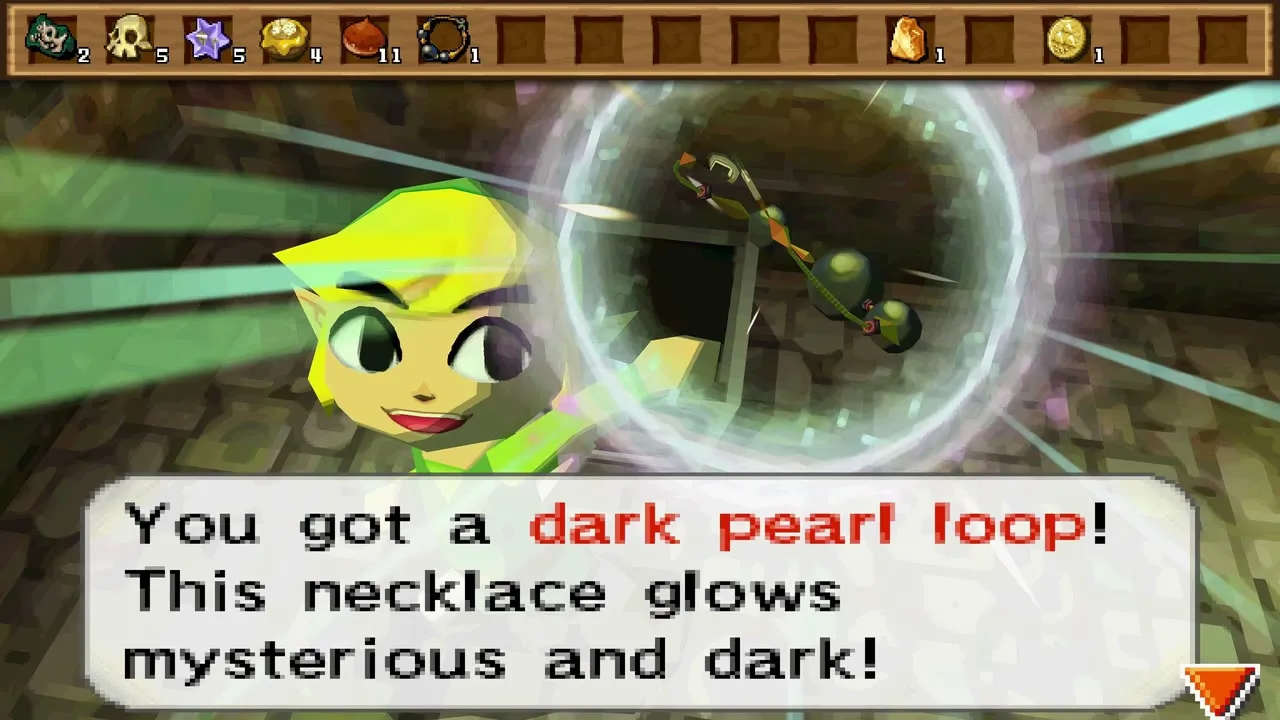
Further on, switches stand behind more blocks. Use blastworms and the Whirlwind to break the blocks and hit each switch. The last one lowers the wall that hides the Boss Key.
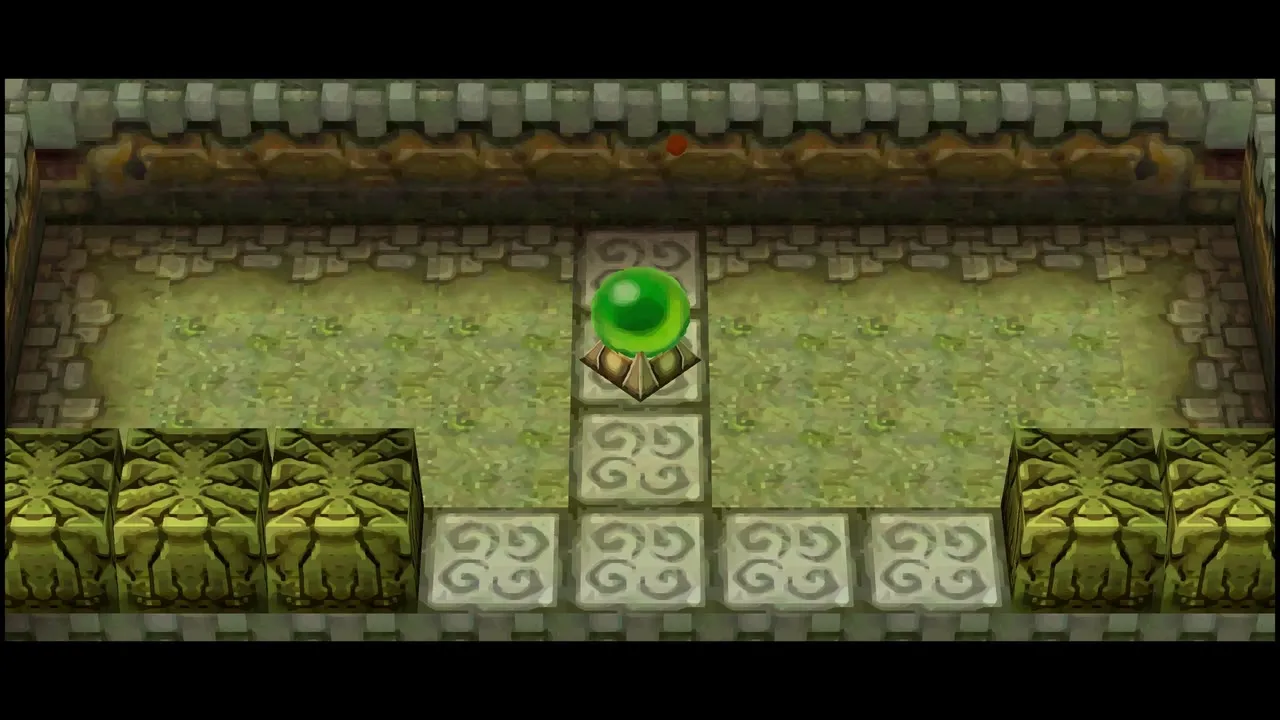
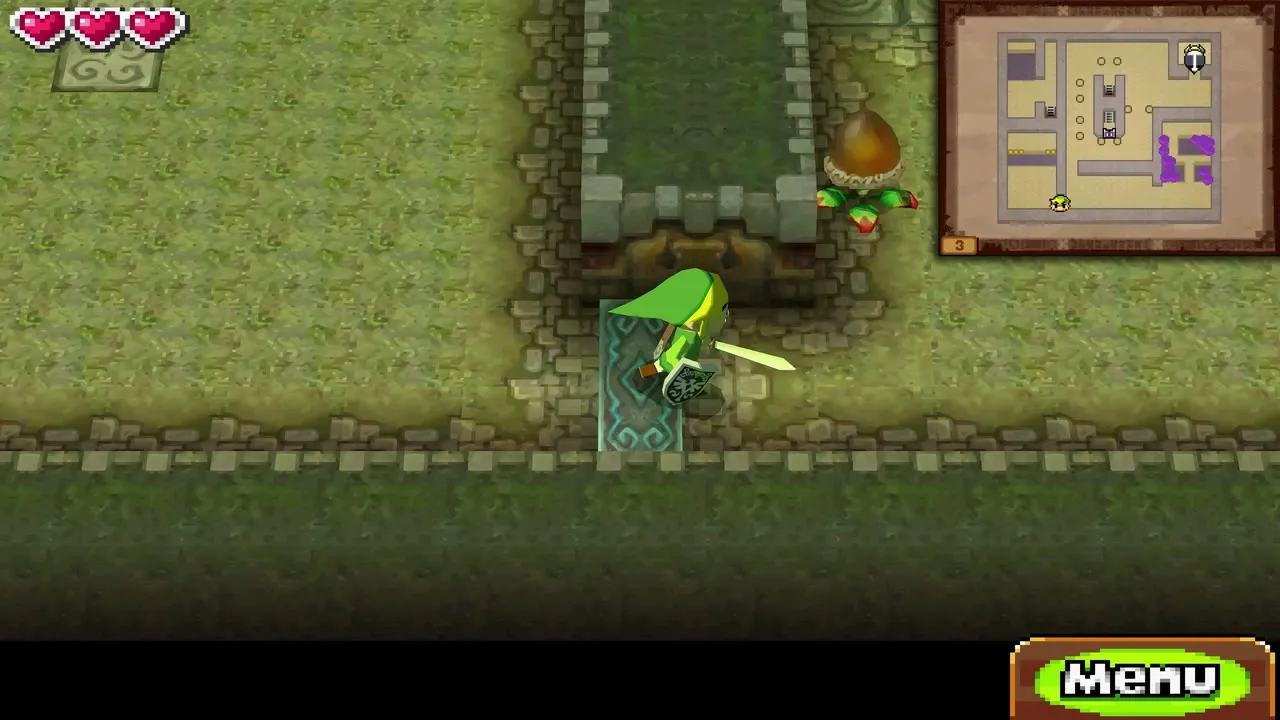
Carry the Boss Key to the gate
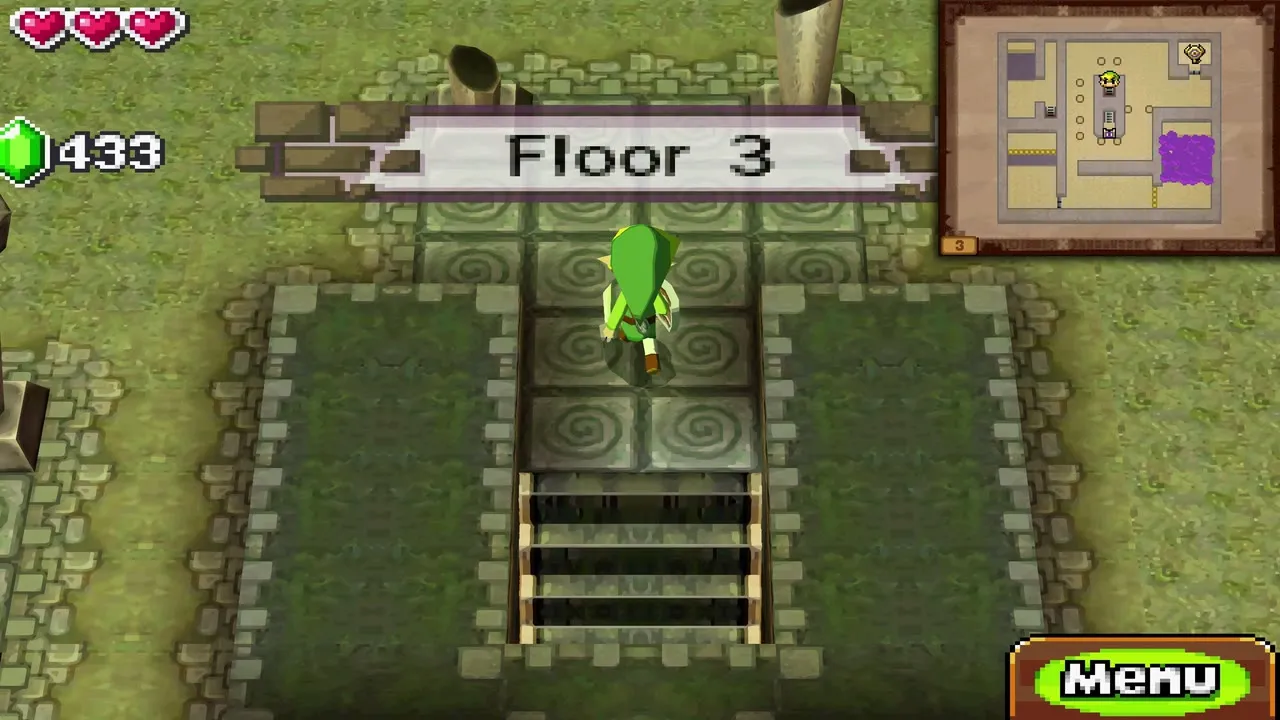
Before you lift the Boss Key, open the map and look at the floor. Swirly tiles are traps: stepping on them summons Floormasters, which keep returning and try to steal the key. Draw the route on the map so you remember the safe tiles, pick up the key, and carry it across while avoiding the swirls.
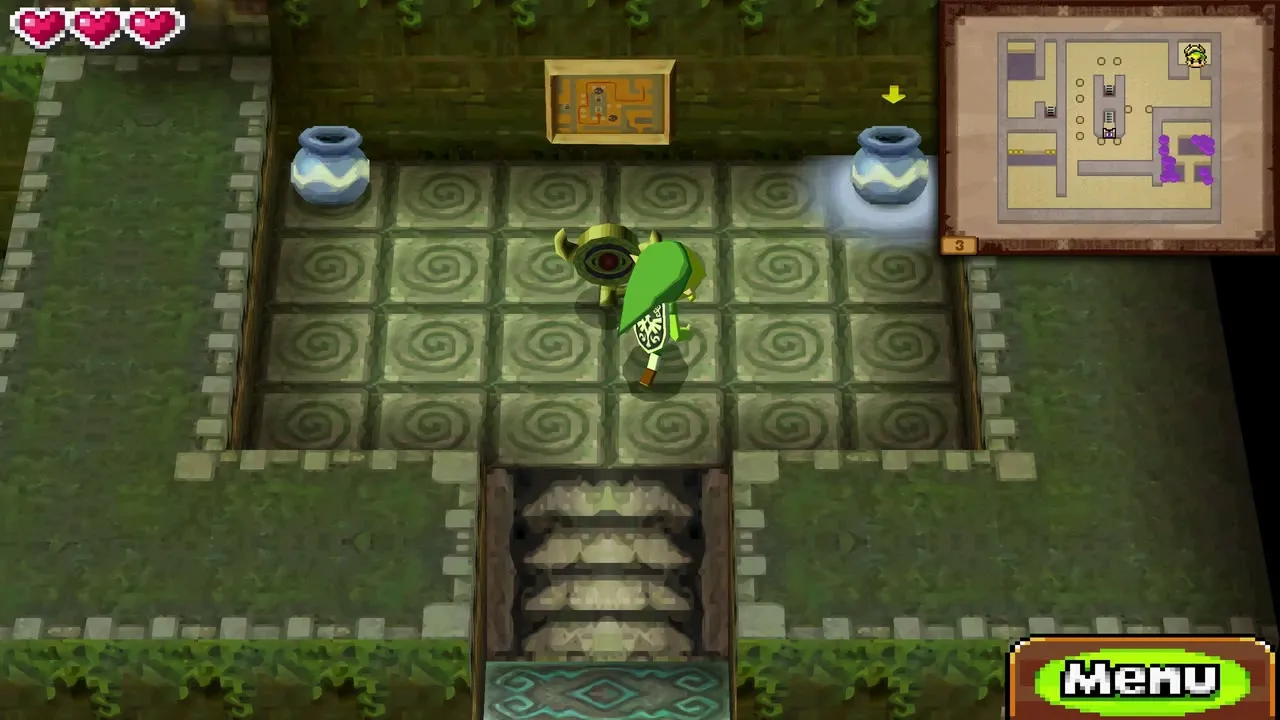
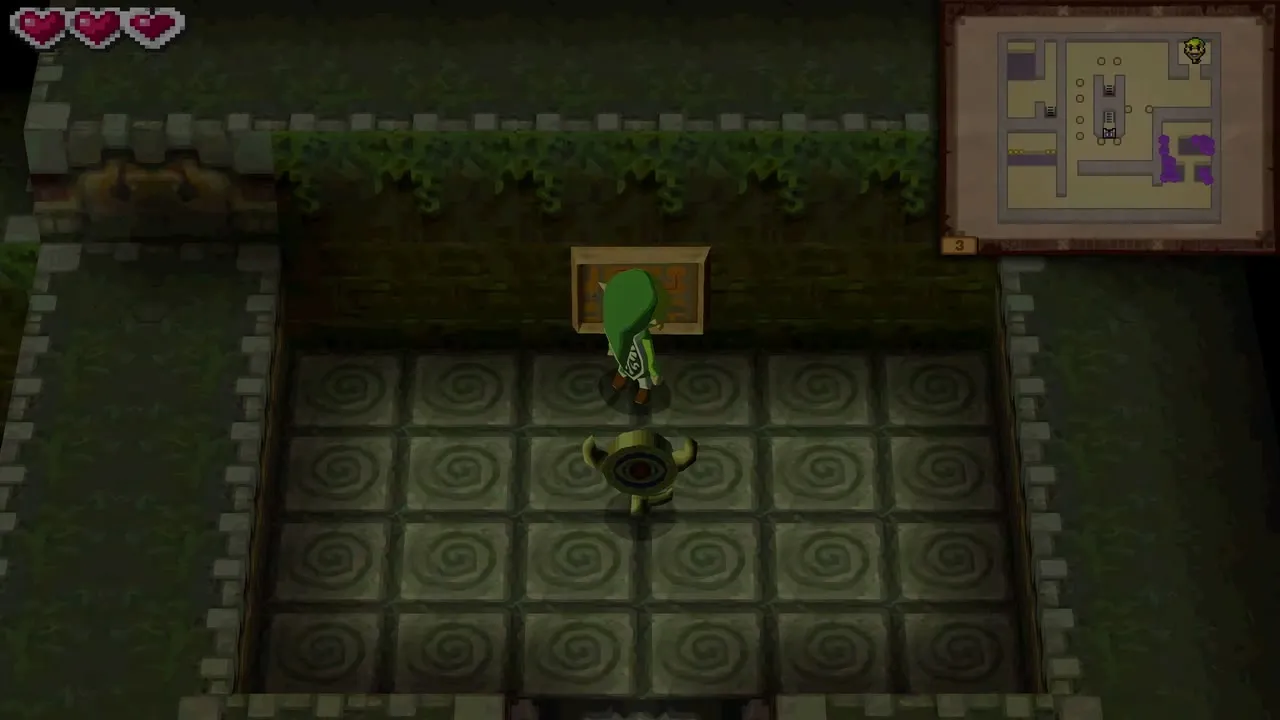
Walk to the large locked gate and tap it to use the Boss Key. Beyond it the way leads on to the boss.
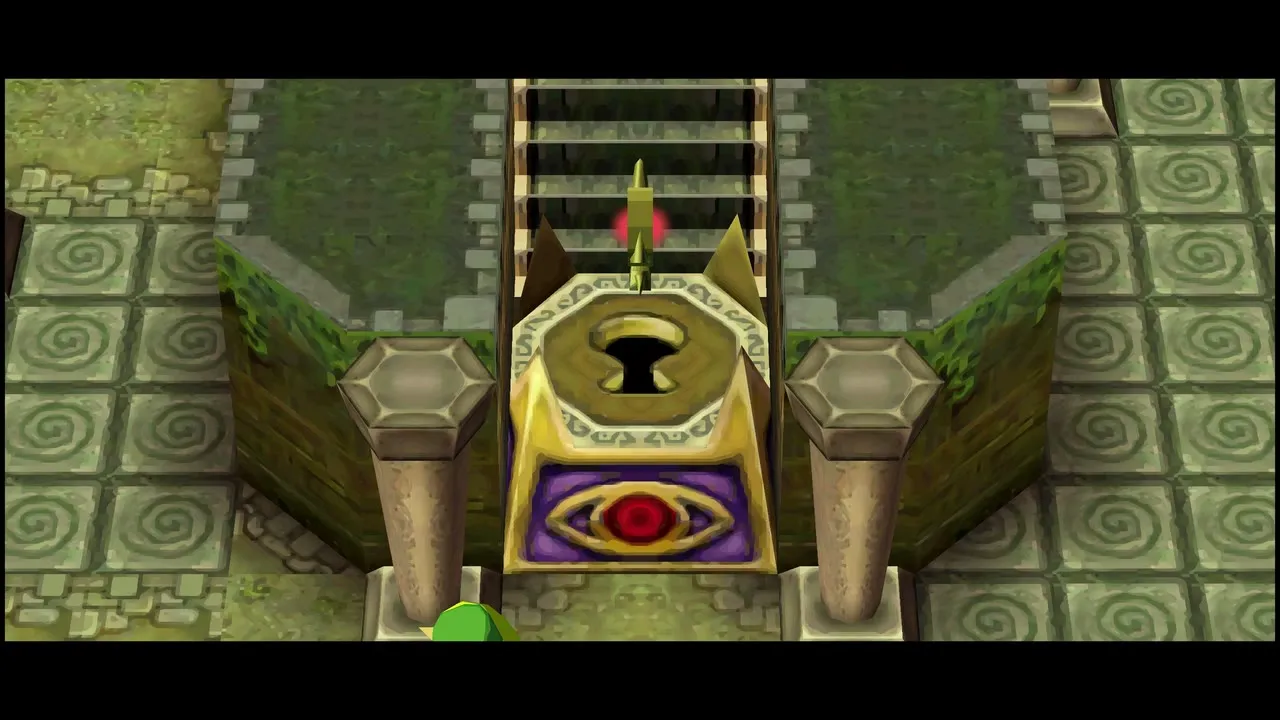
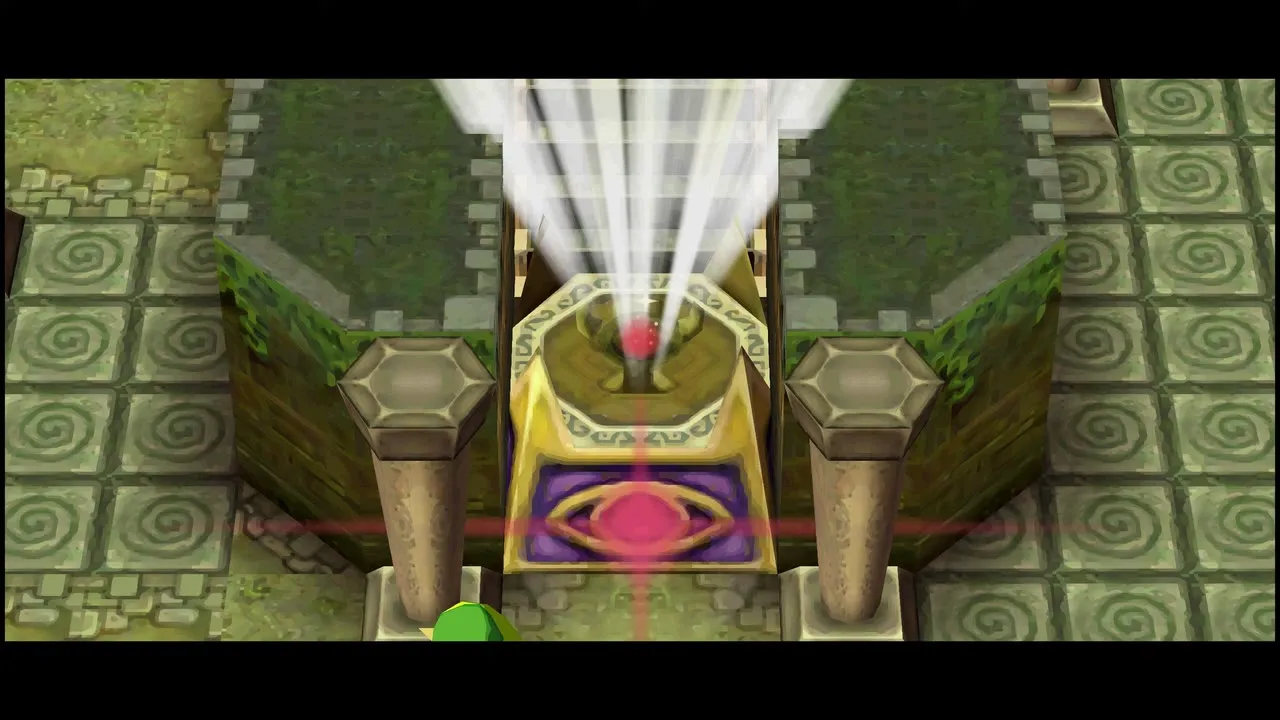

Stagnox boss fight
Before you go in
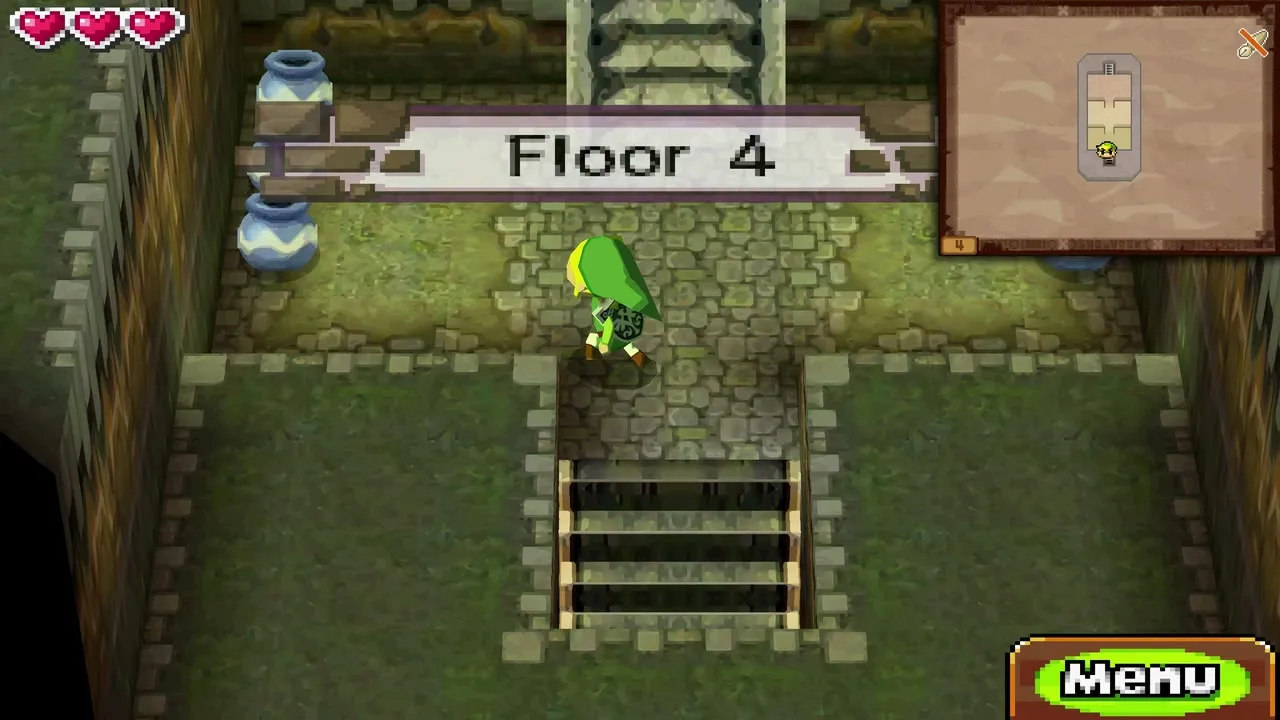
The room before the boss has pots that may hold hearts and rupees, so break them if you are hurt.
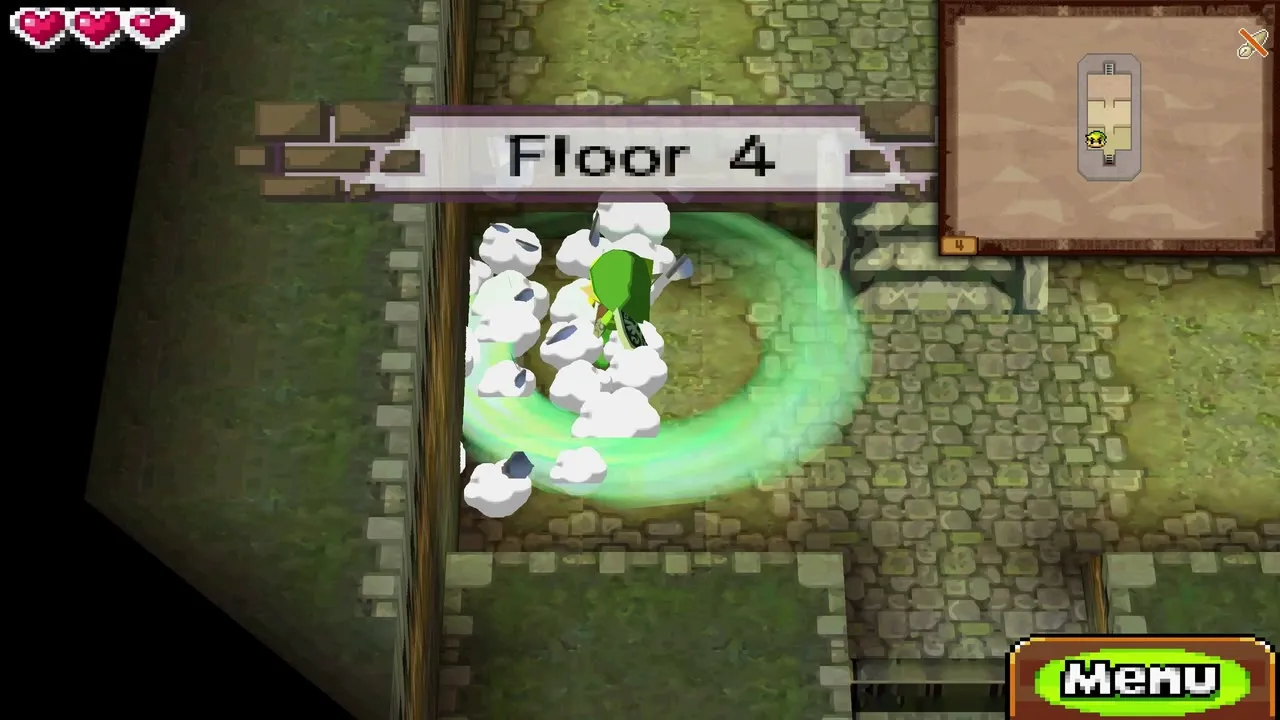
Phase 1: Stagnox on the ground
Stagnox is a huge armoured beetle, and the front of its body cannot be hurt. It charges at you while poison gas pours from its back. Dodge its charge, then run around behind it.


Blow the gas away with the Whirlwind to expose its back, and slash it. Repeat this two or three times and Stagnox takes off.


Phase 2: Stagnox in the air
Now it drops blastworm larvae. Strike each one with your sword to curl it up, wait until the beetle swoops down, then blow a larva into it with the Whirlwind. A hit in mid-air flips Stagnox onto its back, so slash it while it flails. Do this a few times and it falls for good. If you run low on hearts, play the Song of Healing, and see the boss guide for a recap.
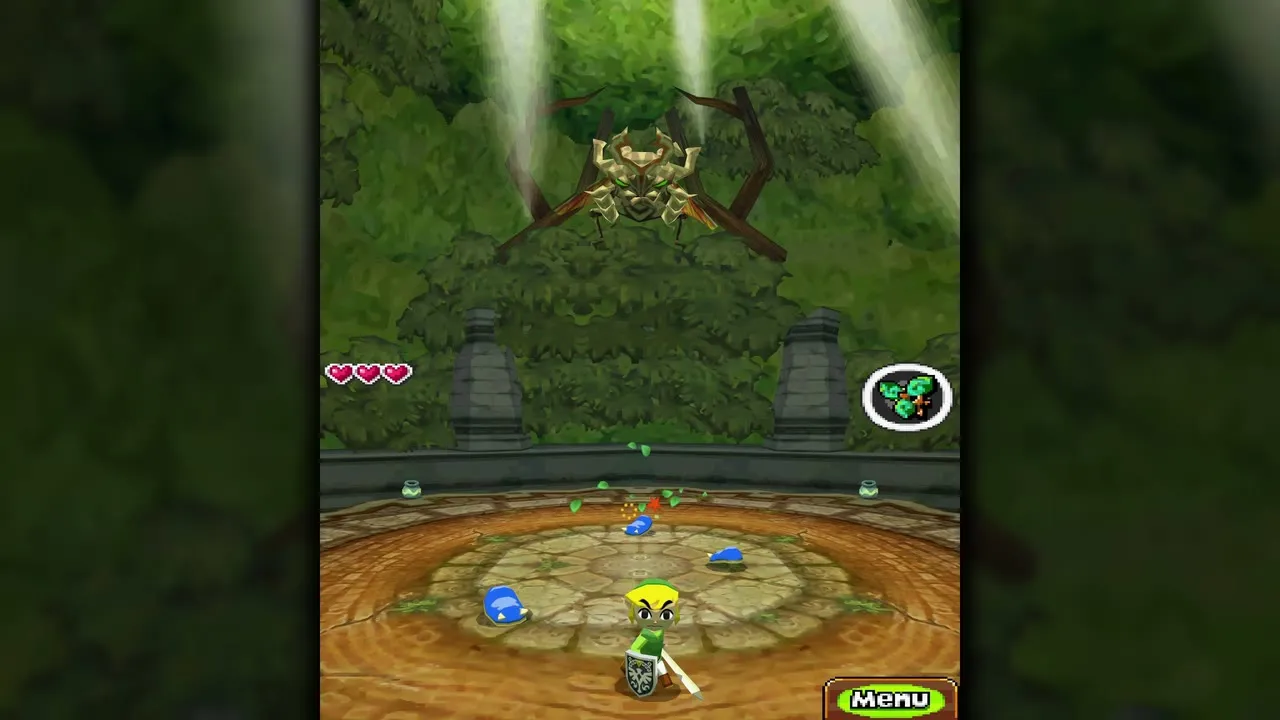

Heart Container, Force Gem and new tracks
Place the green Force Gem
Stagnox releases the large green Force Gem. Its return starts to repair the Tower of Spirits. The side-quest gems that open further tracks come later and are listed on the Force Gems page.

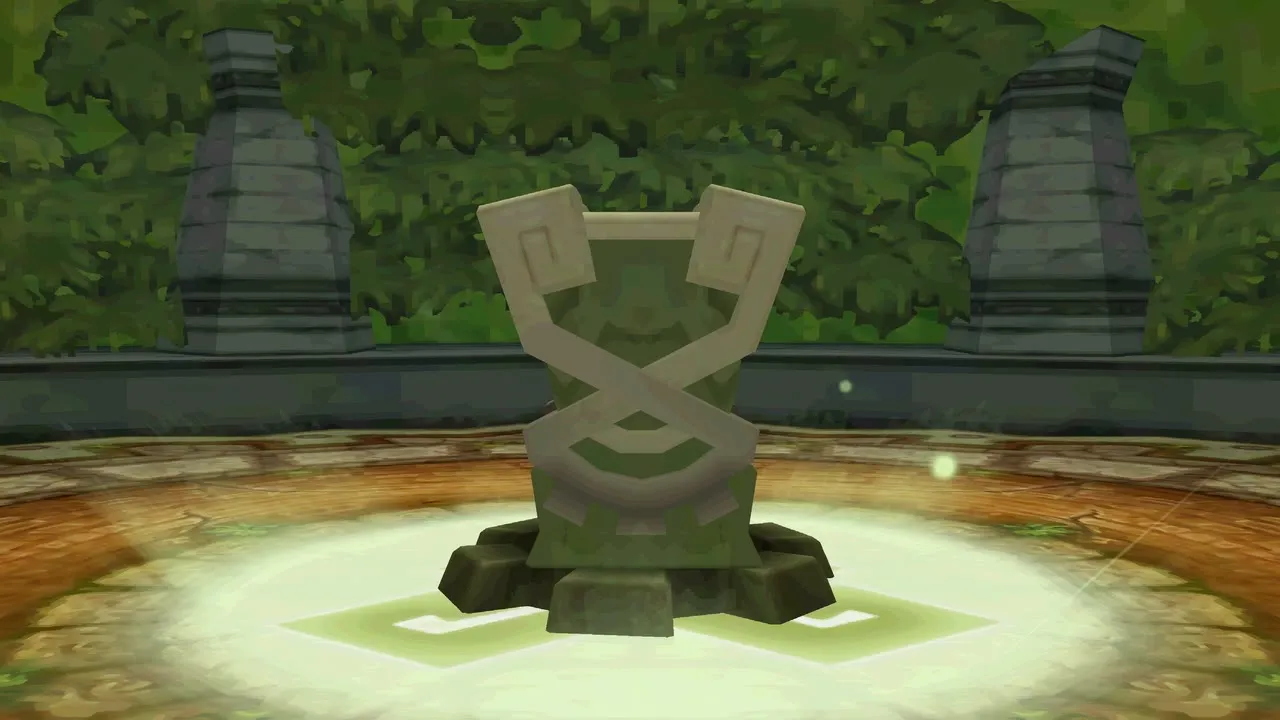

Collect the Heart Container
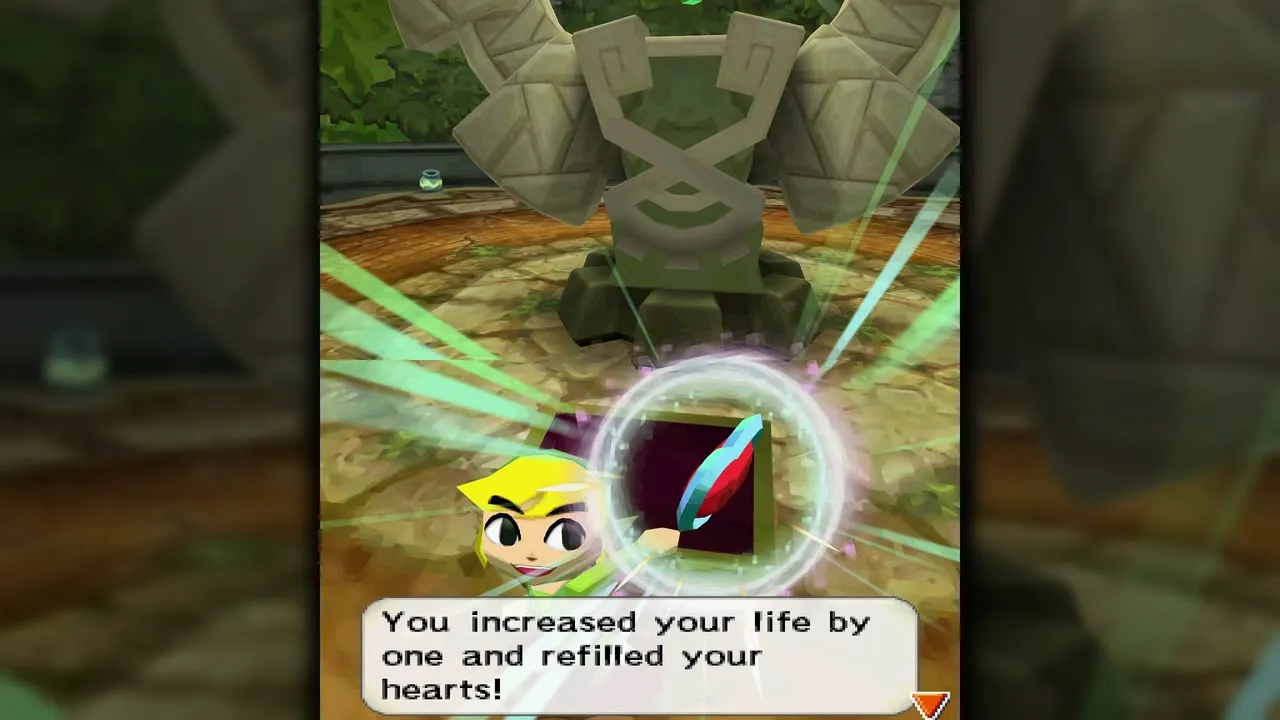
A big chest appears in the boss room. Open it for the Heart Container, which raises your maximum life by one heart and refills your hearts. All of them are listed on the Heart Containers page.
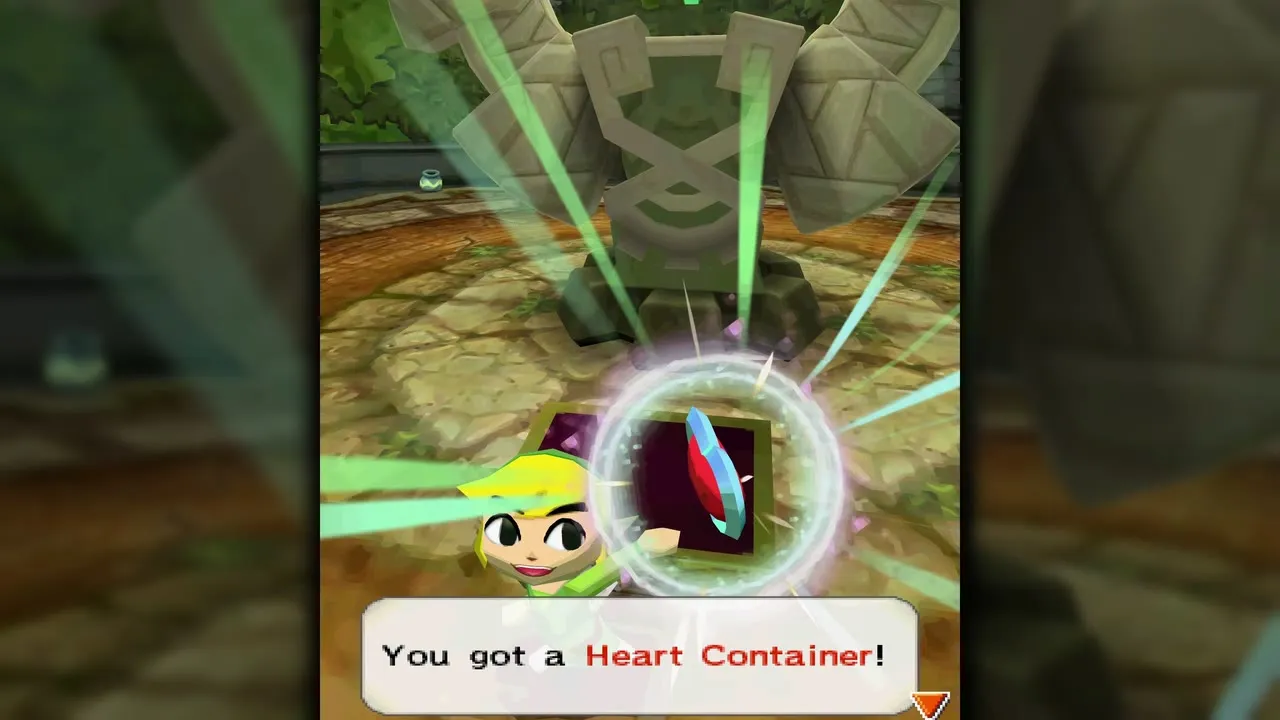
Forest Temple stamp station
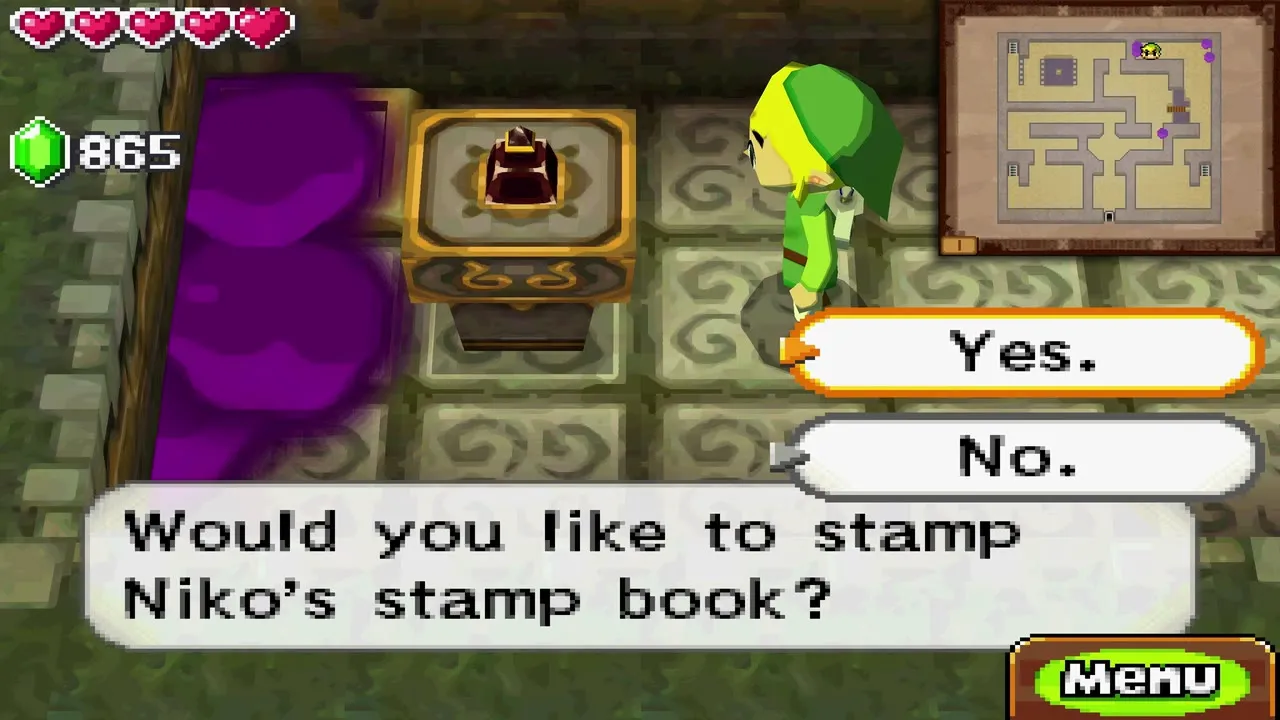
A stamp station sits at the top of the first-floor room beyond the spider door, hidden behind purple gas. You cannot stamp anything yet because you do not own the Stamp Book. When you have it, return, blow the gas away with the Whirlwind and press the stamp, as listed on the stamp stations page.


Return to the train
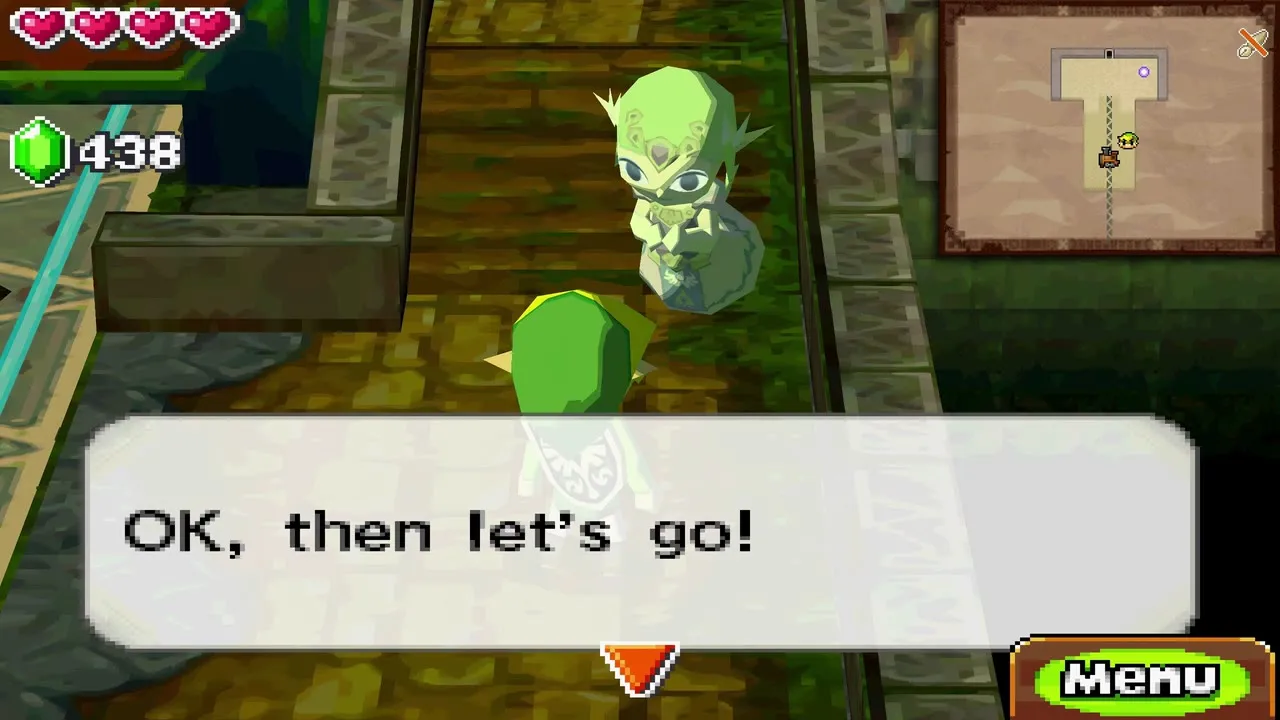
Step into the blue light to leave the dungeon and board your train. Zelda wants to report back, so head for the Tower of Spirits.


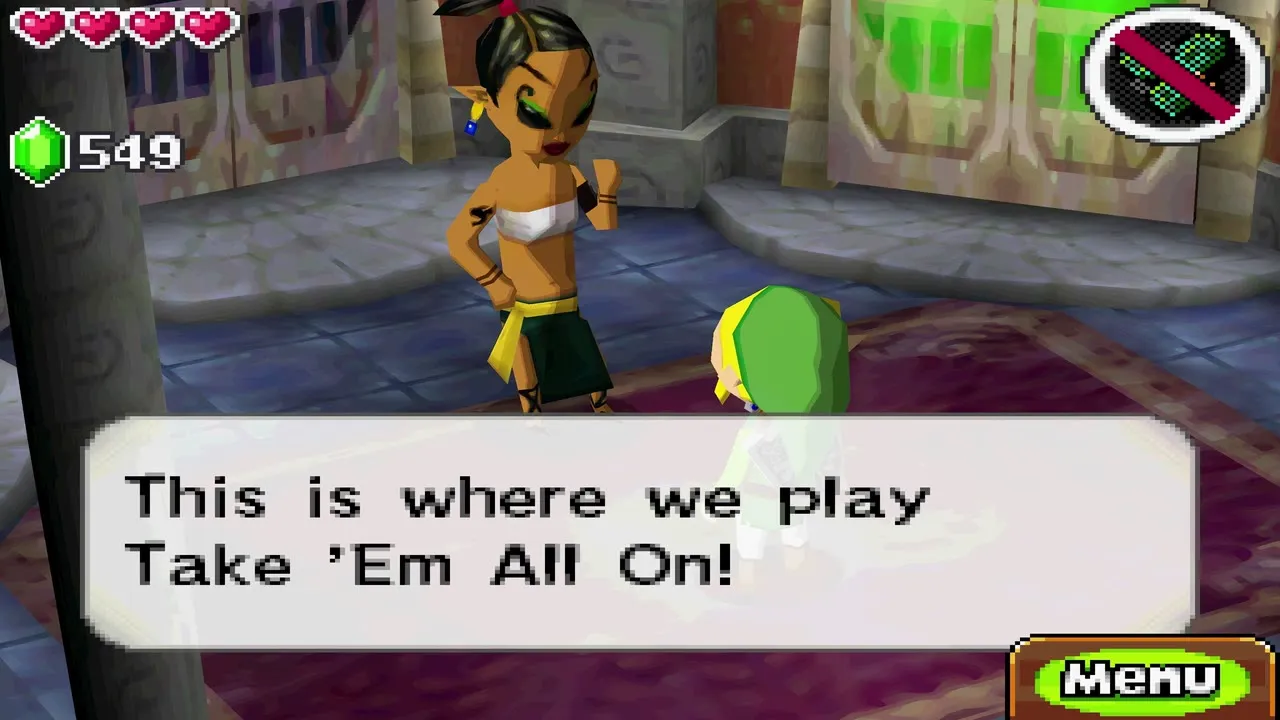
In Castle Town, Joynas runs Take ‘Em All On!, a boss-rush game. Its first level opens after this temple, ends with Stagnox and pays a Heart Container. See the mini-games page before you try it.
Chapter checklist
| Collectible | Type | Where |
|---|---|---|
| Song of Healing | Song | Spirit statue at the temple entrance |
| Whirlwind | Item | Chest in the spider room upstairs |
 Small keys | Key | Across the chasm in the Whirlwind room, and in the chest revealed by the acorn switch |
| Big green rupees (2) | Rupees (100 each) | First floor: chest after the three-enemy fight south of the bridge, and chest raised by the floor switch beside the stamp station |
 Treasure (such as a Wood Heart) | Treasure | Second floor, chest in the fog near the stairs |
| Dark Pearl Loop | Treasure | Chest on the third floor, revealed by clearing fog off a floor switch |
 Boss Key | Key | Third floor, behind a wall the floor switches lower |
| Heart Container | Heart Container | Chest in the boss room after Stagnox |
| Green Force Gem | Force Gem | Dropped by Stagnox |
| Forest Temple stamp | Stamp | Top of the first-floor room beyond the spider door, after you get the Stamp Book |
Next comes the second Tower of Spirits climb, where you search for the Snow Rail Map. Back in Castle Town and Aboda Village afterwards, you pick up the Cannon, the Stamp Book and the Rabbit Net.