| Total | 44 challenges (5 at Lv 51-60, 18 at Lv 61-70, 10 at Lv 71-80, 11 at Lv 81-90), not counting scouting challenges or Vicious Battles |
|---|---|
| Where | Map markers across Central Hyrule, Lanayru, Eldin, Gerudo, Faron, Hebra, Necluda, the Depths and the Shrine of Light |
| Korok Seeds |  12: 5 from The King and the Spirits and 7 from The Traveler’s Third Homecoming |
| Requirement | The Battle of Hyrule Castle for the Lv 51-60 group; A Clash of Constructs for most of the rest; Version 1.0.2 or 1.0.3 for the Lv 81-90 group |
There are 44 late-game challenges between recommended levels 53 and 90, and only two of them pay Korok Seeds. The first five open after The Battle of Hyrule Castle, most of the next 28 belong to the post-game that begins once you beat A Clash of Constructs, and the last eleven were added by the free updates. Each entry below says when it opens, which warriors you can bring, what you fight and what your first clear gives you.
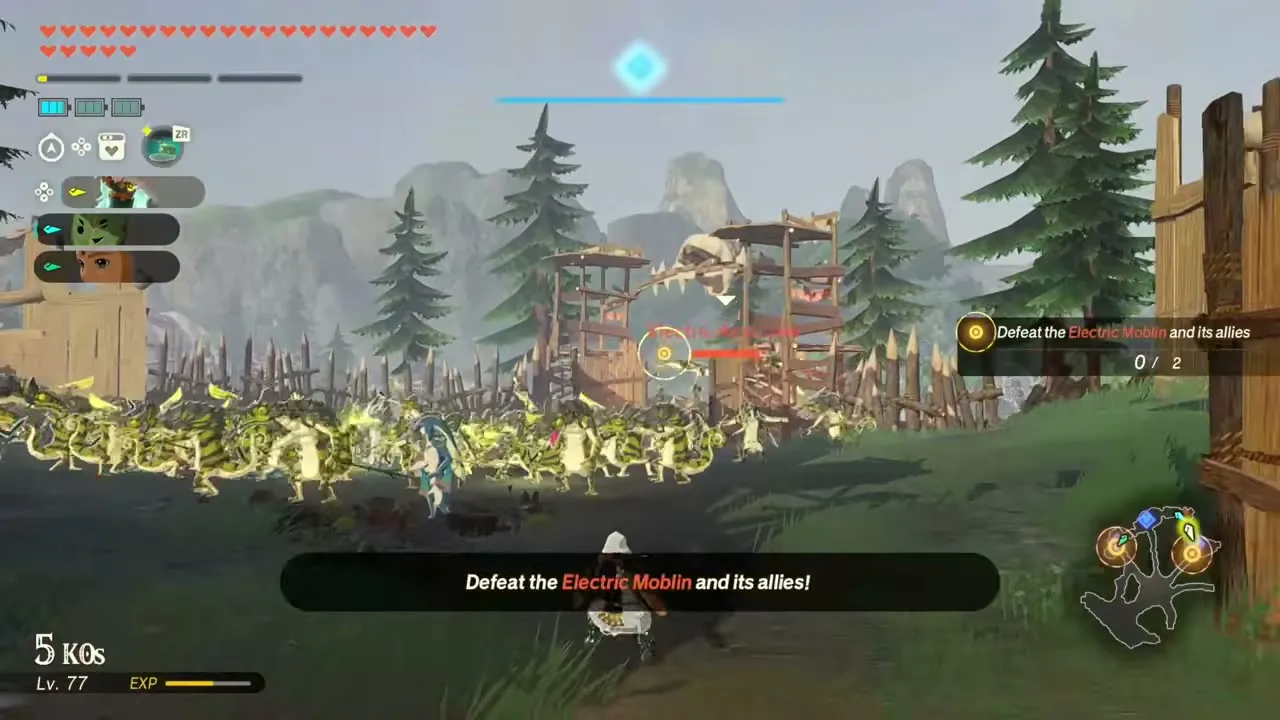
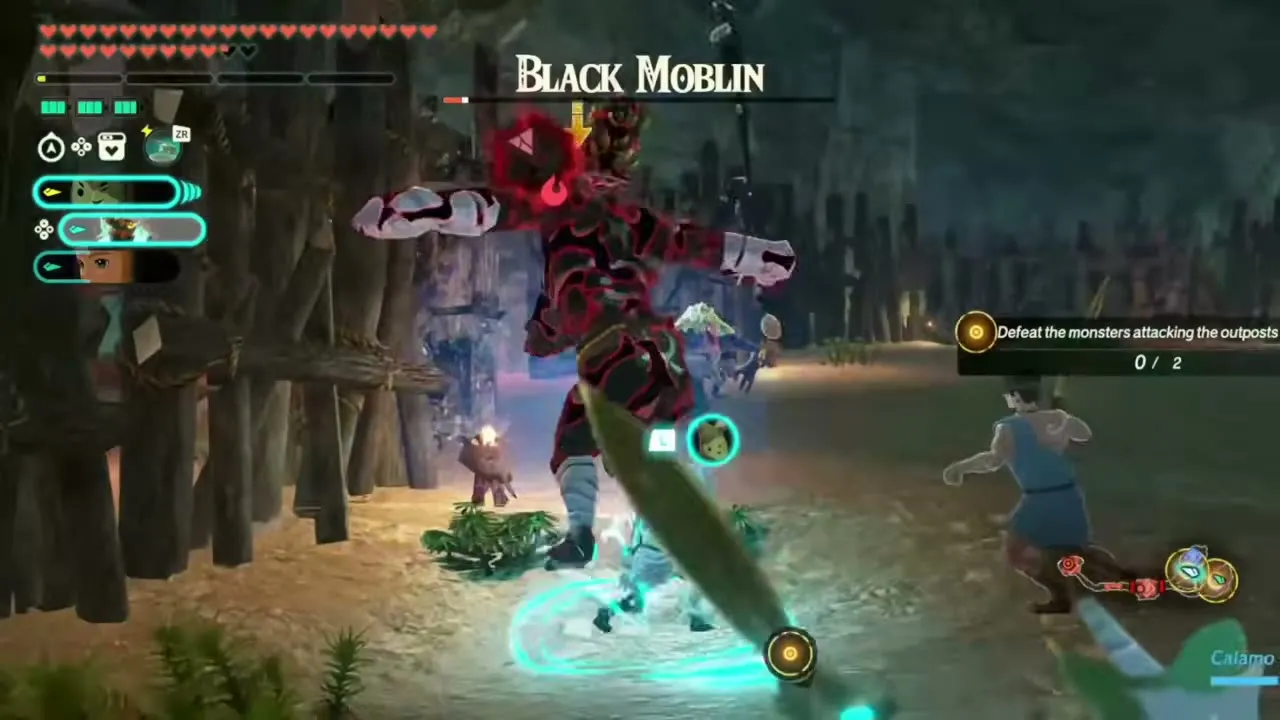
Table of Contents
Quick reference
This table lists every challenge in the order it is covered below. The eight scouting challenges are on the Scouting Challenges page, the sixteen Vicious Battles are on the Vicious Battles page, and the earlier challenges are on Challenges for Levels 1 to 30 and Challenges for Levels 31 to 50. The overview of all 167 is on the Challenges page.
| Challenge | Rec. level | Location | Warriors | Weapon reward | Korok Seeds |
|---|---|---|---|---|---|
| The King and the Spirits | 53 | Great Hyrule Forest |  Calamo and Rauru (both fixed) |  Zonaite Steel (Spear) | 5 |
| A Picture of Destruction | 53 | Central Hyrule Field | Any warrior |  Zonaite Steel (Pristine) x2 | 0 |
| Trial: Sparring with the Sages | 53 | Shrine of Light (Faron) | Any warrior except Agraston,  Qia,  Raphica and  Ardi | Zonaite Steel (Pristine) | 0 |
| The Traveler’s Second Homecoming | 53 | Great Hyrule Forest | Calamo and the Knight Construct (both fixed) | Zonaite Steel (Pristine) | 0 |
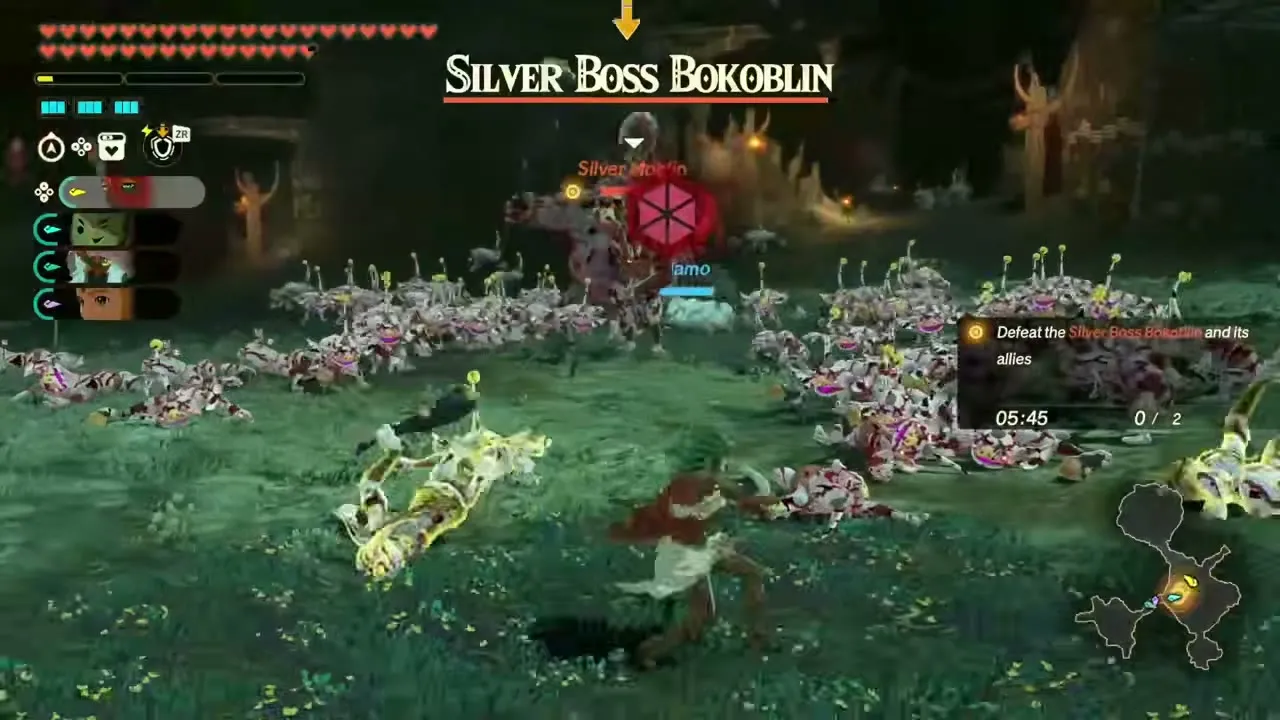
| Trial: The Boss Bokoblin Raid | 53 | Shrine of Light | Any warrior | Random weapon | 0 |
| Defending the West Lanayru Wetlands | 67 | Lanayru Wetlands | Any warrior |  Pure Zonaite Steel (Pristine) | 0 |
| Defending the East Lanayru Wetlands | 67 | Lanayru Wetlands | Any warrior | Pure Zonaite Steel (Pristine) | 0 |
| Defending Damel Forest | 61 | Damel Forest (Faron) | Any warrior | Pure Zonaite Steel (Pristine) | 0 |
| Defending the South Seres Scablands | 63 | Seres Scablands (Gerudo) | Any warrior | Pure Zonaite Steel (Pristine) | 0 |
| Quelling the Flames | 63 | Death Mountain (Eldin) | Any warrior | Pure Zonaite Steel (Pristine) | 0 |
| Defending Hyrule’s Main Camp | 62 | Tanagar Canyon Temple (Central Hyrule) | Any warrior | Pure Zonaite Steel (Pristine) | 0 |
| Pacifying Tanagar Canyon | 70 | Tanagar Canyon Temple (Central Hyrule) | Any warrior | Pure Zonaite Steel (Pristine) | 0 |
| Cursing the Cold | 68 | Tabantha Frontier (Hebra) | Knight Construct and Calamo plus two others |  Pure Zonaite Steel (Bow) | 0 |
| The Wetland Offensive | 65 | Lanayru Wetlands | Any warrior |  Pure Zonaite Steel (Spear) | 0 |
| The Scourge of Death Mountain | 65 | Death Mountain (Eldin) | Any warrior |  Pure Zonaite Steel (Two-Handed) | 0 |
| Purging the Swamplands | 66 | Ash Swamp (Necluda) | Any warrior | Pure Zonaite Steel (Pristine) | 0 |
| Liberating the Gerudo Desert | 66 | Gerudo Desert | Any warrior | Pure Zonaite Steel (Pristine) | 0 |
| Reclaiming the Seres Scablands | 69 | Seres Scablands (Gerudo) | Any warrior | Pure Zonaite Steel (Pristine) | 0 |
| The Traveler’s Third Homecoming | 69 | Great Hyrule Forest | Calamo plus one other warrior |  Pure Zonaite Steel (One-Handed) | 7 |
| The Corrupting Gloom | 61 | The Depths | Any warrior | Pure Zonaite Steel (One-Handed) | 0 |
| The Gathering Gloom | 70 | The Depths | Any warrior | Random weapon | 0 |
| Banishing the Sludge | 64 | Lanayru Wetlands | Any warrior | Random weapon | 0 |
| Trial: Wrath of the Giants | 64 | Shrine of Light (Faron) | Any warrior | Random weapon | 0 |
| The Seres Scablands Counteroffensive | 74 | Seres Scablands | Any warrior | Random weapon | 0 |
| Defending in the Bitter Cold | 73 | Tabantha Frontier (Hebra) | Any warrior | Random weapon | 0 |
| Battle for Great Hyrule Forest | 74 | Great Hyrule Forest | Any warrior | Random weapon | 0 |
| Battle for Ash Swamp | 72 | Ash Swamp (Necluda) | Any warrior | Random weapon | 0 |
| A Fated Meeting | 77 | The Depths | Knight Construct and Calamo (both fixed) | Pure Zonaite Steel (One-Handed) | 0 |
| The Deluge of Gloom | 78 | The Depths | Any warrior | Pure Zonaite Steel (Pristine) | 0 |
| Through Gloom and Fire | 74 | The Depths | Any warrior | Pure Zonaite Steel (Two-Handed) | 0 |
| The Archfiend Quartet | 80 | Hyrule Castle | Any warrior | Pure Zonaite Steel (Pristine) | 0 |
| Rumblings in the Depths | 71 | The Depths | Any warrior | Pure Zonaite Steel (One-Handed) | 0 |
| Trial: Overcoming Limits | 75 | Shrine of Light (Gerudo) | Any warrior | Pure Zonaite Steel (One-Handed) | 0 |
| The Stolen Spear | 81 | Central Hyrule | Any warrior | High Guard’s Spear | 0 |
| The Flux Construct Onslaught | 81 | Central Hyrule | Mineru plus one other warrior | Pure Zonaite Steel (Pristine) | 0 |
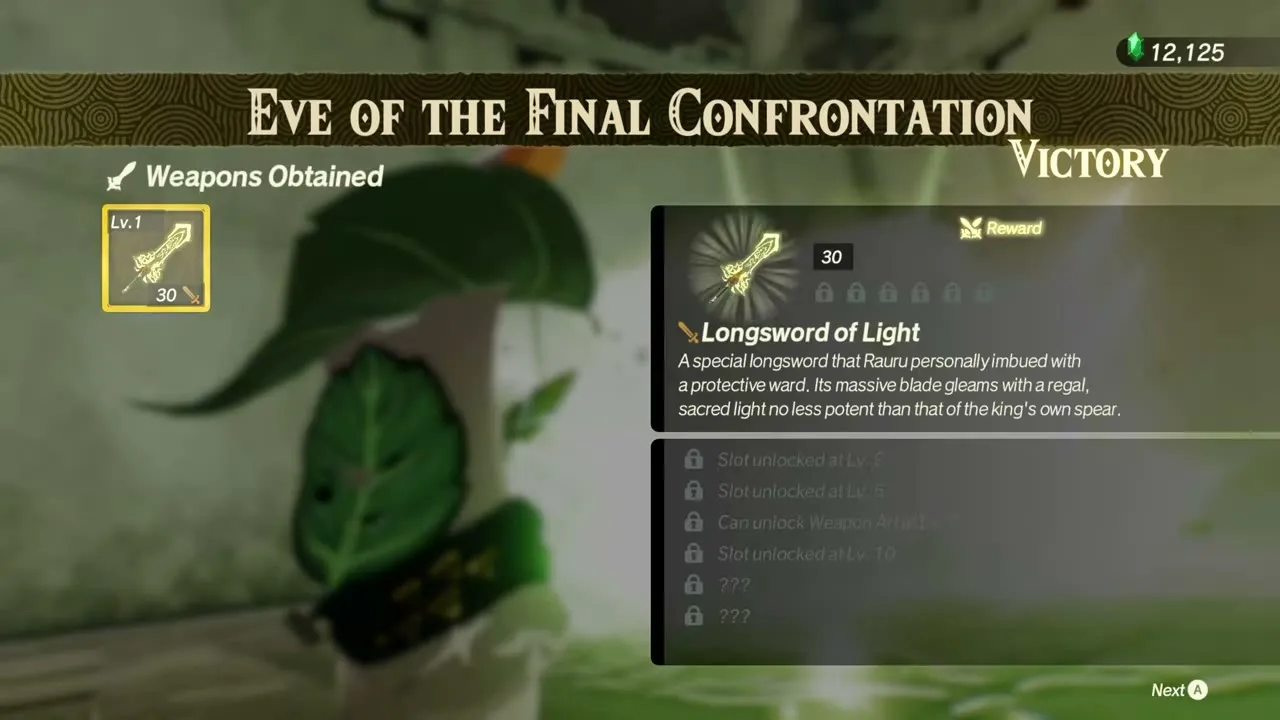
| Eve of the Final Confrontation | 82 | Central Hyrule | Any warrior except Rauru | 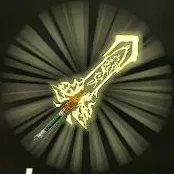 Longsword of Light | 0 |
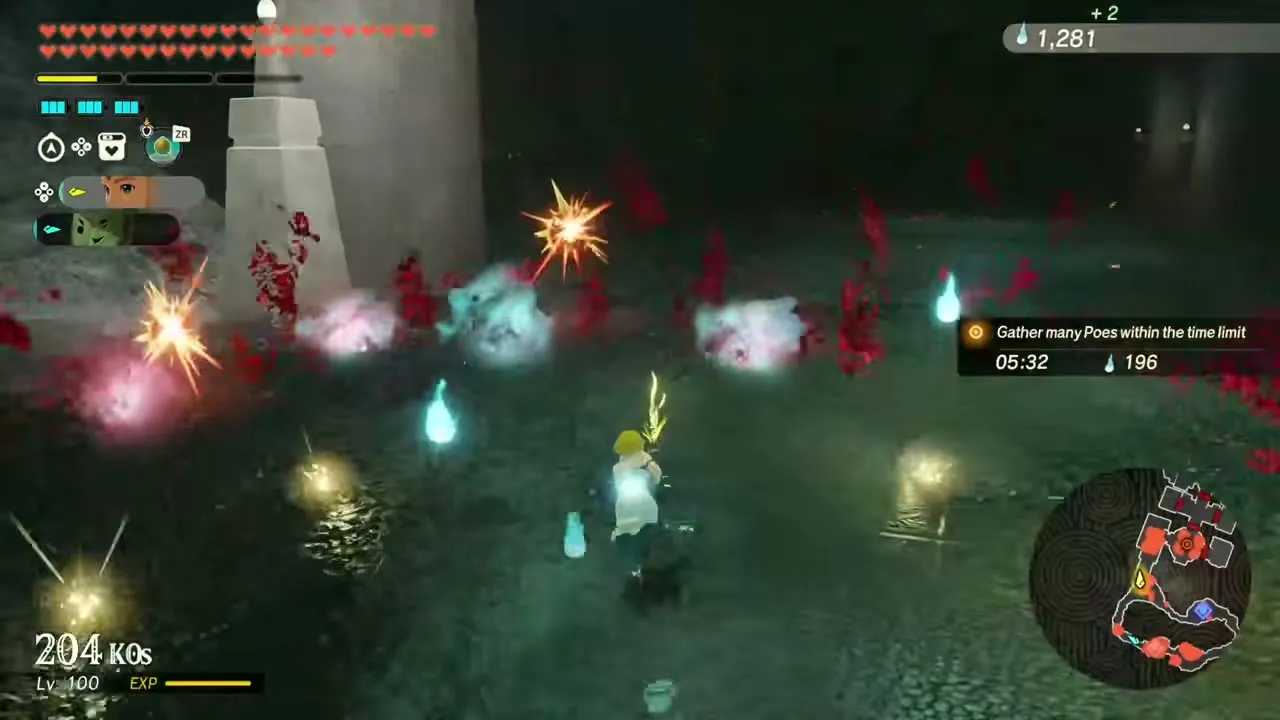
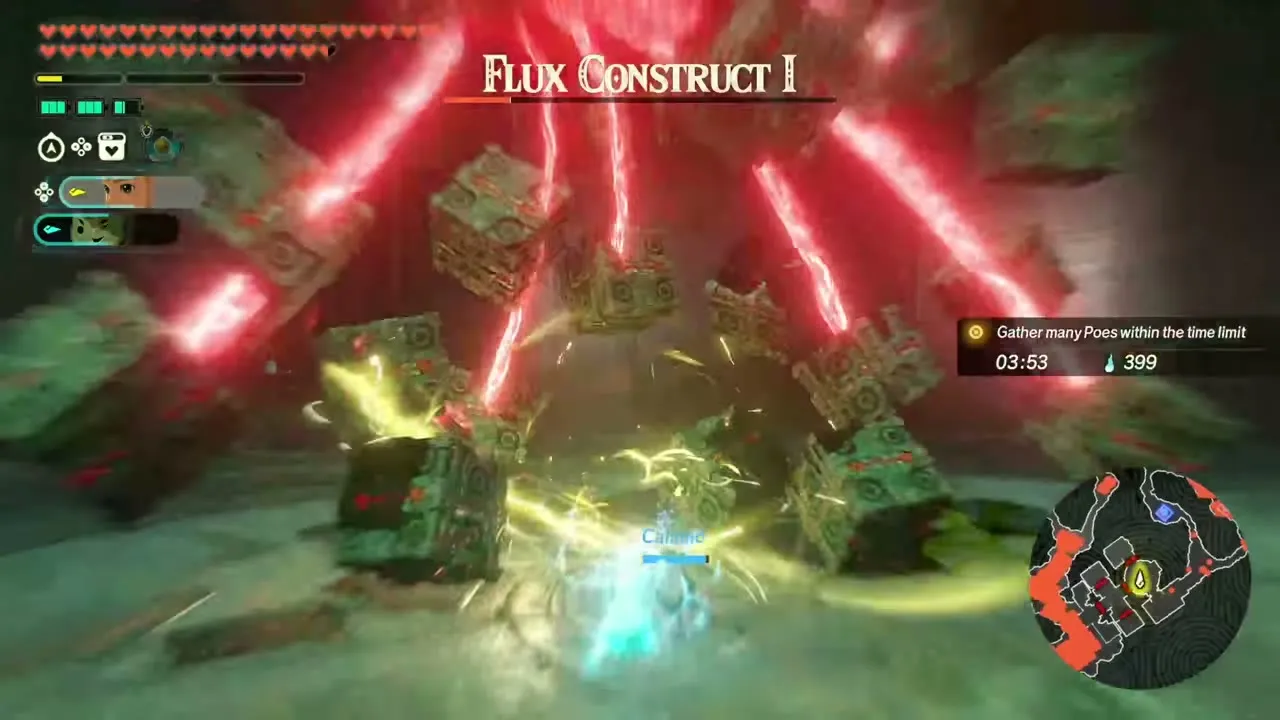
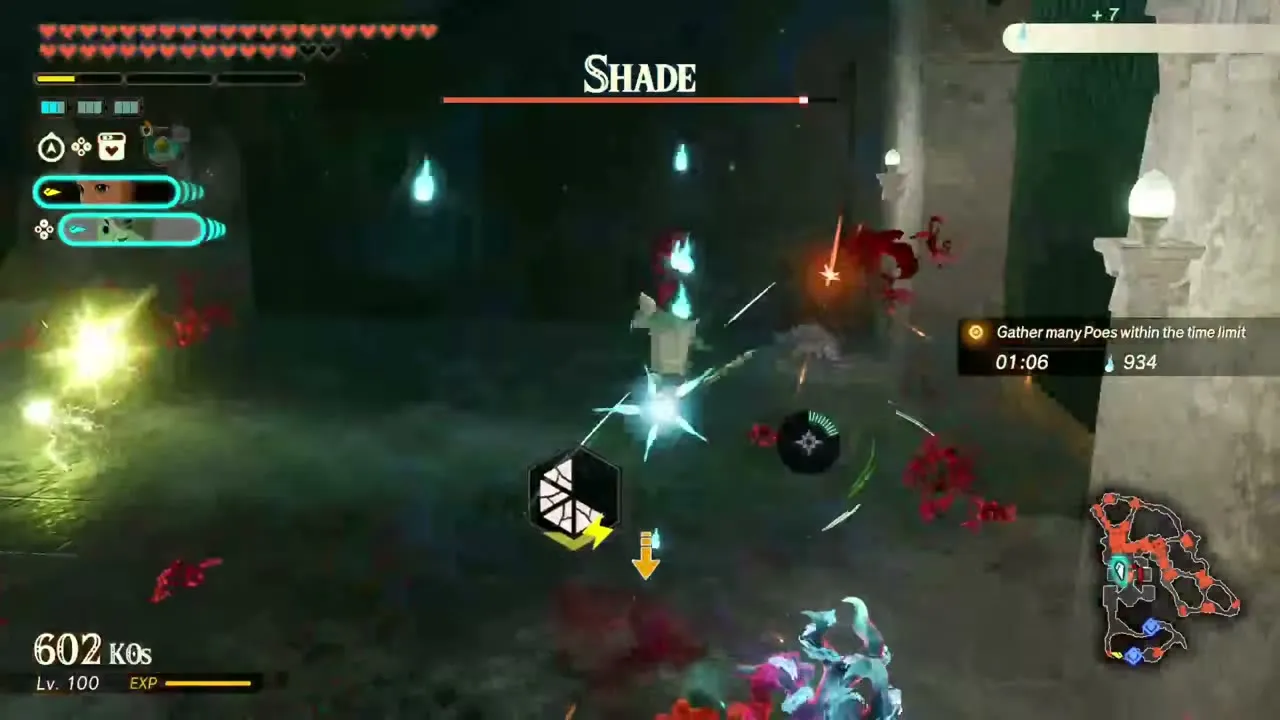
| In Search of Poes | 83 | The Depths | Zelda and Calamo (both fixed) | Pure Zonaite Steel (Pristine) | 0 |
| The Struggle for Ash Swamp | 85 | Ash Swamp (Necluda) | Any warrior | Pure Zonaite Steel (Pristine) | 0 |
| Fateful Clash with the Forbidden | 90 | The Depths | Any warrior | Forbidden Blade | 0 |
| Wandering Warriors | 85 | Damel Forest | 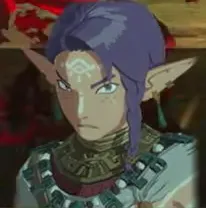 Quino and  Typhan (both fixed) | Pure Zonaite Steel (Pristine) | 0 |
| Indignant Warriors | 85 | Tabantha Frontier | Braton and Lago (both fixed) | Pure Zonaite Steel (Pristine) | 0 |
| Steadfast Warriors | 85 | Seres Scablands | Pinnec and Cadlan (both fixed) | Pure Zonaite Steel (Pristine) | 0 |
| Rival Warriors | 85 | Death Mountain | Vence and Pastos plus one other warrior | Pure Zonaite Steel (Pristine) | 0 |
| Headstrong Warriors | 85 | Ash Swamp | Sholani and Ronza (both fixed) | Pure Zonaite Steel (Pristine) | 0 |
How these challenges work
Many of the challenges here run against a countdown and several fix part of your party, so check the warriors line before you head out. The rewards listed are what the first clear gives you. Pure Zonaite Steel weapons are the main prize from Lv 61 upward, and the Longsword of Light, High Guard’s Spear and Forbidden Blade are the three named weapons at the top end.
Levels 51 to 60
These five challenges are set in Great Hyrule Forest, Central Hyrule Field and the Shrine of Light, and open as soon as the story takes you past Hyrule Castle.
The King and the Spirits
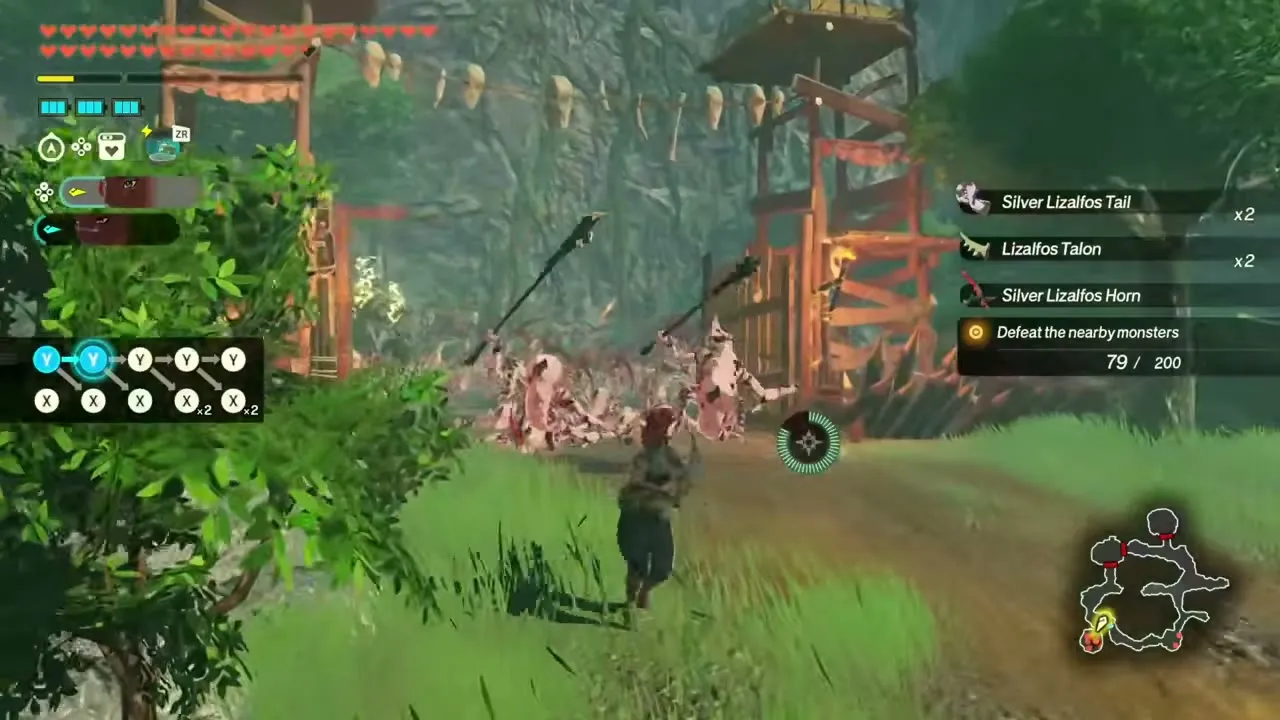
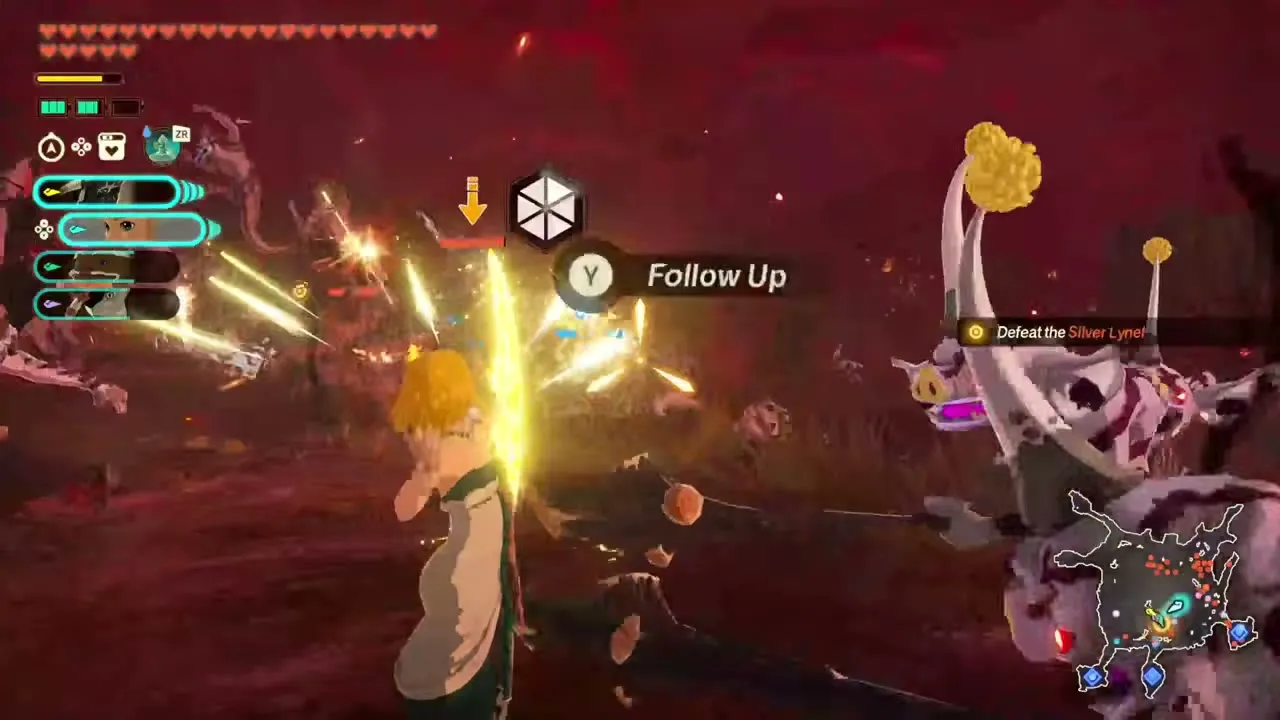
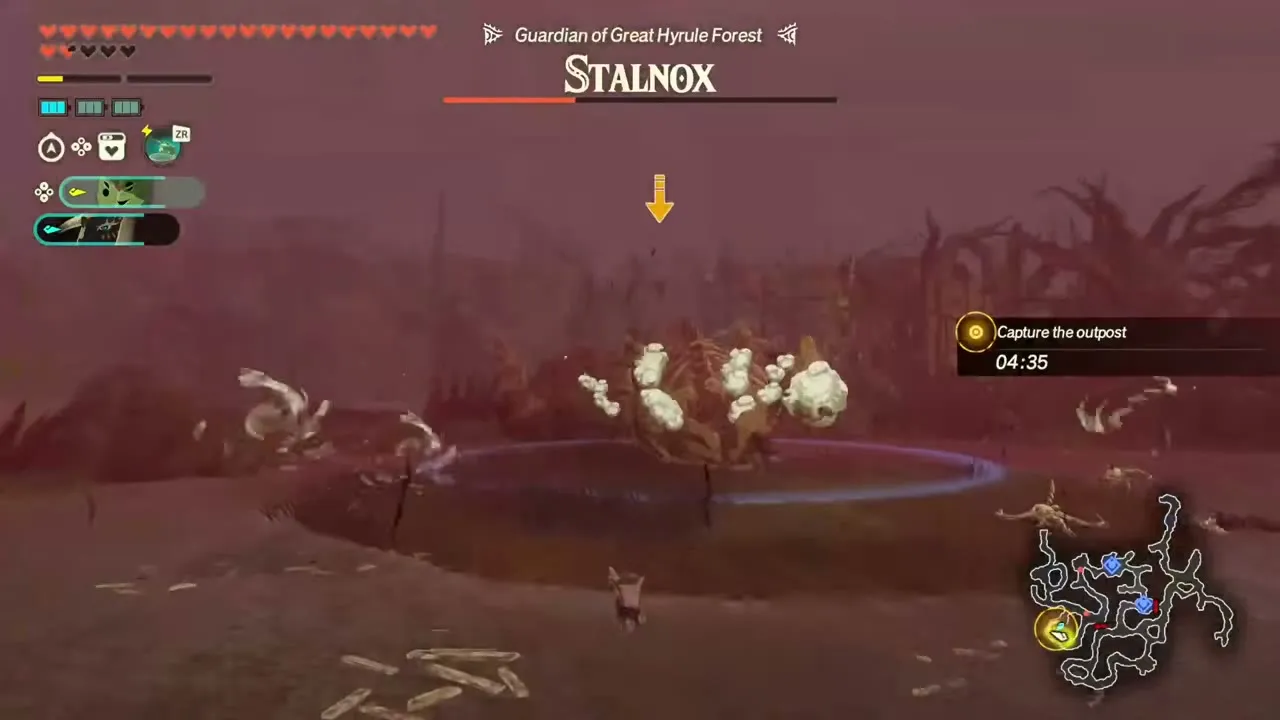
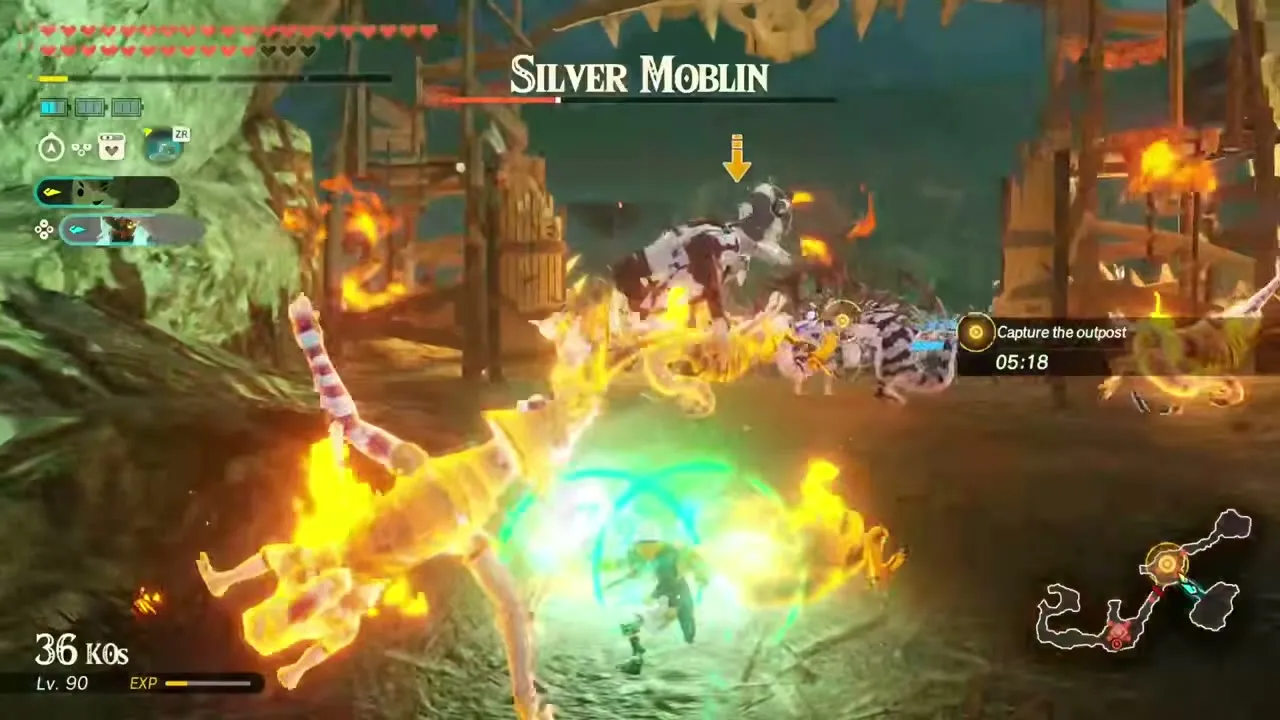
It appears once The Battle of Hyrule Castle is complete. Its recommended level is 53, set in Great Hyrule Forest. Calamo and Rauru are locked in as your pair. You fight Stalmoblins, Stalkoblins, Stalnoxes, Stalizalfos and Silver Lizalfos. A countdown runs while you fight. The aim is to capture the forest outposts against the timer: a Stalmoblin leads the first defenders and a Stalnox, the guardian of Great Hyrule Forest, holds the last. First clear: Golden Apple x10, Endura Carrot x10, Korok Seed x5, Zonaite Steel (Spear) x1.

A Picture of Destruction
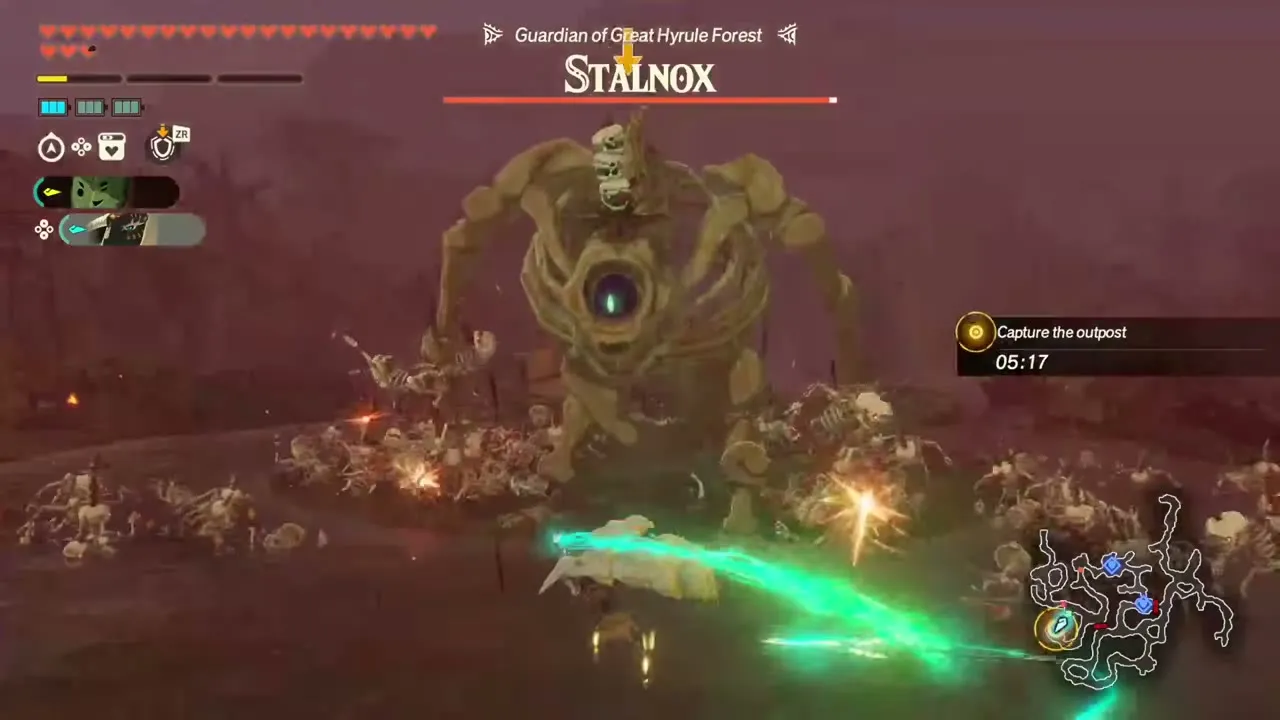
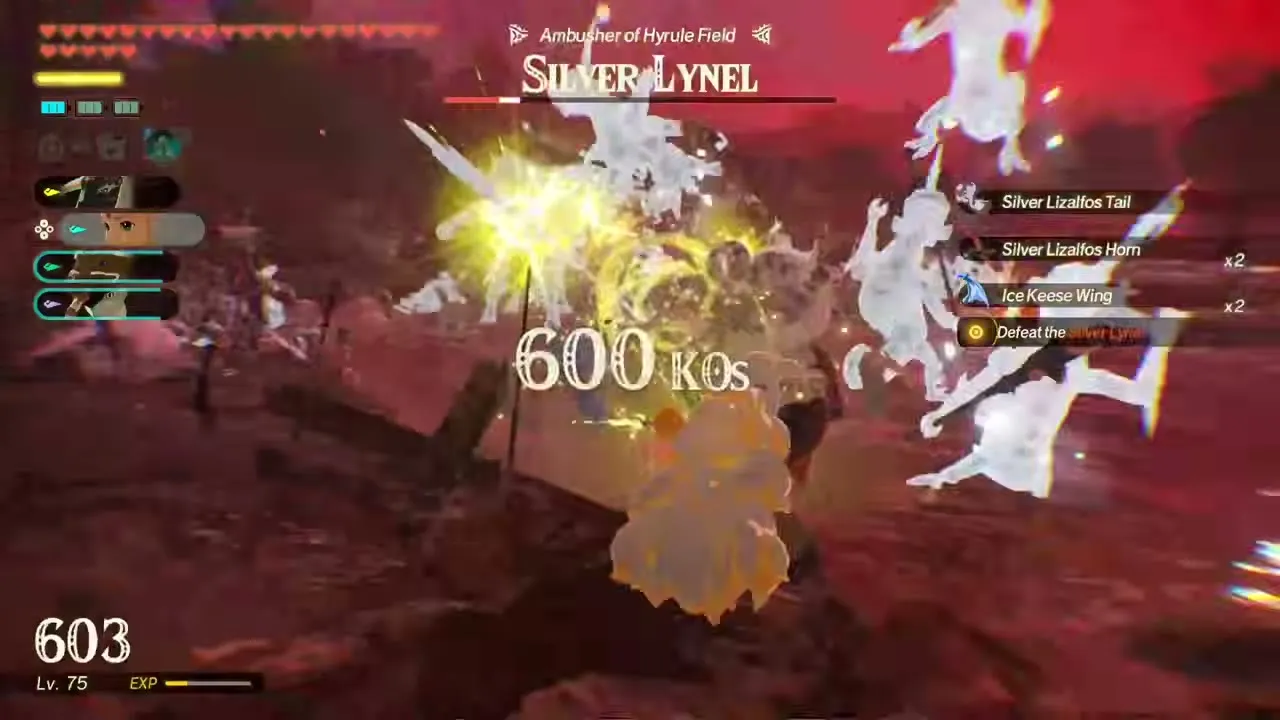
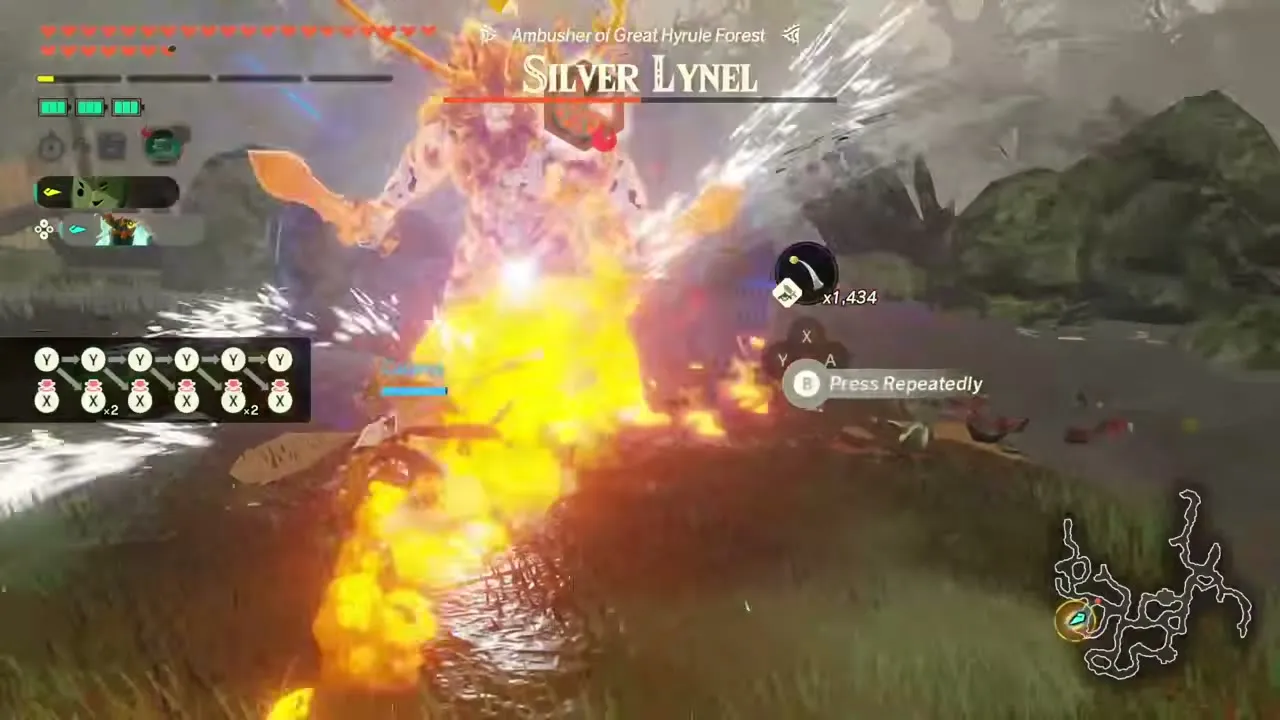
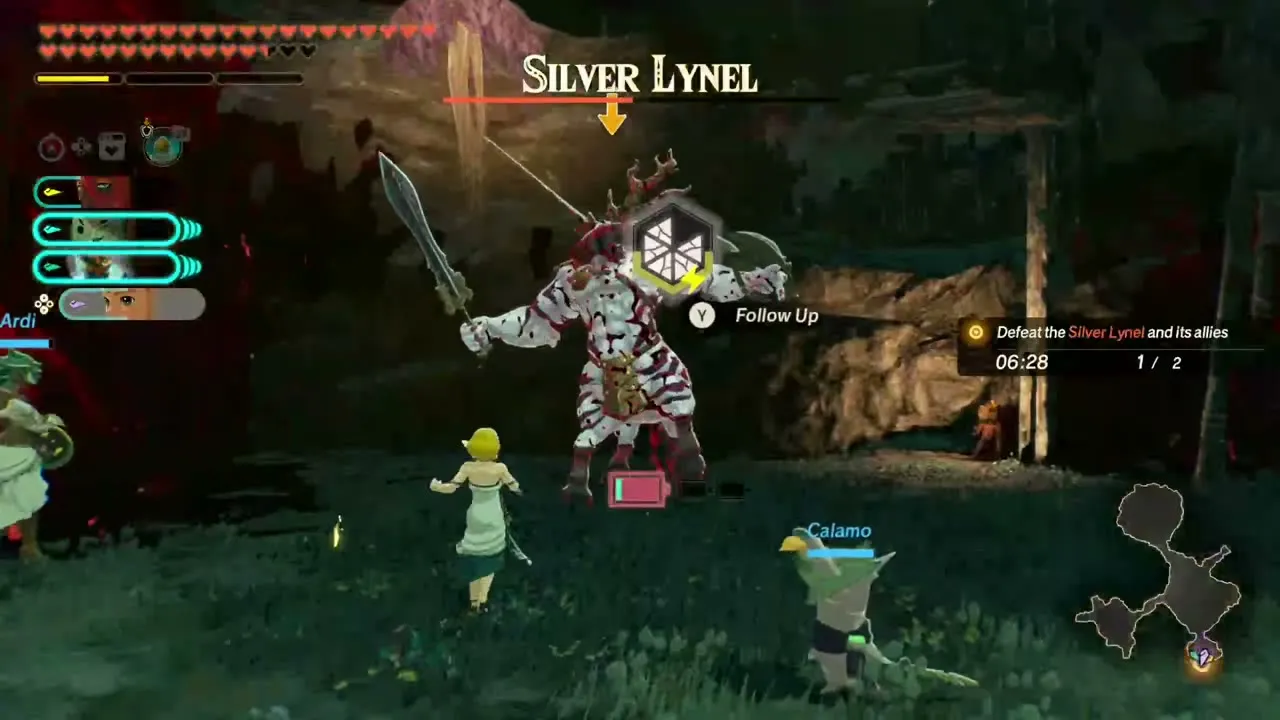
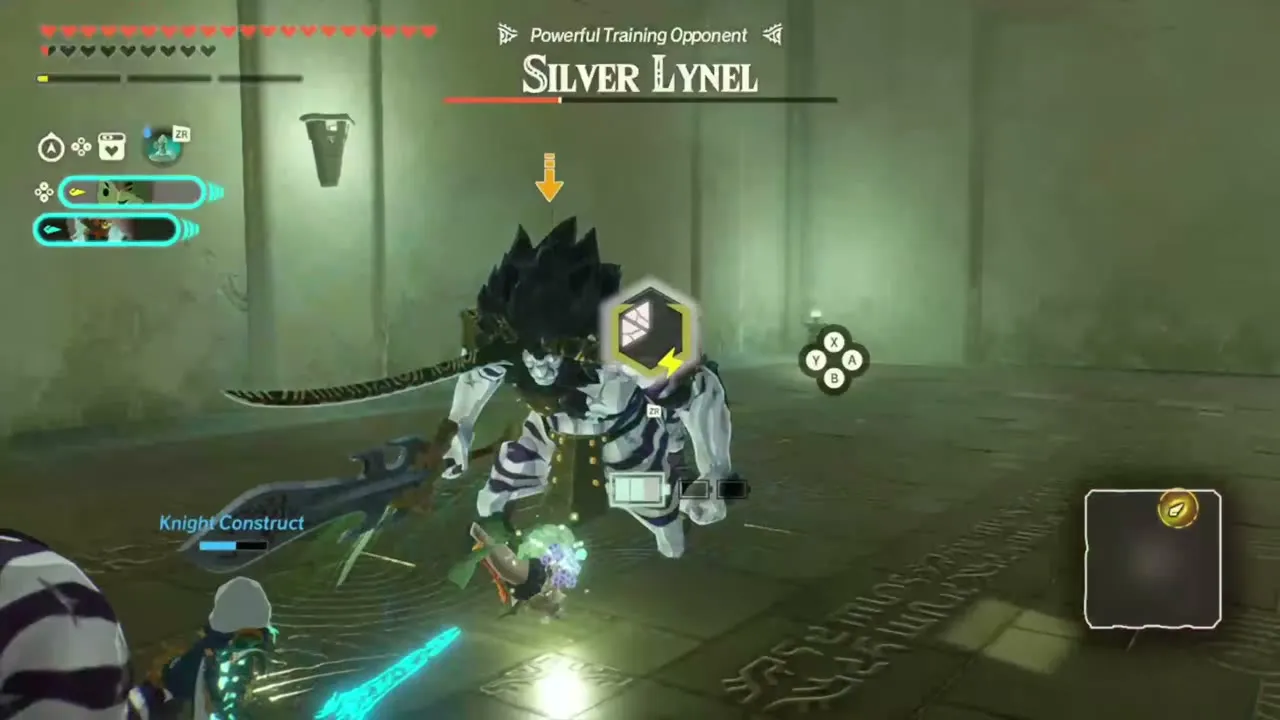
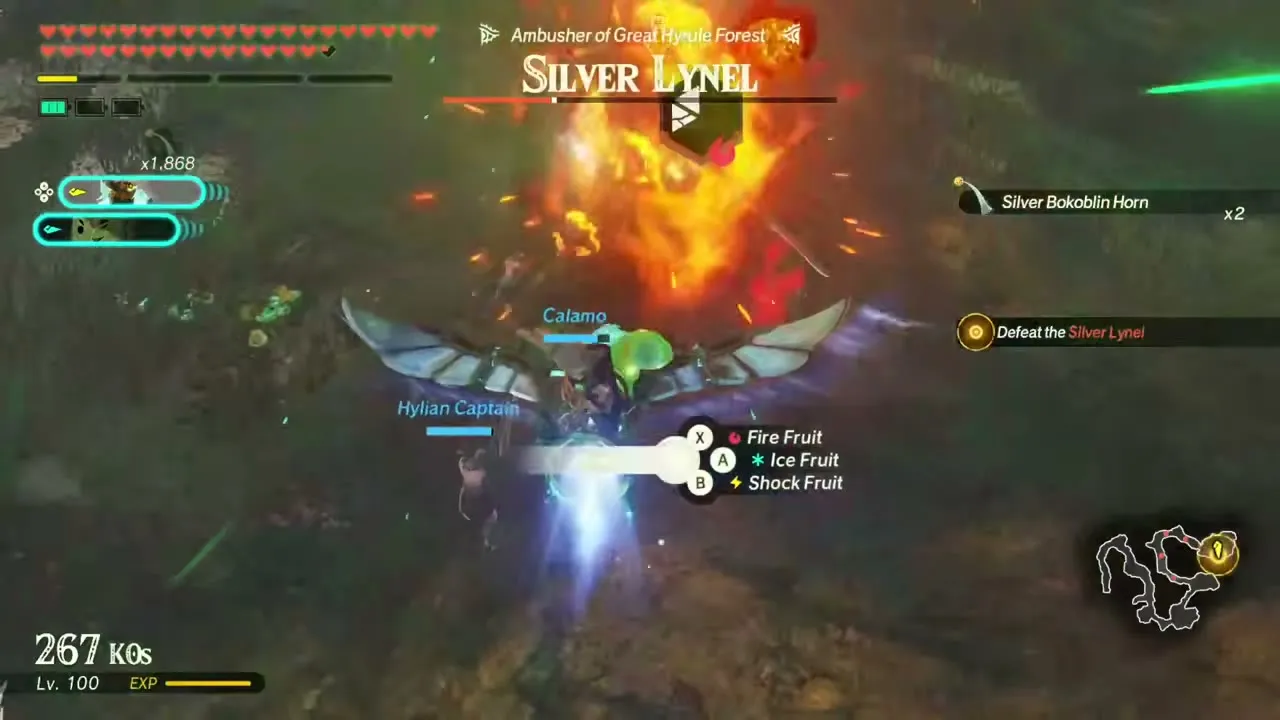
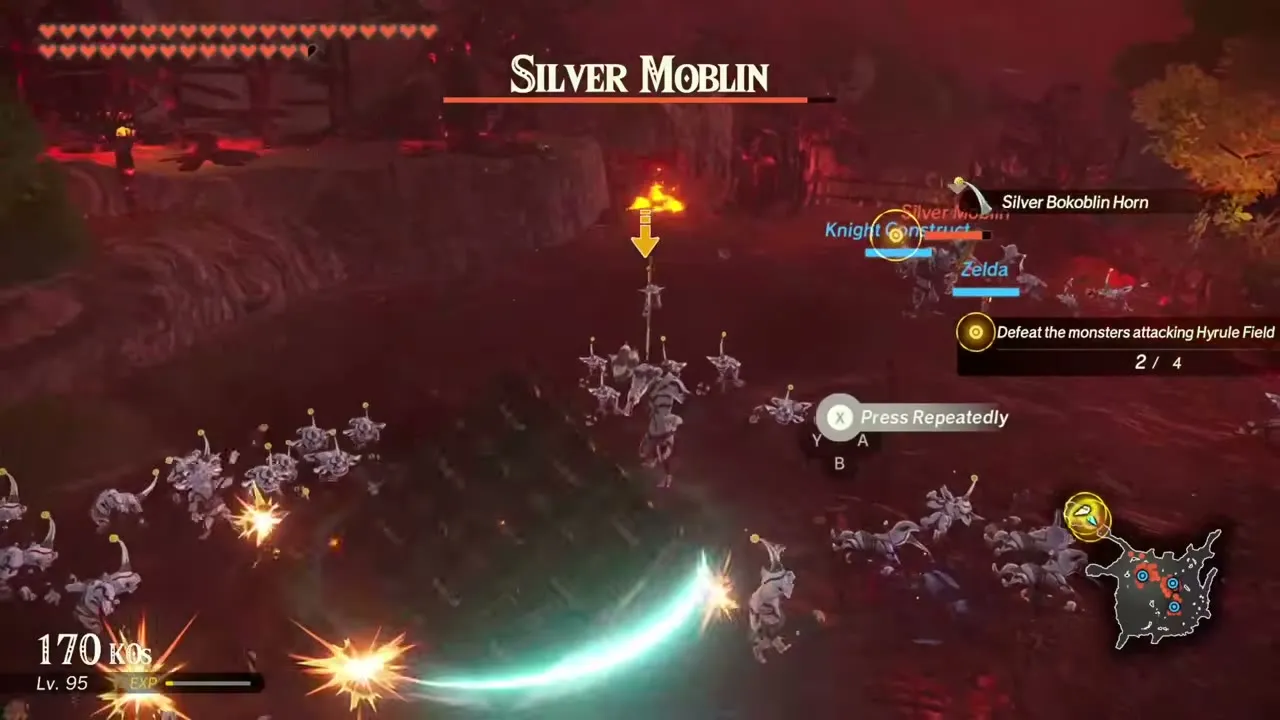
Look for it on the Central Hyrule map. Its recommended level is 53, set in Central Hyrule Field. You may bring any warrior. The goal is to repel the monsters attacking Hyrule Field. You fight Fire Moblins, Fire Chuchus, Fire Aerocudas, Silver Bokoblins and Silver Lizalfos, and a Silver Lynel, the ambusher of Hyrule Field, closes the fight. First clear: Hyrule Arowana x15, Spicy Pepper x15, Rupee x900, Zonaite Steel (Pristine) x2.

Trial: Sparring with the Sages
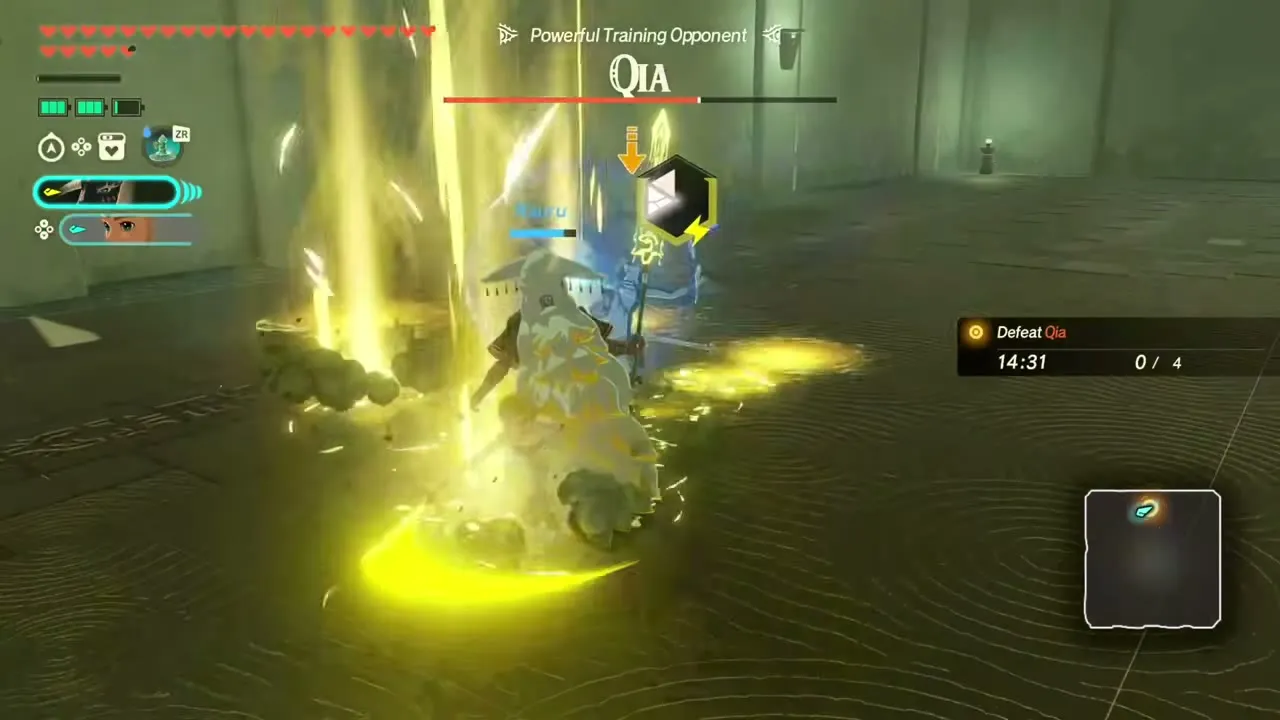
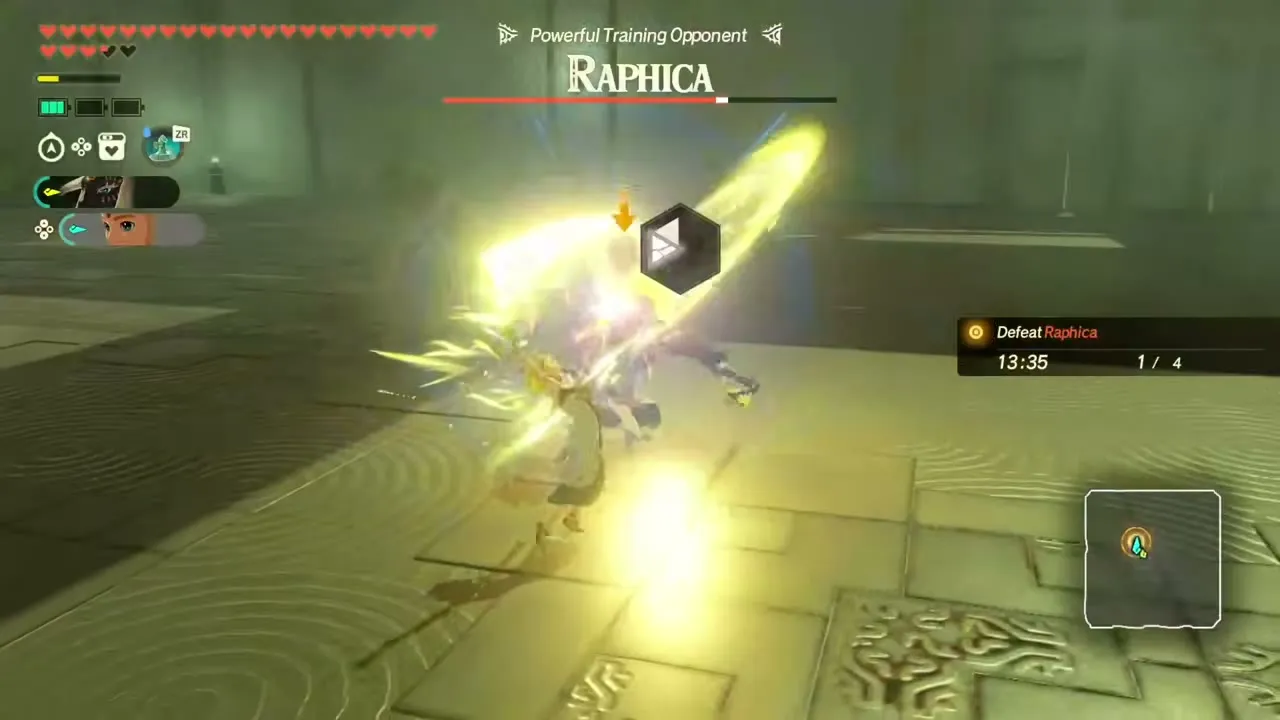
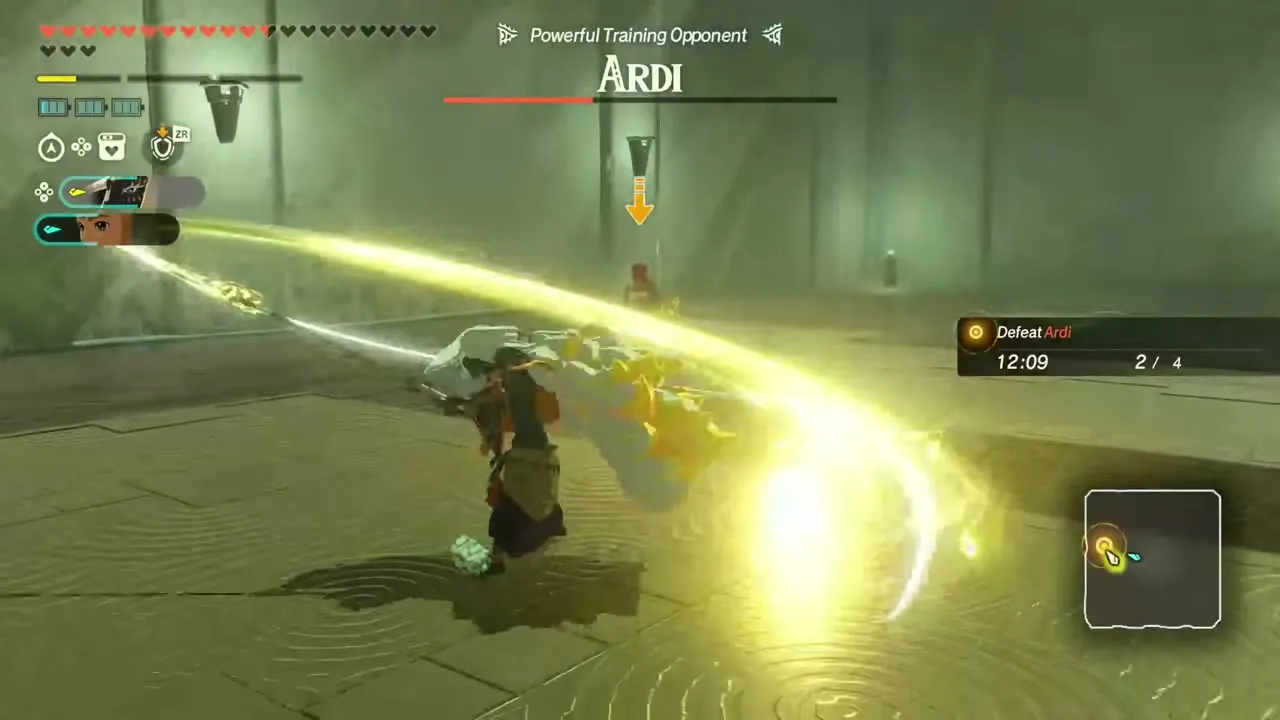
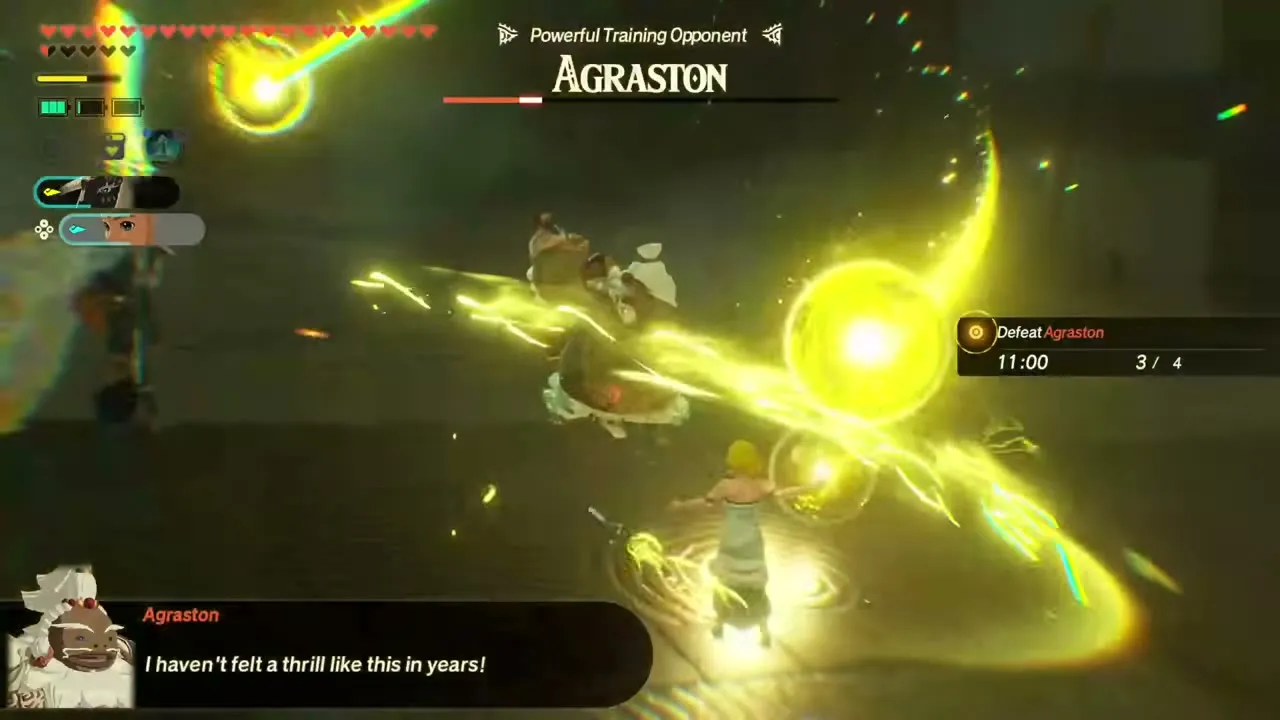
It unlocks after The Battle of Hyrule Castle. Its recommended level is 53, set in Shrine of Light (Faron). Every warrior is allowed except the four you fight: Agraston, Qia, Raphica and Ardi. You fight Qia, Raphica, Ardi and Agraston themselves, one after another in a Zonai arena, each billed as a powerful training opponent. The whole trial runs on a 15-minute clock, so it is a timed duel, so bring a fast, hard-hitting party. First clear: Hearty Bass x15, Hearty Salmon x15, Thunderwing Butterfly x15, Warm Safflina x15, Zonaite Steel (Pristine) x1.
The Traveler’s Second Homecoming
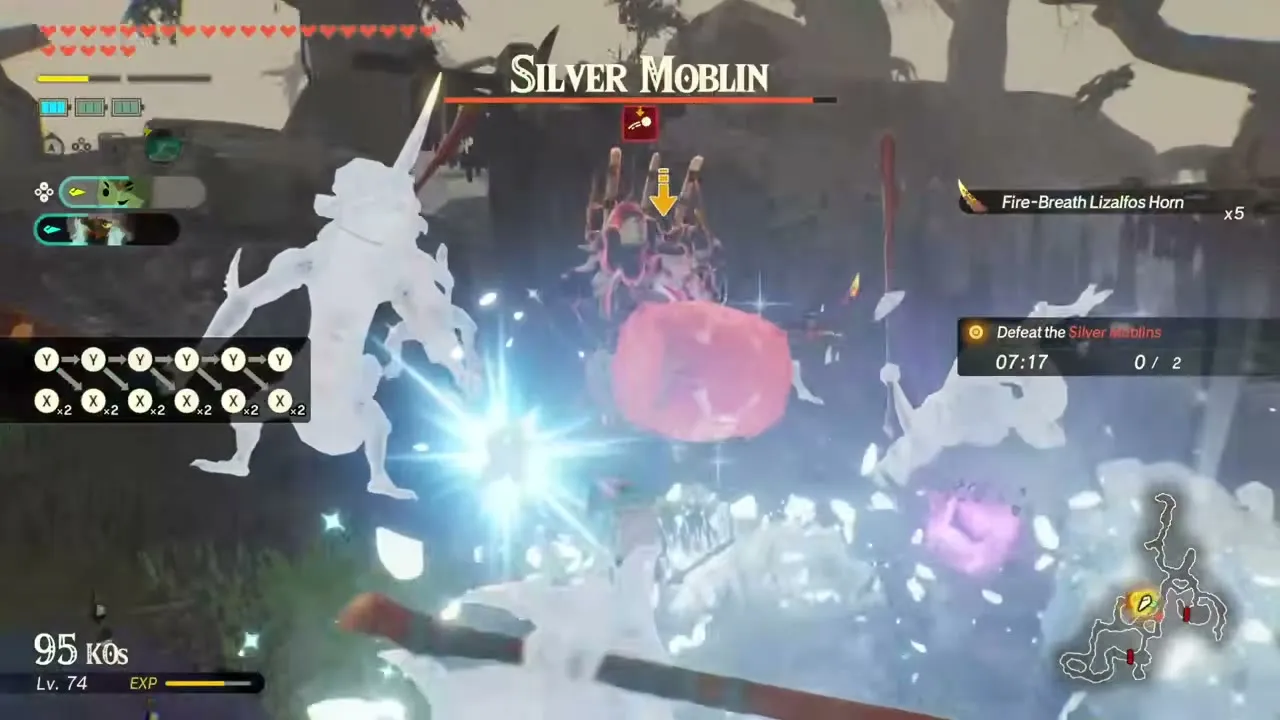
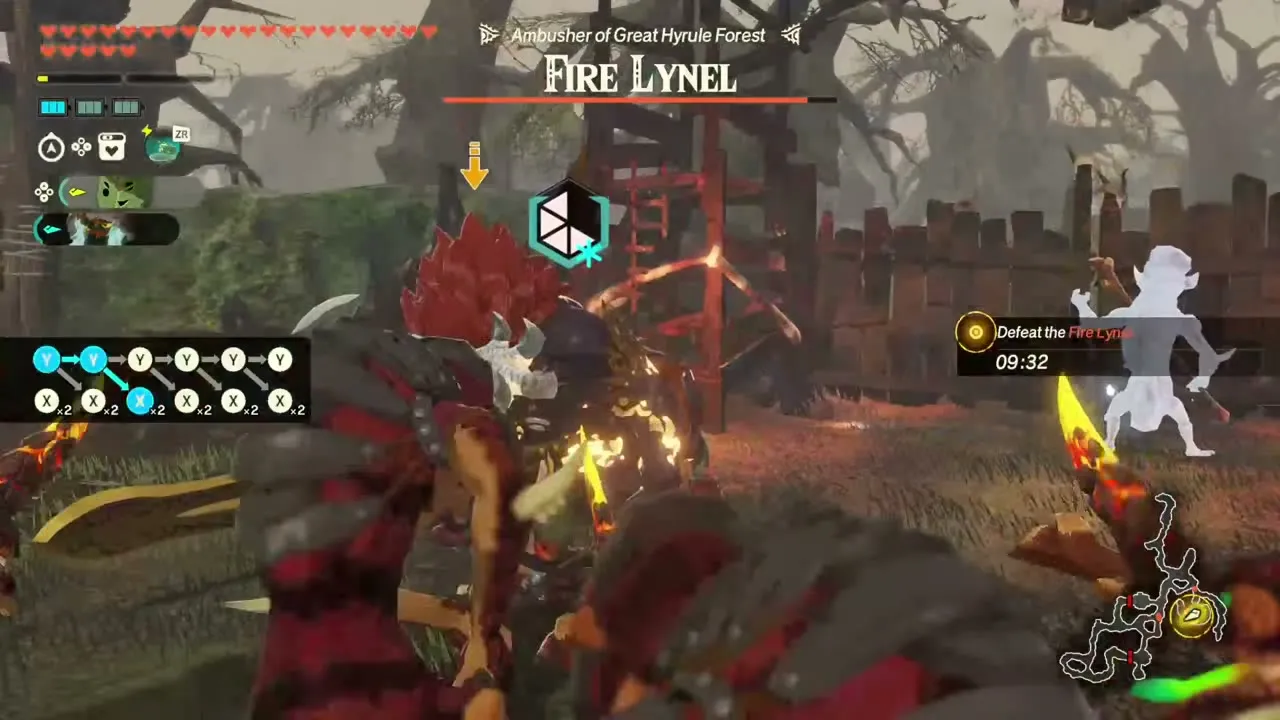
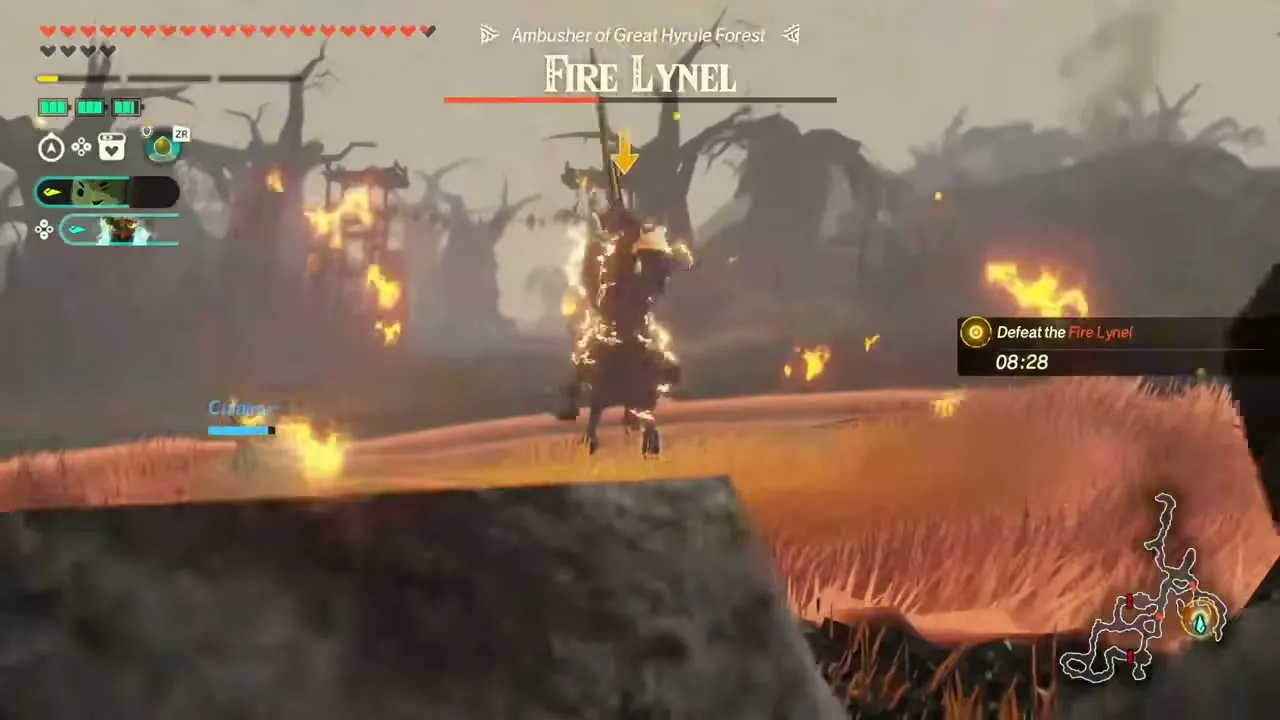
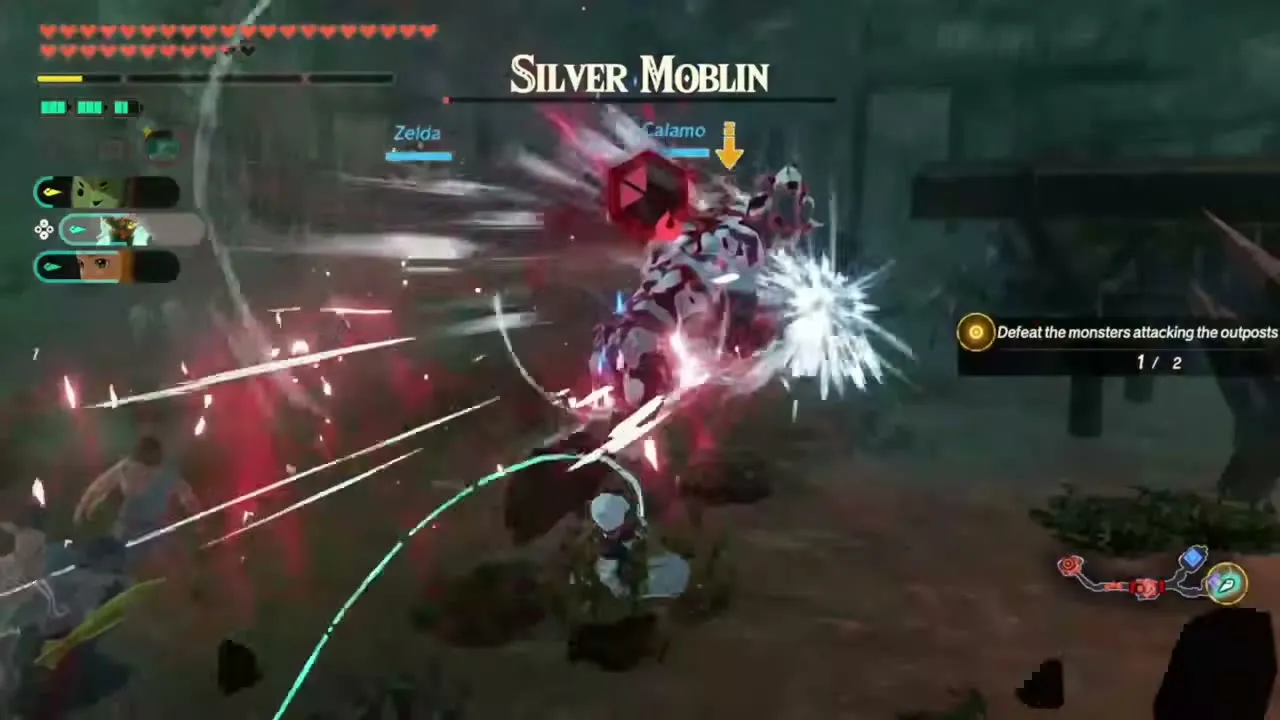
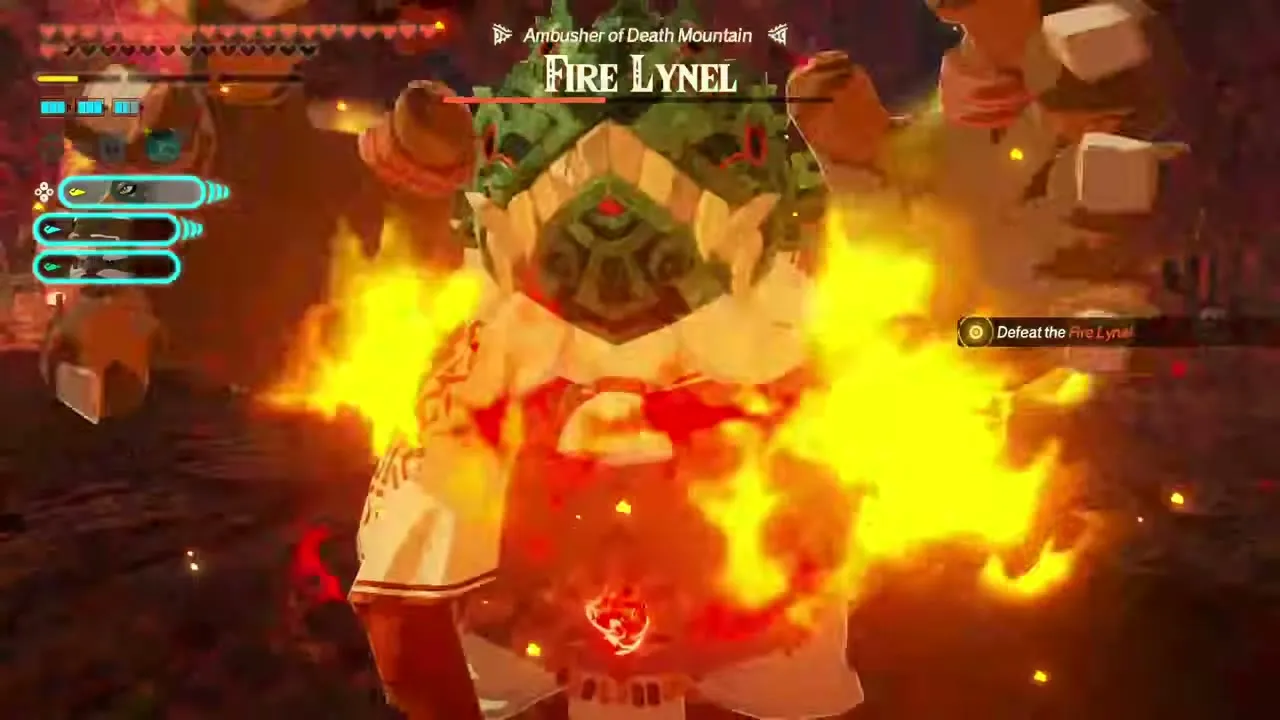
It opens after The Battle of Hyrule Castle, and it is the follow-up to The Traveler’s Homecoming from the Lv 41-50 group. Its recommended level is 53, set in Great Hyrule Forest. Calamo and the Knight Construct are your only choices. You fight Fire-Breath Lizalfos, Fire Lynels, Fire Keese and Silver Moblins. The goal is to defeat the monsters ravaging Great Hyrule Forest; a Silver Moblin leads the first group and a Fire Lynel the second. There is a time limit. Clearing it leads on to The Traveler’s Third Homecoming. First clear: Silent Shroom x10, Rushroom x15, Electric Safflina x15, Tireless Frog x10, Zonaite Steel (Pristine) x1.
Trial: The Boss Bokoblin Raid
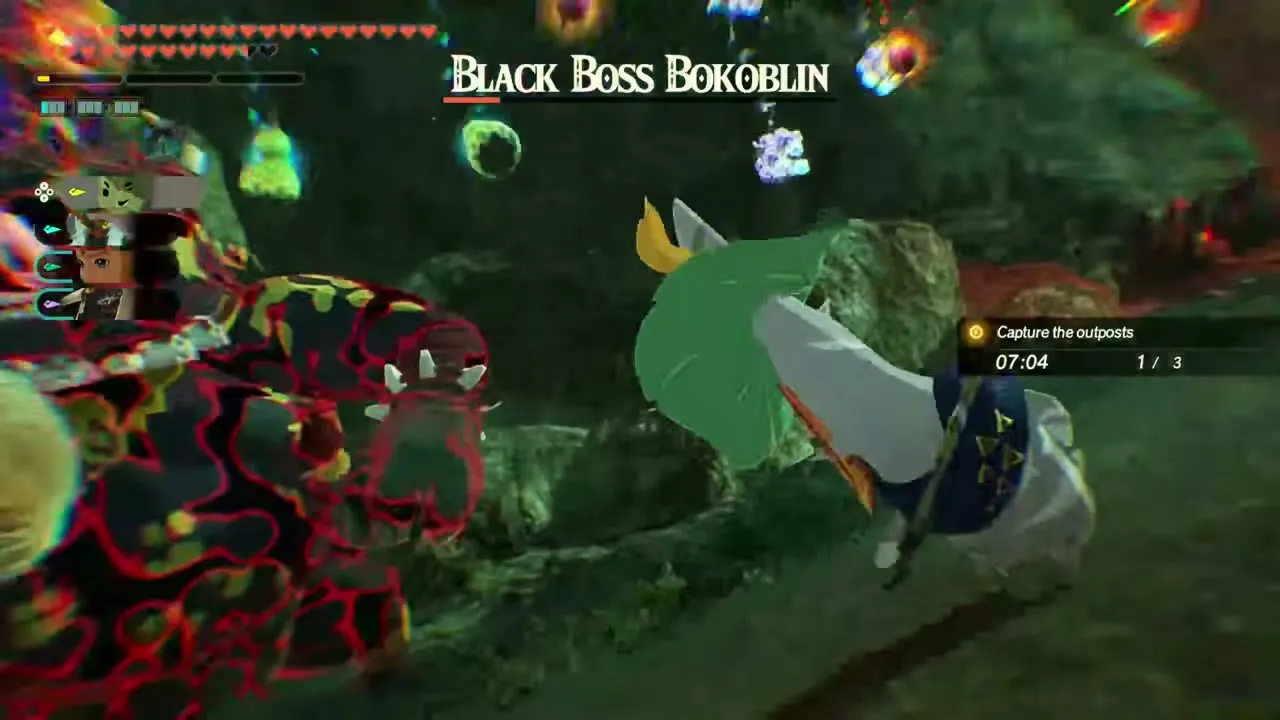
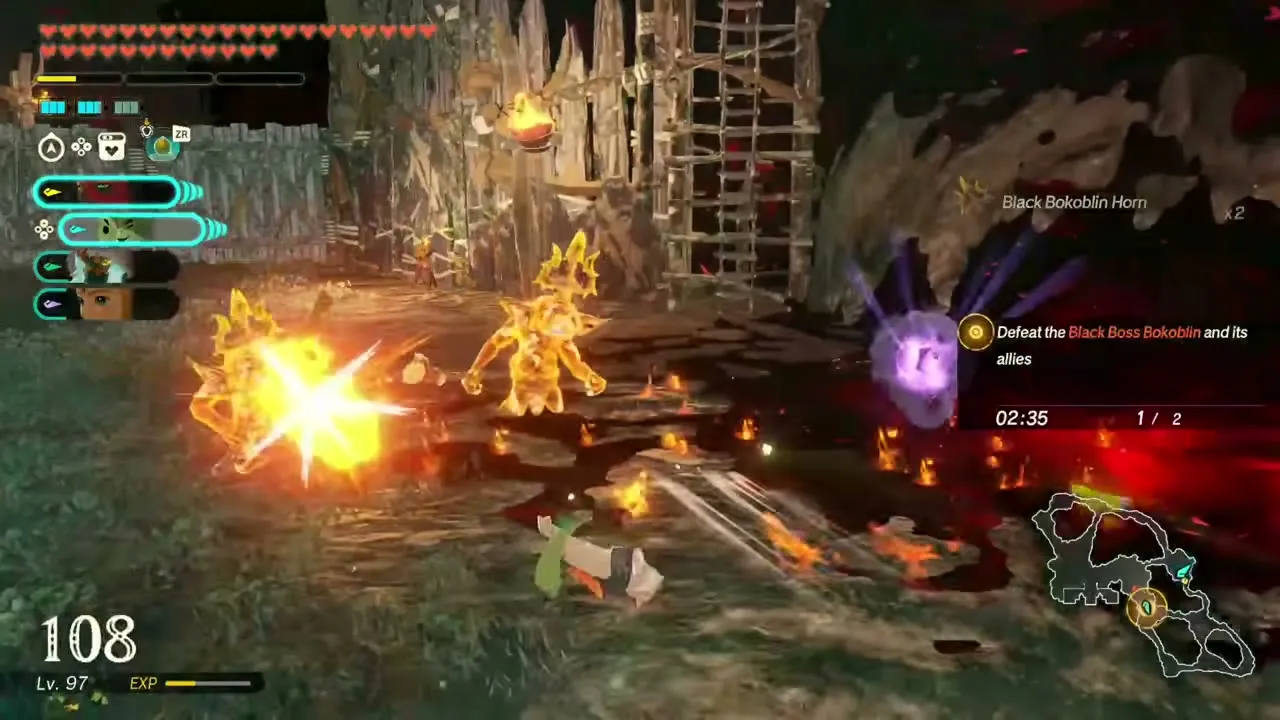
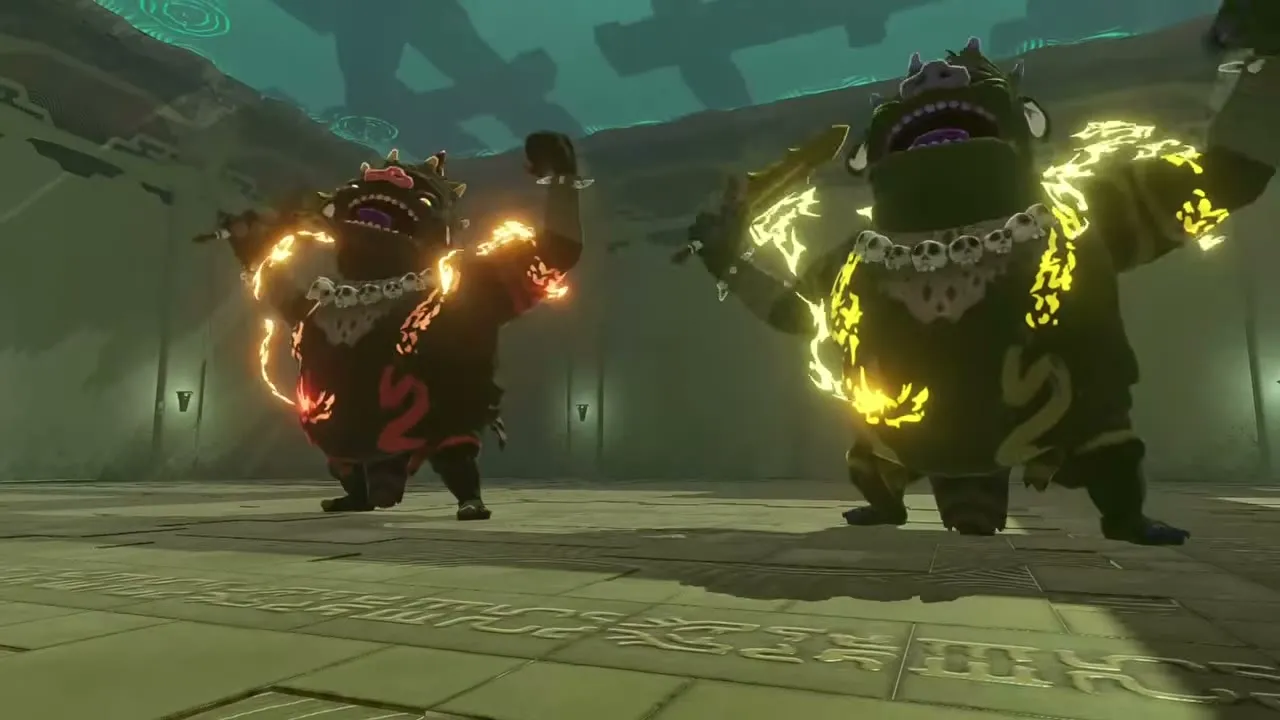
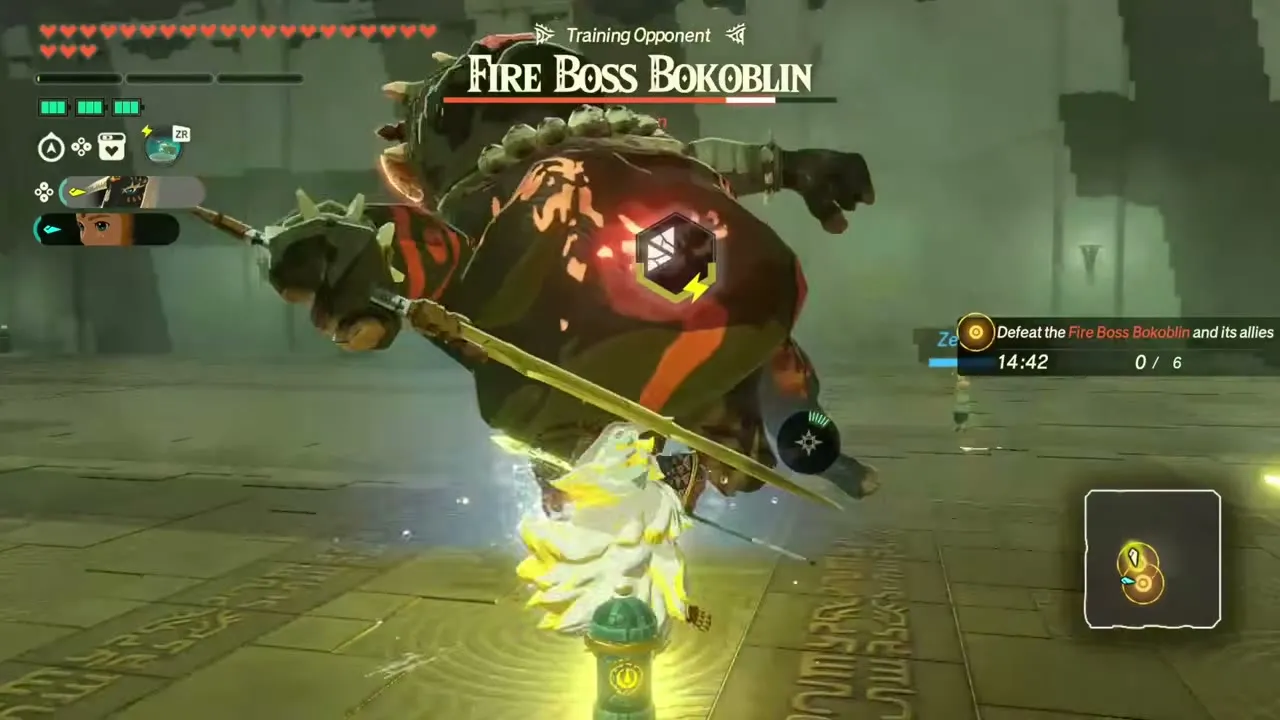
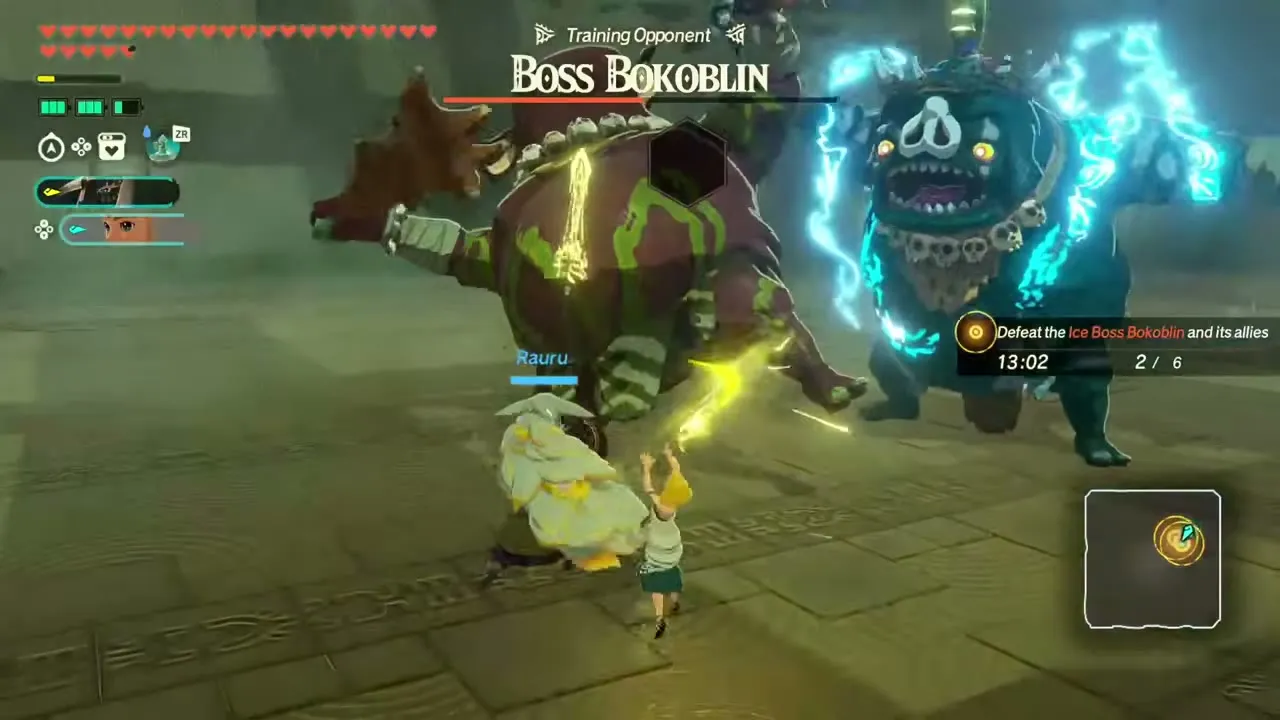
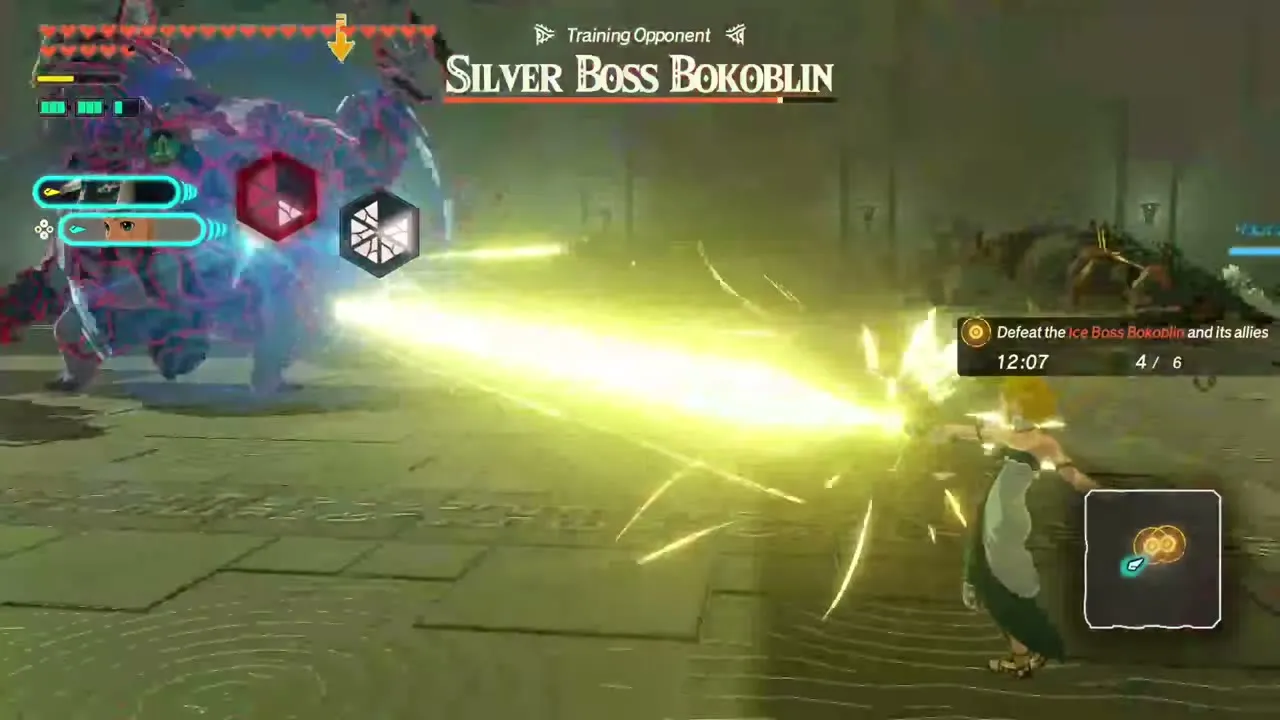
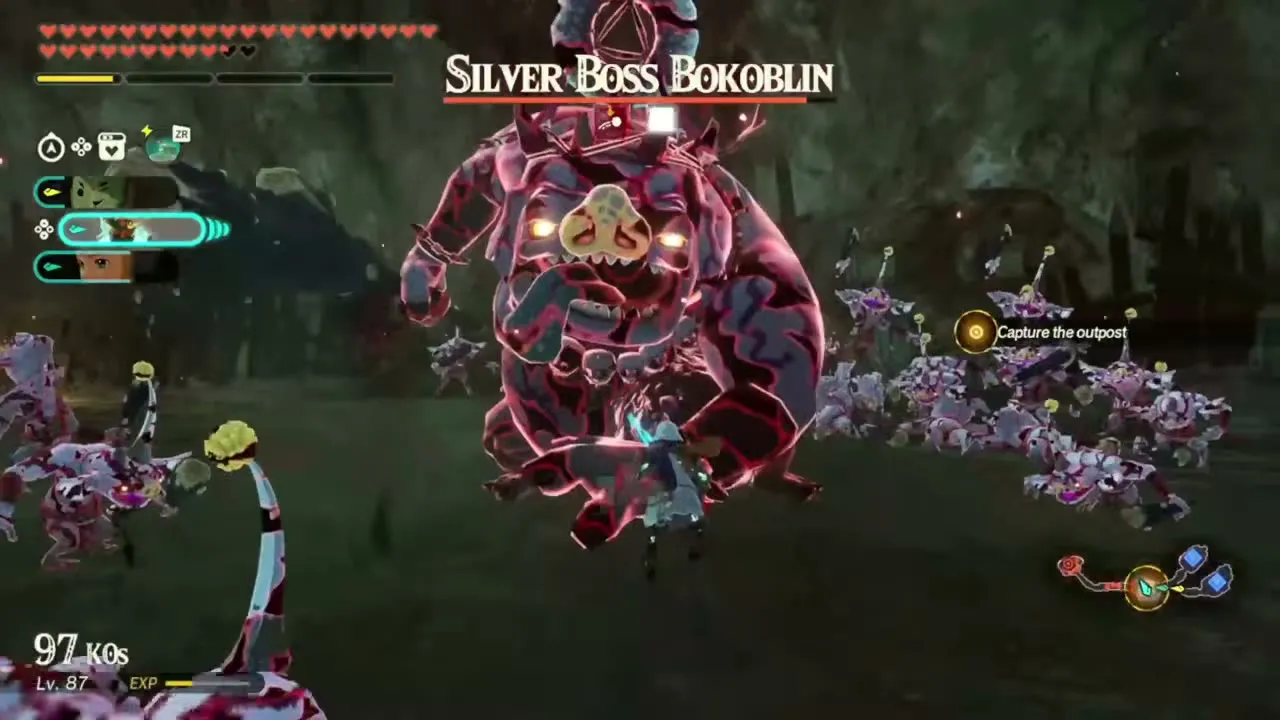
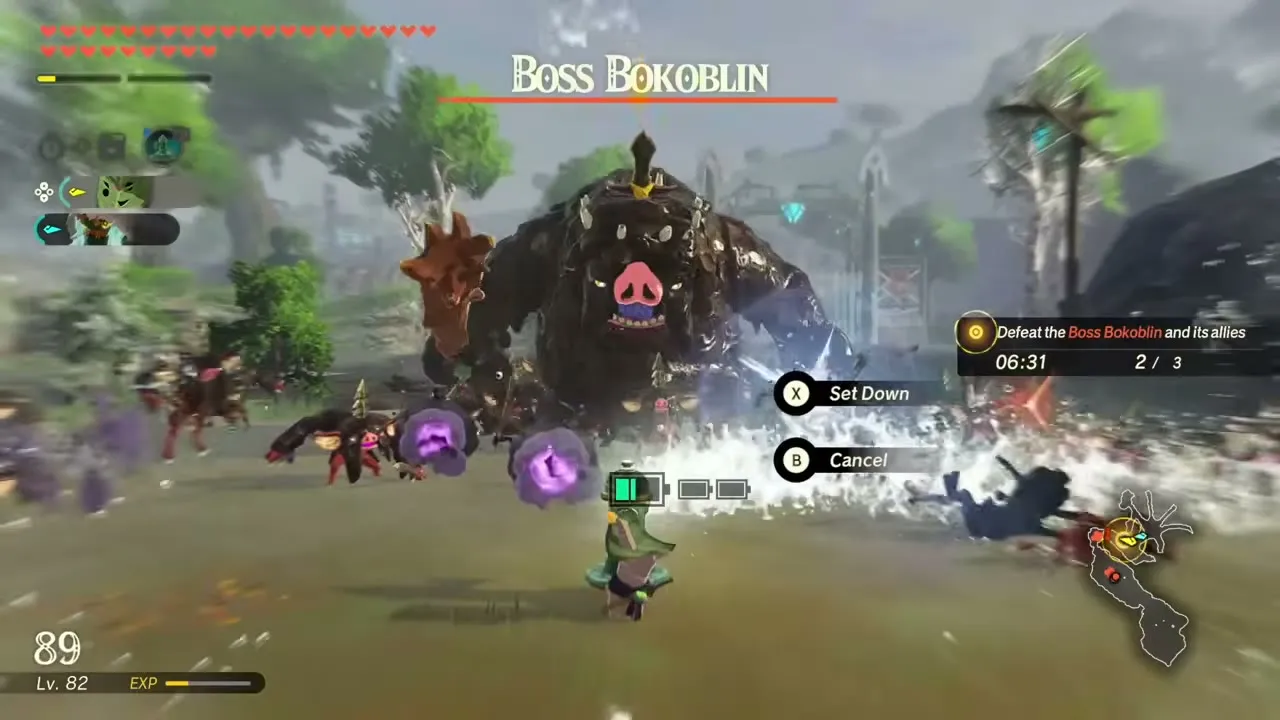
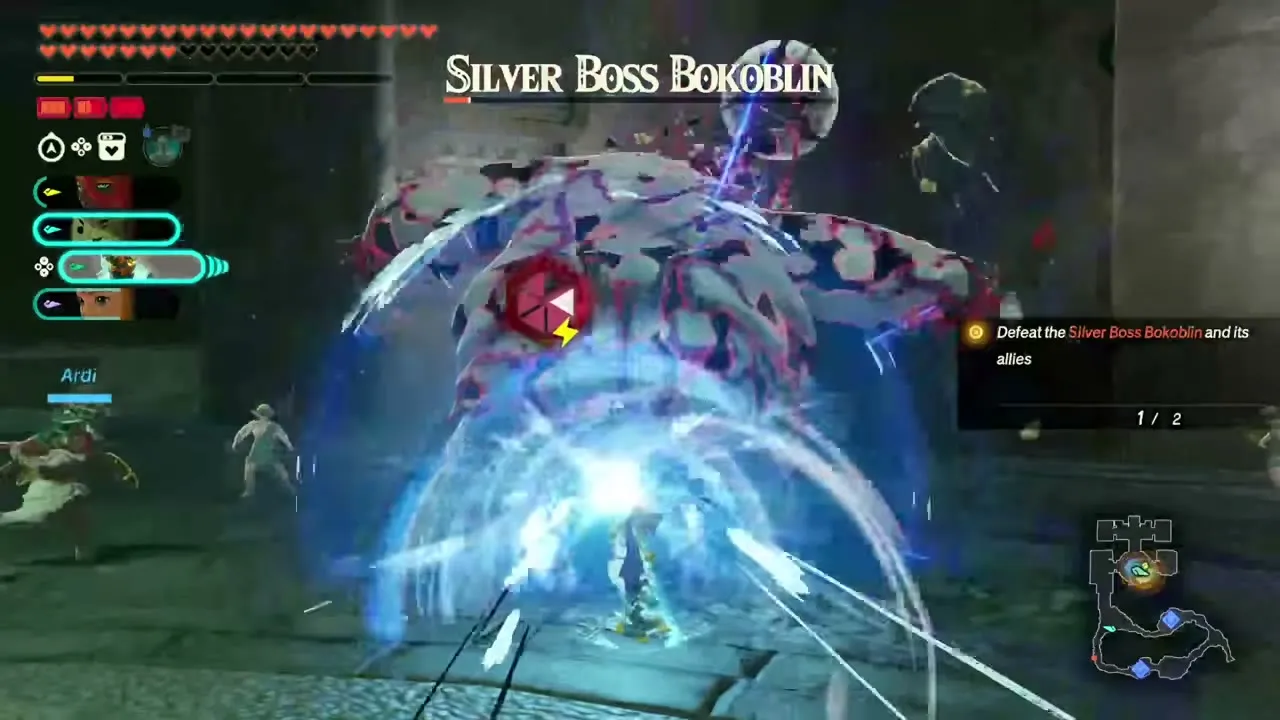
It unlocks after The Battle of Hyrule Castle. Its recommended level is 53, set in Shrine of Light. Any warrior may go in. You fight a gauntlet of Boss Bokoblins in a Zonai arena, one after another: Fire, Electric, Ice and plain Boss Bokoblins, then a Silver Boss Bokoblin to finish. The clock is running, so burn the bosses down quickly. First clear: Big Hearty Radish x10, Fortified Pumpkin x15, Energetic Rhino Beetle x15, a random weapon.
Levels 61 to 70
This is the biggest group, with eighteen challenges spread across the Lanayru Wetlands, Death Mountain, the Gerudo Desert, Ash Swamp, the Seres Scablands, the Depths and more. Several of them open the Lv 71-80 follow-ups.
Defending the West Lanayru Wetlands
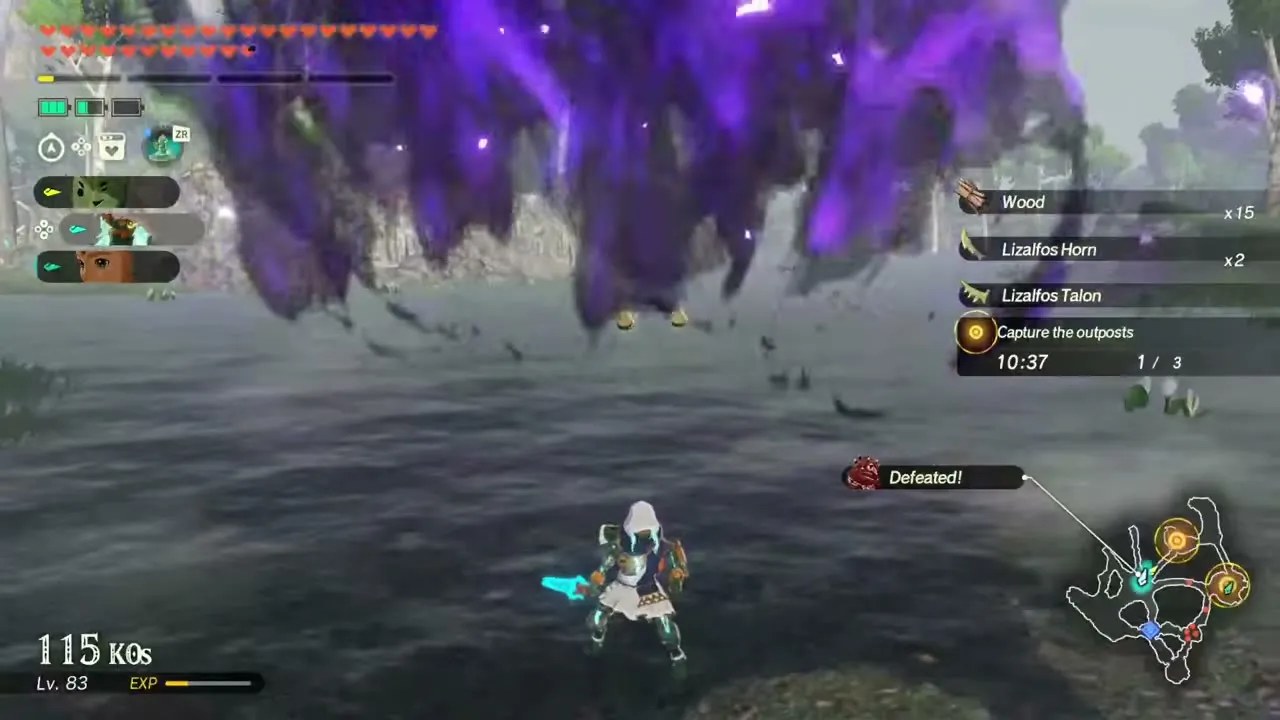
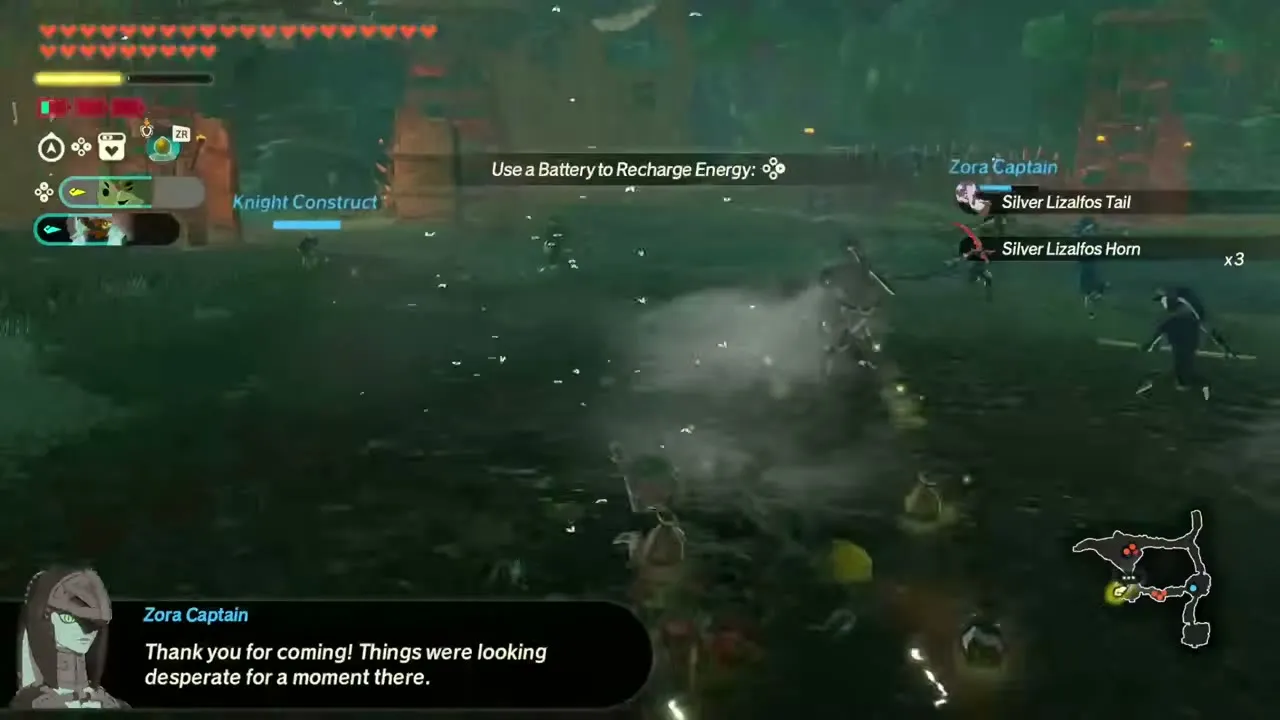
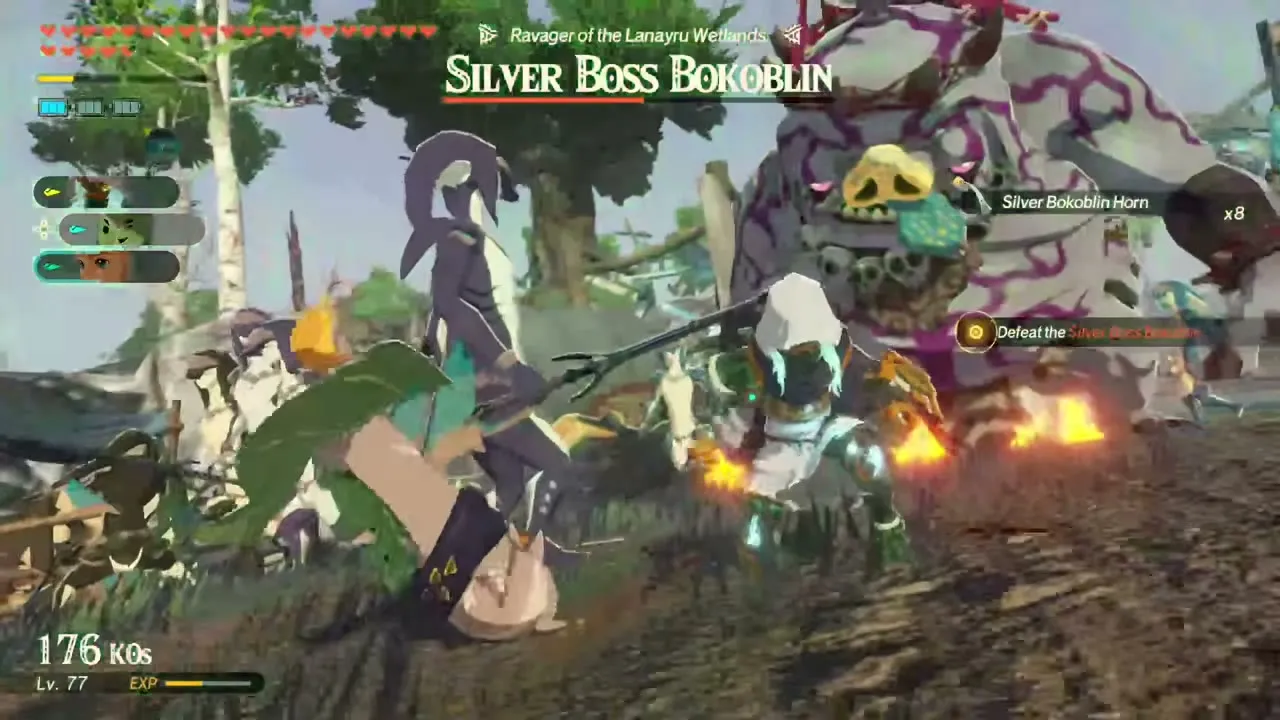
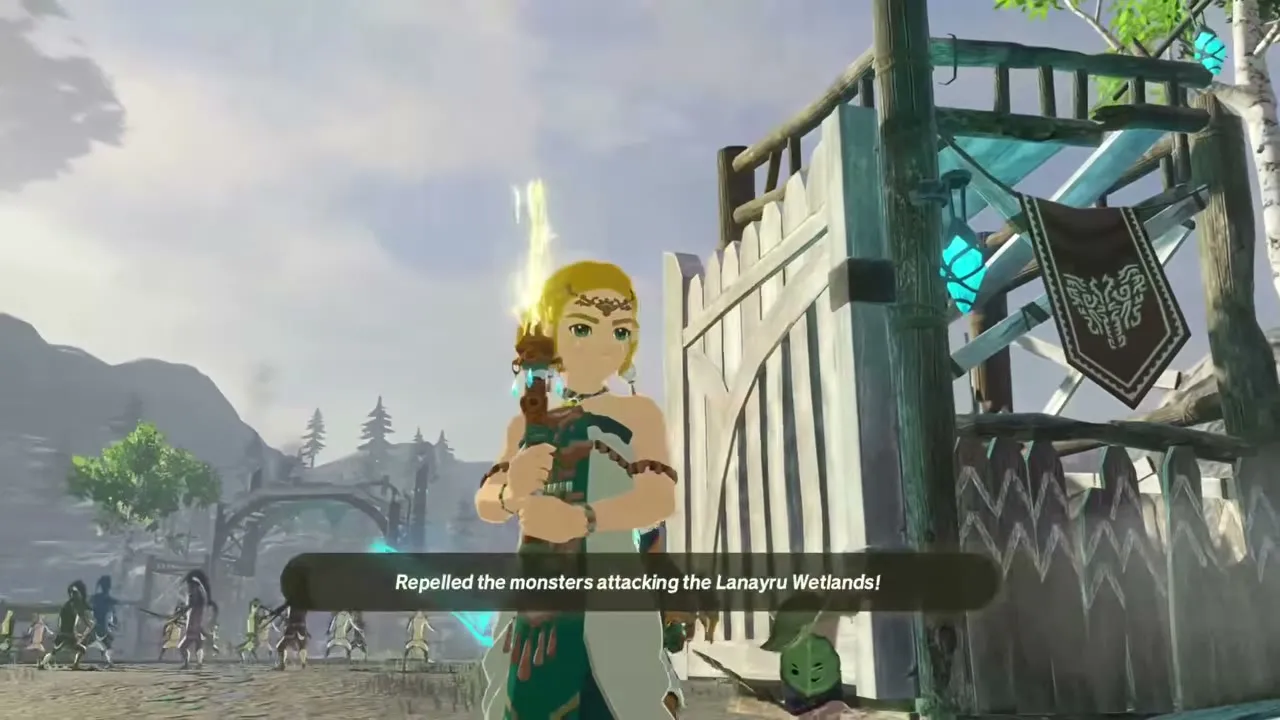
It is available once A Clash of Constructs is cleared. Its recommended level is 67, set in Lanayru Wetlands. Any warrior is allowed. You fight Electric Moblins, Electric Lizalfos, Electric Aerocudas, Silver Bokoblins and Silver Boss Bokoblins. The goal is to repel the attack on the Lanayru Wetlands by defending the outposts: an Electric Aerocuda, then an Electric Moblin and finally a Silver Boss Bokoblin test the defence. First clear: Bright-Eyed Crab x15, Razorclaw Crab x15, Fleet-Lotus Seeds x15, Rupee x1,000, Pure Zonaite Steel (Pristine) x1.
Defending the East Lanayru Wetlands
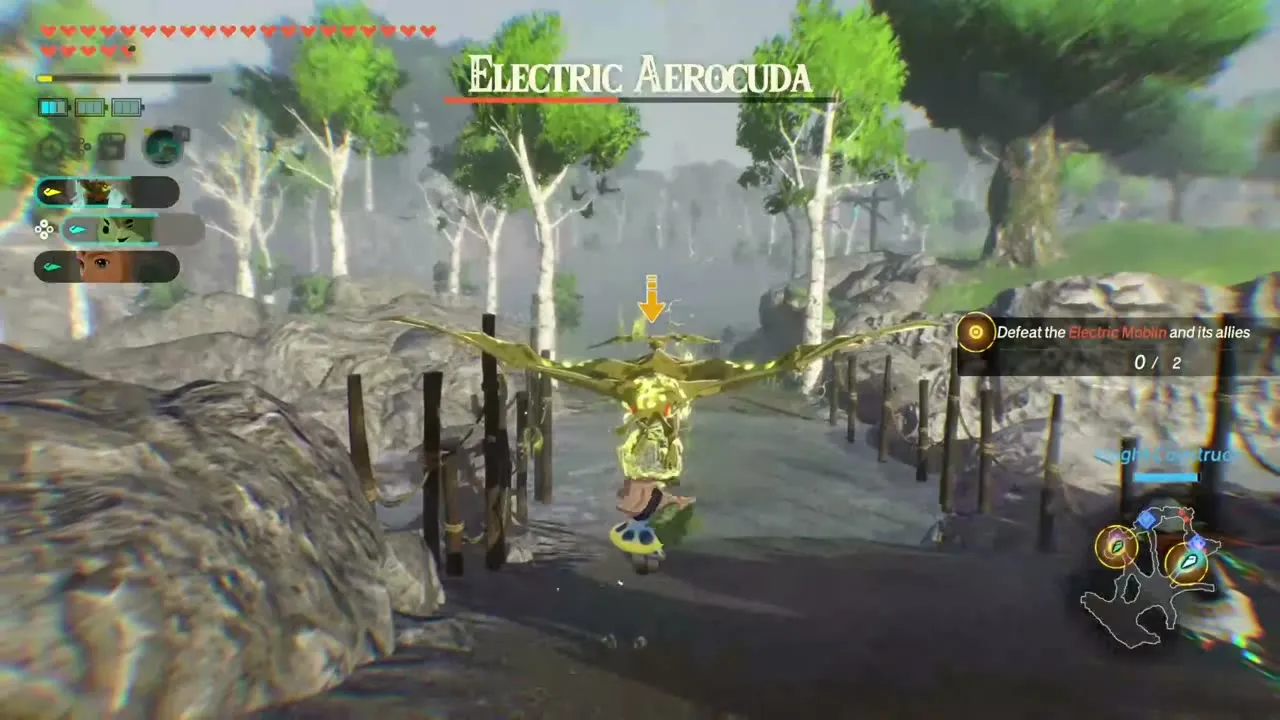
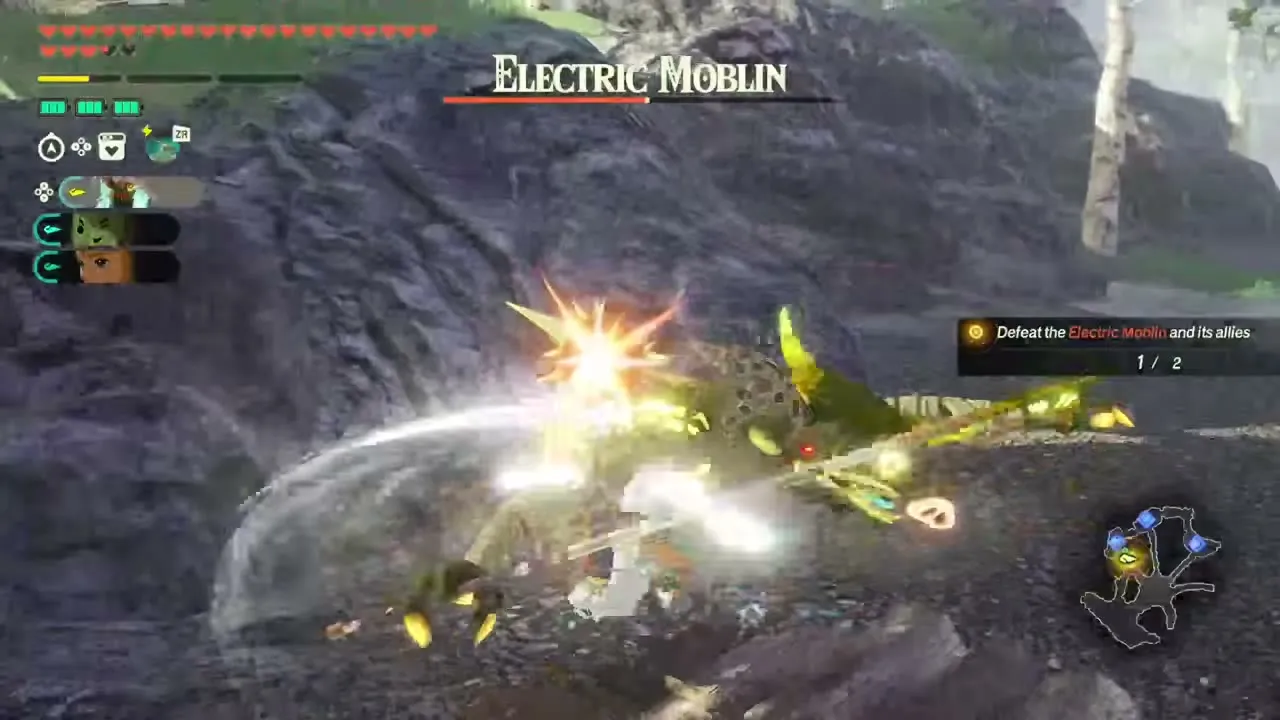
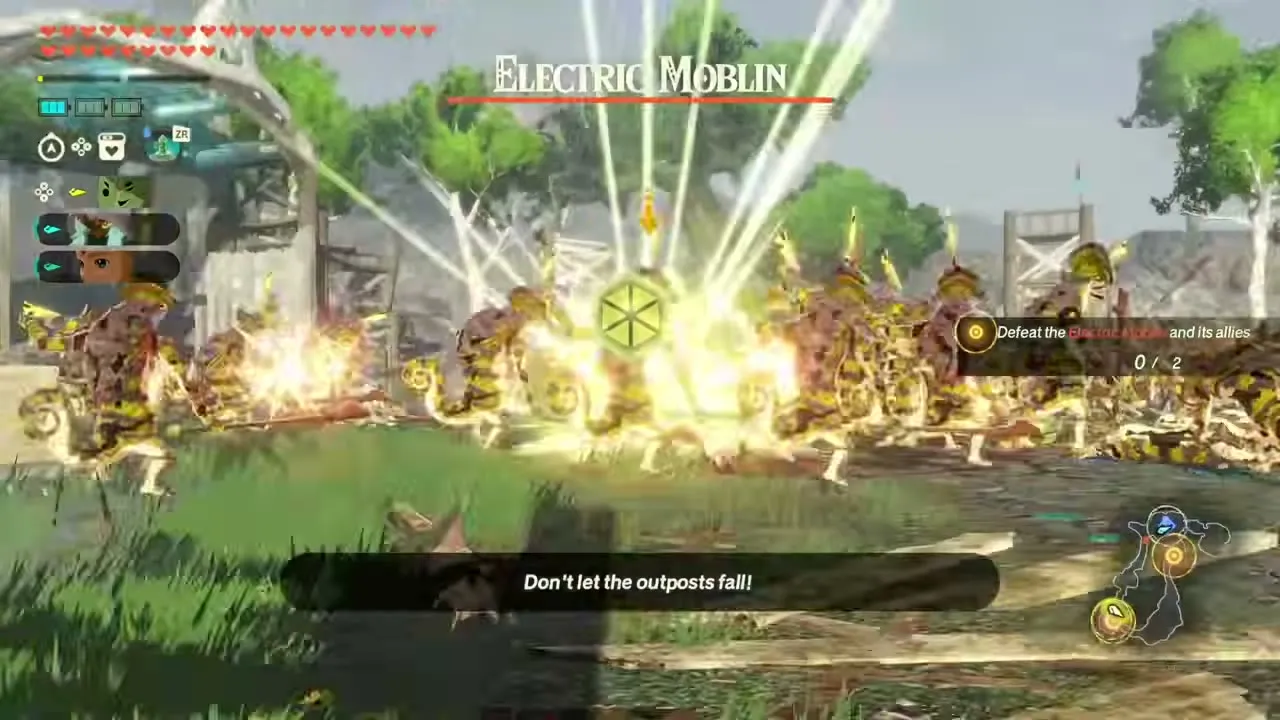
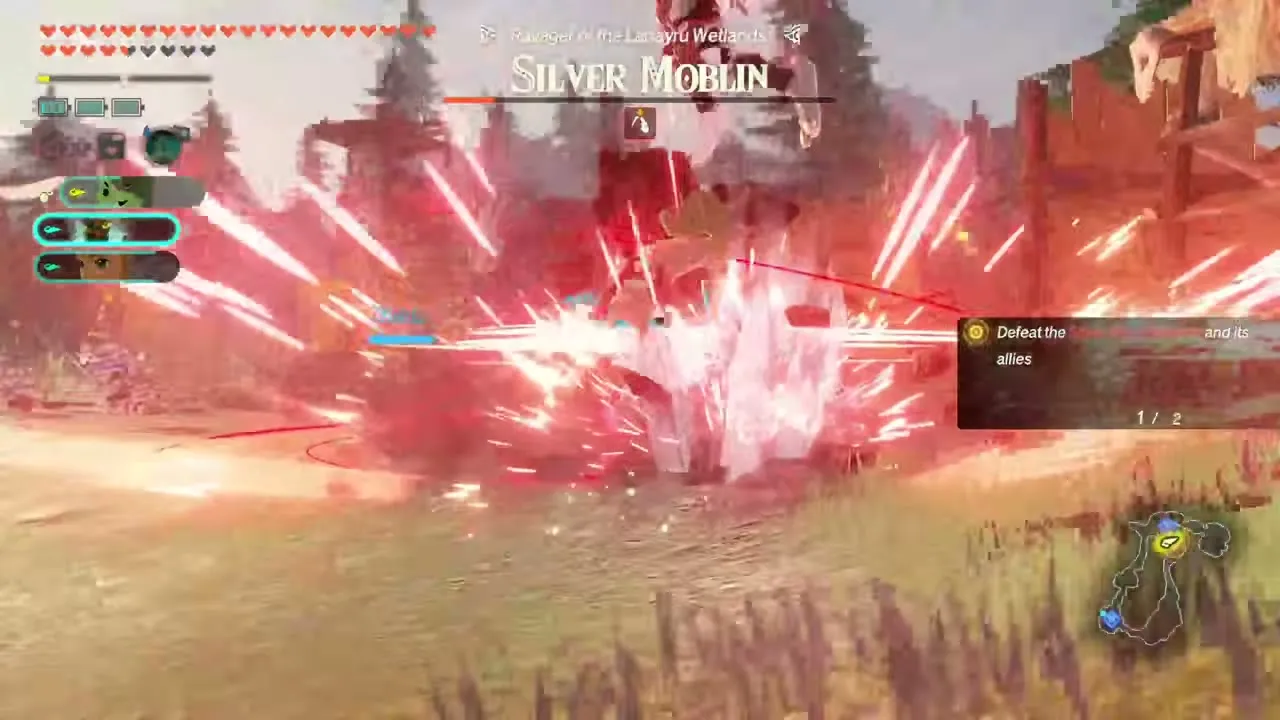
It shares the Lanayru Wetlands map with its western twin. Its recommended level is 67, set in Lanayru Wetlands. Any warrior is allowed. You fight Electric Moblins, Electric Lizalfos, Electric Chuchus, Silver Bokoblins and Silver Boss Bokoblins. The goal is to repel the attack on the wetlands: an Electric Moblin comes first, then a Silver Boss Bokoblin and a Silver Moblin, and monsters can break into an outpost mid-fight. First clear: Sticky Lizard x15, Staminoka Bass x15, Armoranth x15, Rupee x1,000, Pure Zonaite Steel (Pristine) x1.
Defending Damel Forest
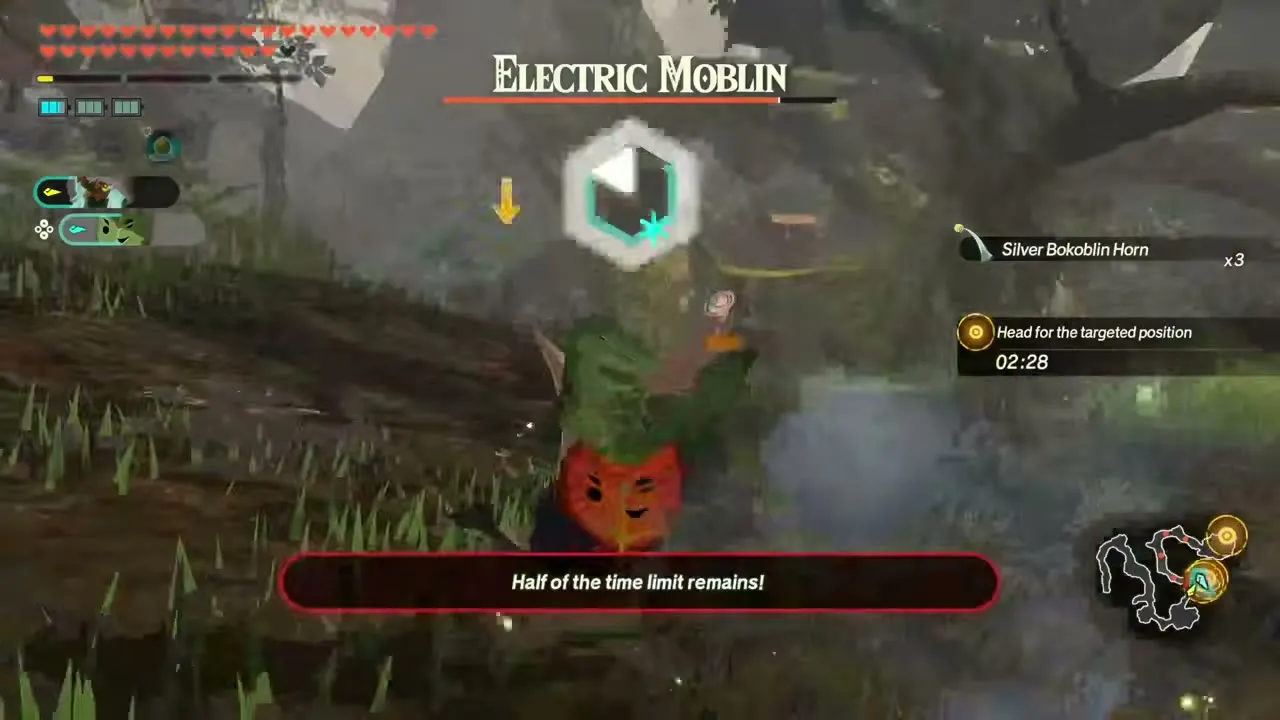
Its recommended level is 61, set in Damel Forest (Faron). Any warrior is allowed. You fight Electric Lizalfos, Electric Chuchus, Electric Aerocudas, Silver Bokoblins and Silver Boss Bokoblins. The goal is to hold the forest outposts: an Electric Chuchu and an Electric Aerocuda hit first, then a Silver Boss Bokoblin. First clear: Fortified Pumpkin x20, Hearty Bass x15, Hearty Truffle x15, Rupee x1,000, Pure Zonaite Steel (Pristine) x1.


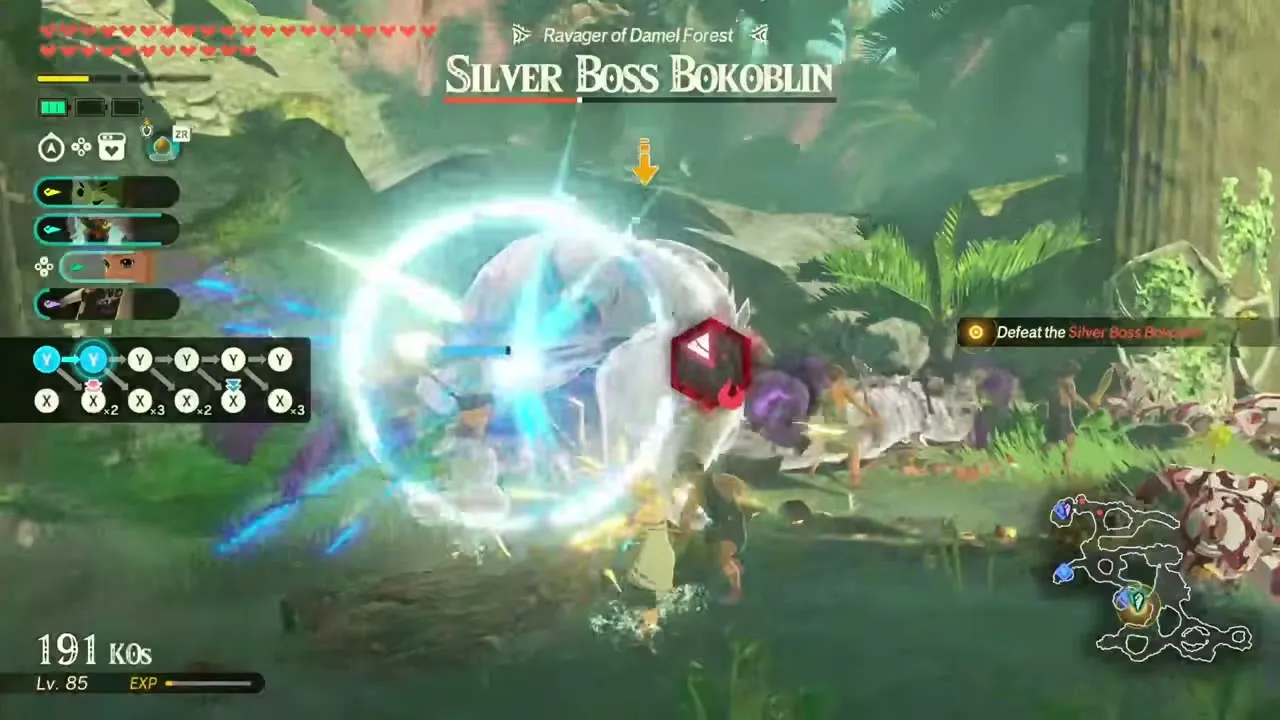
Defending the South Seres Scablands
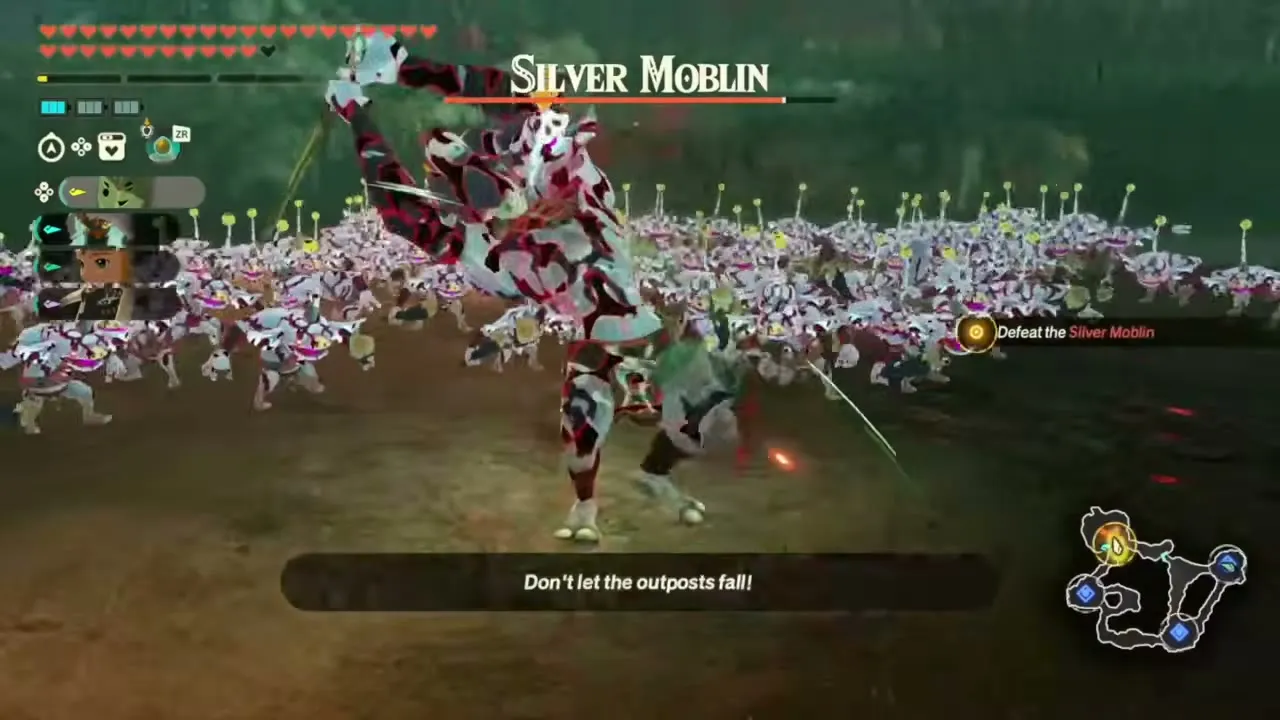
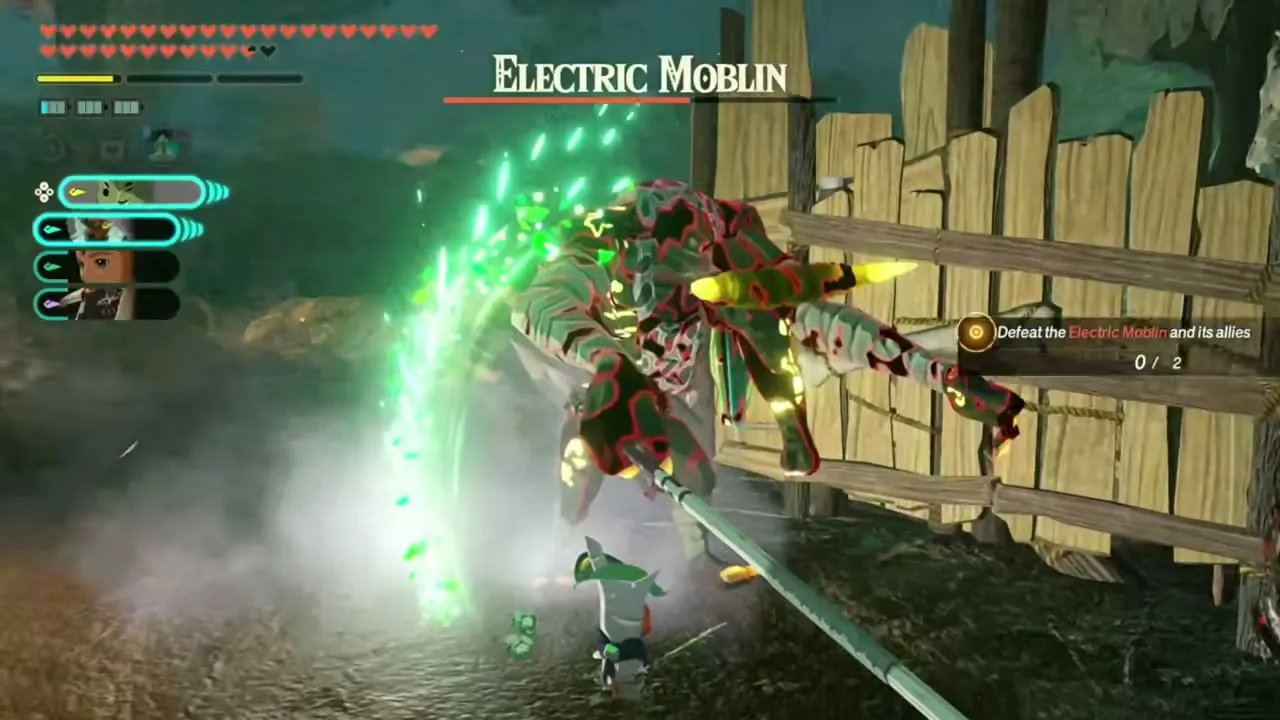
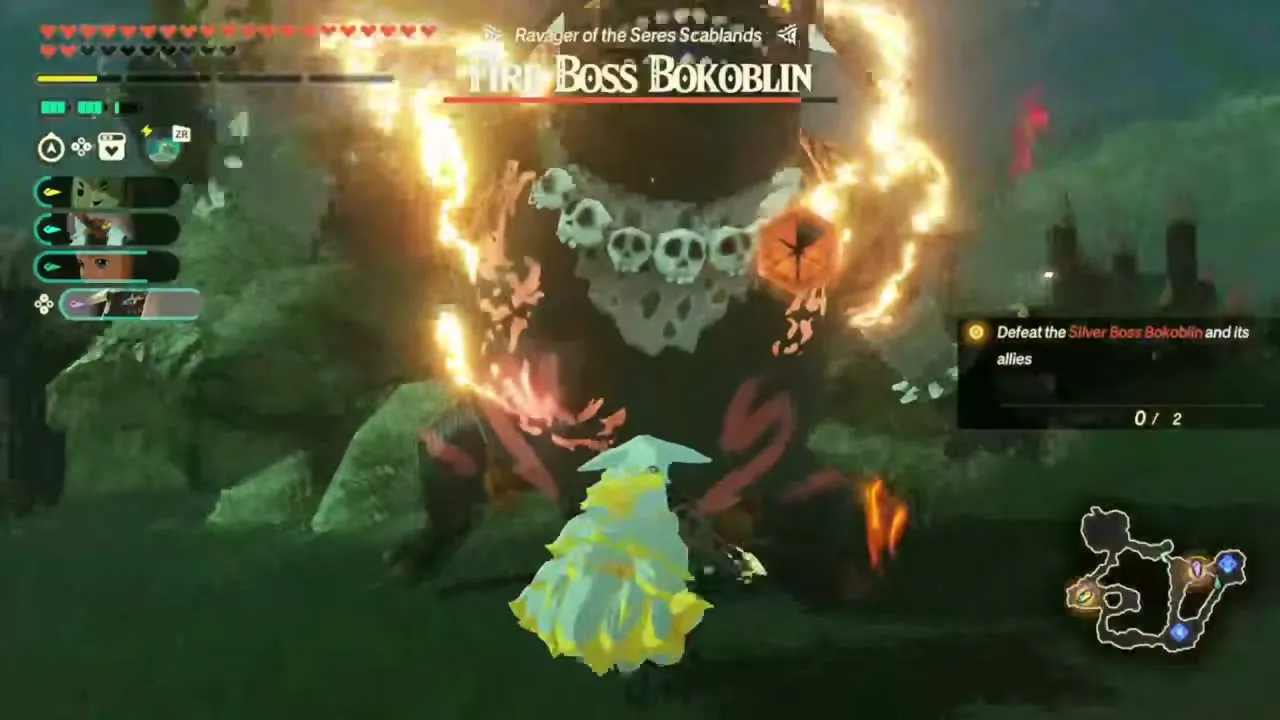
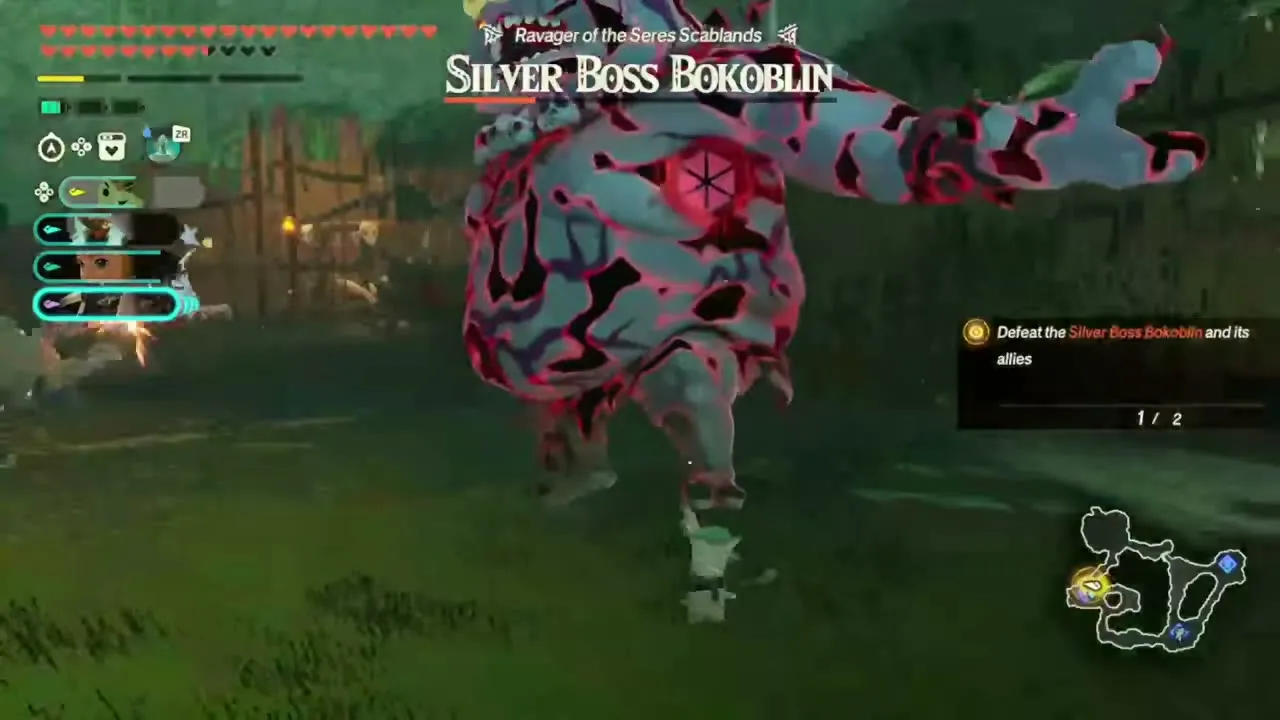
Its recommended level is 63, set in Seres Scablands (Gerudo). Any warrior is allowed. You fight Fire Boss Bokoblins, Fire-Breath Lizalfos, Electric Moblins, Silver Bokoblins and Silver Boss Bokoblins. The goal is to repel the attack on the Seres Scablands: a Silver Moblin, an Electric Moblin and a Fire Moblin lead the waves, and a Fire Boss Bokoblin and a Silver Boss Bokoblin finish it. First clear: Voltfruit x20, Hydromelon x20, Zapshroom x20, Rupee x1,000, Pure Zonaite Steel (Pristine) x1.
Quelling the Flames
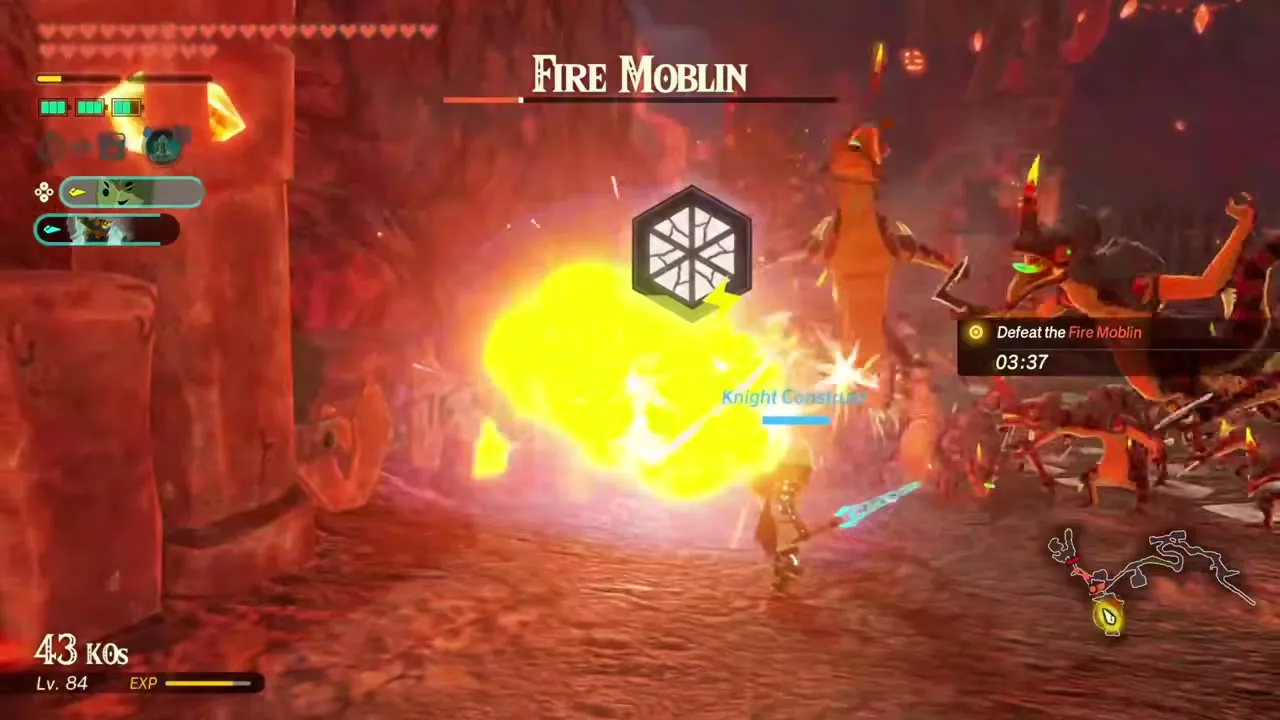
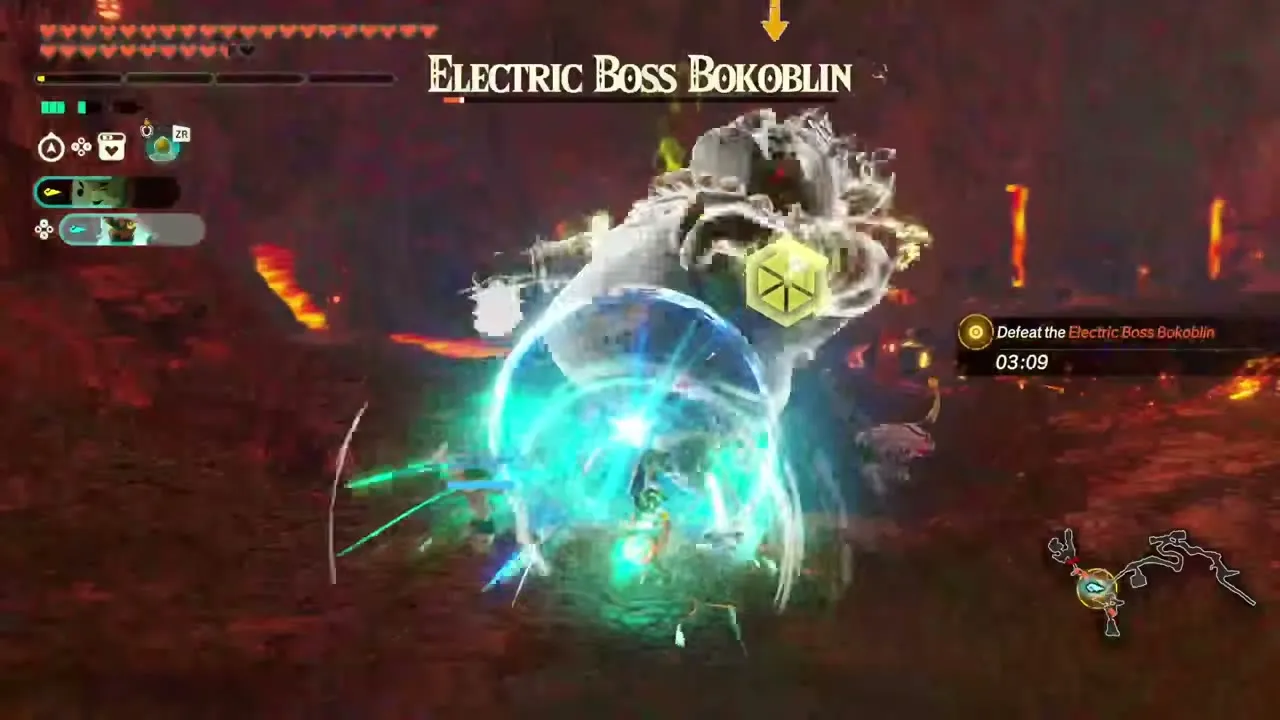
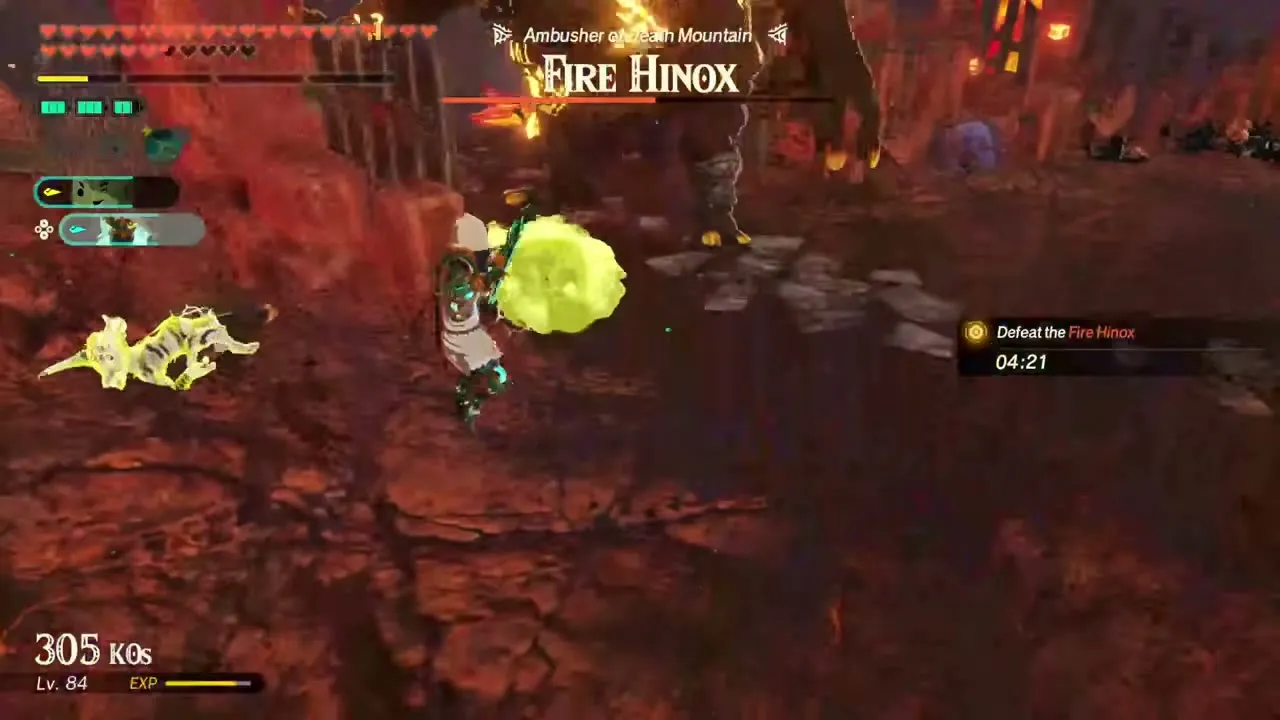
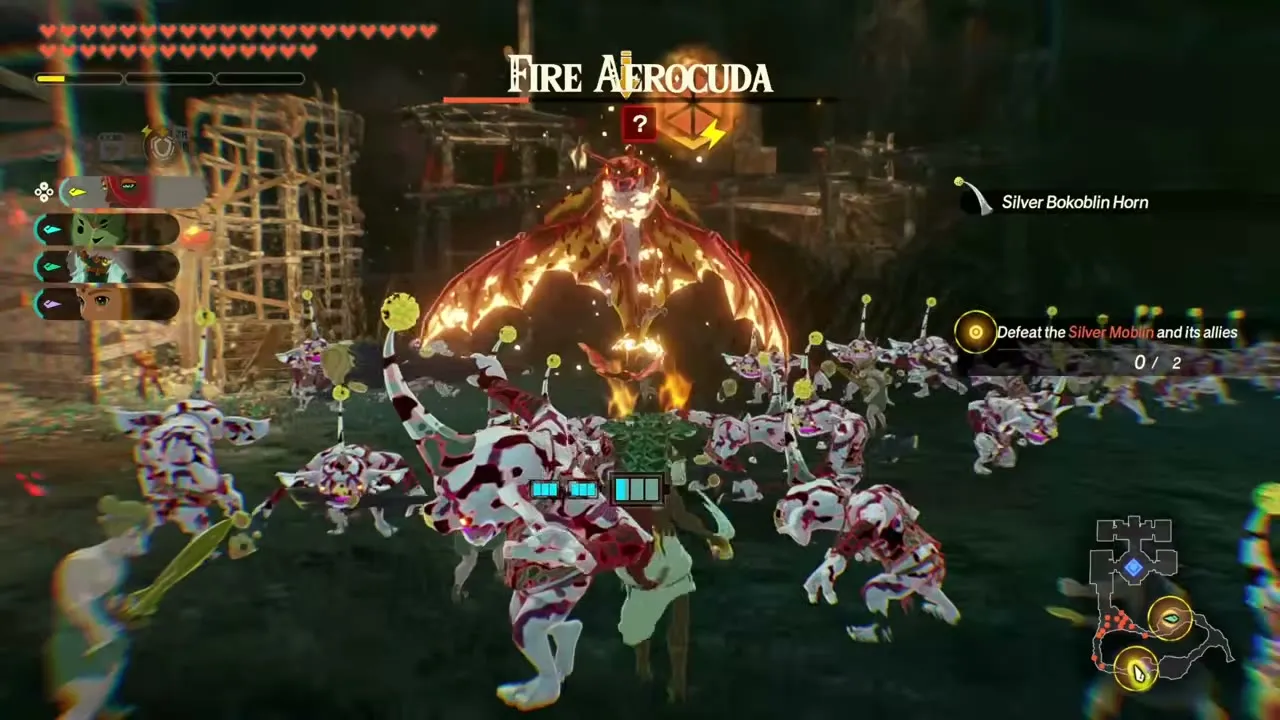
Its recommended level is 63, set in Death Mountain (Eldin). Any warrior is allowed. The goal is to defeat the monsters ravaging Death Mountain. You fight Fire-Breath Lizalfos, Fire Moblins, Electric Boss Bokoblins, Silver Bokoblins and a Fire Hinox, taking on a Fire Moblin first, an Electric Boss Bokoblin next and the Fire Hinox last. You race a timer here. First clear: Sizzlefin Trout x20, Bomb Flower x20, Raw Bird Drumstick x20, Rupee x1,000, Pure Zonaite Steel (Pristine) x1.
Defending Hyrule’s Main Camp
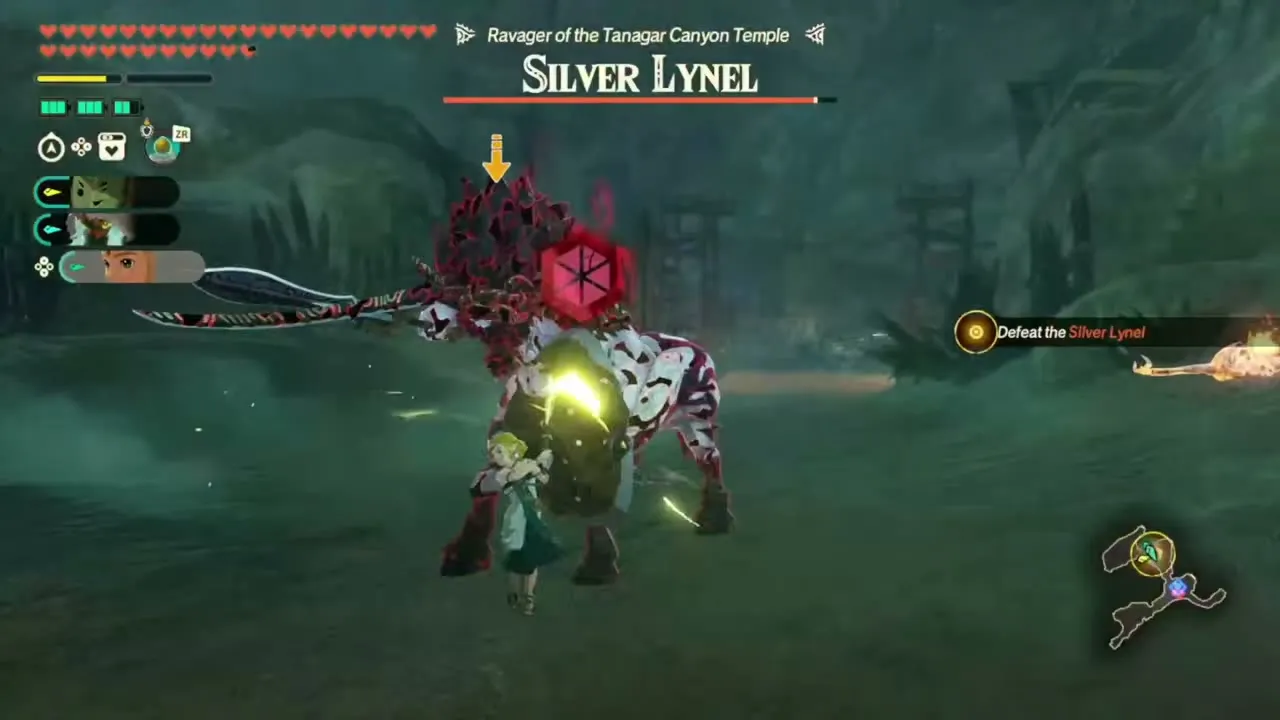
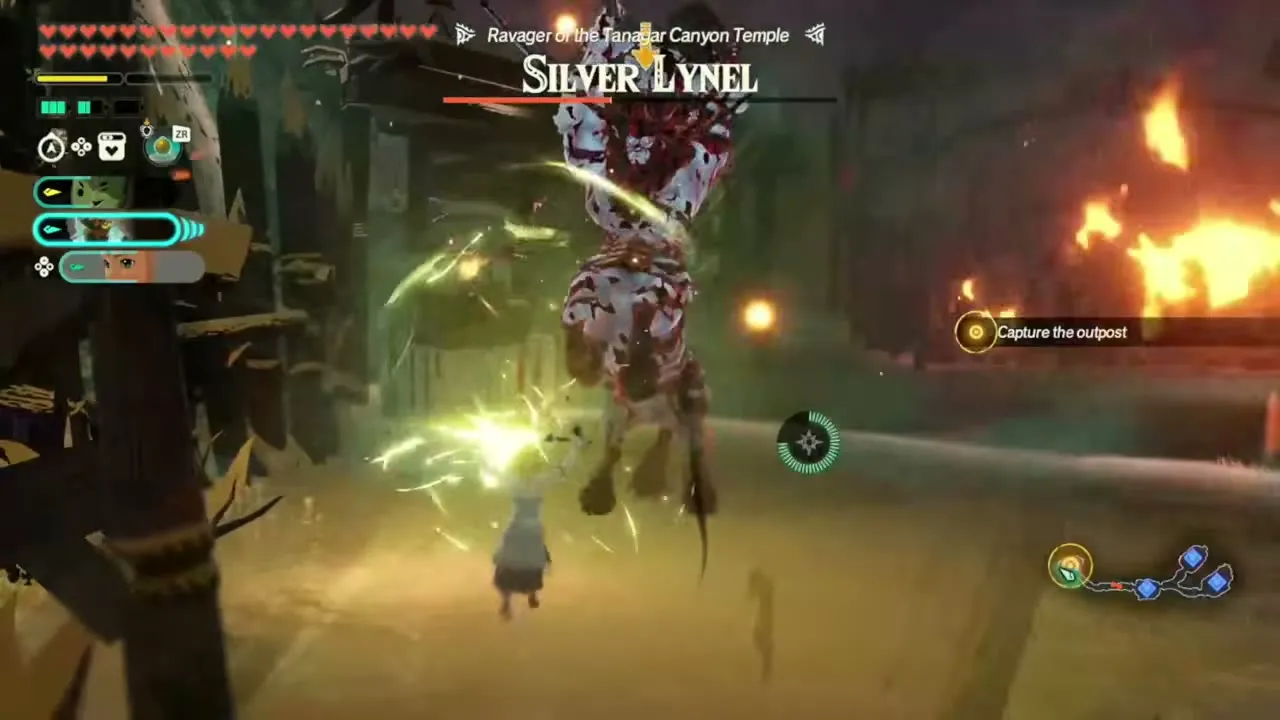
Its recommended level is 62, set in Tanagar Canyon Temple (Central Hyrule). Any warrior is allowed. You fight Gibdos, Moth Gibdos, Black Bokoblins, Silver Lynels and Silver Boss Bokoblins. The goal is to repel the attack on the Tanagar Canyon Temple by defending the outposts, and a Silver Lynel, the ravager of the temple, ends the attack. First clear: Blue Nightshade x20, Hyrule Arowana x20, Armored Porgy x20, Rupee x1,000, Pure Zonaite Steel (Pristine) x1.
Pacifying Tanagar Canyon
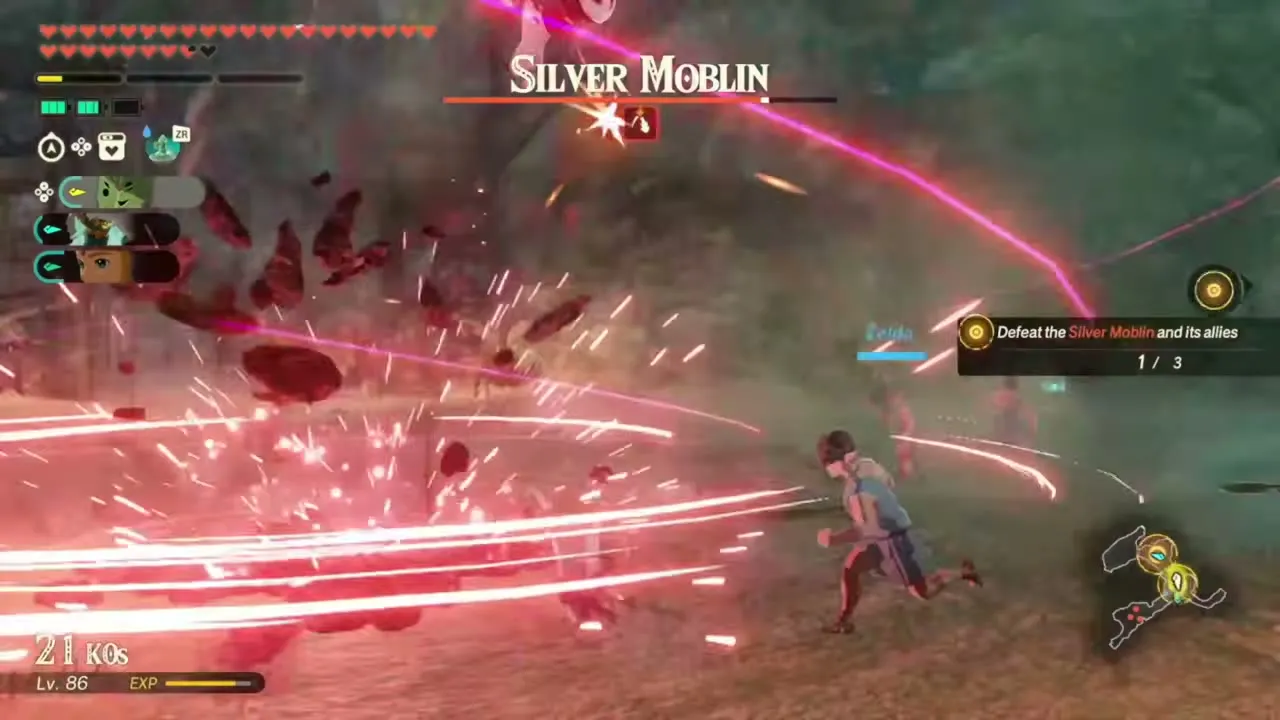
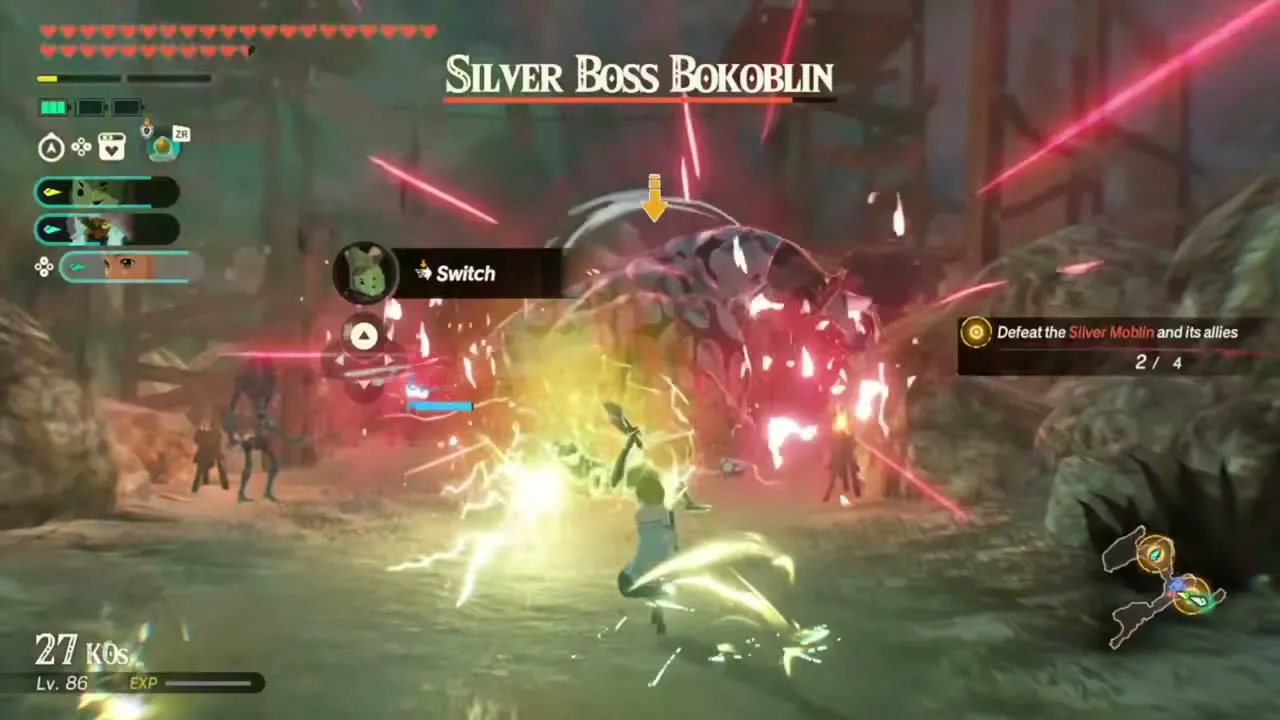
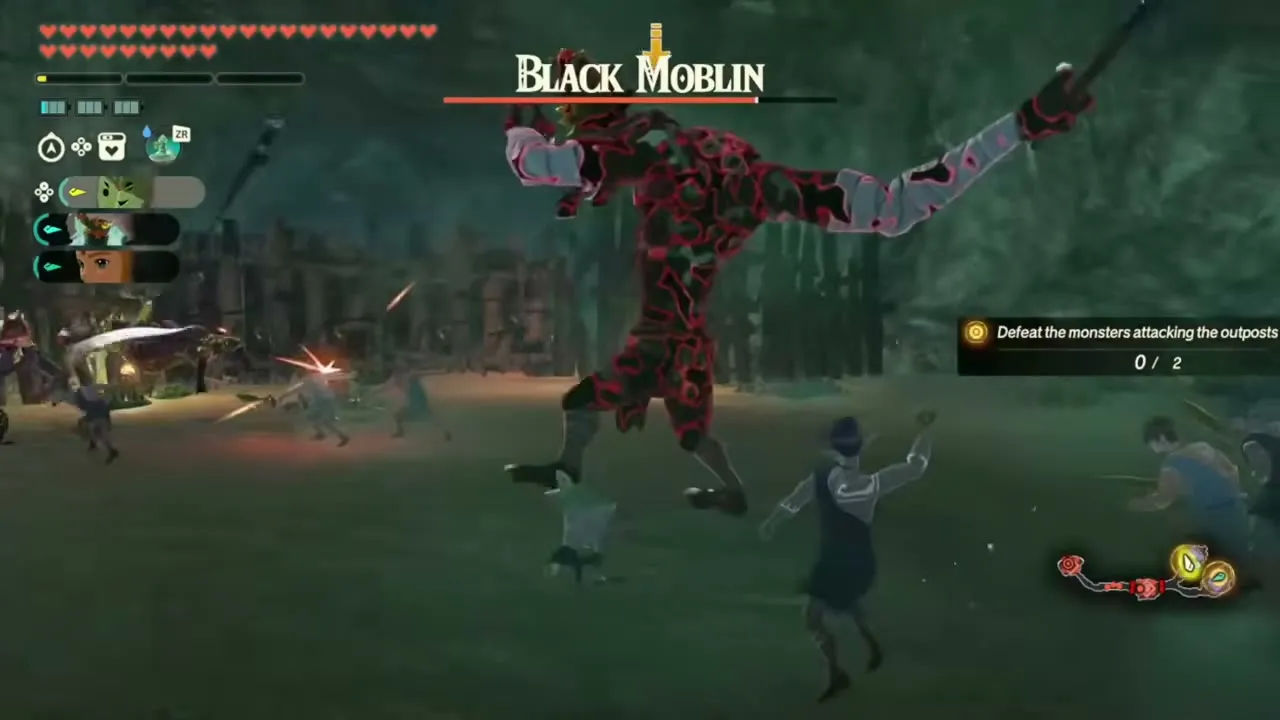
Its recommended level is 70, set in Tanagar Canyon Temple (Central Hyrule). Any warrior is allowed. You fight Silver and Black Horriblins, Silver Lynels, Silver Moblins and Silver Boss Bokoblins. Raw Meat and Fortified Pumpkin can be picked up on the field. A Black Moblin opens the fight, outposts need guarding, and a Silver Lynel, the ravager of the temple, ends it. First clear: Hylian Tomato x20, Rushroom x20, Ironshell Crab x20, Rupee x1,000, Pure Zonaite Steel (Pristine) x1.
Cursing the Cold
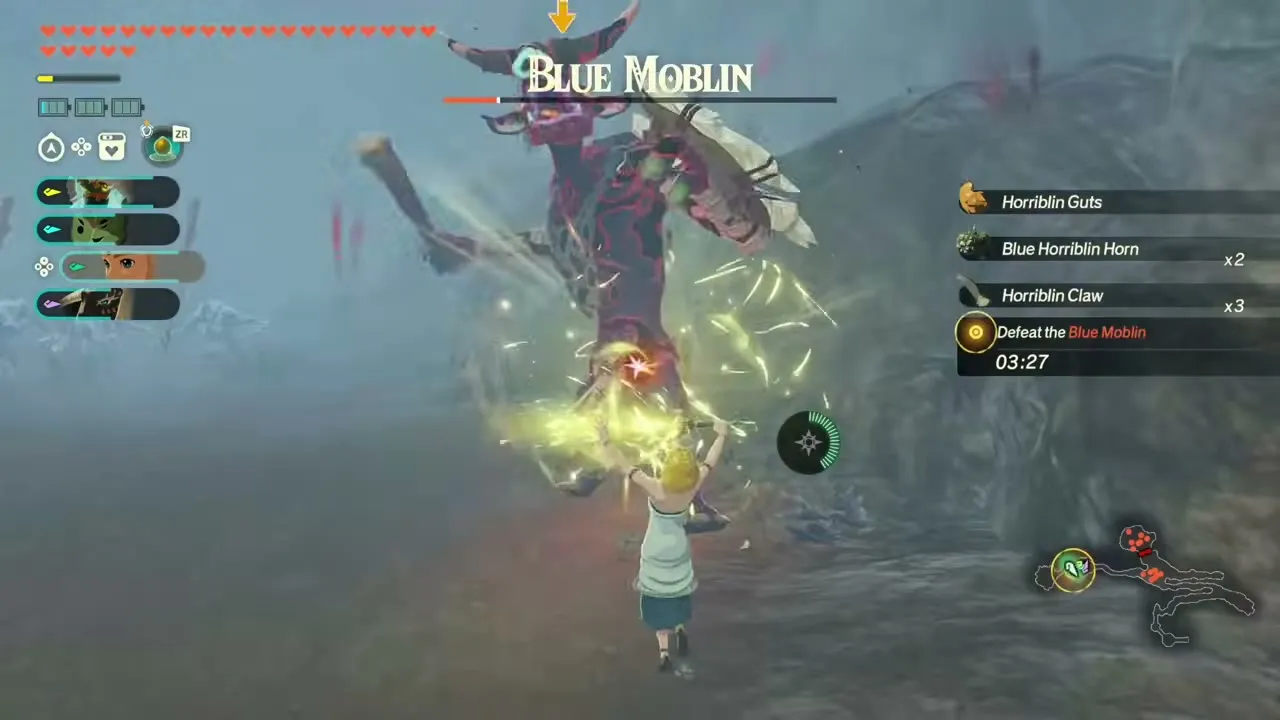
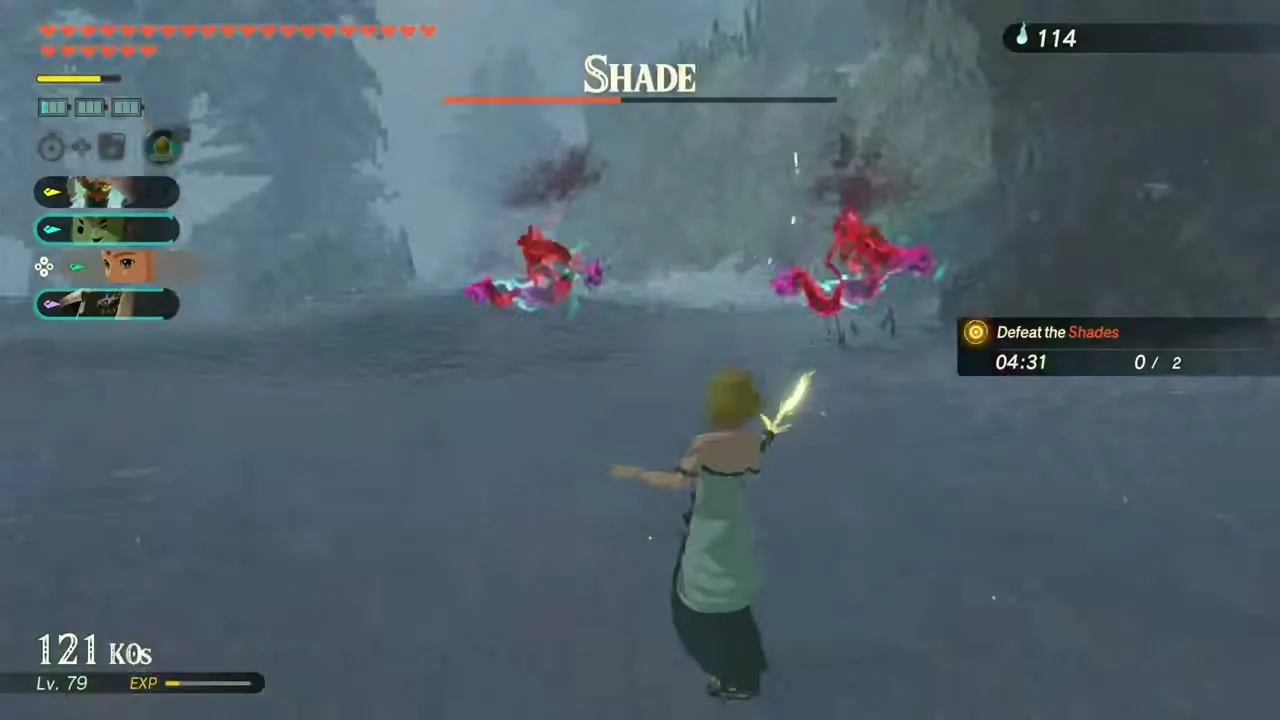
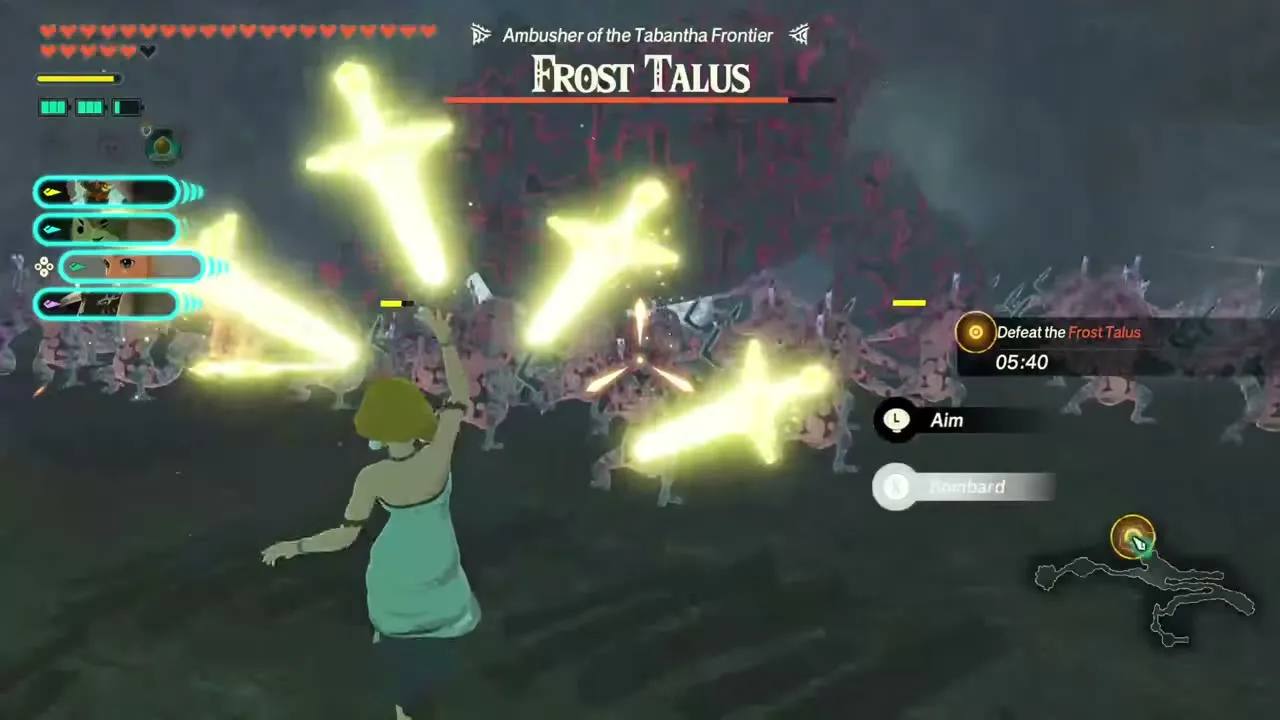
It opens after A Clash of Constructs. Its recommended level is 68, set in Tabantha Frontier (Hebra). The Knight Construct and Calamo are fixed and you add two more warriors. You fight Blue Moblins, Shades, Ice-Breath Lizalfos, Blue Horriblins and Frost Taluses. A timer applies. Winning here is what brings out A Vicious Battle: Hebra and Defending in the Bitter Cold. The Blue Moblin comes first, then two Shades, and a Frost Talus, the ambusher of the Tabantha Frontier, finishes it. First clear: Hearty Truffle x15, Hearty Salmon x15, Cold Darner x20, Rupee x1,000, Pure Zonaite Steel (Bow) x1.
The Wetland Offensive
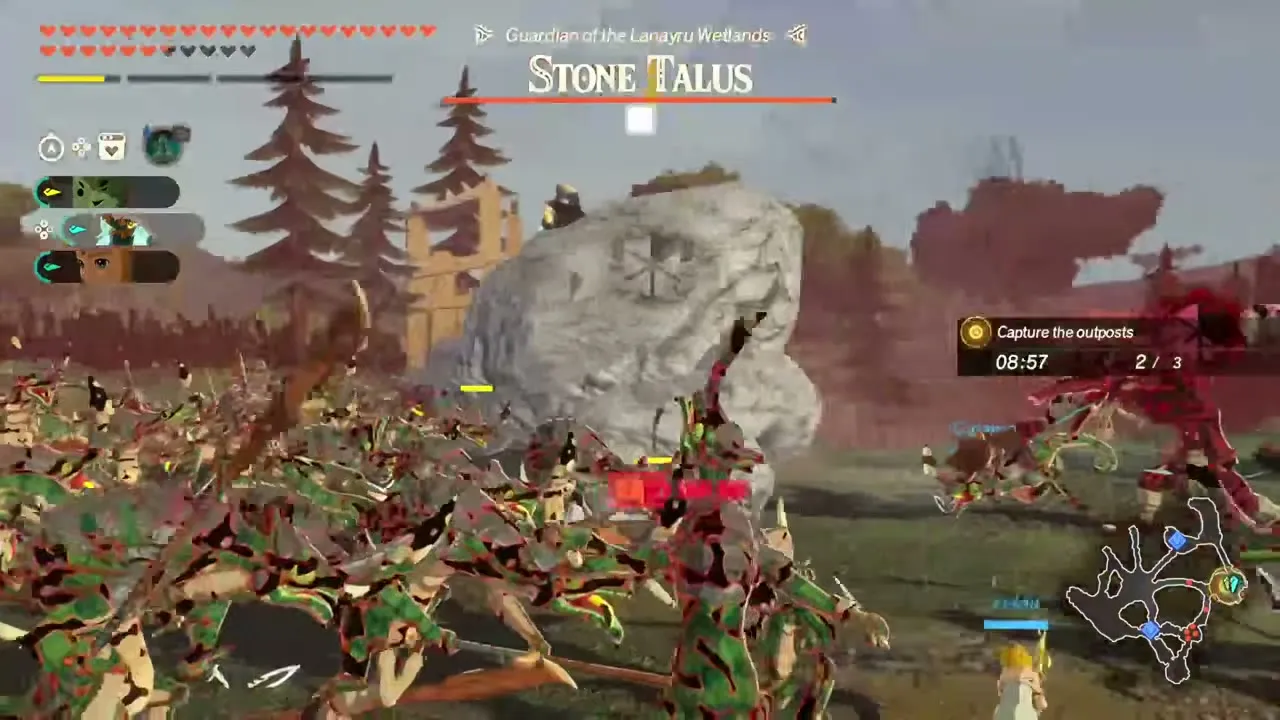
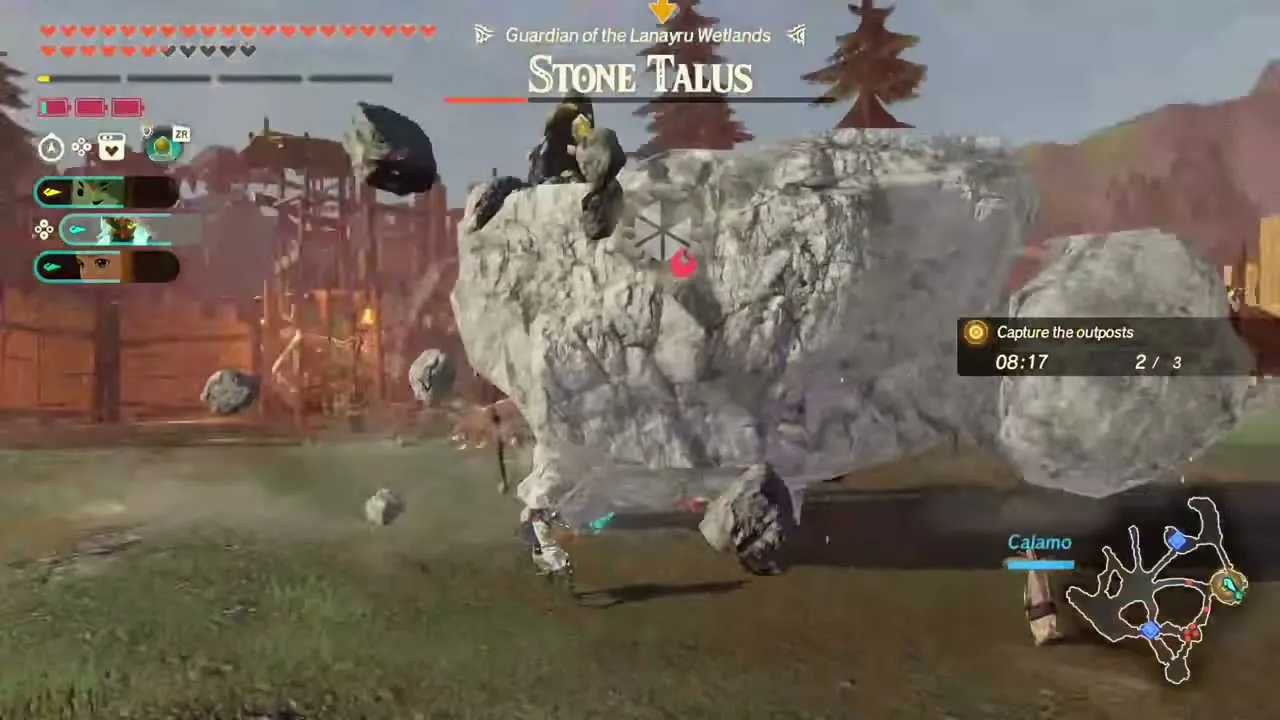
It is available once A Clash of Constructs is cleared. Its recommended level is 65, set in Lanayru Wetlands. Any warrior is allowed. You fight Moblins, Lizalfos, Boss Bokoblins, Stone Taluses and Hinoxes. You can pick up Splash Fruit and Hearty Bass on the battlefield, and a timer is running. The goal is to capture three enemy outposts; a Boss Bokoblin, a Hinox (the guardian of the Lanayru Wetlands), a Stone Talus and a Moblin stand in the way. First clear: Stealthfin Trout x20, Armored Carp x20, Sticky Frog x20, Rupee x1,000, Pure Zonaite Steel (Spear) x1.

The Scourge of Death Mountain
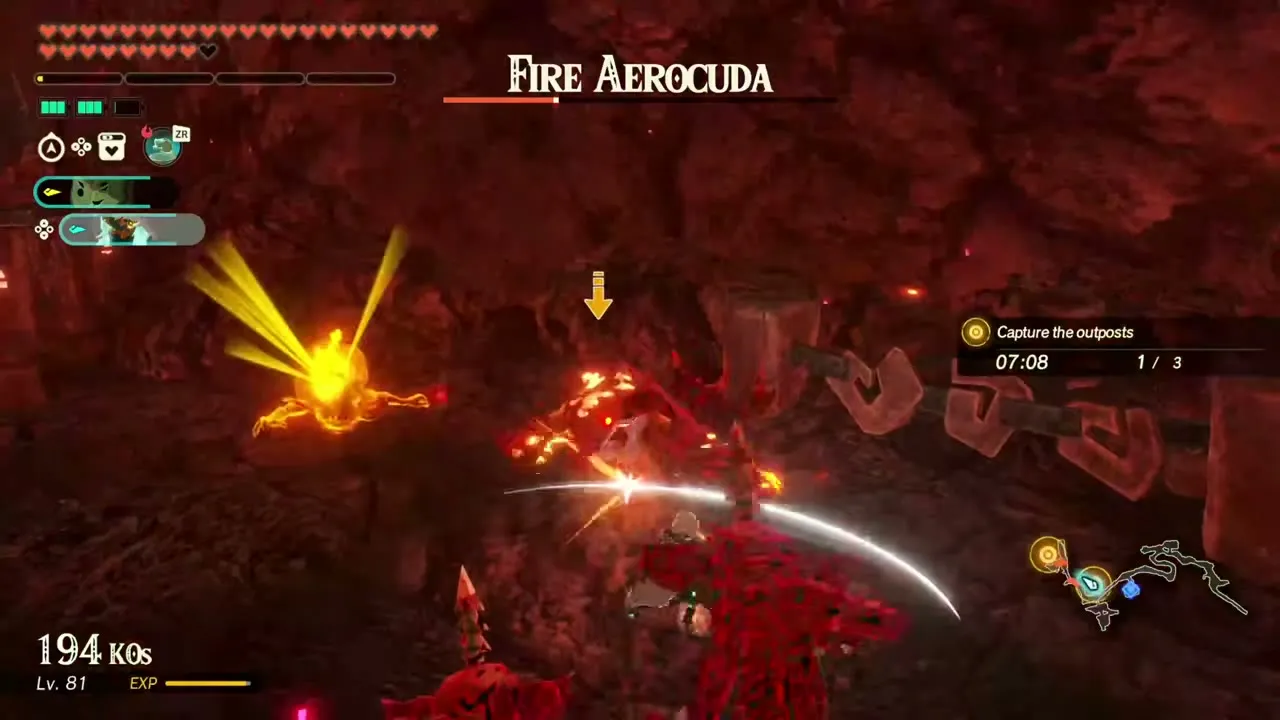
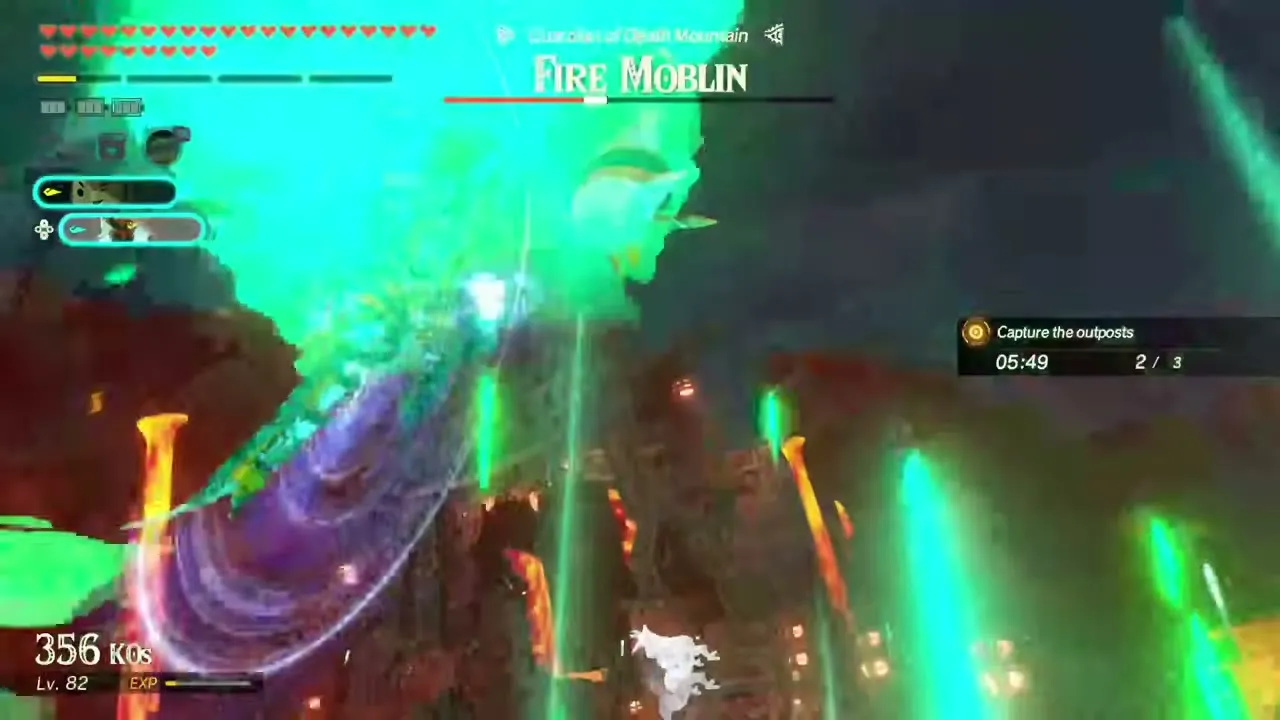
It is available once A Clash of Constructs is cleared. Its recommended level is 65, set in Death Mountain (Eldin). Any warrior is allowed. You fight Bokoblins, Fire-Breath Lizalfos, Fire Moblins, Fire Aerocudas and Silver Horriblins. Fireproof Lizards and Smotherwing Butterflies can be gathered here, and the fight is timed. The goal is to capture three enemy outposts; a Fire Aerocuda attacks in the air and a Fire Moblin, the guardian of Death Mountain, defends the last post. First clear: Sunset Firefly x20, Spicy Pepper x20, Bladed Rhino Beetle x20, Rupee x1,000, Pure Zonaite Steel (Two-Handed) x1.

Purging the Swamplands
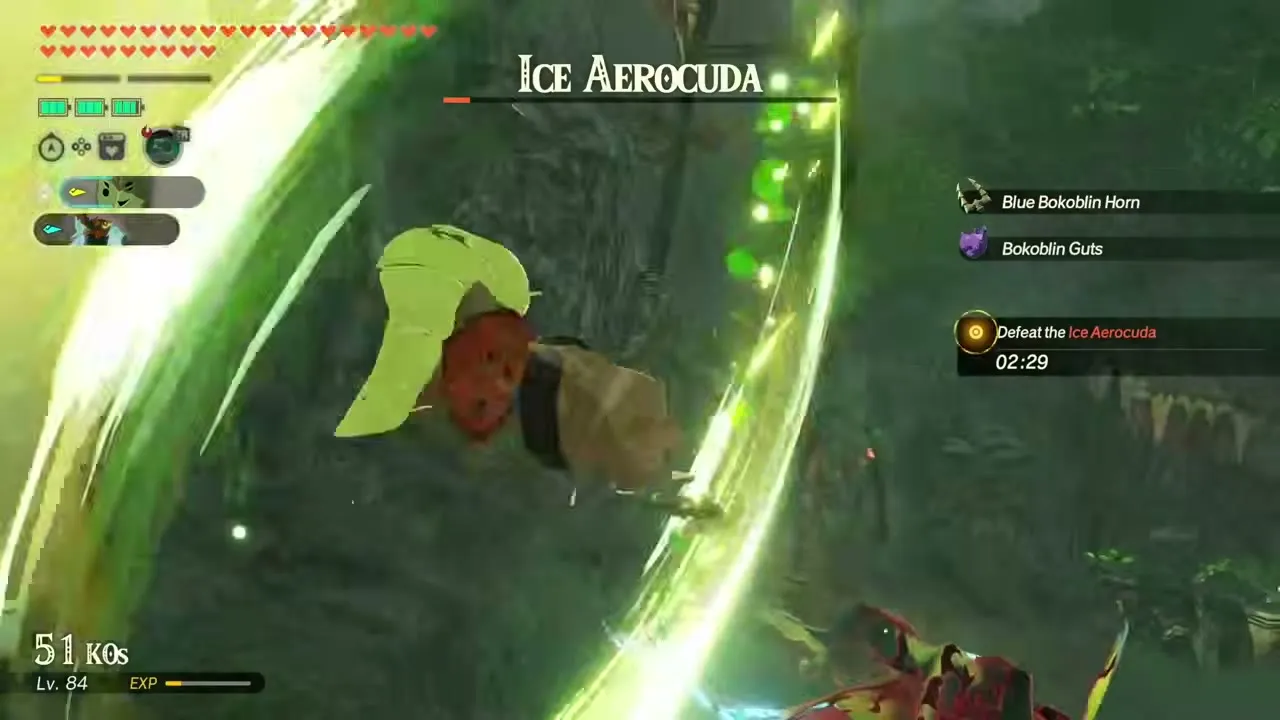
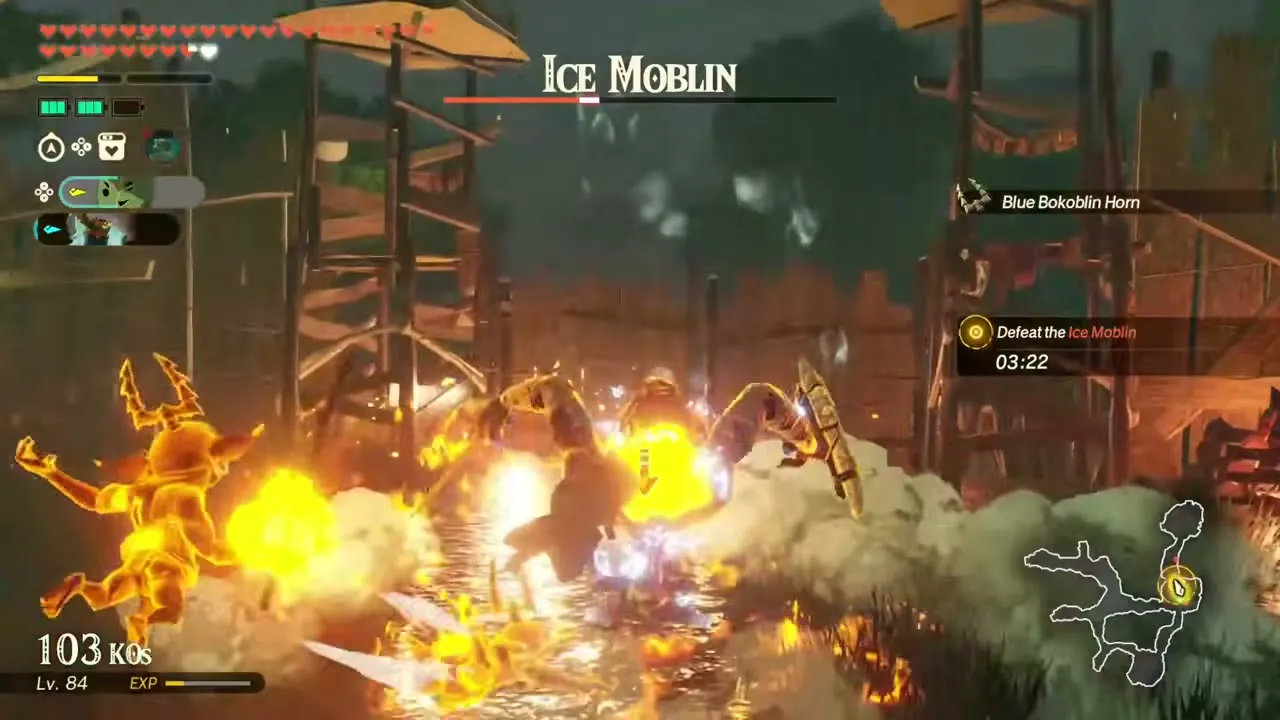
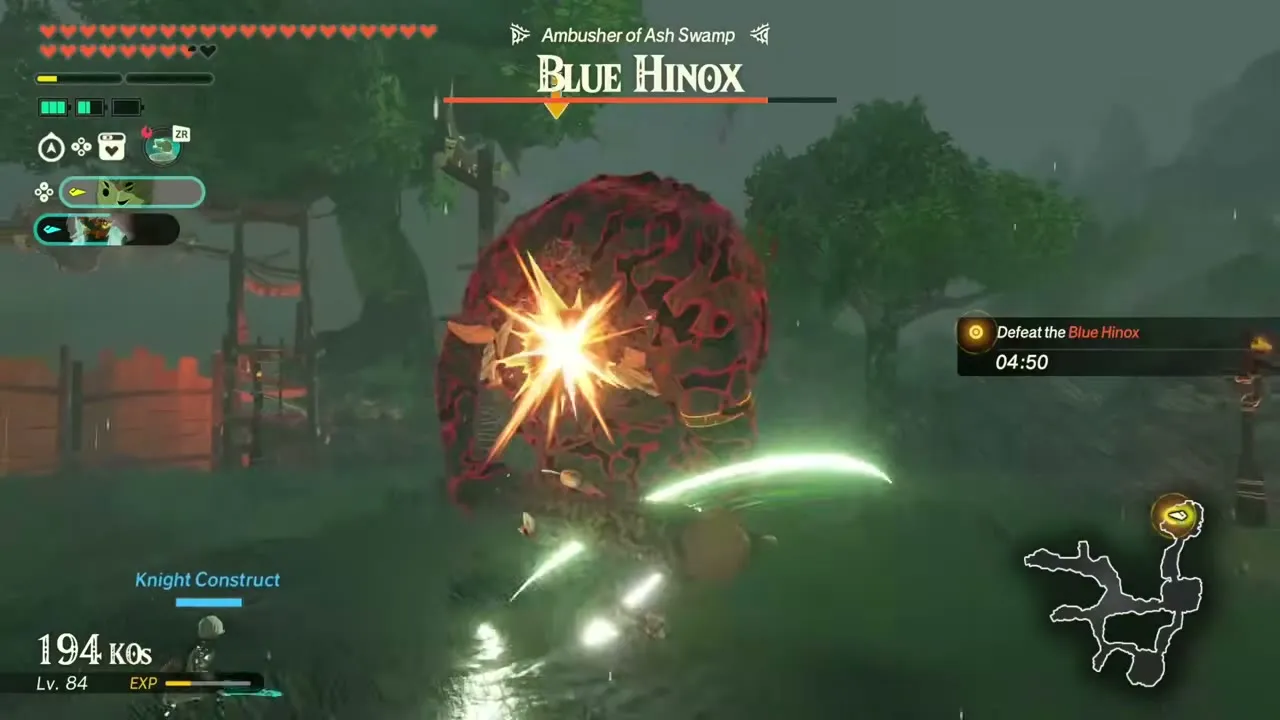
It is available once A Clash of Constructs is cleared. Its recommended level is 66, set in Ash Swamp (Necluda). Any warrior is allowed. You fight Blue Bokoblins, Blue Lizalfos, Ice Moblins, Ice Aerocudas and Blue Hinoxes. It runs on a timer, and finishing it brings Battle for Ash Swamp onto the map. An Ice Aerocuda opens the fight, then an Ice Moblin, and a Blue Hinox, the ambusher of Ash Swamp, closes it. First clear: Mighty Bananas x20, Hot-Footed Frog x20, Stealthfin Trout x20, Rupee x1,000, Pure Zonaite Steel (Pristine) x1.
Liberating the Gerudo Desert
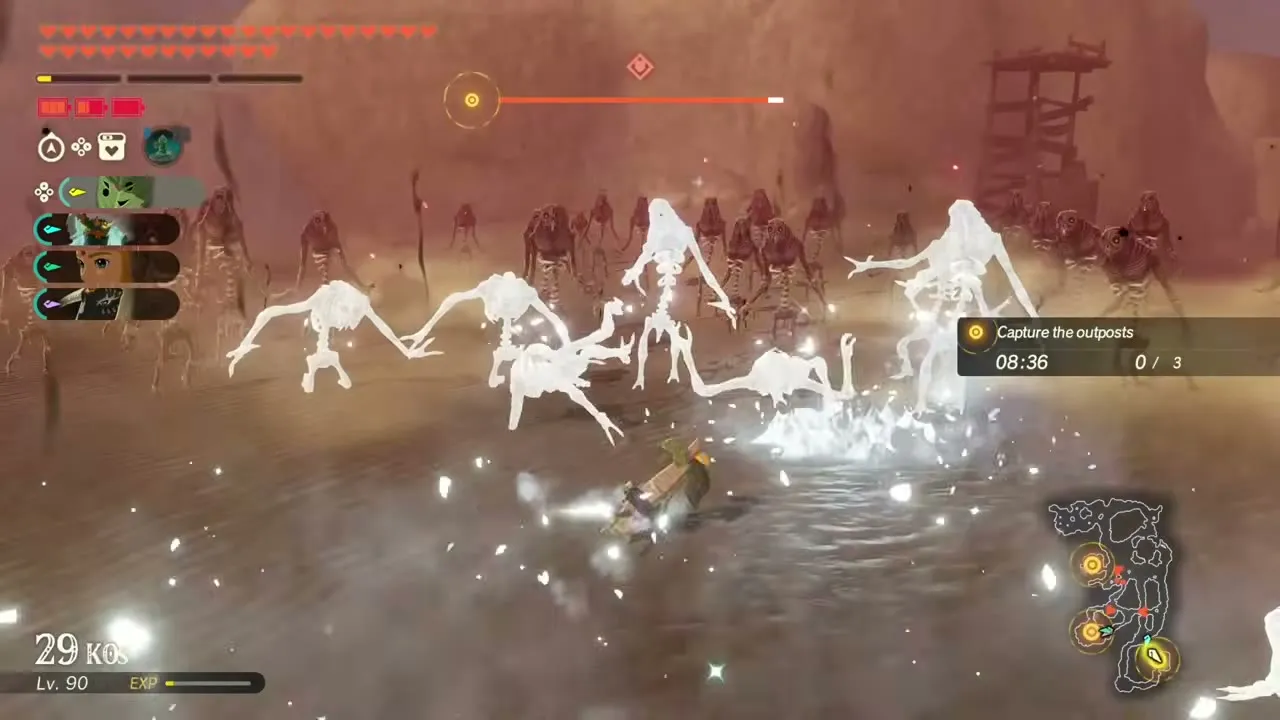
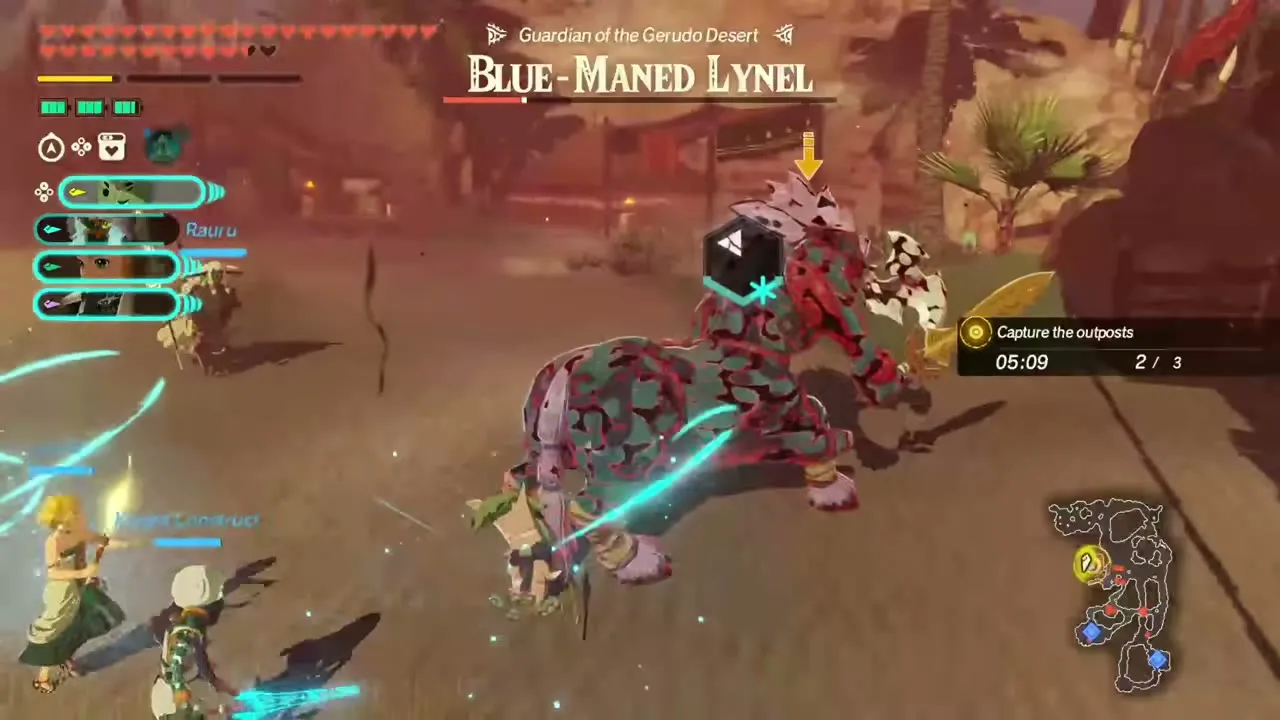
It is available once A Clash of Constructs is cleared. Its recommended level is 66, set in Gerudo Desert. Any warrior is allowed. You fight Blue Bokoblins, Blue-Maned Lynels, Gibdos and Moth Gibdos. Thunderwing Butterflies and Voltfin Trout can be collected on the field, and a timer applies. The goal is to capture three outposts across the desert, and a Blue-Maned Lynel, the guardian of the Gerudo Desert, guards the last one. First clear: Hydromelon x15, Electric Safflina x15, Zapshroom x15, Rupee x1,000, Pure Zonaite Steel (Pristine) x1.

Reclaiming the Seres Scablands
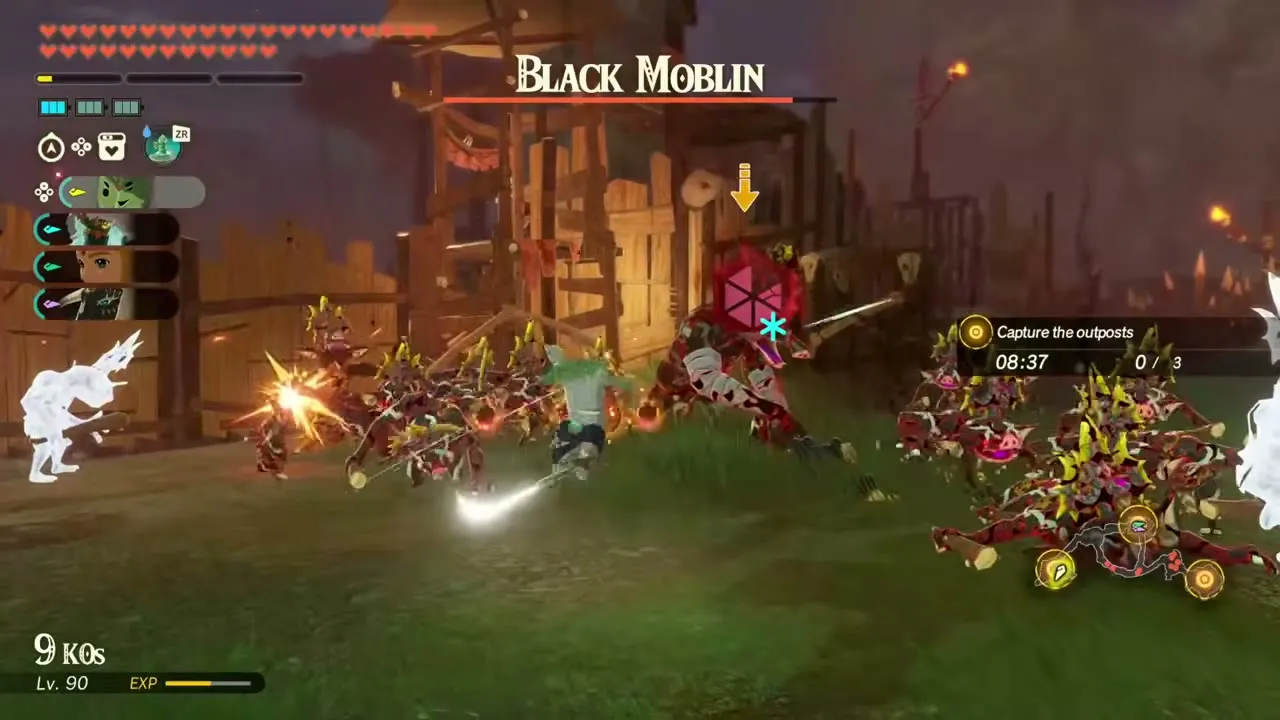
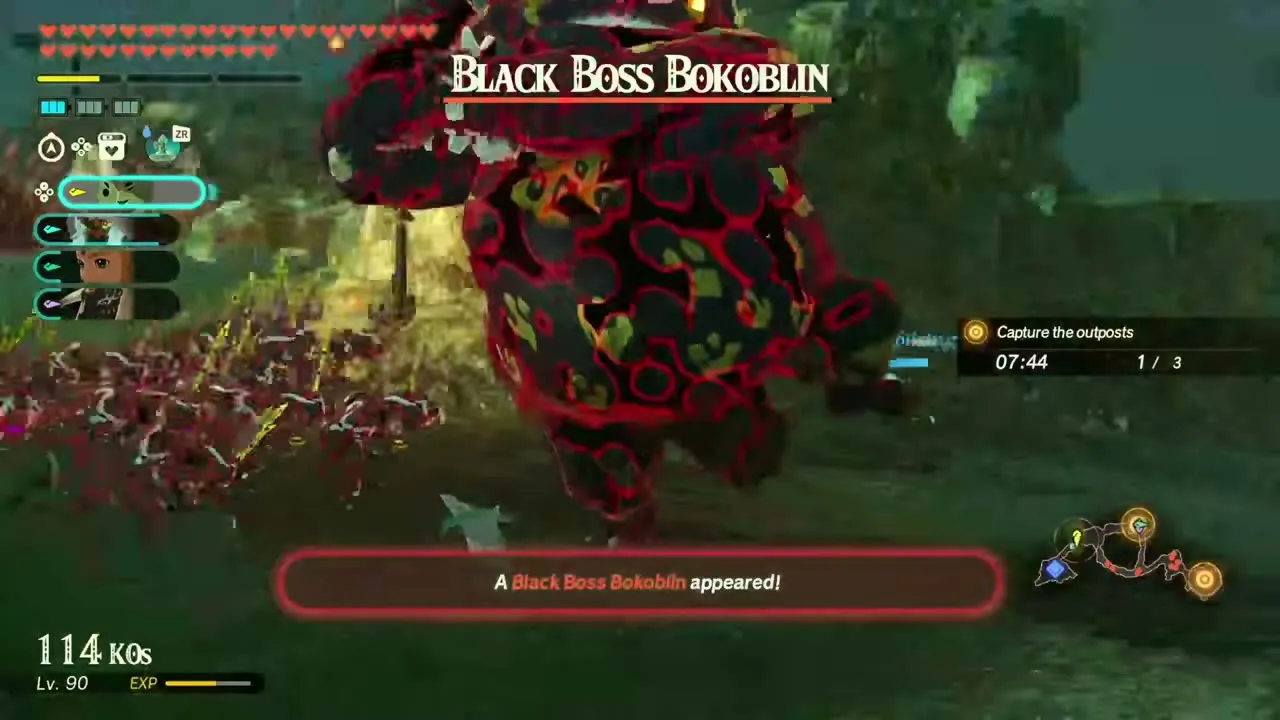
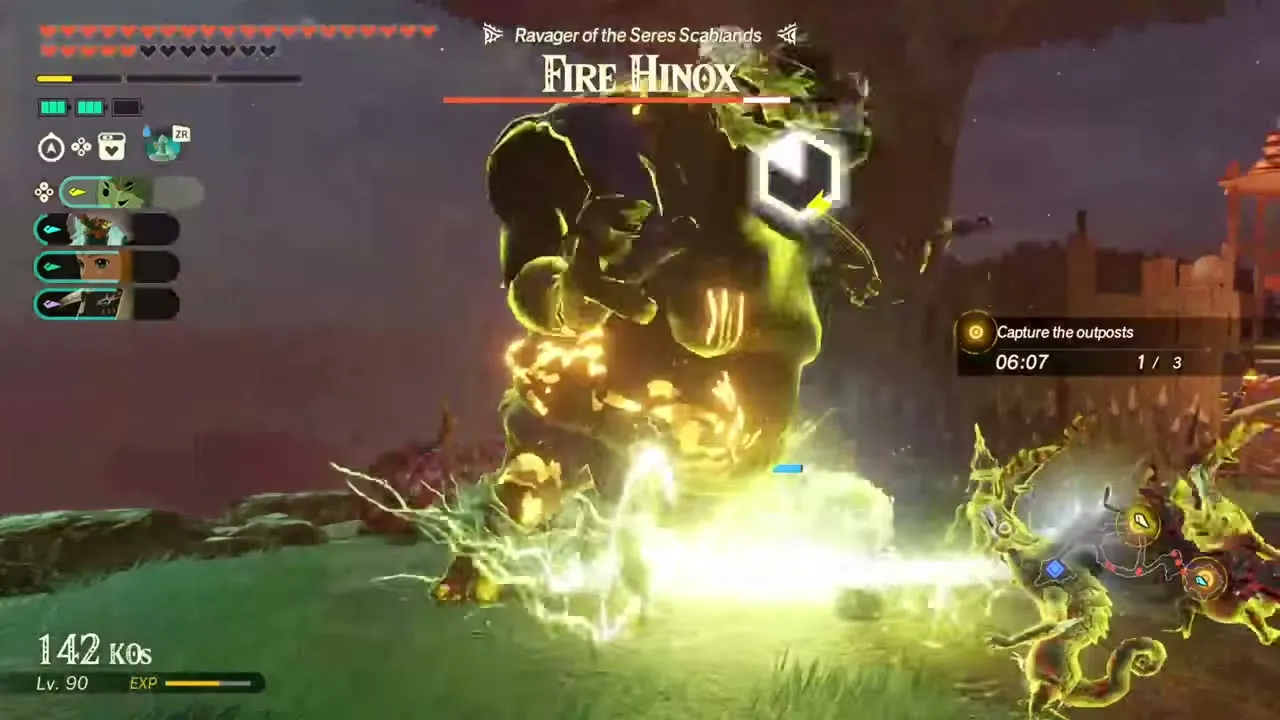
It is available once A Clash of Constructs is cleared. Its recommended level is 69, set in Seres Scablands (Gerudo). Any warrior is allowed. You fight Electric Moblins, Black Bokoblins, Electric Lynels and Black Boss Bokoblins. The clock is on. Clearing it makes A Vicious Battle: Gerudo and The Seres Scablands Counteroffensive appear. The goal is to capture three enemy outposts; a Black Moblin, a Black Boss Bokoblin, a Fire Hinox and an Electric Lynel hold them in turn. First clear: Mighty Thistle x15, Armored Carp x15, Sunshroom x15, Rupee x1,000, Pure Zonaite Steel (Pristine) x1.
The Traveler’s Third Homecoming
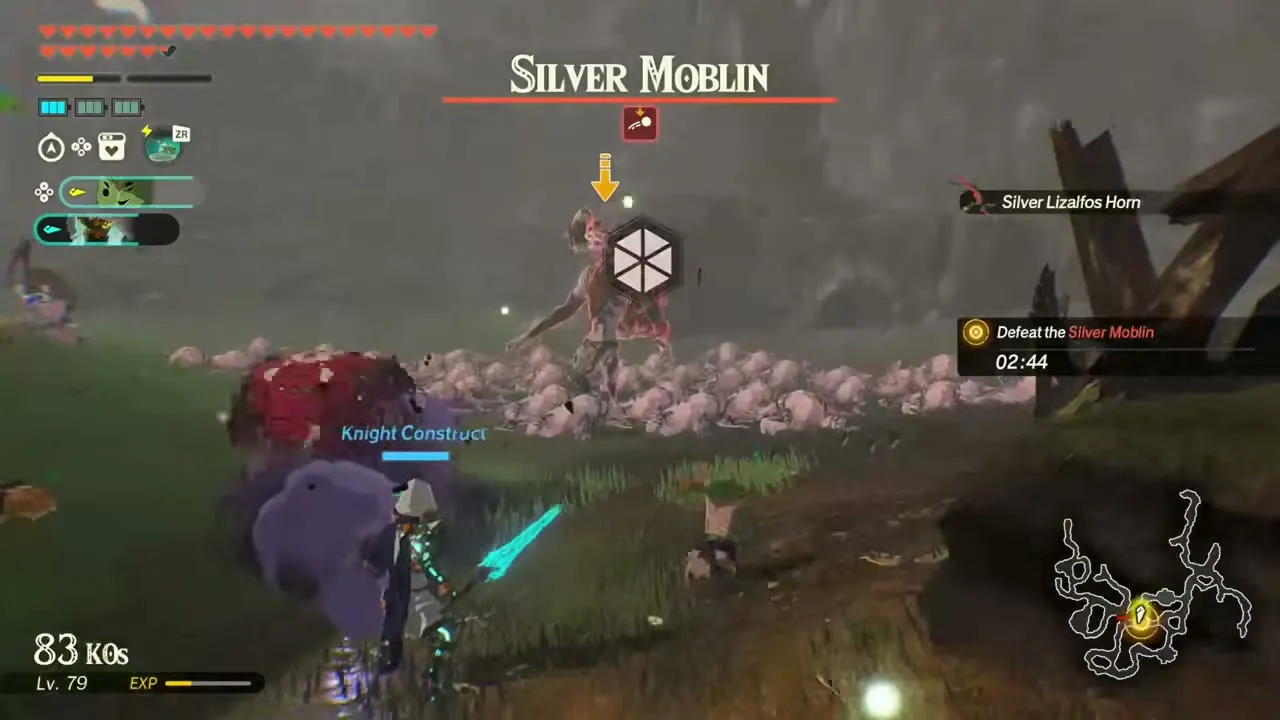
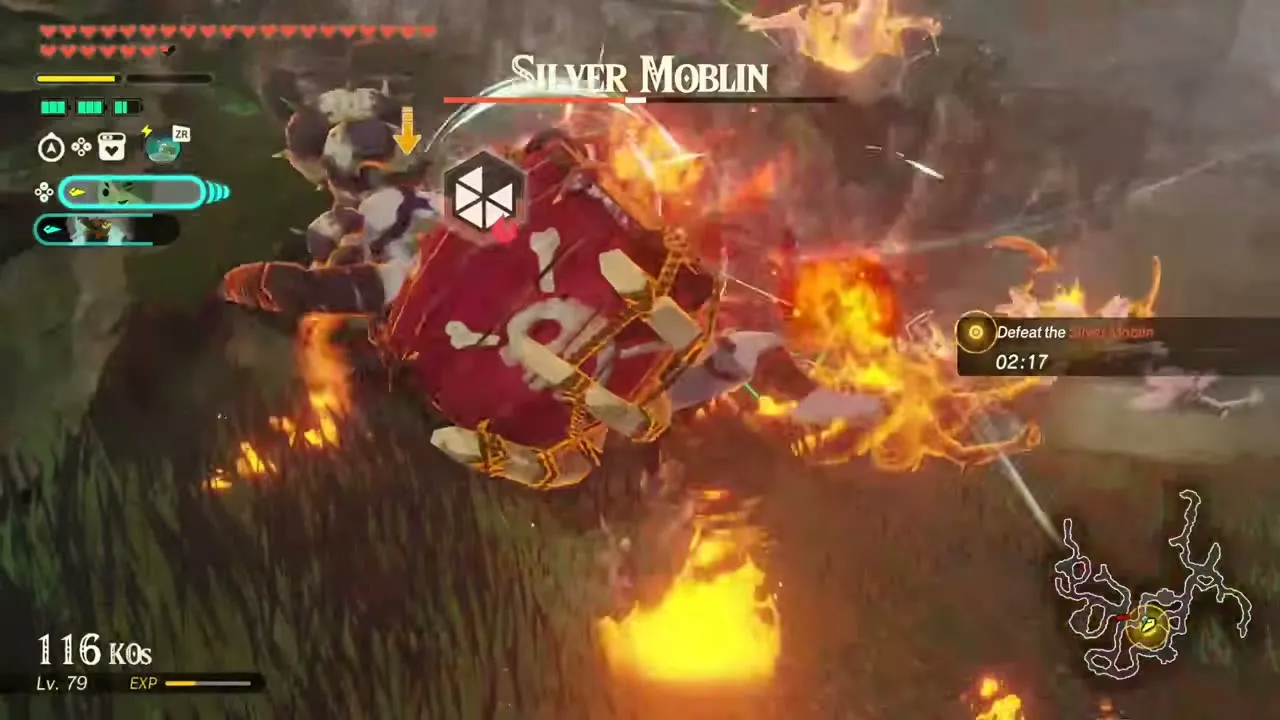
It opens after A Clash of Constructs, as the follow-up to The Traveler’s Second Homecoming. Its recommended level is 69, set in Great Hyrule Forest. Calamo is fixed and you pick one partner. You fight Keese, Stalkoblins, Silver Lizalfos, Silver Lynels and Silver Moblins. A timer applies. A Silver Moblin is the first captain and a Silver Lynel the last. It is the biggest Korok Seed payout of any challenge, and it leads to Battle for Great Hyrule Forest. First clear: Golden Apple x15, Mighty Bananas x20, Chickaloo Tree Nut x20, Korok Seed x7, Pure Zonaite Steel (One-Handed) x1.
The Corrupting Gloom
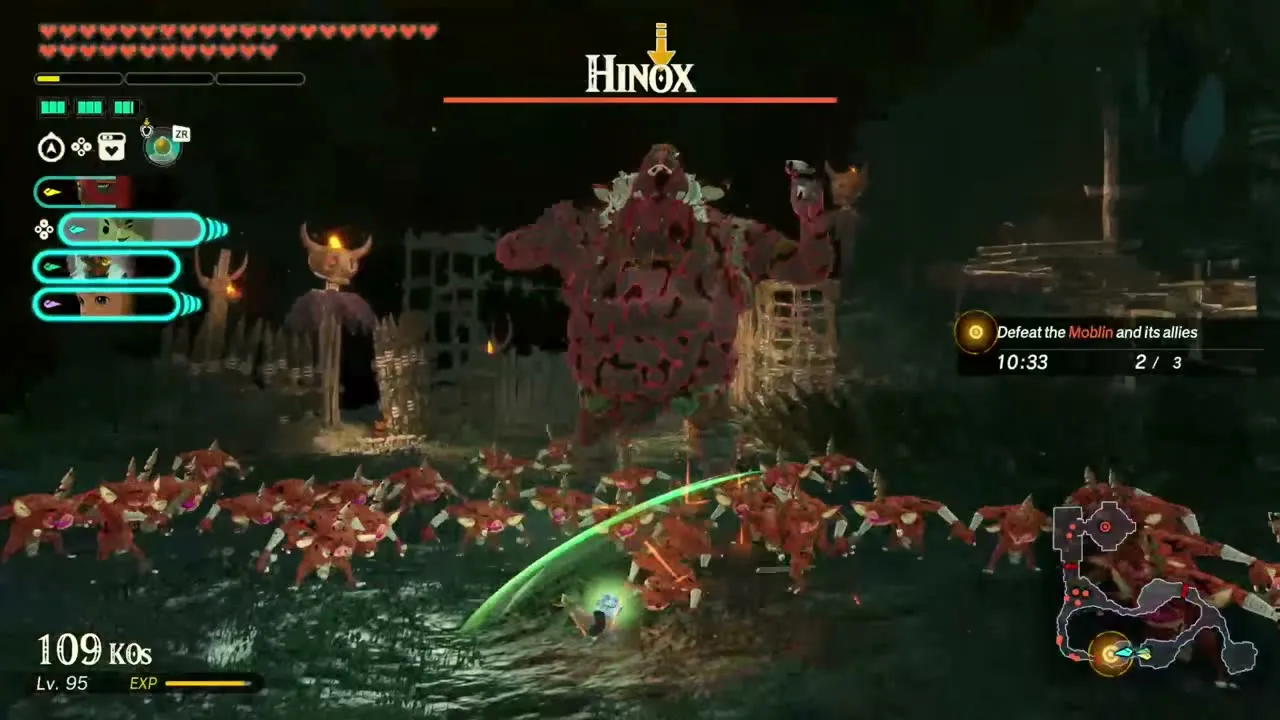
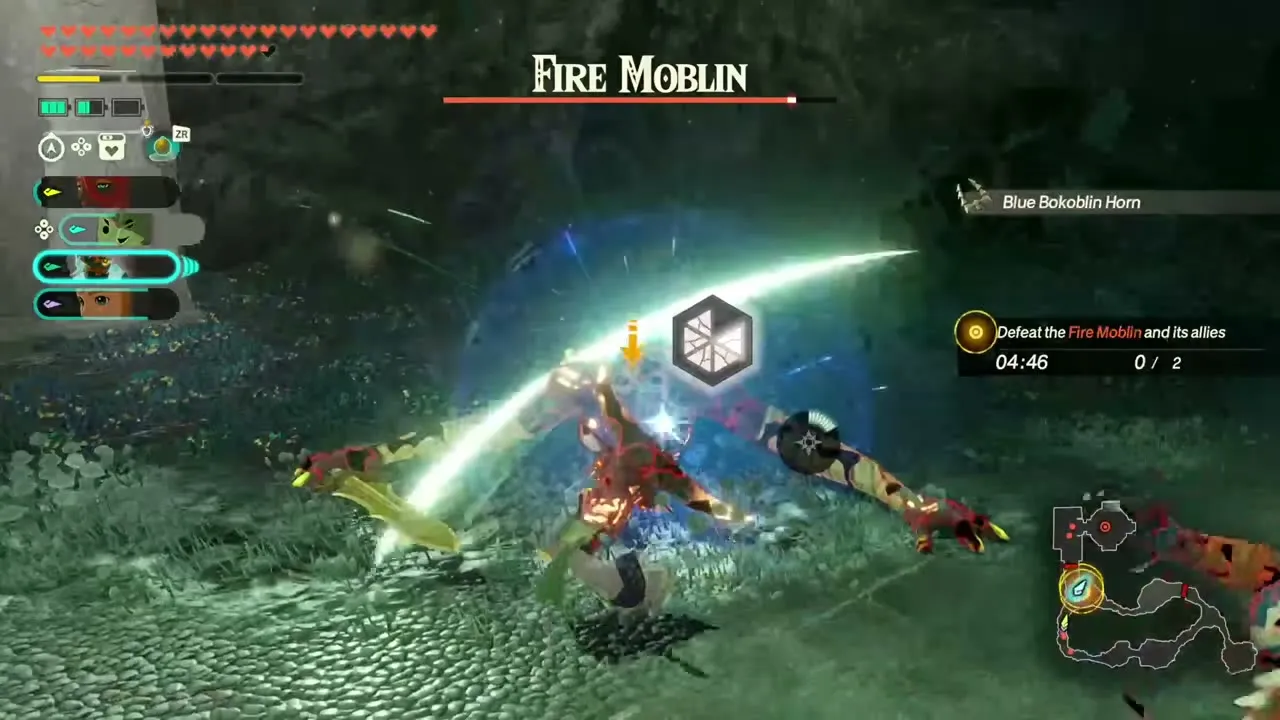
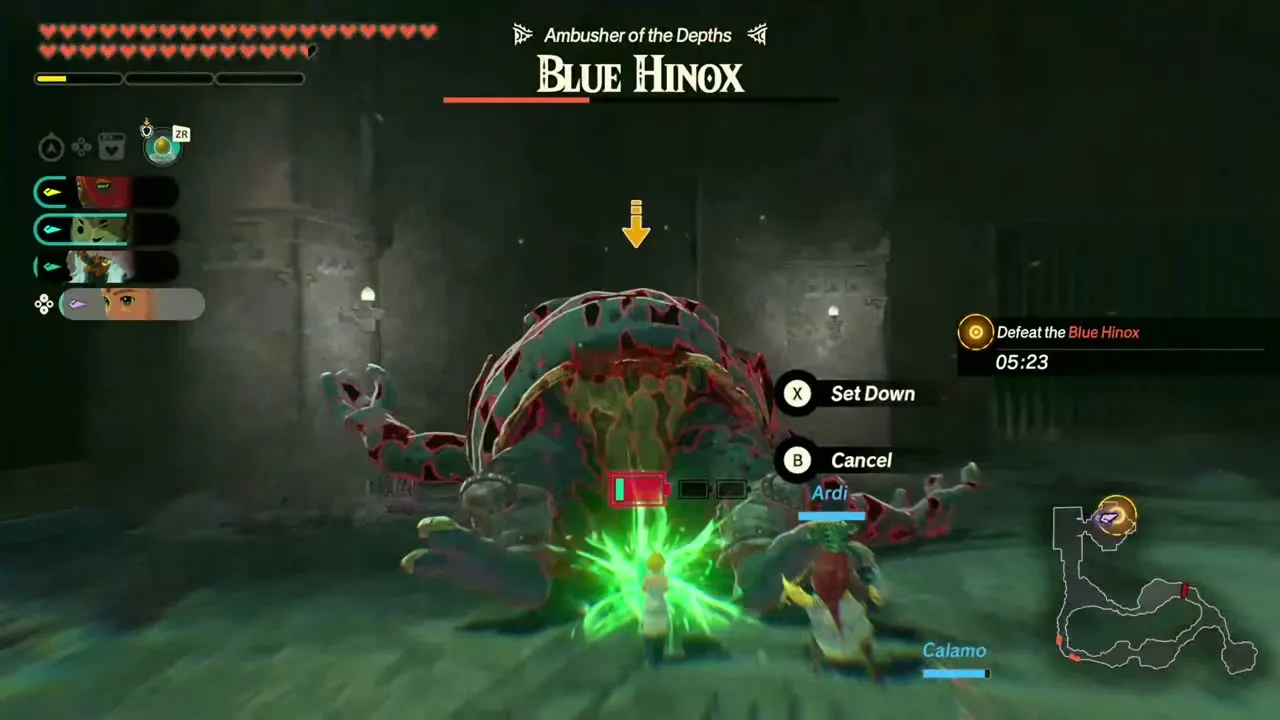
It is available once A Clash of Constructs is cleared. Its recommended level is 61, set in The Depths. Any warrior is allowed. You fight Blue Bokoblins, Blue Lizalfos, Ice Moblins, Fire Moblins and Blue Hinoxes. It has a time limit, and clearing it opens both The Gathering Gloom and Rumblings in the Depths. The foes arrive in phases: a Blue Moblin, a Boss Bokoblin, a Hinox, a Fire Moblin, an Ice Moblin and finally a Blue Hinox, the ambusher of the Depths. First clear: Large Zonaite x15, Brightcap x15, Glowing Cave Fish x15, Pure Zonaite Steel (One-Handed) x1.

The Gathering Gloom
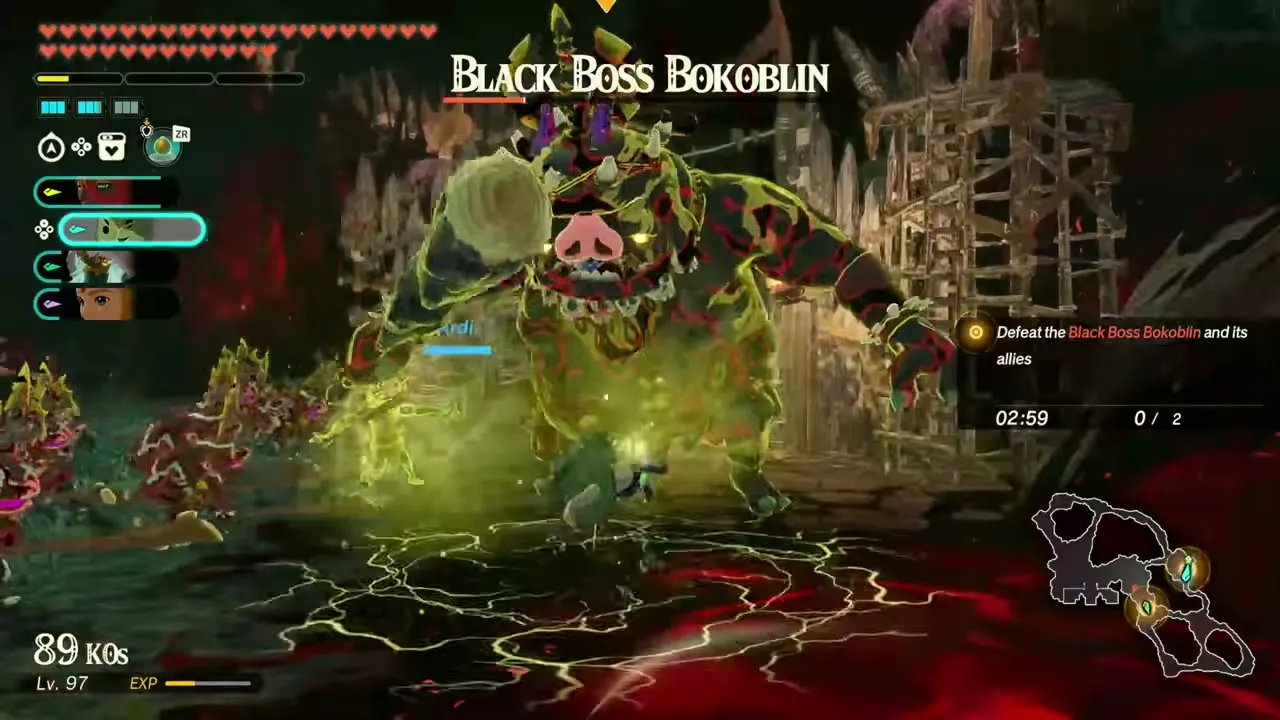
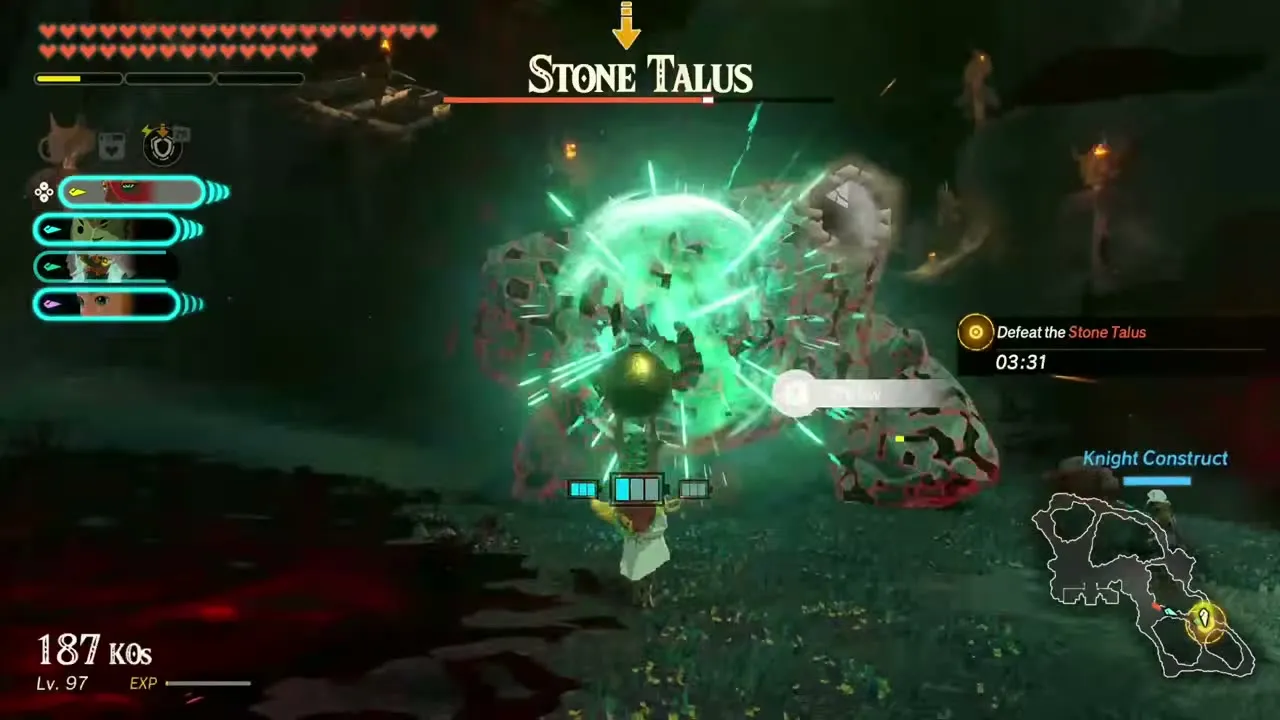
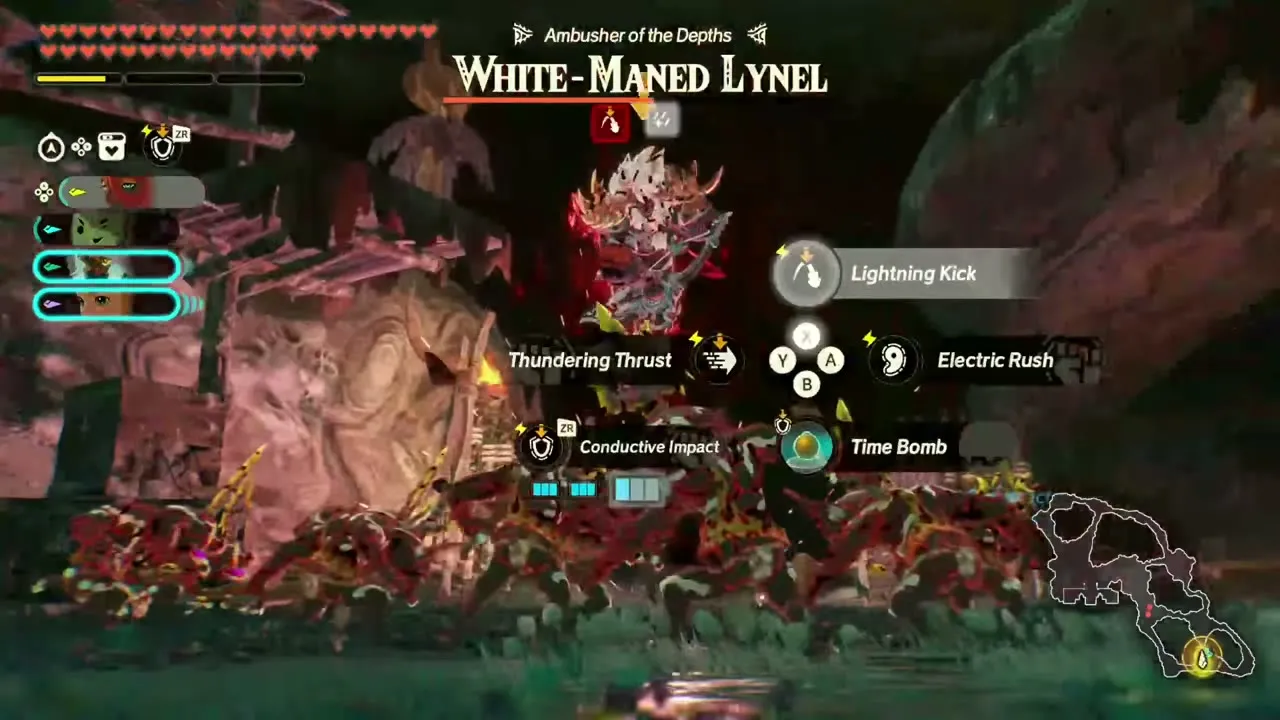
It follows The Corrupting Gloom. Its recommended level is 70, set in The Depths. Any warrior is allowed. You fight Stone Taluses, Black Bokoblins, Black Moblins, Black Boss Bokoblins and White-Maned Lynels. A timer applies. It is the step before The Deluge of Gloom. The foes arrive in phases: a Black Boss Bokoblin, a Black Moblin, a Stone Talus and a White-Maned Lynel. First clear: Large Zonaite x15, Dark Clump x5, Brightbloom Seed x15, a random weapon.
Banishing the Sludge
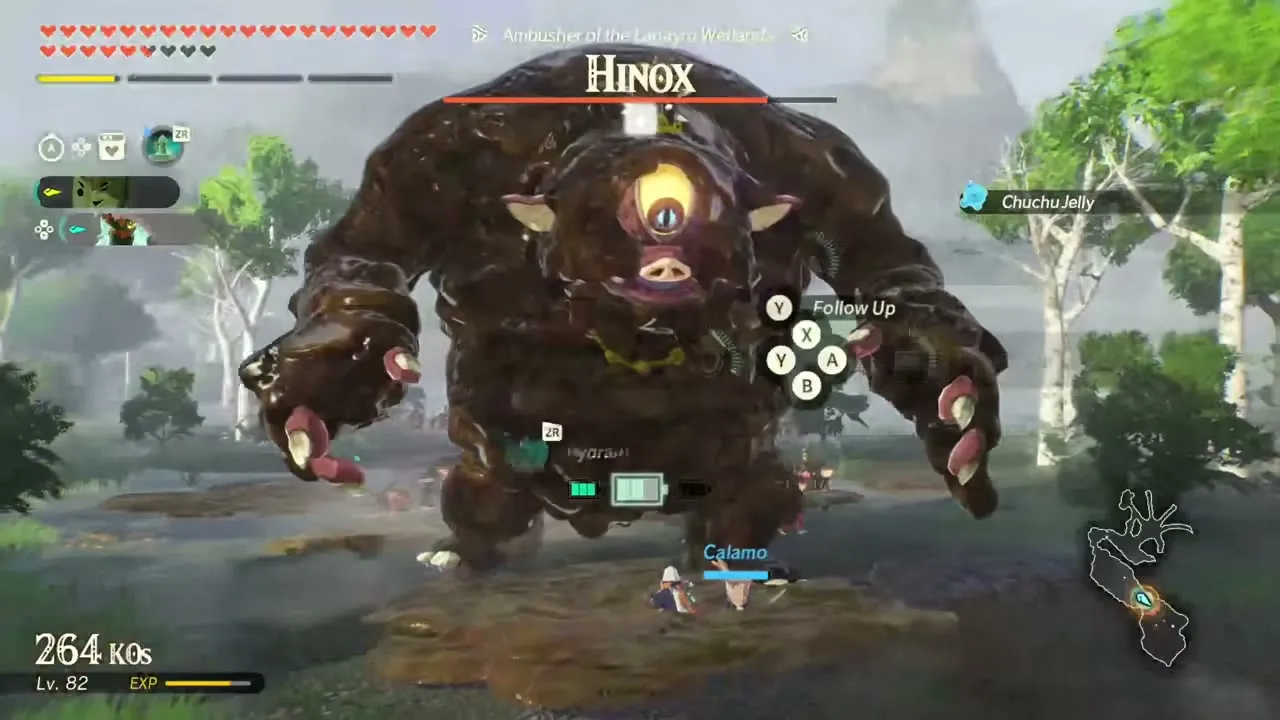
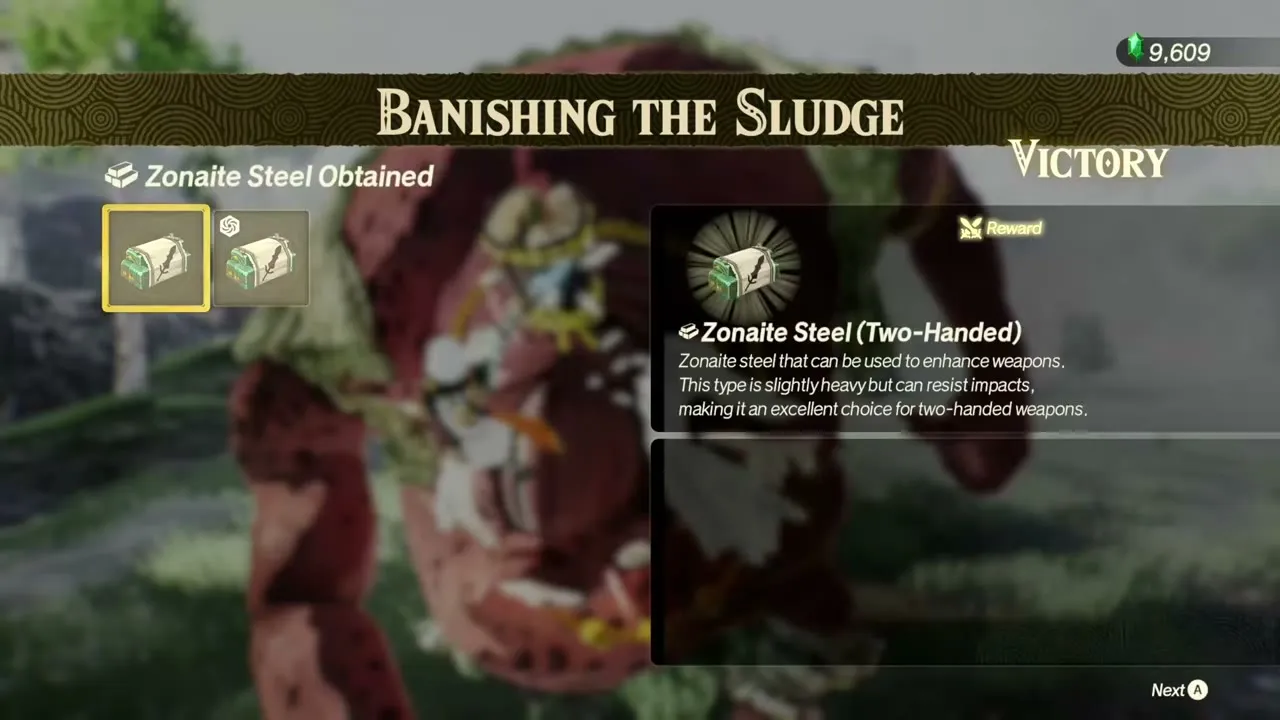
It is available once A Clash of Constructs is cleared. Its recommended level is 64, set in Lanayru Wetlands. Any warrior is allowed. You fight Boss Bokoblins, Moblins, Sludge Likes and a Hinox, the ambusher of the Lanayru Wetlands, in that order. It is timed, and it opens A Vicious Battle: Lanayru when you win. First clear: Hyrule Bass x20, Ironshroom x20, Razorshroom x20, a random weapon.
Trial: Wrath of the Giants
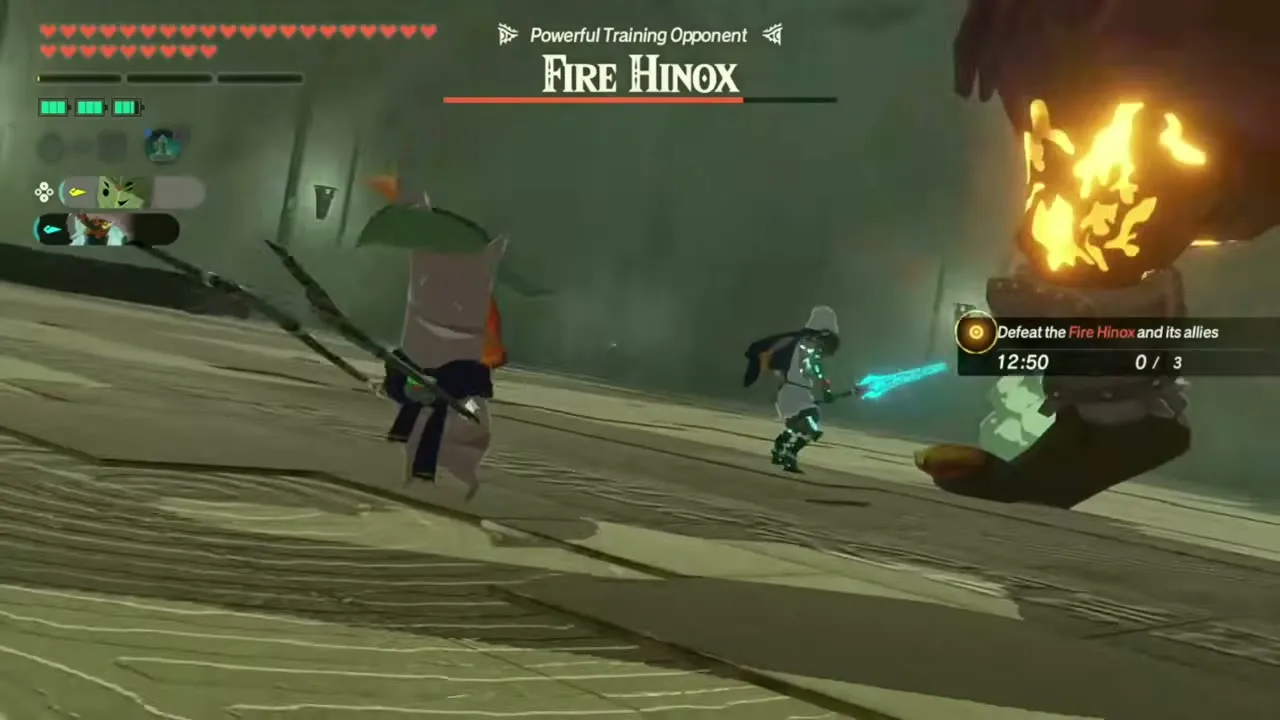
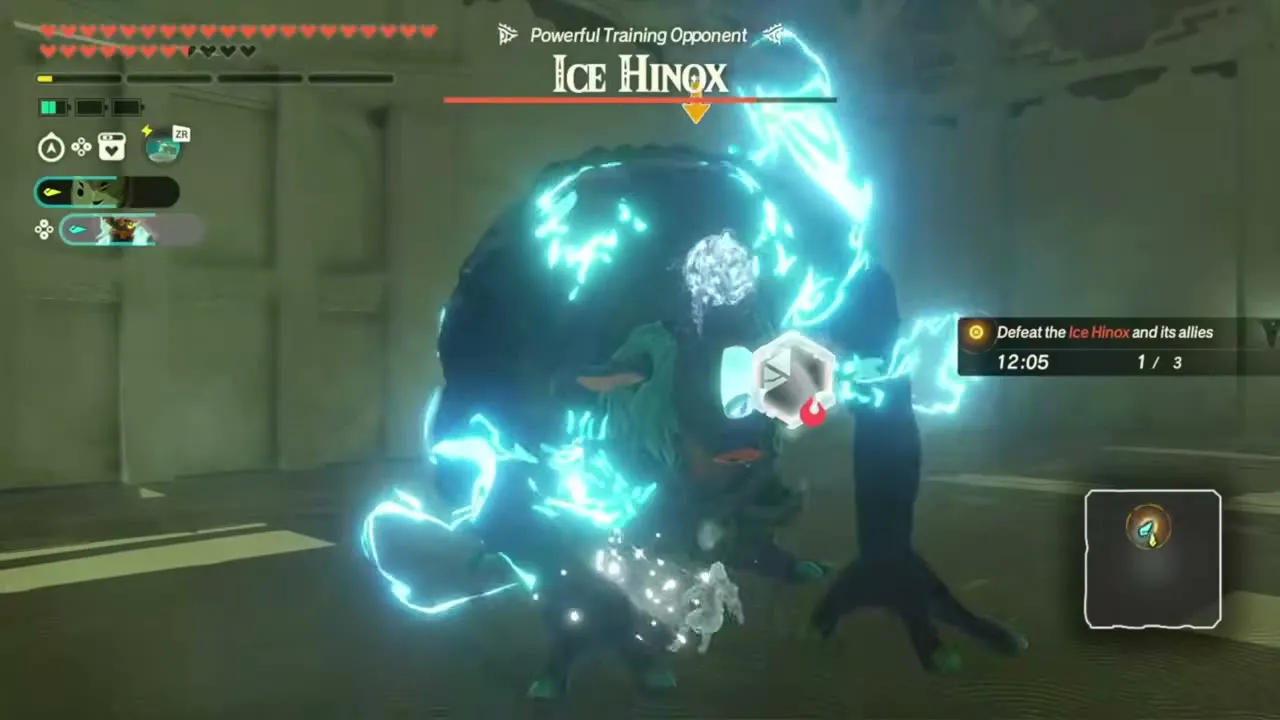
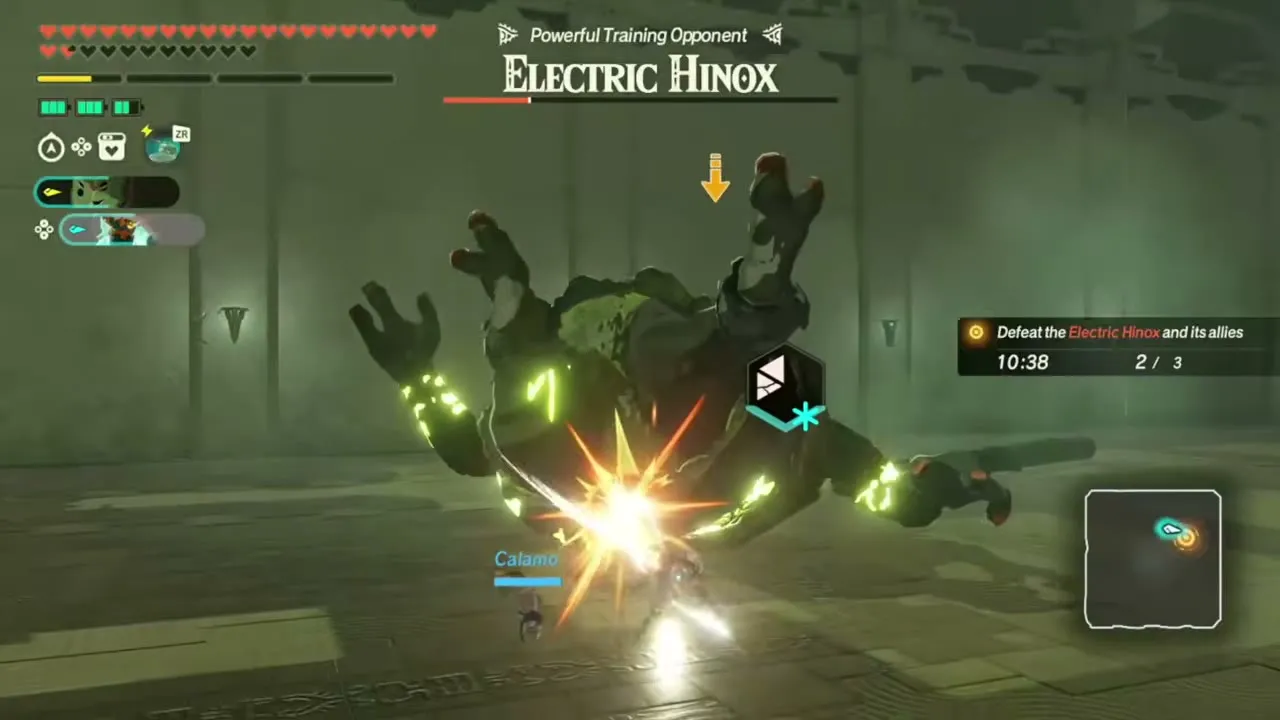
It is available once A Clash of Constructs is cleared. Its recommended level is 64, set in Shrine of Light (Faron). Any warrior may take part. You fight three Hinoxes one after another, a Fire Hinox, an Ice Hinox and an Electric Hinox, each billed as a powerful training opponent. The trial is timed. Beating it brings The Archfiend Quartet and Trial: Overcoming Limits into view. First clear: Fleet-Lotus Seeds x20, Armored Porgy x20, Mighty Carp x20, a random weapon.
Levels 71 to 80
These ten challenges mostly follow on from a Lv 61-70 challenge, and the Depths chain ends in A Fated Meeting.
The Seres Scablands Counteroffensive
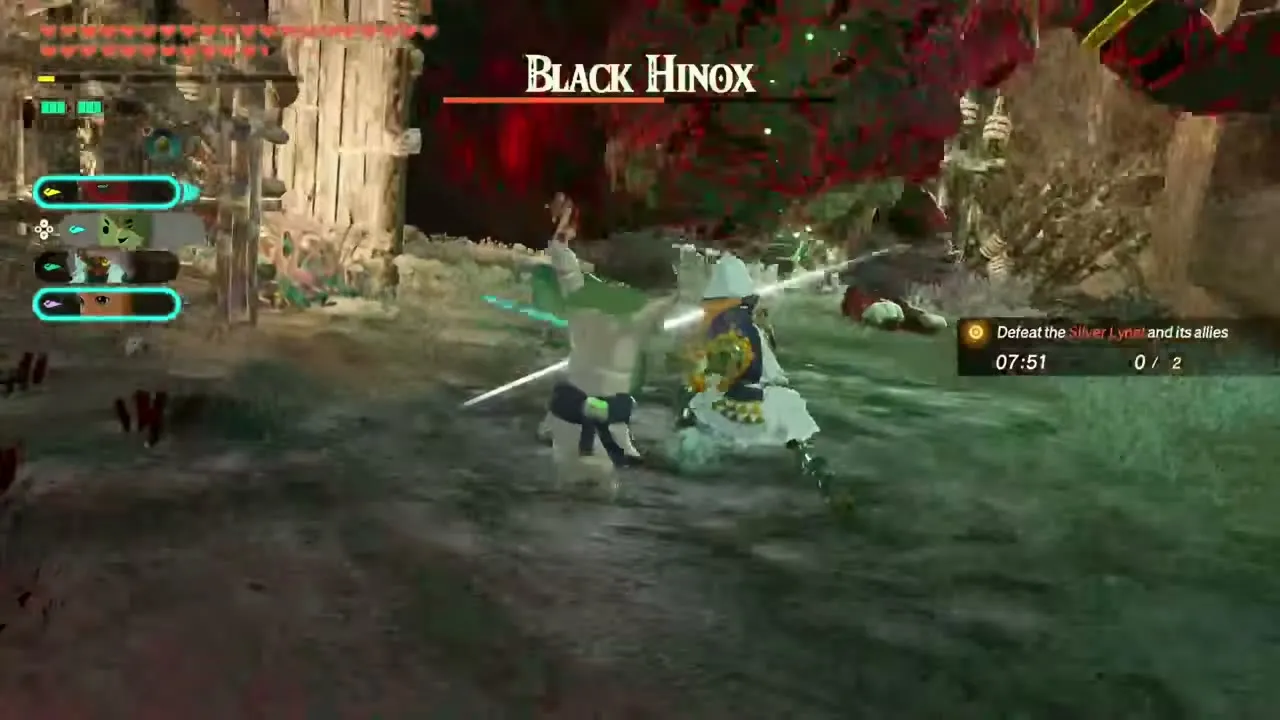
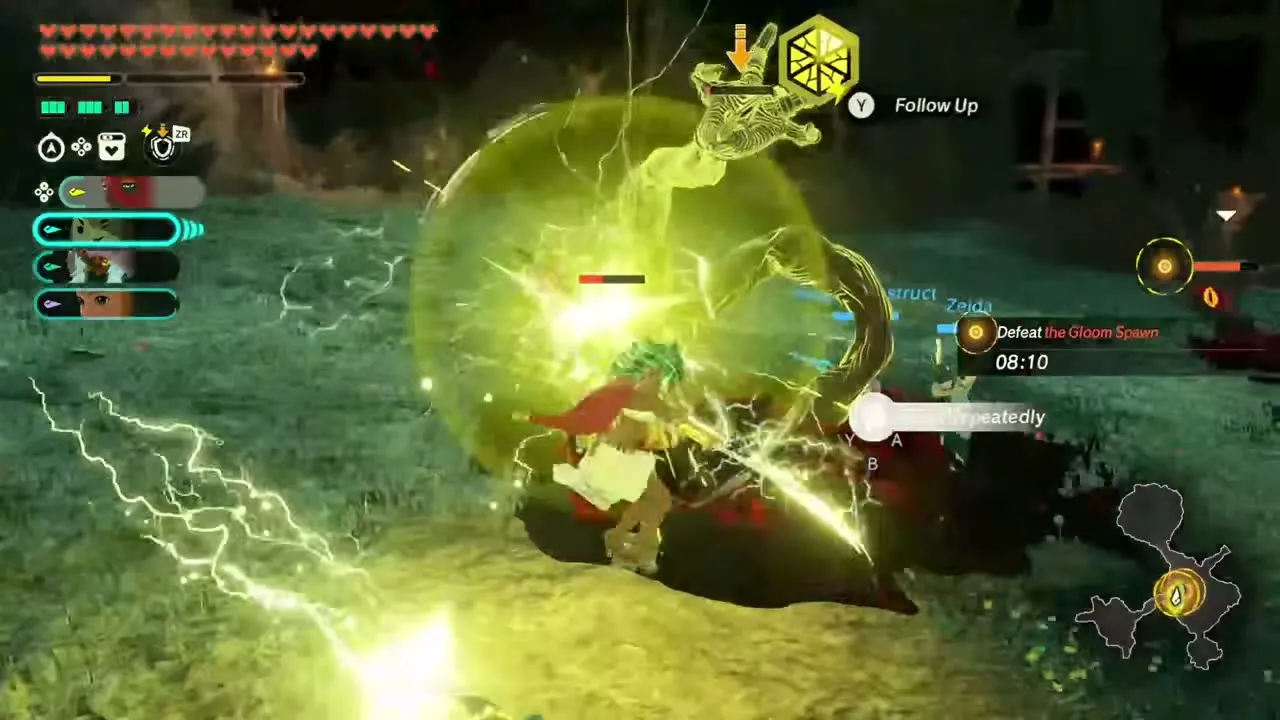
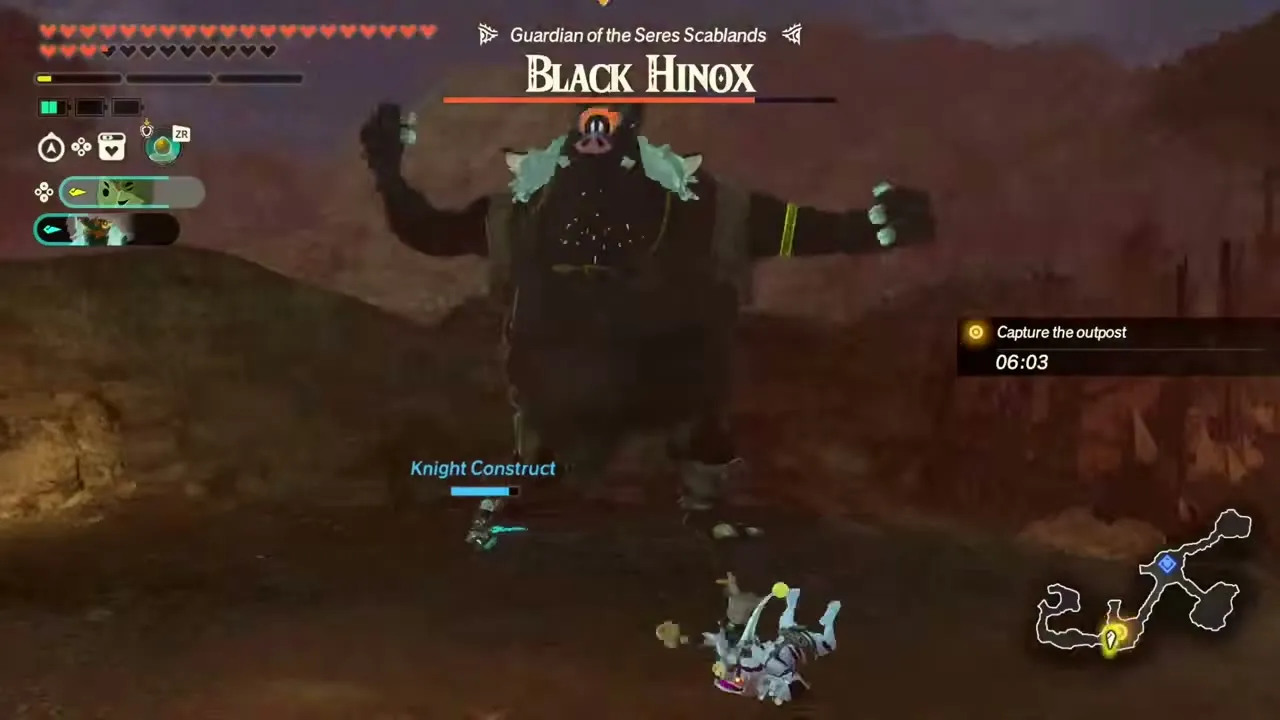
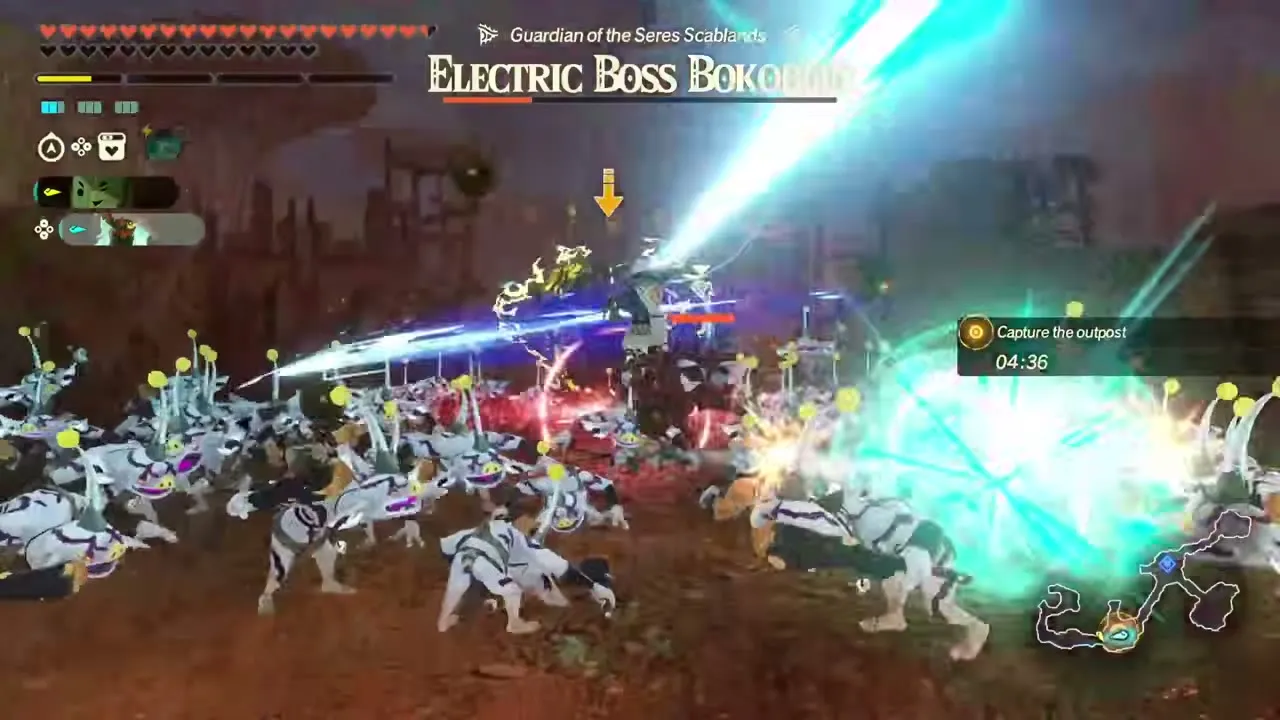
It follows Reclaiming the Seres Scablands. Its recommended level is 74, set in Seres Scablands. Any warrior is allowed. You fight Fire Boss Bokoblins, Fire-Breath Lizalfos, Electric Lizalfos, Black Hinoxes and Silver Moblins. A timer applies. Stamella Shrooms and Brightcaps grow on the field. The goal is to capture the enemy outposts: a Silver Moblin, a Fire Boss Bokoblin, a Black Hinox and an Electric Boss Bokoblin are the main opposition. First clear: Armoranth x20, Mighty Porgy x20, Sunshroom x20, a random weapon.
Defending in the Bitter Cold
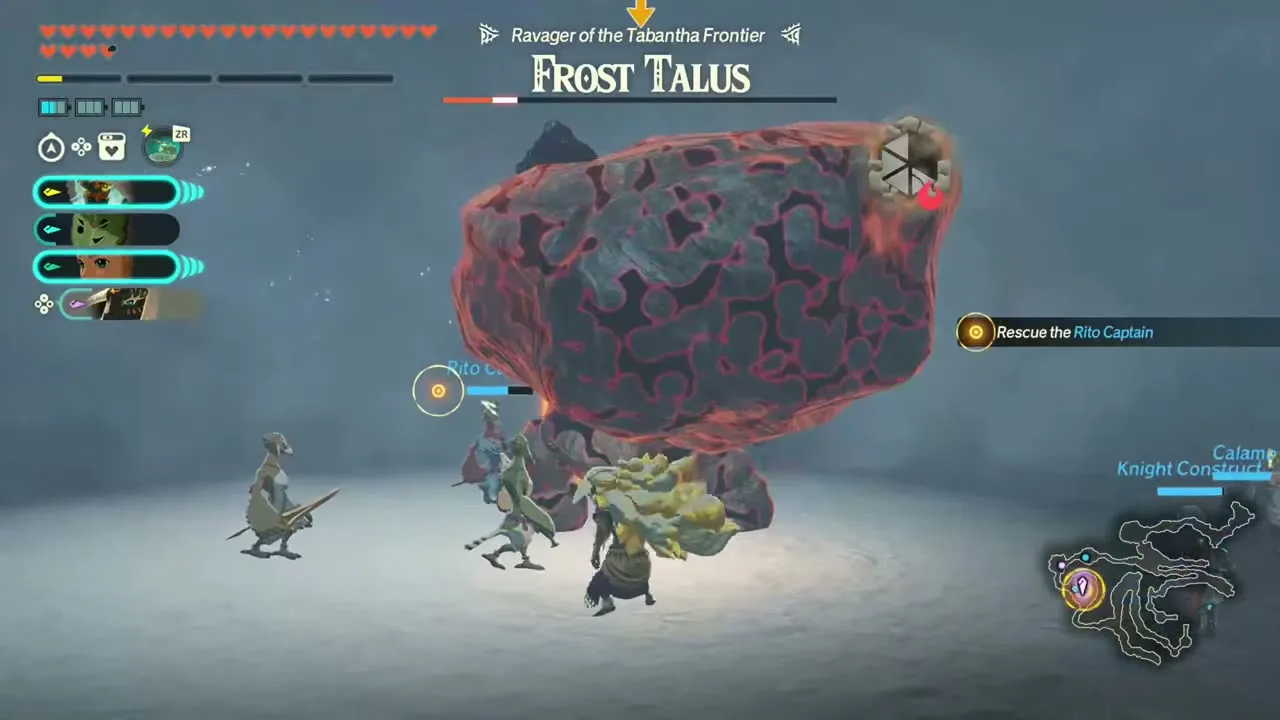
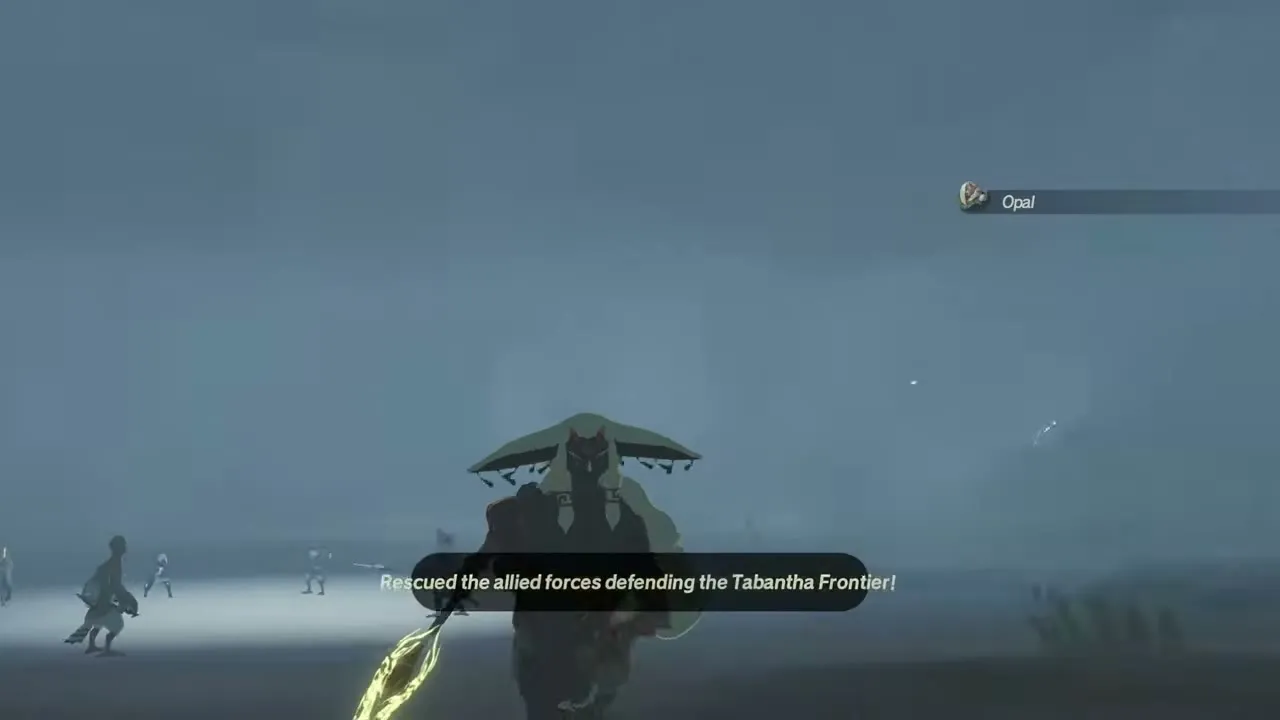
It follows Cursing the Cold. Its recommended level is 73, set in Tabantha Frontier (Hebra). Any warrior is allowed. You fight Ice-Breath Lizalfos, Ice Moblins, Ice Chuchus, Horriblins and Frost Taluses. The goal is to rescue the allied forces defending the frontier, starting with the Rito Captain, and a Frost Talus is the last big threat. First clear: Mighty Thistle x20, Cool Safflina x20, Cold Darner x20, a random weapon.

Battle for Great Hyrule Forest
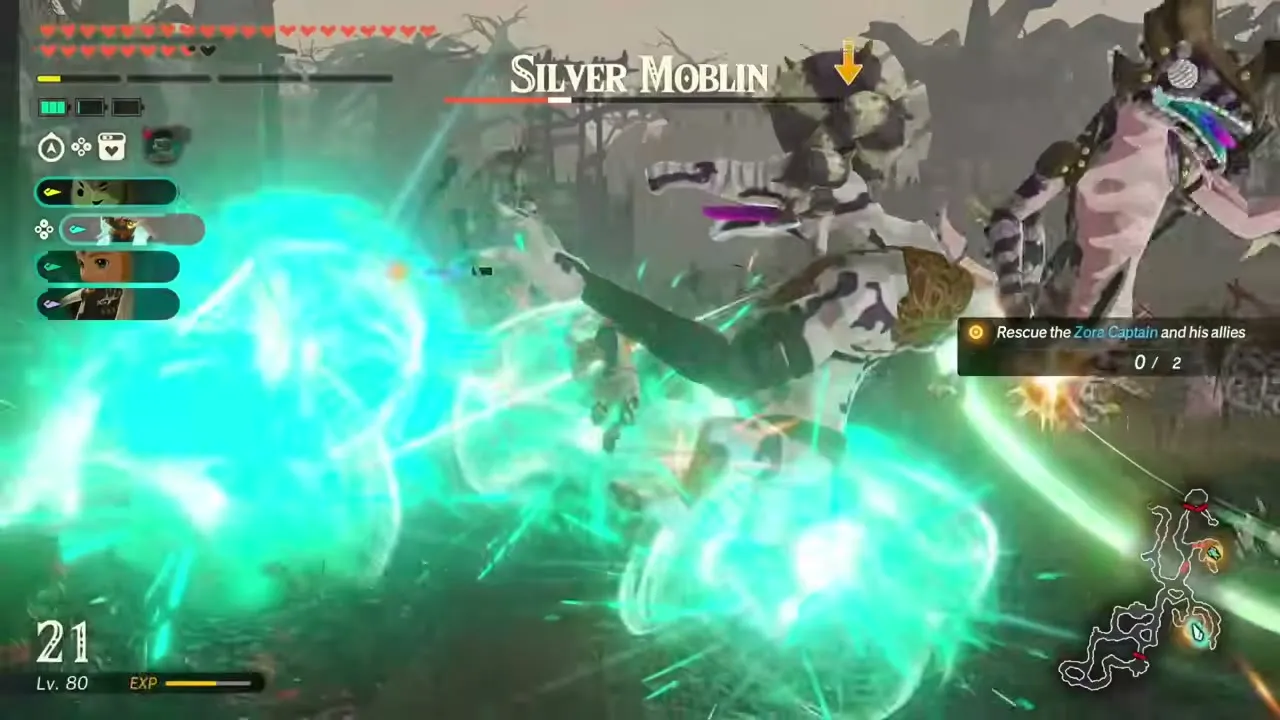
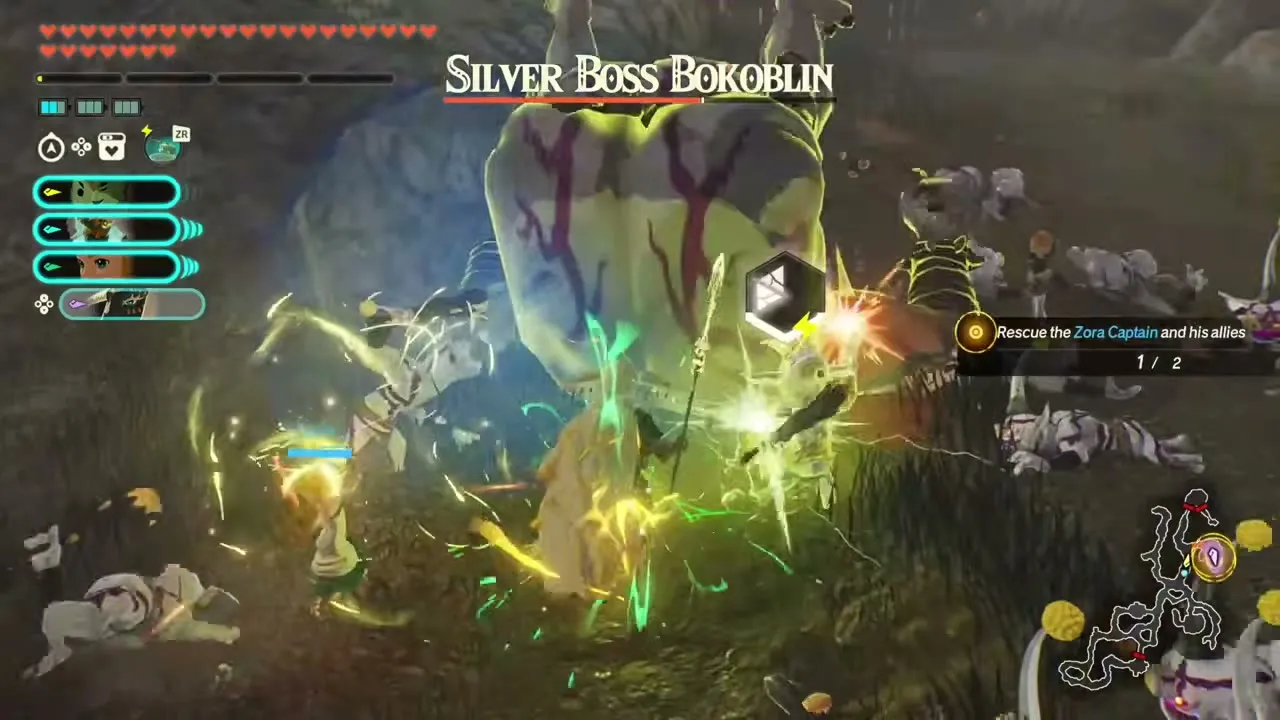
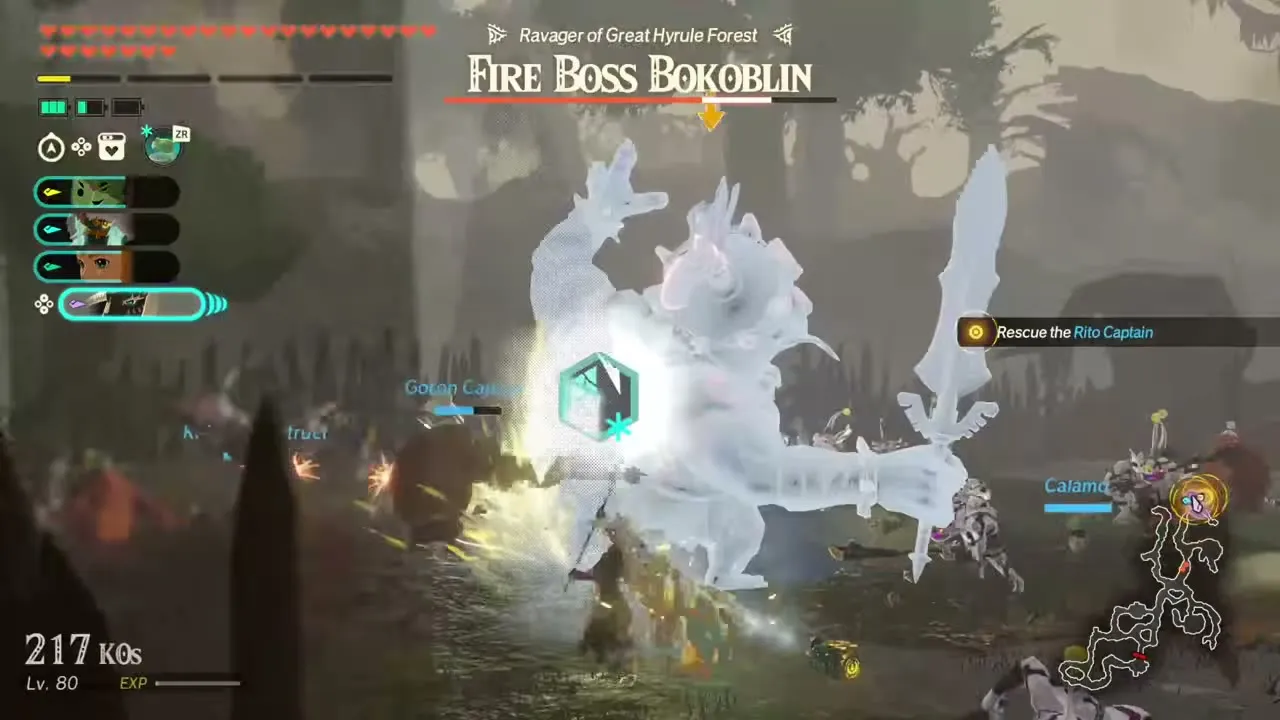
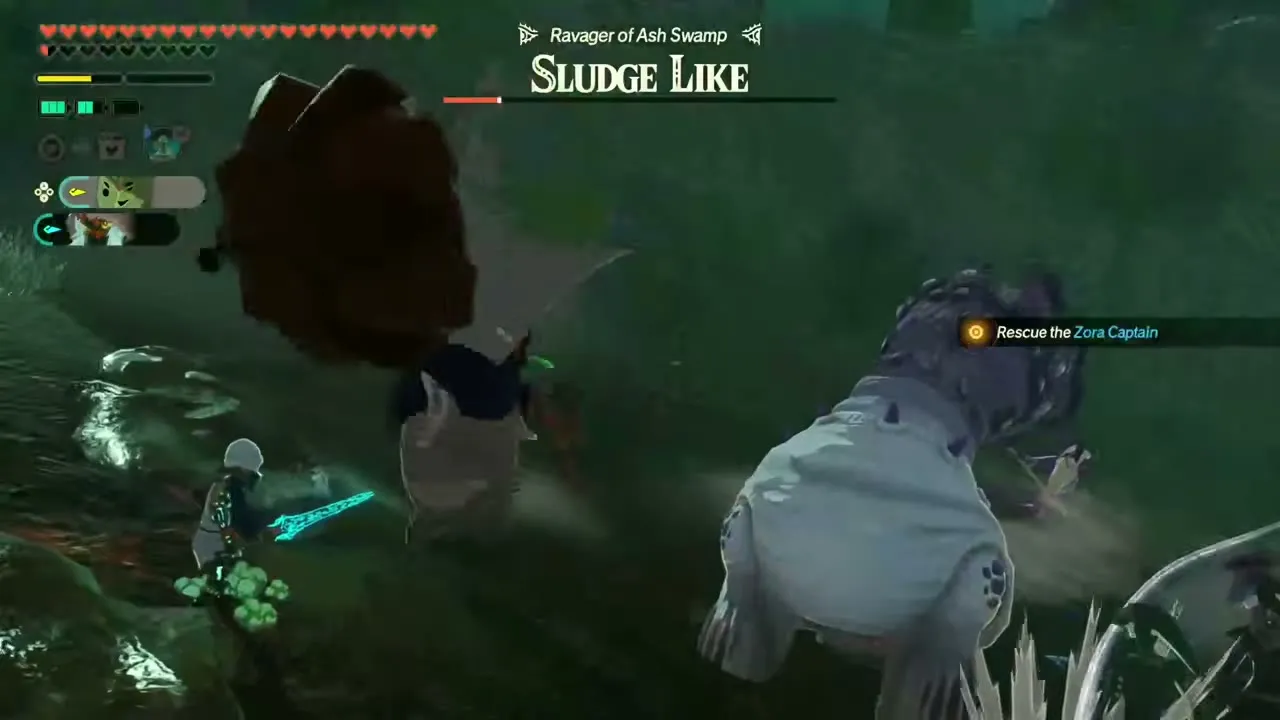
It follows The Traveler’s Third Homecoming. Its recommended level is 74, set in Great Hyrule Forest. Any warrior is allowed. You fight Fire Boss Bokoblins, Silver Lizalfos, Silver Bokoblins and Silver Moblins. The goal is to rescue the allied forces: a Zora Captain, a Goron Captain and a Rito Captain need help, with a Silver Moblin, a Silver Boss Bokoblin, a Fire Boss Bokoblin and a Fire Hinox in the way. First clear: Restless Cricket x15, Acorn x15, Hylian Pine Cone x15, a random weapon.
Battle for Ash Swamp
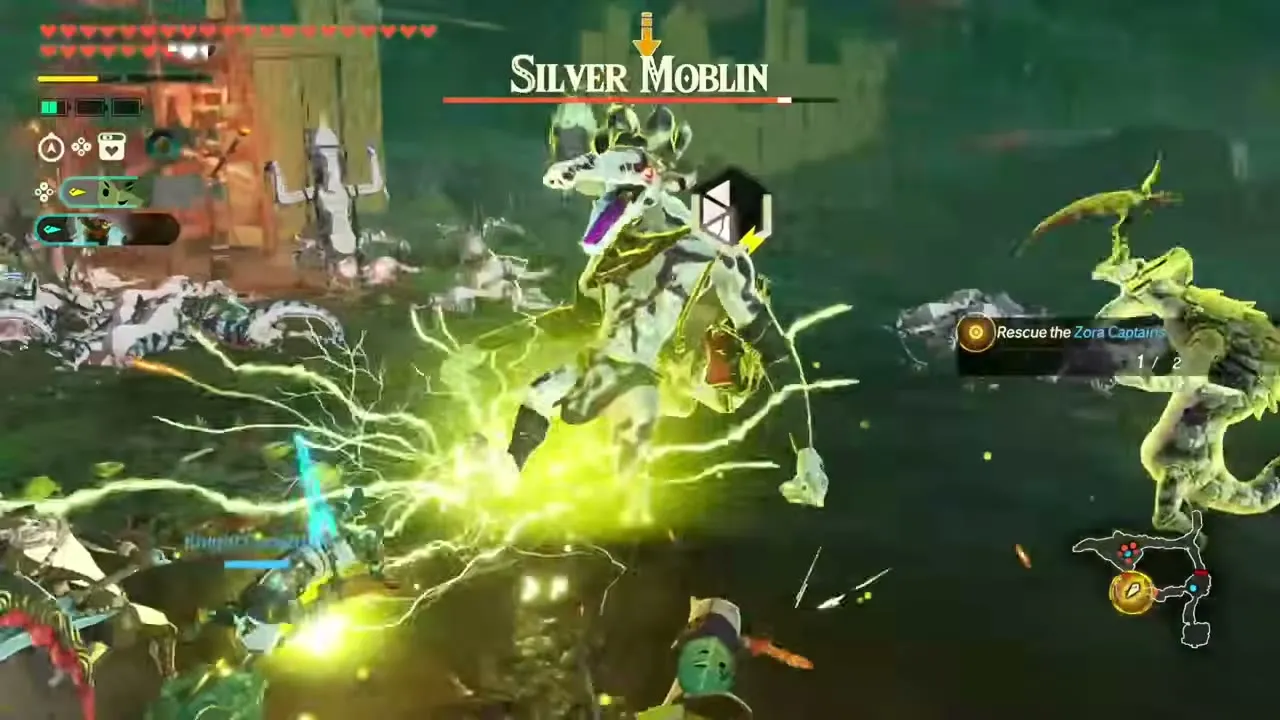
It follows Purging the Swamplands. Its recommended level is 72, set in Ash Swamp (Necluda). Any warrior is allowed. The goal is to rescue the allied forces defending Ash Swamp, beginning with a Zora Captain. You fight Lizalfos, Silver Moblins, Boss Bokoblins and Sludge Likes. First clear: Rushroom x20, Staminoka Bass x20, Ironshroom x20, a random weapon.

A Fated Meeting
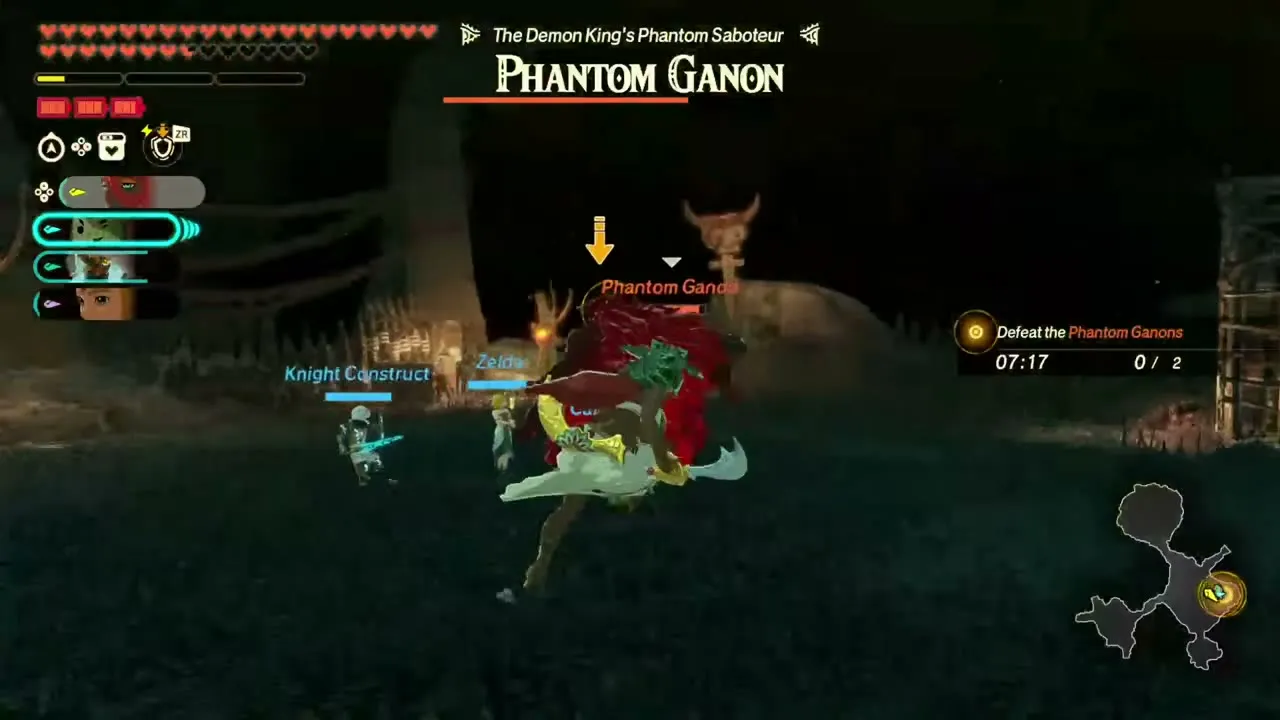
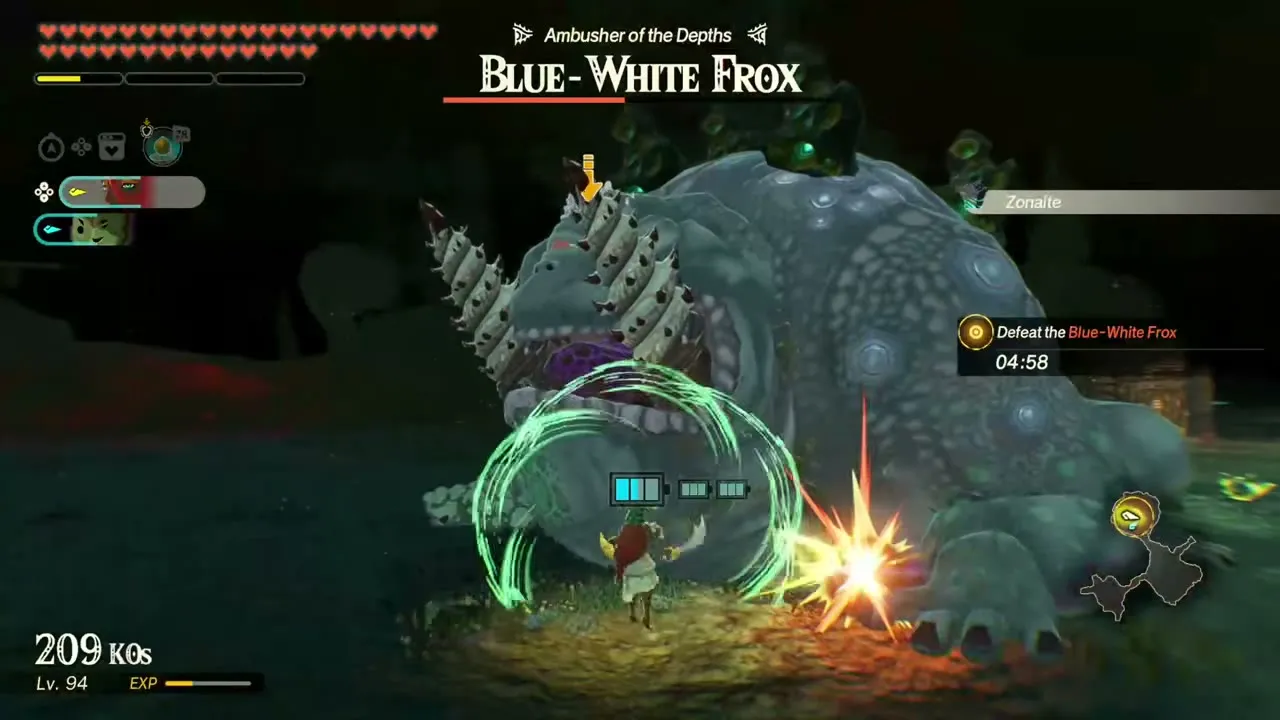
It opens after you win Through Gloom and Fire or The Archfiend Quartet. Its recommended level is 77, set in The Depths. The Knight Construct and Calamo go in together. You fight Little Frox, Blue-White Frox, Silver Bokoblins and Silver Lynels. A timer applies. Three bosses come in order: a Blue-White Frox, a Silver Lynel and finally a Phantom Ganon. First clear: Mighty Bananas x20, Flint x20, Sunset Firefly x20, Large Zonaite x10, Pure Zonaite Steel (One-Handed) x1.


The Deluge of Gloom
It follows The Gathering Gloom. Its recommended level is 78, set in The Depths. Any warrior is allowed. You fight Silver Lizalfos, Silver Bokoblins, Black Hinoxes, Silver Lynels and Silver Boss Bokoblins. A timer applies. Silver Boss Bokoblins and Silver Moblins come first, then a Black Hinox, a Silver Lynel, Gloom Spawn and finally a Phantom Ganon. First clear: Rugged Rhino Beetle x15, Brightbloom Seed x15, Zonaite x15, Pure Zonaite Steel (Pristine) x1.
Through Gloom and Fire
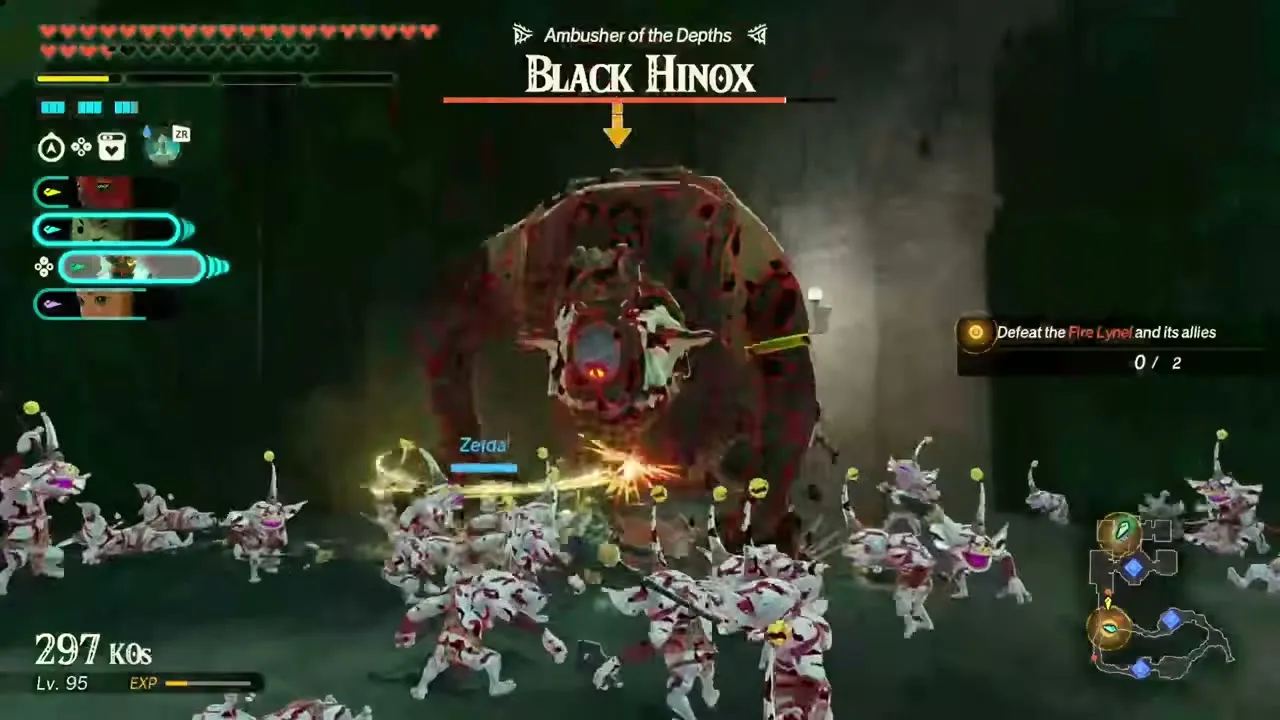
It follows Rumblings in the Depths. Its recommended level is 74, set in The Depths. Any warrior is allowed. You fight Fire Lynels, Fire Moblins, Fire Chuchus, Silver Bokoblins and Black Hinoxes. Clearing it is one of the two ways to reach A Fated Meeting. A Fire Aerocuda, a Silver Moblin, a Fire Moblin and a Silver Boss Bokoblin come first, with a Black Hinox and a Fire Lynel last. First clear: Zonaite x20, Large Zonaite x15, Brightcap x15, Pure Zonaite Steel (Two-Handed) x1.
The Archfiend Quartet
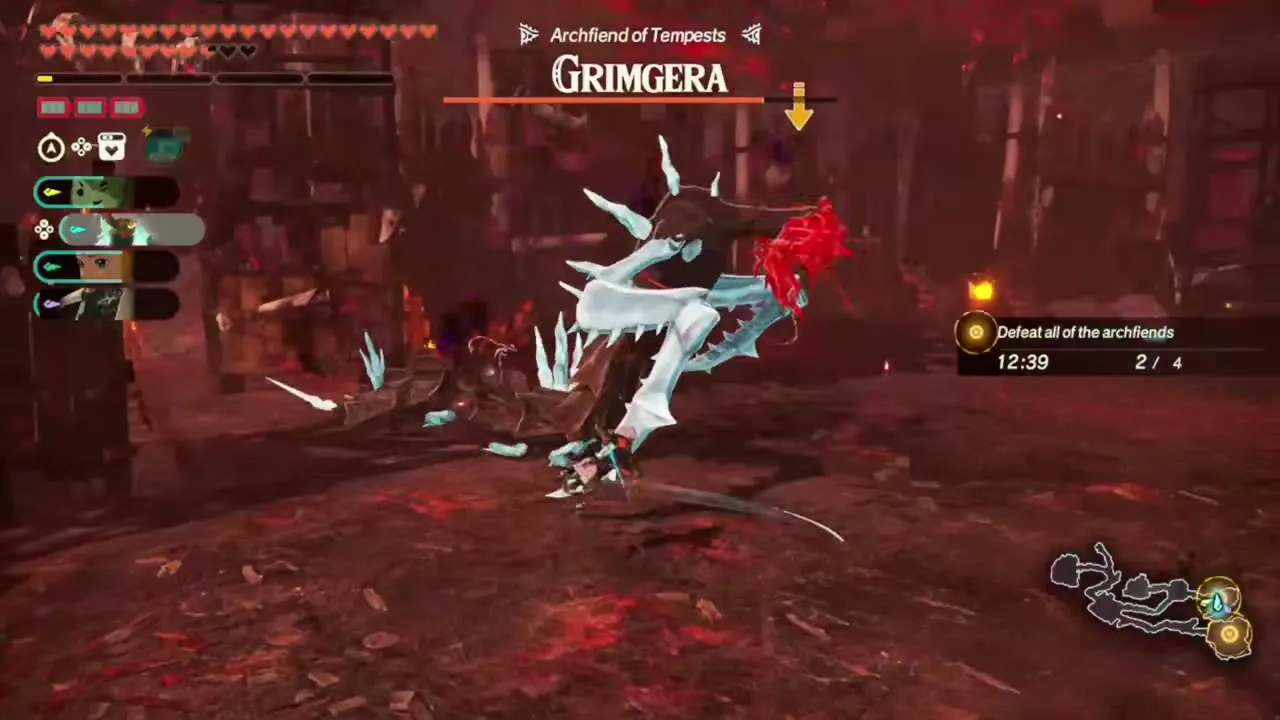
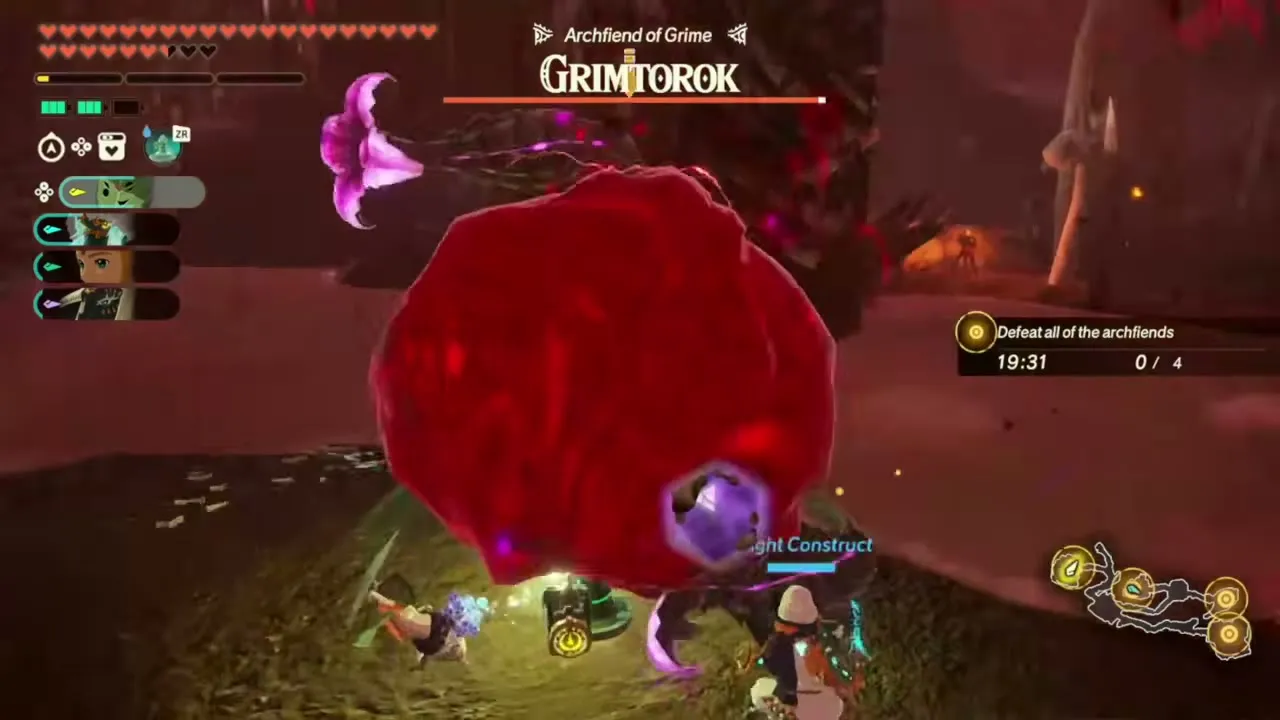
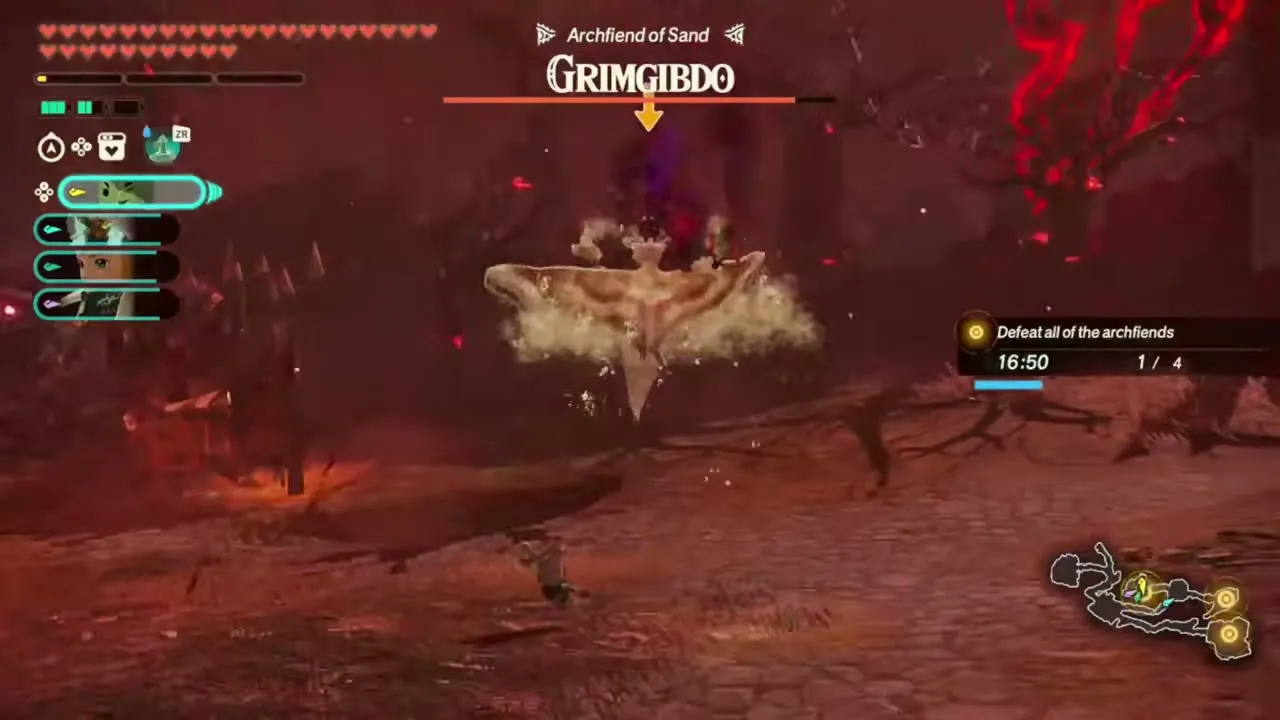
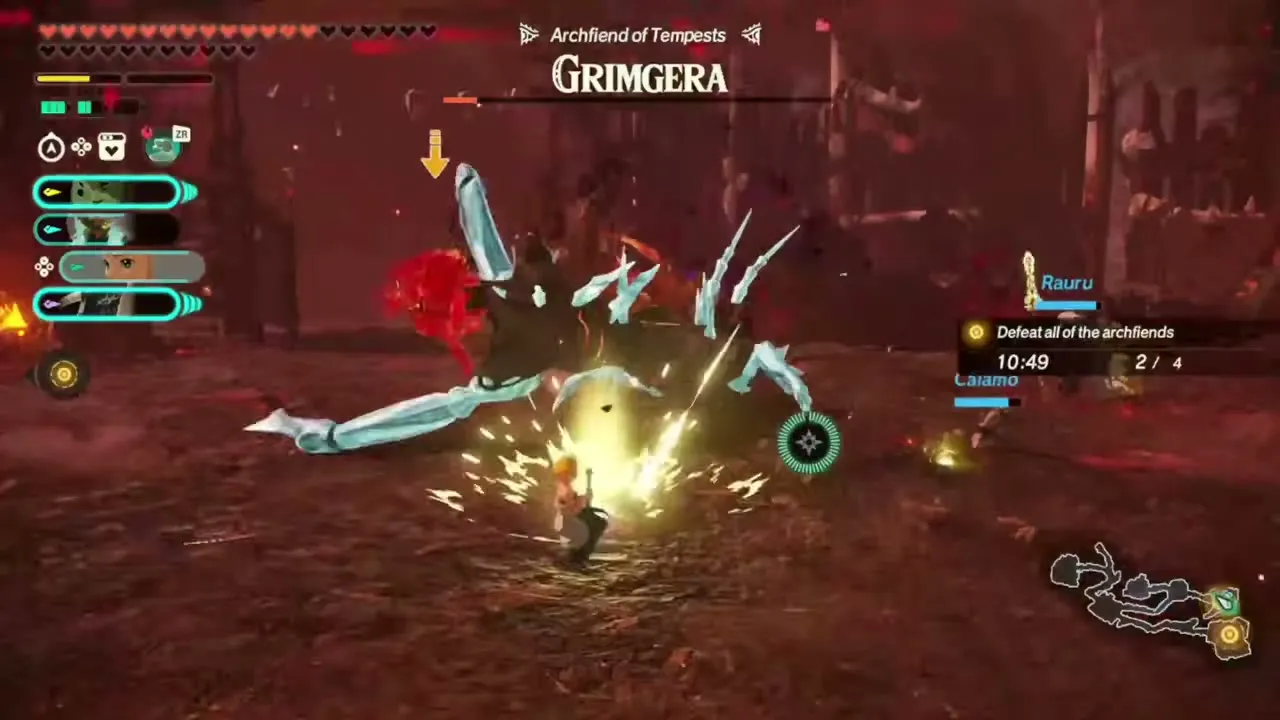
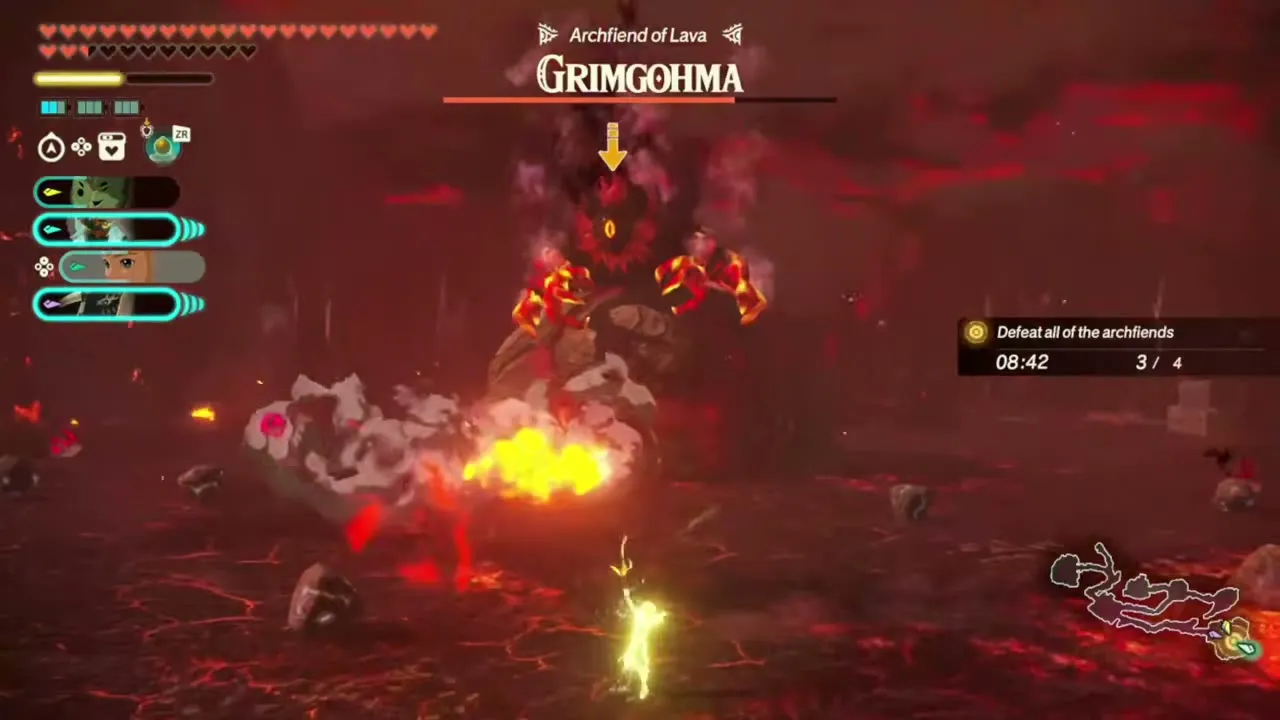
It follows Trial: Wrath of the Giants. Its recommended level is 80, set in Hyrule Castle. Any warrior is allowed. The goal is to defeat all four Archfiends within the time limit, one after another: Grimtorok, Archfiend of Grime; Grimgibdo, Archfiend of Sand; Grimgera, Archfiend of Tempests; and Grimgohma, Archfiend of Lava. A timer applies. It is the other route into A Fated Meeting. First clear: Ironshell Crab x20, Warm Darner x20, Hyrule Bass x20, Endura Carrot x15, Pure Zonaite Steel (Pristine) x1.
Rumblings in the Depths
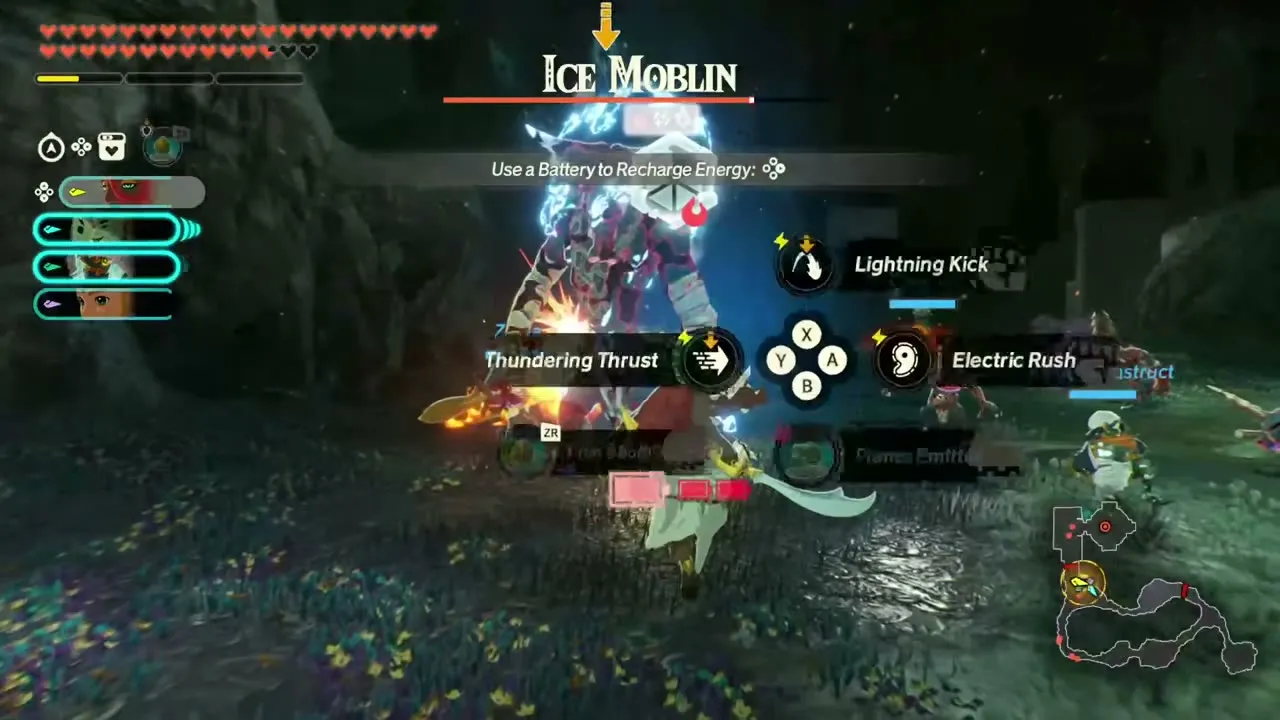
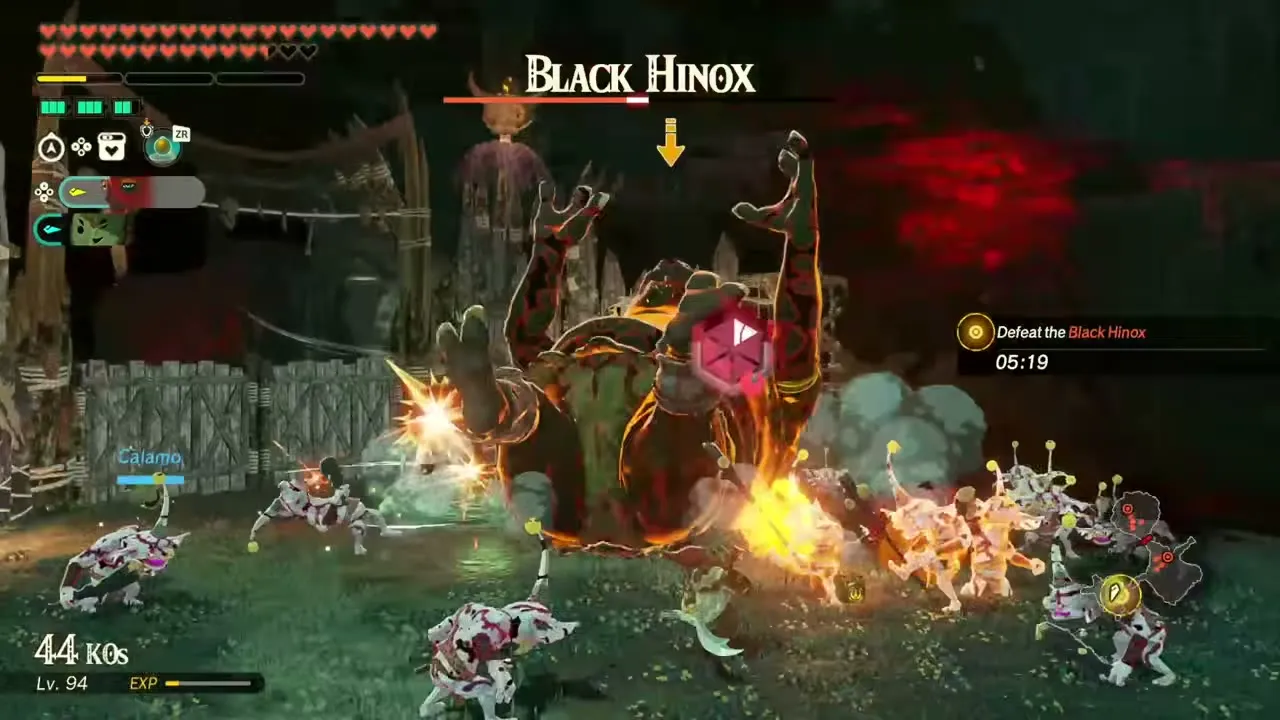
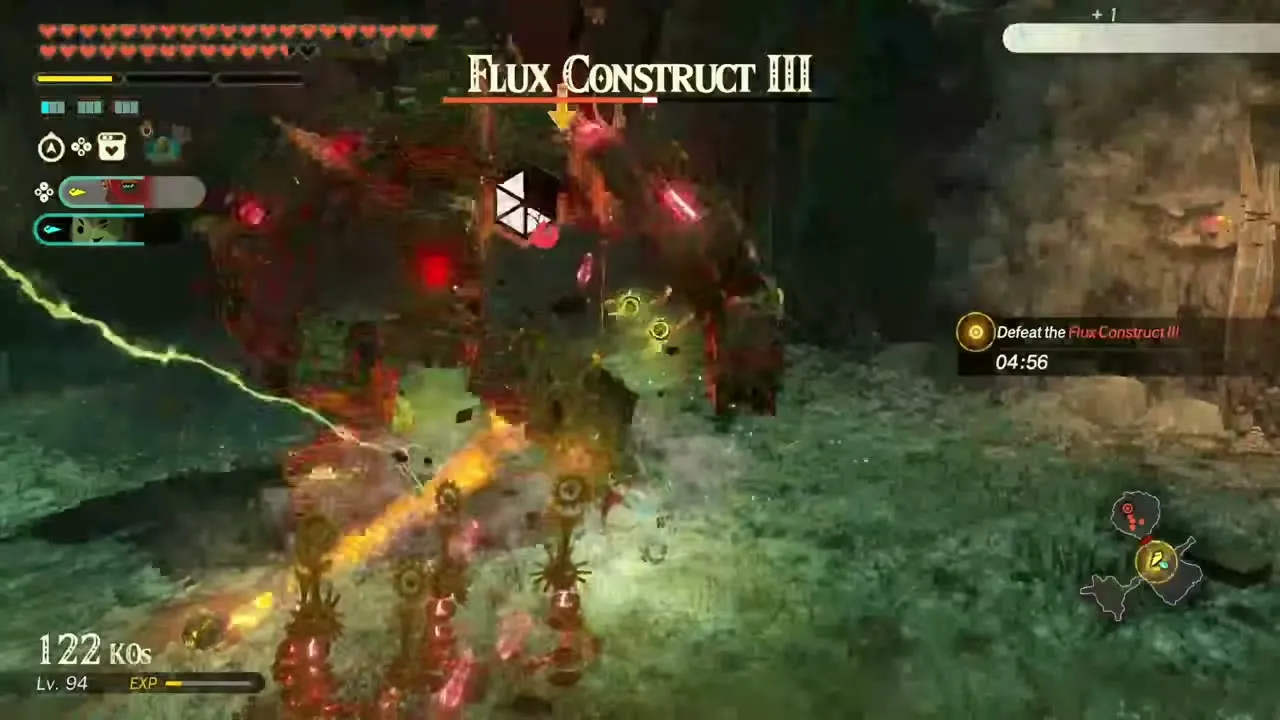
It follows The Corrupting Gloom. Its recommended level is 71, set in The Depths. Any warrior is allowed. You fight Little Frox, Blue-White Frox, Flux Construct III units, Silver Bokoblins and Black Hinoxes. A timer applies. Winning also reveals A Vicious Battle: The Depths and Through Gloom and Fire. The bosses come in order: a Black Hinox, a Flux Construct III and a Blue-White Frox. First clear: Large Zonaite x15, Zonaite x25, Brightcap x20, Pure Zonaite Steel (One-Handed) x1.
Trial: Overcoming Limits
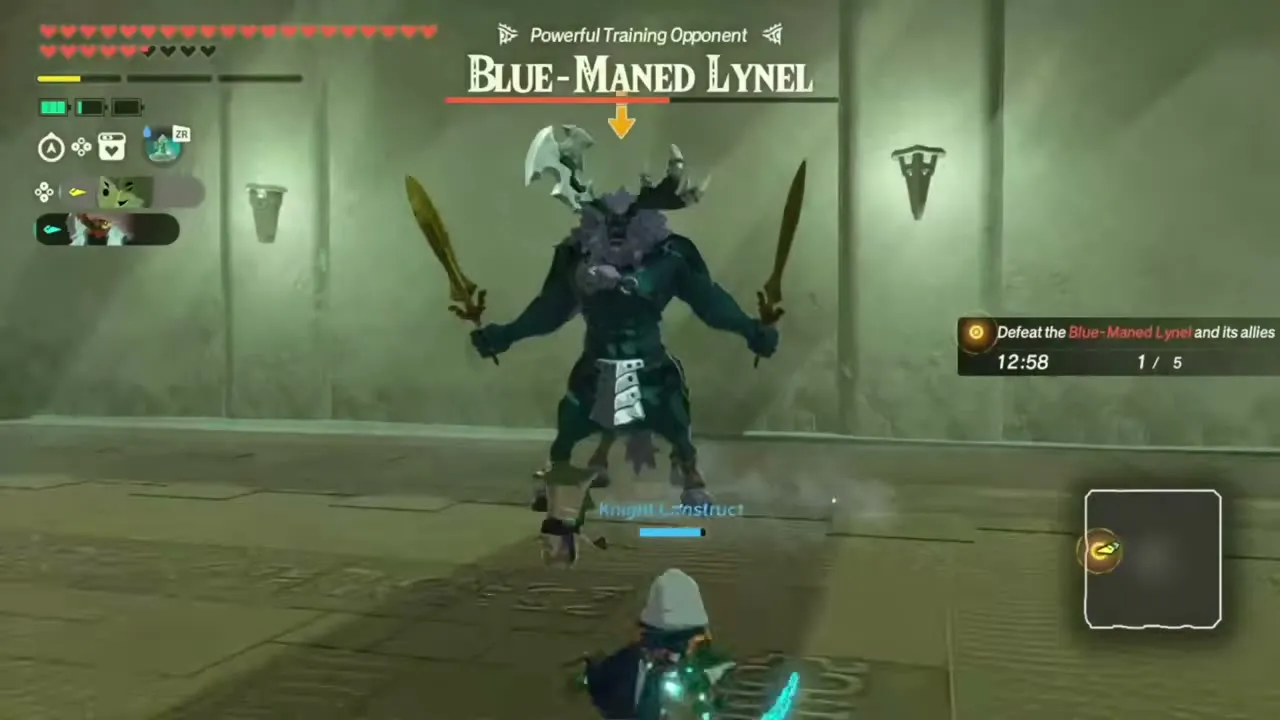
It follows Trial: Wrath of the Giants. Its recommended level is 75, set in Shrine of Light (Gerudo). Any warrior is allowed. You fight Lynels of every colour in turn: plain, Blue-Maned, White-Maned and Silver, each billed as a powerful training opponent. A timer applies. First clear: Sunset Firefly x20, Warm Safflina x20, Endura Shroom x15, Pure Zonaite Steel (One-Handed) x1.


Levels 81 to 90
These eleven challenges were all added by the free updates after launch: five in Version 1.0.2 and six in Version 1.0.3. They do not count toward region completion for Lenalia’s Sketches.
The Stolen Spear
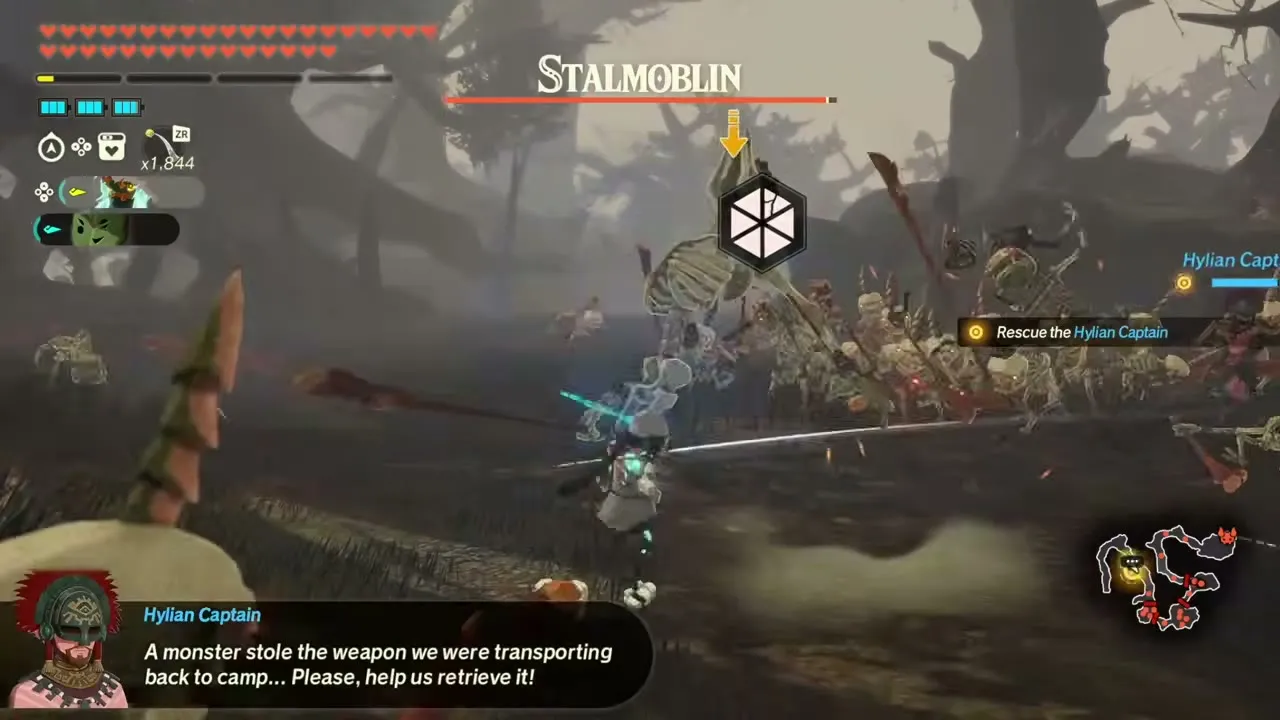
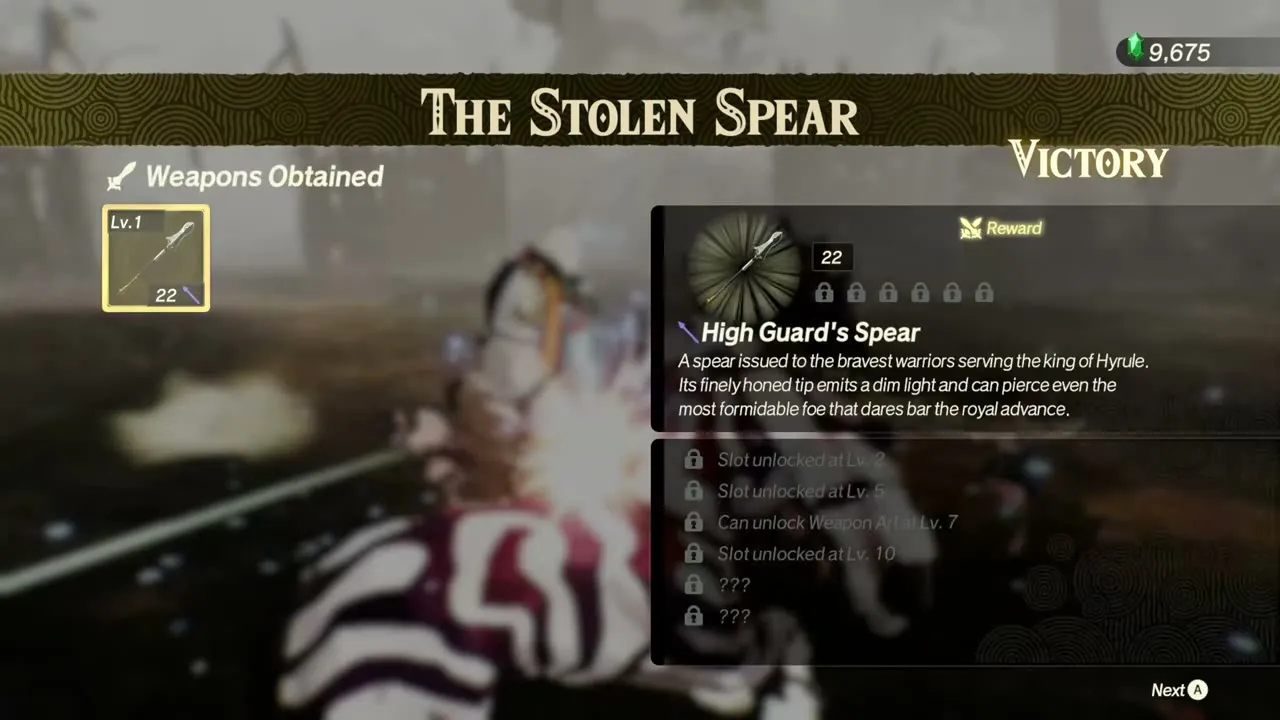
It came with the first free update (Version 1.0.2) and appears in the post-game. Its recommended level is 81, set in Central Hyrule. Any warrior is allowed. You fight Stalmoblins, Silver Lizalfos, Silver Bokoblins, Silver Lynels and Silver Moblins. A timer applies. Winning opens Eve of the Final Confrontation. You must rescue the Hylian Captain and chase down the thief: a Stalmoblin, an Electric Moblin and a Silver Moblin are in the way, and the thief itself, a Silver Lynel, waits at the end. First clear: Oil Jar x35, Korok Frond x30, Raw Bird Drumstick x30, Rupee x1,500, High Guard’s Spear x1.
The Flux Construct Onslaught
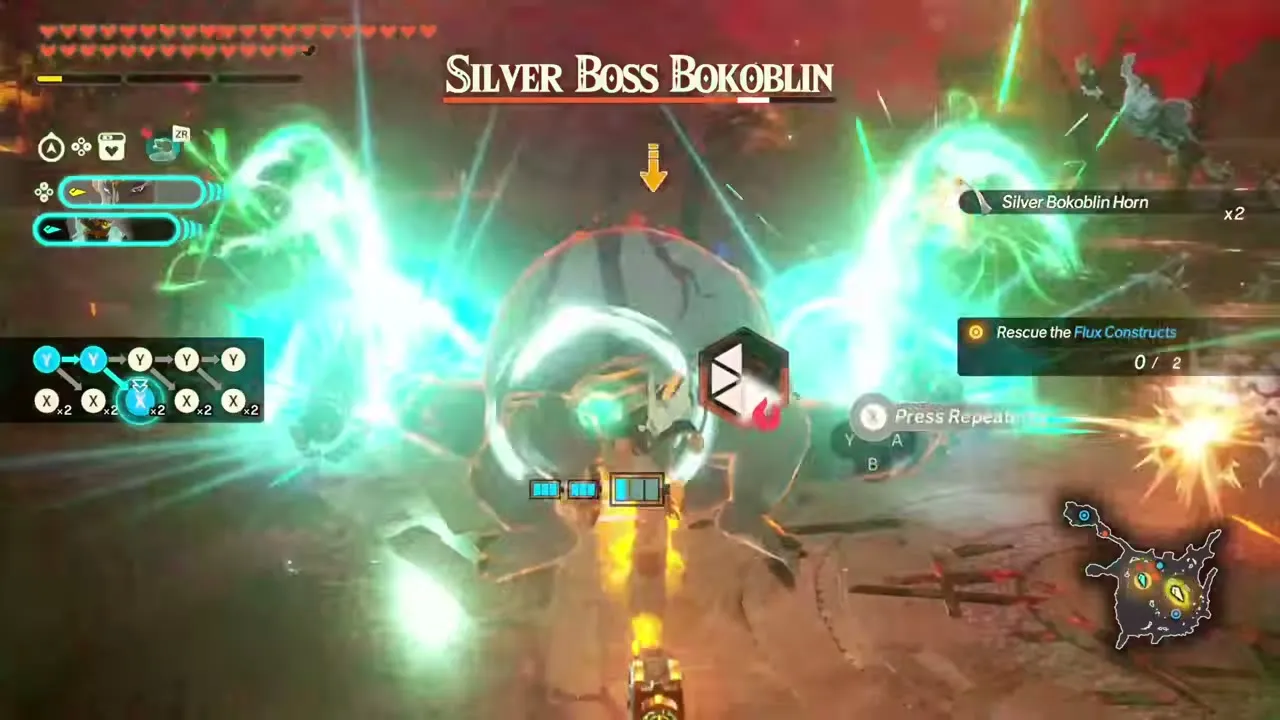
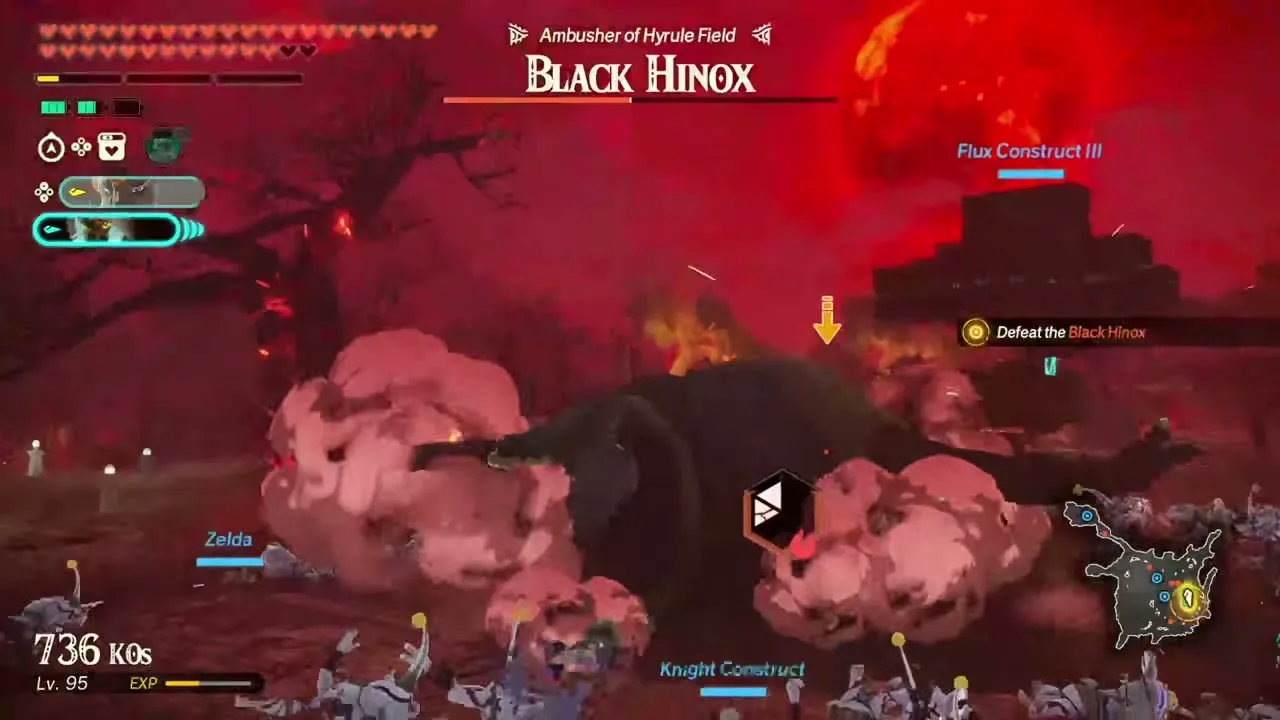
It came with the first free update (Version 1.0.2) and appears in the post-game. Its recommended level is 81, set in Central Hyrule. Mineru is fixed and you add one partner. You fight Silver Lizalfos, Silver Bokoblins, Black Hinoxes, Silver Moblins and Silver Boss Bokoblins. Clearing it opens In Search of Poes. You defend Hyrule Field alongside Flux Constructs, rescuing the Flux Constructs while a Silver Moblin, a Silver Boss Bokoblin and a Black Hinox attack. First clear: Raw Meat x40, Chickaloo Tree Nut x30, Cane Sugar x20, Rupee x1,000, Pure Zonaite Steel (Pristine) x1.
Eve of the Final Confrontation
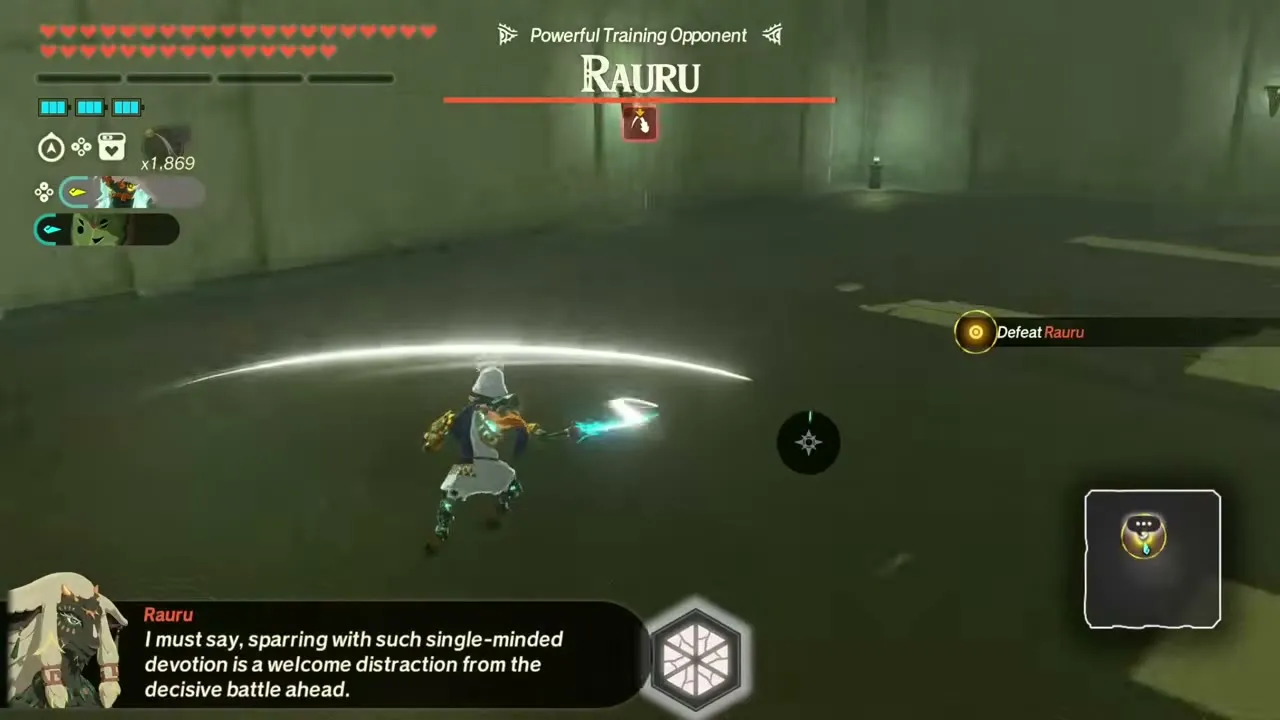
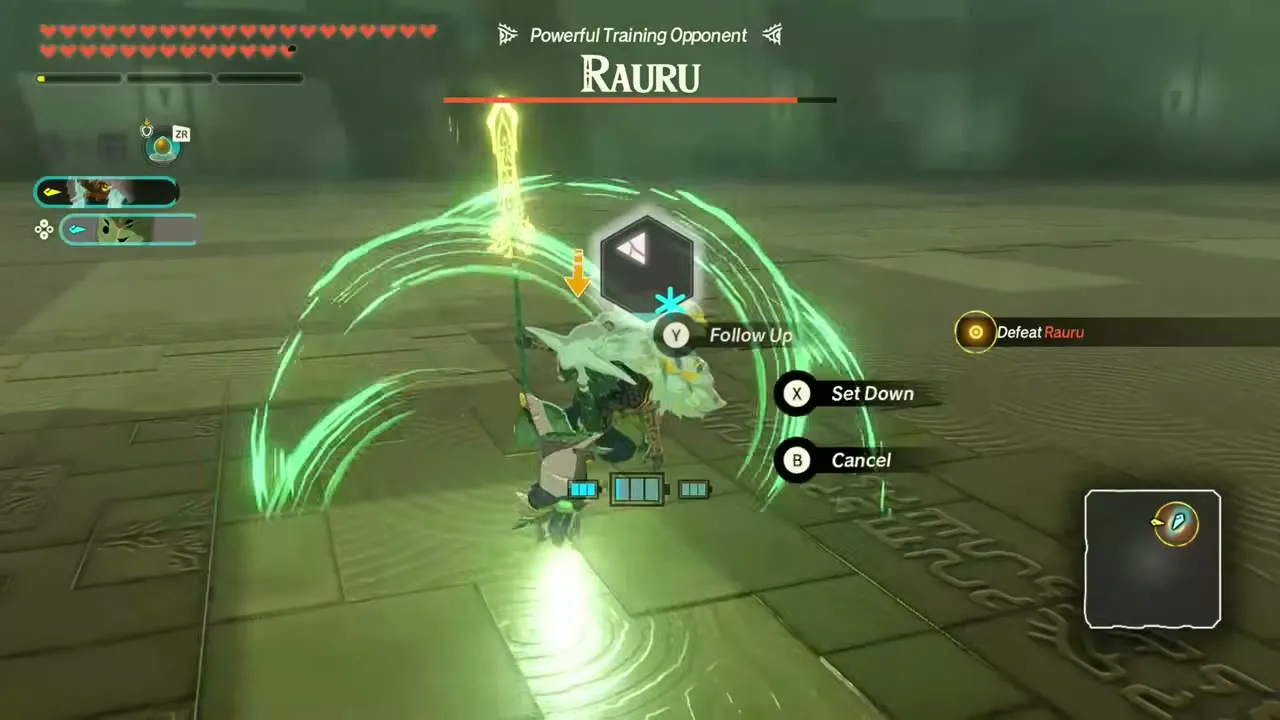
It came with the first free update (Version 1.0.2) and unlocks after you win The Stolen Spear. Its recommended level is 82, set in Central Hyrule. Any warrior except Rauru may go in. You fight Rauru himself. The challenge is set to Restricted Allies, and Rauru is billed as a powerful training opponent. The Longsword of Light is the prize for beating him. First clear: Hylian Shroom x30, Hylian Rice x20, Palm Fruit x30, Rupee x1,500, Longsword of Light x1.
In Search of Poes
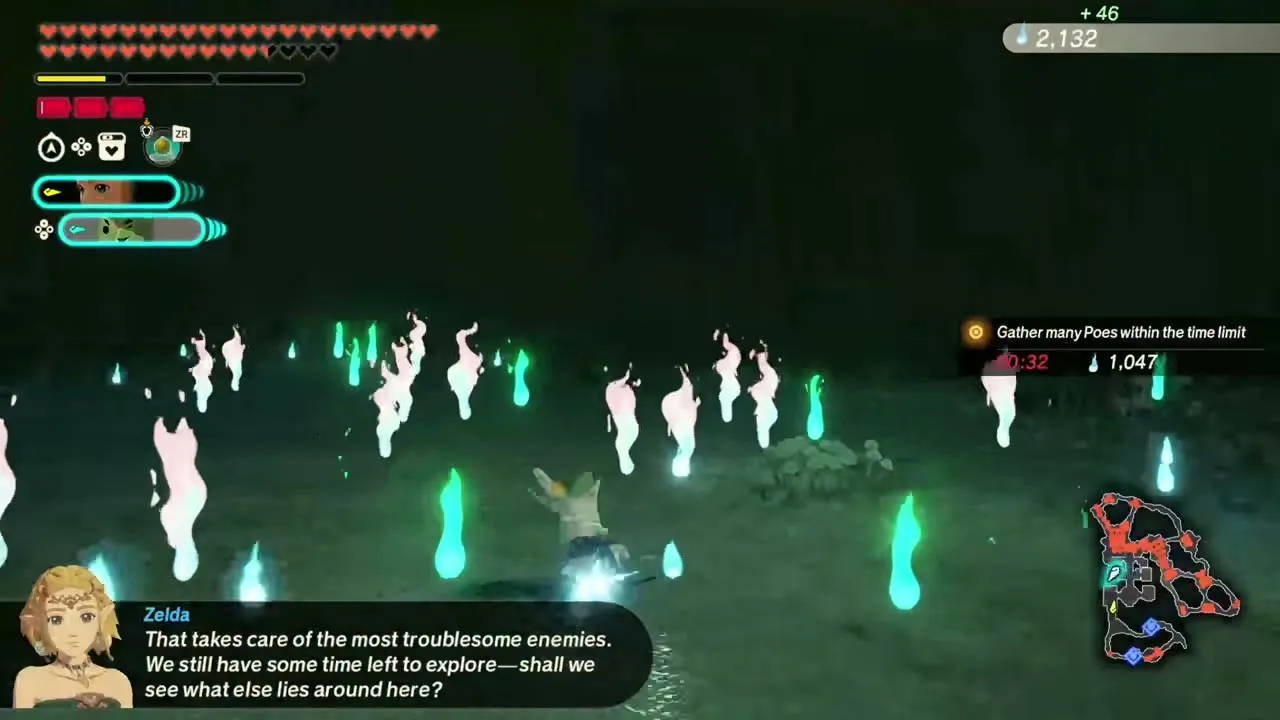
It came with the first free update (Version 1.0.2) and unlocks after you win The Flux Construct Onslaught. Its recommended level is 83, set in The Depths. Zelda and Calamo are locked in as your pair. You fight Shades, Flux Construct I units and Soldier Construct I units. A timer applies. Giant Brightbloom Seeds and Deep Fireflies can be gathered here, and the 400 Poes are the headline reward. The goal is to gather as many Poes as you can within the time limit; a Flux Construct I guards the way to the gates, and a Shade defends the Poe fields beyond. First clear: Poe x400, Muddle Bud x30, Brightcap x30, Rupee x1,000, Pure Zonaite Steel (Pristine) x1.
The Struggle for Ash Swamp
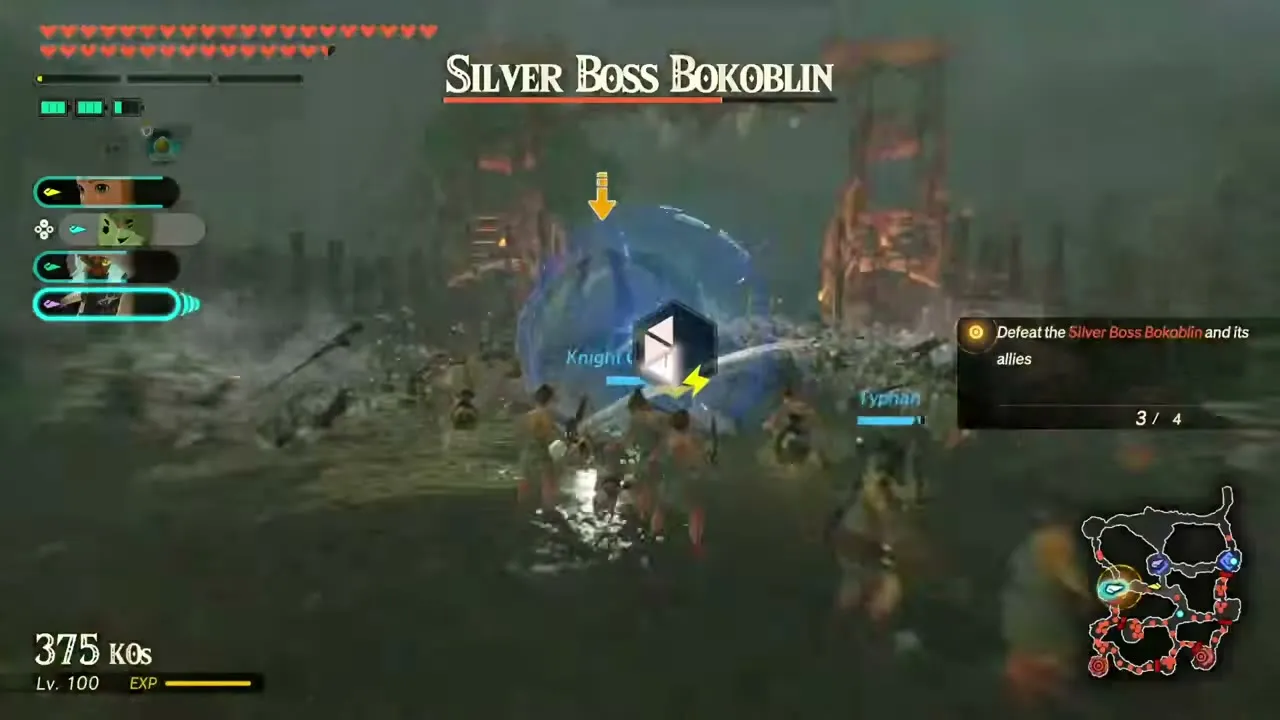
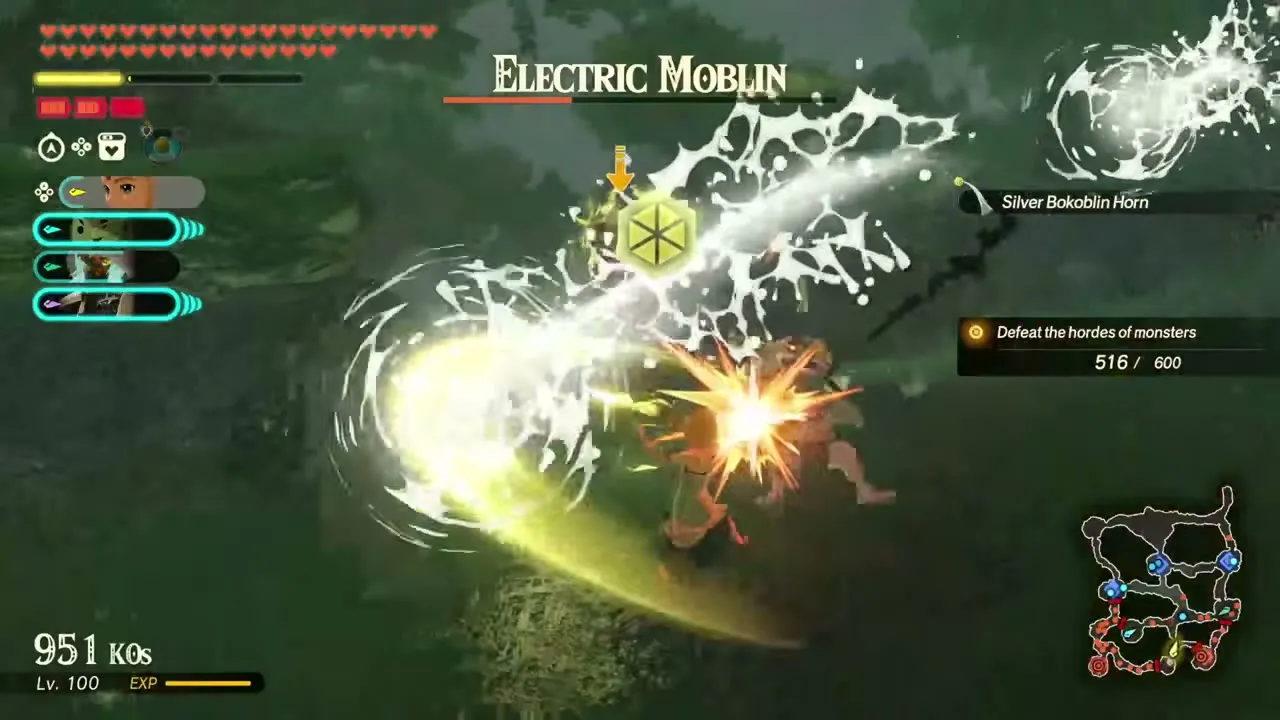
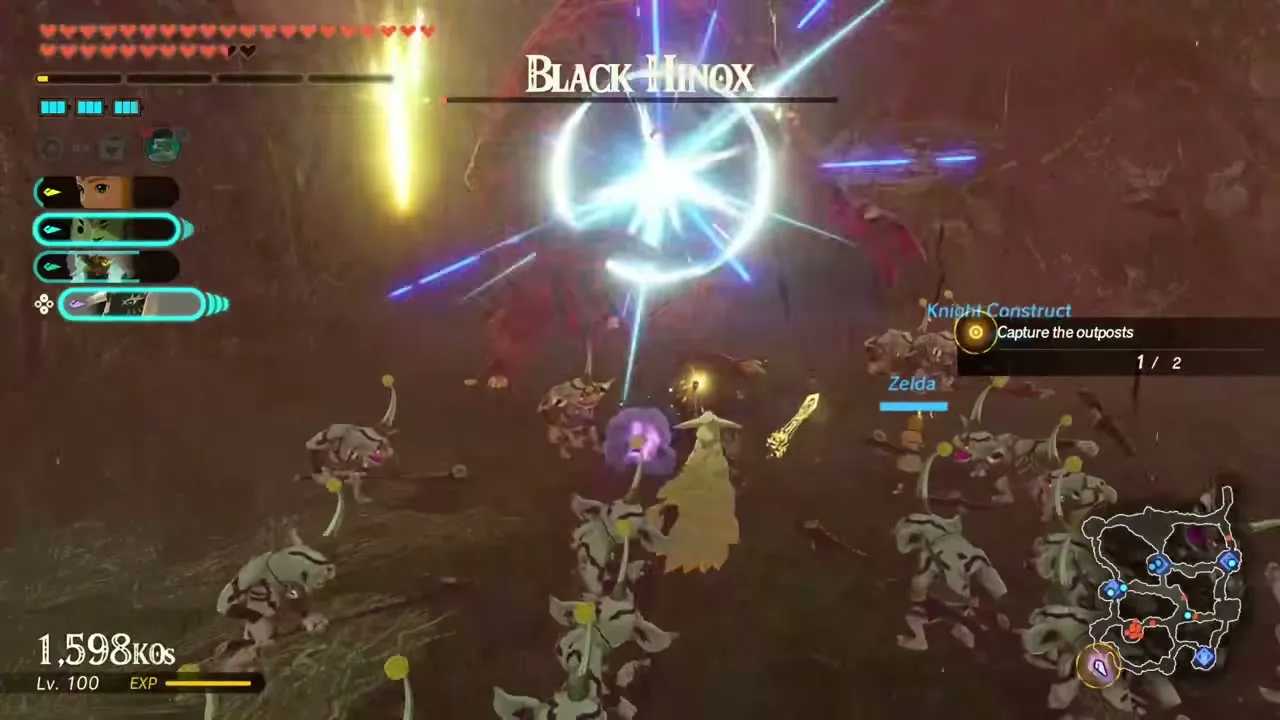
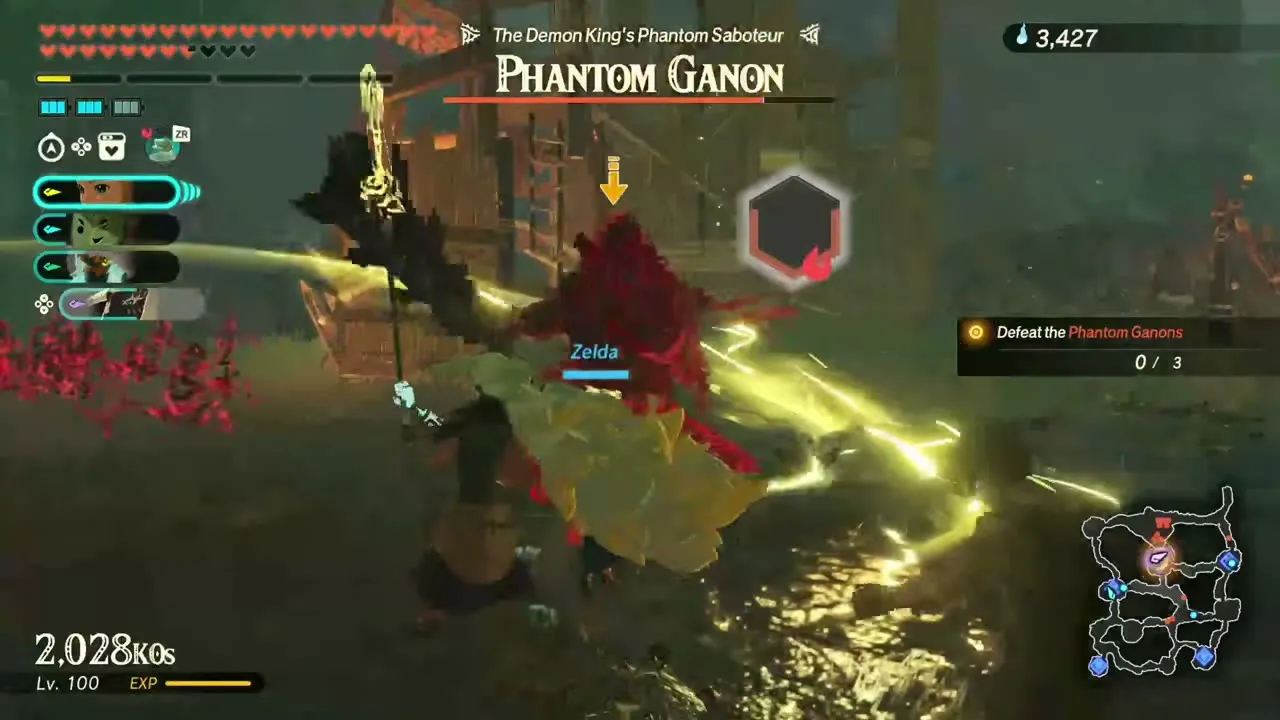
It came with the first free update (Version 1.0.2) and unlocks after you win In Search of Poes. Its recommended level is 85, set in Ash Swamp (Necluda). Any warrior is allowed. You fight Silver Lizalfos, Silver Bokoblins, Black Hinoxes, Silver Lynels and Silver Boss Bokoblins. Endura Shrooms and Oil Jars are lying around the battlefield. Beyond the first outposts you must beat a Silver Boss Bokoblin, a Stalmoblin and an Electric Moblin, then clear a horde of 600 monsters, and the last stage brings a Silver Lynel, a Black Hinox and the Phantom Ganons. First clear: Swift Carrot x30, Mighty Thistle x30, Sneaky River Snail x30, Rupee x2,000, Pure Zonaite Steel (Pristine) x1.
Fateful Clash with the Forbidden
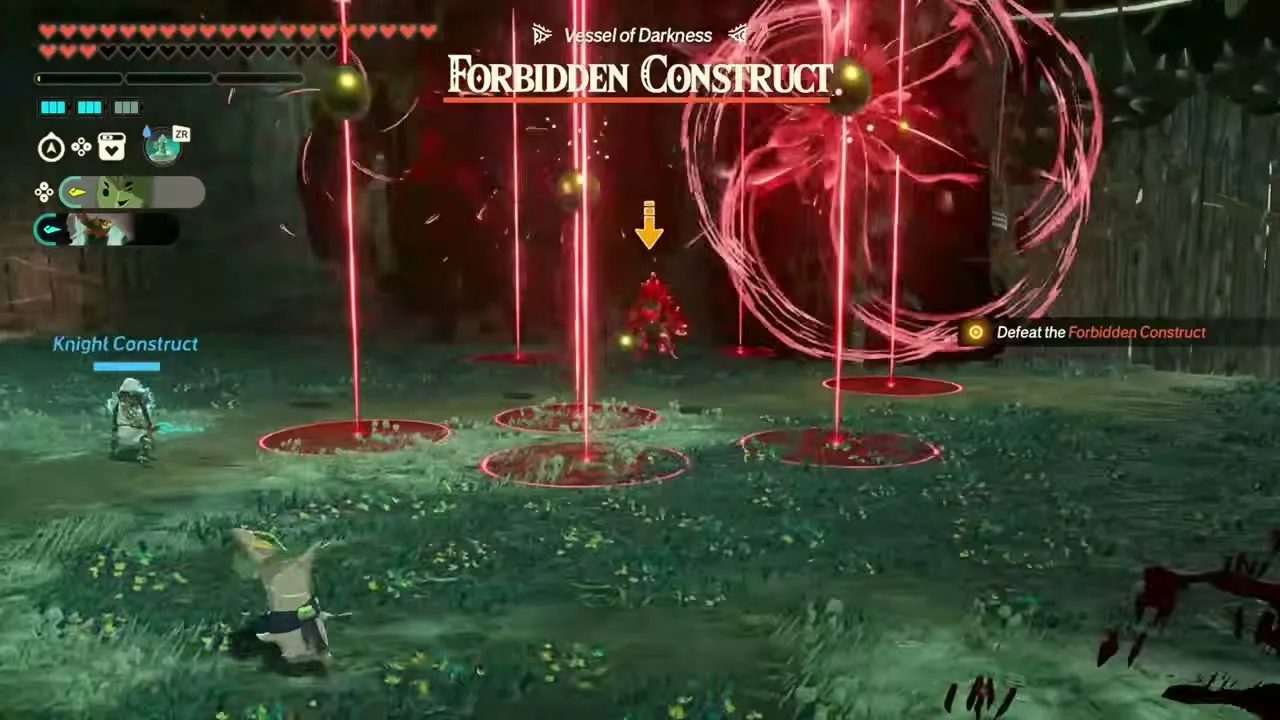
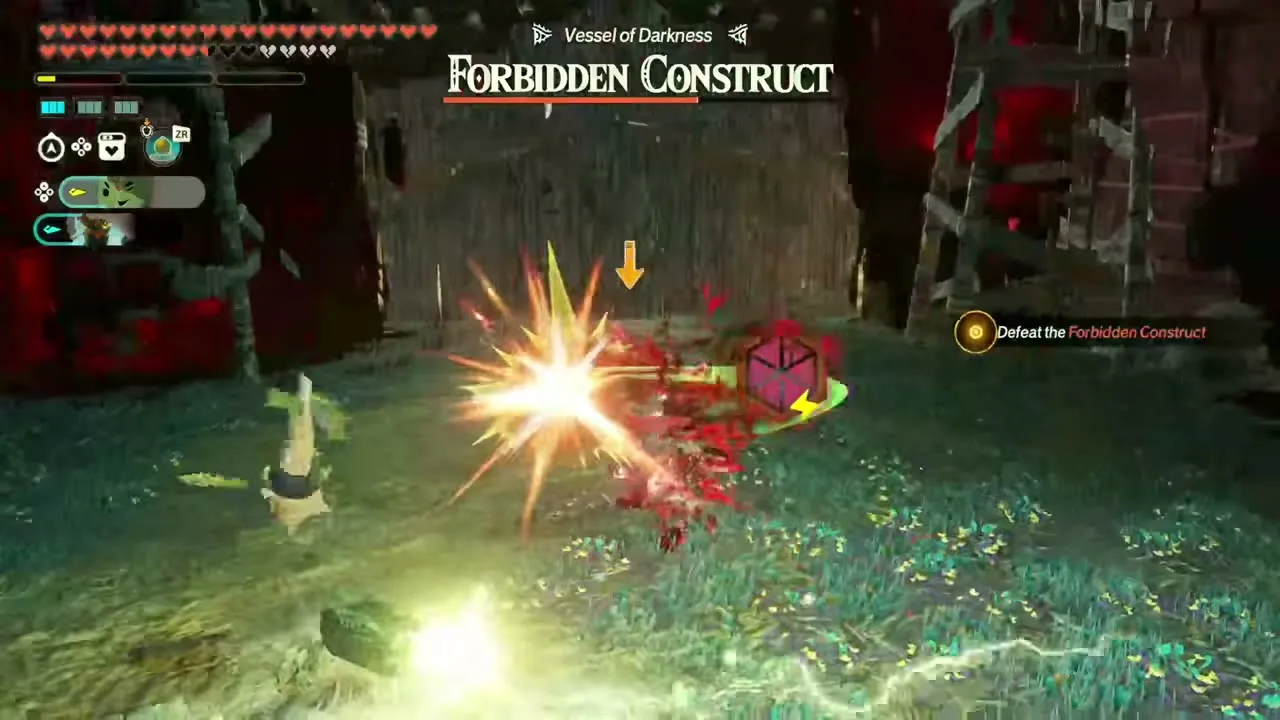
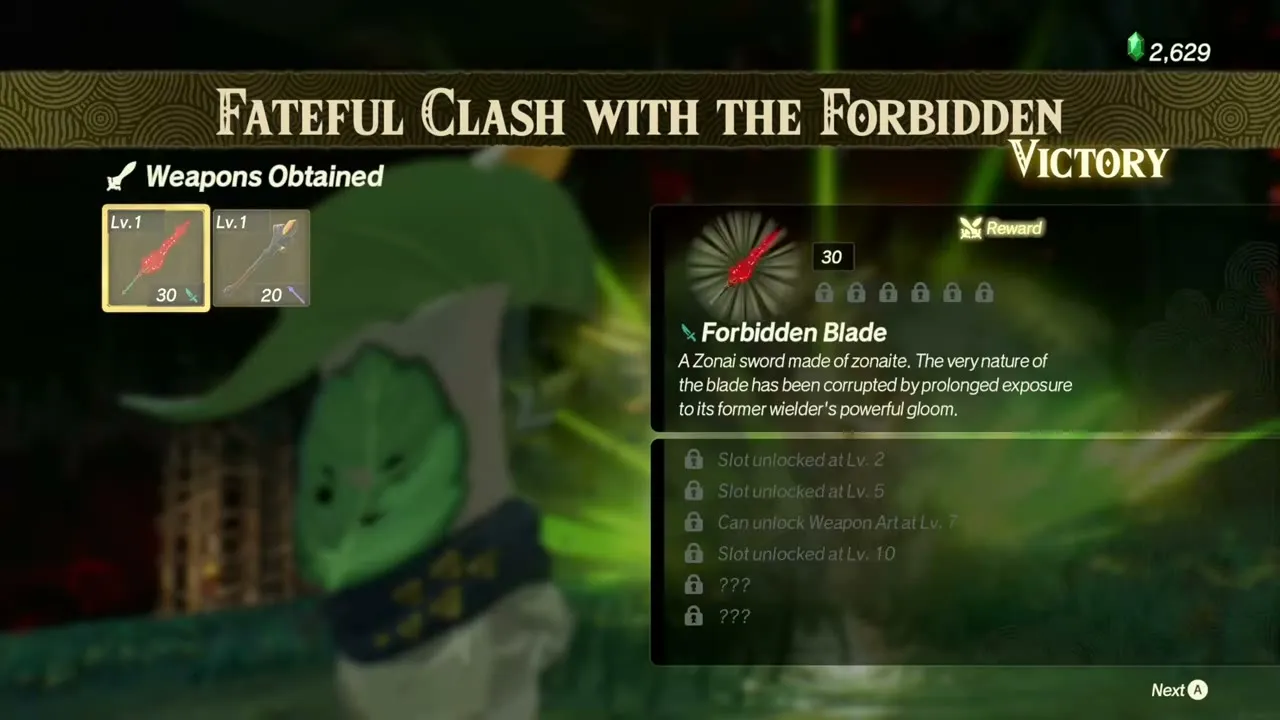
It arrived with the second free update (Version 1.0.3) and follows A Vicious Battle: North Hyrule Field. Its recommended level is 90. Any warrior is allowed. It is set in the Depths, and you fight a single enemy, the Forbidden Construct, with Calamo and the Knight Construct fighting beside you. The Forbidden Blade is its prize. First clear: Dark Clump x25, Sundelion x25, Giant Brightbloom Seed x25, Diamond x10, Forbidden Blade x1.
Wandering Warriors
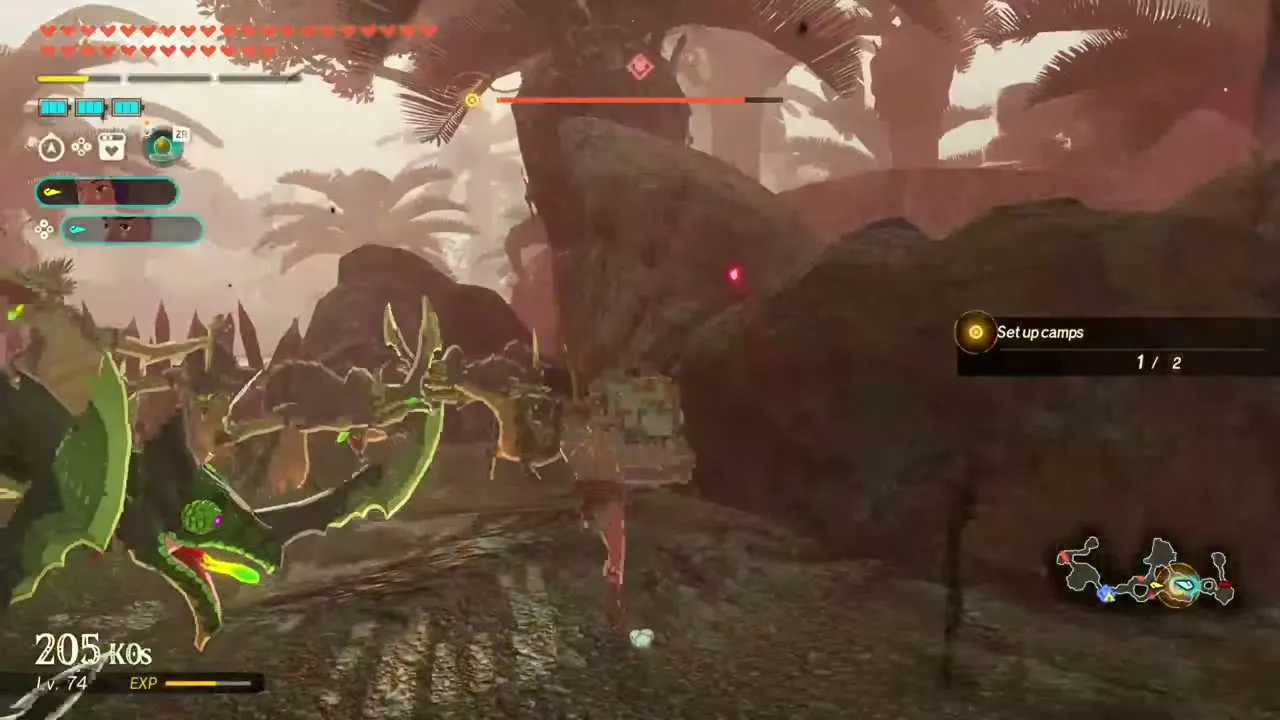
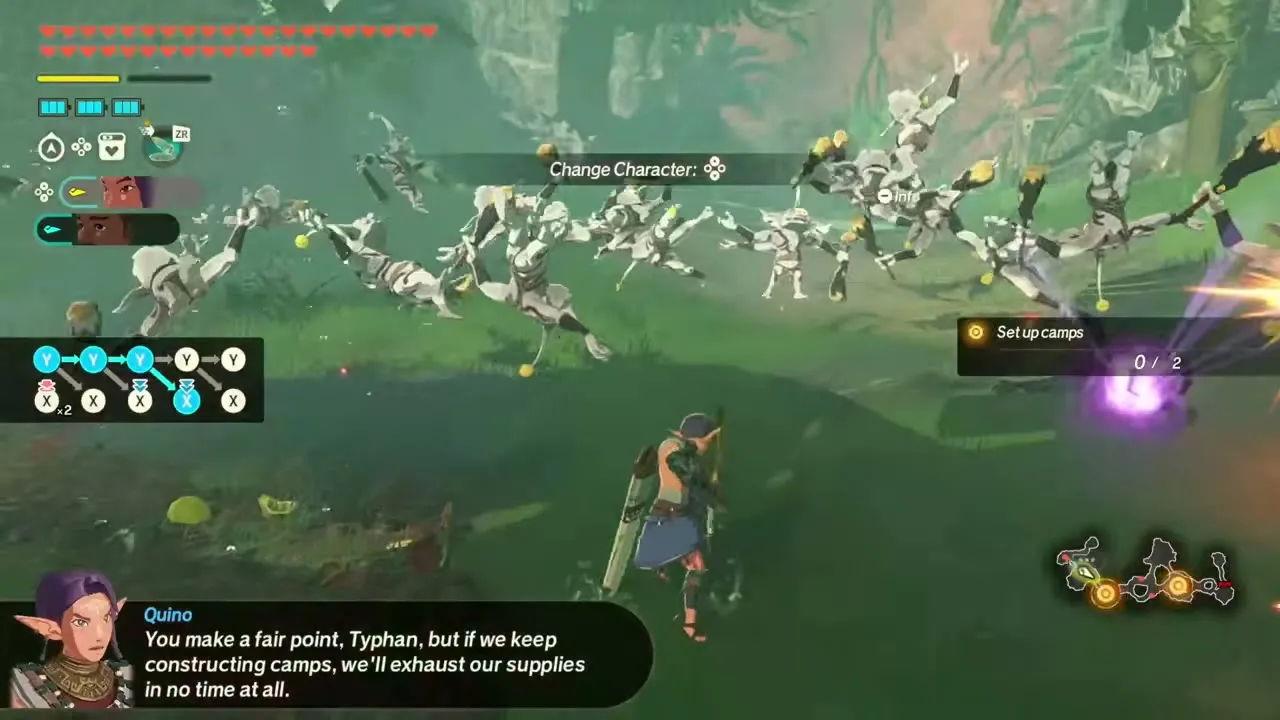
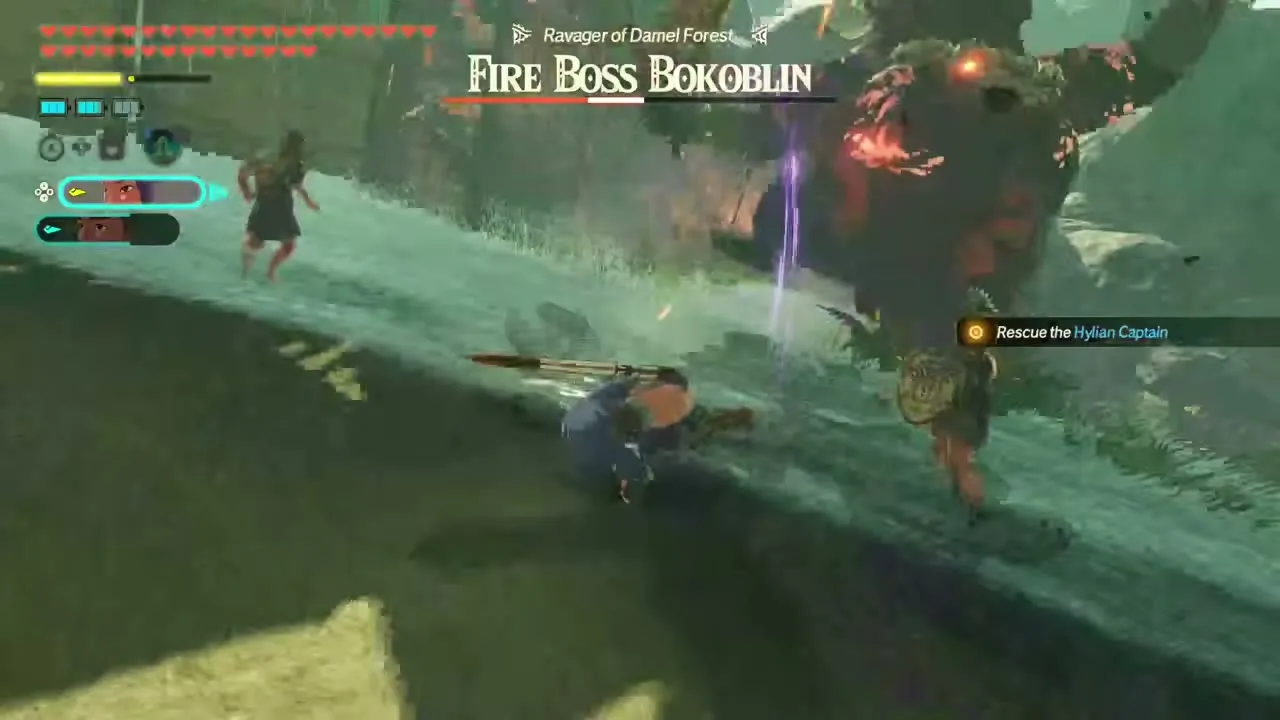
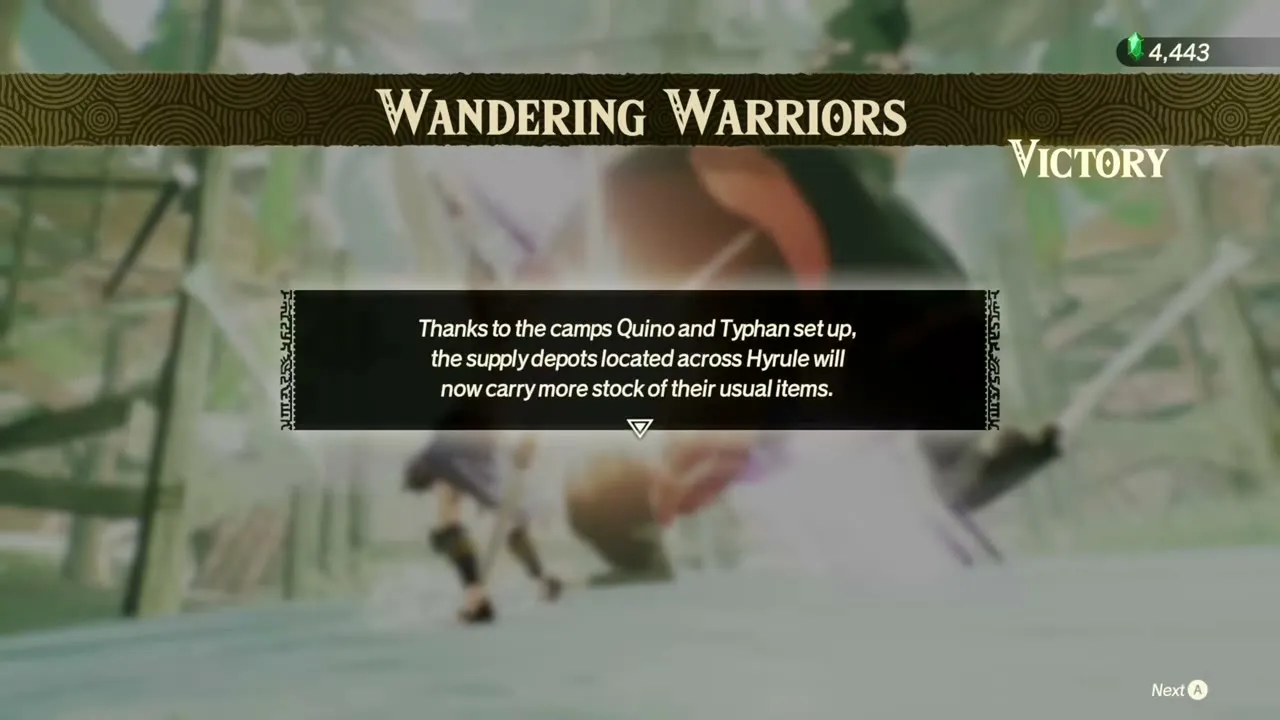
It arrived with the second free update (Version 1.0.3) and follows A Vicious Battle: Damel Forest. Its recommended level is 85, set in Damel Forest. Quino and Typhan are fixed as a pair. The goal is to capture outposts and set up camps, rescue a Hylian Captain and defeat a Silver Moblin and a Fire Boss Bokoblin. Typhan becomes playable during the fight. Once it is done, the camps Quino and Typhan set up let Supply Depots sell a larger selection. First clear: Sanke Carp x30, Hearty Truffle x25, Mighty Thistle x30, Pure Zonaite Steel (Pristine) x1.

Indignant Warriors
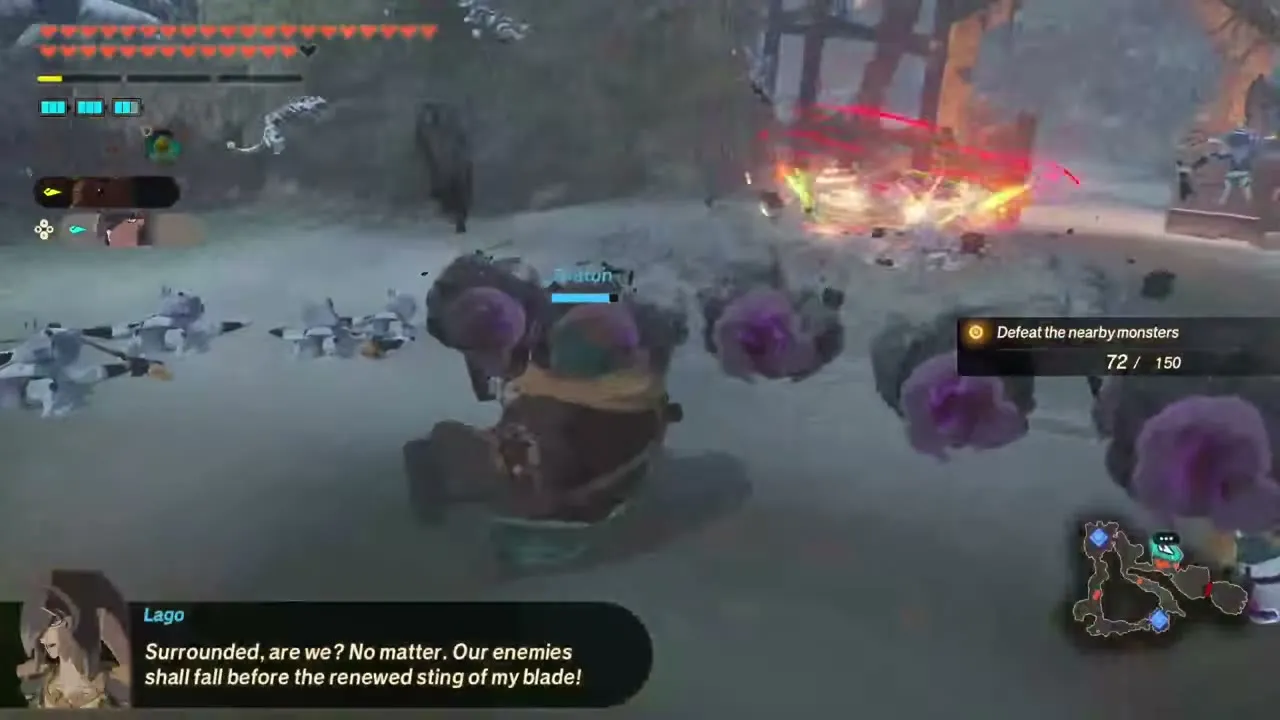
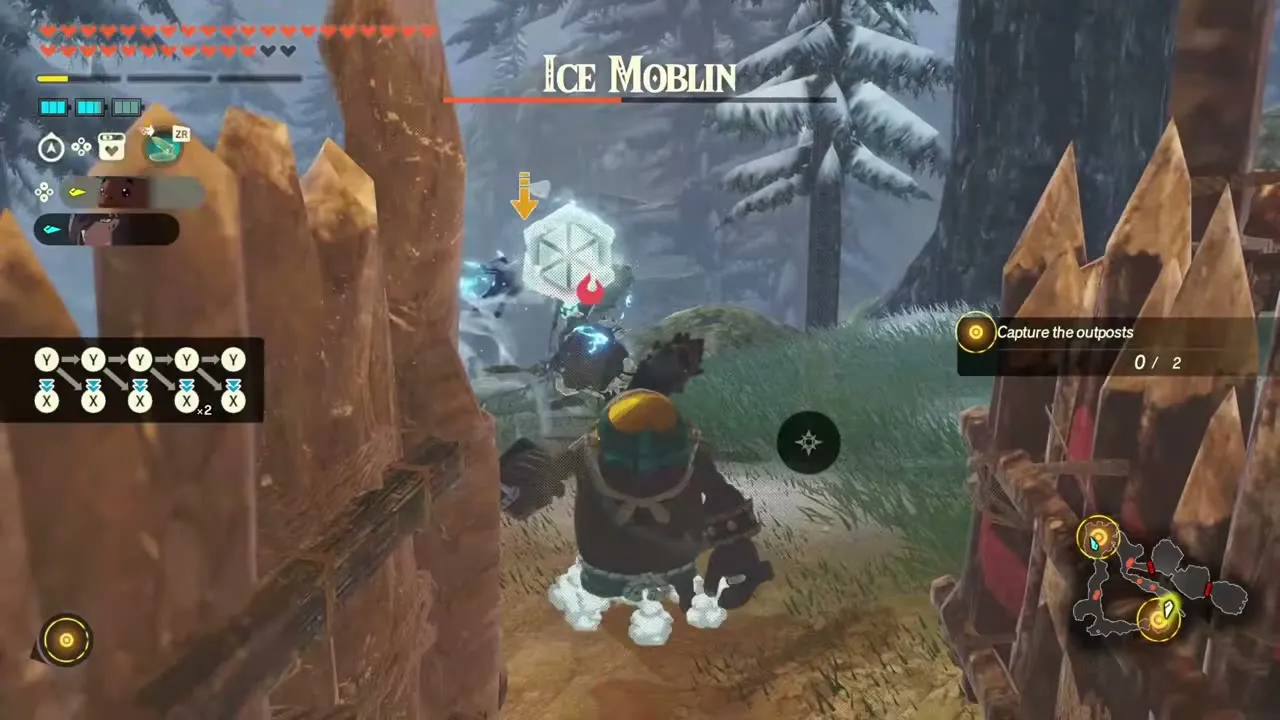
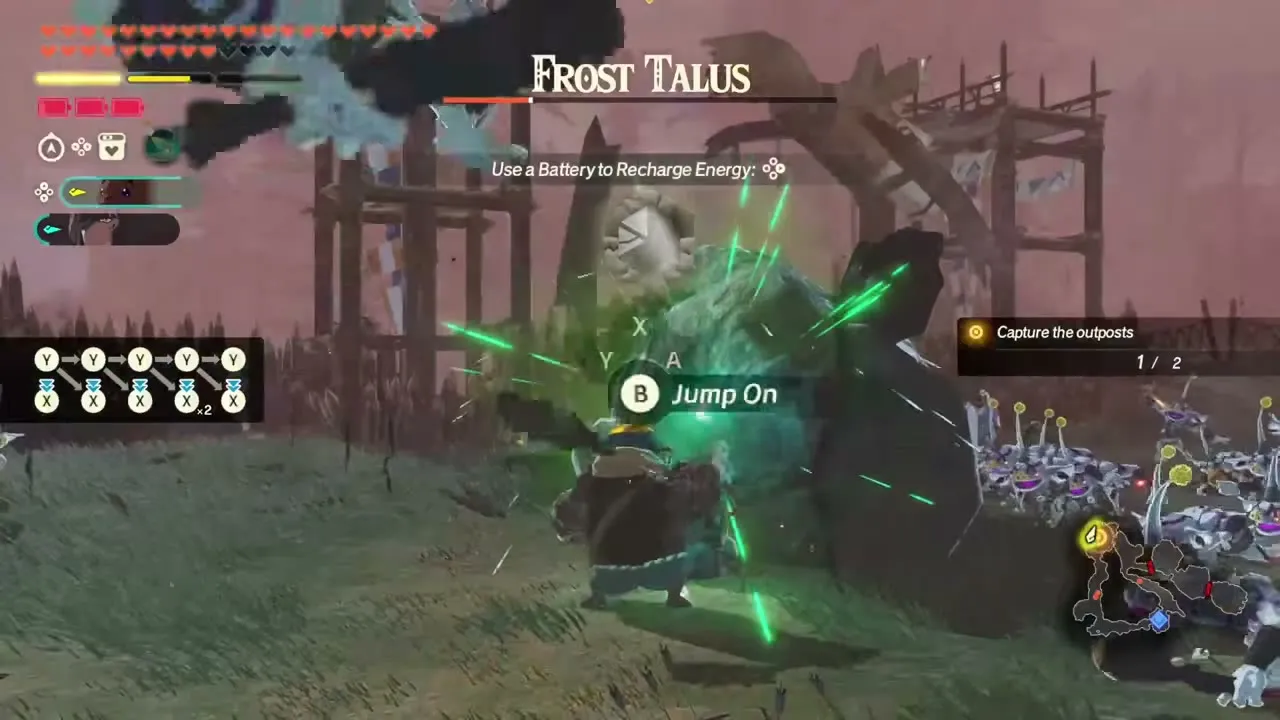
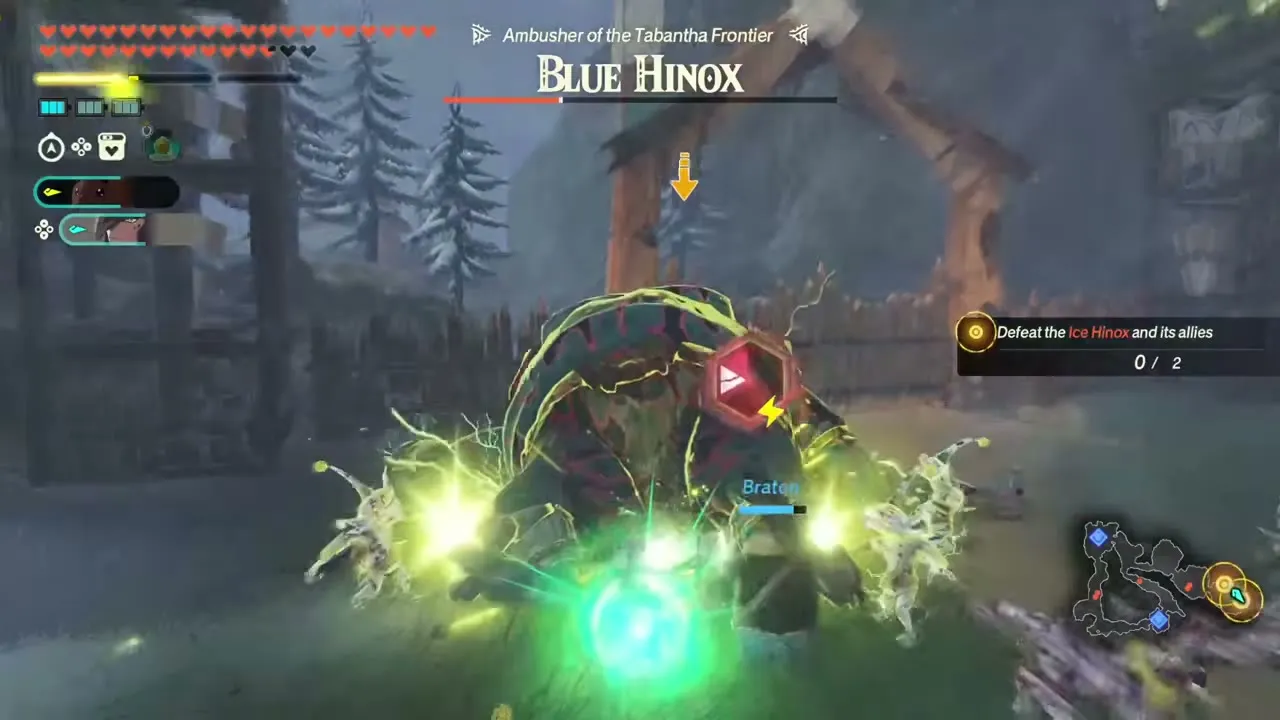
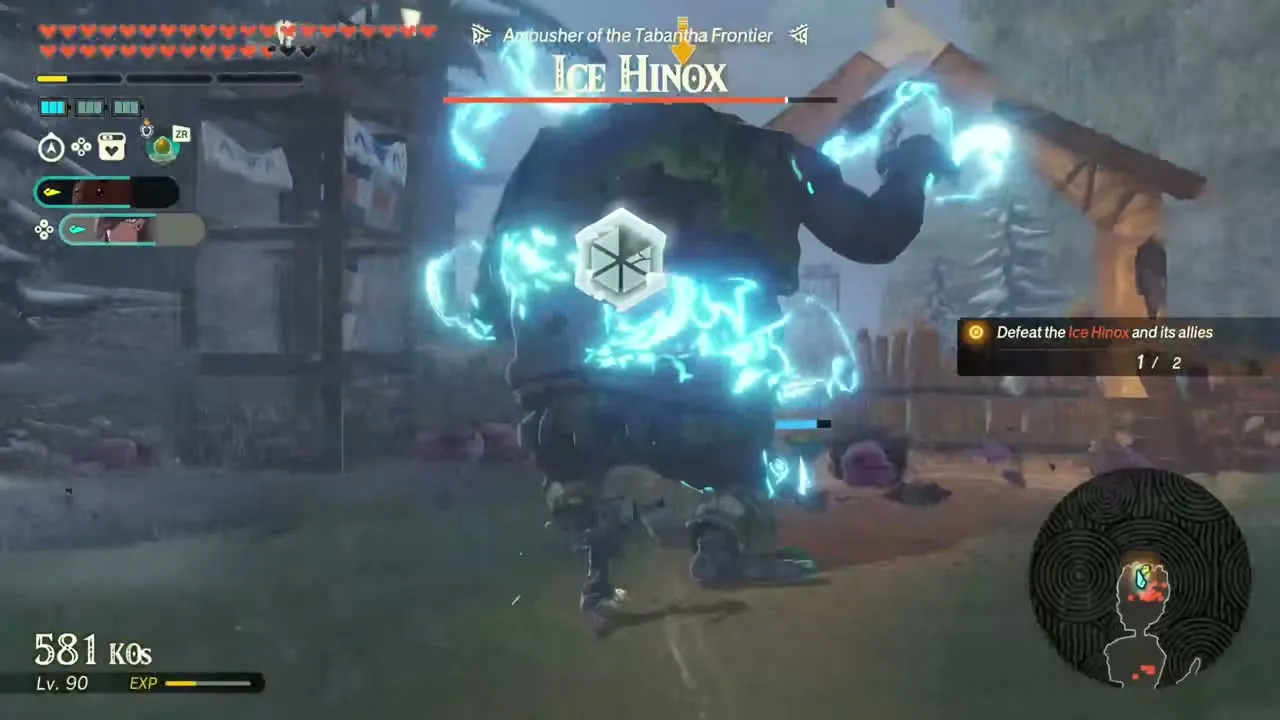
It arrived with the second free update (Version 1.0.3) and follows A Vicious Battle: North Hyrule Field. Its recommended level is 85, set in Tabantha Frontier. Braton and Lago are fixed as a pair. The goal is to recover the stolen rations: capture the outposts, head for the targeted position, defeat 150 nearby monsters, and then fight an Ice Moblin, a Frost Talus, a Blue Hinox and an Ice Hinox. First clear: Ice Fruit x30, Tabantha Wheat x20, Raw Gourmet Meat x20, Raw Whole Bird x20, Pure Zonaite Steel (Pristine) x1.
Steadfast Warriors
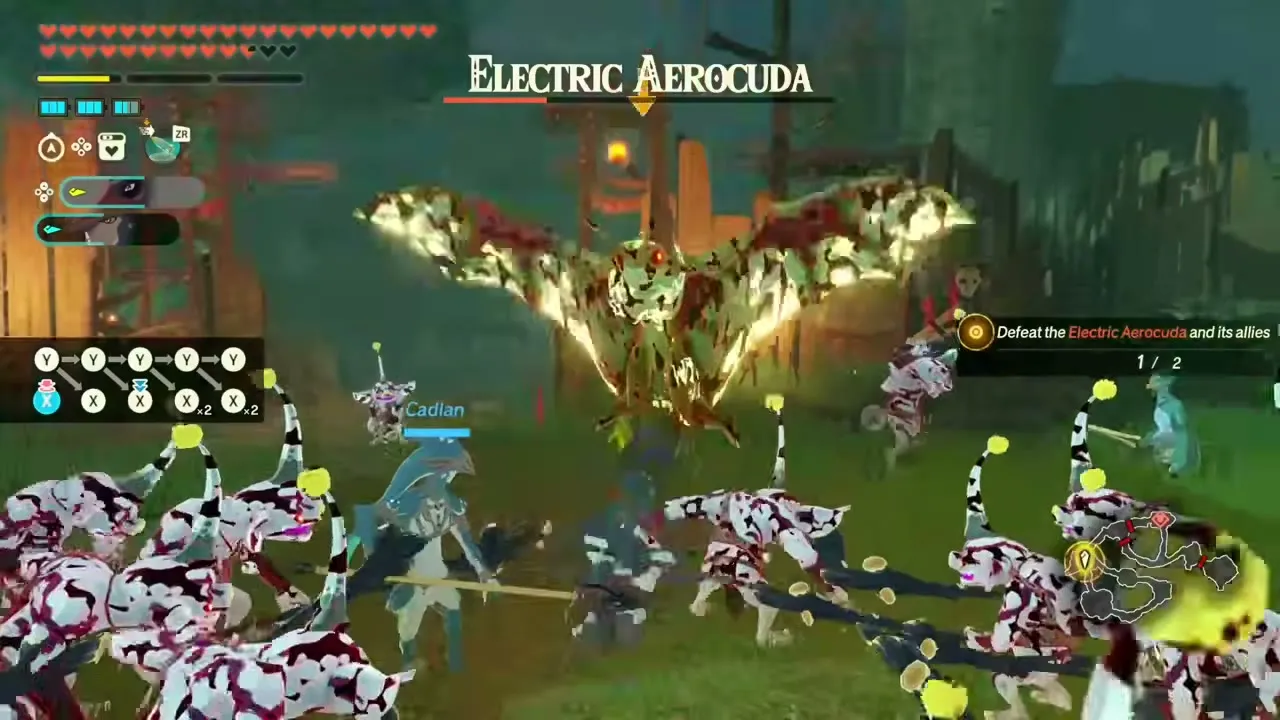
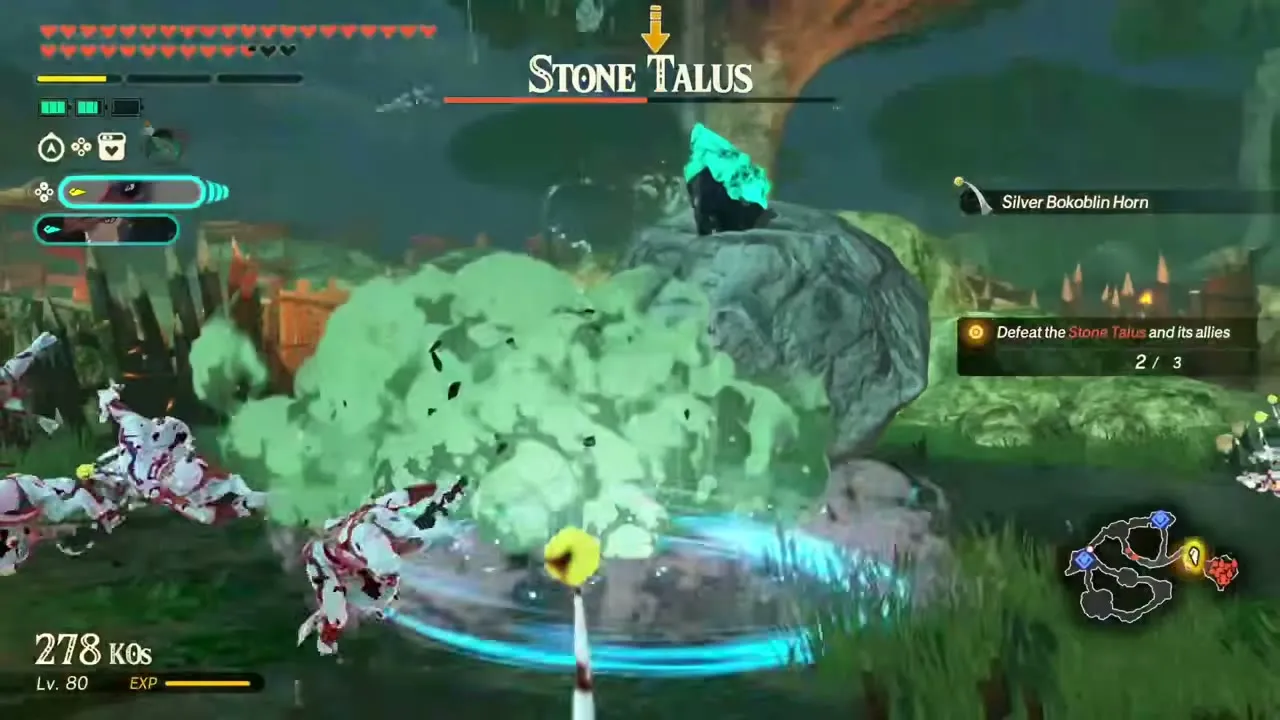
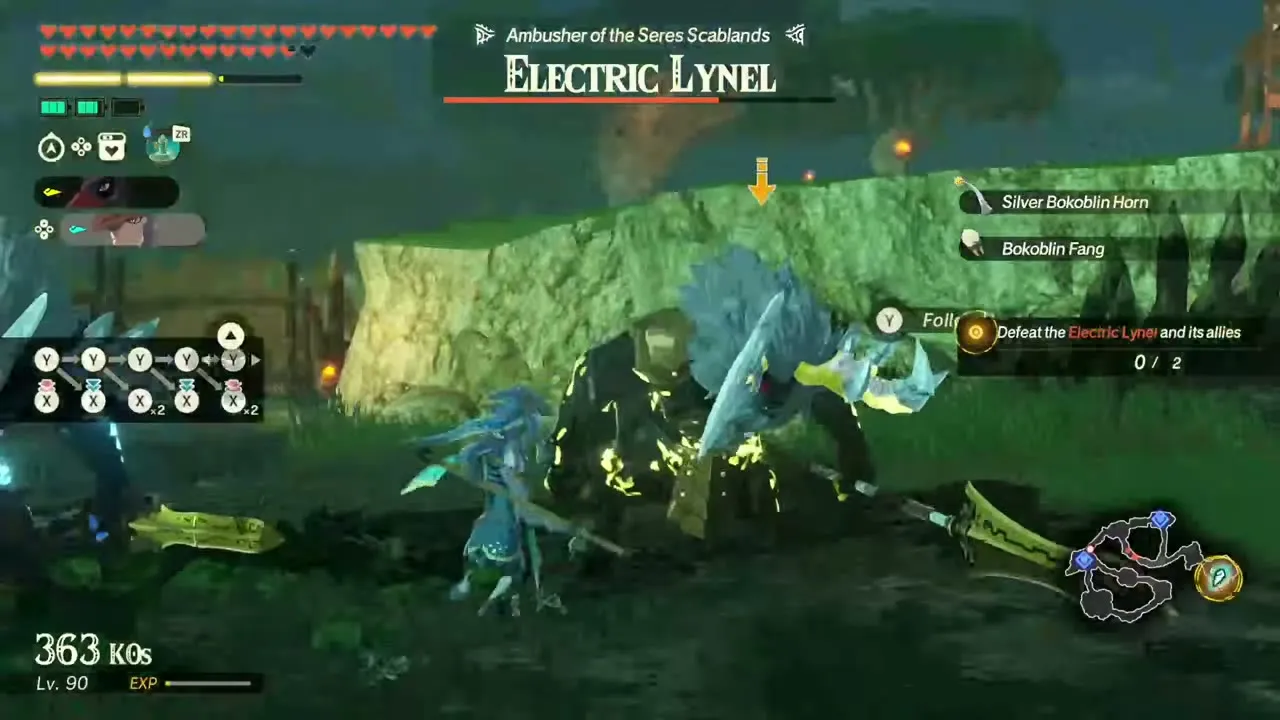
It arrived with the second free update (Version 1.0.3) and follows A Vicious Battle: North Hyrule Field. Its recommended level is 85, set in Seres Scablands. Pinnec and Cadlan are fixed as a pair. Cadlan leads the way as you hold the outpost against Bokoblins, an Electric Aerocuda, a Stone Talus and an Electric Lynel. First clear: Endura Shroom x20, Warm Safflina x30, Glowing Cave Fish x30, Rupee x1,500, Pure Zonaite Steel (Pristine) x1.
Rival Warriors
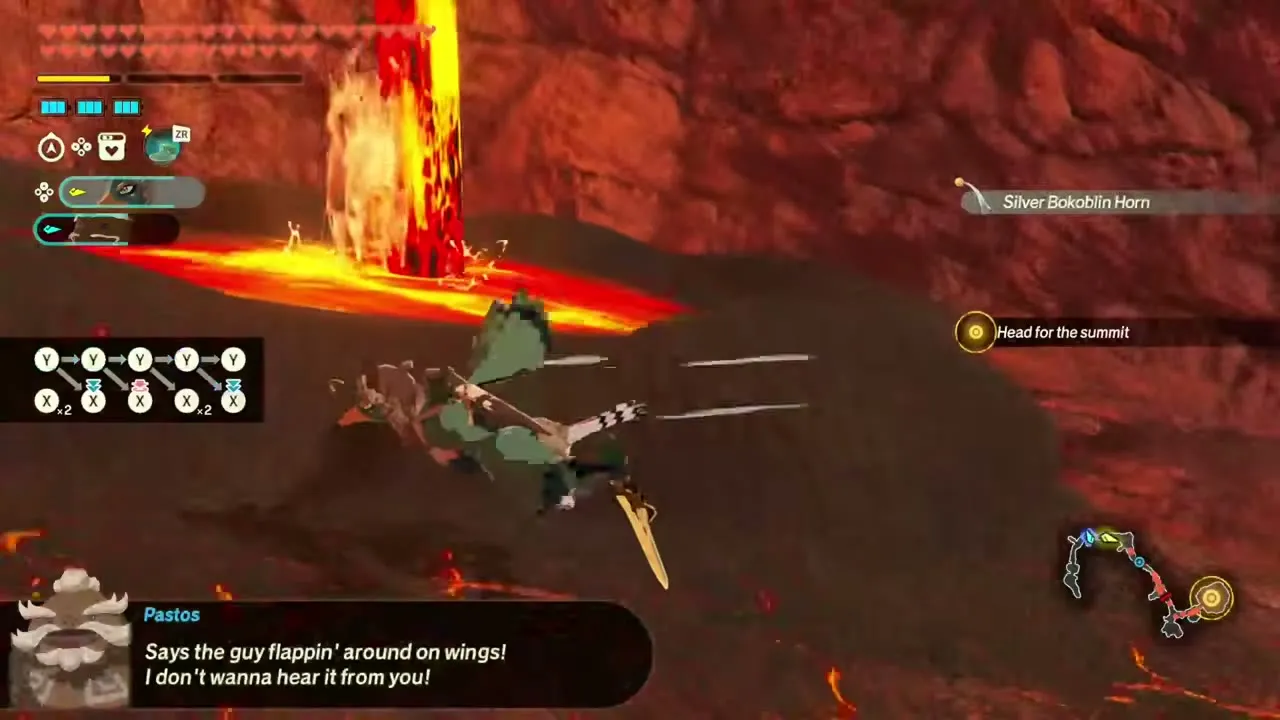
It arrived with the second free update (Version 1.0.3) and follows A Vicious Battle: North Hyrule Field. Its recommended level is 85, set in Death Mountain. Vence and Pastos are fixed and you add one more warrior. It is a race up Death Mountain to the summit, with a Fire Moblin and a Fire Lynel standing in the way. Pastos becomes playable here. First clear: Mighty Porgy x30, Ironshroom x30, Warm Darner x30, Rupee x1,500, Pure Zonaite Steel (Pristine) x1.
Headstrong Warriors
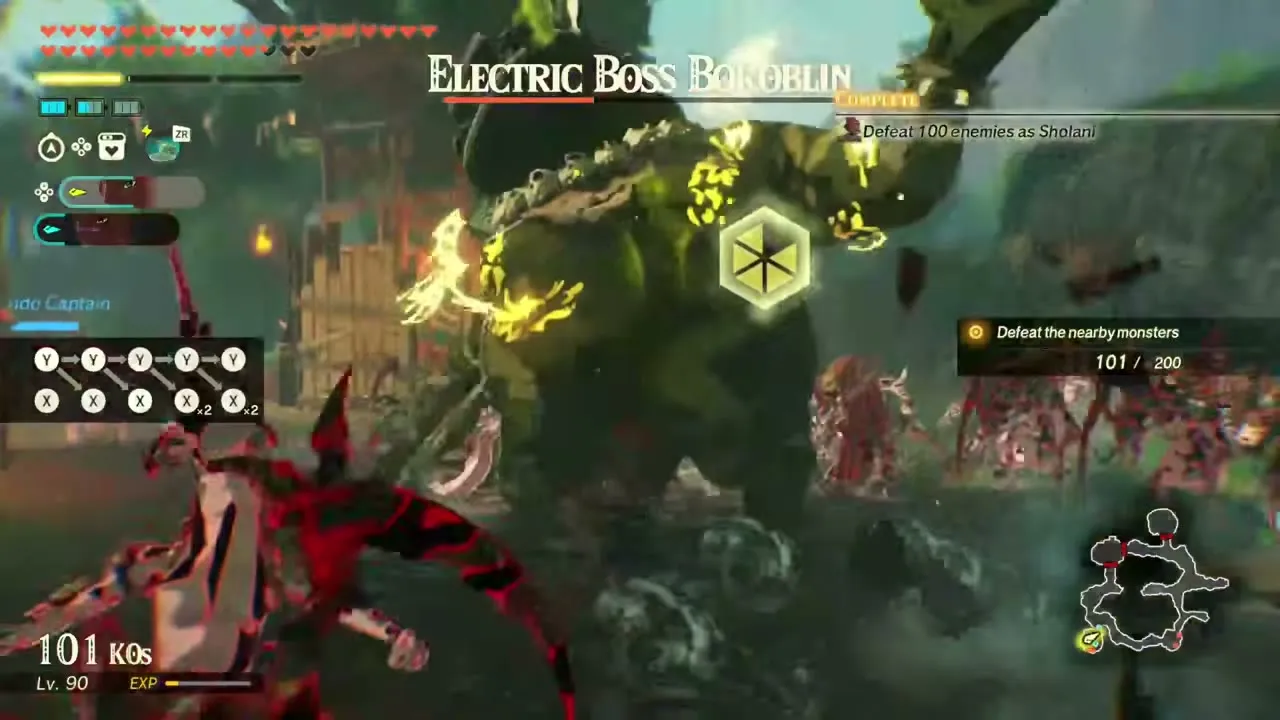
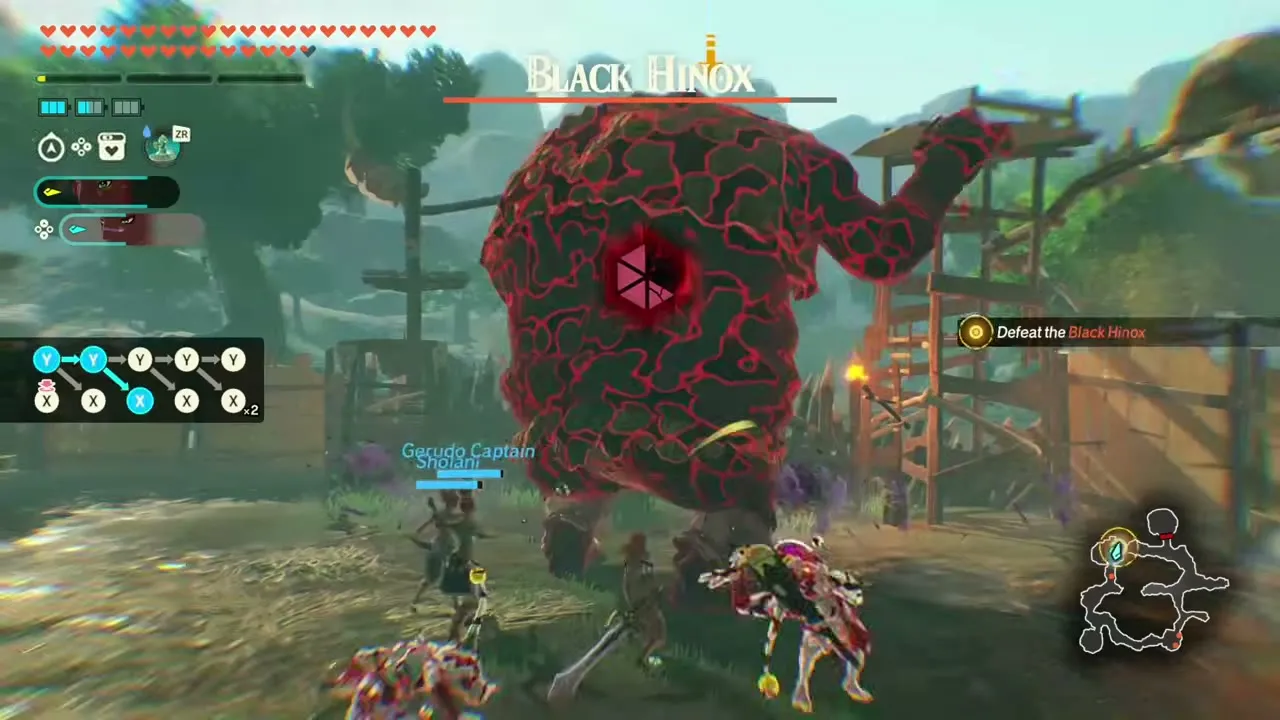
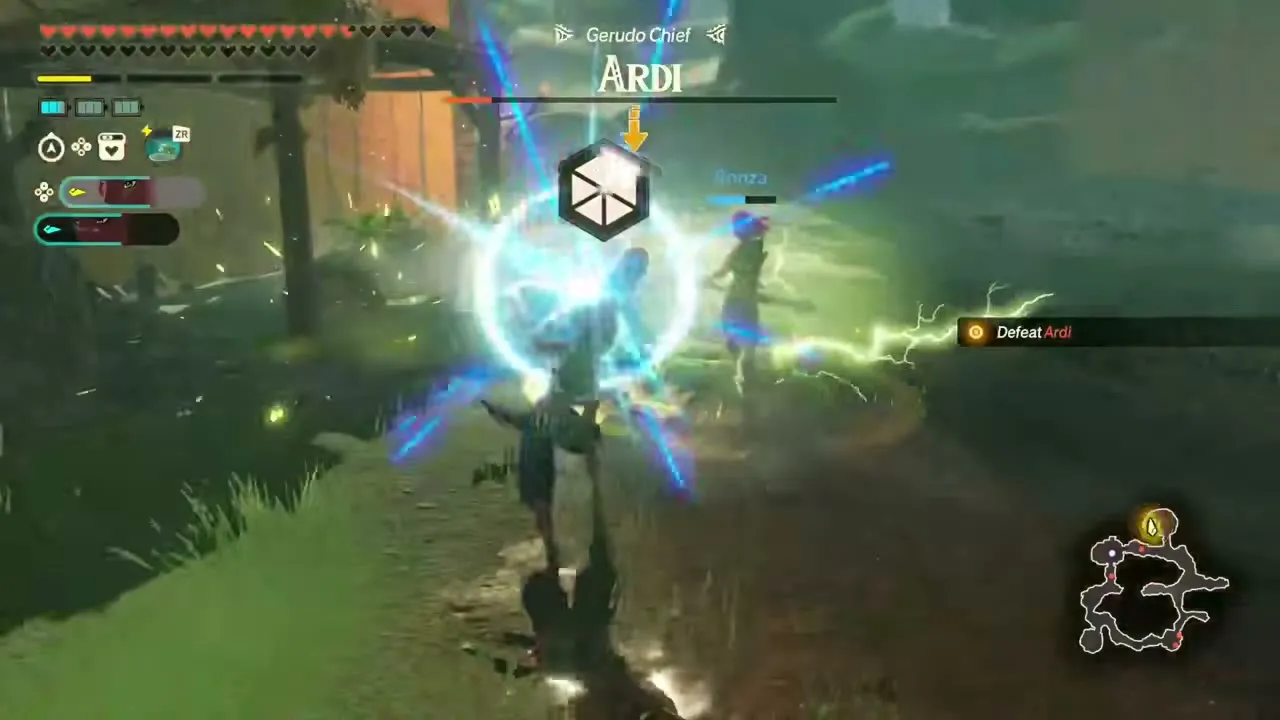
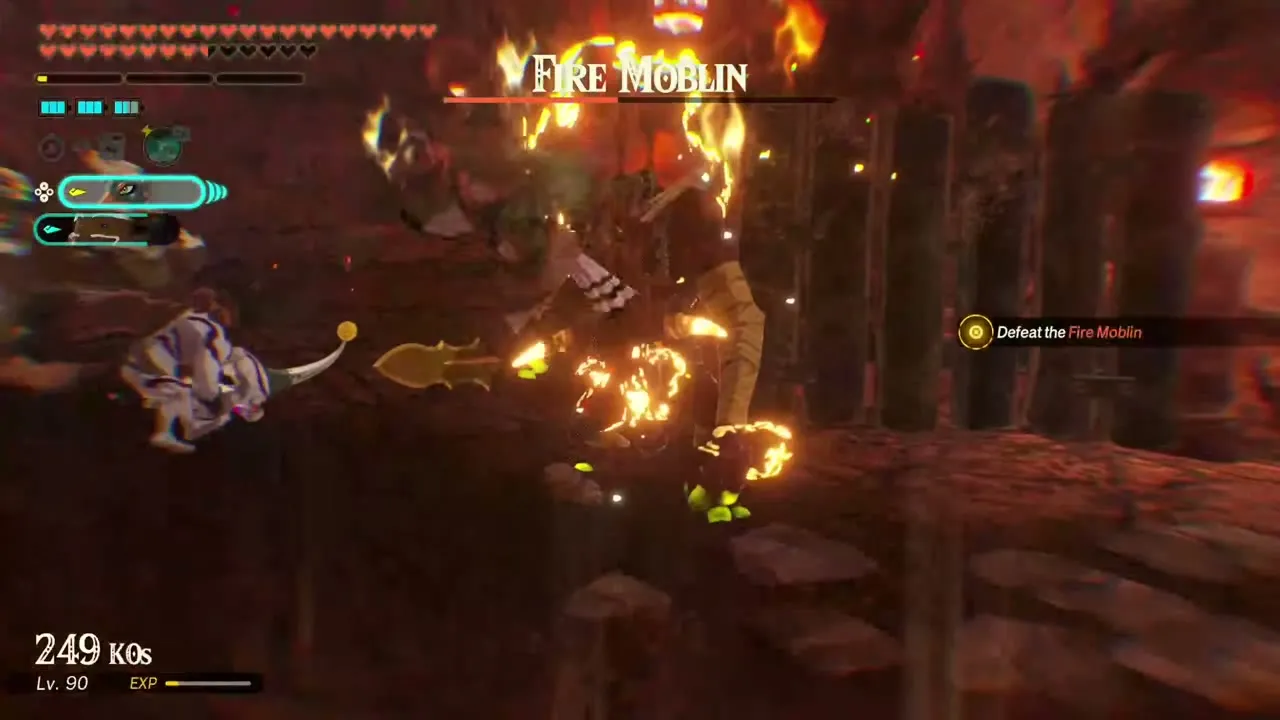
It arrived with the second free update (Version 1.0.3) and follows A Vicious Battle: Damel Forest. Its recommended level is 85, set in Ash Swamp. Sholani and Ronza are fixed as a pair. The goal is to defeat 200 nearby monsters, then you fight an Electric Boss Bokoblin, a Black Hinox and finally Ardi herself. First clear: Chillfin Trout x30, Puffshroom x30, Armoranth x30, Rupee x1,500, Pure Zonaite Steel (Pristine) x1.