| Total | 8 Scouting Challenges, each recruits one warrior |
|---|---|
| First available | After The Howling Tempests (Quino, start of Chapter 3) |
| Last available | After The Counterstrike (Pastos, Chapter 4) |
| Recommended levels | 19 to 38 |
| Rewards | The warrior, a material and  Zonaite Steel |
| Map icon | A person with a plus sign |
There are eight Scouting Challenges, and clearing each one permanently unlocks a new warrior: Quino, Lago, Pinnec, Cadlan, Sholani, Ronza, Braton and Pastos. They are optional Challenges that appear on the map as the story advances, the first at the start of Chapter 3 and the last during Chapter 4. Vence, the one other recruit you might expect here, is not recruited through a Challenge; see the characters page.

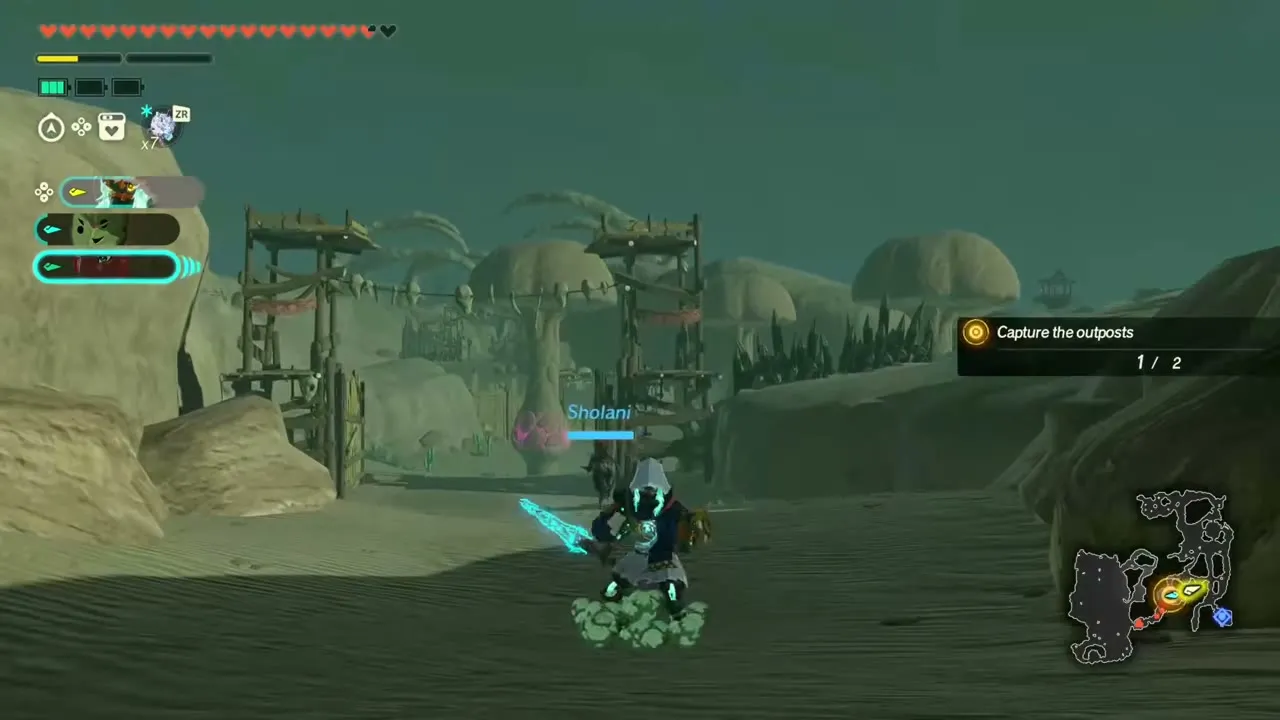
Table of Contents
Quick Reference
This table lists every Scouting Challenge in recommended-level order, with the area of the map, what must be done first and the warrior you gain. They are part of the 167 Challenges listed on the challenges page.

| Challenge | Unlocks | Map area | Requirement | Rec. Lv |
|---|---|---|---|---|
| For Hyrule |  Quino | Central Hyrule Field | Complete The Howling Tempests | 19 |
| A Veteran’s Return | Lago | Hyrule Field (Lanayru map) | Finish the quest “A Zora’s Troubles”, which Calamo gives you after Lanayru Defiled | 22 |
| The Unsung Spearman | Pinnec | Tabantha Frontier | Complete Under Cover of Mist | 28 |
| The Strength to Protect | Cadlan | Lanayru Wetlands | Complete The Crimson Omen | 33 |
| Standing on Principle | Sholani | Gerudo Desert | Complete The Crimson Omen | 33 |
| In Search of Power | Ronza | Death Mountain | Complete The Crimson Omen | 33 |
| The Gourmand Goron | Braton | Gerudo Desert | Complete A Time for Action | 36 |
| A Lone Wolf’s Pride | Pastos | Seres Scablands | Complete The Counterstrike | 38 |
How Scouting Challenges Work
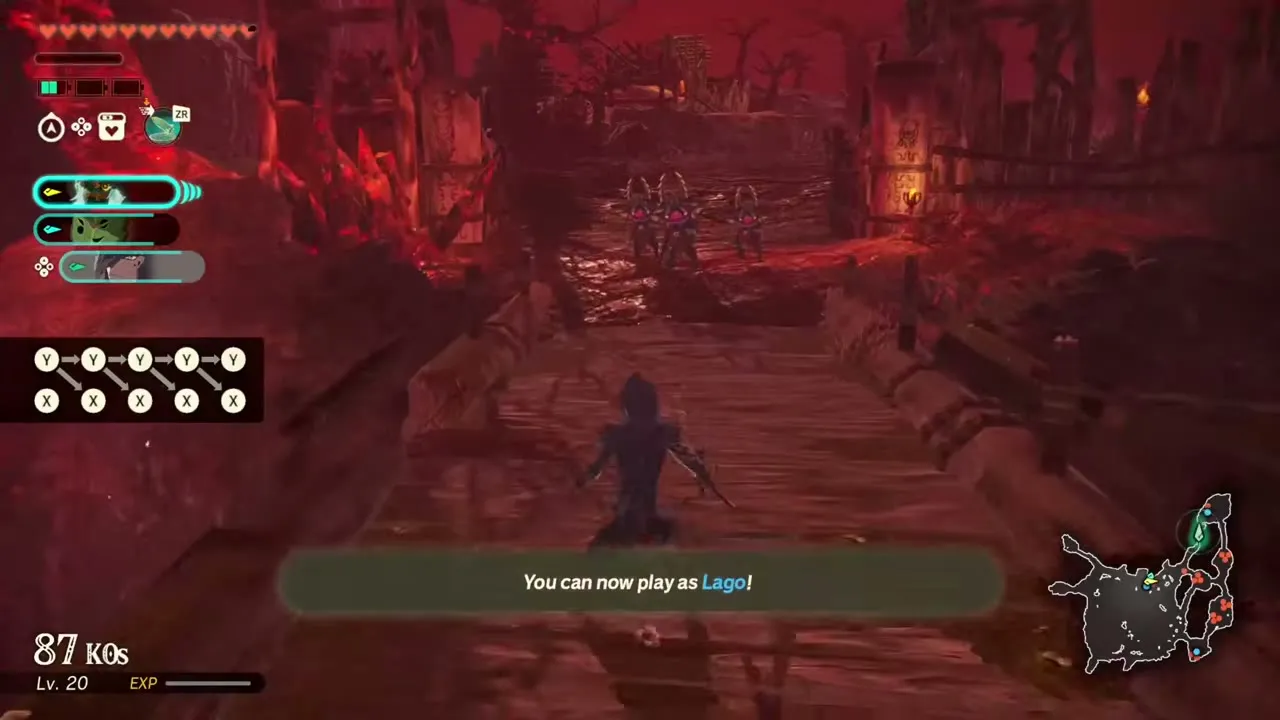
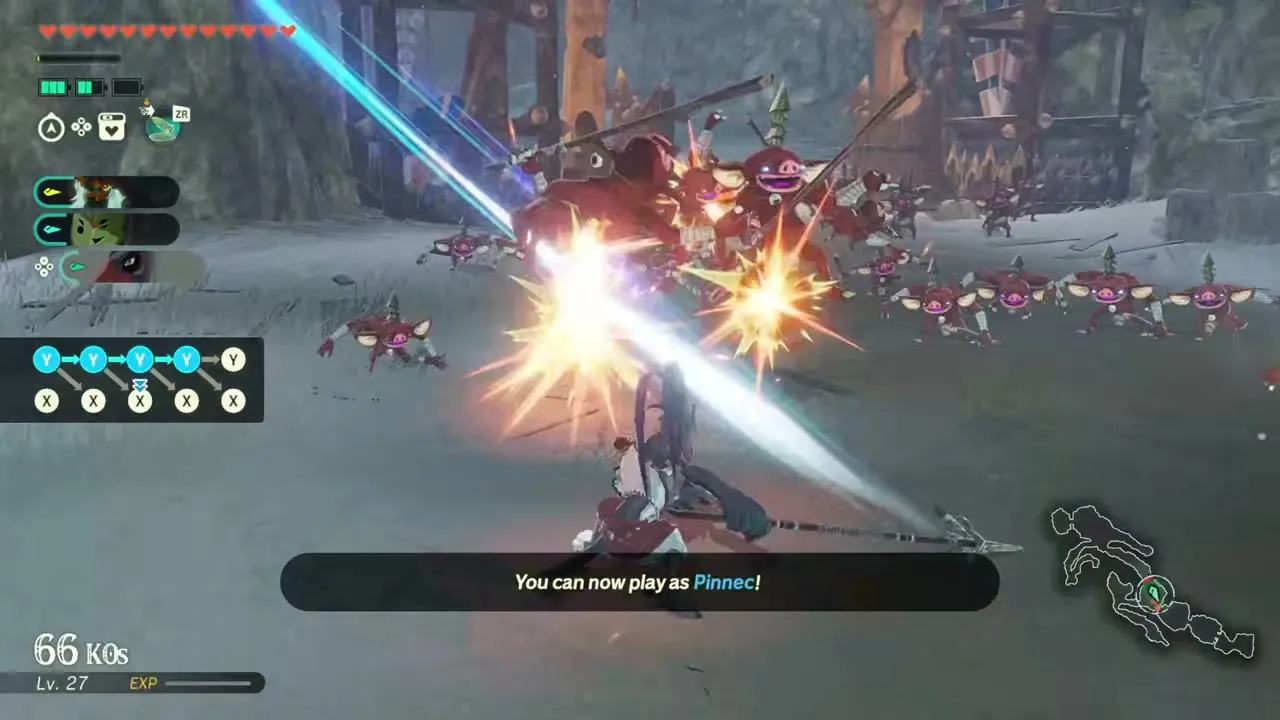
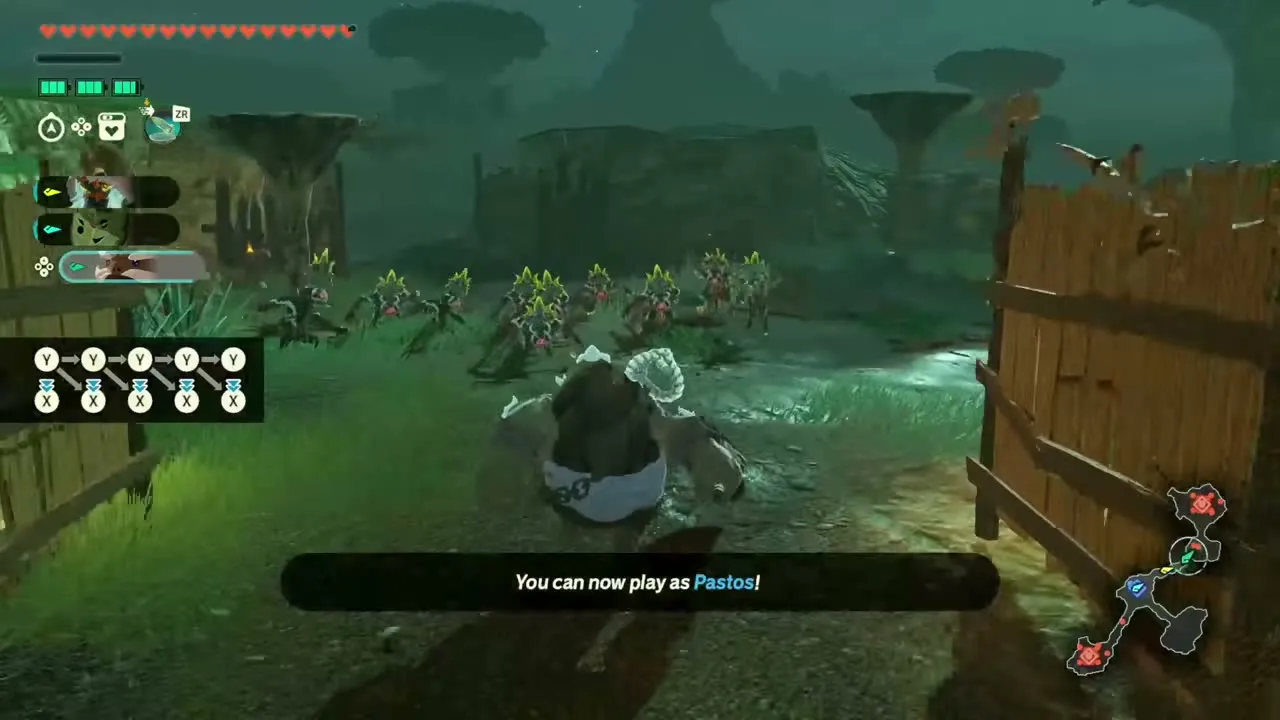
In a Scouting Challenge you do not choose your team. Calamo and the Knight Construct fight alongside the warrior you are scouting, who joins in as a third fighter and becomes playable after you finish the first objective. A “Controlling” card for the new warrior appears the moment they join, usually with the message “You can now play as” them, and a character card for the warrior is shown after the results. Clearing the whole Challenge keeps the warrior for good. Until you have beaten Terror of the Sands, warriors recruited this way can only enter the small set of Challenges that Calamo and the Construct are allowed in, so do not expect to field them everywhere right away.

The Eight Challenges
For Hyrule
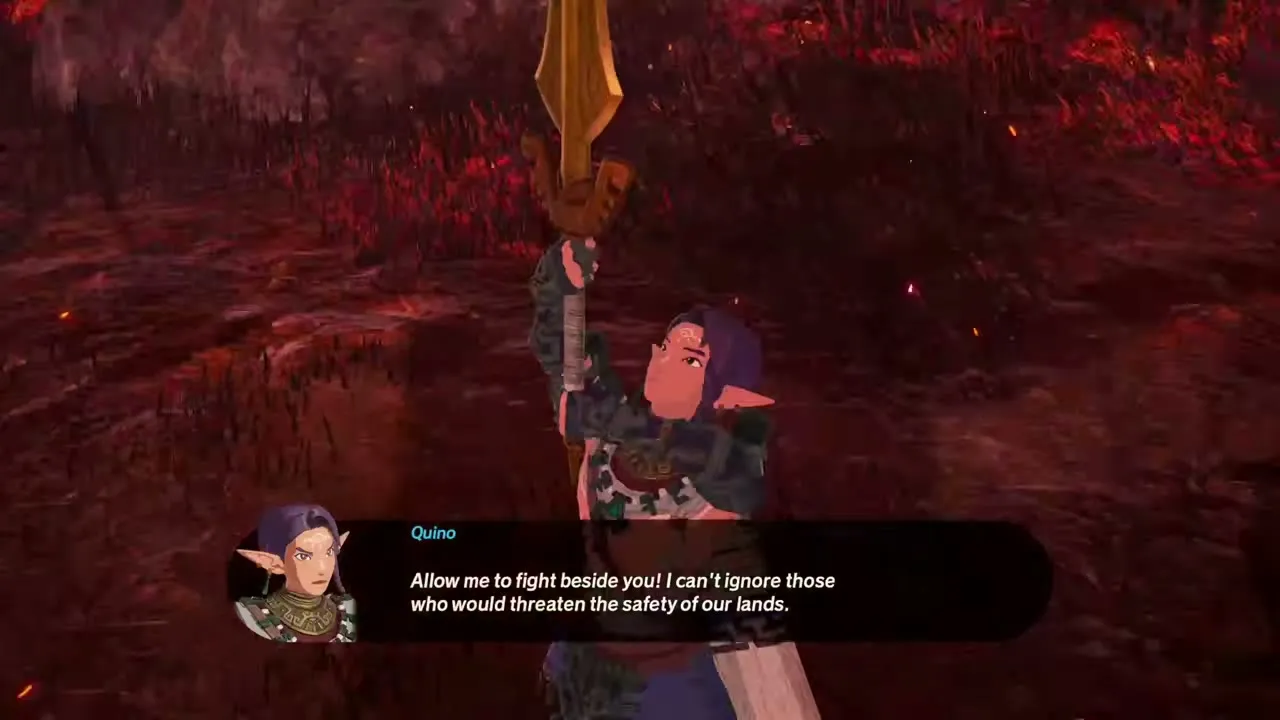
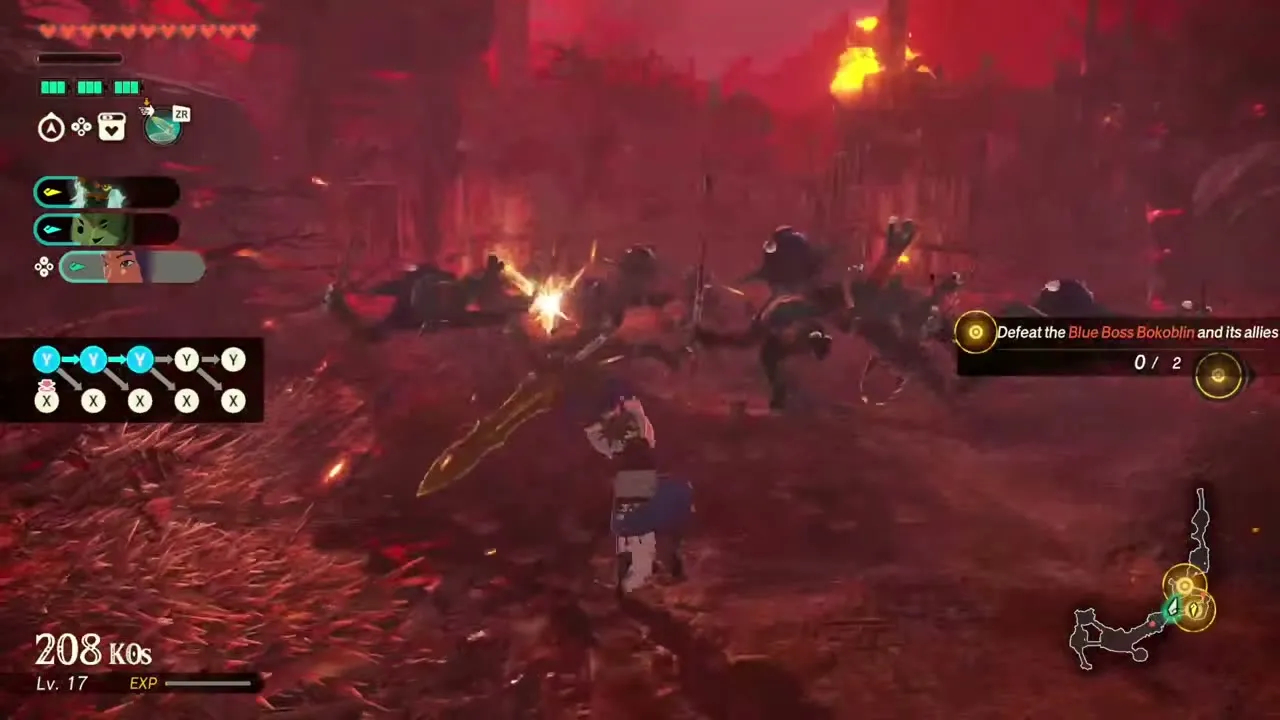
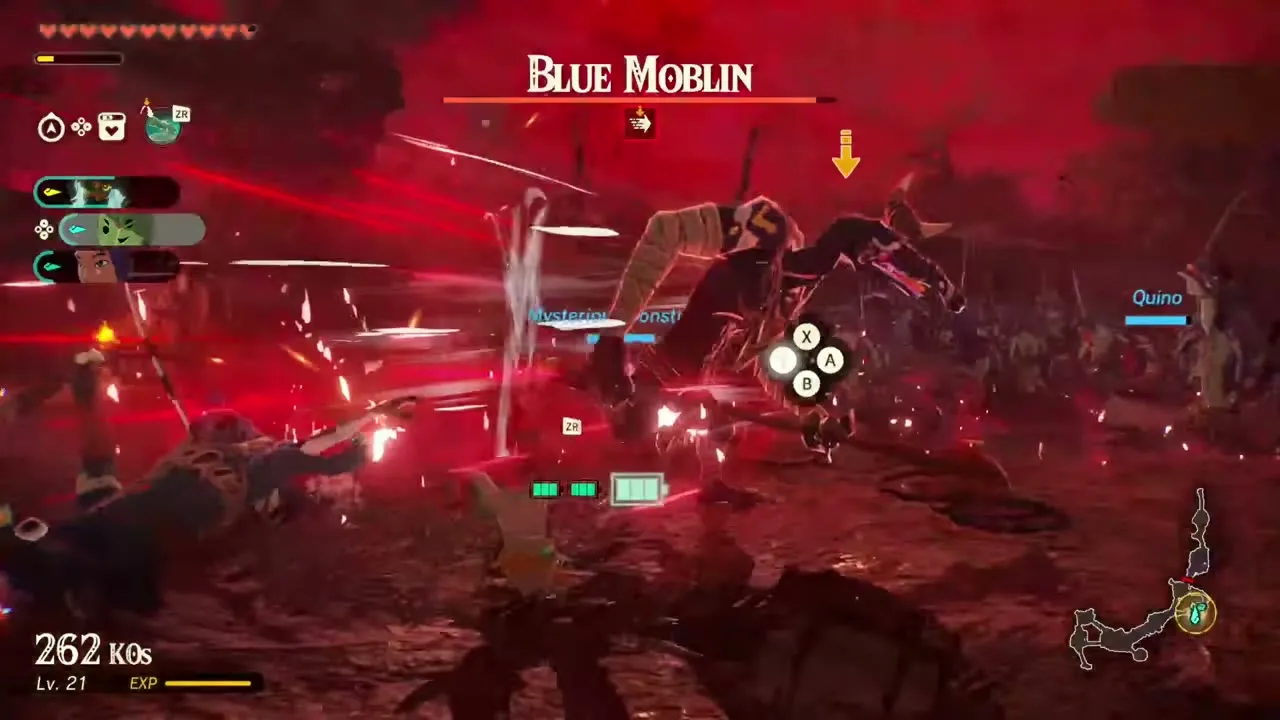
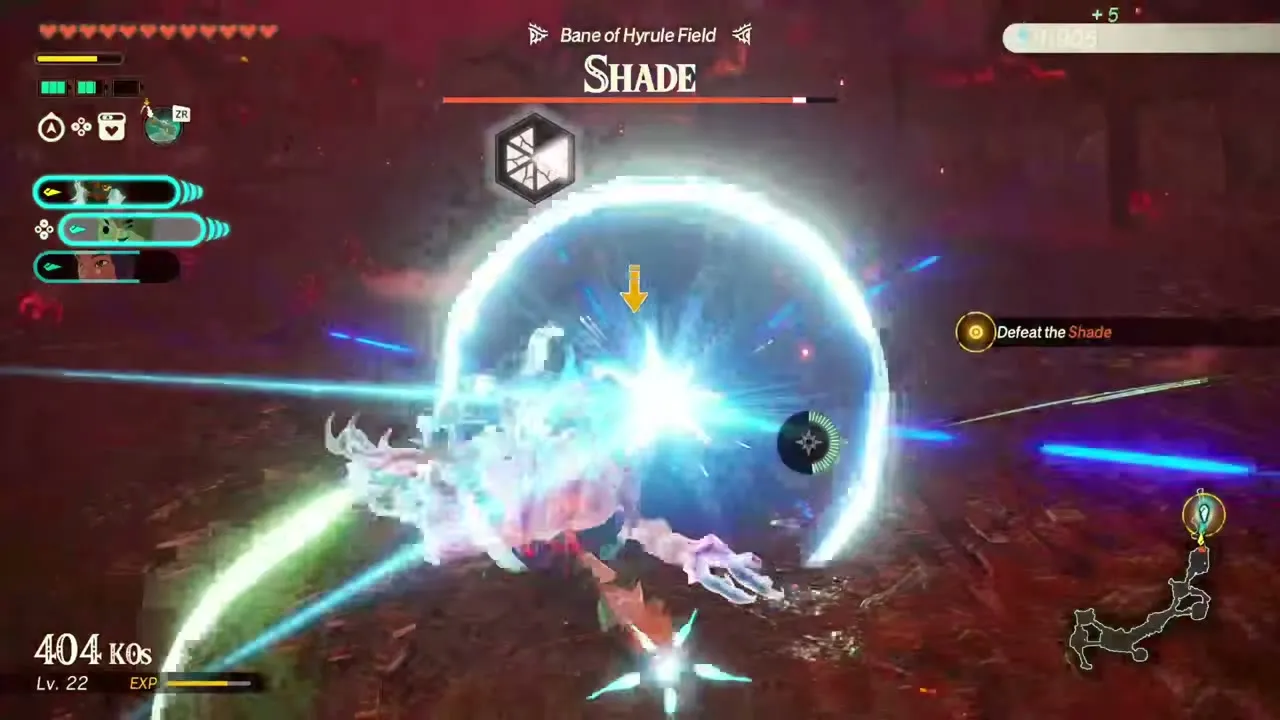
Clear this to recruit Quino. It becomes available once you complete The Howling Tempests, and it takes place around Central Hyrule Field at a recommended level of 19. Expect Blue Boss Bokoblin, Blue Moblin, Blue Lizalfos, Blue Bokoblin and a Shade. Start by defeating the Blue Bokoblins around Quino to rescue him; once he is freed he becomes playable. Then defeat a Blue Boss Bokoblin and its allies, a Blue Moblin, and finally the Shade, the Bane of Hyrule Field. The first-clear rewards are Quino, Courser Bee Honey x5 and Zonaite Steel (One-Handed).
A Veteran’s Return
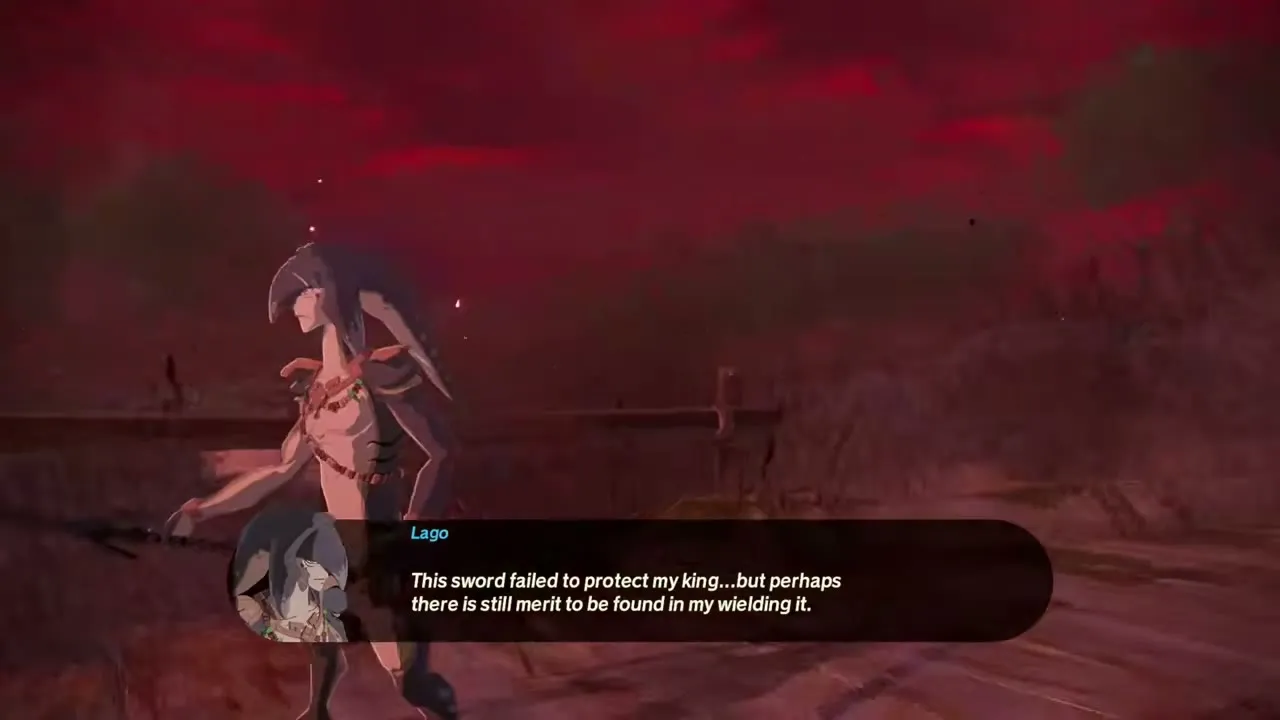
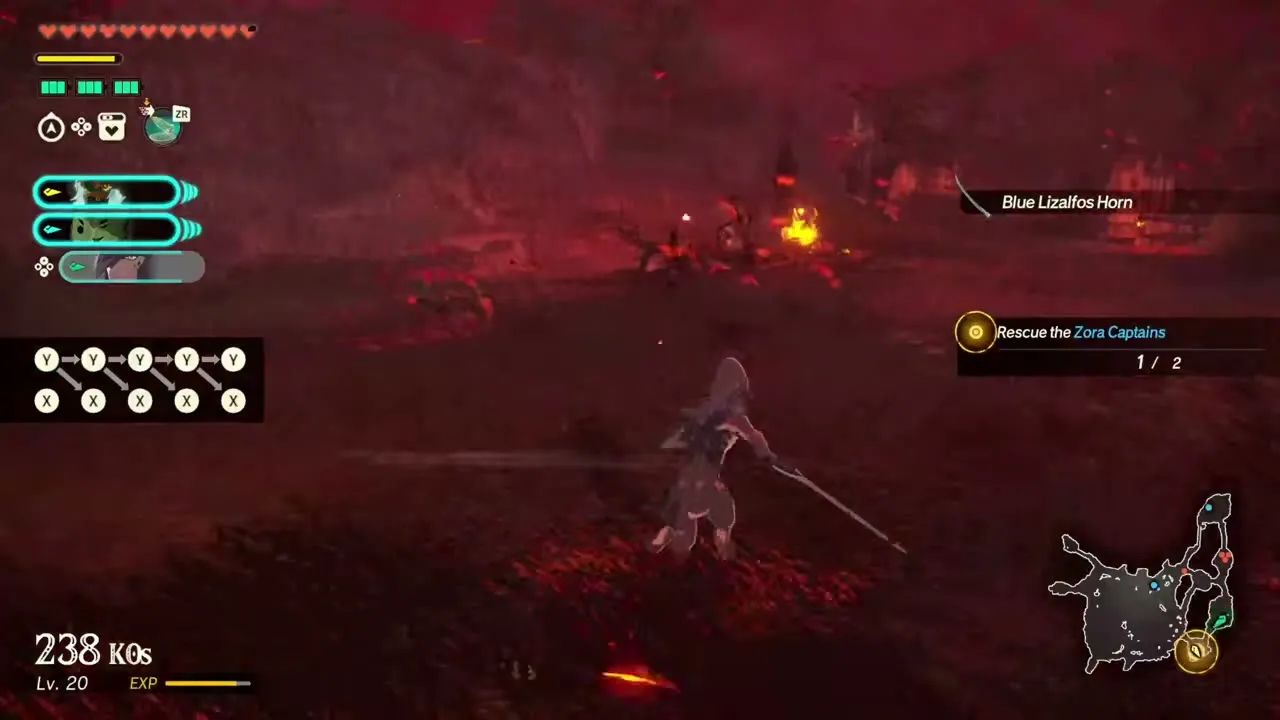
Clear this to recruit Lago. It becomes available once you finish the quest “A Zora’s Troubles”, which Calamo gives you after Lanayru Defiled, and it takes place around Hyrule Field, on the Lanayru map, at a recommended level of 22. Expect a Blue Boss Bokoblin, Blue Moblins, Blue Lizalfos, Chuchus and a Lynel. Head toward Lago’s location and beat the Blue Moblin and Blue Boss Bokoblin around him, after which he becomes playable. Next, rescue the two Zora Captains and defeat the Blue Boss Bokoblin and its allies, who arrive in several waves. The Challenge is lost if the Knight Construct, Calamo or a Zora Captain flees. The first-clear rewards are Lago, Razorshroom x10 and Zonaite Steel (One-Handed).

The Unsung Spearman
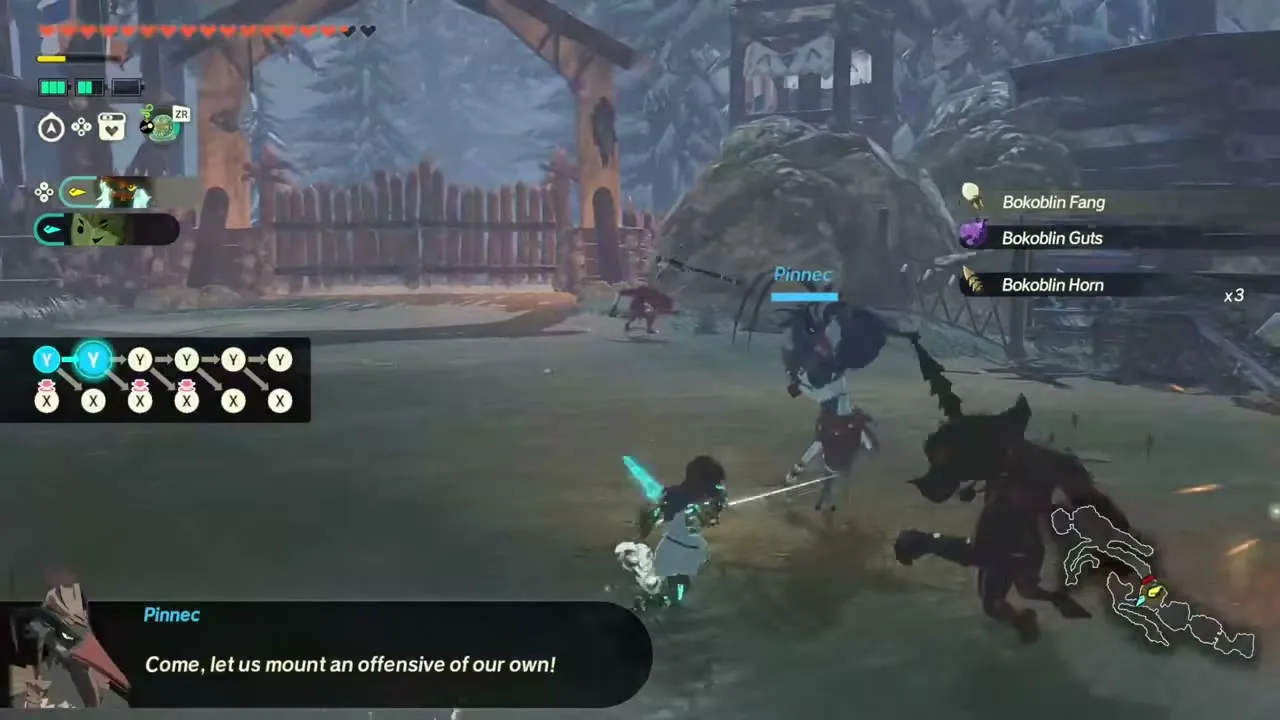
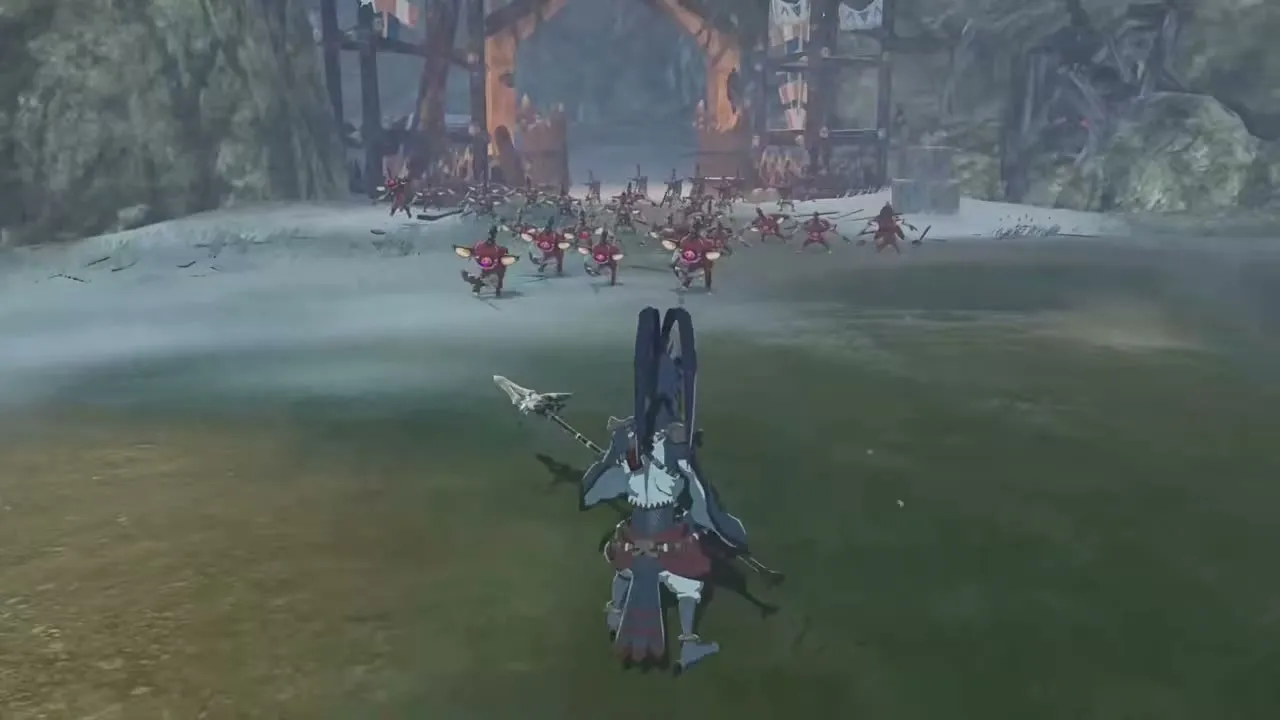
Clear this to recruit Pinnec. It becomes available once you complete Under Cover of Mist, and it takes place around Tabantha Frontier at a recommended level of 28. Expect Blue Bokoblins, an Ice Hinox, an Ice Lynel, Ice-Breath Lizalfos and Ice Moblins, plus an Ice Aerocuda. Head toward Pinnec’s location and clear the Ice Moblin near him; he becomes playable as soon as he joins. The Ice Aerocuda, the Ice Hinox and finally the Ice Lynel and its allies are the main fights after that. The first-clear rewards are Pinnec, Zapshroom x10 and Zonaite Steel (One-Handed).
The Strength to Protect
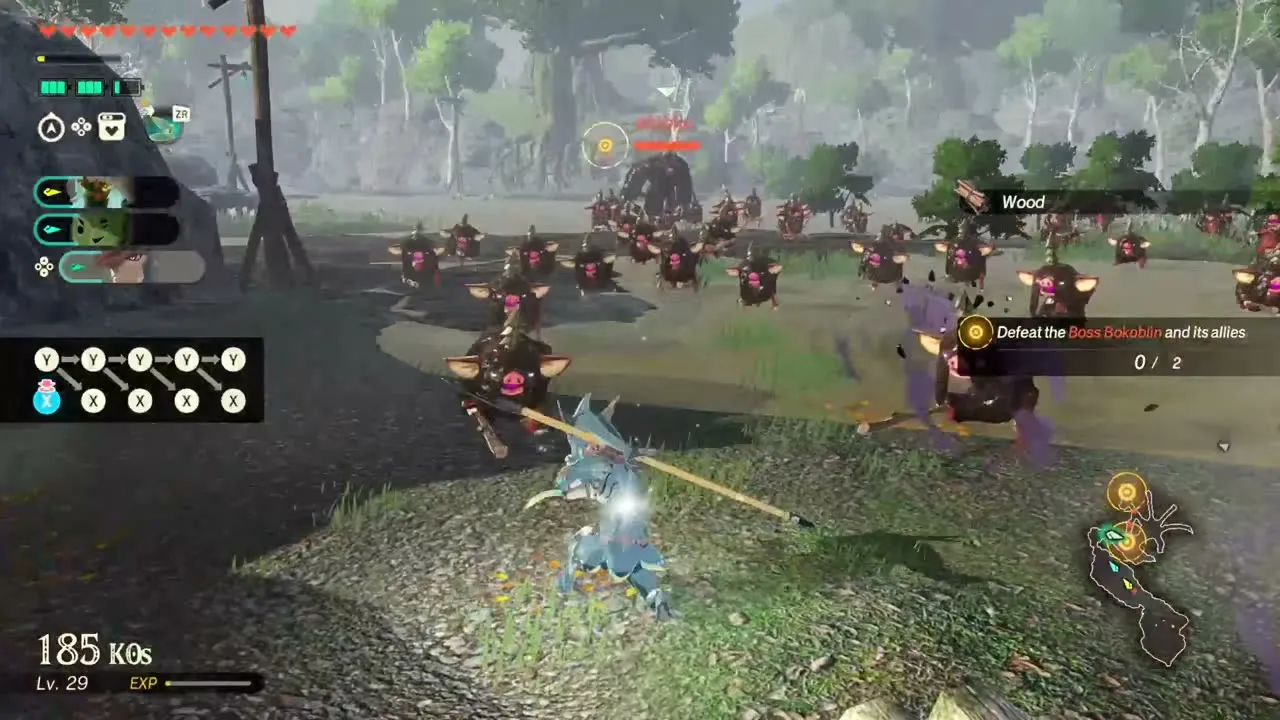
Clear this to recruit Cadlan. It becomes available once you complete The Crimson Omen, and it takes place around Lanayru Wetlands at a recommended level of 33. Expect sludge-covered monsters: a Sludged Boss Bokoblin, Sludged Bokoblins, Sludge Likes, a Sludged Hinox and Sludged Chuchus. Cadlan, your guide through the wetlands, becomes playable partway through the first big fight. Moblins and a Boss Bokoblin come next, followed by the Sludge Like and a Hinox. The first-clear rewards are Cadlan, Armoranth x10 and Zonaite Steel (One-Handed).



Standing on Principle
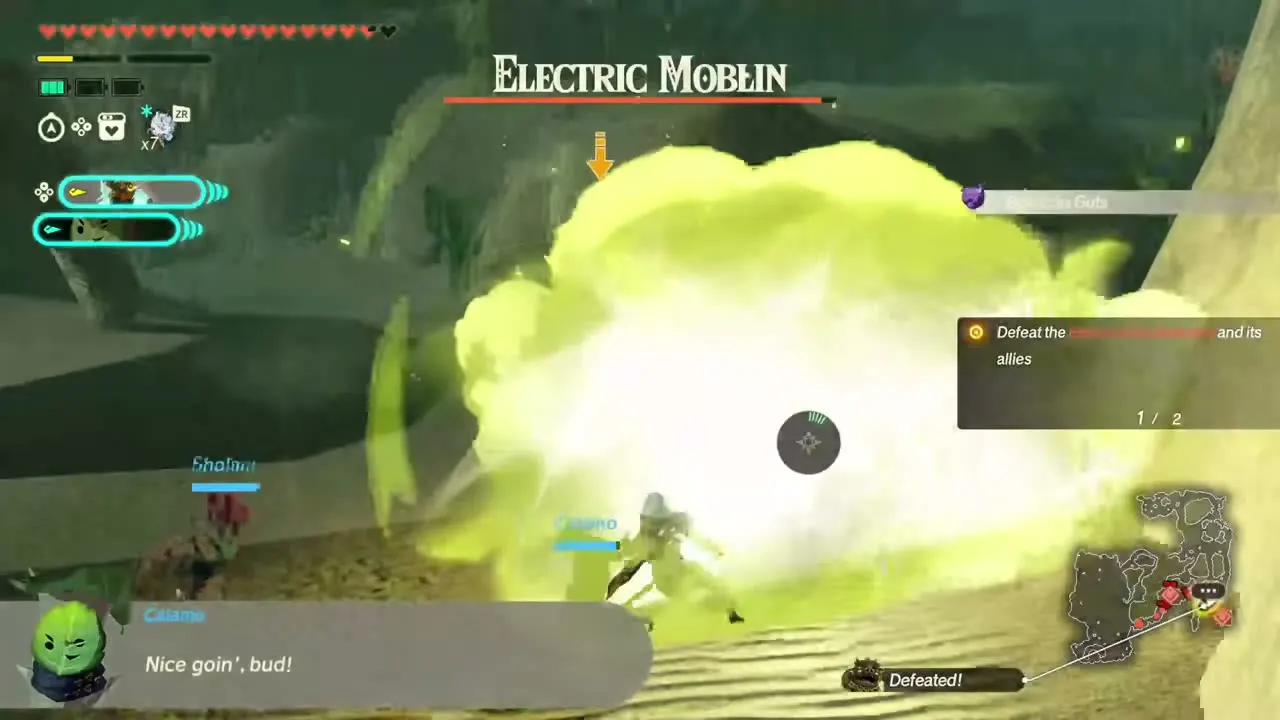
Clear this to recruit Sholani. It becomes available once you complete The Crimson Omen, and it takes place around Gerudo Desert at a recommended level of 33. Expect Blue Bokoblins, Electric Moblins, an Electric Boss Bokoblin, Gibdos and a Molduga. Defeat the Electric Boss Bokoblin and its allies first, then Sholani joins and becomes playable. After that you capture two outposts while Gibdo hives keep spawning Gibdos, and the finale is a Molduga. The first-clear rewards are Sholani, Fortified Pumpkin x10 and Zonaite Steel (One-Handed).


In Search of Power
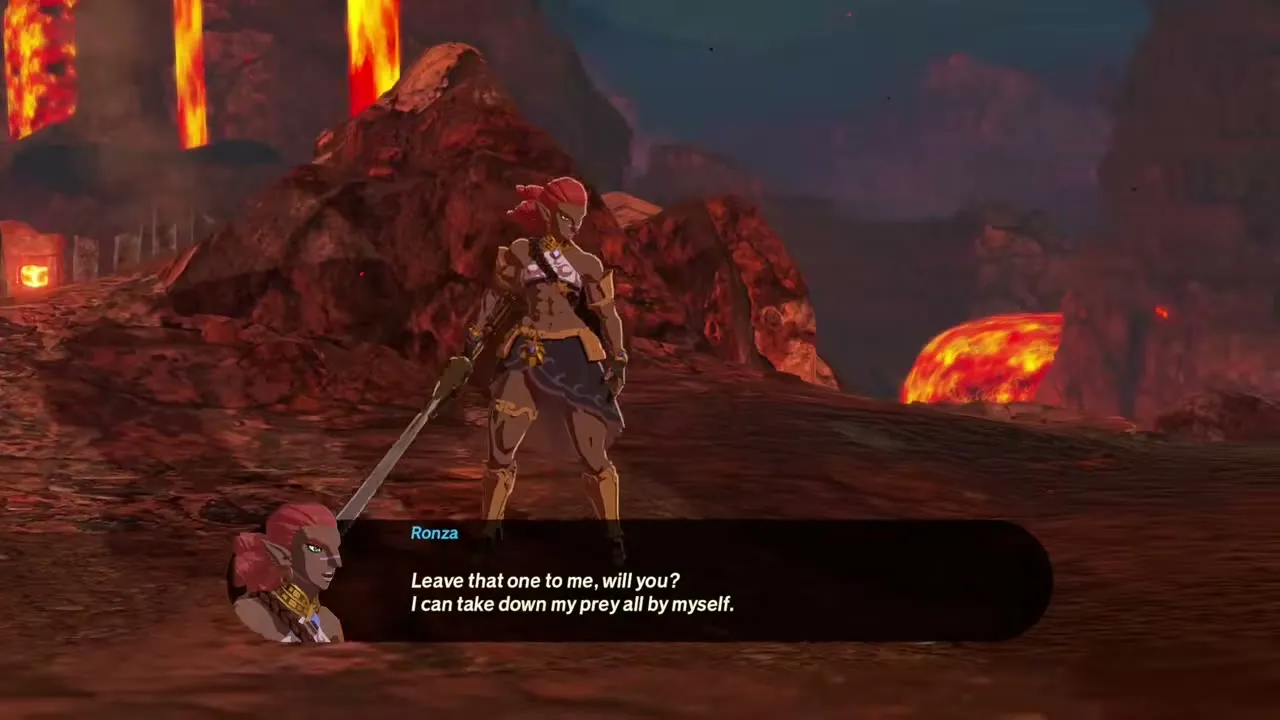
Clear this to recruit Ronza. It becomes available once you complete The Crimson Omen, and it takes place around Death Mountain at a recommended level of 33. Expect Blue Bokoblins, an Igneo Talus, Fire-Breath Lizalfos, a Fire Lynel and Fire Keese. Ronza challenges you to out-fight her, so the first objective is simply to defeat many enemies. She becomes playable when an Igneo Talus and its allies appear, and a Fire Lynel is the last target. The first-clear rewards are Ronza, Warm Safflina x10 and Zonaite Steel (One-Handed).


The Gourmand Goron
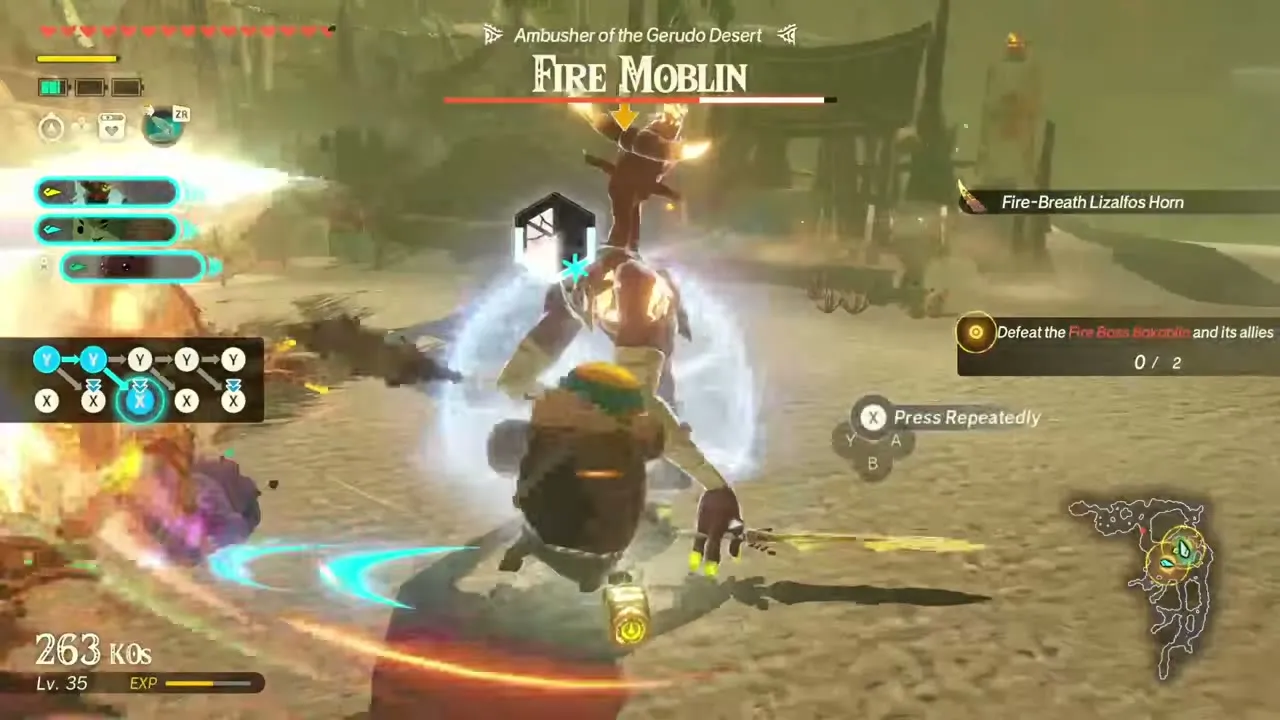
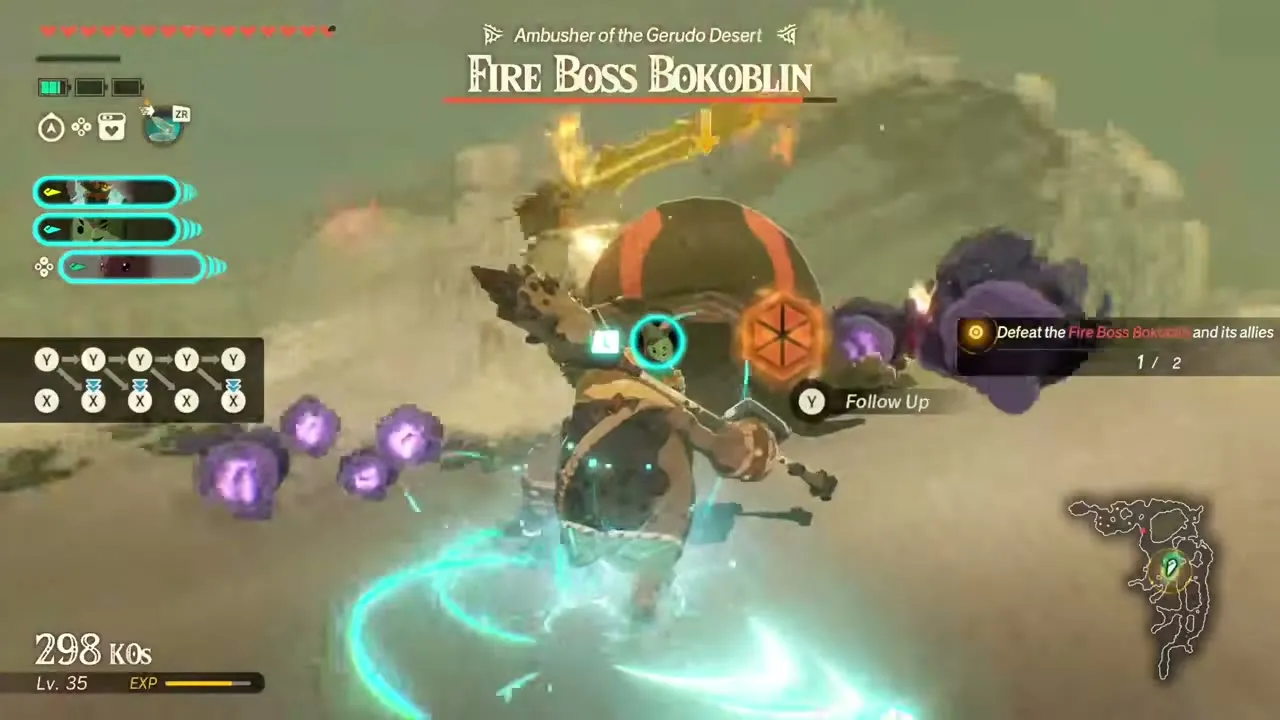
Clear this to recruit Braton. It becomes available once you complete A Time for Action, and it takes place around Gerudo Desert at a recommended level of 36. Expect a Stone Talus, a Fire Boss Bokoblin, Fire-Breath Lizalfos, a Fire Lynel and Black Lizalfos. Defeat the Stone Talus and rescue Braton; he becomes playable once he is freed, and you then follow his hunt for tasty-looking rocks. A Fire Moblin, a Fire Boss Bokoblin and its allies, and a Fire Lynel are the remaining bosses. The first-clear rewards are Braton, Endura Shroom x10 and Zonaite Steel (Two-Handed).


A Lone Wolf’s Pride
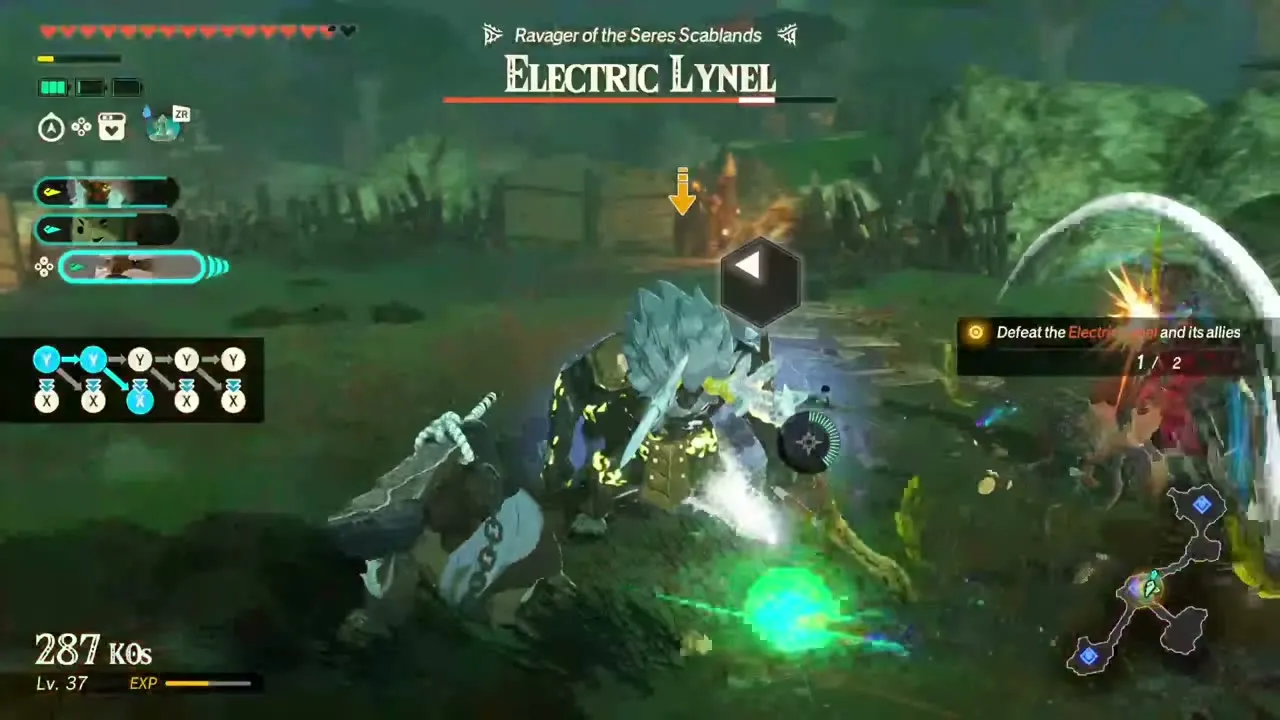
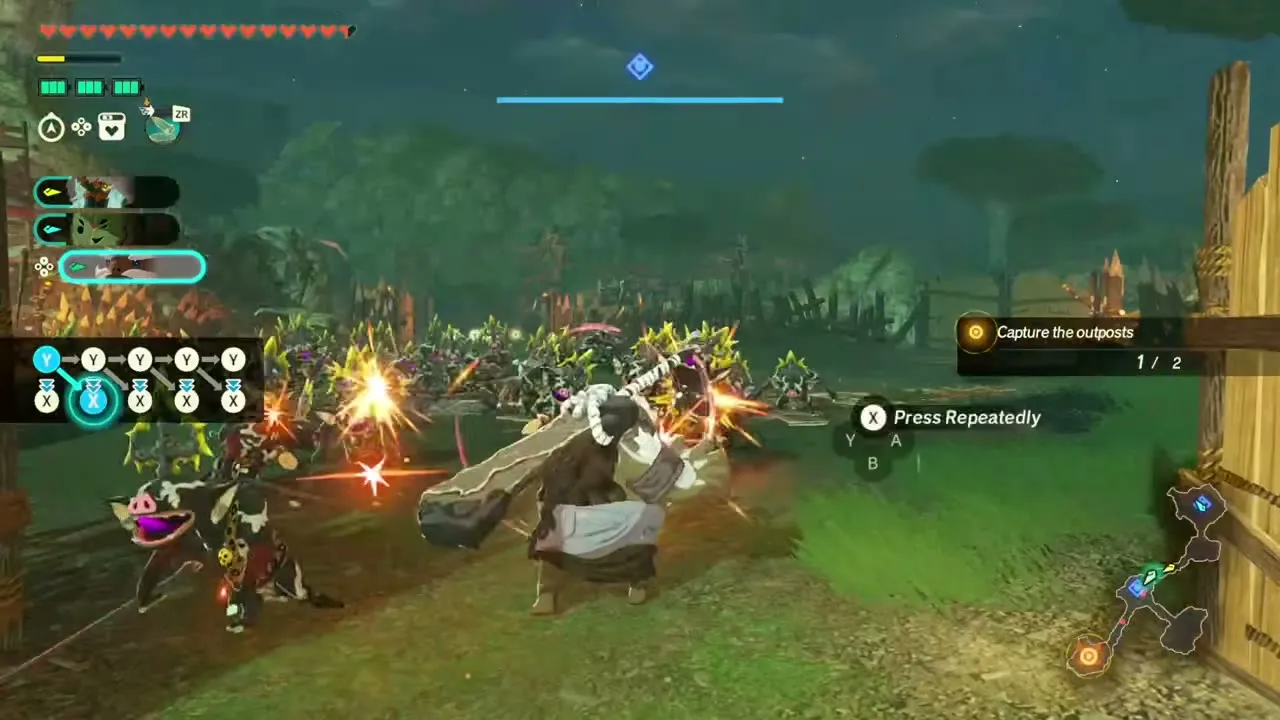
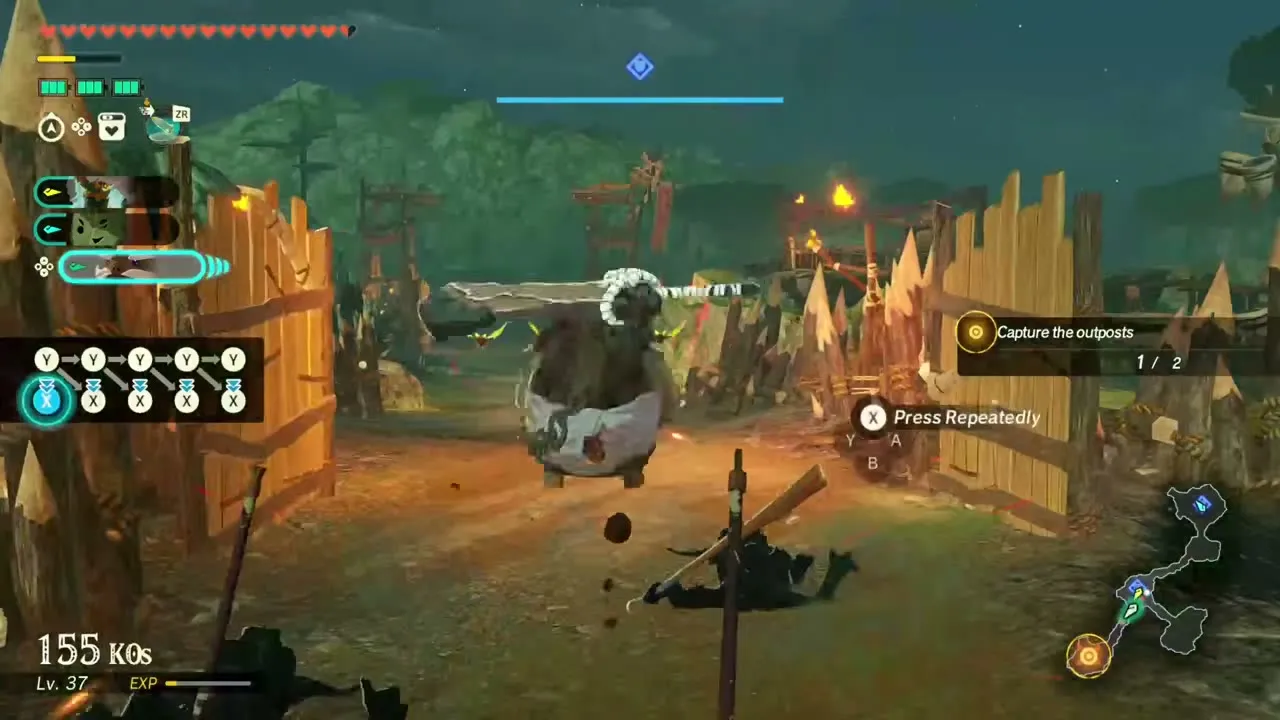
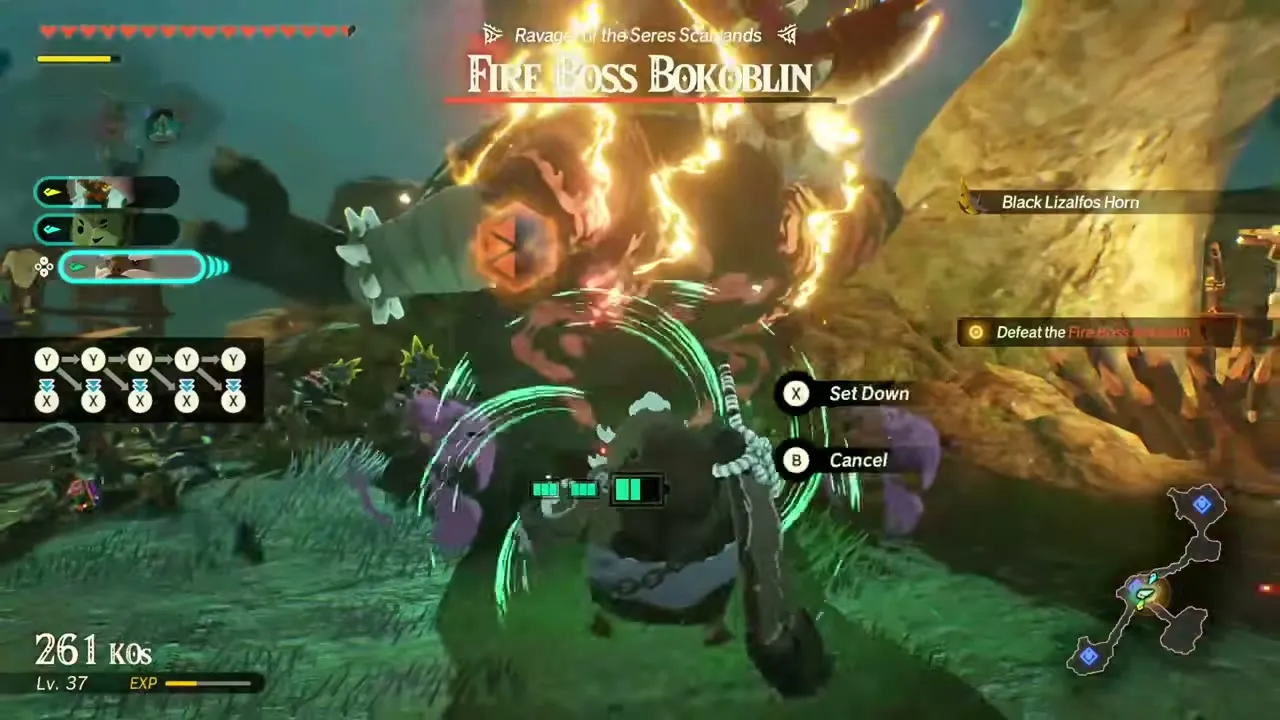
Clear this to recruit Pastos. It becomes available once you complete The Counterstrike, and it takes place around Seres Scablands at a recommended level of 38. Expect a Fire Boss Bokoblin, Black Bokoblins and Moblins, Black Lizalfos and an Electric Lynel. Head toward Pastos’s location; he becomes playable partway through, then you capture outposts and take down a Black Moblin, the Fire Boss Bokoblin and the Electric Lynel. The first-clear rewards are Pastos, Hylian Tomato x10 and Zonaite Steel (Two-Handed).
Tips for Recruiting Everyone
Check the Challenge list on the map after each of these battles: The Howling Tempests, Lanayru Defiled, Under Cover of Mist, The Crimson Omen, A Time for Action and The Counterstrike. Each of these unlocks a scouting icon, as the table above shows. Reach the recommended level first: Braton (Lv 36) and Pastos (Lv 38) are the highest, and both send a Lynel and Black Lizalfos at you.