





















Zelda II 100% Completion Walkthrough15 chapters
- Starting the AdventureSave, North Castle, first Life level, Shield in Rauru, the Parapa Desert Heart Container and the way to Parapa Palace.
- Palace 1Enter the first palace, collect its four keys and the Candle, defeat Horsehead and place the first crystal.
- Ruto, the Trophy and the Jump SpellThe first Magic Container, the Trophy from the Tantari Desert cave, Jump in Ruto Town, then the caves.
- Saria and the Life SpellFind the Mirror in Saria, learn Life, follow the river guard, and walk on toward Death Mountain in Zelda II.
- Death Mountain and the HammerEnter the caves, take the Hammer from the lava room, and collect the Magic Container and Link Doll on the way to Mido.
- Mido Town, the Water of Life and the Fairy SpellLearn Downward Thrust in the church, get the Water of Life from Moruge Swamp and unlock the Fairy spell.
- Palace 2Reach the palace from the swamp, get the Handy Glove, beat Helmethead and place the second crystal in route order.
- Palace 3Reach it from King’s Tomb, use Fairy, get the Raft, find the P-Bags and keys, beat Rebonack and place the third crystal.
- Nabooru and the Fire SpellReach Nabooru from the eastern desert, learn Fire in the town basement, find the 500 P-Bag and reach Magic level 6.
- Darunia, the Kidnapped Child and the Reflect SpellLearn Upward Thrust, rescue the kidnapped child on Maze Island and get Reflect.
- Palace 4Enter with Reflect, find the keys and P-Bags, beat Carock by reflecting his waves, and place the fourth crystal.
- Palace 5The fake wall, the Flute behind Iron Knuckles, keys, Attack level 7 and the Gooma boss in this green-brick palace.
- New Kasuto, Old Kasuto and the Thunder SpellThe Magic Container, Spell and Magical Key in the hidden town, Attack 8, Thunder.
- Palace 6Reach the palace with the Flute, climb the red-brick floors, defeat Barba, and place the crystal at the statue.
- Final PalaceCross the Valley of Death, beat Thunderbird and Dark Link, and claim the Triforce of Courage for the ending.
| Covers | Midoro Swamp approach, Midoro Palace from the entrance to the second crystal, two level-ups on the route |
|---|---|
| Palace | Midoro Palace (Palace 2): the Jump spell helps on ledges, Handy Glove, boss Helmethead, second crystal |
| Rewards | Handy Glove (key item), Magic Level 5 and Life Level 6, three red magic jars, two P-Bags (50 EXP in the falling-block room, 100 EXP on a breakaway platform over lava), small keys, second crystal |
Midoro Palace is the second palace in Zelda II: The Adventure of Link. This chapter takes you from the swamp outside, through the elevator-linked rooms, to the Handy Glove, then to Helmethead and the statue where the second crystal goes. Expect several small keys, a few Iron Knuckle guards and elevators you will ride up and down often.
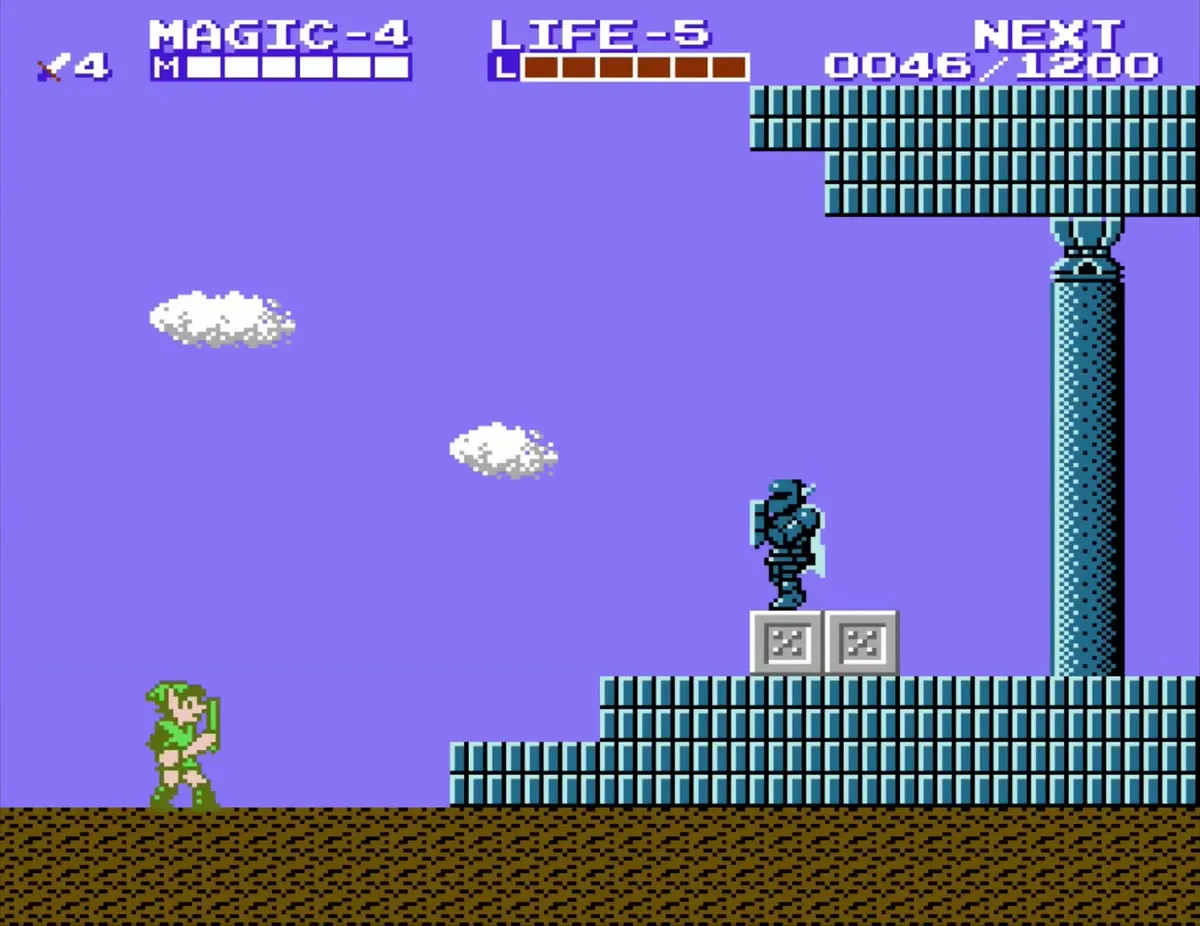
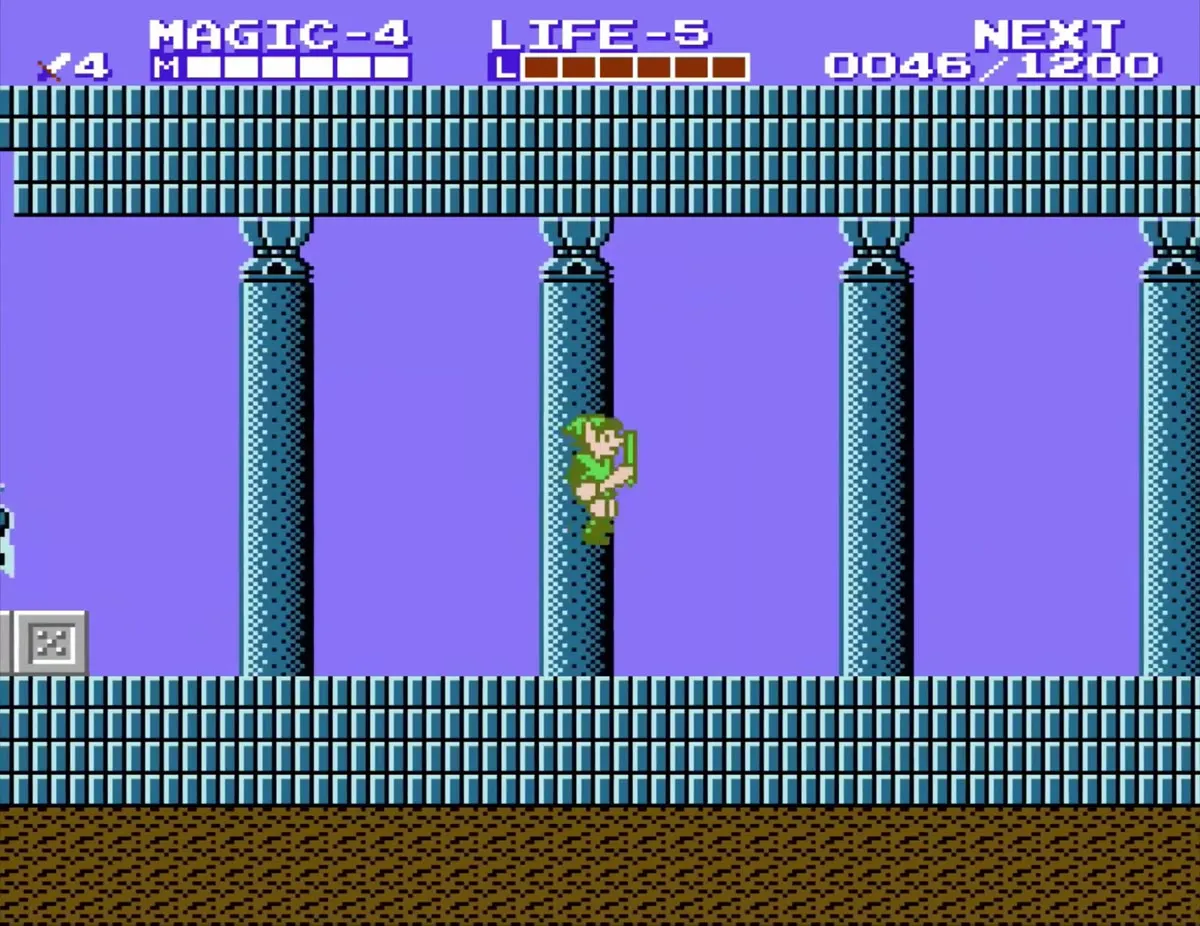
Table of Contents
Reaching Midoro Swamp
Overworld route to the palace
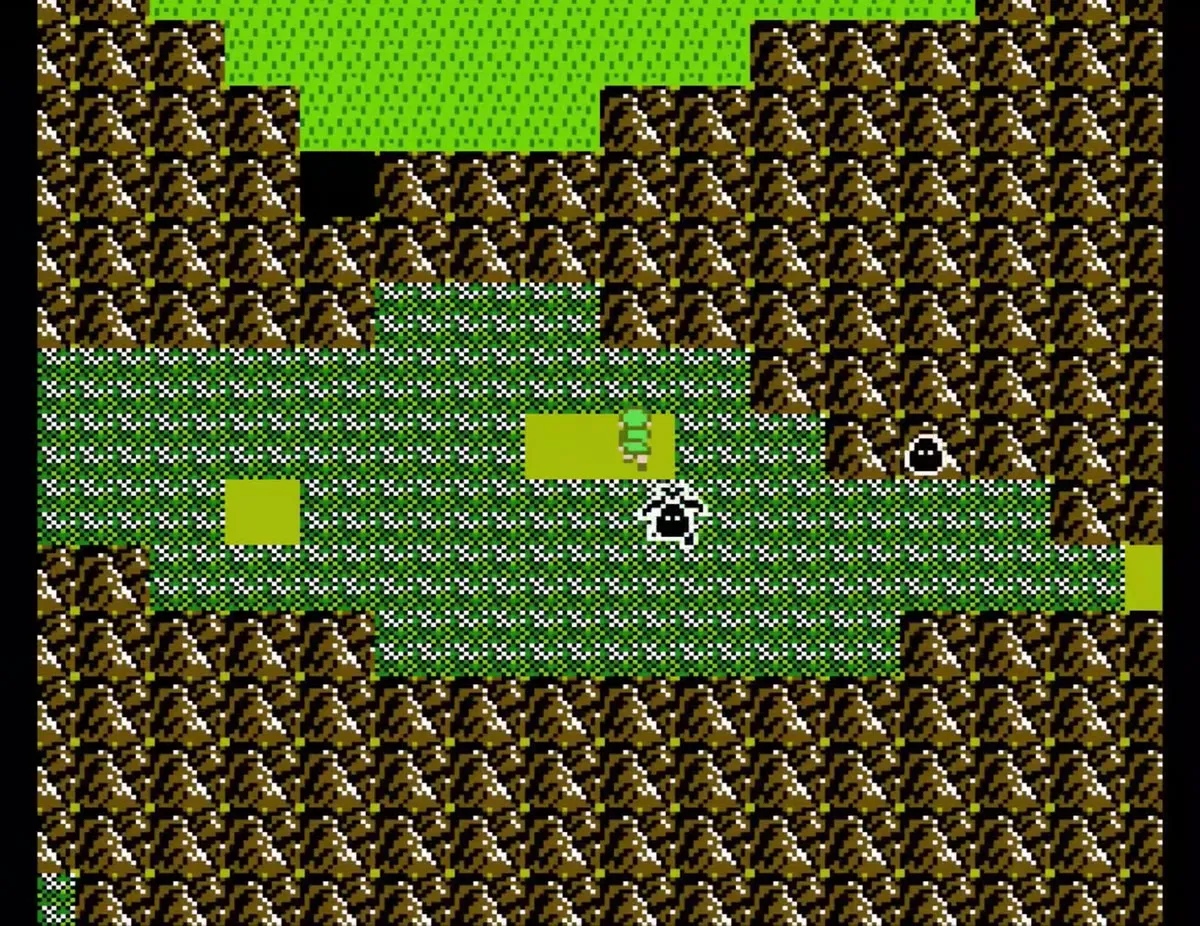
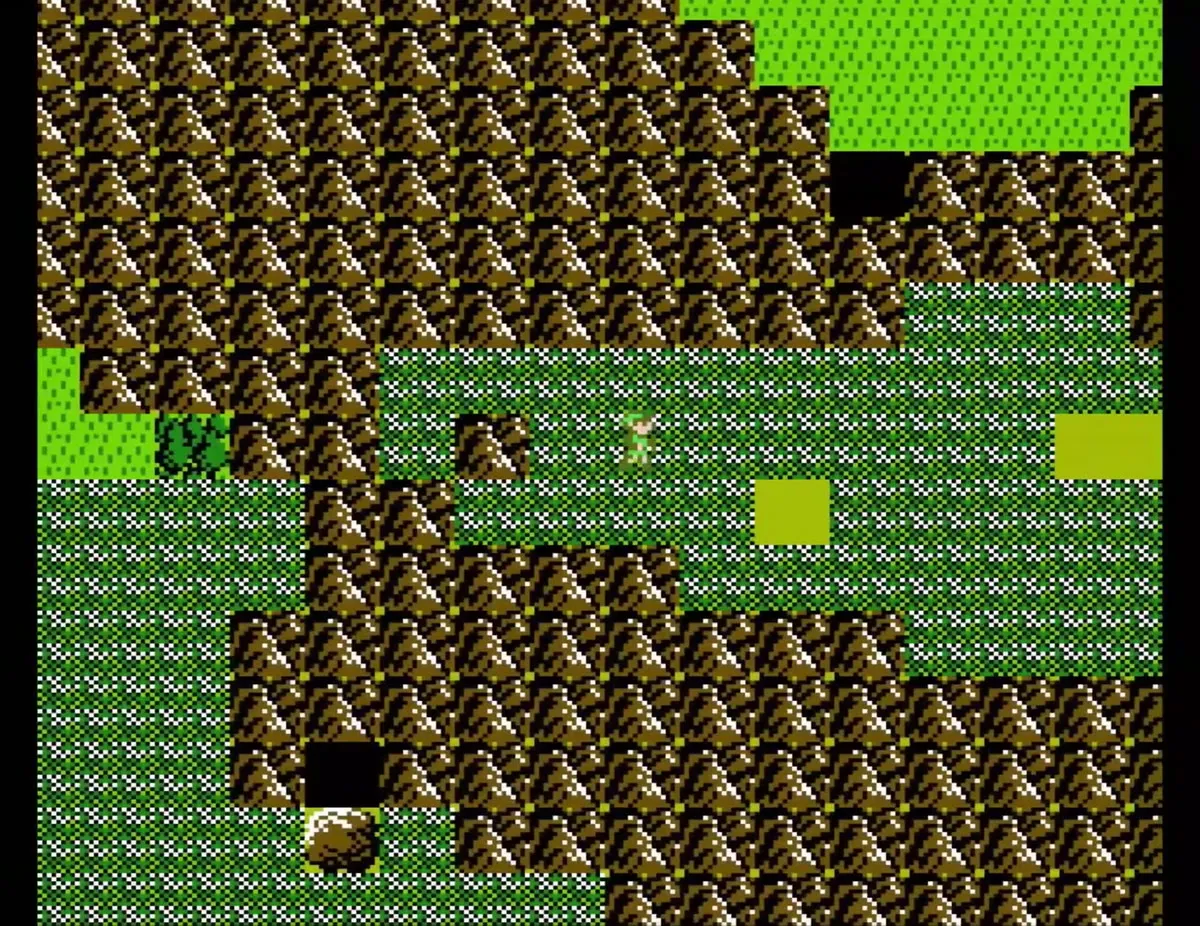
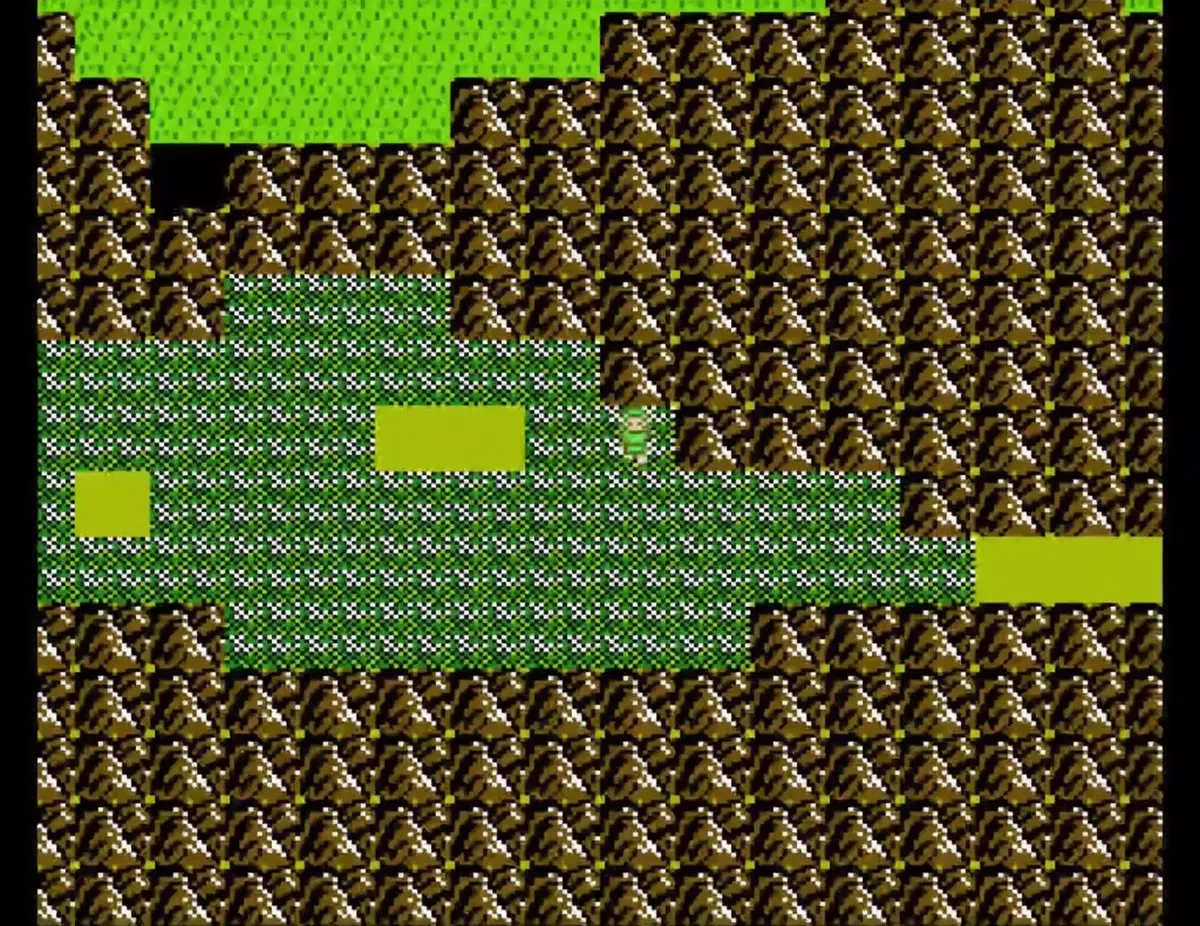
From Mido, follow the road west and then north. On the way you pass the boulder-blocked caves that hold Heart Container 2 (east side of the road) and a 200 EXP P-Bag (west side); a red potion also lies on a safe tile off the road, and the patch of safe road tiles in the swamp lets you avoid fights. The land turns into a swamp dotted with rocks and a small cave, and the palace lies past it, so keep walking. Once you reach the blue-brick building at the palace entrance, you are ready to go inside.

Midoro Palace: entrance and upper rooms
Entrance statue and magic jar
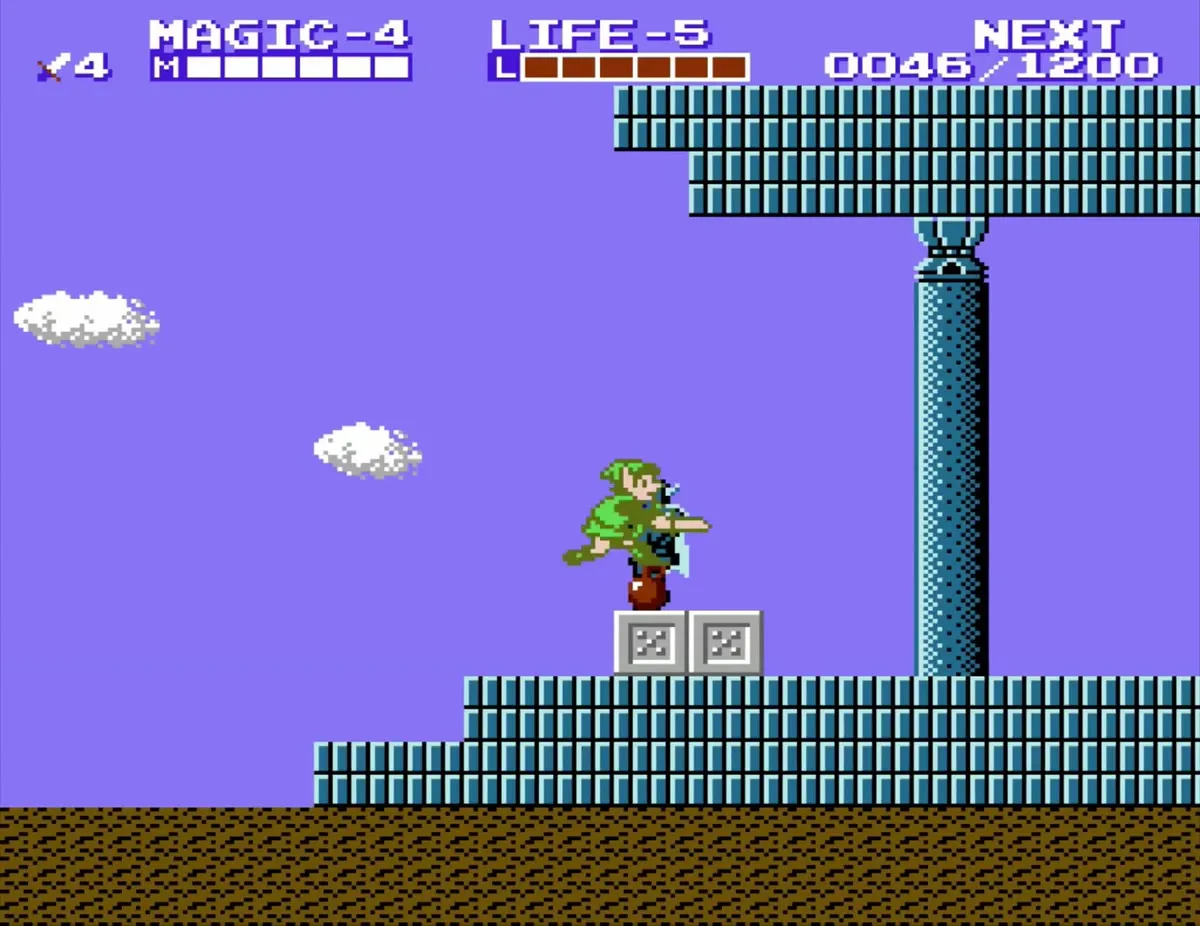
An Iron Knuckle statue stands just inside the entrance, and striking it with your sword can drop a red magic jar. It can also summon a red Iron Knuckle instead. If one appears, leave and come back in until a jar drops, then use the jar, or the Life spell, to refill your bars.

Riding the elevator down
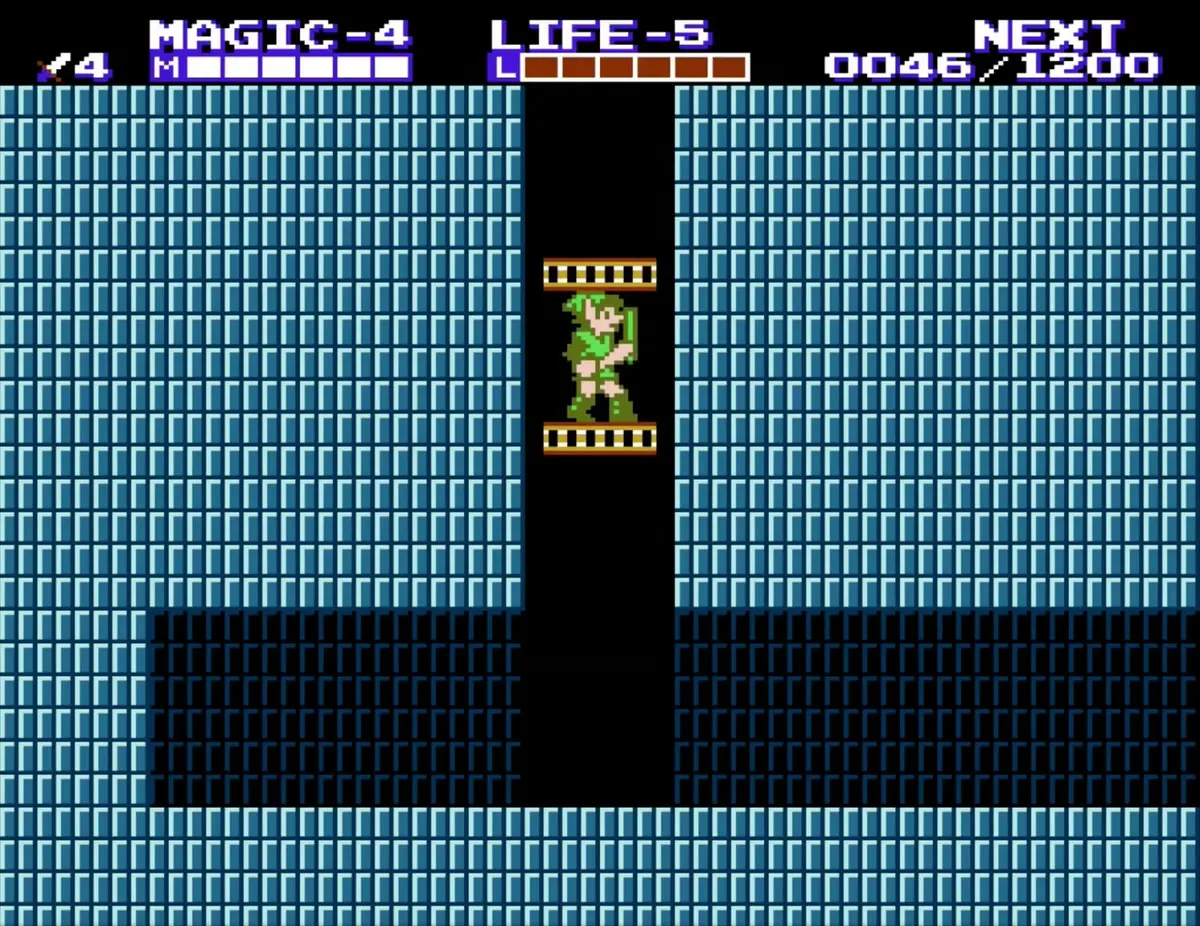
Step onto the elevator in the entrance shaft and ride it down into the palace. Pass the first level and get off at the second, where the first key is. The elevators are the main way to move between levels, so expect to call them up and down as you clear each room.

First rooms and the first key
Walk left past the Rope and the Bubble on this level, then deal with the Bot that drops out of the bricks and the two blue Stalfos that jump at you. Hit the key at the end of the room with your sword to collect it. Clear the room before you return to the elevator.
Lower levels, the second key and the drips
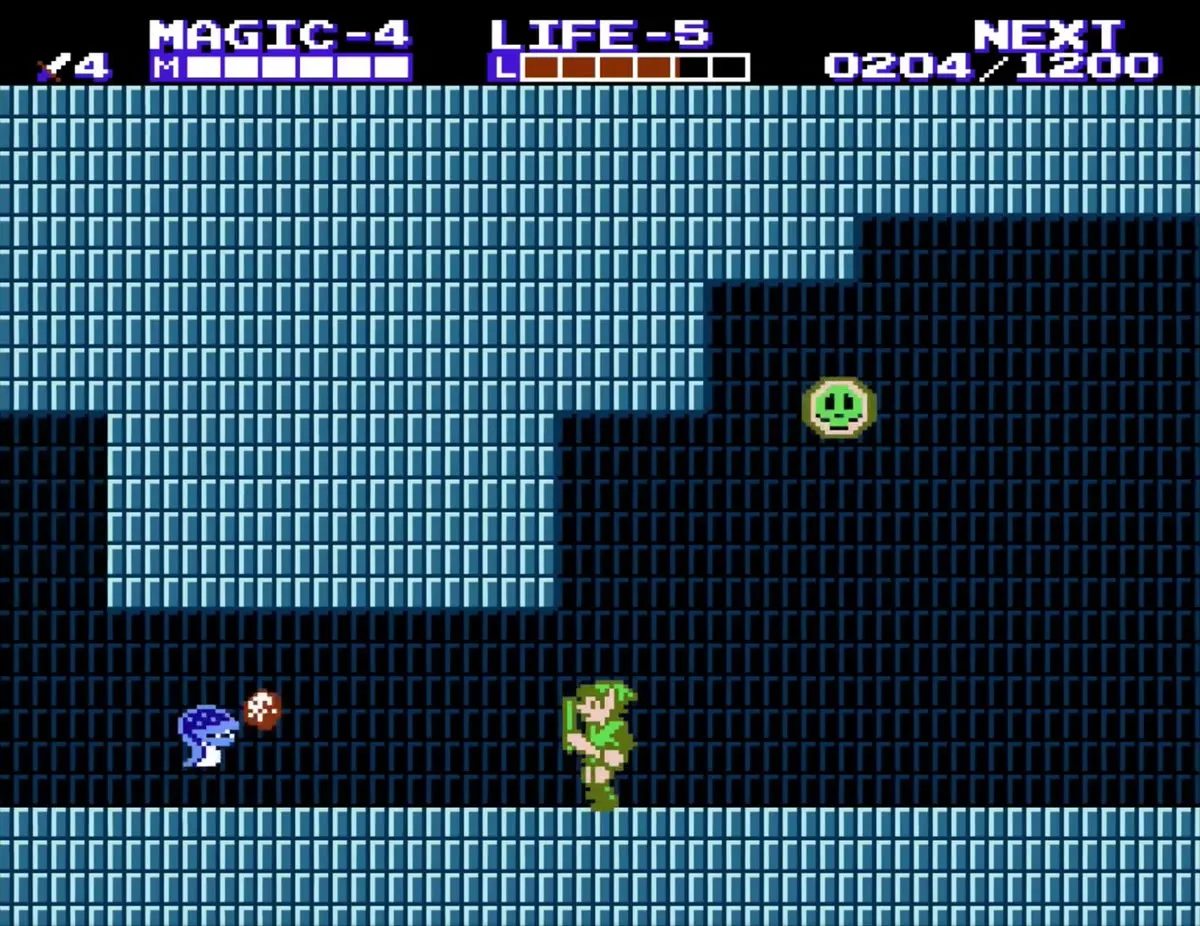
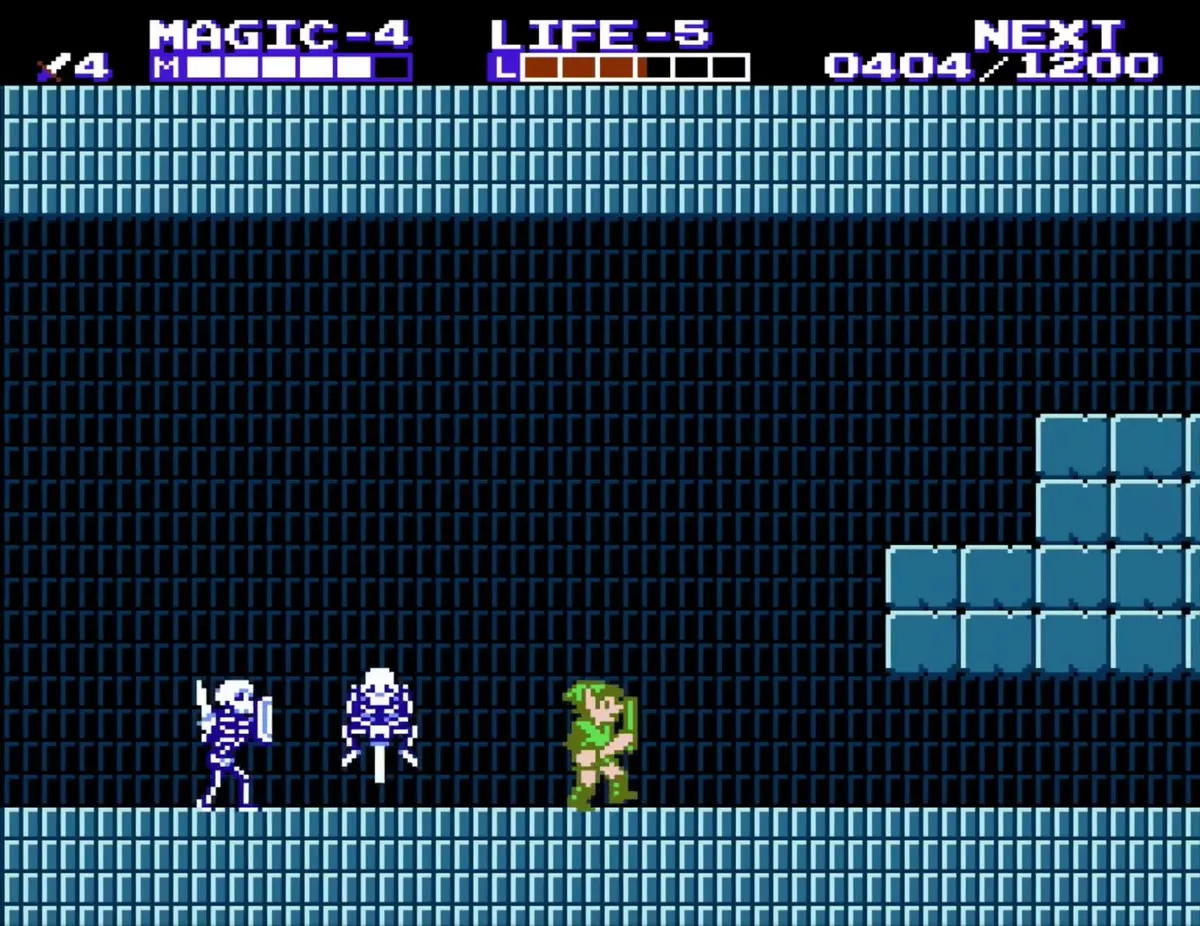
Return to the elevator and go down one level. Head right, defeat the Bots, and stay clear of the statue that spits blue energy. Past two Mace Demons you will find the second key. Go back to the elevator, ride it up to the level where red drips fall from the ceiling, and use the downward thrust to clear the flying statue heads.
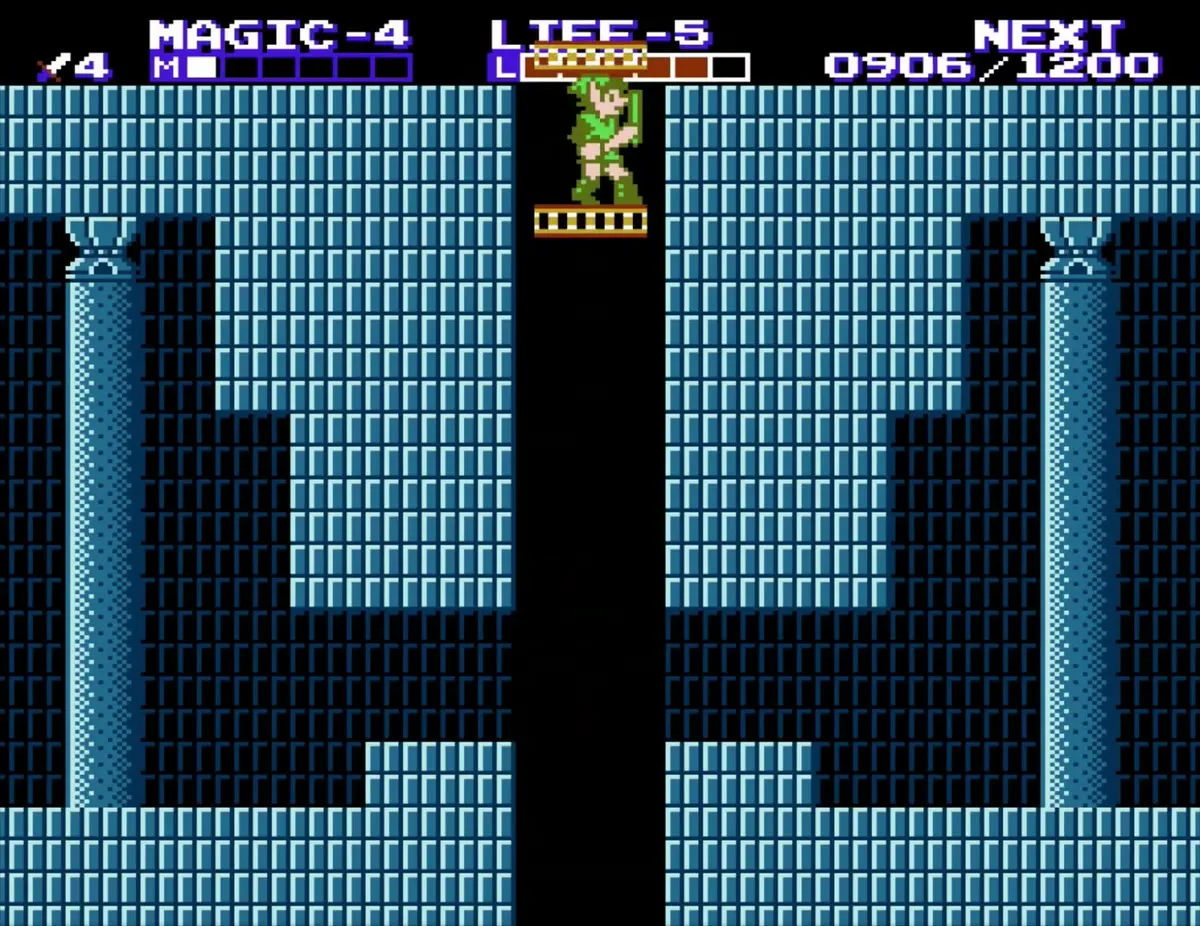
Iron Knuckle room and the falling blocks
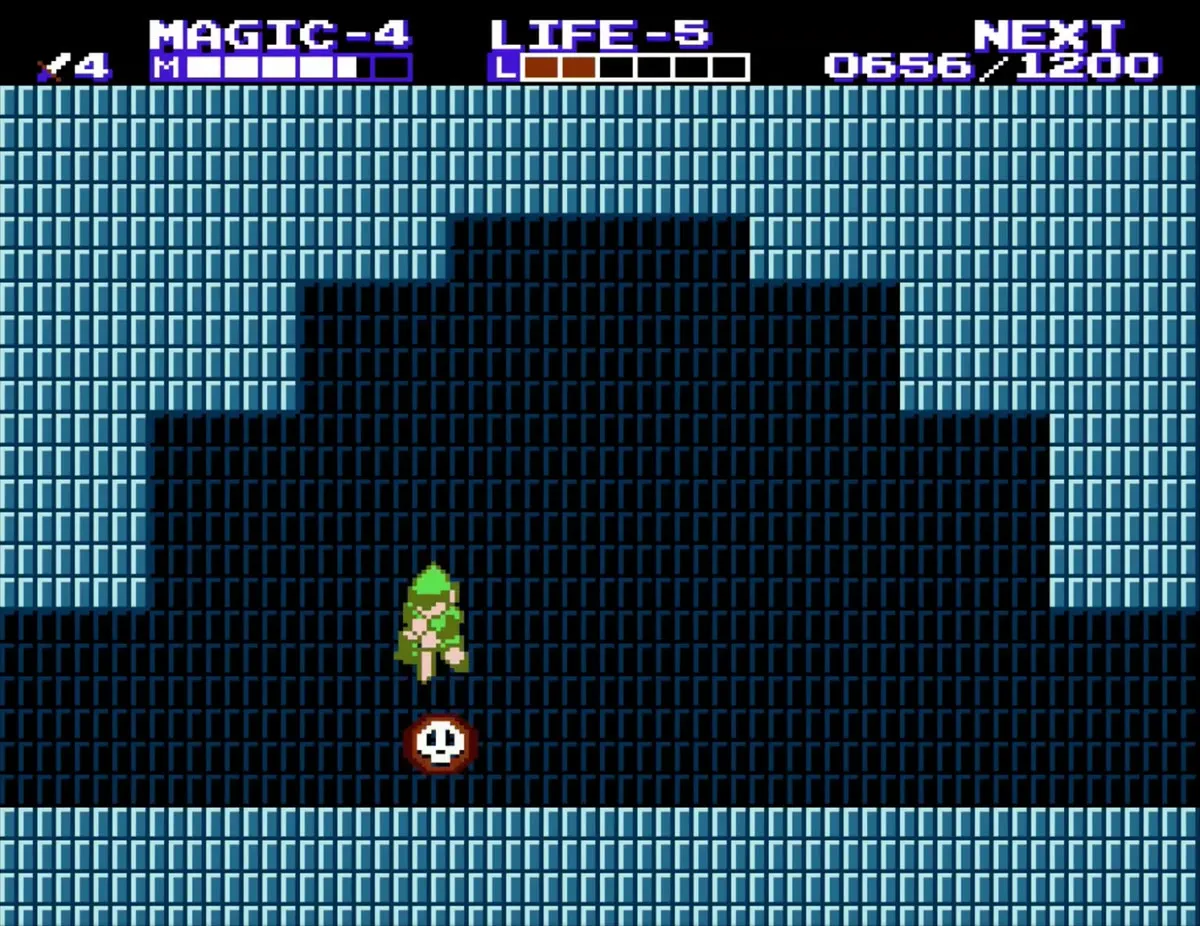
In the room with the drips, kill the visible Bots, then jump past the dripper onto the bricks to reach the third key. Let a Bot jump into the lava ahead of you, wait at the edge for the next one, and cross just after a drip falls. Two orange Iron Knuckles and a Bubble guard the next room, and a statue in its wall hides a red magic jar. The room after that holds a P-Bag on the floor, but falling blocks can cover it, so come back to it if they trap you.
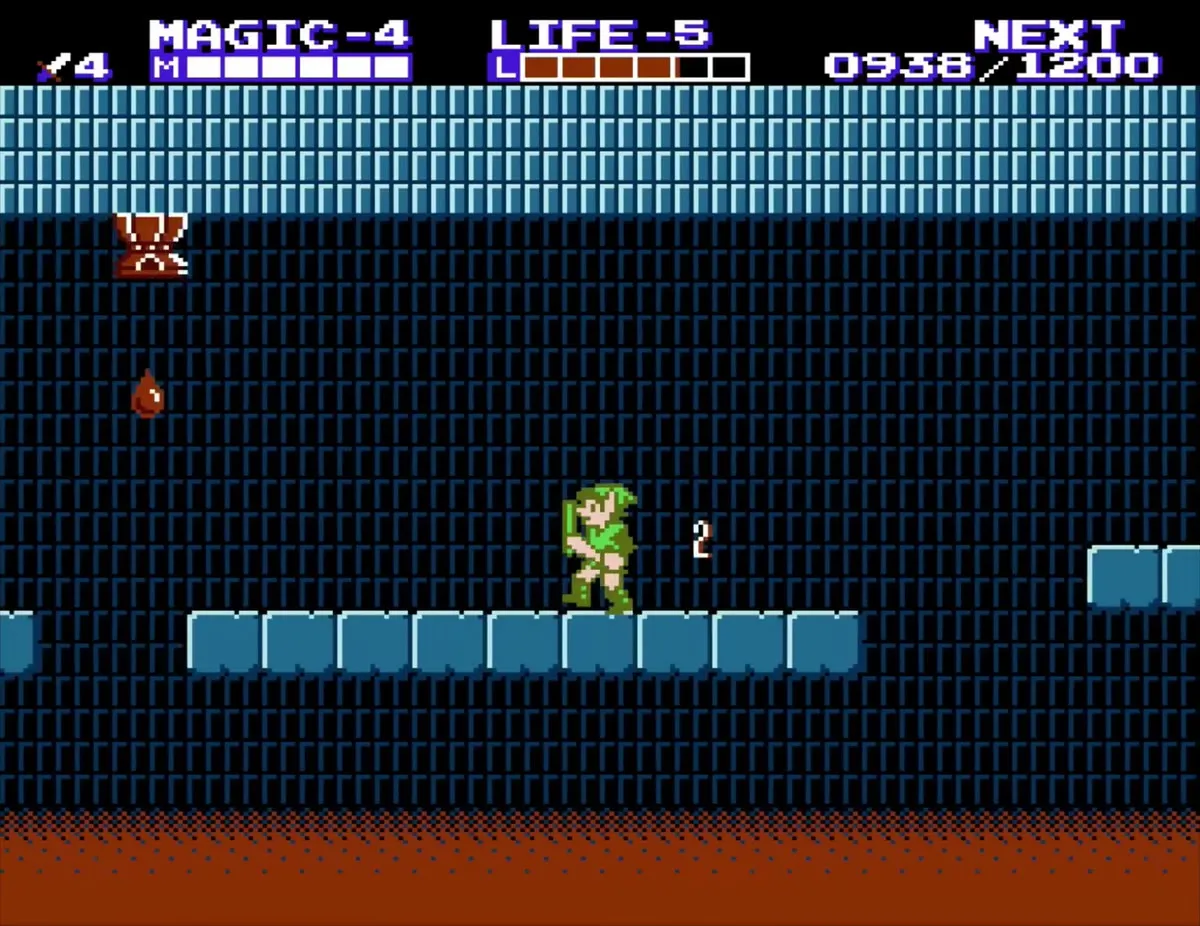
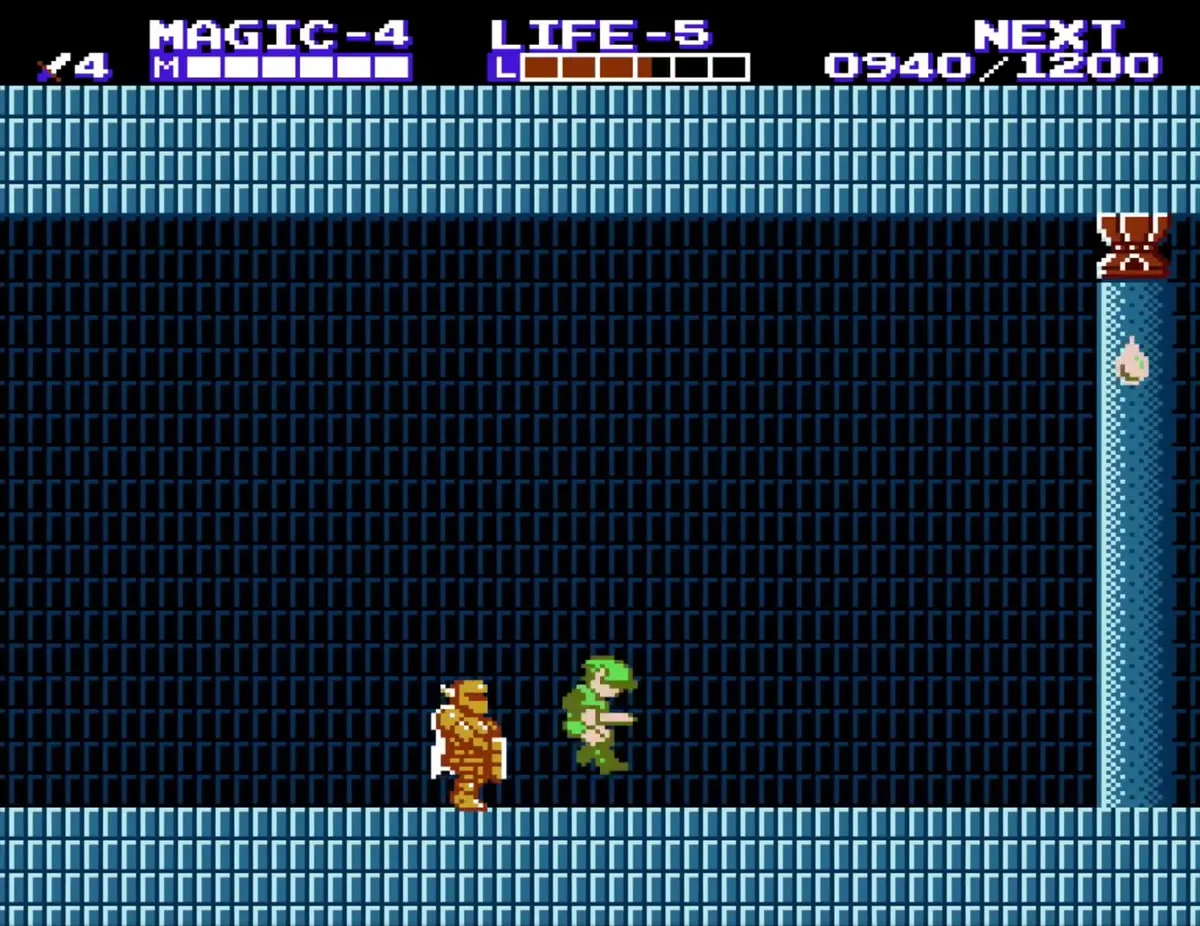
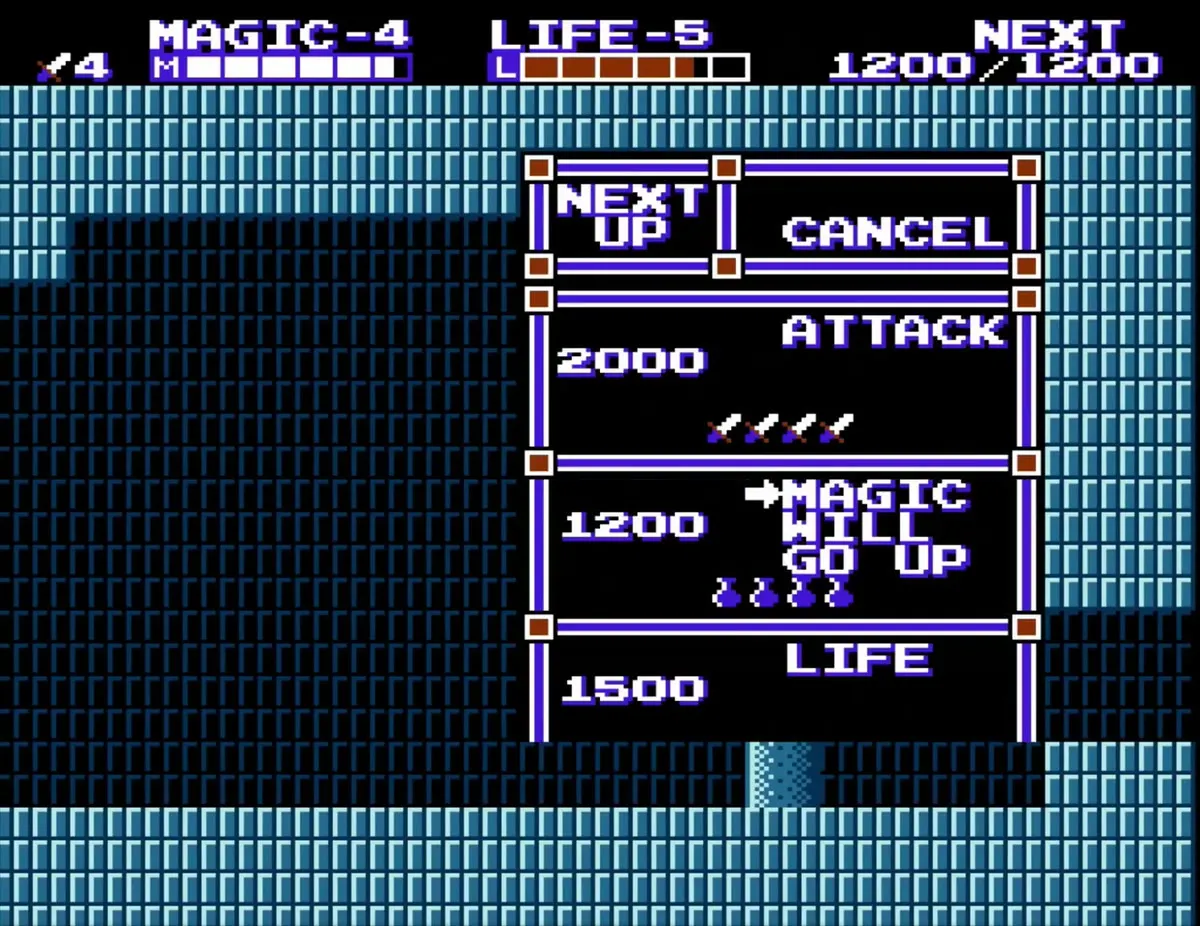
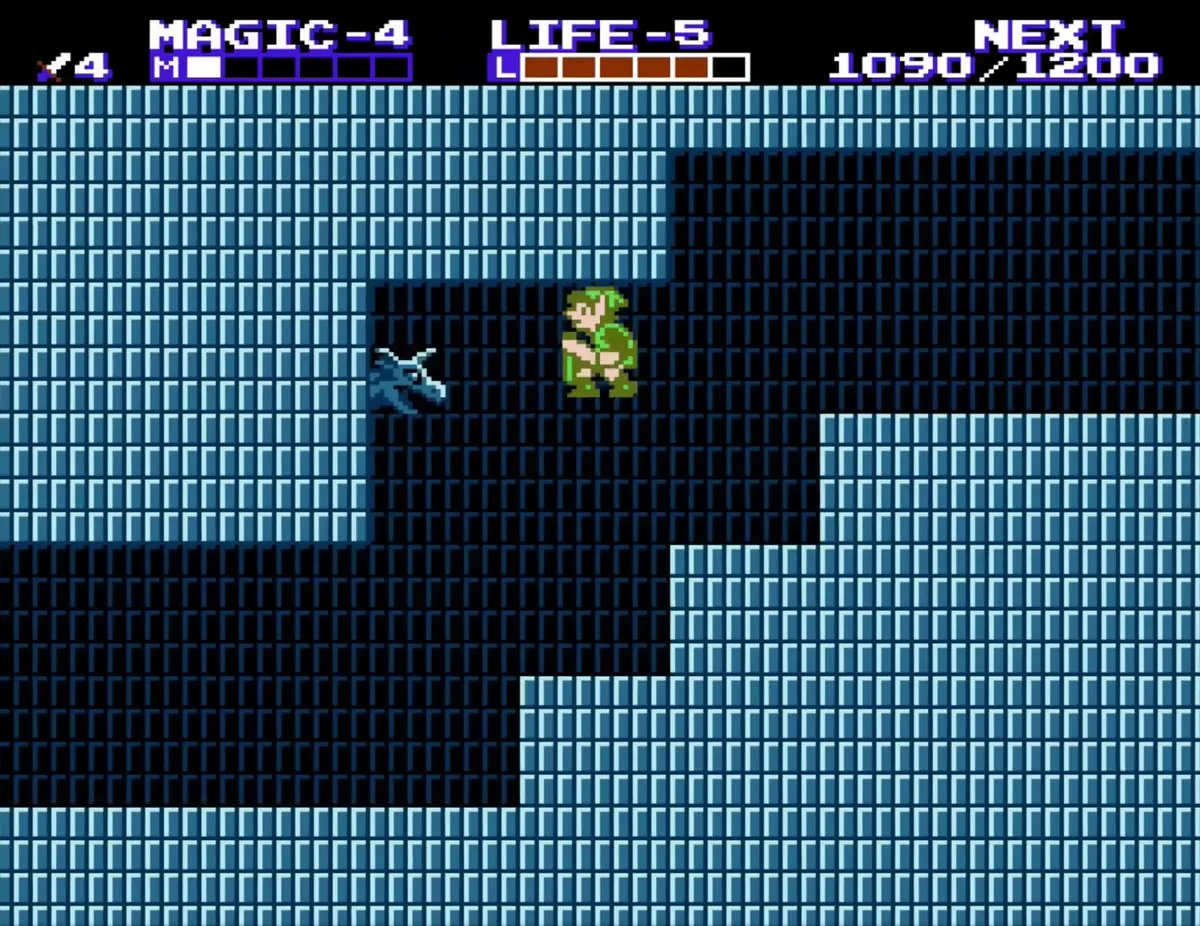
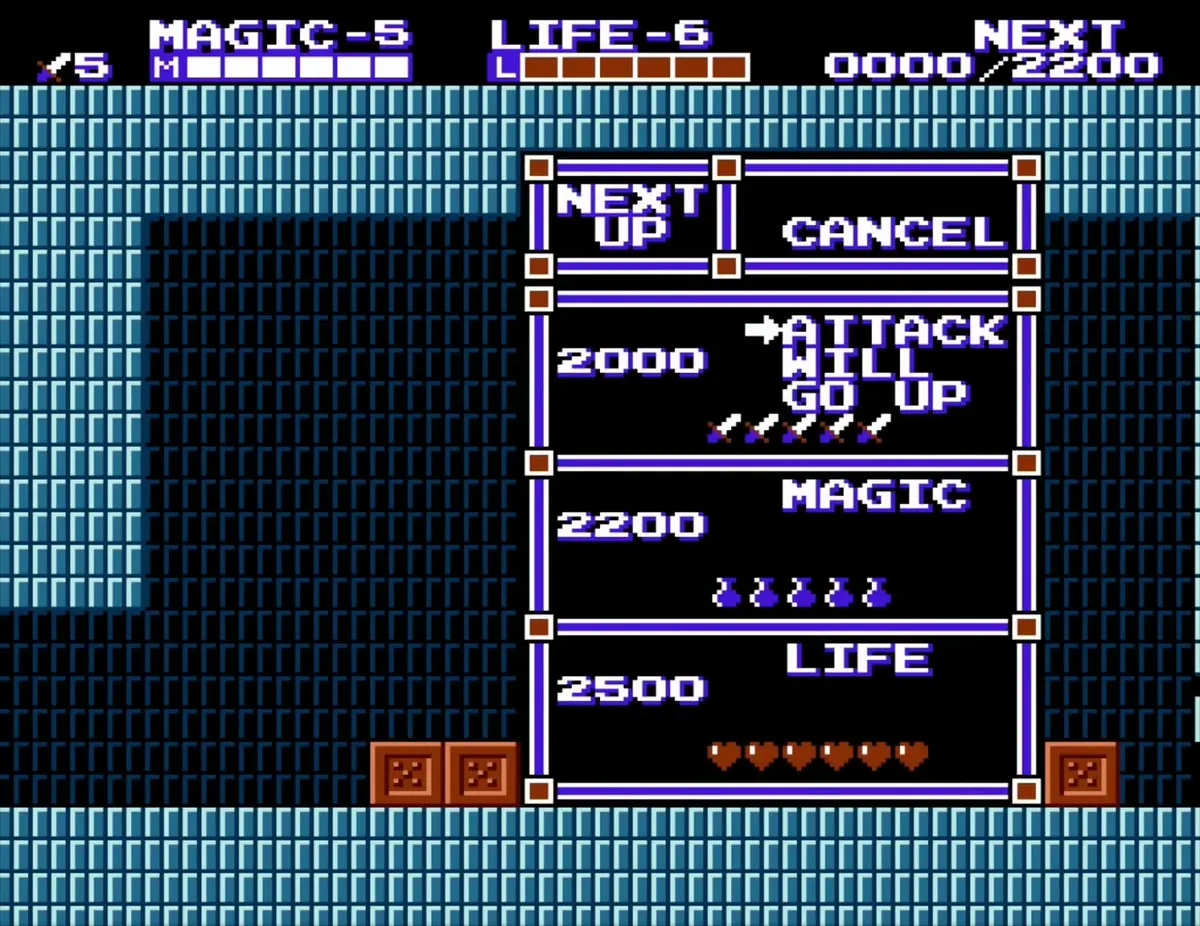
Keep clearing the rooms with skull-faced enemies and ride the elevator up when it is available. Once you have 1,200 EXP, a level-up box appears with the cursor on Magic. Choose Magic to raise it to level 5; the price is deducted from your counter.
Handy Glove and the locked door
Reaching the Handy Glove
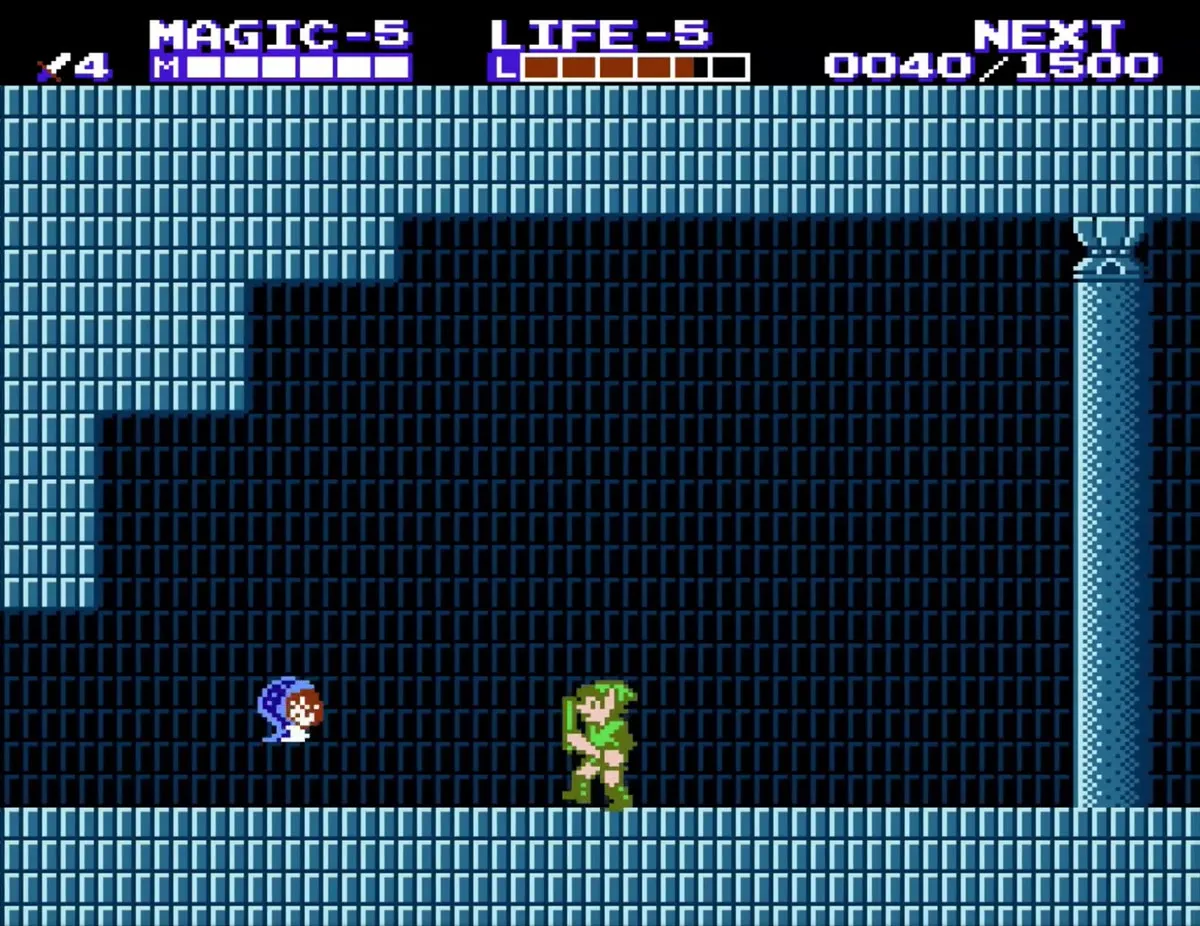
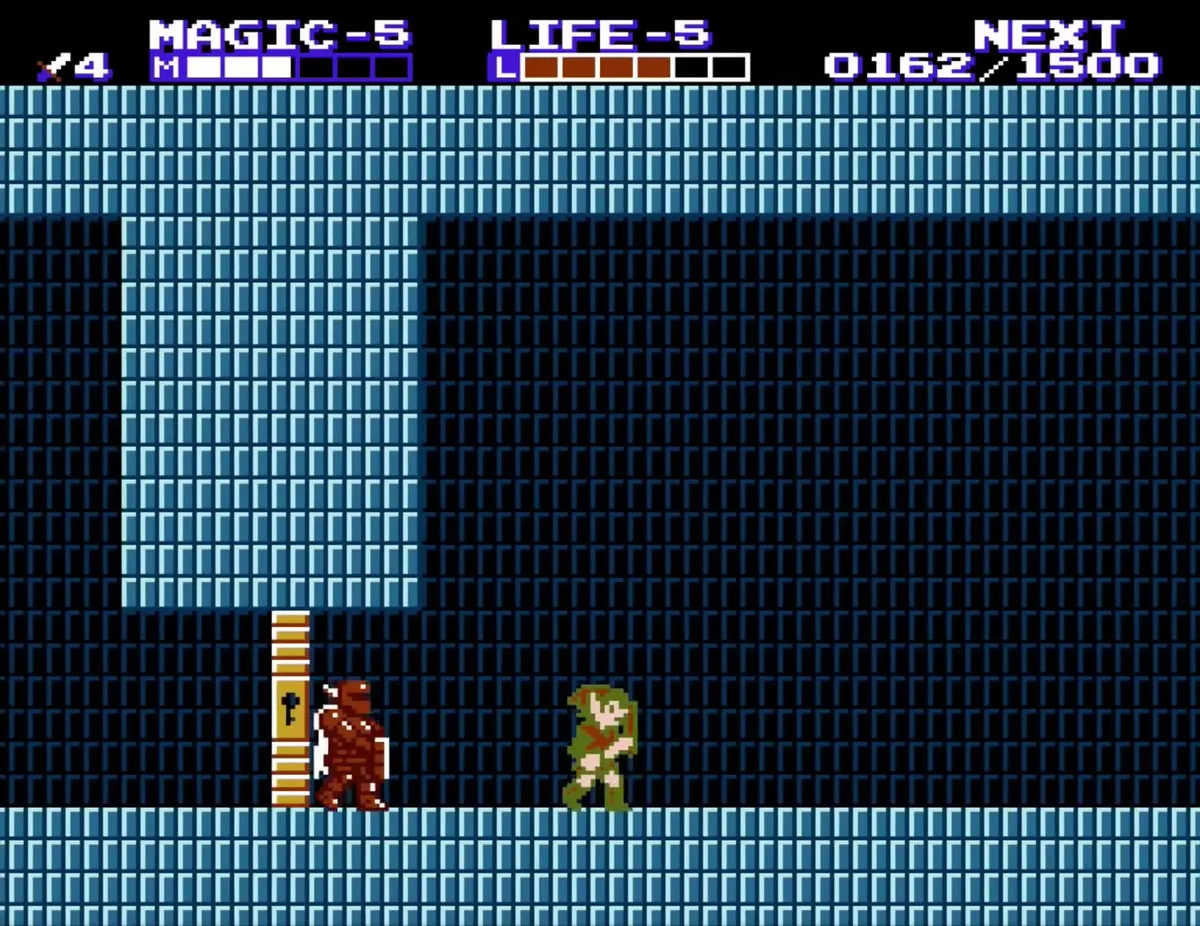
The Iron Knuckle statue above the entrance of the next room hides a magic jar, so cast Jump if you cannot reach it. Defeat the Bot, then fight the red Iron Knuckle near the dripper. Beyond it, another red Iron Knuckle guards a locked door, and the Handy Glove lies behind that door. The glove lets you break bricks with your sword.
Midoro Palace: lower rooms and the boss
Red-capped flyers and the first knight
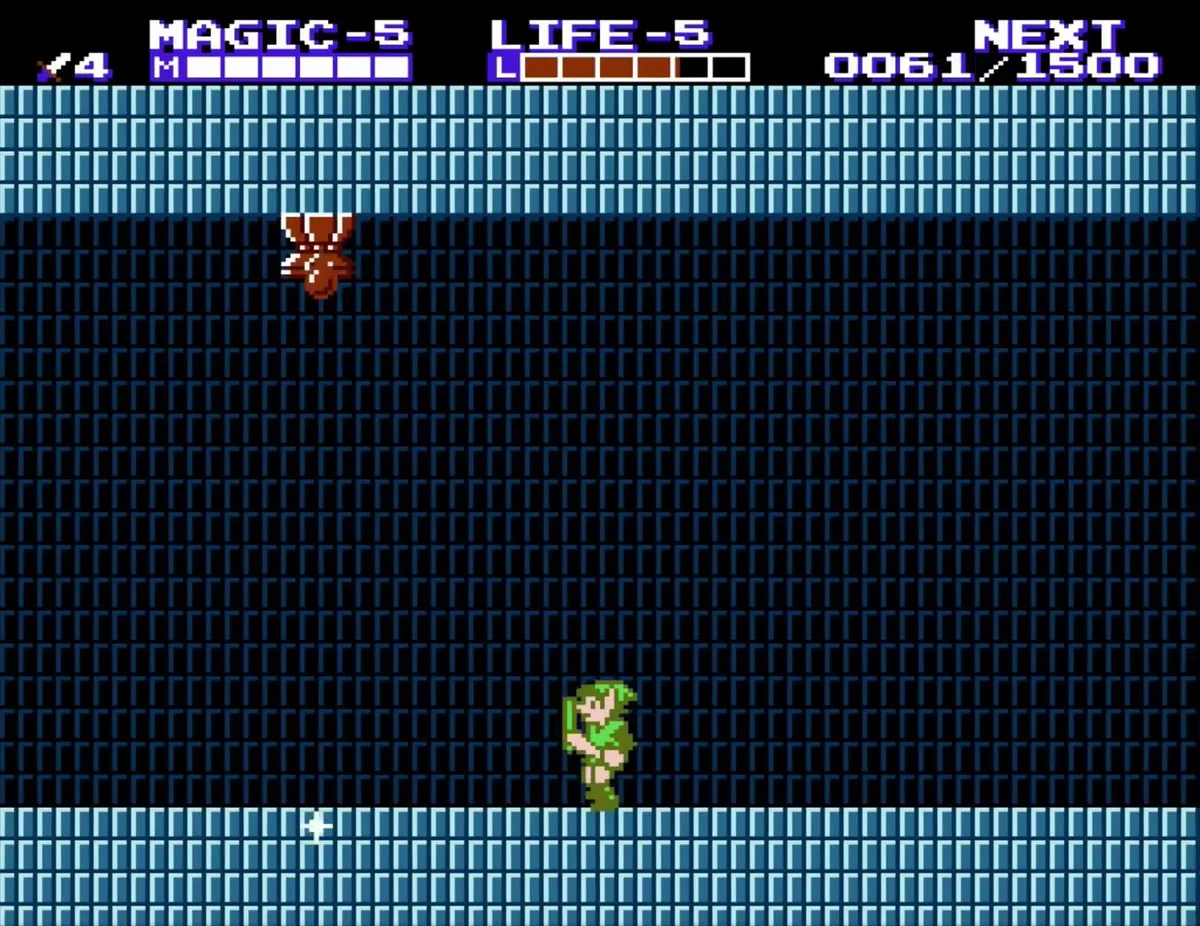
With the Glove in hand, ride the elevator back down to the room below it. A Fire Moa drifts at the top of the screen and drops flames onto the floor, and two orange Iron Knuckles cross the room, so jump over the fire and strike each knuckle’s head with a jumping stab; the Downward Thrust does not work on them. Cross to the right.
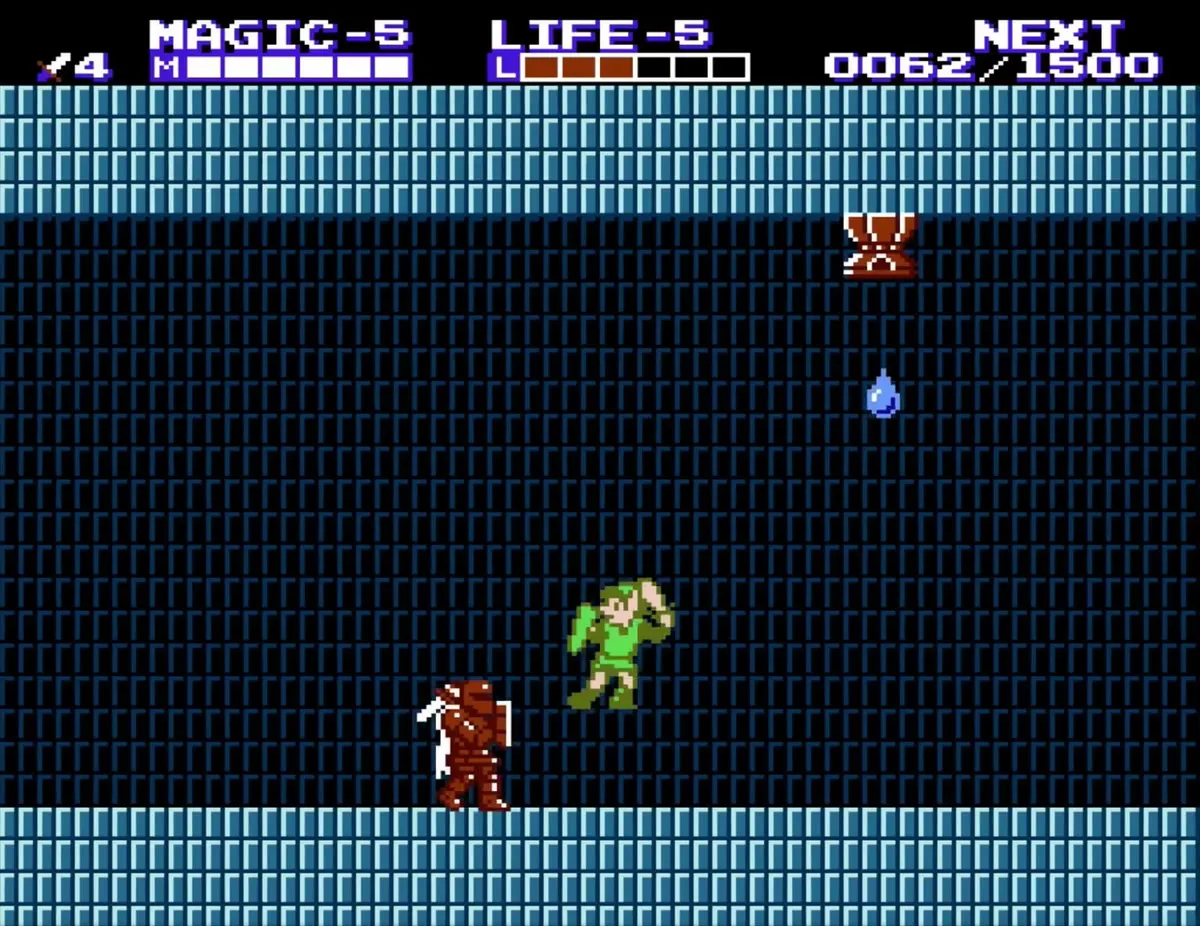
The dark shaft
The next rooms are lined with blue bricks and statue heads that fire energy orbs. Blue Stalfos stand between the heads, so block the orbs with your shield and strike the Stalfos low. Use the Handy Glove to cut through the walls of bricks that block the way; repeat this once, and take down one last Stalfos before the next room.
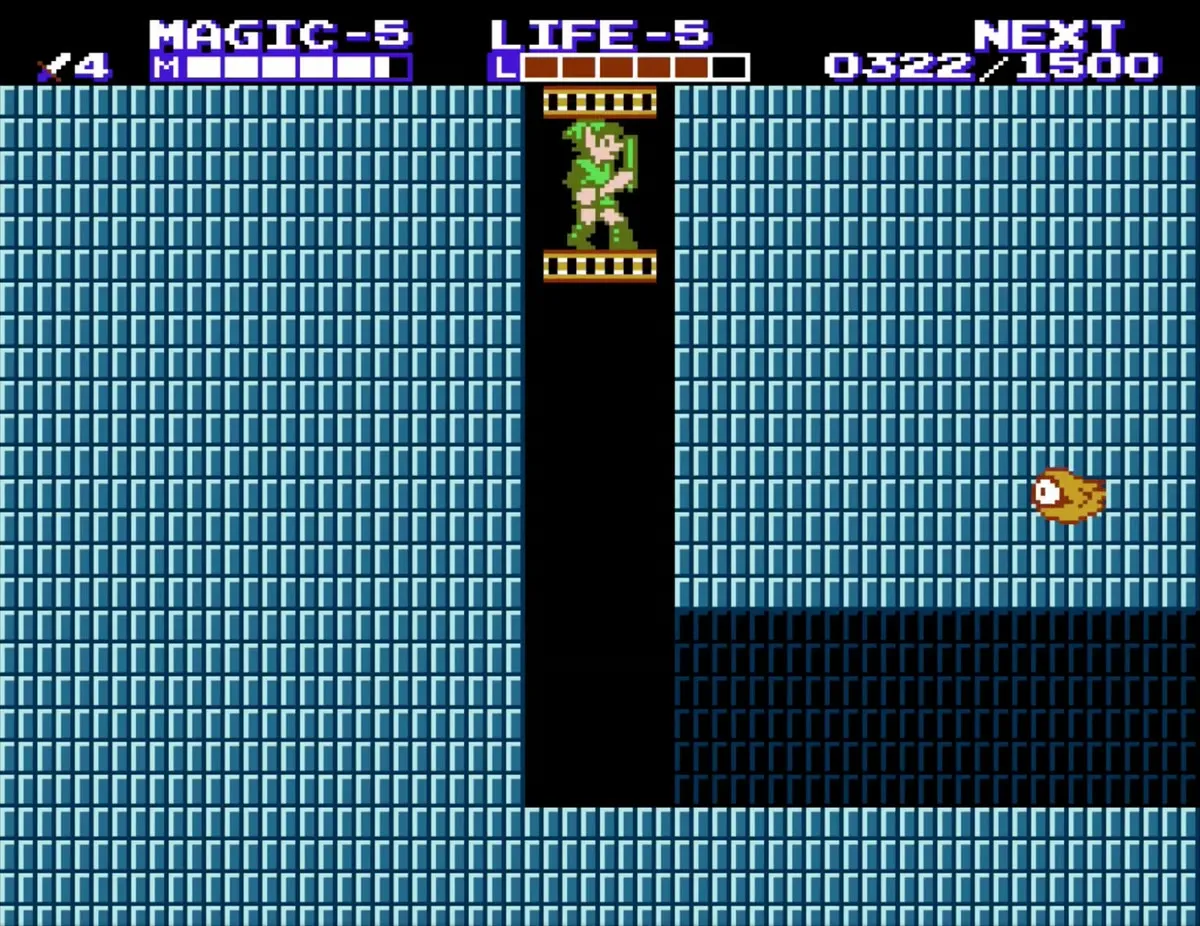
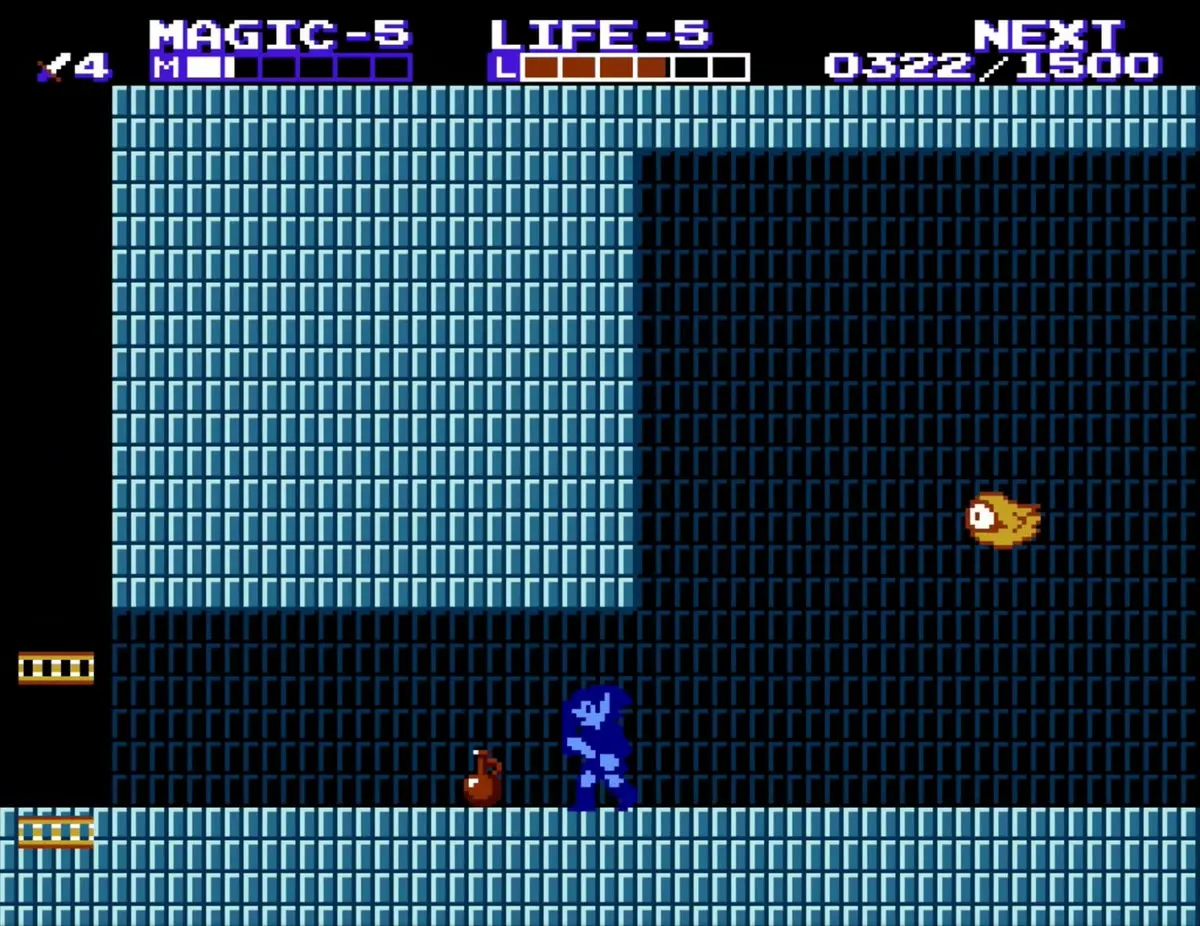
Column room and armored knights
The next room is full of slow Bubbles and dripping pillars on either side of an elevator, so avoid the Bubbles rather than fighting them. Skip the elevator for now and walk on to the right. In the room beyond, Kobolds that steal EXP bounce about, and a Gooma waits at the back; slip between its clubs, defeat it and take the key before going back to the elevator.
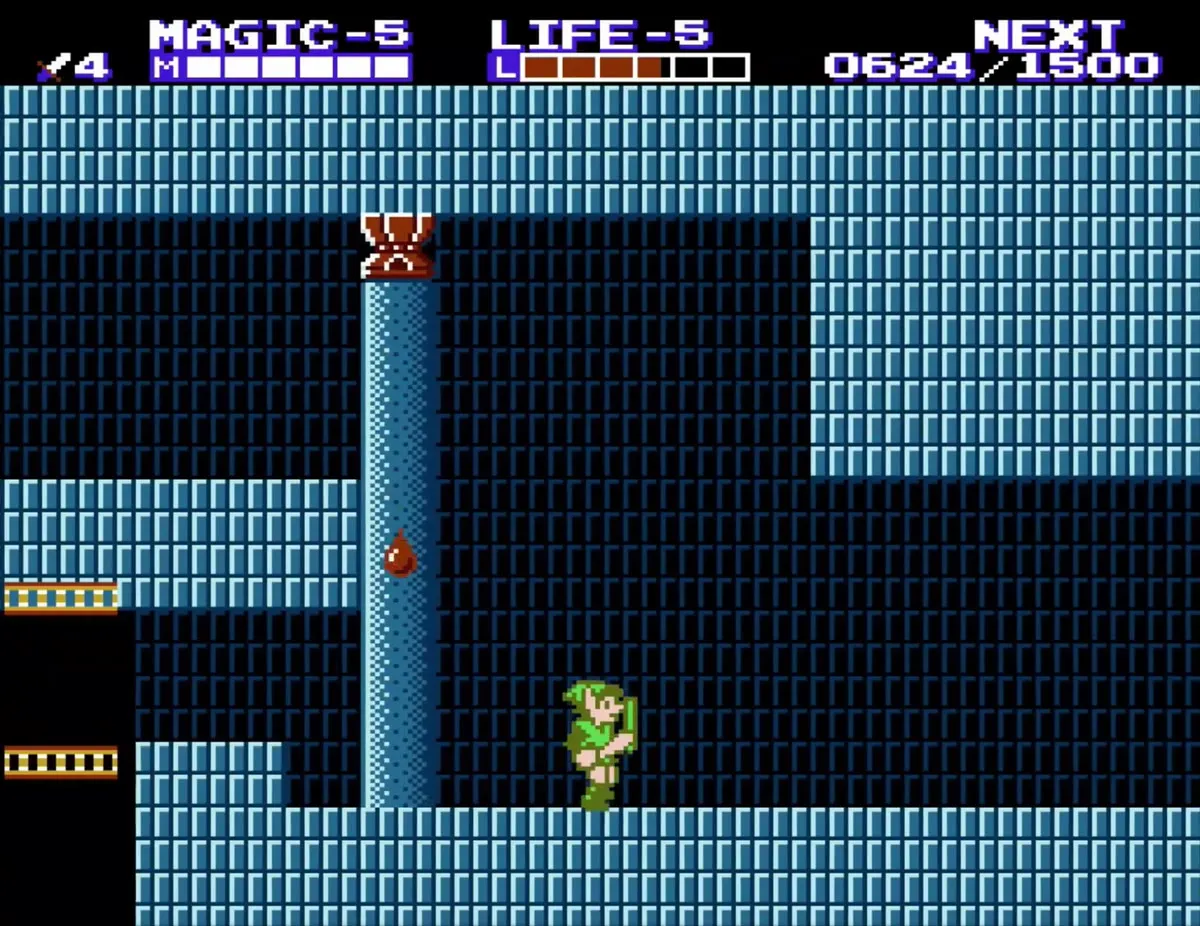
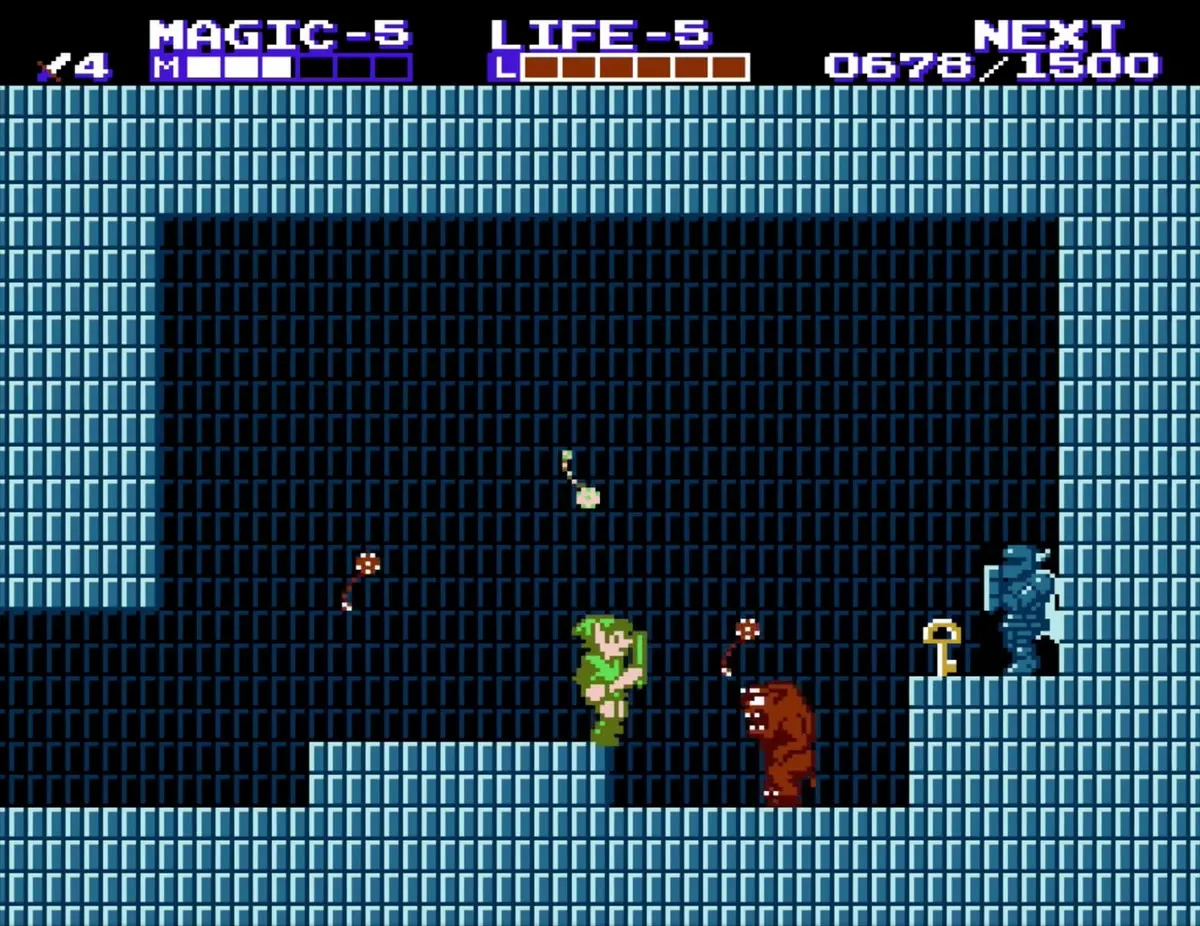
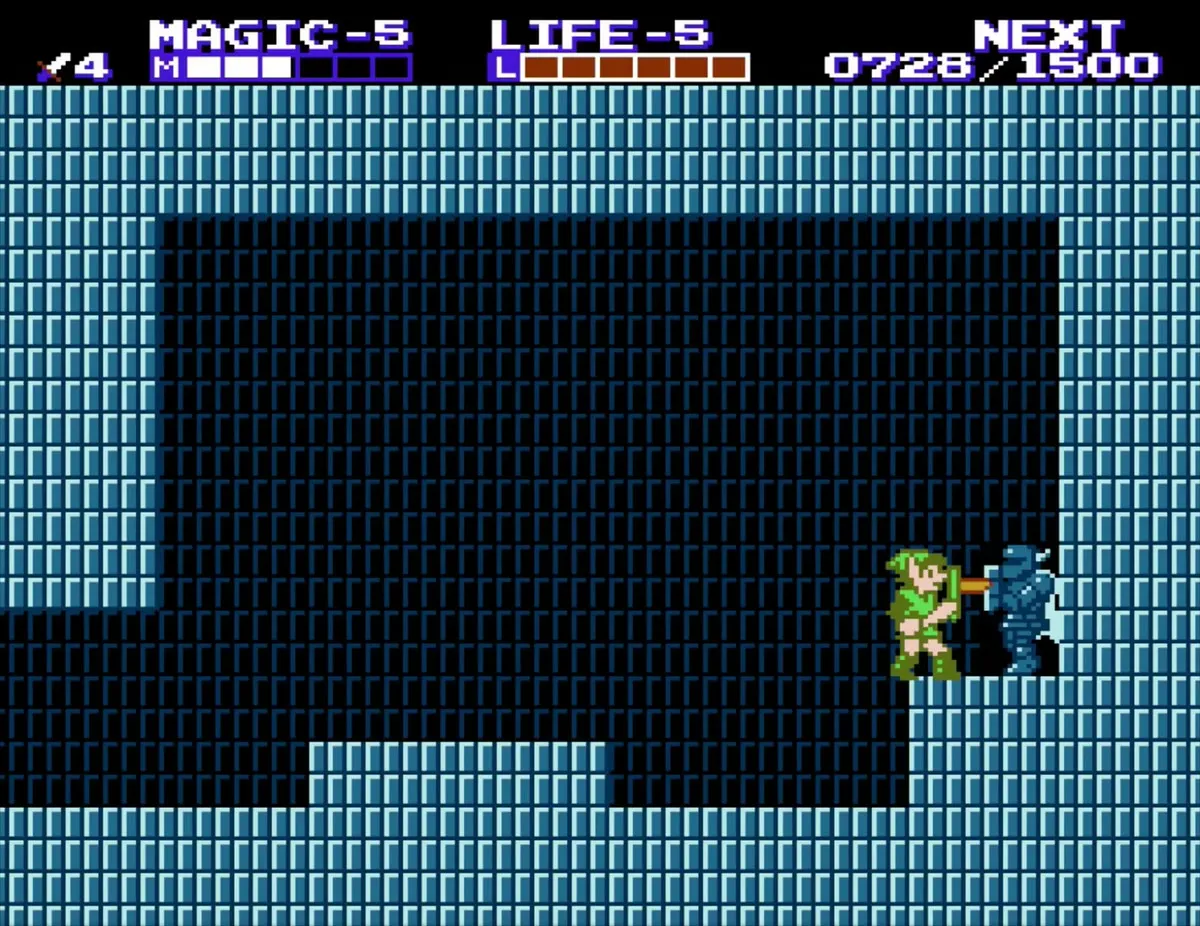
Gold platform and the doors
Ride the elevator down. A Bot runs ahead of another Gooma on a stair of blocks, so slip under the clubs it throws. In the next room a P-Bag worth 100 EXP rests on a breakaway platform near the bottom; grab it and step off at once. Kobolds run ahead of a red Iron Knuckle just before the final doors, so deal with it before you open them.
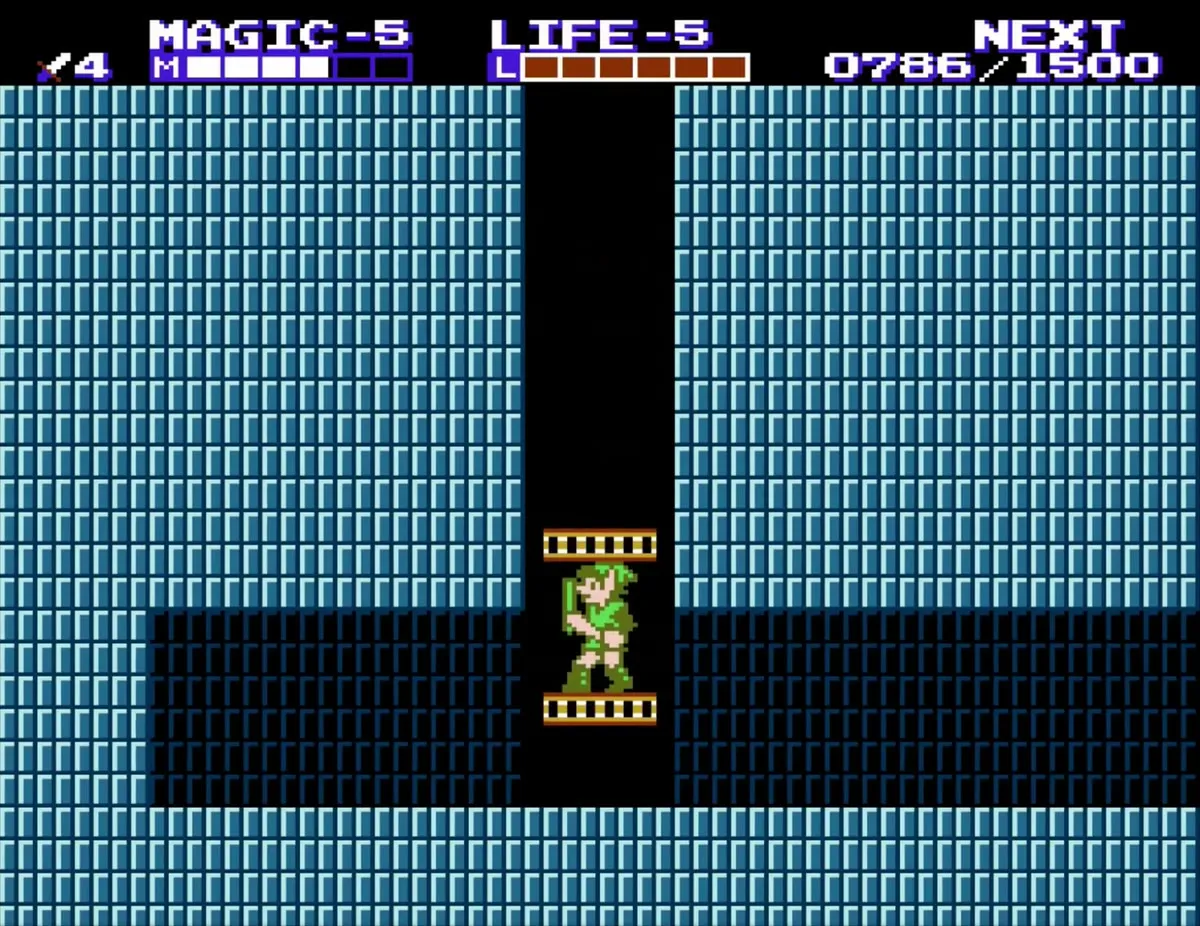
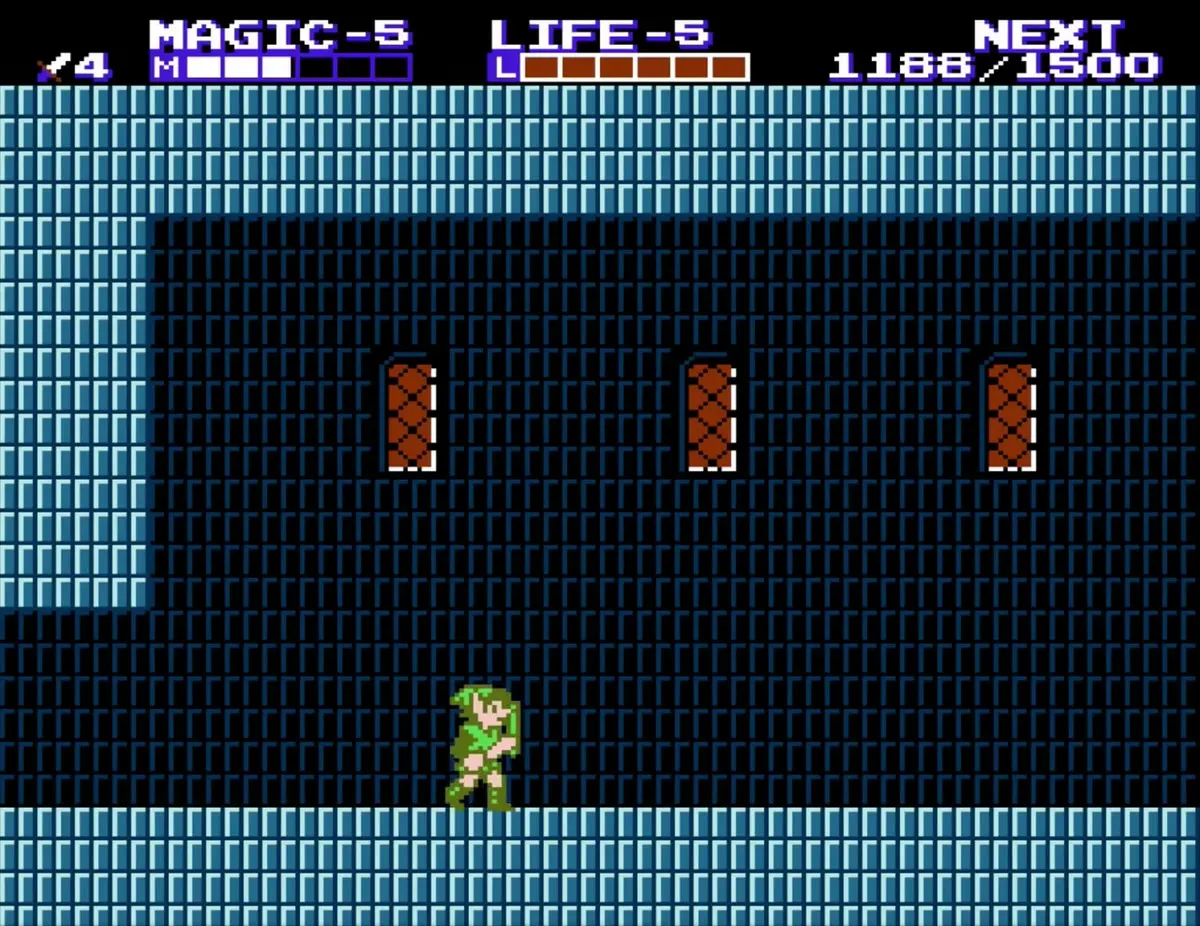
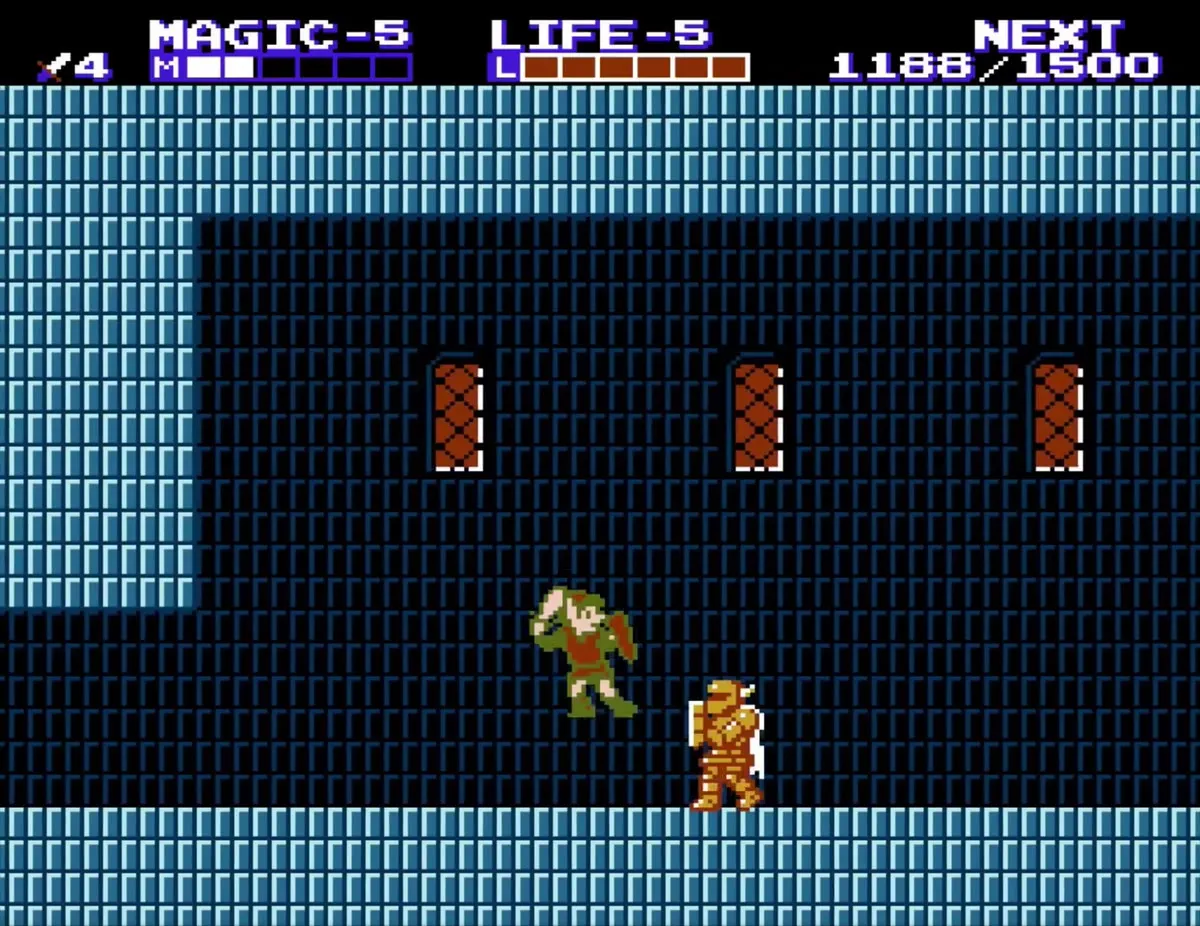
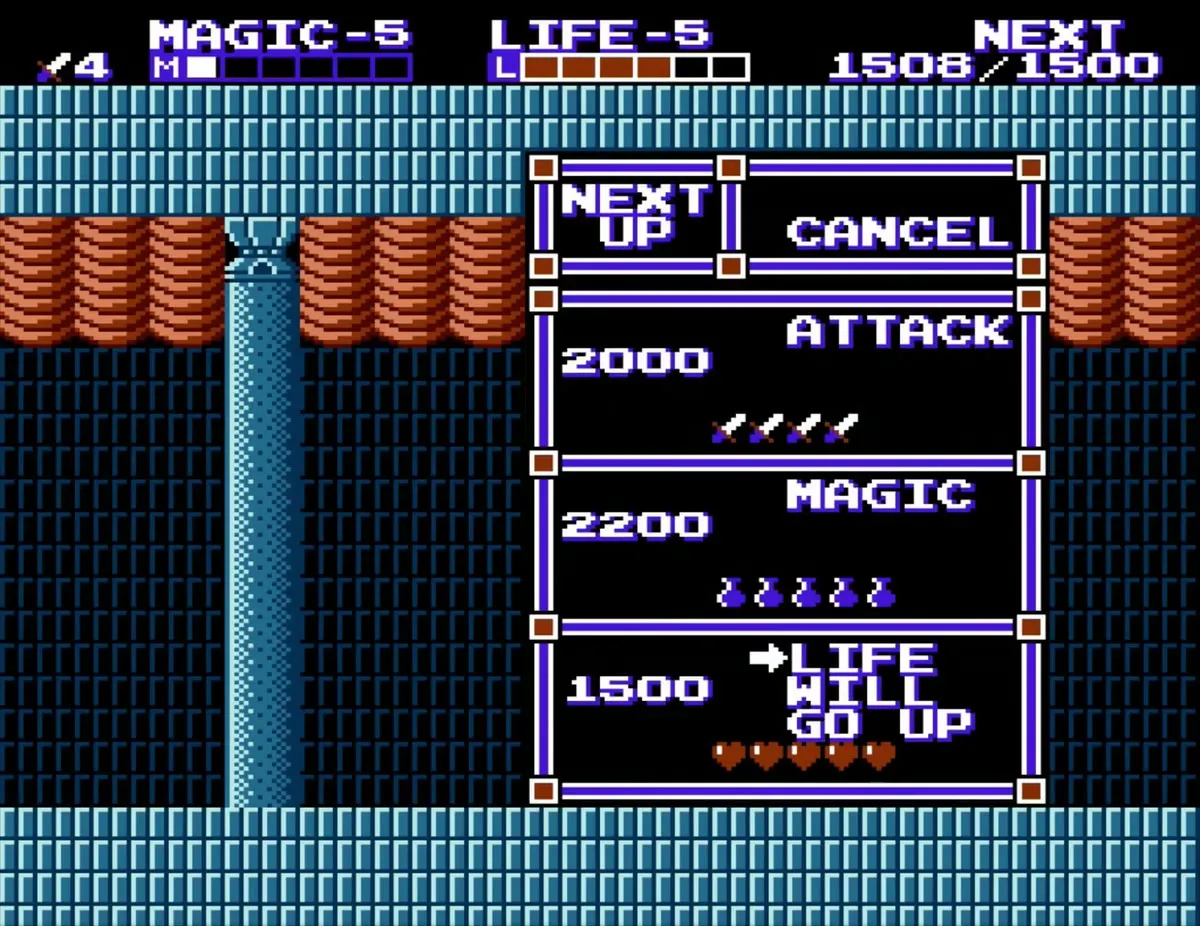
Life Level 6
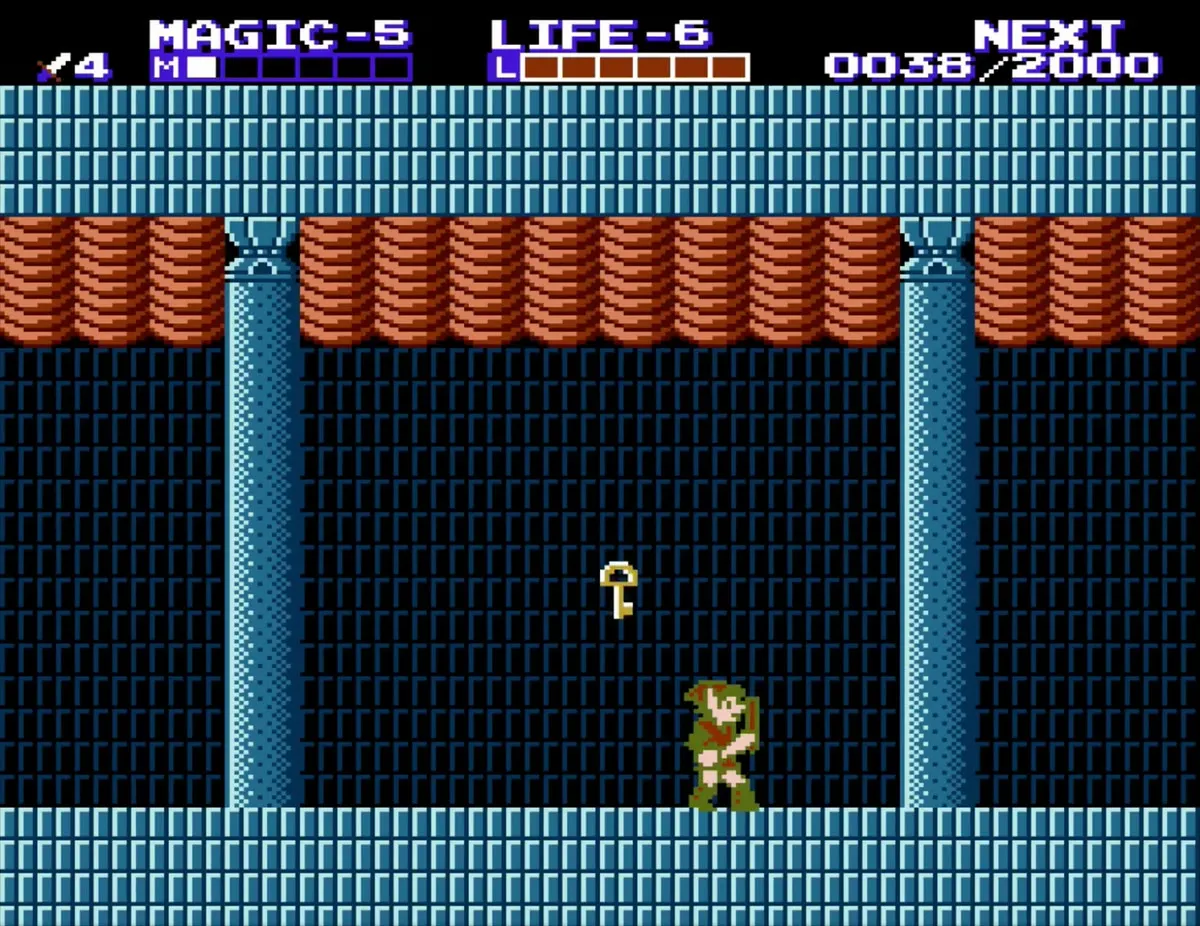
When you have 1,500 EXP, Life can rise to level 6, which costs that amount. The HUD then reads LIFE-6, and the next Life level will cost 2,500. Life levels lower the damage you take; they do not lengthen the life bar, which only the Heart Containers do.
Helmethead boss strategy
Approaching the boss room
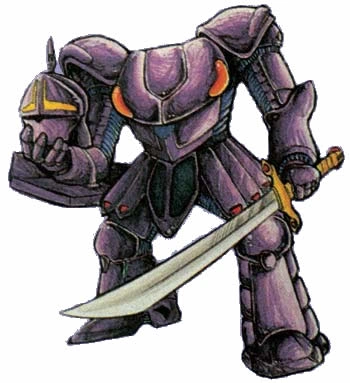
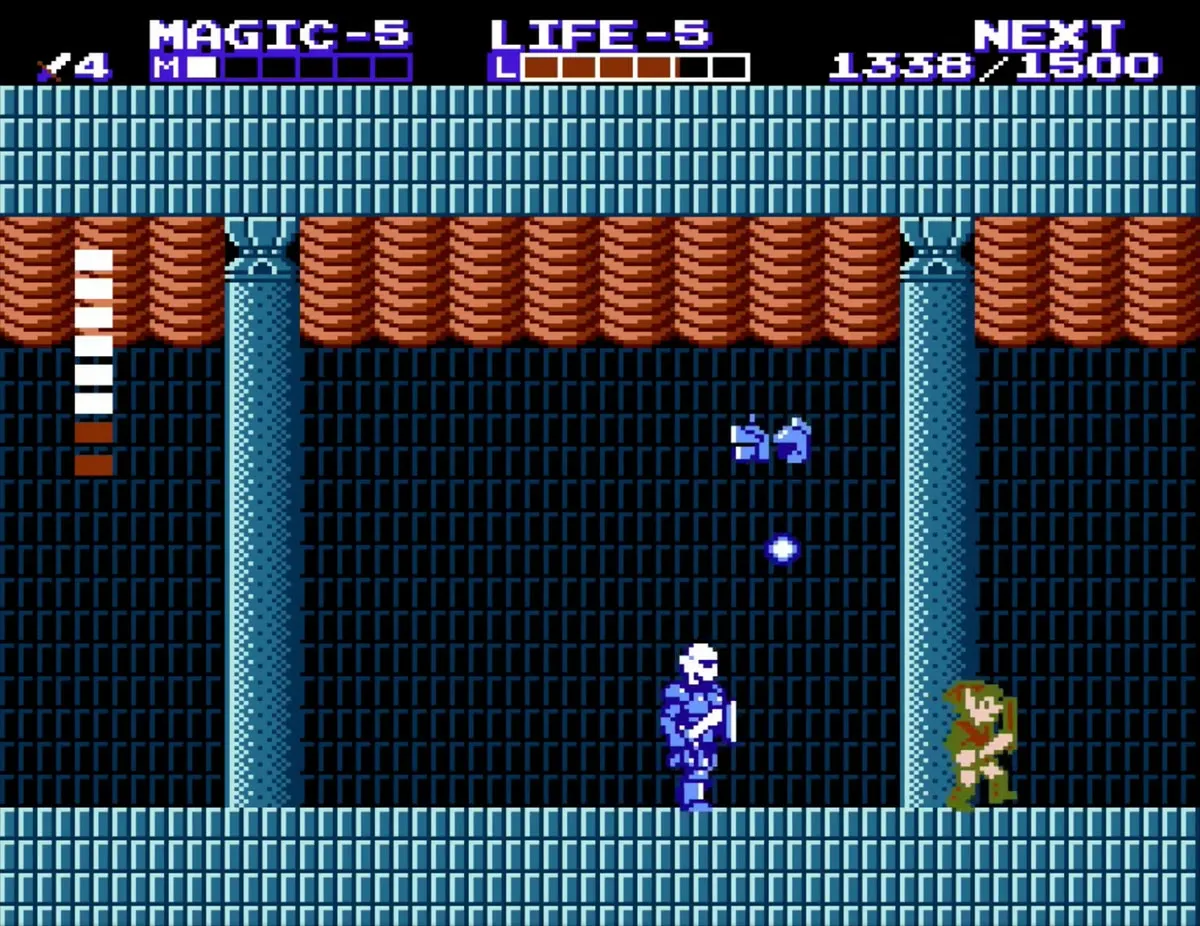
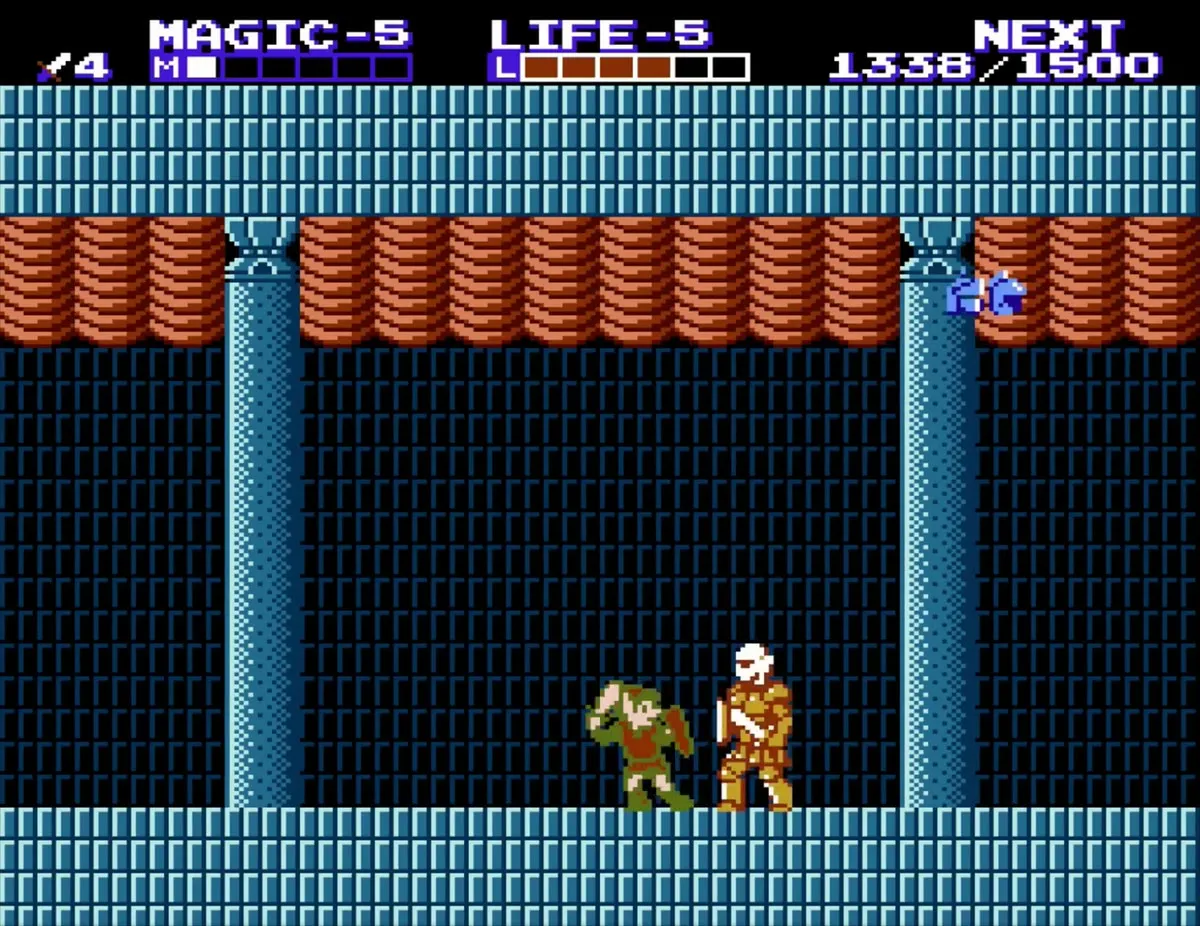
Past the last door, blue Stalfos guard the way, and an orange Iron Knuckle and a red Iron Knuckle stand behind them. Several guides suggest sword level 3 or 4 before this fight, and the Jump spell helps you reach Helmethead‘s head. Defeat the guards before you enter the boss room.
Fight Helmethead
Hit the head with your sword to knock off the helmet, which then floats around the room and fires blue balls at you. A new head grows, so knock that one off too. Once two helmets are flying, your sword damage starts to drain Helmethead’s life bar. Finish it by jumping and hitting the head again and again, or by using the downward thrust.
Second crystal statue
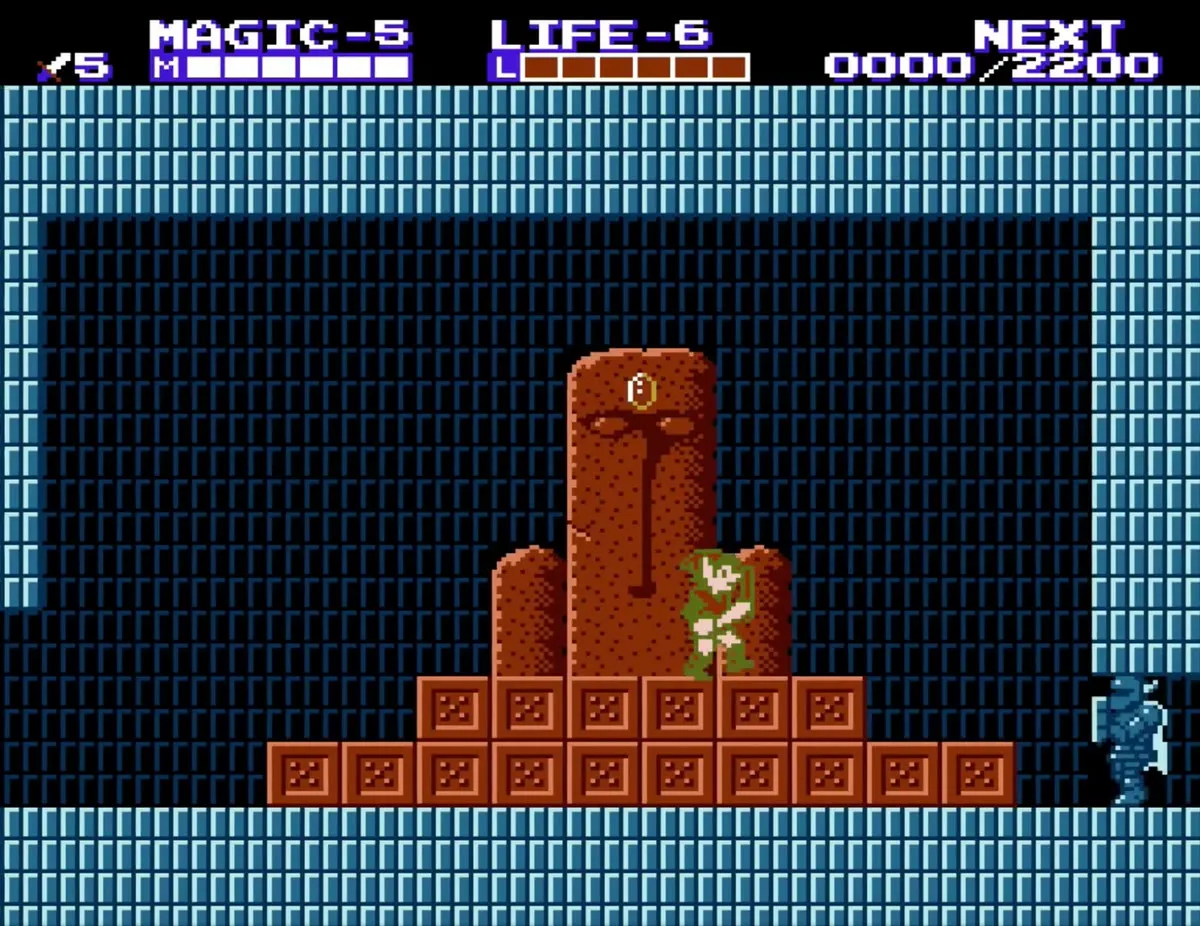
Place the crystal
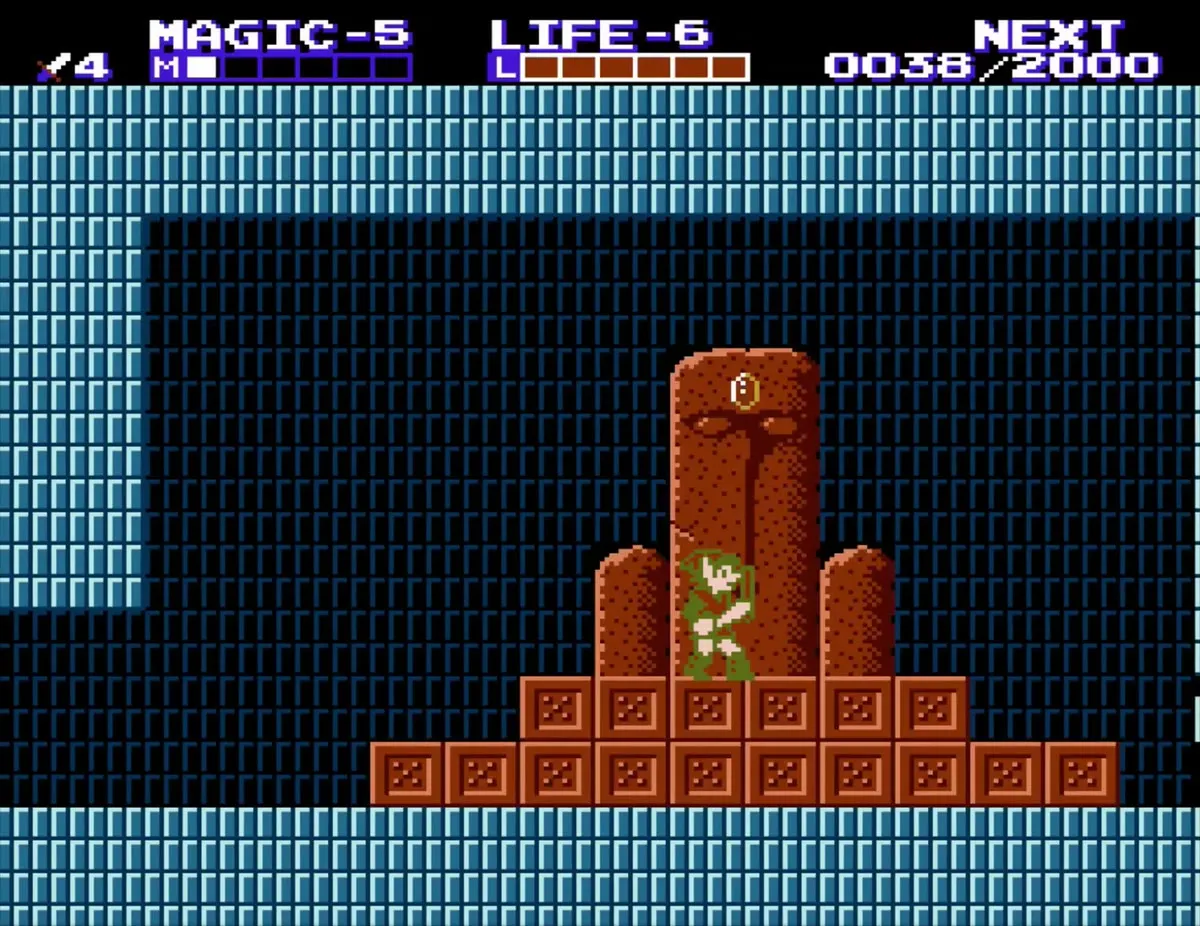
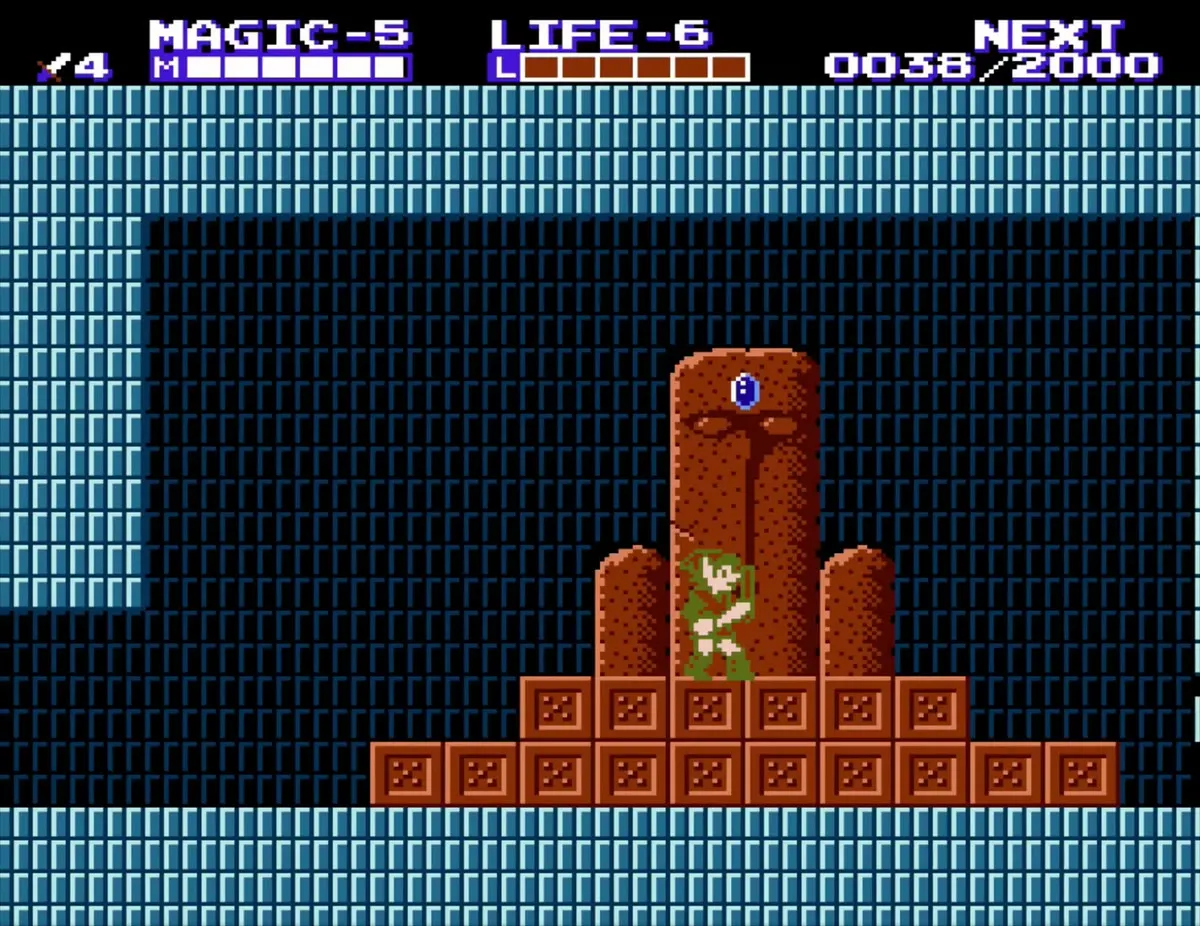
After Helmethead falls, collect the key and walk right to the stepped pedestal, where a white monument with a blue gem stands. Place the second crystal on the statue there. Placing a crystal fills your experience up to the current level cap.
Leave the palace
Walk to the exit on the right to leave Midoro Palace and return to the overworld. The next palace on the route is Island Palace.
Chapter checklist
| Type | Name | Where |
|---|---|---|
| Key item | Handy Glove | Behind the locked door guarded by a red Iron Knuckle, past the drip room |
| Magic jar | Red magic jar | Iron Knuckle statue at the palace entrance (may summon a red Iron Knuckle instead) |
| Magic jar | Red magic jar | Statue in the room with two Bubbles |
| Magic jar | Red magic jar | Iron Knuckle statue in the room before the Handy Glove |
| P-Bag | P-Bag (50 EXP) | On the floor of the falling-block room; blocks may cover it |
| P-Bag | P-Bag (100 EXP) | On a breakaway platform over lava in a late room, shortly before the last doors |
| Keys | Small keys | Second level, a lower level past two Mace Demons, and the drip room |
| Level up | Magic Level 5 | Riding the elevator up in the palace, after the rooms with skull-faced enemies |
| Level up | Life Level 6 | Blue-brick rooms with a brick ceiling, after the gold platform shaft |
| Crystal | Second crystal | Stepped pedestal past Helmethead, at the white monument with a blue gem |
