





















Zelda II 100% Completion Walkthrough15 chapters
- Starting the AdventureSave, North Castle, first Life level, Shield in Rauru, the Parapa Desert Heart Container and the way to Parapa Palace.
- Palace 1Enter the first palace, collect its four keys and the Candle, defeat Horsehead and place the first crystal.
- Ruto, the Trophy and the Jump SpellThe first Magic Container, the Trophy from the Tantari Desert cave, Jump in Ruto Town, then the caves.
- Saria and the Life SpellFind the Mirror in Saria, learn Life, follow the river guard, and walk on toward Death Mountain in Zelda II.
- Death Mountain and the HammerEnter the caves, take the Hammer from the lava room, and collect the Magic Container and Link Doll on the way to Mido.
- Mido Town, the Water of Life and the Fairy SpellLearn Downward Thrust in the church, get the Water of Life from Moruge Swamp and unlock the Fairy spell.
- Palace 2Reach the palace from the swamp, get the Handy Glove, beat Helmethead and place the second crystal in route order.
- Palace 3Reach it from King’s Tomb, use Fairy, get the Raft, find the P-Bags and keys, beat Rebonack and place the third crystal.
- Nabooru and the Fire SpellReach Nabooru from the eastern desert, learn Fire in the town basement, find the 500 P-Bag and reach Magic level 6.
- Darunia, the Kidnapped Child and the Reflect SpellLearn Upward Thrust, rescue the kidnapped child on Maze Island and get Reflect.
- Palace 4Enter with Reflect, find the keys and P-Bags, beat Carock by reflecting his waves, and place the fourth crystal.
- Palace 5The fake wall, the Flute behind Iron Knuckles, keys, Attack level 7 and the Gooma boss in this green-brick palace.
- New Kasuto, Old Kasuto and the Thunder SpellThe Magic Container, Spell and Magical Key in the hidden town, Attack 8, Thunder.
- Palace 6Reach the palace with the Flute, climb the red-brick floors, defeat Barba, and place the crystal at the statue.
- Final PalaceCross the Valley of Death, beat Thunderbird and Dark Link, and claim the Triforce of Courage for the ending.
| Covers | the Valley of Death approach, the Great Palace (Palace 7), Thunderbird, Dark Link, the Triforce of Courage and the ending |
|---|---|
| Palace | Great Palace (Palace 7): all six crystals placed first, boss Thunderbird then Dark Link, no crystal here |
| Rewards | Triforce of Courage, 1 Link Doll (6 of 6), 1 fairy on the main route plus an optional second at the end of the bridge room, 1 P-Bag (500 EXP) in the Valley of Death; no Heart Containers, Magic Containers or spells |
This chapter takes you from the Valley of Death into the Great Palace, through its elevator floors and lava pits, to the guardian Thunderbird and then Dark Link. It ends with the Triforce of Courage and the ending of the game. The shortest route: cross the valley, enter the palace with all six crystals placed, keep moving east and down, beat Thunderbird, beat Dark Link, and the Triforce of Courage is yours.
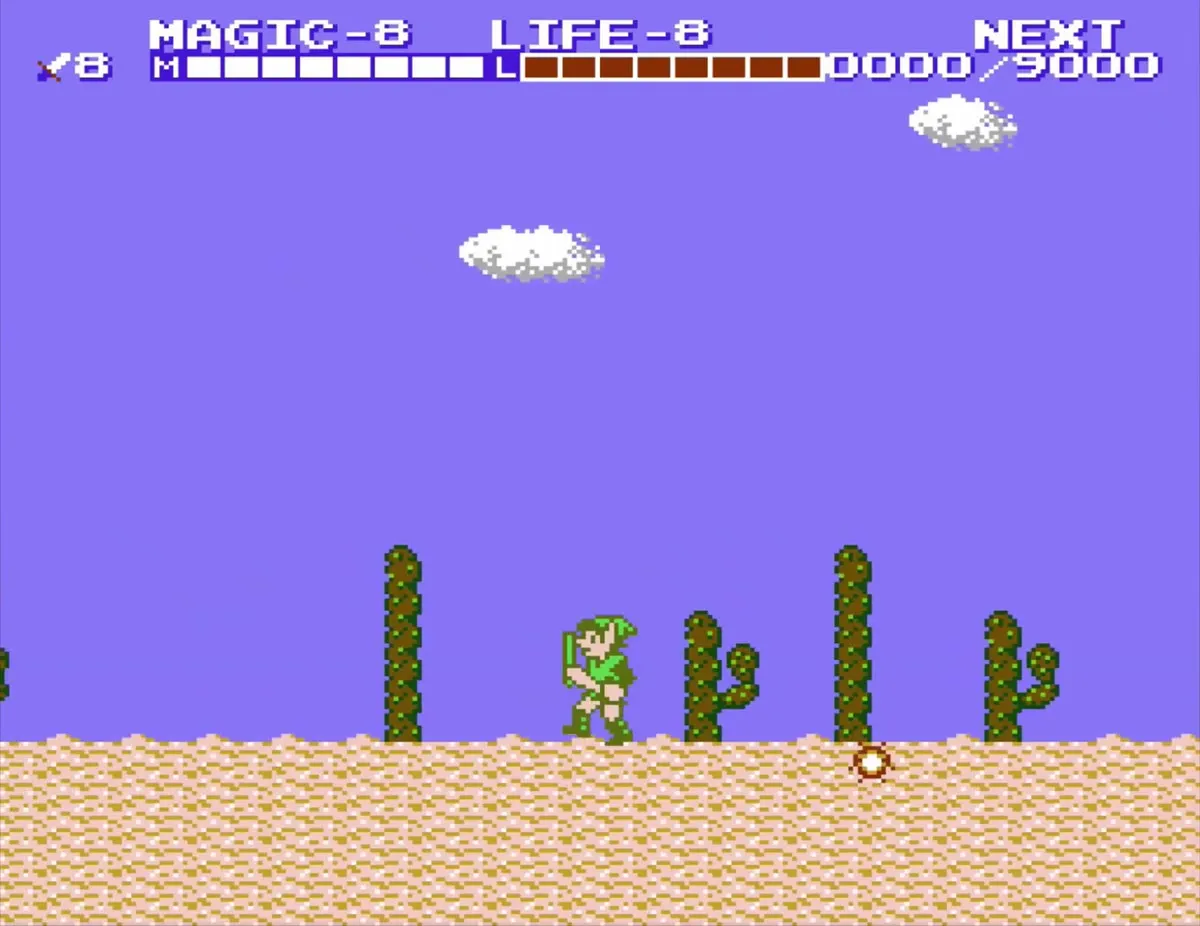

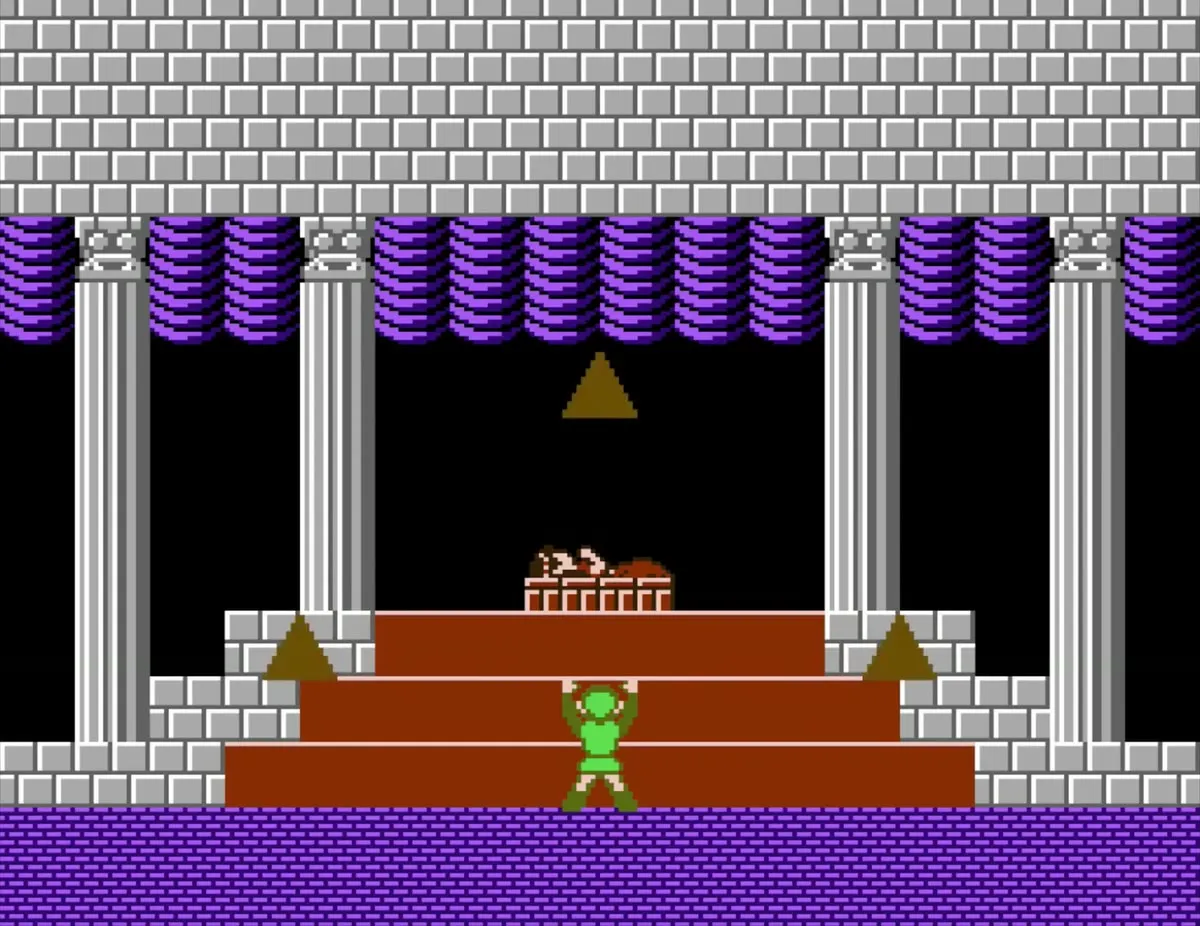
Table of Contents
Valley of Death approach to the Great Palace
Walk the valley to the graveyard
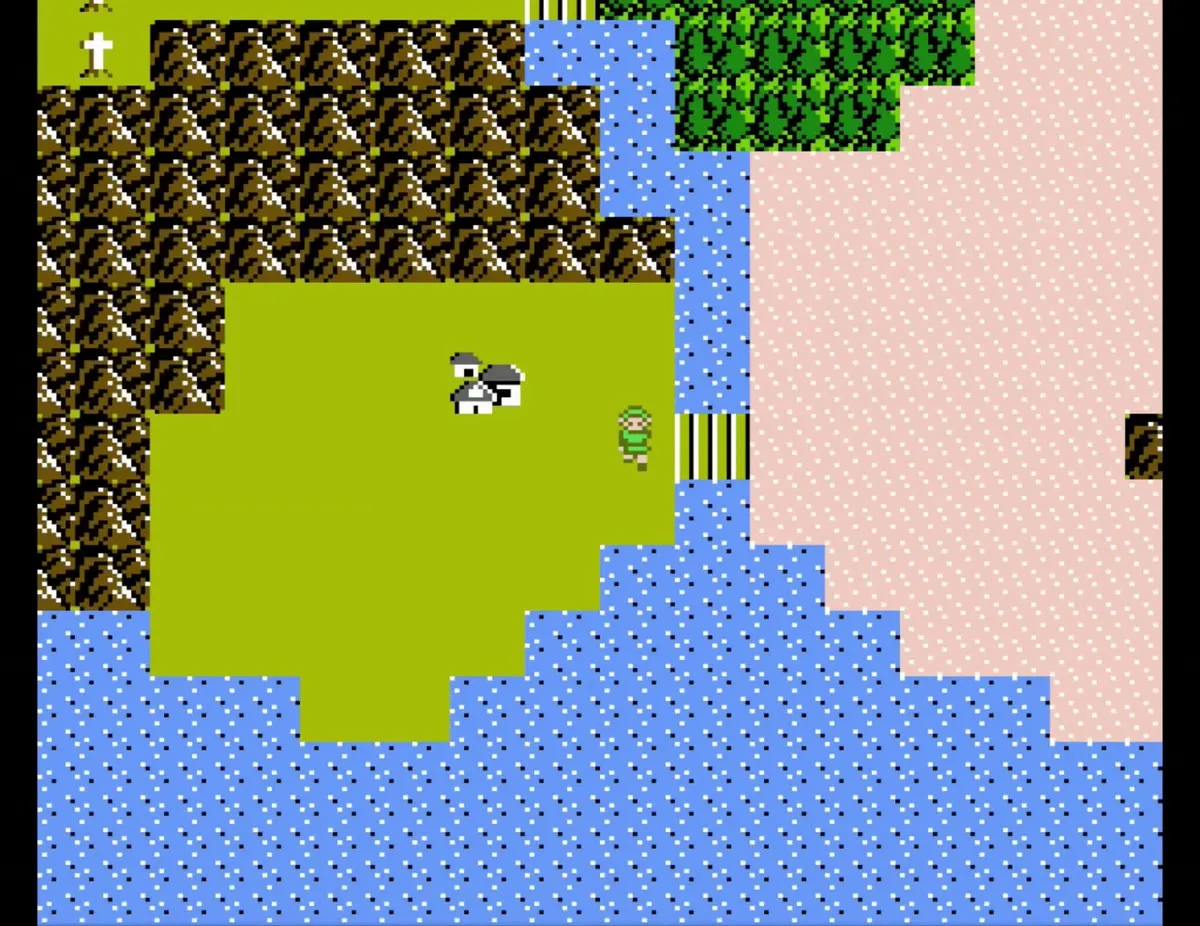
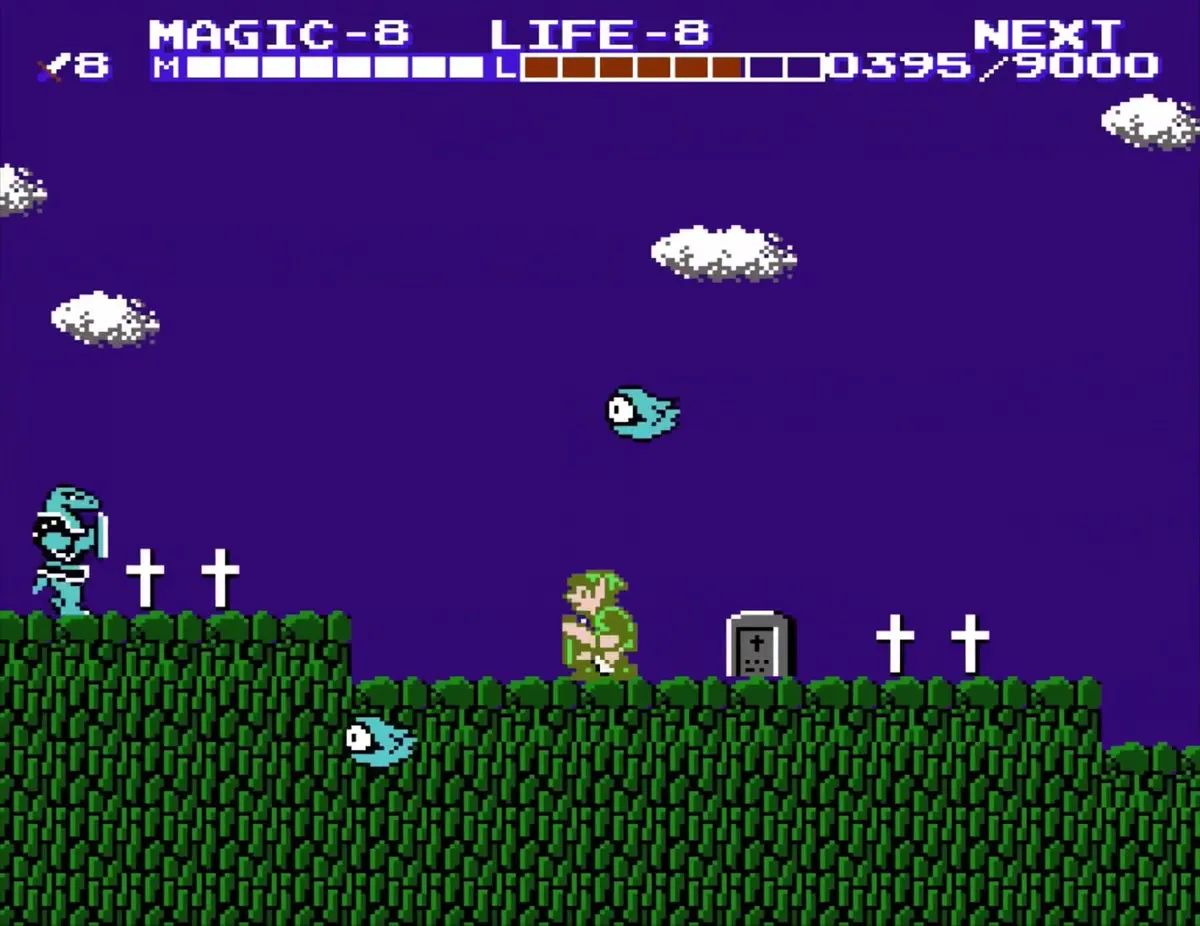
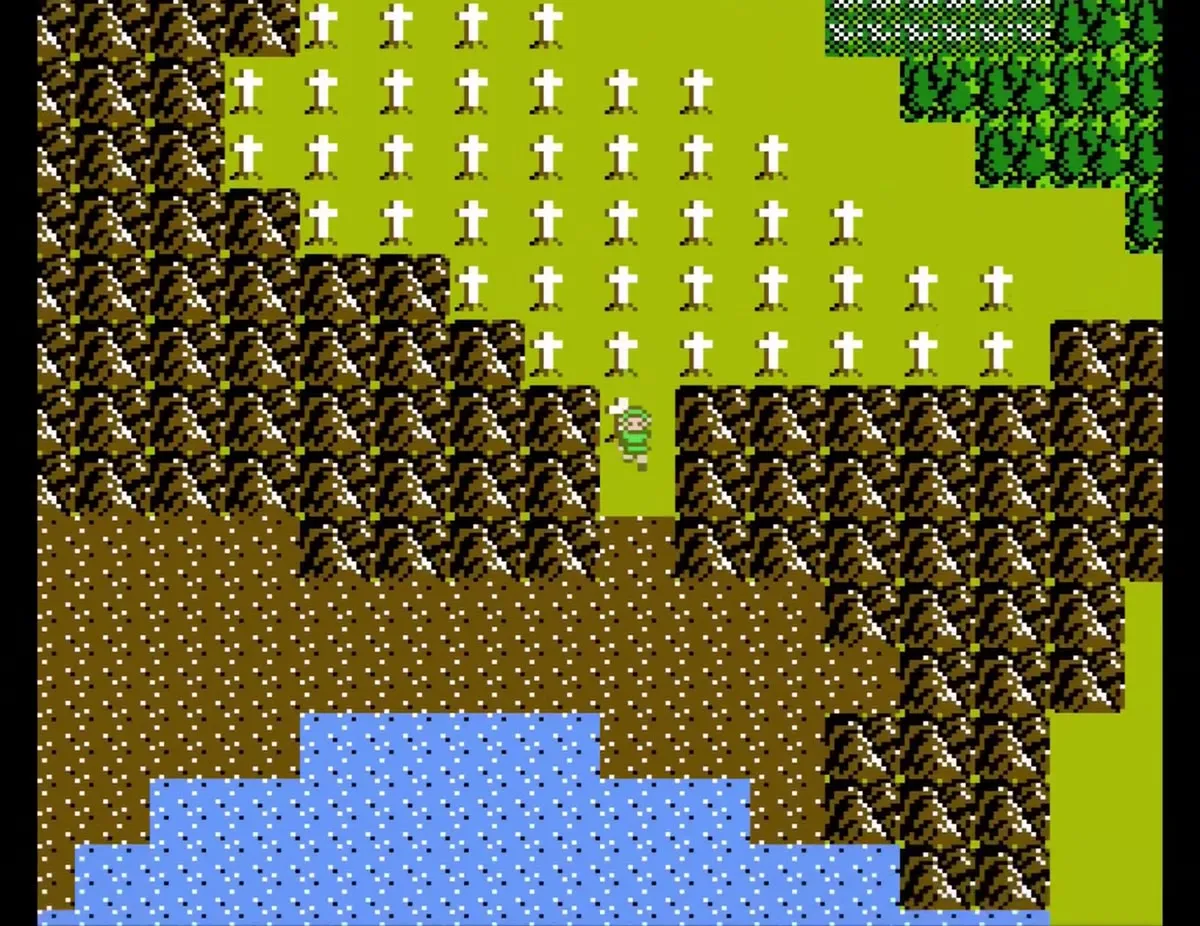
From Old Kasuto, cross the bridge to the east, then head north out of the desert and cross back west over a second bridge. The path turns south through a graveyard, and the valley ends at the palace. Keep moving through the open screens, since the valley is one long walk with no shortcut. At the fork, the west branch ends on a side-scrolling screen with a 500 EXP P-Bag, which is worth the short detour; the other branch carries on to the palace.
Check your magic before the valley
Before you enter the valley, open the magic menu and make sure Attack, Magic and Life are all at level 8. At level 8, Jump costs 8 magic, Shield, Reflect and Spell cost 16 each, and Thunder costs 64, so plan your magic around Thunder. Jump helps you cross the lava gaps on this route, and Fire clears a scorpion in one of the caves.
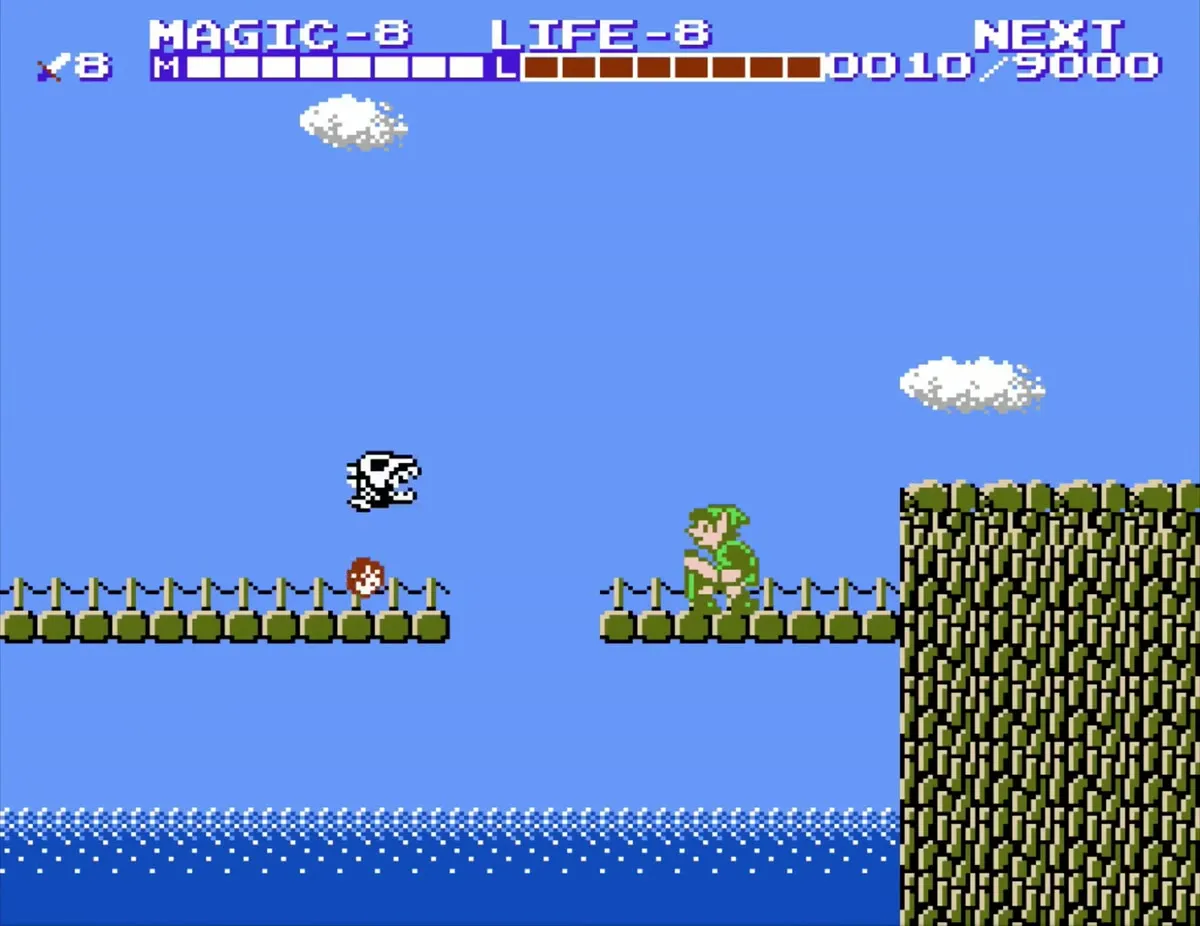
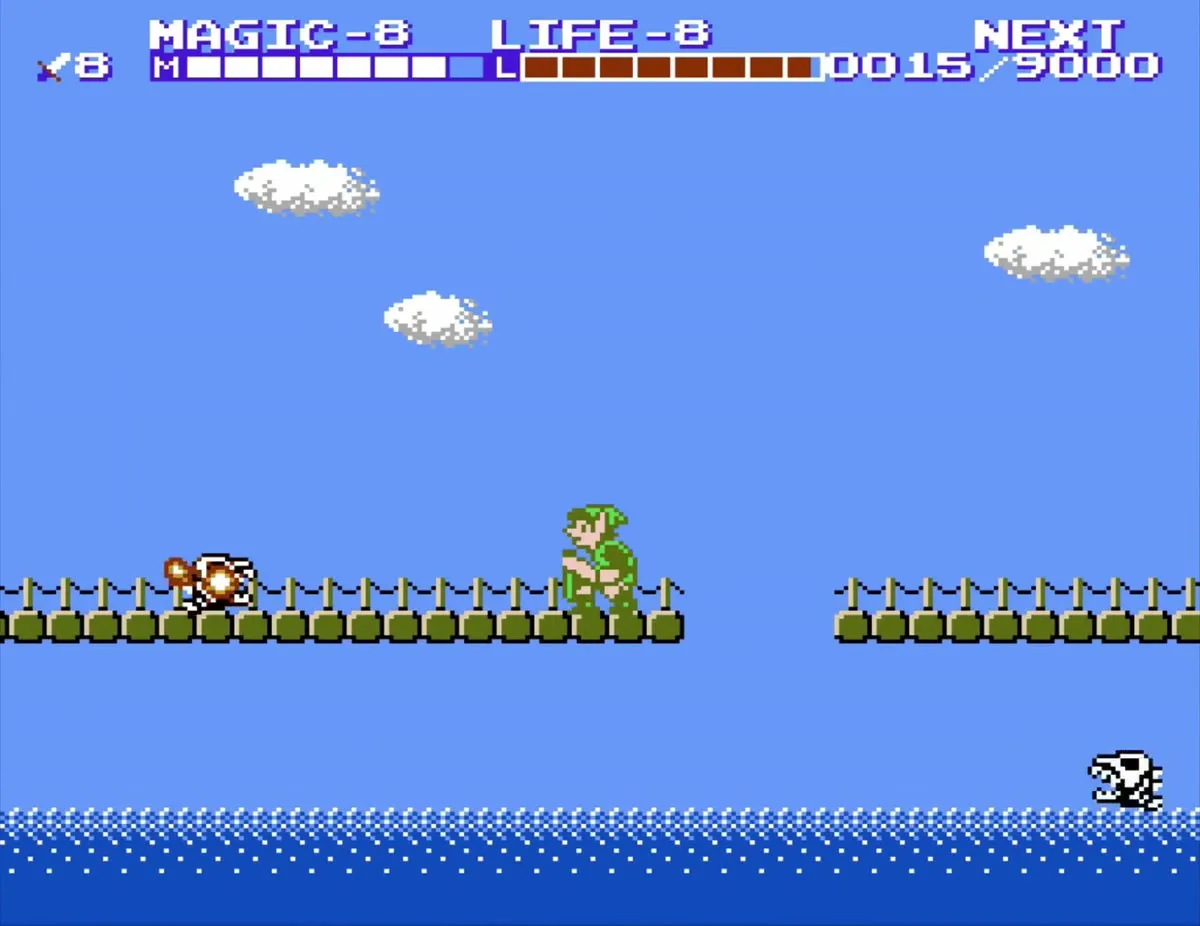
Expect four forced side-view stretches and two mountain tunnels on the way. The first is just south of the graveyard, where Lizalfos throw rocks from a cliff and Moas drift past; you cannot see those Moas without the Cross from Three-Eye Rock Palace, and without it the walk is close to impossible, so get the Cross first. After that stretch, walk south to the water and then due east for a hidden room with a red magic jar. Three lava stretches follow, two before the first tunnel and one between the tunnels. Each begins with a Lizalfos in a narrow passage, so jump and strike its head as you drop. Clear the Moas and Gilbocks before each ledge jump, because a hit in mid-air throws you into the lava. Cast Jump before the last wide gap. Health and magic are scarce here, so skip fights you do not need. If a random encounter icon shares a tile with a forced stretch, the random fight takes its place, which can spare you the harder one.
Palace 7: the Great Palace
Entrance and the crystal barrier
The Great Palace is built into the head of the Valley of Death and reaches several floors down. Its entrance is sealed by a magic barrier that fades only when all six crystals are placed in their statues. If it does not fade when you walk right on arrival, a palace is still incomplete (the pause screen counts your crystals). If you lose your last life inside, choosing Continue on the game over screen puts you back at the palace, while saving and resuming starts you at North Palace.


Floors, elevators and lava
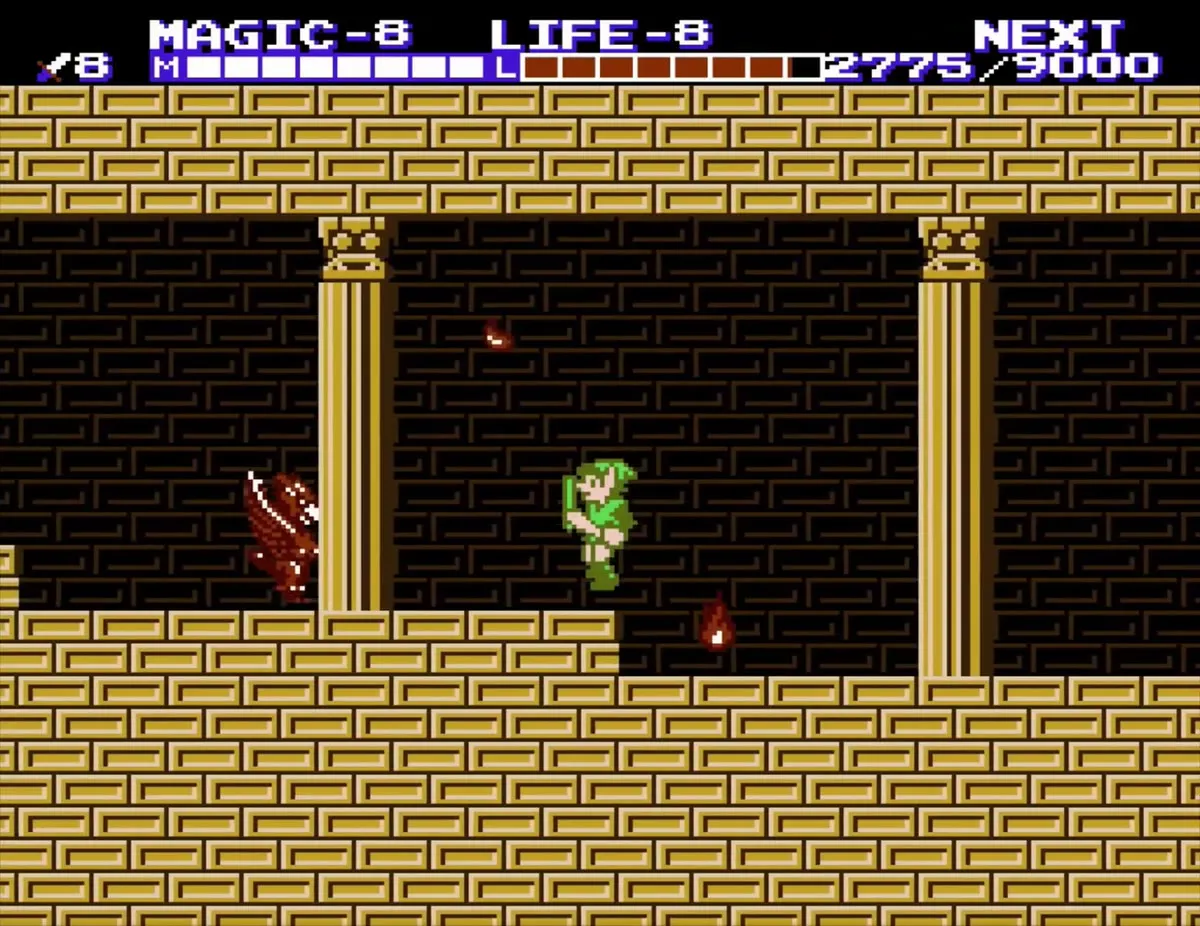
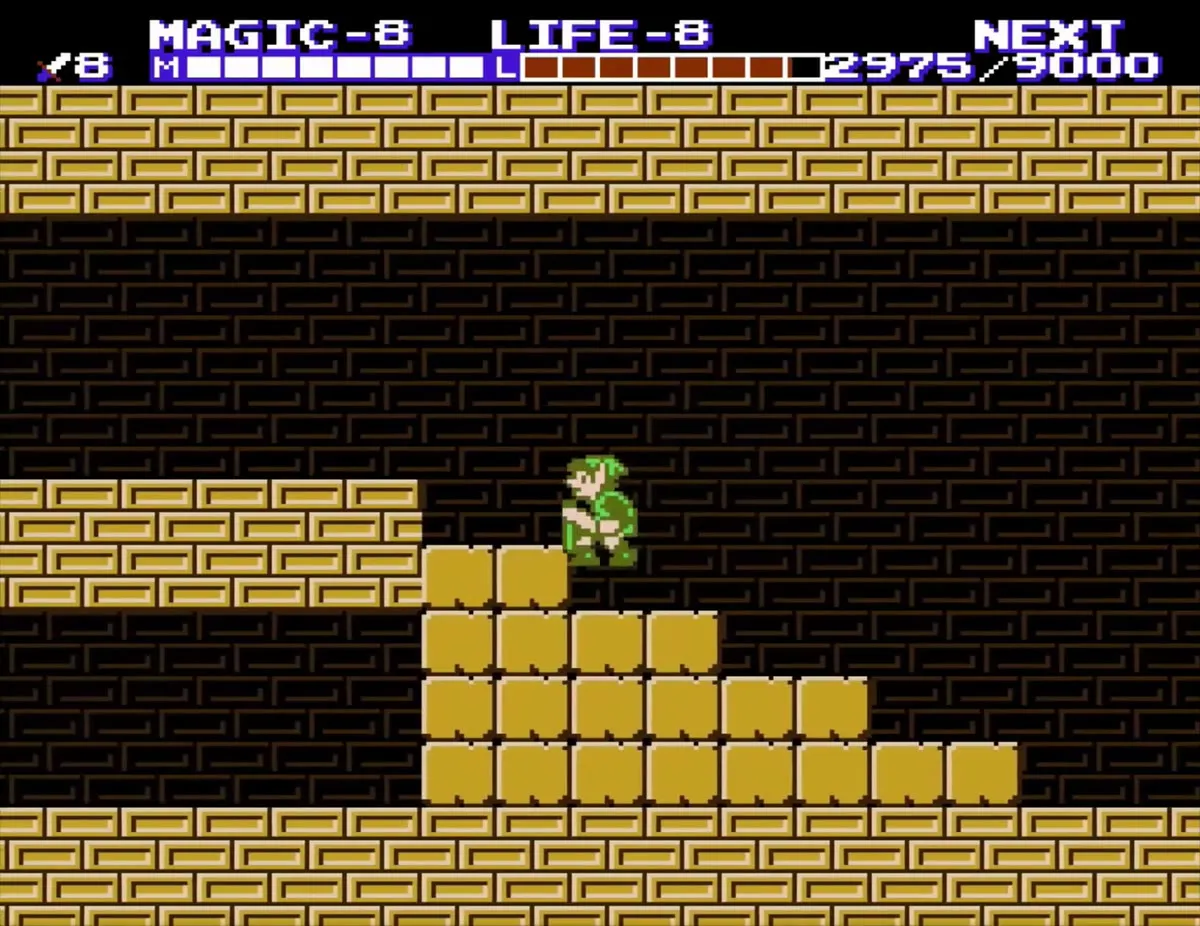
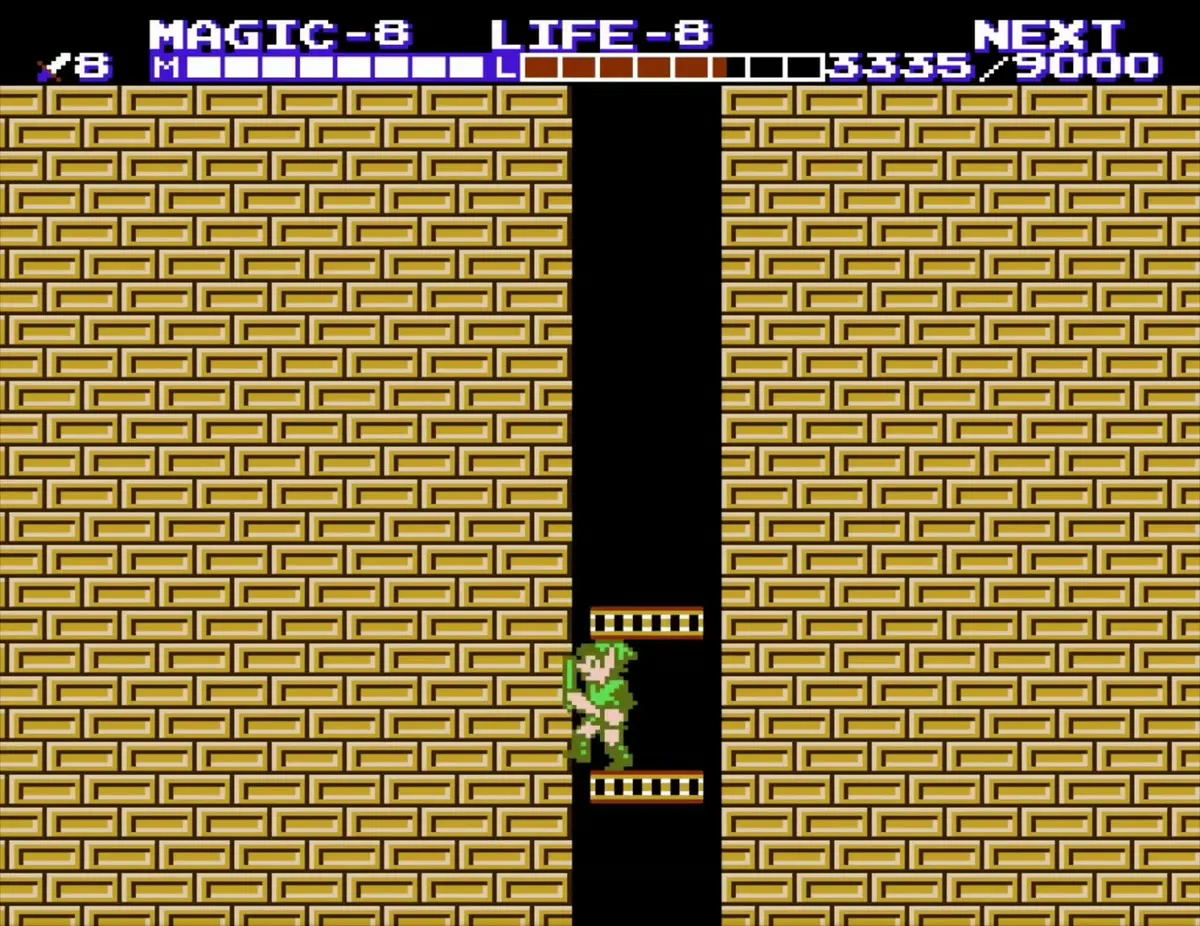
The floors are tan brick with gold pillars, grey halls and spiked floors over lava pits. Ride the first elevator down and go left (there is nothing to the right). After that, most turns at the bottom of a shaft lead right. Fokkels and Fokkers, the armored bird-knights, take many hits even with a level-8 sword and jump over you, so use that to slip past them rather than trading blows. Golden Ra heads float through the block-barricade rooms; bounce off them with a Downward Thrust before you cross. After the first pillar in the upper hall, jump, or you fall through a false floor onto Bots. Empty-looking elevator shafts often hide a passage on the left near the bottom.

Fairy and Link Doll below the second-to-last elevator
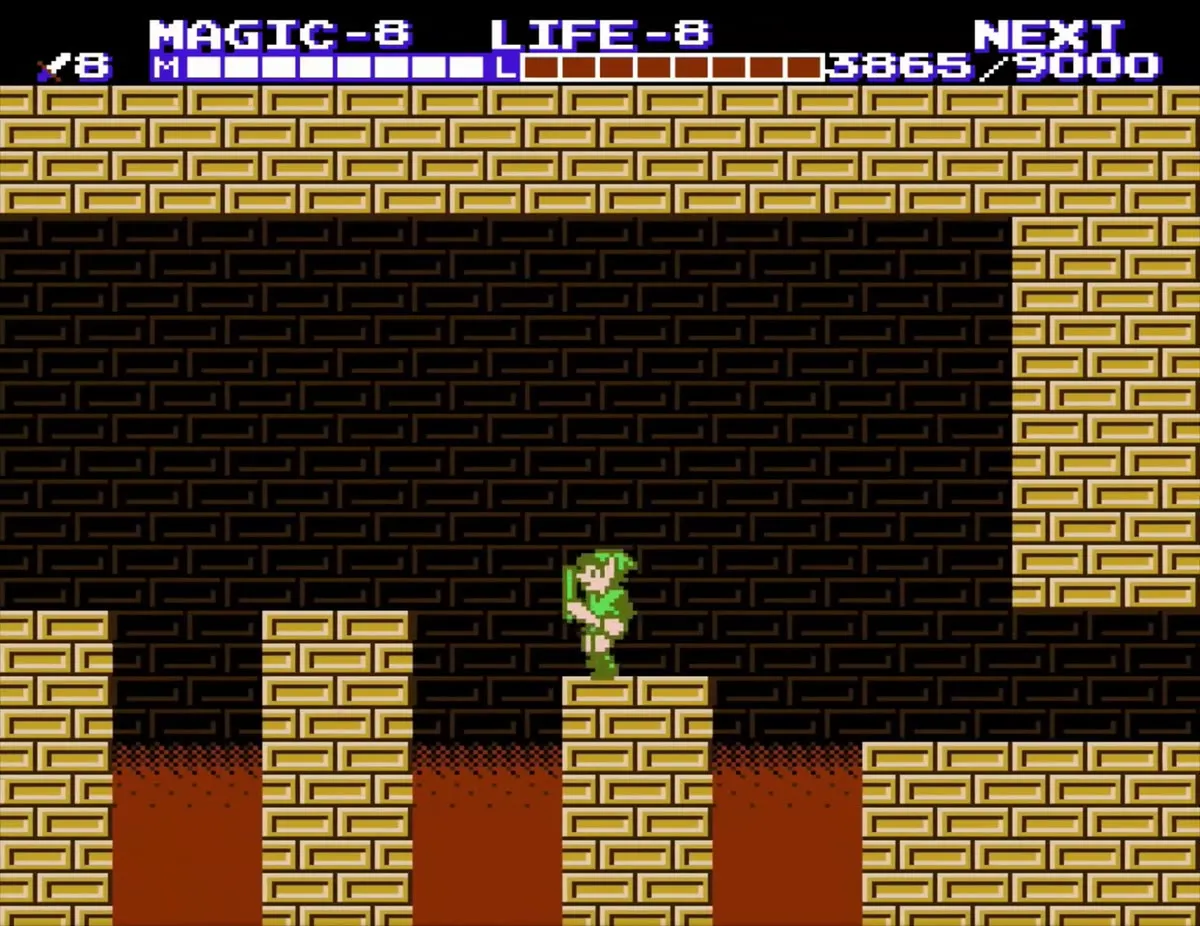
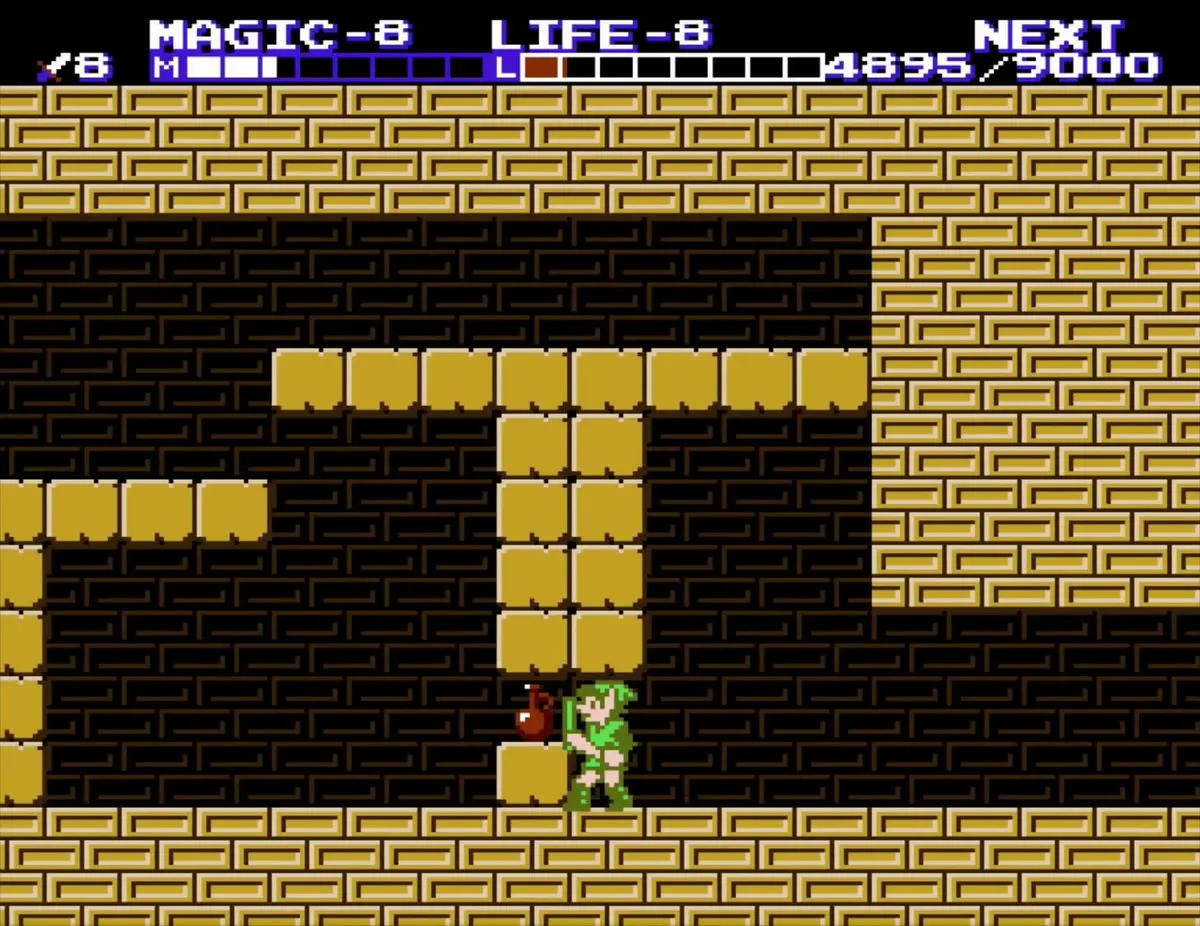
Ride the gold-rail elevator down, and expect lava pits, dissolving bridges and gold-brown creatures on the way. One floor below the second-to-last elevator, a lava-pit room hides a fairy behind blocks on the right, reached with short downward thrusts that stop before you break into the lava. The left path across the columns covered in Bots ends in a dead end with a Link Doll, which is worth an extra life. Take the doll before you finish the palace, because it cannot be reached after that. From the same elevator, going right leads to the fairy and going left to the doll. A second, optional fairy waits at the end of the bridge room past the large Bubbles.

Thunderbird, the palace guardian
Reach the guardian’s room
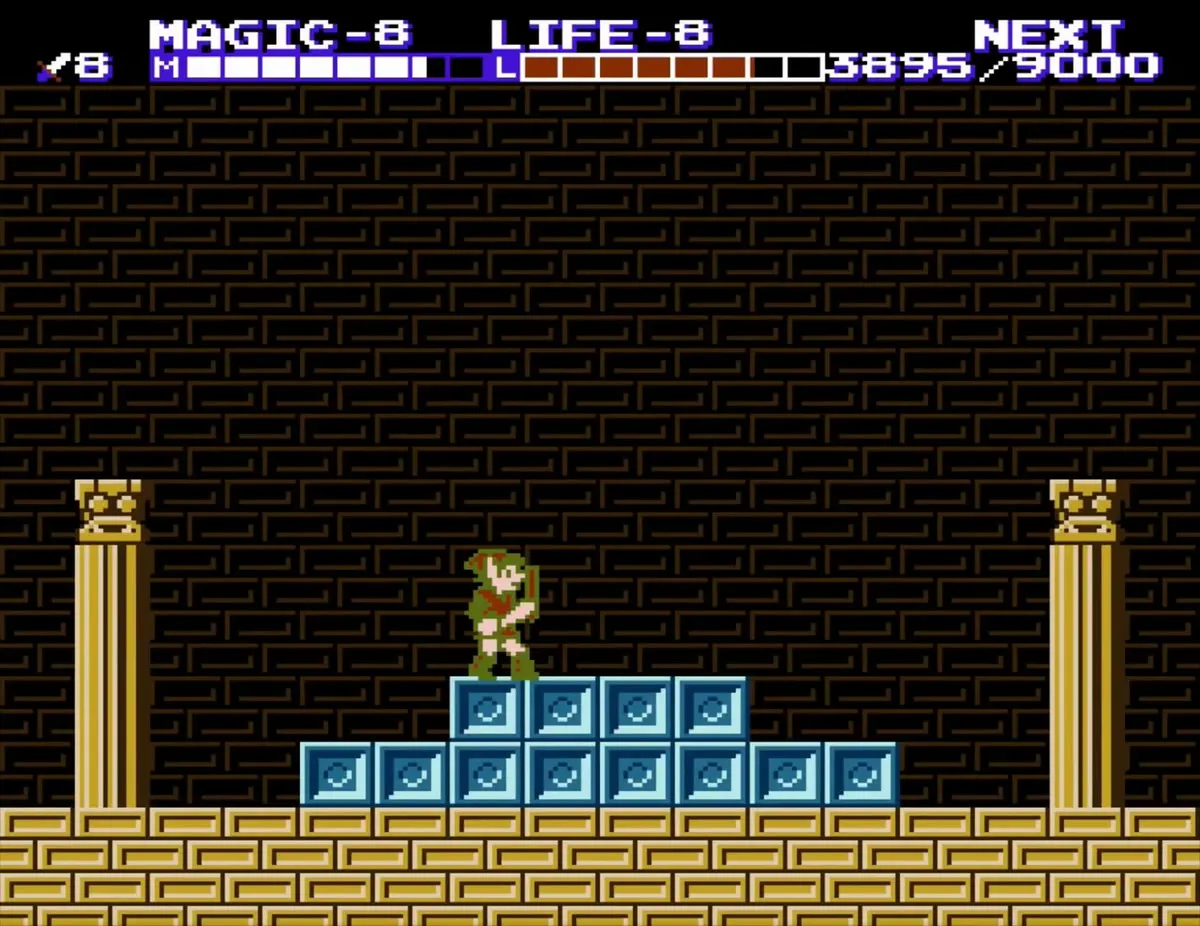
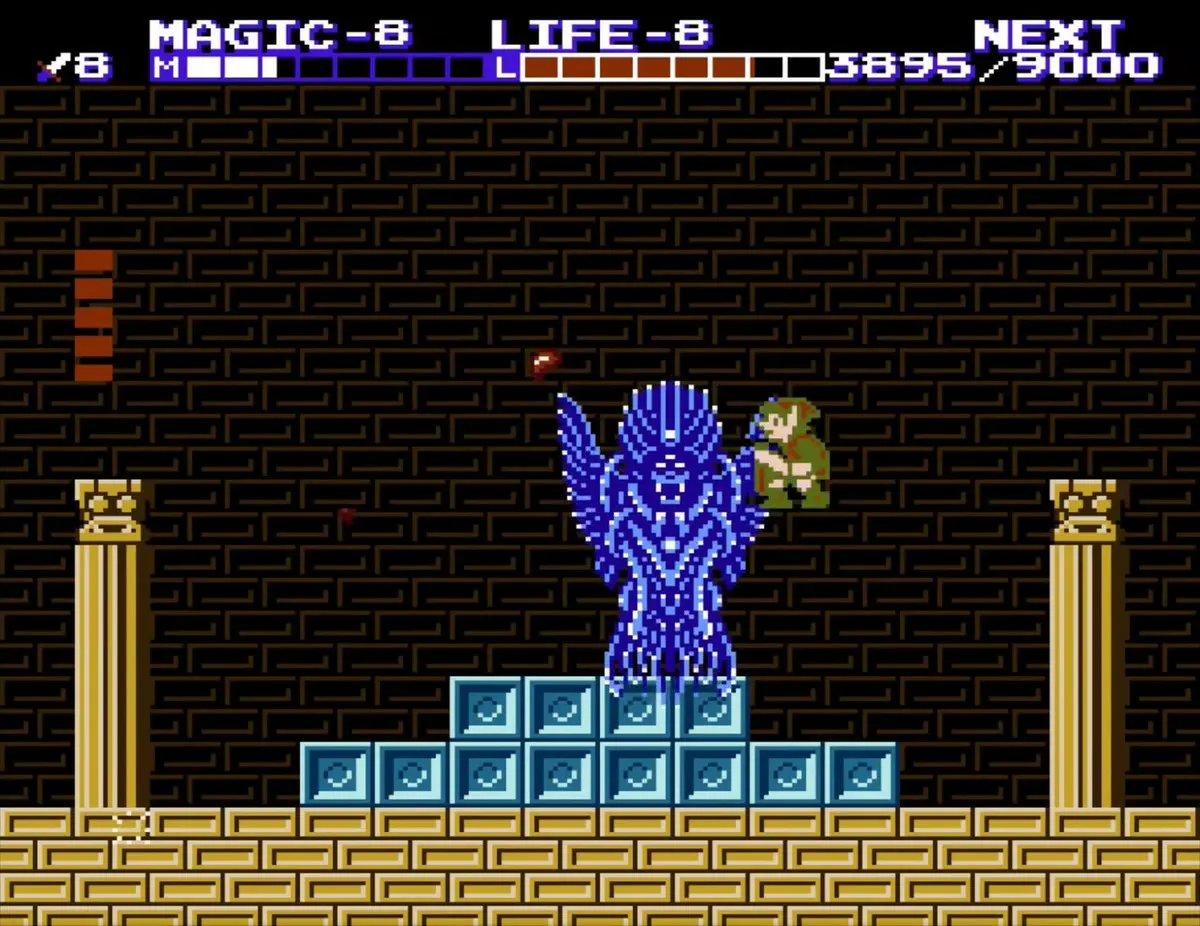
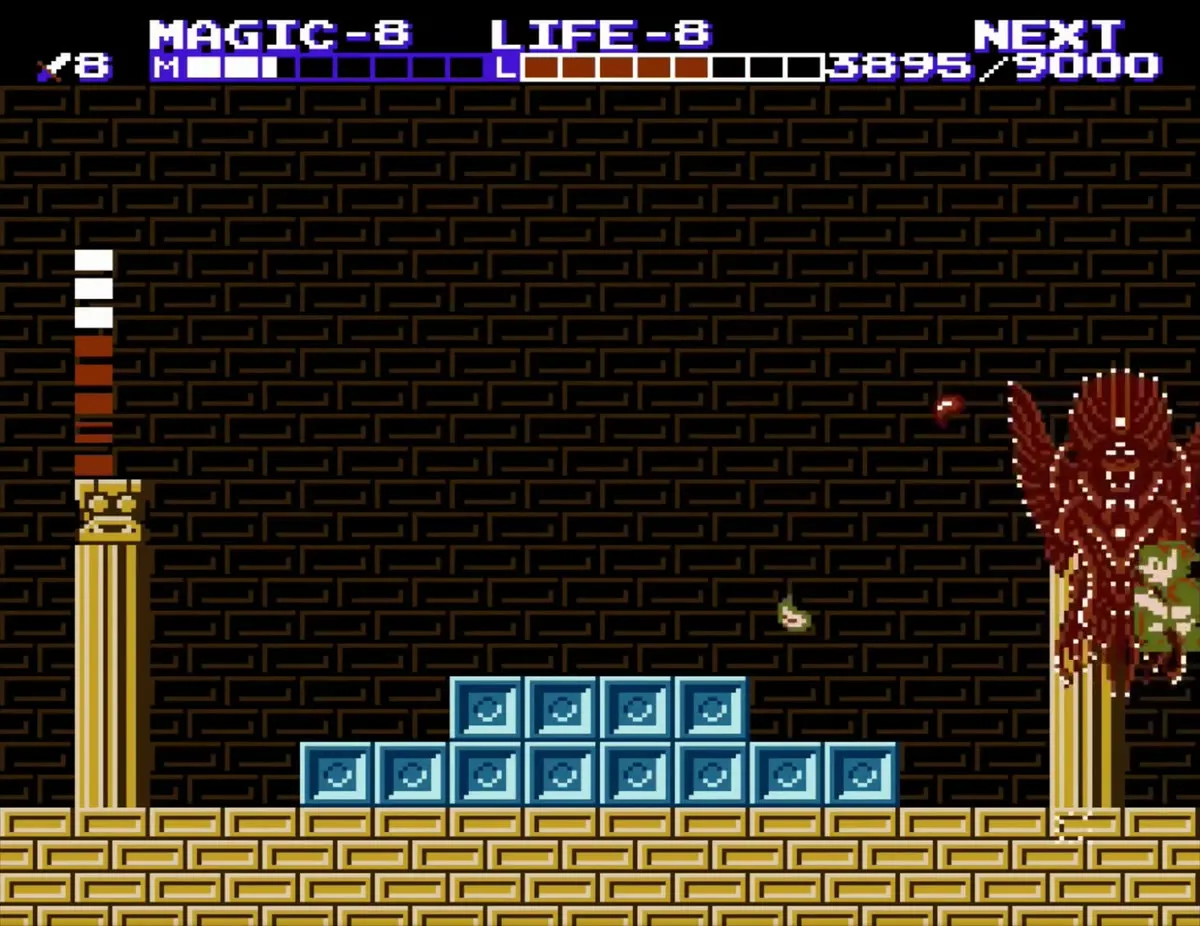
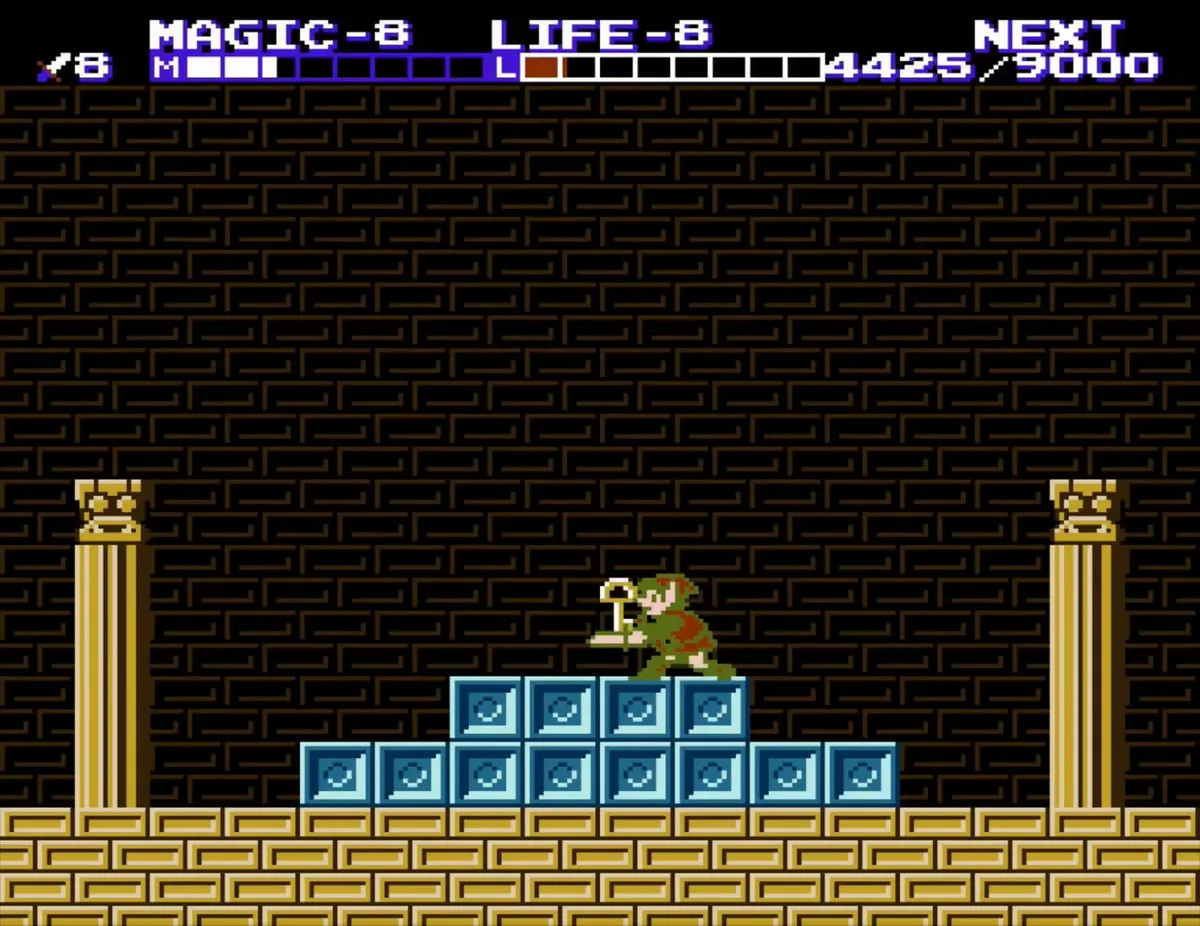
Keep going through the tan-brick rooms until you reach an ice-block pyramid and a room with gold pillars. Before it, you can descend below the bridge: stab the floor blocks in the low passage to find a fake section that drops you into a lower hall. A giant Bot there splits into small, tougher Bots when hit. Cross the crumbling bridge with the Bubble beneath it and drop through the gap in the middle; two red jars (or Fokkers) hide in the blocks on the left of the next room, so cast Life before you take them. Fill your life and magic fully before the next door. Thunderbird waits above the blocks, and it starts out red, so your sword does nothing to it at first. Its blue winged form appears over the room and begins to fire at you.
Beat Thunderbird
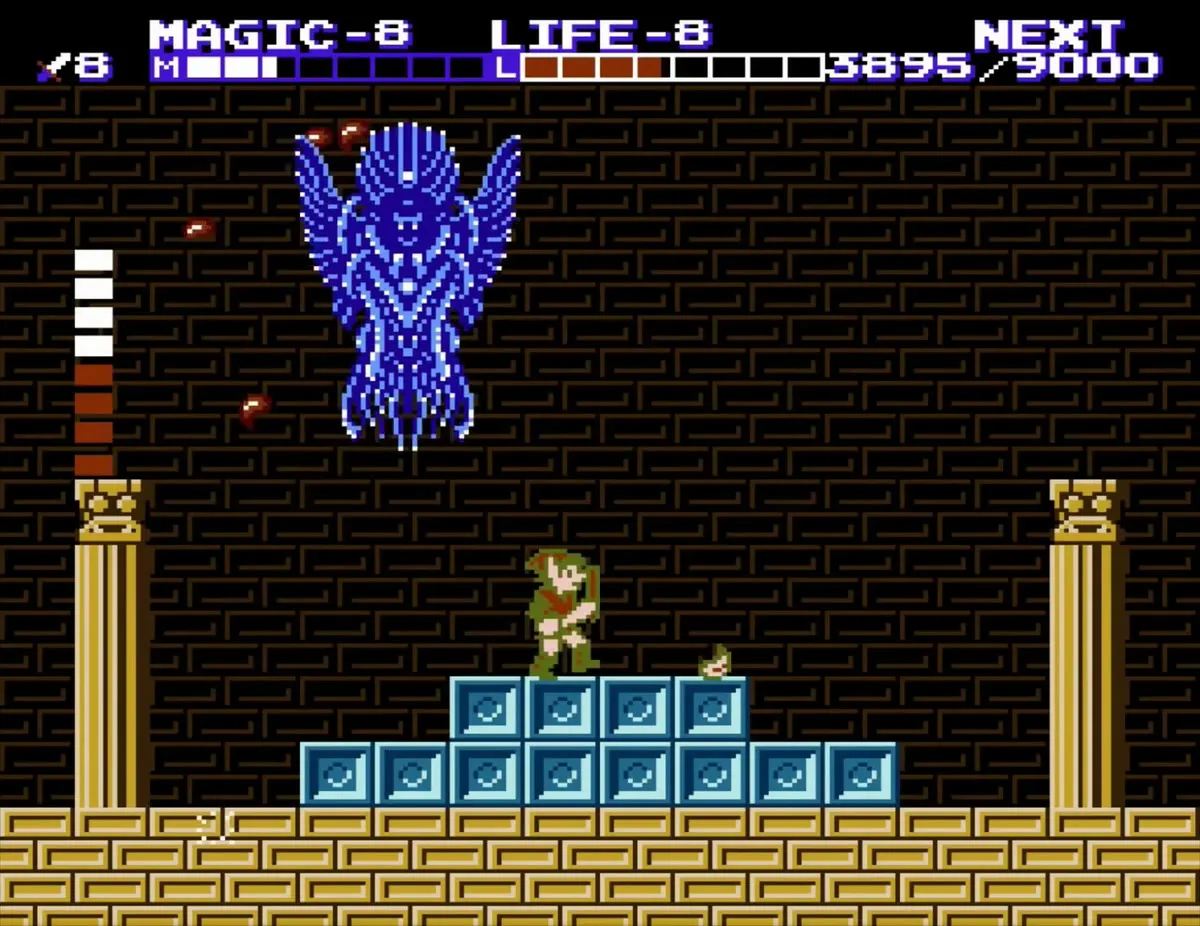
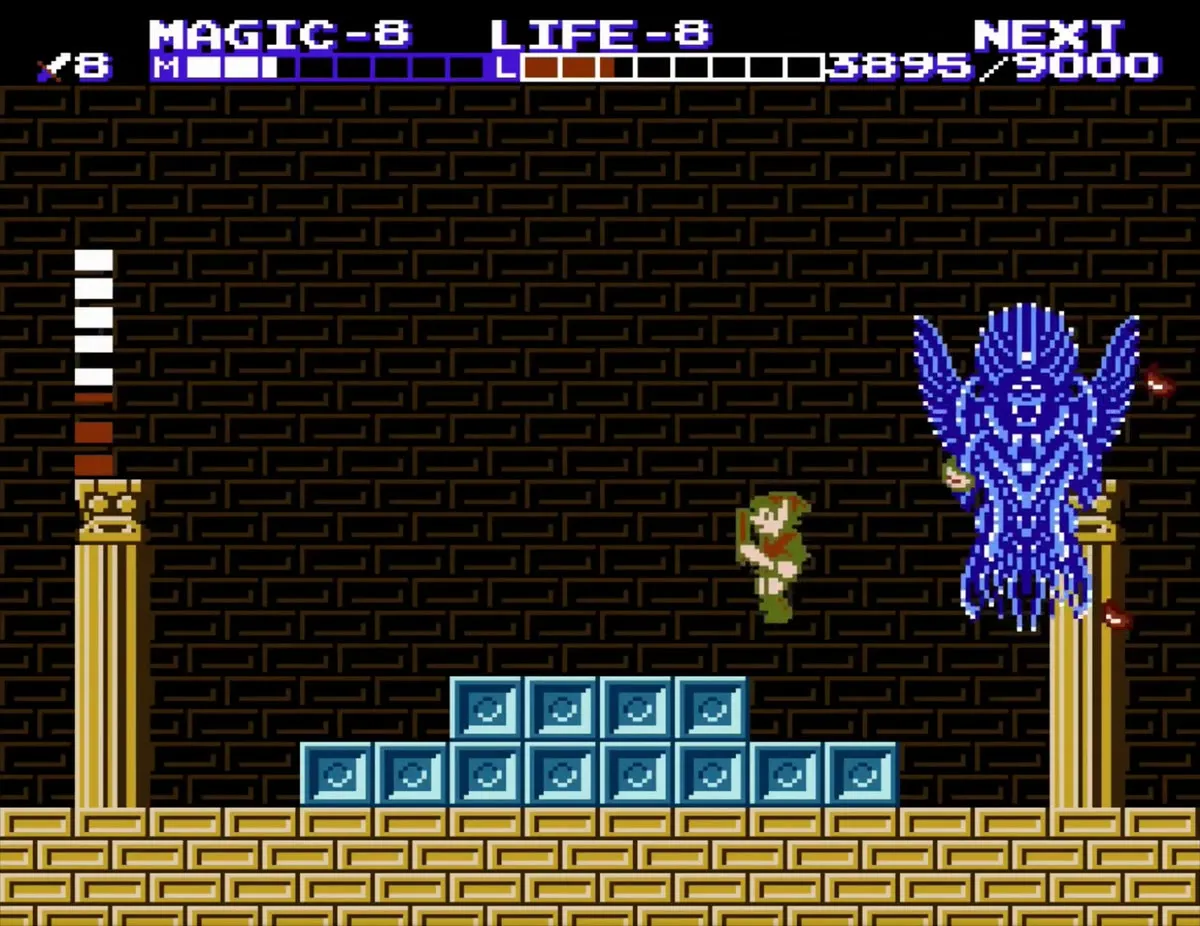
Cast Thunder to turn Thunderbird blue and expose its face, which is the only spot you can damage (aim just above the face, at the dot in its headdress). Raise your Shield, jump, and strike it with your sword. After it loses about half its health, it throws fire twice as fast, and Reflect blocks those shots, so keep Reflect ready. Stay near the far right of the room and move toward the face when it floats down.
Take the key and move on
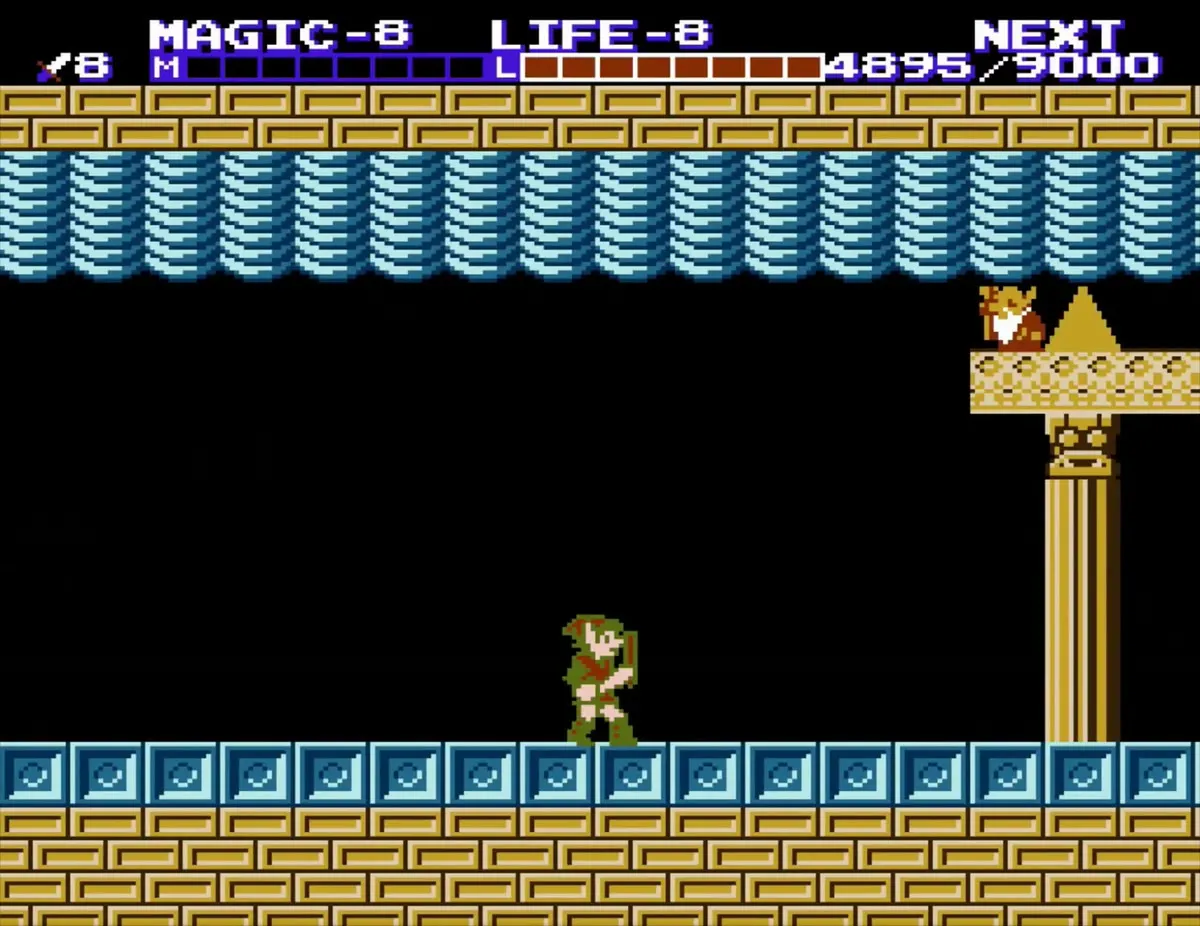
When Thunderbird falls, it leaves behind the key to the final chamber. Open the door to the right with that key. Restore any missing life and magic if you can, because the fight ahead is a long one. The next room has a gold pedestal before the screen changes color.
Dark Link, Link’s Shadow in the final chamber
Enter the purple room
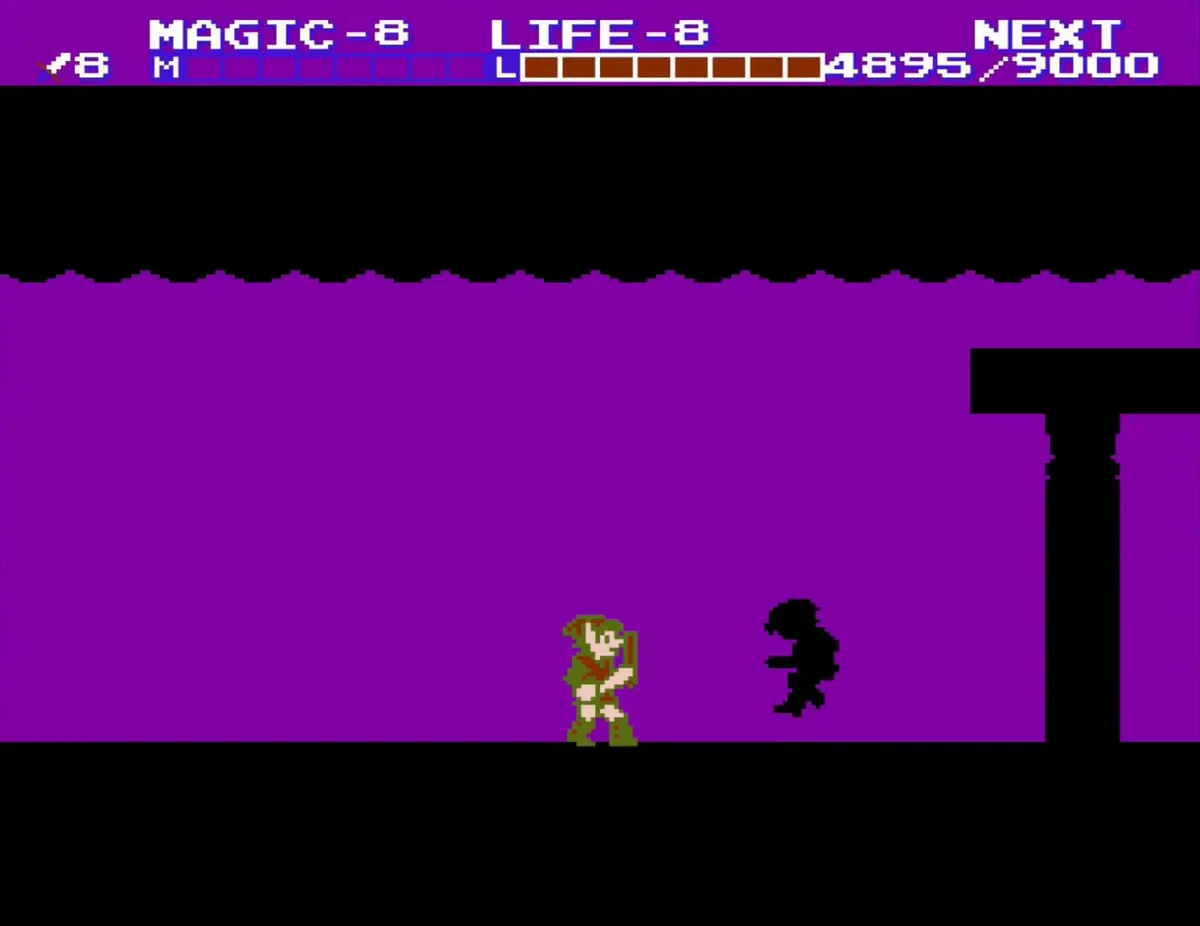
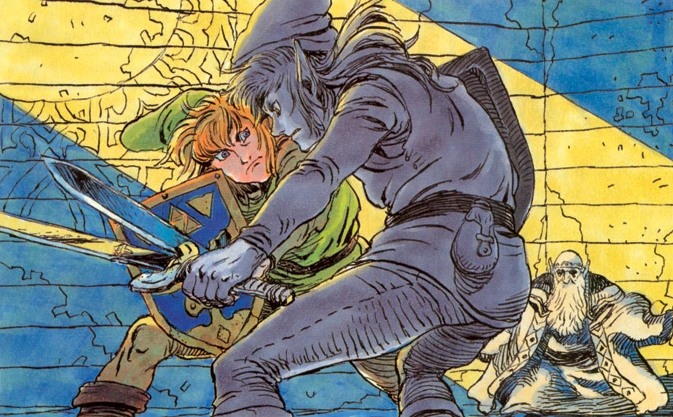
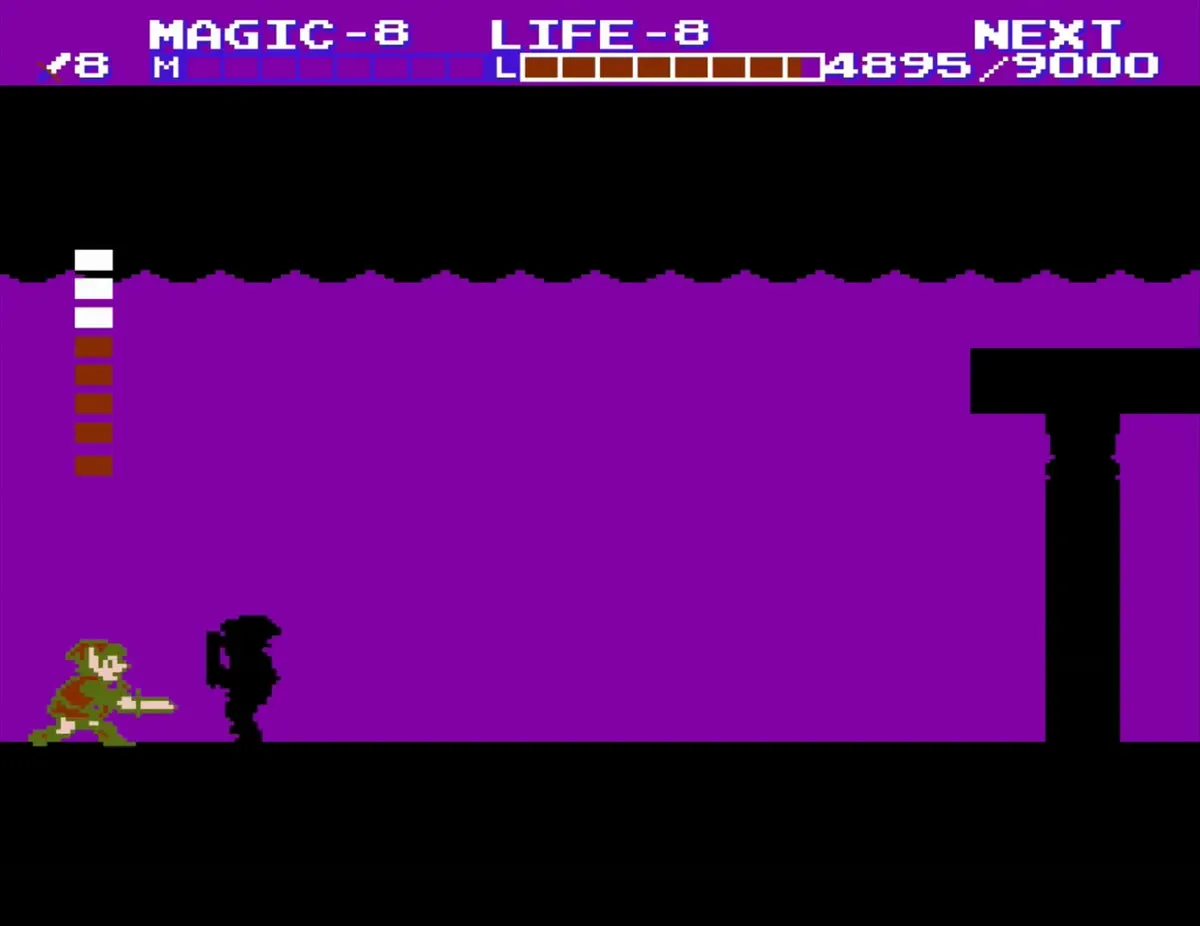
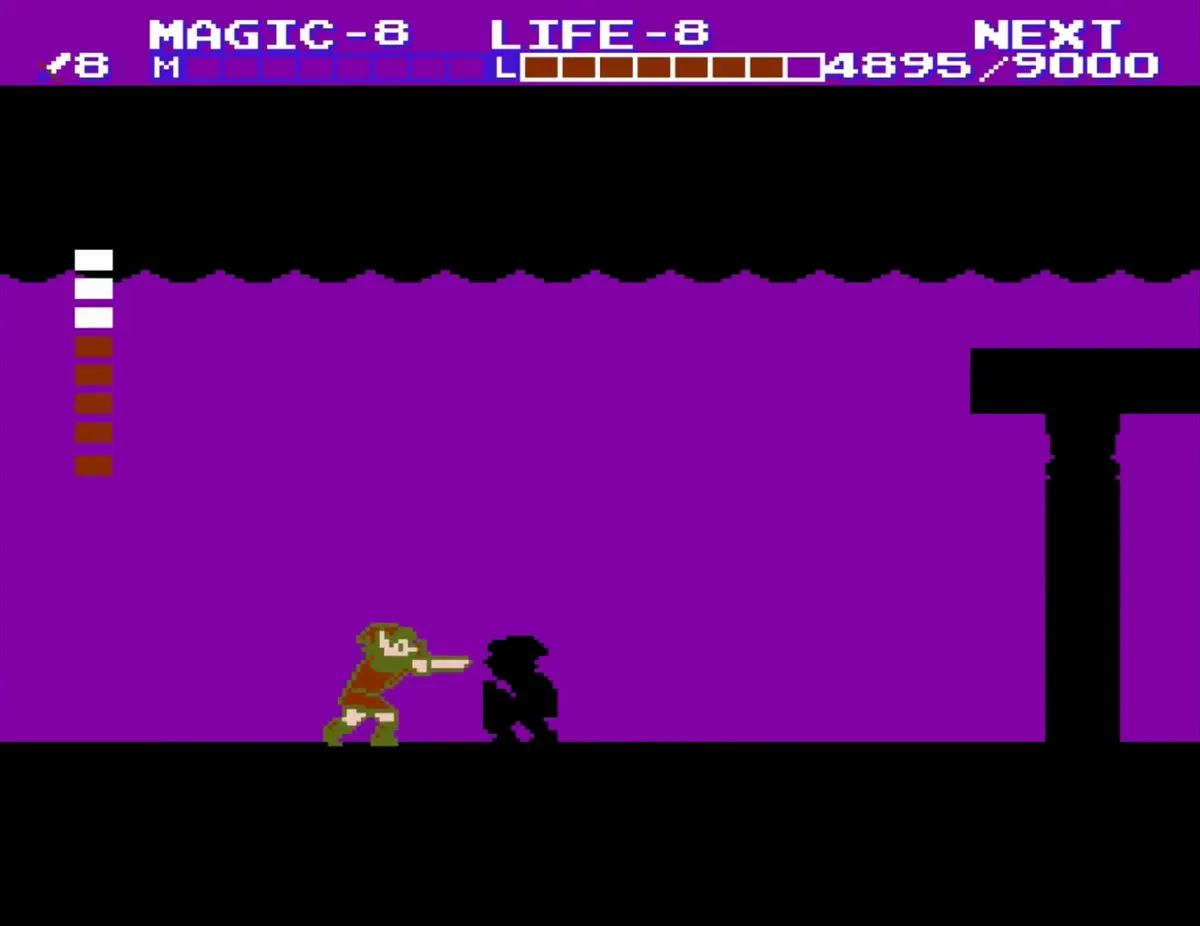
Past the gold pedestal, a small robed figure appears high on a platform holding the Triforce of Courage and then vanishes. The screen turns purple and Dark Link, a black copy of Link, drops into the room. Dark Link is the final test before the Triforce of Courage. Expect him to attack quickly and keep your health up.

Fight Dark Link
Cast Shield before you engage, and kneel in the far left corner of the room. Stab toward him again and again as he closes in, since he tends to run into your sword; you will take a hit now and then, but he takes far more. Only his sword can hurt you, not his body, so you can also jump into him and stab low as you land. Cast Life when you can afford it.

Triforce of Courage and the ending
Claim the Triforce of Courage
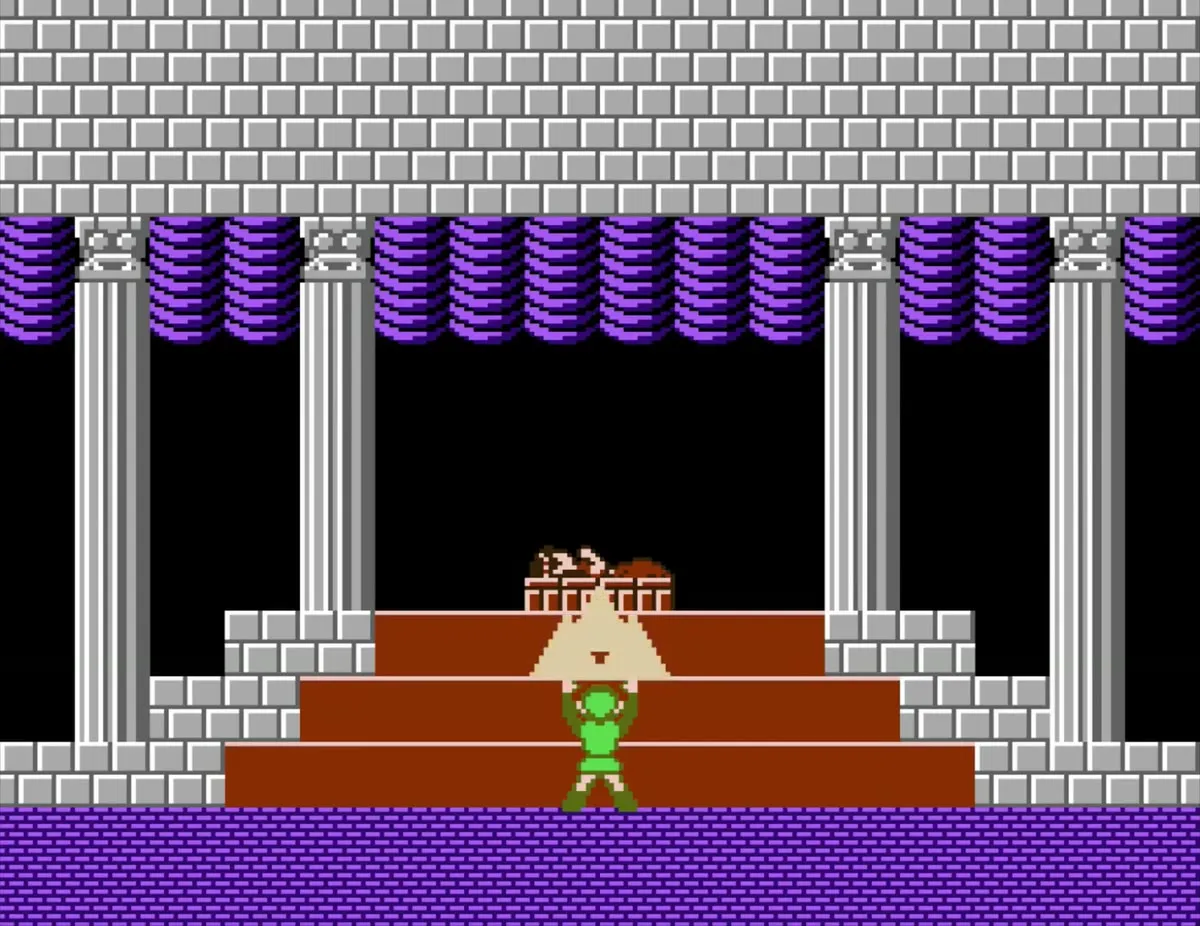
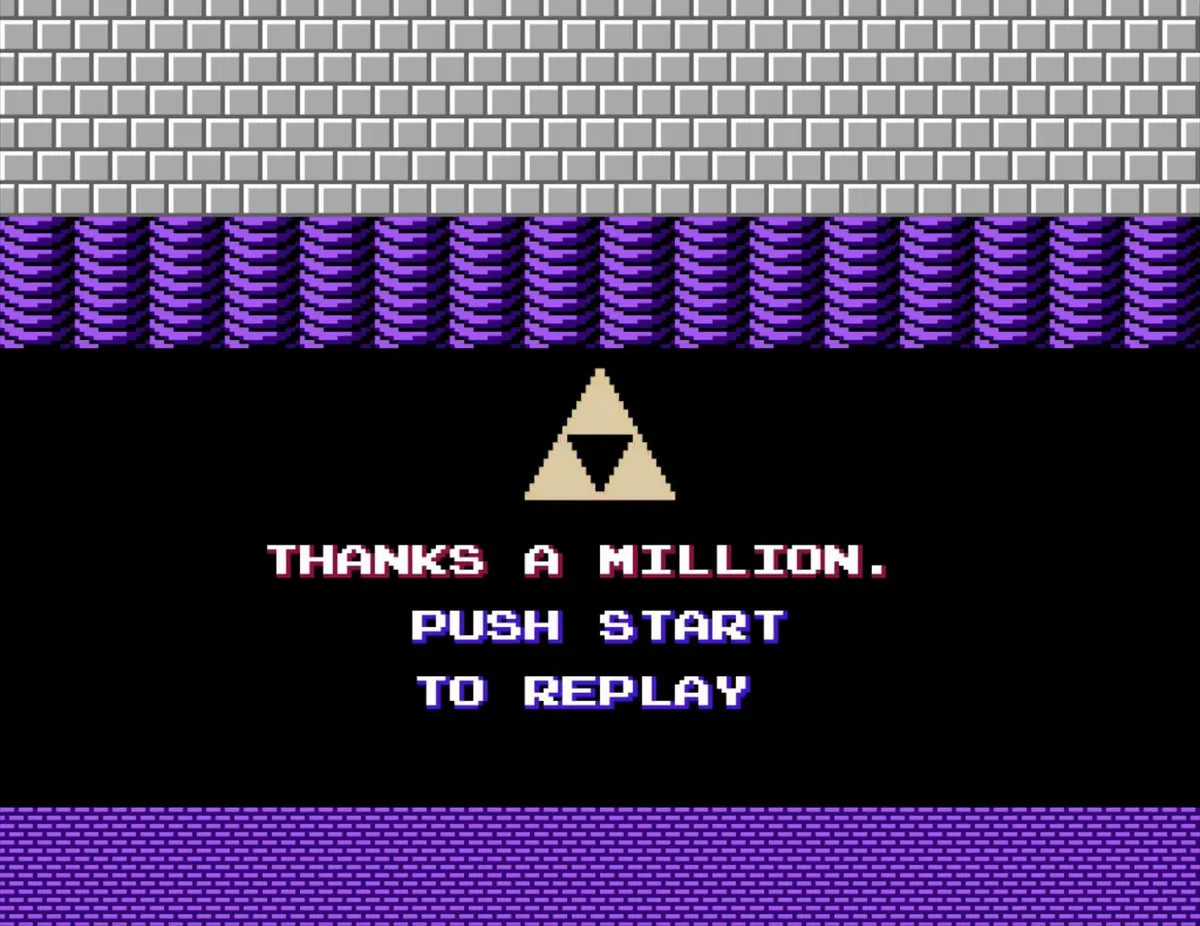
When Dark Link falls, the Triforce of Courage is yours and the game ends. Link carries it back to North Palace, to the room where Zelda sleeps. The room has a purple checkered floor, grey pillars and a stepped red altar. Gold triangles appear above the altar, then gather around it.
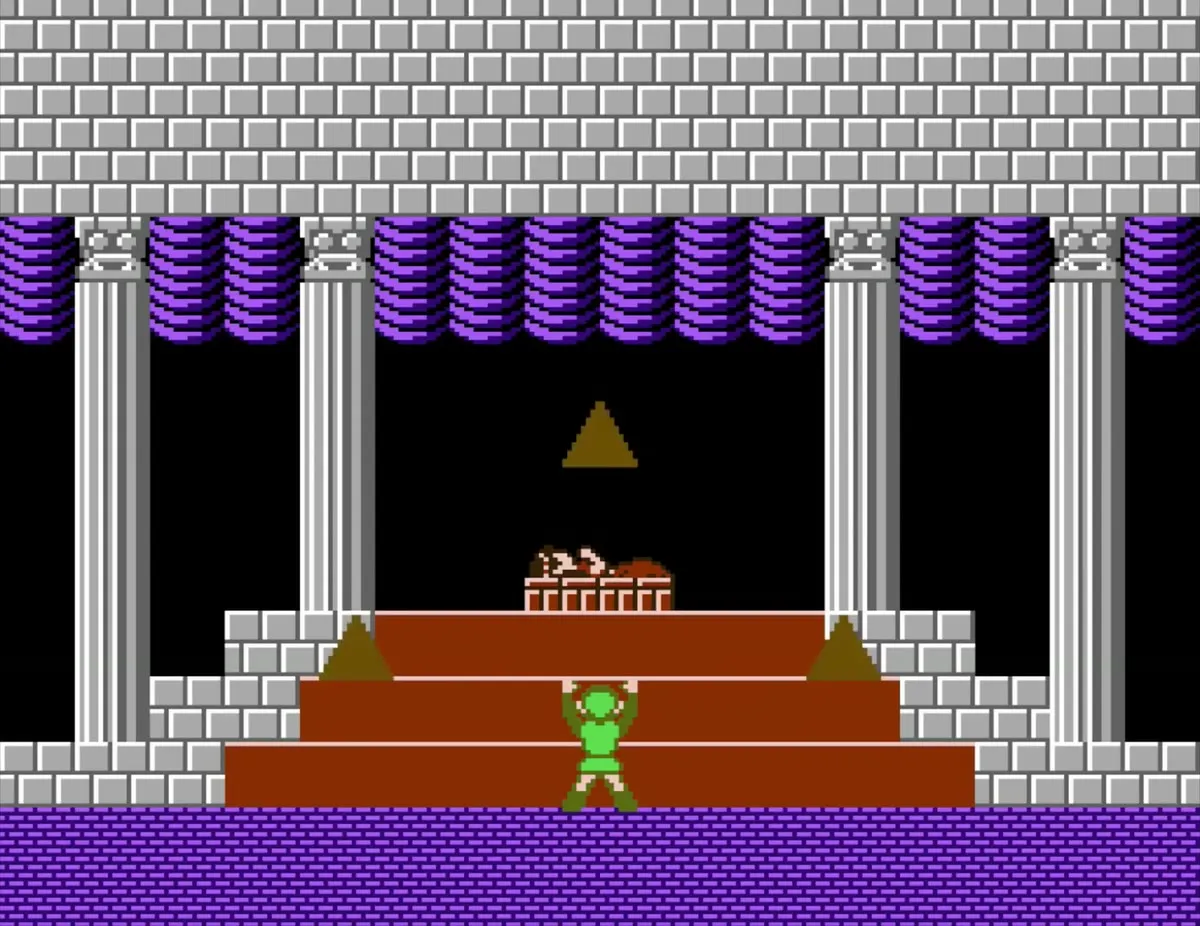
Zelda wakes
With all three pieces of the Triforce complete, Princess Zelda wakes from her long sleep and speaks to Link. Link stands before the altar as the triangles fade.
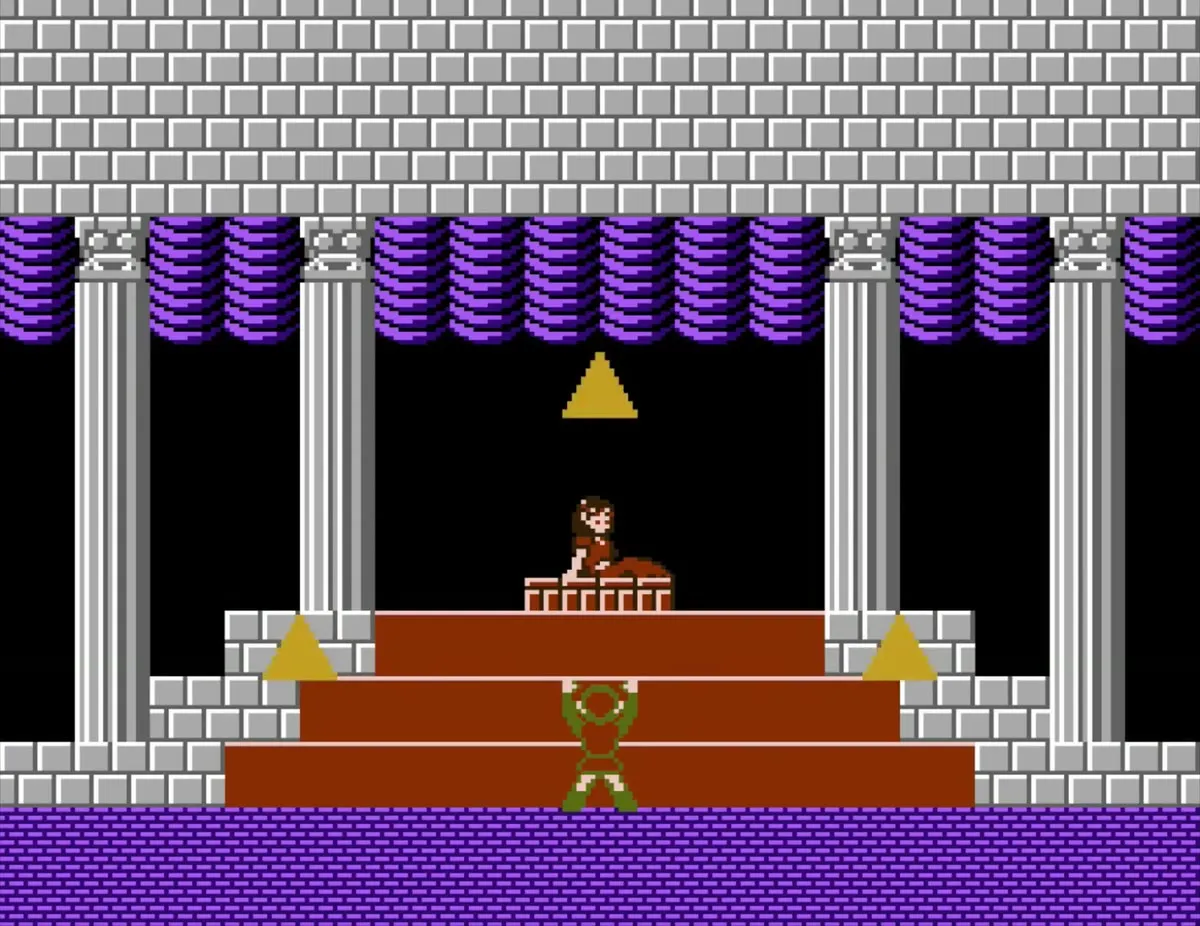
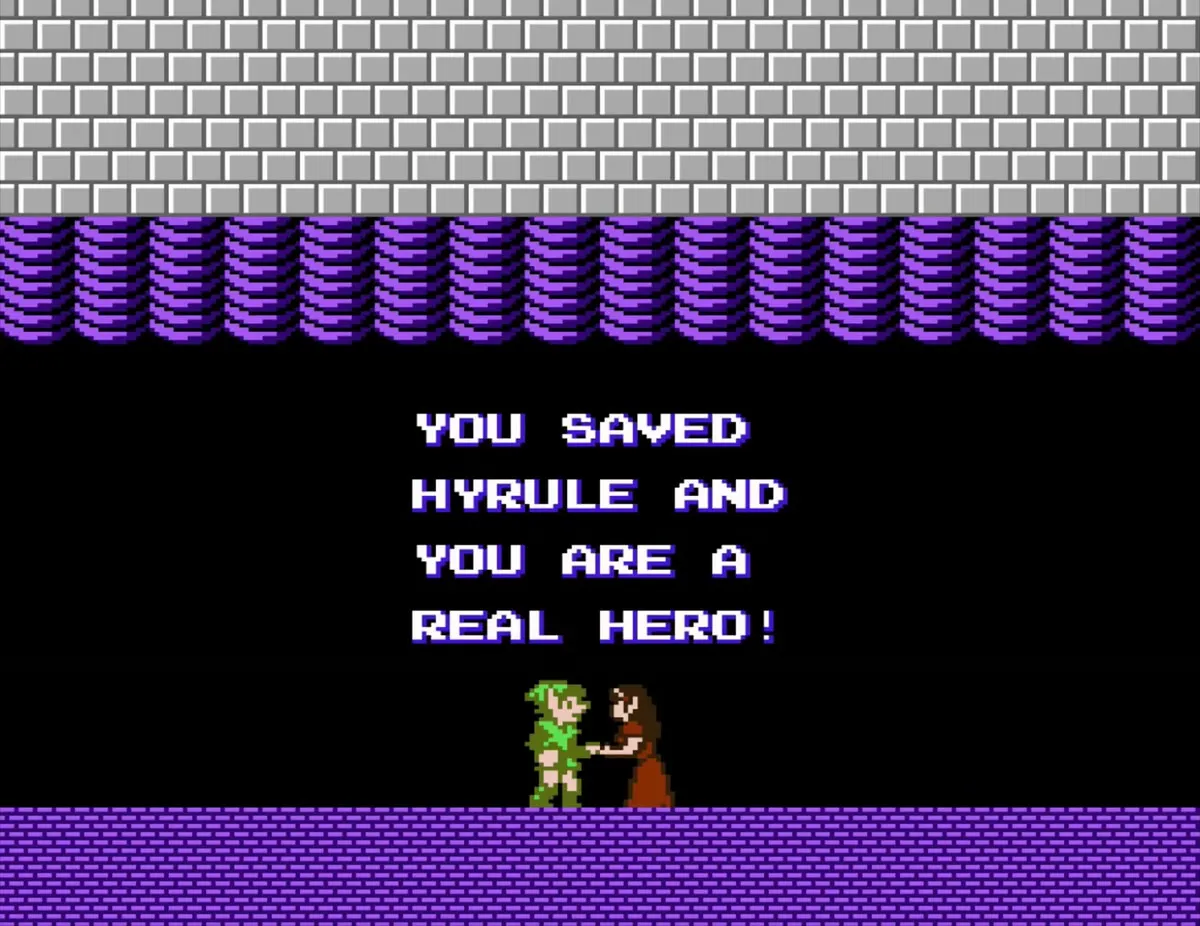
Credits and the Master Sword
The credits roll over the purple floor. The ending then closes on a starry lake, where the Master Sword stands in a stone. Pulling it out ends the story.
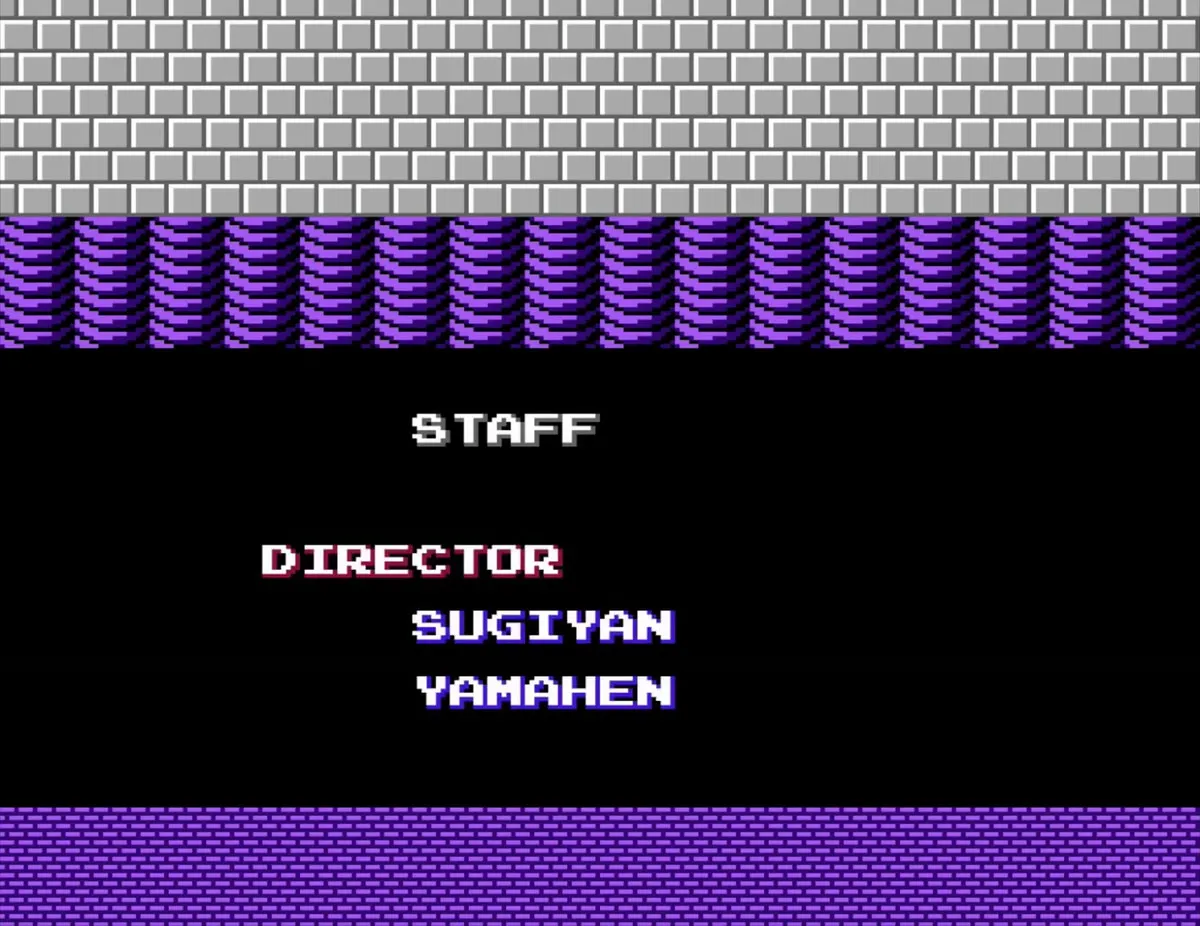

The file screen and the Second Quest
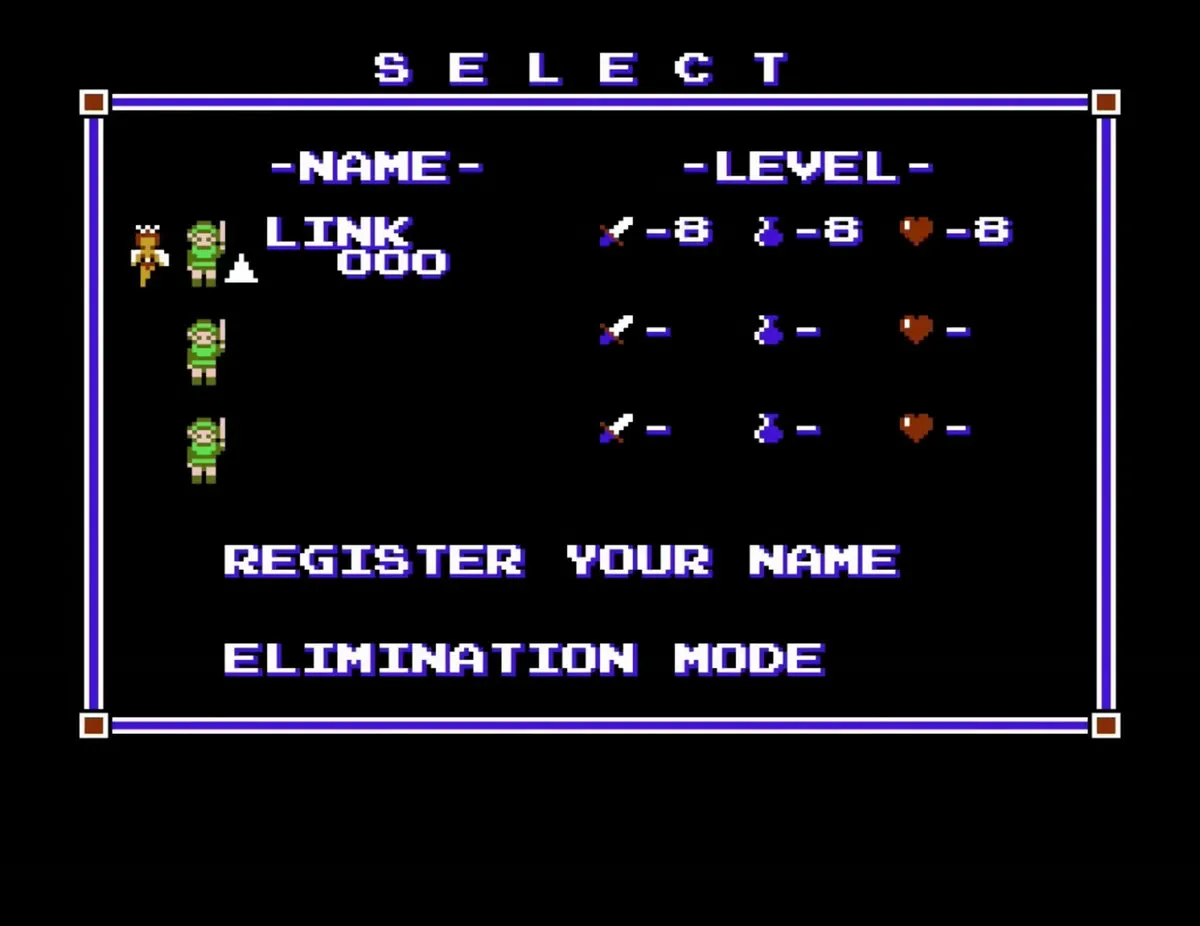
After the credits, the file screen opens with your saved levels: Attack 8, Magic 8 and Life 8. Register your name to start a fresh save. After you finish the game, the Second Quest is offered, and it keeps your experience levels, sword techniques and spells, so it can be much easier than the first quest.
Chapter checklist
| Type | Name | Where |
|---|---|---|
| Key item | Triforce of Courage | Great Palace final chamber, won by defeating Dark Link |
| Link Doll | Link Doll (1-Up) | Great Palace, one floor below the second-to-last elevator, left path past the Bots |
| Fairy | Fairy | Great Palace, same lava-pit room, behind blocks on the right |
| Fairy (optional) | Second fairy | Great Palace, end of the bridge room past the large Bubbles |
| P-Bag | P-Bag (500 EXP) | Valley of Death, side-scrolling screen at the end of the west fork before the palace |
| Container | none | The Great Palace holds no Heart Containers or Magic Containers |
| Spell | none | No spell is learned in this chapter |
